CDW
-
Posts
7,749 -
Joined
-
Last visited
Content Type
Profiles
Forums
Gallery
Events
Everything posted by CDW
-

P-51D Mustang by CDW - FINISHED - Dragon - 1:32 Scale
CDW replied to CDW's topic in Non-ship/categorised builds
Not sure when I'll get around to the tasks, but I have the 1:32 Tamiya, Zoukei Mura, Trumpeter, and new Revell P-51D kits all in the queue. It will be interesting (to me) to see how they compare with each other. -
P-51D Mustang by CDW - FINISHED - Dragon - 1:32 Scale
CDW replied to CDW's topic in Non-ship/categorised builds
Glad you're all aboard. I've been plugging away on the model the past few days but have neglected taking photos in favor of getting a little further along before I bore everyone with non-motivational construction photos. Right now, it looks like the wing to fuselage fit might be a little dicey. To get a good silver finish, a good fit will be essential as we all know is the case with shiny metal finishes. -
Russian modern armoured vehicles by Baker - ACE - 1/72
CDW replied to Baker's topic in Non-ship/categorised builds
Excellent! Very nice, Baker. -
Those exhaust look fantastic. There once was another company that produced very thin, realistic exhaust similar to these for a large variety of different kits. Was the name of that company, Moskit, or something similar? I have not seen their products on the shelves in a number of years and I have wondered what happened to them.
-
P-51D Mustang by CDW - FINISHED - Dragon - 1:32 Scale
CDW replied to CDW's topic in Non-ship/categorised builds
But I do find lots of cars to model. And tanks, planes, ships, etc. 😀 -
P-51D Mustang by CDW - FINISHED - Dragon - 1:32 Scale
CDW replied to CDW's topic in Non-ship/categorised builds
My granddaughter brought me this gift tonight.
- 122 replies
-
- 14
-

-
Does anyone know who made the WnW's decal sheets? Decals almost always are a gamble unless you are dealing with a specific brand every time. What works with one brand can vary wildly with what works with another. That's a lesson learned the hard way many times for me.
-
P-51D Mustang by CDW - FINISHED - Dragon - 1:32 Scale
CDW replied to CDW's topic in Non-ship/categorised builds
I read that after WW2 ended, this particular aircraft was shipped back to the USA, where it served with various air national guard units. In 1957, it was sold as surplus for $775.00. 😐 It remains in flying condition all the way up to the current day. Amazing.- 122 replies
-
- 10
-
-
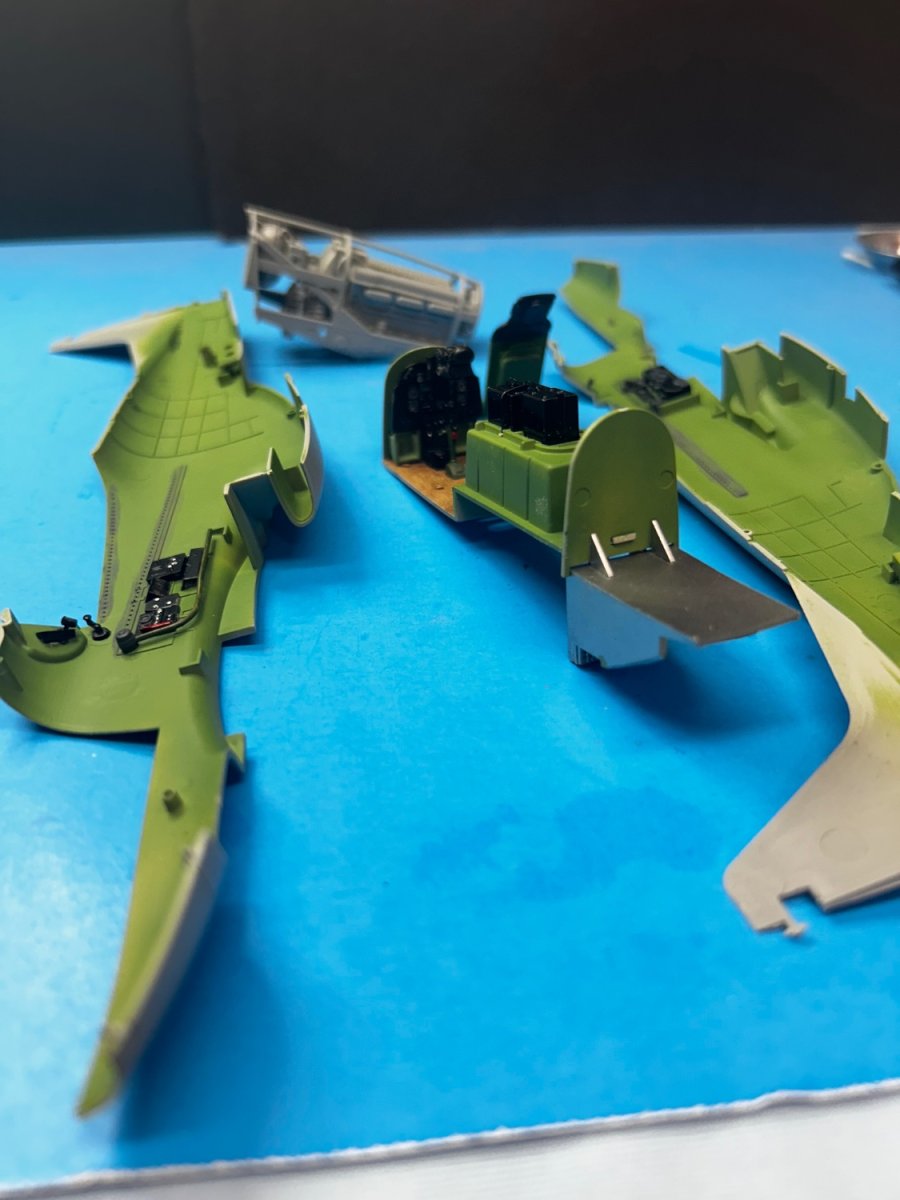
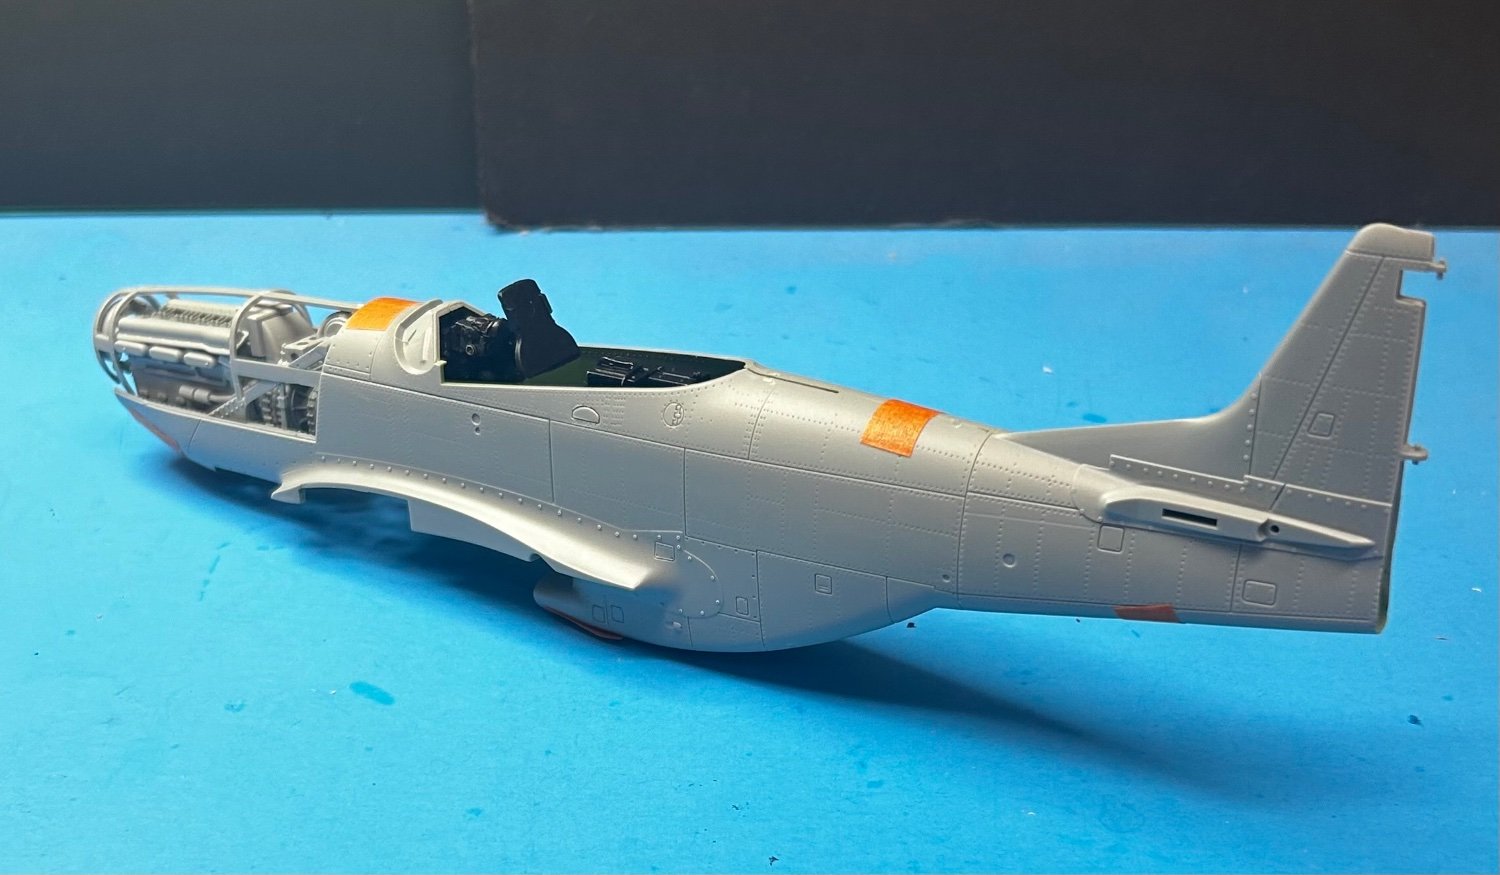
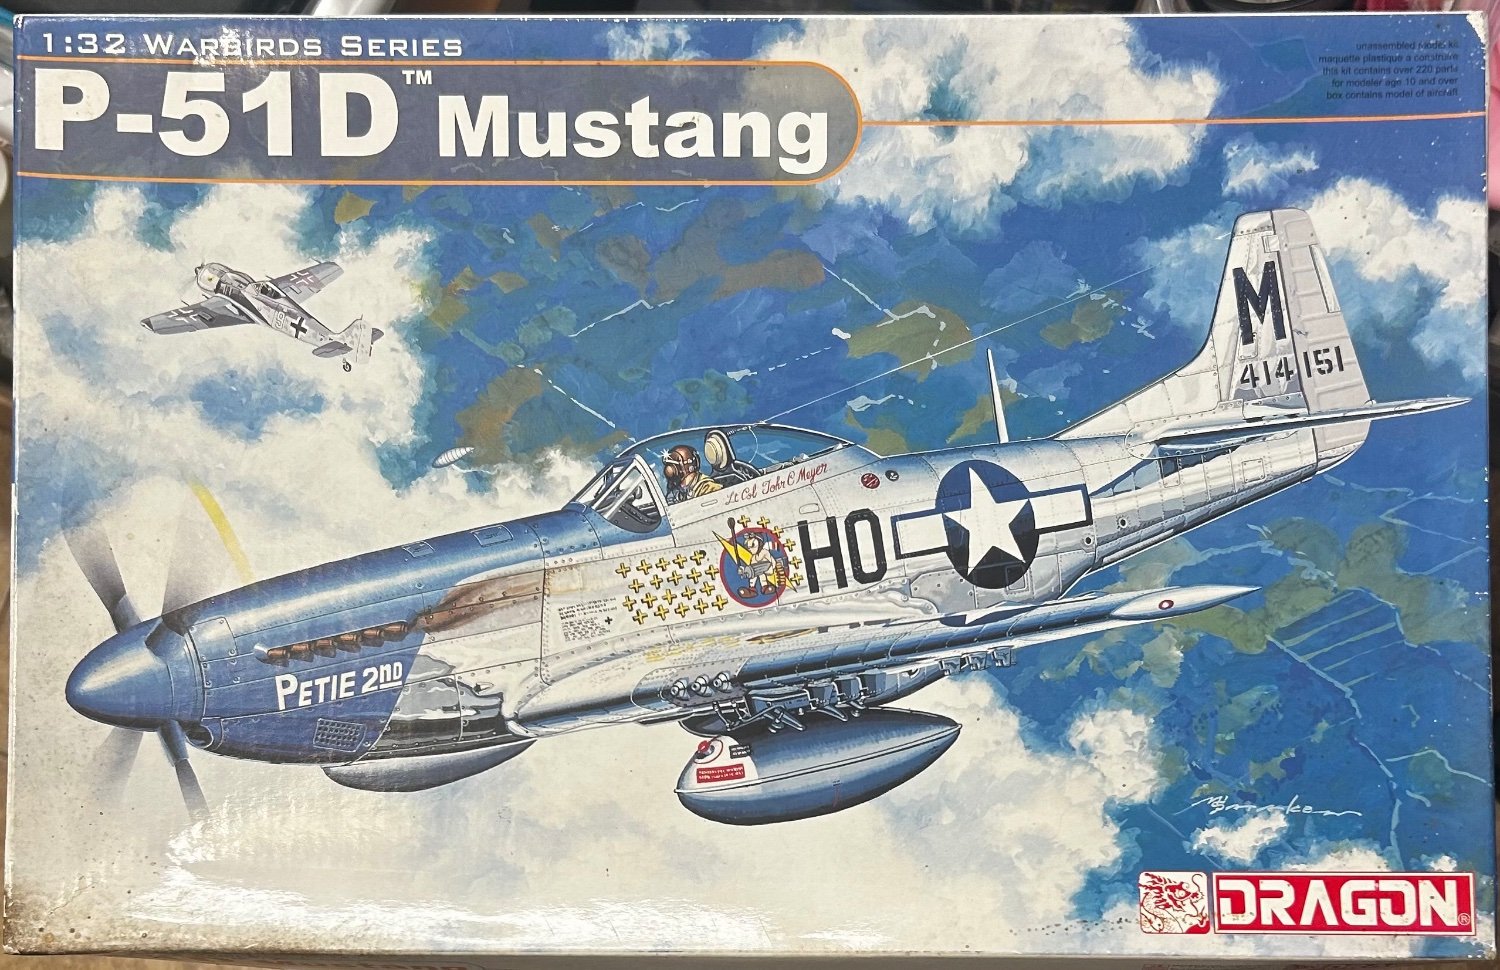
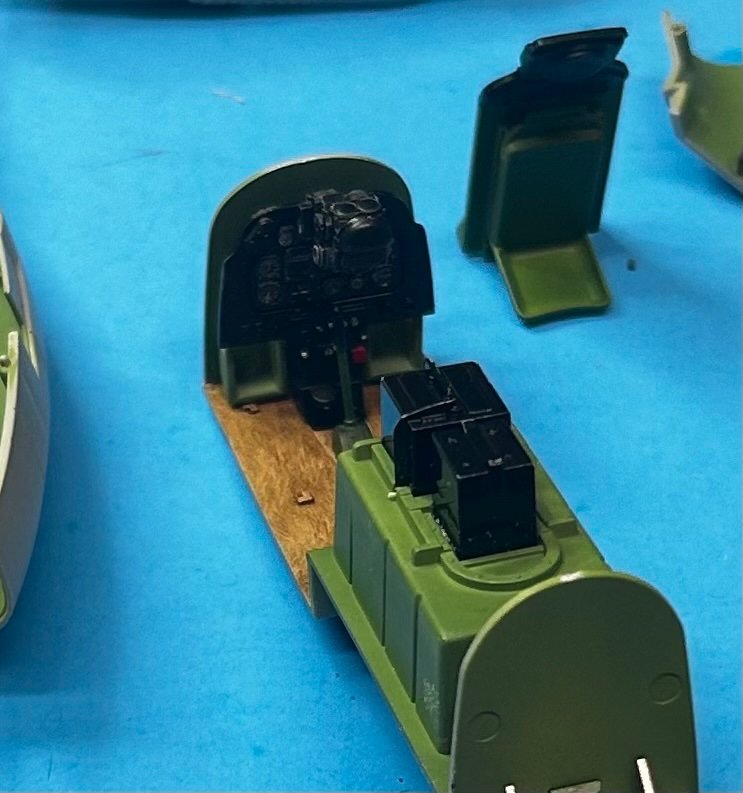
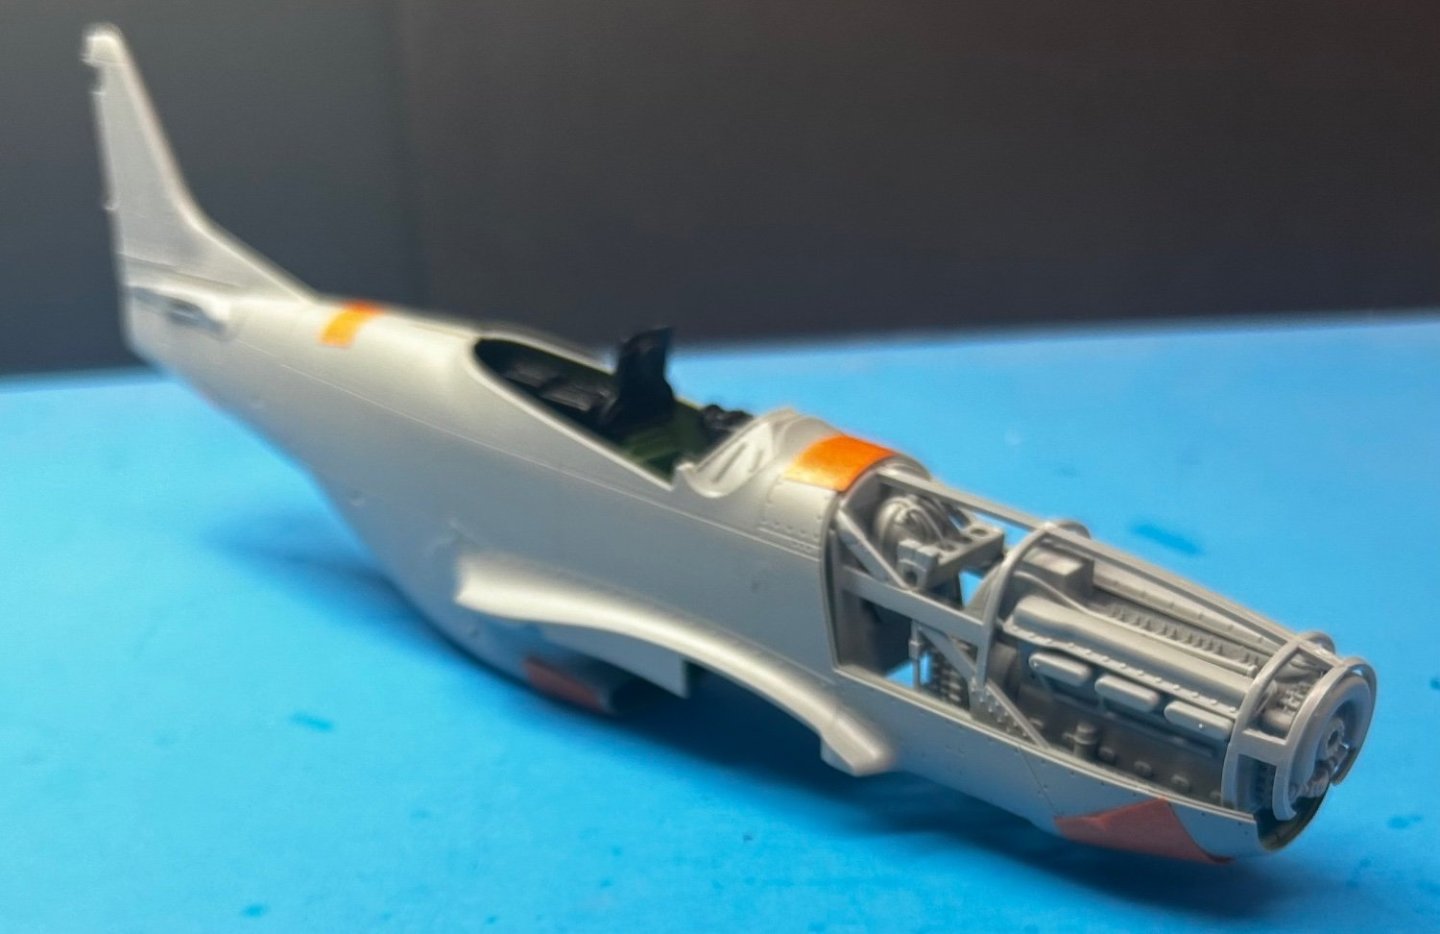
Nearly 20 years ago, I bought the newly released 1:32 Dragon P-51D Mustang kit. Almost immediately after receiving it, I promptly started building and painting the interior assemblies, then for reasons I cannot recall, boxed it all up and set it aside for other projects instead. As I looked through my storage items for a model swap-meet I attended a week ago, I ran across my old kit and decided to go ahead now to finish it. There are internal details that can be exposed by cutting away panels, I plan to finish the model all buttoned up. The photos reflect where I am with the kit today after dusting it off and touching up a few things here and there. This will be a "quickie".


- 122 replies
-
- 17
-
-
OC You're as good with a brush as most modelers I've seen. I say, go for it. It's useless just sitting on the shelf. Why not enjoy the model and the experience of it all?
-
Triumph 3HW by Tim Moore - Italeri - 1/9
CDW replied to Tim Moore's topic in Non-ship/categorised builds
Looks perfect -
Very nice work Mike
-
Triumph 3HW by Tim Moore - Italeri - 1/9
CDW replied to Tim Moore's topic in Non-ship/categorised builds
Will love following your build, Tim. After building the same Triumph kit, always regretted not taking time to wire the spokes. In this large scale, the effort will be well worth it. -
Loarre Castle (Spain) by King Derelict - Aedes Ars 1/200
CDW replied to king derelict's topic in Non-ship/categorised builds
Wow, Alan...what a magnificent display. This sure will attract a lot of attention from your visitors. -
AMC DH9 by davec - FINISHED - Wingnut Wings - 1/32
CDW replied to davec's topic in Non-ship/categorised builds
Indeed, your woodgraining is superb. I agree 100% with what you say here. Far more often than not, many of the photo etch pieces included with sets intended for a particular model, particularly the WnW's kits, go unused as they are either not as good or no improvement over the kit parts. -
1966 Buick Riviera by CDW - FINISHED - AMT - 1:25 Scale
CDW replied to CDW's topic in Non-ship/categorised builds
What color was the Riviera you saw, Yves? -
1966 Buick Riviera by CDW - FINISHED - AMT - 1:25 Scale
CDW replied to CDW's topic in Non-ship/categorised builds
Is 318 the actual number of curves? I know from experience there are a bunch, but never heard of or thought of counting them. -
1966 Buick Riviera by CDW - FINISHED - AMT - 1:25 Scale
CDW replied to CDW's topic in Non-ship/categorised builds
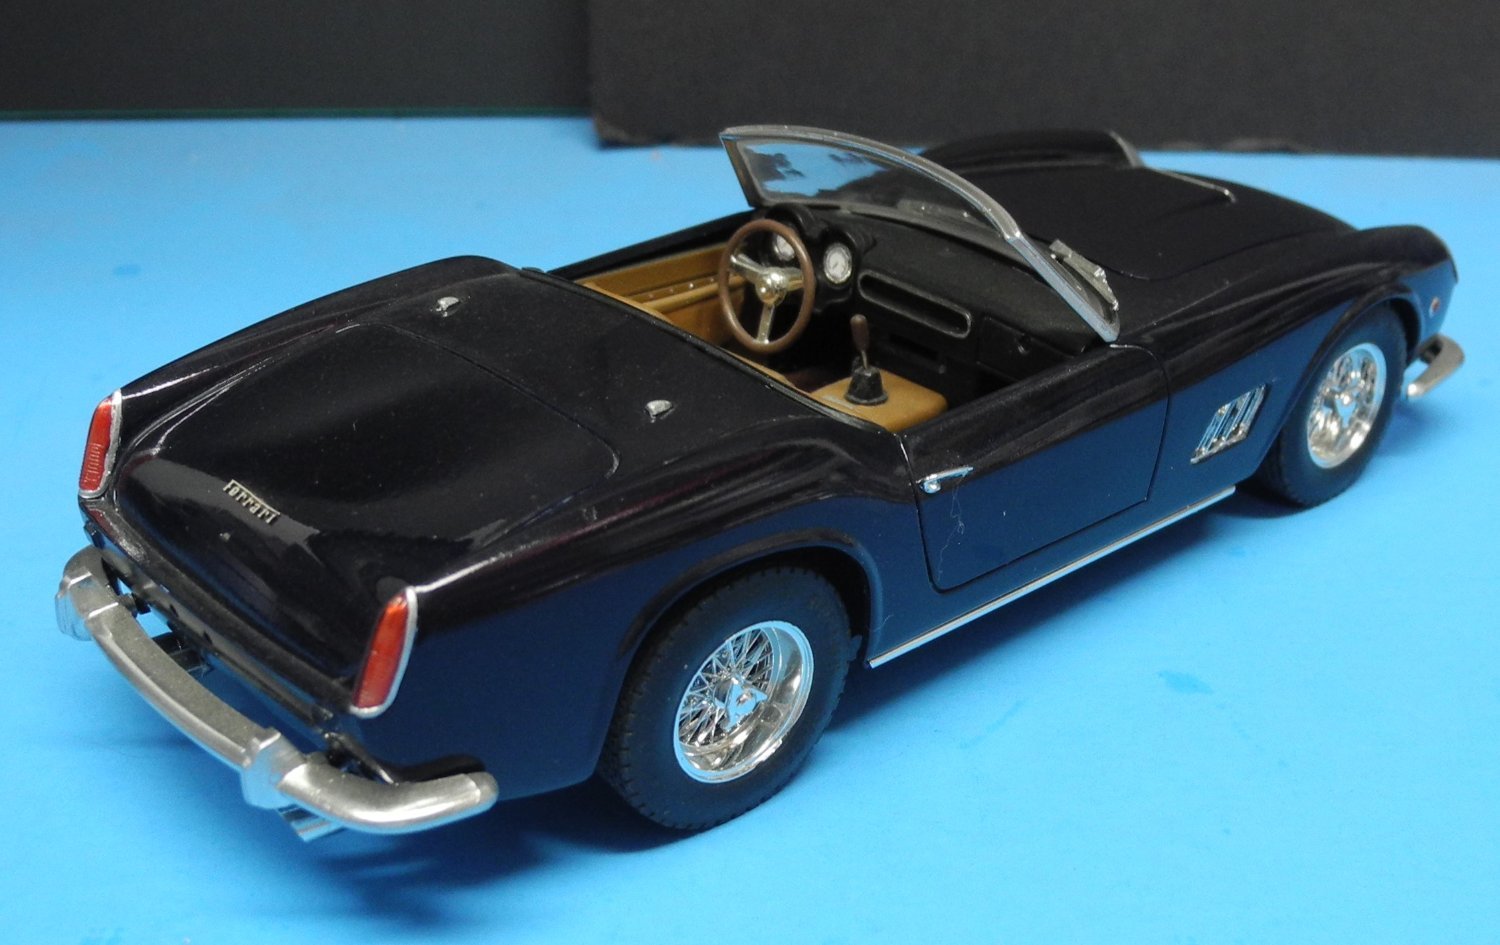
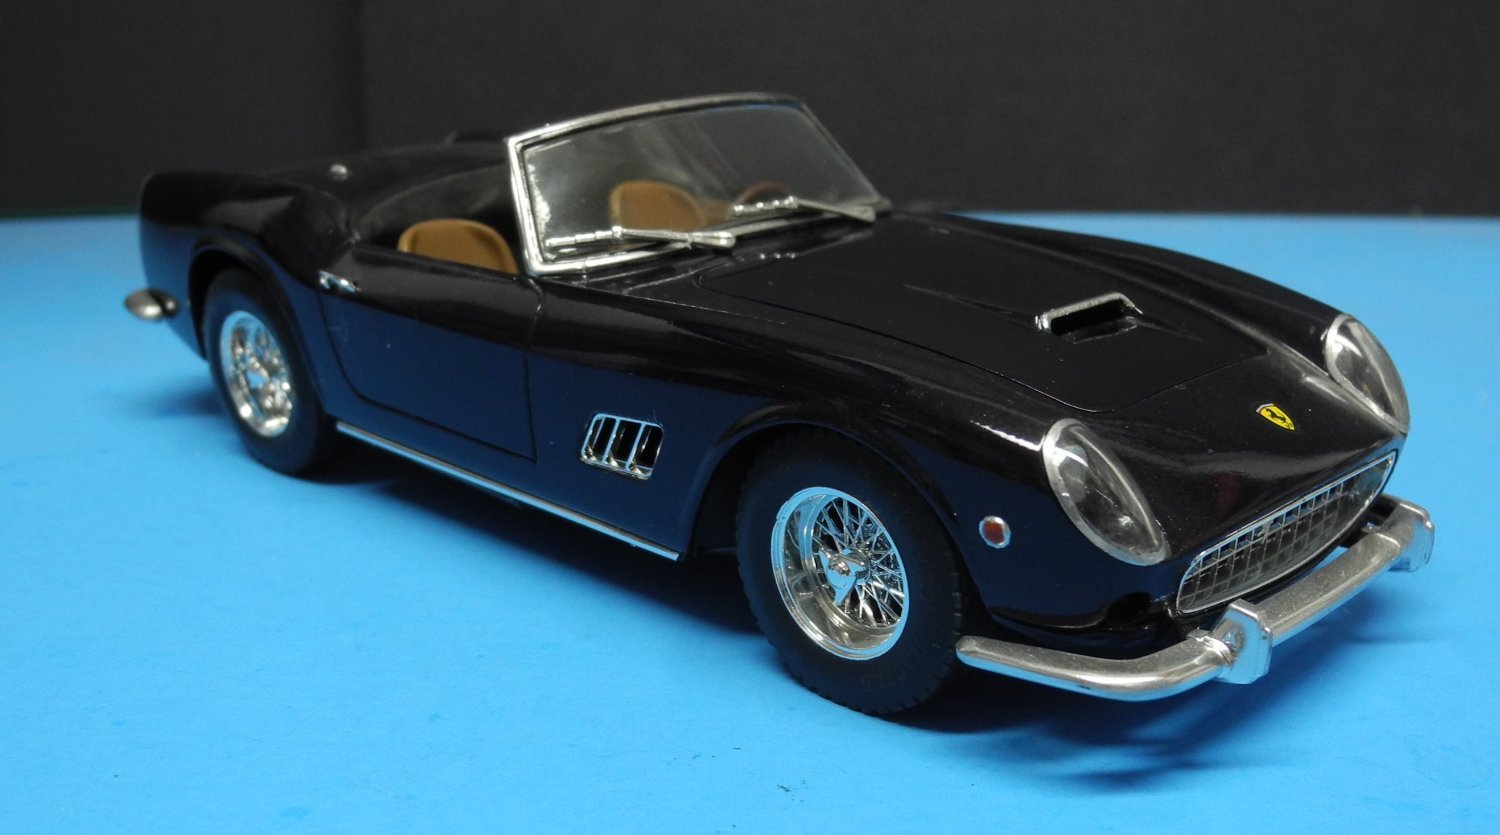
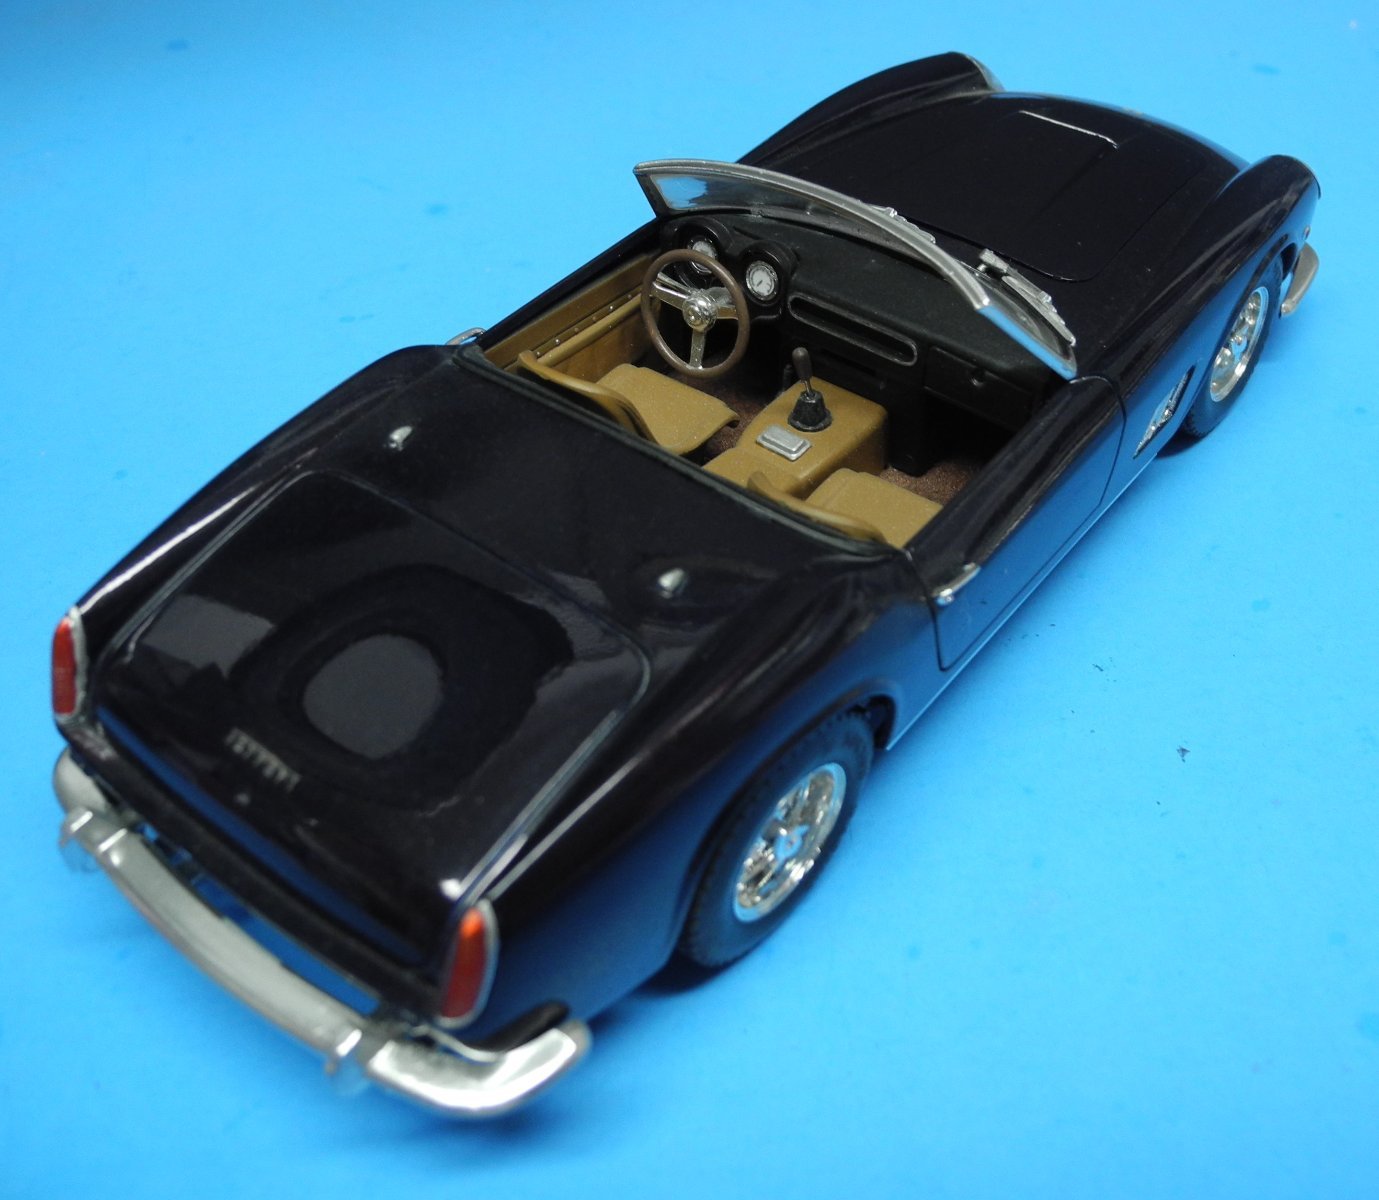
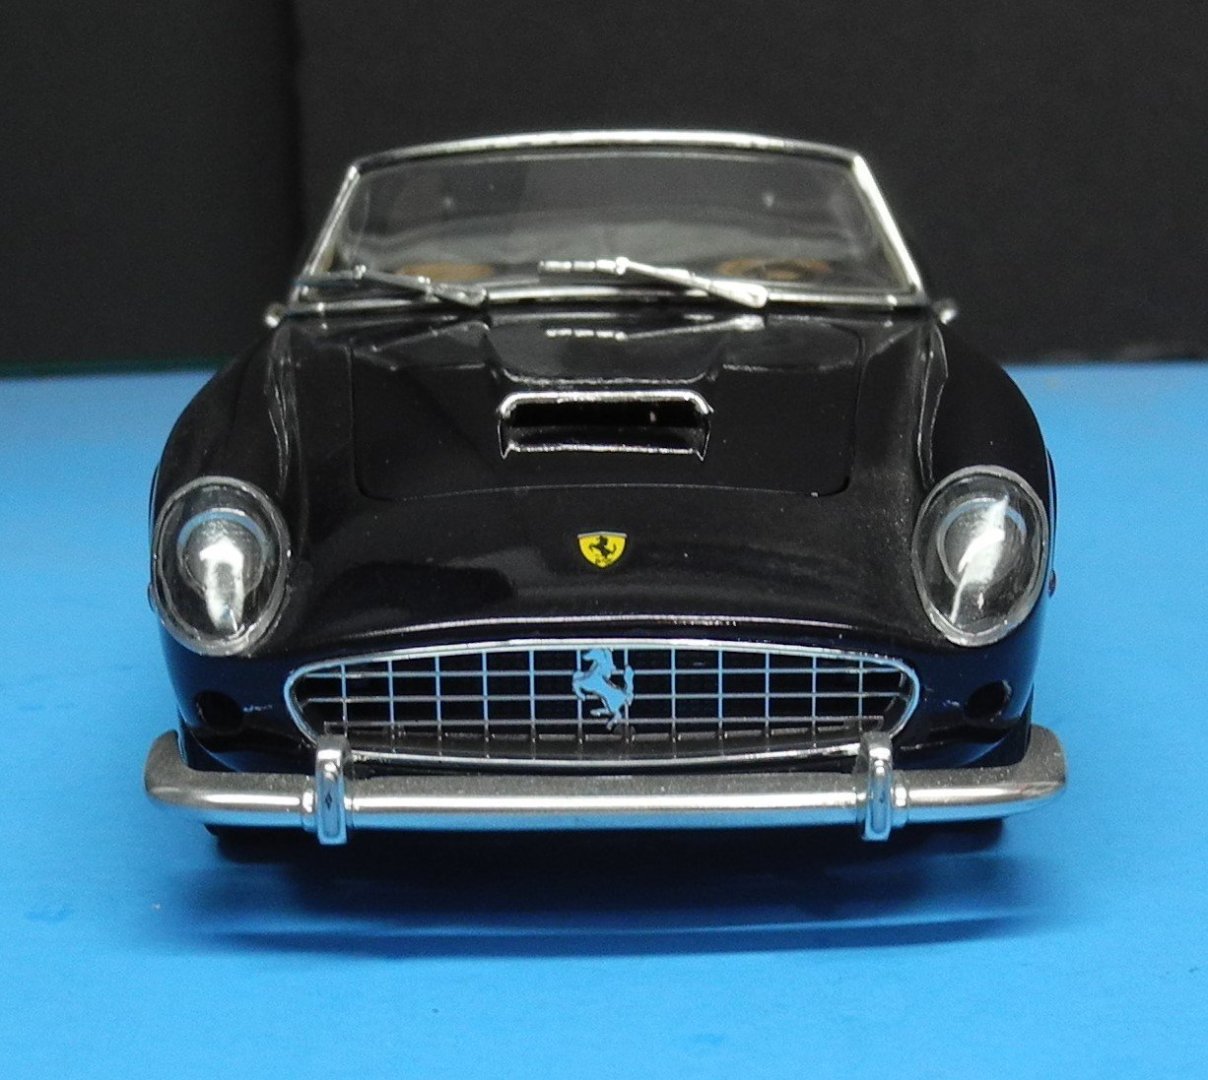
Thanks for your kind comments, Dan. I have not watched the movie Ferrari. Will look for it and watch. -
1966 Buick Riviera by CDW - FINISHED - AMT - 1:25 Scale
CDW replied to CDW's topic in Non-ship/categorised builds
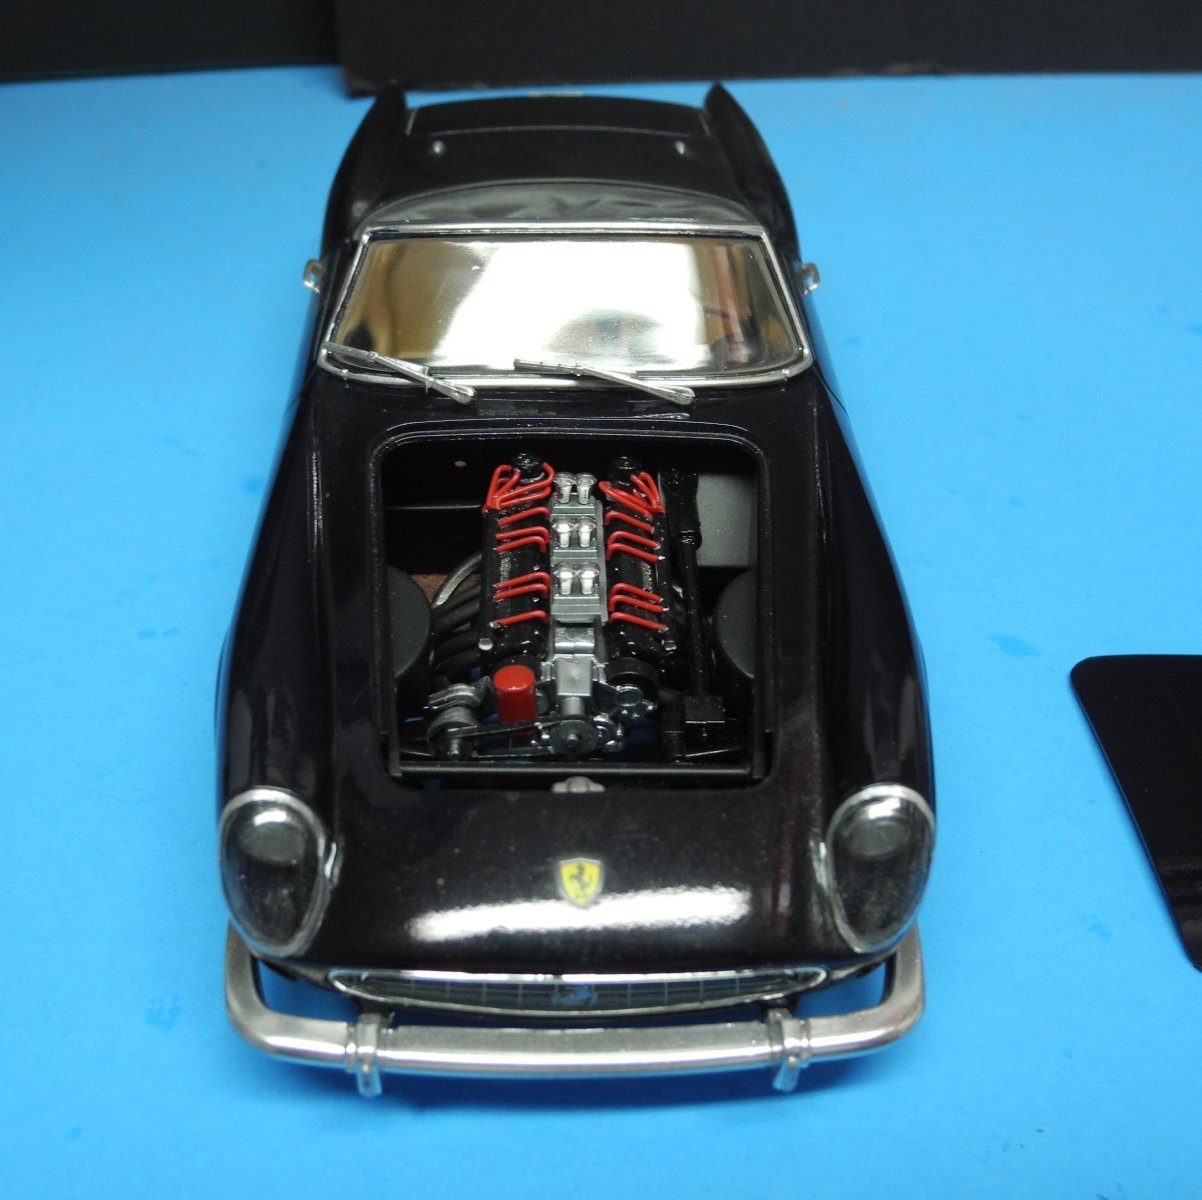
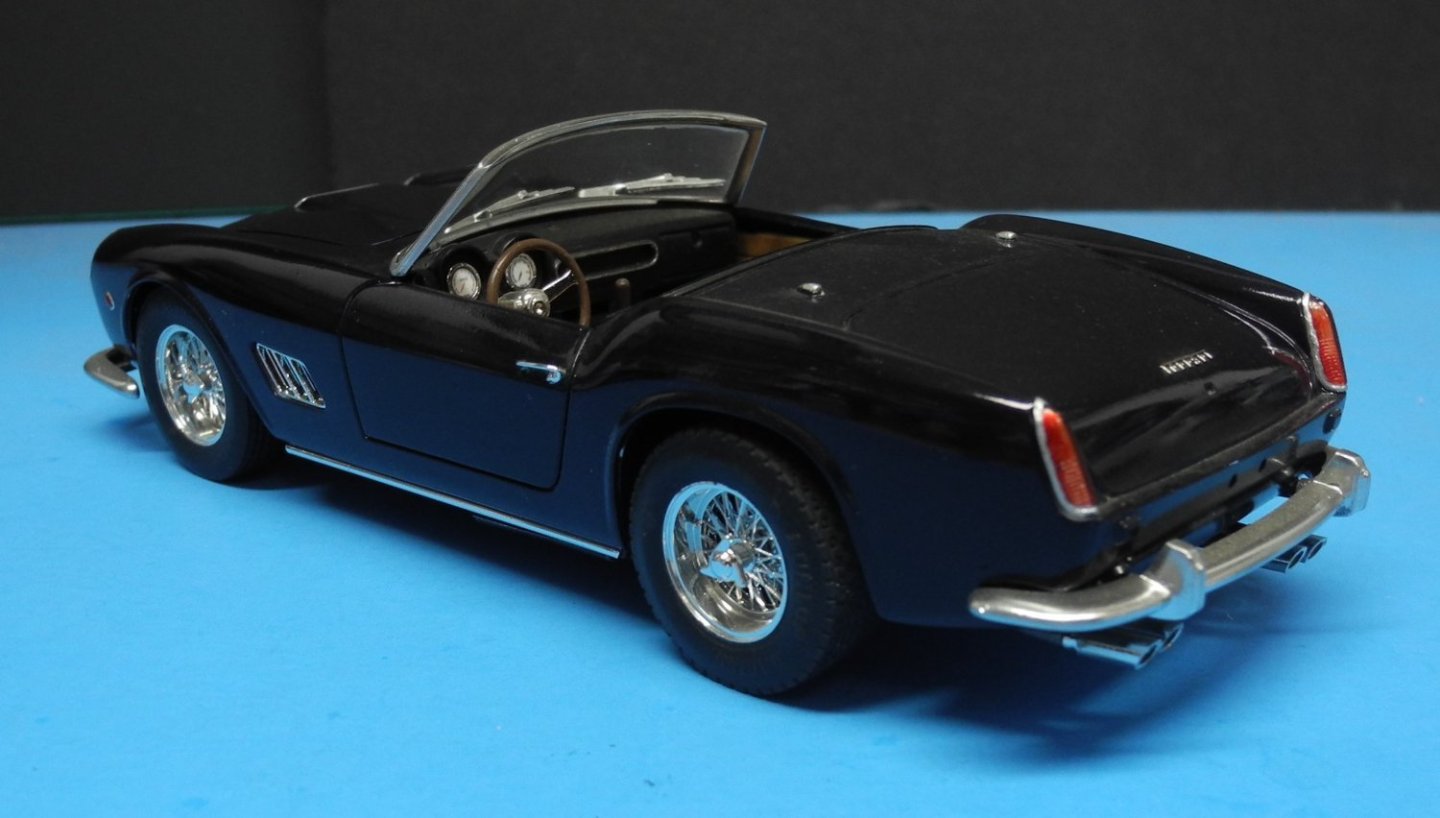
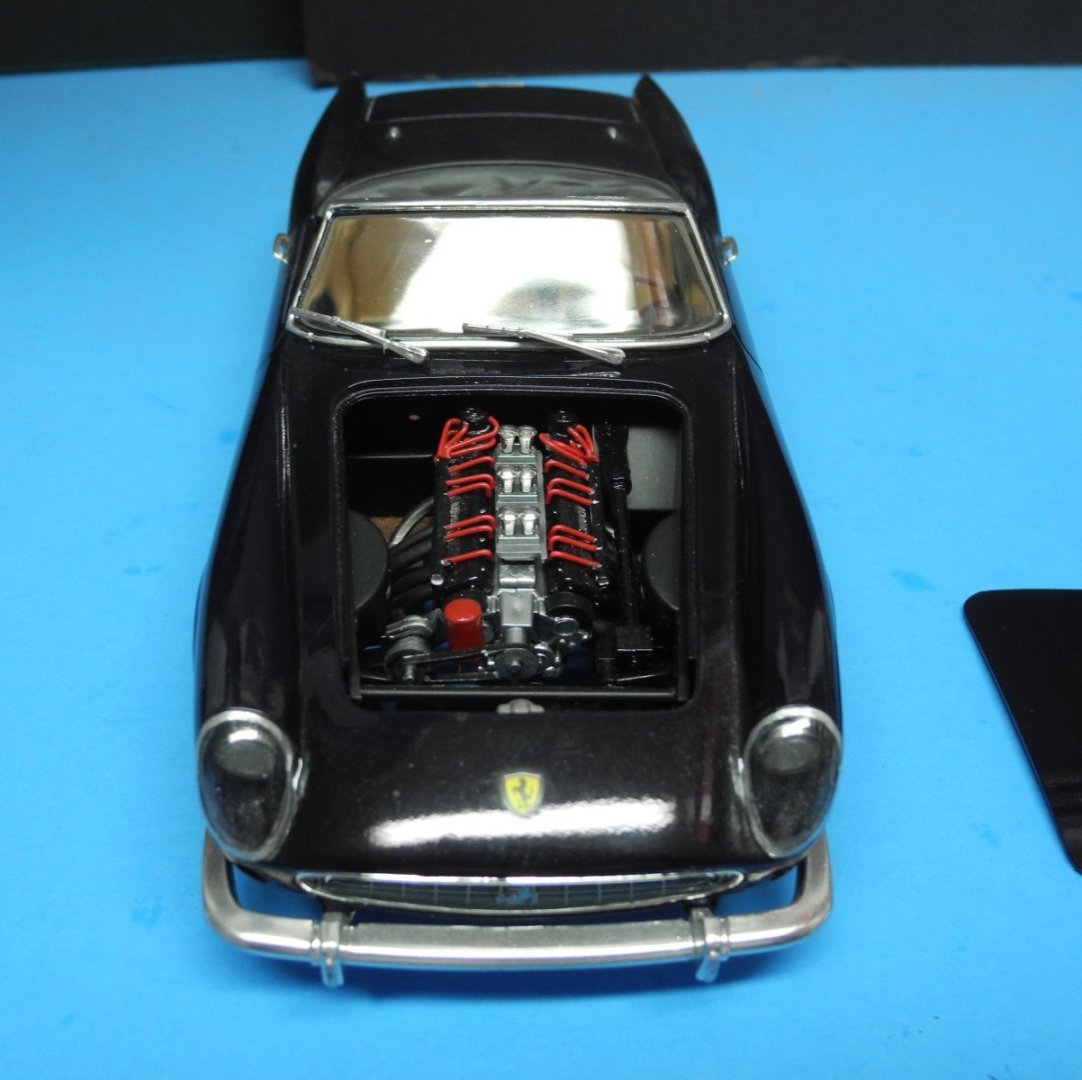
Maybe we should take the Ferrari 250 California Spider out of the garage and ride that dragon tail in it, instead?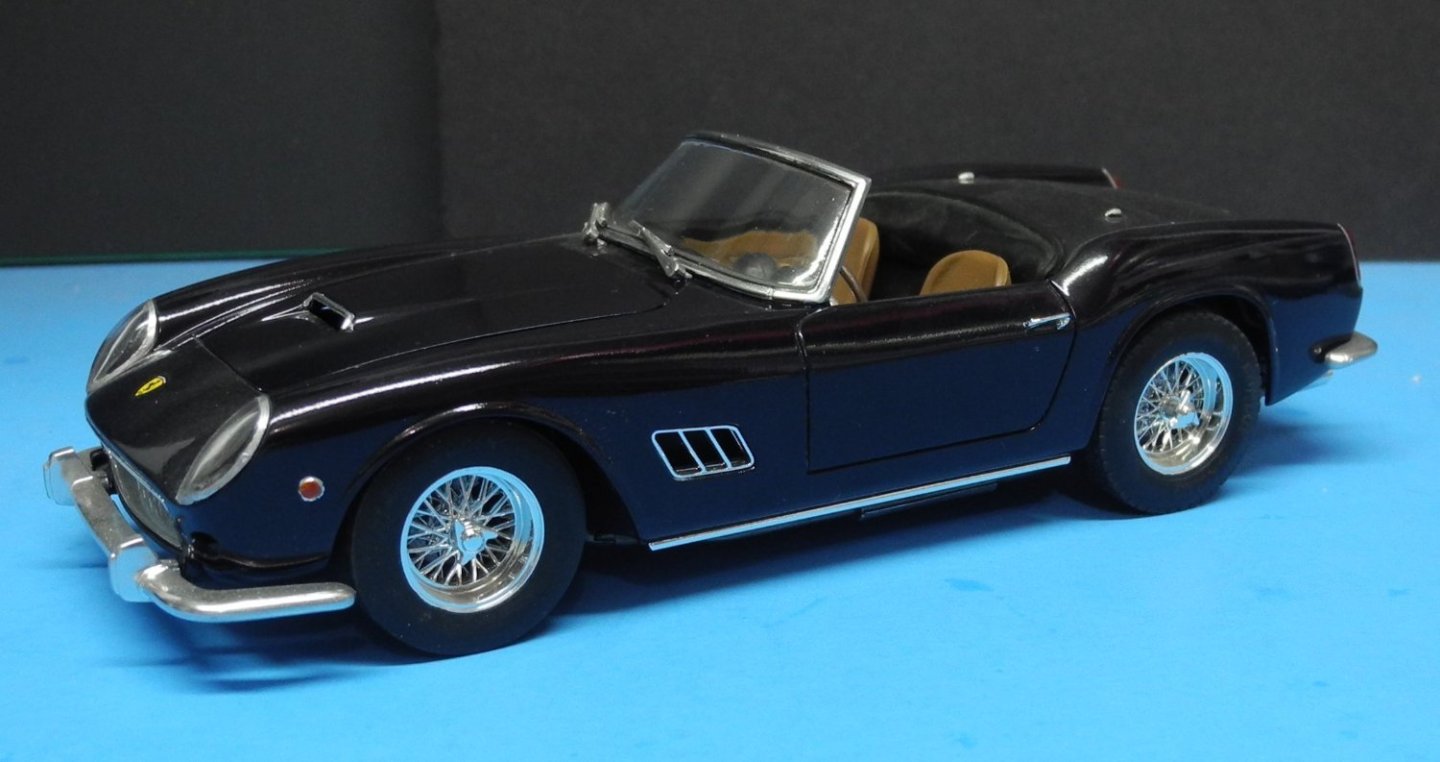


-
1966 Buick Riviera by CDW - FINISHED - AMT - 1:25 Scale
CDW replied to CDW's topic in Non-ship/categorised builds
Andrew, Alan Thanks for following along and for your kind comments. -
1966 Buick Riviera by CDW - FINISHED - AMT - 1:25 Scale
CDW replied to CDW's topic in Non-ship/categorised builds
I should have shown a photo under the hood, too.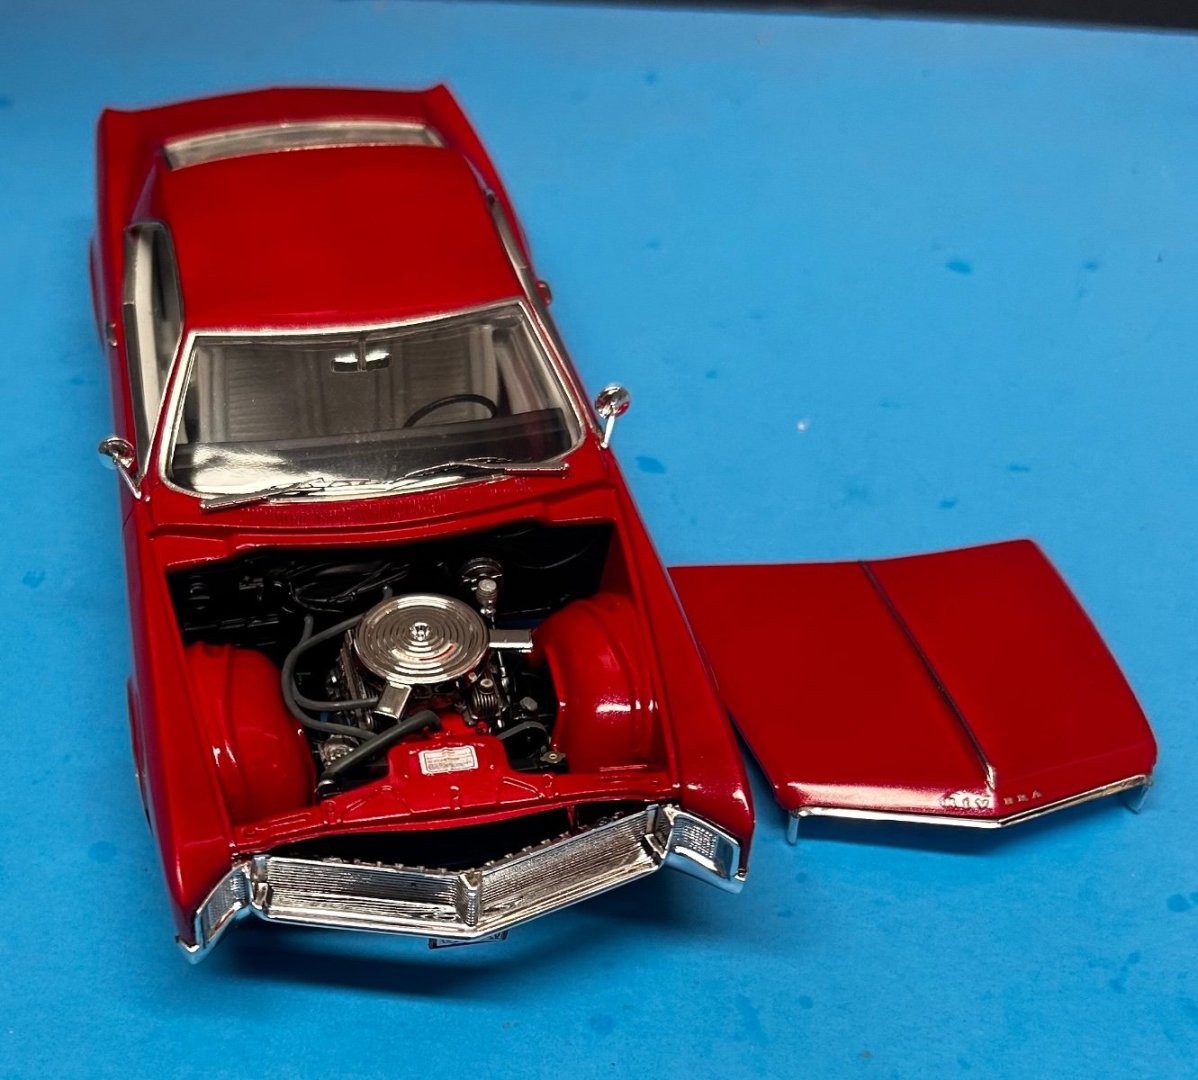
-
1966 Buick Riviera by CDW - FINISHED - AMT - 1:25 Scale
CDW replied to CDW's topic in Non-ship/categorised builds
Boy, I wish! Wait till spring and we'll drive it through the mountains. -
1966 Buick Riviera by CDW - FINISHED - AMT - 1:25 Scale
CDW replied to CDW's topic in Non-ship/categorised builds
Thanks Andy. Did you know, if you take your model to a contest, 2/3 of your point score will be for the finish? Thanks Ken, I aim to please. 😄 As always, thanks for the kind words, OC. -
1966 Buick Riviera by CDW - FINISHED - AMT - 1:25 Scale
CDW replied to CDW's topic in Non-ship/categorised builds
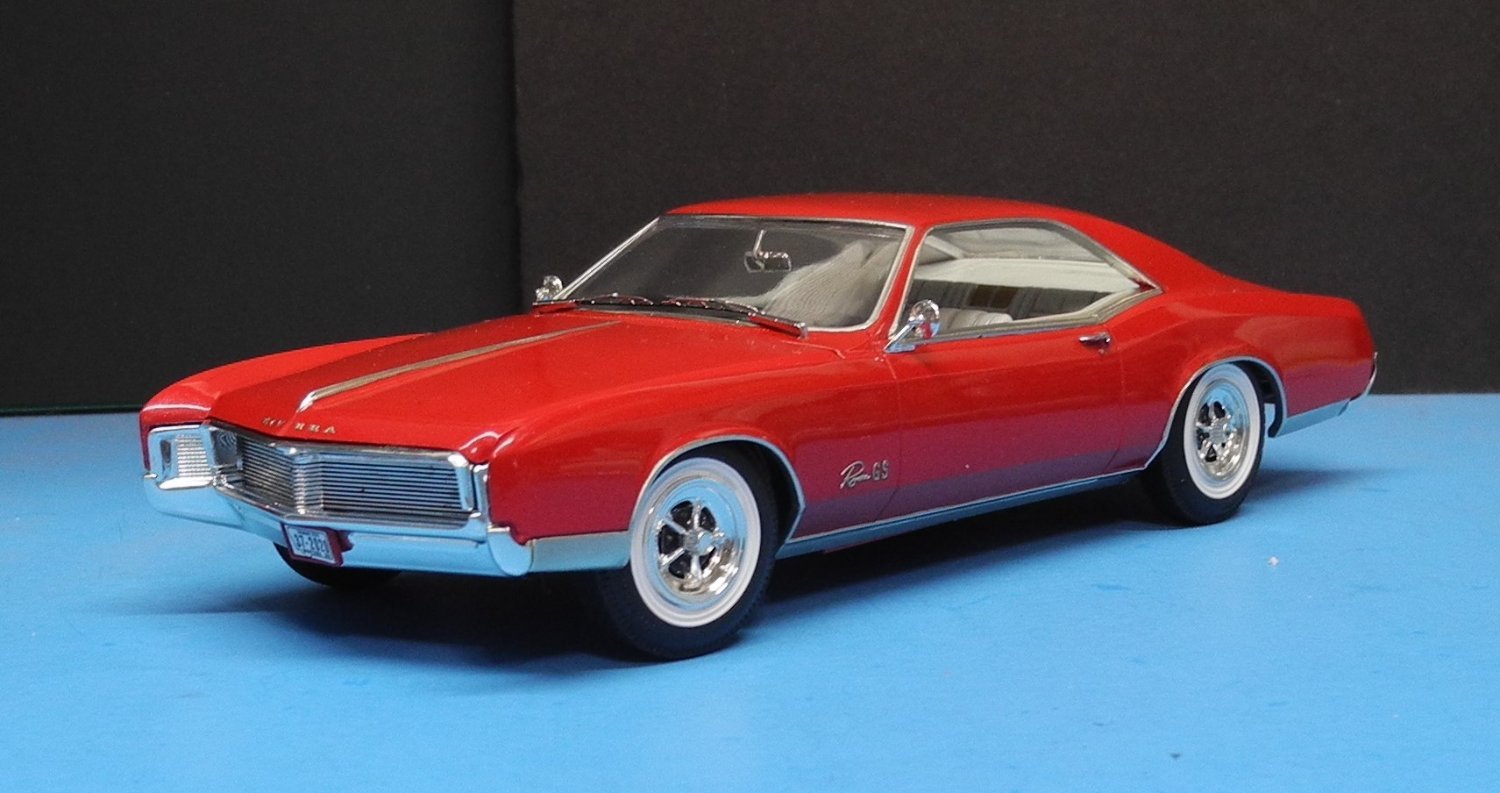
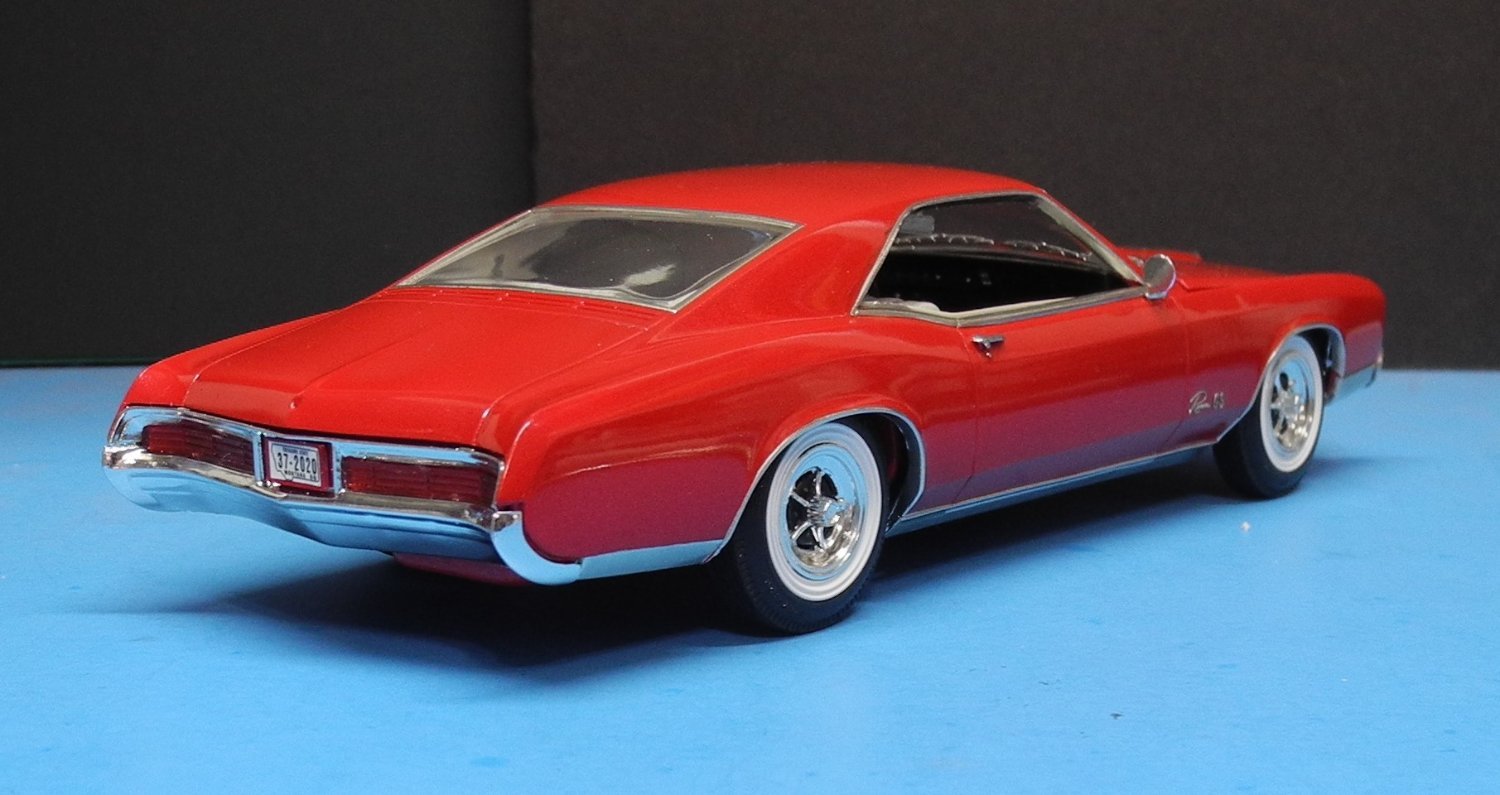
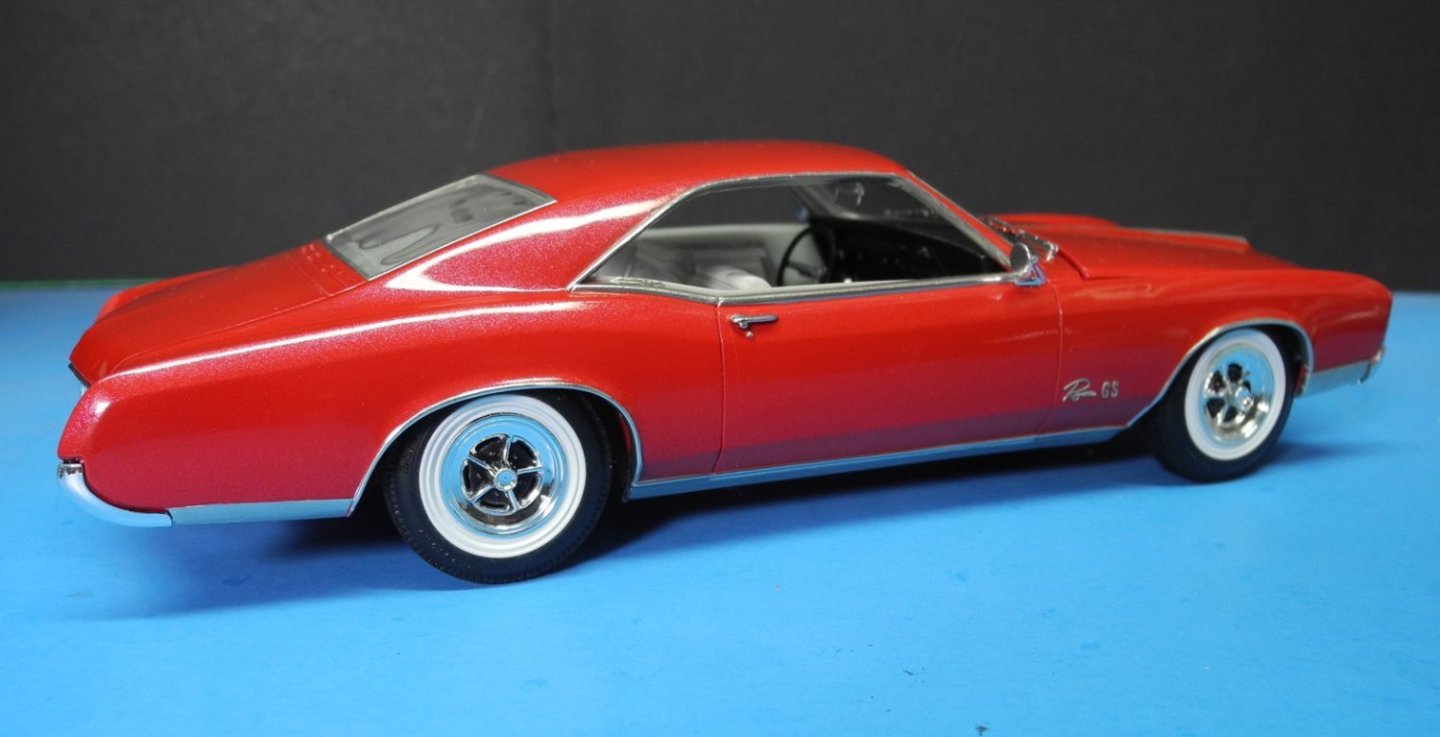
The Highway Patrol pulled me over and wrote me a citation for not having my license plates displayed. I corrected that.

-
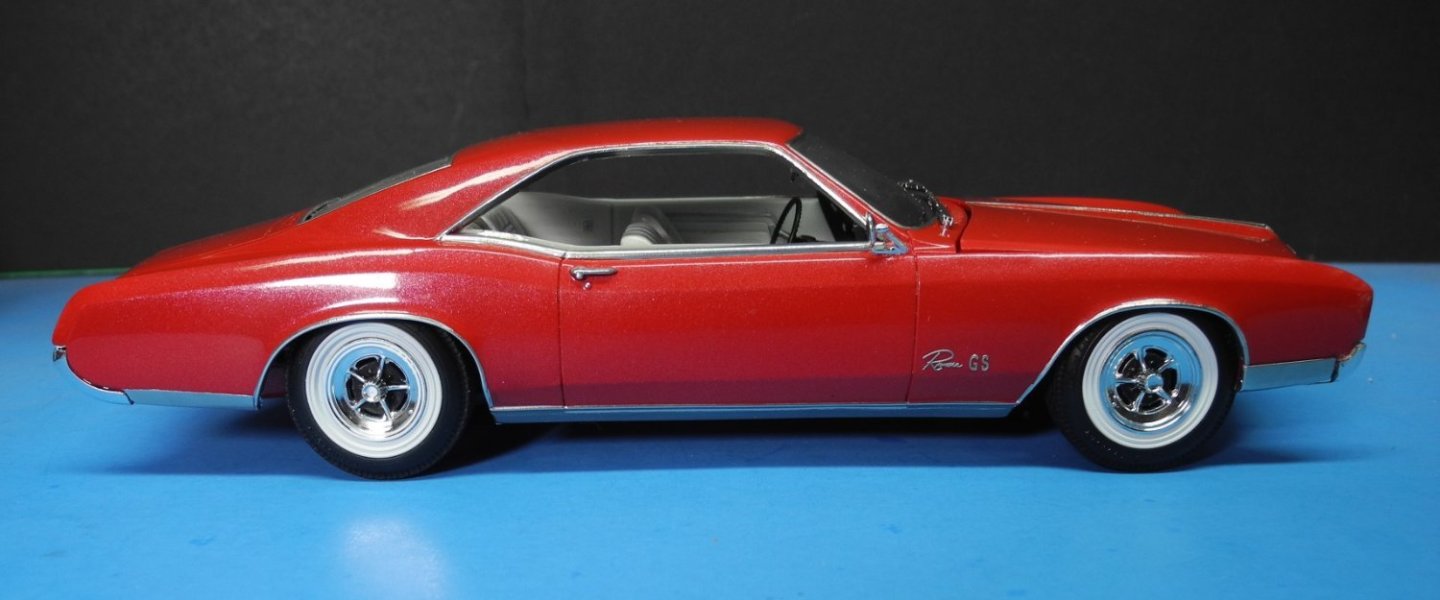
1966 Buick Riviera by CDW - FINISHED - AMT - 1:25 Scale
CDW replied to CDW's topic in Non-ship/categorised builds
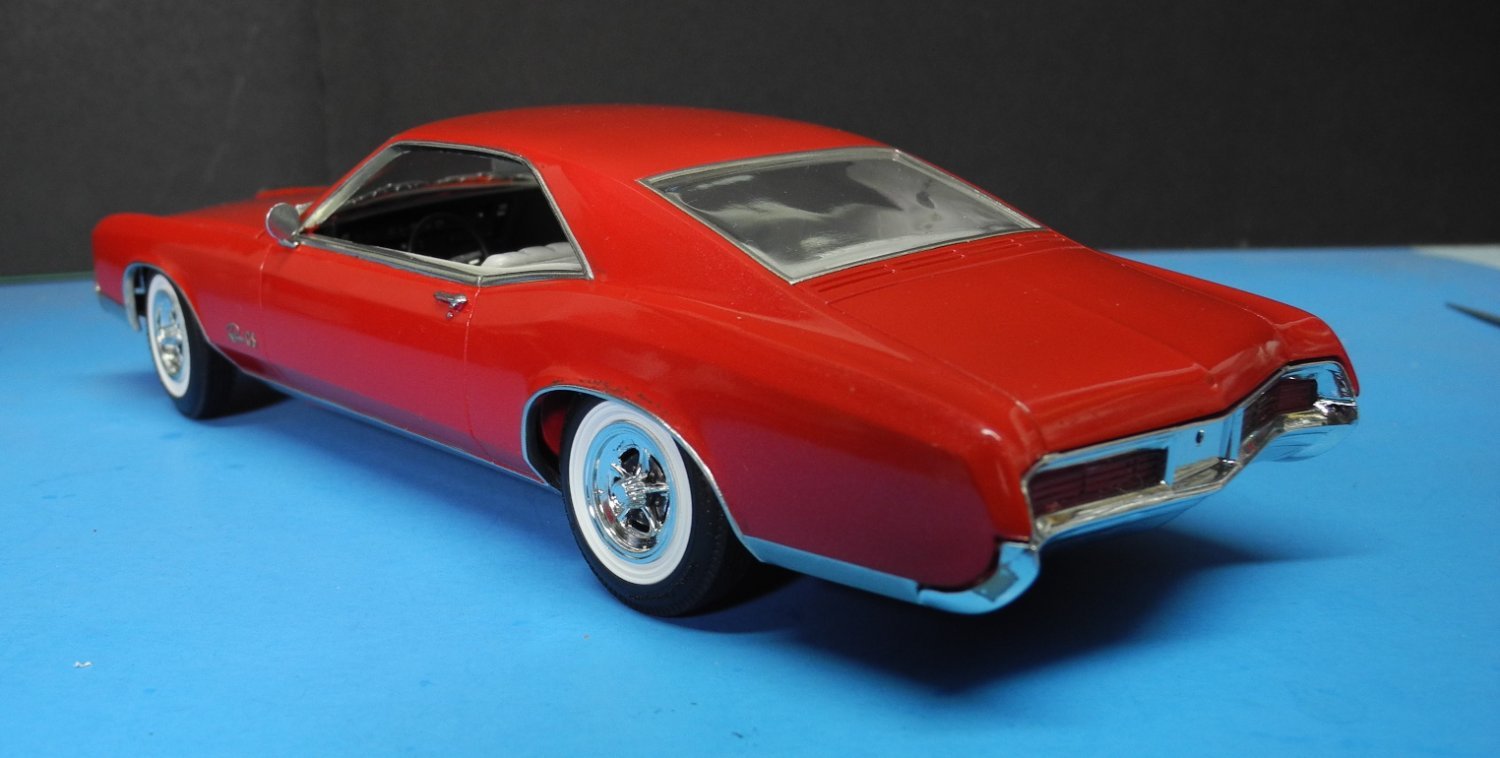
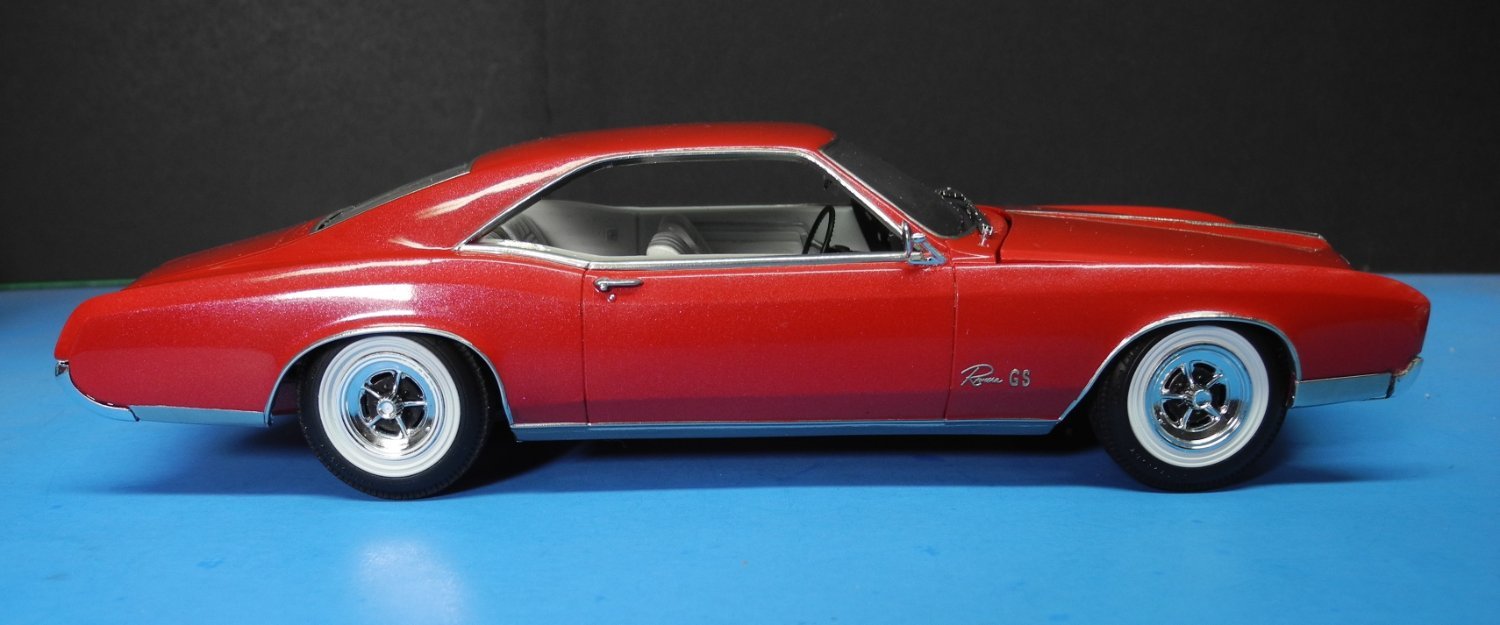
I'm going to make these the final shots of my Riviera project. Thanks to all for following along, the likes, the comments, and your friendship.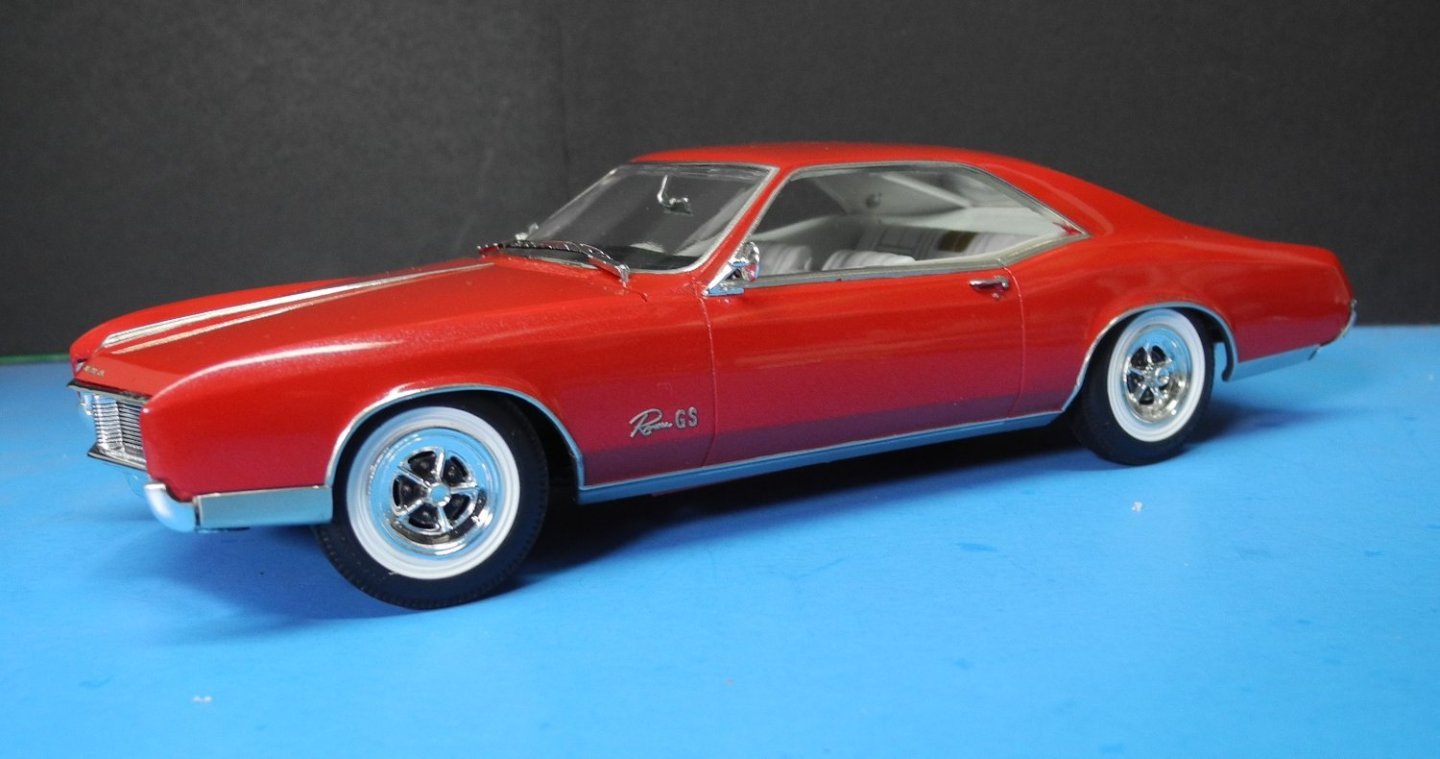

- 106 replies
-
- 11
-
-