CDW
-
Posts
7,730 -
Joined
-
Last visited
Content Type
Profiles
Forums
Gallery
Events
Everything posted by CDW
-
 So, I rented some warehouse space over on the south end of town, on the other side of the railroad tracks. Got my hot rods stored there with some good locks and chains on the doors. Rent is cheap ‘cause the place needs a little work. 😊

- 14 replies
-
- 10
-

-

-
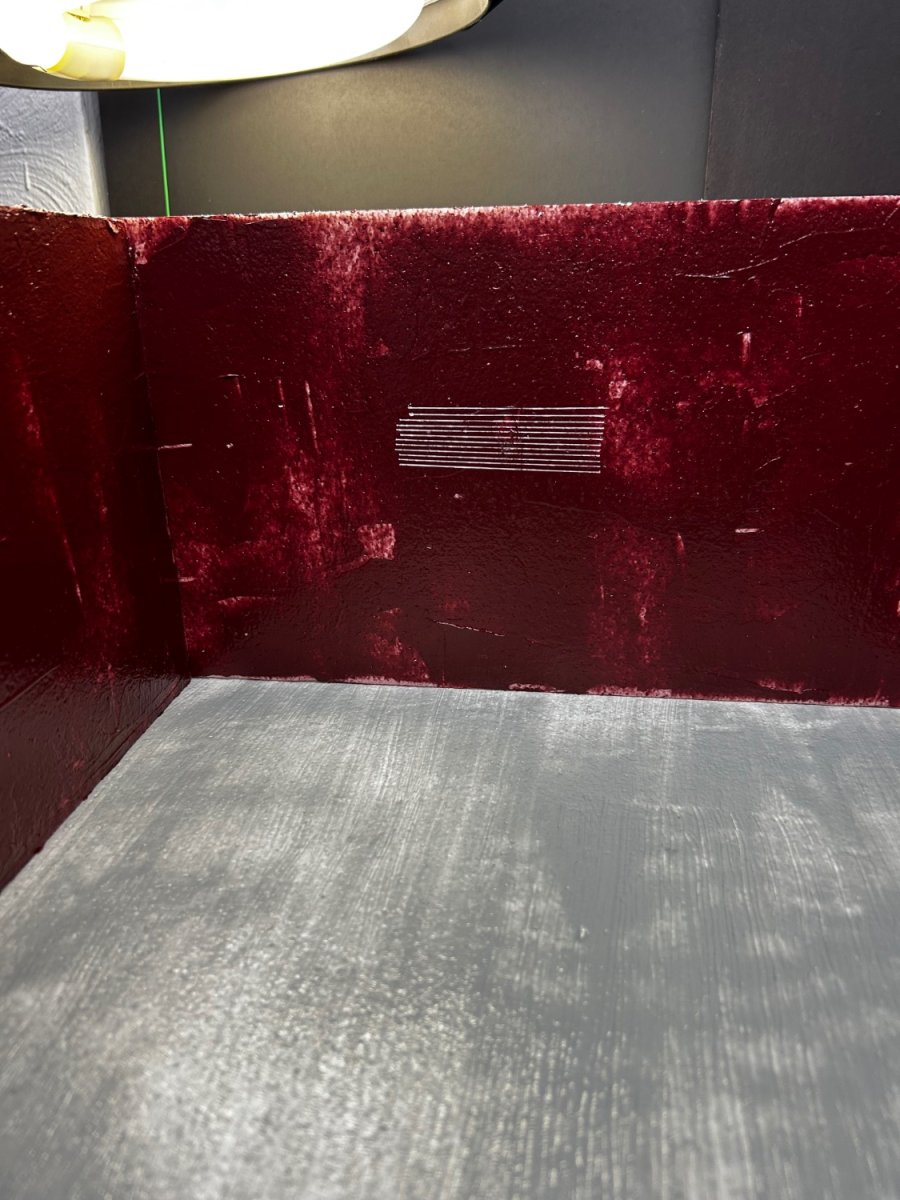
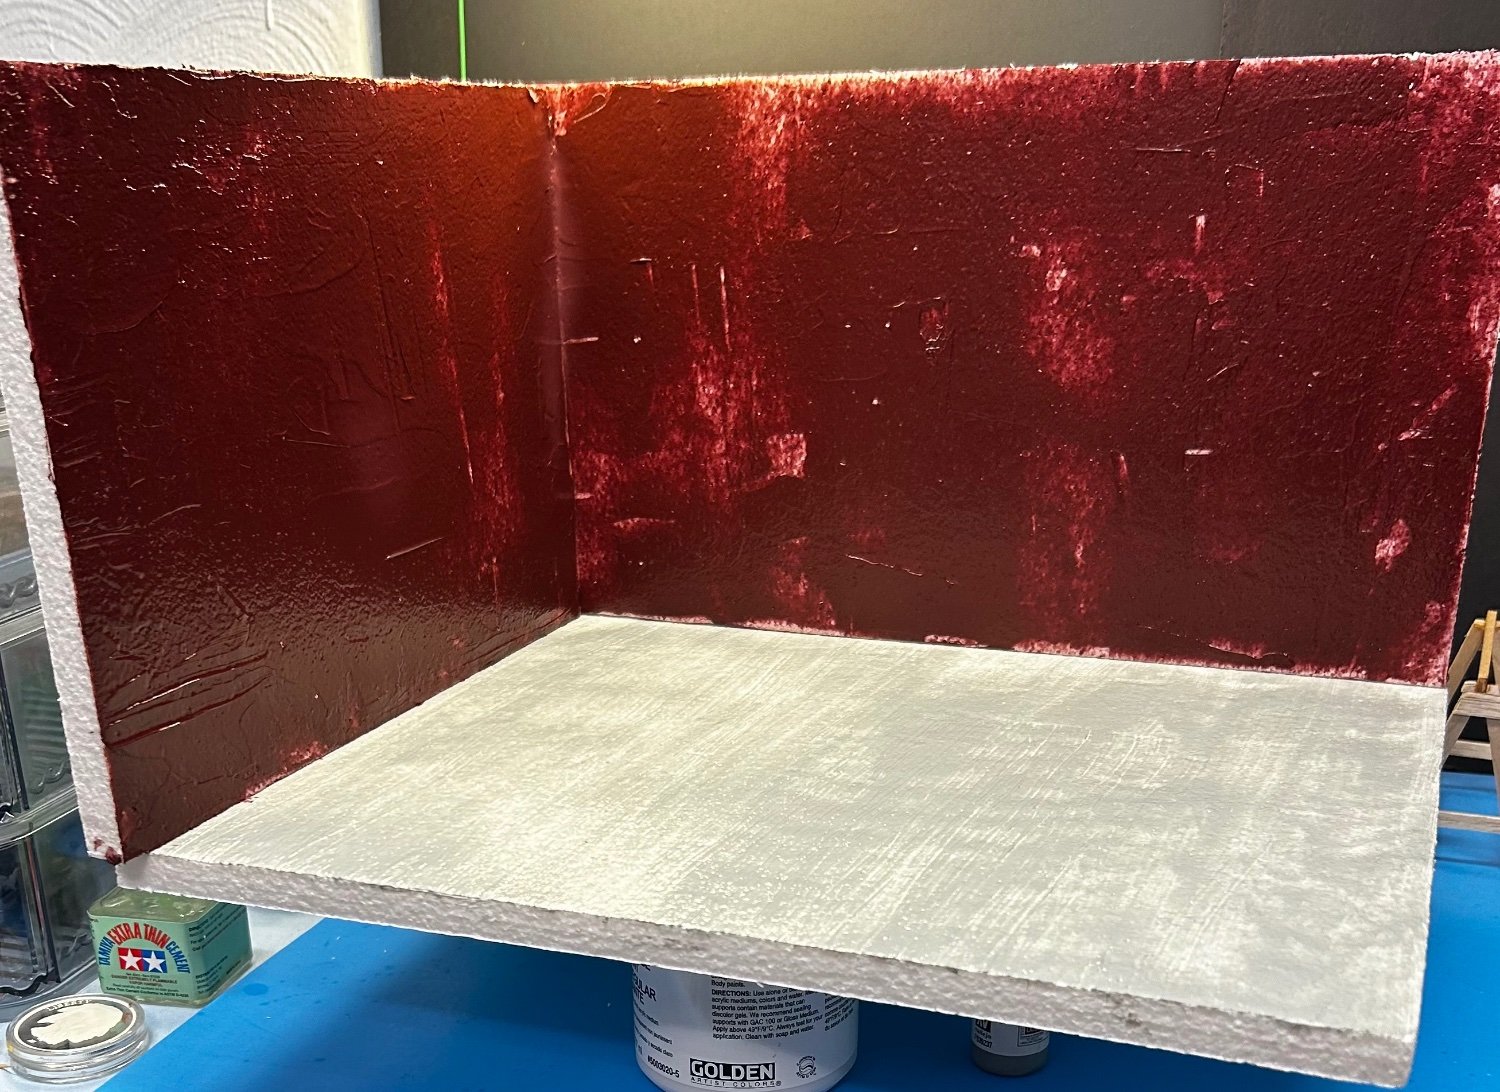
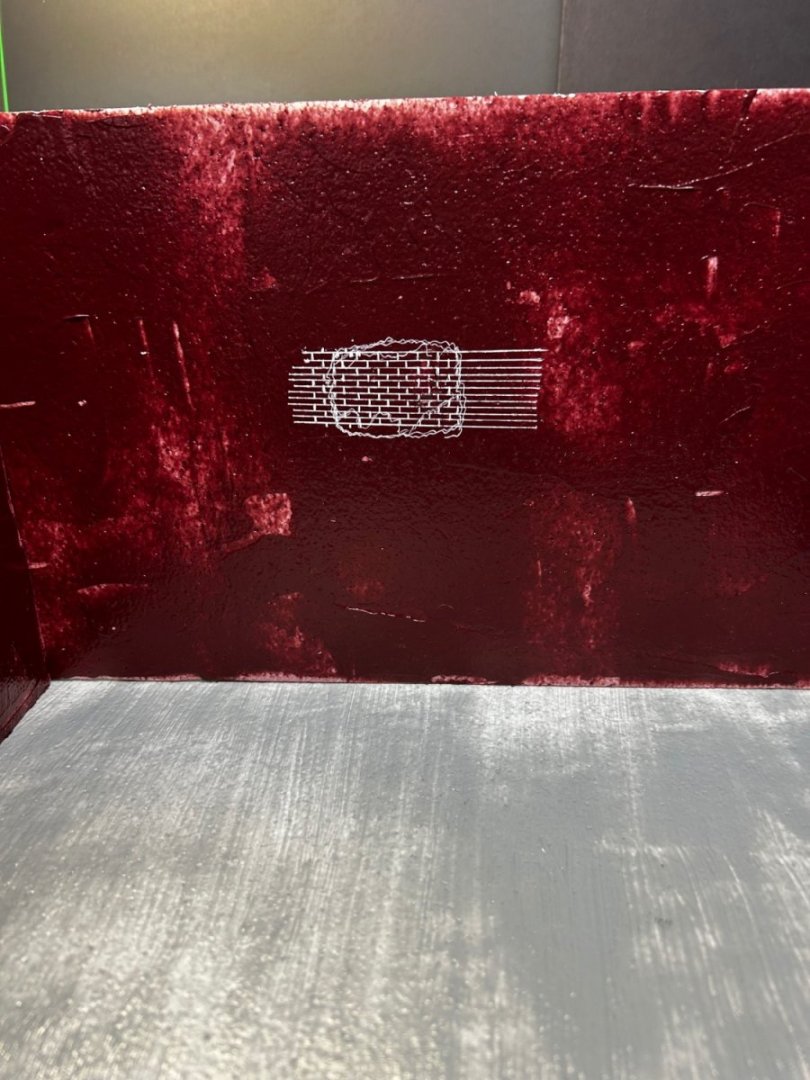
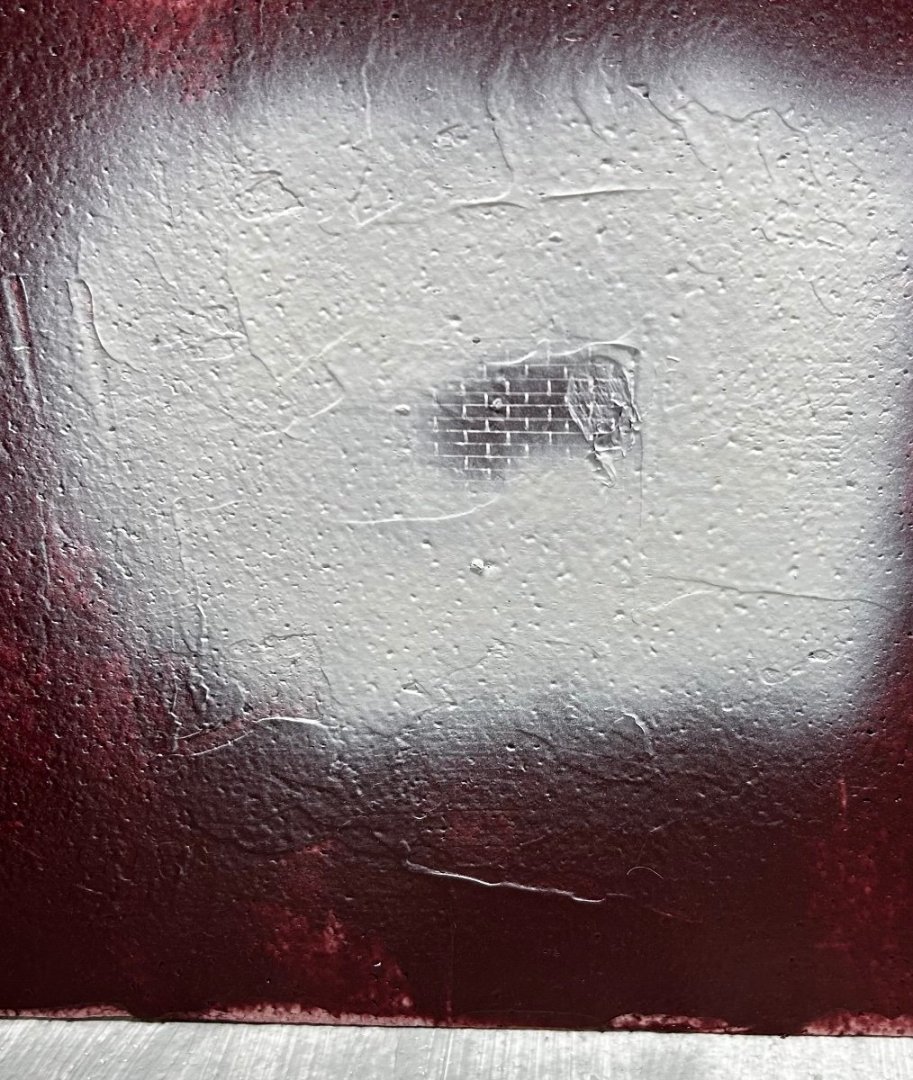
Here’s what I’m attempting… drawing scale brick mortar lines with a white gel pen. Then, painting a light gray color around the brick simulation to give an appearance of plaster that’s chipped away and fallen off over time, exposing the red brick. I intend to draw in the brick in various places and odd intervals then expose those areas in the same way.


- 14 replies
-
- 13
-
-
1967 Olds 442 by SigEp Ziggy - Lindberg - 1/25
CDW replied to SigEp Ziggy's topic in Non-ship/categorised builds
Nice start! How did you like the feel of the airbrush? Single or double action, gravity feed or siphon? -
A couple of days ago, I ordered some sheets of corrugated plastic. Depending on the color of the model, different background colors seem to have positive or negative impact on the photo quality that are obvious. I am going to experiment with the plastic panels to see what might make the best all-around color for any model being photographed. Keep in mind, the colors you see on what I've done so far are only a starting point. It takes a while for that gel medium to cure so I must wait to take this project further. Thanks for the suggestion, Andy. Keep the ideas coming.
-
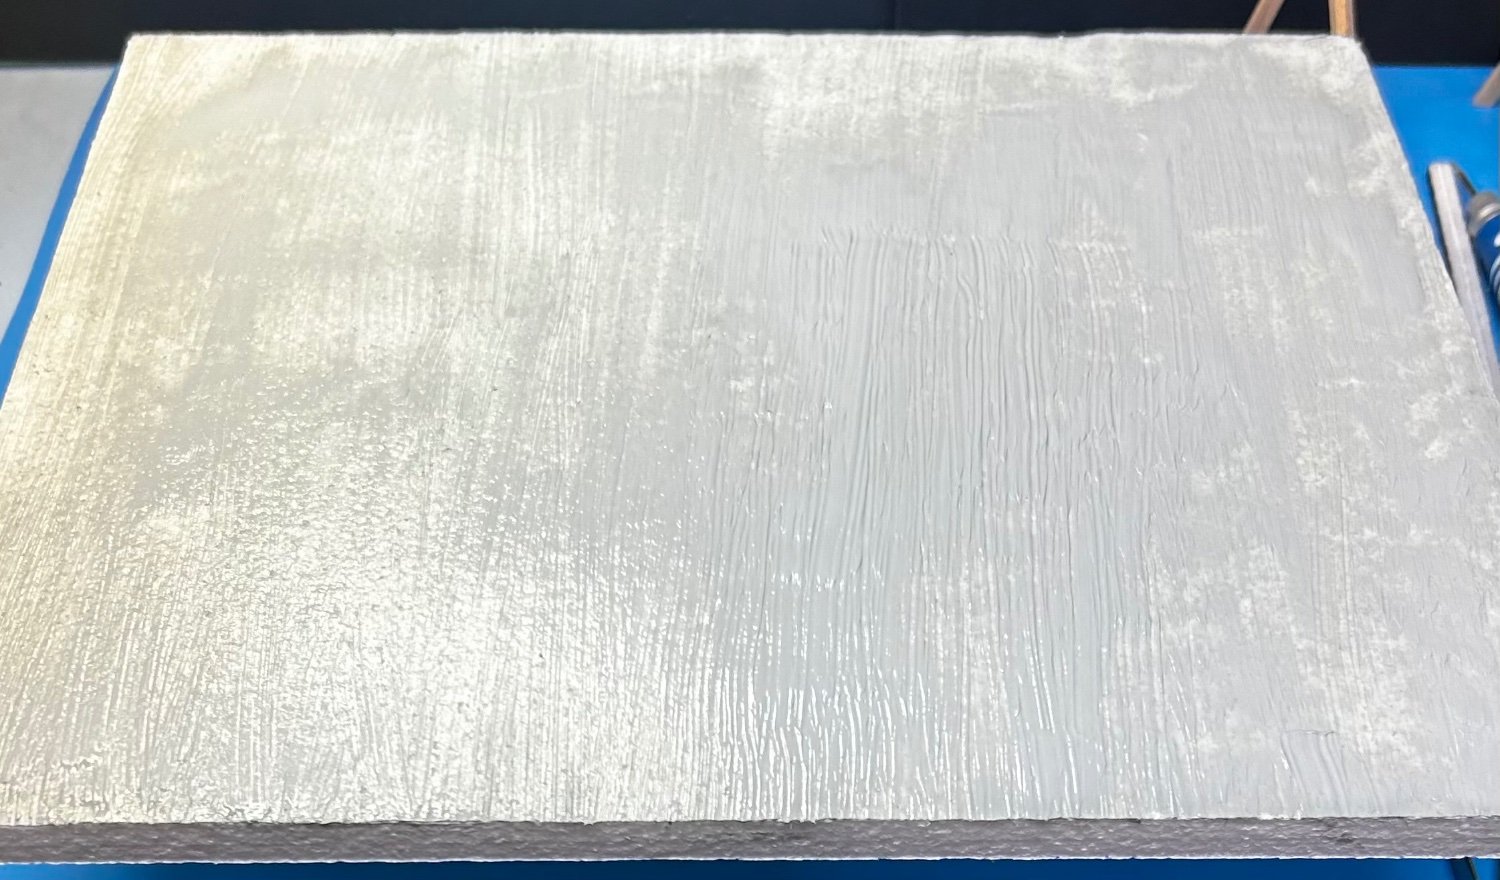
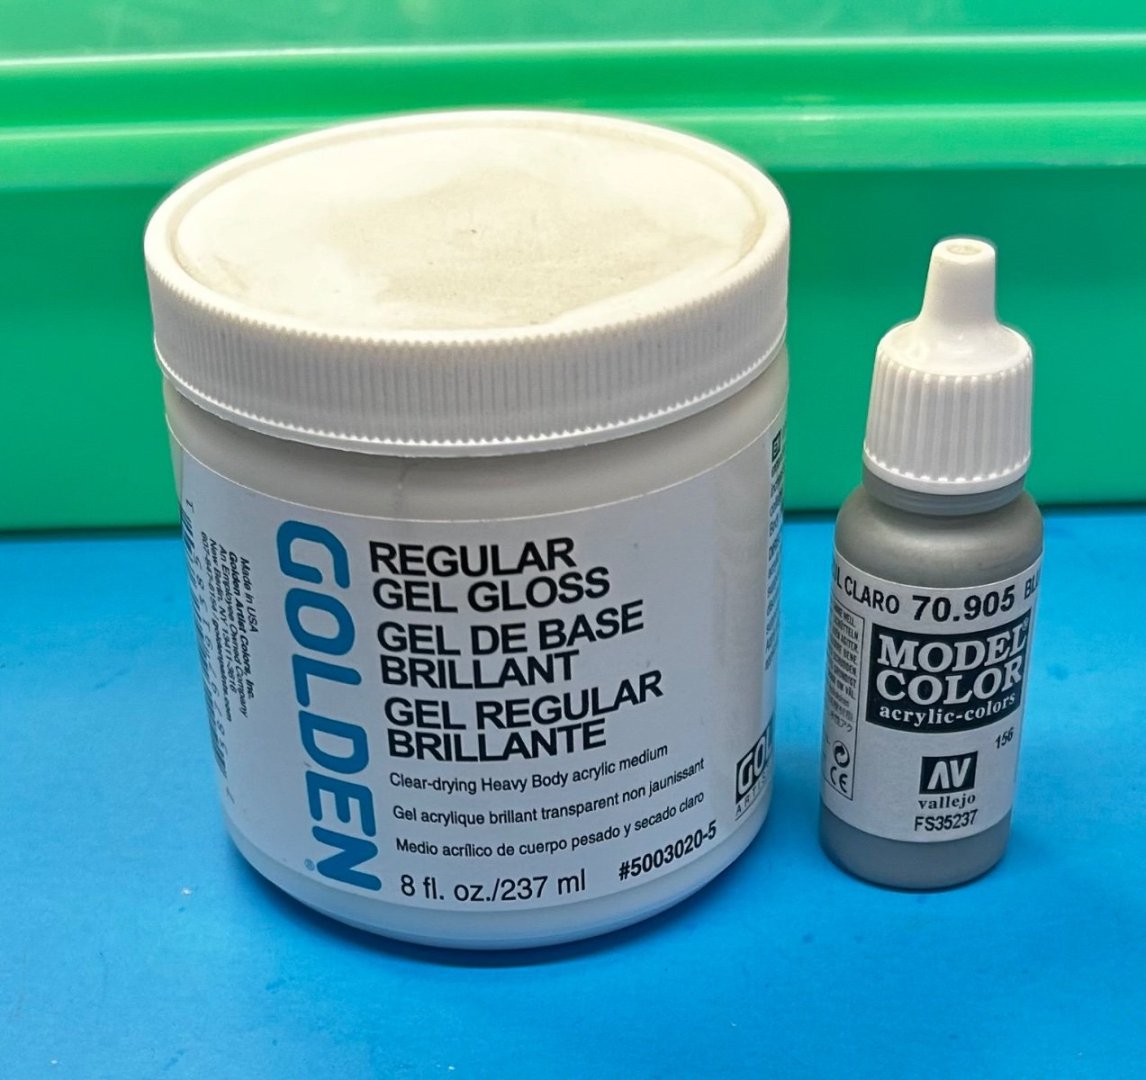
I used some sheet foam and cut a 12 x 14 inch piece for the floor. Mixed Vallejo pale gray with acrylic gel for texture then gave the floor a “broom finish” with a stiff flat paint brush. I’ll use a similar technique for the walls with dark red mixed in acrylic gel, then use a scratch built tool to strike the mortar lines for the brick treatment.

-
1967 Olds 442 by SigEp Ziggy - Lindberg - 1/25
CDW replied to SigEp Ziggy's topic in Non-ship/categorised builds
Great body style, when car brands had their own distinctive look, unlike today when they almost all look the same. -
Great idea! I bought some materials from Hobby Lobby to scratch build my own. Will plan to scratch one of an actual workshop. Meanwhile, this will be coming soon to a showroom near you

- 14 replies
-
- 13
-

-
-

-
It’s going to take more to make what I want, but I’m thinking start from scratch. It will cost less and look 100x better.
-
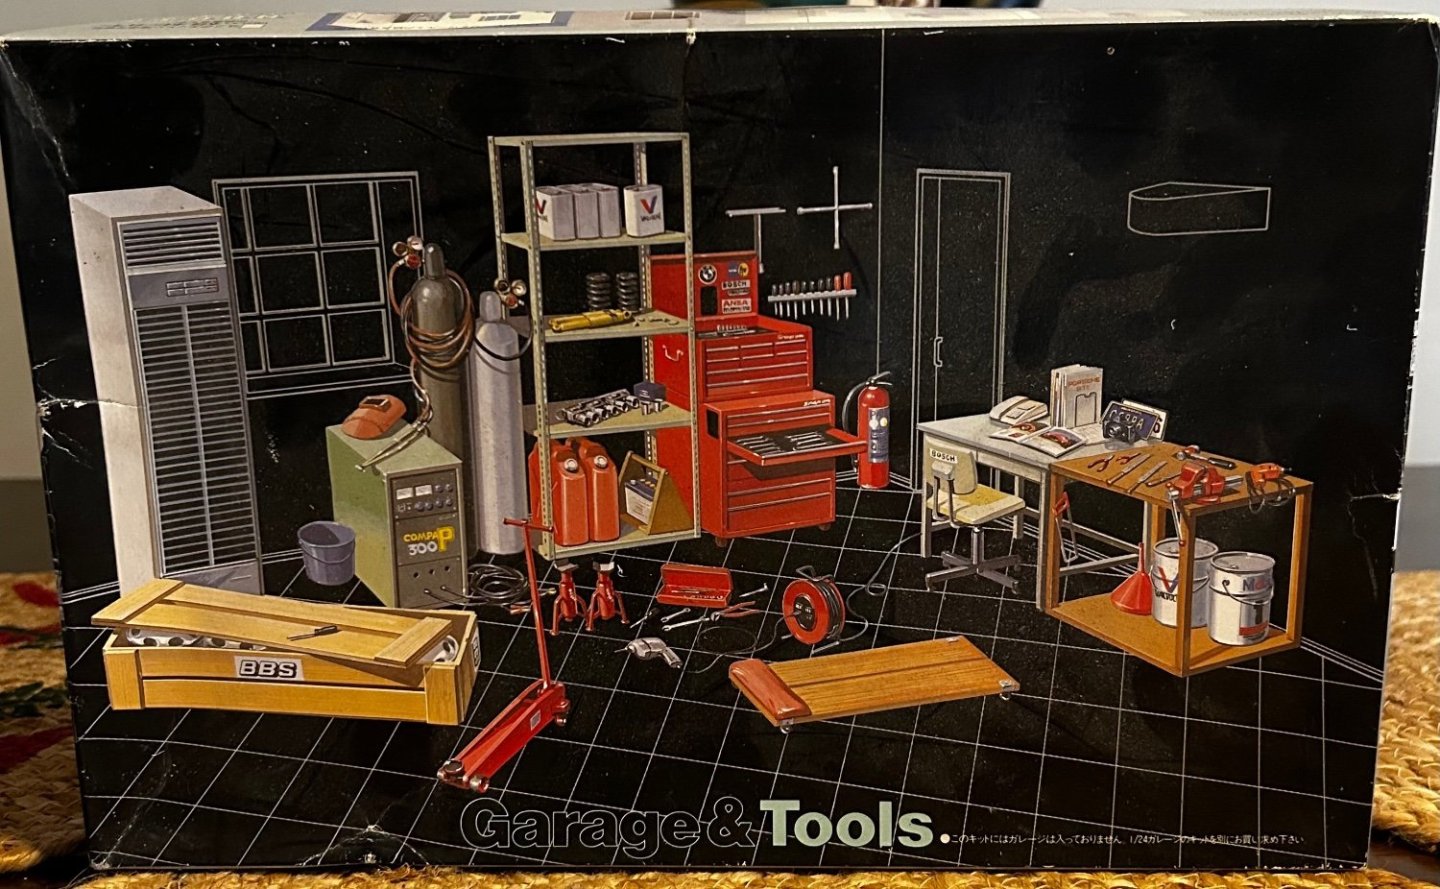
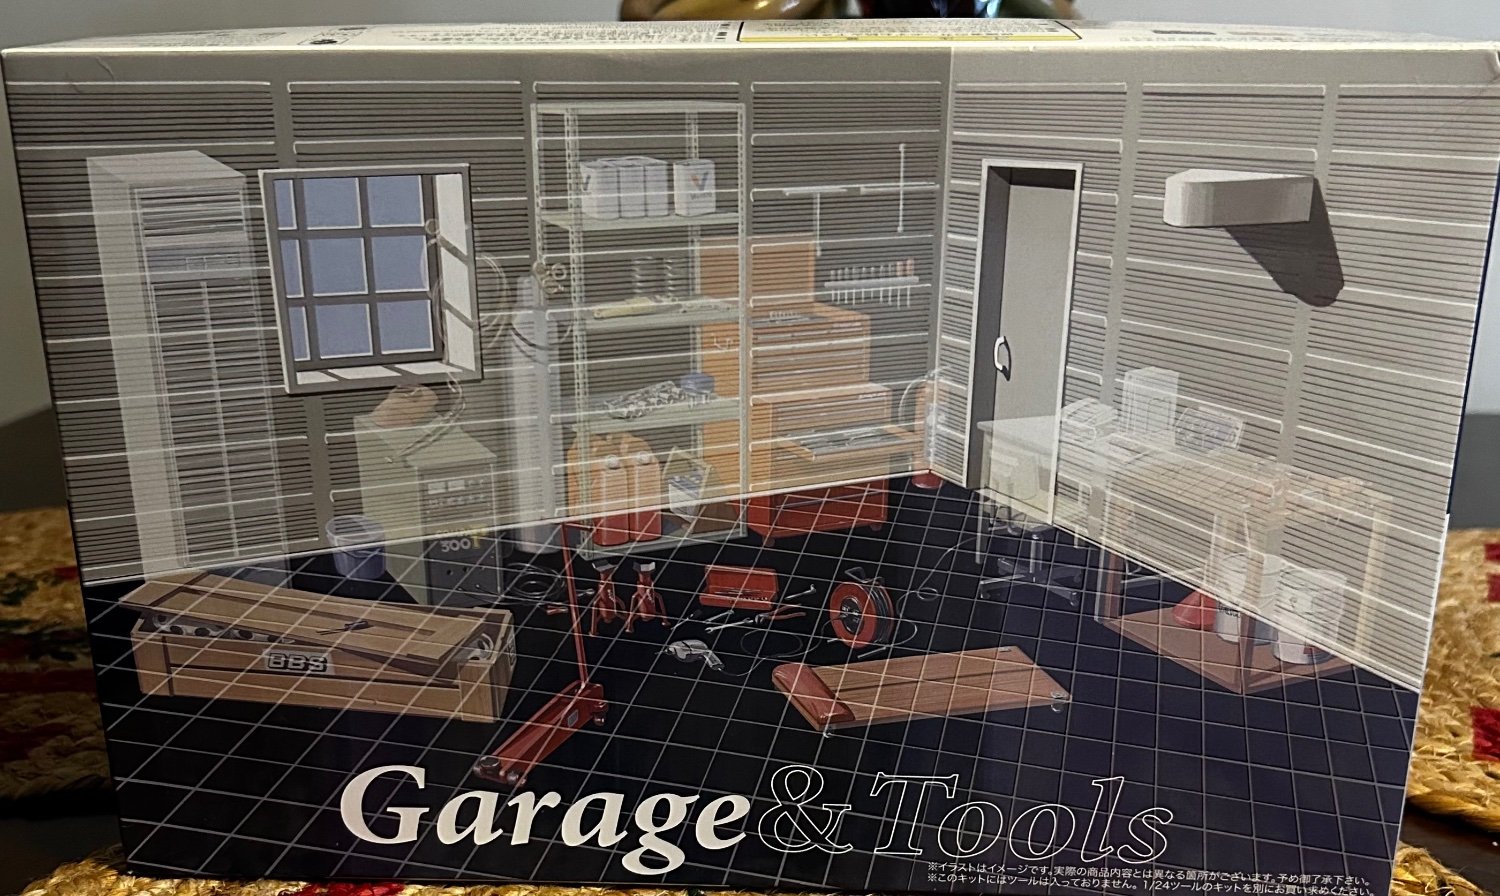
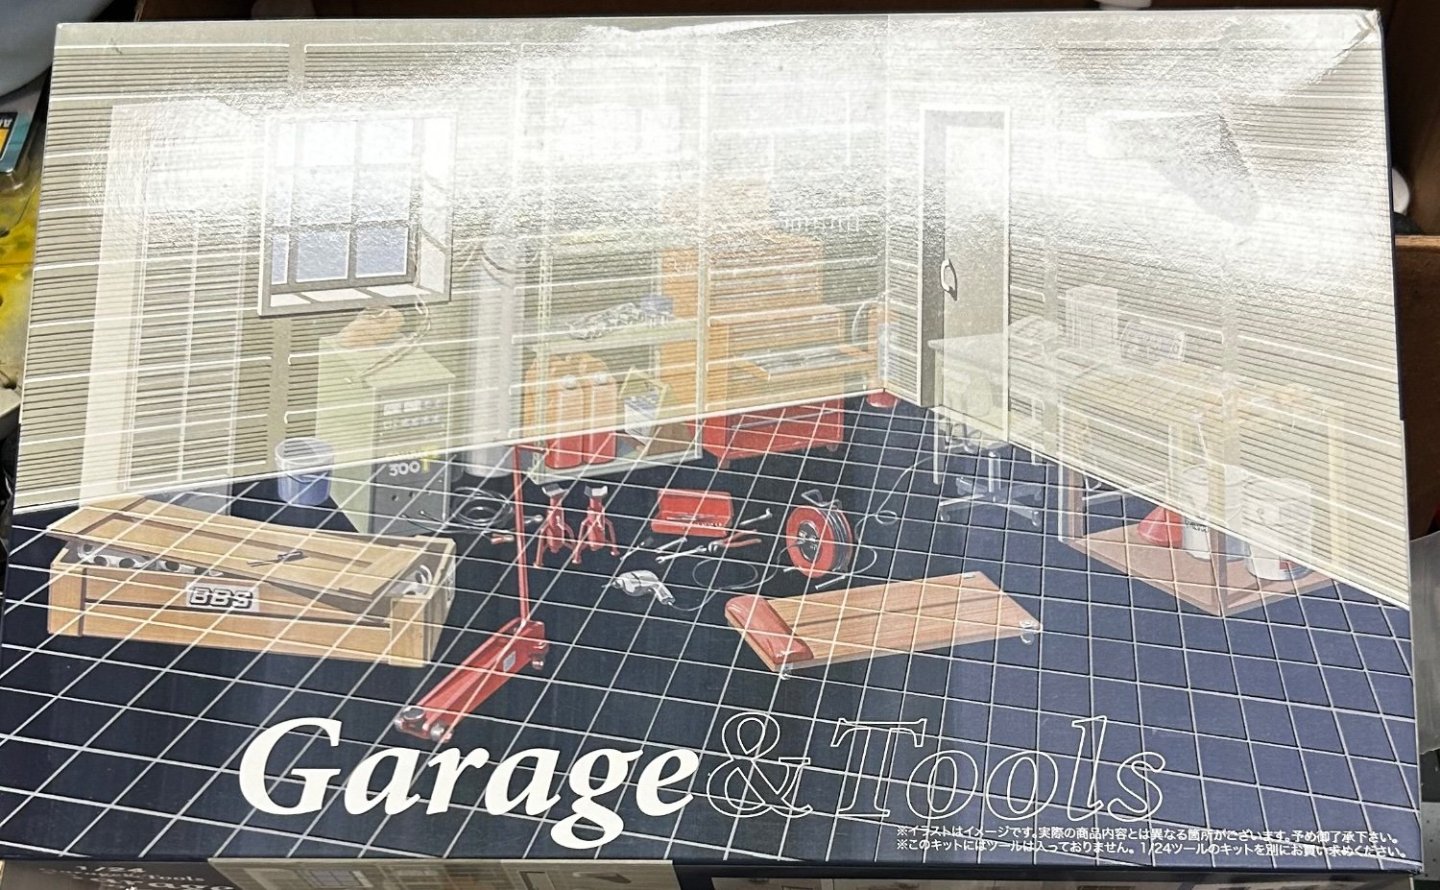
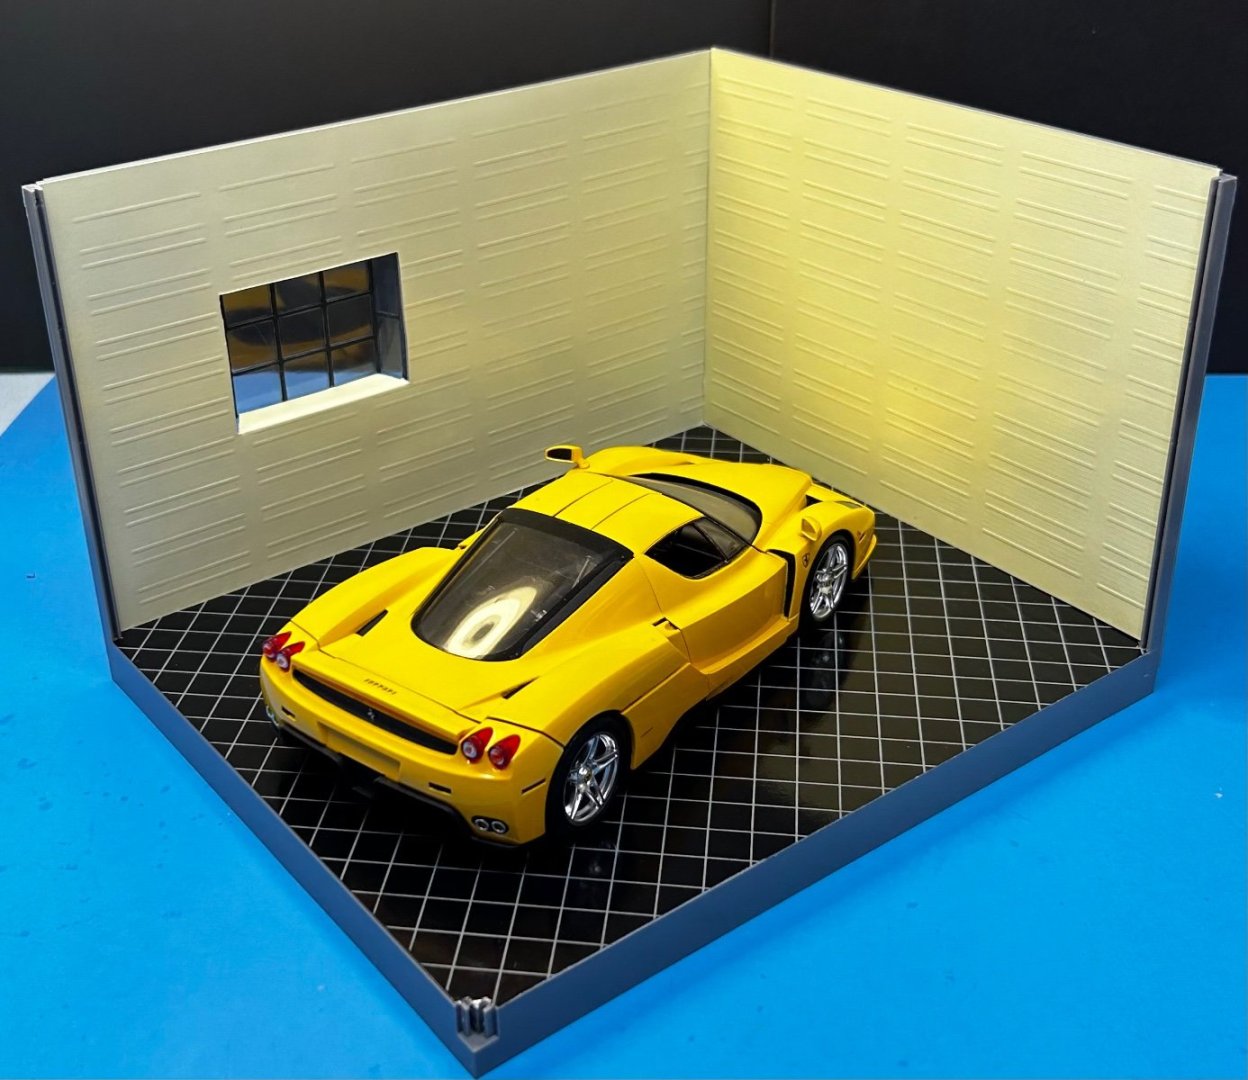
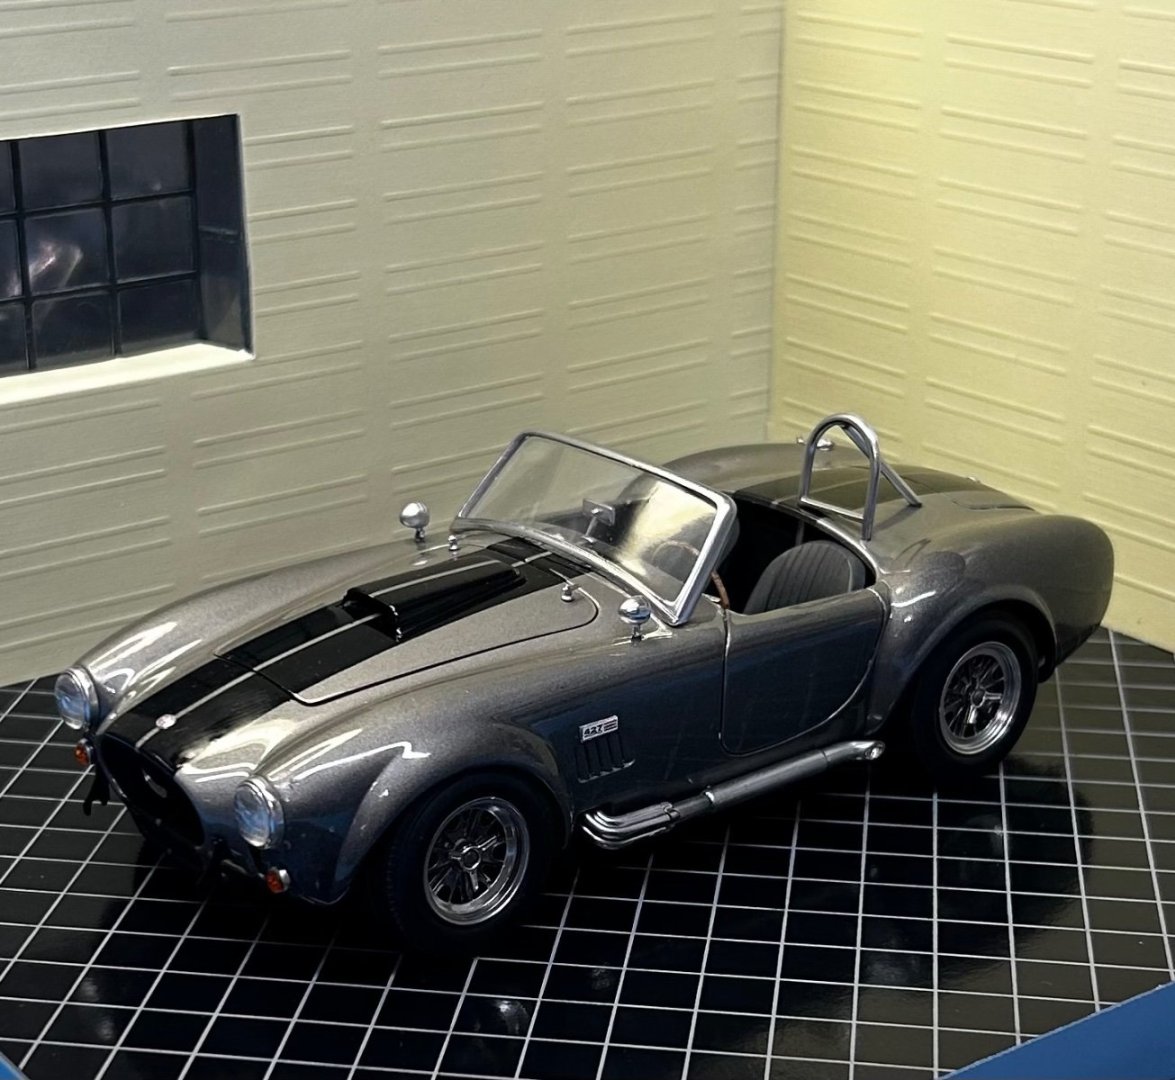
I’ve owned the 1:24 scale Garage and Tools kits for a long time but never got around to building them. Realizing I need a better backdrop for photographing my model cars, decided to slap these together and see what I”ve got. Right off the bat, it seems two garage kits are needed to make it wide enough to suit me. The kit is designed to attach multiple garage modules and stretch it out. I’ll be ordering another garage and connect the two. Here’s how one looks without any tools. Very simple construction. Cardboard wall paper and flooring included in the kit. I’ll likely build another garage from scratch. I think I’ll be more satisfied with that. This one leaves me rather cold, but it’s better than nothing.

- 14 replies
-
- 18
-
-
Love the model, Chris. The Italian aircraft subject matter is a favorite as well.
-
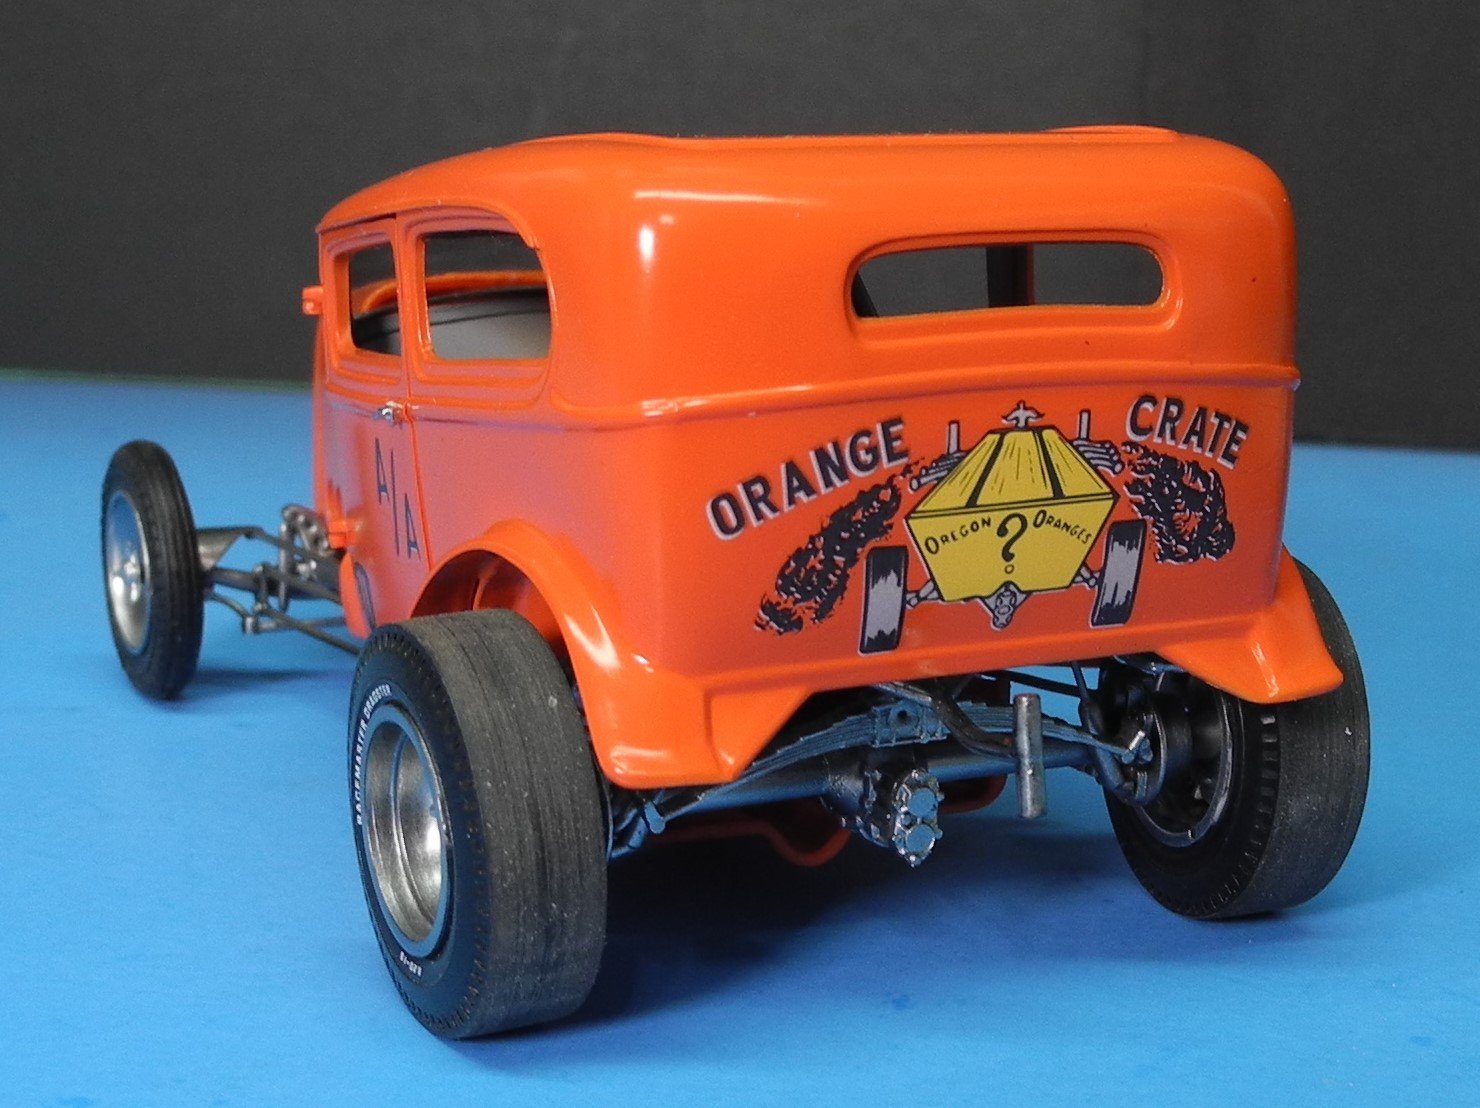
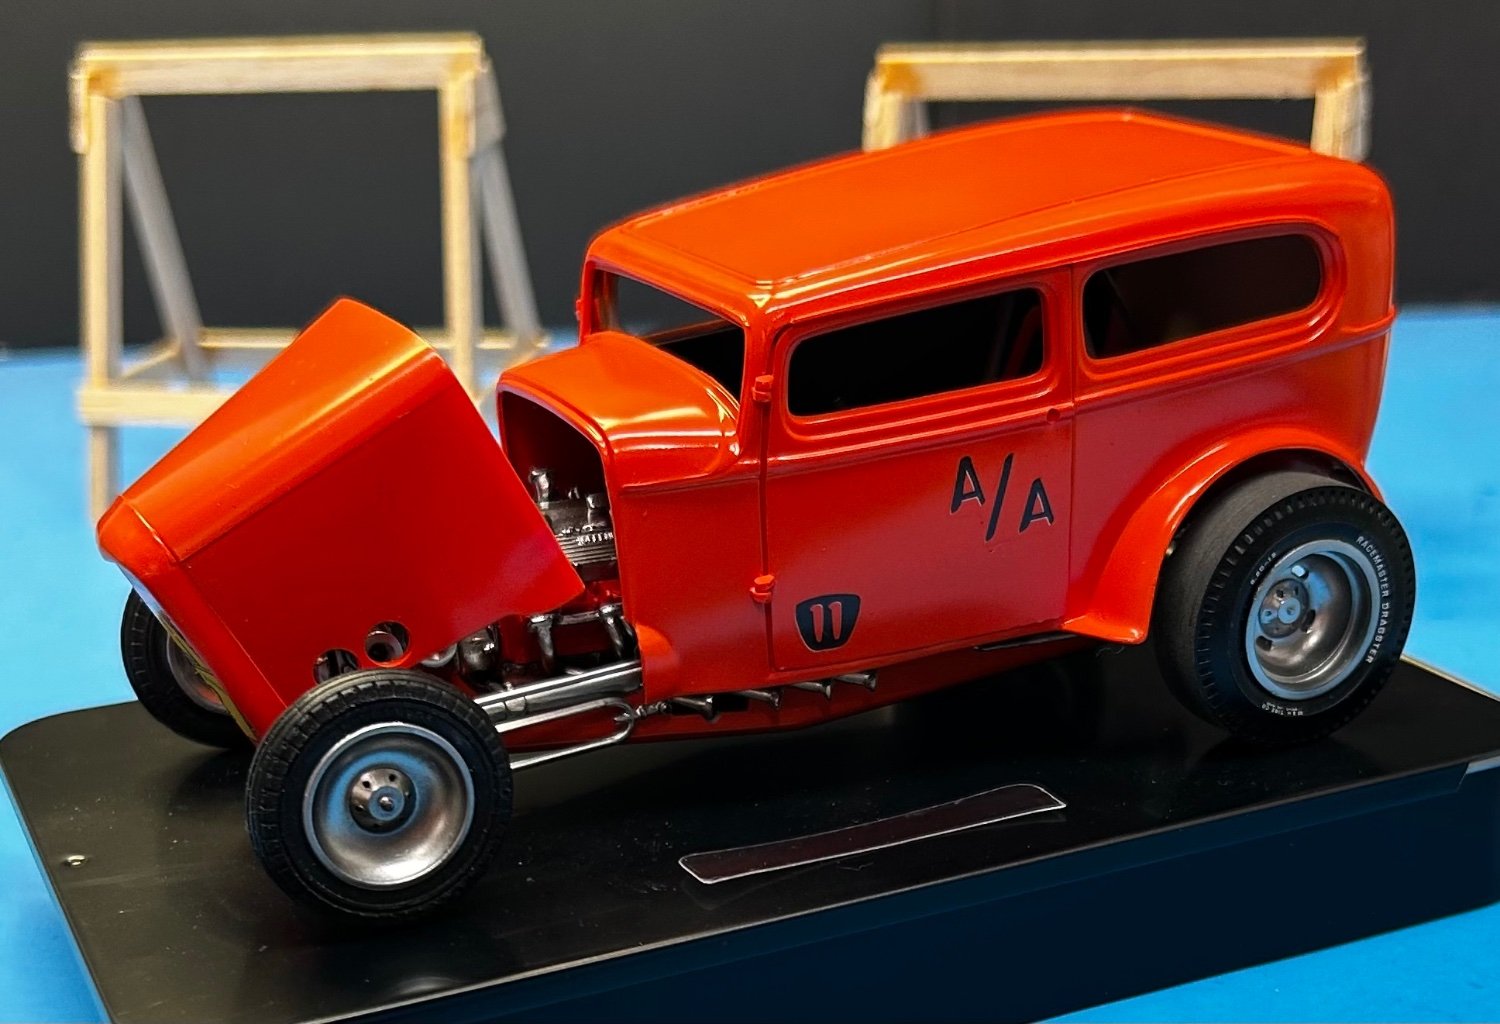
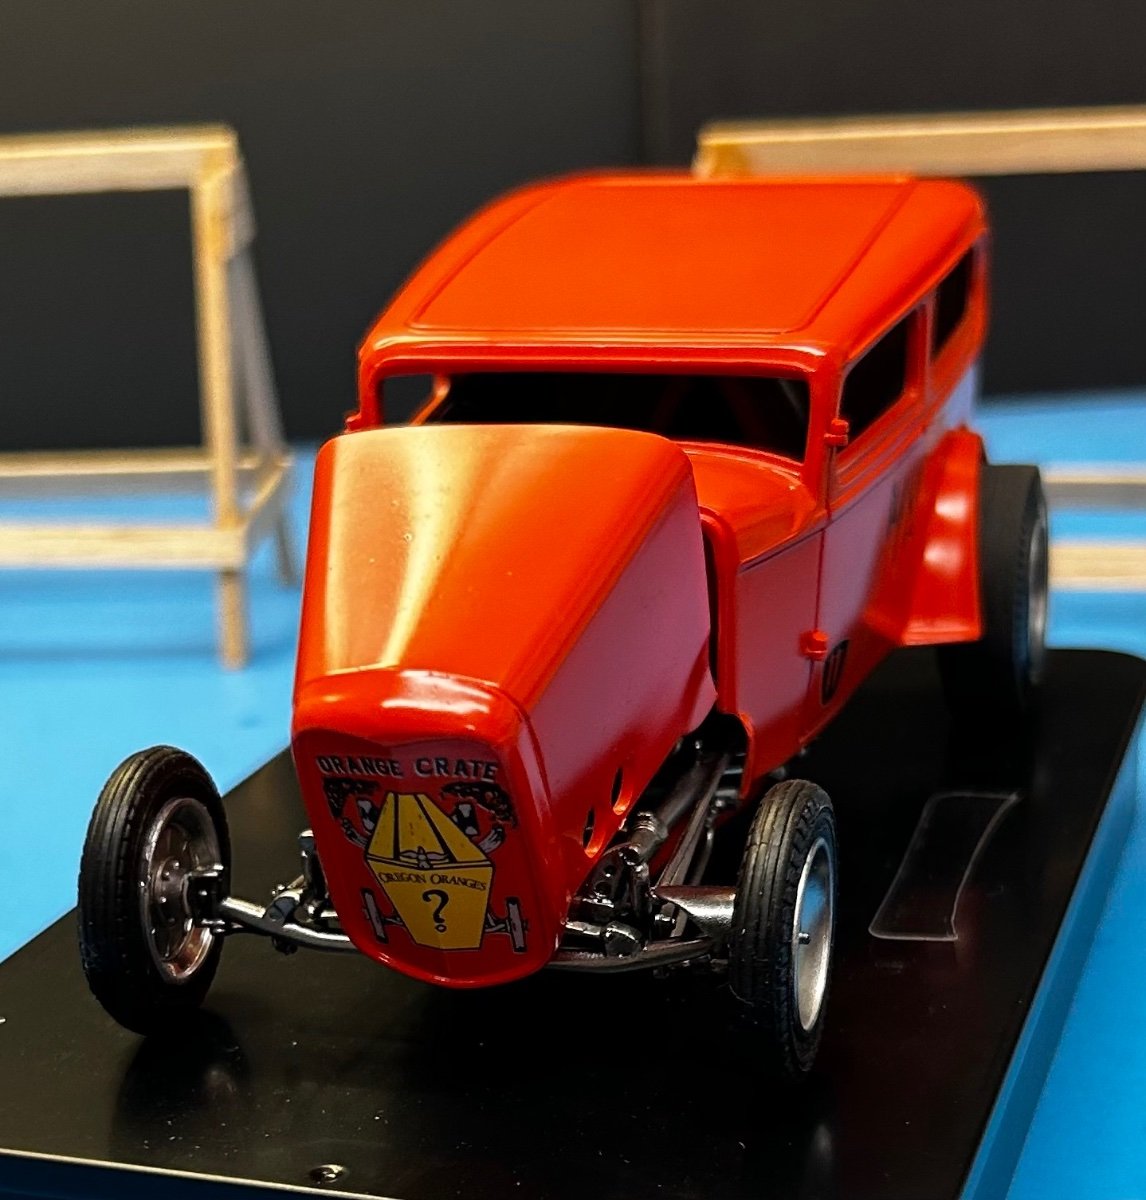
I've come to the end of the road with this one and am calling it finished. Decided against more clear coats and am satisfied as it is. Thanks once again for following along, your likes, your comments, and very interesting discussion. It was lots of fun. See you again soon!


- 88 replies
-
- 14
-
-
-
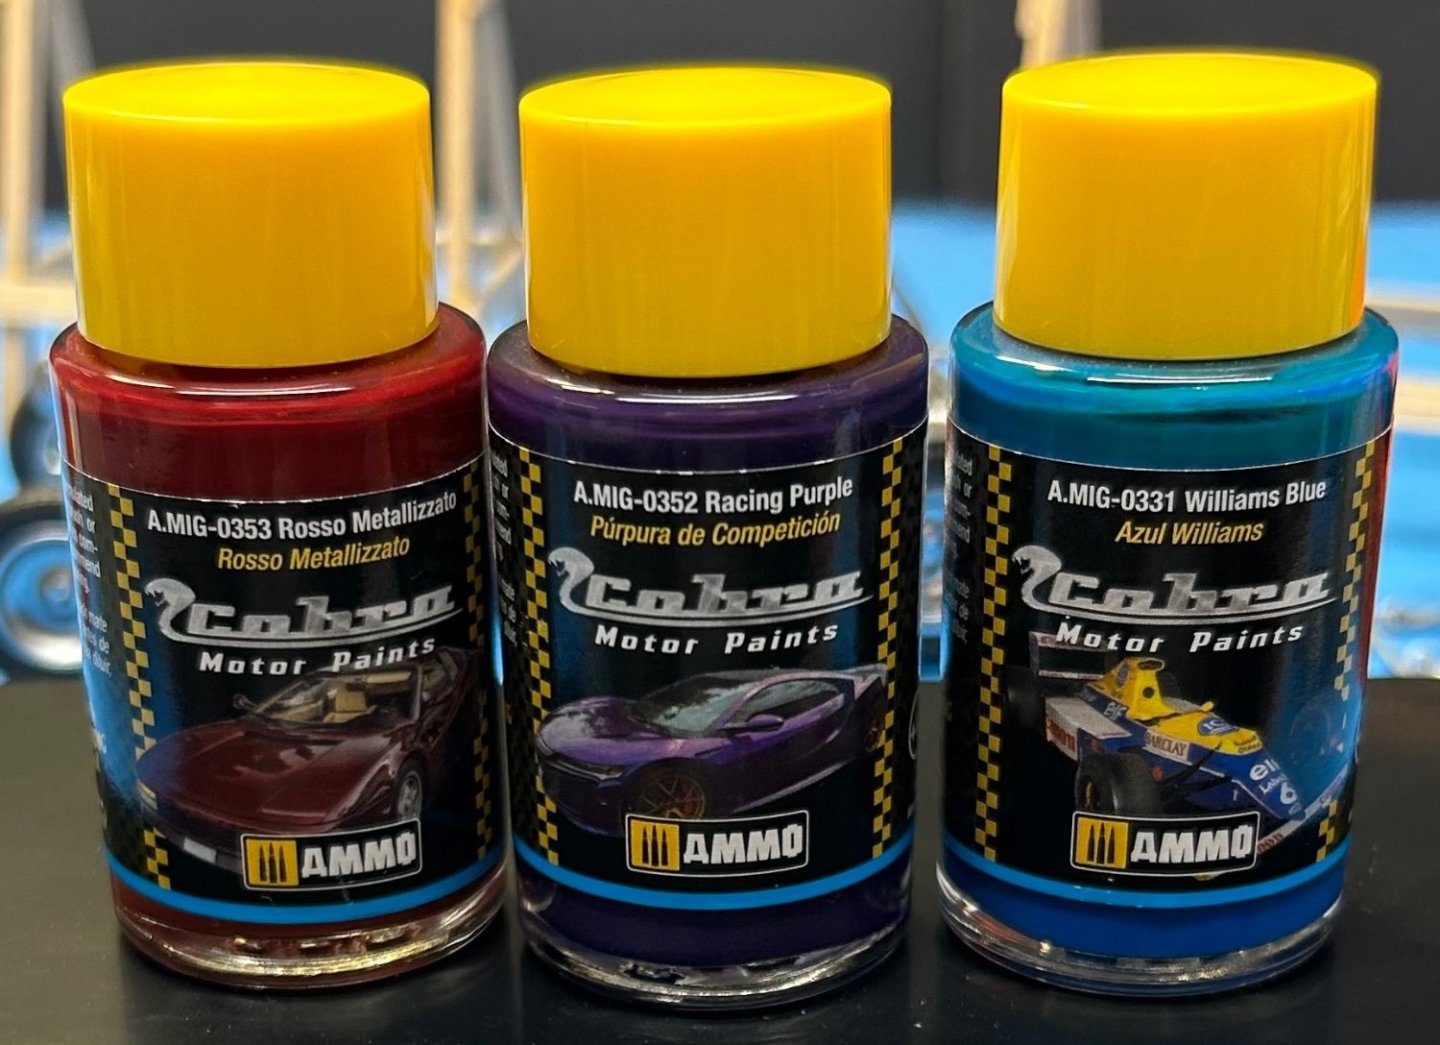
But I have only found one dealer in the USA who carry the Cobra Motors paints right now. More European based as are the actual colors.
-
Ammo by Mig have come out with a new line of paints for autos called, Cobra Motors Paints. The paints are acrylic flat colors in a large variety of color and shade. They are designed to be used as a base coat with a gloss clear coat. They have their own clear lacquer and a hardener too. The purple color in the middle is what I will use on the Wild Dream. It’s metallic. I’ll use my own clear coat already on hand.

-
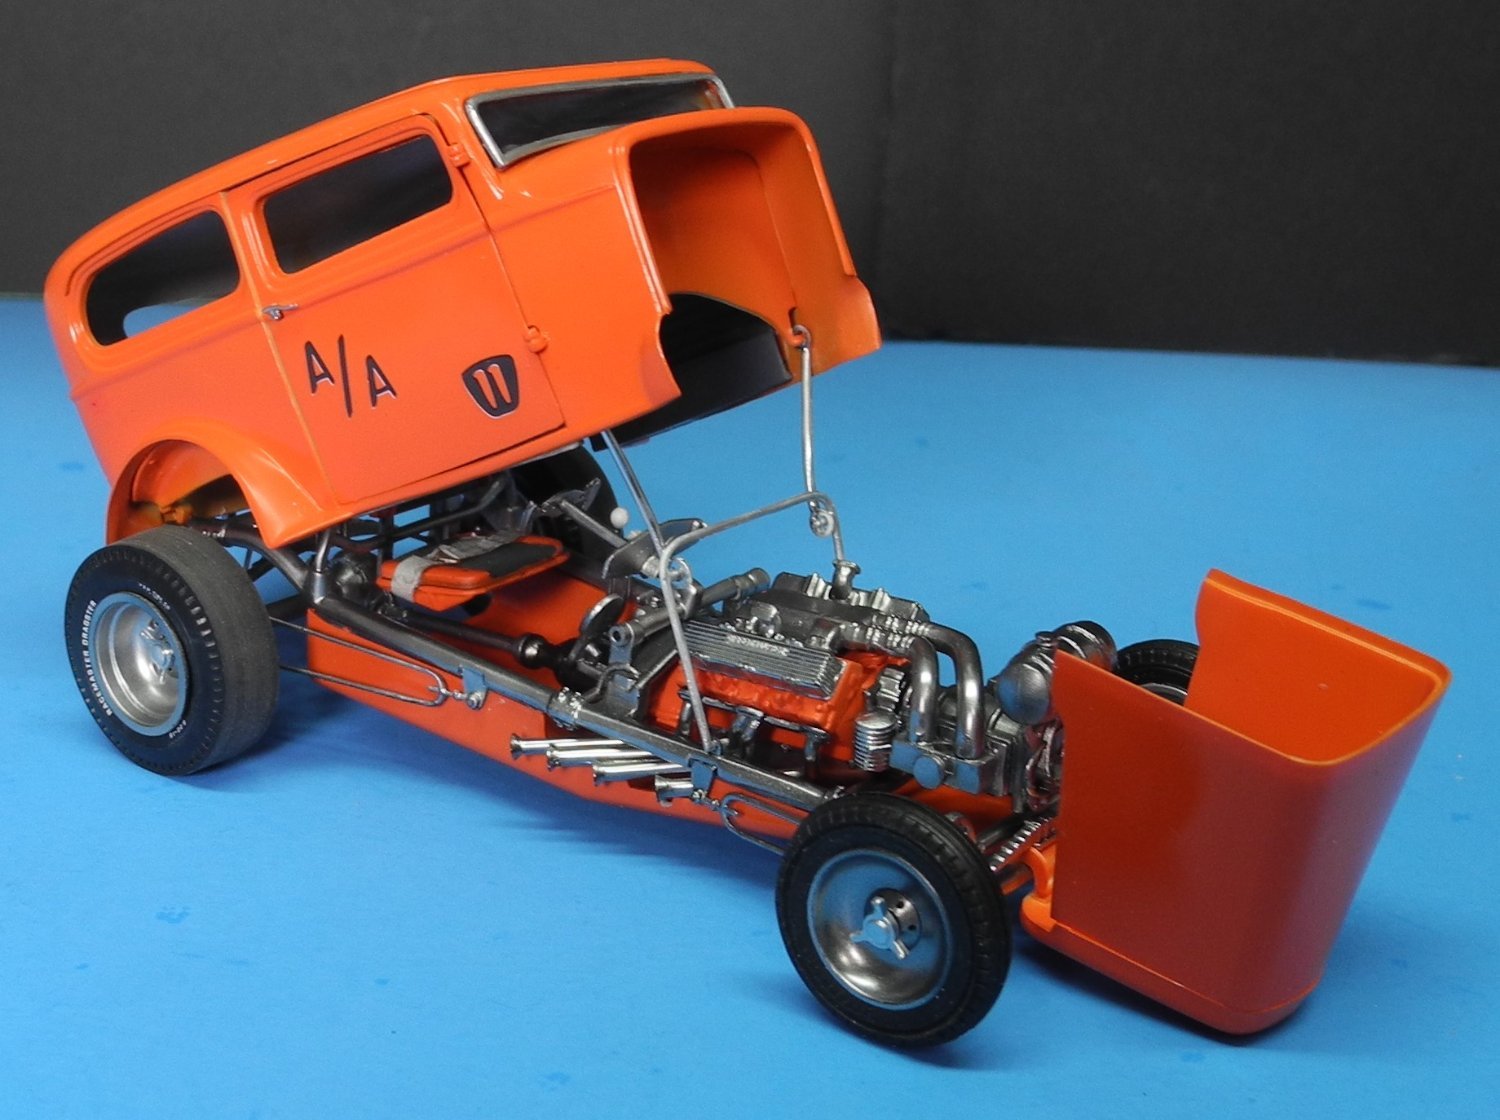
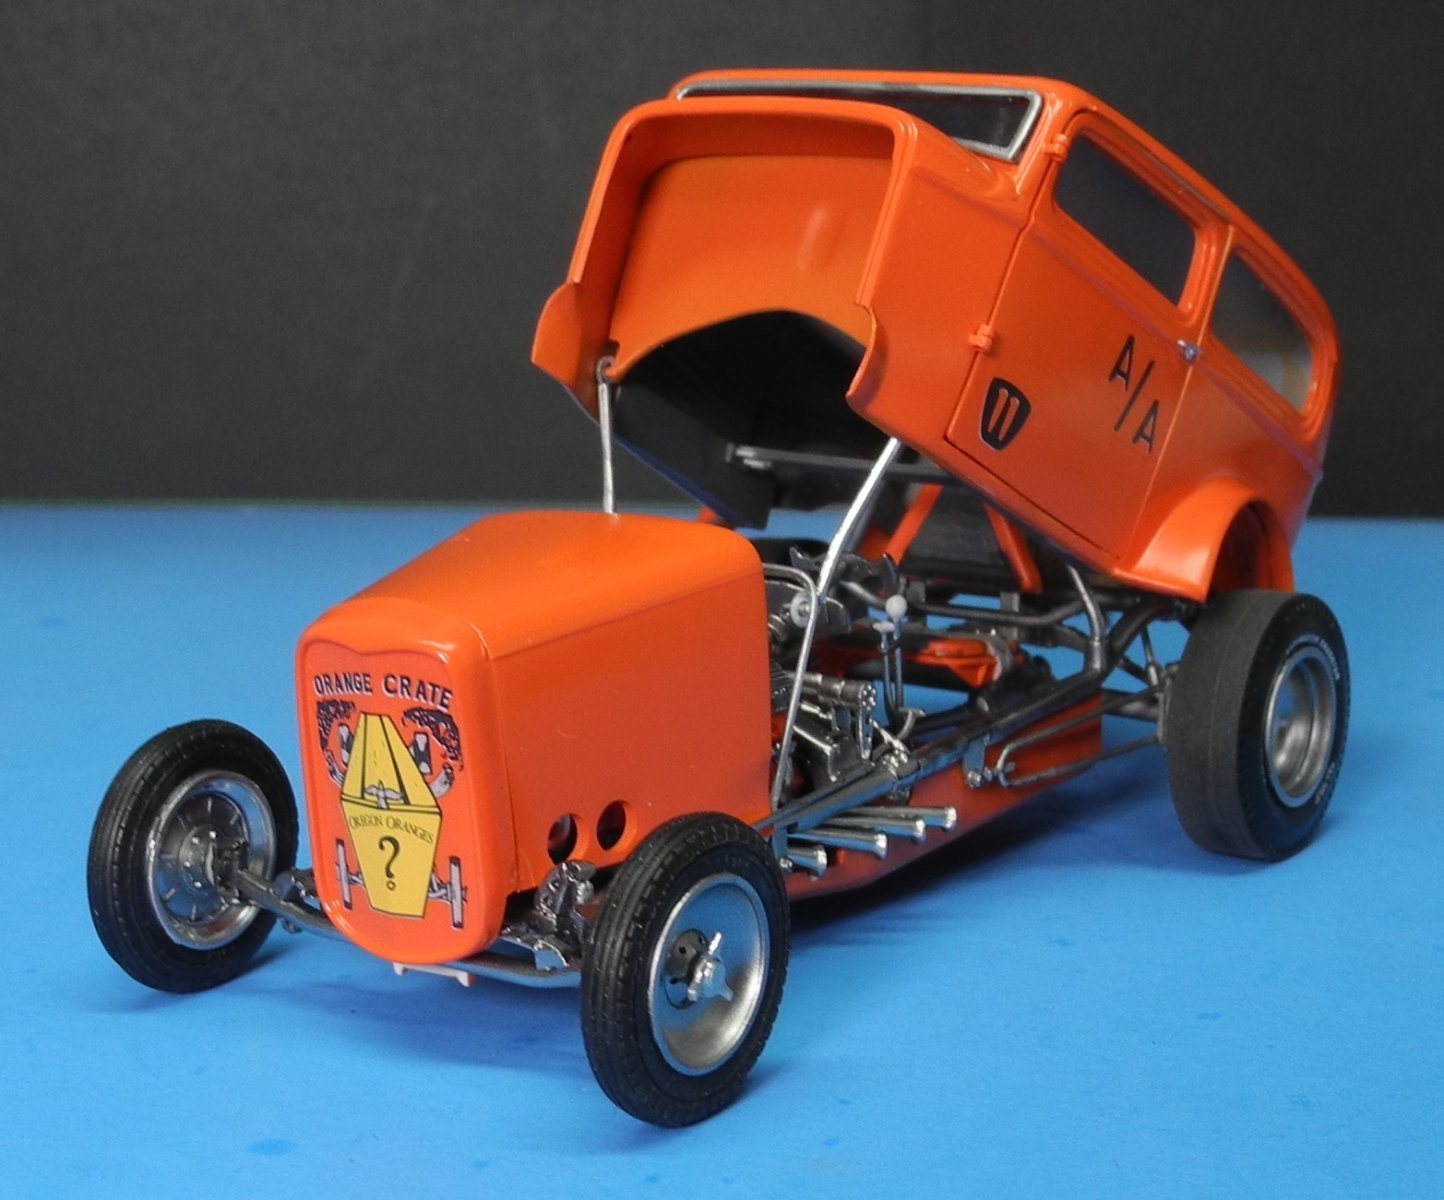
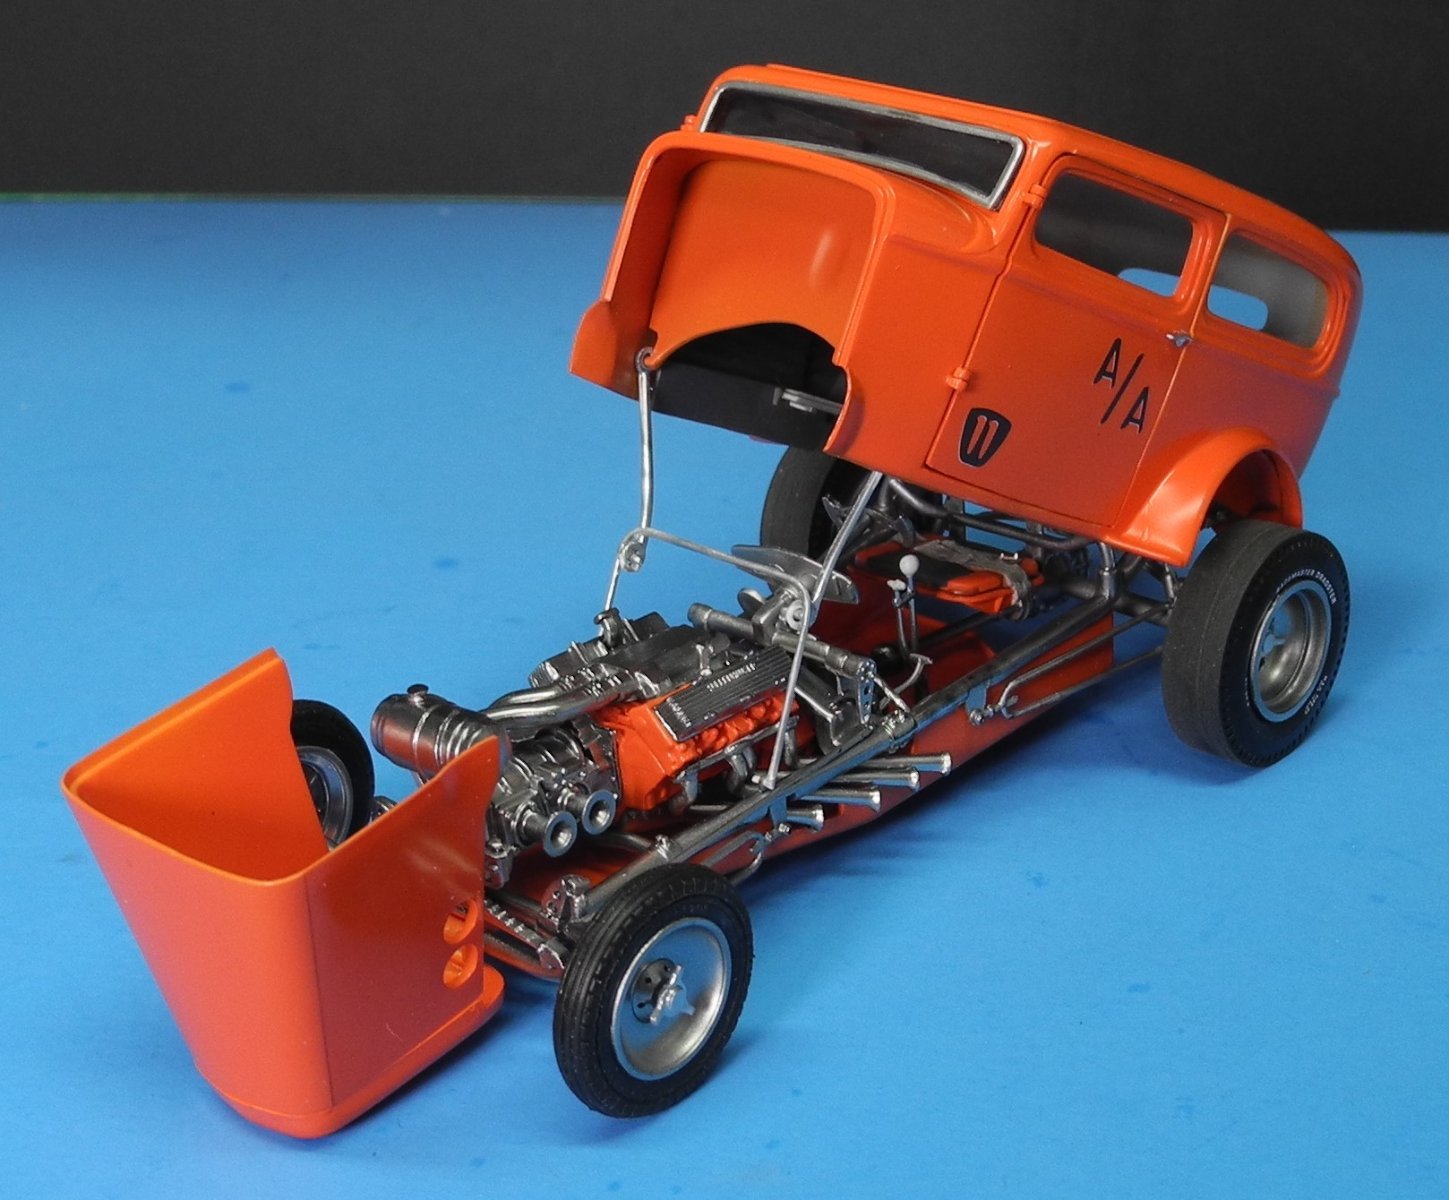
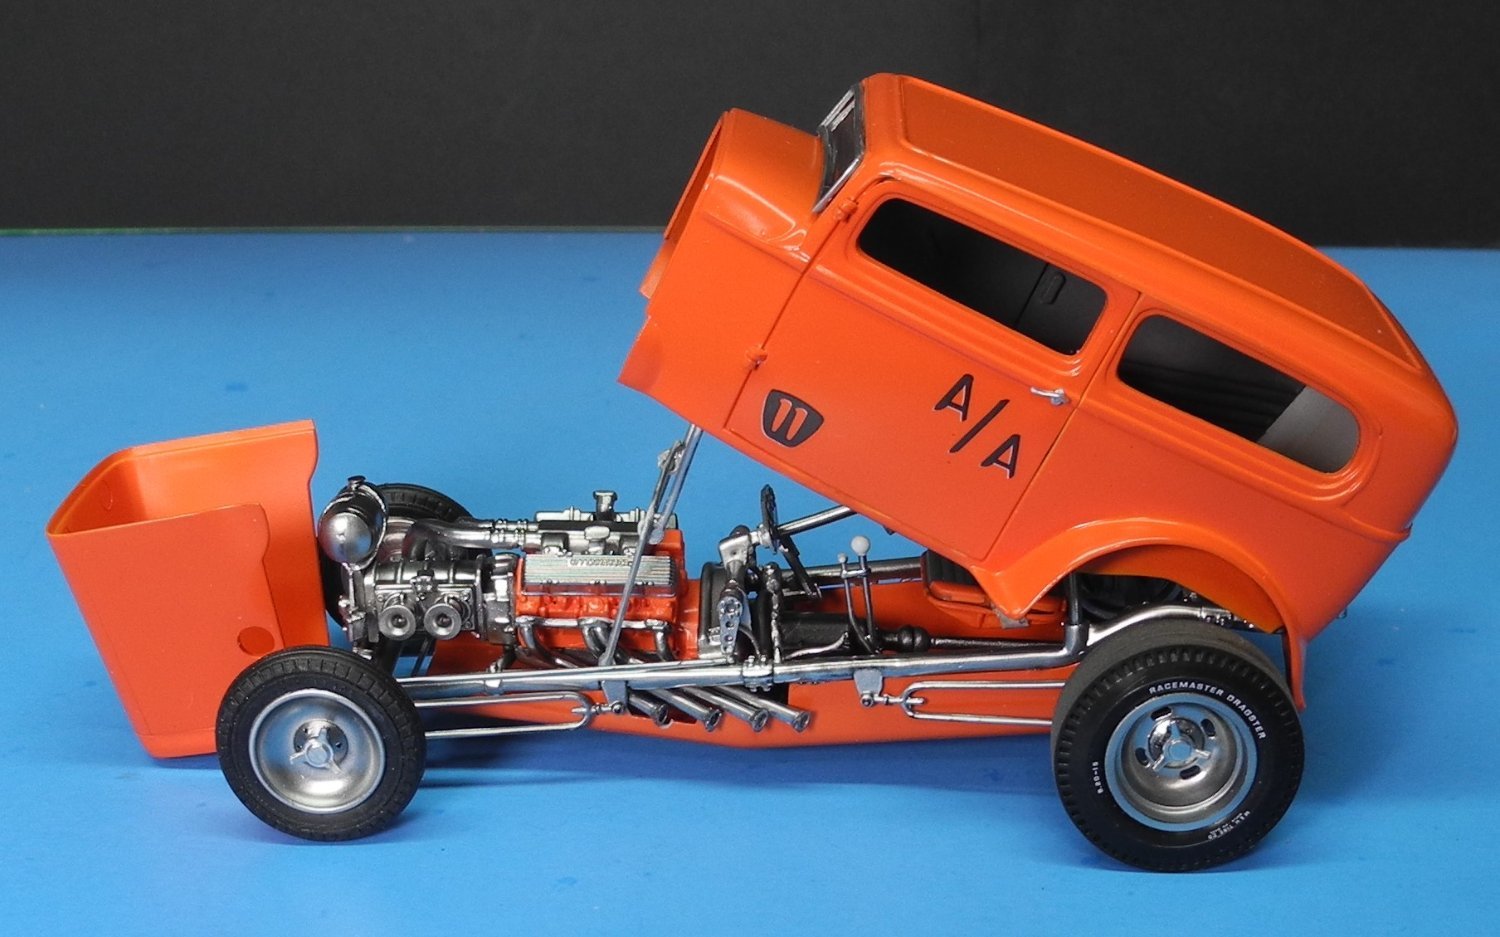
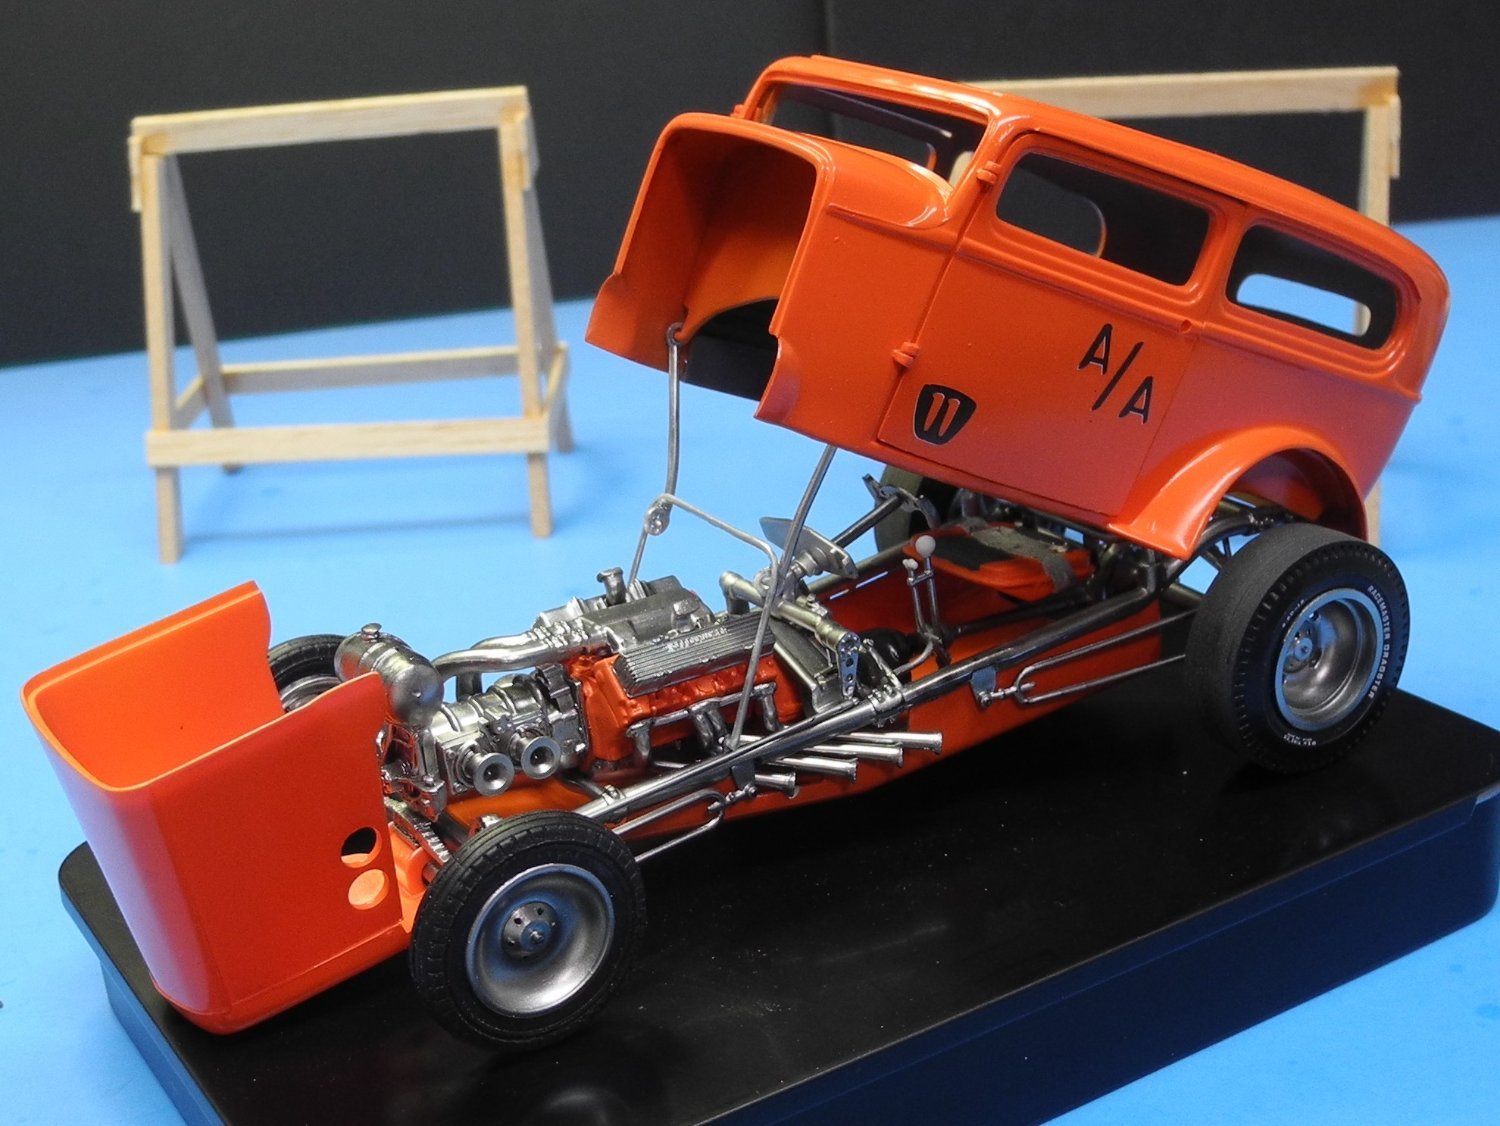
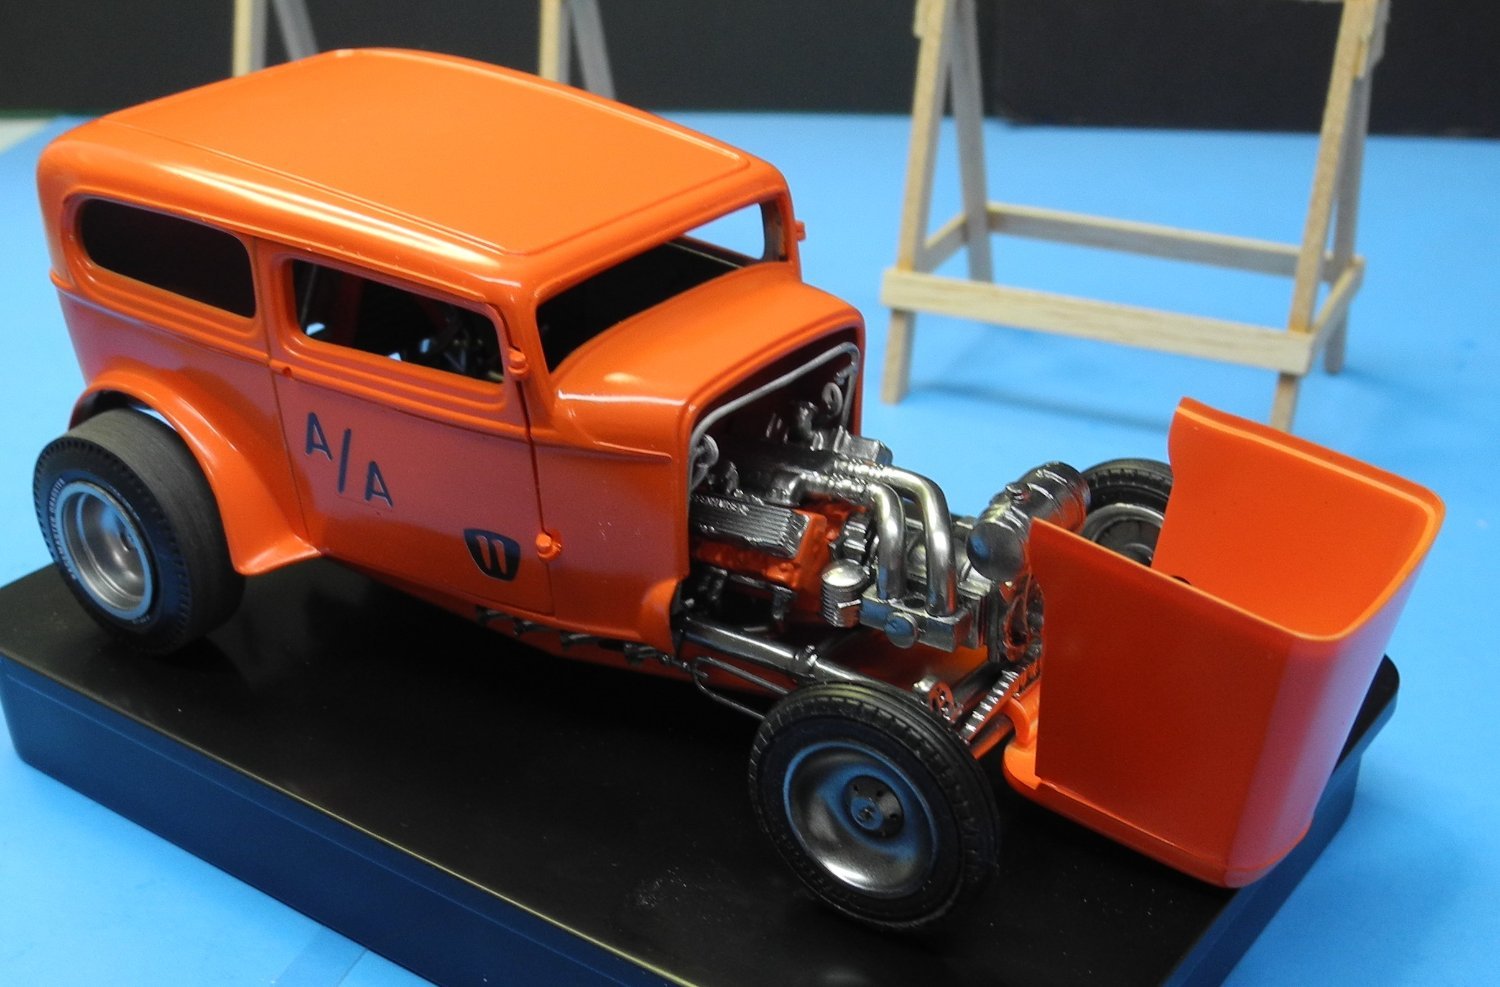
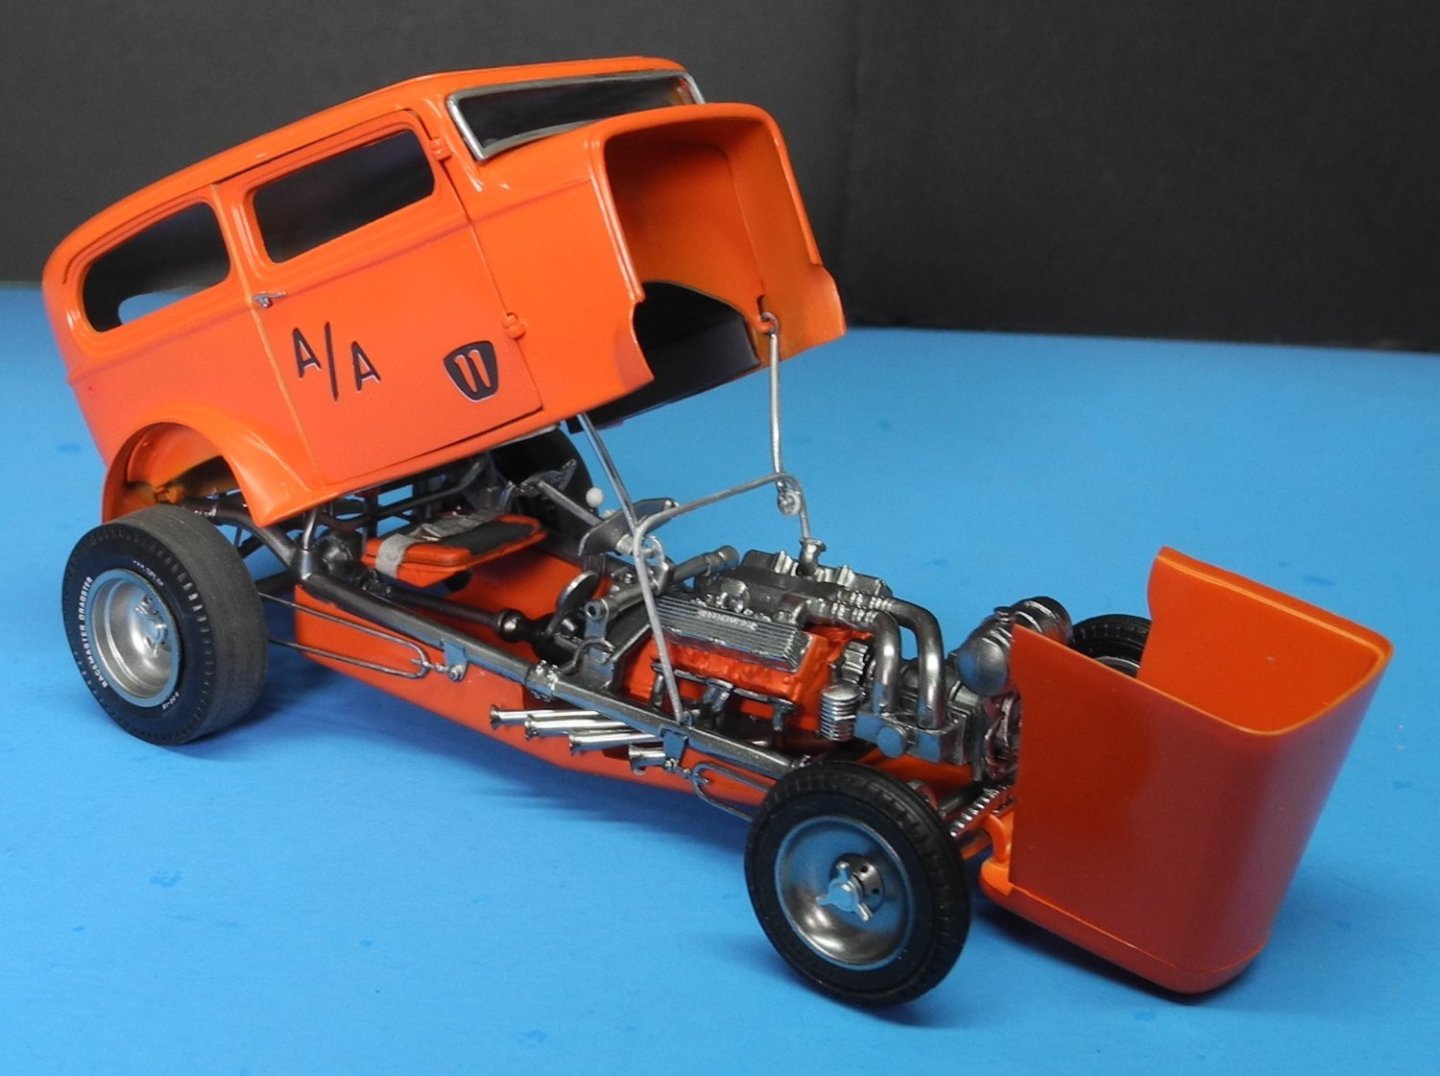
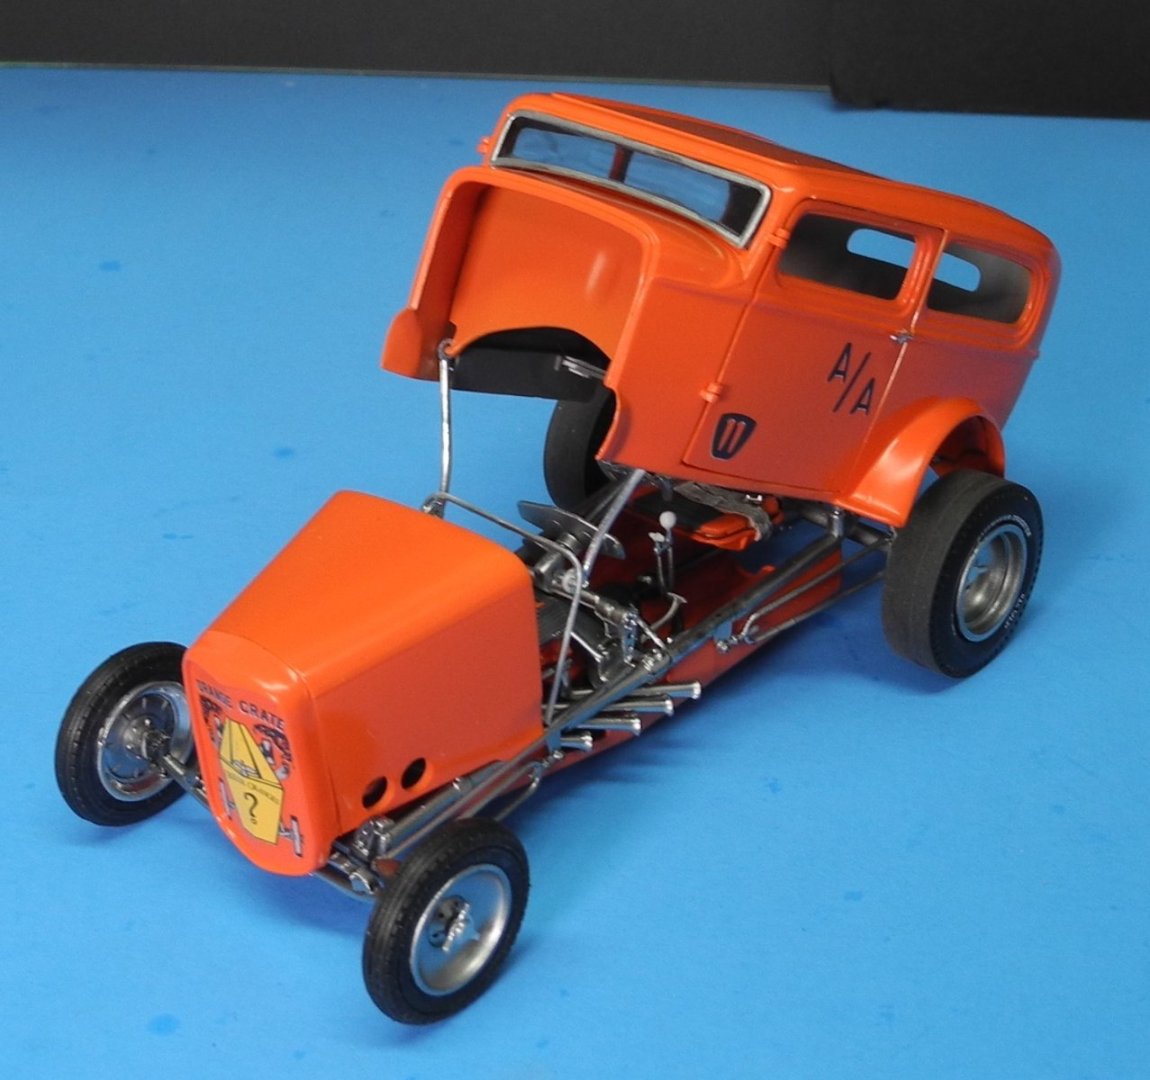
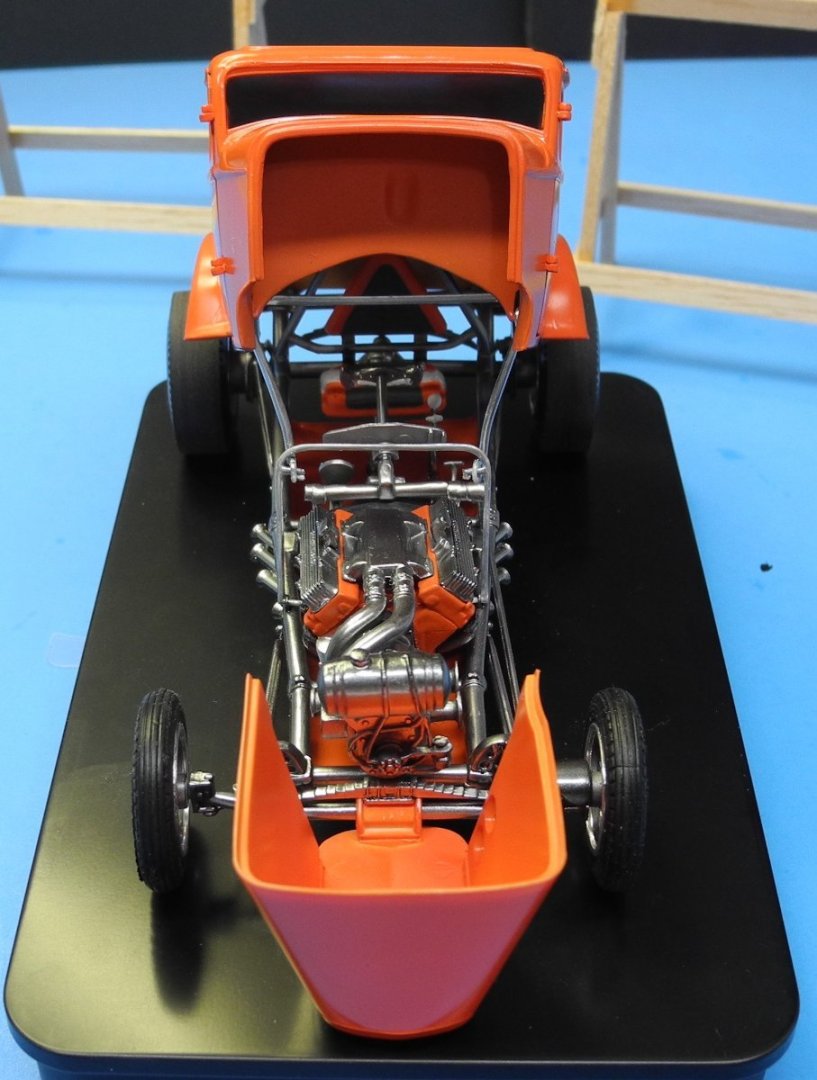
Don't need that toothpick now. Here is the folding body prop mechanism in the raised position. Then here it is in the folded down position.


- 88 replies
-
- 11
-
-
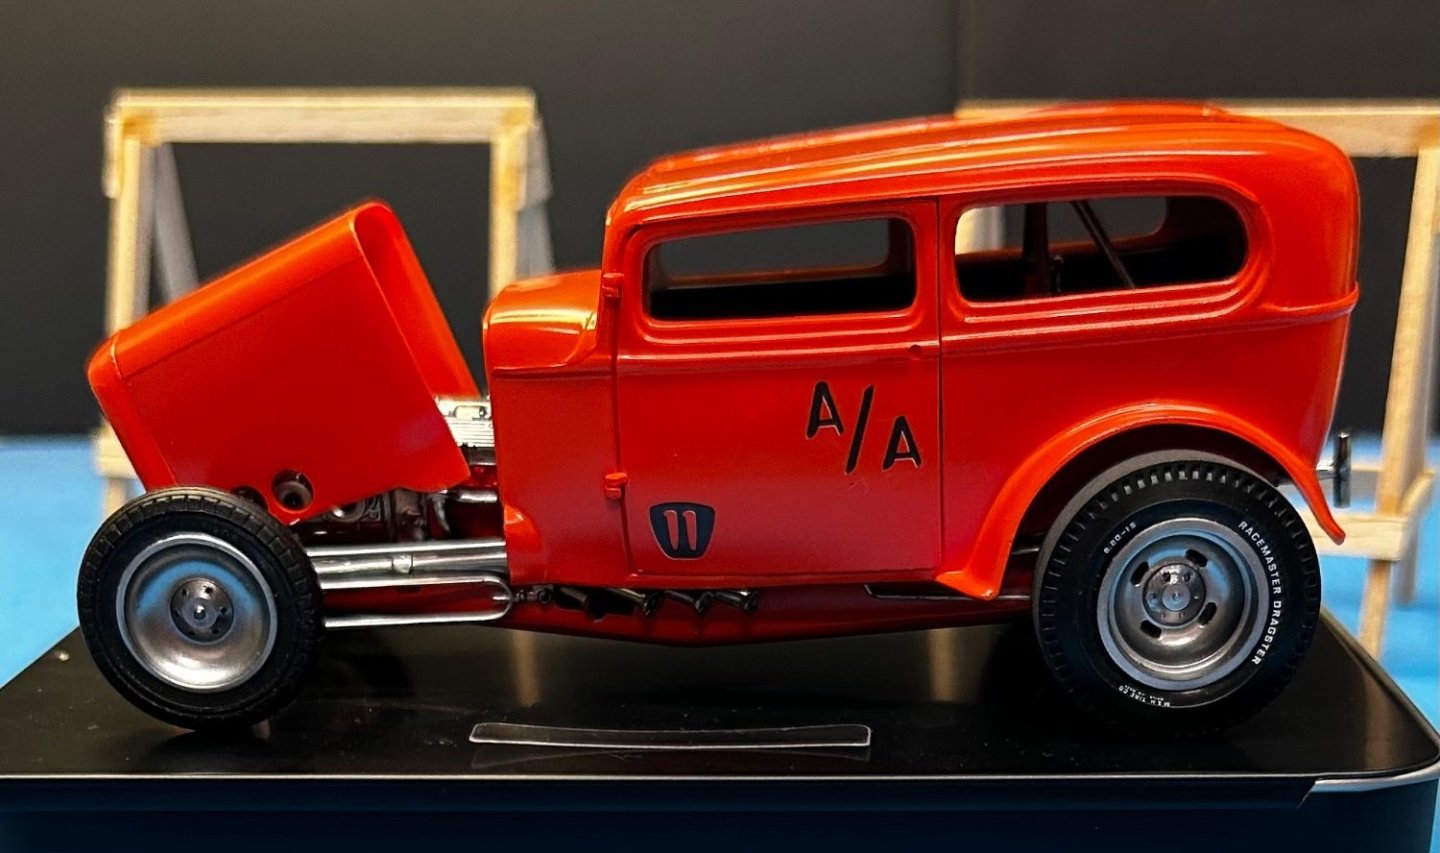
It all gets foggy over time. There have been so many changes and variations.
-
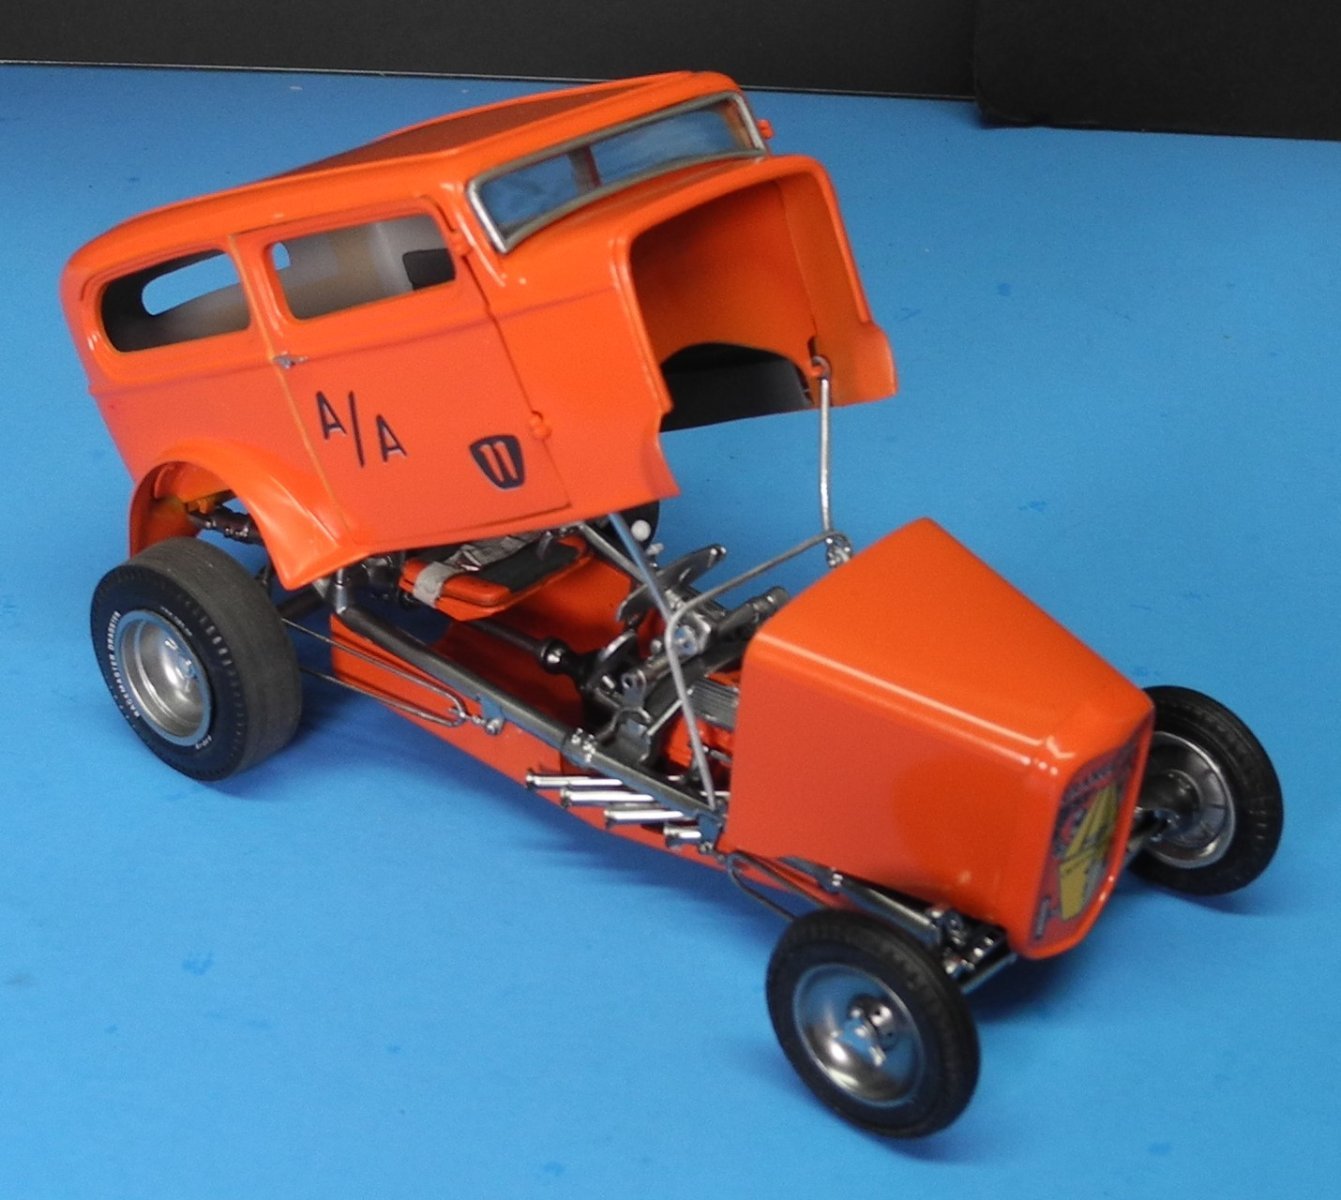
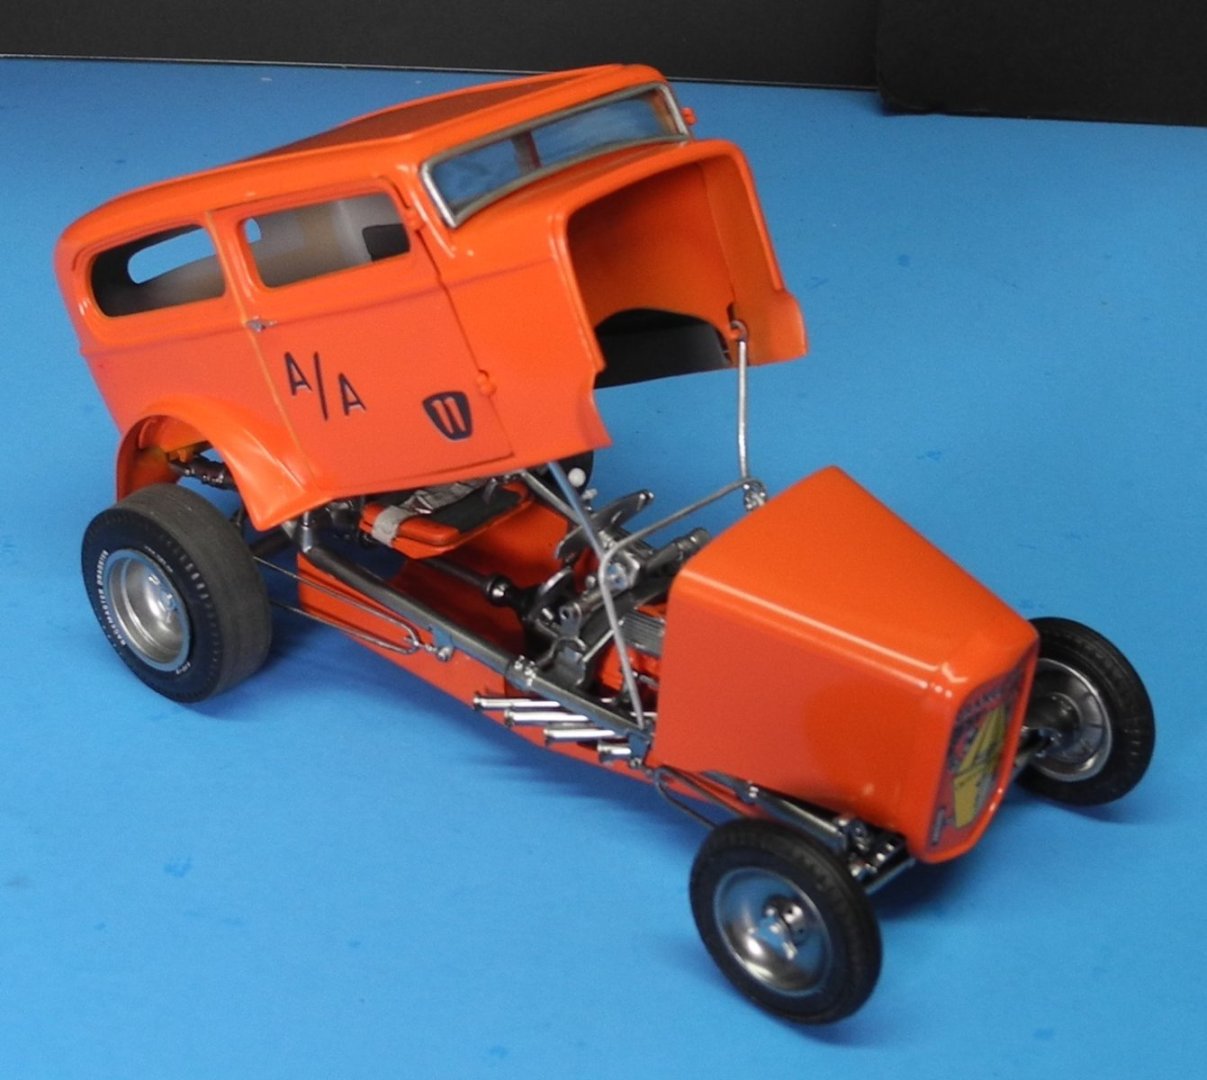
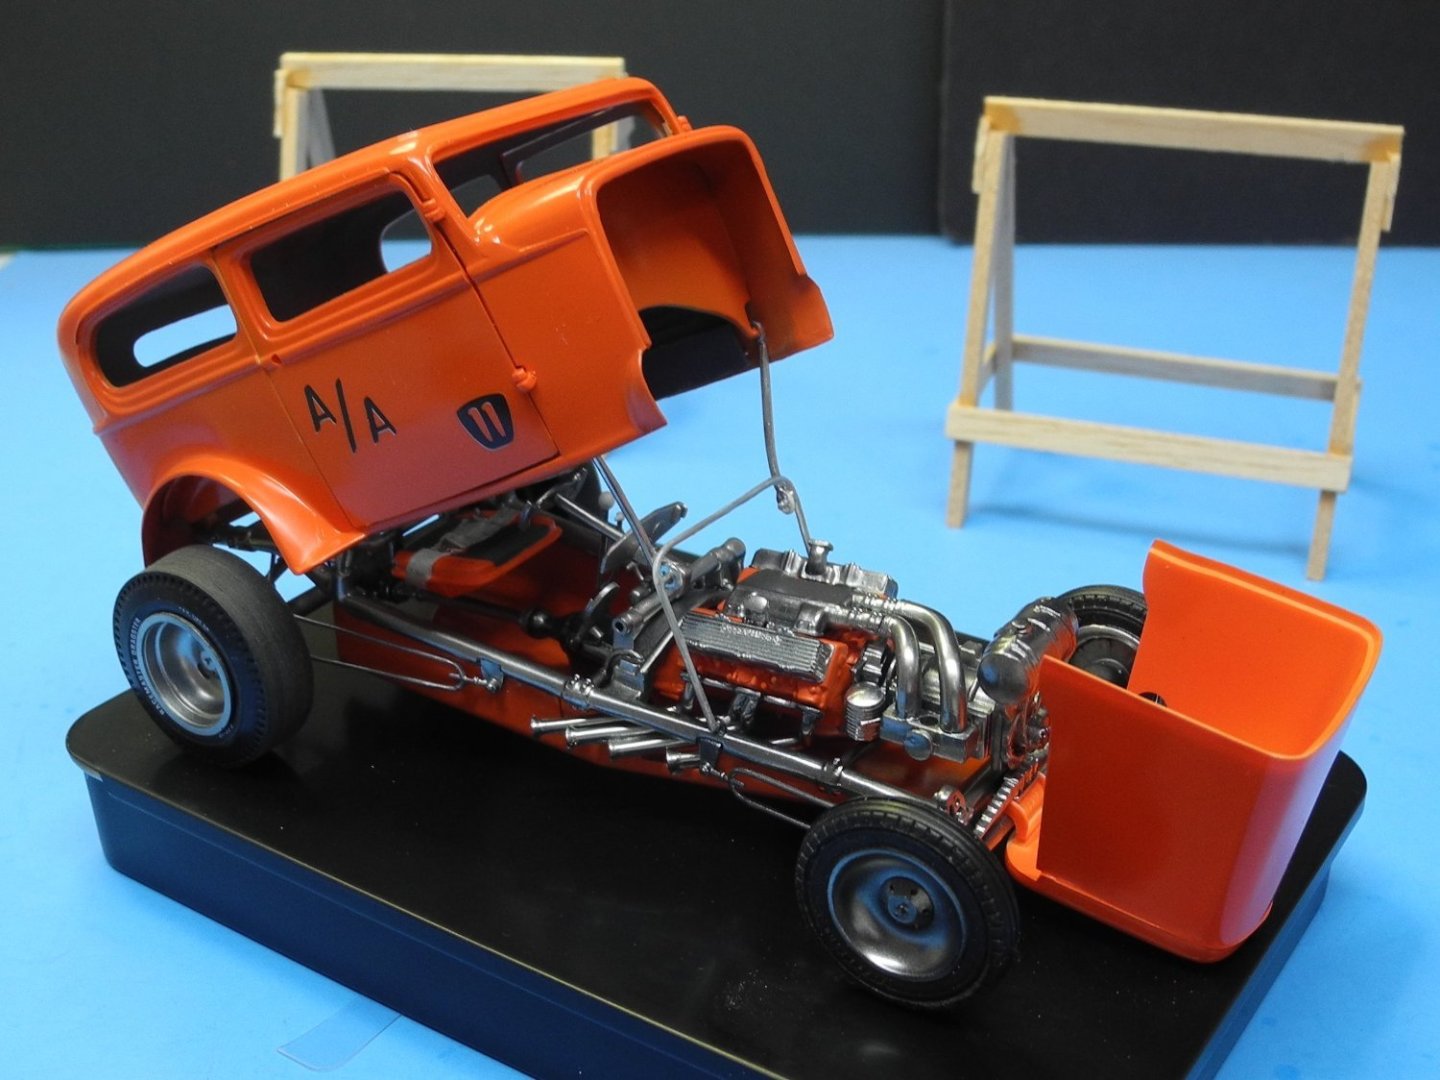
As I recall, AA represented blown nitro as opposed to A, blown gas, but I could be mistaken.
-
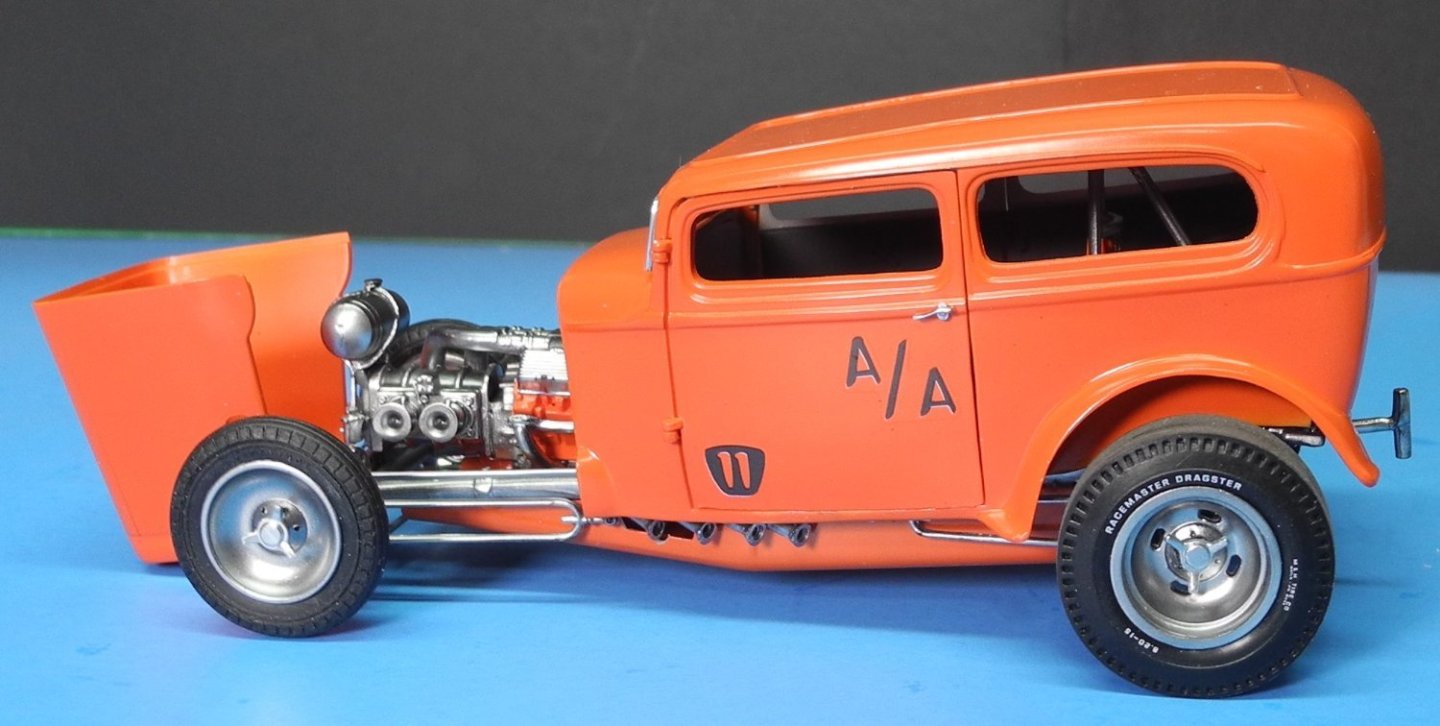
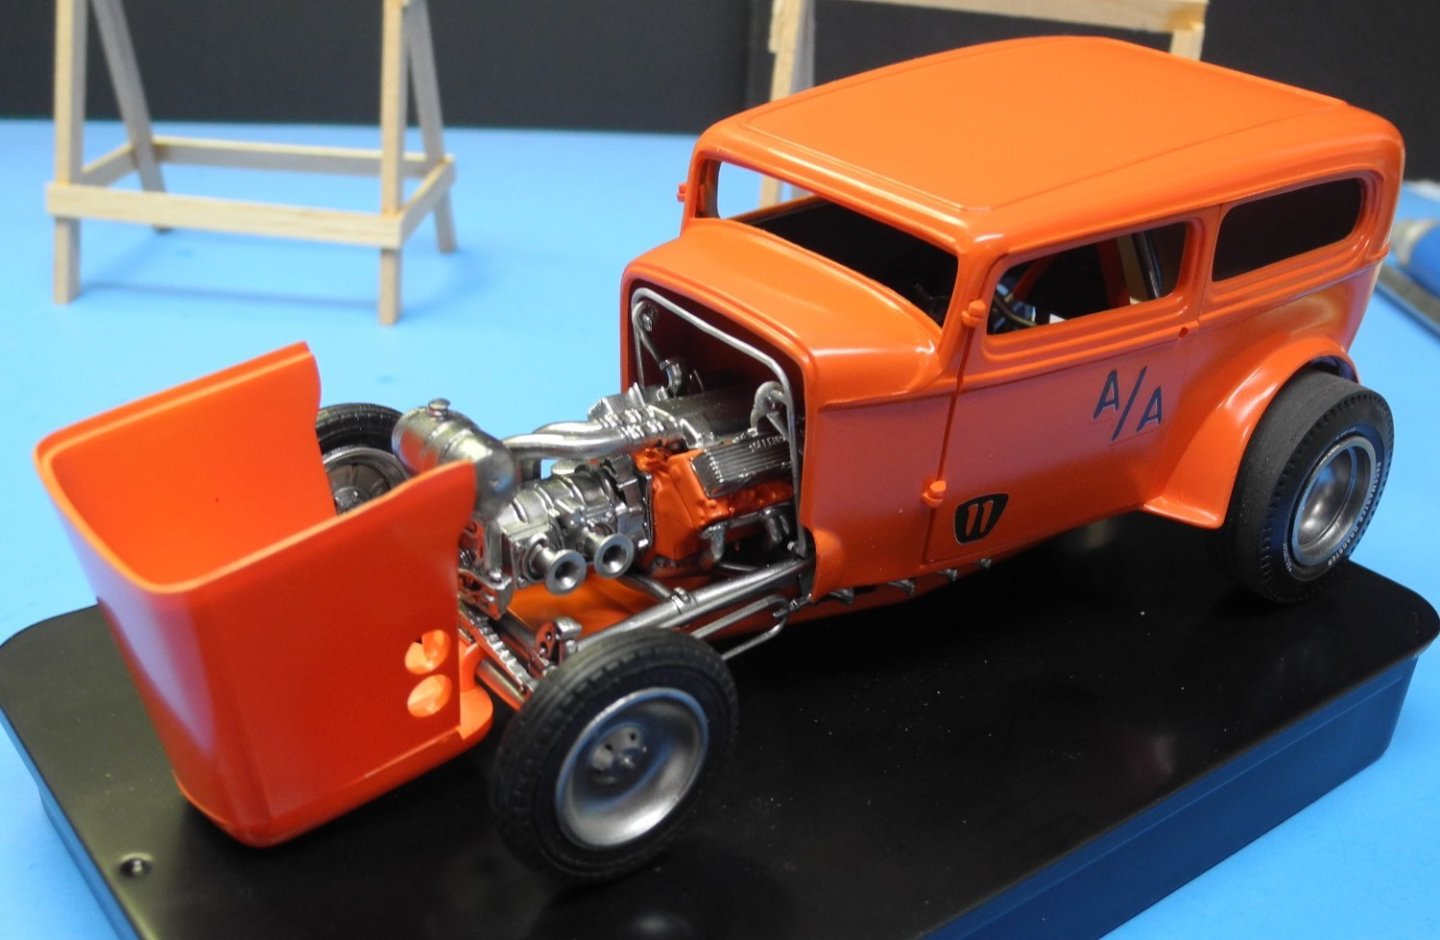
Not a lot of decals. I like it that way. I believe under the old NHRA scheme, A/A represented blown gas altered. @mtaylor is that the way you recall it, Mark?


- 88 replies
-
- 11
-
-
-
I watched my big brother and his friends do it all the time at our house. All of them had street rods when I grew up. That was my education on mechanics. They would let the kid hand around as long as I kept my mouth shut and helped out when they asked me to help.
-
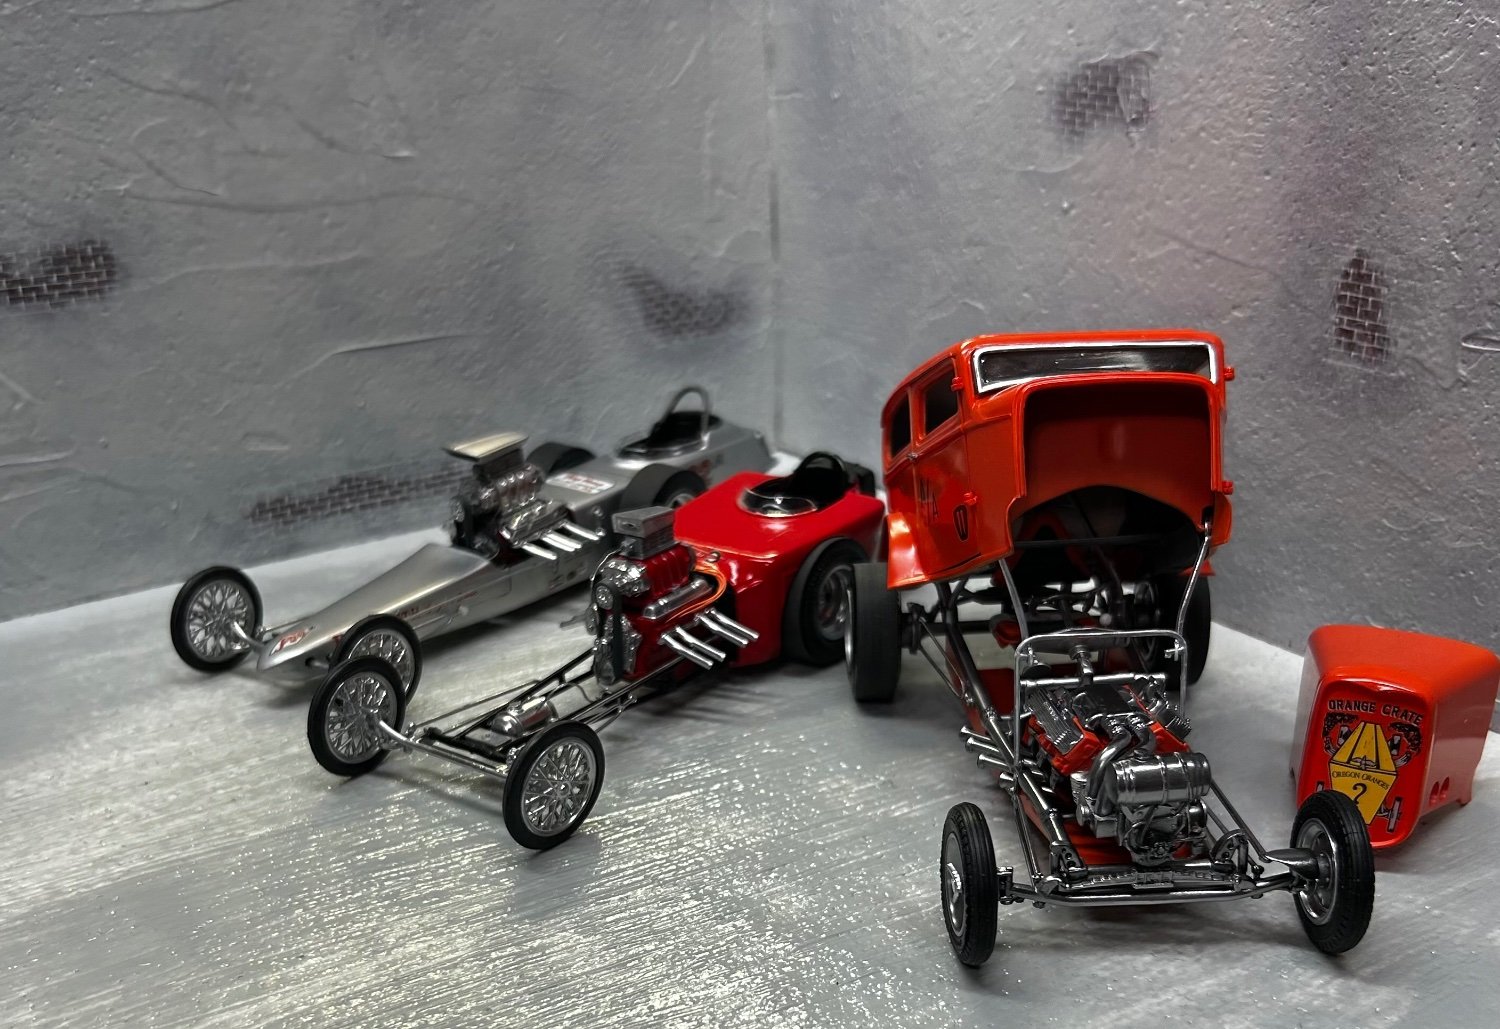
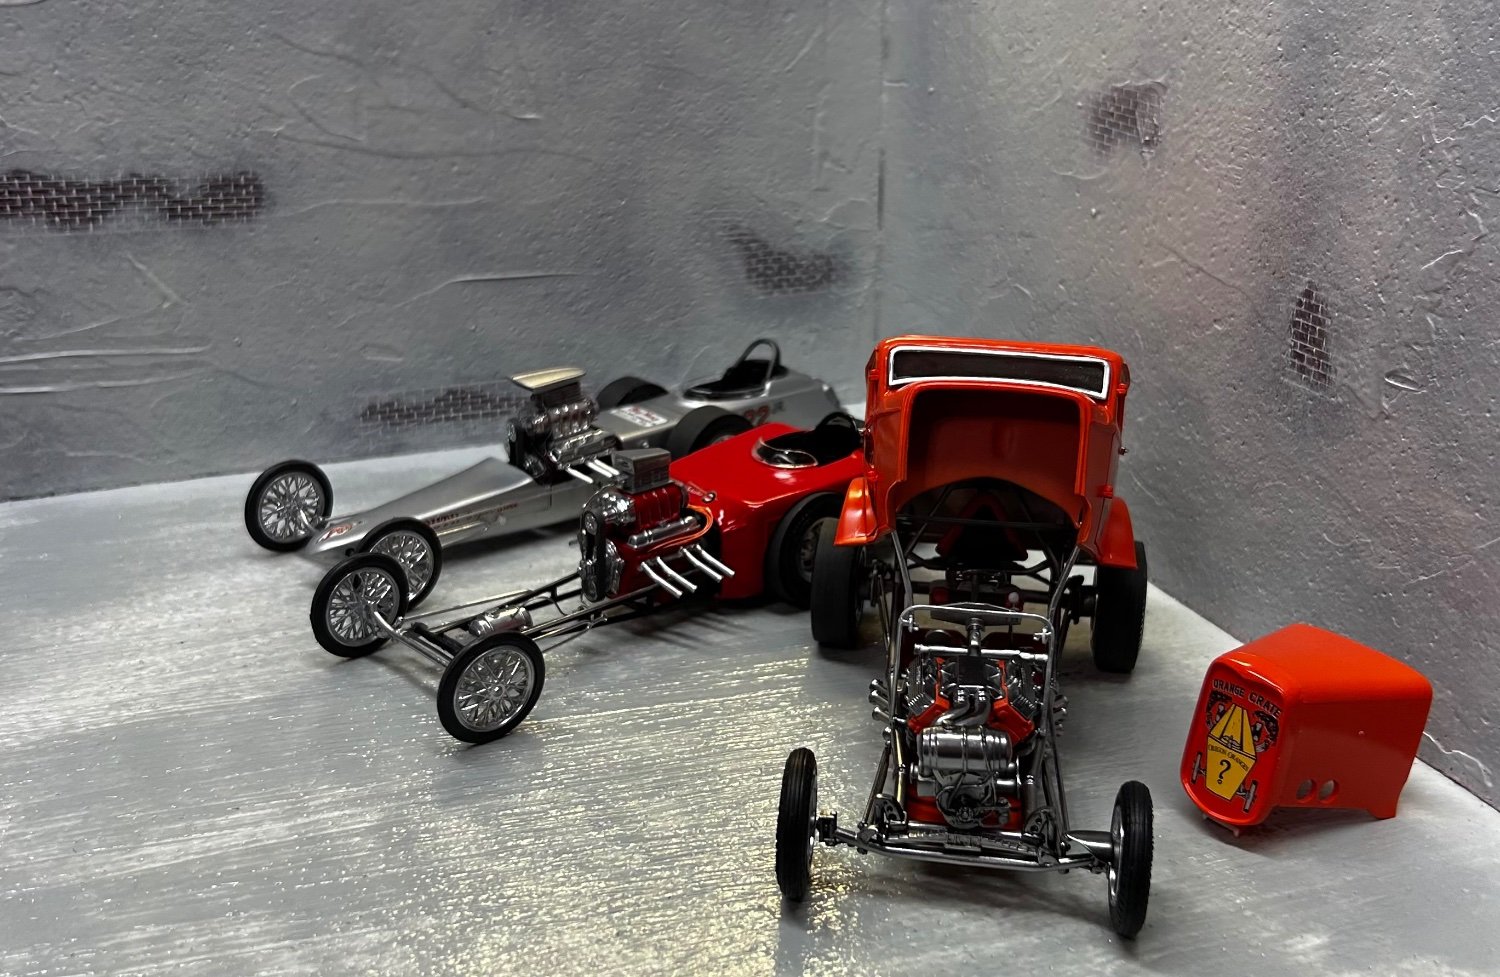
There is no one garage scene that's going to fit all eras. Just ain't gonna happen. As it turns out, I love model cars from the 1920's all the way up through current era. Not going to build four or five garage displays to fit all occasions. I think the best approach may be to build as modern then we could pretend an old car is inside a modern garage, but a new car inside an old garage would be weird.
-
On the particular instance I referred to, it turned out to be a bad condenser. Until then, I never had one act like that. Usually when they failed, you got no spark at all, not a misfire.
-
I don’t think I showed a photo of the cassis with the seat installed.

-
My granddaughter has an Infinity G37. It developed a misfire, so we called our mobile mechanic to come out and have a look about it. He plugged in his tablet/laptop where he could make a complete diagnosis on the spot, then repair the problem. I watched him shut down each cylinder one at a time at the touch of the screen, and as he did I was thinking to myself, imagine if we could have done all that back then...I remember piddling around most all night on the roadside trying to diagnose a misfire on my '64 Chevy Nova back in 1979.
-
We'll just convert that server tower into a locker, or something similar. No biggie. It's 2023 and there wouldn't be no stinkin' server tower in my garage. 😀
-
It’s time to build a garage for these 1:25 scale model cars. About 20 years ago I bought these Fujimi diorama kits but never built them. Thinking how ridiculous my 1:12 sawhorses look together with 1:25 model cars, decided it’s high time to build these for photos and display. Will start a separate thread to present the build.