-
Posts
7,748 -
Joined
-
Last visited
Content Type
Profiles
Forums
Gallery
Events
Everything posted by CDW
-
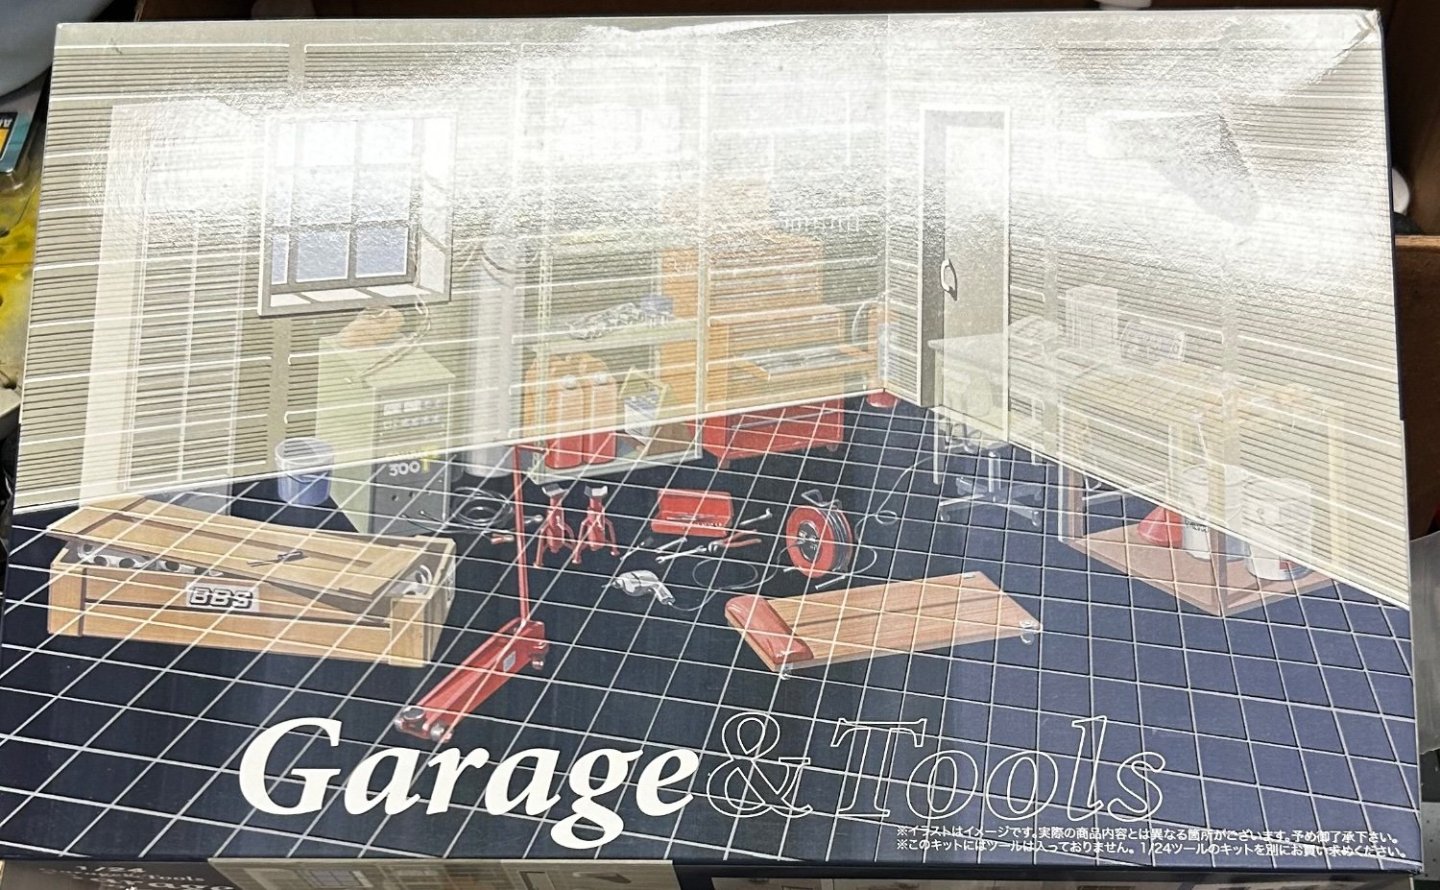
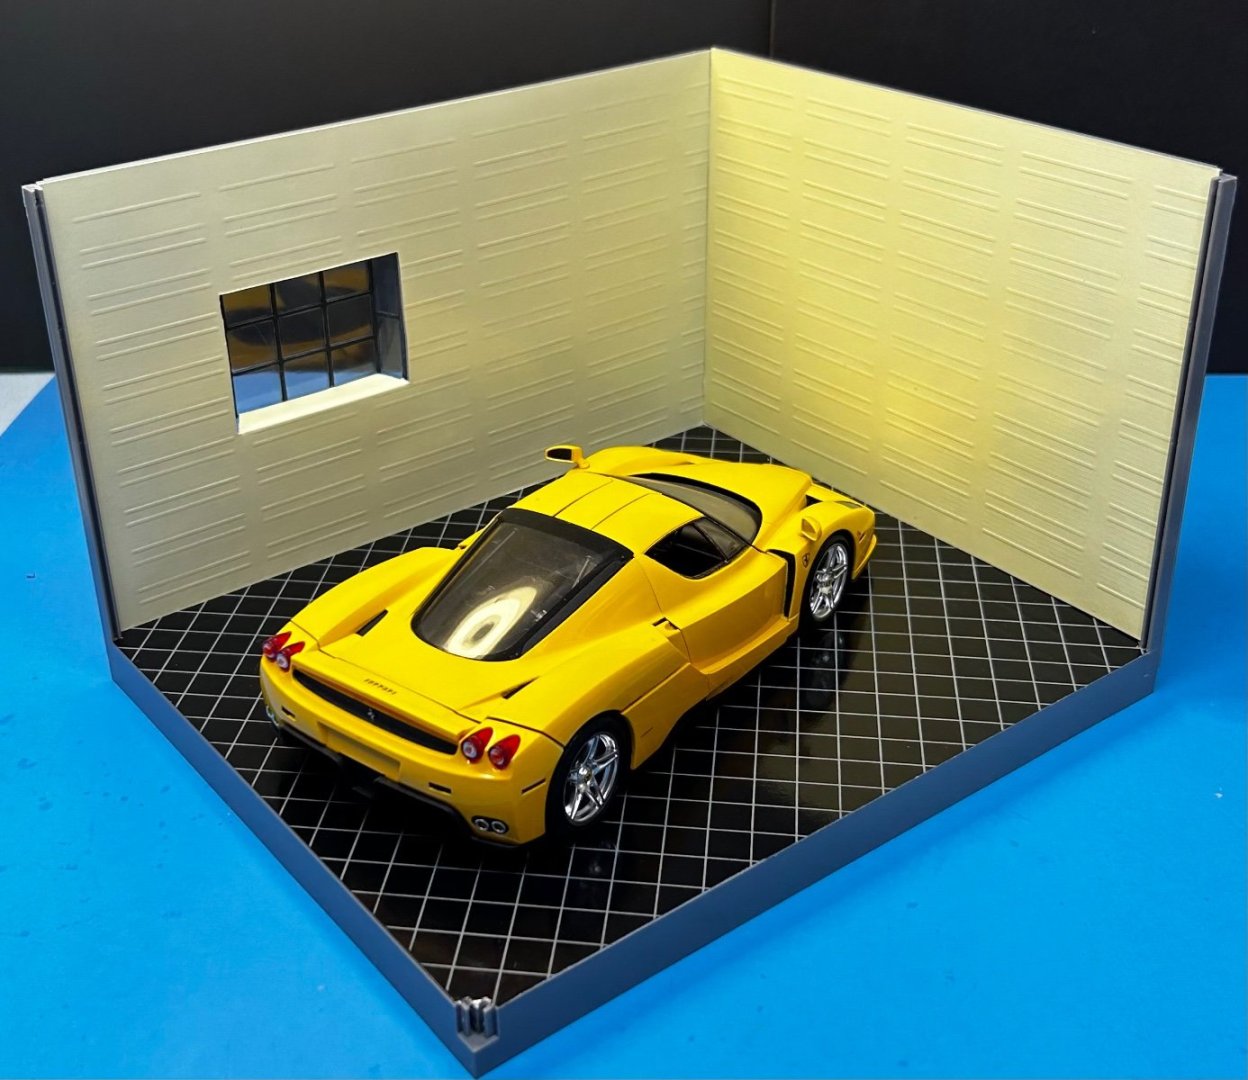
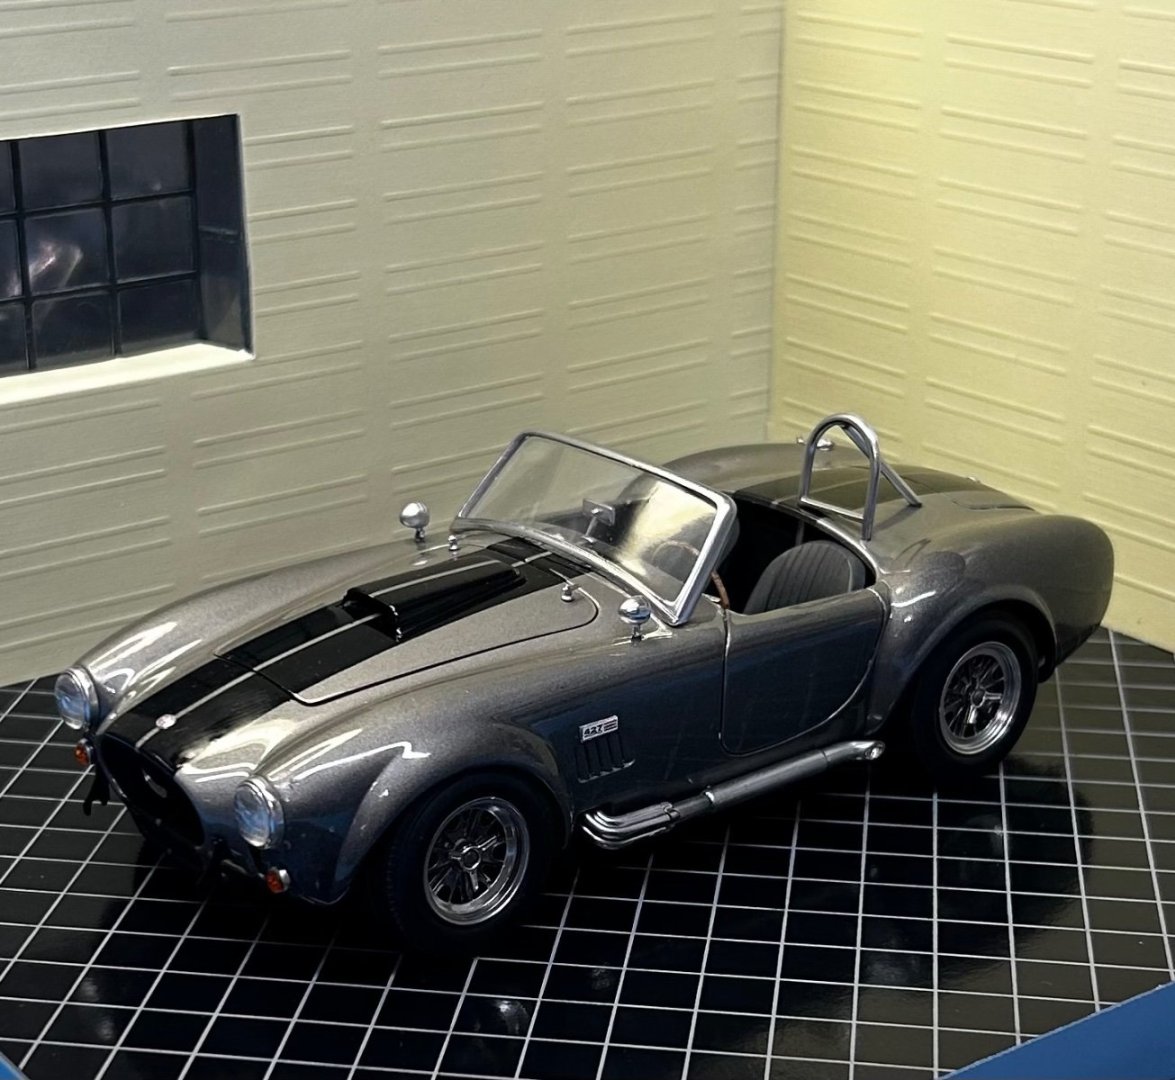
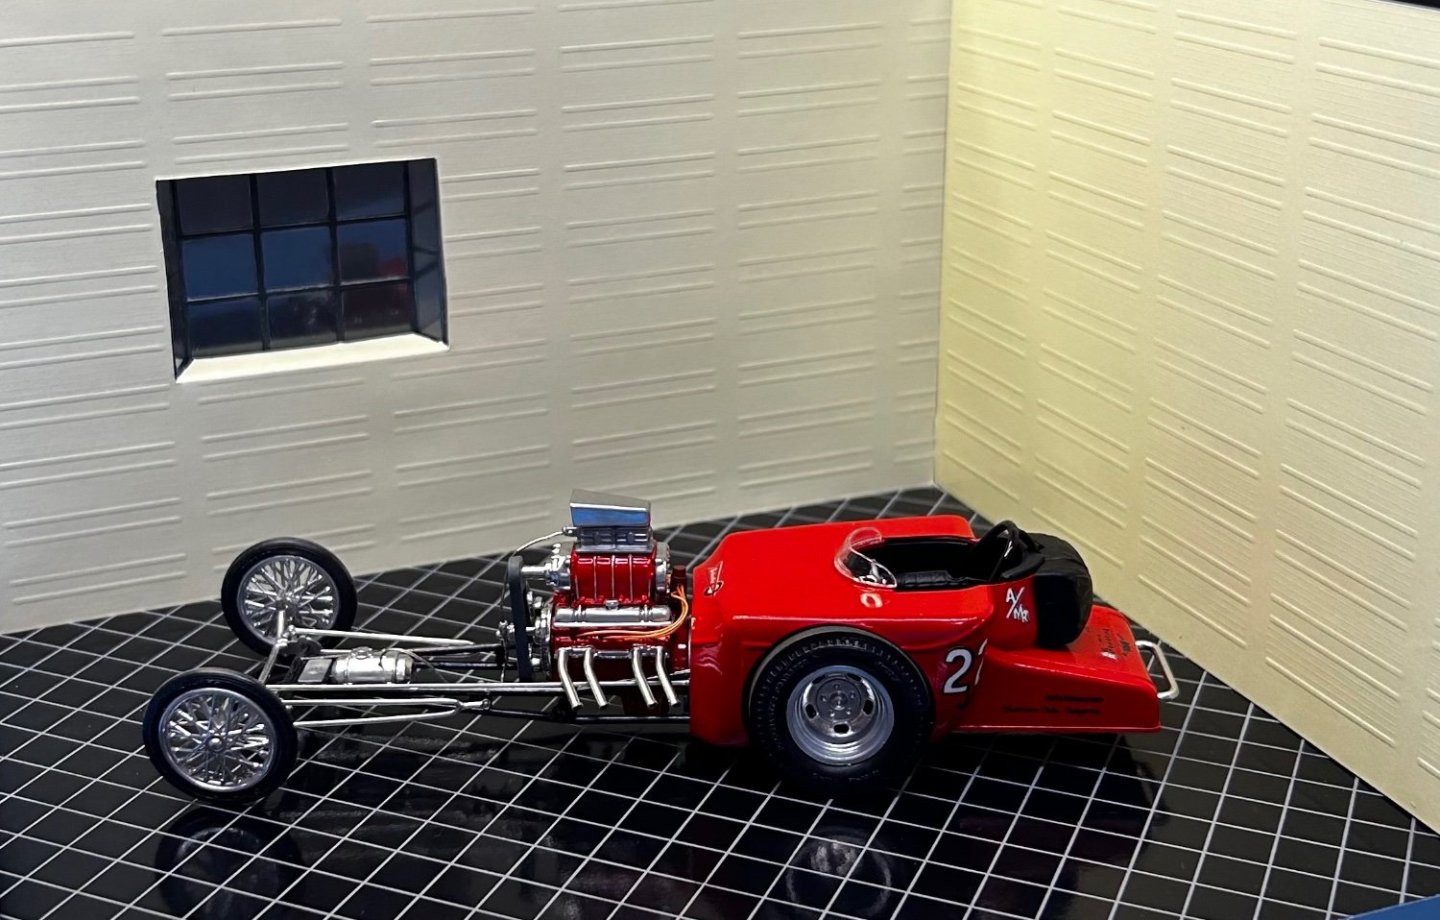
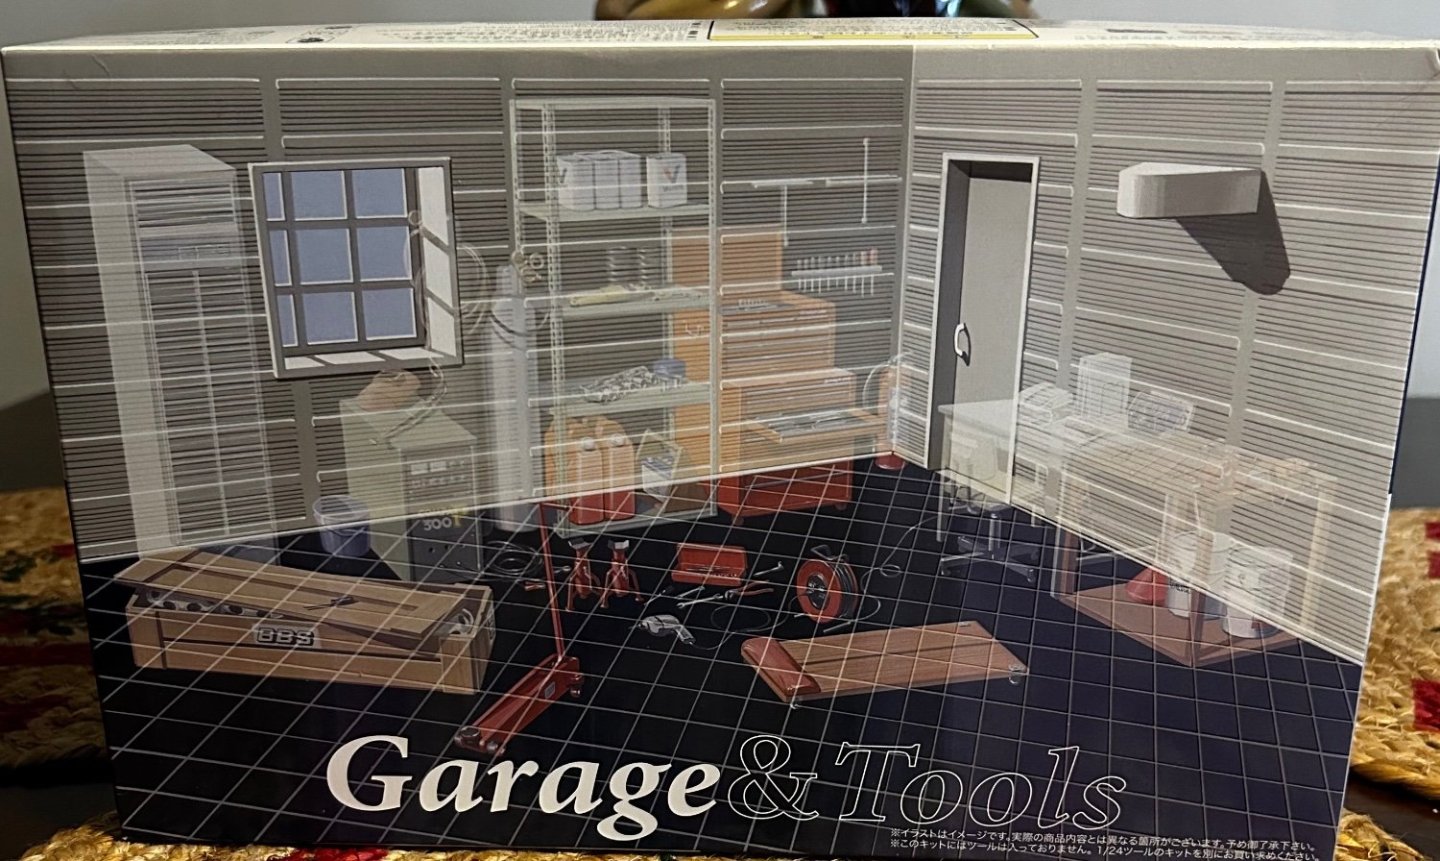
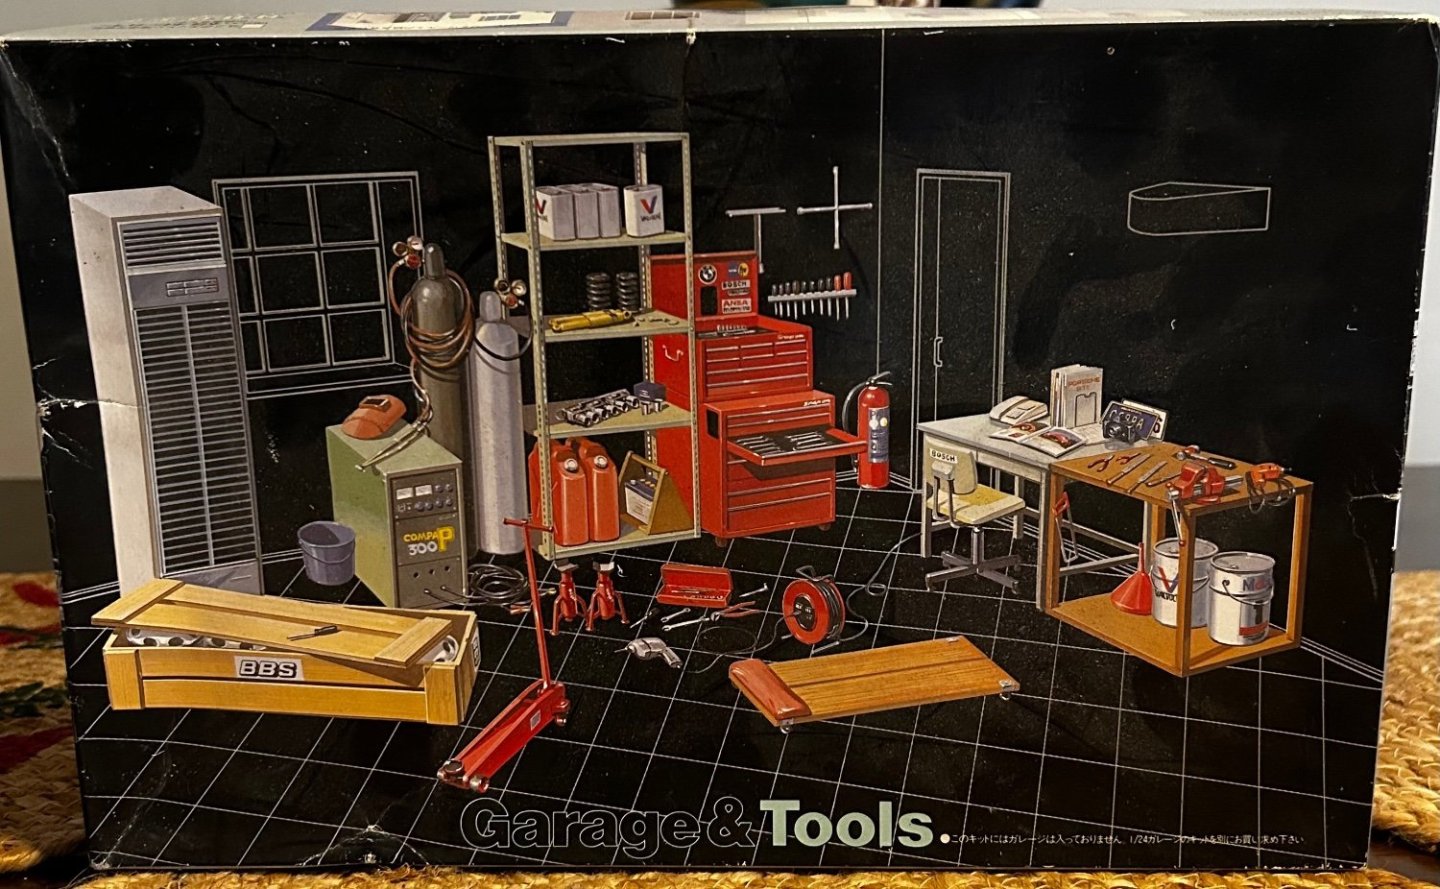
I’ve owned the 1:24 scale Garage and Tools kits for a long time but never got around to building them. Realizing I need a better backdrop for photographing my model cars, decided to slap these together and see what I”ve got. Right off the bat, it seems two garage kits are needed to make it wide enough to suit me. The kit is designed to attach multiple garage modules and stretch it out. I’ll be ordering another garage and connect the two. Here’s how one looks without any tools. Very simple construction. Cardboard wall paper and flooring included in the kit. I’ll likely build another garage from scratch. I think I’ll be more satisfied with that. This one leaves me rather cold, but it’s better than nothing.
-
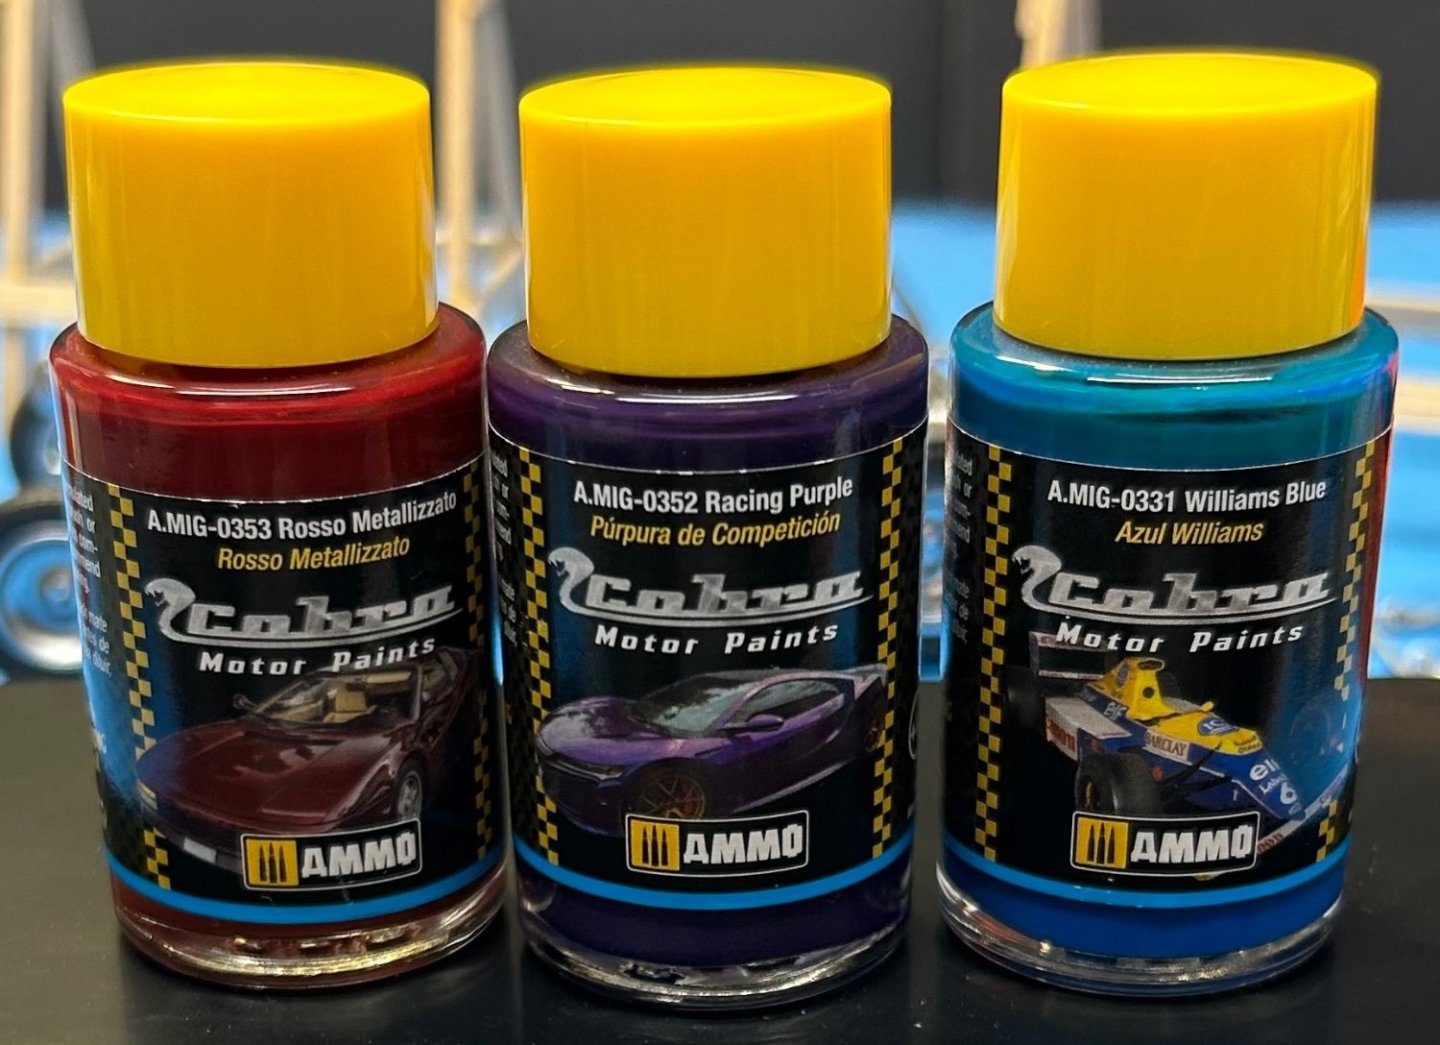
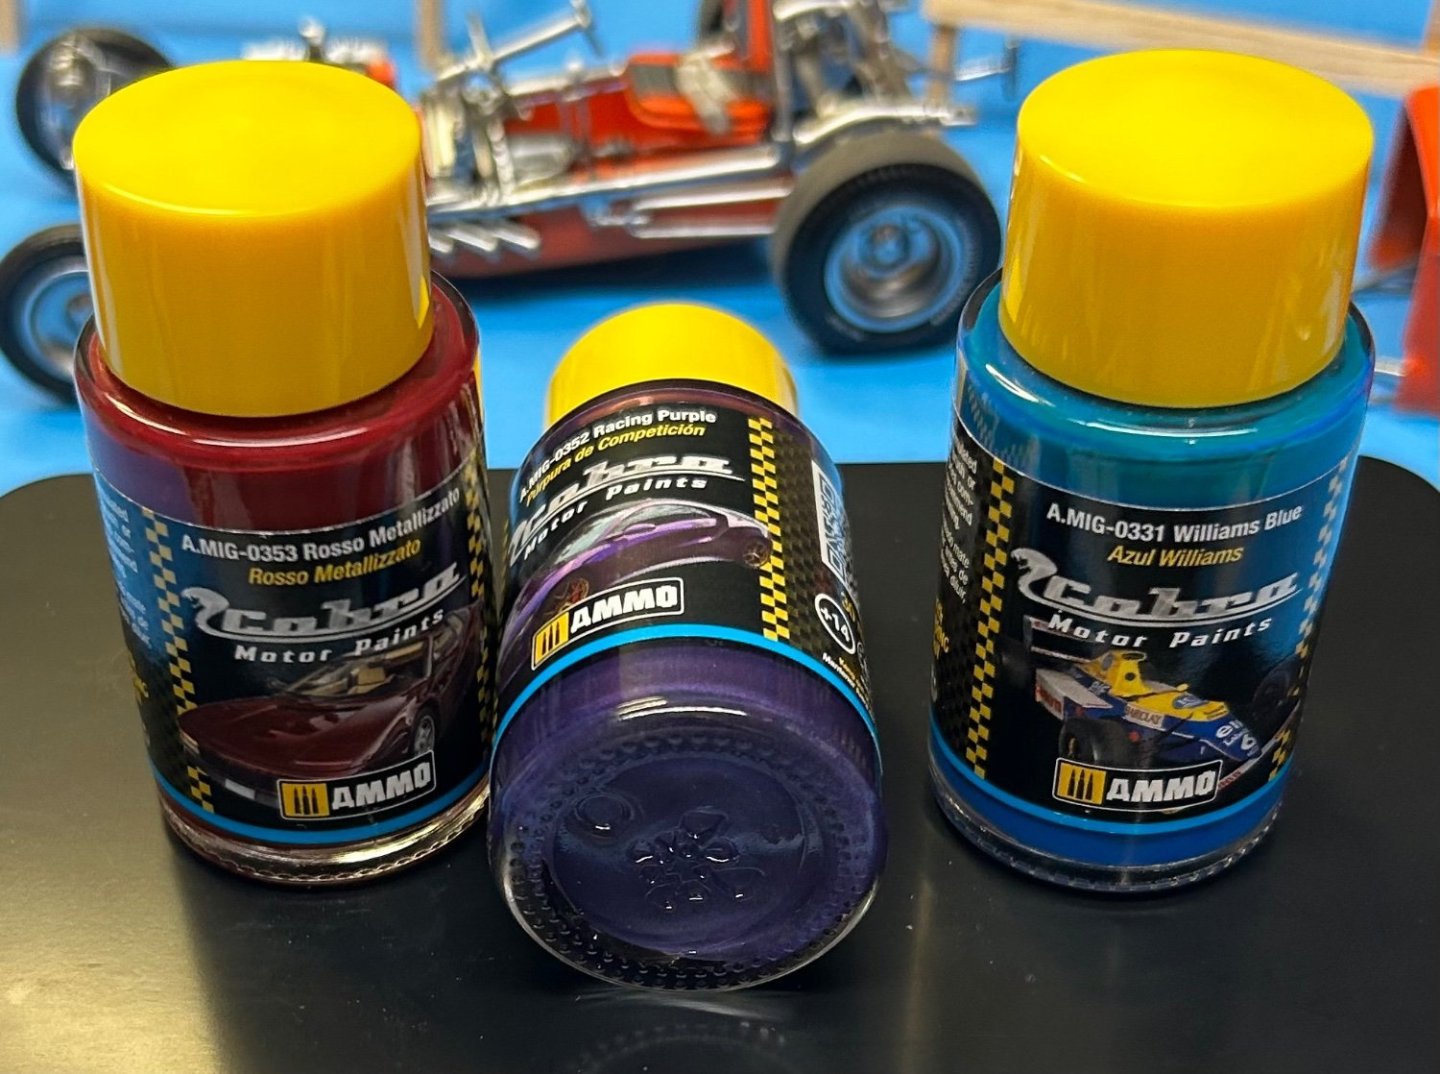
Ammo by Mig have come out with a new line of paints for autos called, Cobra Motors Paints. The paints are acrylic flat colors in a large variety of color and shade. They are designed to be used as a base coat with a gloss clear coat. They have their own clear lacquer and a hardener too. The purple color in the middle is what I will use on the Wild Dream. It’s metallic. I’ll use my own clear coat already on hand.
-
There is no one garage scene that's going to fit all eras. Just ain't gonna happen. As it turns out, I love model cars from the 1920's all the way up through current era. Not going to build four or five garage displays to fit all occasions. I think the best approach may be to build as modern then we could pretend an old car is inside a modern garage, but a new car inside an old garage would be weird.
-
My granddaughter has an Infinity G37. It developed a misfire, so we called our mobile mechanic to come out and have a look about it. He plugged in his tablet/laptop where he could make a complete diagnosis on the spot, then repair the problem. I watched him shut down each cylinder one at a time at the touch of the screen, and as he did I was thinking to myself, imagine if we could have done all that back then...I remember piddling around most all night on the roadside trying to diagnose a misfire on my '64 Chevy Nova back in 1979.
-
It’s time to build a garage for these 1:25 scale model cars. About 20 years ago I bought these Fujimi diorama kits but never built them. Thinking how ridiculous my 1:12 sawhorses look together with 1:25 model cars, decided it’s high time to build these for photos and display. Will start a separate thread to present the build.
-
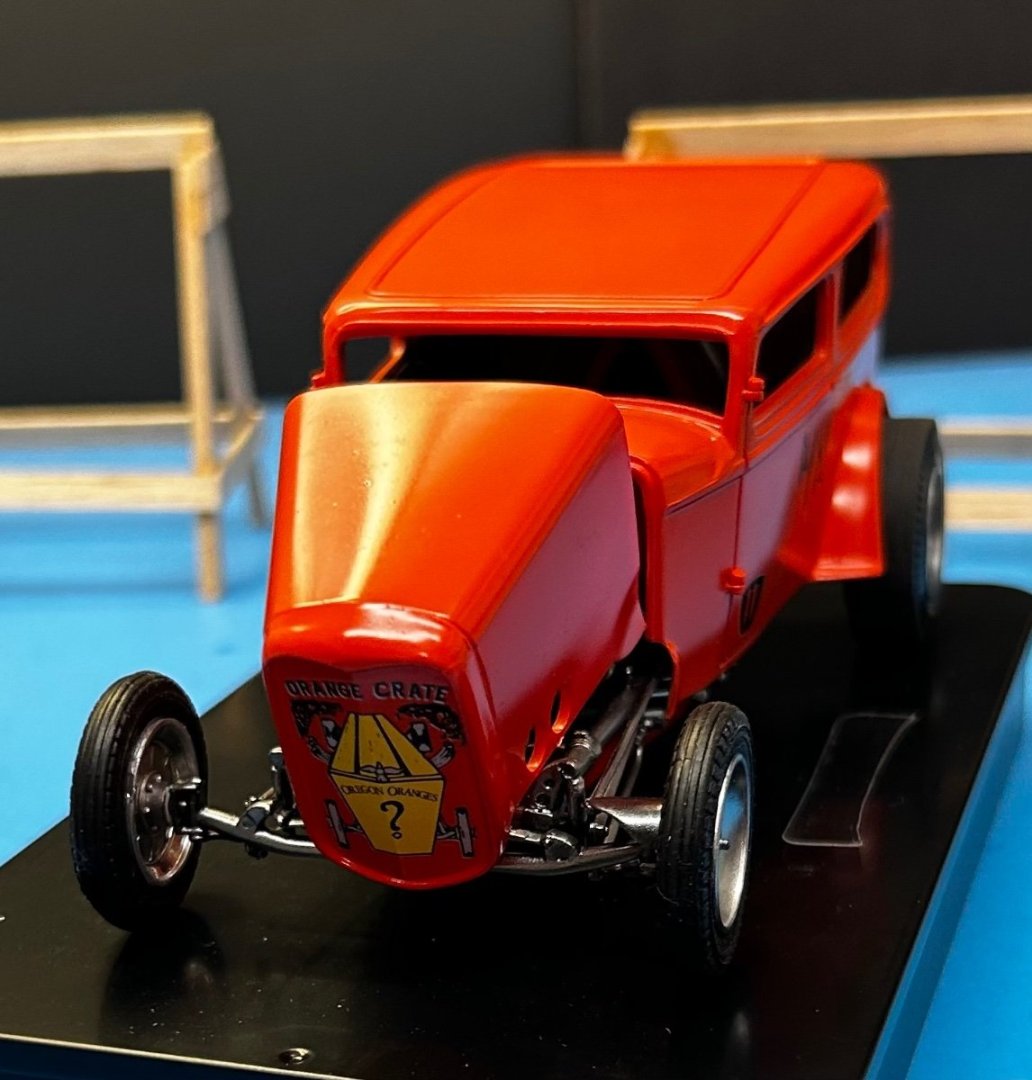
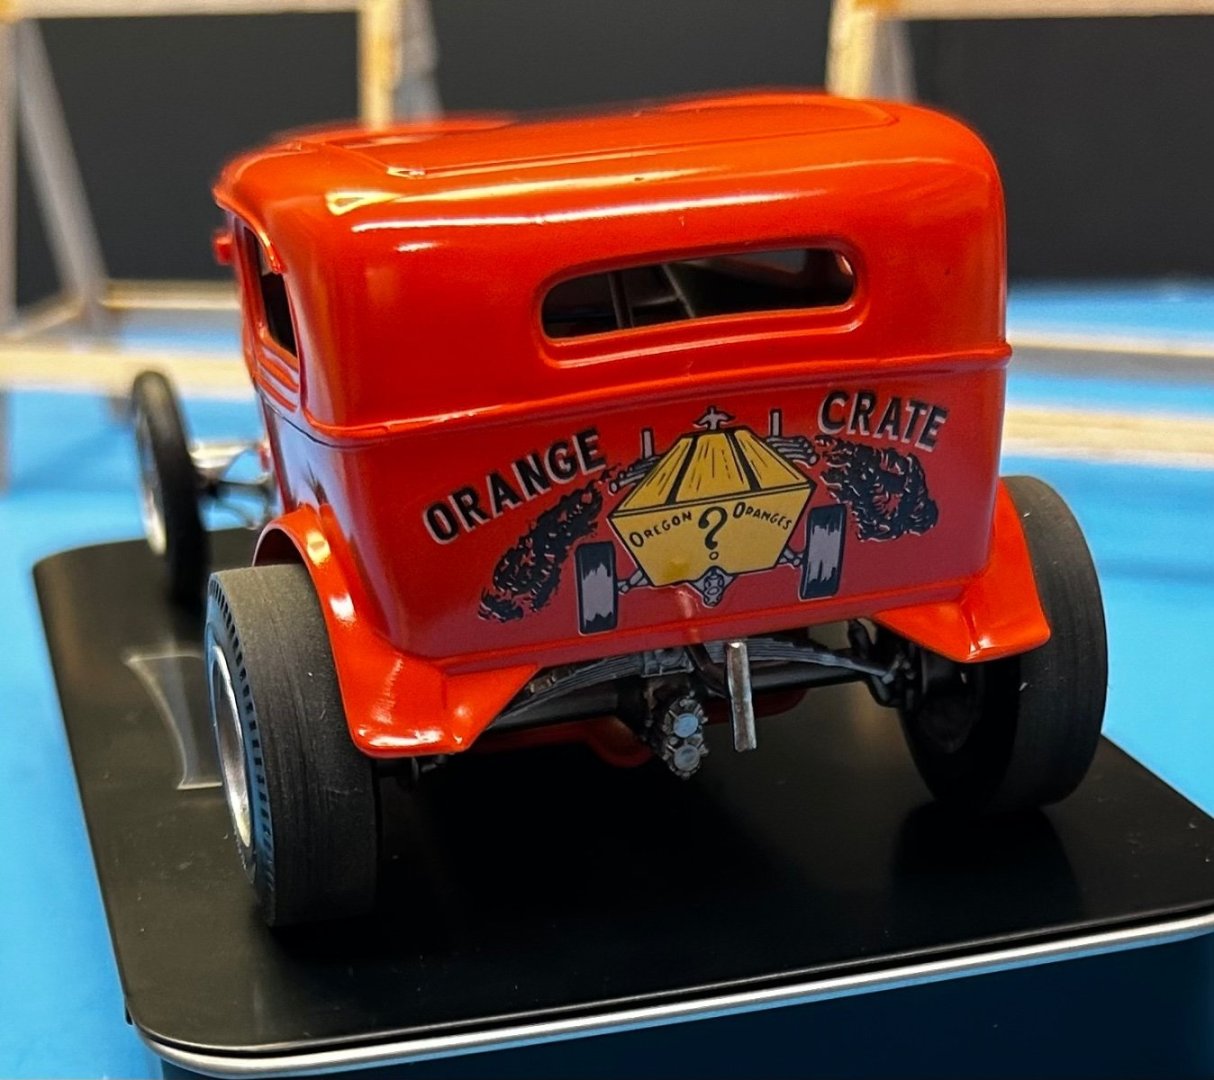
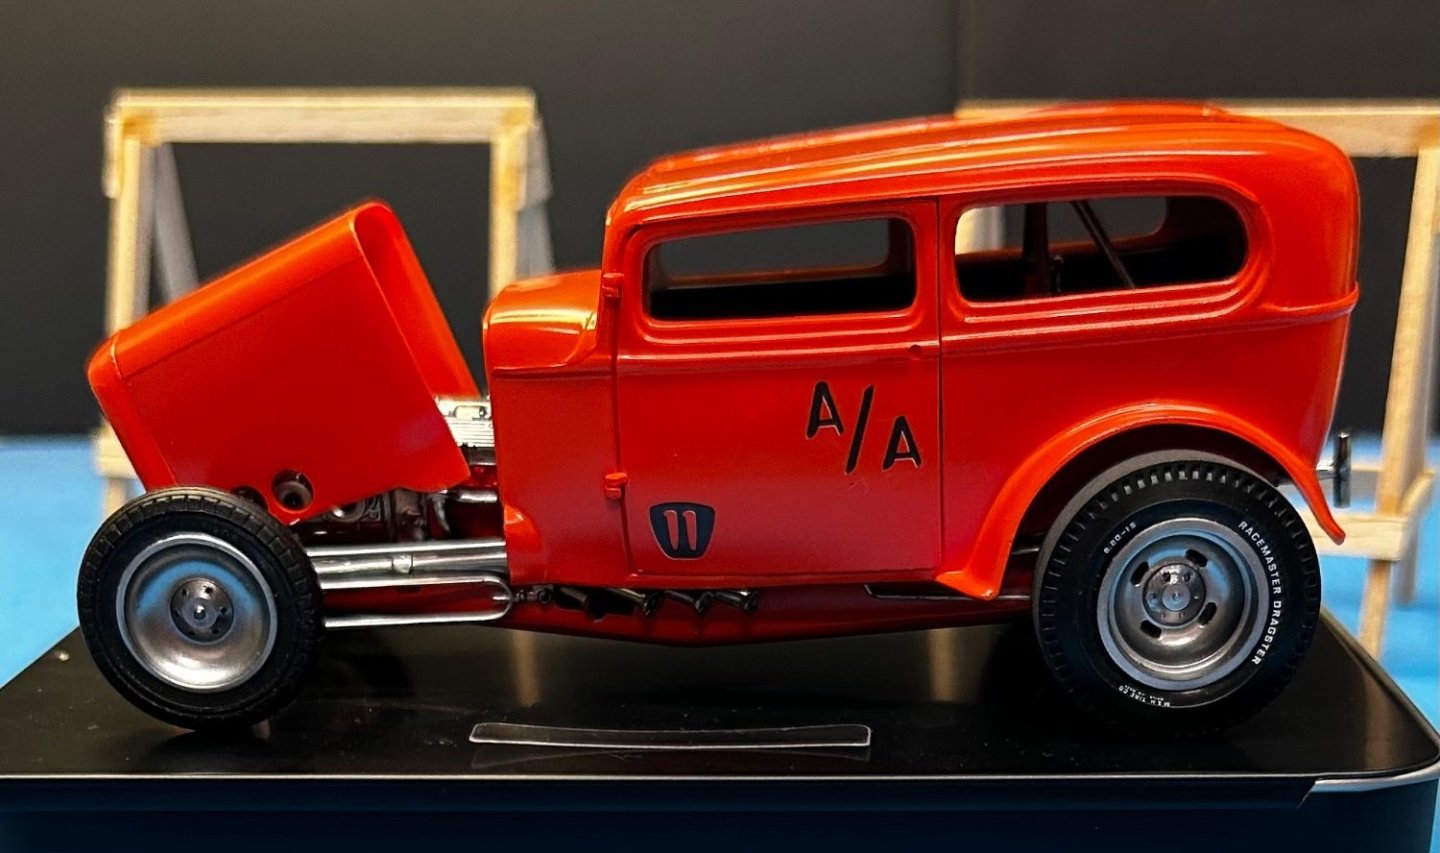
The first of what will eventually be three clear coats went down today. With tomorrow being Thanksgiving, will give this coat a couple of days to cure before laying down the decals, then two more clear coats following the decals. There are a few more parts to attach but don't want to handle the body until the paint is thoroughly cured.
-
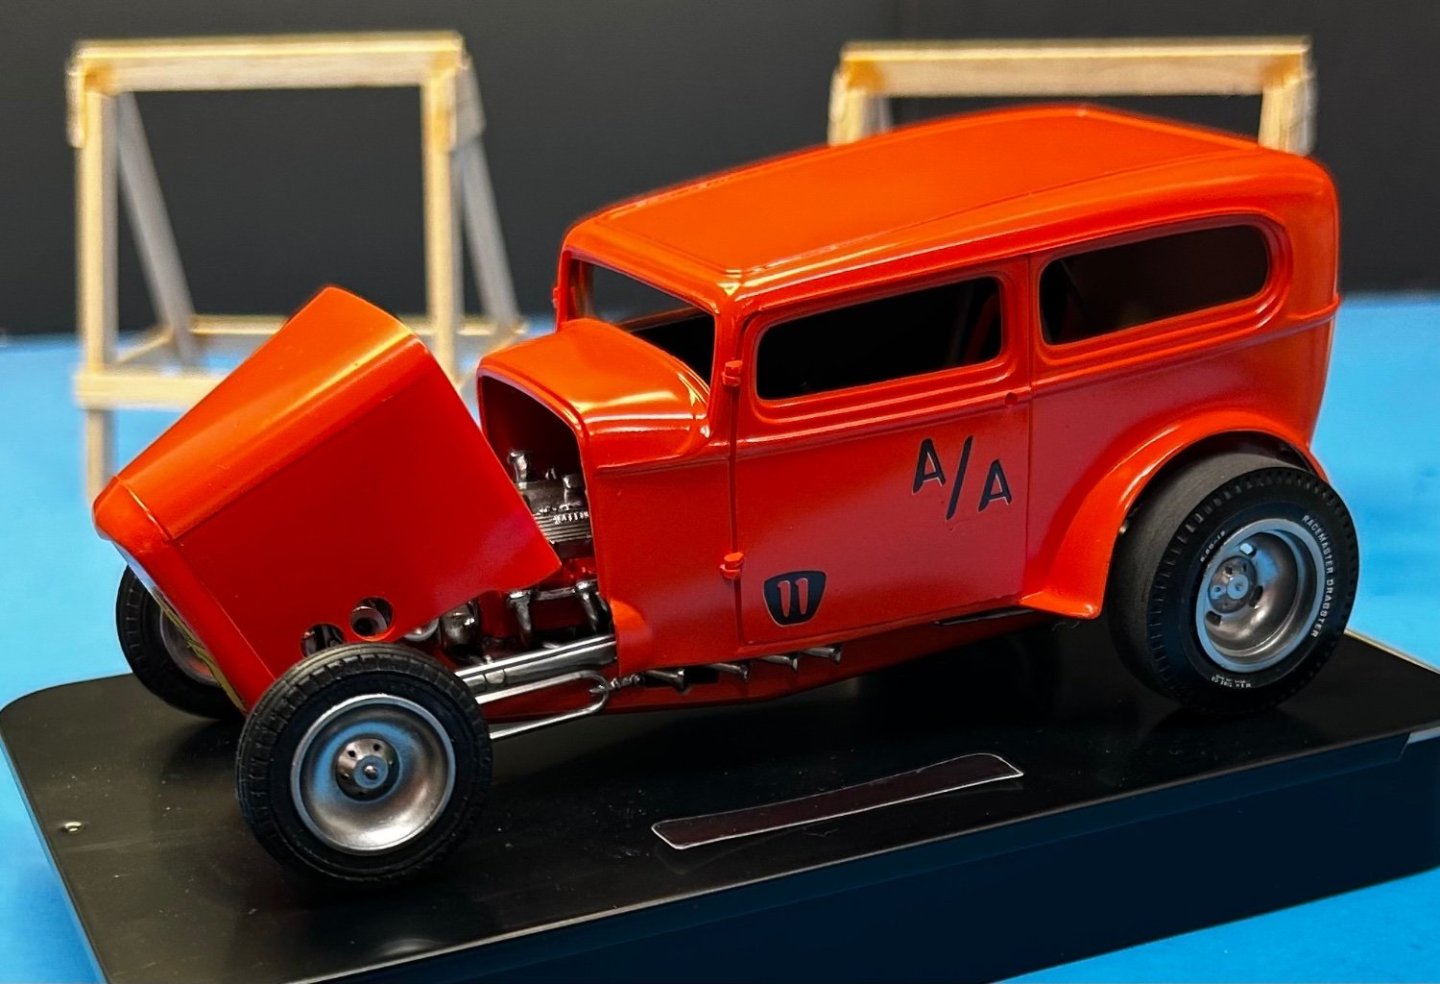
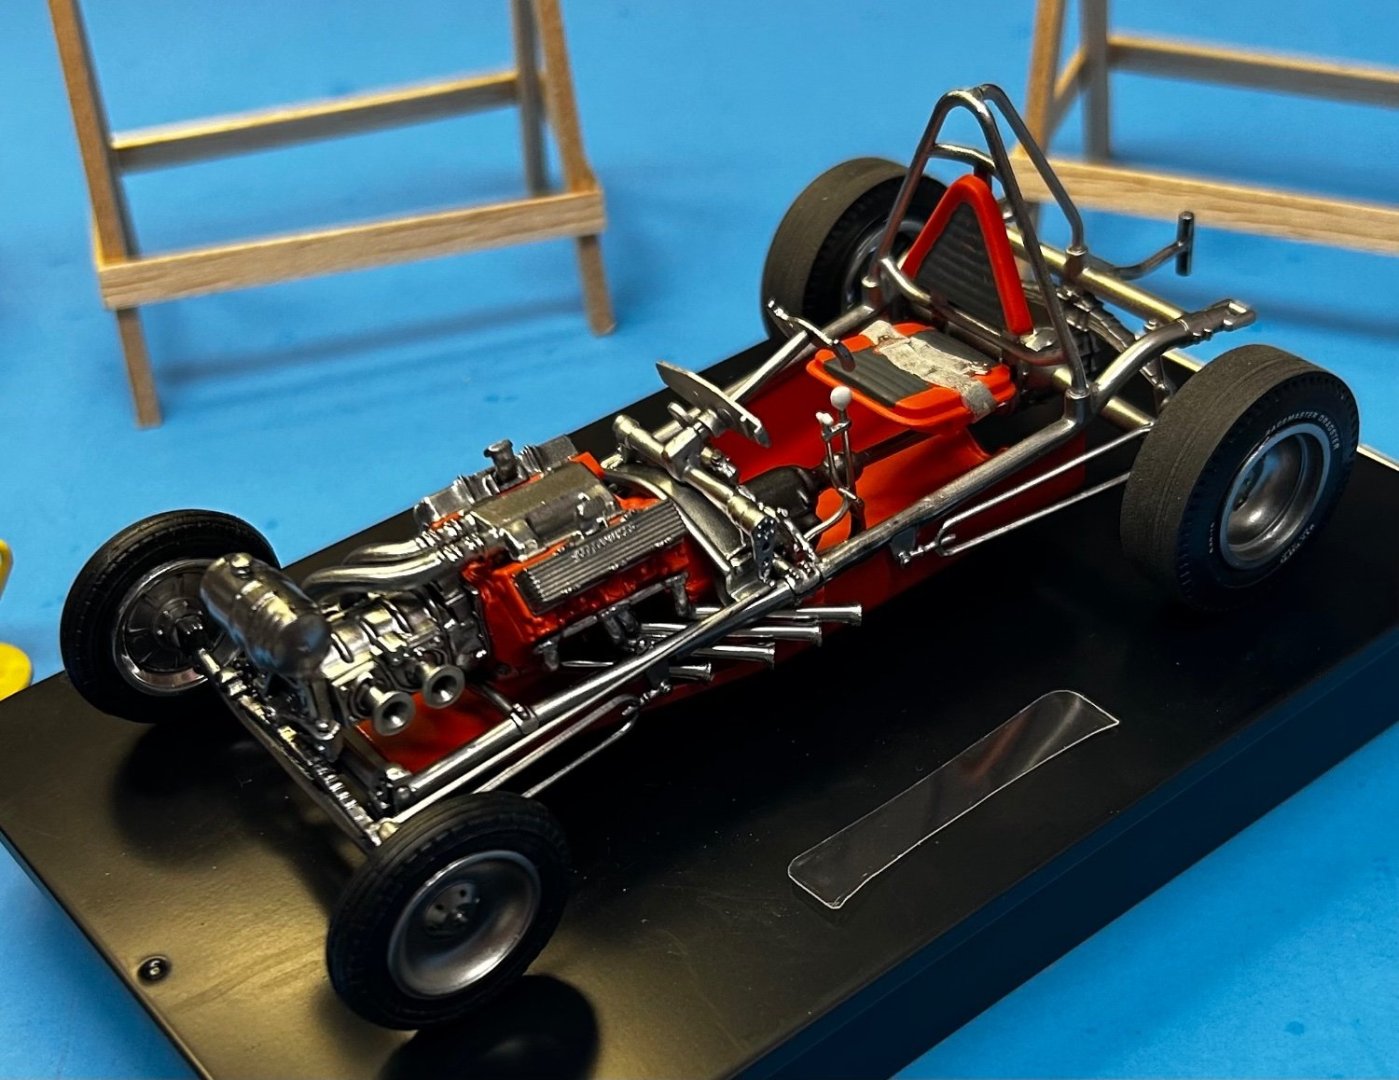
Put on the orange base coat today. Will give this time to cure before the clear coats to come later. This was a custom orange I mixed more than a year ago when I built a Can Am McLaren M8B and wanted a match for the McLaren paint. I had plenty of it bottled up and thought it looked good for the Orange Crate. Nothing I had on hand looked the right shade of orange straight from the bottle. Can't recall my formula for this mix as primarily, I did it by eye not by specific ratios of colors.
-
Bracket races! I couldn't recall the name of them for nothing. Thanks for jogging my memory! Bracket racing was a blast. So much fun. But consistency was the key. You had to run your best qualifying time consistently. Whoever did that eventually became the "top eliminator" that evening. Rail dragsters ran against completely stock cars.
-
My brother raced NHRA sanctioned matches in the early '60's with his '55 Chevy, competing in a stock class. I don't recall him even wearing a helmet back then. He took top of his class in a number of matches including the state championships. My old boss ran in one of the stock classes in his '62 Biscayne 409. He held some stock records for a period of time with that car. After he wore out that 409, he became a Mopar man and bought a Dodge with a Hemi. It was another stock class demon. The early 60's to mid 70's were golden years for drag racing IMO. I have so many good memories of drag racing on the weekends. Our local track held handicap races, so you could "run what you brung" on Fridays. For those who were never involved in these types of drag races, the following is a basic summary of how it worked: All competitors ran three qualifying races. Your best time of the three became your ceiling. The lights were timed so that each pair of competitors were evenly matched. In other words, if my best quarter mile time was 14.0 seconds, and my competitor's best time was 11.0, my light flashed green 3 seconds before his light turned green. If by some chance you clocked a faster time than your qualifying time in a match, you were automatically disqualified and thus eliminated. These matchups continued until there was a top dog at the end. They were so much fun because everyone could compete even if you were driving the family station wagon.
About us
Modelshipworld - Advancing Ship Modeling through Research
SSL Secured
Your security is important for us so this Website is SSL-Secured
NRG Mailing Address
Nautical Research Guild
237 South Lincoln Street
Westmont IL, 60559-1917
Model Ship World ® and the MSW logo are Registered Trademarks, and belong to the Nautical Research Guild (United States Patent and Trademark Office: No. 6,929,264 & No. 6,929,274, registered Dec. 20, 2022)
Helpful Links
About the NRG
If you enjoy building ship models that are historically accurate as well as beautiful, then The Nautical Research Guild (NRG) is just right for you.
The Guild is a non-profit educational organization whose mission is to “Advance Ship Modeling Through Research”. We provide support to our members in their efforts to raise the quality of their model ships.
The Nautical Research Guild has published our world-renowned quarterly magazine, The Nautical Research Journal, since 1955. The pages of the Journal are full of articles by accomplished ship modelers who show you how they create those exquisite details on their models, and by maritime historians who show you the correct details to build. The Journal is available in both print and digital editions. Go to the NRG web site (www.thenrg.org) to download a complimentary digital copy of the Journal. The NRG also publishes plan sets, books and compilations of back issues of the Journal and the former Ships in Scale and Model Ship Builder magazines.

.jpg.7e80607770d9078b2f0b470e8c9c33ac.jpg)

