CDW
-
Posts
7,748 -
Joined
-
Last visited
Content Type
Profiles
Forums
Gallery
Events
Everything posted by CDW
-
 Have you seen these cordless polishing/sanding tools marketed by Mr Hobby? They make short work of removing ejector pin marks in hard to reach places. Comes in very handy.
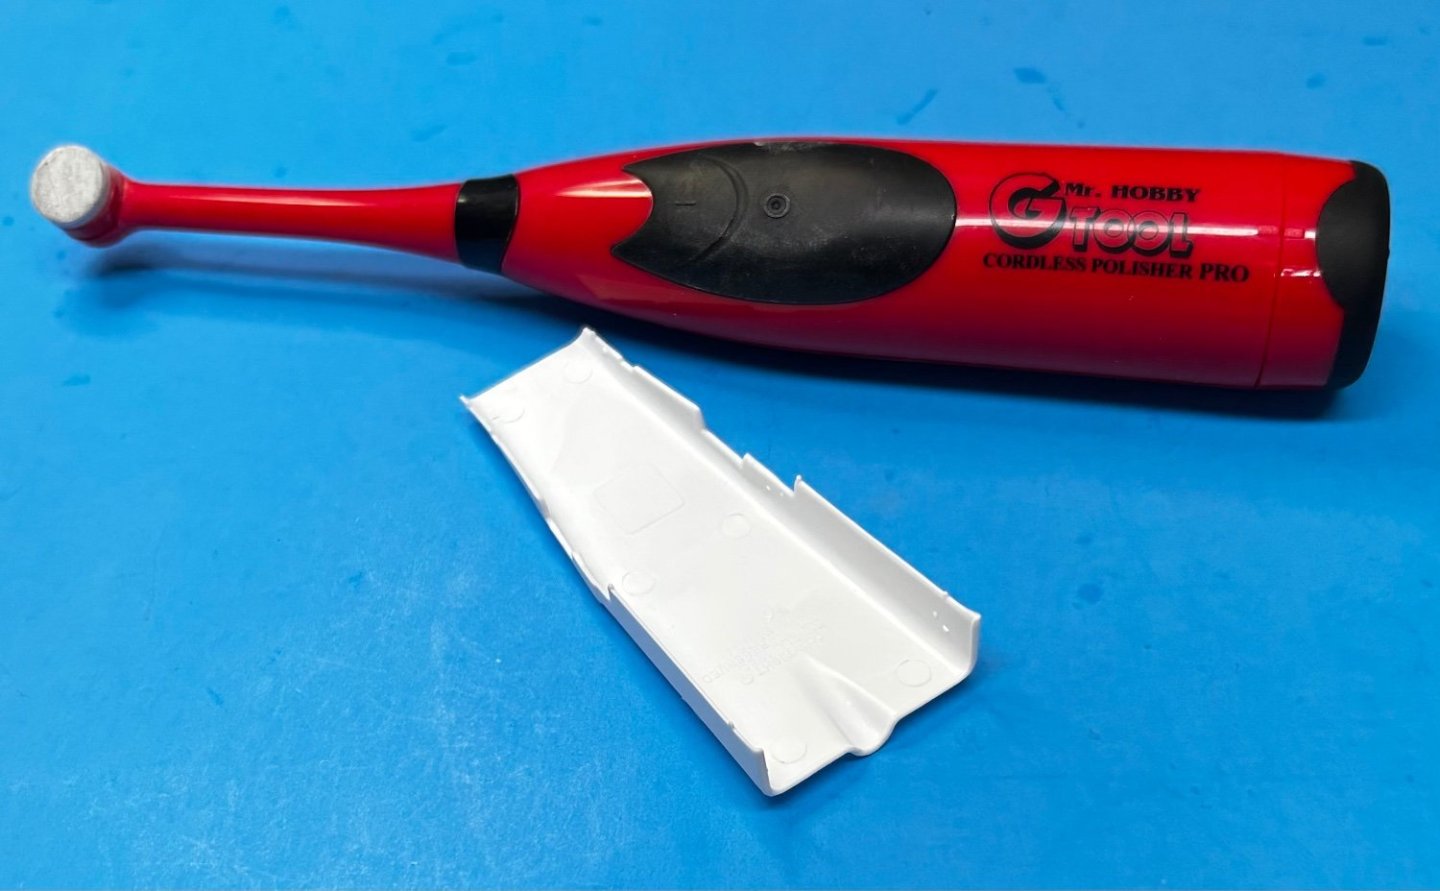
-
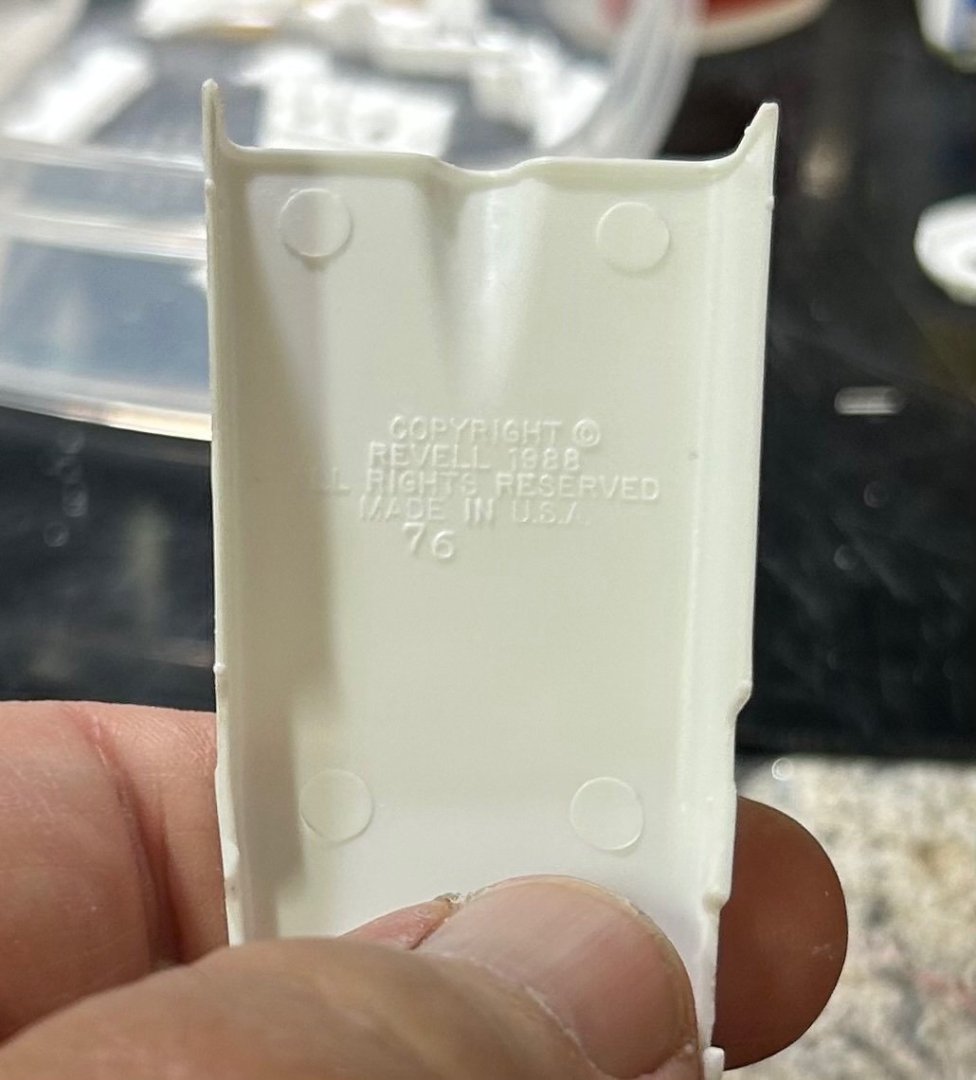
I was 35 when this was belly pan part was stamped. Sigh….
-
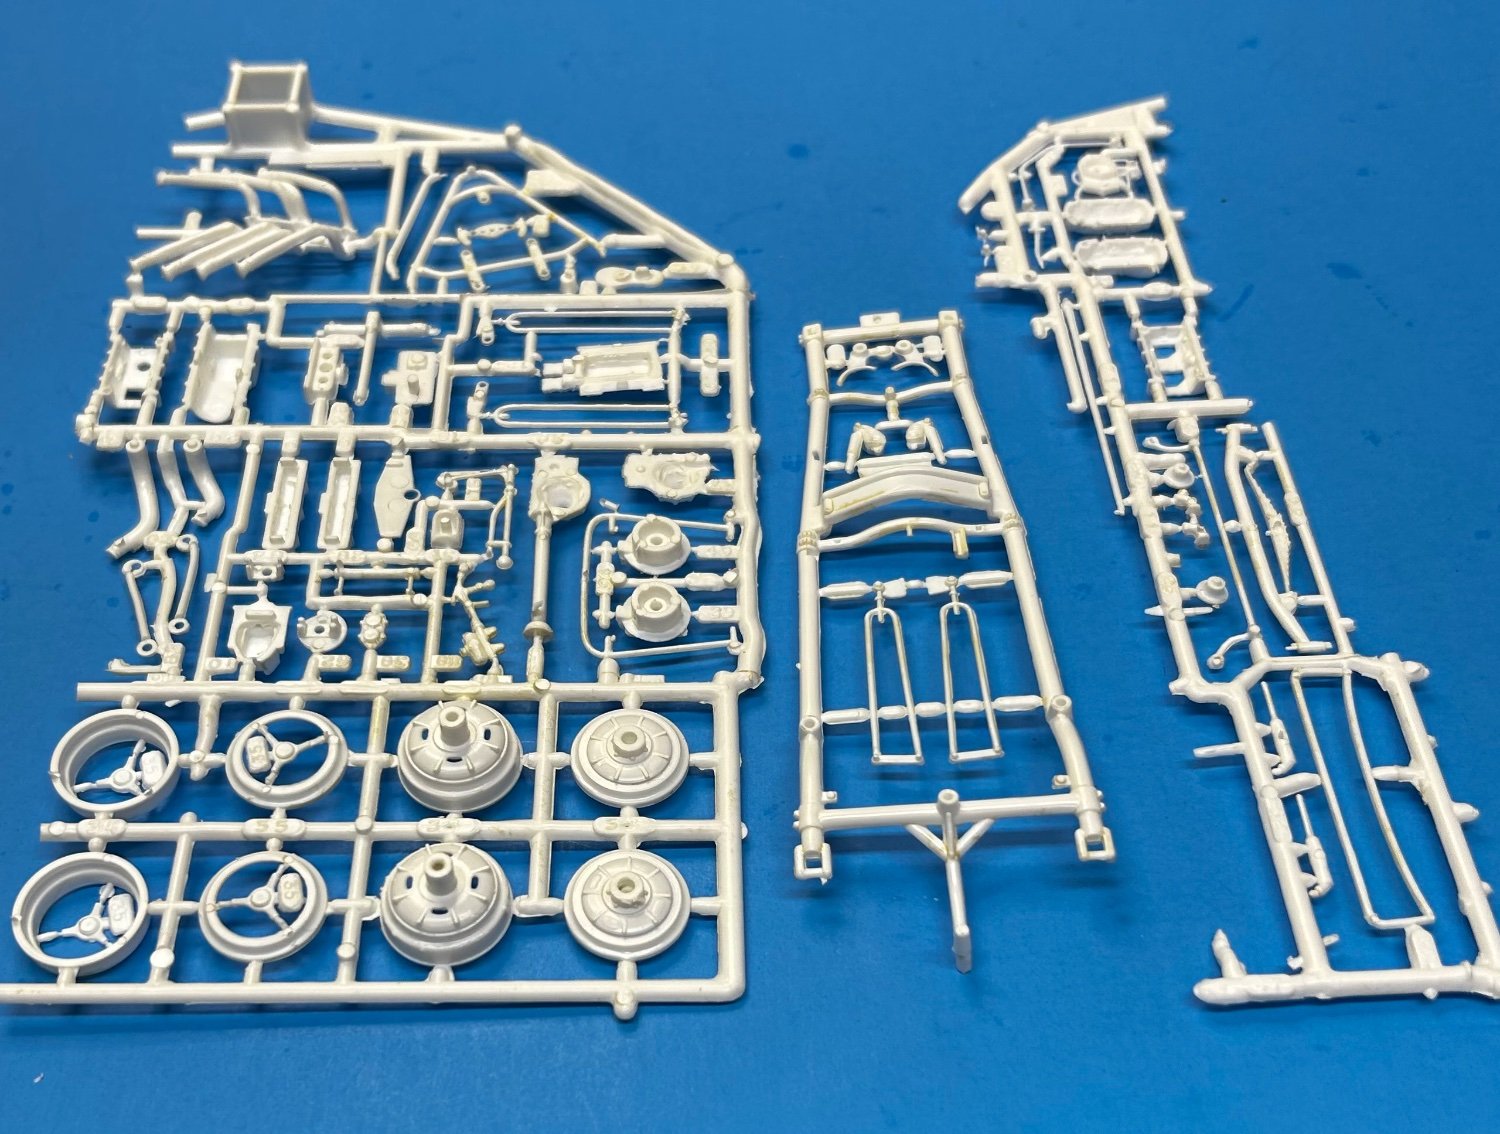
So much for my thoughts of using the chrome parts. There was too much flash in places, and too many sprue attachment points to deal with. It would have ended up a patched up, mixed up mixture of chrome plating and Molotov ink touchups. I believe that in the long run, carefully cleaning up all the plastic pieces, assembling, then painting the assemblies with Alclad chrome will give much better results. Here are the plastic trees all stripped down. Will begin the tedious chore of removing all the parts and cleaning them up for assembly and painting.

-
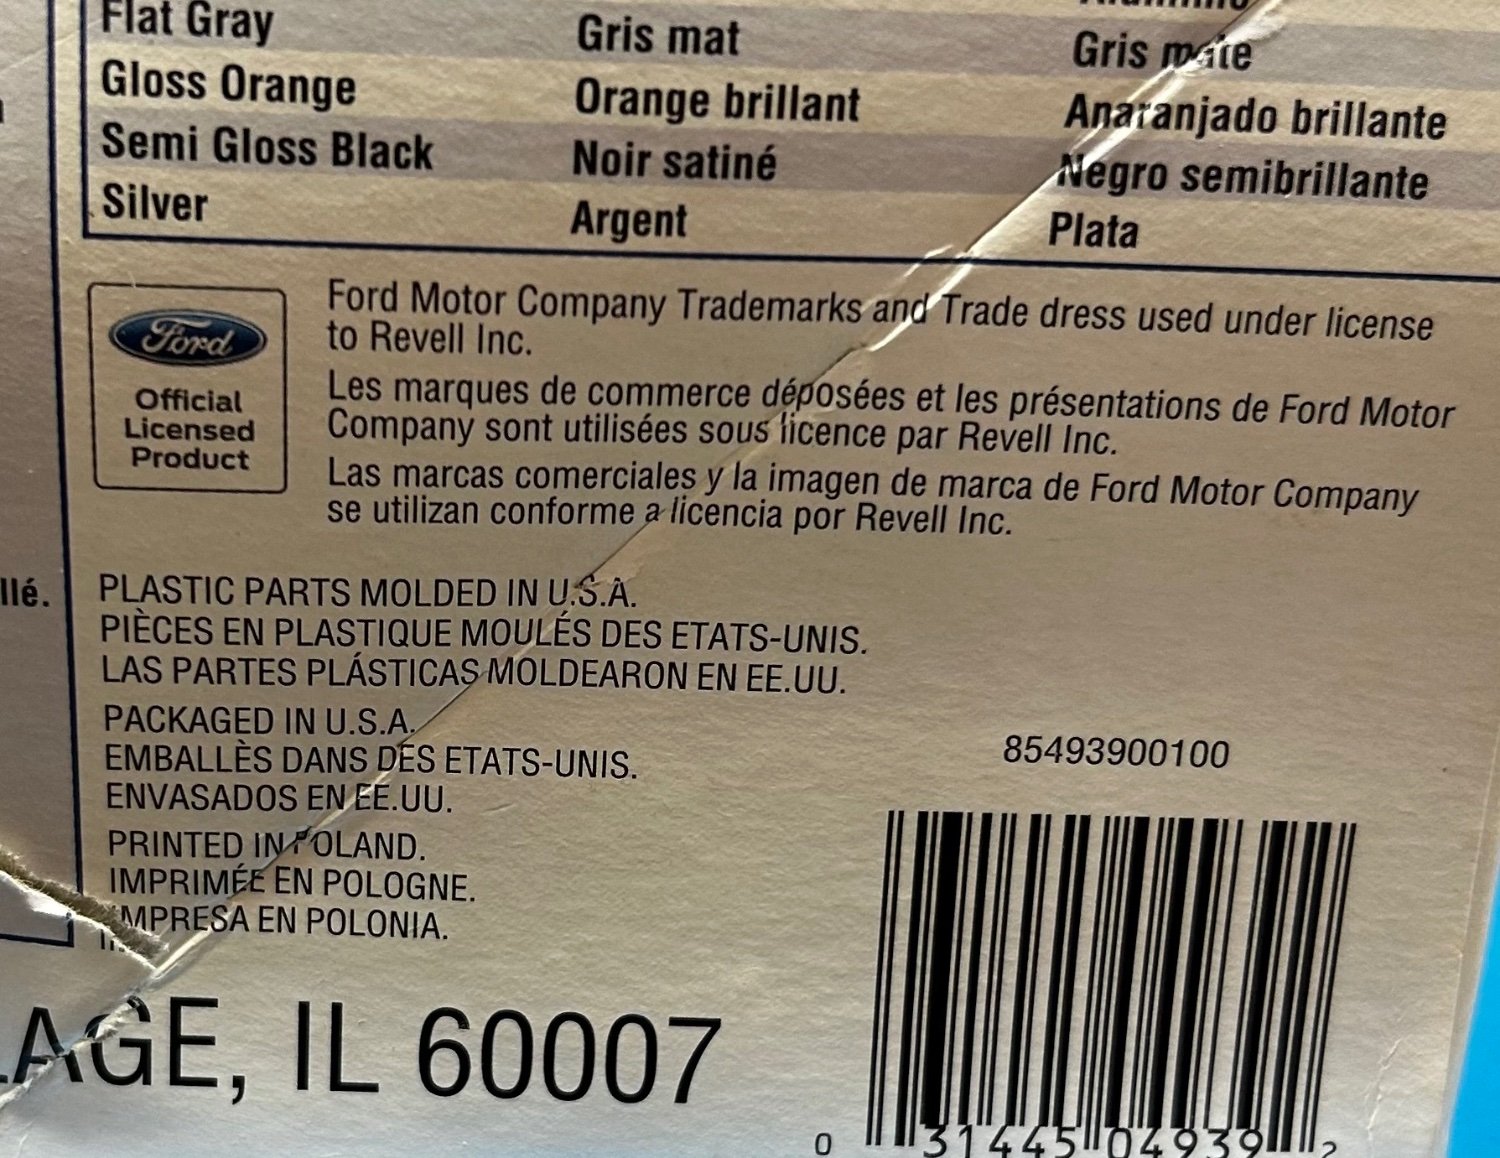
Are there ANY companies actually molding plastic models in the USA Today? Not that I know of.

-
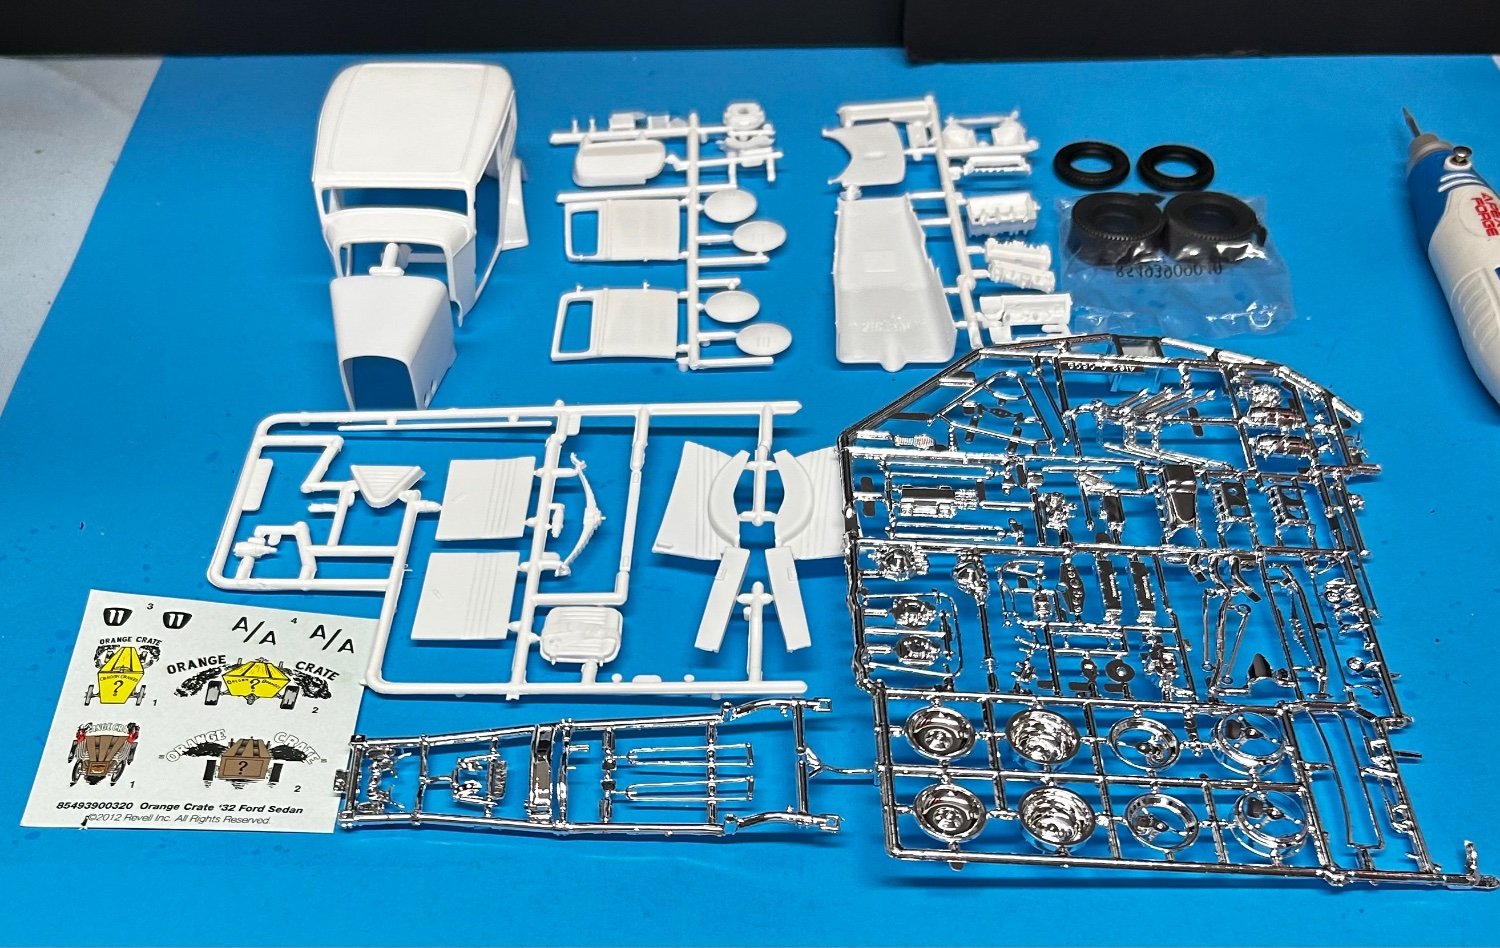
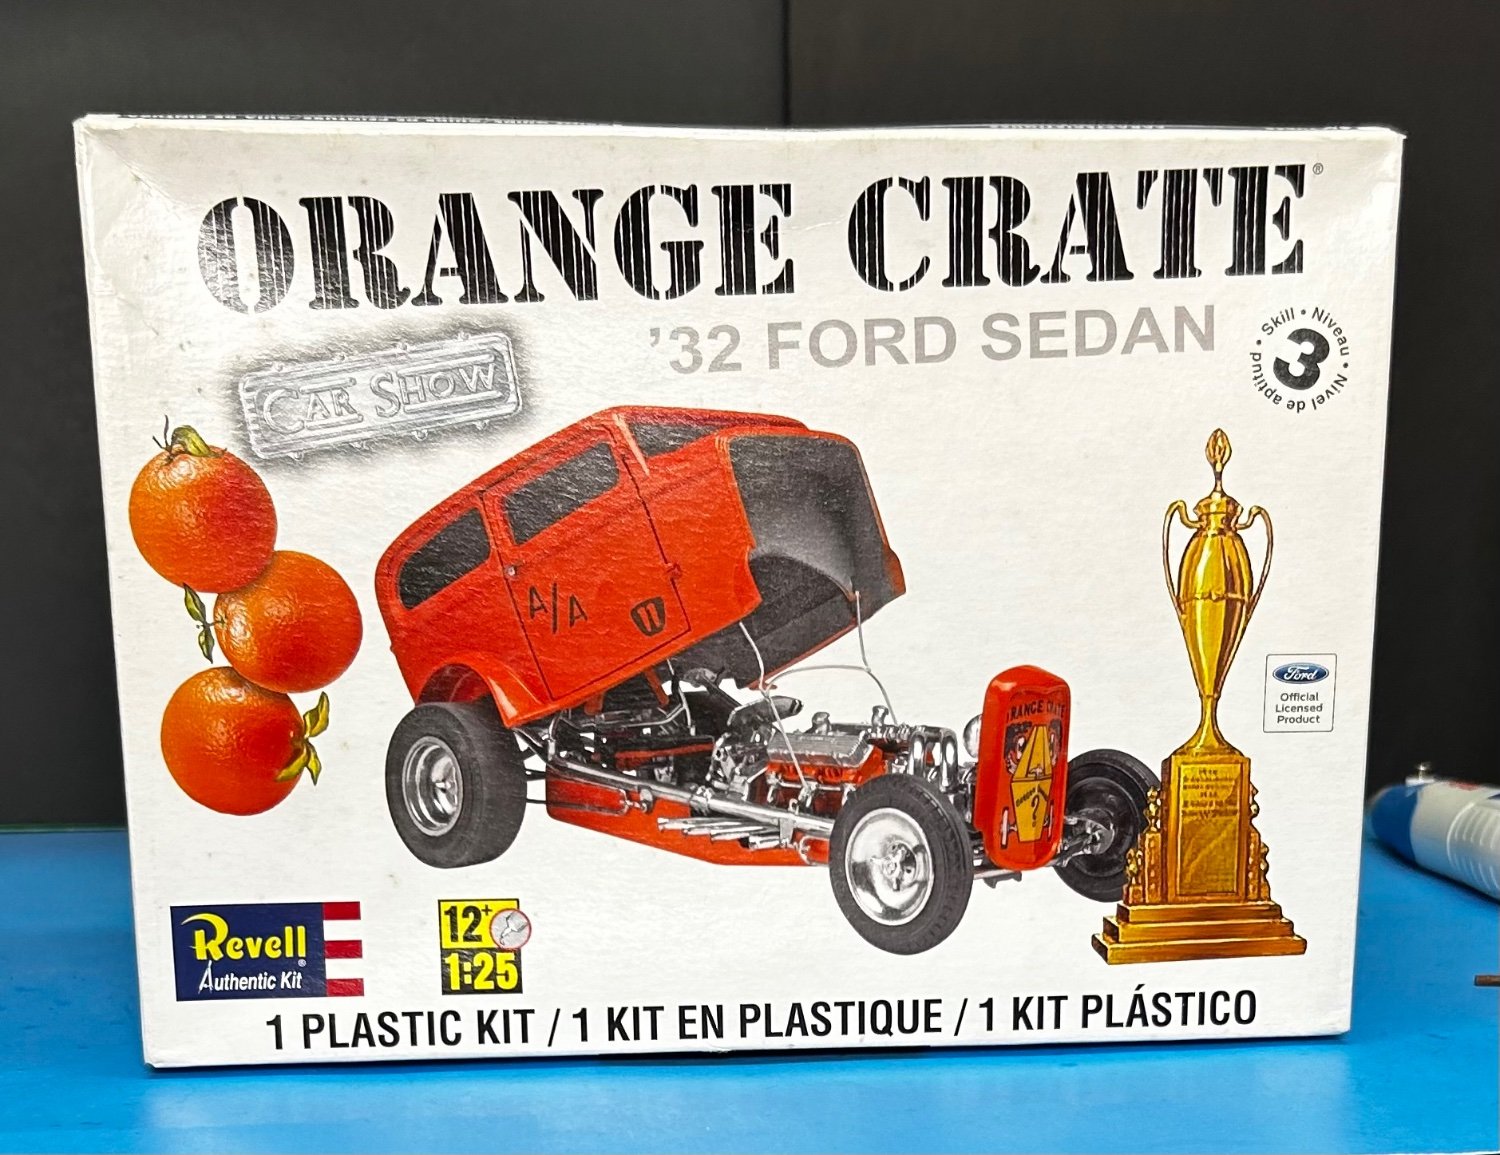
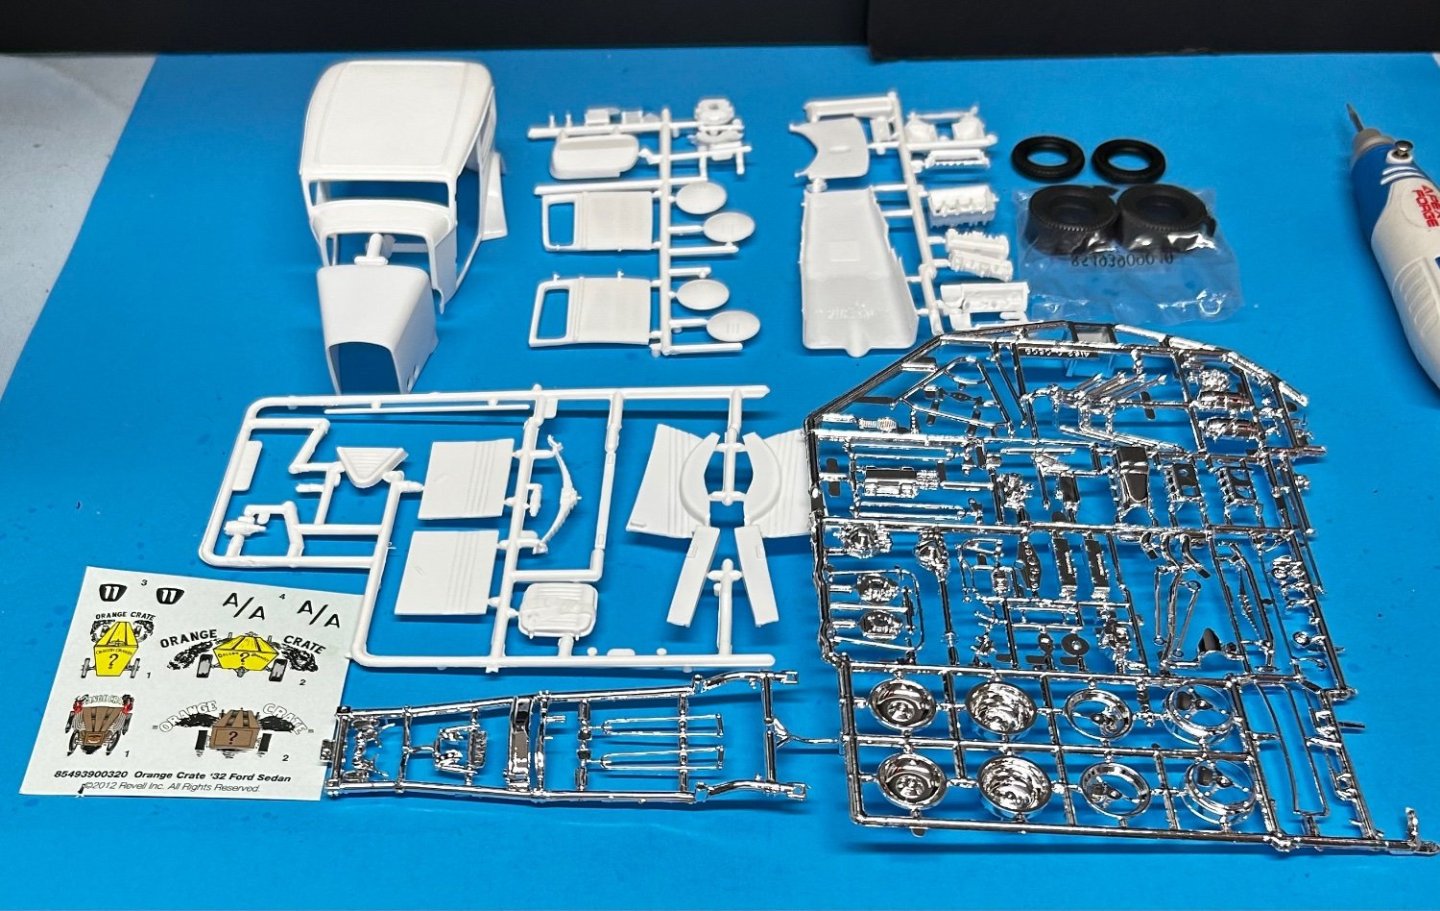
This is what comes inside the box. Back when this kit was first issued in the ‘60’s, there was a major fit issue with the hood/engine cowling. Subsequently reissues like this one contain a corrected hood, or so they say. We’ll soon find out. I plan to build this one as it is on the box art, original colors. Maybe will try to save as much of the original chrome plating parts as possible for nostalgia’s sake. But don’t hold me to it. Just depends on how much of it I can salvage.
- 88 replies
-
- 10
-

-
A Bonneville racer was a great idea. What color did you paint it?
-
Shelby 427 S/C Cobra by CDW - FINISHED - Fujimi - 1:24 Scale
CDW replied to CDW's topic in Non-ship/categorised builds
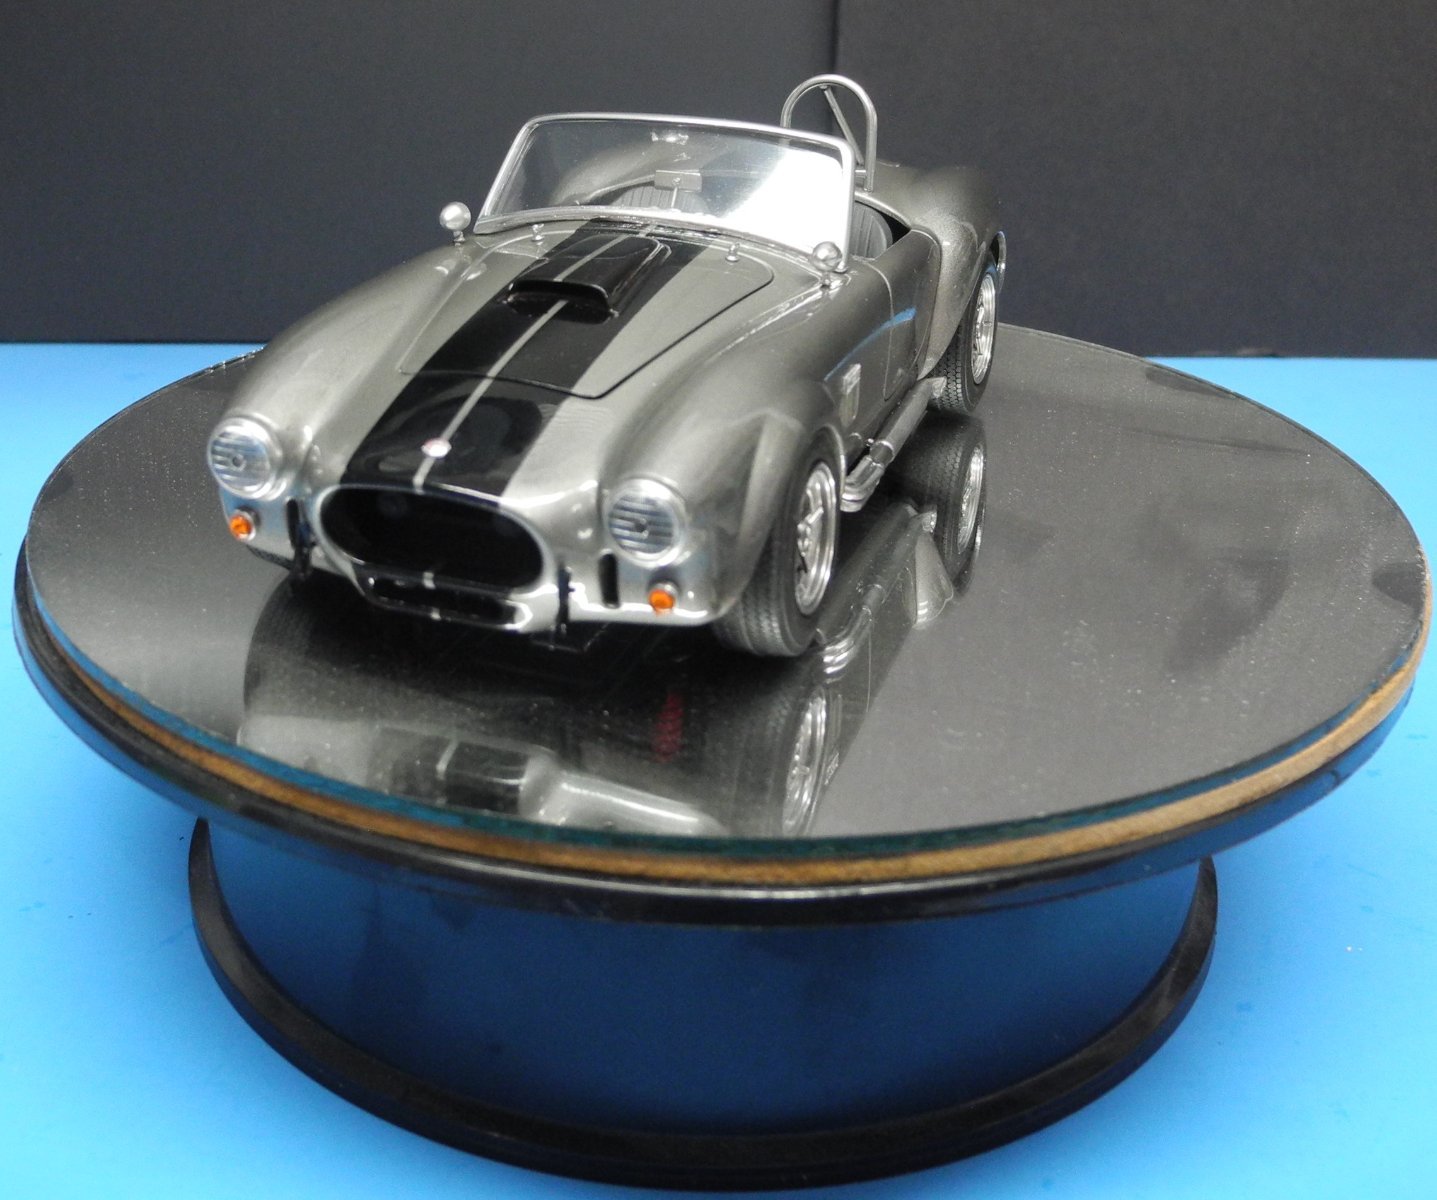
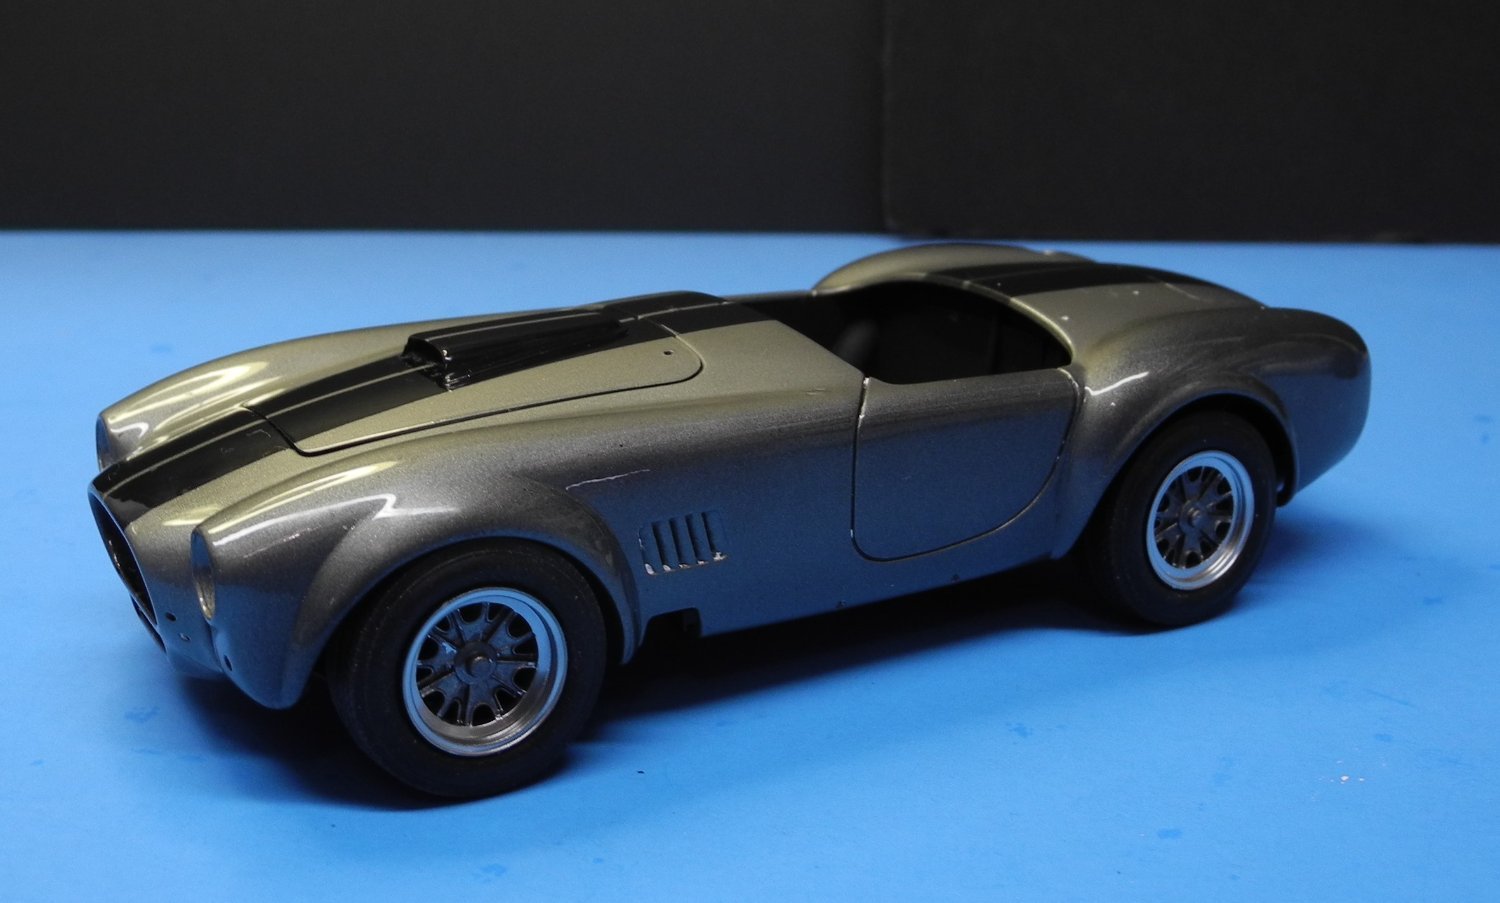
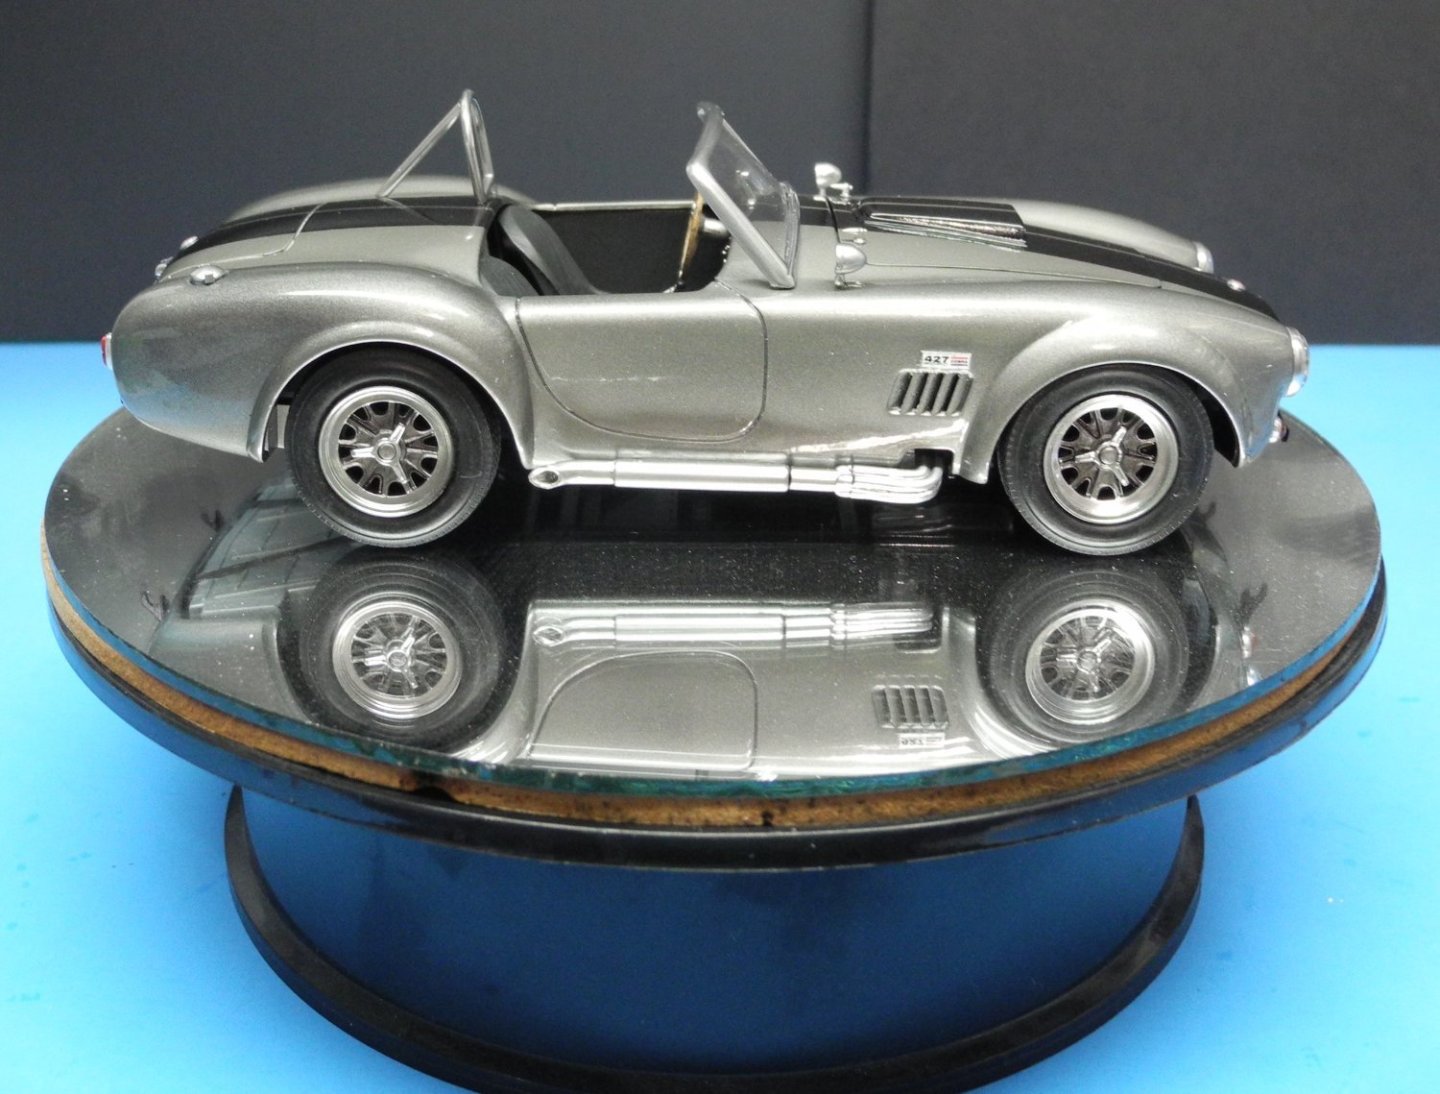
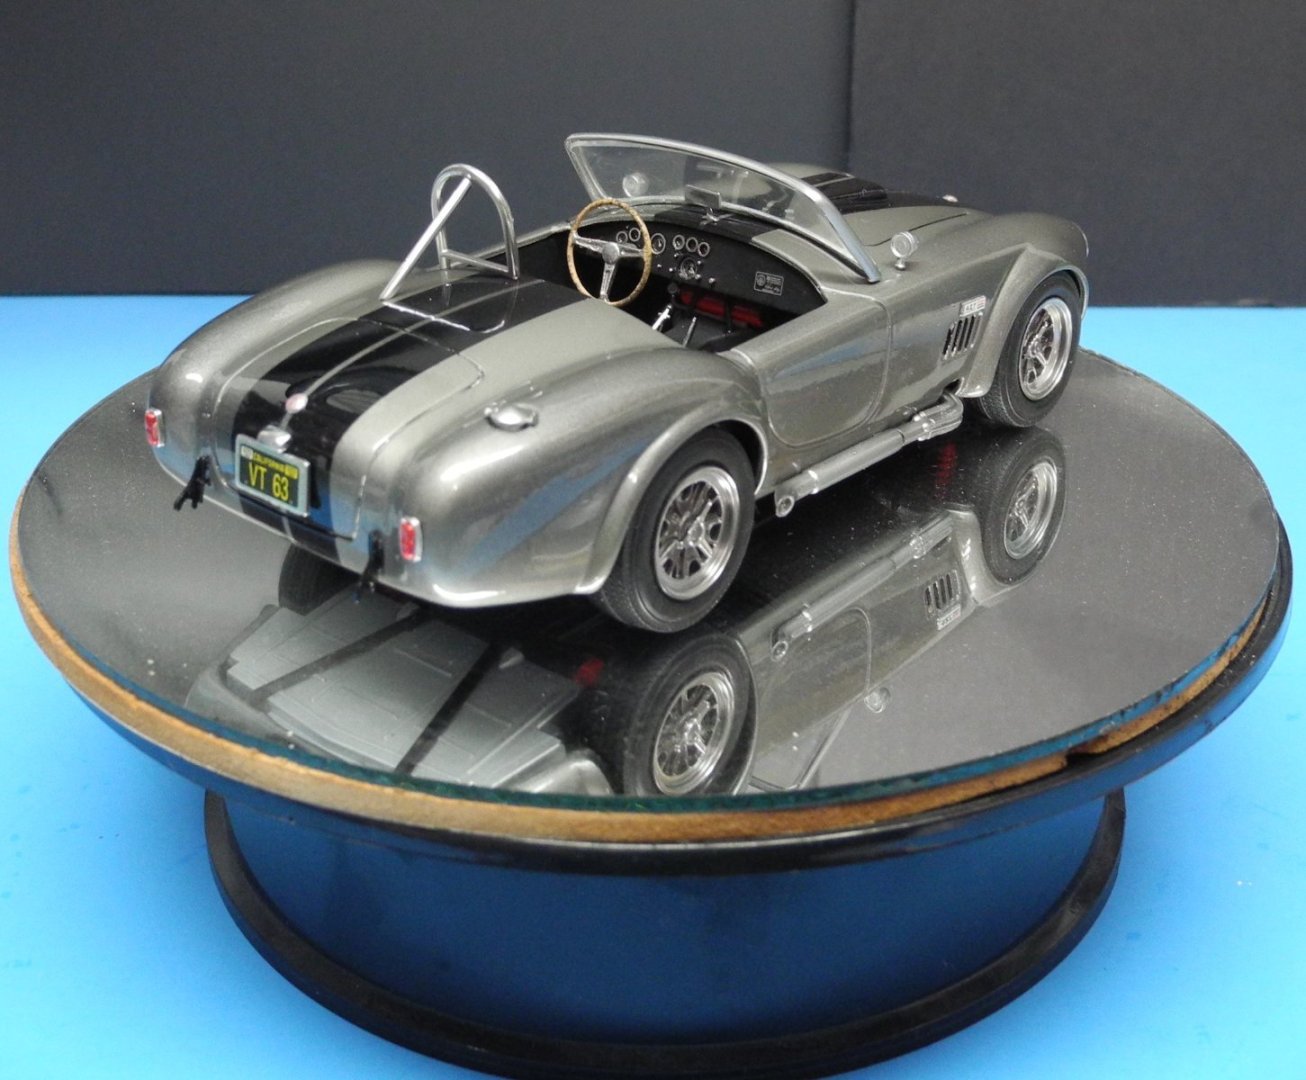
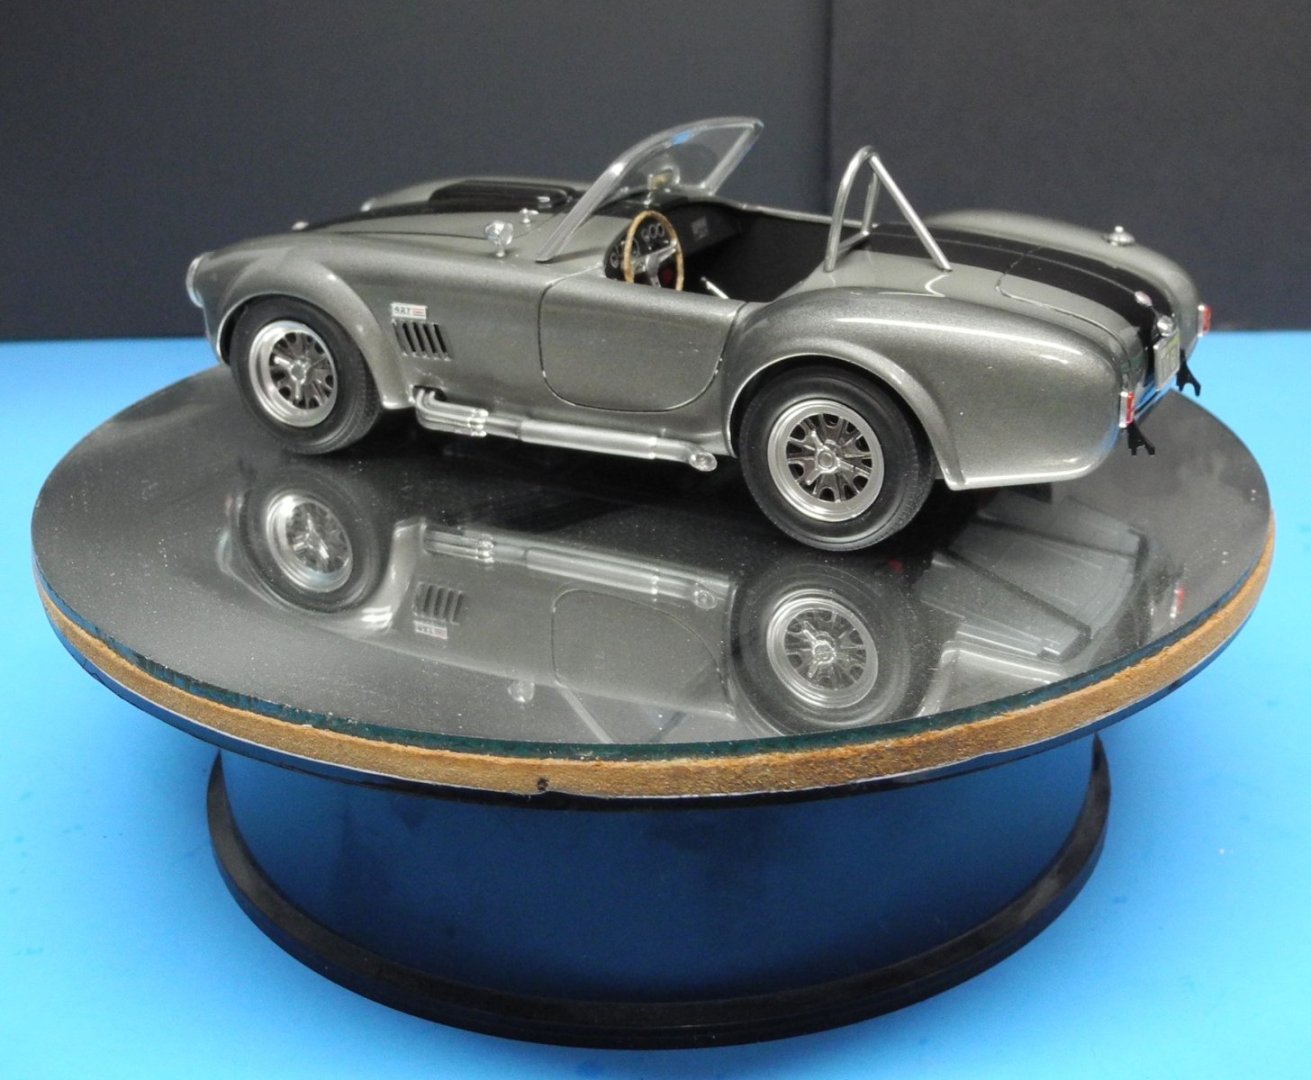
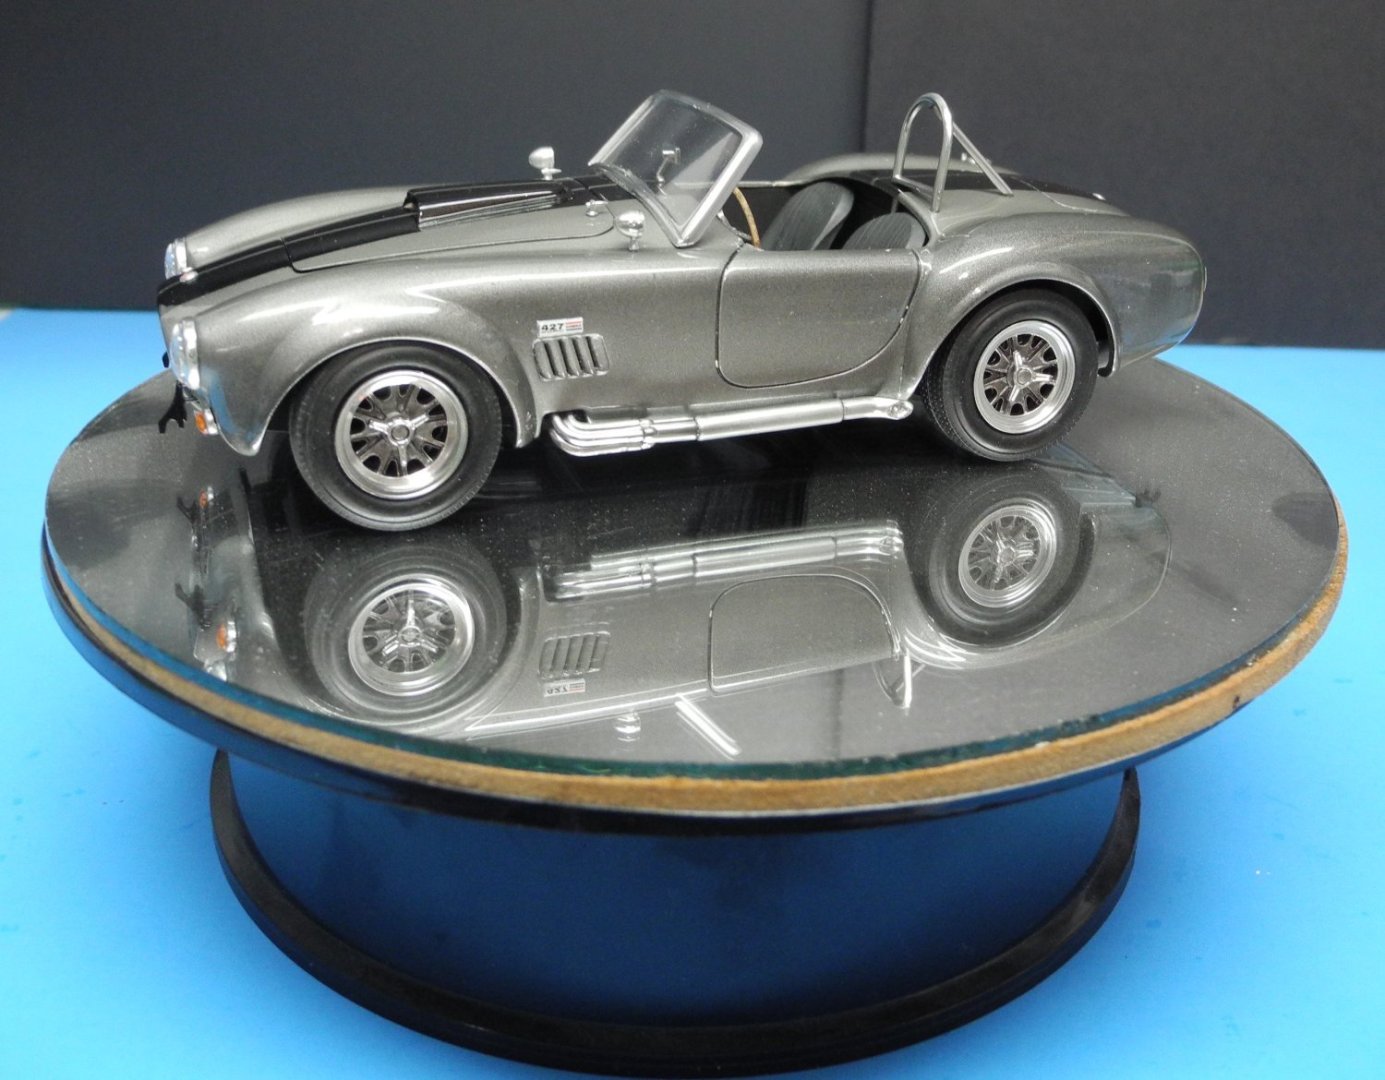
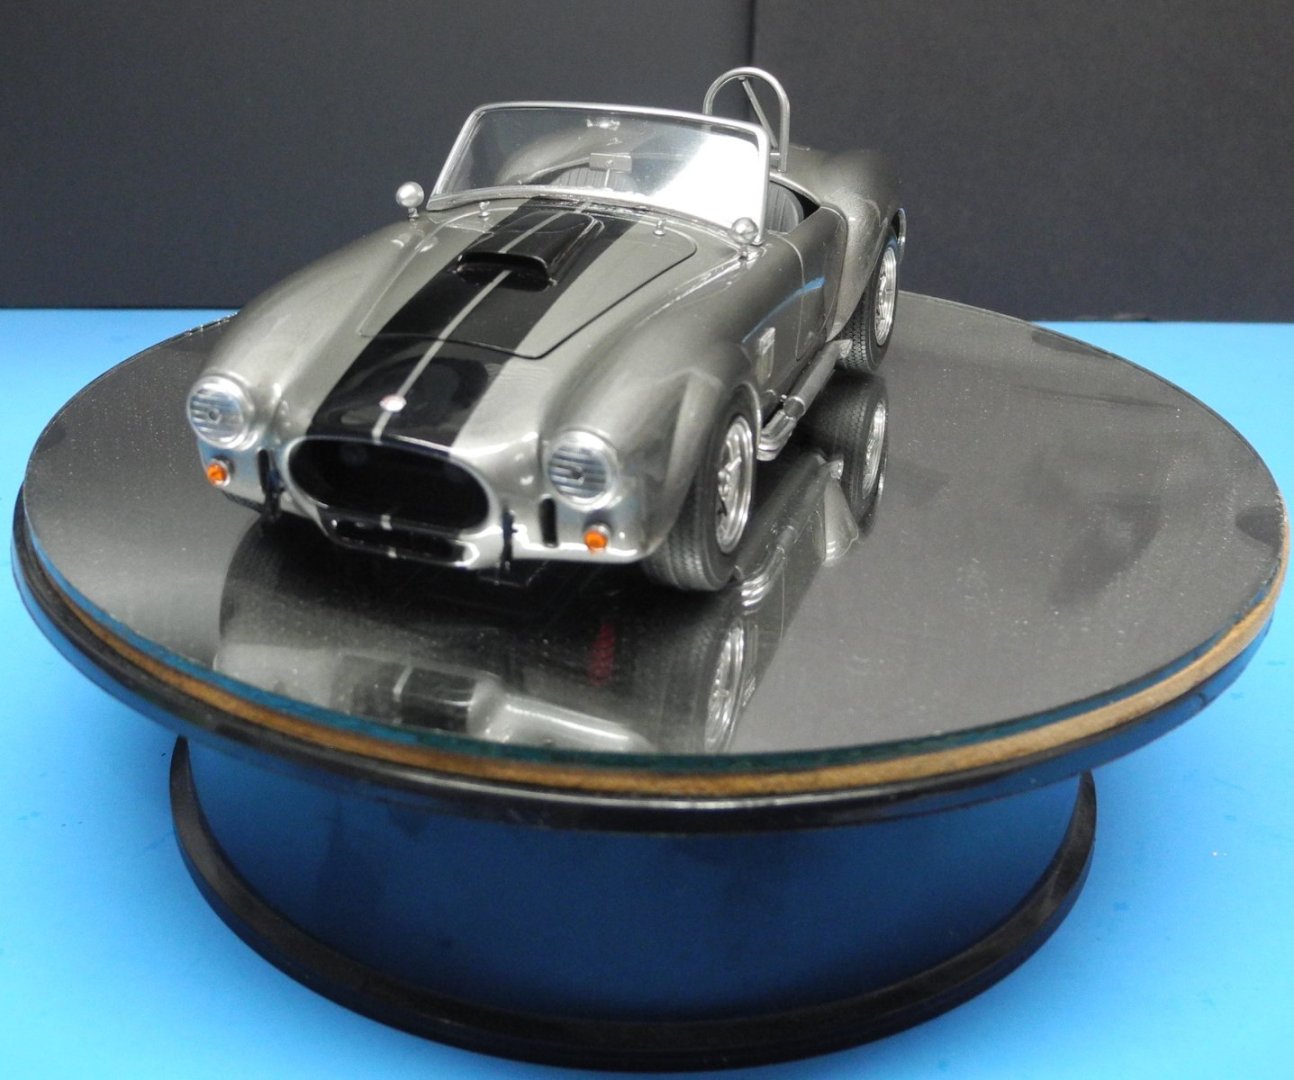
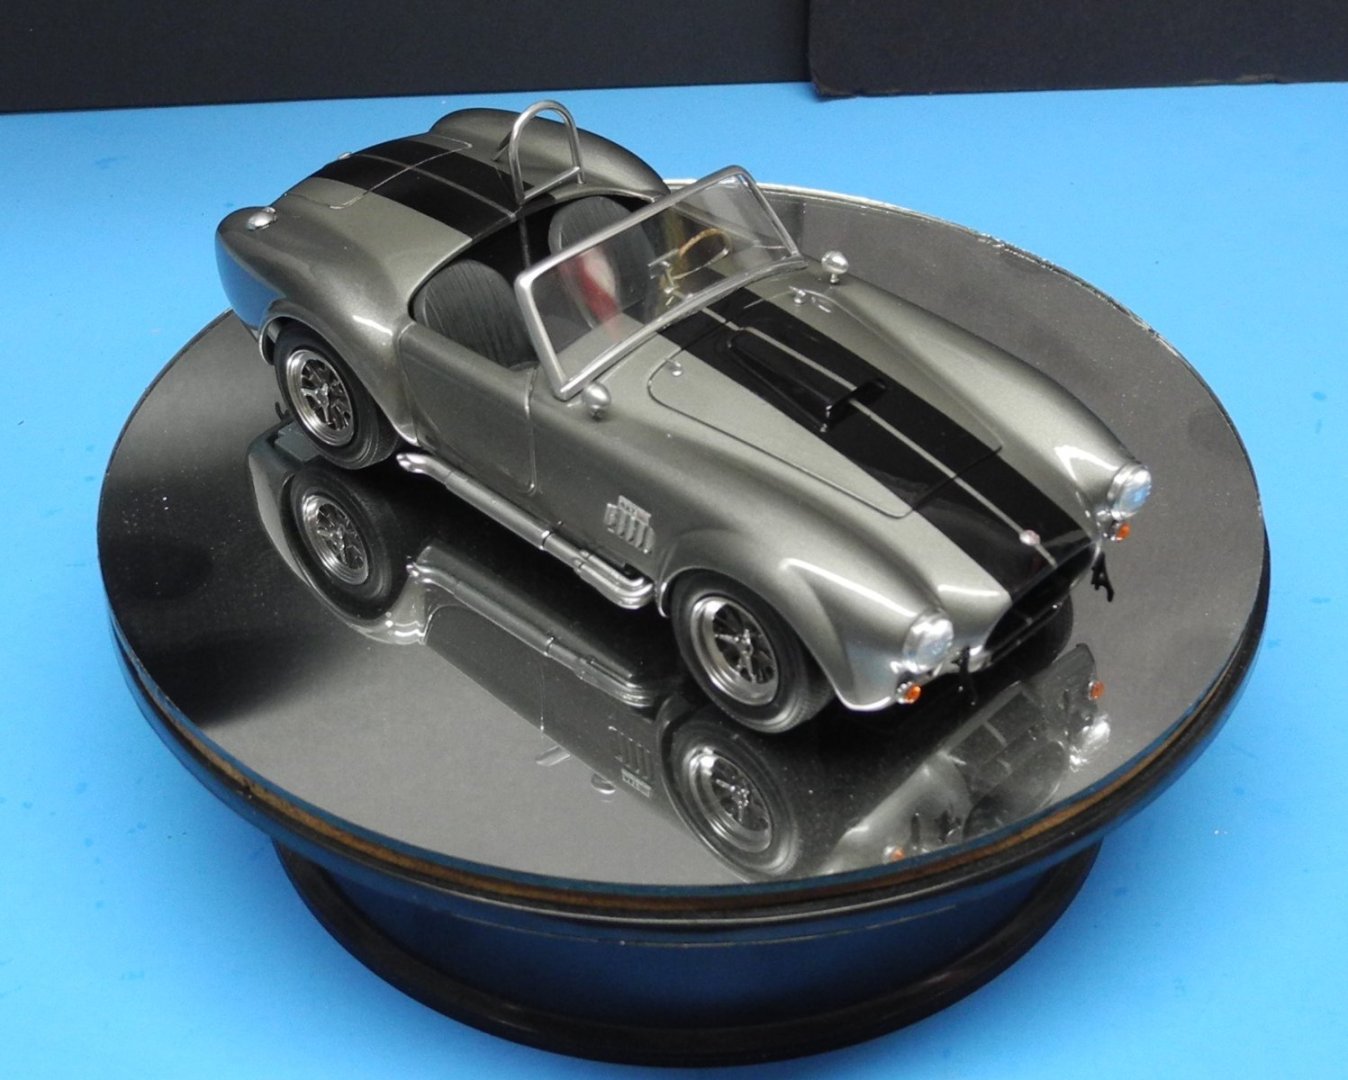
Some months ago, my son gave me a pair of brand-new photography lamps that sit atop tripods. Aside from setting one up and turning it on, twisting the knobs to see how they worked, I did nothing with them until now. Here I have one of those lamps set up and took a few photos to test the difference it makes. Looks like there is a marked difference. Maybe if I had the pair of them set up from two directions, focusing on the object to be photographed, that may be the ticket. It looks like what I need to do is set up a dedicated location to take photos where I can keep all this menagerie set up and ready.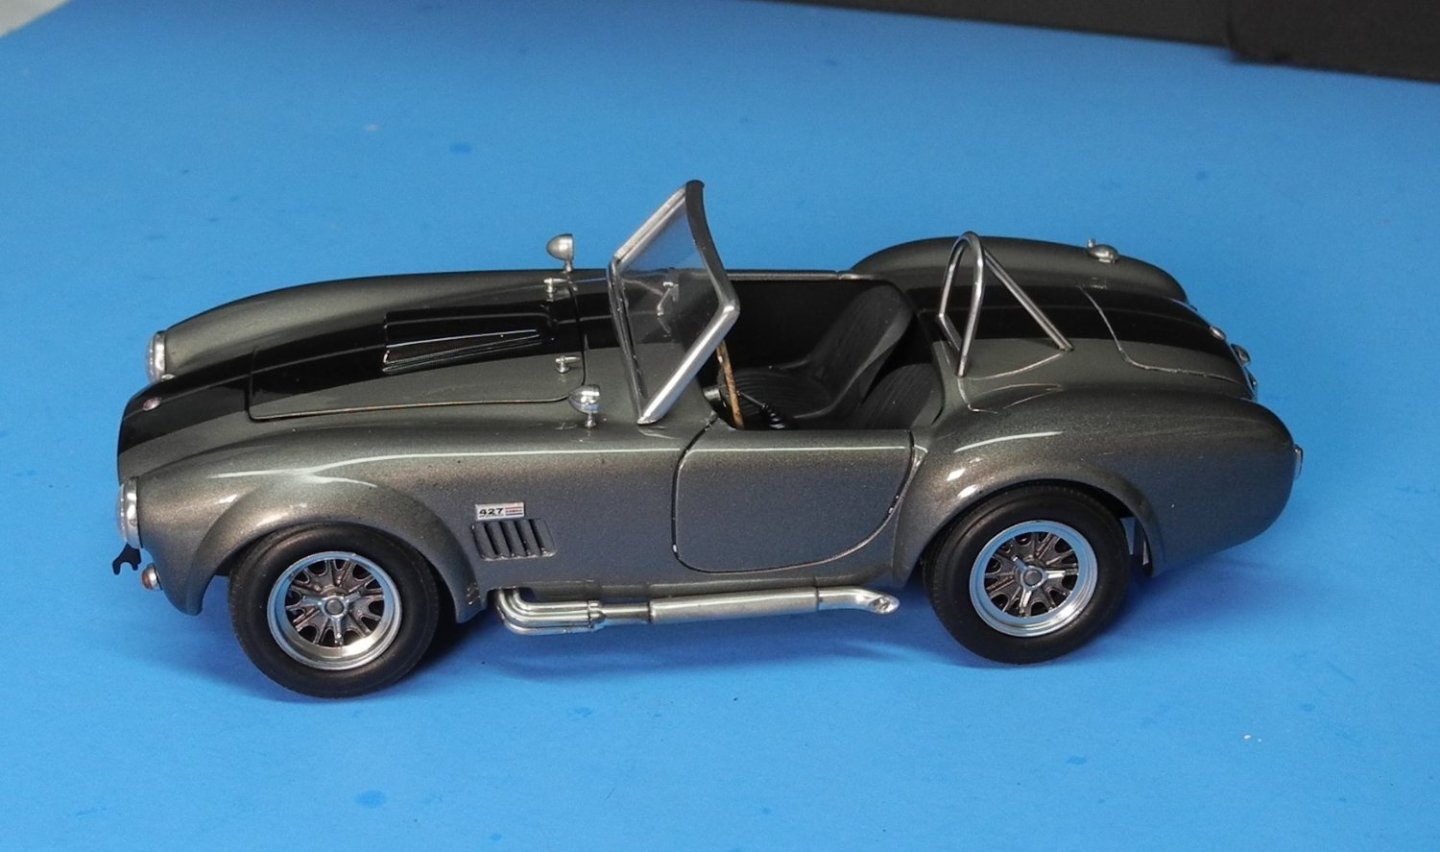
- 67 replies
-
- 14
-

-
-
Shelby 427 S/C Cobra by CDW - FINISHED - Fujimi - 1:24 Scale
CDW replied to CDW's topic in Non-ship/categorised builds
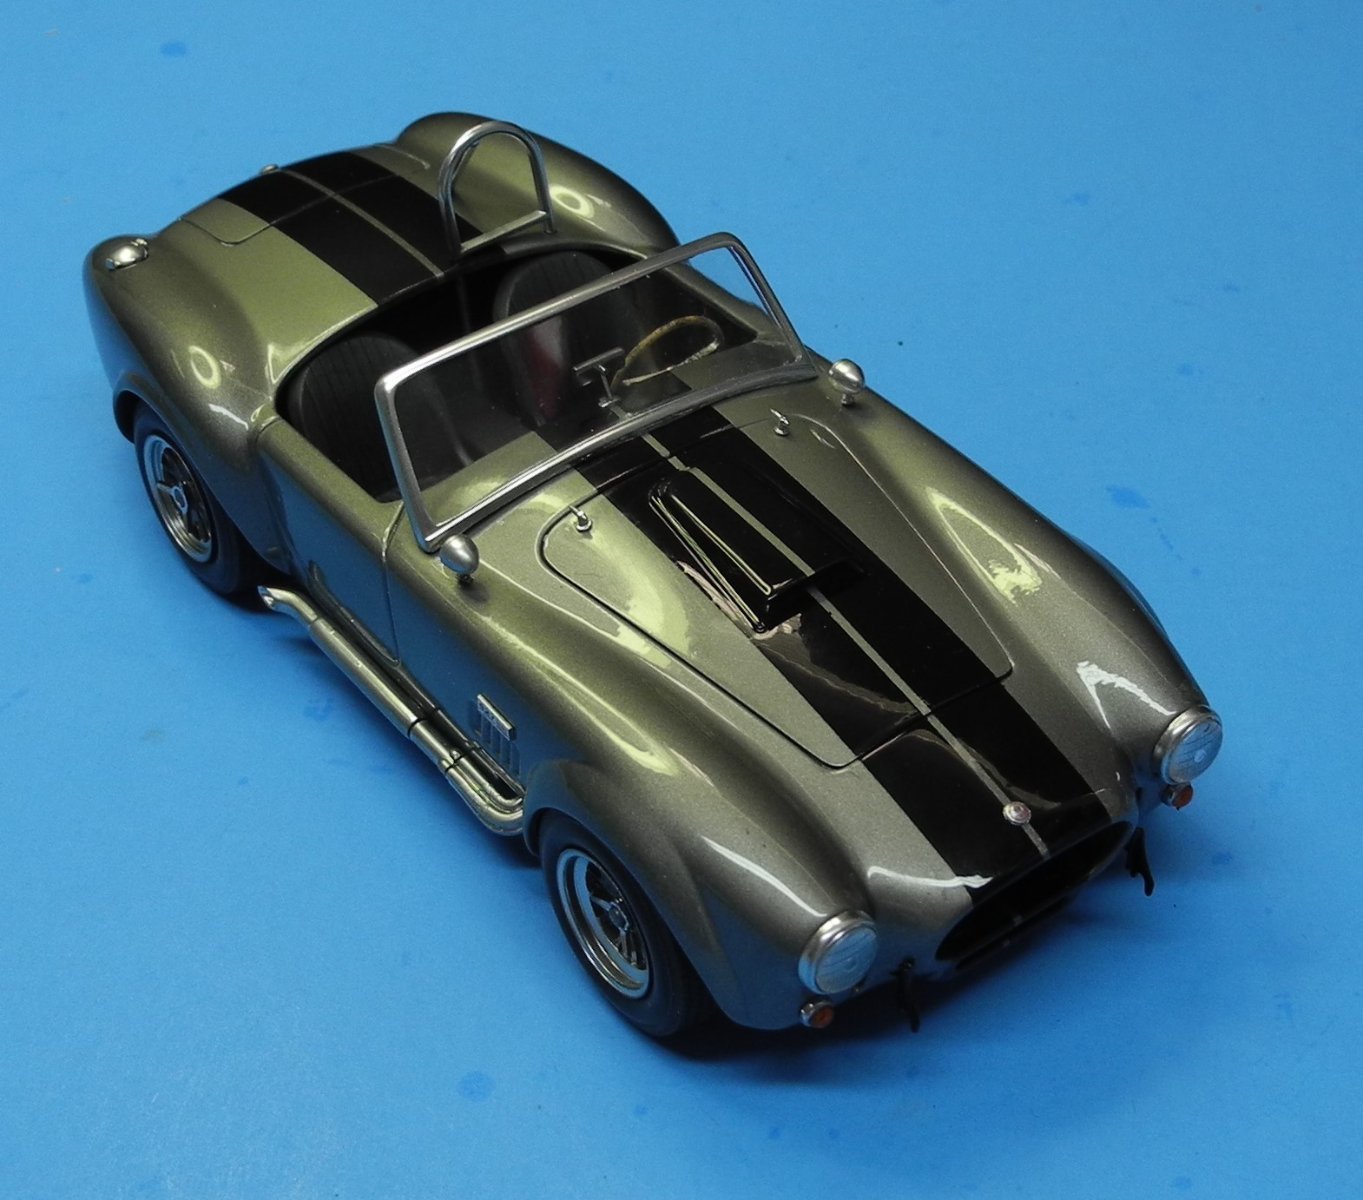
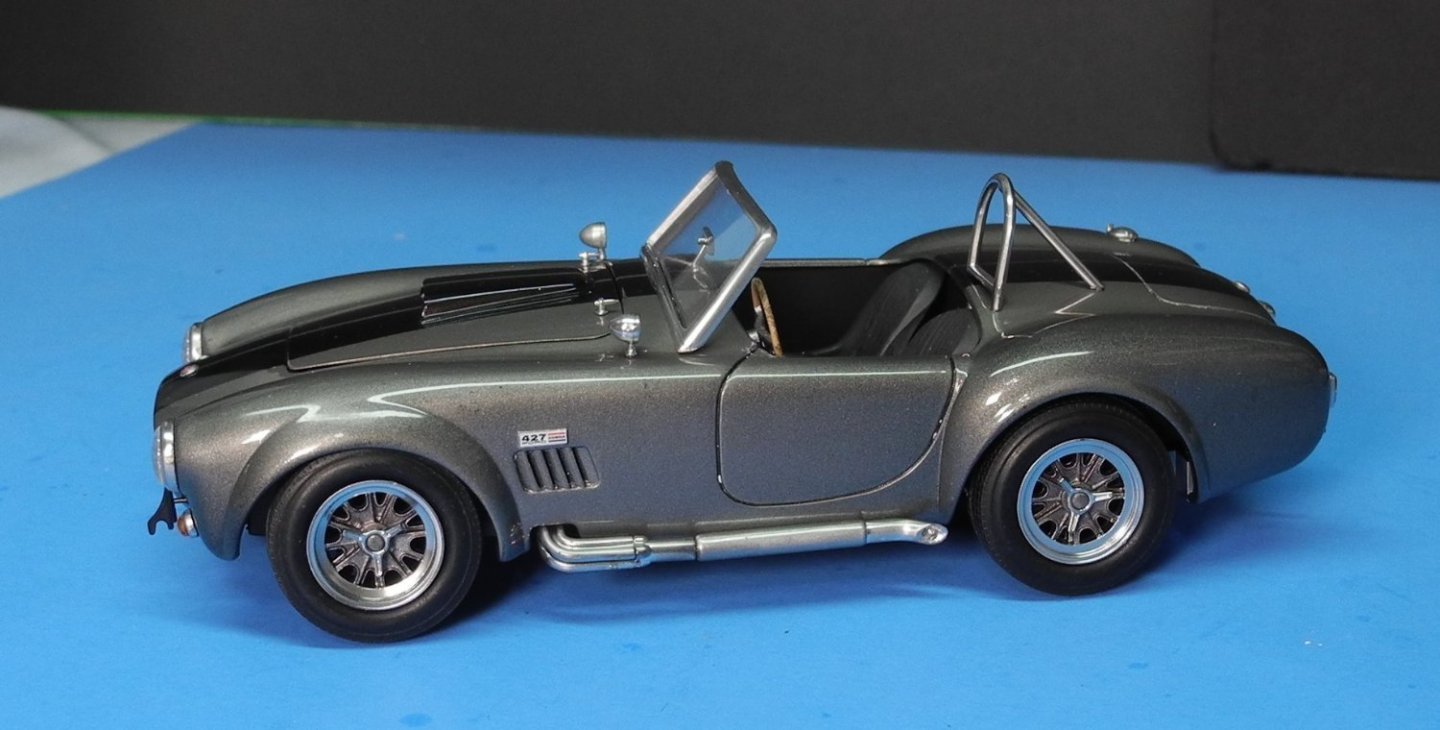
I believe a florescent light was causing a large part of the issue. Here are some photos with that light turned off. Here is one with the light turned on. Thanks for pointing that out. I am not very good at photography.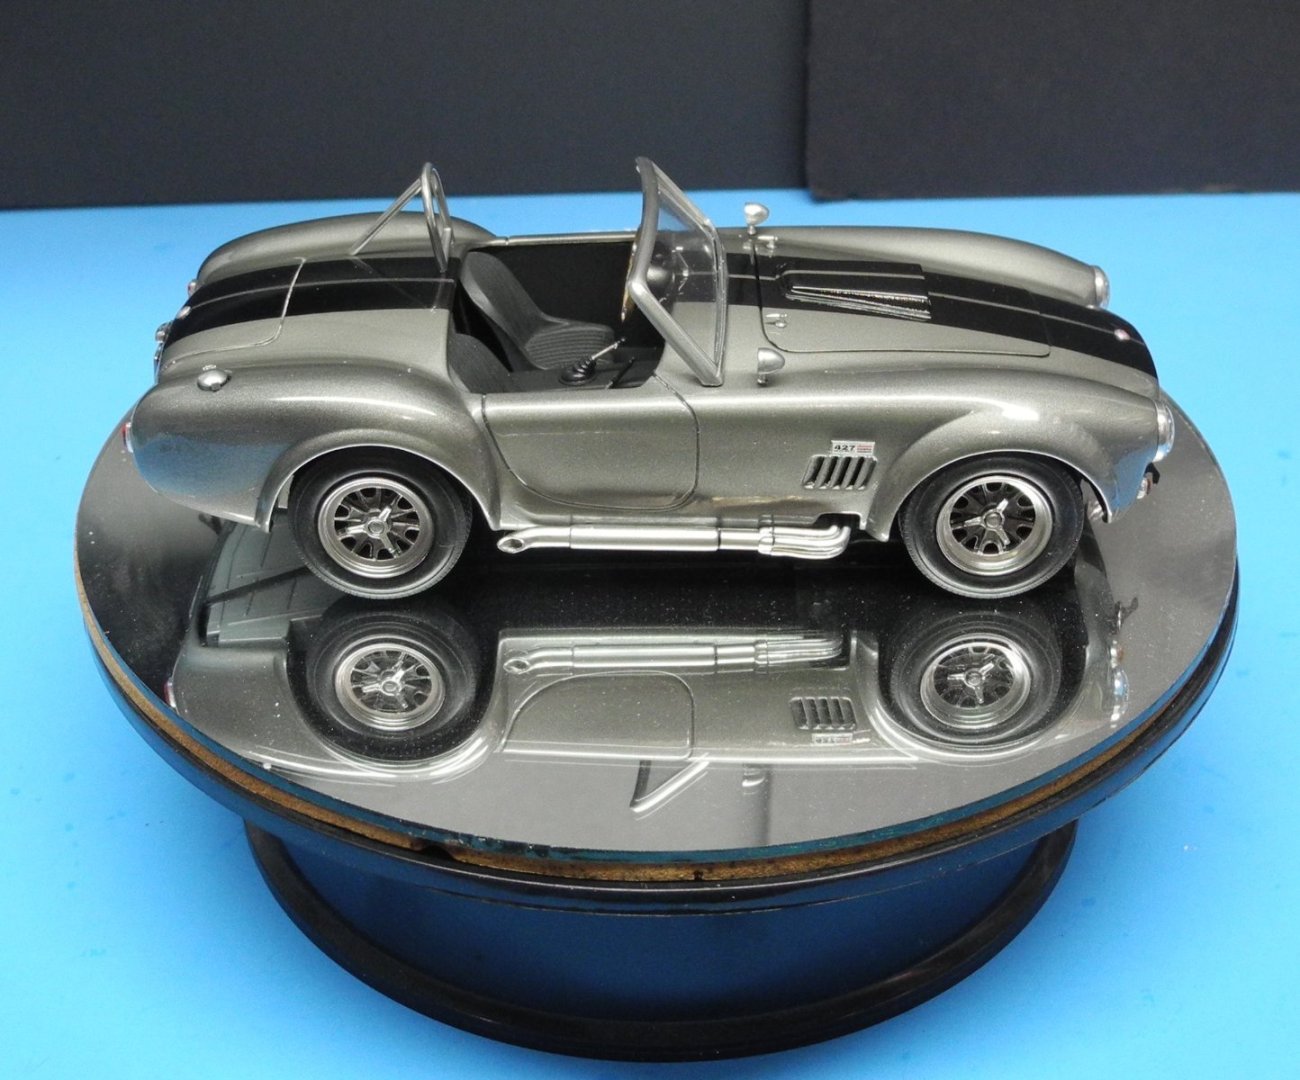

- 67 replies
-
- 13
-
-
-
Shelby 427 S/C Cobra by CDW - FINISHED - Fujimi - 1:24 Scale
CDW replied to CDW's topic in Non-ship/categorised builds
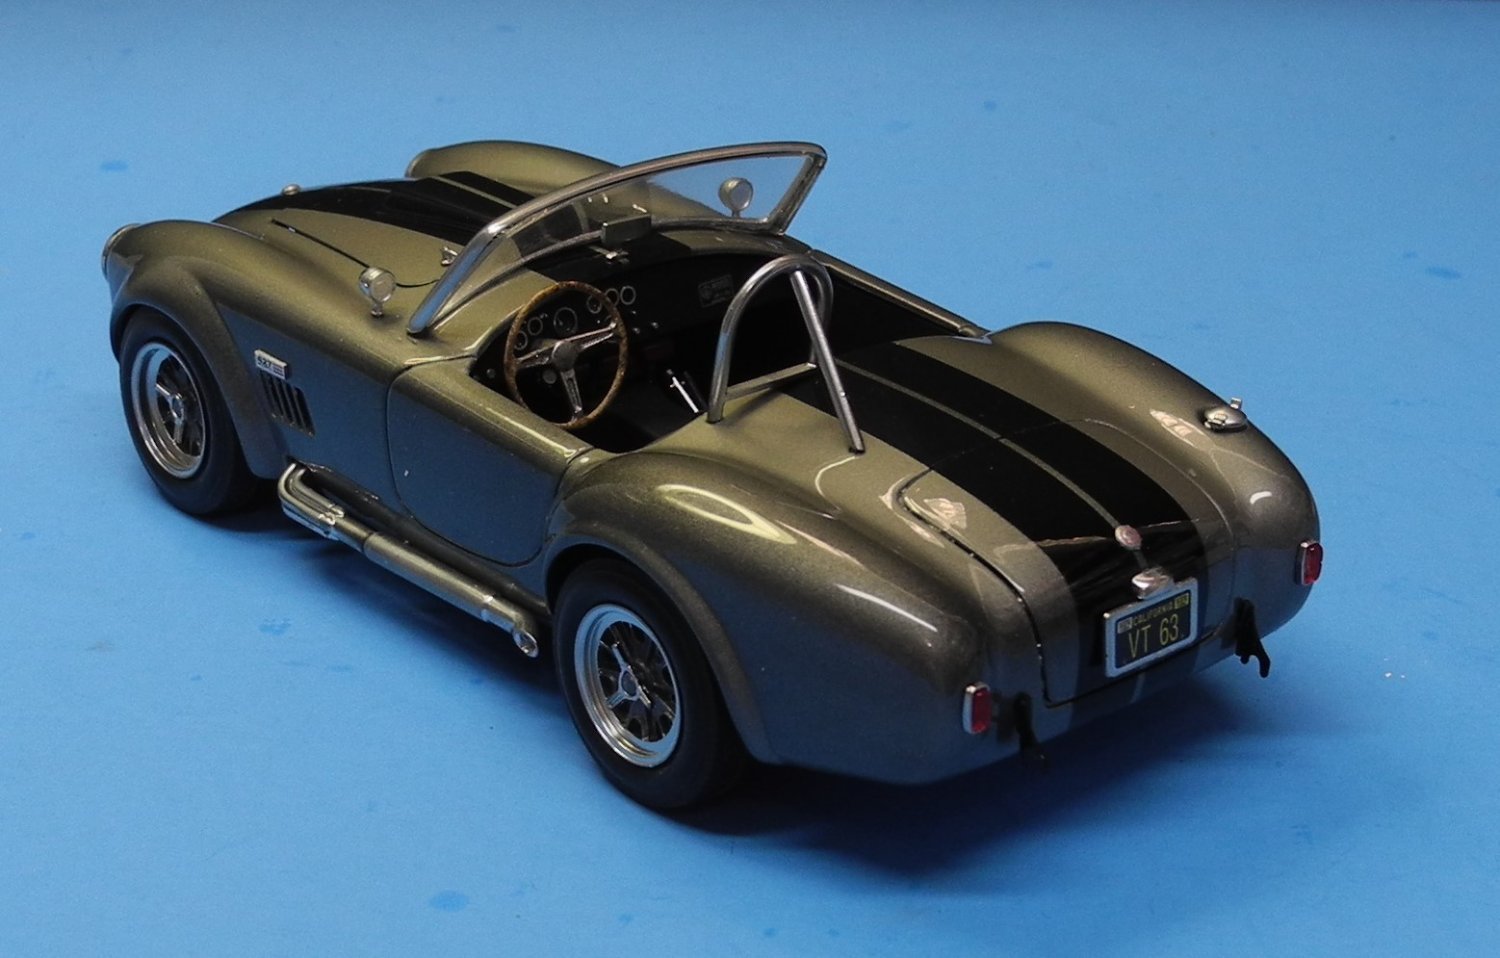
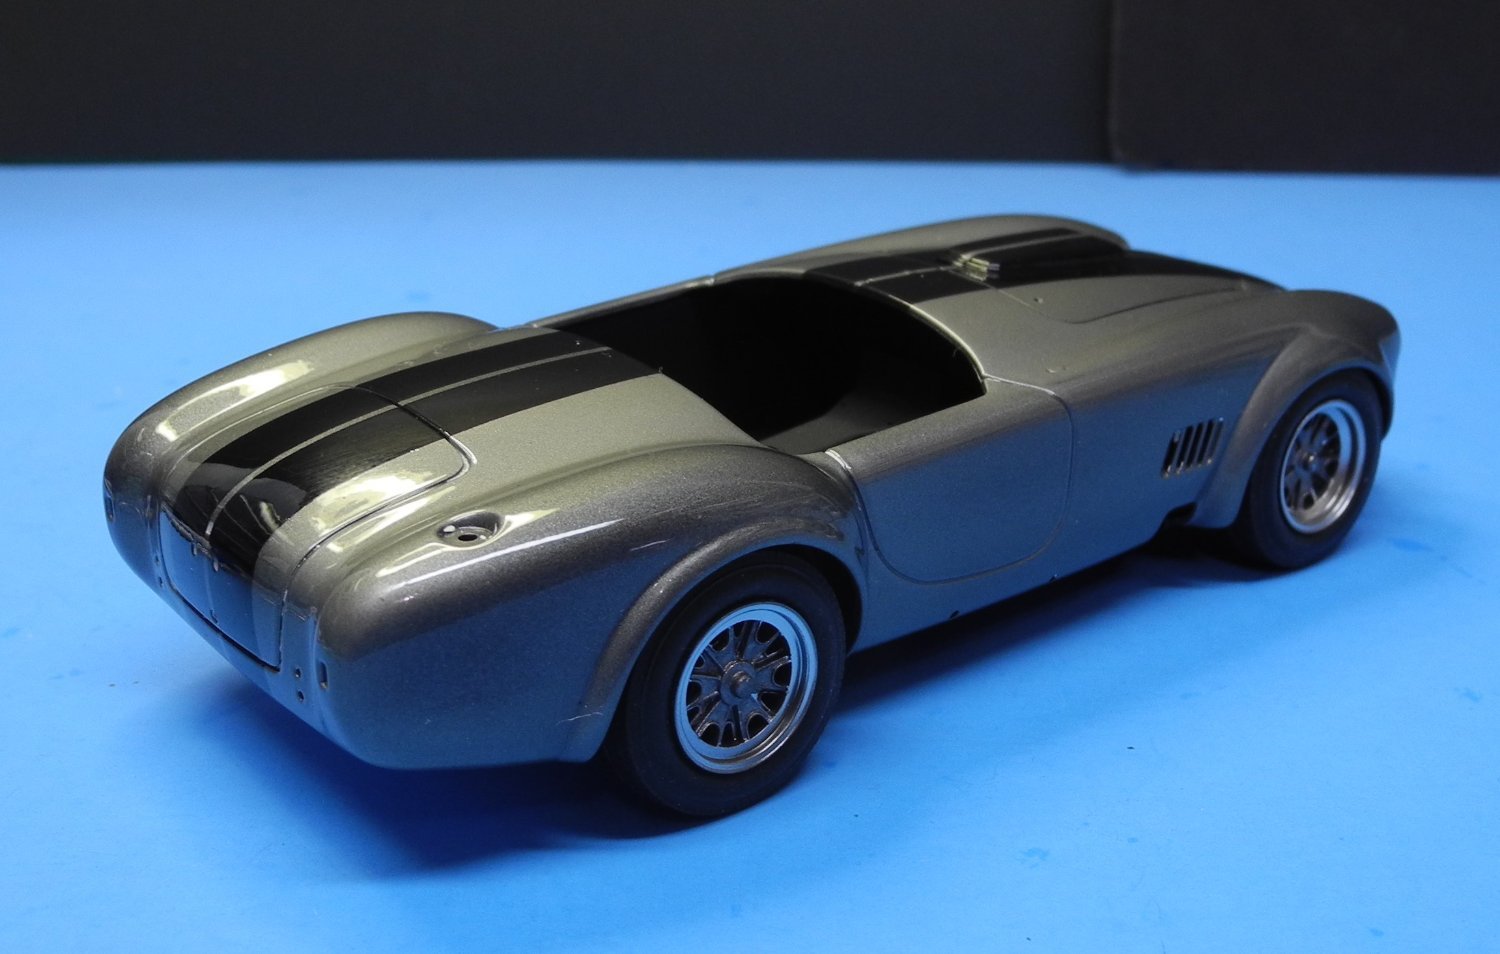
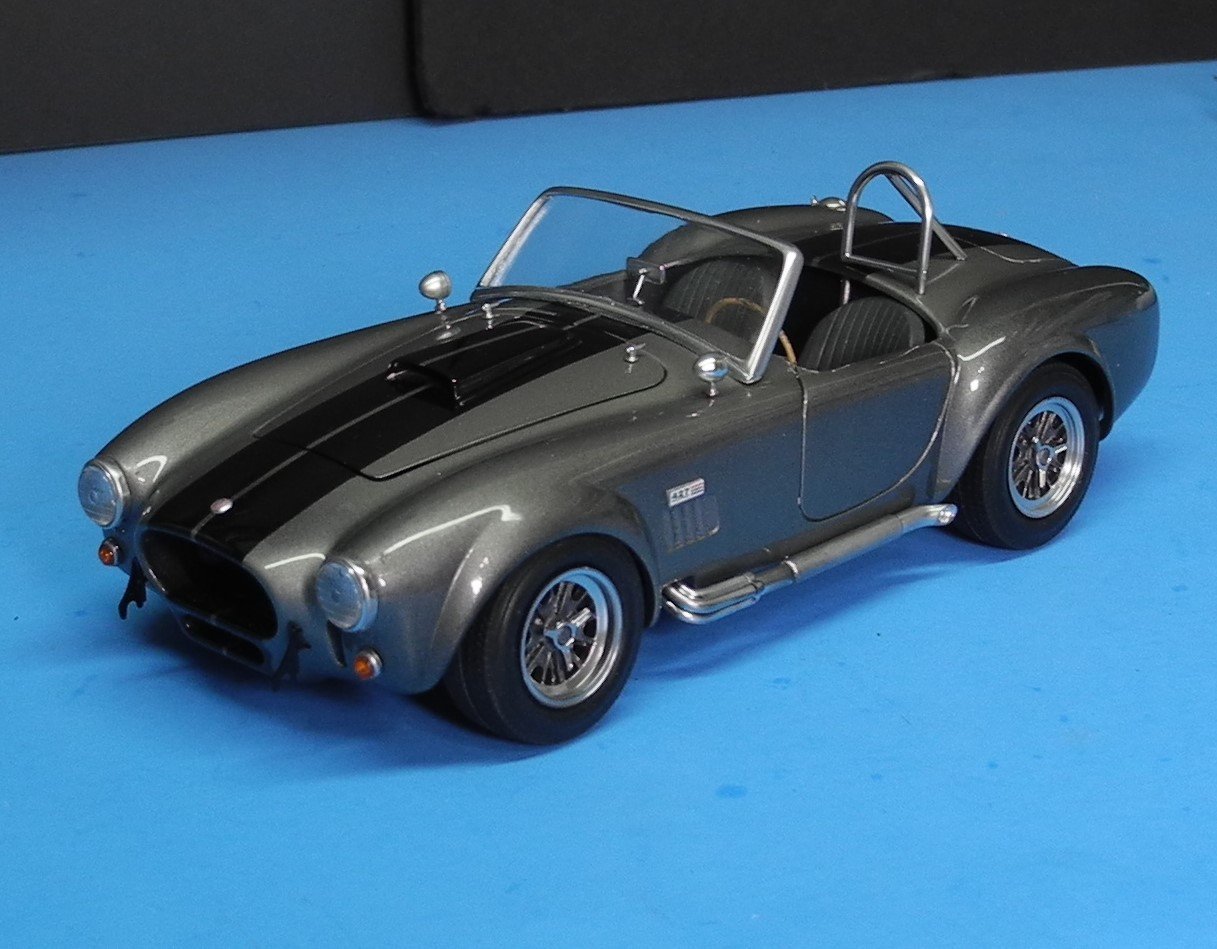
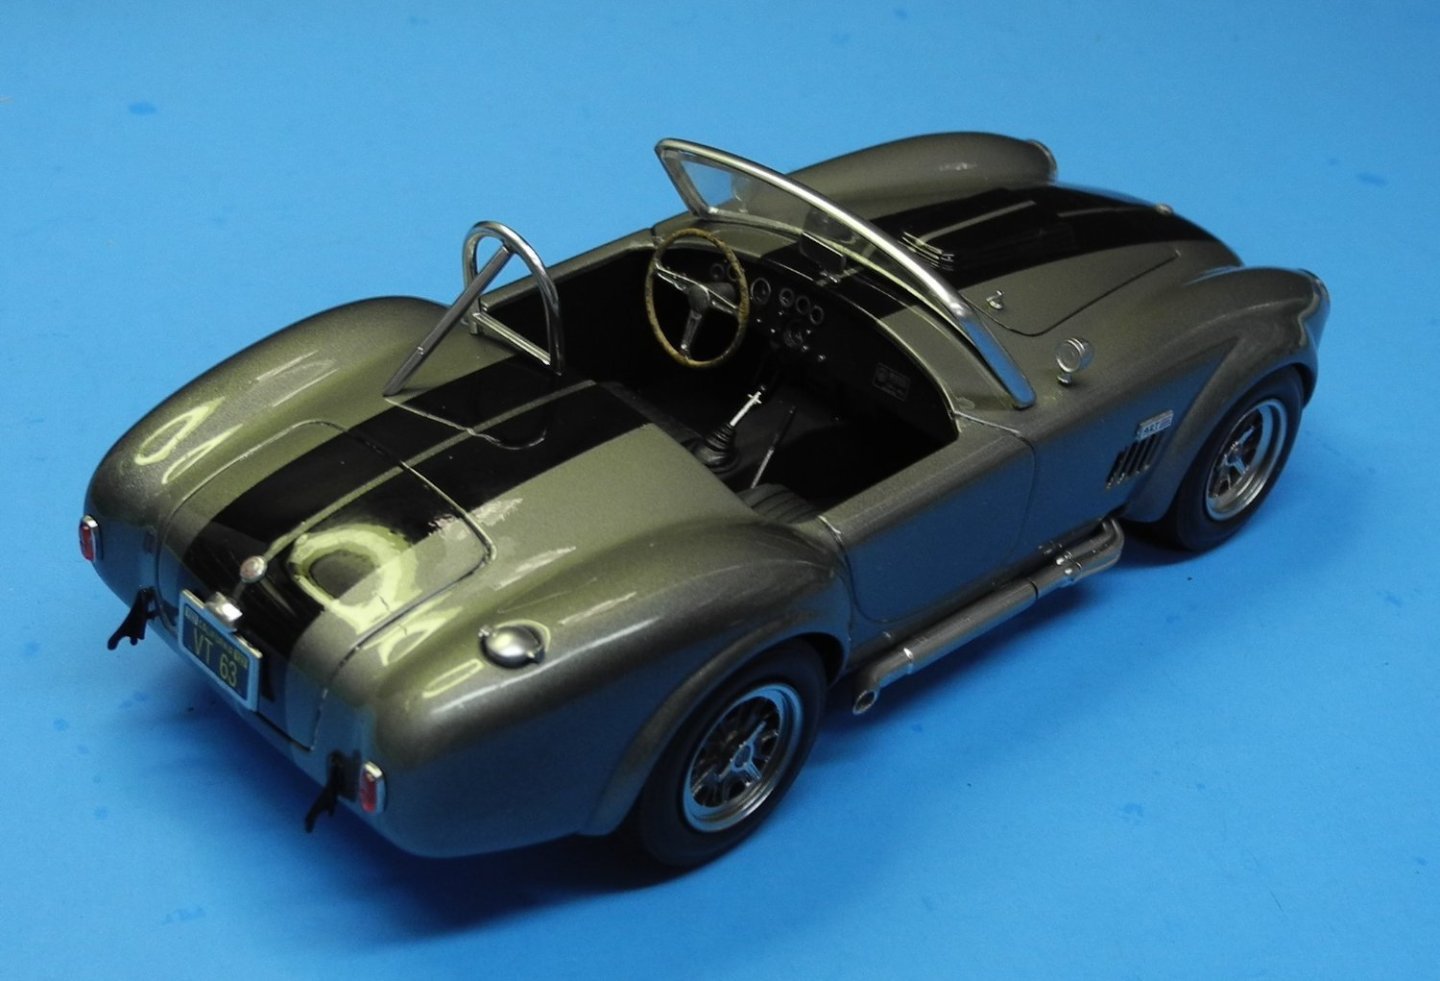
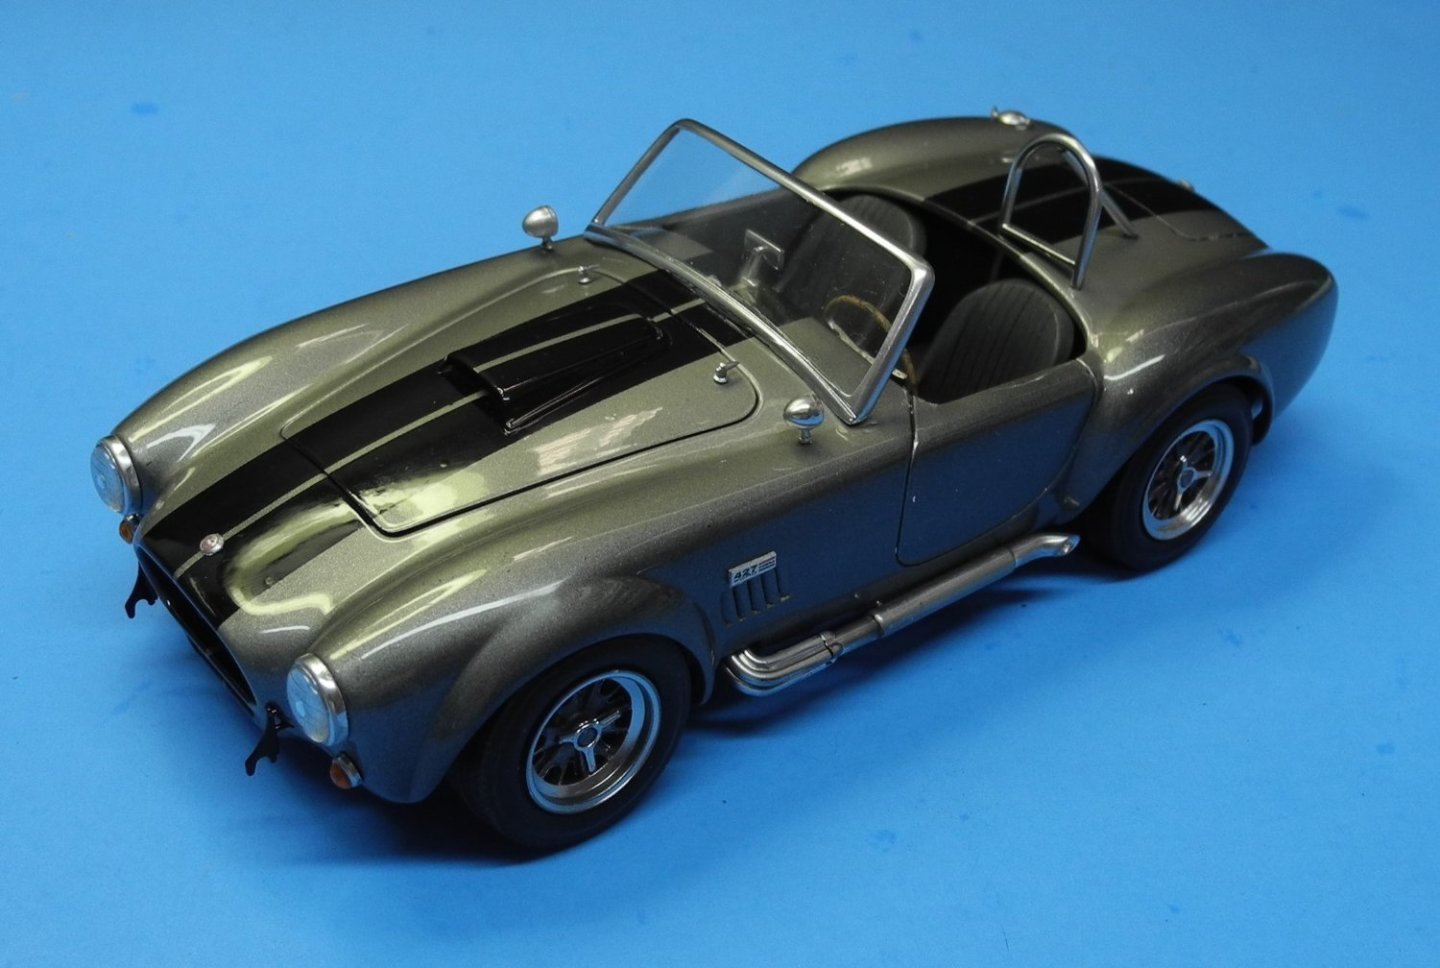
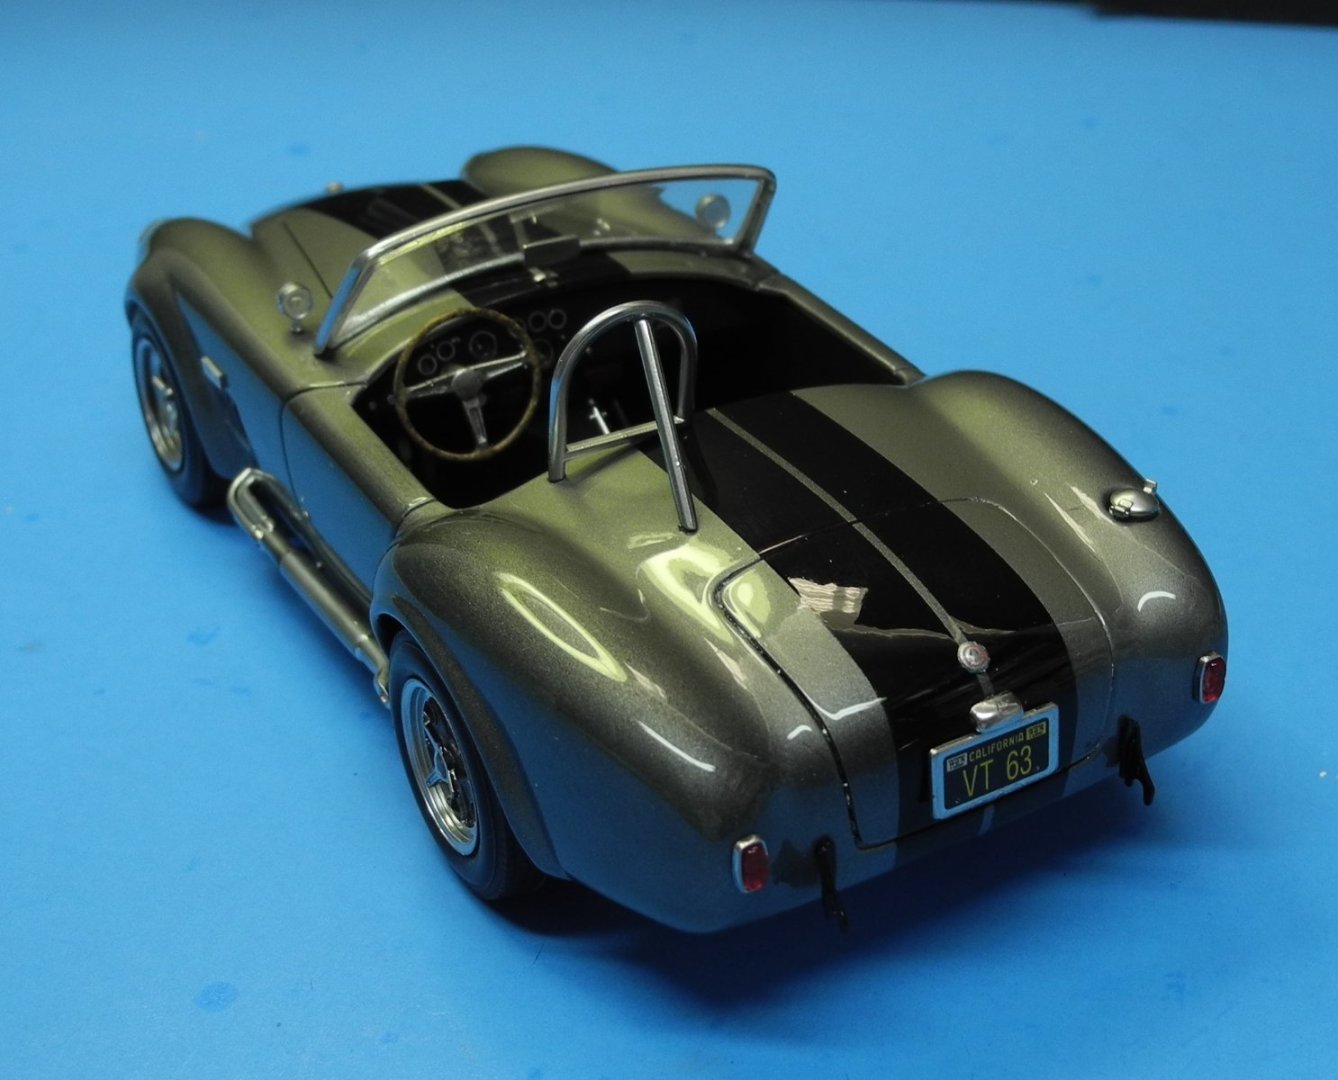
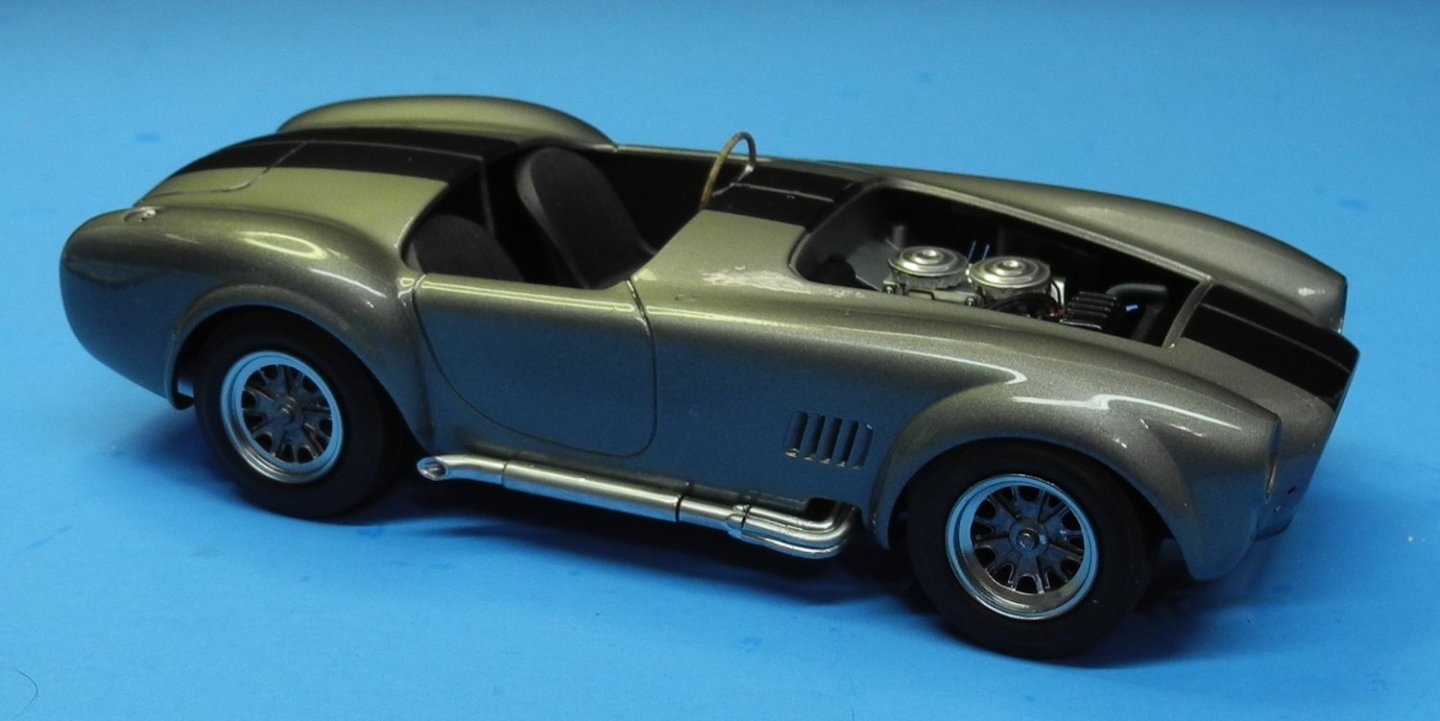
This wraps it up. Time to move on to a new project. Thanks for following, your likes, your comments. It's been fun as always. See you again soon with a new project.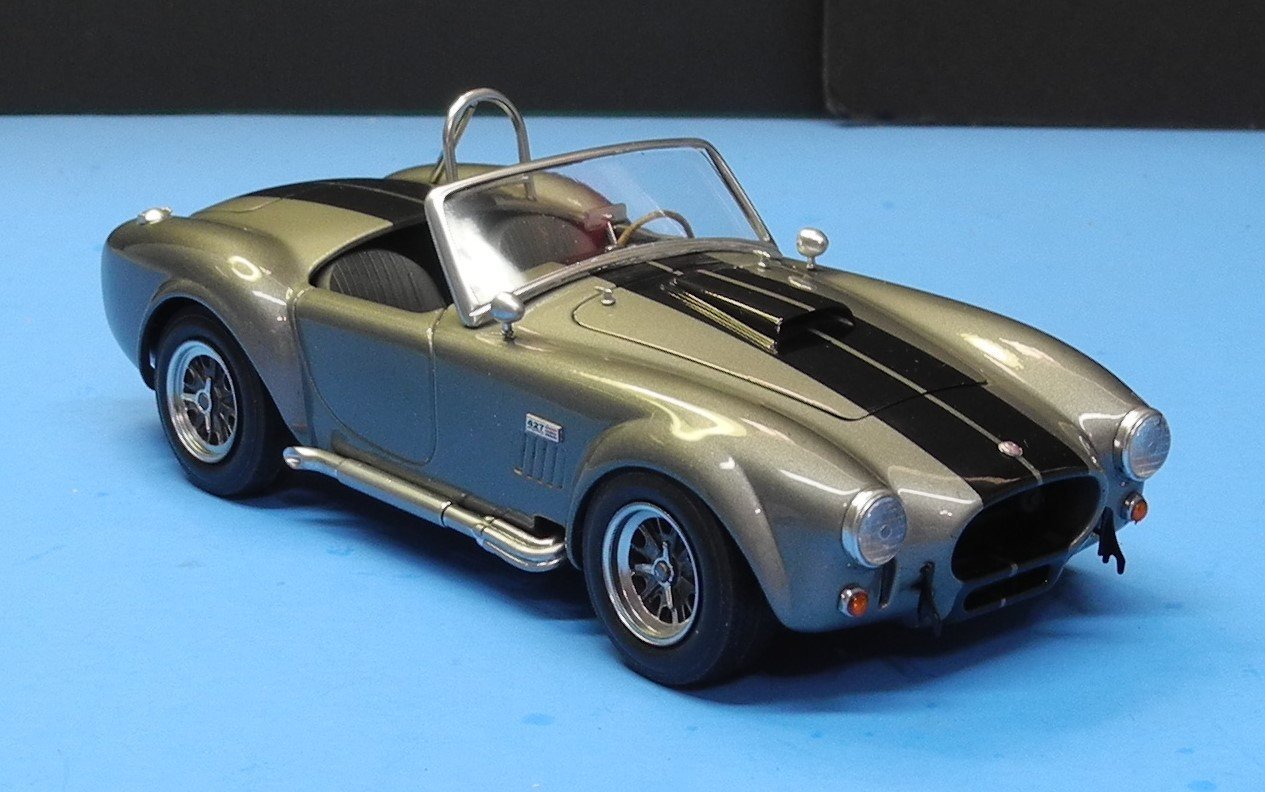


- 67 replies
-
- 14
-
-
-
Shelby 427 S/C Cobra by CDW - FINISHED - Fujimi - 1:24 Scale
CDW replied to CDW's topic in Non-ship/categorised builds
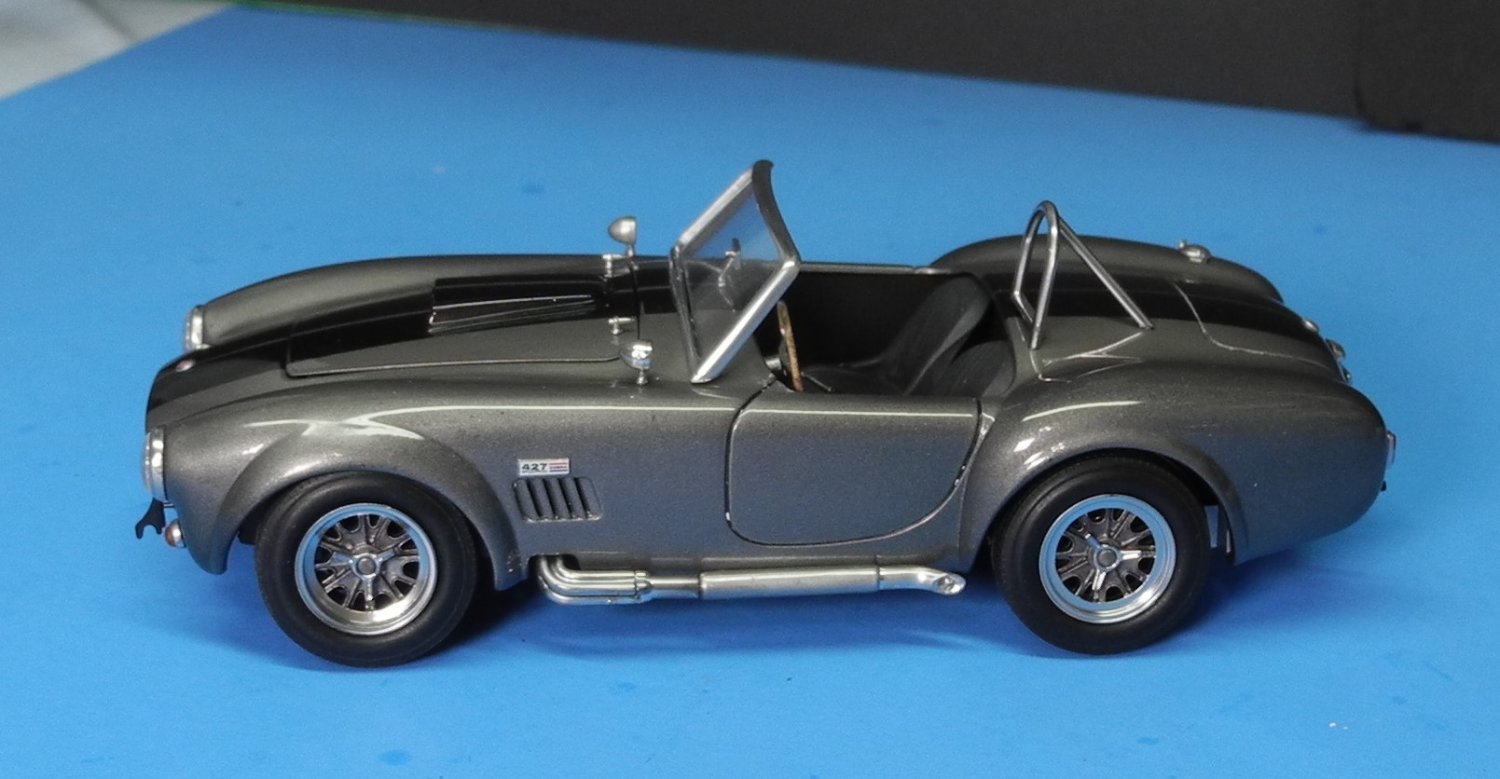
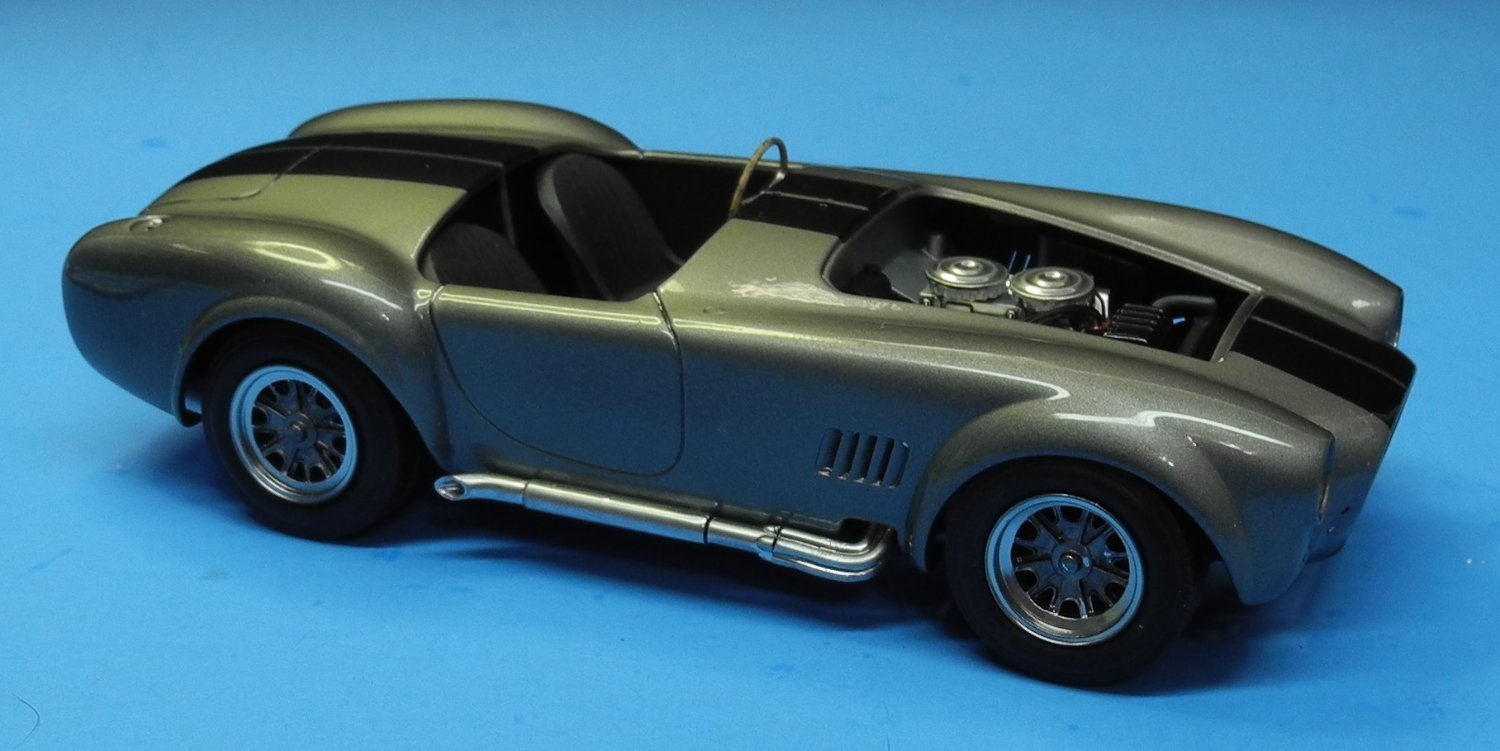
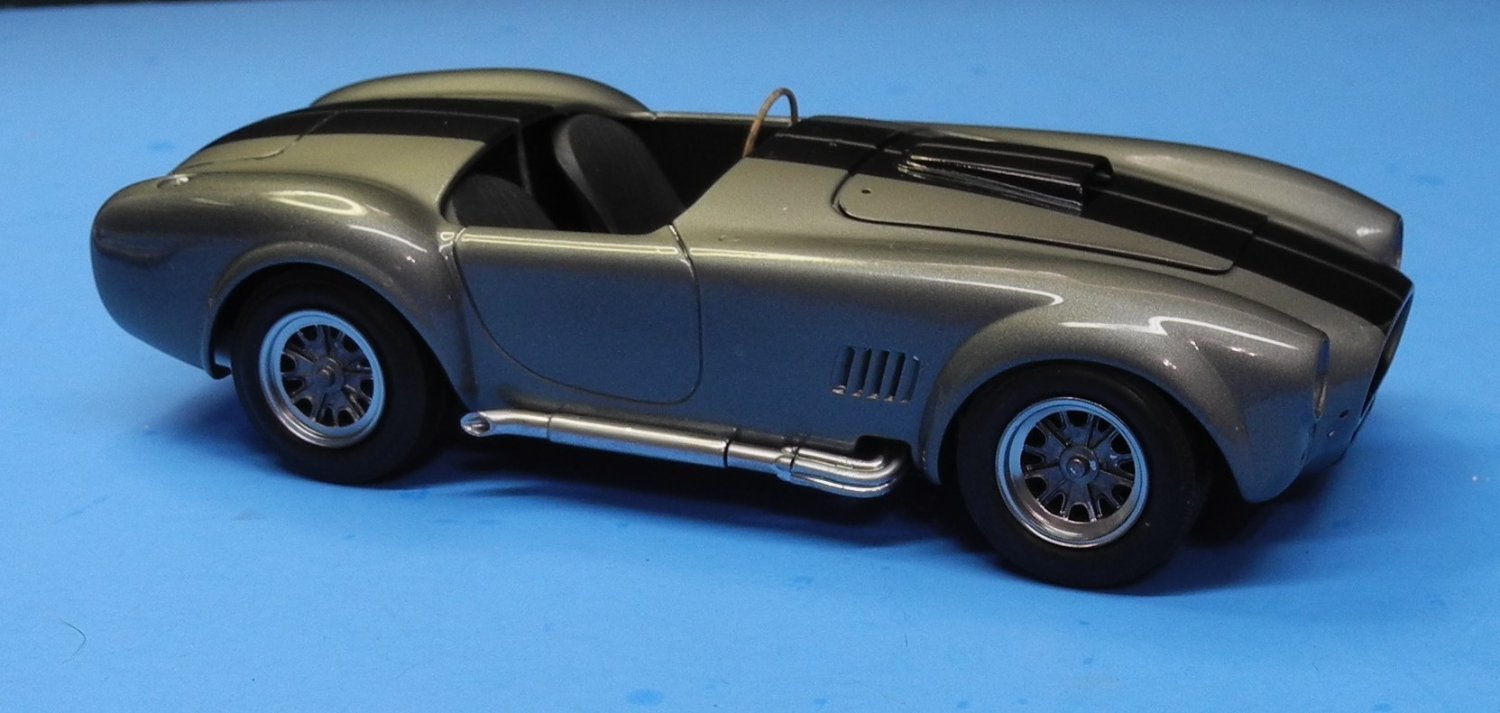
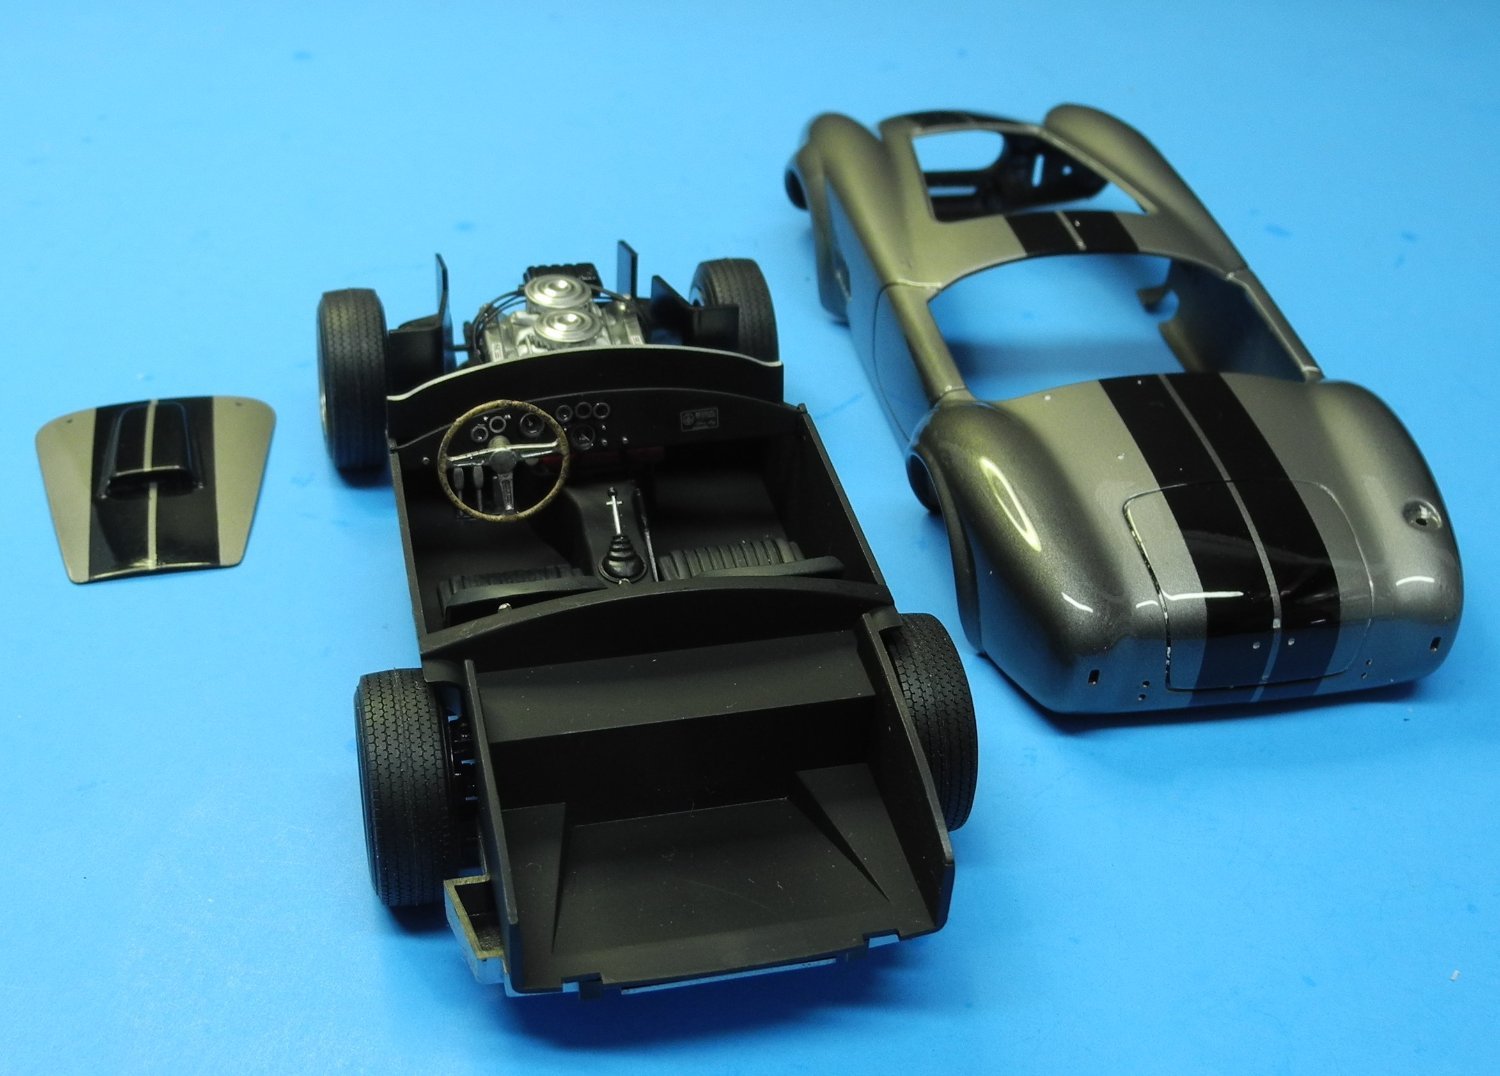
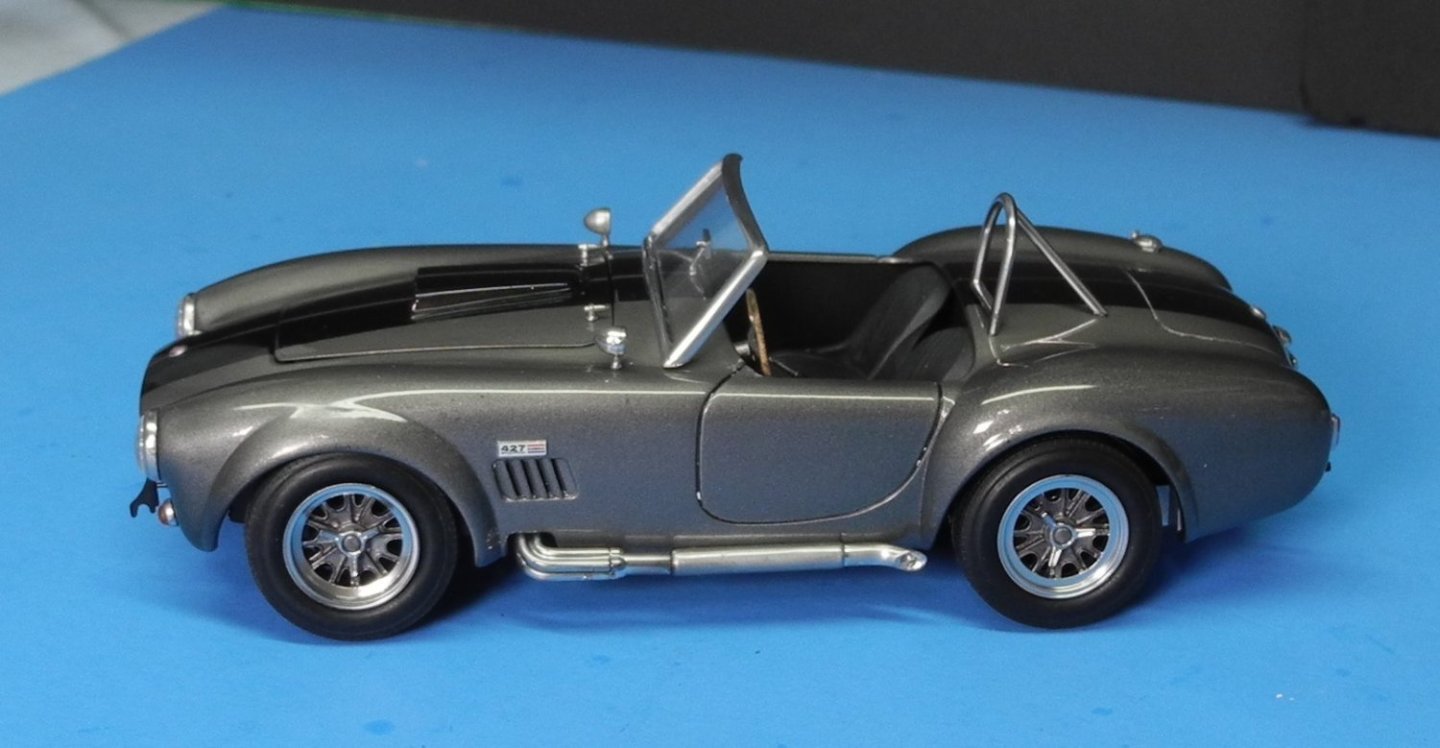
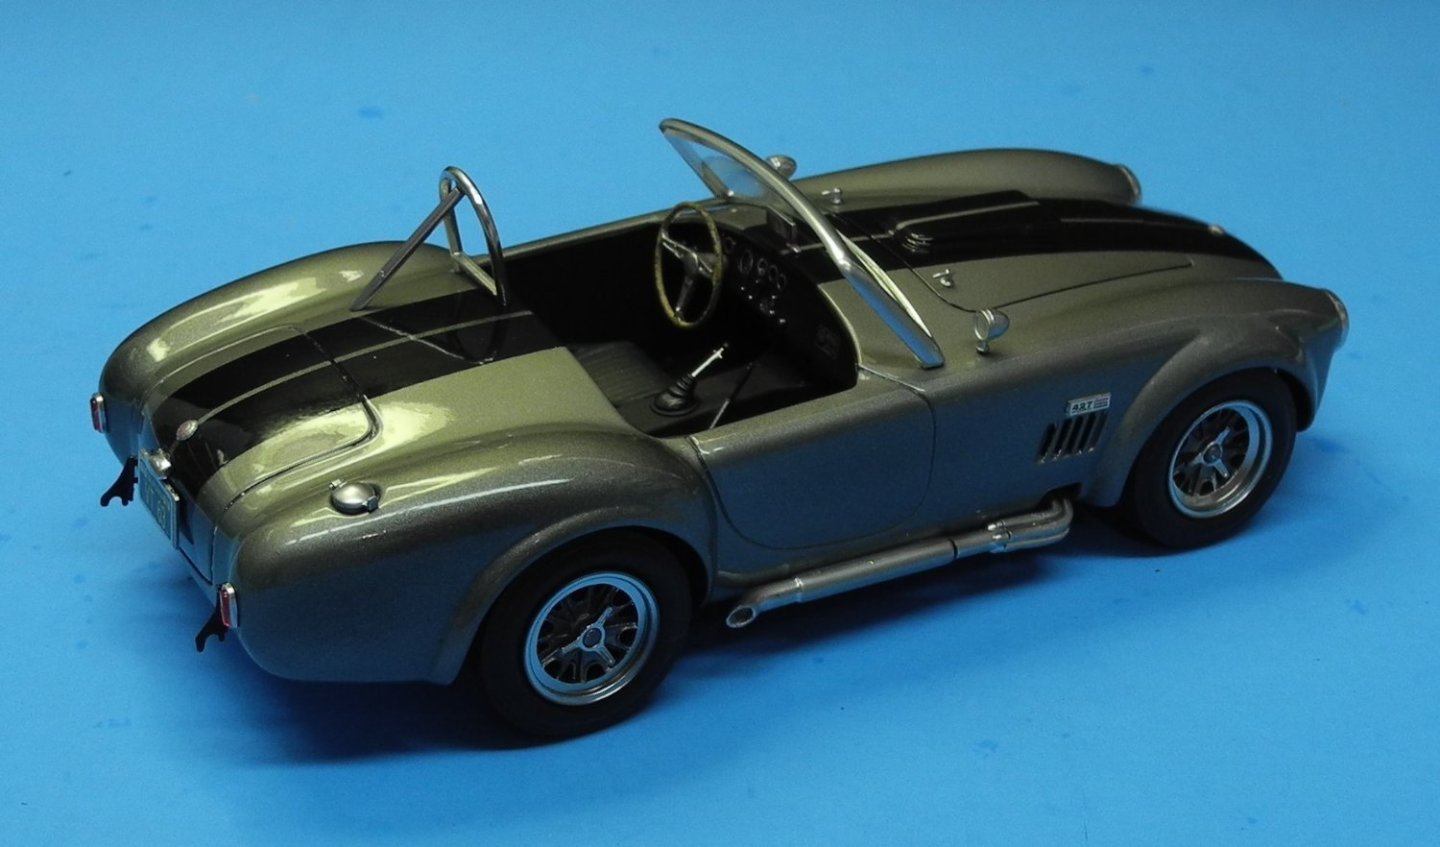
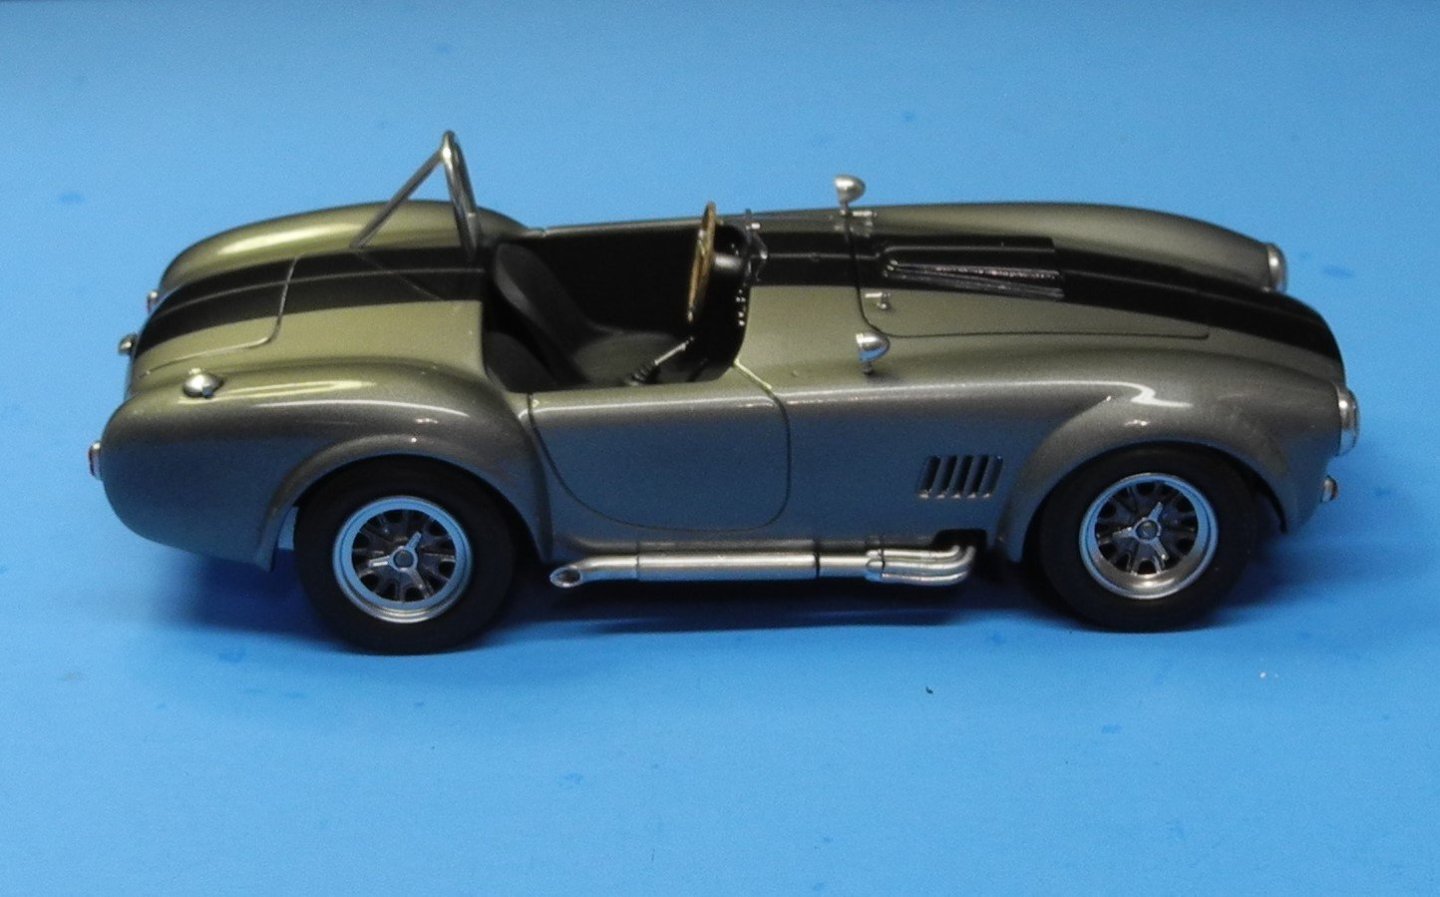
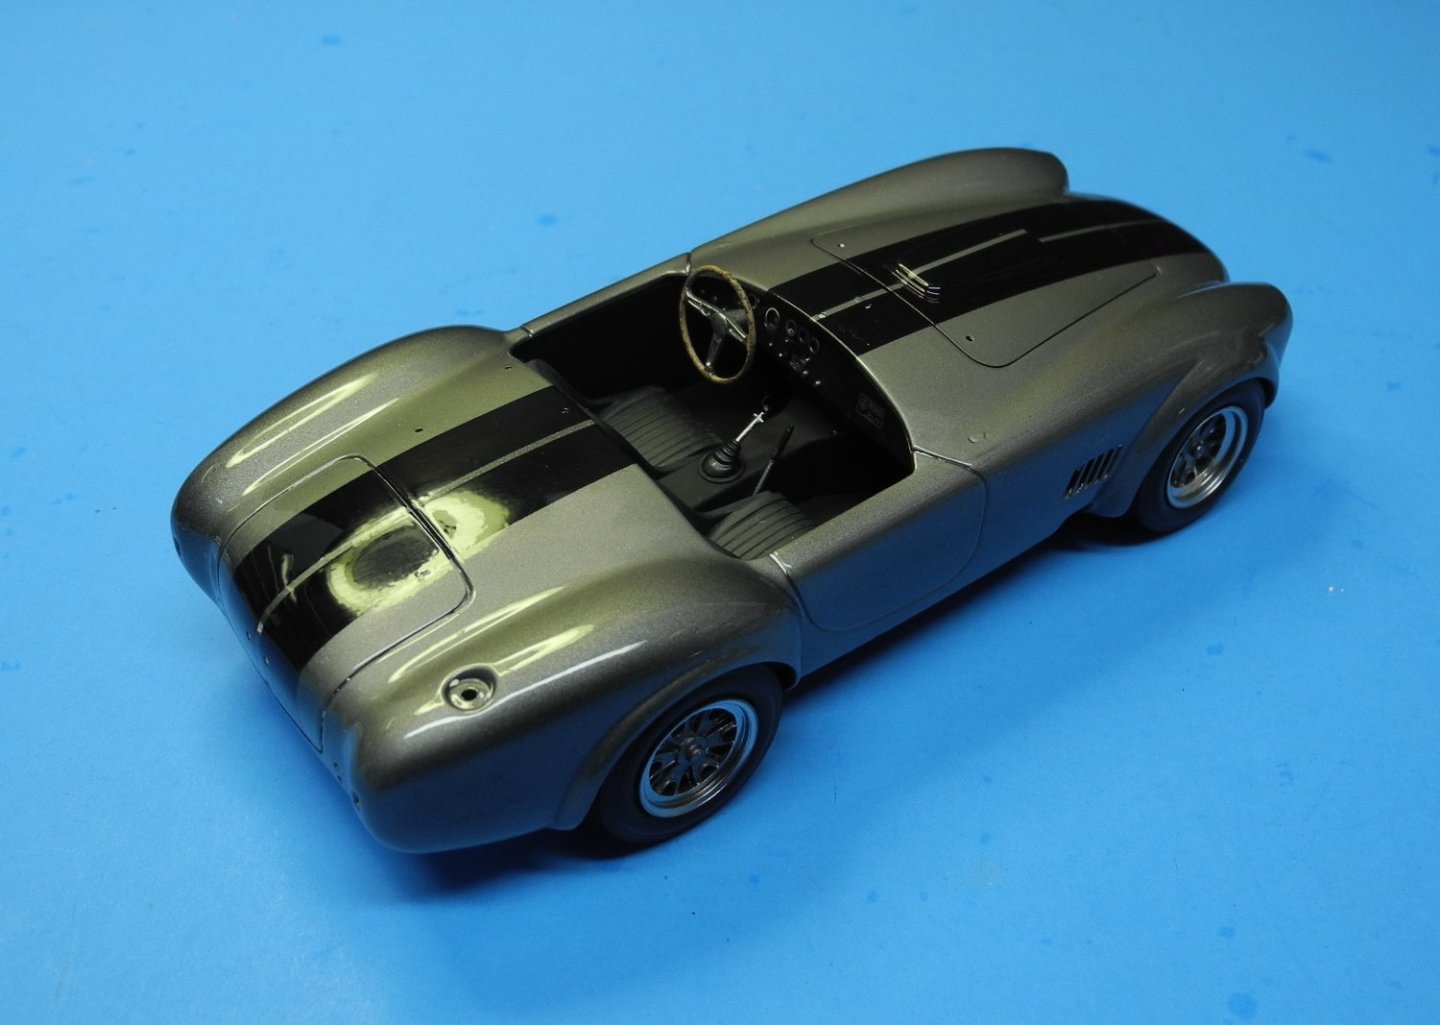
Getting very close to finish now. As I look at it, I'm satisfied with the model as a nice addition to my model car shelf but it's definitely not a show model. Maybe if you started with the Fujimi body shell then scratch built the chassis or maybe even scavenged the chassis from another kit (not sure what all is out there), added an aftermarket engine/transmission, along with other things, you could make a show model from this. For the $30ish price tag I paid for the model, I really can't complain. Also from this experience, I would recommend using the kit supplied parts and just building this as a curbside model. Forget about wasting time with the kit supplied engine and so forth. Could have built this model in half the time.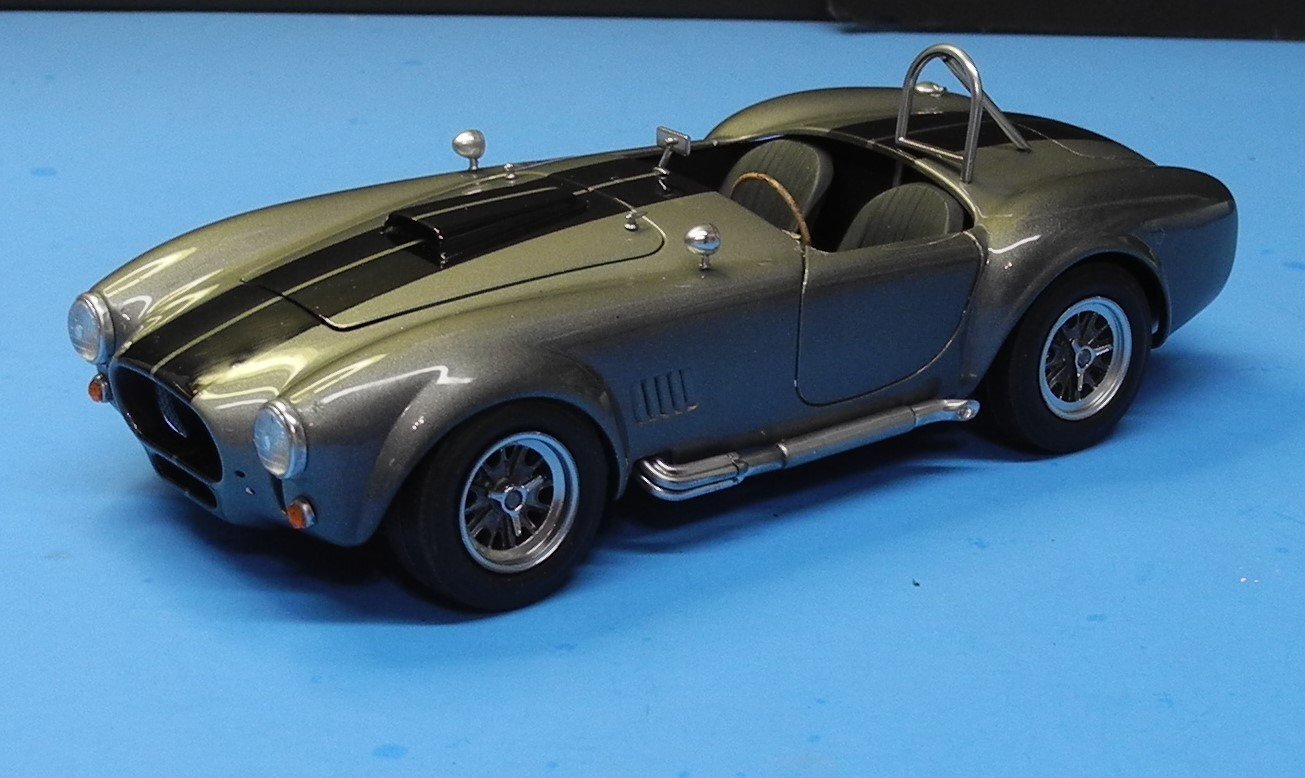
- 67 replies
-
- 13
-
-
Shelby 427 S/C Cobra by CDW - FINISHED - Fujimi - 1:24 Scale
CDW replied to CDW's topic in Non-ship/categorised builds
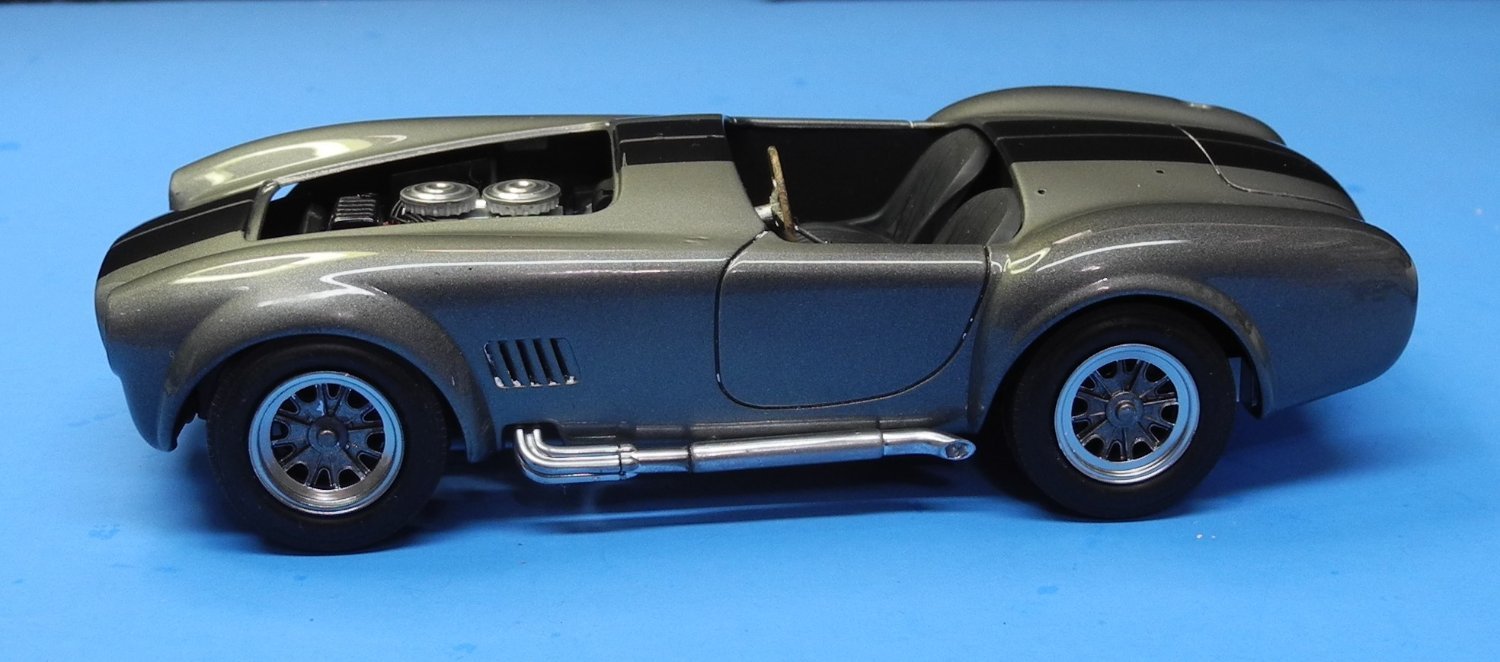
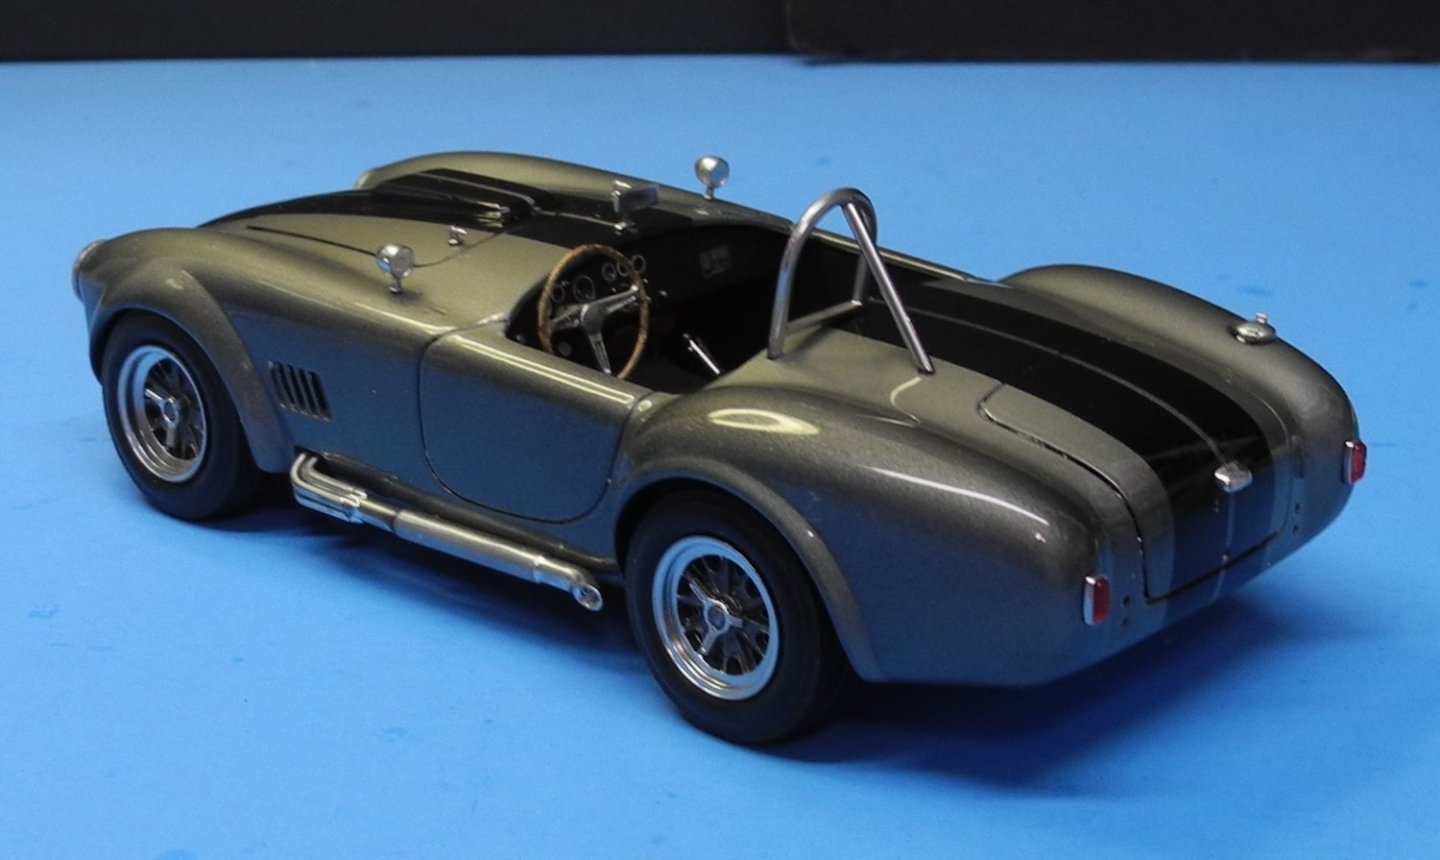
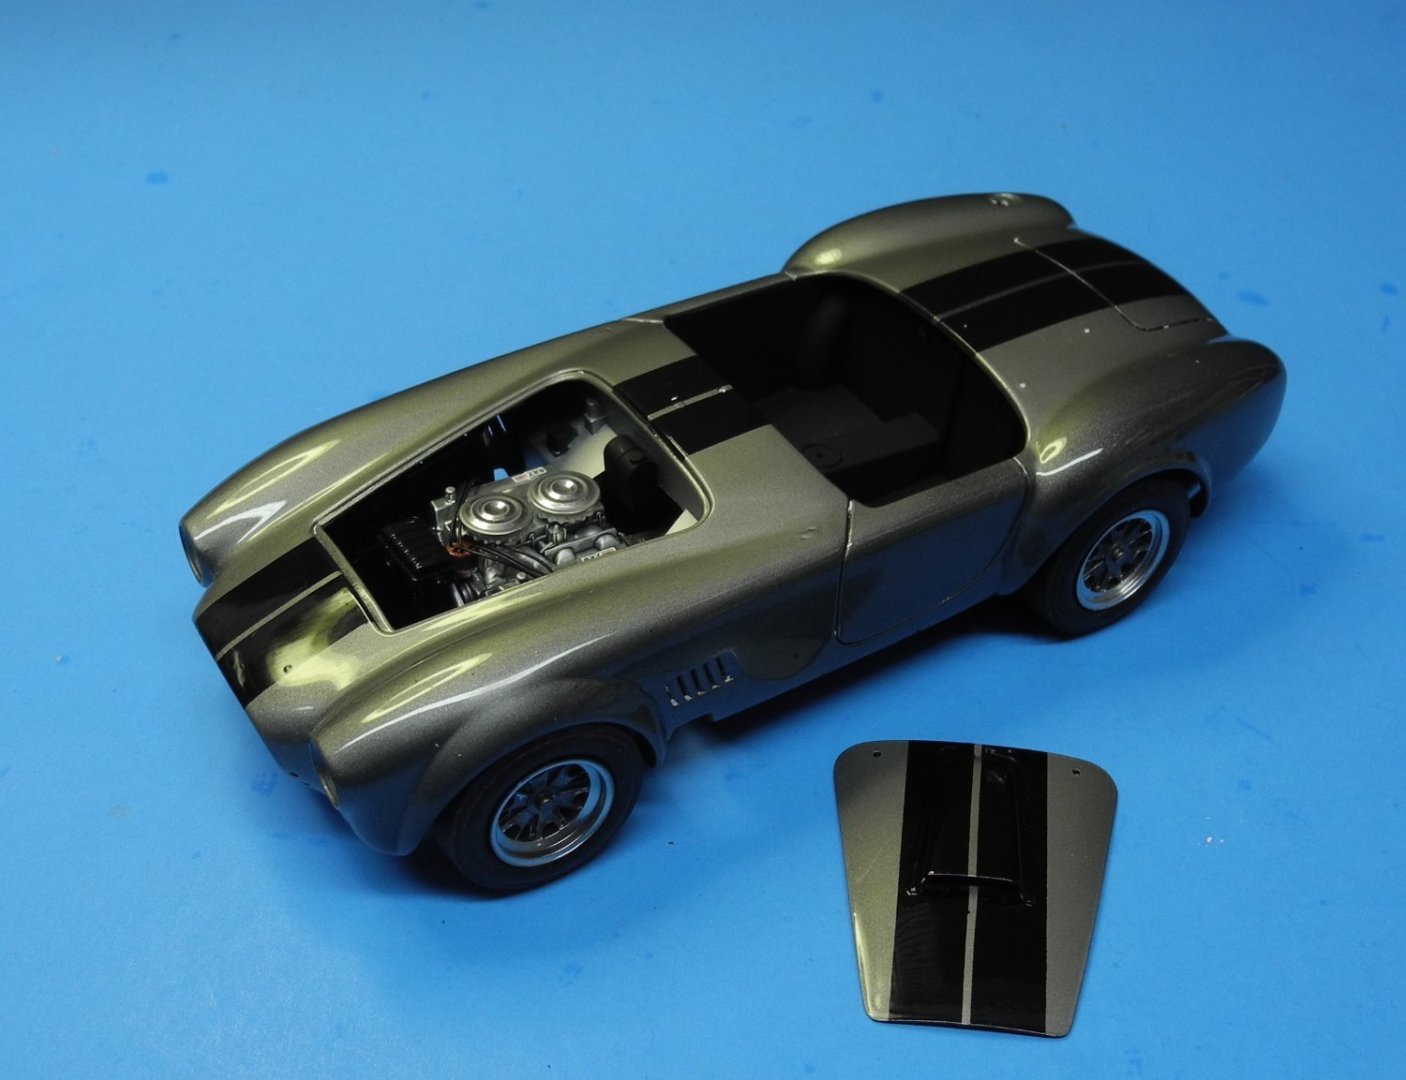
This will be where I leave well enough alone and enjoy it as an interesting shelf model. As you said, when you pick it up and look underneath, there is no hiding the fact the collector pipes do not line up properly with the headers. In the end, I chose to make the header pipes line up with the heads, as these parts can be seen with the bonnet open, and not worry about the collector to header match. The only real way I can see to solve this deficiency is to build a custom set of headers. The model is not of sufficient quality to make that a worthwhile effort. To bring this model up to a showpiece level, a LOT of scratch building would be required and that's not something I'm interested to do with this kit. As a side note, I have looked through other builder's efforts with this model and have noticed that the better modelers such as Plasmo, don't even give any photos of the header to collector fit and that leads me to believe it's a common problem. Looking at the history of this kit, it was originally released as a curbside kit, meaning no engine detail except for a plastic insert that showed a raised detail of the bottom of the engine. The collectors were cemented to a plate on the bottom of the chassis. Somewhere along the way, Fujimi added the engine and header details without making other improvements to the chassis. My kit even came with the parts to build it as a curbside model on the sprue trees. If I had known how poor the fit was going to be, I actually would have built it as a curbside model and cut out a lot of work. Anyway, it is what it is.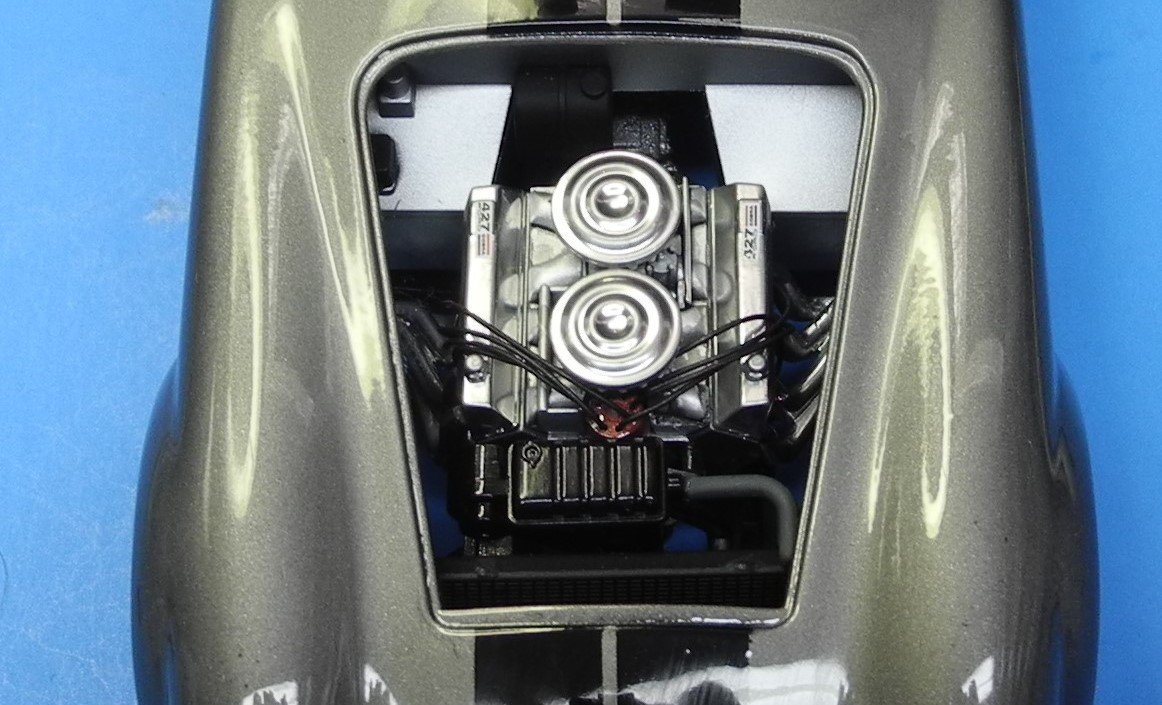


- 67 replies
-
- 12
-
-
-
Shelby 427 S/C Cobra by CDW - FINISHED - Fujimi - 1:24 Scale
CDW replied to CDW's topic in Non-ship/categorised builds
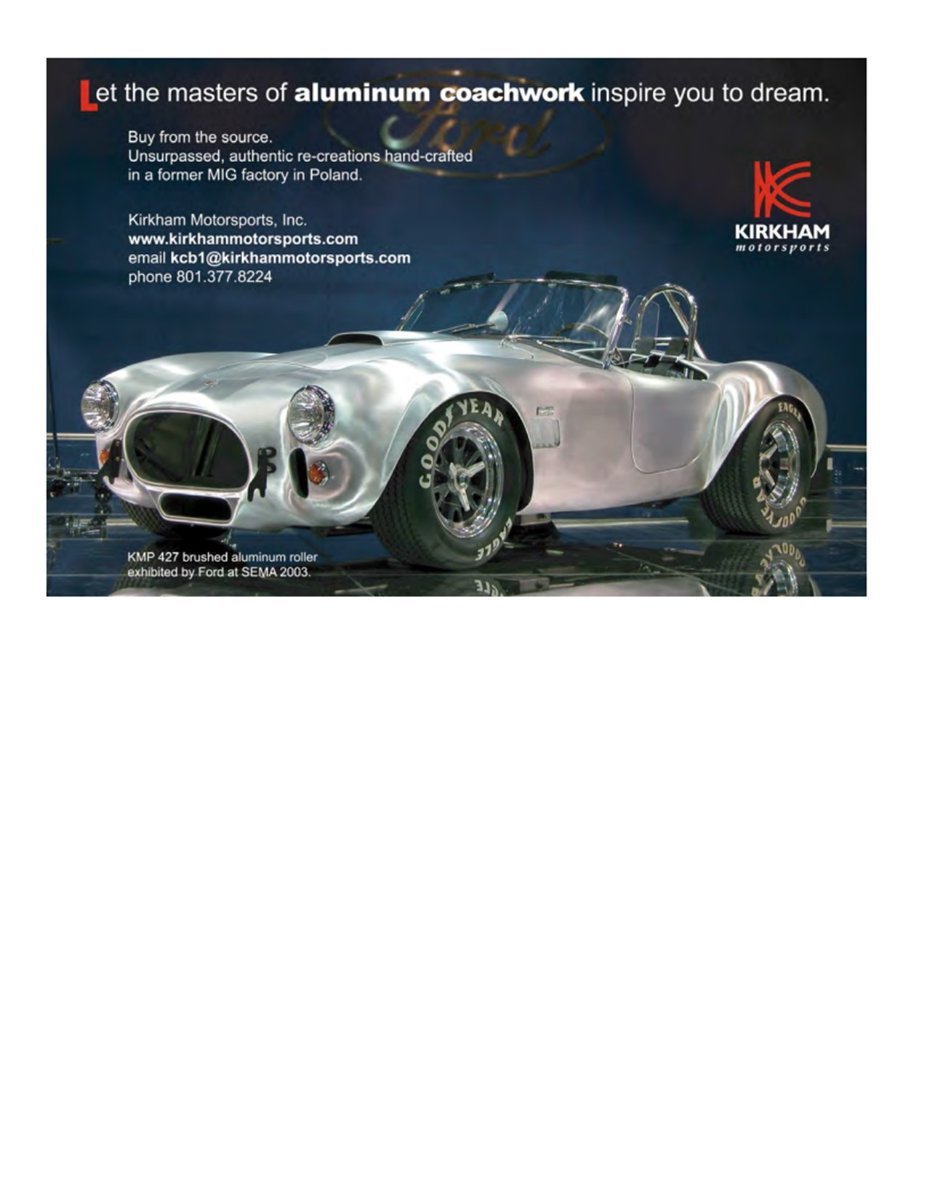
I can dream....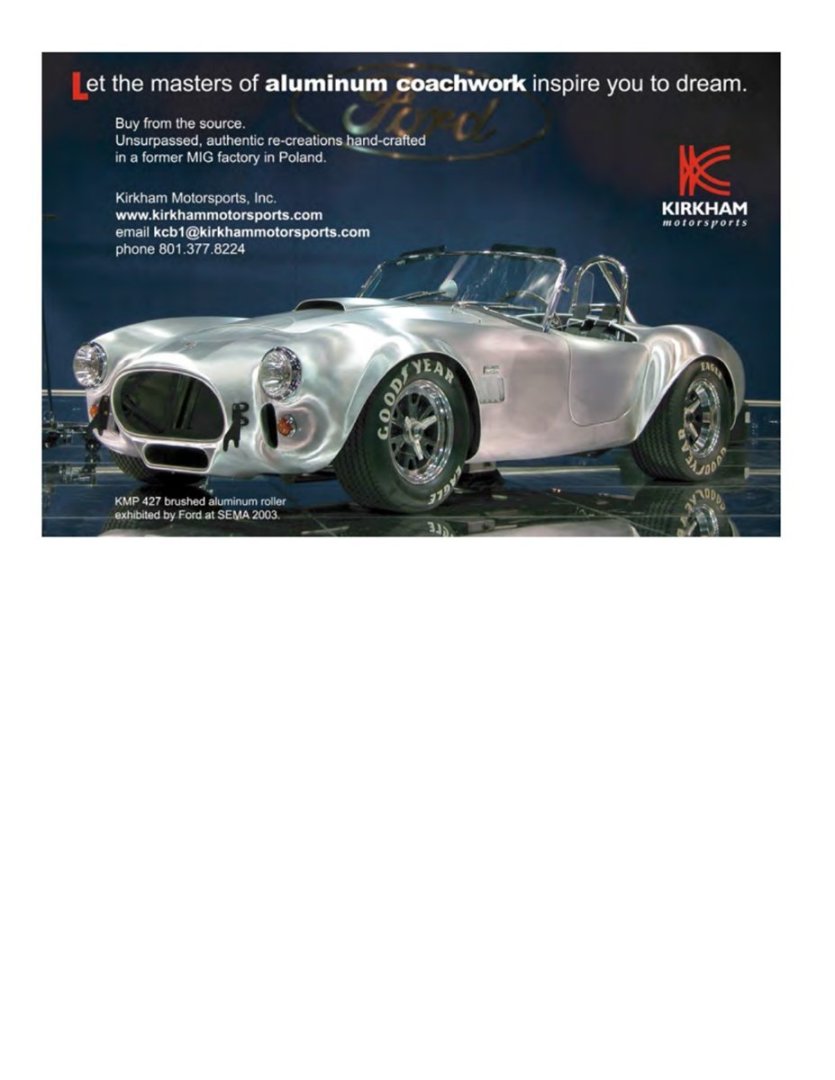
-
Shelby 427 S/C Cobra by CDW - FINISHED - Fujimi - 1:24 Scale
CDW replied to CDW's topic in Non-ship/categorised builds
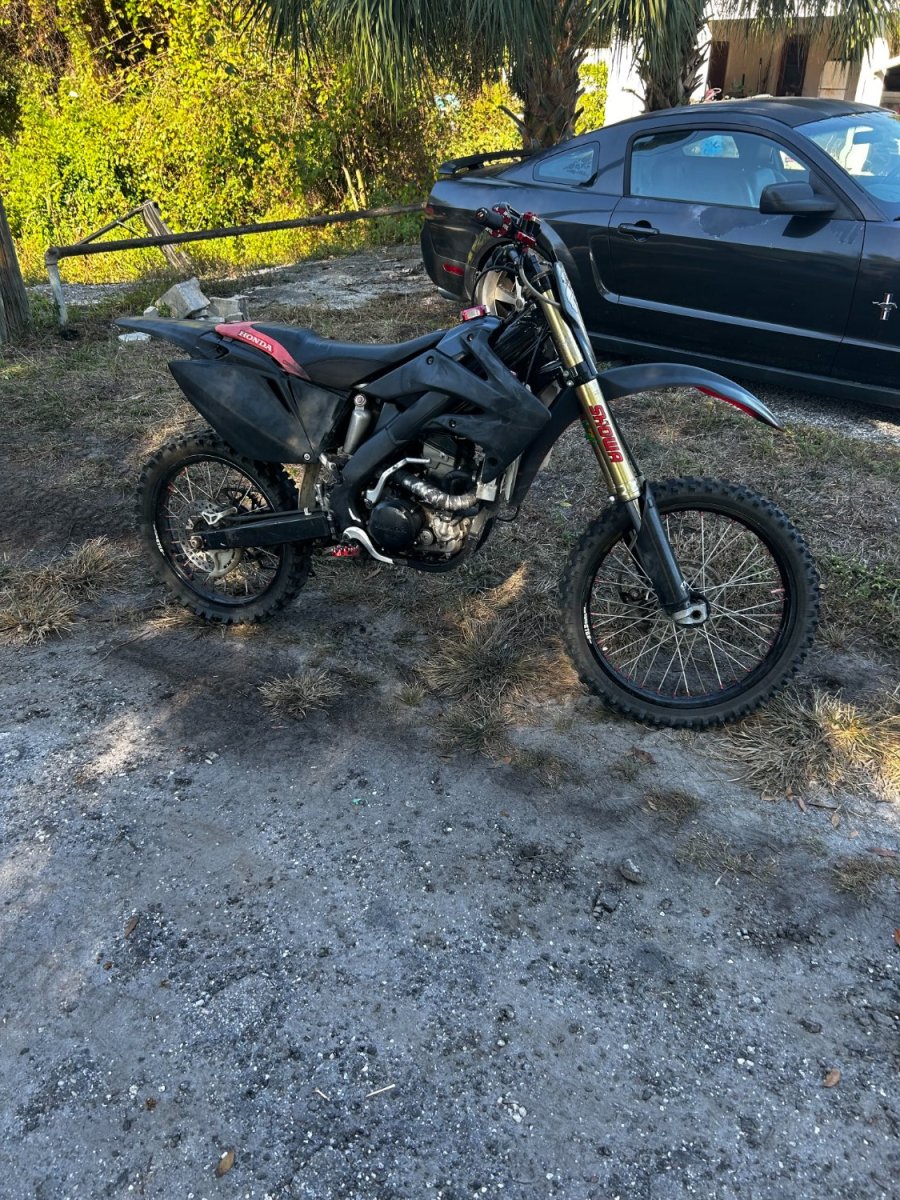
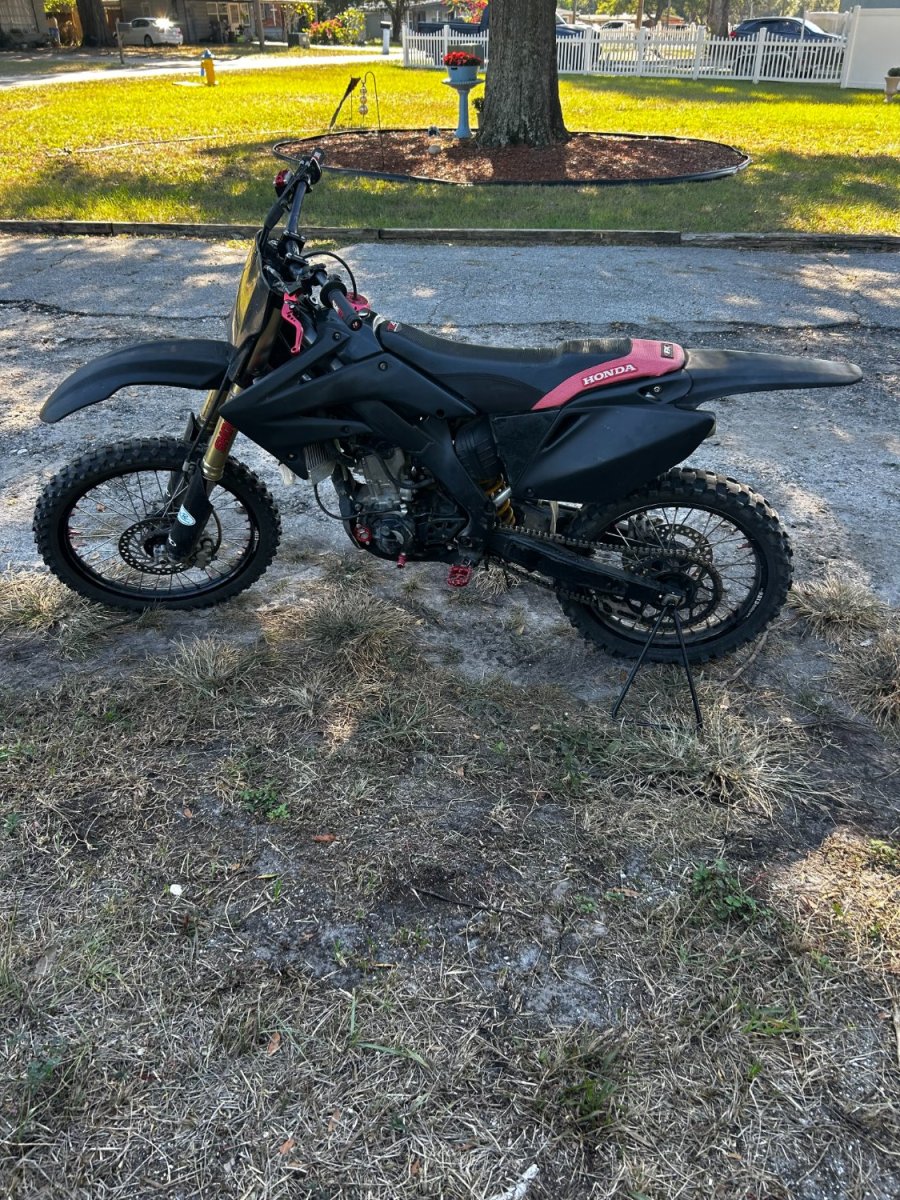
My grandson (16 years old) is a real time, natural born horse trader. Today, he traded for this Honda CR250 dirt bike. of course, 70 year old grandpa had to try it out. My wife scolded me for it. IMG_4601.MOV

-
RGS Rotary Snowplow by yvesvidal - DURANGO PRESS - On3 - 1/48
CDW replied to yvesvidal's topic in Non-ship/categorised builds
With the right space, the right layout, and a nice size scale like this, I can see where a guy could get hooked for life on model railroading. At my age, will not get into it but it’s very tempting. -
Tony Nancy 22 Jr Roadster by CDW - FINISHED - Revell - 1:25 Scale
CDW replied to CDW's topic in Non-ship/categorised builds
Here is another great Don Garlits interview video. The man is a national treasure. It's short, but a very good story about the extraordinary race engine builder, Smokey Yunick and what he did for Don Garlits long, long ago. I guarantee you will like this video. -
Shelby 427 S/C Cobra by CDW - FINISHED - Fujimi - 1:24 Scale
CDW replied to CDW's topic in Non-ship/categorised builds
Headers and side pipe exhaust system. Each side consists of 5 pieces, 10 pieces in all. Bad news, the early indications are, they don't fit. 🤔 Will have to make them fit as best I can. Worst case scenario, the bonnet will remain closed. It appears the headers don't quite reach the heads. I may be able to extend each of the 4 header pipes to each head and make them fit. We'll see. I had the feeling all along this could be a problem area, and it seems as though it is. Murphy's law at work here. -
Shelby 427 S/C Cobra by CDW - FINISHED - Fujimi - 1:24 Scale
CDW replied to CDW's topic in Non-ship/categorised builds

- 67 replies
-
- 15
-
-
-
Shelby 427 S/C Cobra by CDW - FINISHED - Fujimi - 1:24 Scale
CDW replied to CDW's topic in Non-ship/categorised builds
My advantage is a dedicated spray booth in a separate building outside. I agree, without the appropriate gear, leave it alone. I bought this quart size can and a pint of hardener over a year ago and it’s still fine. Paid somewhere around $65 for it. Have used it a number of times on various projects. Custom Creations Creative brand. PS: I see now where my source is selling a 5 liter can with a half-size of hardener for $100, so my memory of $65 for my liter (I said quart earlier) size was probably more like $45 instead of $65, but whatever. You get ripped off when you buy things like this in tiny, small, "hobby sized" bottles. Another thing....keep your hardener far away from the base and use every precaution not to introduce and hardener whatsoever to your can of base. It's so easy to accidentally contaminate the entire batch and if you do, it will harden it in nothing flat. -
Shelby 427 S/C Cobra by CDW - FINISHED - Fujimi - 1:24 Scale
CDW replied to CDW's topic in Non-ship/categorised builds
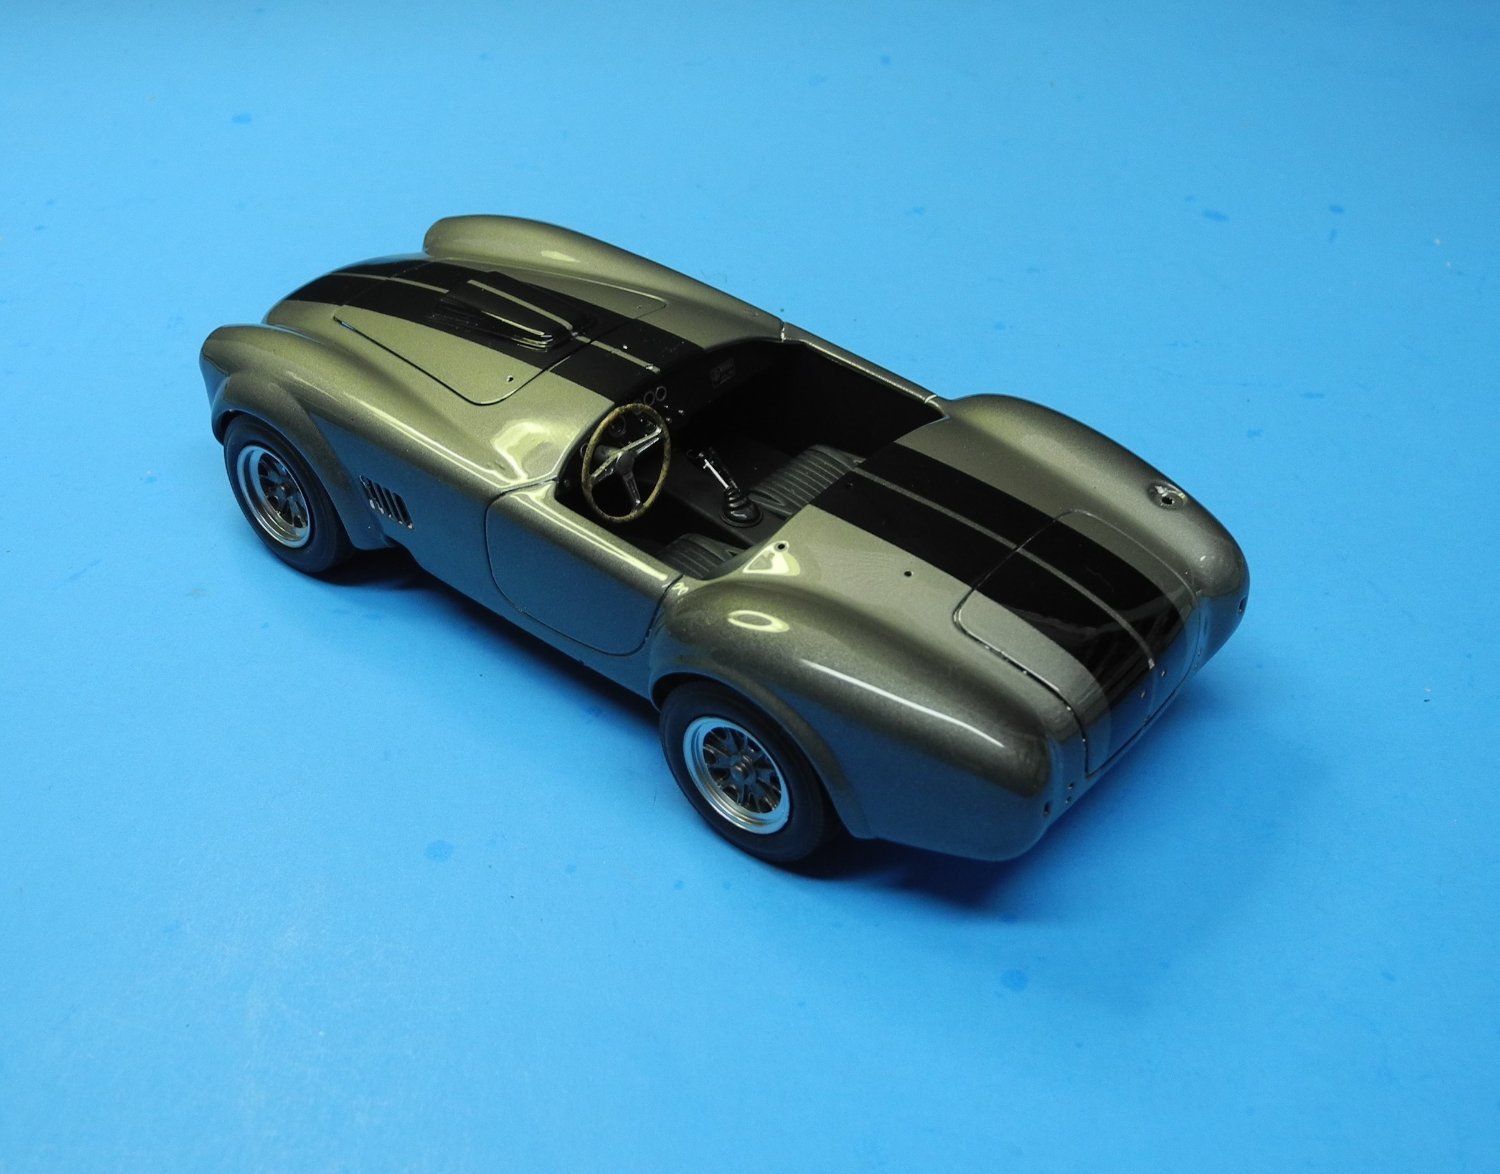
For the dashboard, I drilled out the molded, raised detail gauges, used the kit gauge decals on a backing sheet made of thin styrene which was then glued to the backside of the dashboard (to show the gauges through the holes). Next used some generic photo etch rings that fit the holes. everything else in the interior is box stock.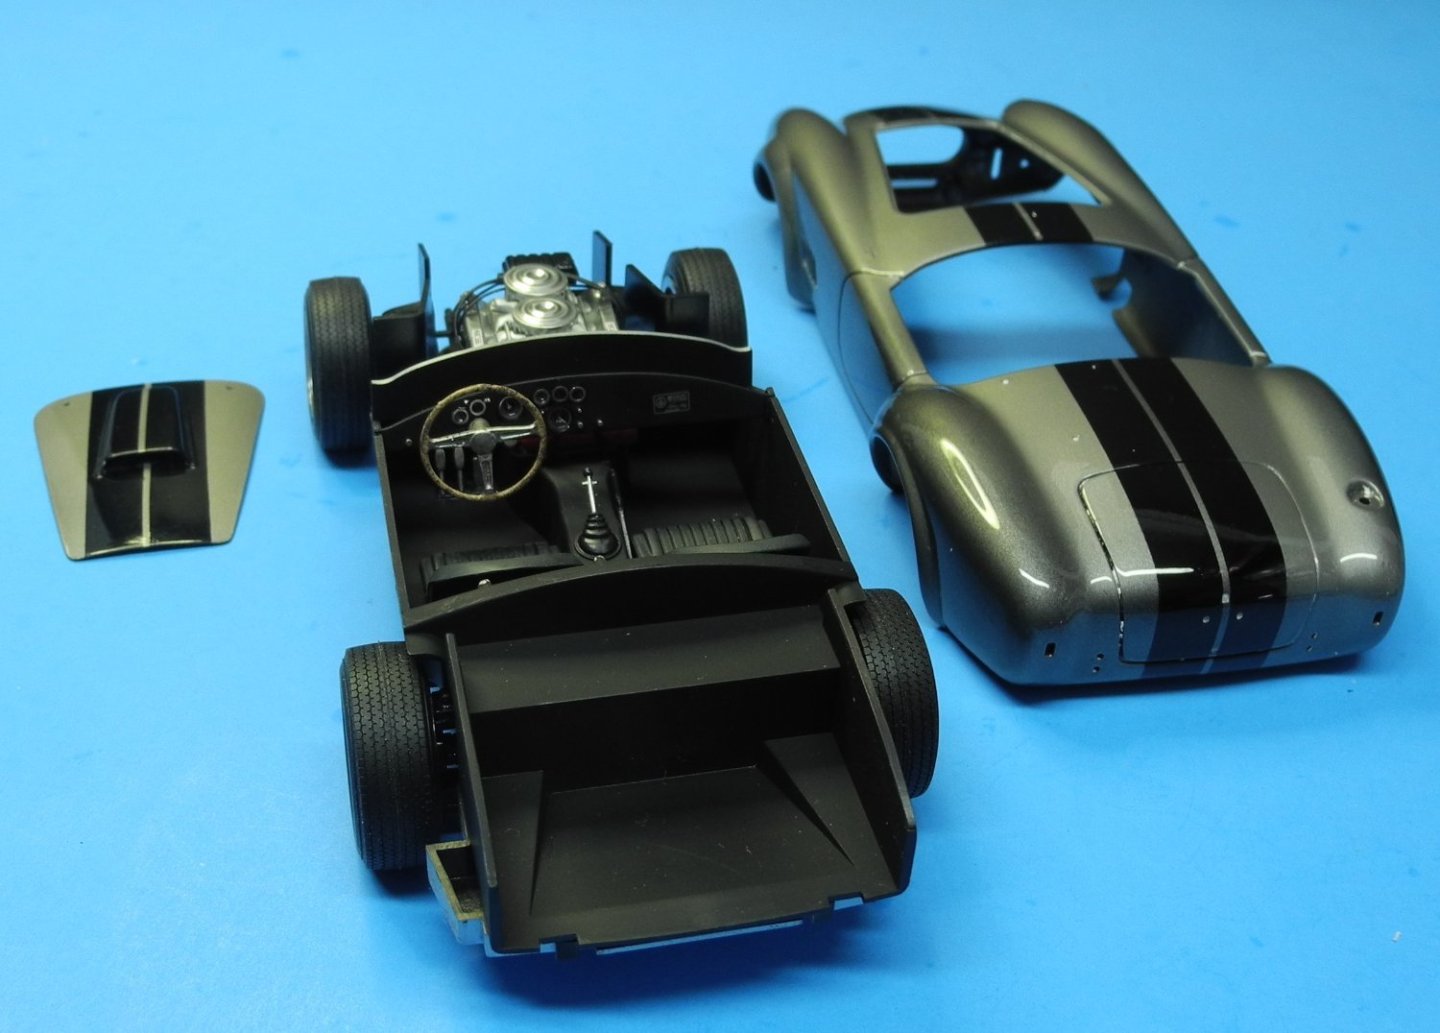
- 67 replies
-
- 10
-
-
Shelby 427 S/C Cobra by CDW - FINISHED - Fujimi - 1:24 Scale
CDW replied to CDW's topic in Non-ship/categorised builds

-
Shelby 427 S/C Cobra by CDW - FINISHED - Fujimi - 1:24 Scale
CDW replied to CDW's topic in Non-ship/categorised builds
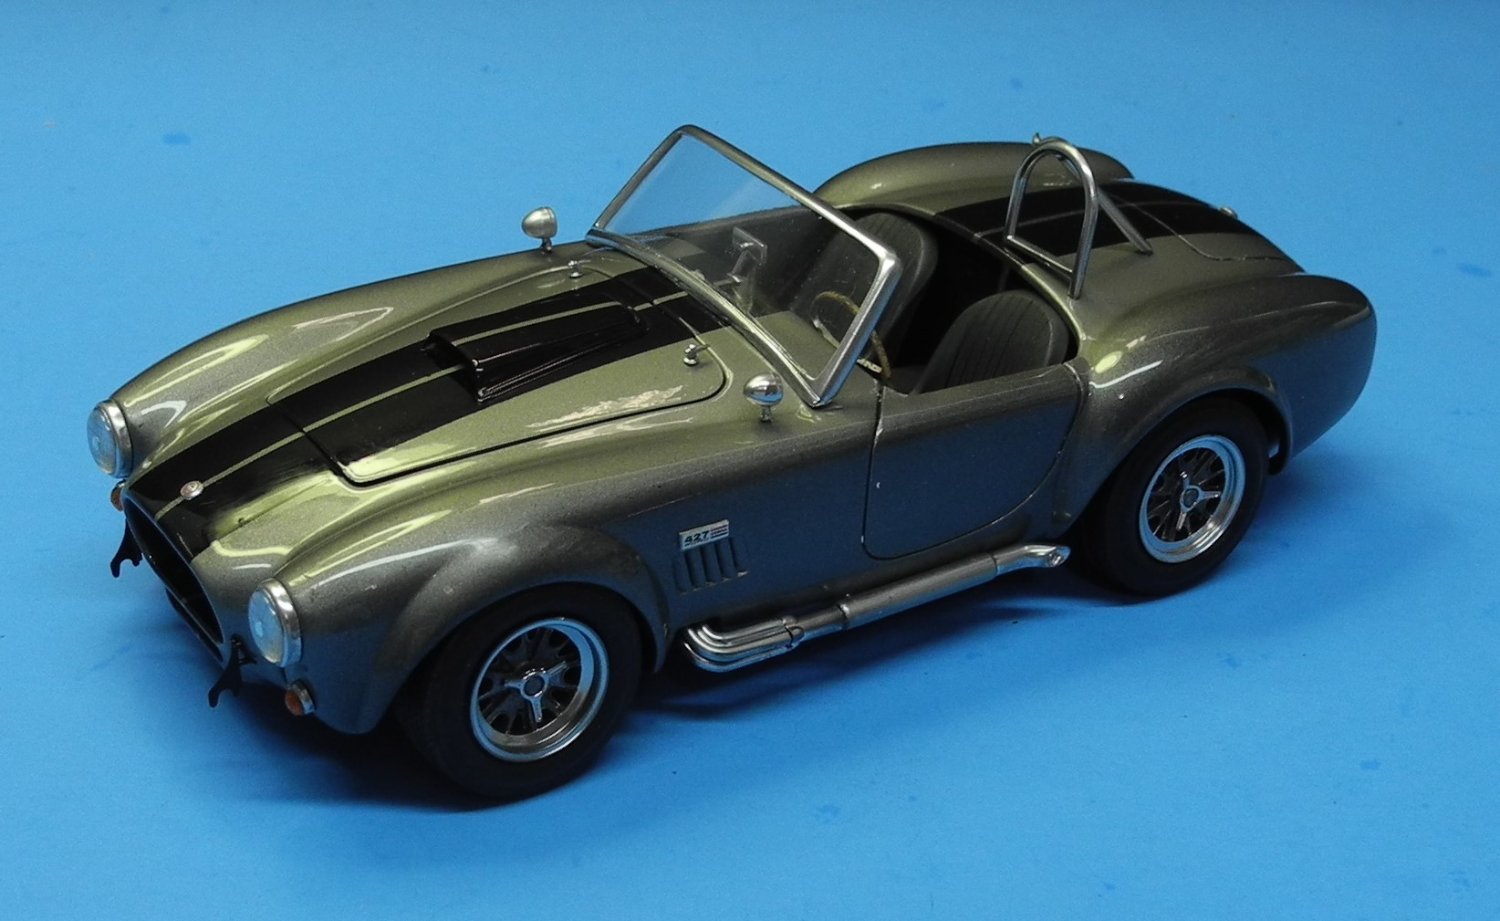
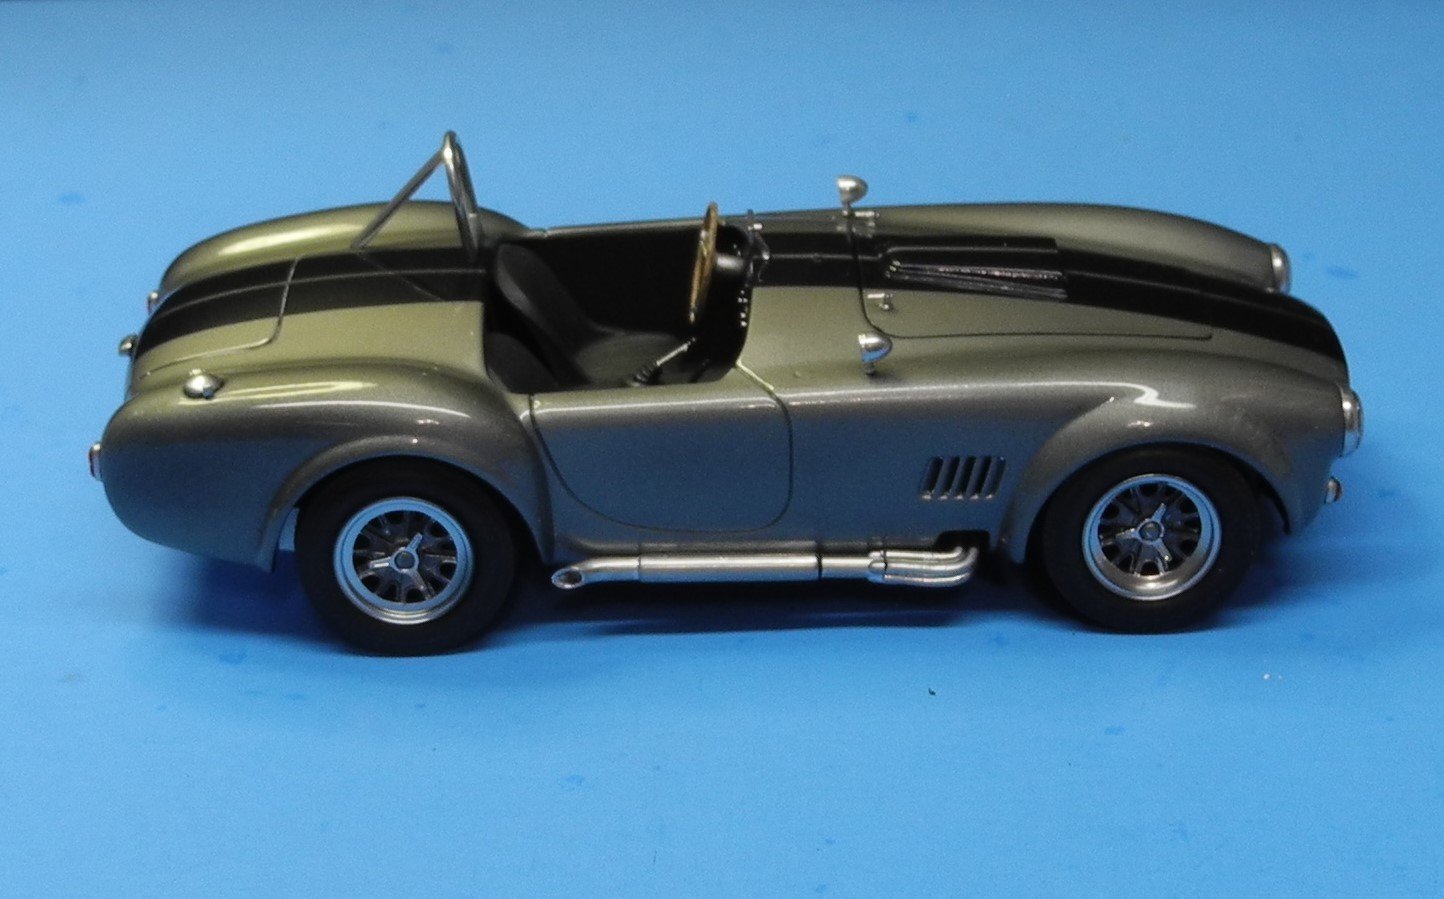
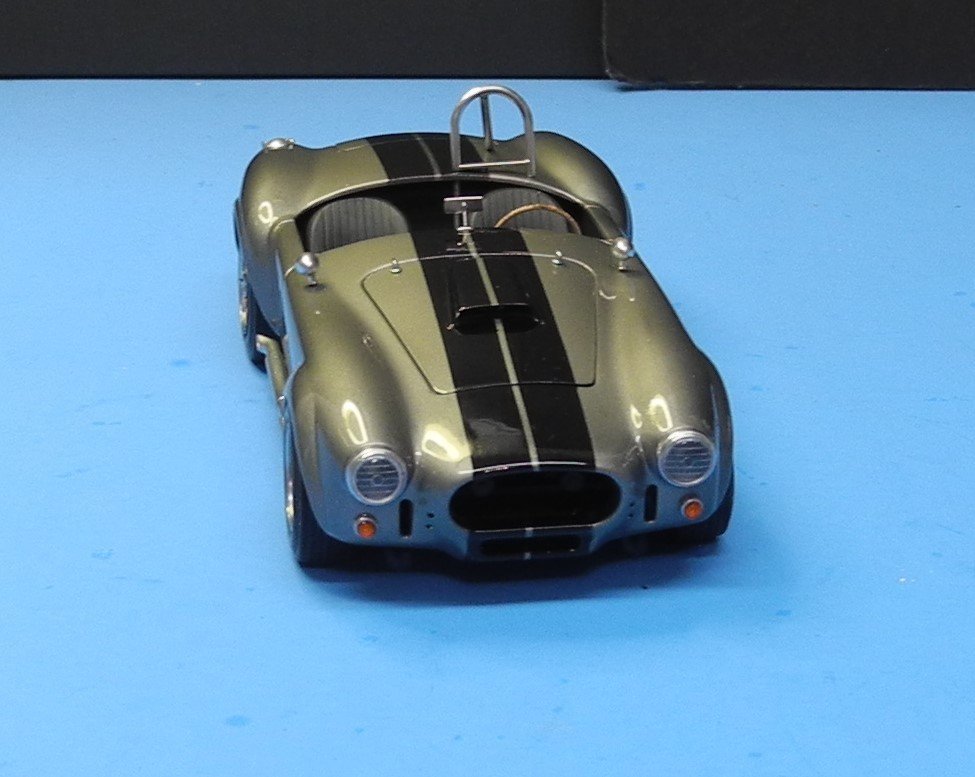
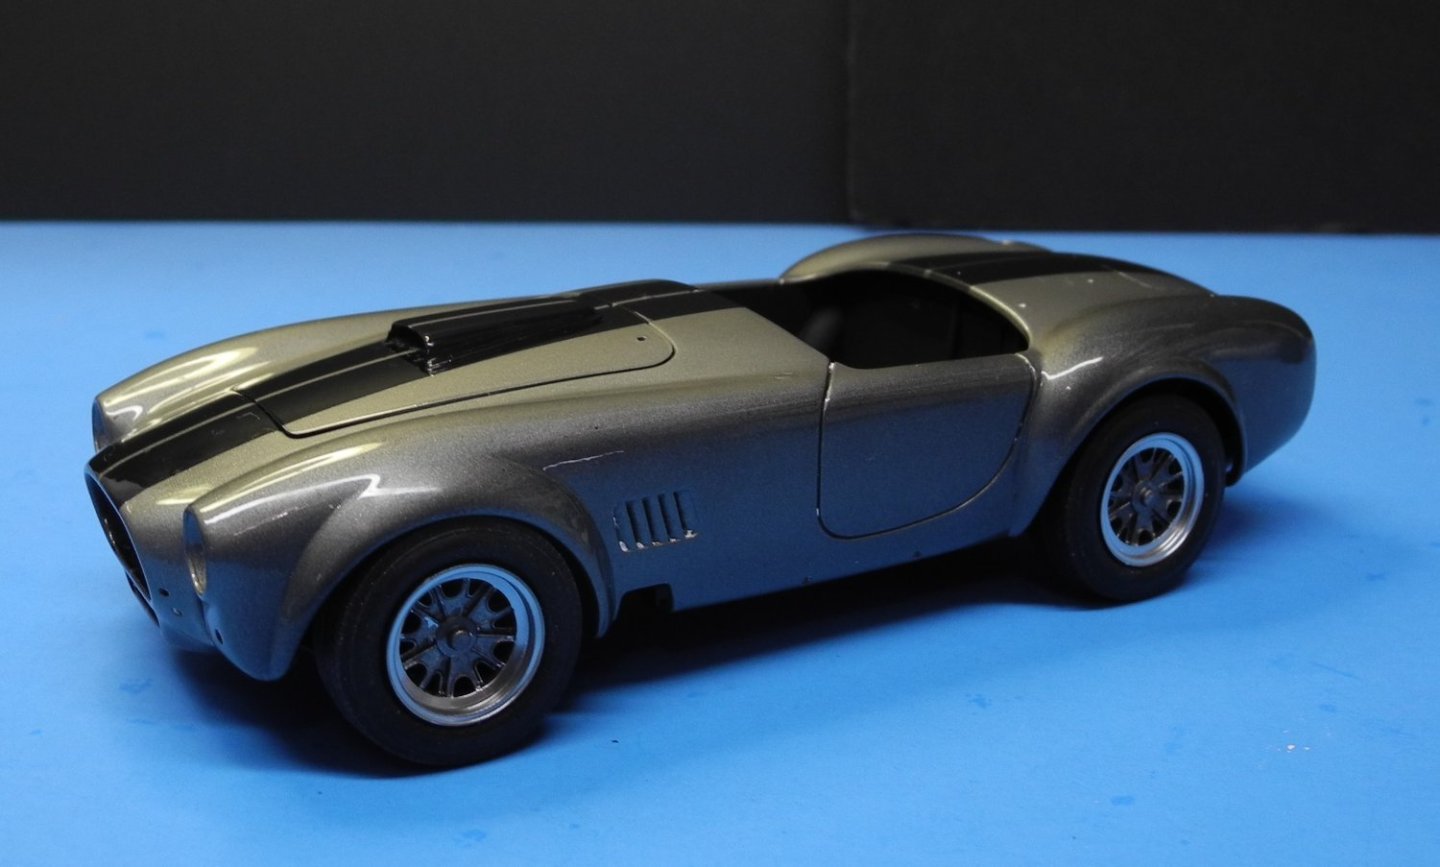
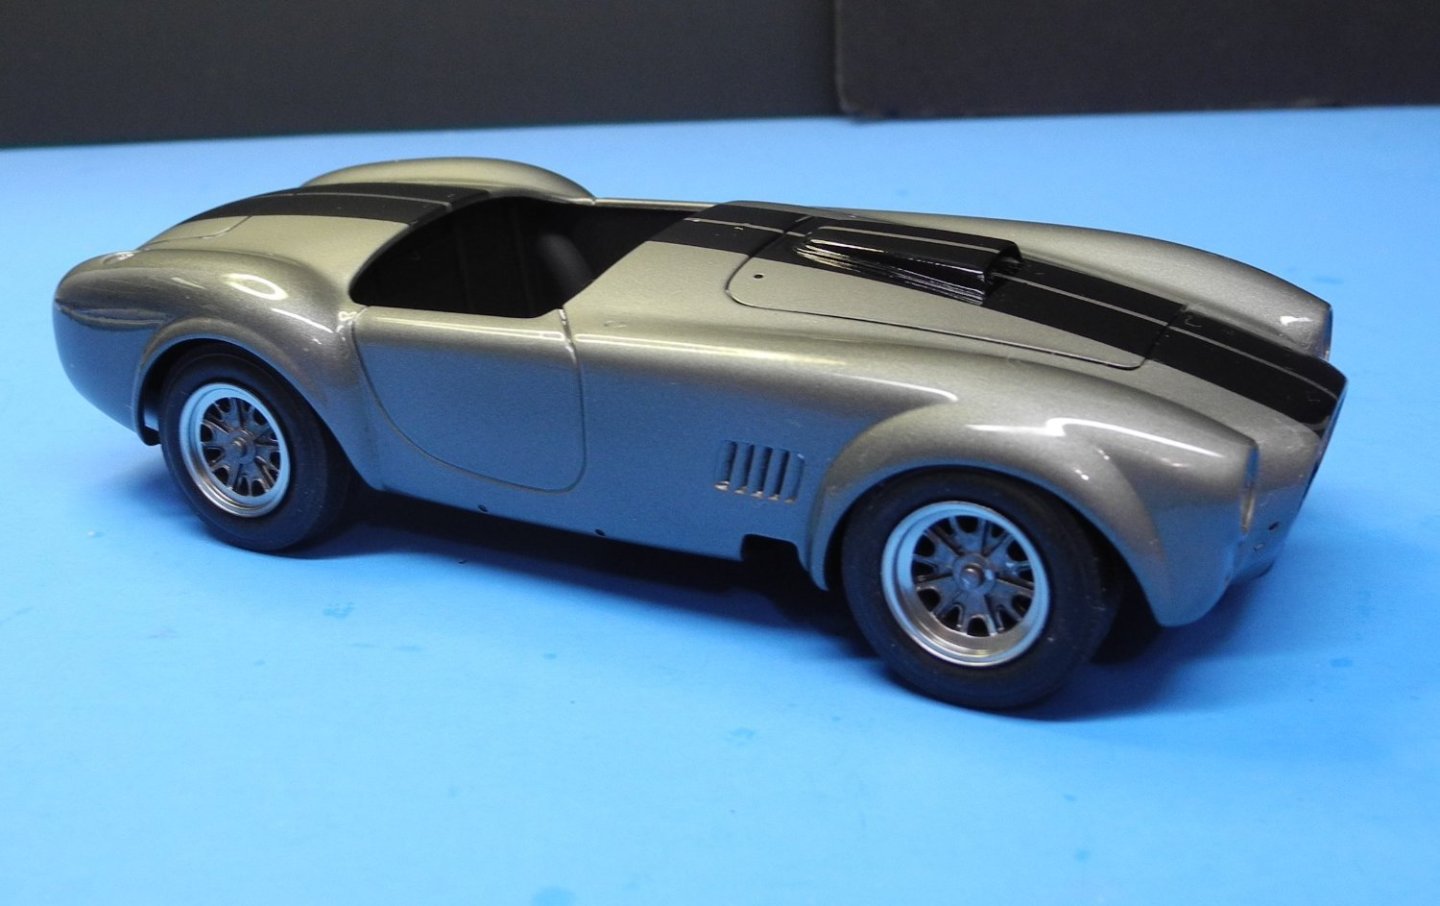
A dry-fit. Finished the suspension, lowered it a bit by cutting and repositioning this and that. Out of the box, the model would sit a little higher than you see it here, by 1mm all around.

- 67 replies
-
- 13
-
-
-
Shelby 427 S/C Cobra by CDW - FINISHED - Fujimi - 1:24 Scale
CDW replied to CDW's topic in Non-ship/categorised builds
It’s next to impossible to avoid all specks of dust or even a grain of dirt in a clear coat. So this is pretty much standard procedure to fix it. One must be very careful not to burn through the clear coat or else another clear coat will be needed. -
Shelby 427 S/C Cobra by CDW - FINISHED - Fujimi - 1:24 Scale
CDW replied to CDW's topic in Non-ship/categorised builds
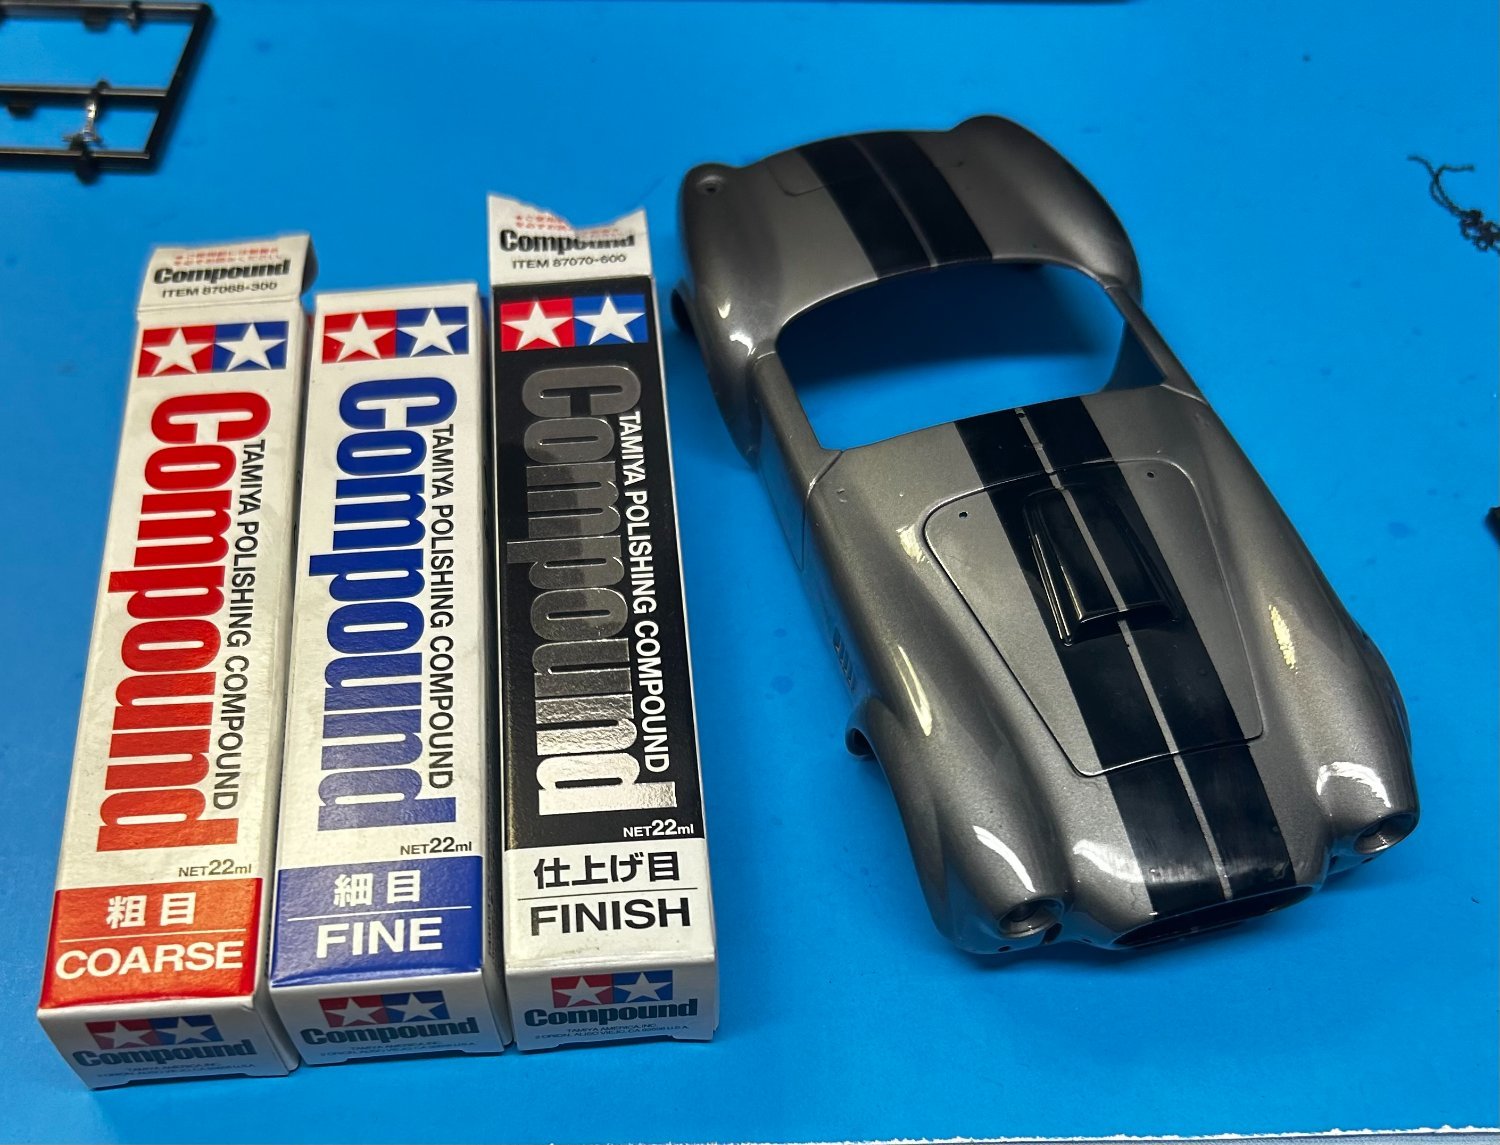
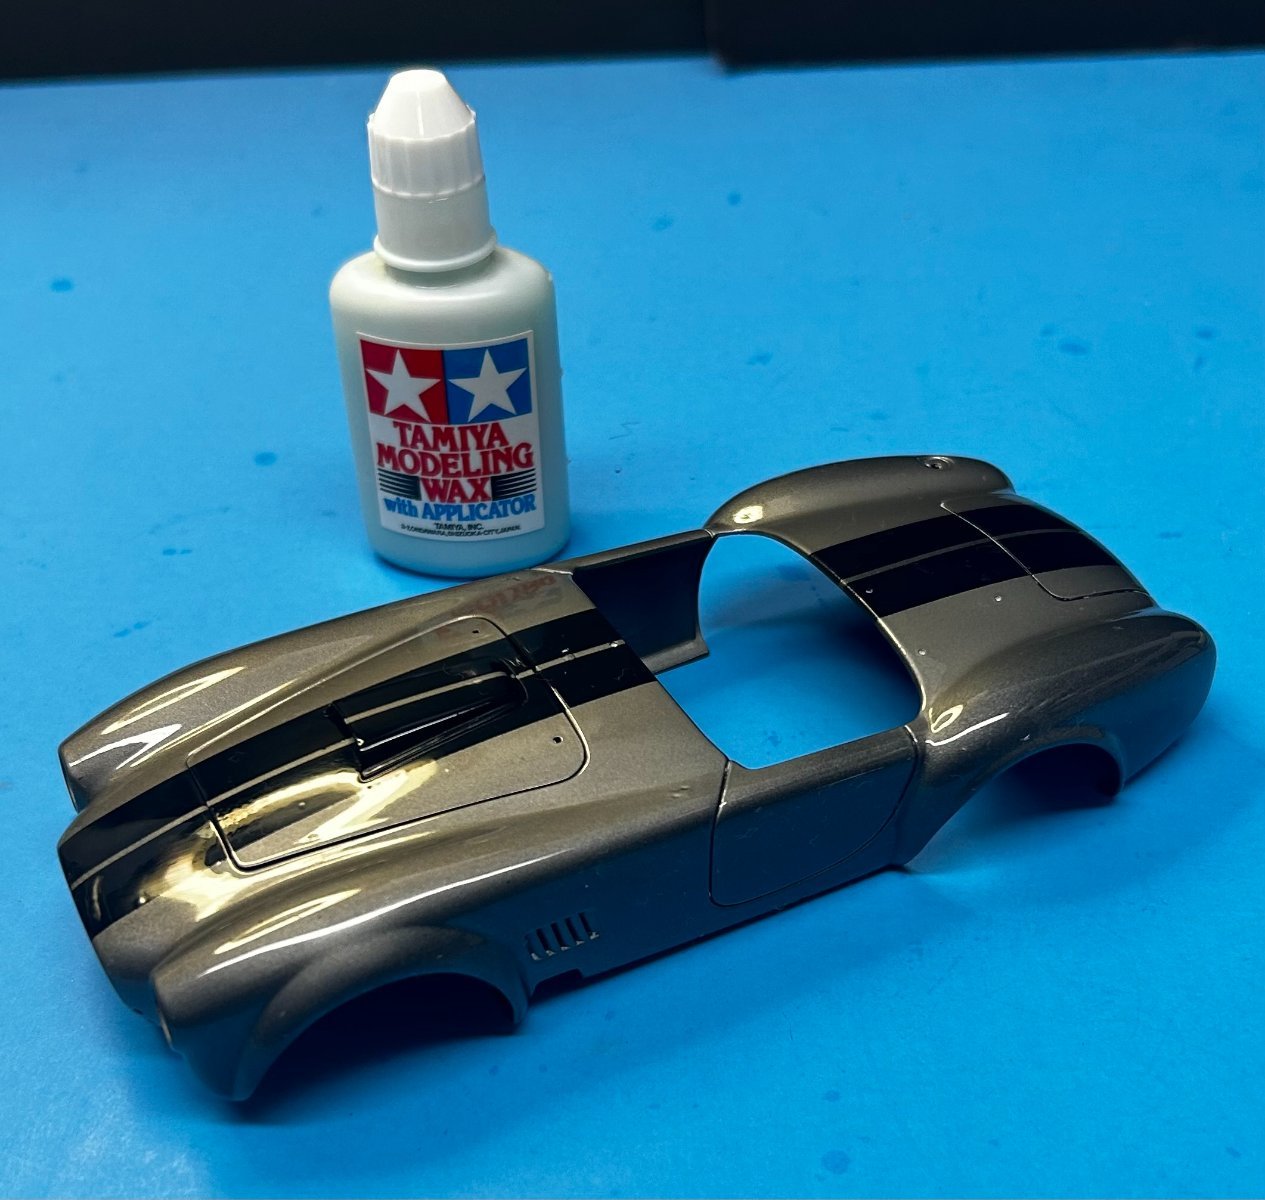
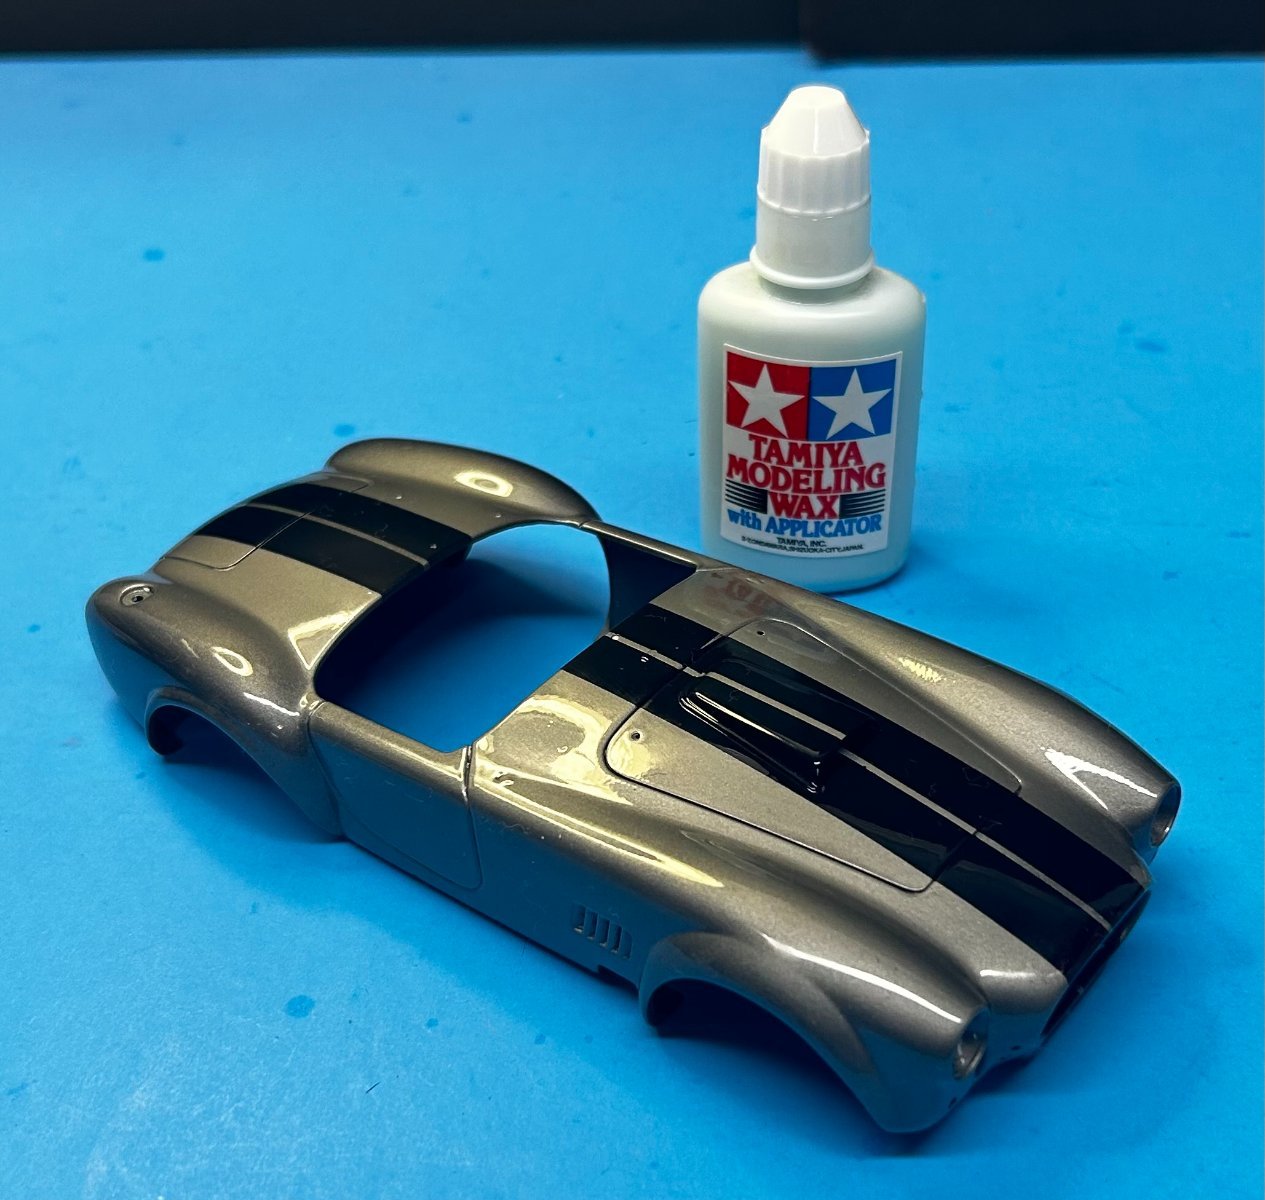
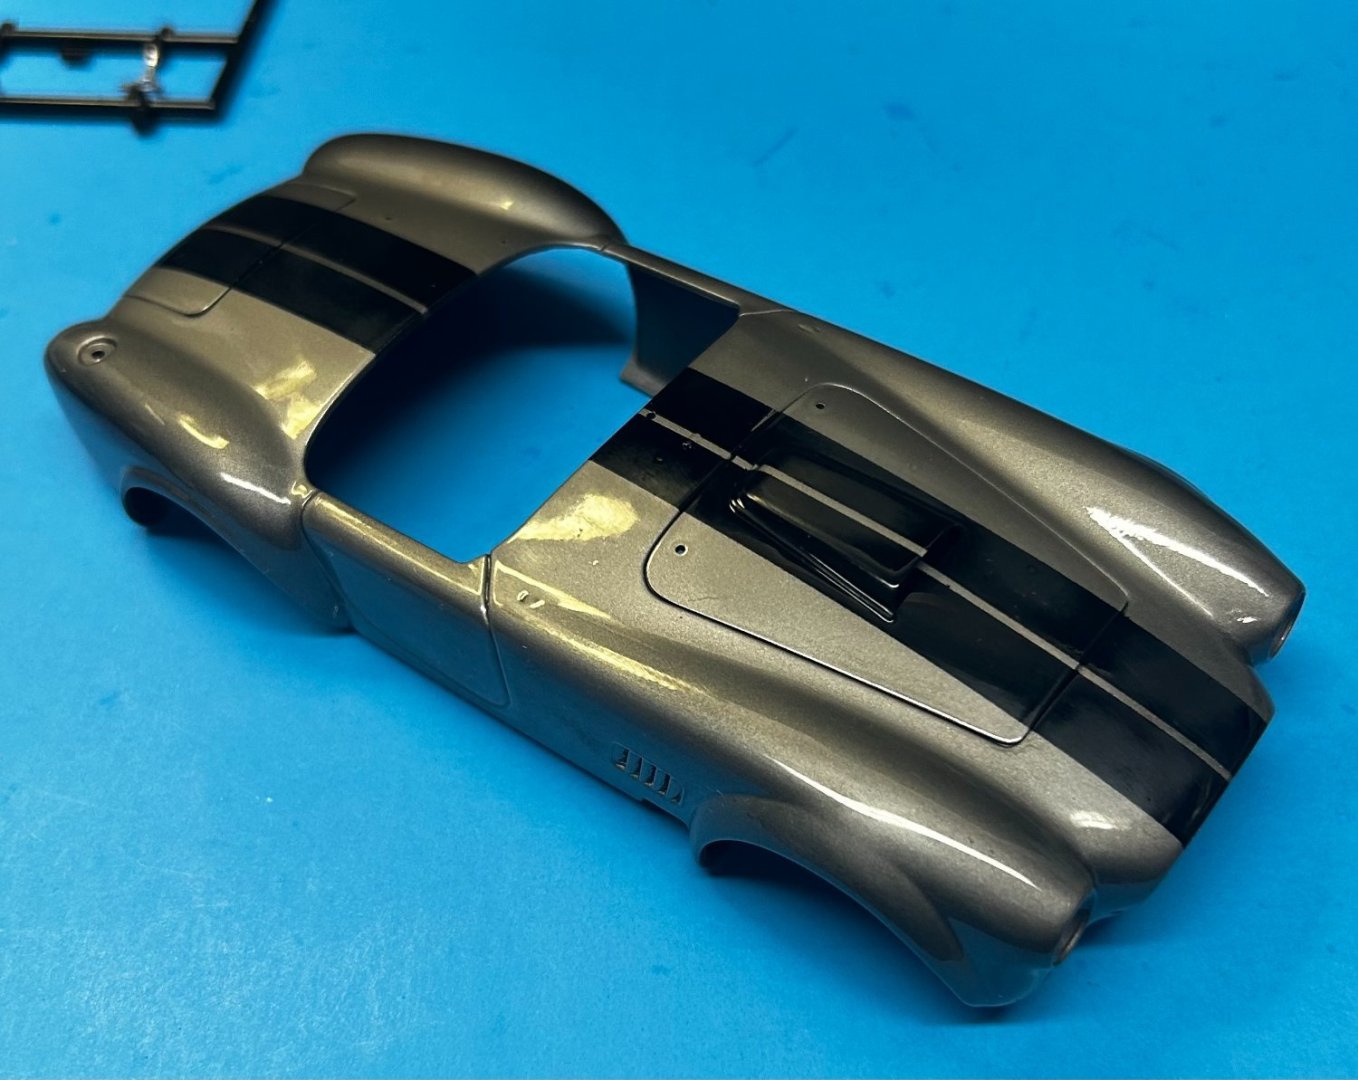
There were some specks of dust embedded in my clear coat, so I wanted to wet sand them out. After allowing the clear coat to cure 72hrs+, used a 3000 grit sanding/polishing sponge to lightly give it a go. Next, used three grades of Tamiya polishing compound in successive sessions. Last, used Tamiya wax to finish it out.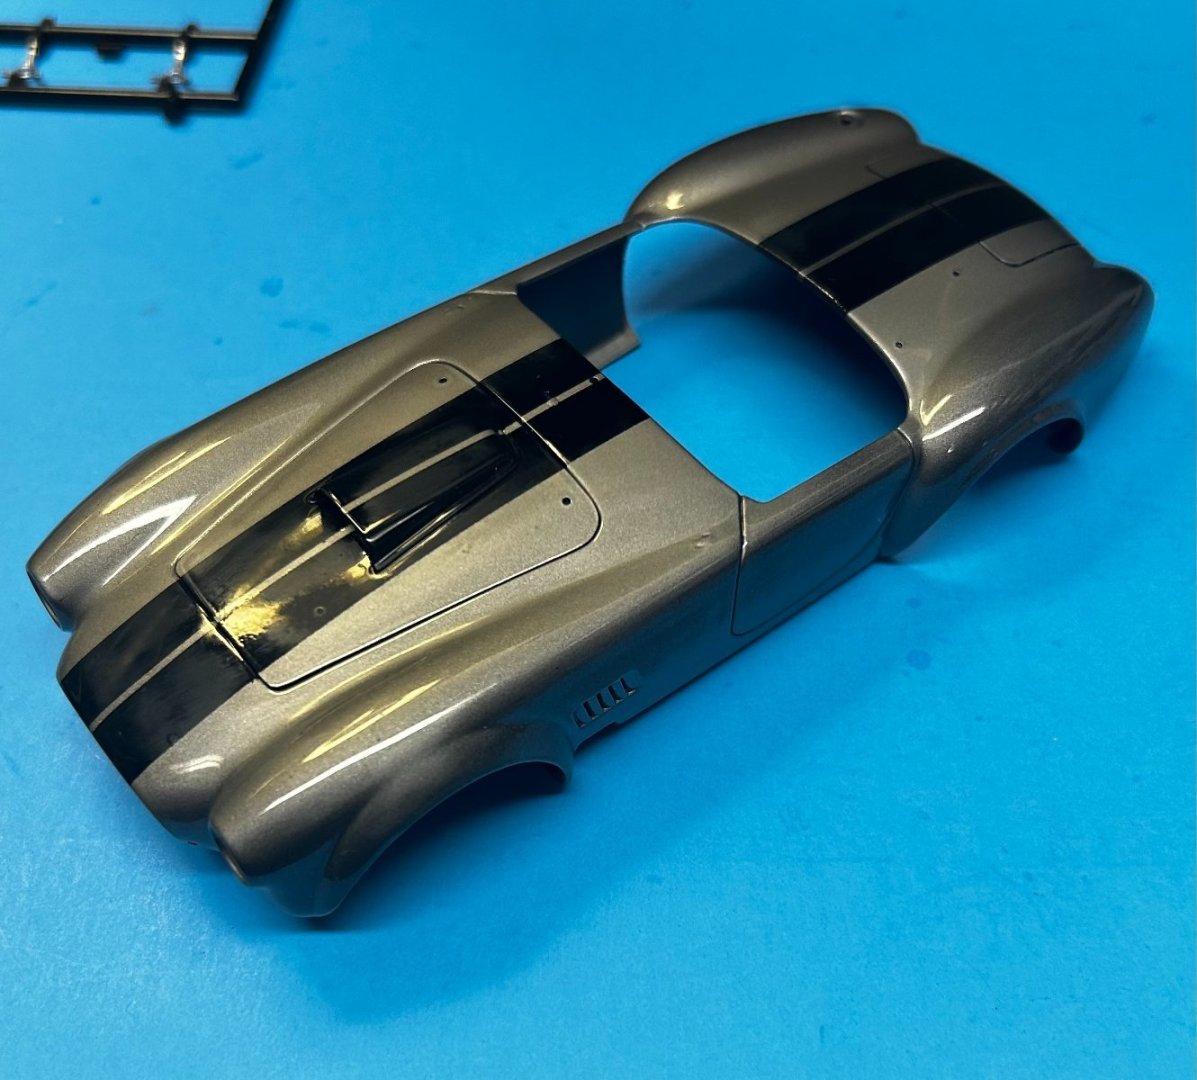


- 67 replies
-
- 11
-
-