HOLIDAY DONATION DRIVE - SUPPORT MSW - DO YOUR PART TO KEEP THIS GREAT FORUM GOING! (Only 72 donations so far out of 49,000 members - Can we at least get 100? C'mon guys!)
×


shipcarpenter
-
Posts
72 -
Joined
-
Last visited
Content Type
Profiles
Forums
Gallery
Events
Everything posted by shipcarpenter
-
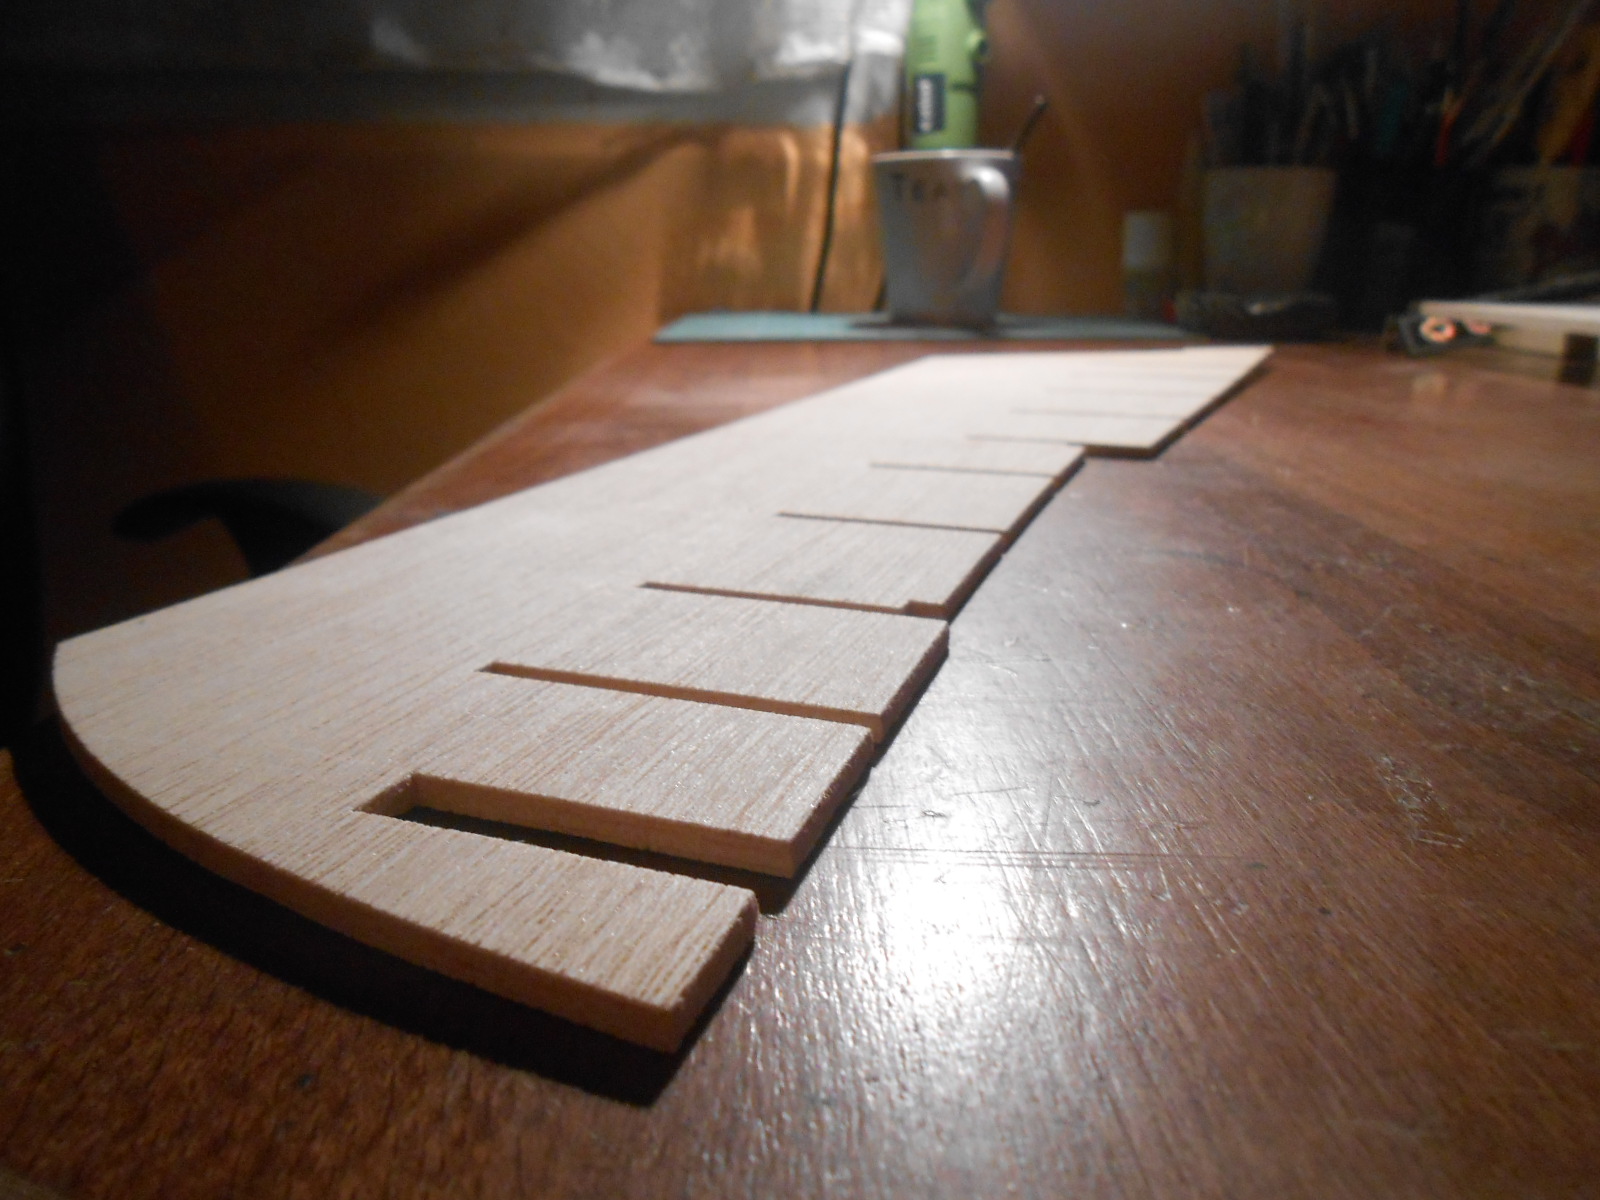
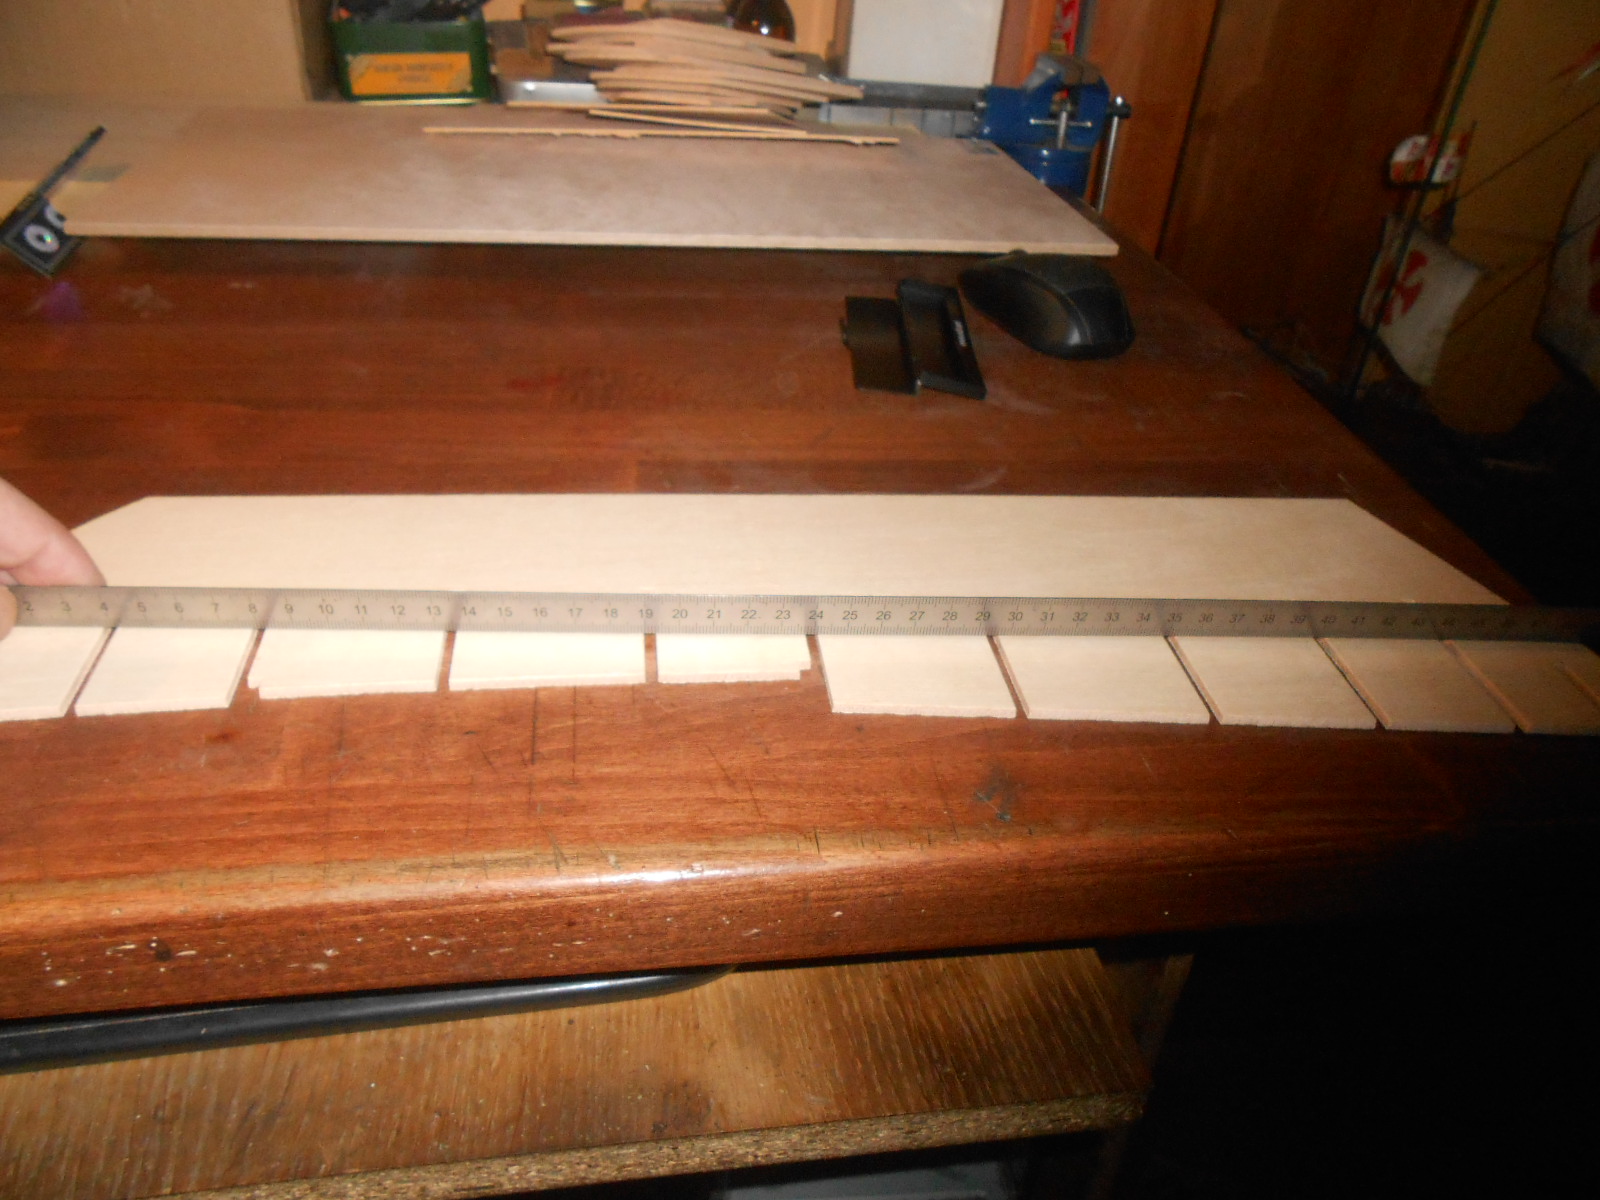
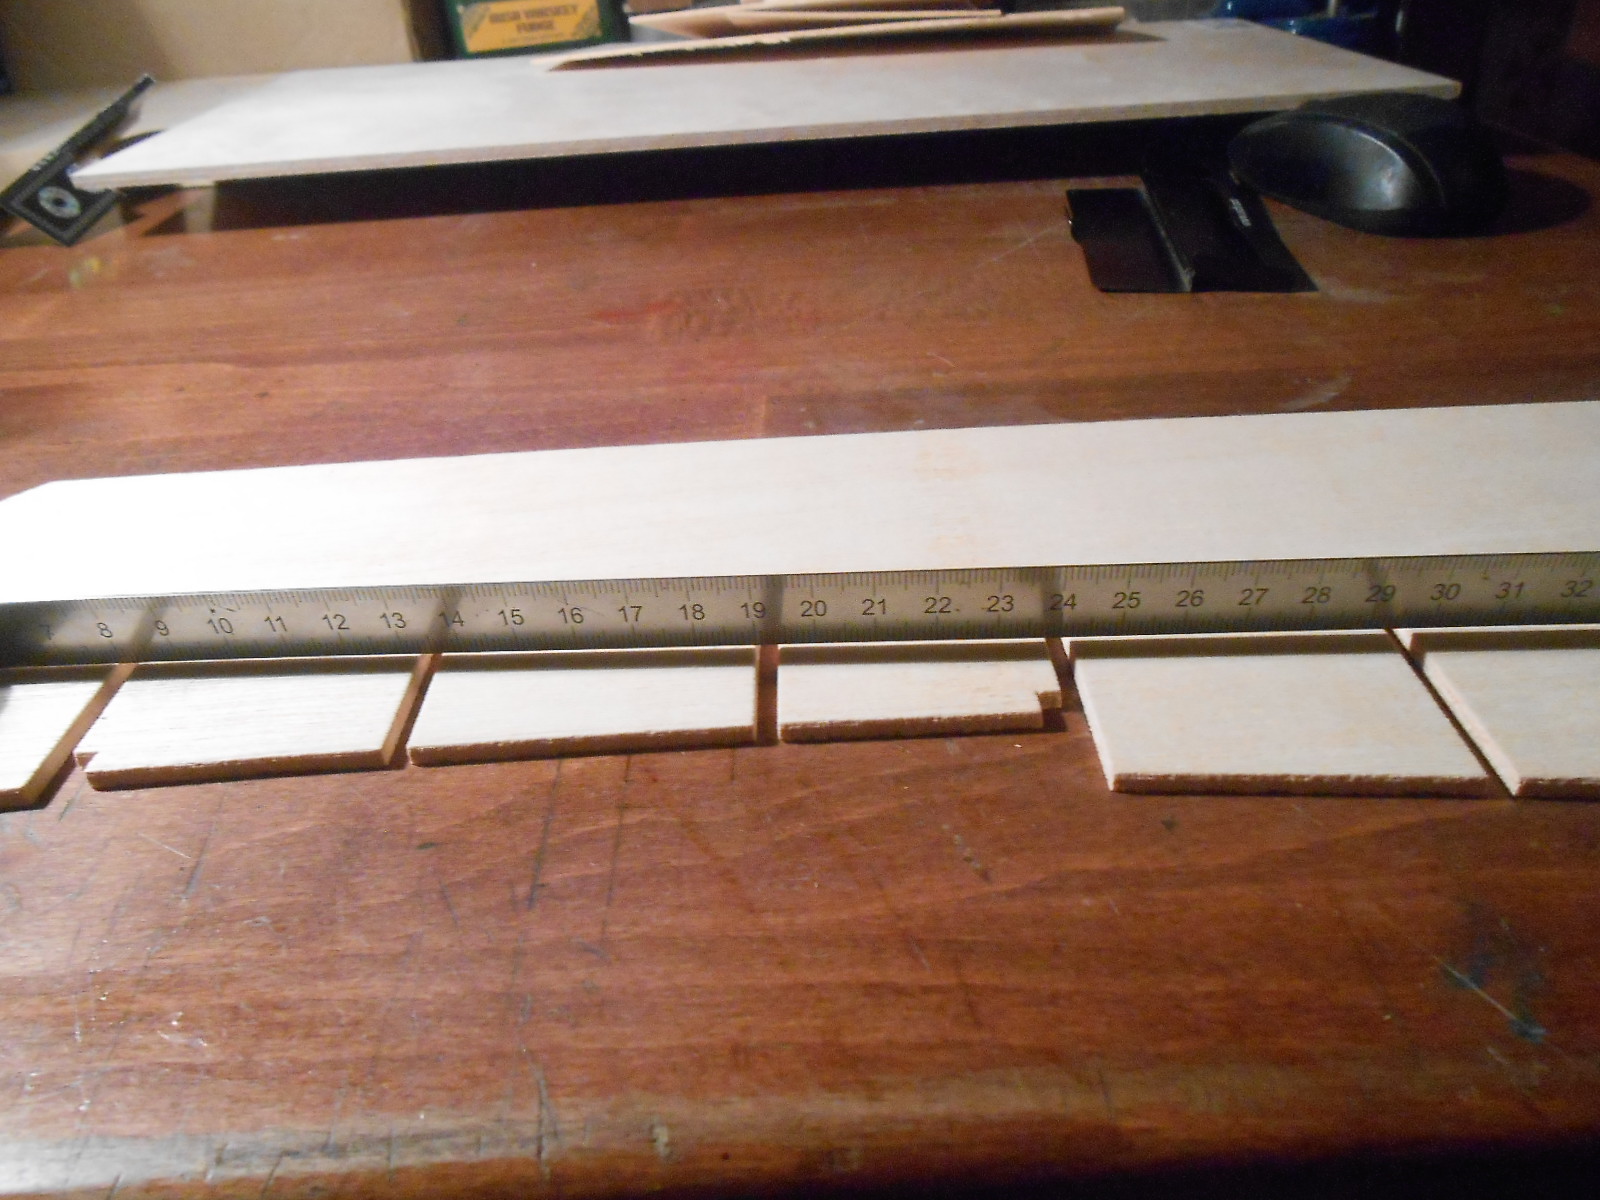
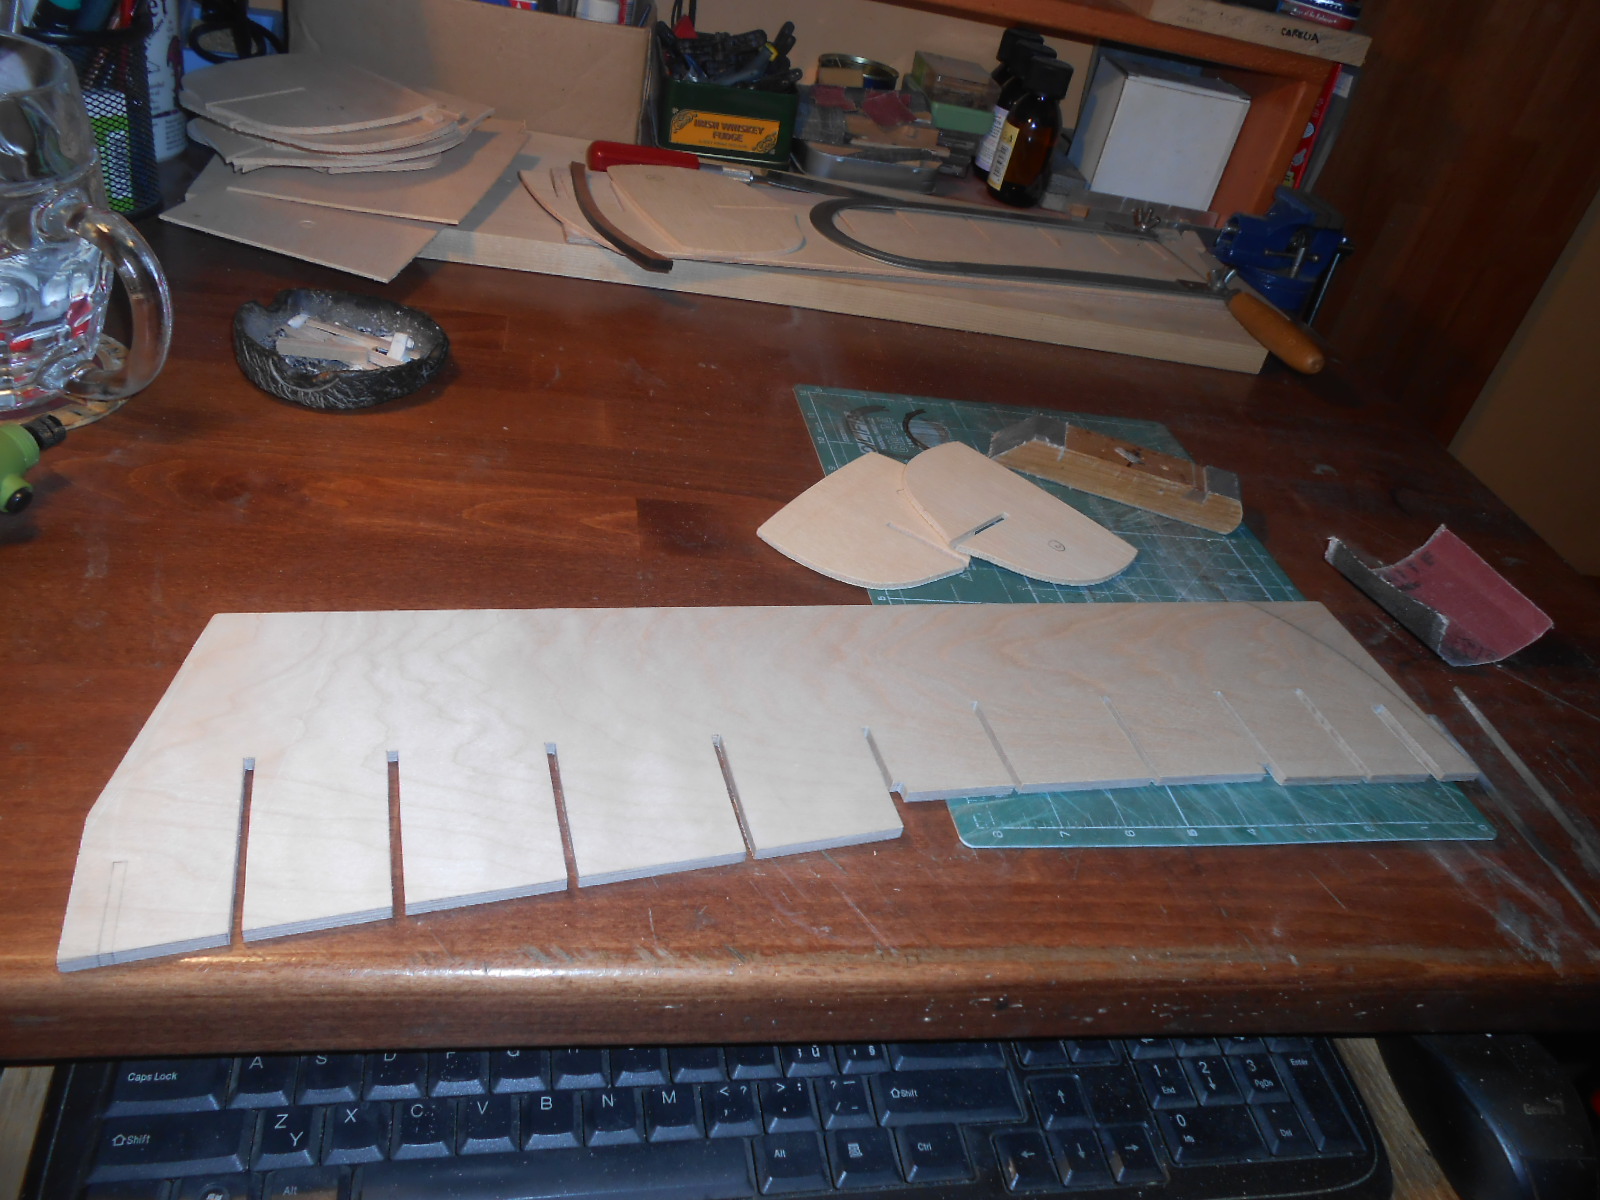
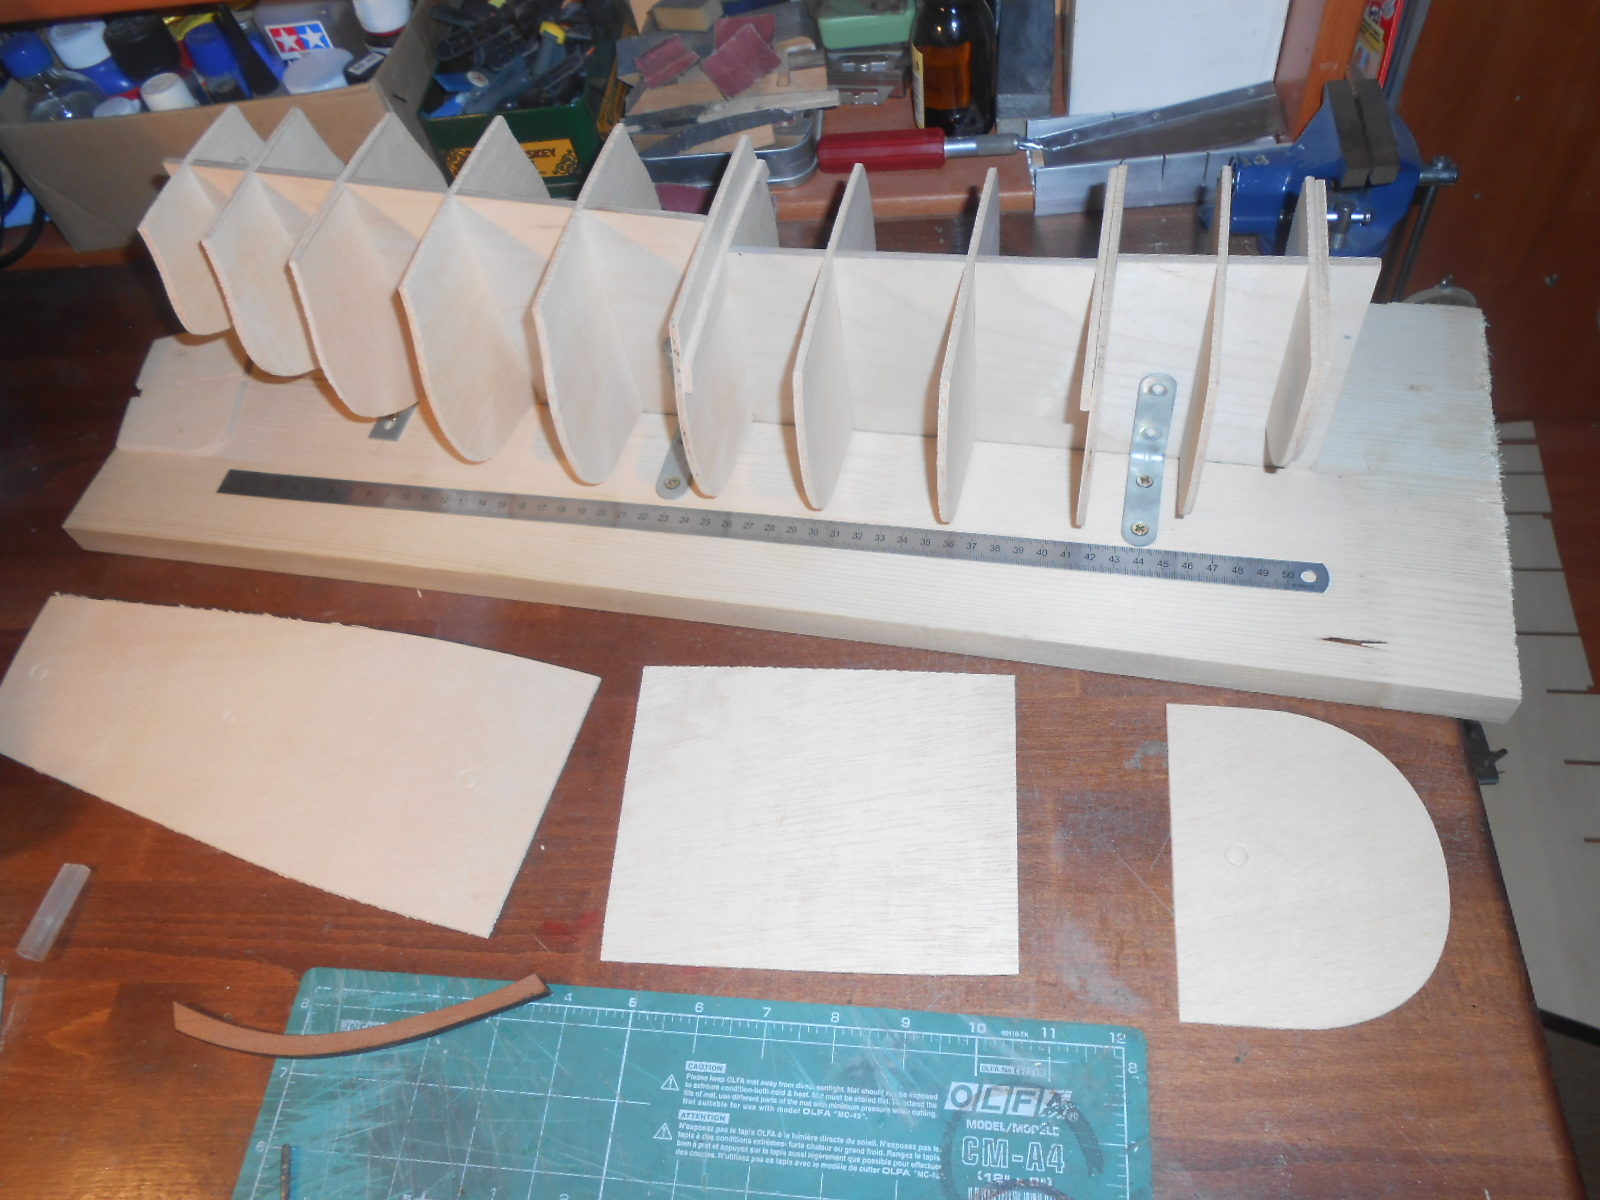
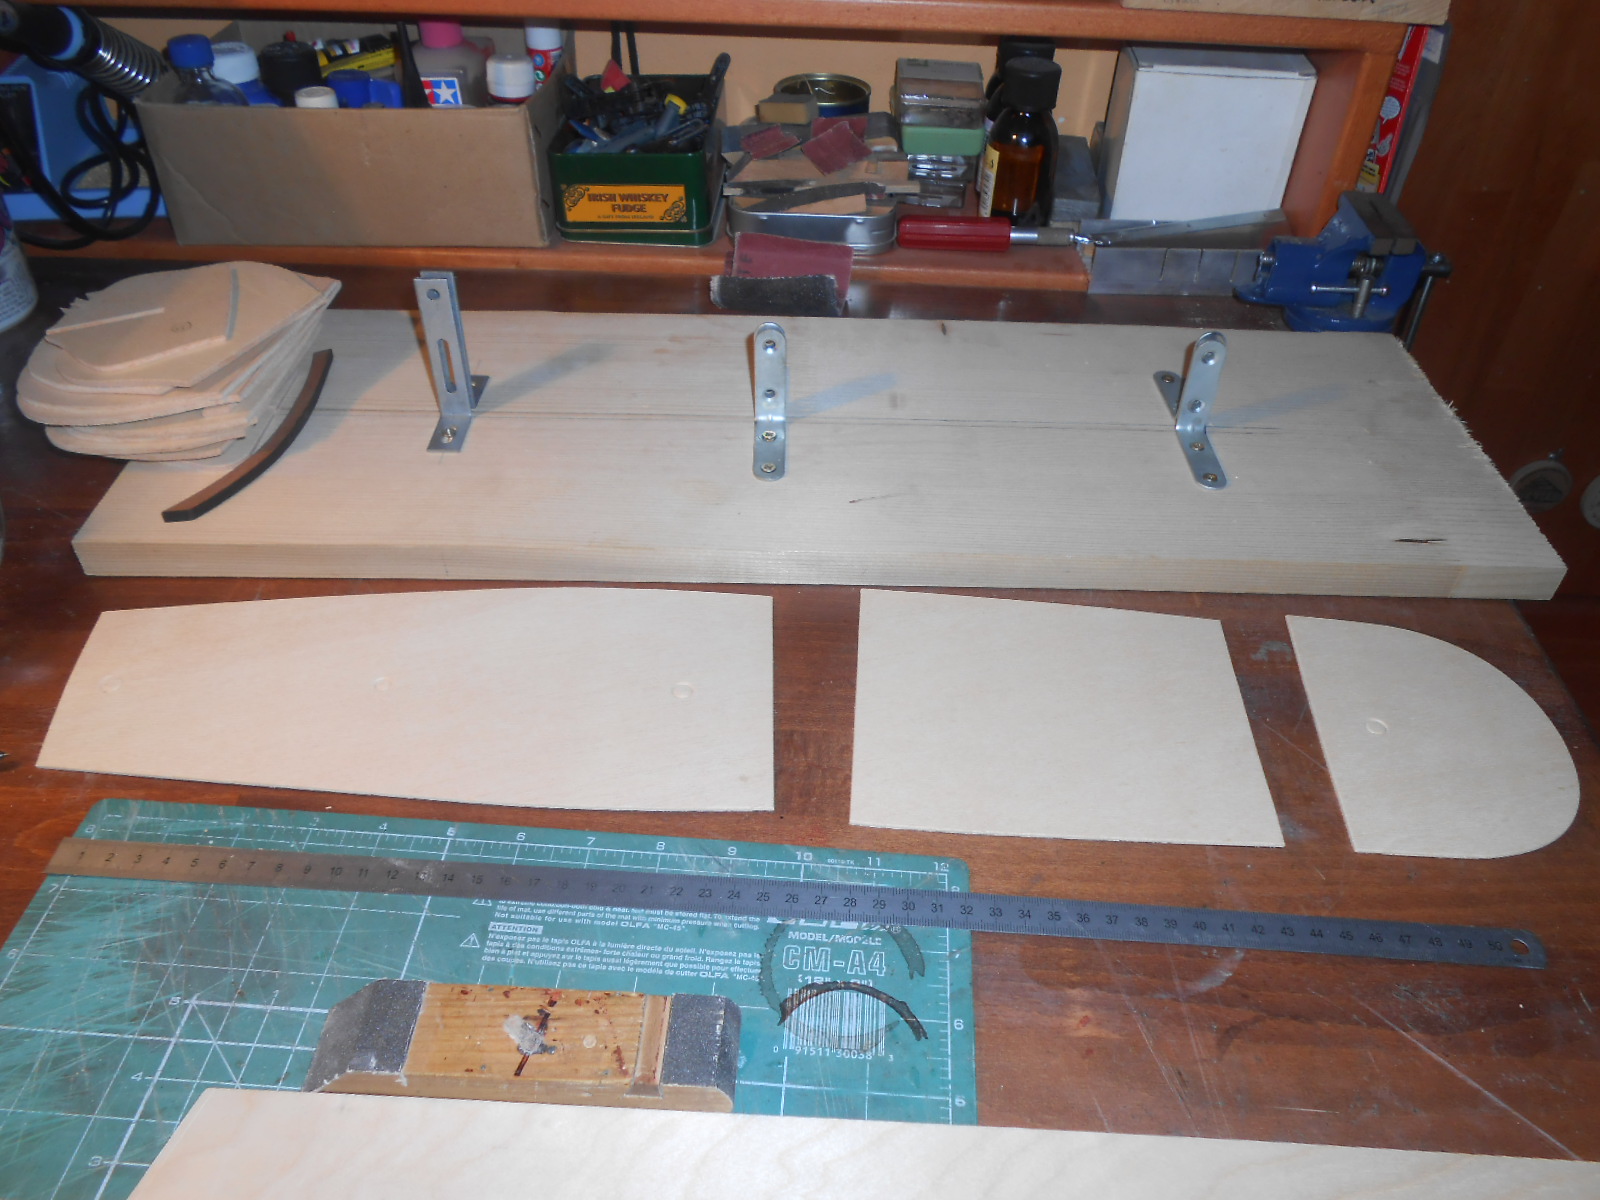
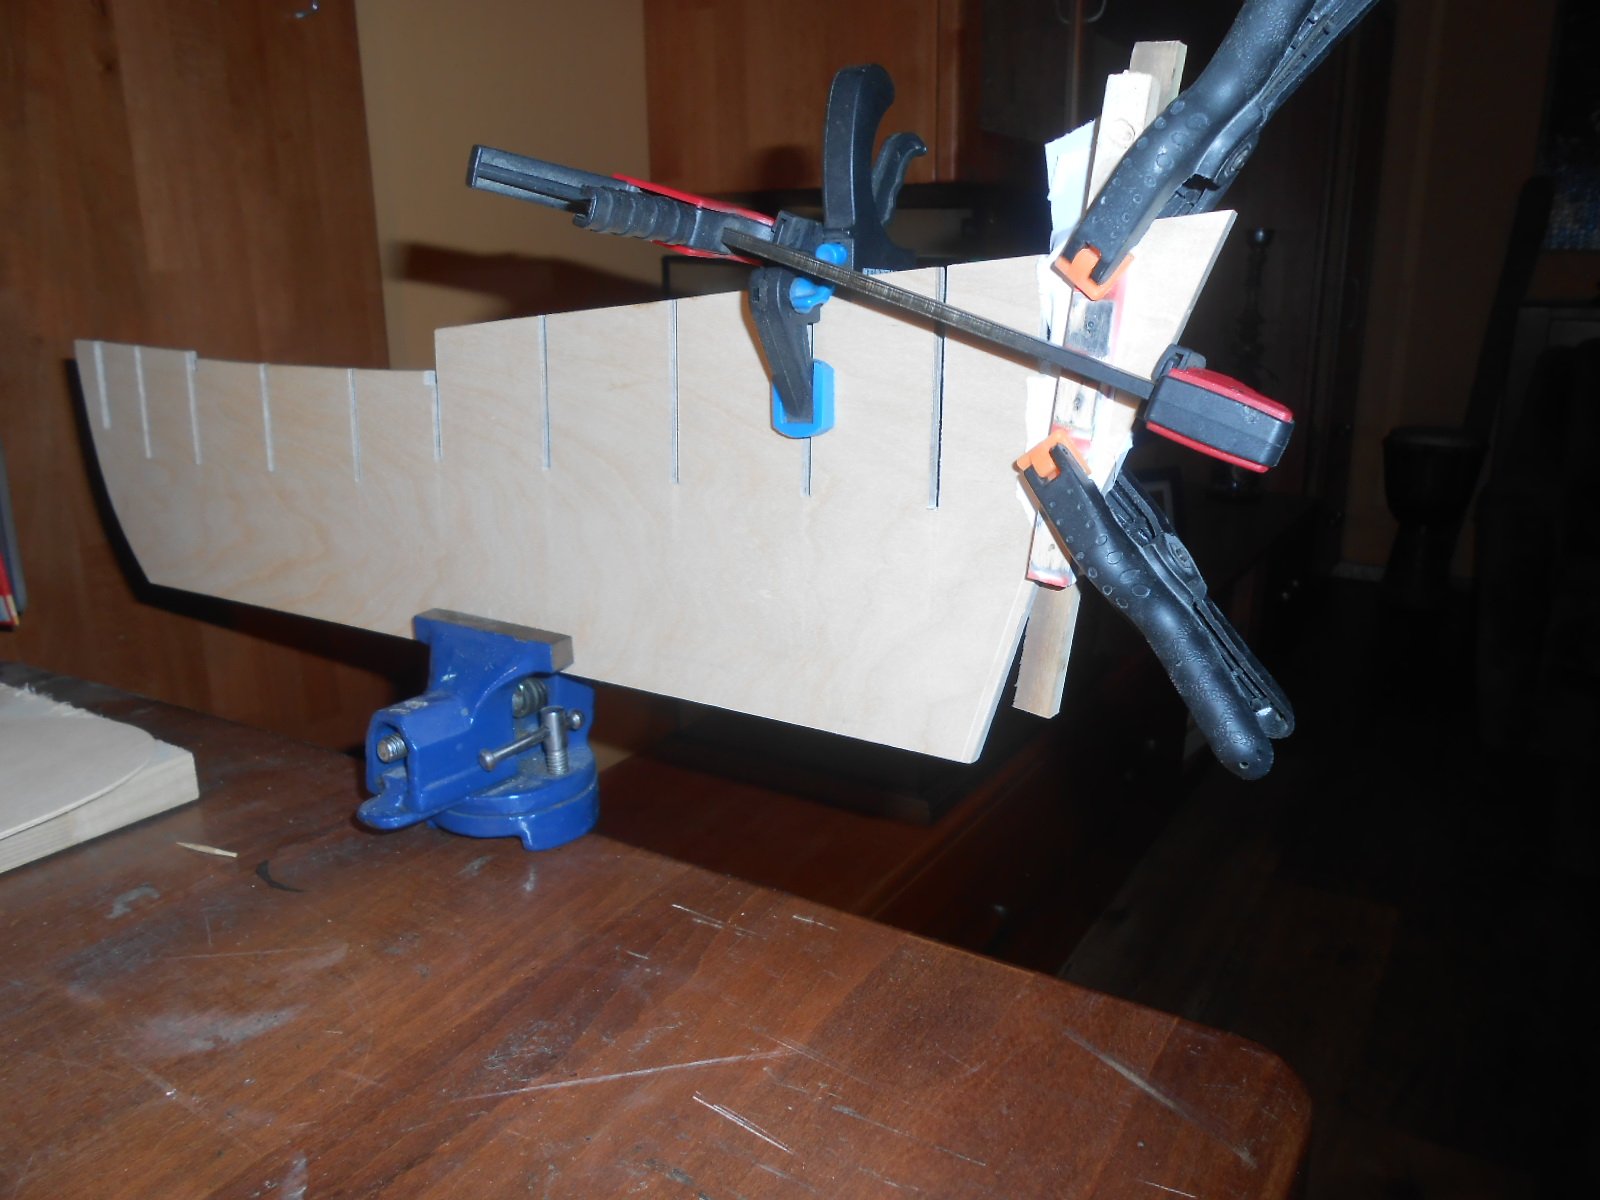
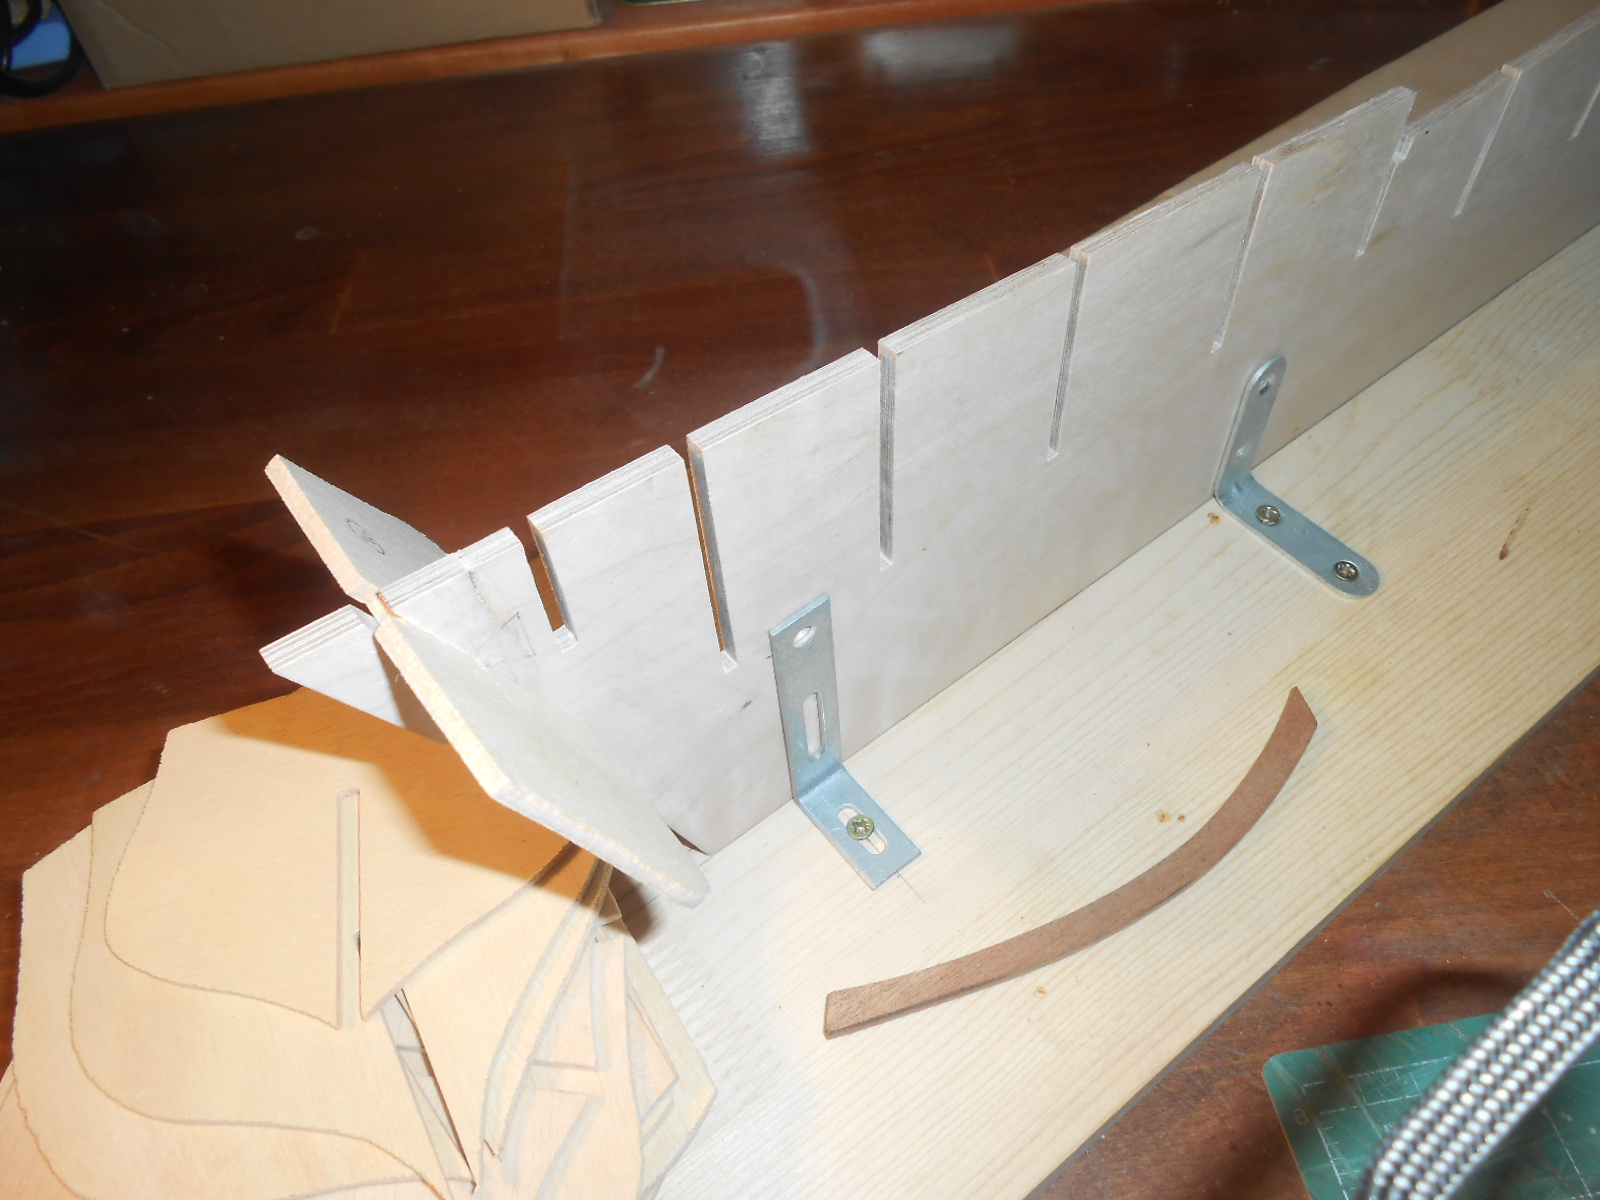
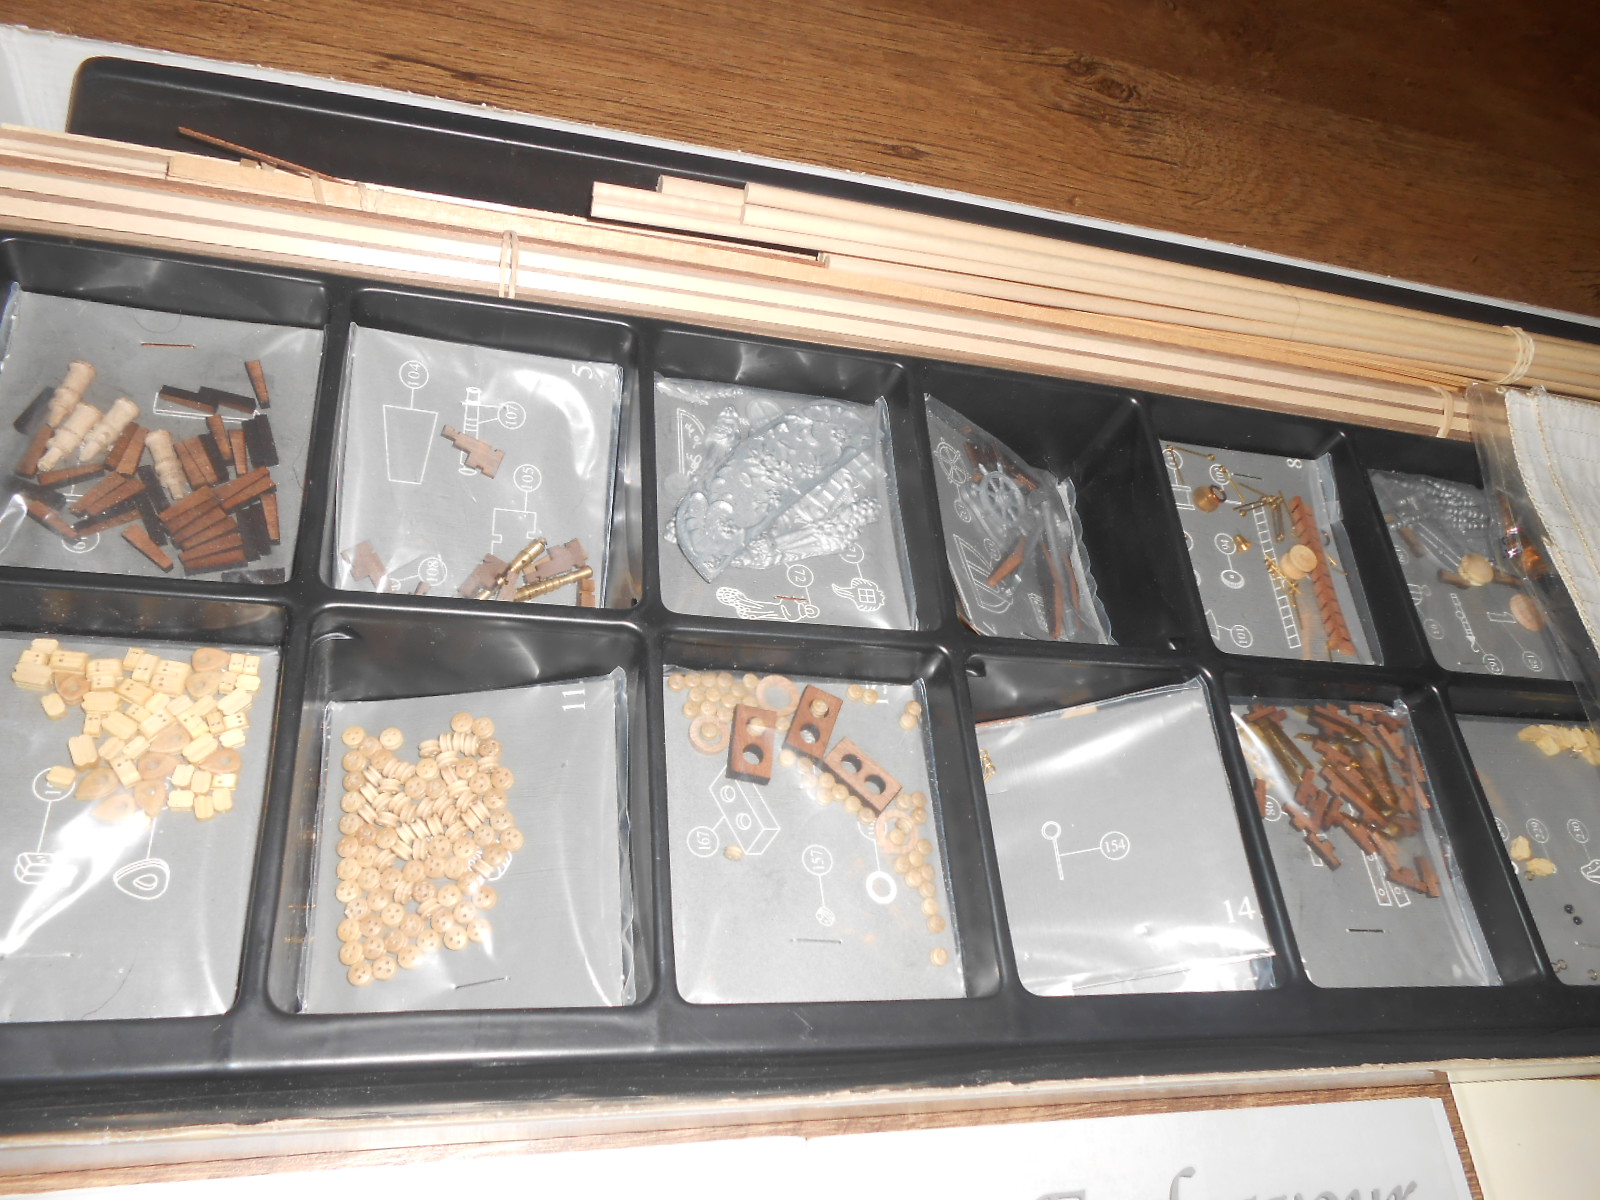
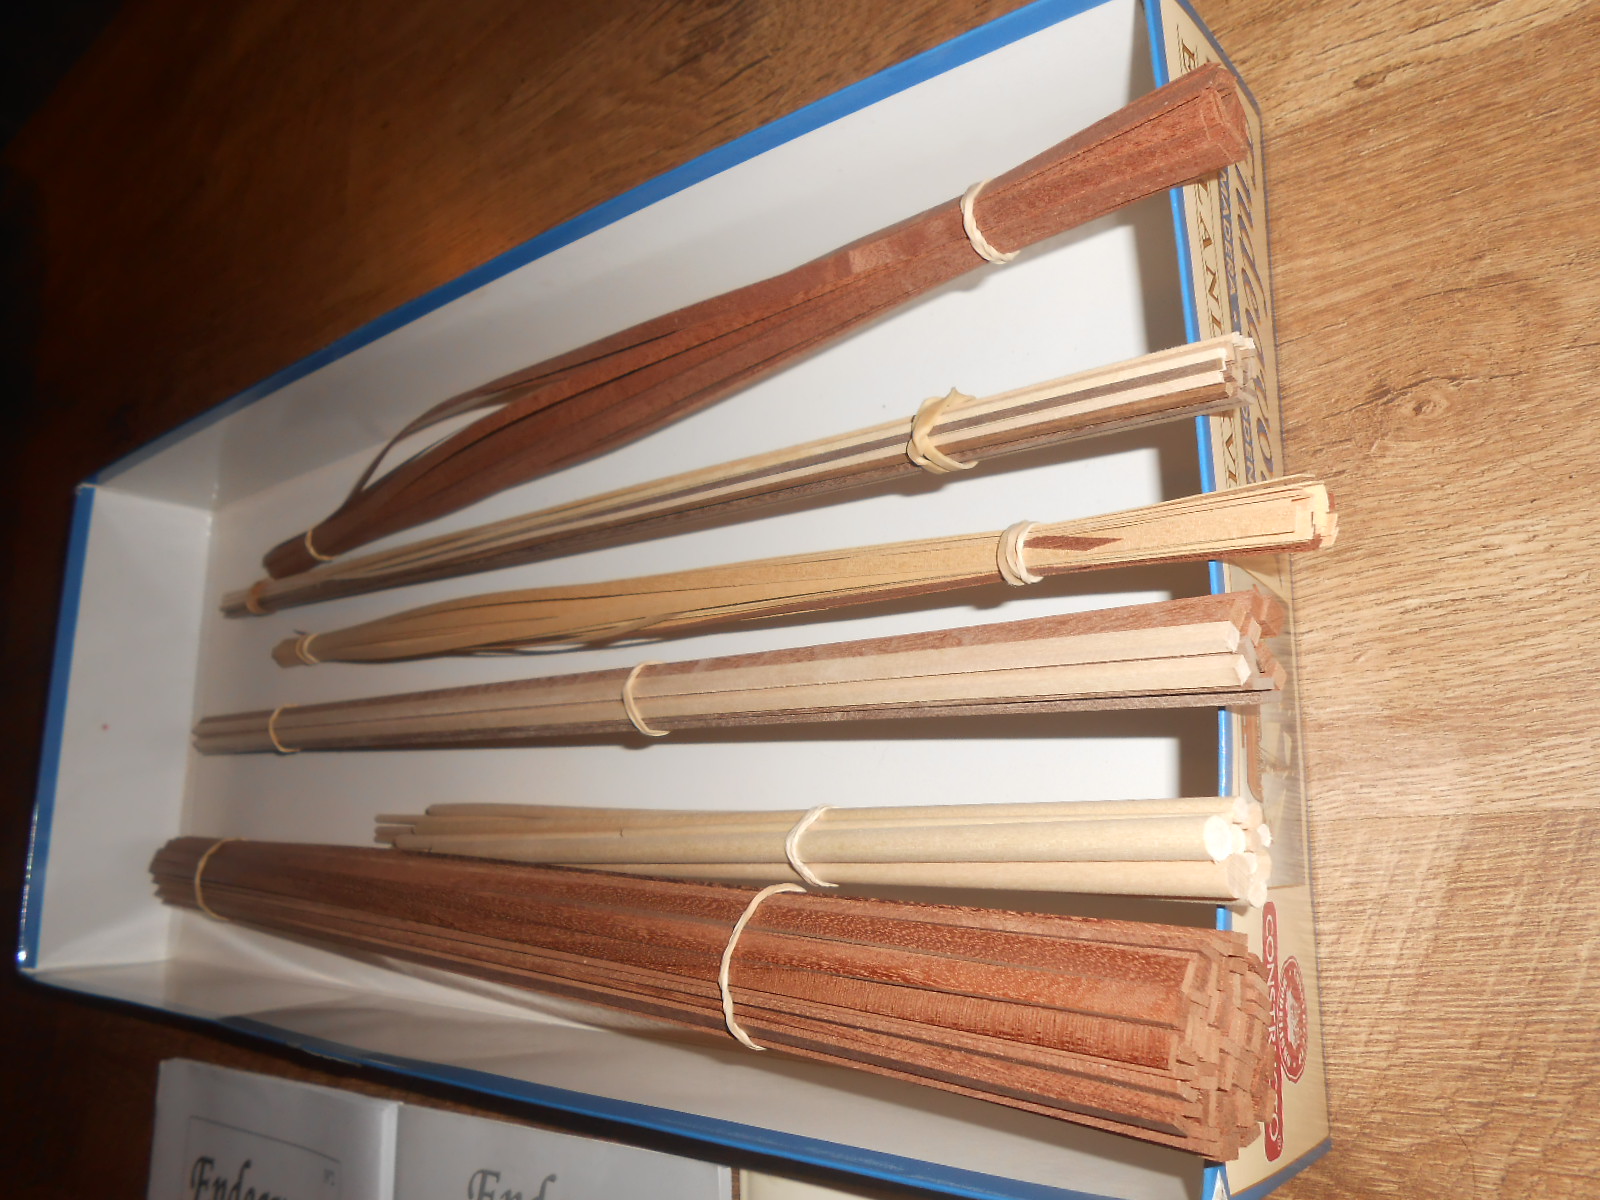
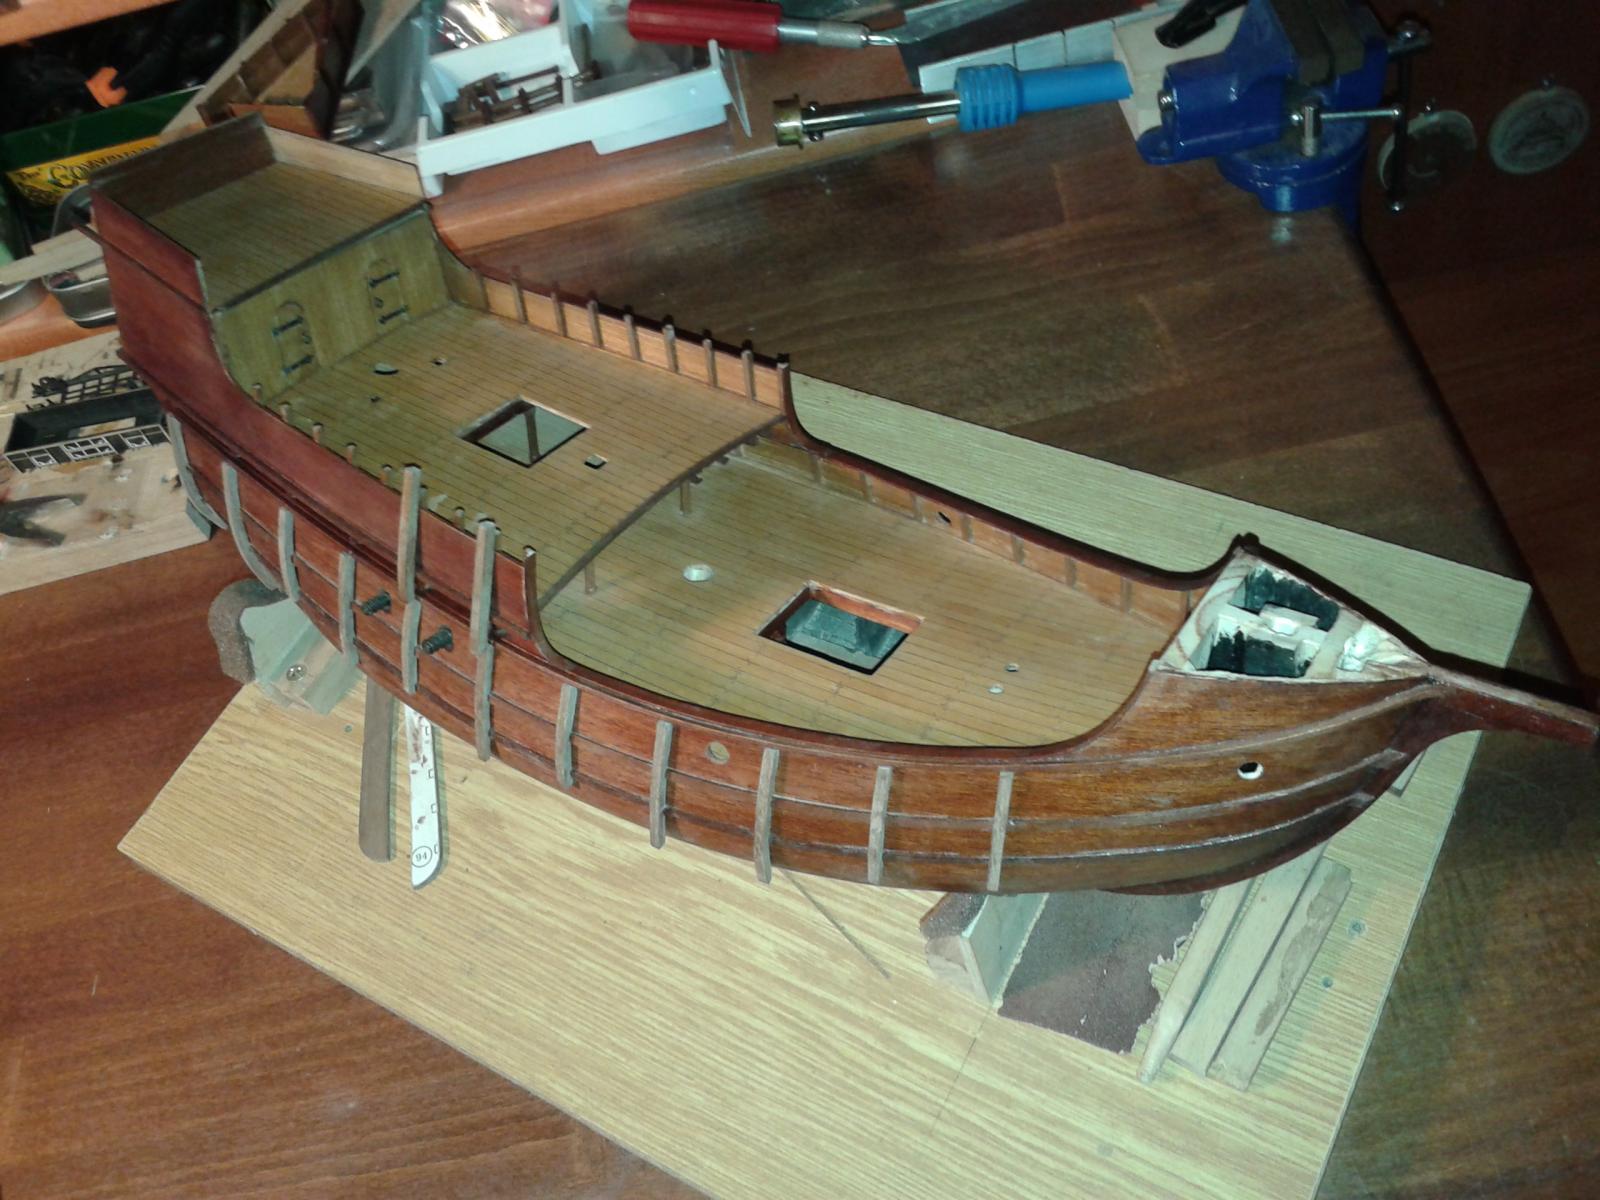
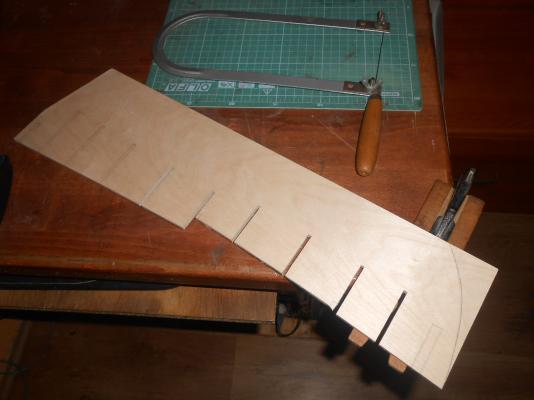
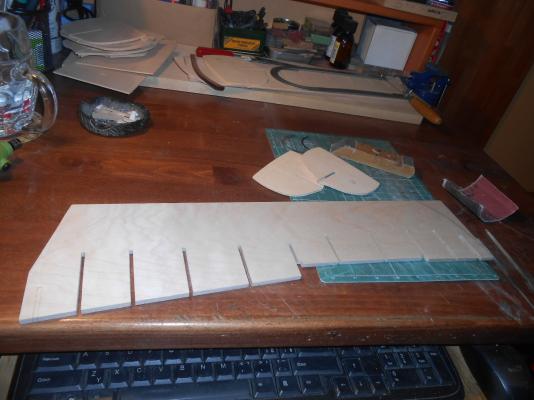
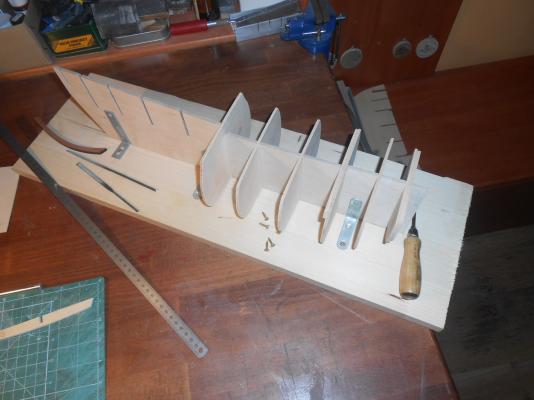
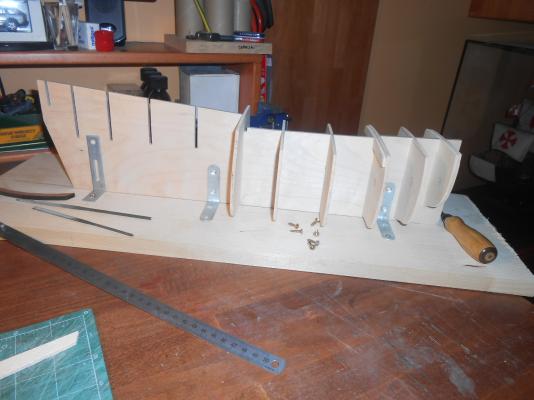
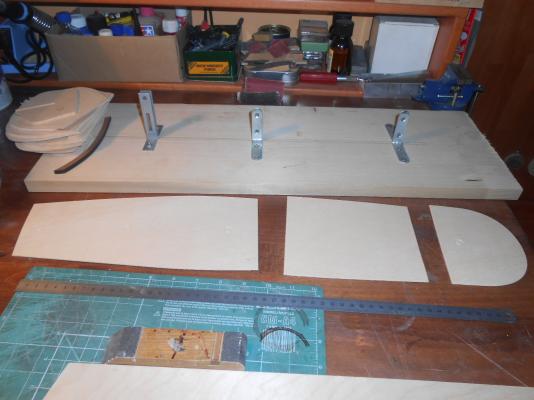
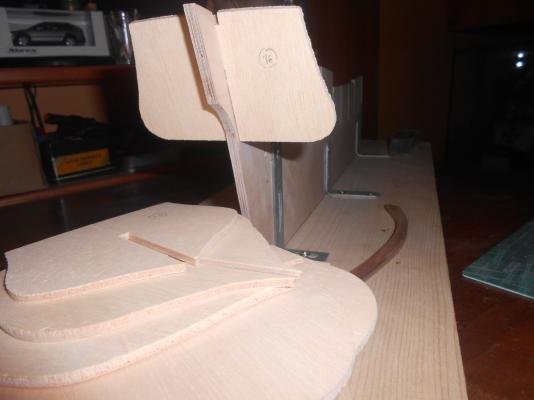
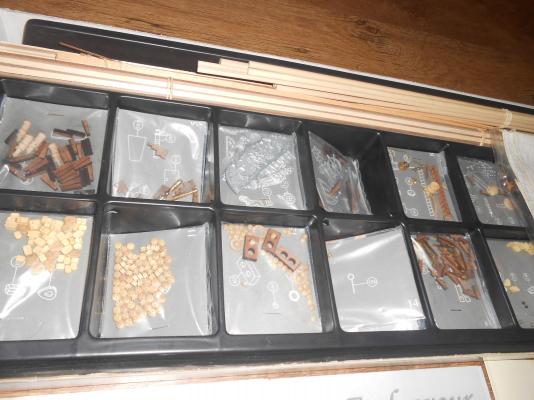
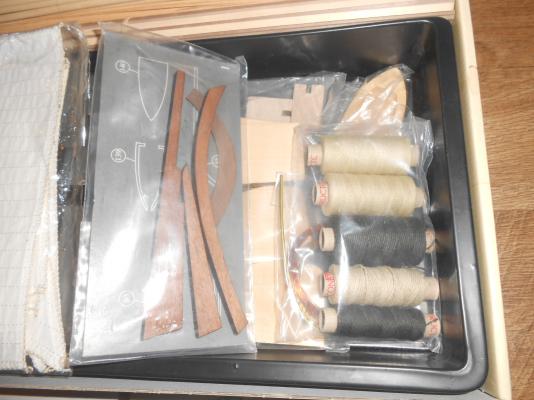
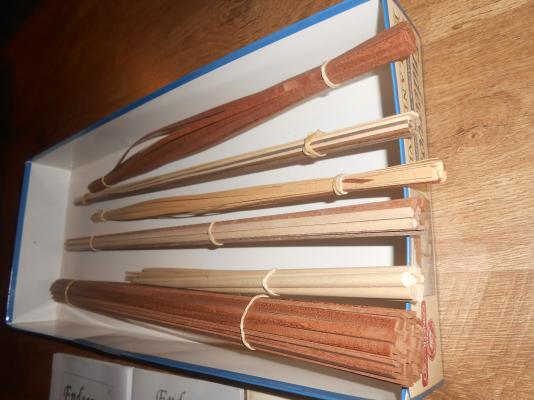
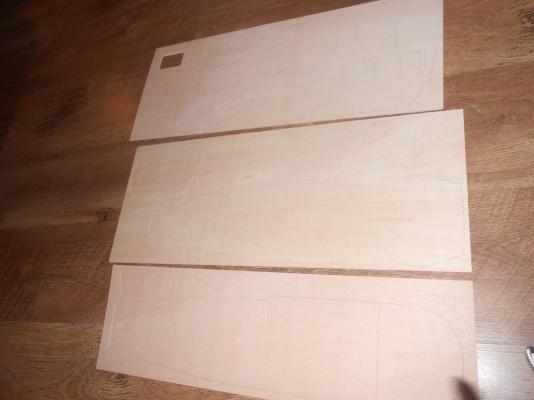
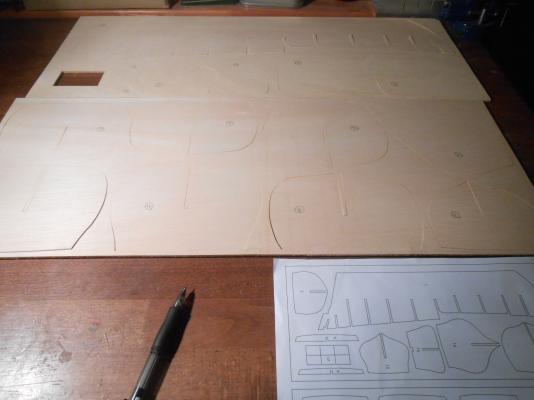
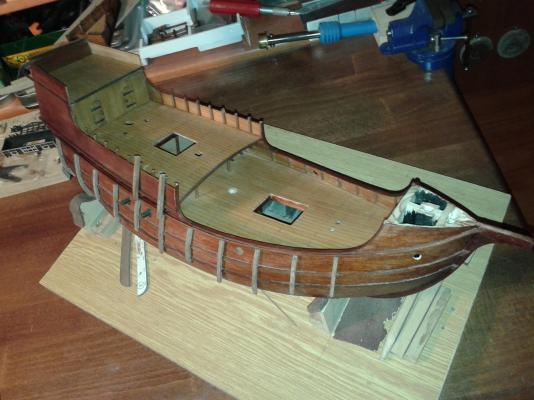
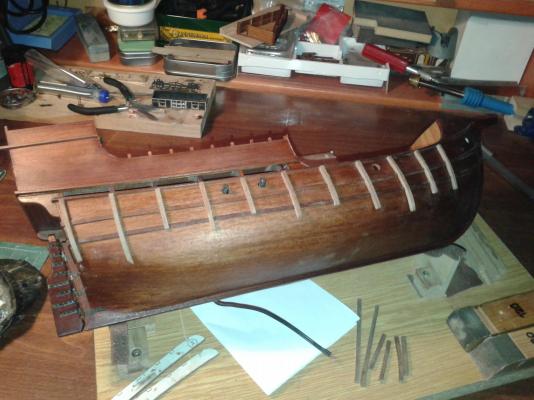
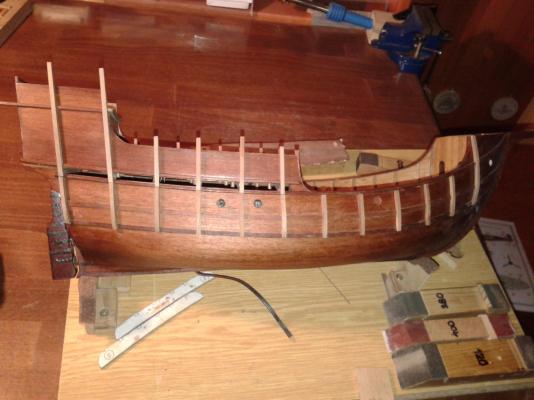
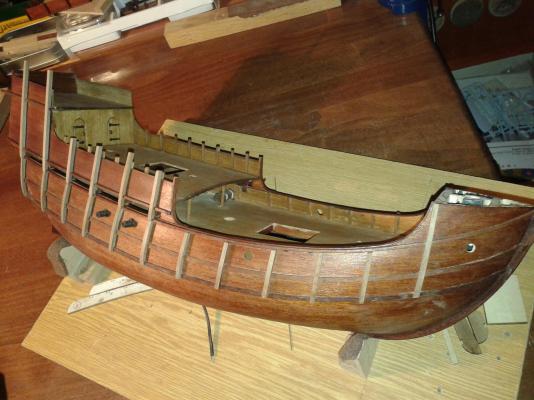
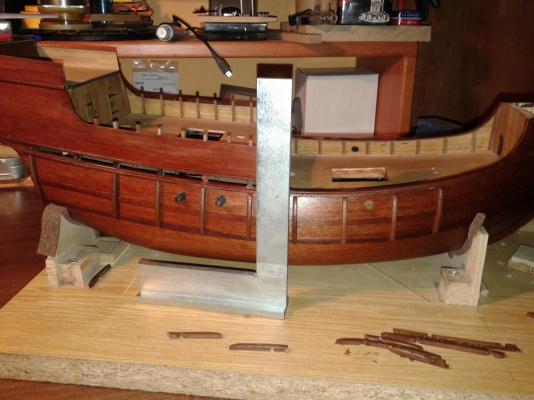
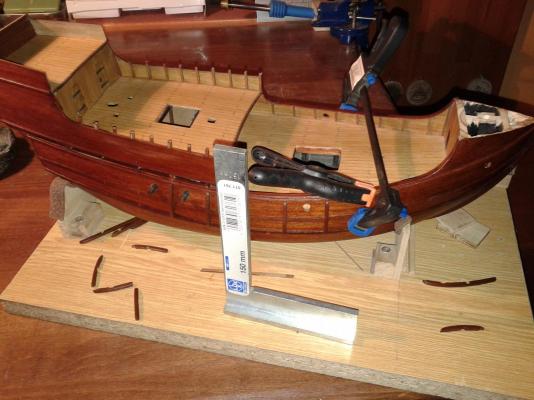
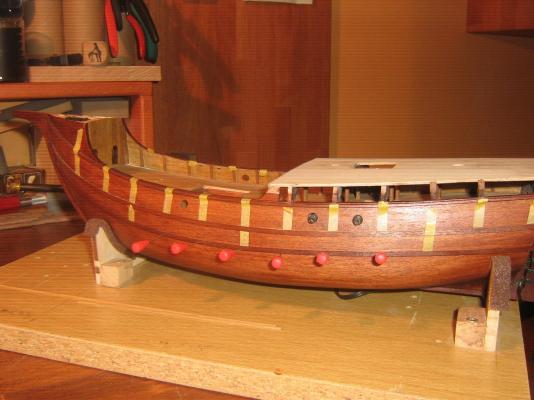
 Hello, happy holidays with ship modeling! I have free time in these days so litlle update. What can I say to Constructo kit - I was disappointed with quality of plywood supplied. It is some kind of softwood 3,5mm thick (or thin?) and it is only 3-layer (0,75 - 2 - 0,75mm). Plywood is naturally croocked as propeller. I can tolerate it with both eyes closed in case of ribs but keel need to be remodeled. I bought for this very nice and straight piece of birch plywood 5mm thick with 10 layers 0,5mm each. I cut whole keel again,then I extended grooves in all bulkheads from 3,5mmm to 5mm - to fit on the keel. Unlike plywood I am quite satisfied with the quality of wood - sapelli 2x6 mm for first planking, they look nice and good cuted. Mukaly 0,5x5mm for deck planking - dont know if I use them, maybe I cut my own from maple. Ramin for mast and yards will be good, deck details manzonia and boxwood - some need to be redone but ok. Decorations on hull - ayous.


-
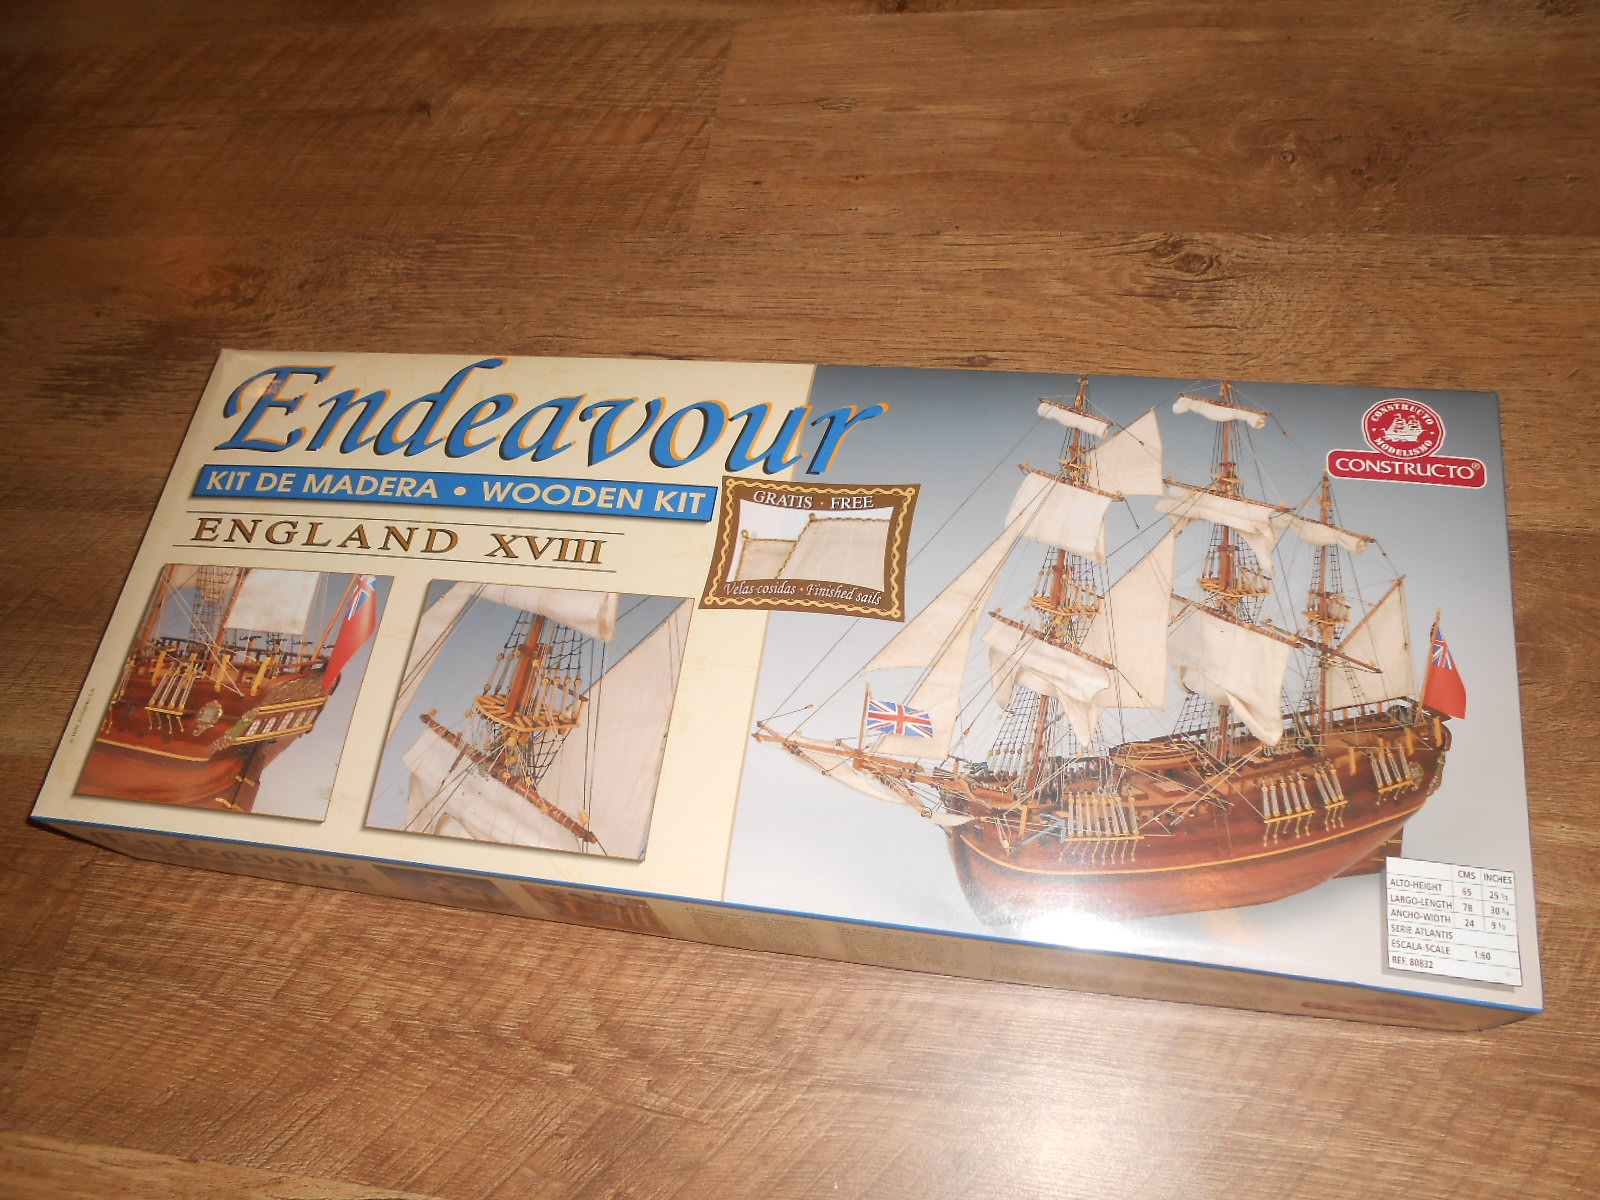
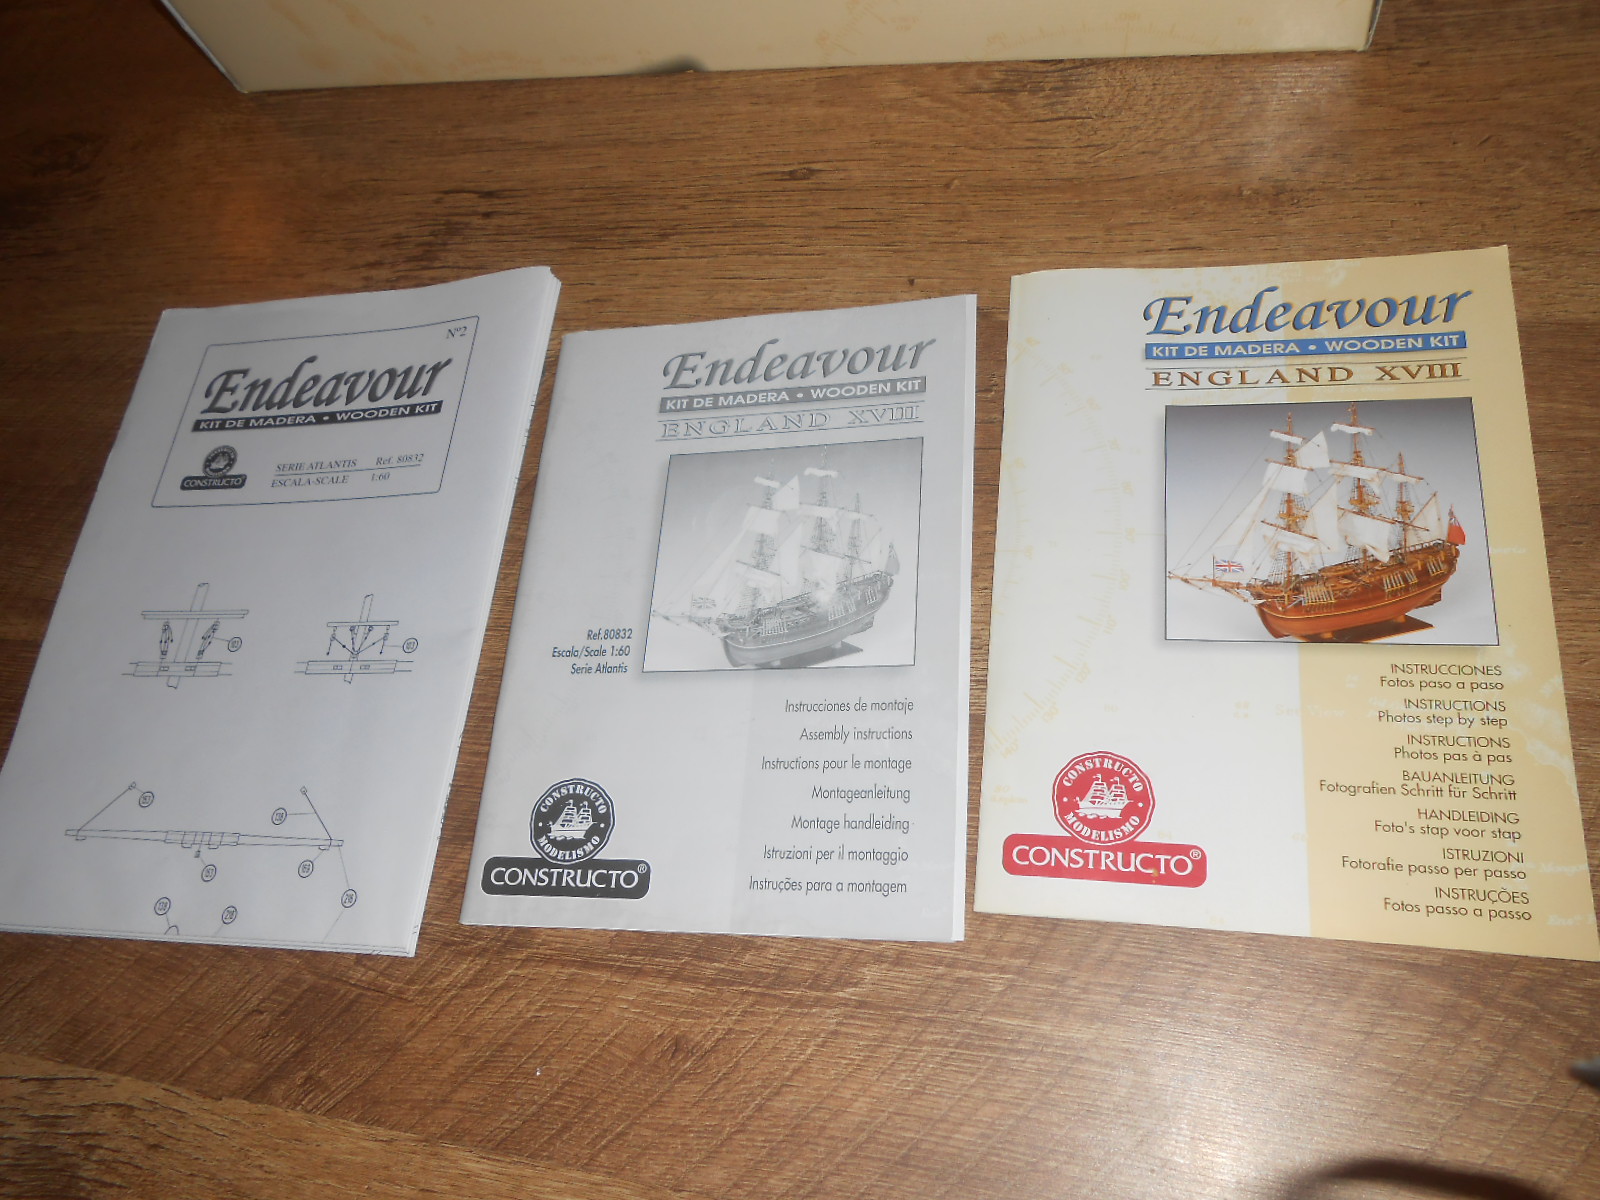
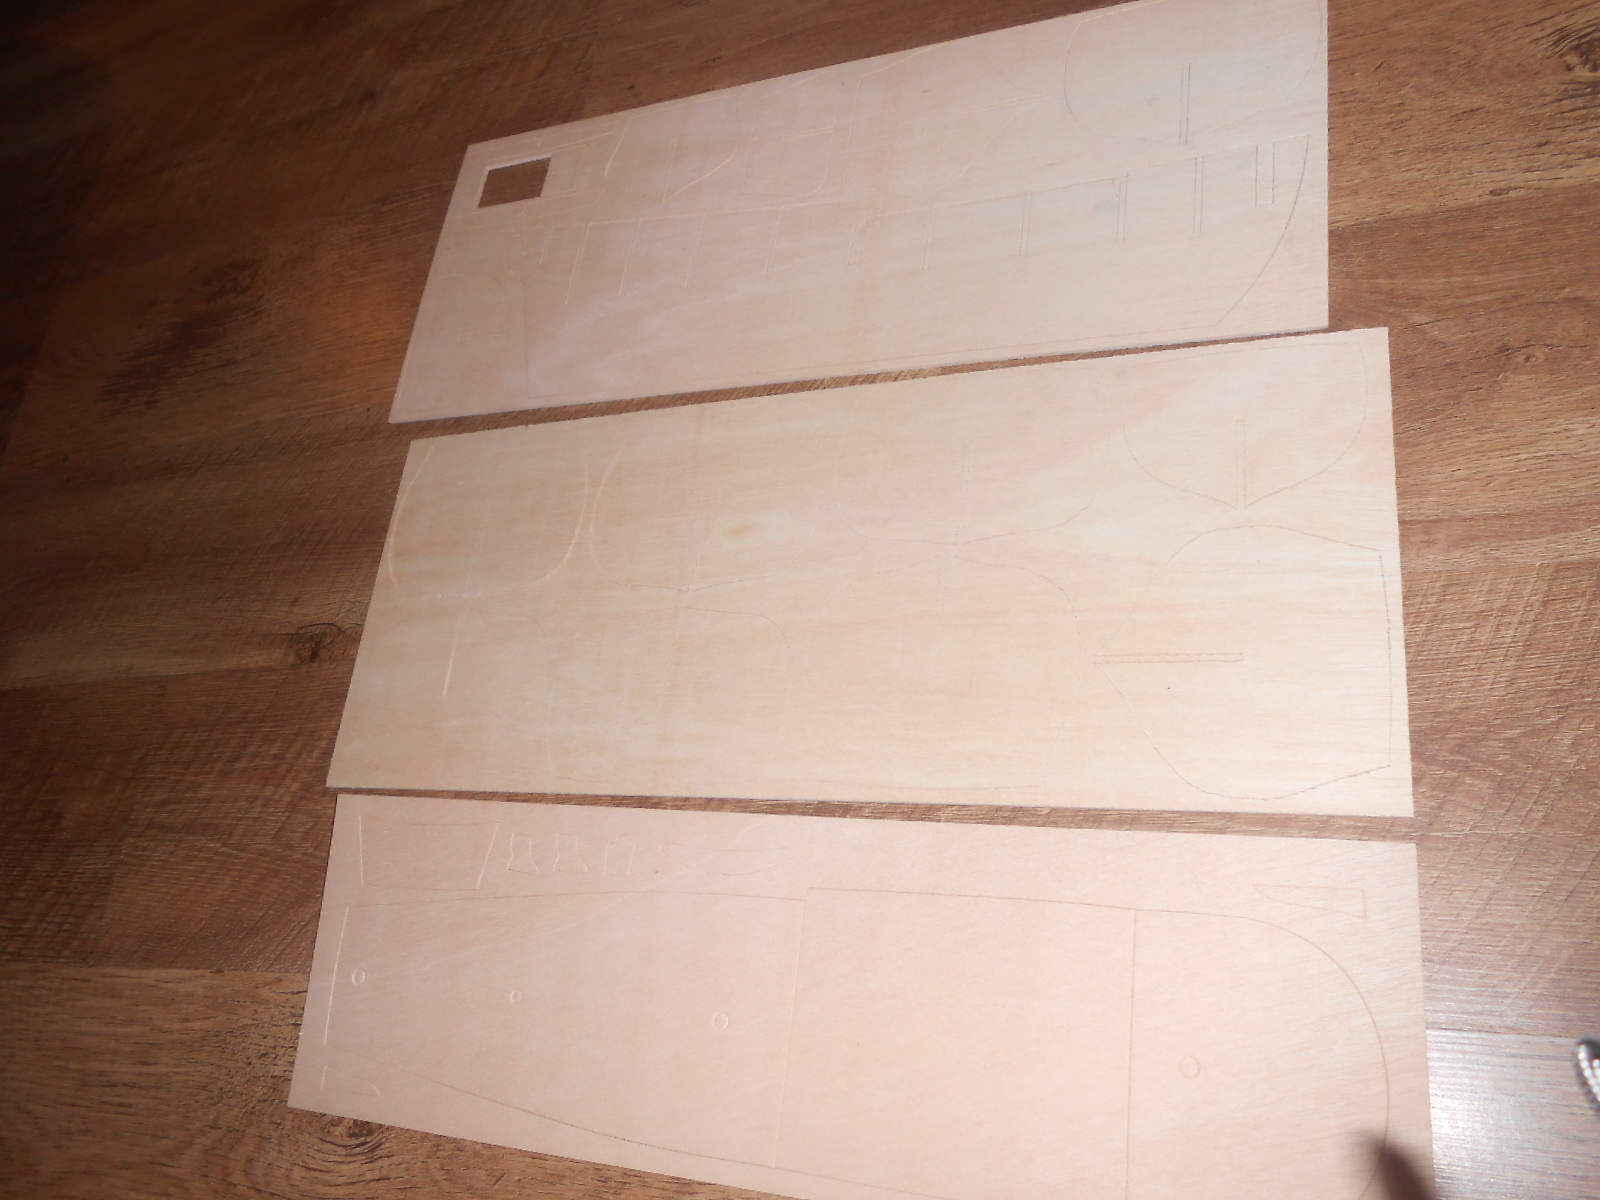
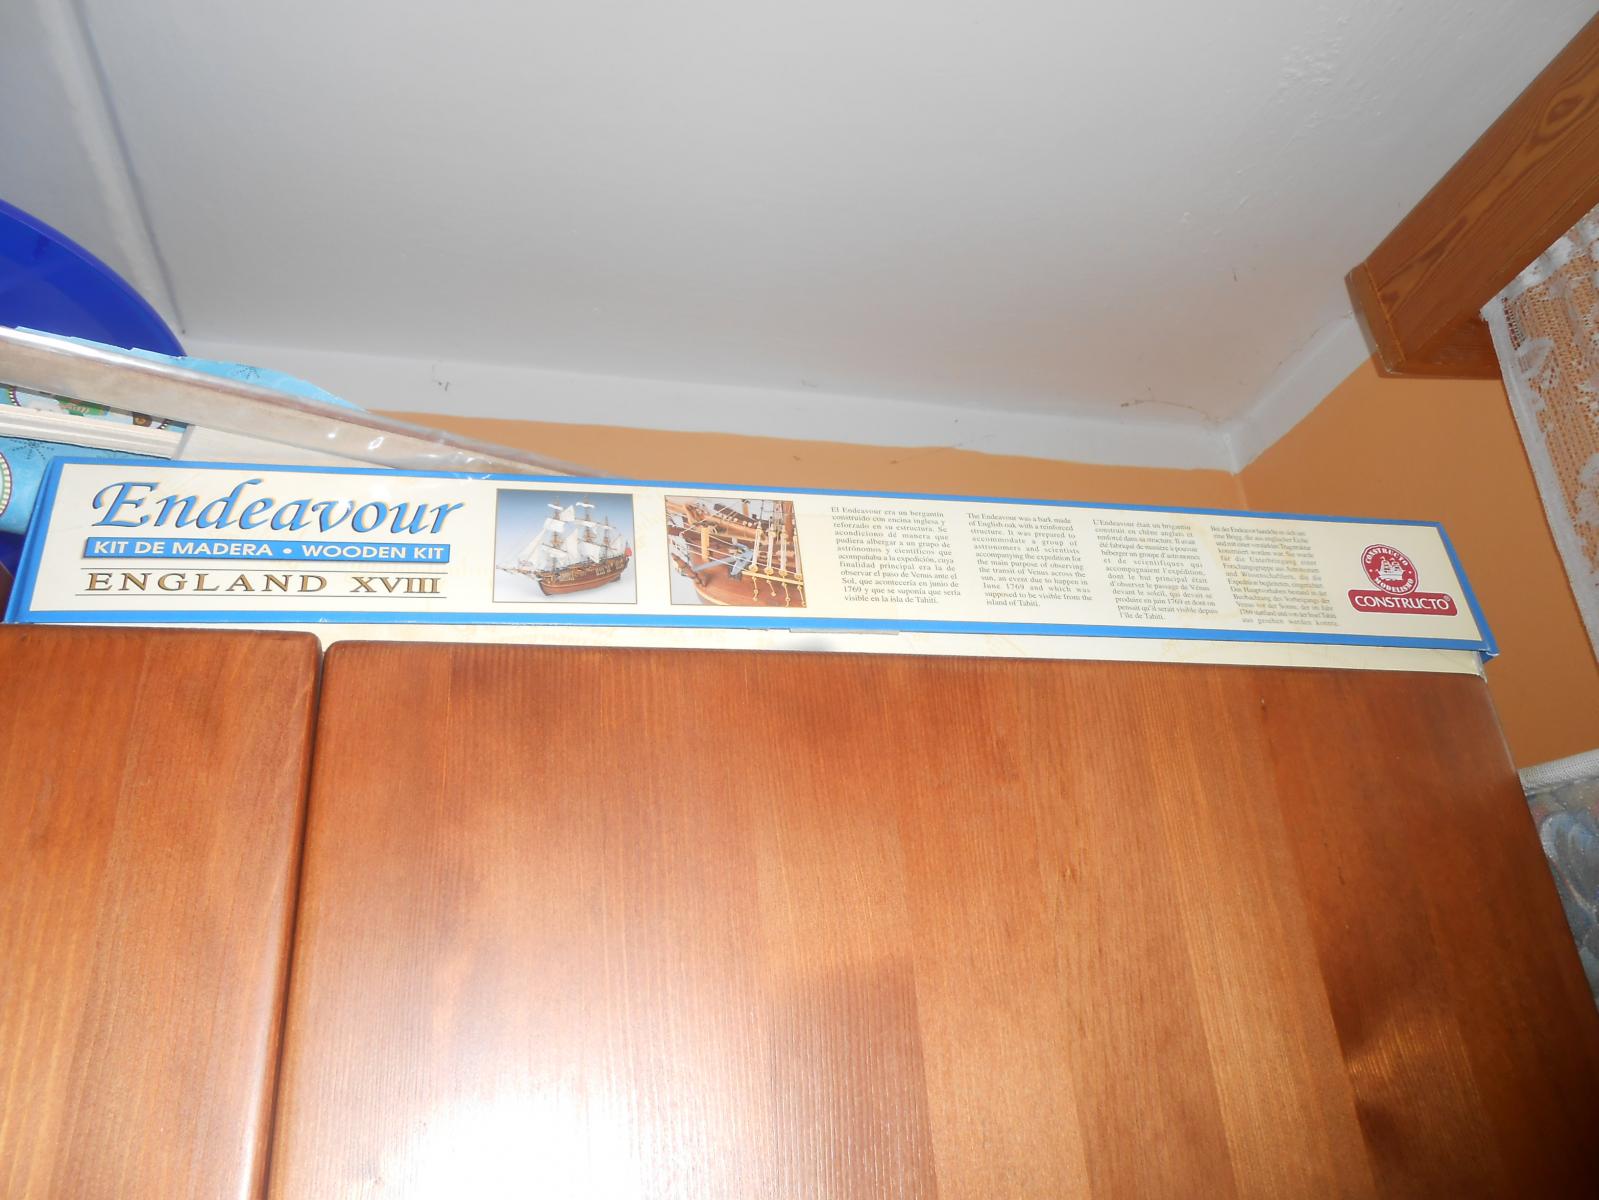
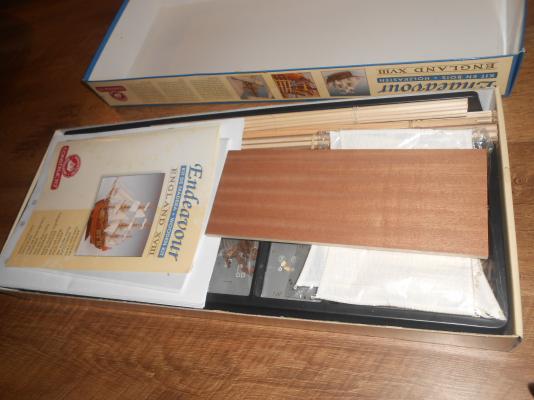
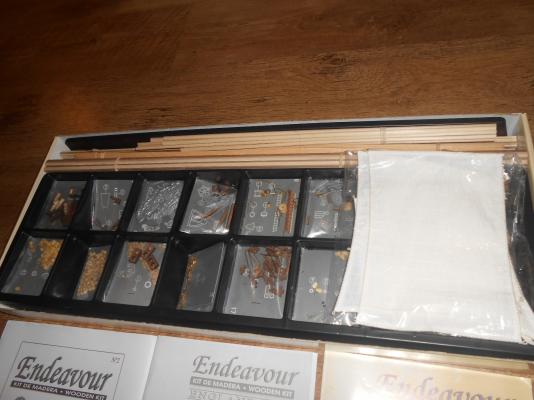
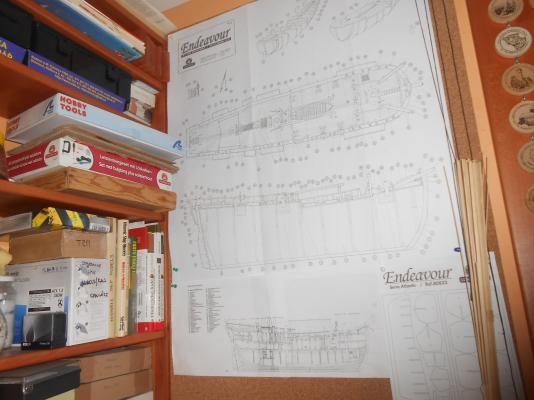
Hello, after Santa Maria build I started work on Endeavour. After three years in box on cupboard his time come. Photos of box and materials.


-
Thanks guys very much. It gives me motivation to work on my next ship. In next days I will start a new build log with another Endeavour here. Moonbug: Your Santa Maria build was/is a big inspiration for me during work on mine.
- 79 replies
-
- 1
-

-
- santa maria
- amati
- (and 2 more)
-
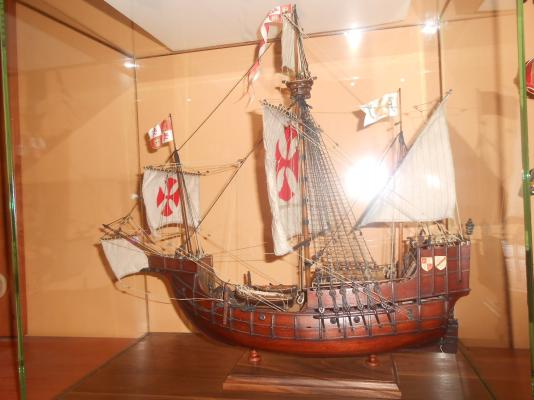
Hello, finishing. It is done after three years, but it was not only project. I built meanwhile Revell Titanic 1:700, Jeep 1:35 and some airplanes.


- 79 replies
-
- 14
-
-
- santa maria
- amati
- (and 2 more)
-
Hello, gratulation to your finished ship, very nice, super details. I´m on start with my Endeavour, so great school for me. Thanks
-
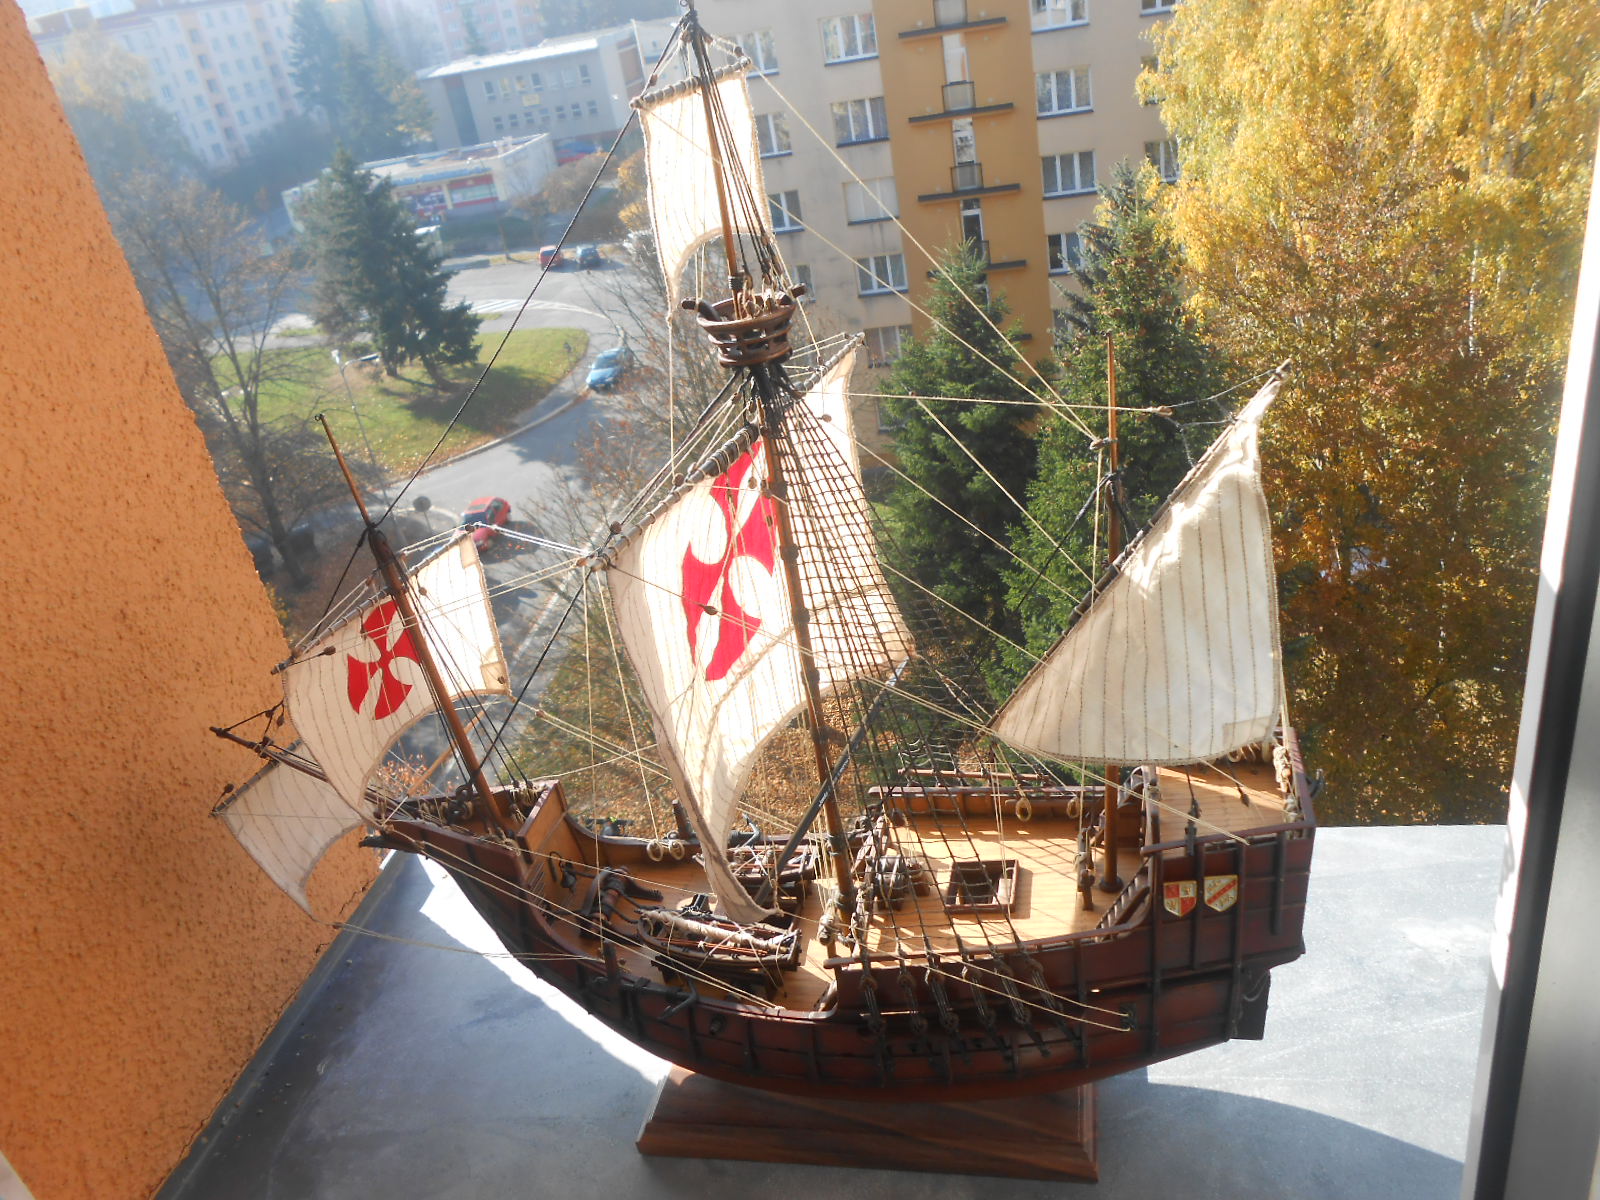
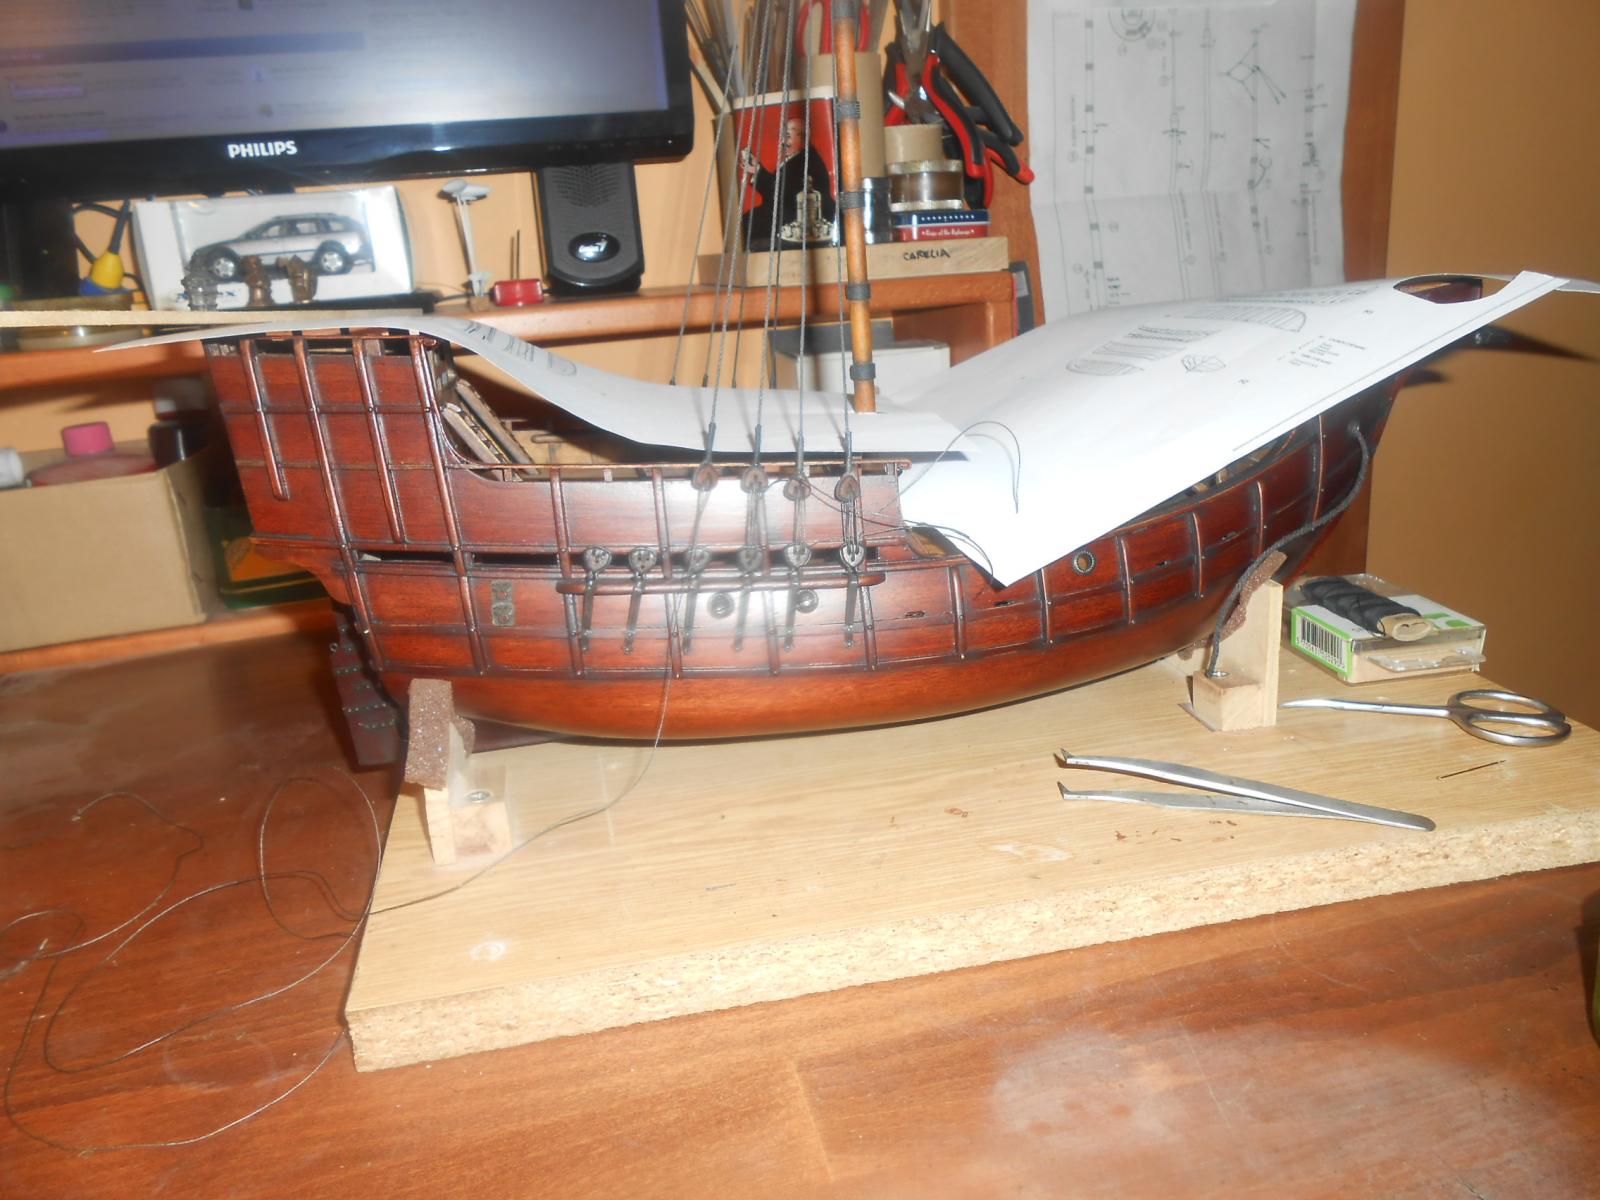
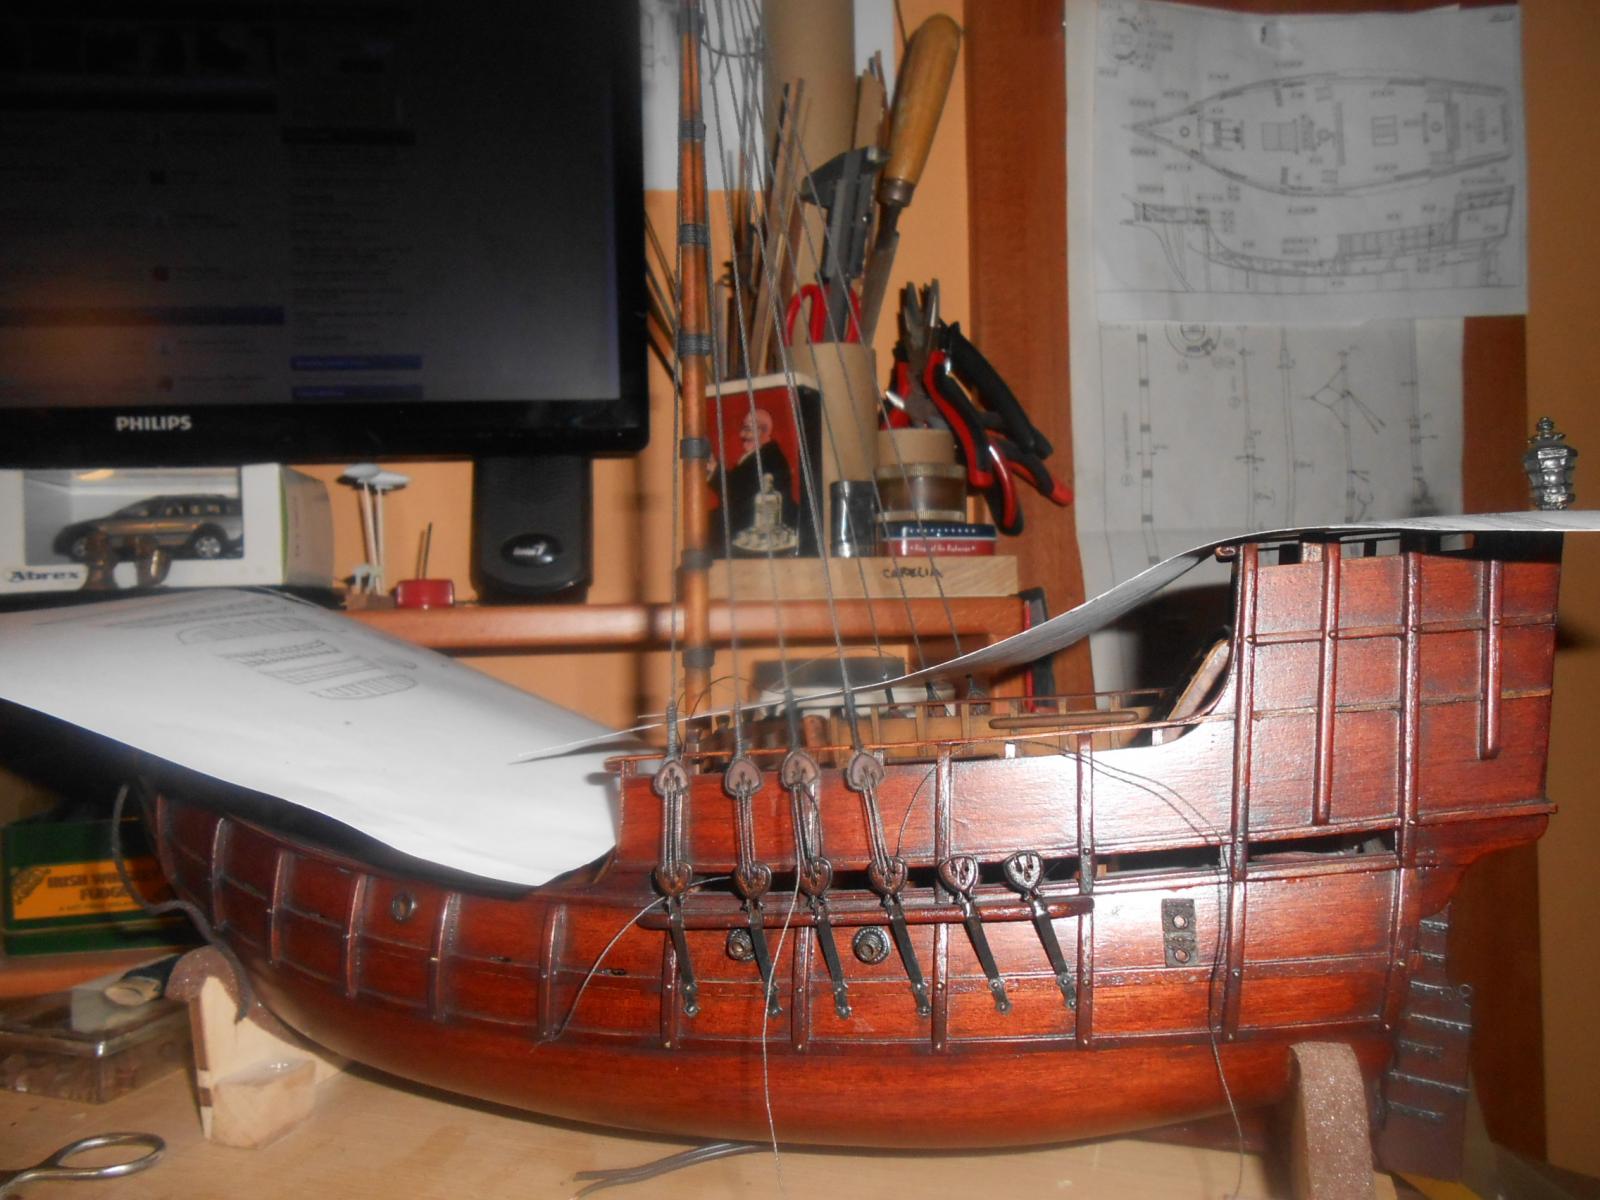
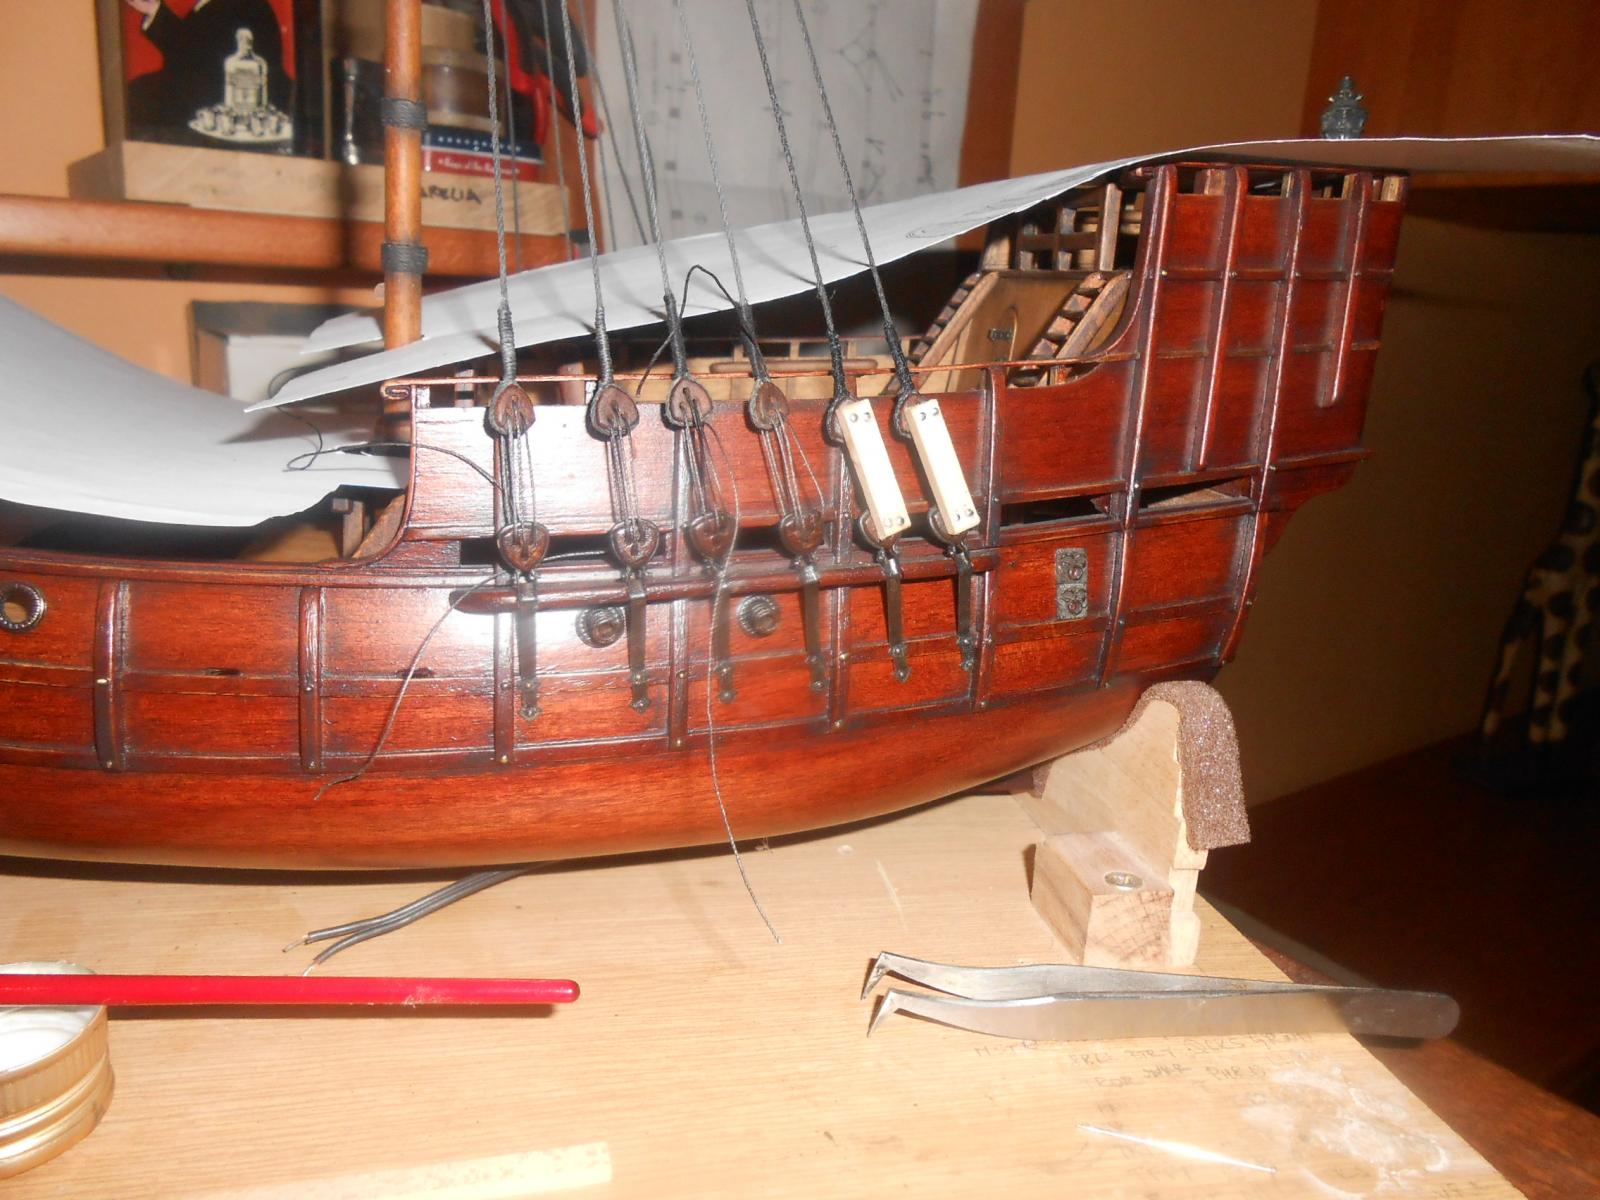
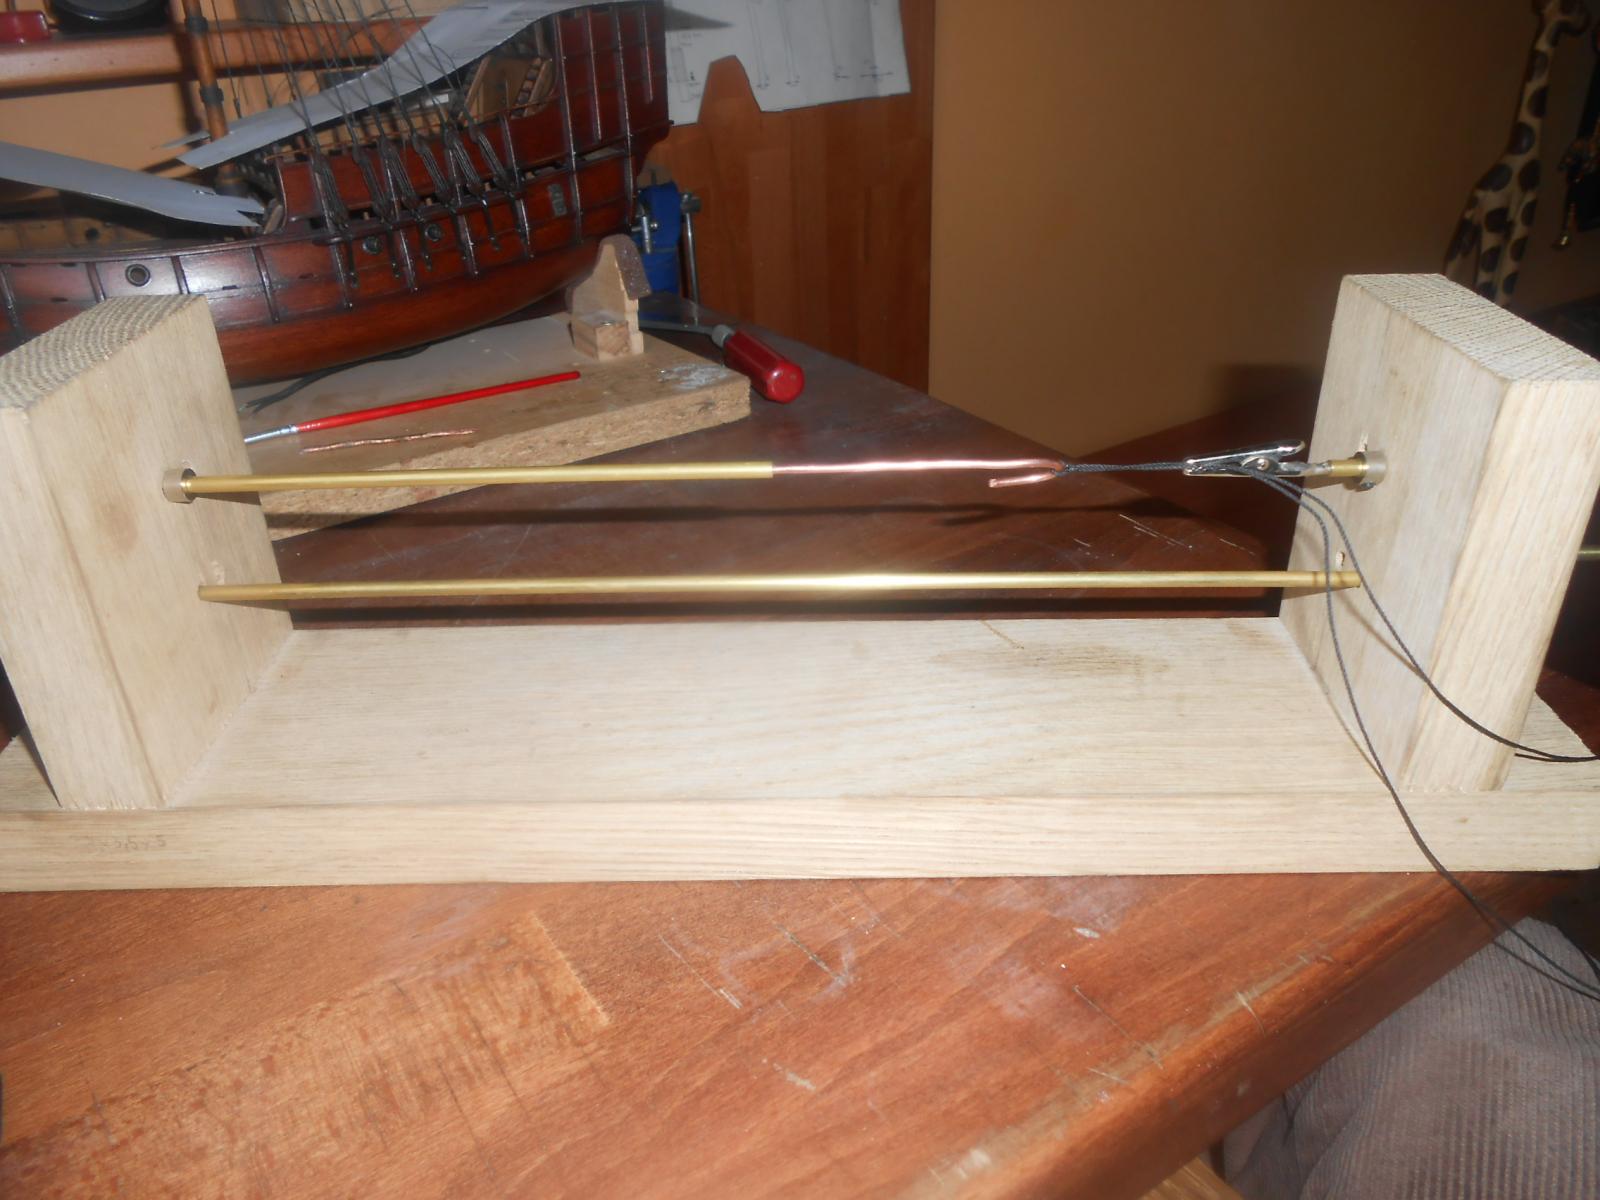
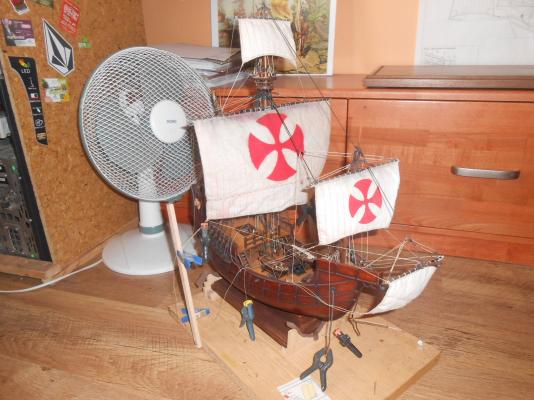
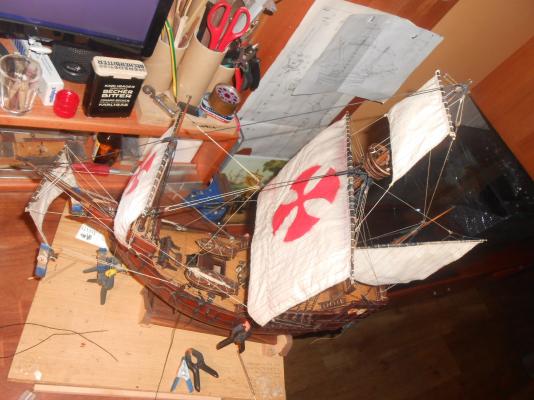
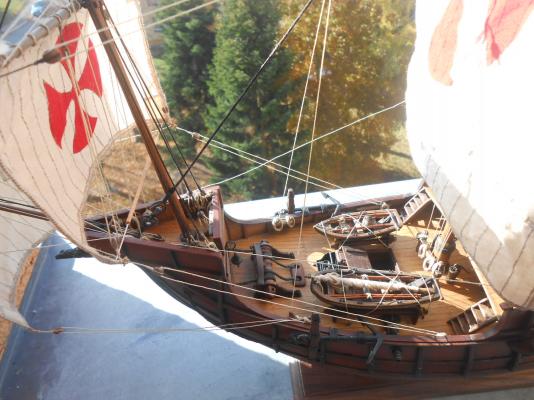
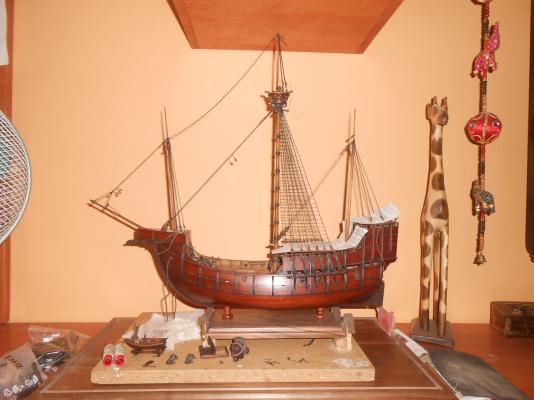
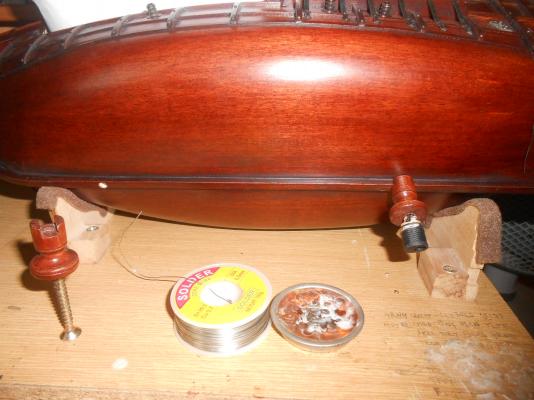
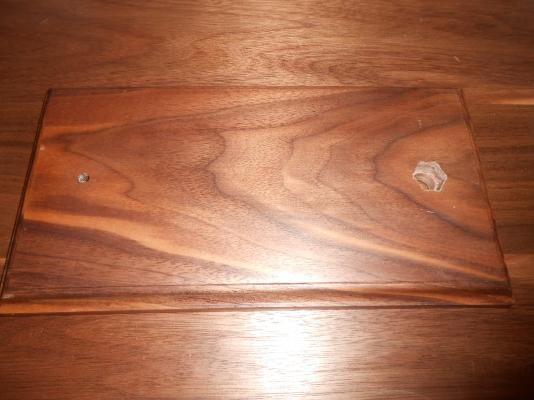
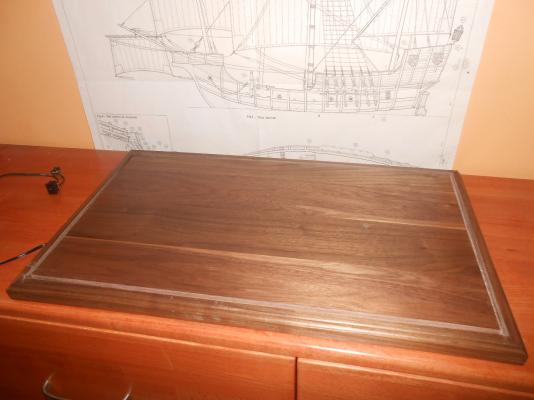
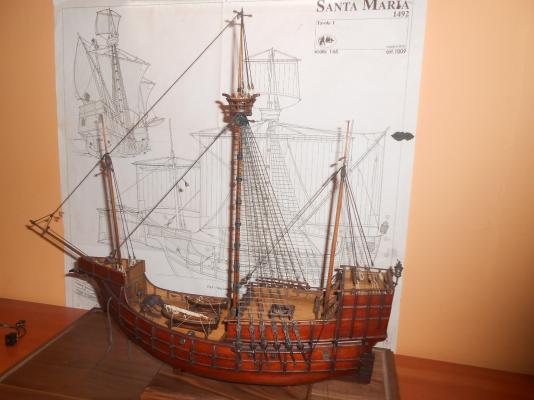
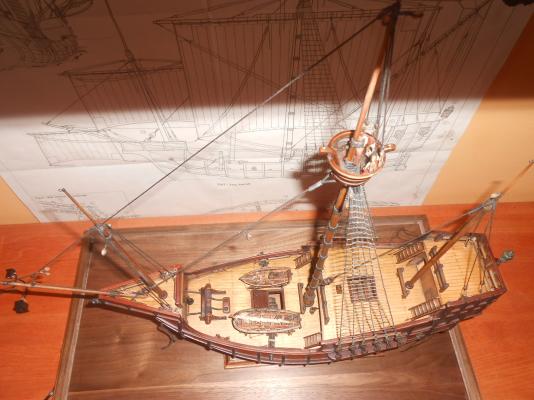
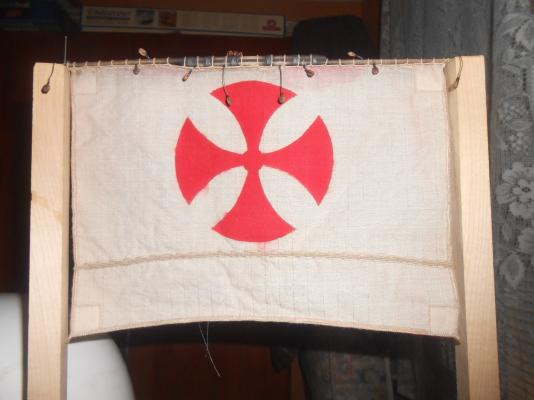
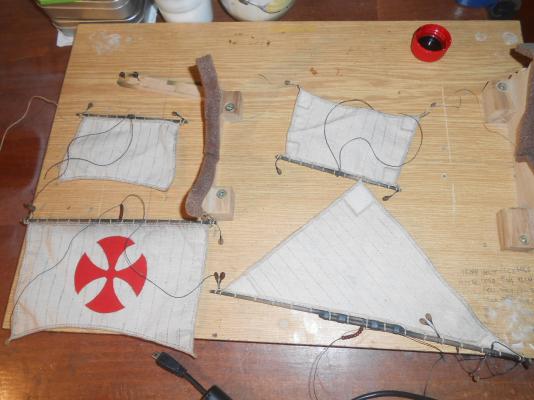
Hallo, long time no message from me so no big progress, but standing rigging is complete. Stand, base for display case both made of walnut wood. Sails (I sewed in winter) are ready on their yards, but still no on the model.


- 79 replies
-
- 6
-
-
- santa maria
- amati
- (and 2 more)
-
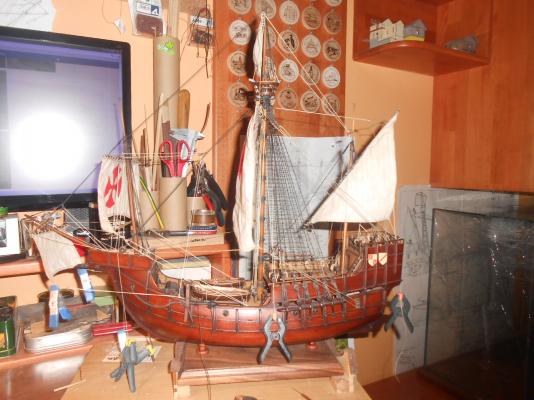
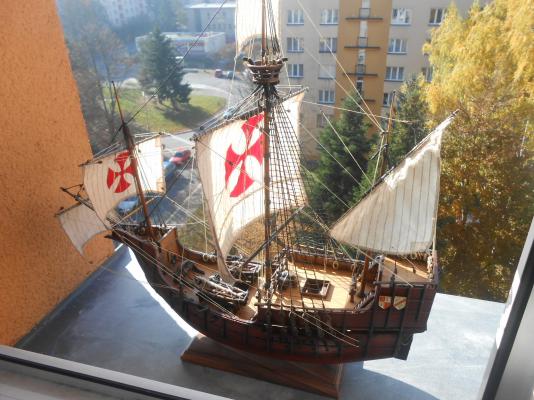
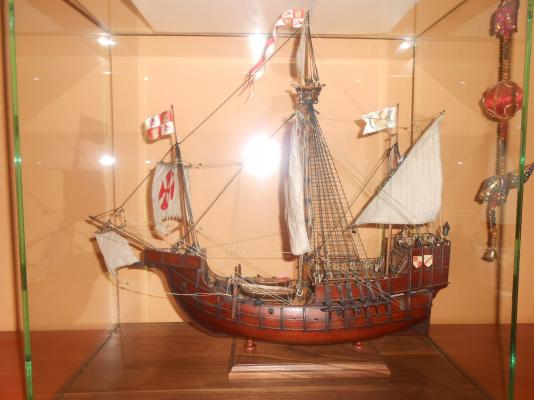
Hello, thanks Mark I appreciate your words. Some more photos:


- 79 replies
-
- 5
-
-
- santa maria
- amati
- (and 2 more)
-
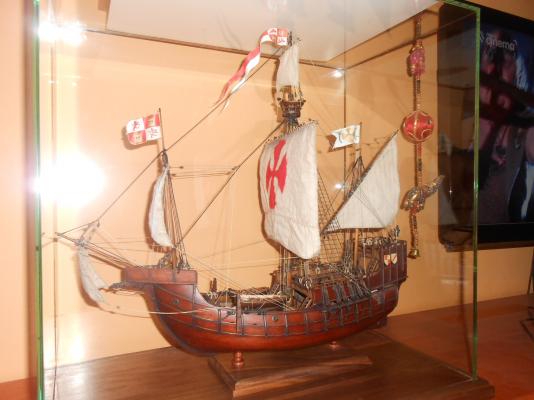
Hallo, thanks for all your comments, likes and looking. I hope I´m finishing. Now I was a little delayed due to renovations bathrooms and kitchens. Now is my home finished (for the moment) and I can go on with ship. I am preparing some new photos I show you next time. Have a nice time with your ships and with MSW.
- 79 replies
-
- 1
-
-
- santa maria
- amati
- (and 2 more)
-
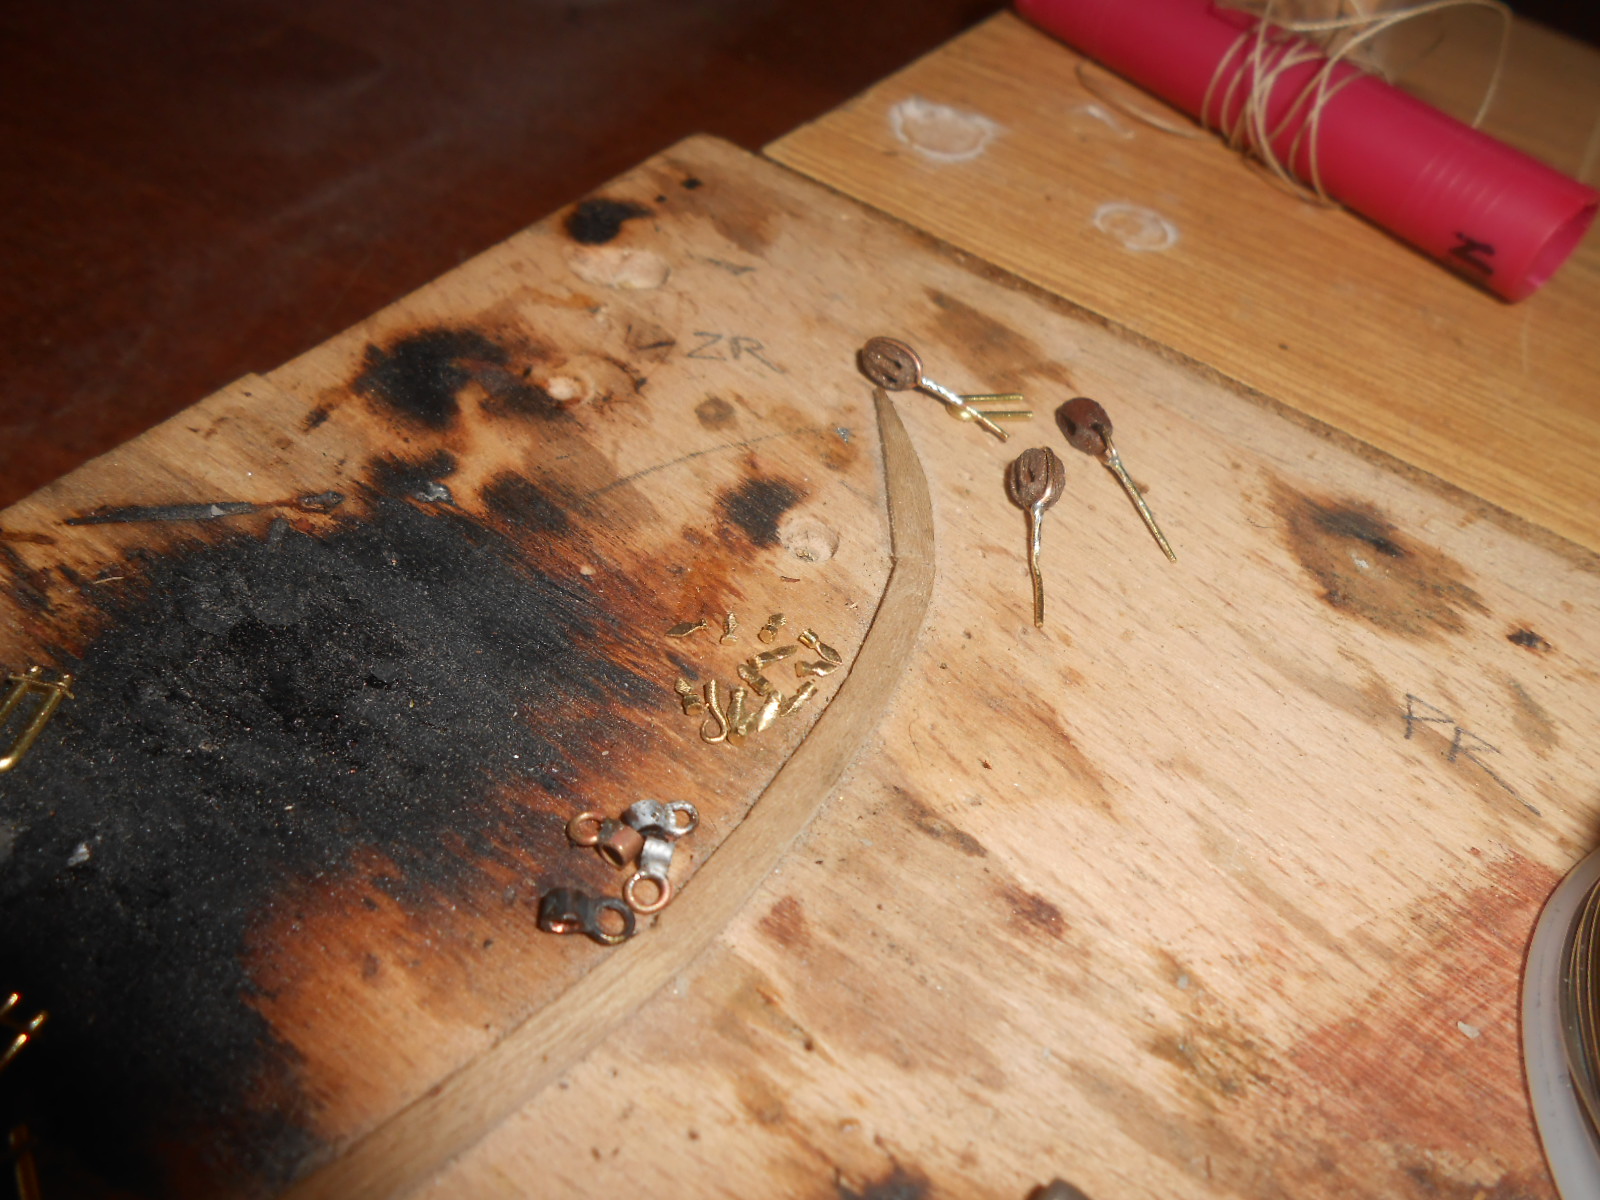
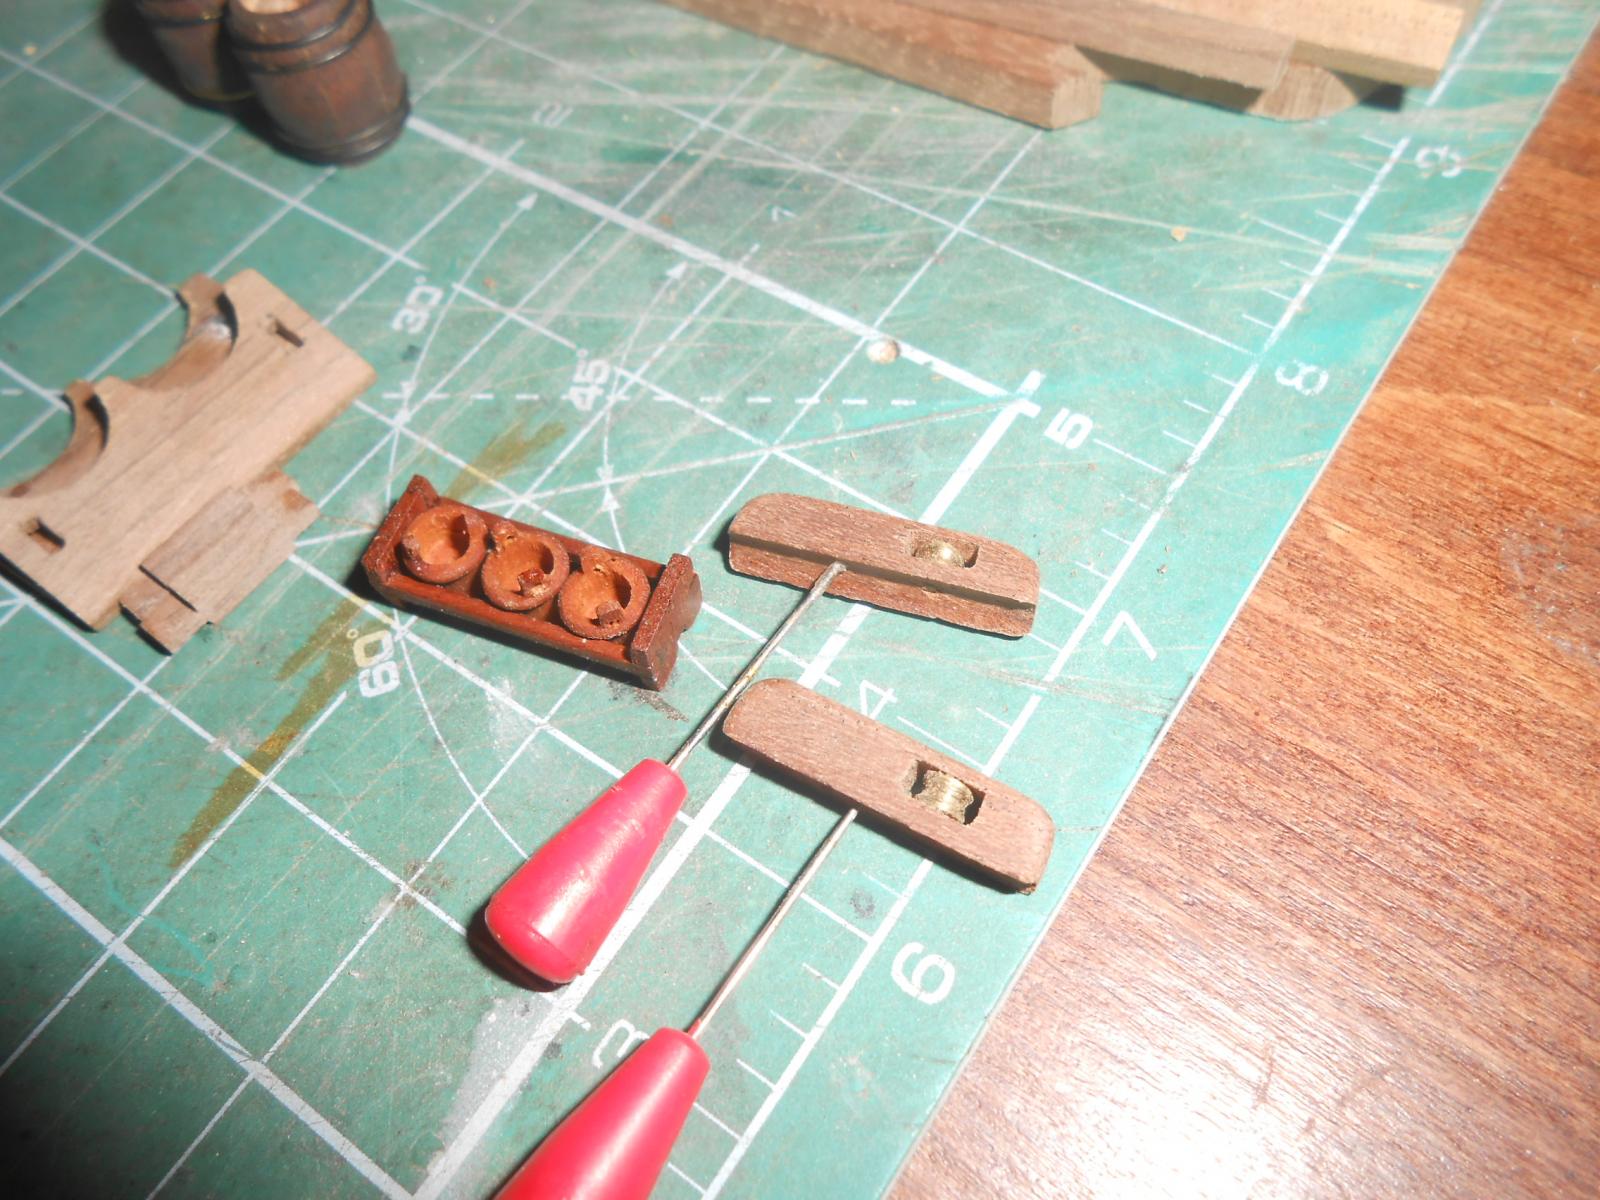
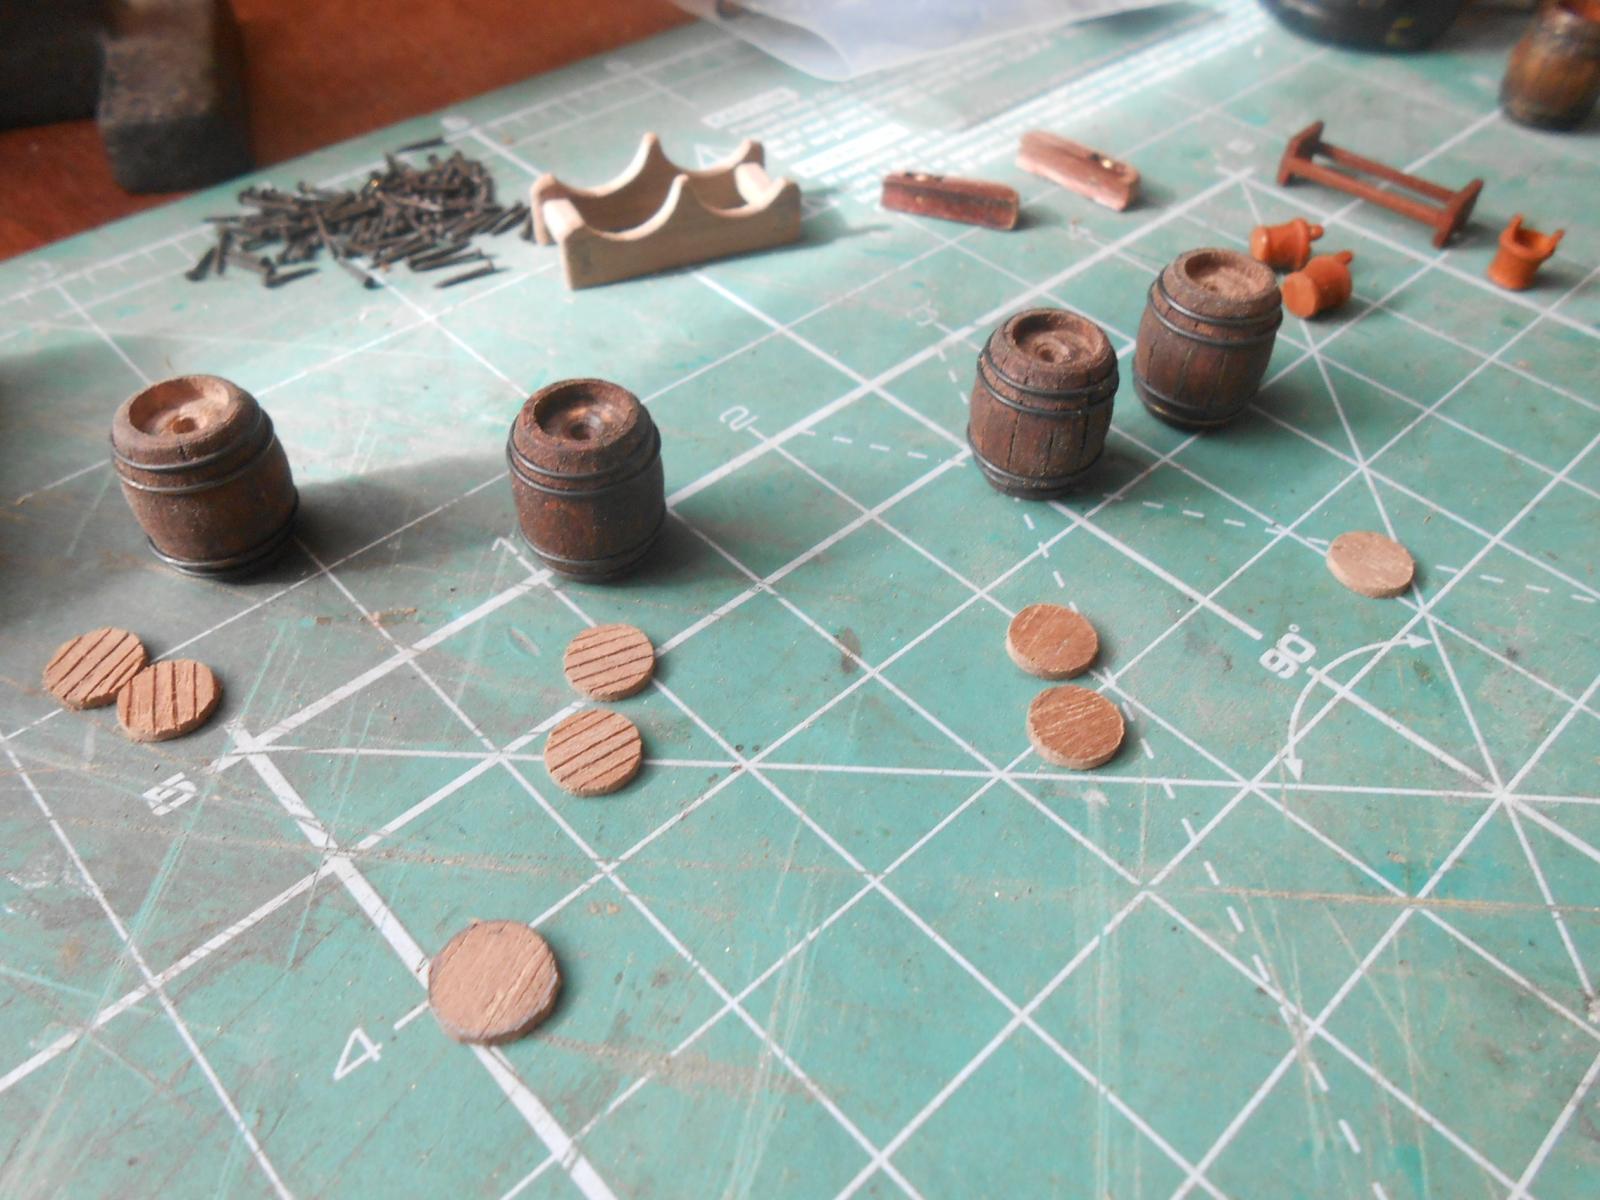
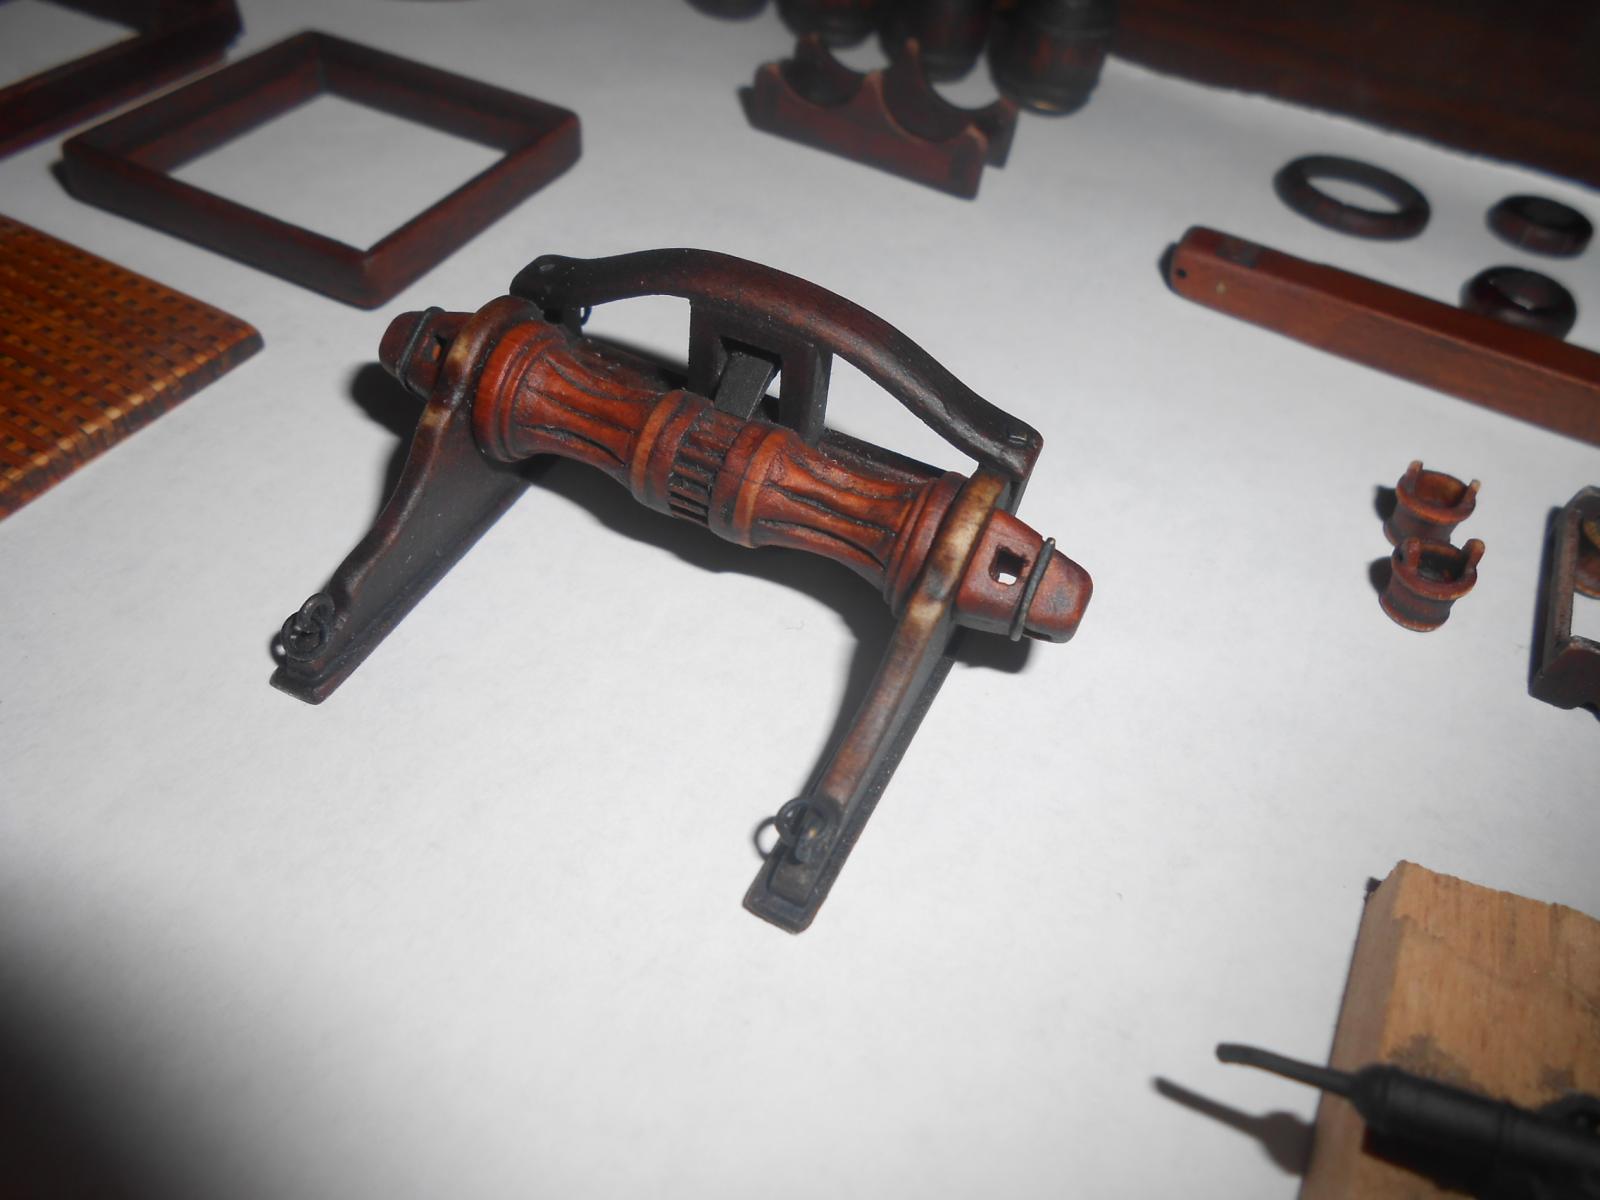
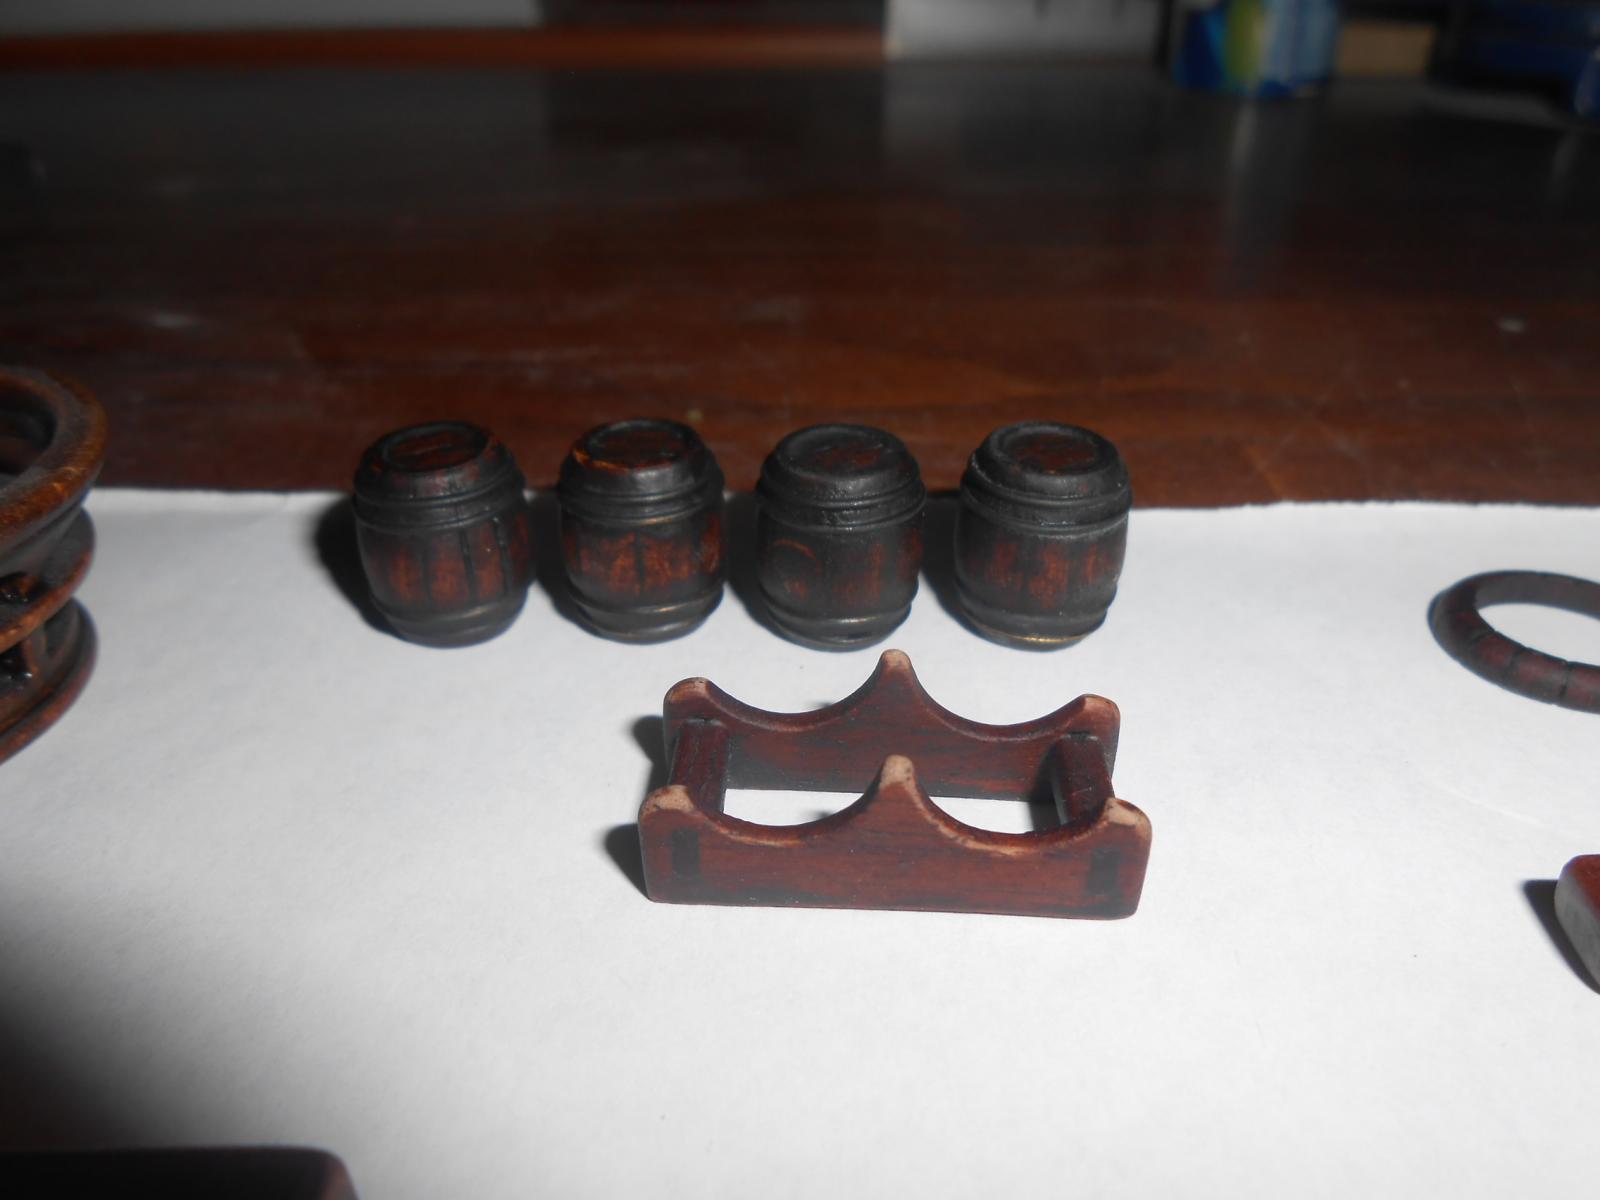
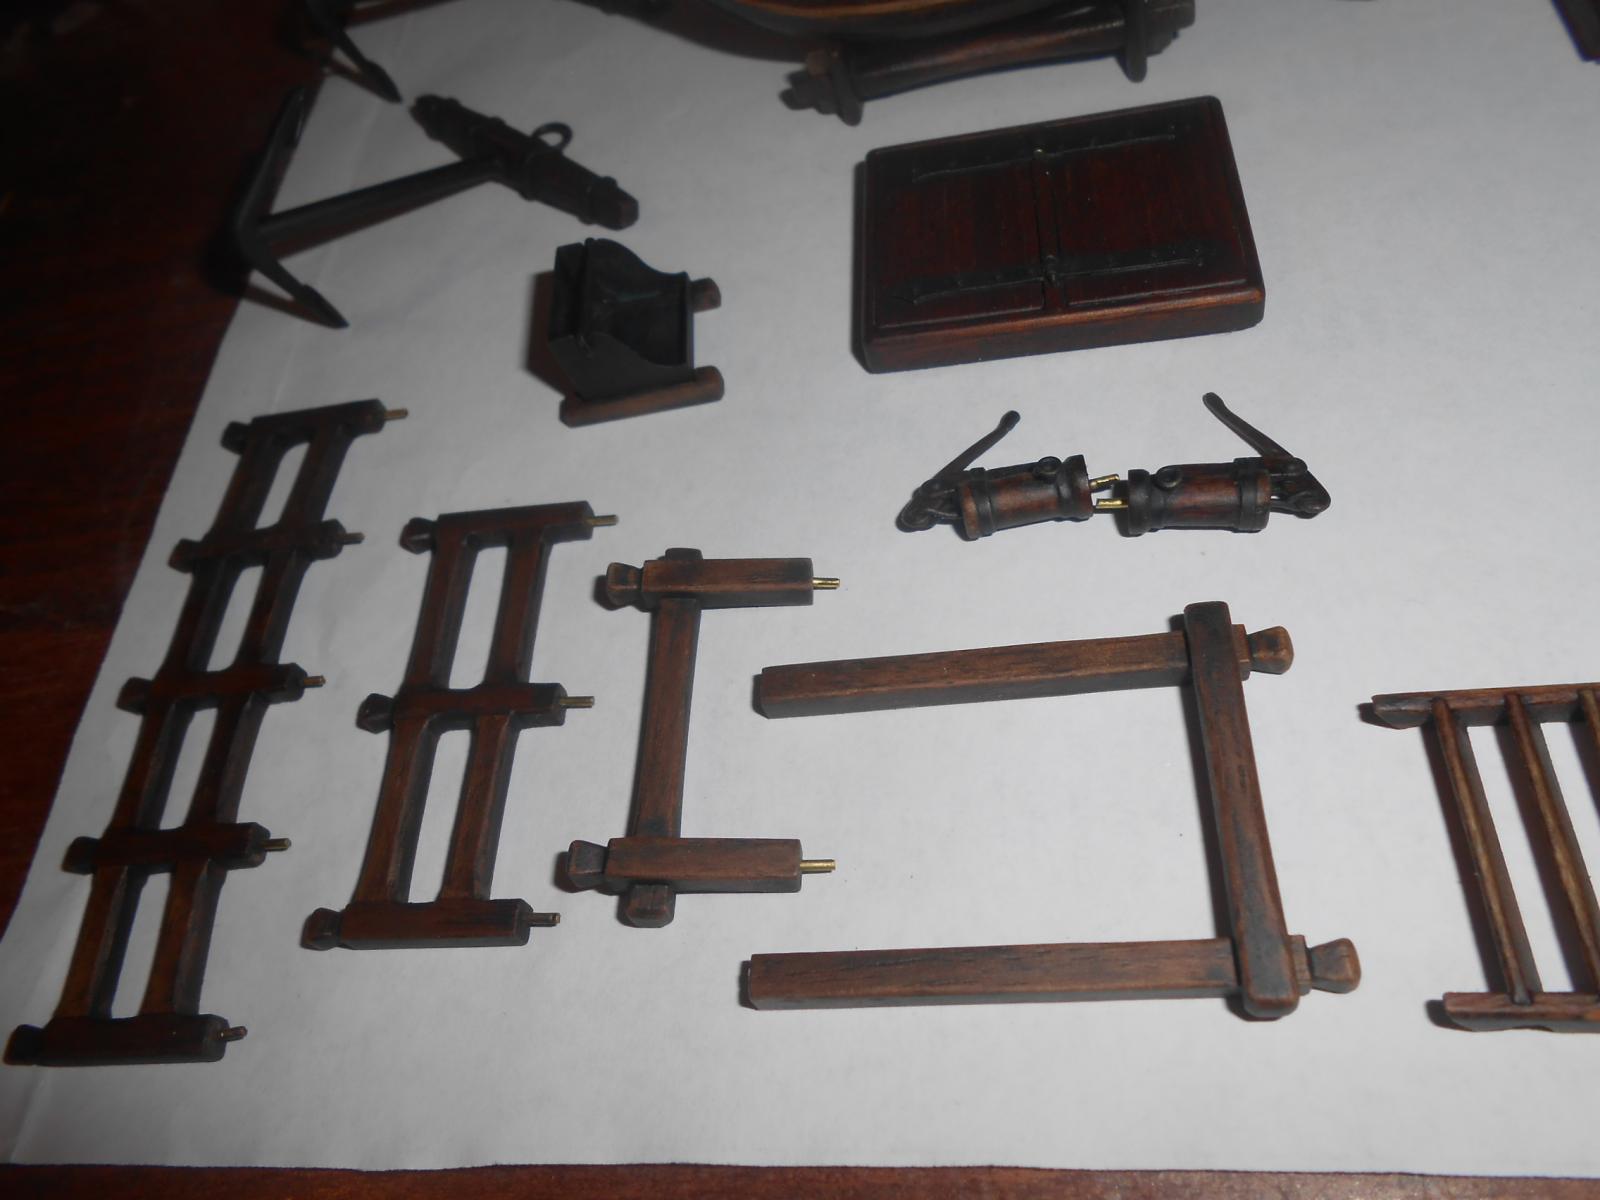
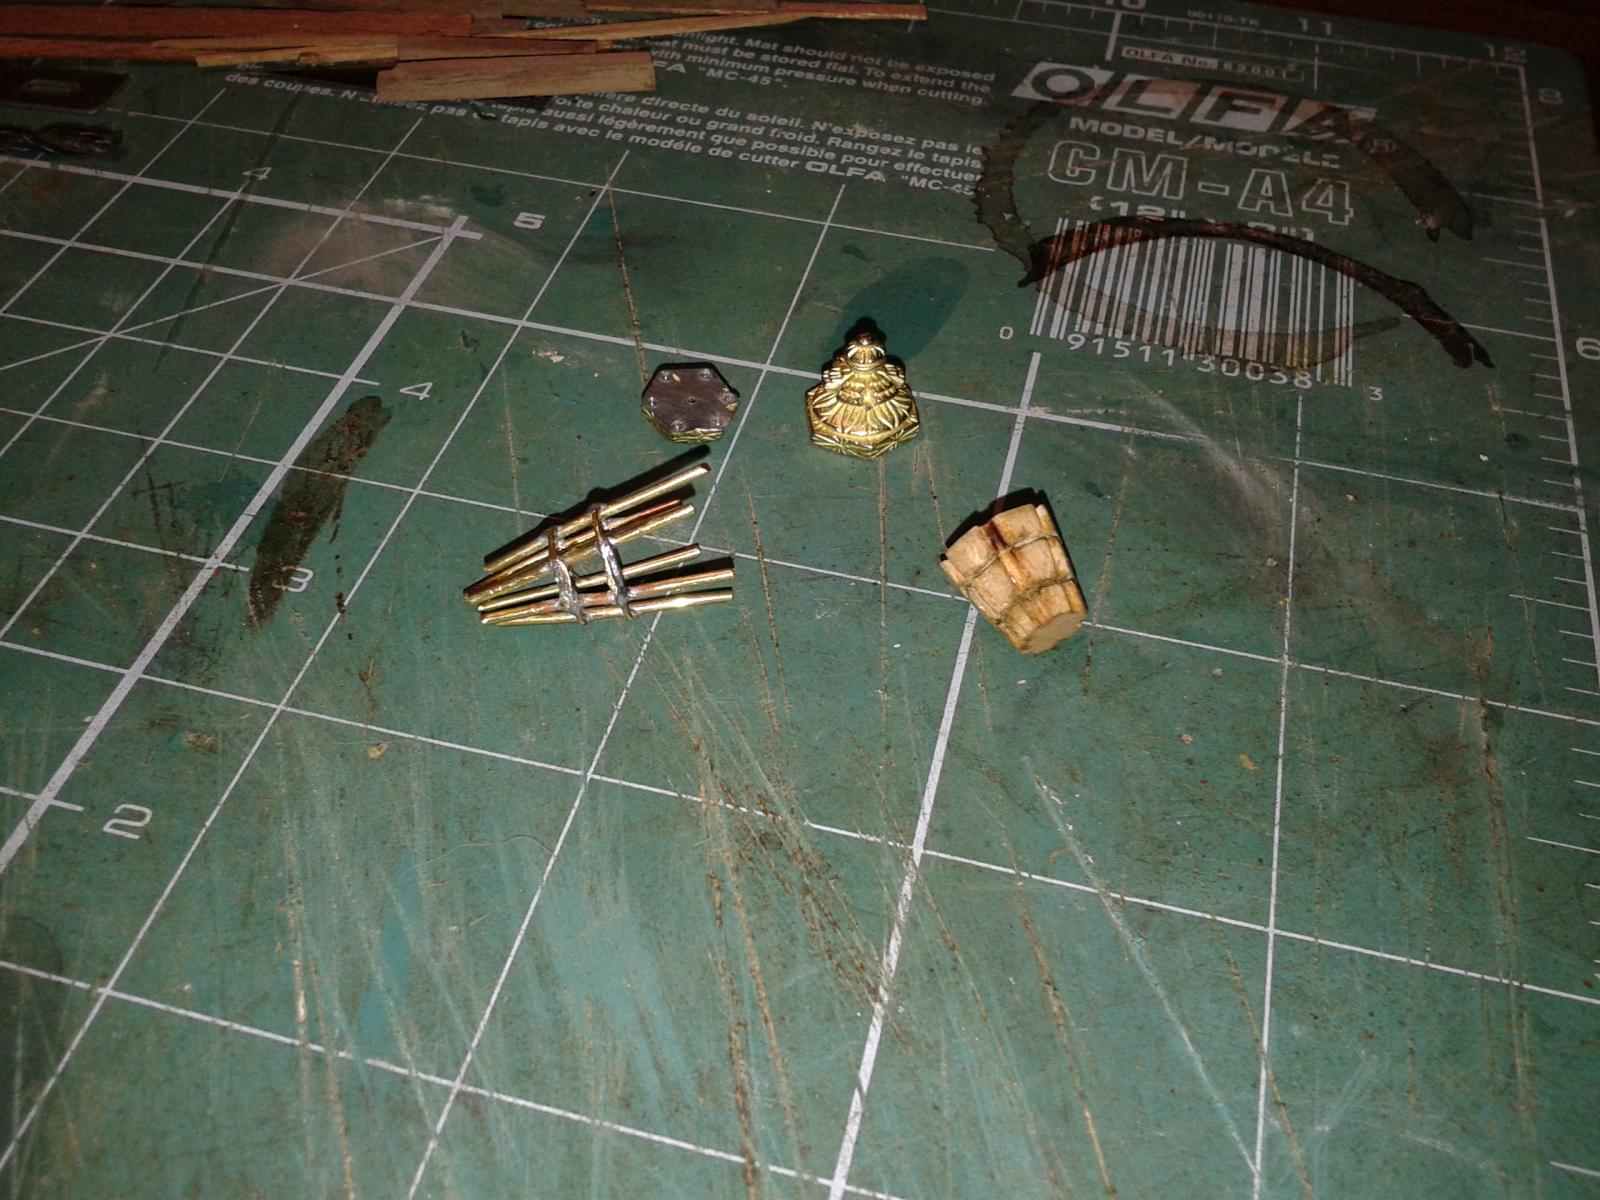
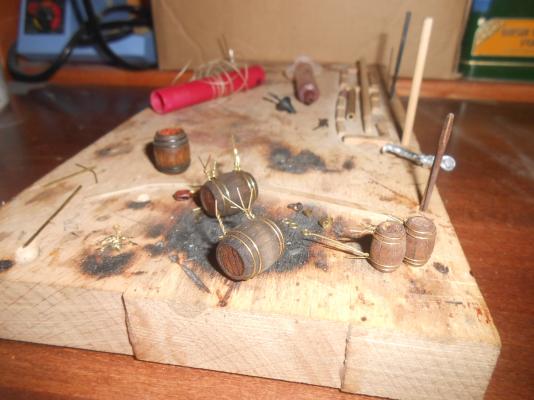
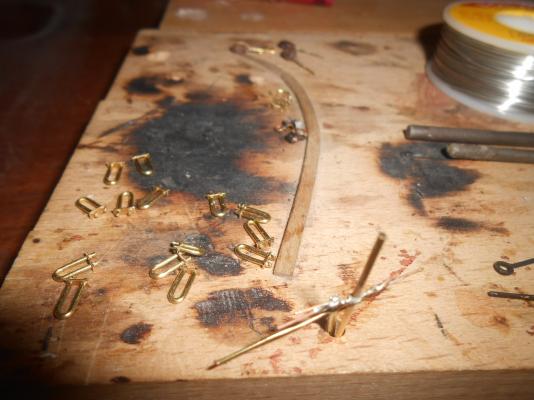
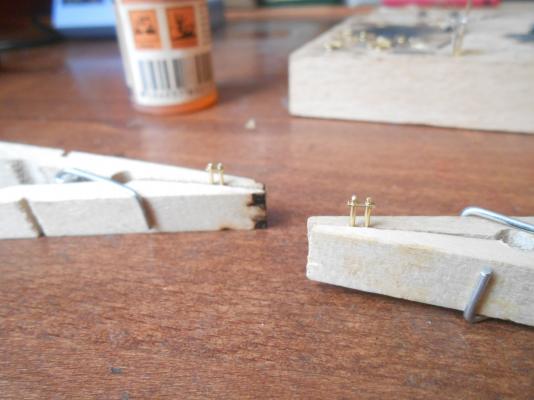
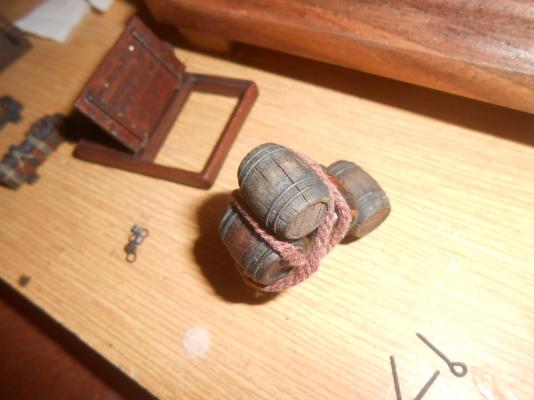
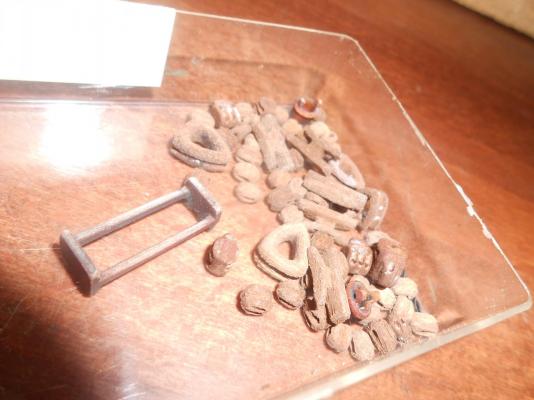
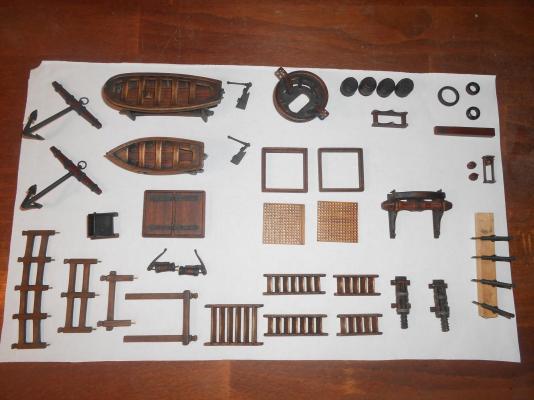
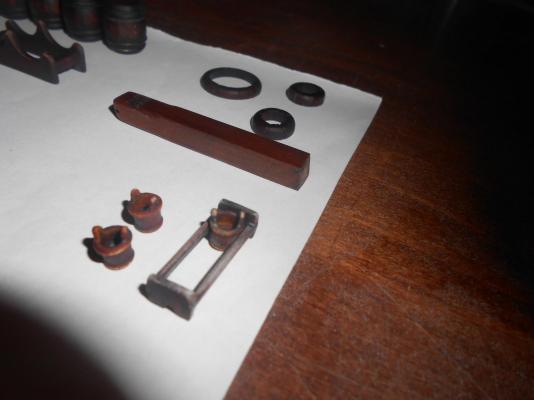
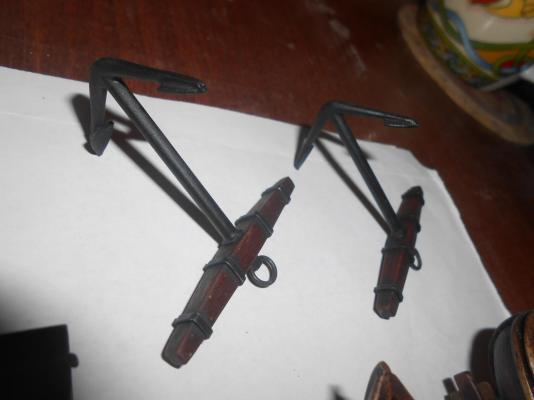
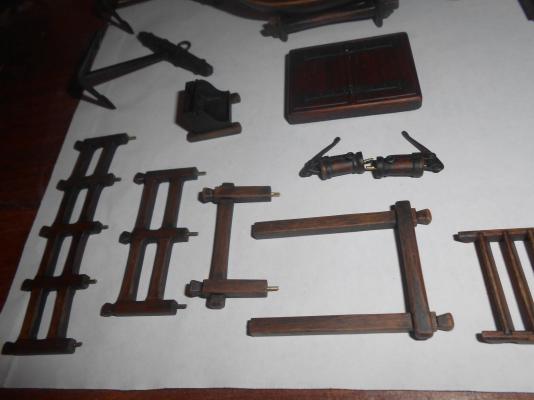
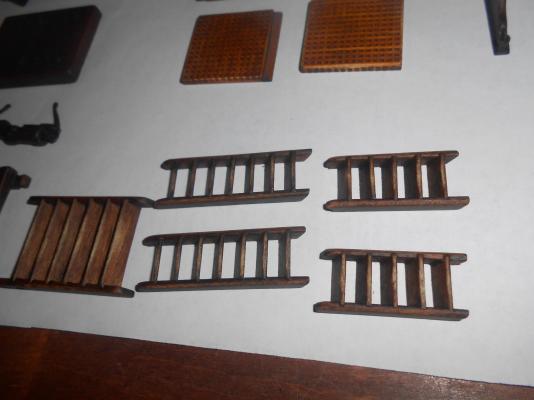
Hello, I am working on small details. All fittings are prepared. Some photos:


- 79 replies
-
- 13
-
-
- santa maria
- amati
- (and 2 more)
-
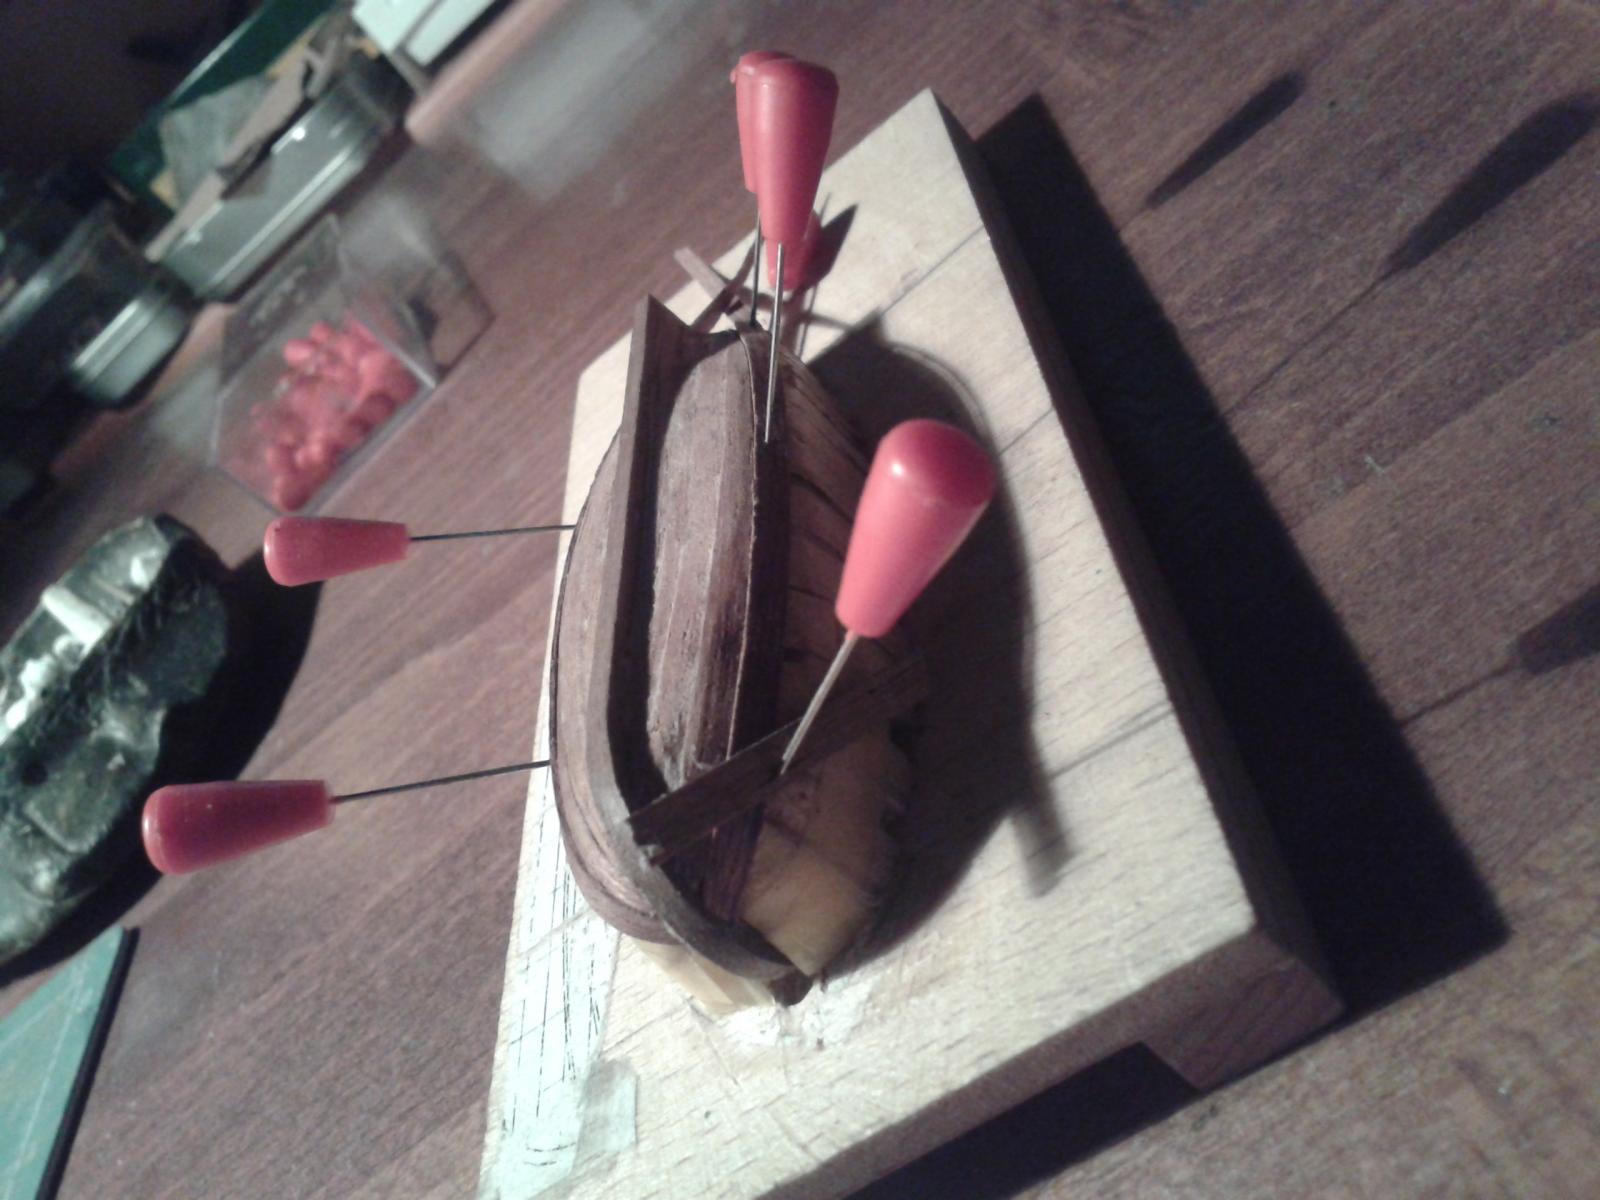
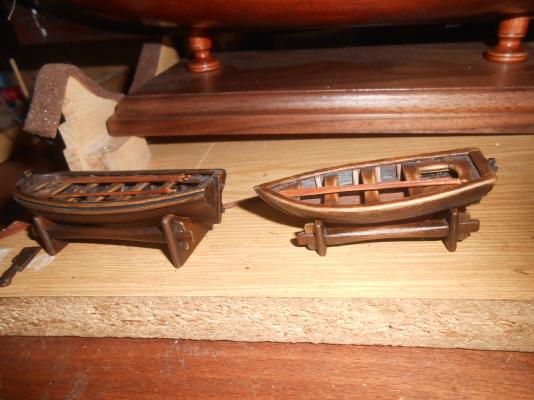
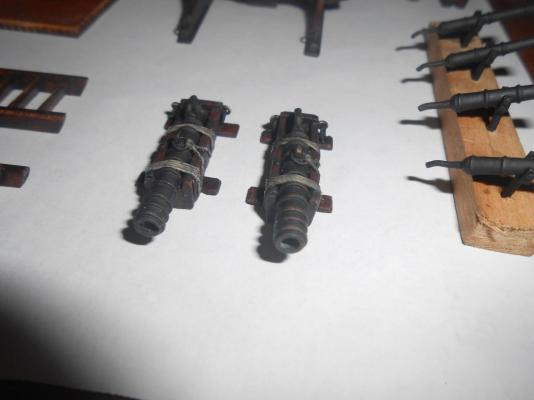
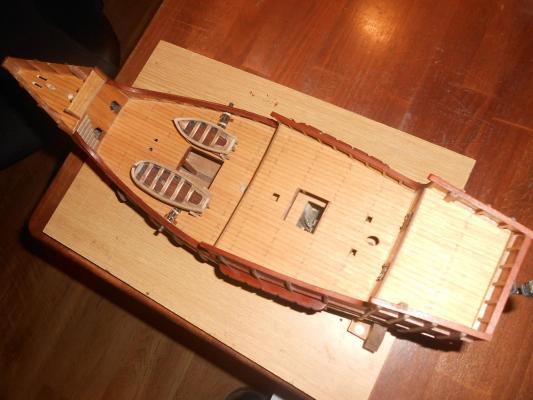
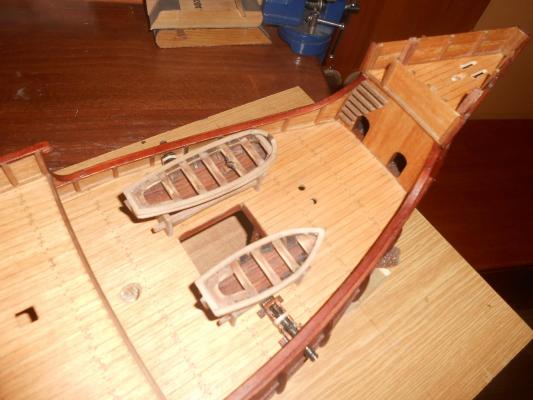
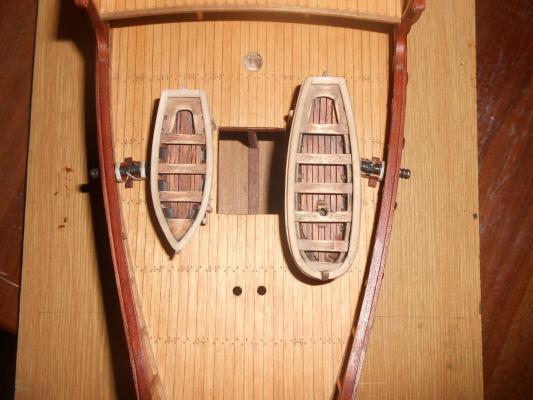
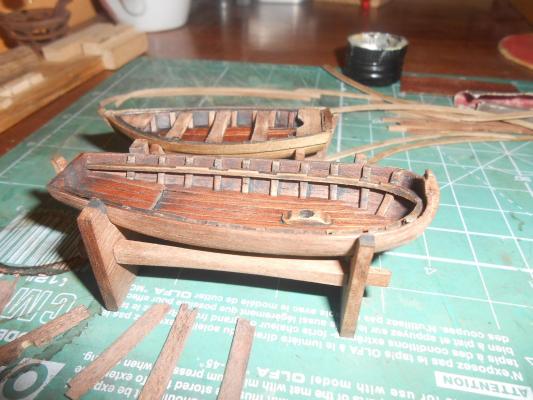
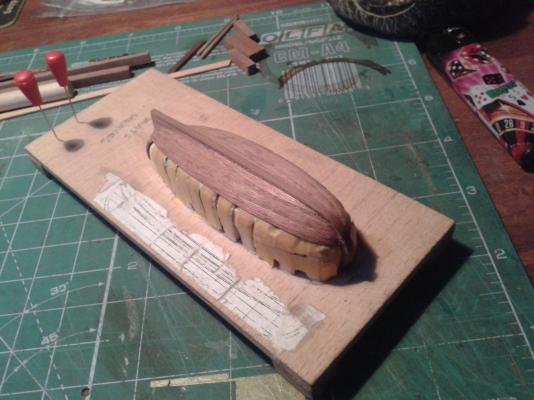
Yes Ferit - a good question. It is not exactly like plans say. I am trying how it looks with two boats. In kit was only one boat but like plans from AOTS were two boats on the Santa Maria but who knows? The second boat is scratchbuilt - my first one. I don't know what is better guns or boats?
- 79 replies
-
- 1
-
-
- santa maria
- amati
- (and 2 more)
-
you are welcome Mohamad
-
Hello looking very good. it seems you know the rope
-
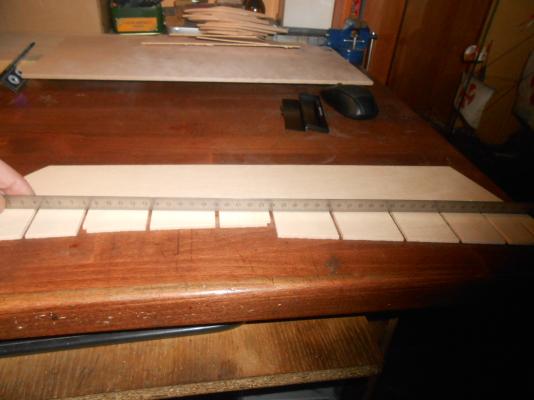
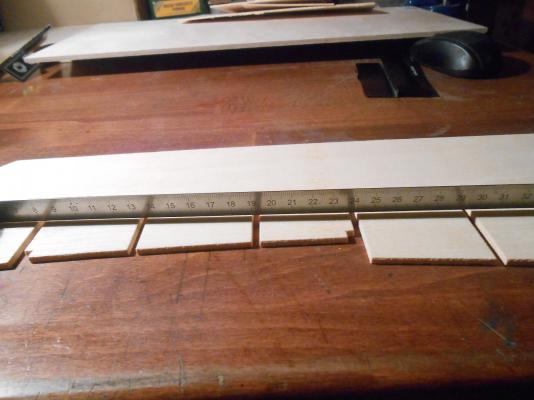
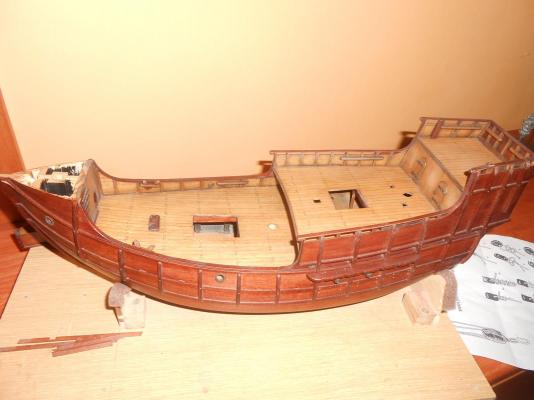
No, I exactly did this: cut the planks to length colour the edges sides and front of every plank with pencil glue them on place and grind all deck to smooth surface drill holes for treenails and fill them with dark putty when the putty hardens grind it again Putty remains only in holes for pins, there are no grooves in lines so there remains no putty over the caulking lines.
- 79 replies
-
- 2
-
-
- santa maria
- amati
- (and 2 more)
-
Hello, thanks, I used a pencil with hardness 7B (=very soft) for the caulking lines and the treenails are magahon putty in small 0,4mm holes.
-
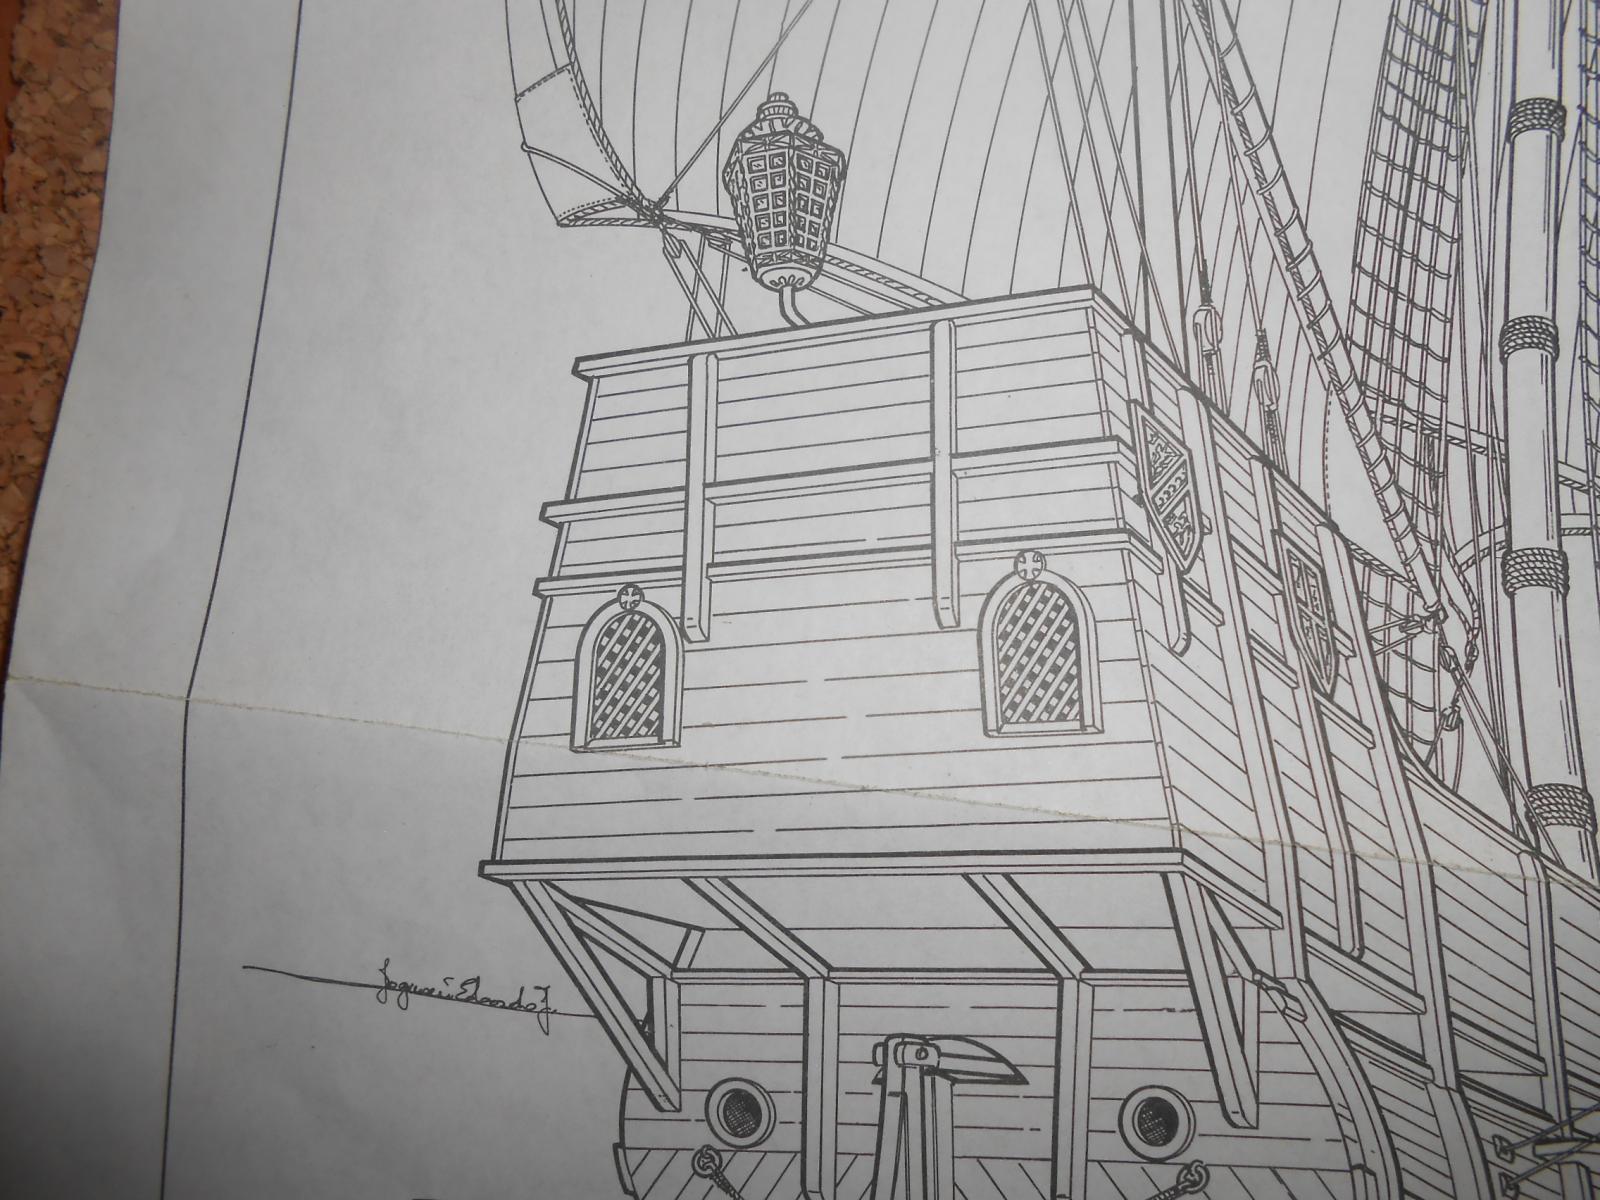
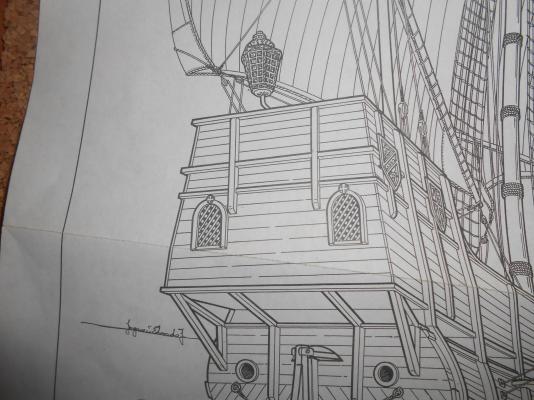
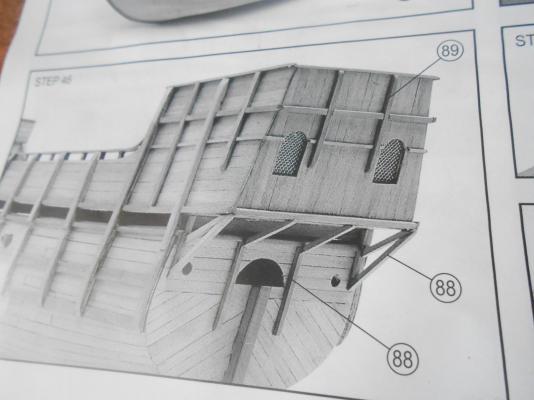
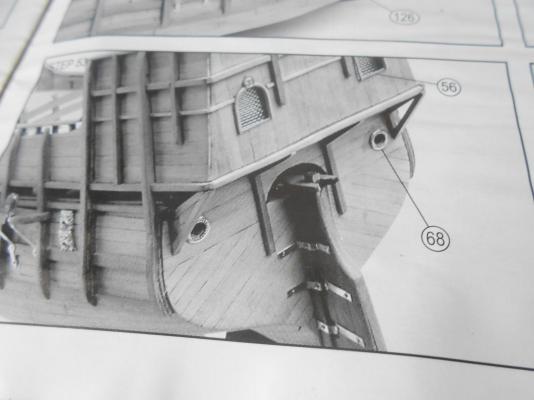
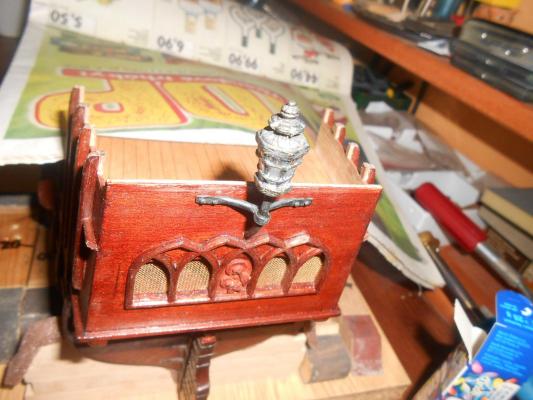
Hello, thank you for looking, thanks much Brian, Mark and Mohamad for your comments, I appreciate that. Yes Brian, are a bit smaller parts and I really enjoy work with wood. Marktime - I made transom according to my imagination - my first attempt at carving on boat. According to the instructions it looks as seen in the following photos. After 2 years of work I finally finishing the hull with all fittings. I'm now studying about masting and rigging - how to do it best. Do you color or impregnate the ropes of standing rigging with some stain or wax to achieve the appearance of tarred rope?
- 79 replies
-
- 1
-
-
- santa maria
- amati
- (and 2 more)
-
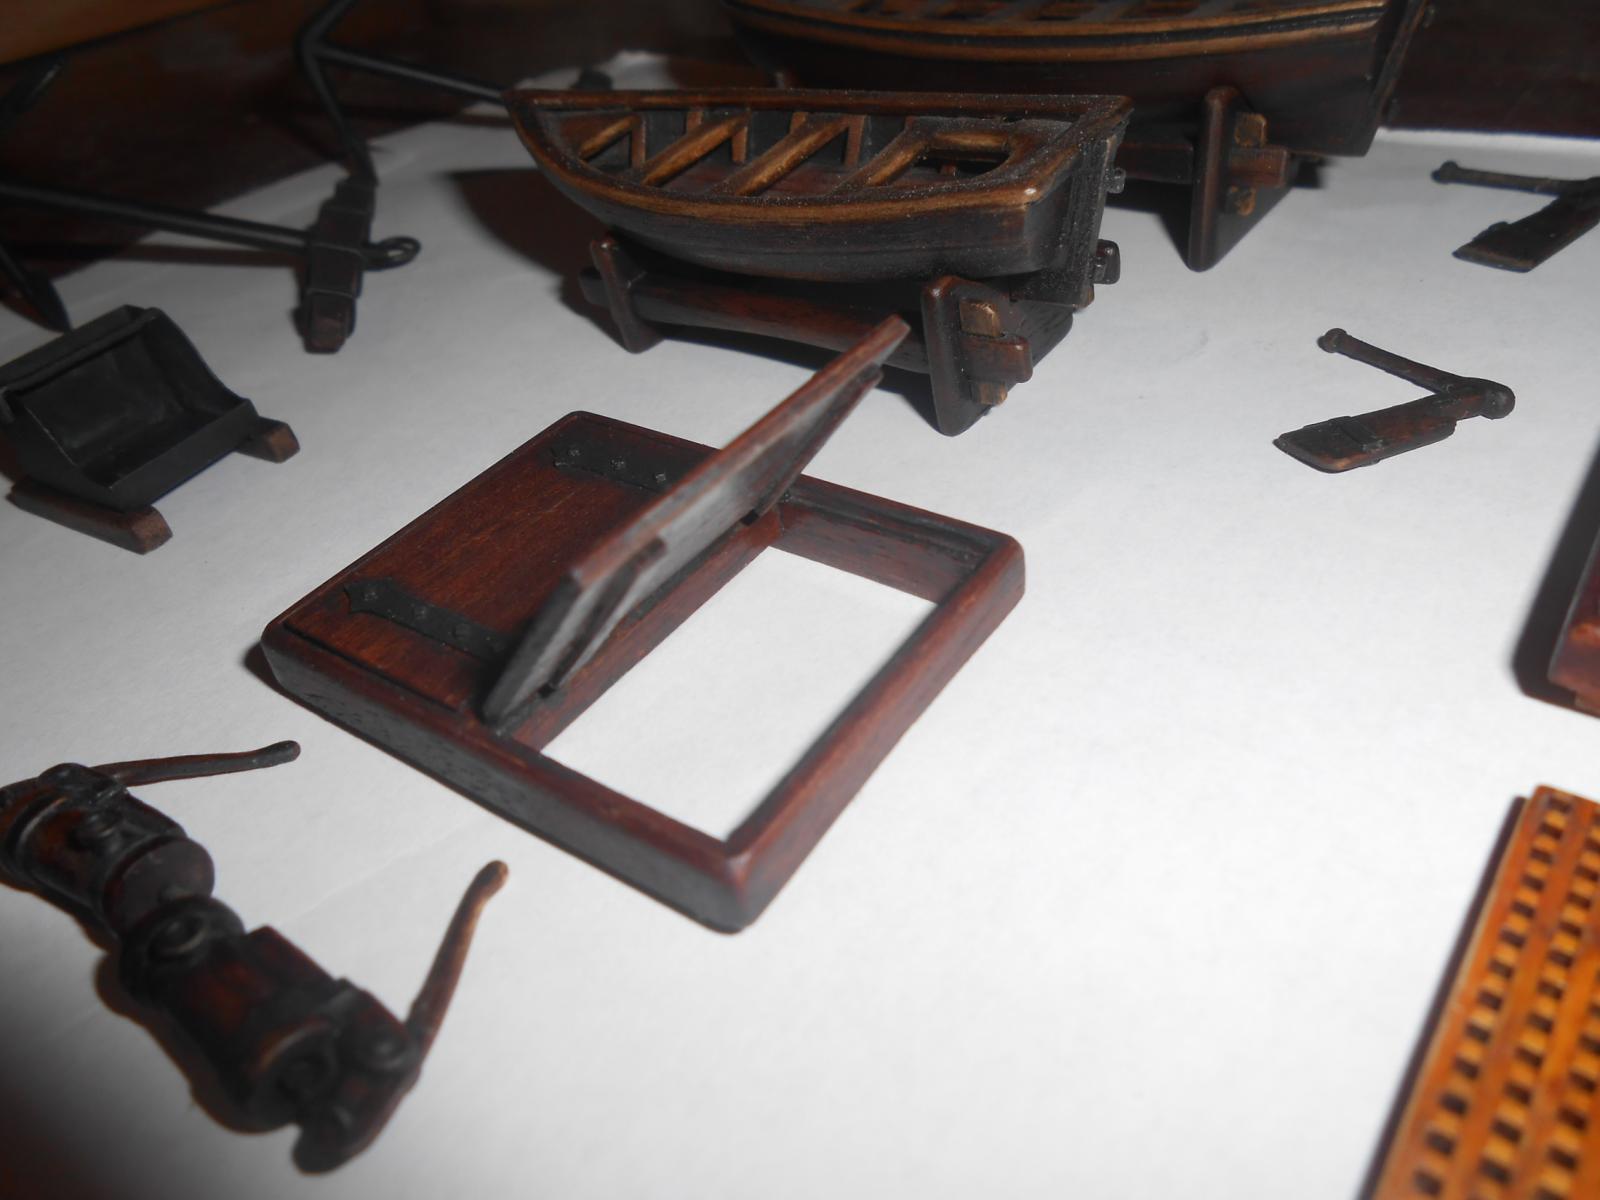
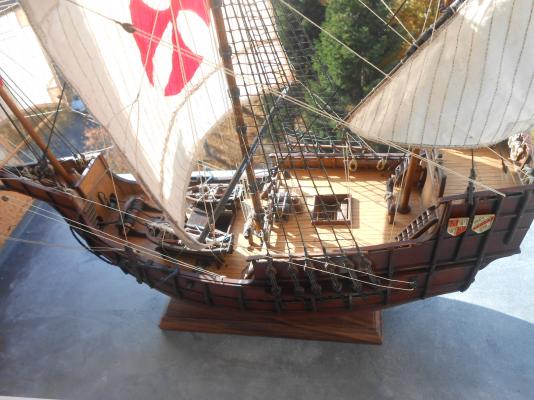
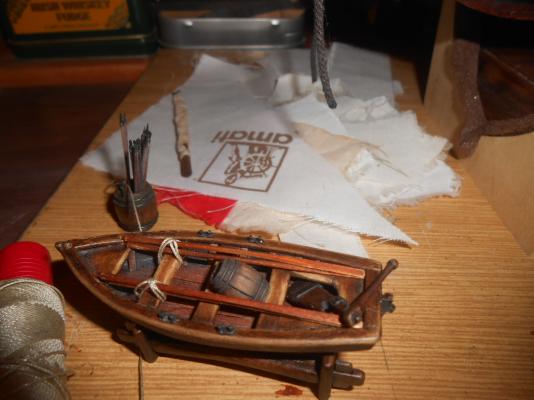
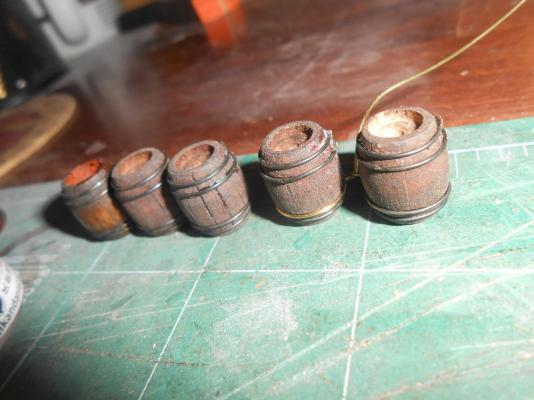
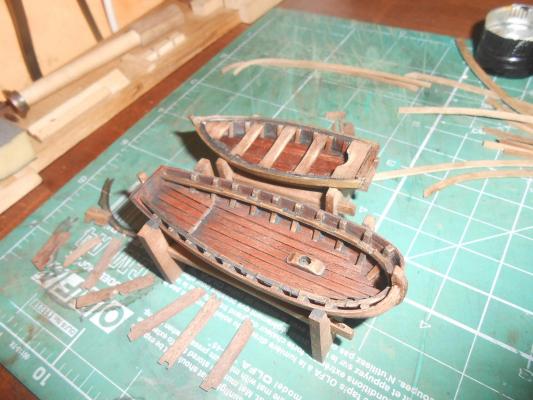
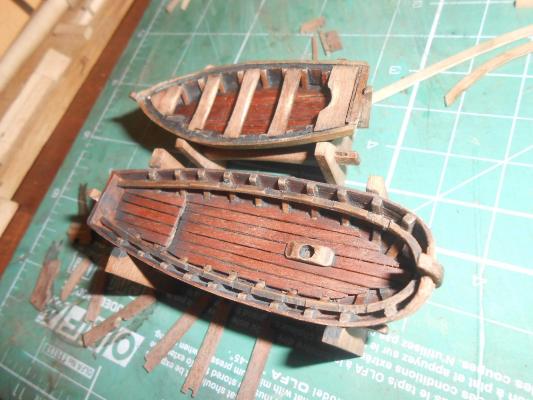
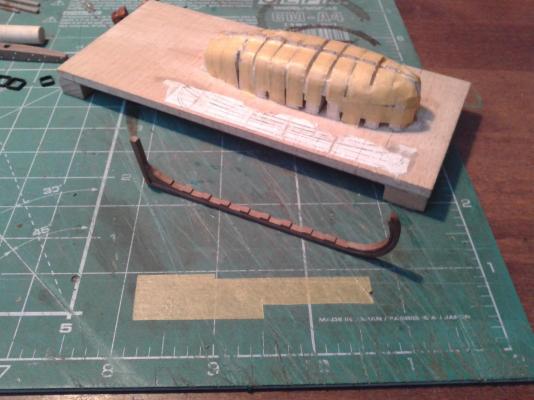
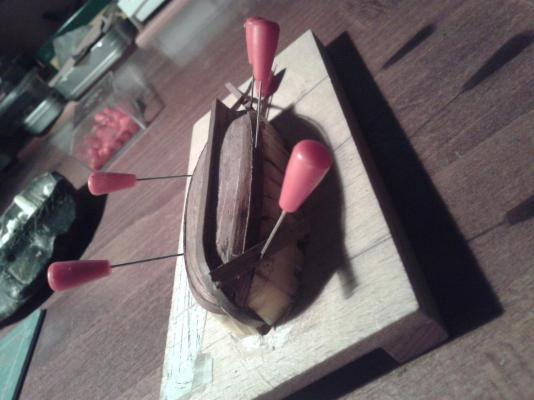
Hello, thanks Geoff for encouraging words. I have now more photos of how she looks currently. The boats are still not complete - outside must get stain, coat of varnish, wood ageing wash and a final coat of varnish.

- 79 replies
-
- 6
-
-
- santa maria
- amati
- (and 2 more)
-
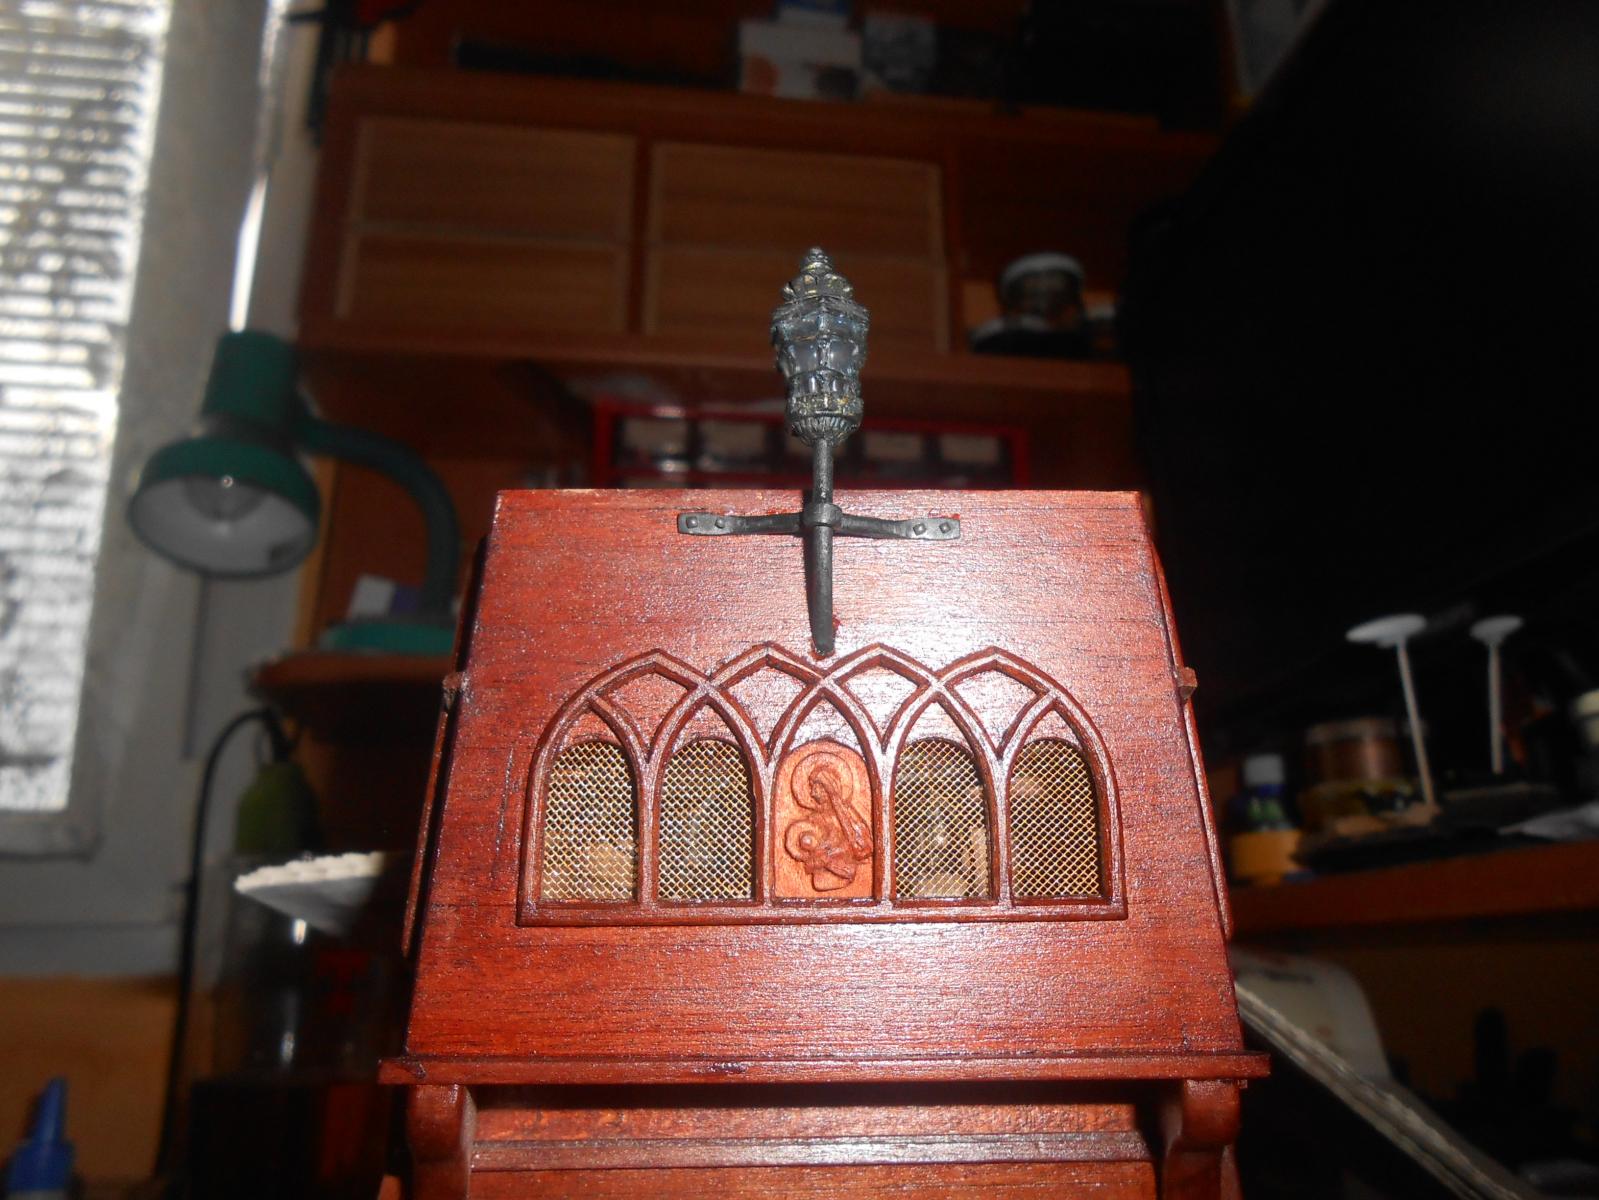
Hello, thanks Pawel, I used actually small bulb lights but it can be easy done with LEDs. I will try them maybe on my next ship, which is still waiting on wardrobe. Some more photos of boats and lantern.


- 79 replies
-
- 6
-
-
- santa maria
- amati
- (and 2 more)
-
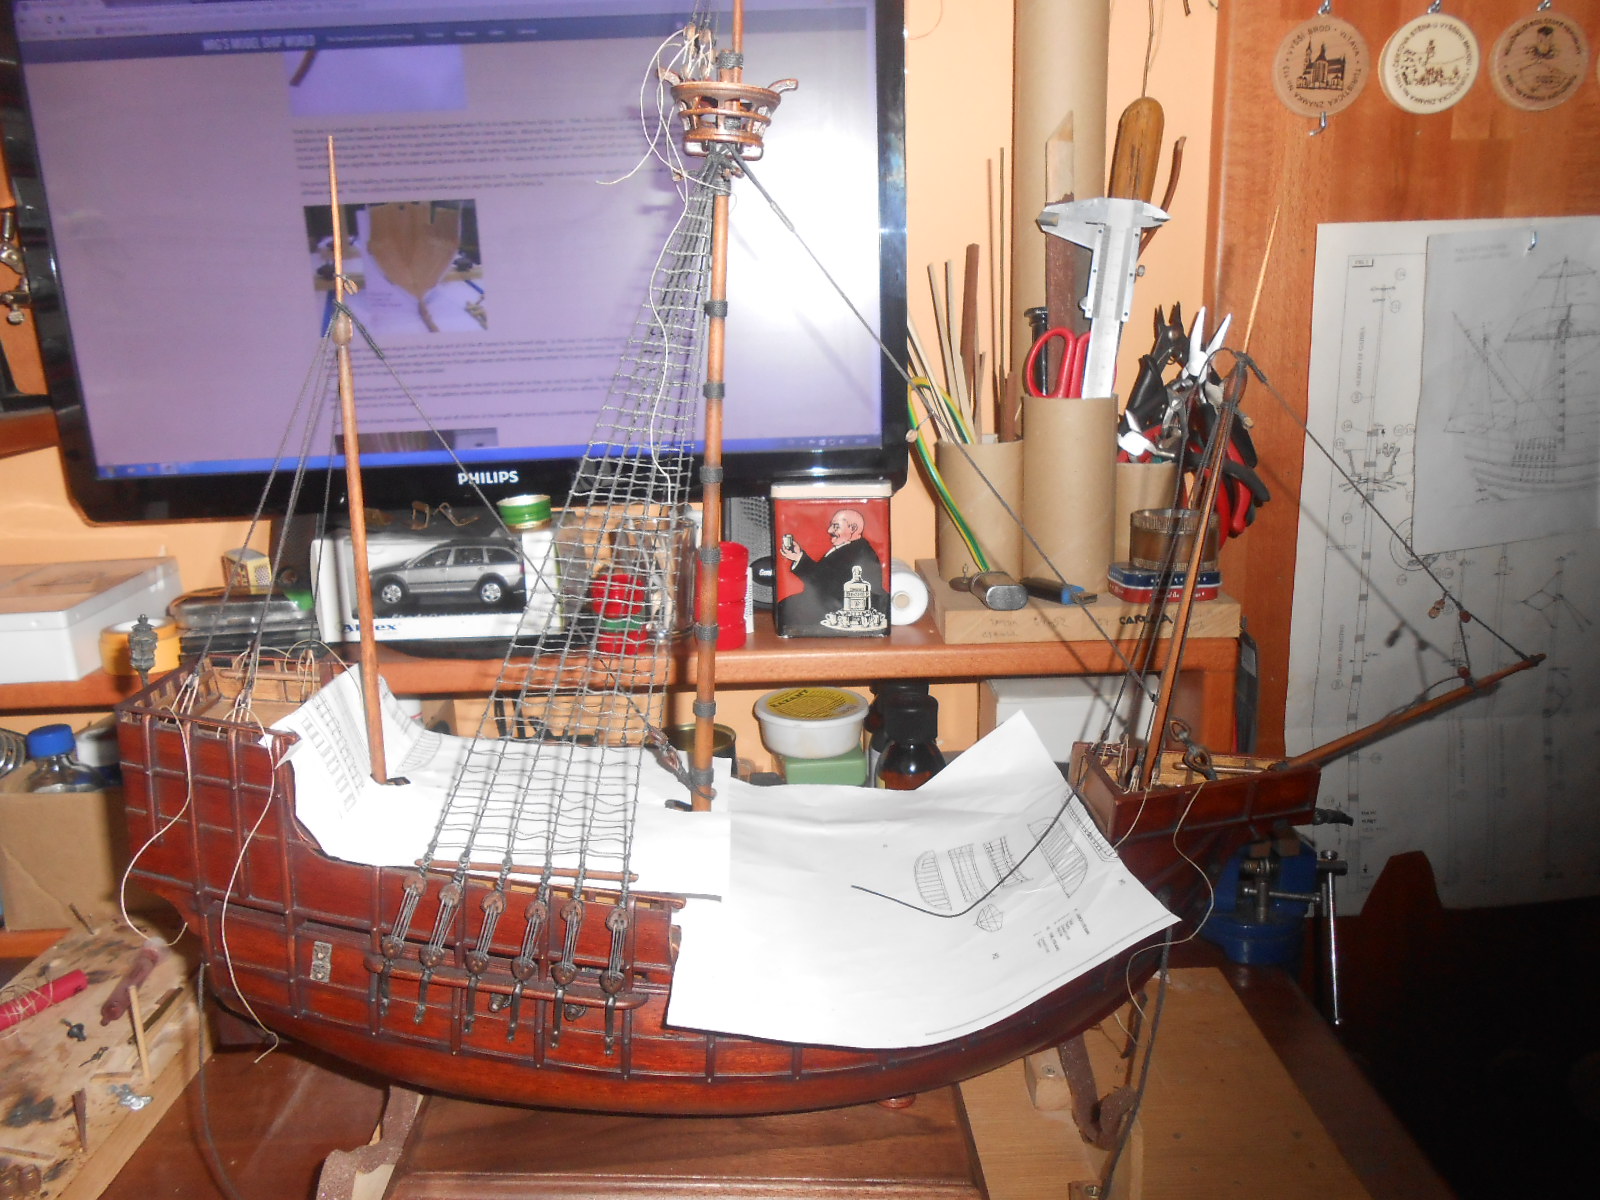
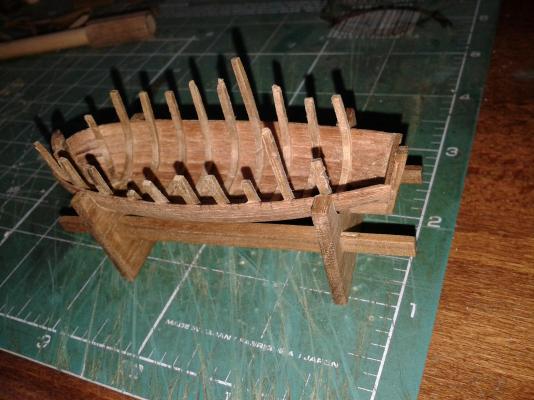
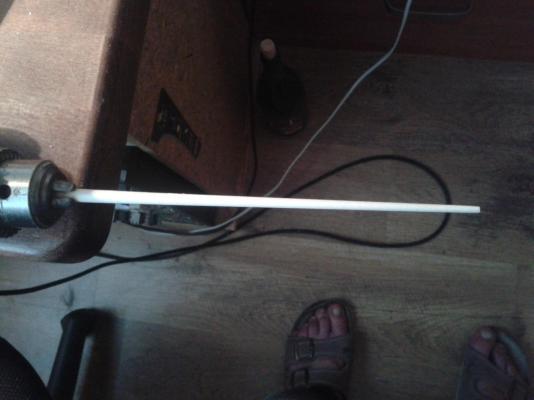
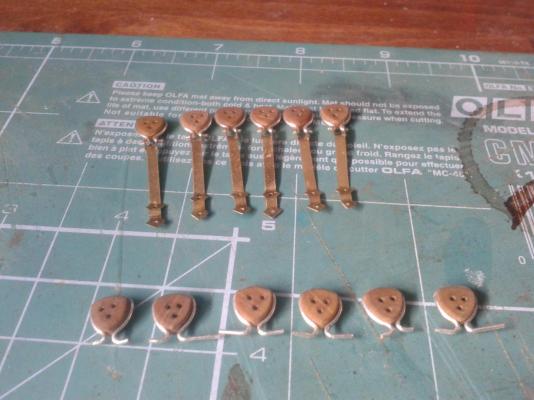
Hello! a little progress done. I continue with boats - small frames were added, lantern is done - glazed with micro kristal klear, masts were turned on my home narex lathe... Next are the channels, chain plates and deadeyes.
- 79 replies
-
- 6
-
-
- santa maria
- amati
- (and 2 more)
-
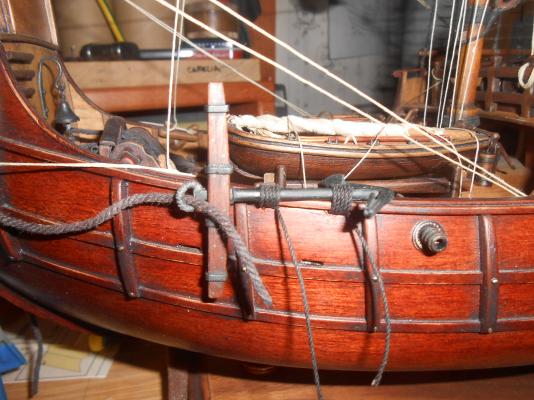
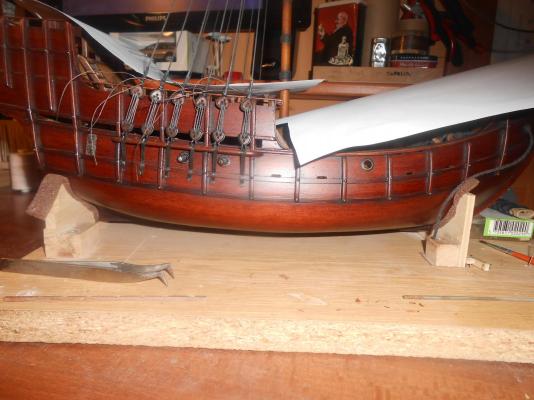
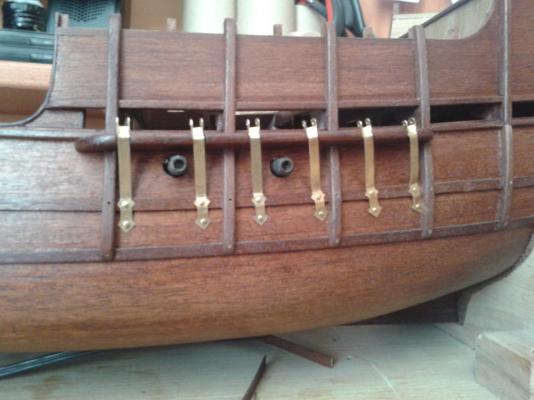
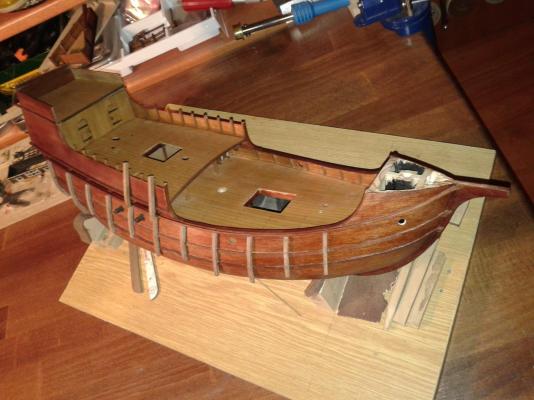
Hallo, thanks for your likes. thanks for looking. I made some fotos with my phone, maybe it is better but still not perfect. I added fenders on both sides of the ship. They are made each from 1 peace of walnut 4x4mm (against the plan, where is each from 3 pieces glued together).Next is lantern on the aft and the second boat. I do not know how it all fit in there, but we will see...


- 79 replies
-
- 3
-
-
- santa maria
- amati
- (and 2 more)
-
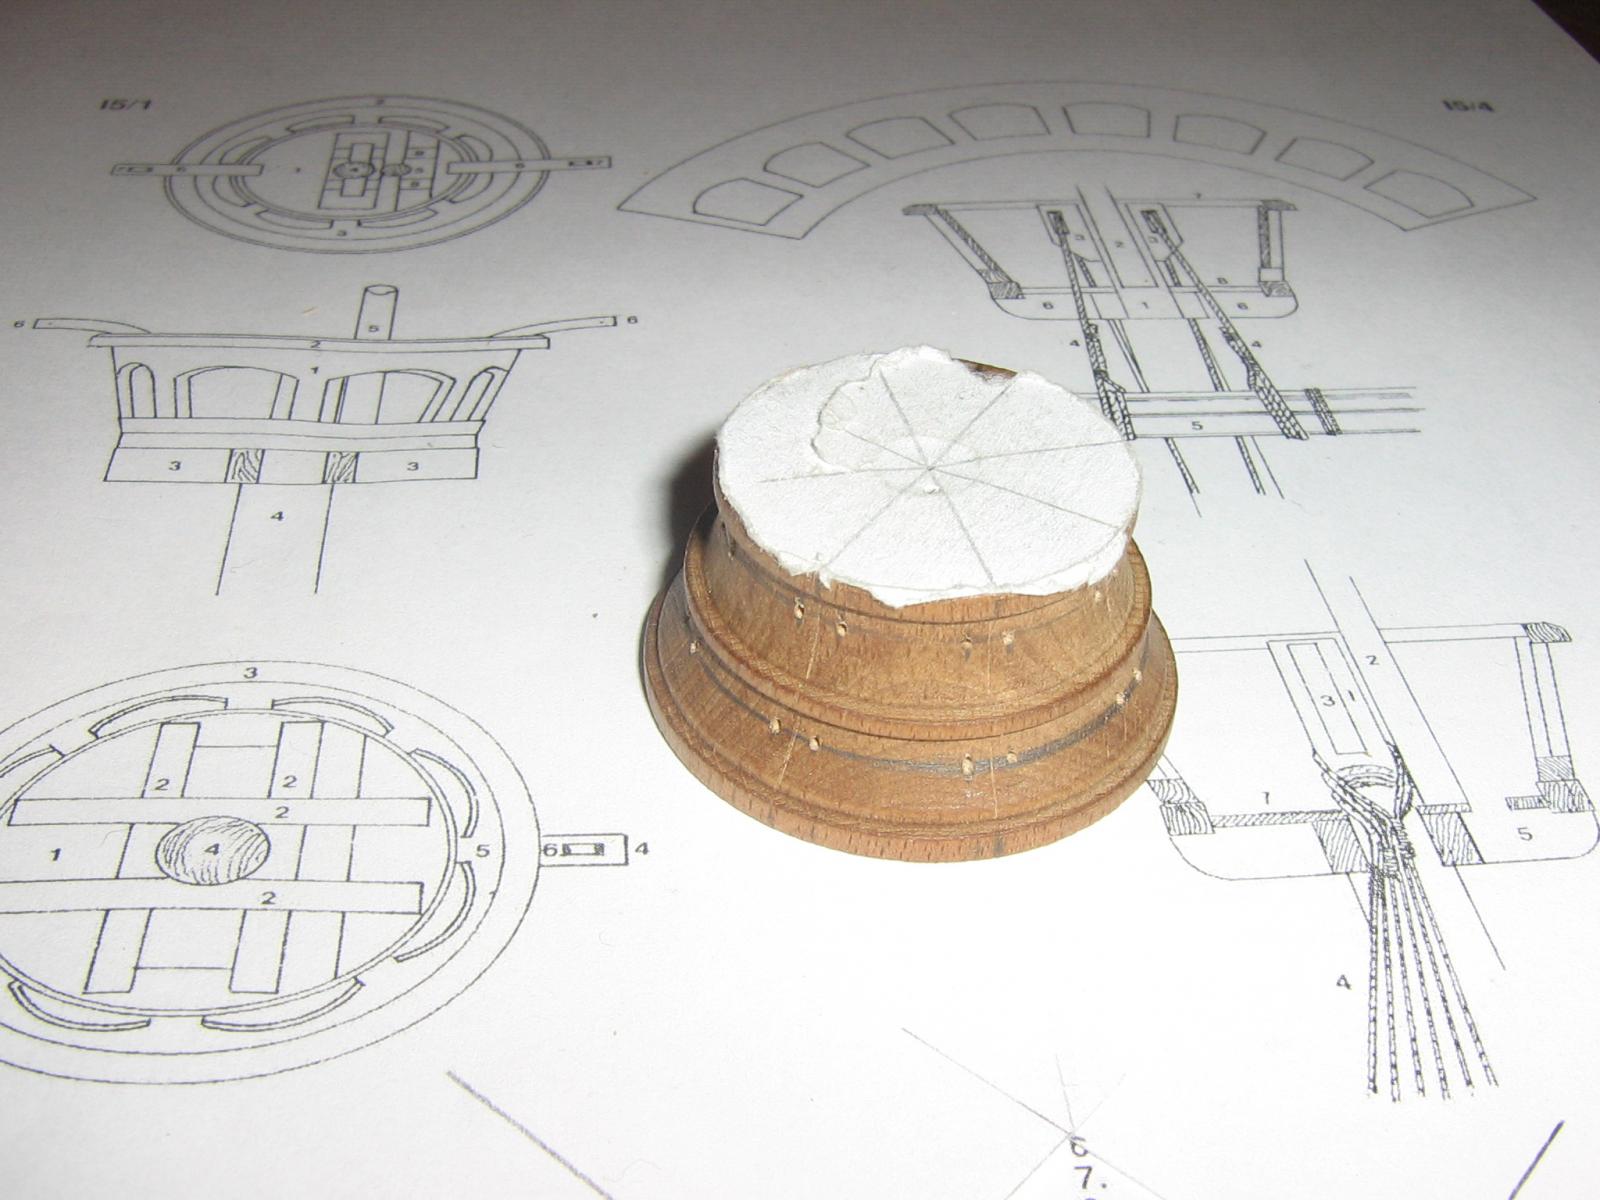
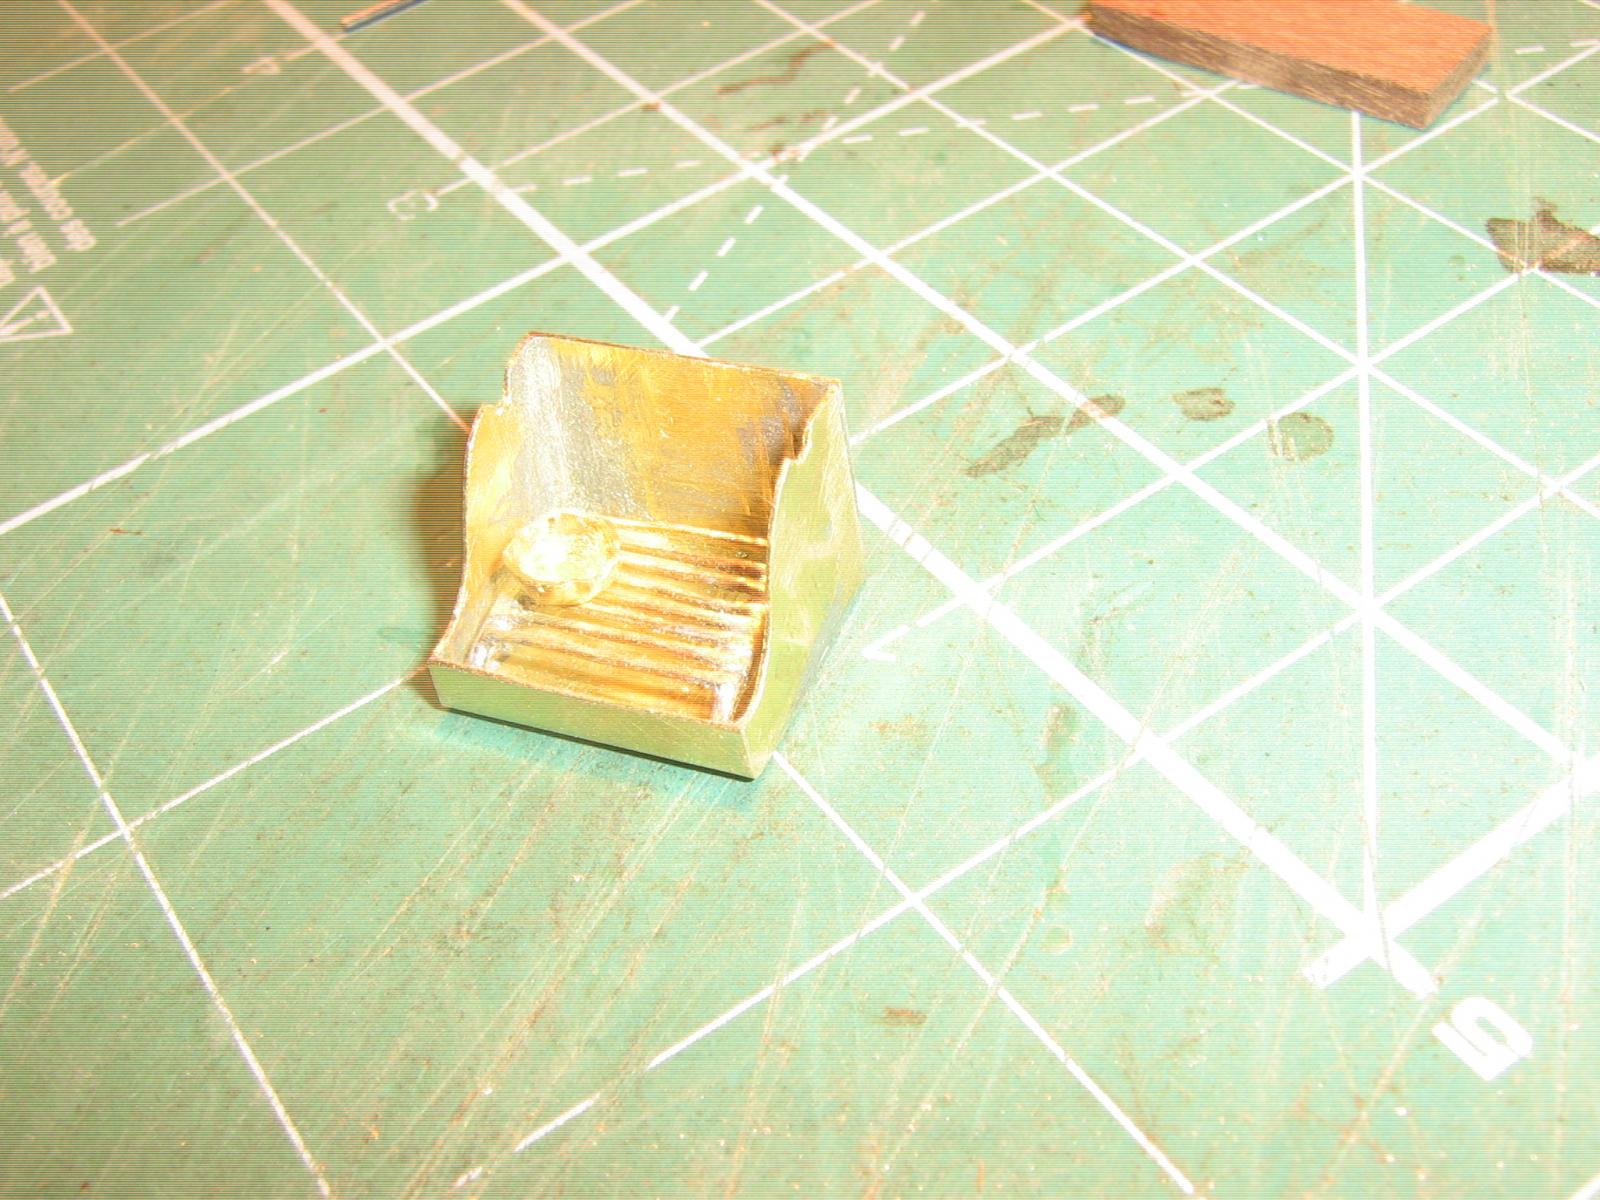
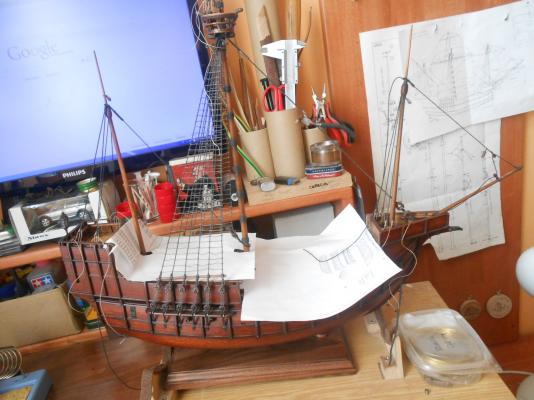
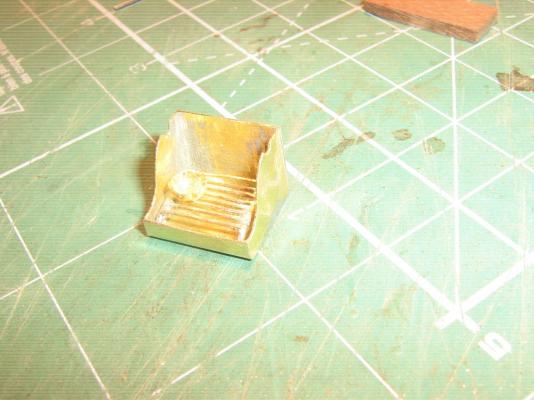
Hallo, after a litlle pause I find a time for little update. I improve the top for main mast. It will maybe look more like basket, not like that tub supplied in kit - but it is a good base My camera has problem as you can see on the poor quality pictures. Next fotos show stove or grill in this case and interior of Columbus cabin.

- 79 replies
-
- 6
-
-
- santa maria
- amati
- (and 2 more)
-
Thanks for looking marktime. That man can only sitting cause he is british pilot of spitfire.He is trying comfort of Columbus bed. It is a 1:72 scale - not so different from my 1:65 ship.
-
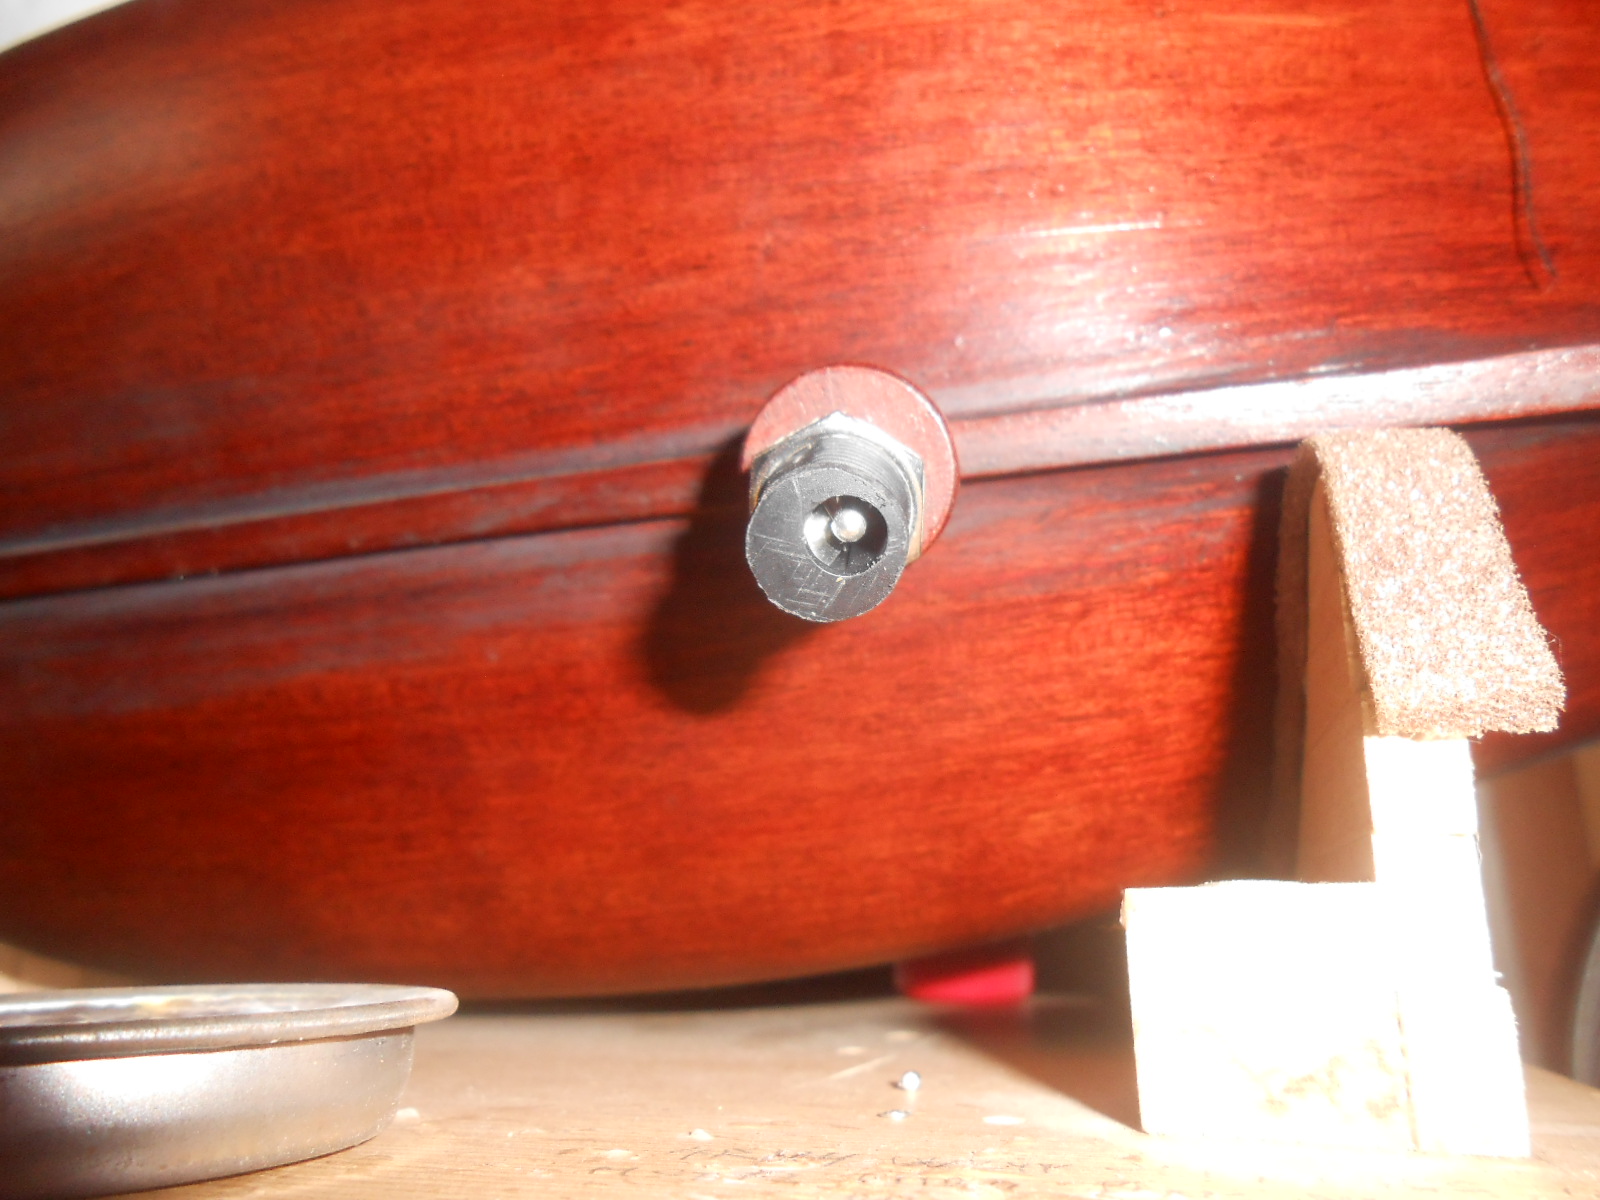
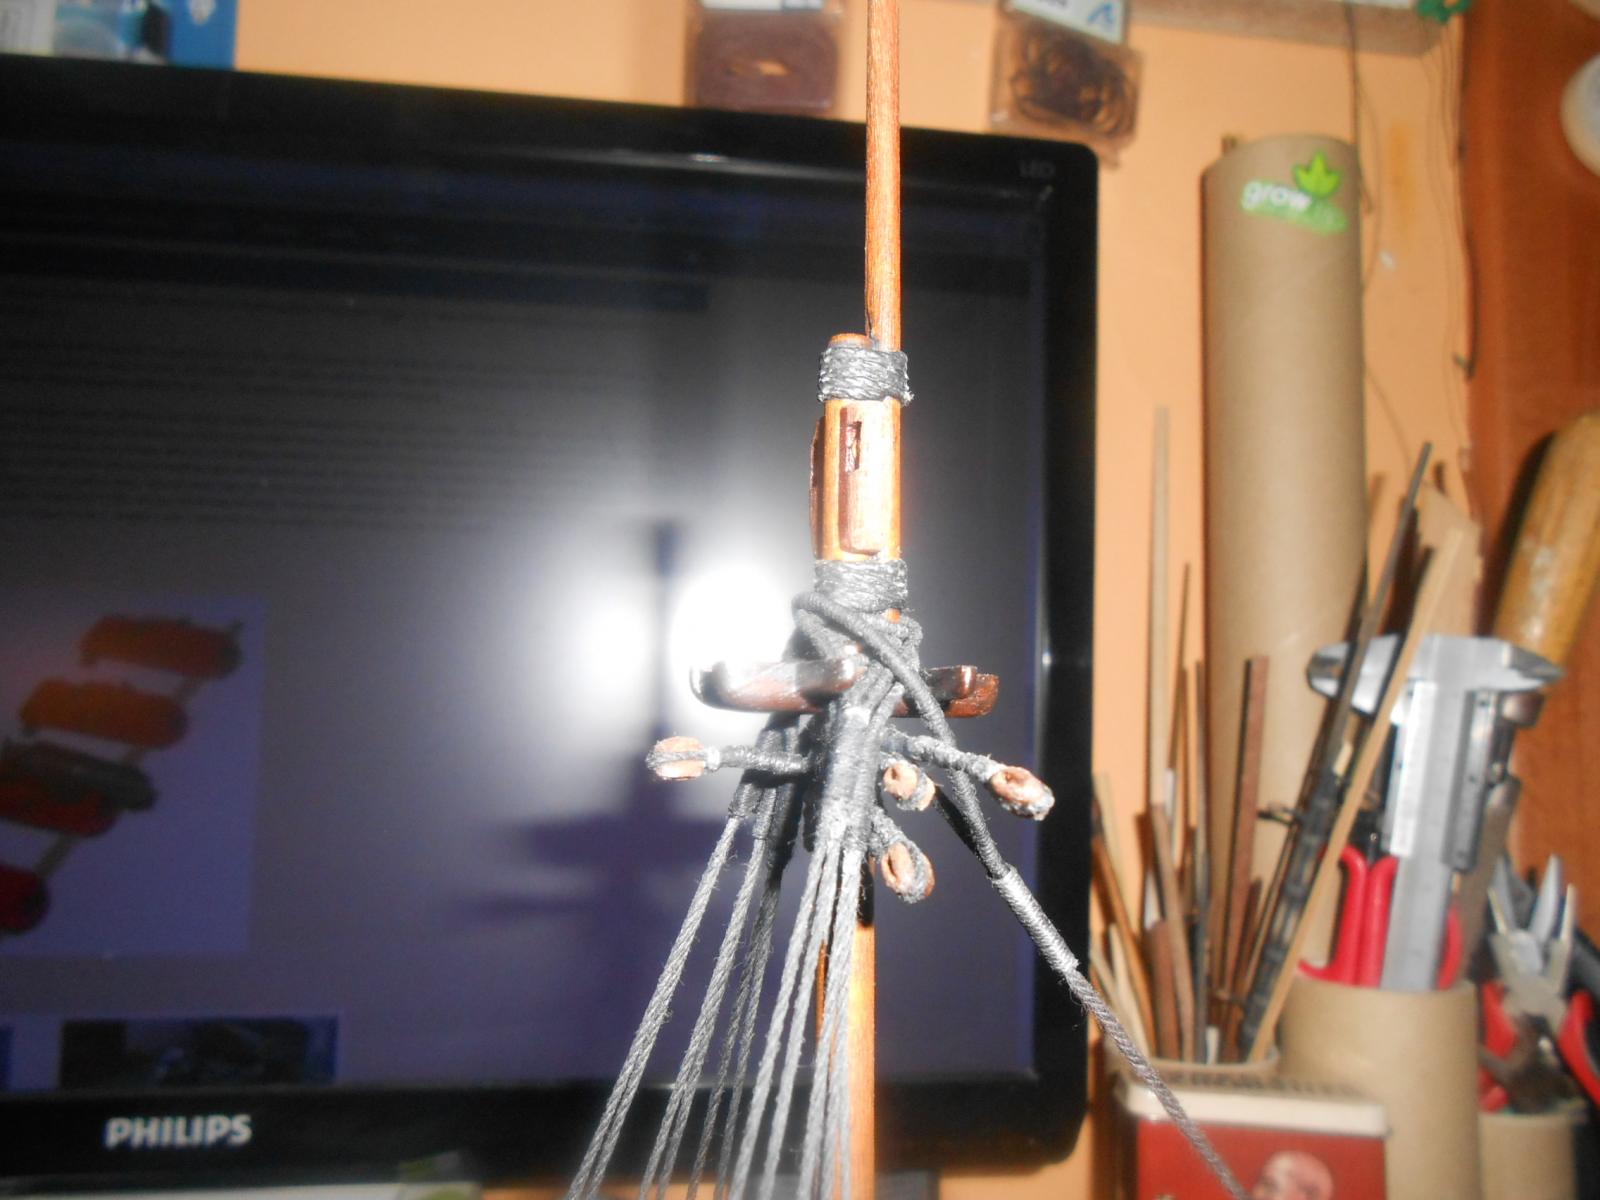
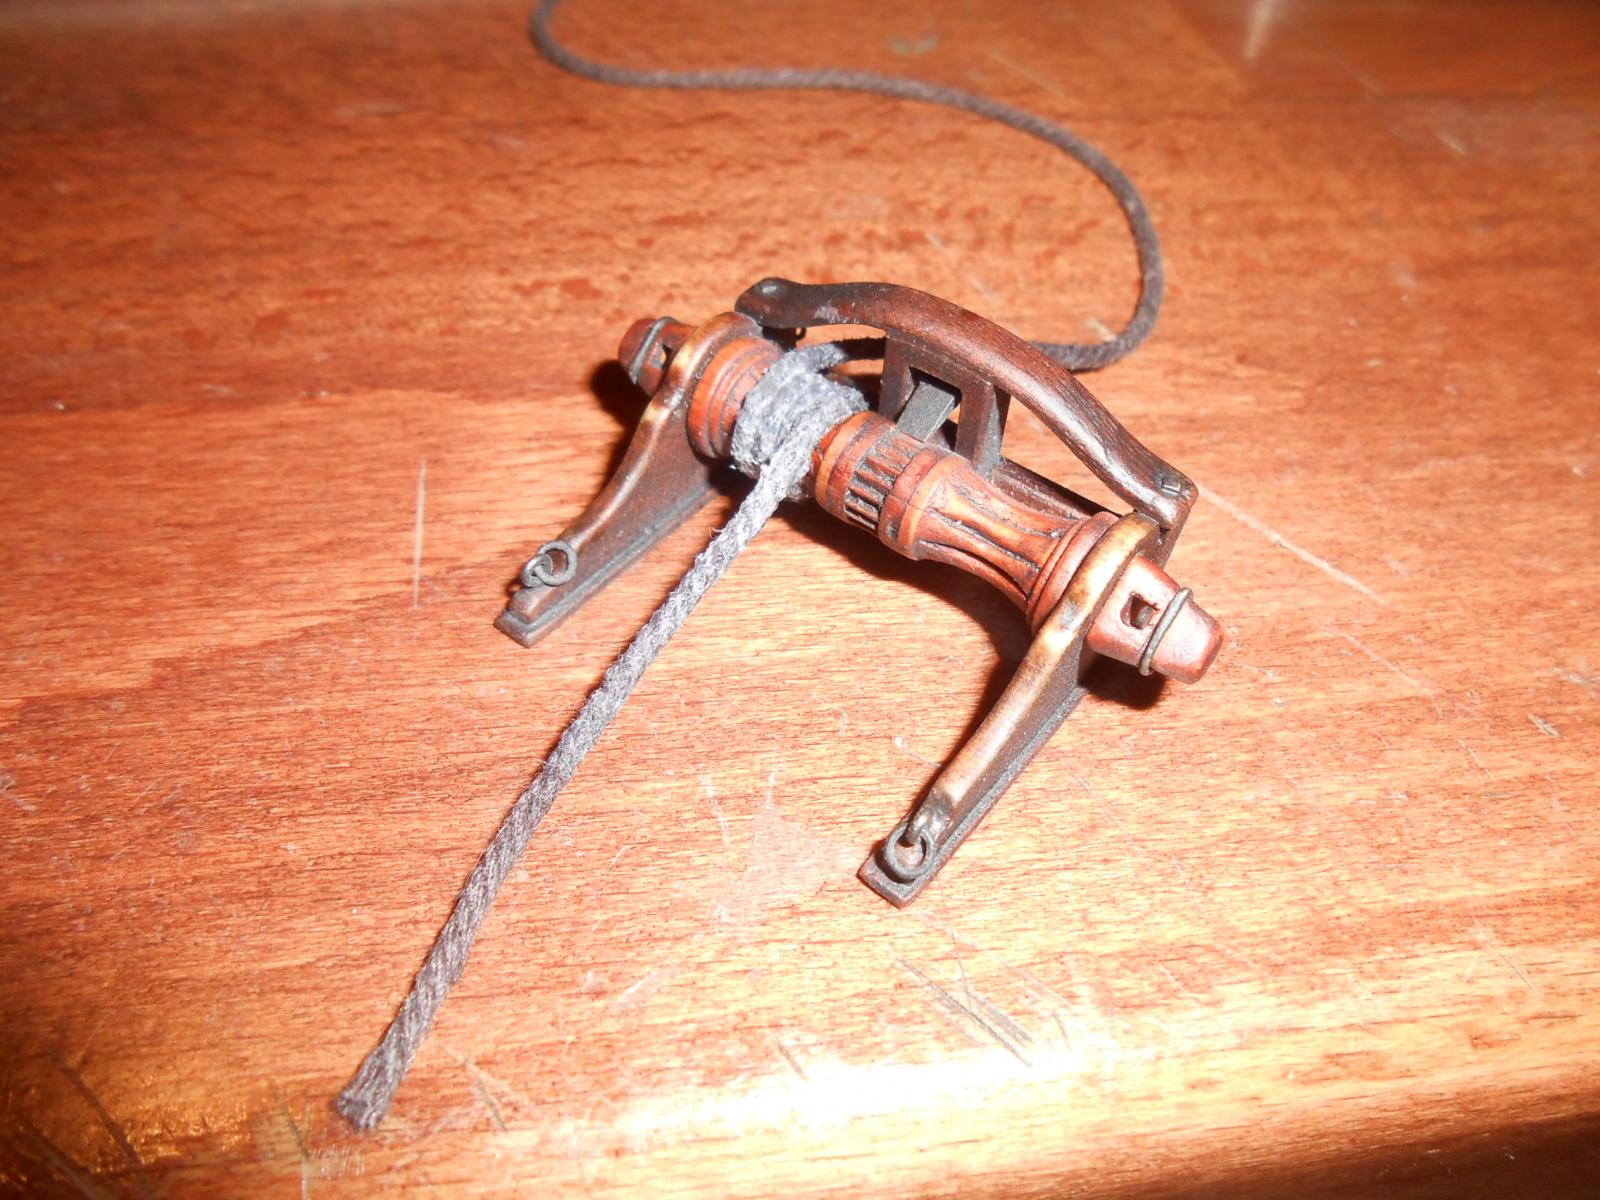
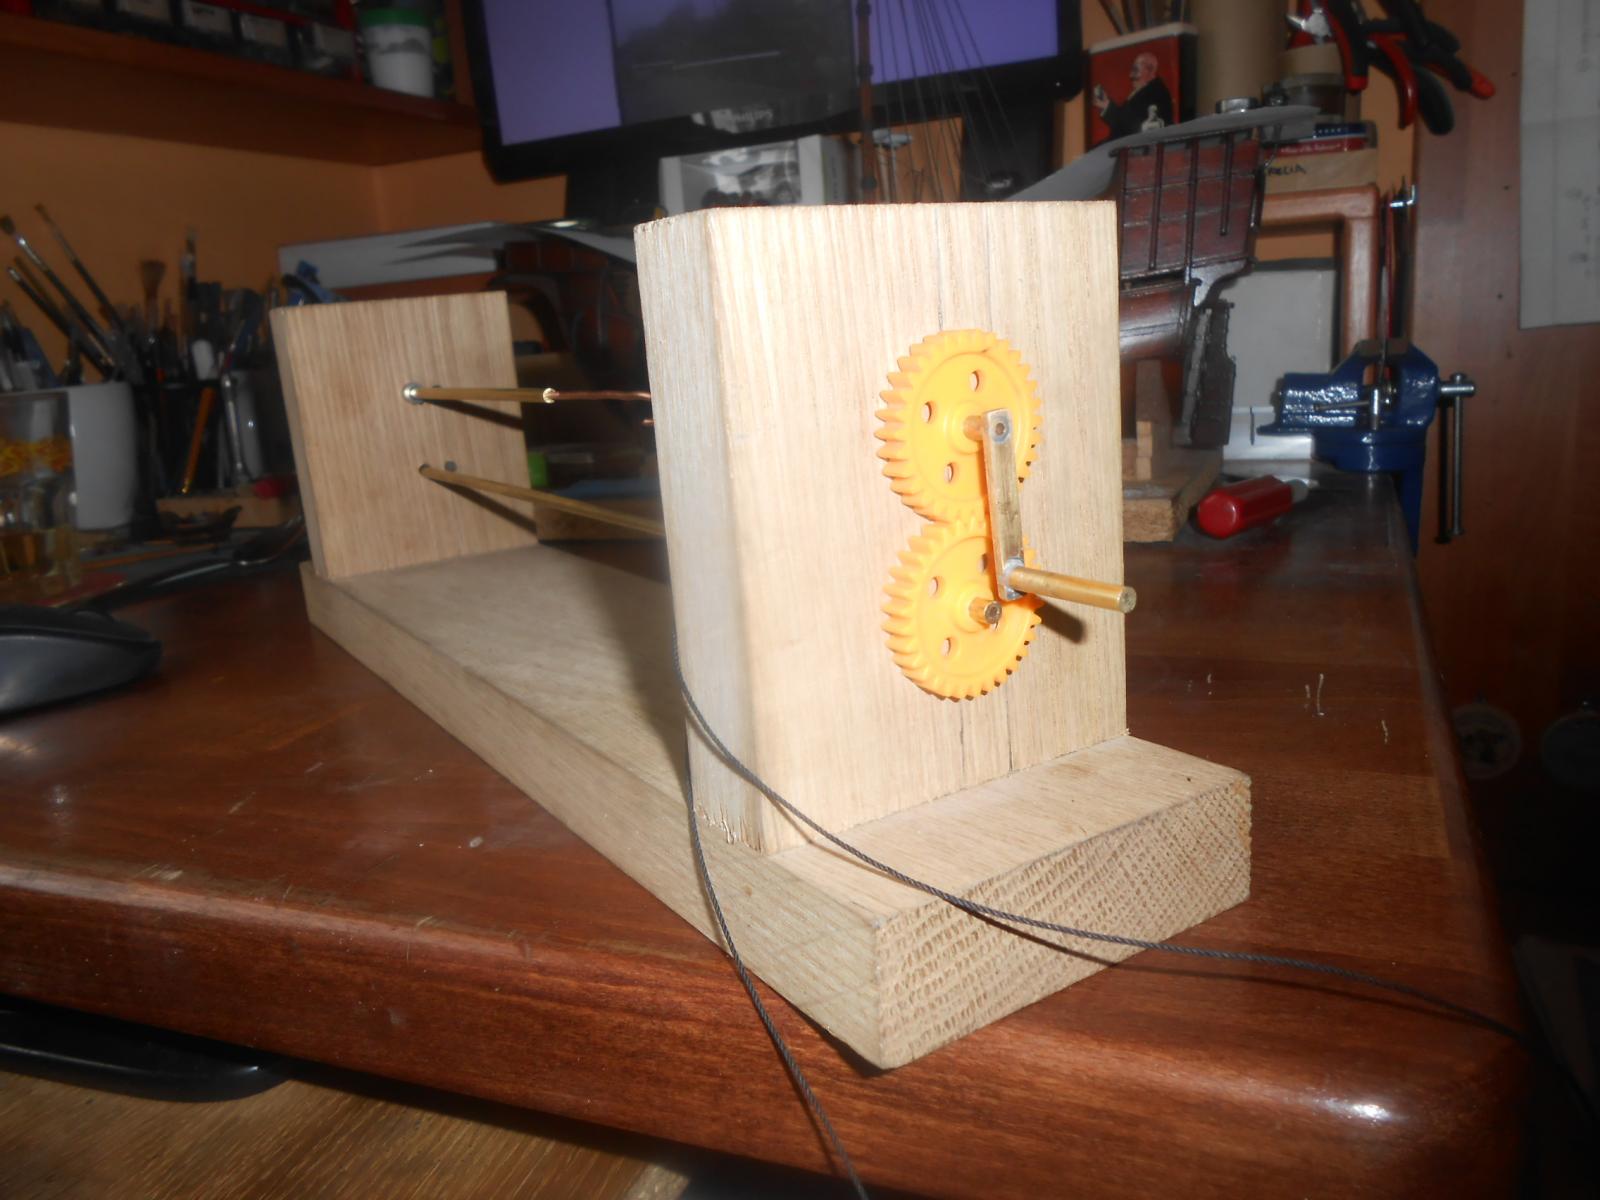
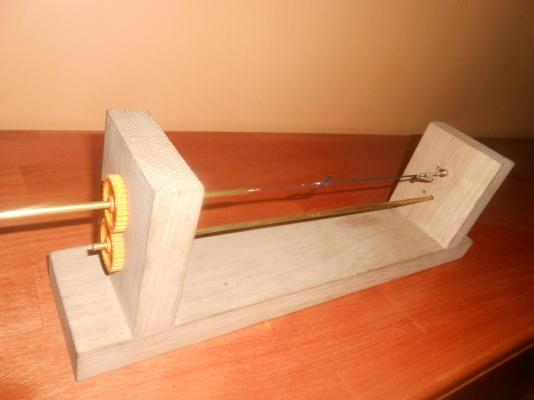
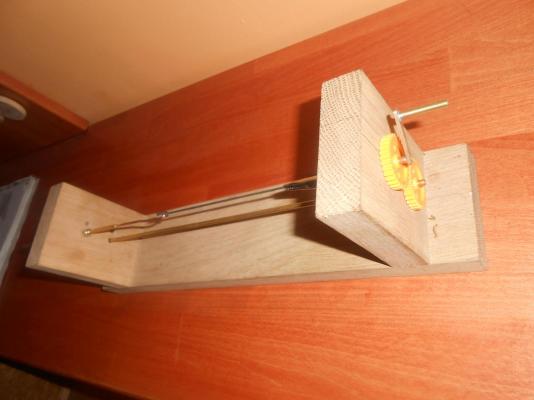
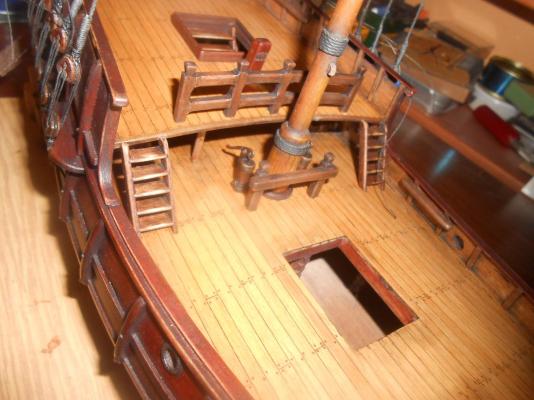
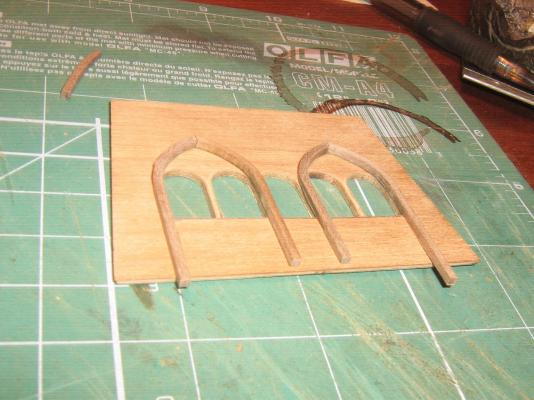
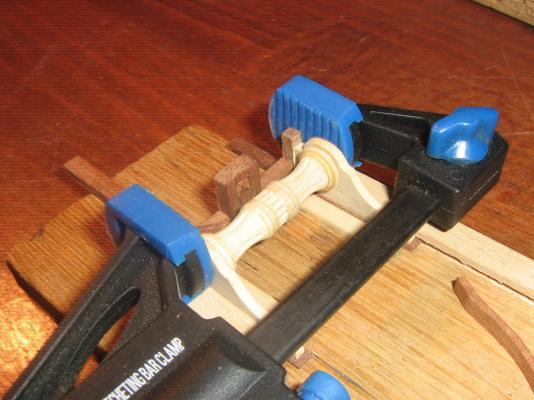
Hallo! I made some progress on my ship so here are fotos. Work continues on windlass and other fittings.


- 79 replies
-
- 2
-
-
- santa maria
- amati
- (and 2 more)
-
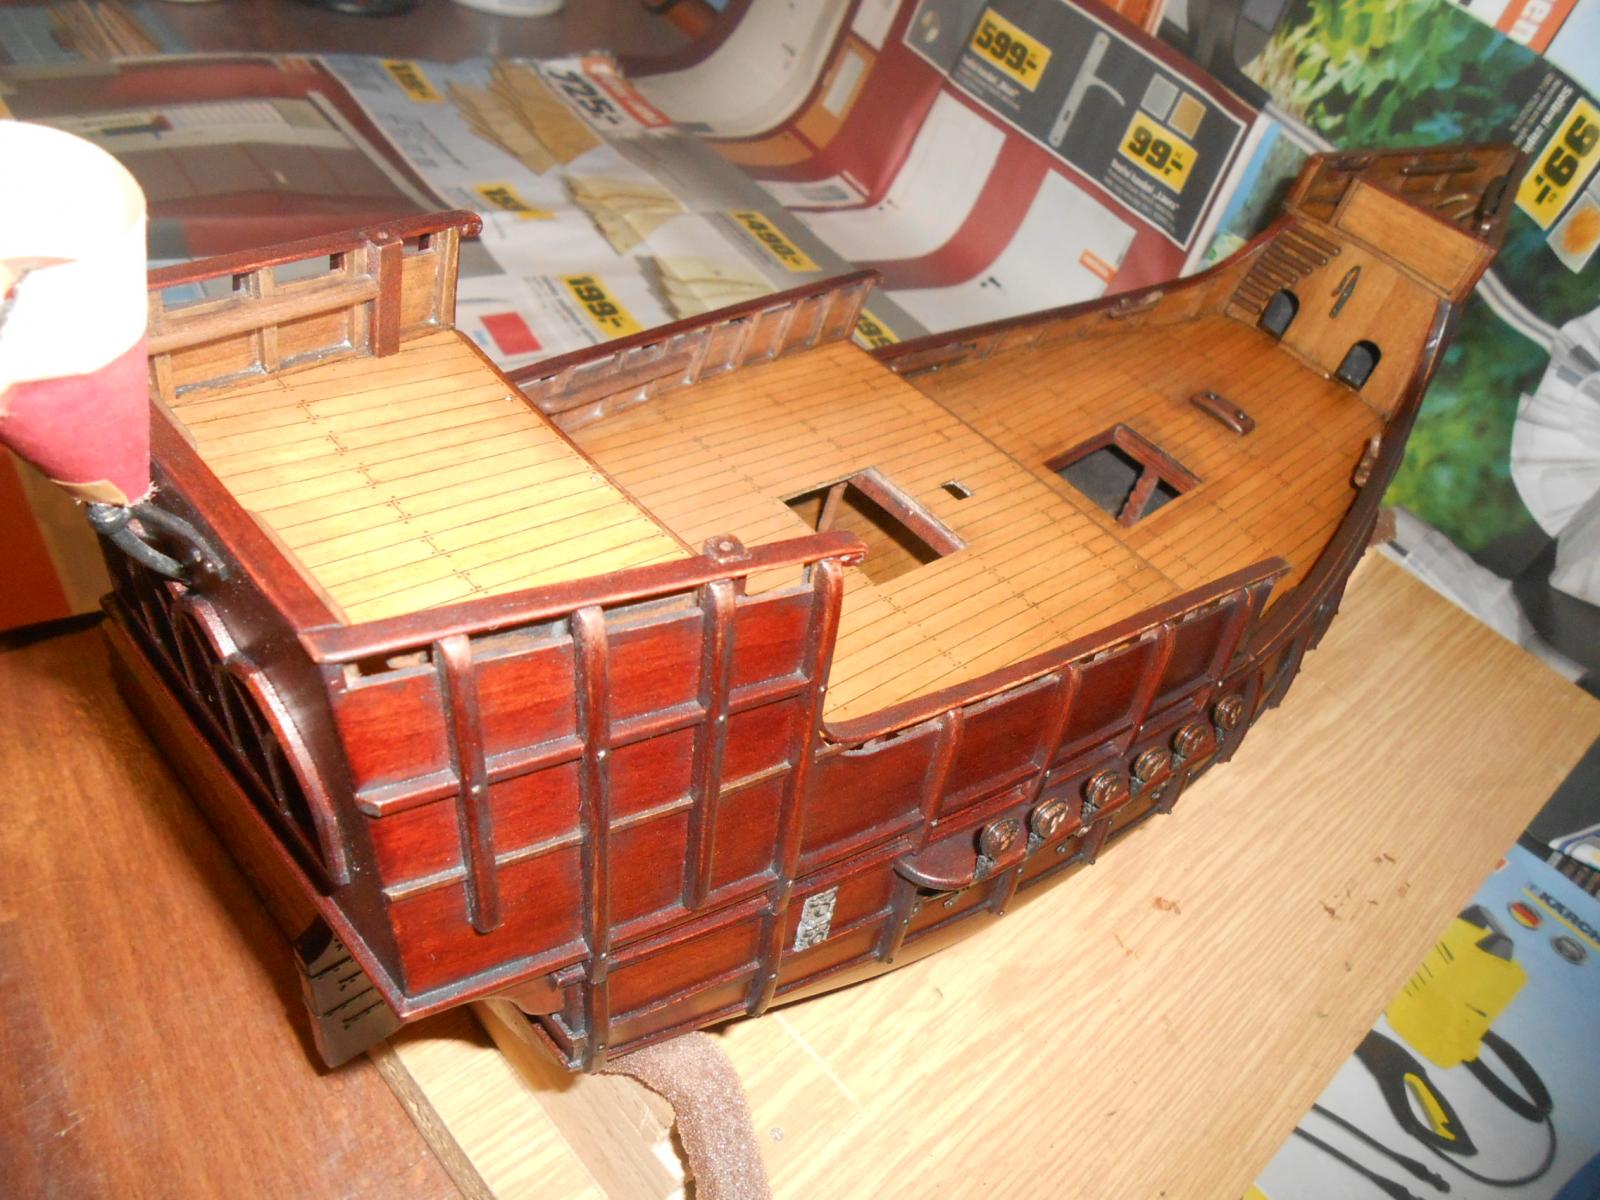
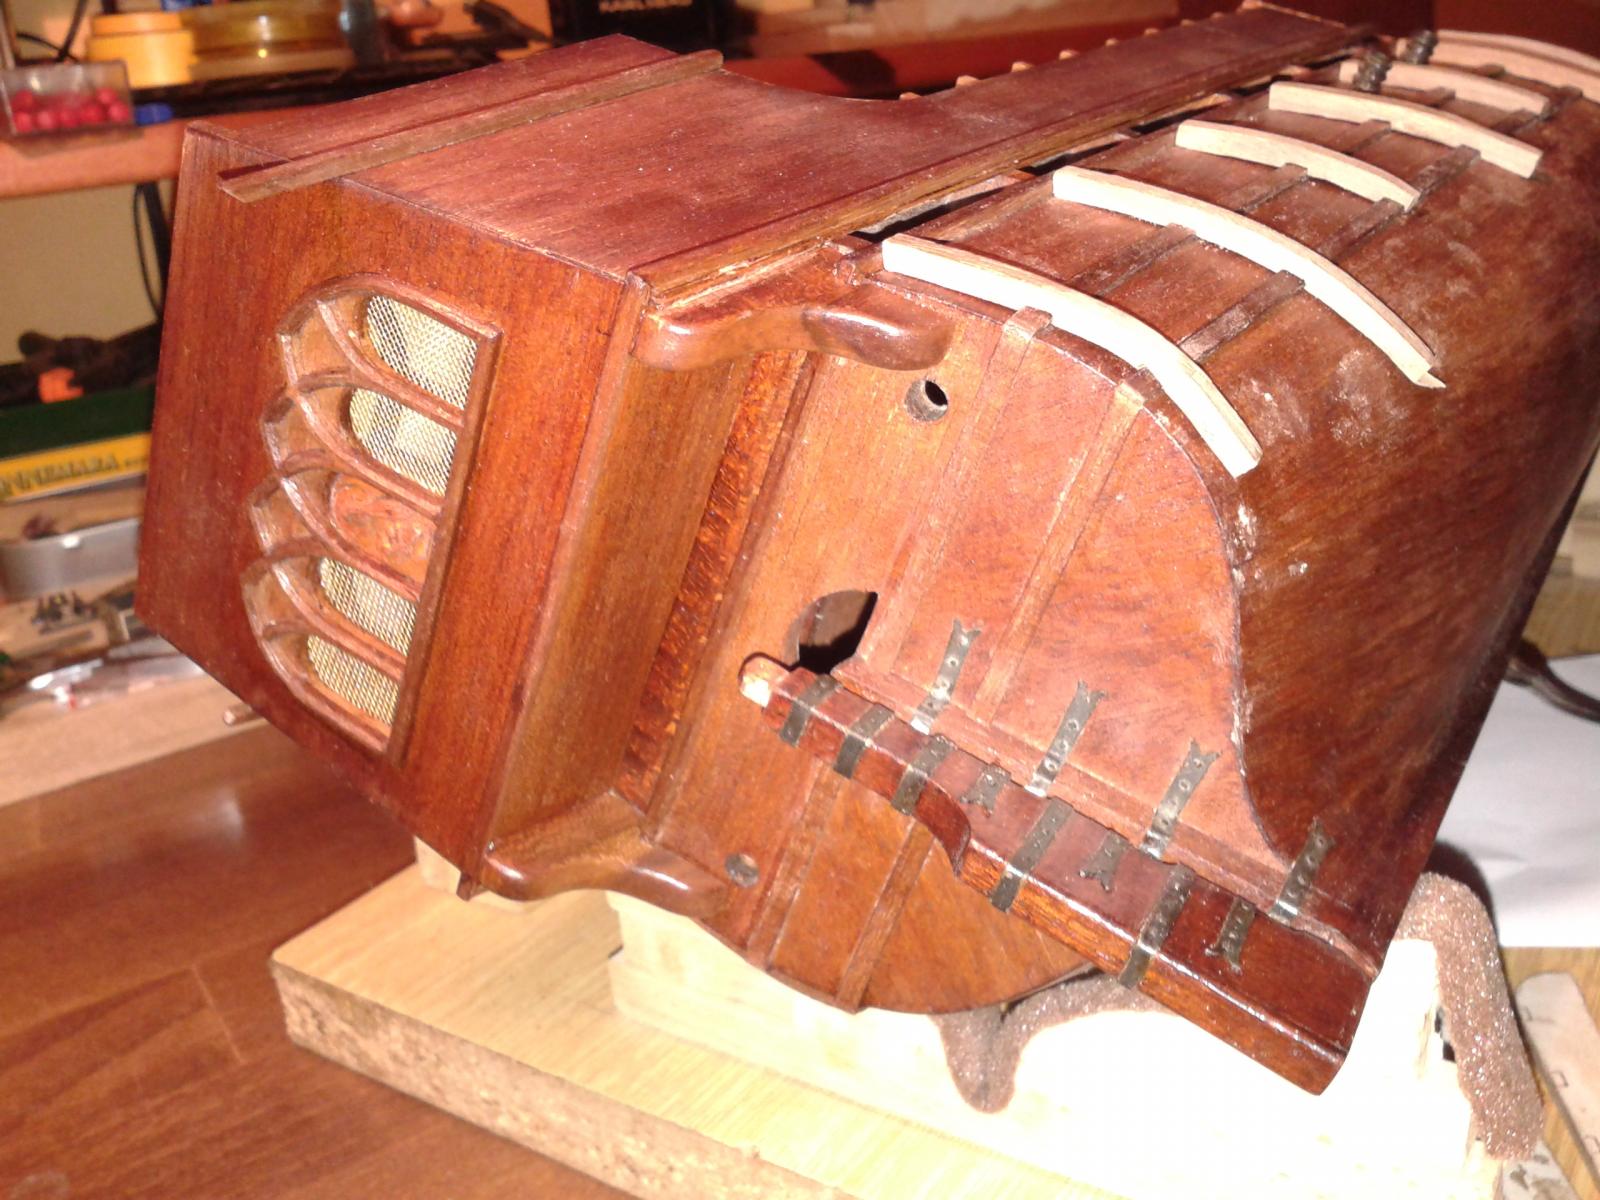
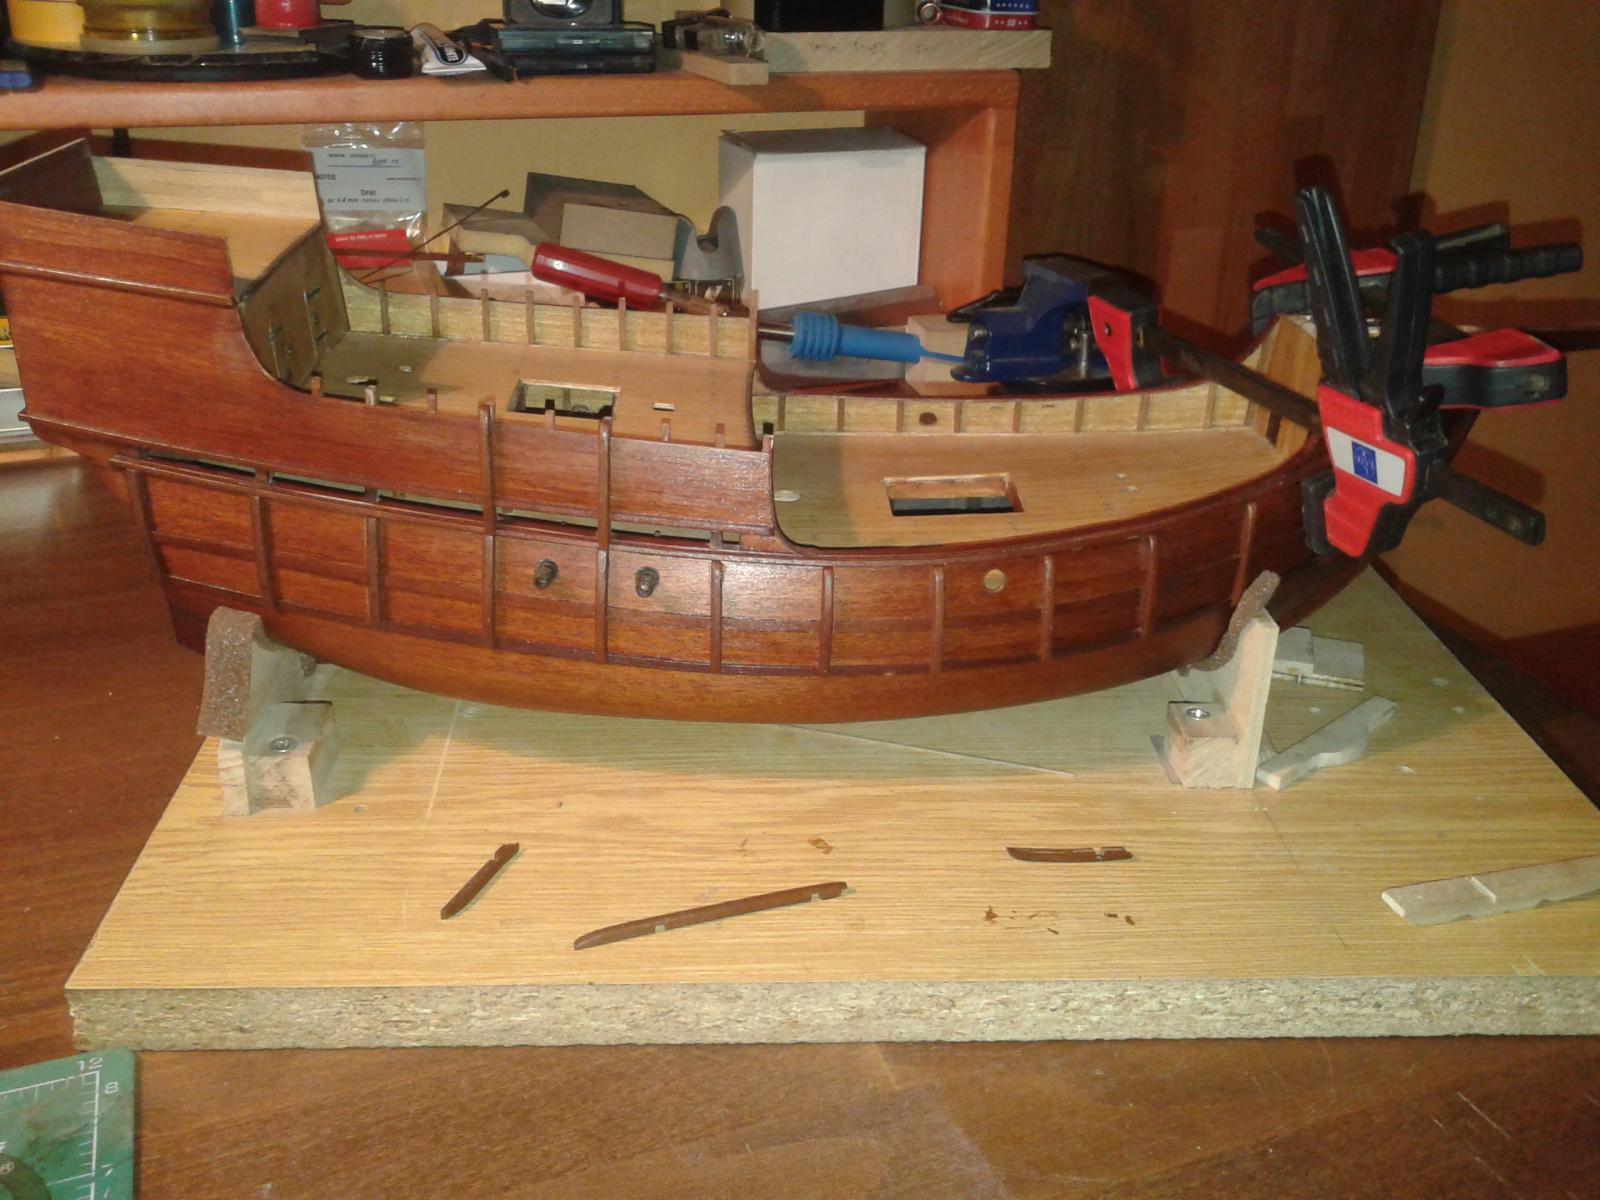
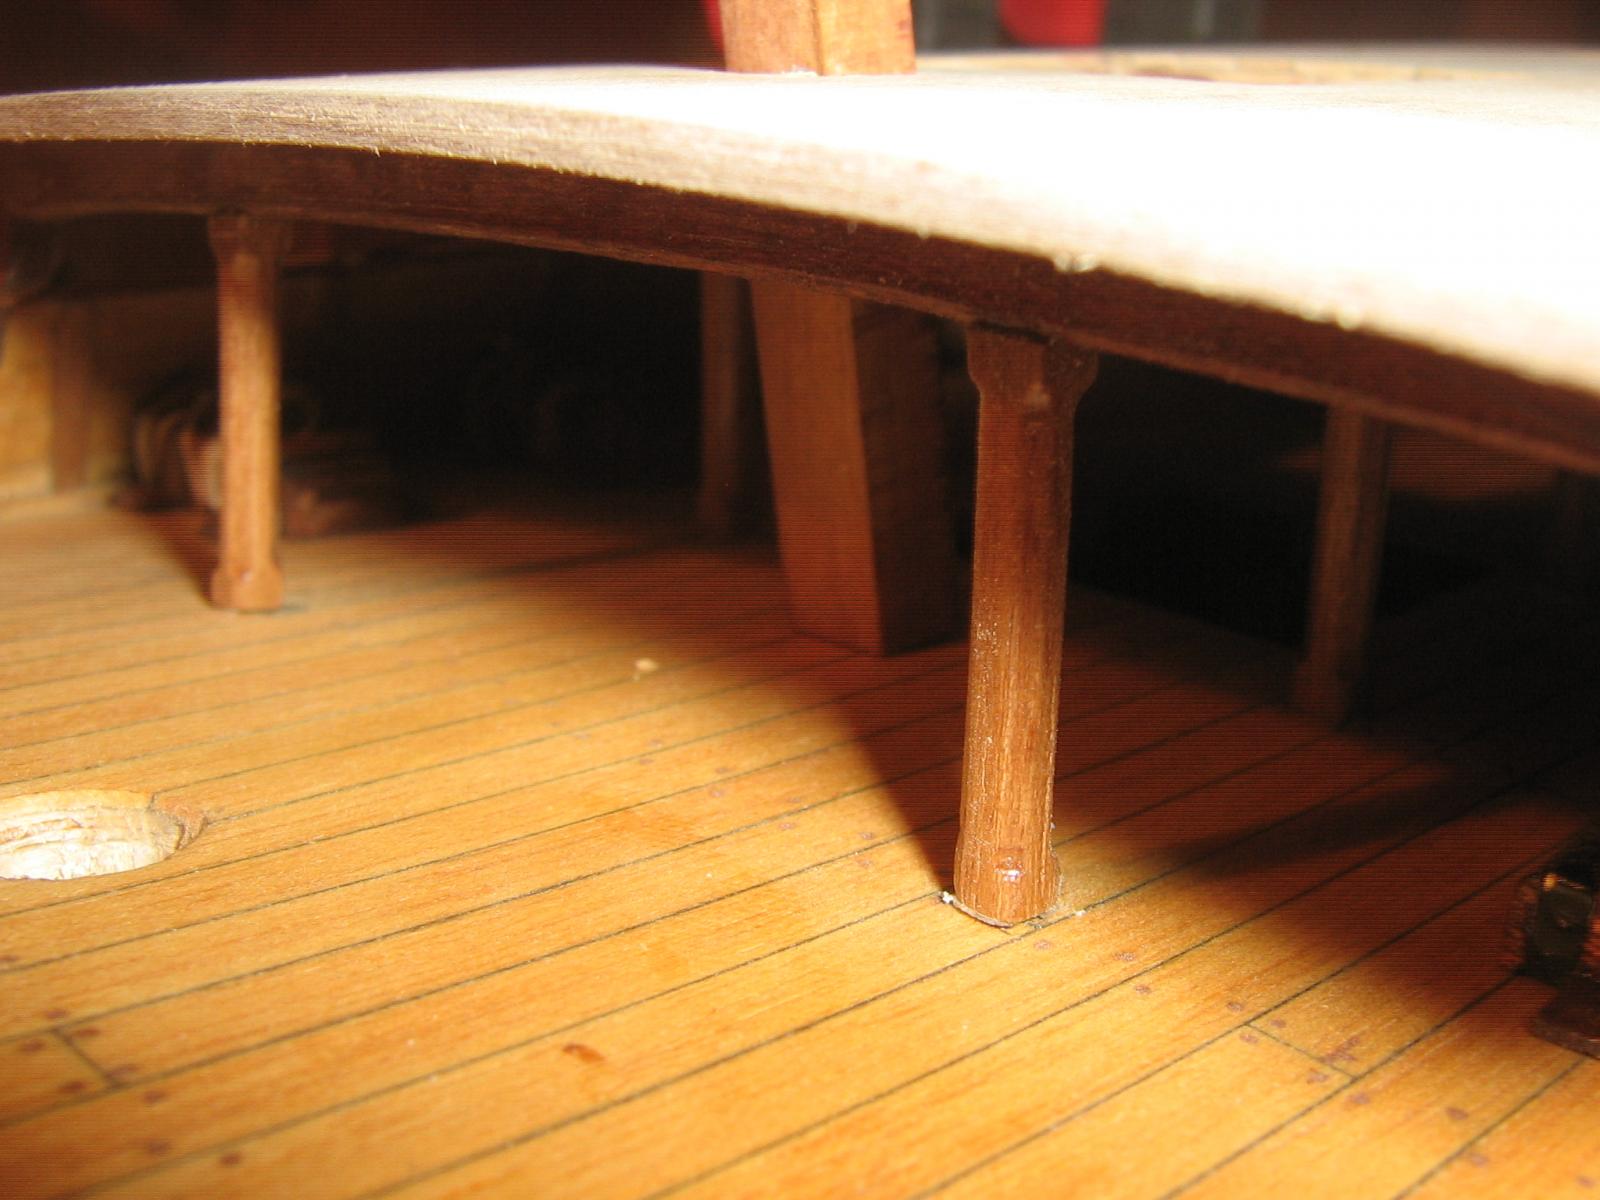
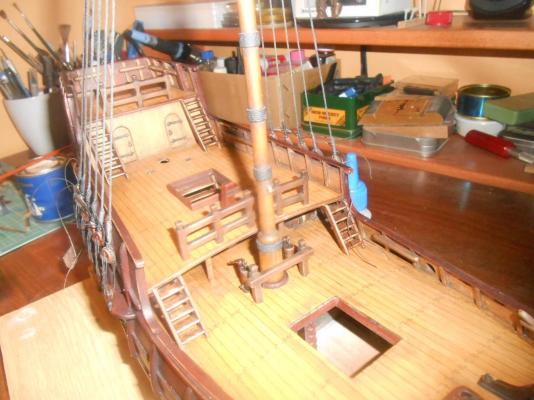
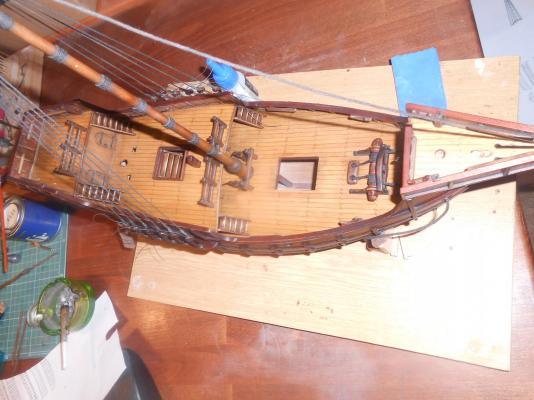
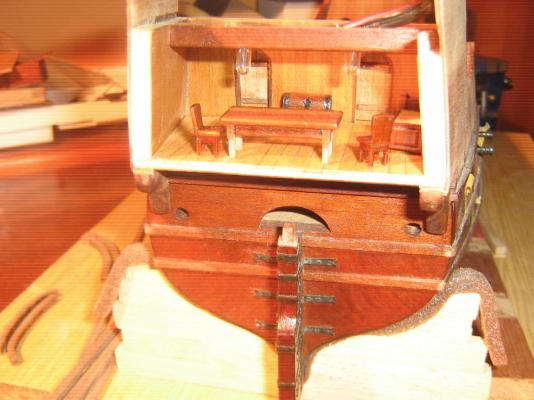
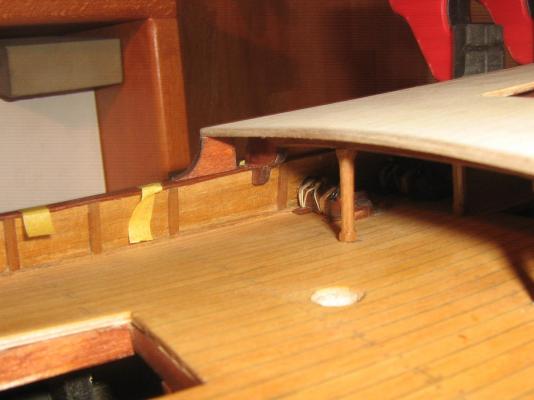
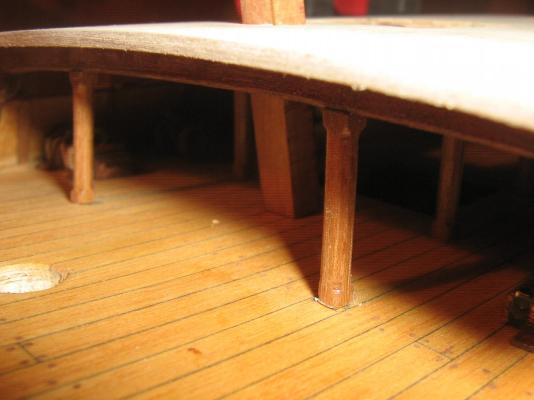
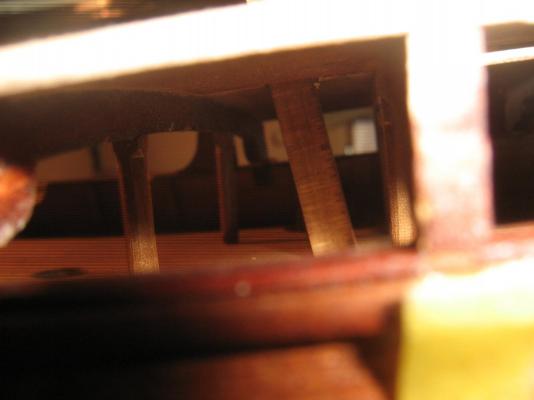
Hallo! Thanks marktime I hope so. Aussie you made a good piece of work on your ship, I am looking your progress with interest. Pictures show details of underdeck, windlass and transom.
- 79 replies
-
- 3
-
-
- santa maria
- amati
- (and 2 more)