HOLIDAY DONATION DRIVE - SUPPORT MSW - DO YOUR PART TO KEEP THIS GREAT FORUM GOING! (Only 72 donations so far out of 49,000 members - Can we at least get 100? C'mon guys!)
×

shipcarpenter
-
Posts
72 -
Joined
-
Last visited
Content Type
Profiles
Forums
Gallery
Events
Everything posted by shipcarpenter
-
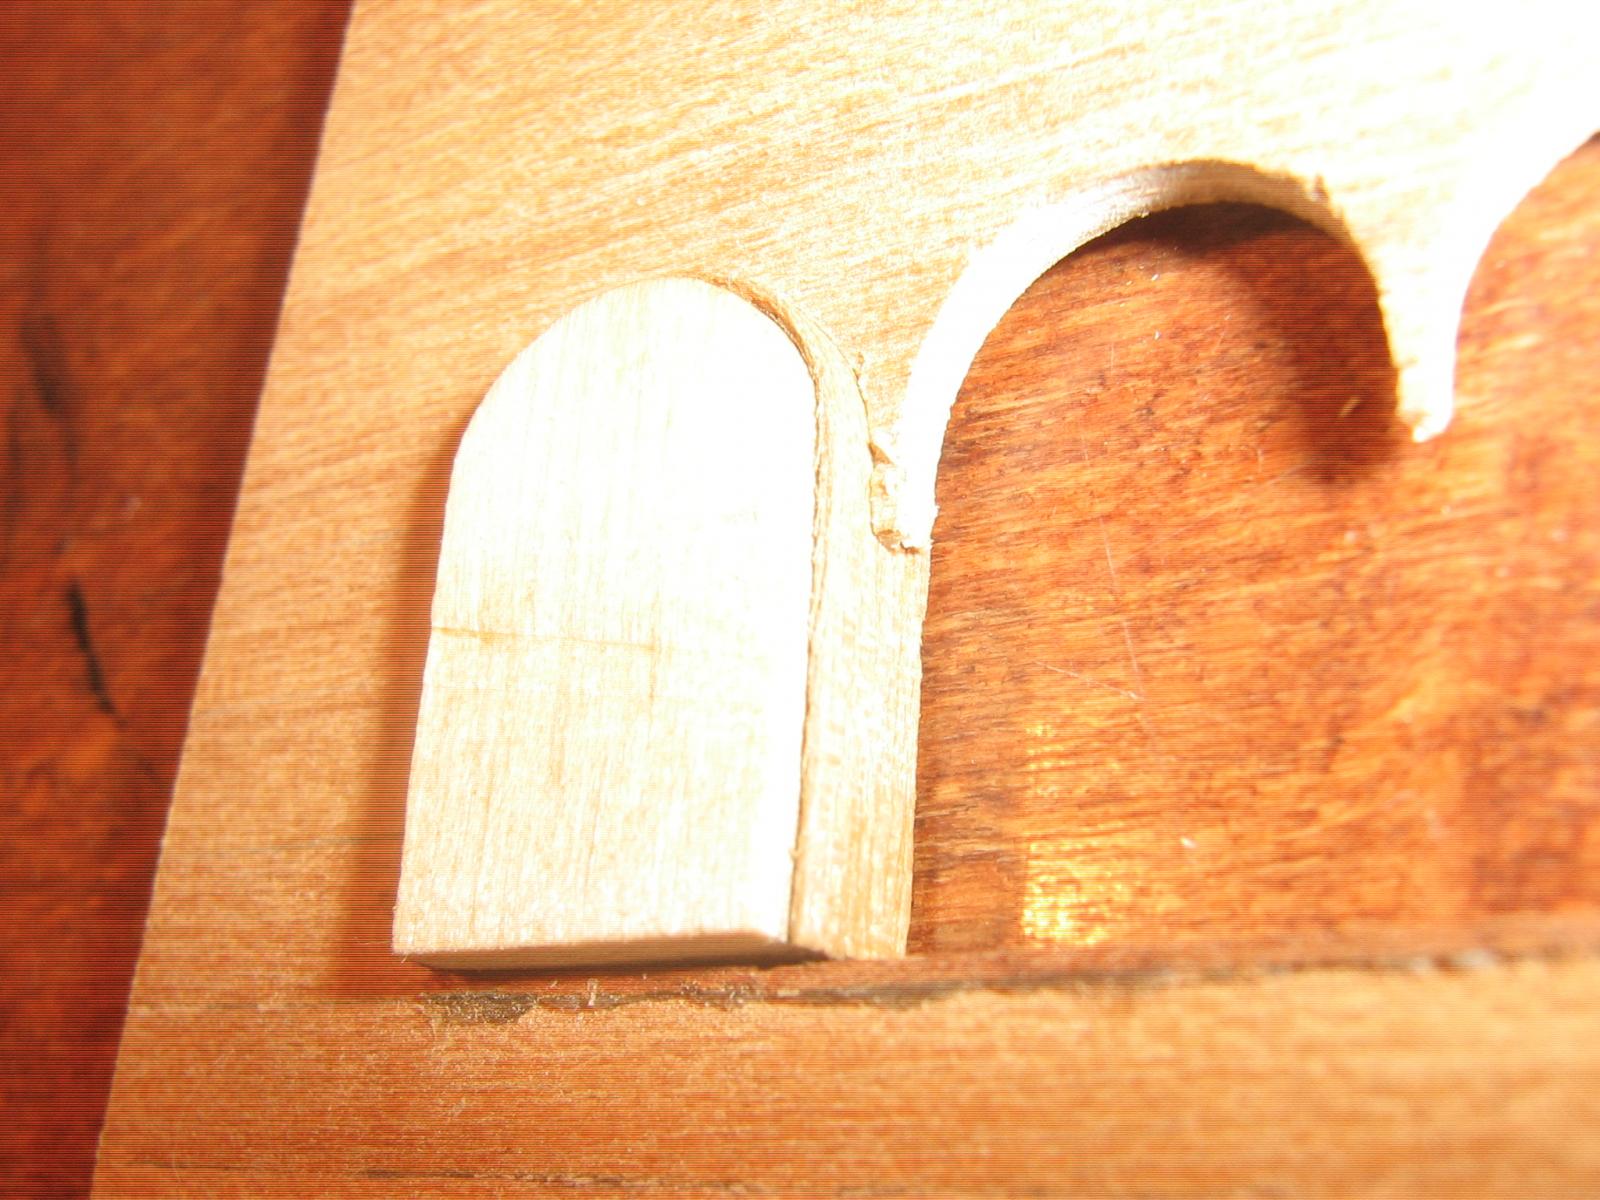
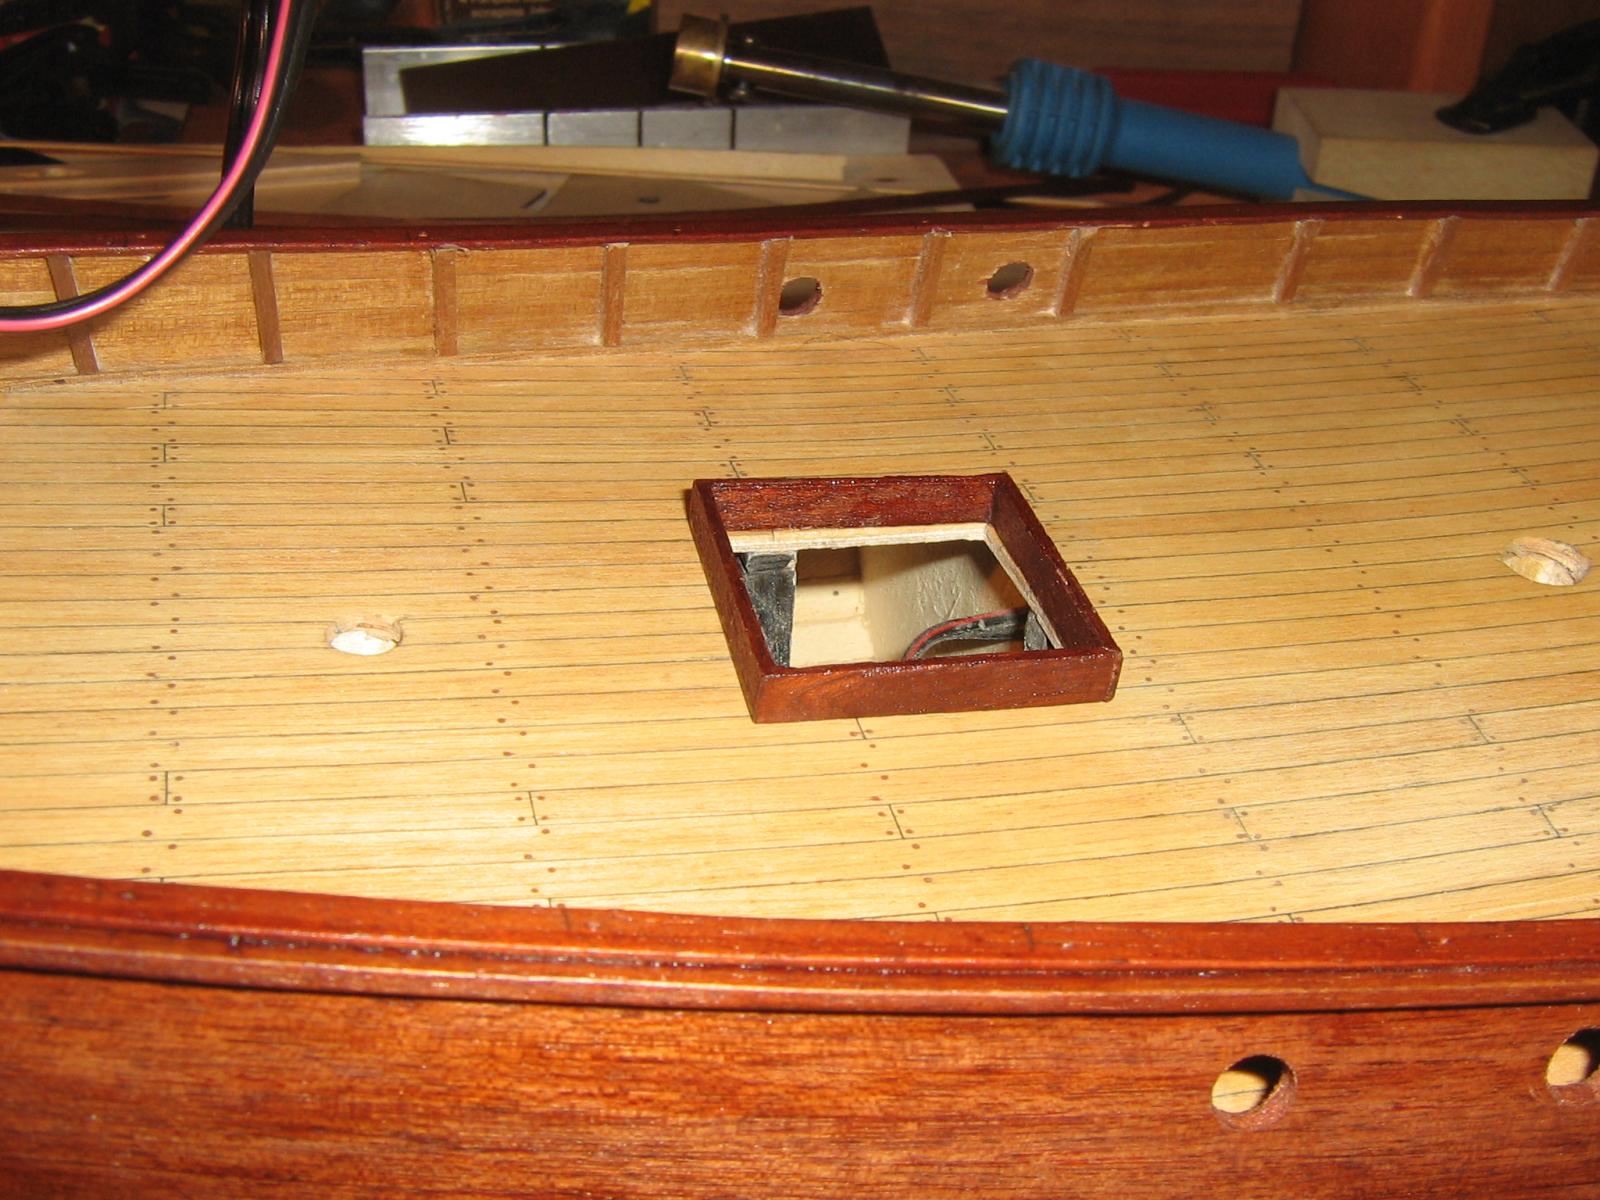
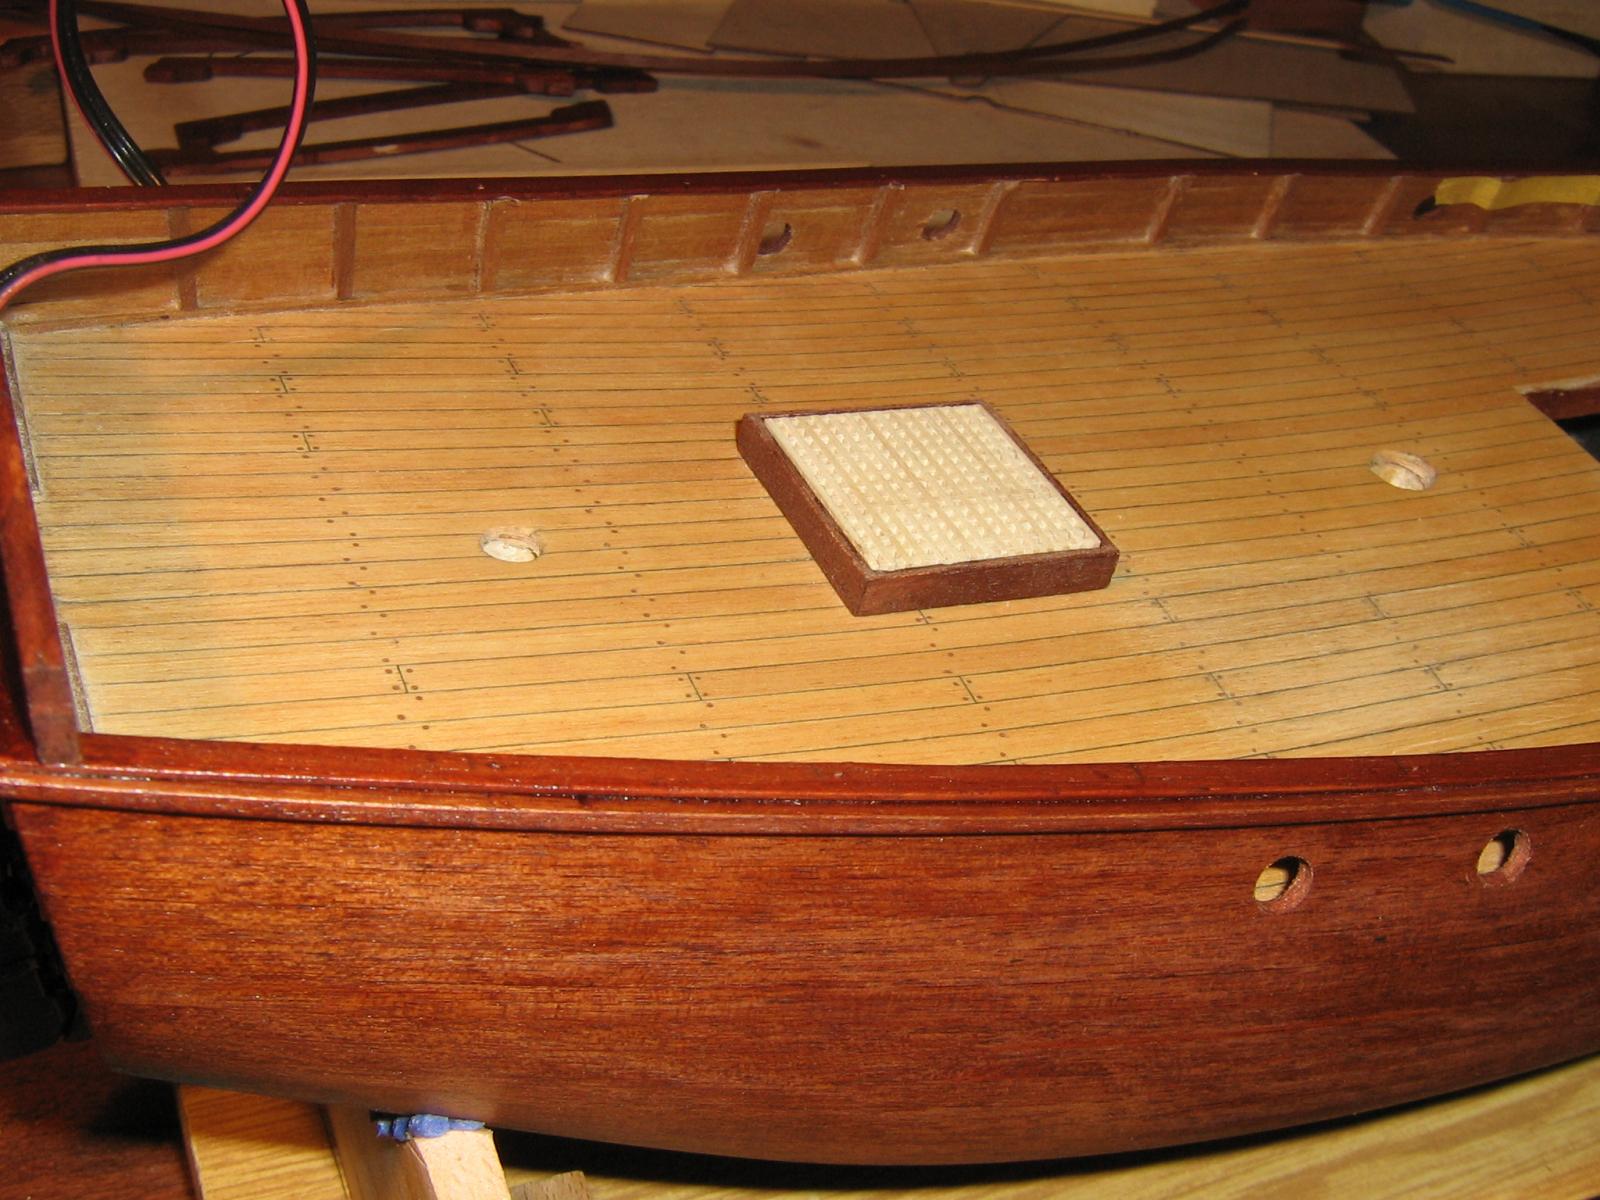
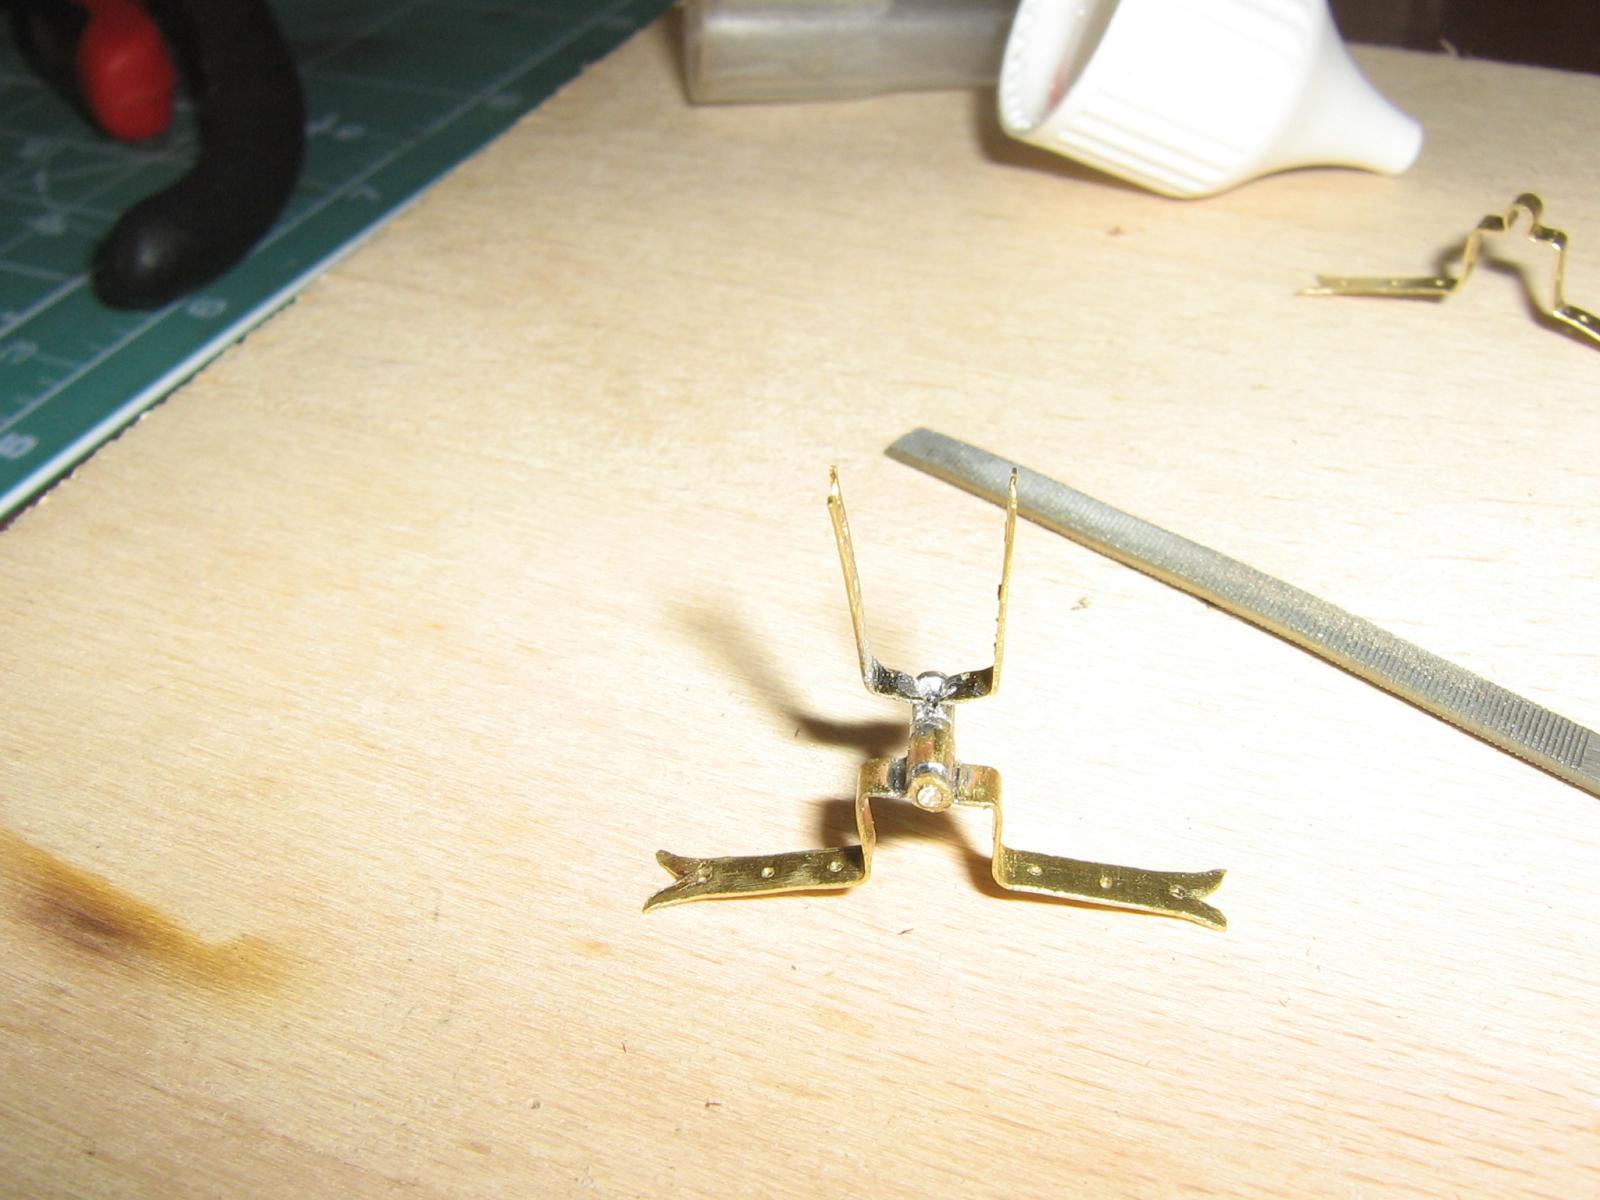
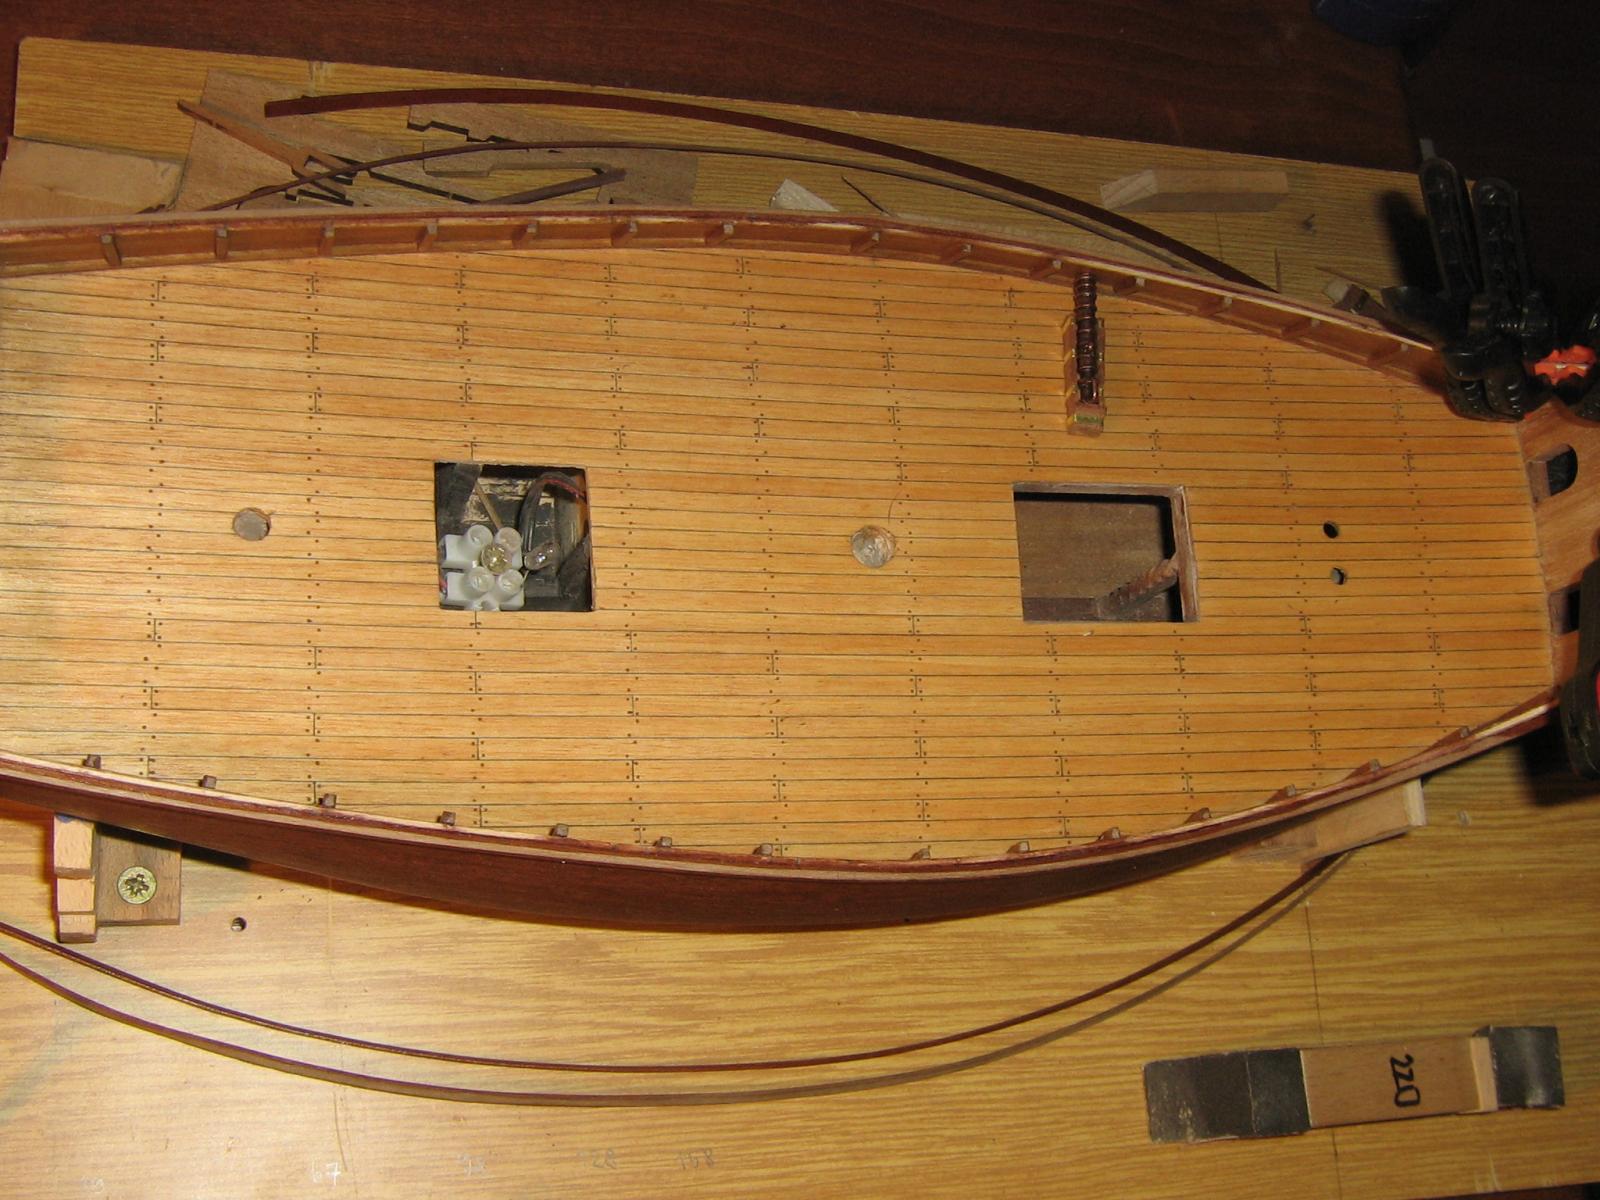
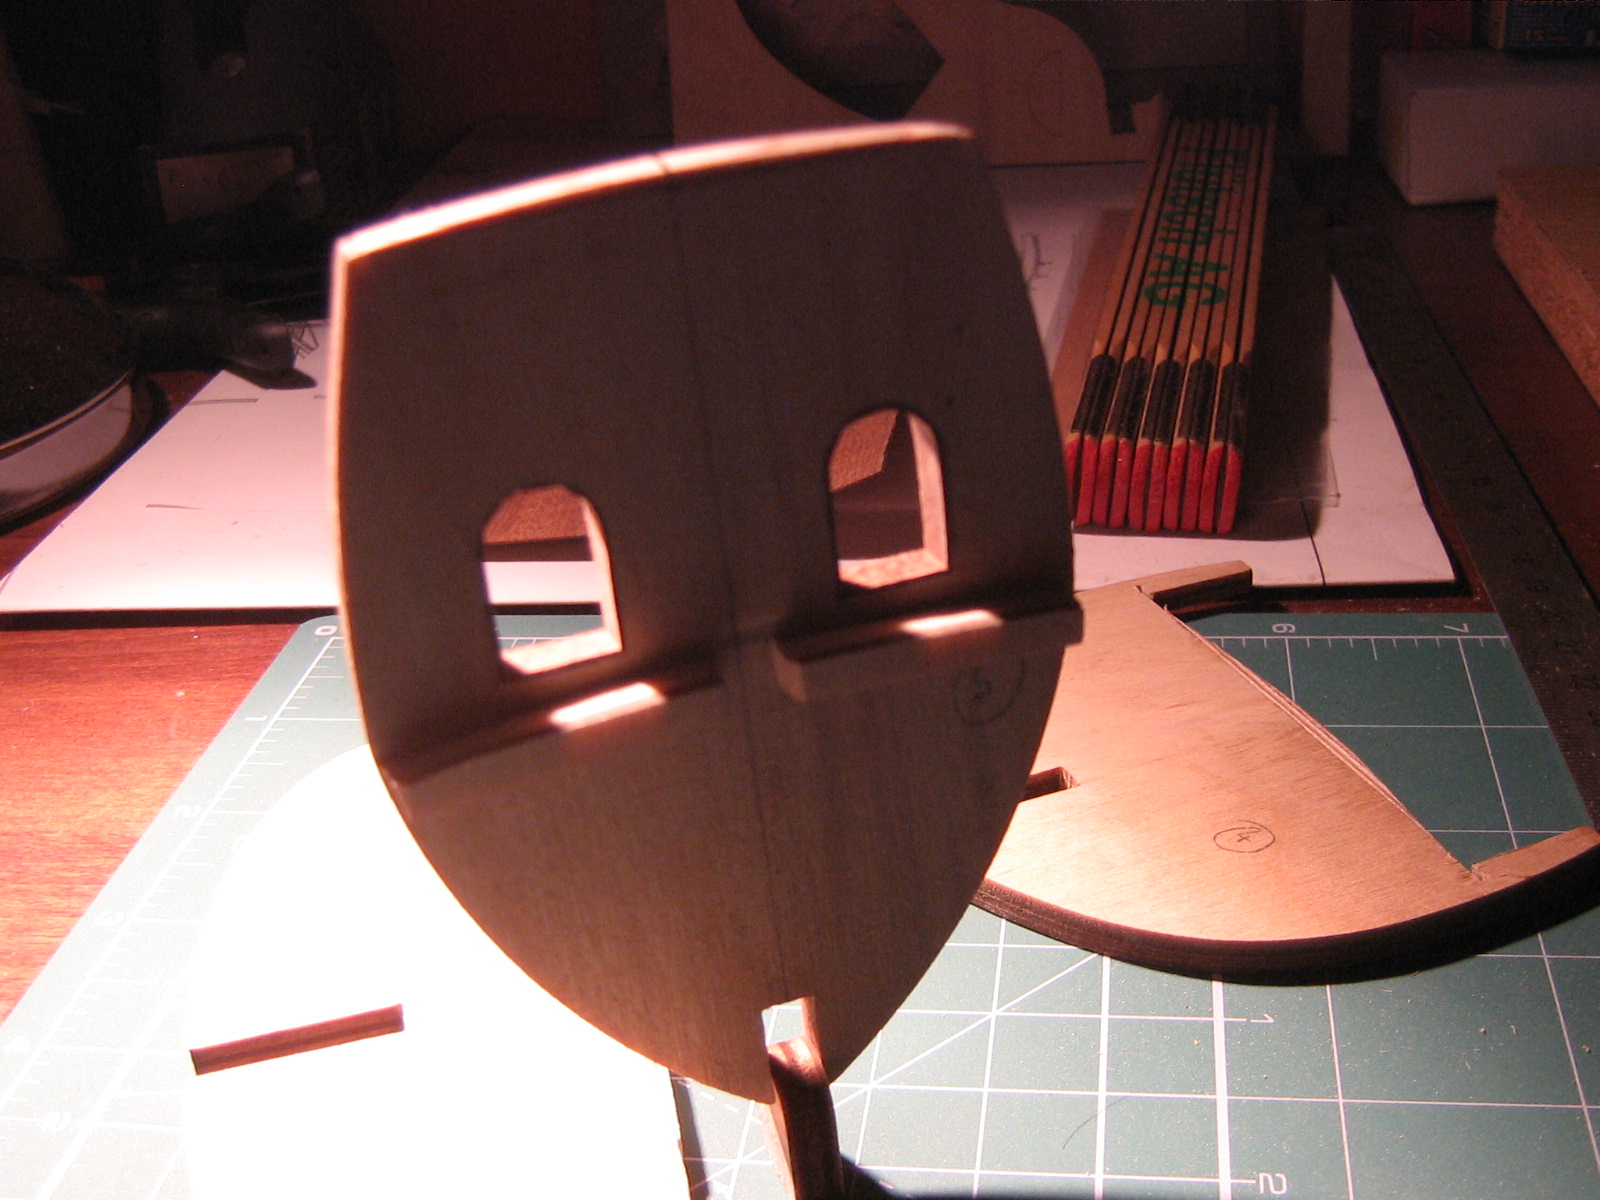
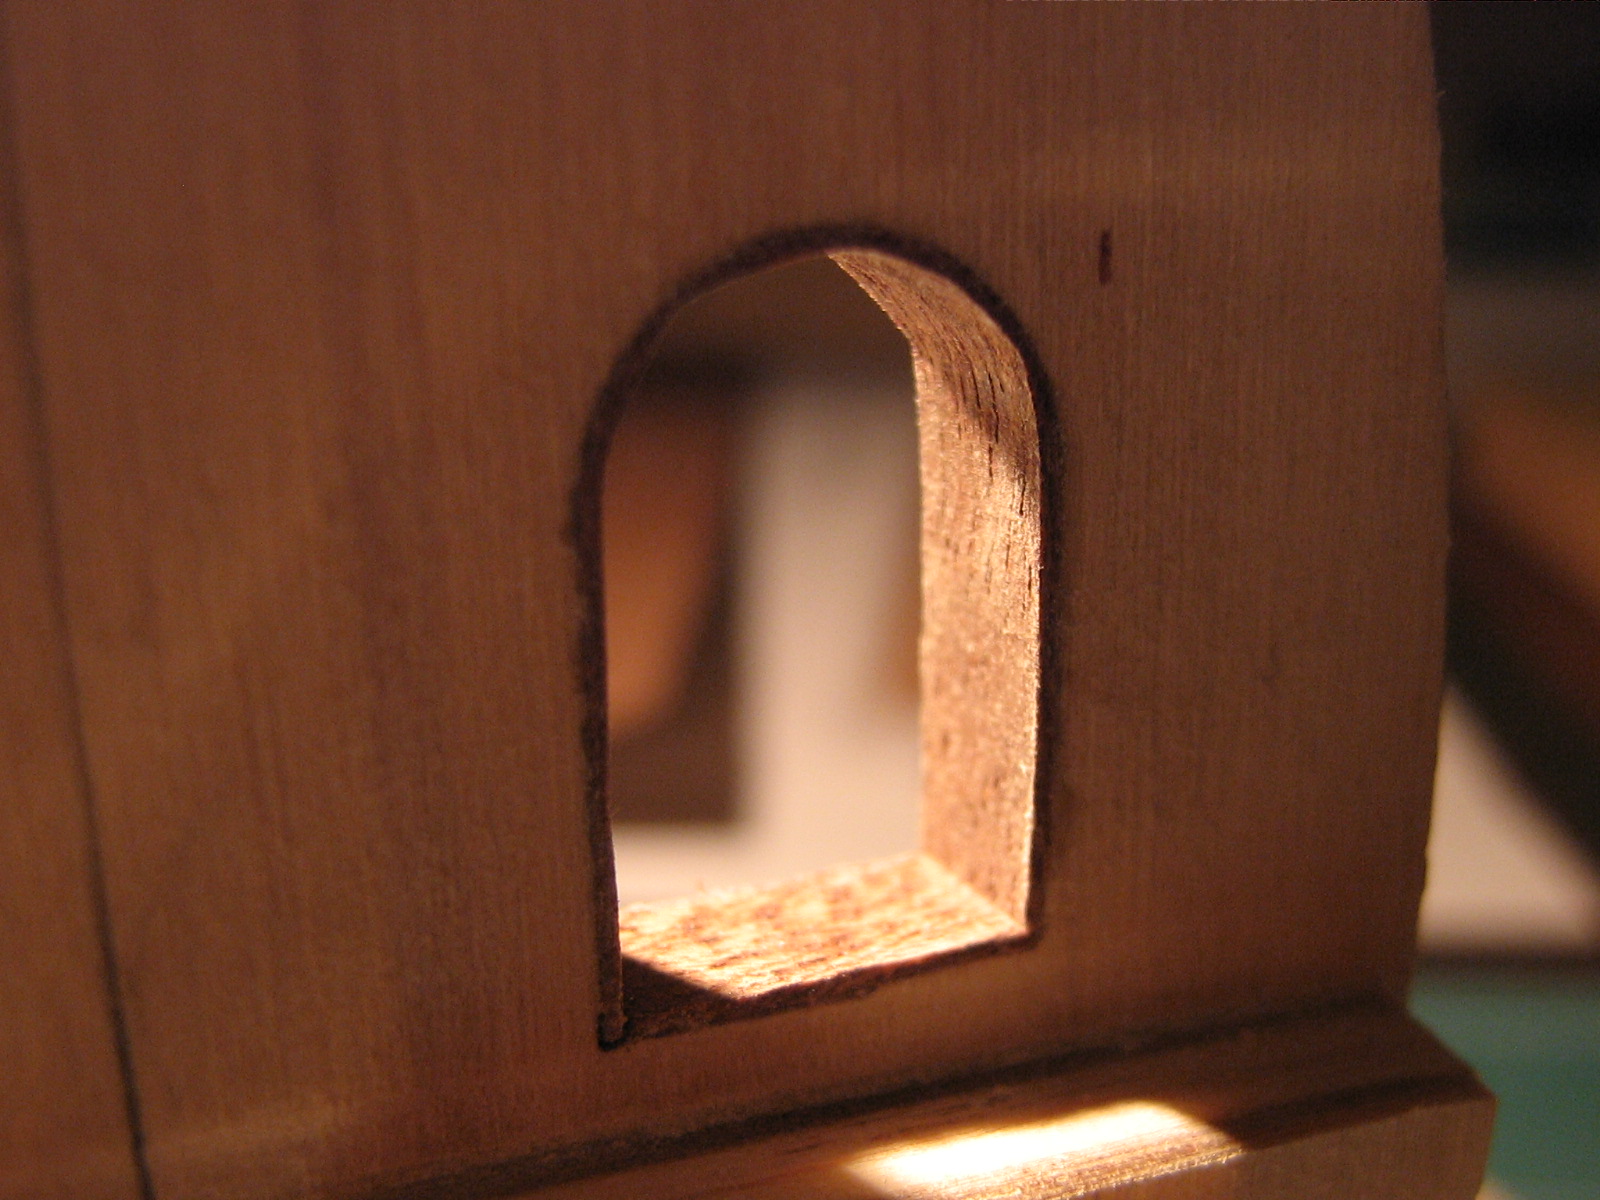
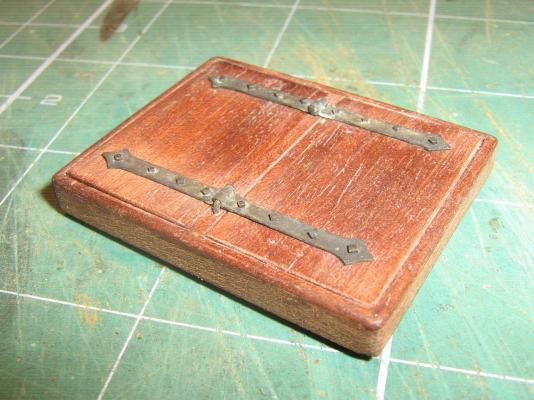
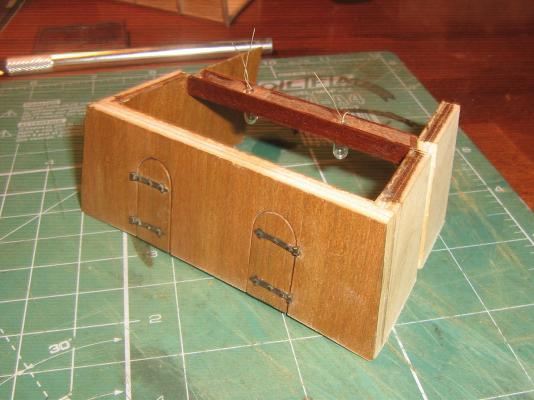
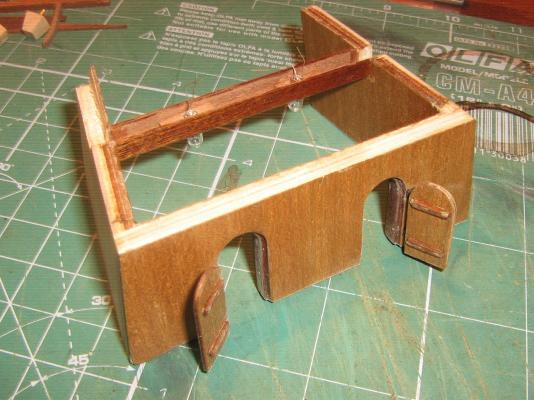
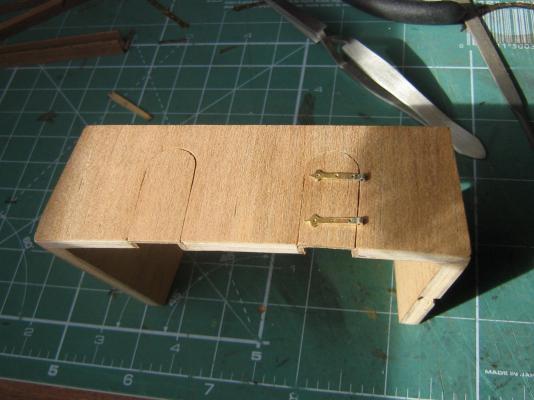
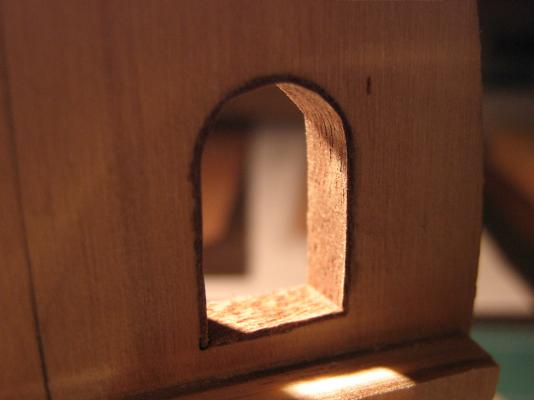
 hello marktime.Yes, hatch hinges are attached to a bent nail in the central timber. They can be opened both wings. Under the hatch cover is placed the lamp that illuminates the underdeck.
 -
Hello, thanks Marktime for looking, I am only carpenter . I made some paper models as a young boy but now I am making my first wooden ship and I really enjoy it. Following pictures show my little progress in last days.
- 79 replies
-
- 4
-

-
- santa maria
- amati
- (and 2 more)
-
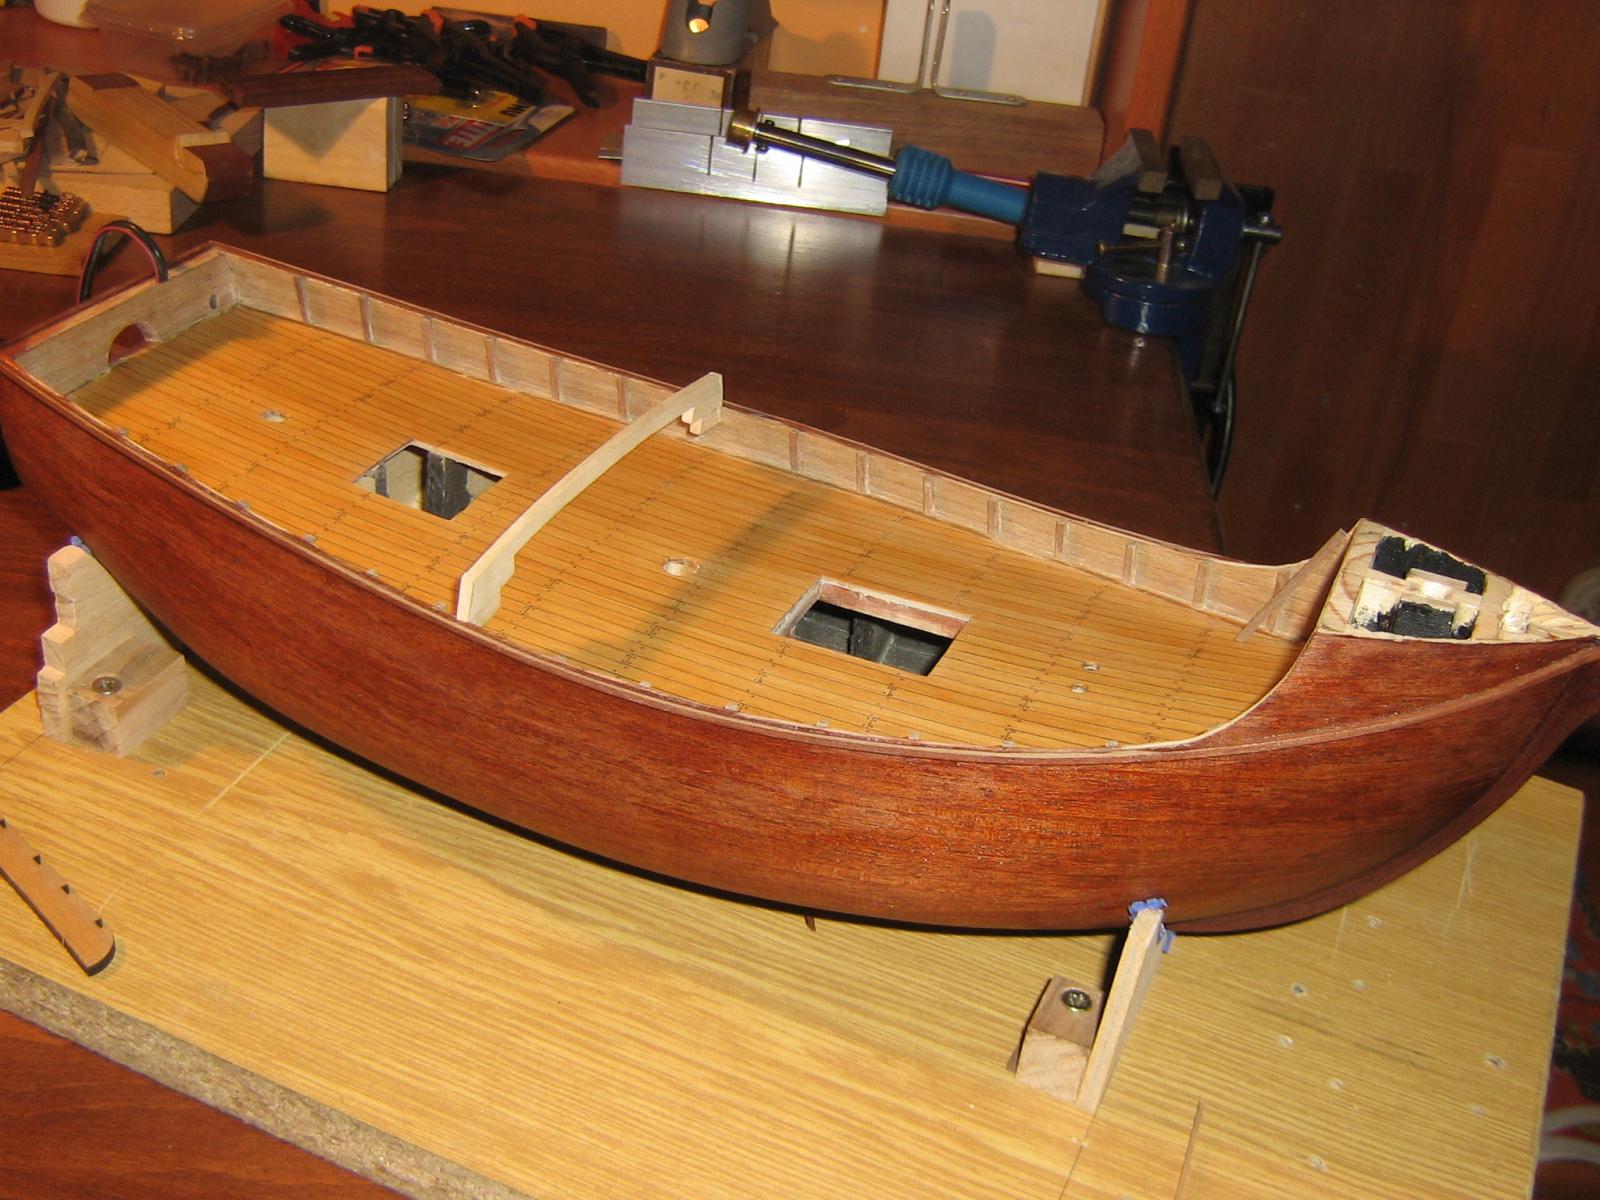
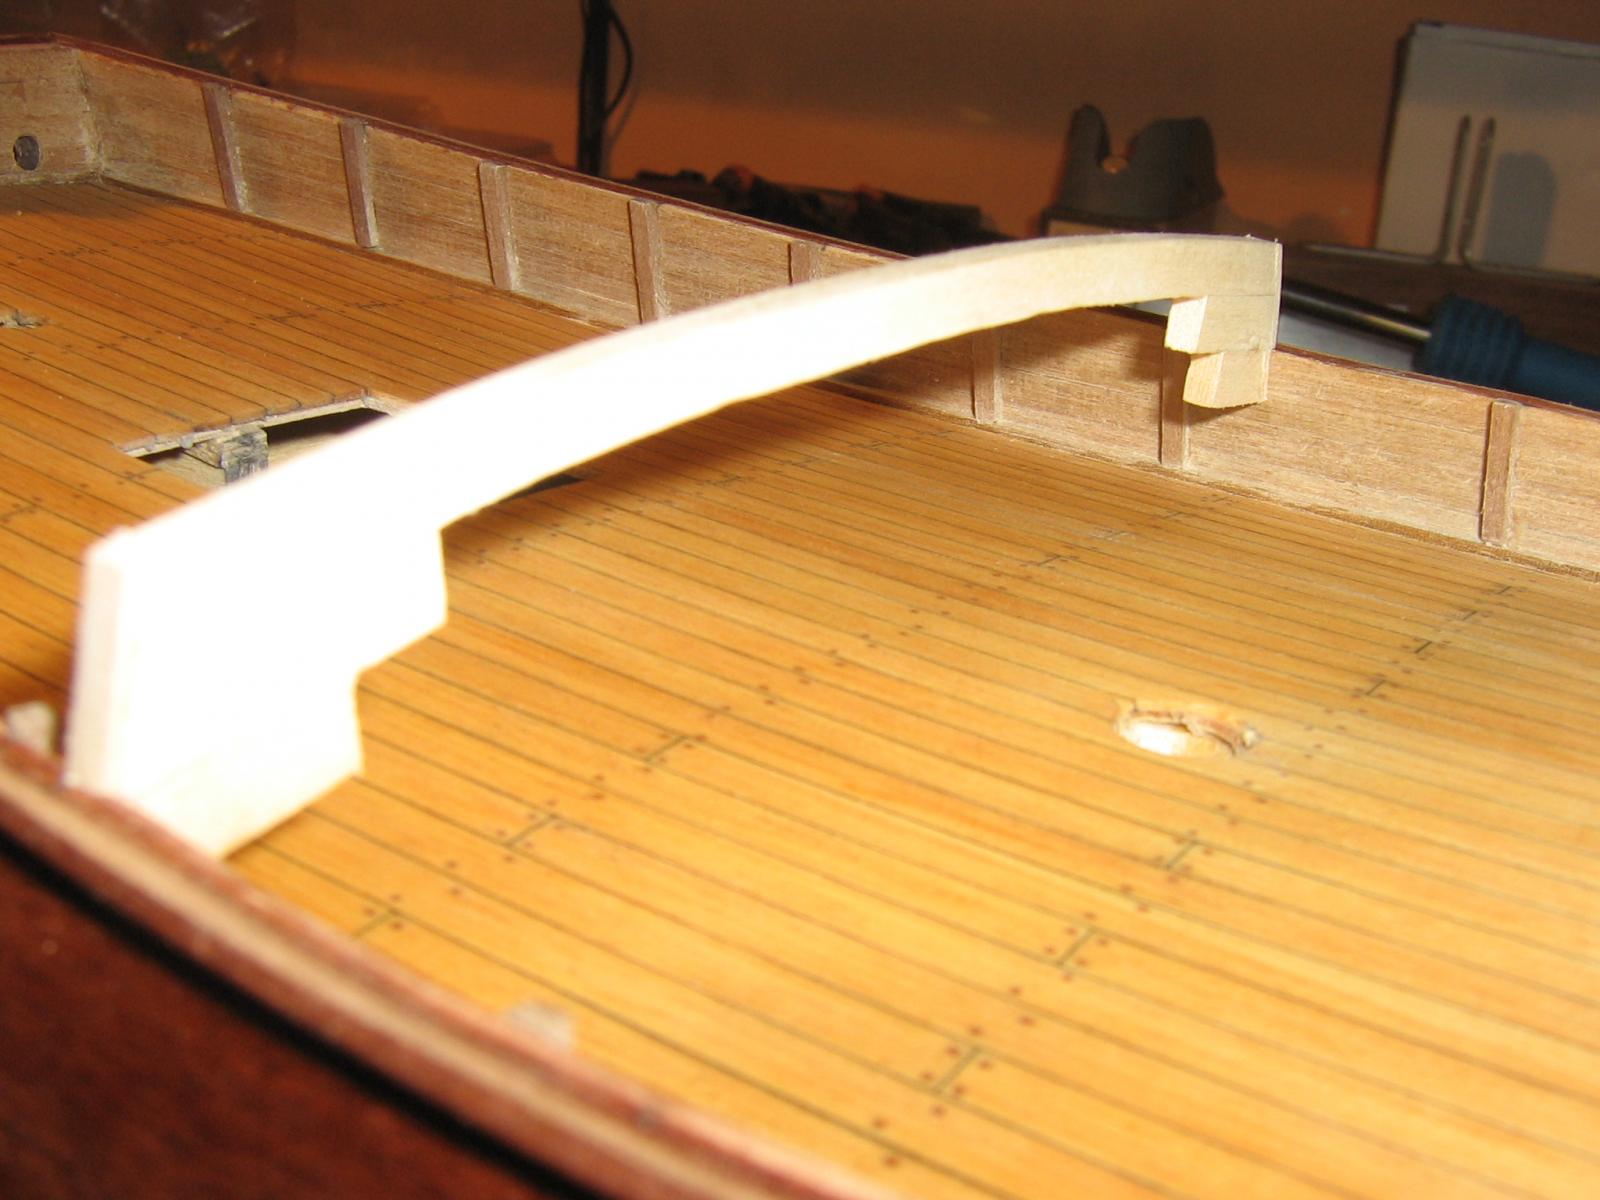
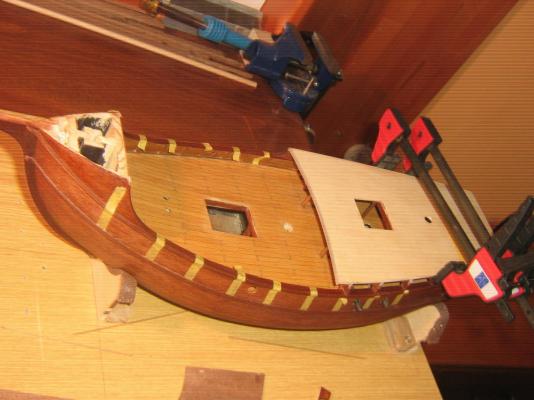
Hallo, some progress has done and I have already a little time for update. I am working on quarterdeck and Captain's kabin.

- 79 replies
-
- 4
-
-
- santa maria
- amati
- (and 2 more)
-
Hello teacher, I am watching your hands... Nice to see your build log again. I am building the same ship and this is the really inspiration for me. What system you have used for lighting?
-
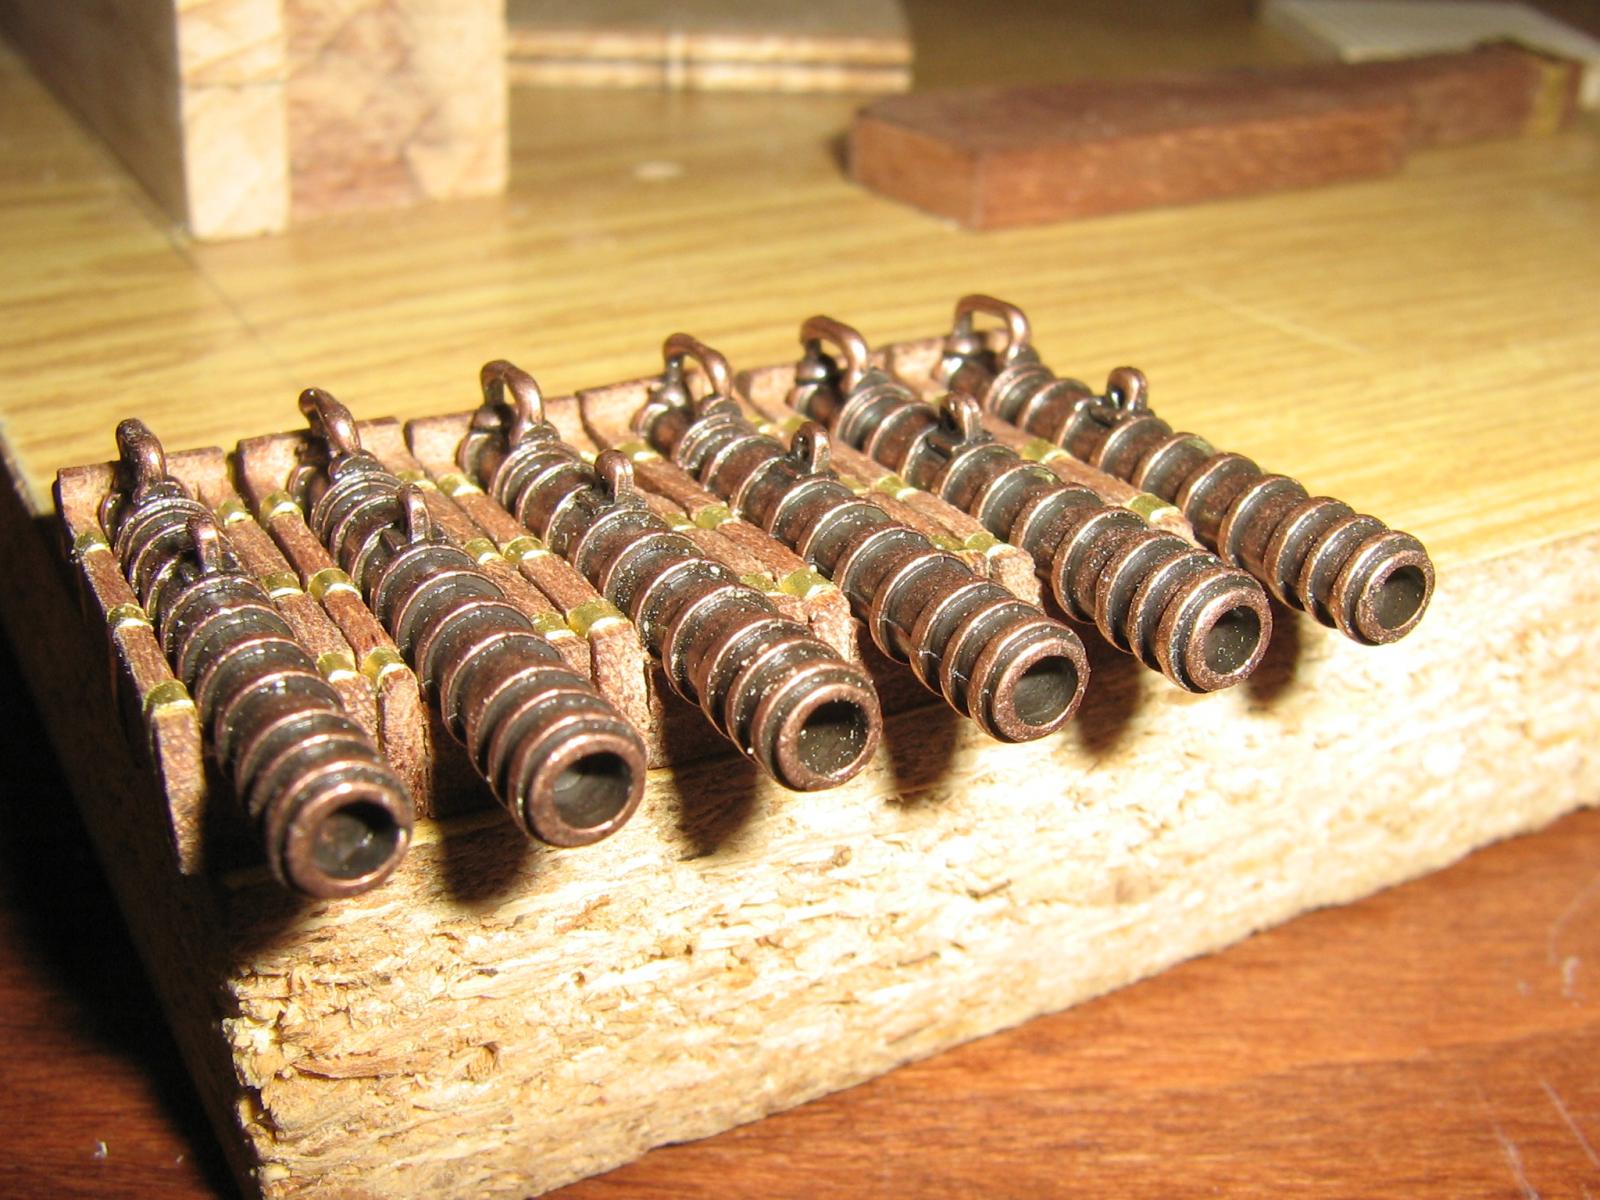
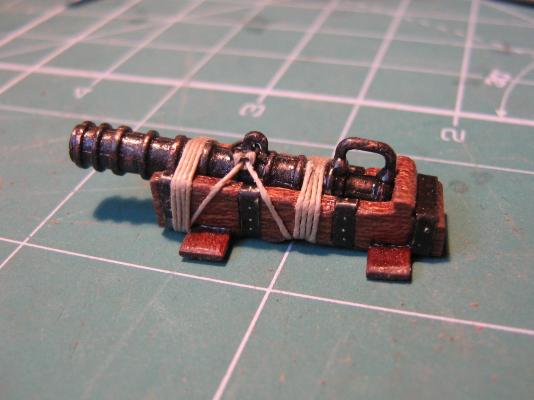
Hello thanks Tim and santa maria's builder! mkmossop - I did not polished those parts, I only blackened them with some chemical lotion I bought in our gun shop. Small scratches disappear. I think it is not ideal blackwash, but I am satisfied with result - meanwhile. Same way I used to cannons. And then a little varnish... Tim - you did very fine work on your ship. Work on model goes slowly, but you know - it is relax.
-
I also wish you a great day and good health.
-
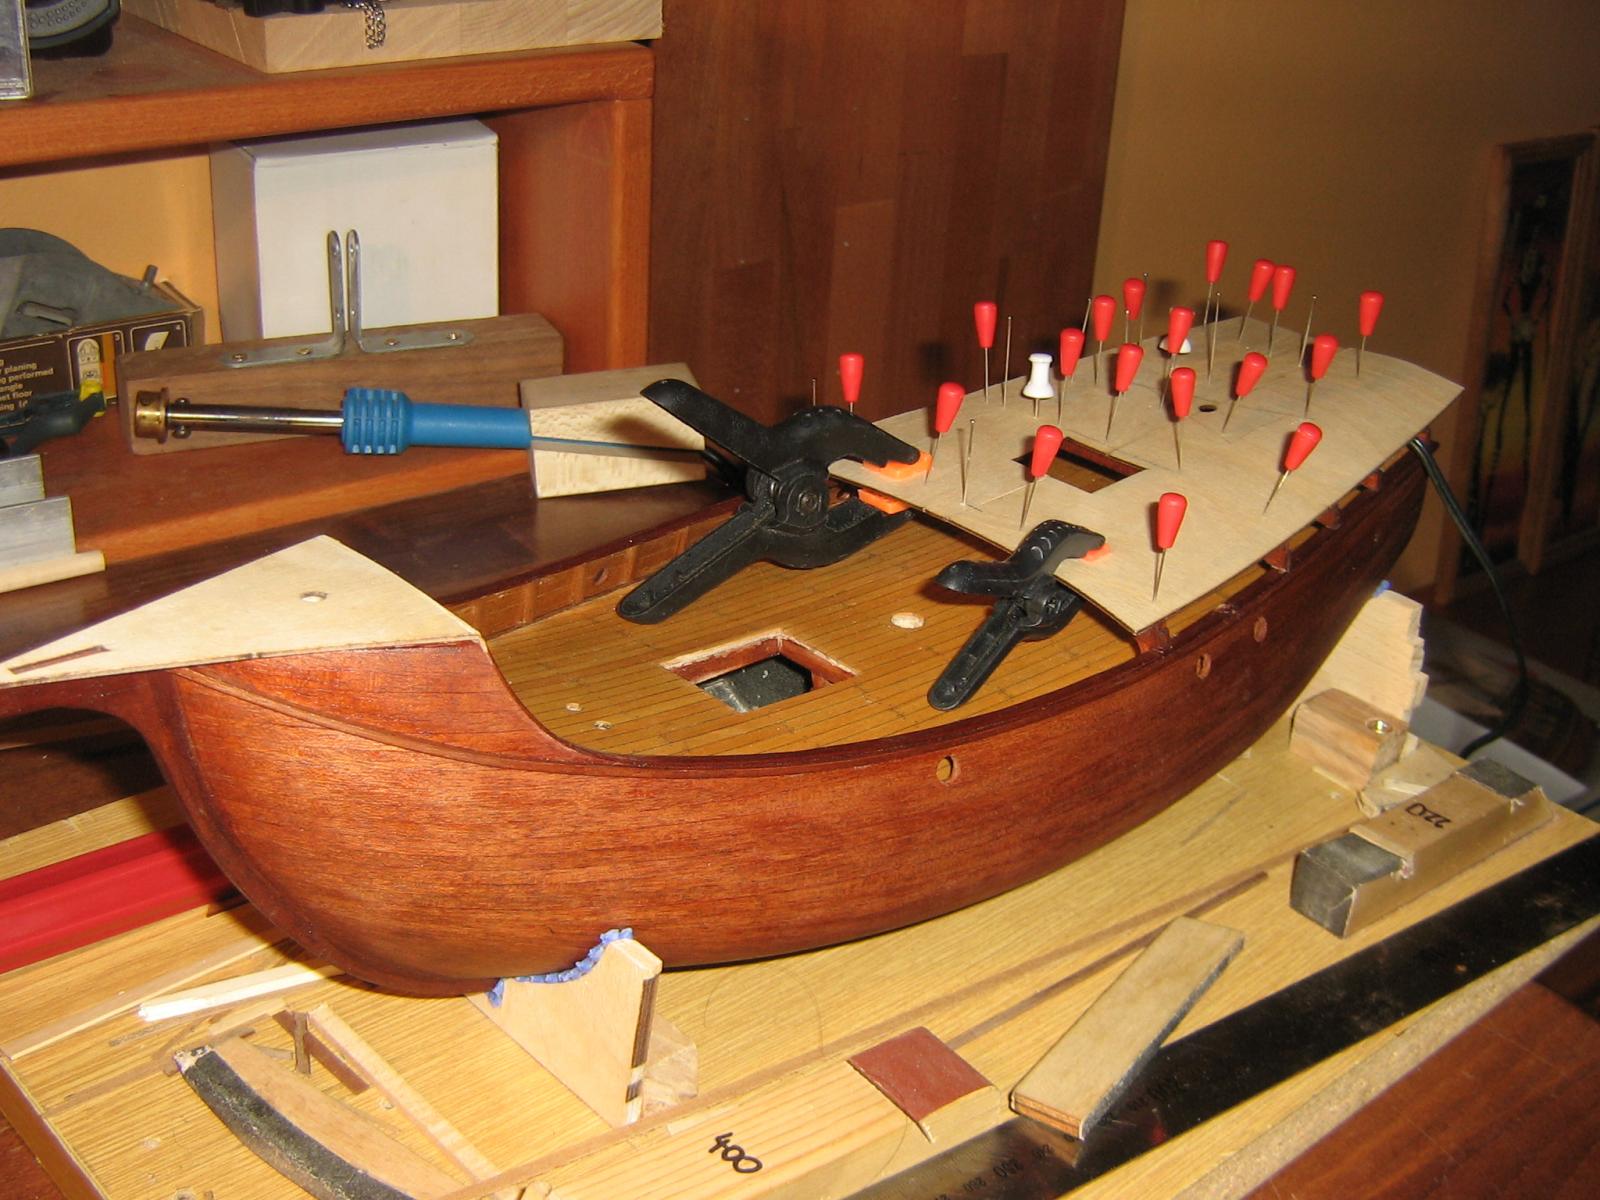
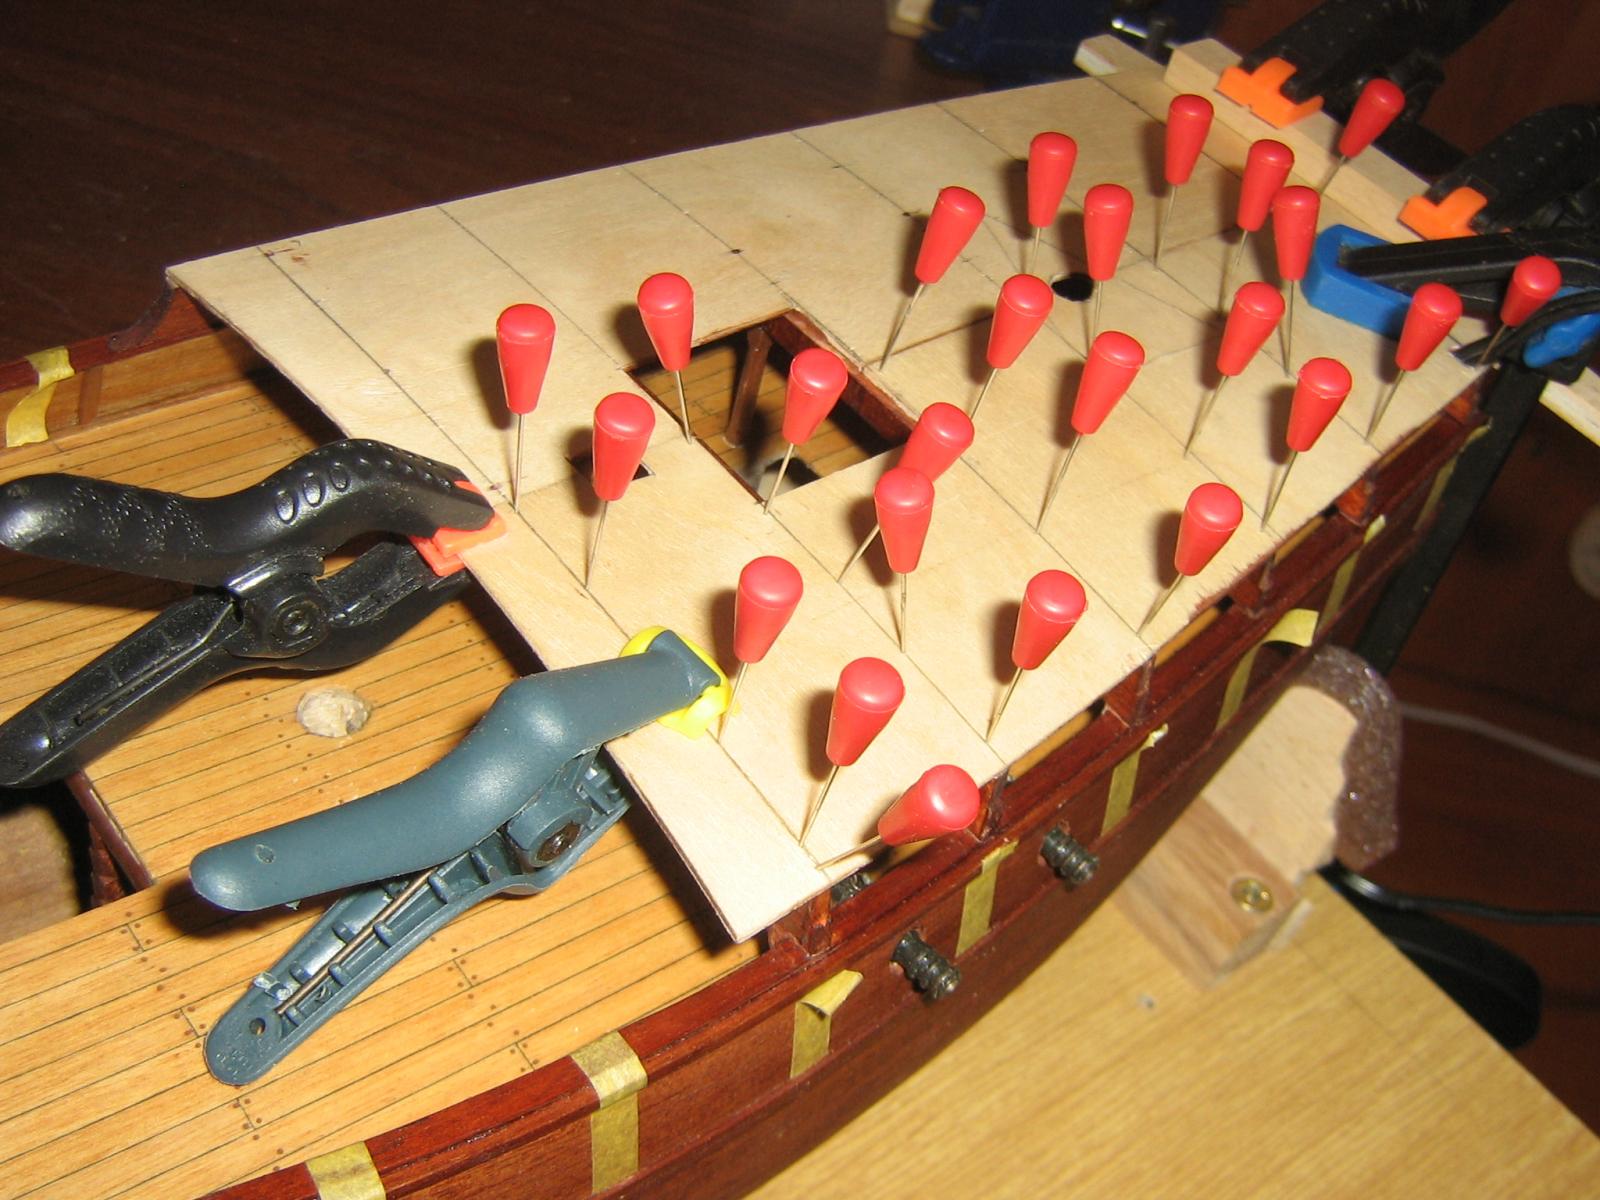
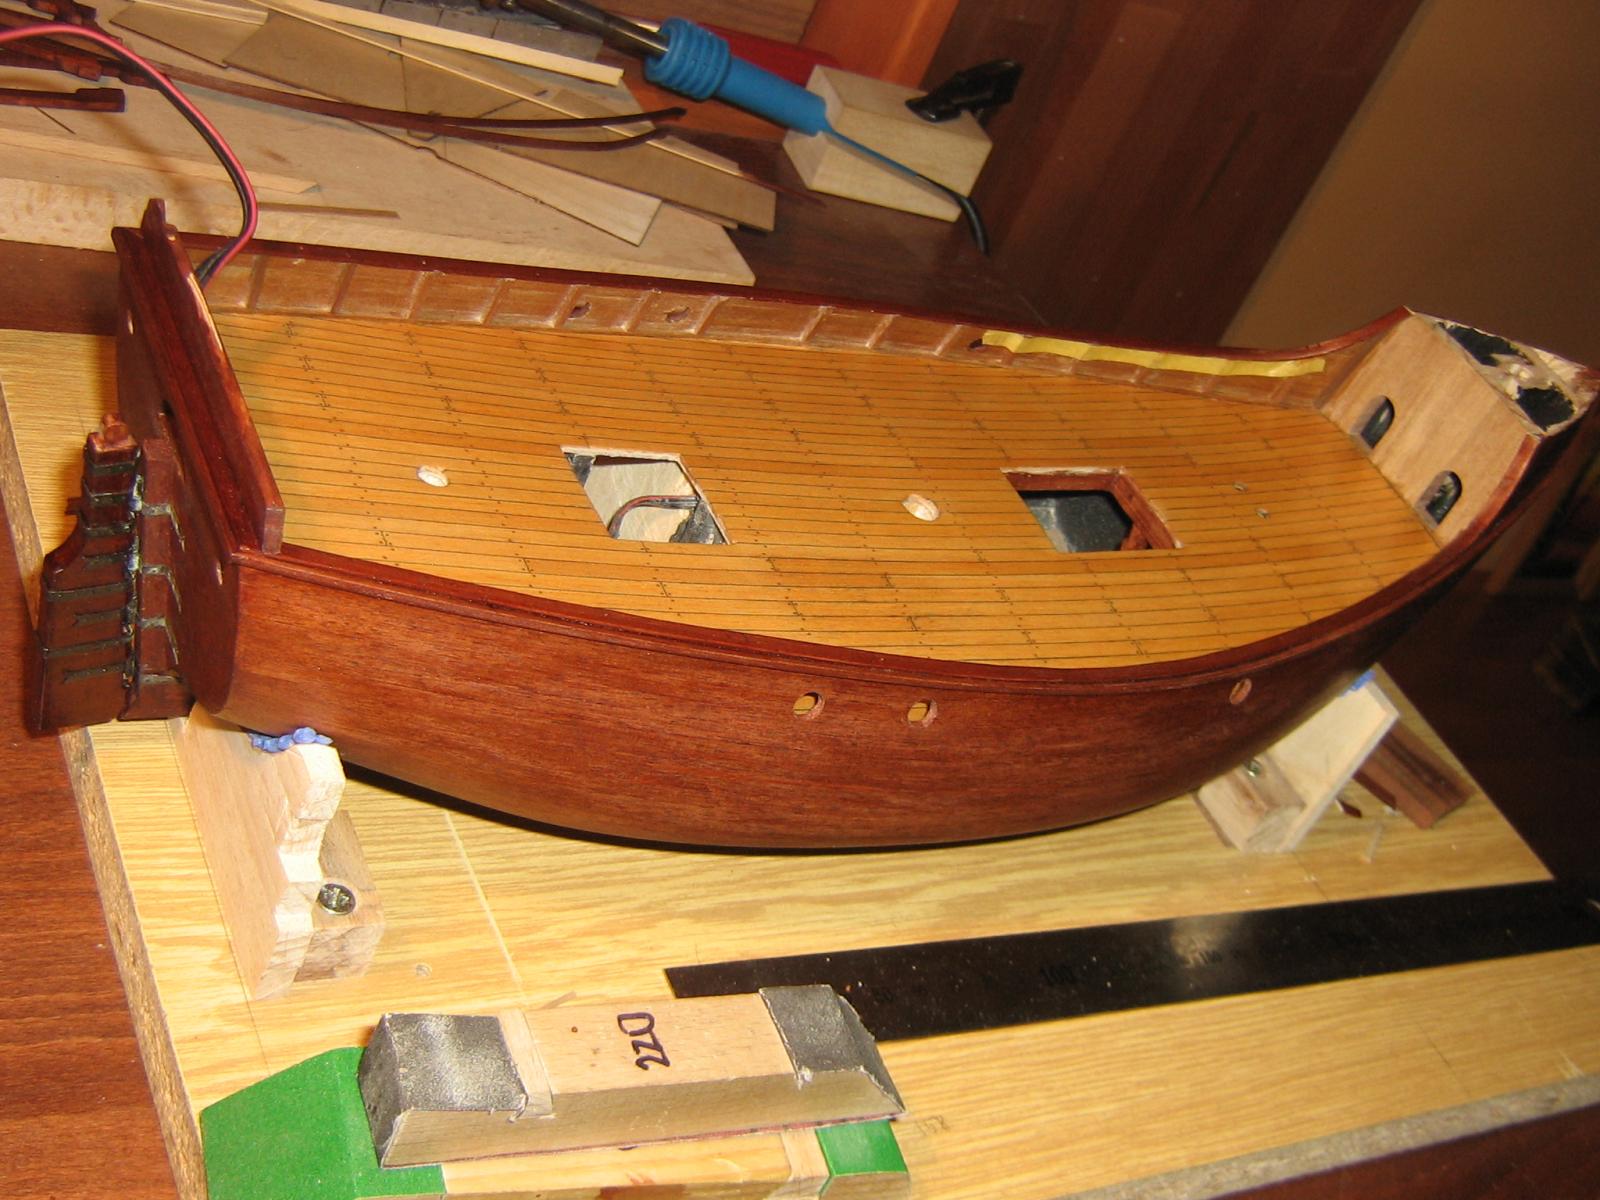
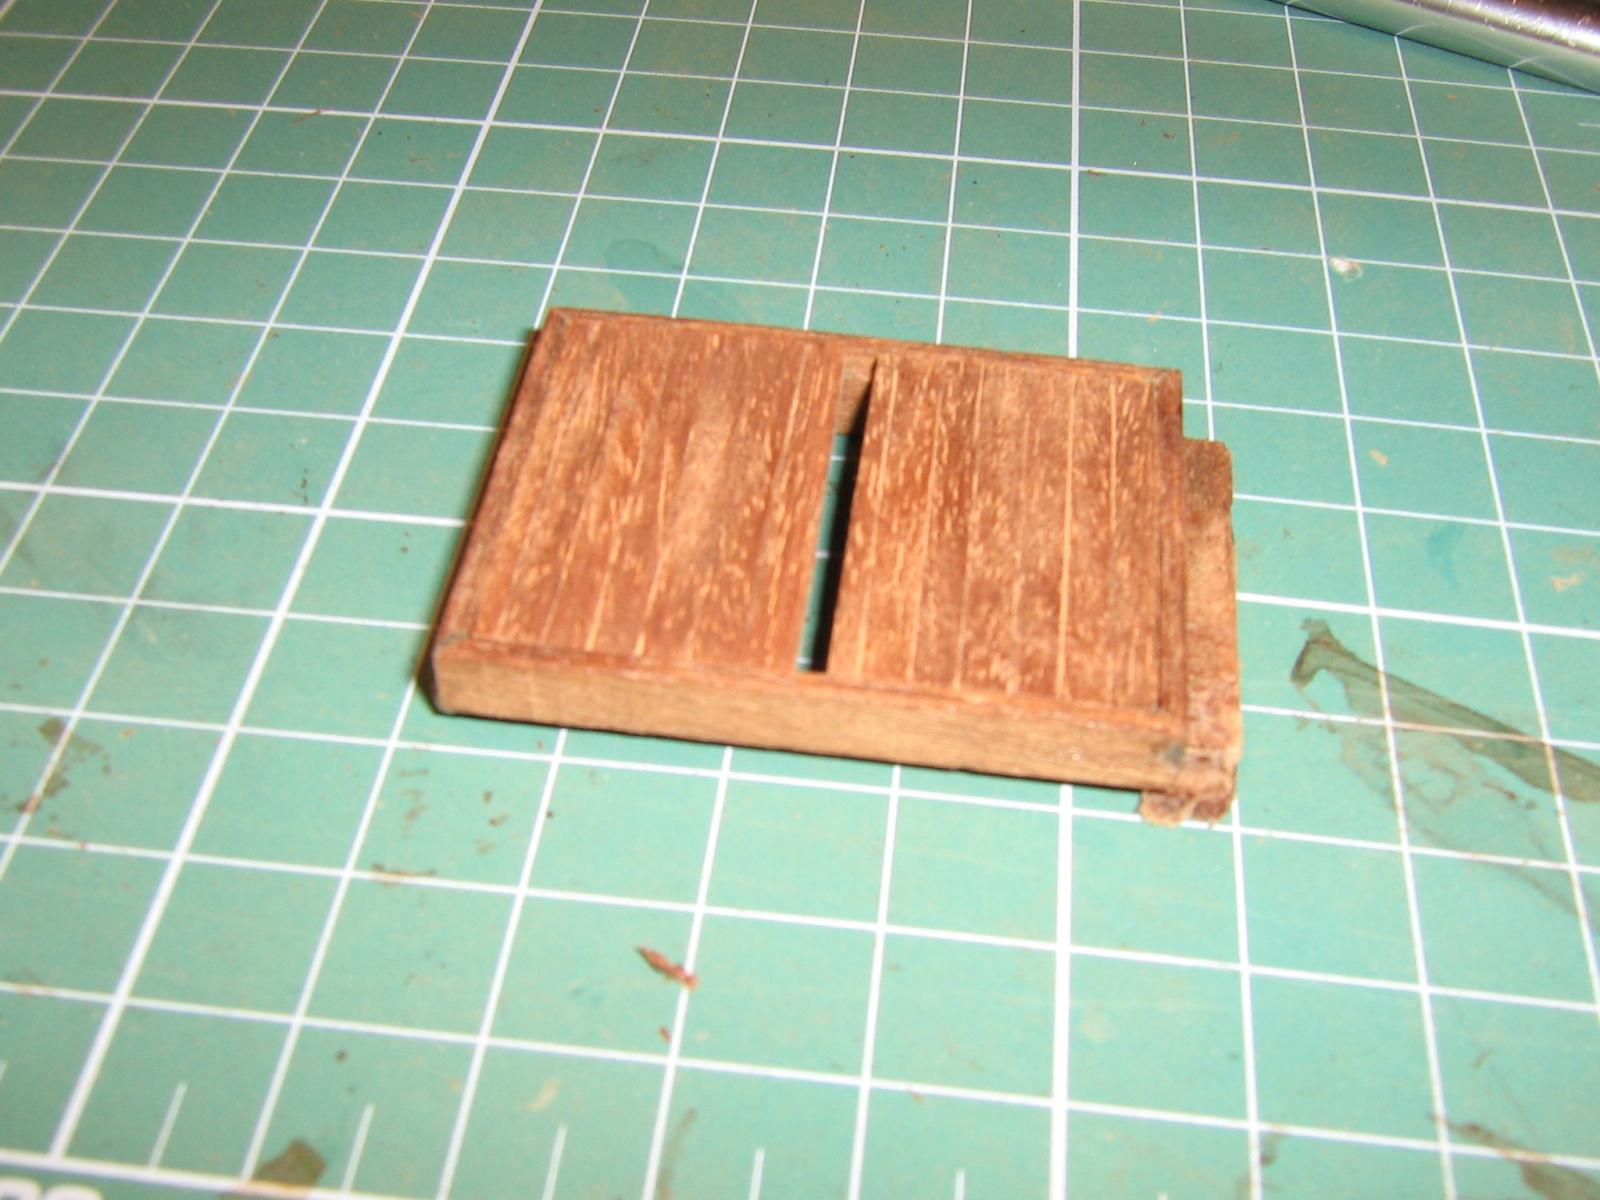
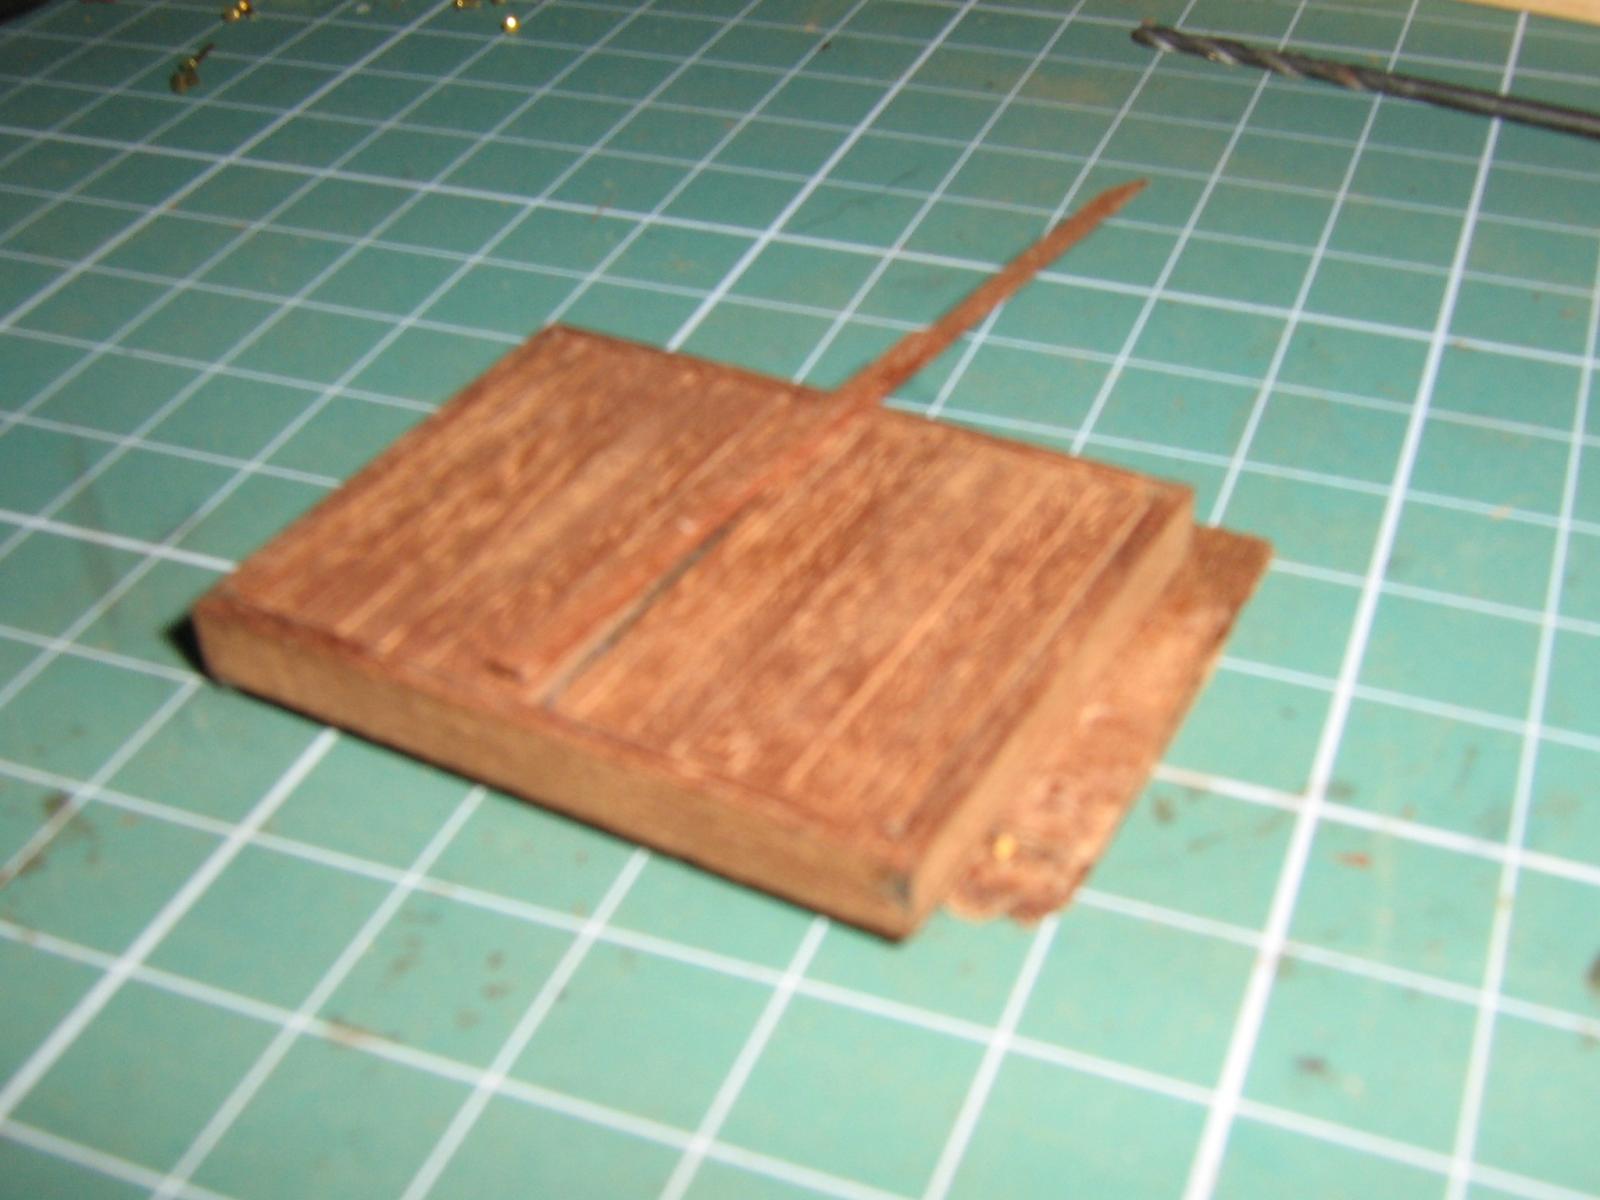
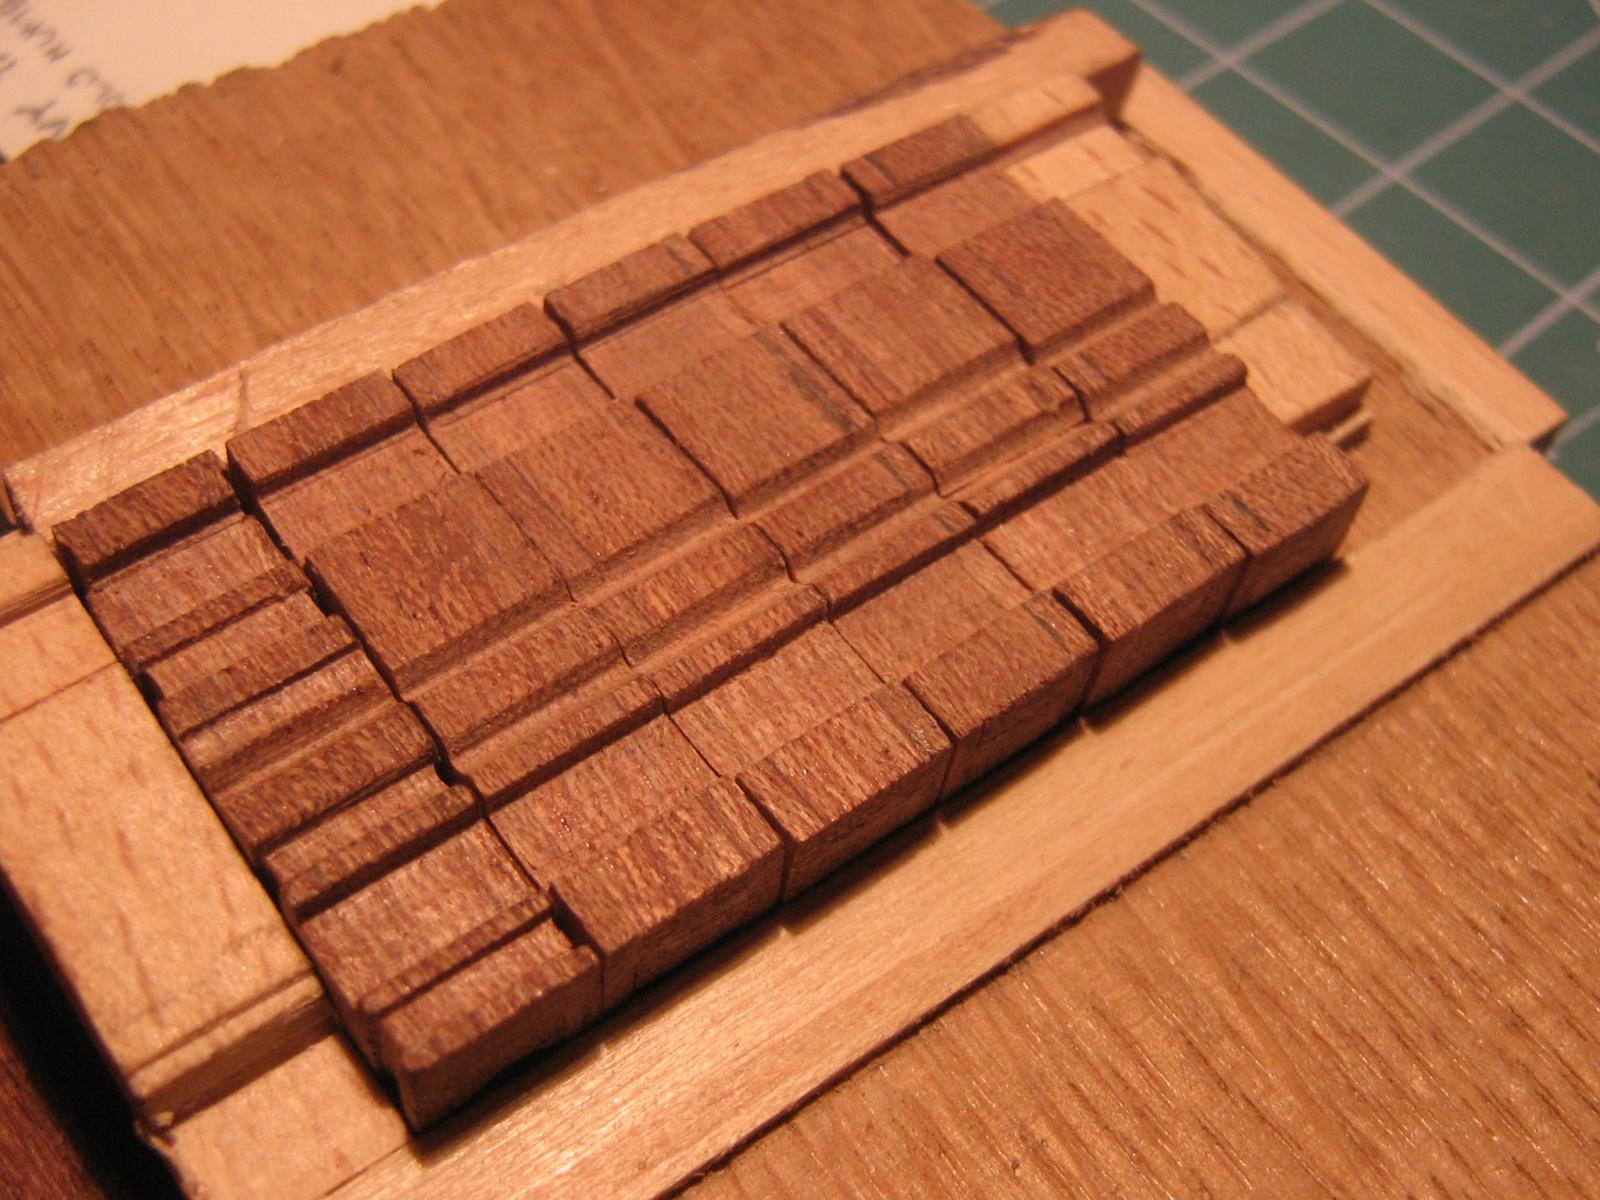
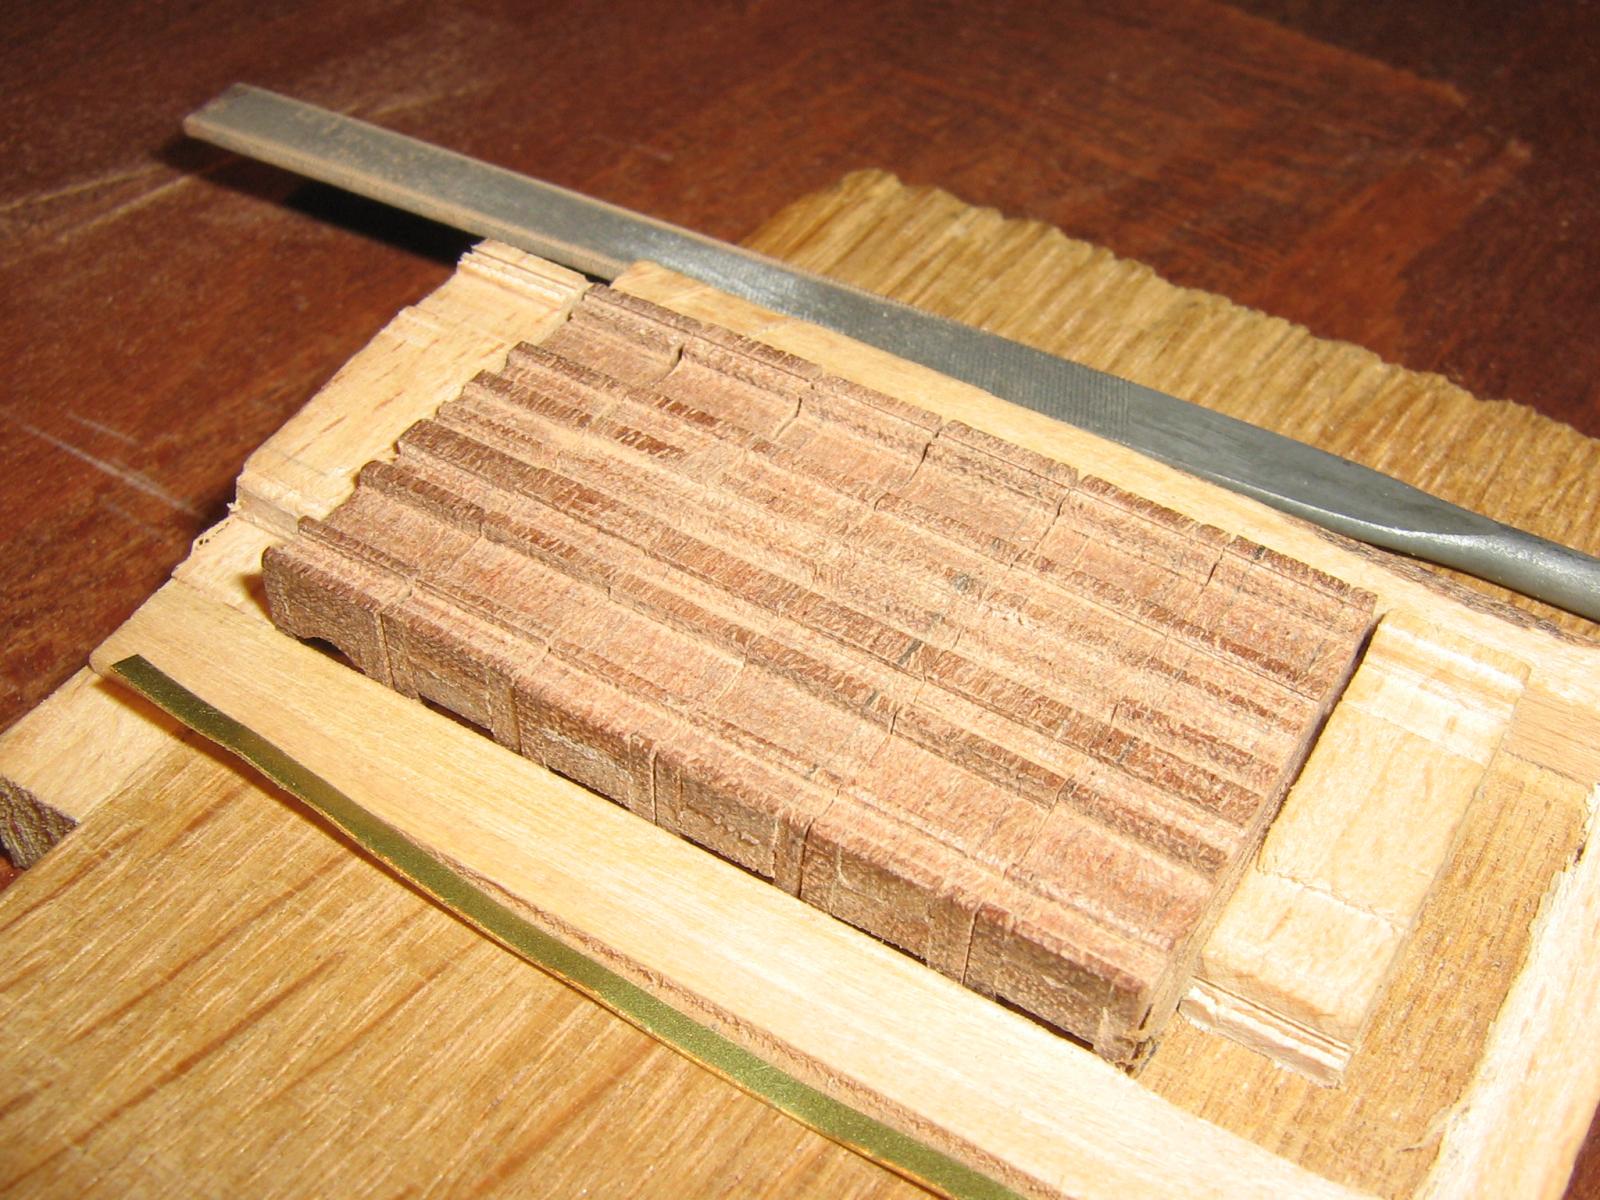
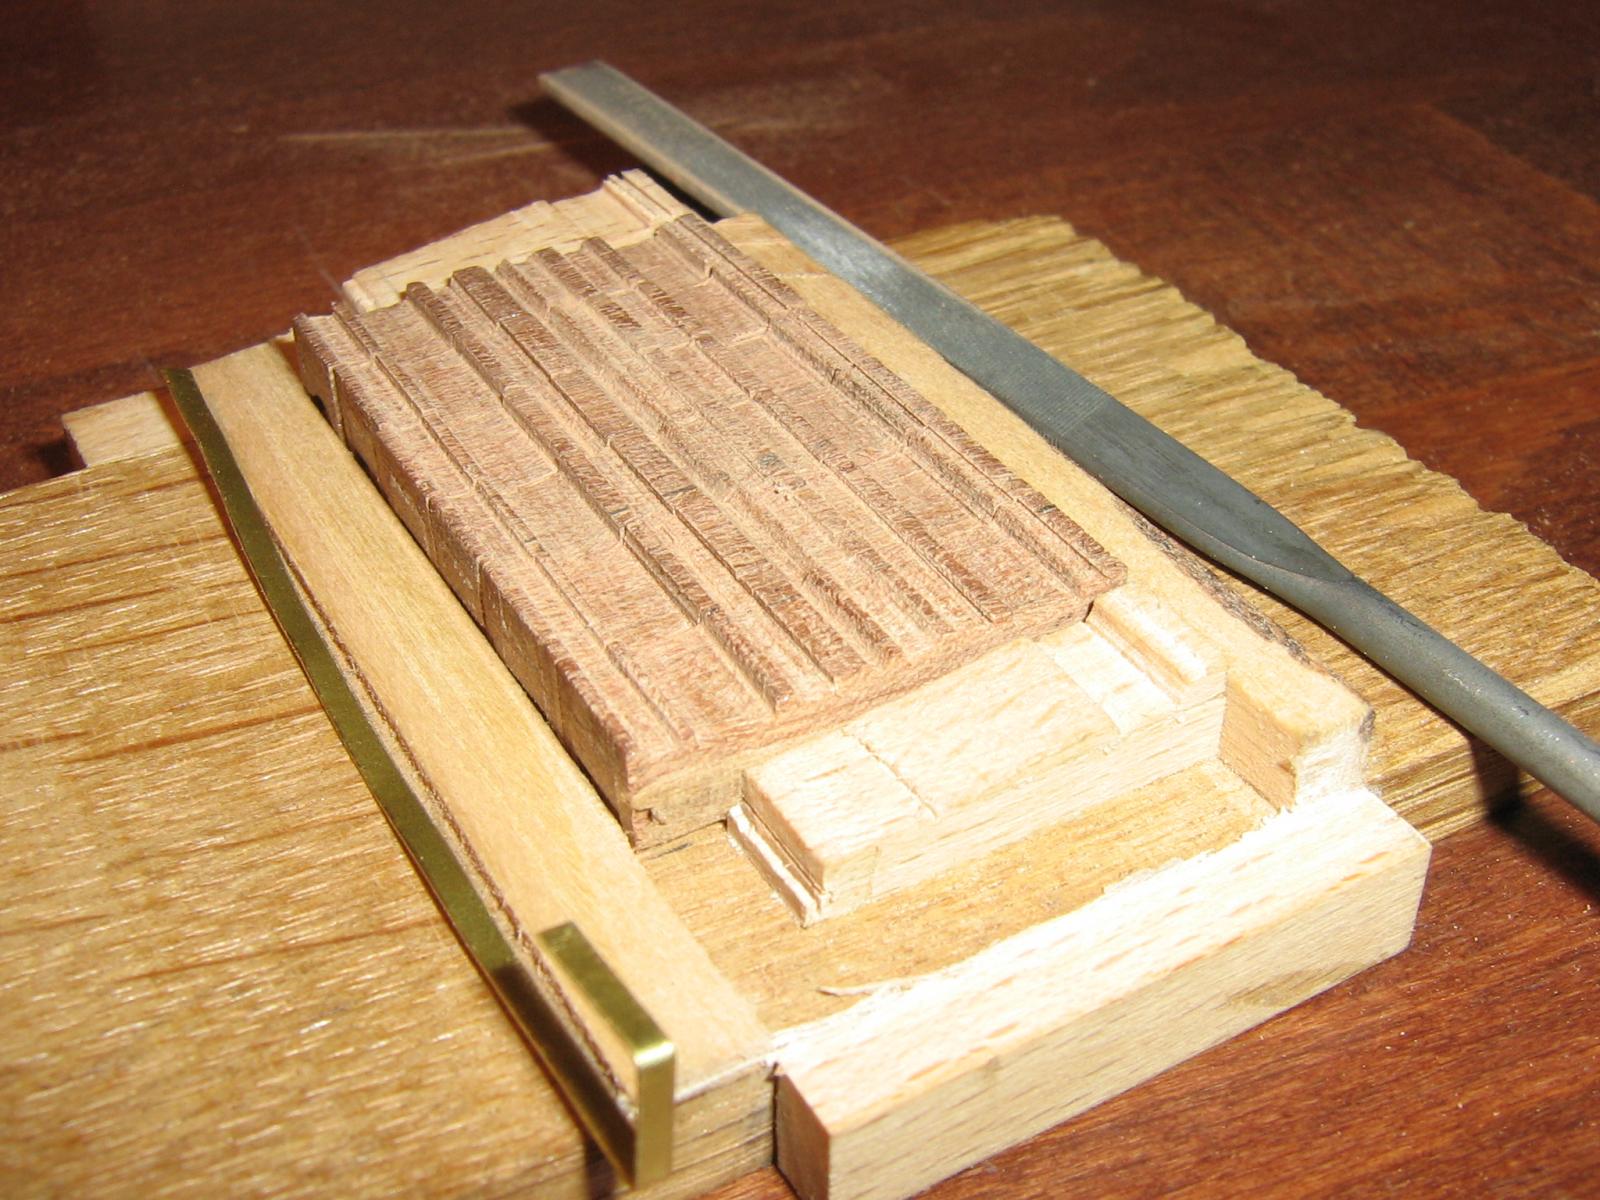
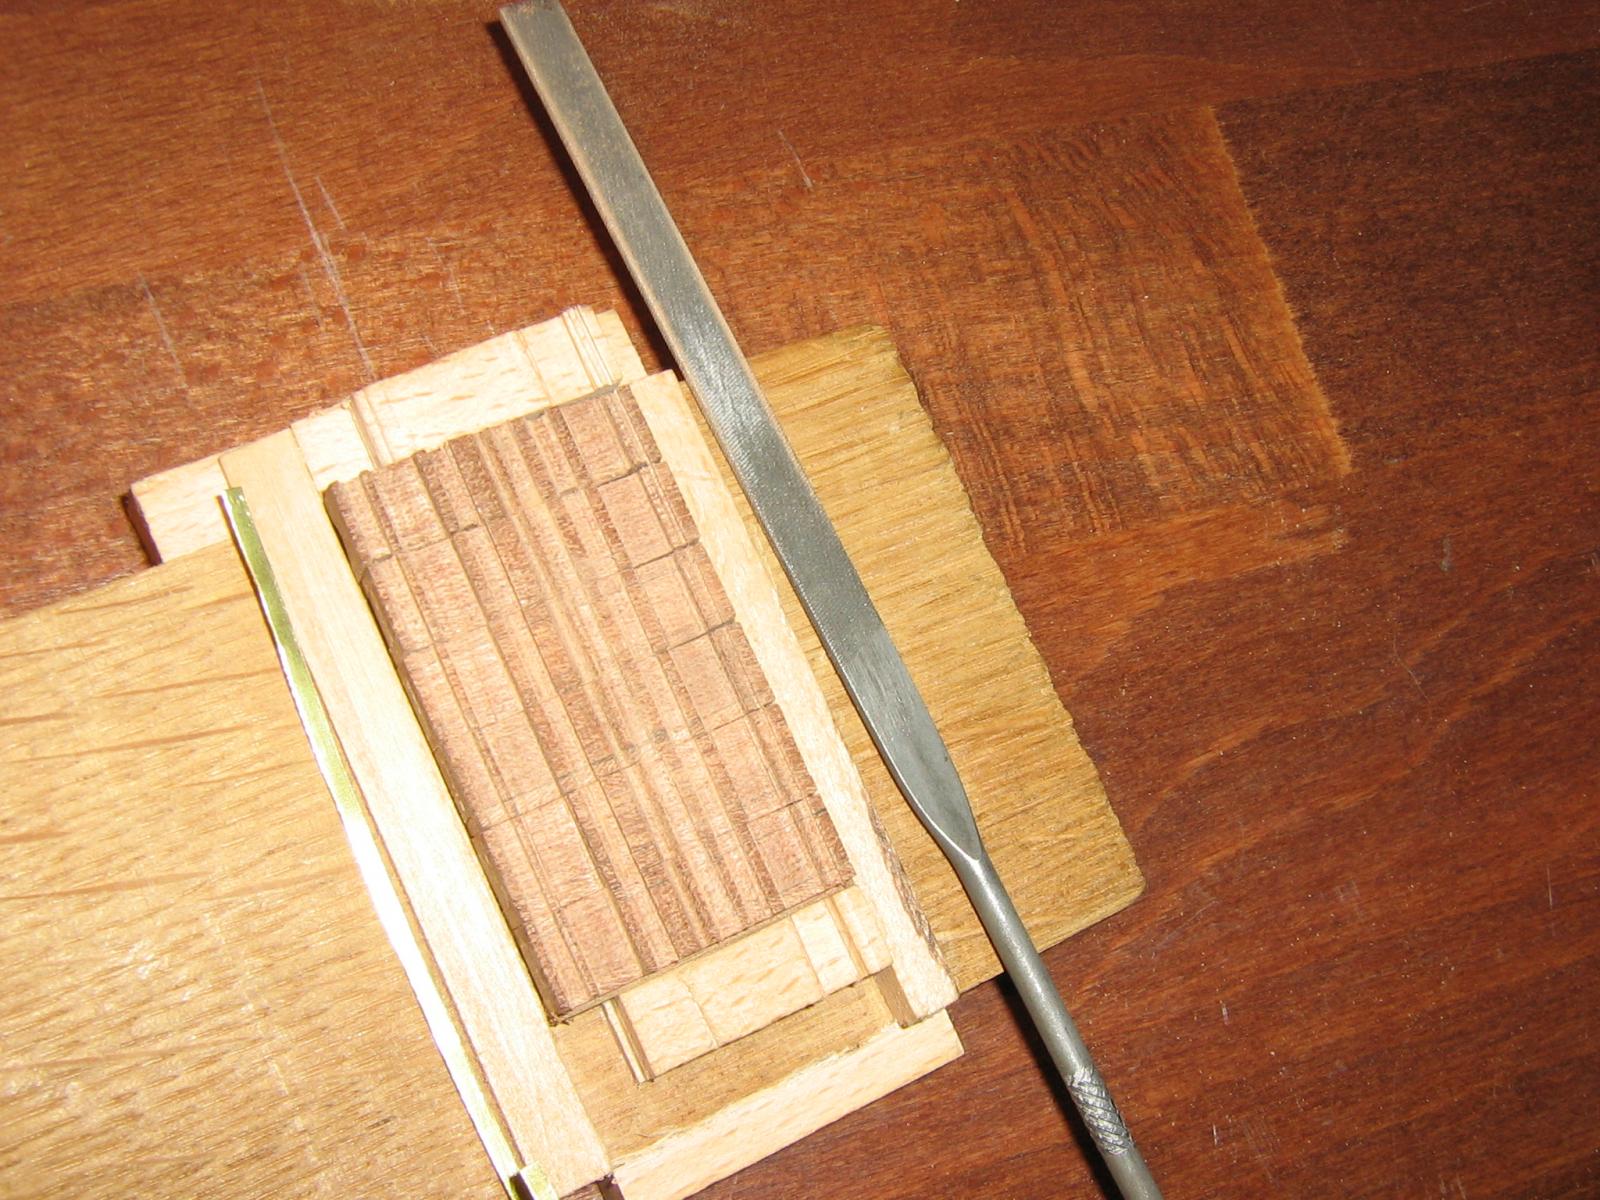
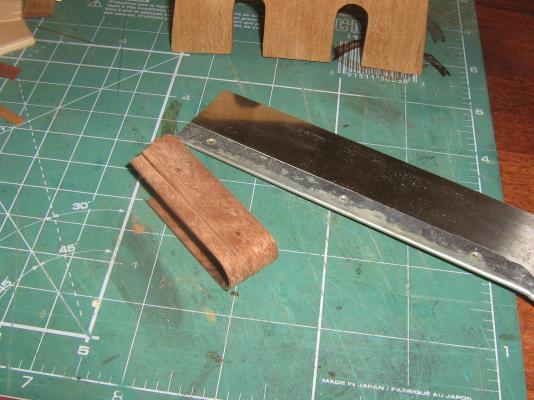
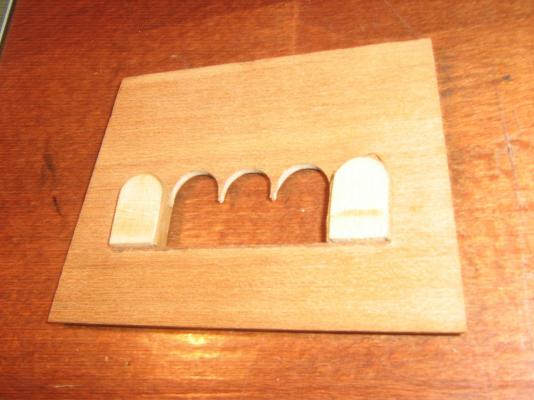
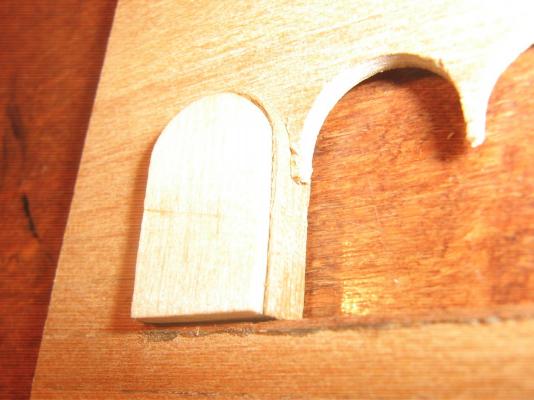
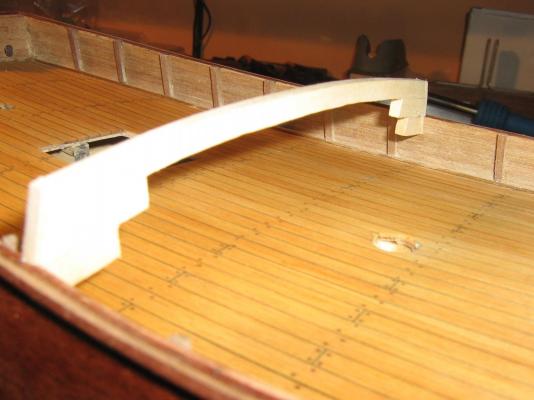
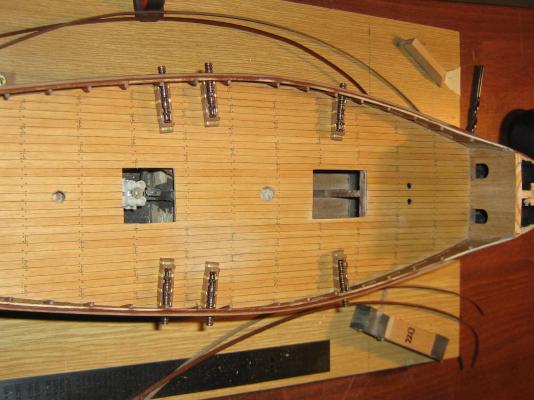
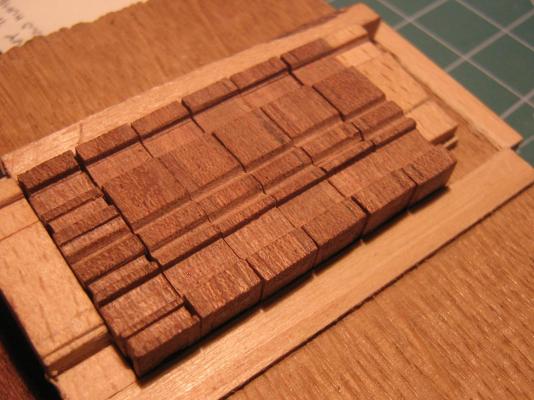
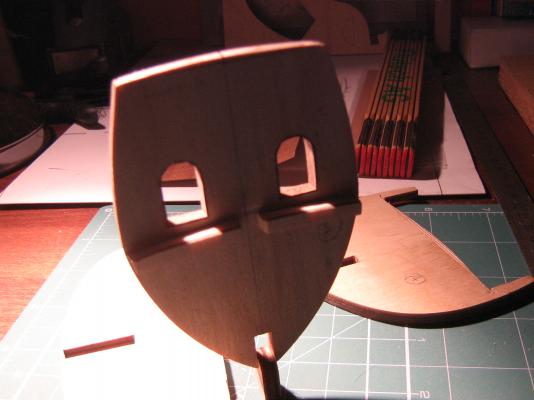
Hello! Thanks robox and matti. some progress - upper deck and main hatch cover.


- 79 replies
-
- 3
-
-
- santa maria
- amati
- (and 2 more)
-
Hi, very nice, everything harmonized together. My next build will be Endeavour so I´m now learning from you. Thanks shipcarpenter
-
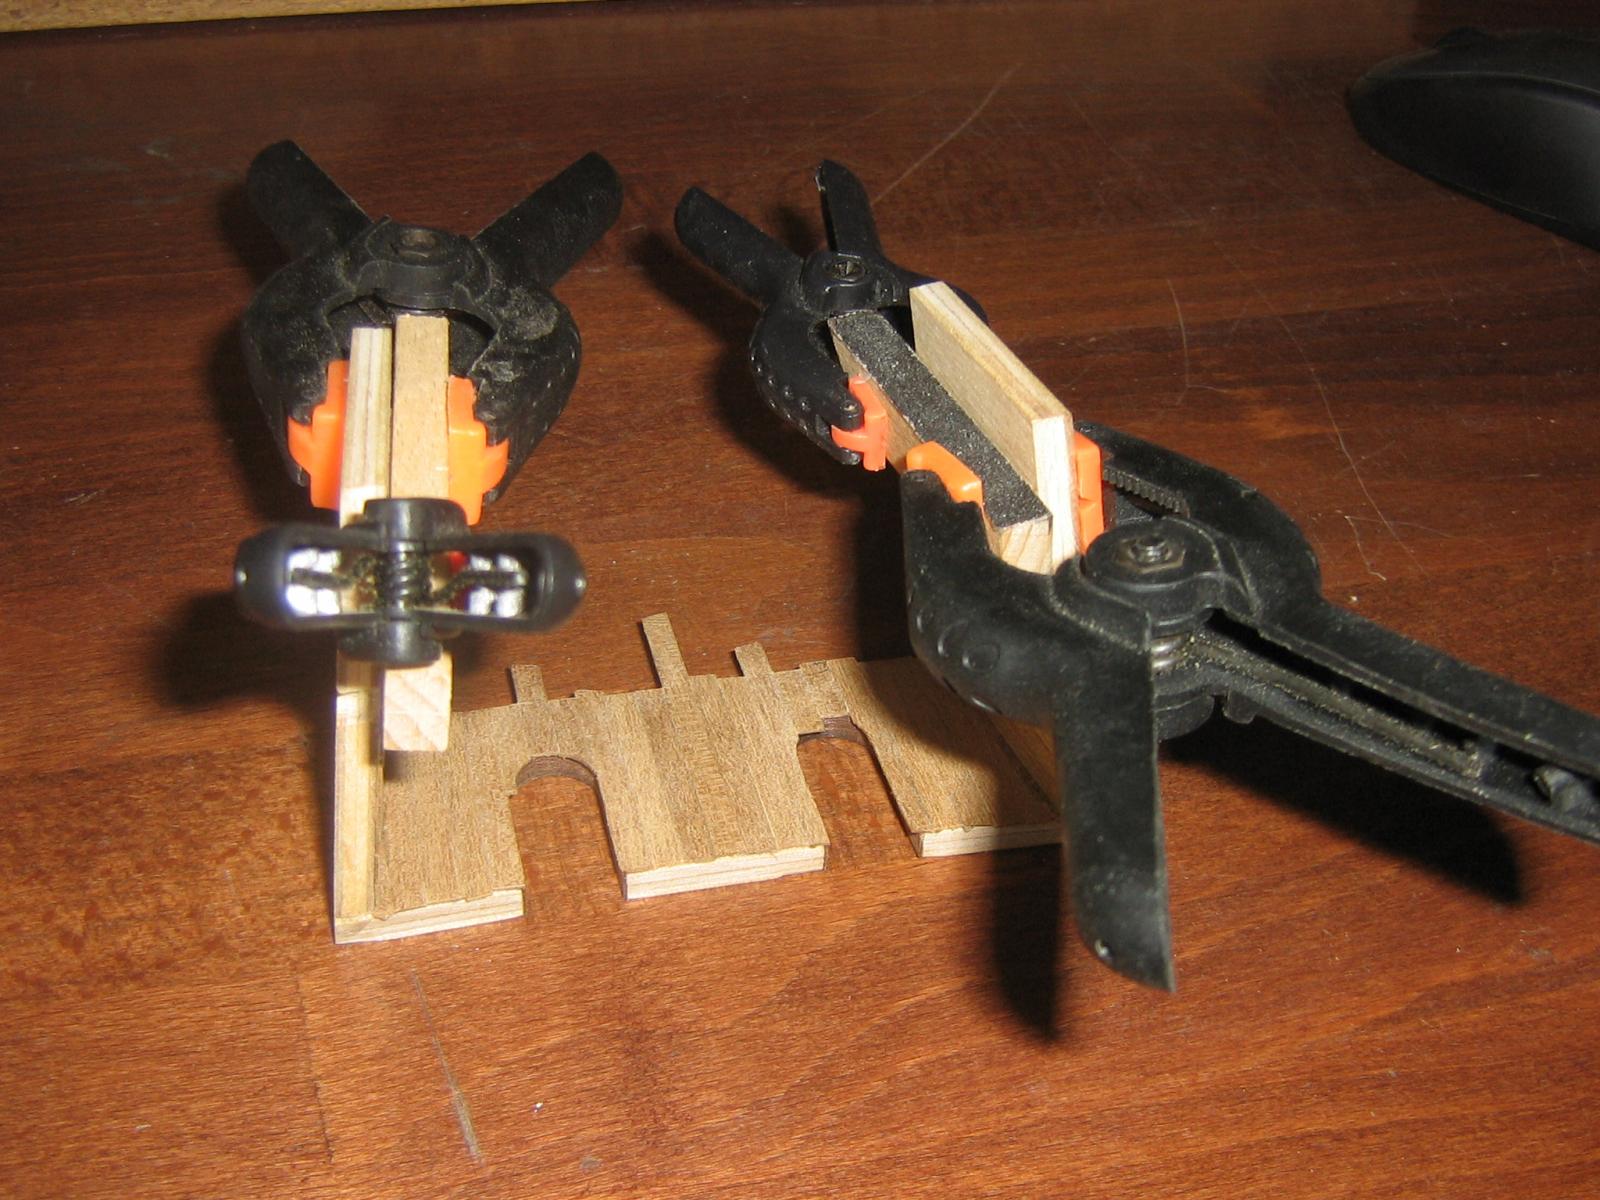
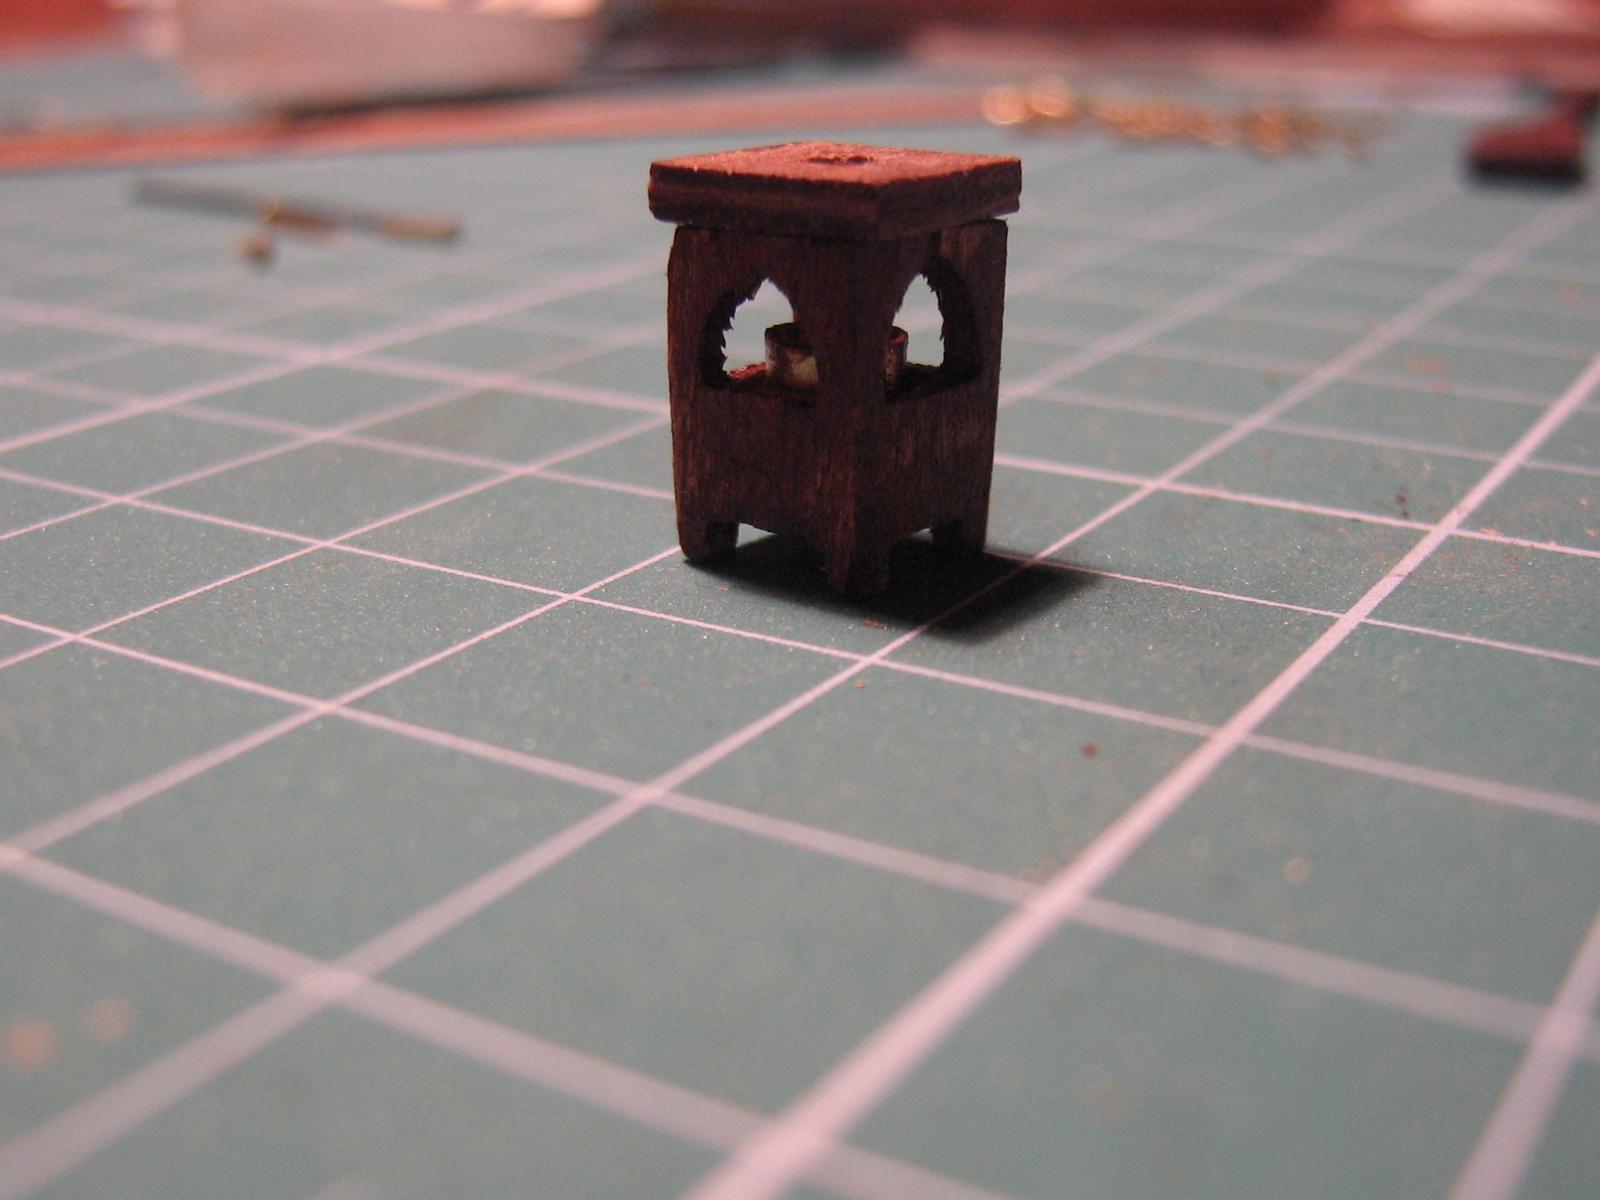
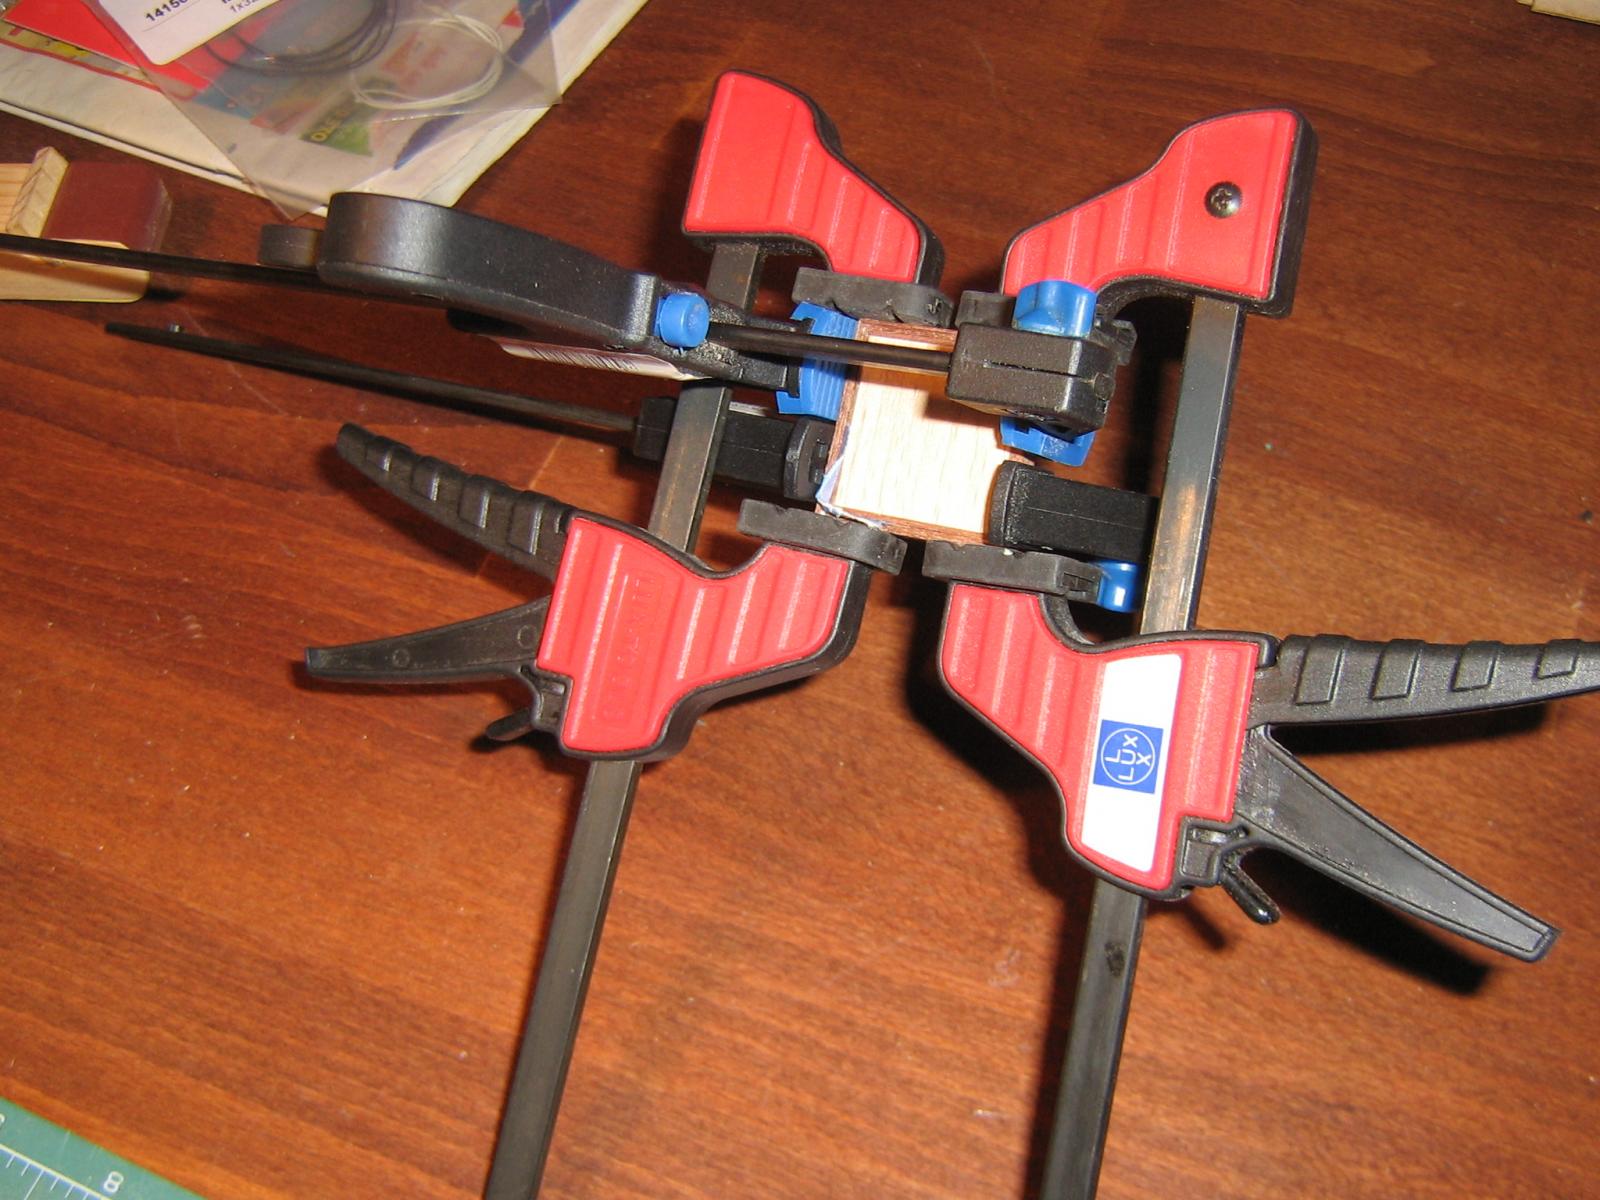
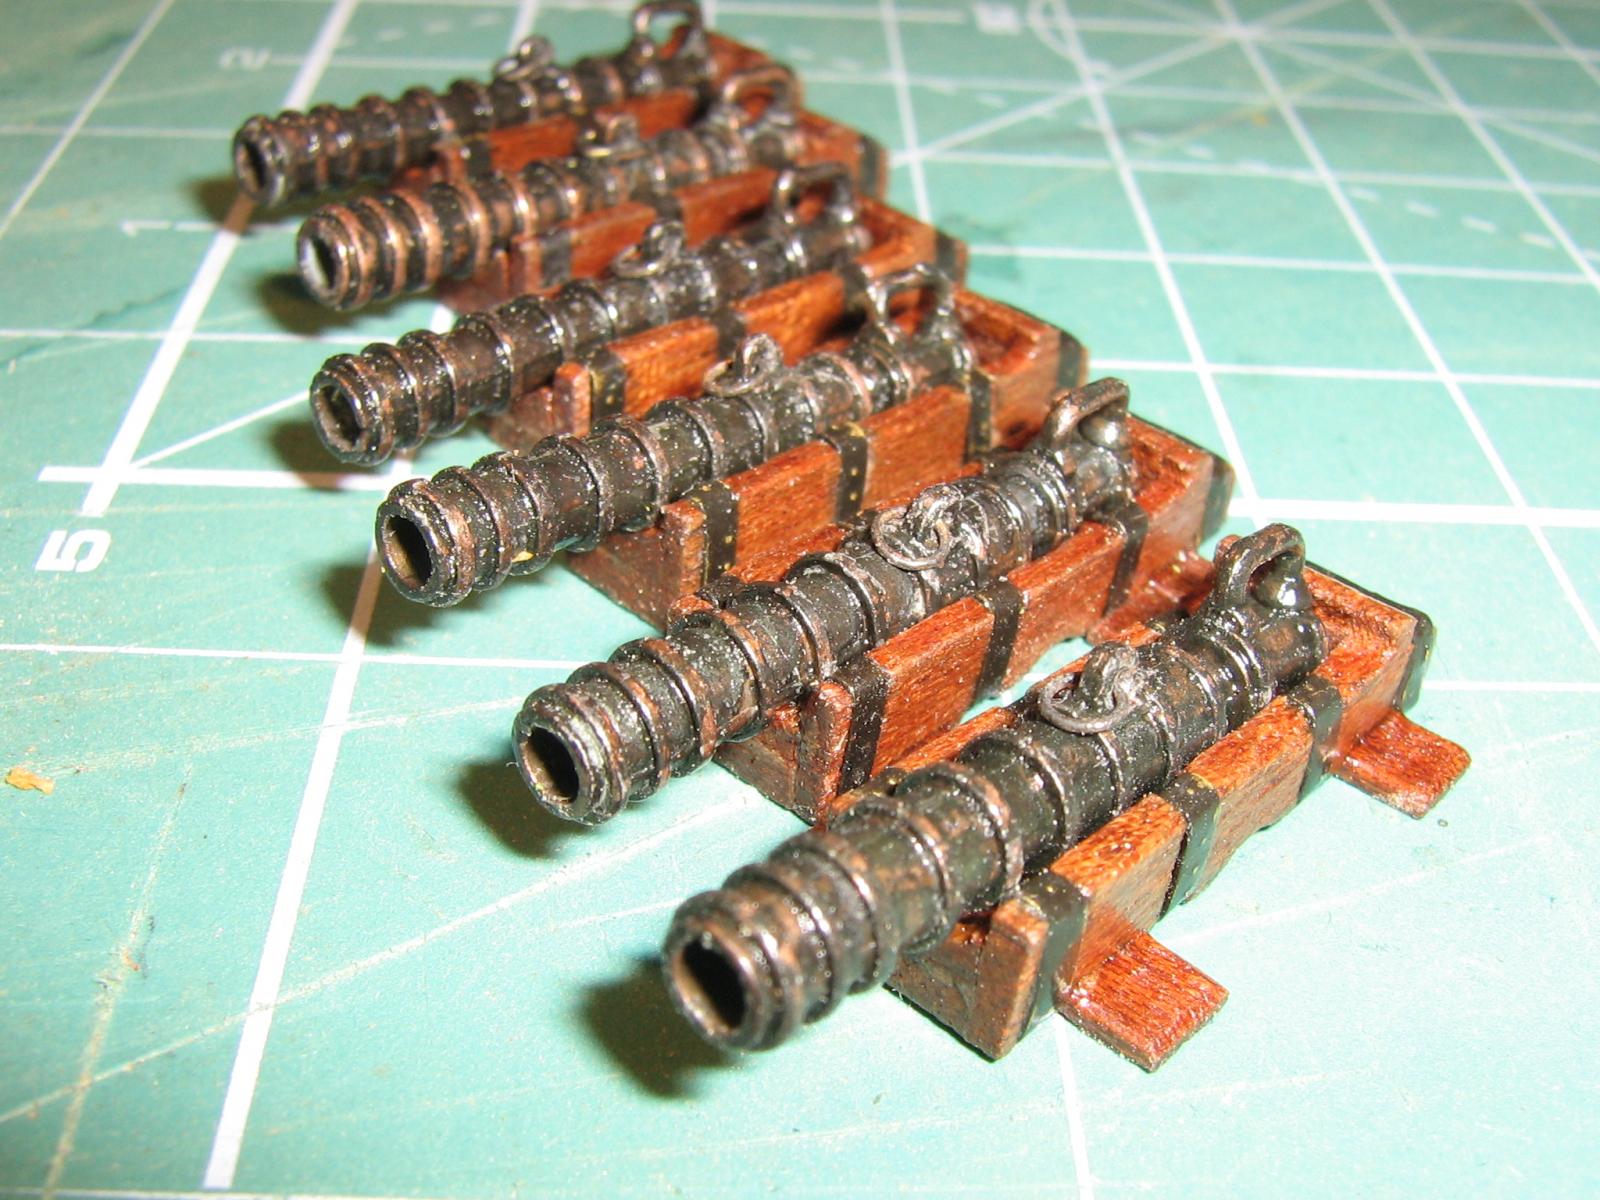
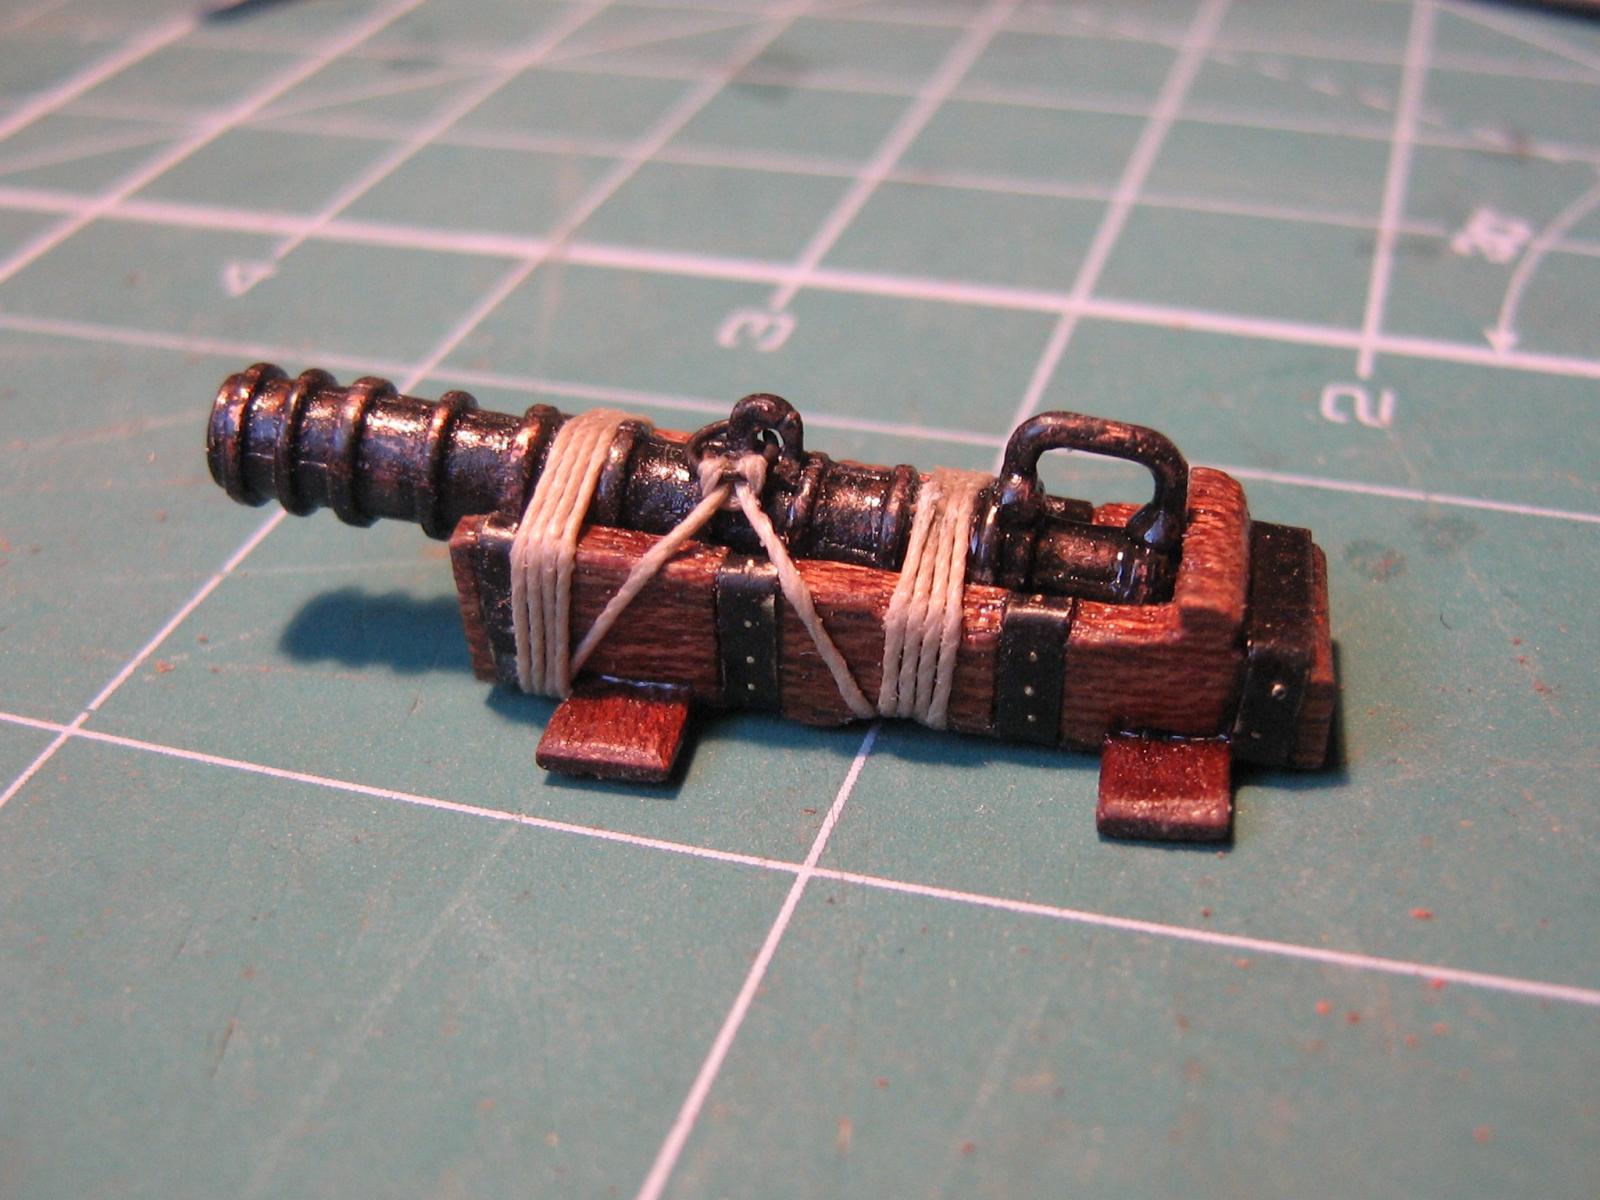
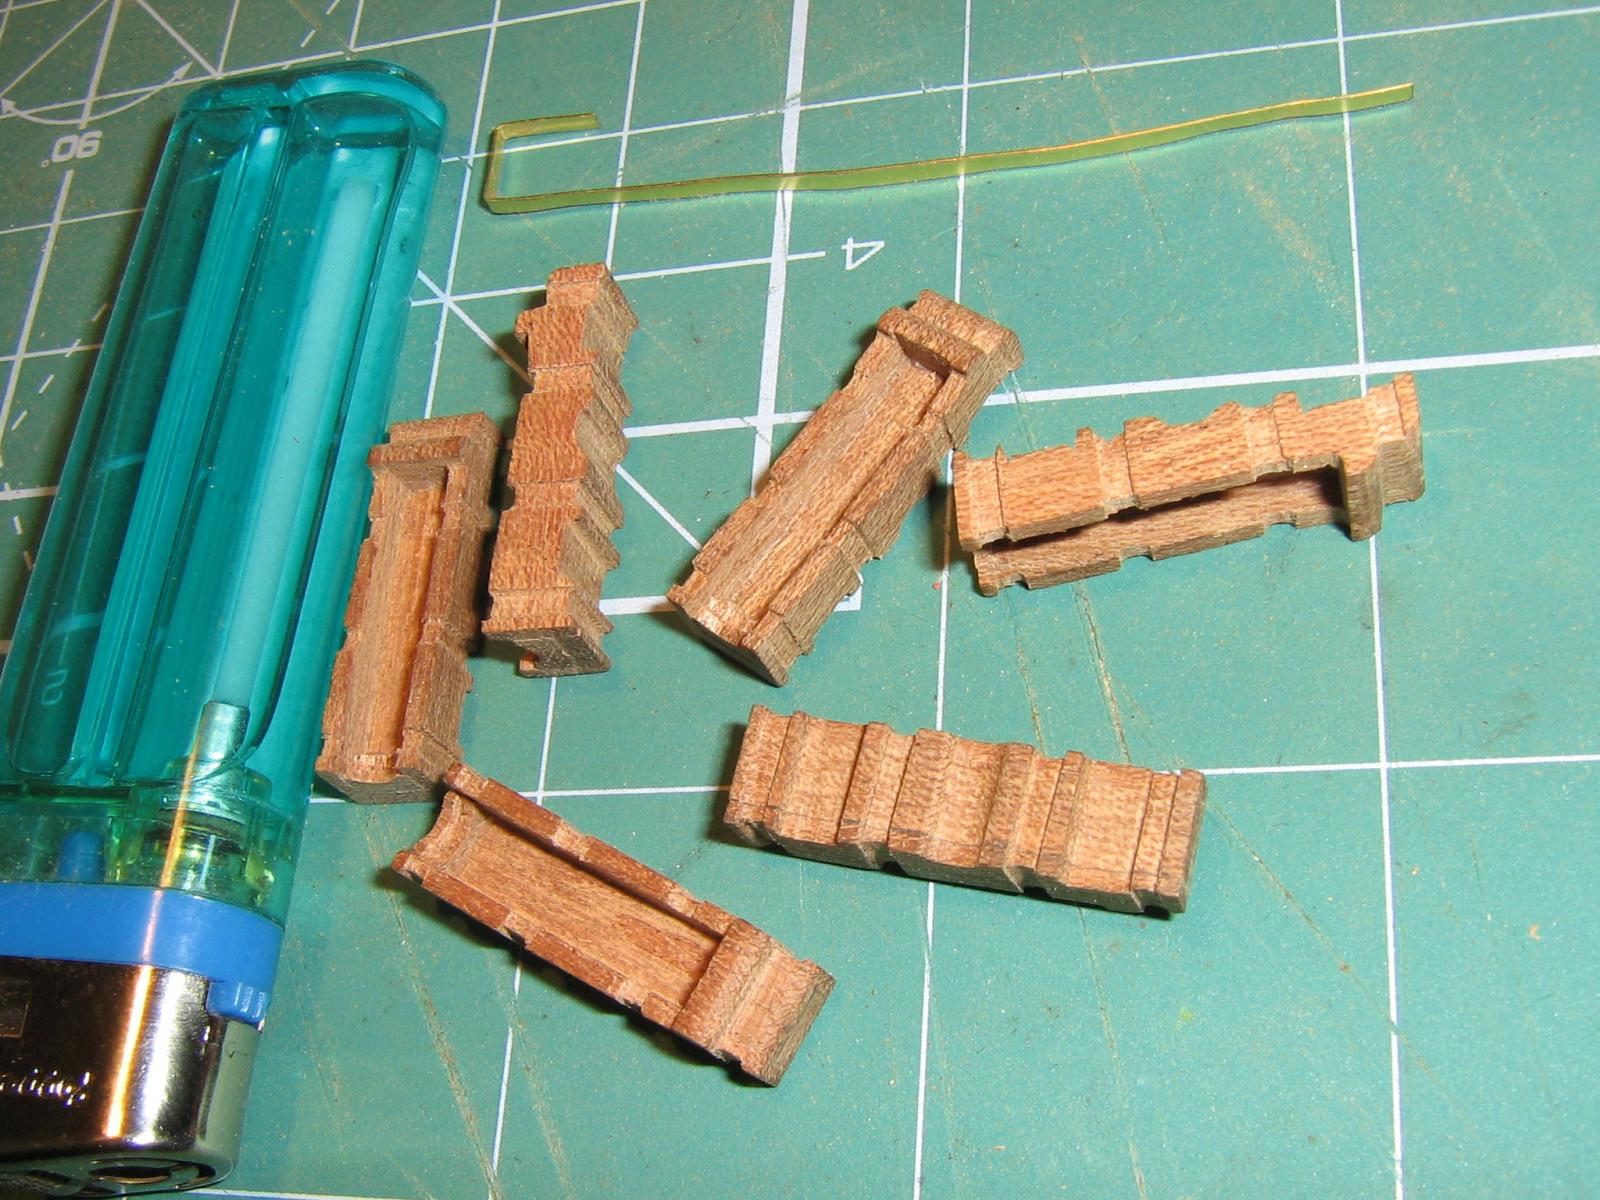
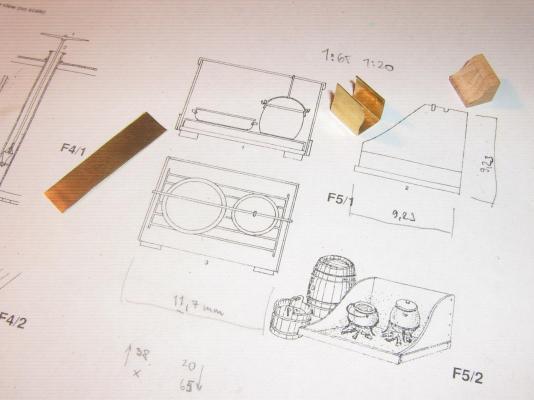
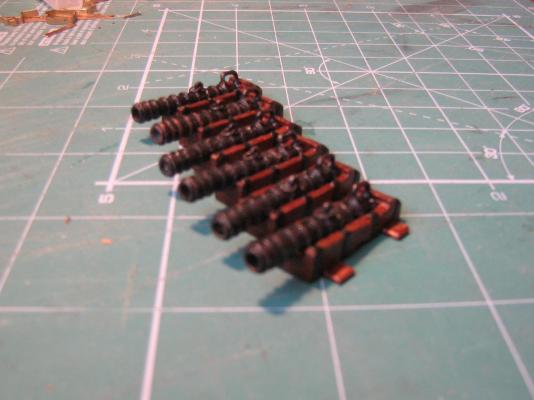
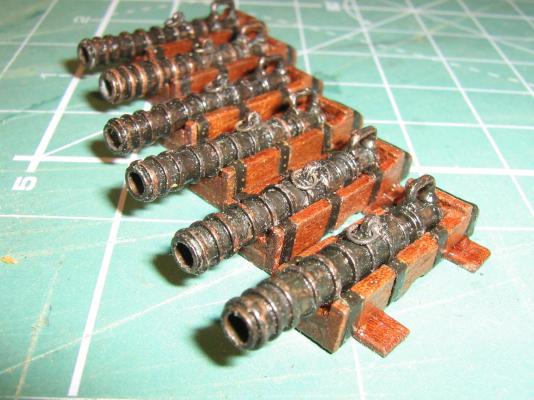
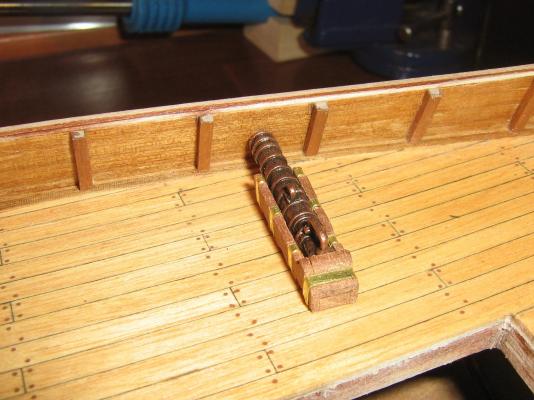
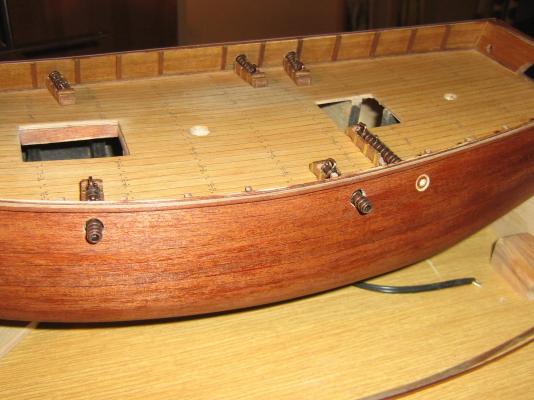
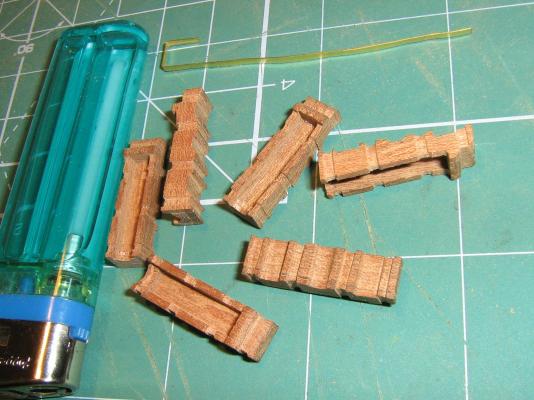
Thanks Nigel, Tim and Matti for comments! Work goes on. I finished all 6 cannons a the rudder. Starting with deck furniture and fittings. I´m workin on hatches, binnacle and windlass.


- 79 replies
-
- 6
-
-
- santa maria
- amati
- (and 2 more)
-
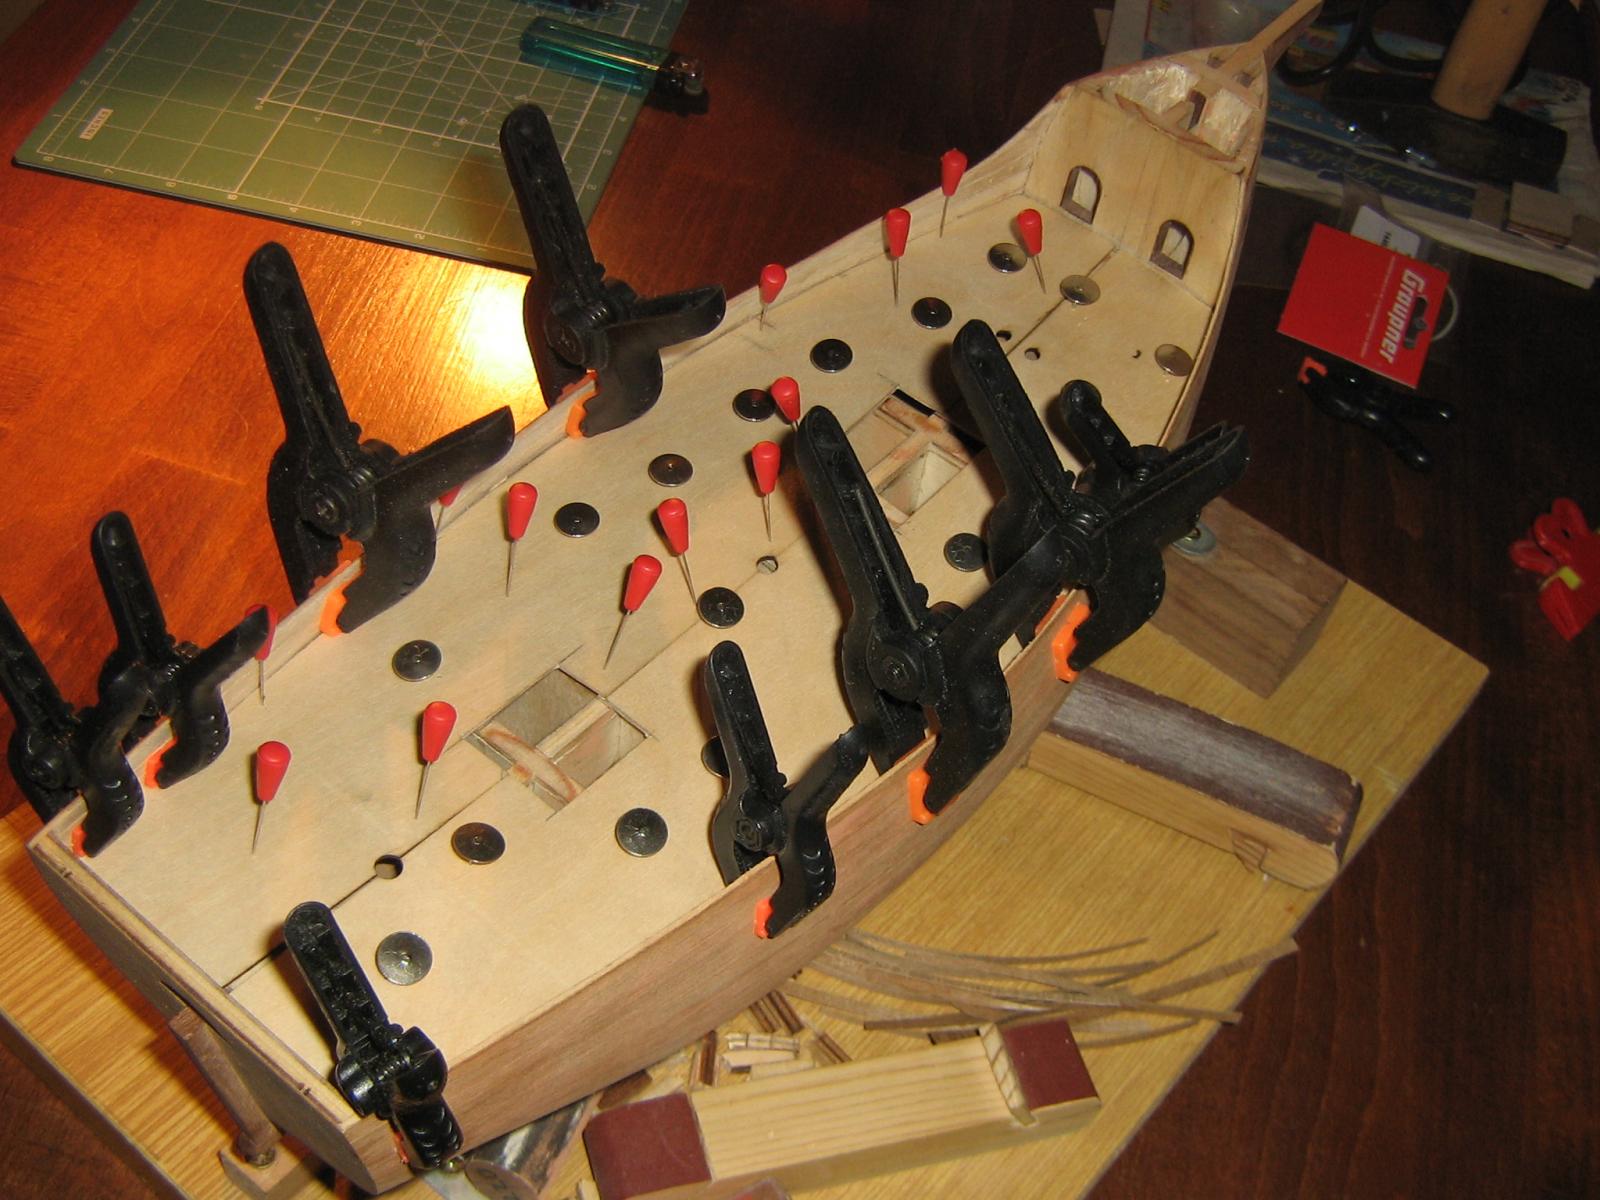
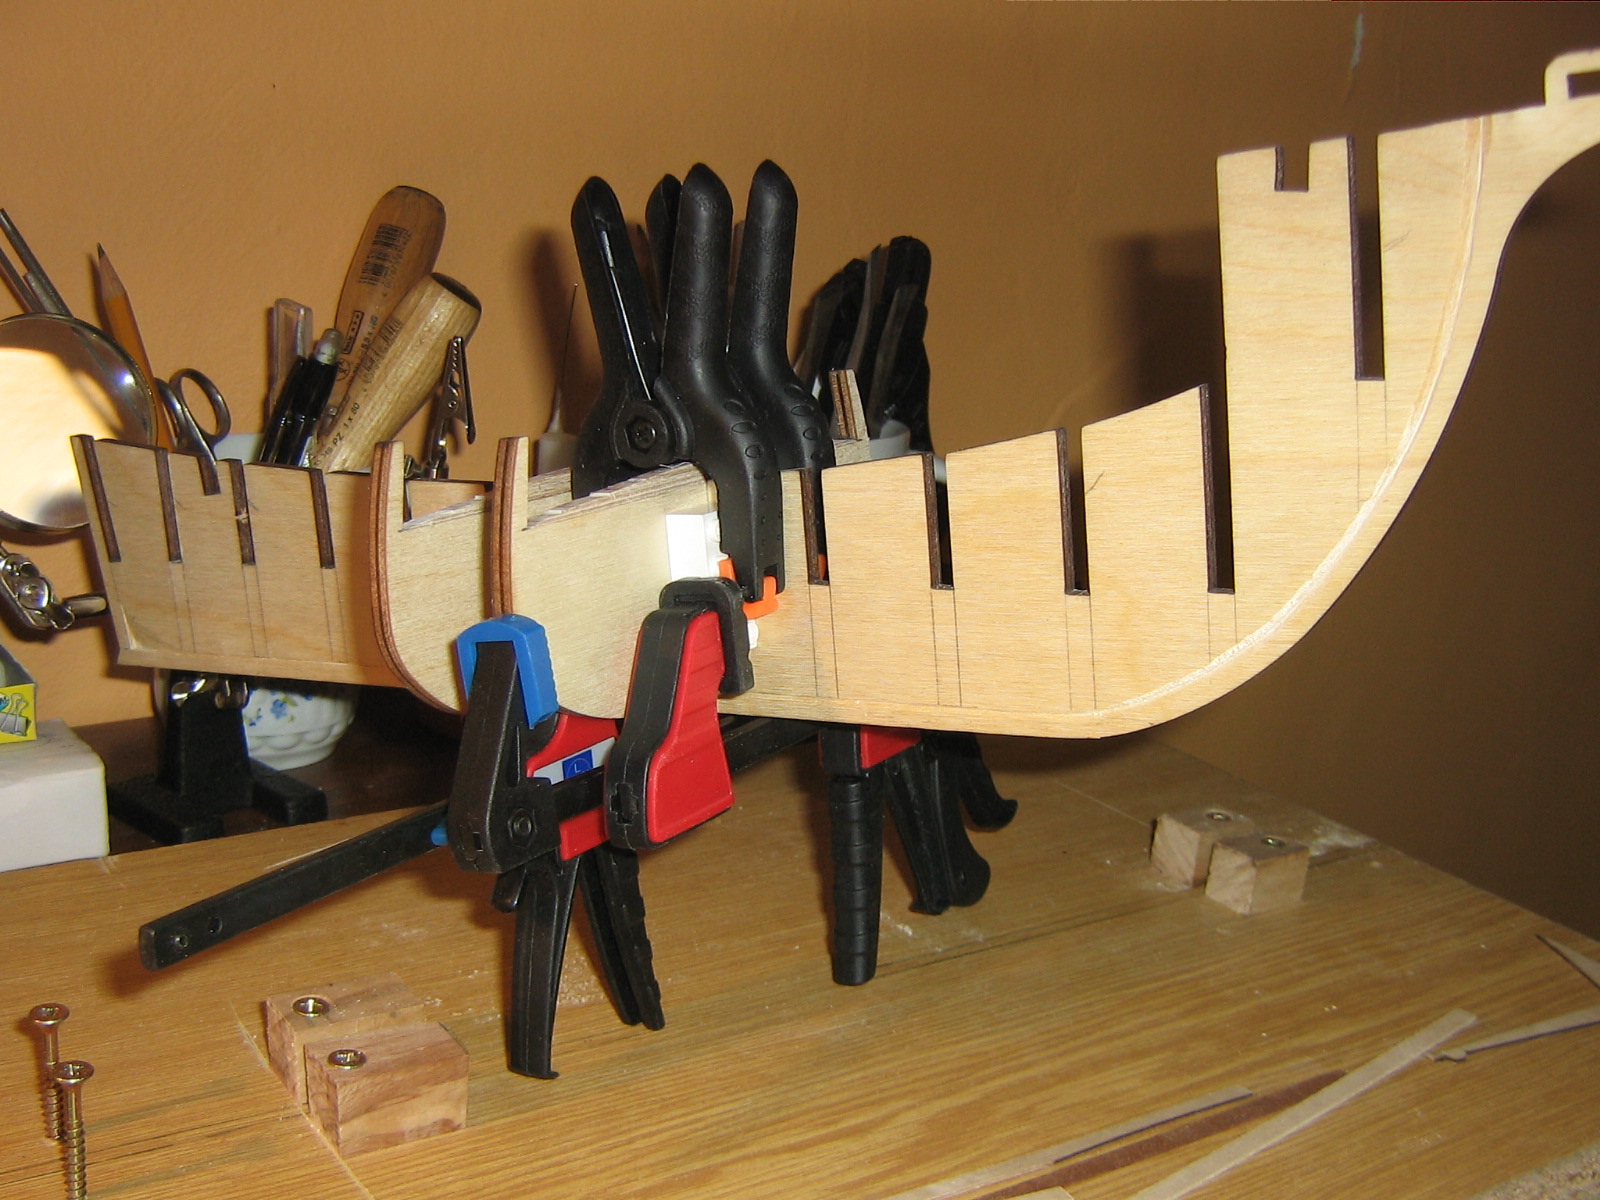
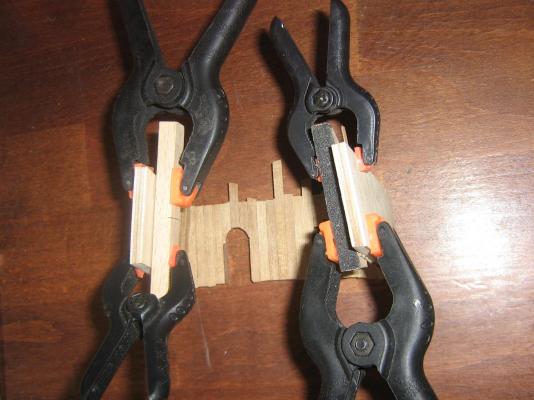
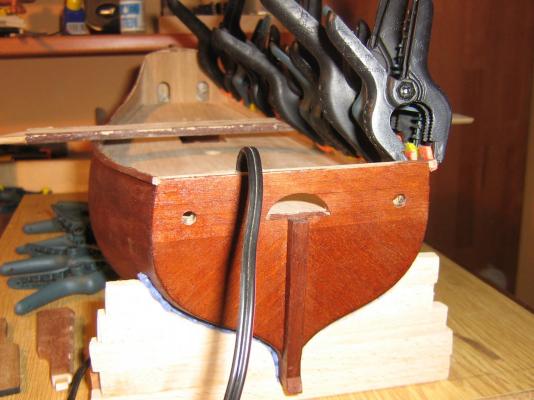
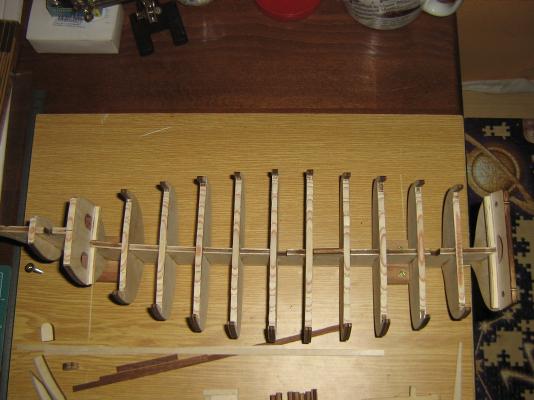
Hello Tom, very nice and very handy clamps. I´m also working with them but this adjustment I did not know. Thanks. I am looking forward to your progress. shipcarpenter
-
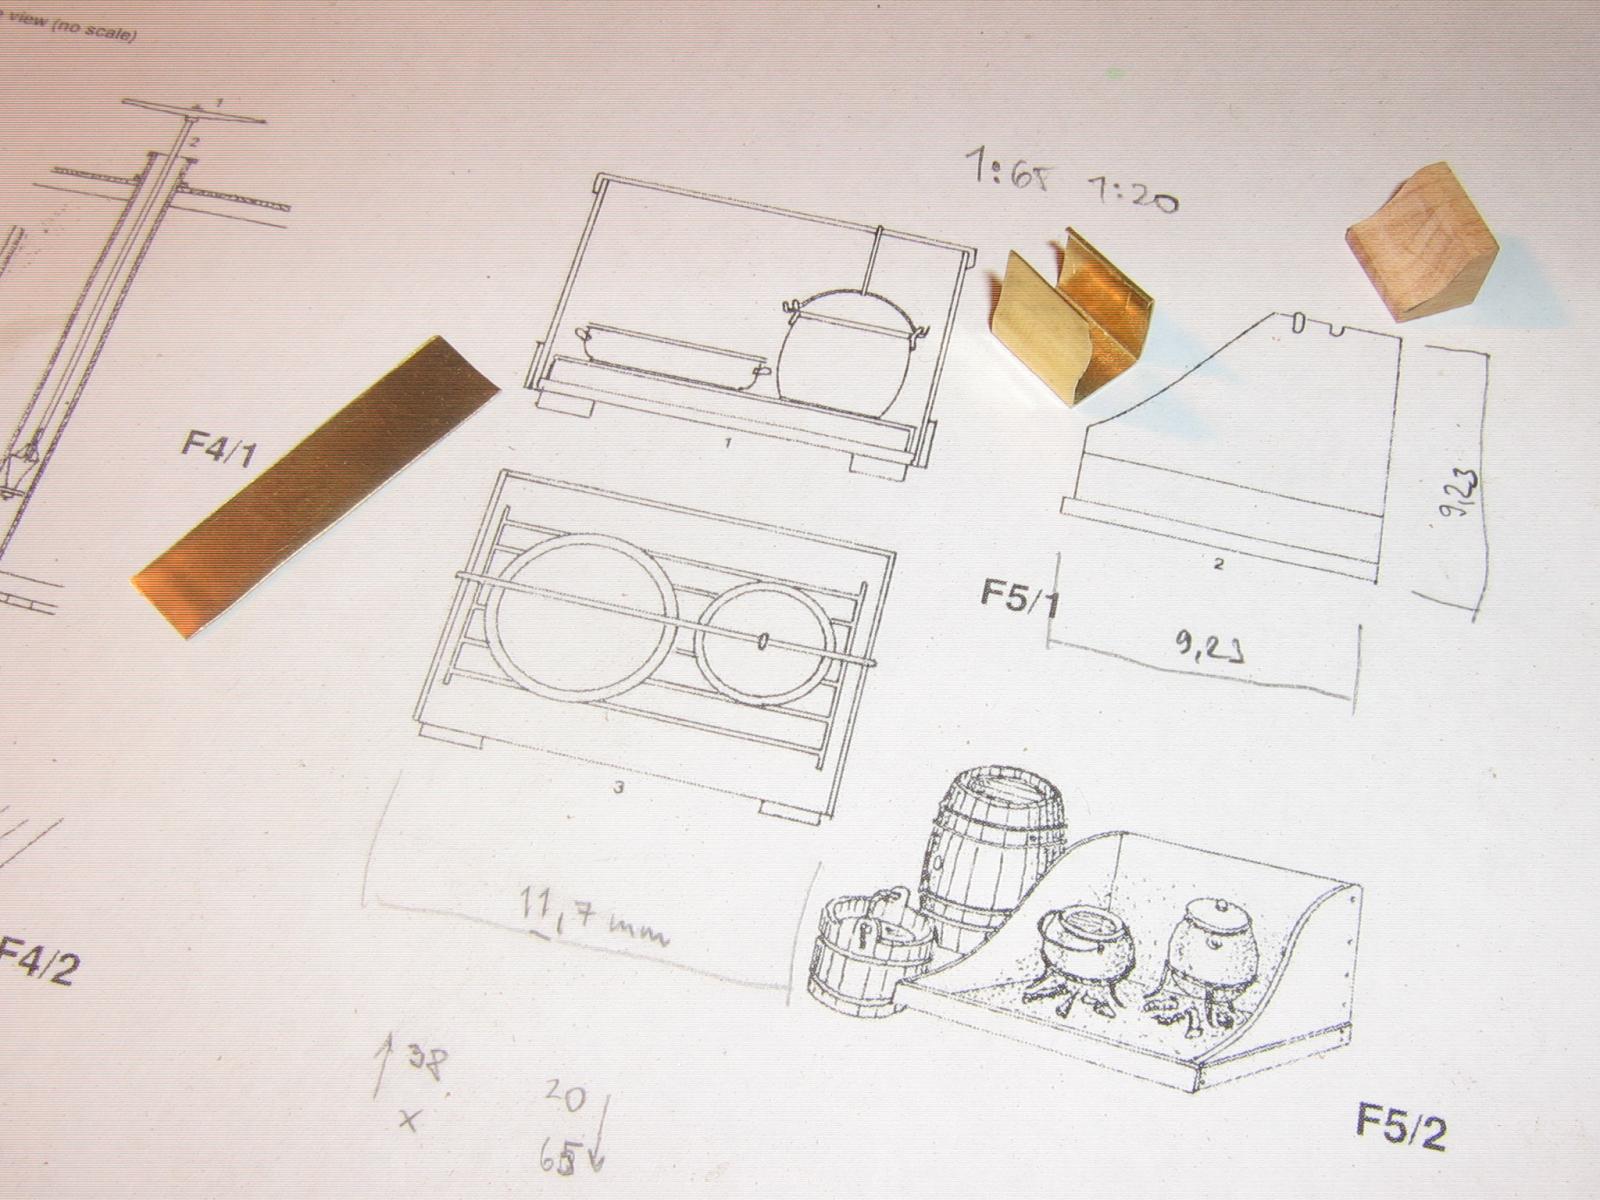
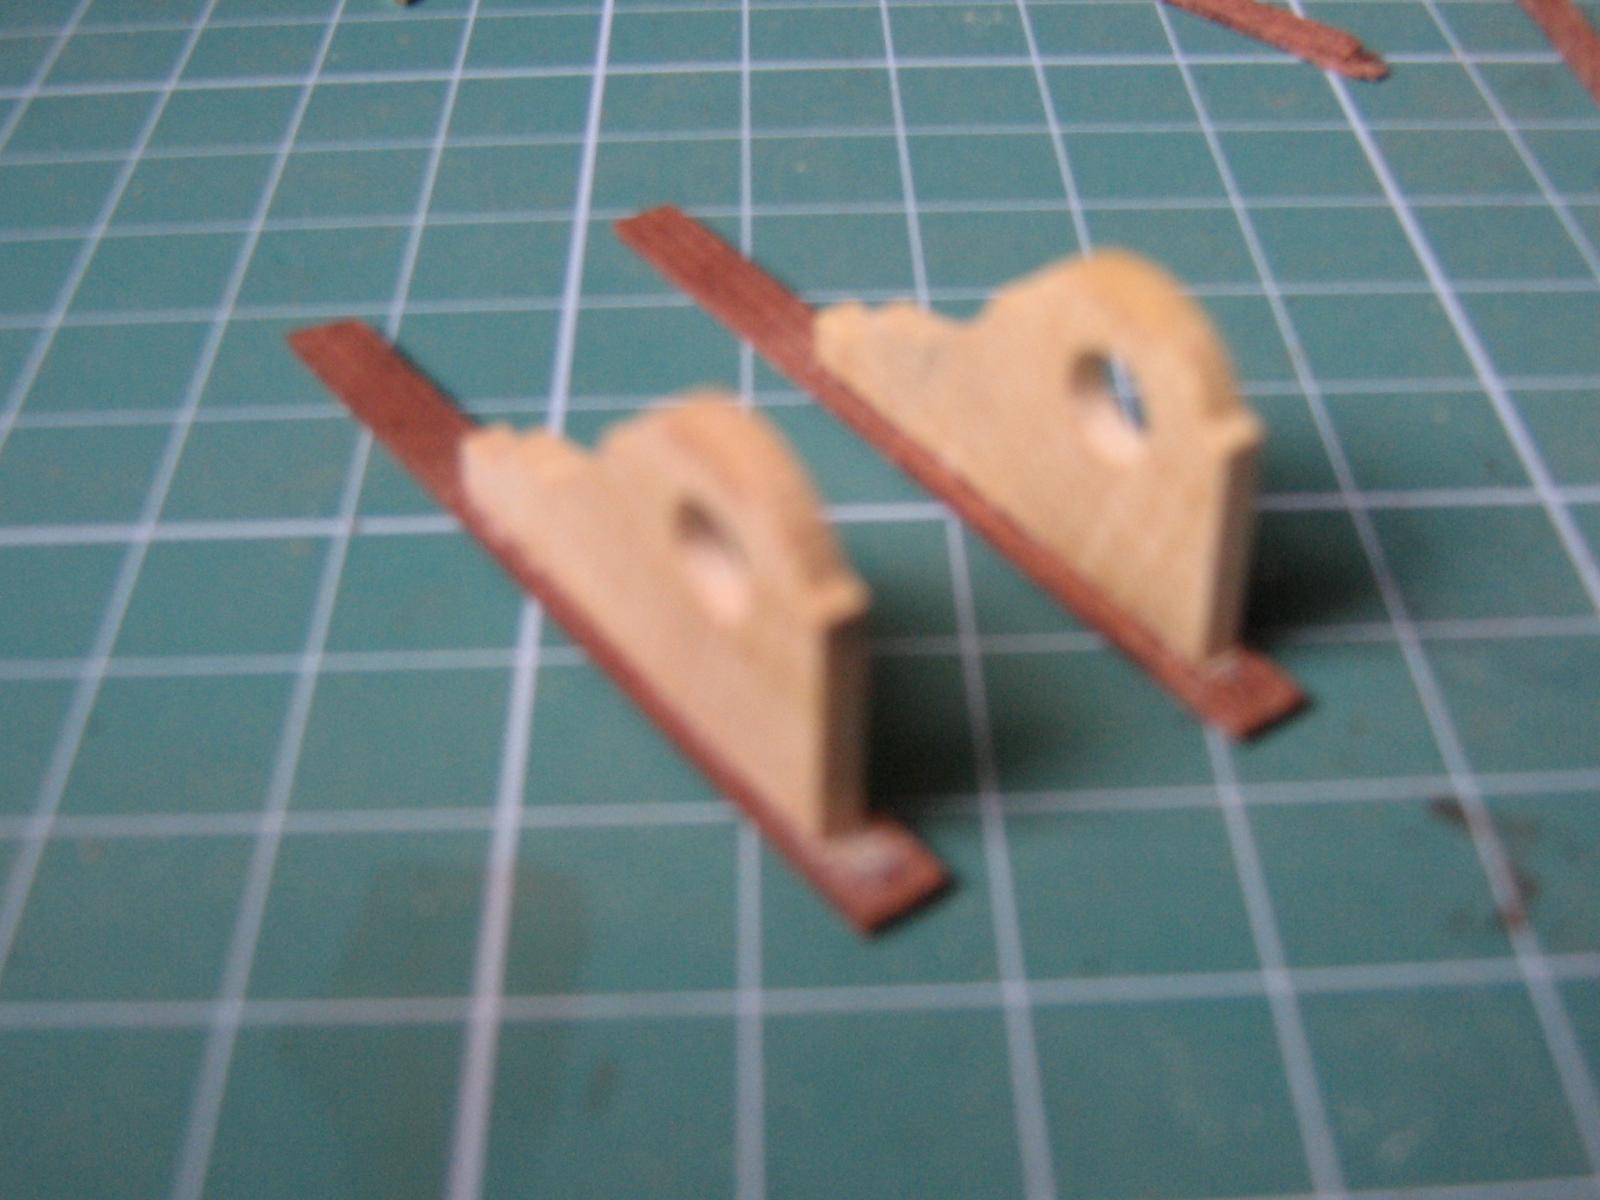
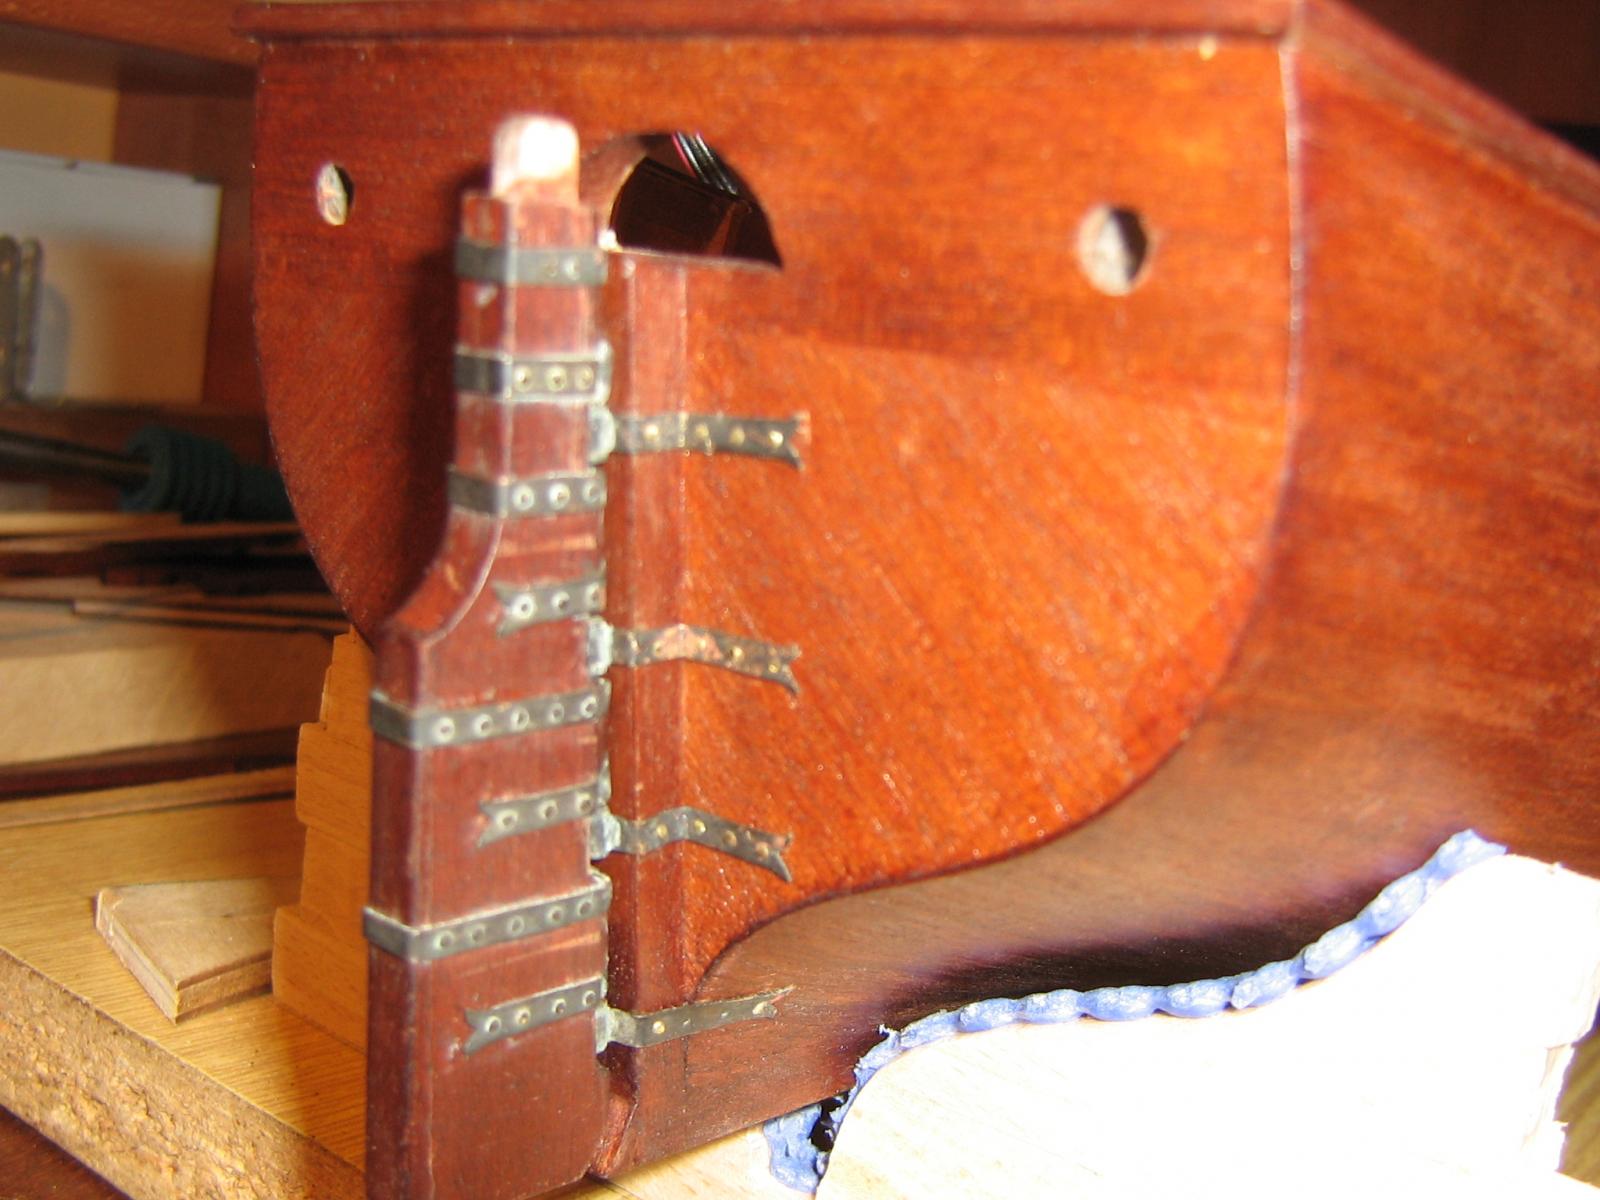
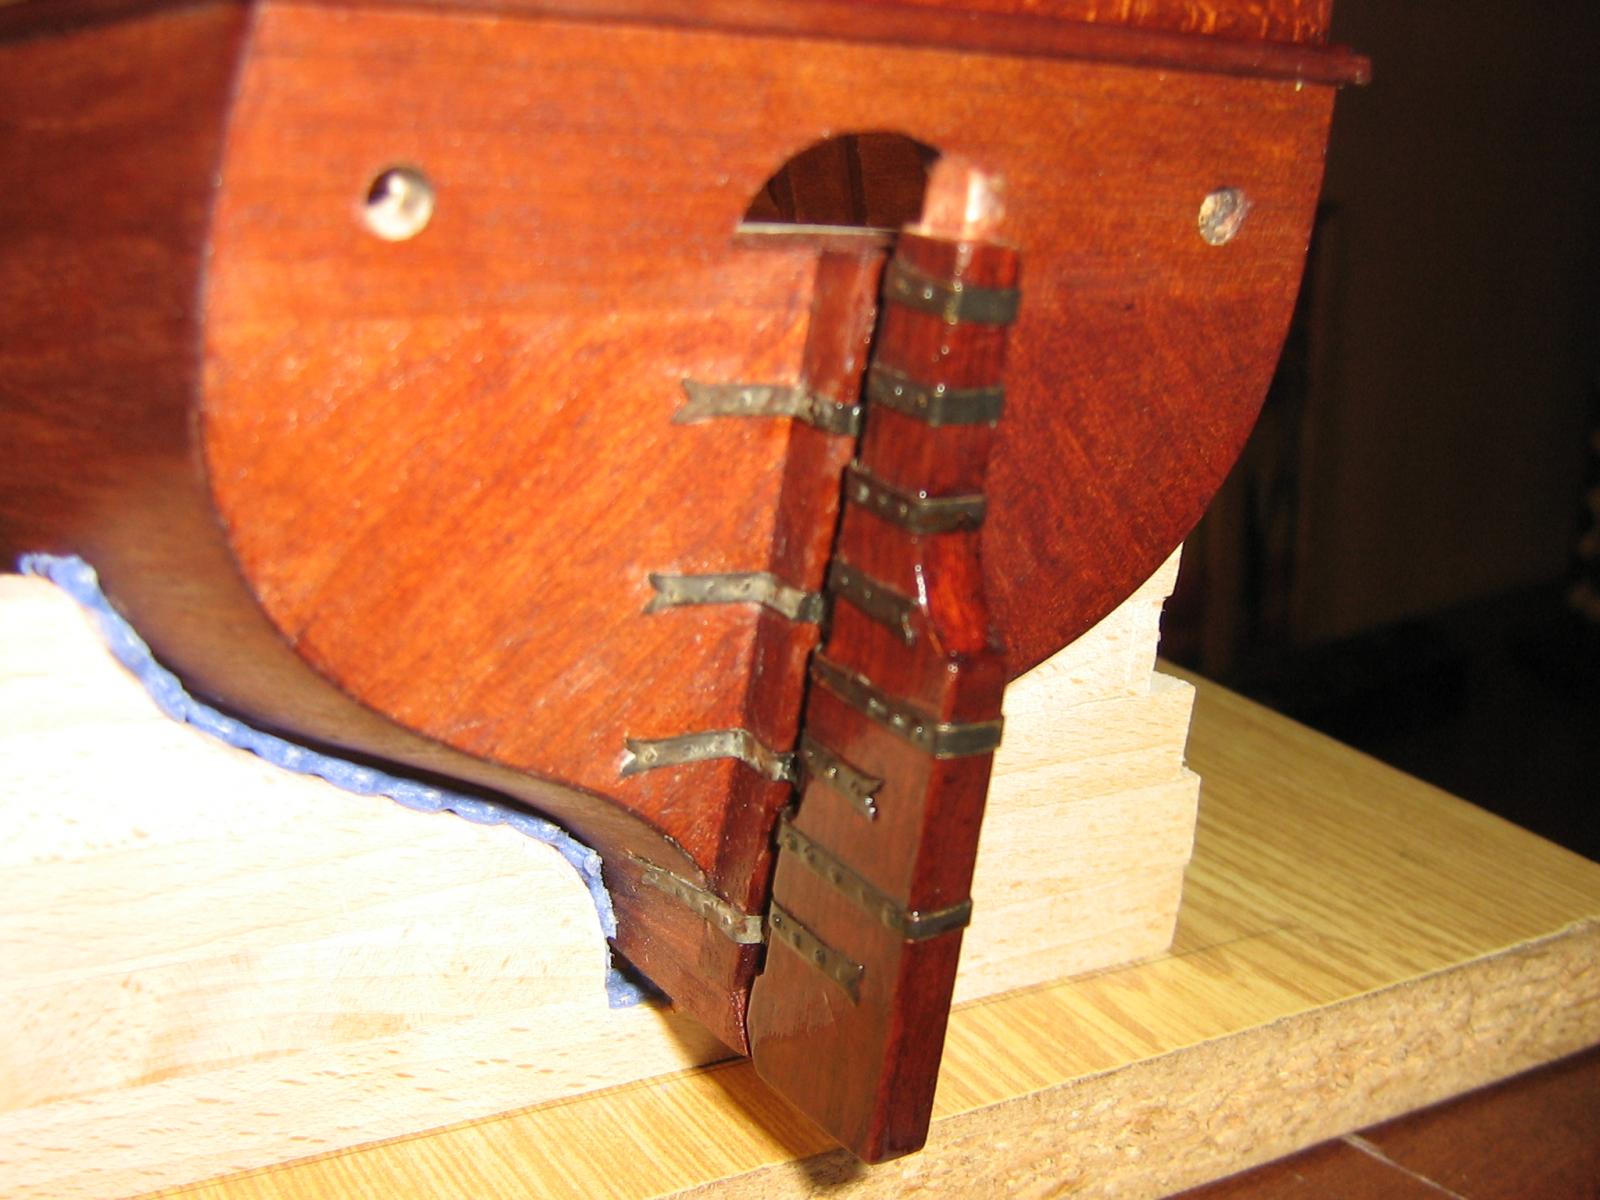
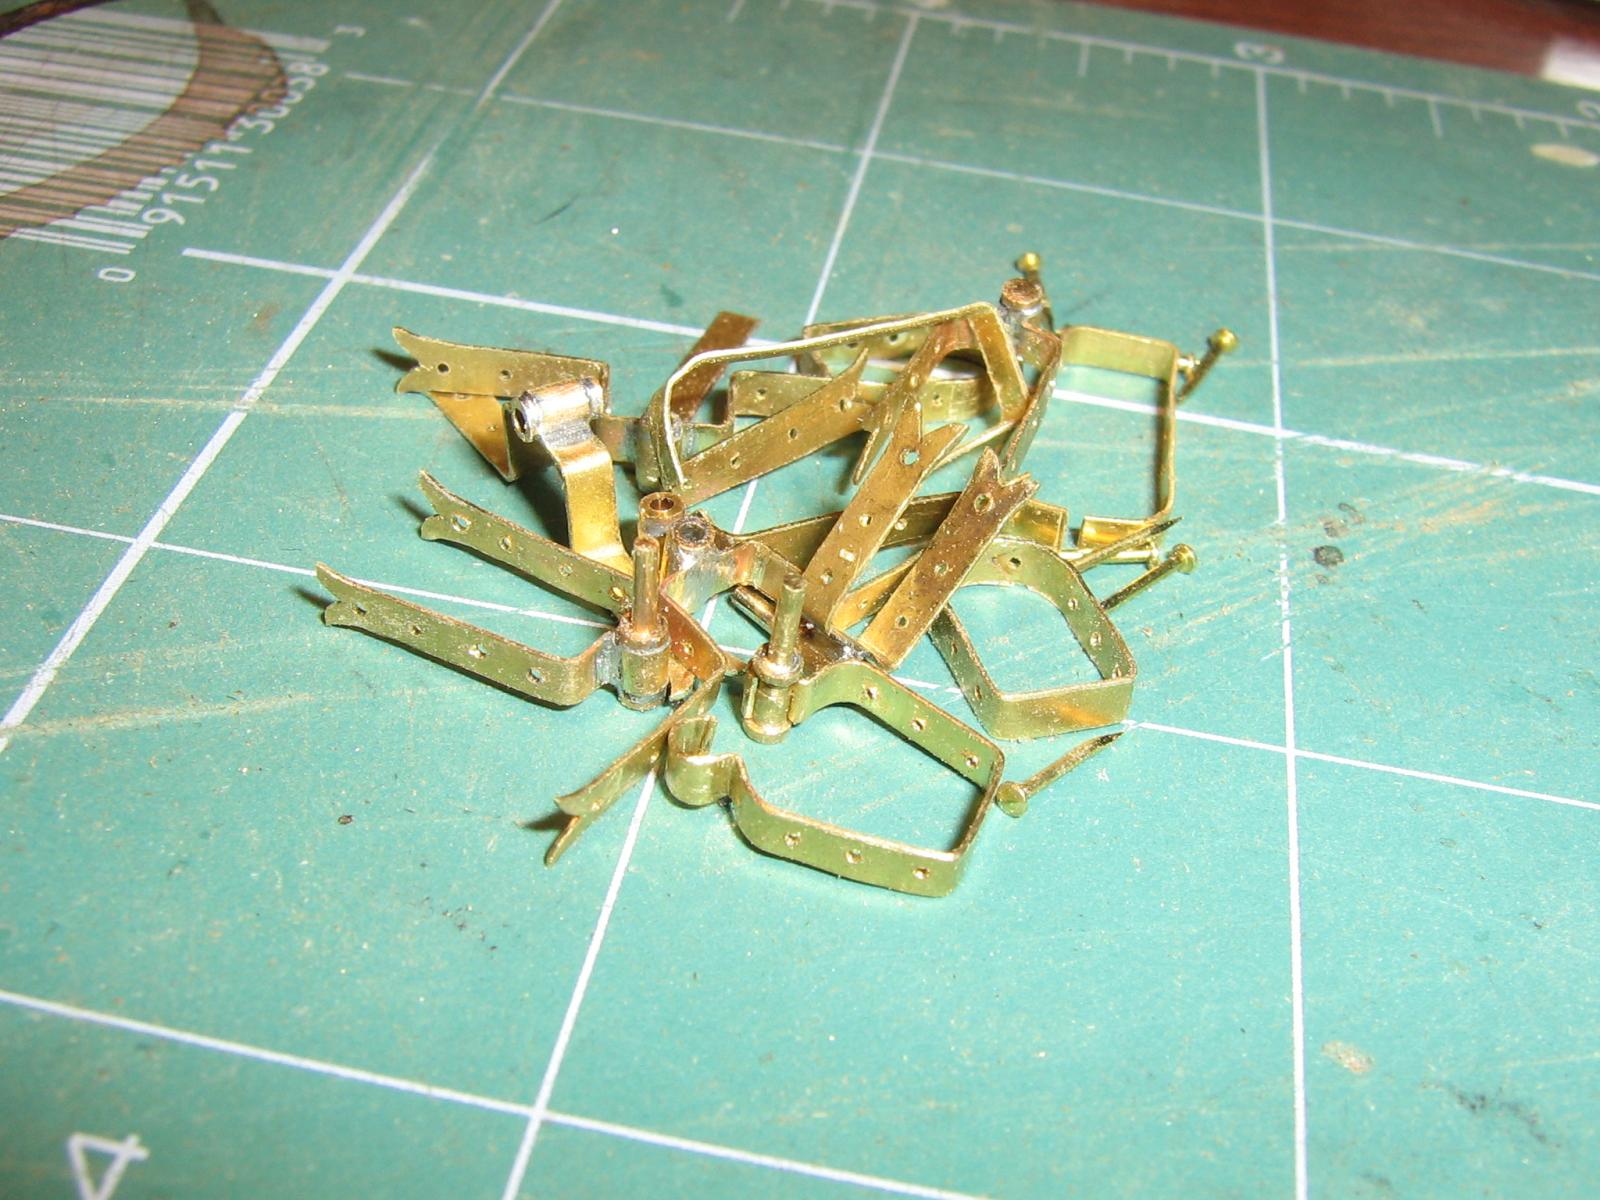
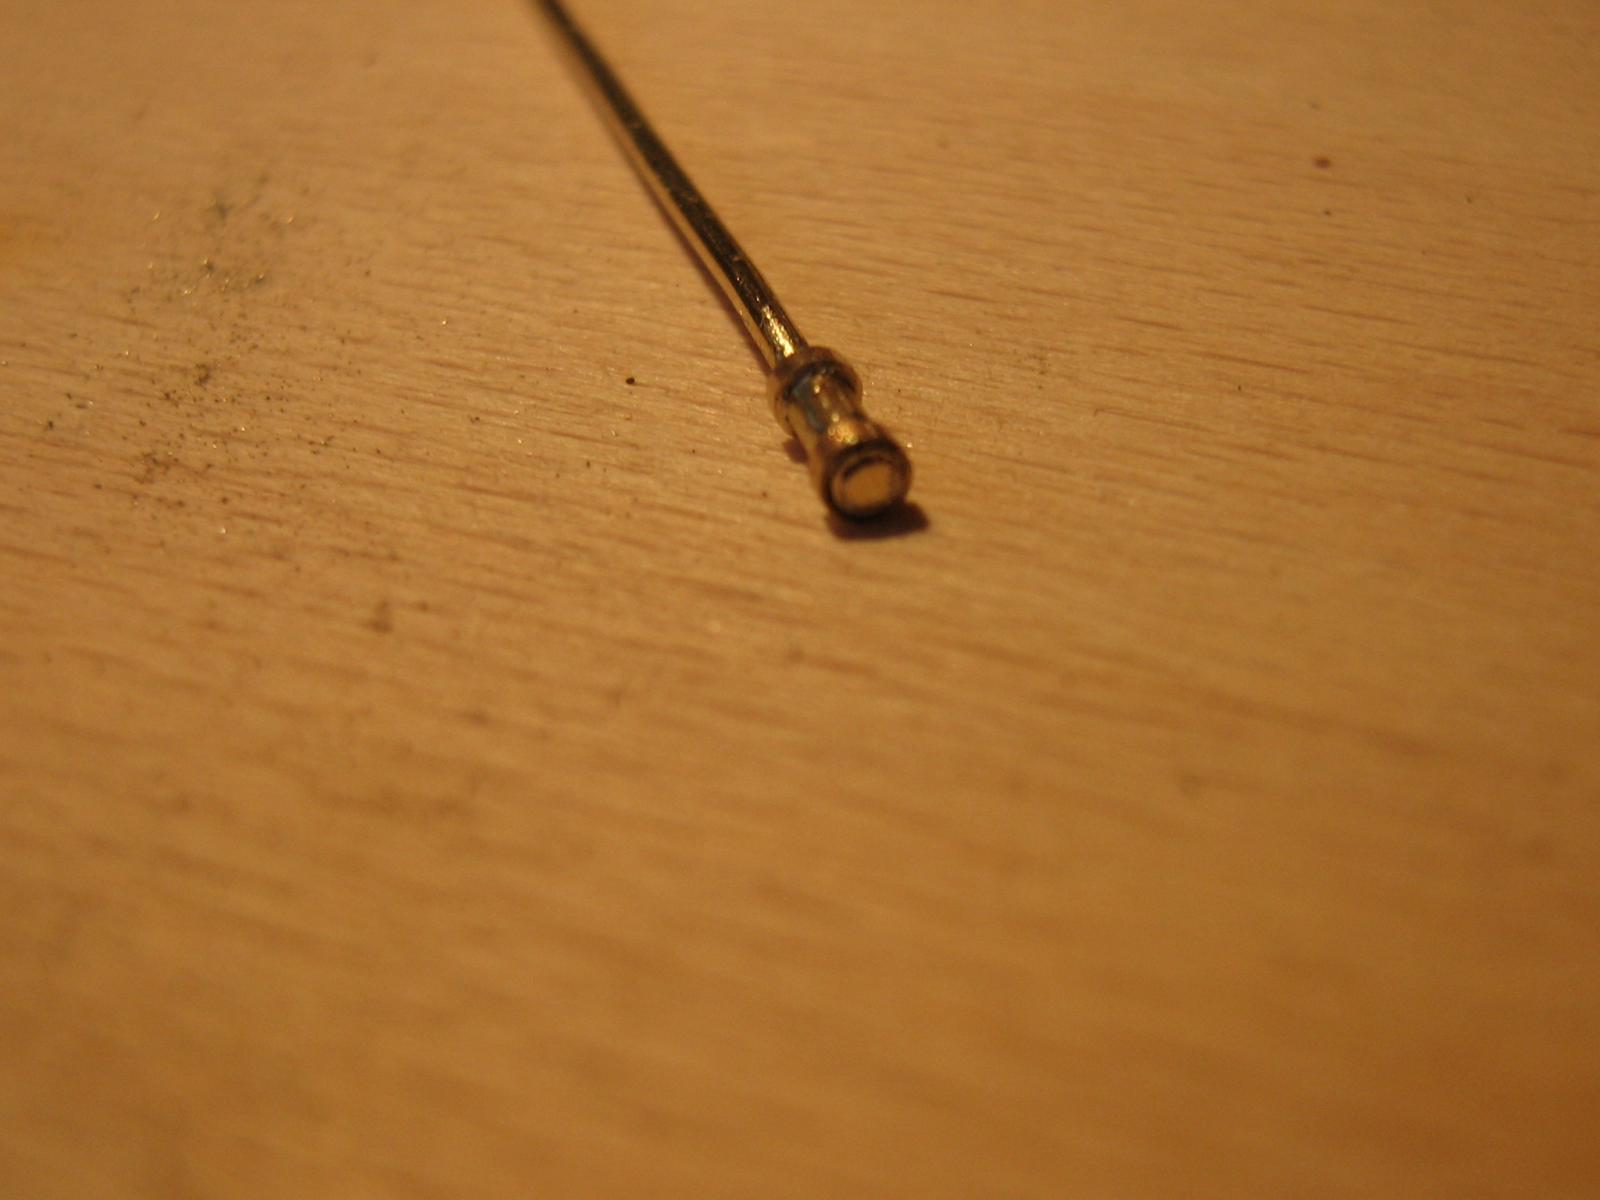
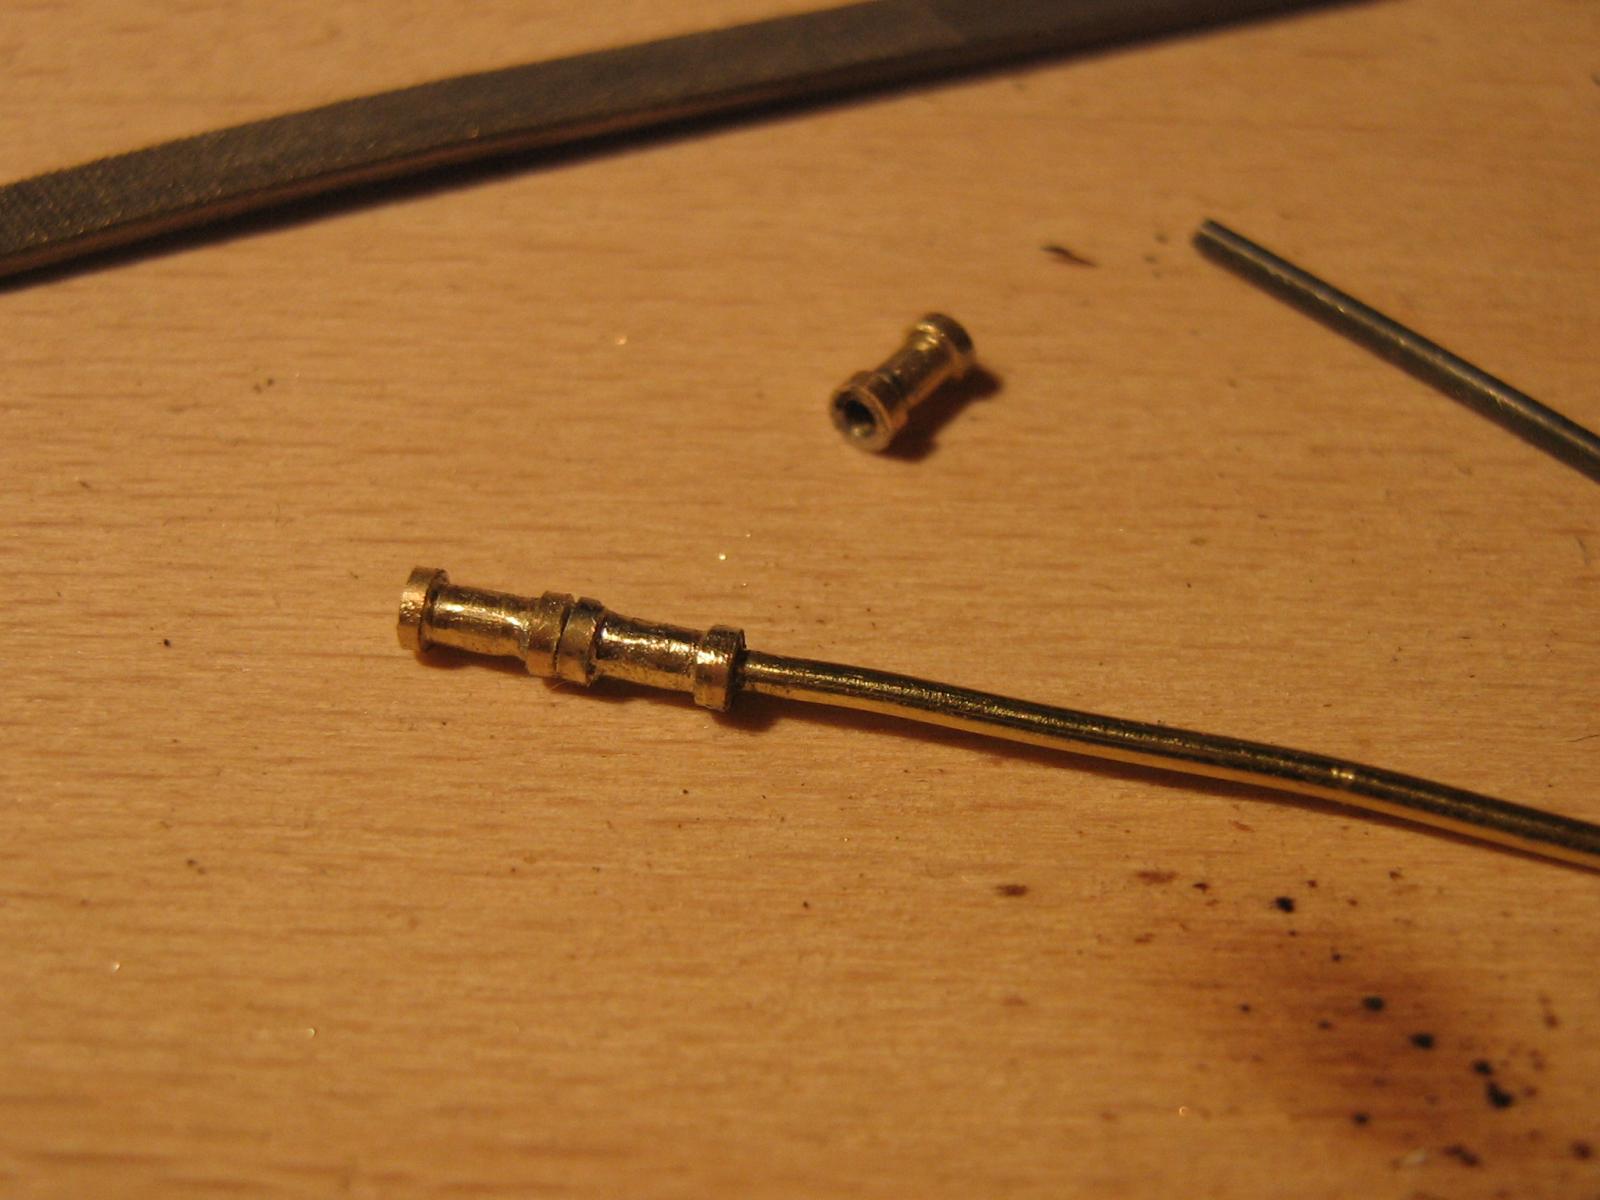
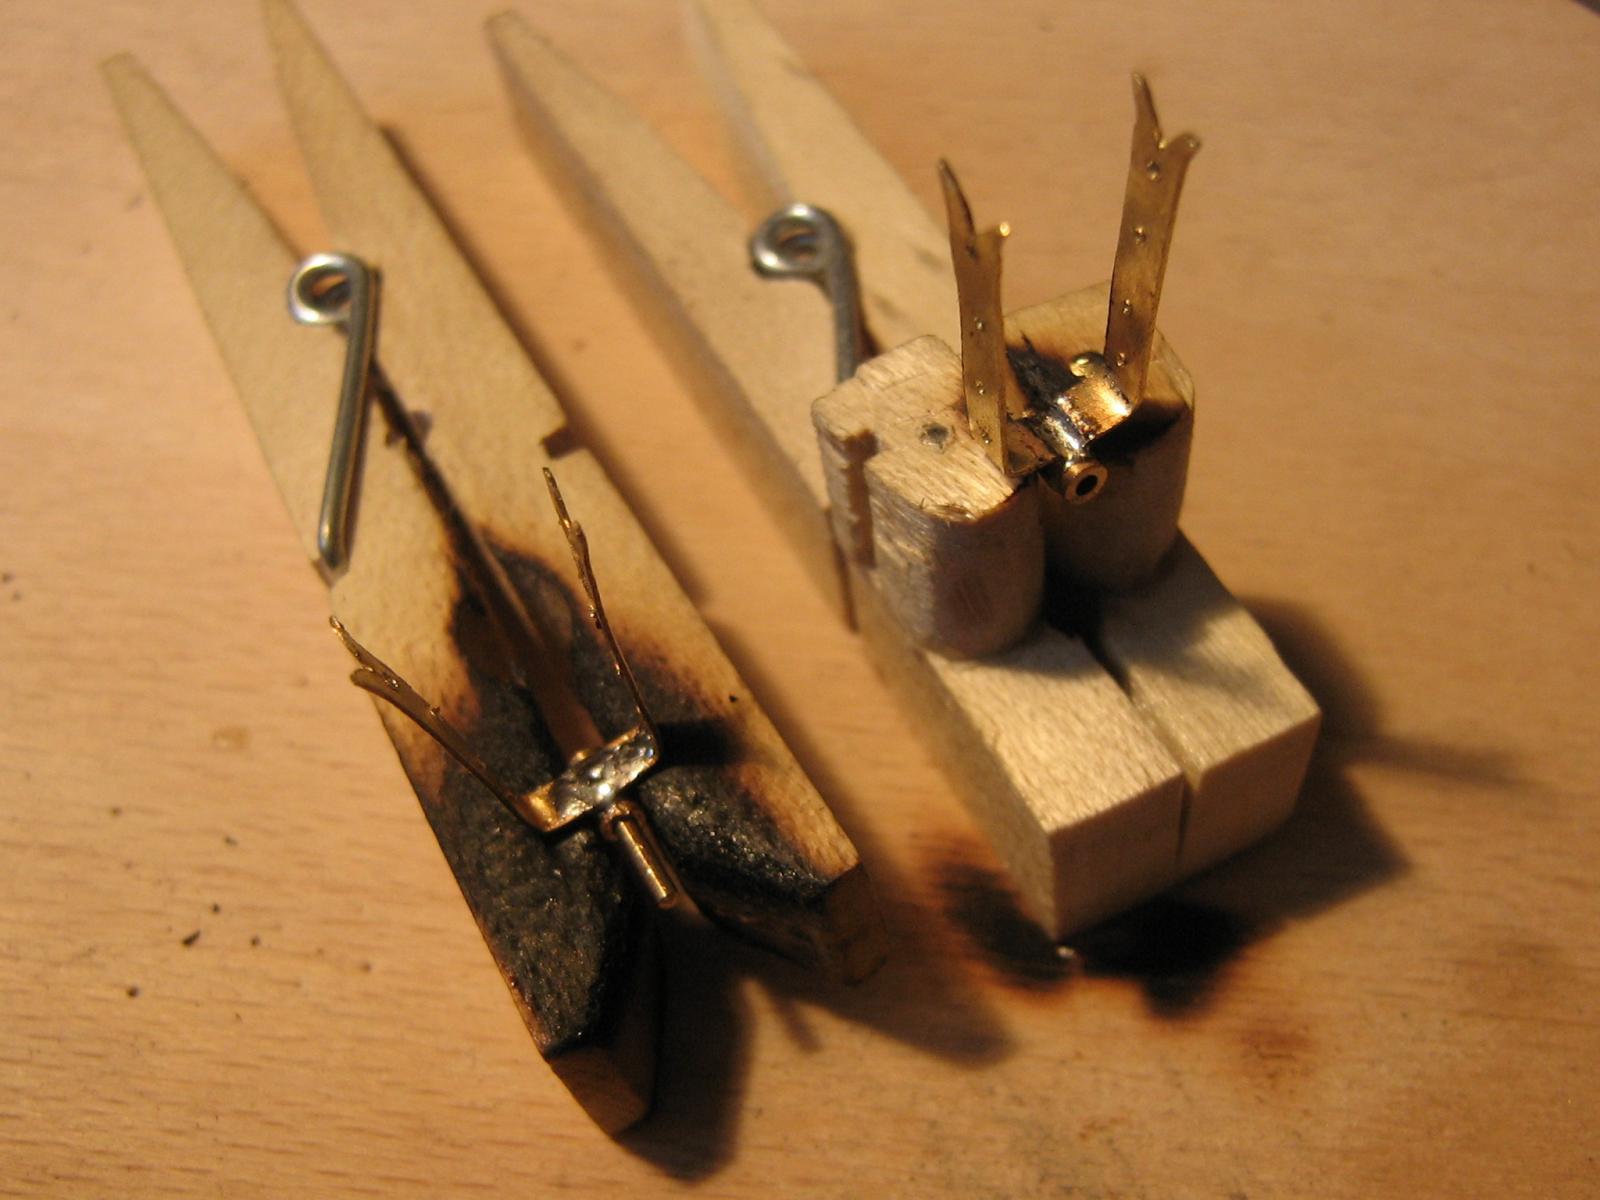
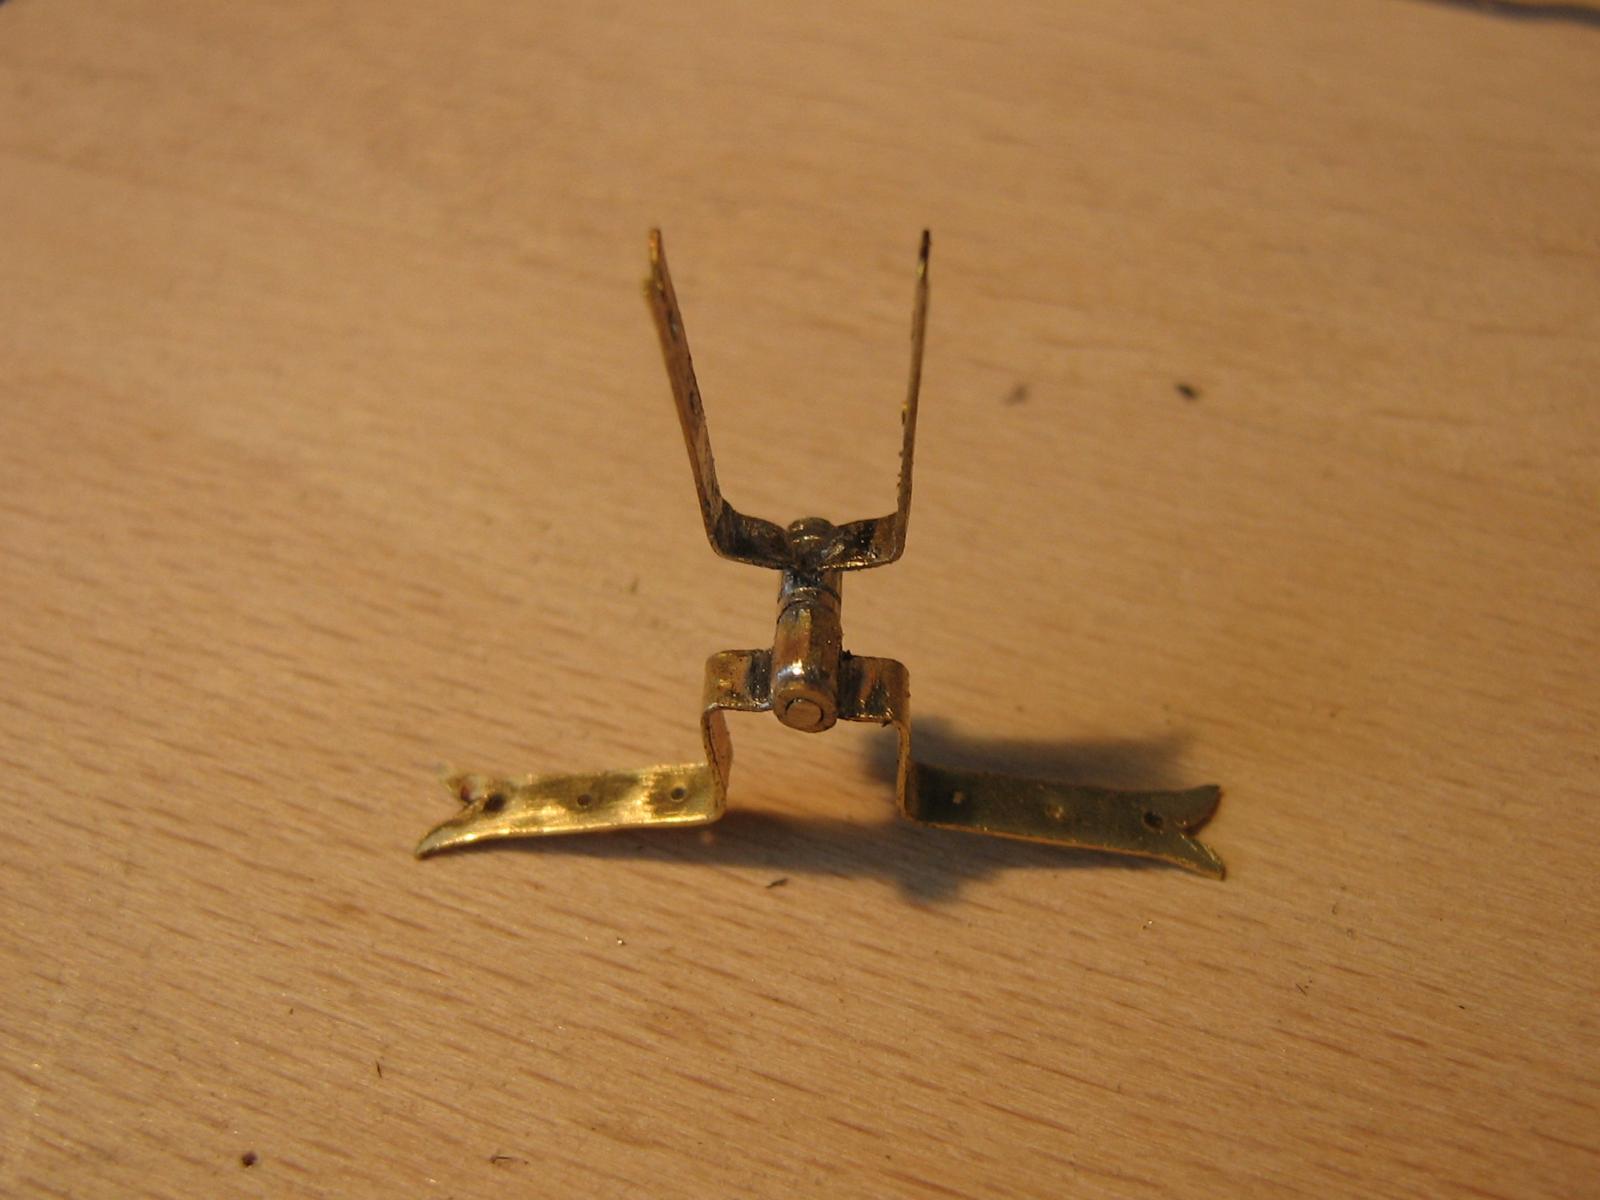
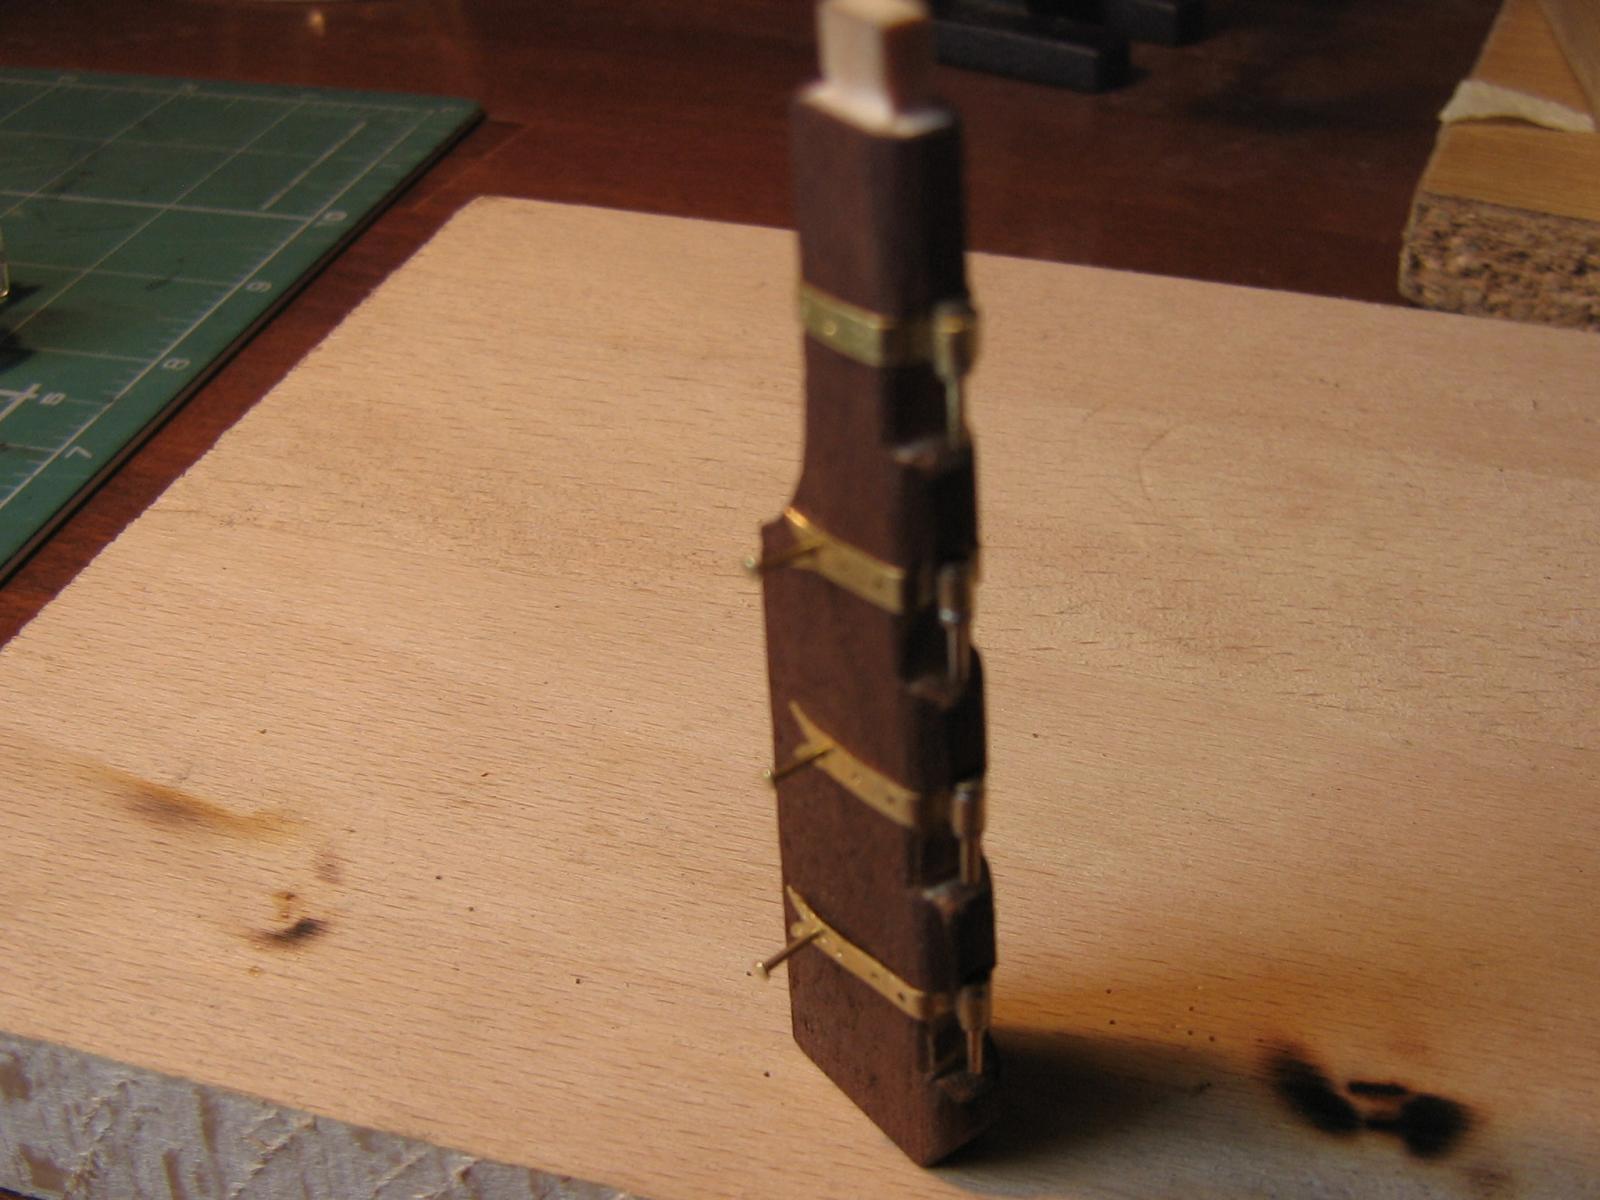
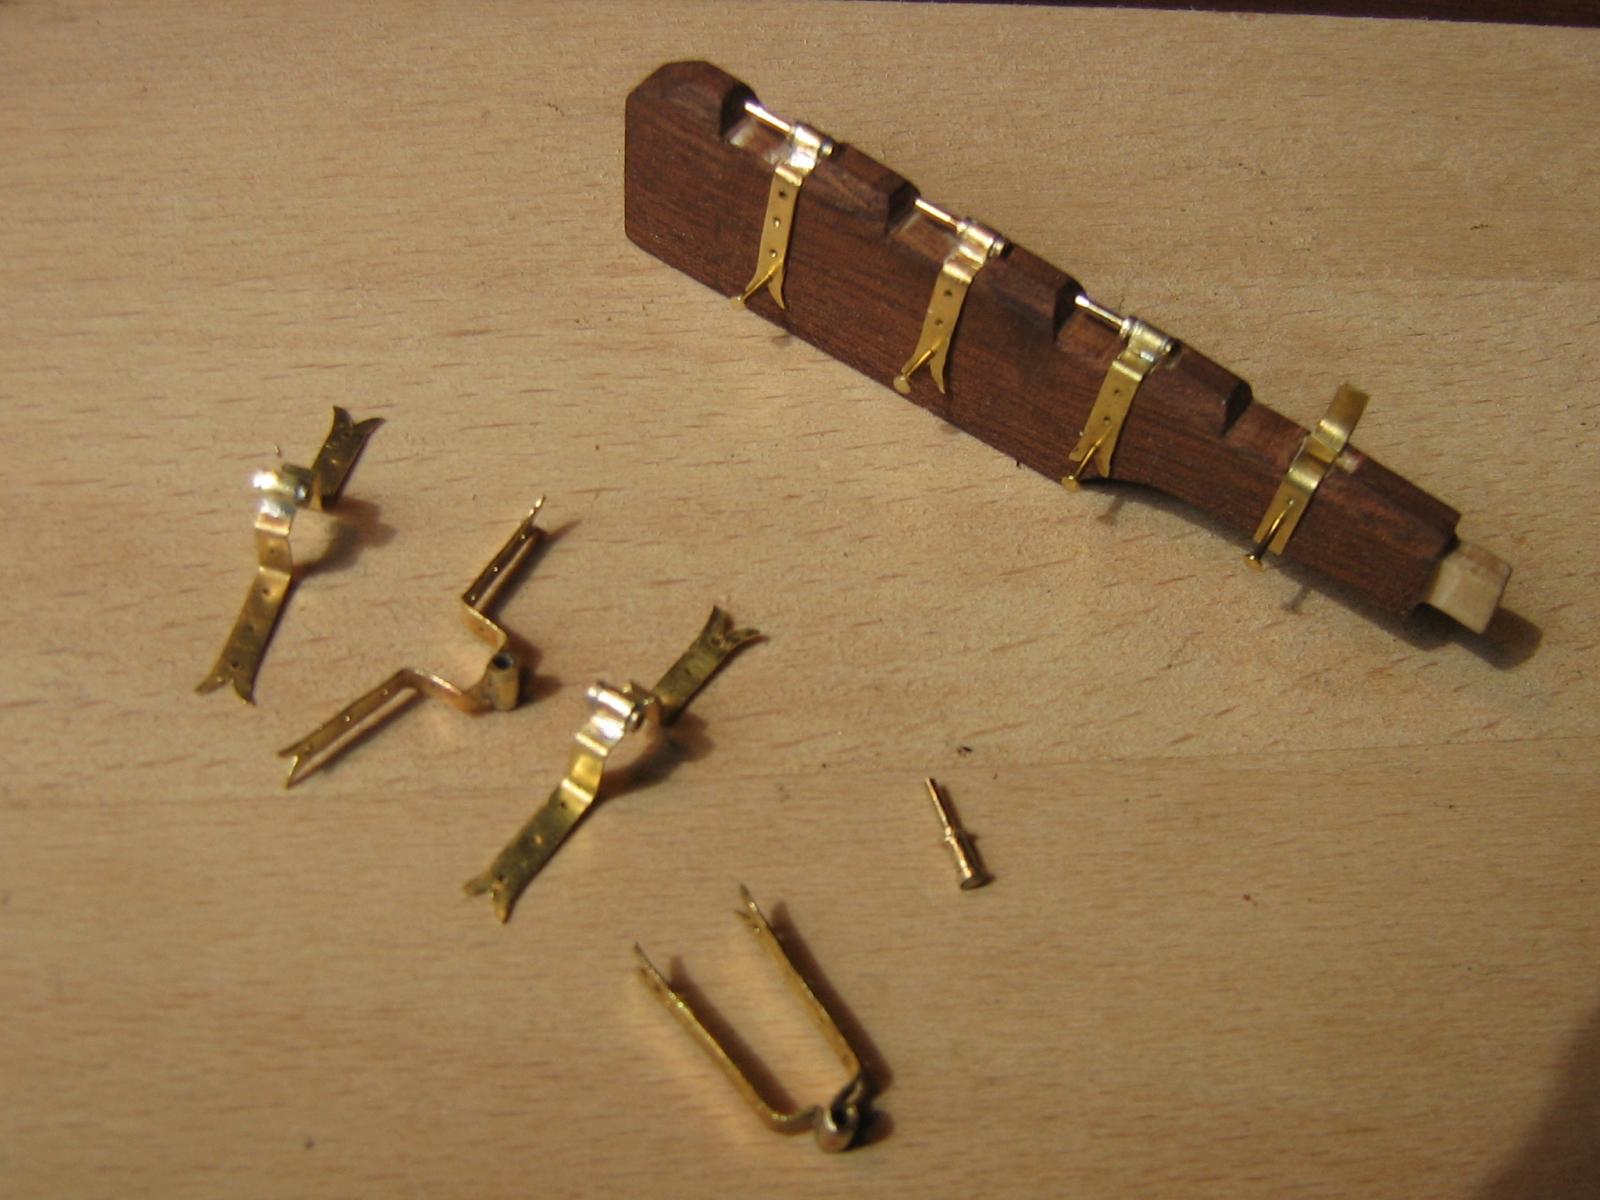
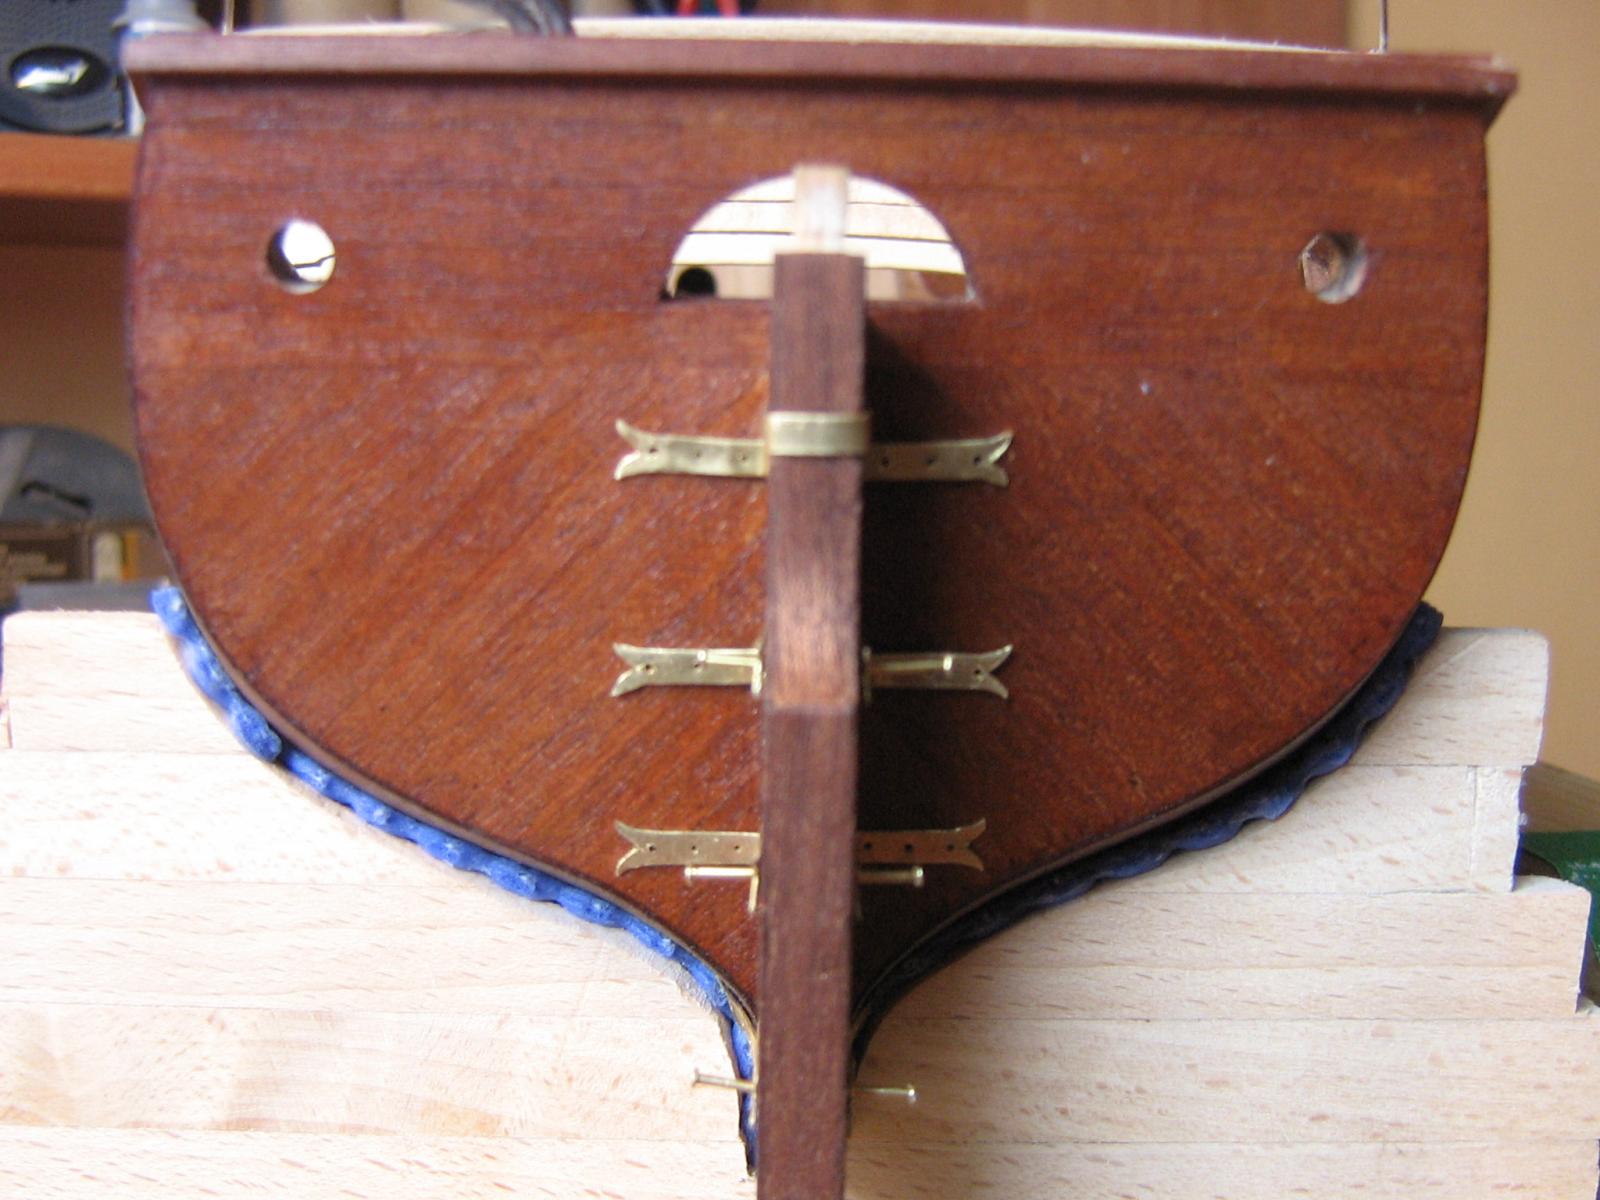
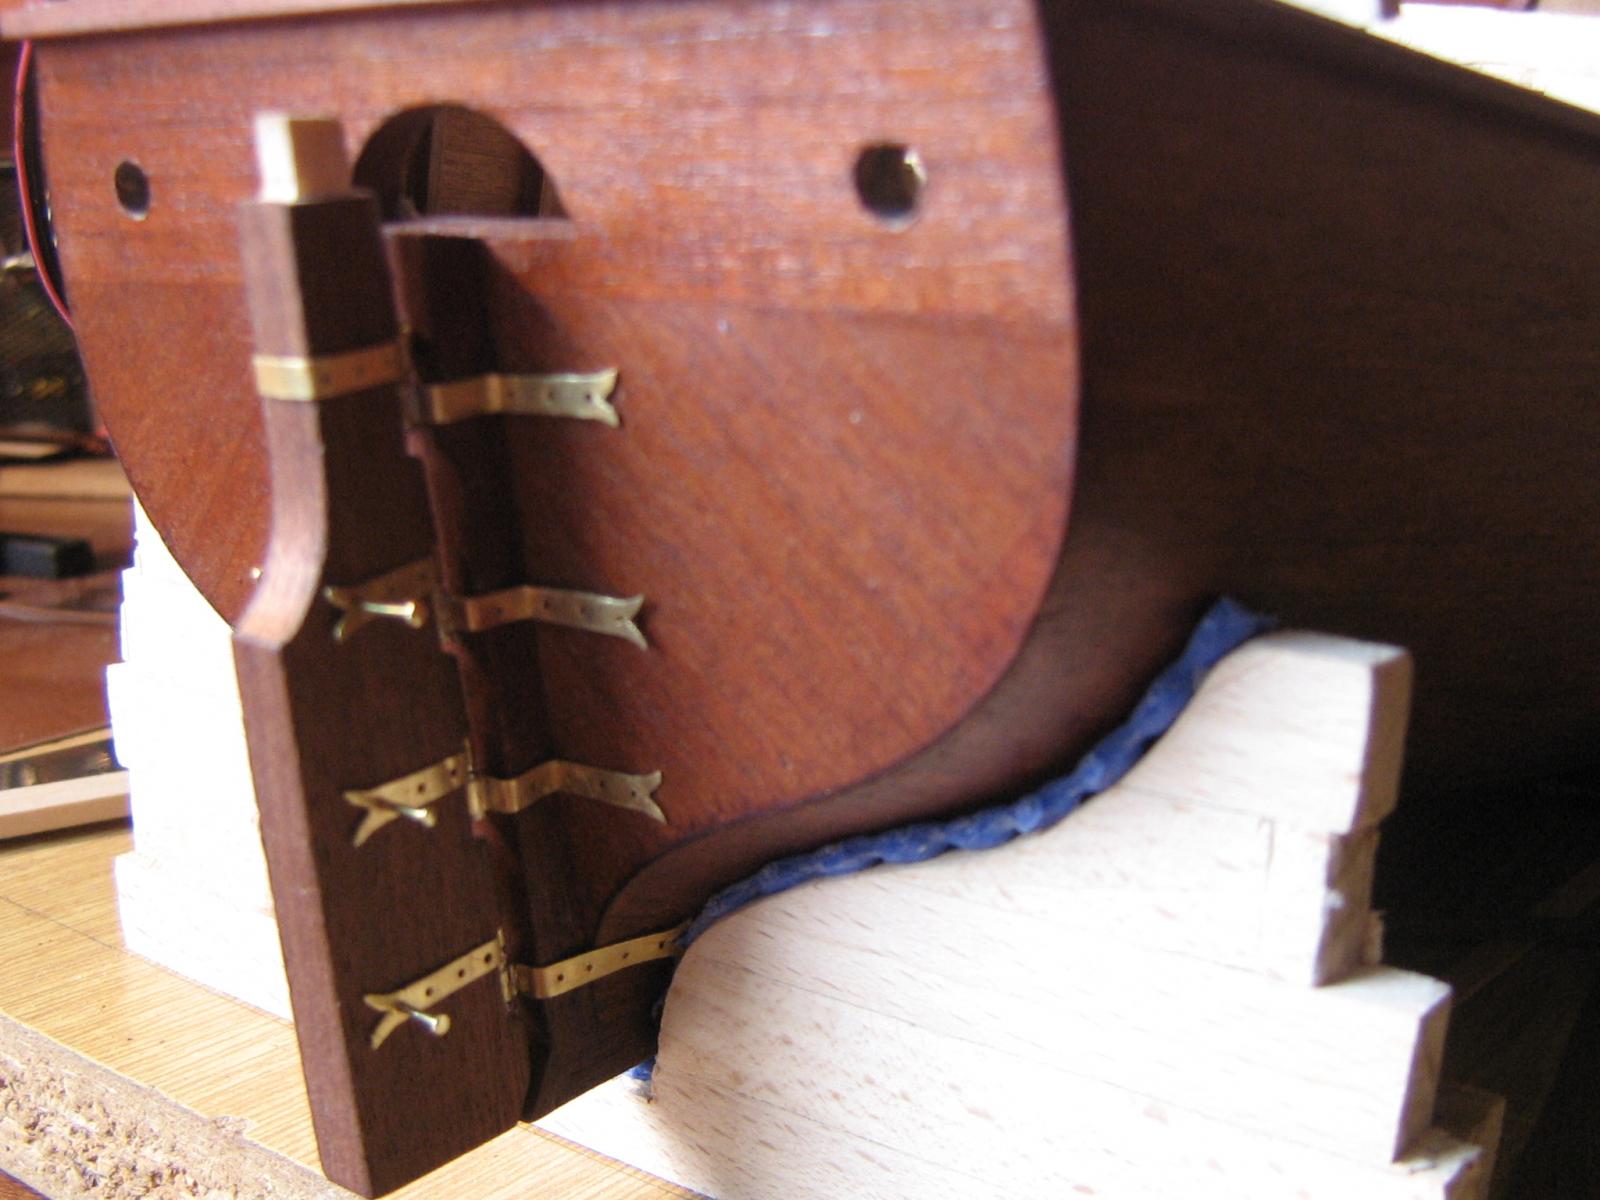
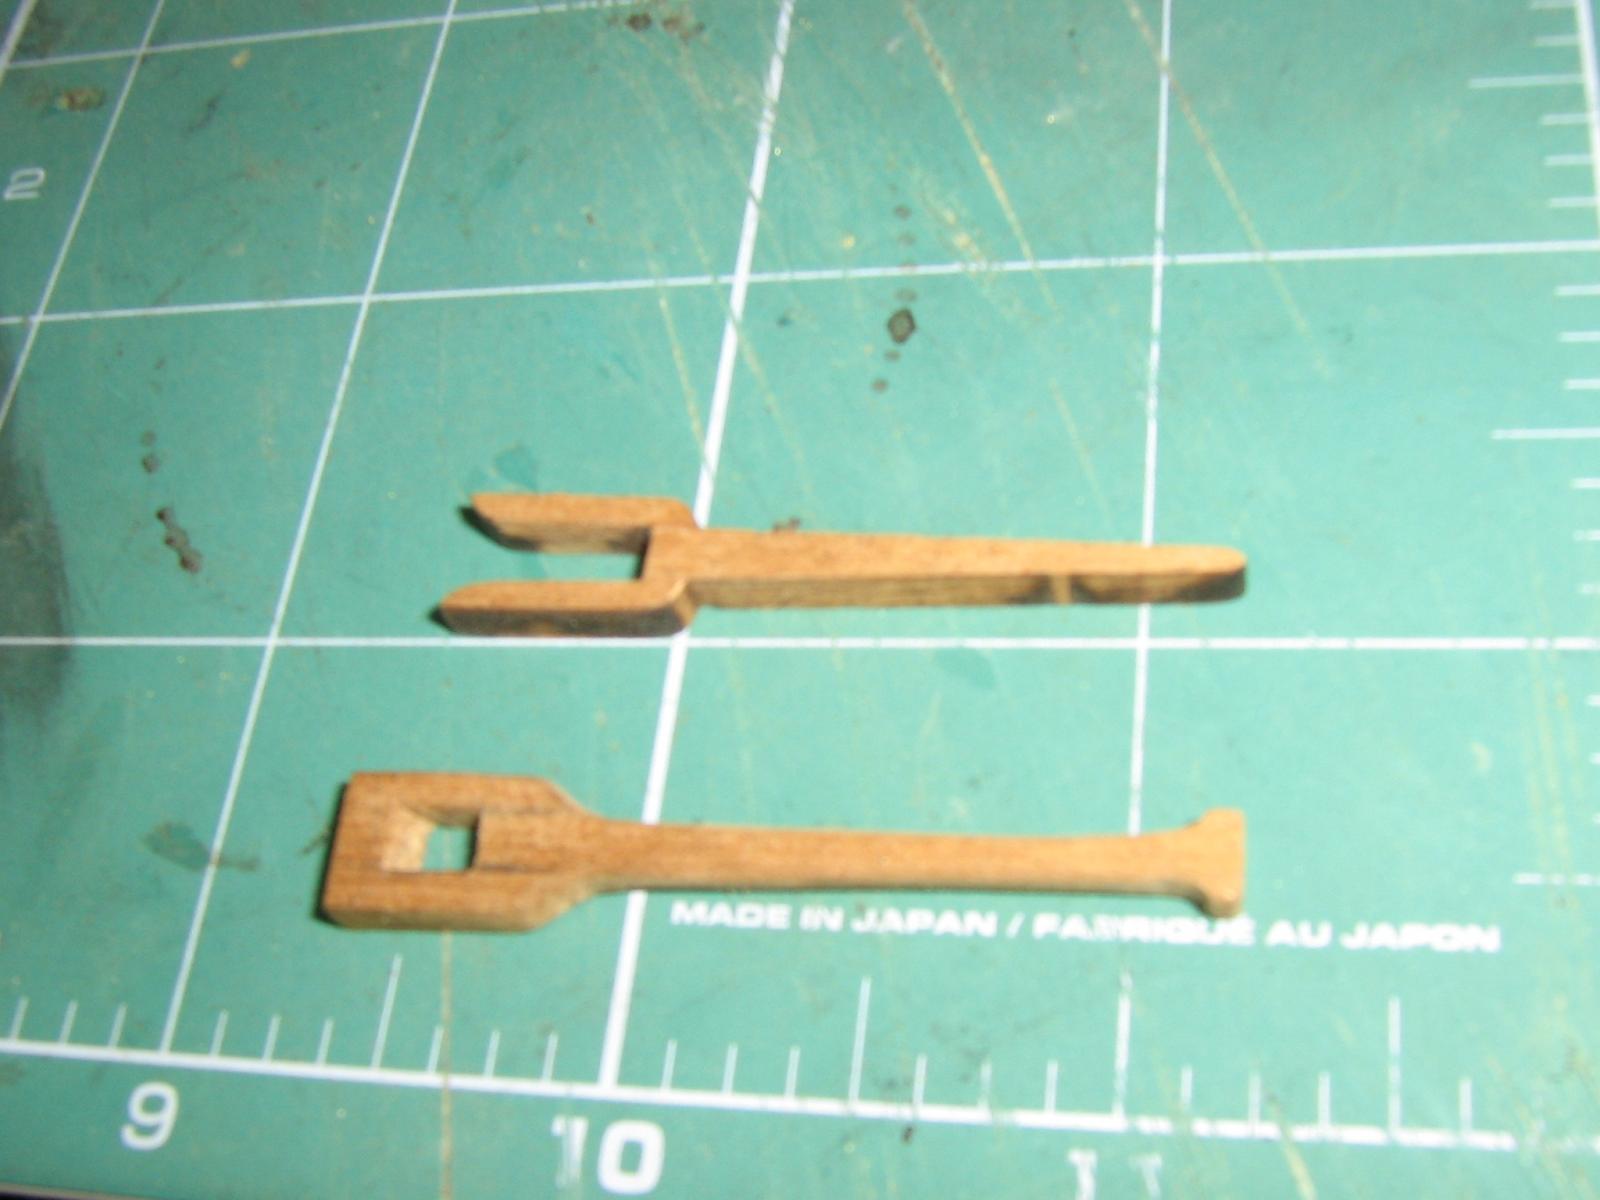
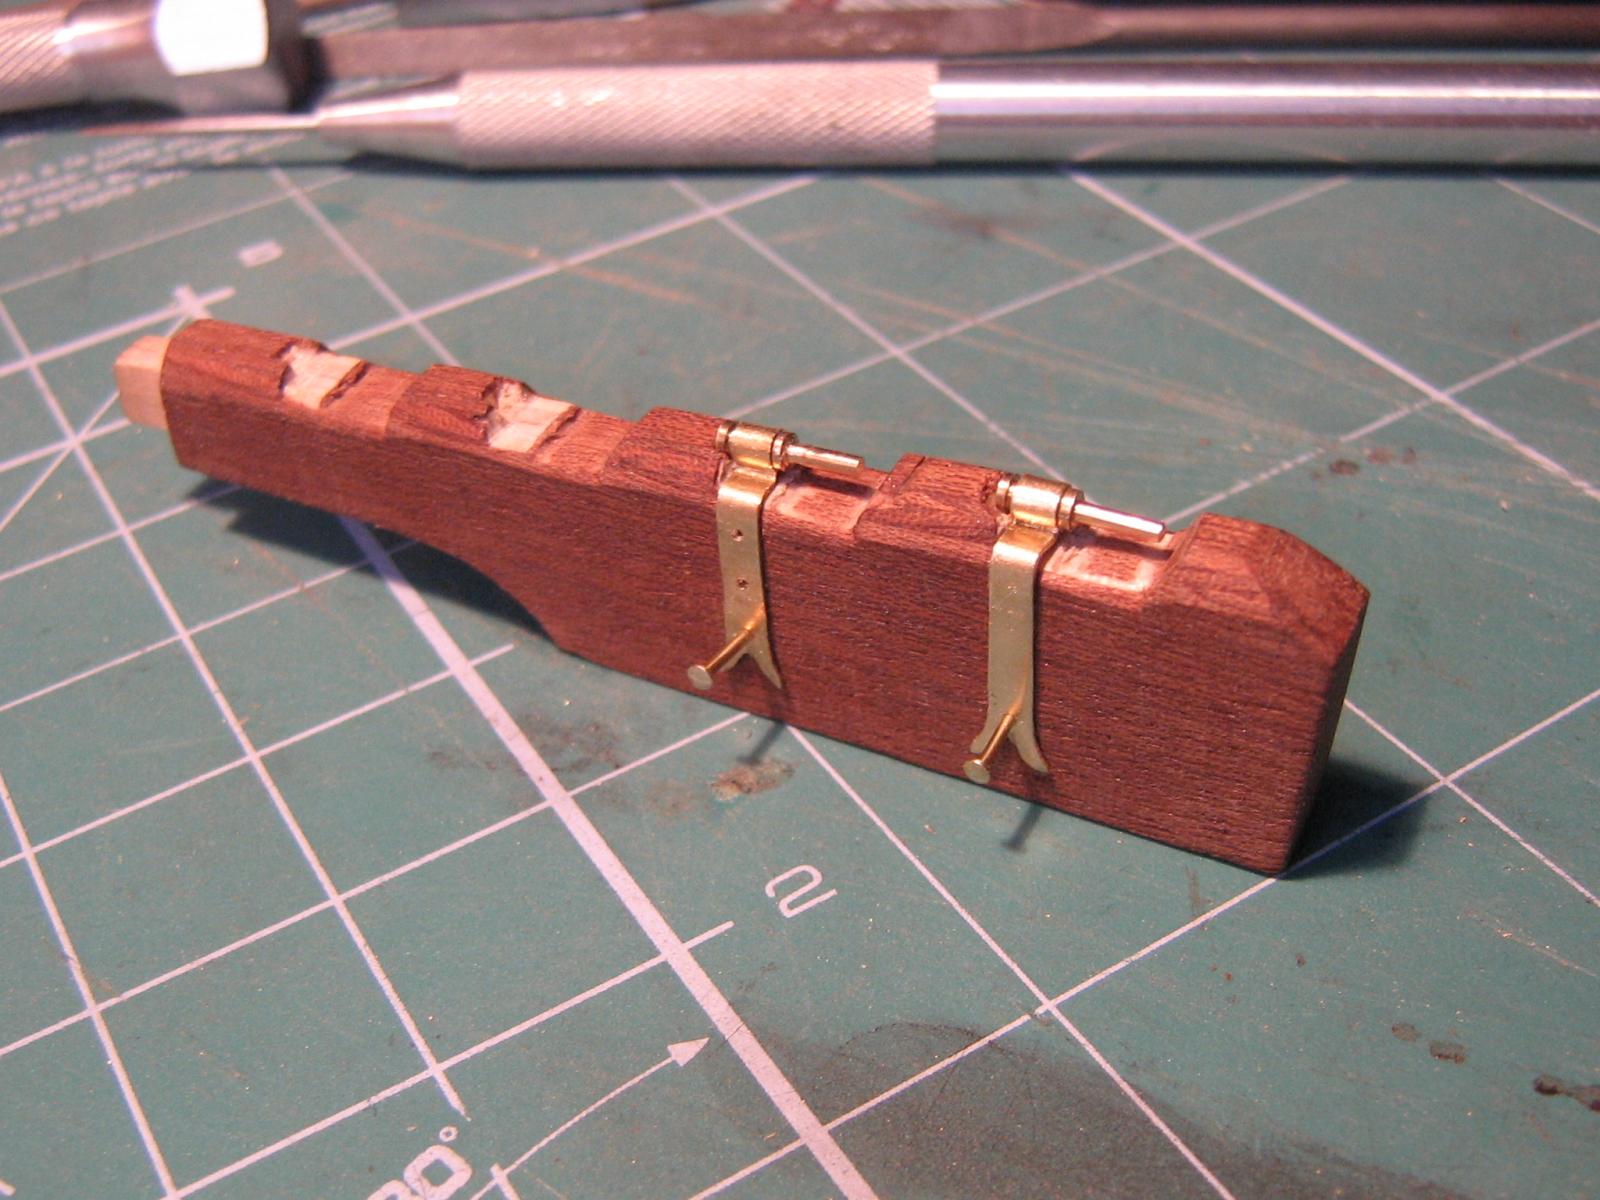
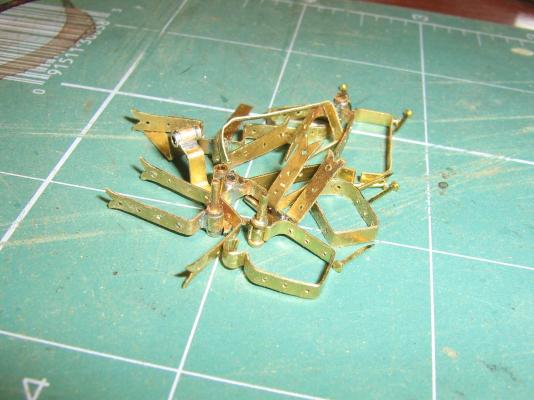
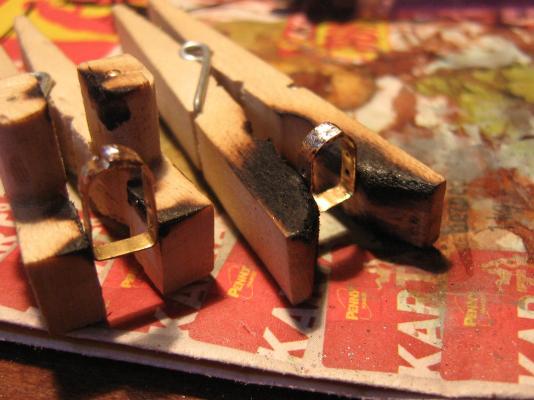
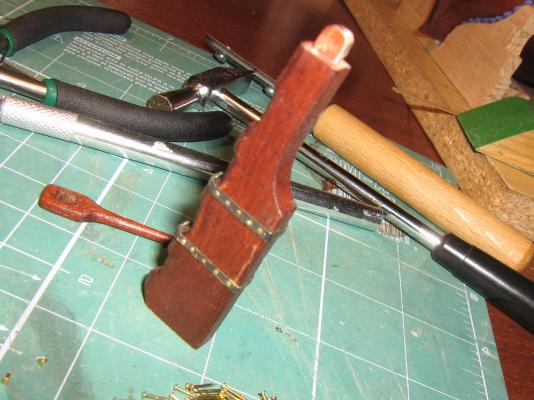
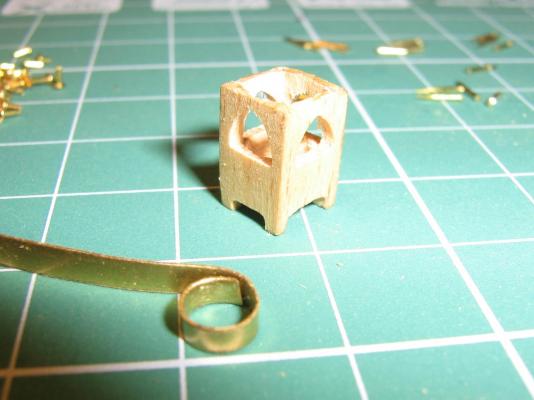
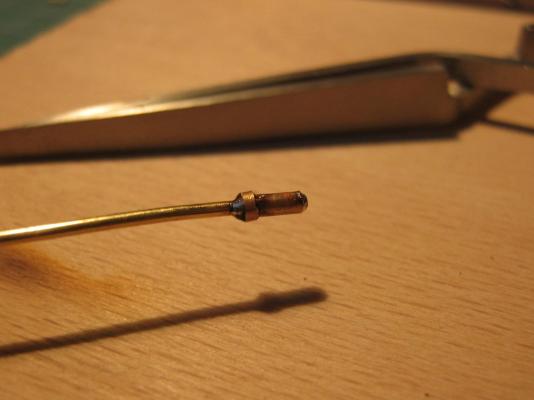
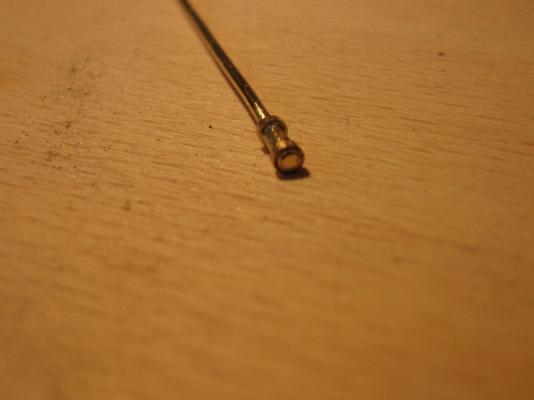
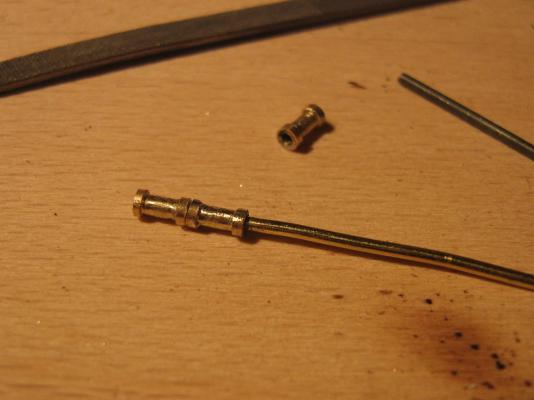
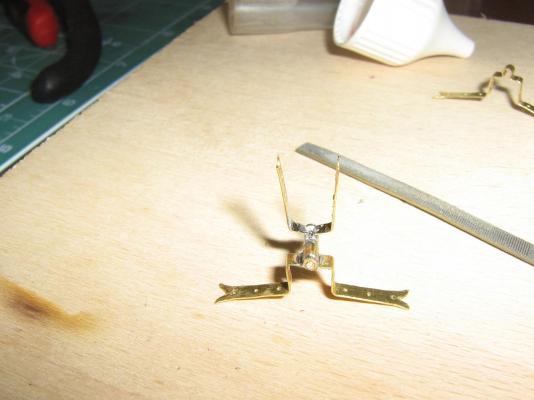
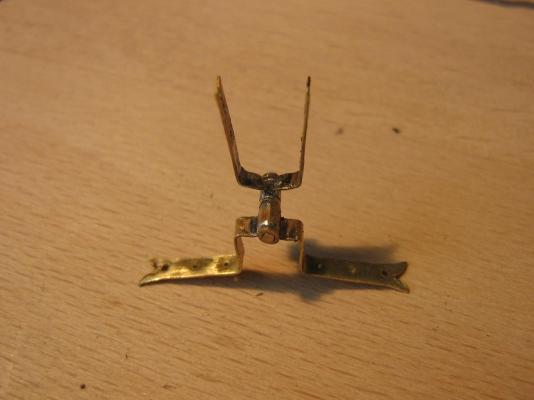
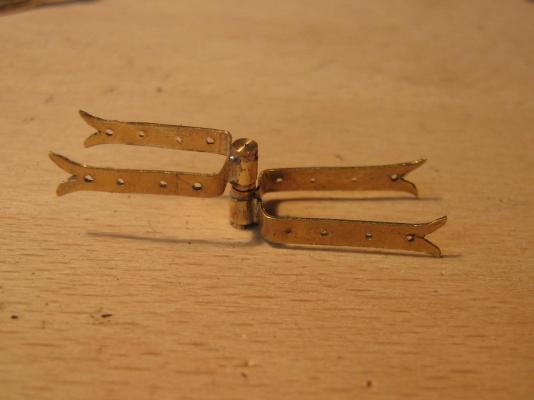
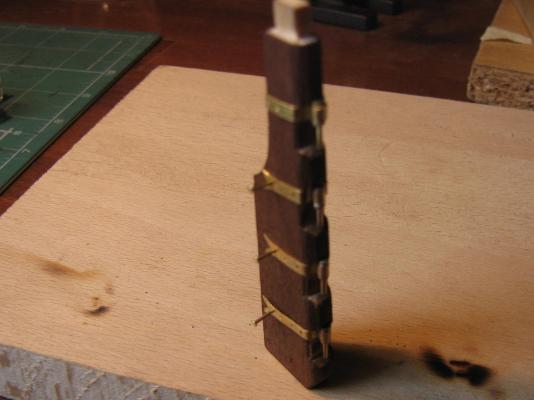
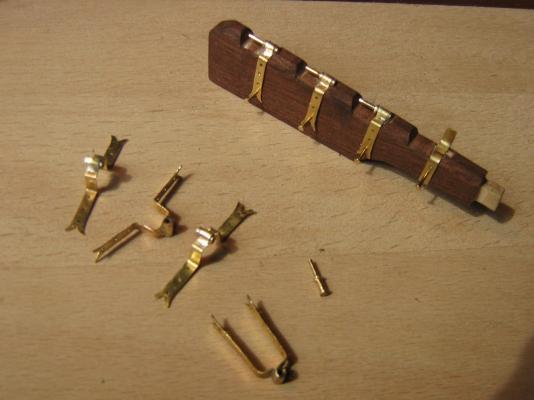
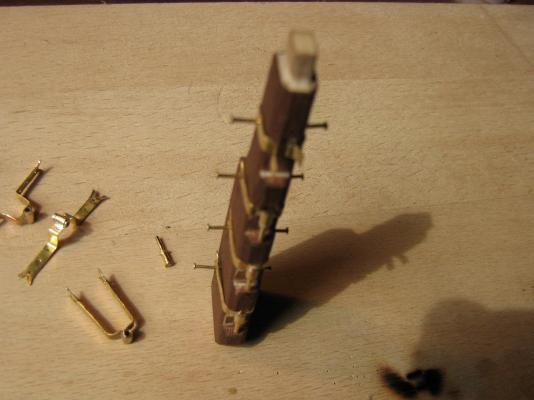
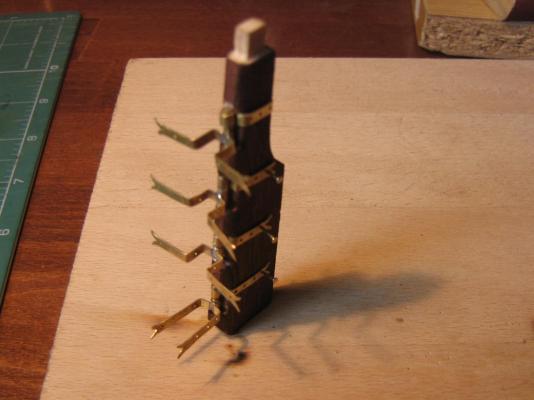
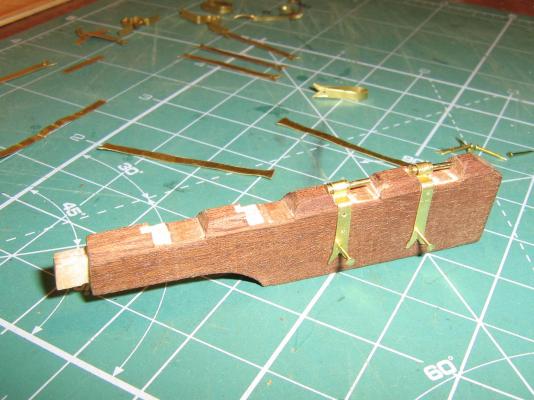
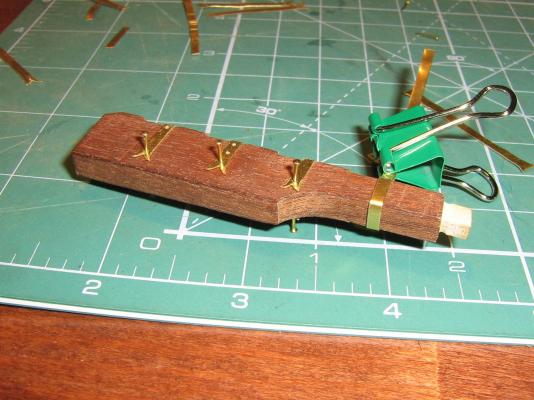
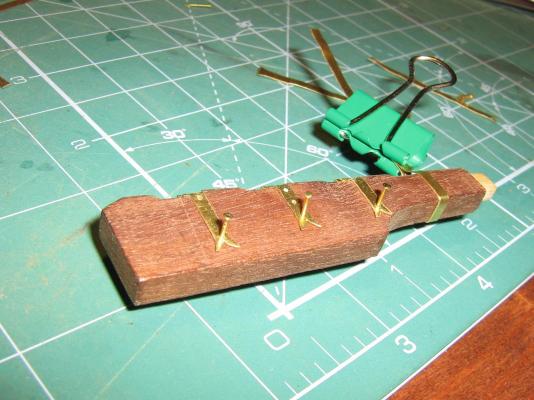
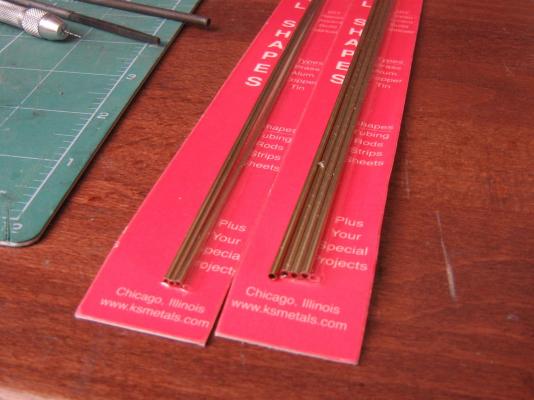
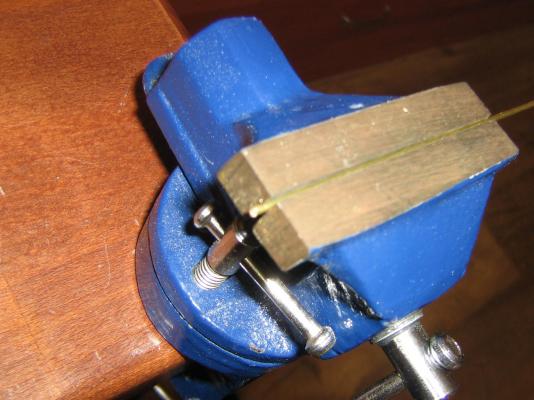
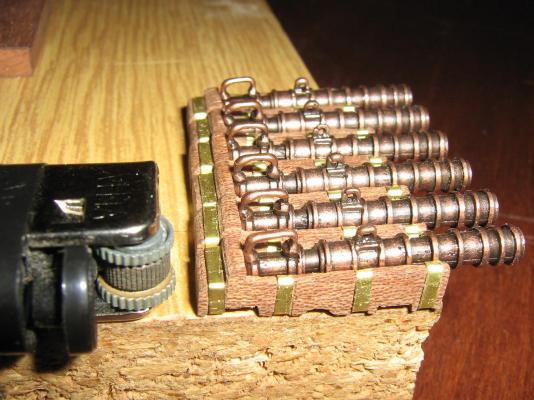
Hi, thanks David for your kind words. Now shipcarpenter becomes a blacksmith and silversmith. I have to produce 1pin for rudder hinges. There were only 3 pieces in the kit, but I need 4 for my improved rudder. I made it from brass tube and wire. Soldering with gas solder using liquid solder for brass. I enyoyed it - maybe I mistook my craft. Last foto shows the infernal tool compared with lighter.


- 79 replies
-
- 3
-
-
- santa maria
- amati
- (and 2 more)
-
Hi , Thank you Ian, I saw your Unicorn and I like it very much. I made some progress on cannons and with rudder.


- 79 replies
-
- 3
-
-
- santa maria
- amati
- (and 2 more)
-
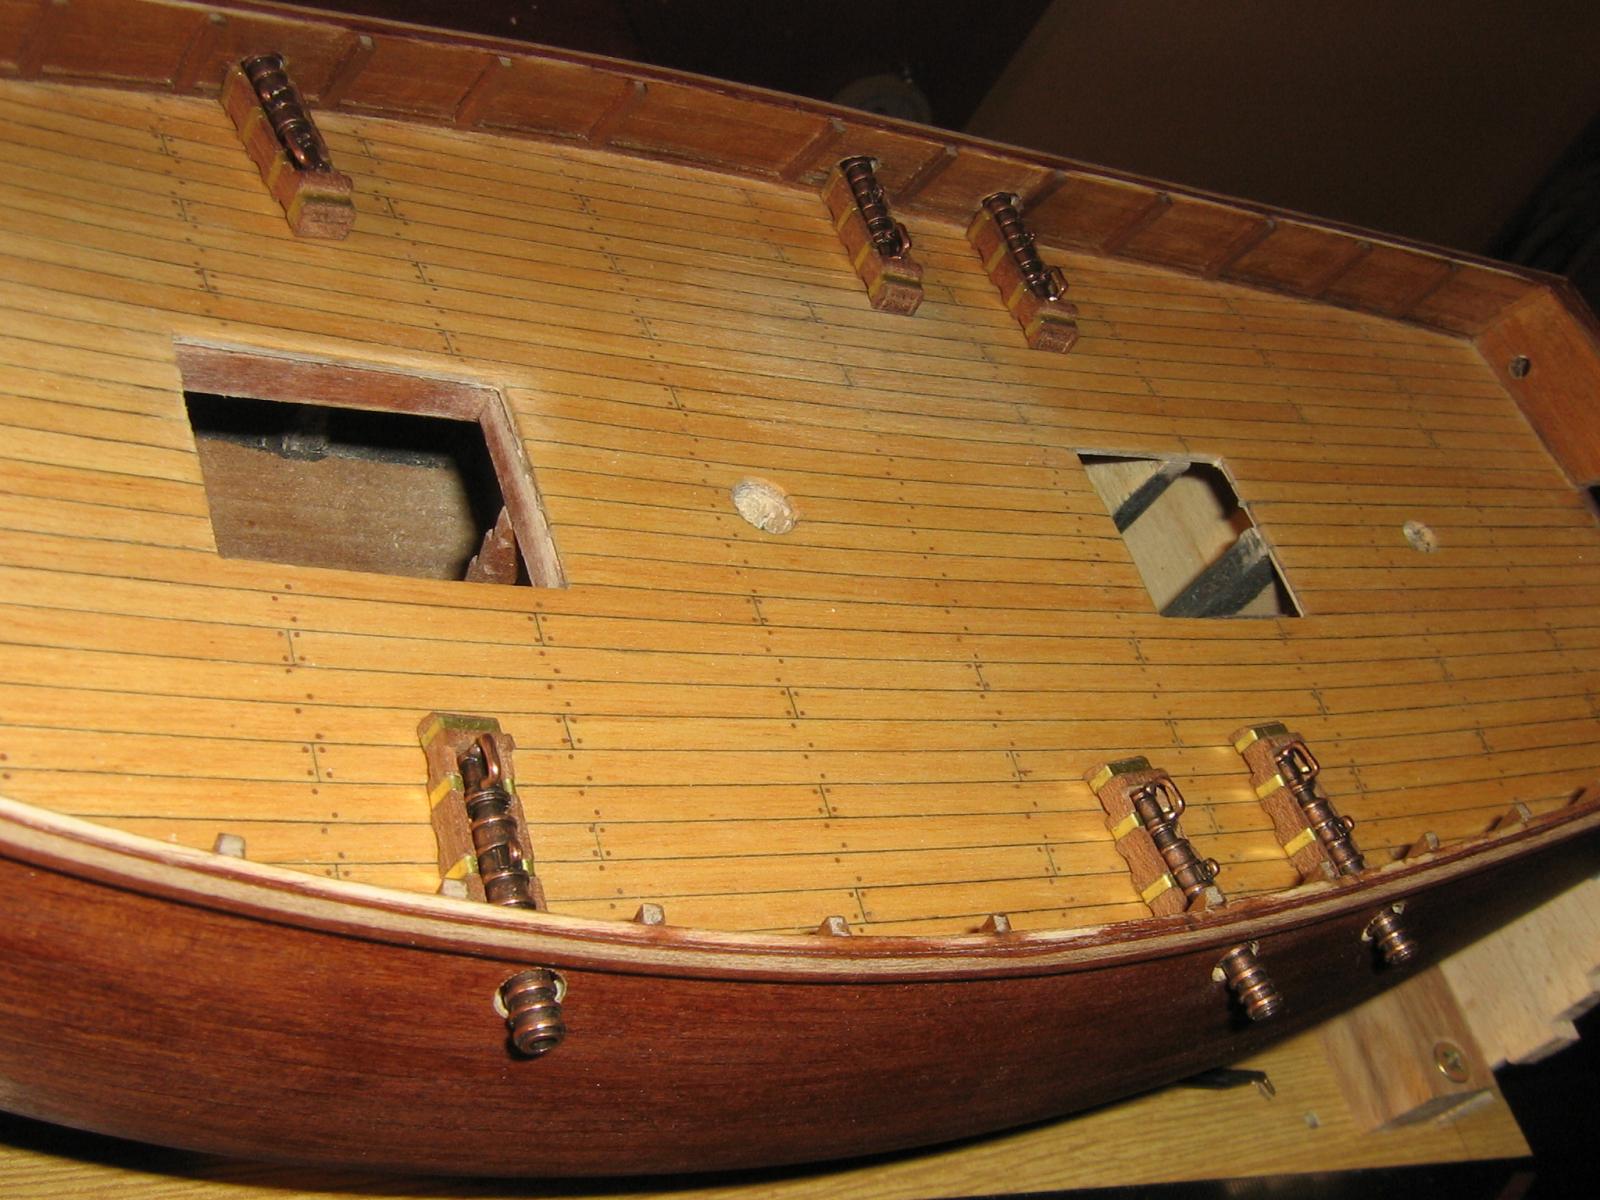
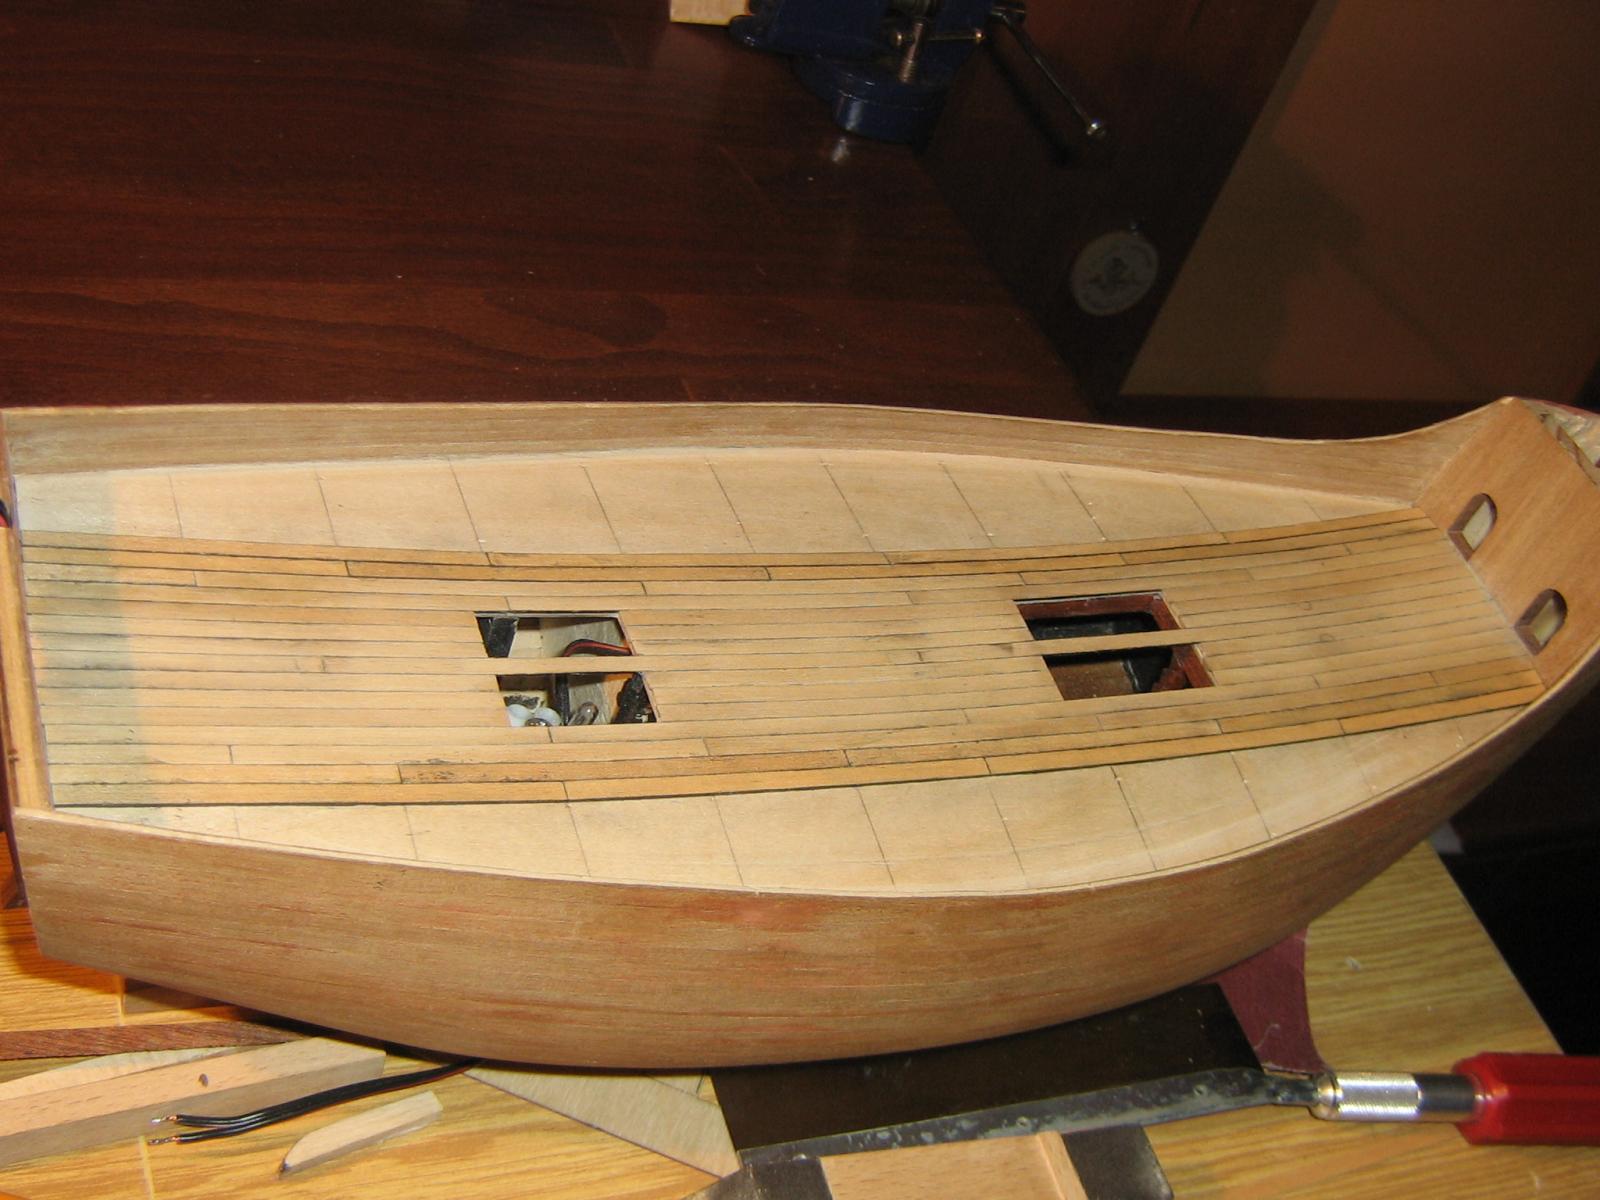
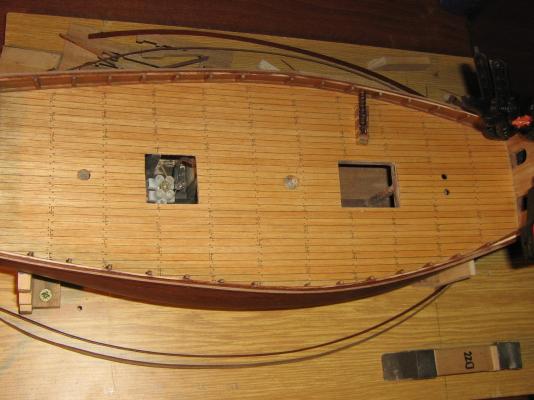
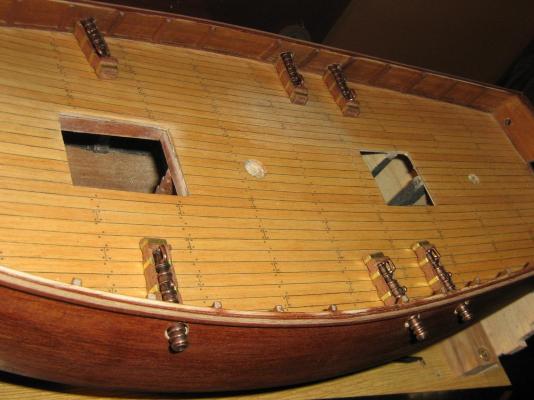
Hello, Thanks! I have some more pictures. Work is going on. I painted the deck with oak danish oil. Nails stand out. Working on upper deck beams. I also made holes for cannons.

- 79 replies
-
- 1
-
-
- santa maria
- amati
- (and 2 more)
-
Hull was stained with water-based stain. I didn´t like the metal stocks for cannnos from kit so I made my own. Material sapeli 2x6mm and brass 0,25mm. Treenailing of main deck. I made holes 0,4mm and filled them with dark putty, then sanding. Inner bulwark timbers.


- 79 replies
-
- 4
-
-
- santa maria
- amati
- (and 2 more)
-
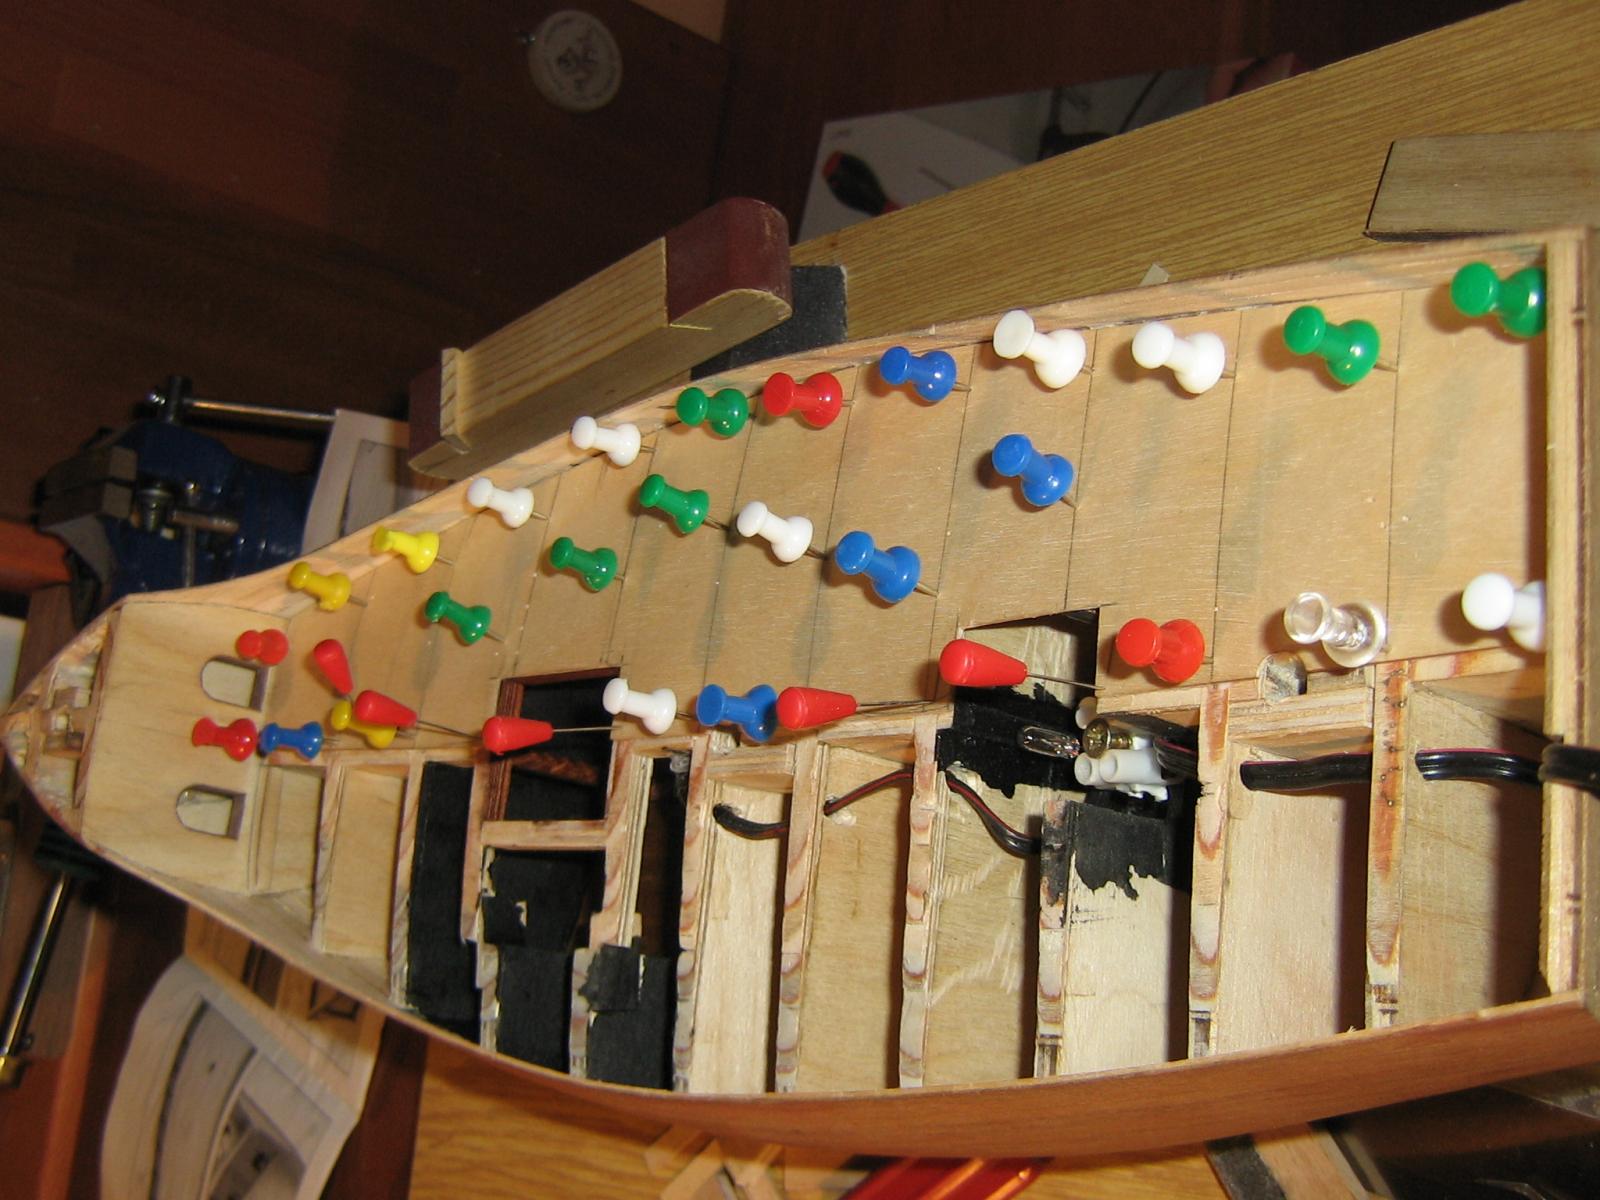
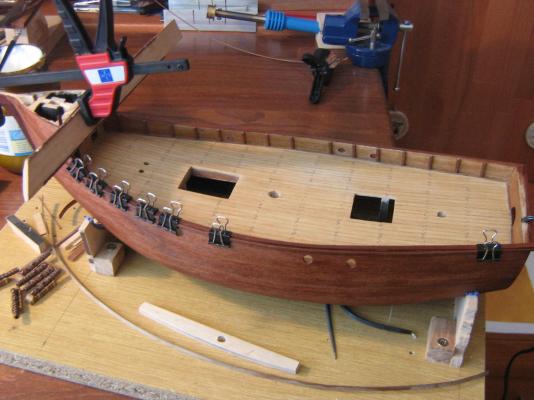
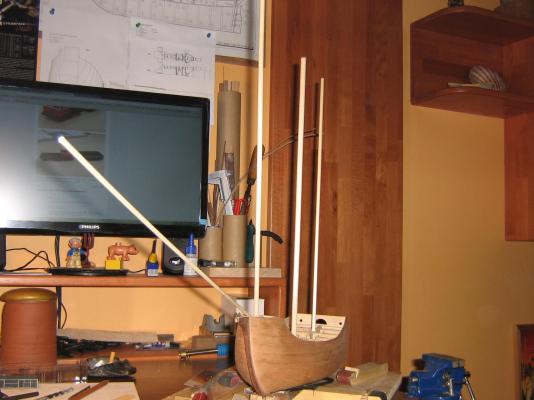
Test of masts after strengthening false keel. Deck planking,material - ramin 1x4mm, edges blackened with pencil hardness 7B .


- 79 replies
-
- 3
-
-
- santa maria
- amati
- (and 2 more)
-
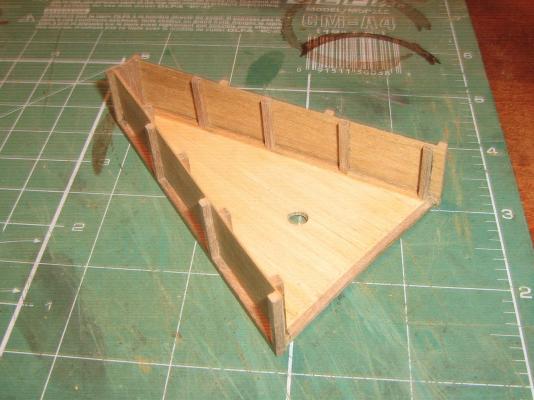
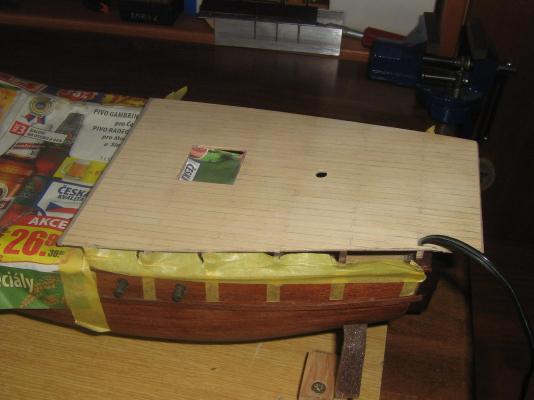
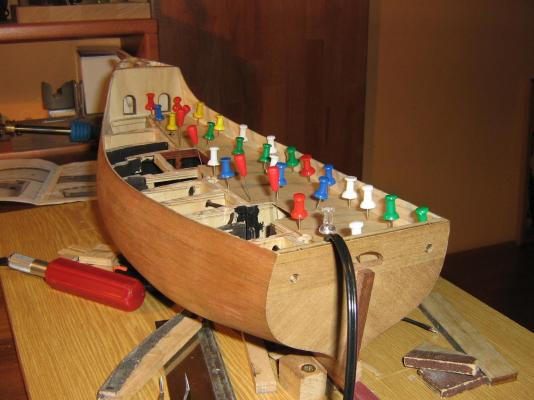
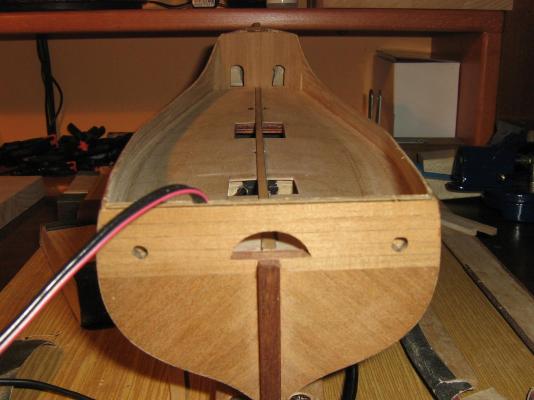
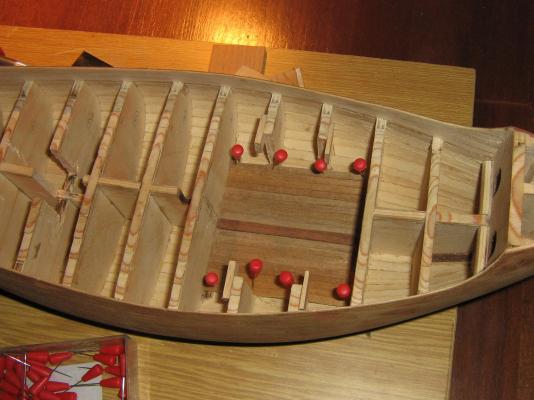
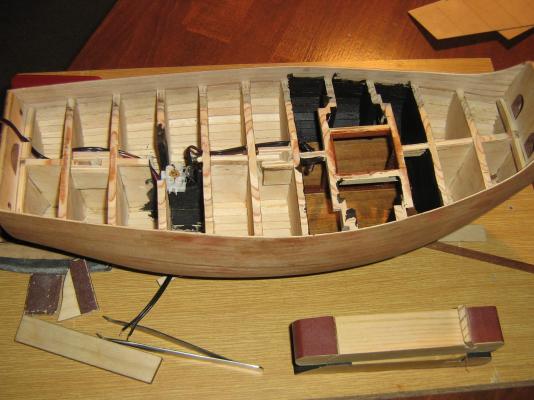
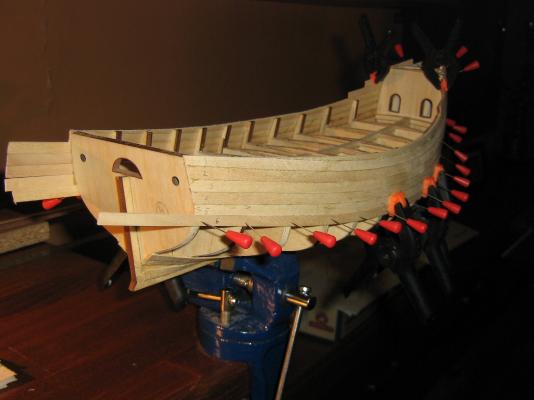
Hi, thanks for the welcome . Next pictures show how I modified underdeck. I have installed 2 lamps there.


- 79 replies
-
- 1
-
-
- santa maria
- amati
- (and 2 more)
-
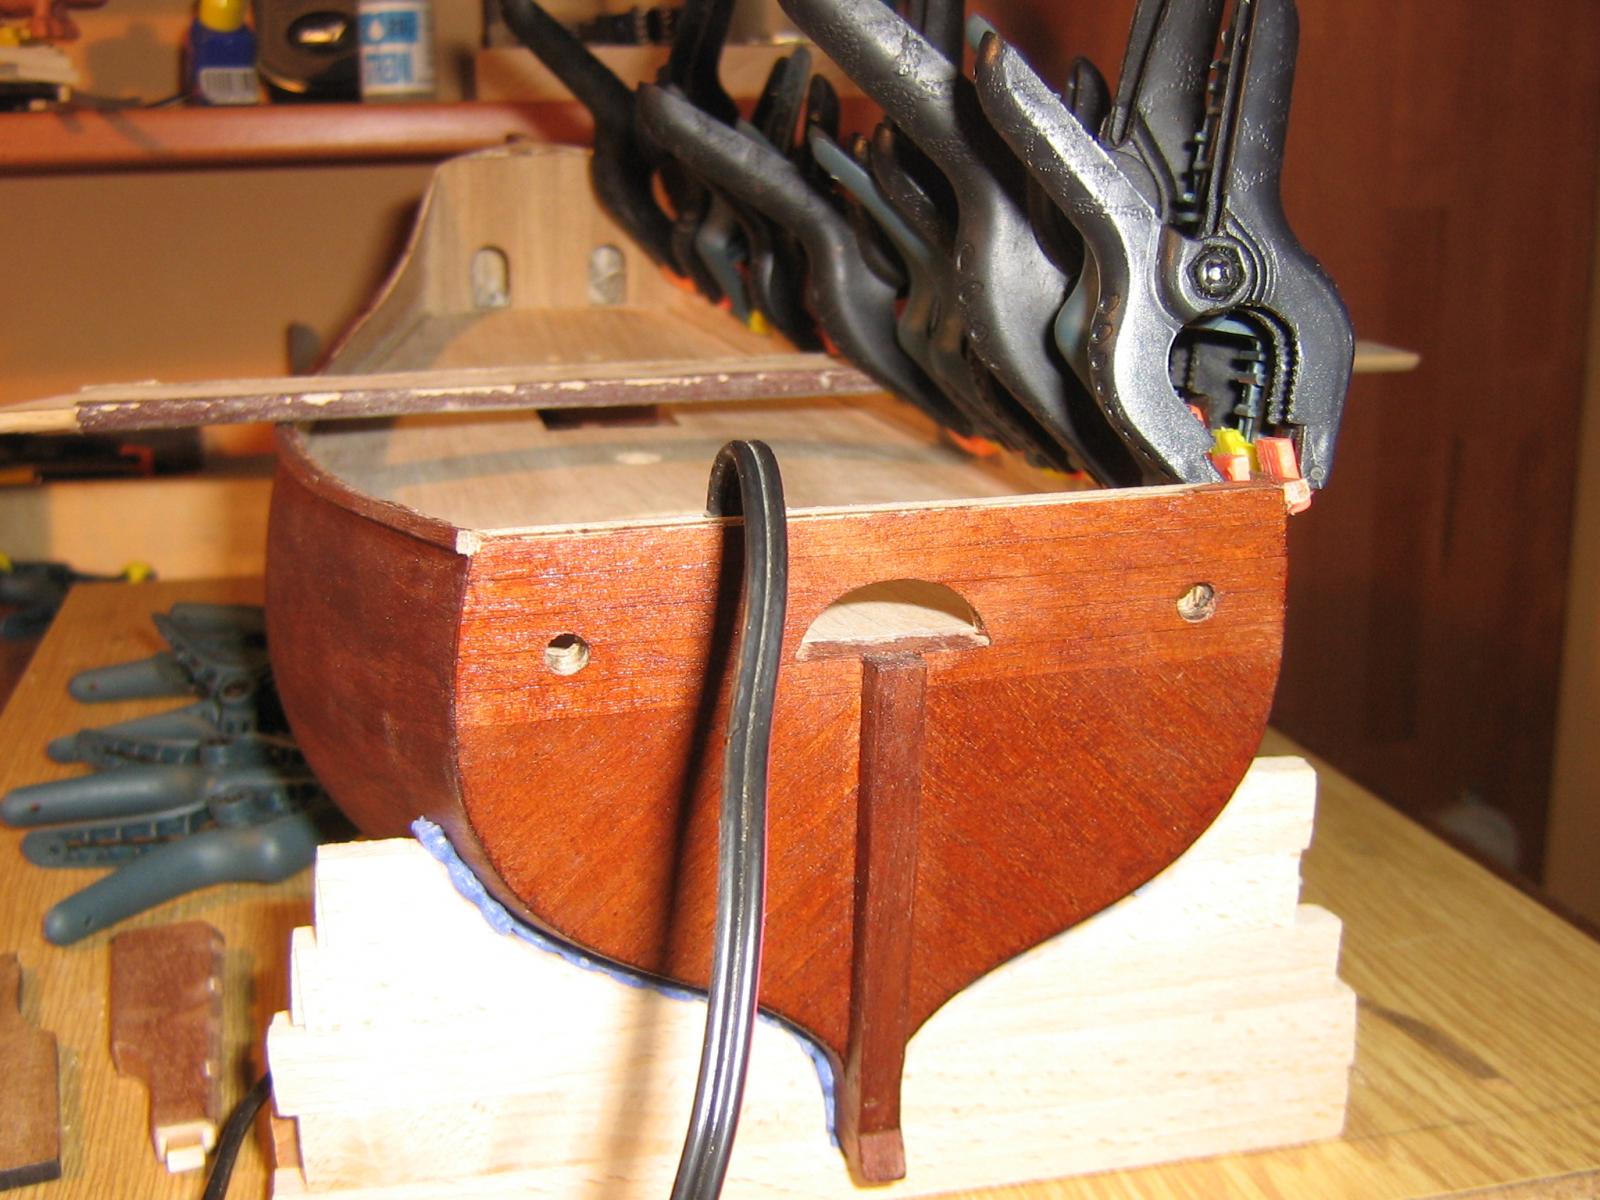
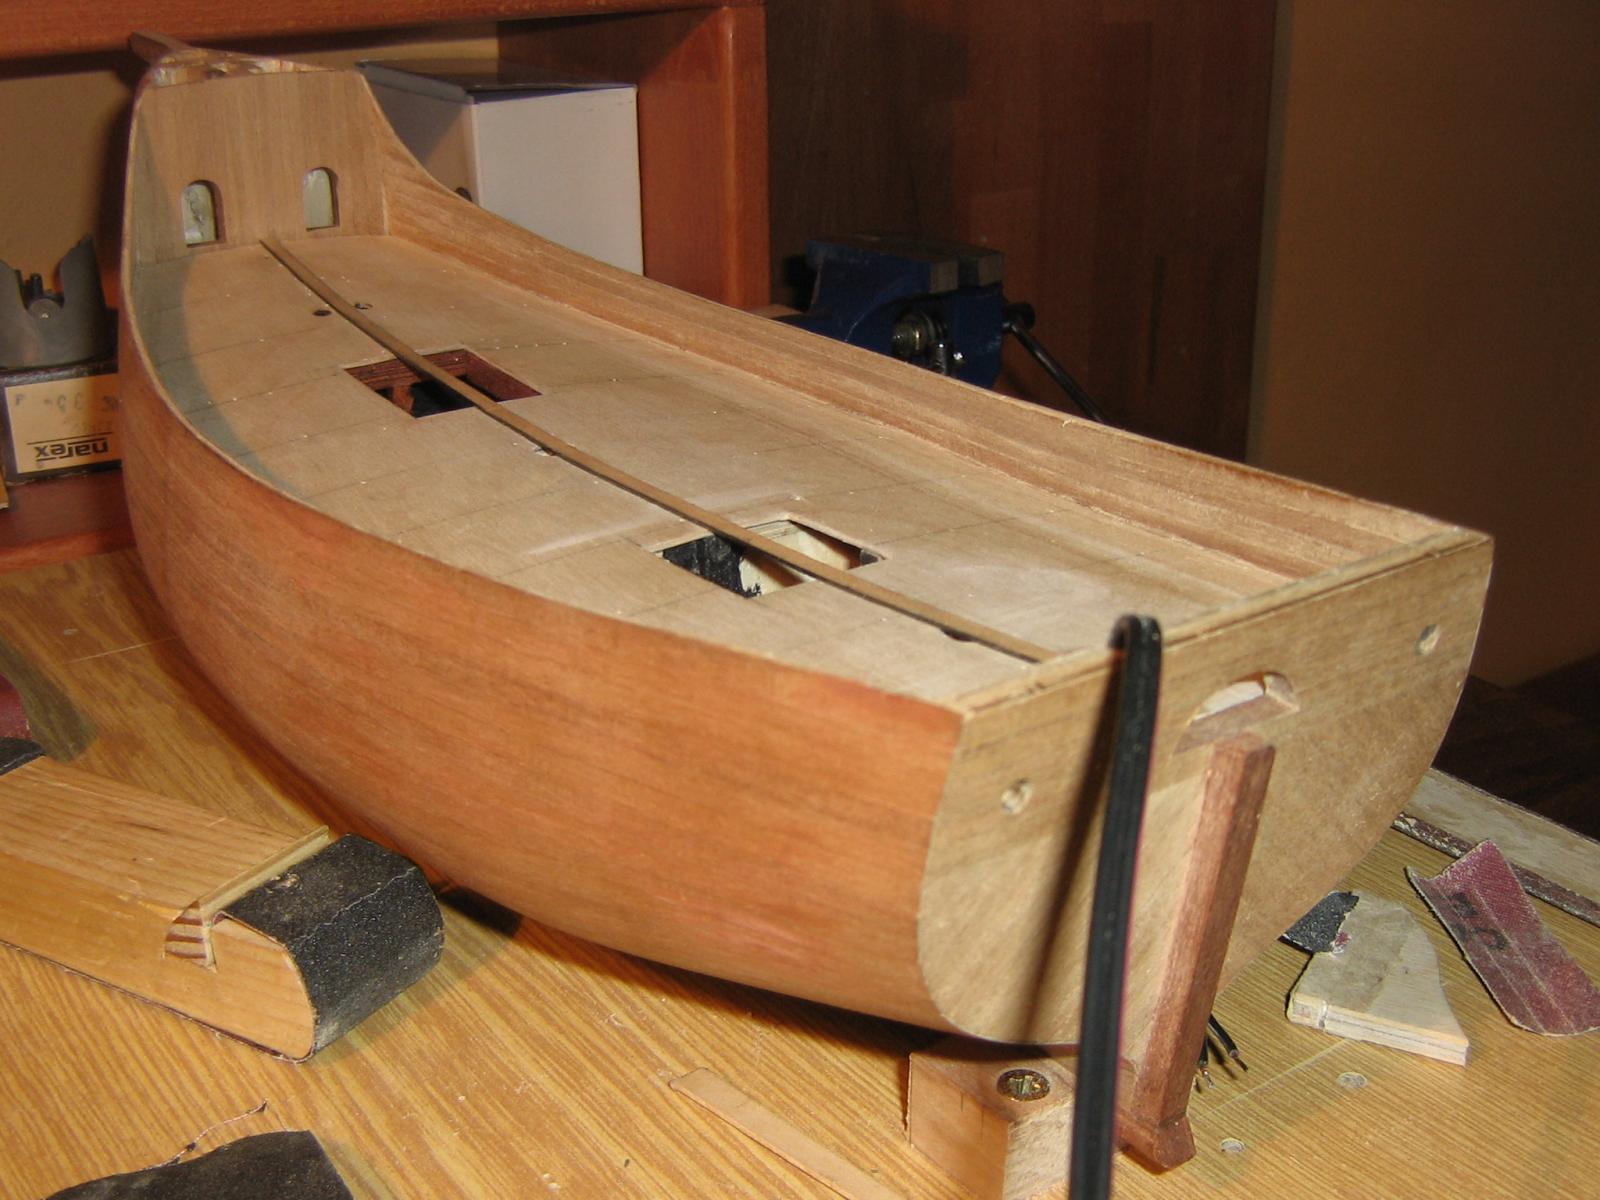
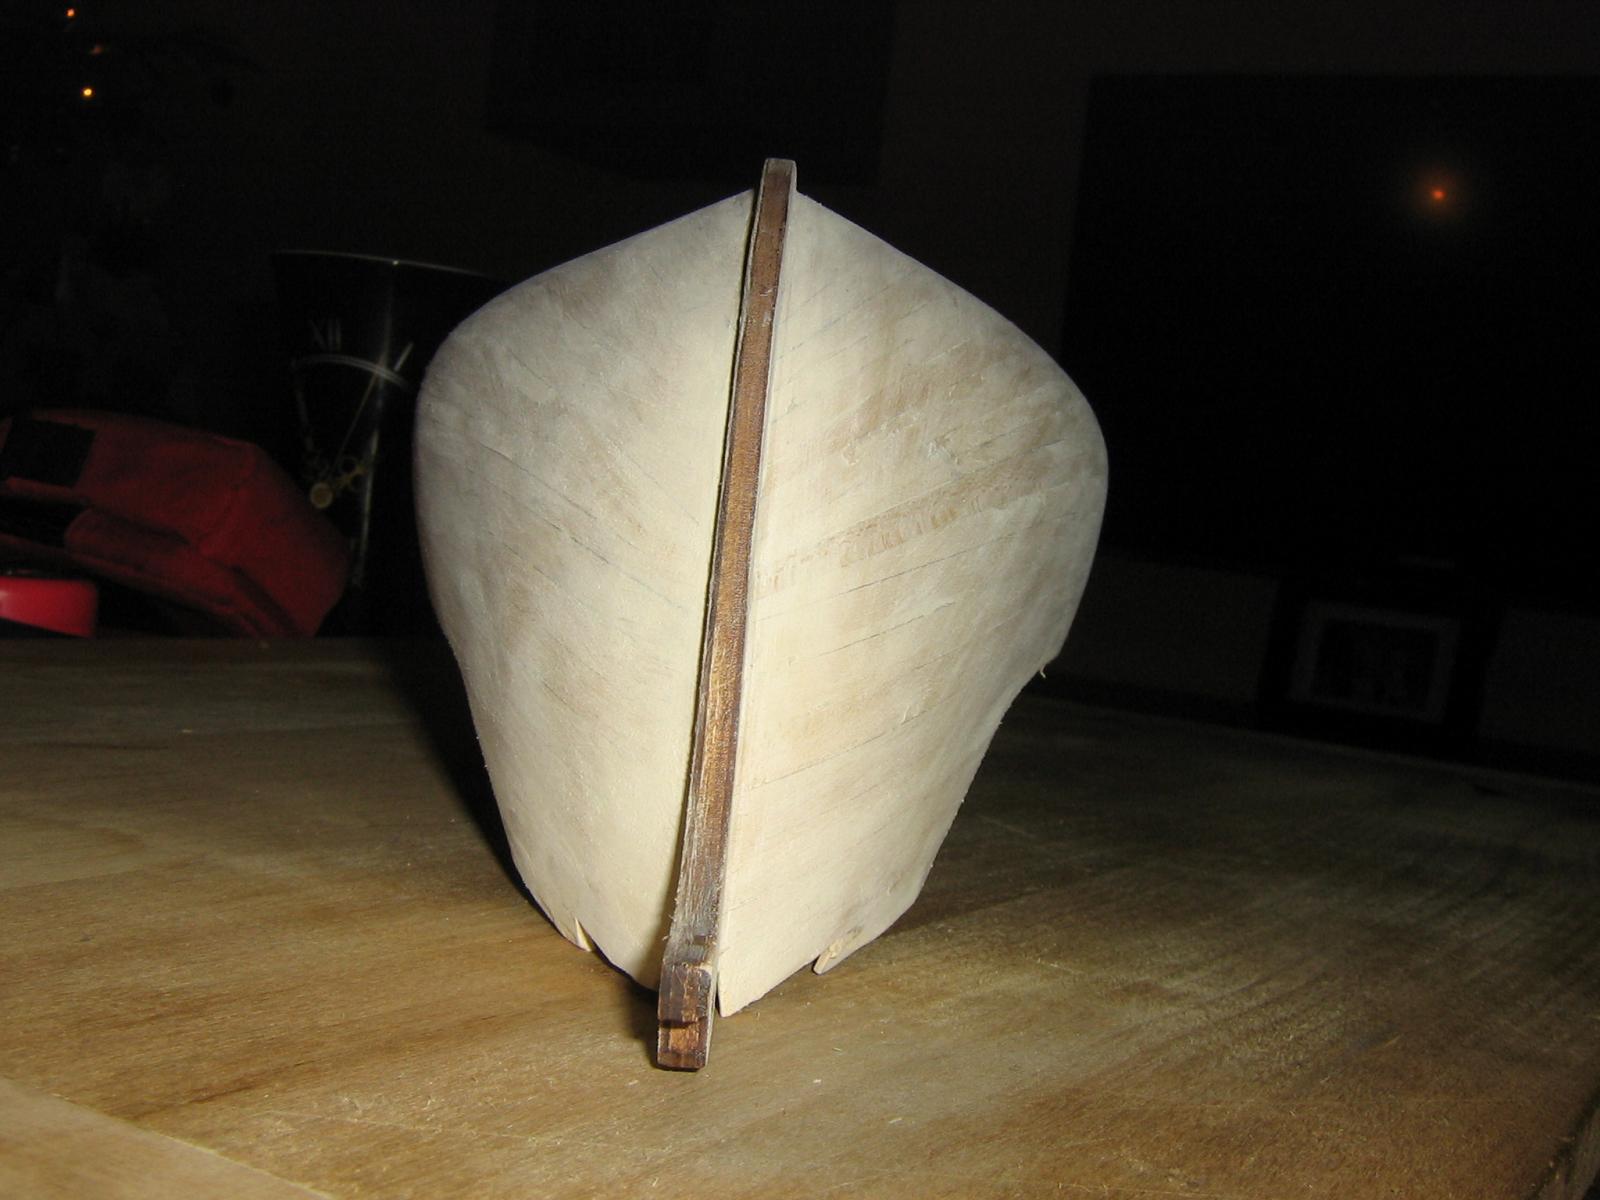
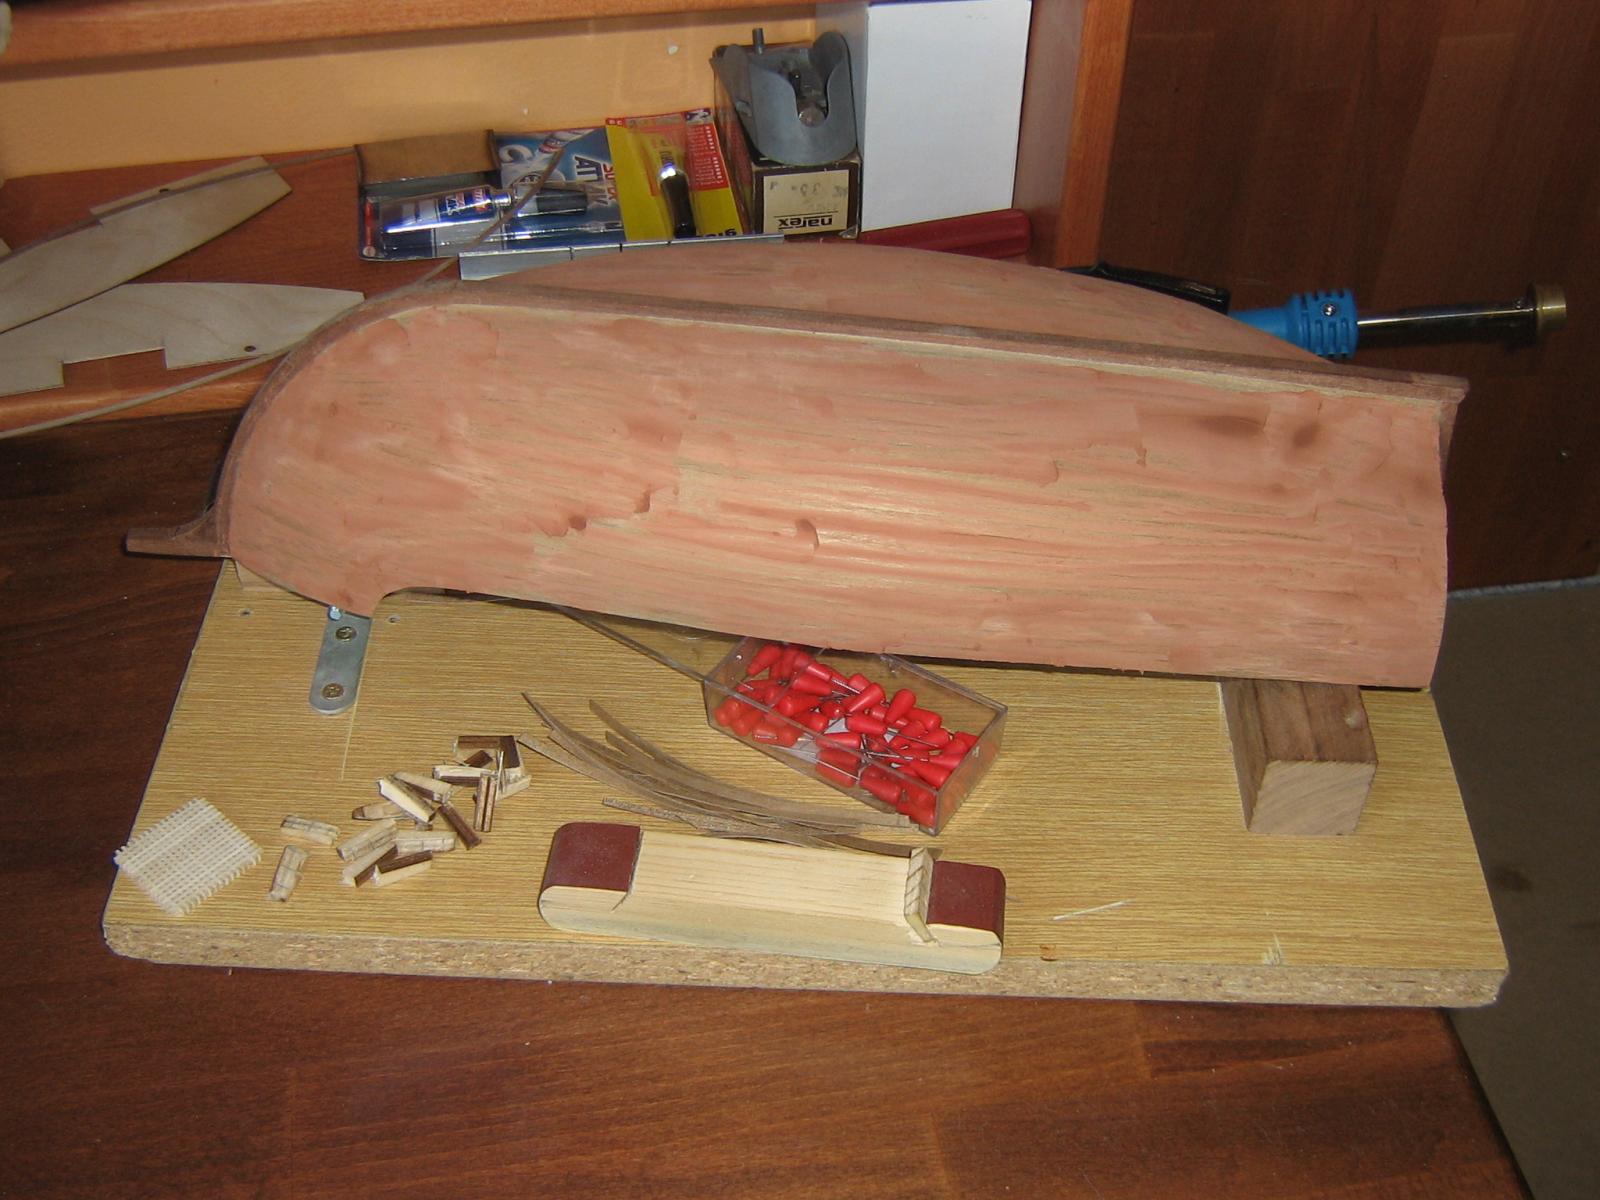
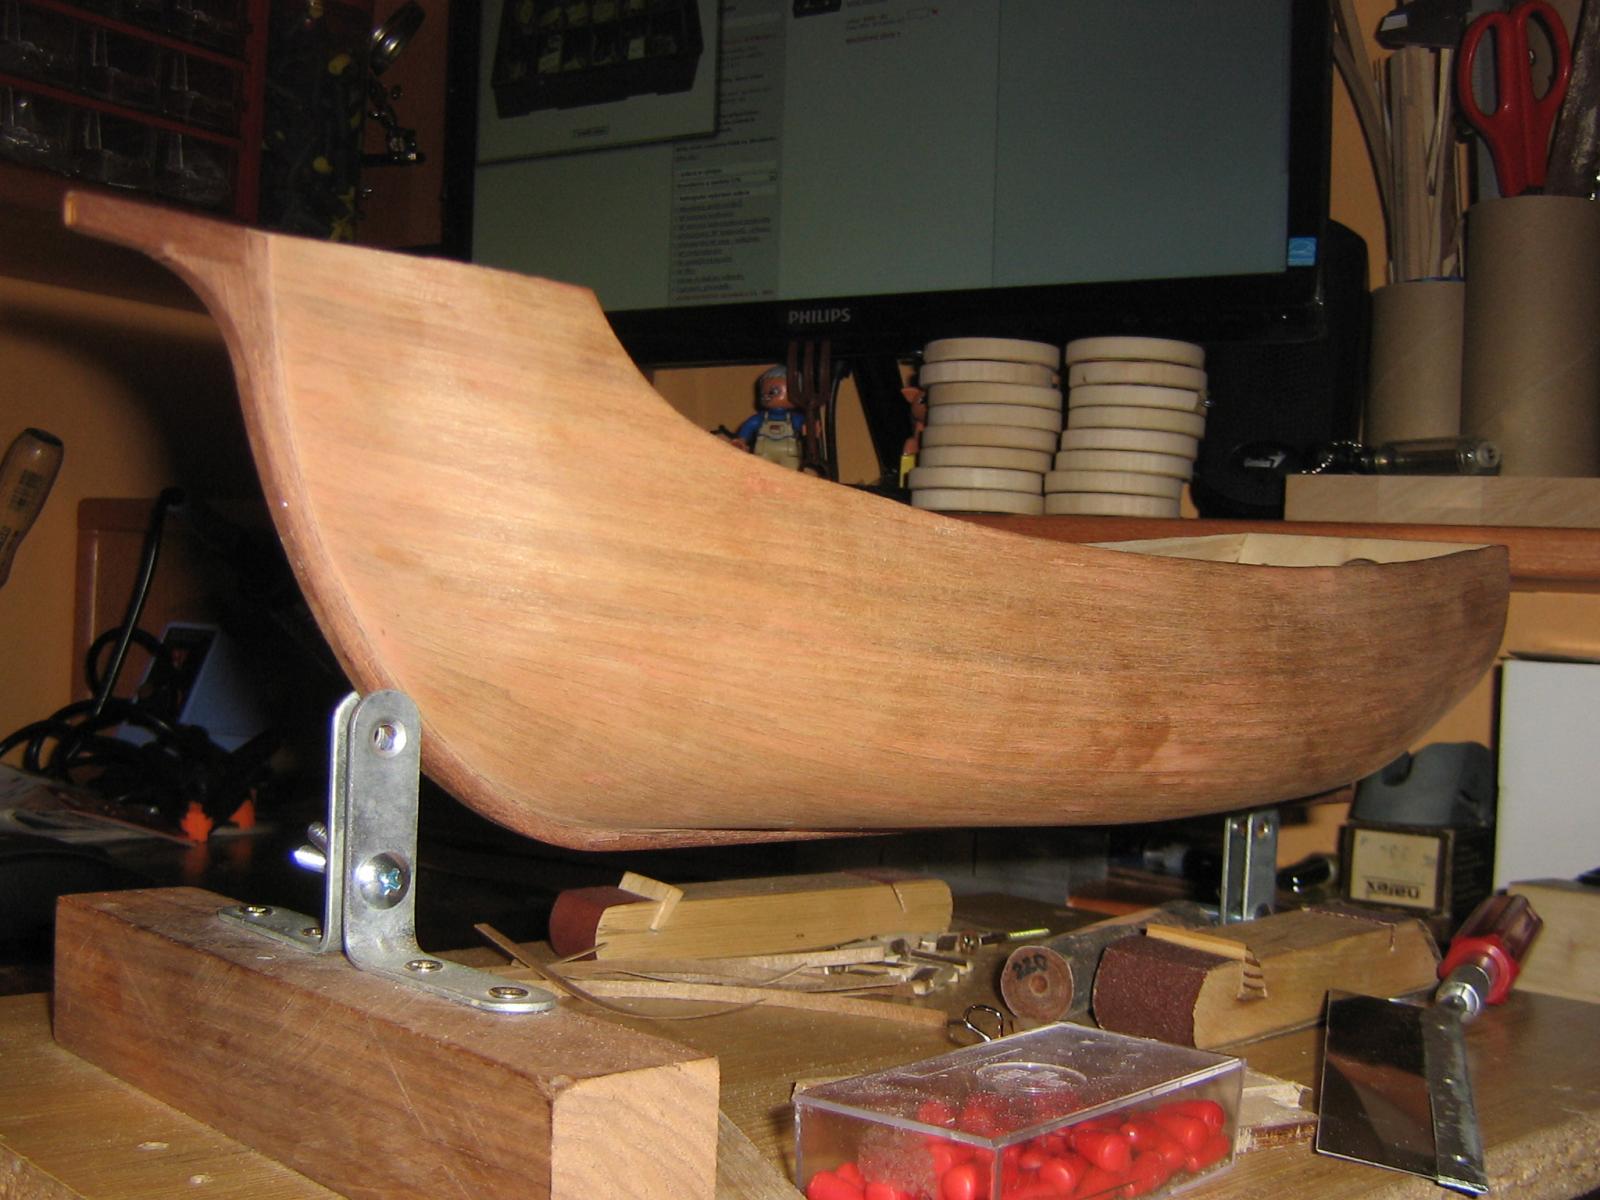
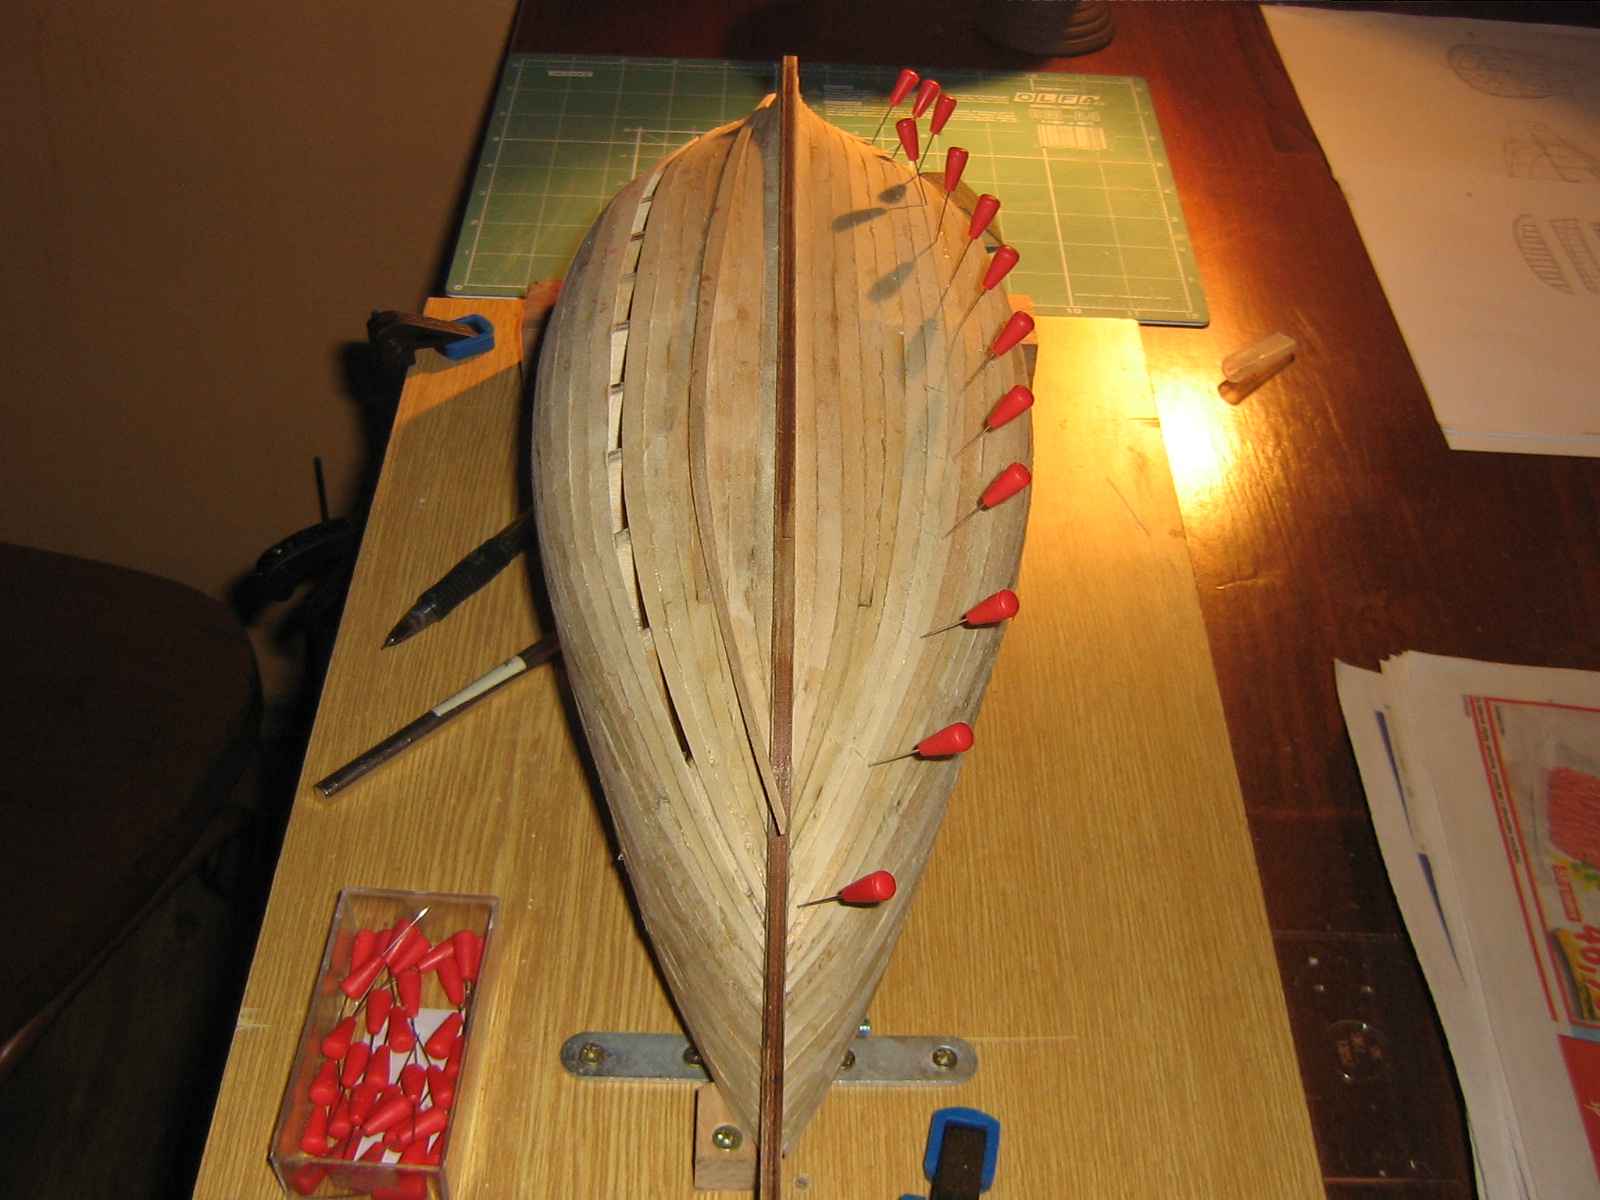
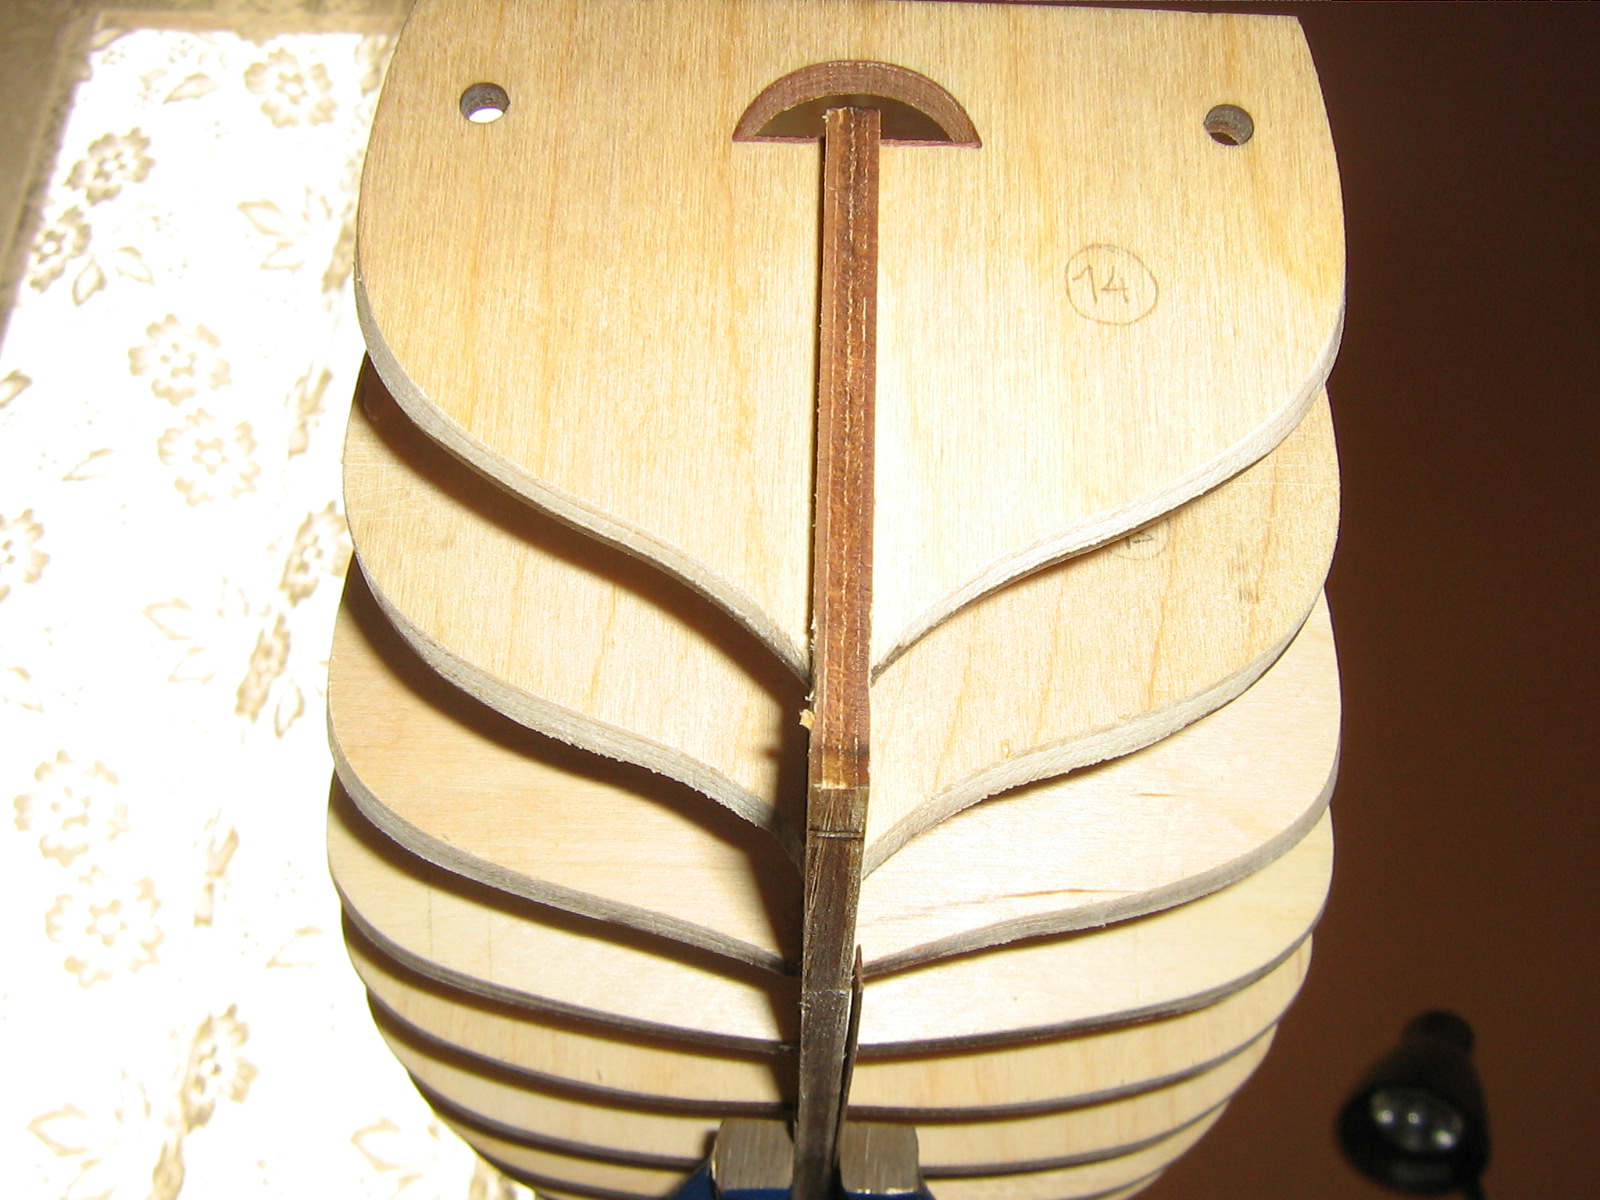
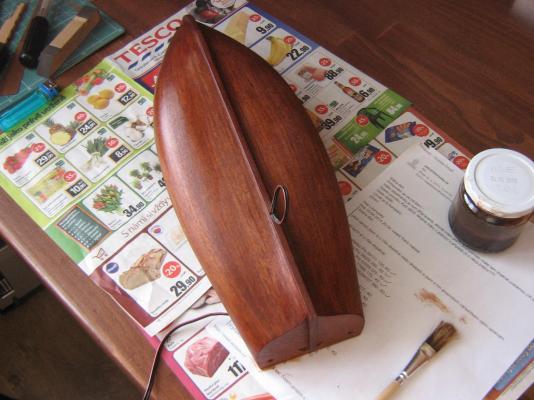
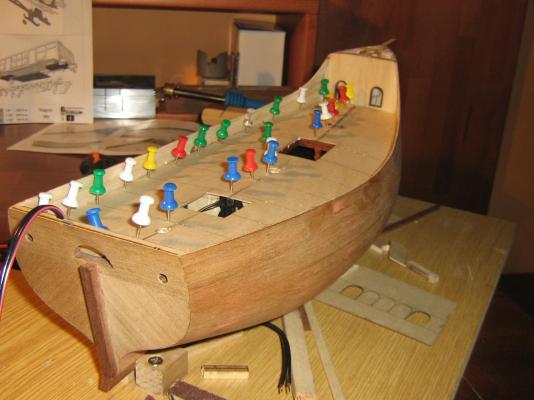
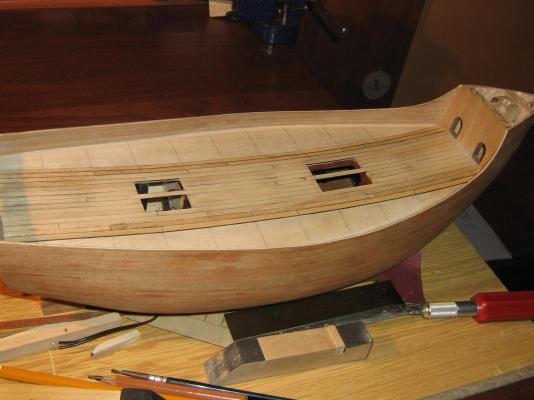
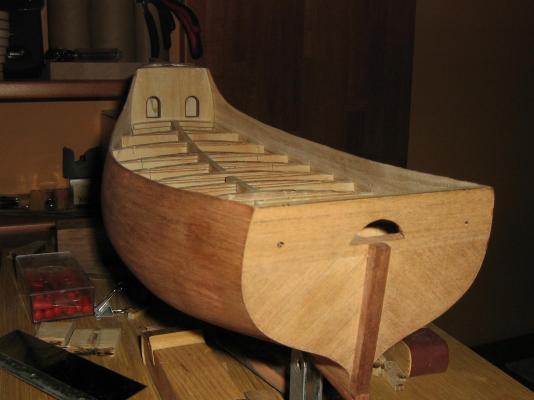
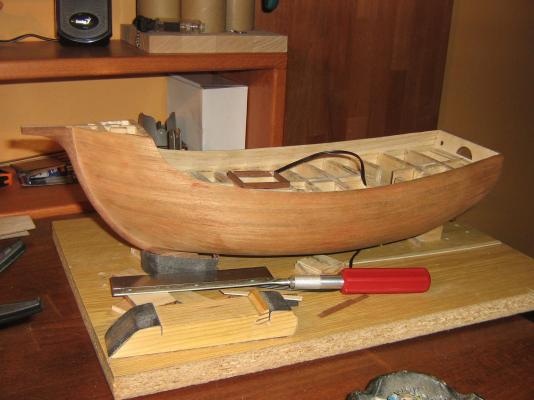
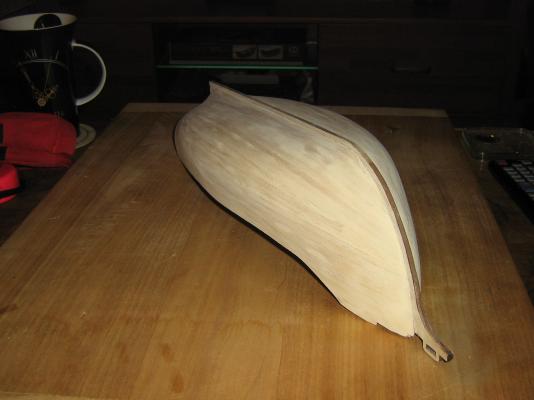
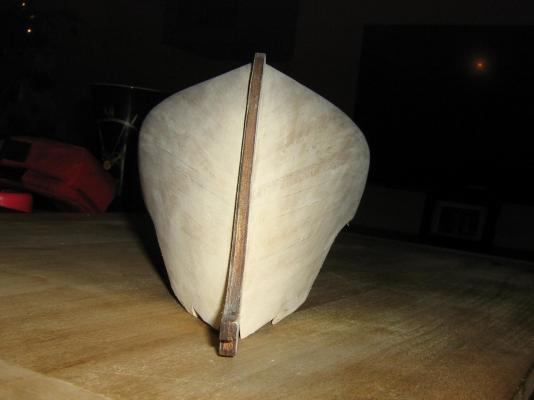
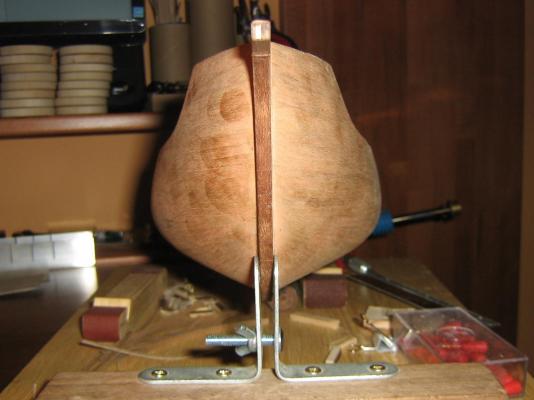
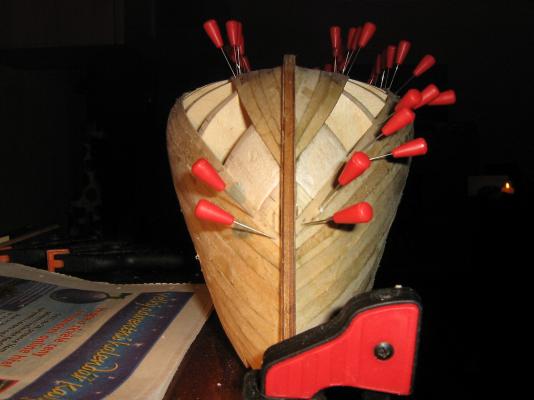
Sanding, filling with putty, sanding and sanding again, second layer of planking,sanding, filling with darker putty, sanding. Material sapeli 0,5x4mm. Veneer on keel mahagony 0,5mm.


- 79 replies
-
- 3
-
-
- santa maria
- amati
- (and 2 more)
-
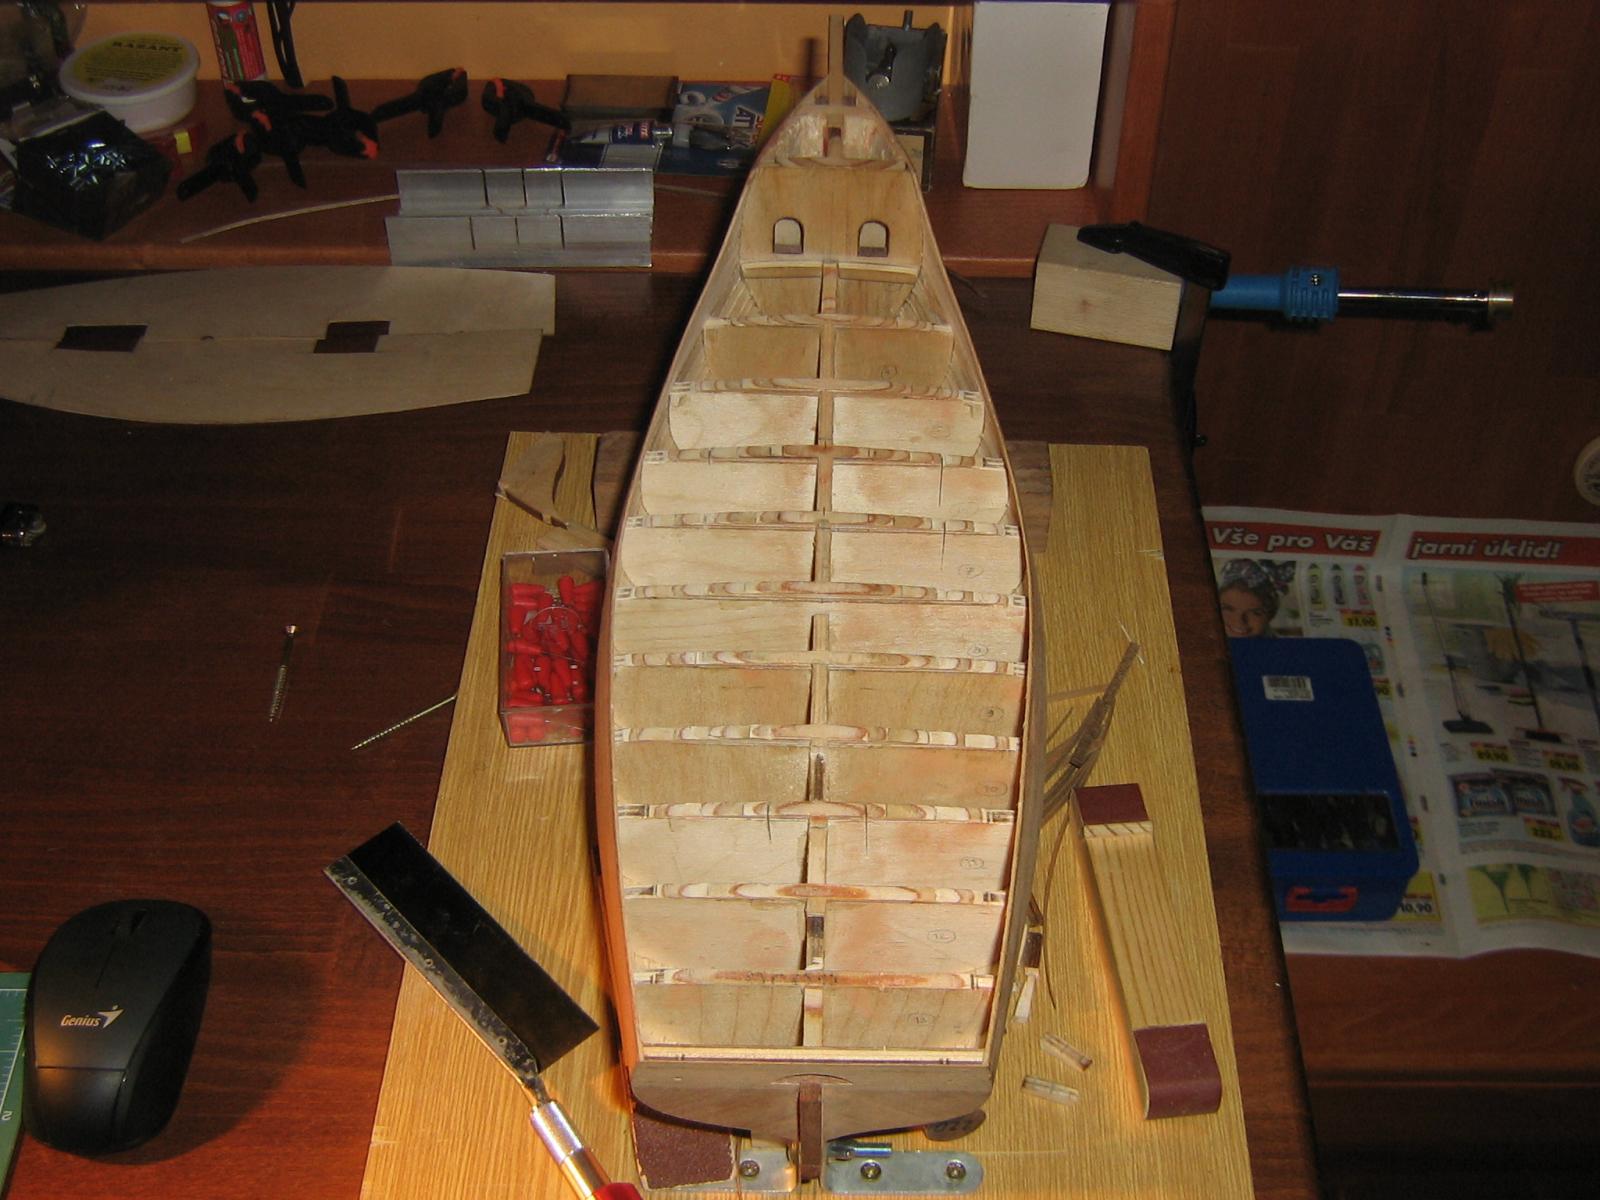
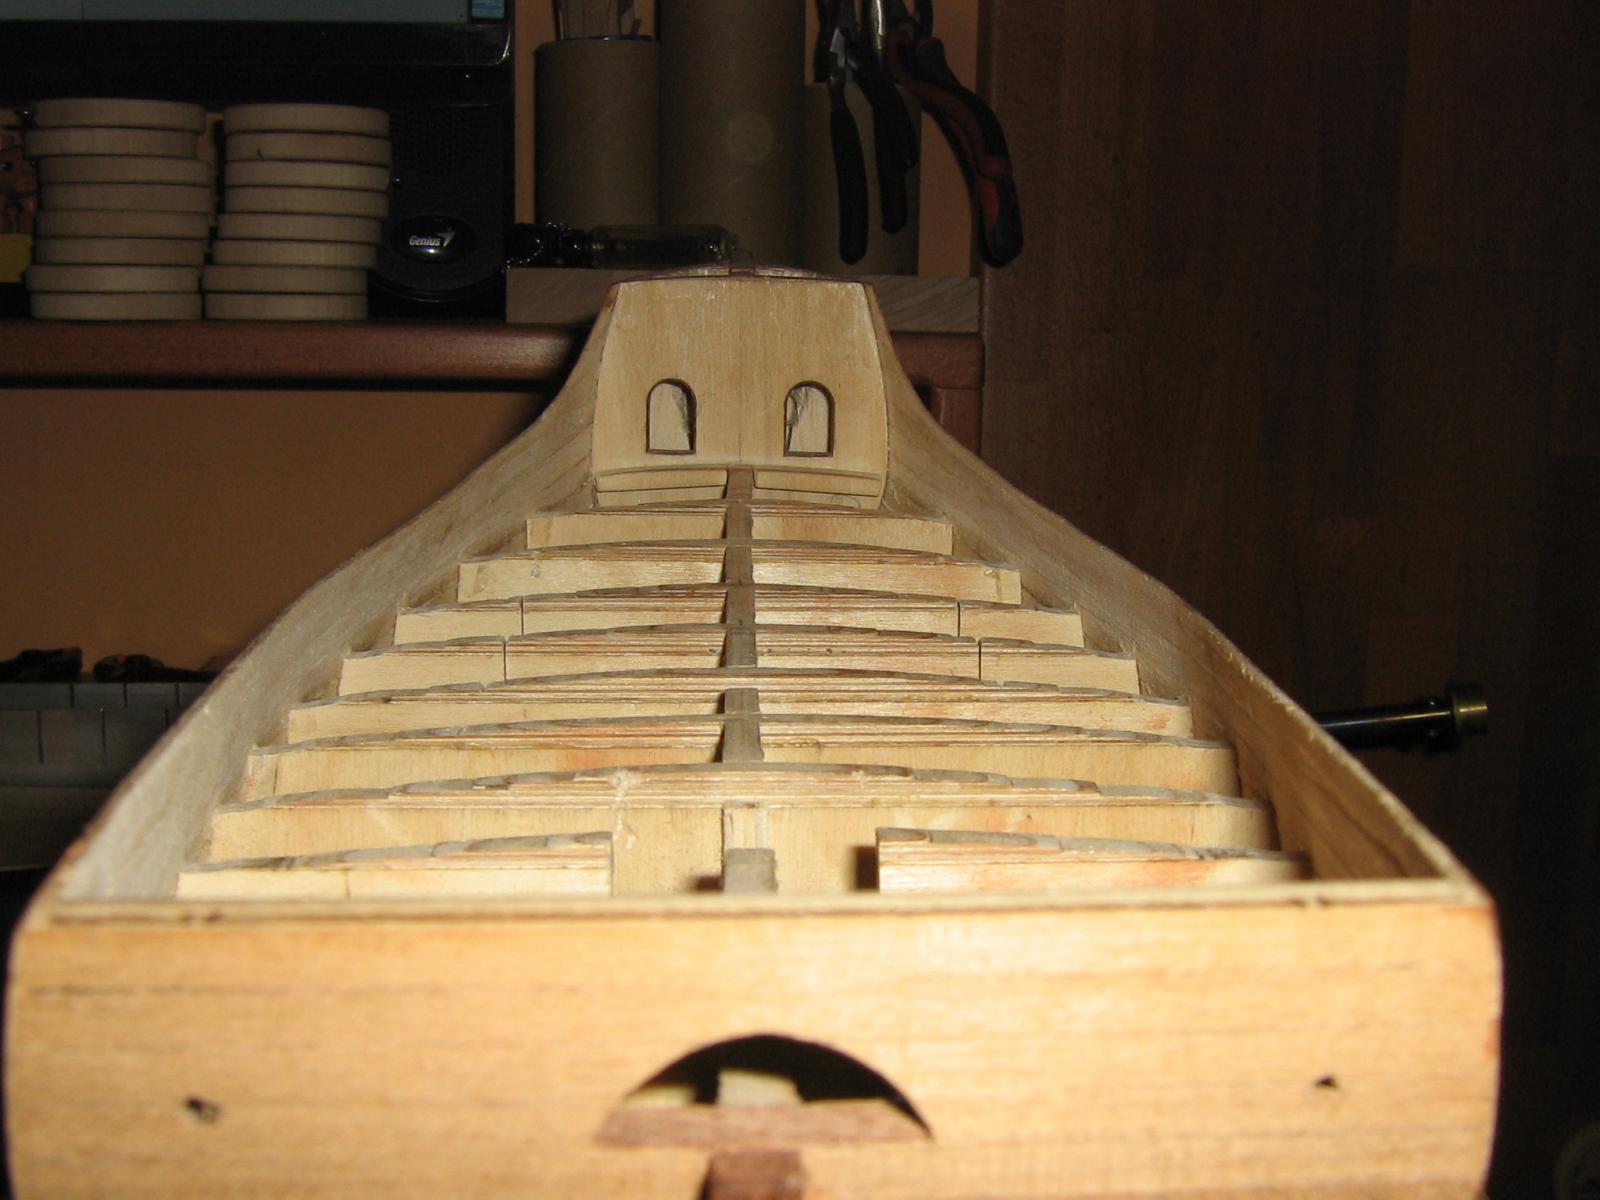
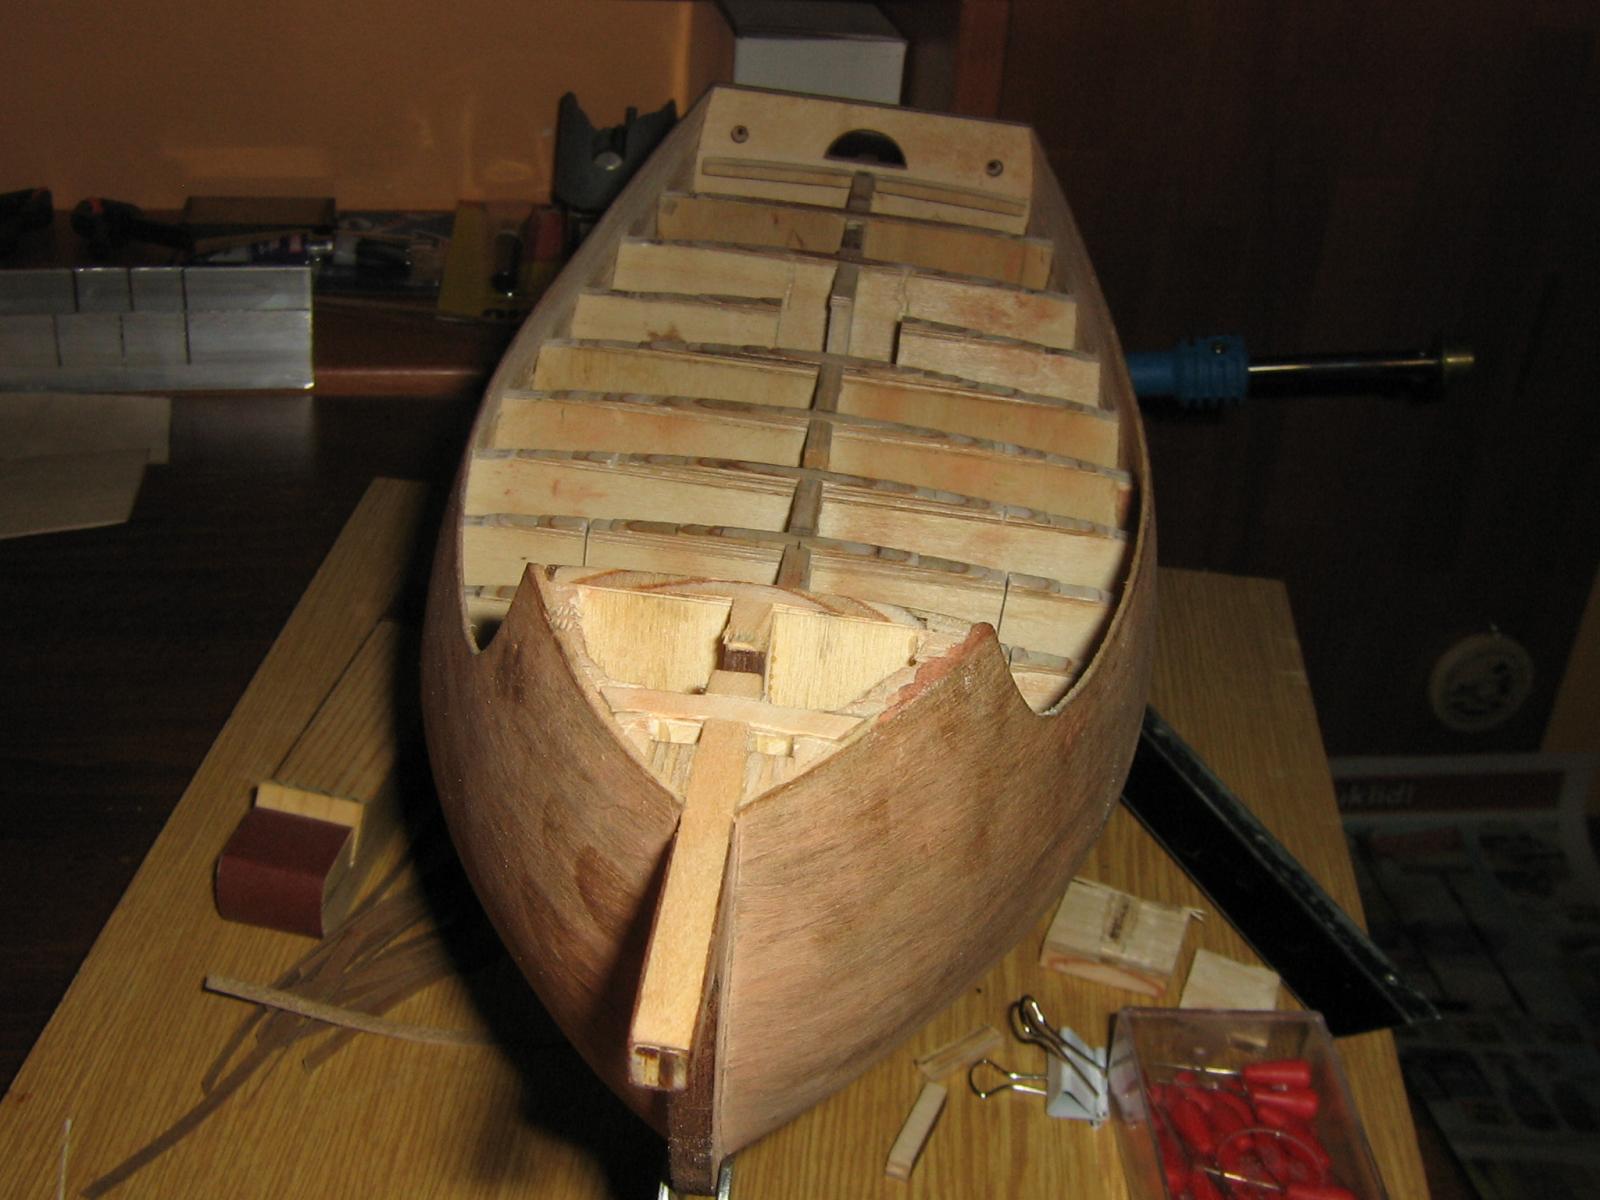
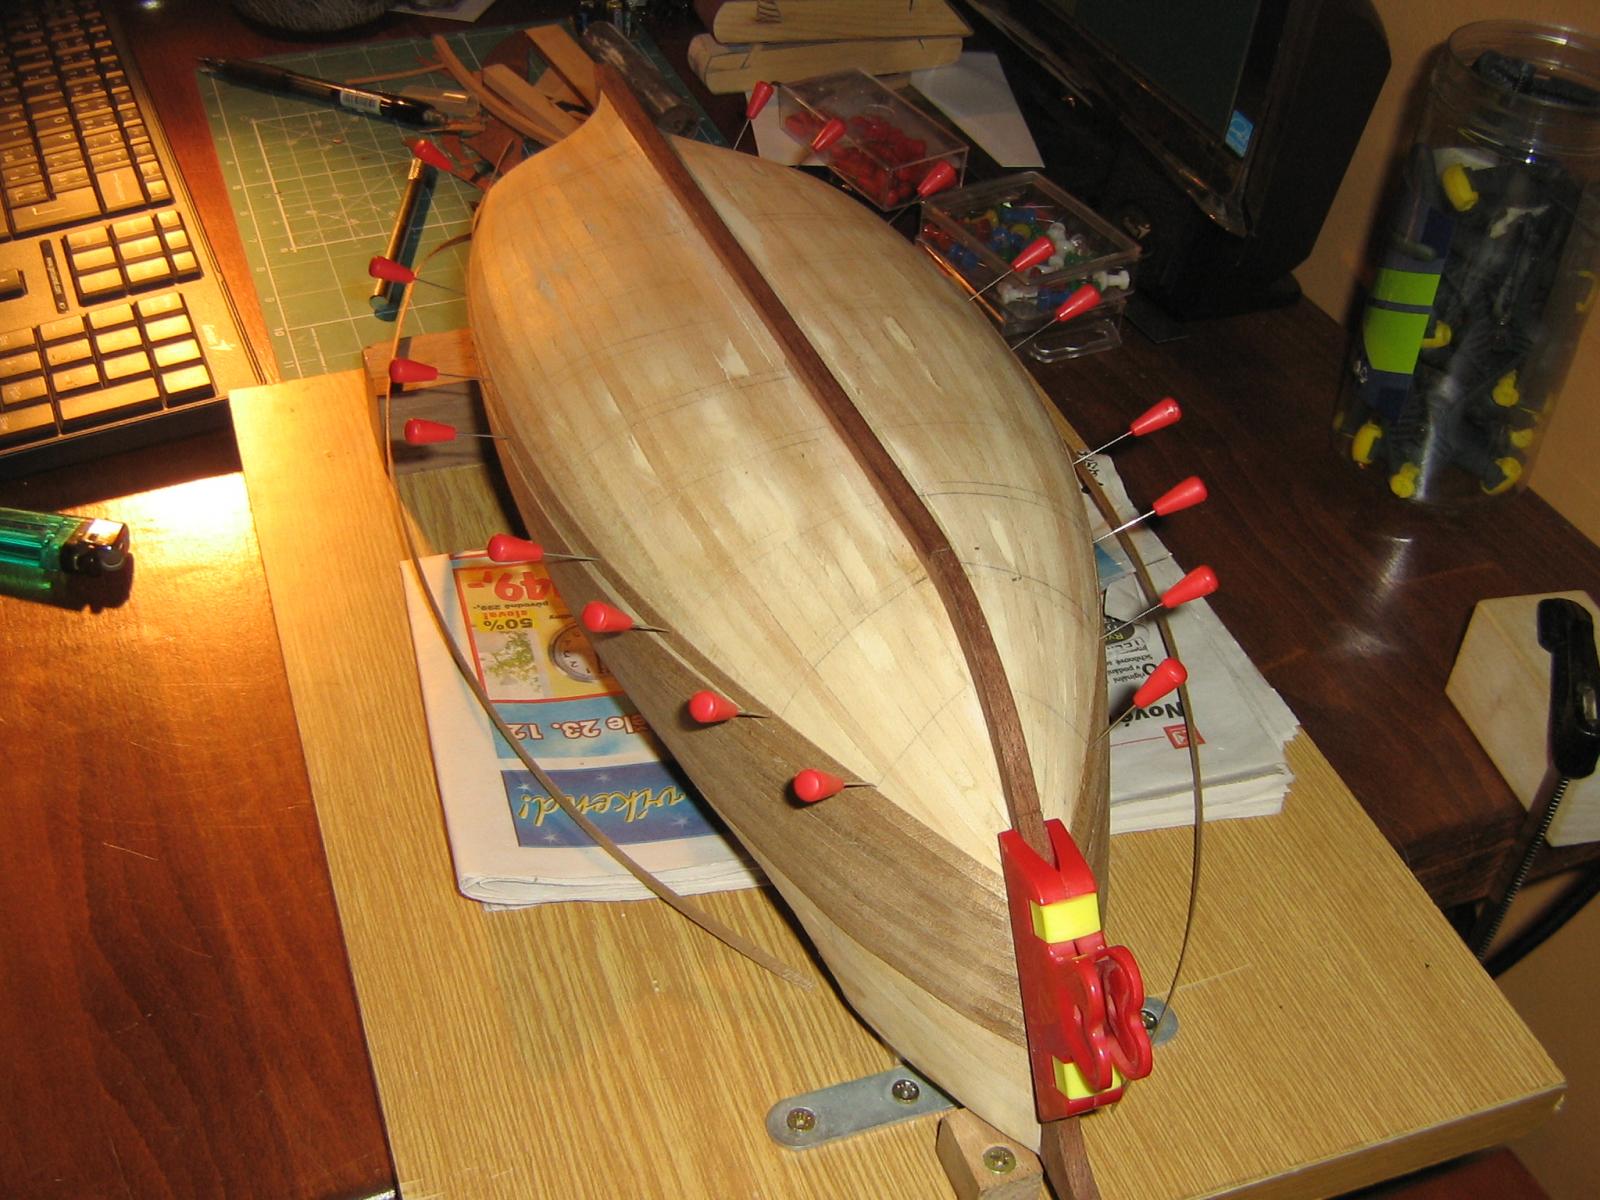
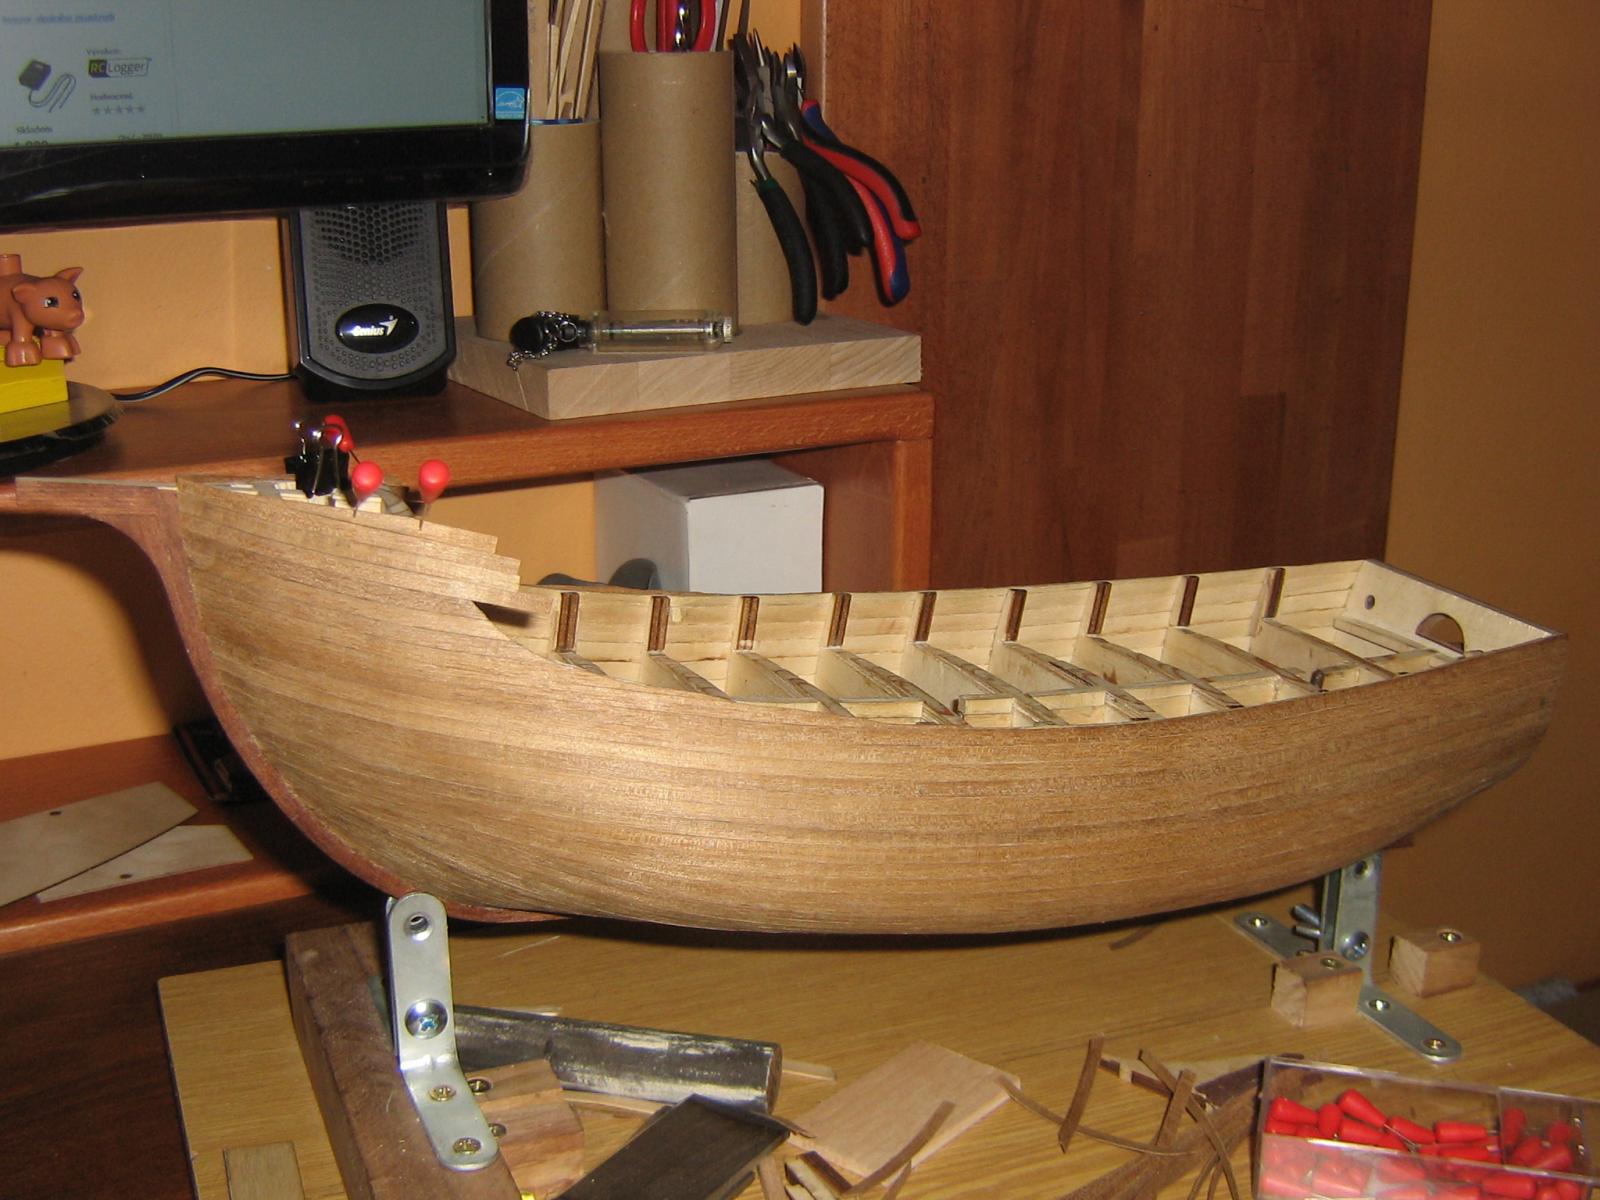
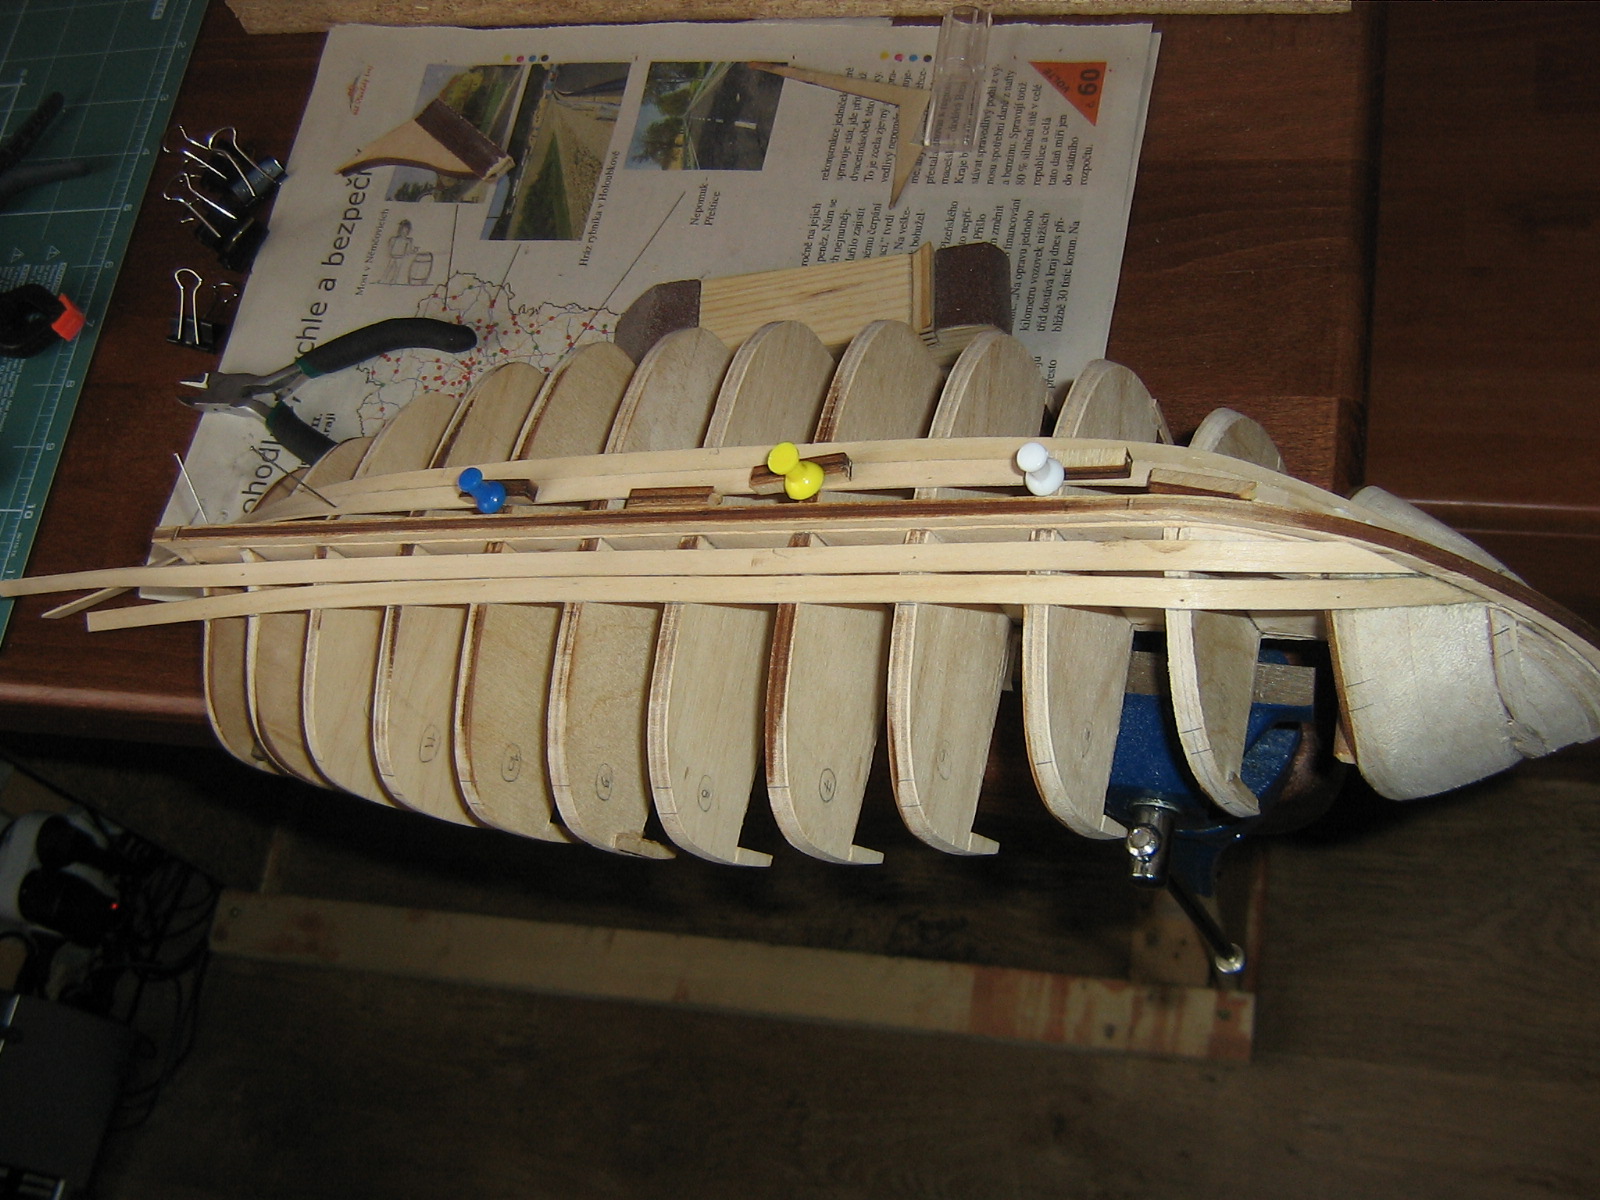
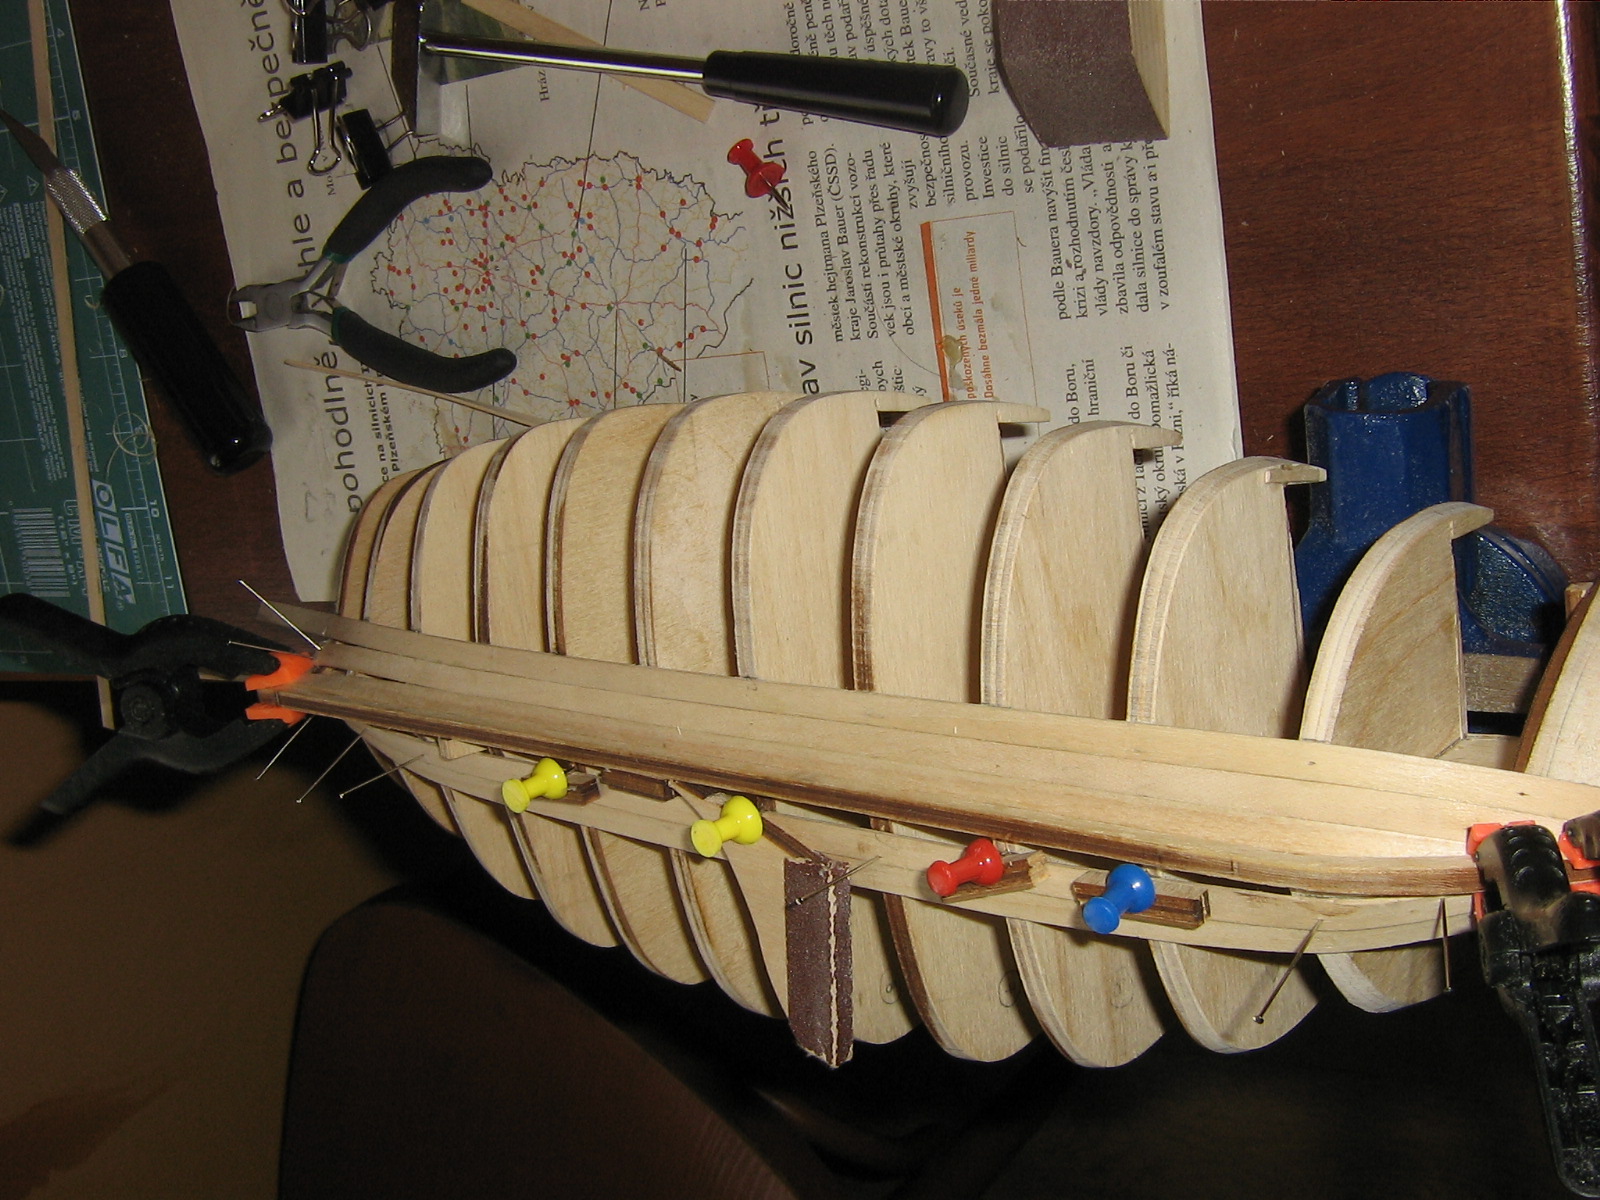
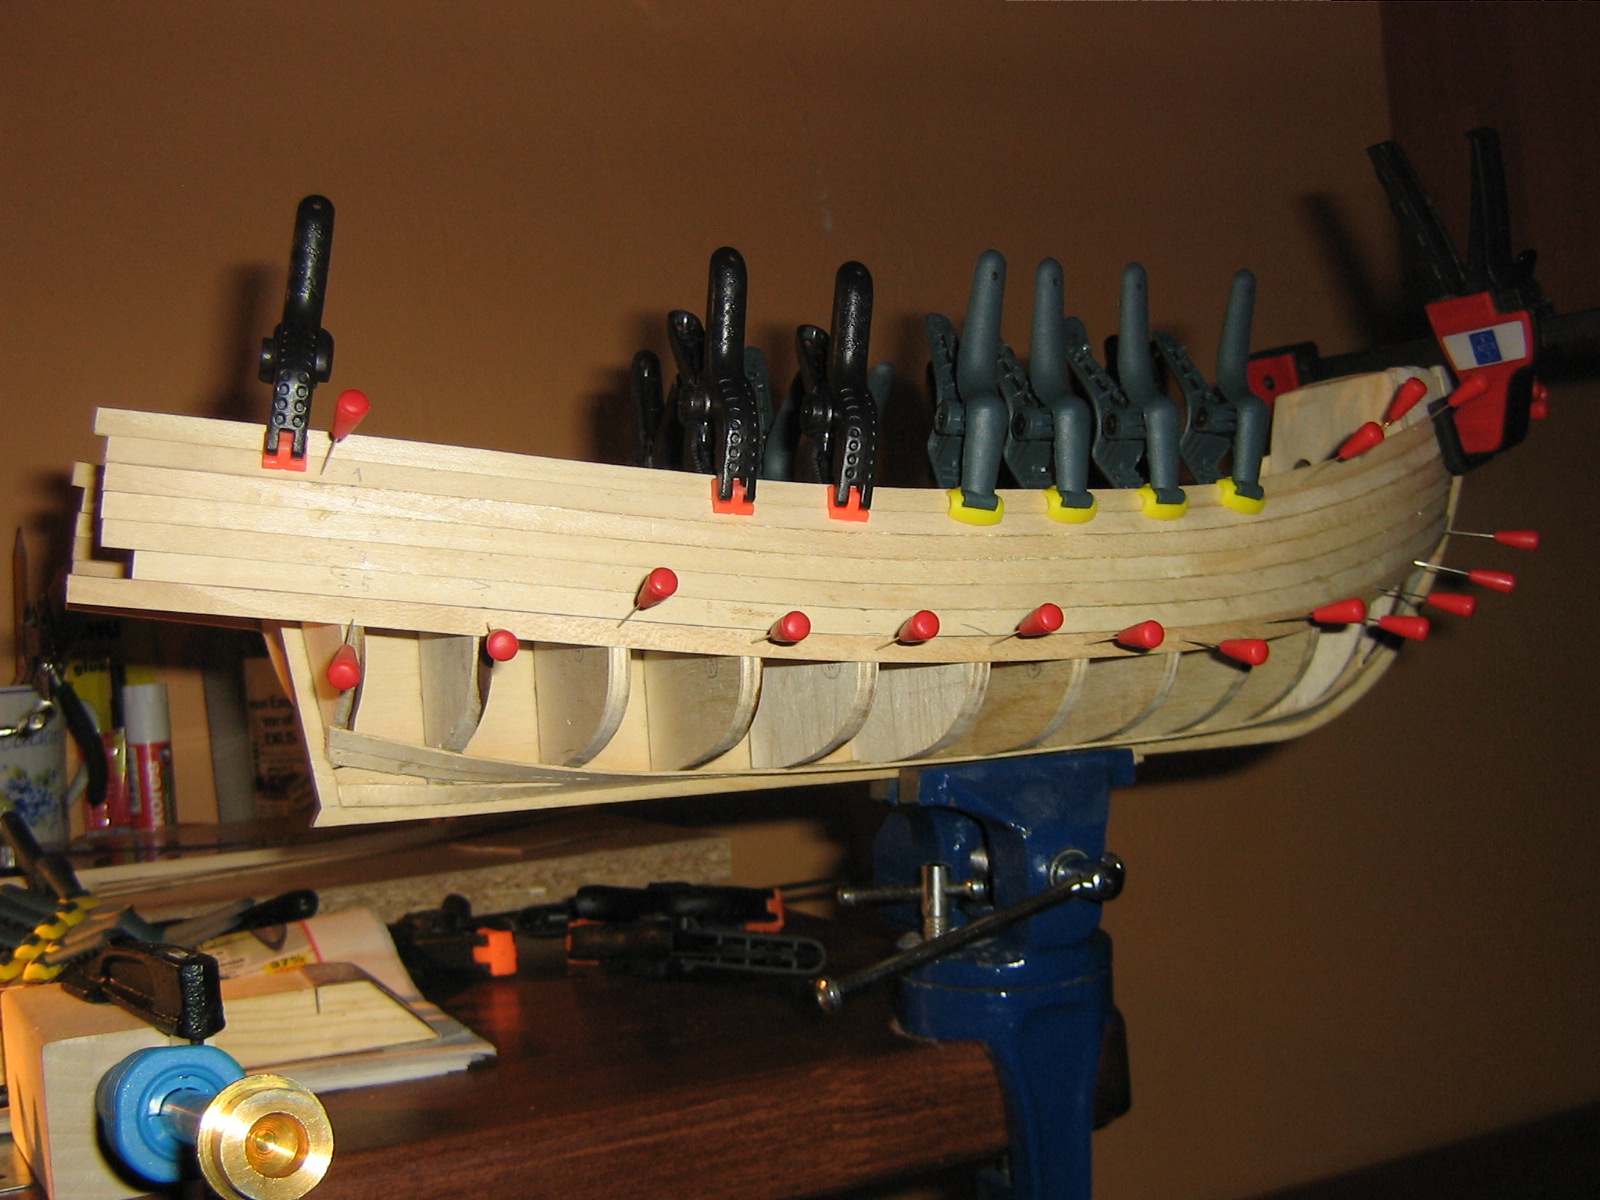
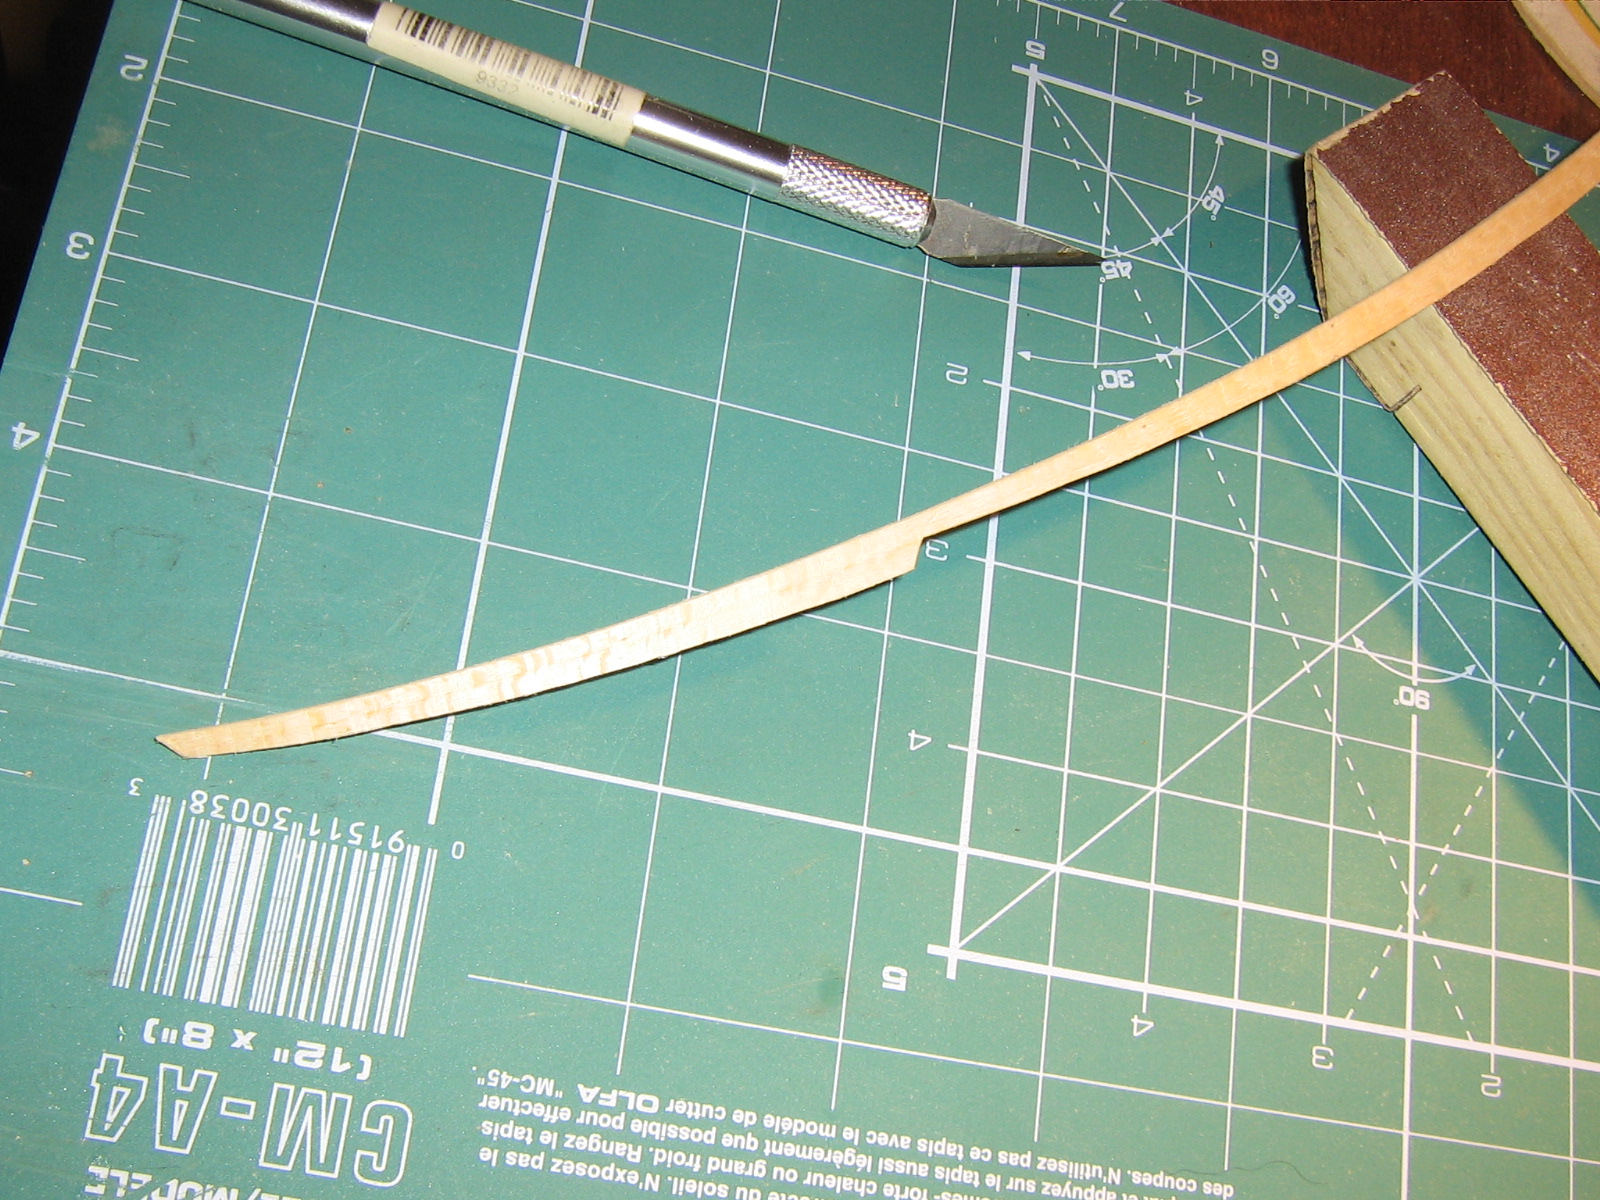
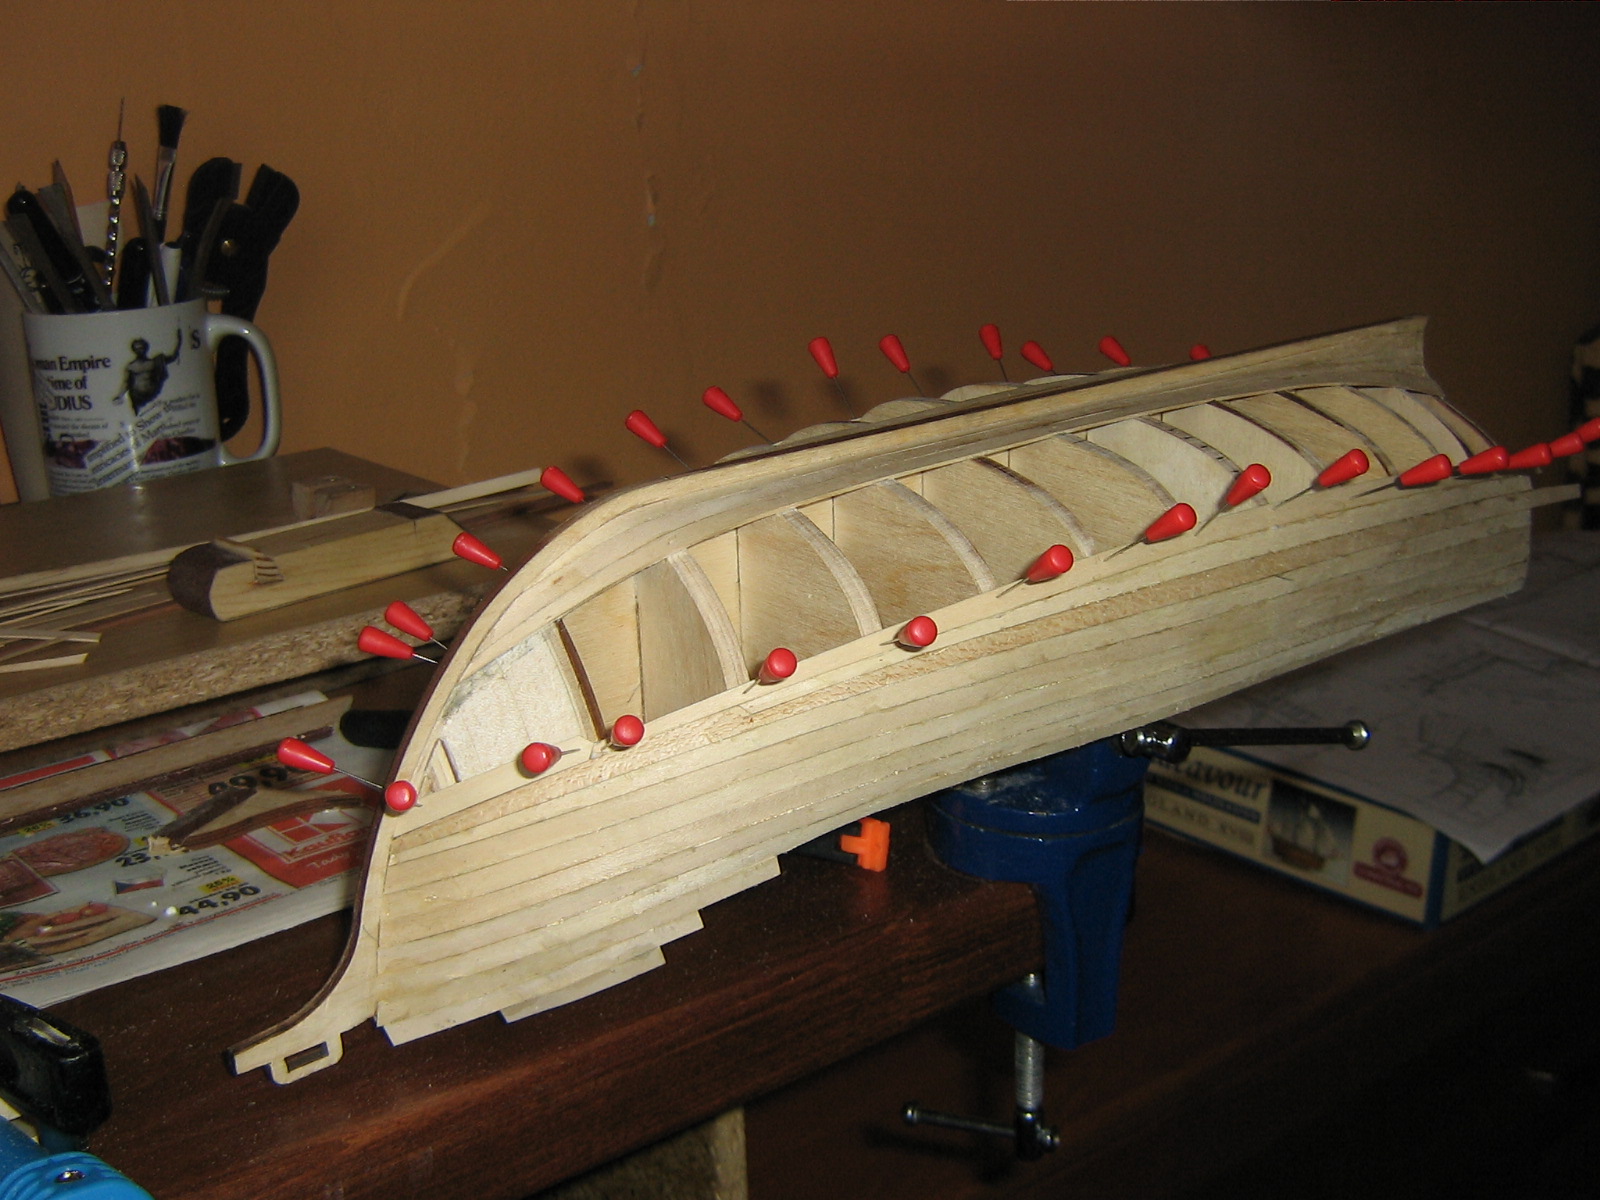
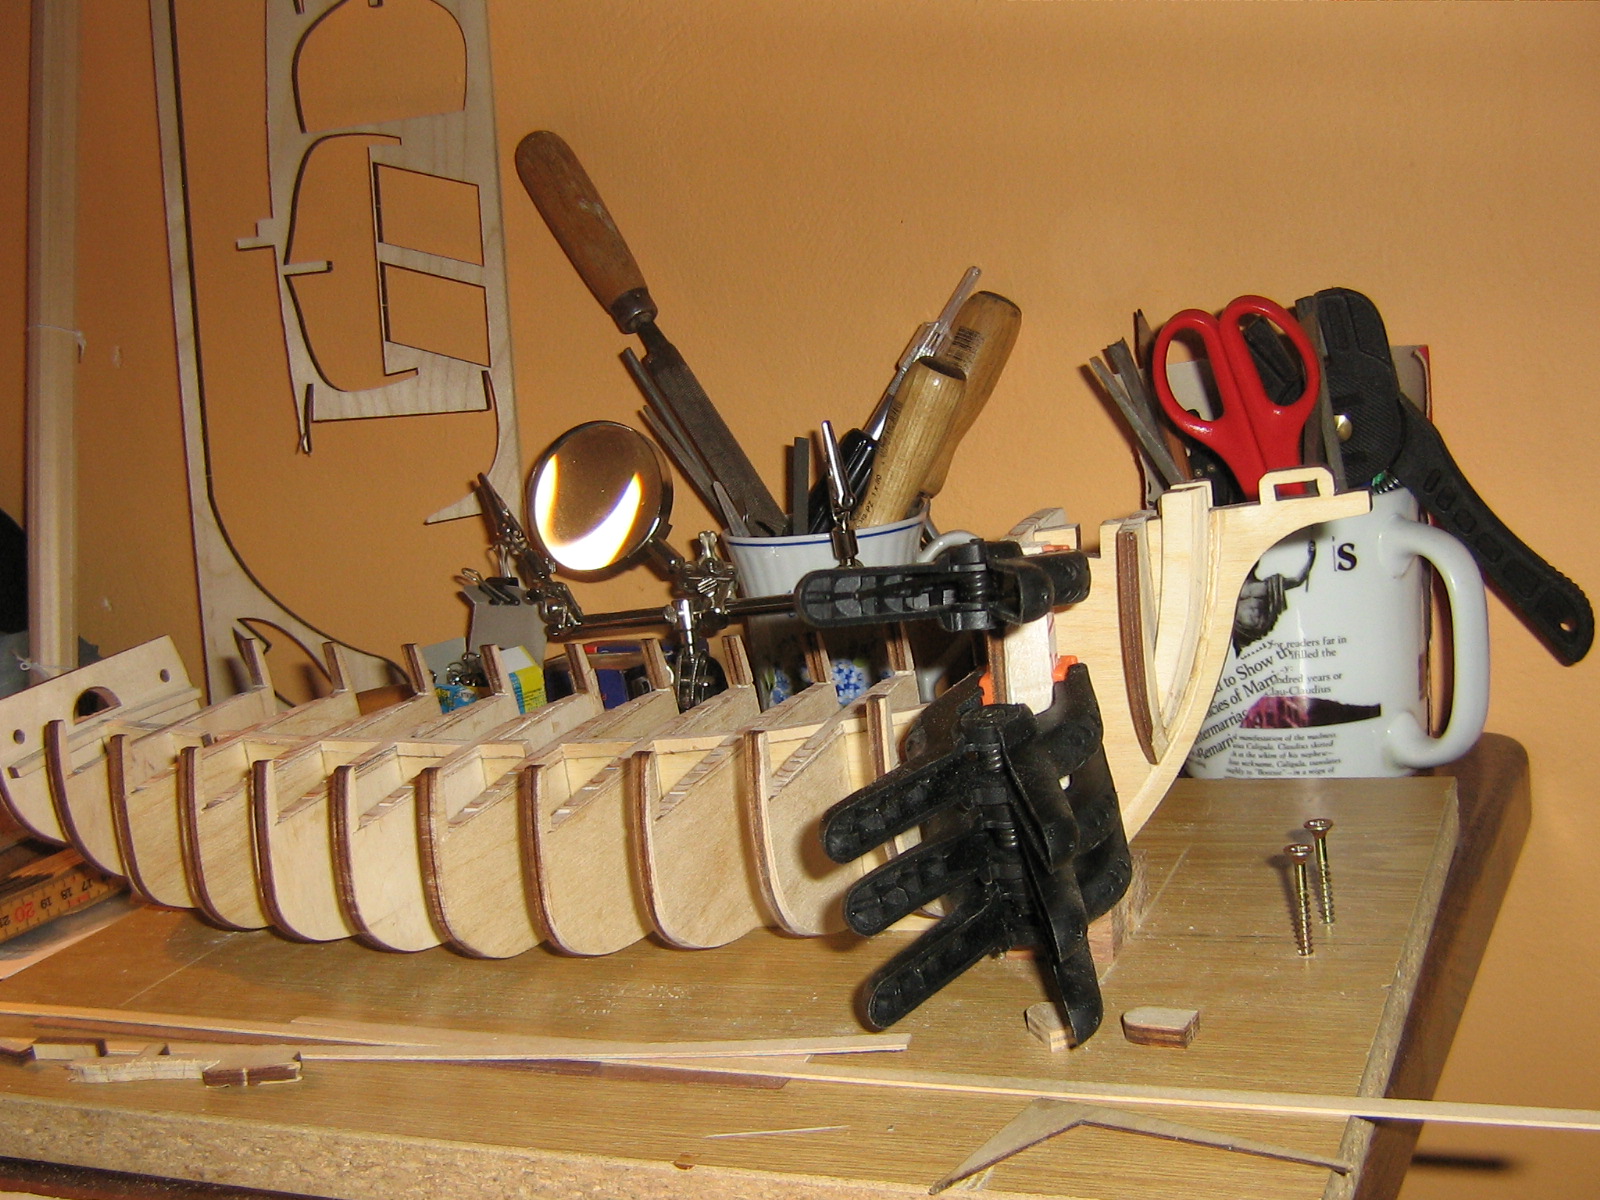
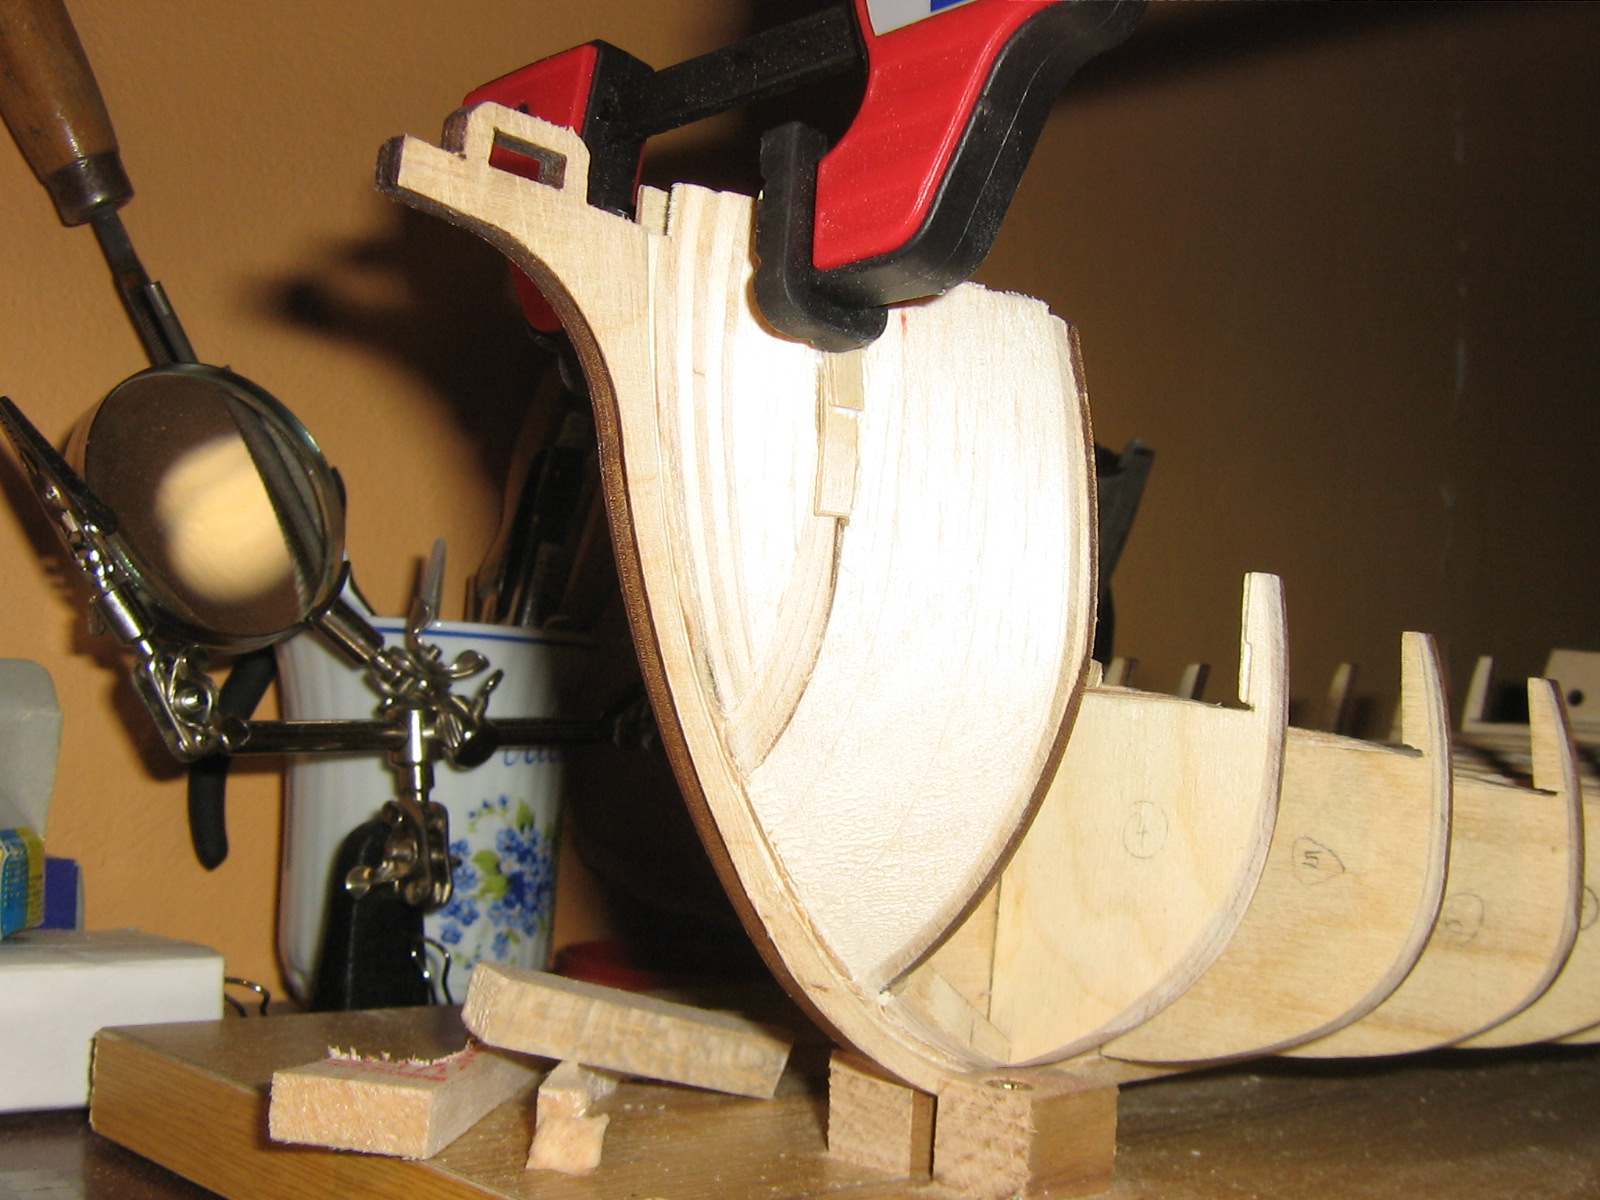
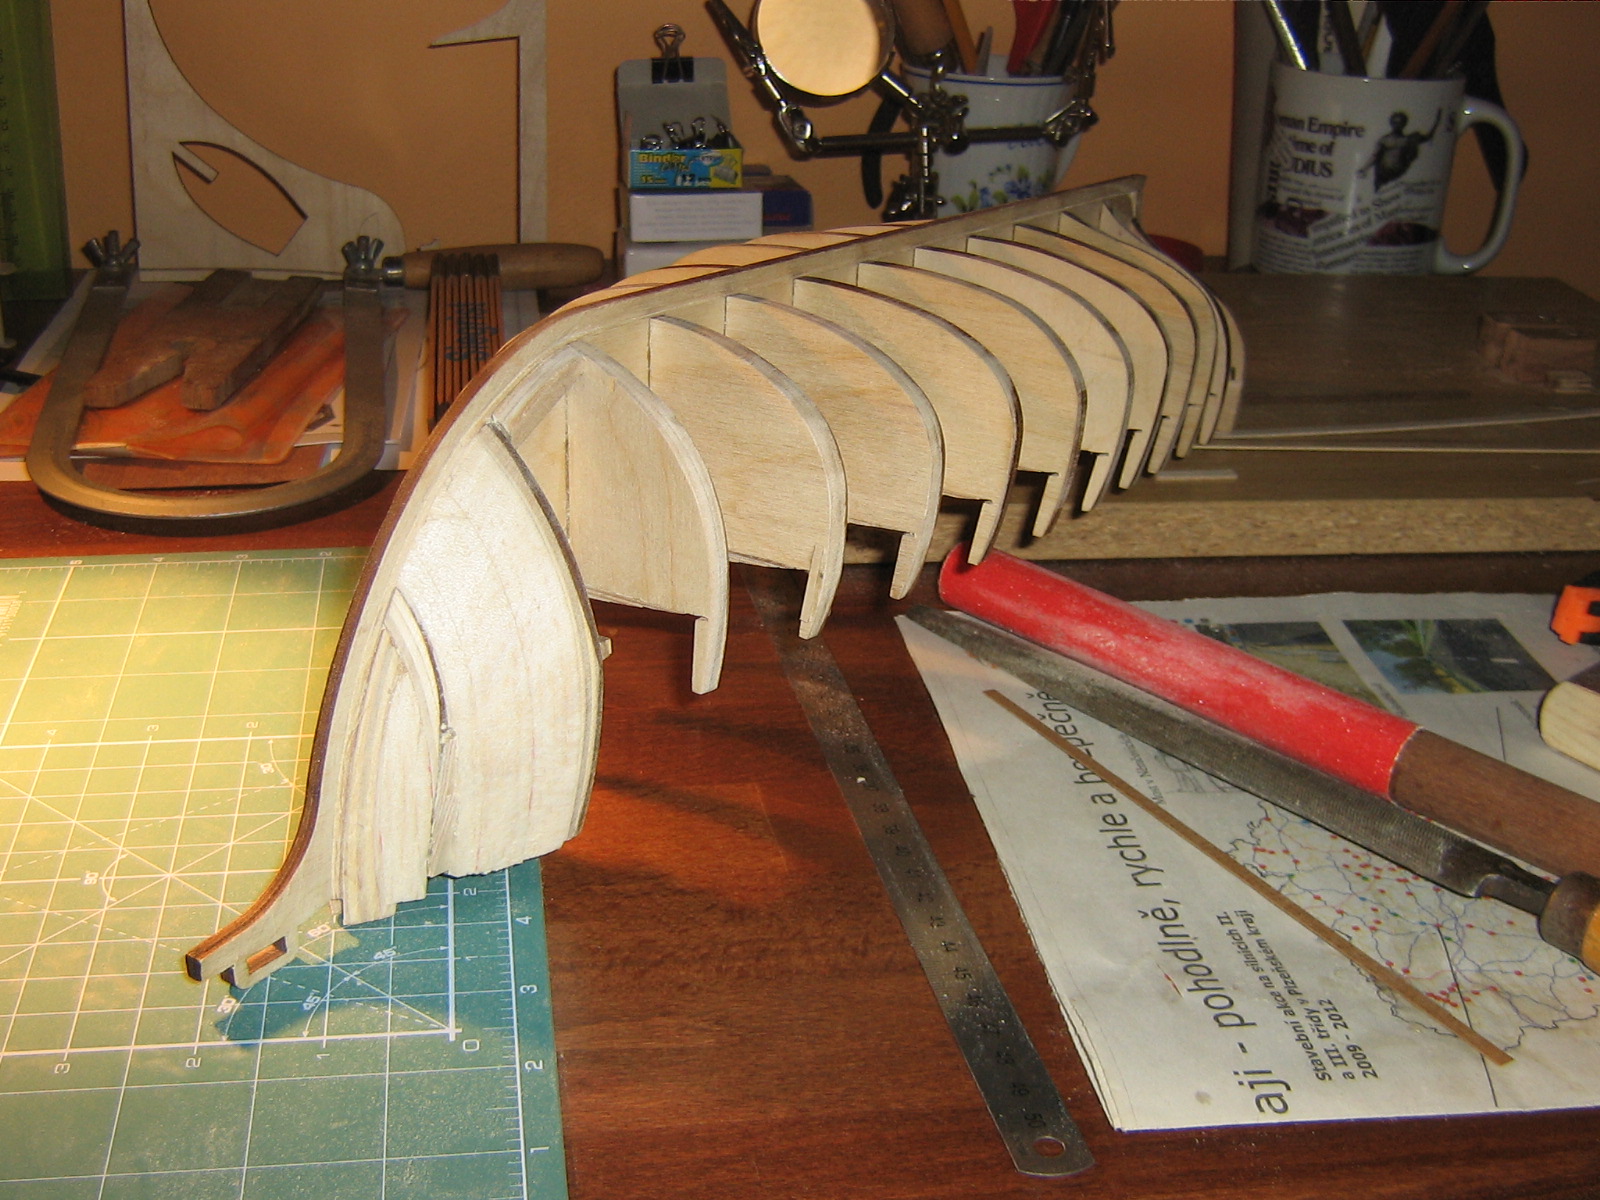
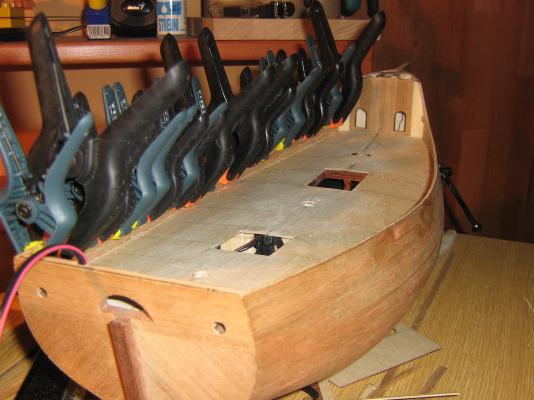
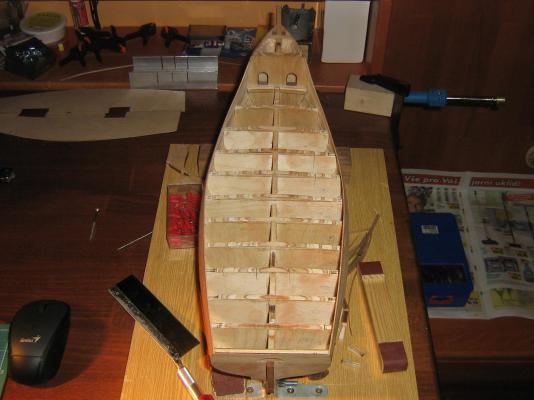
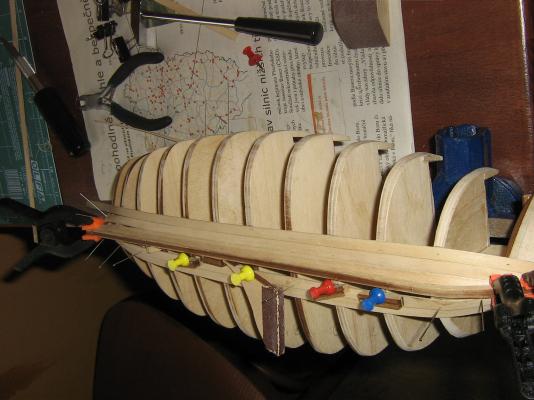
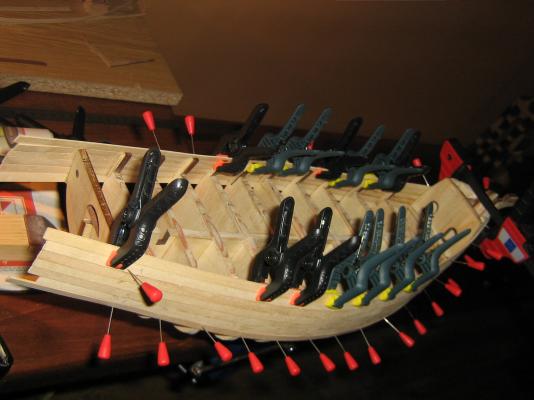
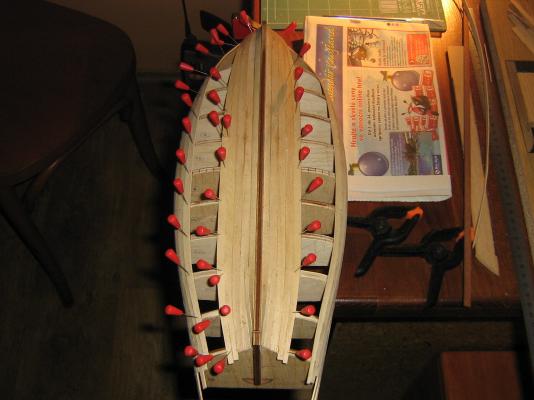
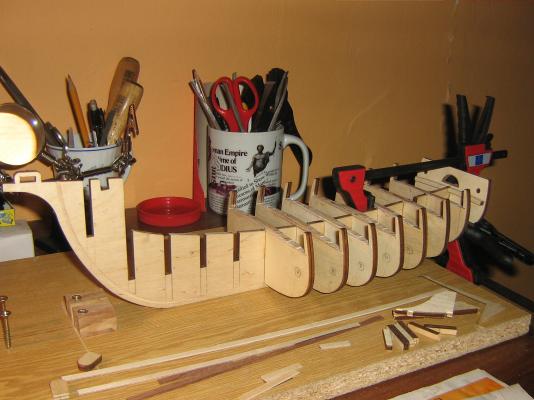
Starting with the first layer of planking. Material lime 1x6mm.


- 79 replies
-
- 3
-
-
- santa maria
- amati
- (and 2 more)
-
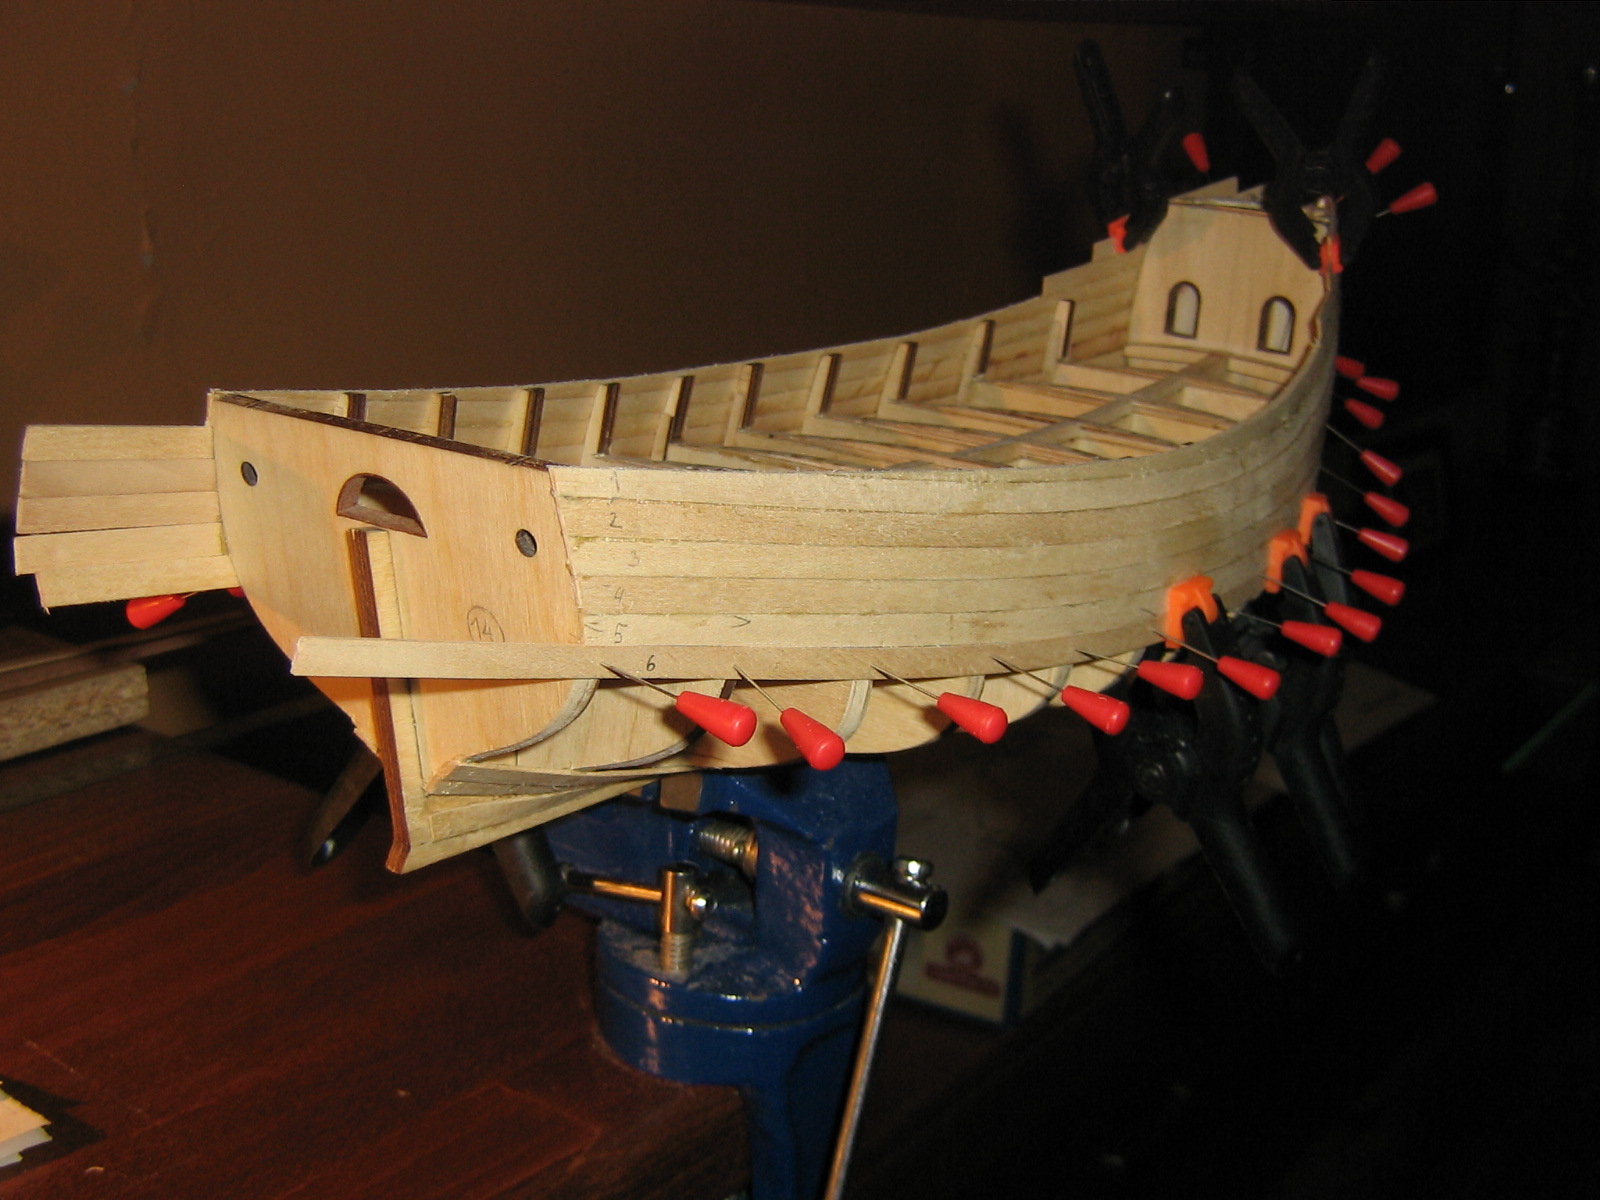
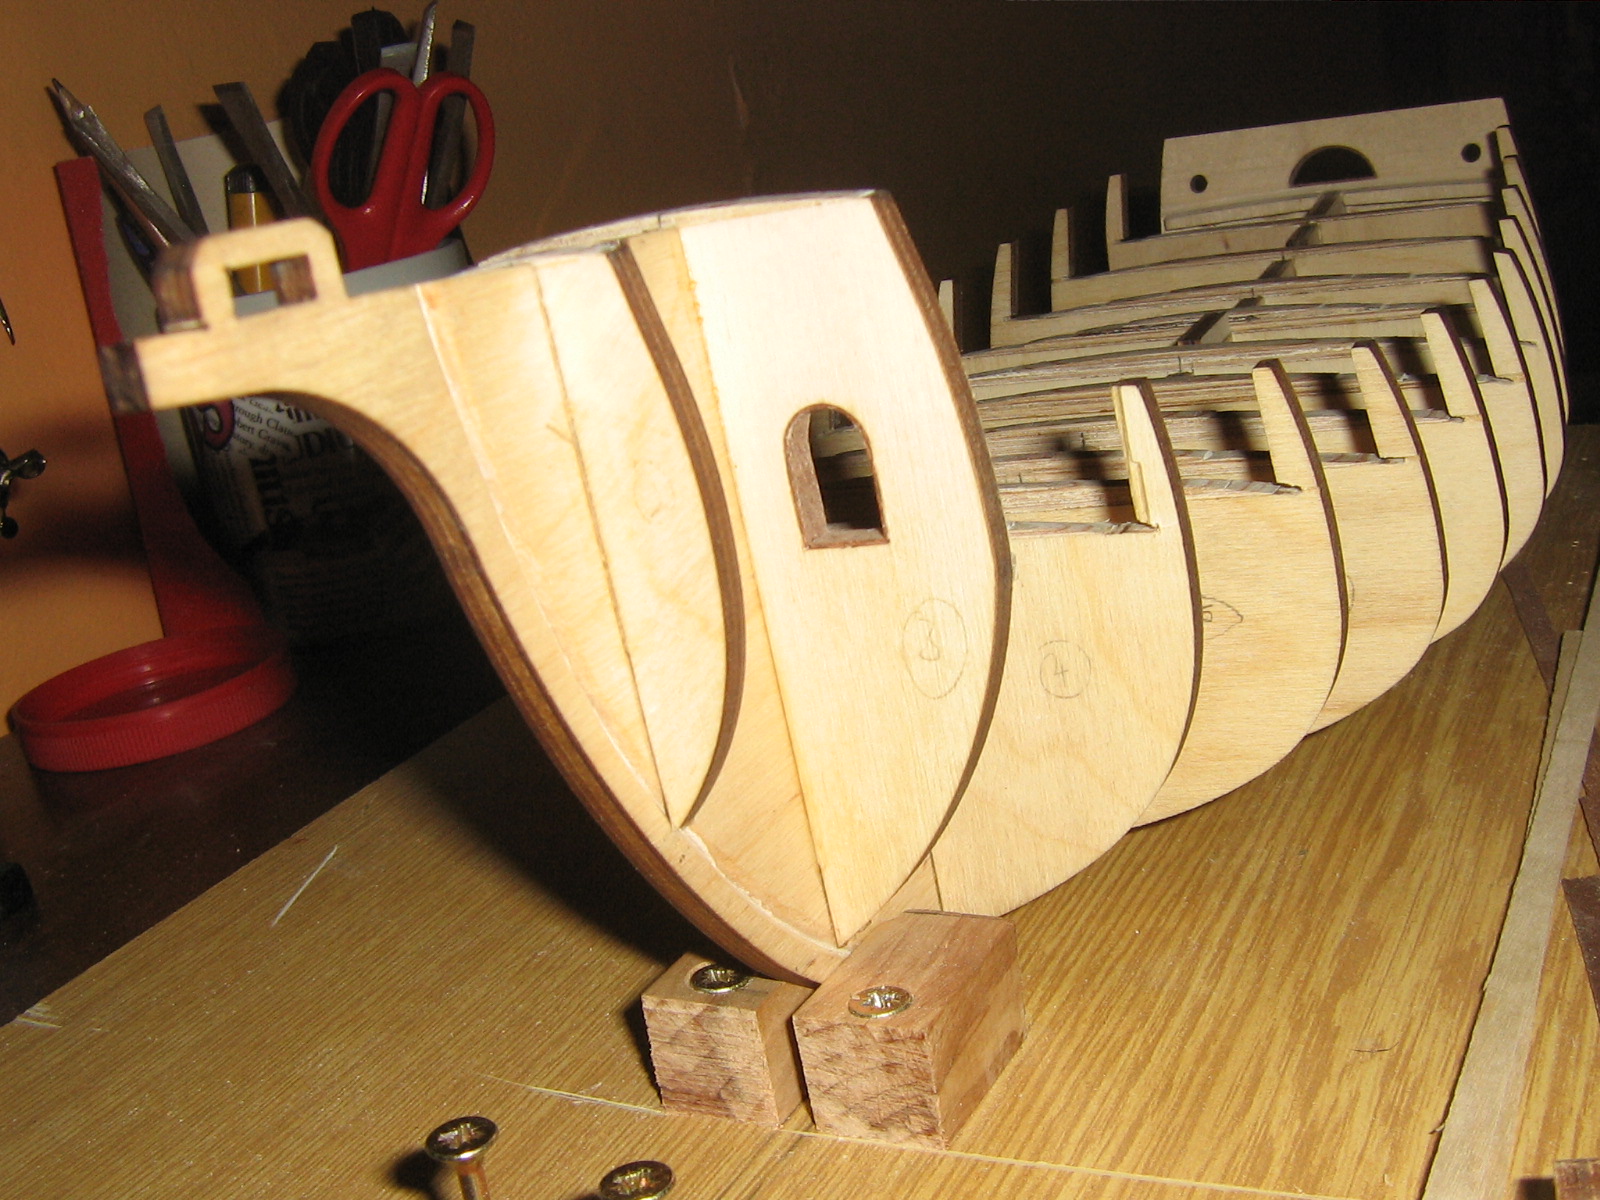
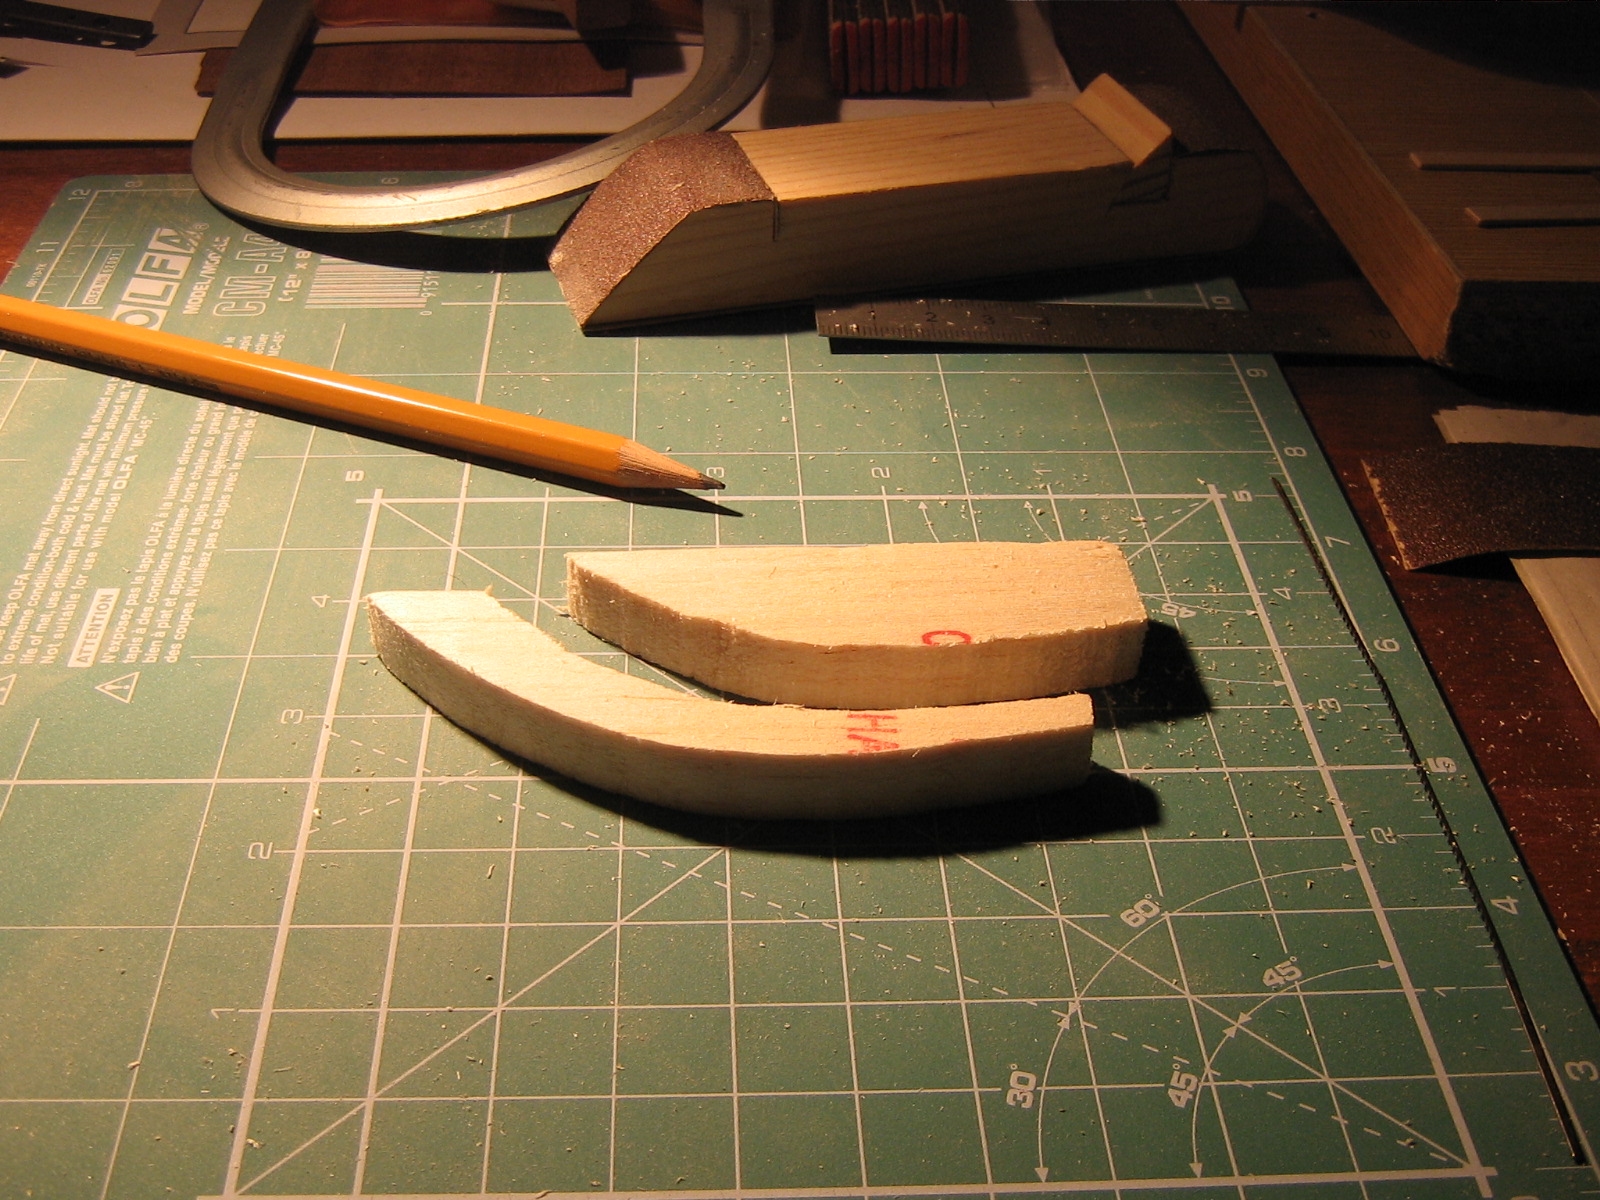
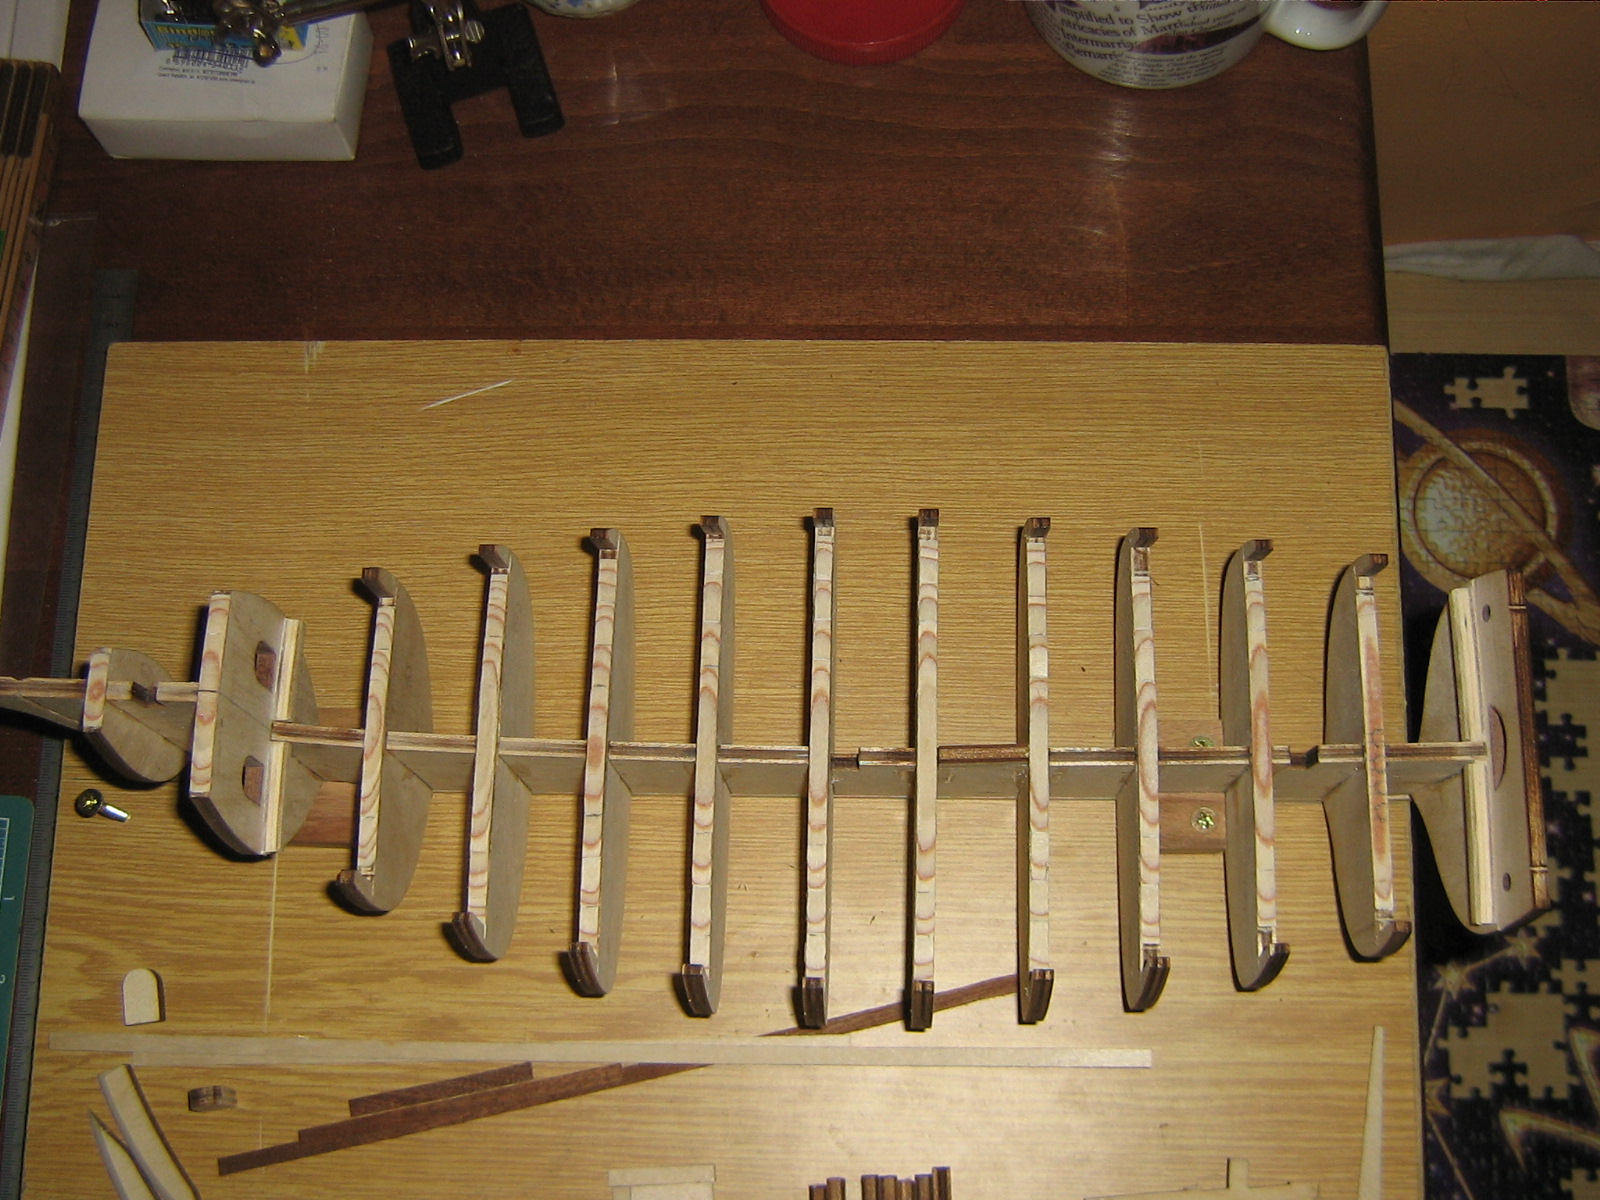
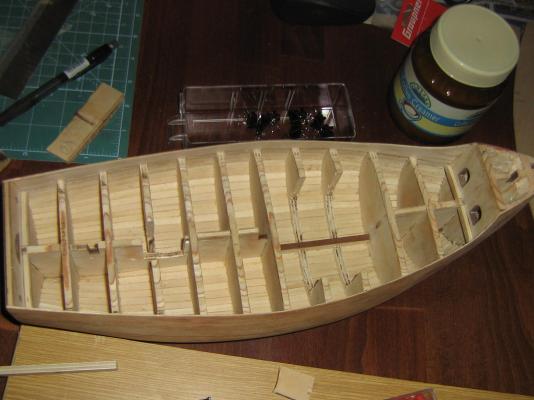
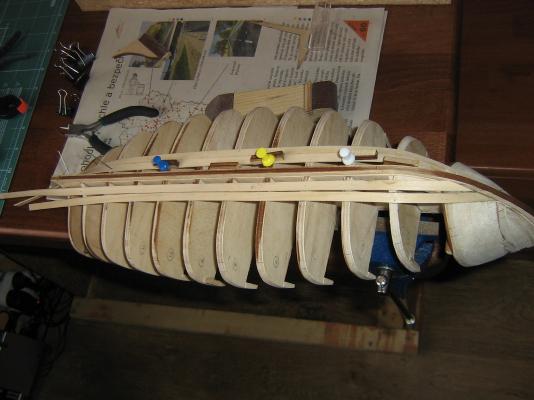
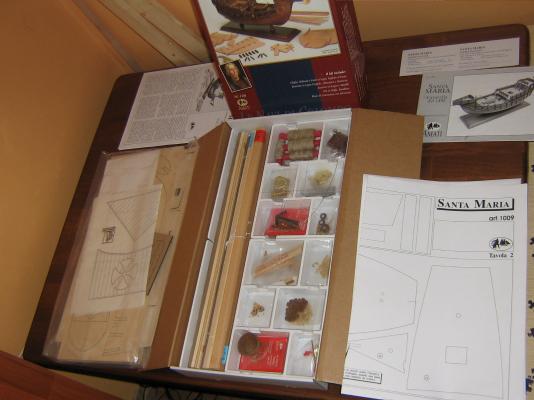
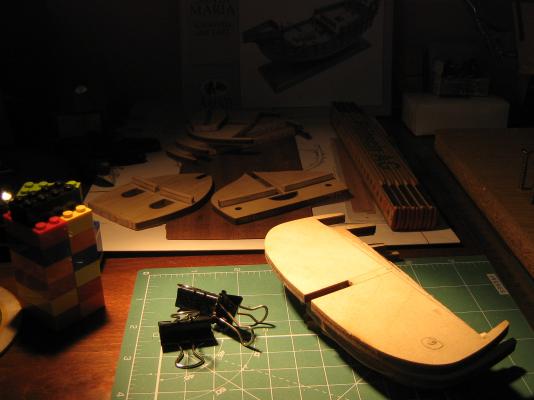
Hi all! I am new on this forum same as by historic ship models. I have learned many things from MSW 1 so I would like to share my first build with you. After lot of time spended on explore what I really want I started with Santa Maria in September 2012. This is a beginning of the story in pictures. Ships are arriving from Spain. Packaging. Content of the box. First steps.


- 79 replies
-
- 2
-
-
- santa maria
- amati
- (and 2 more)