Trussben
-
Posts
1,995 -
Joined
-
Last visited
Content Type
Profiles
Forums
Gallery
Events
Everything posted by Trussben
-
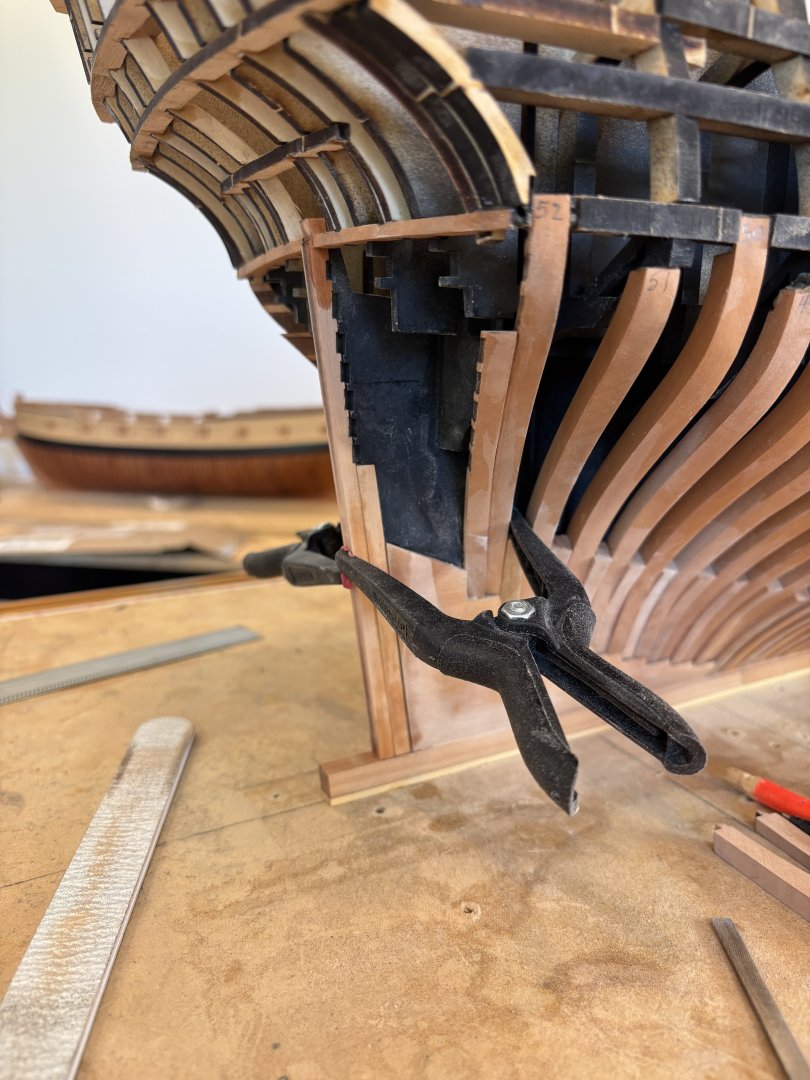
 Hey Dusan Make sure that the final frames are located as far aft as they will go in the upper locator slots to make sure that the wing transoms reach them. Ben
 -
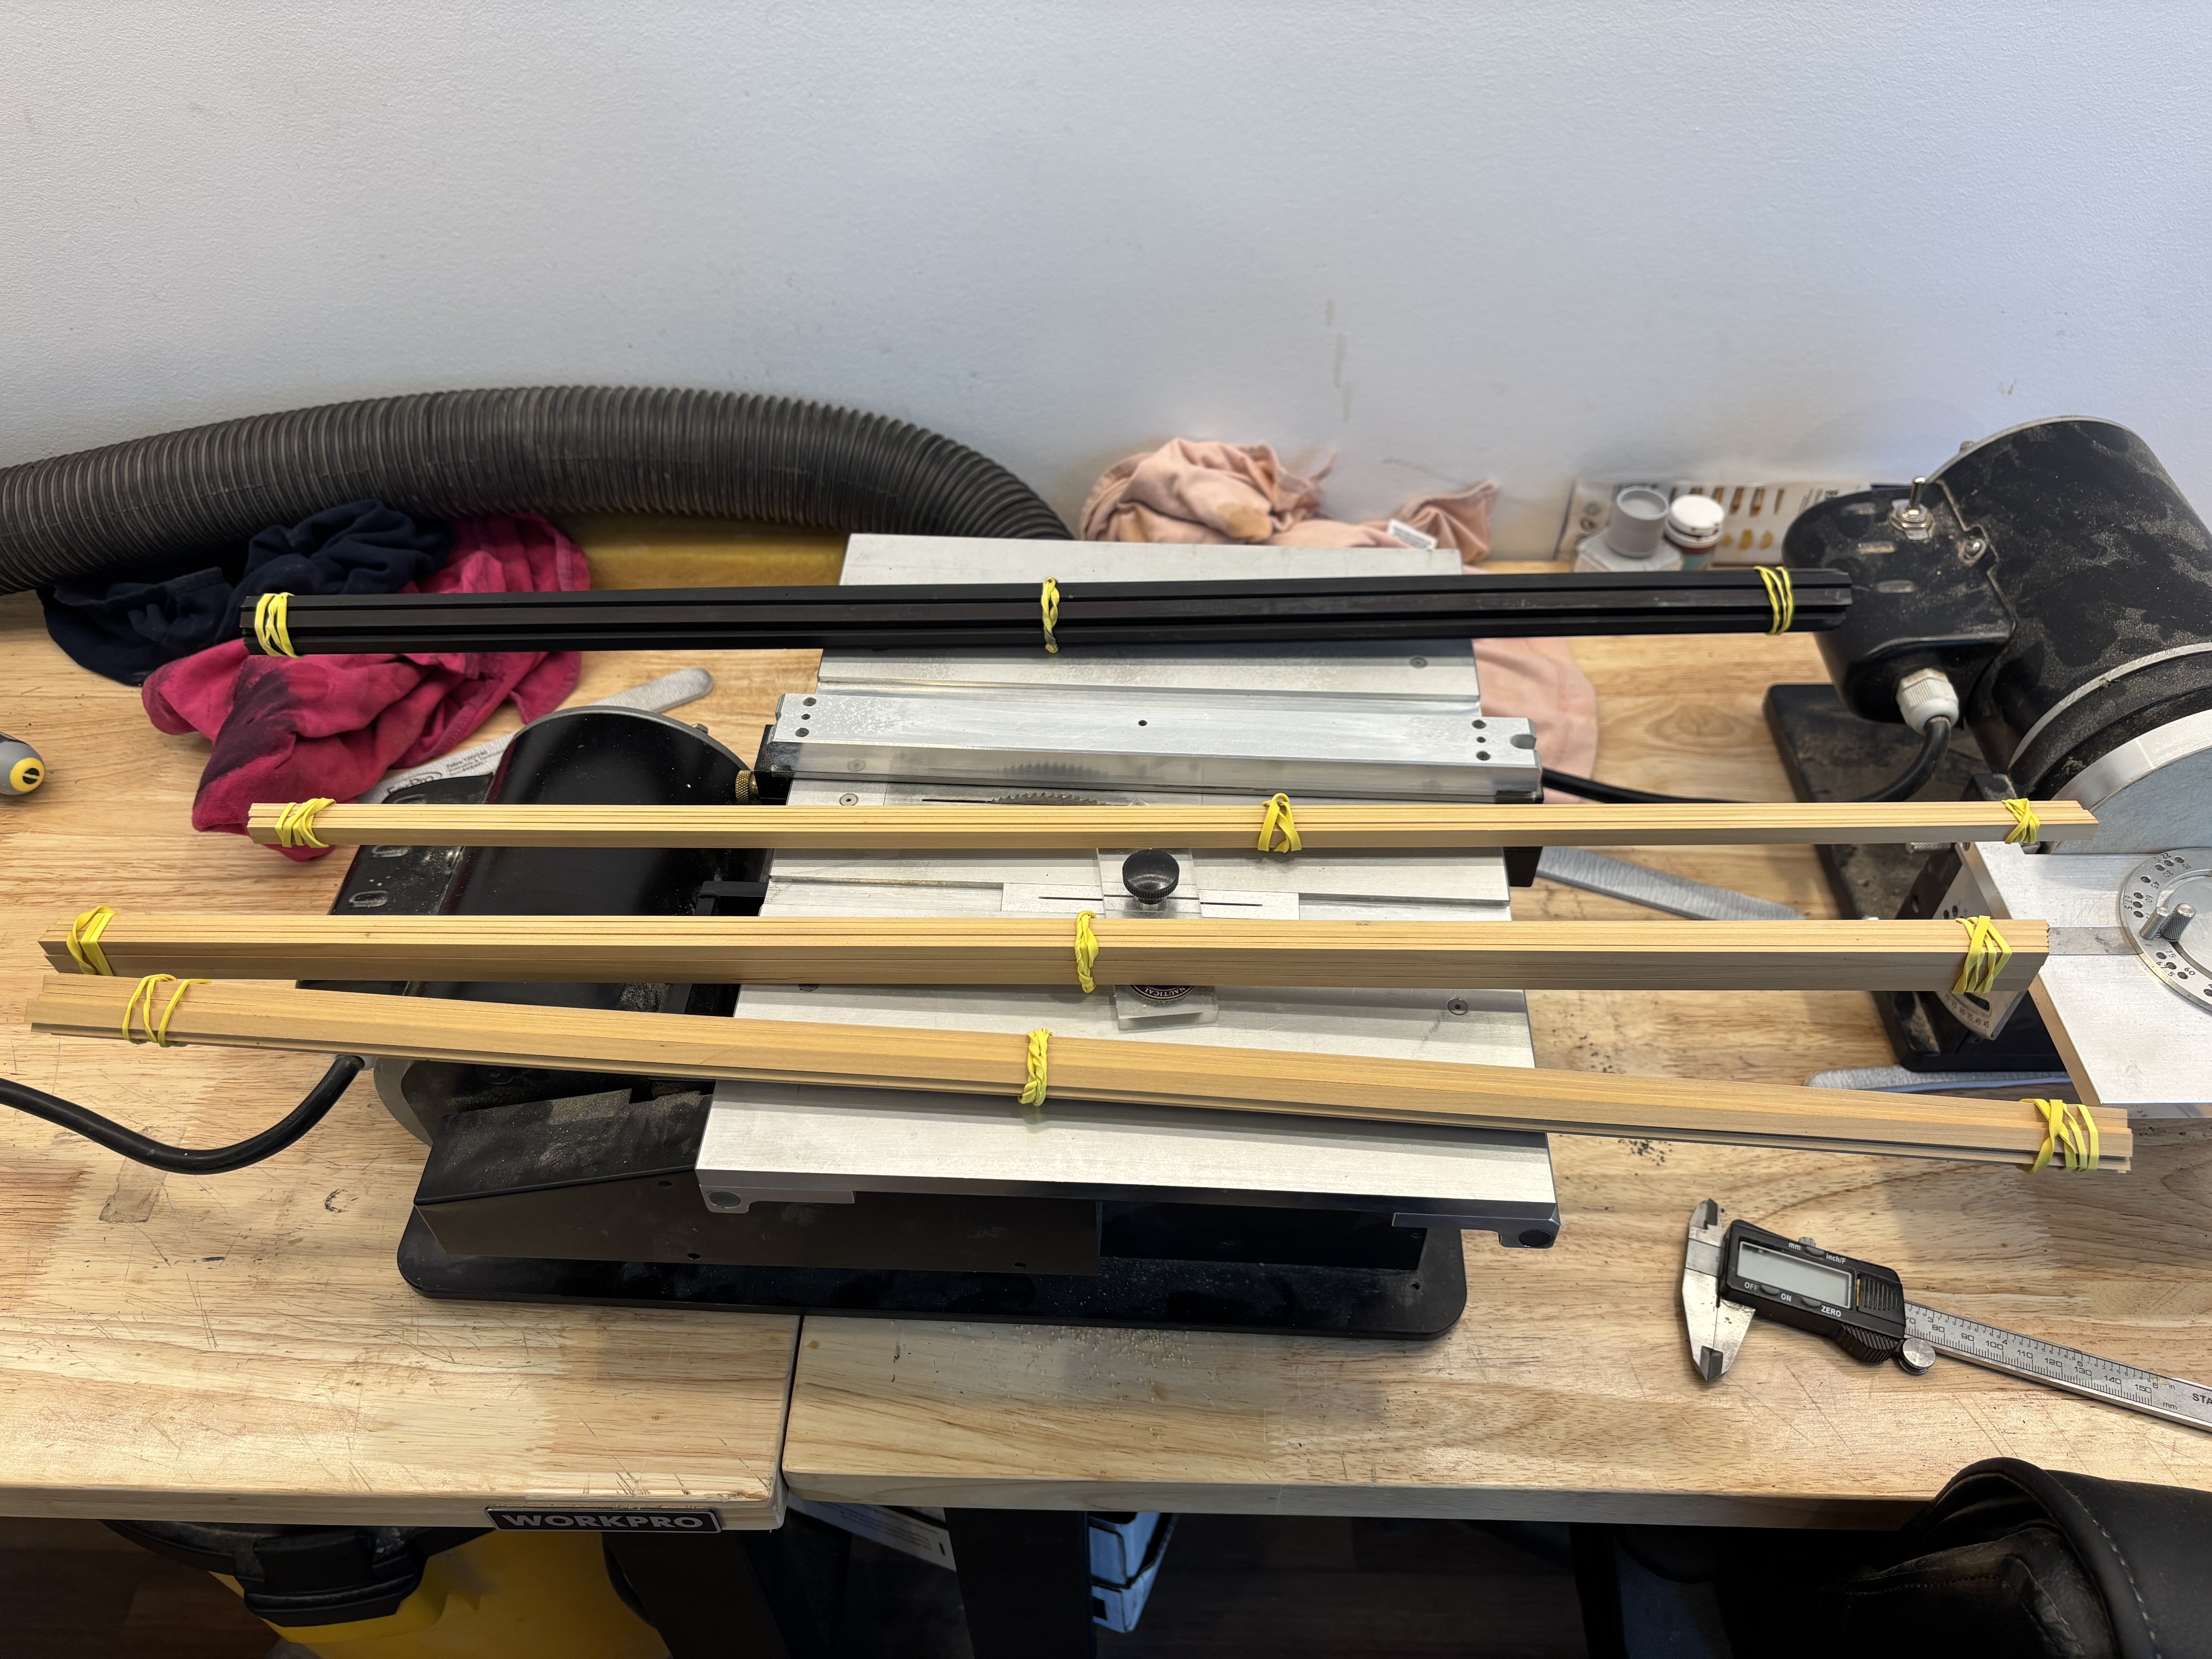
Planking strips of different sizes all cut. At full size and (1:48) they are as follows going downwards along the hull:- 3" ( 0.0625") thick basswood frieze panels as supplied with the kit. 3" ( 0.0625") thick boxwood from Channel wales up to the frieze panels ( 2 strakes ). 5" ( 0.1042") thick boxwood Channel wales ( 3 strakes ) 4" ( 0.0833") thick boxwood thickstuff above wales ( 4 strakes ) 5.5" ( 0.1145") thick ebony black strake ( 1 strake ) 6" ( 0.125") thick ebony Main wales ( 4 strakes ) 4" ( 0.0833") thick Holly thickstuff below wales ( 1-2 strakes as required ) The sizes above came from the "scantlings" book for a 50gun 4th rate ( steel's table ).

-
Dusan - yes it’s Caldercraft red ochre.
-
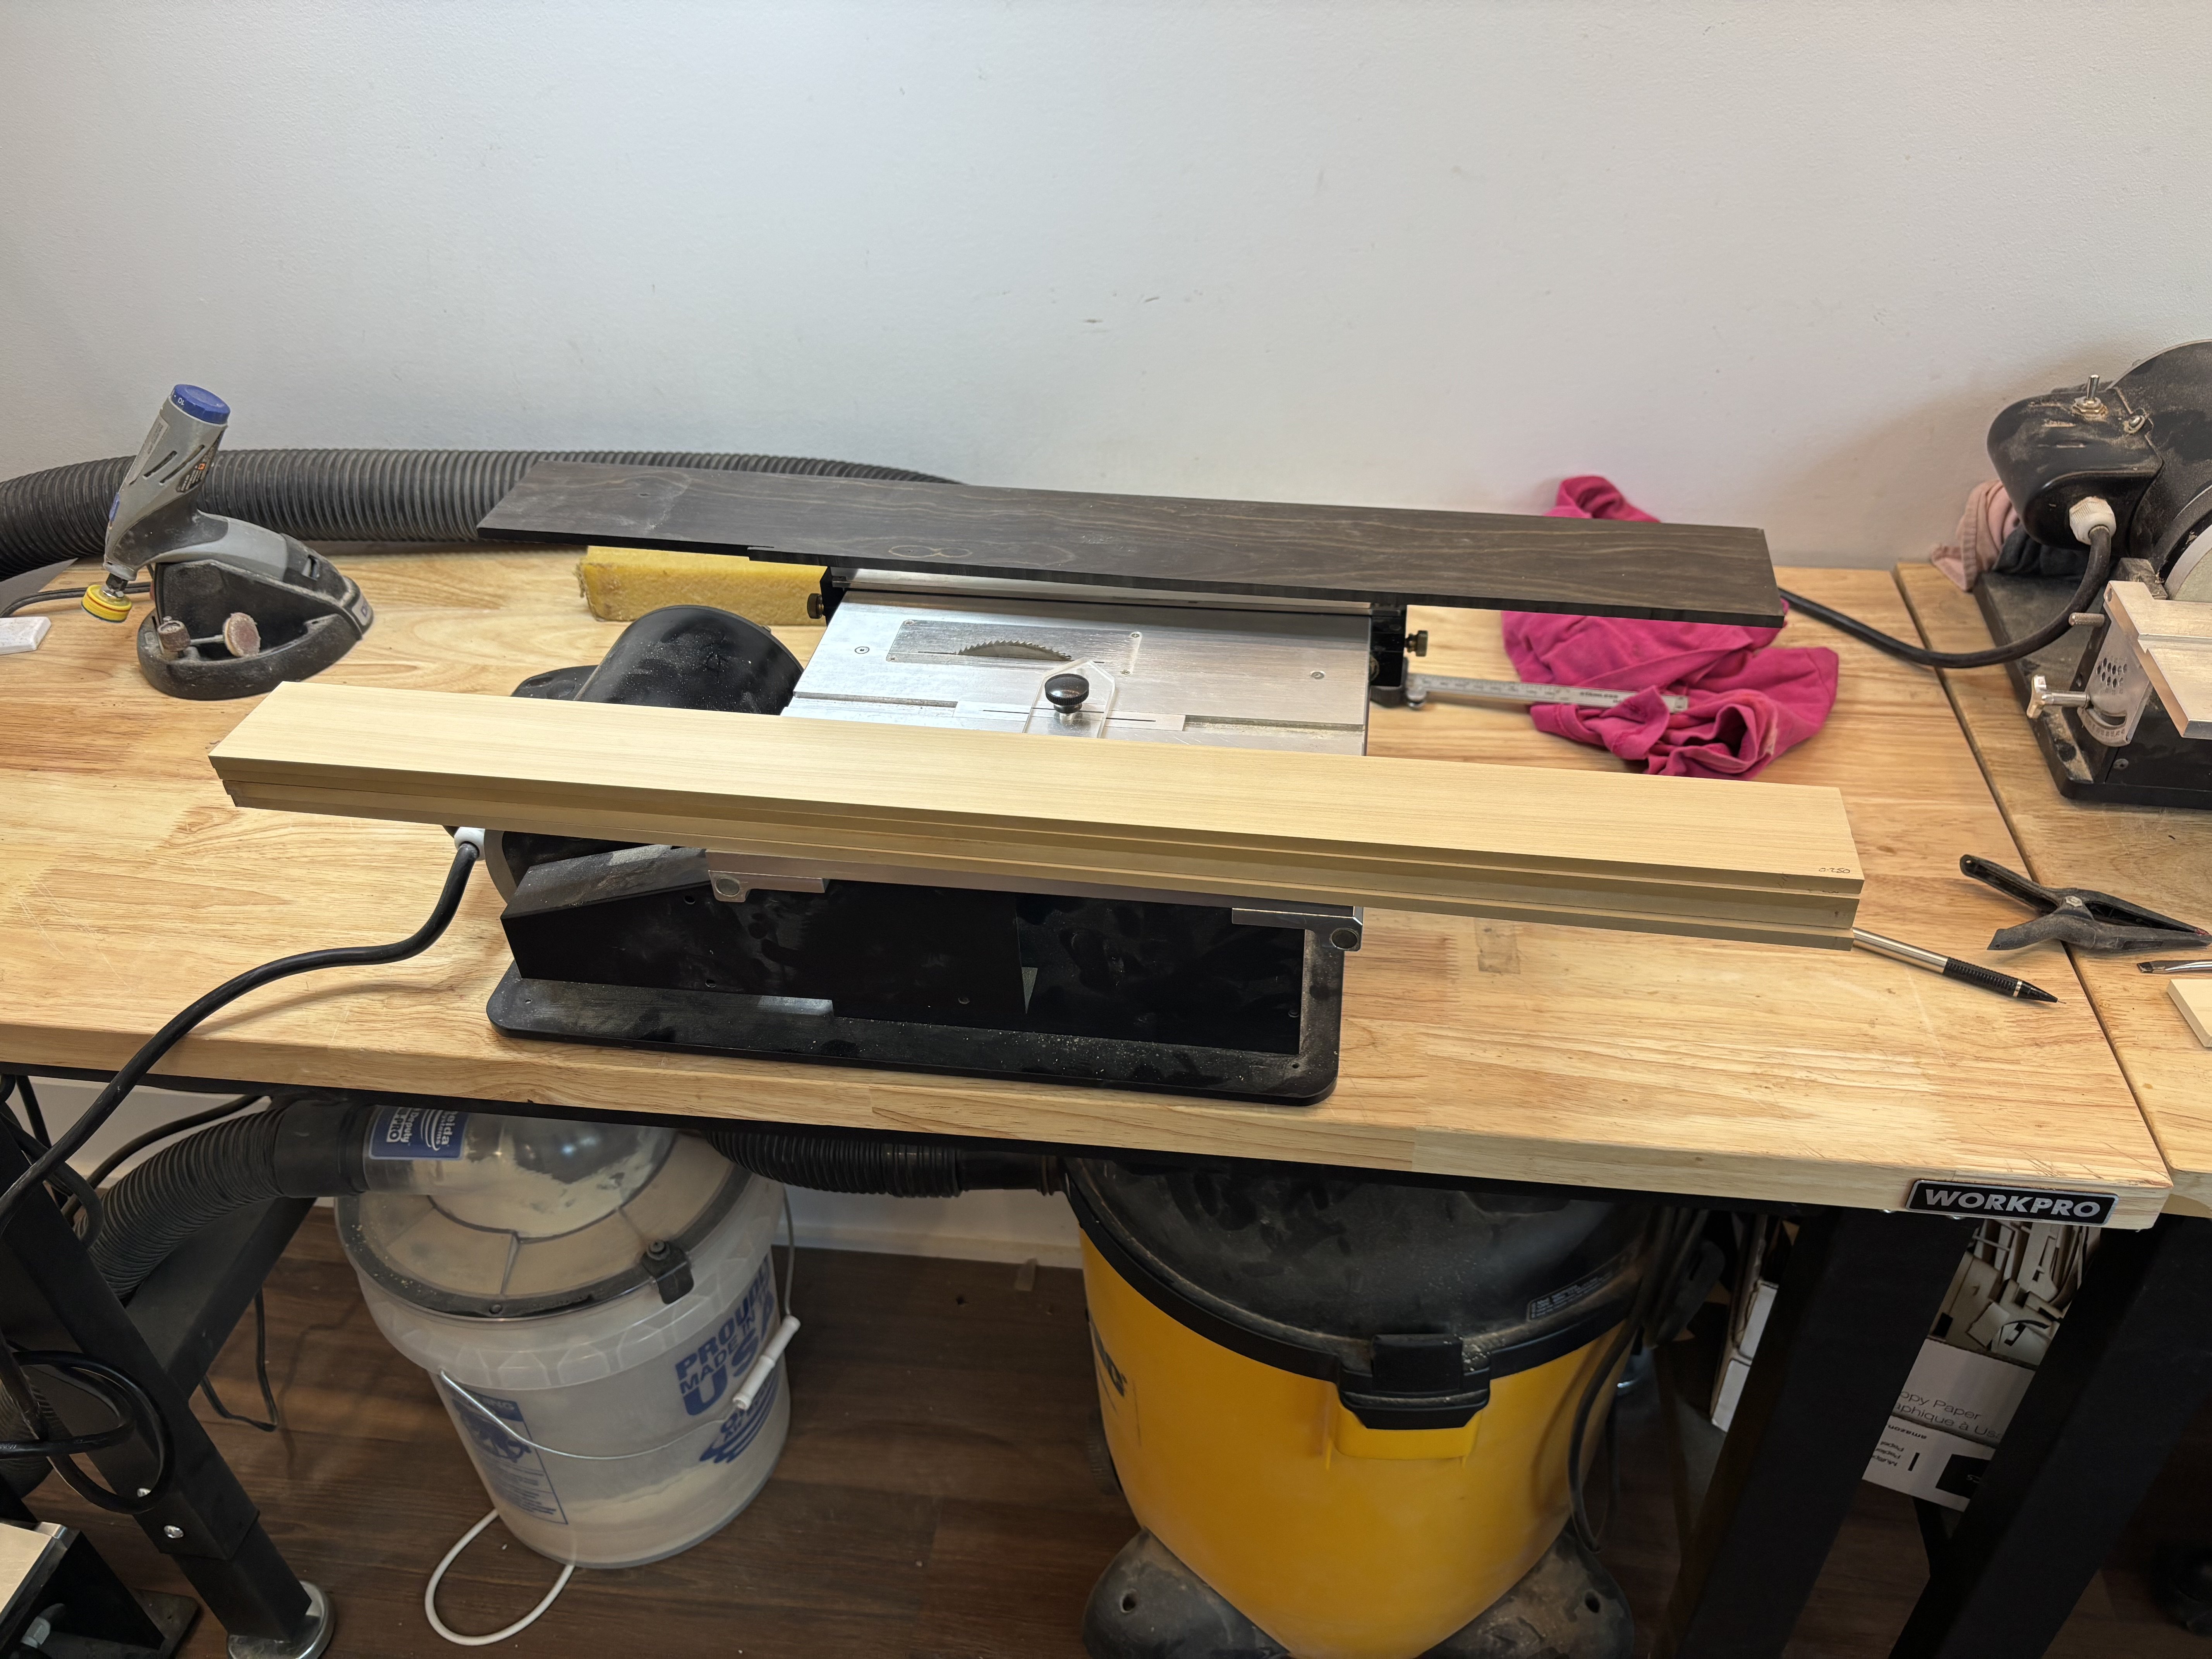
Boxwood and Ebony sheets milled down from big stock, now to cut lots of planking strips.

-
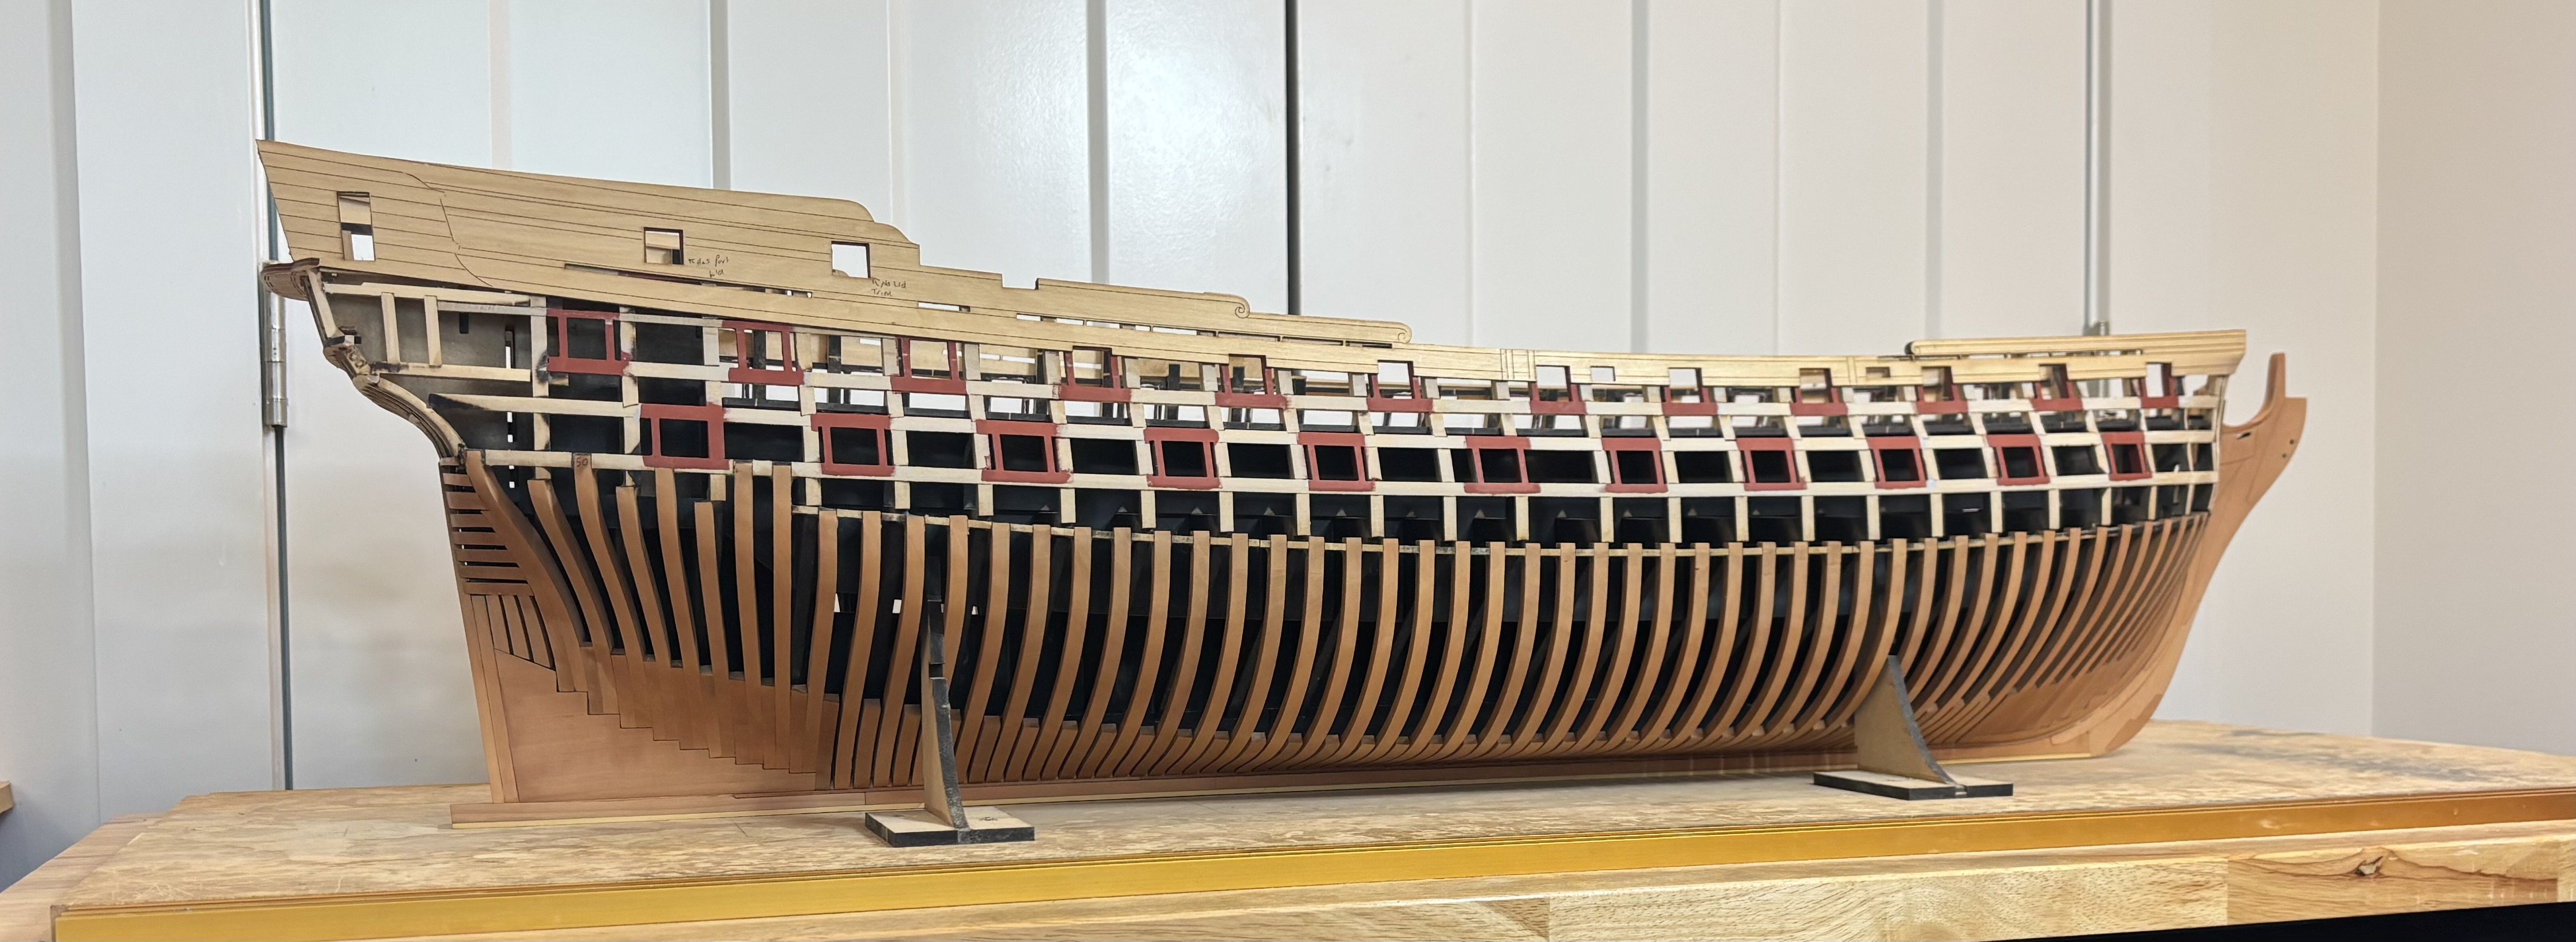
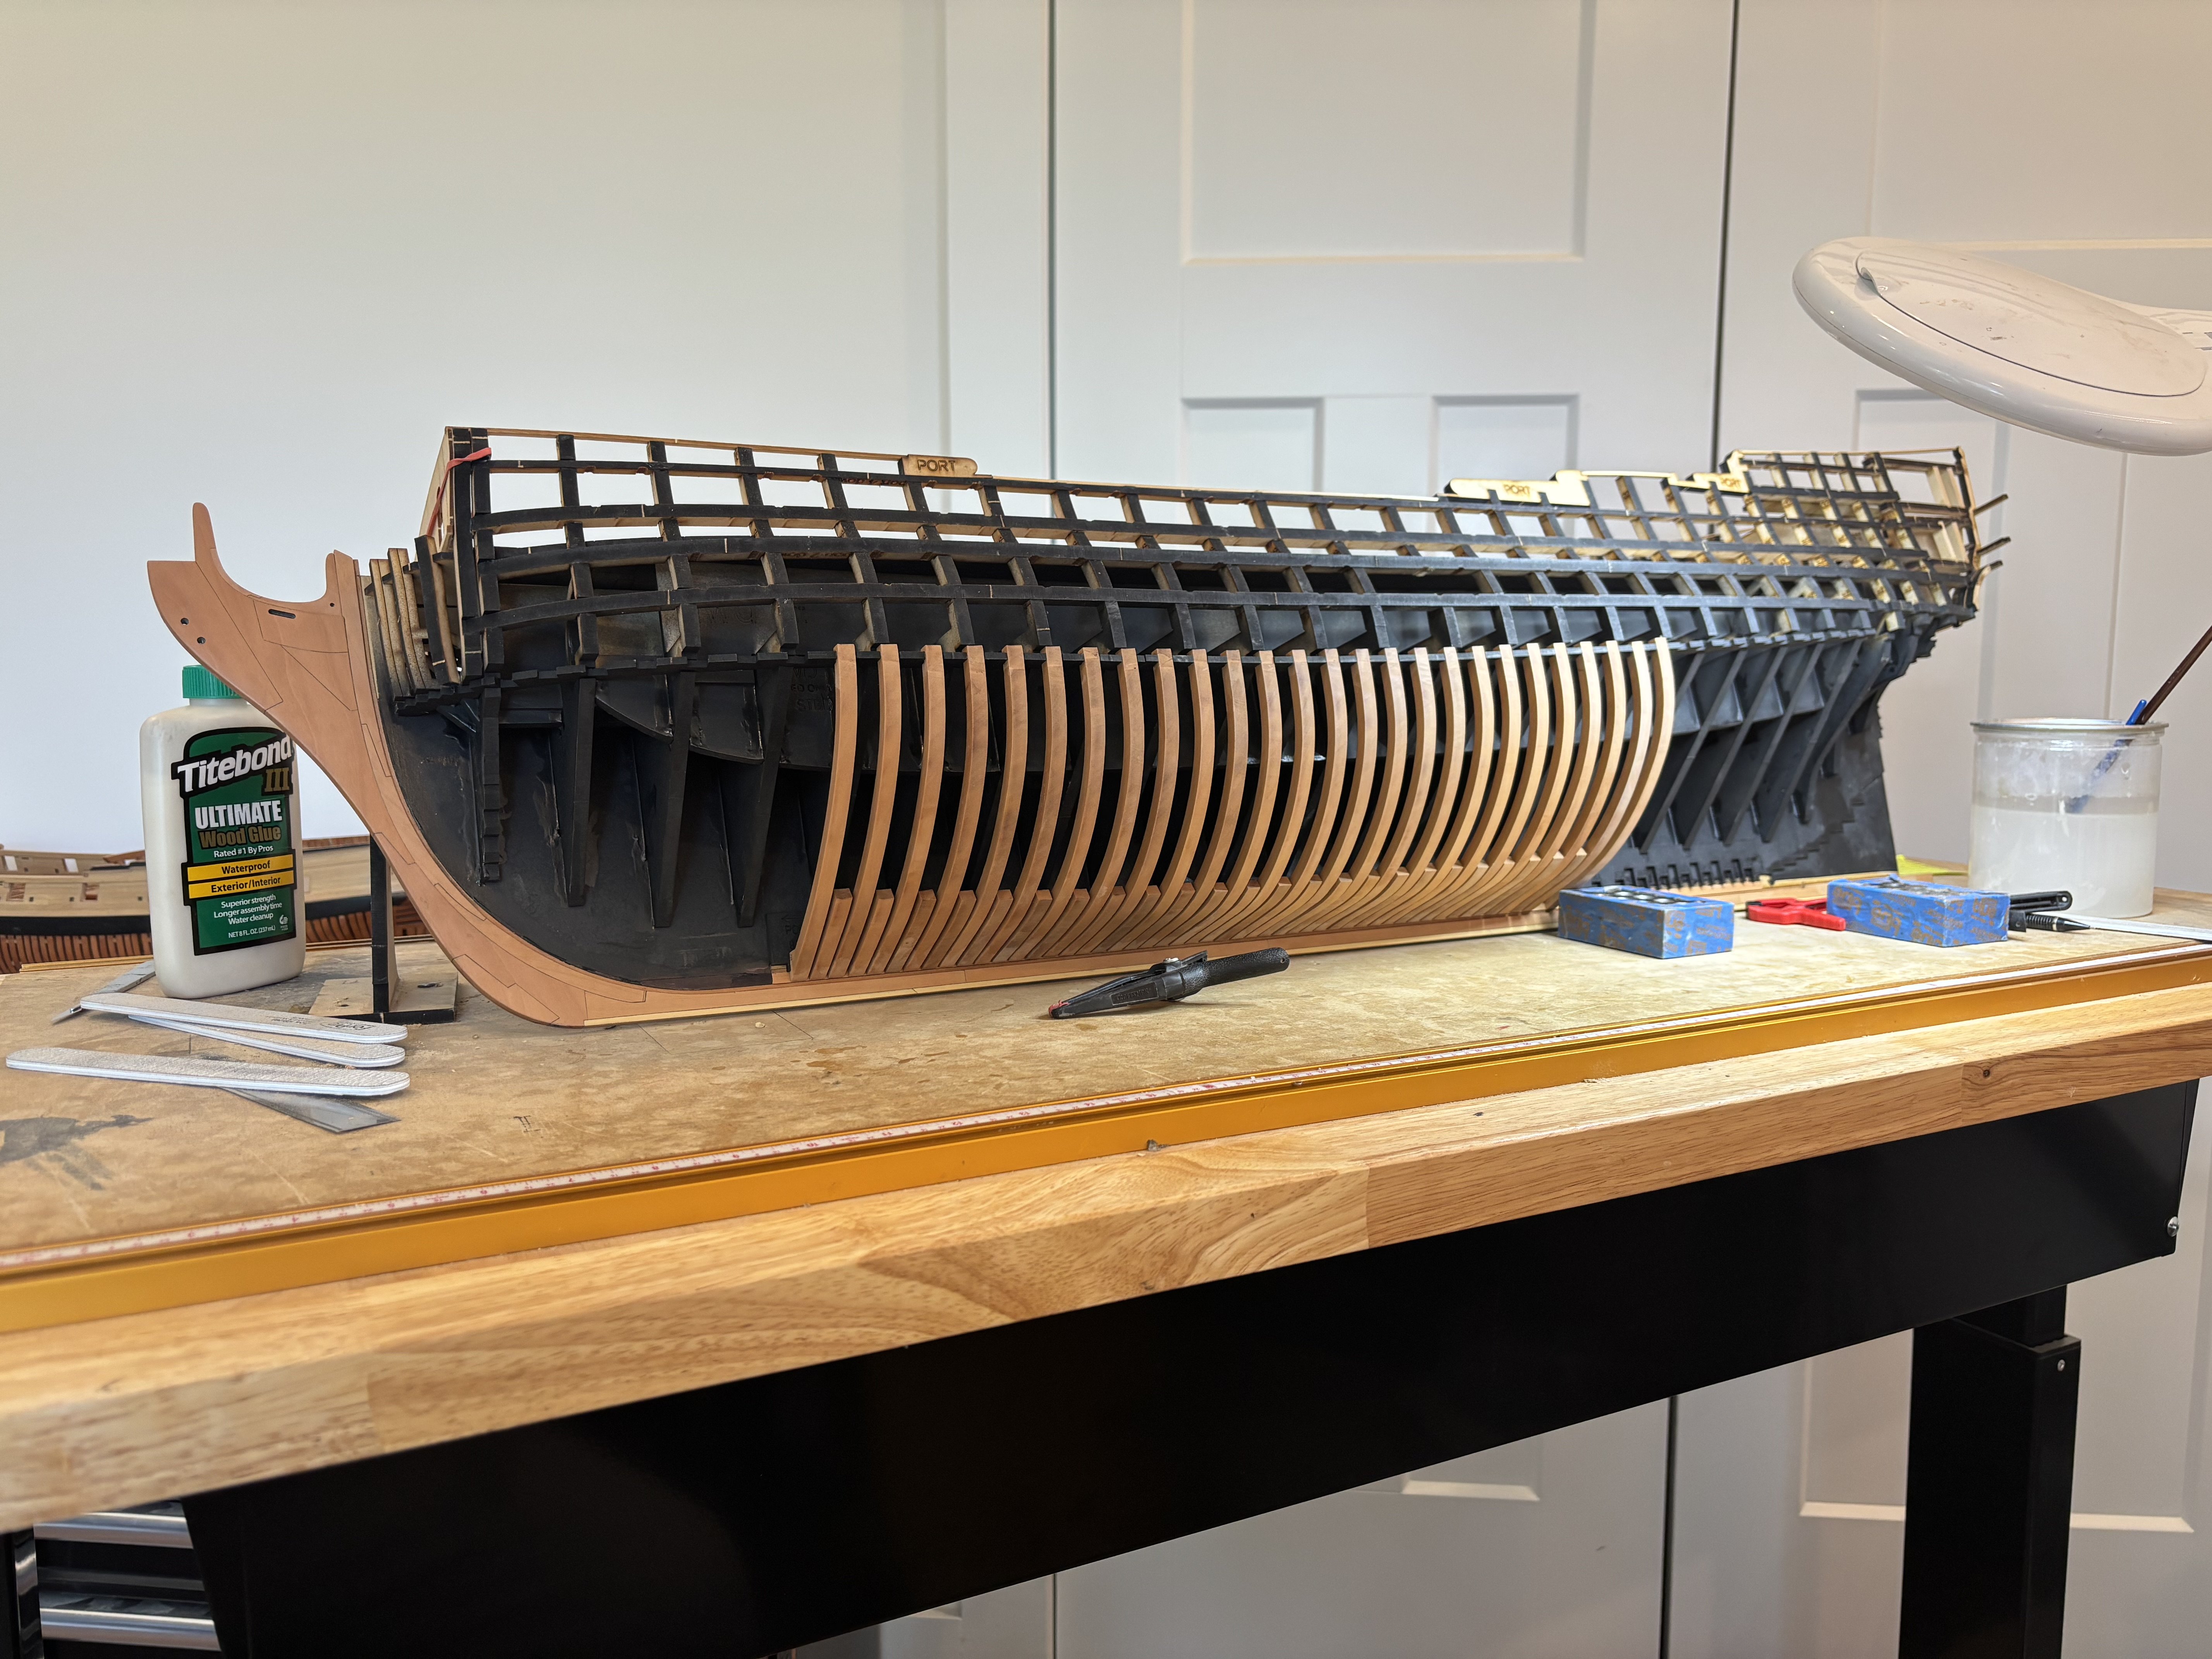
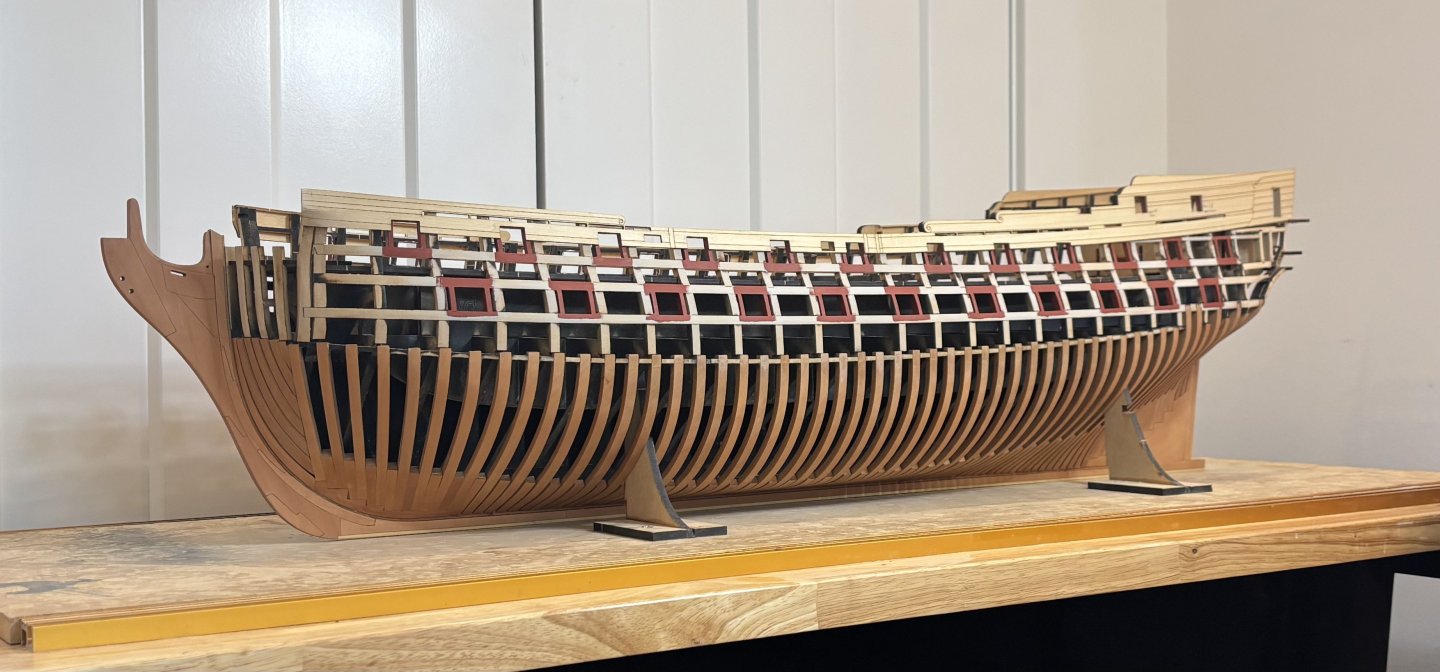
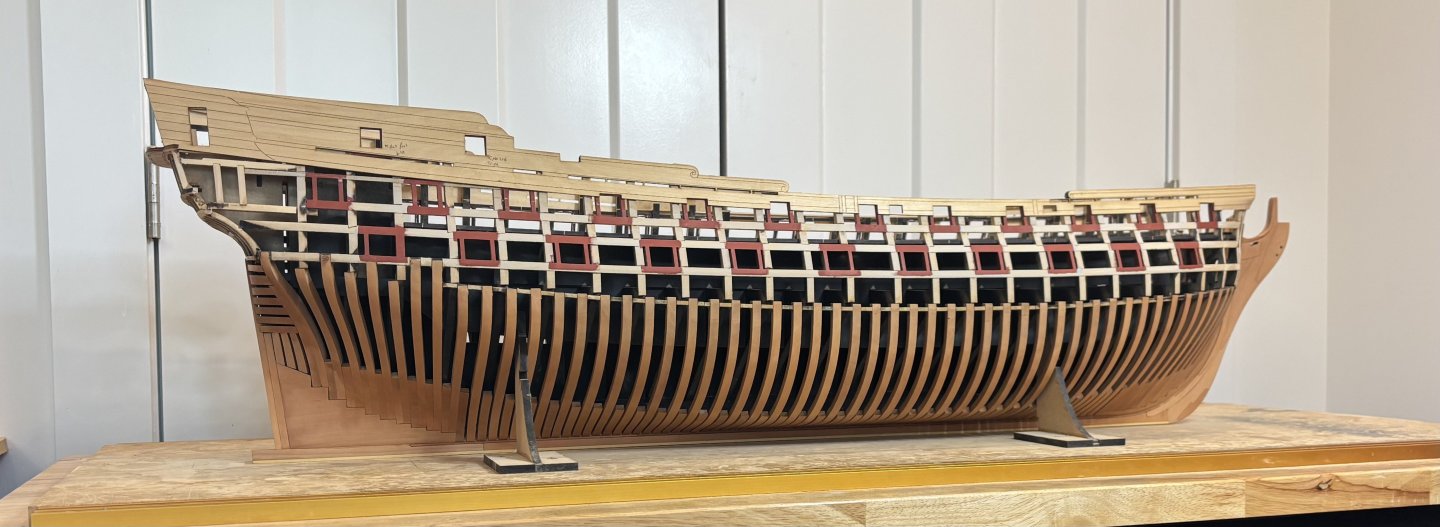
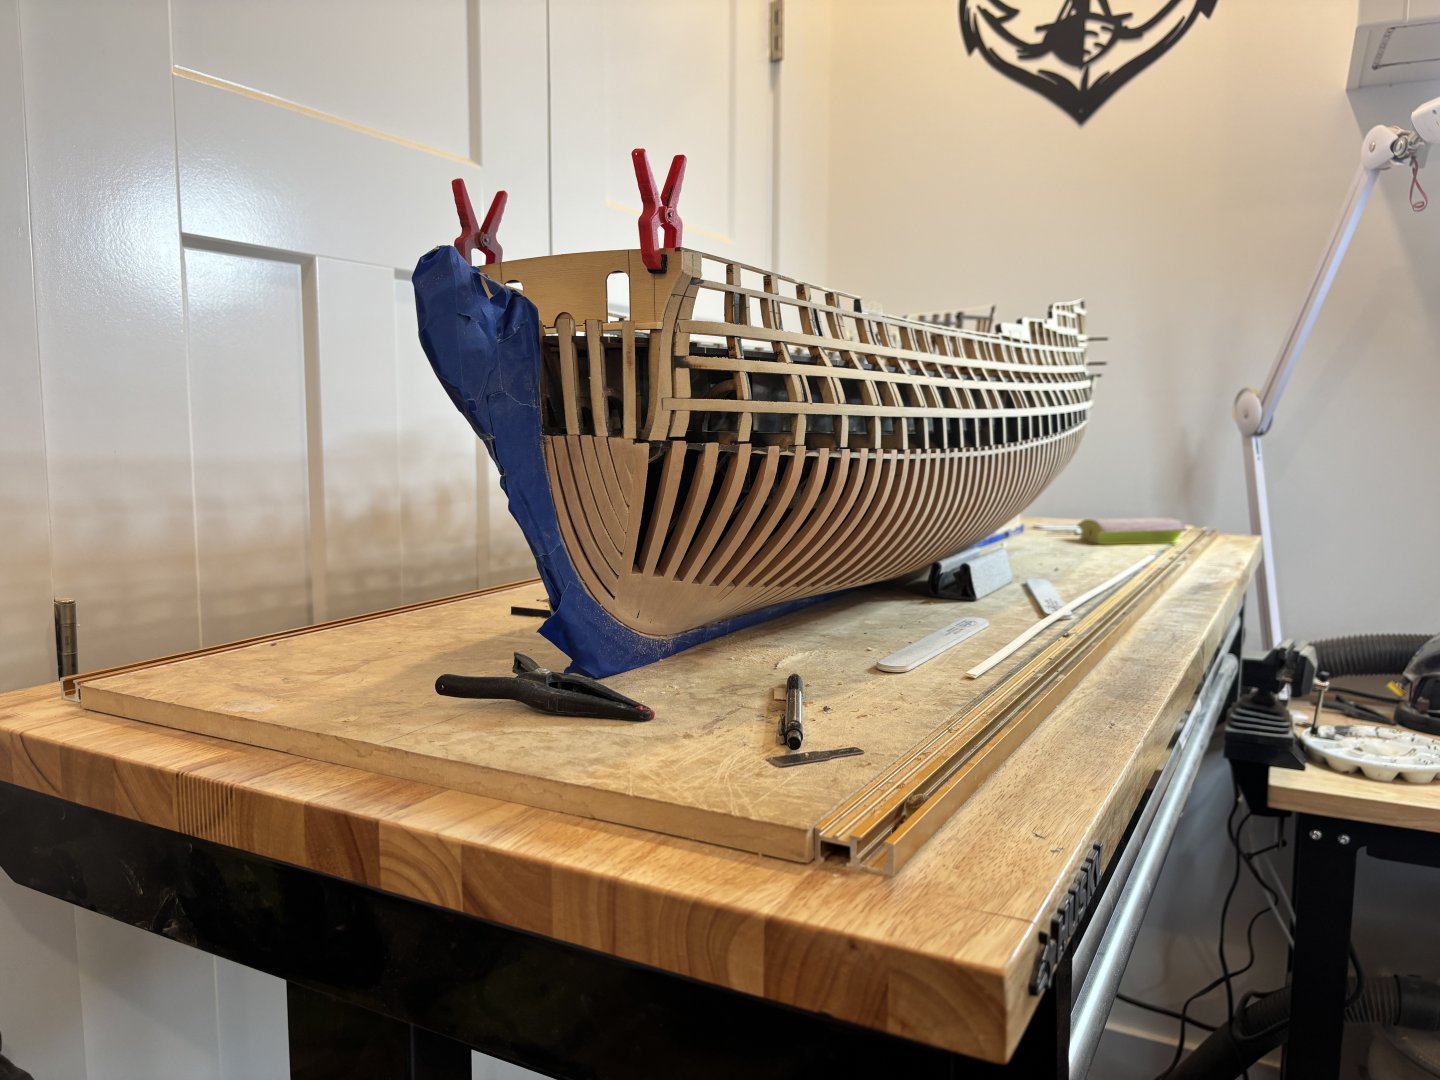
Lower hull fairing has been completed, gunports have had a coat of paint and the frieze panels are installed, currently machining down planking material while I wait for the Chapter 2 instructions.
-
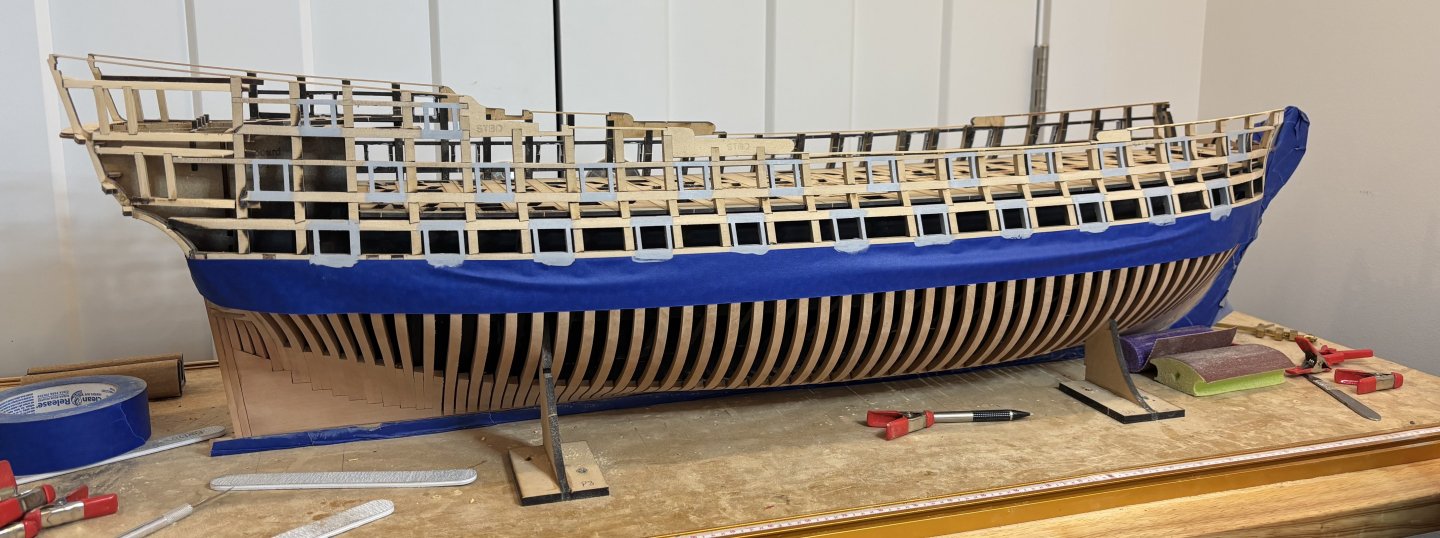
Upper hull sanding and fairing has been completed so I masked off and starting prepping the gunports for paint. First any little gaps in and around the ports were filled with filler and then sanded gently back and then two coats of Tamiya surface primer was applied, next up will be painting the ports in red ochre, then fitting the frieze panels and finally to complete the lower hull sanding.
-
Those are some of the hardest things on a fully framed model to make, I think my Pegasus ones had two or three attempts before I was happy to move on. Try building some of the other stuff and come back to it with a fresher mind - I know that always helps me when I get frustrated. Looking fantastic either way.
-
Nice to see her progress!
-
Transoms being faired in.

-
Hey JJ Im actually thinking of going for a more toned down look and the red ochre would match better with the pear framing instead of competing against it. Also toying in my mind about black channel wales and gunport lids to do maybe a bit of a Nelson chequer type of look, decisions decisions!
-
While the sanding goes on, and on and on, I decided to take a look at which shade of red that I will use on this model, I used ME Bulwarks red on my Winnie but may change to something different.

-
Considerably.
-
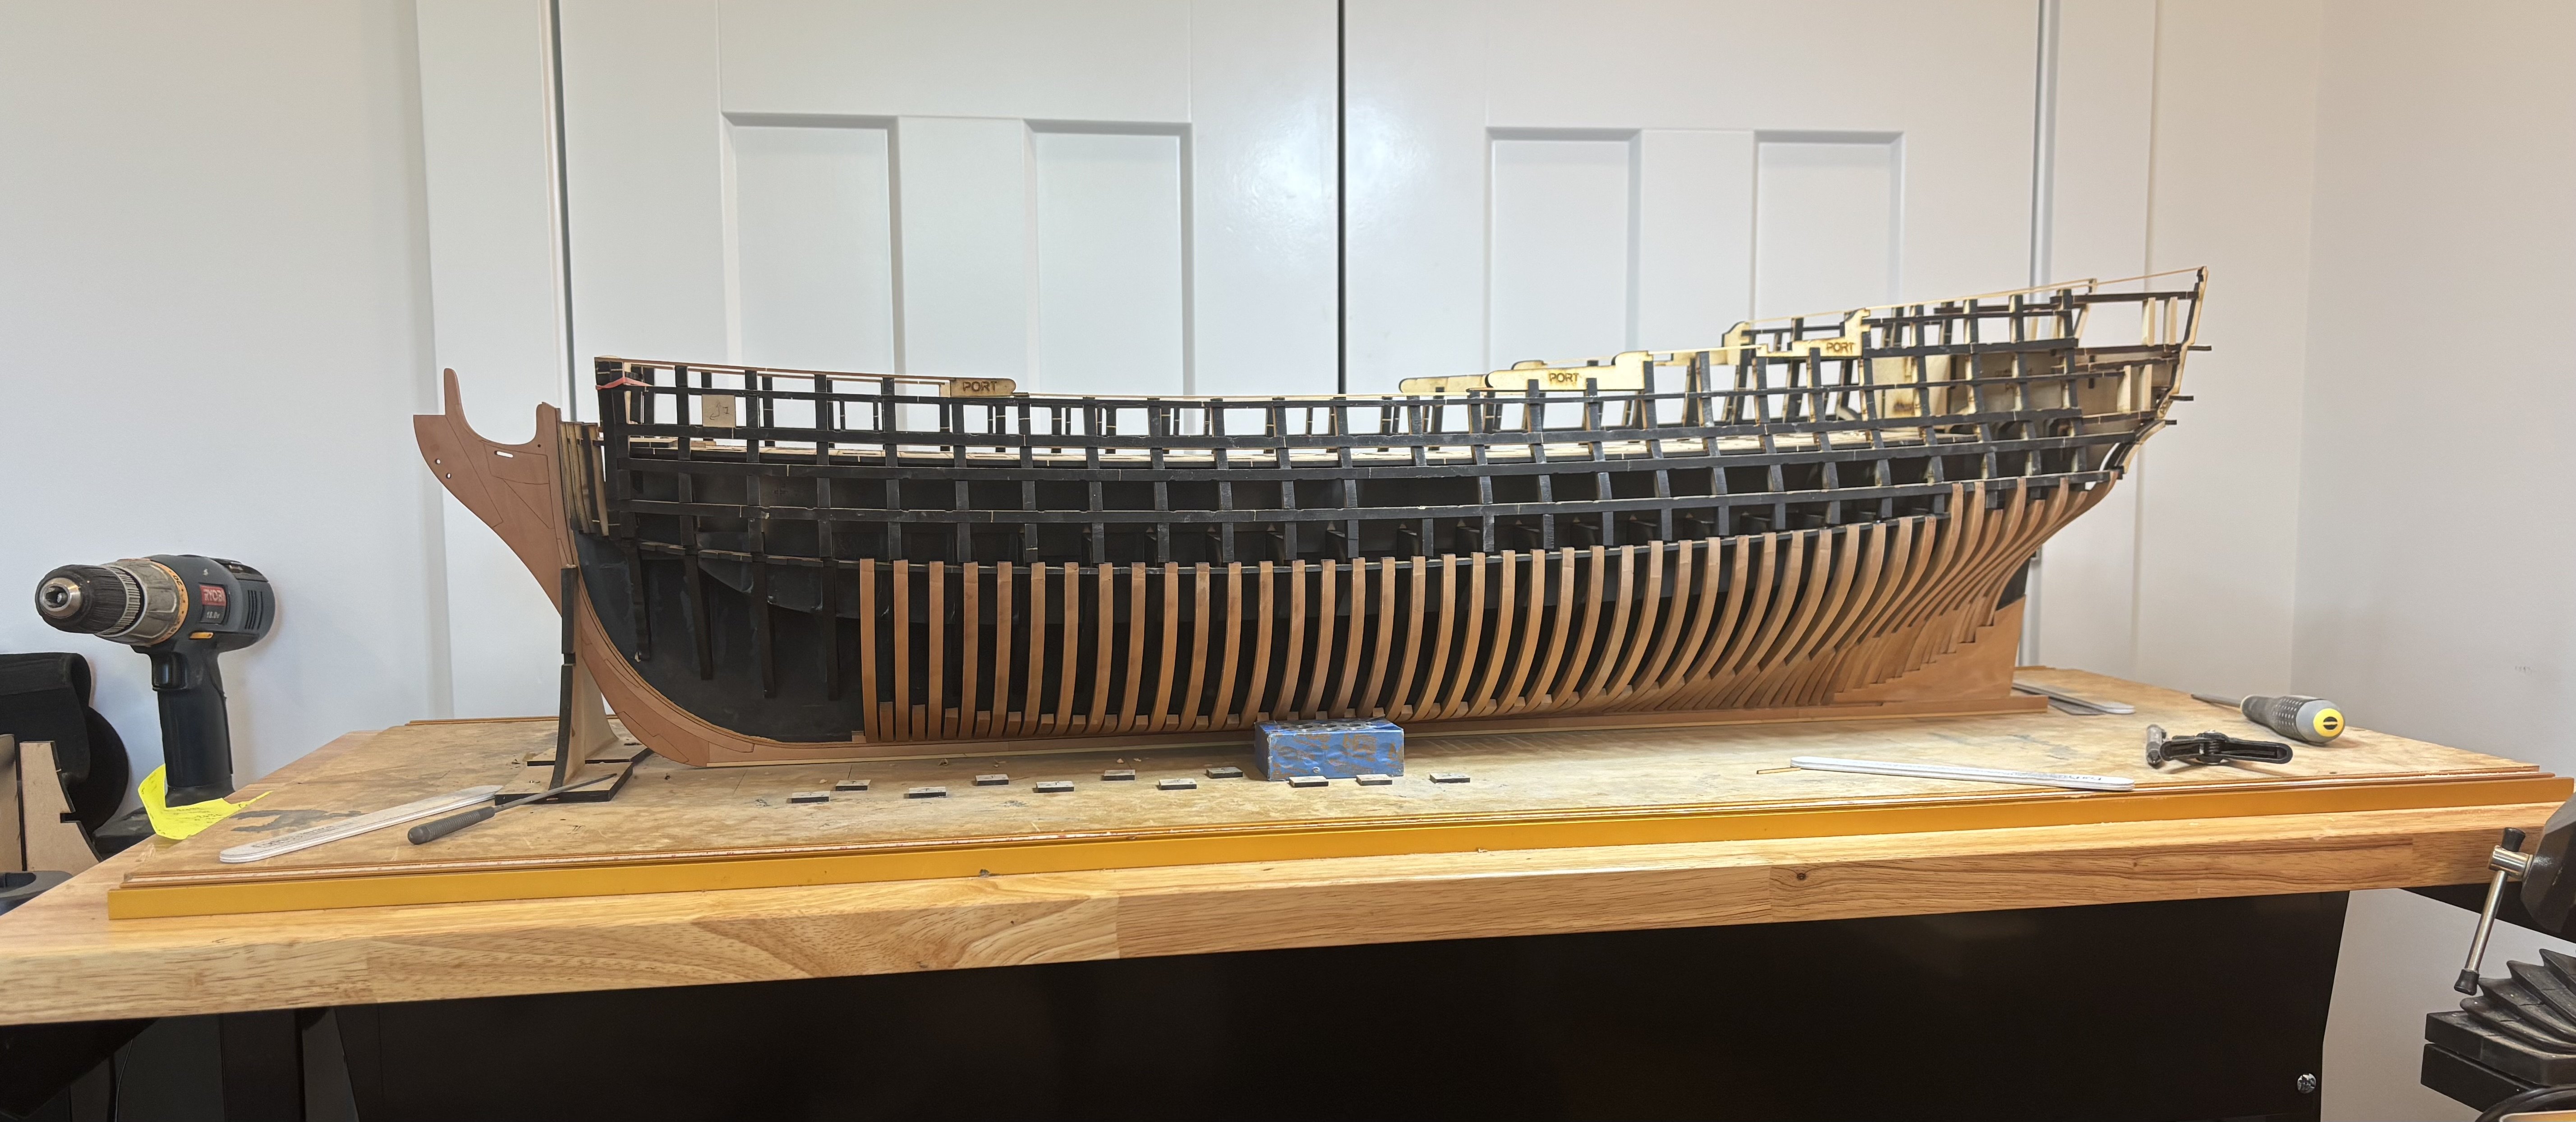
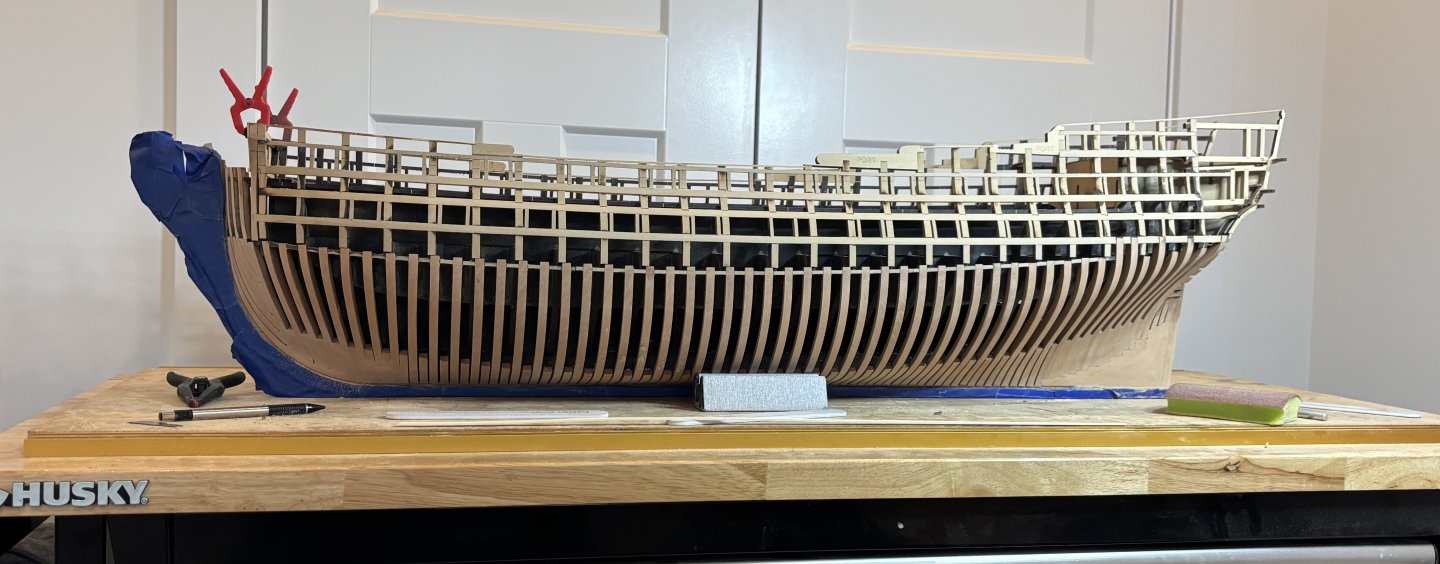
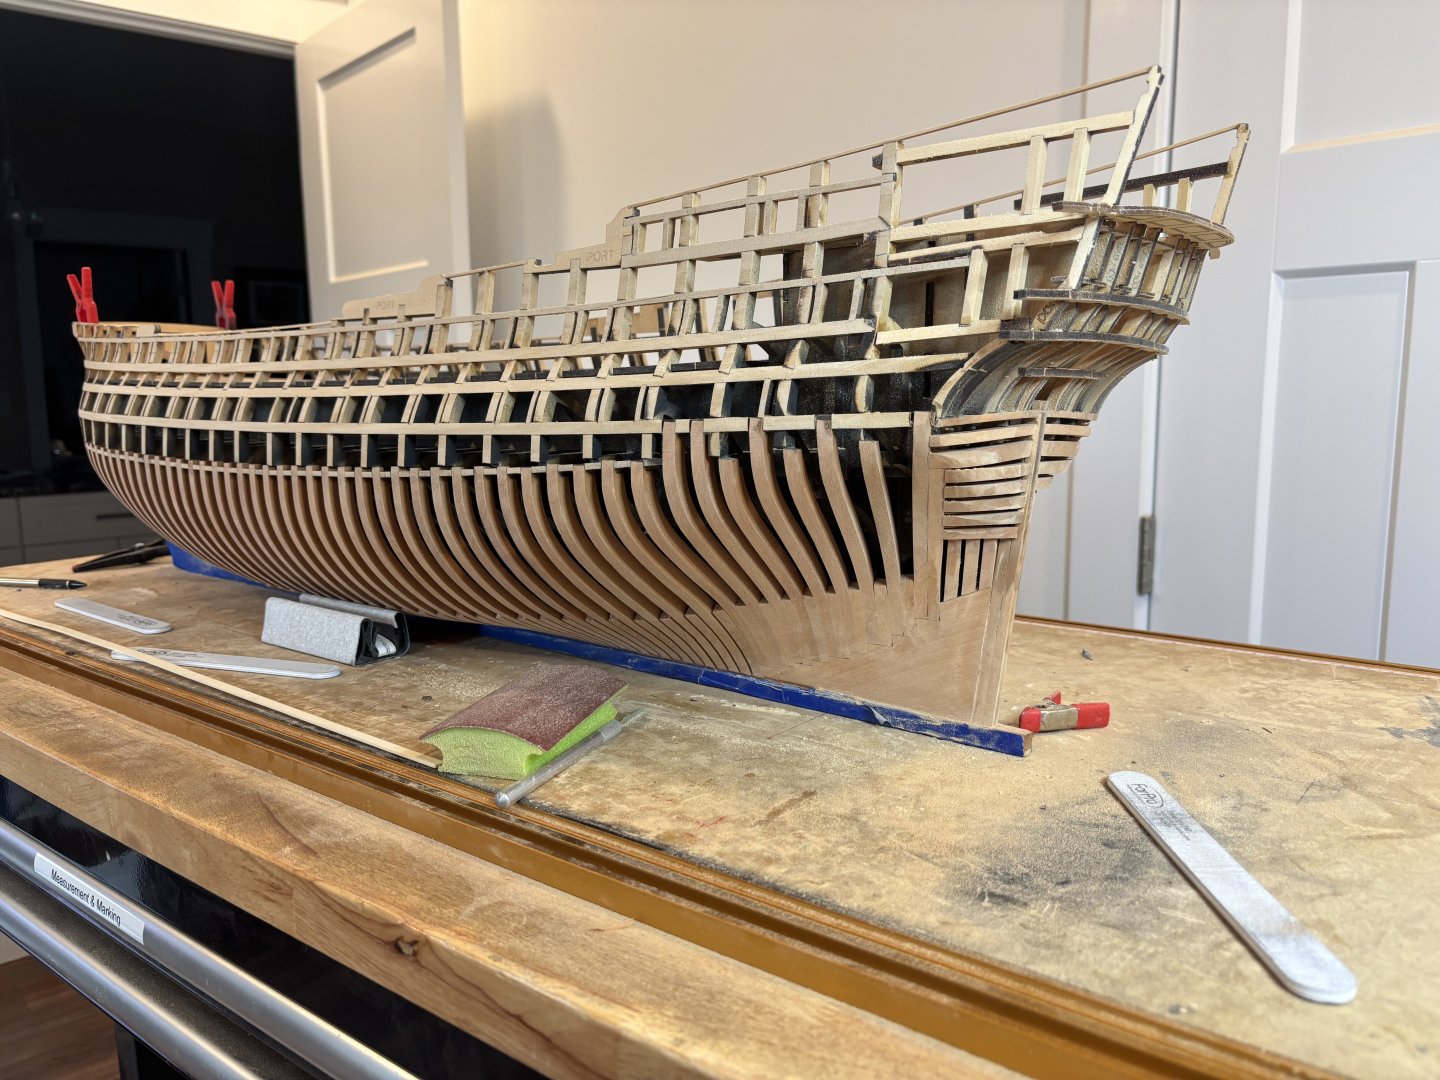
Chapter 1 has now been completed with all framing done. Lots of sanding and fairing of the hull has begun, this is going to take time and make a lot of mess. Then Chapter 2 will start with the painting of the gunports and installation of the frieze panels.
-
Transoms sat in place but no glue yet.
-
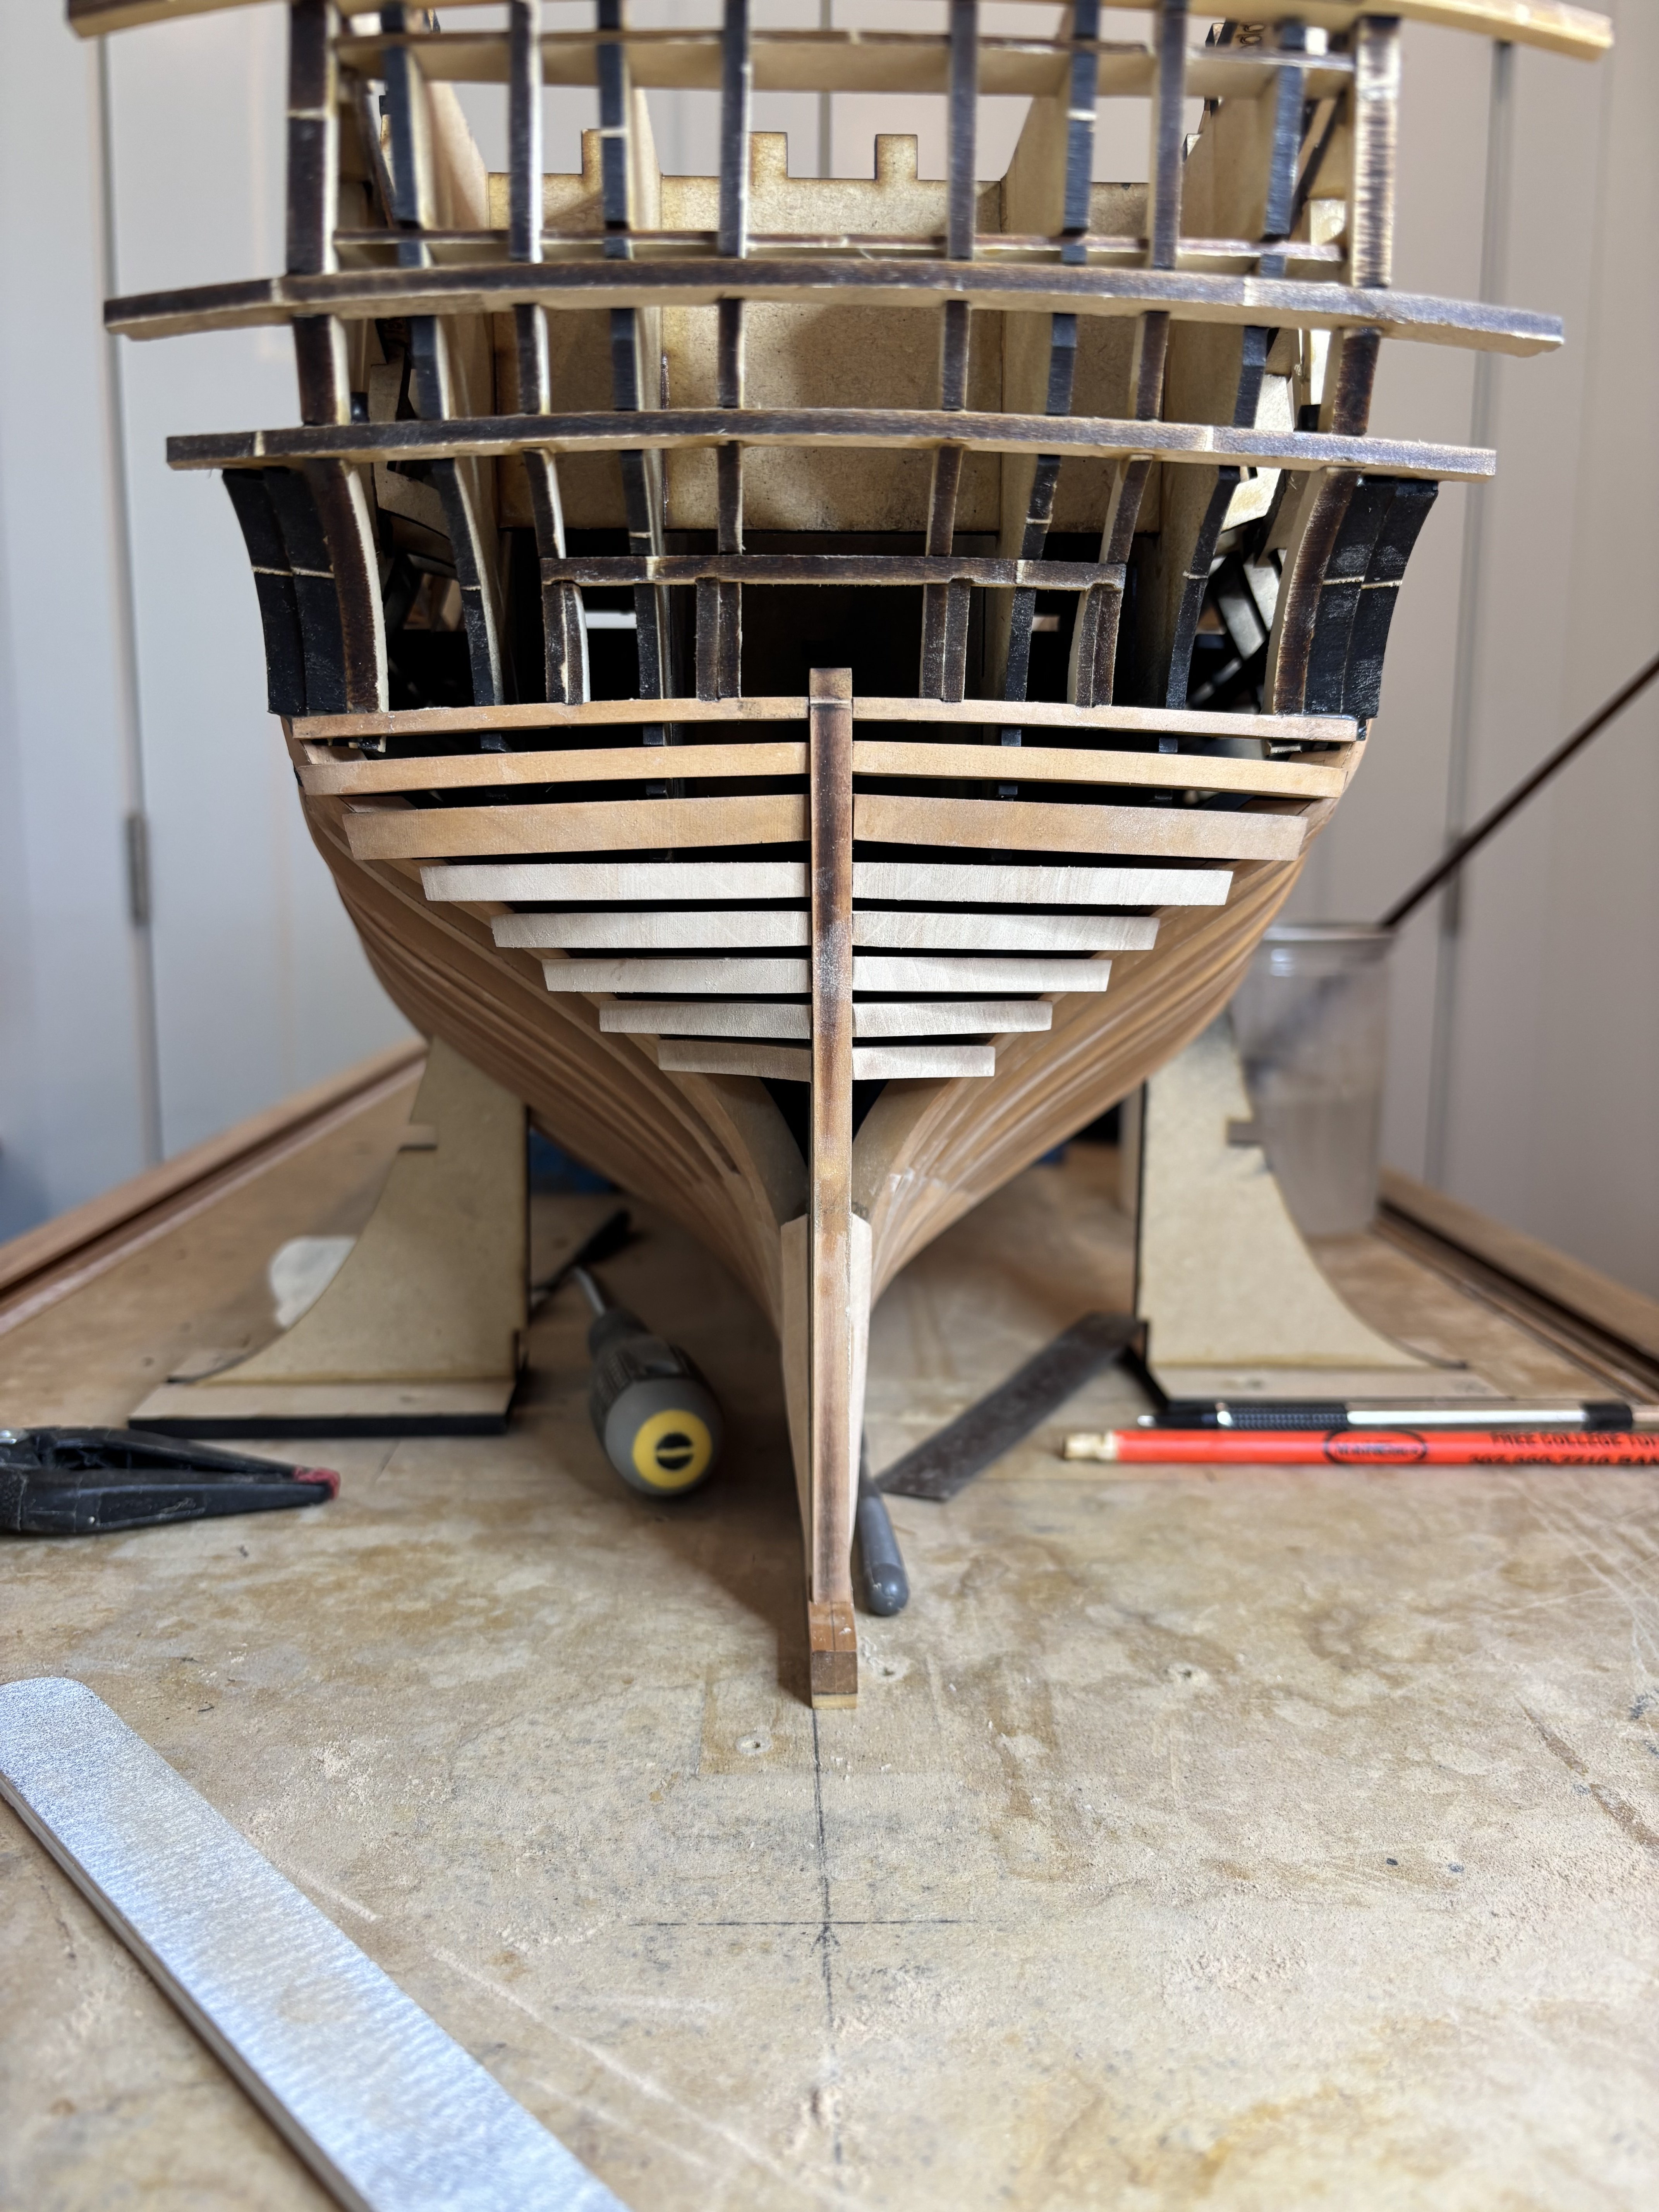
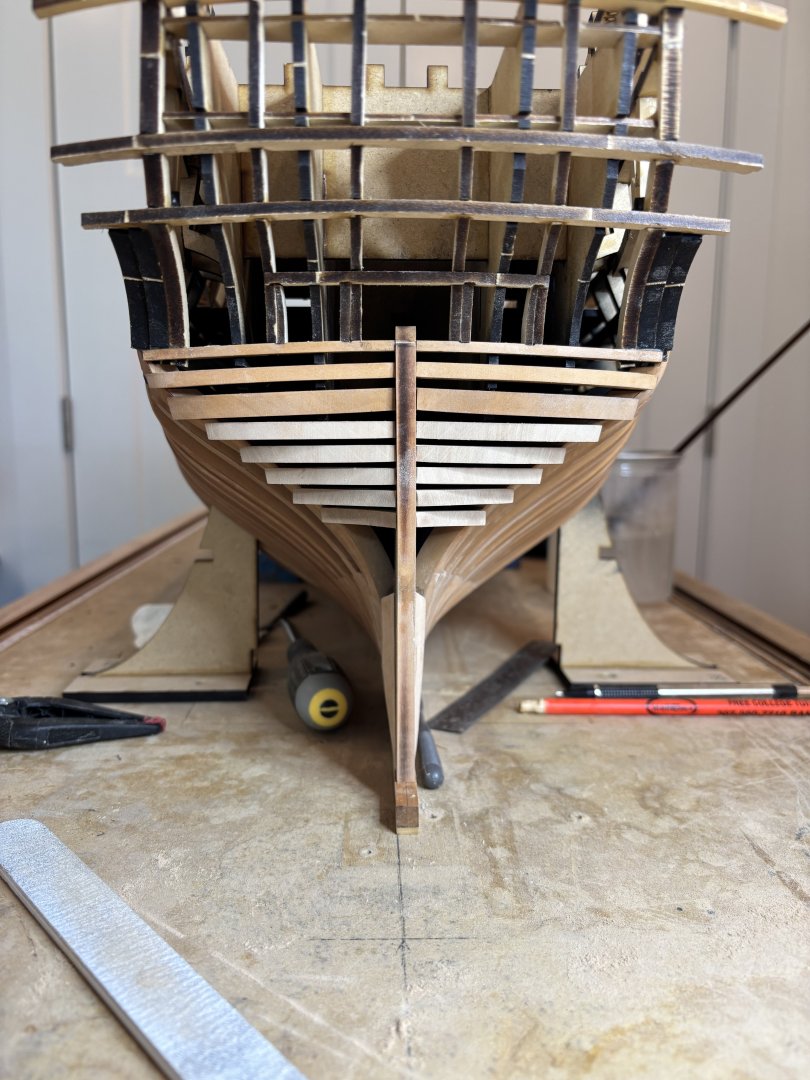
Aft cant framing completed and then I added the two inner stern posts ready for the transoms.
-
Caldercraft Red Ochre
Trussben replied to scrubbyj427's topic in Painting, finishing and weathering products and techniques
Cornwall has it back in stock. -
Hi It will be planked from the wales up, and maybe one or two strakes below, posssibly even the garboard strake.
-
More framing and started on the port deadwood.

-
It’s an ink stabilizer and UV protector that helps stop fading. spray on until wet and then allow to dry, I use the Krylon brand stuff. The dullcoat is a varnish lacquer that will do the final seal and give a tougher finish.
-
Nice to see you back working on the Speedwell.
-
I have had good luck with the printed Friezes by doing this as well, but I first spray them after they come off the printer with a matt fixative, when they have been glued on the model I then give them a couple of coats of Testors Dullcoat.
-
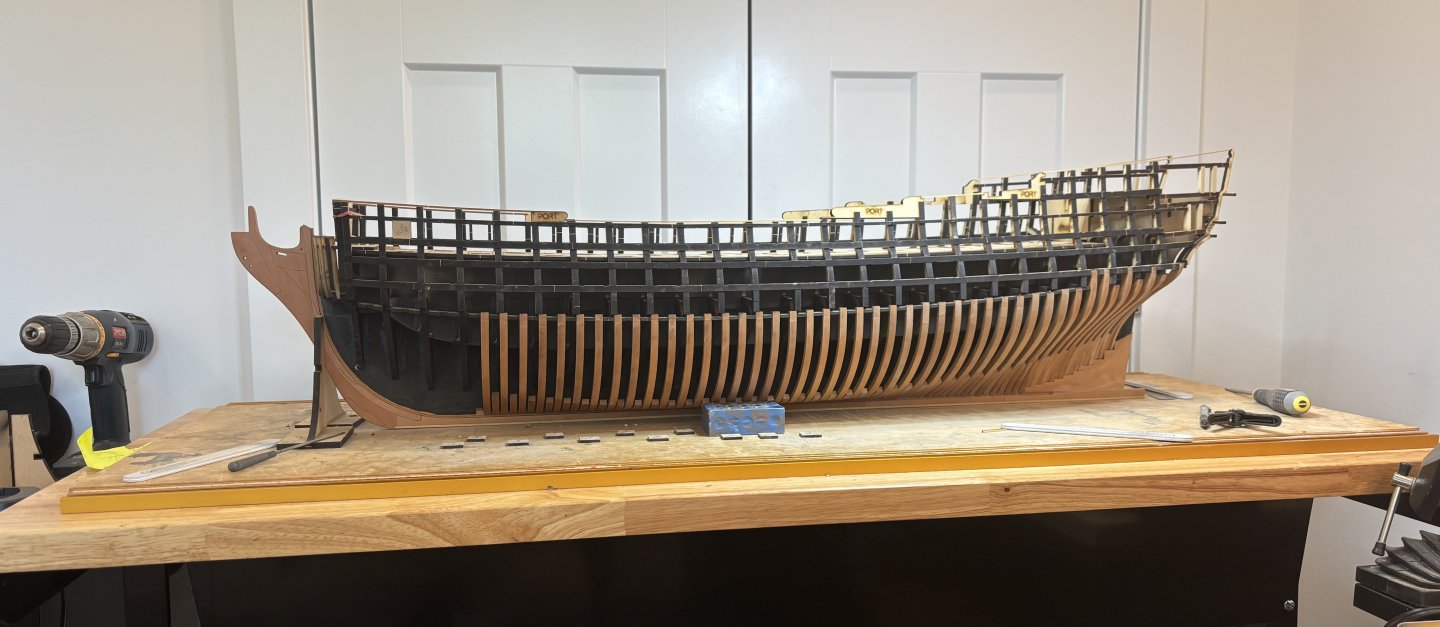
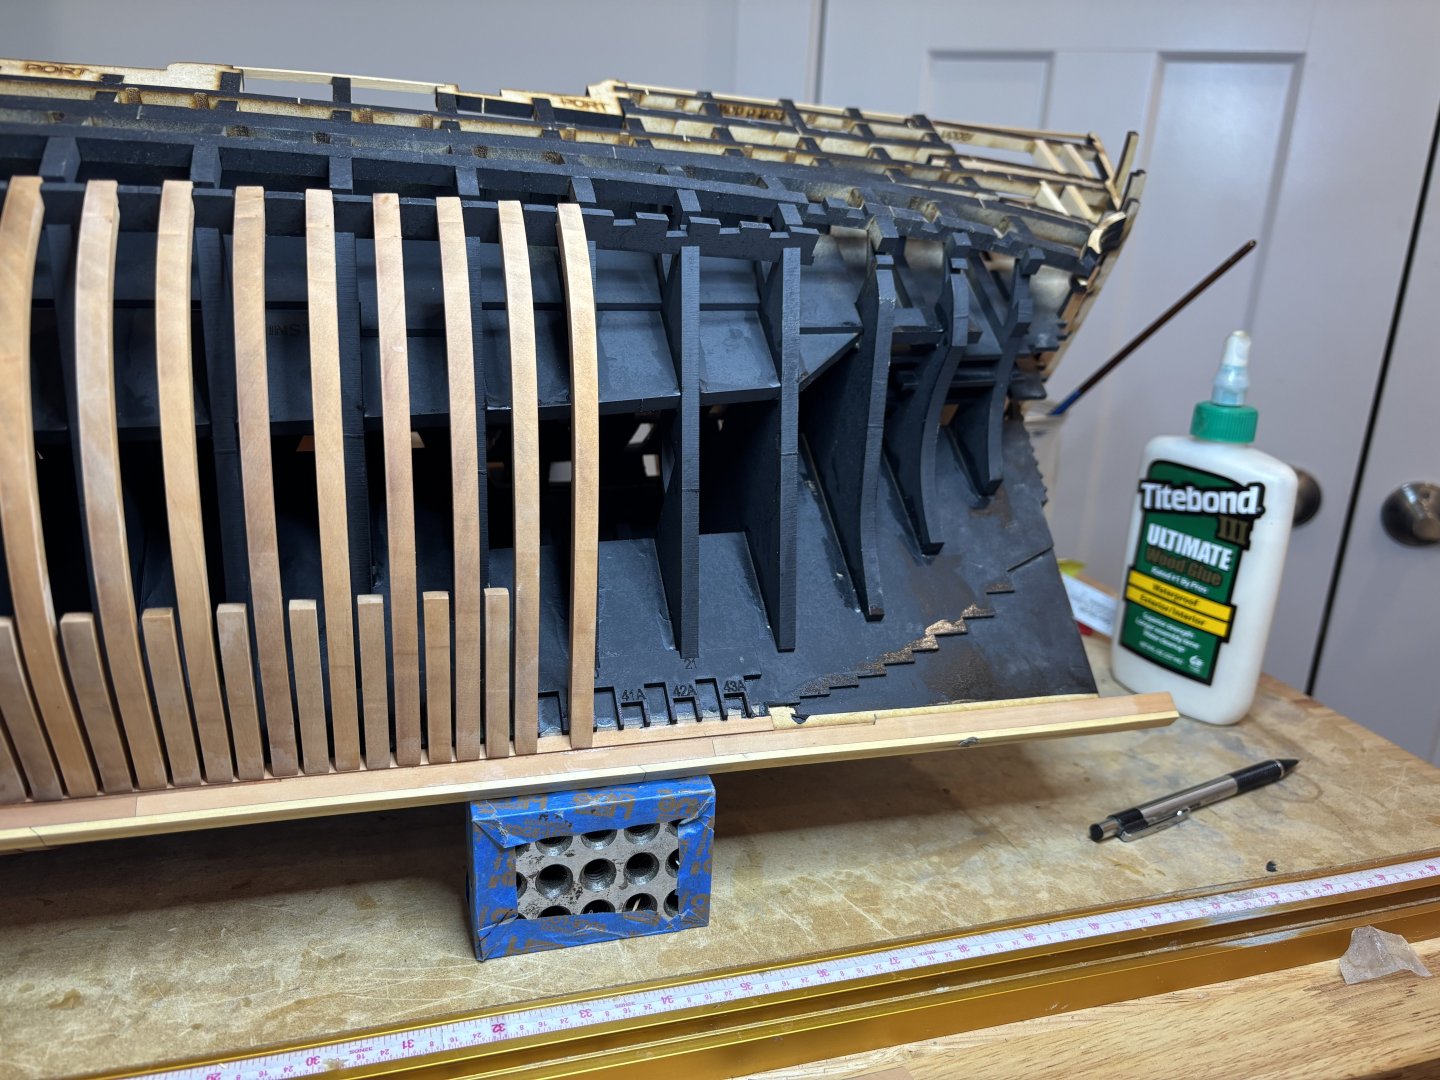
Port side square framing well underway.

-
What red did you use? The paintings seem to show more of a brighter orangie red? Do you plan on straight main wales or in anchor stock style? Any type of templates for keeping the port surrounds at the correct width?