-
Posts
1,964 -
Joined
-
Last visited
Content Type
Profiles
Forums
Gallery
Events
Everything posted by Trussben
-
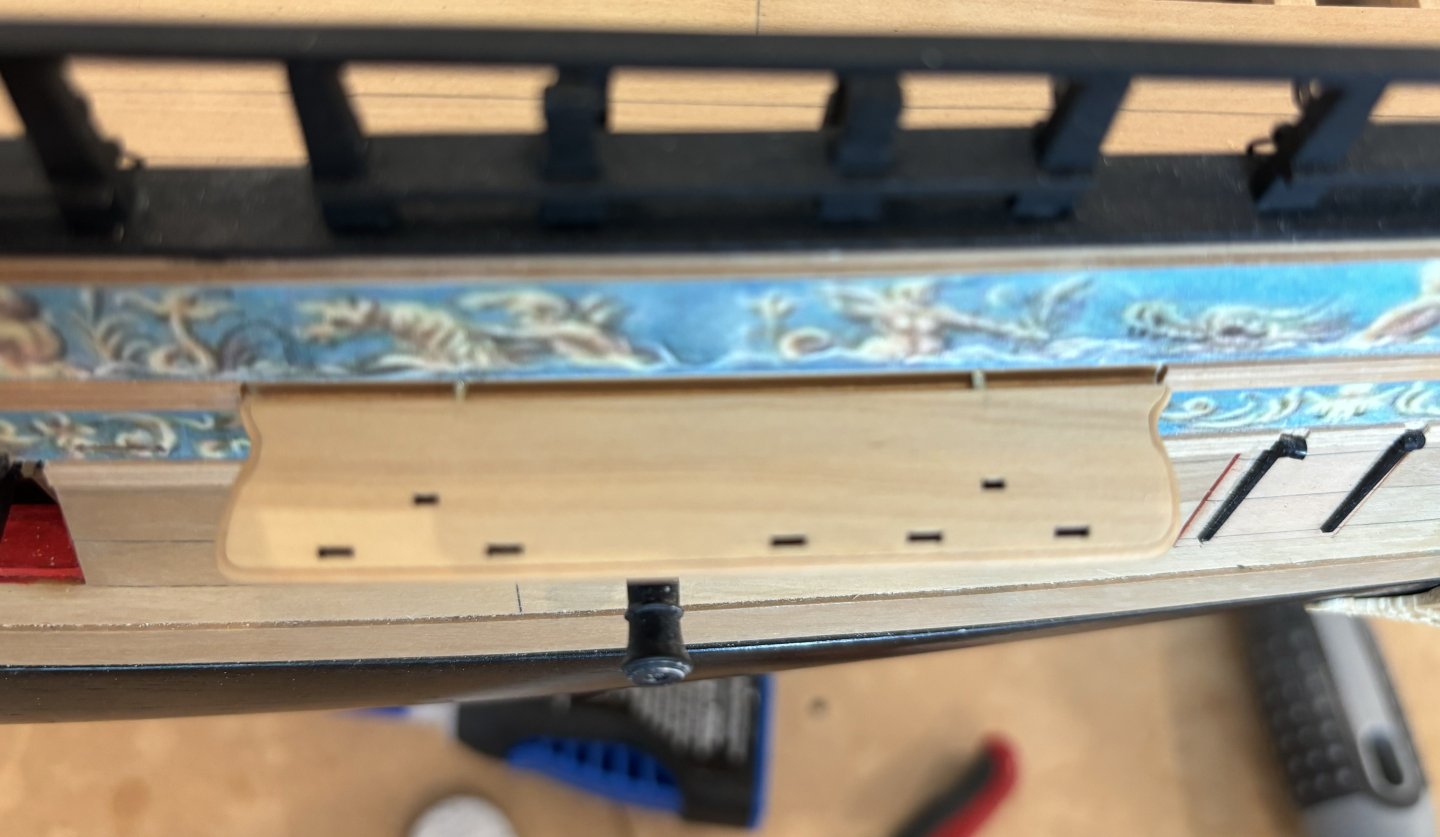
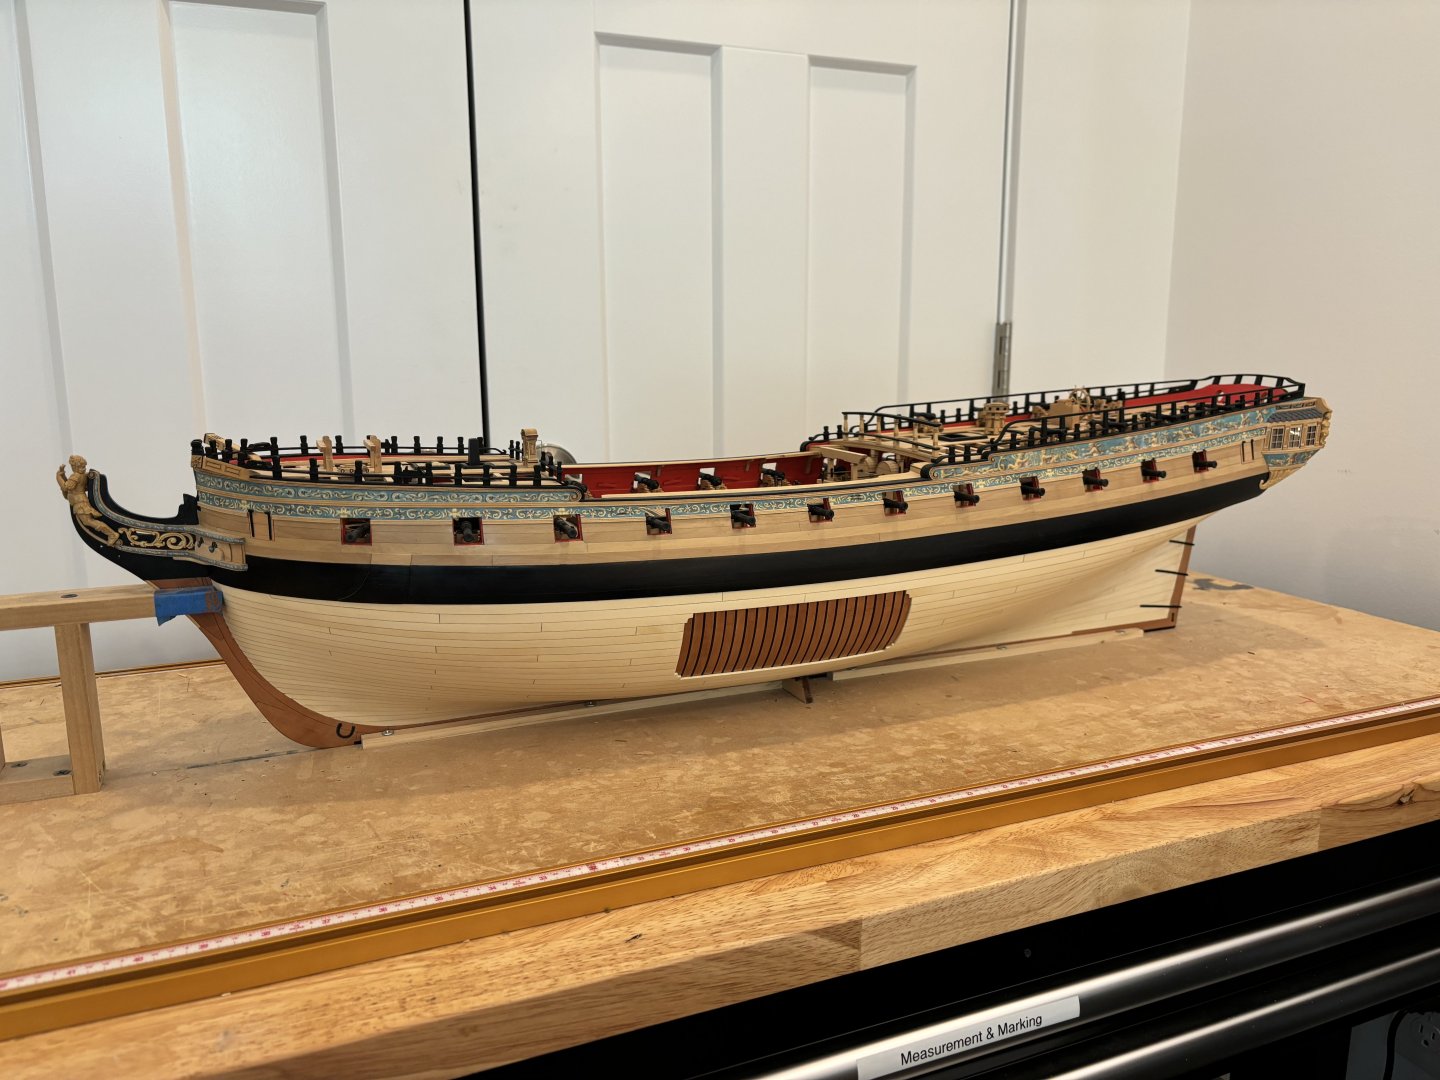
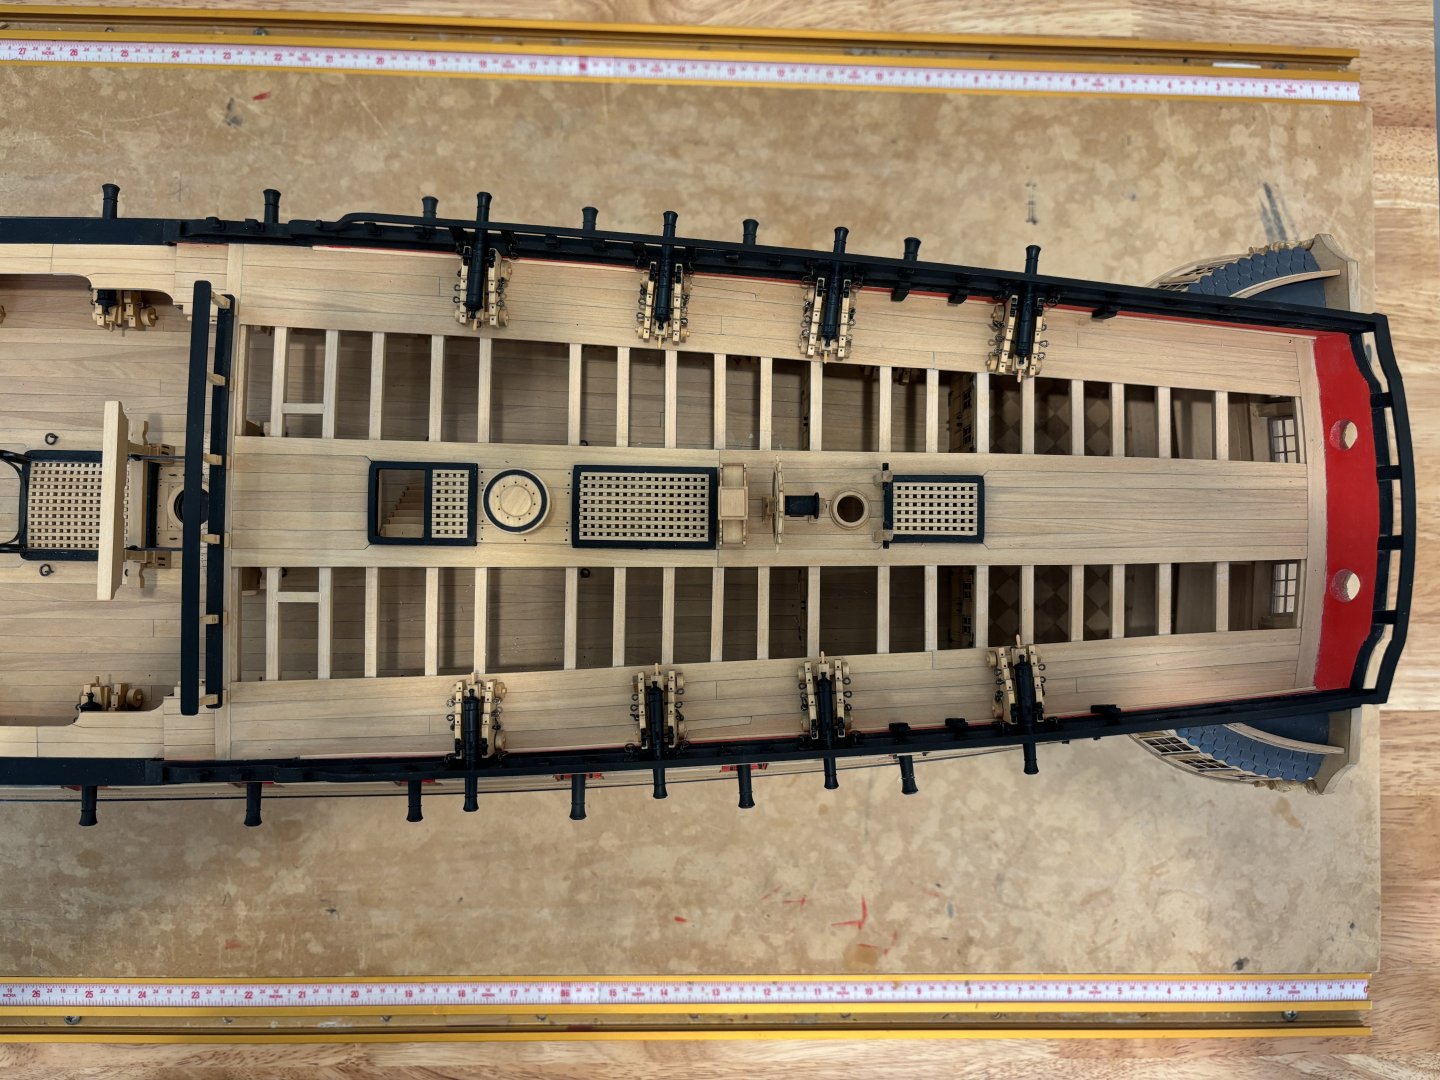
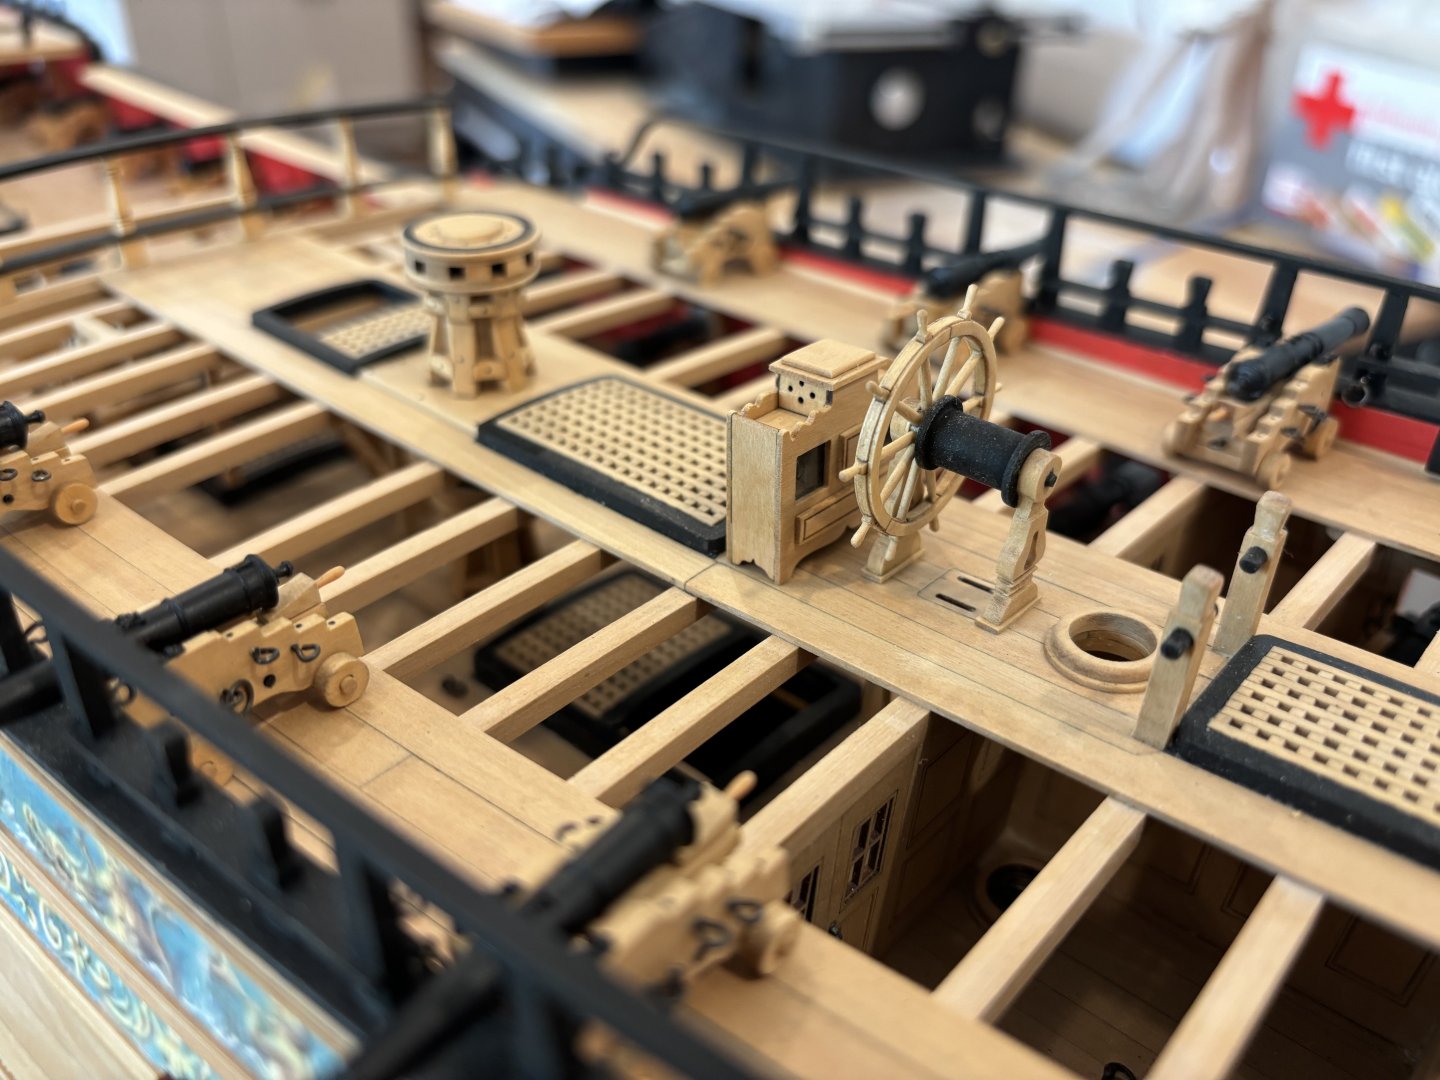
Second rails installed and coverboards being fitted to port side, getting a really tight fit in these areas is tough due to all the different angles that you have to try and match.
- 399 replies
-
- winchelsea
- Syren Ship Model Company
-
(and 1 more)
Tagged with:
-
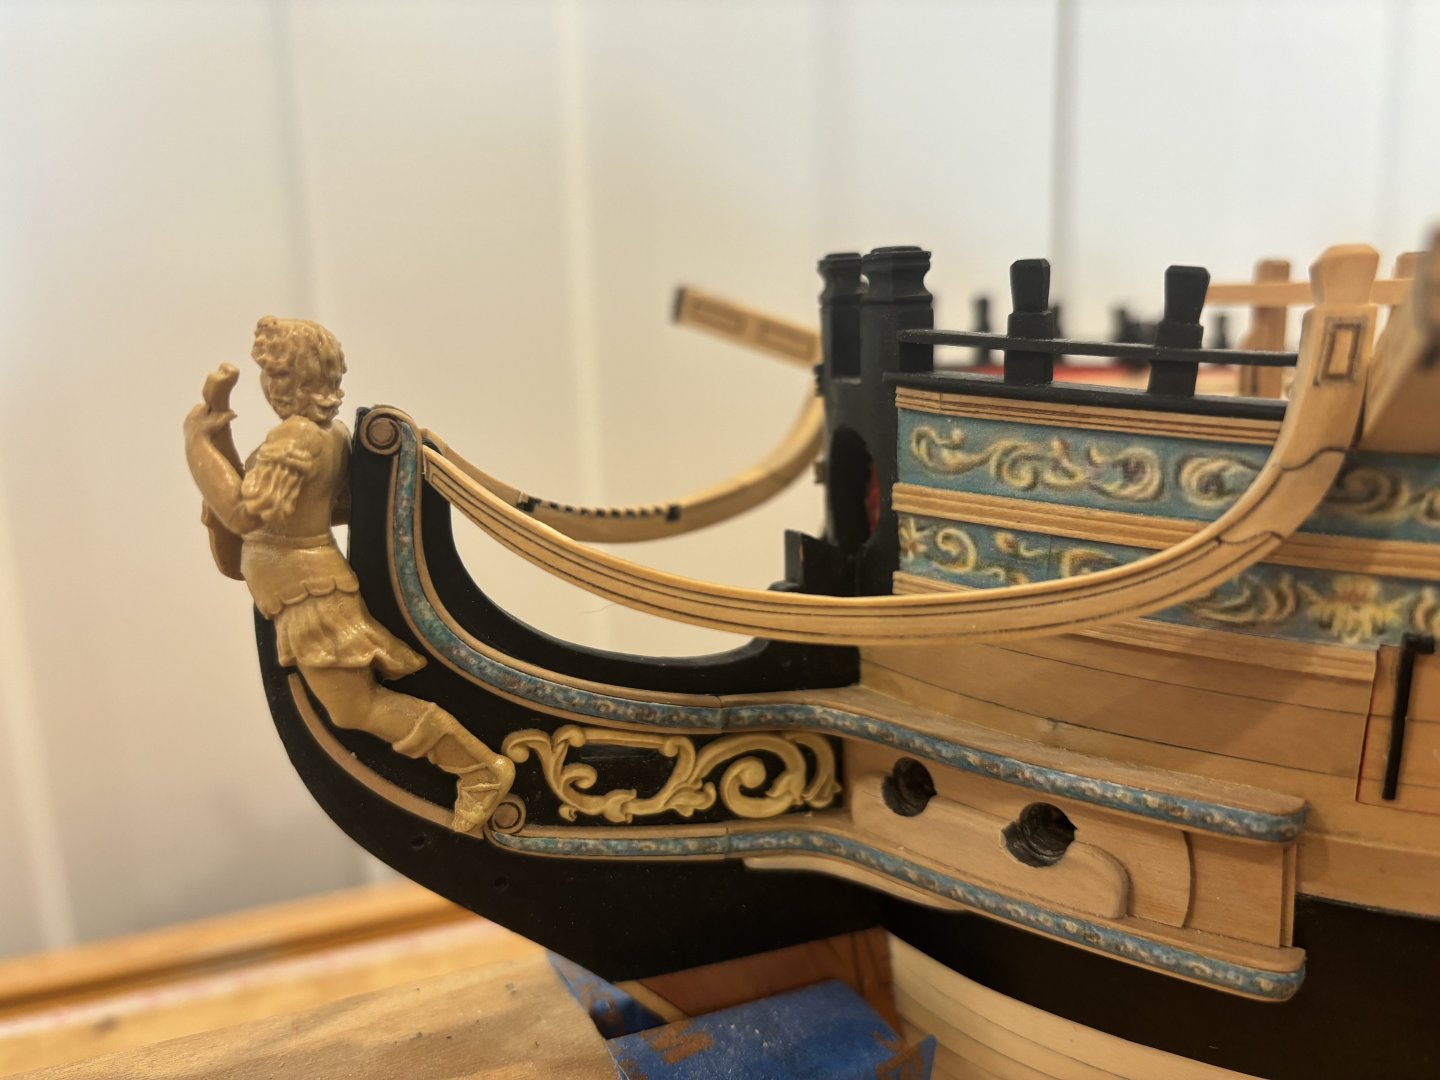
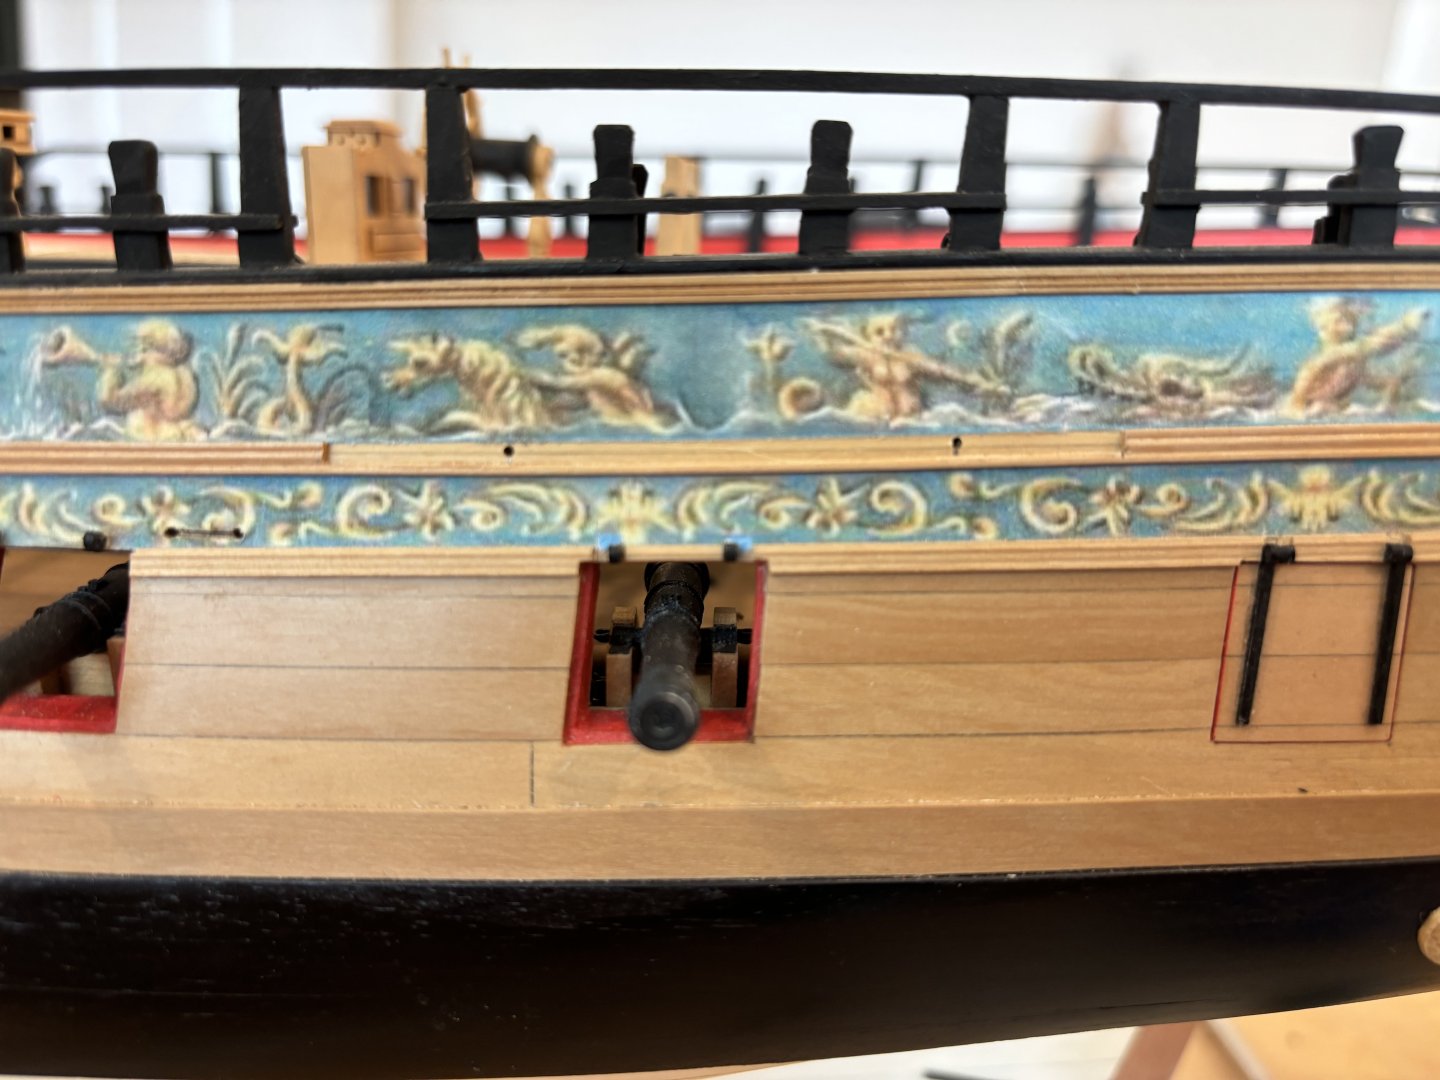
Hi They are 3D printed resin pieces from Syren that have been stained to look like boxwood.
- 399 replies
-
- winchelsea
- Syren Ship Model Company
-
(and 1 more)
Tagged with:
-
- 399 replies
-
- winchelsea
- Syren Ship Model Company
-
(and 1 more)
Tagged with:
-
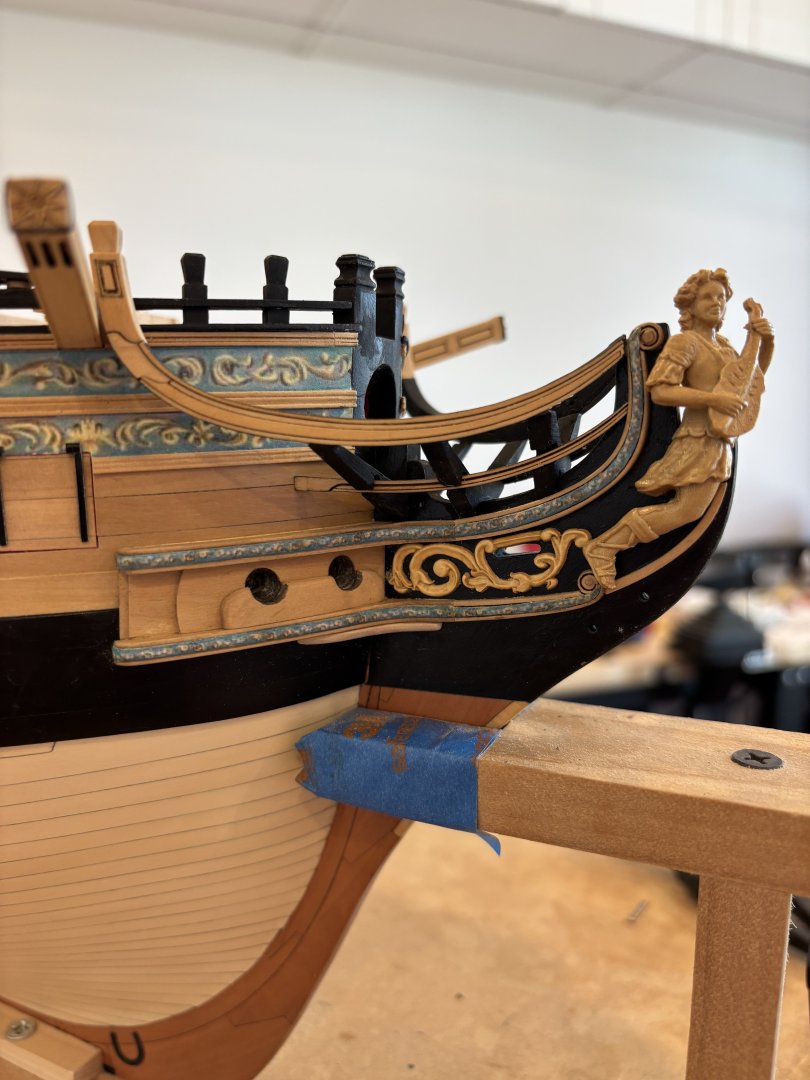
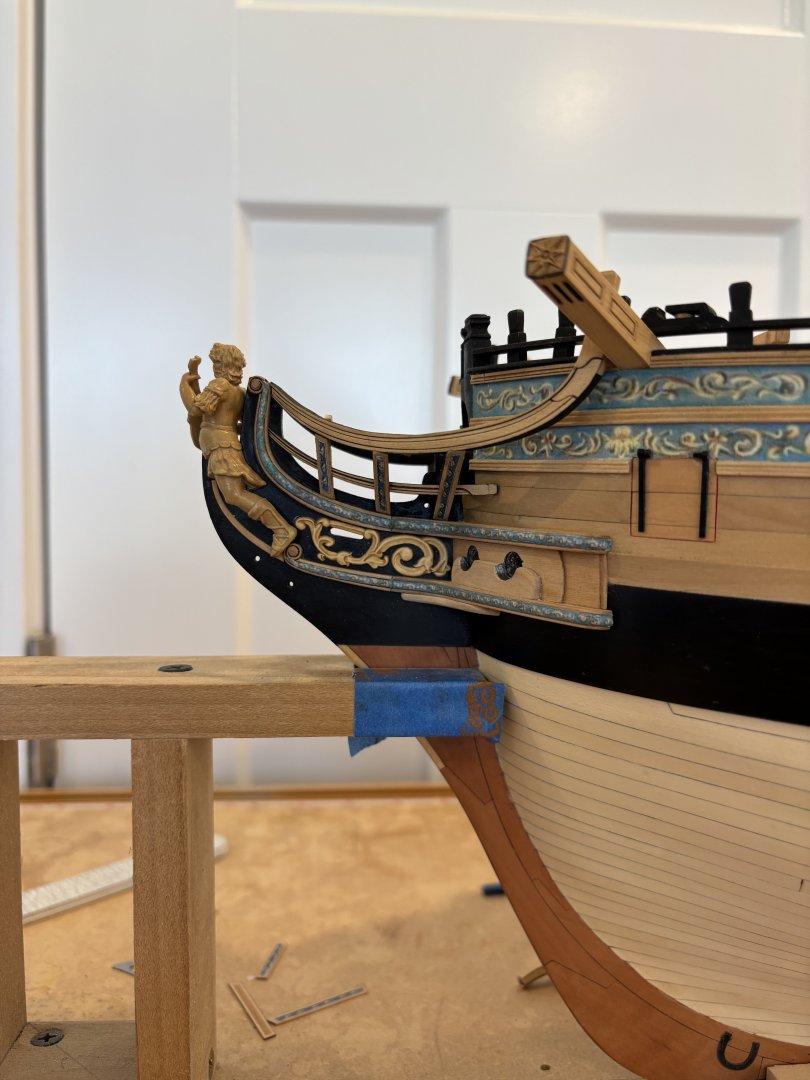
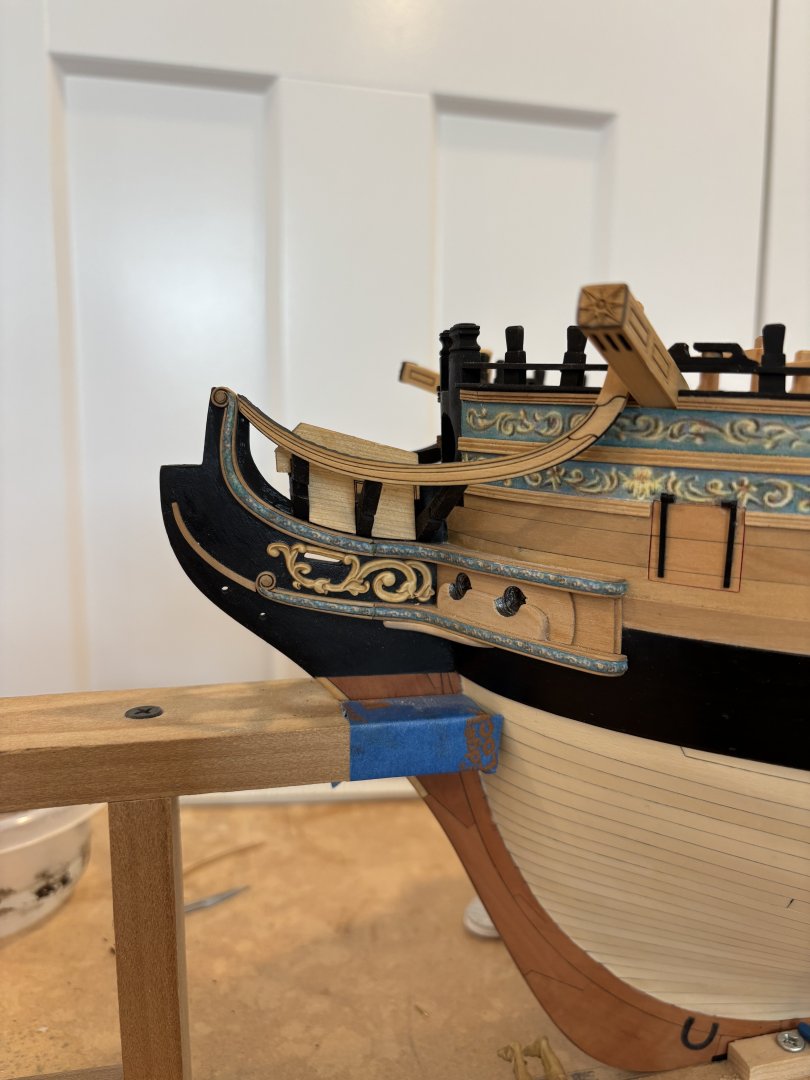
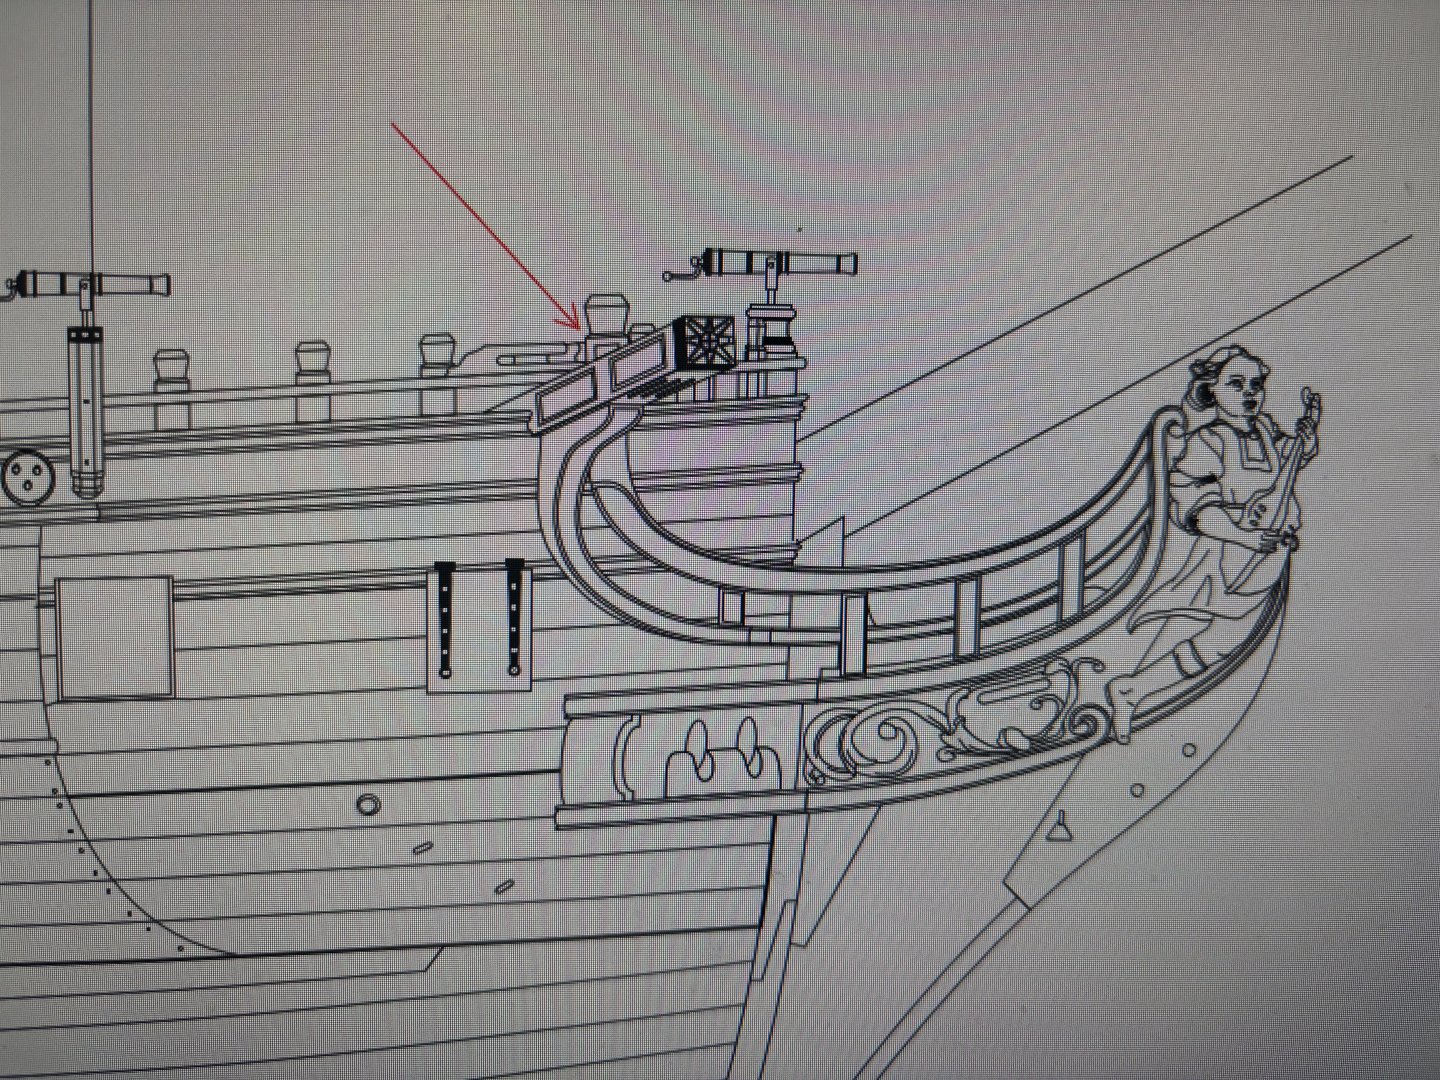
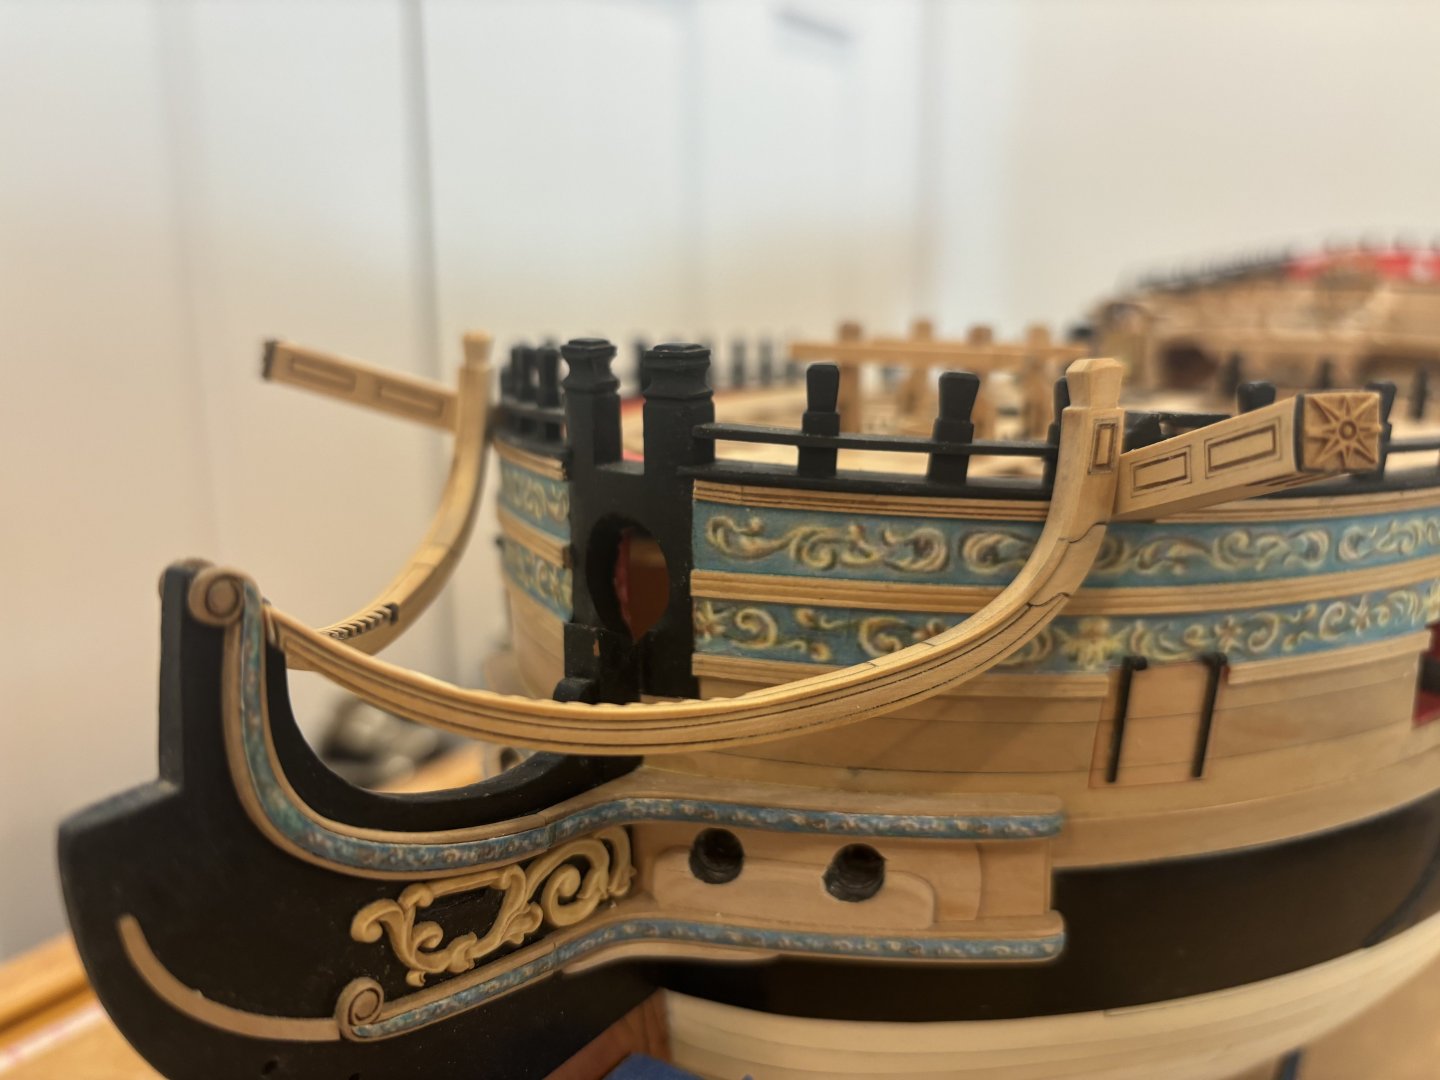
Started Chapter 12 while finishing off the few final parts from the last one as I wanted to see how these headrails were looking like. Putting the headrail pieces together was no big ordeal, sanding them thinner towards the fore was ok, but then I went to put them on the model and found them too short!!!! They wouldn’t reach from the catheads to the hair brackets. I studied the plans and other peoples builds - the plans show the height of the head rails timber head bottom to match the top height of the snatch block - so I actually pulled off the hair brackets and moved them slightly aft so the the rails would make these positions correct, it wasn’t by much like 1/16” perhaps.
- 399 replies
-
- winchelsea
- Syren Ship Model Company
-
(and 1 more)
Tagged with:
-
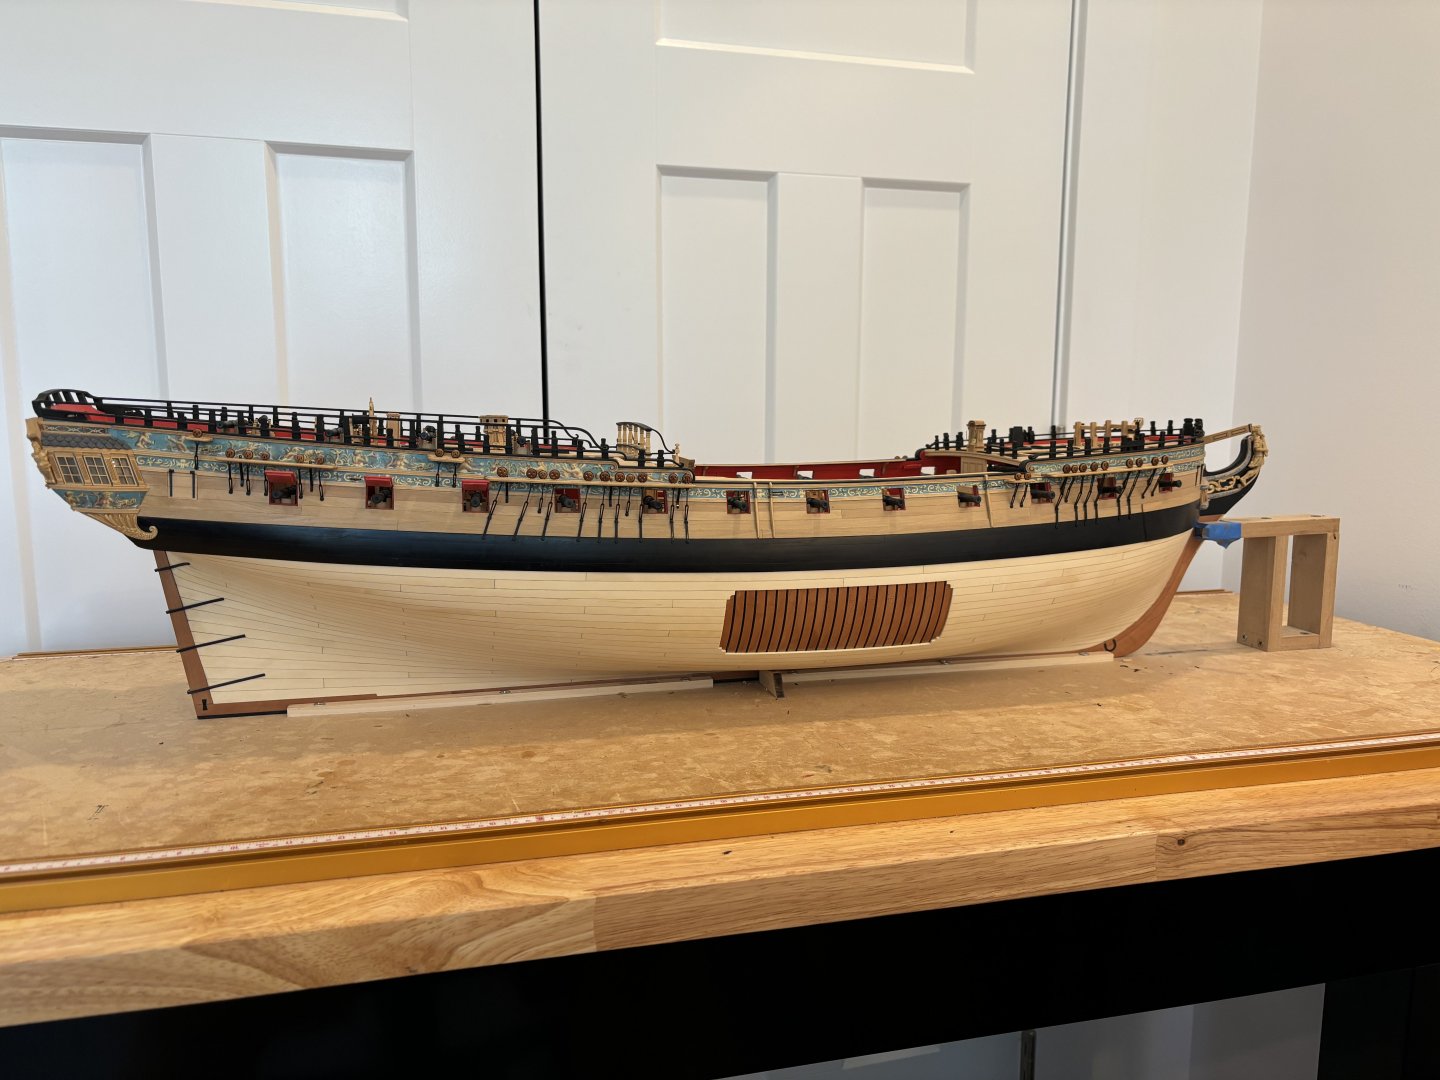
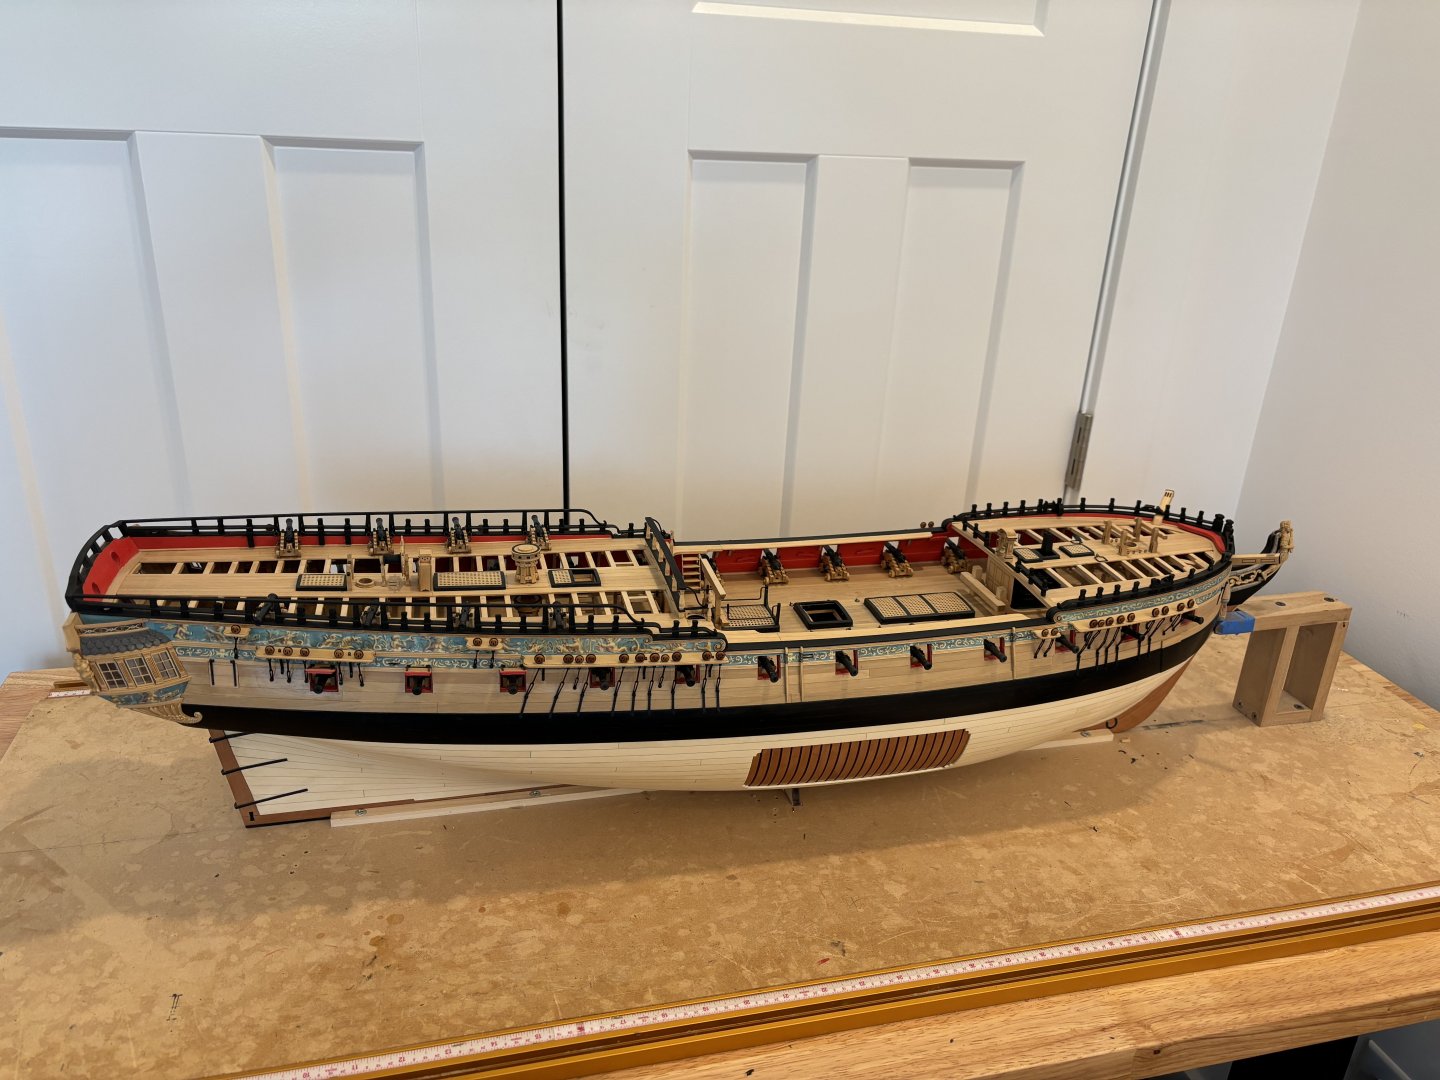
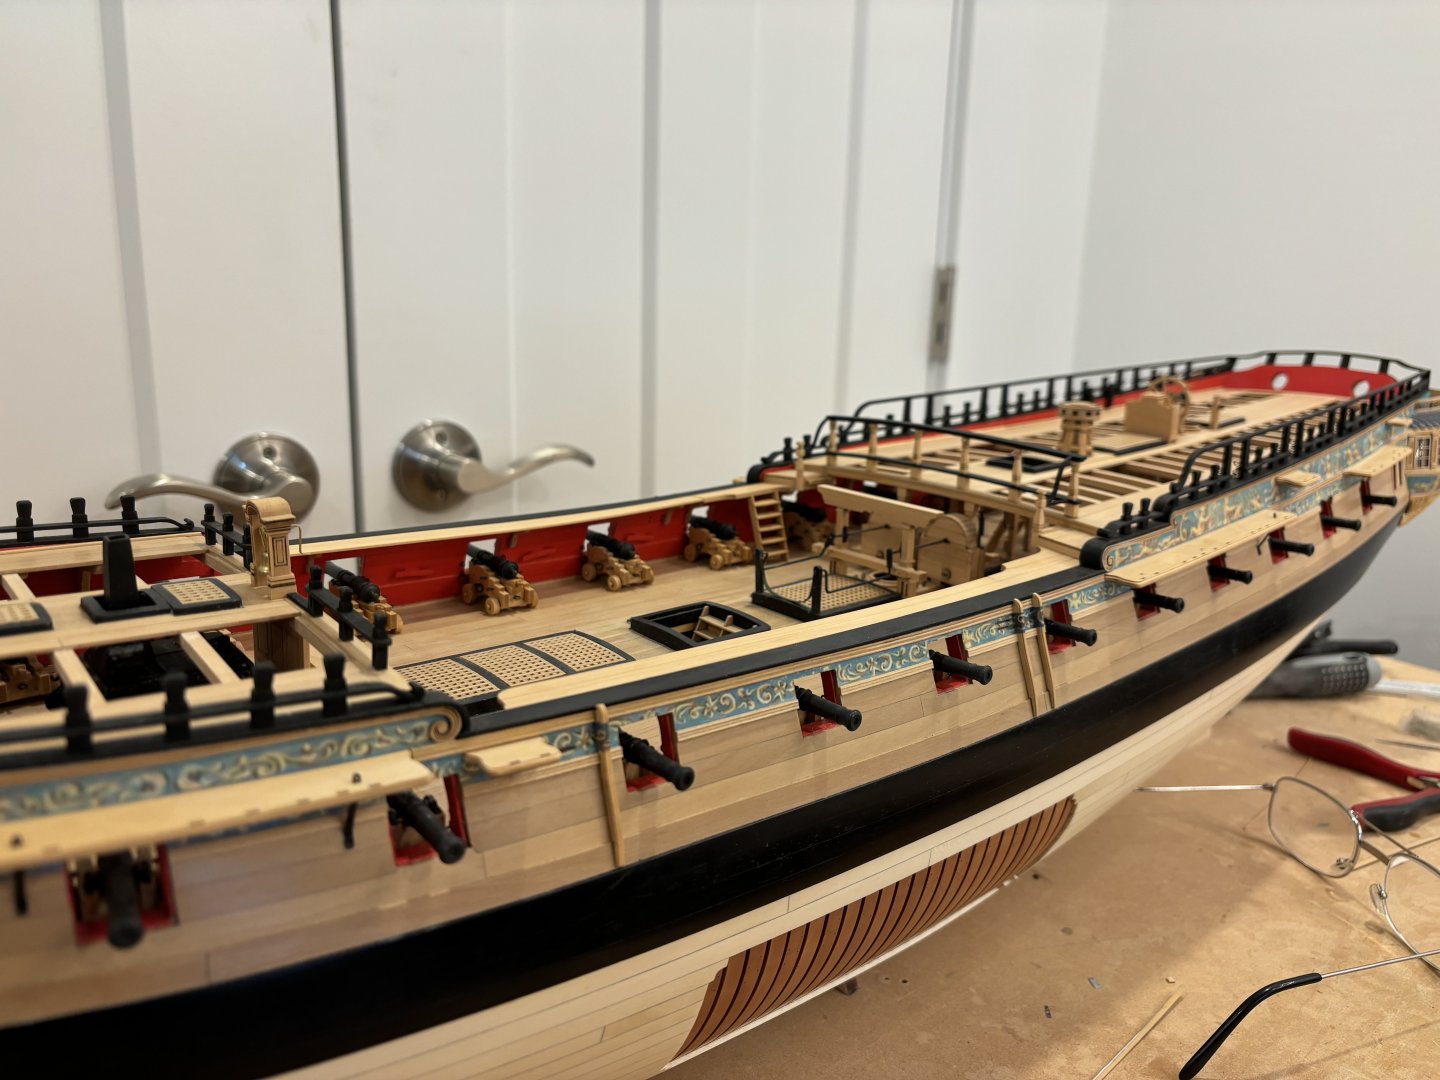
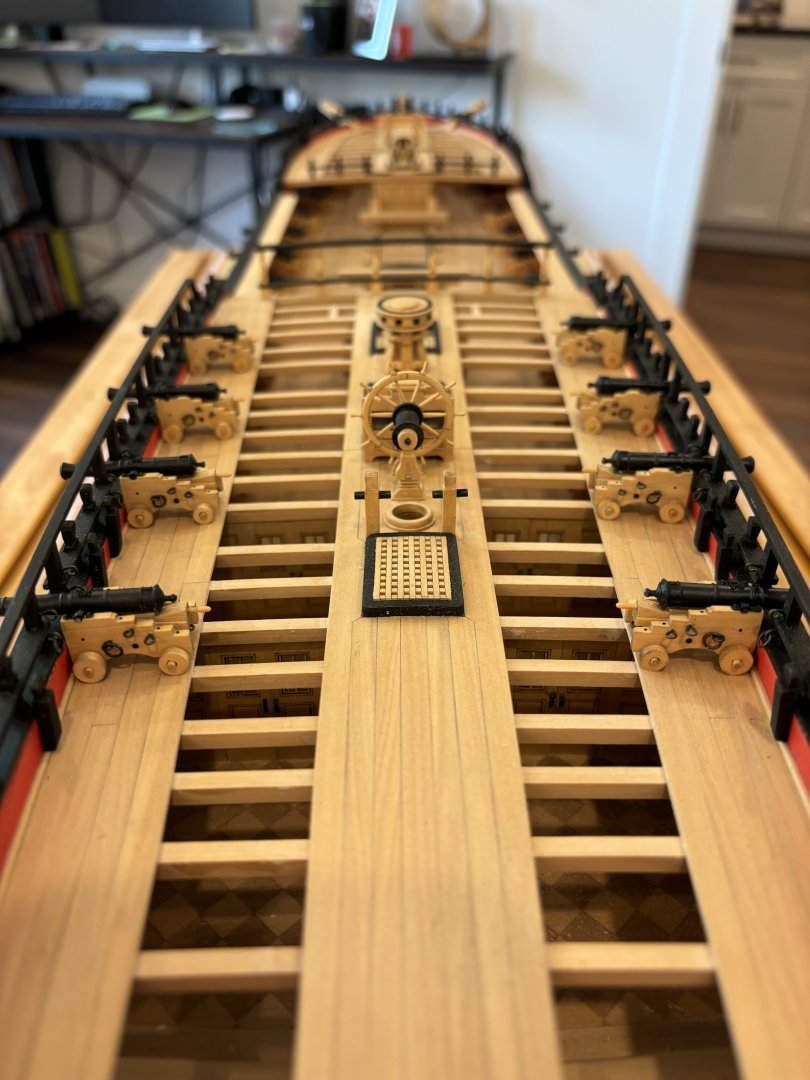
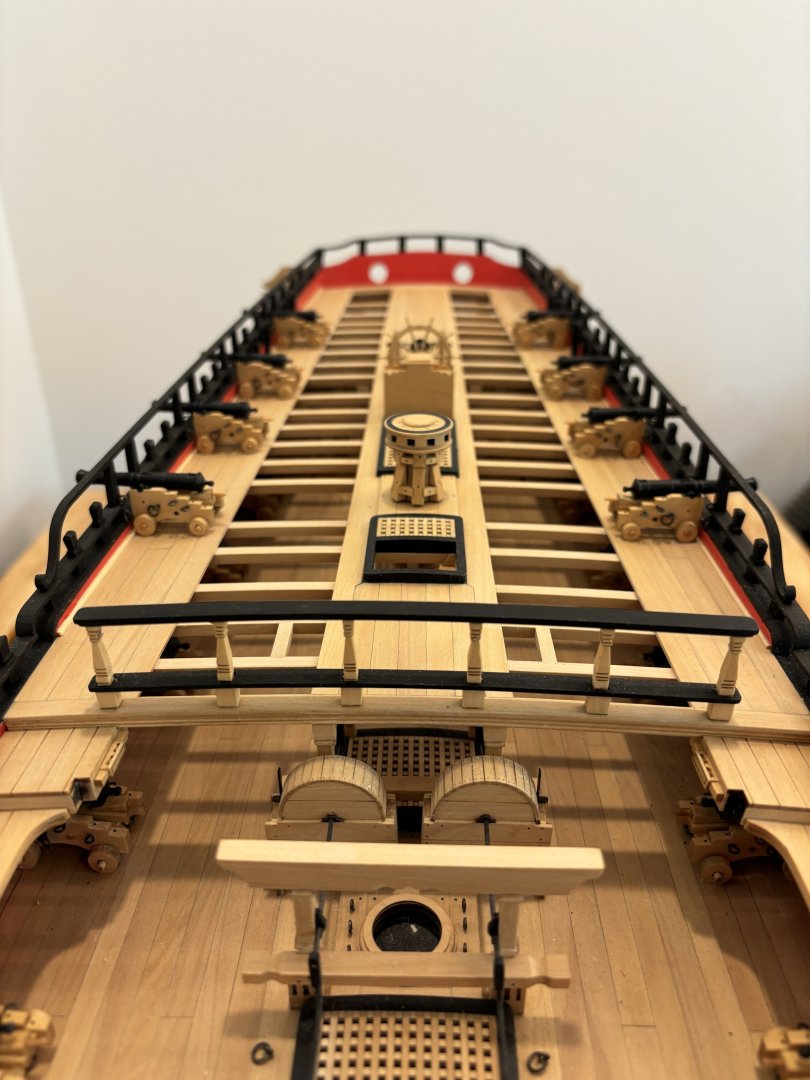
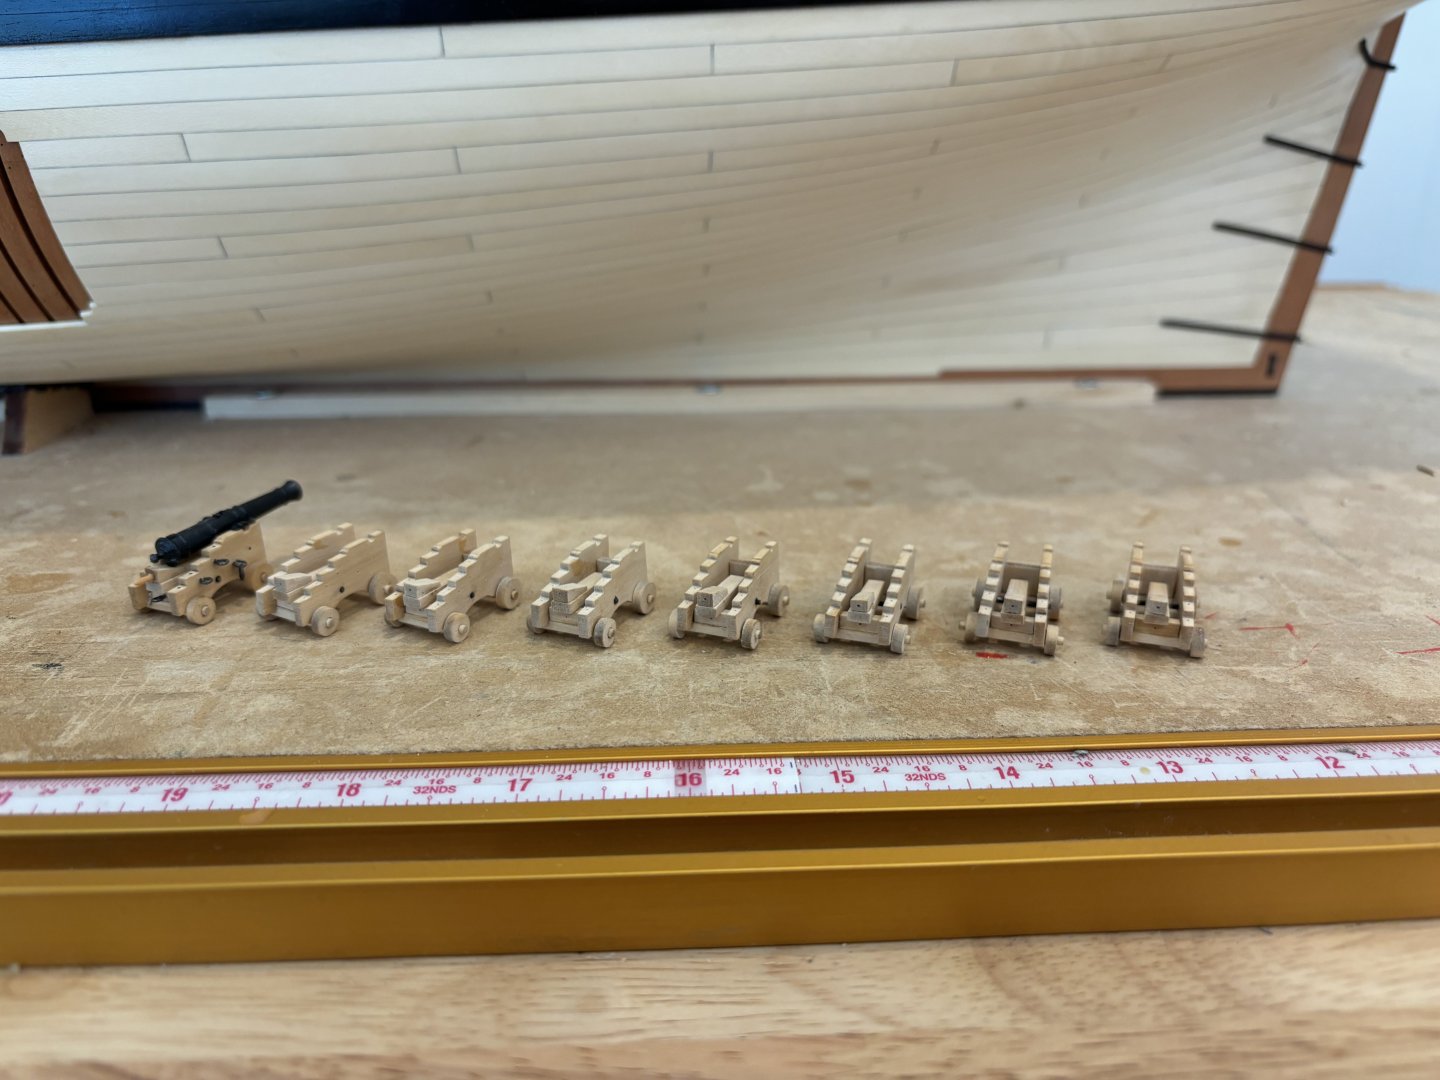
Chains completed on the Starboard side. I also installed the gunport lids on both sides and the remaining QD cannons. Only things left to finish Chapter 11 are the entry steps, anchor billboards and the elm tree pumps.
- 399 replies
-
- winchelsea
- Syren Ship Model Company
-
(and 1 more)
Tagged with:
-
I’m looking forward to working on the head details and finishing up this build - think I will miss working on her a lot Chuck!
- 399 replies
-
- winchelsea
- Syren Ship Model Company
-
(and 1 more)
Tagged with:
-
HI IMHO - the Winchelsea is pretty much the best 1:48 Frigate “kit” out there, it is perfectly designed and the laser cut parts supplied by Syren are excellent - this gives the builder the best chance to complete a really good looking model and I guess that’s why it’s so popular.
- 399 replies
-
- winchelsea
- Syren Ship Model Company
-
(and 1 more)
Tagged with:
-
Chains completed on Port side, I’m happy now with the Swiss pear deadeyes gave the contrast I wanted, onto the SB side.
- 399 replies
-
- winchelsea
- Syren Ship Model Company
-
(and 1 more)
Tagged with:
-
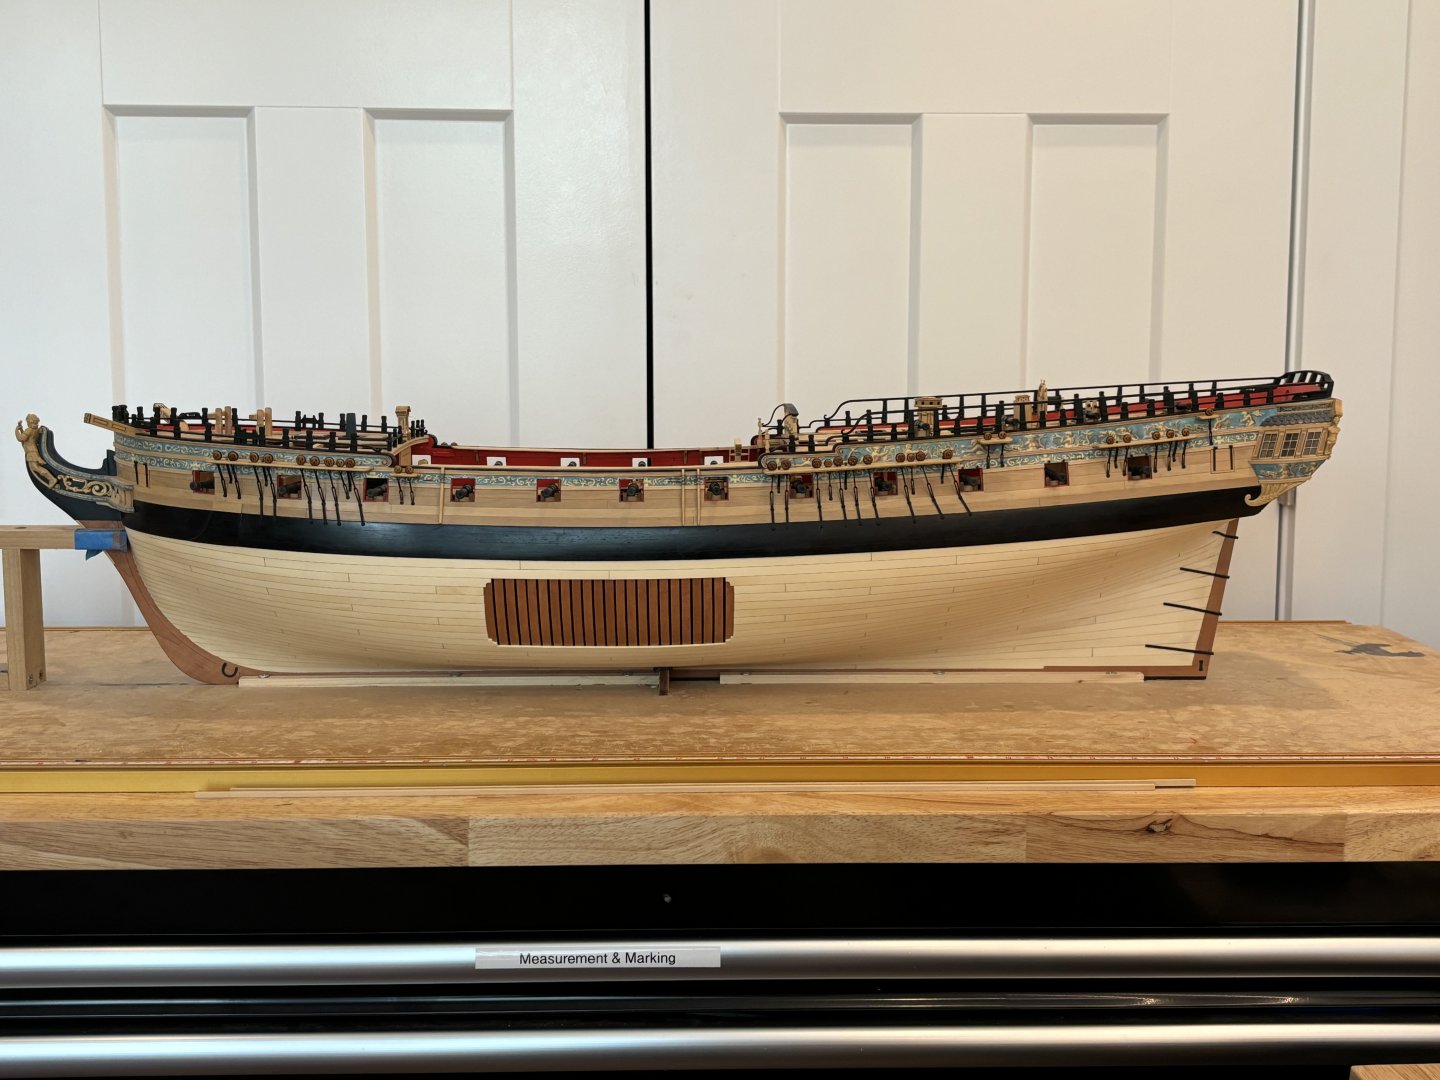
Halfway through Chapter 11, the gangways and their ladders along with newel posts and their fancy work is done. The Chesstrees and fenders, with their friezes completed. All of the Channels installed and I have started adding the channel straps, I looked at both boxwood or ebony deadeyes and I didn’t like the look of either so I have ordered some Swiss Pear deadeyes hoping they give the look that I want. I have also made a decision about the swivel guns - I’m not going to install them or their mounts - not keen on how they look on finished models that I have seen sticking up and altering the flow of the model.
- 399 replies
-
- winchelsea
- Syren Ship Model Company
-
(and 1 more)
Tagged with:
-
Let me be among the first to Congratulate you Glenn, you have achieved a stunning model of the Winchelsea and I look forward to following your next project.
- 840 replies
-
- winchelsea
- Syren Ship Model Company
-
(and 1 more)
Tagged with:
-
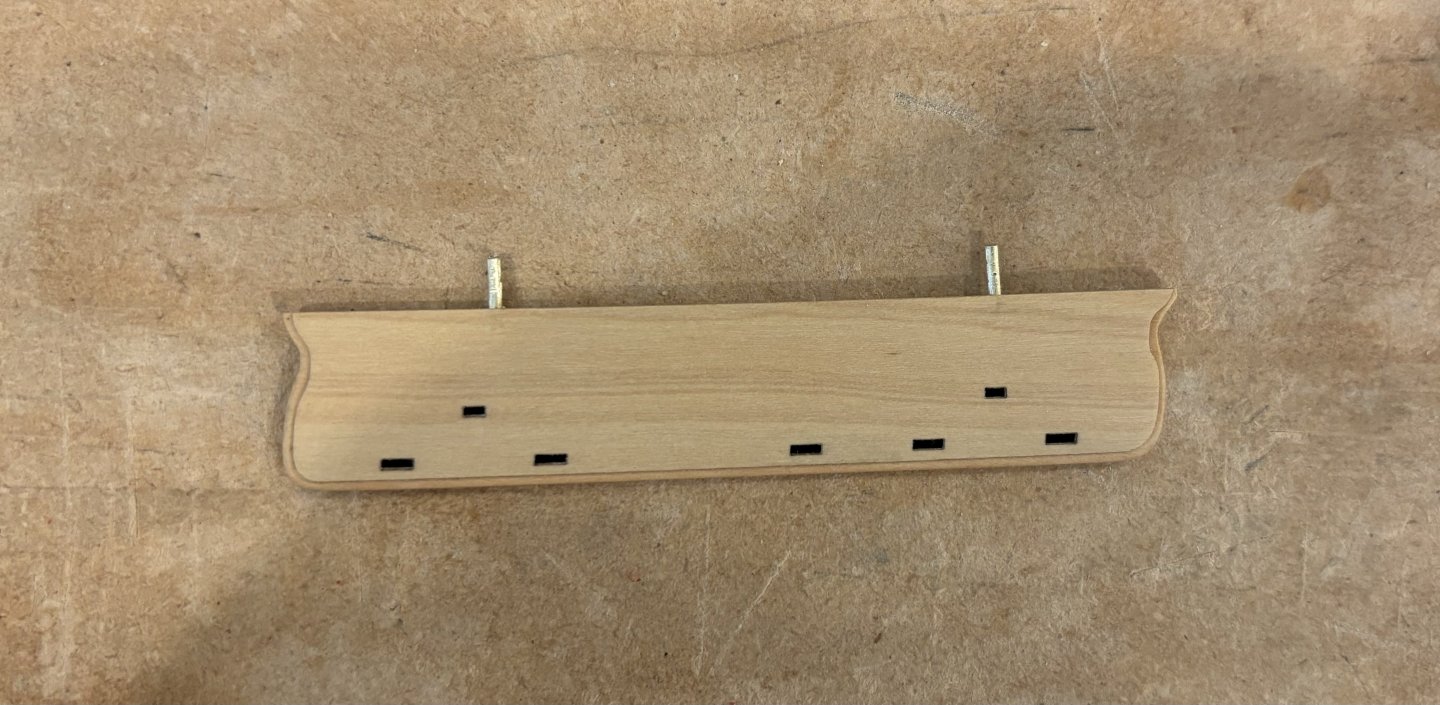
Pushing forward into Chapter 11, I cleaned all of the channel pieces and glued the layers together and faired the backside to fit each location, I then added 1mm brass pins to each of them, 2 pins for the smaller ones and 3 pins for the longer ones. The trim work was cut away and then holes in the hull drilled to suit the pin positions, then the channel was glued in place. I just completed the port side and will get the other side done this week.
- 399 replies
-
- winchelsea
- Syren Ship Model Company
-
(and 1 more)
Tagged with:
-
I’m not sure about the “all natural” quote there Glenn, there is actually a lot more paint on this model than I like personally, but we all have to expand our horizons. My Pegasus only has one color of paint on it, and I now wish I had done that in ebony wood. ben
- 399 replies
-
- winchelsea
- Syren Ship Model Company
-
(and 1 more)
Tagged with:
-
- 399 replies
-
- winchelsea
- Syren Ship Model Company
-
(and 1 more)
Tagged with:
-
- 399 replies
-
- winchelsea
- Syren Ship Model Company
-
(and 1 more)
Tagged with:
-
Thanks for all the likes and nice comments!
- 399 replies
-
- winchelsea
- Syren Ship Model Company
-
(and 1 more)
Tagged with:
About us
Modelshipworld - Advancing Ship Modeling through Research
SSL Secured
Your security is important for us so this Website is SSL-Secured
NRG Mailing Address
Nautical Research Guild
237 South Lincoln Street
Westmont IL, 60559-1917
Model Ship World ® and the MSW logo are Registered Trademarks, and belong to the Nautical Research Guild (United States Patent and Trademark Office: No. 6,929,264 & No. 6,929,274, registered Dec. 20, 2022)
Helpful Links
About the NRG
If you enjoy building ship models that are historically accurate as well as beautiful, then The Nautical Research Guild (NRG) is just right for you.
The Guild is a non-profit educational organization whose mission is to “Advance Ship Modeling Through Research”. We provide support to our members in their efforts to raise the quality of their model ships.
The Nautical Research Guild has published our world-renowned quarterly magazine, The Nautical Research Journal, since 1955. The pages of the Journal are full of articles by accomplished ship modelers who show you how they create those exquisite details on their models, and by maritime historians who show you the correct details to build. The Journal is available in both print and digital editions. Go to the NRG web site (www.thenrg.org) to download a complimentary digital copy of the Journal. The NRG also publishes plan sets, books and compilations of back issues of the Journal and the former Ships in Scale and Model Ship Builder magazines.


