HOLIDAY DONATION DRIVE - SUPPORT MSW - DO YOUR PART TO KEEP THIS GREAT FORUM GOING! (Only 72 donations so far out of 49,000 members - Can we at least get 100? C'mon guys!)
×


Eric W
-
Posts
133 -
Joined
-
Last visited
Content Type
Profiles
Forums
Gallery
Events
Everything posted by Eric W
-
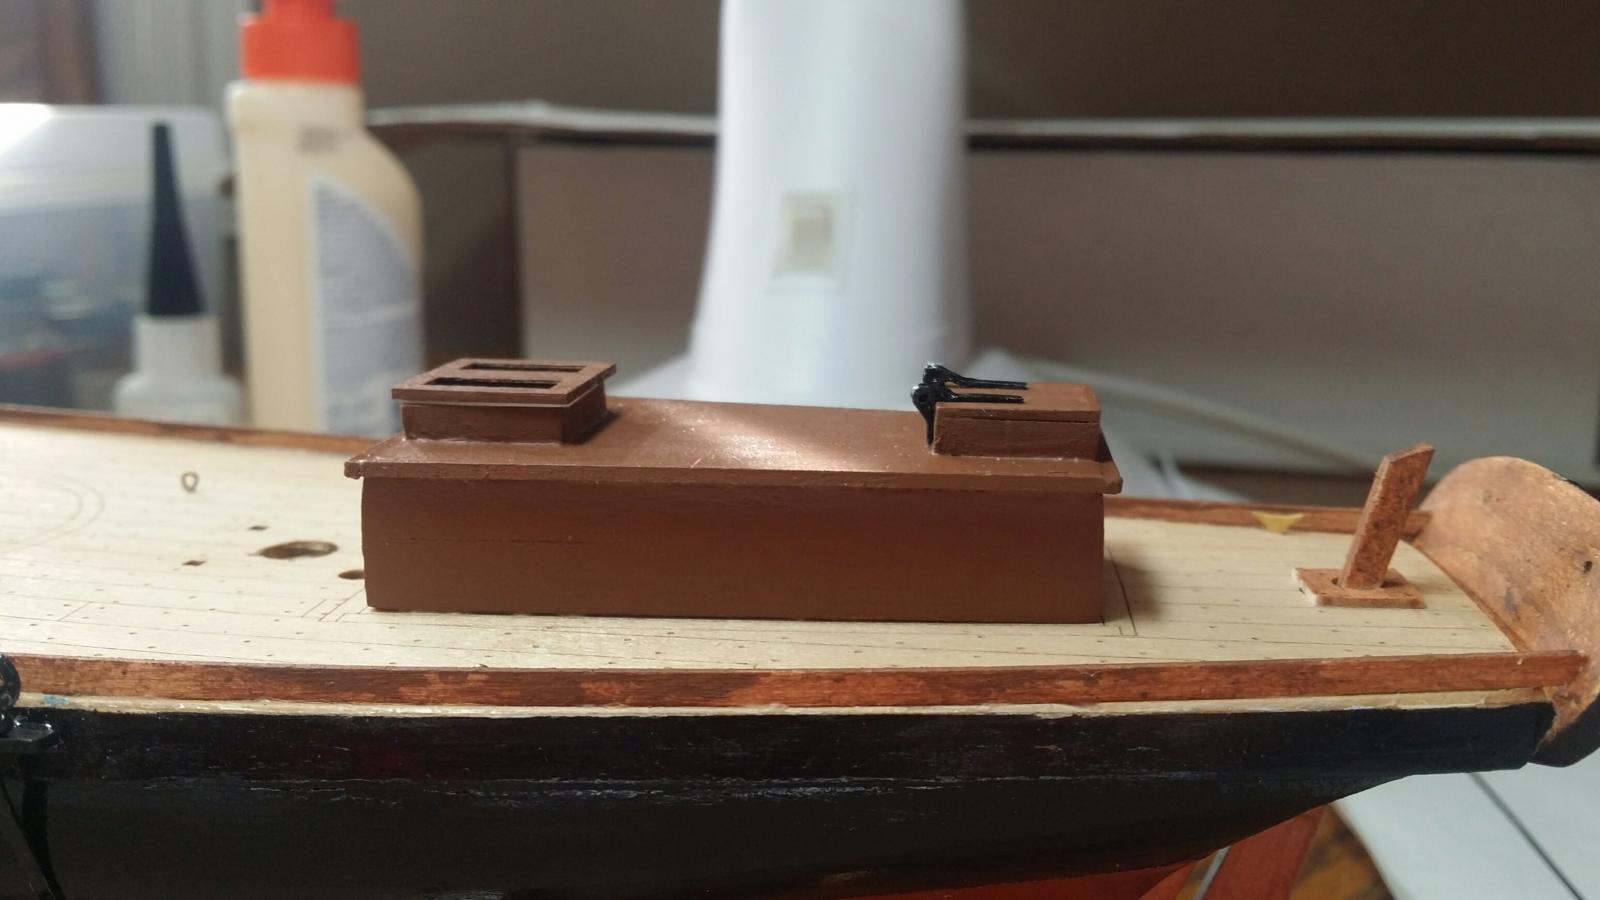
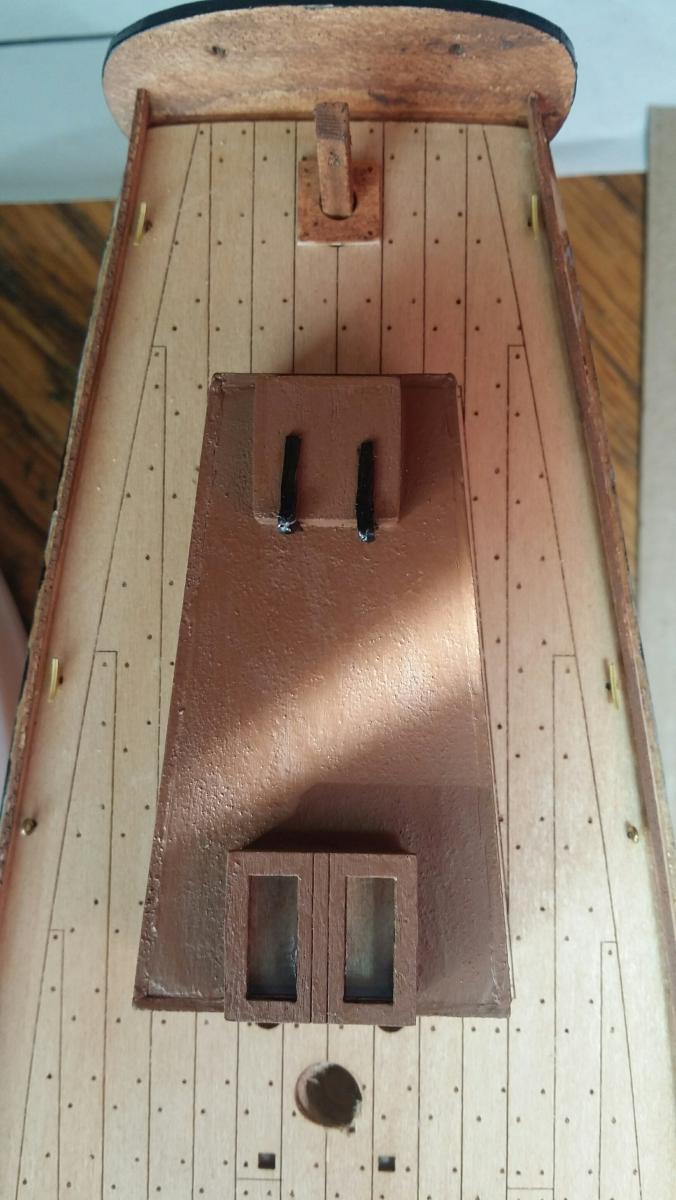
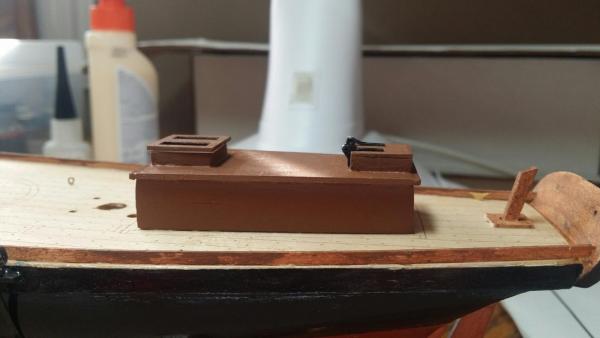
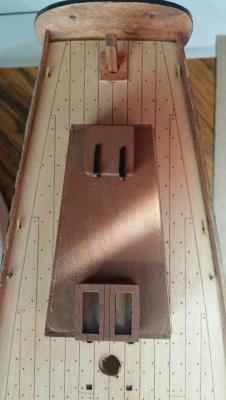
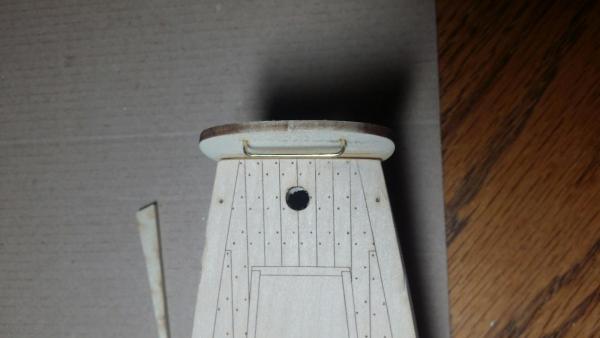
Aft deckhouse was the project this weekend. I did not paint the styrene black per the instructions. I thought it looked better shwoing a little wood through the "glass". Basswood is really delicate

- 83 replies
-
- 3
-

-
- revenue cutter
- BlueJacket Shipcrafters
- (and 2 more)
-
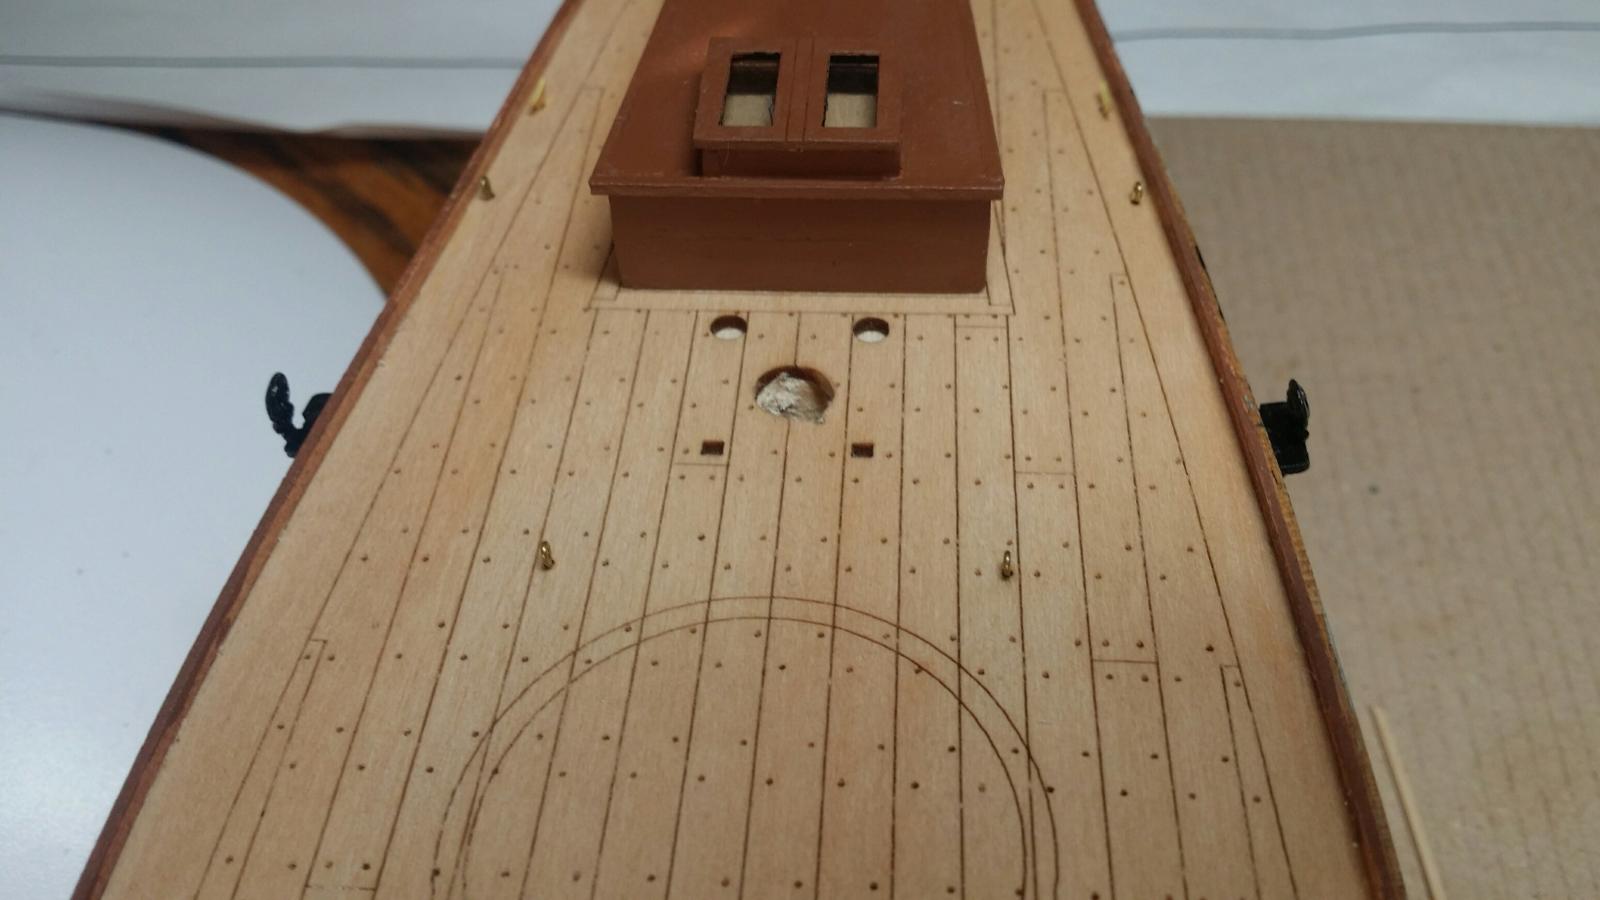
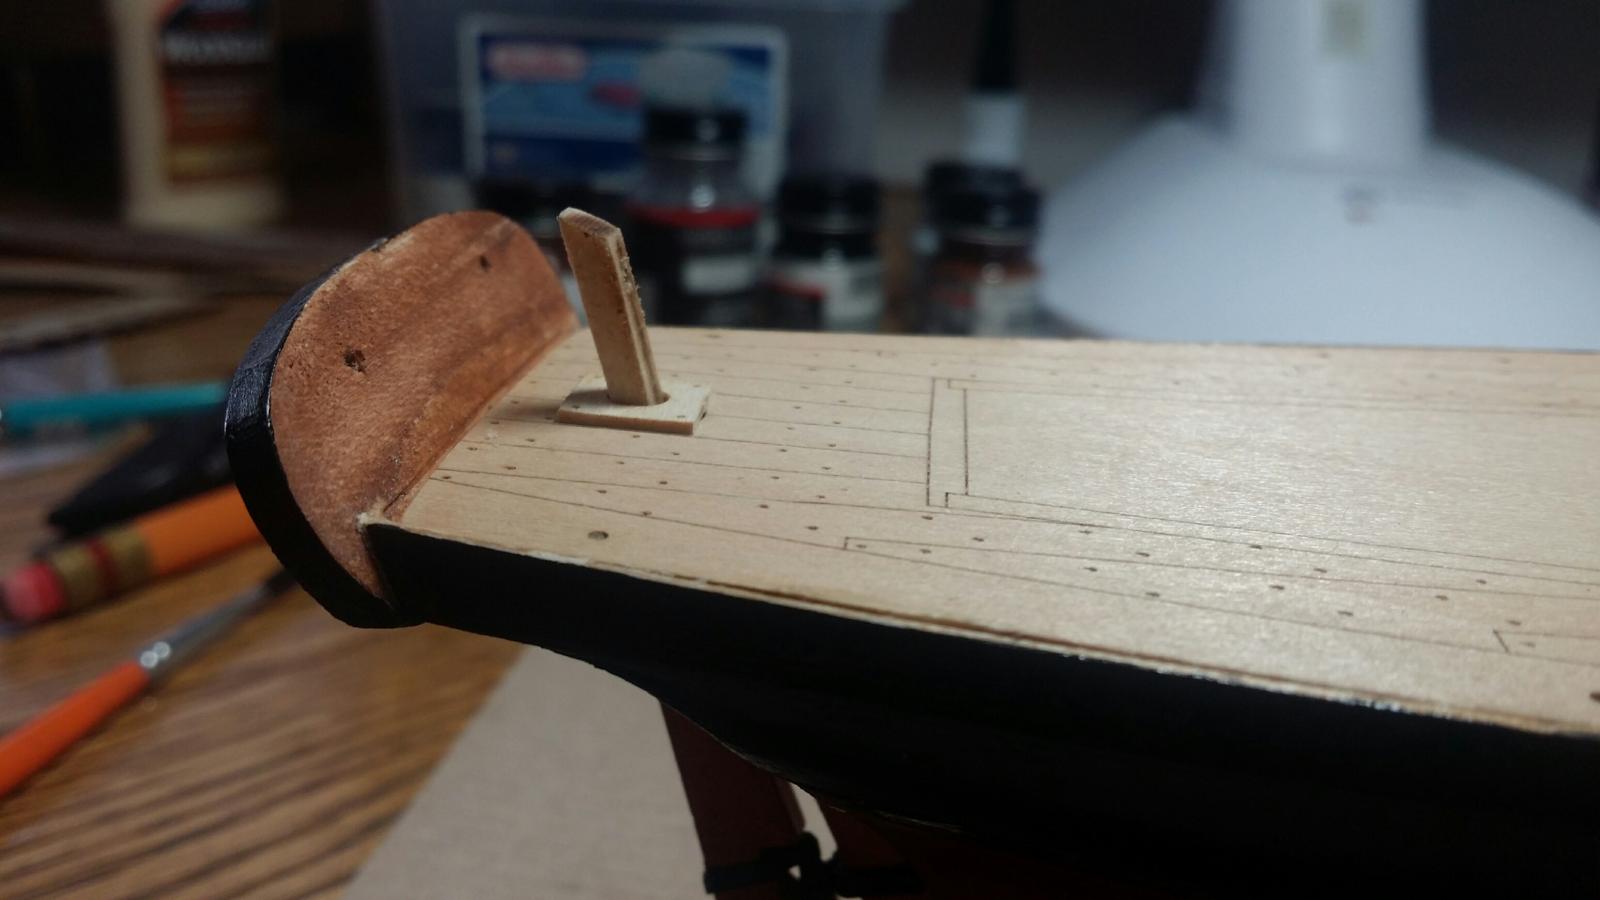
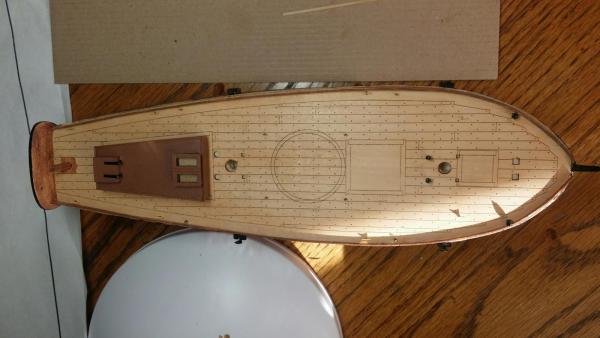
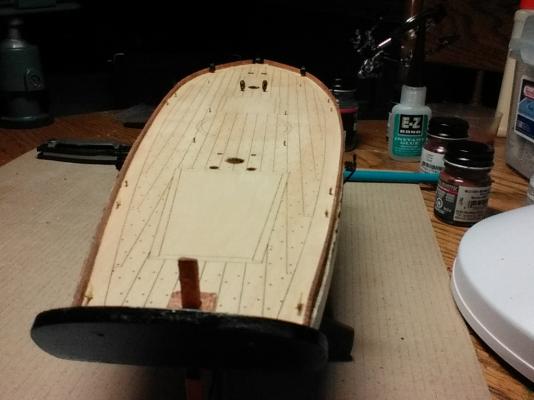
Here is an update with the toe rails and some of the deck hardware. Instructions were straight forward, except ensure you leave a 3/16" gap at the bow centerline for the bowsprit. The plans were not very clear on this, but the photos in the manual show a gap.
- 83 replies
-
- 5
-
-
- revenue cutter
- BlueJacket Shipcrafters
- (and 2 more)
-
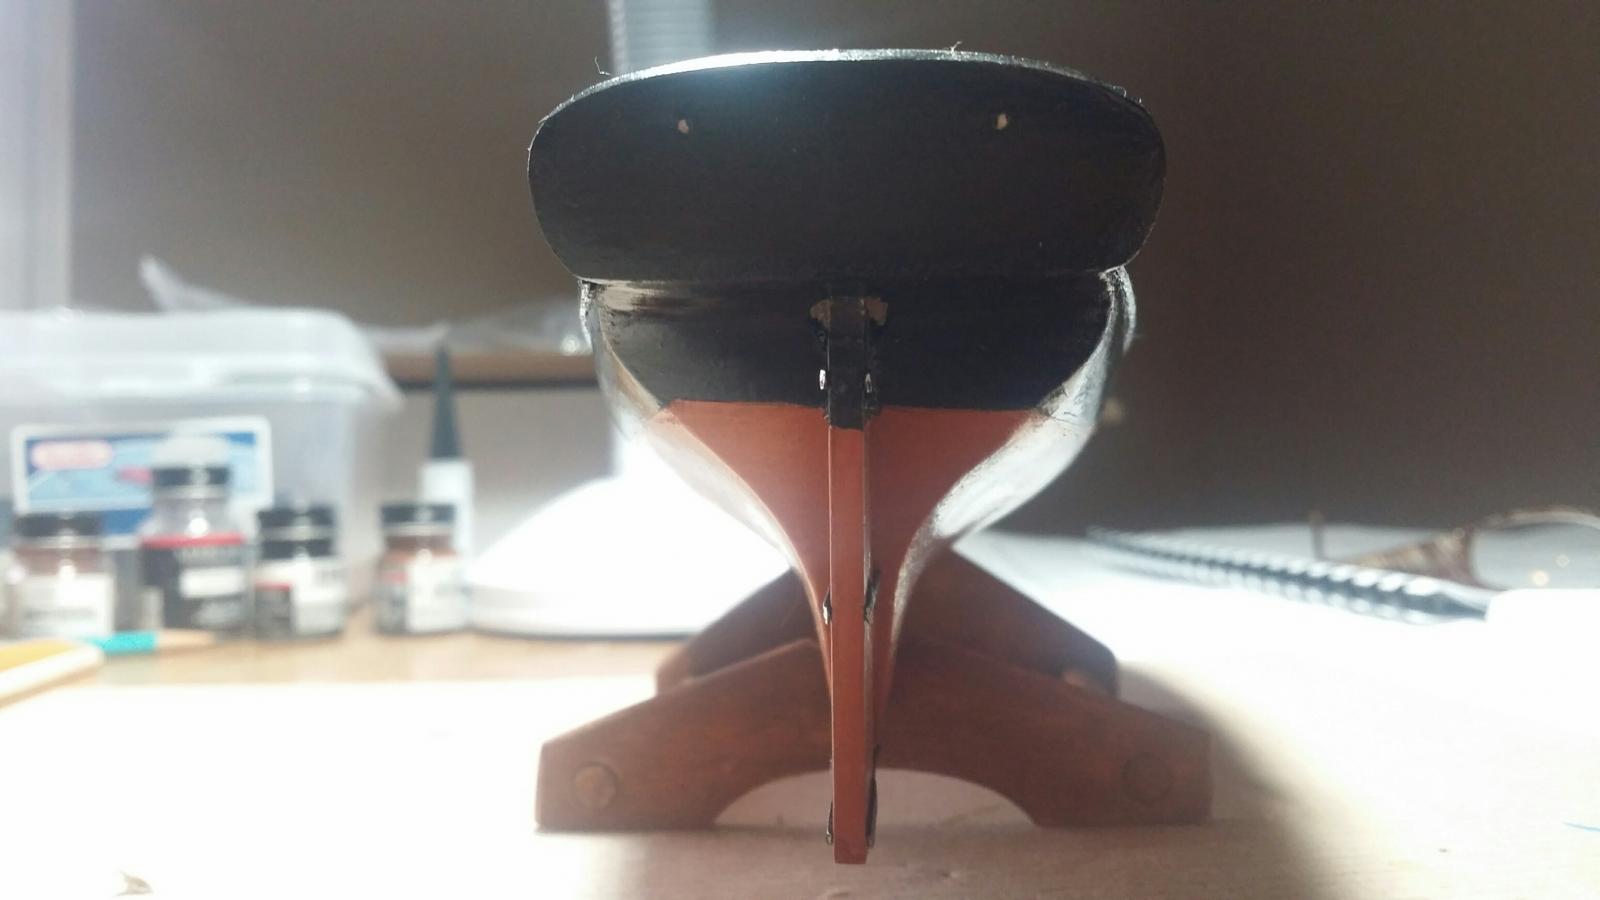
No Elijah, that was a rookie mistake. The bottom pintle shifted and I missed it. It is very solid though. The pintles and gudgeons were a very tight fit.
- 83 replies
-
- 2
-
-
- revenue cutter
- BlueJacket Shipcrafters
- (and 2 more)
-
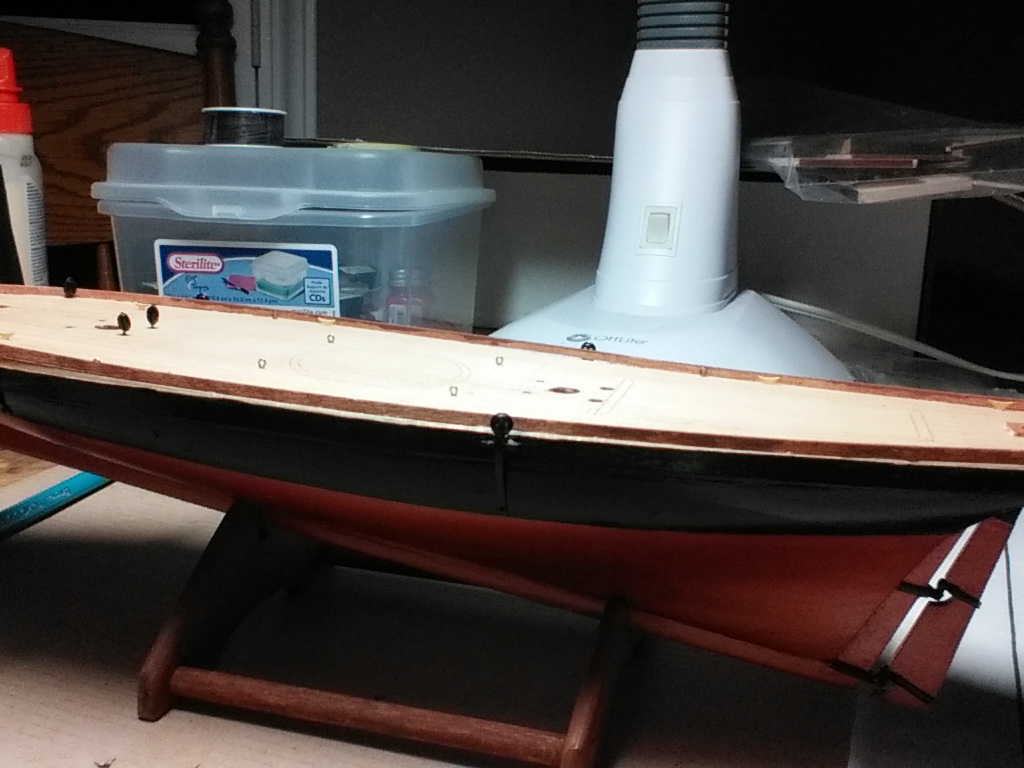
Finished the painting of the hull using a plank from scrap basswood to trace the waterline. When paintingbthe rudder, I recommend sanding it with 200 grain paper and fit it prior to painting. Trace the waterline and leave the post a natural wood clor. The instructions say to paint the rudder black early on and one might mistakenly paint the post. Bluejacket left a lot of room on the pintle and gudgeon straps. I found this very useful as I began to trim and fit each piece to the rudder and hull. This is very dependent on individual sanding, so it will not be a uniform, but more custom sort of fit. Bluejacket gives you plenty of room to work with. It took quite a bit of dry fitting and I had to bore the holes a little bit wider in the gudgeon with a #67 drill as well as trim the pintles with a chisel.


- 83 replies
-
- 5
-
-
- revenue cutter
- BlueJacket Shipcrafters
- (and 2 more)
-
Great point Elijah. I plan for this to only sail on the mantel!
- 83 replies
-
- 3
-
-
- revenue cutter
- BlueJacket Shipcrafters
- (and 2 more)
-
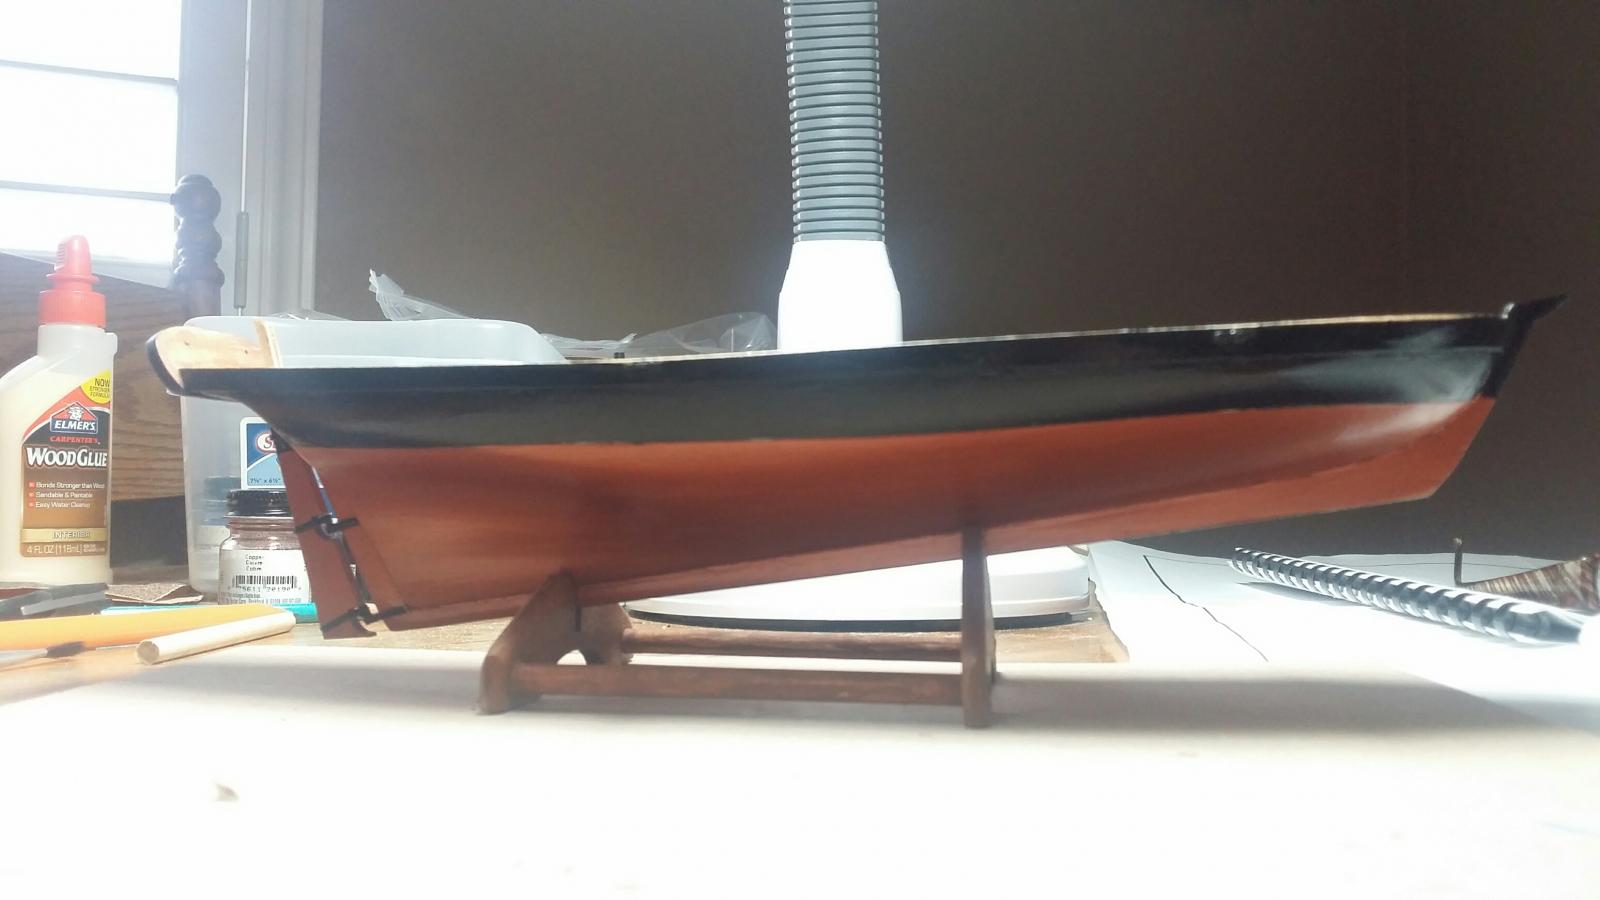
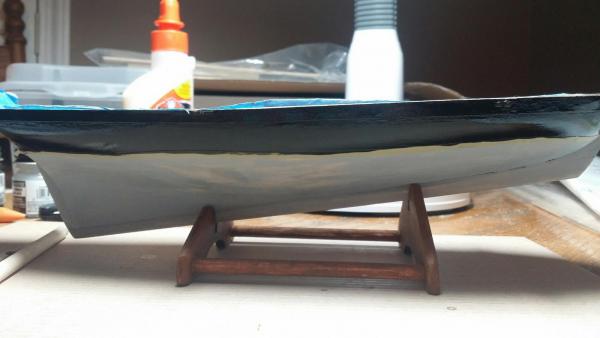
This is with two coats of gloss black paint for the hull above the waterline. I want to give a "plug" for the included paint kit that bluejacket provides as an option. The brushes are better than the average hobby store brushes and the model master paint spreads well. The black takes quite a while to dry on the basswood, though. I haveen giving it a day between coats.

- 83 replies
-
- 3
-
-
- revenue cutter
- BlueJacket Shipcrafters
- (and 2 more)
-
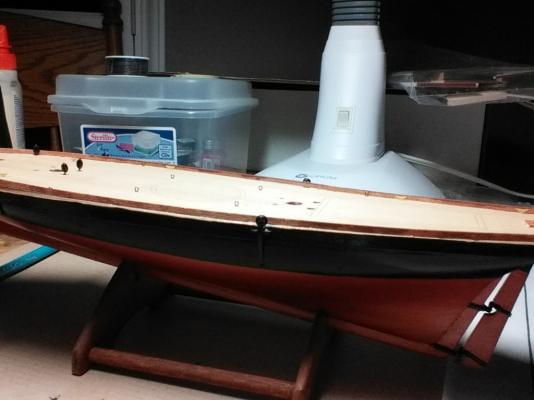
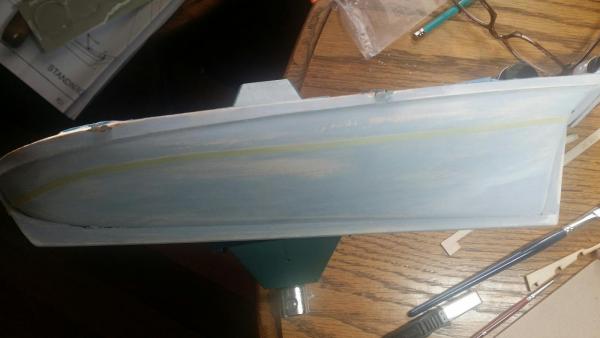
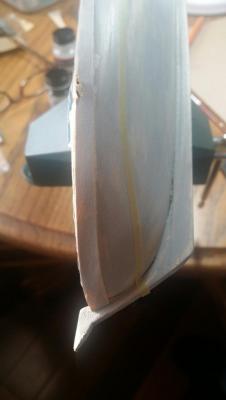
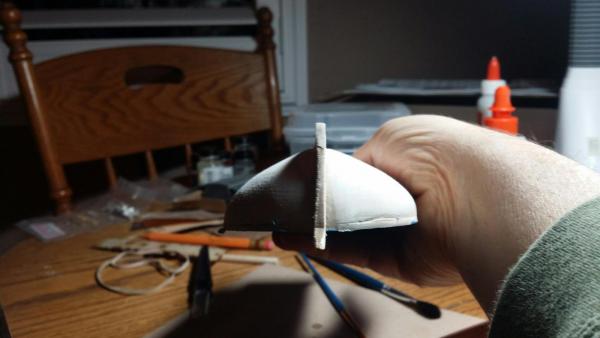
The instructions say to paint the topside black, then trace the waterline. I went with just primer, as I thought it would be easier to see my tracing. Also, strongly recommend sanding and painting the hull, then place the channels. They are very fragile and I broke two of them.
- 83 replies
-
- 1
-
-
- revenue cutter
- BlueJacket Shipcrafters
- (and 2 more)
-
So, surfing through MSW blogs, I ran across a great idea for waterline tracing. I took measurements at about four points on the hull, then took a thin piece of scrap basswood from the wales template and used it as a "plank". I then traced along the plank from point to point.
- 83 replies
-
- 3
-
-
- revenue cutter
- BlueJacket Shipcrafters
- (and 2 more)
-
Charlie, I was thinking of Active as well, but unfortunately, accordong to Irving King's book, Active was a 38 ton cutter that was not a Doughty design.
- 83 replies
-
- 2
-
-
- revenue cutter
- BlueJacket Shipcrafters
- (and 2 more)
-
So far this kit has gone well with the instructions and plans. My point of total frustration was this afternoon. I have been trying to trace the waterline on the hull, and cannot get clean lines at all. The kit supplies a farcical "jig template" that consits of too pieces of basswood you glue together and then you measure the waterline from the plans from aft and bow, then mark that measurement on the verticle piece of the jig. At that point you are supposed to glue a pencil at the mark, then move this prcision instrument around the hull. After about three attempts with lines going everywhere, my jig is now in about a dozen pieces, and I am at square one. I also wonder if anyone can suggest some good striping tape?
- 83 replies
-
- 1
-
-
- revenue cutter
- BlueJacket Shipcrafters
- (and 2 more)
-
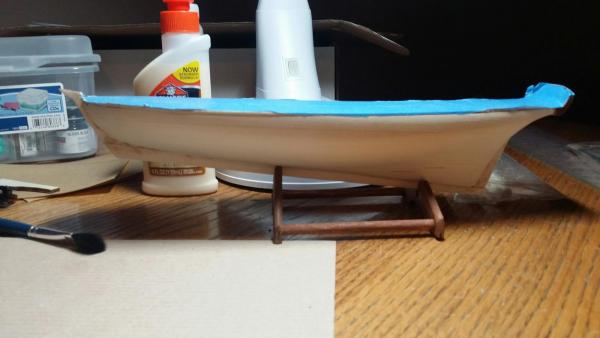
I put the wales on last night and this morning. A lot of rubber bands and patience, I recommend sticking with a #55 drill bit to set the channels. The instructions say to use a #67, but I found that too small.
- 83 replies
-
- 1
-
-
- revenue cutter
- BlueJacket Shipcrafters
- (and 2 more)
-
Hennie, this is an abslutely georgoius build. Nelson was to have said that Agamemnon was always his favorite ship, and you do her real credit.
- 214 replies
-
- 6
-
-
- agamemnon
- caldercraft
- (and 1 more)
-
Nic, good idea moving forward, but I am far enough along, that I think I can make it work. It is great to see the support that Bluejacket is willing to give though.
- 83 replies
-
- 4
-
-
- revenue cutter
- BlueJacket Shipcrafters
- (and 2 more)
-
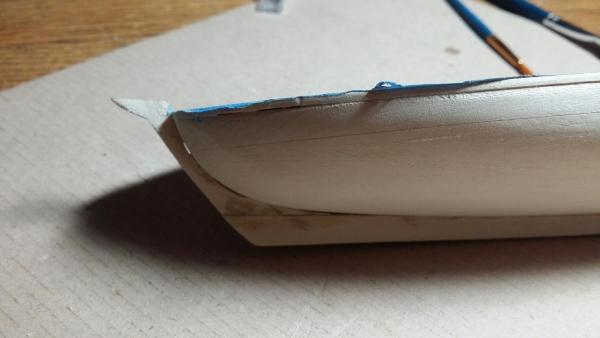
Charlie, you hit the nail on the head. So I just set the stem, stern post and keel today, and to make it work, I had to trim a quarter inch off the aft end of the keel. I did a lot of additional hull sanding with 200 grain paper (sand, fit, sand etc.). One thing that helped me is I glued the stem to the keel and then worked the fit. I held my keel to the hull with rubber bands, but this caused me to come slightly off centerline, so I will have to adjust that. As you can see, I also will need a bit of filler at the bow where the keel and stem meet.
- 83 replies
-
- 9
-
-
- revenue cutter
- BlueJacket Shipcrafters
- (and 2 more)
-
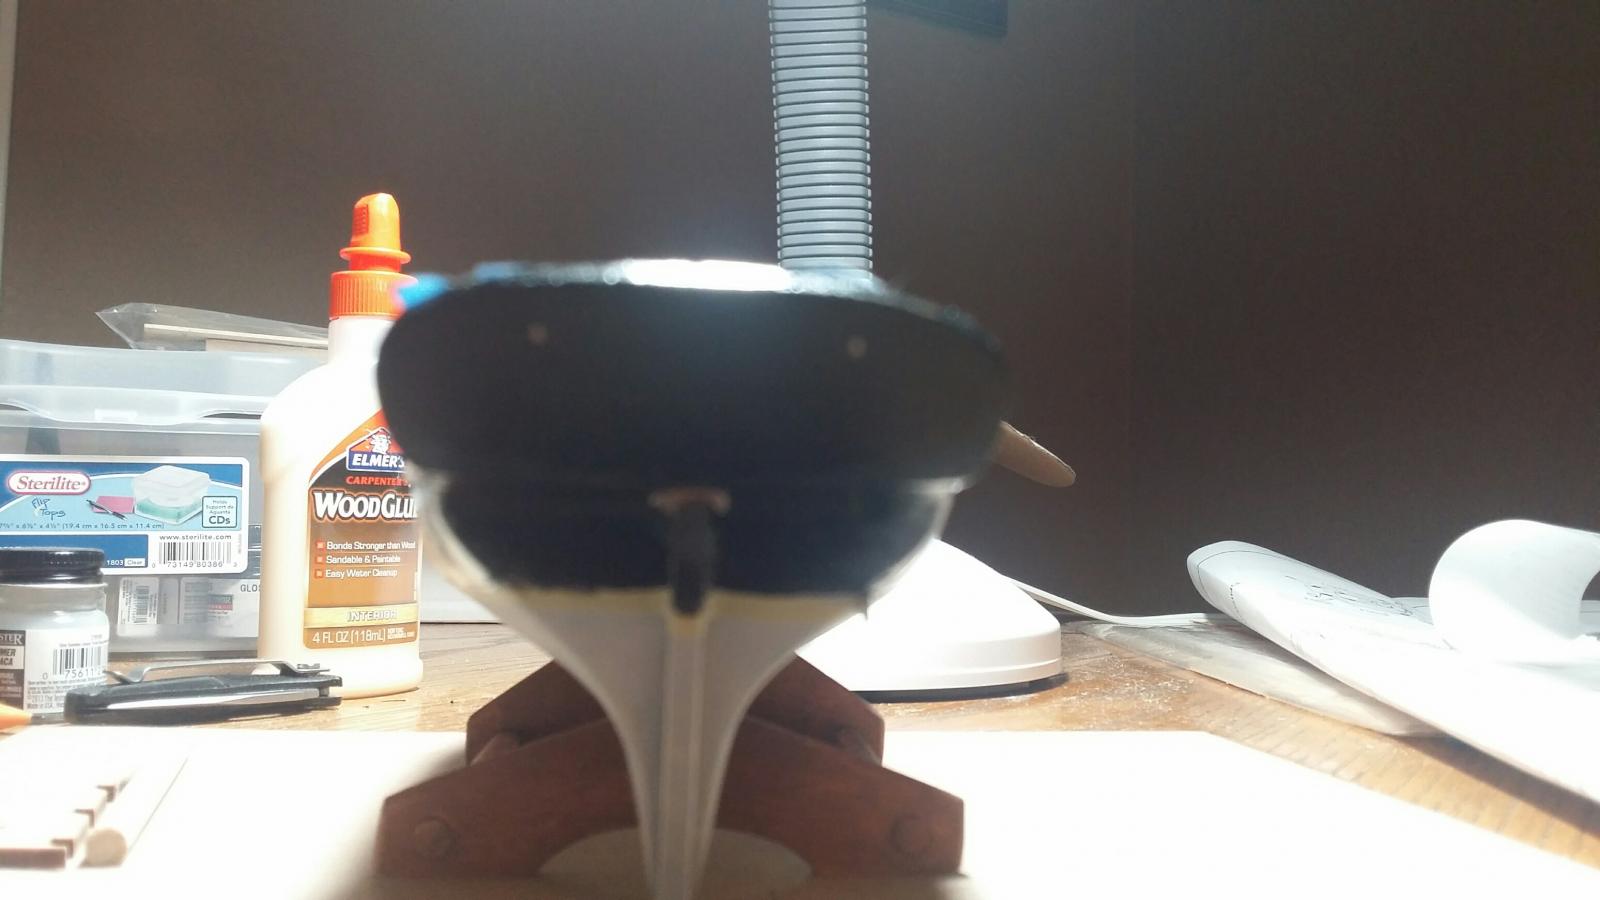
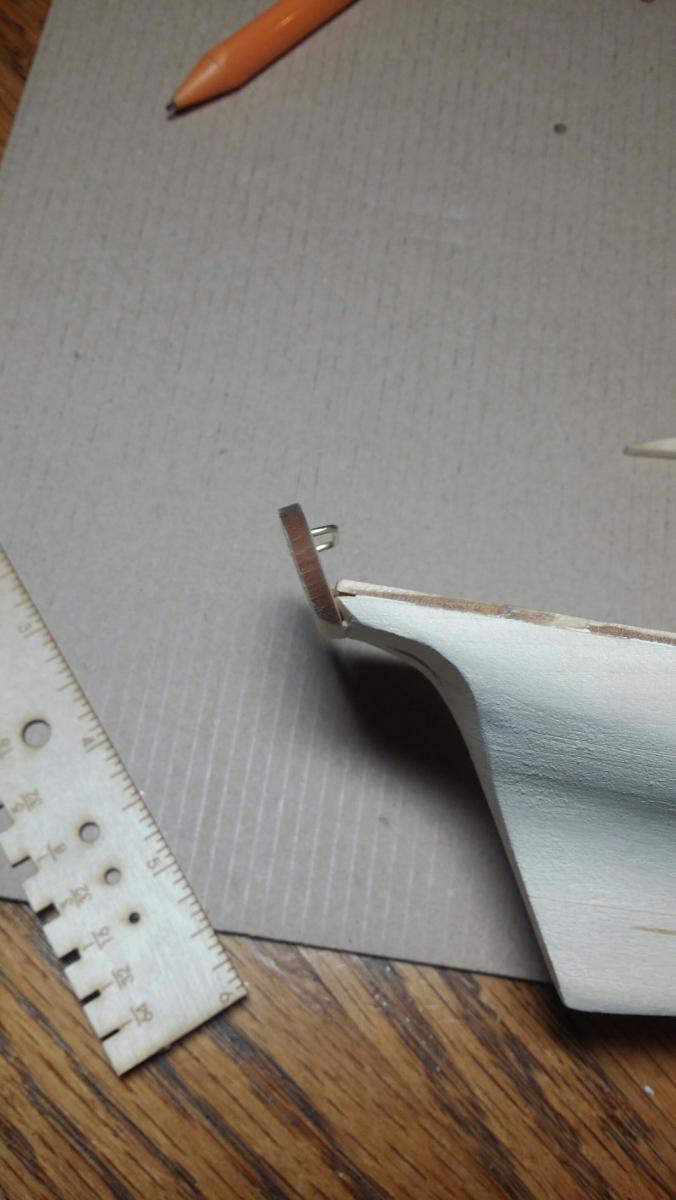
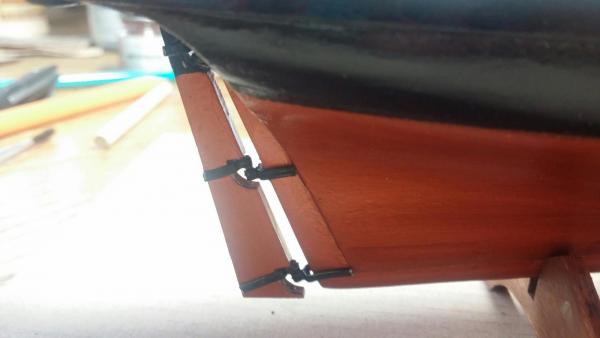
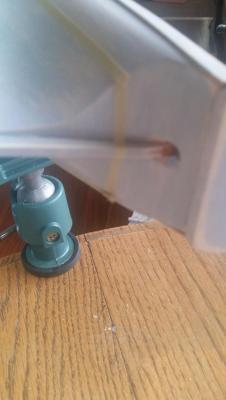
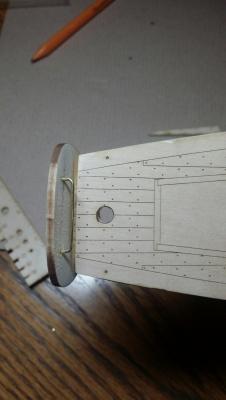
Slightly better shot of transom with boom traveller
- 83 replies
-
- 1
-
-
- revenue cutter
- BlueJacket Shipcrafters
- (and 2 more)
-
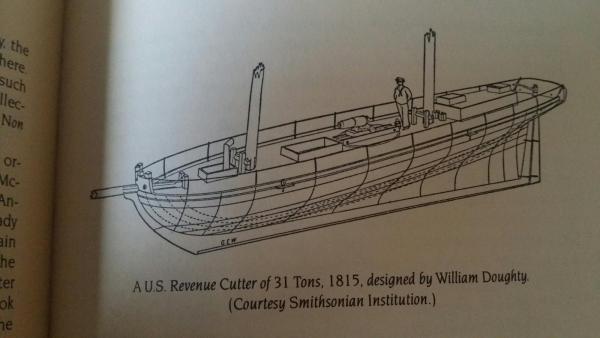
So I heard back from Mr. Thiesen with the Atlantic area history office of the U.S. Coast Guard. There is very little published on the early 30 ton cutters. He thinks that if they were built, they were likely used as revenue boats on the Great Lakes and in large harbours.
- 83 replies
-
- 2
-
-
- revenue cutter
- BlueJacket Shipcrafters
- (and 2 more)
-
Also, Mr. Bill Thiesen, the Atlantic area historian with the United States Coast Guard got back to me. There is very little documented on the early cutters in the 30 ton range. He thinks that if this type was built it was probably used as a revenue boat on the Great Lakes or within large harbours.
- 83 replies
-
- 1
-
-
- revenue cutter
- BlueJacket Shipcrafters
- (and 2 more)
-
The transom went on pretty well per the instructions. Here is a shot of it with the boom traveller dry fitted. I did quite a bit of fitting with 200 grain sandpaper to get the angle of the transom right. I also recommend using a small chisel and slightly gouge the hole for the tiller and dry fit the stern post prior to gluing on the transom. My transom had some overhang and I sanded it flush with 200 grain sandpaper.
- 83 replies
-
- 3
-
-
- revenue cutter
- BlueJacket Shipcrafters
- (and 2 more)
-
Charlie and Richard, I reached out to Mr William Theisen with the USCG History office and he is looking into this. I'll let you know as soon as I hear back. Great posts. Half the fun of this build is getting into the history of these great ships and craft. Keep the posts coming! BTW I agree about Active as well Closest reference I have found so far.
- 83 replies
-
- 3
-
-
- revenue cutter
- BlueJacket Shipcrafters
- (and 2 more)
-
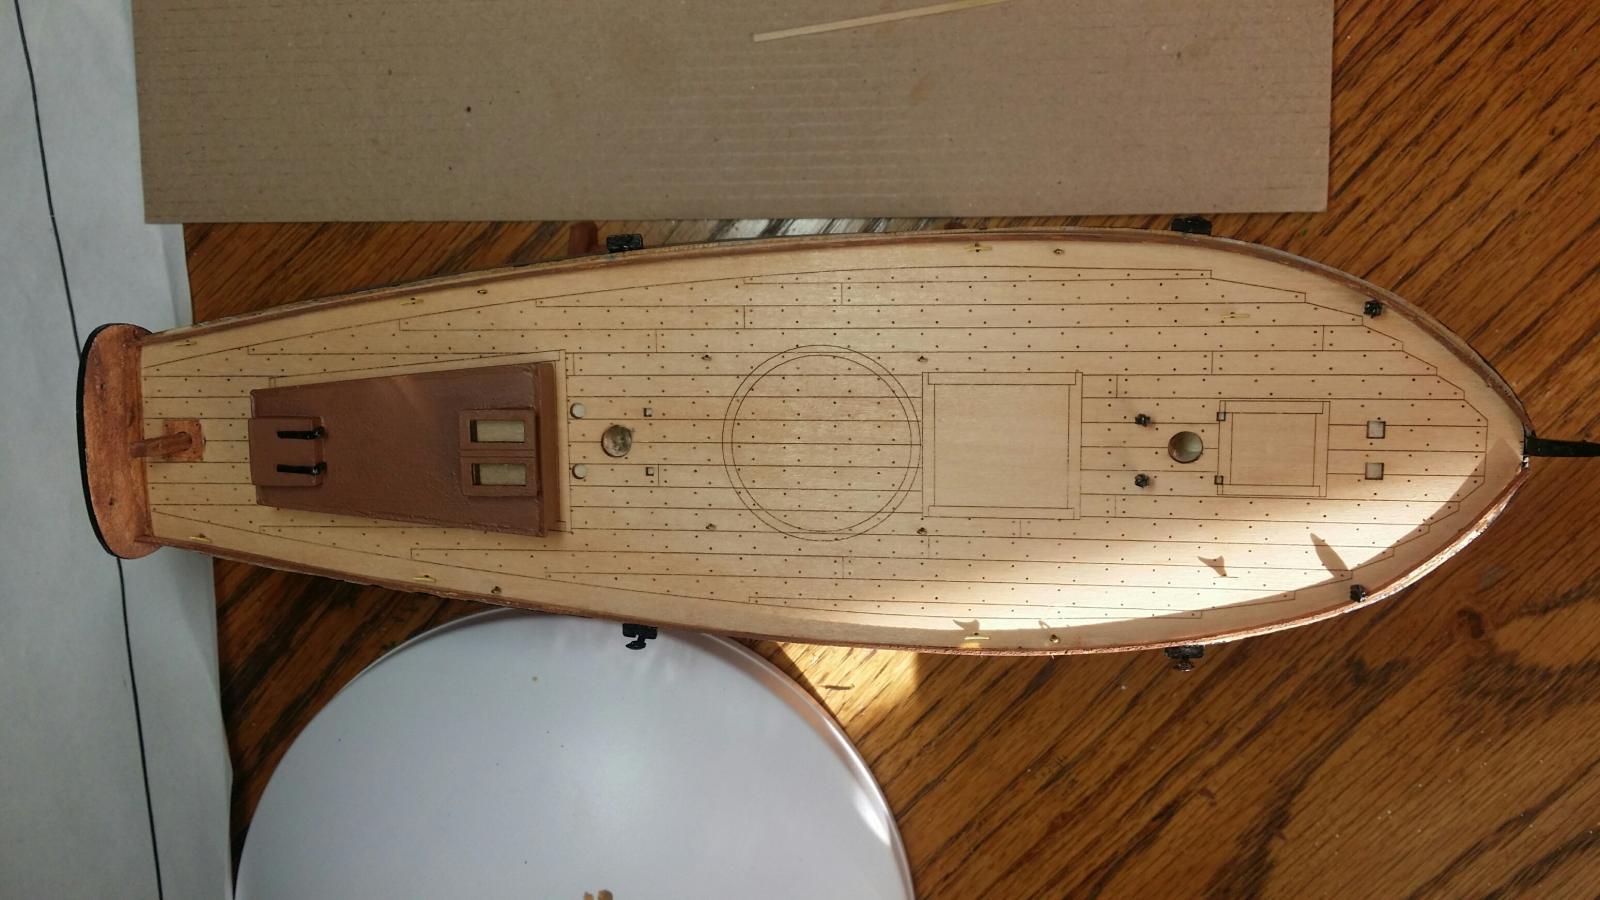
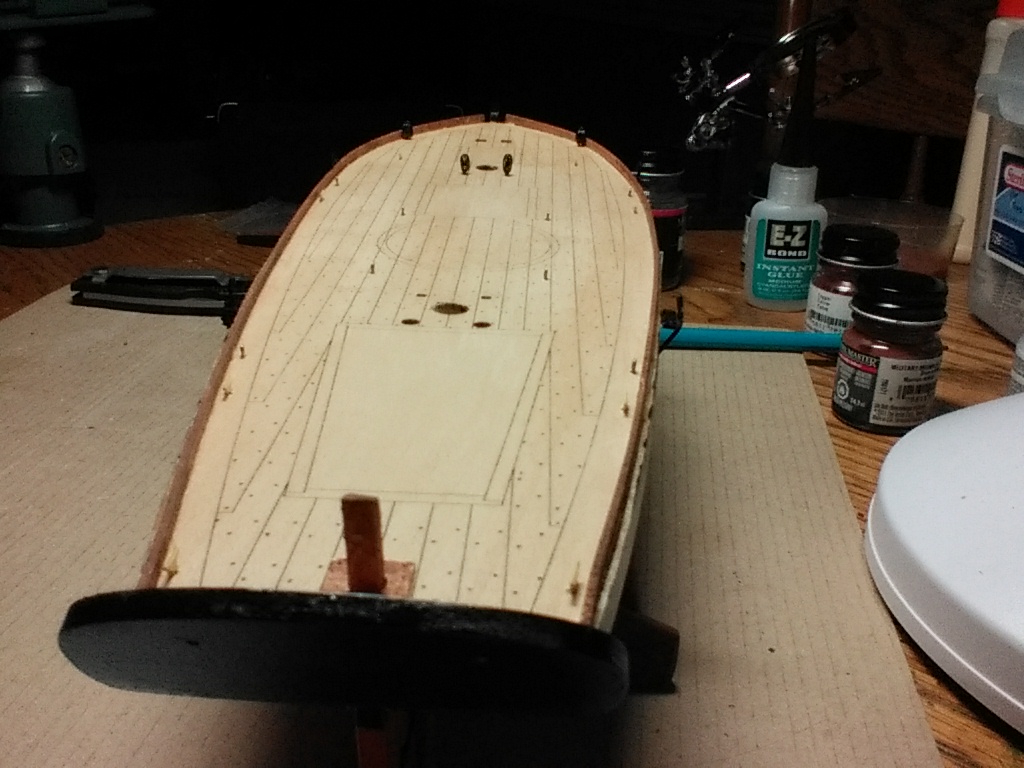
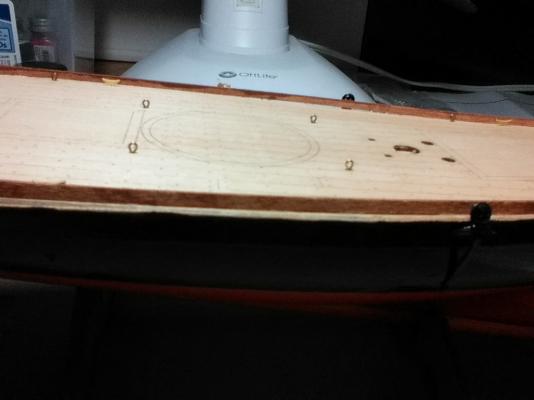
So I went with a compromise on the deck fitting. To have the deck not overlap the hull would have put the mast holes way off. I am going to shave the deck slightly at the bow to make this work. I think the biggest issues are symmetry and the holes for the stanchions. I was concerned about this when I first got the kit. I set the deck template on the hull when it was right out of the box and had some overlap at the bow. I think re-drilling the mast holes will be more problematic vs a little bit of bow shaping. The angle of the masts are very important for this replica. Guy, let me know if you have a similar issue.
- 83 replies
-
- 3
-
-
- revenue cutter
- BlueJacket Shipcrafters
- (and 2 more)
-
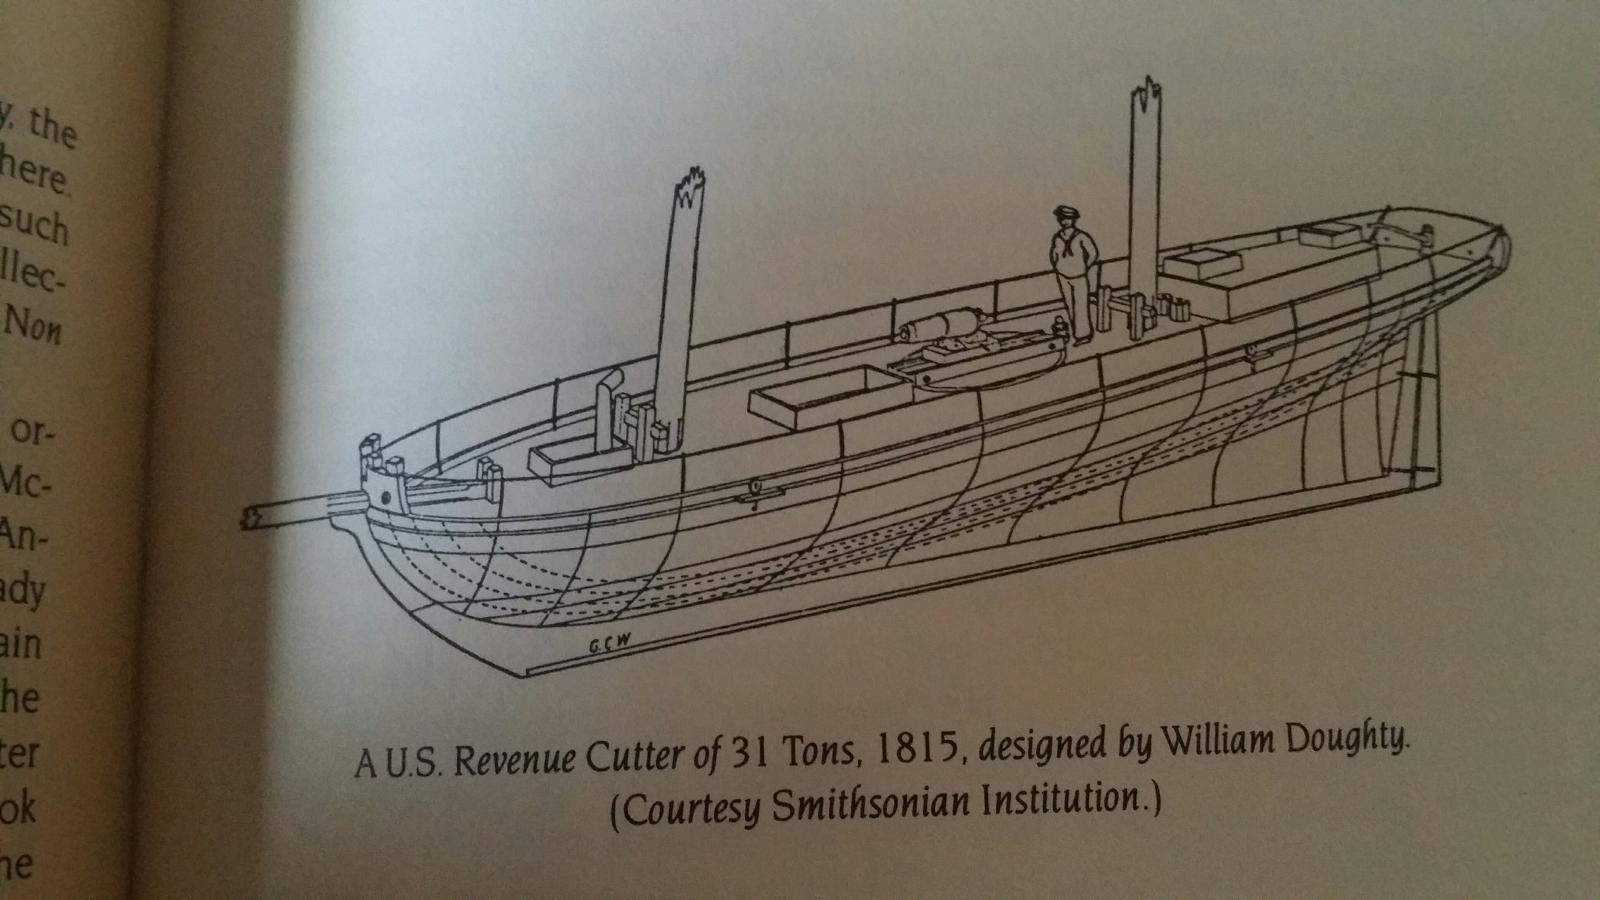
Okay, here we go compliments of Irving King's The Coast Guard Under Sail. Just got the book! So far no mention of an actual 31 ton design put in commission.
- 83 replies
-
- 2
-
-
- revenue cutter
- BlueJacket Shipcrafters
- (and 2 more)
-
So does anyone know of an actual 31 ton Revenue Cutter that was put into service?
- 83 replies
-
- 1
-
-
- revenue cutter
- BlueJacket Shipcrafters
- (and 2 more)