HOLIDAY DONATION DRIVE - SUPPORT MSW - DO YOUR PART TO KEEP THIS GREAT FORUM GOING! (Only 53 donations so far out of 49,000 members - C'mon guys!)
×


Eric W
-
Posts
133 -
Joined
-
Last visited
Content Type
Profiles
Forums
Gallery
Events
Everything posted by Eric W
-
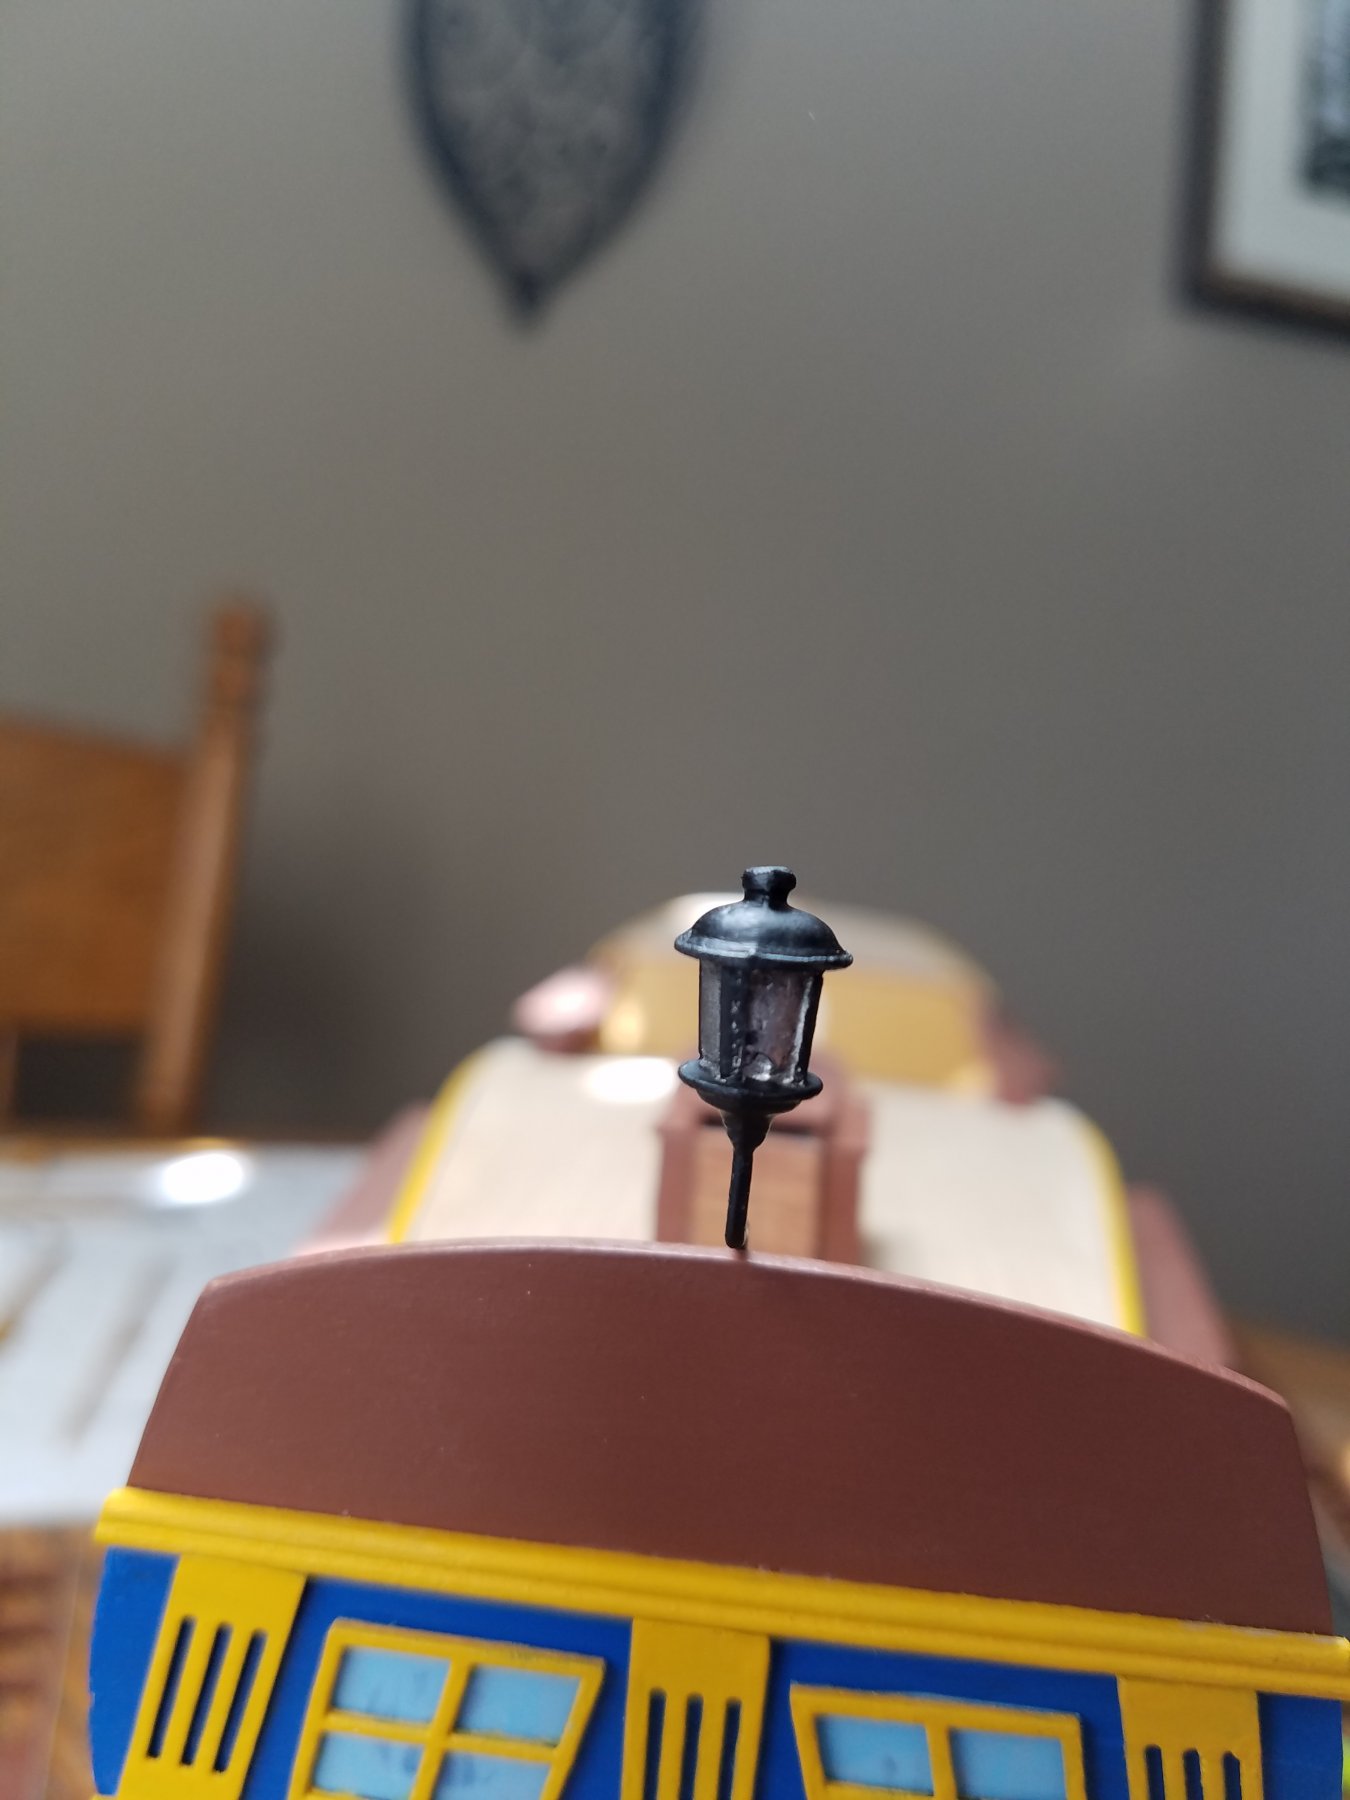
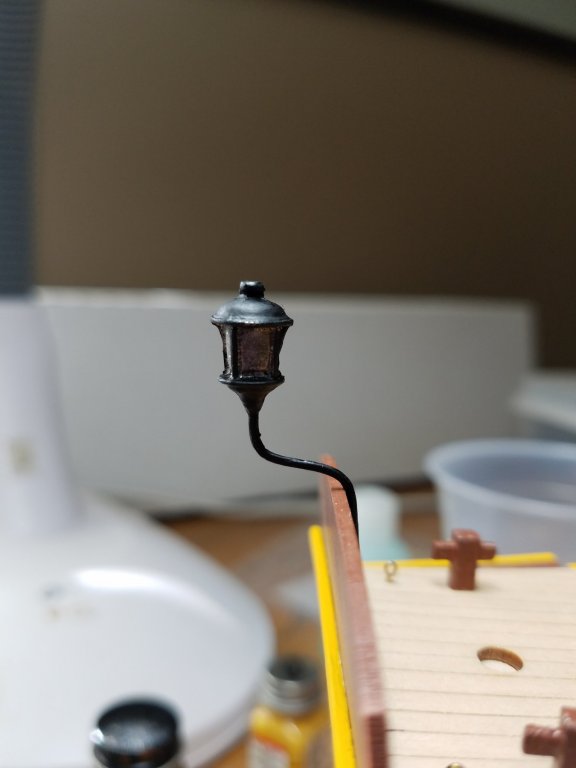
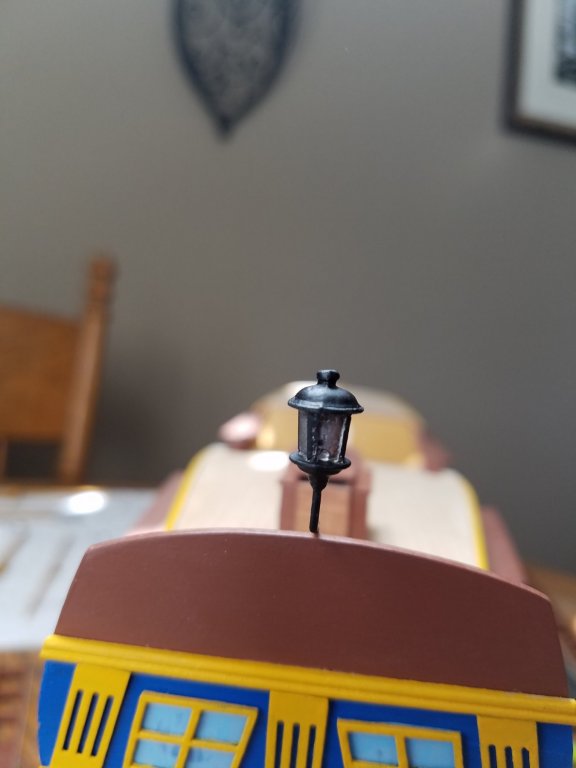
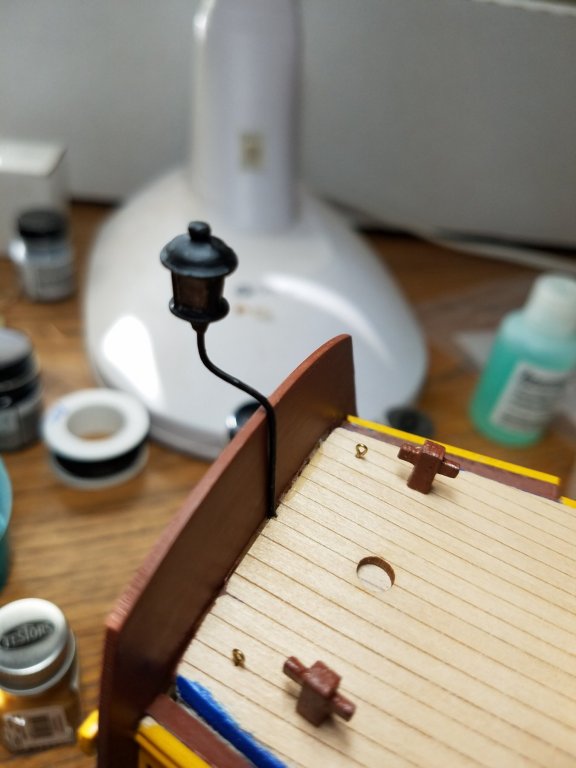
I felt the brig was crying for an old fashioned stern lantern . I ordered it through Bluejacket. They have a very extensive fittings catalog as well. Nic was great in getting the right "period" lantern selected. I referred to Angus Konstam's "The Pirate Ship 1660-1730" for shaping and placement. I specifically looked at the color plates of Charles Vane's Ranger and Queen Anne's Revenge.
-
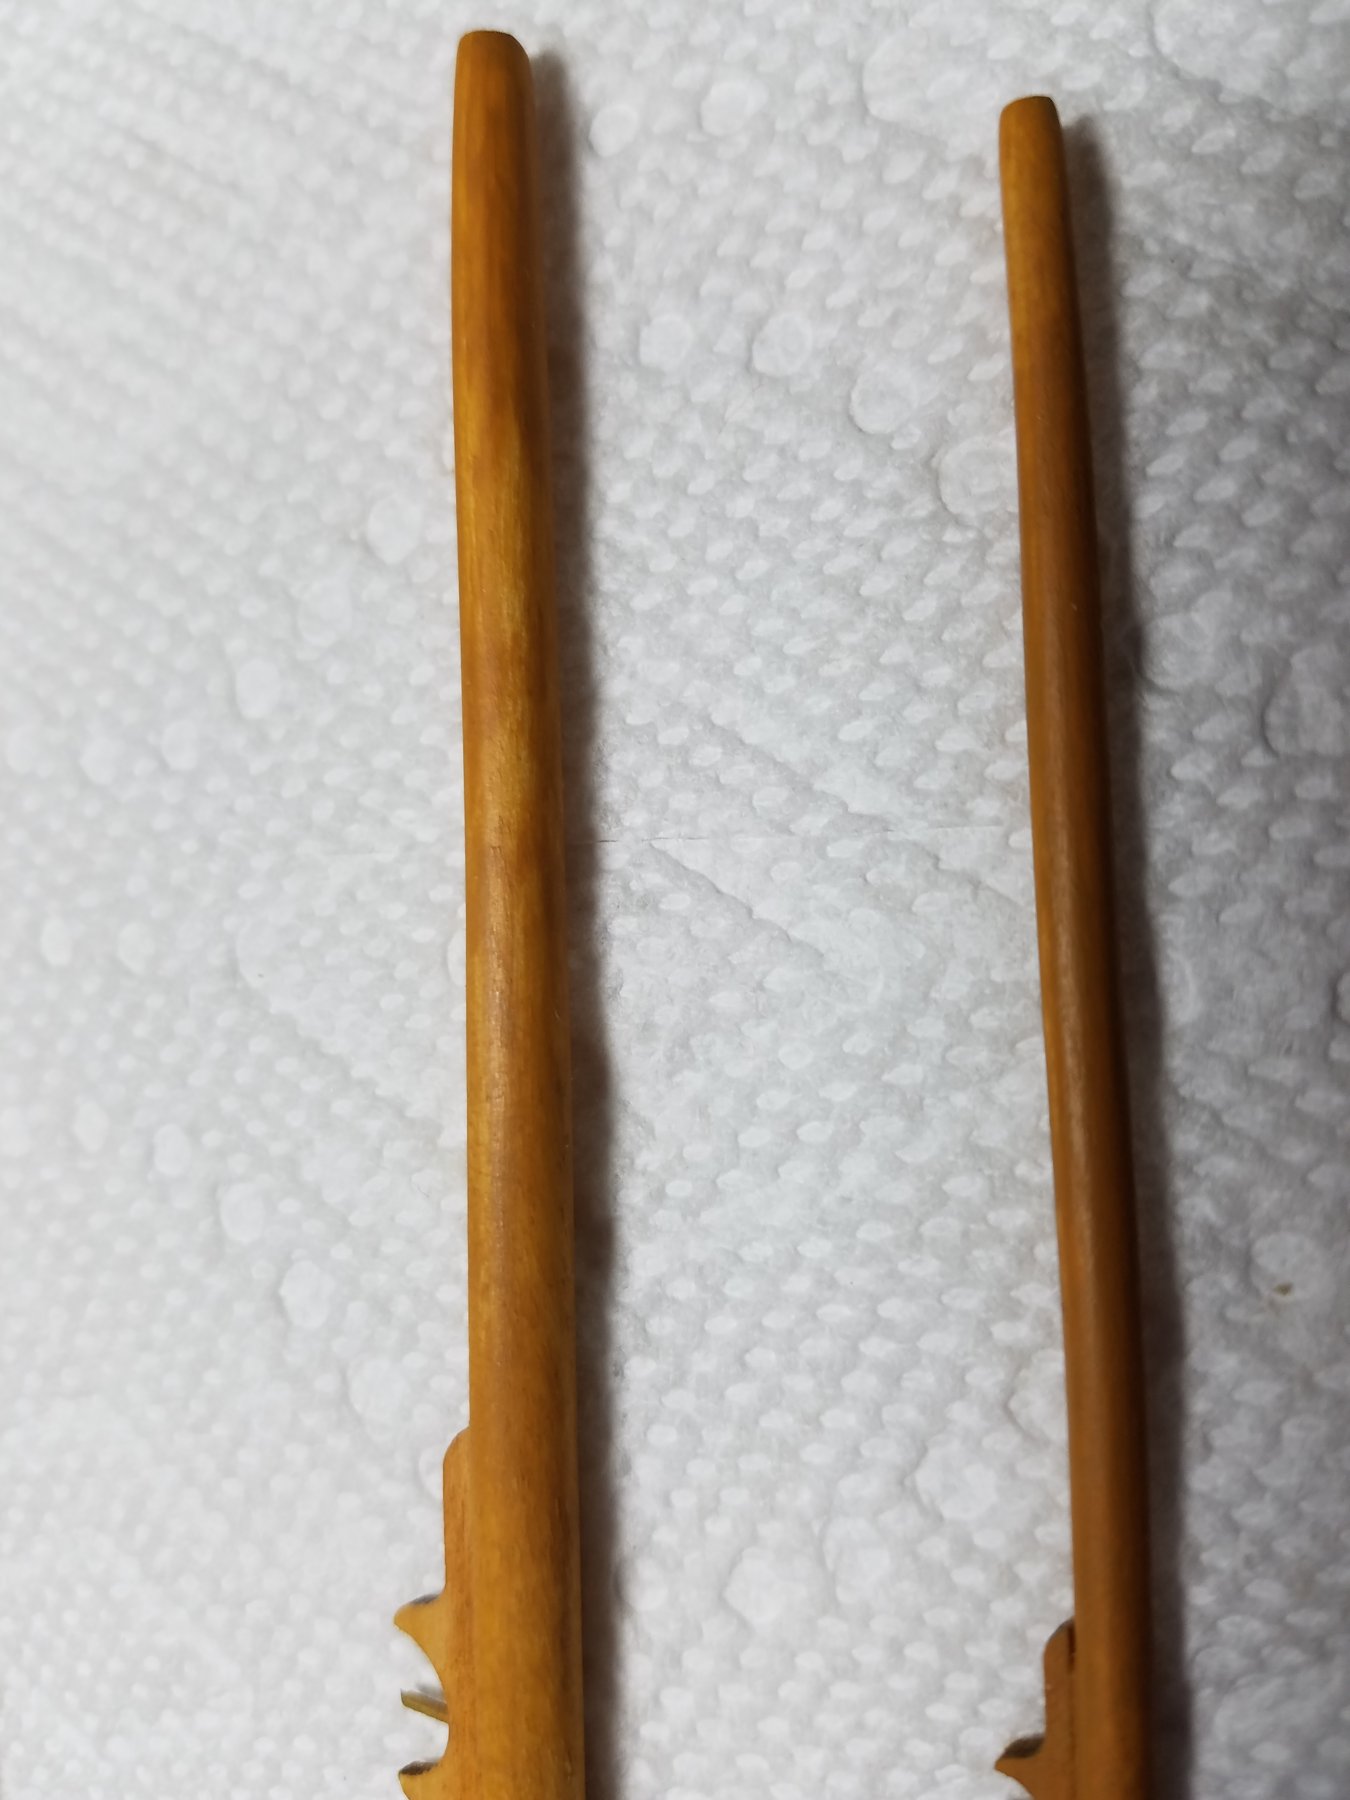
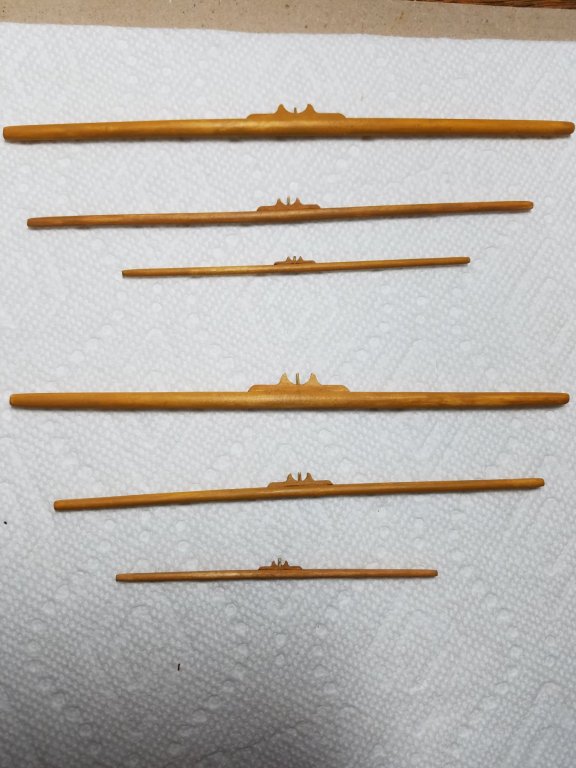
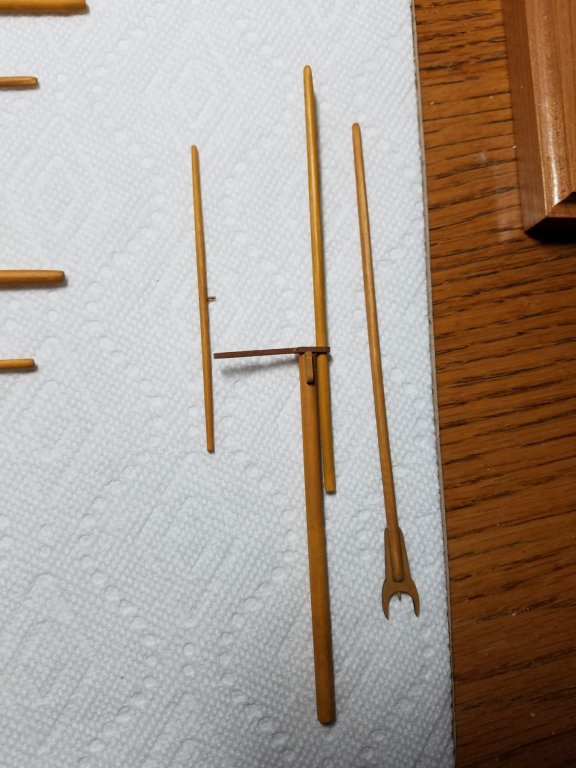
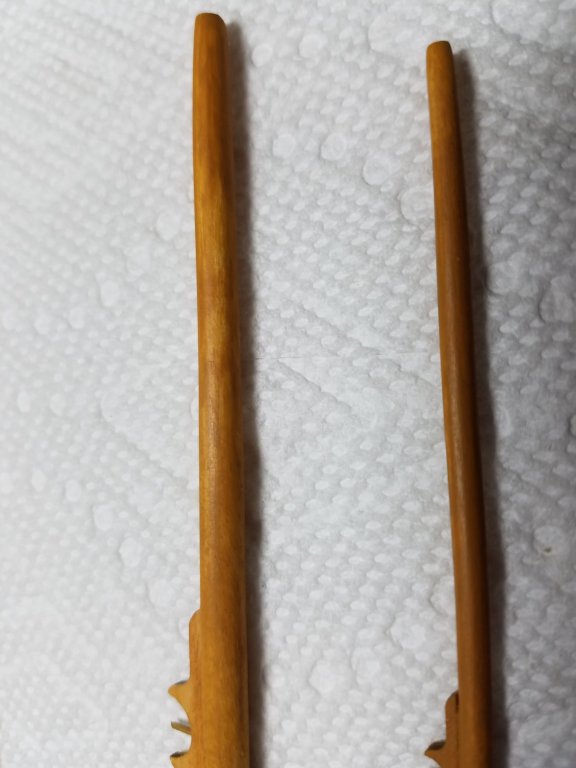
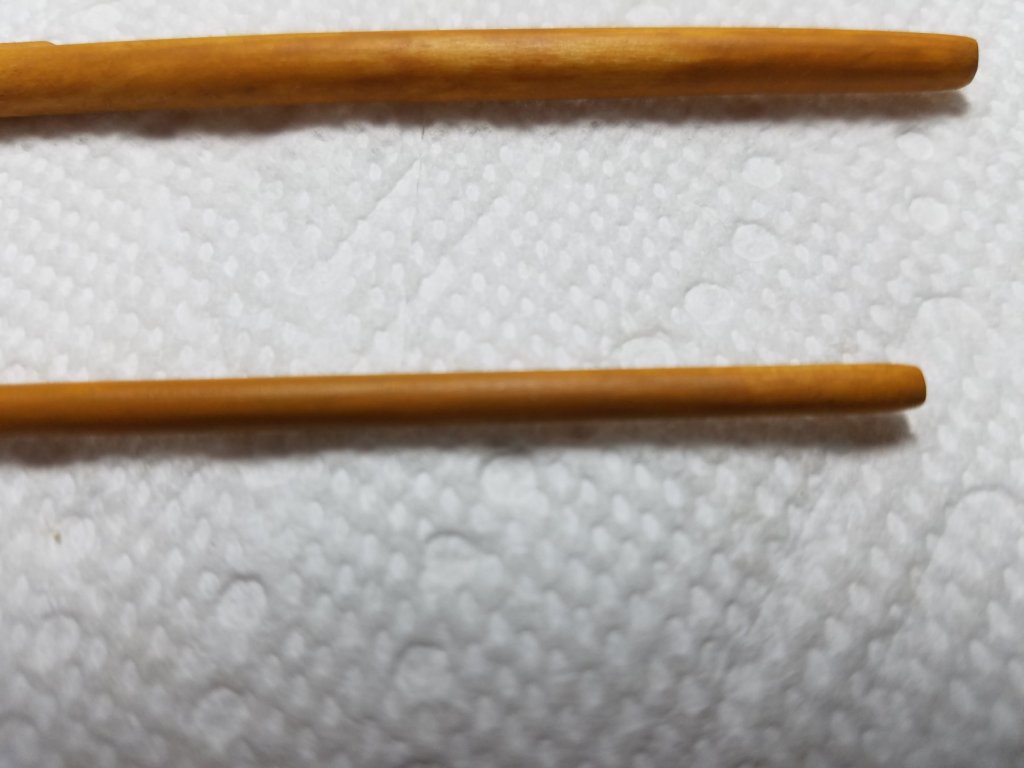
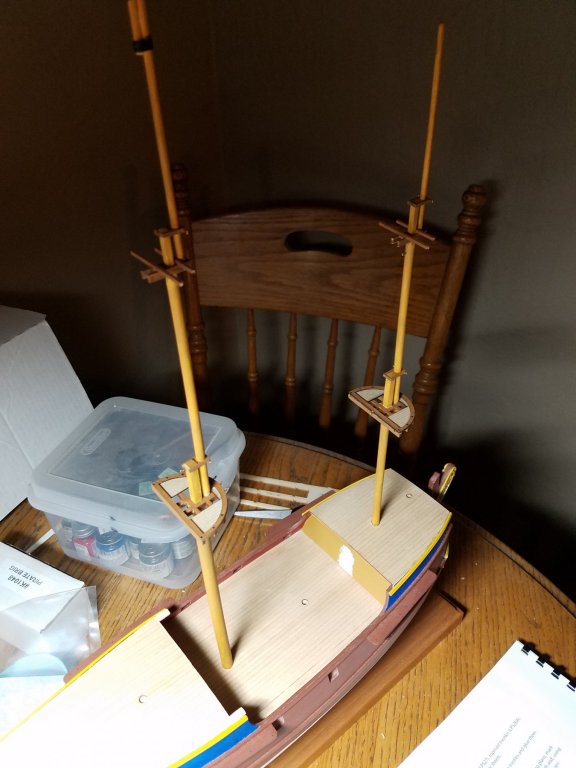
Working on the spars. I sanded the yards by hand to the plan specifications. I think the main yards might need to be reworked with a bit more tapering on the ends. They are the indicated width on the plans though. I mixed a stain similar to the masts, then tried to present a bit of a weathered effect. I figured a merchant brig would not have the budget for regular painting like a warship, but would still be serviceable.
-
I am nearing completion of my second solid hull kit, and I was thinking about diving into a plank on bulkhead design. Any thoughts on a good transitional model to introduce this technique? Open to different manufacturers. The Caldercraft designs look great, but seem pretty advanced. Appreciate a good "steer" on this topic. Eric
-
Working on the spars. I sanded the yards by hand to the plan specifications. I think the main yards might need to be reworked with a bit more tapering on the ends. They are the indicated width on the plans though. I mixed a stain similar to the masts, then tried to present a bit of a weathered effect. I figured a merchant brig would not have the budget for regular painting like a warship, but would still be serviceable.
-
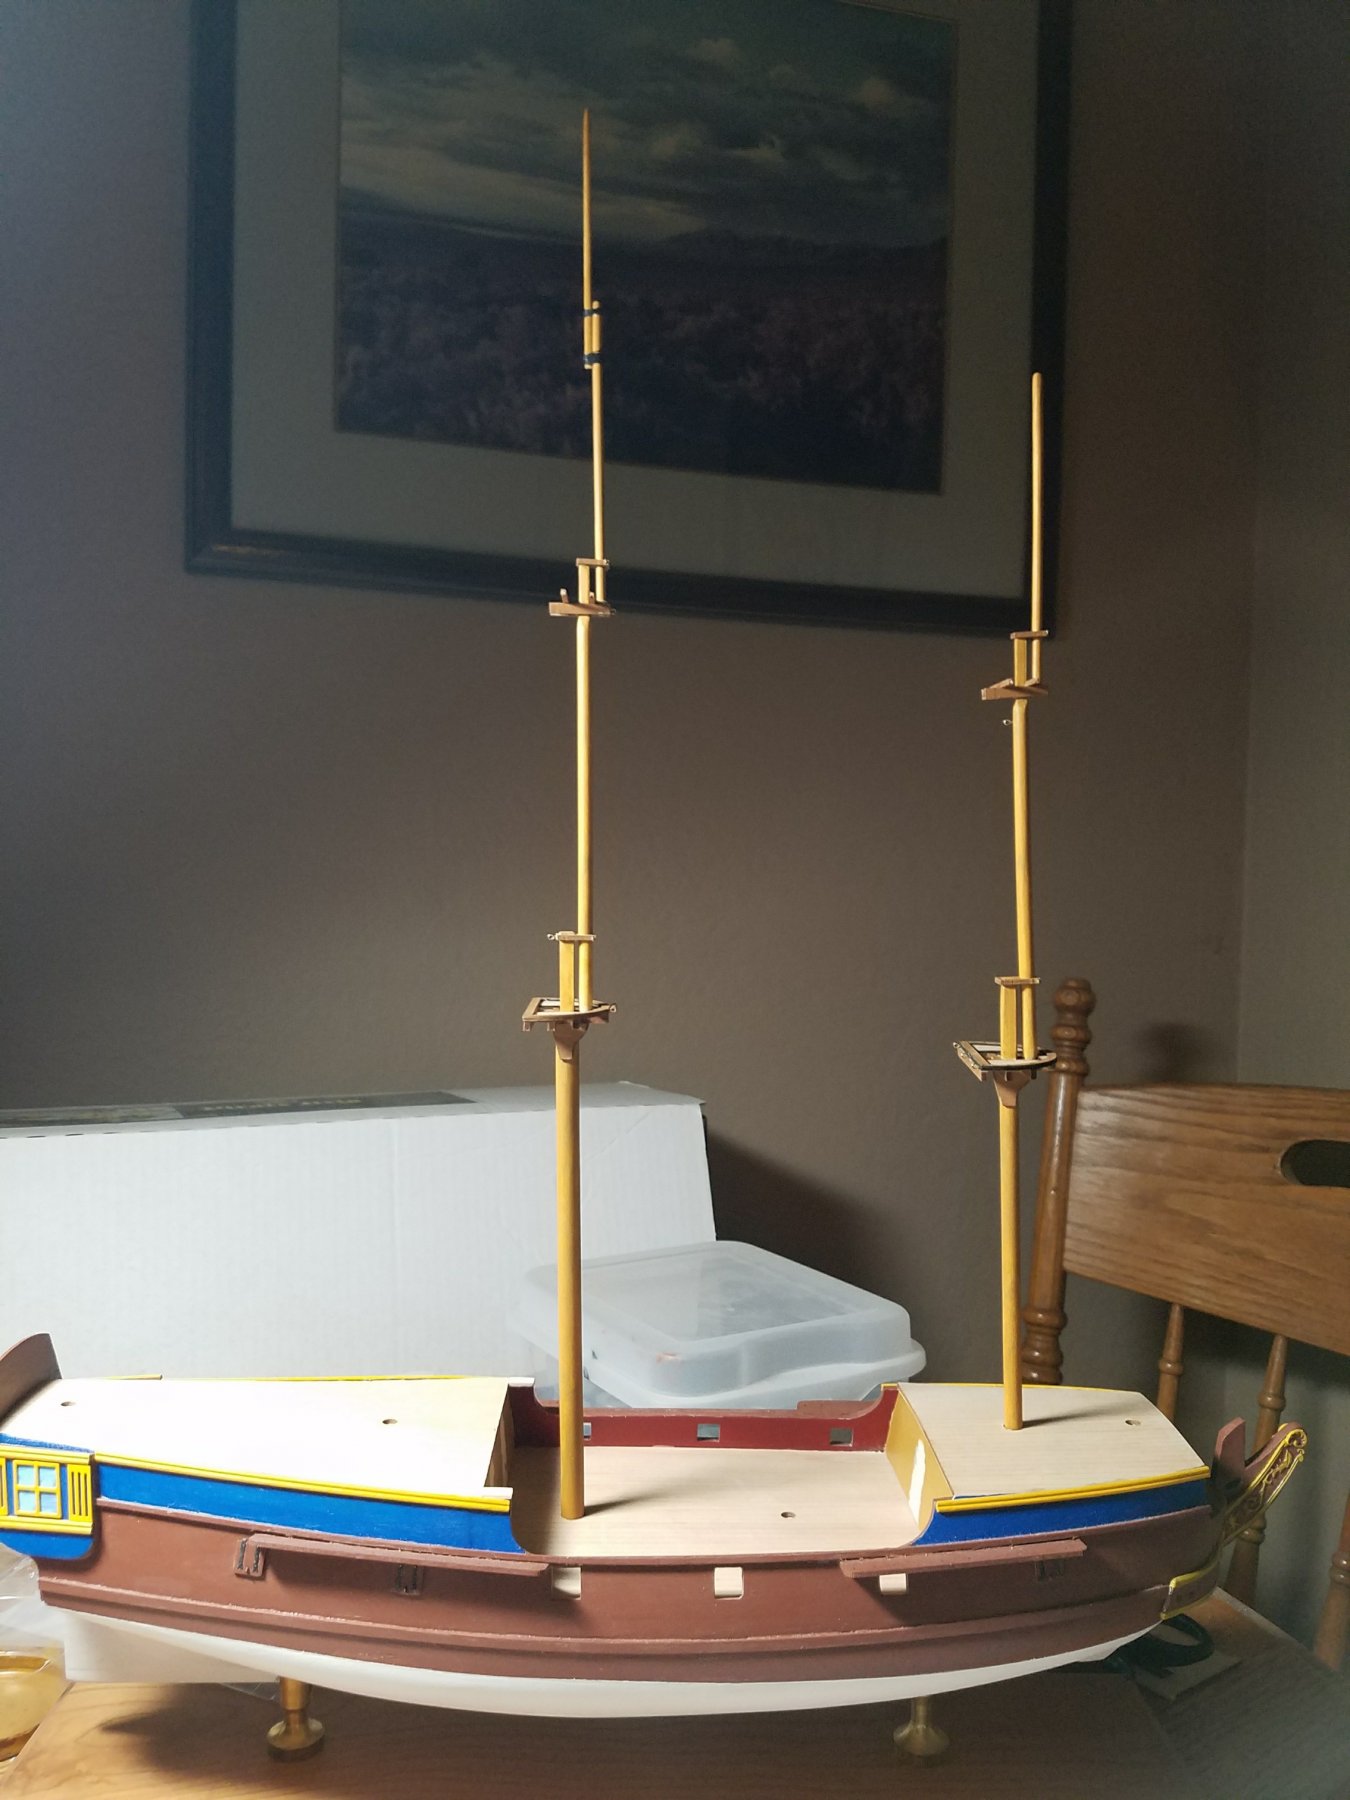
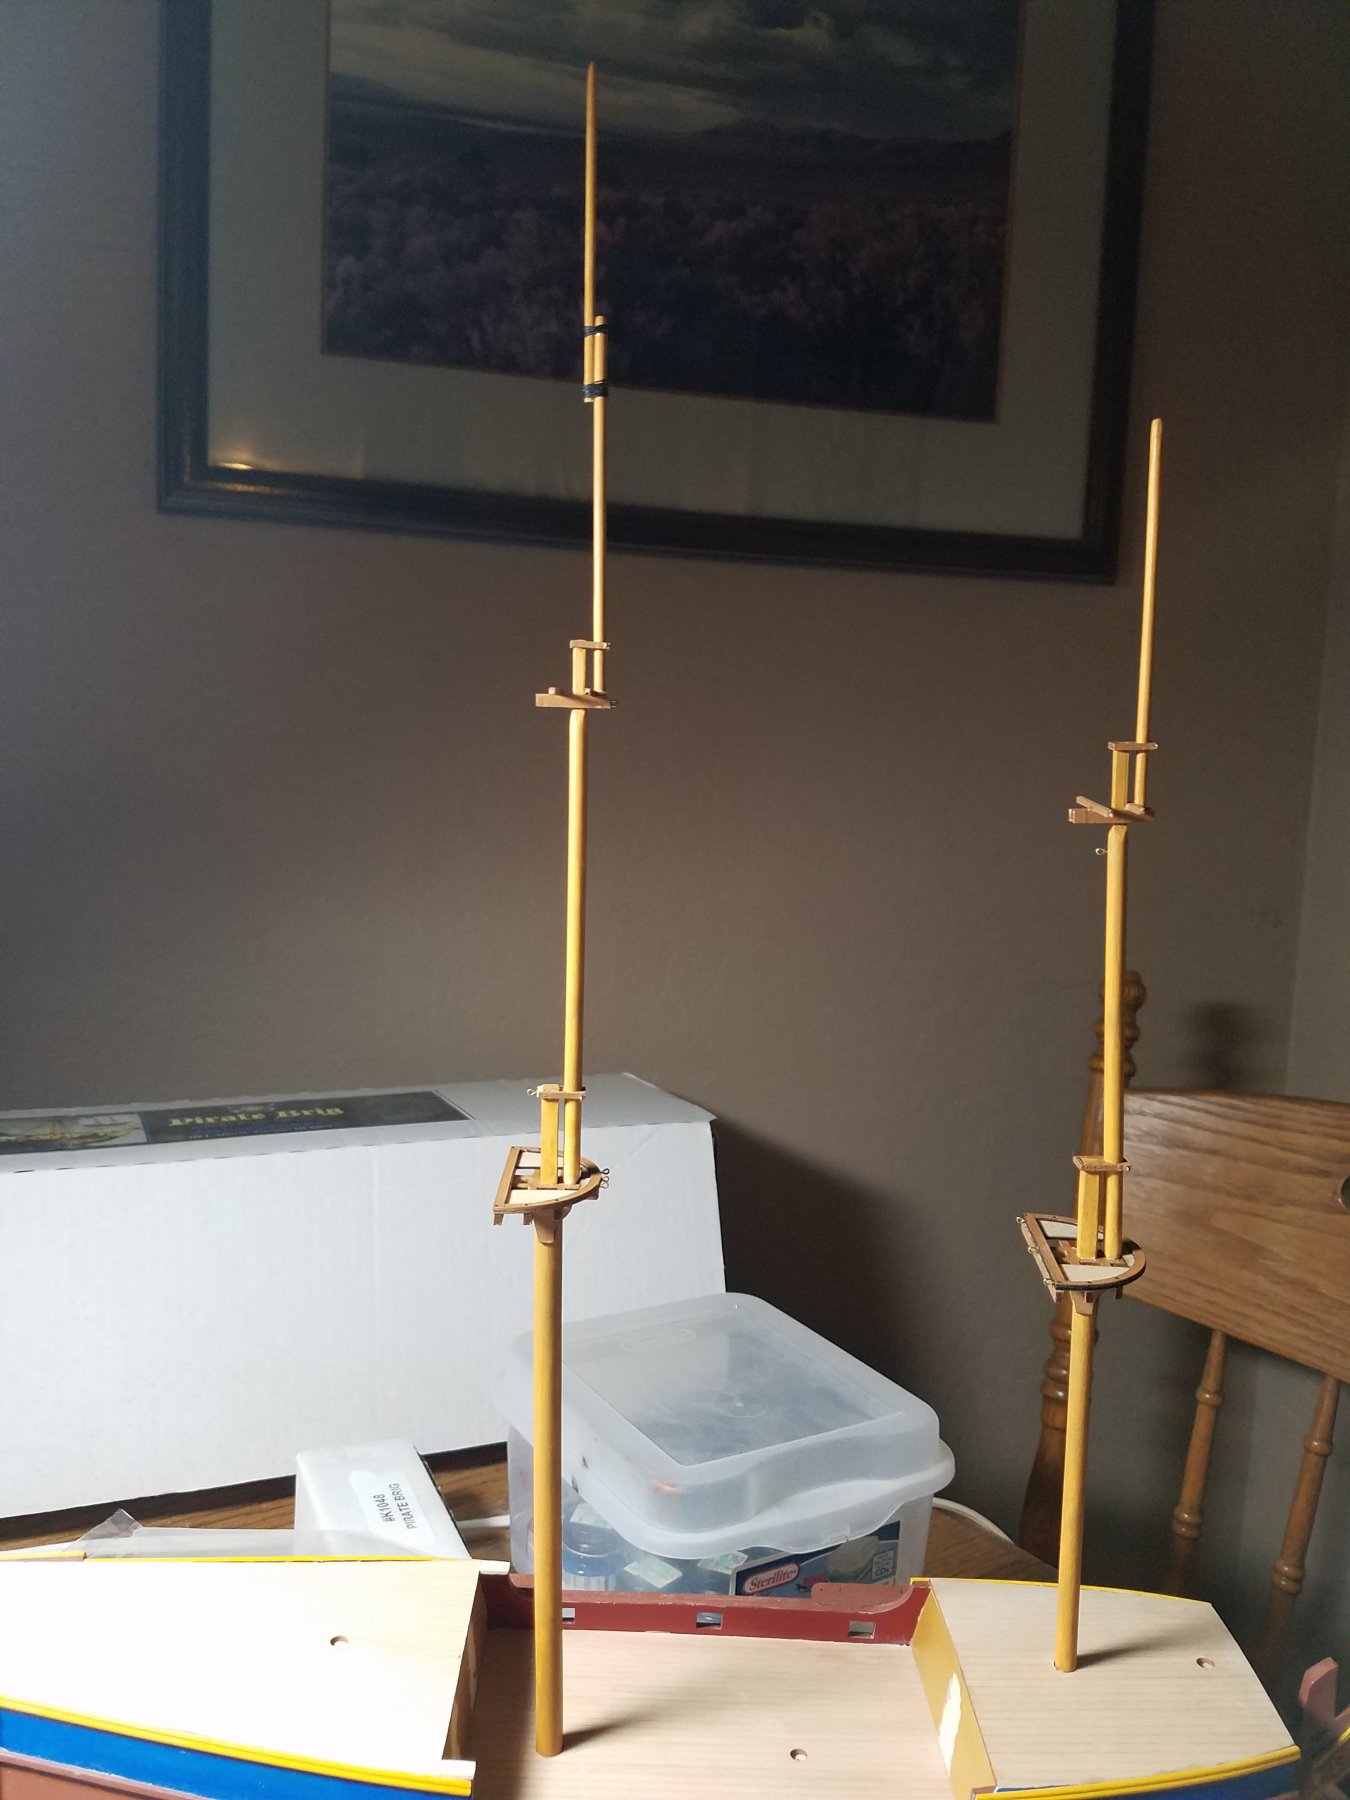
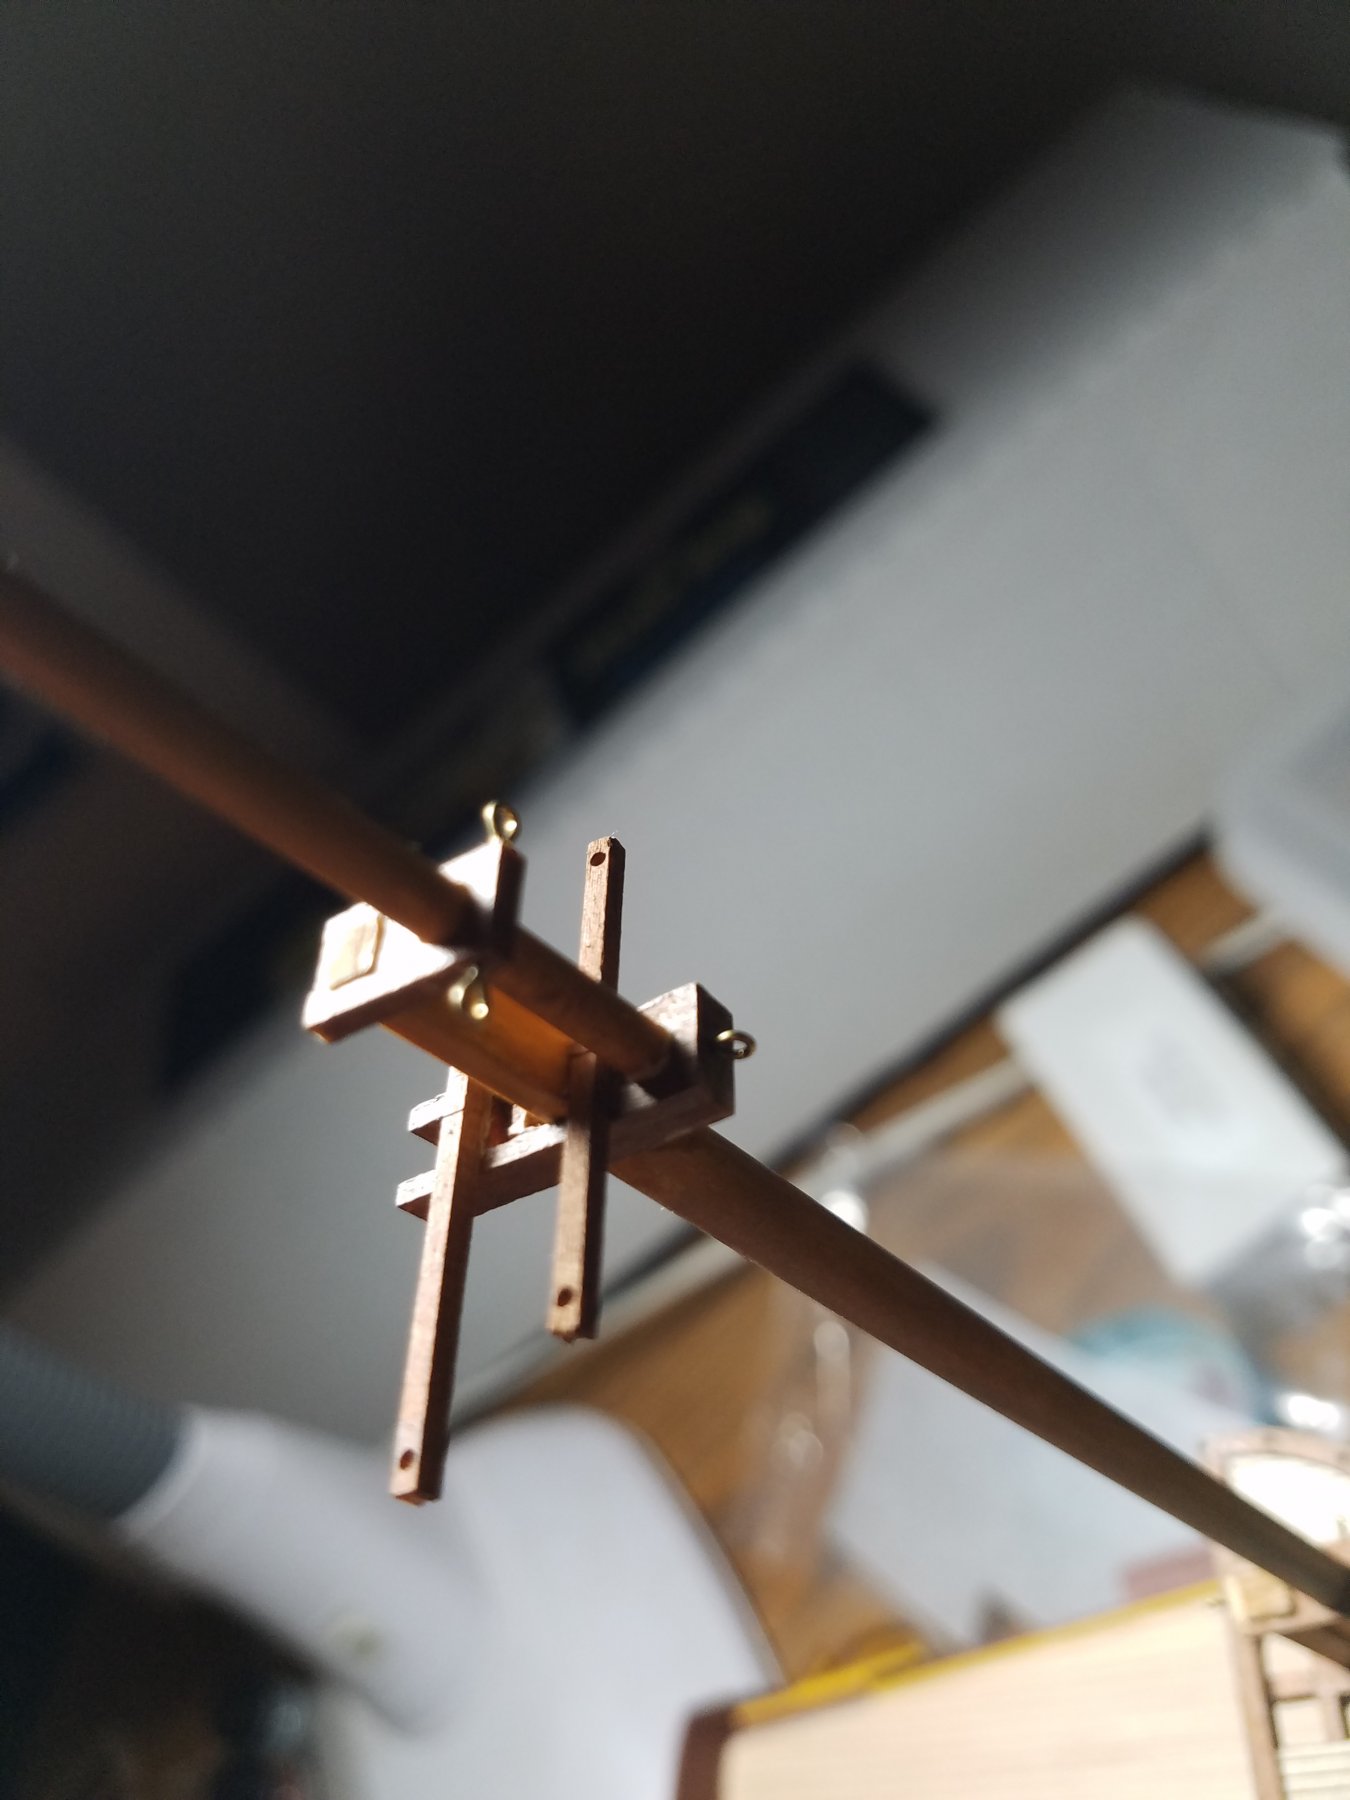
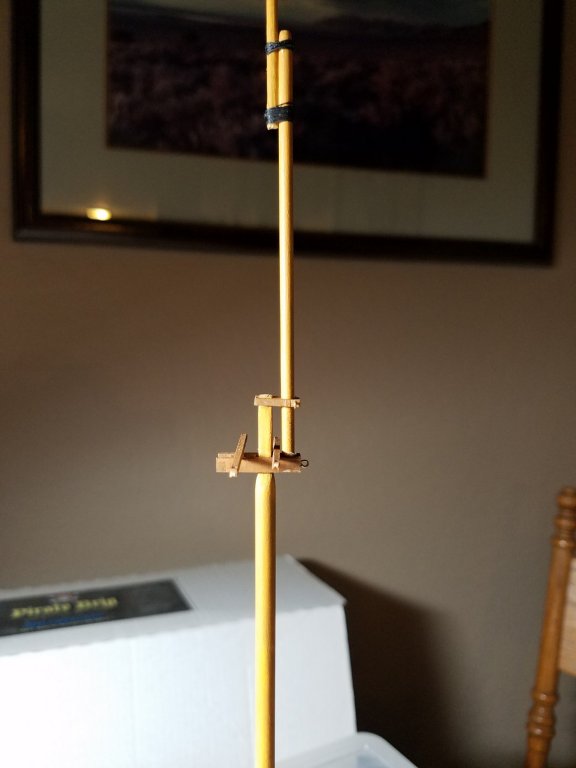
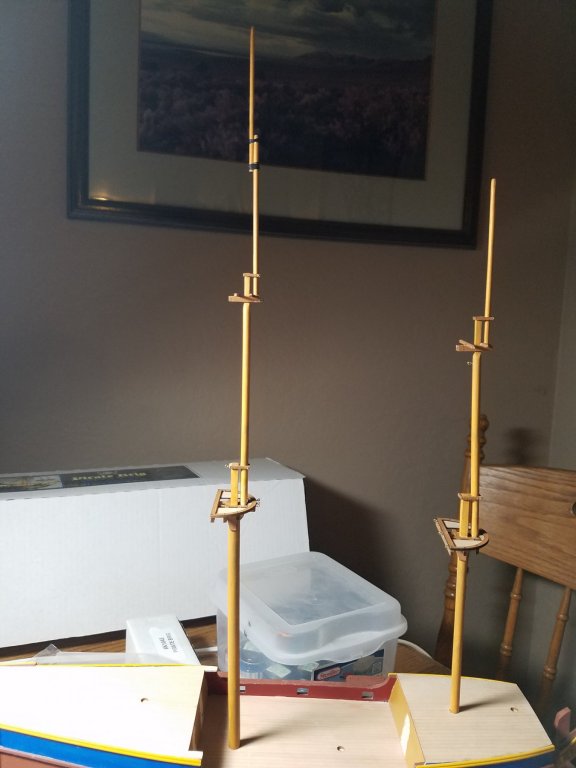
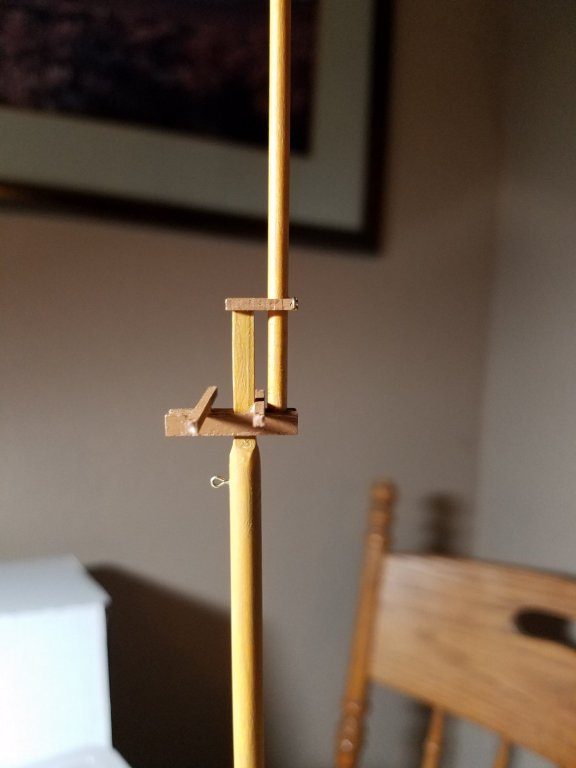
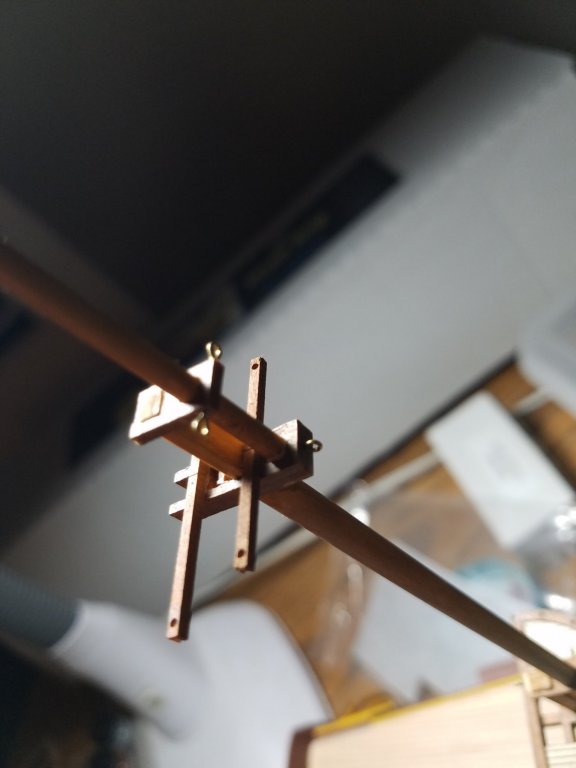
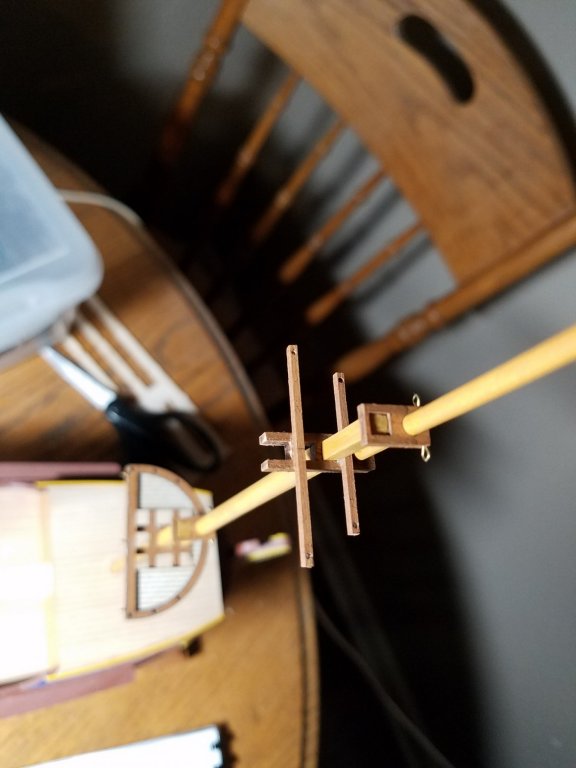
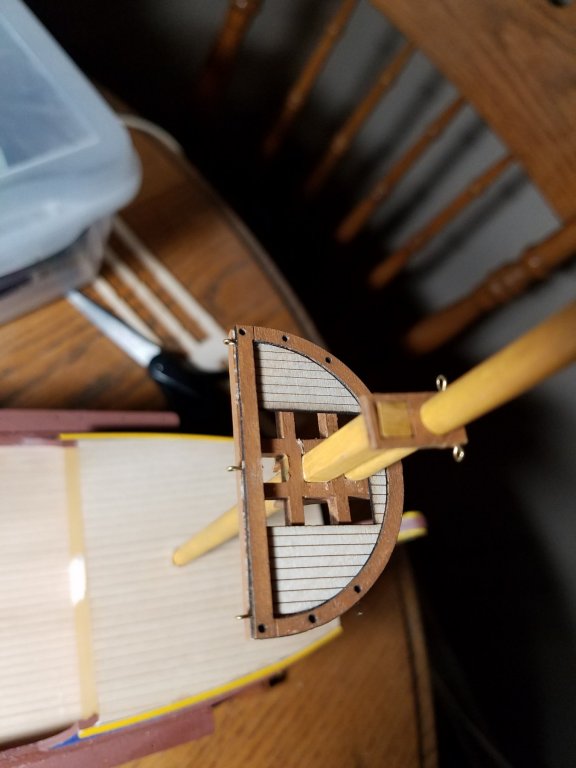
I have attached some photos of the mast work. The plans are good in they have full scale drawings of all the masts and spars. The instructions also have good diagrams of the tops, caps and cross trees. My only suggestion is to attach the flag staff to the main topgallant prior to gluing the topgallant in place.


-
The skylight was a departure from the instructions, which call for painting the acetate black. This due to the lack of depth with a solid hull underneath. I left the acetate clear and fabricated a false bottom out of scrap bass wood, which I stained to create a false sense of depth. I painted the interior white which I think would be accurate in order to better amplify the light.
-
I left the companion door in a stained wood pattern. Instructions call for it to be painted brown (probably more accurate for weather), but I thought it made a nice touch.
-
Summer is here, so my 1:1 scale boating has picked up on Lake Tahoe, but I have not been completely dormant. Finished the wheel, companion and skylight. All are dry fitted right now.
-
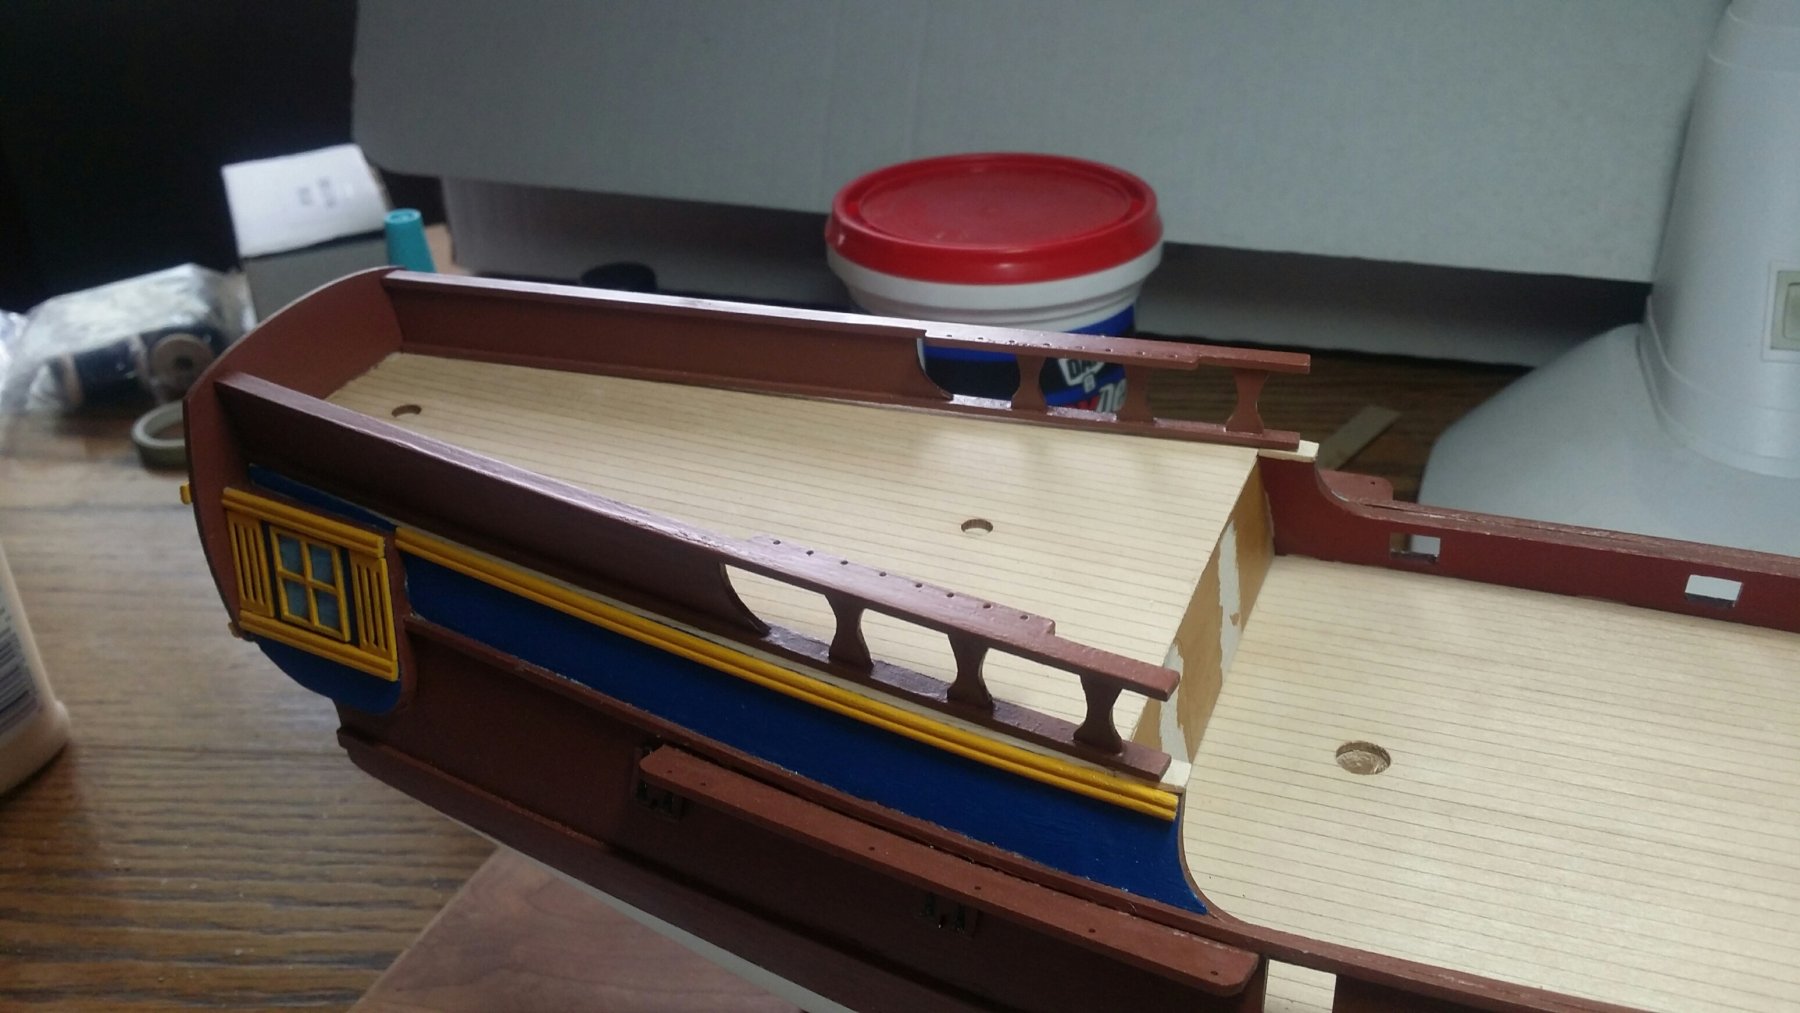
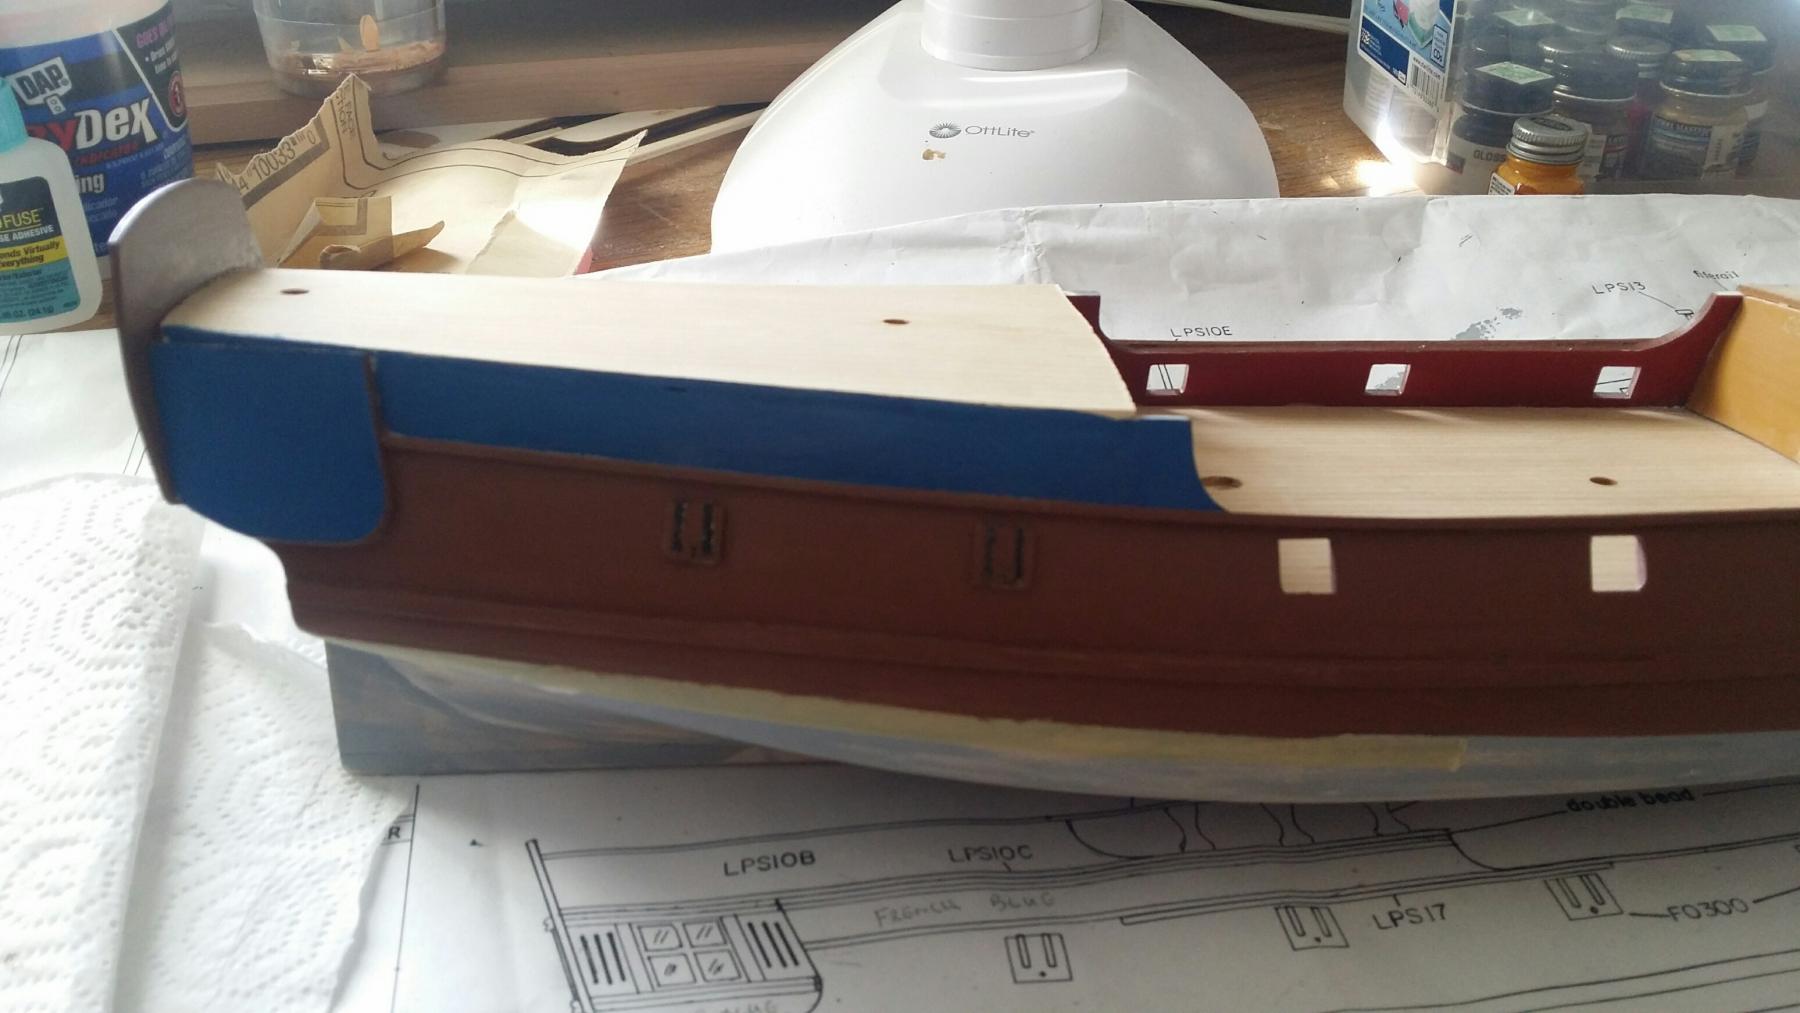
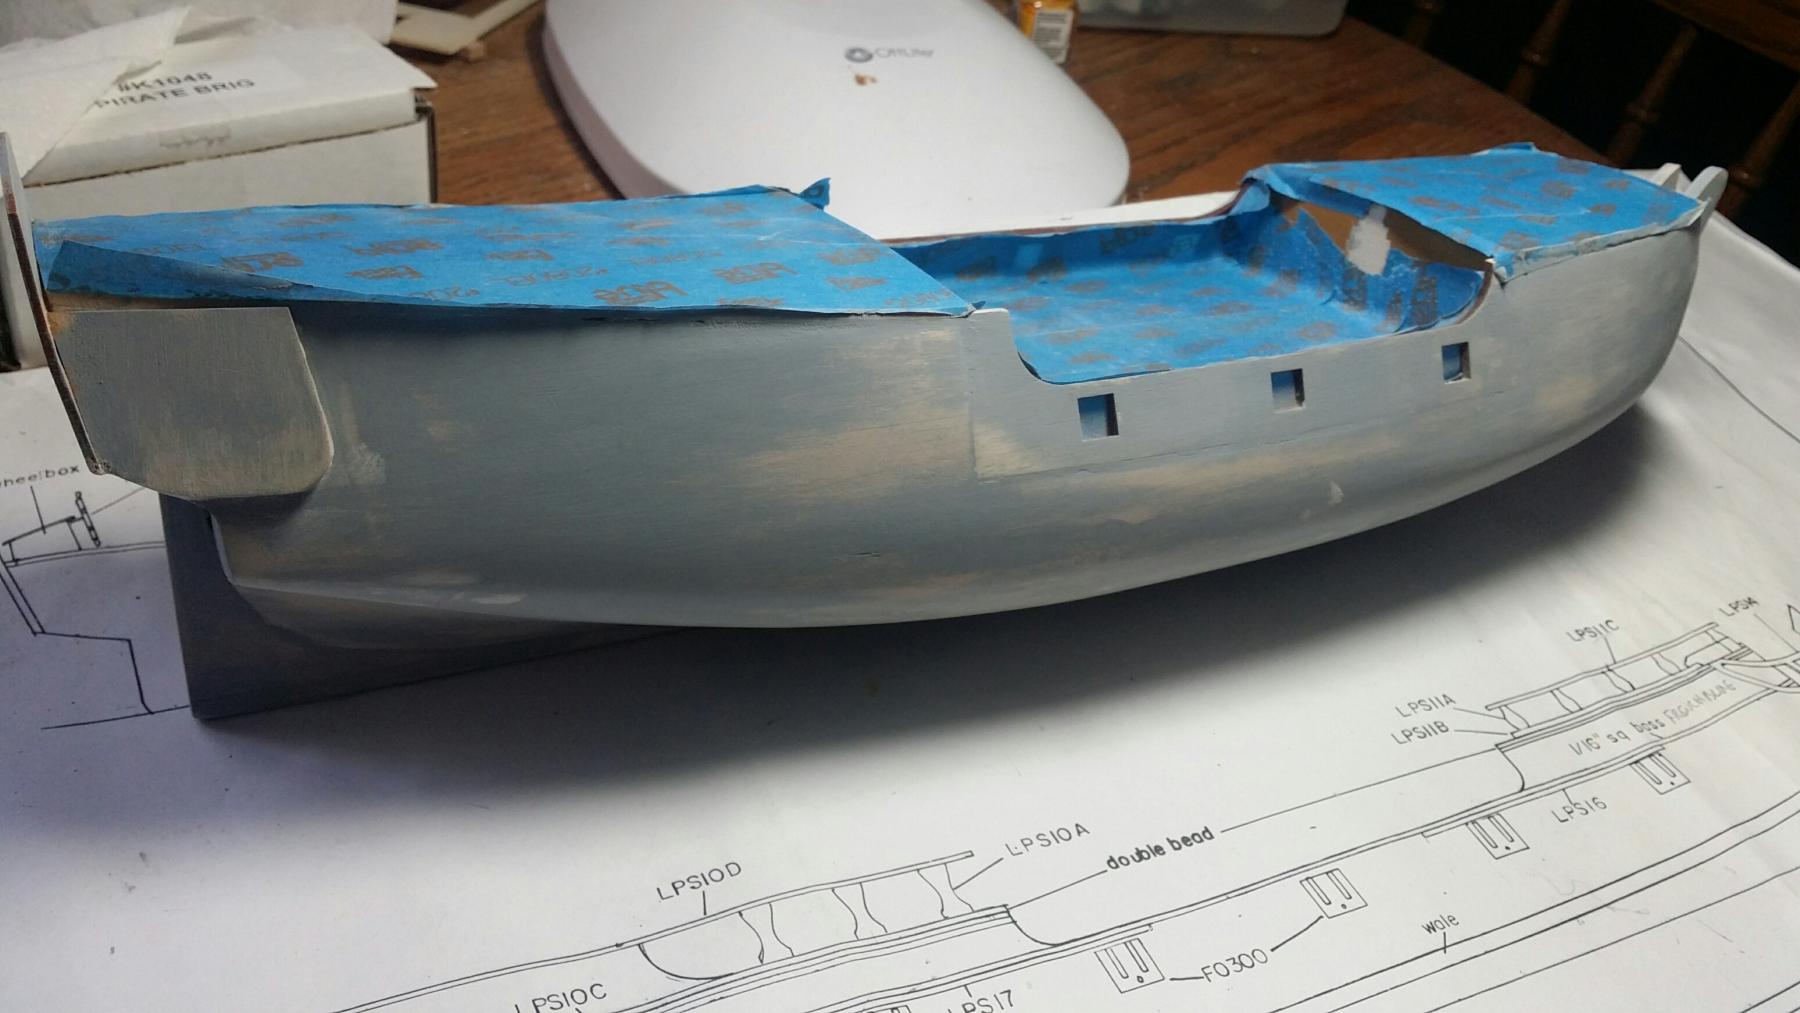
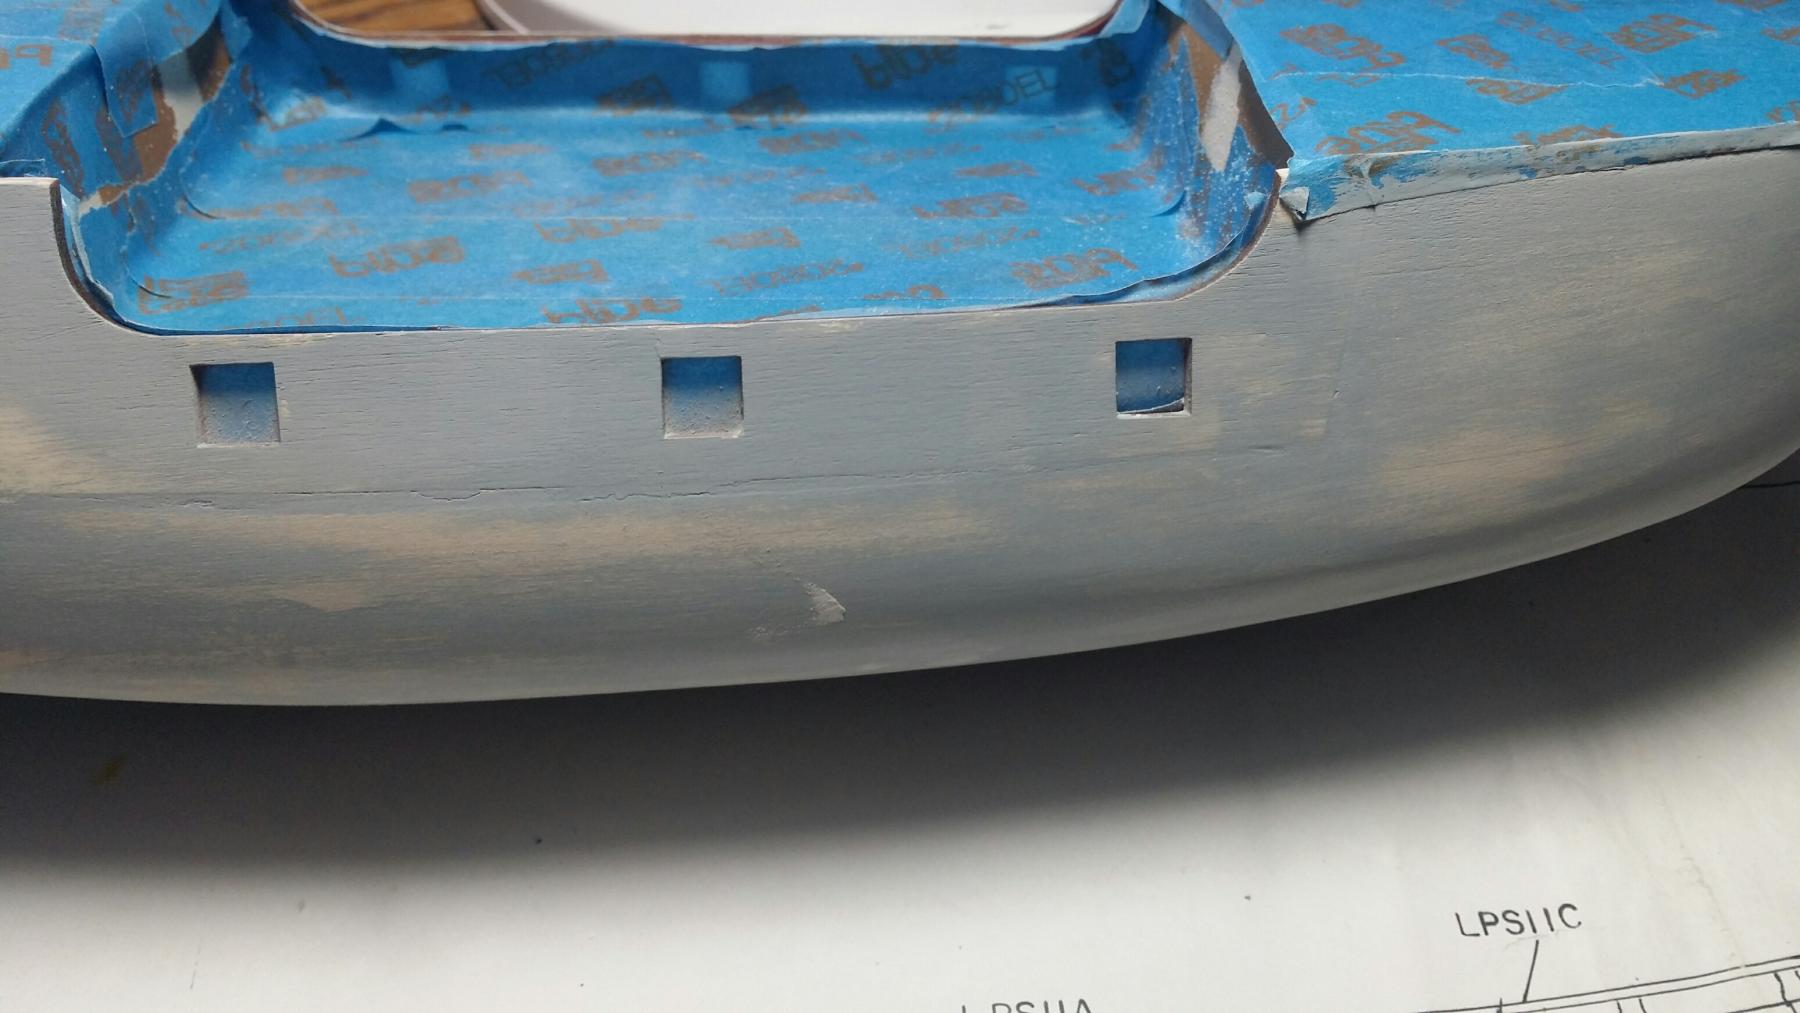
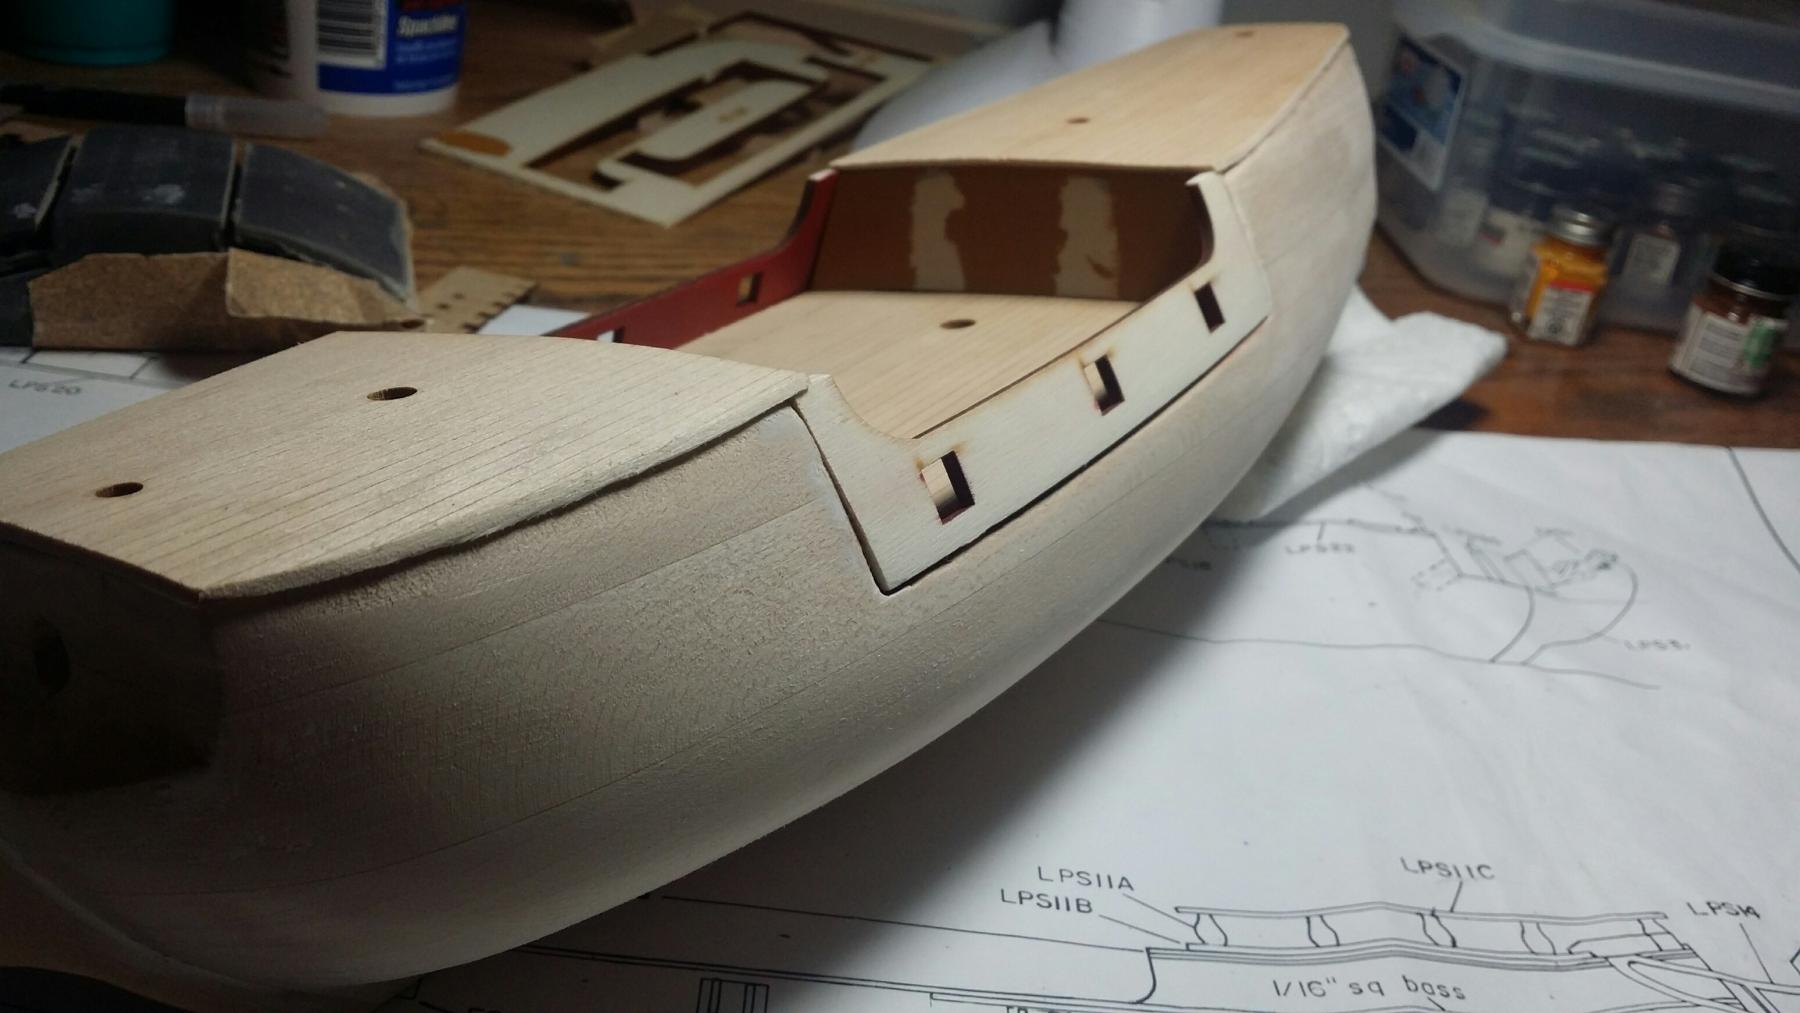
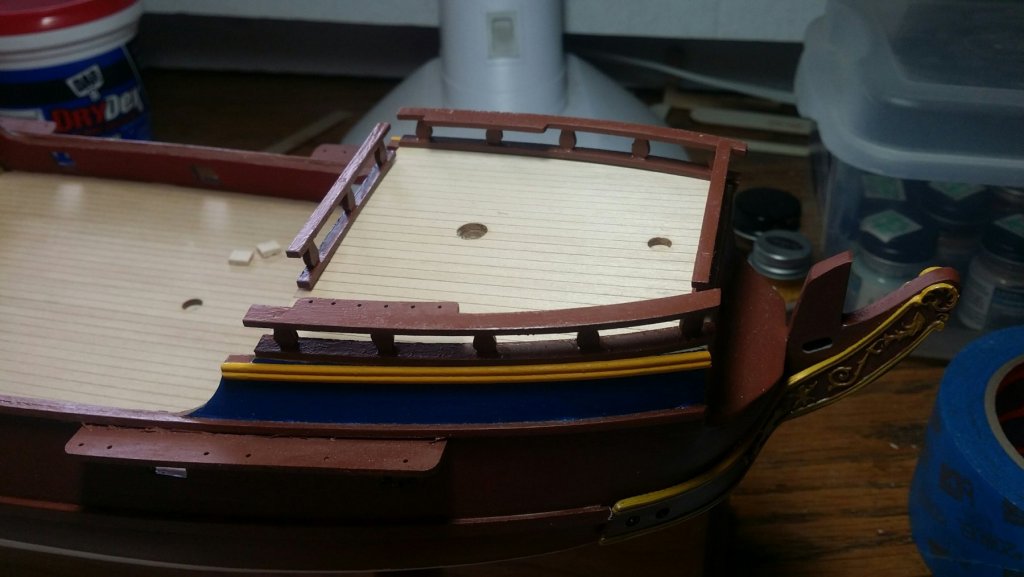
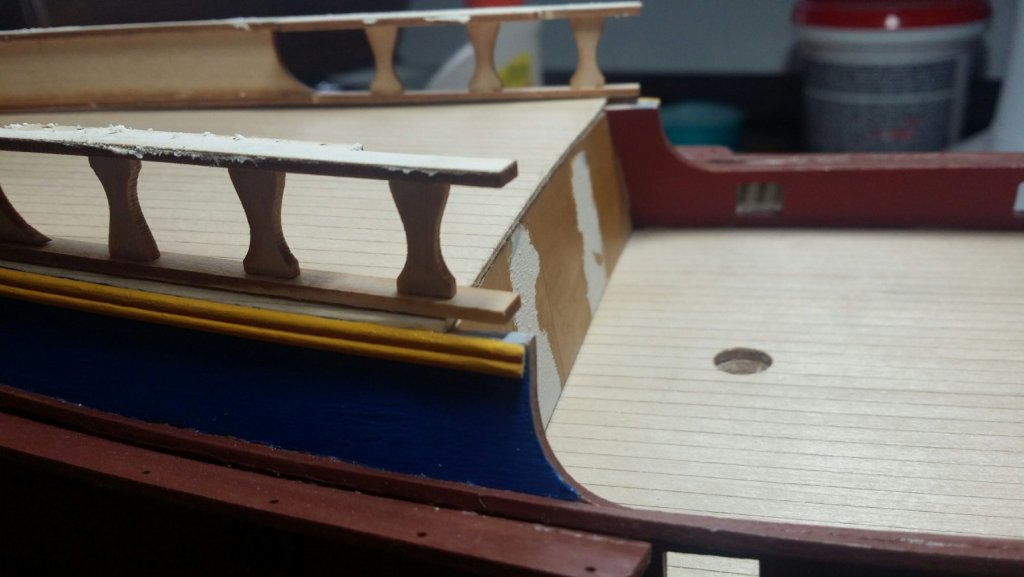
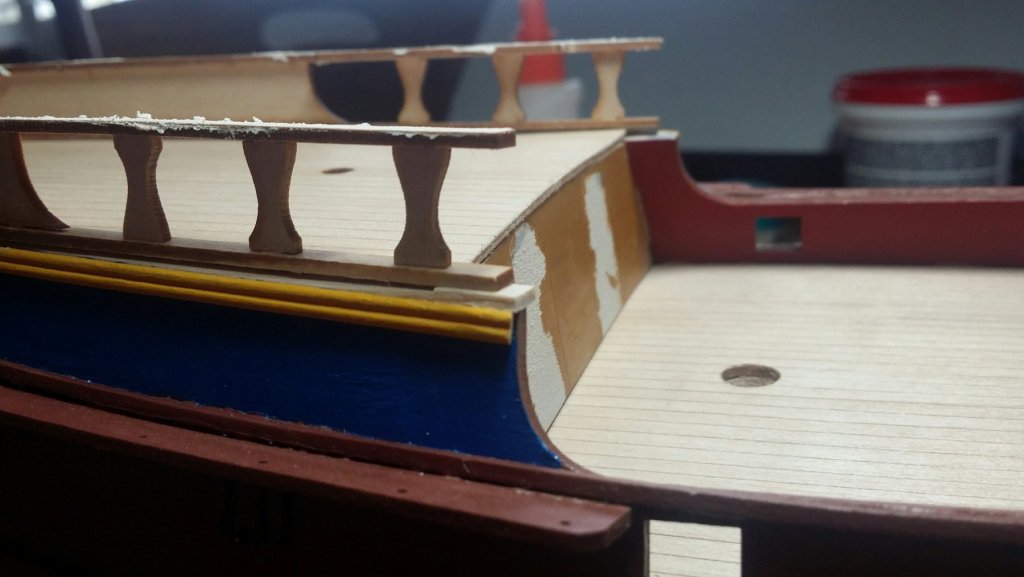
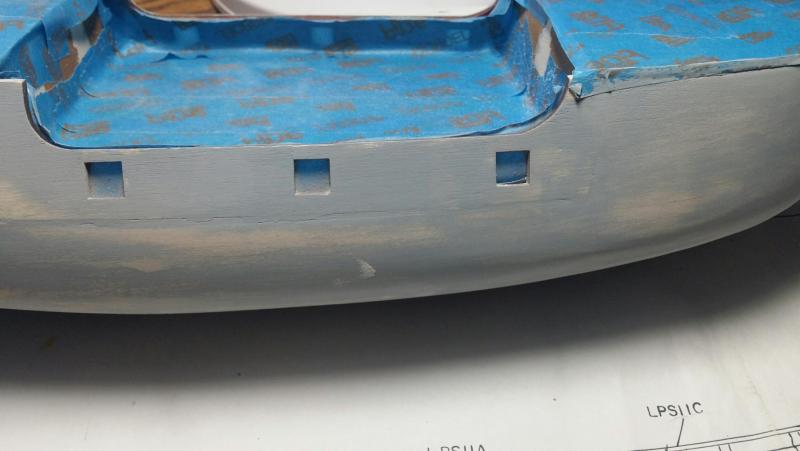
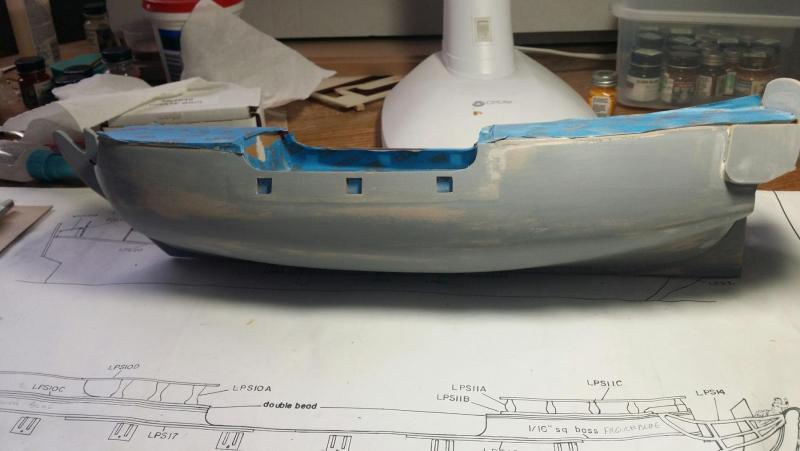
I have been finishing the bulwarks, and rails for the quarterdeck and forecastle. Everything is dry fitted right now. I assembled the pieces, then filled in any gaps and spaces with spackle, sanded, added primer, then finally painted each piece.


-
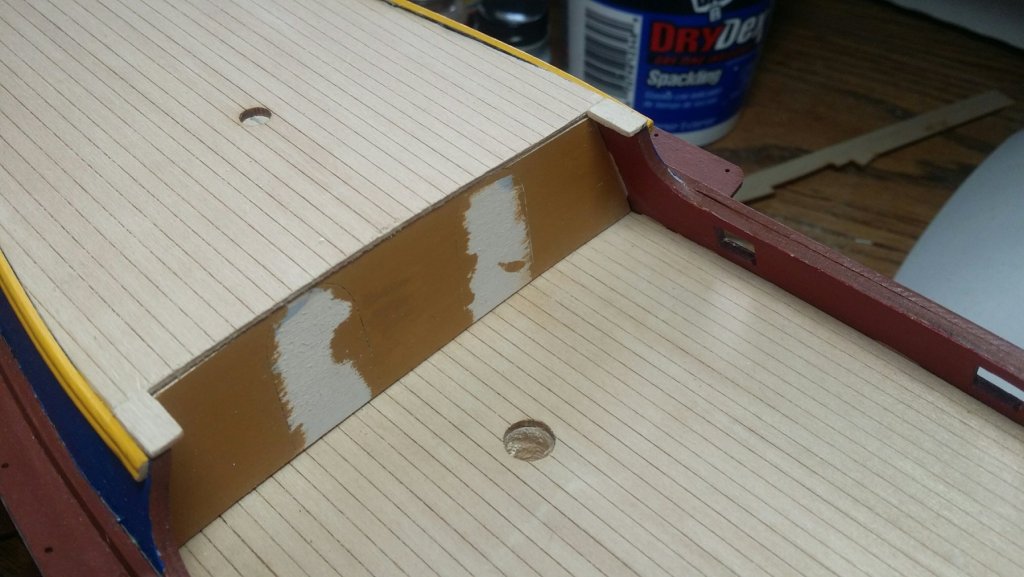
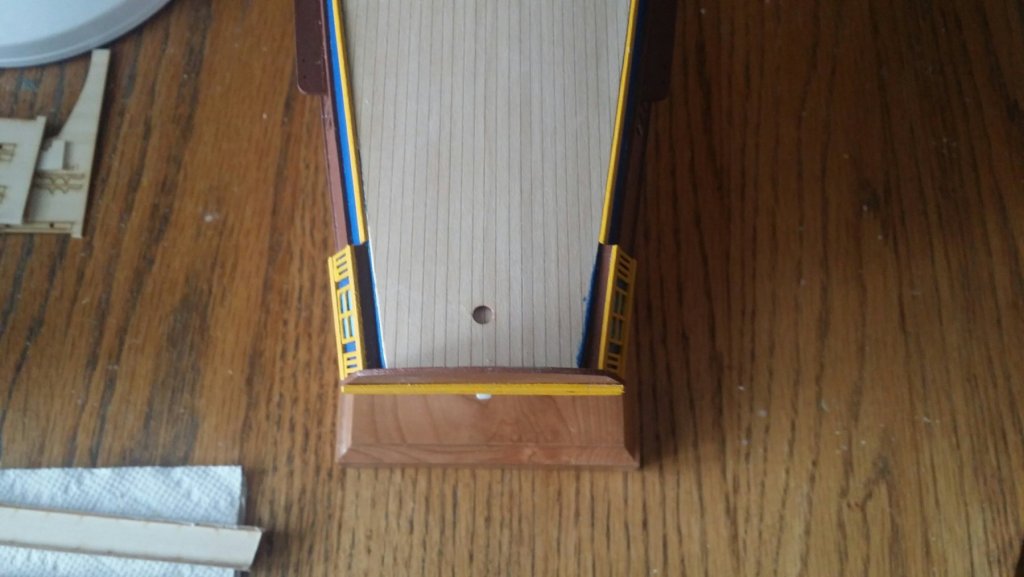
I fabricated a piece of "planking" from some scrap bass wood. I used the same width as the pre-formed deck inlays. These still required some sanding to bring them flush.

-
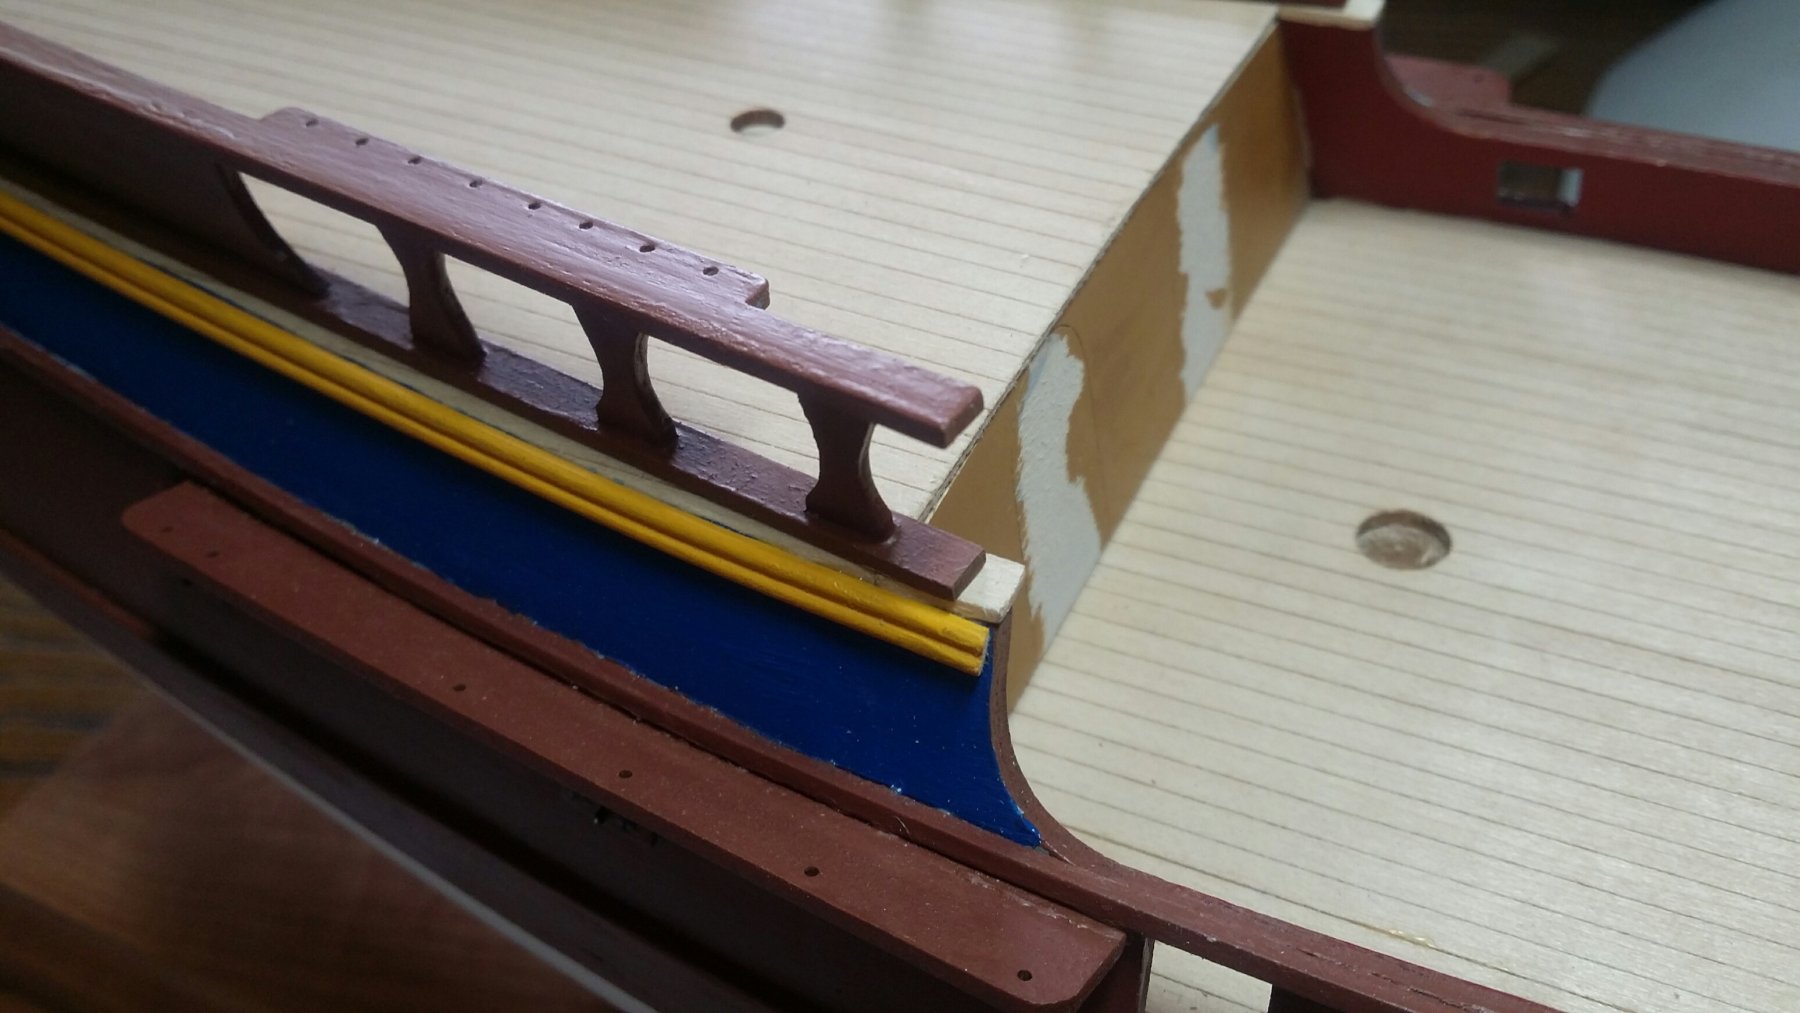
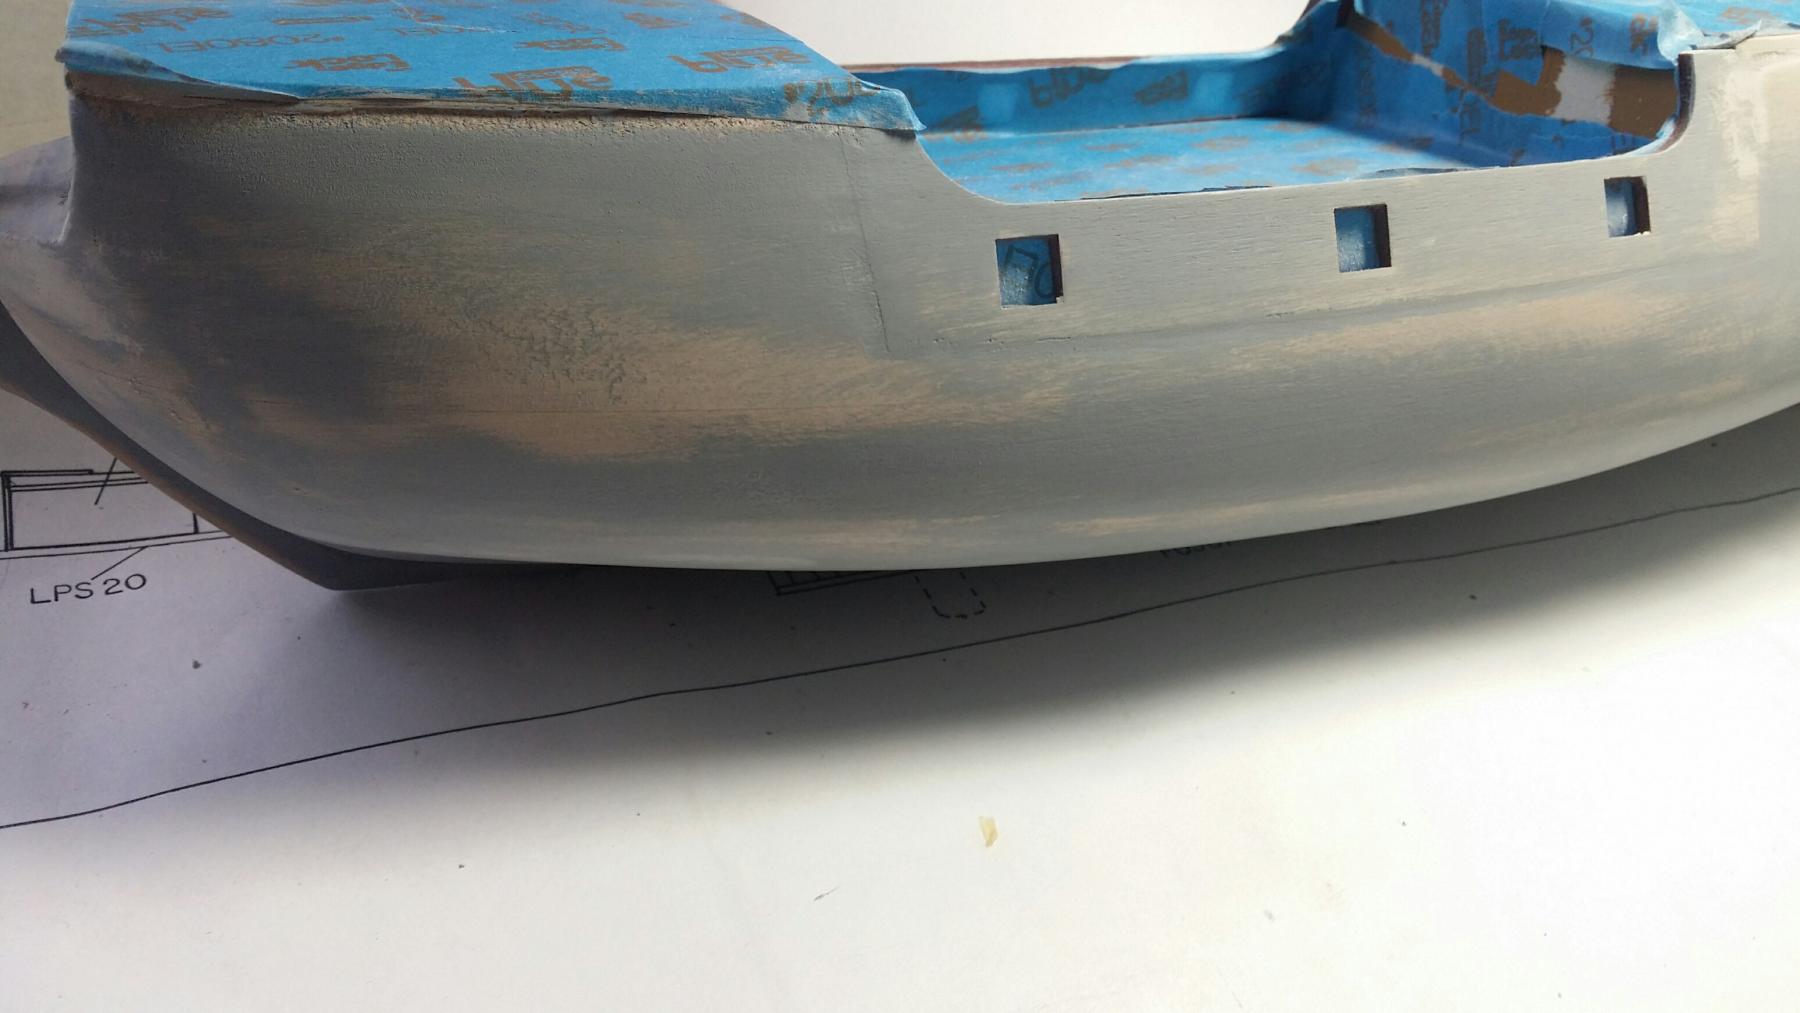
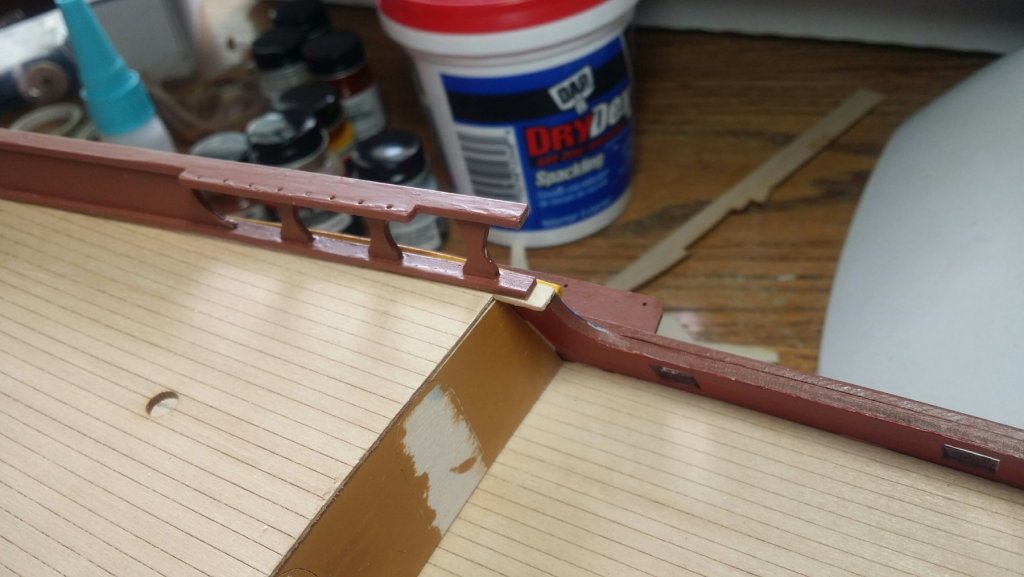
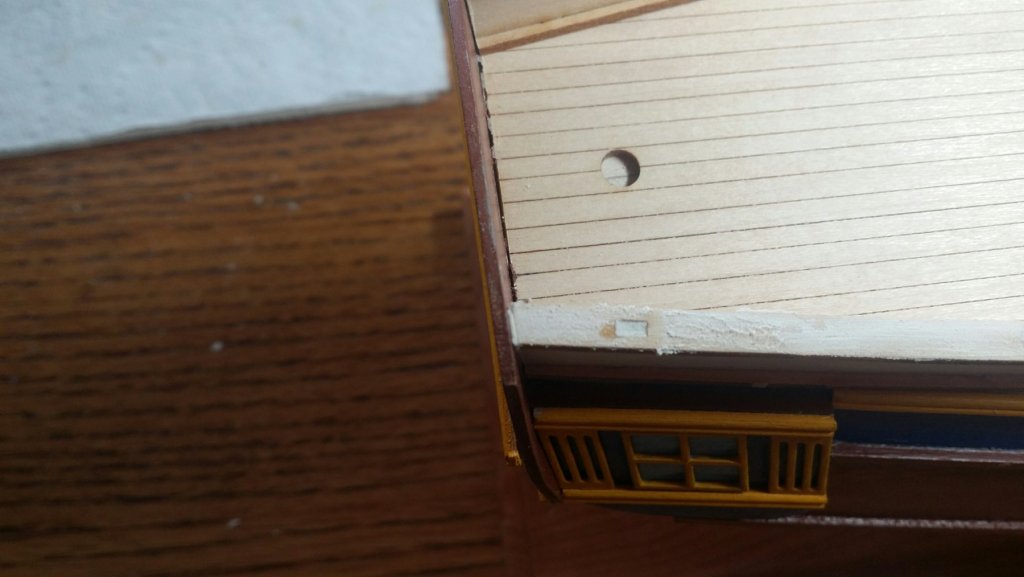
My challenge here is the gap between the quarter deck and gun deck bulwark where the rail overhangs a bit. I think the best solution is to fabricate a small piece of decking from the leftover deck template.
-
This shows the rough quarter deck bulwarks being fitted. I put some spackle on the top rail to make it flush. All of the fitting has been done with the previously mentioned sanding tools. Those things are great.

-
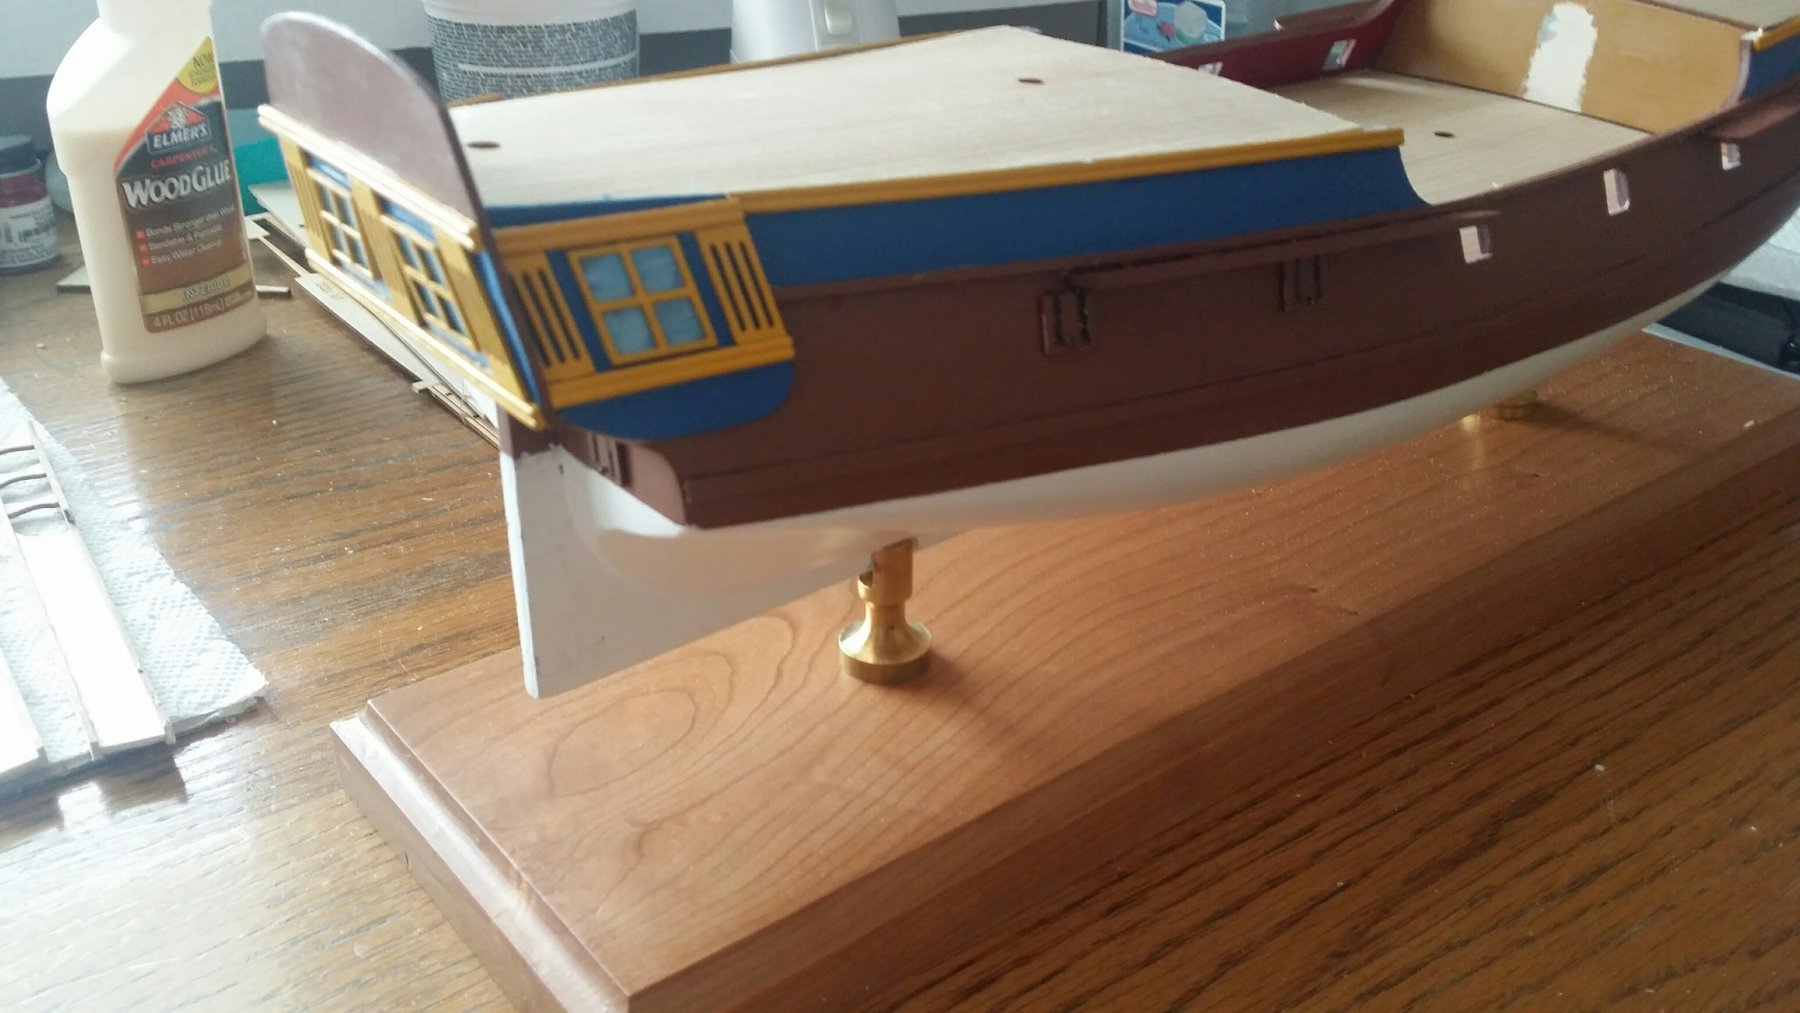
Here is a look at the quarter galleries with the moulding complete. I also mounted the hull to begin completing the deck furnishings and start masting.

-
Thanks Rick, I am really enjoying the creative license that this kit gives me. By not being an exact subject, I can research many sources to get ideas.
-
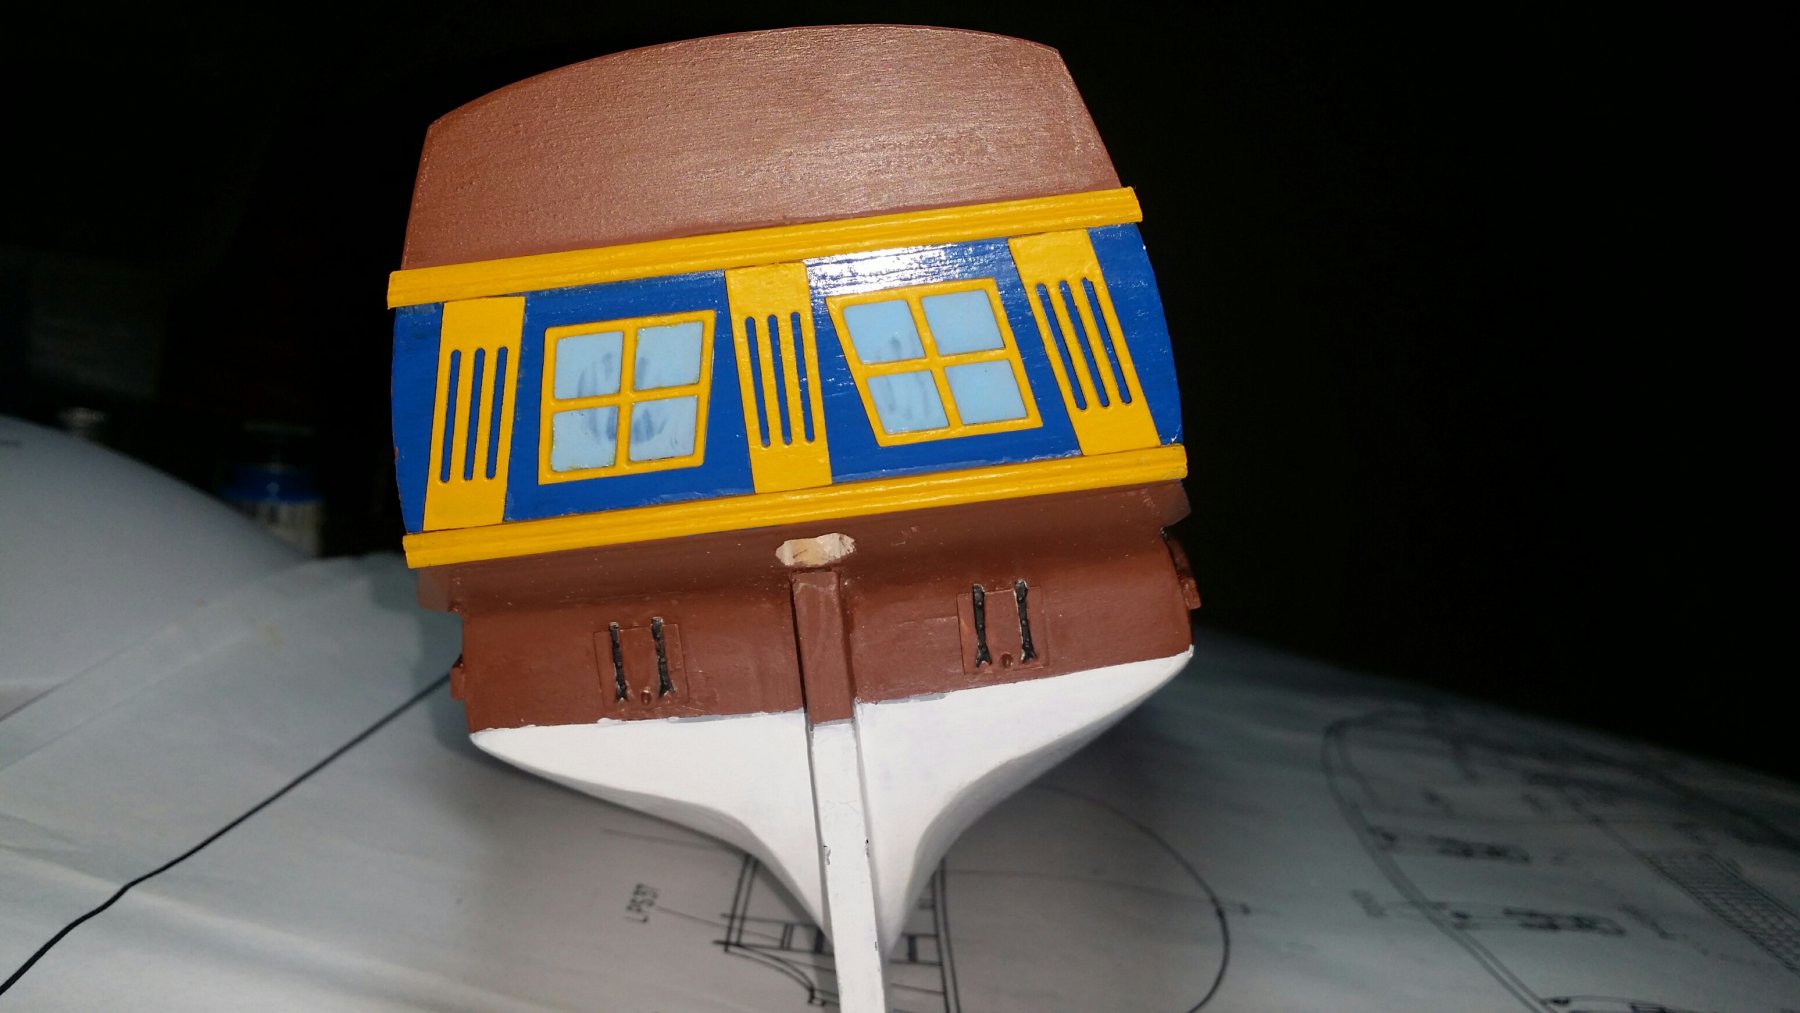
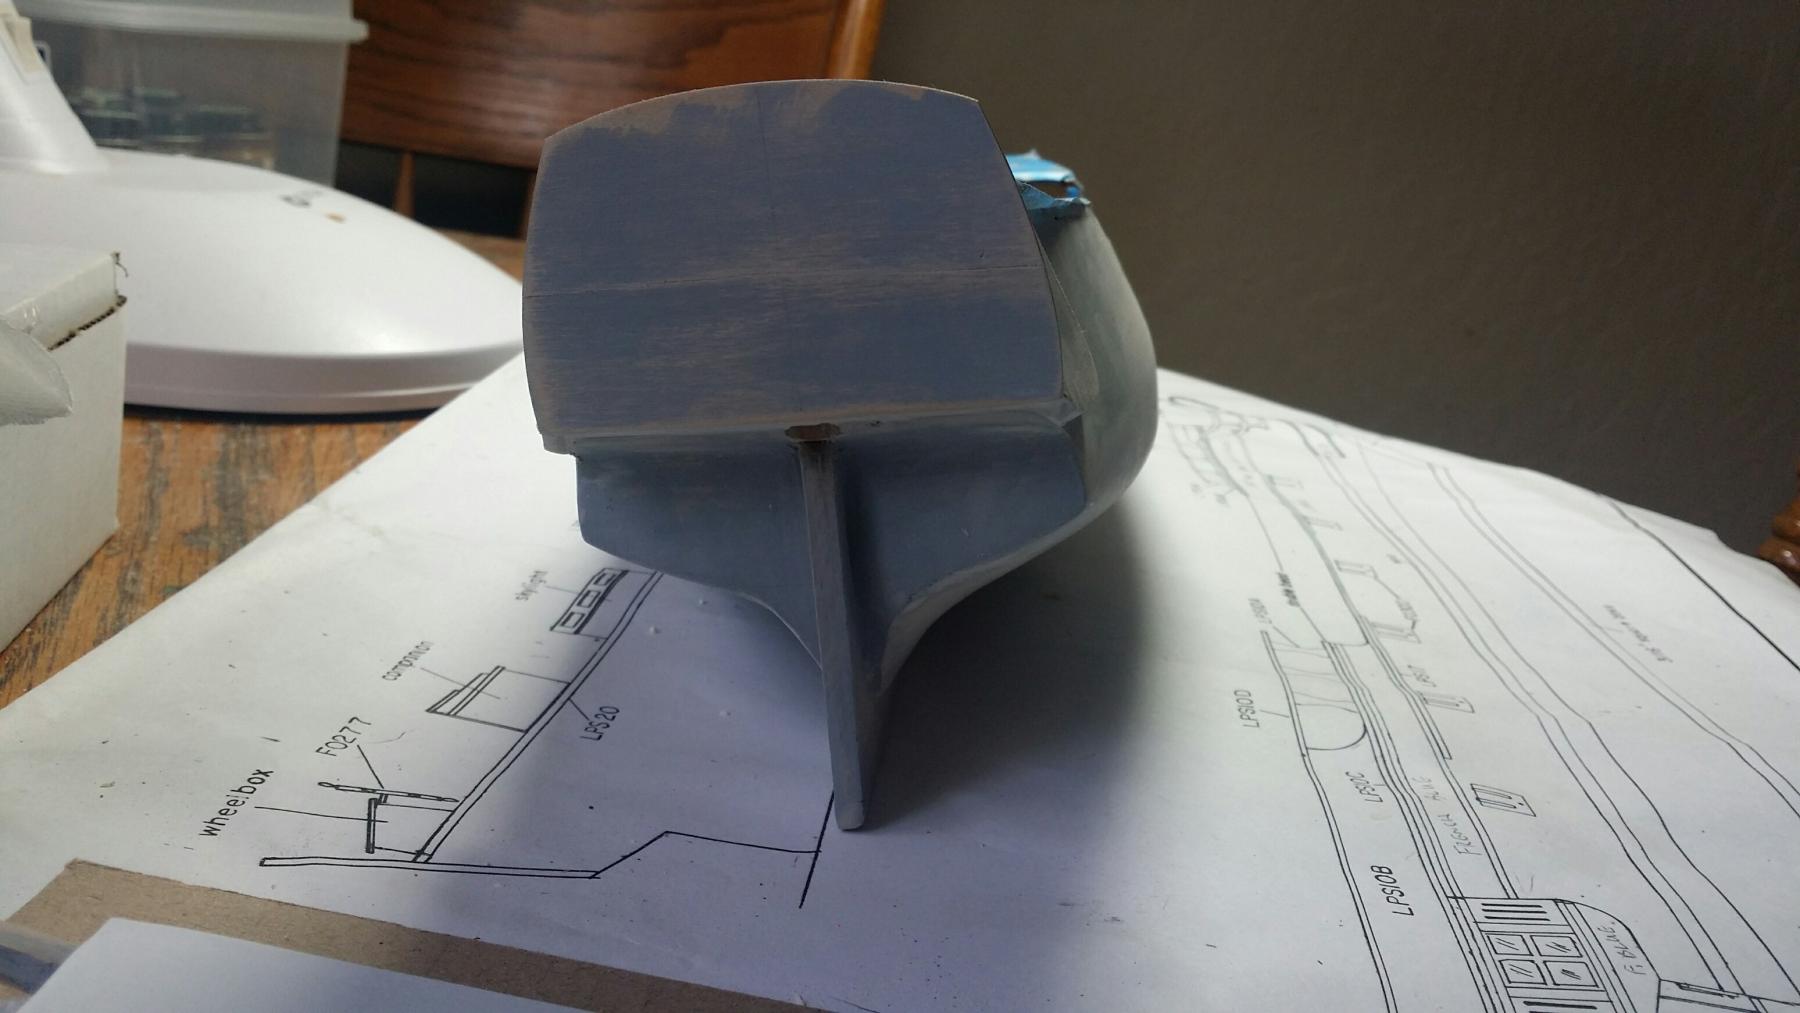
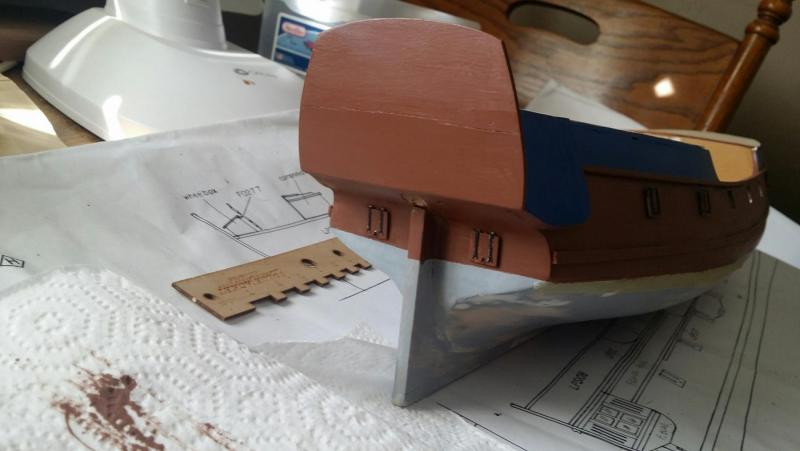
Here is my transom, just completed columns and windows. An eagle will go above the top moulding. The paint scheme is a big departure from the kit, but I thought this more accurately represents a typical merchant brig. As we know there were no purpose built pirate ships, and I may go more toward an early colonial privateer....keeping the options open.

-
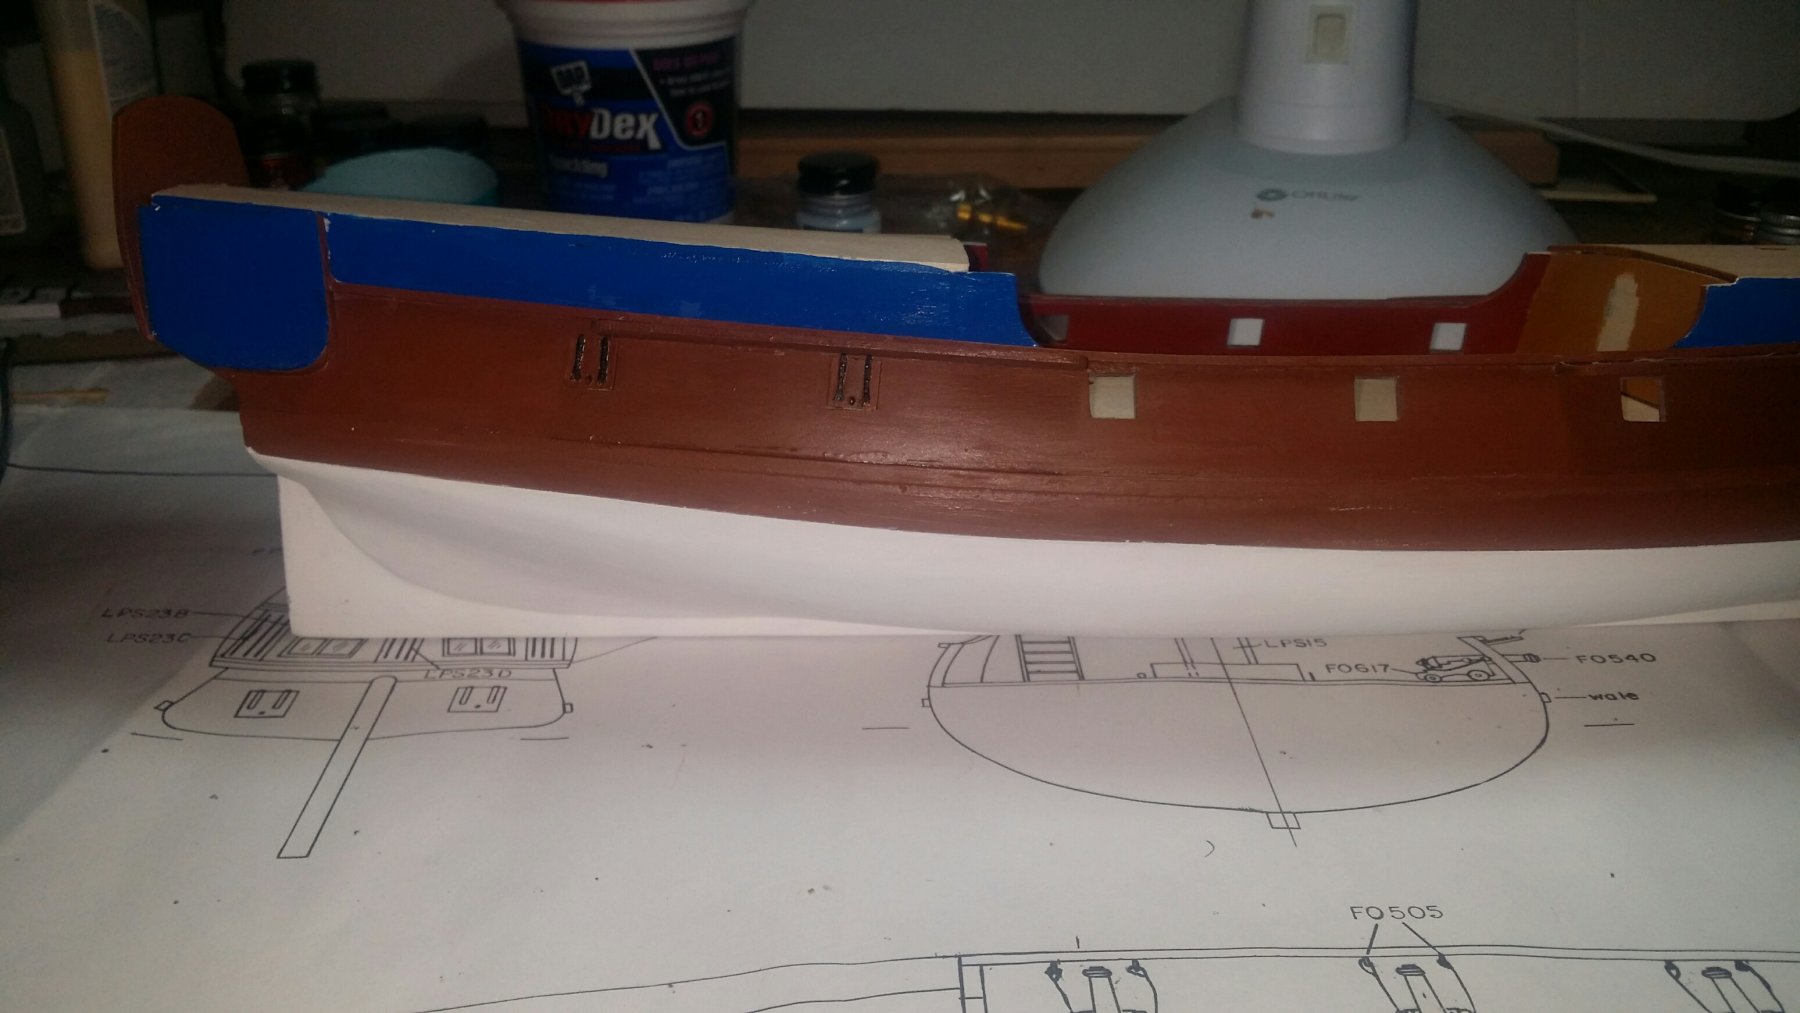
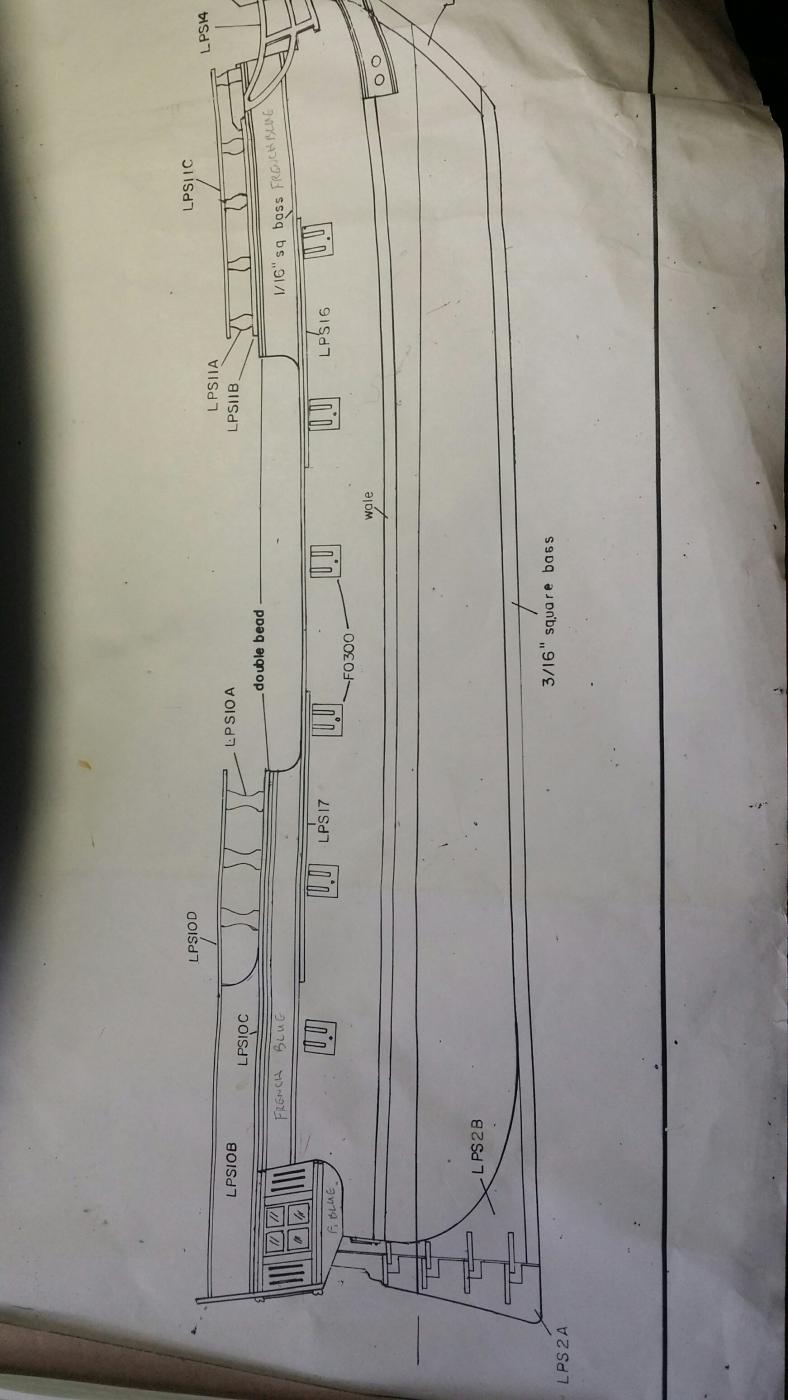
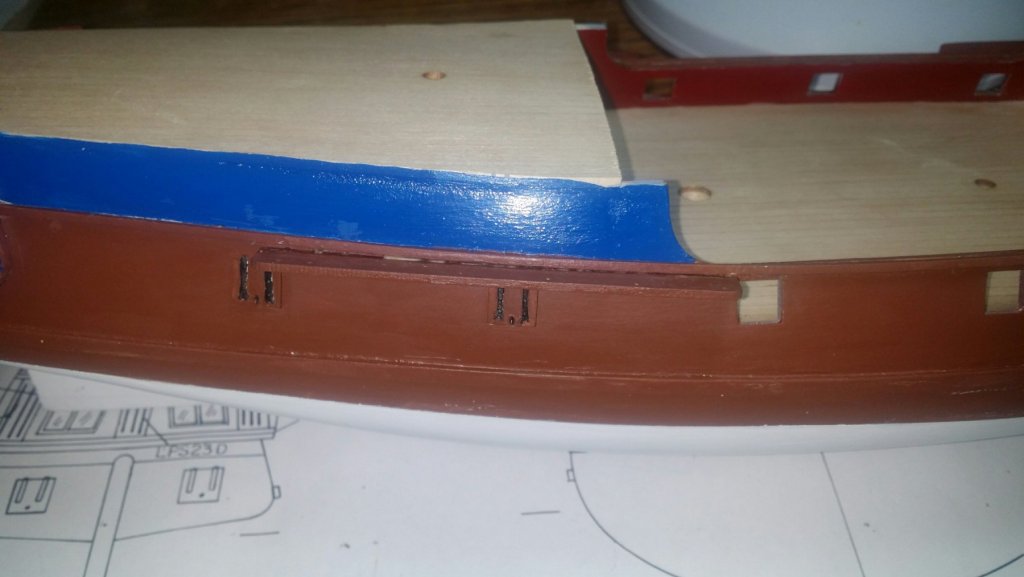
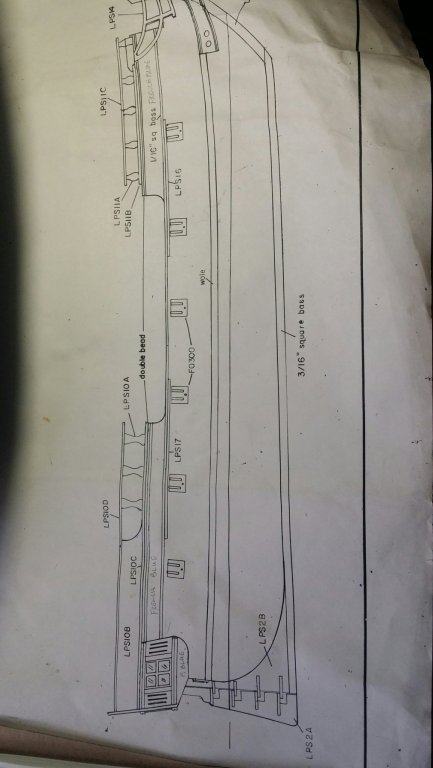
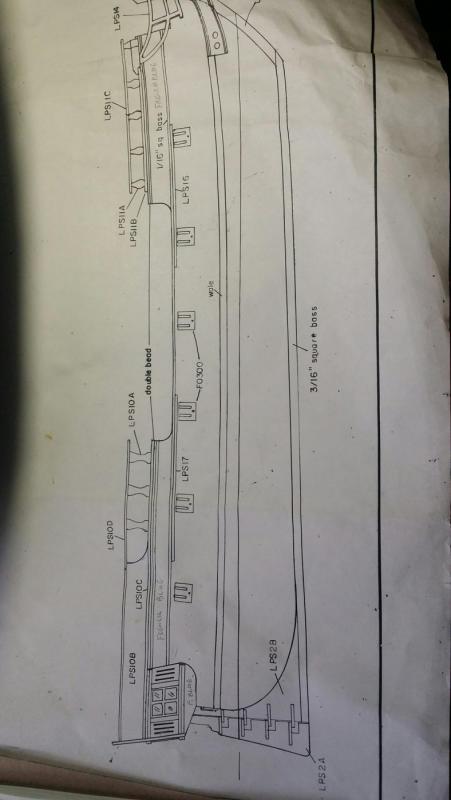
So, I had an issue with the placement of the main channels. You will recall Bluejacket reintroduced this model from the 1930s. There is a discrepancy in the plans on where to place the channels. I emailed Bluejacket, and as usual, Nic the owner of the company (I love small, locally owned businesses) got back to me within 24 hours and sent me a great photo clearly depicting the proper placement. They will also be updating their plans for future builders. Correct placement of the channel is just aft of the aft open gunport amidships. Note in the photo of the plan the channel ( part LPS17) is about 1/4 " past the aft gunport amidships.

-
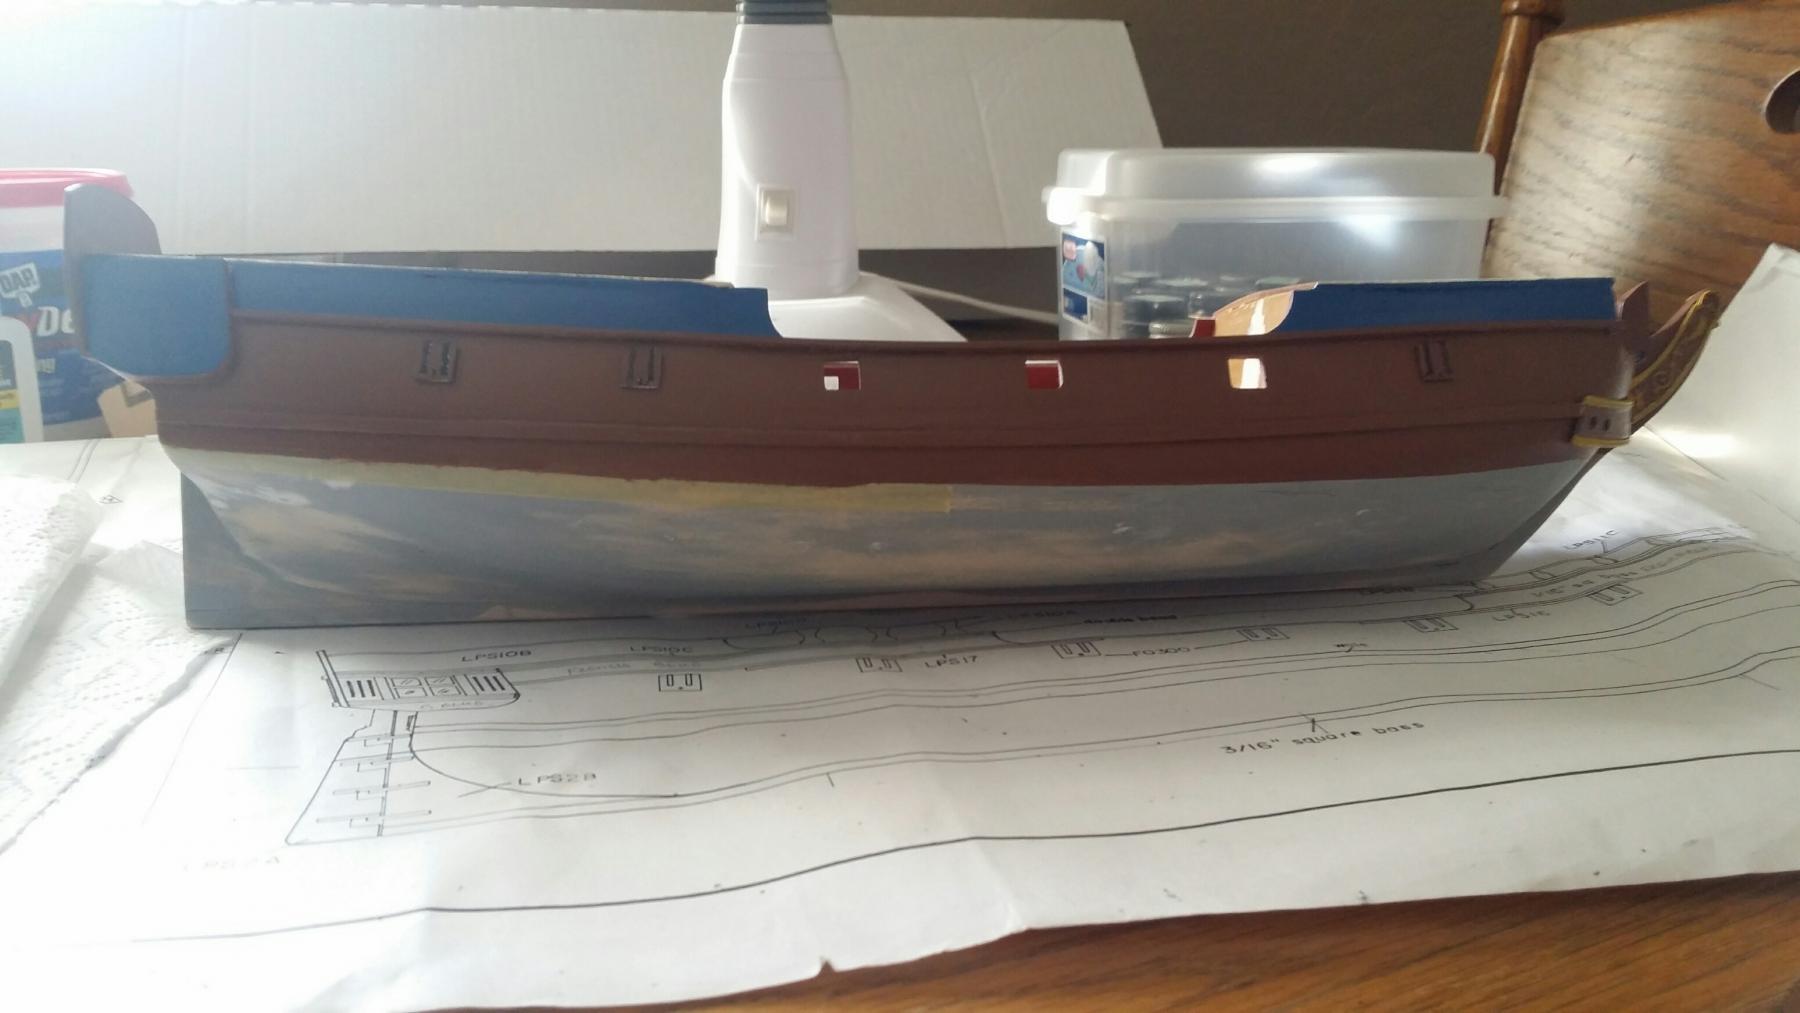
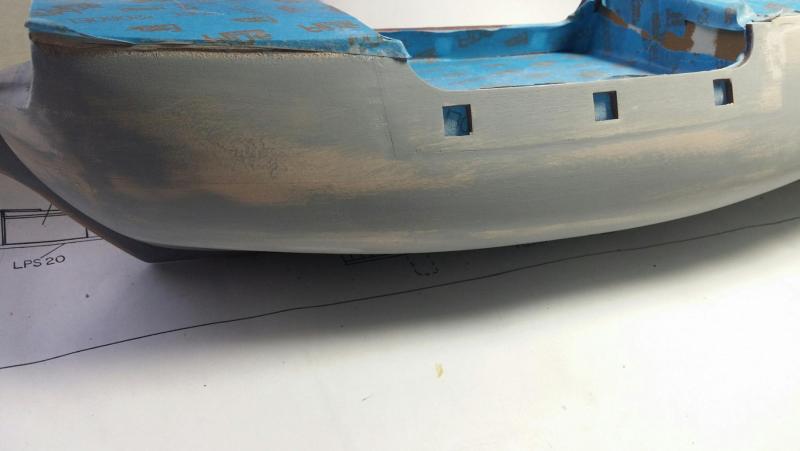
Here is the hull painted above the waterline. I think the French blue came out pretty nice. I did not use a waterline jig. Bluejacket provides one, if you prefer, but I find them too cumbersome. I took measurements from the plans and then marked the hull at intervals.


-
Here is the hull after about two more hours of sanding and primer coat. Stern galleries will require filler in the seams. I used spackle.


-
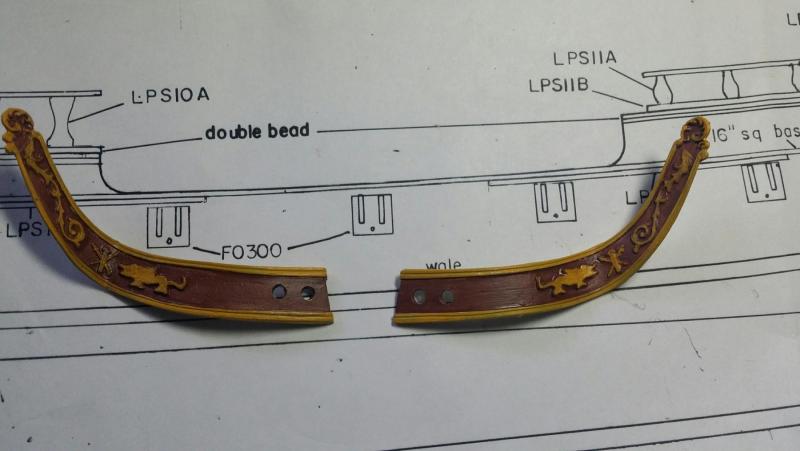
I decided to detail the trailboards. Bluejacket puts a neat relief on them, and it would be a shame to simply paint them brown.
-
Wayne, welcome your input on this. I was thinking about putting in a little French Blue on the upper works to alleviate the monochromatic look of the brown. It would give it a bit of relief. My "precedent" for this are other merchantmen (assuming this was likely a captured merchantman) such as Endeavor or Bounty, prior to their being bought in to the RN.
-
Thanks for the input. I agree. I think the ochre works well. If you have any leads on cloth ensigns I am in your debt!
-
Charlie, I am really impressed. Neet to see a kit I am quite familiar with, and the work you are doing with it. Very cool!
- 362 replies
-
- 4
-

-
- active
- revenue cutter
- (and 1 more)