HOLIDAY DONATION DRIVE - SUPPORT MSW - DO YOUR PART TO KEEP THIS GREAT FORUM GOING! (Only 53 donations so far out of 49,000 members - C'mon guys!)
×


Eric W
-
Posts
133 -
Joined
-
Last visited
Content Type
Profiles
Forums
Gallery
Events
Everything posted by Eric W
-
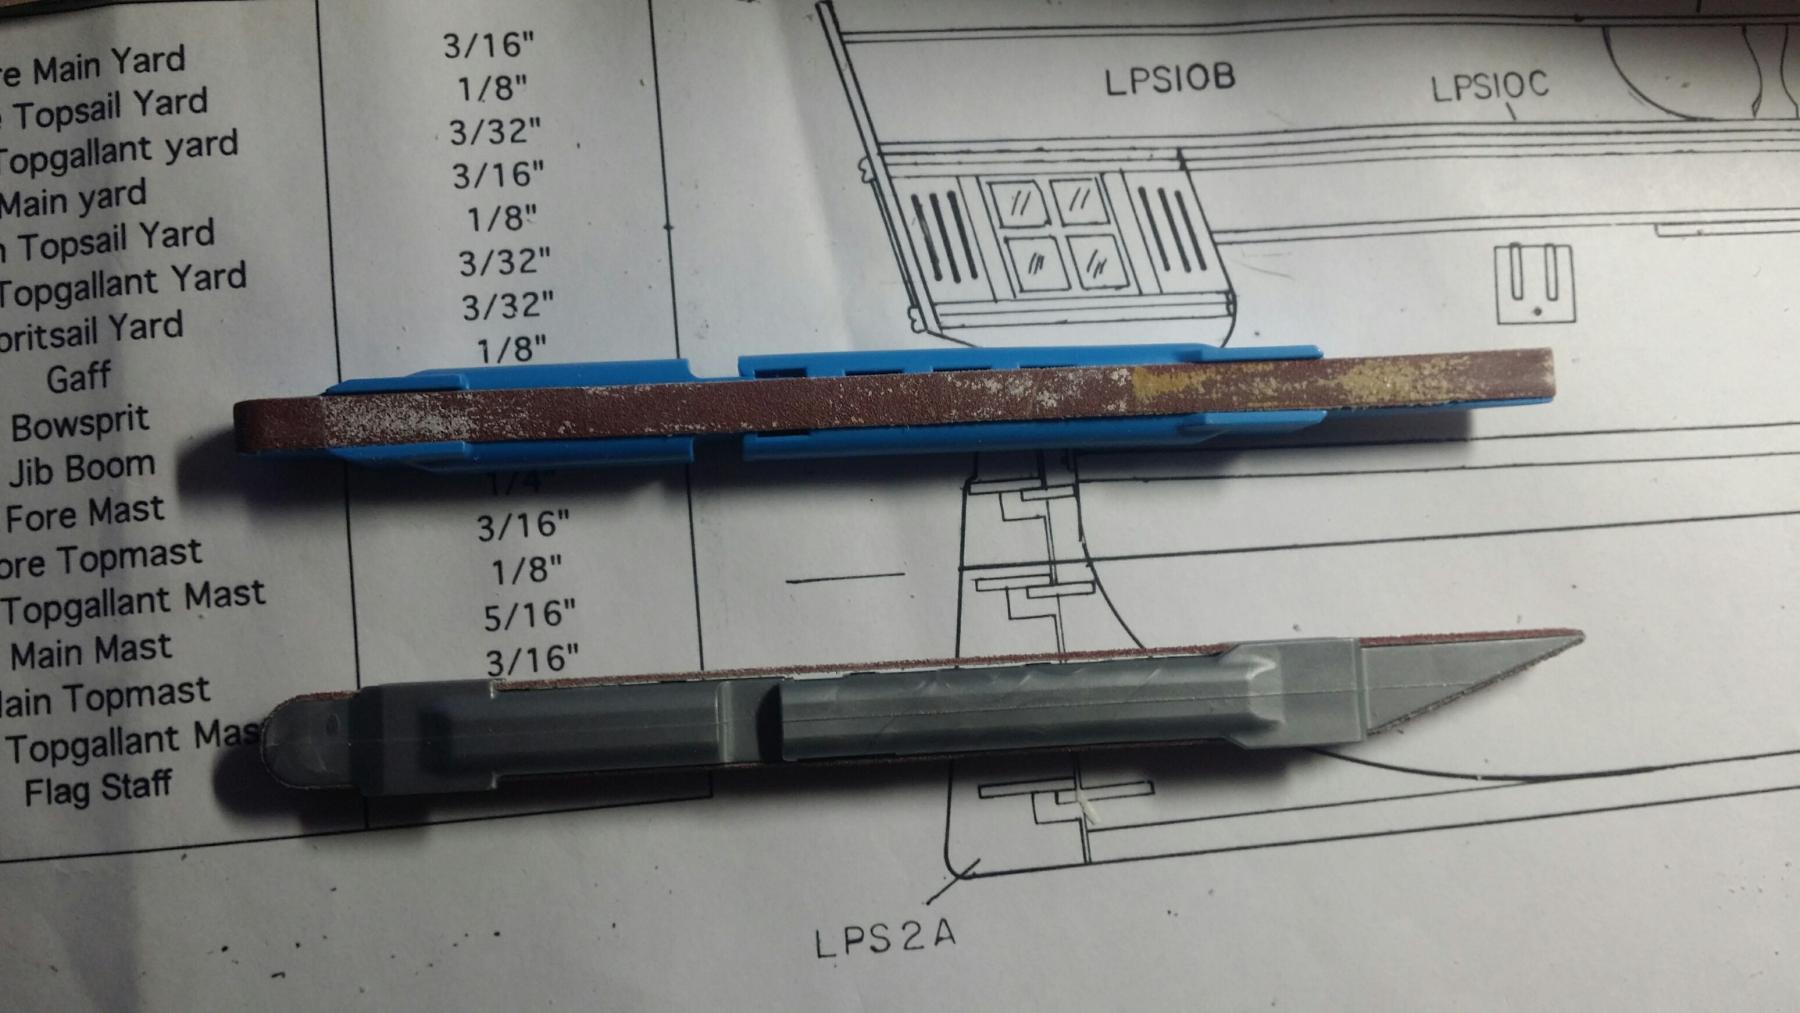
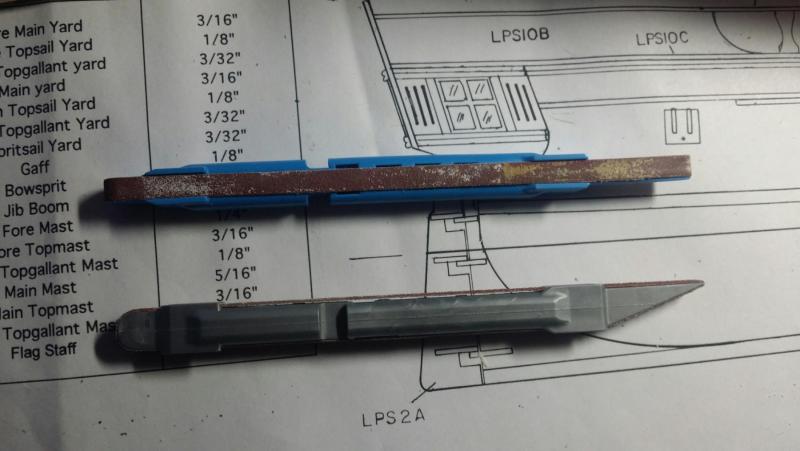
I received a set of precision sanding tools in a kit from Lumberton industries for Christmas. They are 1/4" strips of sandpaper with varying grains on little belts wrapped around a stylus. These have been worth their weight in gold.
-
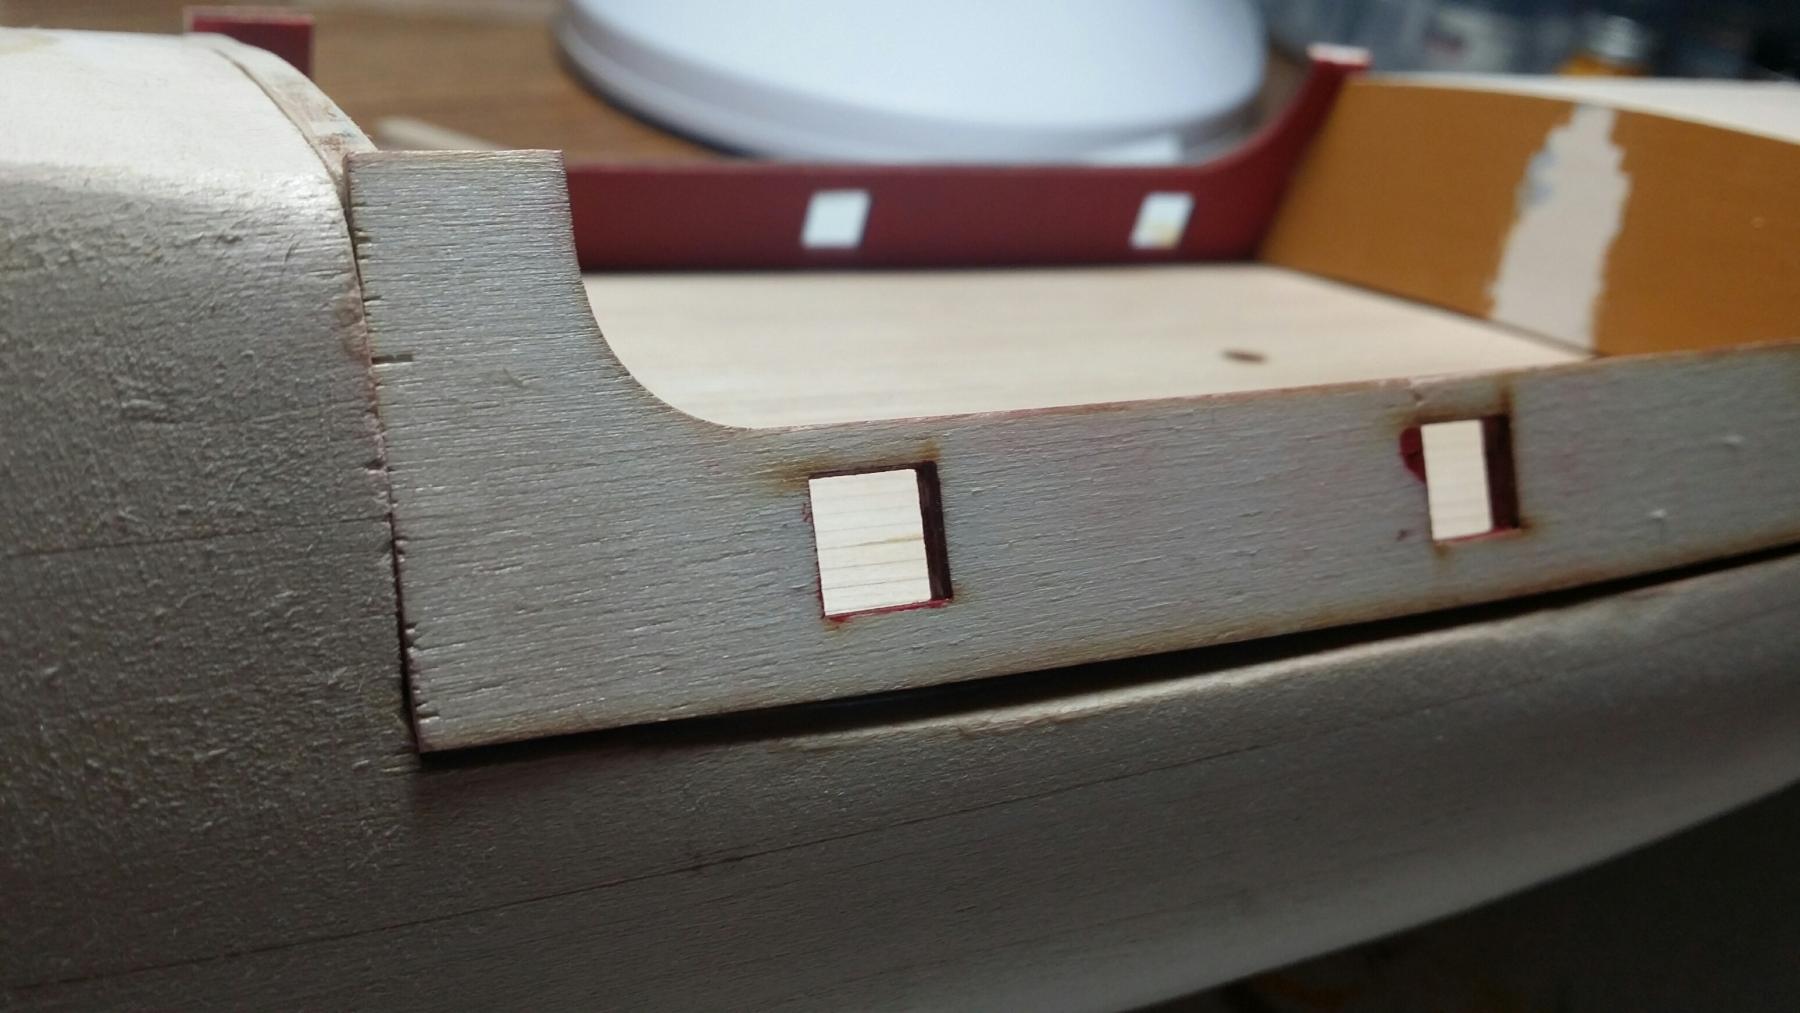
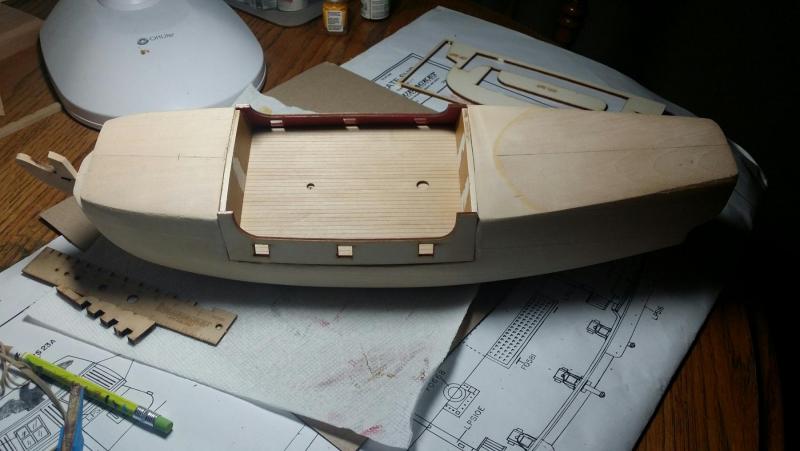
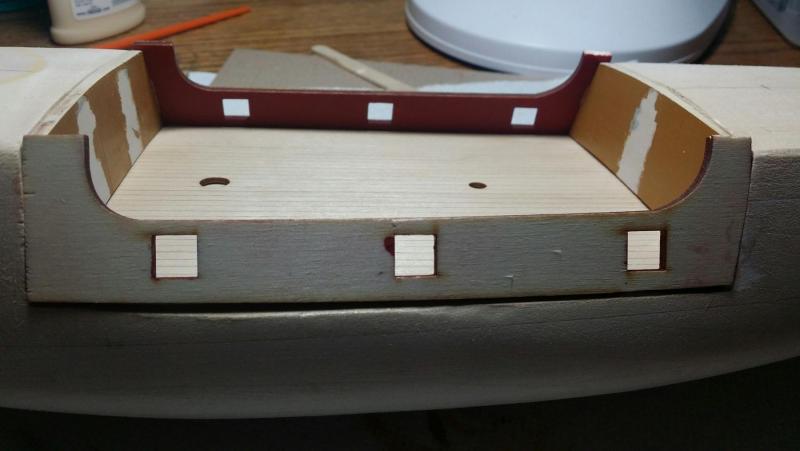
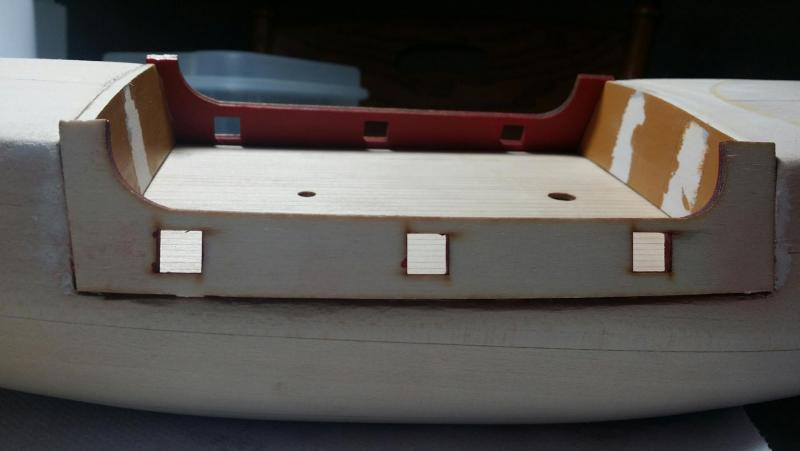
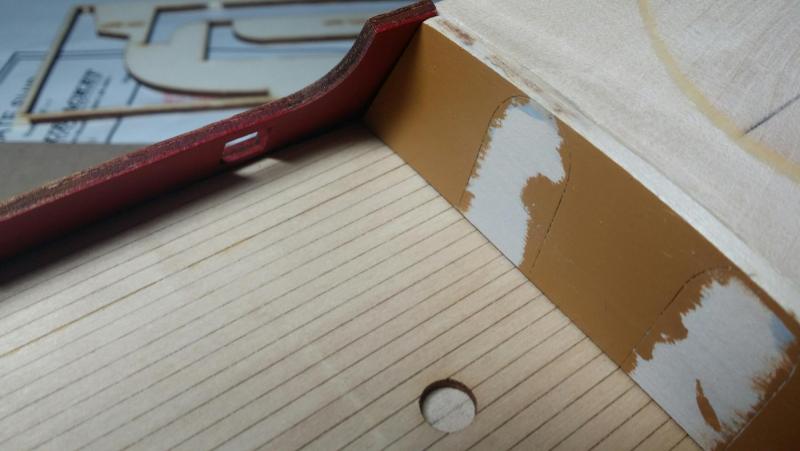
This weekend, I was able to fit the main deck, bulkheads and bulwarks. I have been working on the bulwarks for several days, sanding a bit at a time, until I achieved a slightly "sprung" fit to the hull, per the instructions. Note, that I will have quite a bit of sanding and some spackling to flush out the bulwarks to the hull, but the instructions say that is expected. I also painted the interior of the bulwarks and the bulkhead faces. This is a departure from the instructions, but I think they were easier to paint first, vs once installed. Risk here is dinging the finish with sanding and spackling afterward.

-
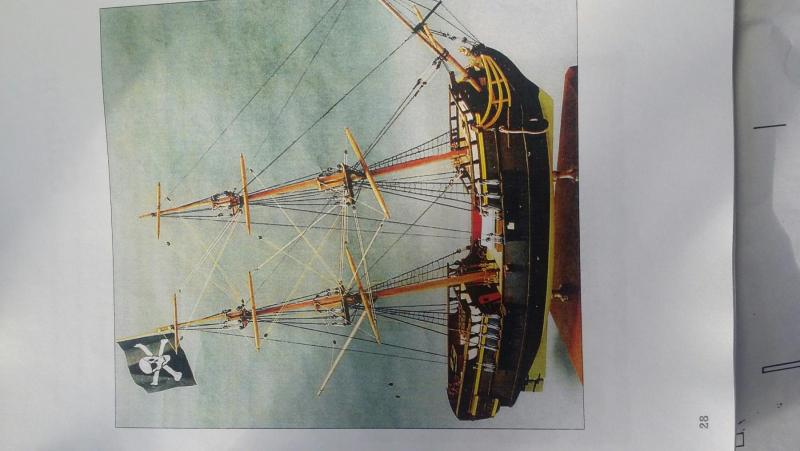
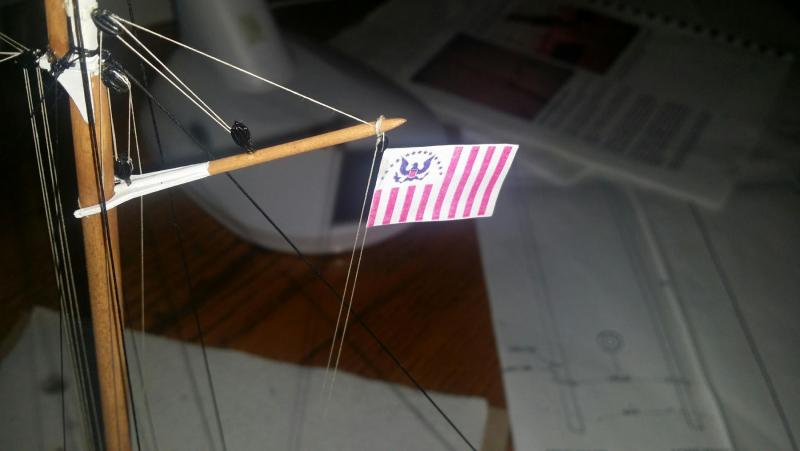
Having a quandry on the color of the fore and aft bulkheads that open amidships. The model and plans have them the same dark brown as the hull. I think this looks a bit simplistic and am looking for suggestions. Time period is mid-eighteenth century. I was thinking about ochre. Oh, and before you even ask, the huge goofy paper pirate ensign at the mizzen will be replaced. Any leads on silkscreen ensigns would be greatly appreciated.
-
Never heard of her so I looked it up and I think you are right. Very similiar. I picked the kit because it had three areas I wanted to practice on as a second build: basic square rig sail plan, bulwarks, and carriage guns. I am slowly working my way up to a light frigate. Plus I really liked the story behind Bluejacket re-introducing a nearly 90 year-old kit. And, come on, who DOESN'T like a pirate ship? Arrrggghh....
-
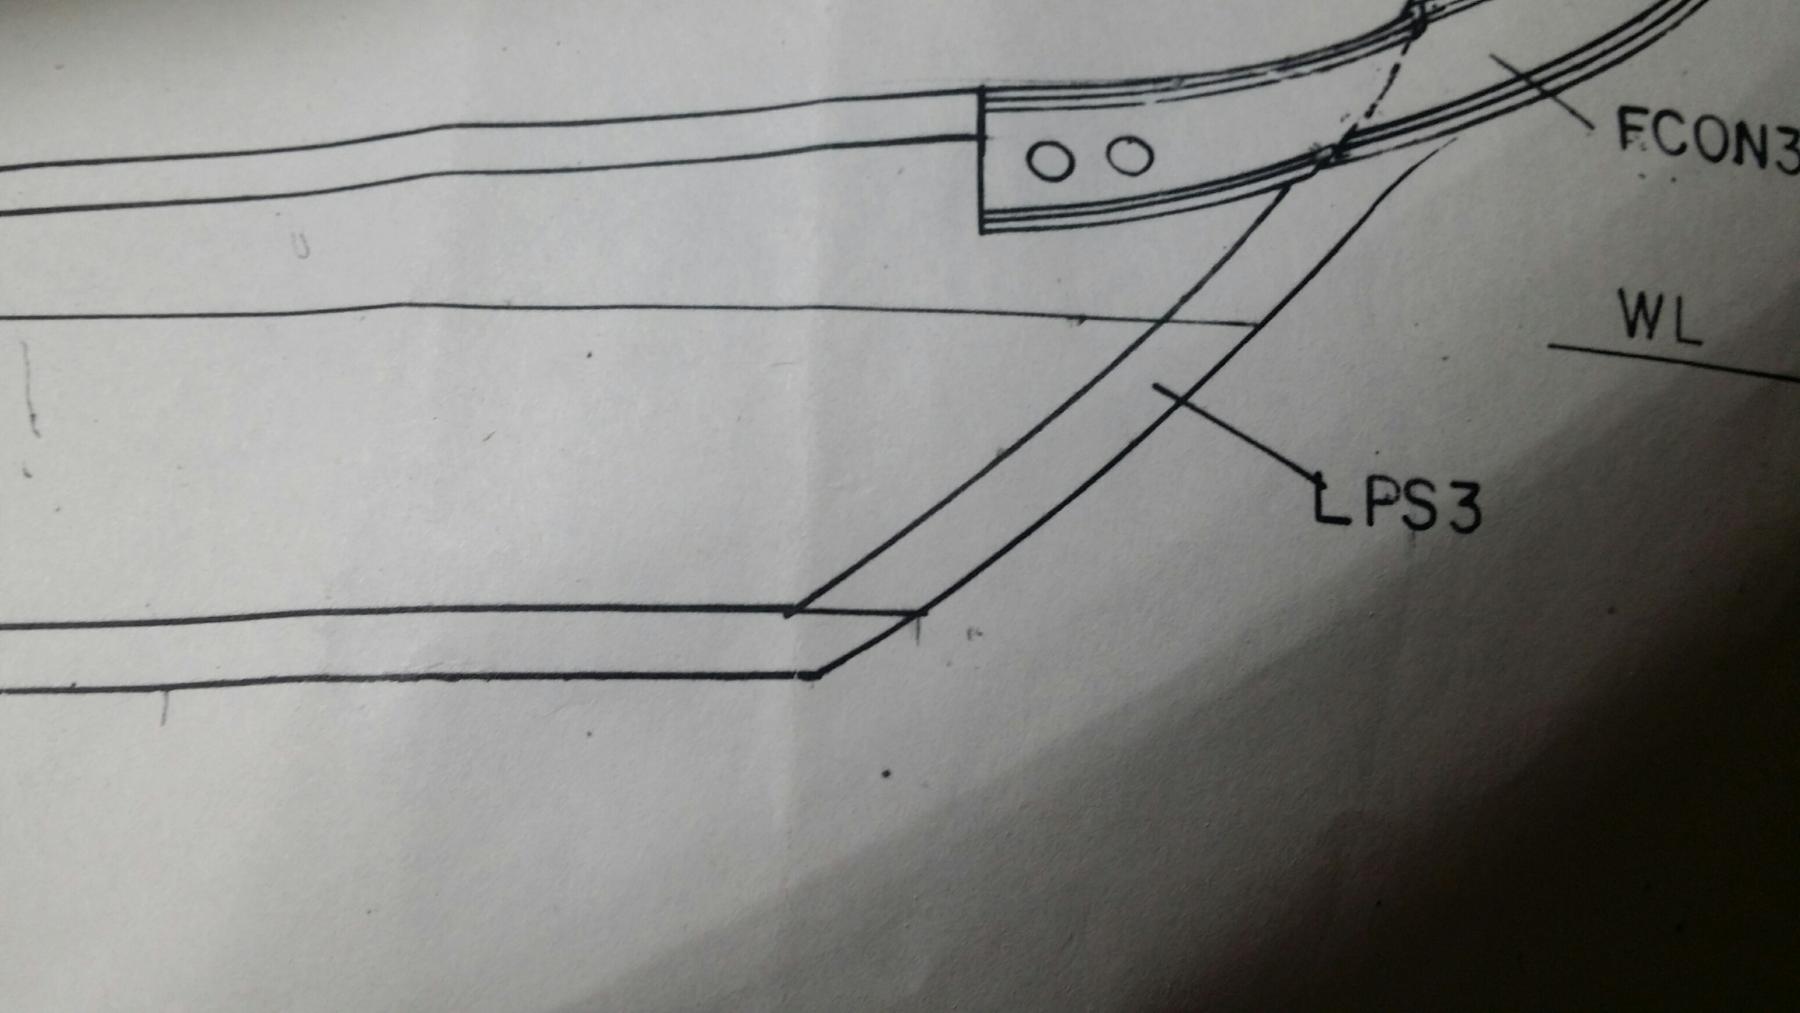
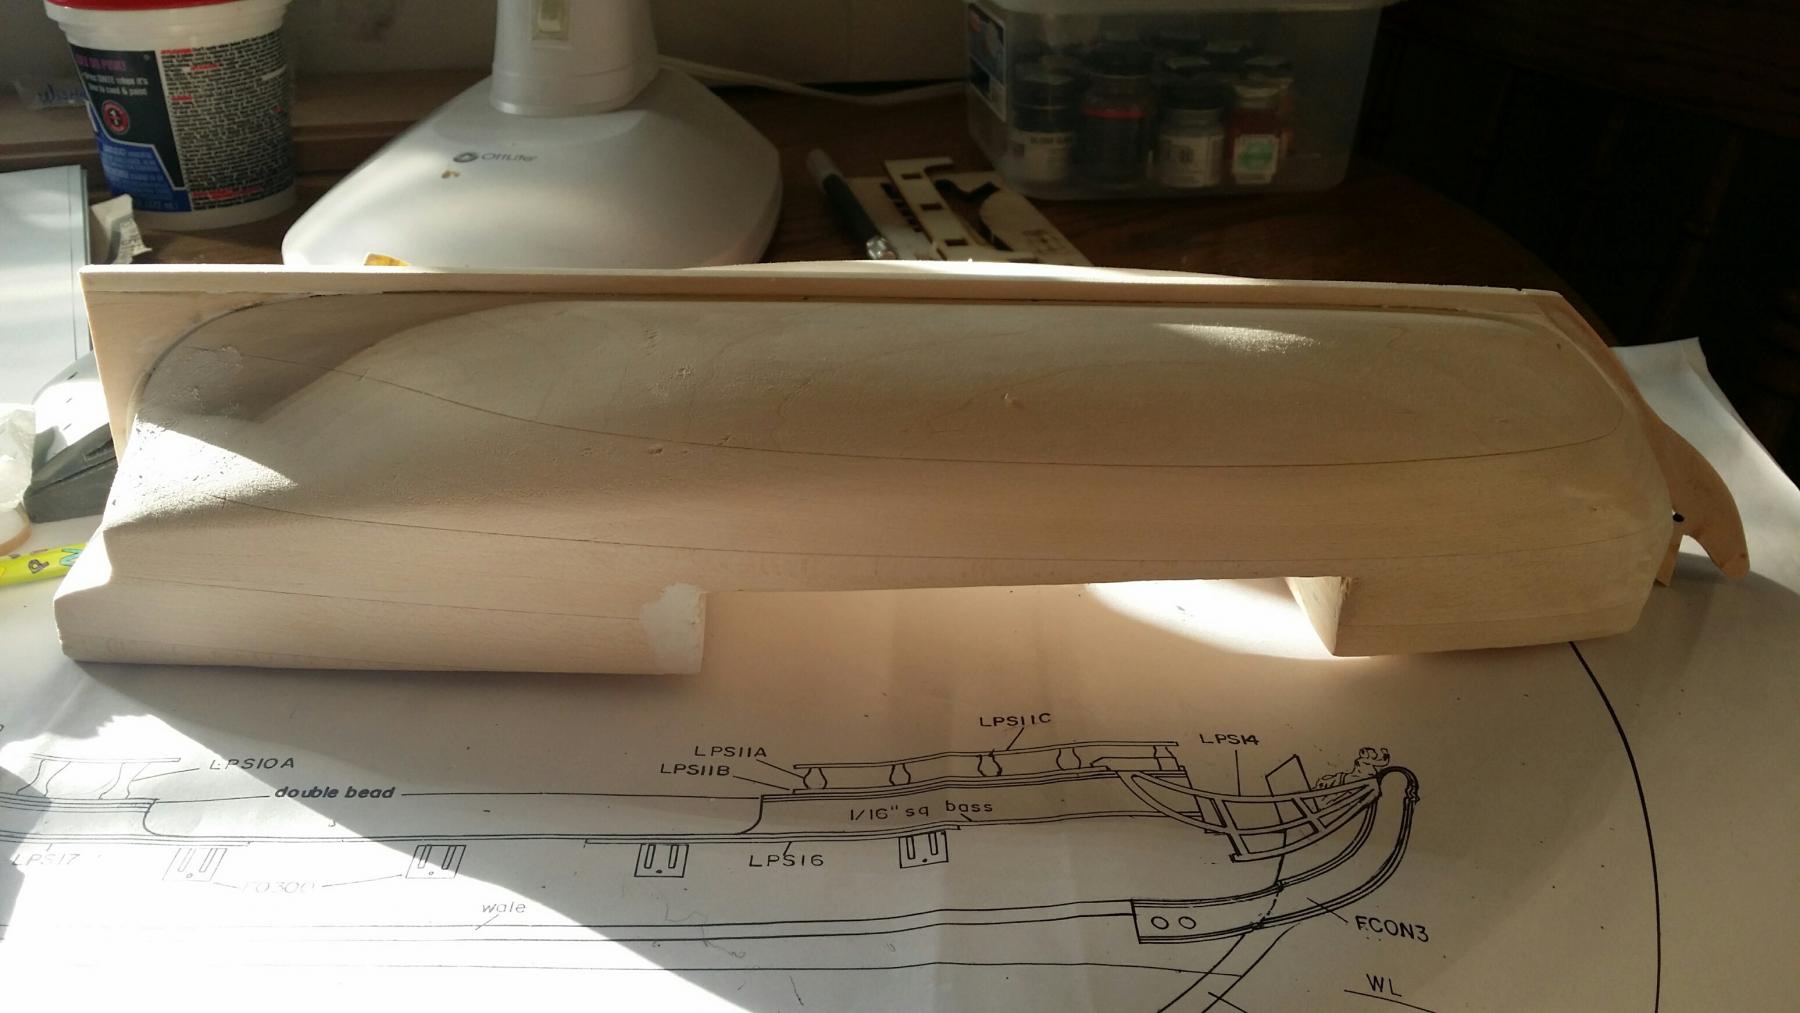
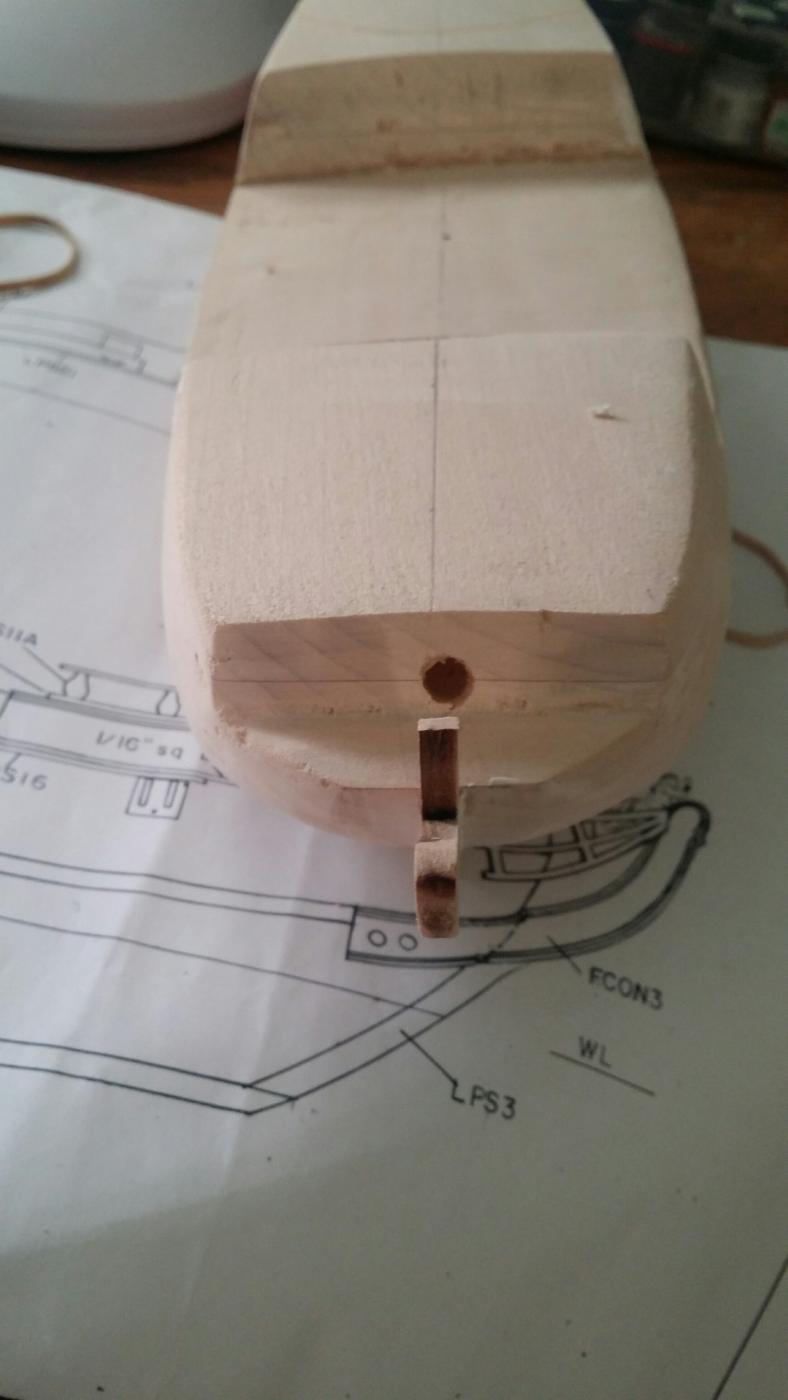
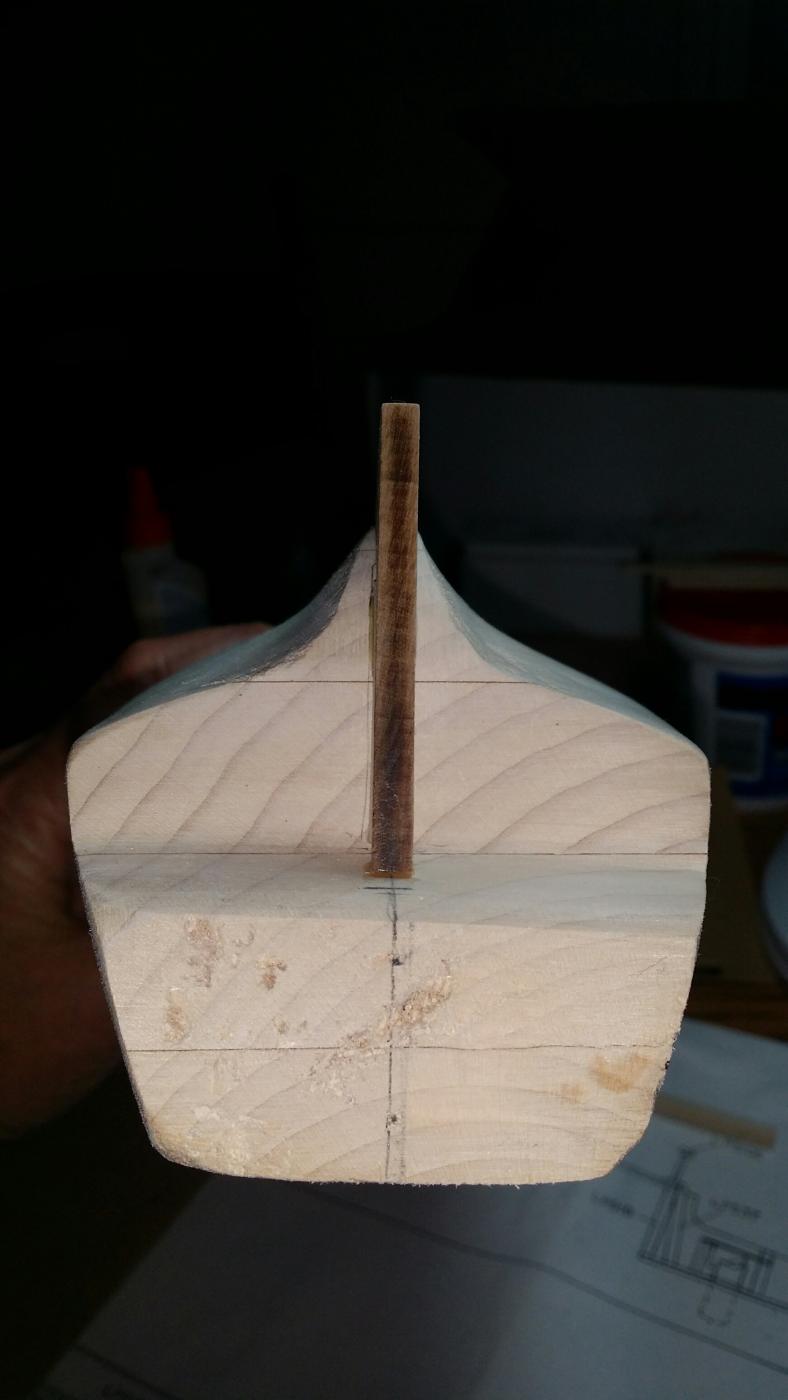
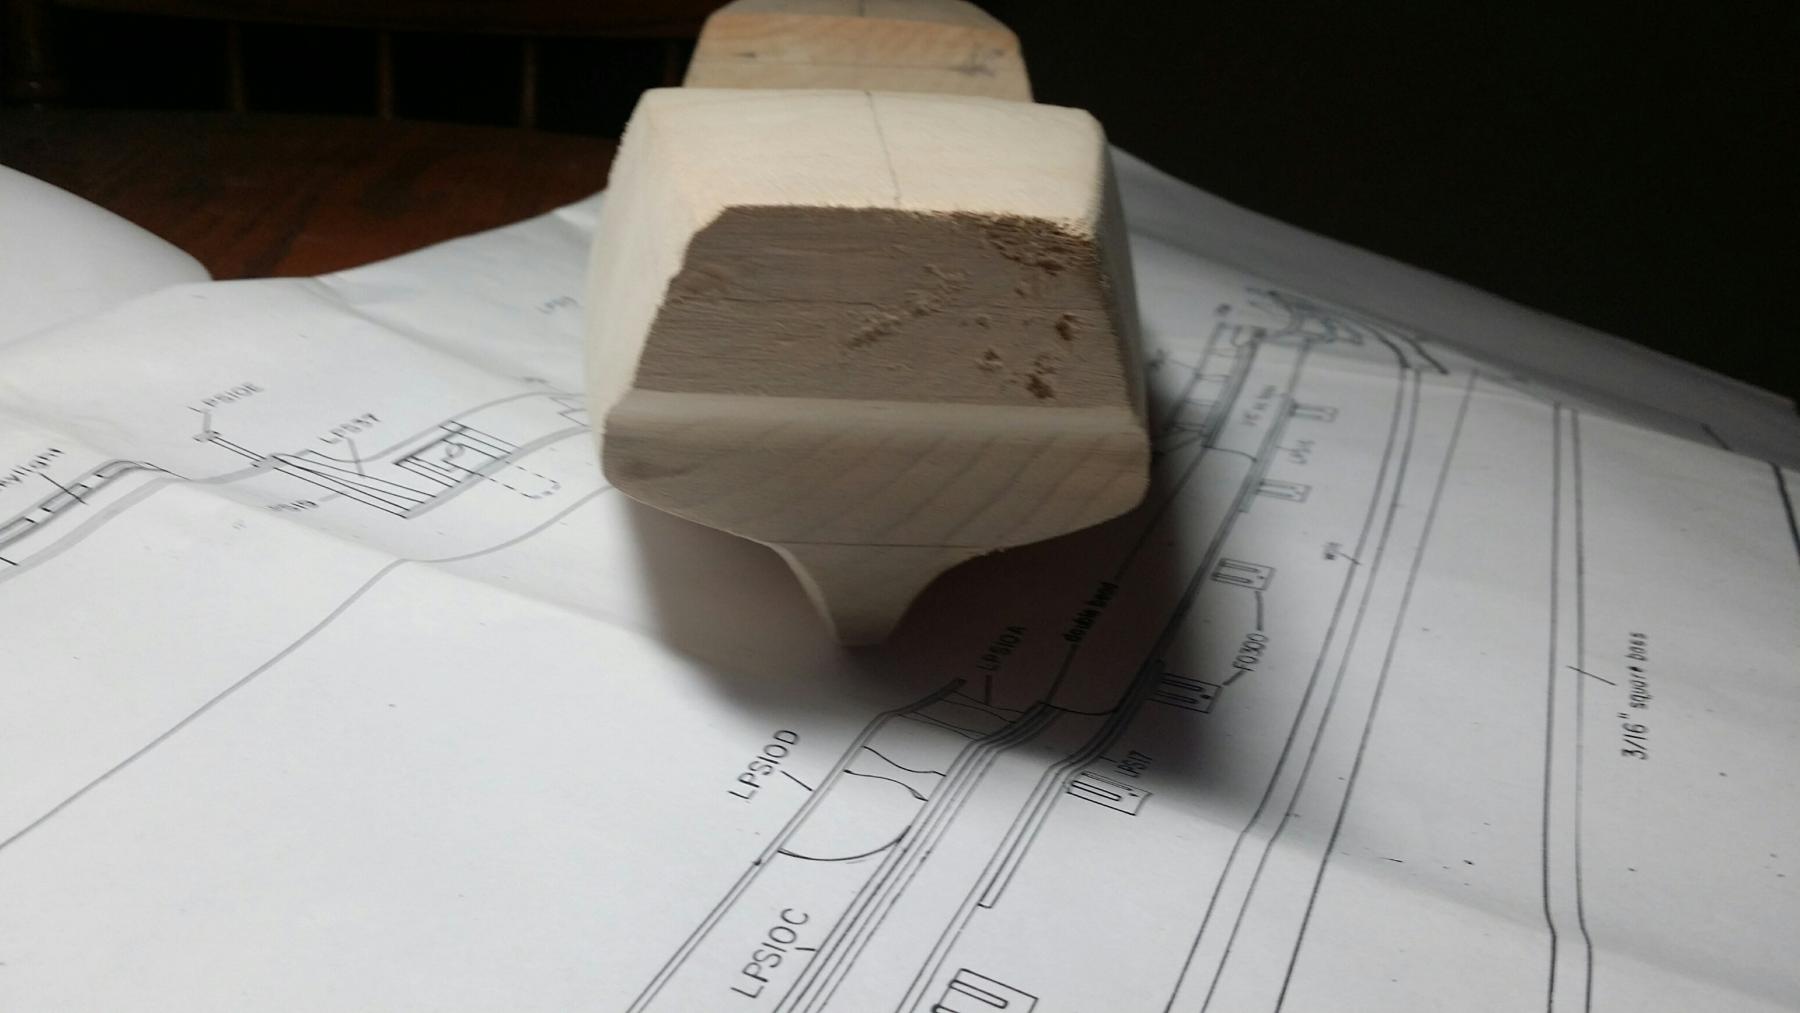
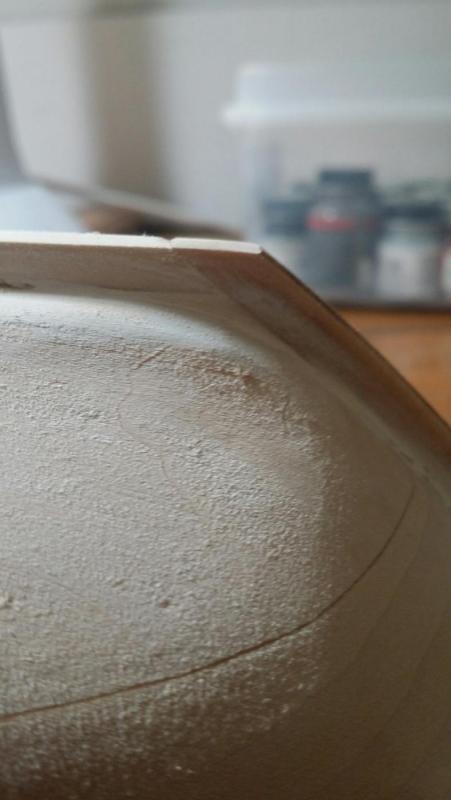
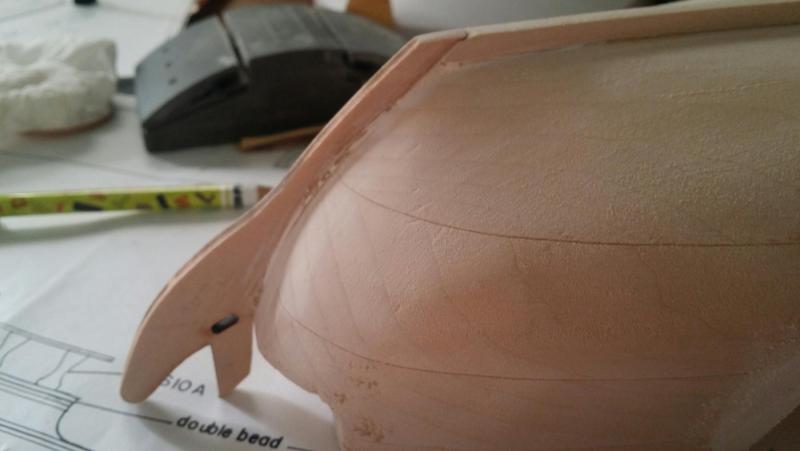
Here are some shots of the stern, keel and stem fitted, sanded and first rough application of spackle filler. Note: I recommend drilling the bowsprit hole at this step and ensuring the angle is good as you dry fit the stem. I had to re-fit my stem as my angle wasntoo steep. Nic at Bluejacket said they will likely be tweaking the shape of the stem in the future. My result was that I deviated from the plan and mated the keel into the foot of the stem, instead of having the foot meet the keel. I think it came together pretty nice.


-
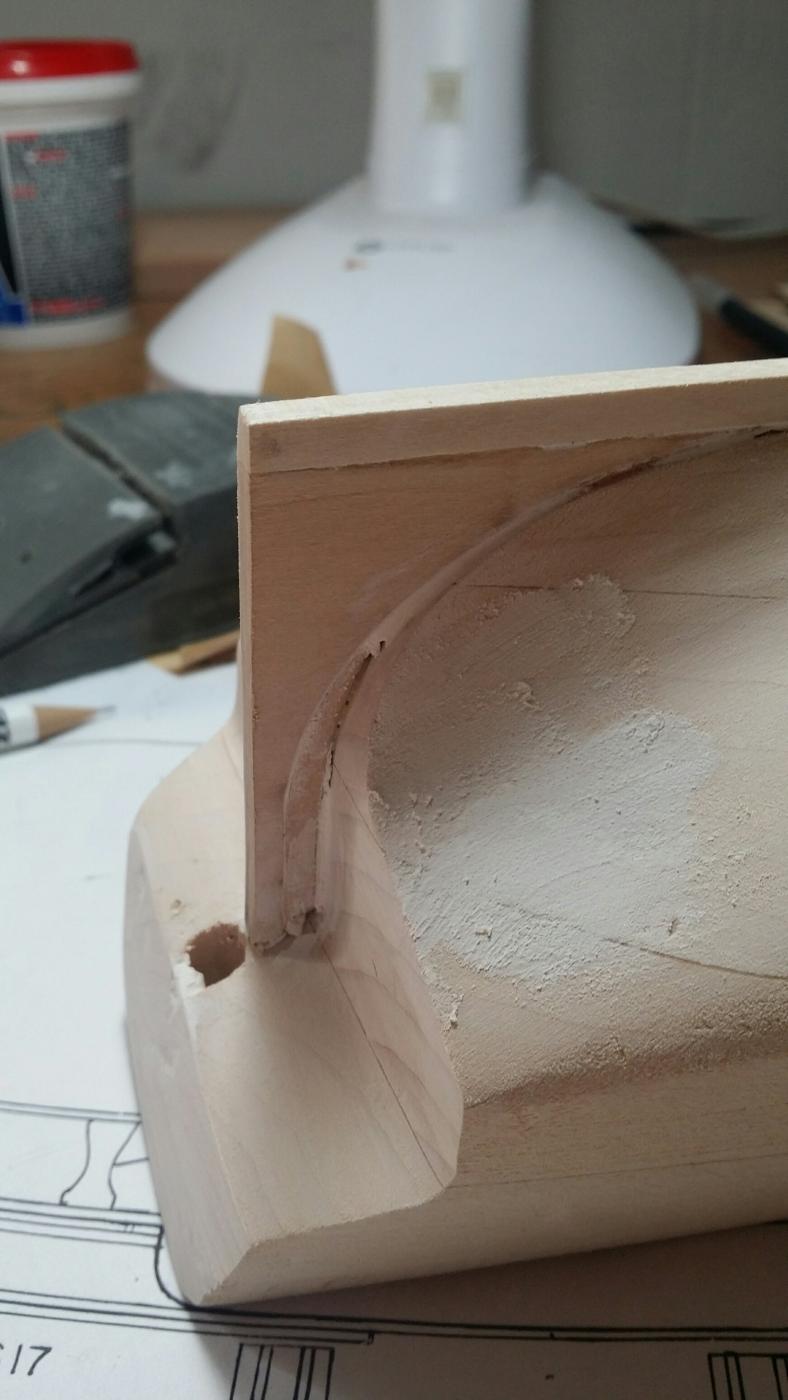
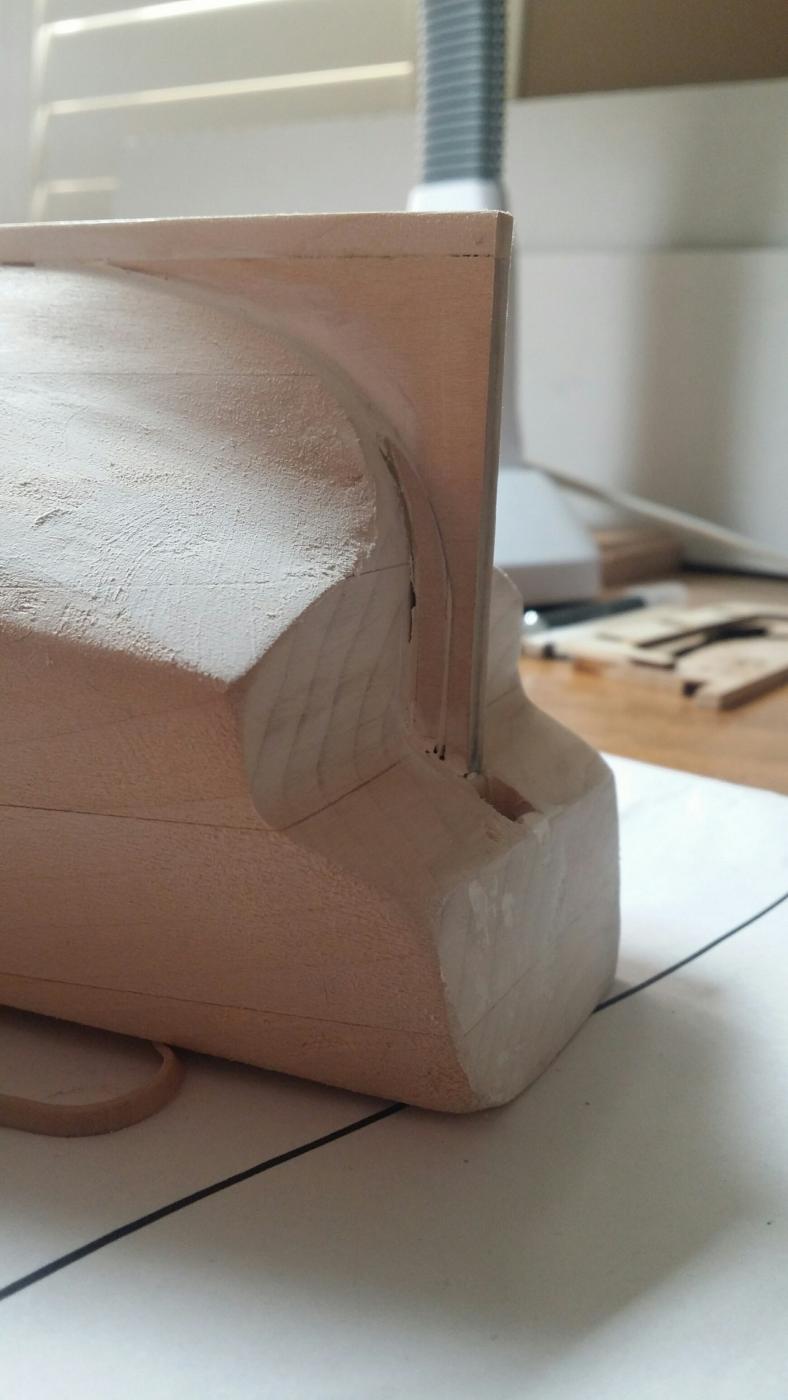
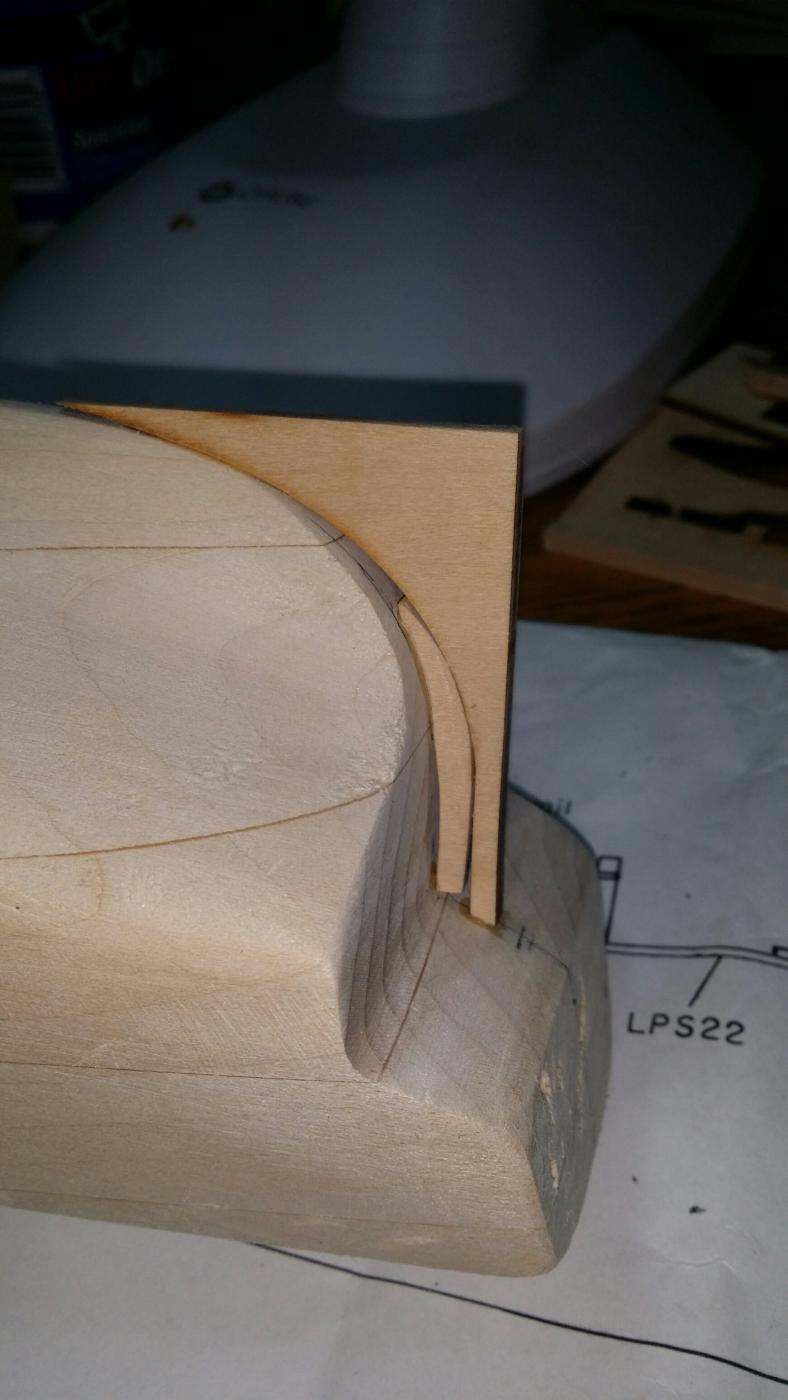
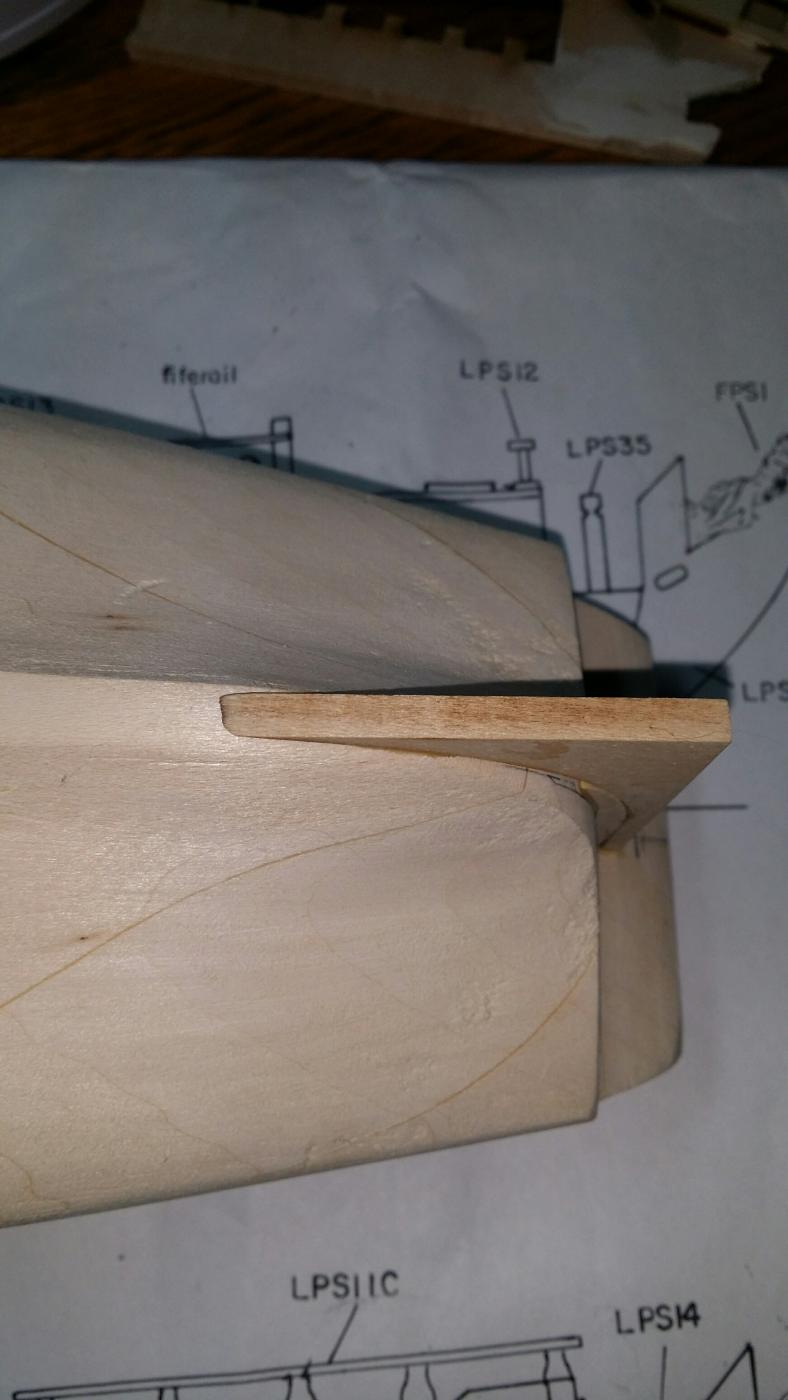
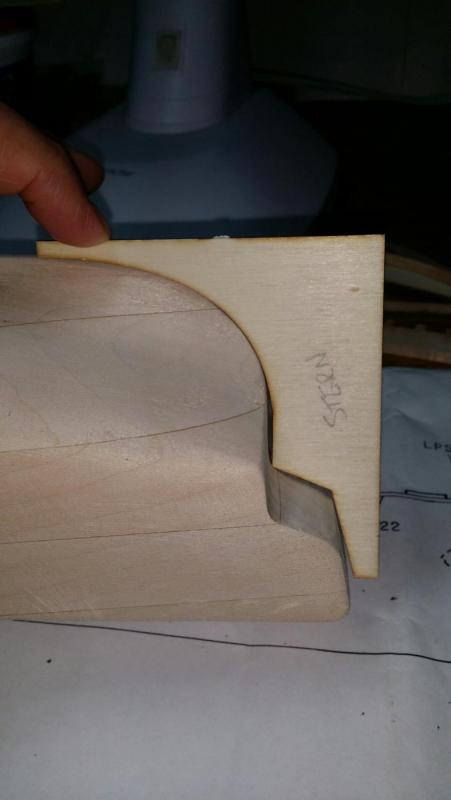
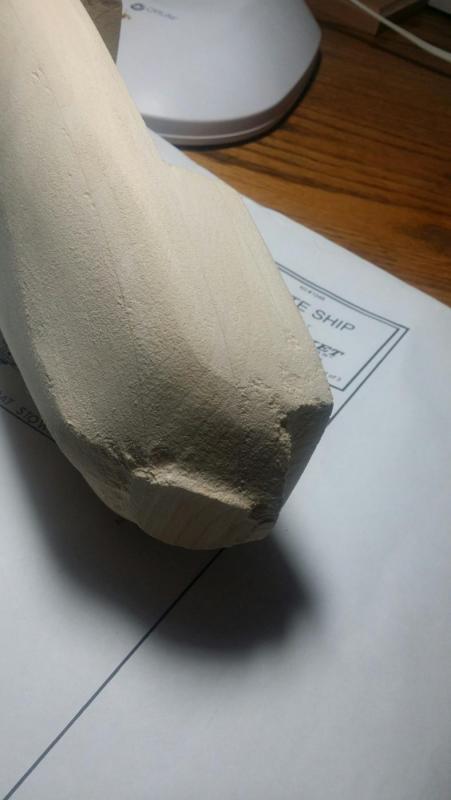
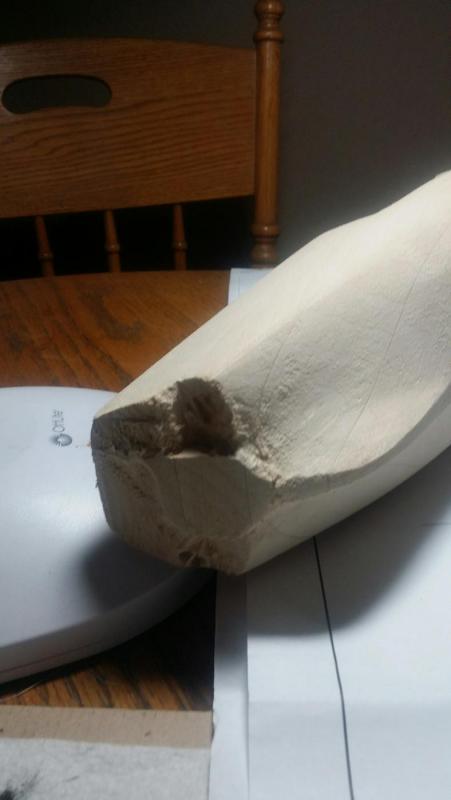
Here is my update on fitting the stern post. This kit is a step up from the entry level solid hull kits, and the lugs required some work to remove. In reading through different posts in MSW, I gather there are those that find solid hull kits more difficult than plank on bulkhead. It is certainly an art, and not as precise. I recommend with this kit to use the actual stern post as well as the stern template. As you can see in the photos, the template fit looks pretty close, but I over sanded the aft end at the keel. This required me to cut out a "prosthesis" out of scrap wood and fit it in the gap. I think I can fill it in with bondo or spackle and be okay. Does anyone have a good recommendation on a good gap filler? Bluejacket recommends either above and recommends against wood filler.


-
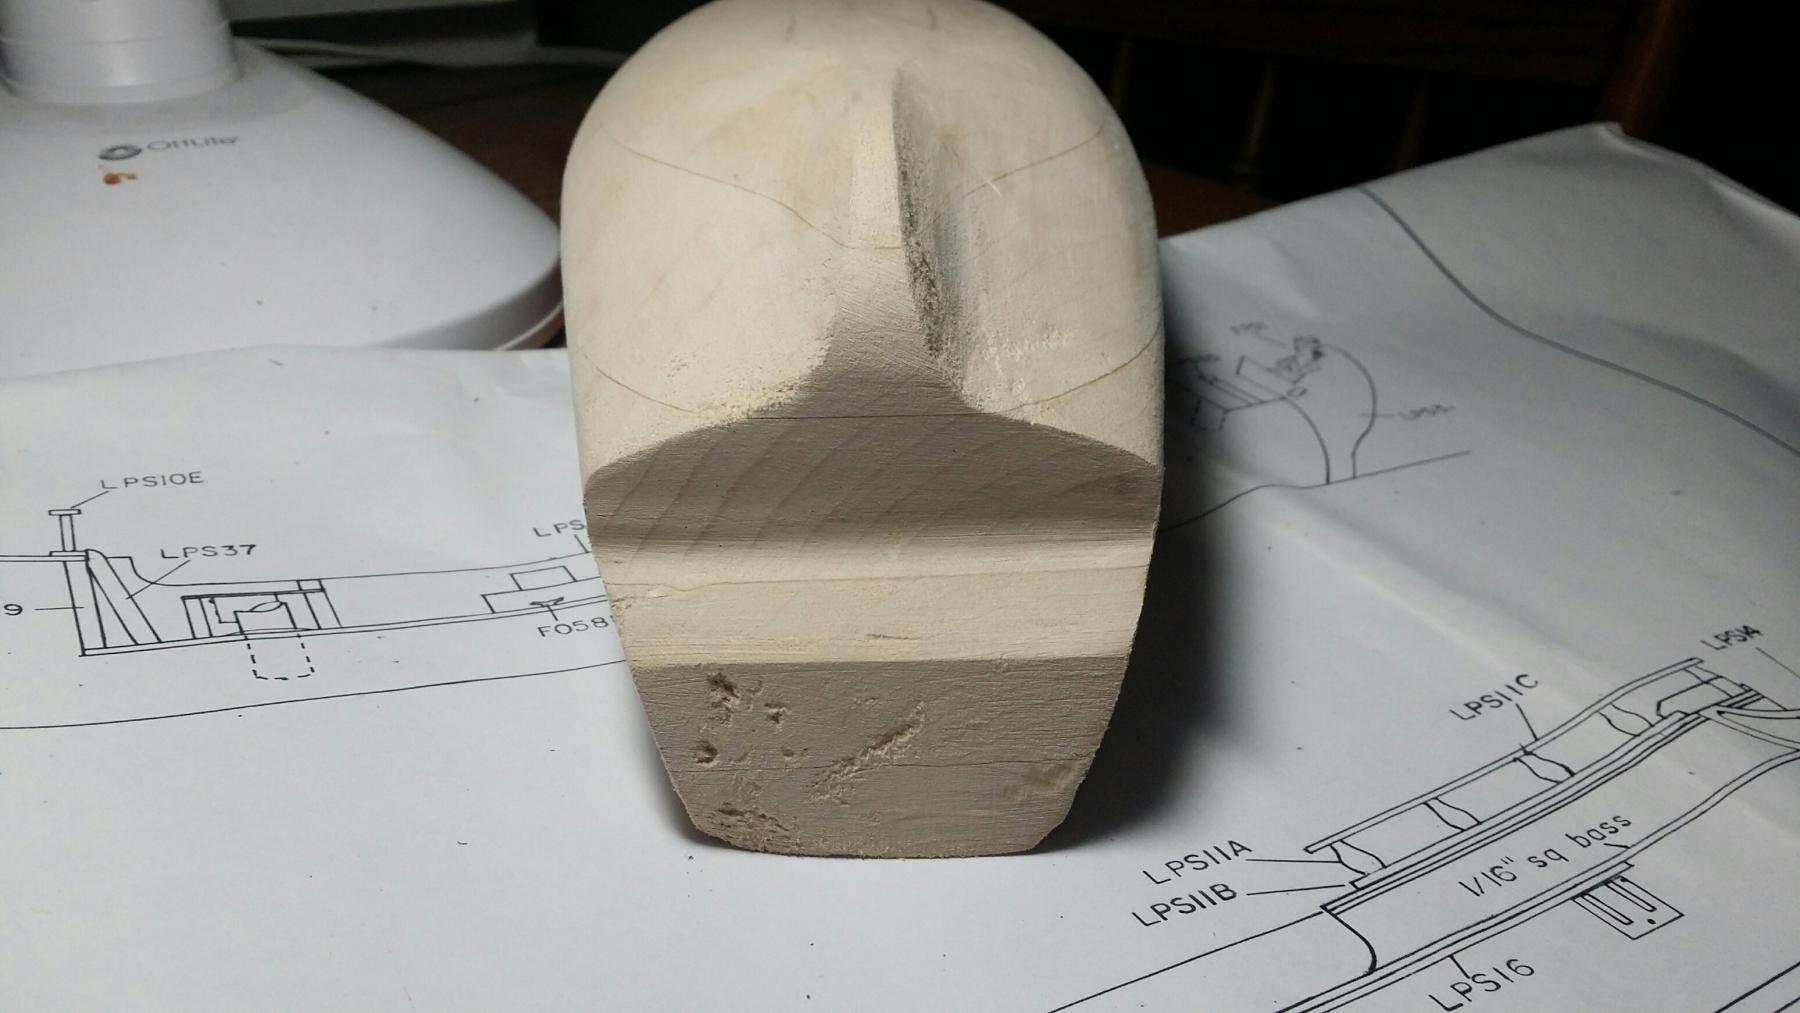
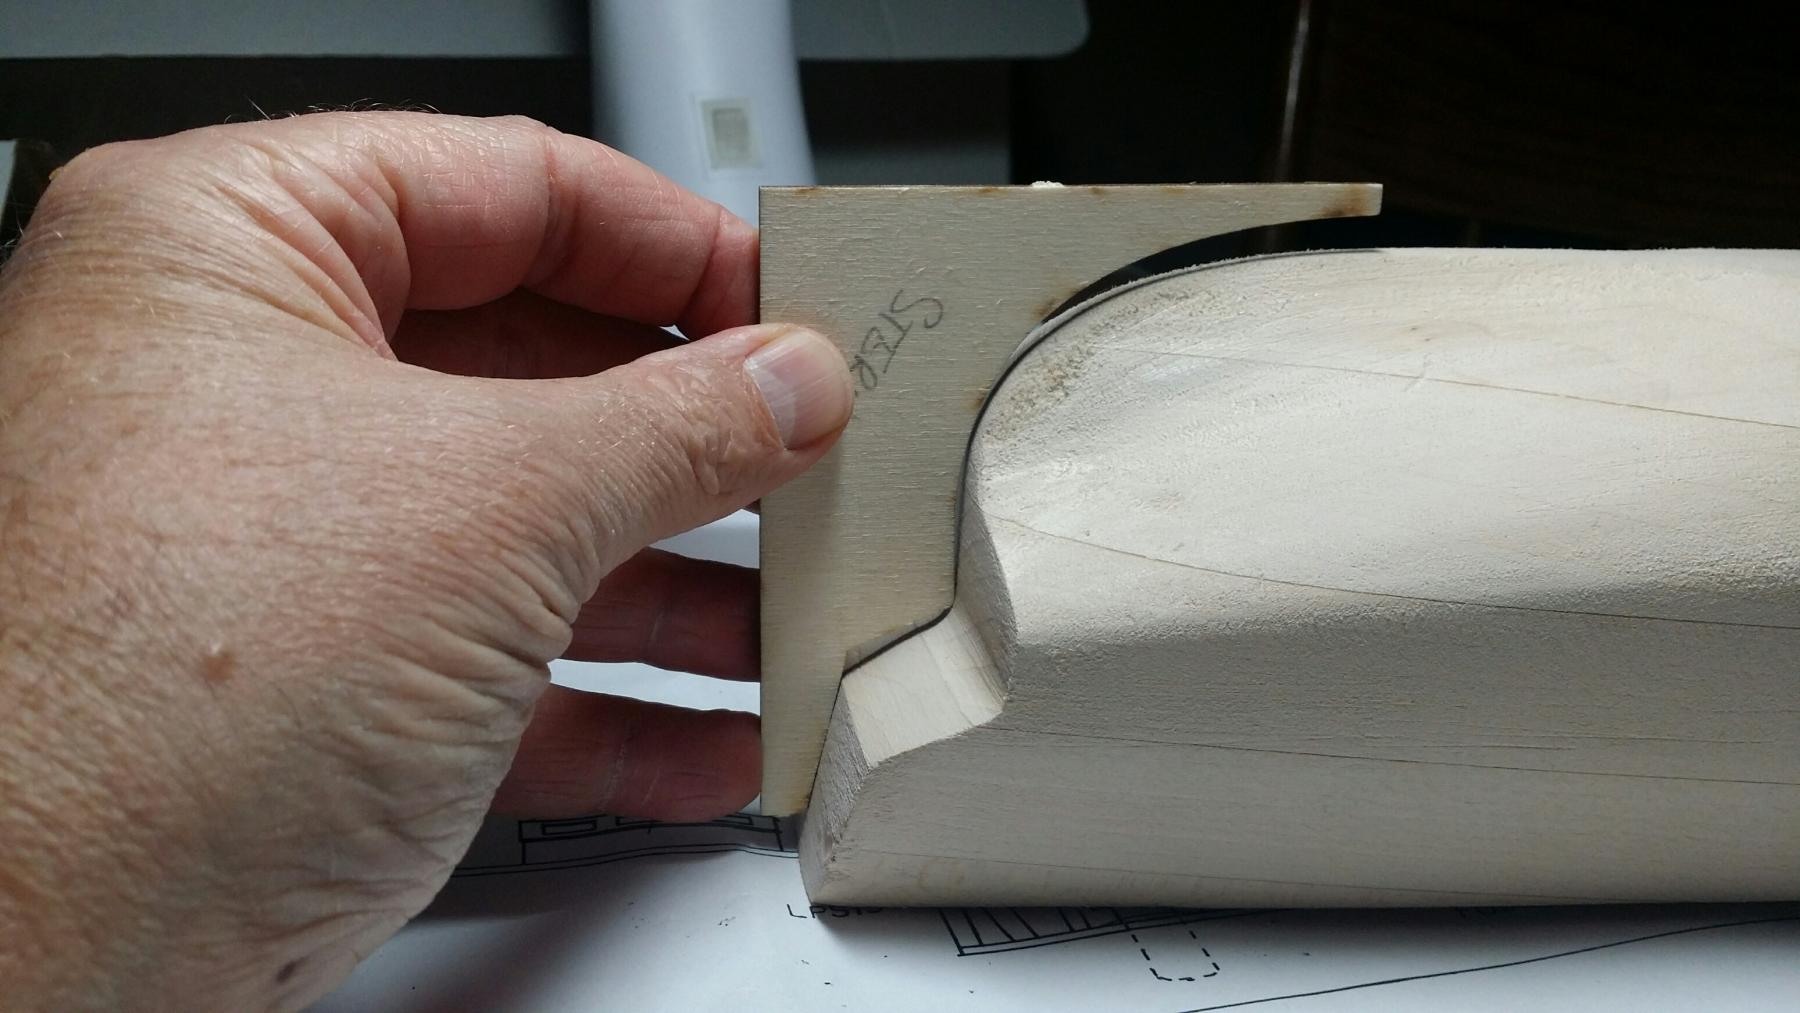
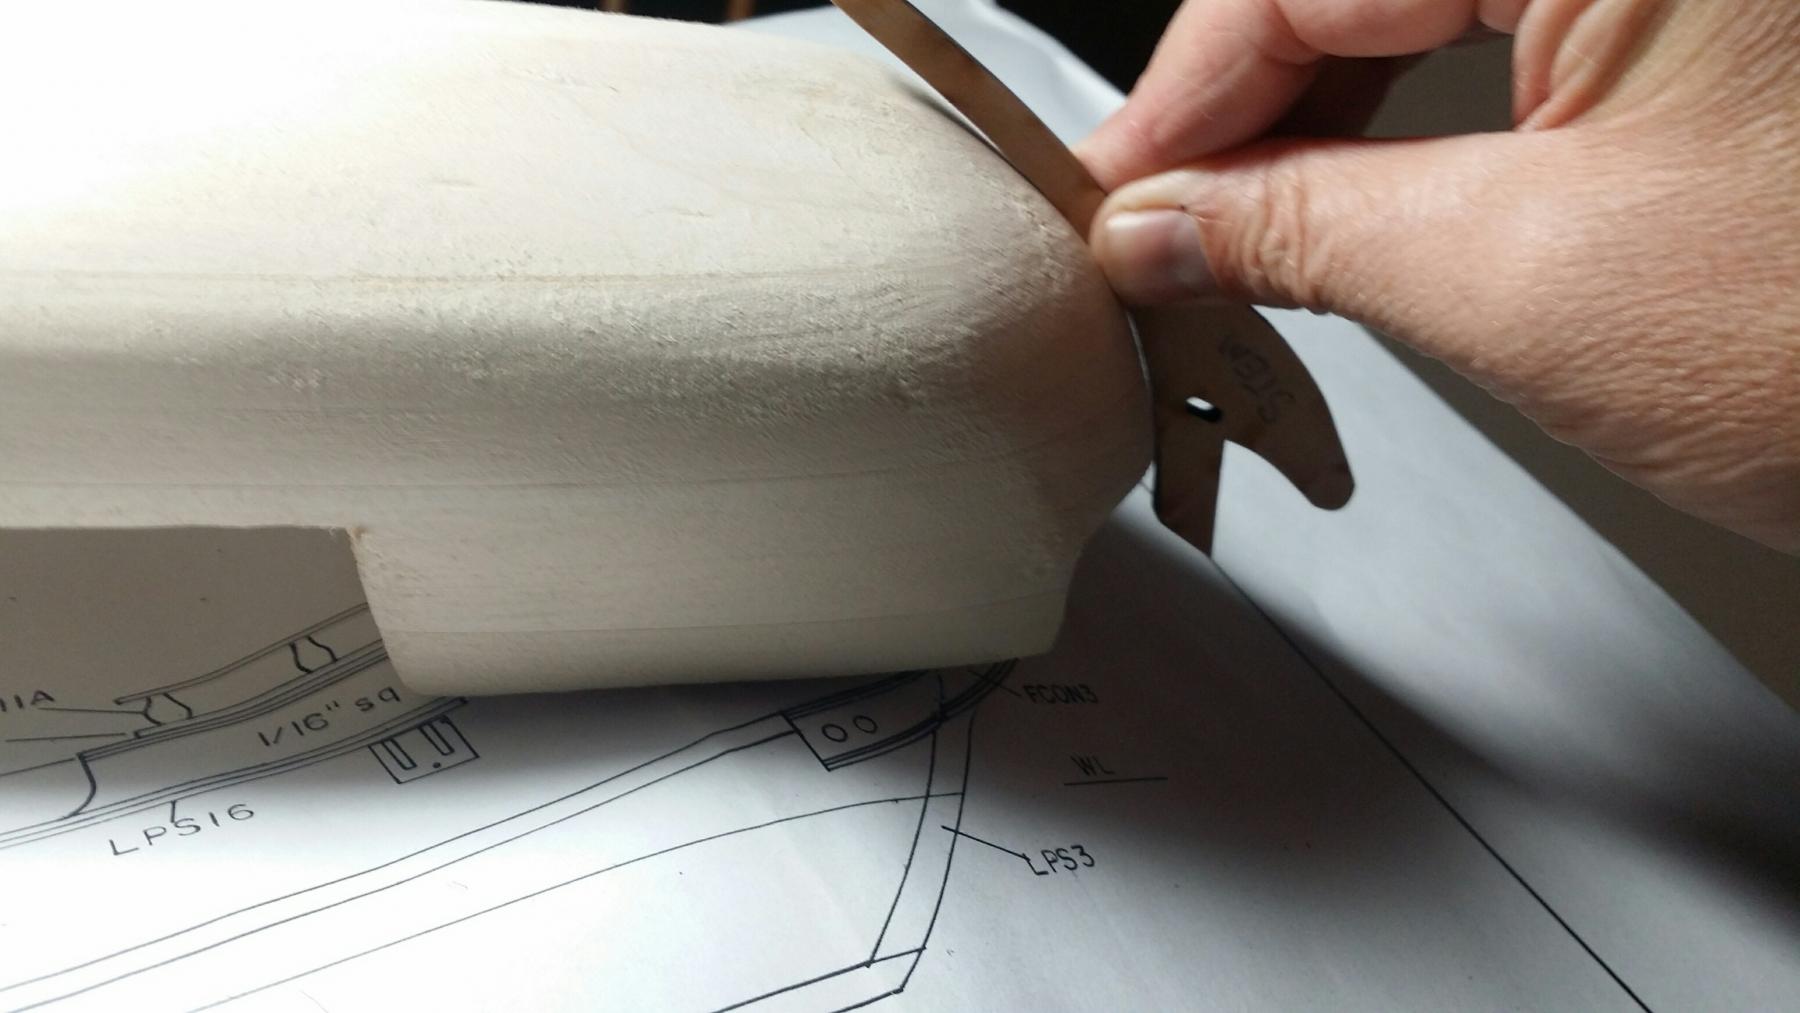
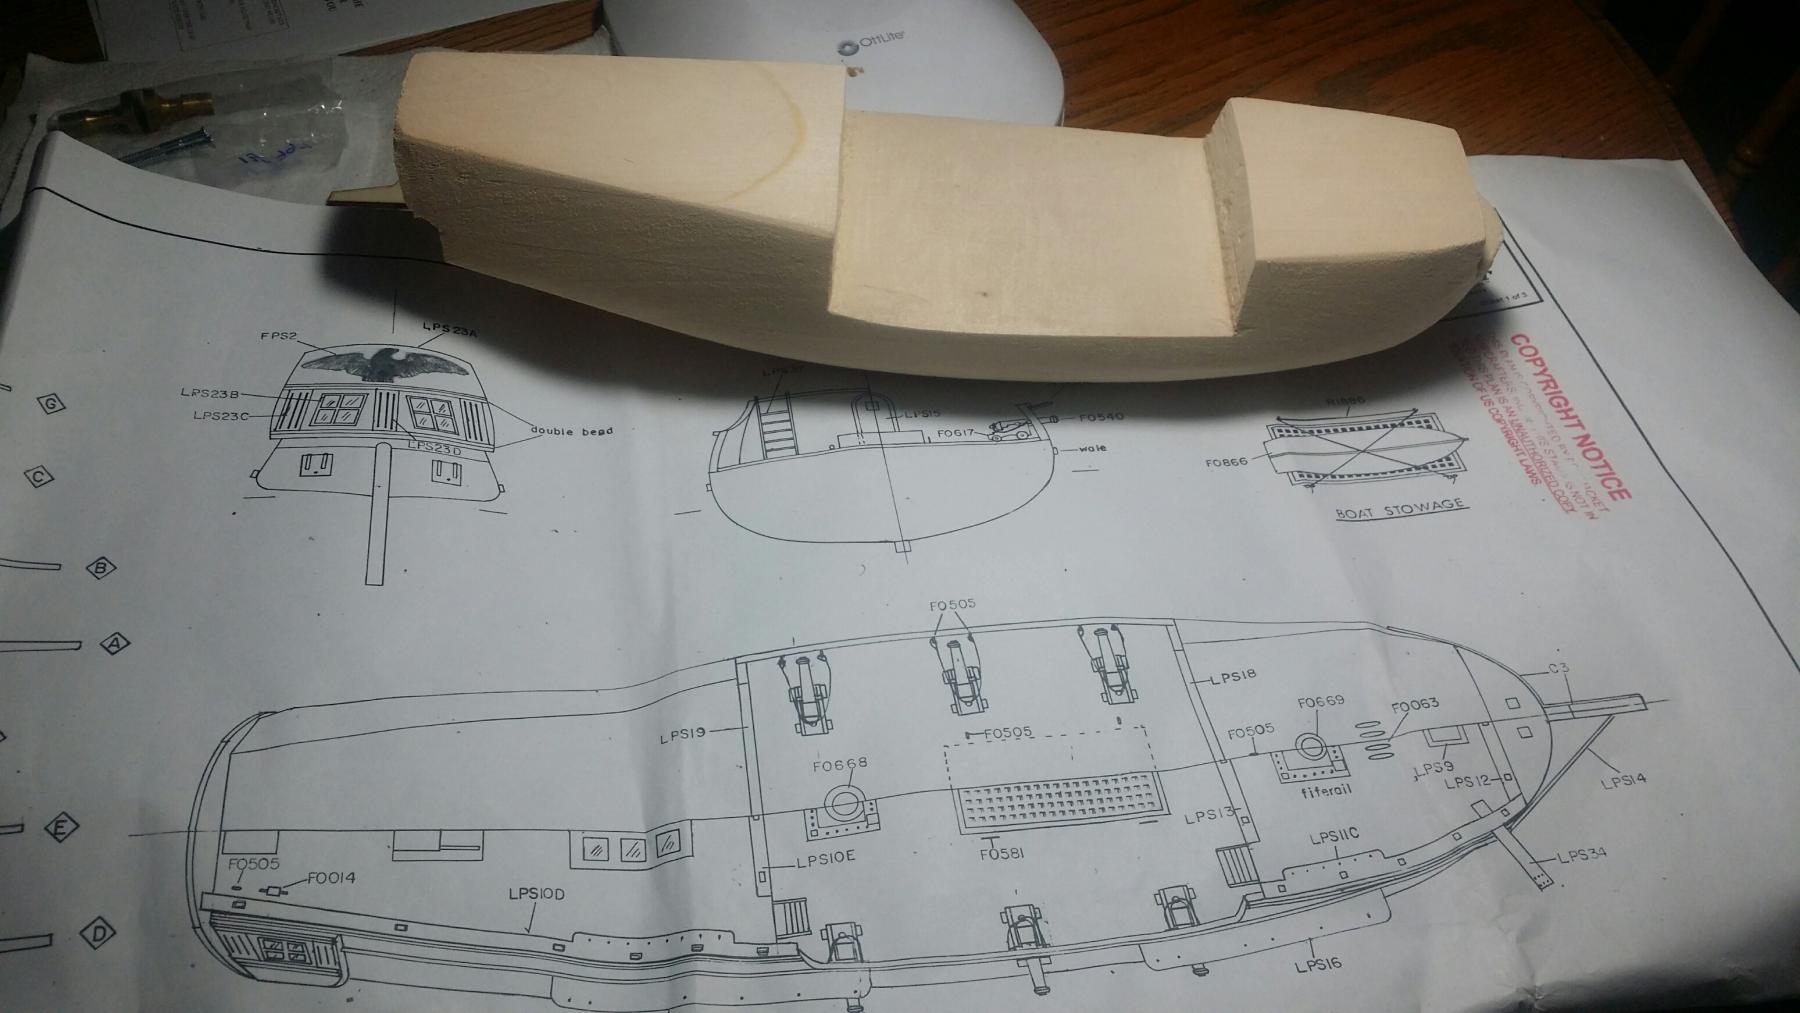
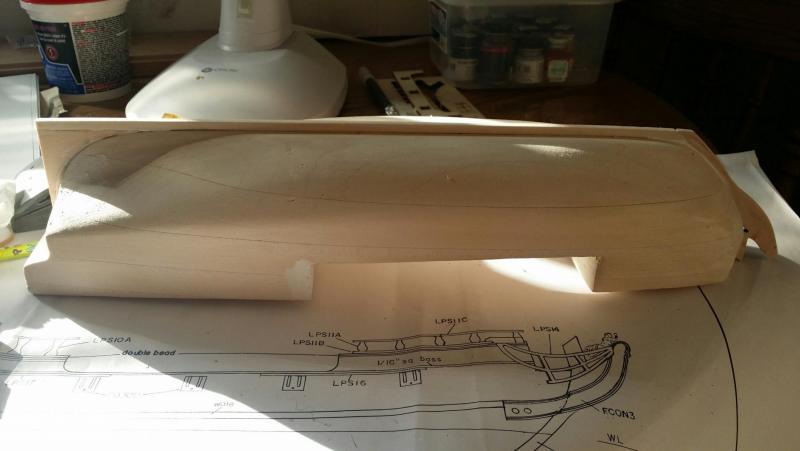
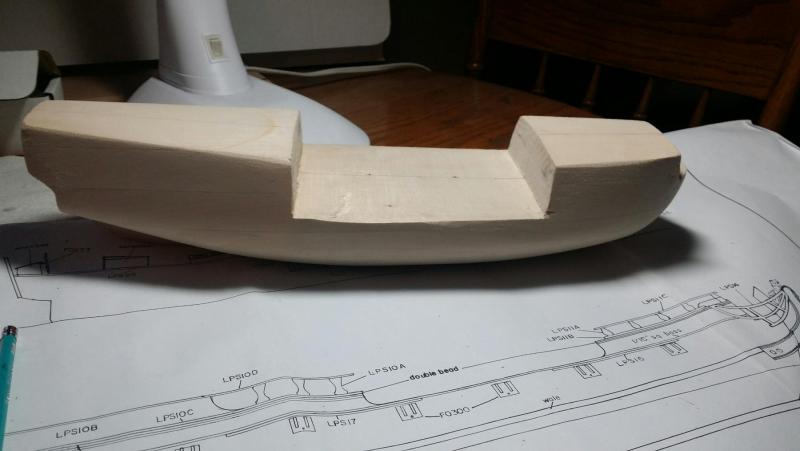
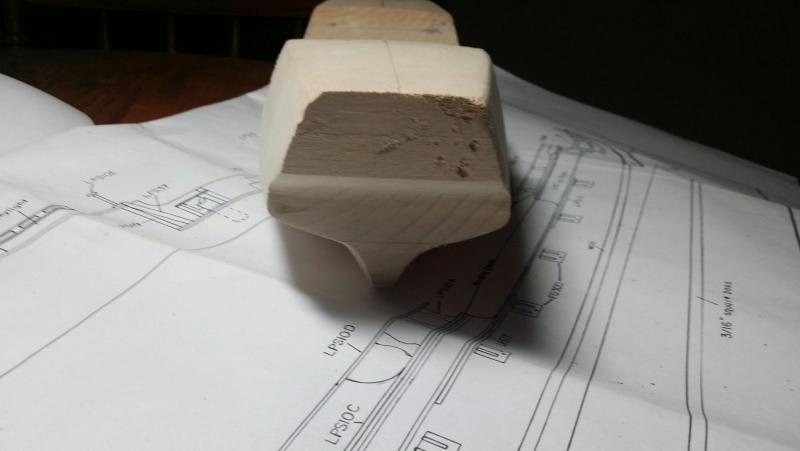
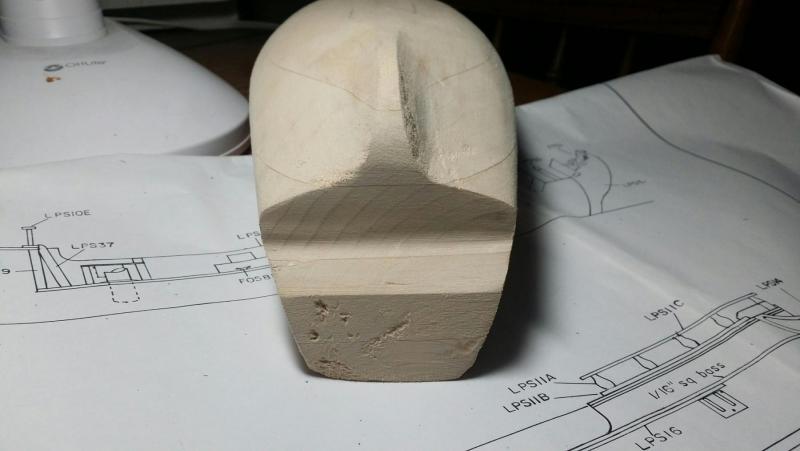
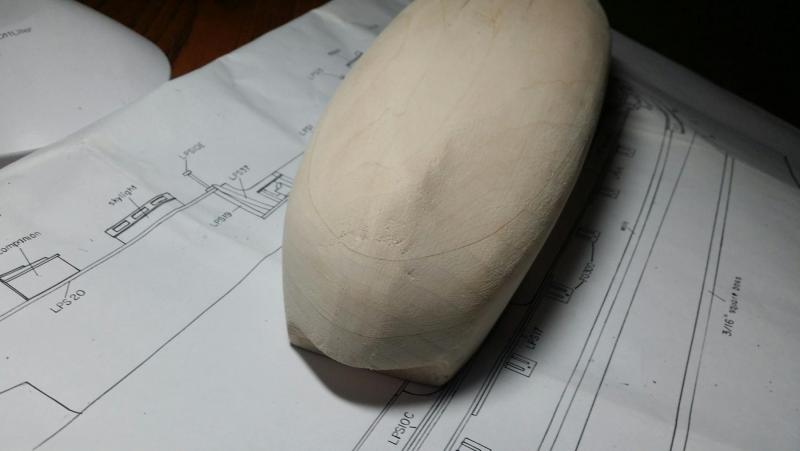
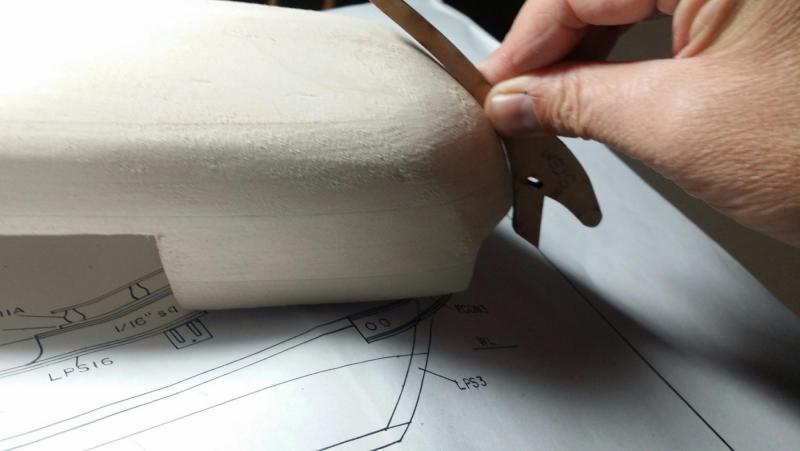
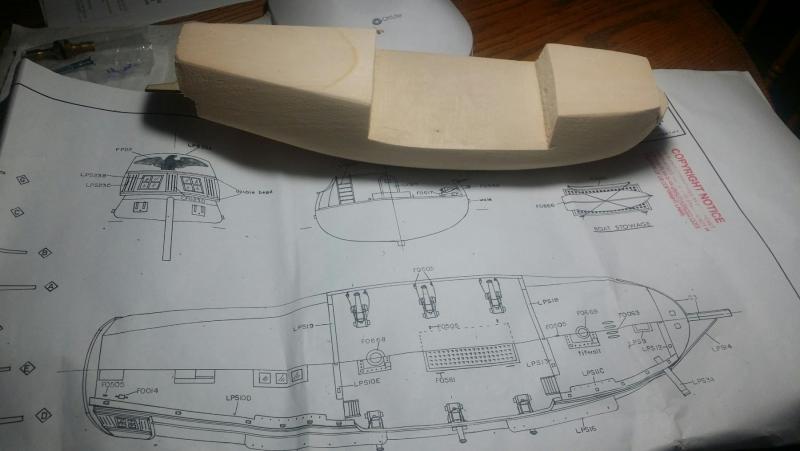
Attached are photos of the initial carving on the hull. This required chisels and a saw prior to sanding. This has been about four hours over two days. Templates are good, and it is coming nicely with just sanding at this point.


-
This is an updated version of an eighty-year old classic first introduced by Bluejacket's predecessor, Bouchert. I selected it for my second build since I thought it would make a good primer for square rigging, bulwarks, and carriage guns......arrrghhh.
-
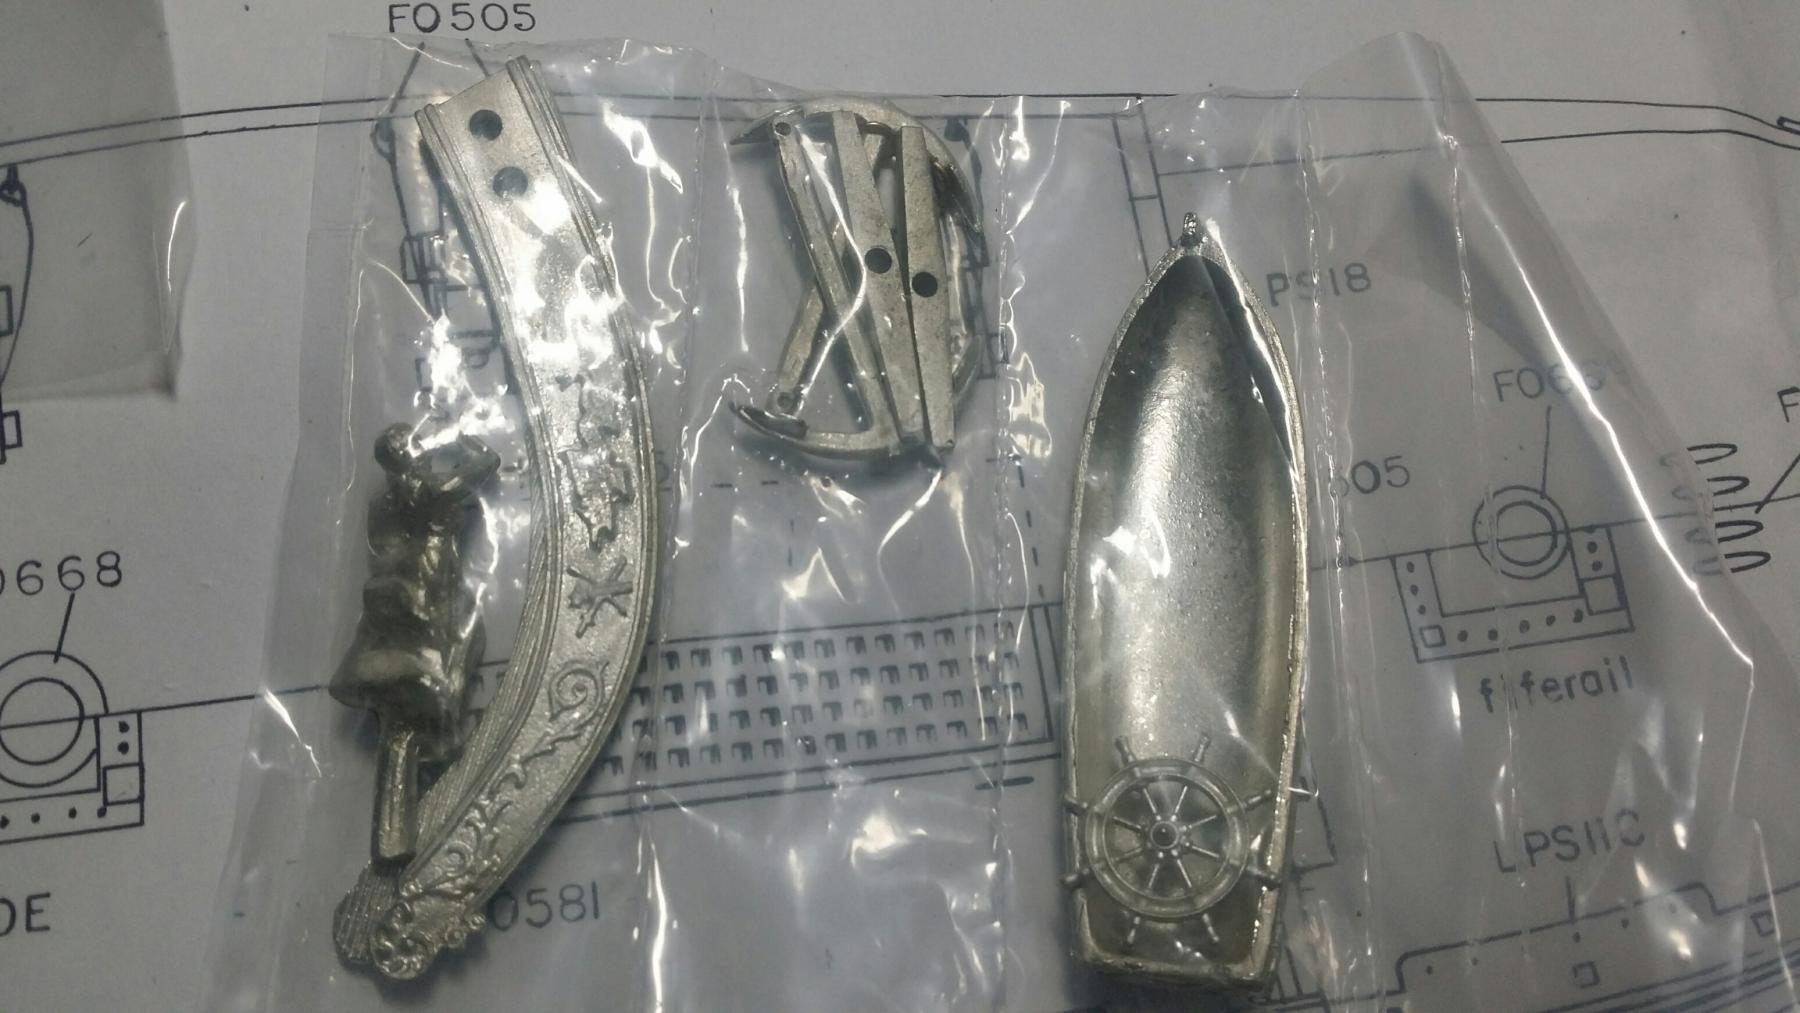
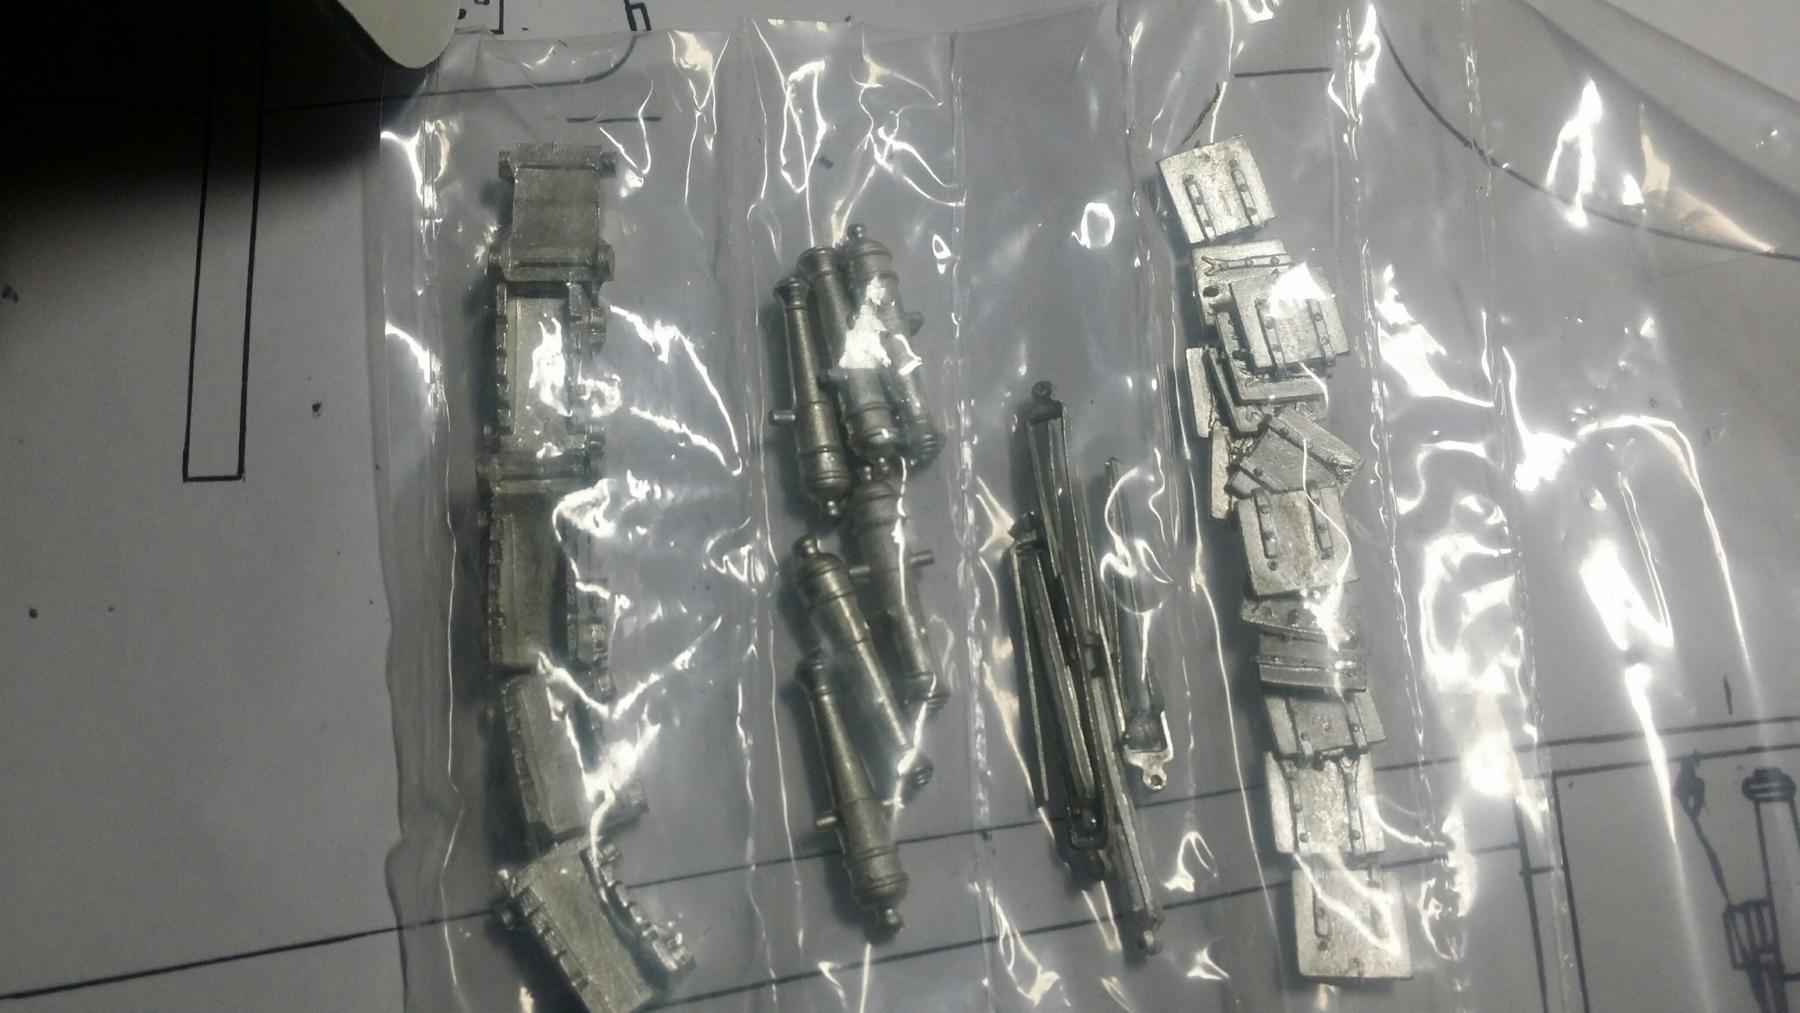
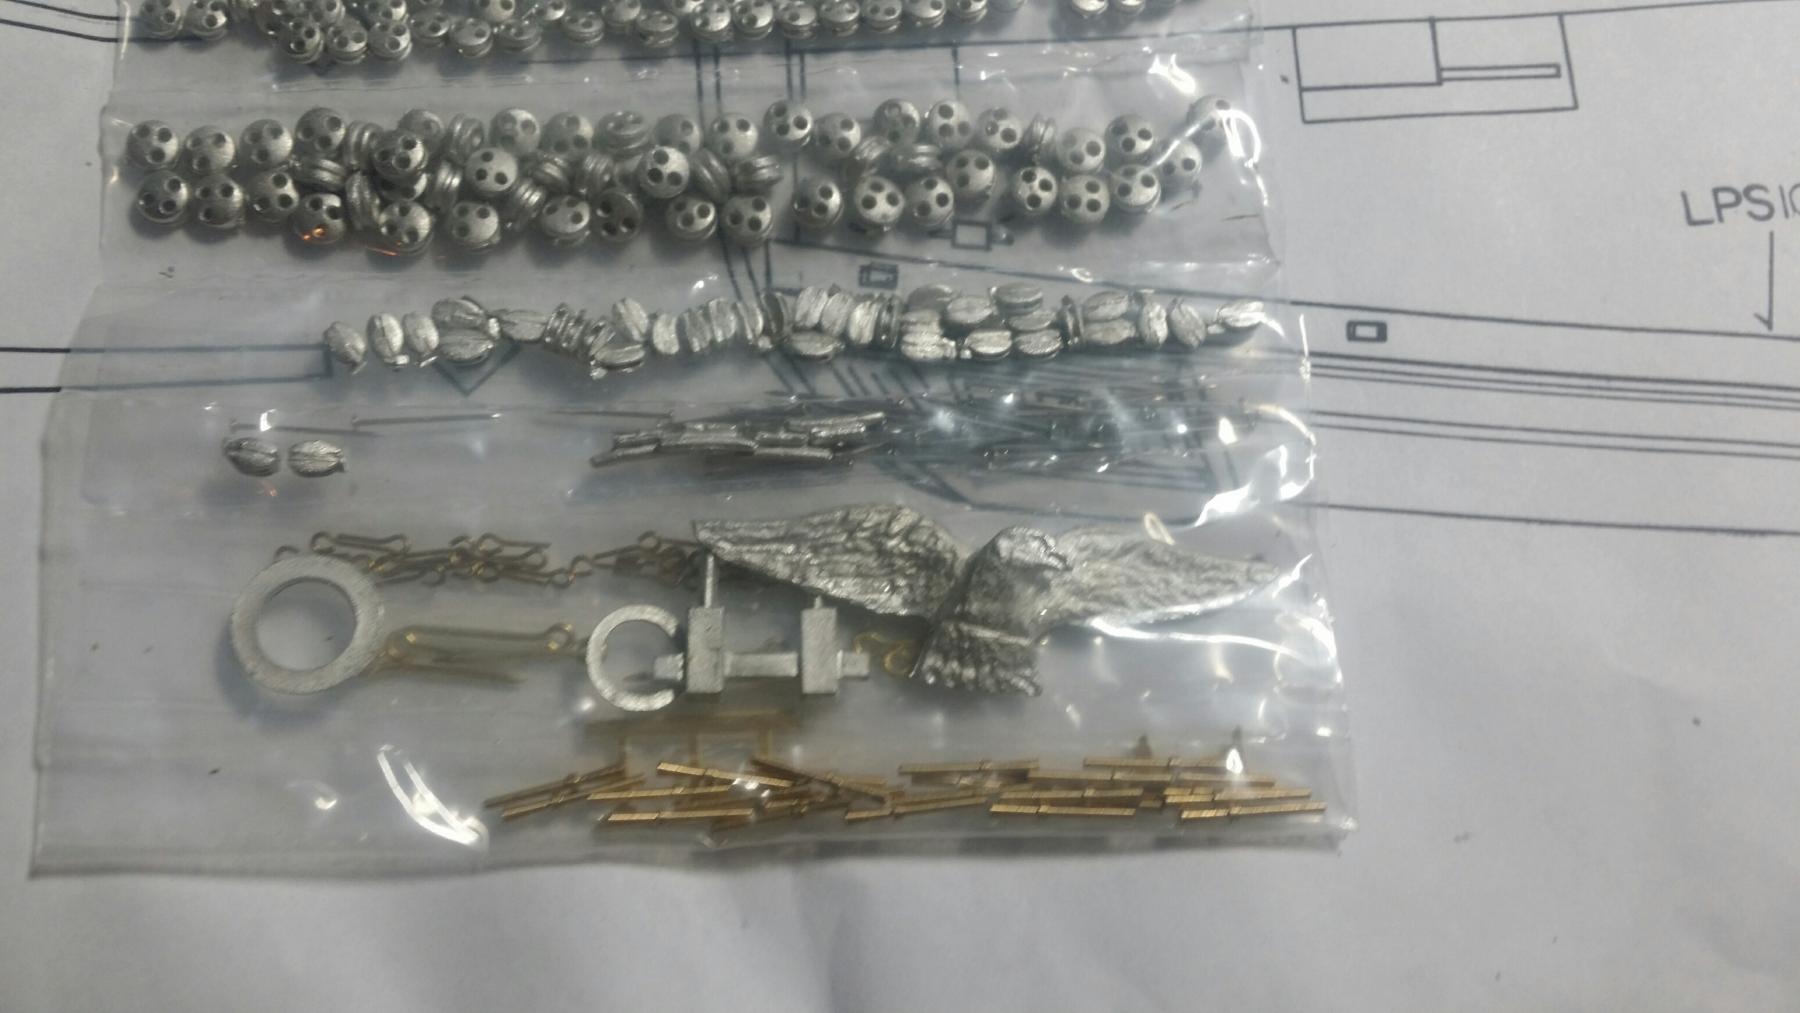
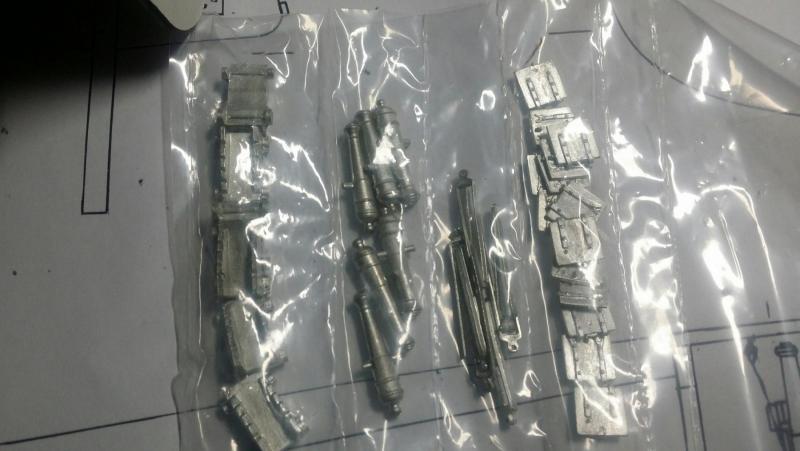
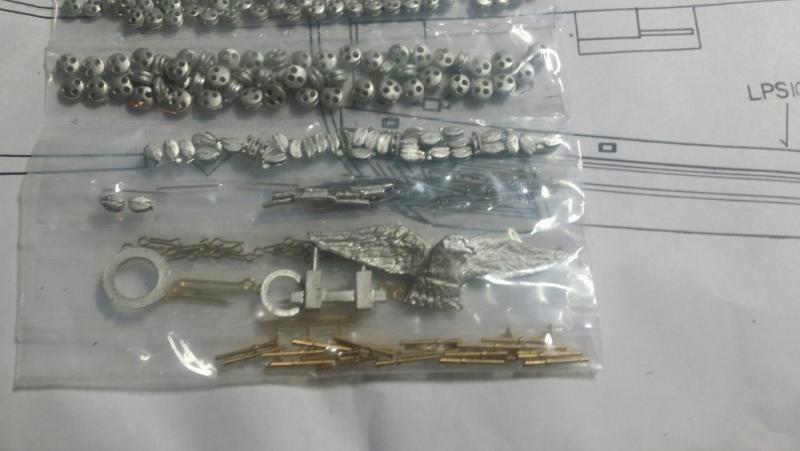
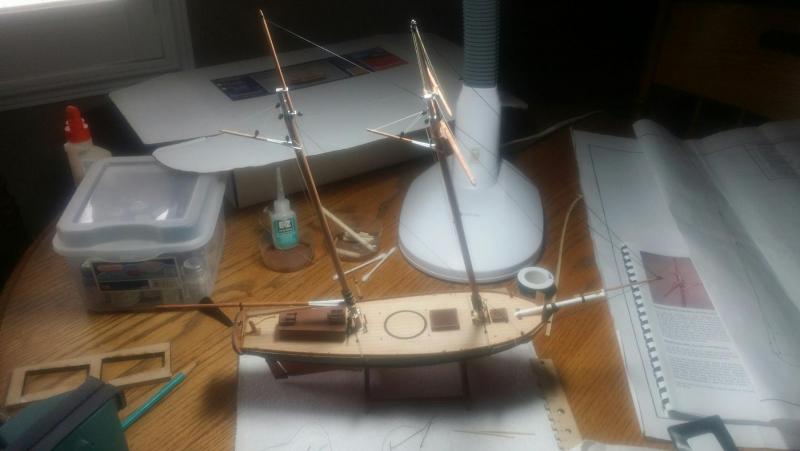
Bluejacket's Pirate Brig kit just arrived. This should keep me busy for several months. This is a step up from their "Ensign" level. Instructions are a lot less detailed than the Revenue Cutter, which was my previous build. Hull is about 75 percent finished. Fittings look great, and the plans are quite nice with three seperate sheets (hull, standing, and running rigging).

-
So, I went with wrought iron. I painted them, then dry fitted each stanchion back in place. They went in without any issues. Last step was the halyard for the ensign. For my first wooden ship model build, I thought this cutter was moderately challenging. I would highly recommend it for a novice like myself.

- 83 replies
-
- 6
-

-
- revenue cutter
- BlueJacket Shipcrafters
- (and 2 more)
-
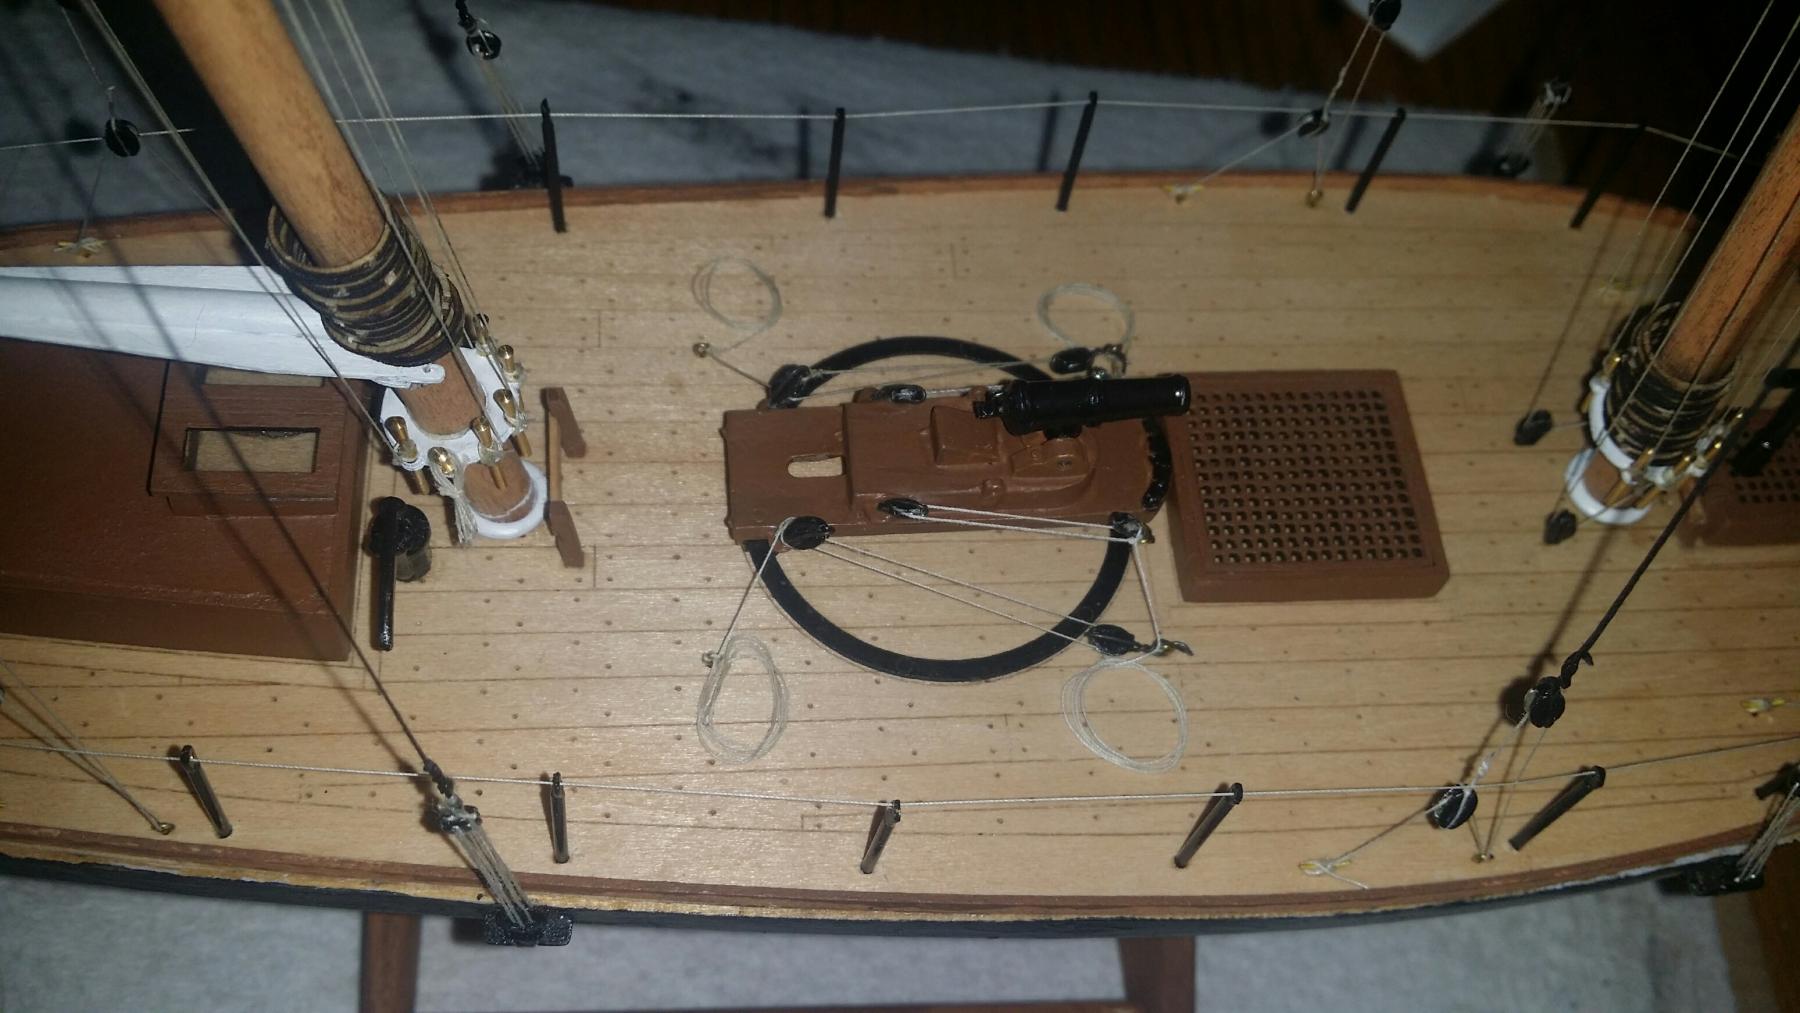
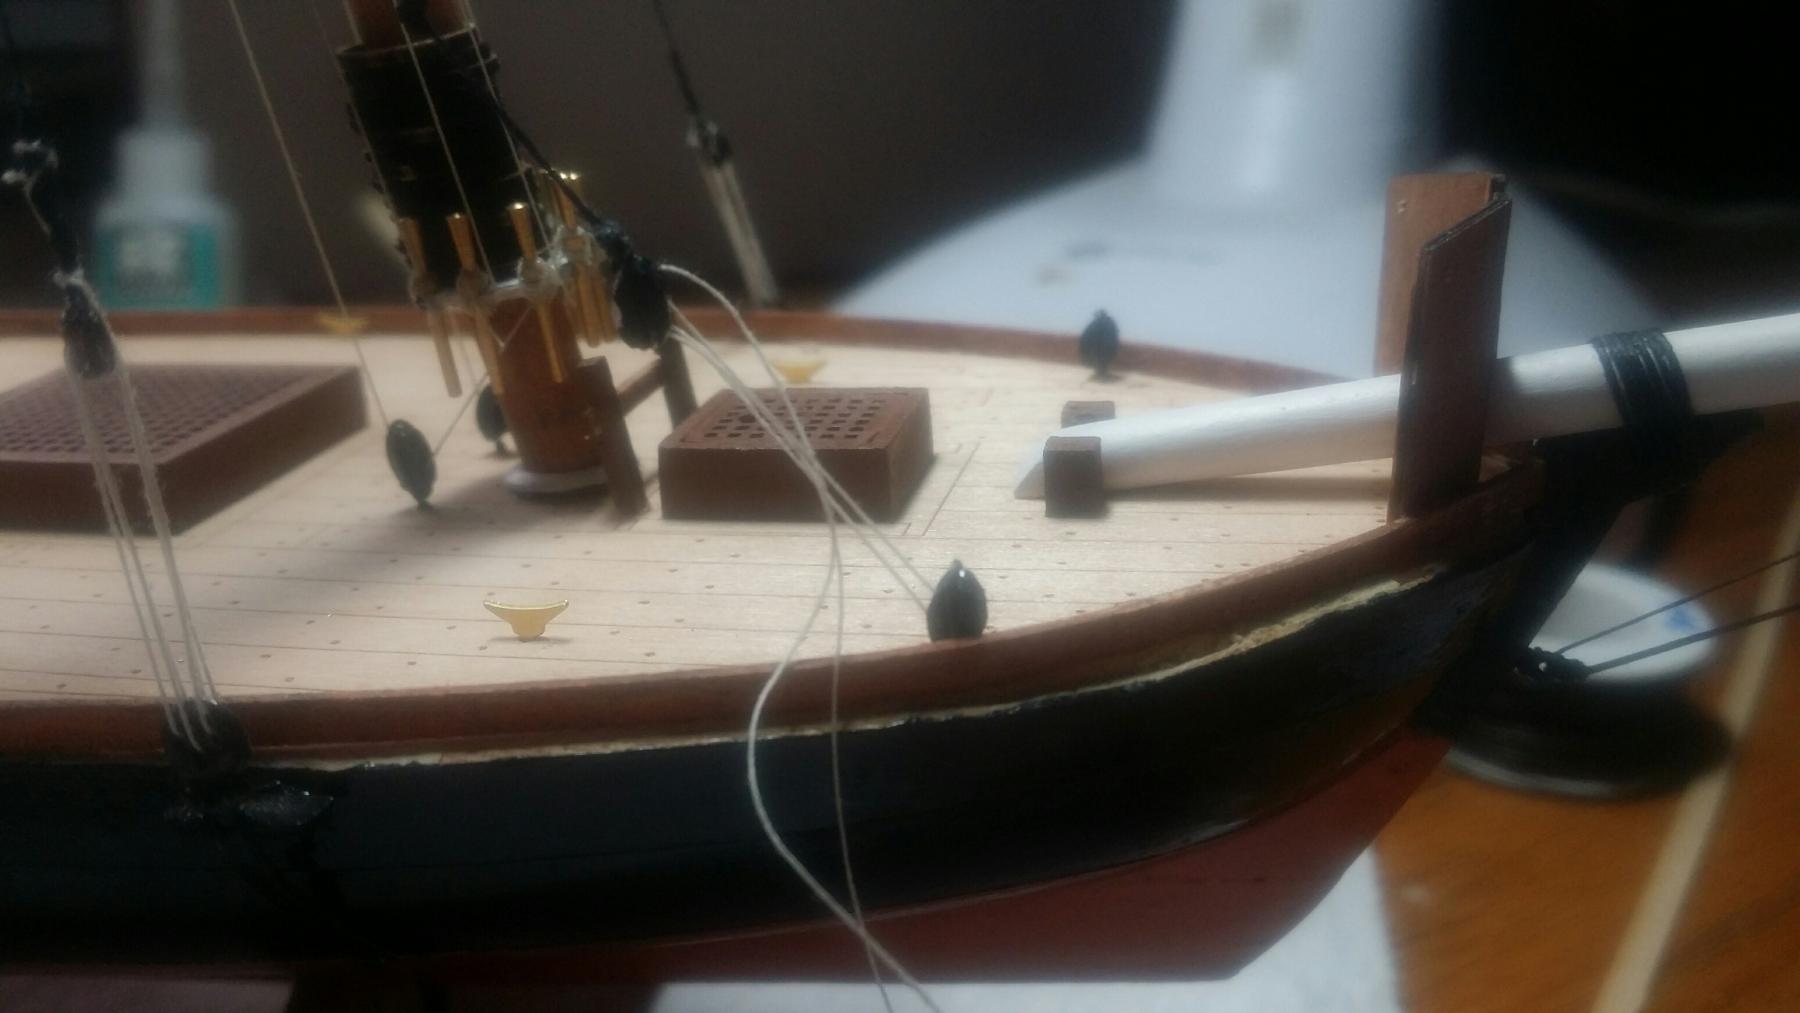
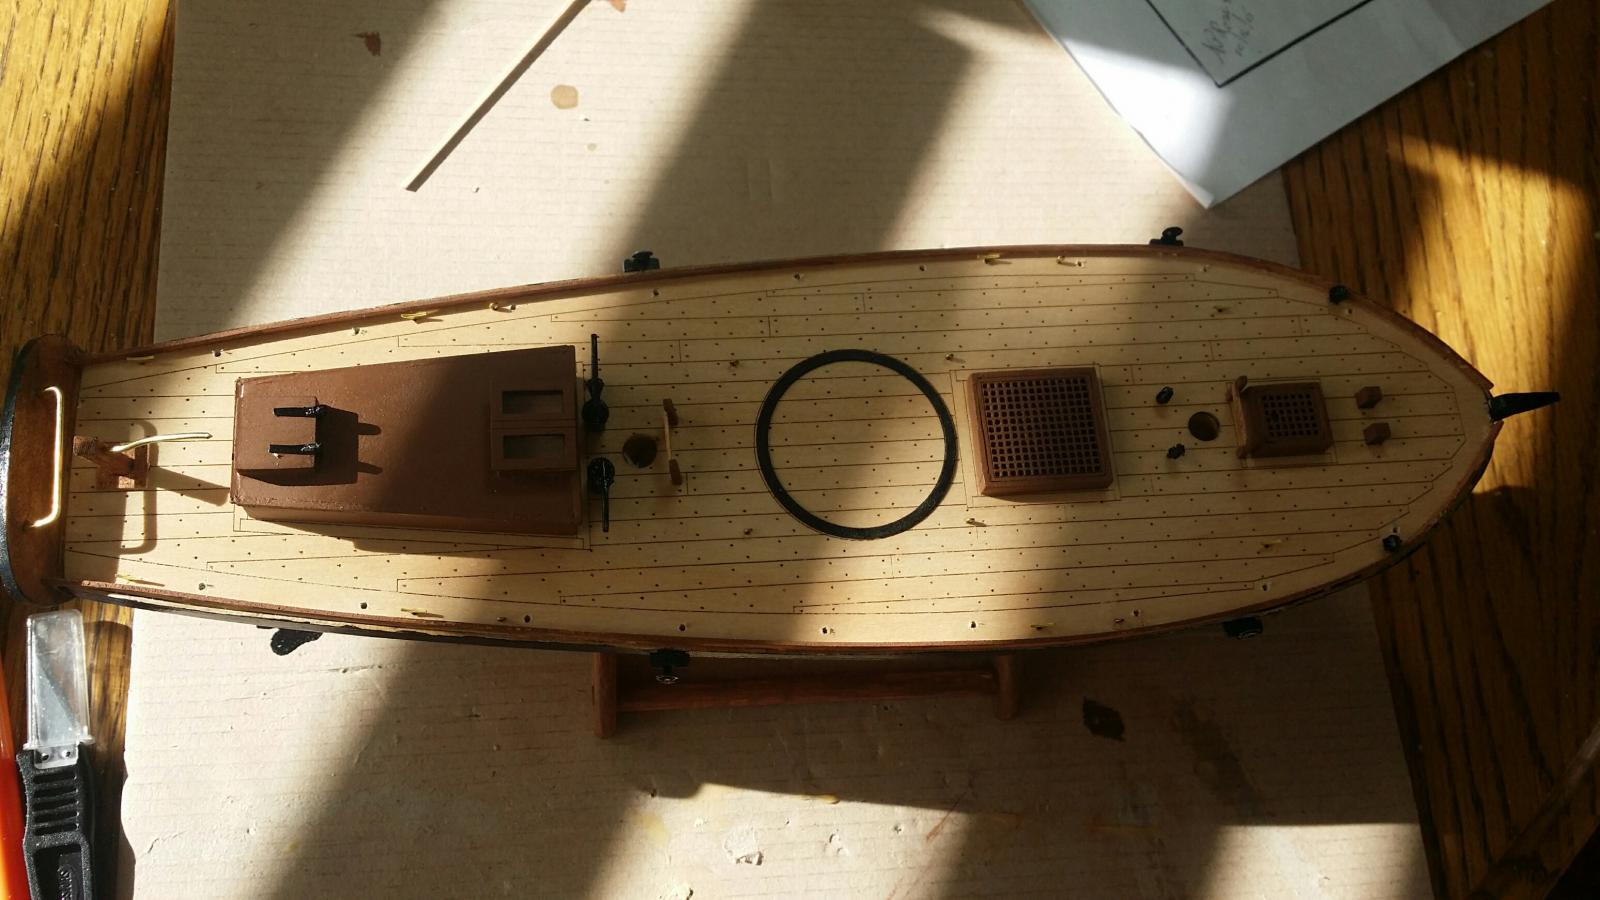
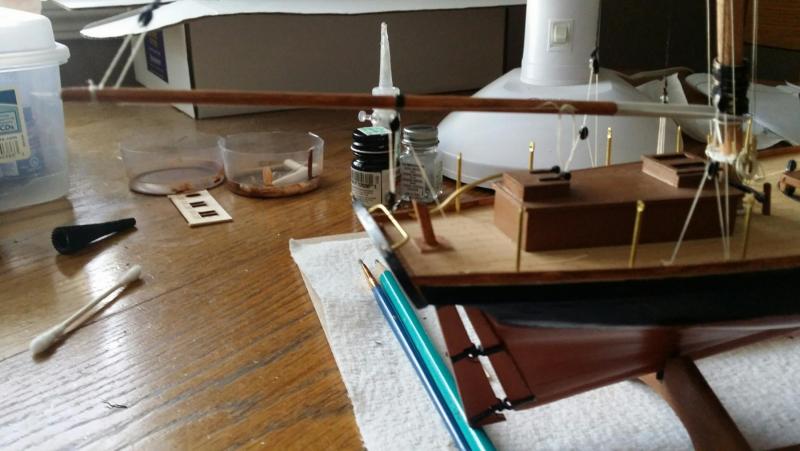
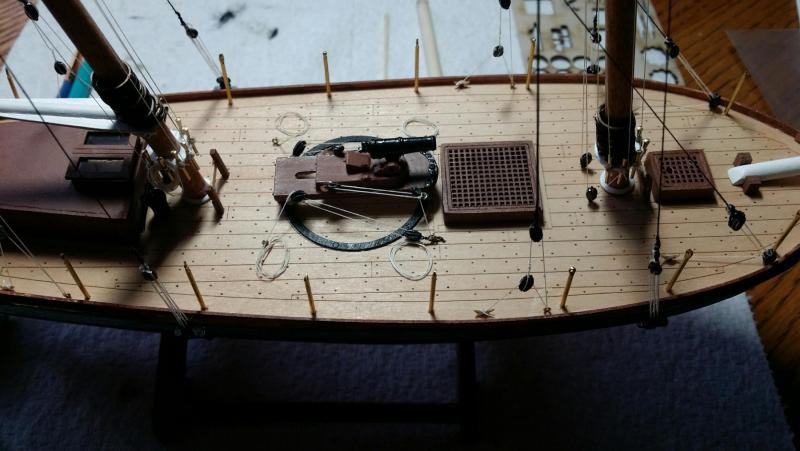
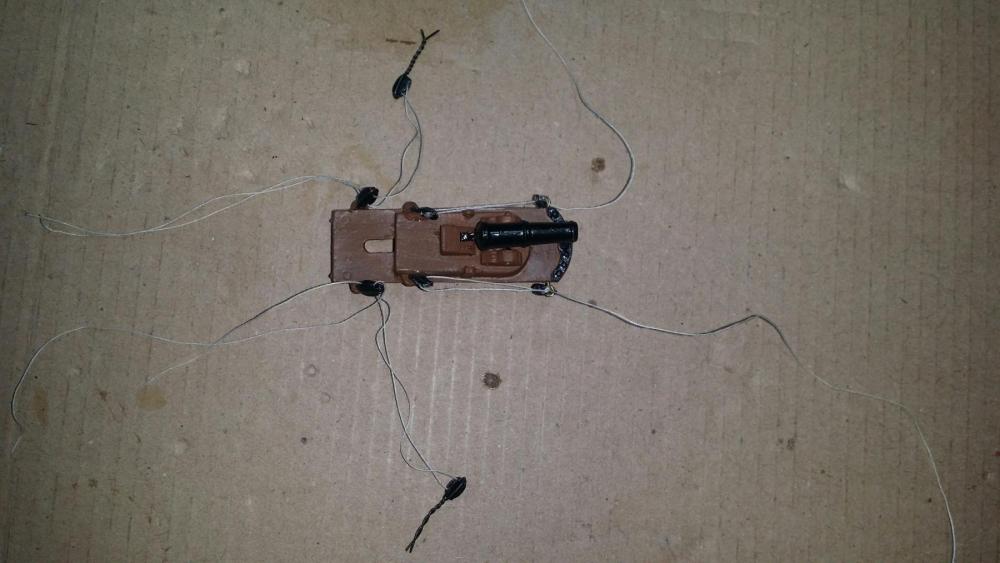
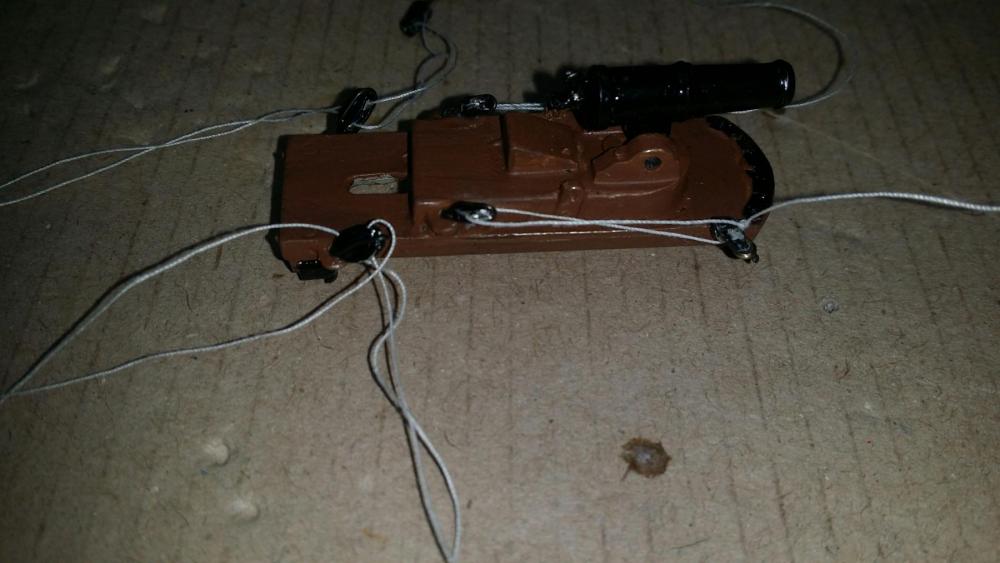
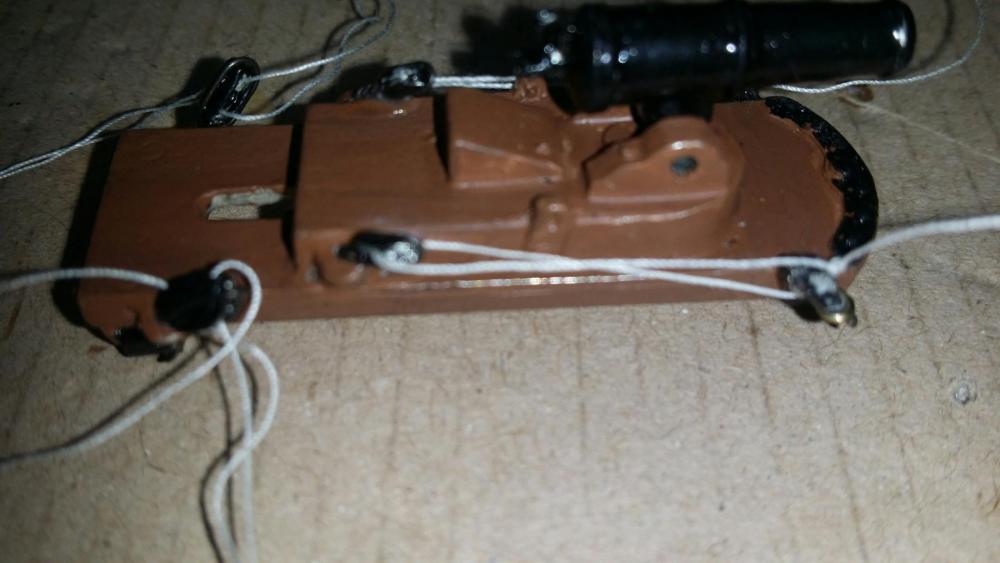
Okay team, have a question: original brass finish for the life rail stanchions, or black to replicate wrought iron? I like the look of the brass, but think it may not be authentic. I also attached an overhead of the carronade rigged to the deck. To get the coiled line effect, go with at least 18" of line for each rigging point. I "coaxed" the coils in place with a little glue at certain points to help the thread maintain it's shape.
- 83 replies
-
- 2
-
-
- revenue cutter
- BlueJacket Shipcrafters
- (and 2 more)
-
Brian, the line is circling the block. I had to use a #75 bit on most of the blocks to open the holes better. I noticed some had a lot of metal flashing. I guess I could try to open the angle better, but I am afraid to tamper with it since I broke the gaff last time.
- 83 replies
-
- 1
-
-
- revenue cutter
- BlueJacket Shipcrafters
- (and 2 more)
-
Thank you, Elijah, I think I am hooked.
-
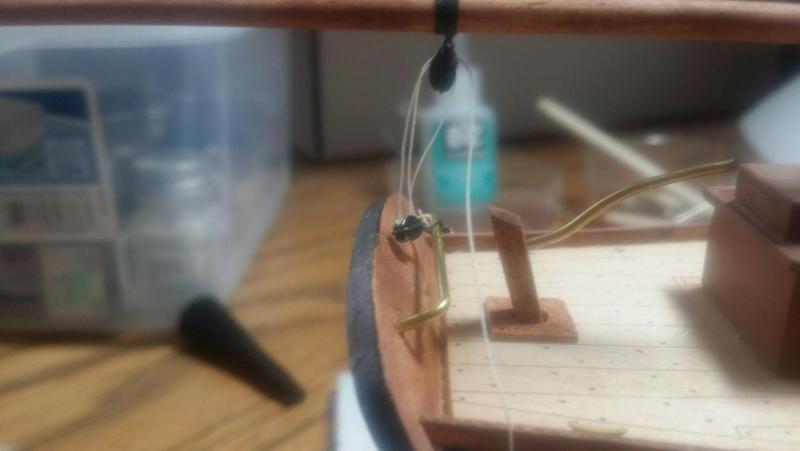
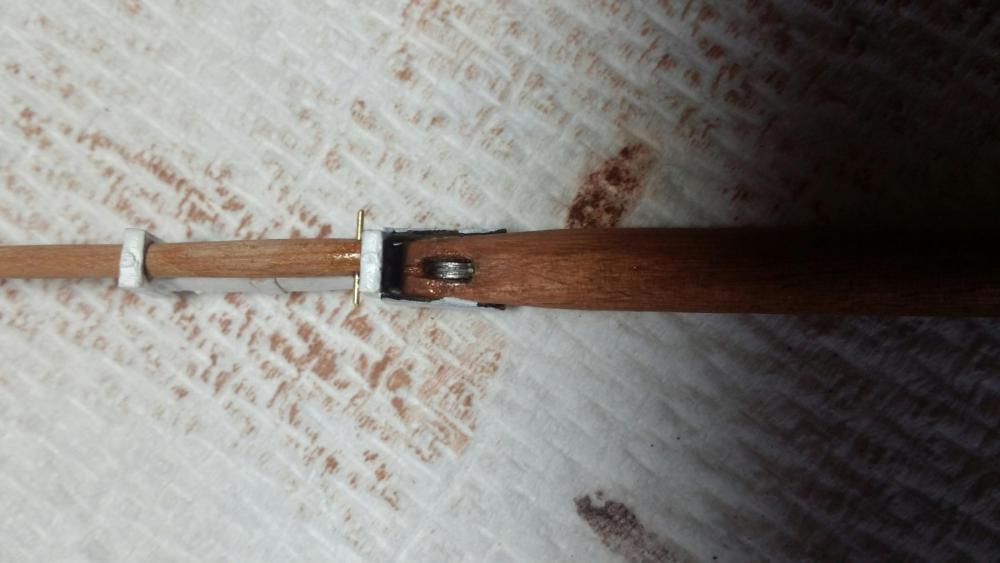
One area I am going to modify is to take the ring off an eye bolt and use that instead of the wire suggested in the instructions to secure the block to the traveller rod for the boom traveller. Funny thing is, bluejacket shows this technique (ring instead of wire) in a photo in the instruction manual. Attached is a photo with the wire used
- 83 replies
-
- 3
-
-
- revenue cutter
- BlueJacket Shipcrafters
- (and 2 more)
-
Bluejacket's plans are quite good, and they have some helpful rigging diagrams, which have really helped a total novice like me. With the diagrams and the photos in the instruction manual, I have not felt overwhelmed.
- 83 replies
-
- 3
-
-
- revenue cutter
- BlueJacket Shipcrafters
- (and 2 more)
-
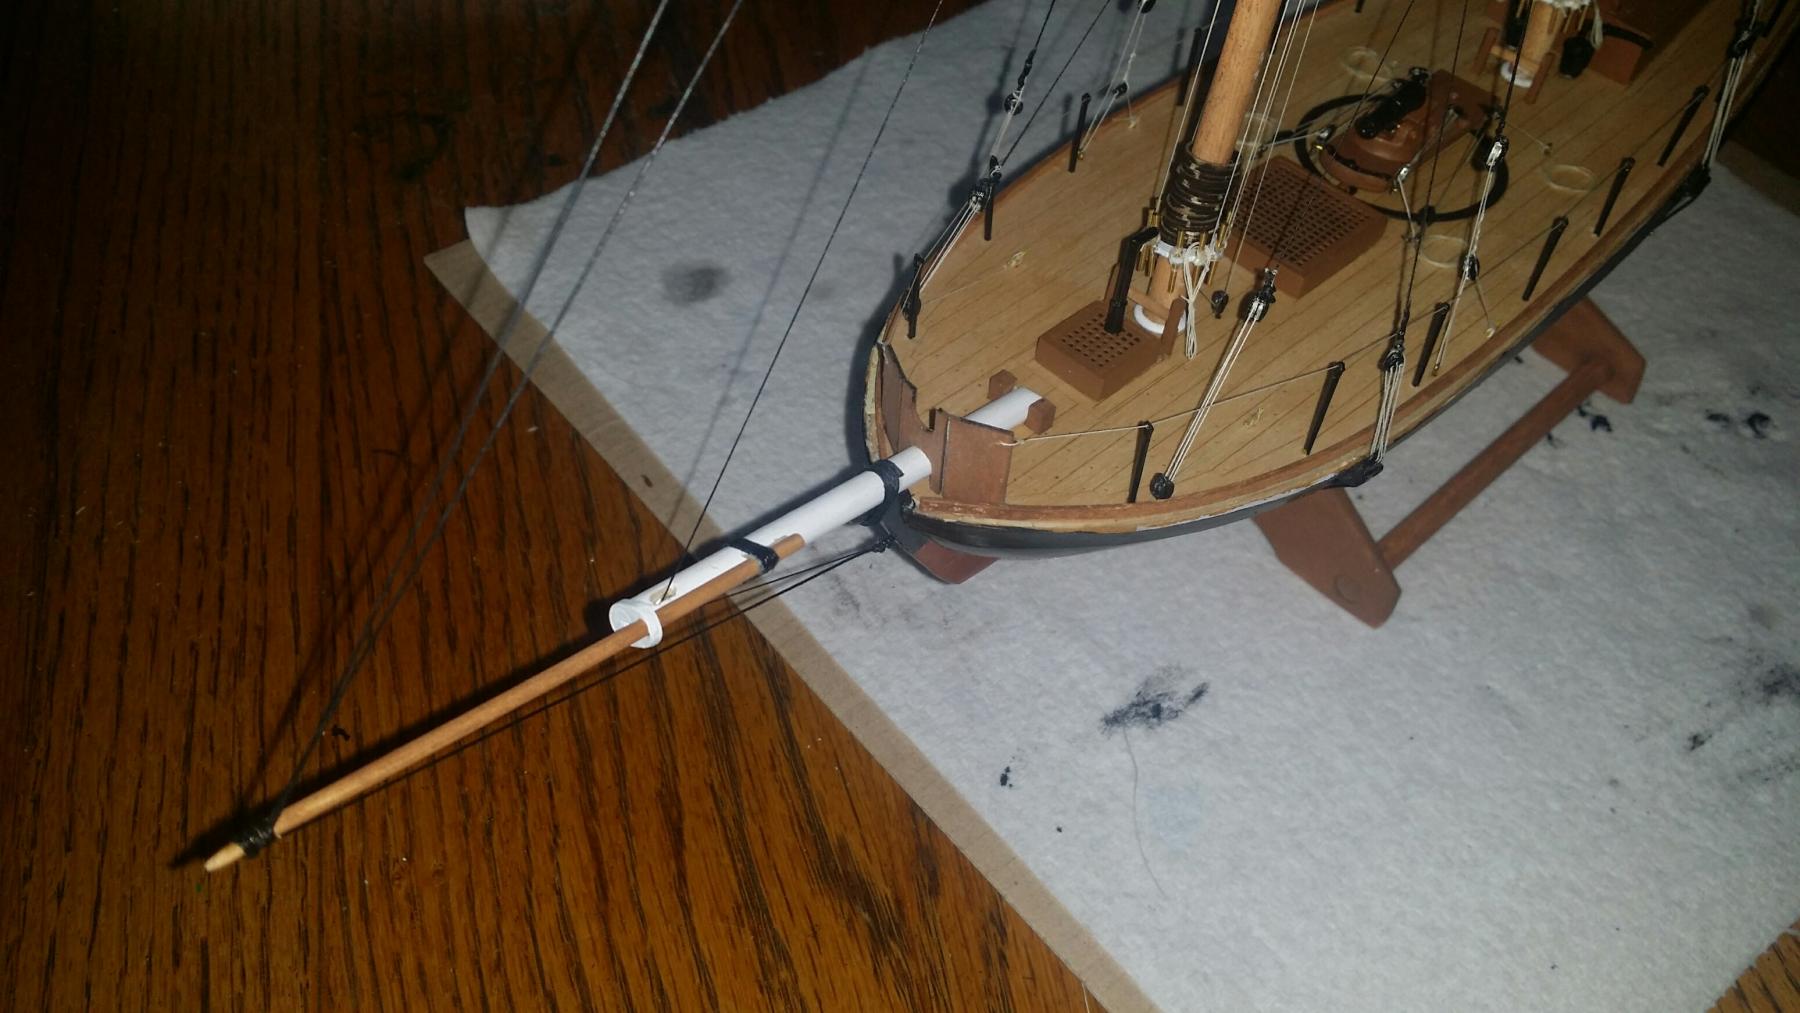
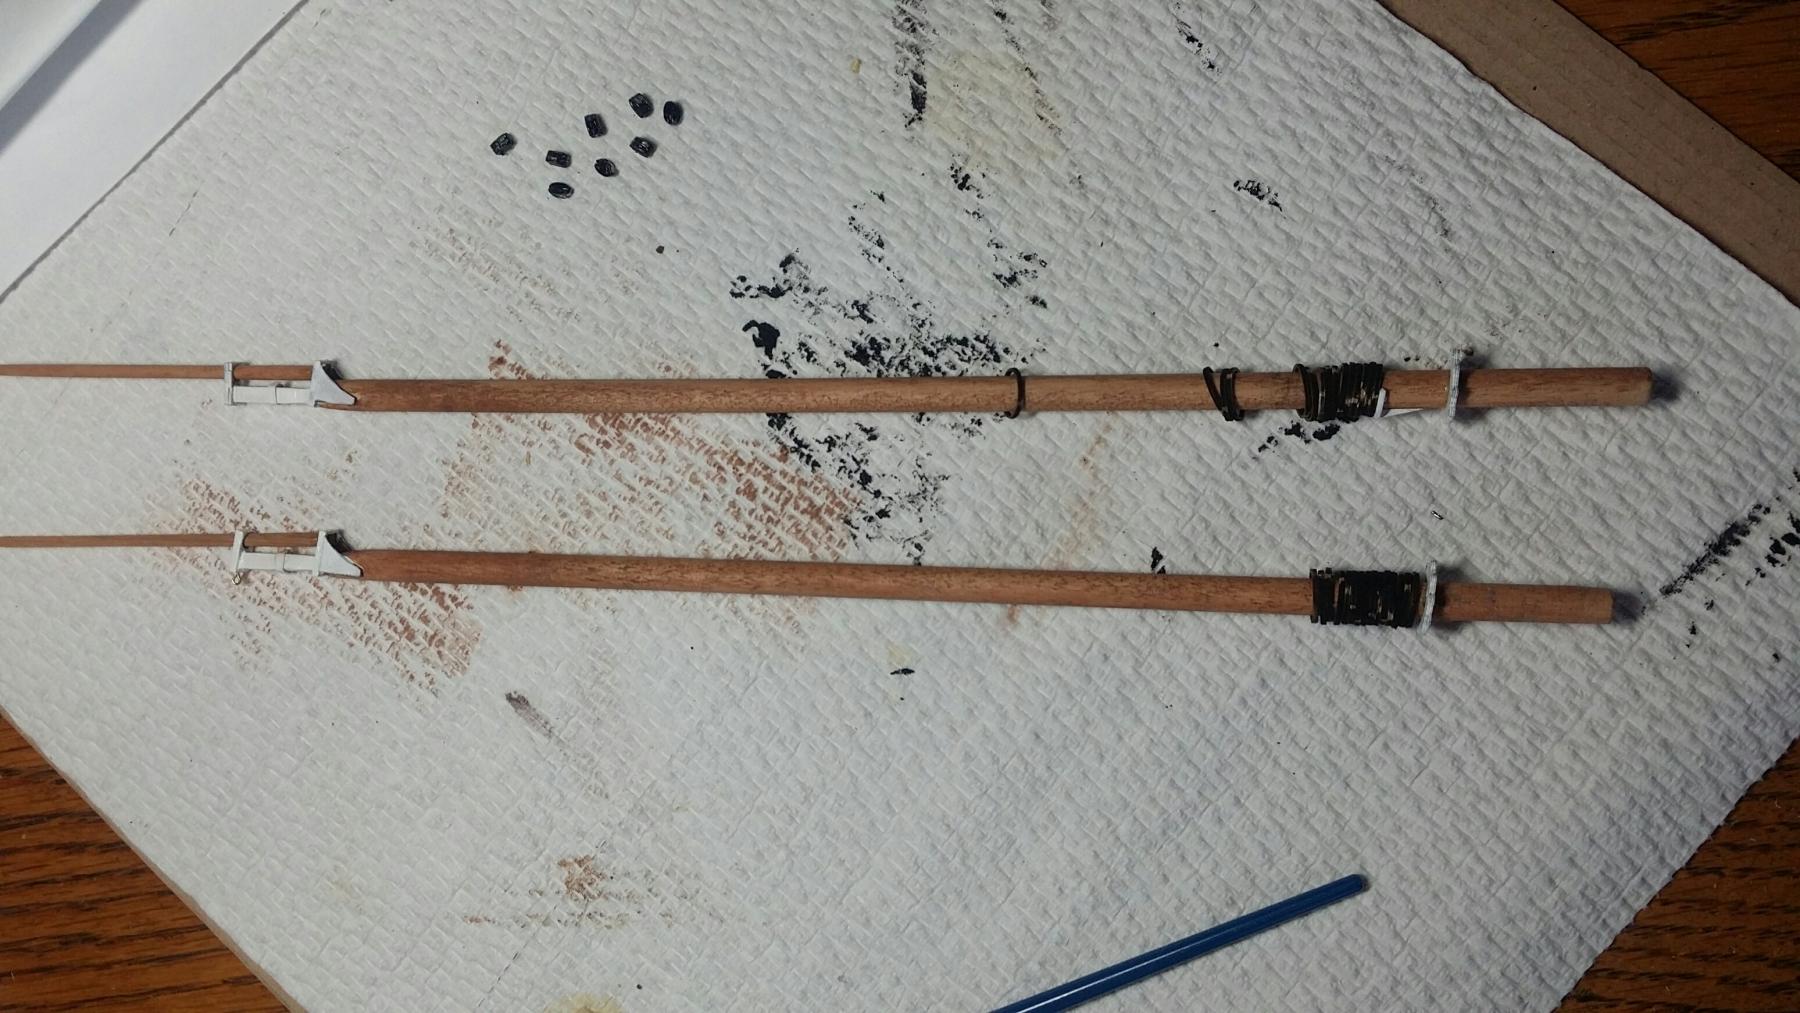
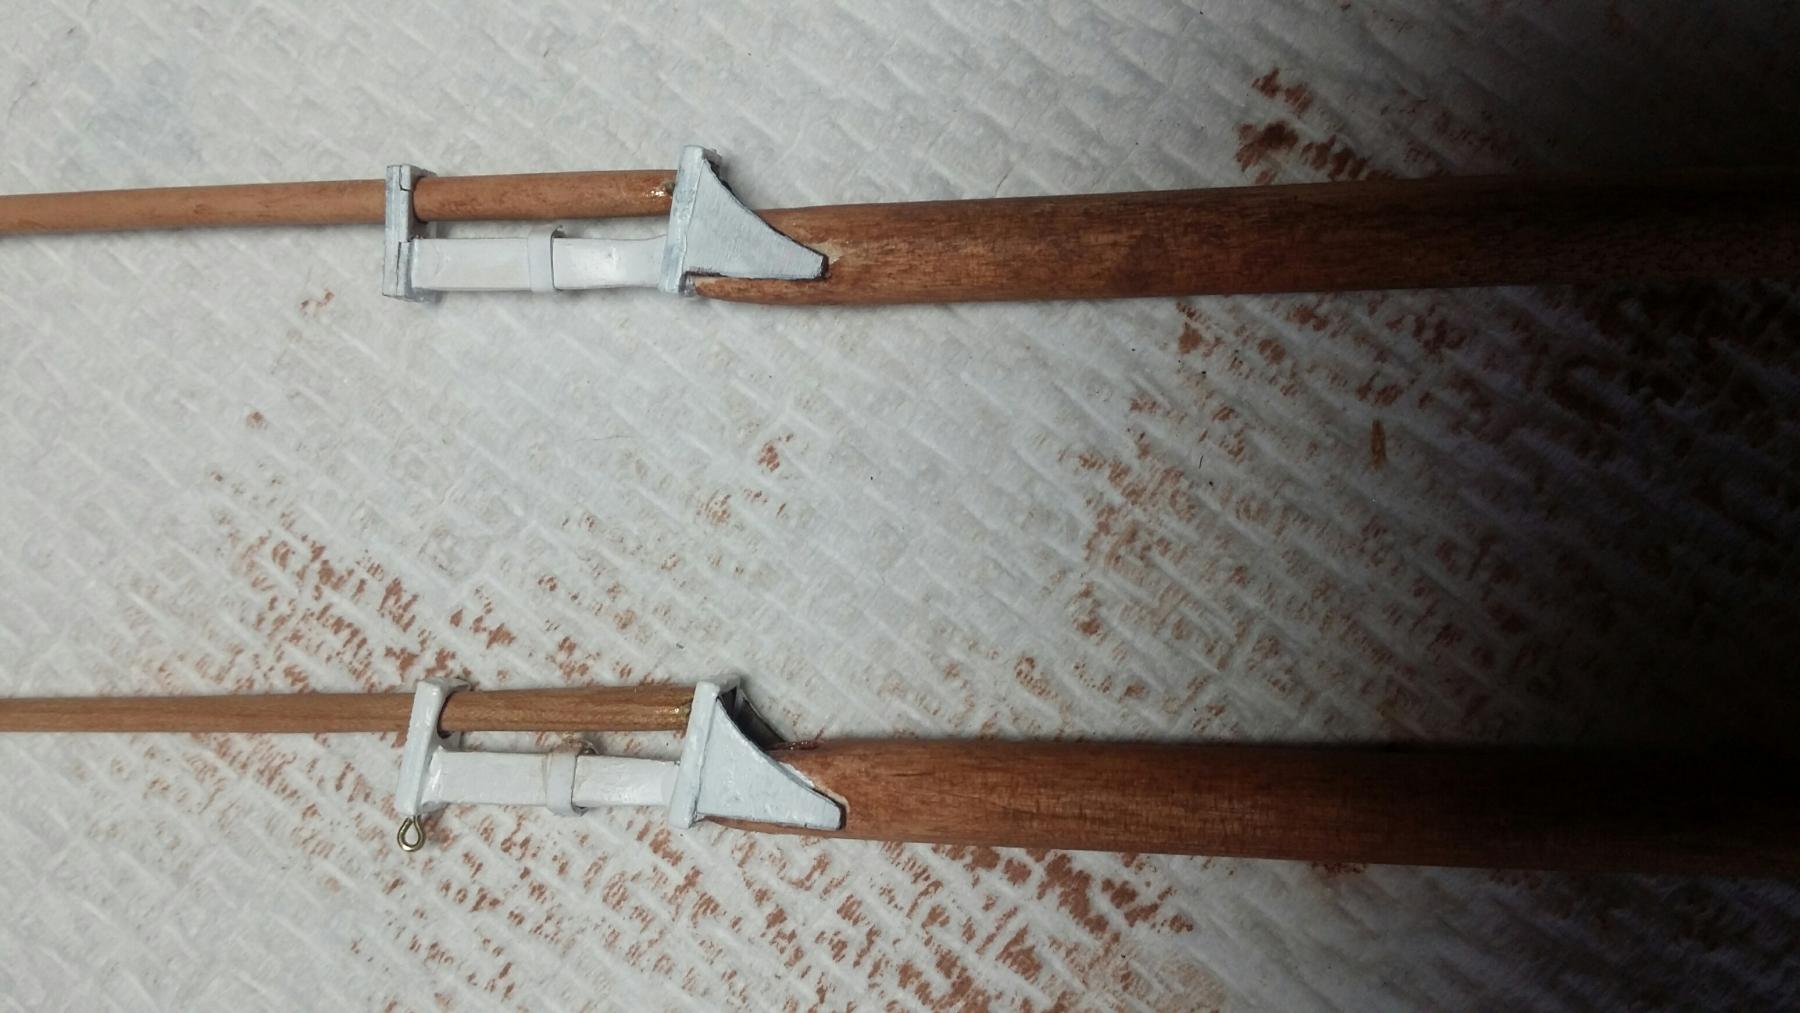
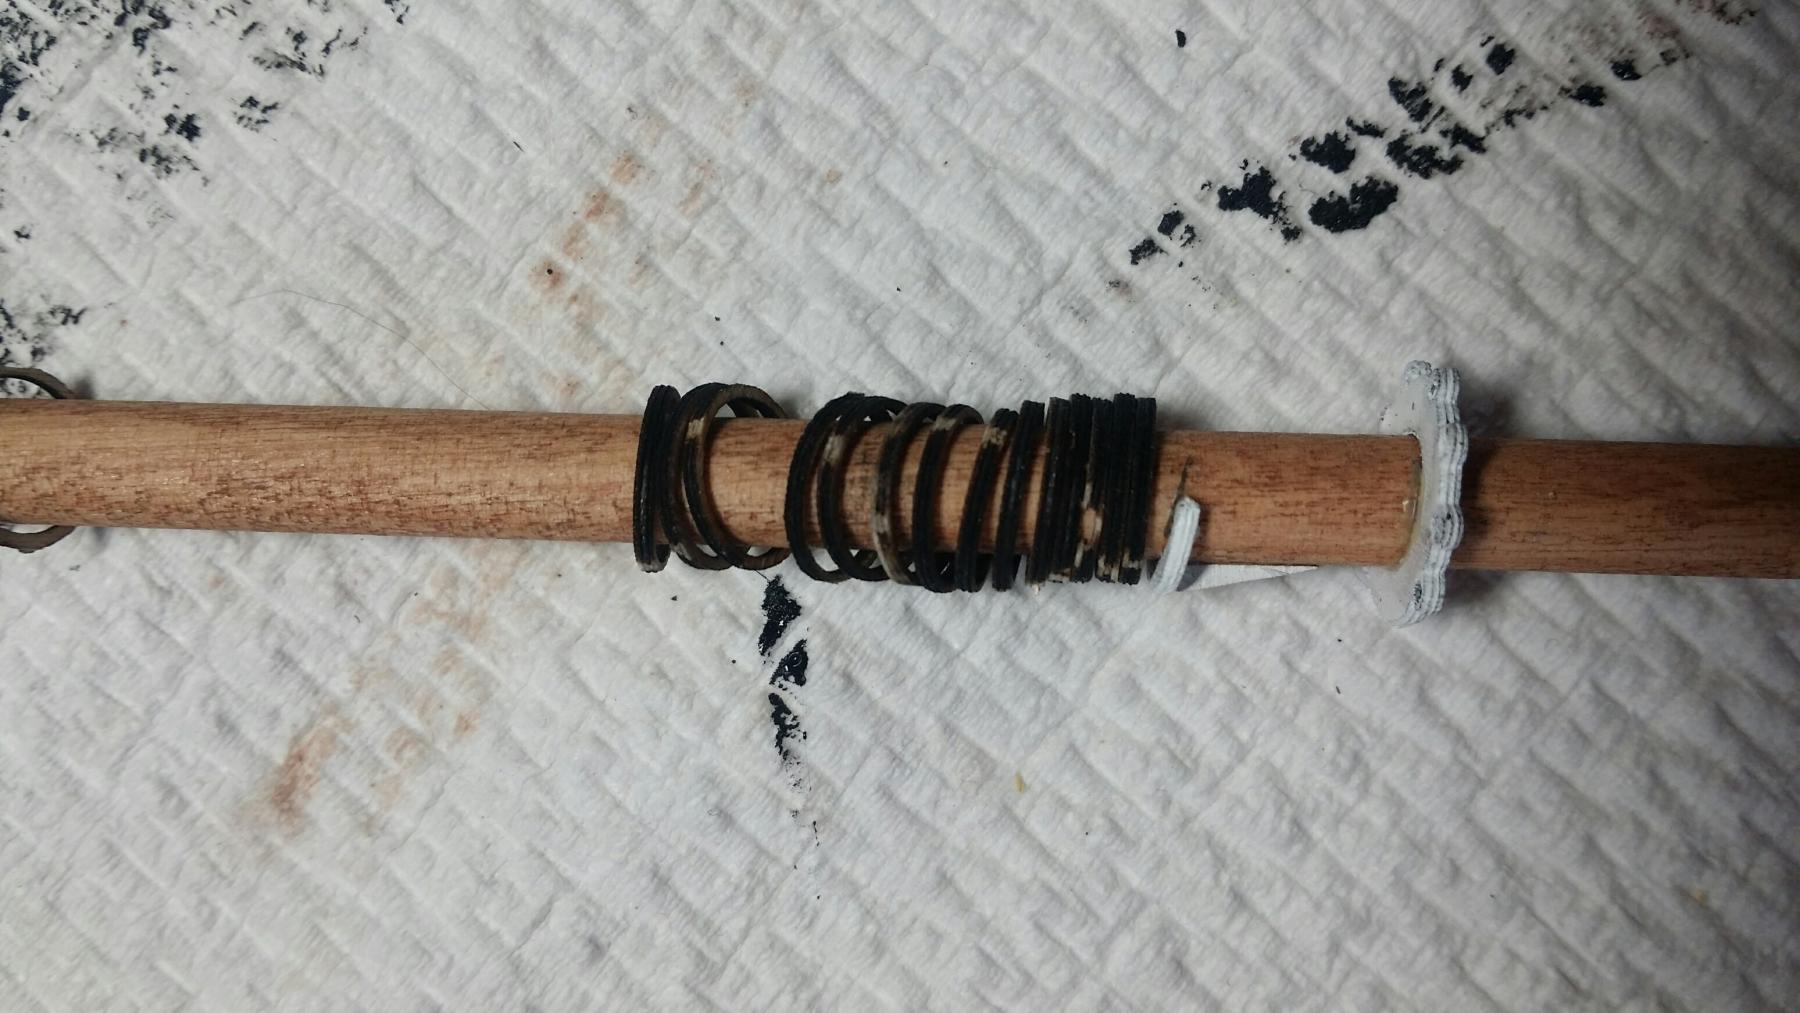
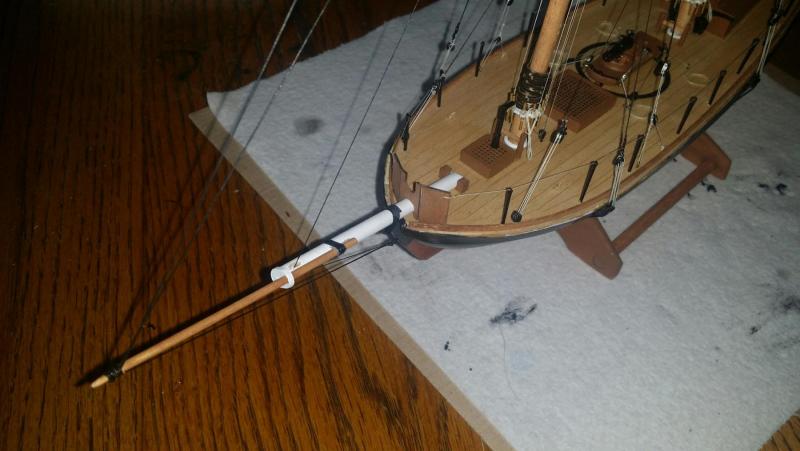
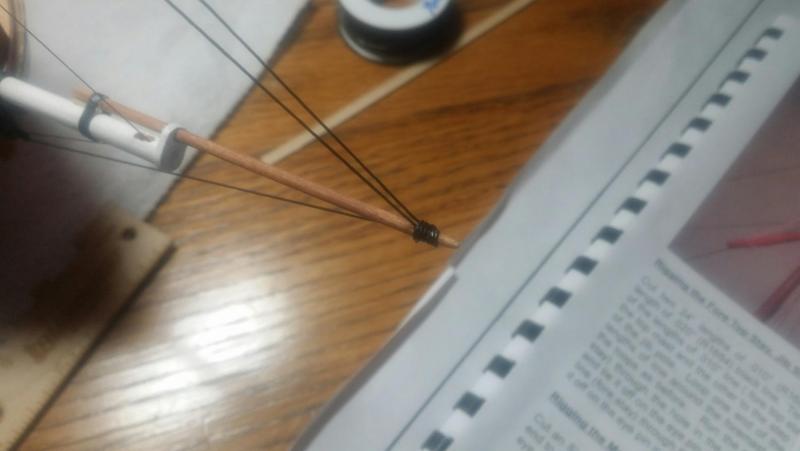
Another "oops" was on the jib pole. You make a 1/32" hole in the jib pole and run a .010" line through it. I could not get the line through, so I sent the bit back through and popped the tip of the jib pole right off. That required more micro-surgery with tweasers and a magnifying glass. I wrapped the line a few more times around the pole to camouflage the break and strengthen it.
- 83 replies
-
- 1
-
-
- revenue cutter
- BlueJacket Shipcrafters
- (and 2 more)
-
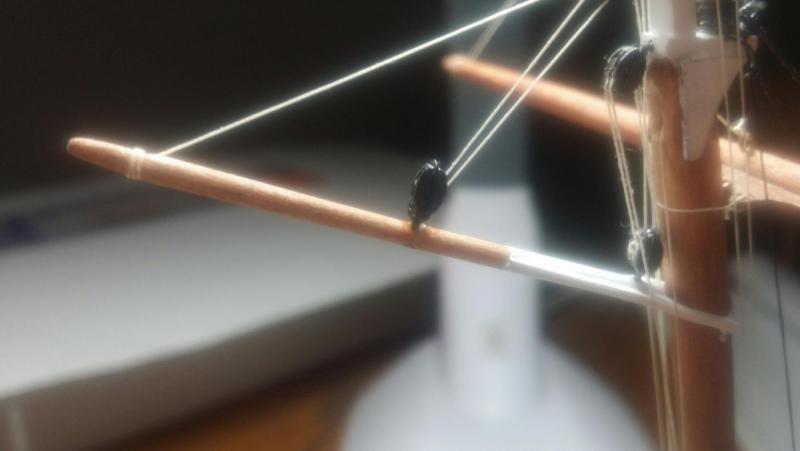
One big issue was drilling holes to put the blocks into the gaffs. I snapped the foremast gaff in two and had to make a significant repair. In the future I would do a #55 bit.hole and put an eye bolt in first, then wire the block to it.
- 83 replies
-
- 2
-
-
- revenue cutter
- BlueJacket Shipcrafters
- (and 2 more)
-
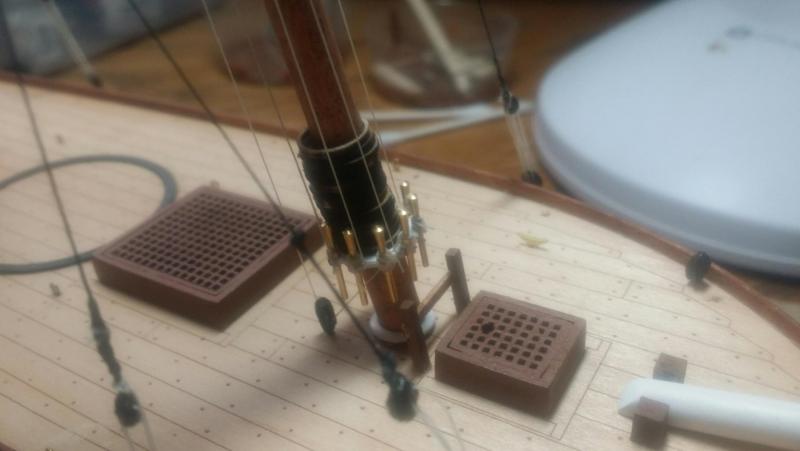
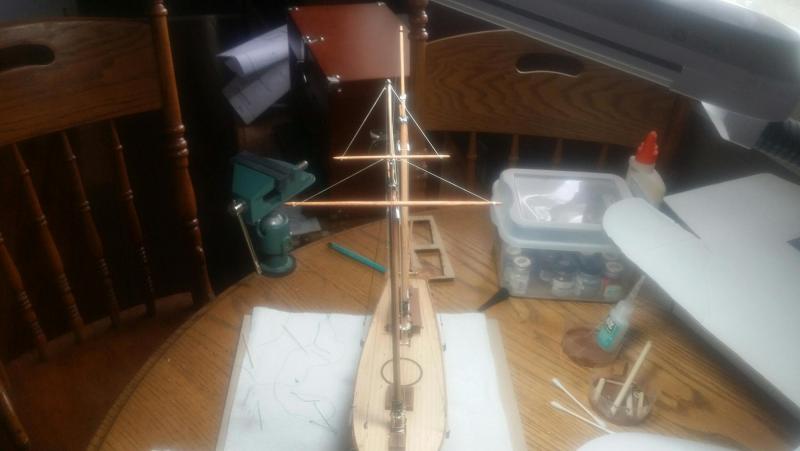
First off, bluejacket pre-drilled the mast holes which made the initial alignment easy. I bring this up because apparently that's not the case with the model shipways Phantom, which baffles me as an entry level solid hull model.
- 83 replies
-
- 1
-
-
- revenue cutter
- BlueJacket Shipcrafters
- (and 2 more)
-
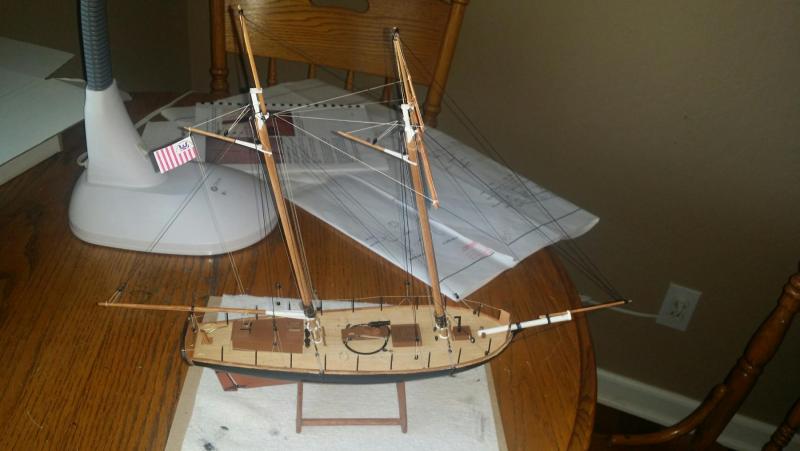
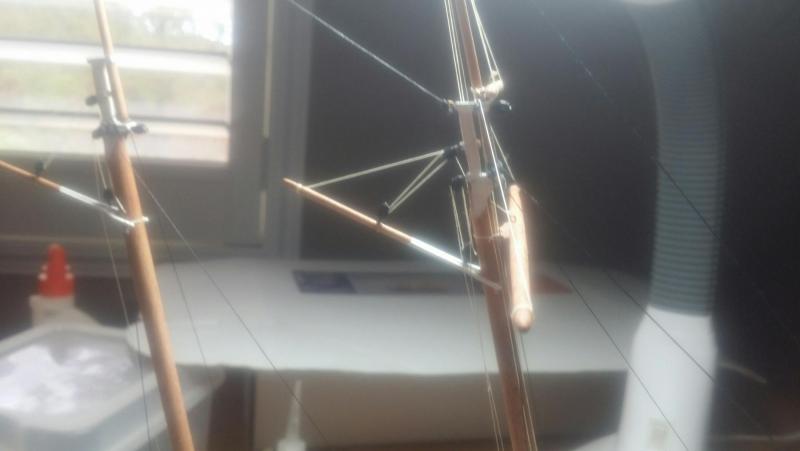
Well folks, sorry I am not going step by step. I got into my rigging zone over the last two weekends and didn't stop for photos. I'll try to walk you through it.
- 83 replies
-
- 2
-
-
- revenue cutter
- BlueJacket Shipcrafters
- (and 2 more)
-
Brian, thanks for the reference. Any help with rigging blocks is greatly appreciated.
- 83 replies
-
- 1
-
-
- revenue cutter
- BlueJacket Shipcrafters
- (and 2 more)
-
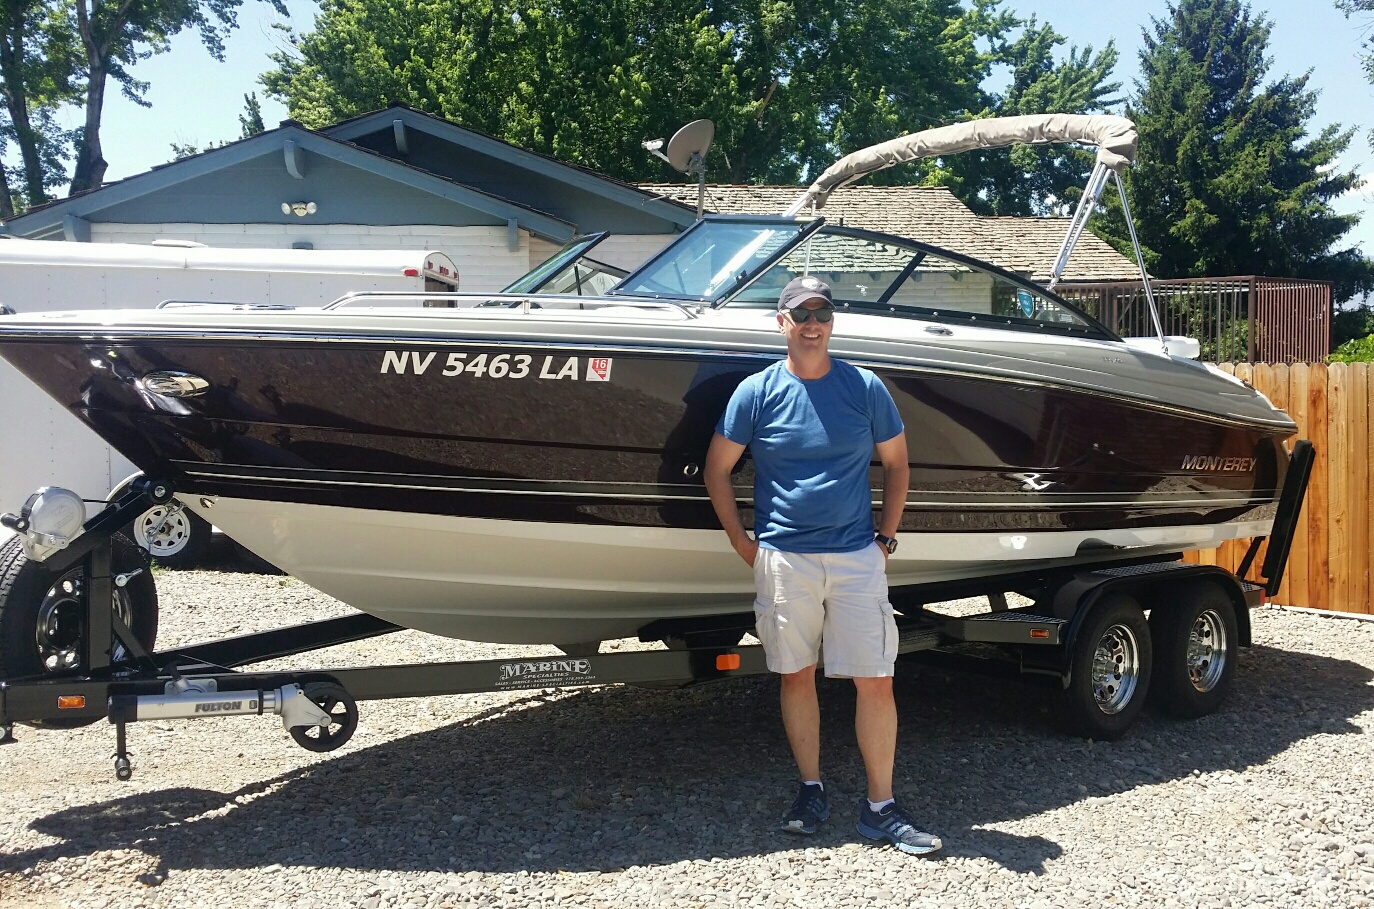
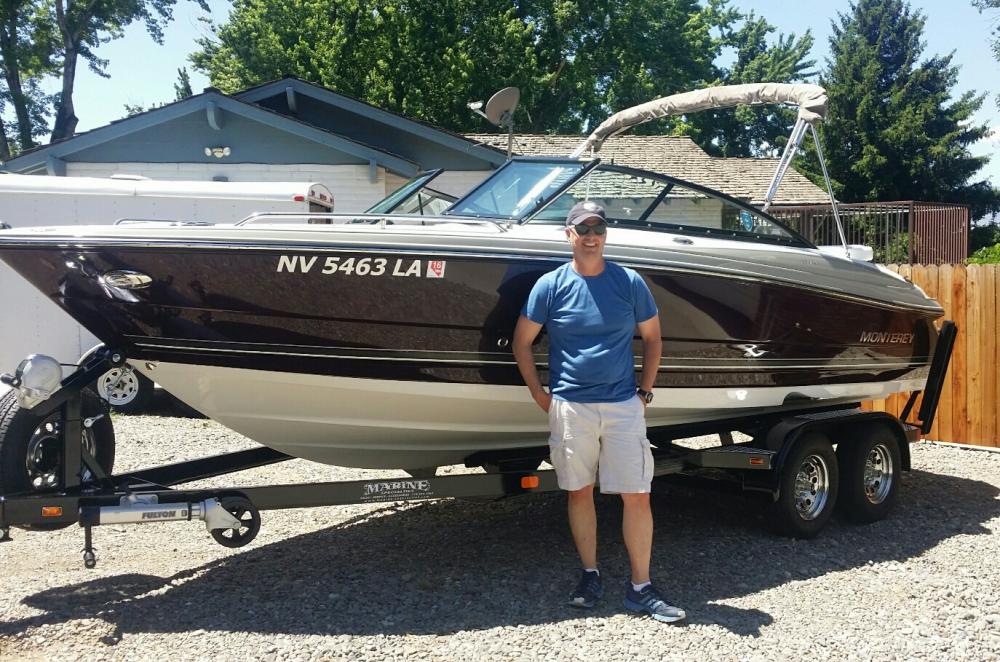
So I have to apologize for the hiatus. Summer is upon us, and besides a trip to the Pacific Northwest, I have been busy on weekends with a Monterey 224FS. Doing some 1:1 scale boating on Lake Tahoe


- 83 replies
-
- 2
-
-
- revenue cutter
- BlueJacket Shipcrafters
- (and 2 more)
-
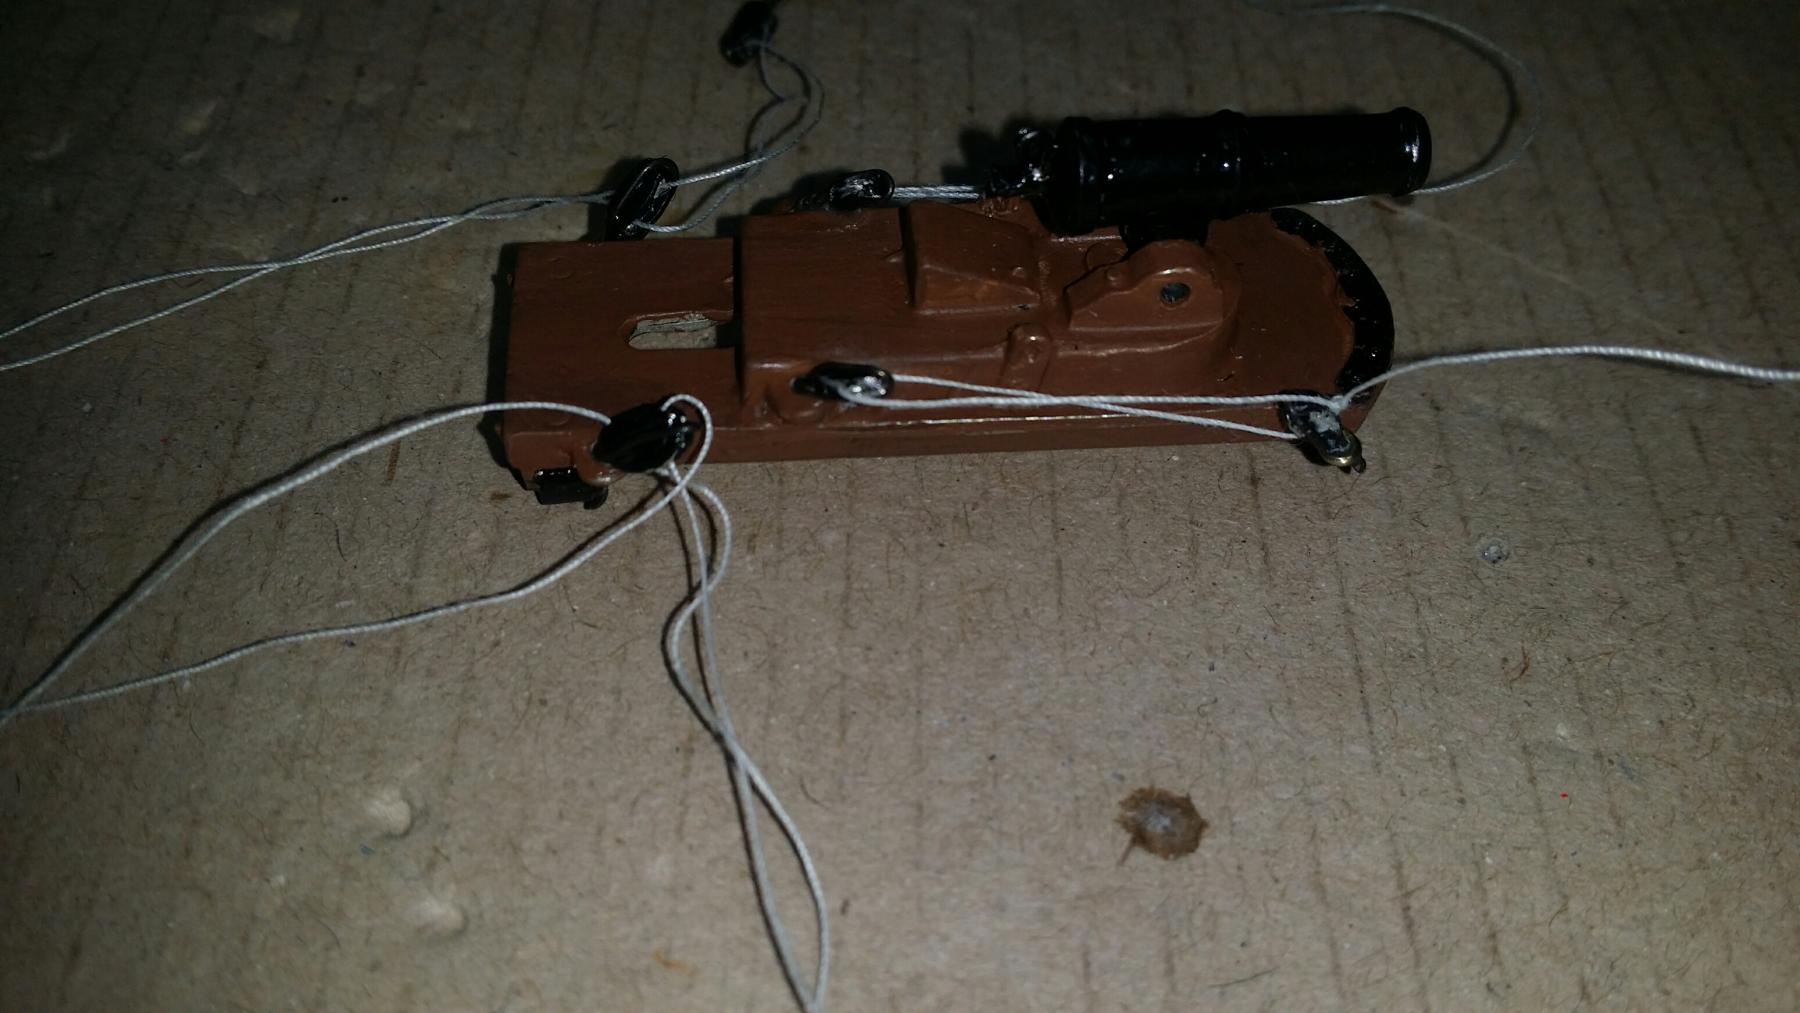
I have a new "arch nemesis", the 1/8" gun tackle block. The carronade went together well, but the 1/8" blocks were a bear to get pigtails on and rig. I used a magnyfying glass vice and tweezers. The 3/16" blocks were quite a bit easier and fortunately that is the primary scale for the rigging. Any advice on rigging small blocks would be appreciated. This experience might shy me away from anything smaller than 1/48th scale.
- 83 replies
-
- 3
-
-
- revenue cutter
- BlueJacket Shipcrafters
- (and 2 more)
-
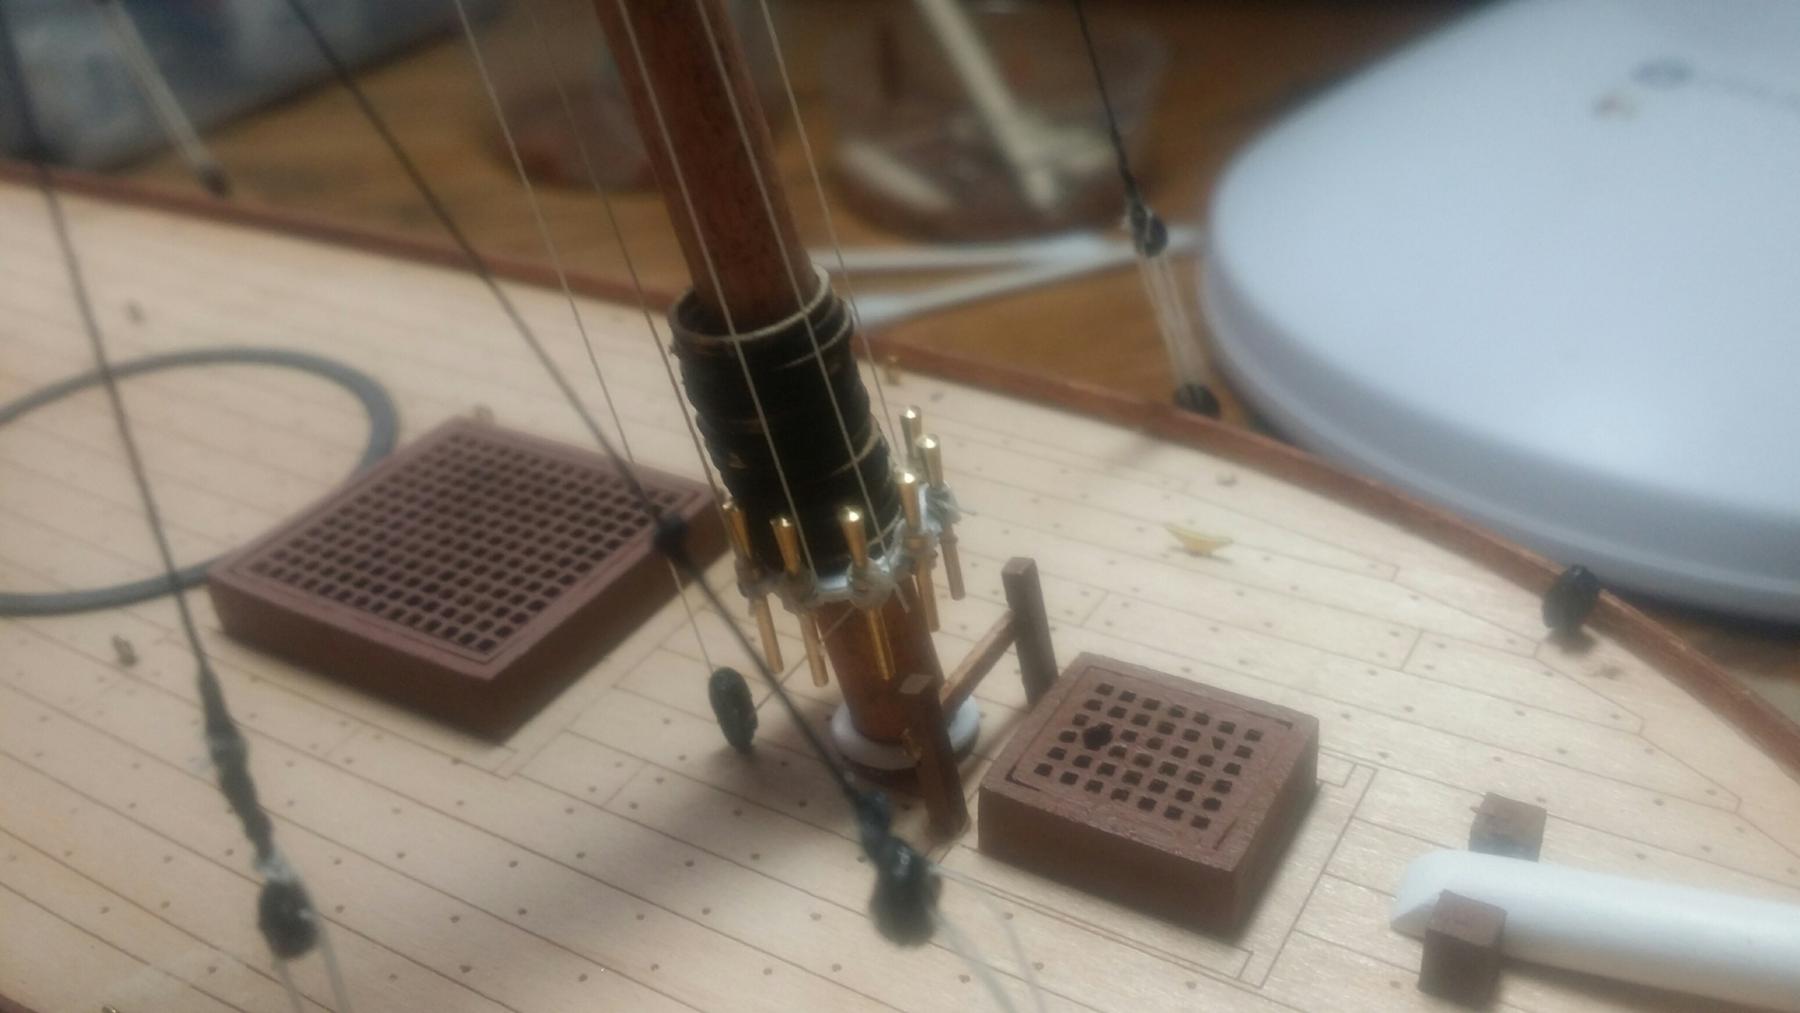
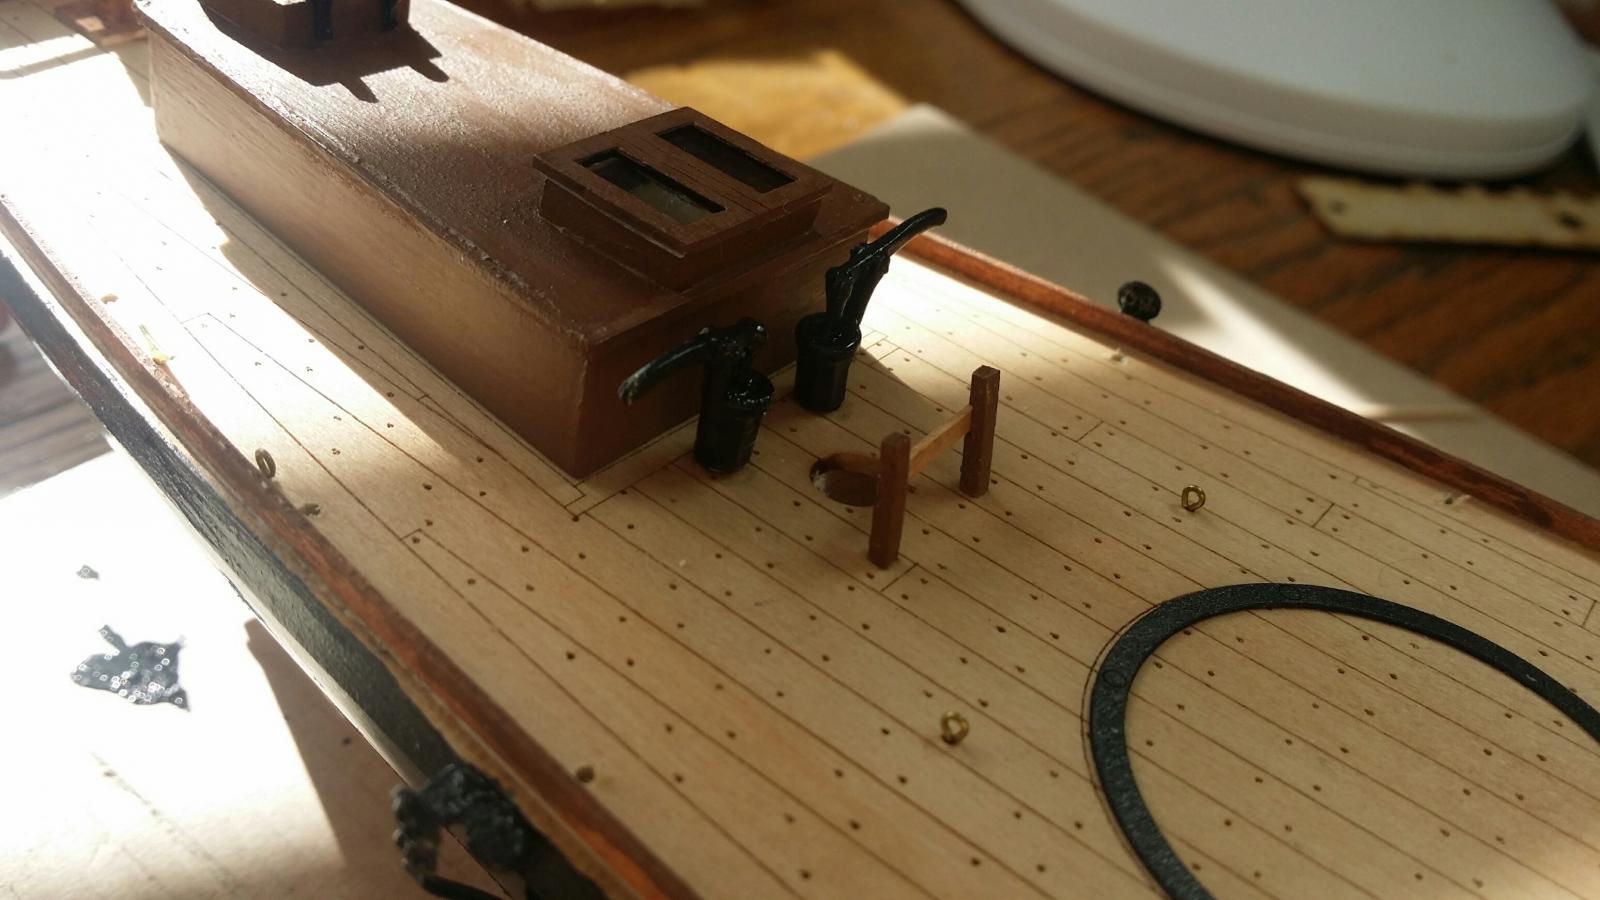
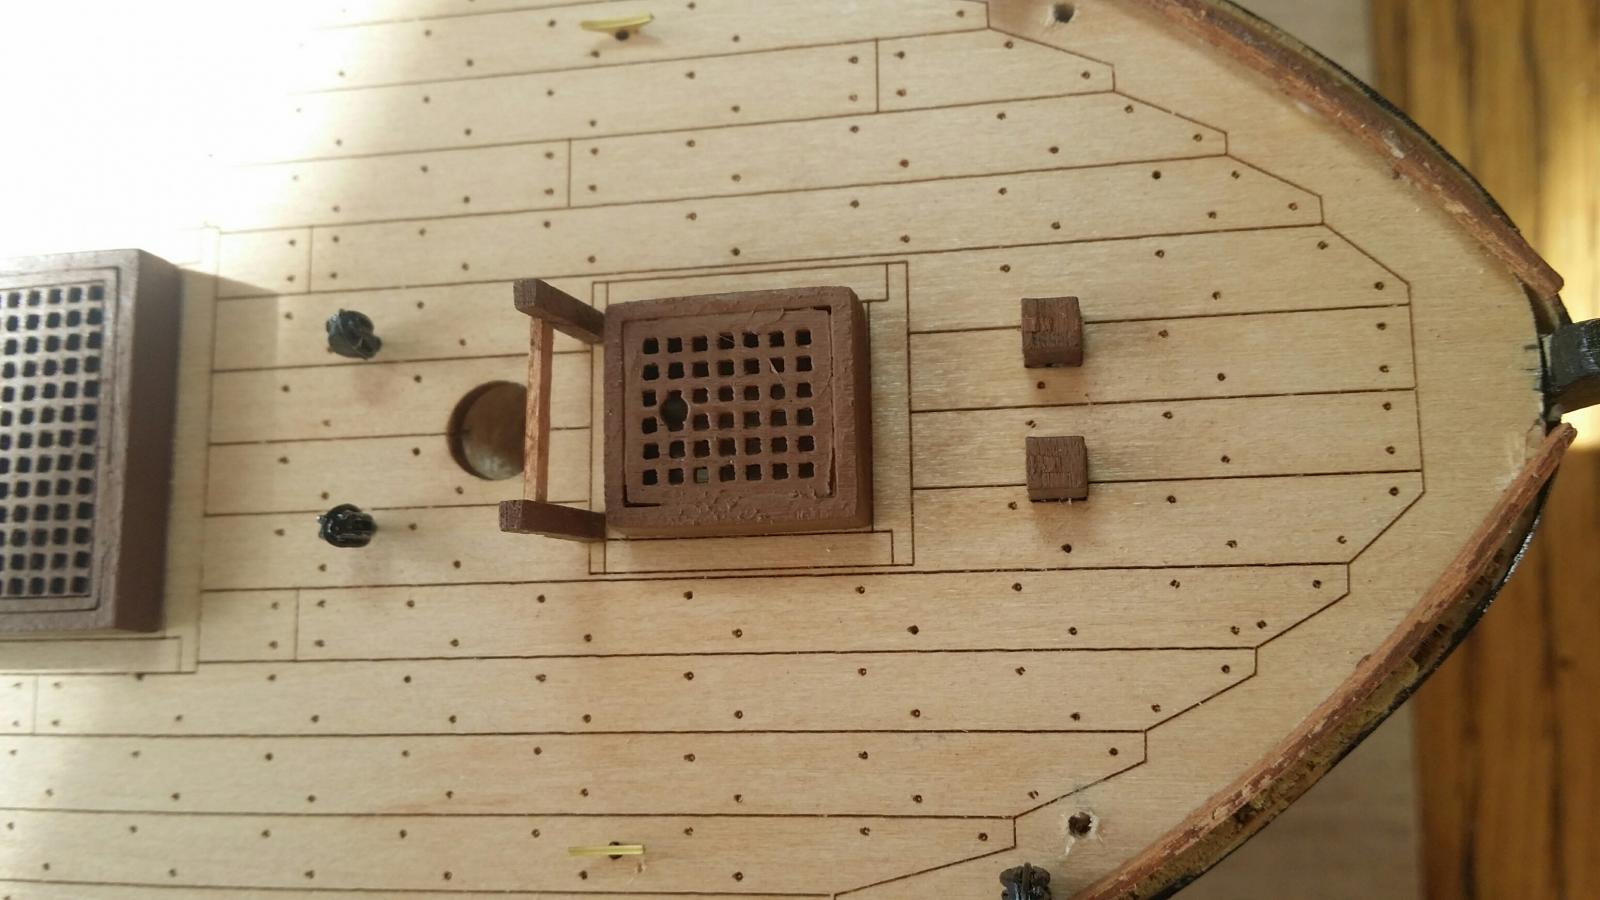
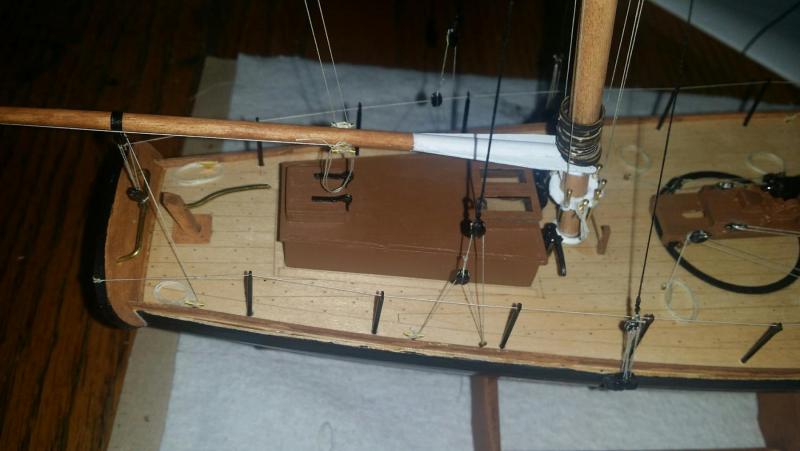
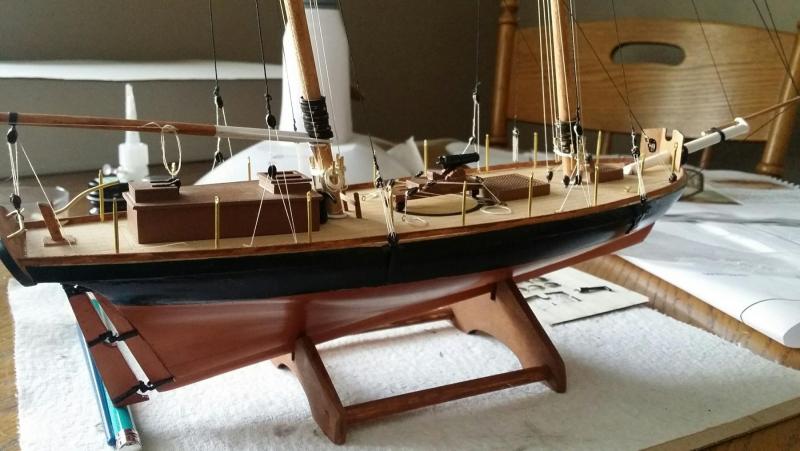
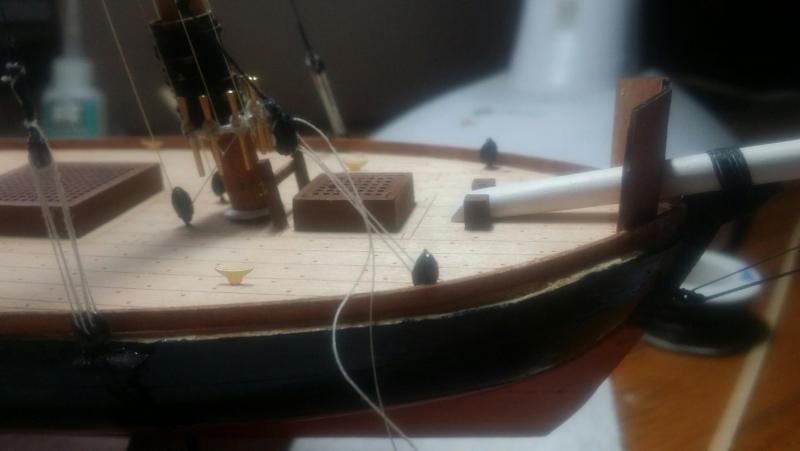
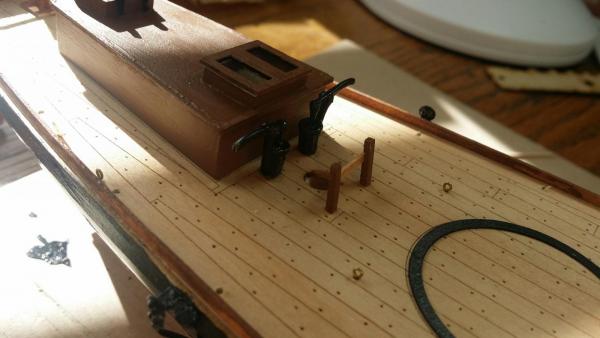
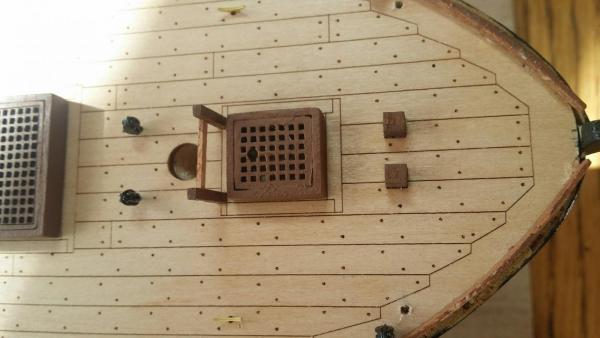
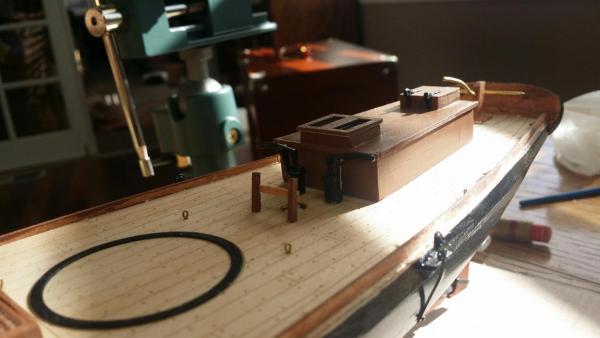
This weekend I was able to complete the hatches, bilge pumps and bitts. There is a typo in the instructions: the bitt stanchions are part LRC18 not 16. I also shaped the tiller, which like the hatch hinges, was "feel as you go". I used a vice and pair of needle nose pliers. The holes in the deck are for the life rail stanchions.

- 83 replies
-
- 5
-
-
- revenue cutter
- BlueJacket Shipcrafters
- (and 2 more)
-
Elijah, I really enjoyed your comment about seeing the Philadelphia. My favorite location within the entire Smithsonian campus is the basement of the Museum of American History and all of the amazing ship models.
- 701 replies
-
- 3
-
-
- phantom
- model shipways
- (and 1 more)