HOLIDAY DONATION DRIVE - SUPPORT MSW - DO YOUR PART TO KEEP THIS GREAT FORUM GOING! (Only 68 donations so far out of 49,000 members - Can we at least get 100? C'mon guys!)
×


Telp
-
Posts
124 -
Joined
-
Last visited
Content Type
Profiles
Forums
Gallery
Events
Everything posted by Telp
-
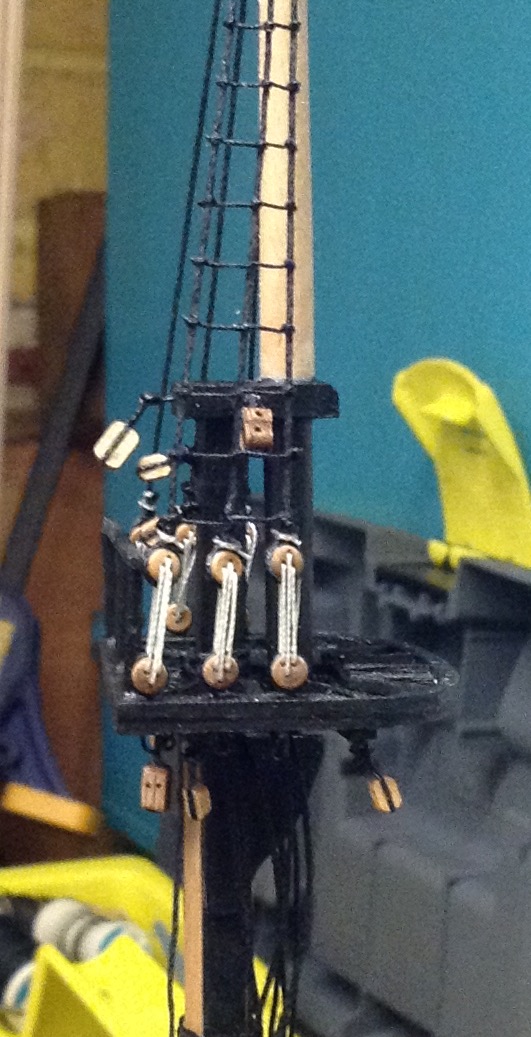
Well it's been a little while since I posted anything of relevance, things came to a grinding halt due to the wife suffering a serious illness over that time, but she's on the mend now. most of the hull of the ship is finished as such and I am making a start on the masts, I have them off the ship to try and do as much rigging prep prior to installing them. Have had great fun learning to rig small dead eyes and blocks and have made a start on the rat lines and shrouds, all very finicky but a lot of enjoyment. I'll post more pics once I have the masts fitted, but just to say all is going well and taking my time is helping me understand each part as I proceed. Thanks all.


-
Hi all I am plodding along at a reasonable pace after a somewhat dismal Christmas family wise and have finally dressed my masts on my brig supply. Can I get any advice please on wether or not to attach the yard arms to the masts prior to doing rat lines or is it better to do the rat lines then attach the yards. I remember somewhere someone commenting that its easier to do the rat lines with the yards off then attach them after. Many thanks and I will up date my picture logs soon. Regards Terry
-
Just watched a bit on TV about HMS Trincomalee where she is docked in Hartlepool in the UK. If no one has heard of this ship she is a total beauty and well worth doing a google search on. Would love to know if a model to build exists for this ship anywhere. Regards Terry
-
Found a nice free wood provider for this idea, go into a starbucks and grab a few of the wood stirring sticks, nice size and a plentiful supply. :-)
-
thanks EJ, I shall have a look into what you mention.
-
Hi all I tried searching for an answer but I cannot see anything. Can anyone give me any tips on securing yards onto the masts, I have seen them wrapped by rope, or maybe by using pins, but would welcome any good tips. I am dressing the yards and masts prior to fitting to the ship which hopefully will make the task easier as I am also placing things like blocks etc. Many thanks Terry
-
Thanks sors, I've made a few mistakes which I'm sorting as I go, but she is getting there.
-
Hi Doug, was wondering if I could ask please where you got the brass stand fittings from for the build, I was having a think on how to mount and remembered seeing these. Many thanks. Terry
-
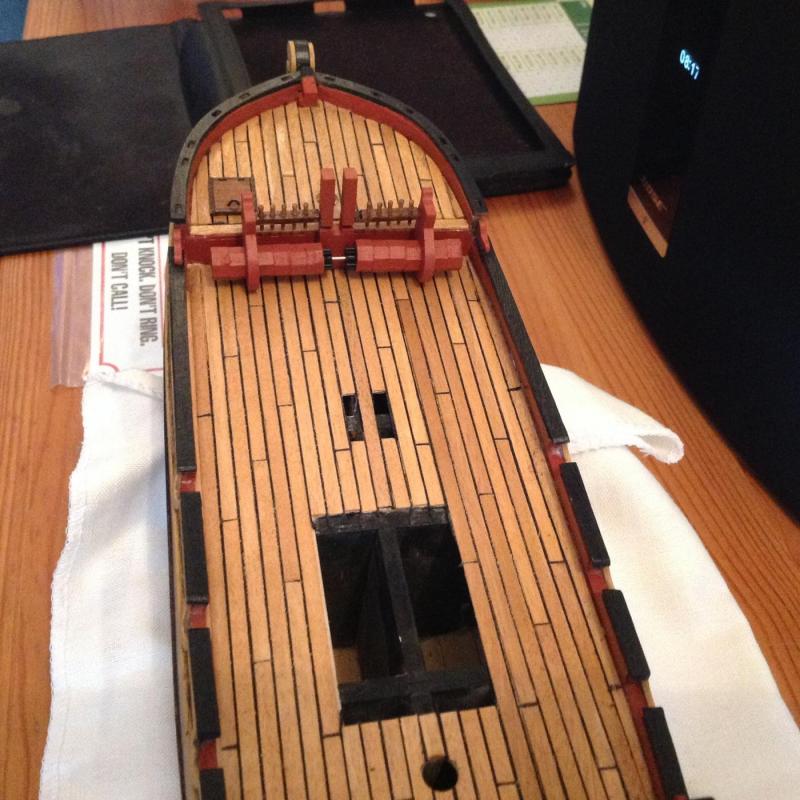
Just attaching 3 more pics with her on the clamp, gives a better view. Cheers.


-
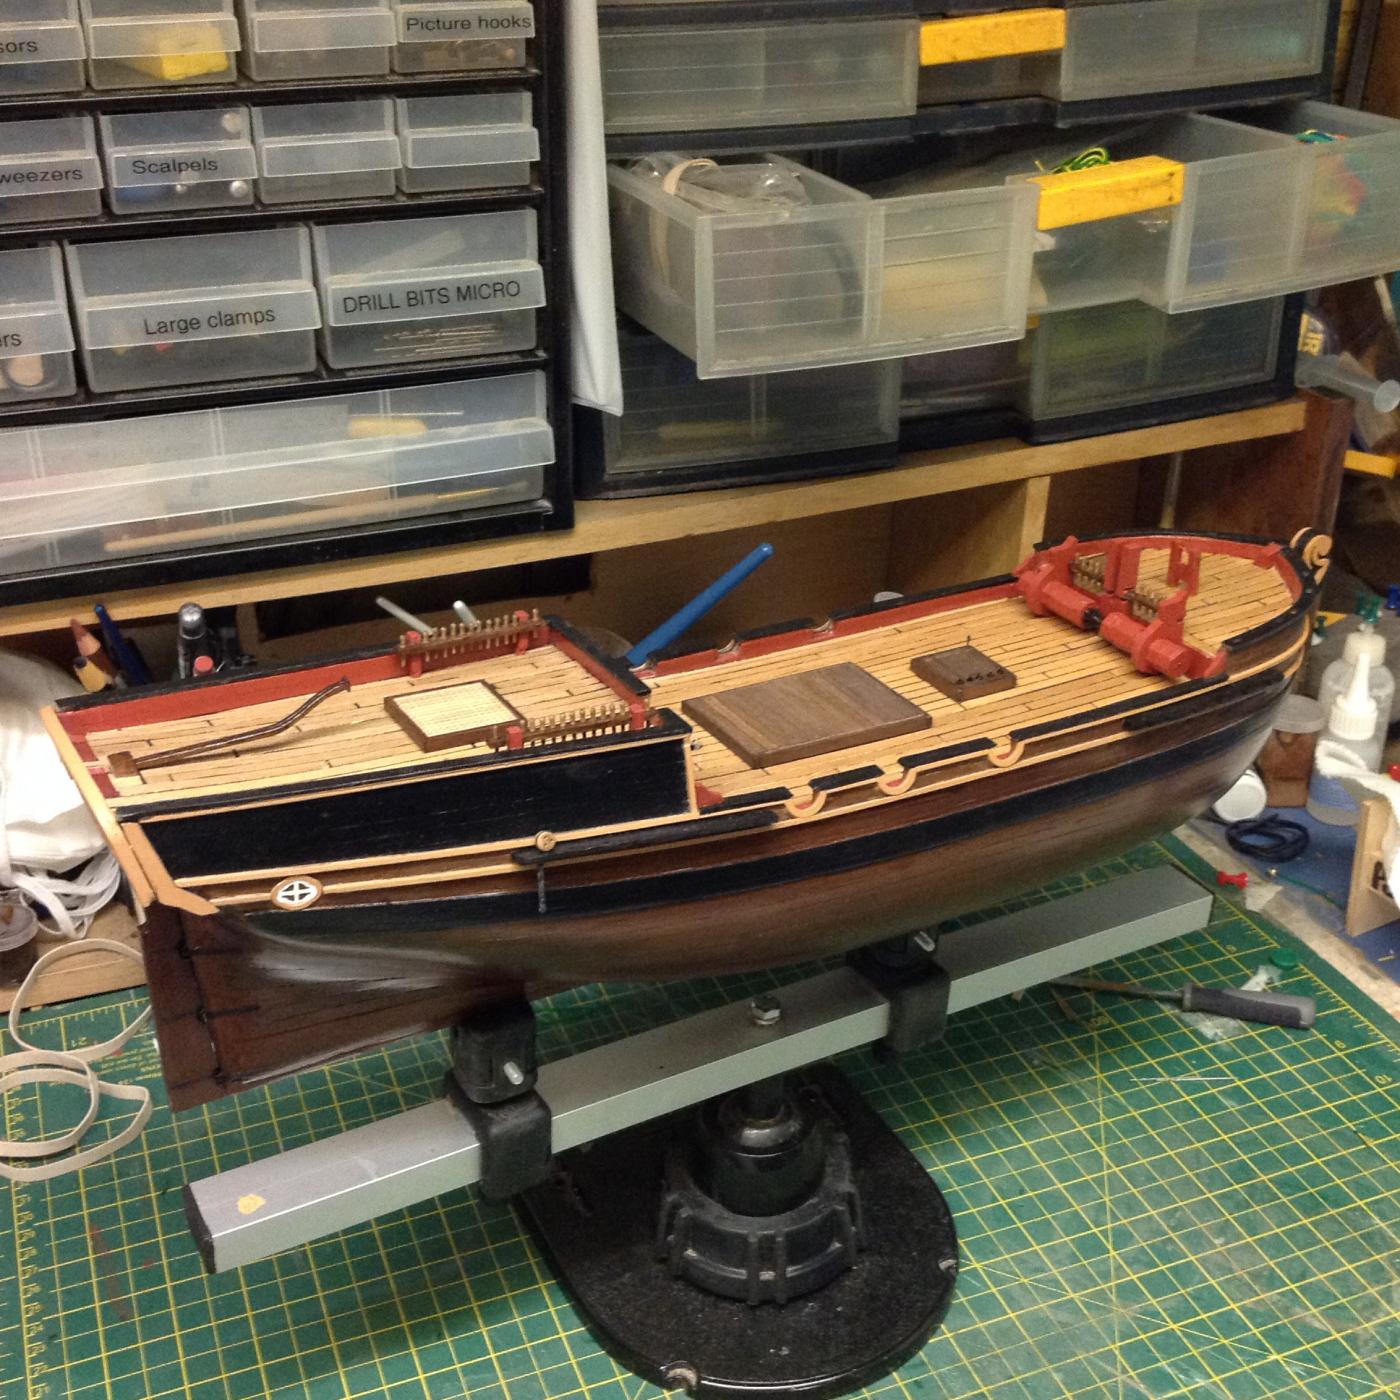
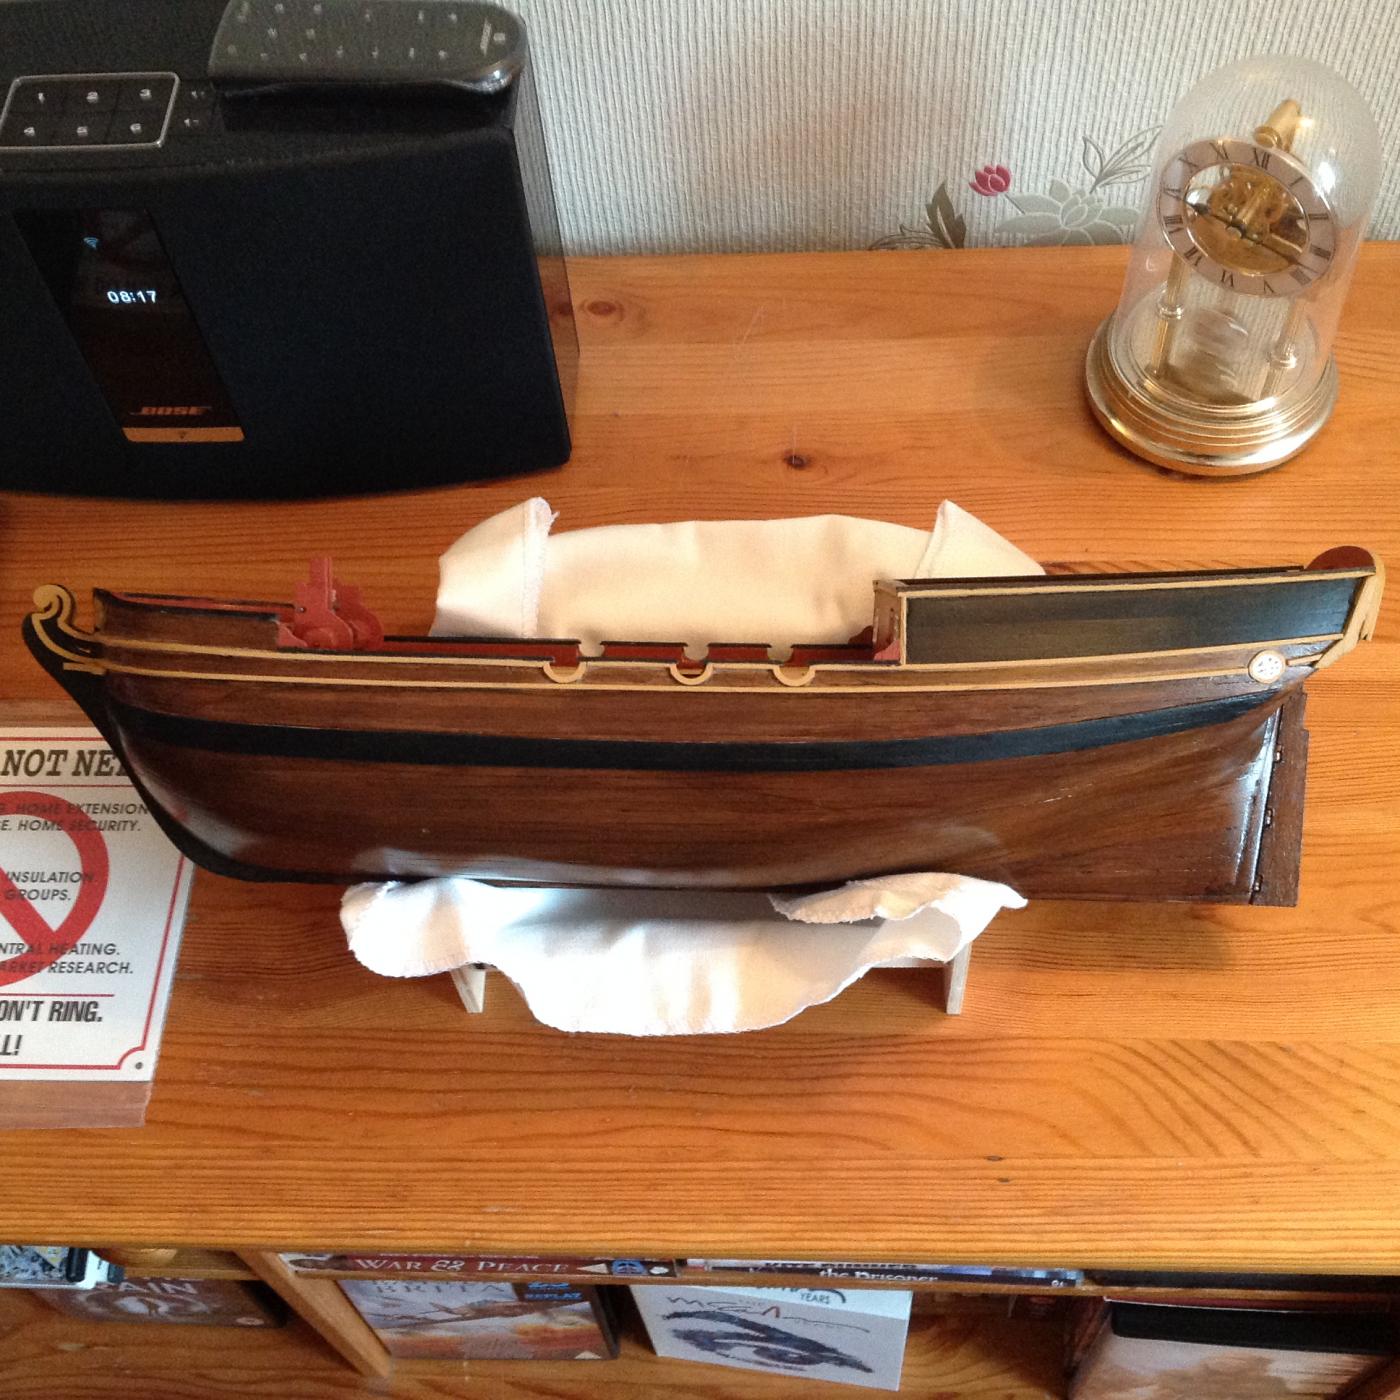
The build has been progressing at a steady pace, I am working now from the bow to the stern, all decking finished as I used cotton as caulking, I would have preferred maybe thinner cotton but once I got going I thought it best to carry on. I laid the whale planks slightly too high so the dead eyes and strops will need some adjusting when I finally fit them. I decided to stick with just a varnished hull and used a light wood dye on the deck finished with Danish oil then buffed off. I am pleased so far as I made some stupid mistakes at the start and now rectifying those issues. I now have two weeks off work and a week in the Canary Islands so the ship will be asleep for a week or so. Updates again soon. Thanks all Terry


-
Thanks mark, after looking at a few other builds I think I will try the off route.
-
Hi all I am not sure if this goes into my log build or here, but I will take a chance. I will soon be looking at starting on the masts on my HM Brig Supply, I am after some advice please as to should I place the masts at the start or build the mast furnishings and yard arms then fit the masts. I realise that some rigging has to be completed on the yard arms as such so I was checking how others proceed at this same point, Would welcome any feedback from supply builders who may have info to offer on a good way to work. Many thanks Terry
-
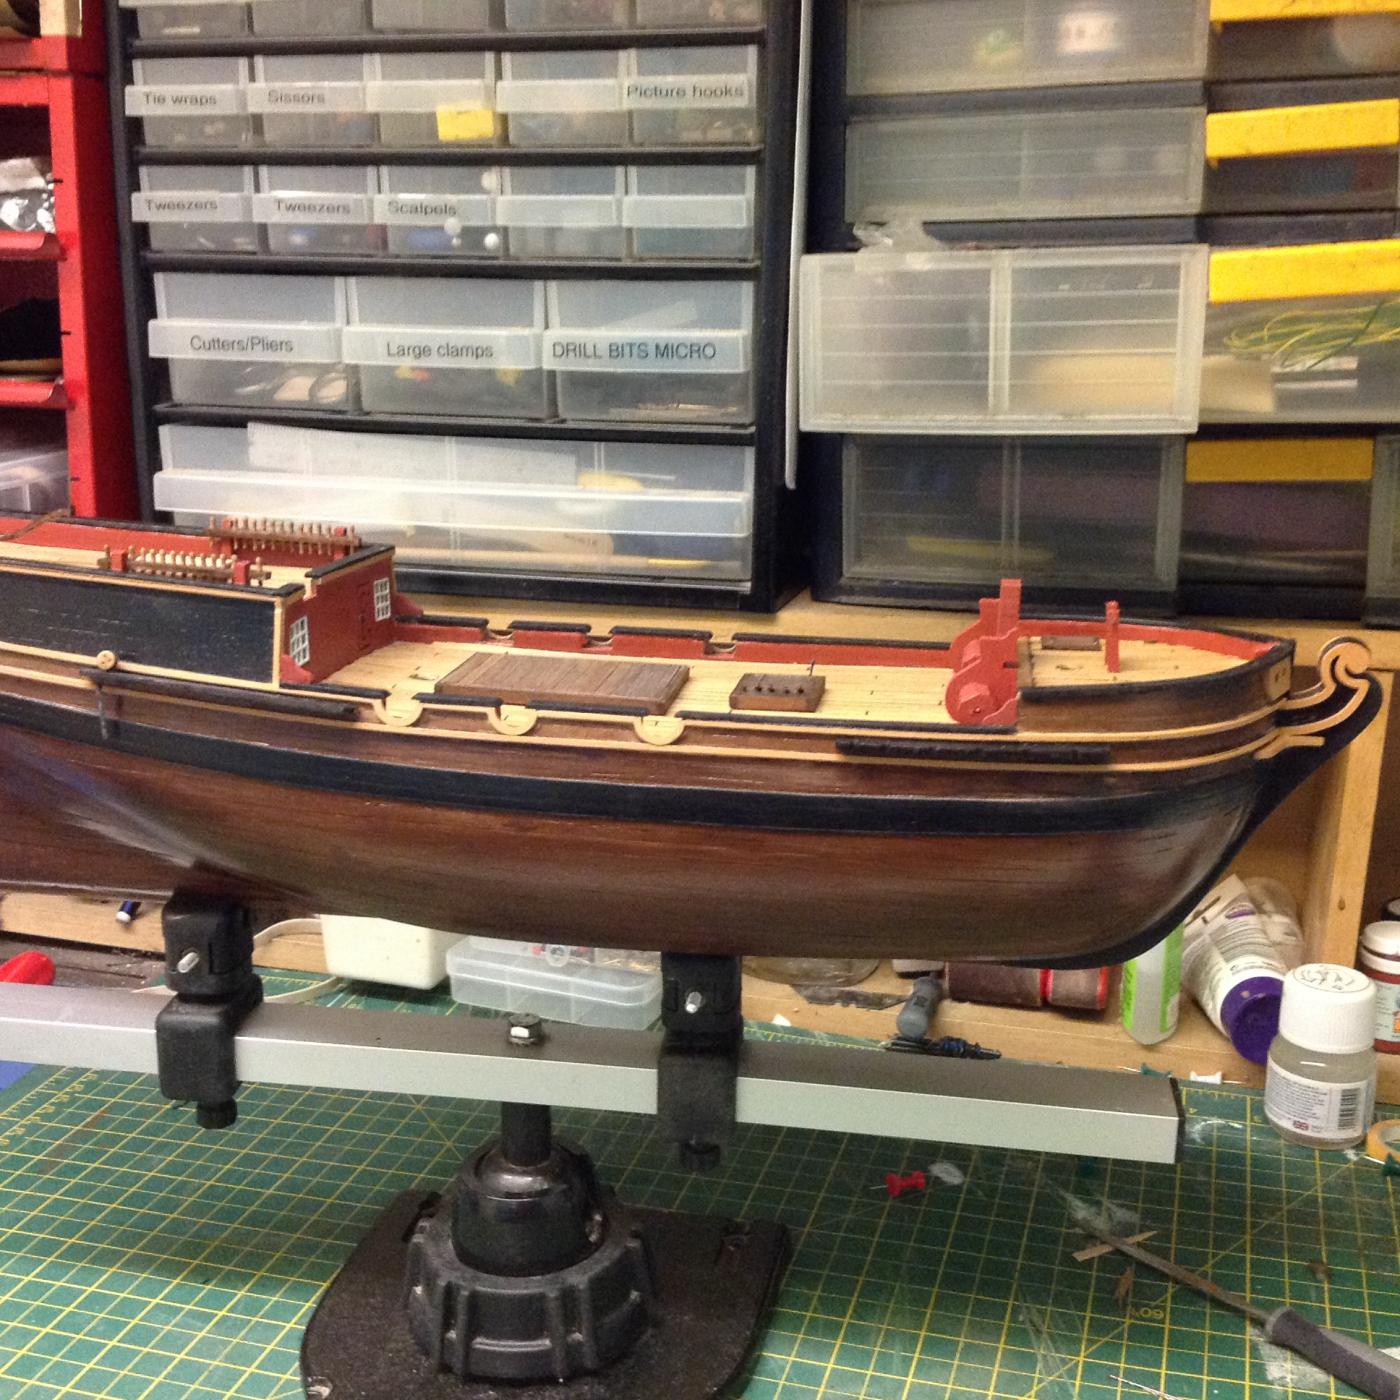
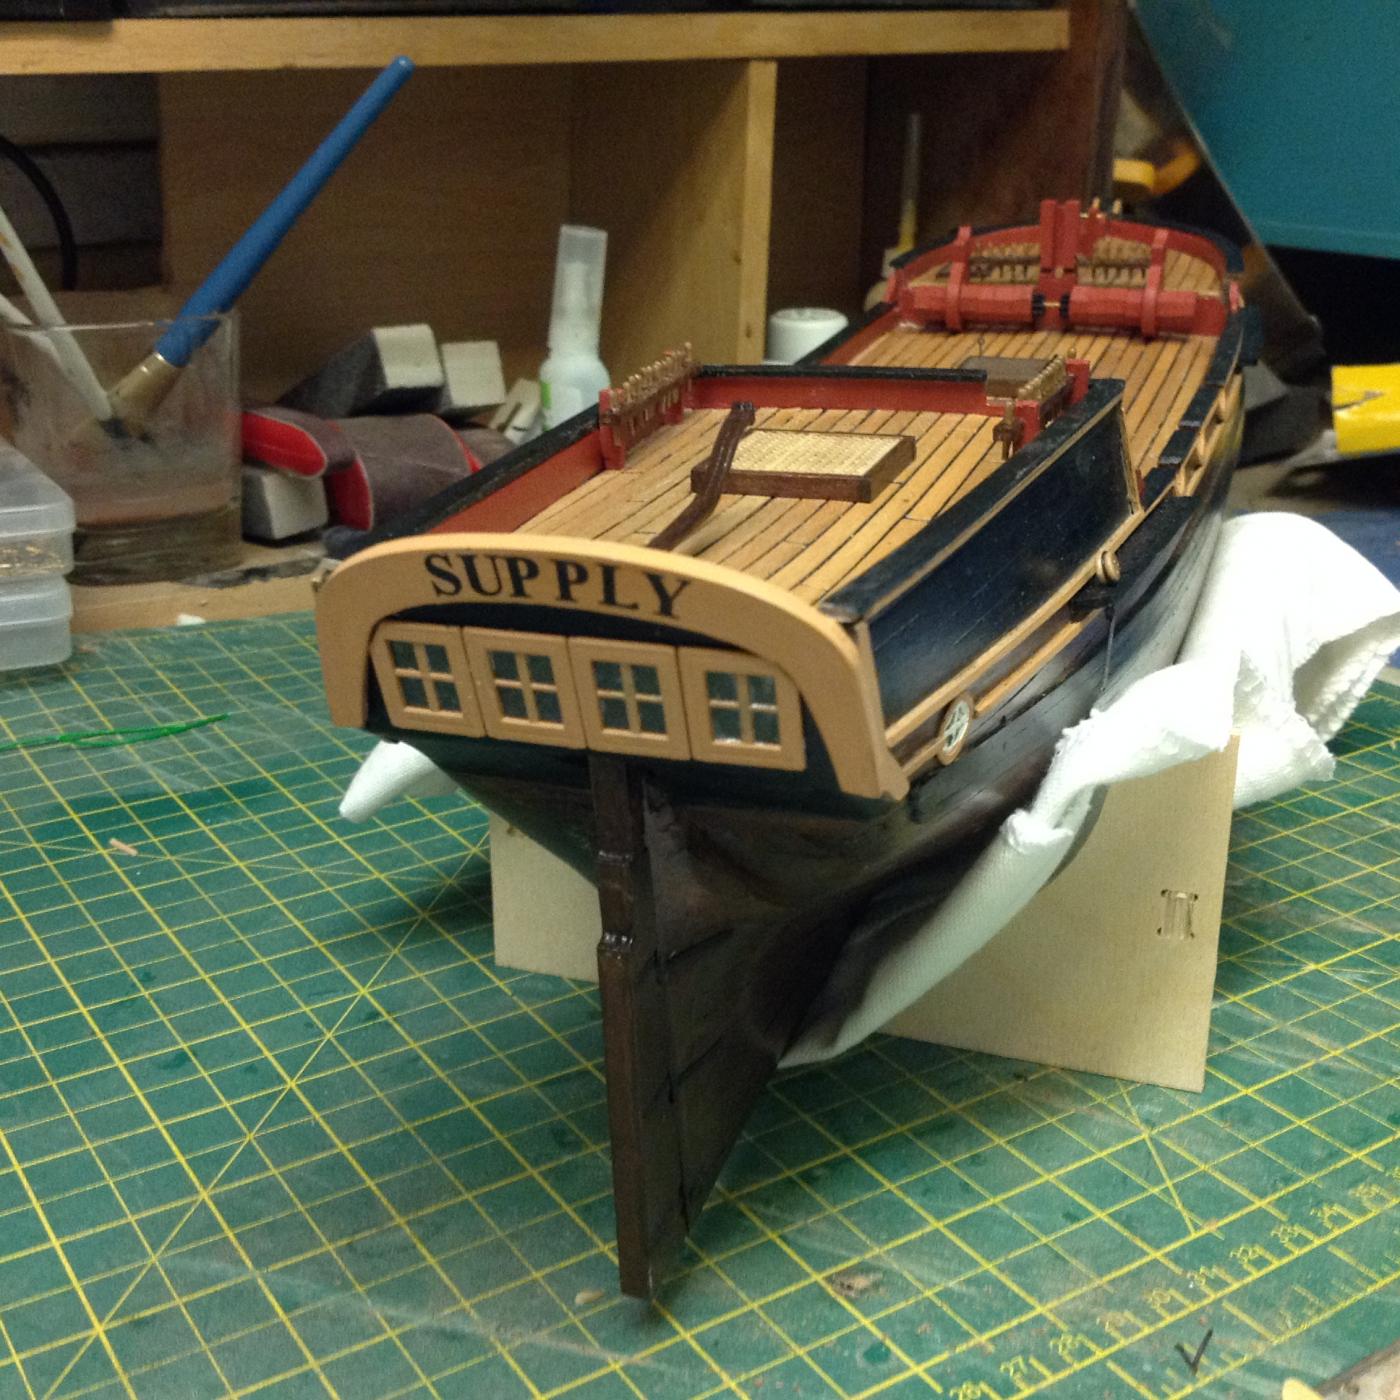
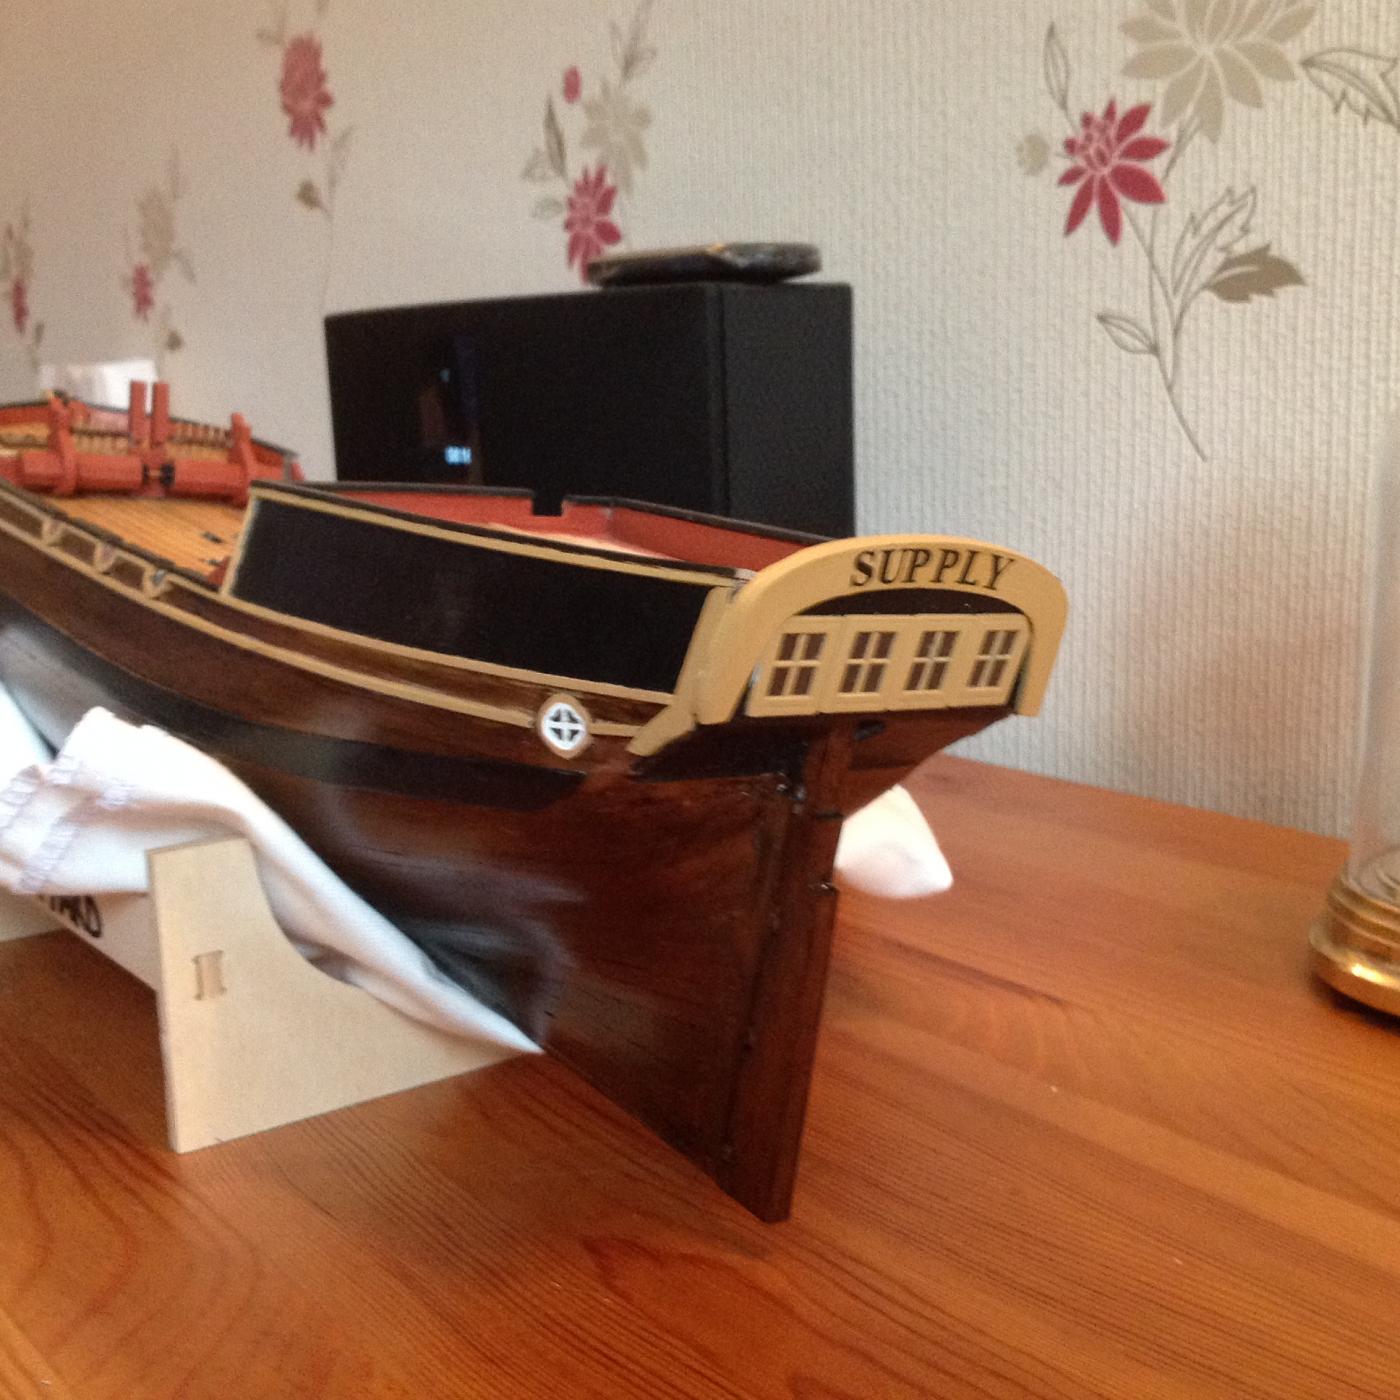
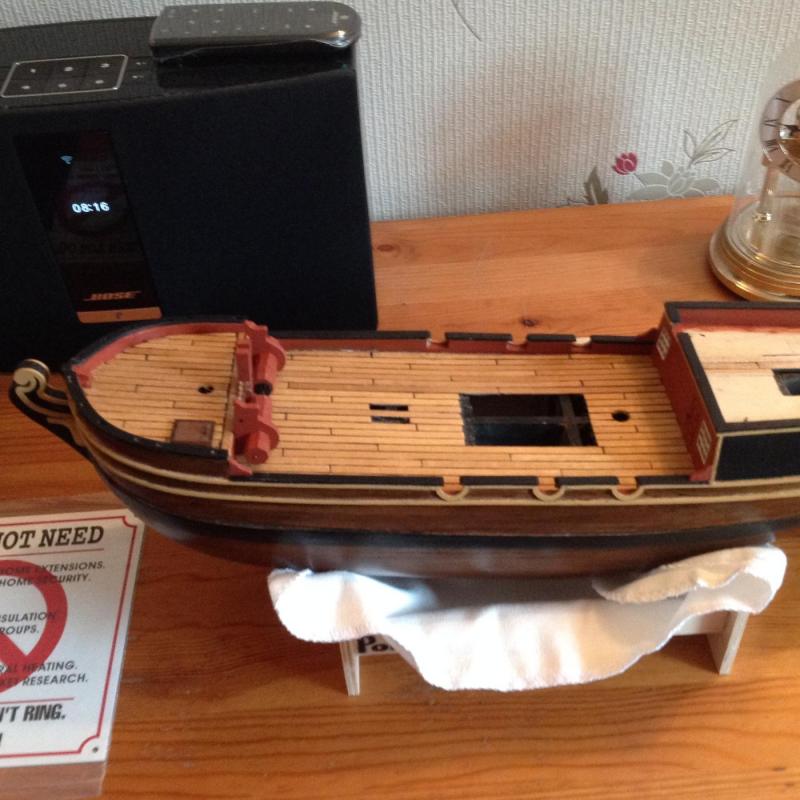
Ok, here are a few now pics of where I am, the lady is in the cradle with a cloth to protect the finish as much as possible, those of you in the know will see some issues with the build and I have done my best to work around them. I have learned a lot from this build and as I move on I am becoming more competent with what I am capable of. Any ways, I will now update more as I move on and I seriously will be seeking help once the rigging starts. Thanks all.


-
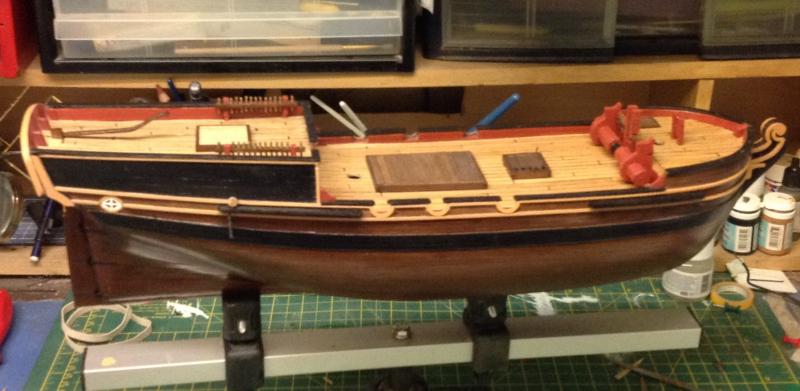
Hi all, been a while due to a number of personal issues which needed my attention, so apologies for not updating a lot more. I am back into the swing of things now, the attached pic is a few weeks old, I am now on the final deck fit of the quarter deck and lots of additions have been done now. I am keeping the hull in varnish as I like the look, I have found some of the wood in this build pretty dire to be honest but I have soldiered on and she is getting there now. I am going to take a few updated pics later but I wanted to just say I am alive and my build is now back to reality. Thanks all.
-
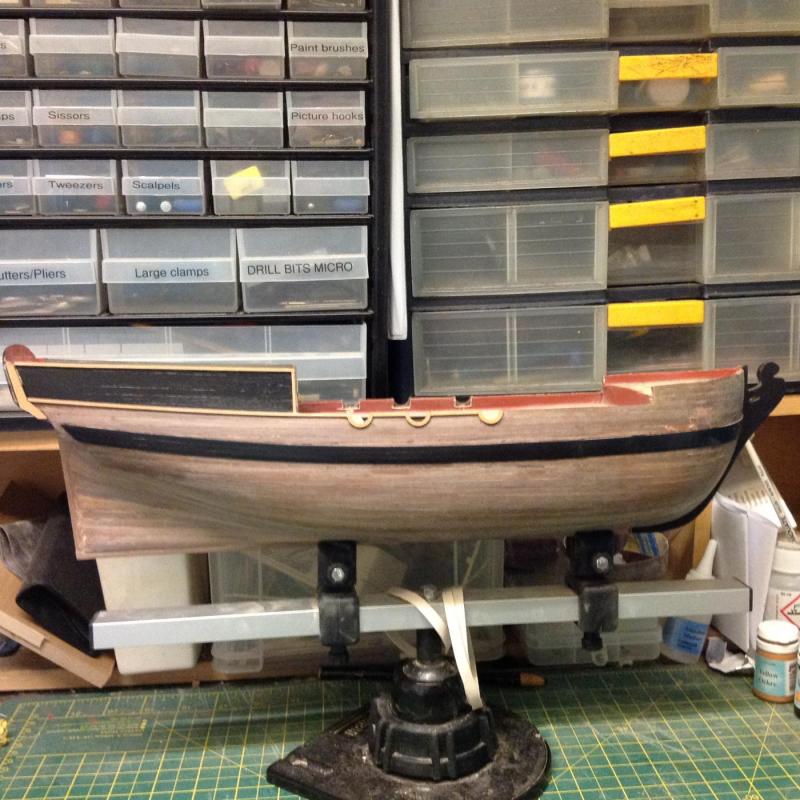
Right, back again ship side after a couple of months of having to get my head into a new work stream so I had to set my priorities for a while. Half the ship is second planked so I will be starting that again on Saturday, few lumps and bumps which I am hoping will settle when the sanding down is done. Onwards and sideways as they say ;-)
-
Looking really nice indeed, love the planking too, very nice.
- 32 replies
-
- 2
-

-
- longboat
- artesania latina
- (and 1 more)
-
Painting a Waterline
Telp replied to mikiek's topic in Painting, finishing and weathering products and techniques
The Tamils tape is great stuff, it should as such at that width be able to meander to the line if it isn't a perfect straight line. Another trick I used in the past was to lay the tape then with a very fine wet and dry paper, run the paper along the tape edge it flattens it perfectly. I use to paint military aircraft for a living and masking a 360 degree circle by hand for roundels was a great way to use masking tape as a tool. Even though the hull is black I'd be tempted to white prime the hull, mark the waterline on the white primer, then mask inside those lines so you create the waterline part under the tape, slightly rub along the tape then spray the hull black, this is the tricky part, don't wait for the black to dry totally, leave a little tab at the end of the tape and take the tape off, do it in one delecate pull and this will prevent any bleeding drying on or under the tape pulling any black away. Let it dry then mask the black up and spray the White. Black over white will be perfect for seeing the coverage. Do gentle coats as well, 3 good thin coats just wet enough to cover would be ideal rather than 1 thick coat which will bleed. Acrylic is perfect and it drys pretty fast as well but I'd be tempted to give the black 48 hours before placing masking tape on it. Just one other, give the white primer a little scuff with one of those gentle kitchen scouring pads, they do a nice job without marking the primer. Best of luck and it the tape needs cutting in half just lay it on a clean table and cut down the center so you have two good edges with one bit of tape, the Tanya stuff is very forgiving and re sticks perfectly. -
Painting a Waterline
Telp replied to mikiek's topic in Painting, finishing and weathering products and techniques
I would do as joe, little trick to do with the masking tape is to tear a thin strip from the main strip and mask the line as the thinner the tape the easier it is to make a line and any slight bends to the line can be easily done with a thinner strip. Then mask over the original masking line with a wider bit. Also, before applying the tape run the sticky side across your trousers, jeans ect as this removes any ailments on the sticky section and creates a tighter fit to the area being masked. -
Filling - How do you do it?
Telp replied to mikiek's topic in Painting, finishing and weathering products and techniques
I am laying walnut as a second planking to my brig, I as such use walnut coloured wood filler thinned down with water to a slightly thickish paste, not too thin to be unable to have it lay. I give the filler roughly five minutes to settle and then I gently sand using one of those flexible rubbing down pads that are all soft and easy to form into a rubbing down shape. Once I have the filler as I want it I then pull a Stanley blade along the work area to bring it as level as I can with the planks above or below. I got to the stage where I do not wait until the whole planking process is done before looking at issues, I lay a plank, sort it out and once I am happy I lay the next one. It will save me a headache in the long term trying to sort a lot out rather than a little at a time. I see the point that ships were not perfect lines ect, but as a model I think they look a lot nicer when well rounded as such as their size shows up everything too much. -
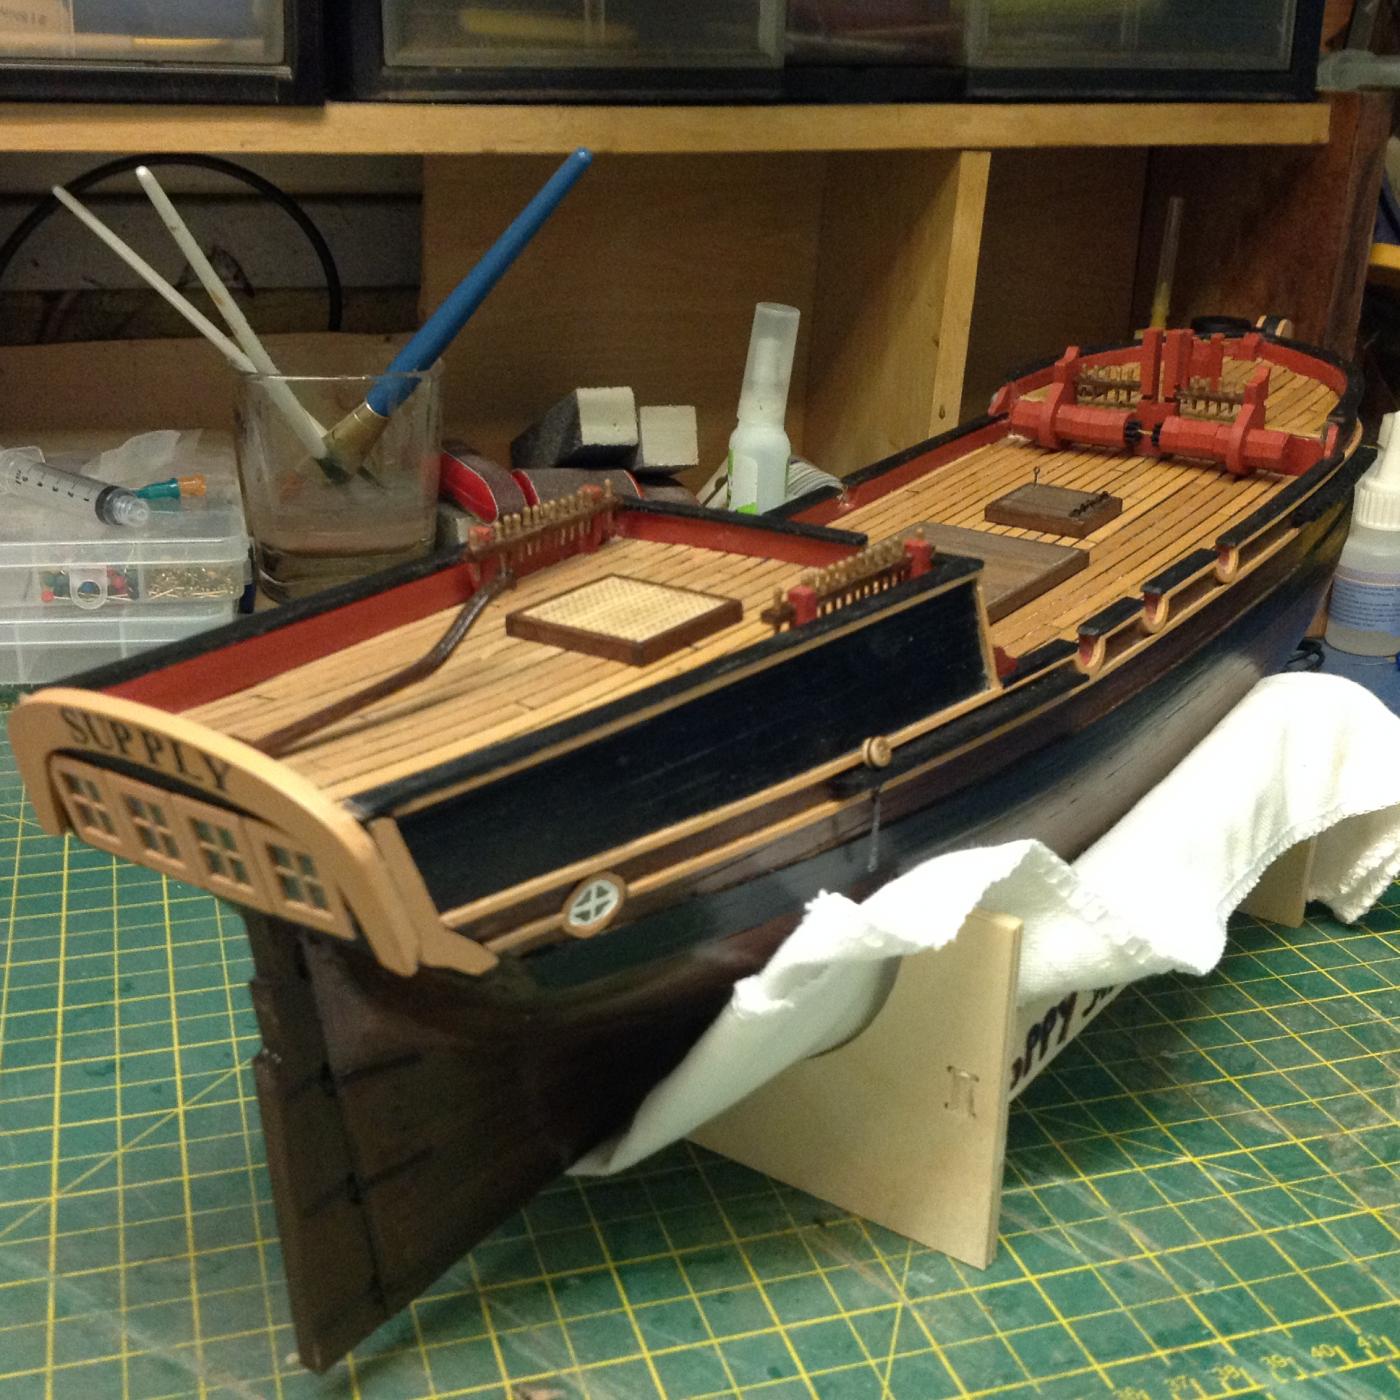
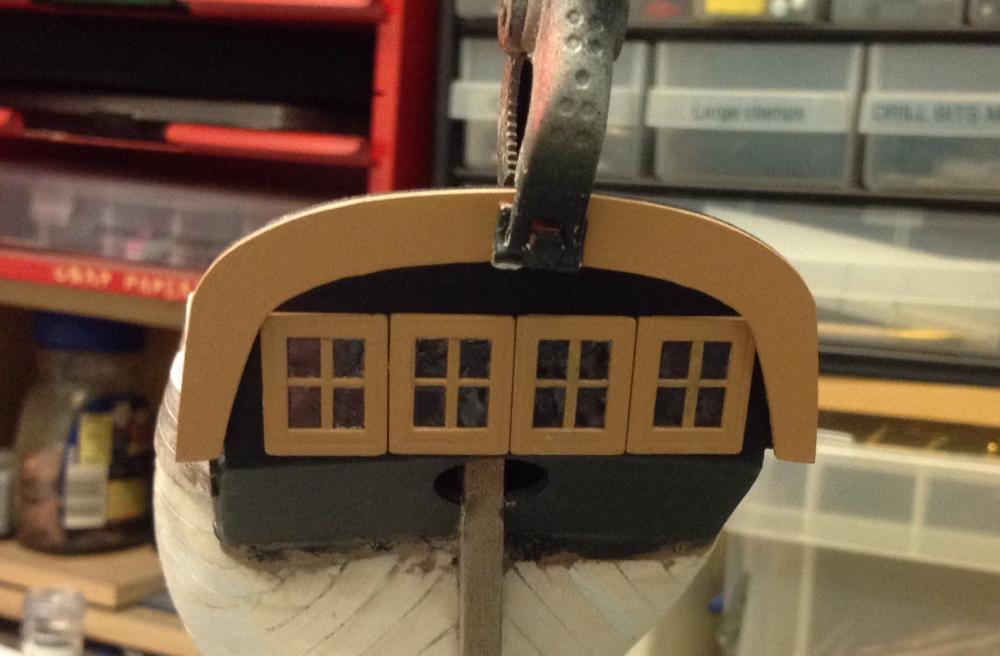
After a few attempts to put a set of self made Windows at the stern, I finally went for some Windows I got cheap off the net, now painted and glazed, I just need to do a few fine cuts and sanding tasks to make them look a bit tidier. Thank heavens for dolls houses :-)
-
Thanks rob, I will try the wood in glue bit on any smaller gaps, one thing I'd like to do is get new cannons, I don't like the cut on the kit ones, not one of them is the same cut, I'm not sure of what to get but there must be better ones out there that will work on the brig.
-
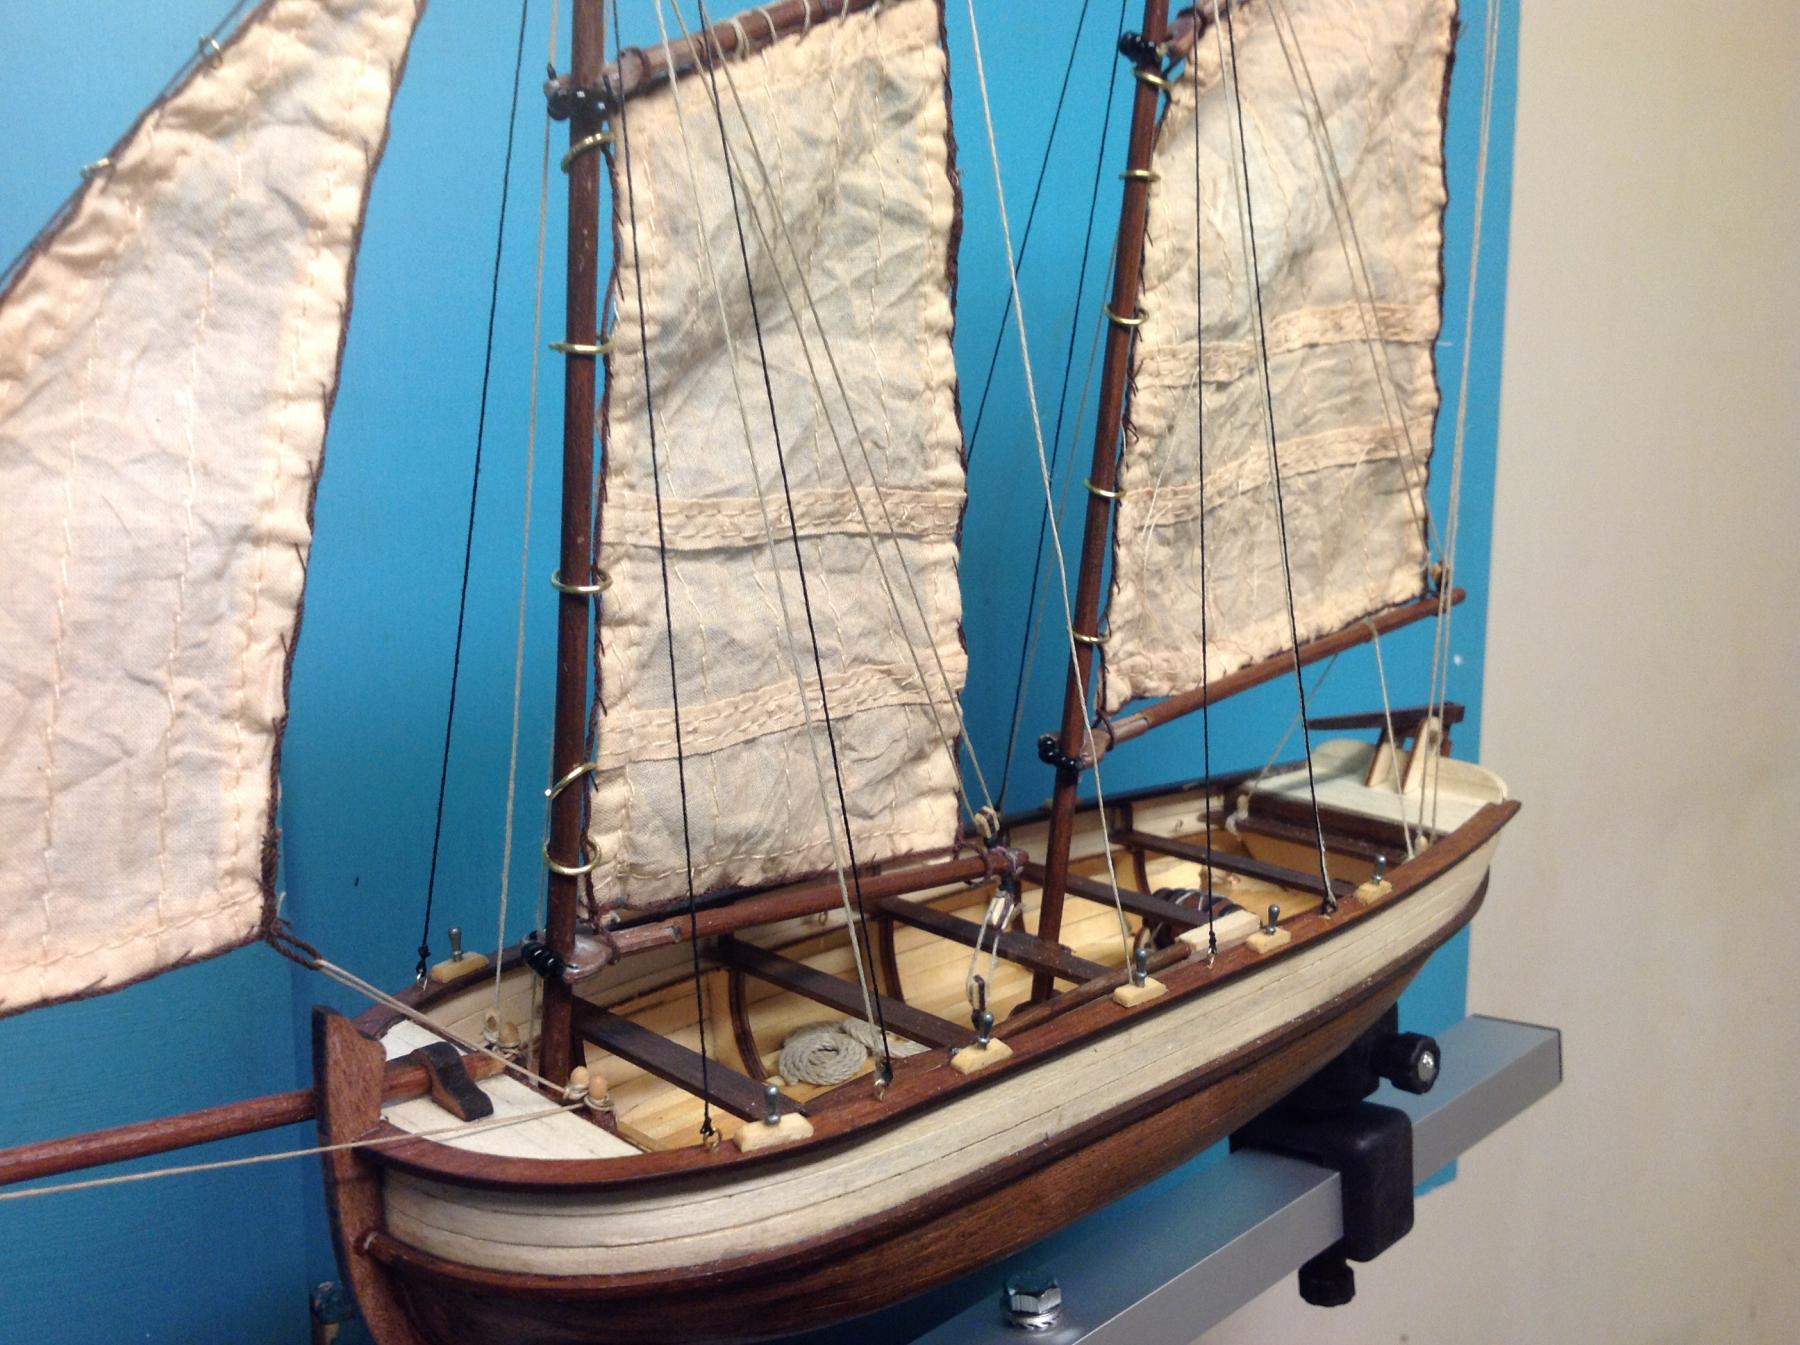
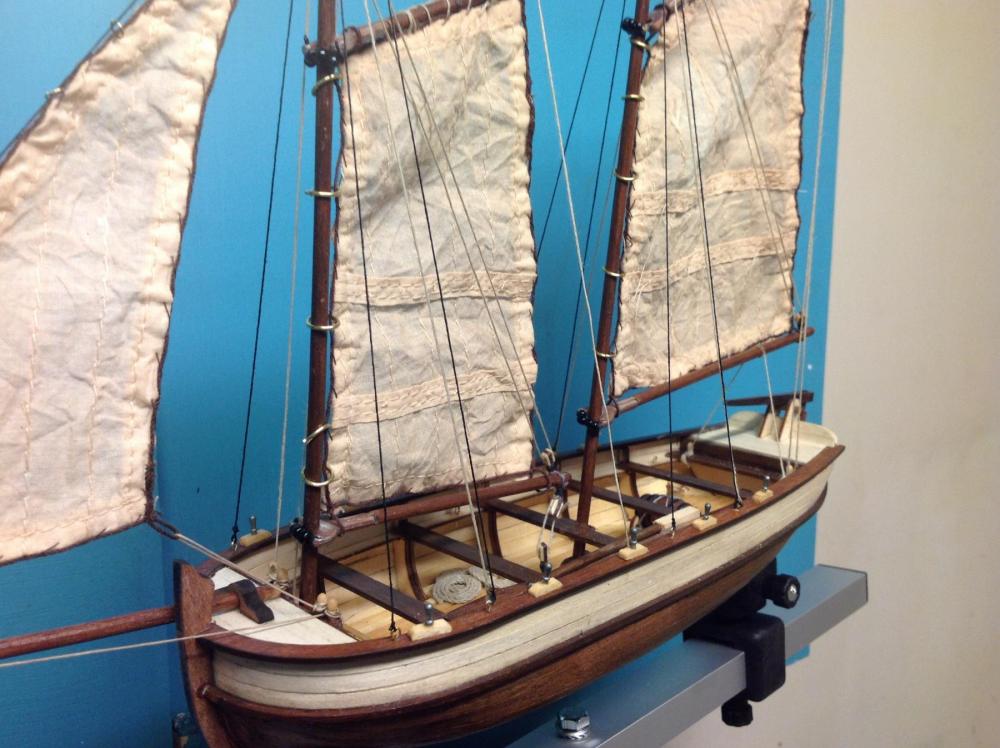
She is a lovely little boat to build, it was the first one I done as the wife got me it for Christmas. If it helps, don't fit any masts until you have done everything to the deck as such, like the little eyelet that sits mid way where the sail rigging connects downwards, also, do not glue the oars to the seats as there are several small rigging eyelets that connect in the inner wall for rigging use, basically fit all the eyelets first, I had some choice swear words when I could not fit them and had to remove a couple of things. Also, dipping the sails in black tea for 20 minutes gave them a really nice used look.
- 32 replies
-
- 8
-
-
- longboat
- artesania latina
- (and 1 more)
-
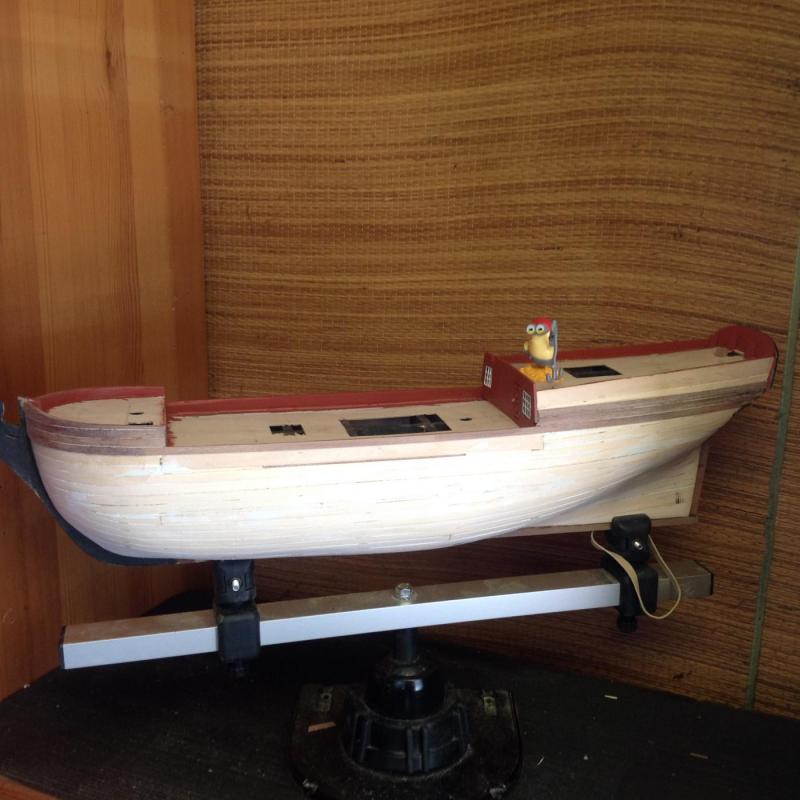
Well that's today's efforts completed, back to work tomorrow then a long weekend in London. Found the walnut wood very nice to sand and decided to sort any gaps as I go. An old trick I use to use when I was an aircraft painter was to mix body filler with a small amount of water mixed to a paste then gently fill in any small areas where the planks were not quite square. Captain minion is happy enough for now.
-
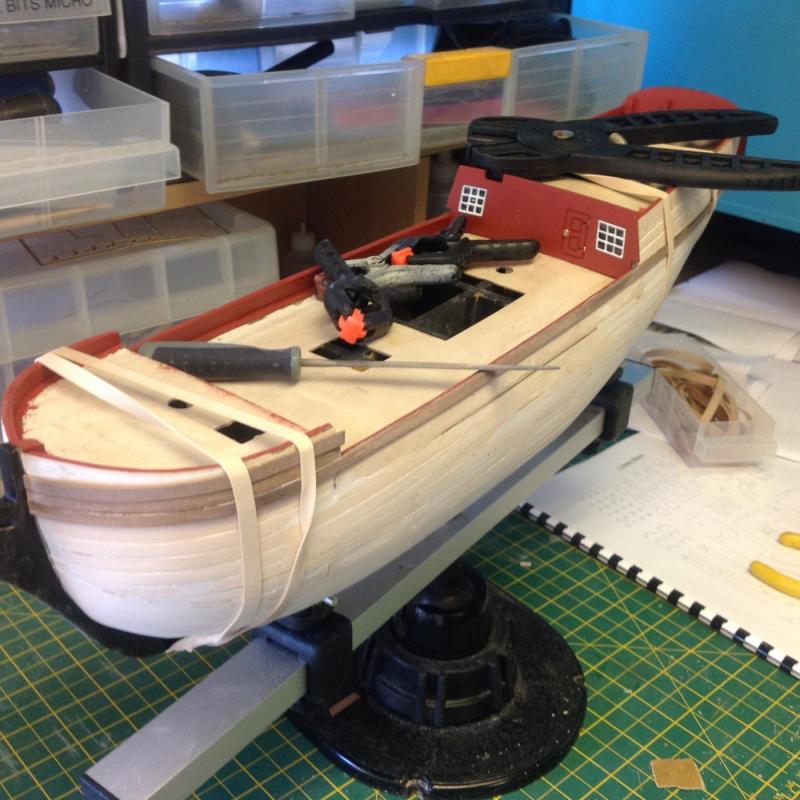
After a few months of getting things reasonably ok I am now embarking on the 2nd planking, not been looking forwards to this for sure but I have it in my head to go steady and to not touch another plank until I am 100 per cent happy with the one I have attached. I am waiting on a couple of 300mm Irvin clamps before I hit the larger areas as I do not want to place nails to hold the wood in place, I am using ca glue at the very tips of the bow just to hold things as there are not many good on board clamping opportunities. As captain Scott said "I may be gone a while" just hope I leave enough room to add the satellite dish to the mast later
-
Brilliant, thanks Steve,, I must say I think I prefer the Windows you show in the pictures so I may well give them a go. I did manage to see some of the Australian pictures and I noticed the ship was not white hulled in the finished model, this appeals to me as I was going to do a varnish job first to see what she looked like, I notice as well there are a number of items on the deck which are not in the model, may have a good look and see what's different, planking isn't my best thing and rigging I find strange, so I will do what I can with other goodies on the deck.