HOLIDAY DONATION DRIVE - SUPPORT MSW - DO YOUR PART TO KEEP THIS GREAT FORUM GOING! (Only 64 donations so far out of 49,000 members - C'mon guys!)
×


George-JK
-
Posts
57 -
Joined
-
Last visited
Content Type
Profiles
Forums
Gallery
Events
Everything posted by George-JK
-
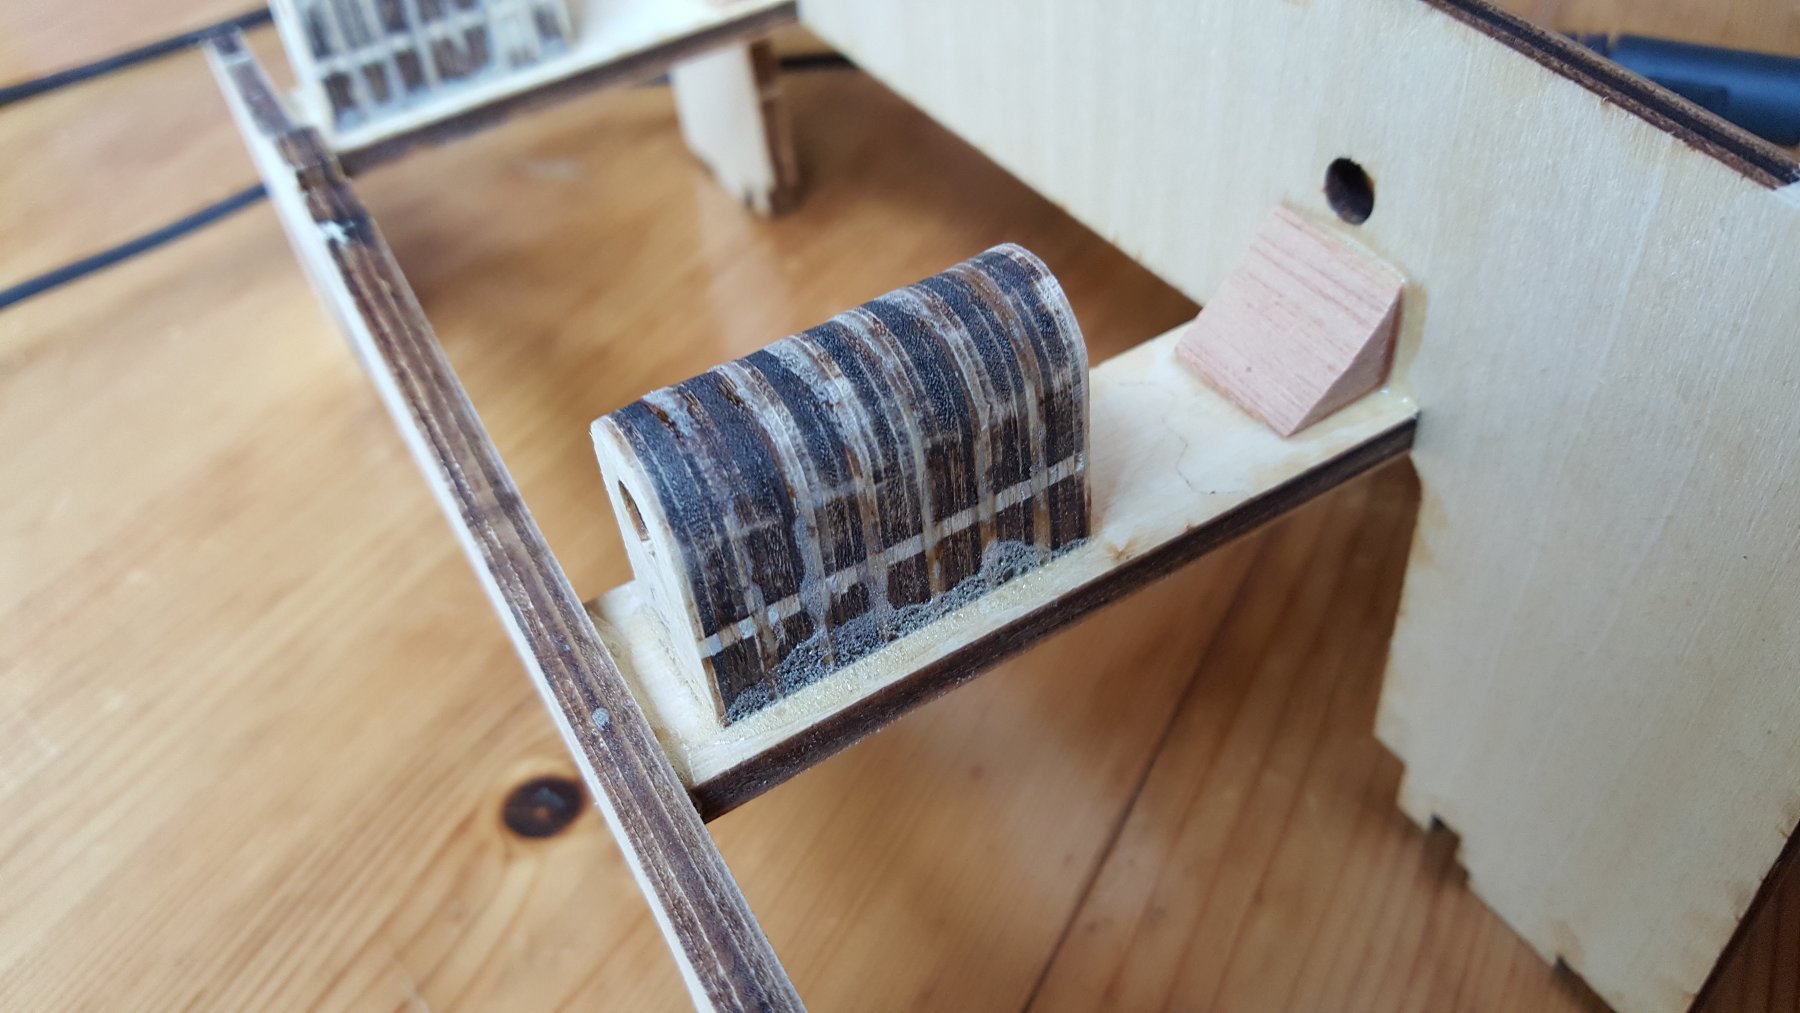
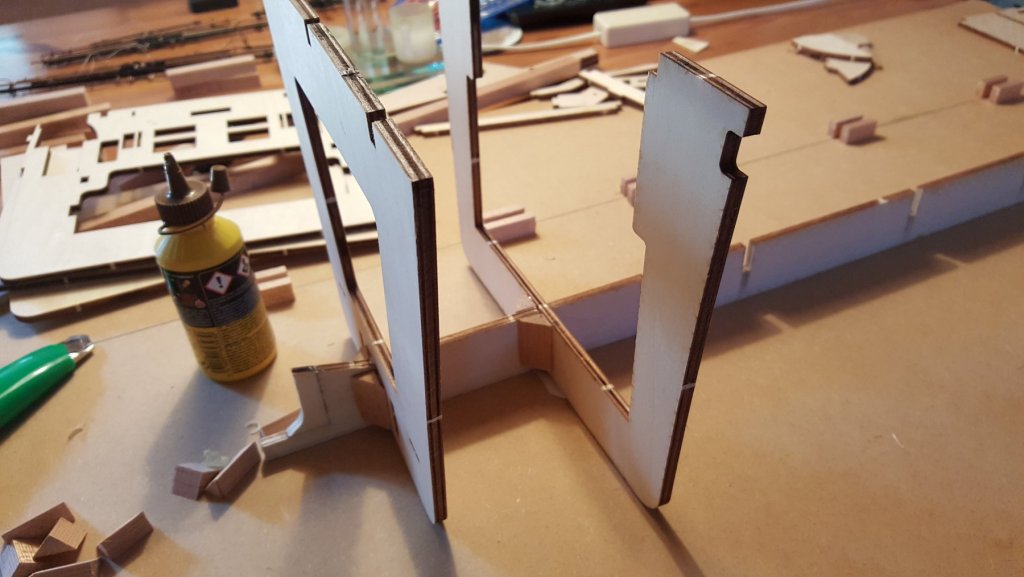
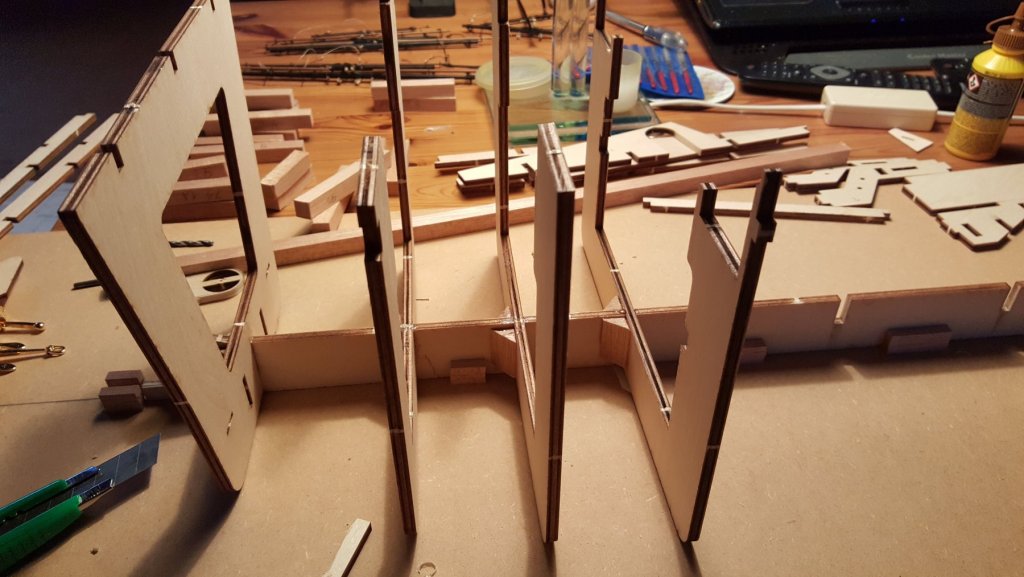
During this week I started the works on the hull, since we got to move with the thruster units. They'll be custom made by a colleague of mine Here are some photo of the hull. Starting from the font, gluing the blukheads. To preserve right angles I used an angle and a sawing ring, for it sufficient weight and also right angles. Here you can see the hardwood triangles used to stiffen the hull. Also as one can notice the bow is missing, this is due to cutting-out the space for the bow thruster. Getting to midsection of the hull. Attaching the keel side-parts to stern section.
- 90 replies
-
- 3
-

-
- fairmount alpine
- billing boats
- (and 1 more)
-
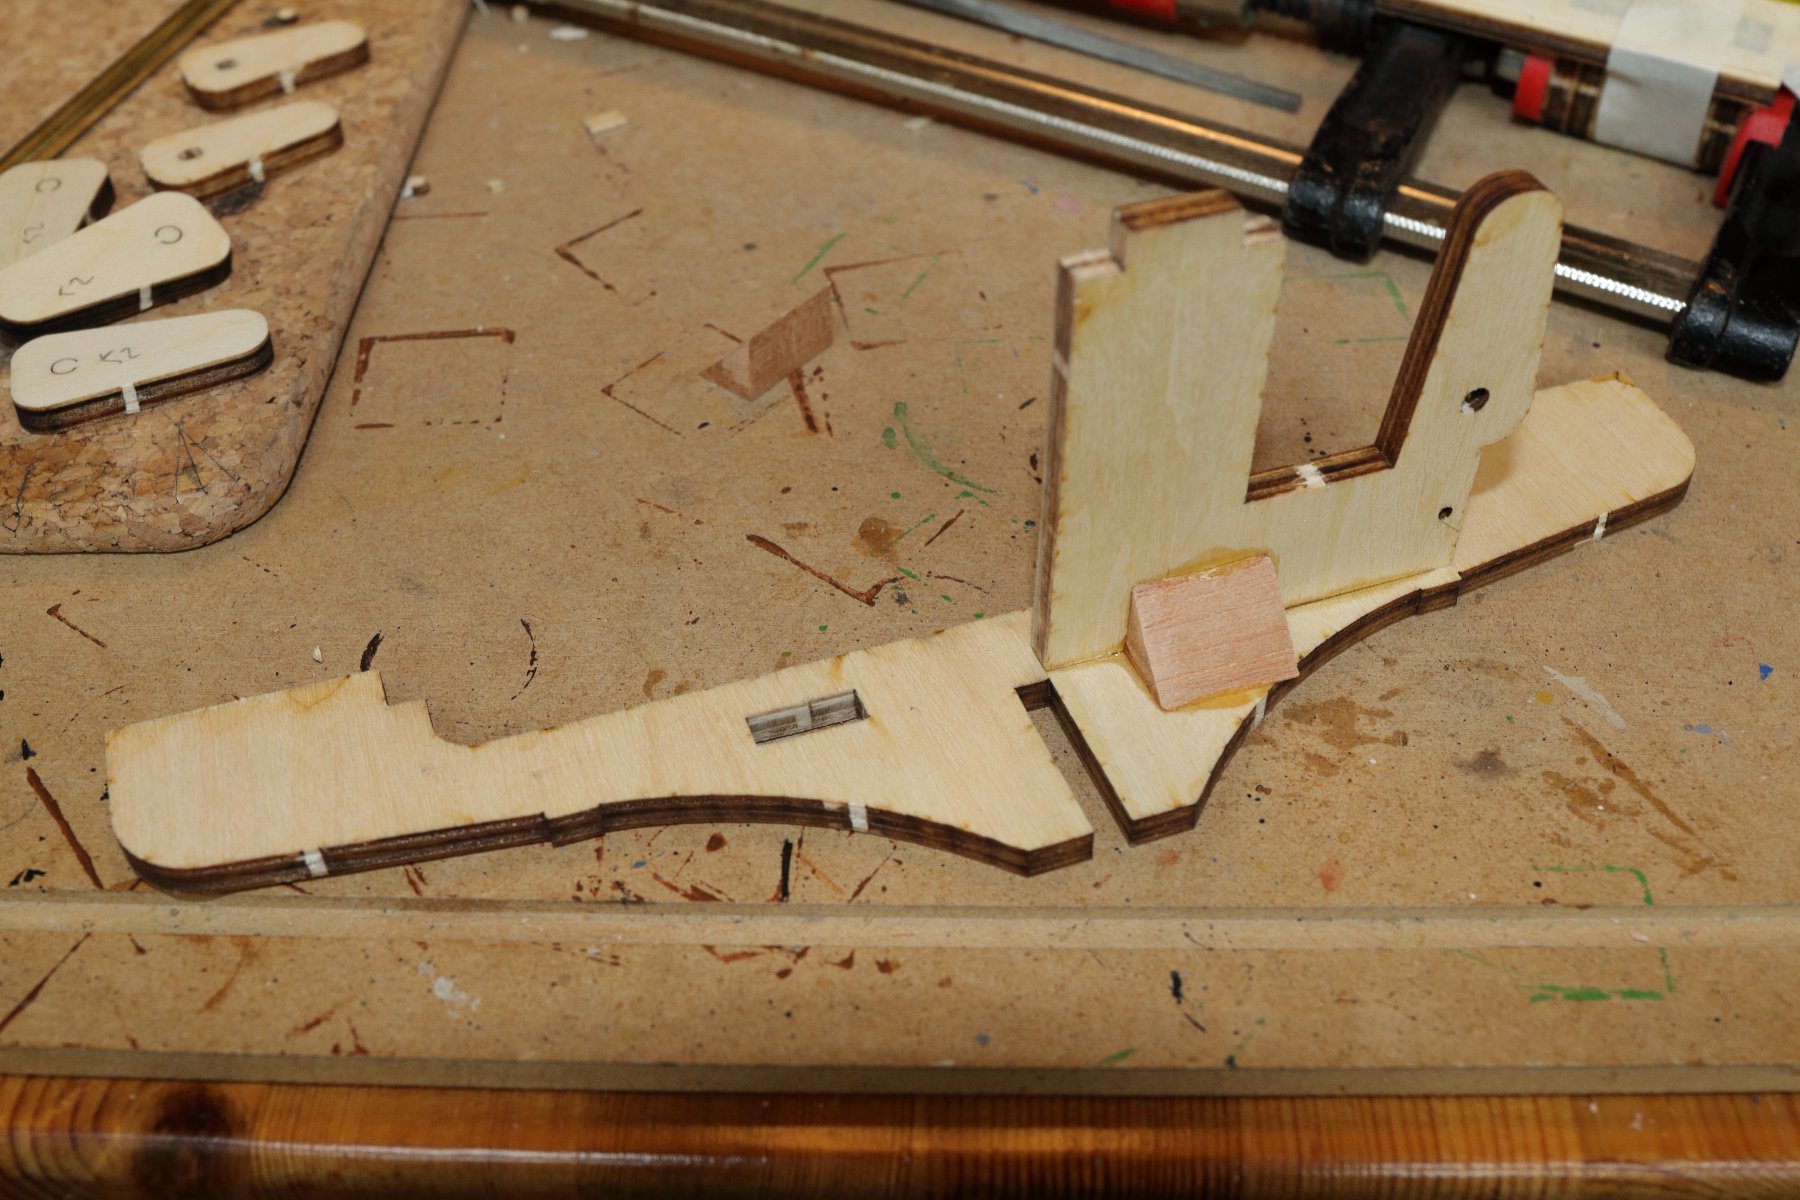
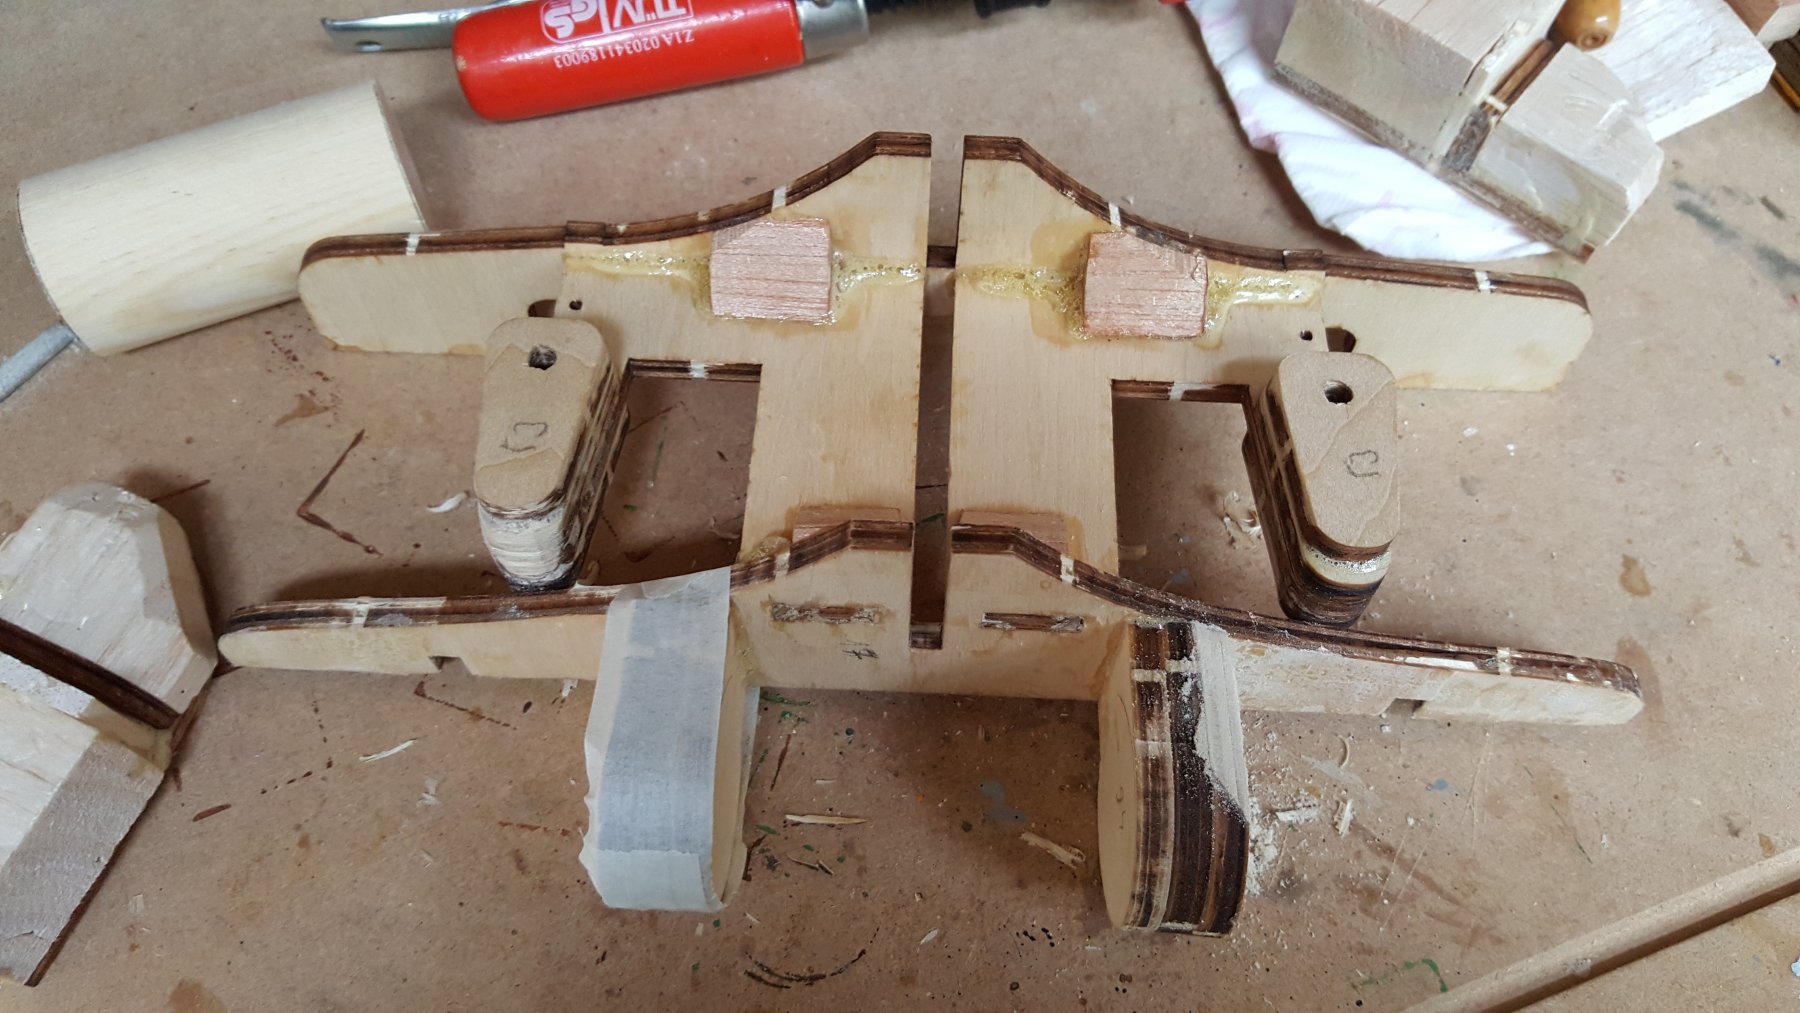
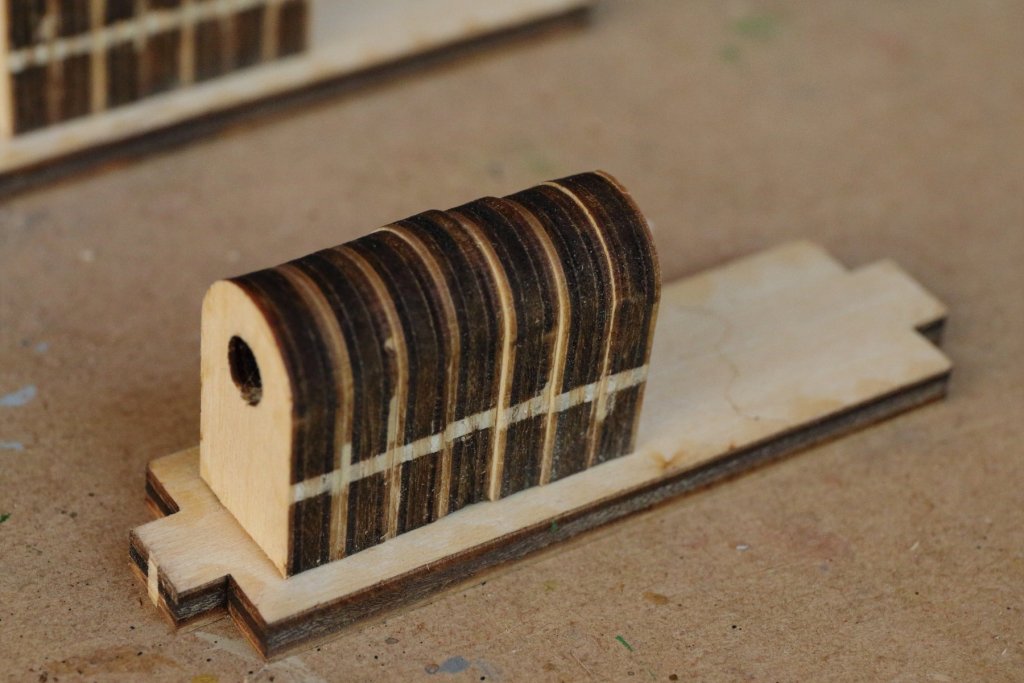
As the main assembly of the hull is on standstill, due to the missing bow and stern thrusters, I started assembling sub parts of the construction. The first on the list were ports for prop shafts. Here is the prop shaft dry-fitted before gluing. And the finished parts, glued to their respective bulkheads. The image shows the bulkhead assembly, cleaned from most of the glue. The second possible assembly to make was the rudder section, it also consists of two bulkheads and some parts creating the rudder stands. Gluing of the base of the rudder assembly. Adding stern of the ship.


- 90 replies
-
- 3
-
-
- fairmount alpine
- billing boats
- (and 1 more)
-
I don't believe it is a model, looks so real that with right angle of photograph one could be completely deceived, that it is the real deal... Great work
-
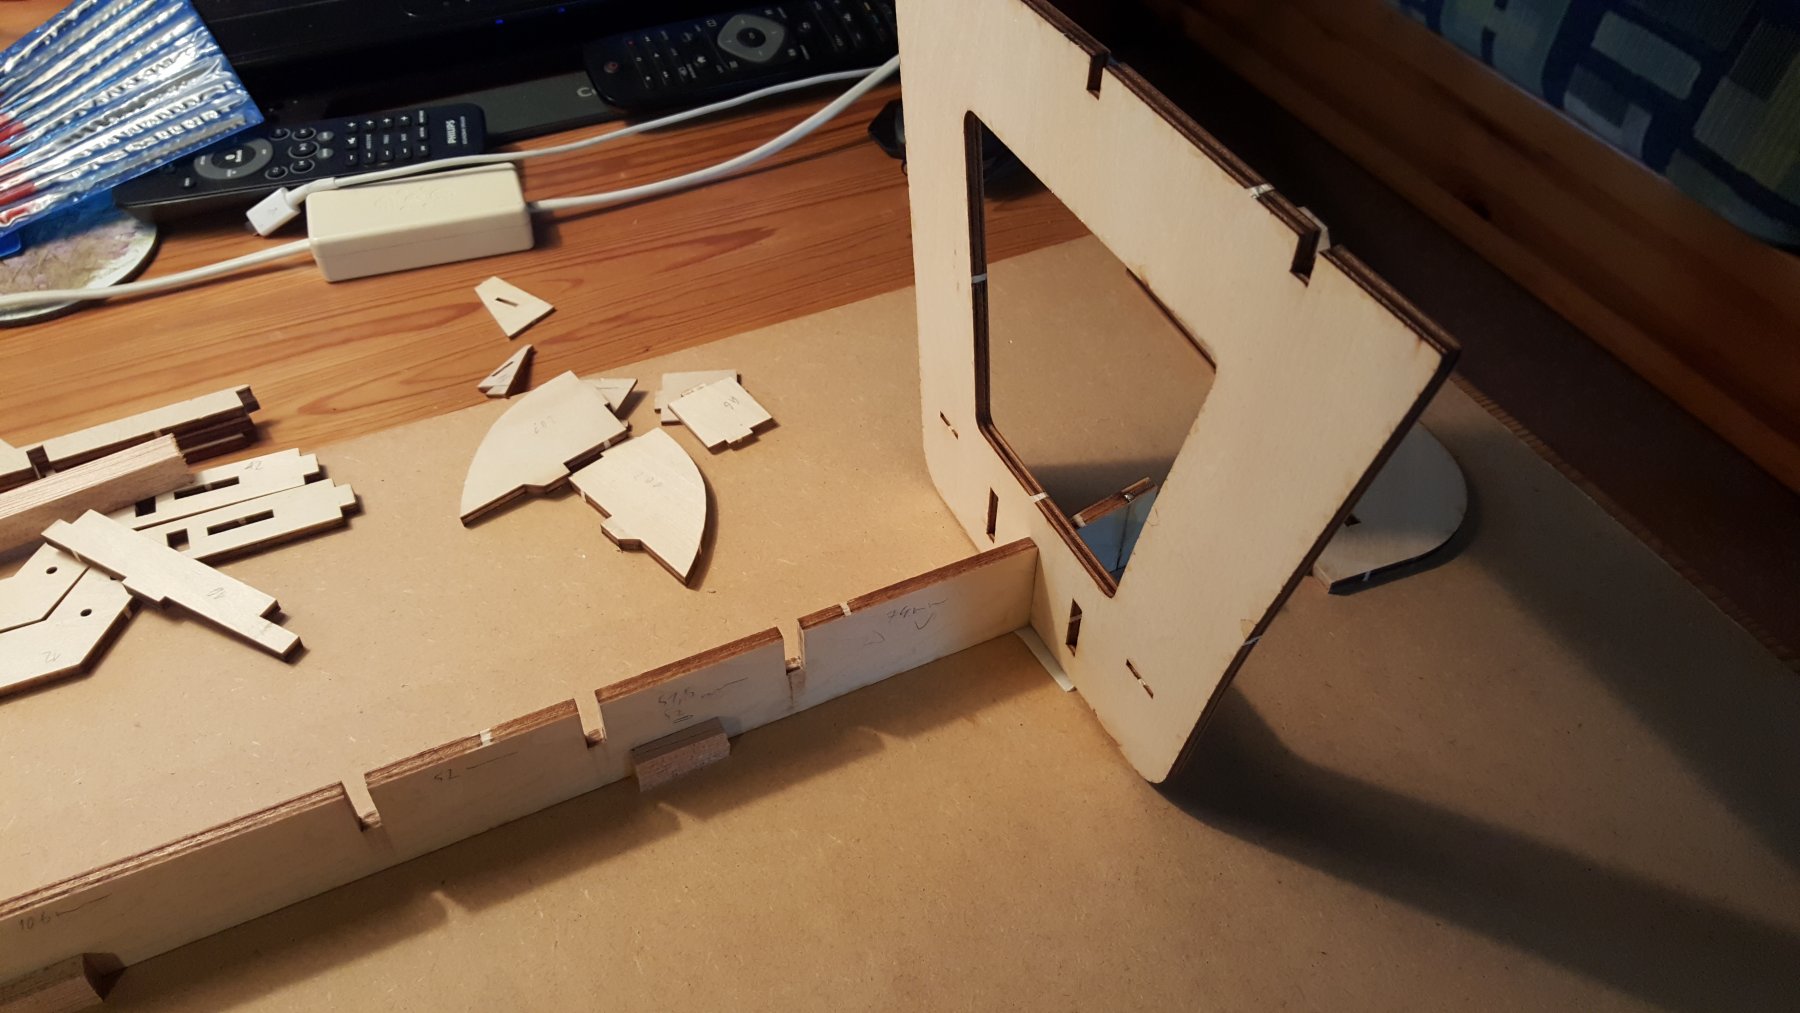
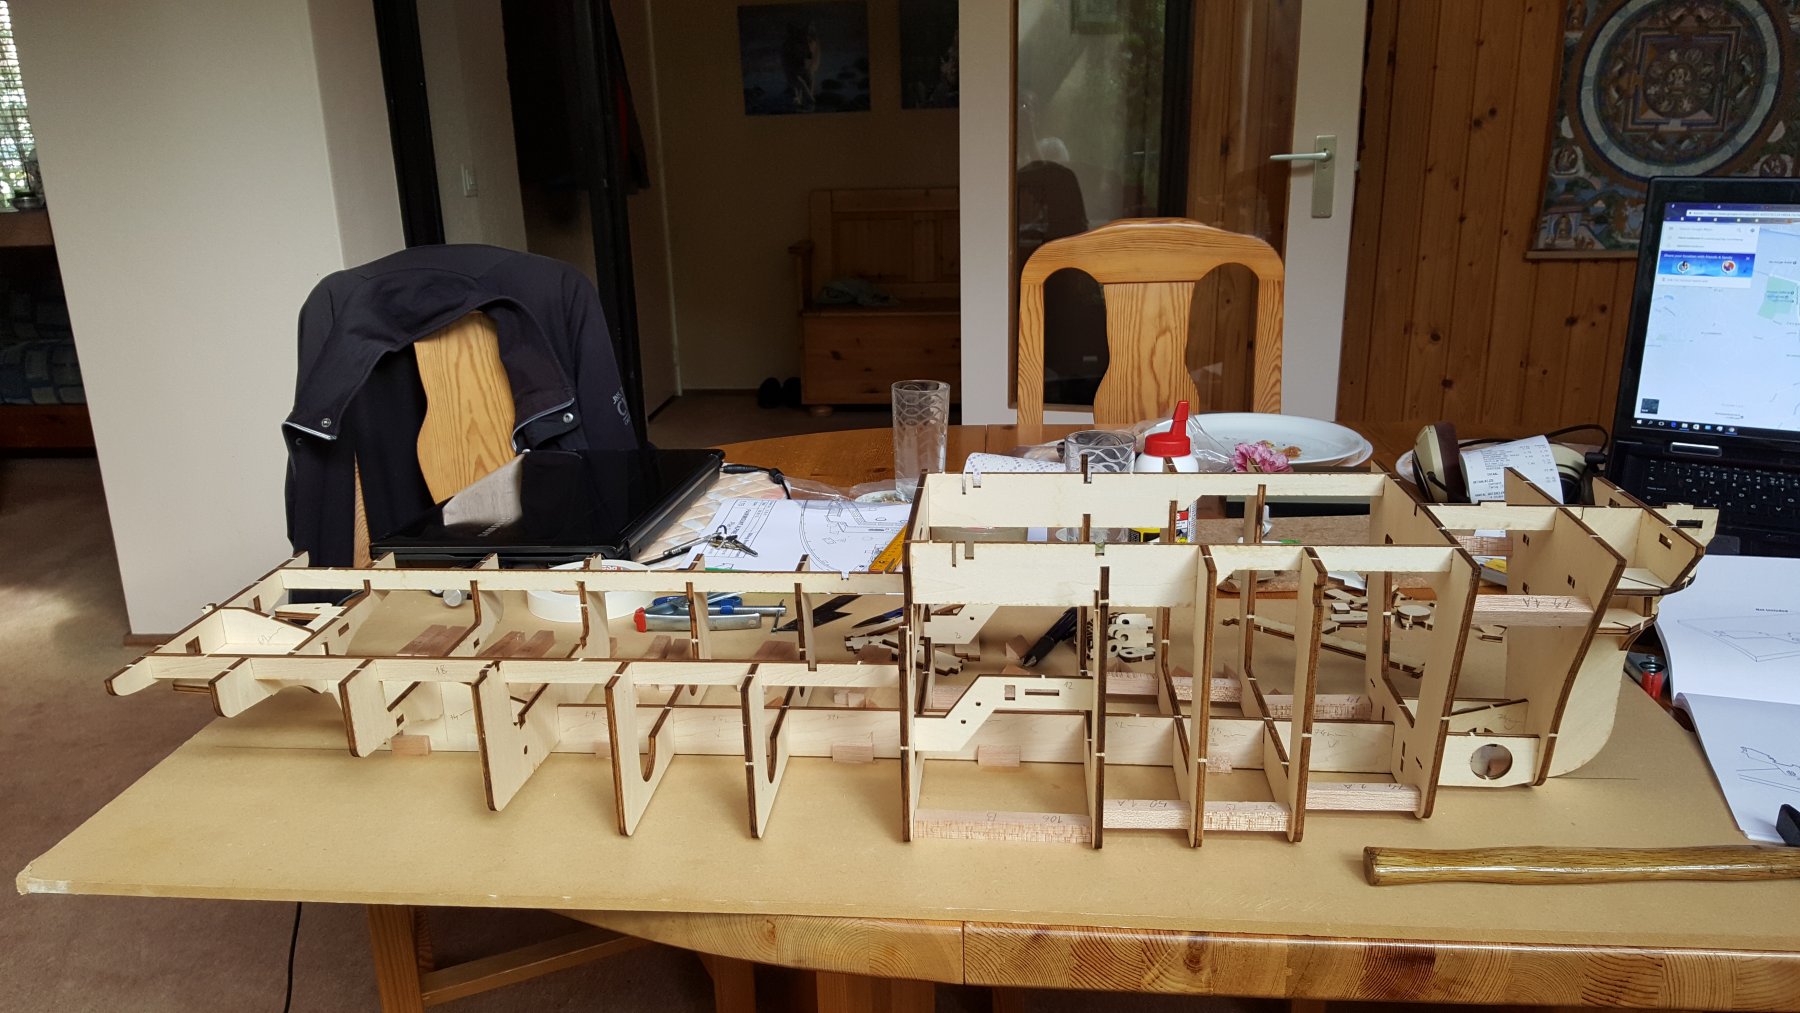
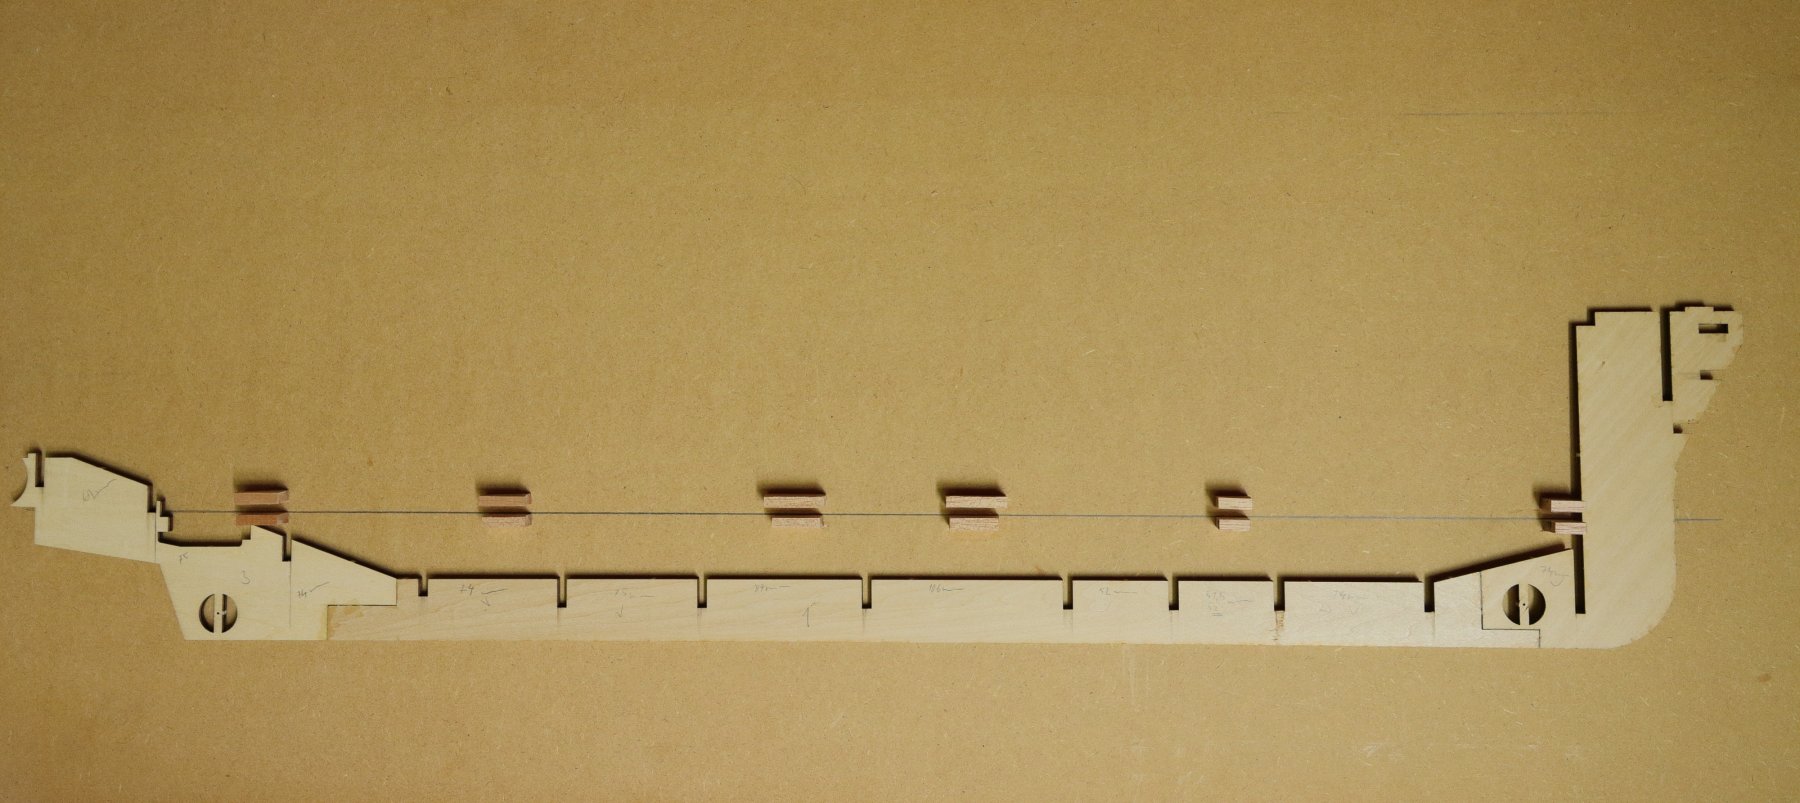
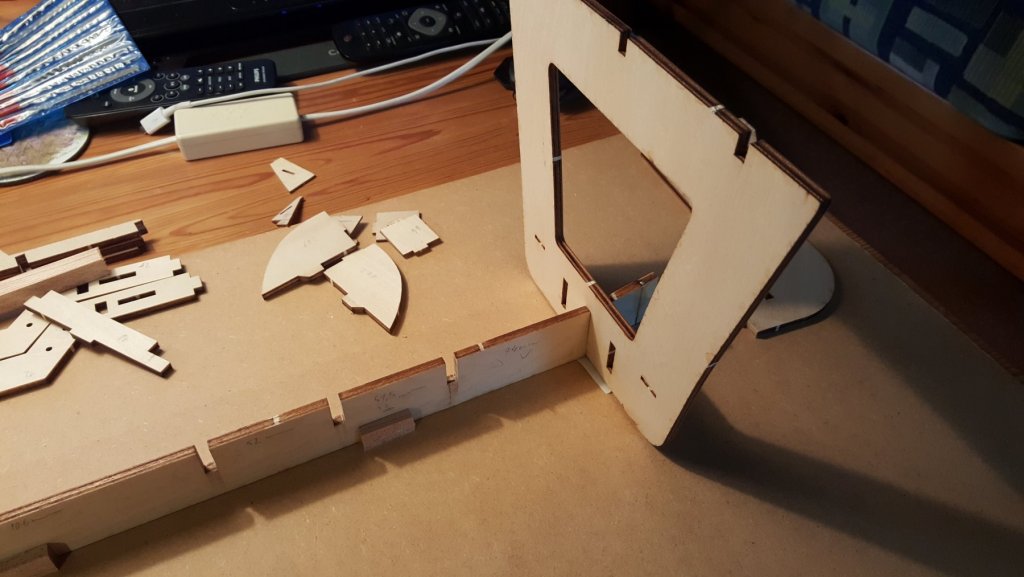
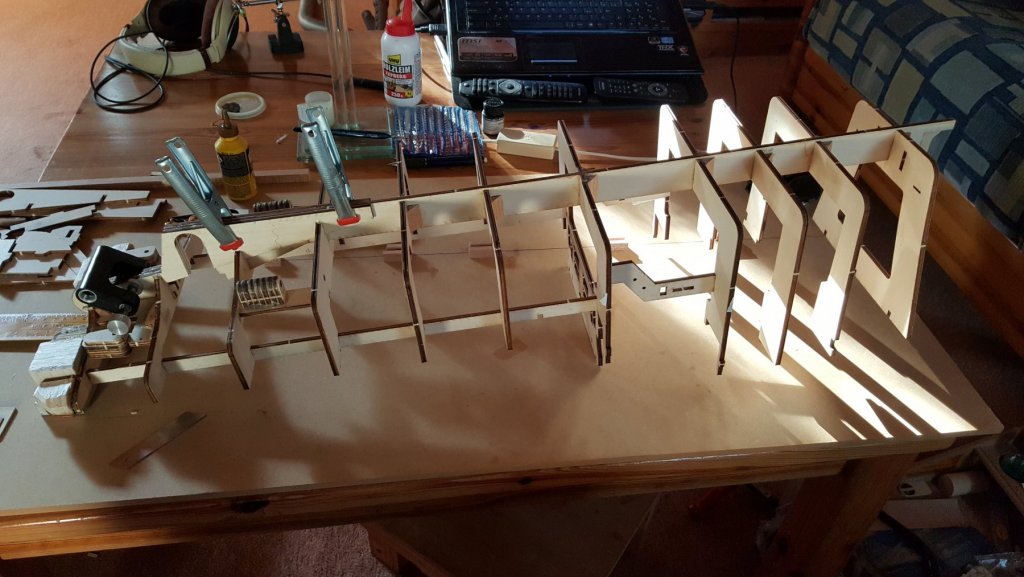
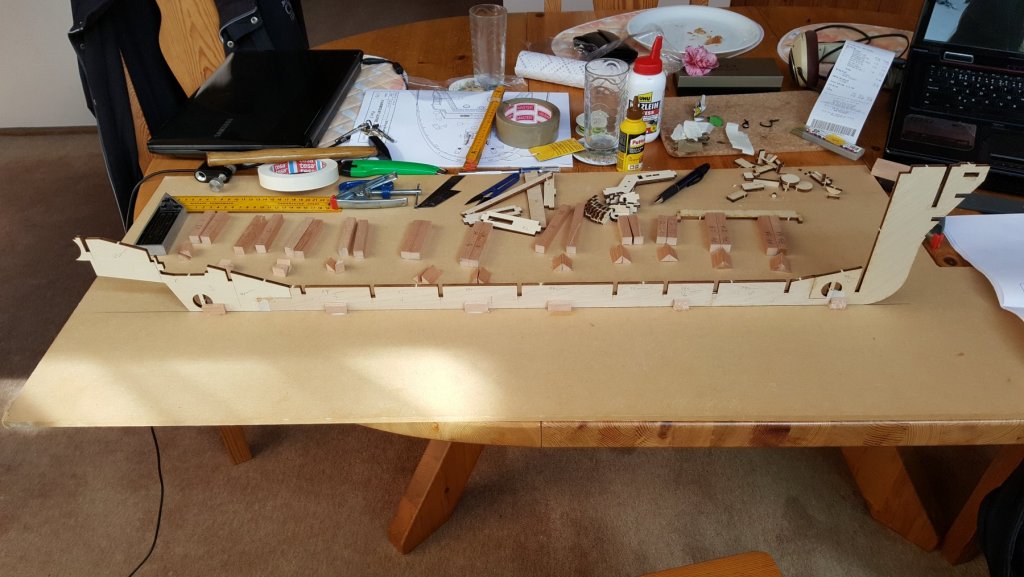
To move with the build: So the start of the build is quite straight forward... Glue the false keel from the 3 parts. For the gluing of the wooden parts I opted for polyurethane glue, because of its water resistance and during curing the glue creates bubbles, which helps will any holes in the joint. The background is a MDF board, that I will be using as work bench, I already marked a straight line and glued pieces of hardwood to hold the keel in place for gluing of the bulkheads. The two round holes in stern and bow are for the thrusters. which will be replaced by functioning ones in a short while. After breaking free of the bulkheads I dry-assembled the hull to check on the needed modifications: Keel in the upright position. The hull of the ship dri-fitted. In the previous image and fitted in this one are pairs of hardwood dowel to help to keep the frame in right angles. The next part will be to get hold of the thrusters and assembly of parts of the construction, that is not dependent on the keel. For the thrusters I will either build a pair of mine, which will accommodate each a pair of brass propellers, or will go with Raboesch http://www.raboeschmodels.com/index.php/en/component/virtuemart/marine-accessories/bow-thrusters/bow-thruster-108-04-detail?Itemid=0 for the bow thruster and http://www.raboeschmodels.com/index.php/en/component/virtuemart/marine-accessories/bow-thrusters/bow-thruster-108-20-detail?Itemid=0 for the stern thurster. This way the stern thruster cannot be of the same diameter as the bow thruster, because of the limited space in the stern (only 25 mm thick thruster is able to fit) and the only possible commercial fit is 10 mm in diameter.


- 90 replies
-
- 3
-
-
- fairmount alpine
- billing boats
- (and 1 more)
-
Hi Guys, thanks for the comments , for Eddie and the rest that is interested in the RC parts, I will tri to give as much detail as possible about why I chose said components. Also if You will have any questions, I will be happy to answer them, to the best of my knowledge, also concerning the kit, if there are some questions I will be happy to answer.
-
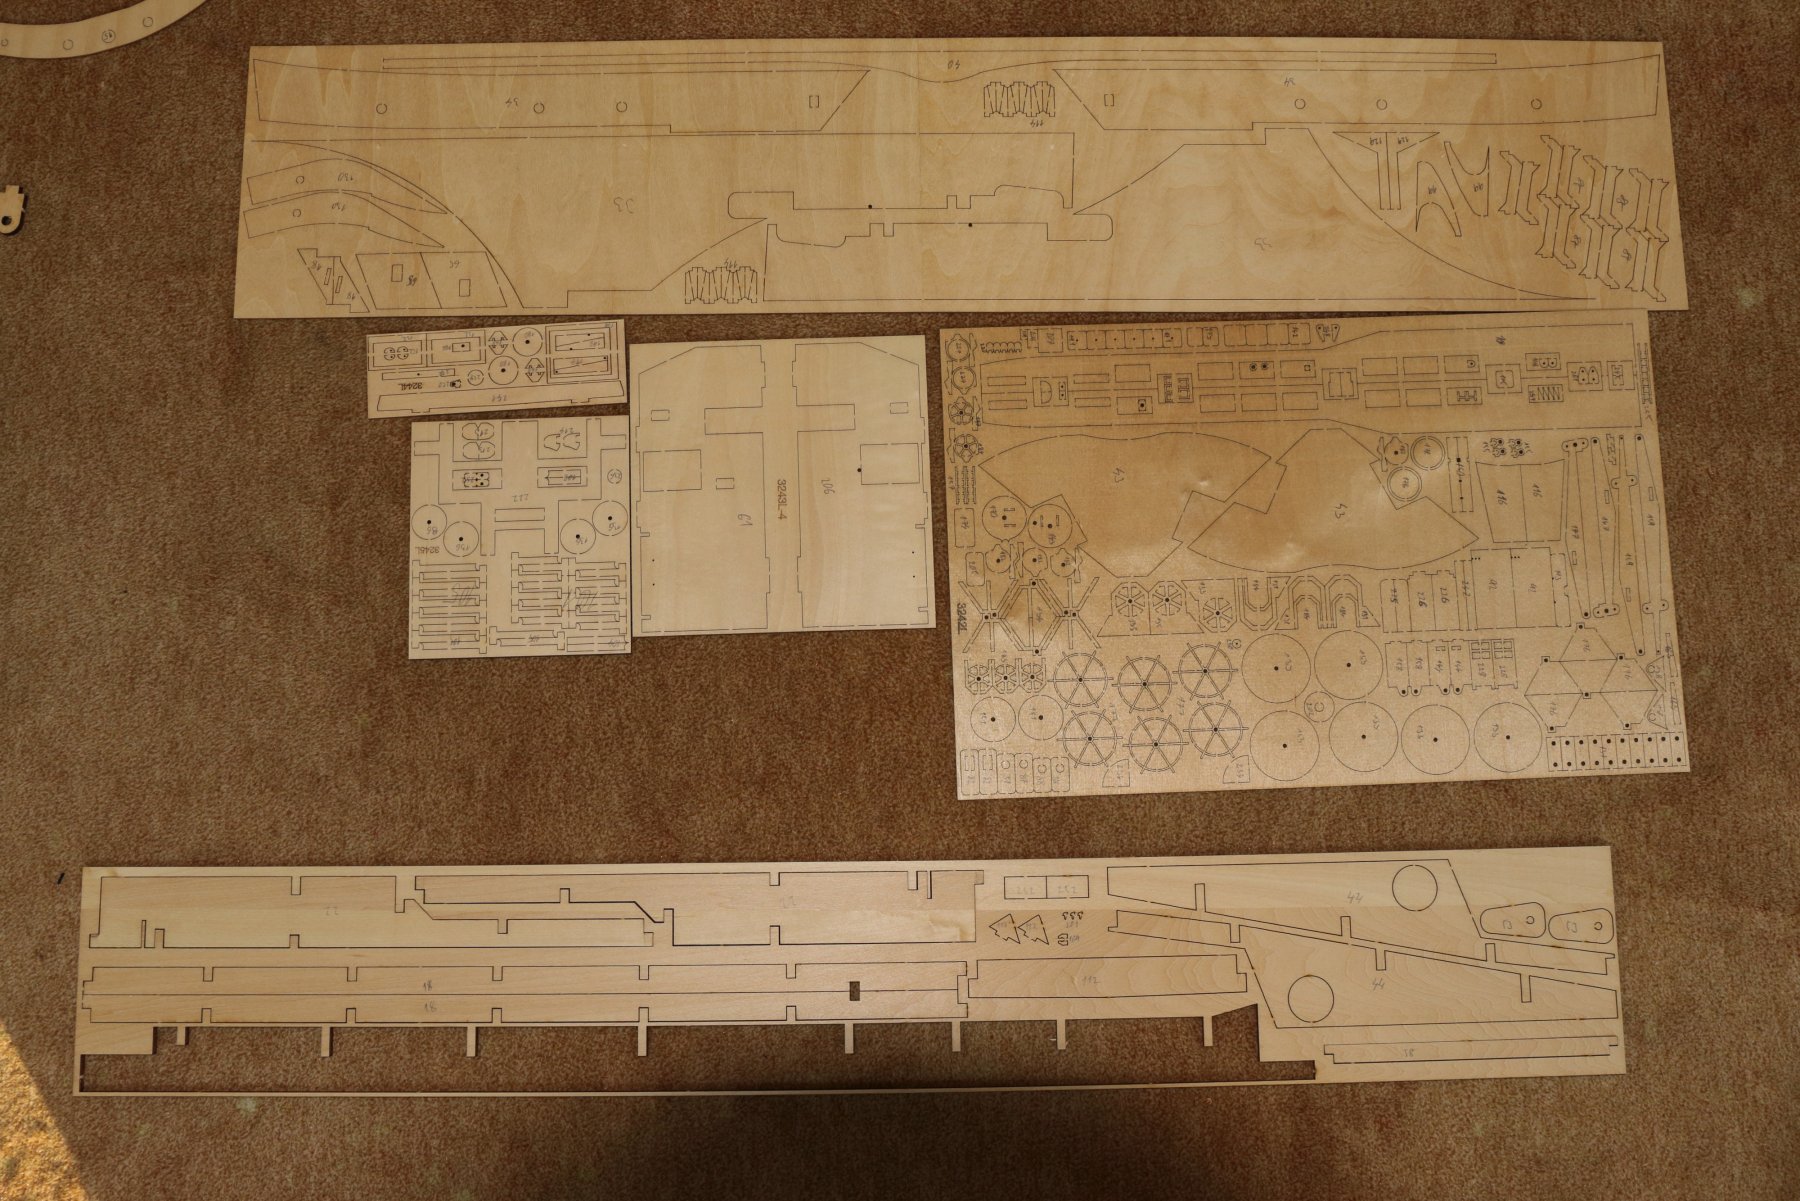
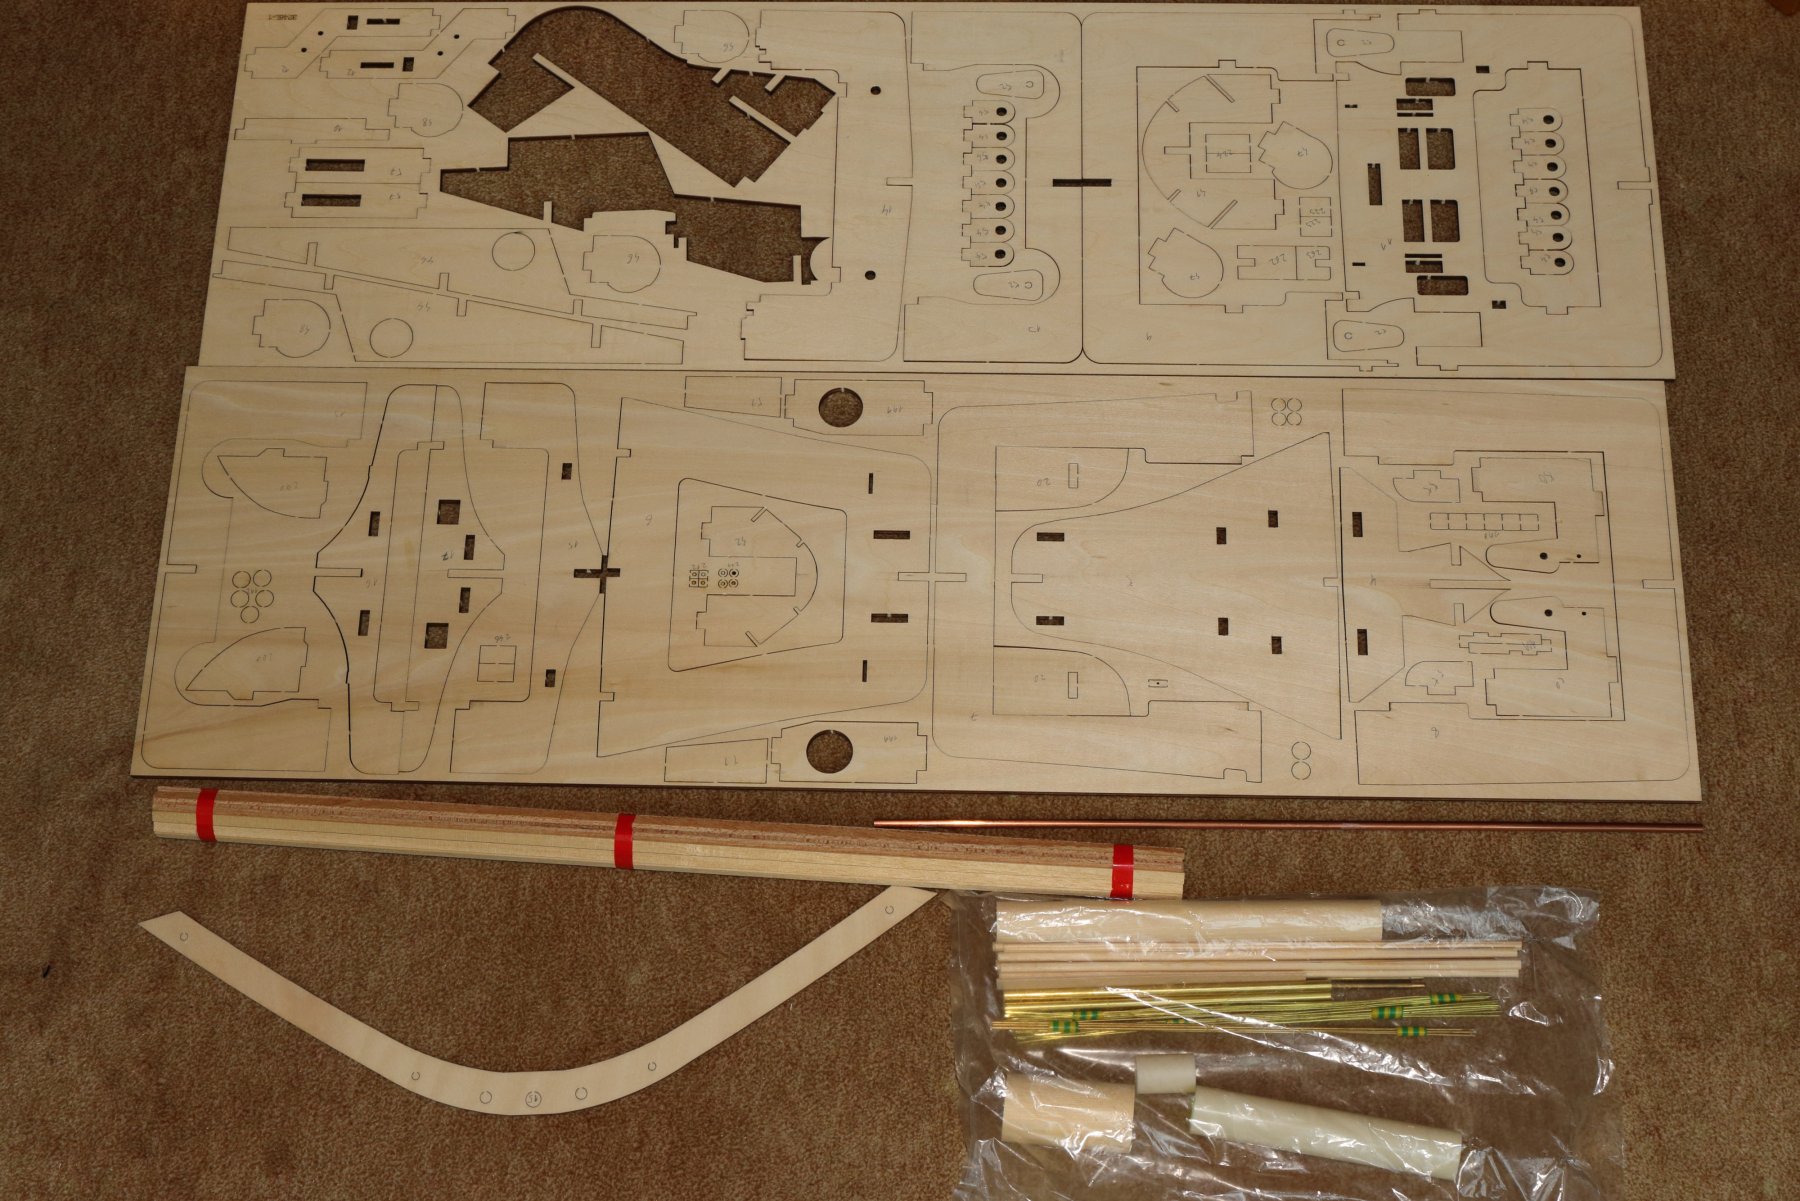
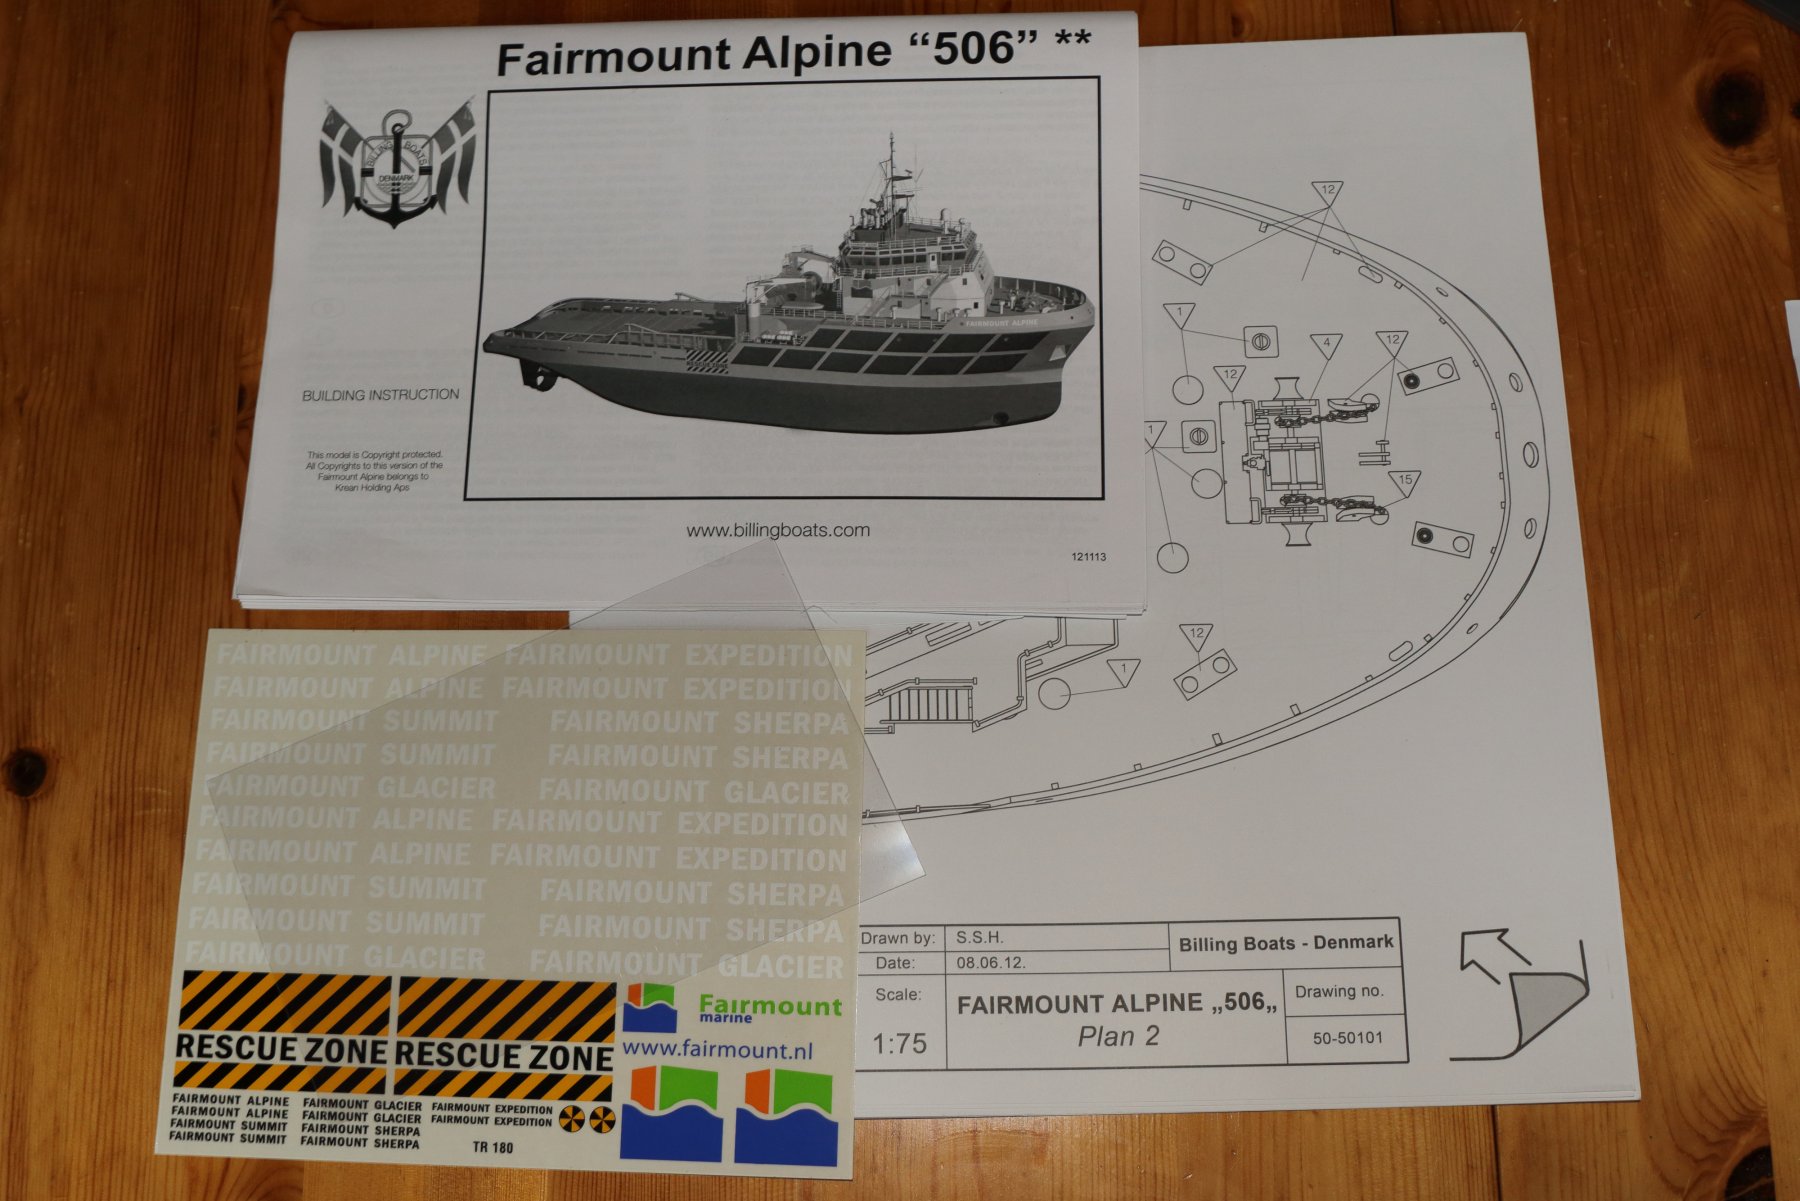
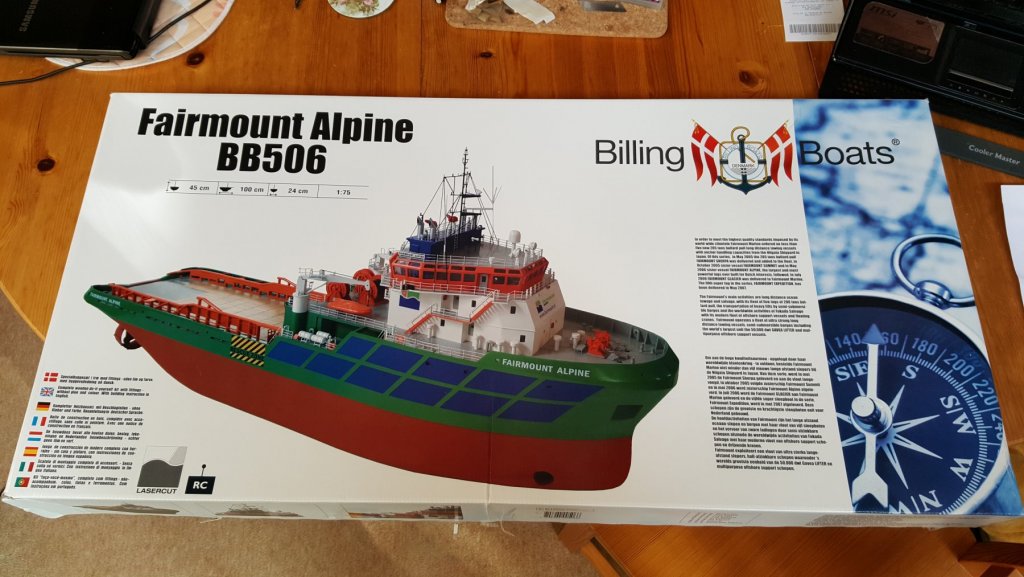
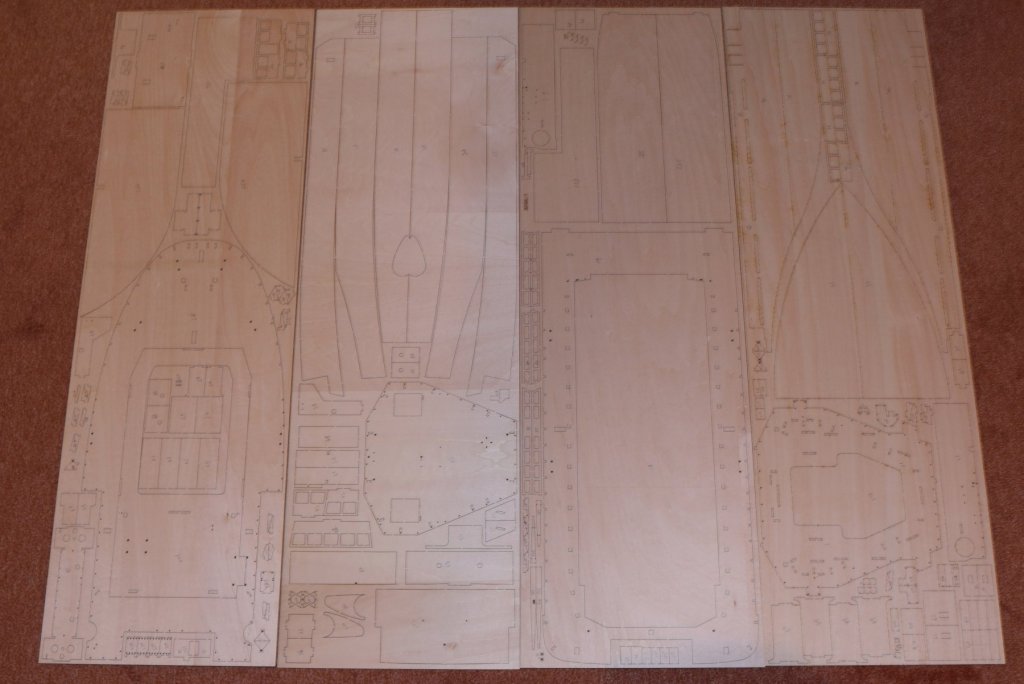
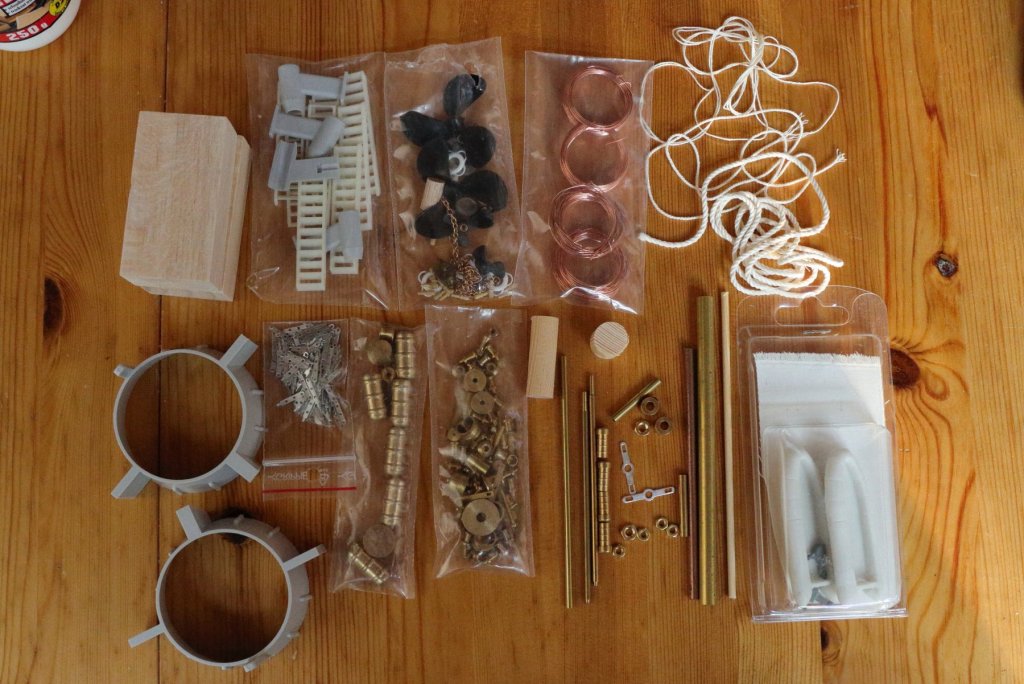
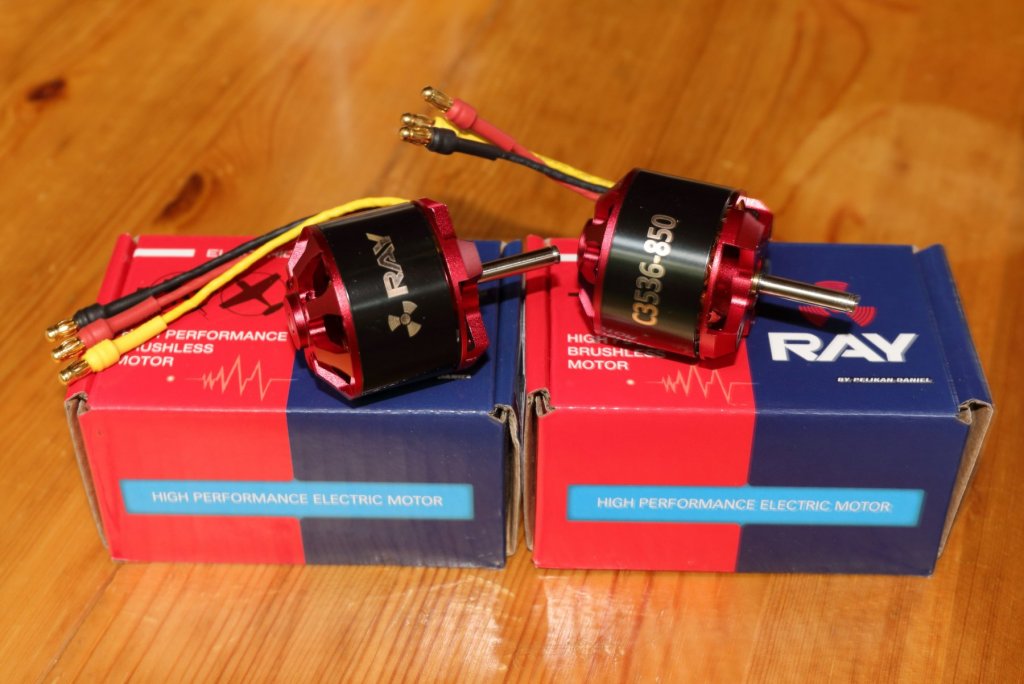
So yesterday I got my new model, the Fairmount Alpine from Billing Boats. This will be my first posted build on this forum. I am still building my HMS Pegasus from Victory Model, but I was lacking in the photographic department (too lazy to pull out my camera, and too busy with the build ). The objective will be to make it Radio Controlled, with the most functional parts, certainly the bow and stern thrusters will be fitted, the lights and the fire monitors will be mounted. The lights and fire monitors have some time before me having to decide of a solution. For the bow and stern thrusters, I was thinking of scratch building my own with brass proppelers, but if that will not be possible I will go with Raboesch ones. Also I will be outfitting her with winches for tug towing competitions, so probably a bit of modifying of the inside of the hull, to create a sturdy anchor for the towing rope. View of the box, it is BIG (and if someone is curious, yes that is the dining table- the superior work bench in the picture). The model is of classical construction, wooden hull "skeleton" planked, in this case, mostly by pre-cut ply pieces, and in the bends of the hull by wooden strips. The content of the kit: I already started pulling out the parts of the false keel. All of the laser pre-cut pieces were of great quality, and each piece had plenty of supports left, even after considerable bend of the ply, no pieces fell out, the plywood is 5mm. The plastic bag contains the supplied round stock, plastic tube for bow/ stern thrusters imitation and brass round stock, including the parts for the two prop shafts. The timber is beech, used for planking parts of the hull and the deck. The quality of hull planks is somewhat lacking, but the deck planks are of pretty decent quality. Parts of deck and superstructure, and the hull planks can be seen on this image, in the top part of each sheet. And lastly the small bits and pieces: The supplied popellers will be replaced by an aftermarket ones and the kort nozzles will probably also be replaced. To propel this ship I opted for brushless motors, for their superior efficiency and low operating noise: these units produce 300 W of power each (in an airplane...), and with 850 kV have maximum of 10200 rpm without load, which promises gearless mount. And the supplied plans, are in the form of a thick book and one A0 sketch of the finished ship, with marked colors and decals, captioned in the bottom left of the picture.


- 90 replies
-
- 6
-
-
- fairmount alpine
- billing boats
- (and 1 more)
-
Great Work! I could hardly imagine, that a plastic model could look so realistic. Looking forward to the finished ship.