Timothy Wood
-
Posts
571 -
Joined
-
Last visited
Content Type
Profiles
Forums
Gallery
Events
Everything posted by Timothy Wood
-
 Popeye, Here is the link for Model Expo's CA un-cure. http://www.modelexpo-online.com/product.asp?ITEMNO=MT161 Tim
 -
I also learned Model Expo un-cure is an excellent paint remover, (all the way down to bare wood). I may not make my goal today! The most important thing Ive learned, is that it all can be fixed 'Don't sweat the small stuff'. Cheers, Tim
-
Thank's Popeye, I working on it! I've learned coffee and photo etch parts aren NOT compatible! :mellow: Cheers, Tim
-
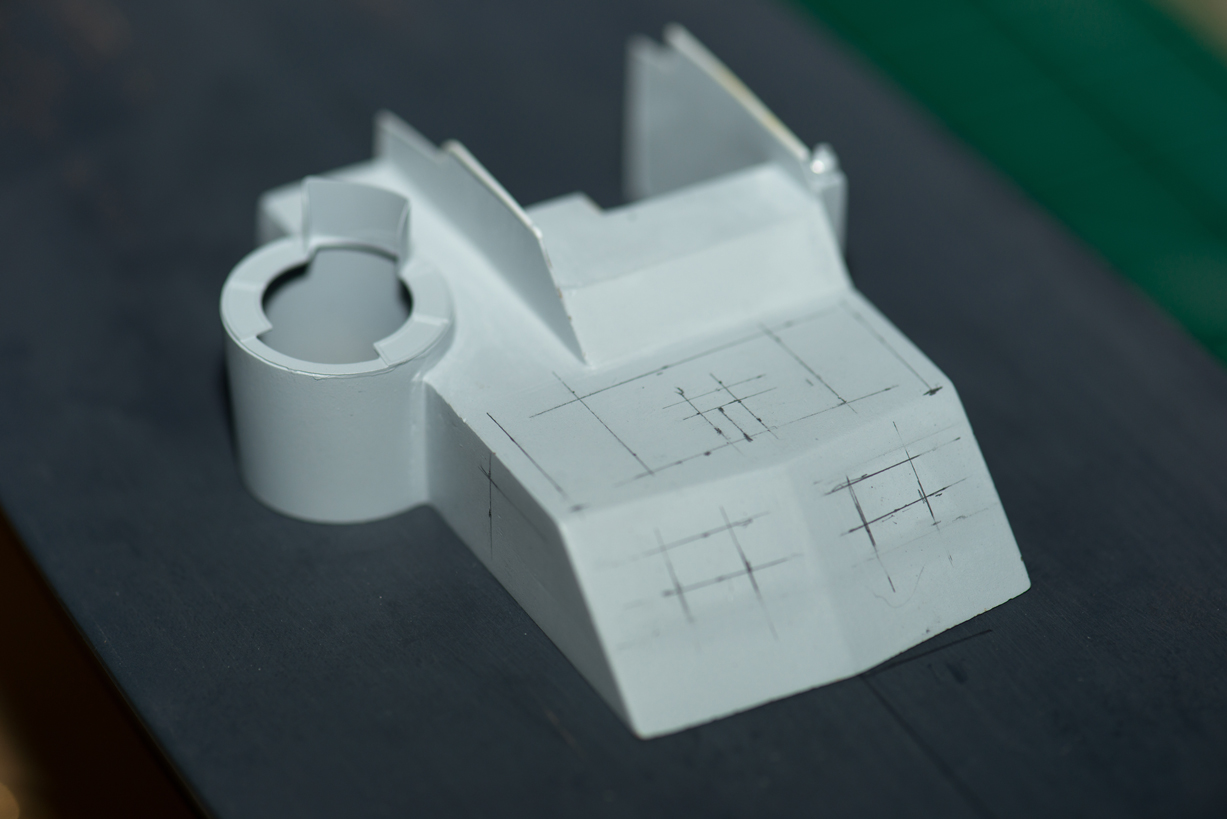
I have sinned! I've spent too much time away from the building bench! My goal it to attach all the photo etch on the chart house today, below photo shows the marks I have marks I have made for the placement of those parts. Cheers, Tim
-
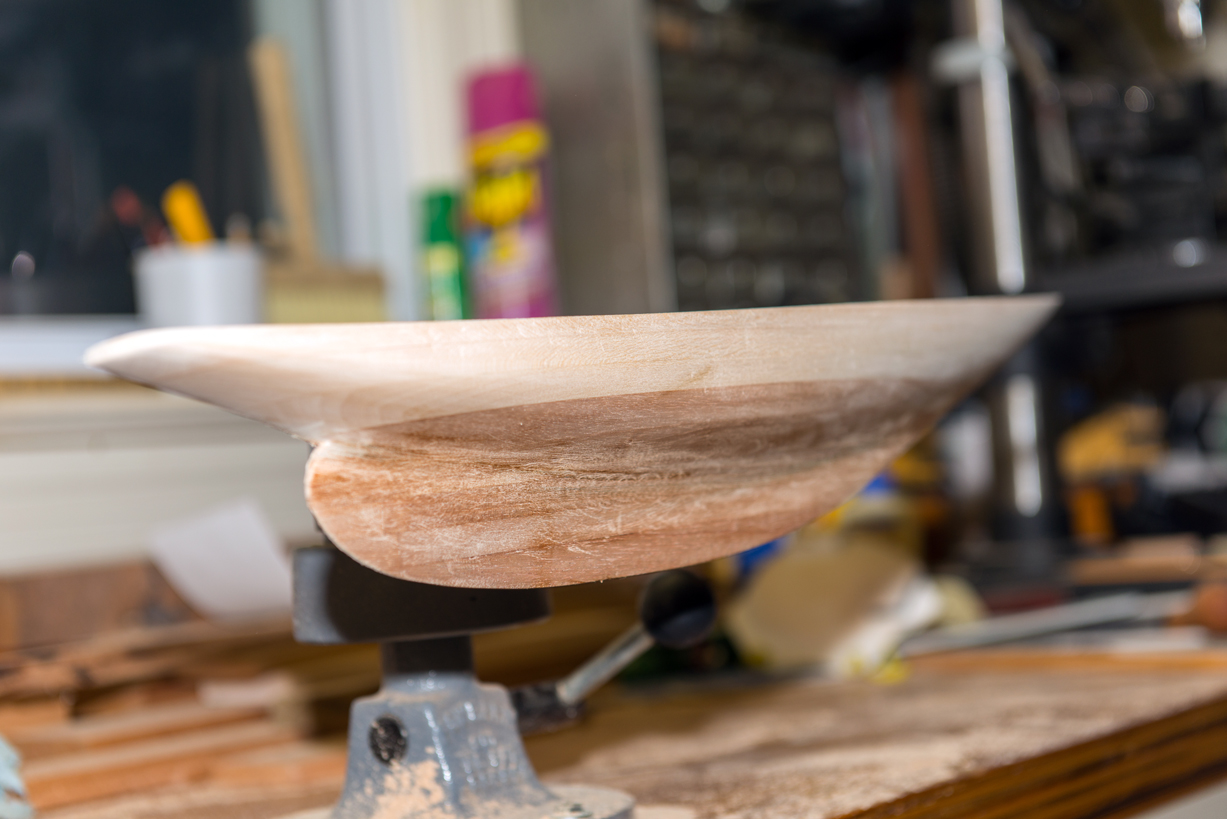
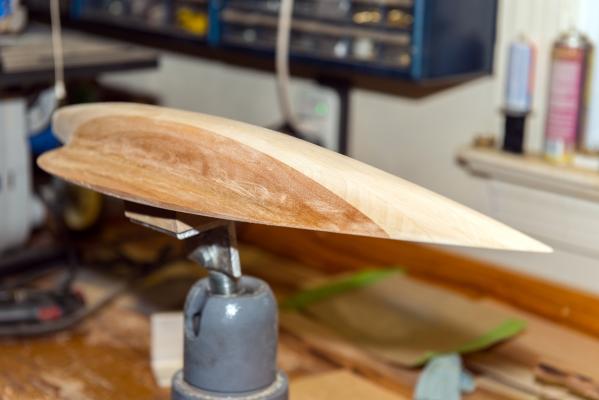
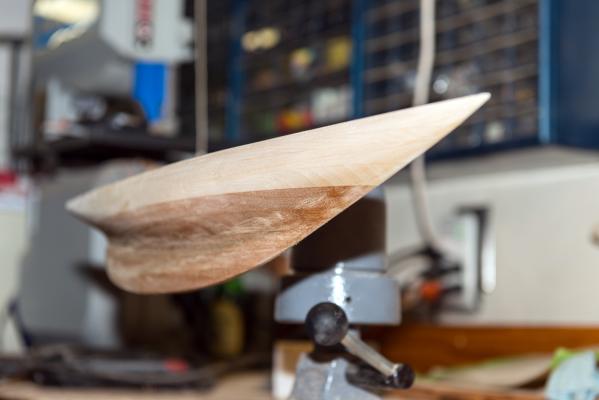
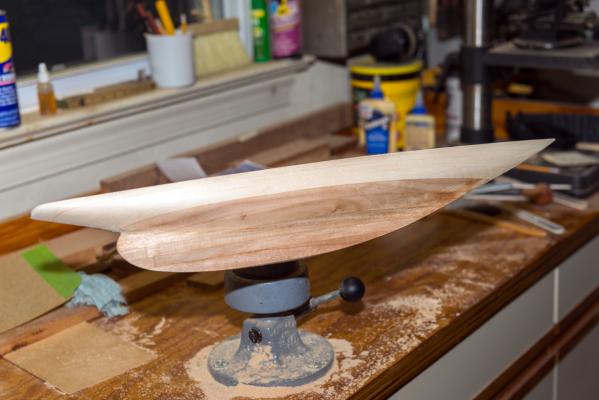
It's finally warmed up to get out in the garage and peel some more wood off the Atlantic half hull. She is starting to shape up, with some more time at the bench she should be ready for the final sanding soon. I have to admit I didn't thing working on the Atlantic and the ELCO PT at the same time would be this much of a challenge. The weather has made most of the decisions of which boat will be worked on at a specific time! Cheers, Tim


- 158 replies
-
- 10
-

-
Greetings wq3296, I agree with your observation that BlueJacket Shipcrafters does an excellent job with their kits! I also have their kit of the Fletcher Class Destroyer USS Kidd DD-661, they were hansom ships! I think I'll be building my ELCO as PT-124, Tom Freeman did a rendition of her sinking the IJN Destroyer Makigumo in 1943. I plan to order a copy of his print when I've finished the kit. Here is the link to his website and the painting: http://www.tomfreemanart.com/10.html Do you have any photos of your build or the finished kit? I would sure like to see them! Cheers, Tim
-
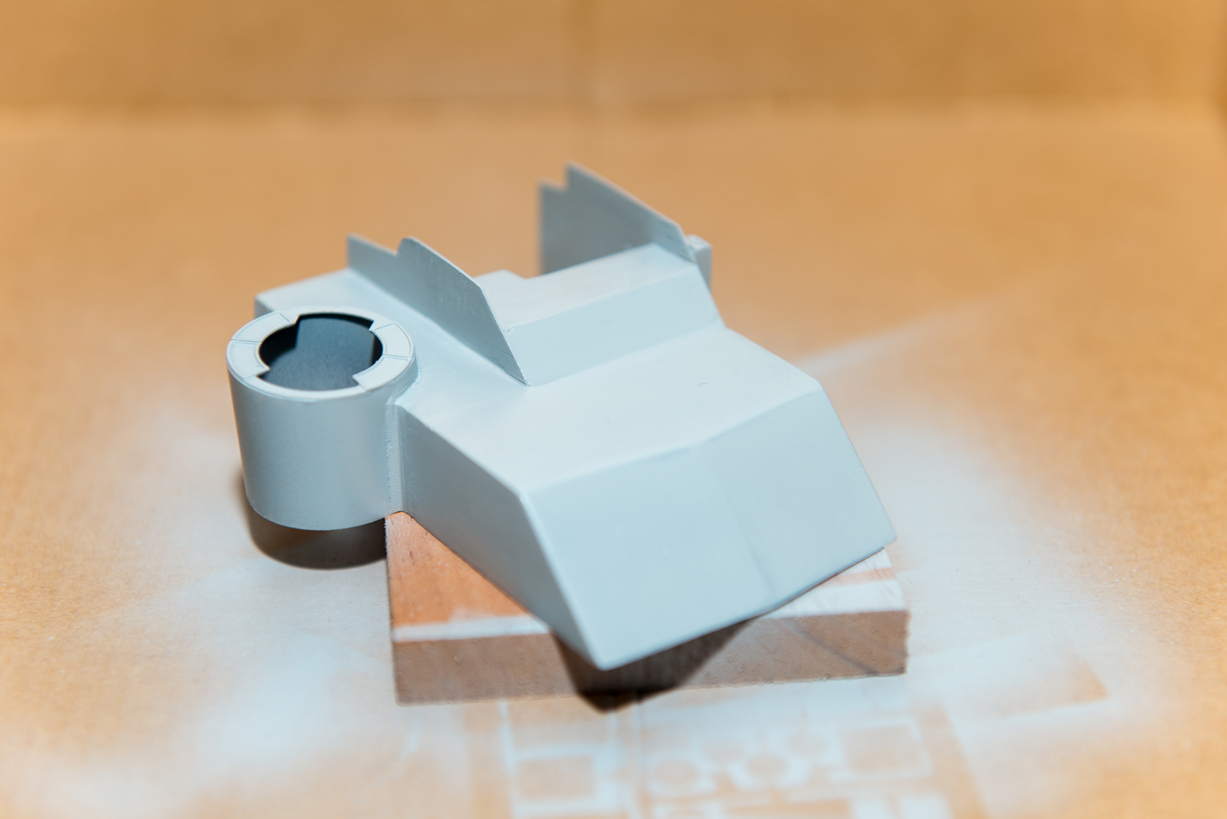
Greetings, This is my second of primer after some more filling and sanding and it's revealed the need for more filling and sanding, just not as much as the first step. You can see in the view from the final photo which is back if the chart house, I still have lots of finish work to complete. I need to pay more attention to the fine details in the assembly of the day cabin and main engine room hatch. Hopefully it will save me time on the backside! Cheers, Tim


-
Alfons, Thank you for the kind words! I just finished more filling and sanding on the chart house and I'm just about read to apply a second primer coat, hopefully I've made some positive progress! I'll add a couple more progress photos when that's complete. Cheers, Tim
-
I have the time! Tim
-
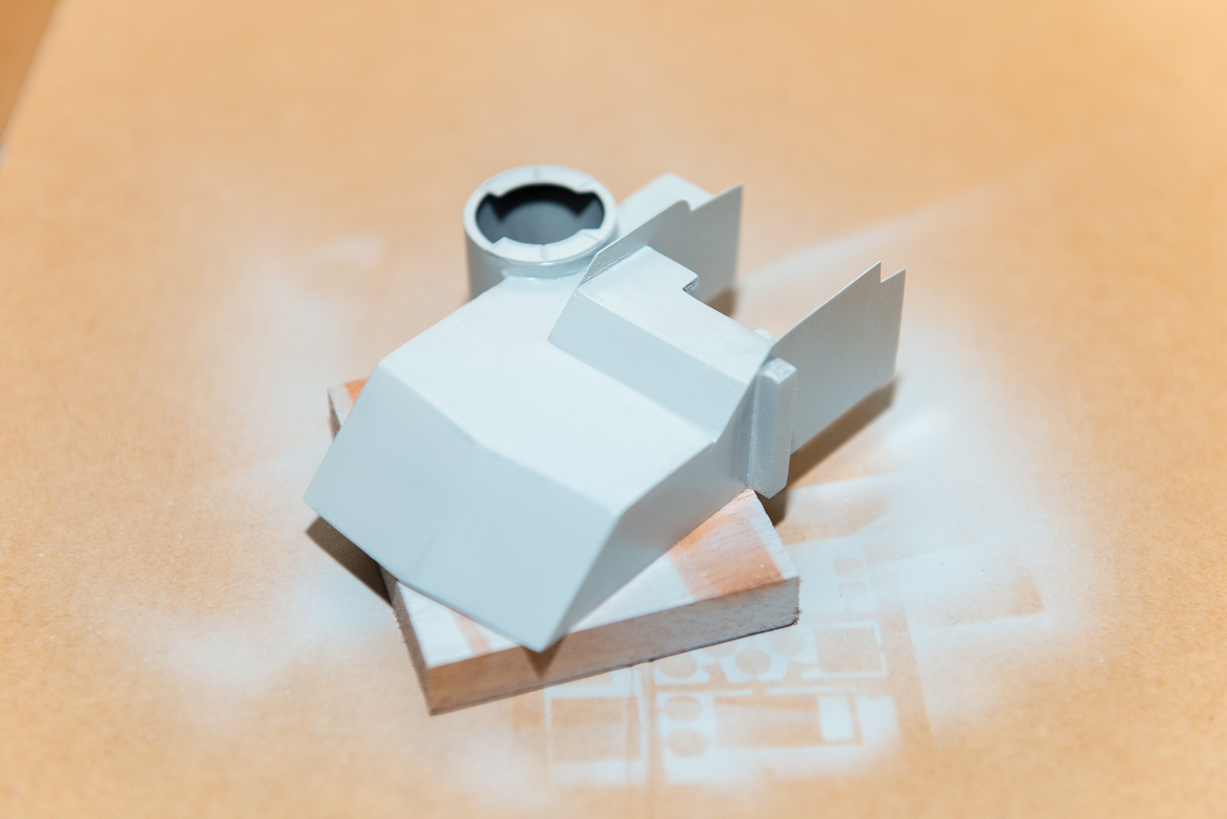
Greetings, Ok, I admit it, I didn't finish installing the molding along the spray shields before I added a coat of primer to the chart house. I have a new air brush I wanted to try, so needless to say I justified it to myself! The airbrush is a Vida, and at this point in time after my first try, Im very satisfied with its performance. You can clearly see a fresh coat of primer reveals a "world of sins" which I'll have to fill and sand before it's even close to the next step. Cheers, Tim

-
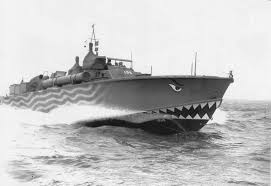
Popeye, I believe I can duplicate the shark's mouth, I may have to experiment with it some first! I agree about doing them as they saw fit, also they often did modifications out of necessity. Cheers, Tim
-
Alfons, What a neat looking Patrol/Assault Craft, It sounds like they can really pack a punch! You are fortunate to have had the opportunity to be onboard for a "close-up and personal" viewing of them, were you able to get aboard one while underway? As a U.S. Navy Photographer I was lucky to have many of the same type of opportunities as you have had, We normally had full access to all parts of the ship we were stationed on. I was lucky enough to get into the reactor compartment of the USS Dwight D. Eisenhower (CVN-69) and view the reactor through the leaded glass viewing ports. It was one of my many experiences I'll never forget! Cheers, Tim
-
Thank goodness it isn't a jigsaw puzzle! Tim
-
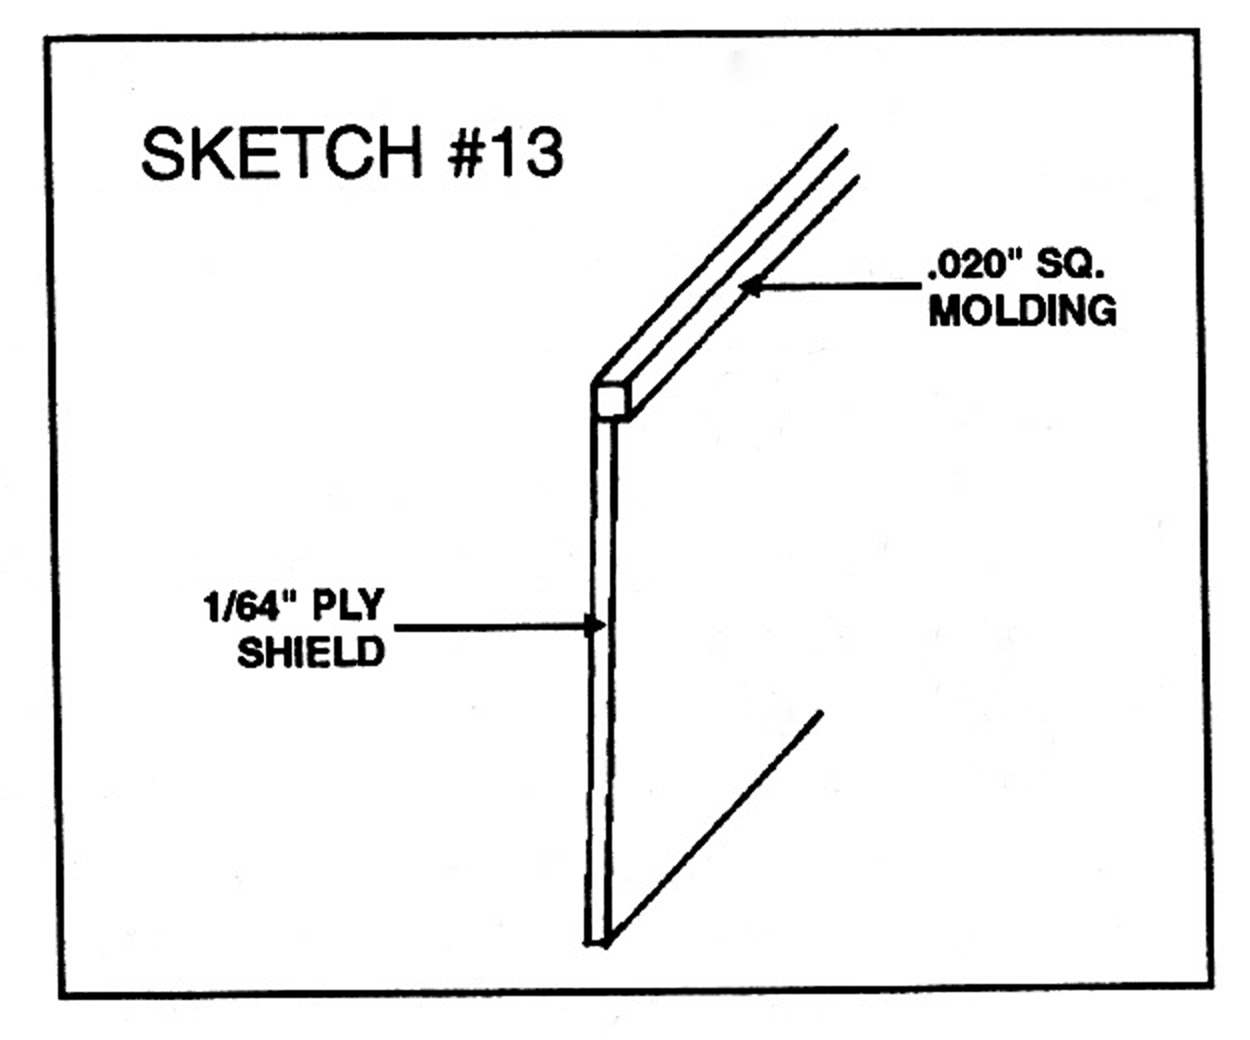
The next step will be to install .020" molding along the plywood spray shield. The instructions state "Cut and glue the .020" plastic moldings to the top of the 1/64" plywood spray shields. The moldings should be flush with the cockpit (inboard) side of the shields and overhang them outboard (sketch #13)." Cheers, Tim

-
Alfons, There's a 50-50 chance! Still a long way to go before I get to that point! Tim
-
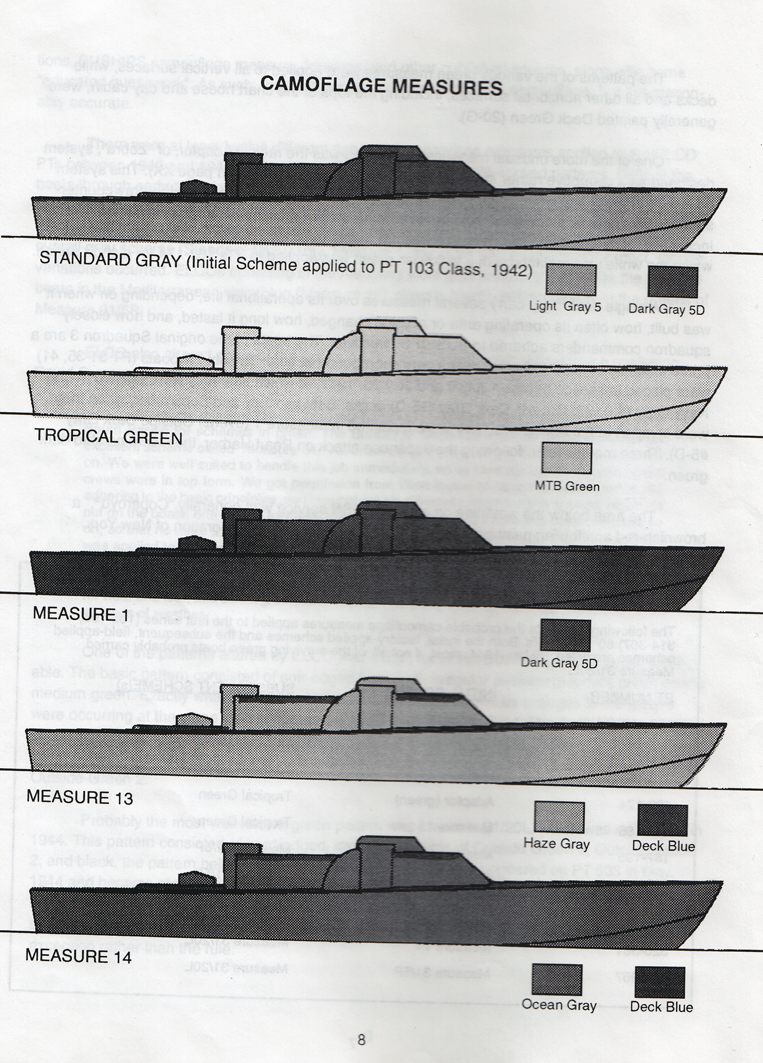
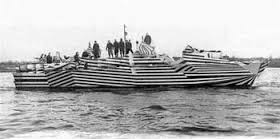
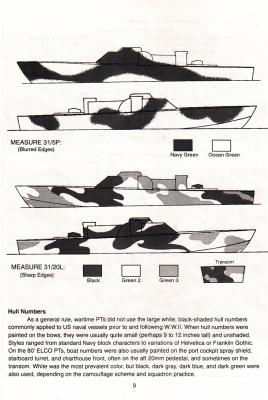
John, I would normally agree with you except I have a very steep learning curve when it comes to my airbrushes. I surly don't want to mess things up beyond repair! I do like the 41/20L camoflage measure though. Actually I have been batting this idea back an forth, see below! I may be able to handle this paint scheme. I'll make a deal with you. I'll do the measure 41/20L, if you do the one posted below? Do we have a deal???? Cheers, Tim
-
Alfons, after looking at your work, I believe I'm going to ship my PT Boat to you and let you finish it for me! I must say you are doing a magnificent job, you should be proud of yourself! Tim
- 169 replies
-
- 1
-
-
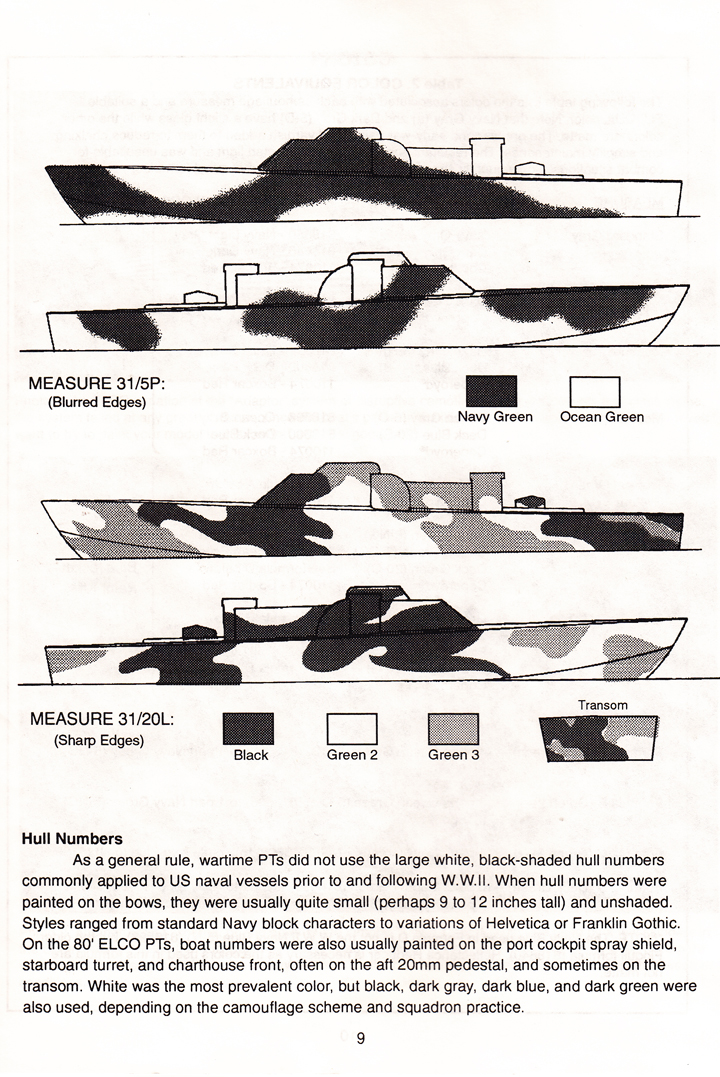
- BlueJacket Shipcrafters
- Gloucester fishing schooner
- (and 1 more)
-
Wow! I never dreamed of claiming color blindness, that's a great idea! I'll be sure to use it in the future! Cheers, Tim
-
Thanks Alfons, actually this wont be the final color, what you see now is just the primer coat. I still need to decide which color to go with, I'm leaning in the direction which they were delivered from ELCO to the USN which are two shades of gray, one for the hull and one for the deck and above, this measure was known as "Standard Gray." Cheers, Tim

-
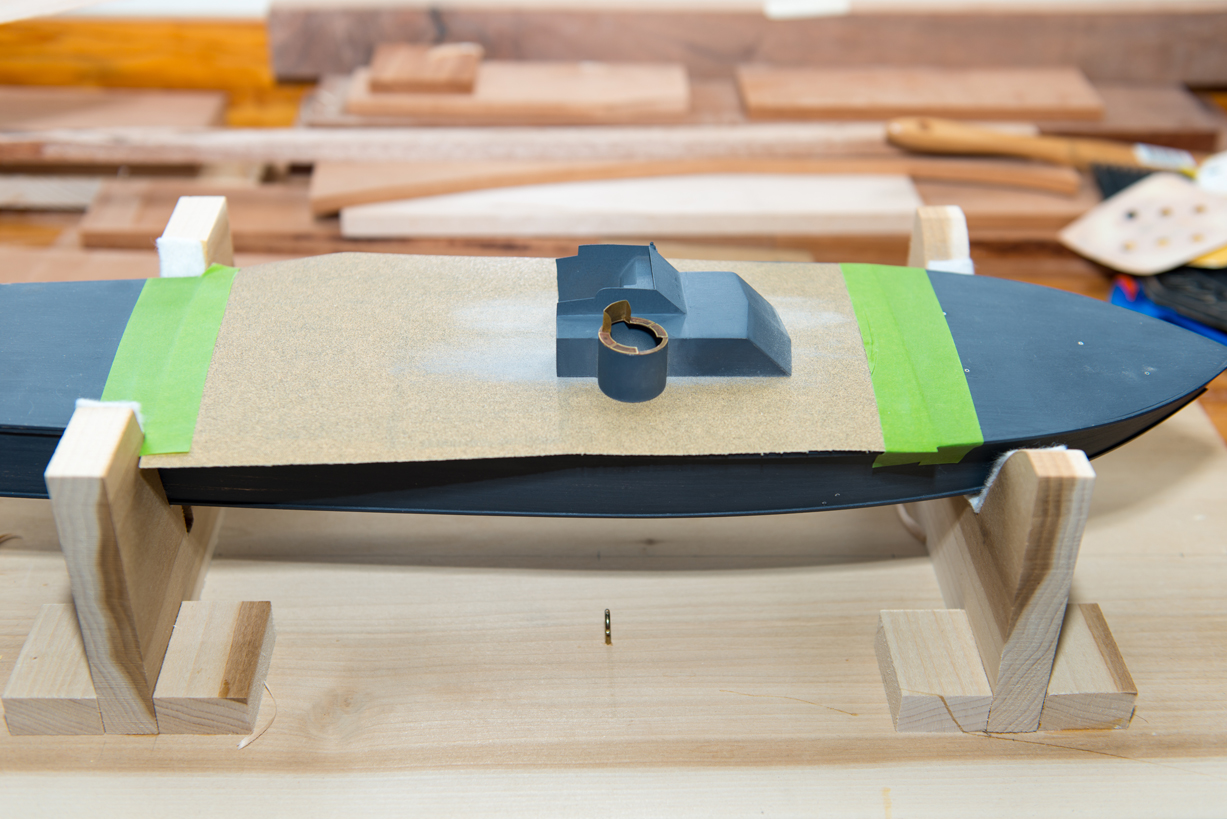
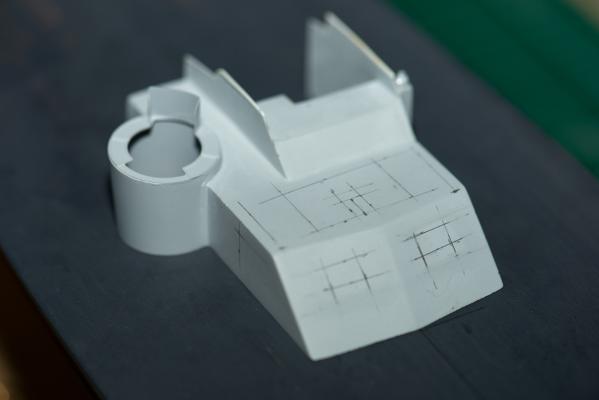
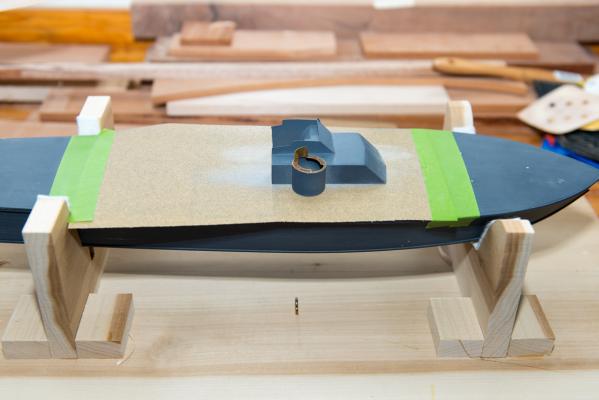
At this point I need to be sure the chart house matches the camber to the deck. I have applied a piece of 150 grit sandpaper to the deck where the chart house will be glued. I'll work the chart house back and forth until it matches the deck camber. Cheers, Tim


-
Mark, thanks for the nice words. With some luck and more time at the bench, perhaps she will to look more like a proper PT Boat! Cheers, Tim
-
PopJack, I agree,if you can't drive in the white stuff stay off the road. A majority of the drivers in Hampton Roads can't drive in the rain, let alone anything more challenging. Best bet! Stay home and work on a ship model! Tim
-
John, Slow but sure! I managed to get a little time at the bench after shoveling snow. Virginia Beach was hit pretty hard, most people down here don't know how to handle this kind of weather. I grew up in Michigan, so needless to say I'm loving it! Thanks, Tim
-
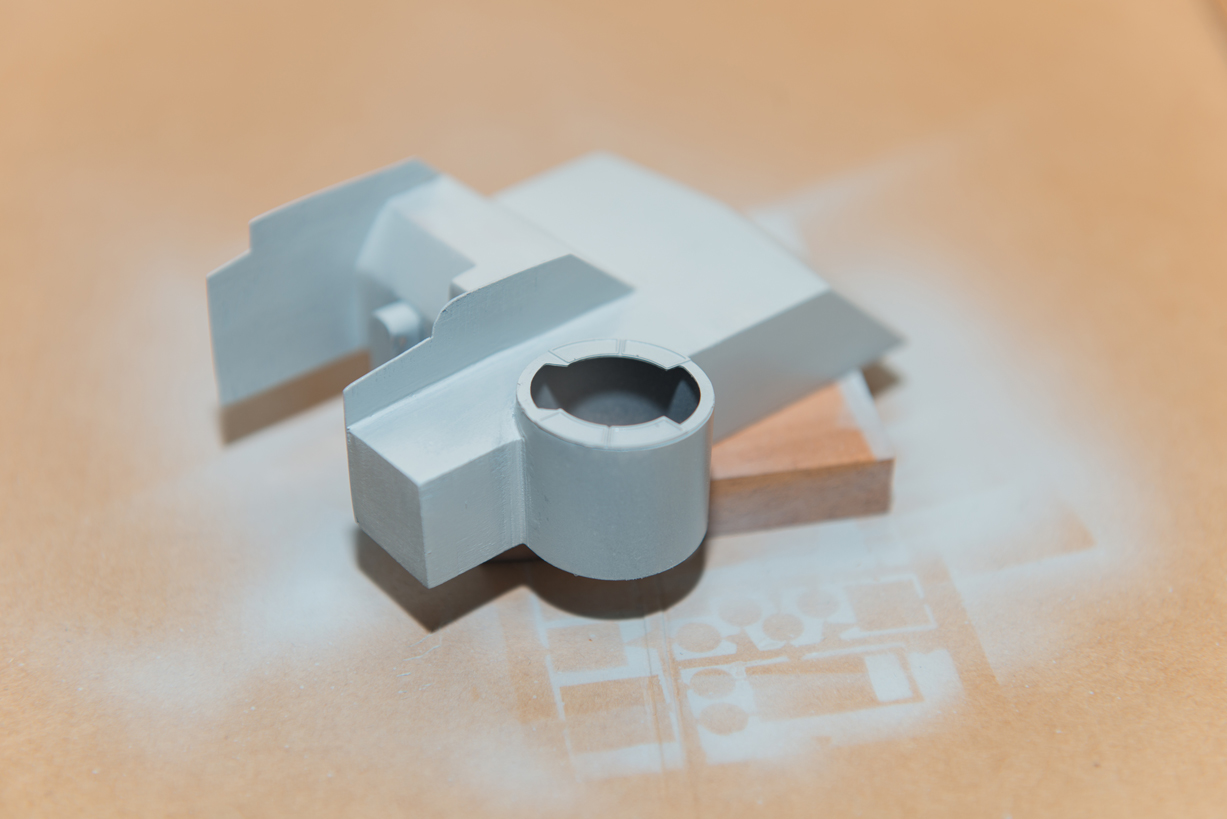
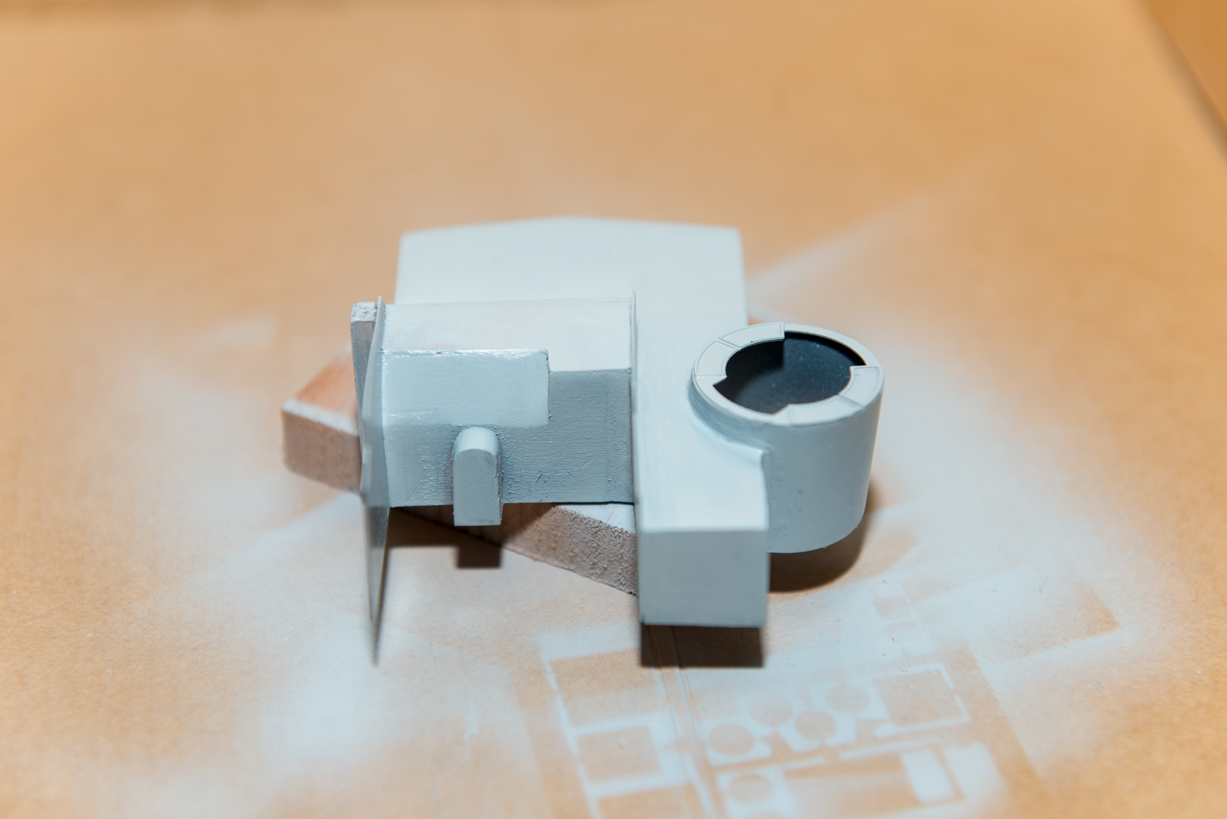
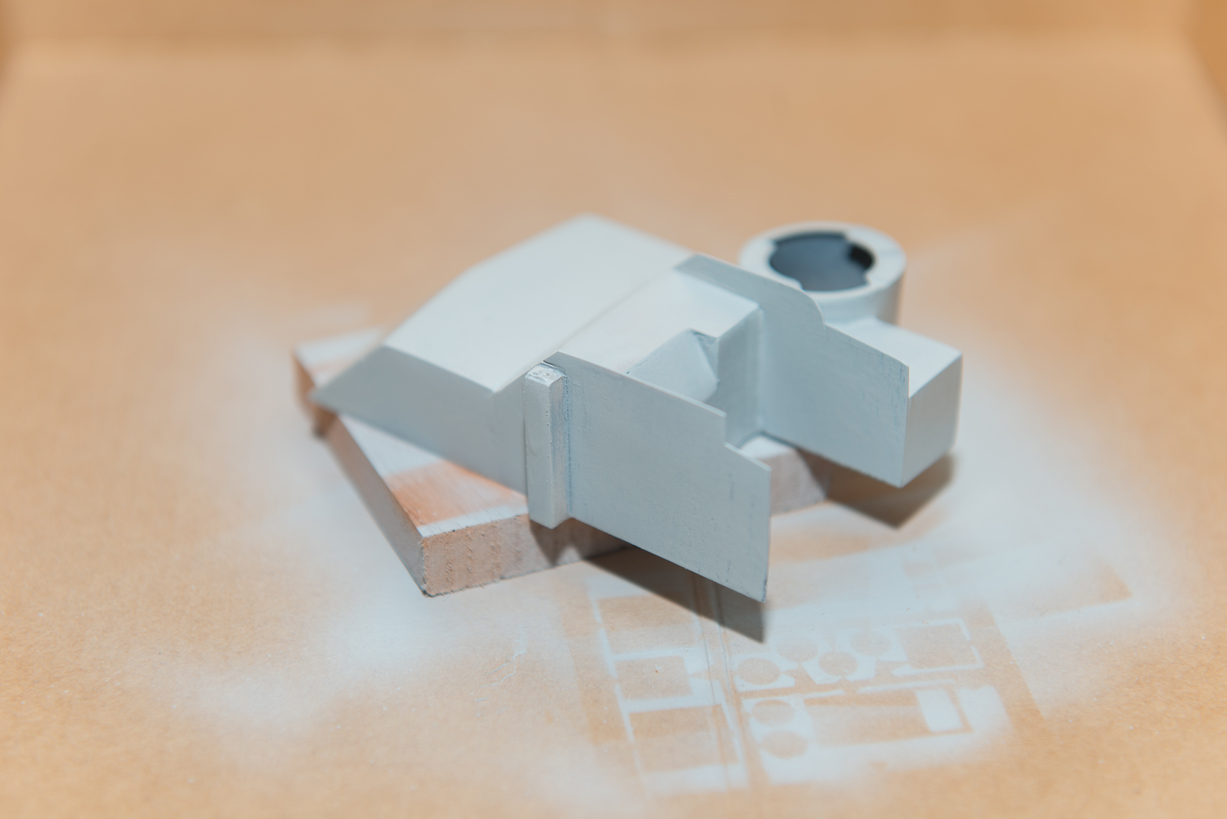
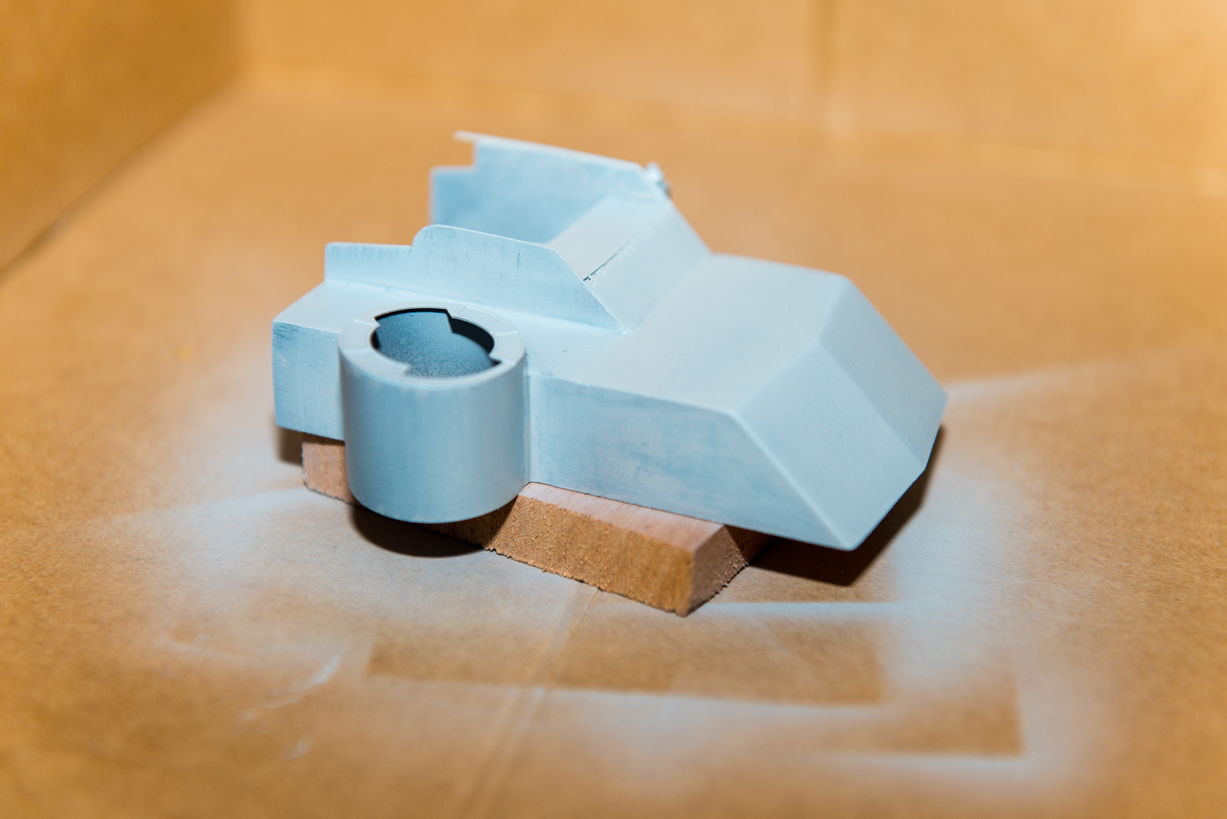
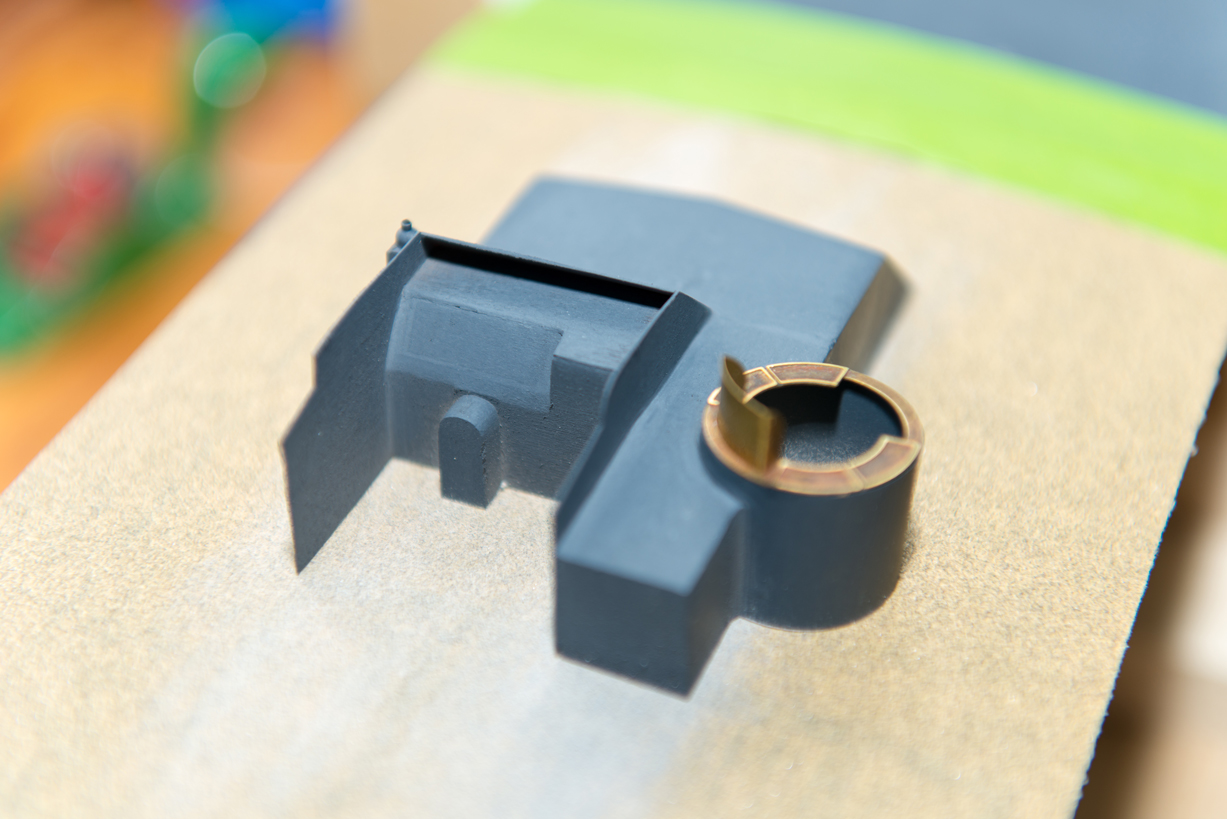
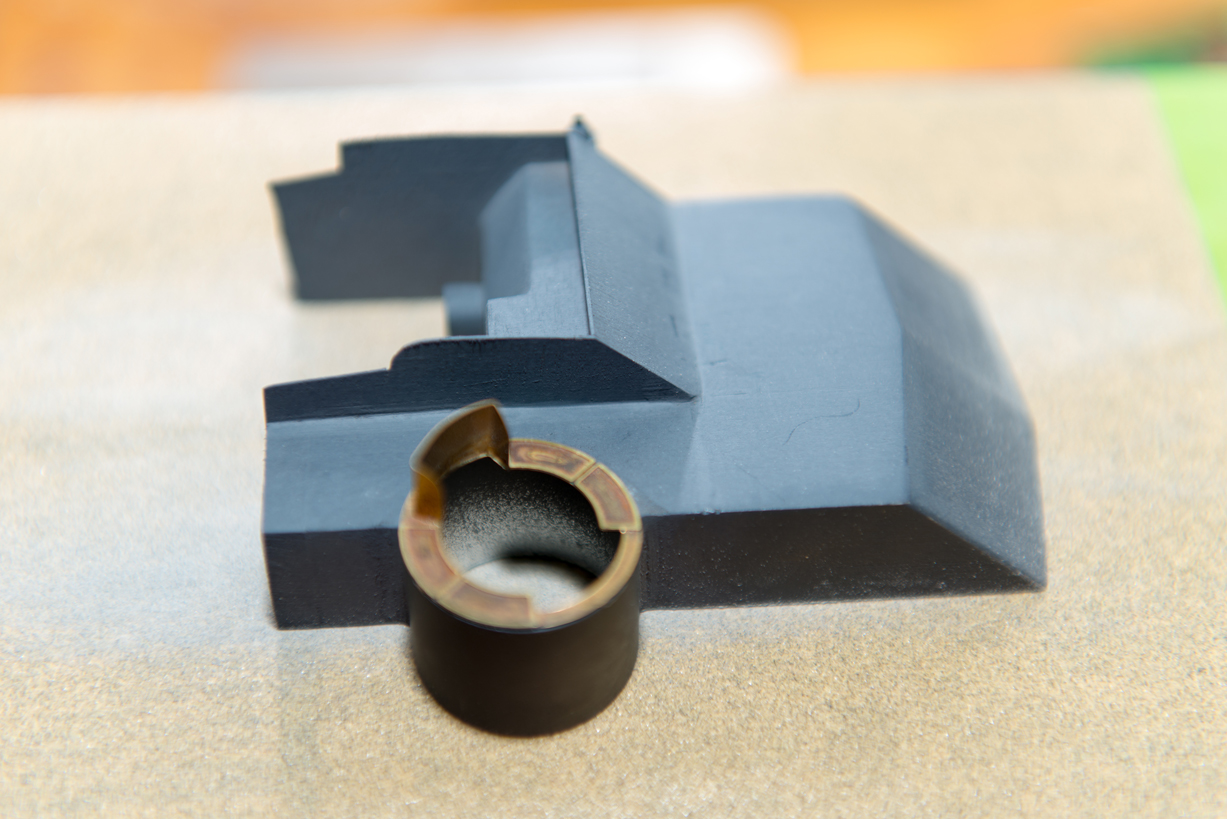
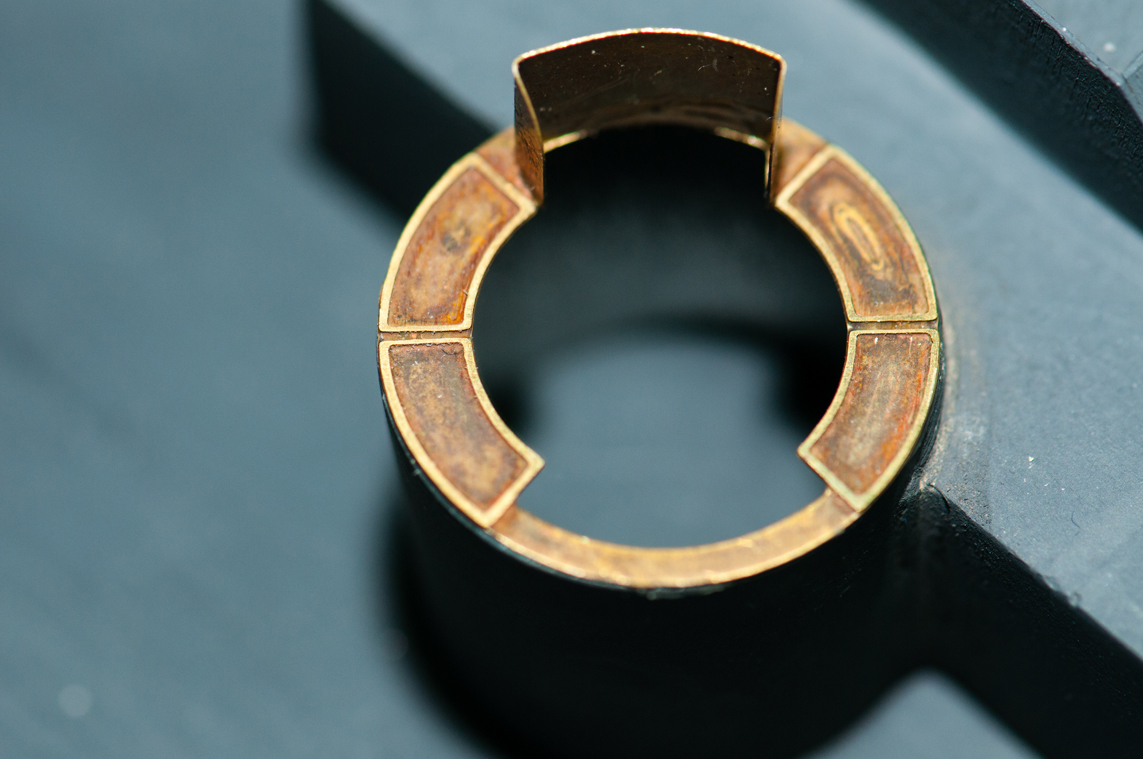
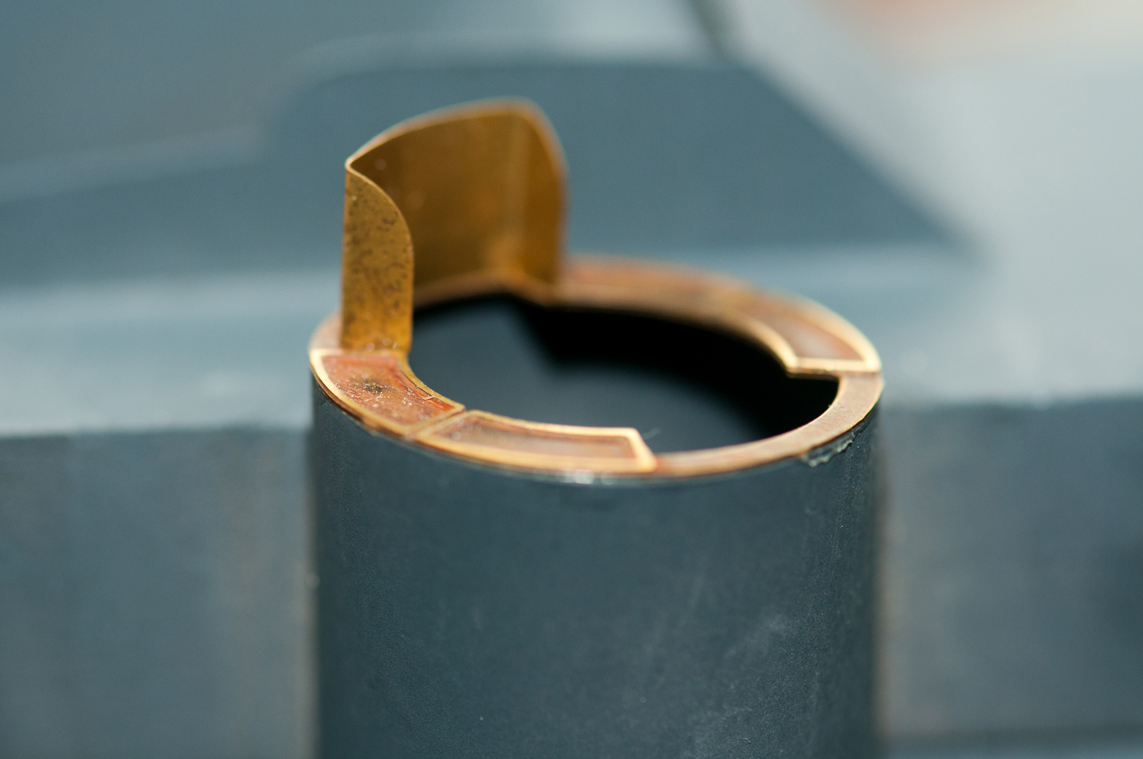
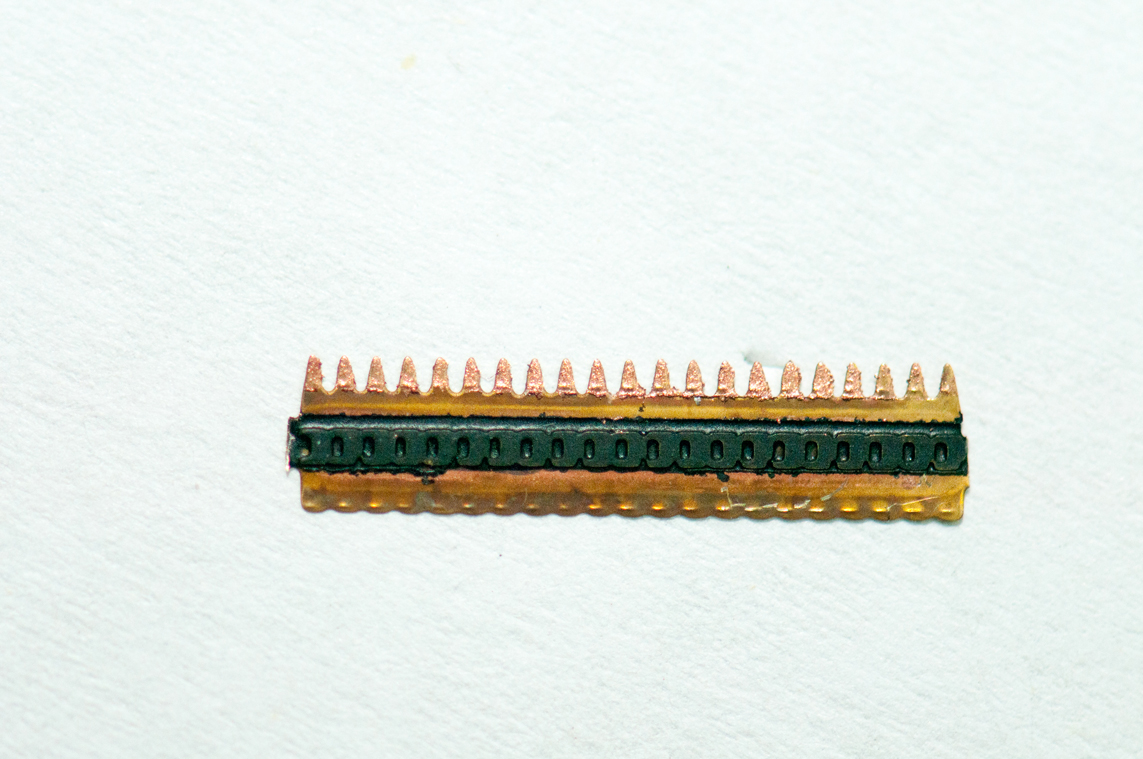
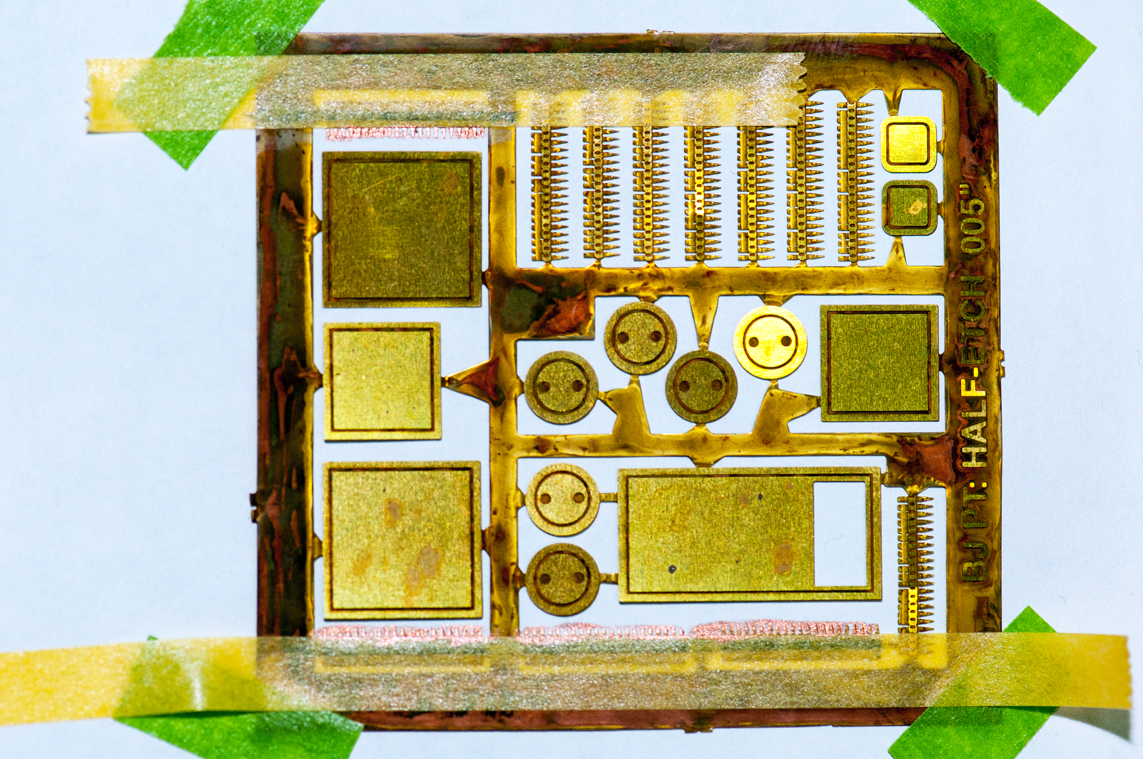
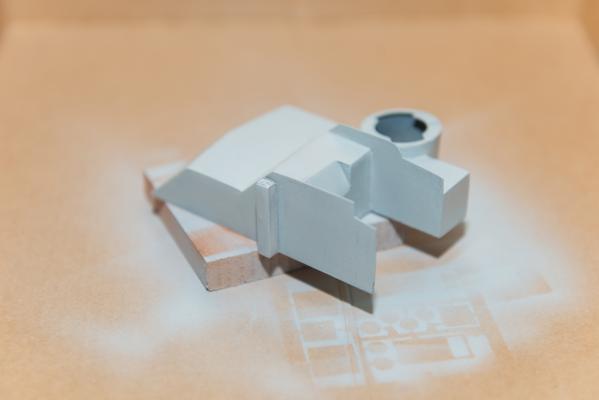
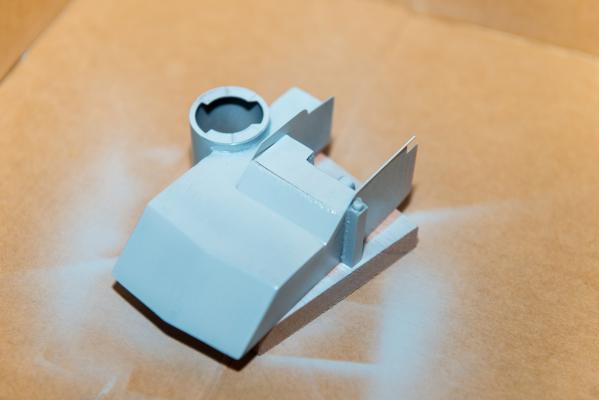
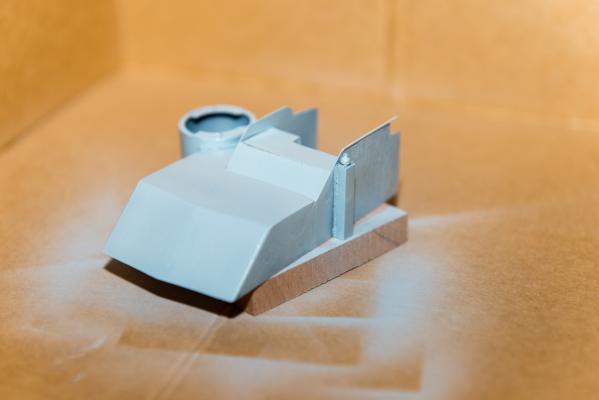
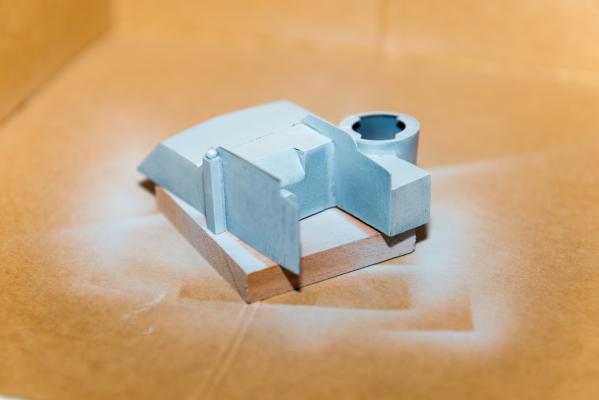
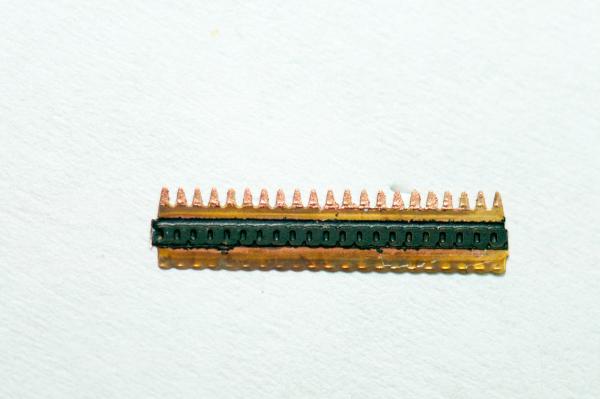
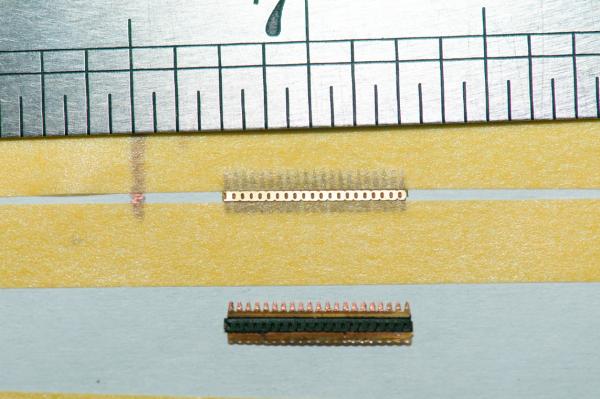
Greetings, My next step was to glue the turret race to the aluminum tube, I used a combination of CA and yellow all purpose glue thinned with water. The next step in the instruction booklet states: "Snip eight ammunition belts from the photo-etched sheet. Paint the tips of the bullets copper, the raised portions black, and leave the cartridge case natural brass, and set them aside for later installation. Cheers, Tim


-
Richard, Outstanding choice for leaving the lower hull mahogany, it will high-lite your nice planking job! Cheers, Tim