HOLIDAY DONATION DRIVE - SUPPORT MSW - DO YOUR PART TO KEEP THIS GREAT FORUM GOING! (Only 24 donations so far out of 49,000 members - C'mon guys!)
×

Timothy Wood
-
Posts
571 -
Joined
-
Last visited
Content Type
Profiles
Forums
Gallery
Events
Everything posted by Timothy Wood
-
 Rusty, I like the idea of using dowel for the deadeyes! I'll have to keep that in mind for later use. Cheers, Tim
 -
Kevin, She just may me a good build for the sake of experience sake! As long as you can gain some skill nothing is lost. Cheers, Tim
-
Richard - Wow, I must say what a beautiful job. Can't wait to see her when she's finished! You should be very proud up to this point. Cheers, Tim
-
Thanks for the nice compliment Jay! It proves there is a "Silver Lining" to every cloud! Cheers, Tim
-
Rusty, She is really looking good, and you are very talented craftsman! I look forward to watching more of your build. Tim
-
It's isn't quite that simple! (But Close) Tim
-
avsjerome2003, It's never too late to give it a second try! Start out with an easy/simple hull, take your time, remove small amounts of wood until you get the feel of it. The hardest step for me is taking the chisel to the wood for those first few passes, then I settle down and get to the task of making wood chips! Cheers, Tim
-
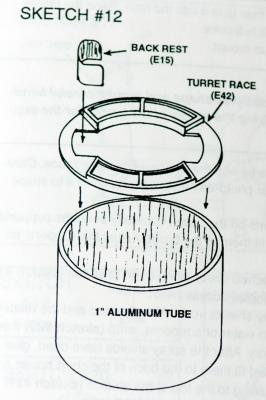
Greetings, My next step was to attach the backrest to the forward turret race. This unit is made from two pieces of photo etch brass, the back rest has to be shaped so it will fit the rearward section of the turret race. After the shaping and fitting is completed it's then glued to the race with CA glue. Cheers, Tim


-
John, Thanks to a few days off work and some lousy weather, I was able to get in some quality model building time! Cheers, Tim
-
Elia, Thank you for the complement! I'm working on my models and the Admiral is watching football and keeping progress of our pool position. (Which isn't very good) Cheers, Tim
-
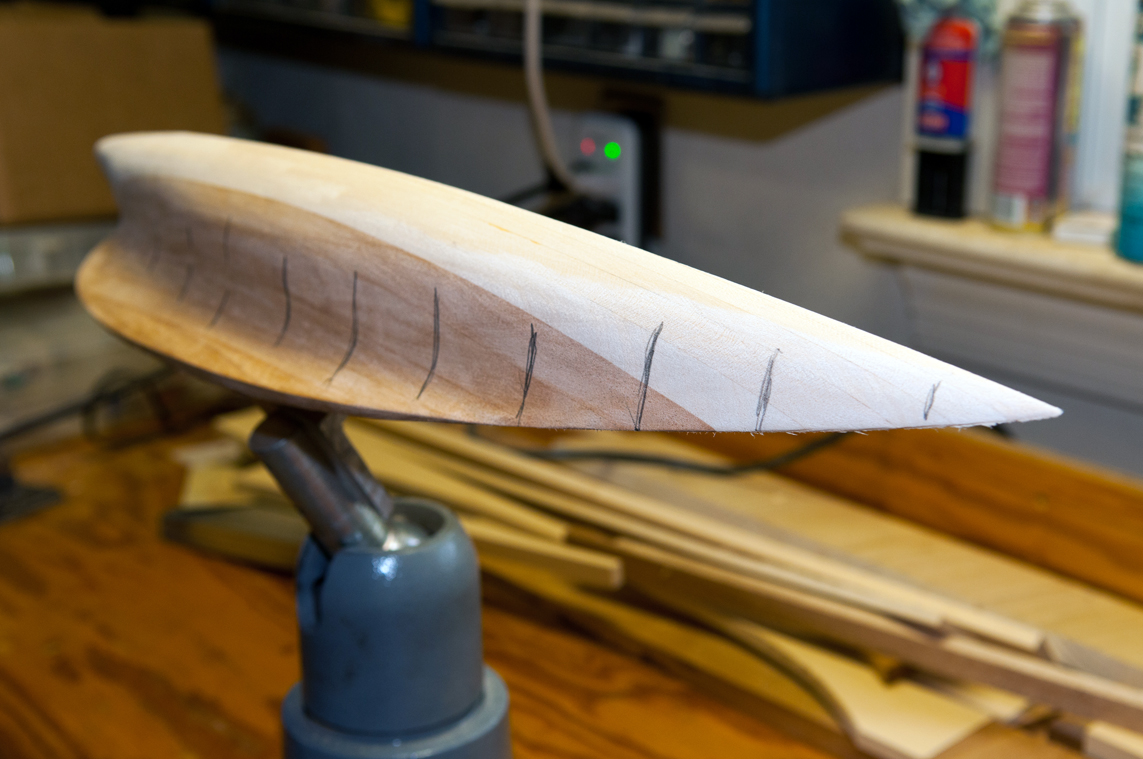
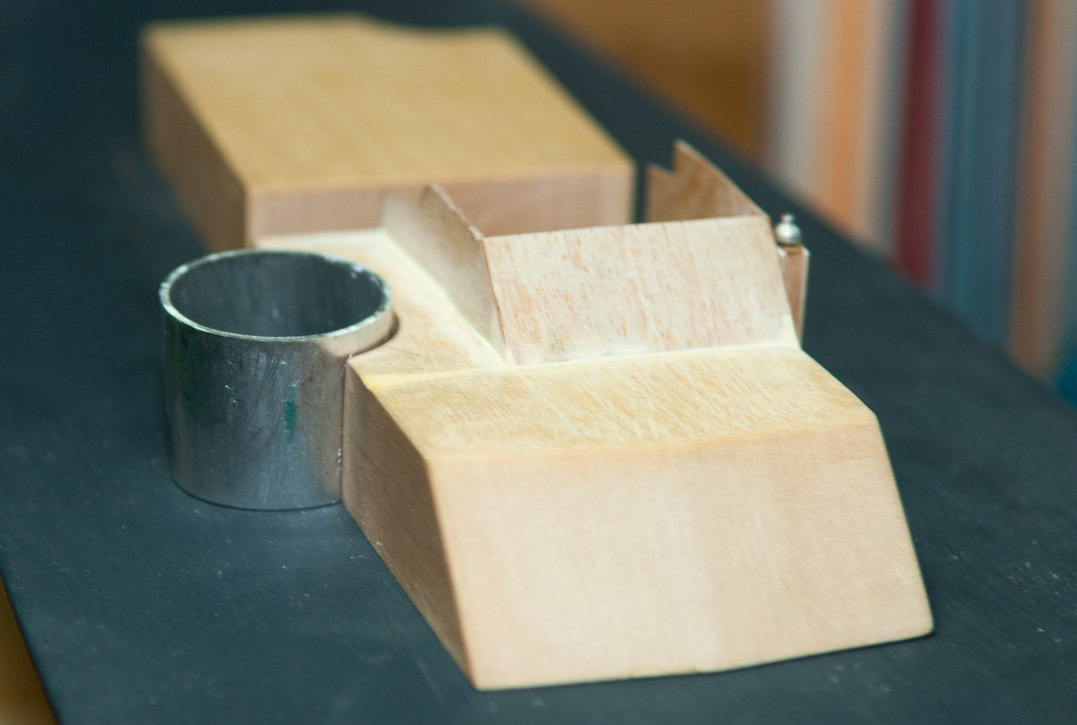
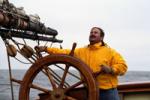
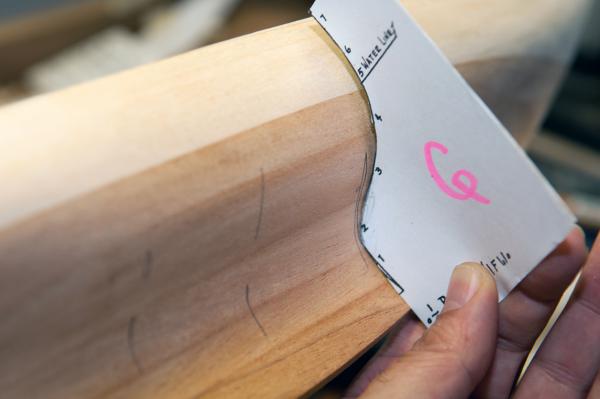
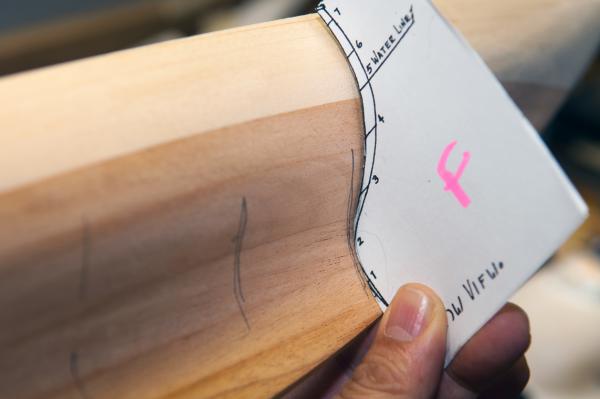
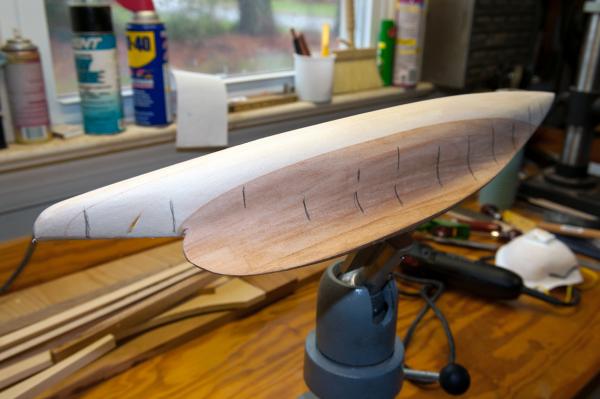
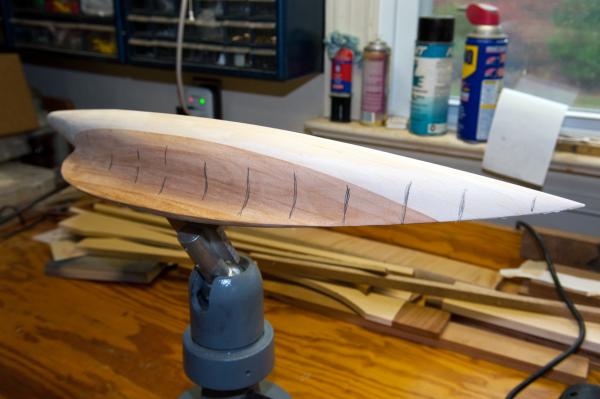
Greetings, It's a rainy, gloomy and windy day in Hampton Roads, (winds are gusting to 27mph, 23.46 knots, a perfect day to stay inside and work on a model. These are the latest photos of my work on the Schooner Atlantic half hull, as you can see she is taking shape rather well and I'm pleased at the progress. The photos show me checking the shape at each point then sanding and rechecking. At this point I'm too close to the correct shape to use a chisel to remove excess wood because I don't want to use any filler which would ruin the natural mahogany I plan to show below the waterline. It's best to take my time and remove a little wood each time. Cheers, Tim


-
Kevin, Thanks for the link! I have seen this link and use it extensively, it has a great amount of information for the model builder and also the history buff... Thanks for the info! Cheers, Tim
-
Marty, I held it with a vice and used a small plastic egg beater type hand drill to bore out the hole. Tim

-
Ella, Thanks for the nice compliment. Tim
-
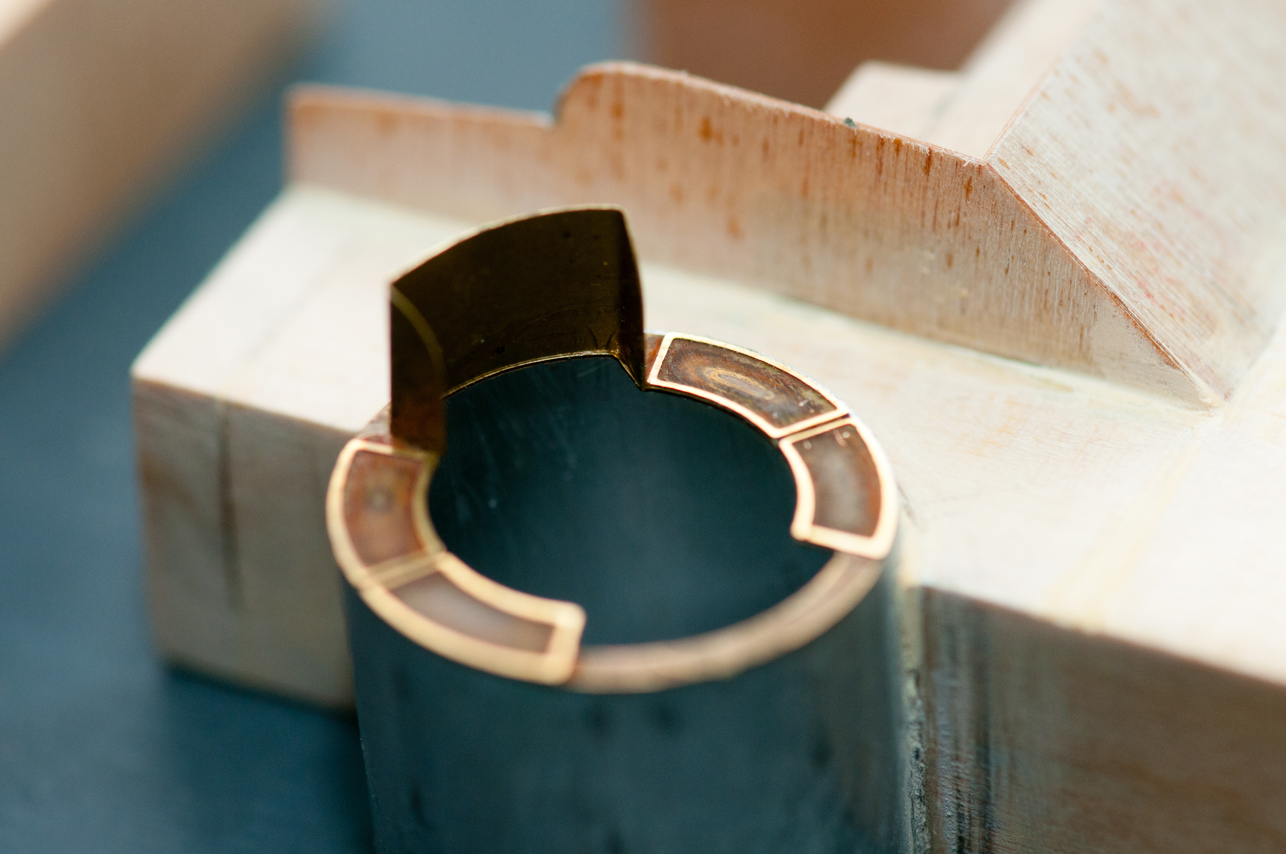
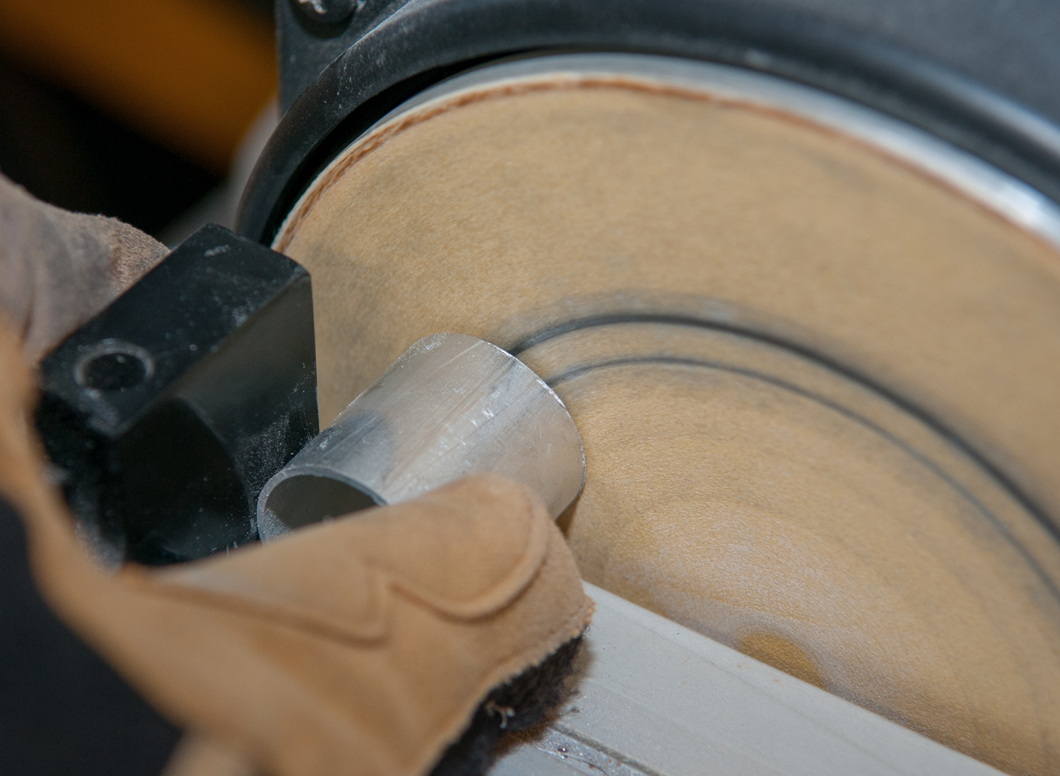
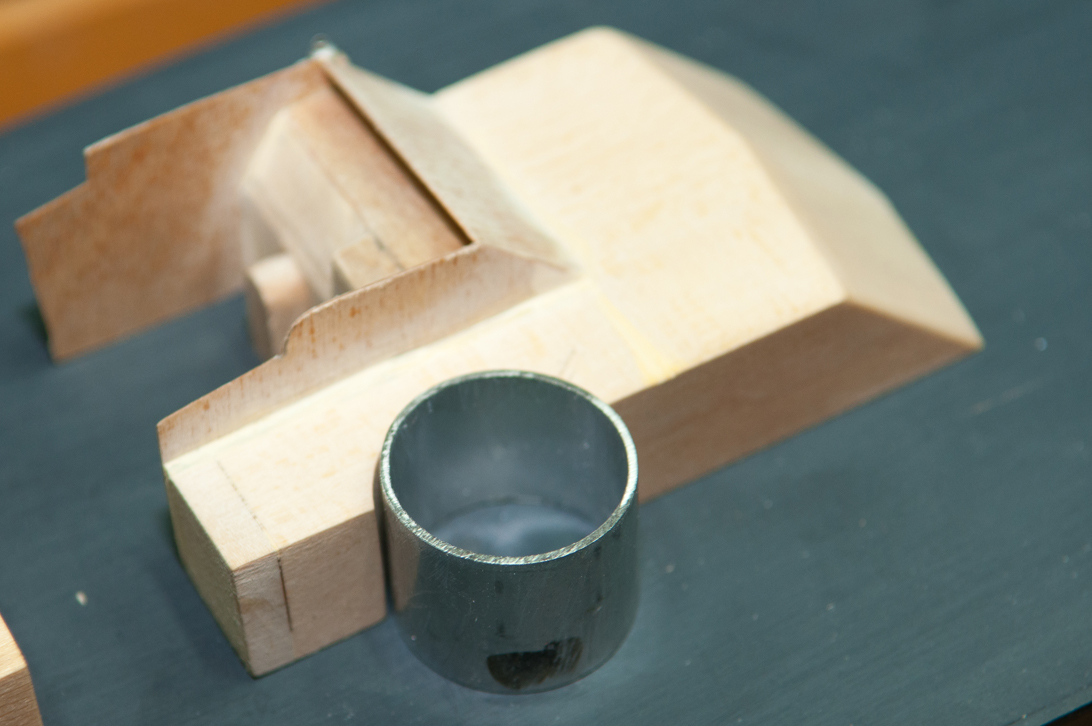
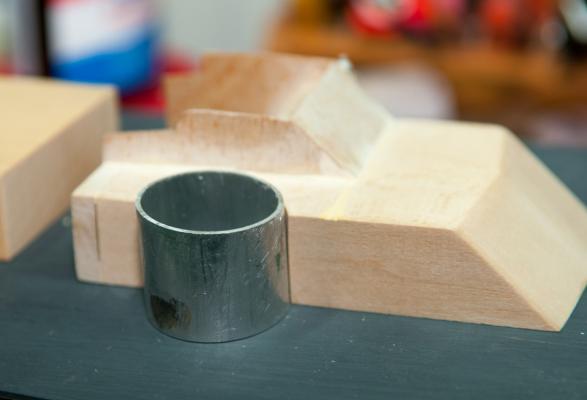
Greetings, Photos showing on the forward gun tub. I used my disk sander to work the tub to proper length. The forward tube should have a small amount of "Forward Rake" to it. Cheers, Tim


-
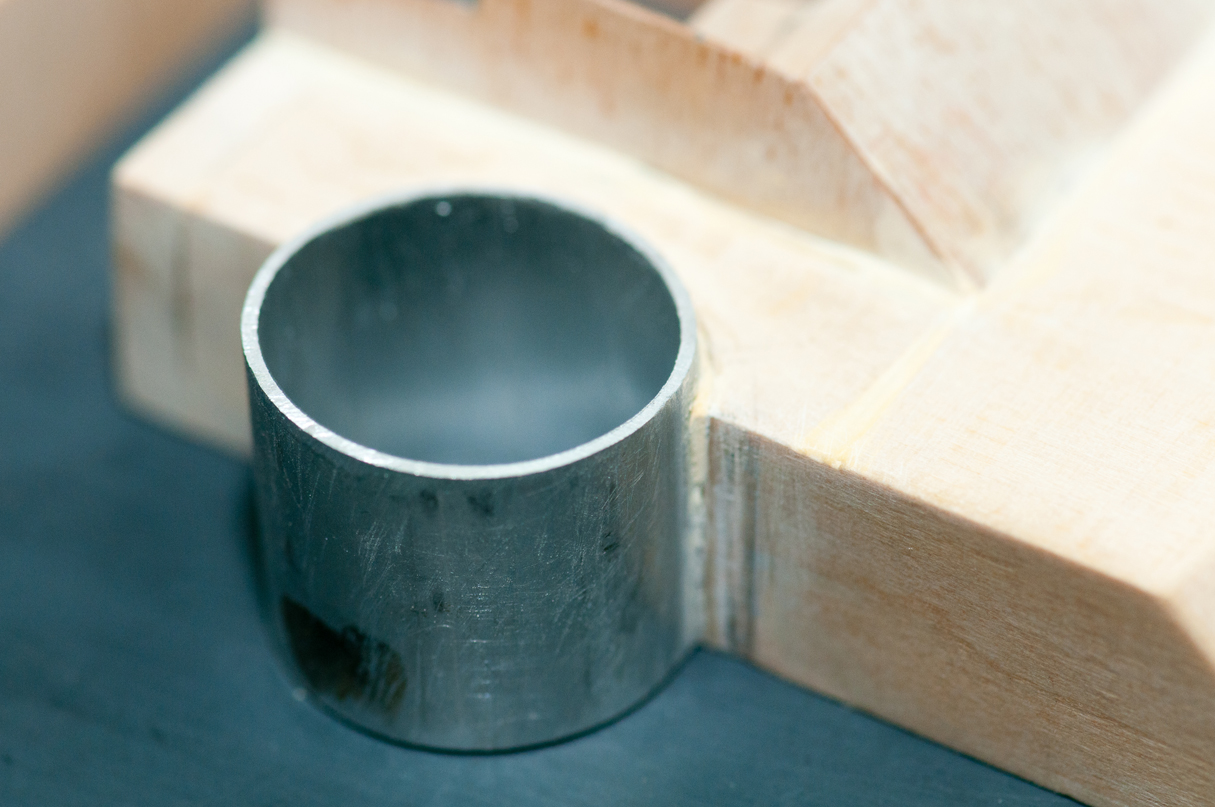
Popeye, It wasn't easy to say the least! Now I'm working on the 1" aluminum tube which the "gin tub' is made from. Cheers, Tim
-
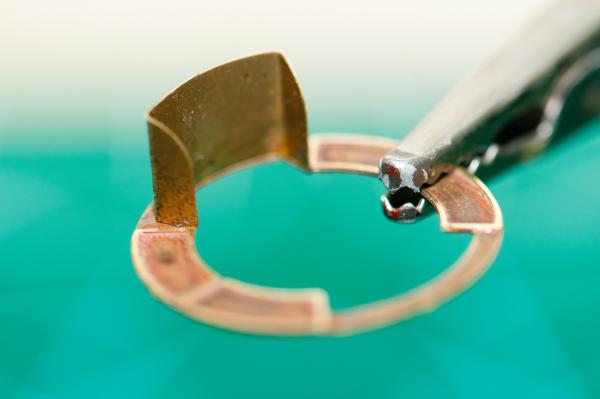
Popeye, Here are two photos, the first an overall from above and the second a macro shot of the antenna base! Cheers, Tim


-
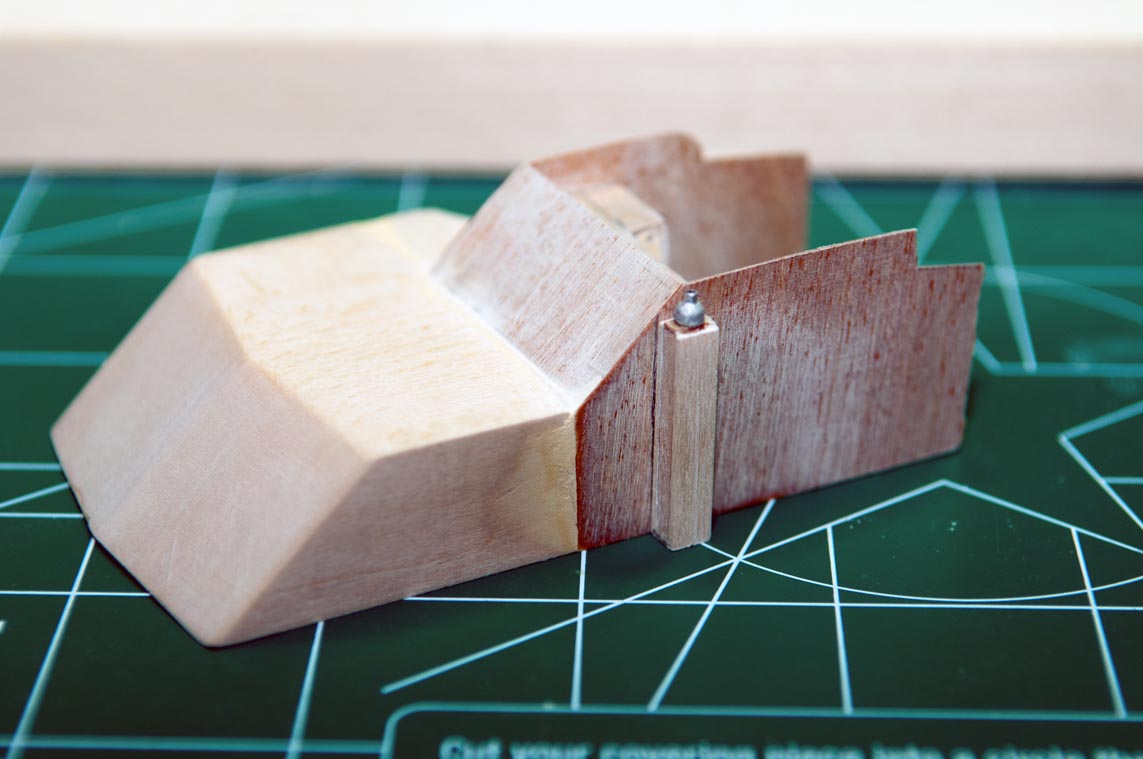
Hi Popeye, The plans show the antenna base square, I will follow what the plans call for. I did "slightly bevel" the top outboard edge of the base though. It's so slight it's not noticeable. I also drilled out the receiver for the whip antenna! I'll tell you now it made for some tense moments. I'll try to remember to add a photo of the drilled antenna base! Cheers, Tim
-
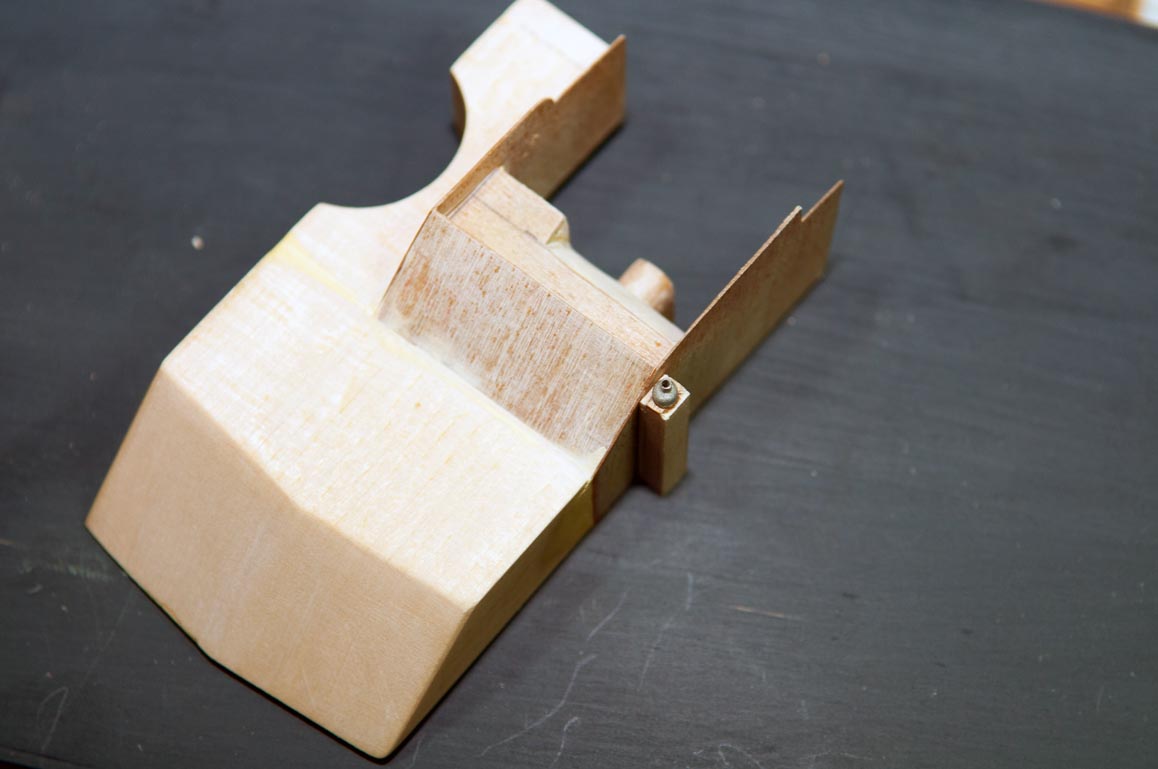
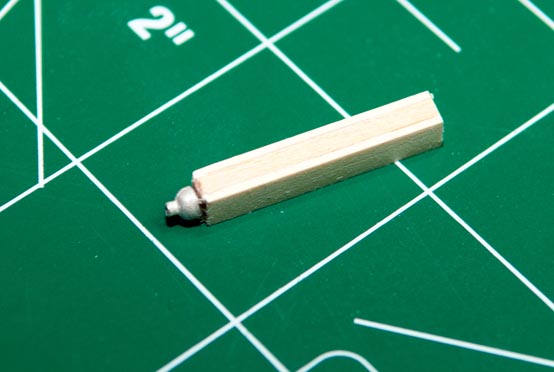
Greetings, My next step was to cut the antenna base from a piece of 1/8" x 3/16" x 2" strip wood, then glue the actual antenna base to it's stand. After cutting the stand and fitting the antenna base I found the base was wider than the stand. I decided to cut and glue two strips of wood to the inboard and outboard sides of the antenna stand to make them the proper size. Cheers, Tim


-
My next step is to make the antenna base from 1/8" x 3/16" x 2" strip wood, (easy enough), then cut the antenna base top from 1/64" plywood. After this is complete it will be glued to the port spray shield. Final step will be gluing the antenna mount to the base top. Cheers, Tim
-
Dave B, I have! There times when everything goes smooth, as with the shelf, too bad I can't say the same for the spray shields! Cheers, Tim
-
Greetings, Merry Christmas to all.... My next step was to cut and install the plywood shelf which runs along top of the instrument panel. This piece is also 1/64" plywood. The shelf needs to extend over the companionway and is attached to the starboard spray shield. Cheers, Tim


-
Dave, I agree, fortunately BlueJacket supplies plenty with the kit! Ive been pretty good at messing up a few pieces thus far! Hope you have a wonderful Christmas! Cheers, Tim
-
Bob thanks for the kind words! Hope you have a Merry Christmas!!!! Tim