Timothy Wood
-
Posts
571 -
Joined
-
Last visited
Content Type
Profiles
Forums
Gallery
Events
Everything posted by Timothy Wood
-
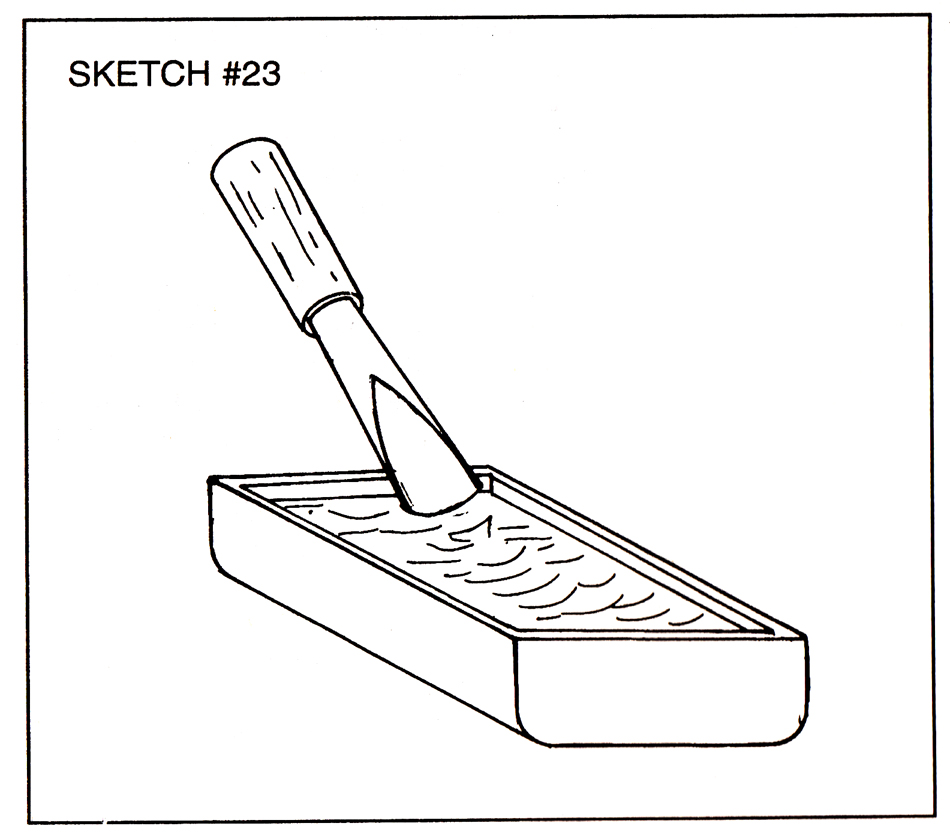
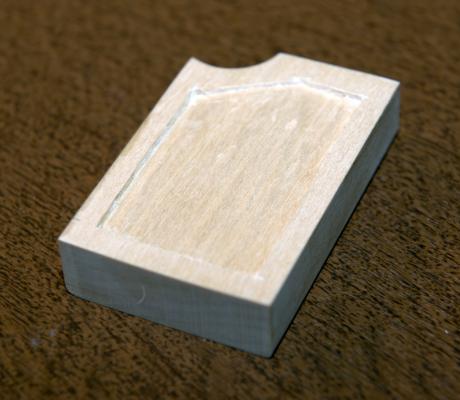
 Greetings, the engineroom hatch is complete, only needs a final coat of paint. My next step is to start work on the Day Cabin. The Day Cabin has a slightly cambered roof, this will be sanded the same way as the chart house. Also the Day Cabin needs to be sanded to mach the camber of the deck, to start with you gouge out the underside of the day cabin the same way I did with the chart house. Cheers, Tim
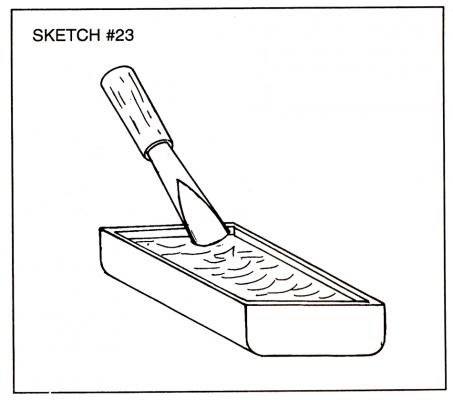
-
Great Job Ryland!!! Don't forget to bring it with you to the meeting Saturday! Tim
-
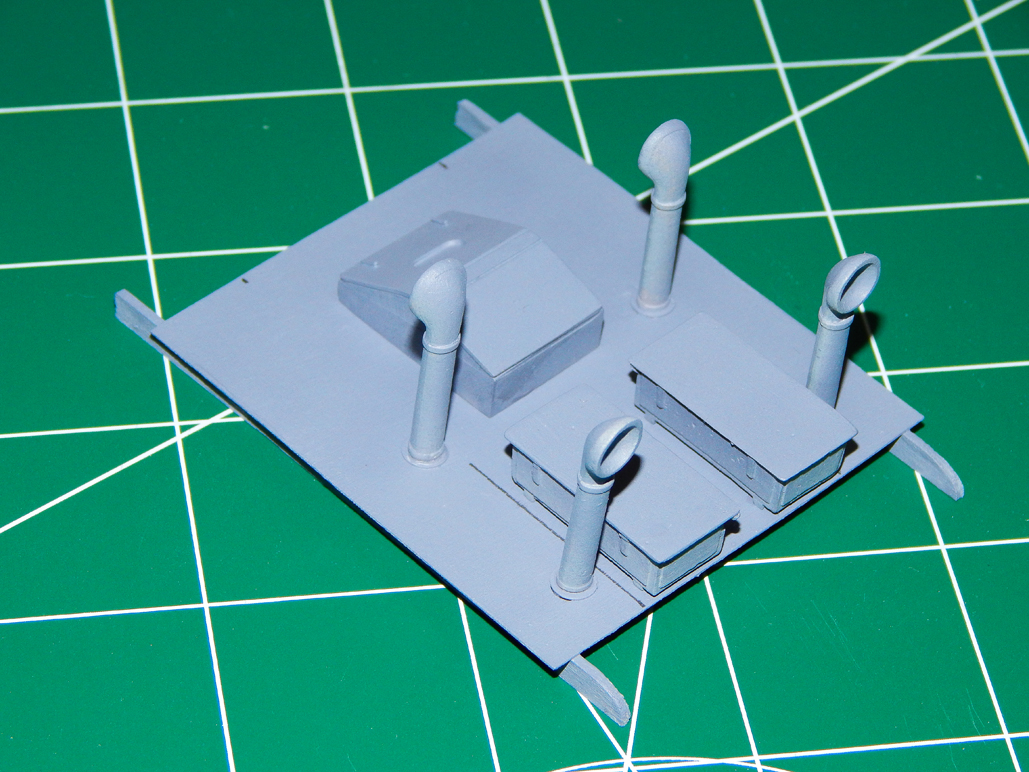
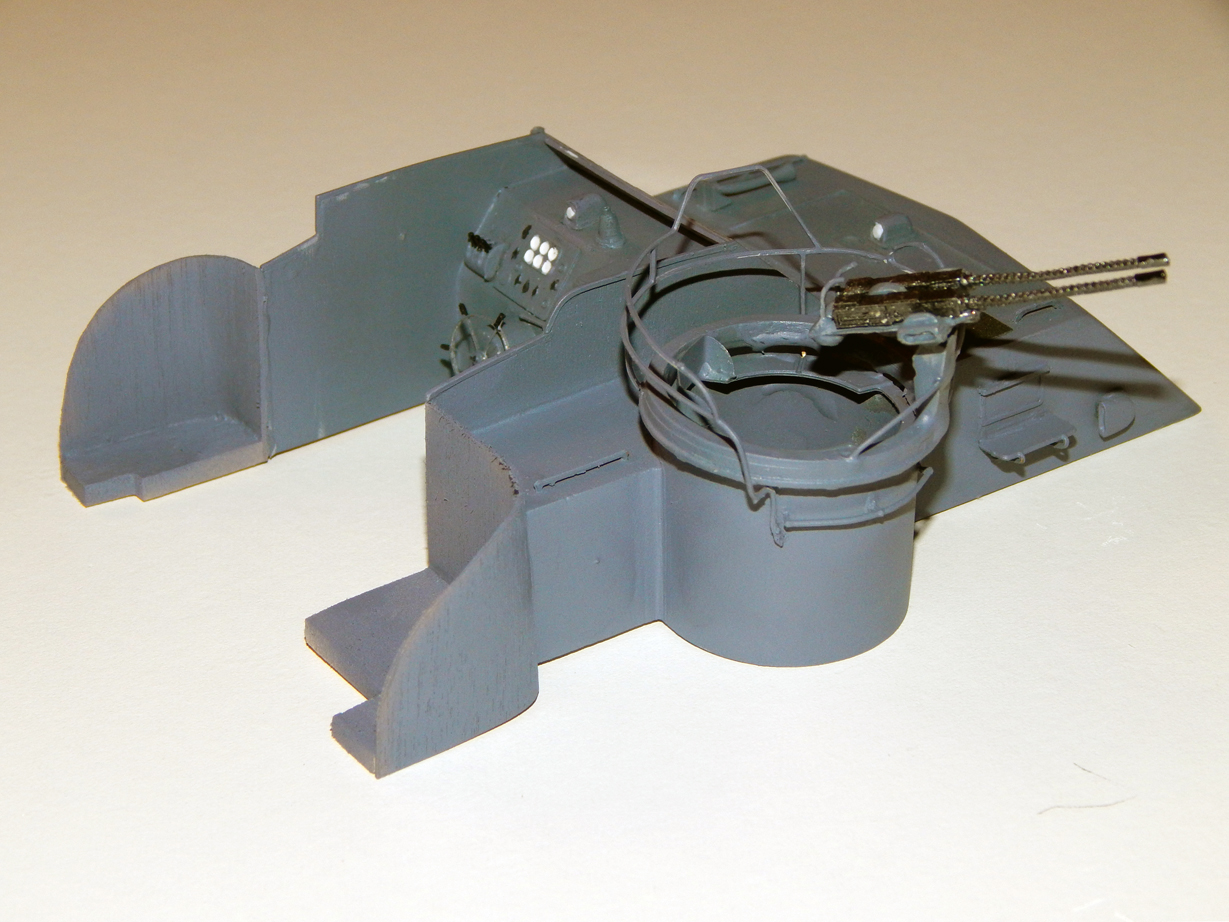
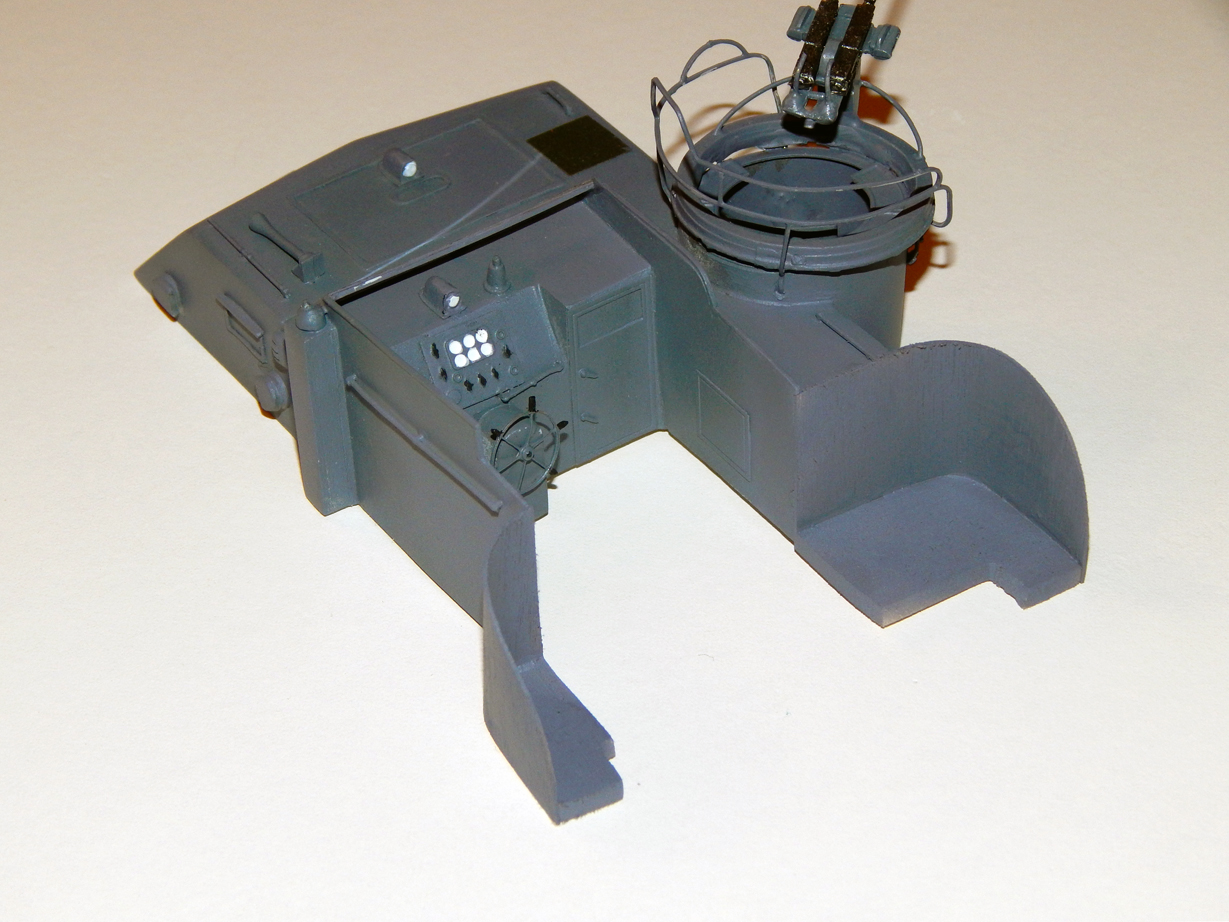
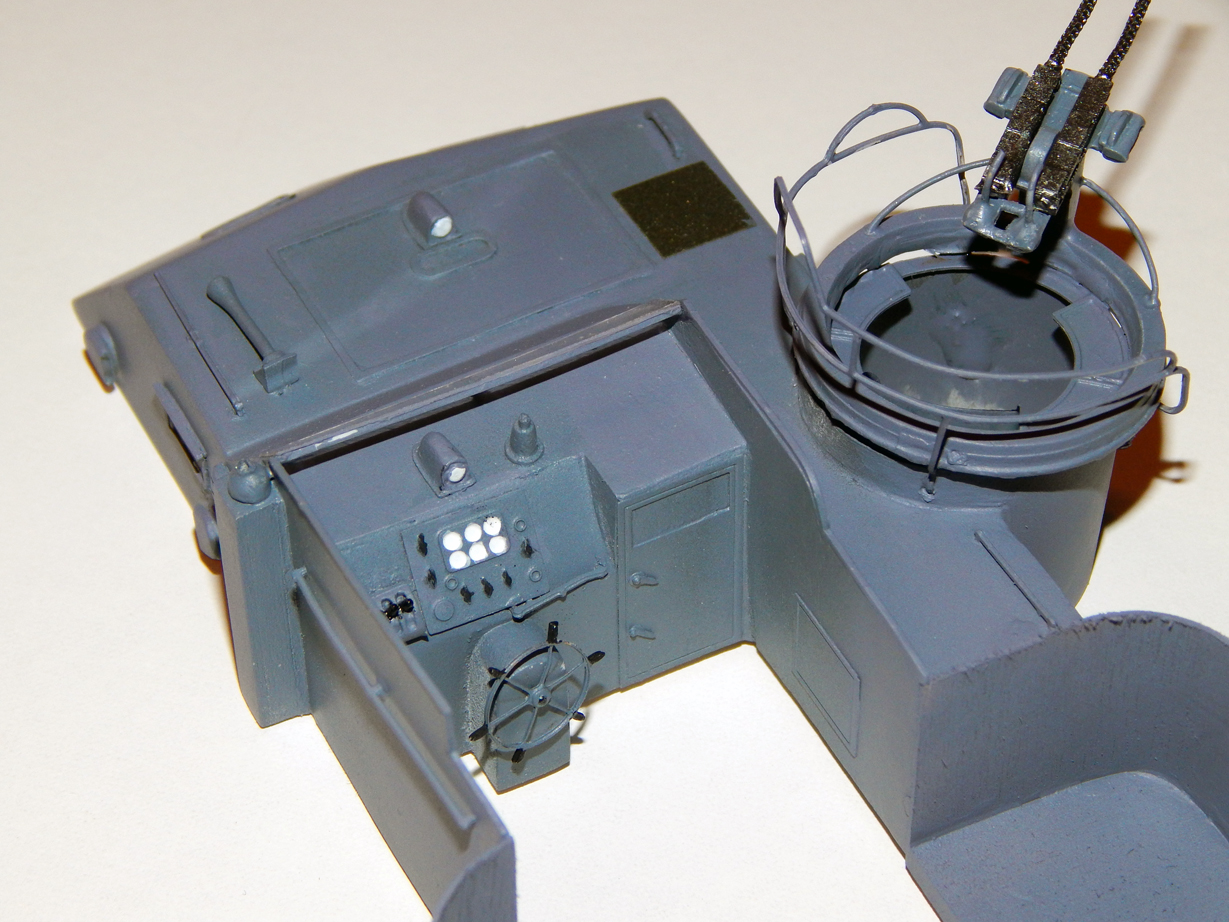
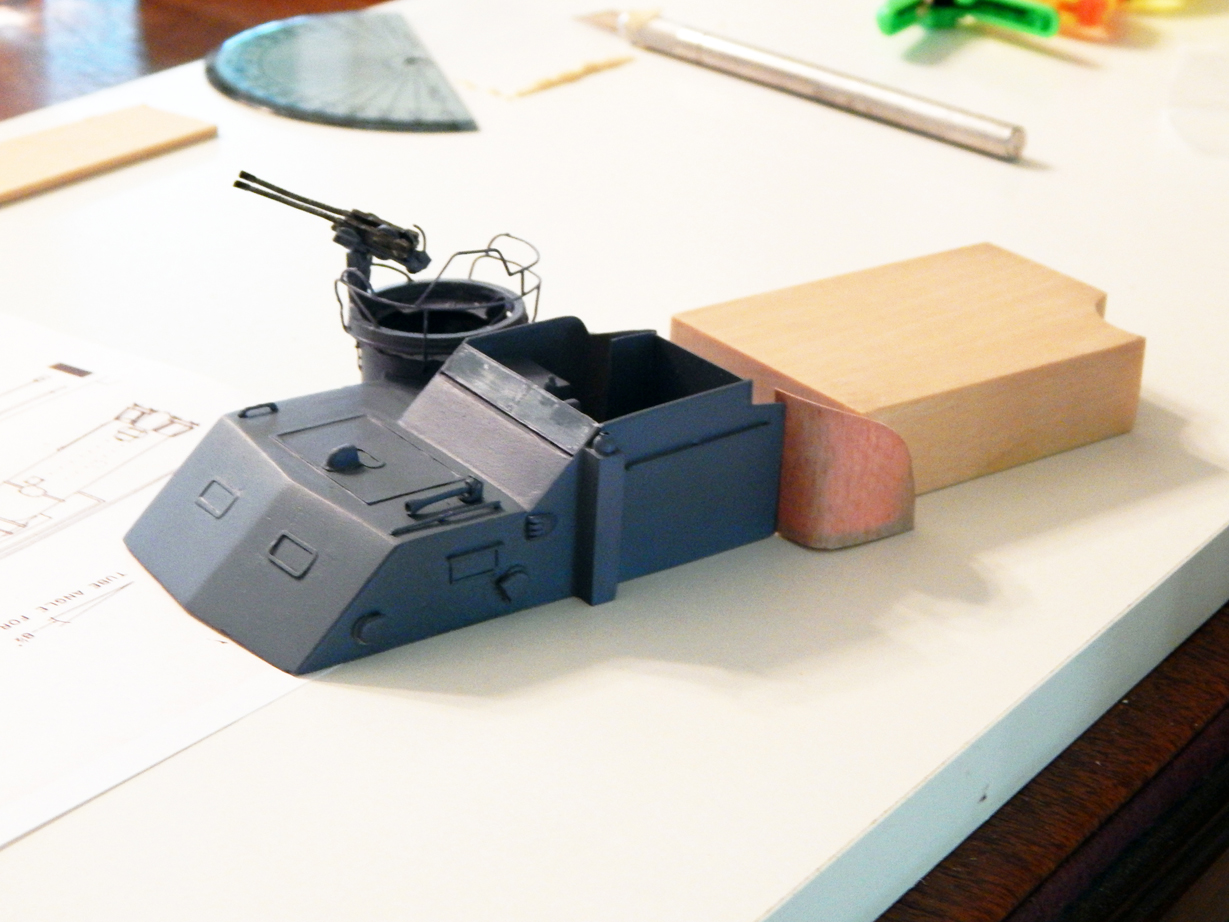
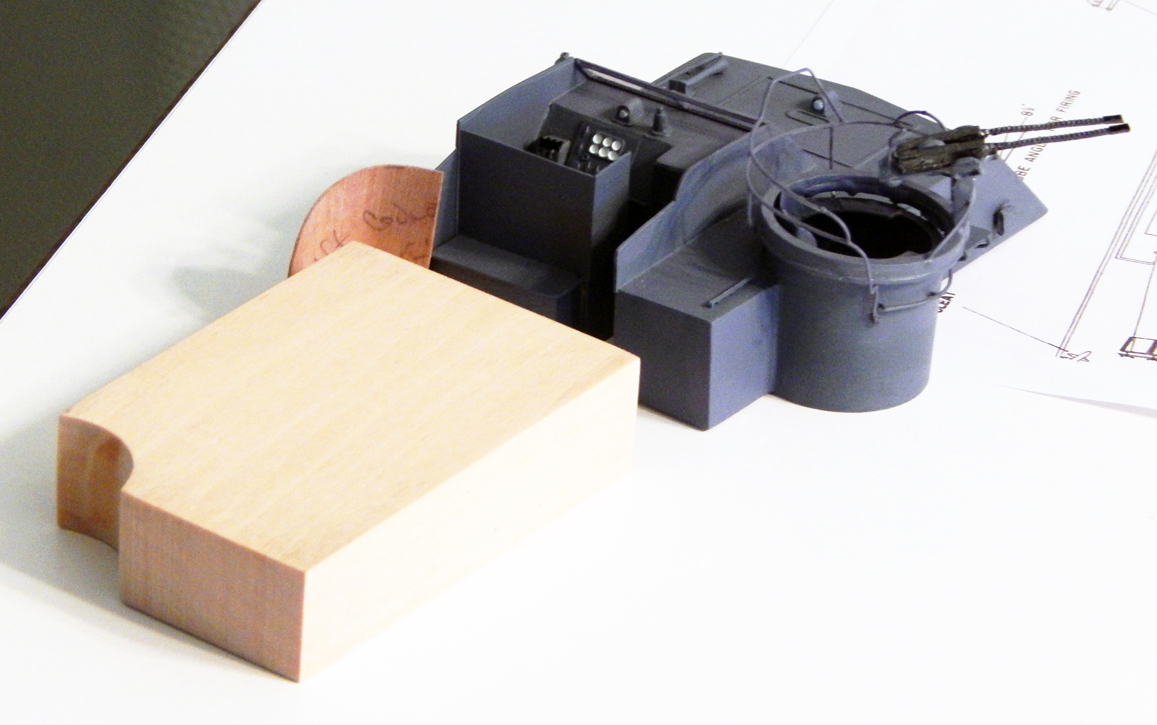
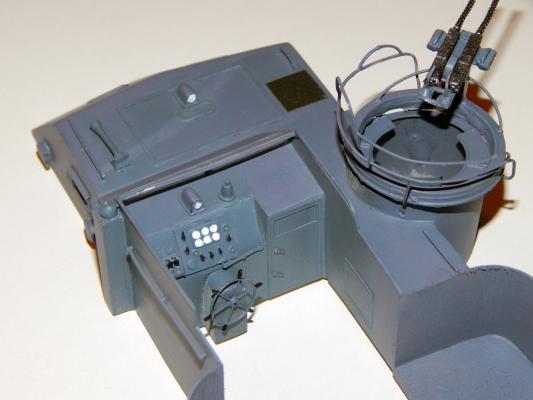
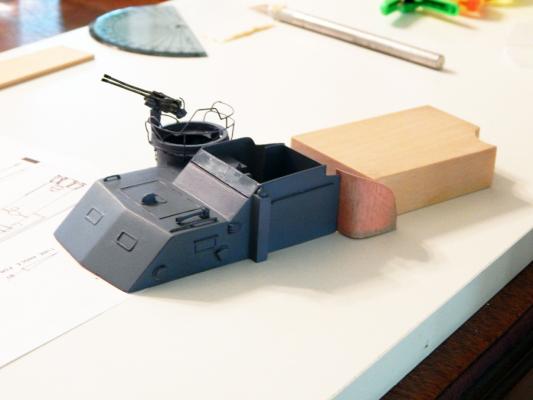
Greetings, The main engine room is complete with the "dog house" and 20mm ready service lockers glued in place. I still need to attach the dead light covers at their correct locations on the "dog house". Cheers, Tim

- 411 replies
-
- 12
-

-
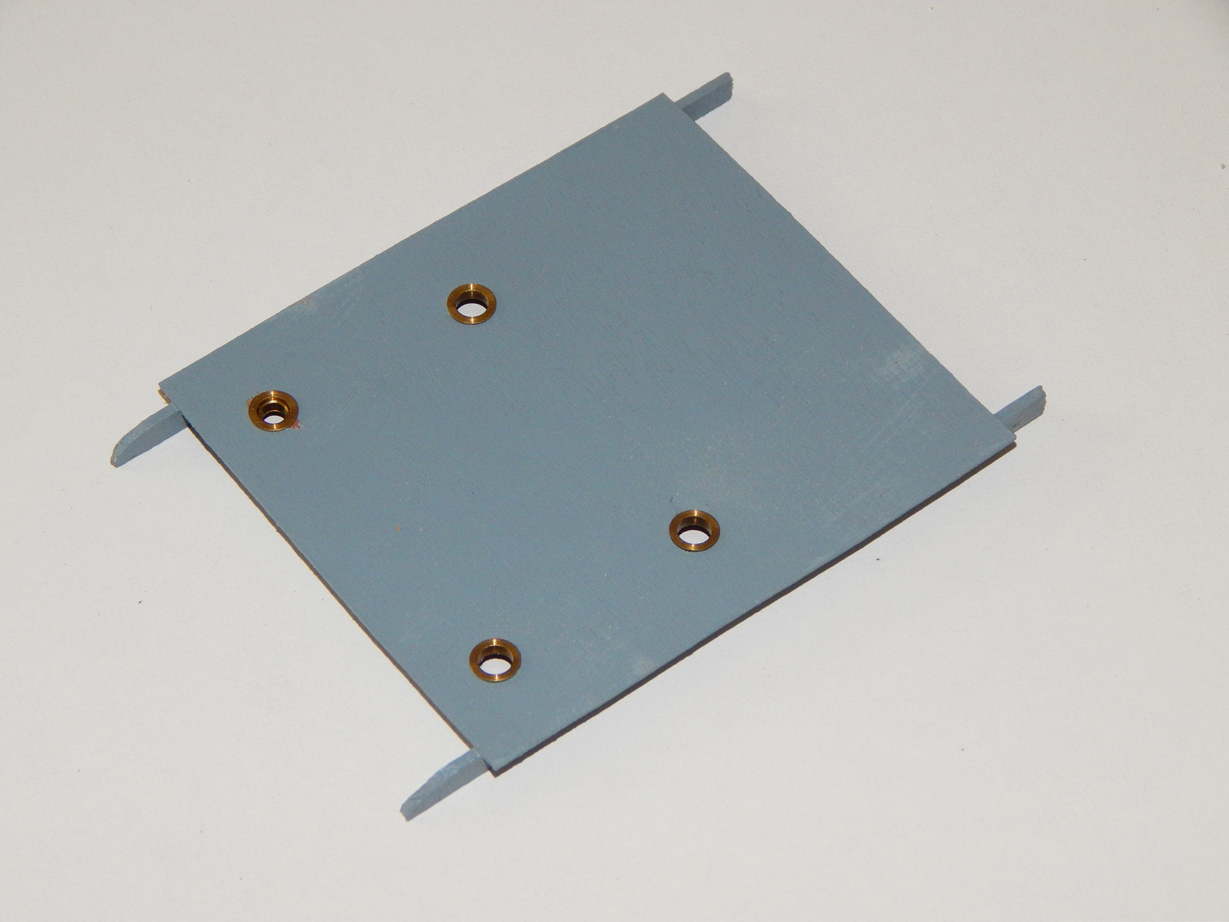
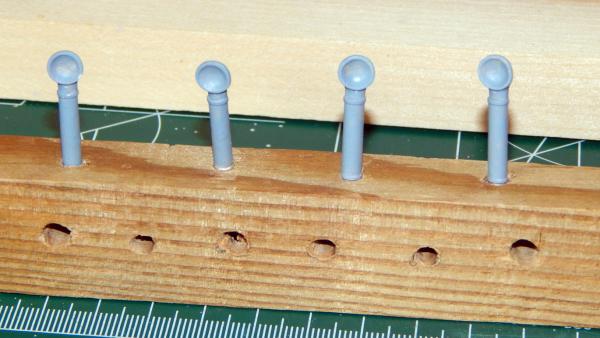
Greetings, While I was waiting fro the paint to dry on the main engine room hatch, I decided to clean up the cowl vents and add a coat of primer.... Cheers, Tim
-
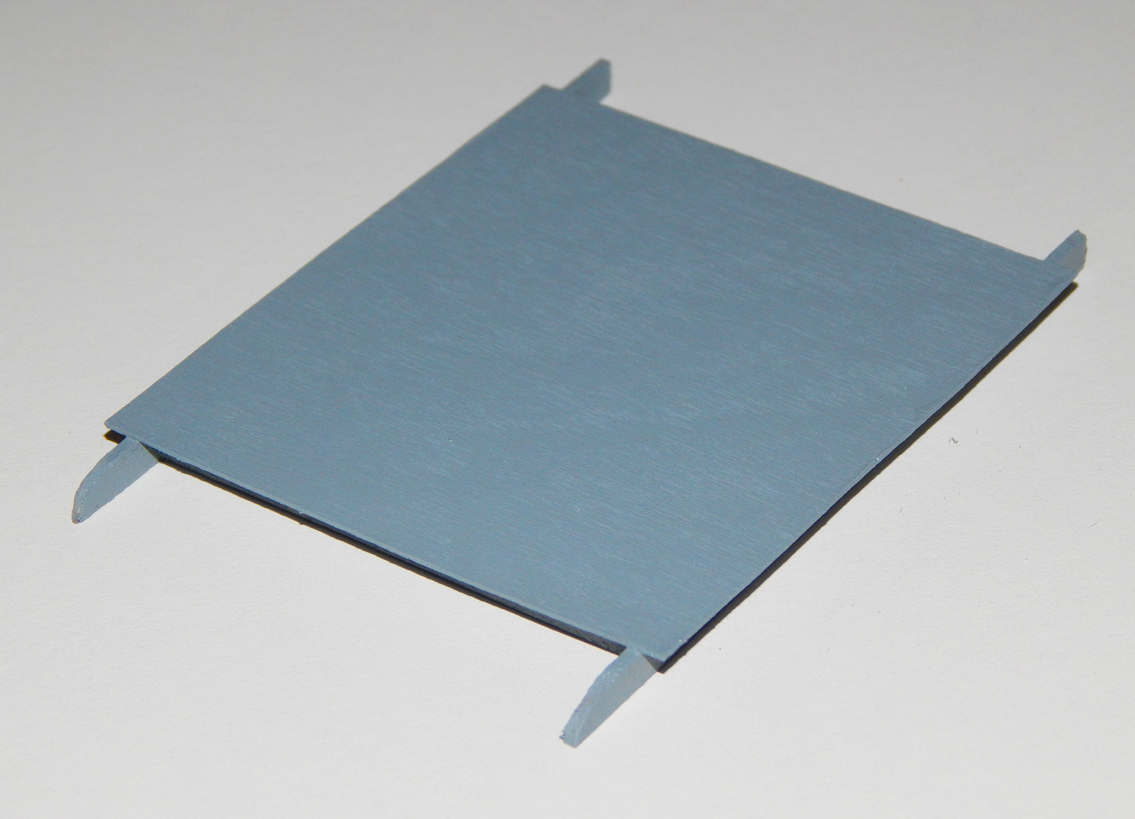
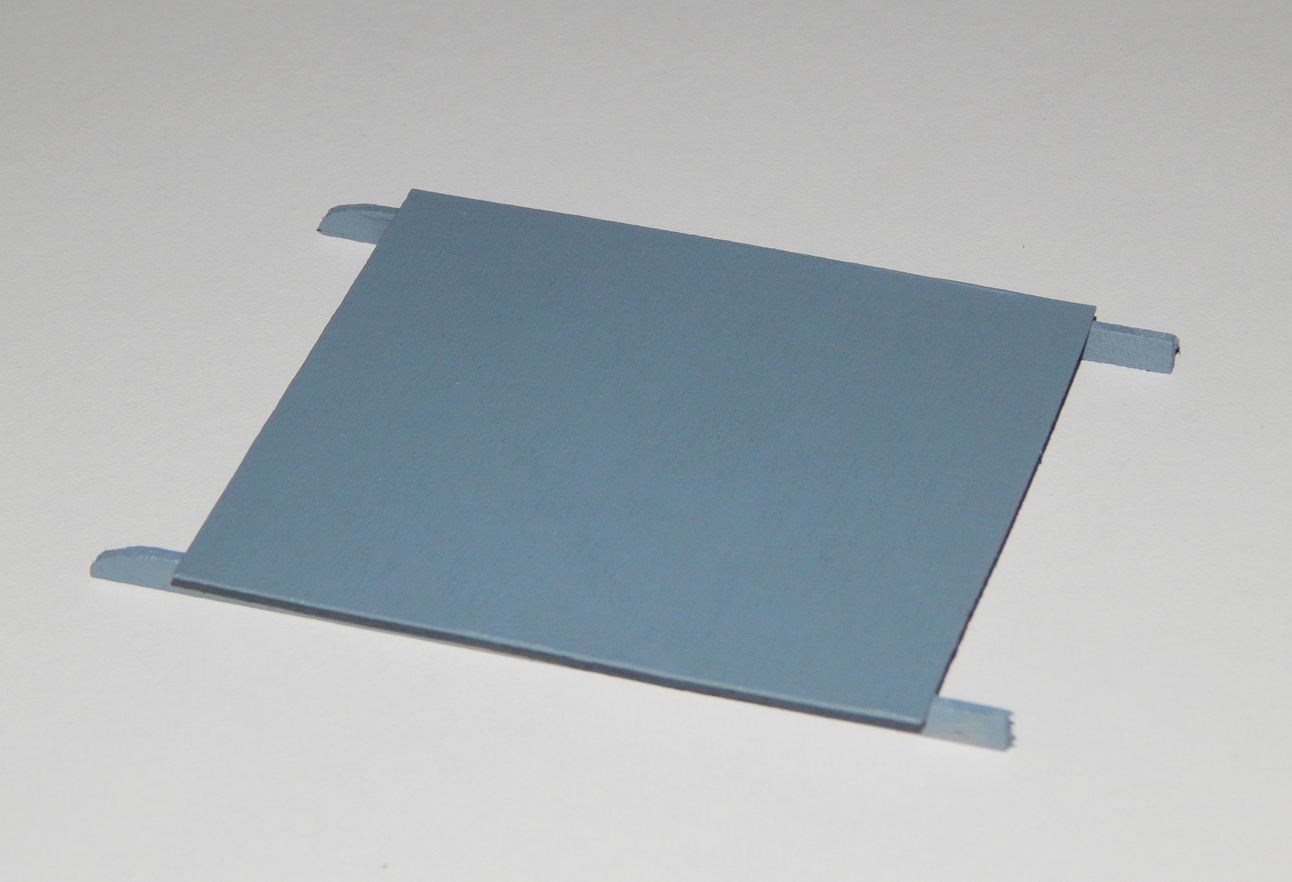
Greetings, I've completed building the Main Engine Room Hatch and put a coat of primer on it. When the paint has dried I will sand the camber into it the same way I did with the Chart House, once that is complete the placement for the cowl vents will be marked and drilled. Cheers, Tim


-
Thanks to everyone for the nice comments! Cheers, Tim
-
That's true, but it's always good to add some info along with the post! Cheers
-
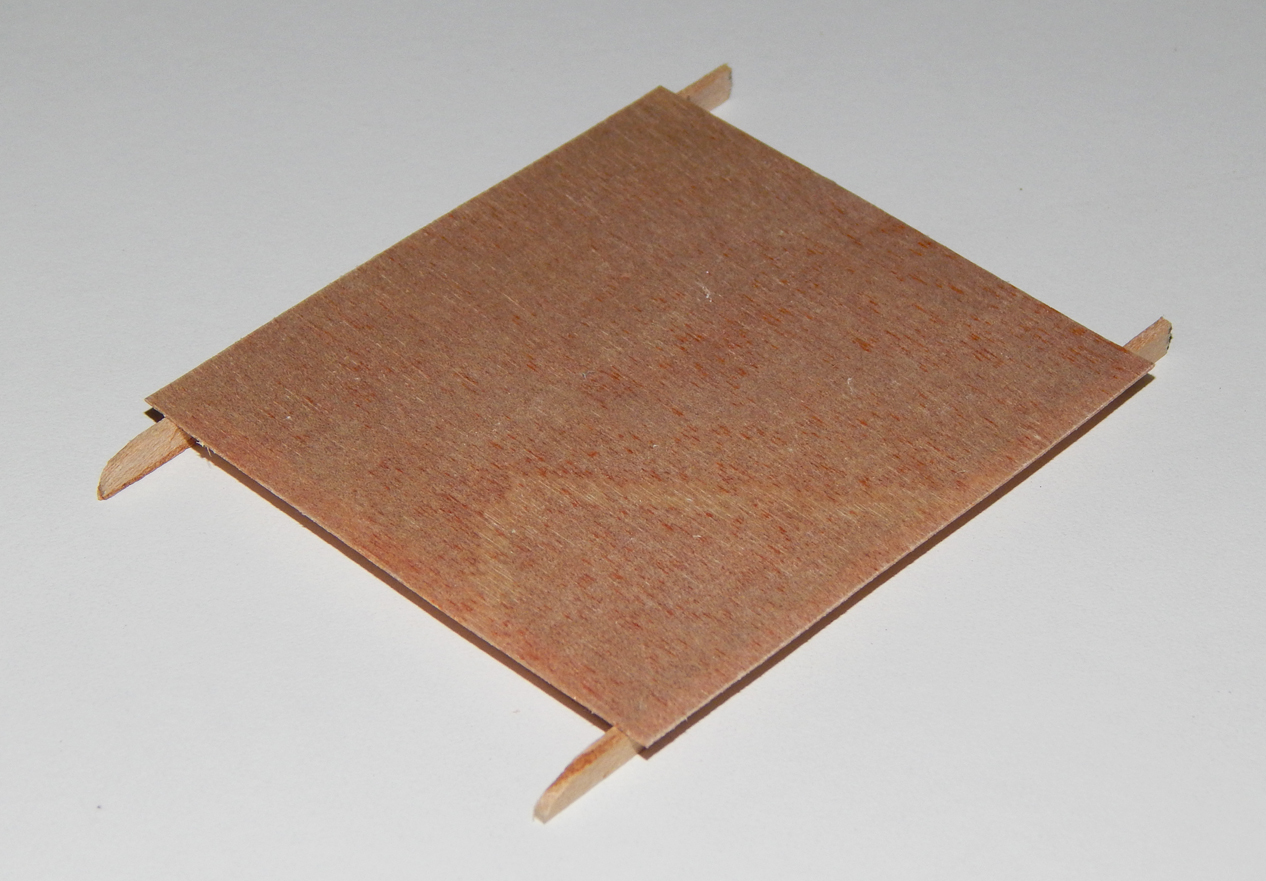
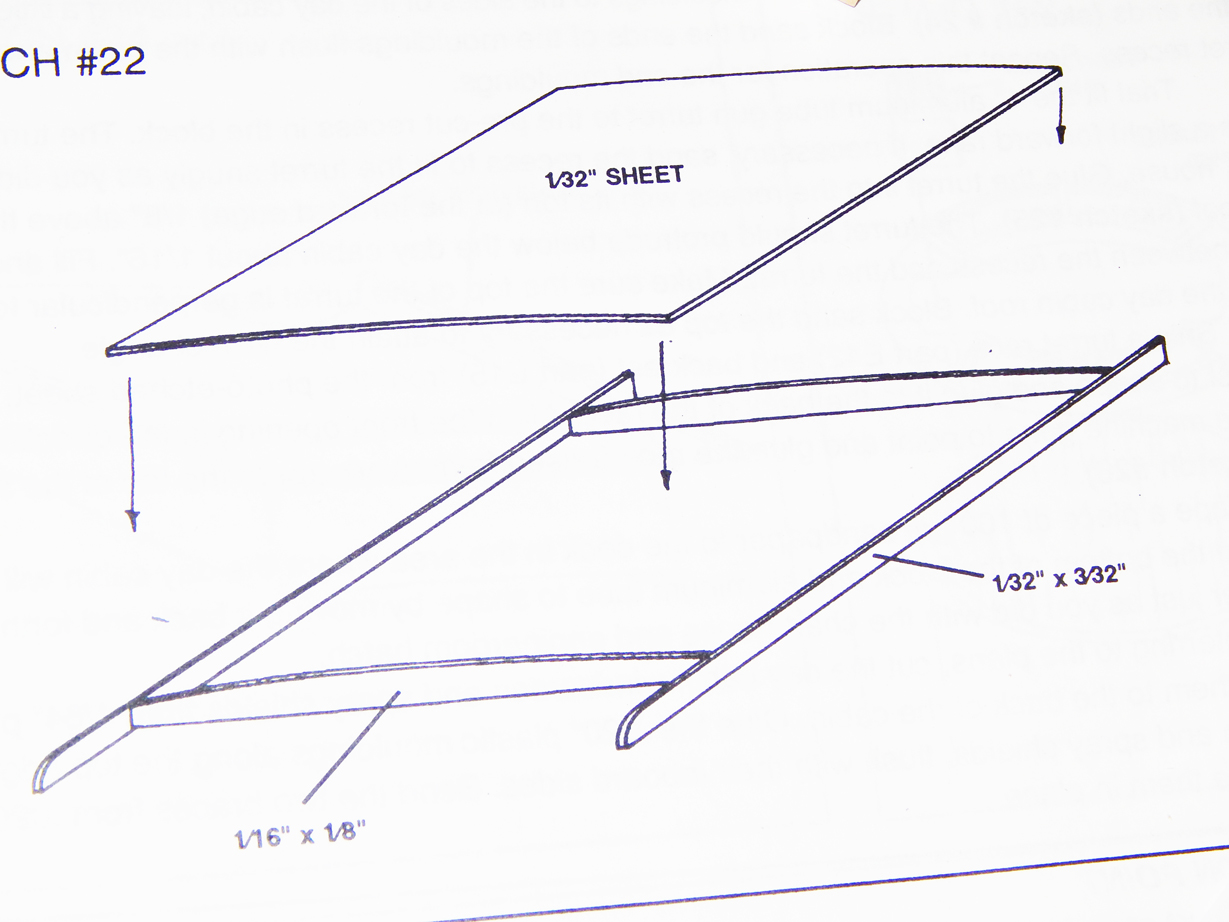
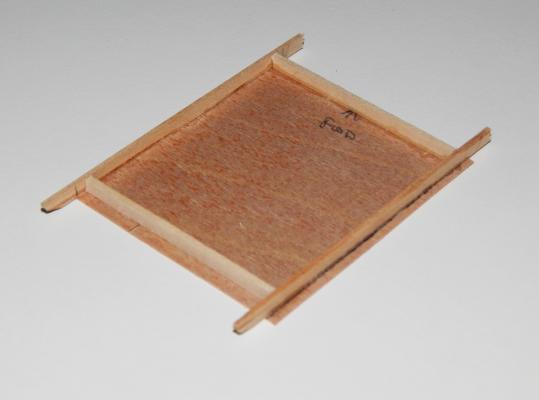
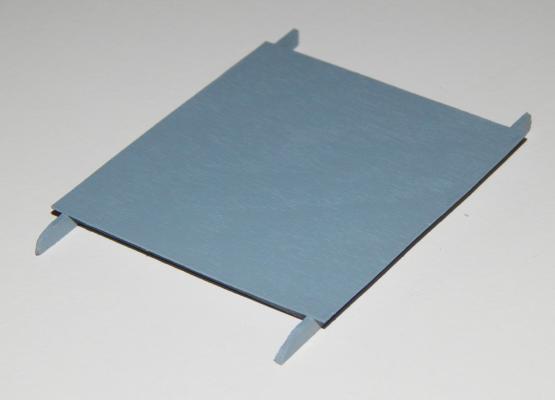
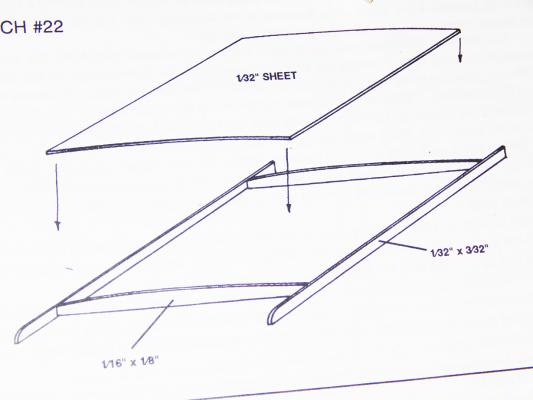
Greetings, My next step is to construct the "Main Engine Room Hatch". The engine room hatch coamings are cut from 1/32" x 3/32" strip wood, a small radius needs to be sanded at the aft end of each coaming. Then two end pieces are cut from 1/16" x 1/8" strip wood, then glued to to the coaming to make the frame. The hatch is then cut from 1/32" x 3" sheet plywood to fit the frame, it will need to overhang the frame by 1/32" all around. Cheers, Tim
-
Harvy, Thank you for the compliment! Tim
-
Thanks Elia! It's getting there, little by little! Tim
-
Anguskirk M33, a British M29-class Monitor, in dry dock at Portsmouth Historic Dockyard NEWS: M33 to be restored by 2015 with more than £2M of lottery and private funding. Armed with two 6 inch (152mm) guns, M33 is an M29-class Monitor built in 1915. Designed with a shallow draught for coastal bombardment, she saw service during the Gallipoli campaign. In 1919 she was sent to Murmansk to relieve the North Russian Expeditionary Force. In 1925 the M33 became a mine-laying training ship and was renamed HMS Minerva. She is now painted in WWI black and white "Dazzle" camouflage Tim
-
Thanks John, they were a little tricky and I'm not afraid to say, I didn't get them right on the first try! Cheers, Tim
-
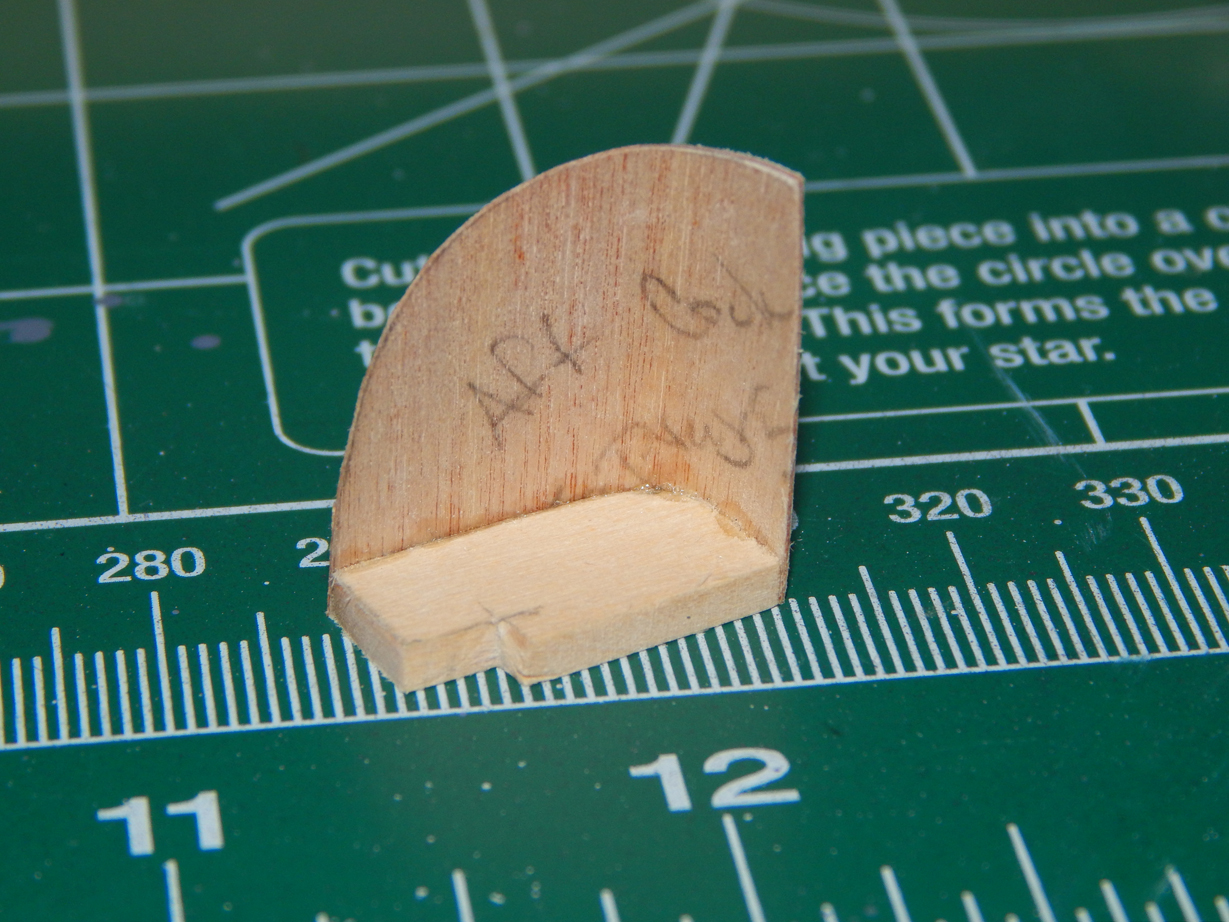
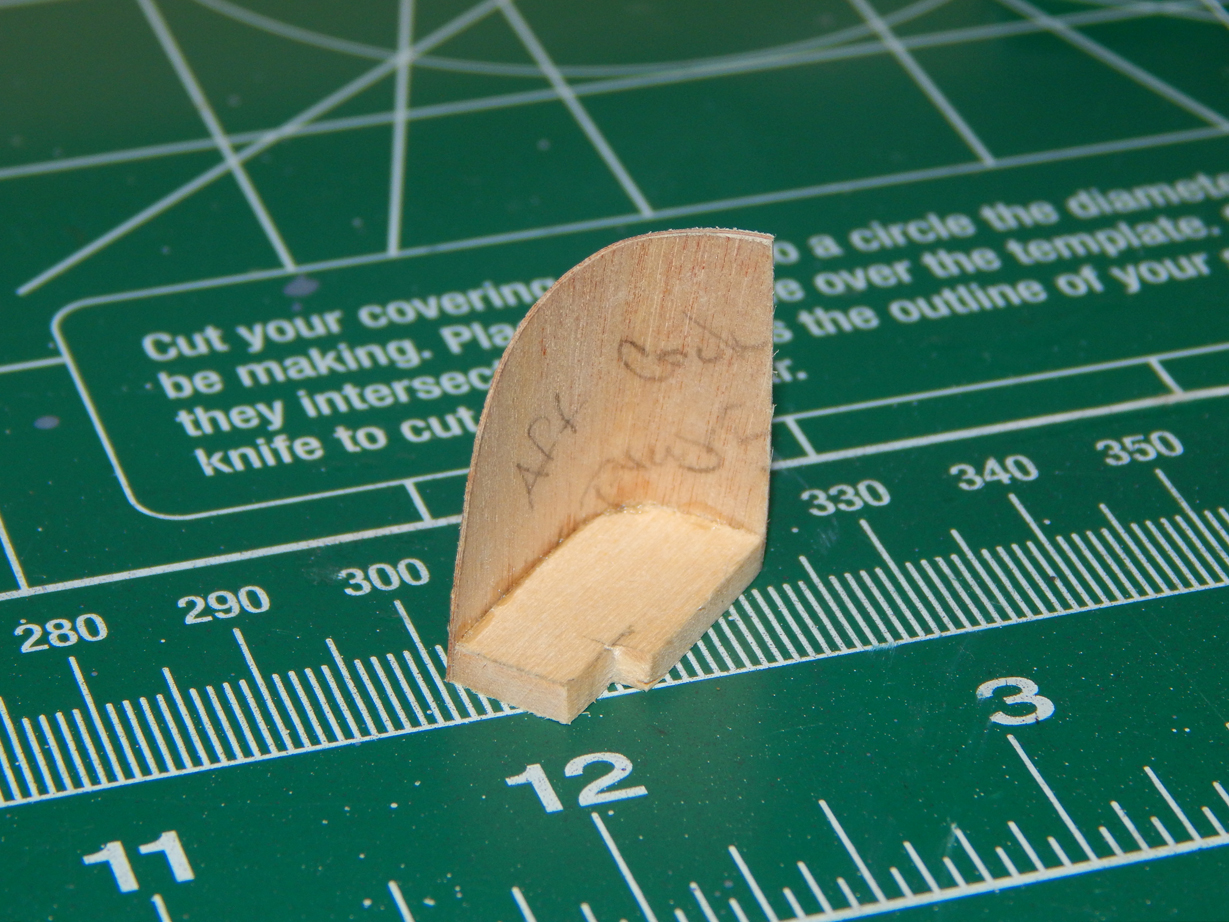
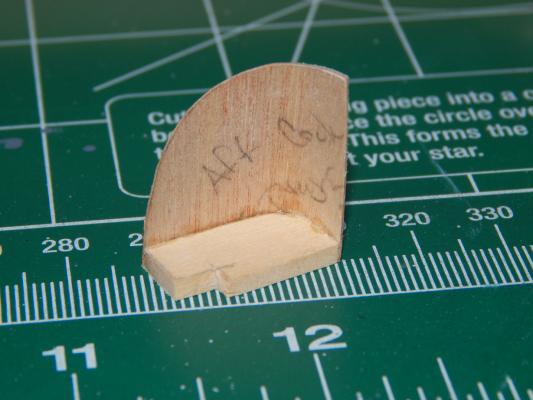
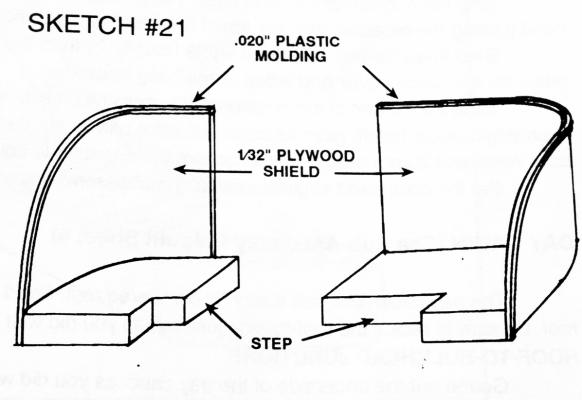
Greetings, I have completed the spray shields, I have to admit it took a couple of attempts at getting the curve in the correct place. I have to admit I have lot's of cleanup work to complete but that will all come before the final coat of paint. Now on to the engine room hatch! Cheers, Tim


- 411 replies
-
- 16
-
-
Brian, You answered the question! A quick bond is the answer for gluing items which would be hard to clamp, as with the spray shields with their rounded shape. Often I will use CA and wood glue together. I will apply CA at both ends and depending on the length of the item to be glued along the middle section, just using a drop in these areas, then I will follow with wood glue between the CA, The CA gives a quick bond and the wood glue when dry gives a stronger bond. Tim
-
Now to start on the starboard spray shield!
-
Greetings, The port spray shield is complete. The assembly was easy for the most part, I glued the straight part if the shield first then slowly added CA while I worked my way around the bend. Cheers, Tim


-
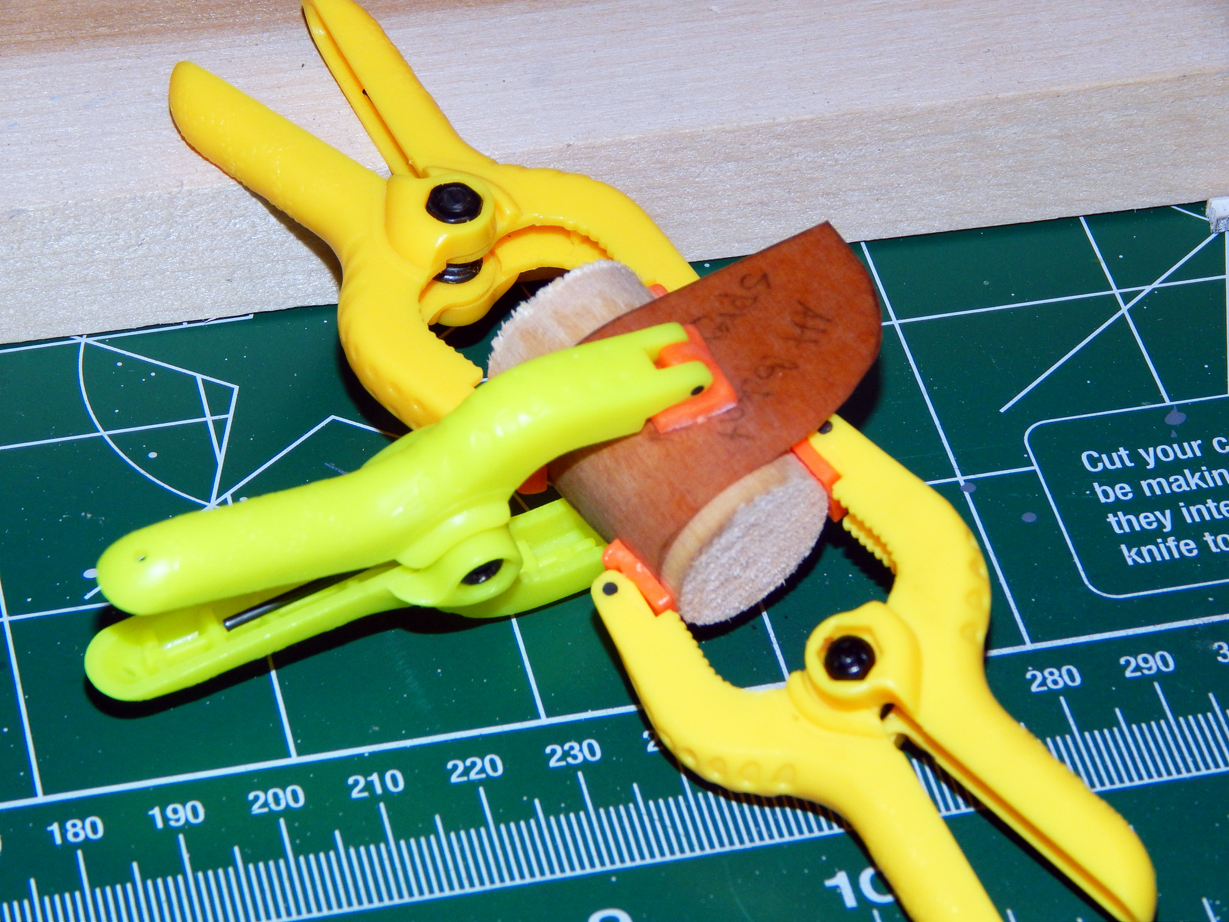
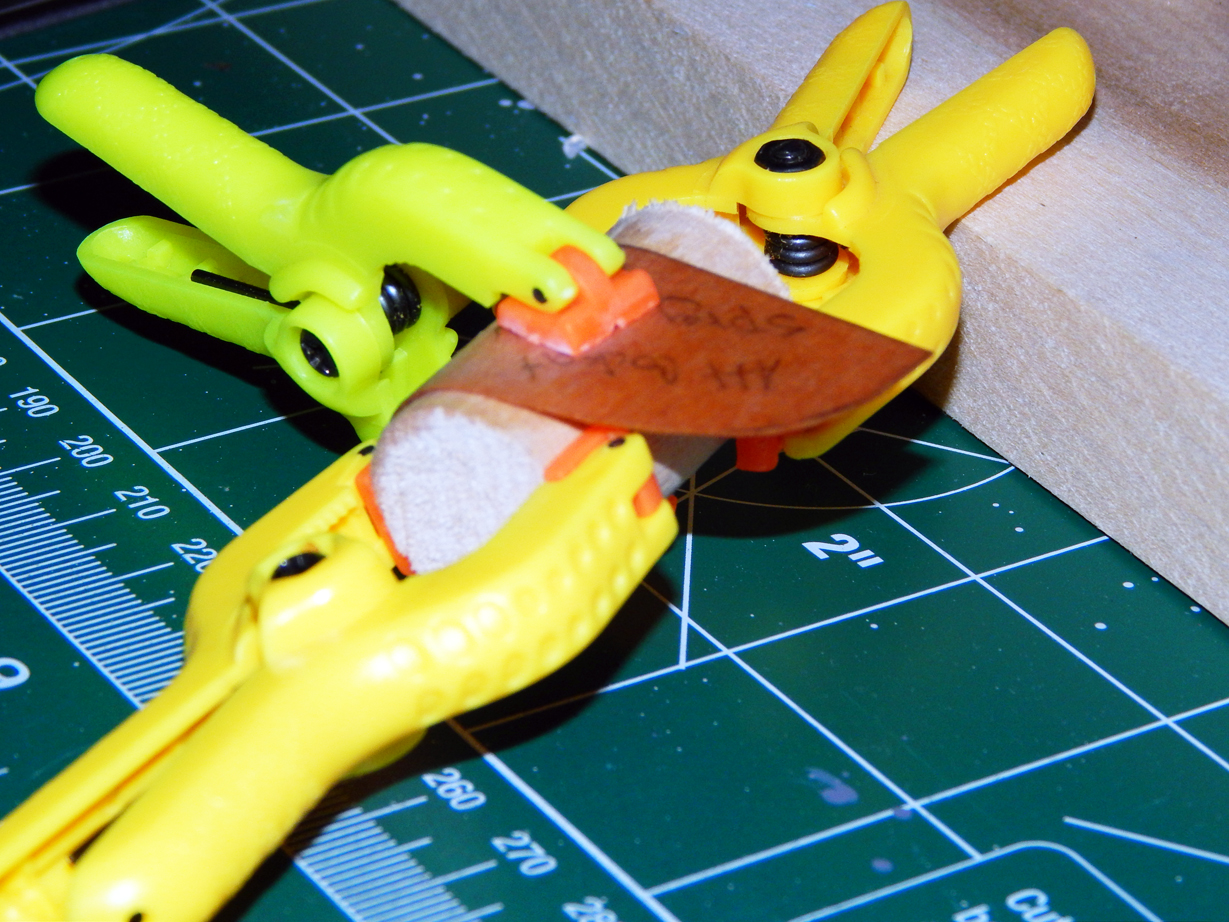
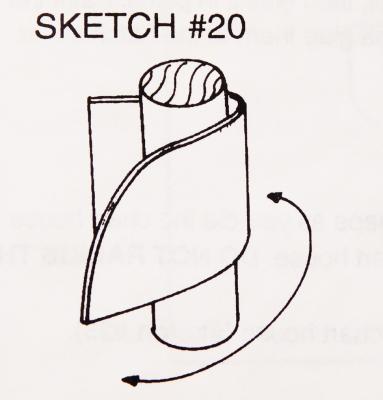
Greetings, The port spray shield had soaked for a couple of hours in warm water, the next step was to clamp the wood sheeting around the dowel and dry over night. Cheers, Tim


-
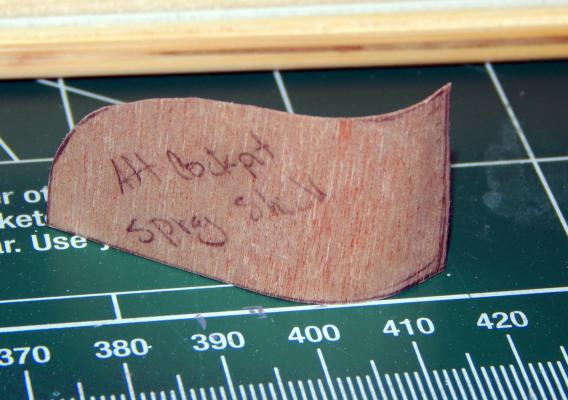
Greetings, The windscreen is complete an has been installed, (photos in the next post). The next step is to cut the port cockpit spray shield from the 1/64" plywood along with the step from the supplied 3/32" basswood strip. I will need to soak the spray shield in water to soften them which will allow me to wrap them around the supplied 7/16' dowel. Cheers, Tim
-
Thanks to all of you fro the nice words. I feel we should be critical of our own work, thats the only to work into the same catagory of all the GREAT model builders here at Model Ship World!
-
Michael Mott, I happend to notice the grain structure when I was selecting the wood to cutt for the backboard, I happy someone else noticed the same feature I did, you have a good eye! Thanks fir the nice words. Cheers, Tim
-
Michael, I used Basswood because it's cheap and I knew it would be painted, I just happen to like Mahagony and decided to leave it that way, I feel it gives it a better look than the red hull. Tim