


Hill202
-
Posts
114 -
Joined
-
Last visited
Content Type
Profiles
Forums
Gallery
Events
Posts posted by Hill202
-
-
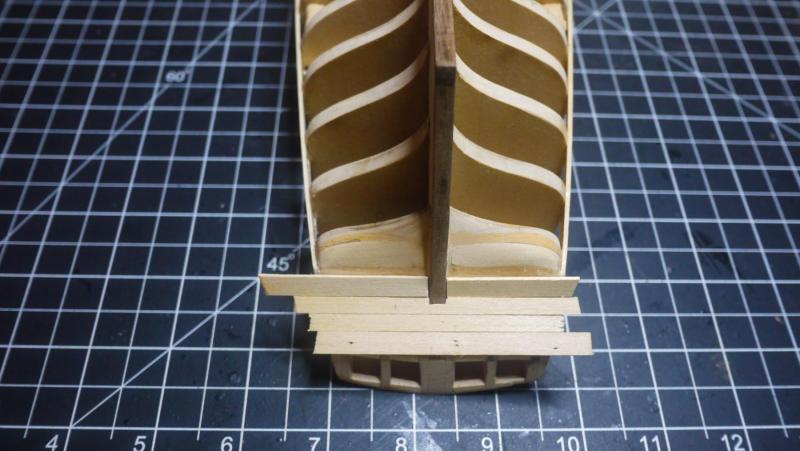
Page 17 of chapter 2 in the practicum says the first plank that is edge bent and glued to the window sills is 1/4. The section summary says 3/16.
Maybe this is why I'm finding it impossible to edge bend a 1/4 plank that severe. The 3/16 plank is probably easier to edge bend that much.
-
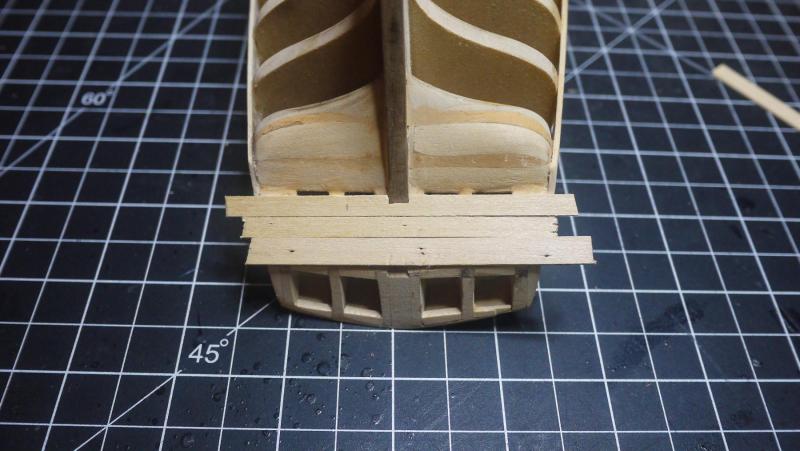
This is how I am attempting to work through my dilemma. This is a mock up of some planks, minus the cutout for a window. You can see that the planks on the counter are longer than the planks on the windows. The shape bellies out there. The curved fashion piece will not be directly under the vertical fashion piece.

- dgbot, DocBlake and Ryland Craze
-
 3
3
-
The first layer of planks is installed under the windows. Now I need to edge bend a 1/4 plank to glue to the window frames. I'm struggling with where to trim these next few planks on the ends. I know the fashion pieces glue to the plank ends, but I can't figure out where to trim the plank ends to where the fashion pieces will look right. I've looked at the other build threads but until I get my mind wrapped around it, I'm not going to attempt trimming the next planks.
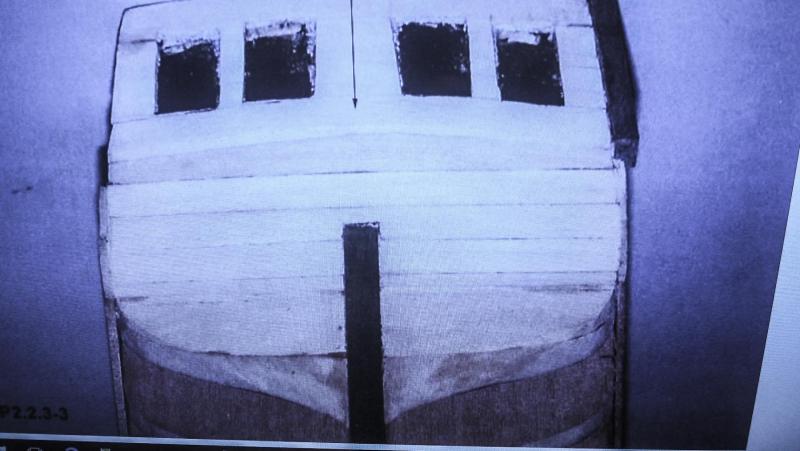
The curved fashion piece that glues to the end of the counter needs to line up with the vertical piece that runs parallel with the windows. I don't see how ya'll got them to line up due to the shape of hull and the way the planks are trimmed...if that makes any sense.
-
Thanks Dave. Two sets of directions and plans and I'm still asking questions.

One of the things I like about the way your stern looks is the outer walnut planking is bent to follow the flow of the windows instead of straight across. It really helps in defining the arc. I am not sure if my arc is as defined as yours though. I hope that it is. The different contours of a hull are what I like the most about model ships.
-
Dave, your photos are a great help! I see where you did the same as me and your stern planks lay across the end of the side planks. Your stern looks really good. I hope that I can get at least, close to the same results.
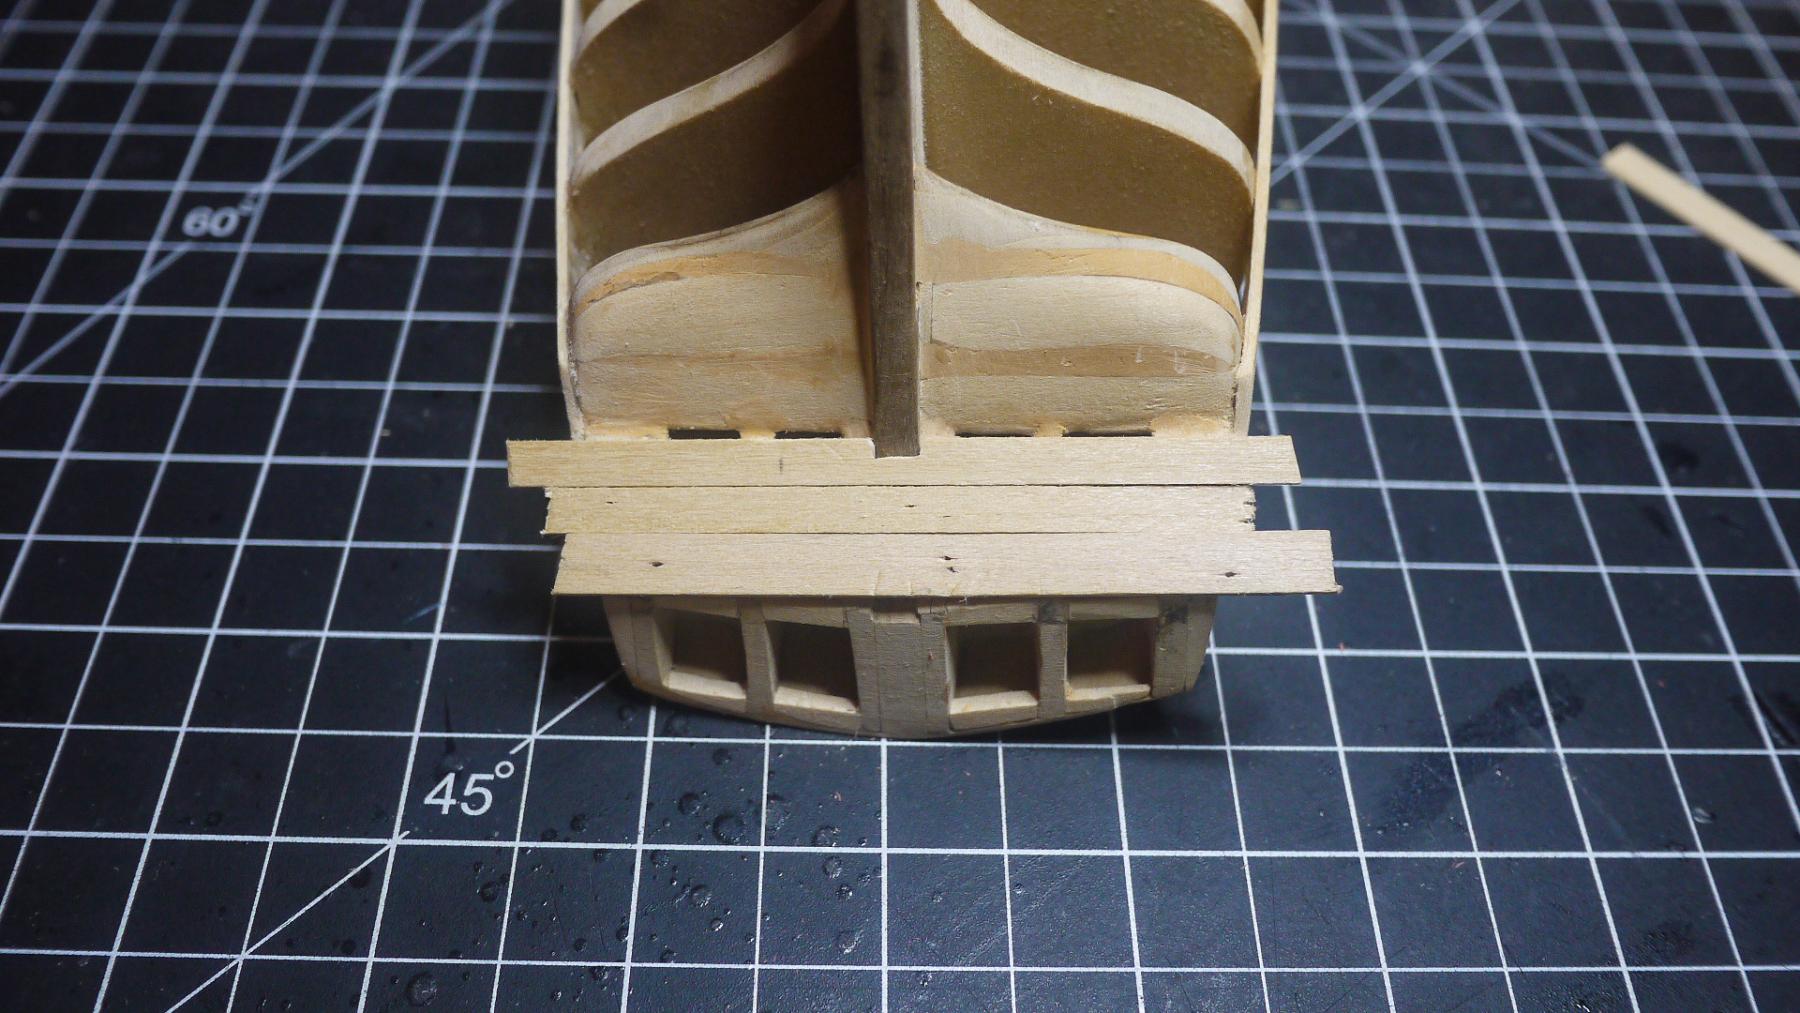
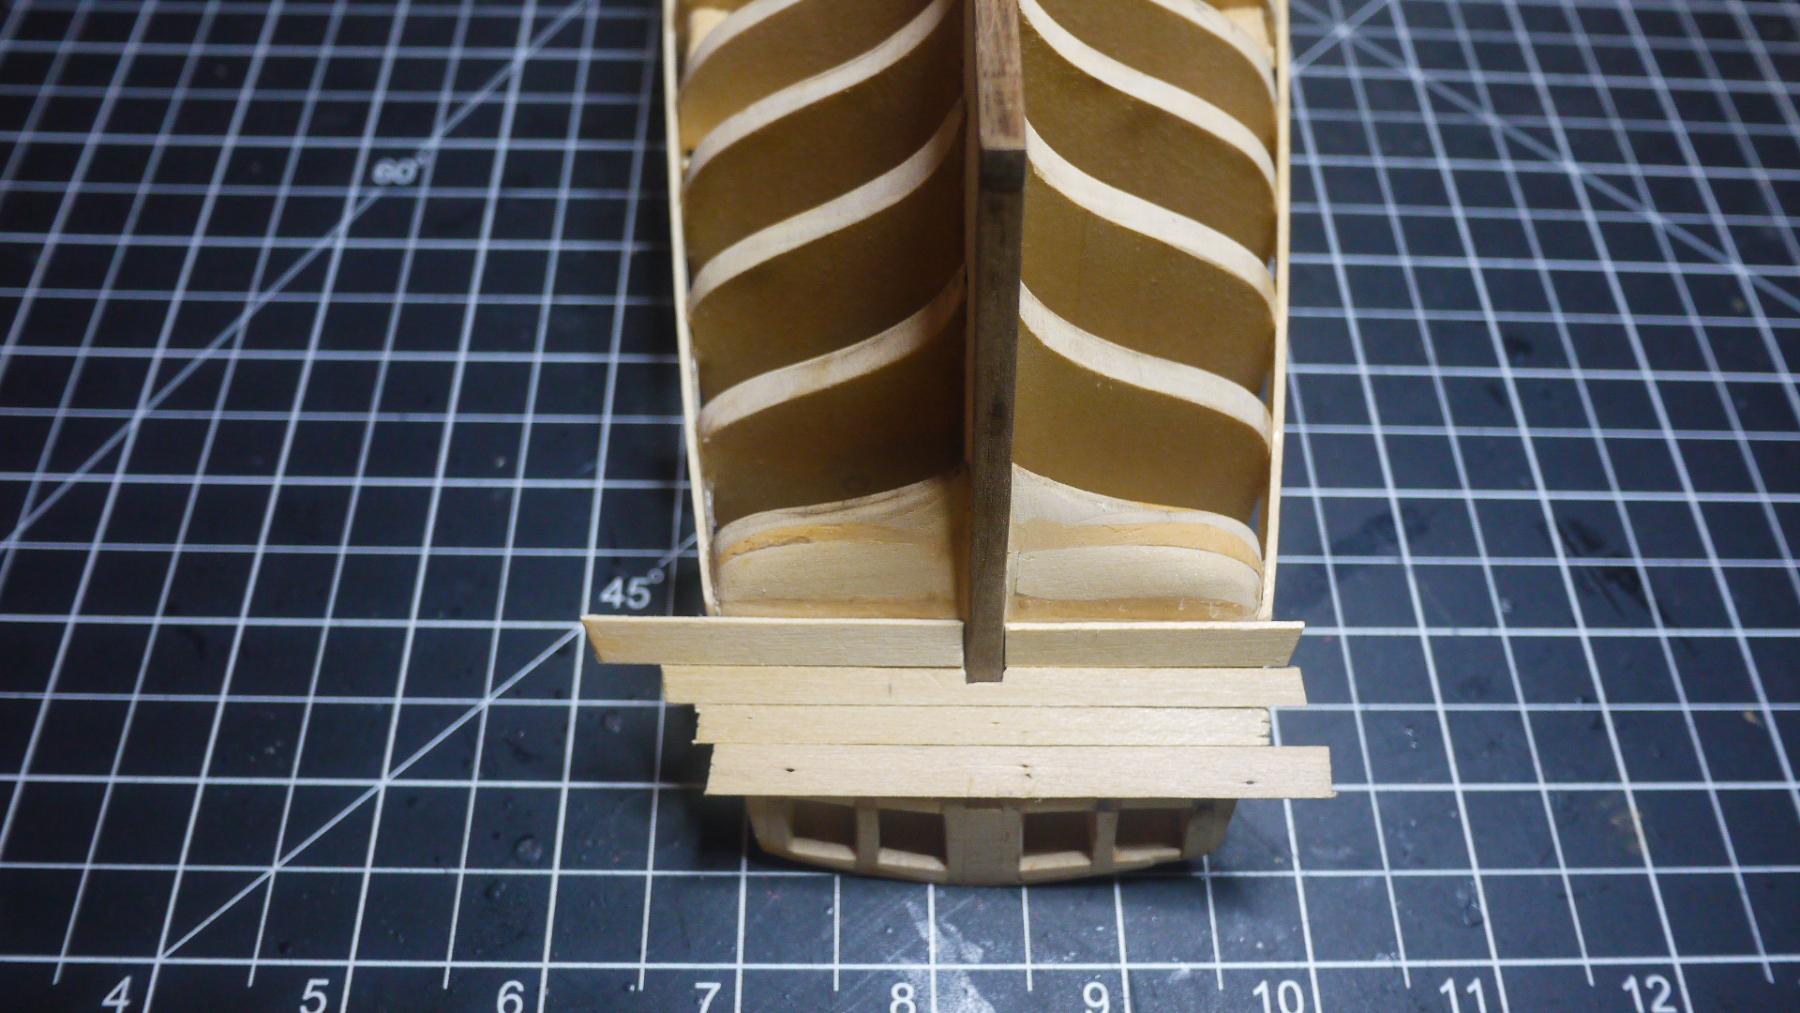
I also noticed that several people had to add a small, ripped plank to make them reach to the bottom of the 1/4 inch side plank. I am going to substitute that last 3/16 plank with a 1/4 inch plank, thus bringing it flush with the bottom of the side plank.
I guess the fashion pieces glue to the ends of the planks.
-
I am unsure about where the stern planks end, in relation to the planks on the side. I know they go to the bottom edge but do I trim the ends even with the plank on the side? I sanded the planks on the side flush with the filler piece at the stern. The practicum shows his sanded flush with the stern planking. Can I run the stern planks over the ends of the side planks and then the fashion piece sits on top of the planks? If that makes sense.
I'm thinking it's the same either way. My planks just go across the ends of the side planks rather than butt to them.
Any advice is always appreciated.
The planks are not glued in the photos.
-
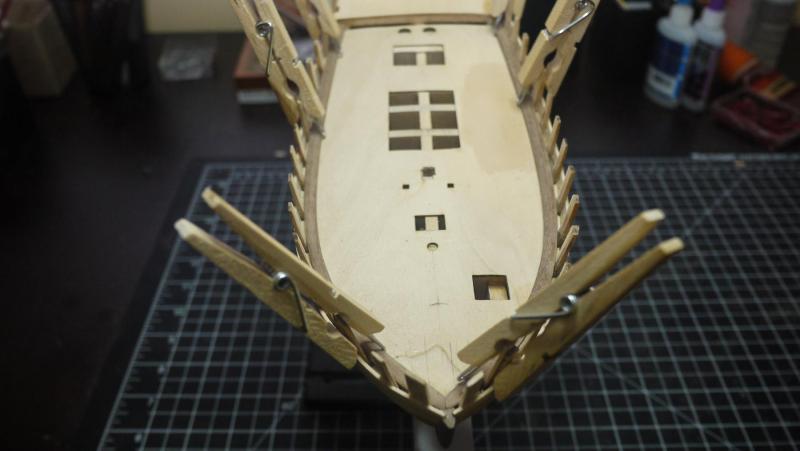
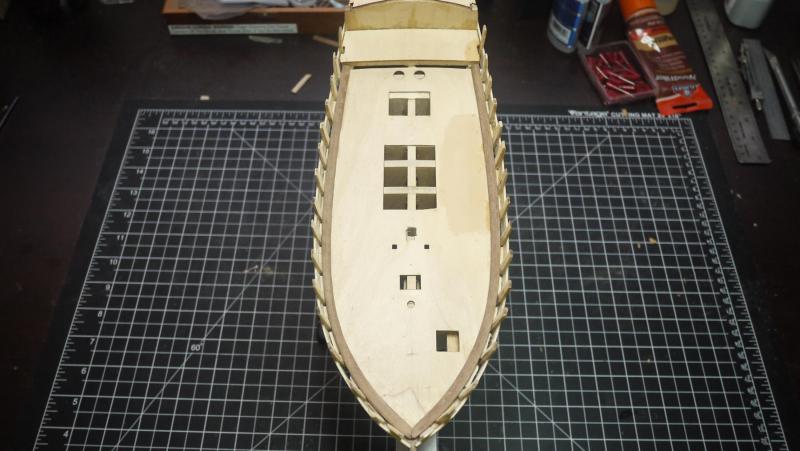
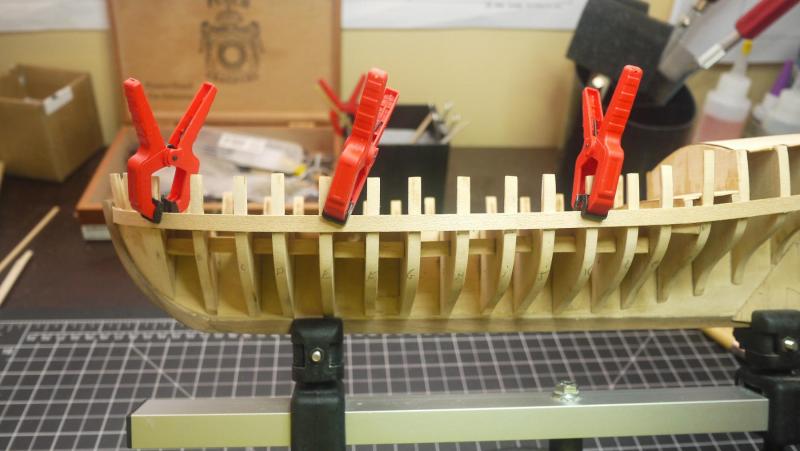
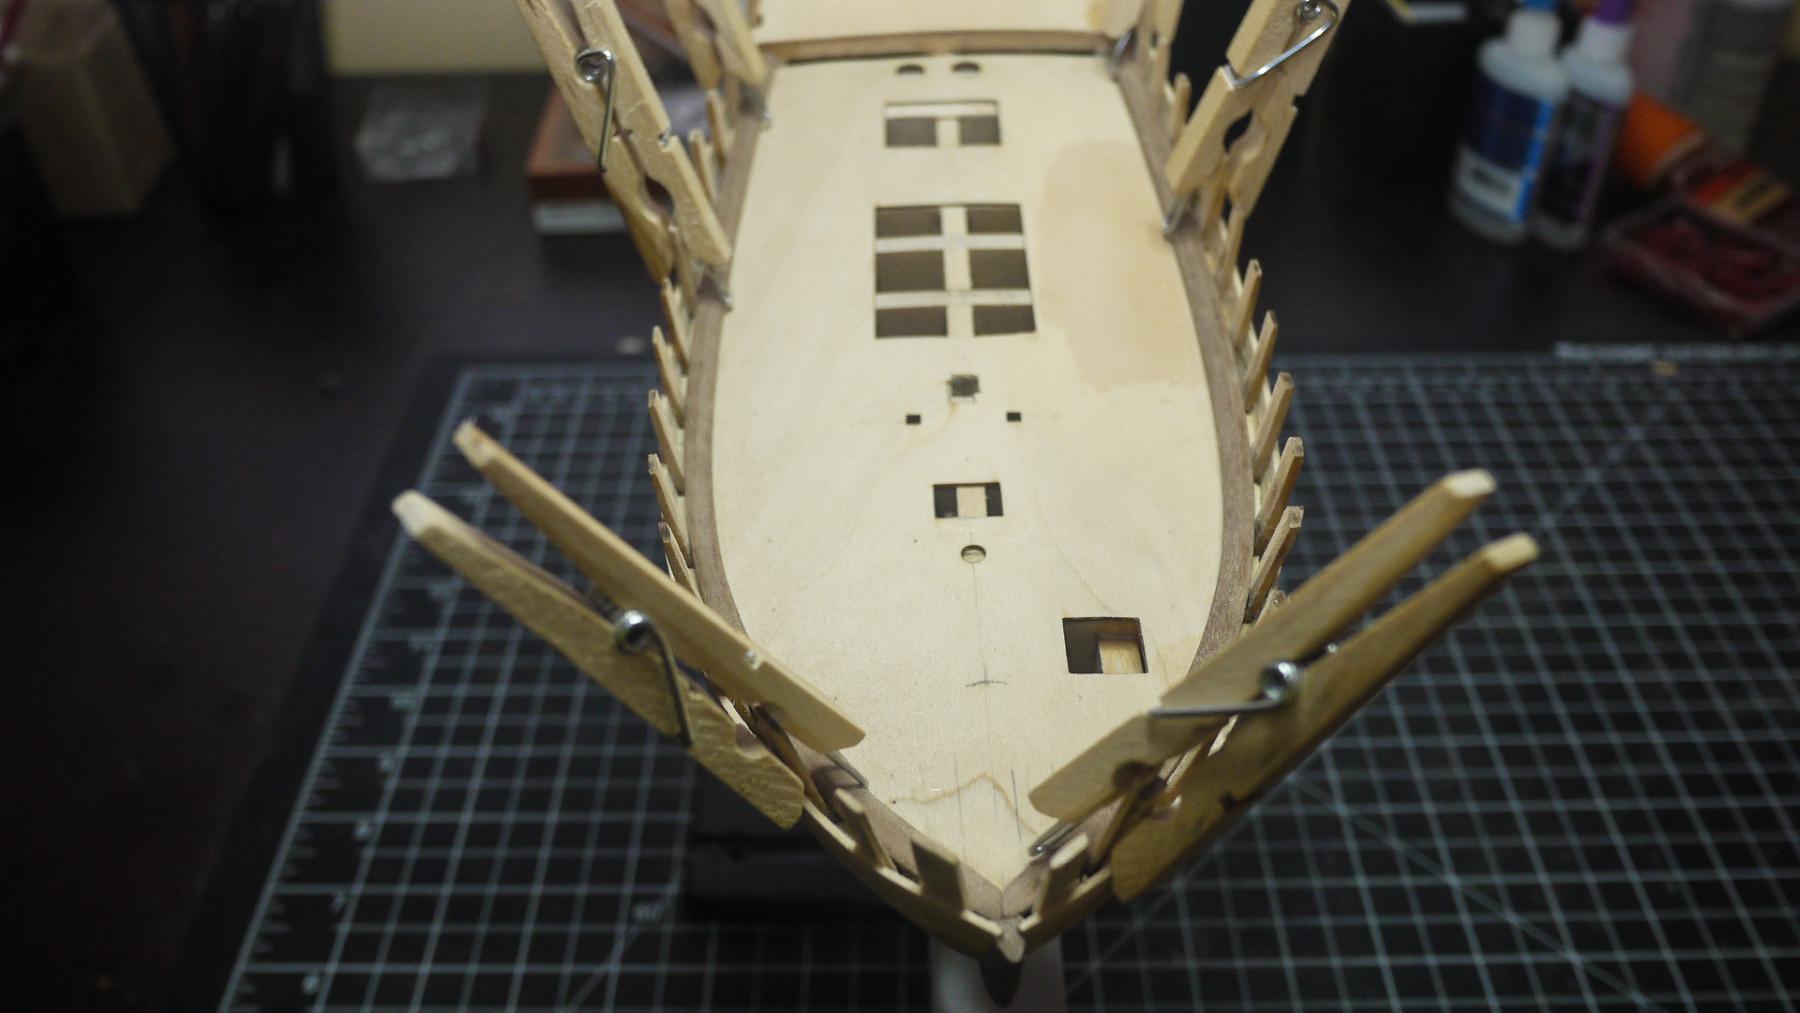
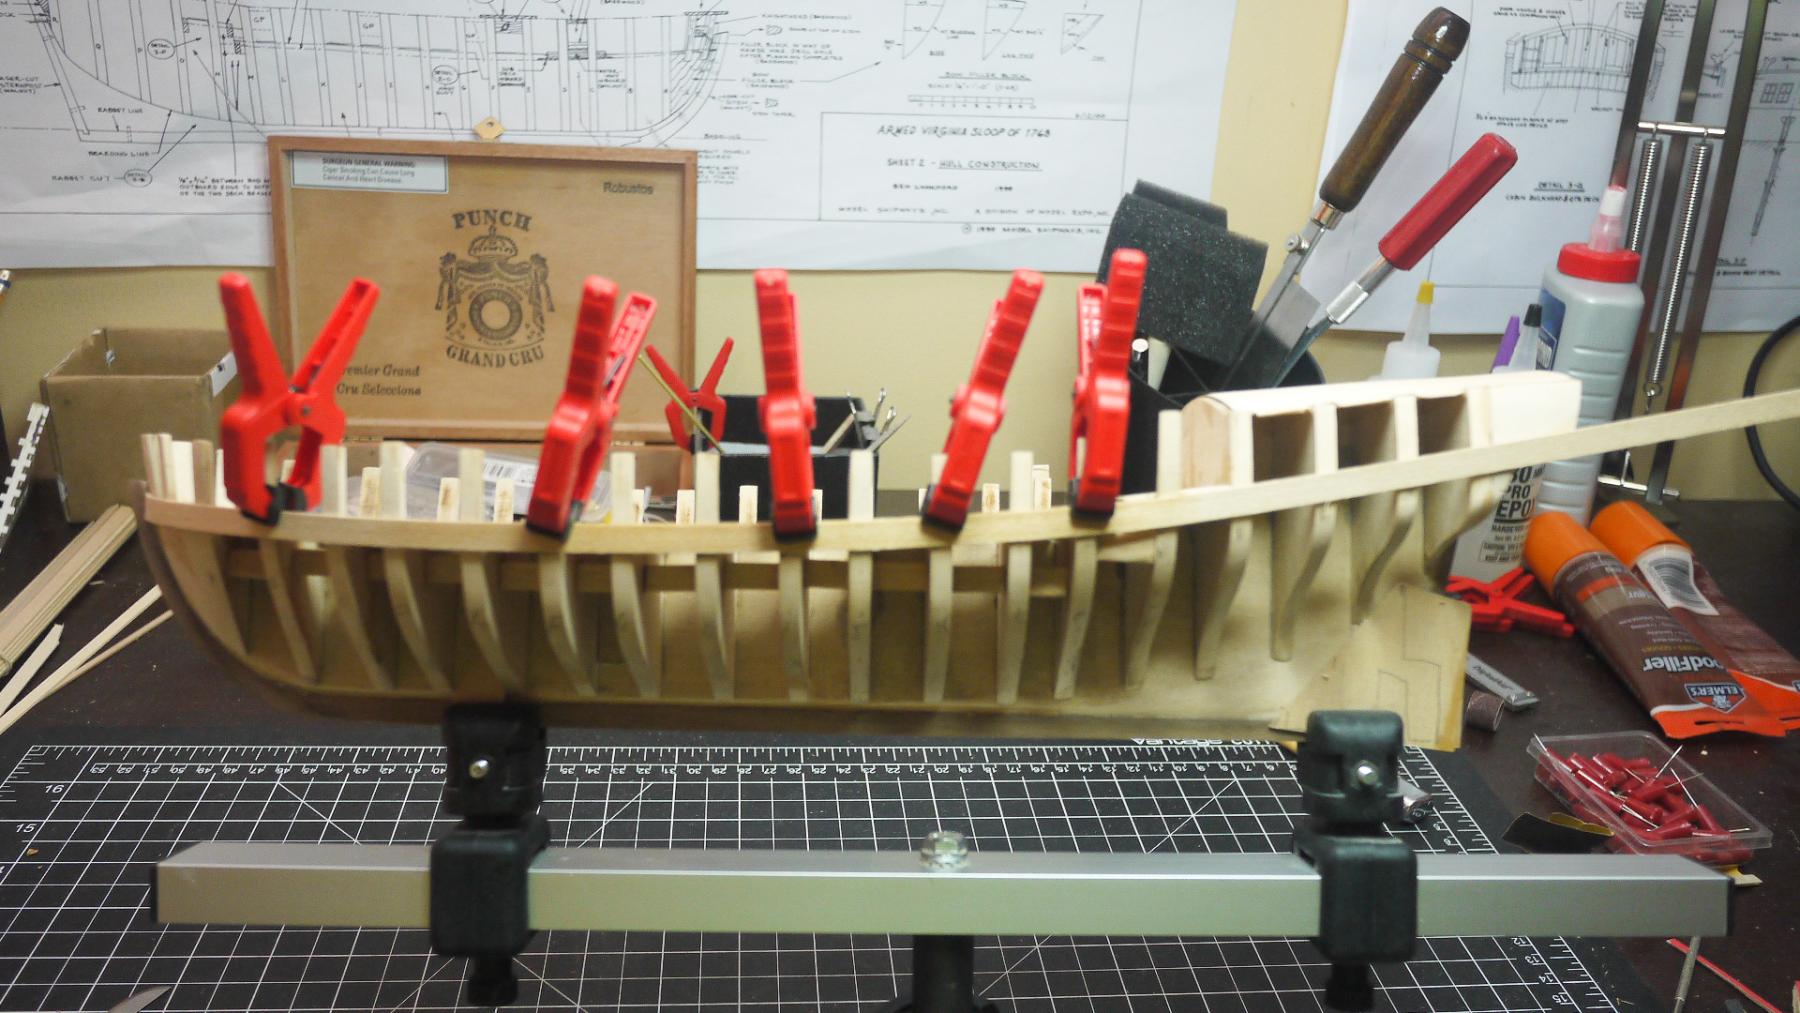
The waterways are in. They are not perfect but I believe a plank will butt up to them fine.
I had a dip in my deck. I filled it and feathered out the filler. I thought it worked out fine.
- Ryland Craze, zoly99sask, Robin Lous and 1 other
-
4
-
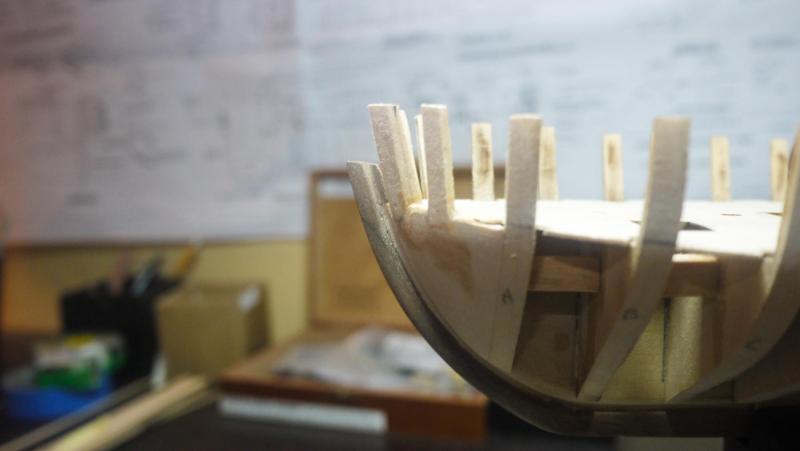
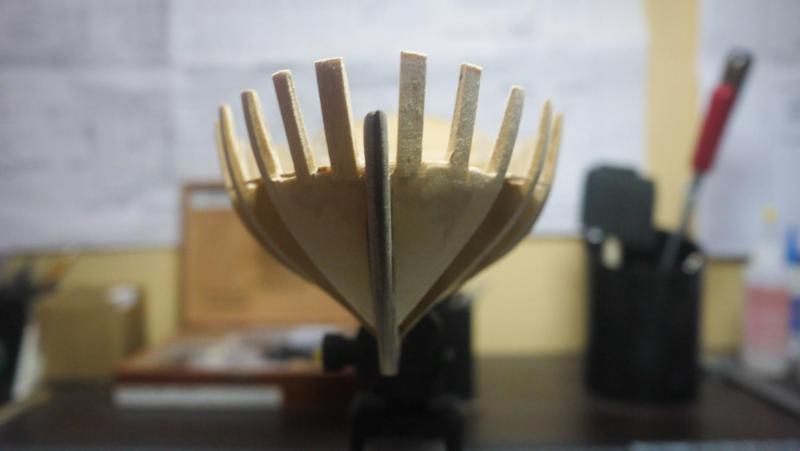
I had them cut into a plank and was not happy with the results. I'm thinking that I will cut the scuppers into the black strake but they won't go all the way thru. Hopefully giving the hint of scuppers.
This was a dry fit test of the scuppers.

- zoly99sask and DocBlake
-
2
-
-
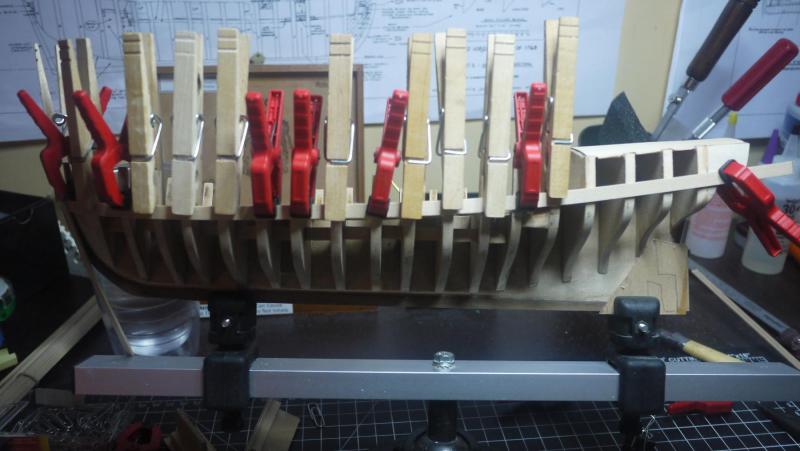
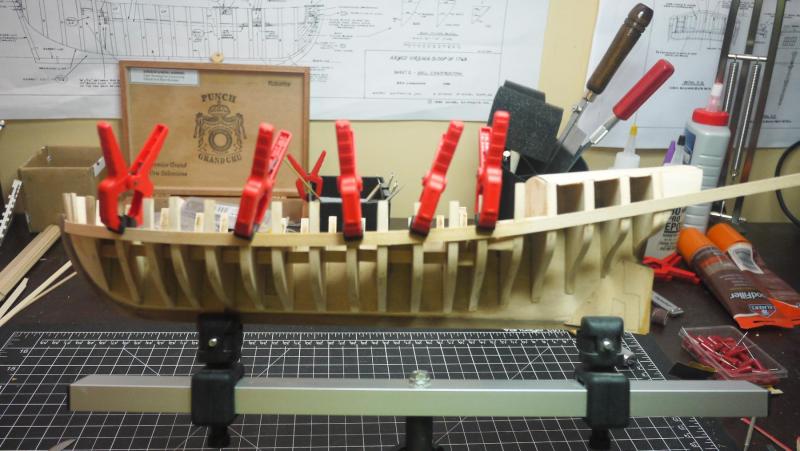
I let the 1/4 inch plank soak for 2 hours and have it clamped to the hull. I will let it dry overnight and see how it forms tomorrow.
There has got to be a better way.
I'm going to try Dave's steam iron trick next.
- Ryland Craze and captgino
-
2
-
That one in the pic was a trial run with pre-bending the board. I am going to clamp one that has been soaking and let it dry to form. Suitable clamps are proving to be an issue.
-
In that last photo I have the bottom of the plank too high at the stern. It is supposed to lay where the bottom edge is even with the joint between the wing transom and filler piece. It still would've had to be edge bent.
-
Thanks Dave, I have been reading your log.
I may be wrong but I can't find any build log on the AVS that mentions edge bending that first plank. The practicum does not mention doing it either. It makes me wonder if I'm the only one that had to.
-
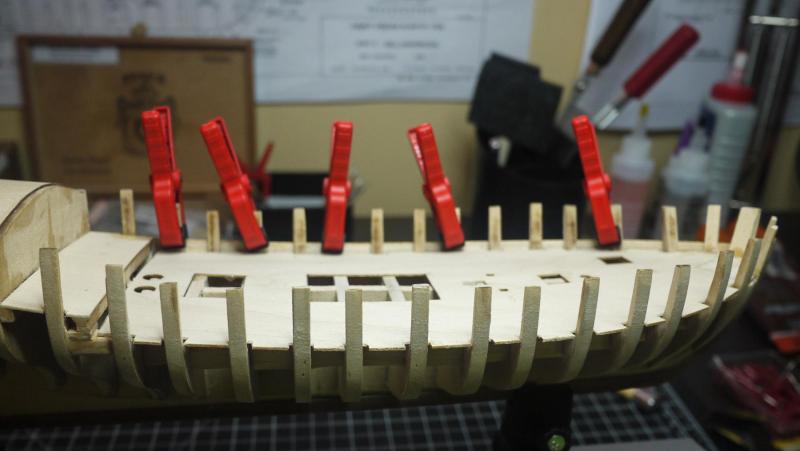
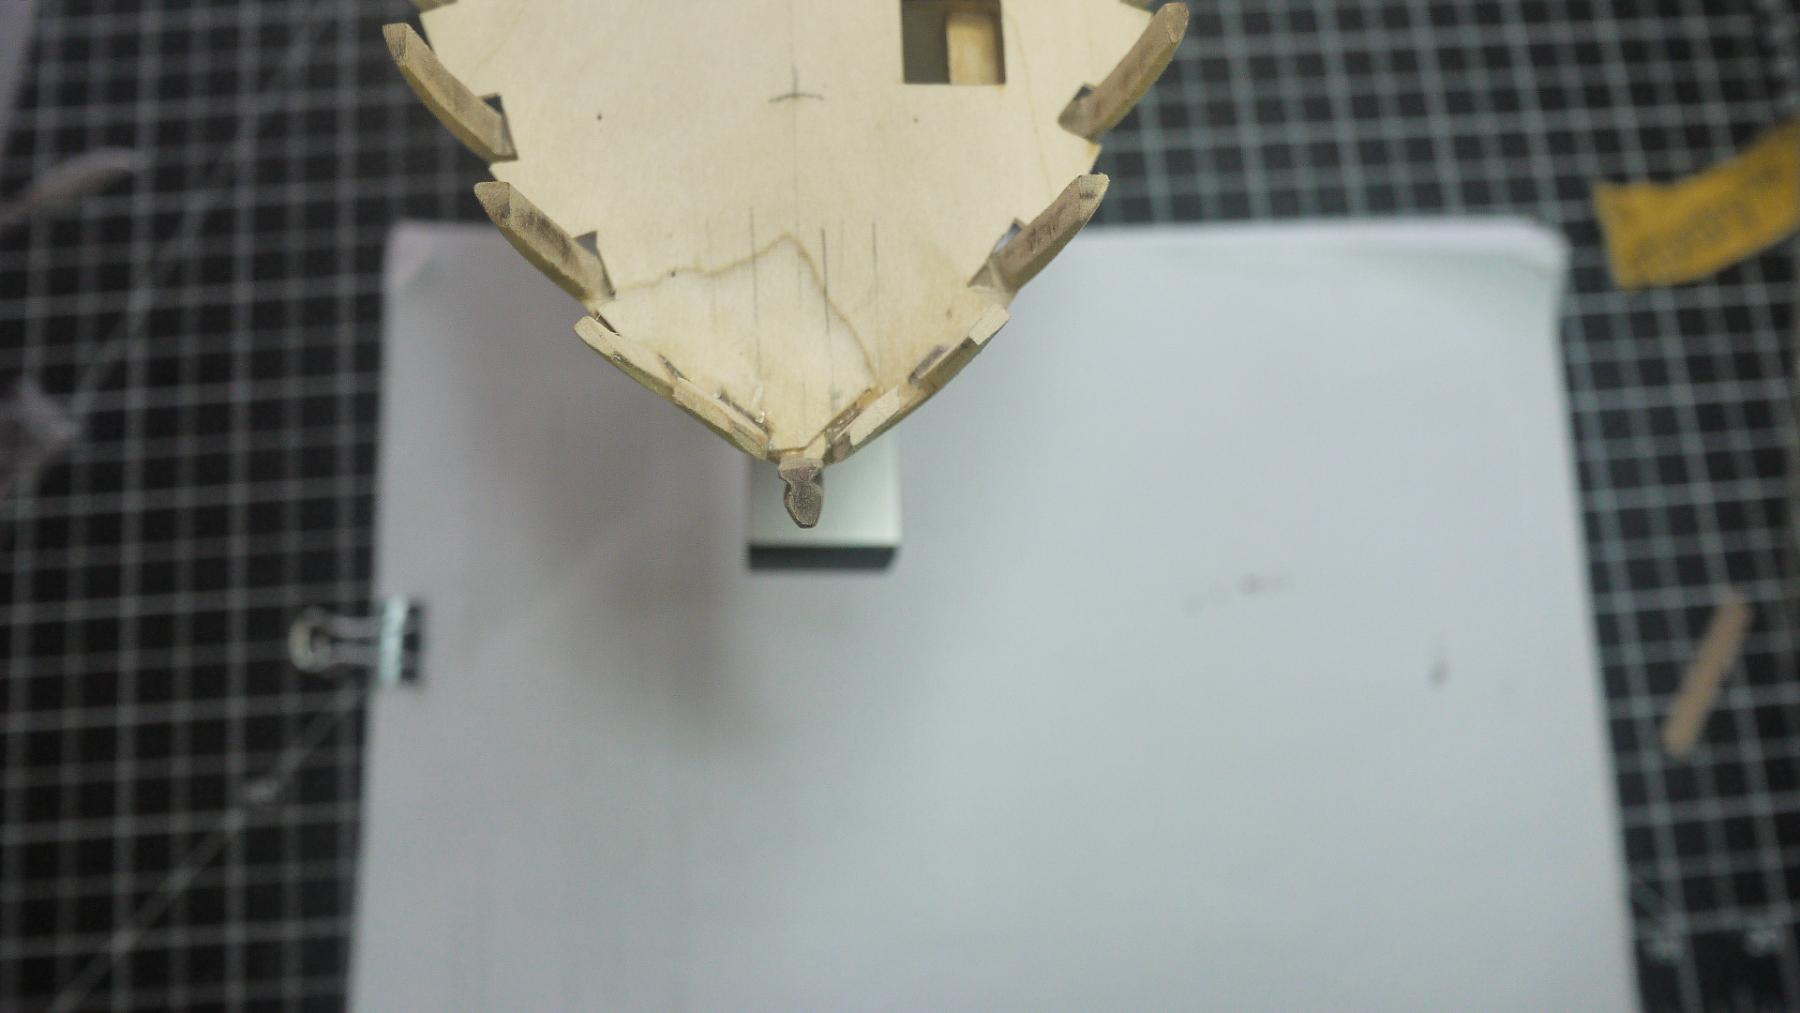
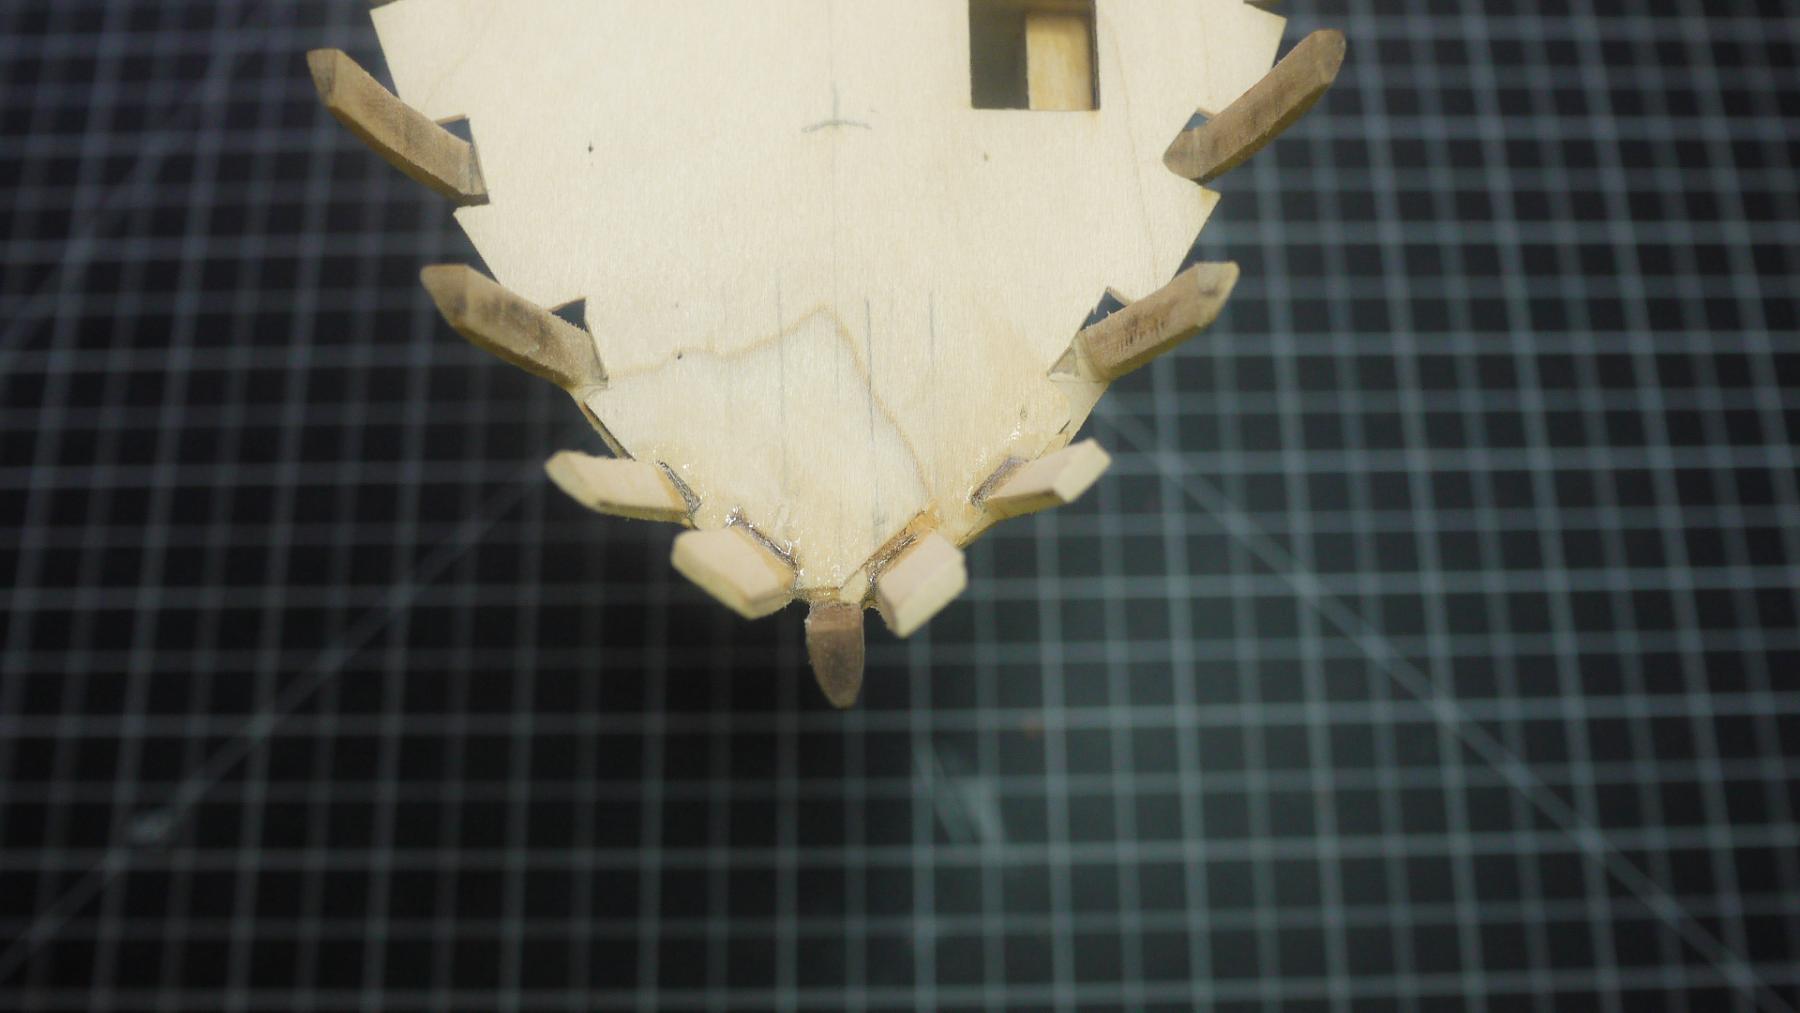
I remarked the bulkheads and I believe I have it corrected. I had to edge bend this plank a little so it could rise up at the stern without stressing the plank.
- Ryland Craze, zoly99sask, DocBlake and 2 others
-
5
-
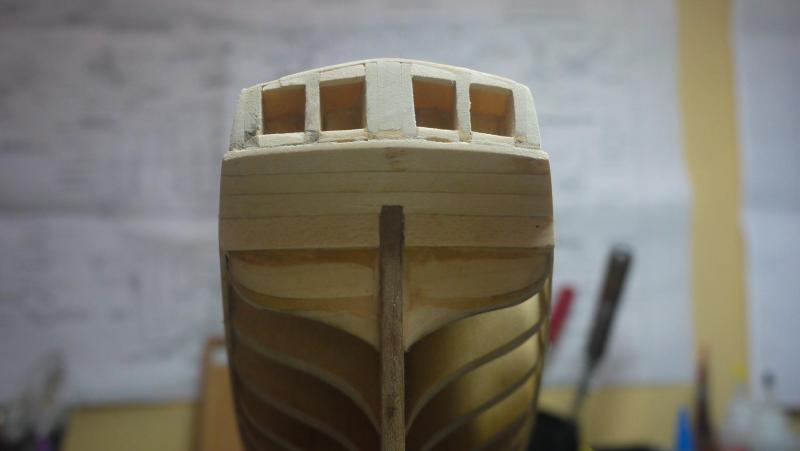
This is a dry fit of the first 1/4 plank. When I align it on the marks on the bulkheads, the inside line does not follow the bow in the deck. The practicum says this line should follow the deck line.


- zoly99sask, Ryland Craze, DocBlake and 1 other
-
4
-
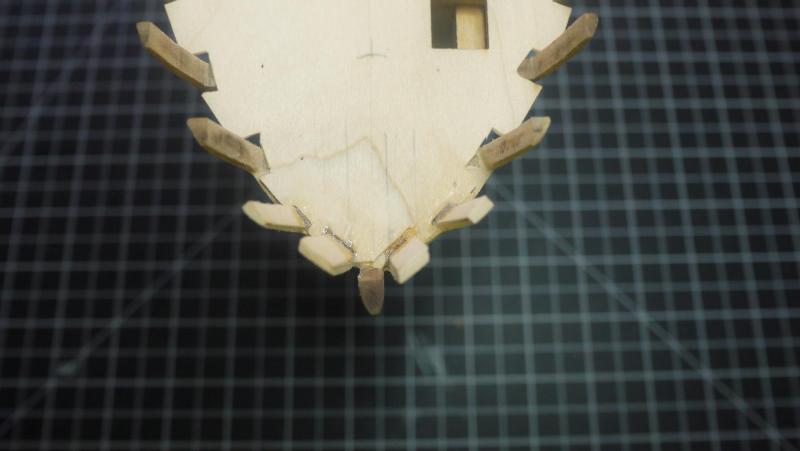
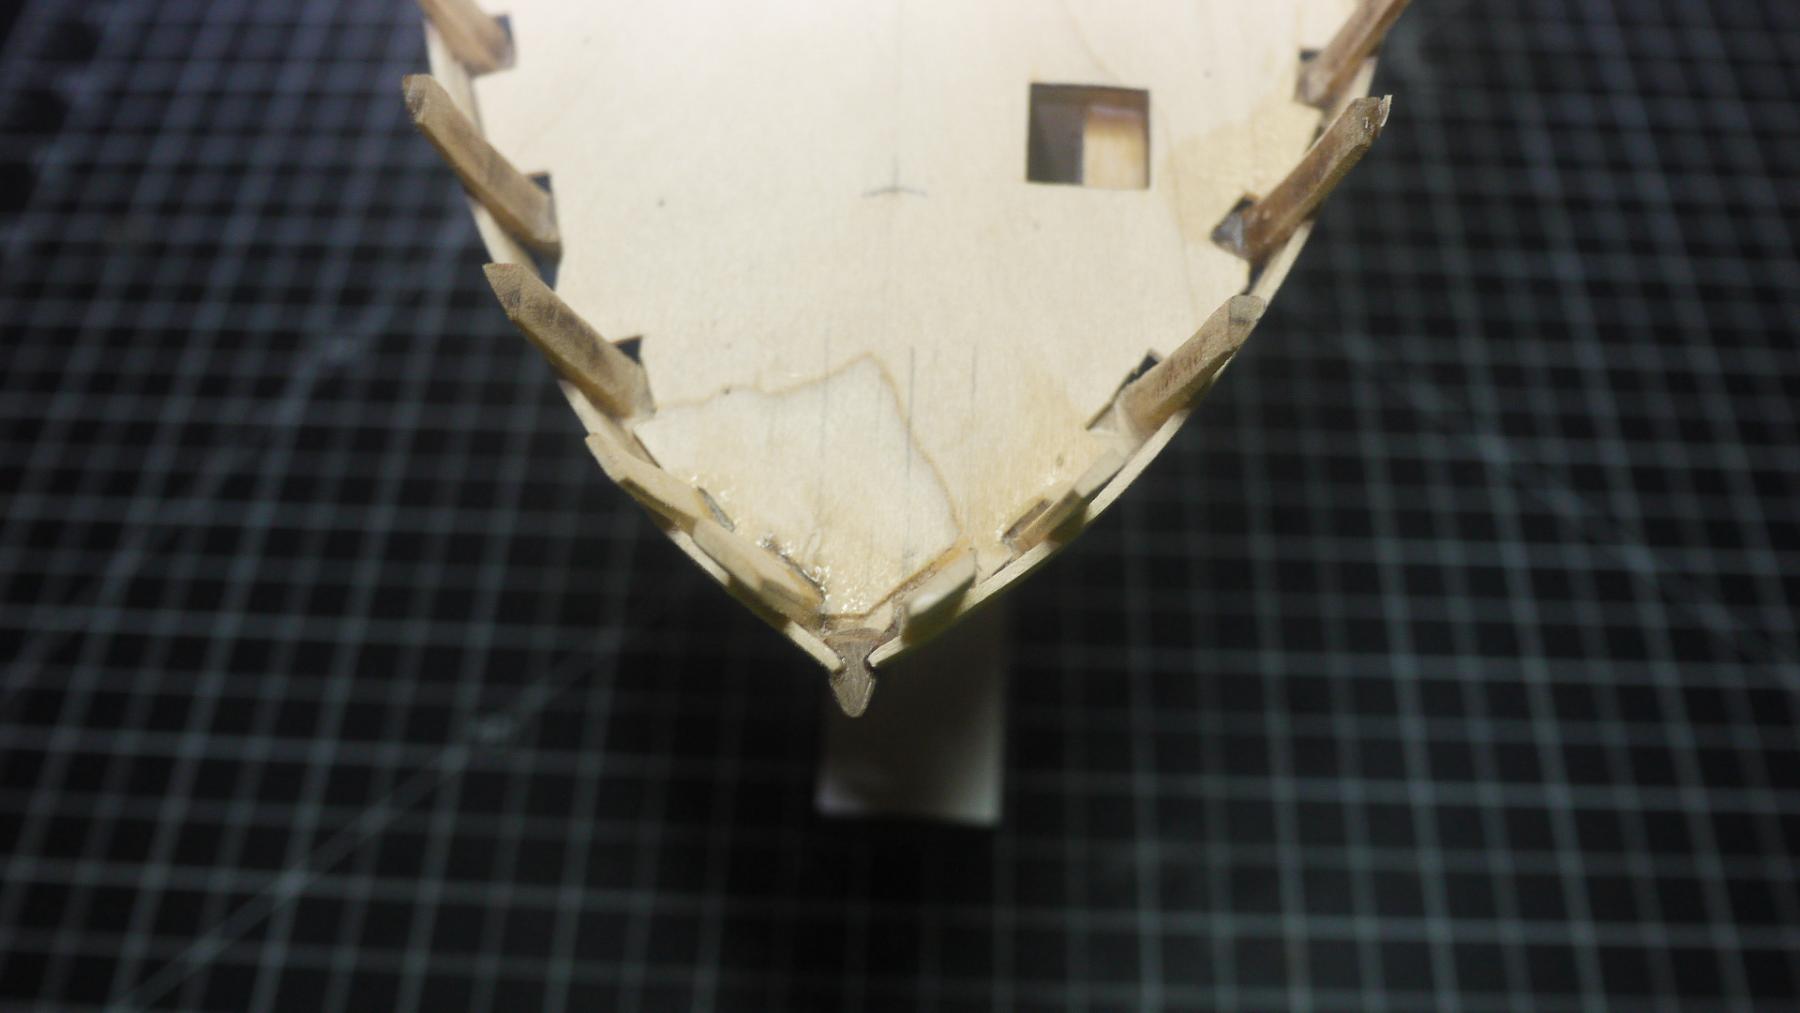
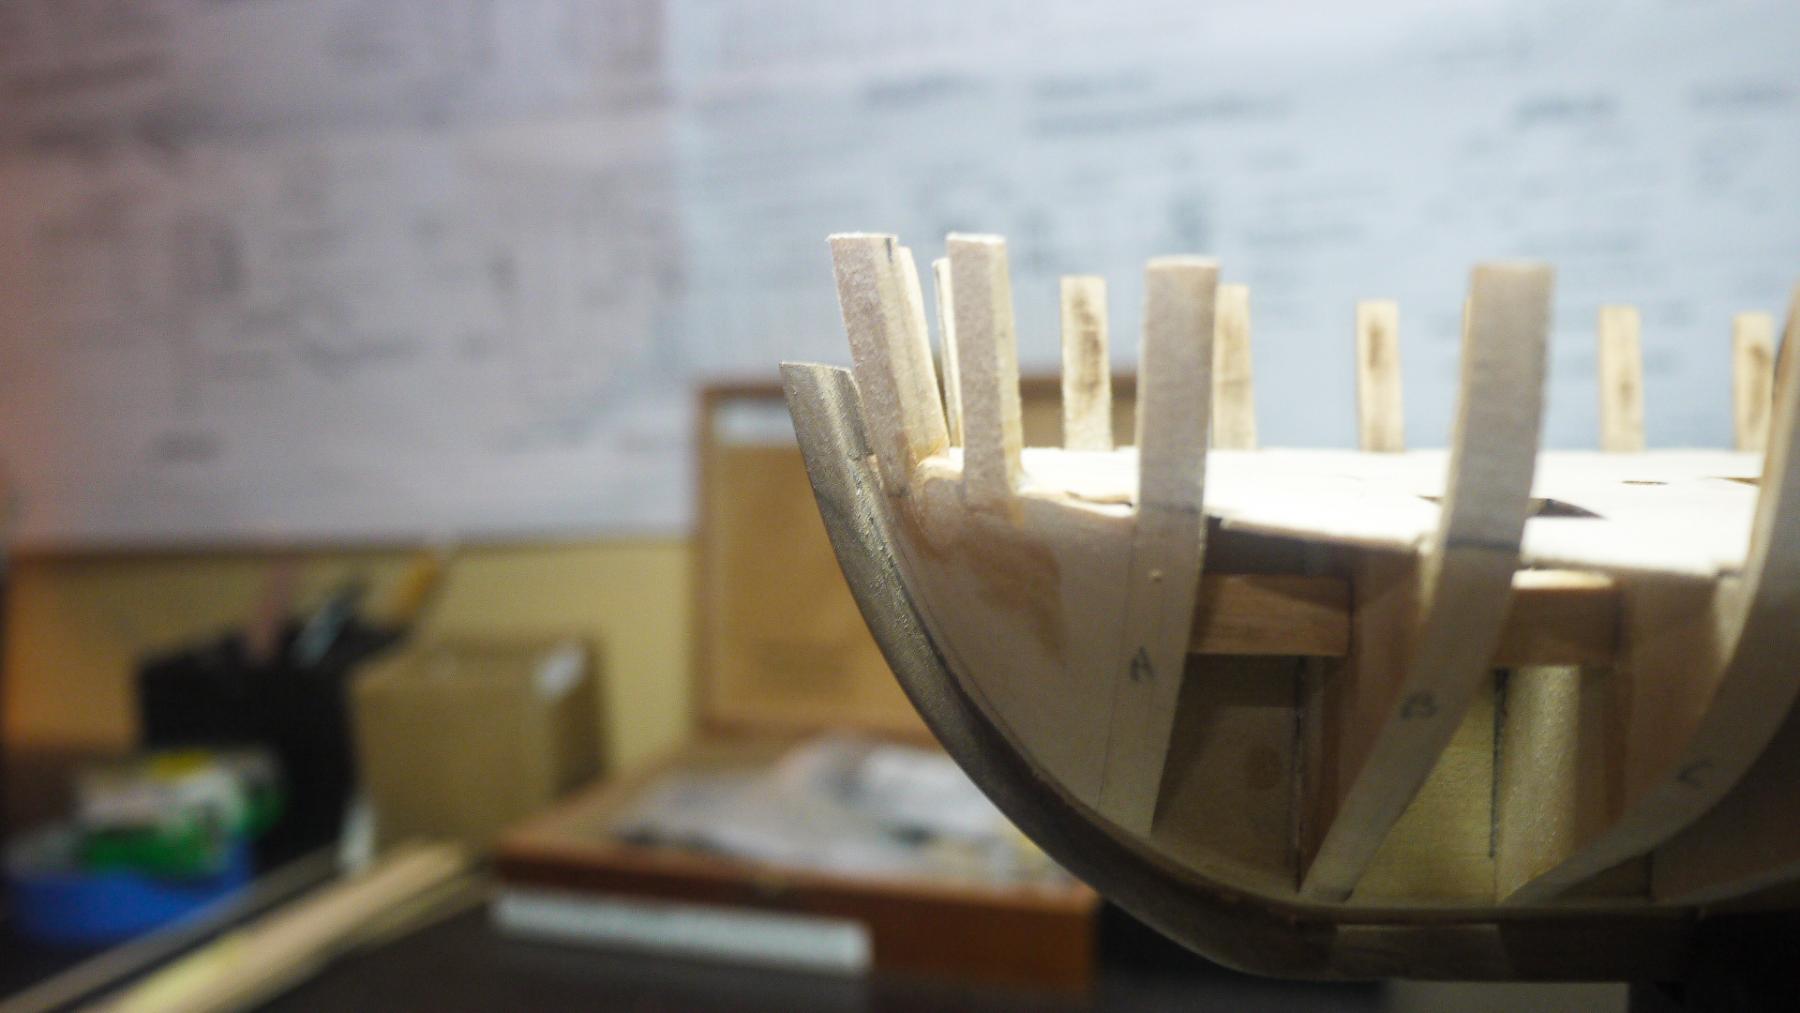
I extended the rabbet through the stem post.

- Ryland Craze and DocBlake
-
2
-
I would like to discuss the technique you guys are using to apply the planks.
The first plank that is installed 1/8 inch below the deck line only needs to be bent at the bow. I have practiced on a few using heat, with decent results. I would soak the end that I was bending for just a few minutes and then bend it using the heated plank bender. This process was pretty much drying the plank back out as well.
A few questions to the guys here that are not using heat:
Are you guys soaking the end for a good while and then bending it by hand?
Are you pinning it wet and letting it dry before glueing?
The practicum mentions soaking the entire plank, are you guys doing that?
It appears that after the bow you can just push the board around and glue it, without wetting it.
I apologize for all the questions but I want to follow the technique you guys are using, so maybe I can get similar results.
Thanks
-
-
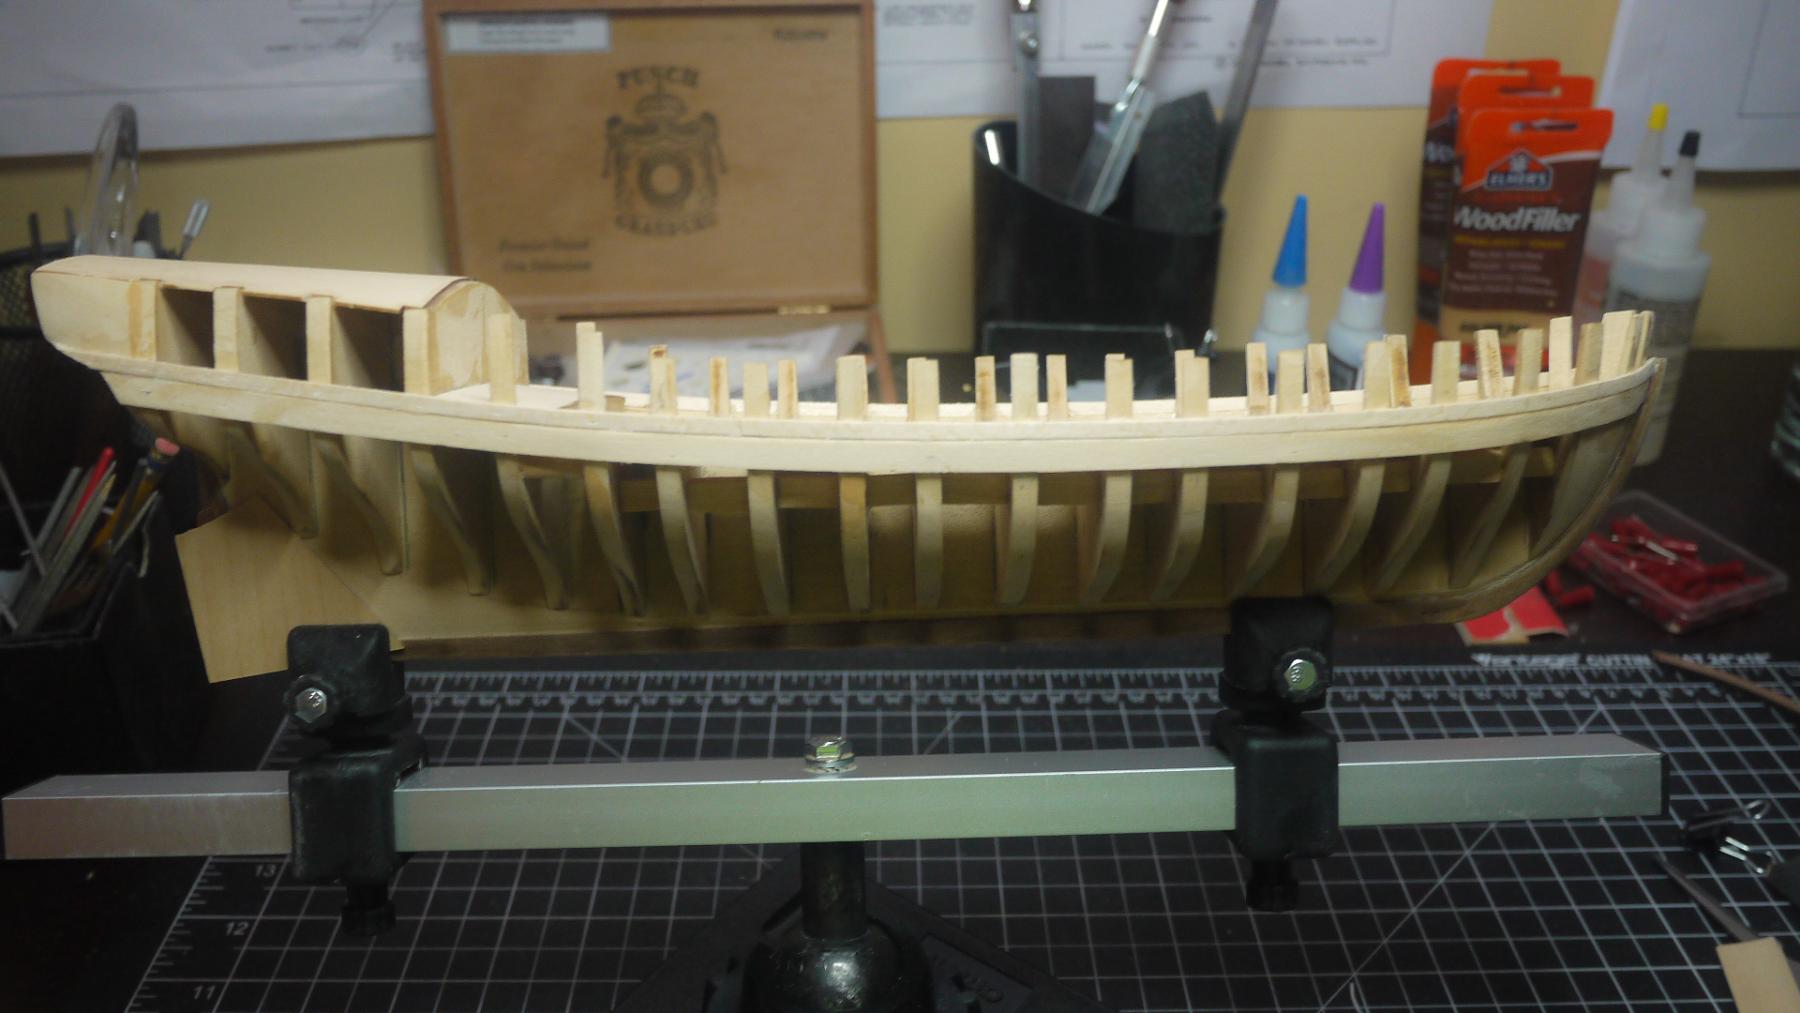
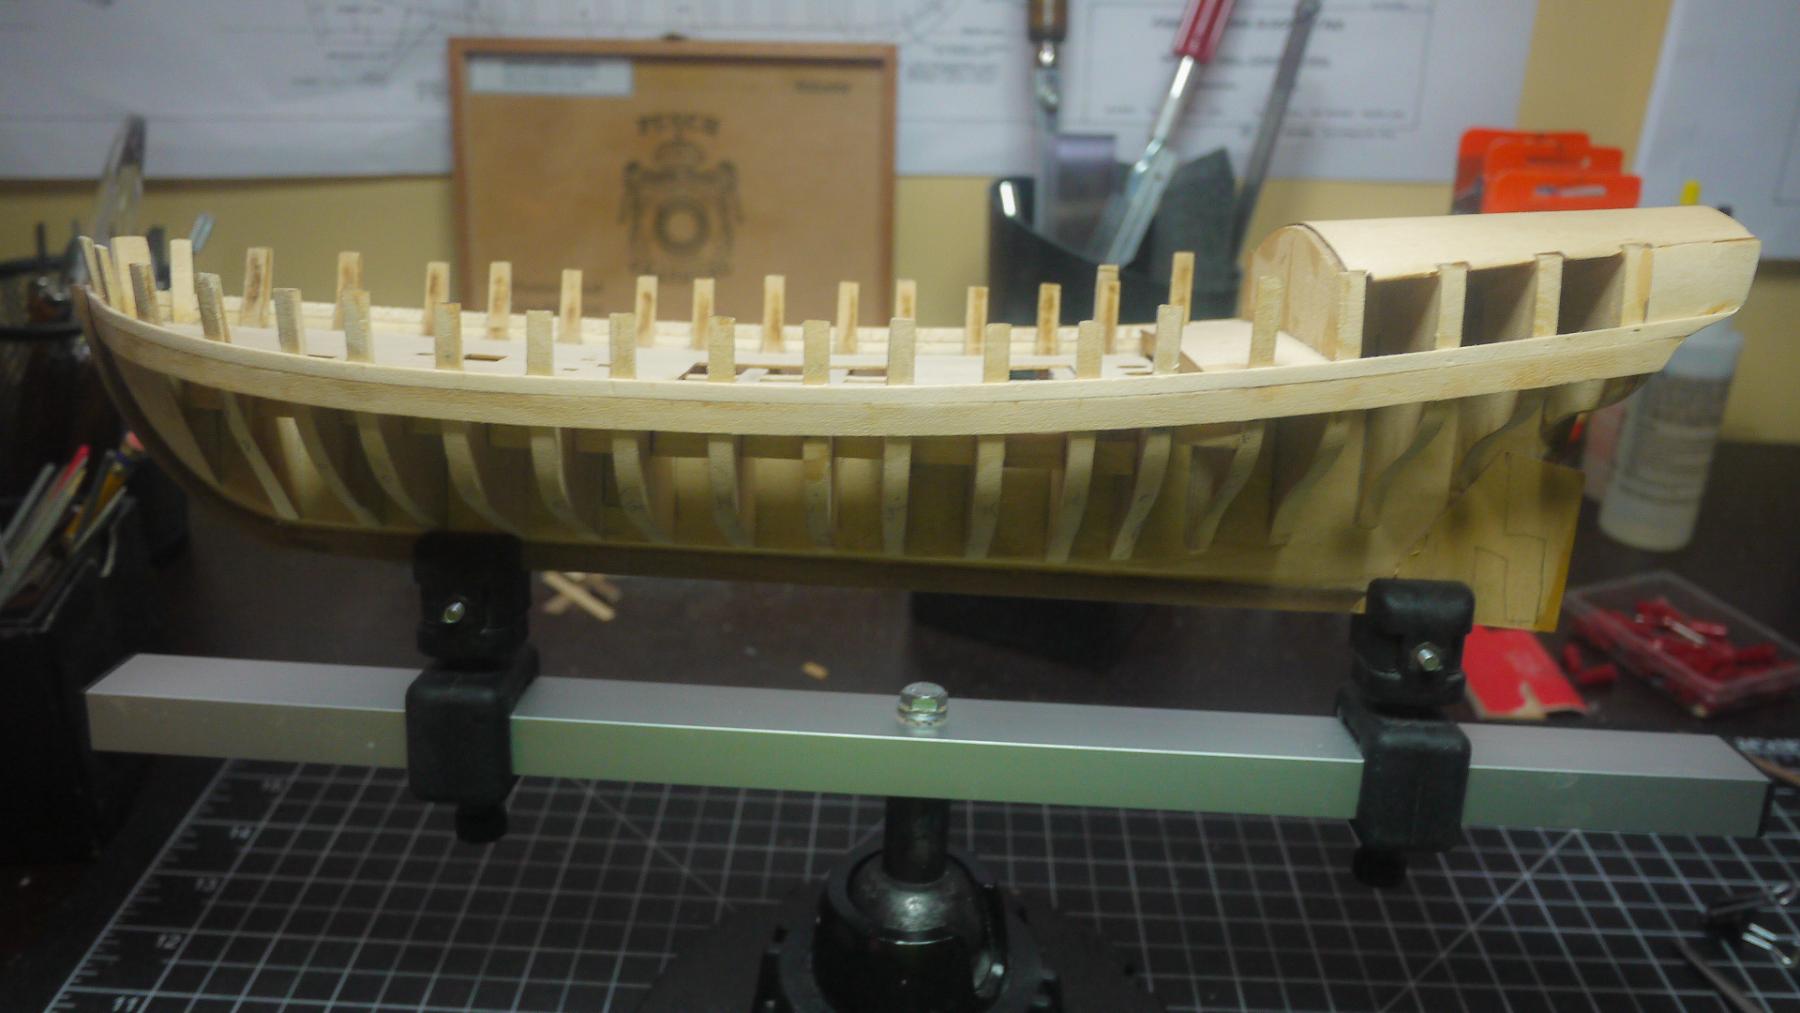
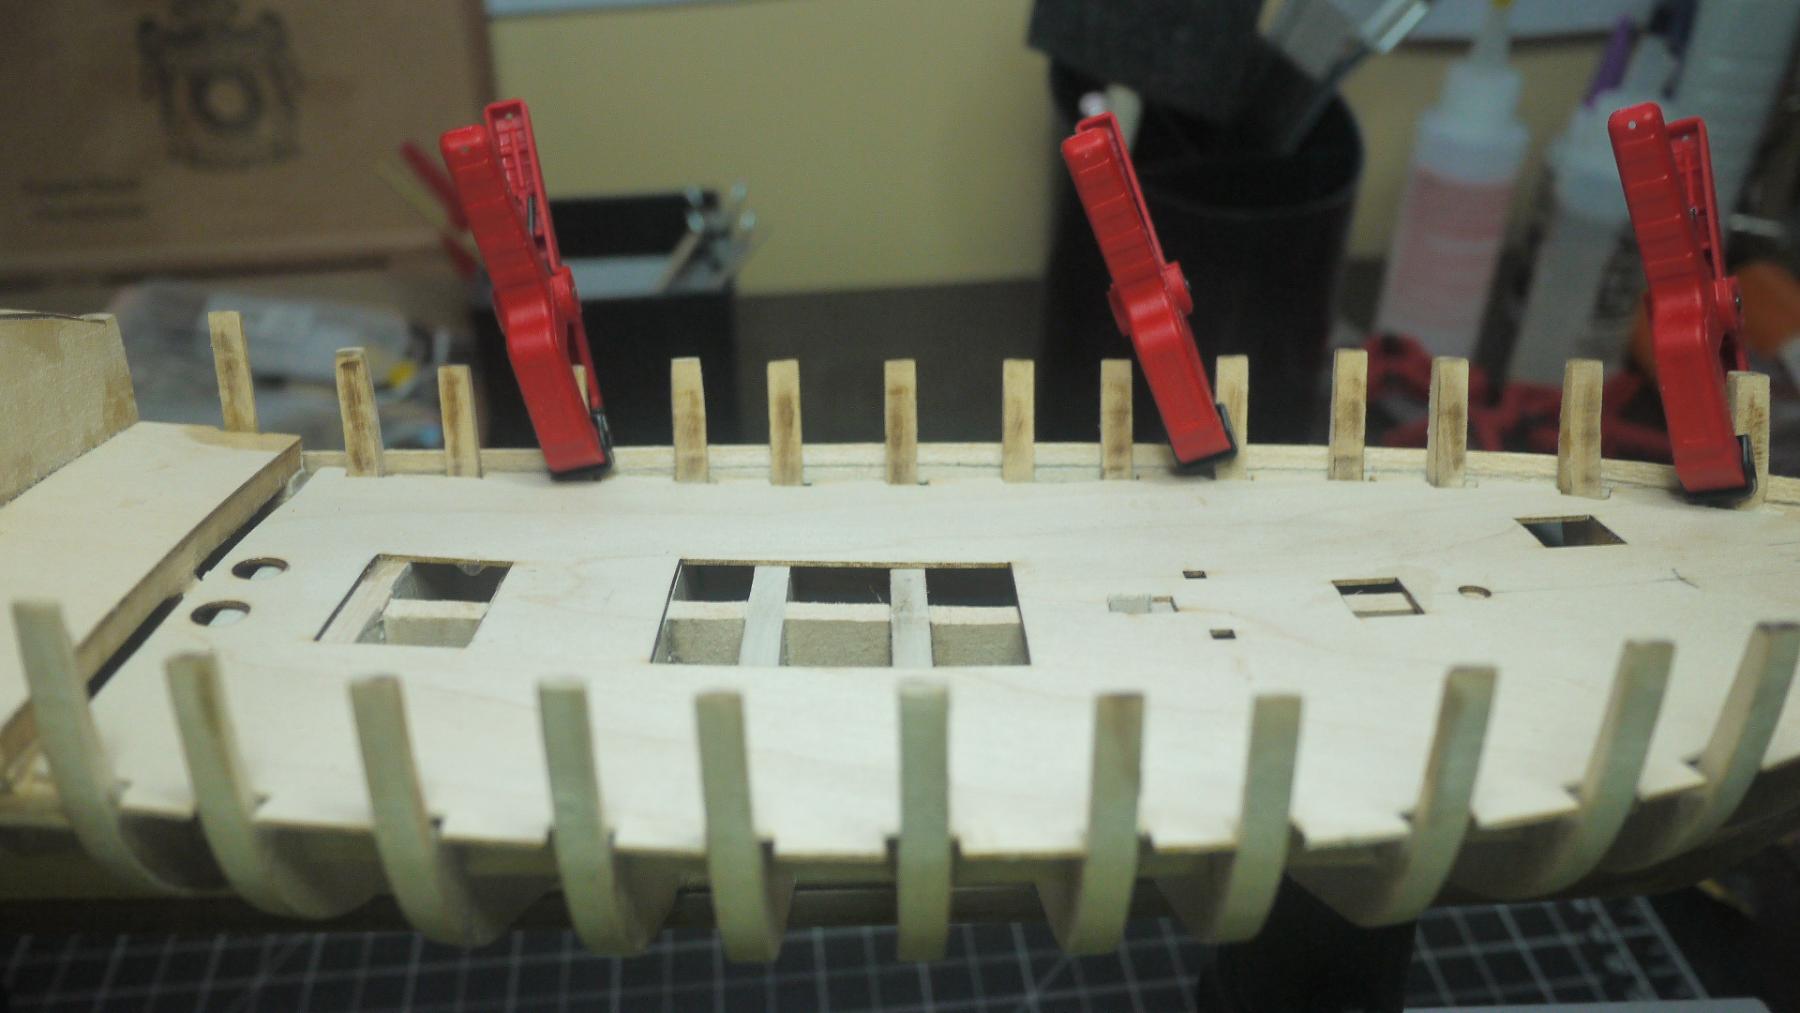
The knight heads and timber heads are installed. I used 30 min. epoxy ( what I had on hand). They are not perfect but I believe a plank will lay across them like it should. There is still some fairing to do. It looks like I have more work to do on the stem post. I think I read where I need to cut a rabbet into the stem post as well.
So far, I've not had any problem following the practicum. I've been comparing it to the kit instructions and the practicum is much easier to follow.
-
Your AVS is looking great! I wanted to let you know how much your photos are helping me...thanks!
- captgino, zoly99sask and Elijah
-
3
-
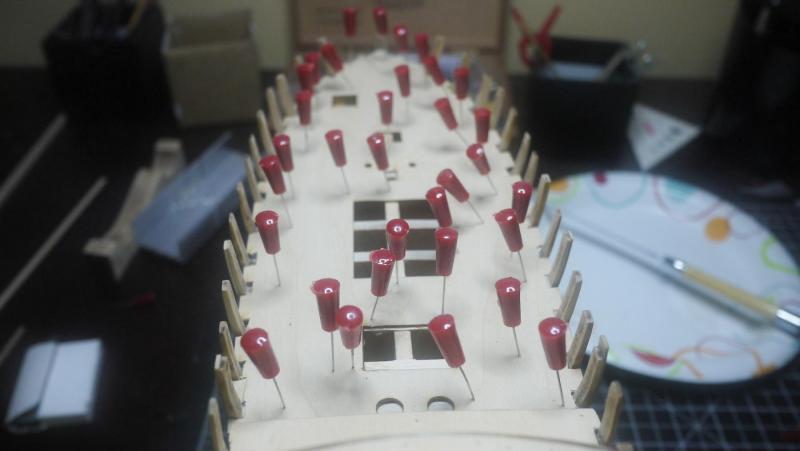
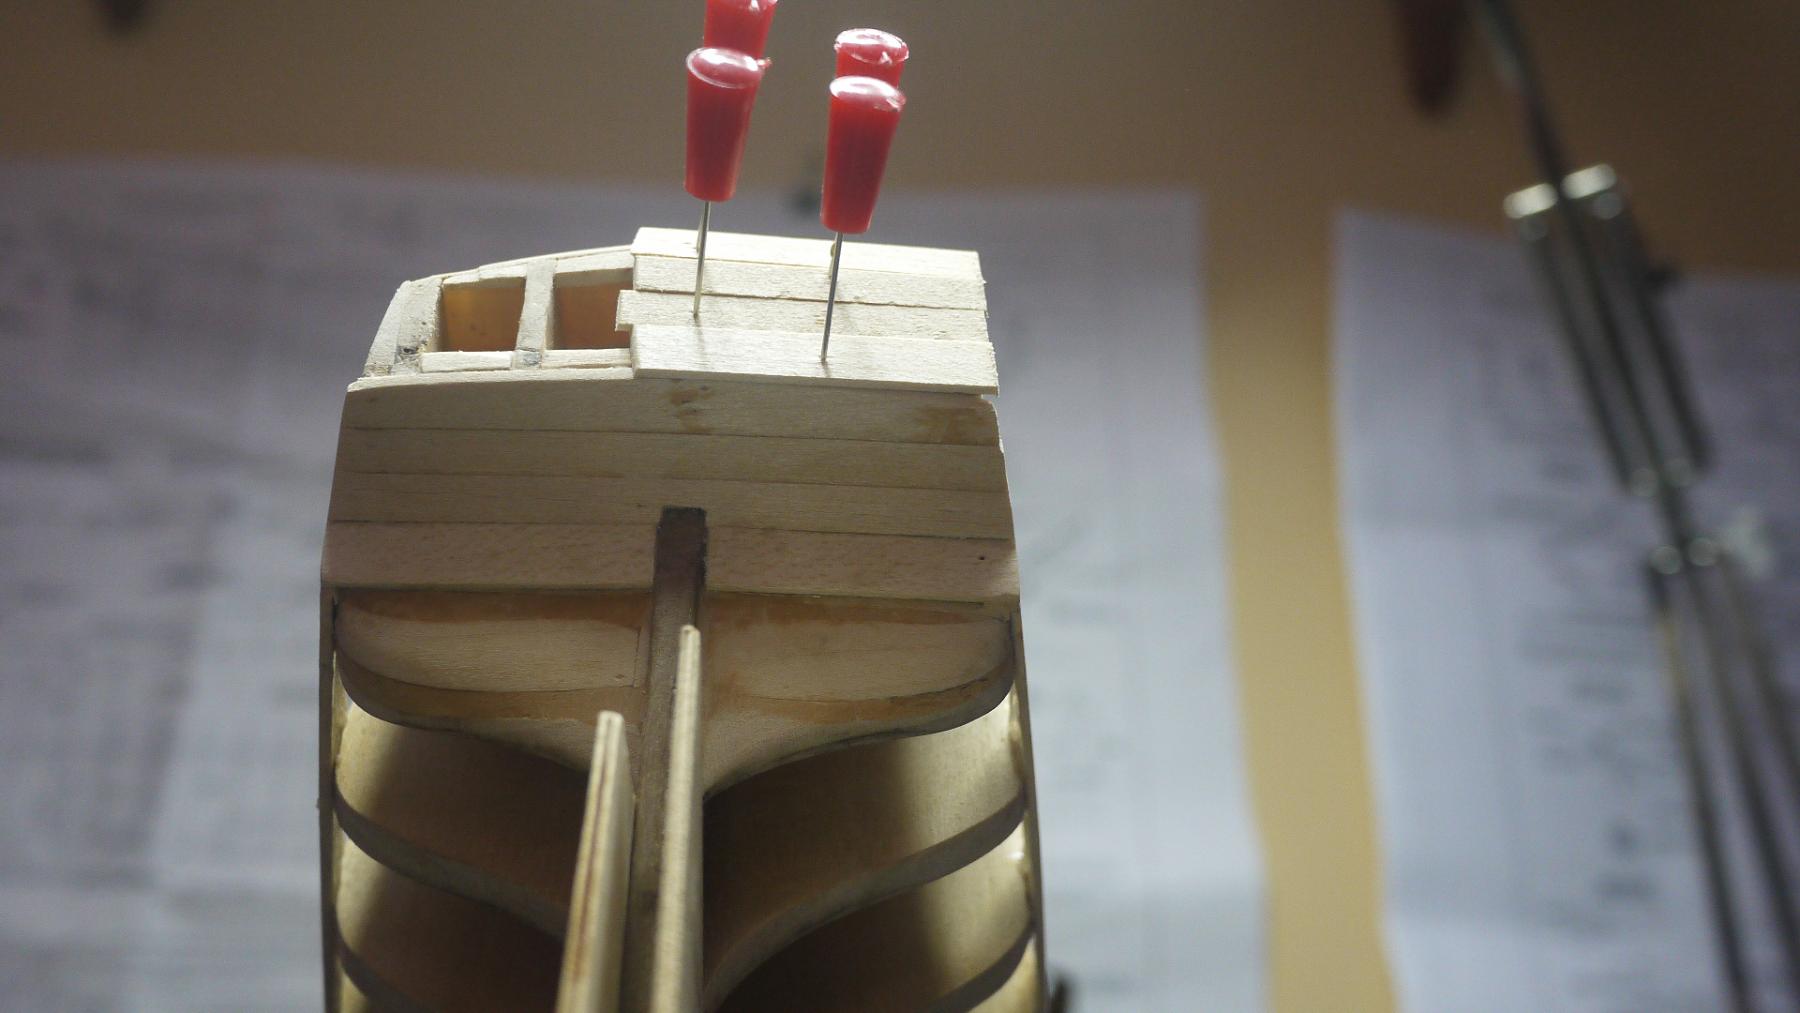
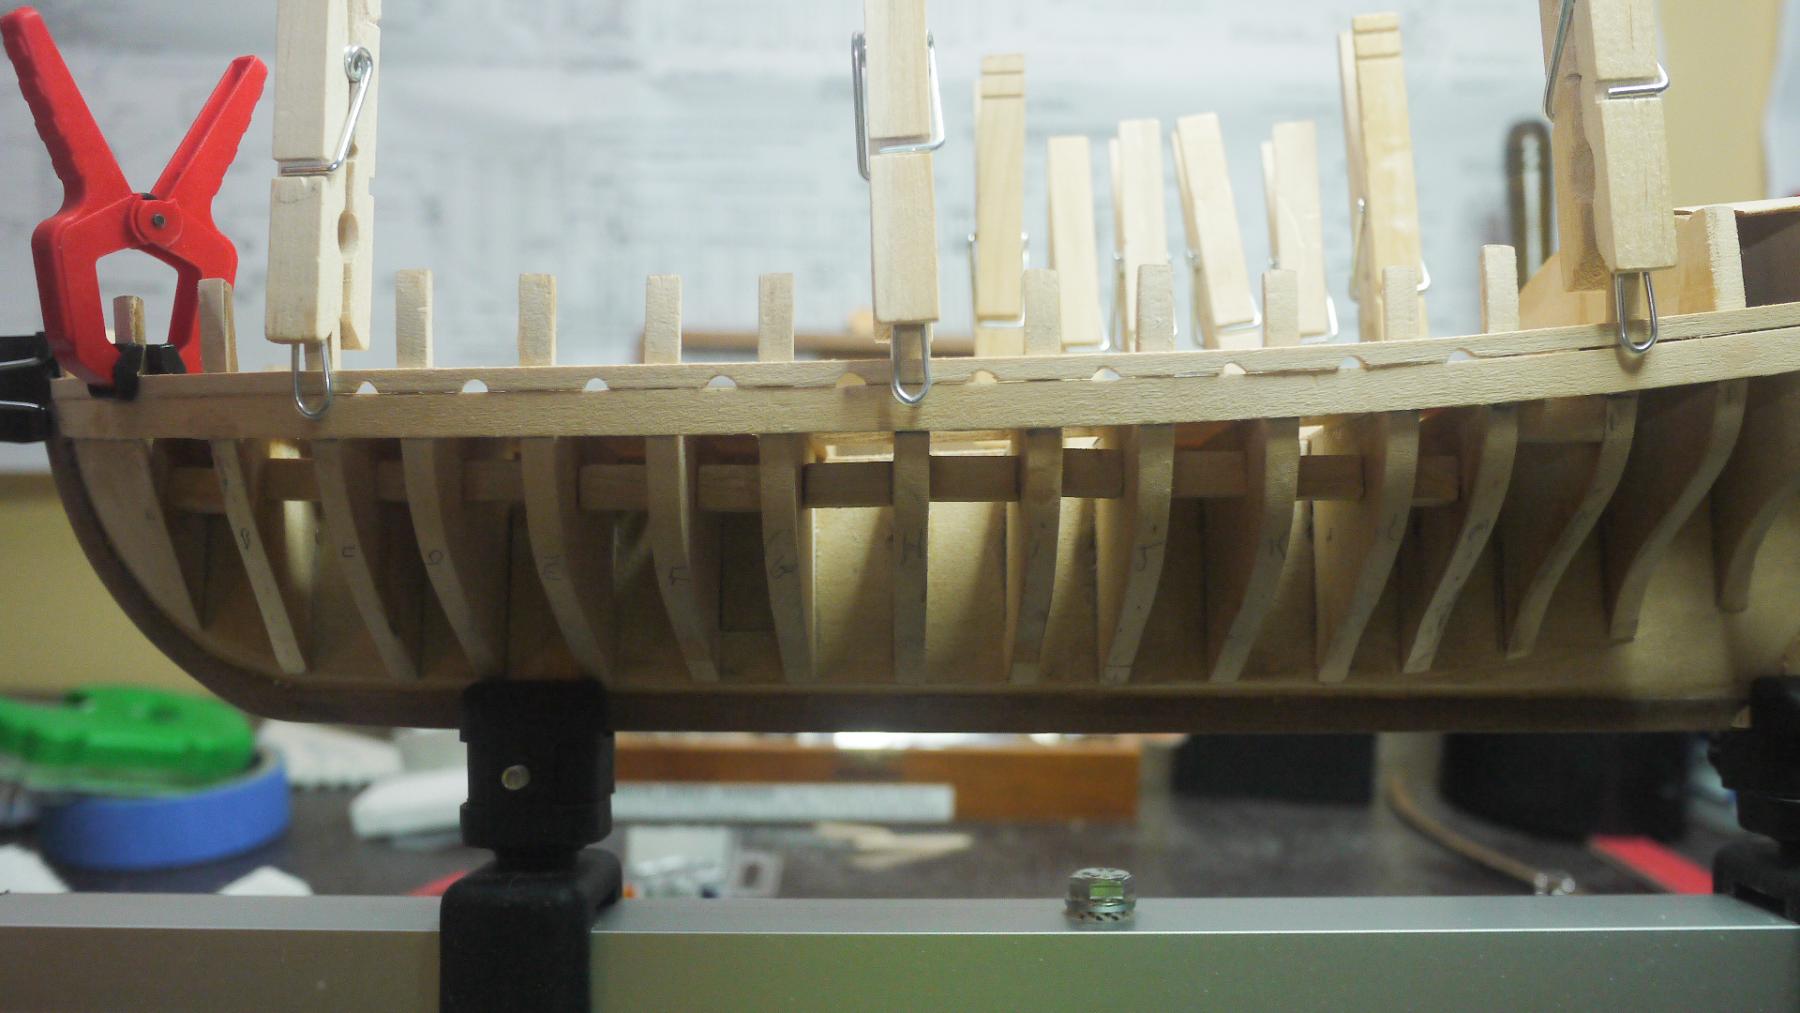
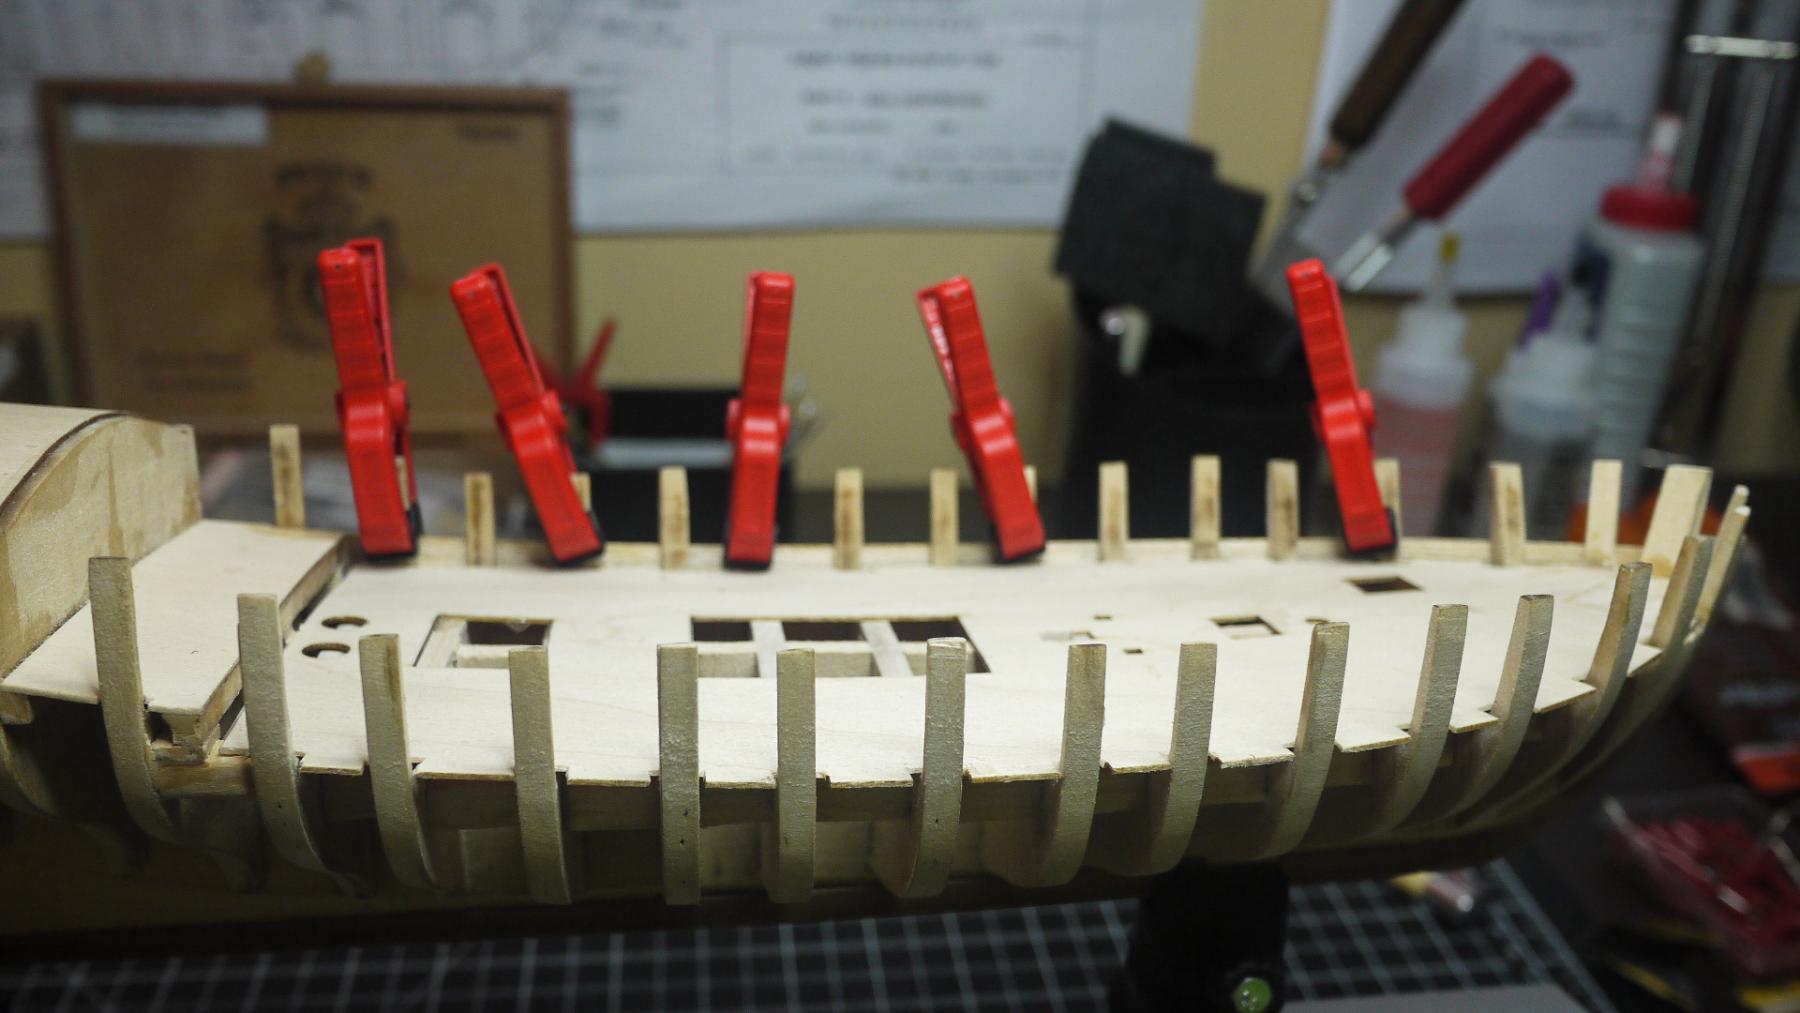
I just stuck a bunch of pins in the deck while it dried.
- Ryland Craze, captgino, GuntherMT and 2 others
-
5
-
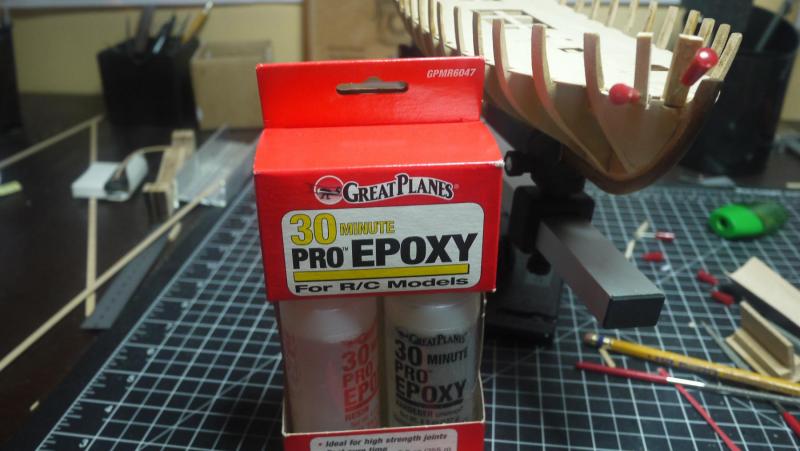
I do have some 30 minute epoxy leftover from the plane days. I'm not sure what it's shelf life is, this stuff is 5 years old, but never opened. Once this stuff gets into the rabbet, it's not coming out easily.
- Elijah and Ryland Craze
-
2
-
Dave, I read your post and put the brakes on. I'm going to use epoxy also. Thanks for the advice.
Regarding pinning them, hats off to Brian for doing such a neat, clean job pinning them. For me, it looked to be a disaster waiting to happen. I could see me screwing up that filler block somehow. Not to mention drilling into 3/32 wood and gluing a pin in. Perhaps you guys are all surgeons?
Edited
-
My busy schedule has slowed the building down,some. I have the deck glued down and the Knights heads and timber heads made and will be glueing them in today. I will have photo updates later today.
- Ryland Craze, Elijah and Robin Lous
-
3


Armed Virginia Sloop by Hill202 - Model Shipways - scale 1:48
in - Kit build logs for subjects built from 1751 - 1800
Posted
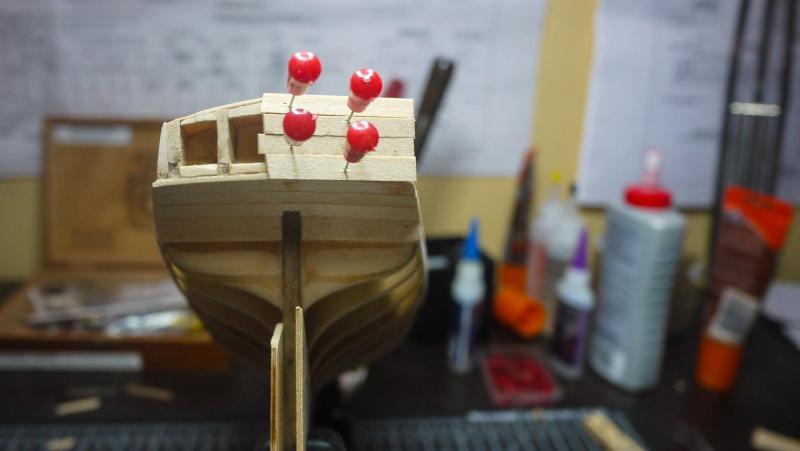
I pinned a wet 3/16 plank and will let it dry before I glue it. These little pin collars are pretty nifty. I still need to black out the window cavities.