


Hill202
-
Posts
114 -
Joined
-
Last visited
Content Type
Profiles
Forums
Gallery
Events
Posts posted by Hill202
-
-
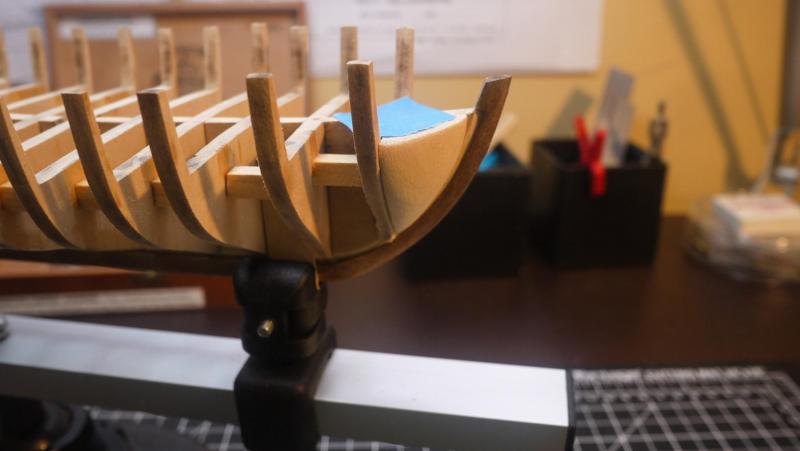
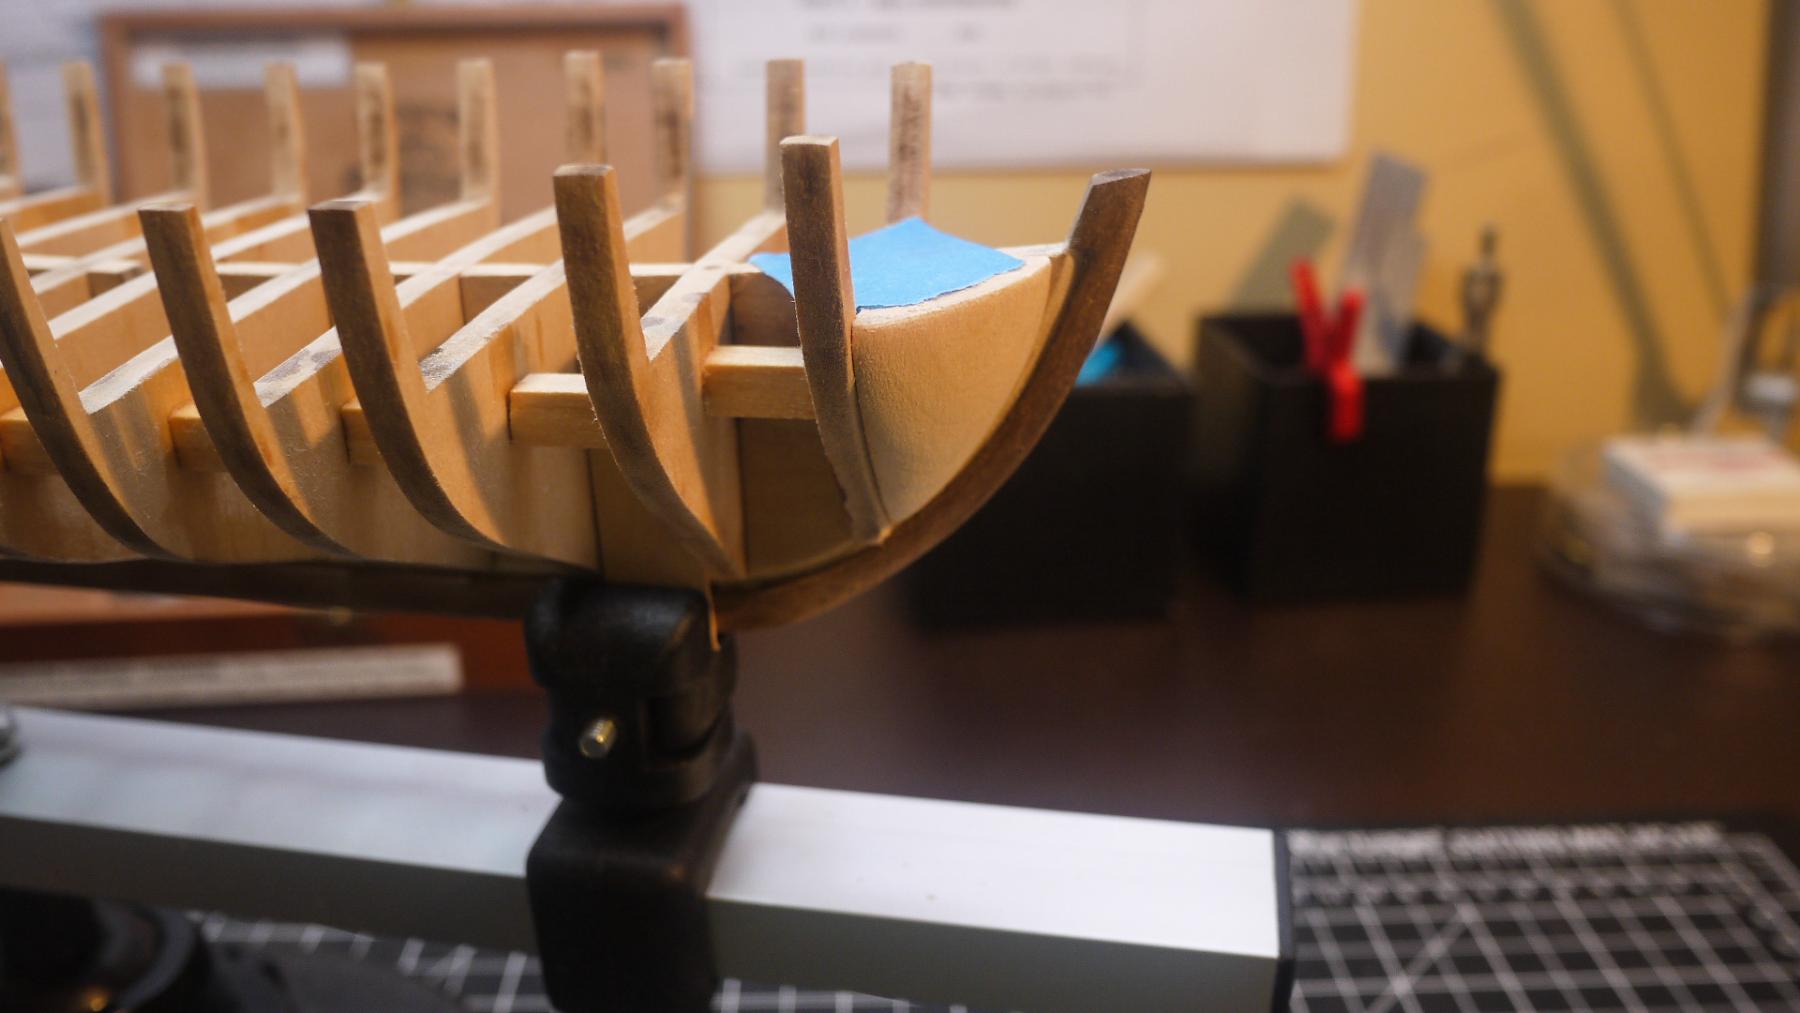
Just a small update. I have started fairing and got the filler block sanded down. Just ignore the wood filler in the corner. Now I just hope I can match the filler block for the other side.
- GuntherMT, zoly99sask, Ryland Craze and 1 other
-
 4
4
-
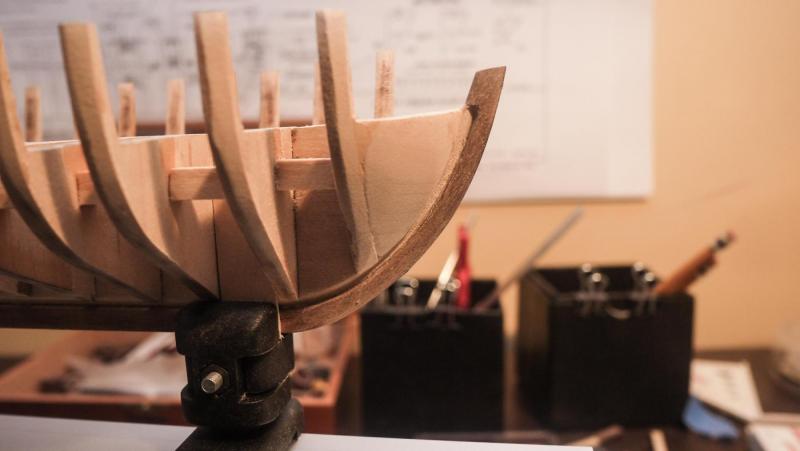
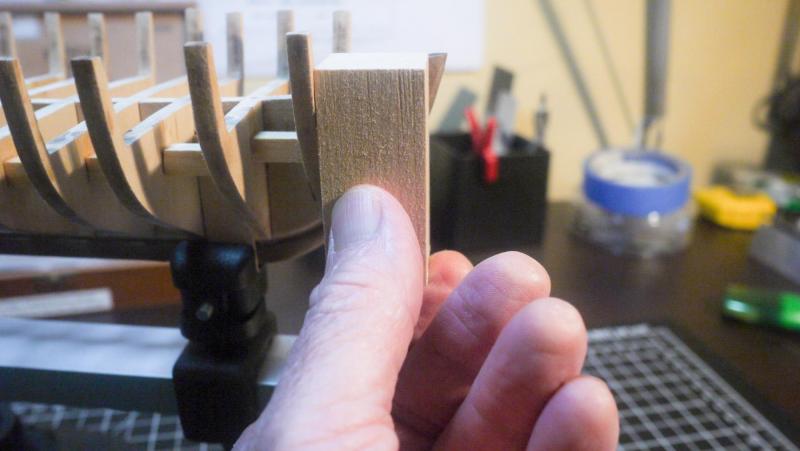
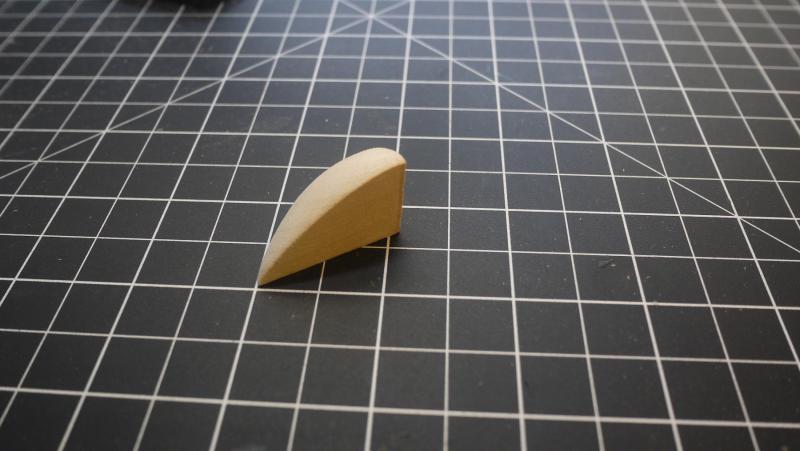
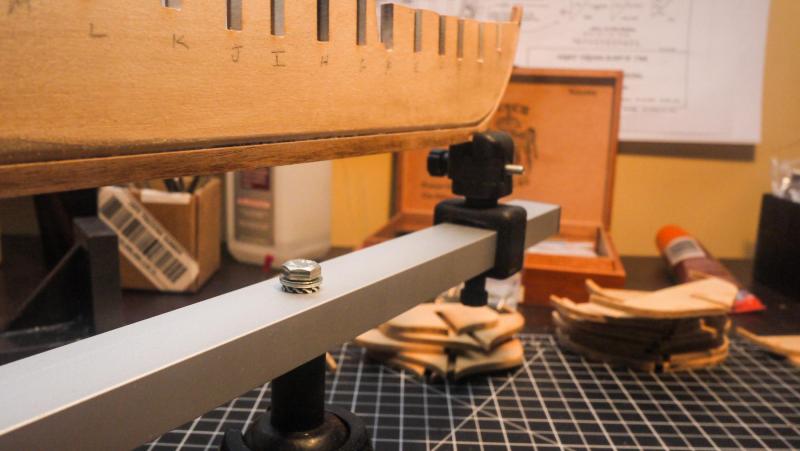
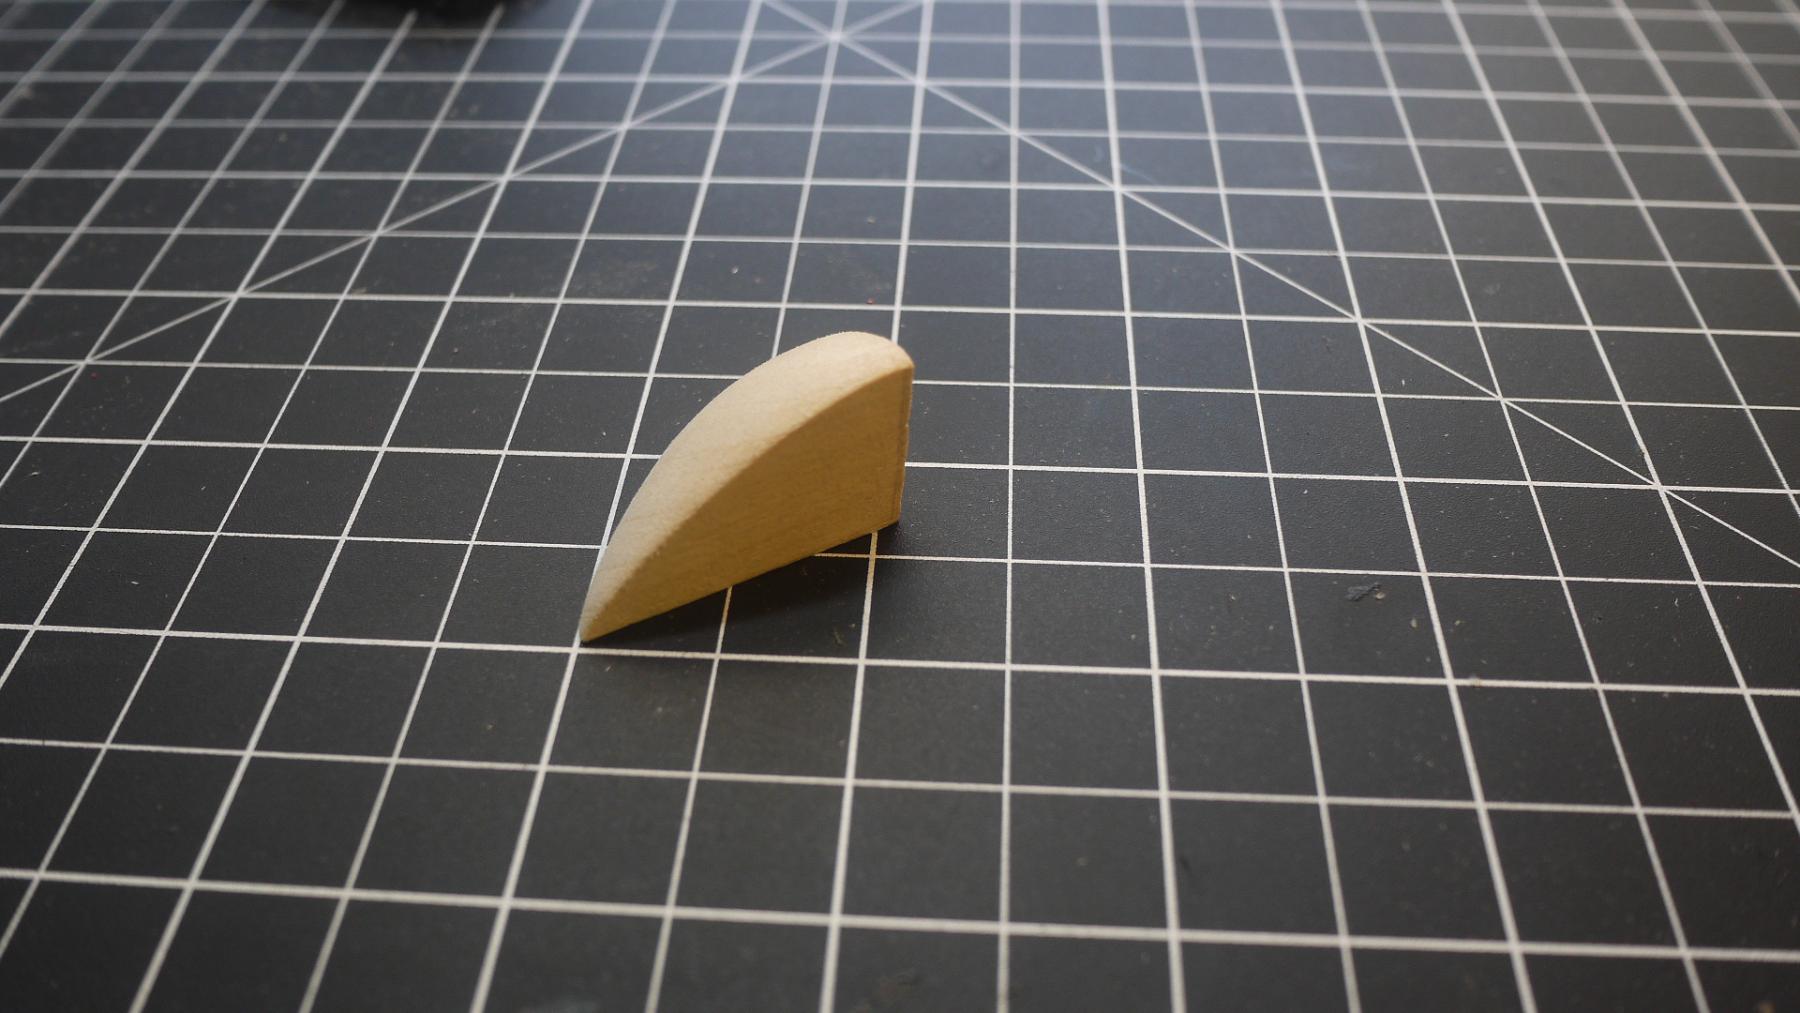
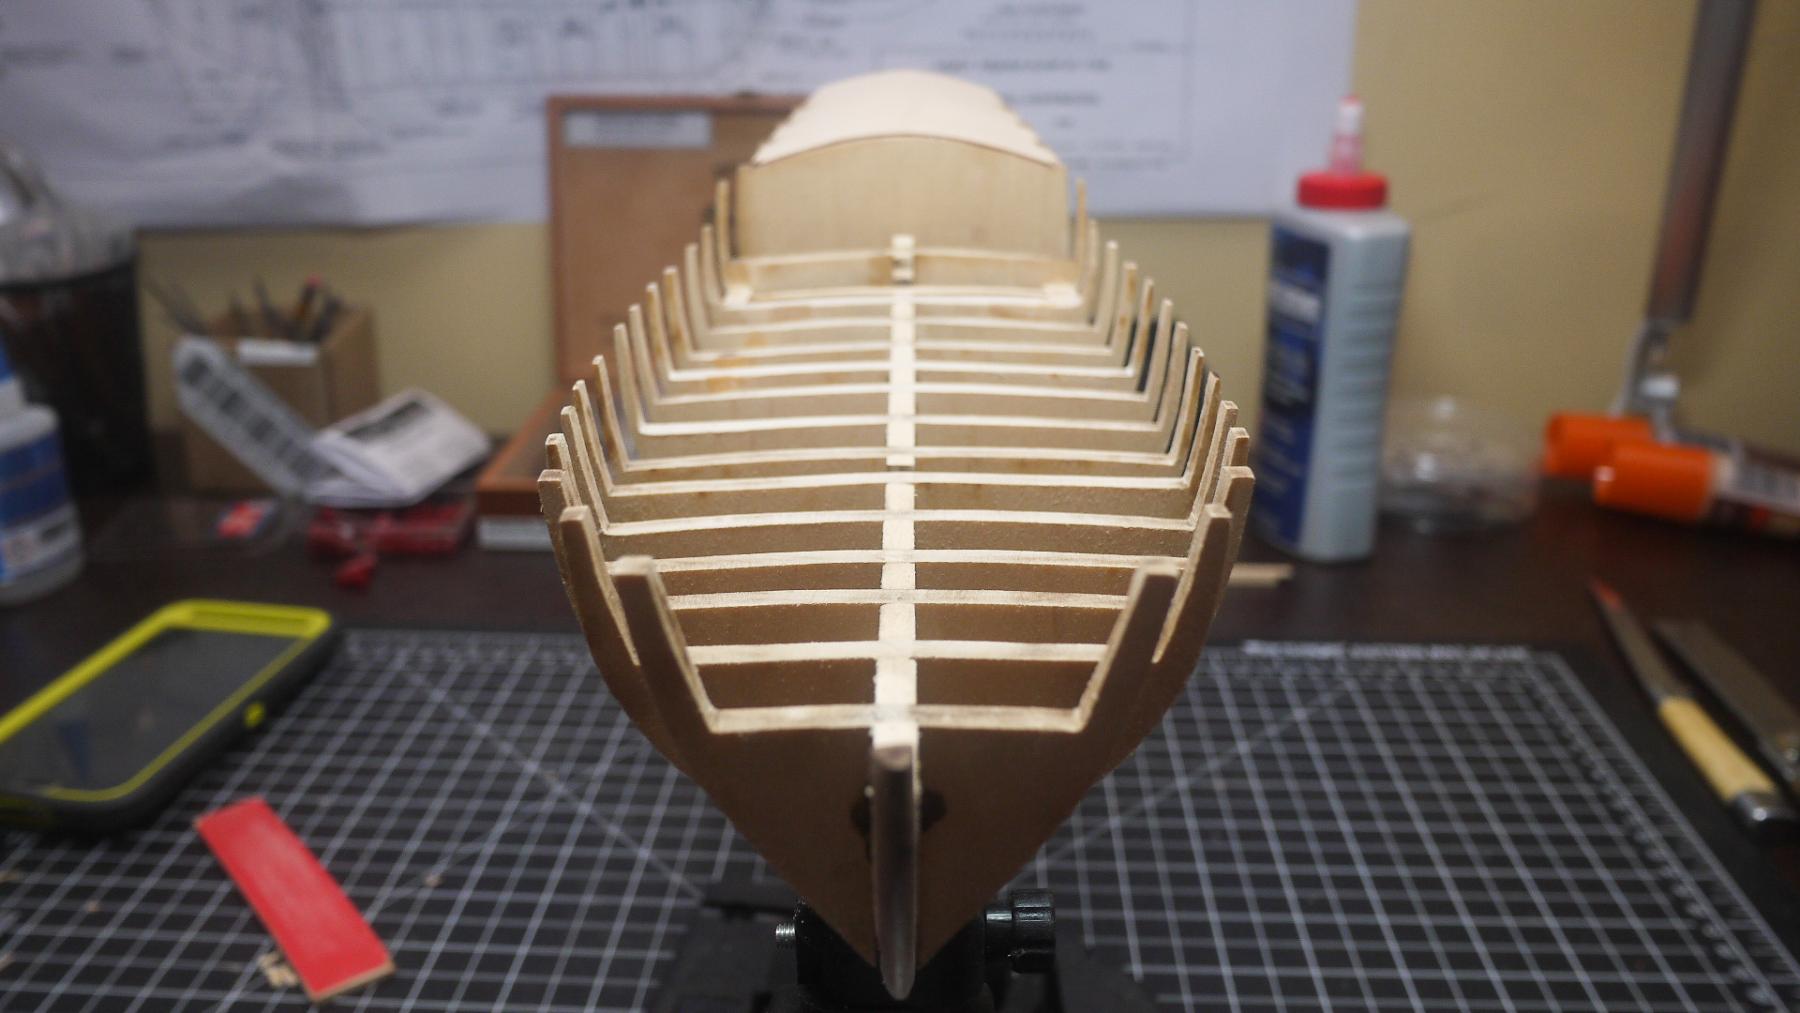
I thought it might be easier to shape the bow filler blocks before installing the main deck. I think it did make it easier. I was able to just hold the block and trace the outline of the bulkhead. I left it a little fat, so I'll be able to sand it down to match the angle of the bulkhead after it is faired. In hindsight, I probably should have faired it first.
It's amazing how the details really stand out in a picture versus looking at it on the work table.
- GuntherMT, DocBlake, zoly99sask and 2 others
-
5
-
Looking great. I'm a step or two behind you on my AVS. I'm looking forward to following your progress.
- zoly99sask and EJ_L
-
2
-
Hello Hill,these are critical steps(shiming and fairing) to get a nice even surface on the hull for planking.
Hello Zoltan. I read somewhere, that beginners like myself, have a tendency to rush the process of fairing.
In looking back, I have to wonder if it would have been better to clean the lazer bevel and char on the outer edges of the bulkheads, after gluing them in. I took a little too much off in the process and created work for myself now.
- Elijah and zoly99sask
-
2
-
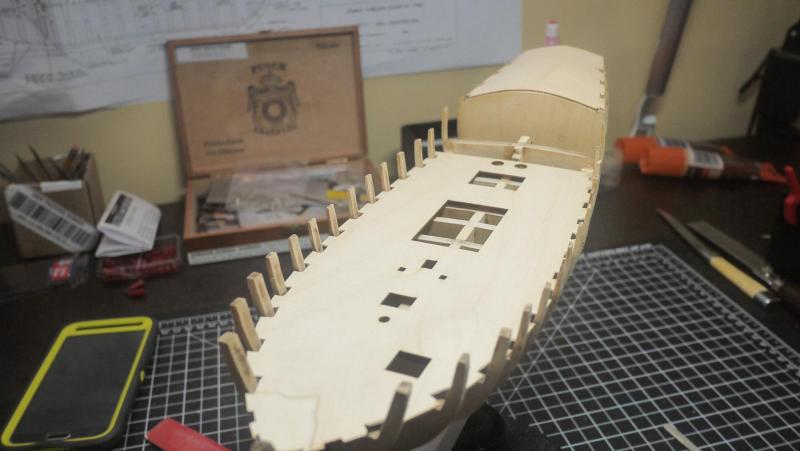
This is a dry fit of the main sub deck. I am going to glue in the mast mortise blocks before gluing the deck down. The practicum has you adding them from the bottom, after the deck is installed.
- Elijah, Ryland Craze, zoly99sask and 2 others
-
5
-
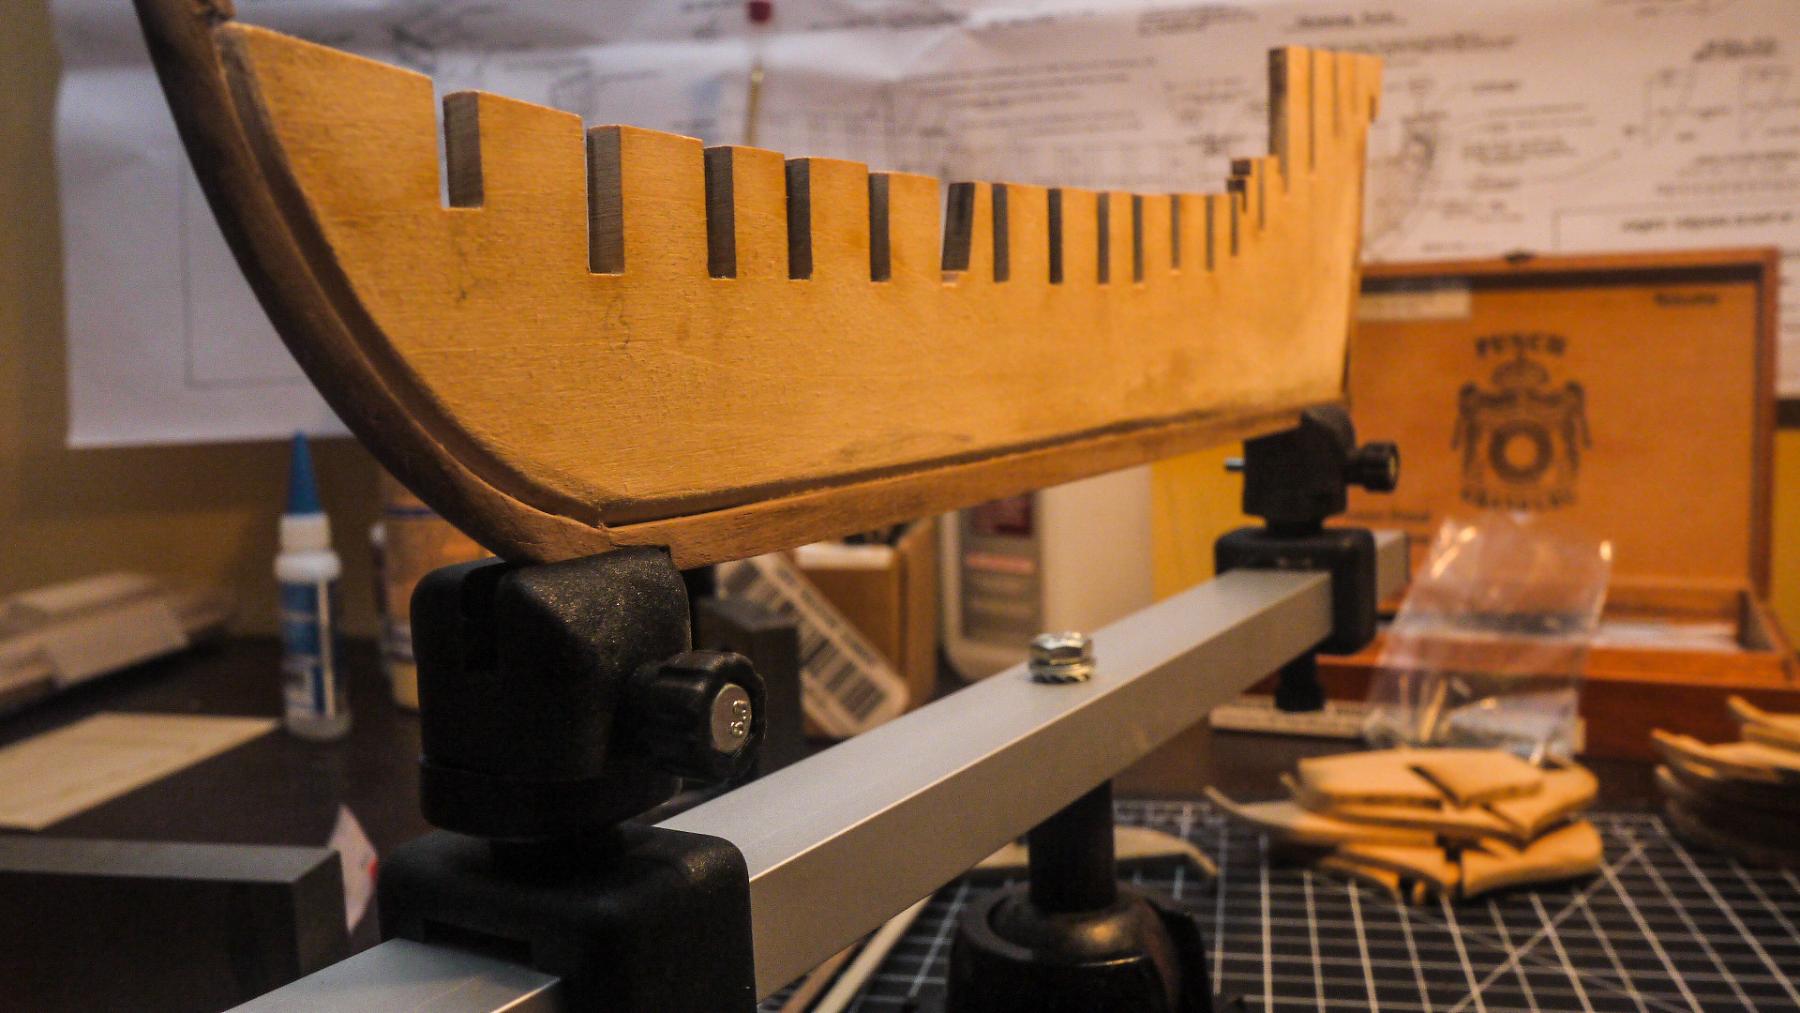
You can see a lot of shims and fairing needed on the sides of the bulkheads.
- Ryland Craze, Elijah and GuntherMT
-
3
-
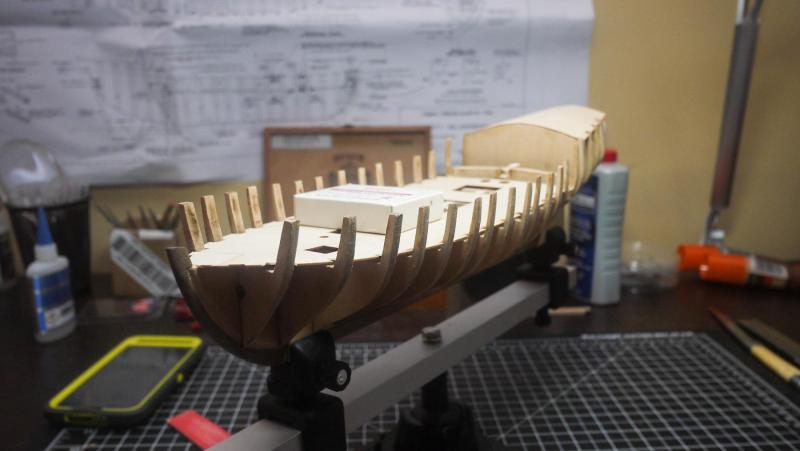
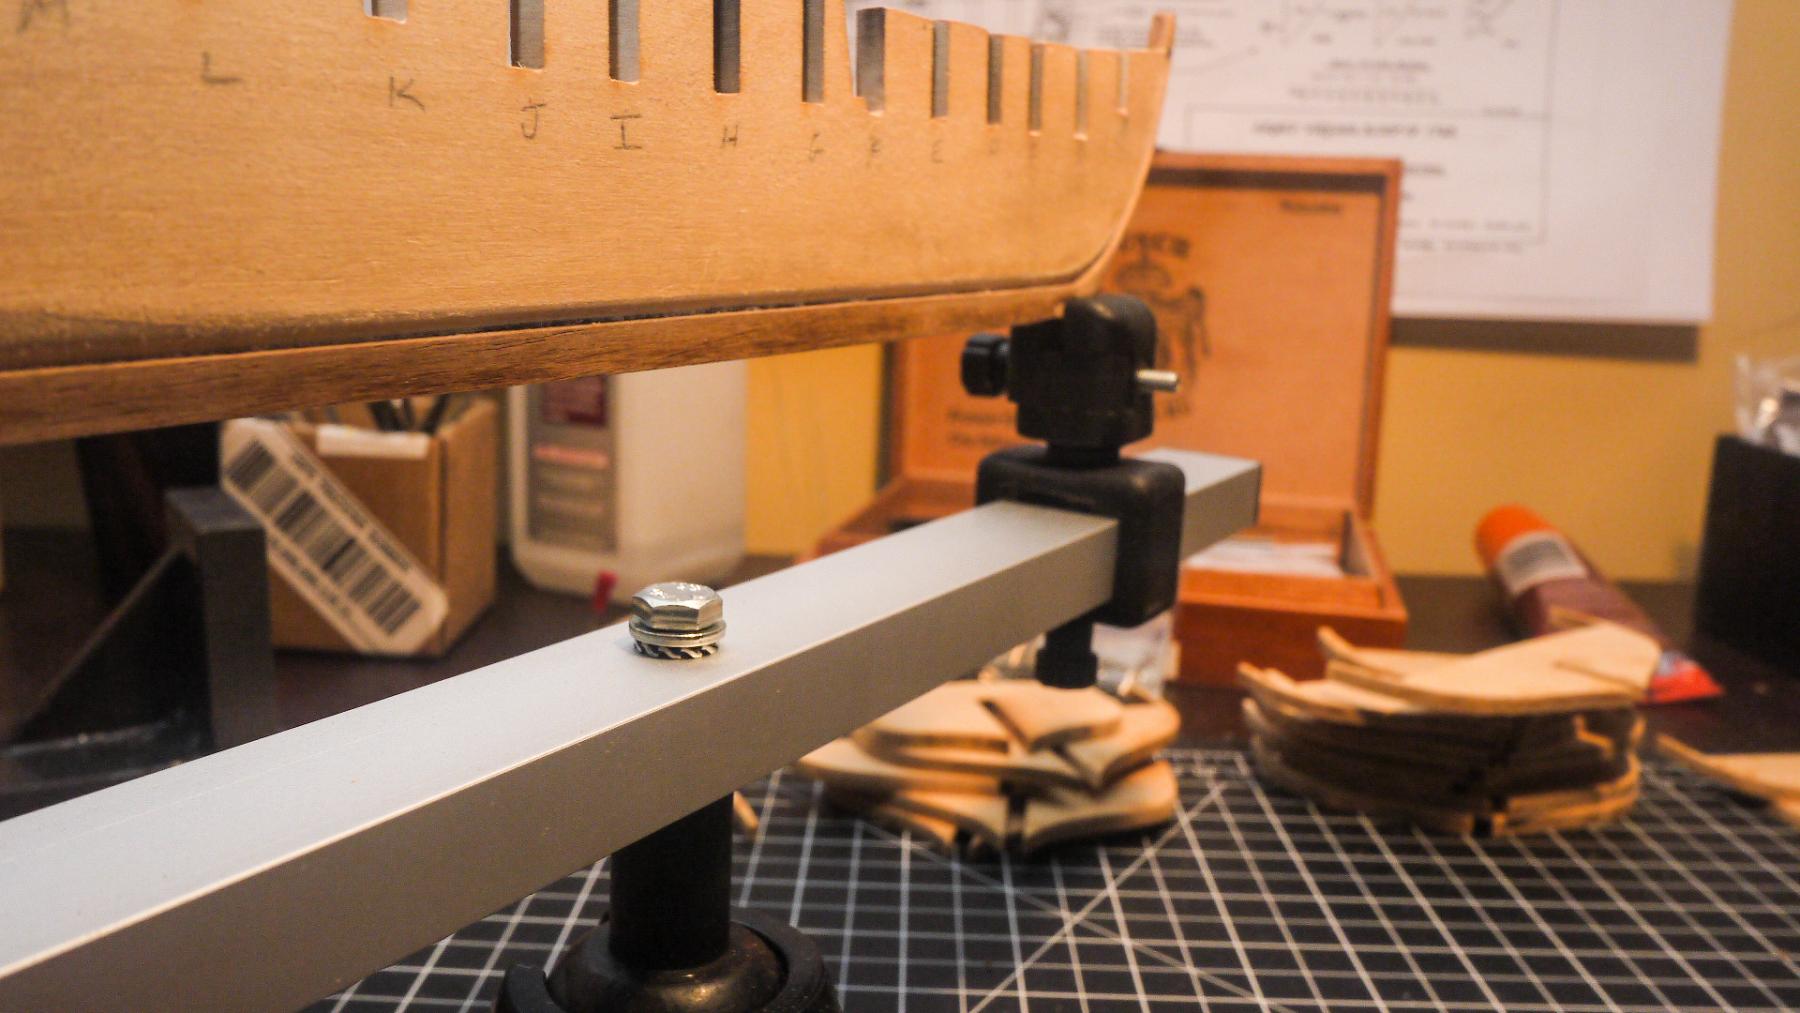
I finished with the bulkhead installation and got the aft sub deck put on. I've began adding reinforcement blocks between the bulkheads and worked on fairing the tops of the bulkheads. I enlarged the slots in the main sub deck and dry fit it. I have some shimming to do on the top and the outer edges of 3 bulkheads. I'm going to take it real slow thru the shimming and fairing process and try to get it right. There is a lot of work to be done before I can even think about planking.

- Ryland Craze, GuntherMT, Elijah and 1 other
-
4
-
Thanks guys. DocBlake, based on what your saying, I think I'll stay with the Weldbond. I'm sure I"ll need to debond something sooner or later. (probably sooner)
I'm thinking, what I believe most new guys are thinking at this point..planking is not too far away.
- zoly99sask and Elijah
-
2
-
I've noticed that some of you guys are using Weldbond and some are using Titebond. Does Titebond set up faster than Weldbond?
- Elijah and zoly99sask
-
2
-
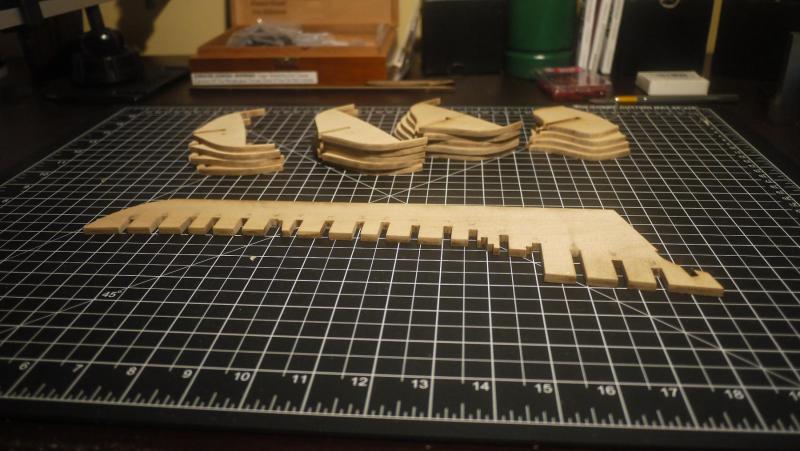
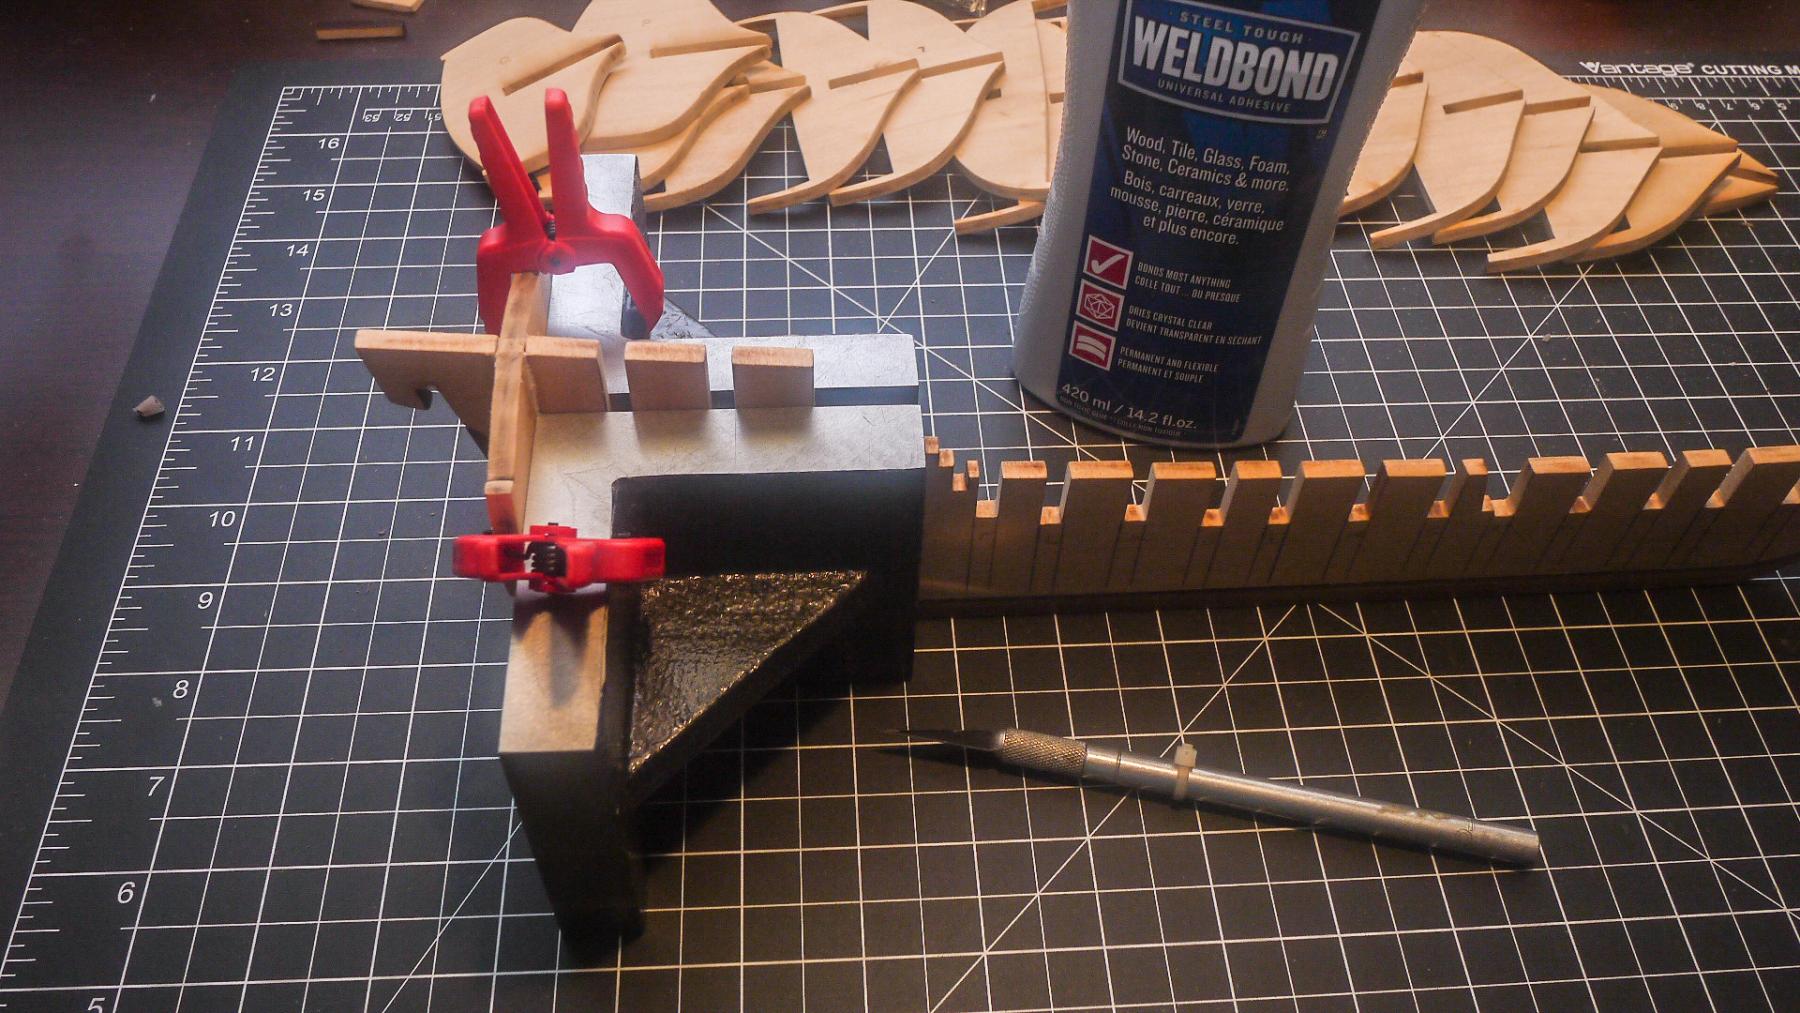
The recommended angle blocks are going to make installing the bulkheads easy.

- GuntherMT, aviaamator, Elijah and 3 others
-
6
-
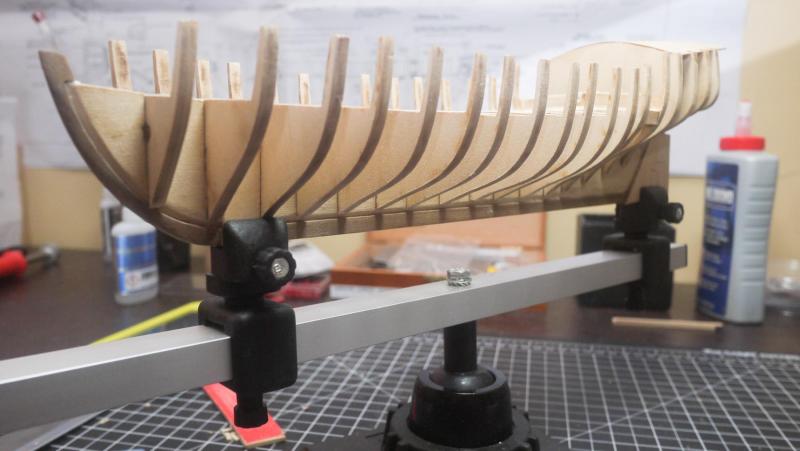
Here is a shot with the bulkheads dry fitted in the keel.
- Canute, zoly99sask, Ryland Craze and 3 others
-
6
-
Hello Zolton, I've read your build log on the AVS and yours is looking great! Thanks for the detailed log, I'm sure it's going to be a lot of help to me, as I progress.
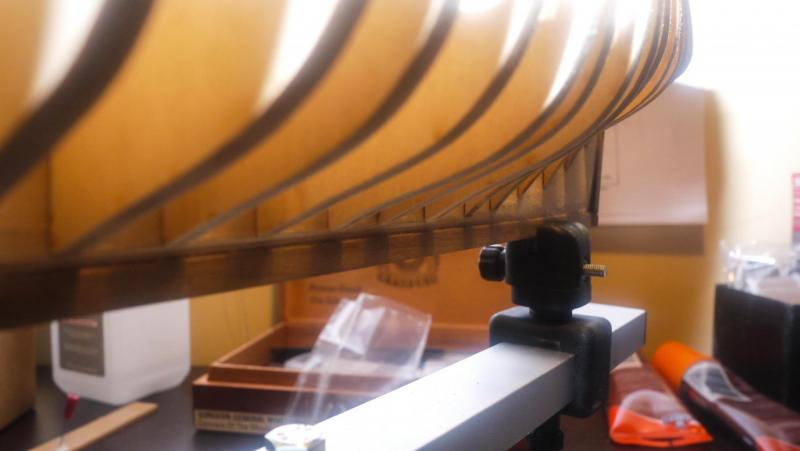
Here is a picture of the rabbet. I hope it's right because there is not a lot of wood left at the keel. I used some planks to see how they would fit and I believe they will lay correctly at the rabbet. (I think)

- Canute, zoly99sask, Ryland Craze and 2 others
-
5
-
This is my build log for the AVS. I chose this kit for my first one because there are several great build threads on it. It will be fairly obvious that I'm copying a couple of the build logs as close as I can.
Like I said in the introduction section, I have a long history with building and flying RC aircraft. I'll try to resist the urge to install servos and an engine. Once I complete this, I'll change my profile pic to a ship...

I've cleaned and trued the bulkheads and keel. There was quite a bit of adjusting to do to the slots in the keel.
I've cut the rabbet and am in the process of installing the walnut keel pieces. The rabbet is not shown in these pics.

- GuntherMT, Elijah, zoly99sask and 2 others
-
5


Armed Virginia Sloop by Hill202 - Model Shipways - scale 1:48
in - Kit build logs for subjects built from 1751 - 1800
Posted
I'll say it again. If you want to get a good look at the details of your work, just post a picture here. The camera does not miss anything.
I am reworking the rabbet as I go. I don't think it was deep enough. Does the outer layer of planking sit on top of the keel or flush with the edge?