MORE HANDBOOKS ARE ON THEIR WAY! We will let you know when they get here.
×


JRB9019
-
Posts
249 -
Joined
-
Last visited
Content Type
Profiles
Forums
Gallery
Events
Everything posted by JRB9019
-
Oh dear Peter I've just made a mistake!! Although only about half way through building Pickle, thoughts naturally turn to the "what next" question. For ages, I had always planned to build Badger as a seemingly natural progression from Pickle. And now the mistake on my part - I had a look at your Granado build - now that looks interesting!! I checked out the build logs and manuals available at Caldercraft/Jotika - looks a lot harder than Pickle that's for sure.... So, should it be Badger or Granado? Any comments welcome from anone on here - but please. not the "Oh, do both" one!!!! Many thanks - oh and before anyone complains I'd better take this off and post it elsewhere as well!!
- 293 replies
-
- 2
-

-
- pickle
- caldercraft
- (and 1 more)
-
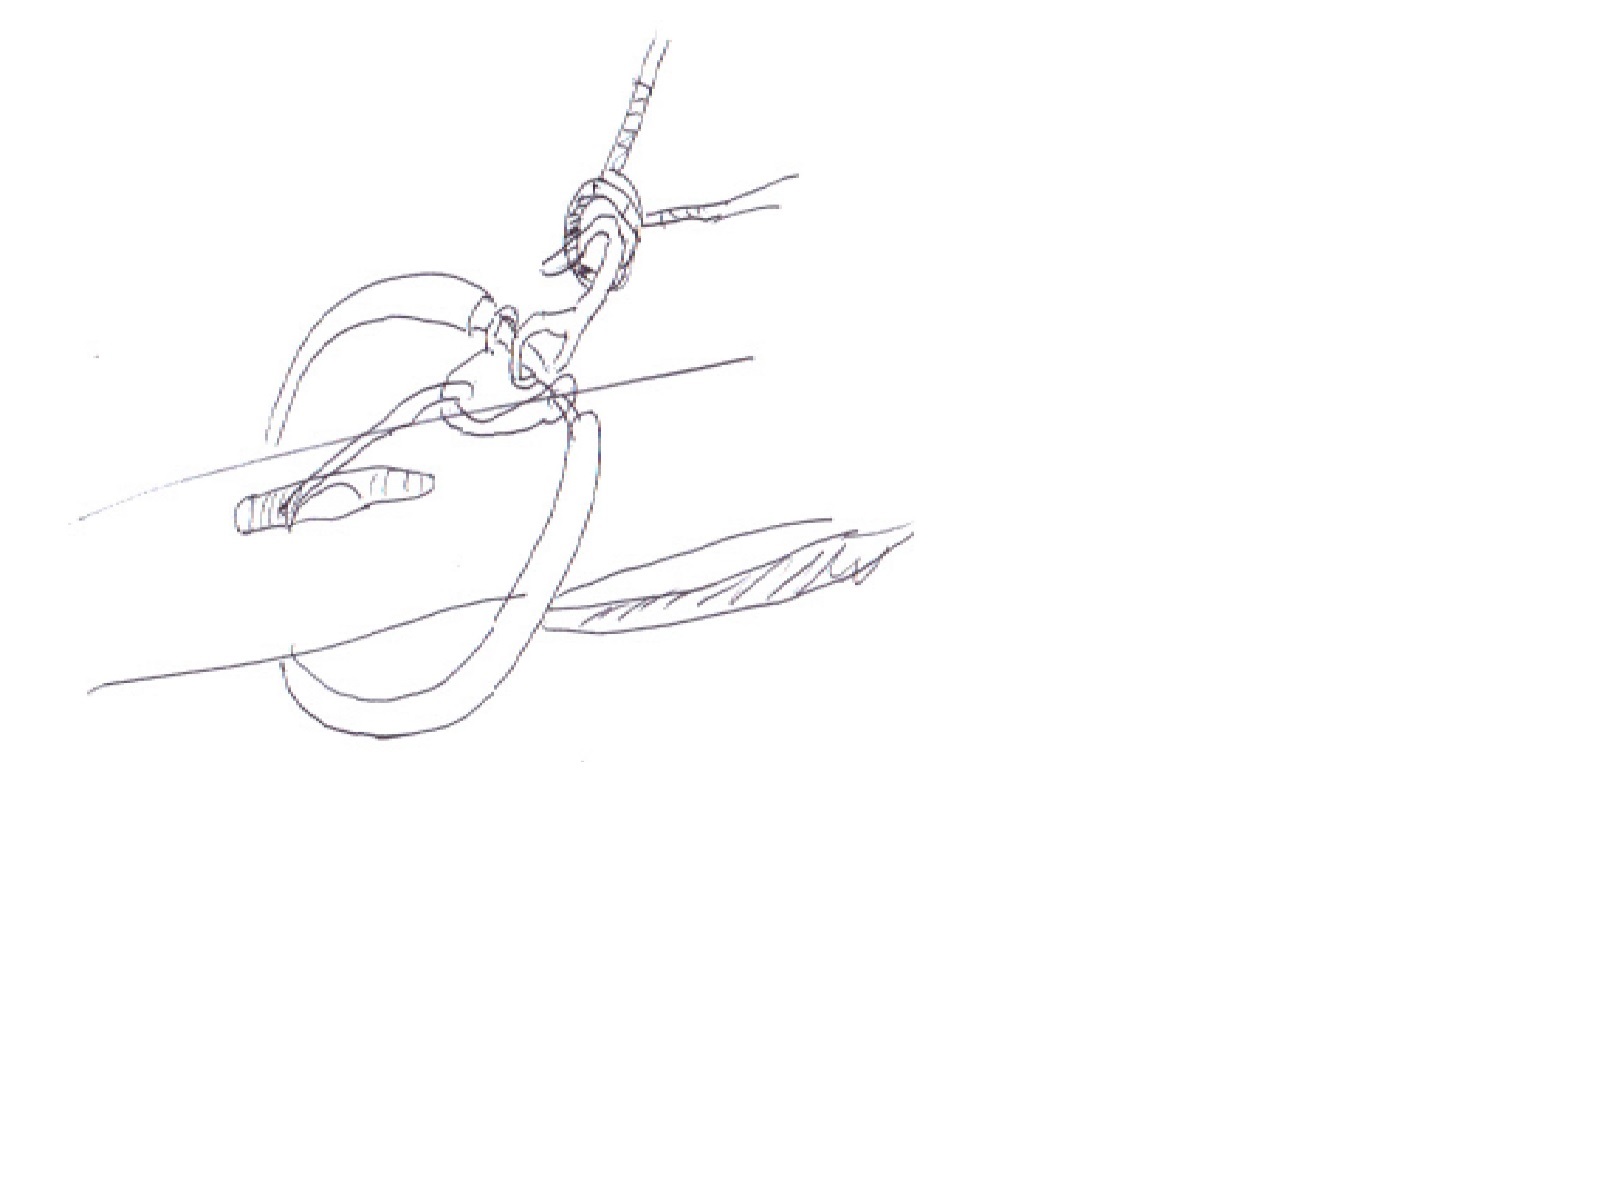
Peter, Peterssons book is a must have (for me anyway) Full name? Rigging Period Ship Models by Lennarth Petersson. ISBN is 978-1-86176-061-6 The traveller looks something like this - excuse the quick drawing (not my forte!!)
- 293 replies
-
- 1
-
-
- pickle
- caldercraft
- (and 1 more)
-
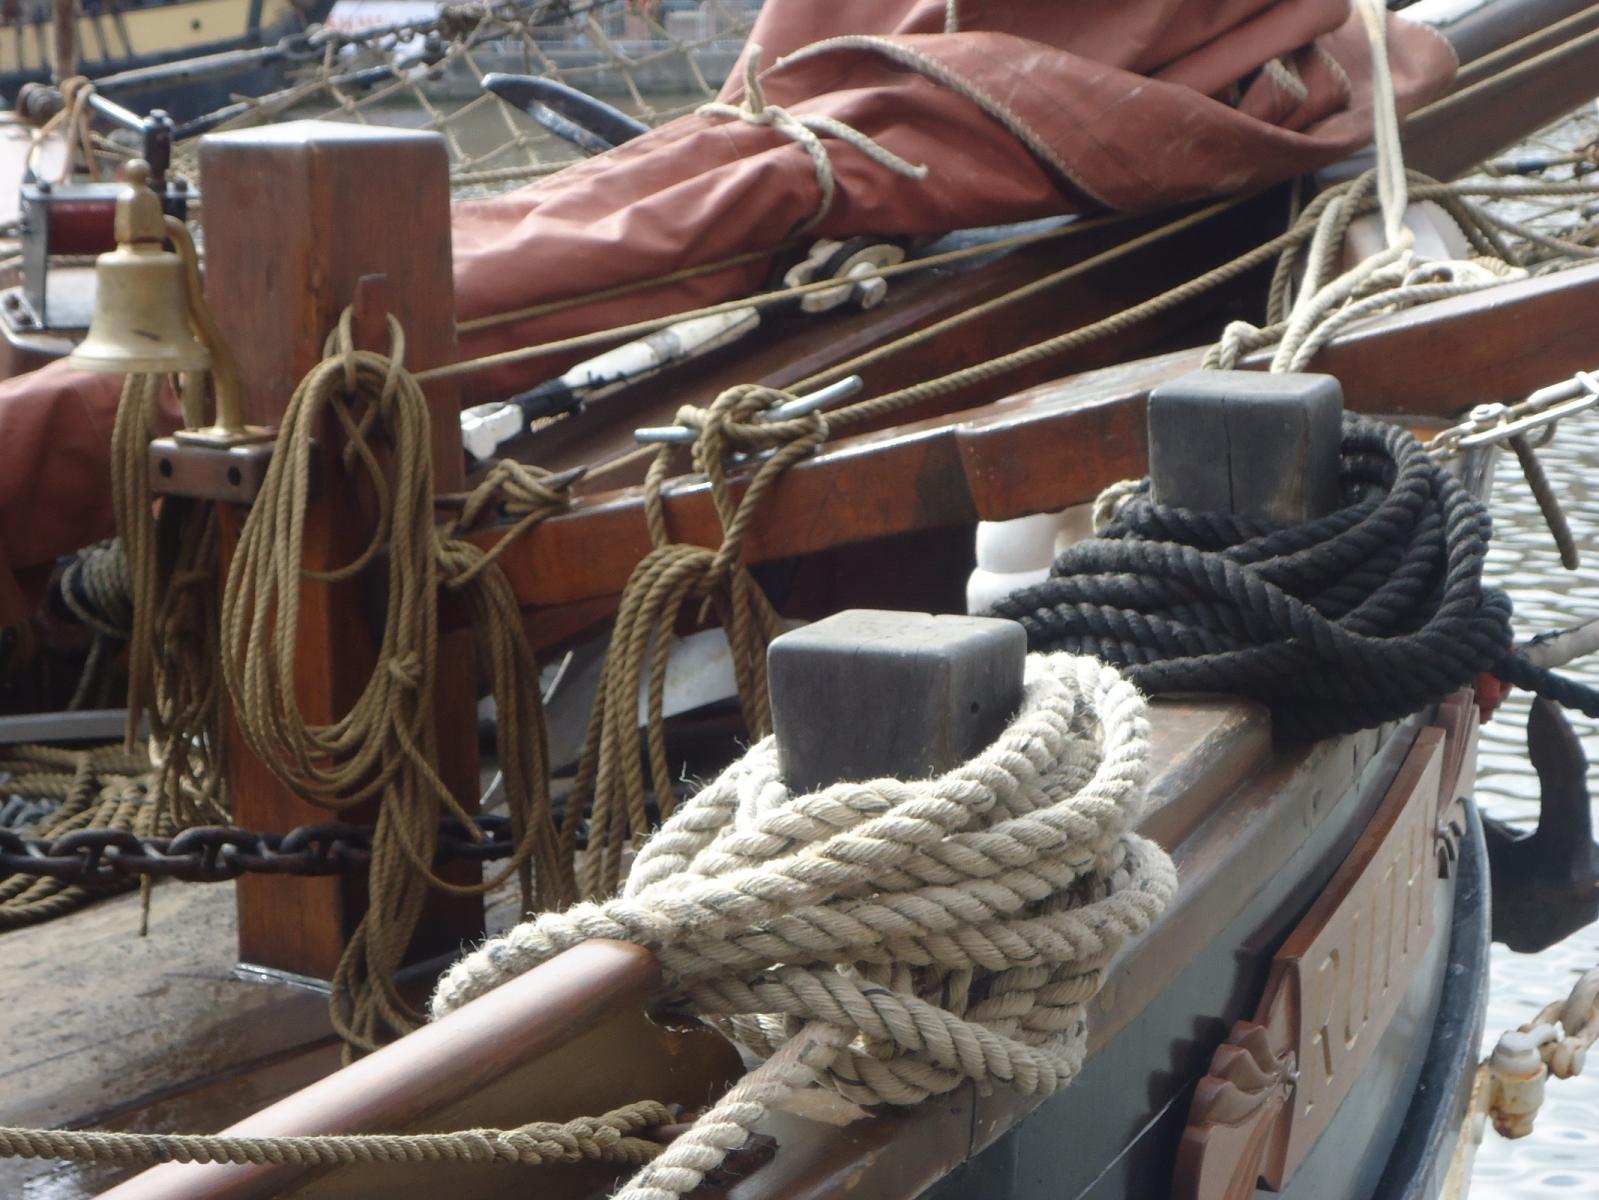
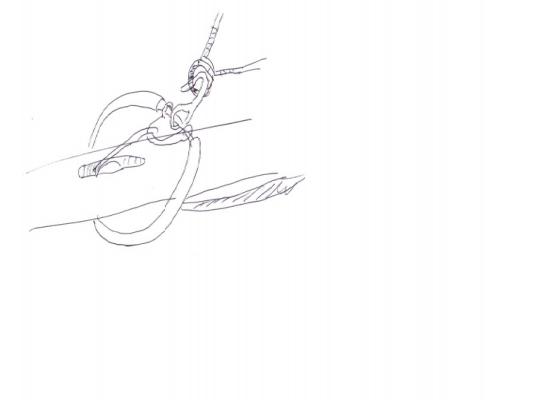
Hi Peter Re the Jibboom traveller - not sure if it's of any use, but I had another look through my collection of my Tall-ship photo's and found the following: Here's a close up that shows a simple pulley system appearing to do the trick Finally, Petersson's rigging book shows a good diagramme on page 97. I would scan a copy - but I think that breaks all the rules doesn't it? Anyway, this diagramme shows the traveller attached to a ring that surrounds the Bowsprit and is managed via a sheet that comes from underneath the bowsprit and (now for the fun part) around a pulley that is set into the Bowsprit. How that is supposed to be done, I have no idea!!!!! Hope that helps John

- 293 replies
-
- 2
-
-
- pickle
- caldercraft
- (and 1 more)
-
Rick, Just a thought - are you, or have you tried using a mask when using glue? I remember I had the same problem when I was glueing the copper plates, so I bought a cheap face-mask (one of those to be really used against dust when maschine sanding etc.) and it seemed to work OK..... but it didn't (see below) I looked back to my log and found the following extract - hope it helps: Warnings about using Super-Glues In finishing this section, I would mention one warning to any new modellers out there. You will come across warnings to use masks when using the super-glues. The warnings will tell you that the super-glues can affect your breathing/lungs etc. You may think – yes, right health and safety gone mad again - and ignore the warnings. Please don’t ignore the warnings and do get a mask!! After laying the first 20 or so tiles, I finished for the evening but I ended up with a really tight chest and a bad cough the following morning. So, I found my mask, and used it all the next day and even so, my chest wasn’t too good and I was really quite breathless and coughing again the next morning. The mask that I was using was actually a dust protector one, such as to be worn when doing a lot of sanding etc. etc. and I thought that this would have been good enough. WRONG AGAIN. So now I have to find a shop that sells the correct masks. Funny thing is, I did use standard super-glue when fixing the 2nd planking and didn’t have any reaction what so ever. It must be this thick super-glue that’s the problem, and of course you can’t smell anything so don’t realise what you are actually breathing in…. BE WARNED!!
-
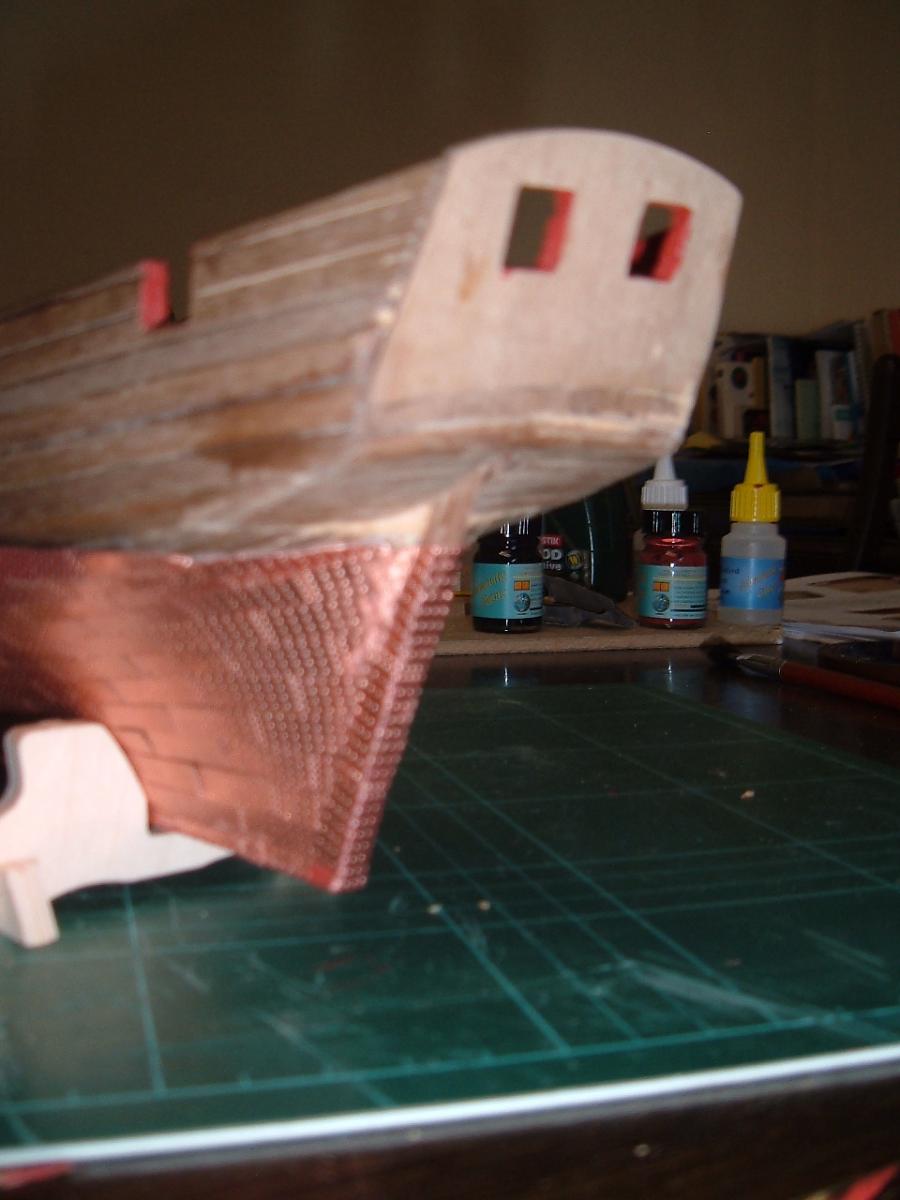
Looking good Rick, looking good. You are almost ready for the real fund and games to begin - shaping the copper around the water line is a real test of patience!!!! In the end. I even resorted to fine-tuning by using a file to attempt to get the correct line - but in the end, I think there was a little copper paint and a touching up of the black paint involved!!!! Enjoy the comming hours! John
-
Rick, There again, you could combine your two theories. I understand that wiping lemons (yes, you have to cut them first) across the copper should result in an interesting patina............
-
Hi Rick Hmmm, I'm not too sure about this one - viewed from a distance - or even reasonably close up, as soon as the plates start to take on a patina (which isn't too long and at my rate of building is way before the ship is completed!) I think they look fine. There again, of course, it's a matter of opinion!! John
-
See - all will be well that ends well!!! Great looking waterline by the way. You're going to love cutting the tiny slivers of copper to finish off once you get to the top!!!
-
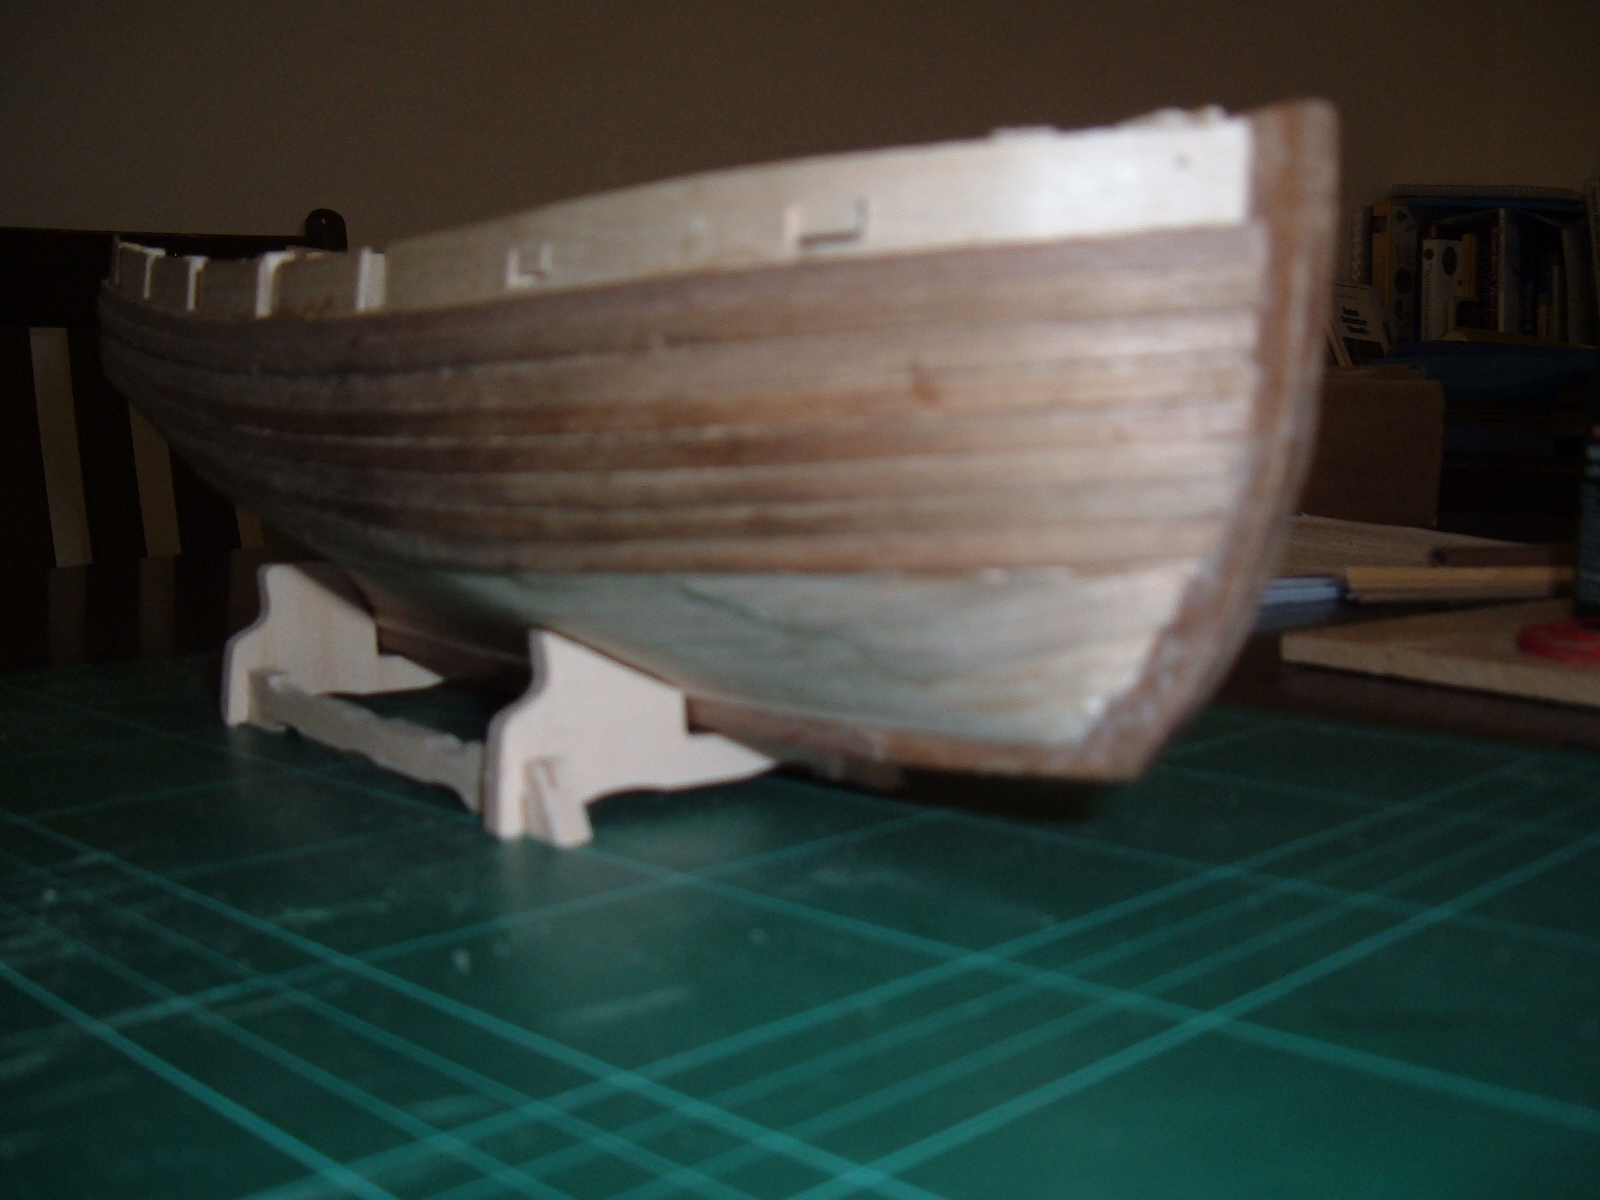
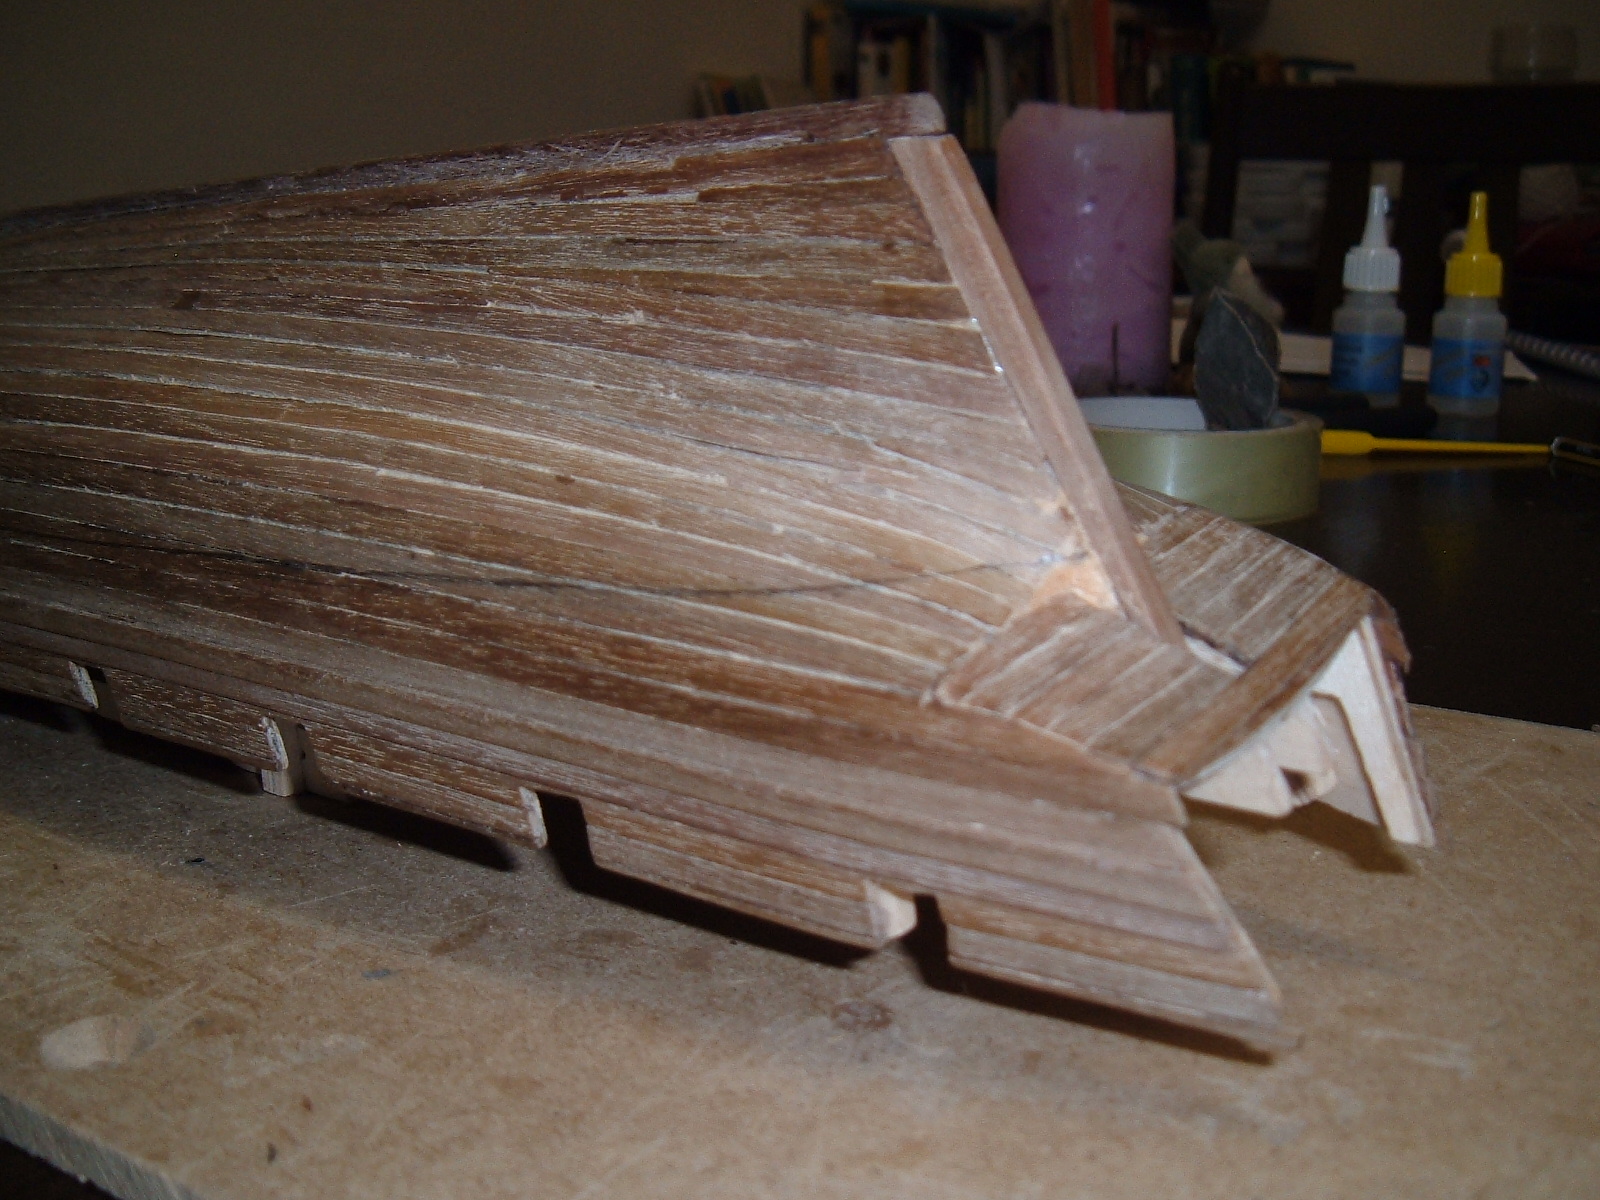
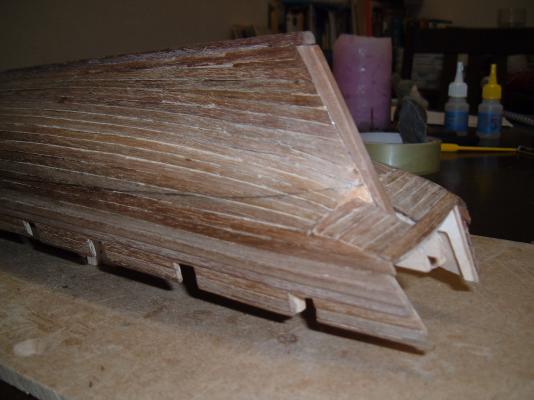
Rick Don't forget that those pretty copper tiles will cover a multitude of sins - though not all!! Re the Transom - you've a while before you fit the Transom but I've attached a (sorry it's a little blurred) photo of my finished one. If you check my log, I mentioned that I hadn;t been too happy with the way the transom was taking shape. Having cleaned the ends of both the decking and the 1st, 2nd planking and inner Bulwark planking, I tried to fit the transom piece. I found that it didn’t fit, in fact there was a least a 1 cm gap. So using a waste piece, I spent ages shaping a filler piece. Once fitted then quite a lot of sanding and filing to make things look ship-shape (excuse the pun!!). In the picture you will see the darker piece of wood at the bottom of the transom which is my filler.. Hope that helps for future reference. John
-
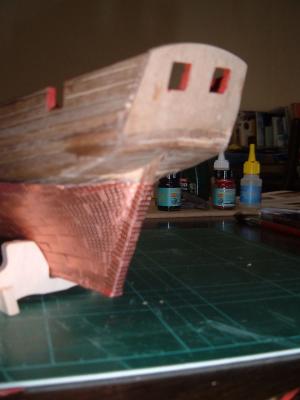
Hi Rick First of all a very happy new year to you. I've been looking at your latest posting. You wrote that the photo's were of the second planking. I must say that I am somewhat surprised. When I was building Pickle, the second planking was supplied as Walnut, whereas your photo's seem to suggest otherwise - unless I am still recovering from too much Christmas Port and Brandy!! Here's a photo from the start of my second planking to show you what I mean - the first showing partial complete so you can see the different woods...... ... the second showing the completed planking.... Regards John

-
By the way Peter, Whilst I was viewing the two ships that I photographed, I noticed your Launch - you haven't lost it by any chance????? I did notice that they had changed the colour so you would have perhaps not noticed!
- 293 replies
-
- 4
-
-
- pickle
- caldercraft
- (and 1 more)
-
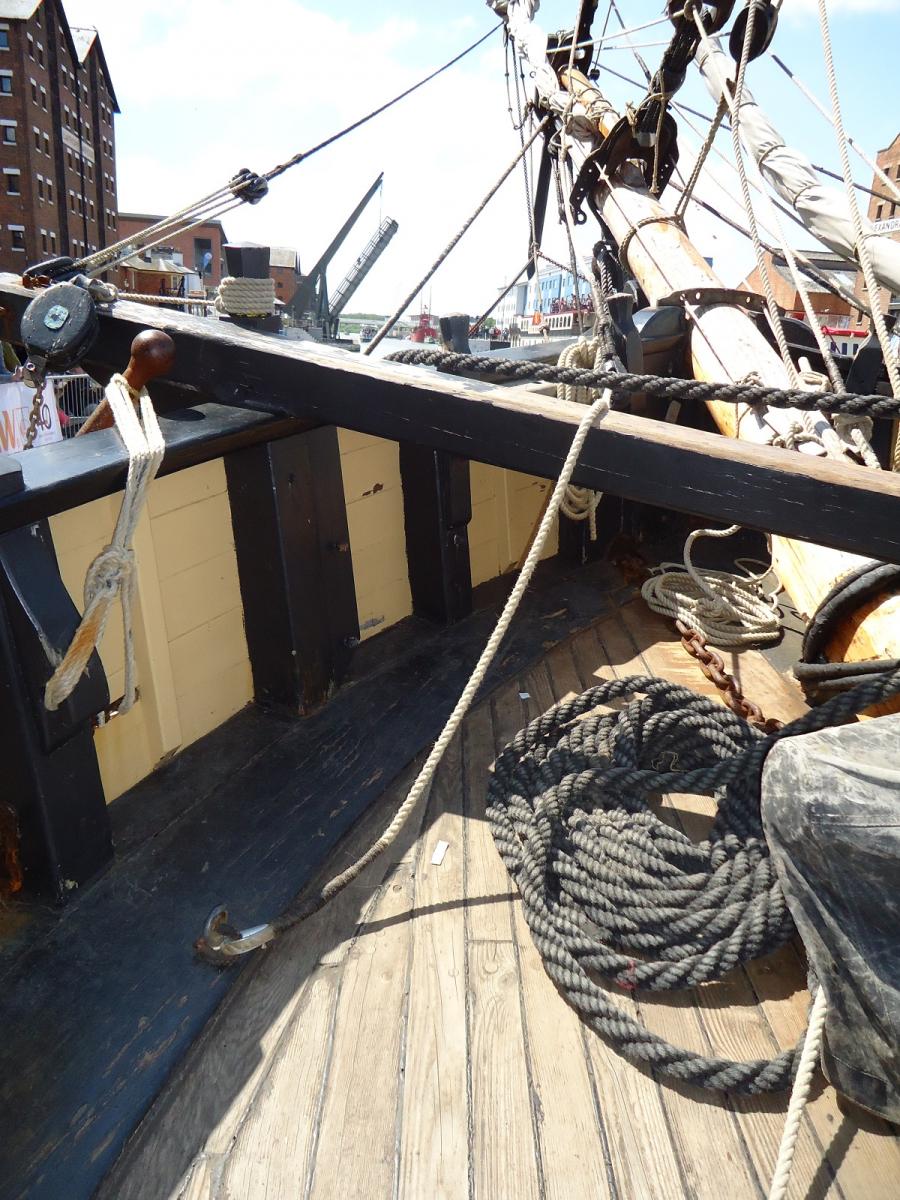
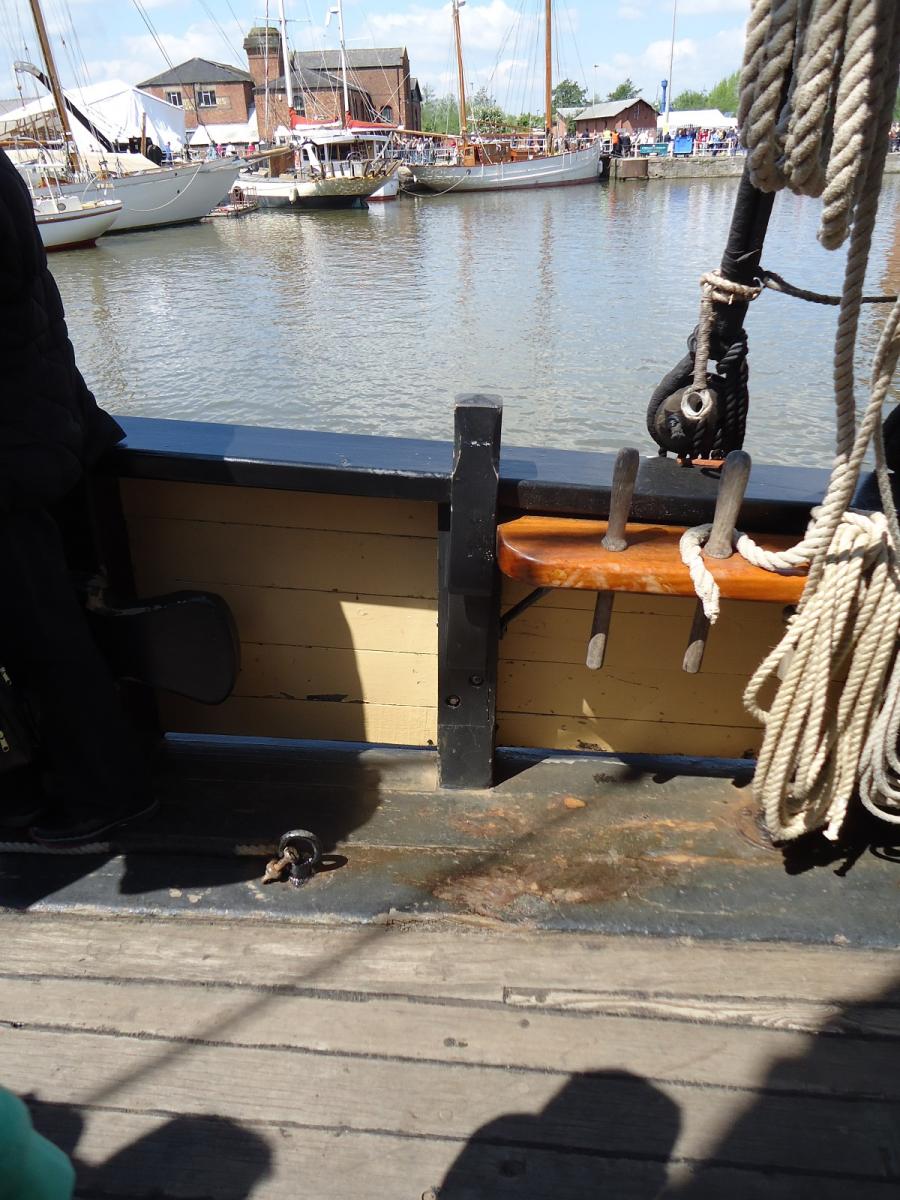
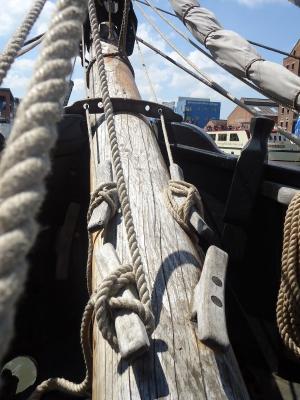
Peter, further to your comment "experience says that you never have enough belaying points" I thought I'd send add a couple of extra shots of the ship that I posted last week. I hope you don't mind.... Here's one to prove your point!! These two are obviously of the bow area and just goes to show that you are correct in never having enough belay points!! Here's a couple of shots showing the deck rings securing the jib sheets (a different shop though) Finally, from the second ship, back to the bow and showing another useful place to secure cleats Regards John


- 293 replies
-
- 4
-
-
- pickle
- caldercraft
- (and 1 more)
-
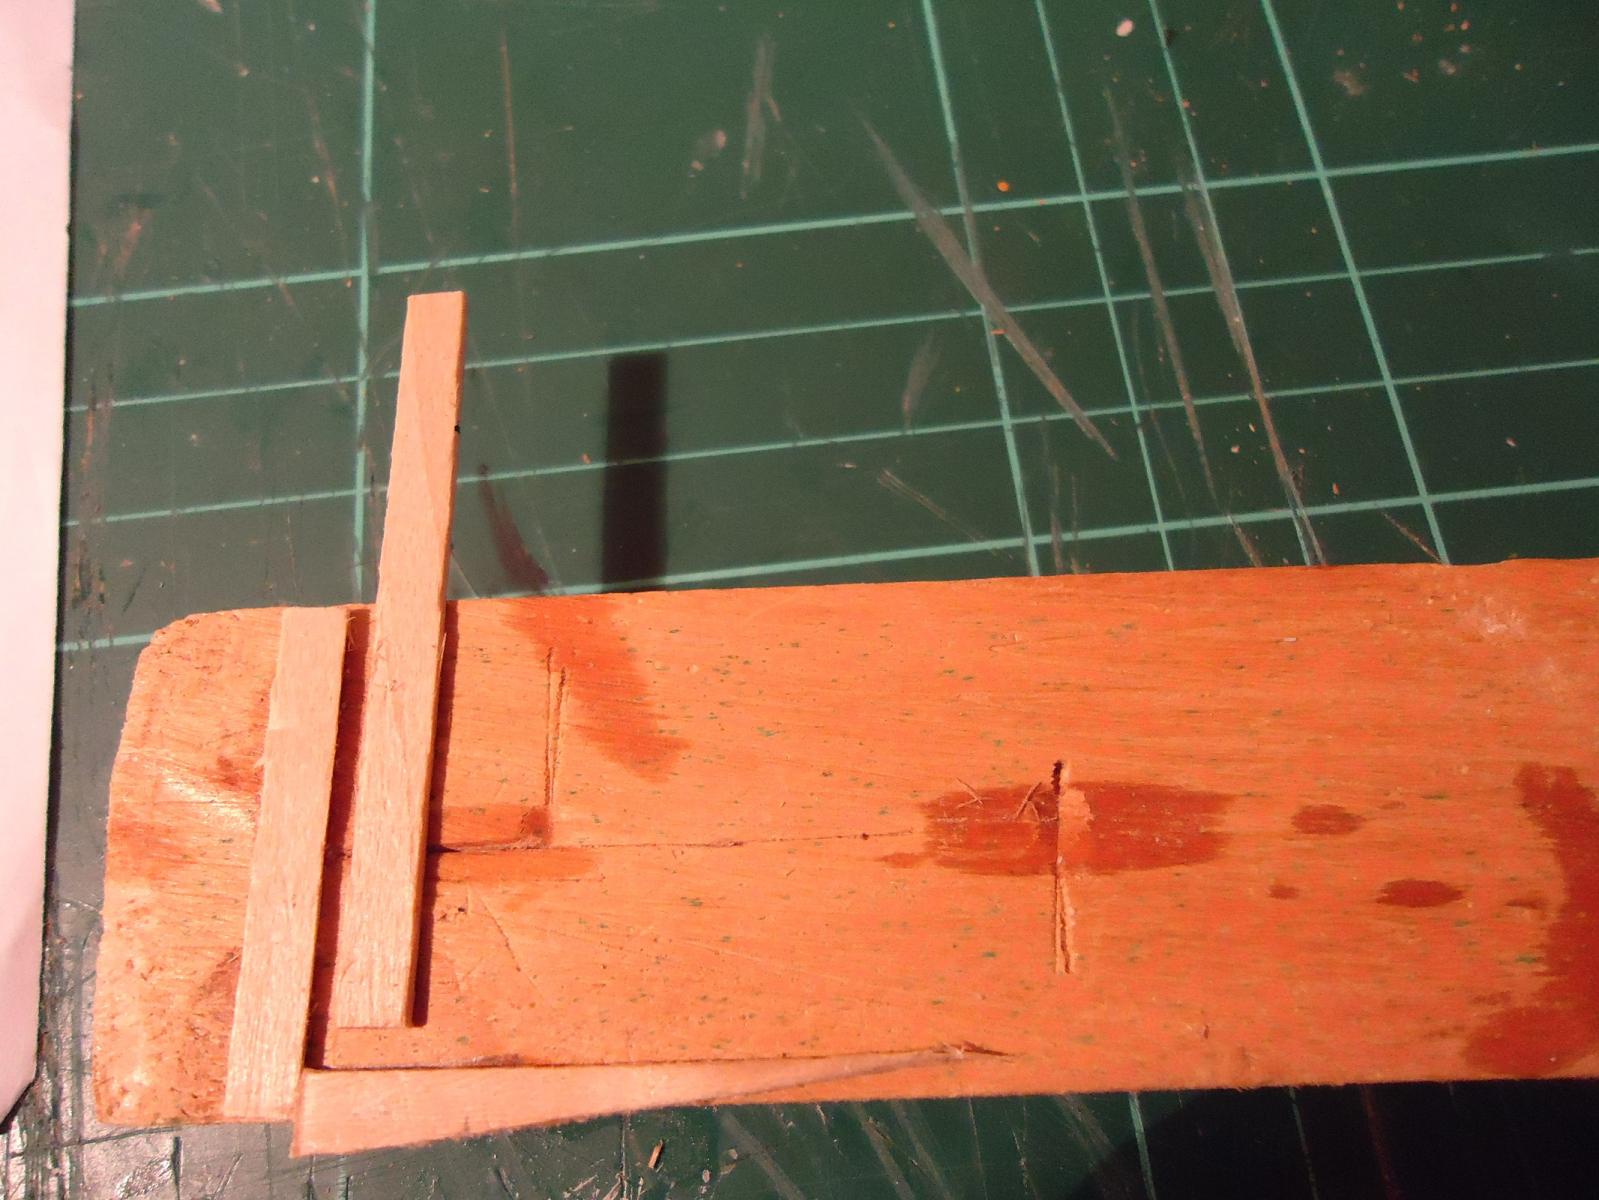
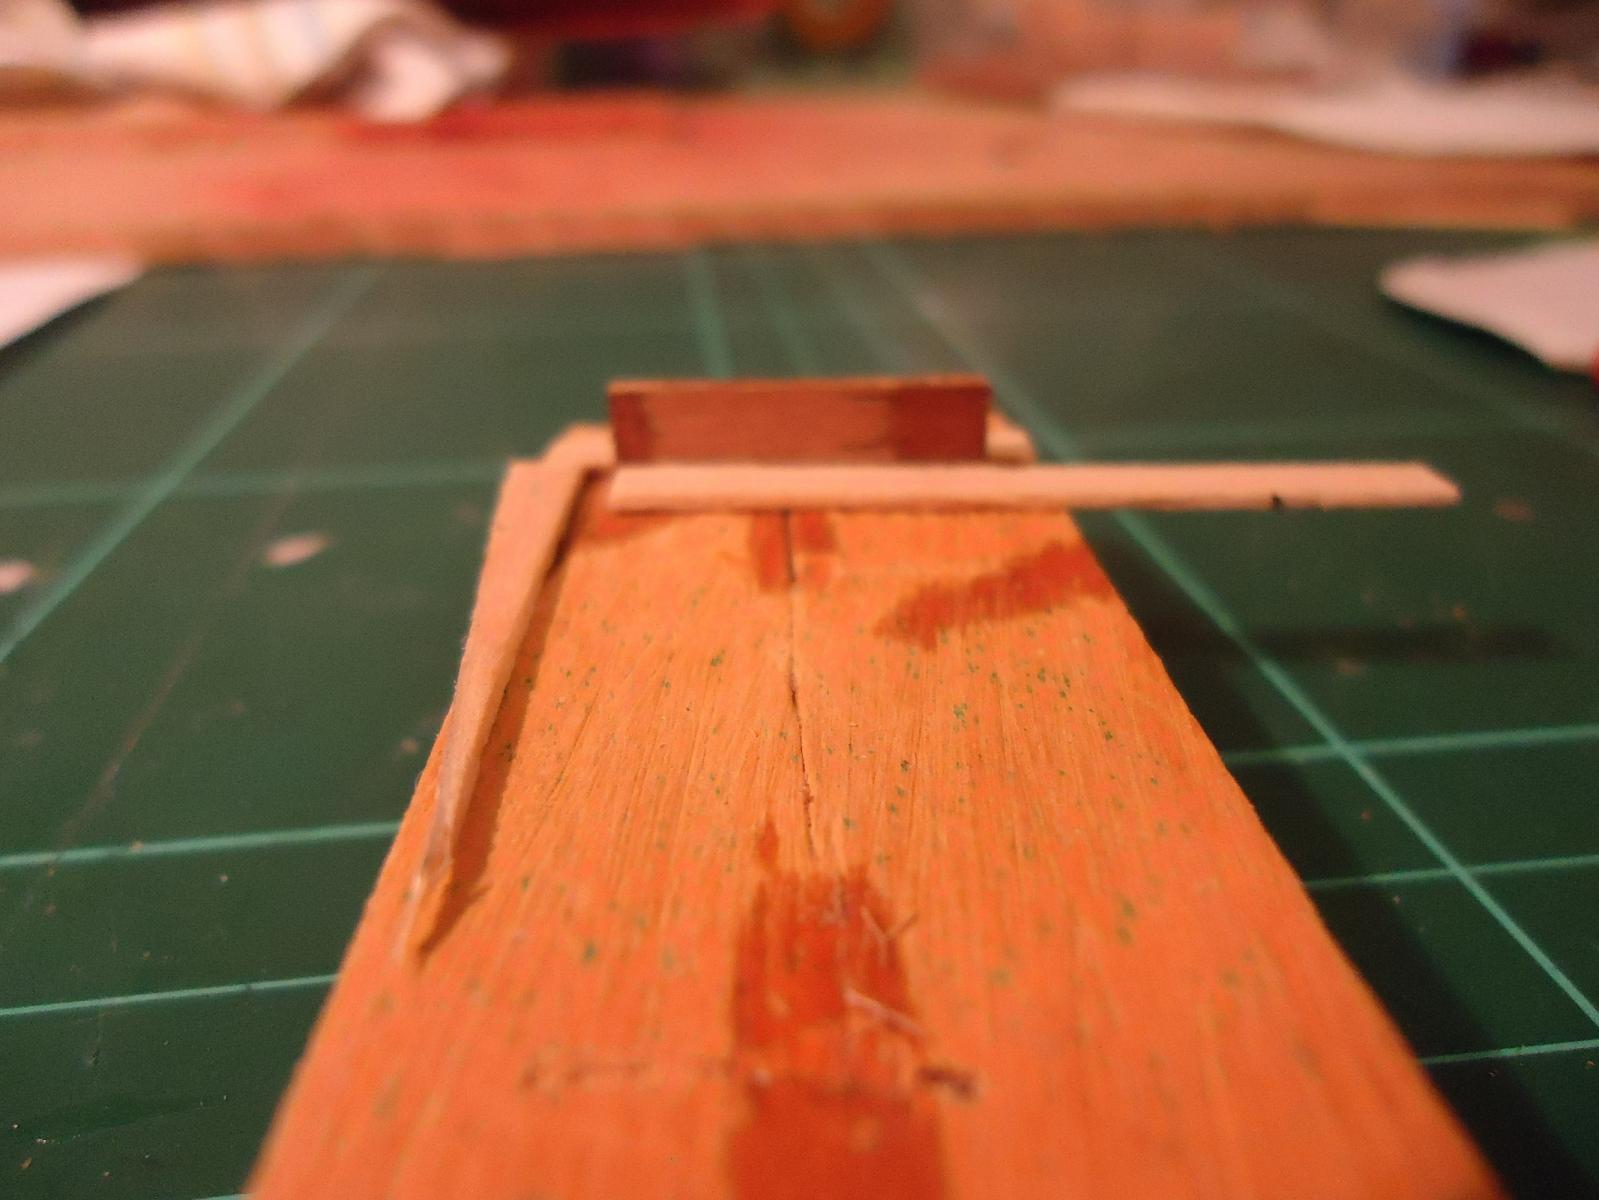
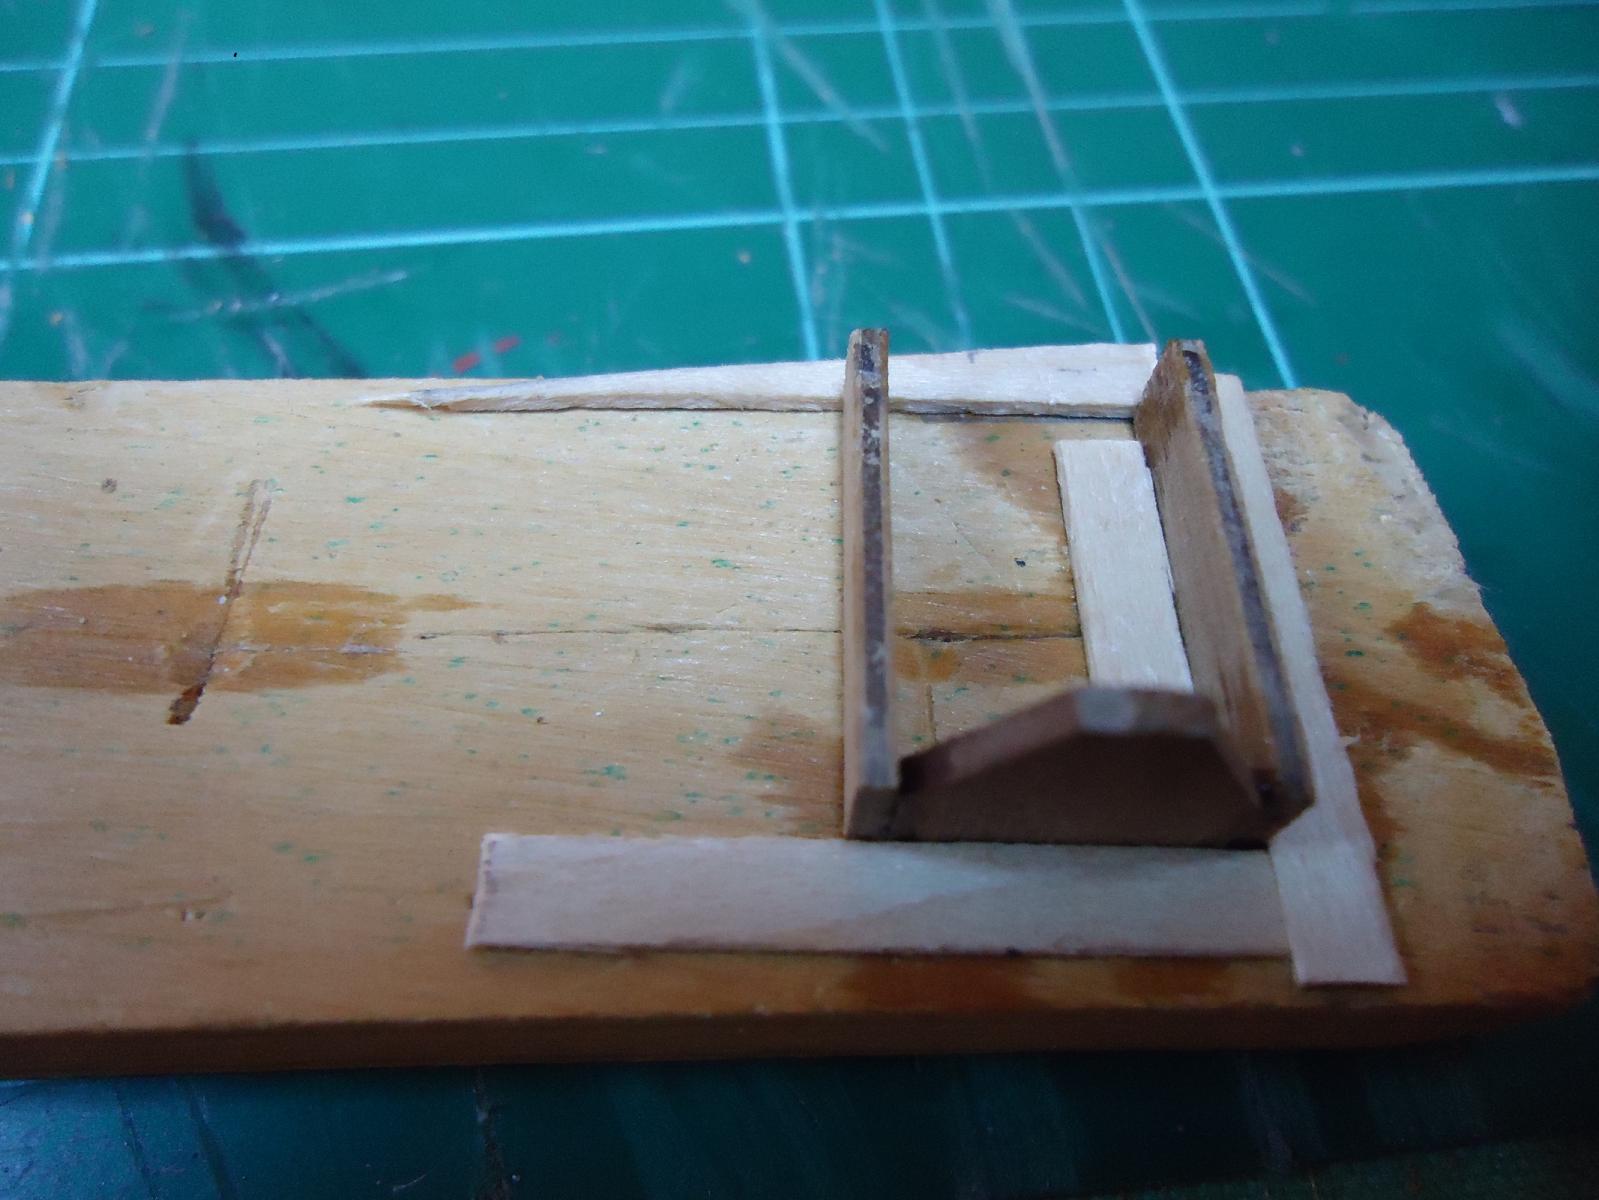
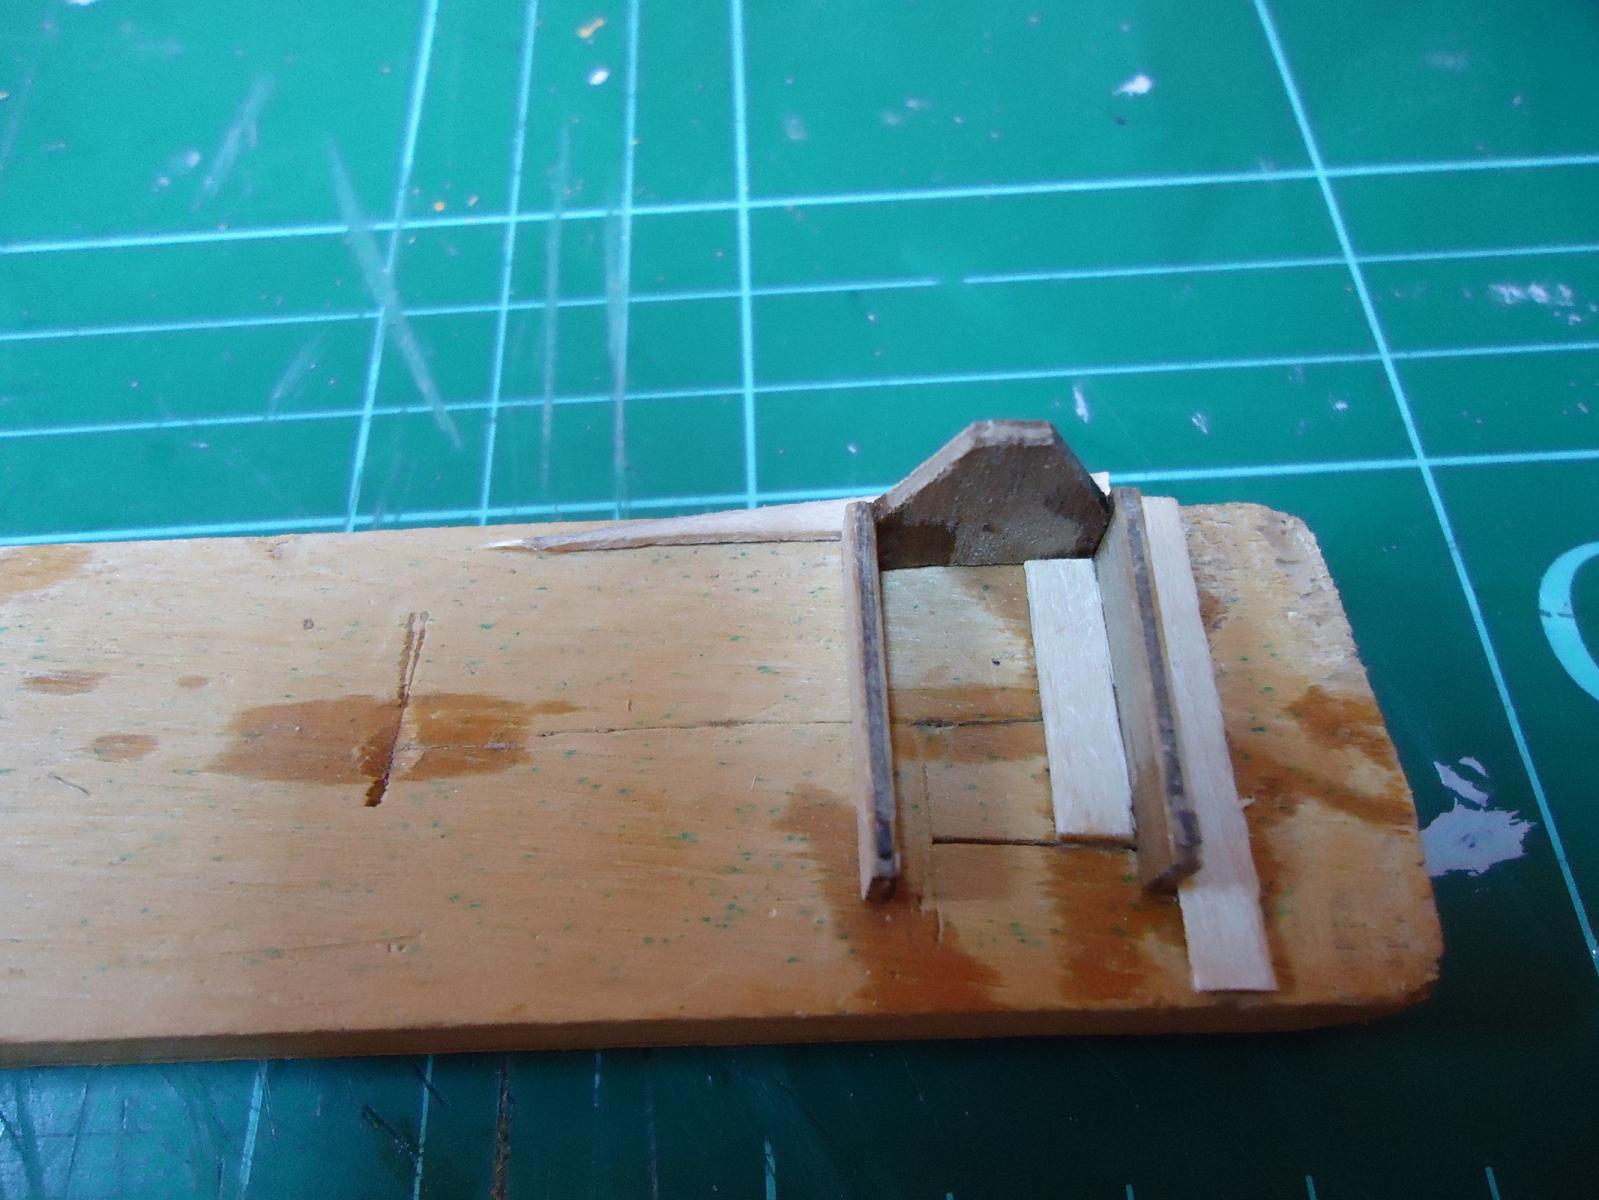
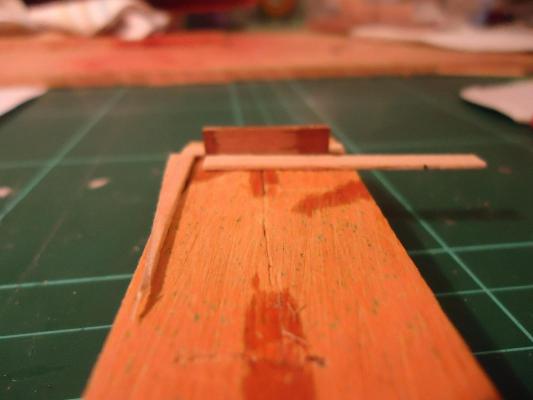
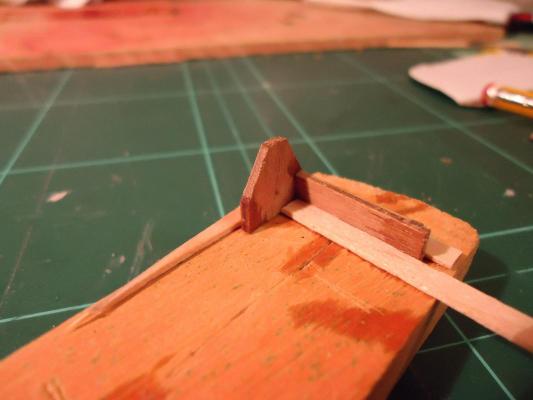
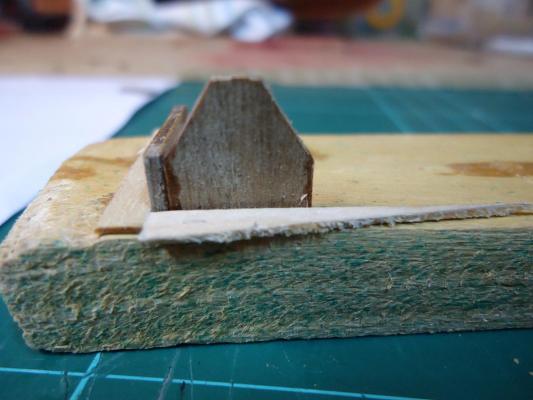
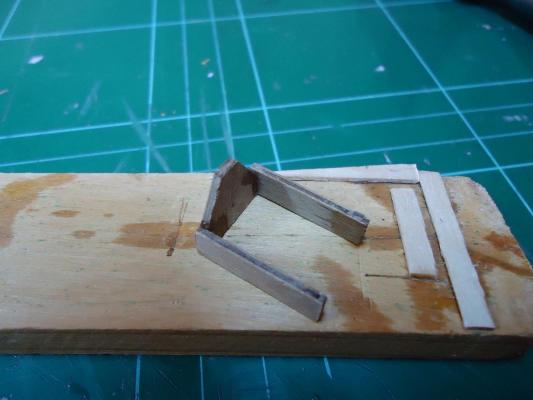
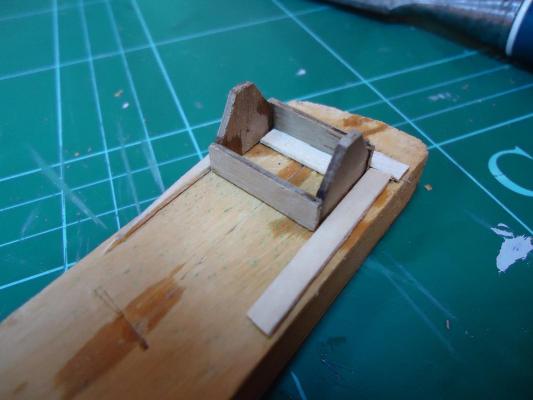
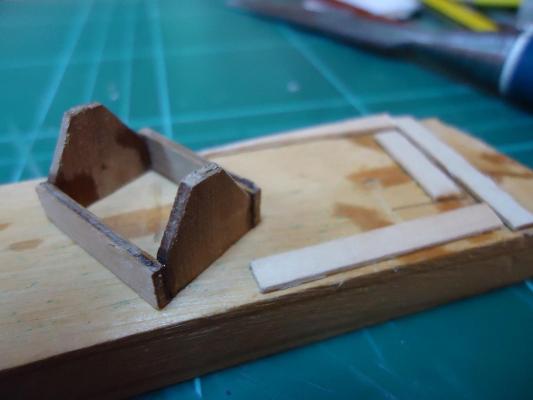
The Build – Phase 10 Skylights and Companionway Here we go on the next stage. As usual, I read through the instructions and identified the parts needed. Fine, this looked easy enough I thought. Join a few pieces of wood together and we’re done. Of course, nothing is ever as simple as it looks, I should have know that by now. I spend a frustrating half-hour trying to work out how to glue the tiny edges of the Skylights together whilst holding them perfectly still and straight at the same time. In case you were wondering, the important word in that sentence was “trying”. Then I had another idea. Why not make a new build template? First things first. Using some spare pieces of planking, I glued three pieces to a small block of wood, leaving just enough space to fit a section of the Skylight in between. Next, I slotted in a side piece, now supported by the planks: Then I added a Skylight end piece, making sure that the two pieces were square. After a dry run and check, I carefully added glue to the ends and re-positioned the pieces: That seemed to work, so after waiting a while for everything to set, I removed the two pieces. However, before I did so, I marked the long holding strip and after removing the pieces, I cut the holding strip to size. I was then able to add the second side piece and then turning the previously made piece I slid that in to place. I also used a new piece of planking offcut (not glued) to square everything up, checked once more before removing the pieces, carefully gluing them and putting them all back together again. Well, so far so good. Next, once everything was dry, I replaced the three-piece skylight back into the template, this time the other way around. Then, I added the second skylight end-piece, again using my spare plank cut-off to square everything off. A final check, then added the glue. After drying, I removed the completed structure. I was very happy with the results, the structure looking very solid and, more importantly, square – well oblong, obviously, but I’m sure you know what I mean.


-
Perfect - that's exactly what I meant. I'll have to go and have a look around the local model shop and see what (if anything) they have. Model railways and Fantasy Game models seems to be the main focus unfortunately!
-
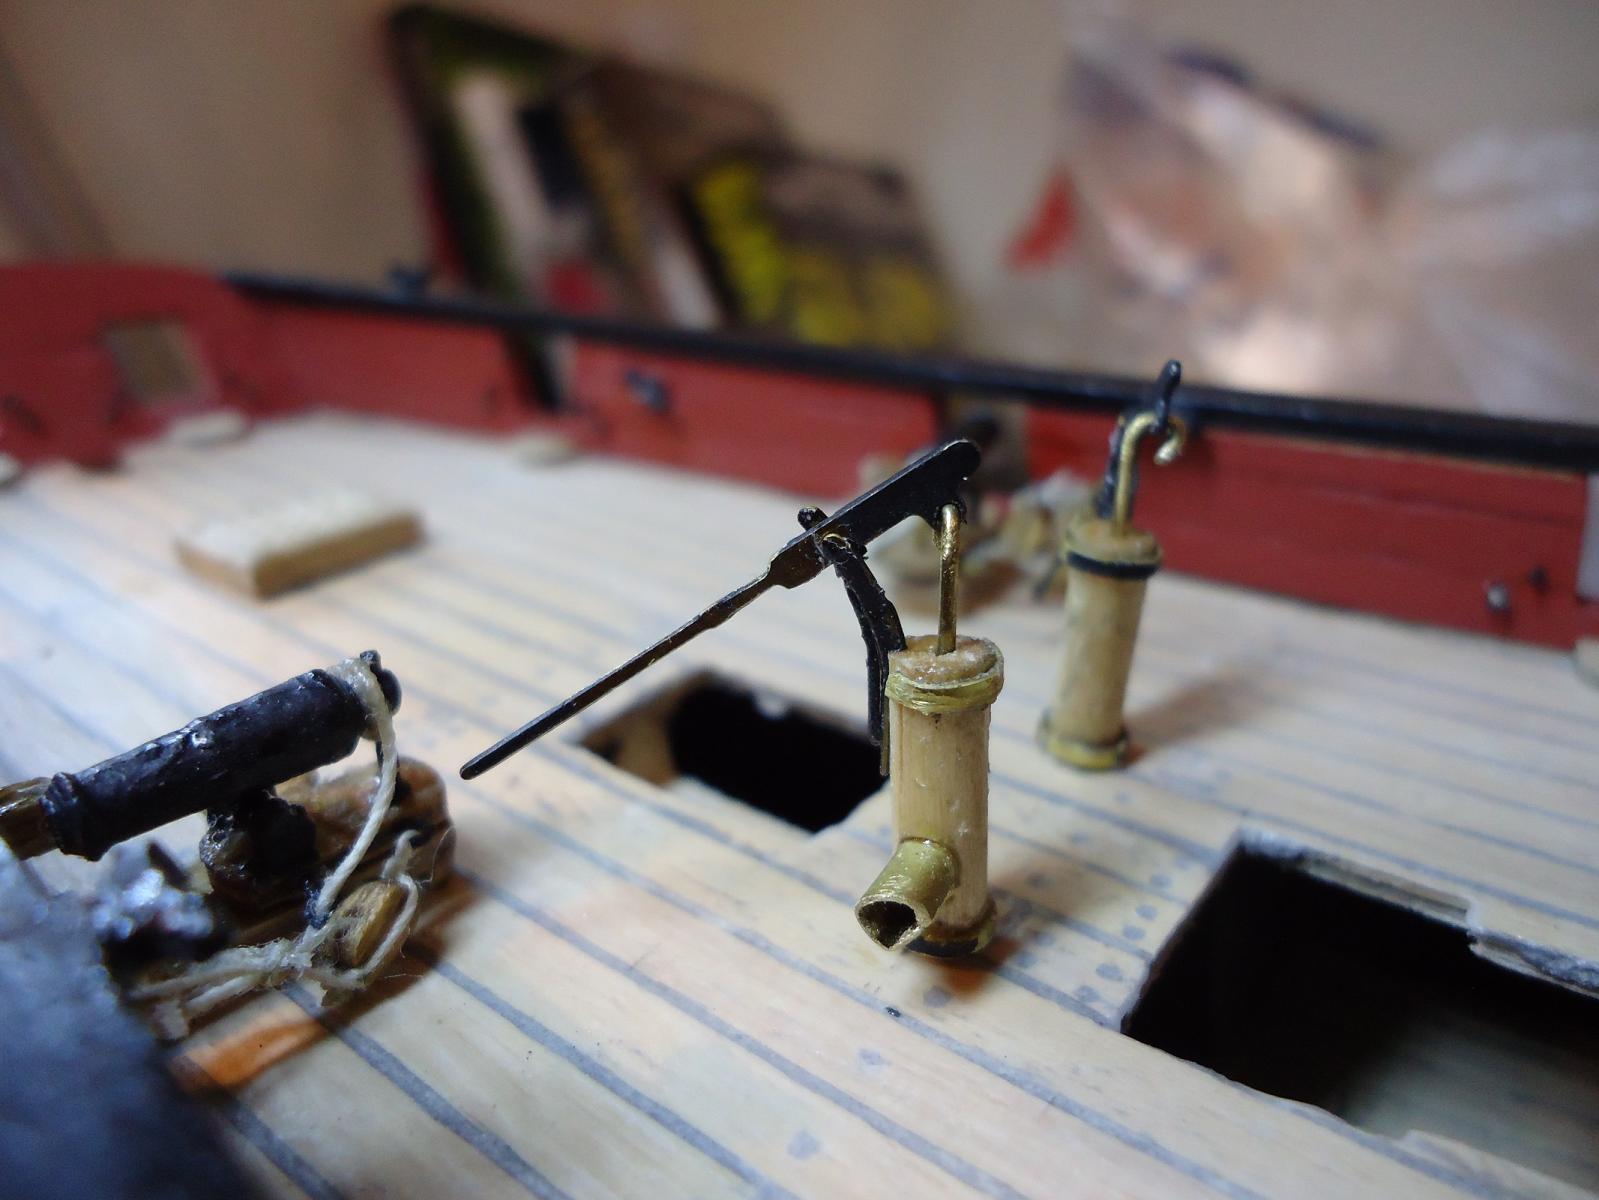
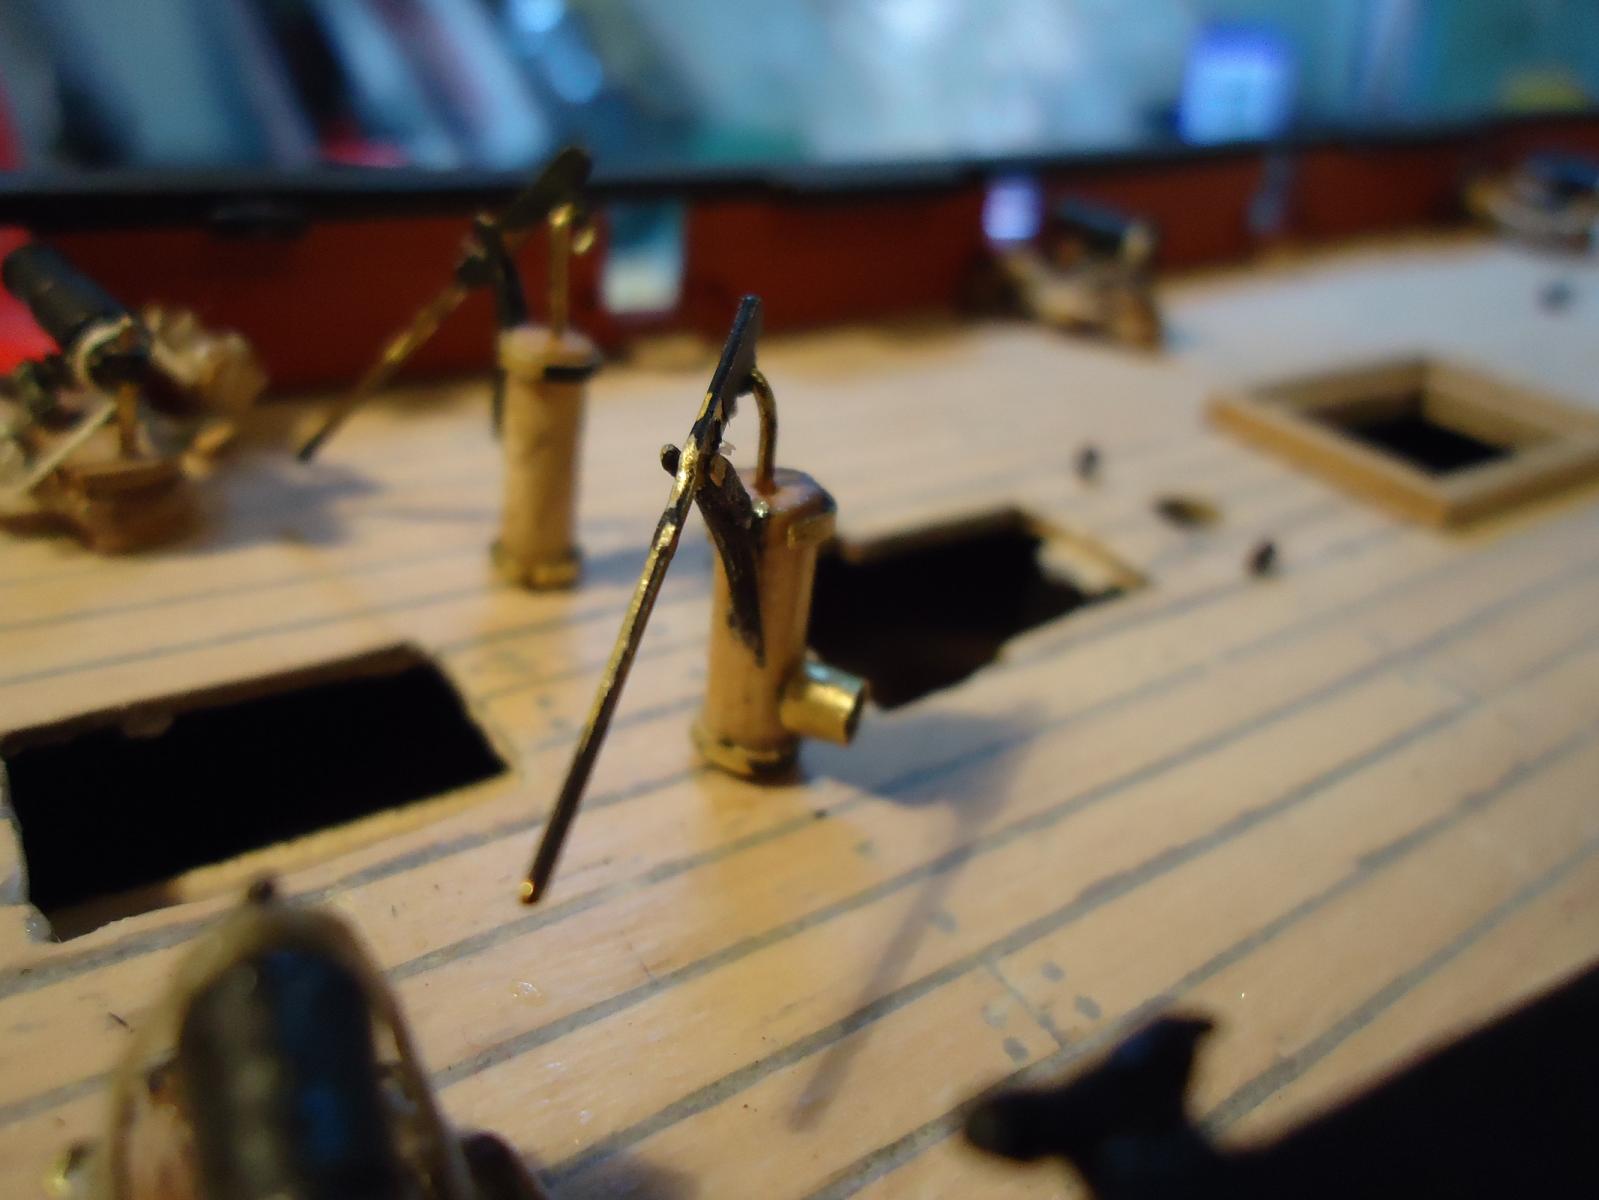
After contemplating my shiny Brass Pumps from the previous picture, I knew they needed painting, So, as needs must,I completed the painting, I purposely left the inside of the outlet pipe in grey as a contrast. Looks OK to me. I fixed everything and repositioned the Pumps on the deck, when I realised that one of the Pumps has been assembled the wrong way round. Still, I won’t tell anyone if you don’t. As suggested in other builds, I haven’t fixed the Pumps in place yet and will wait until later in the build. Still, another section completed and now I move on to the Skylights and Companion Way….

-
Thanks for that. I think I will try a little coving around the bottom - assuming of course that I can find some wood to do it in the first place. I think my local DIY store's coving would be just a little in the large side ...... time to get a little inventive!
-
If anyone is out there, I have a question. I am starting with the Skylights and Companion way. Of all the Pickle builds I have seen, I noticed that none appeared to have a 'Seal' line around the items. On a modern ship, I would expect to see some sort of coving around the base ot these structures and not just flush with the deck. So my question is: how was this done in Pickle's day - and therefore for this build? Was the join simply tarred or?????? Many thanks
-
Yes Rick, the apprenticeship is hard. But the Princess to whom we all hold allegiance is a fickle lady indeed. Indeed, she changes her name as many times as you change the ship on which you work - as the Ship is indeed the Princess herself. The Princess and her many whims must be obeyed and the challanges she offers must be taken... Never fear the spilling Rick............... “Fear is the path to the dark side…fear leads to anger…anger leads to hate…hate leads to suffering.” and leads to a broken ship!!!!!!! So, enough already - back to Earth for dinner it is..
-
Rick Do not awaken the Force - it is evil in this World. Force has it's Partner called!! Impatience is also from the Dark Side. Never look it in the eyes!!! The Spirit of Gentle Persuasion however, is to be welcomed in to our World!! Let the Spirit guide you in your endevours and you will indeed also become a true Master..
-
Black Cartridge Paper is on my Christmas list then. I guess 150gr should work? Oh then I have also seen Styrene that people are using for various things..... Well, that's my Christmas list sorted........ unless - tools???? No, another time - much too expensive anyway!
- 293 replies
-
- 1
-
-
- pickle
- caldercraft
- (and 1 more)
-
That's smart - I like it!! Wow, the bands are cartridge paper? If you hadn't said, I would have guessed they were brass strips. Hmmm, Interesting.
- 293 replies
-
- 1
-
-
- pickle
- caldercraft
- (and 1 more)
-
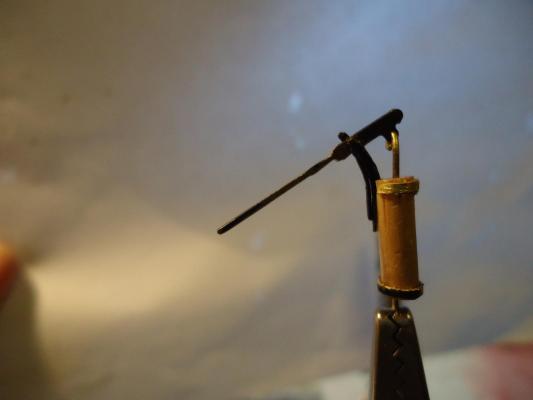
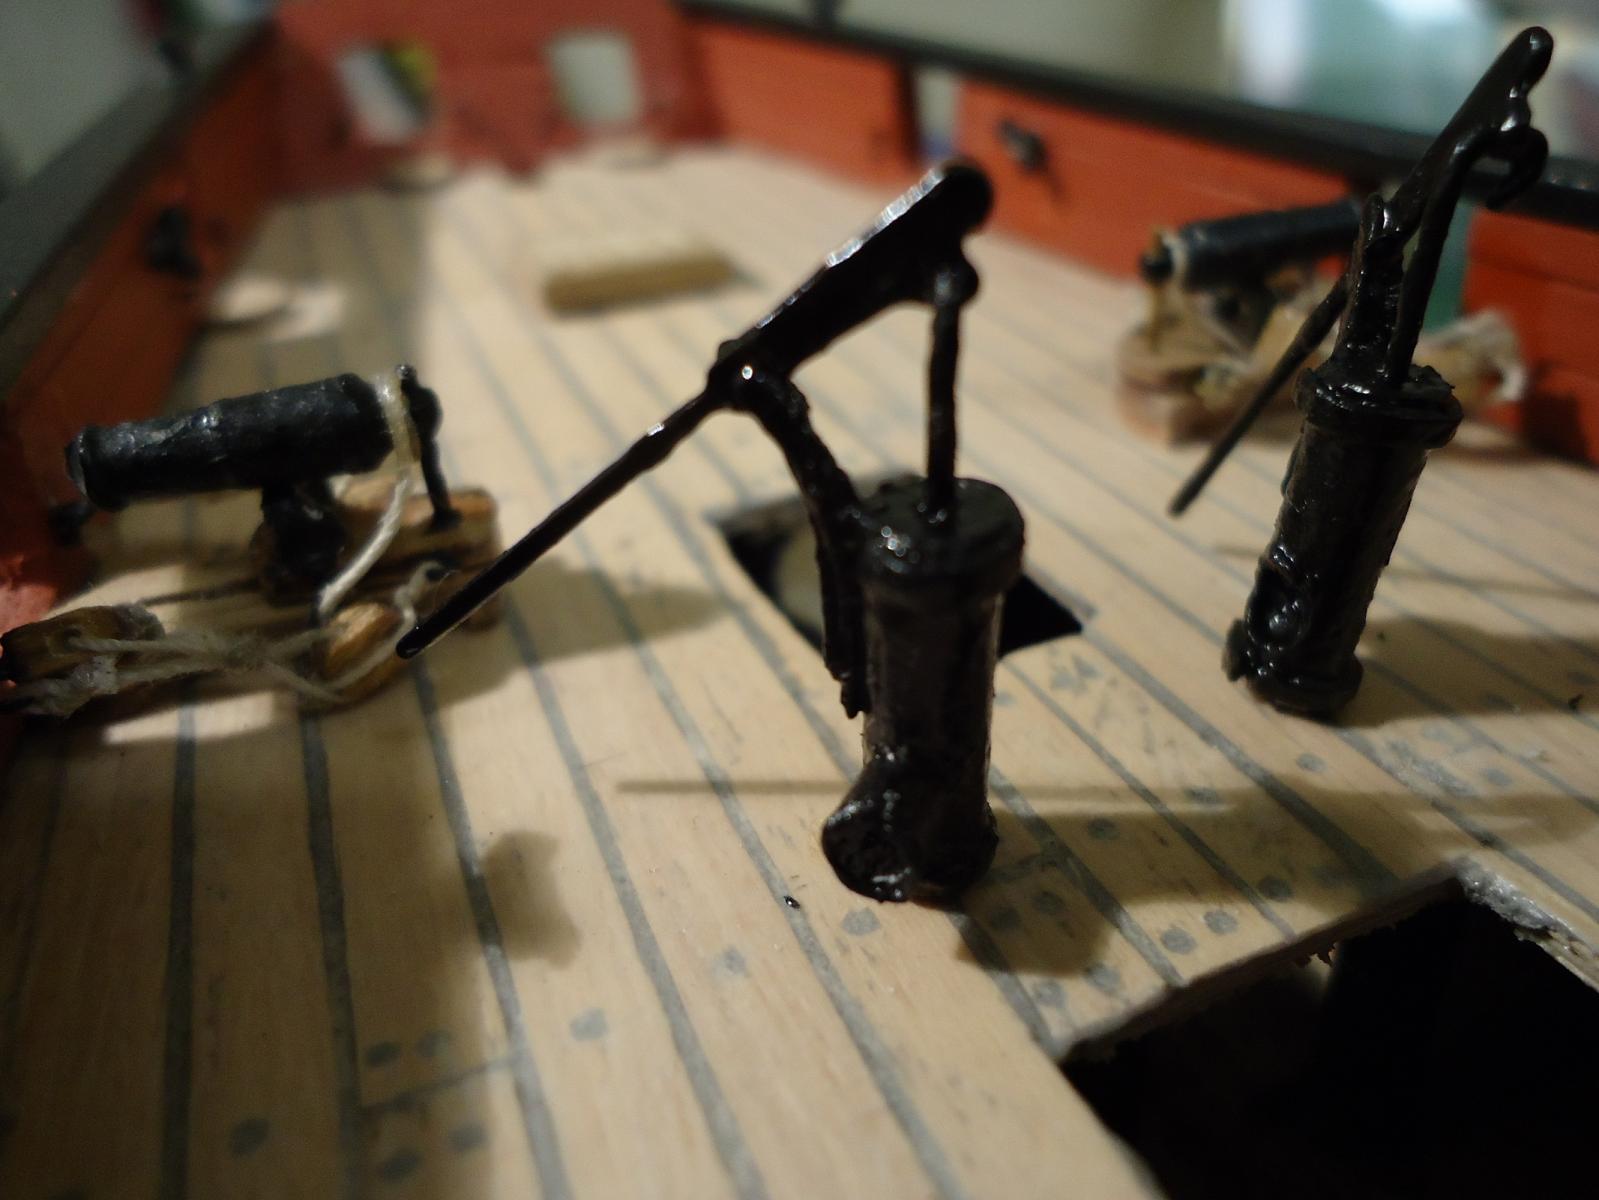
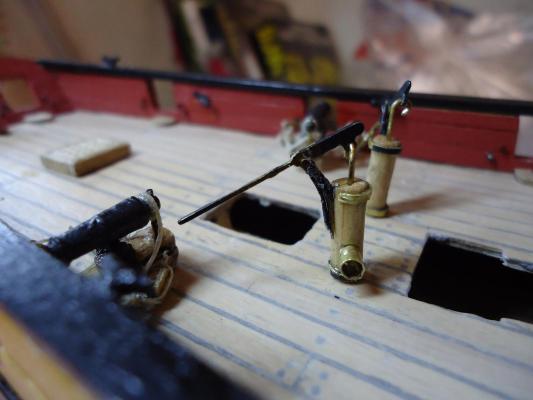
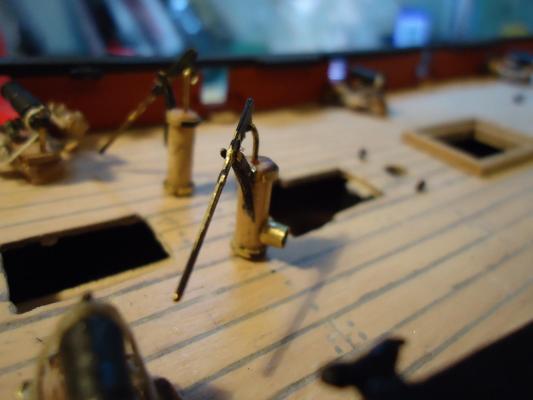
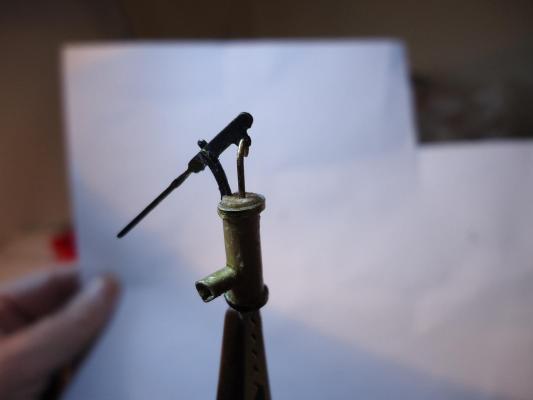
So, I had another look at my attempt at the Elmtree Pump outlet pipe and decided that it really wasn't good enough. Here's the old version..... I started again and created a new version. Now that's better (say's me!!) It's almost a pity that I'm going to paint over the gleaming brass!!! Now all I have to do is finish the second pump!!

-
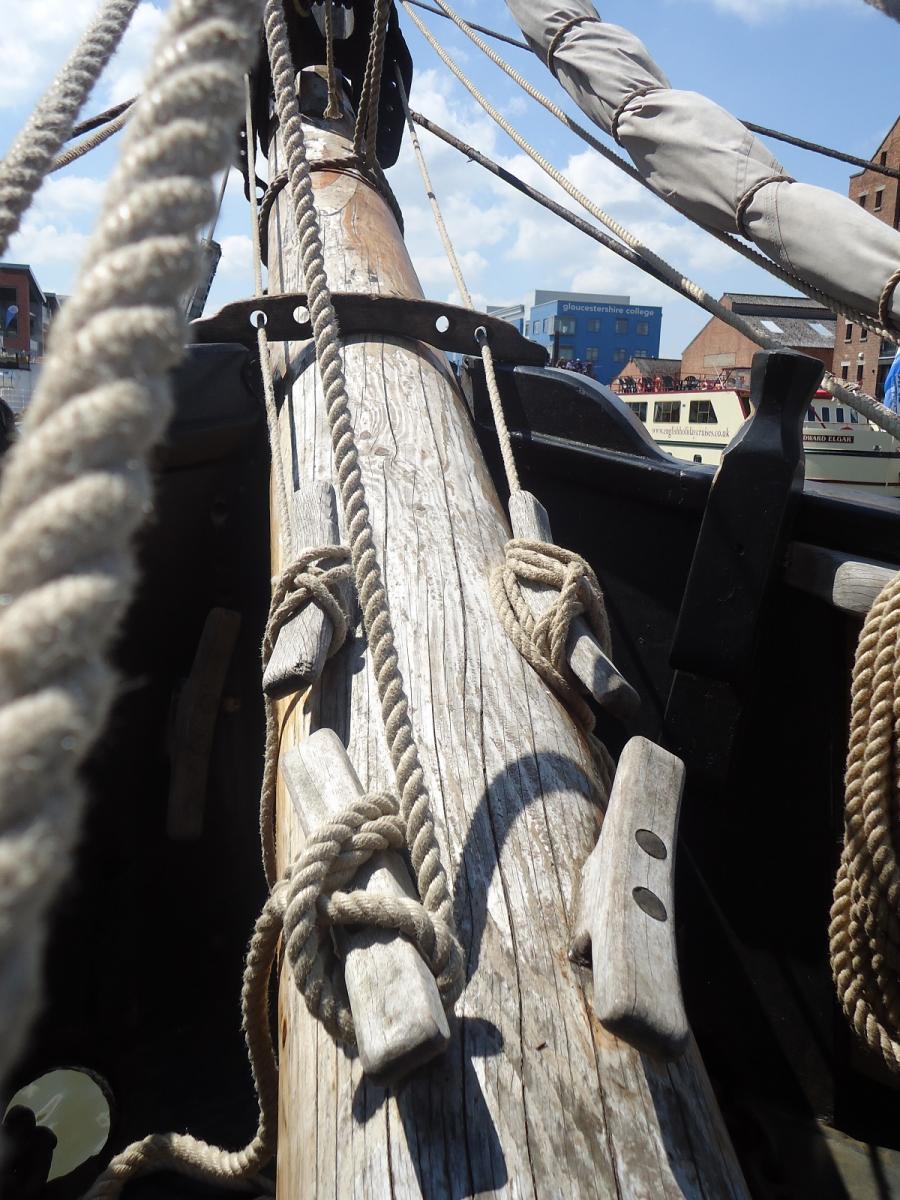
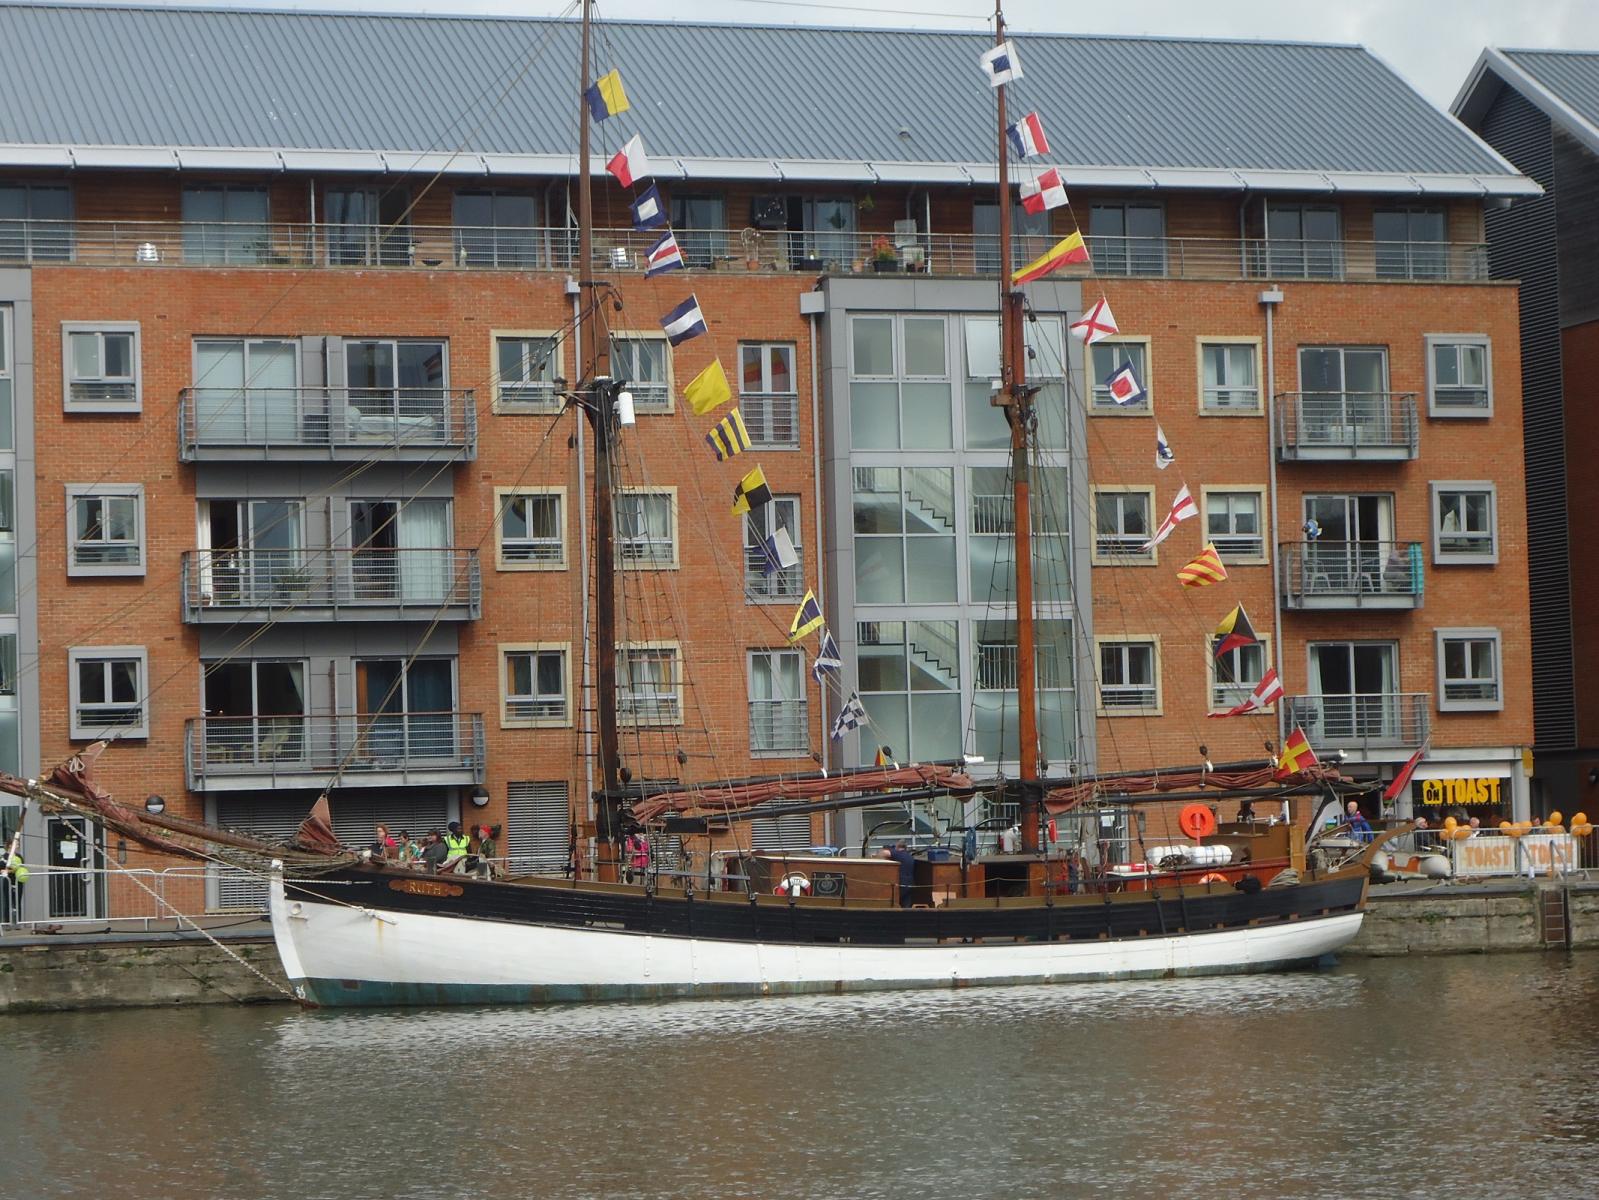
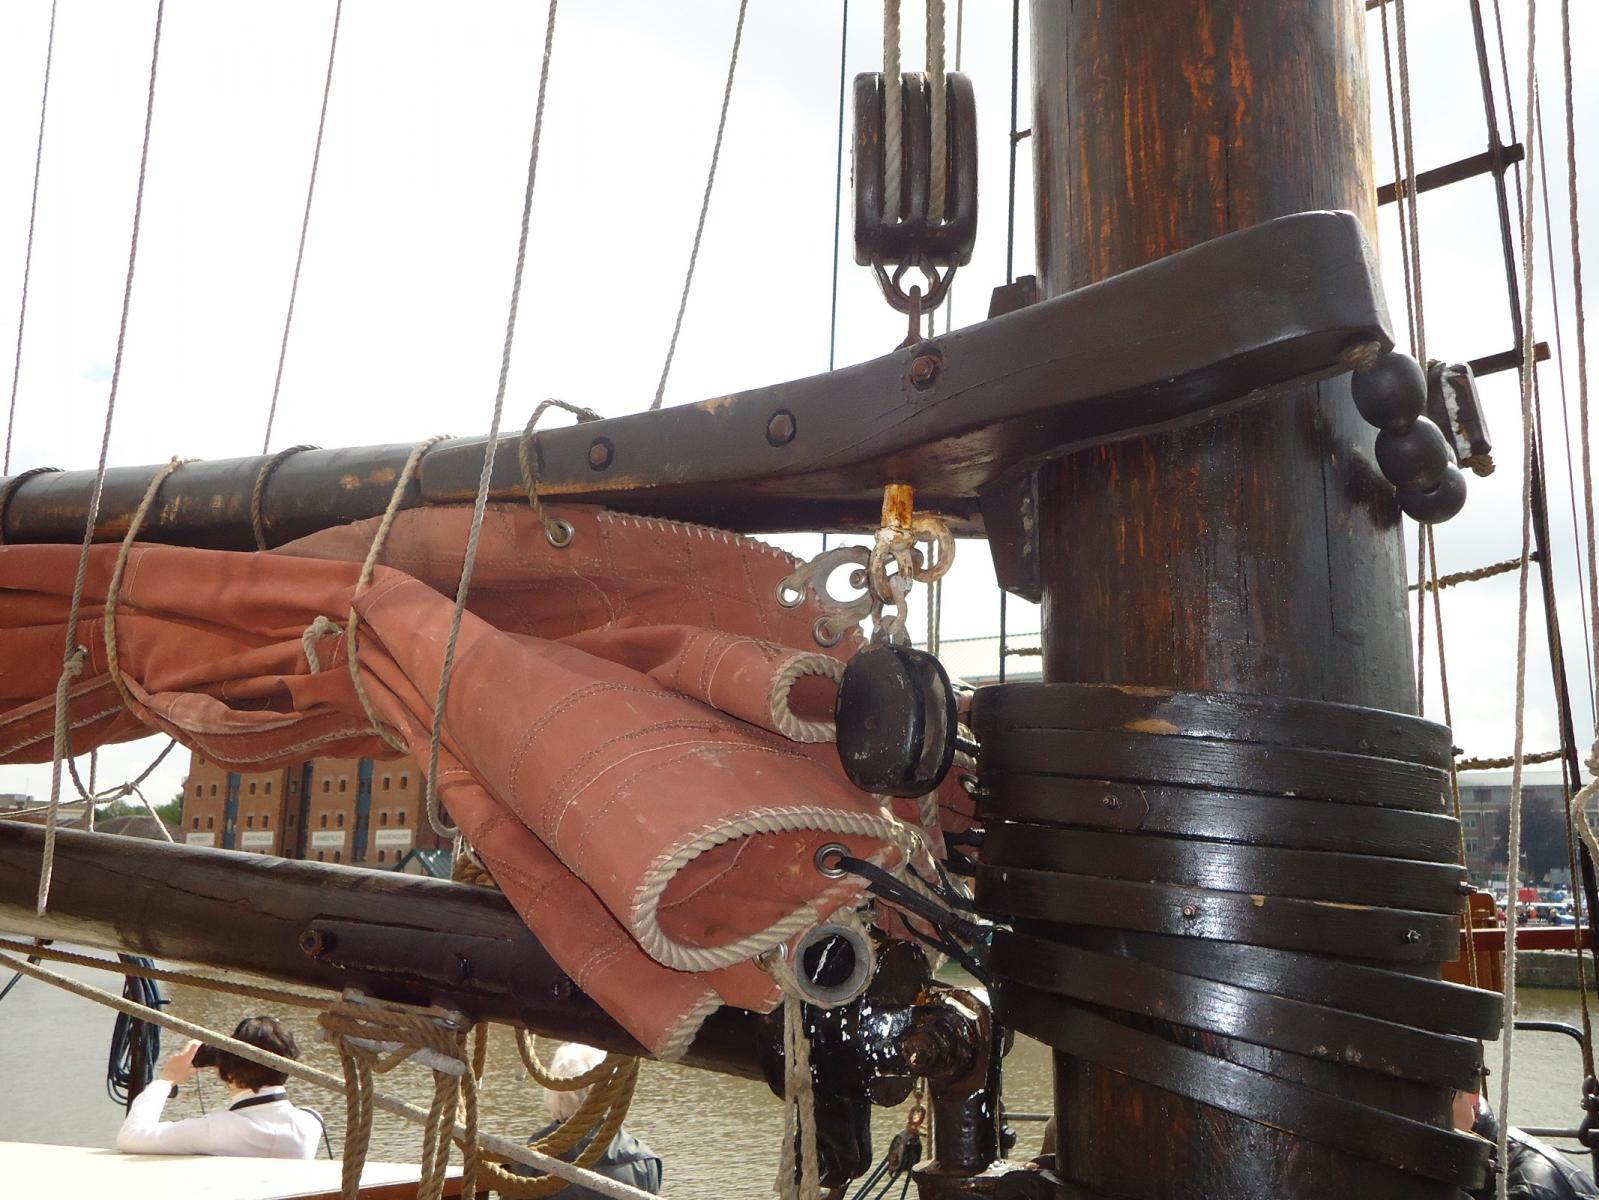
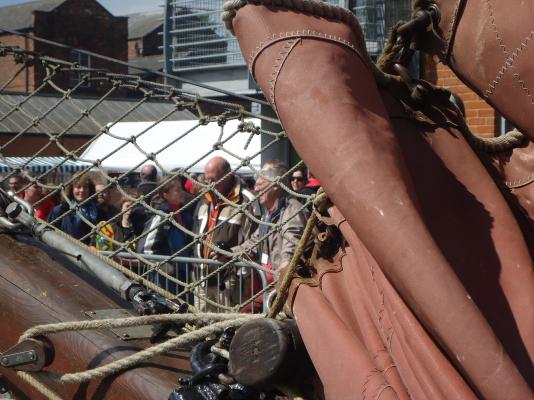
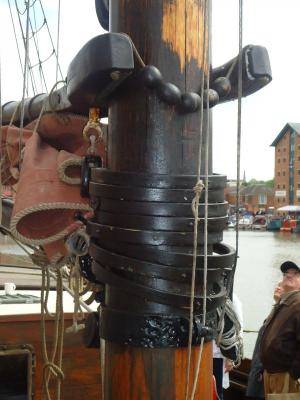
Hi Peter Further to your discussion surrounding the hoops, I have some detailed photos that I am using as a reference basis. I've posted them here in the hope that they may be of use..... Oh, I've more of this type from other areas of the ship, especially the bow area if they are of use to you...... So, fIrst the good ship Ruth.... and then a couple of shots around the main boom / hoops. Regards John


- 293 replies
-
- 3
-
-
- pickle
- caldercraft
- (and 1 more)
-
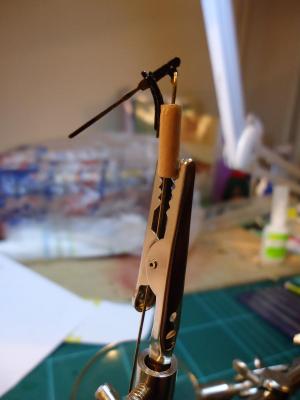
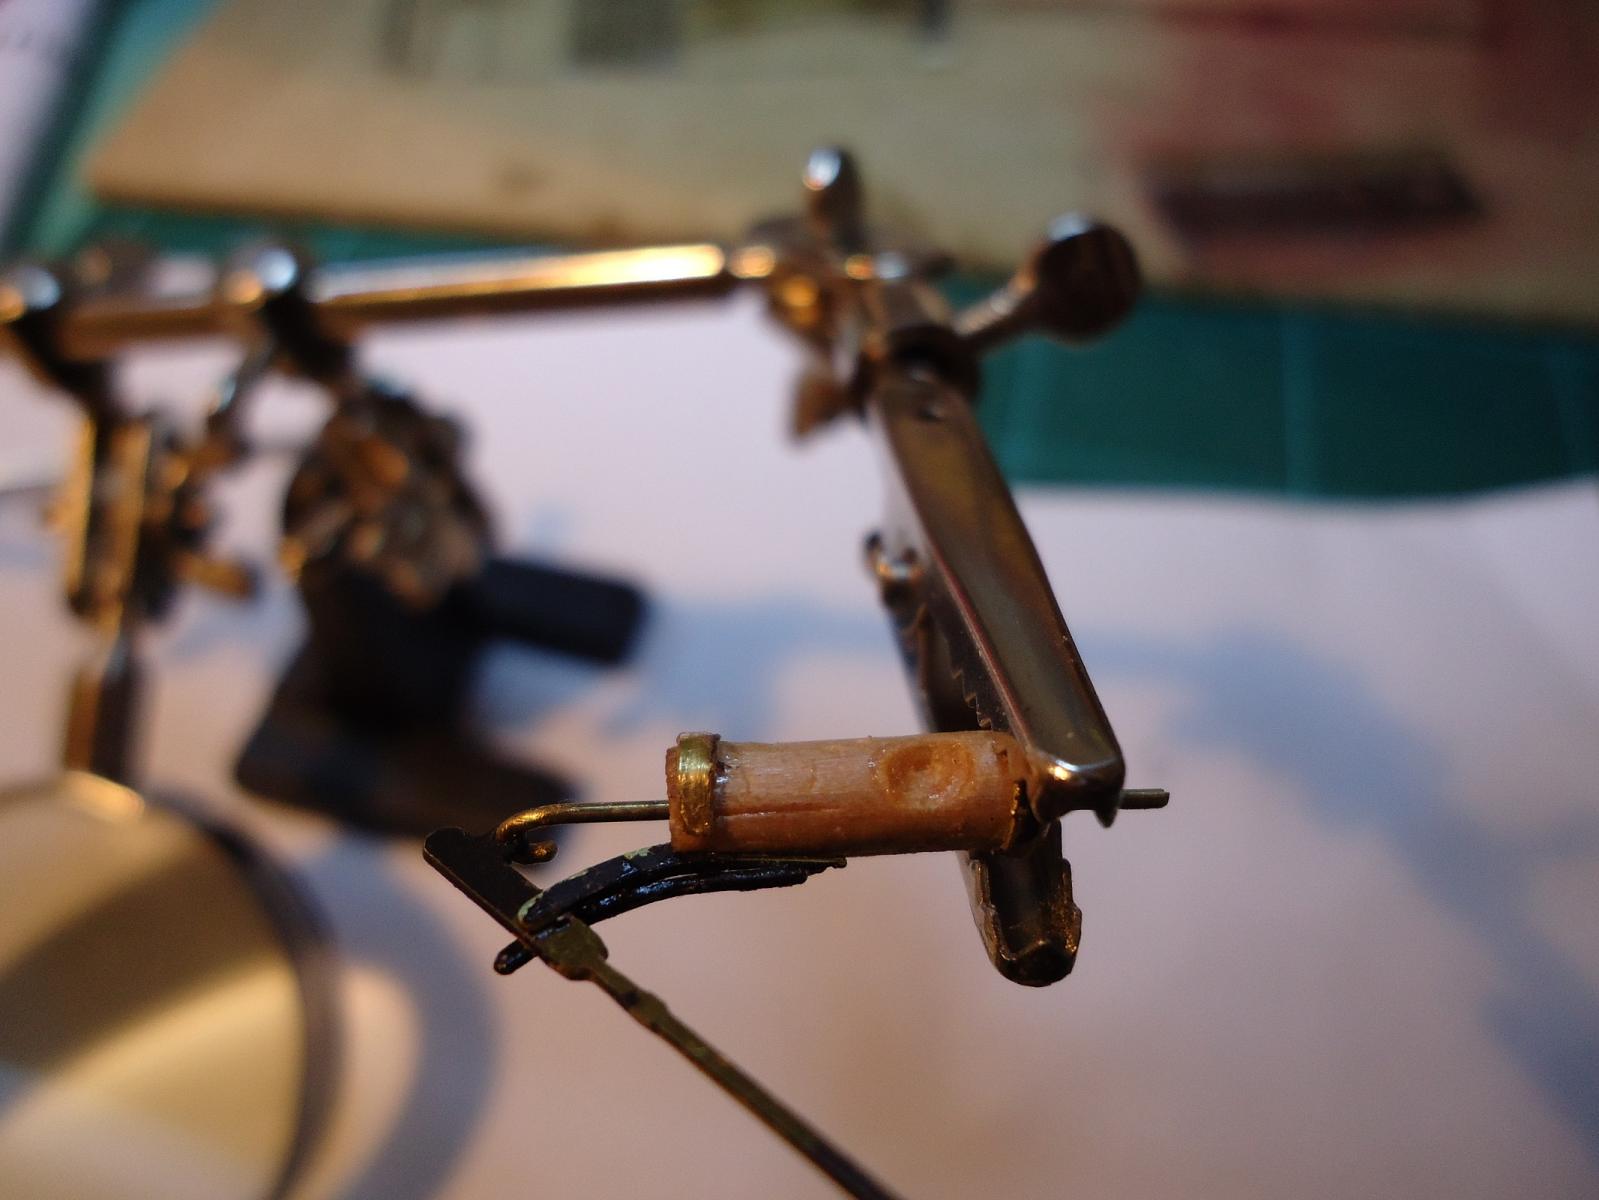
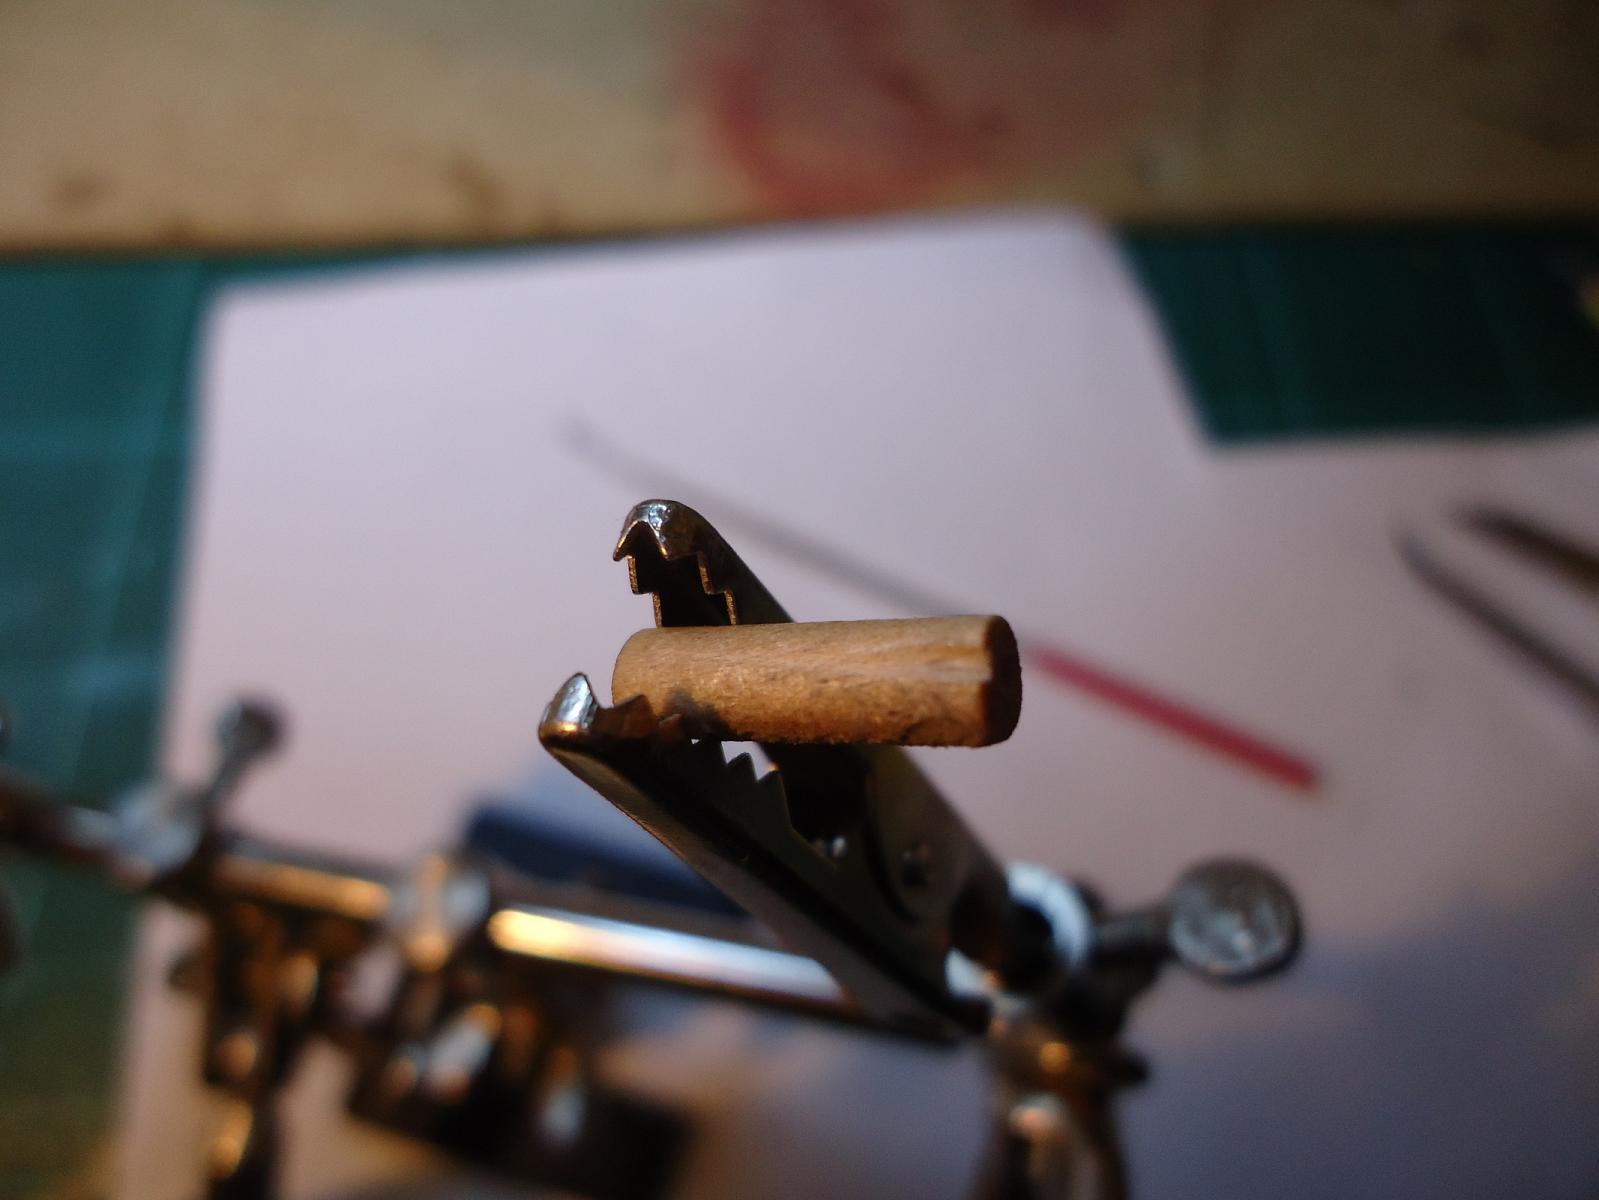
The Build – Phase 9 The Elm Tree Pumps – Part Three Having built my pump, the last step was to make and fix the pump's outlet pipe. I tried to shape and attach the pump outlet, however, no matter how many times I tried to shape the piece of dowelling, it broke into pieces. (Thought for the day, is the dowelling bad quality - if so, need I worry when I get to the mast builds??). Anyway, after four or five tries at this, I had another idea. I had managed to shape the top and bottom bands out of scrap brass – so why couldn’t I do the same for the pump outlet? I had a search around the kit and found one a suitable looking piece that I would be able to use. I cut out a piece of brass and formed an outlet pipe. I then filed the front section at 45 degrees and it was ready for fixing. I drilled quite a large area in to the pump ready to take my new outlet pipe……. ……. and then fixed the outlet in to the hole And finally, a test fitting on to the deck. Next, I have to prime all the metal work and once dry, paint everything in black matt. I have noticed through my photograph that somehow my circular pipe seems to have been turned in to a triangular one – I will try and re-round (is that a word??) the pipe before I paint. On reflection, perhaps the outlet pipe is a little large, but I didn’t really notice until I had fitted it and don’t want to spend hours filing away, possibly damaging the pump in the process, so it may stay as it is - unless I can find the hacksaw that I used to have???????????….....

-
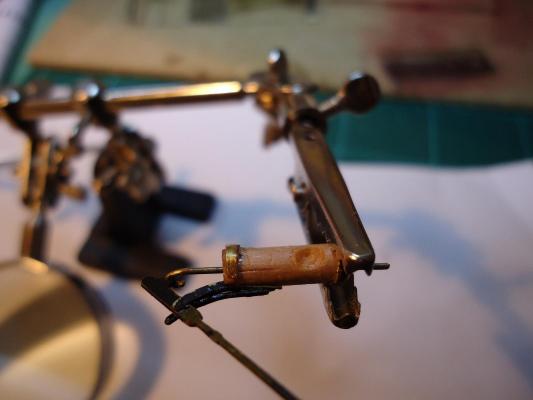
The Build – Phase 9 The Elm Tree Pumps – Part Two So far, so good, but now things started to get a little tricky. Despite the wonderful instructions telling me that the small lip on the yolk would help me to position it correctly, I had great difficulty placing the completed Yoke on the Pump, whilst at the same time making sure it was vertical – and this was the dry run before I started trying to glue things together…. Hmmmm, then I had another idea. I found one of my modelling files and cut a small notch in the side of the pump And that seemed to work well. With the Yoke in place, I then formed the top of the brass rod in to a loop, introduced the brake handle and attached the brake handle through the two sections of the Yoke. Happy days, that seems to look OK Next, whilst sitting there having a well-earned tea-break, I suddenly remembered seeing some enhancements that Blue Ensign made to the pumps, so off I went for a look. Yes, I certainly liked the idea of adding some iron bands top and bottom and I thought it would be good modelling practice for me, so I, as Blue Ensign did, found the 0.3mm brass eyelets and set to work removing a part of the moulding to use for my bands. I spent a rather frustrating time trying to bend the bands correctly, but eventually managed and was finally able to fix them in place.