Supplies of the Ship Modeler's Handbook are running out. Get your copy NOW before they are gone! Click here to order
×
MORE HANDBOOKS ARE ON THEIR WAY! We will let you know when they get here.
×


semorebutts
-
Posts
664 -
Joined
-
Last visited
Content Type
Profiles
Forums
Gallery
Events
Everything posted by semorebutts
-
I think it was the badger stynorez primer stuff . I’ve never used it before. Also a .5mm needle airbrush instead of a .2mm
-
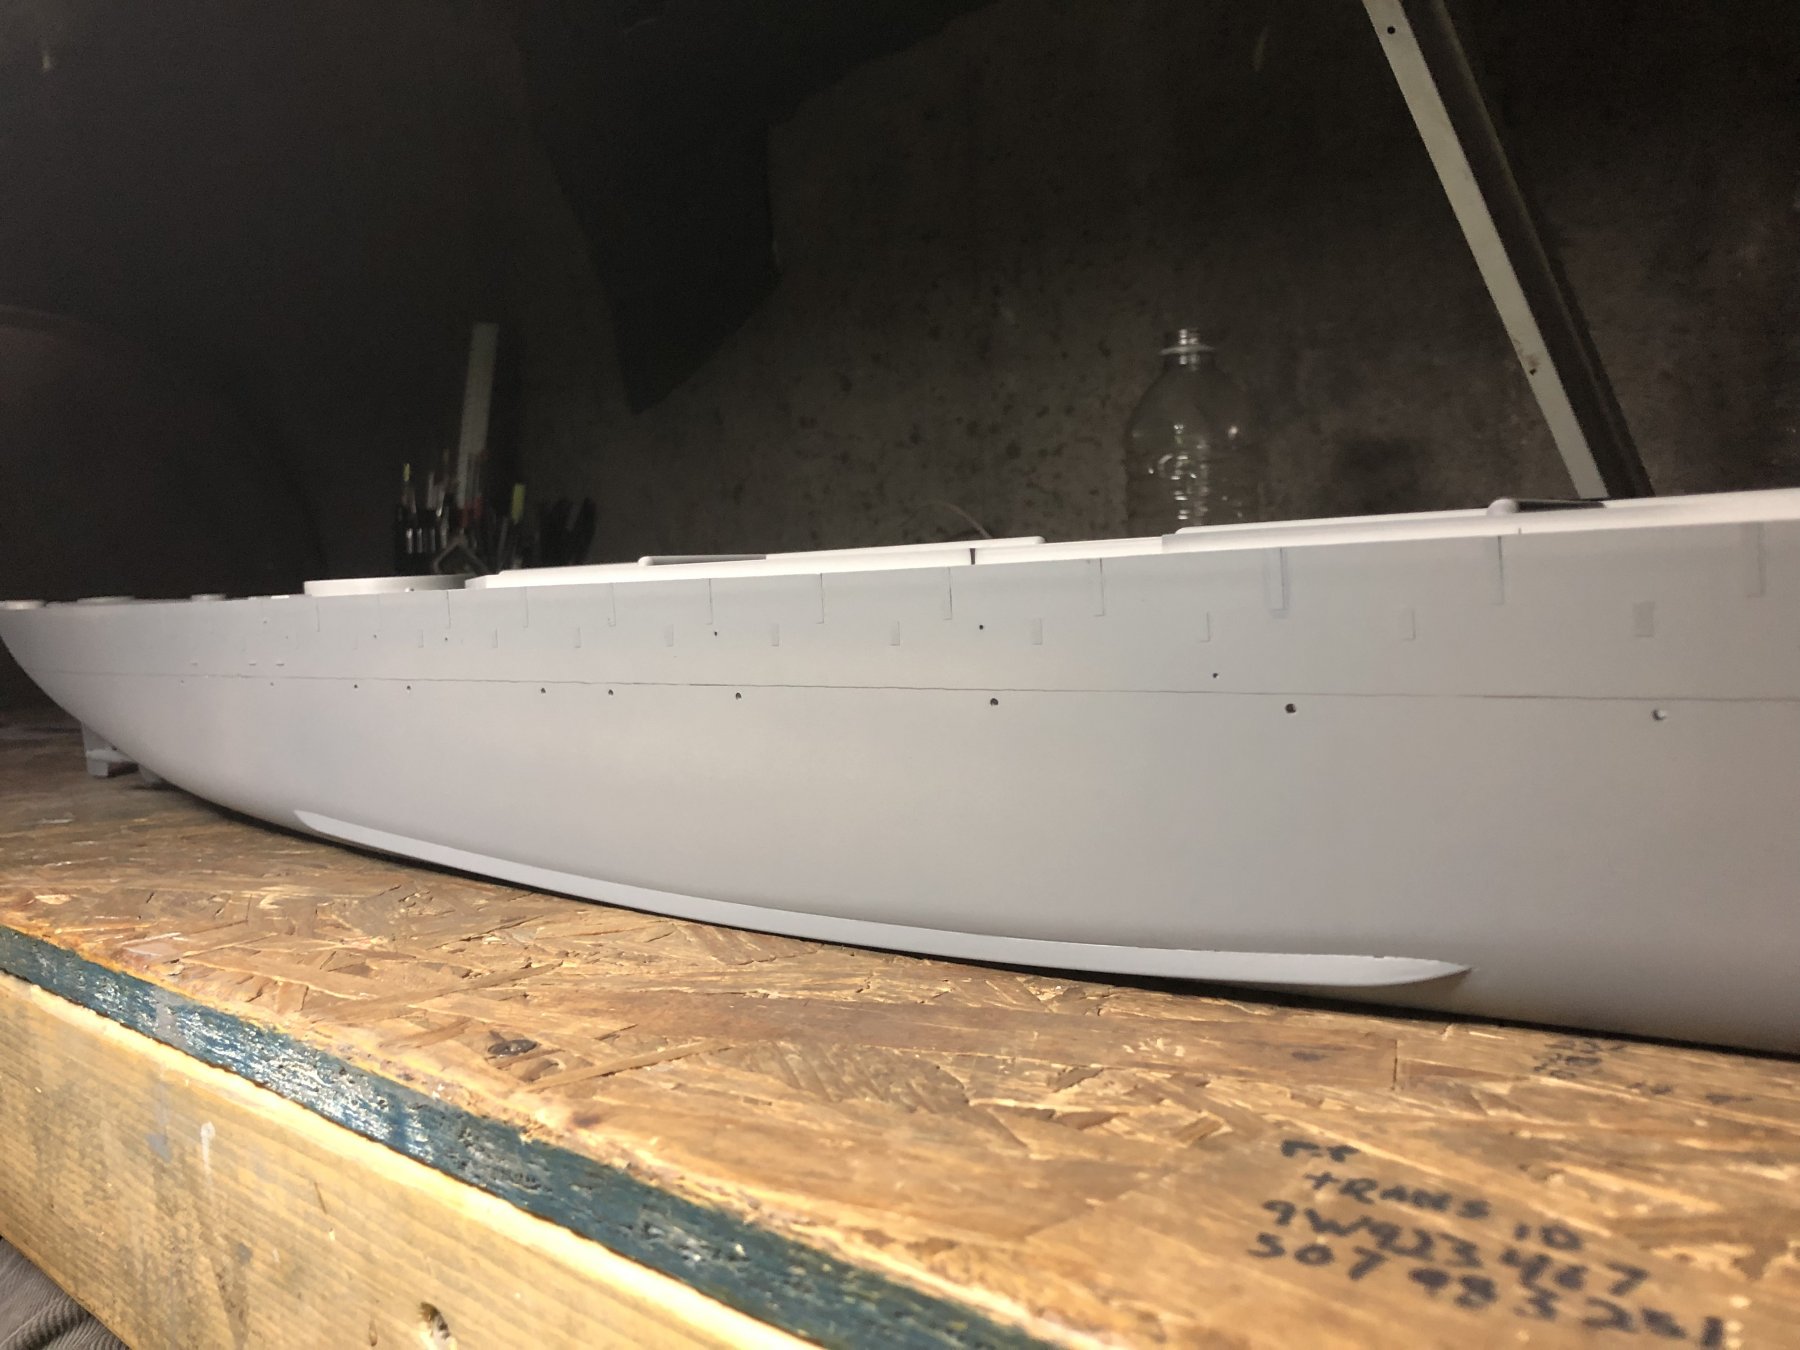
I might have a big problem on my hands. The finish on the hull feels just like 180 grit sand paper for some reason. I hope the weathering and the dry transfer decals are not affected by this. If so I can’t see myself sanding the entire hull around the hull plates and repainting. I really really hope this is fine.
-
I have a feeling I would overdo it making it look stupid though. I think I have a lot of tutorials to watch.
-
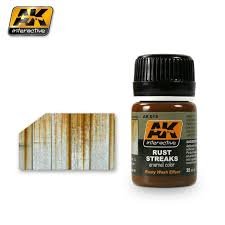
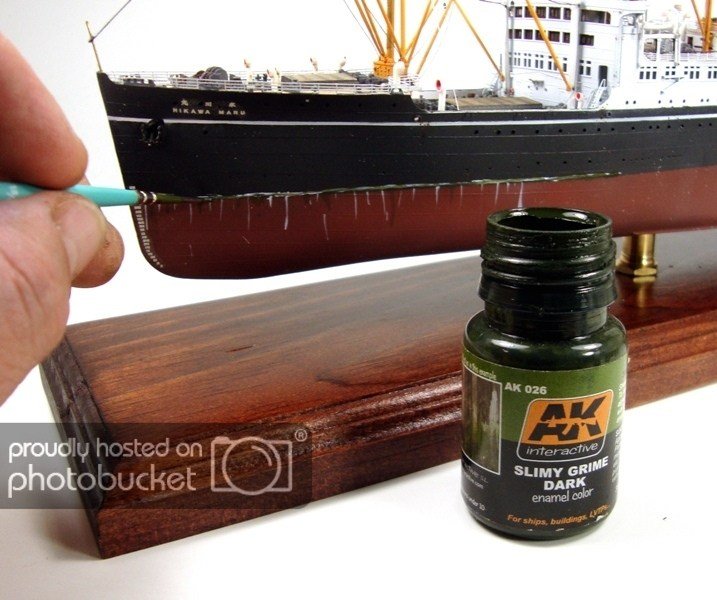
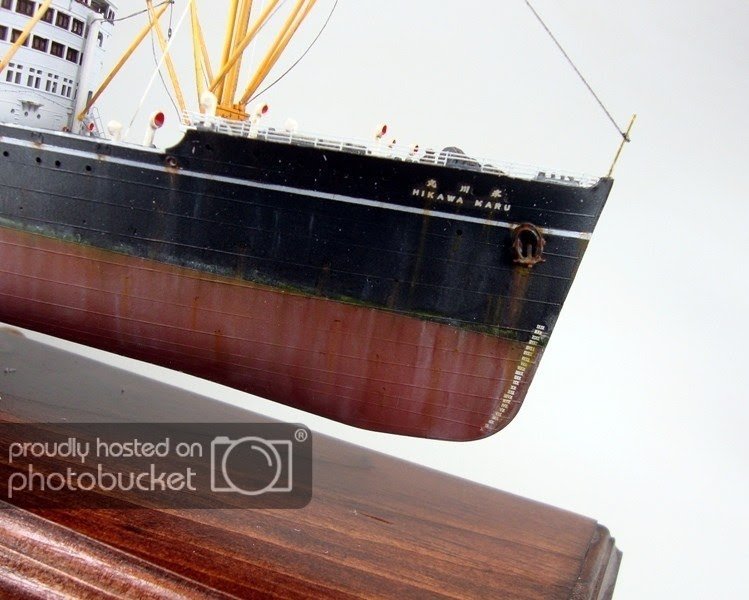
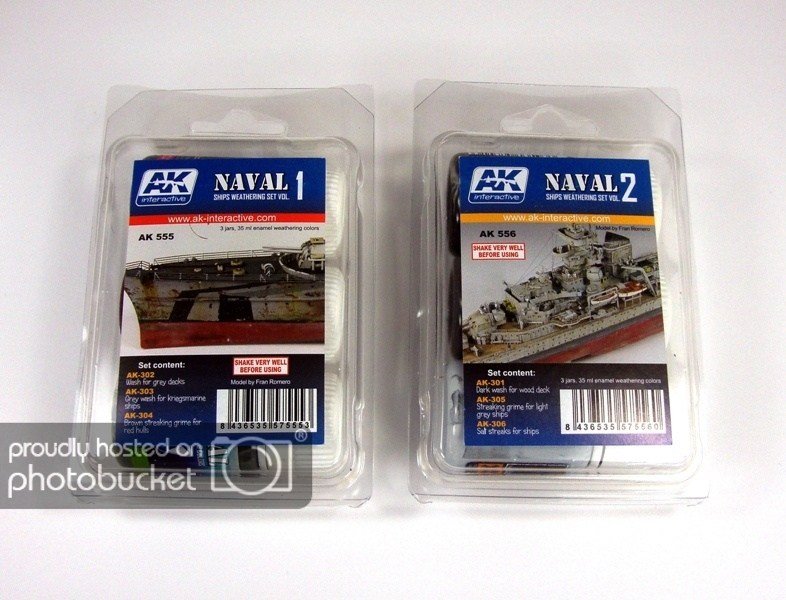
Ah screw it, I’m gonna go for it. I was thinking about getting these 2 sets along with rusk streaks and dark slime grime I want it to look like that.... just look at that! Any thoughts on these washes?
- 271 replies
-
- 11
-

-
Thank you Harley, I want to badly. Maybe some rust or salt streaks, but I’ve never done it before so I’m nervous. I don’t want to just pin wash it like I did with the Bismarck. One things for sure I have to do something. I can’t leave it like that.
-
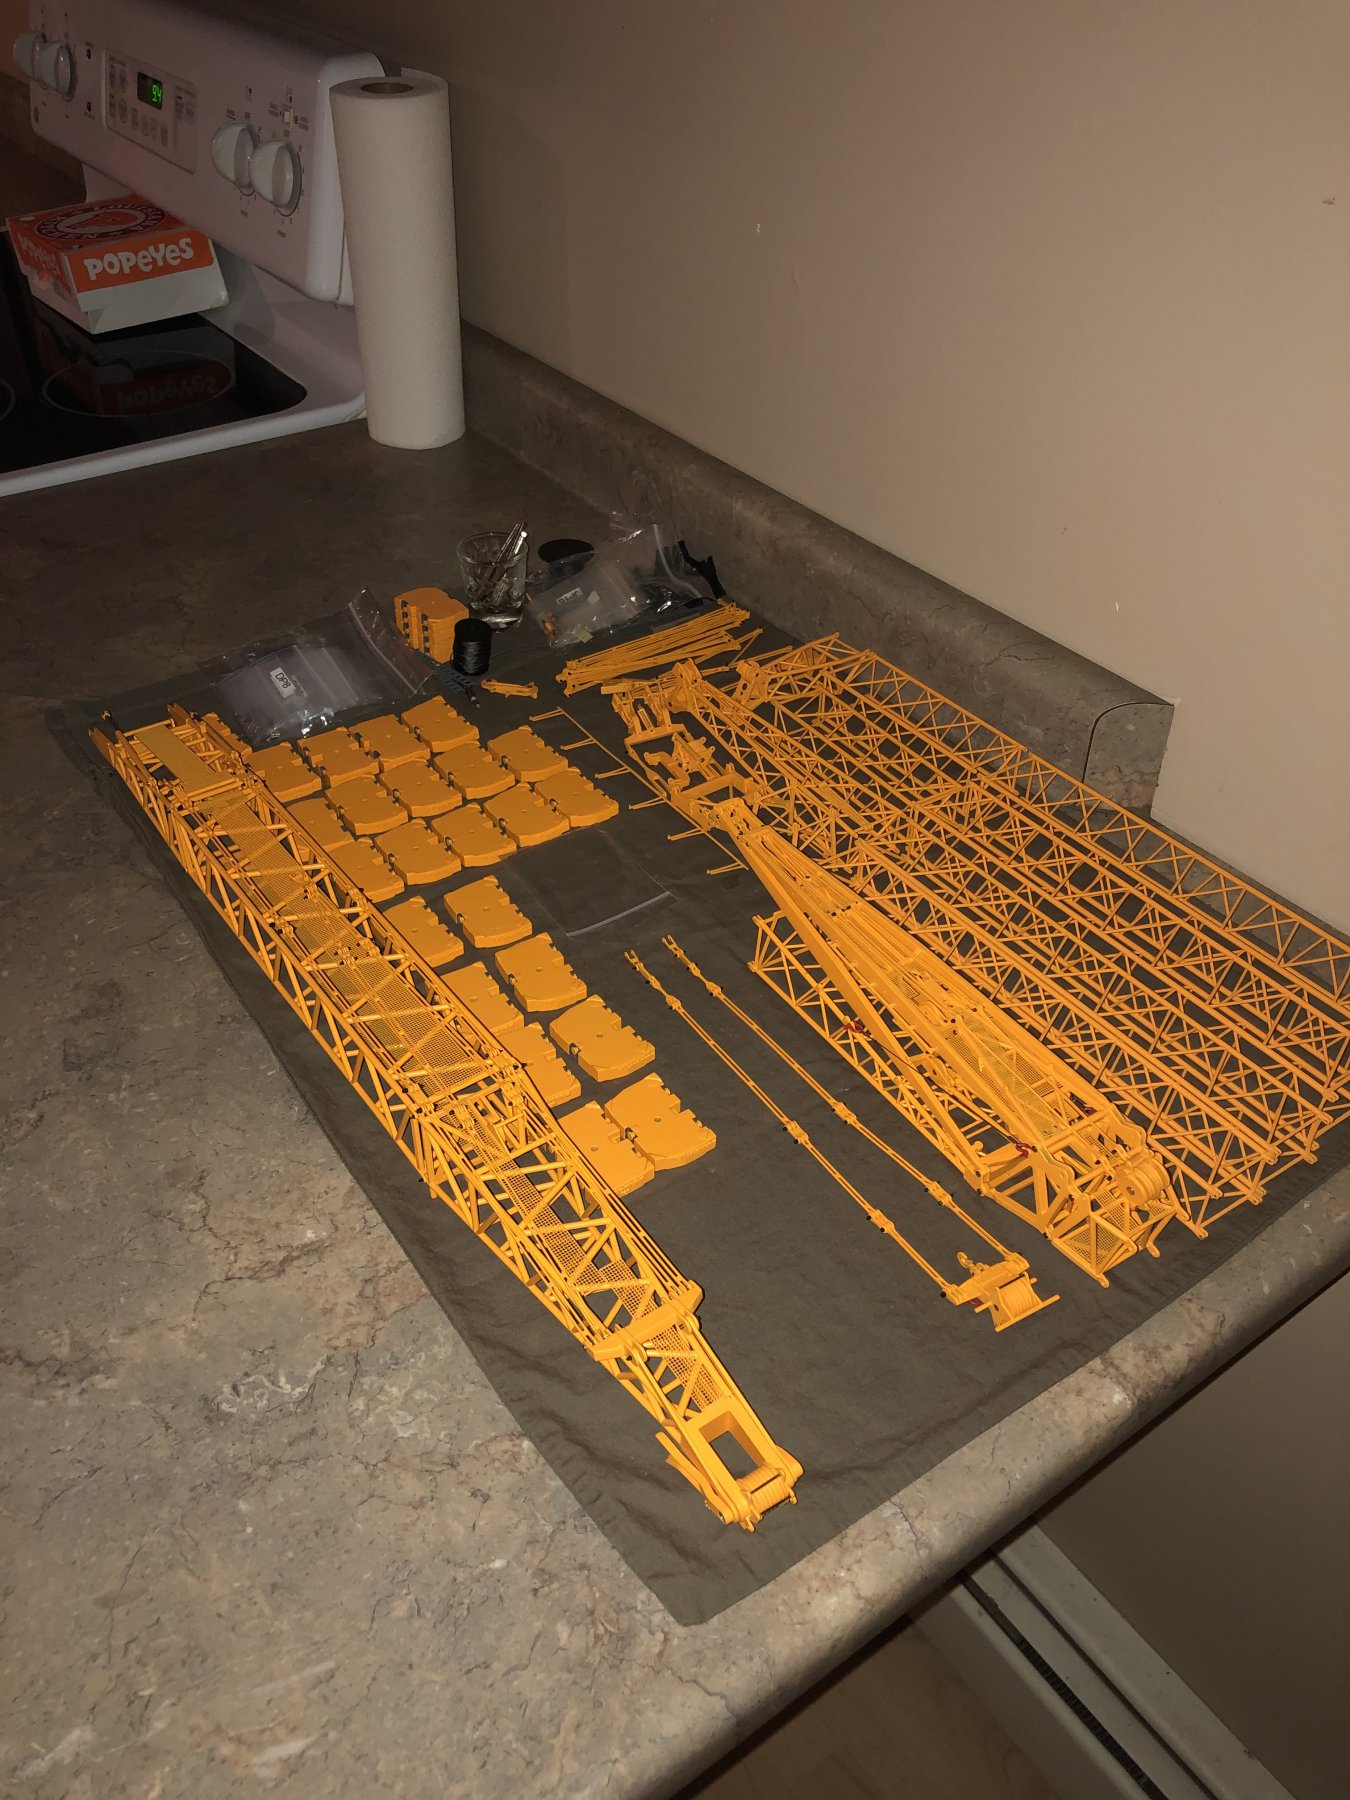
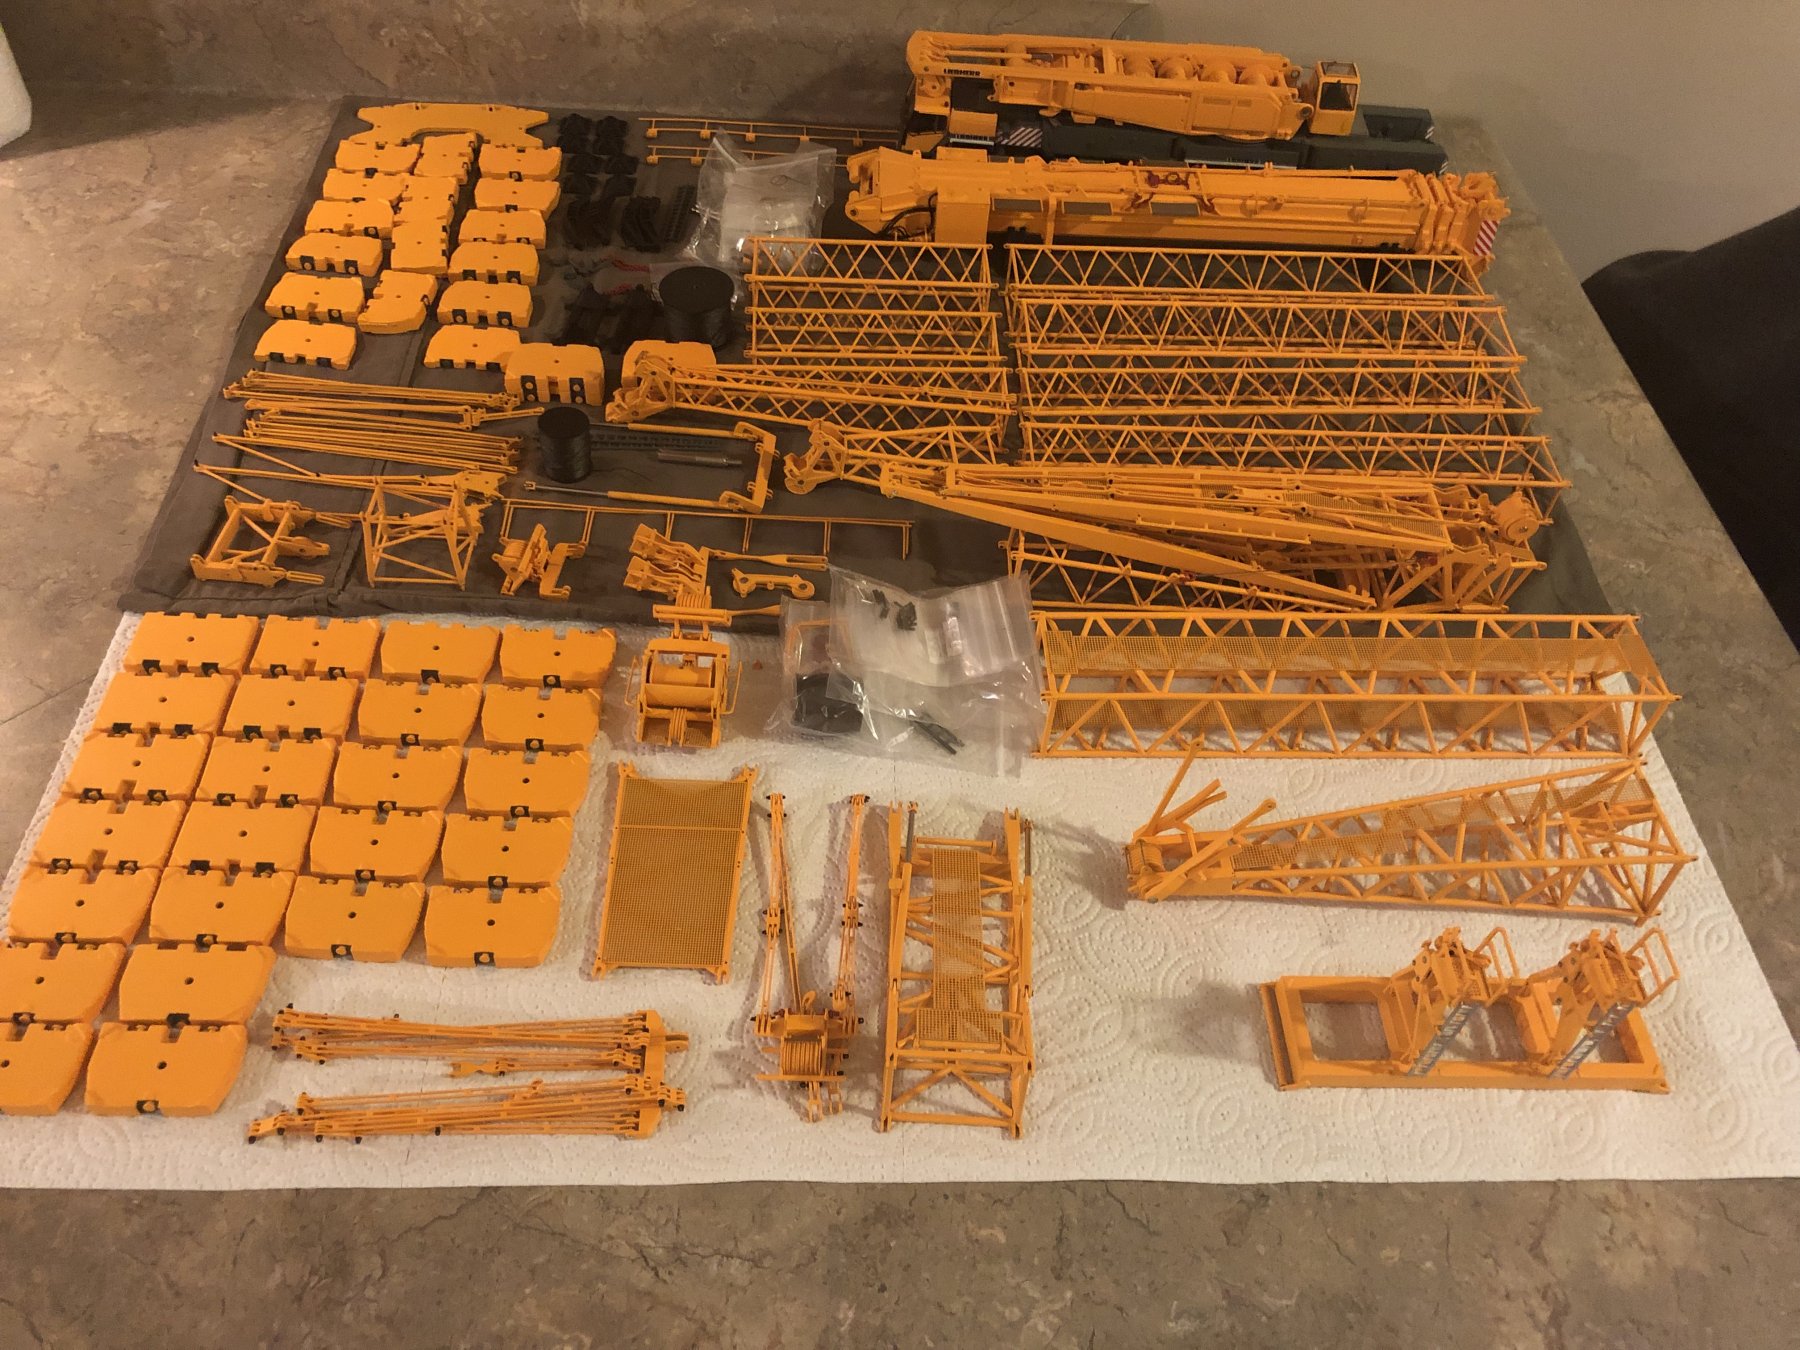
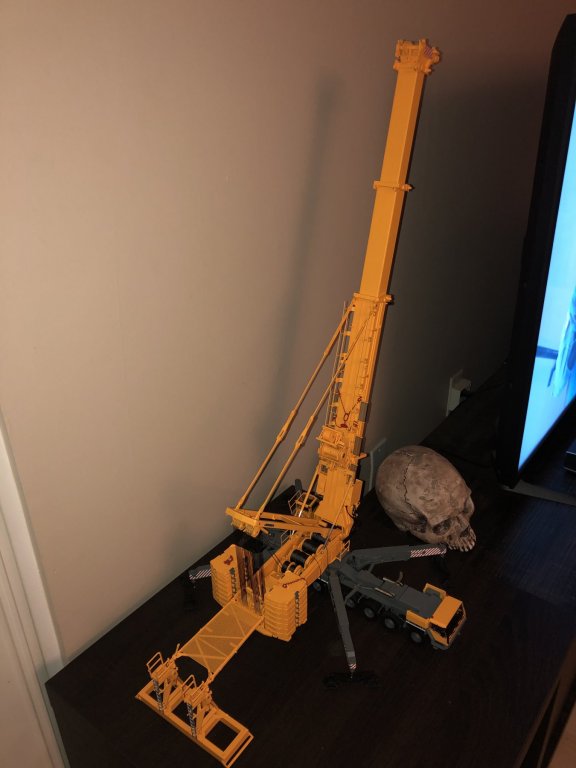
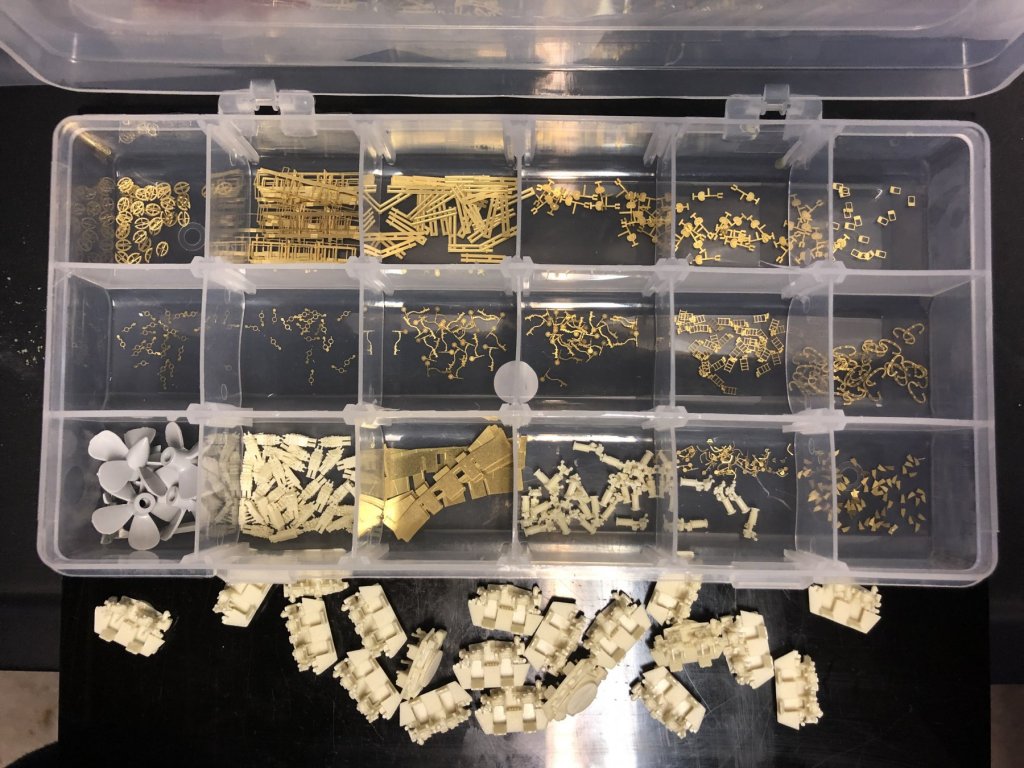
Thank you. The crane is a high end 1/50 scale die cast model of a mobile crane. A huge mobile crane. Used for a variety of different jobs( bridges, wind turbines, anything really heavy) not high rises though, those are tower cranes. It’s painted and basically comes in the same pieces it would come in real life. Imagine how many truck loads it take to get the crane on a job site. It goes together much the same way with tiny tiny nuts and bolts. It weighs something like 20lbs and stands 8 feet tall depending on how I configure it. The detail is absolutely amazing! Here a photo of what I have built so far and what’s left to build

- 271 replies
-
- 12
-
-
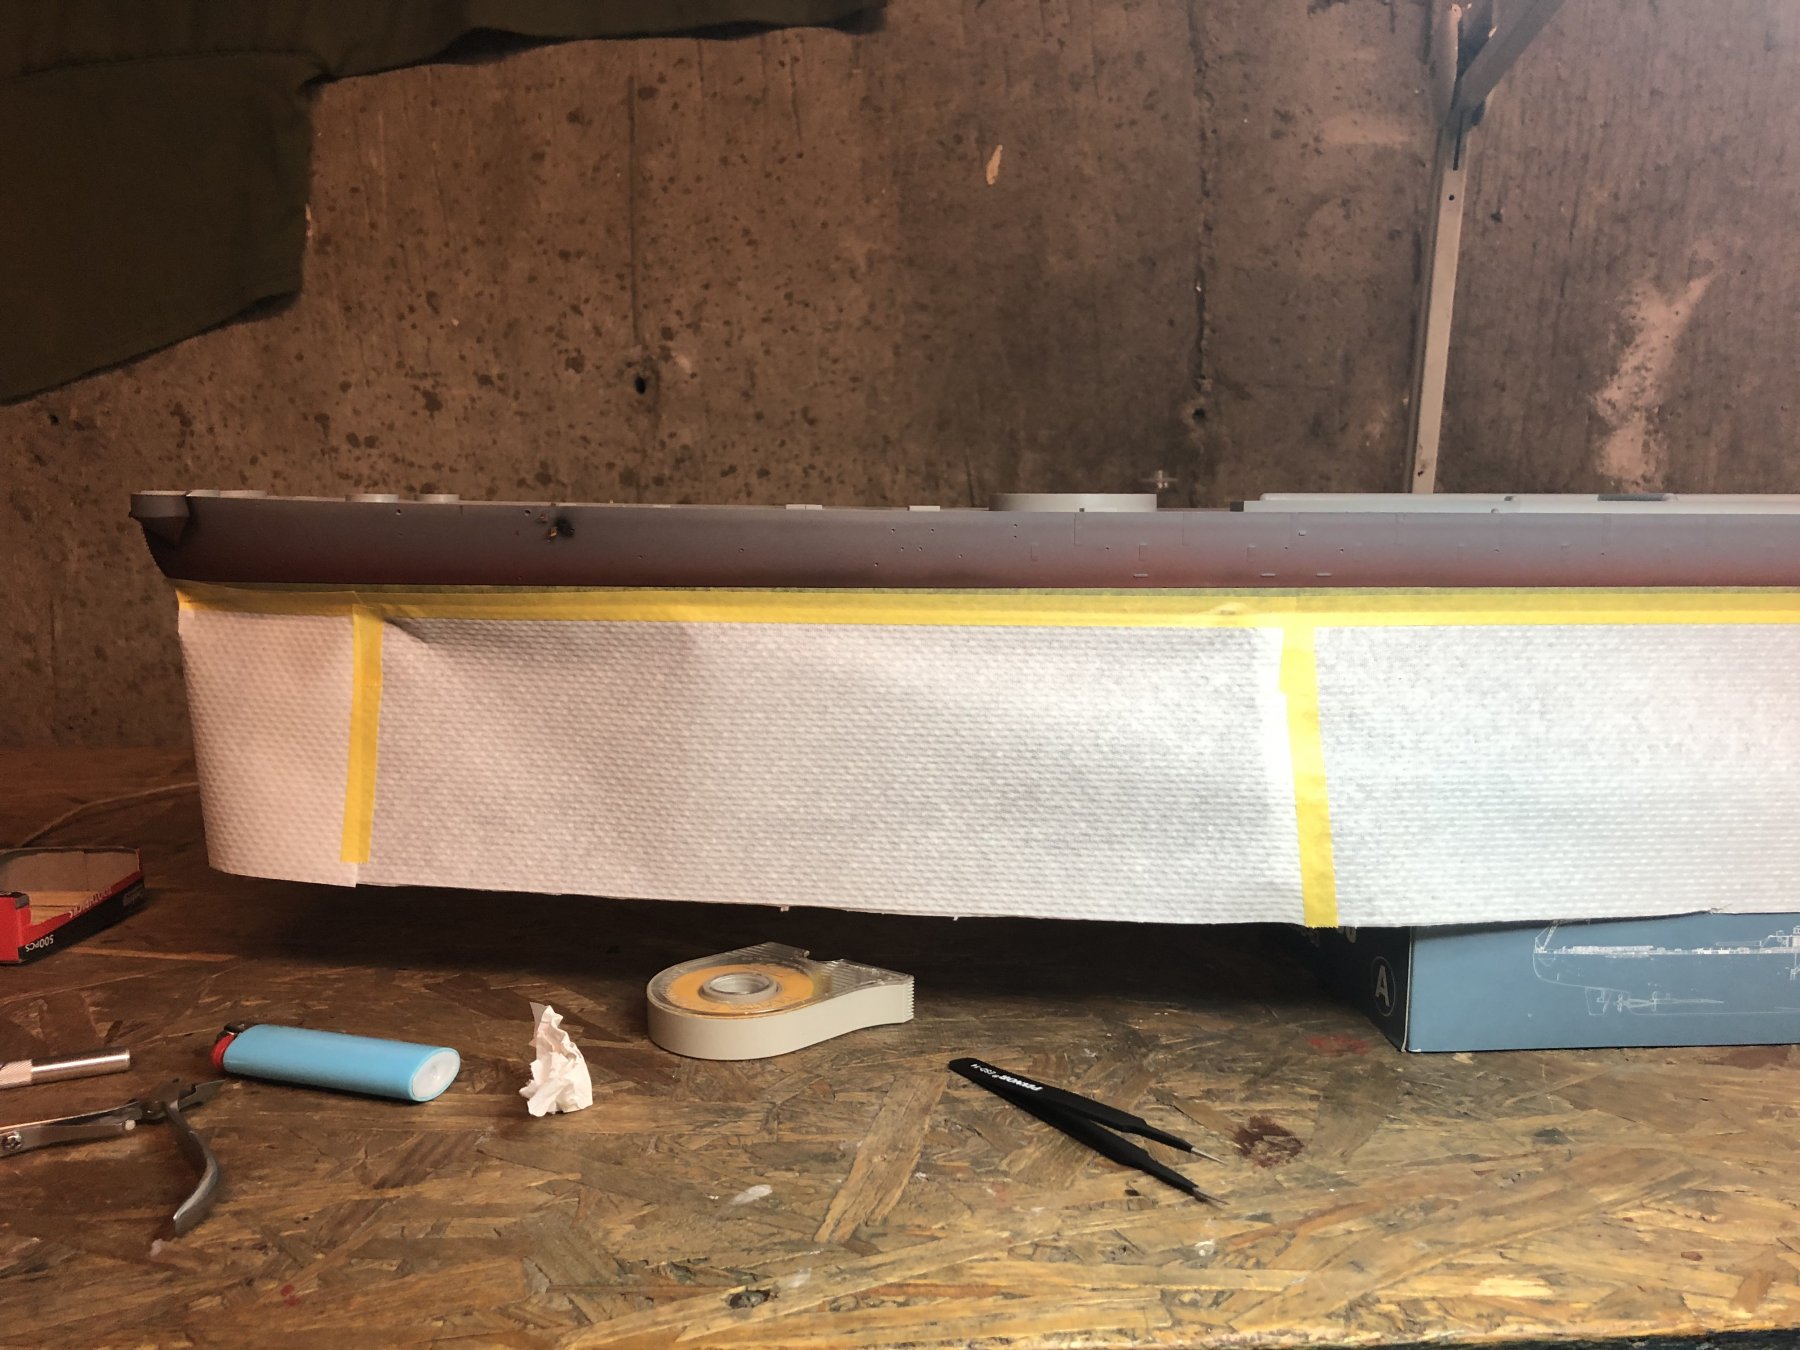
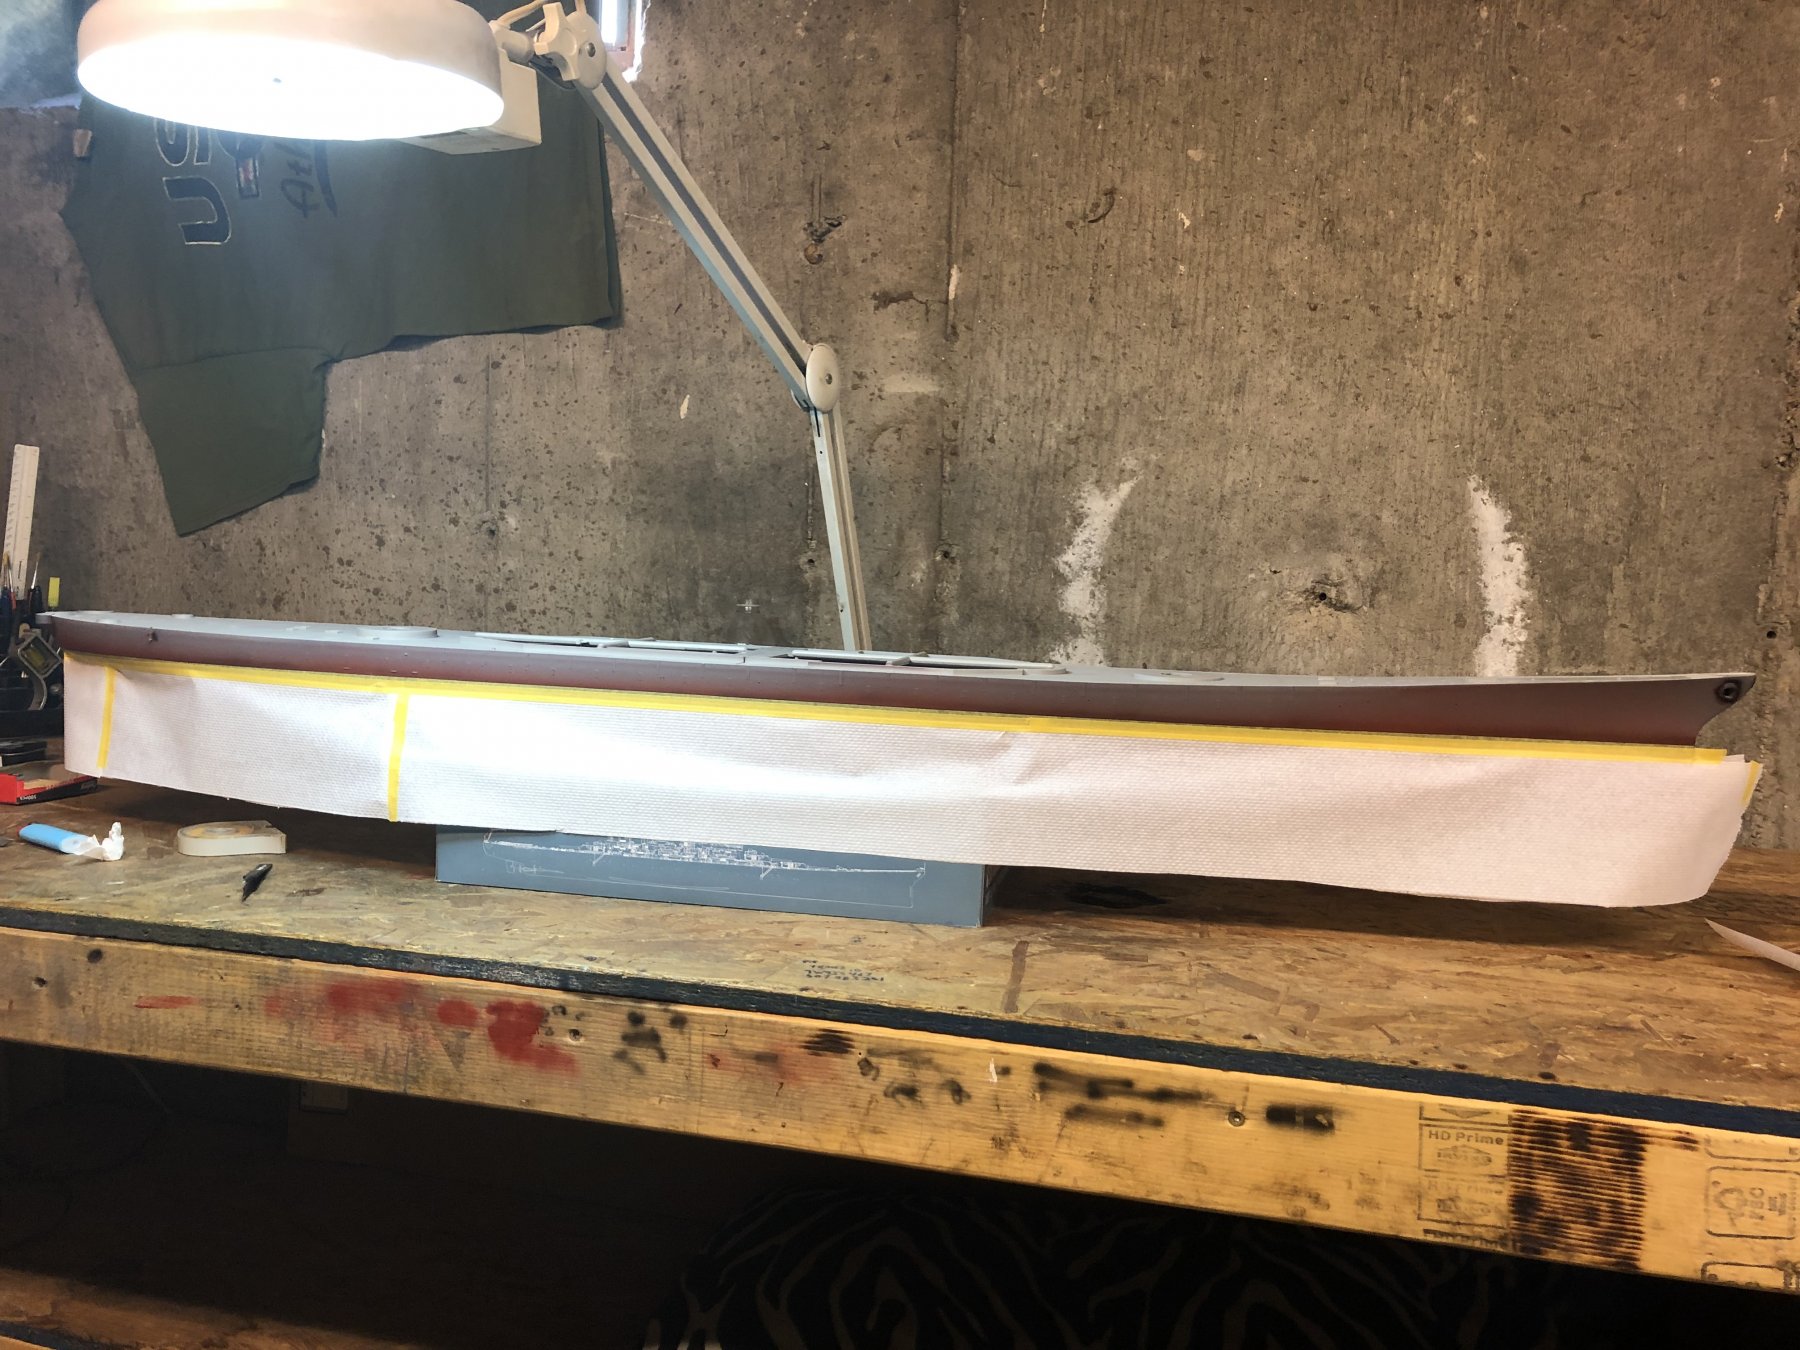
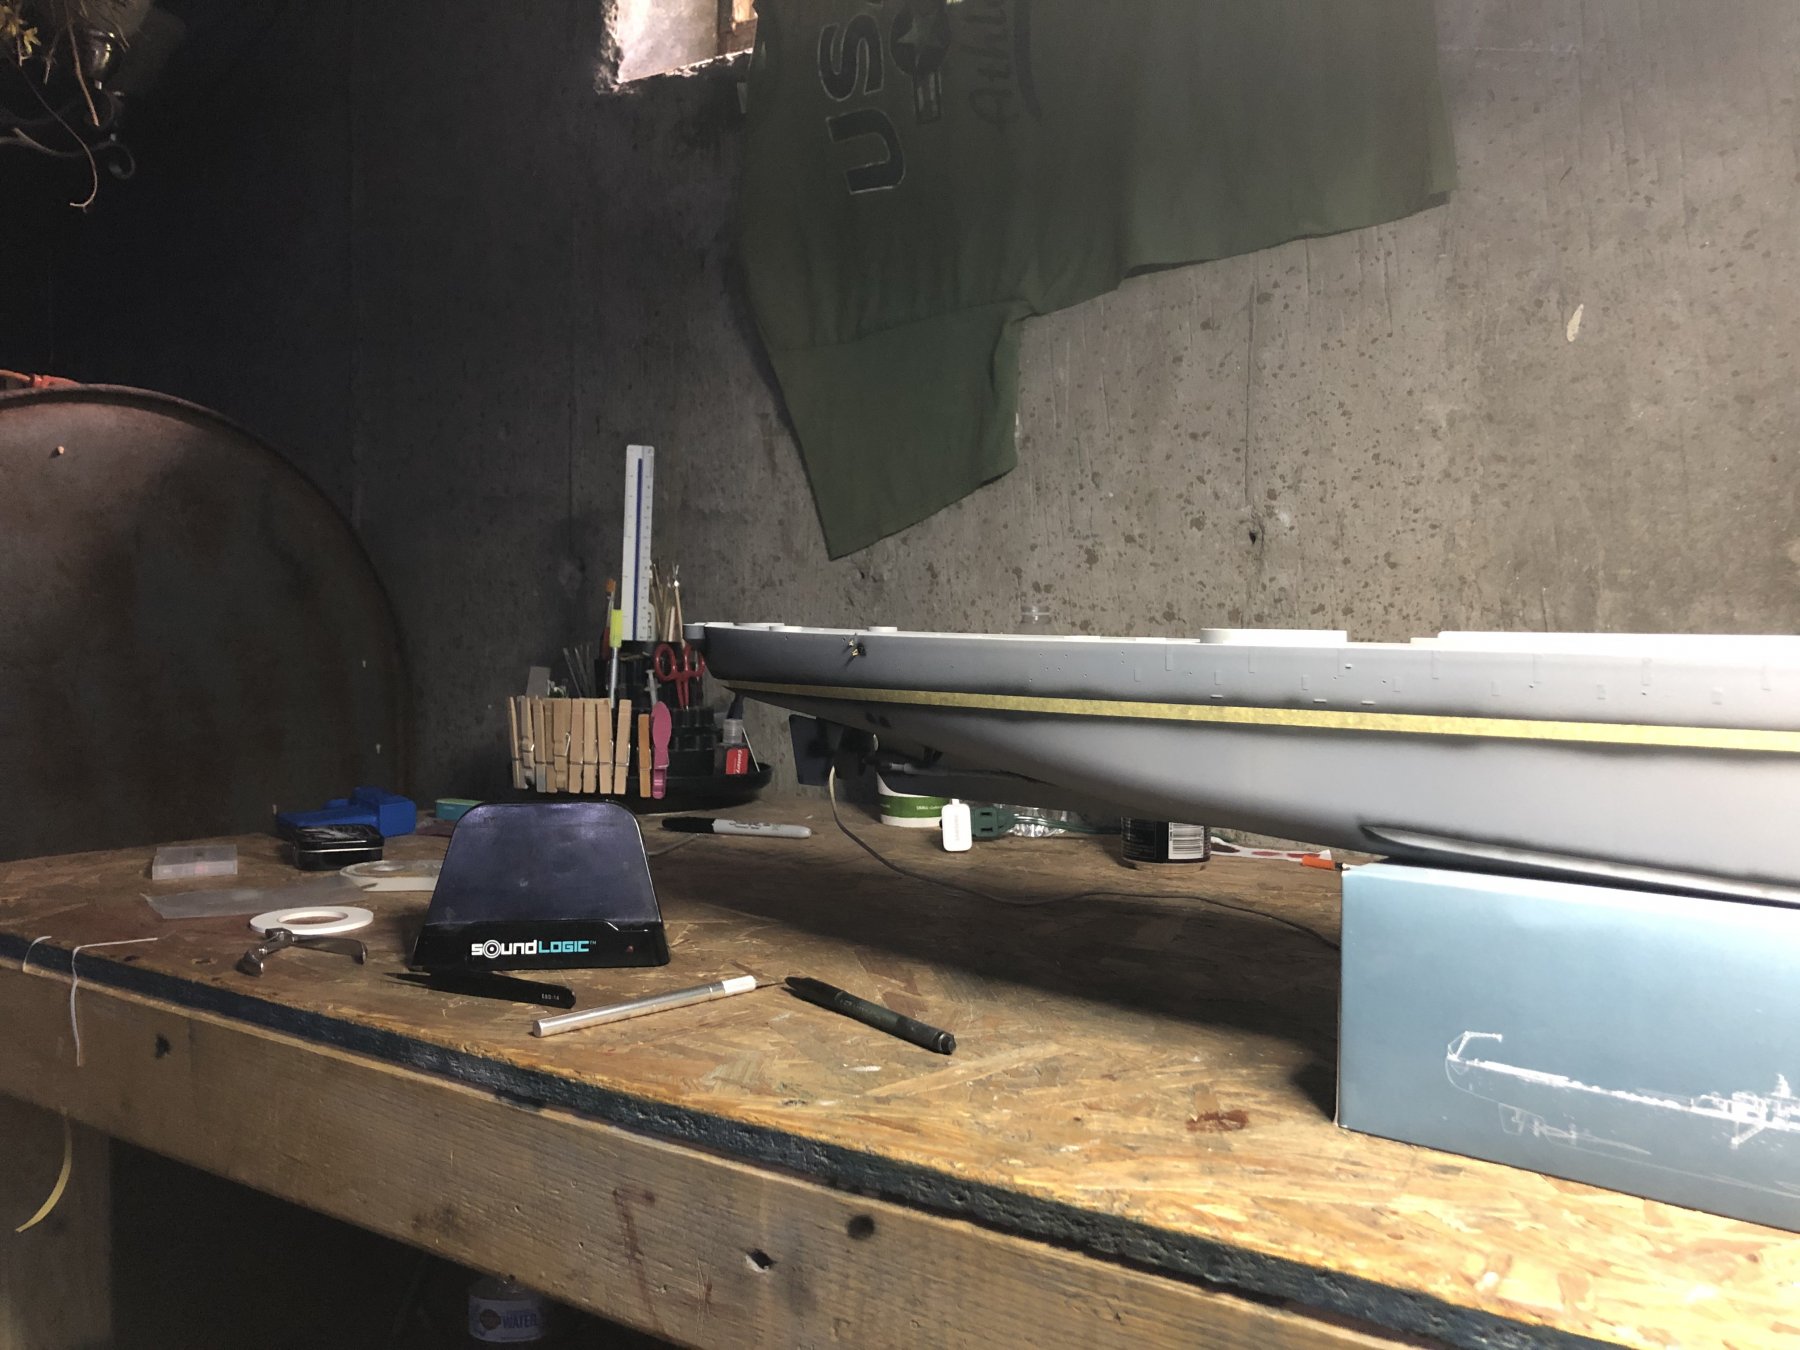
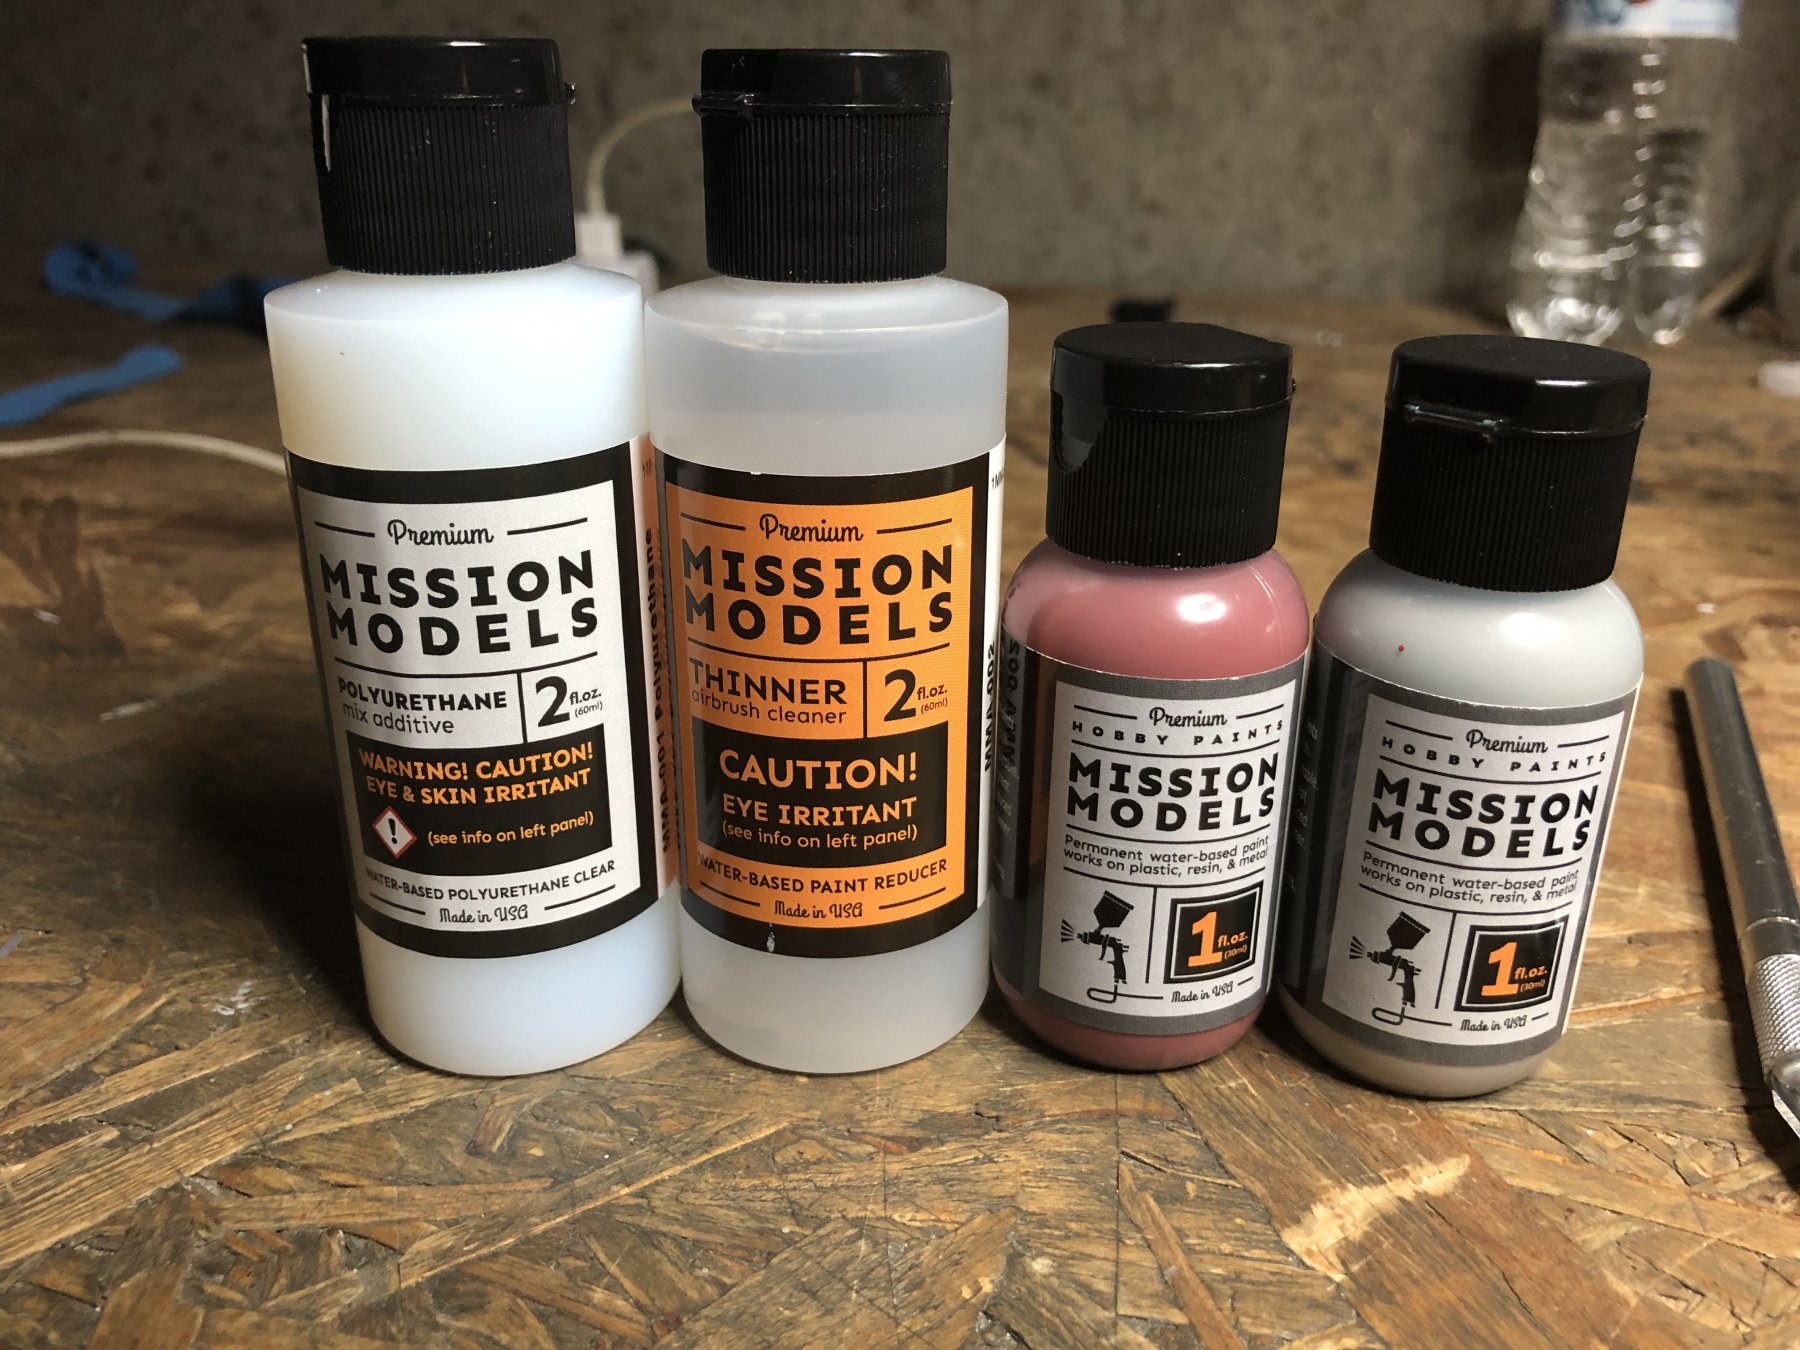
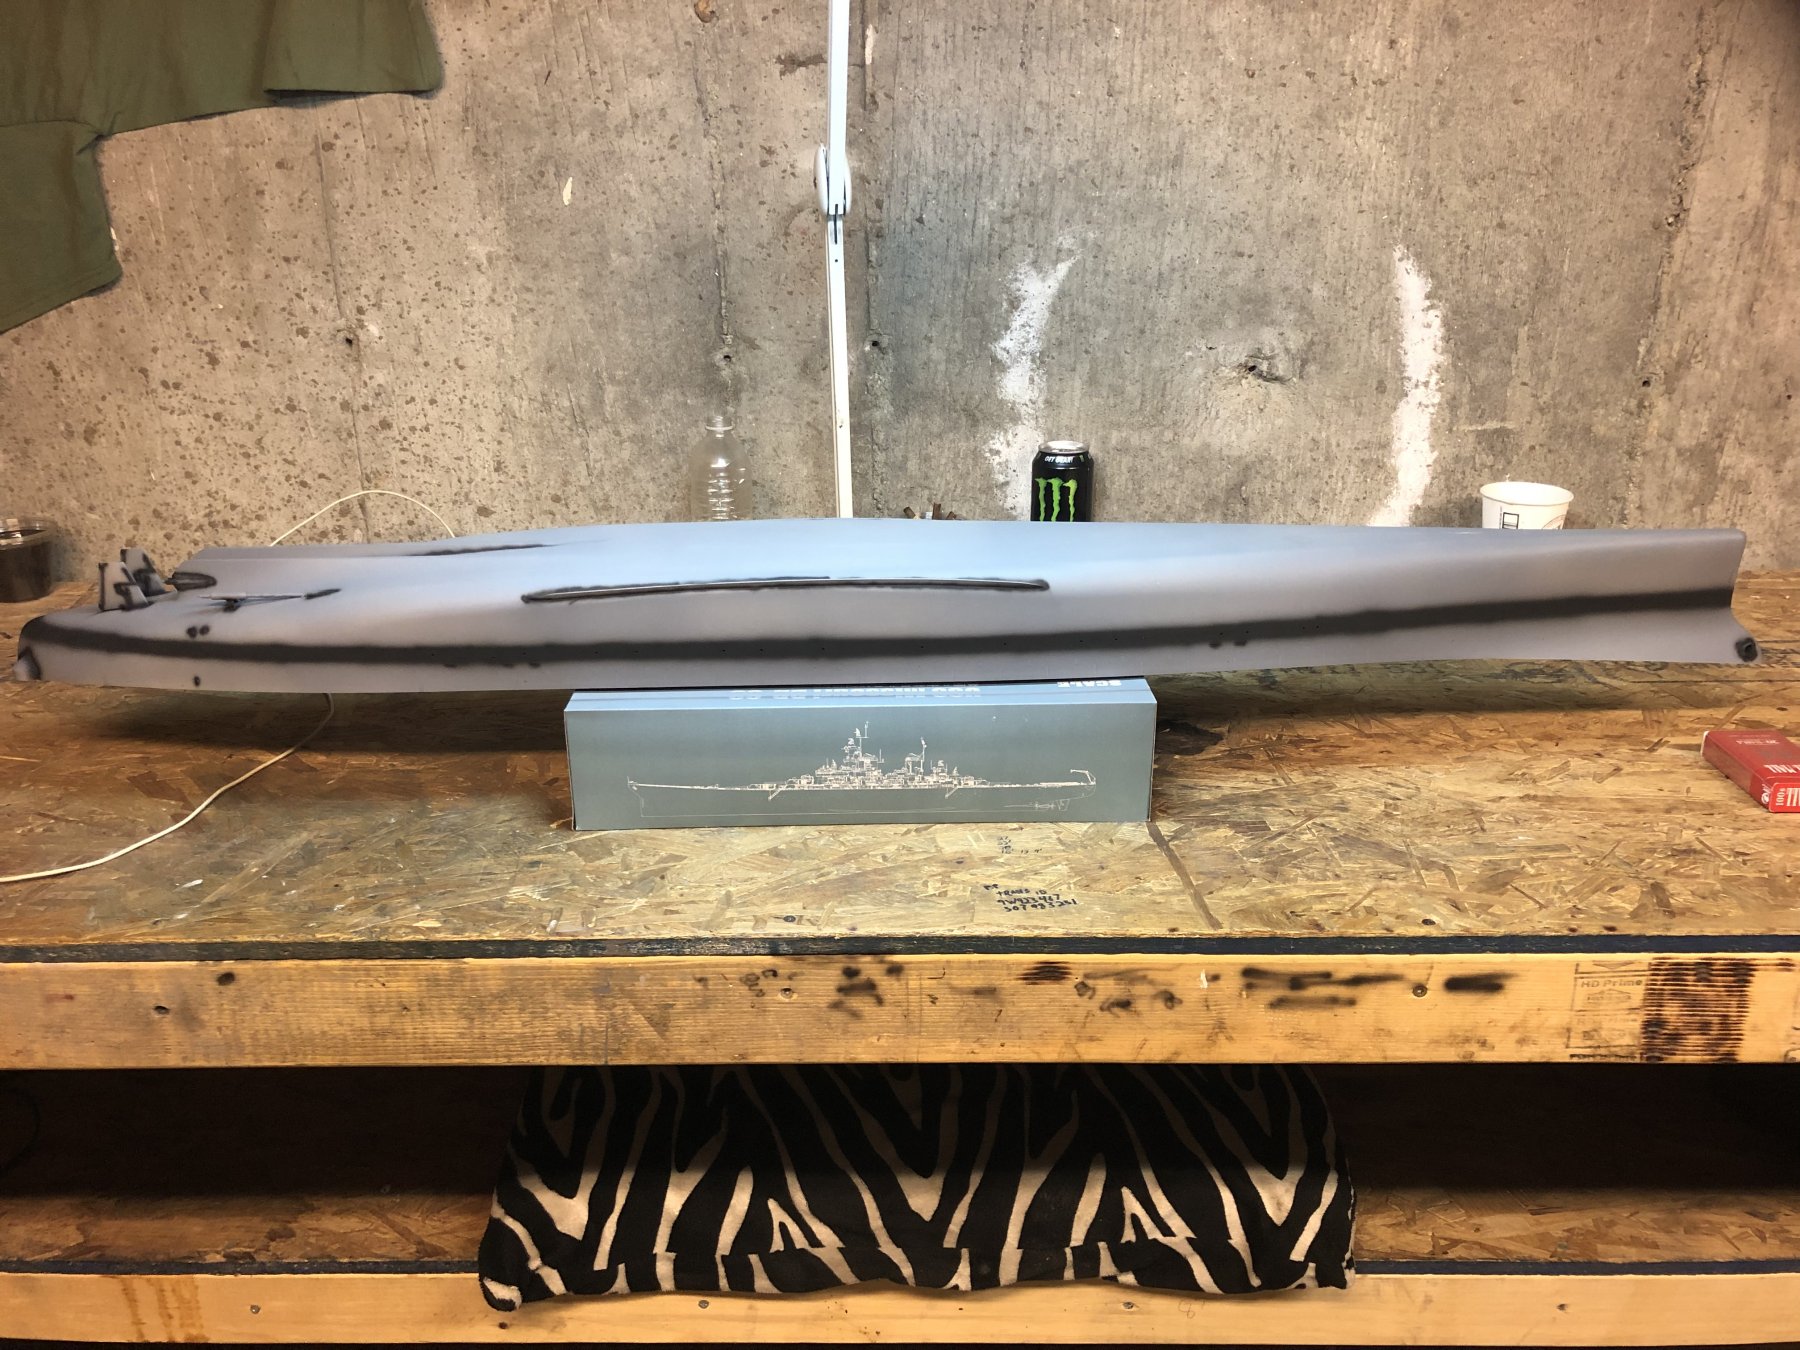
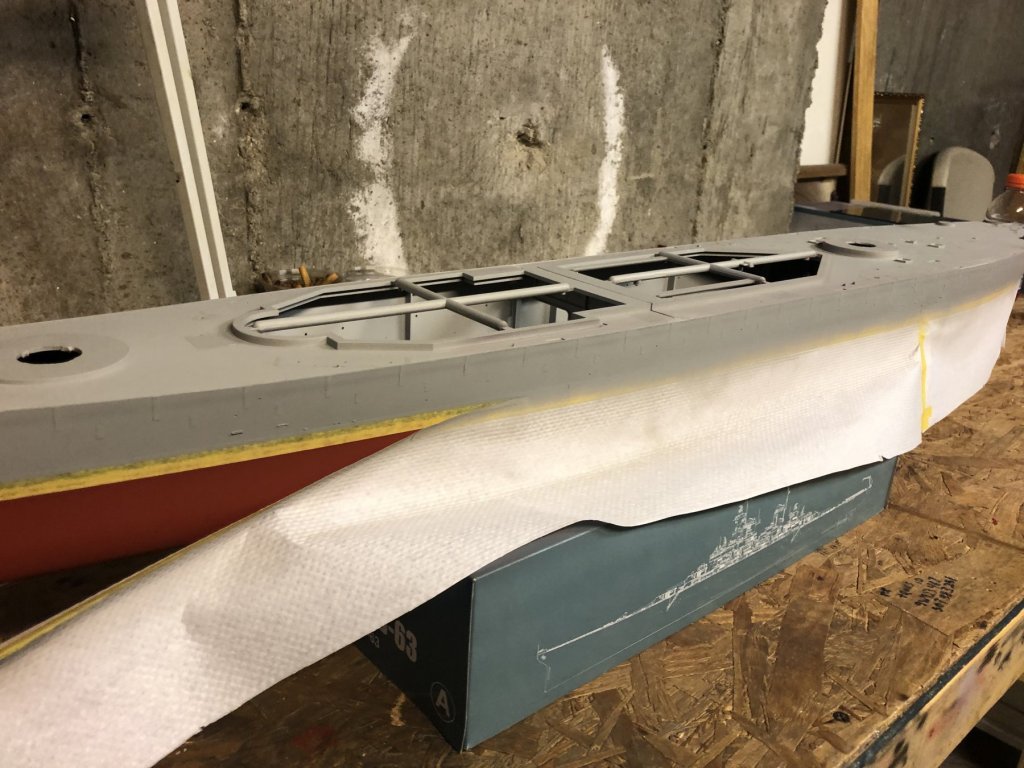
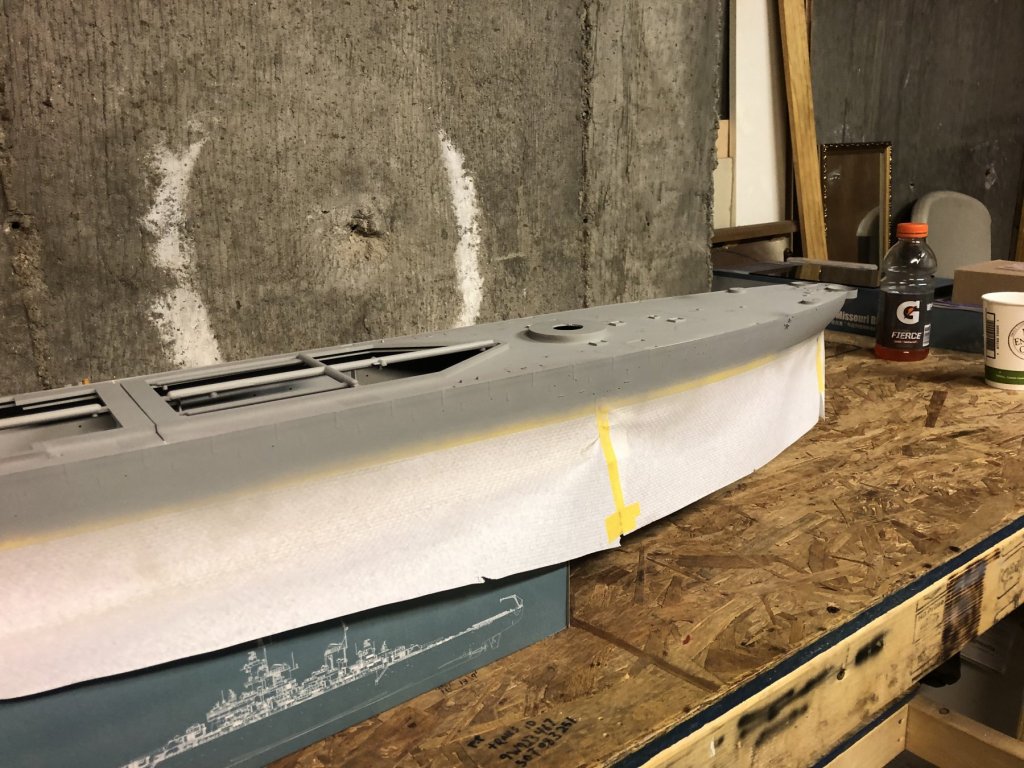
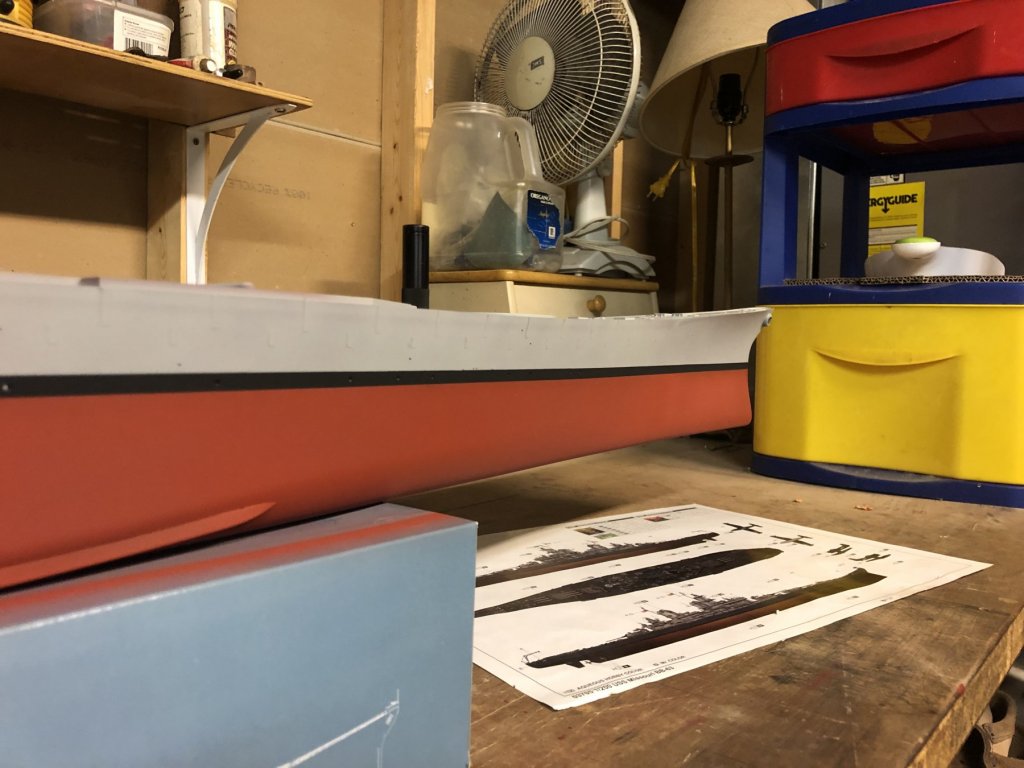
Today I painted above the waterline. I understand it’s suppose the be deck blue and haze grey. However I hate the way deck blue looks on the hull, it’s so dark. So I went with all haze grey. First was to mask. I used mission models paint. I have to say it went on really nice. then just peel off the tape and let dry. It’s so satisfying peeling off tape. 416373D5-2334-4064-AB82-D37639AA45AF.MOV

- 271 replies
-
- 16
-
-
It is a very very nice kit... YCC MODELS Liebherr LTM 1800. It took me 6 months to locate all 3 kits to complete the crane. The crane kit, the luffing jib kit and the Derrick system kit. Worth every penny of the $2200.
-
Paper weight... also it I get soo fed up I can use it to destroy the model. I bought this model crane for $2200. I’m trying to rig up the line. I’ve come close to grabbing the wrench a few times. $2200 or not I came close to smashing it. Sooo aggravating.

- 271 replies
-
- 11
-
-
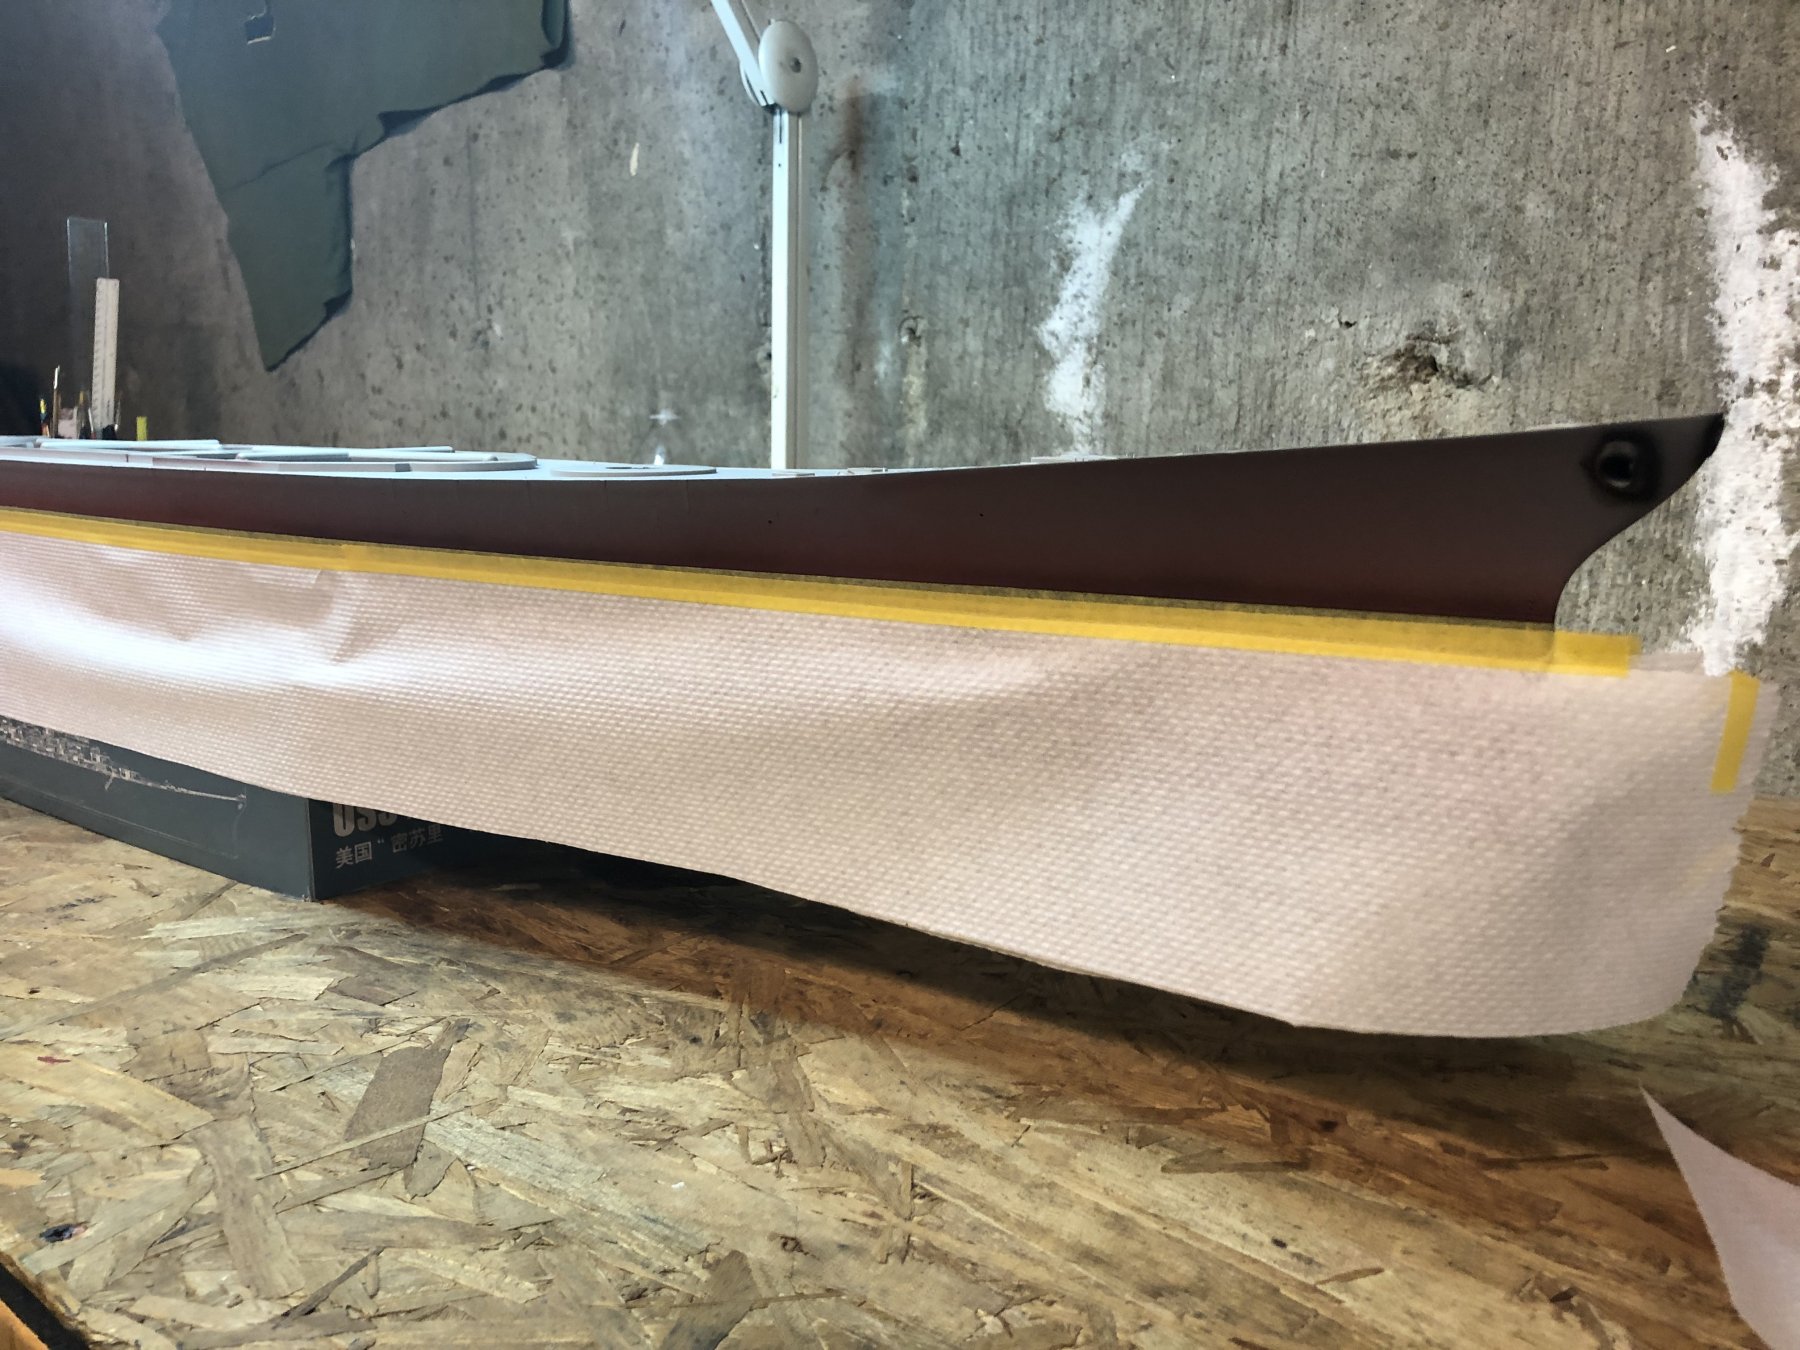
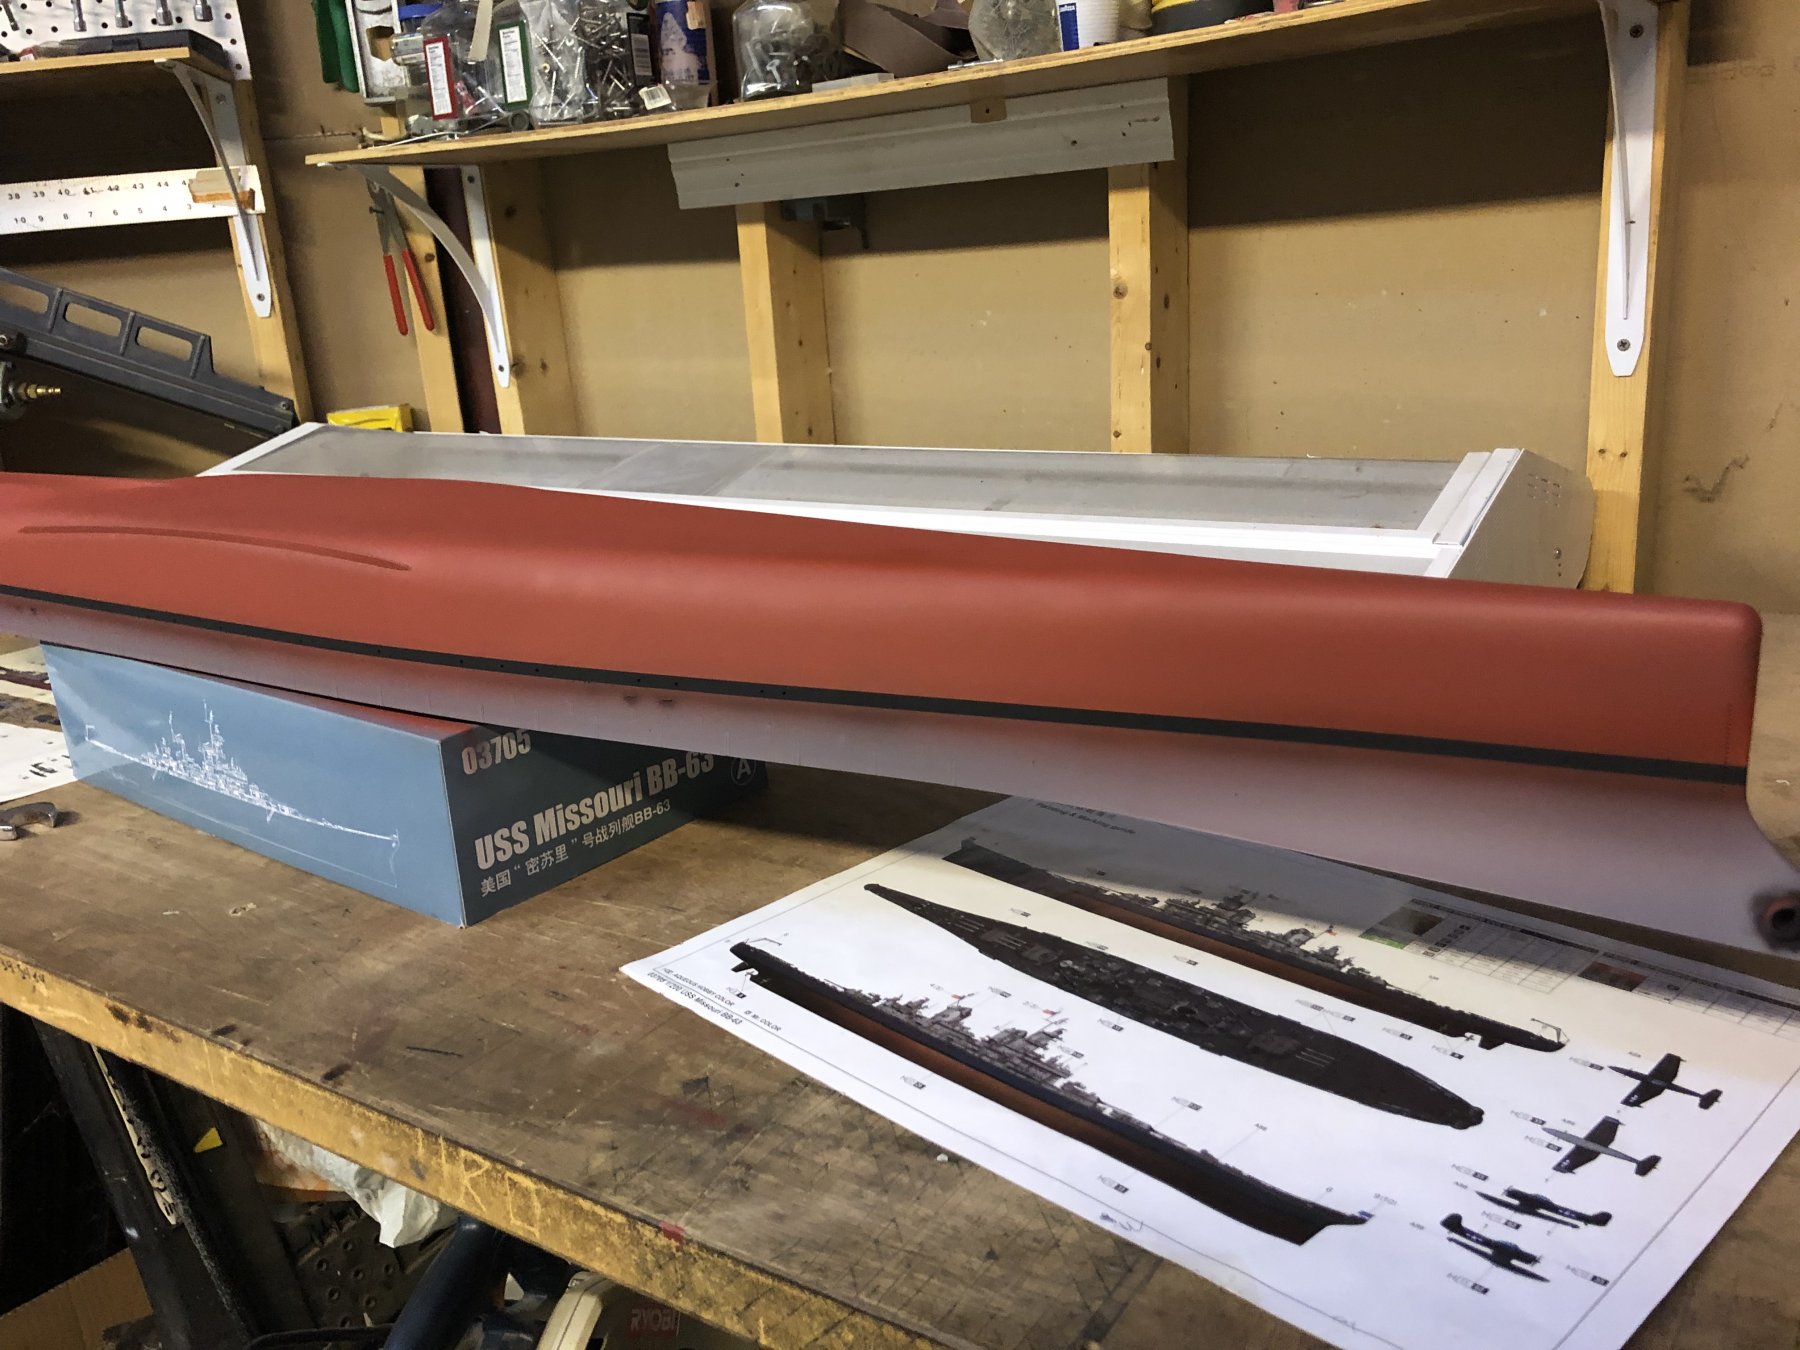
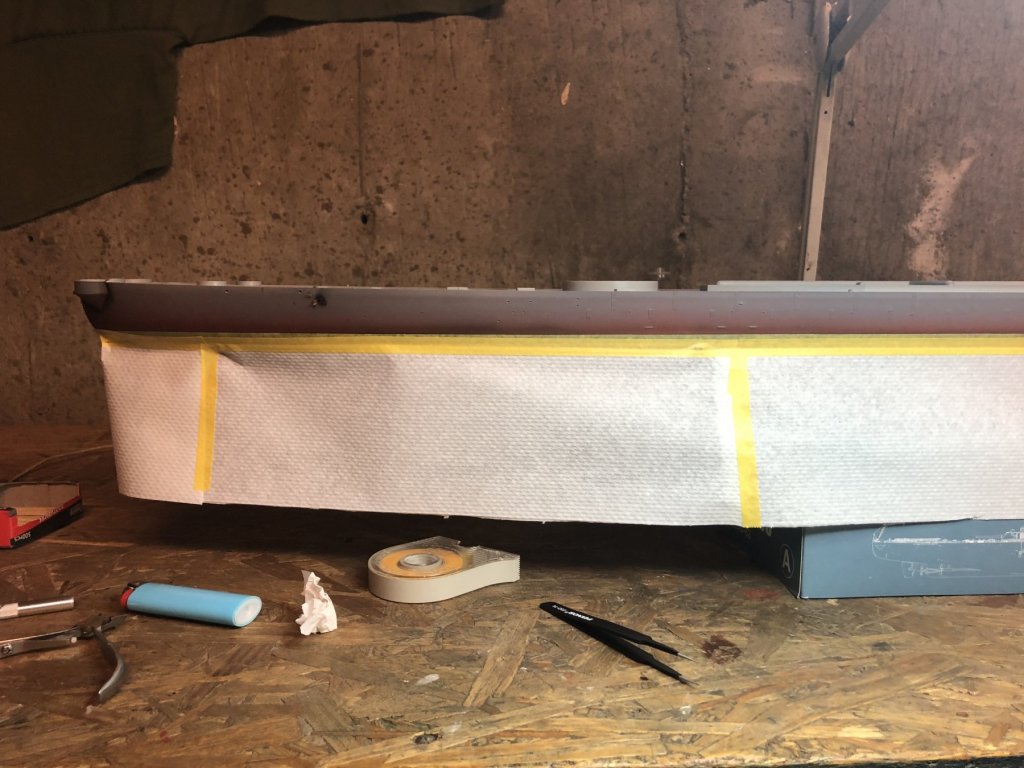
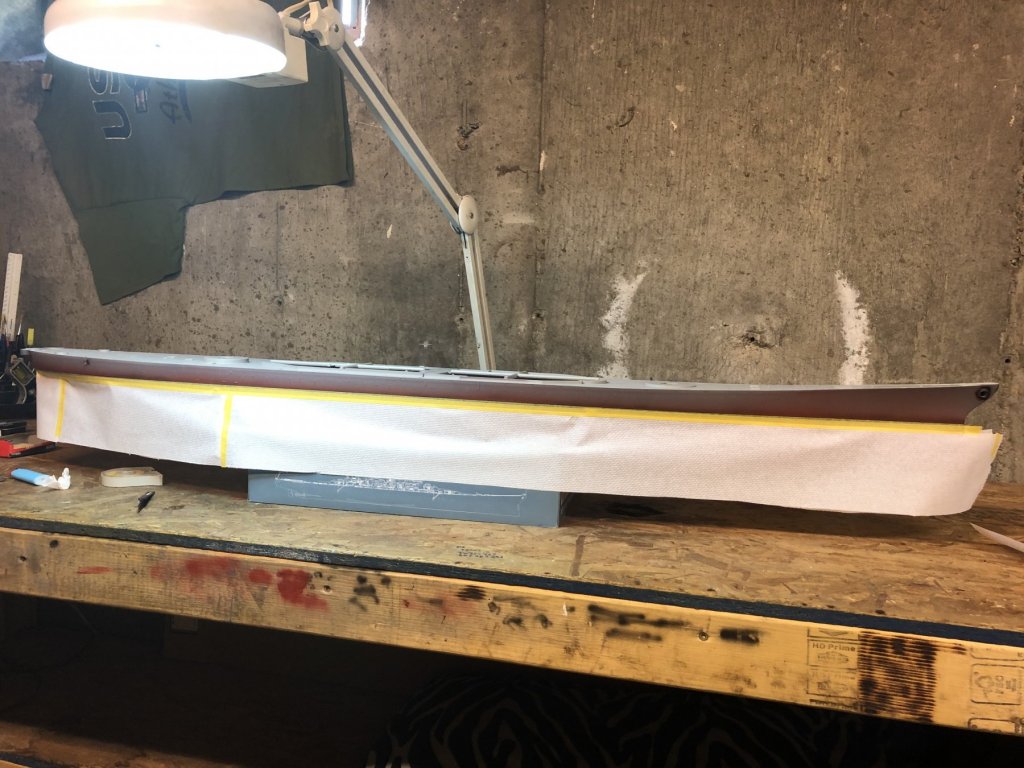
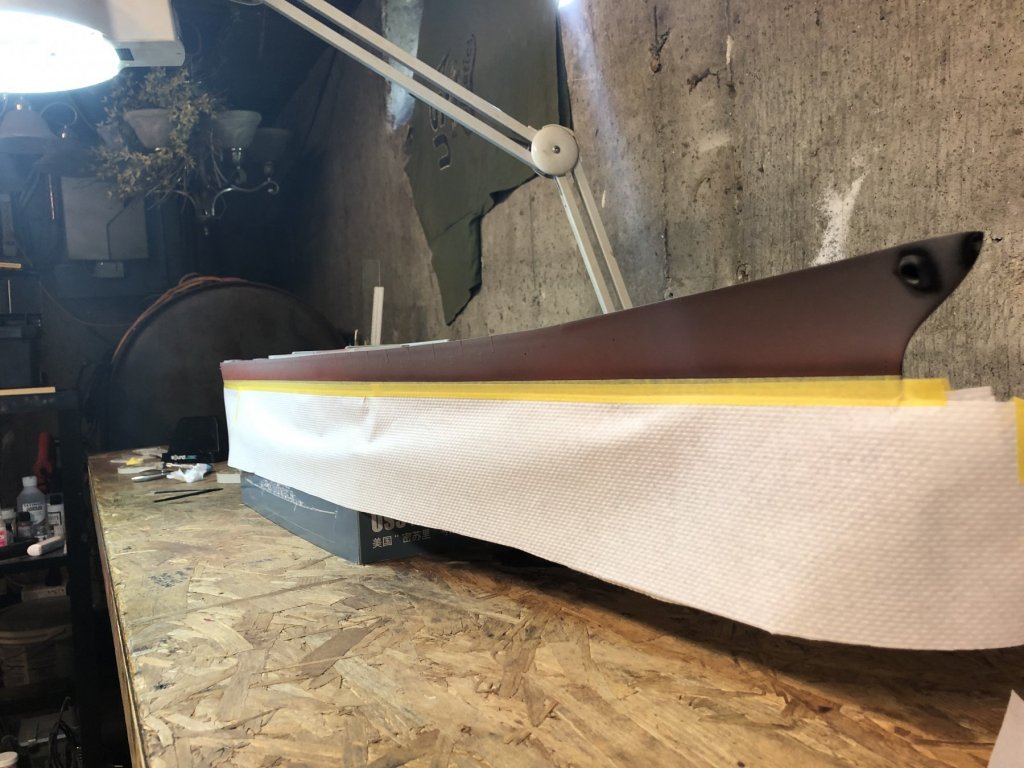
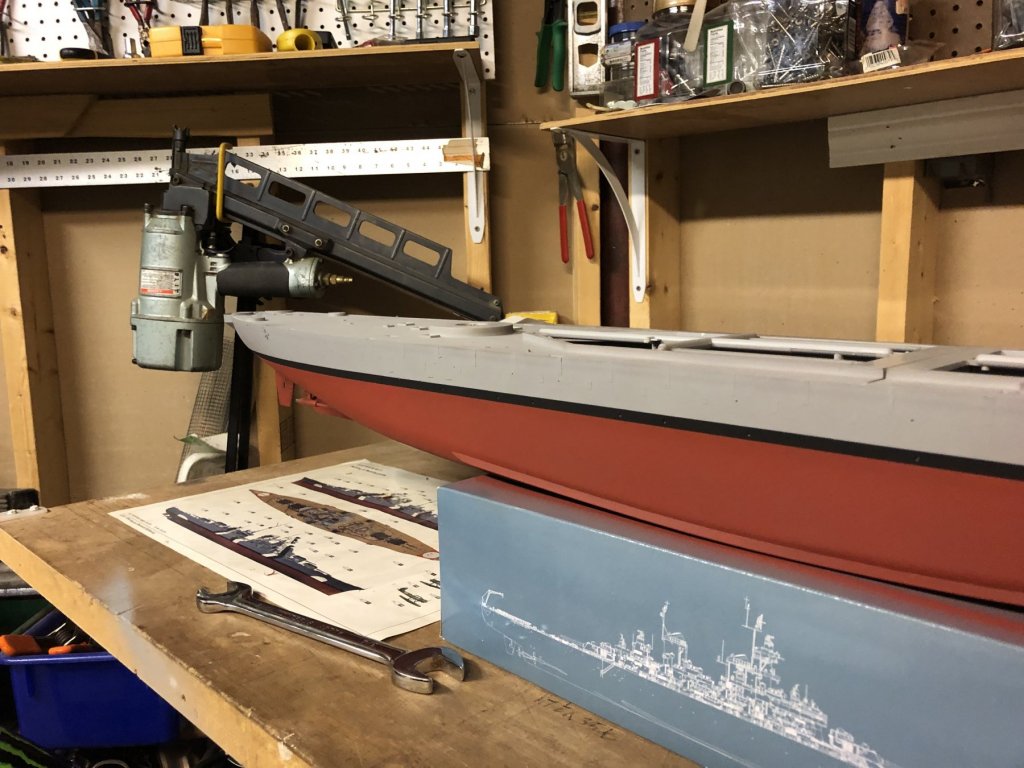
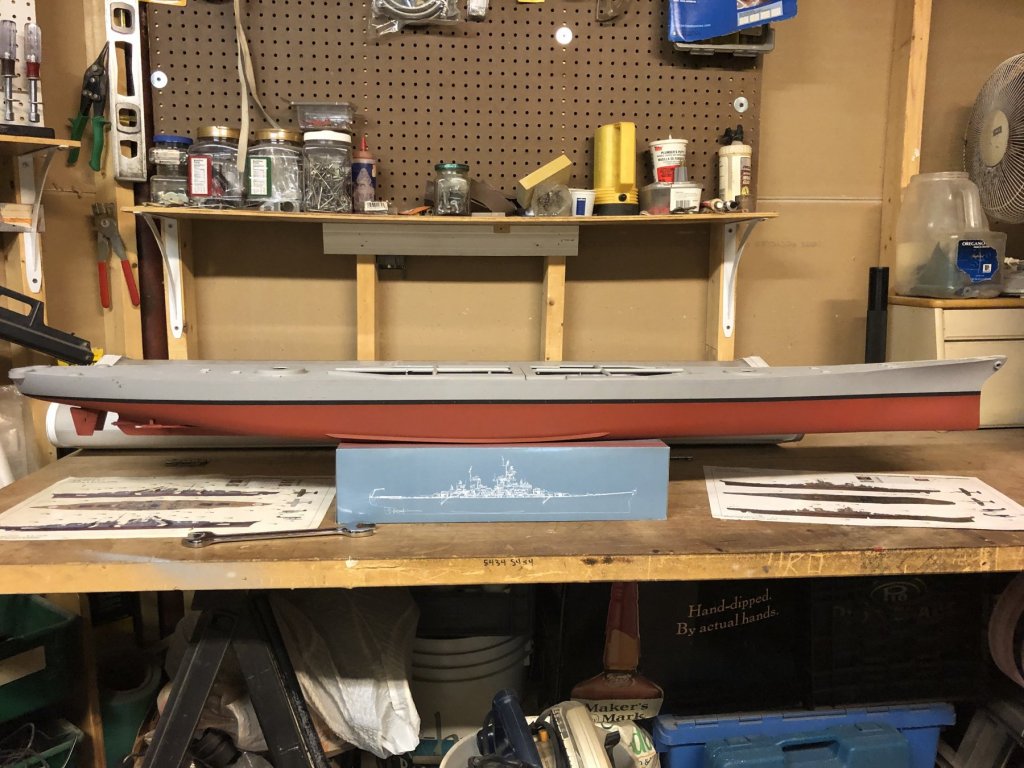
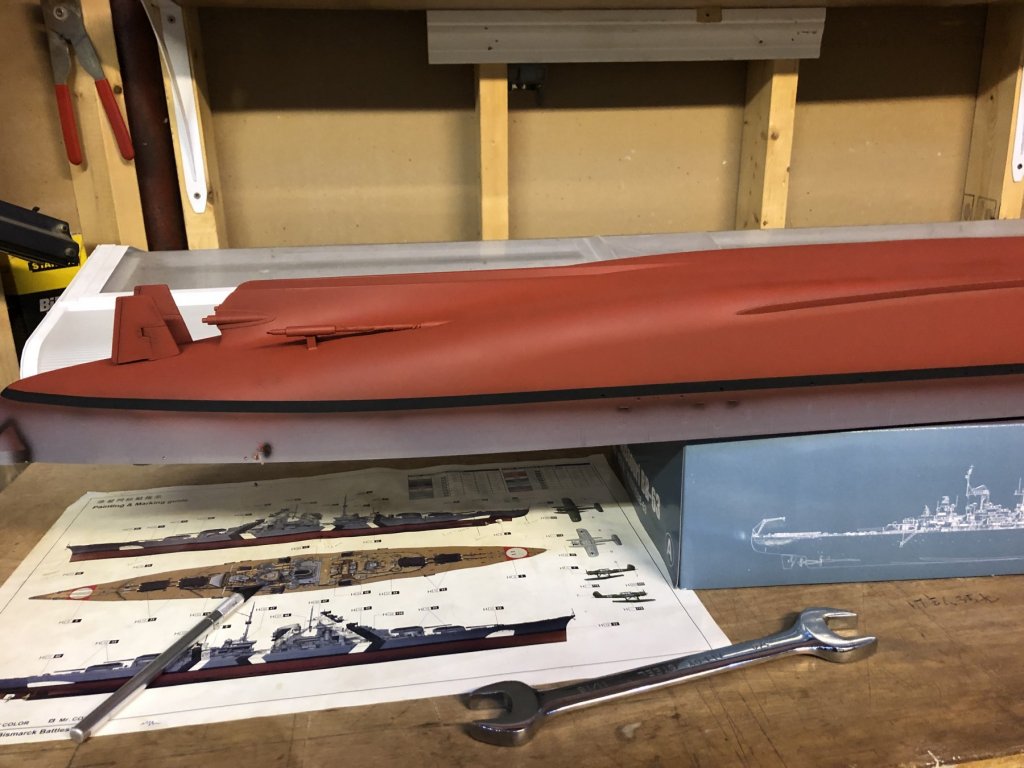
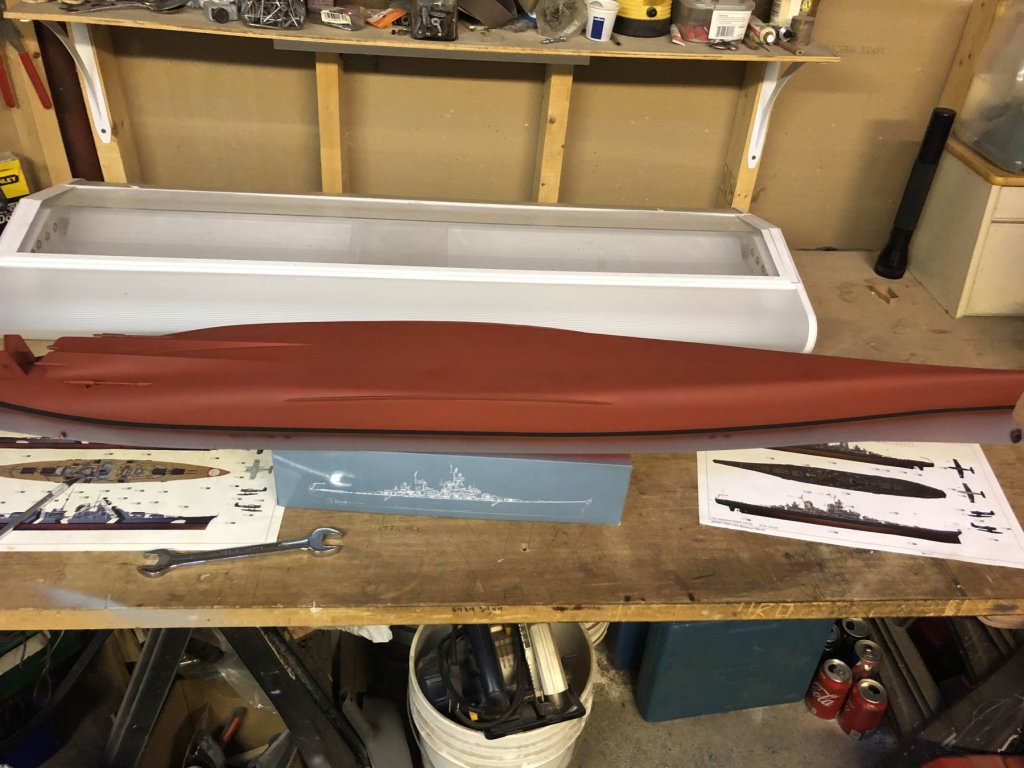
I went with the ak interactive hull red. First thing to do was mask off the waterline with 6mm tape. 8mm would have been more accurate but all I had was 6mm and 10mm. it came out ok, I’m happy. Normally I would keep the masking tape on there until I painted above the waterline. I did not want to leave the masking tape on there all week though.


- 271 replies
-
- 16
-
-
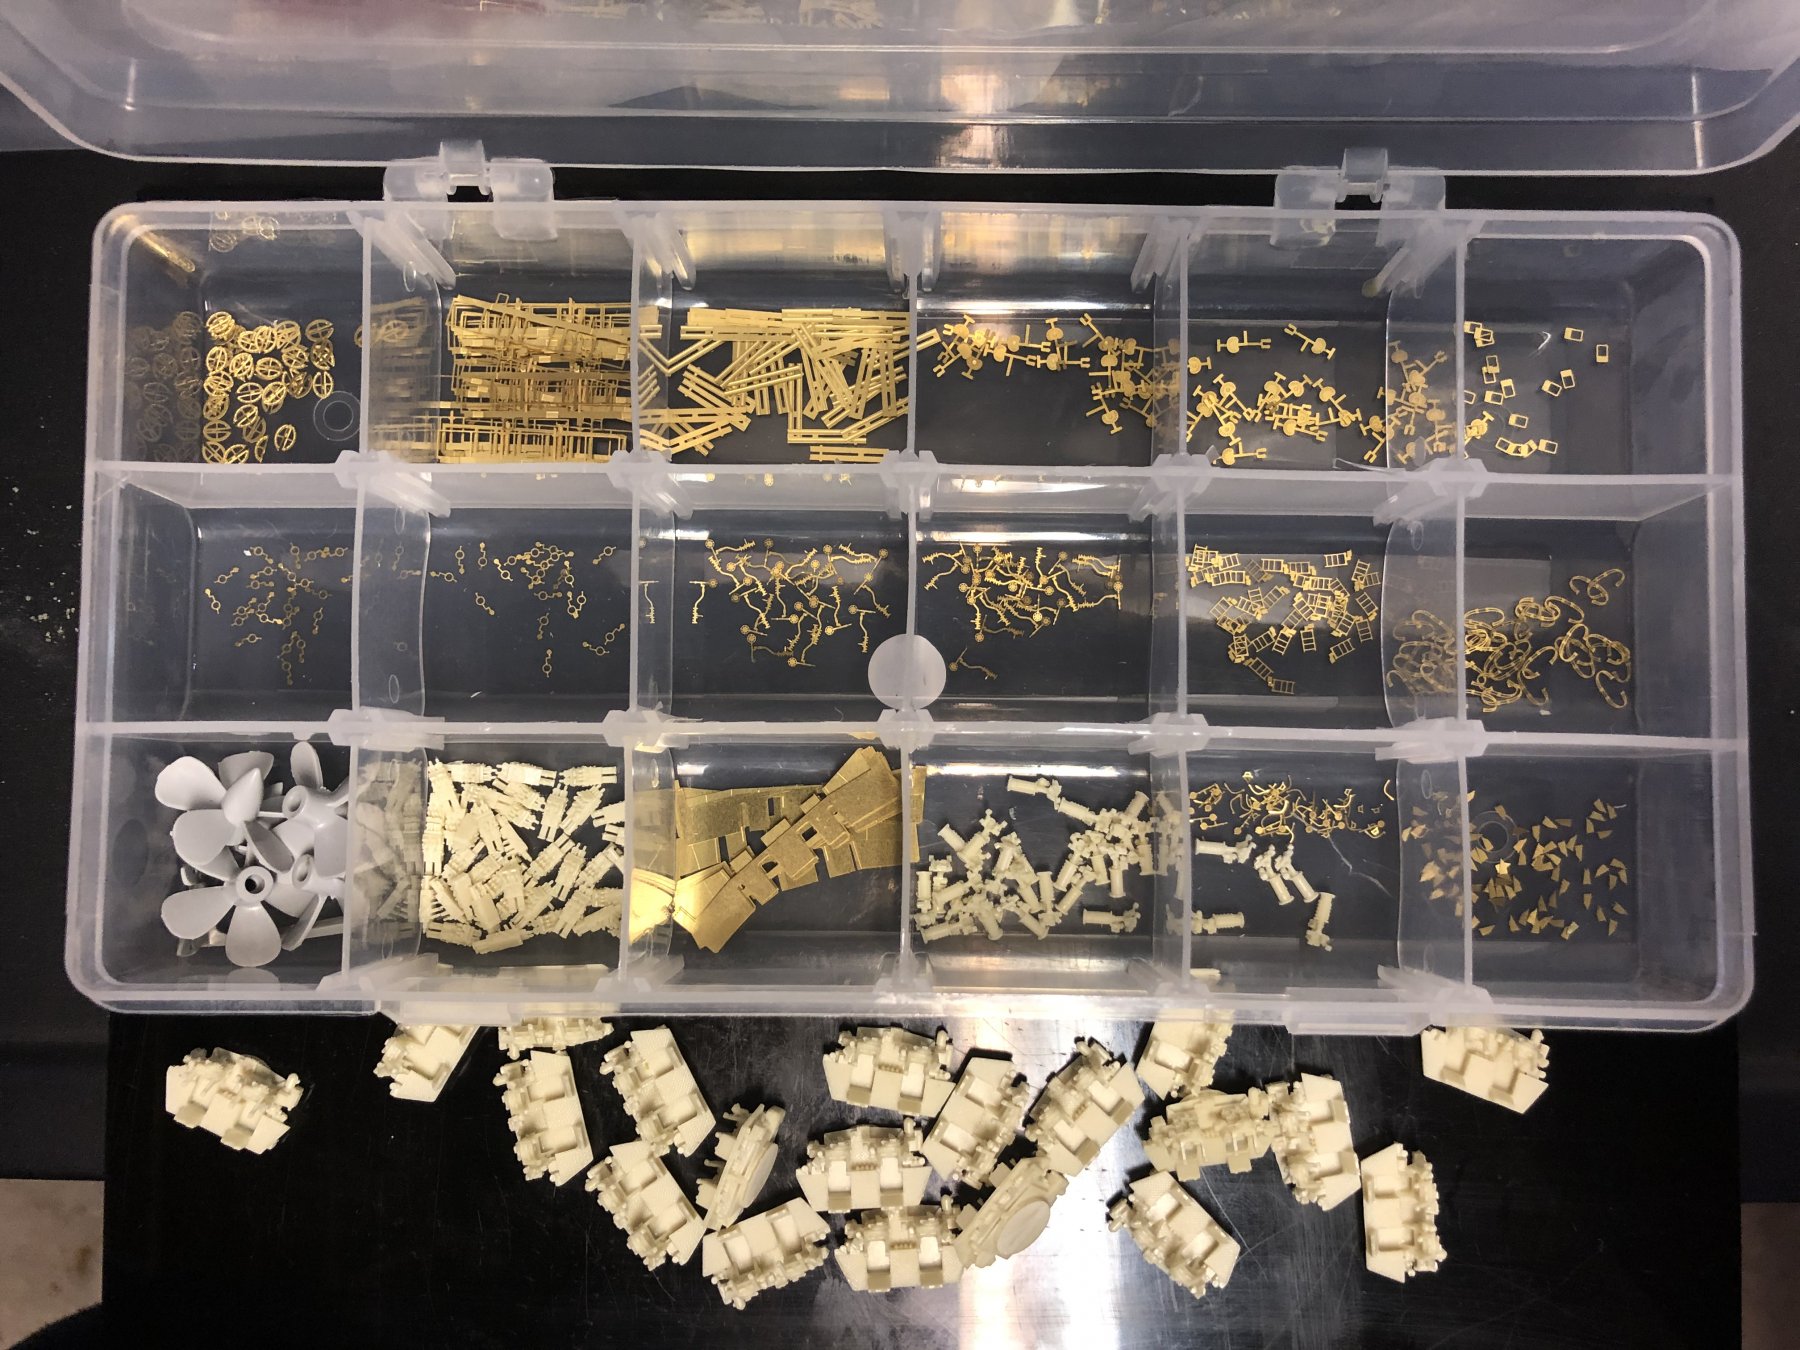
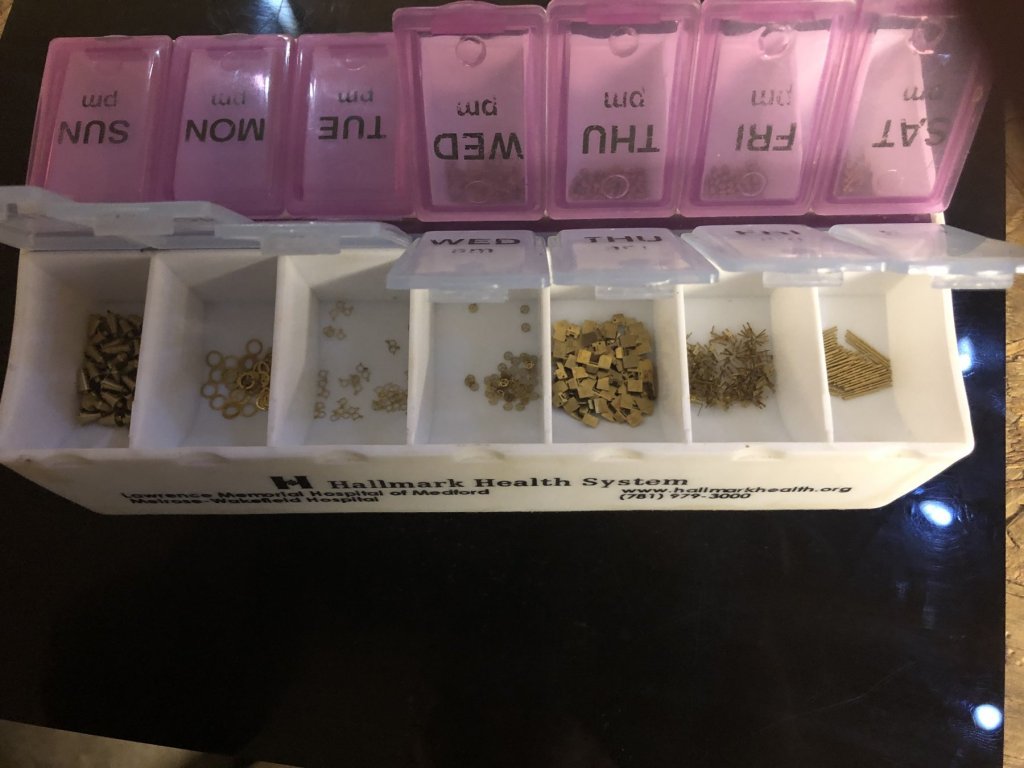
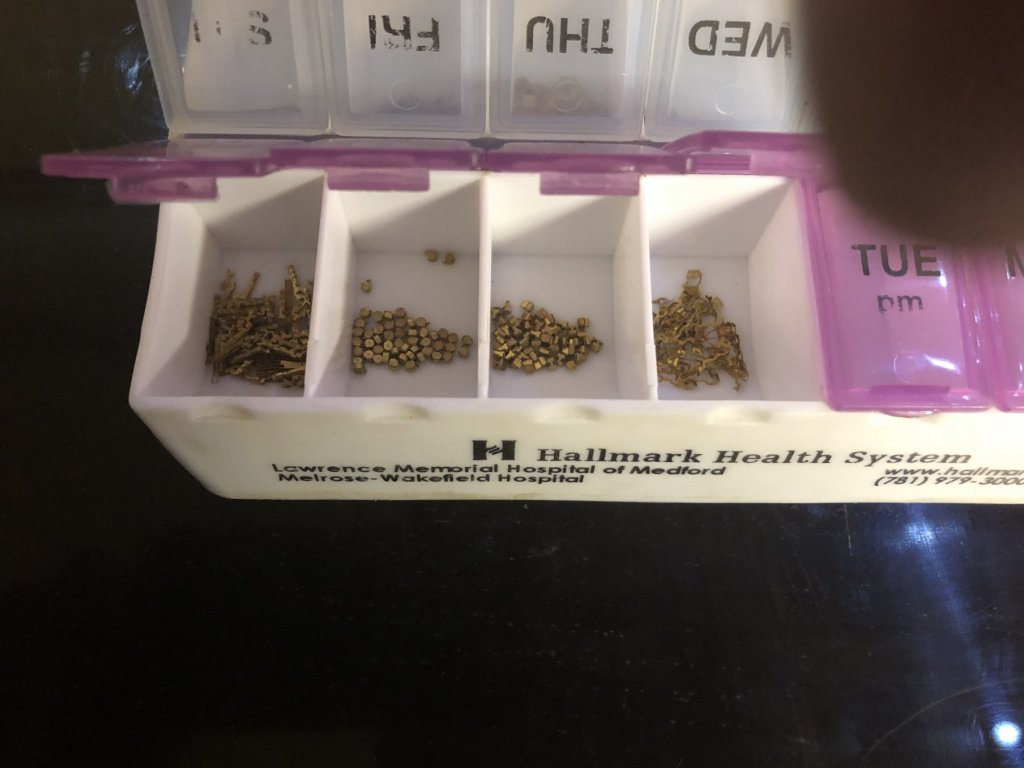
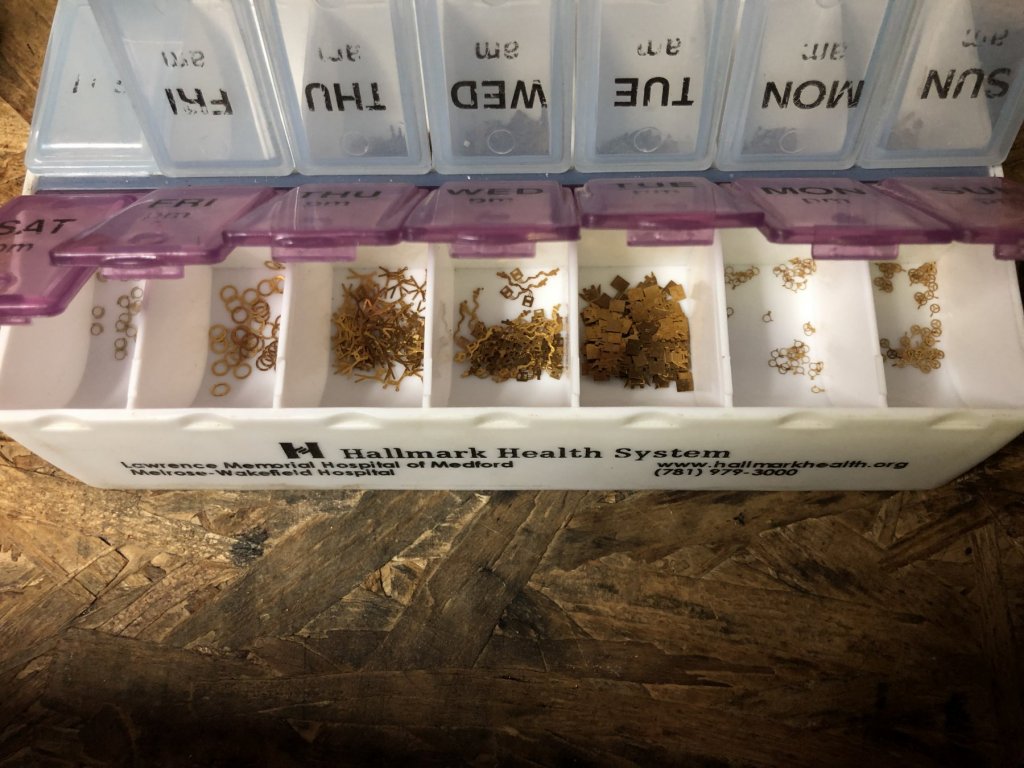
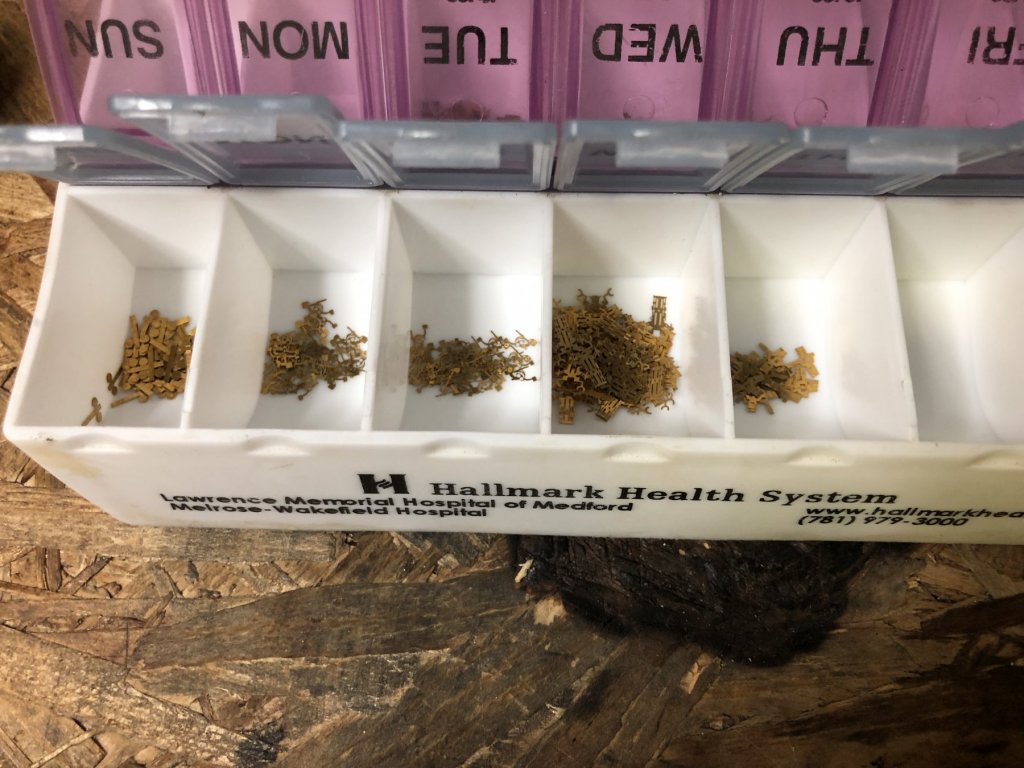
I have begun again... slowly. So I have heard great things about mission models paints. So I bought a couple colors. Hull red and haze grey5h. Now if they had deck blue I would be all set. I cut out and folded all the pieces for the 50 small guns. I also cut out every piece for the 20 Bofors. i forgot to glue these onto the hull so I did that. time for paint. So which hull red do you guys like. The one on the right is ak interactive from a ww2 USA navy set so it’s probably the most accurate.

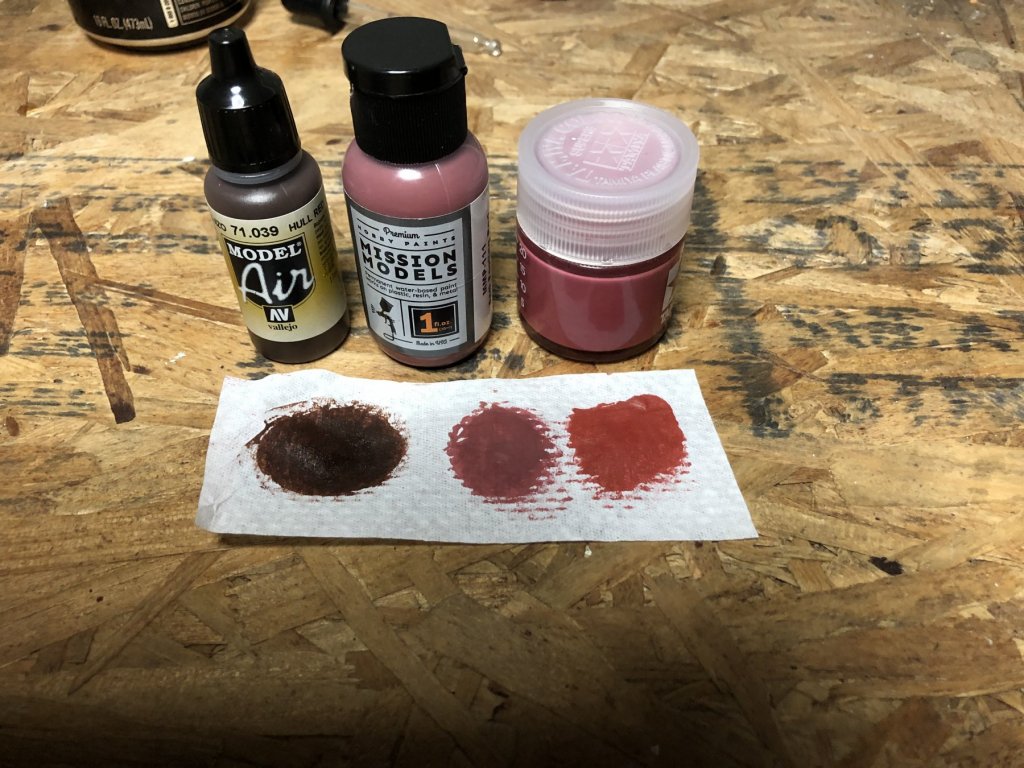

- 271 replies
-
- 10
-
-
Hey guys. Sorry no updates this weekend. My dad passed away Saturday night. I’m going to take a couple weeks off of modeling. But I’ll be back. Talk to you all soon.
-
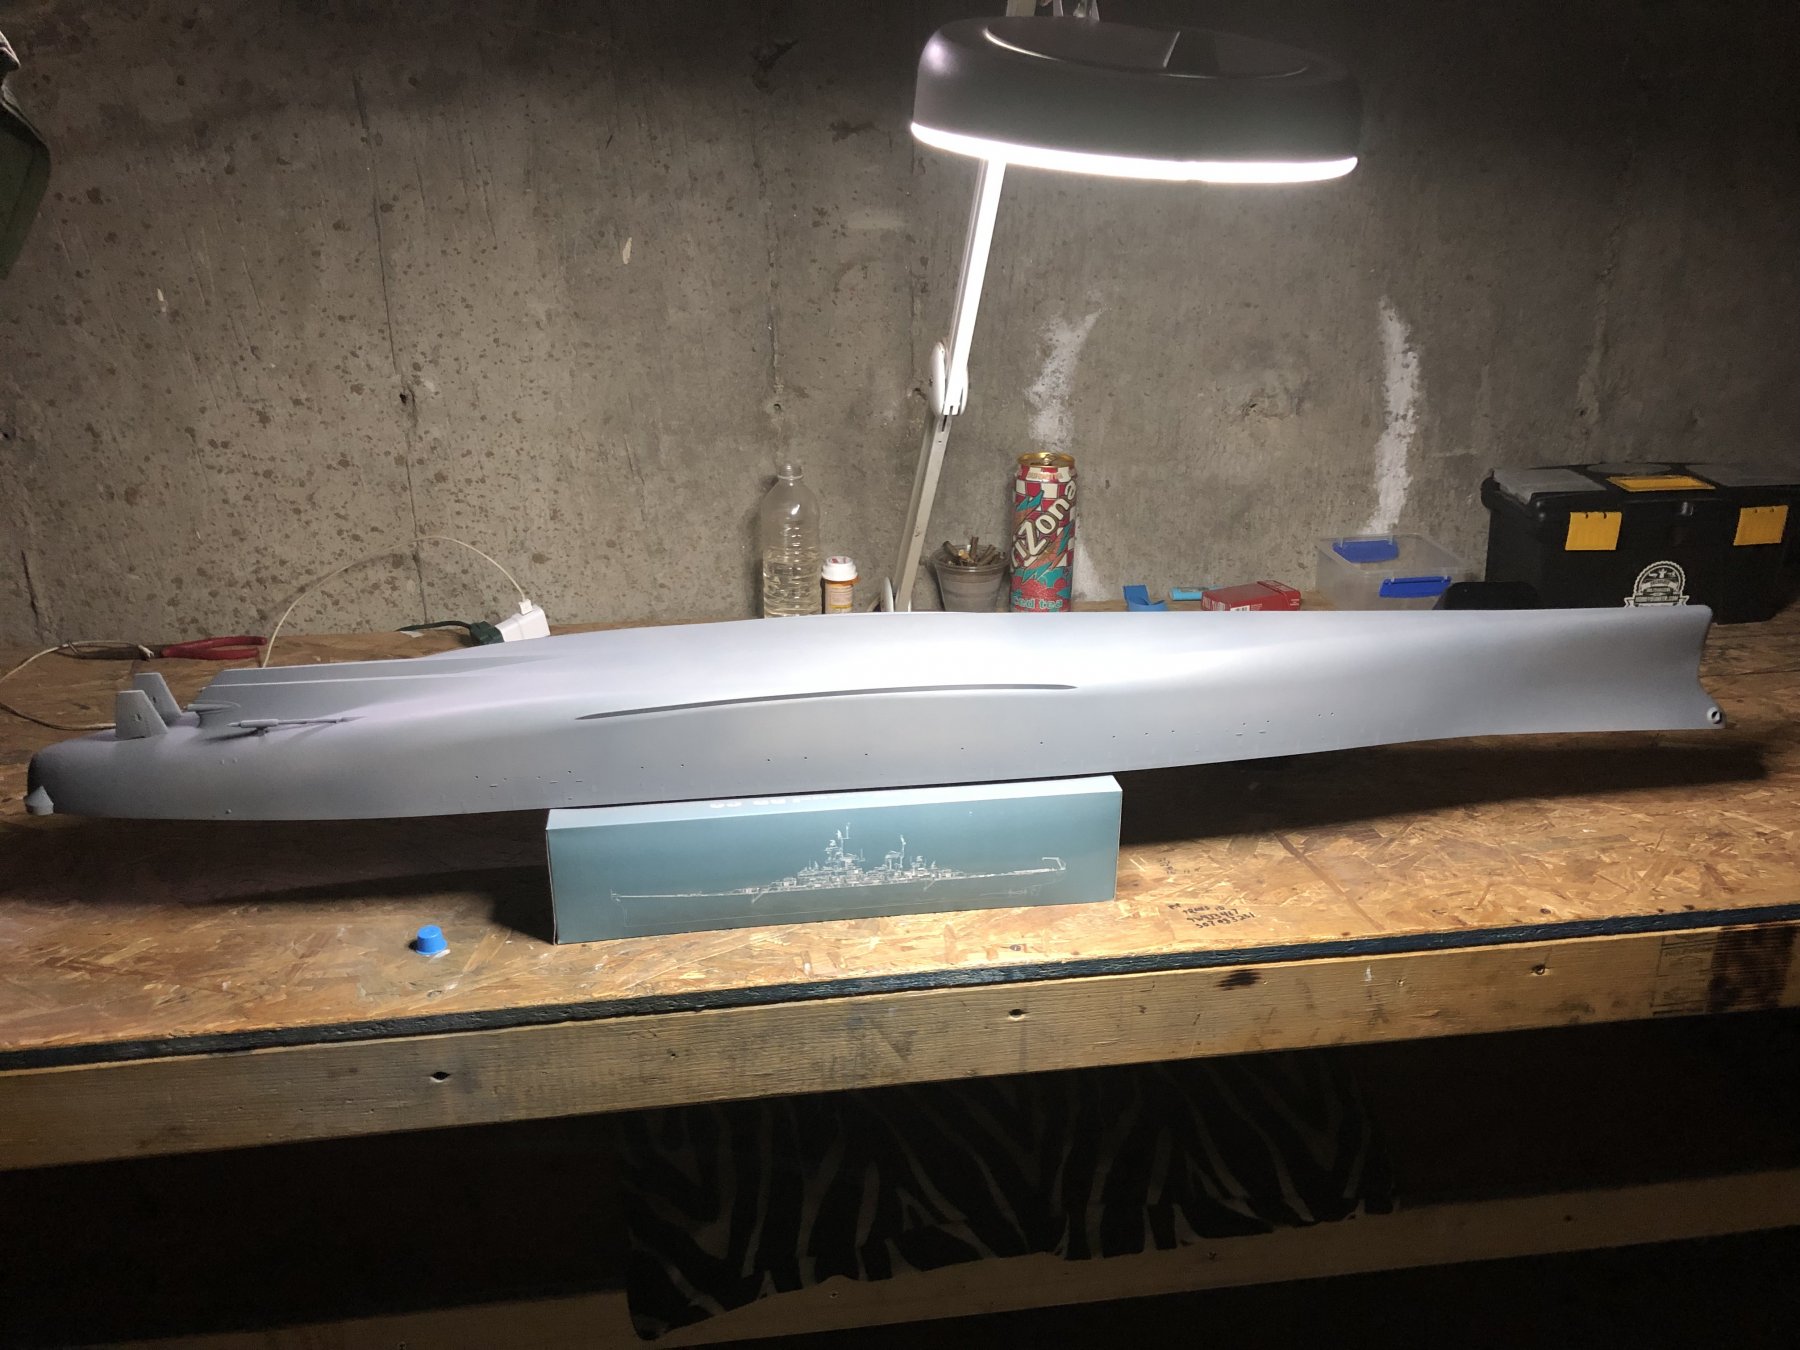
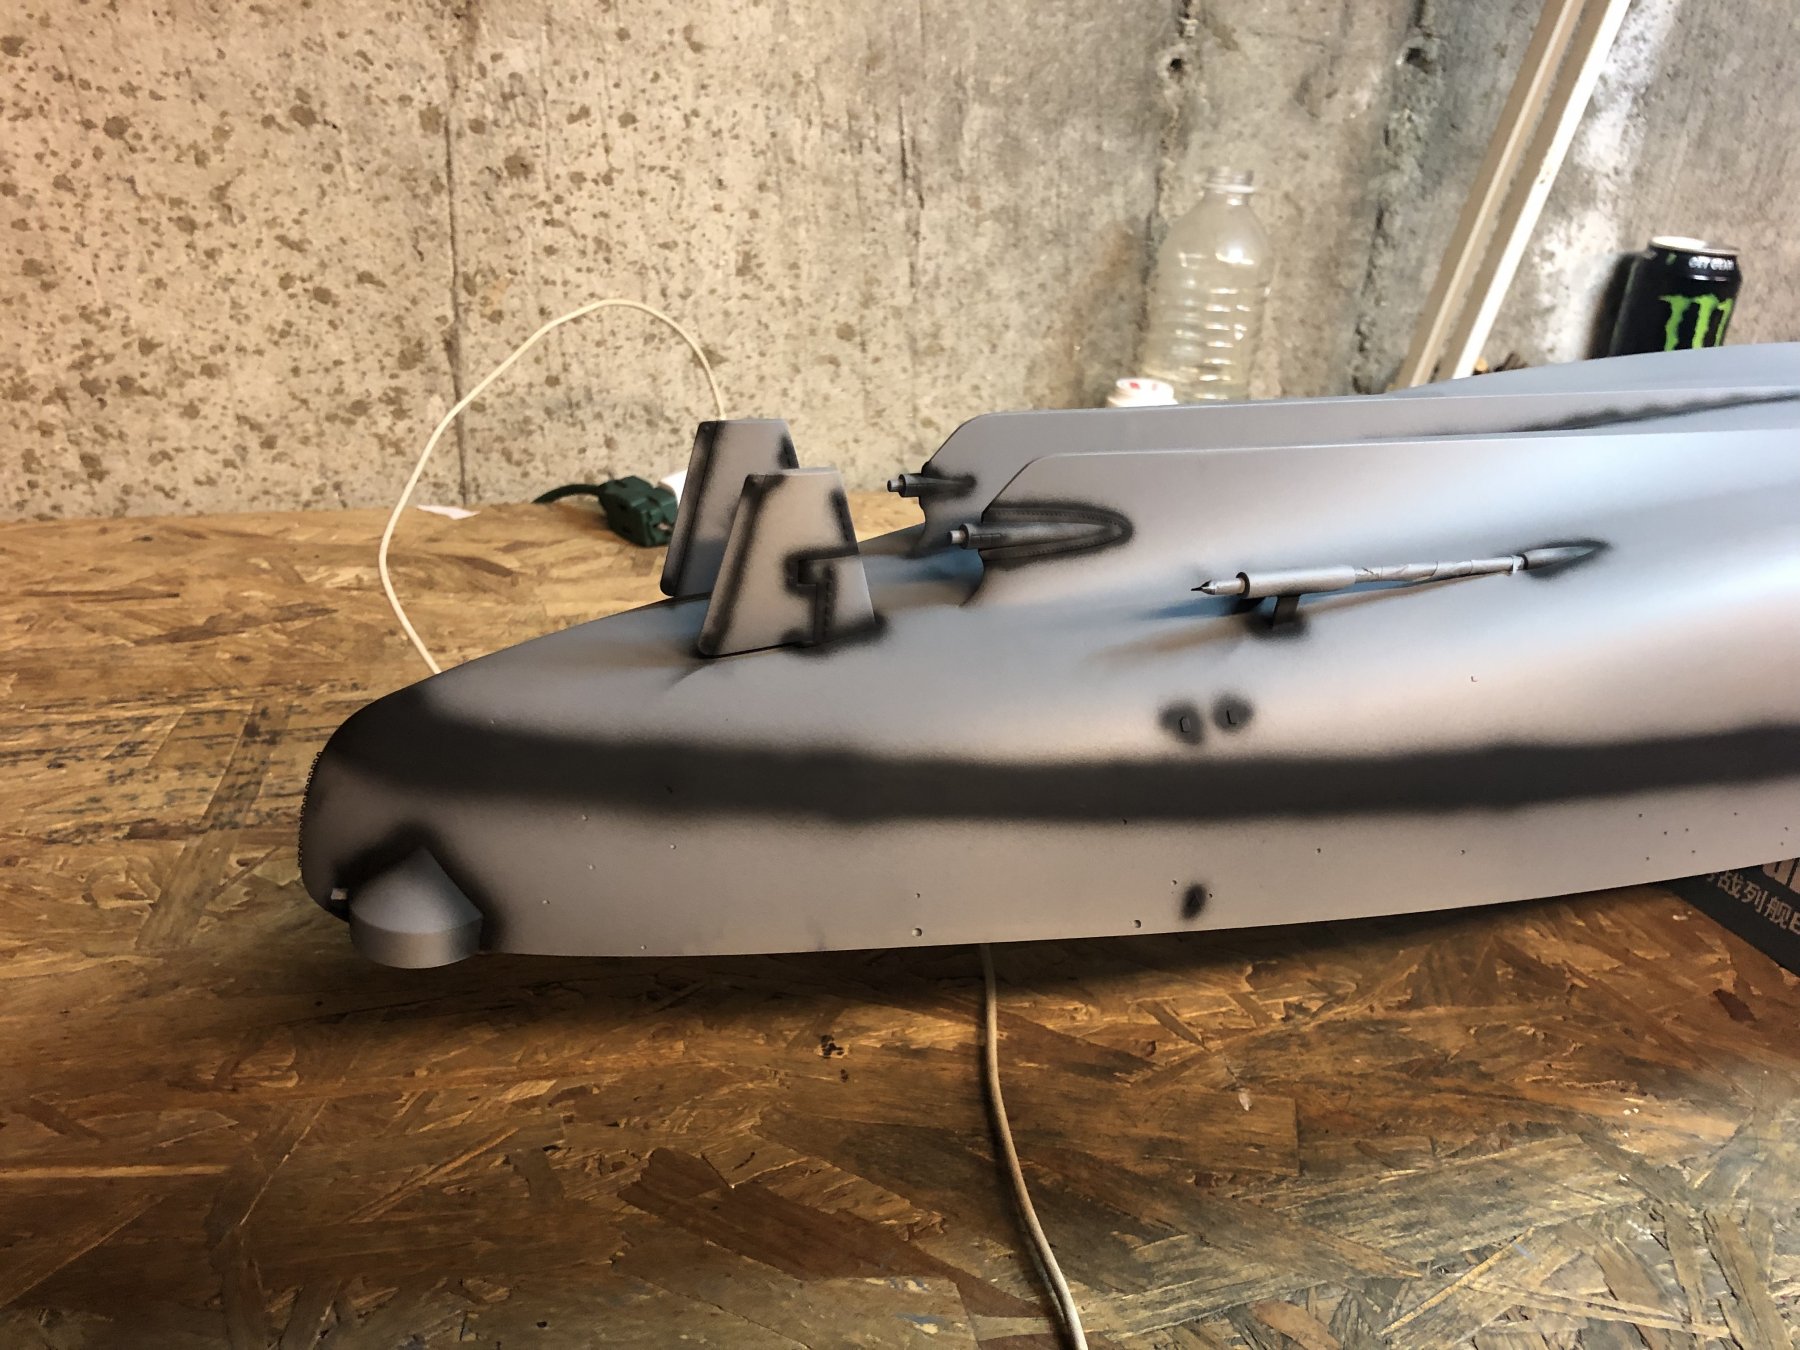
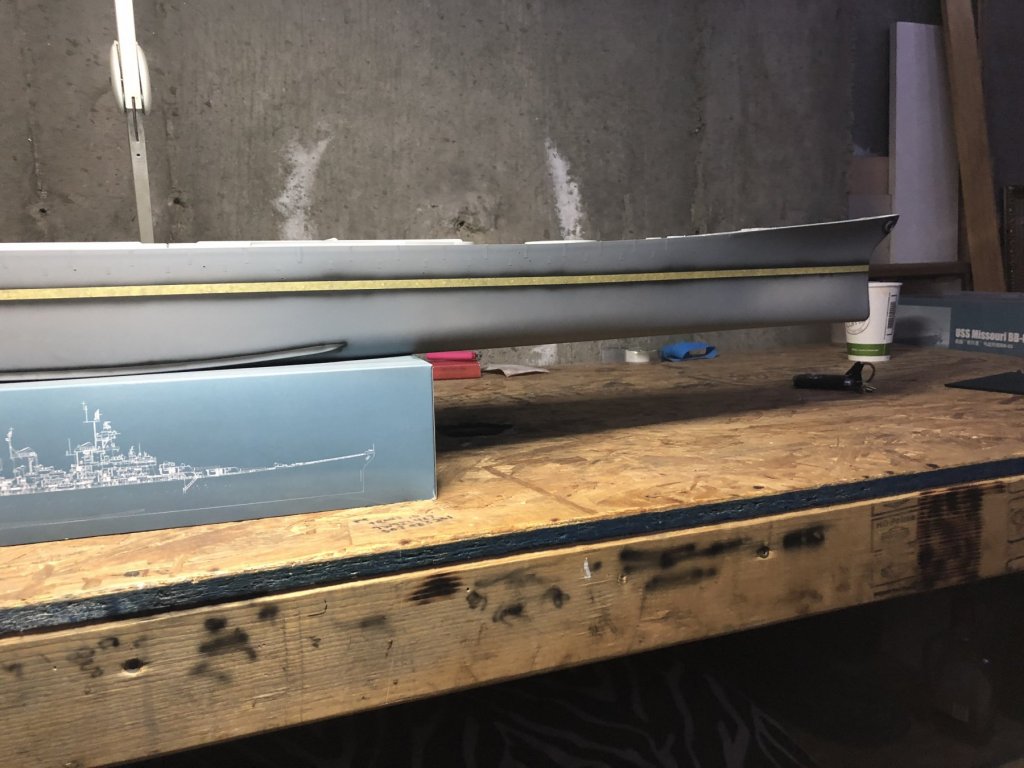
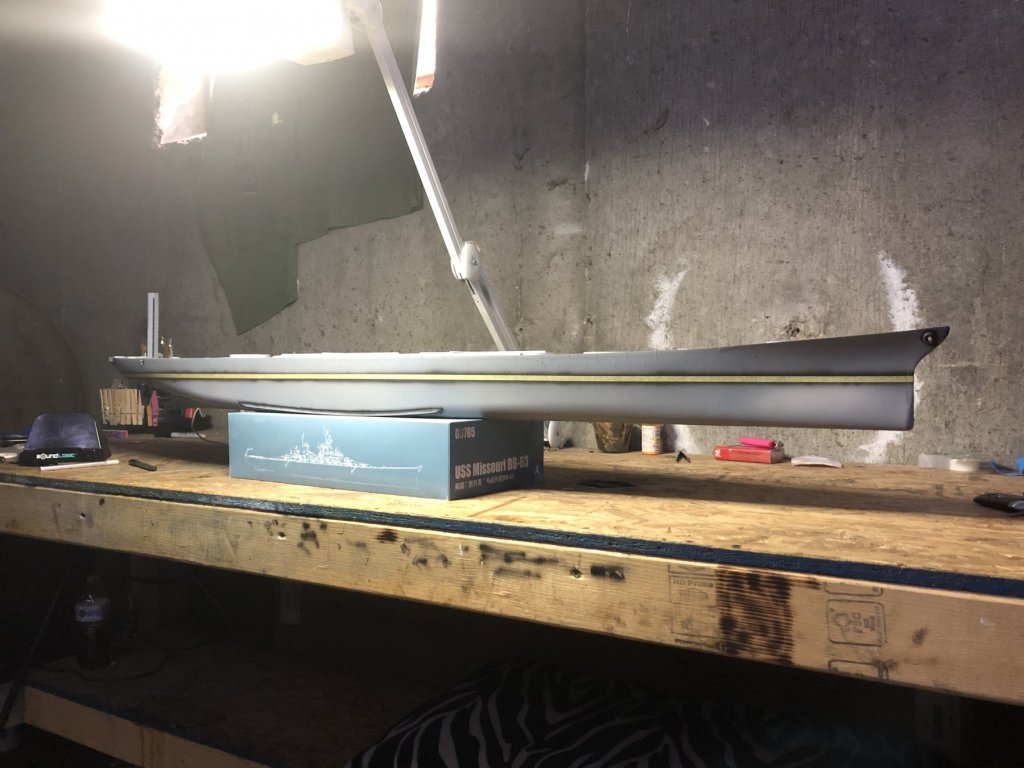
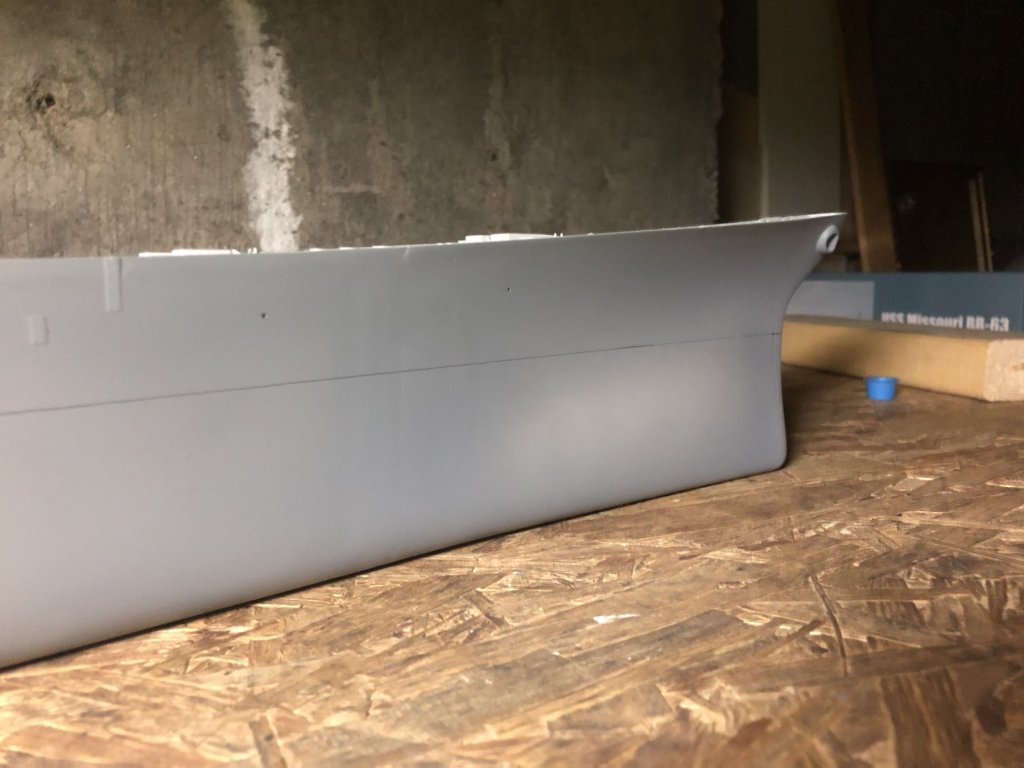
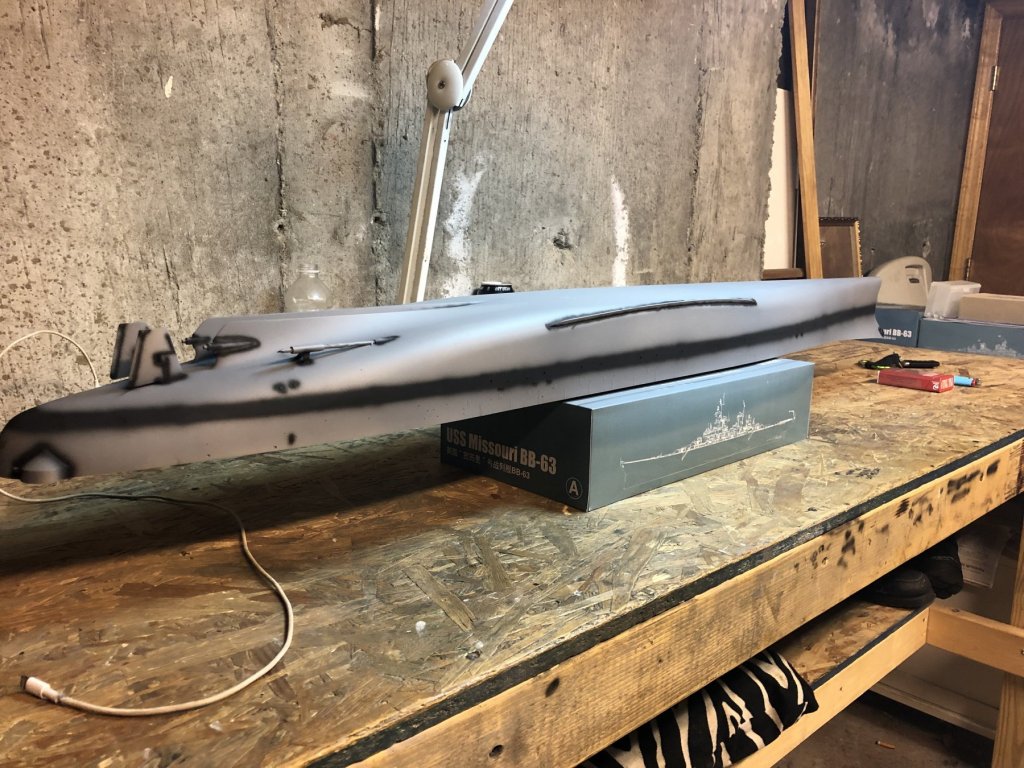
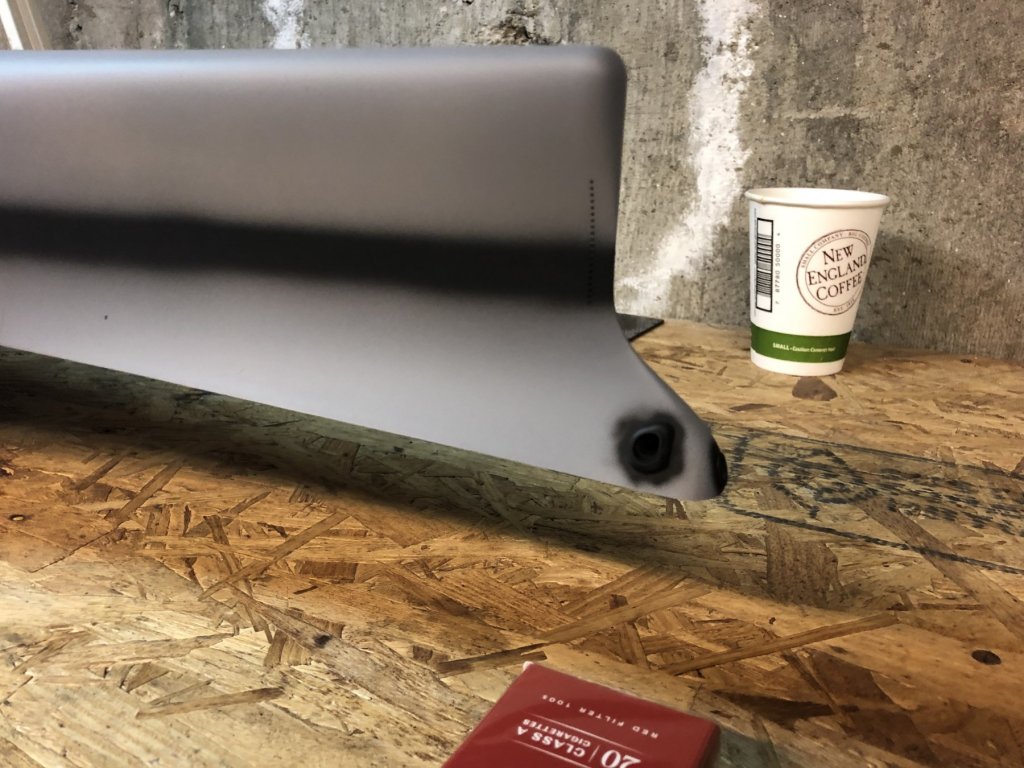
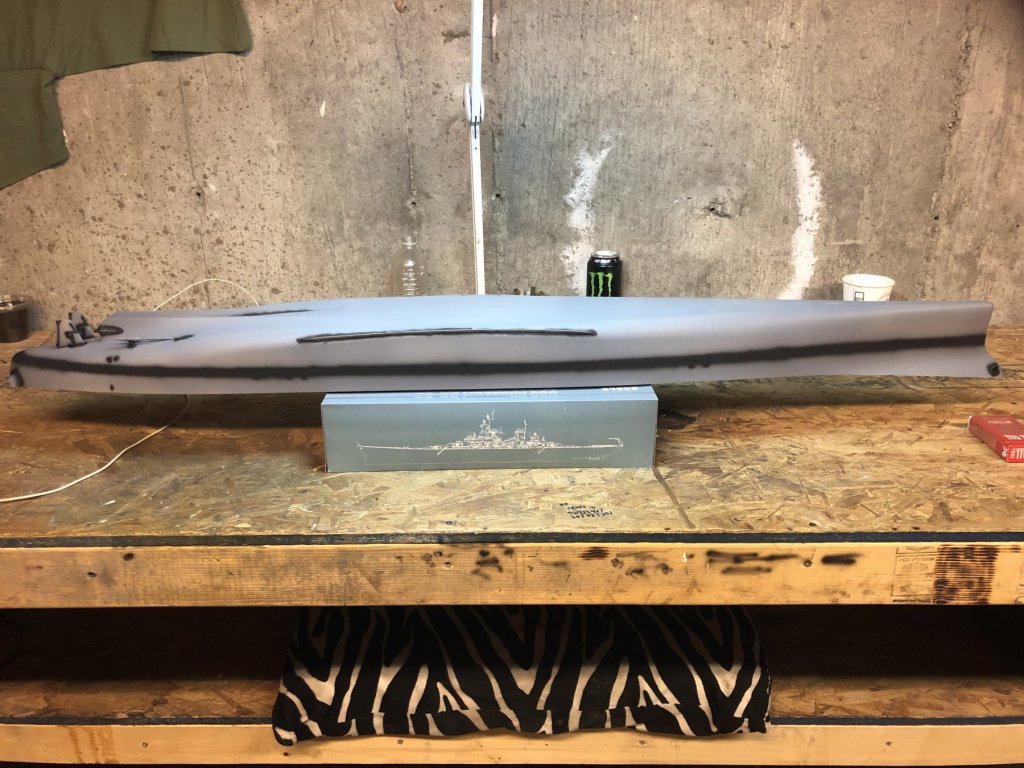
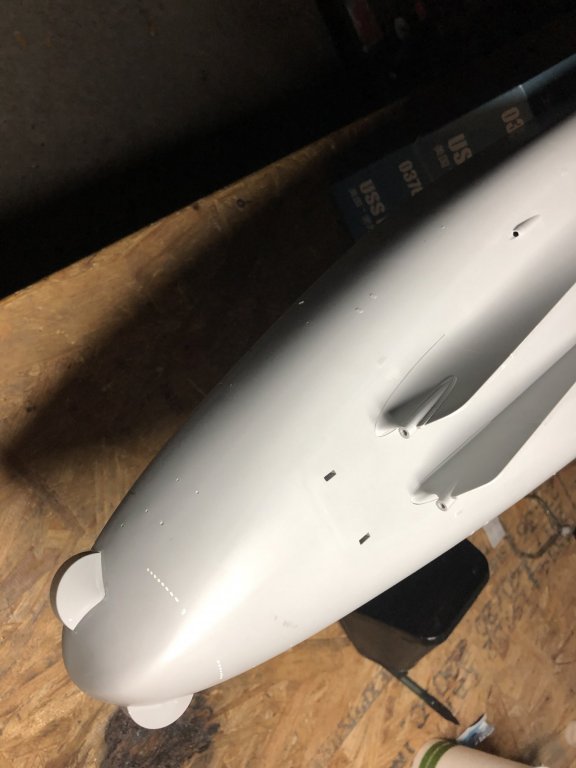
I glued on some grab rails and ladder rungs. after that I decided to prime the hull. then I could mark out the waterline. finally using Tamiya flat black I painted in the water line and pre shaded a little bit.


- 271 replies
-
- 16
-
-
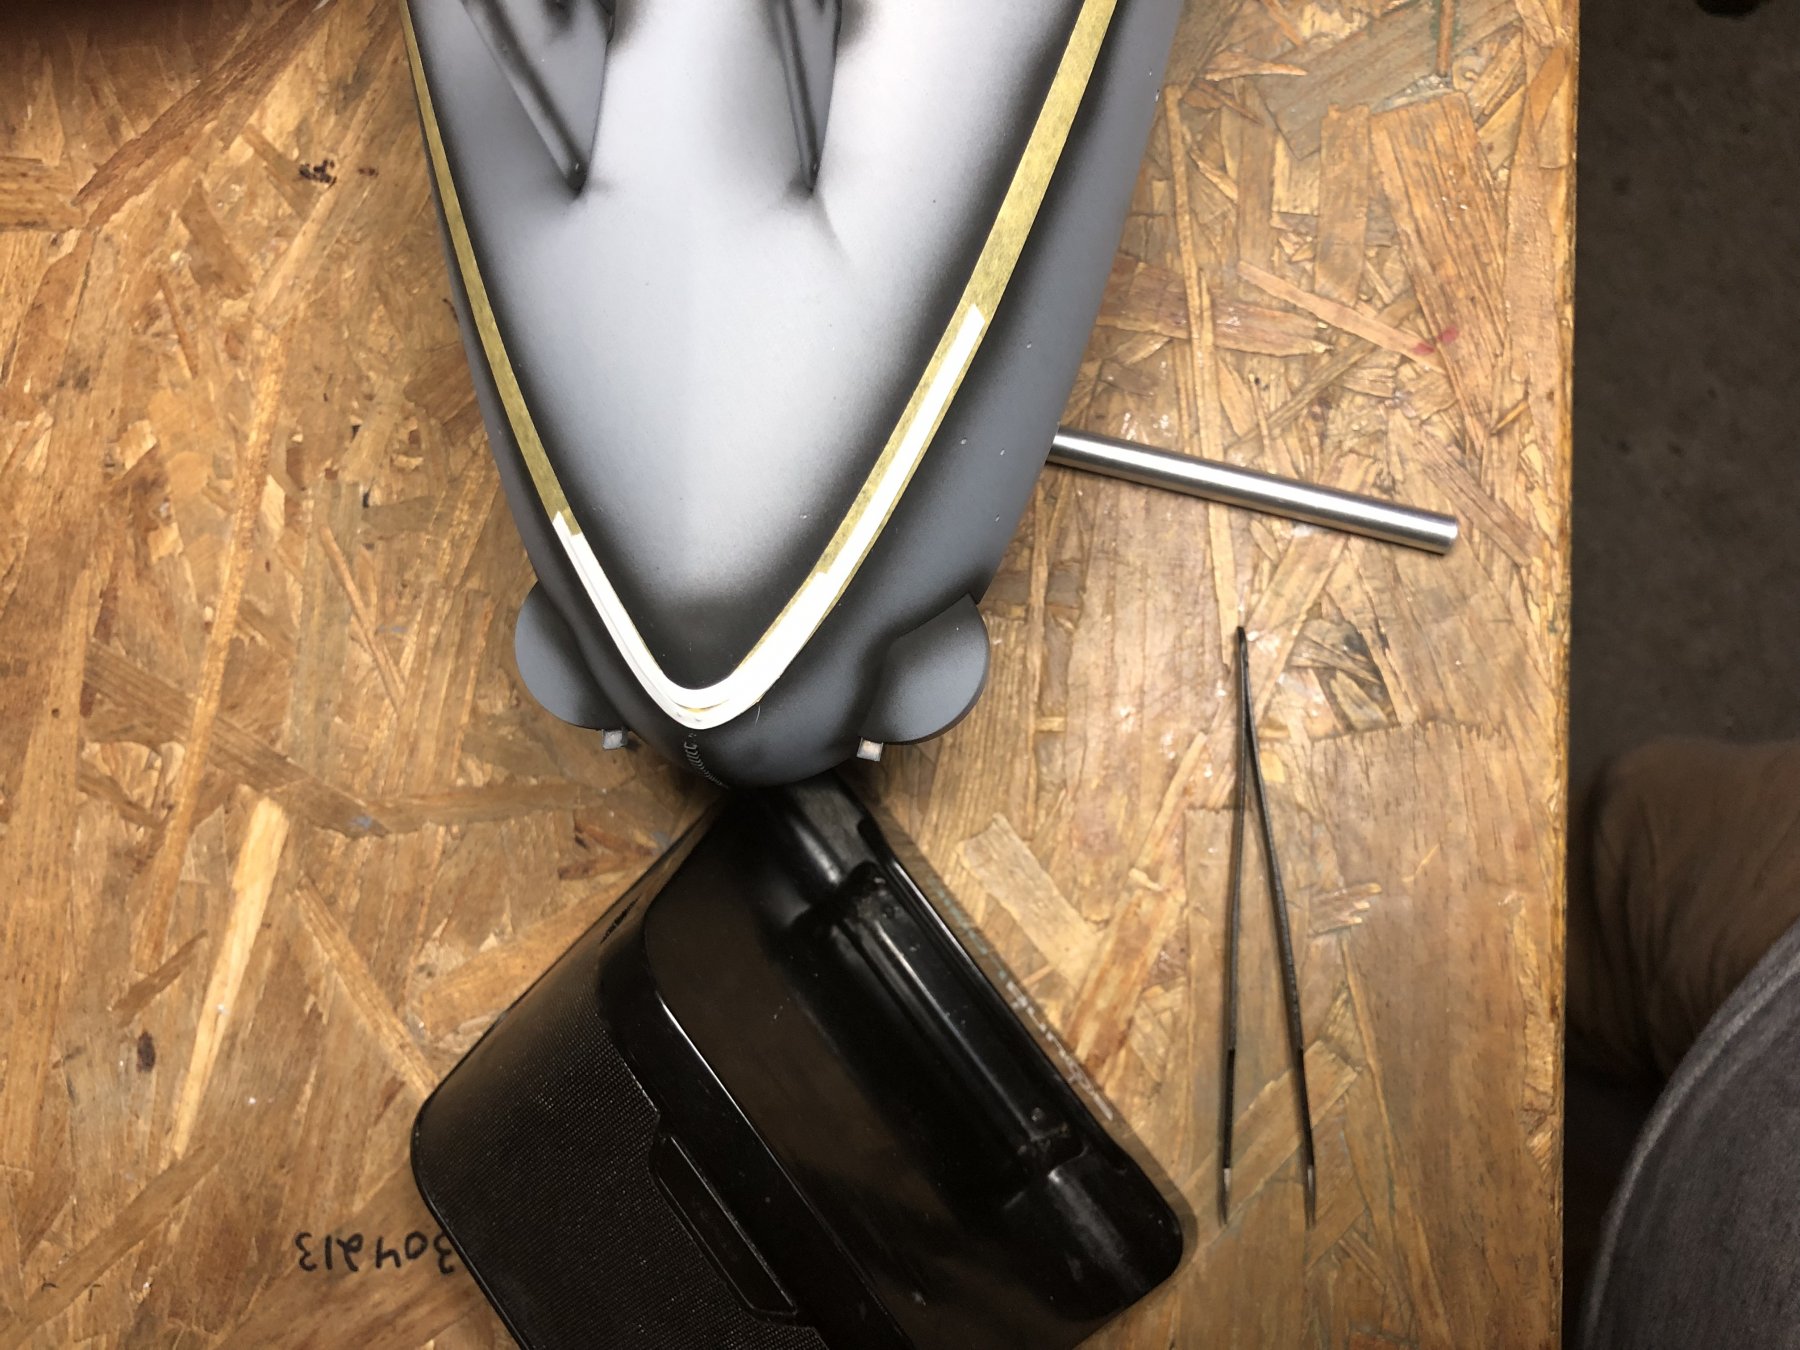
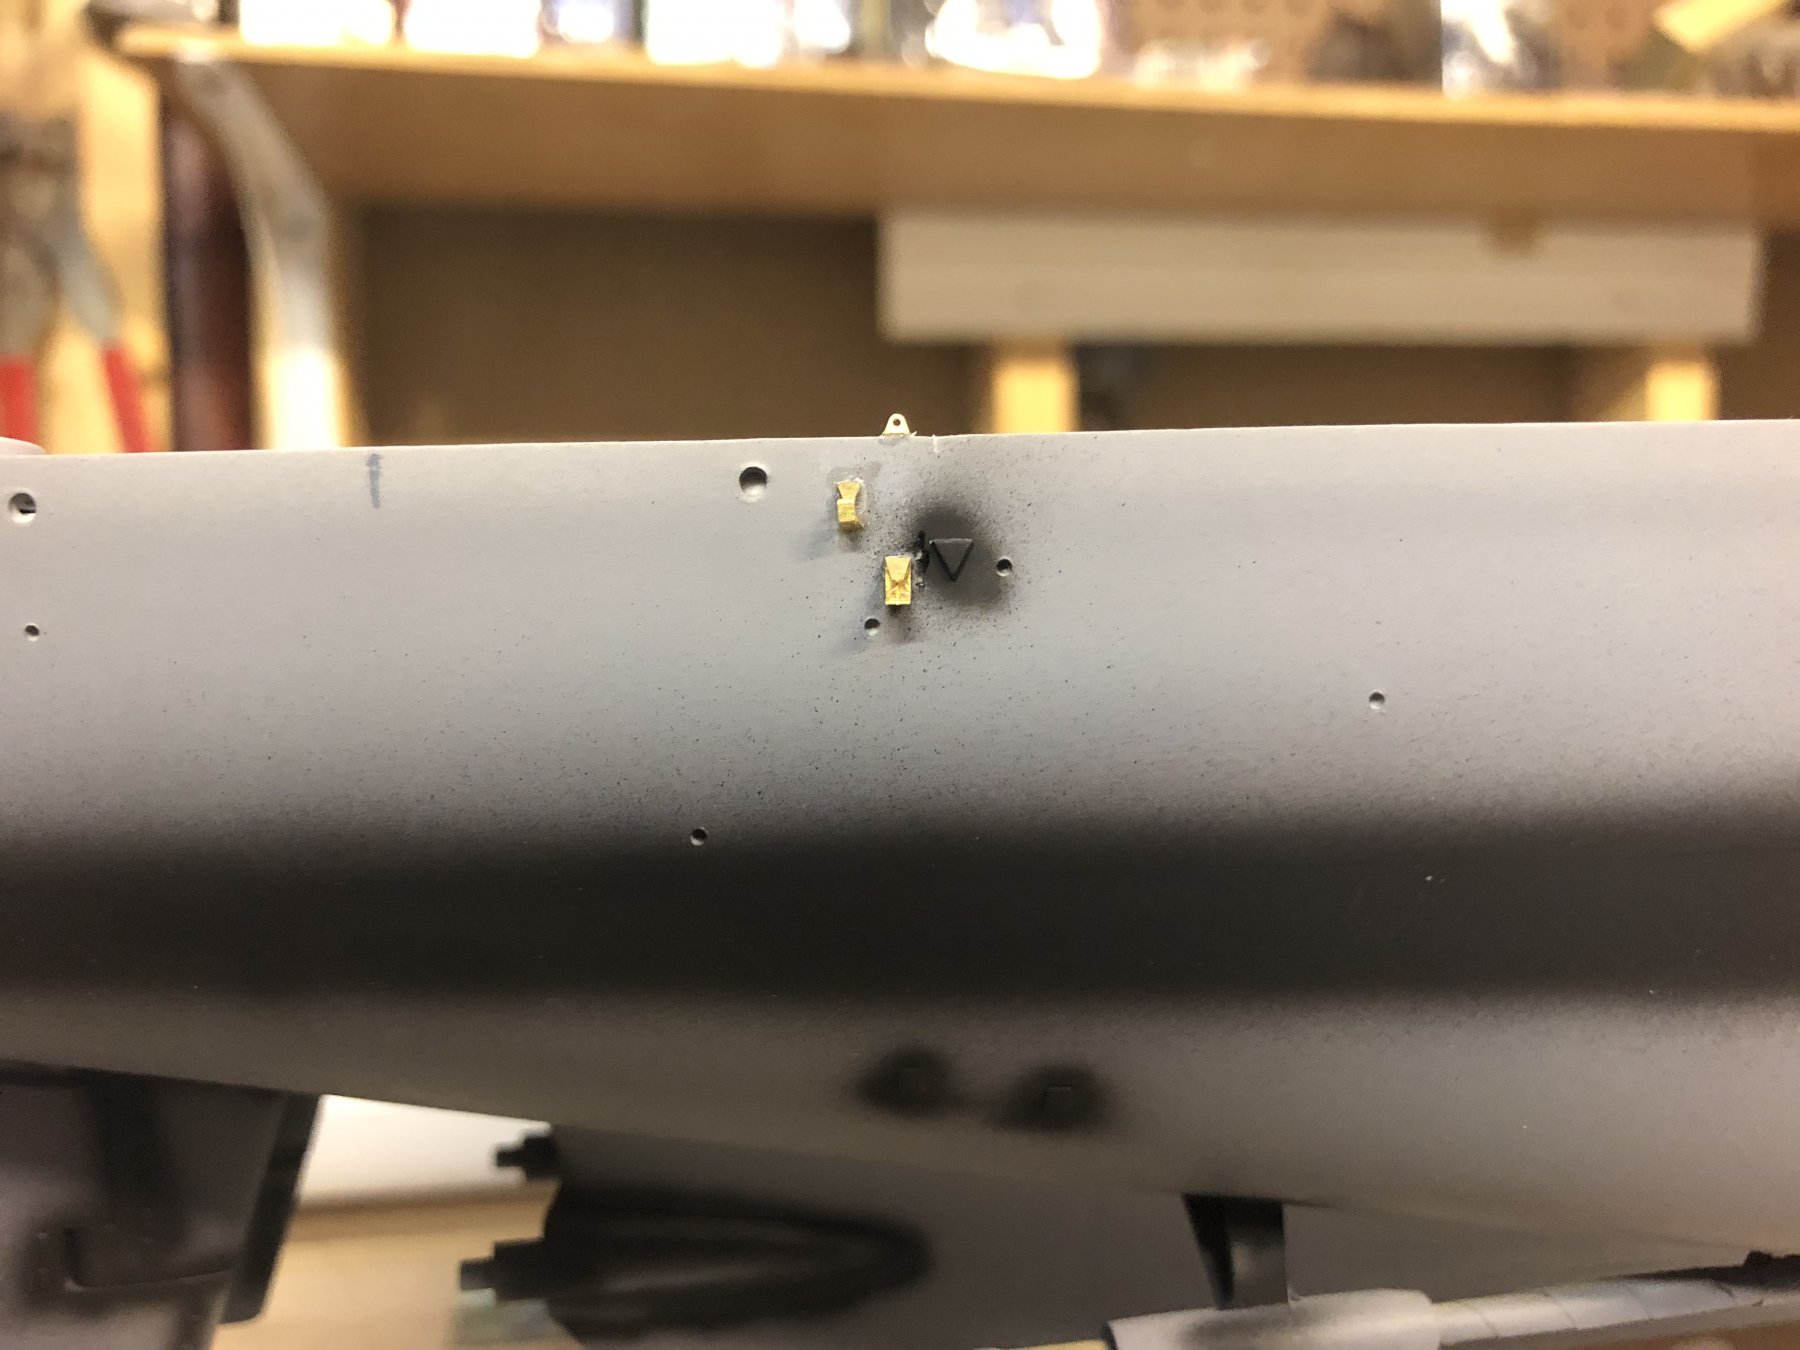
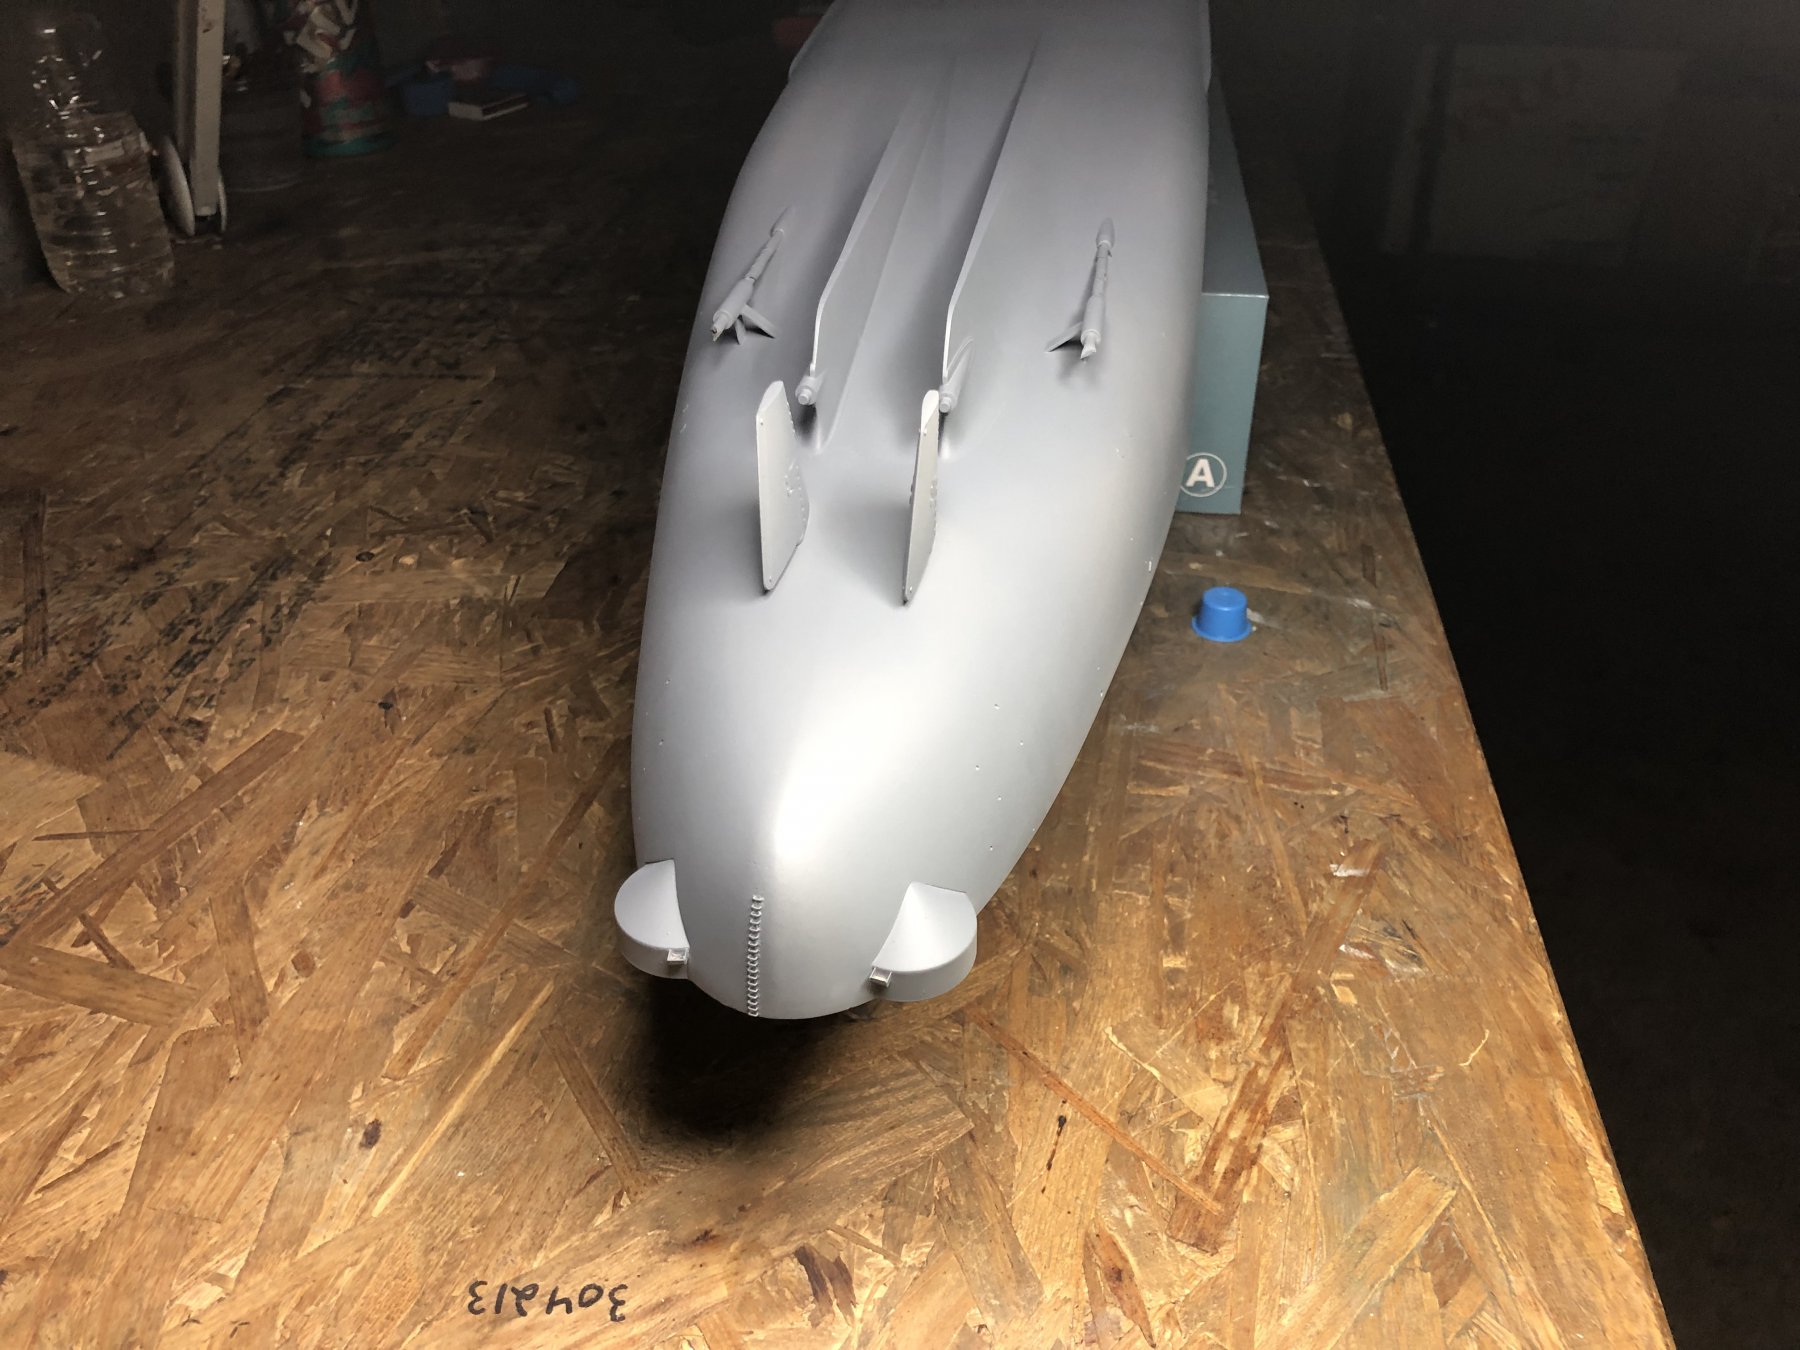
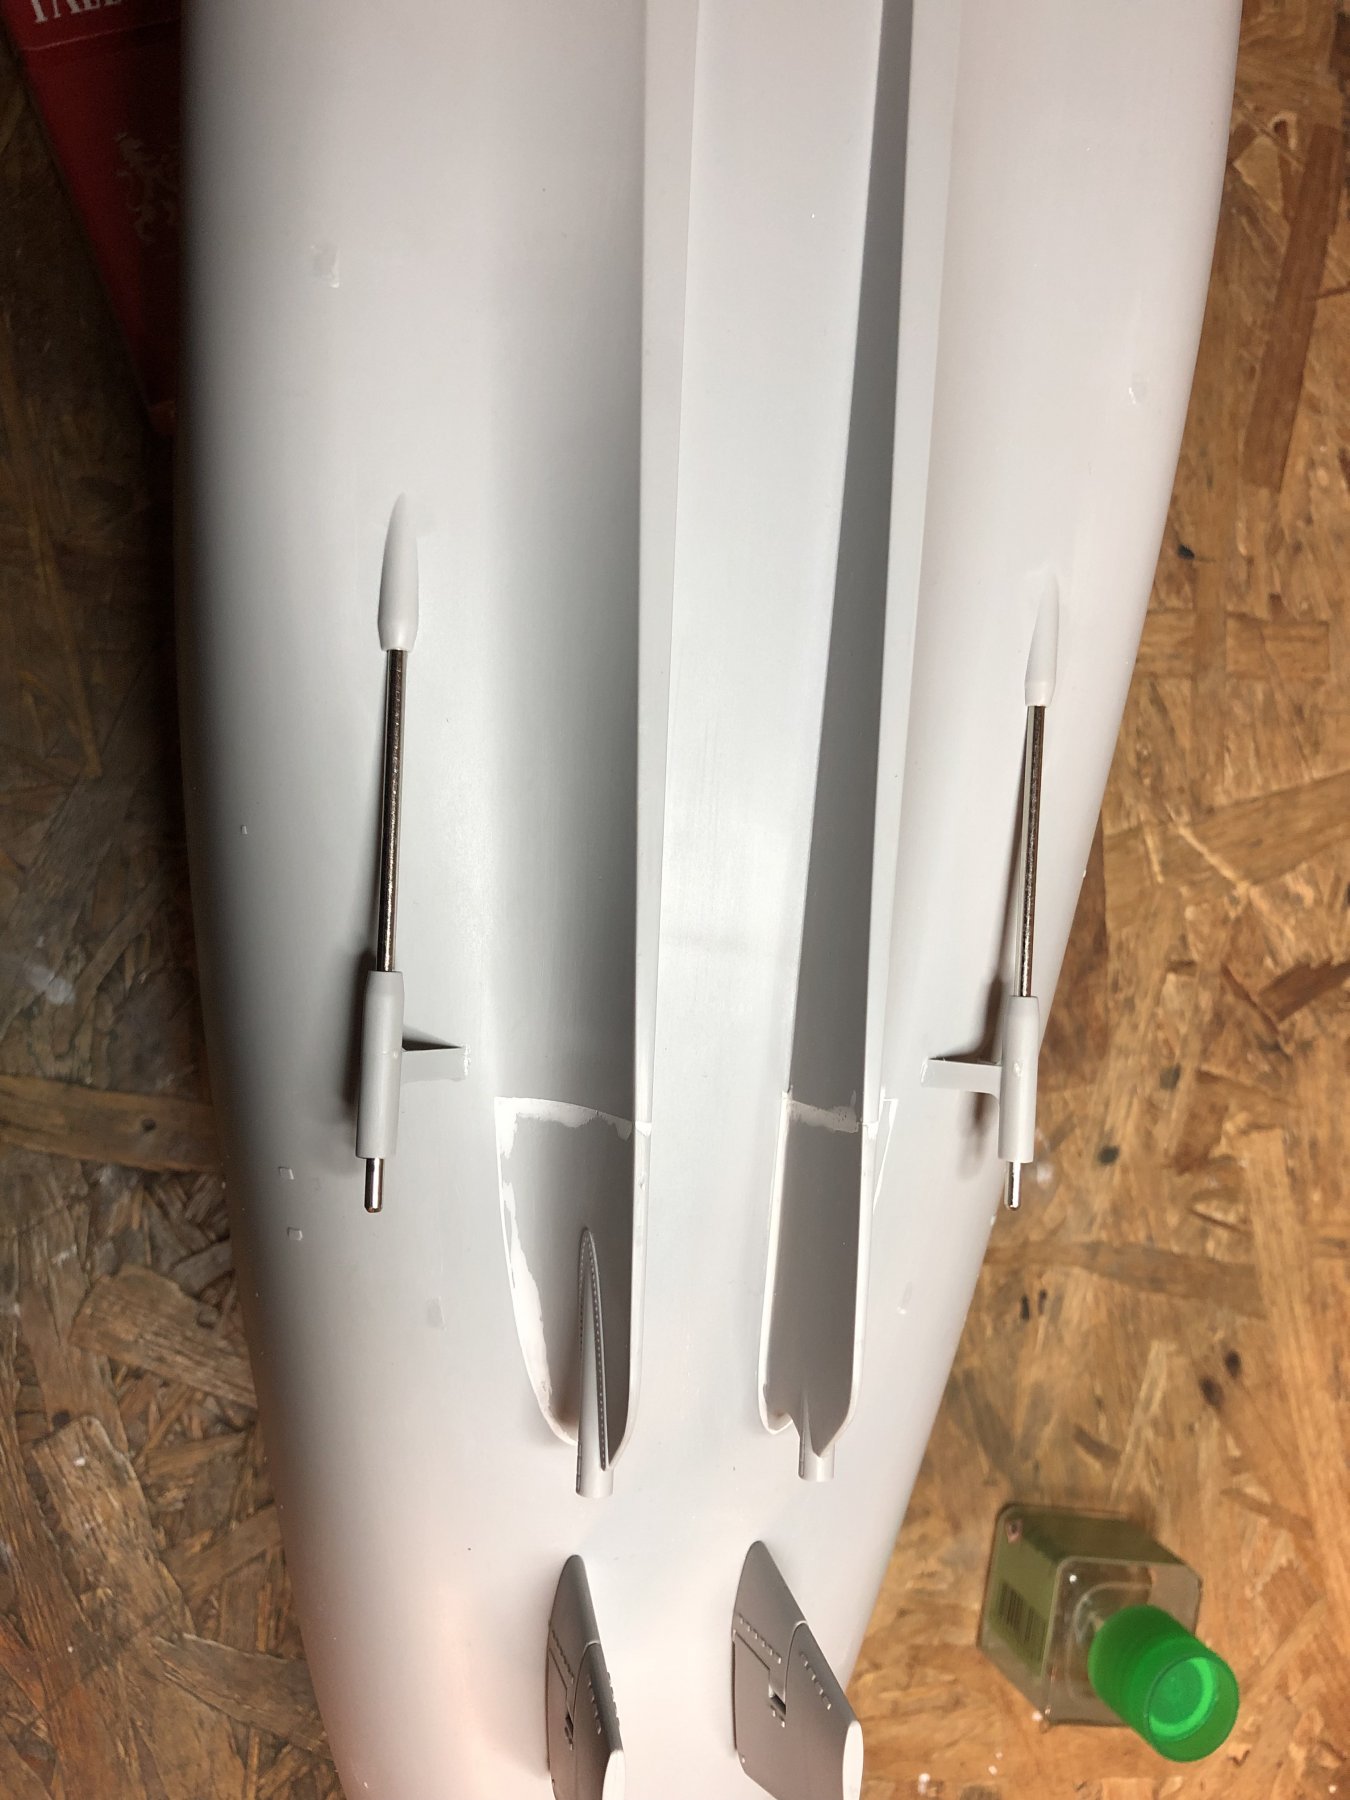
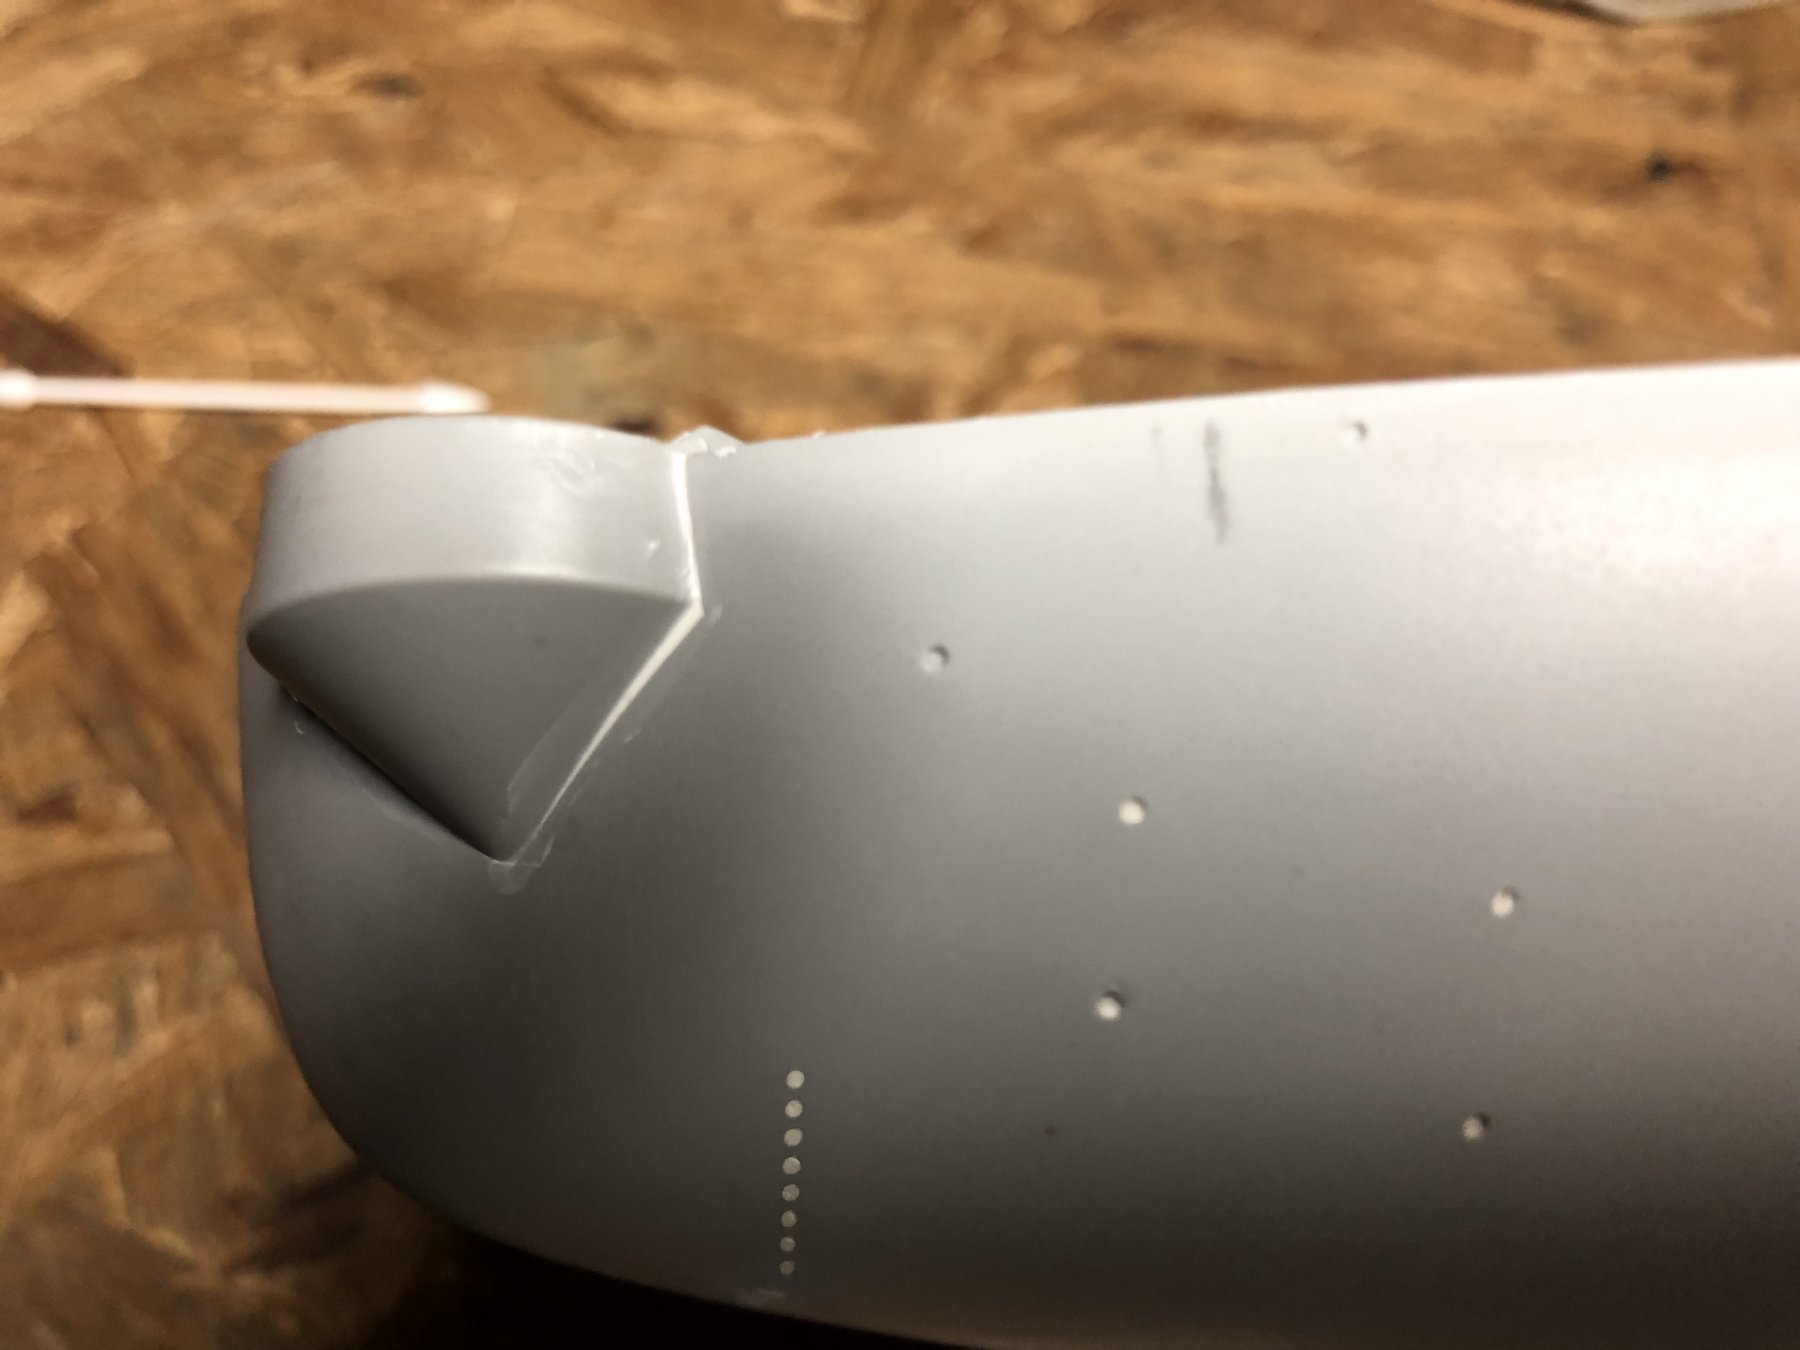
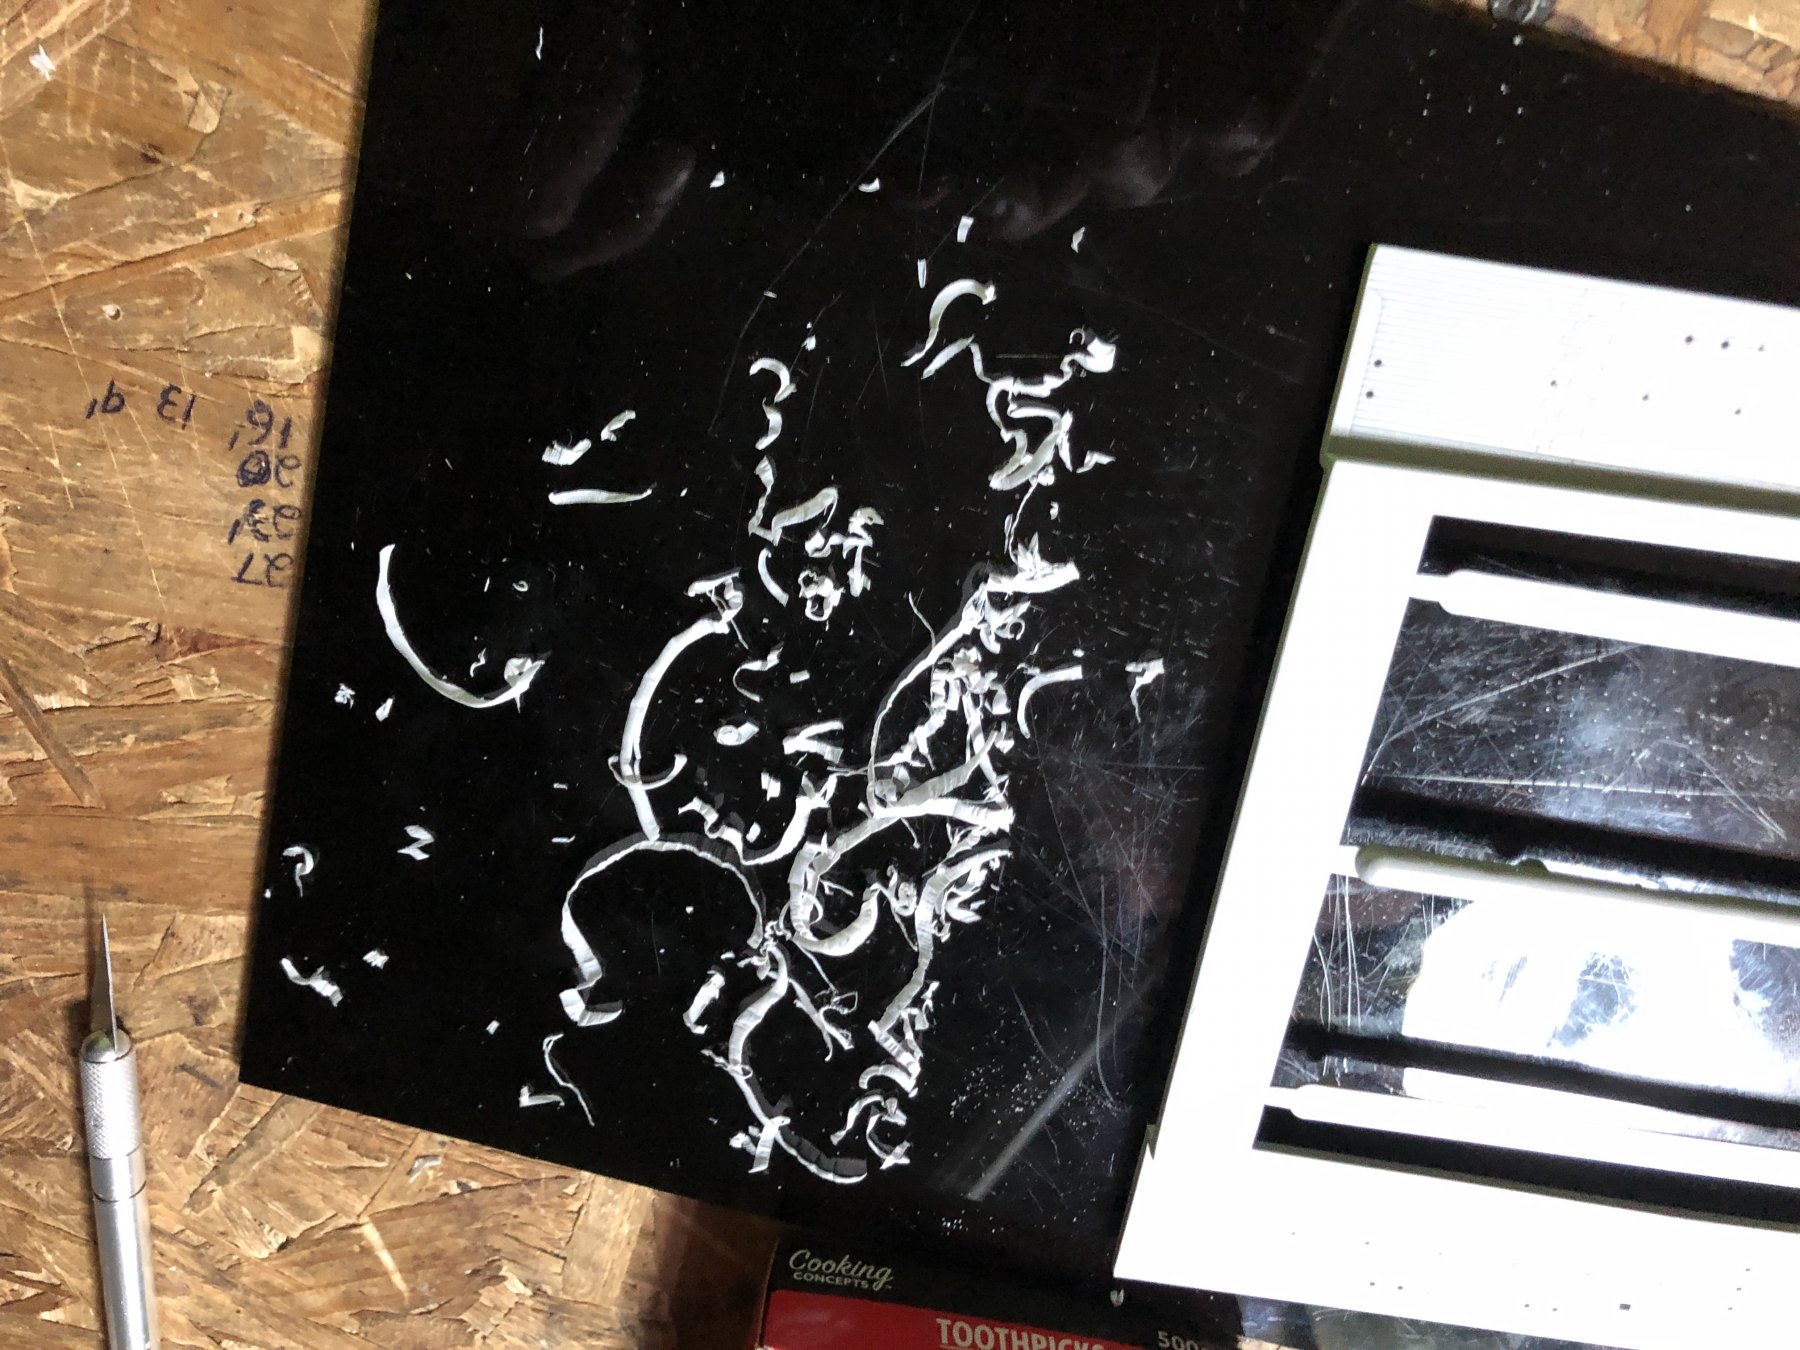
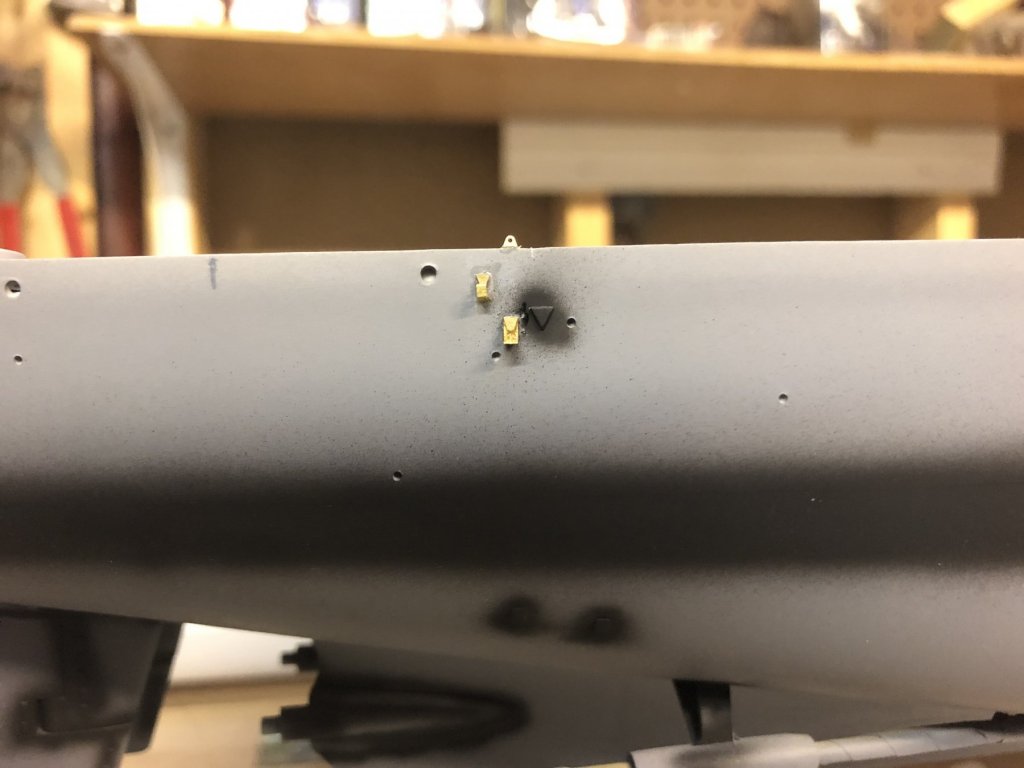
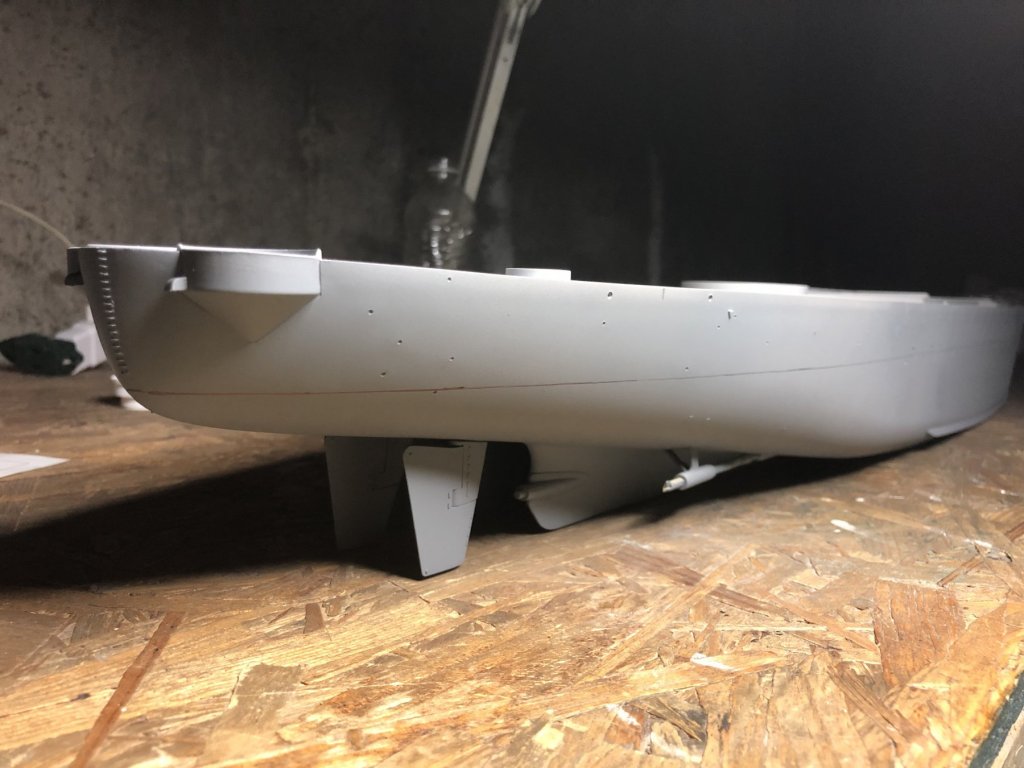
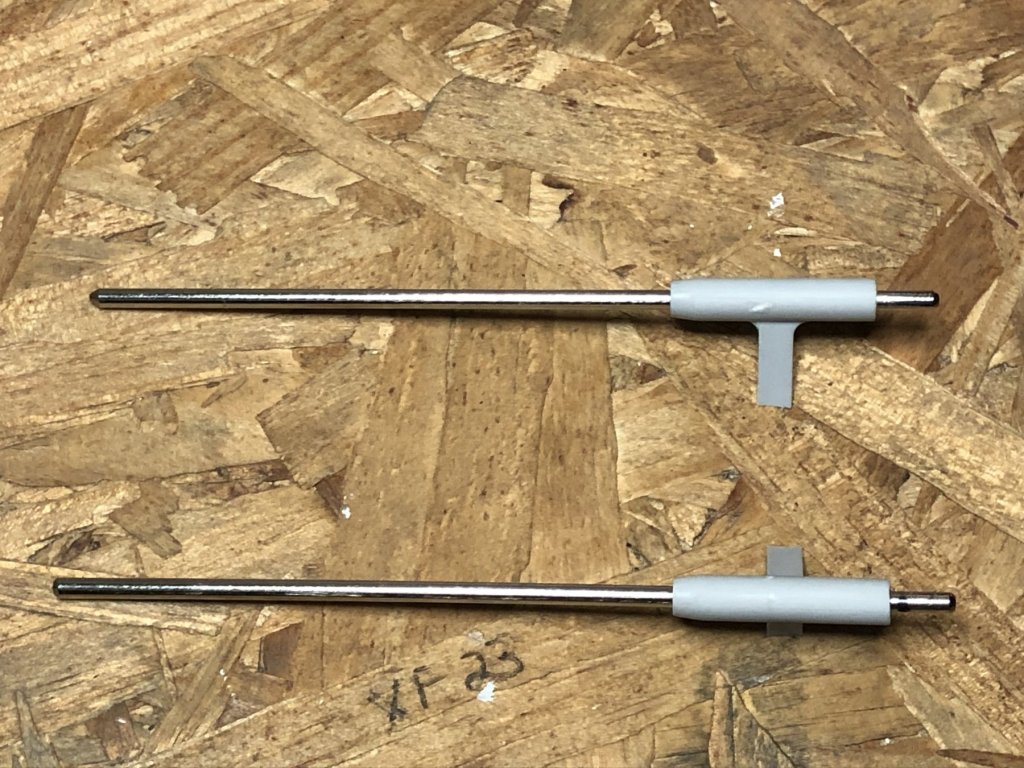
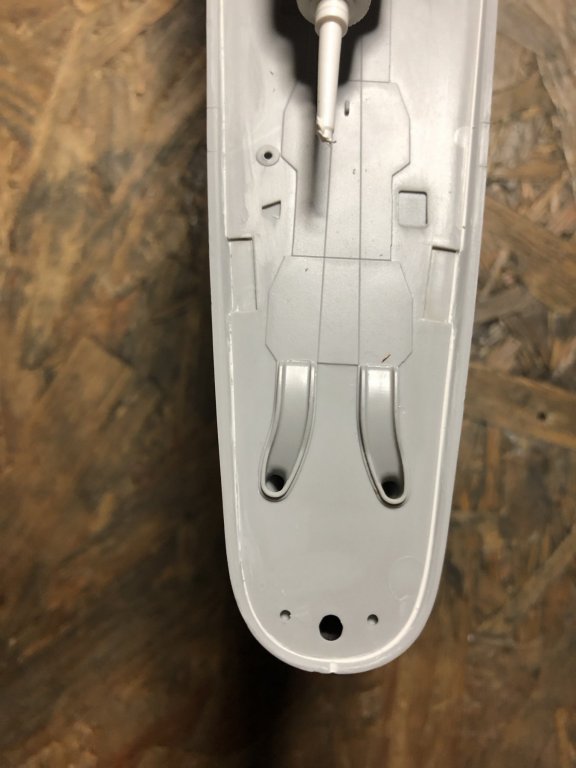
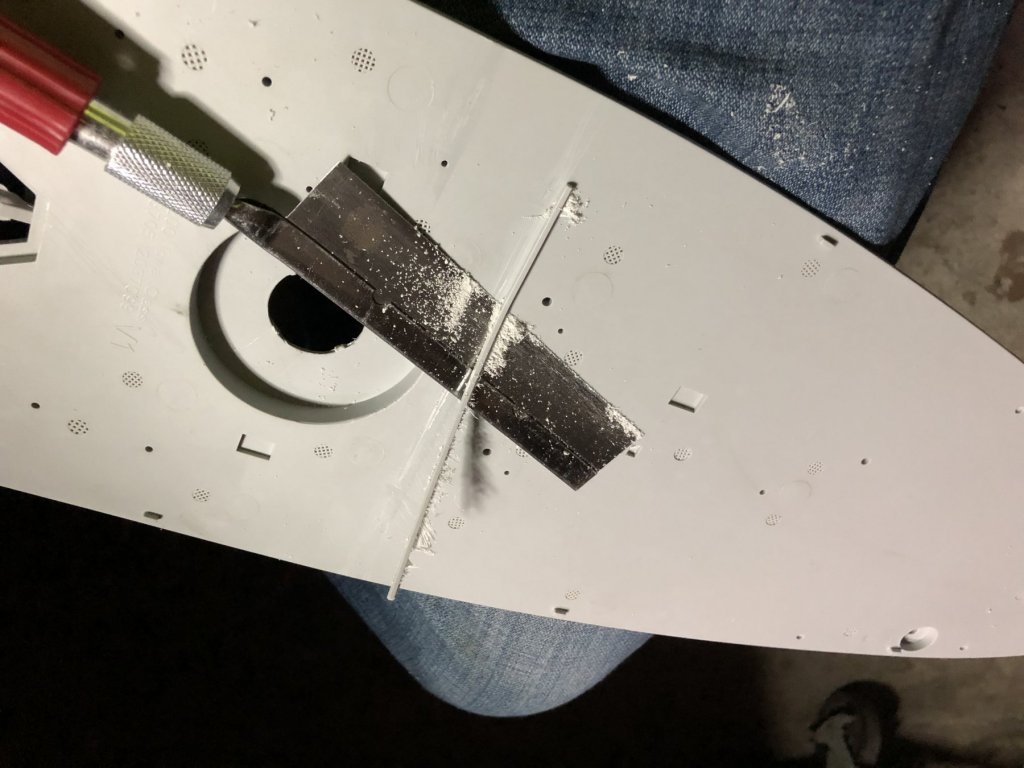
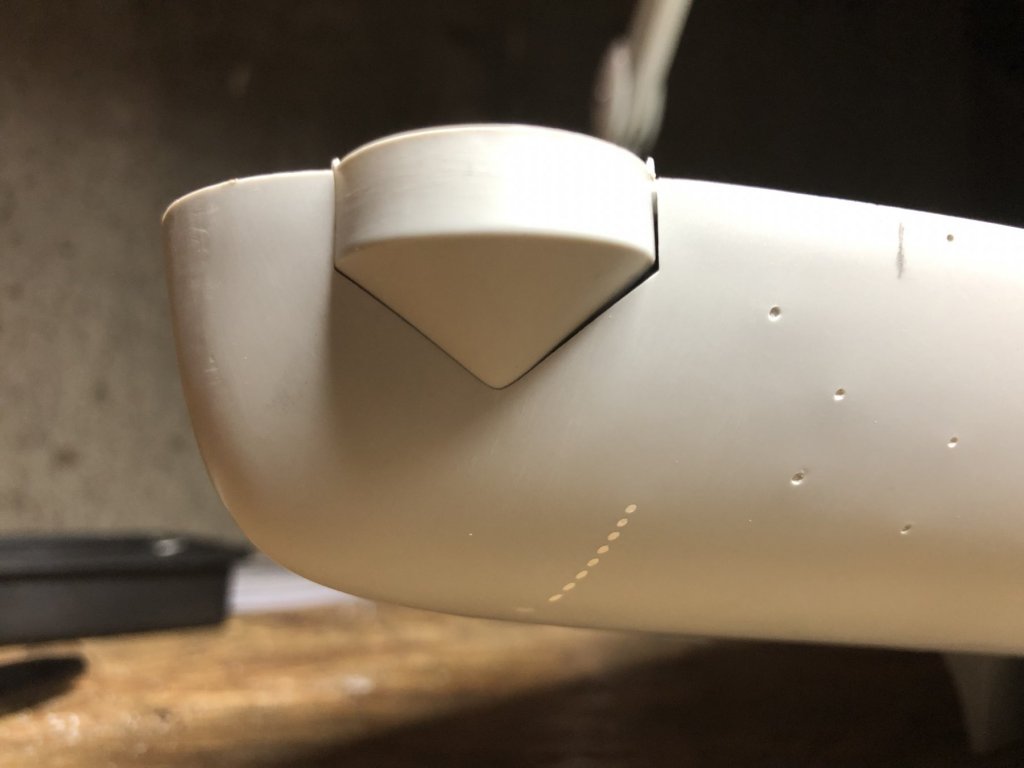
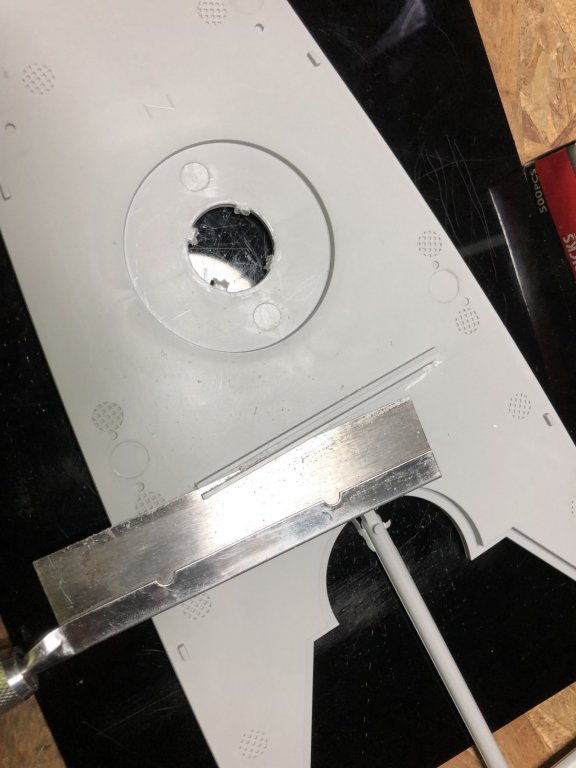
The rudder are in, it looks like I will need to putty these too. next I installed the “prop shaft supports?” Or whatever they are really called. while I am back here I might as well drill out some .3mm holes for some ladder rungs. This was fun! First I taped on the stencil hopefully in the rite spot. Here’s the before And After, the results are wonderful. For the Bismarck I drilled by eye... this is so much better. I drilled with a Tamiya handy drill. It drills nice and slow. 9F017F7C-CF93-420C-87A8-B826C2D682EB.MOV


- 271 replies
-
- 14
-
-
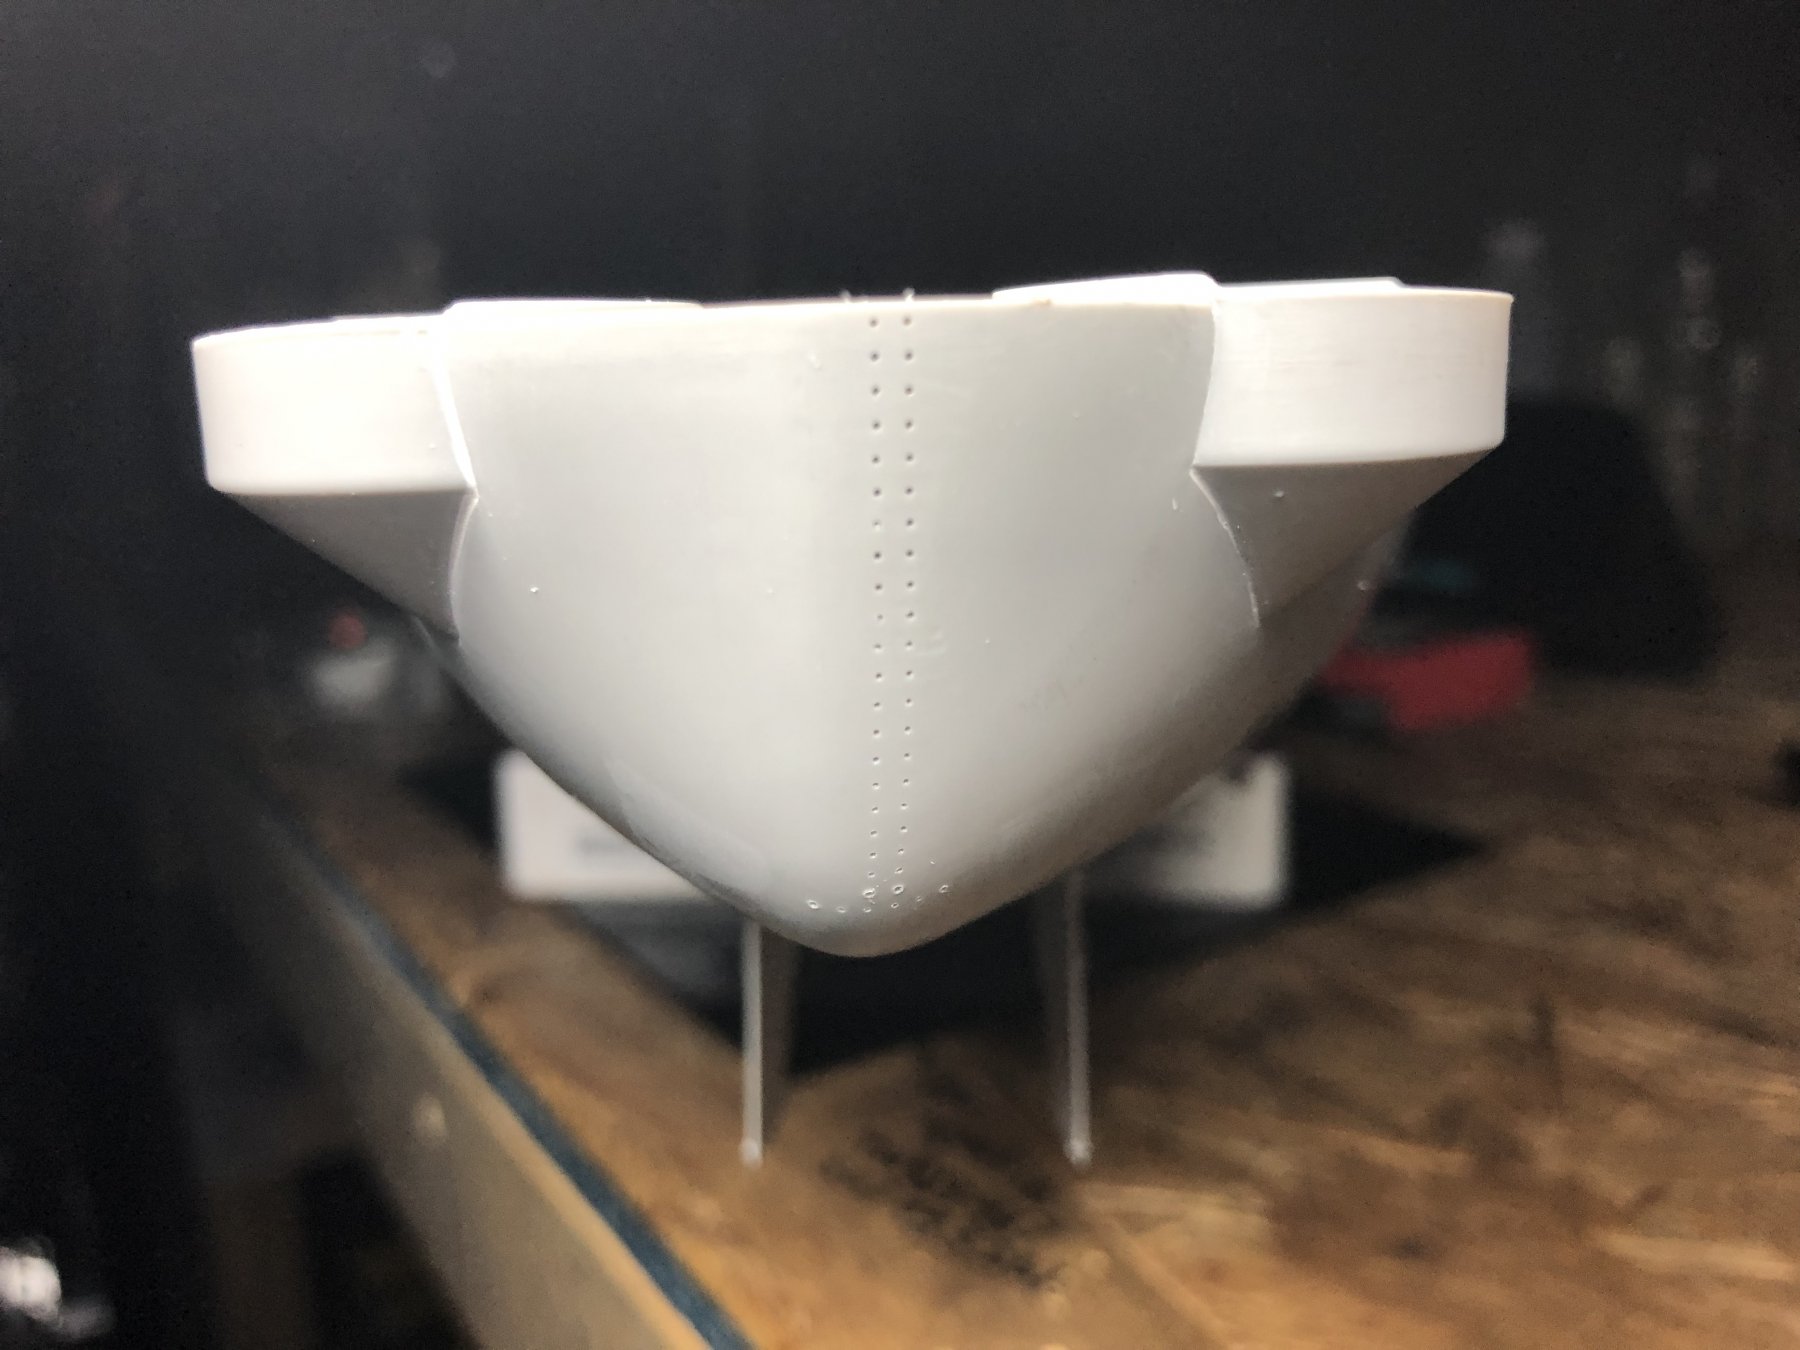
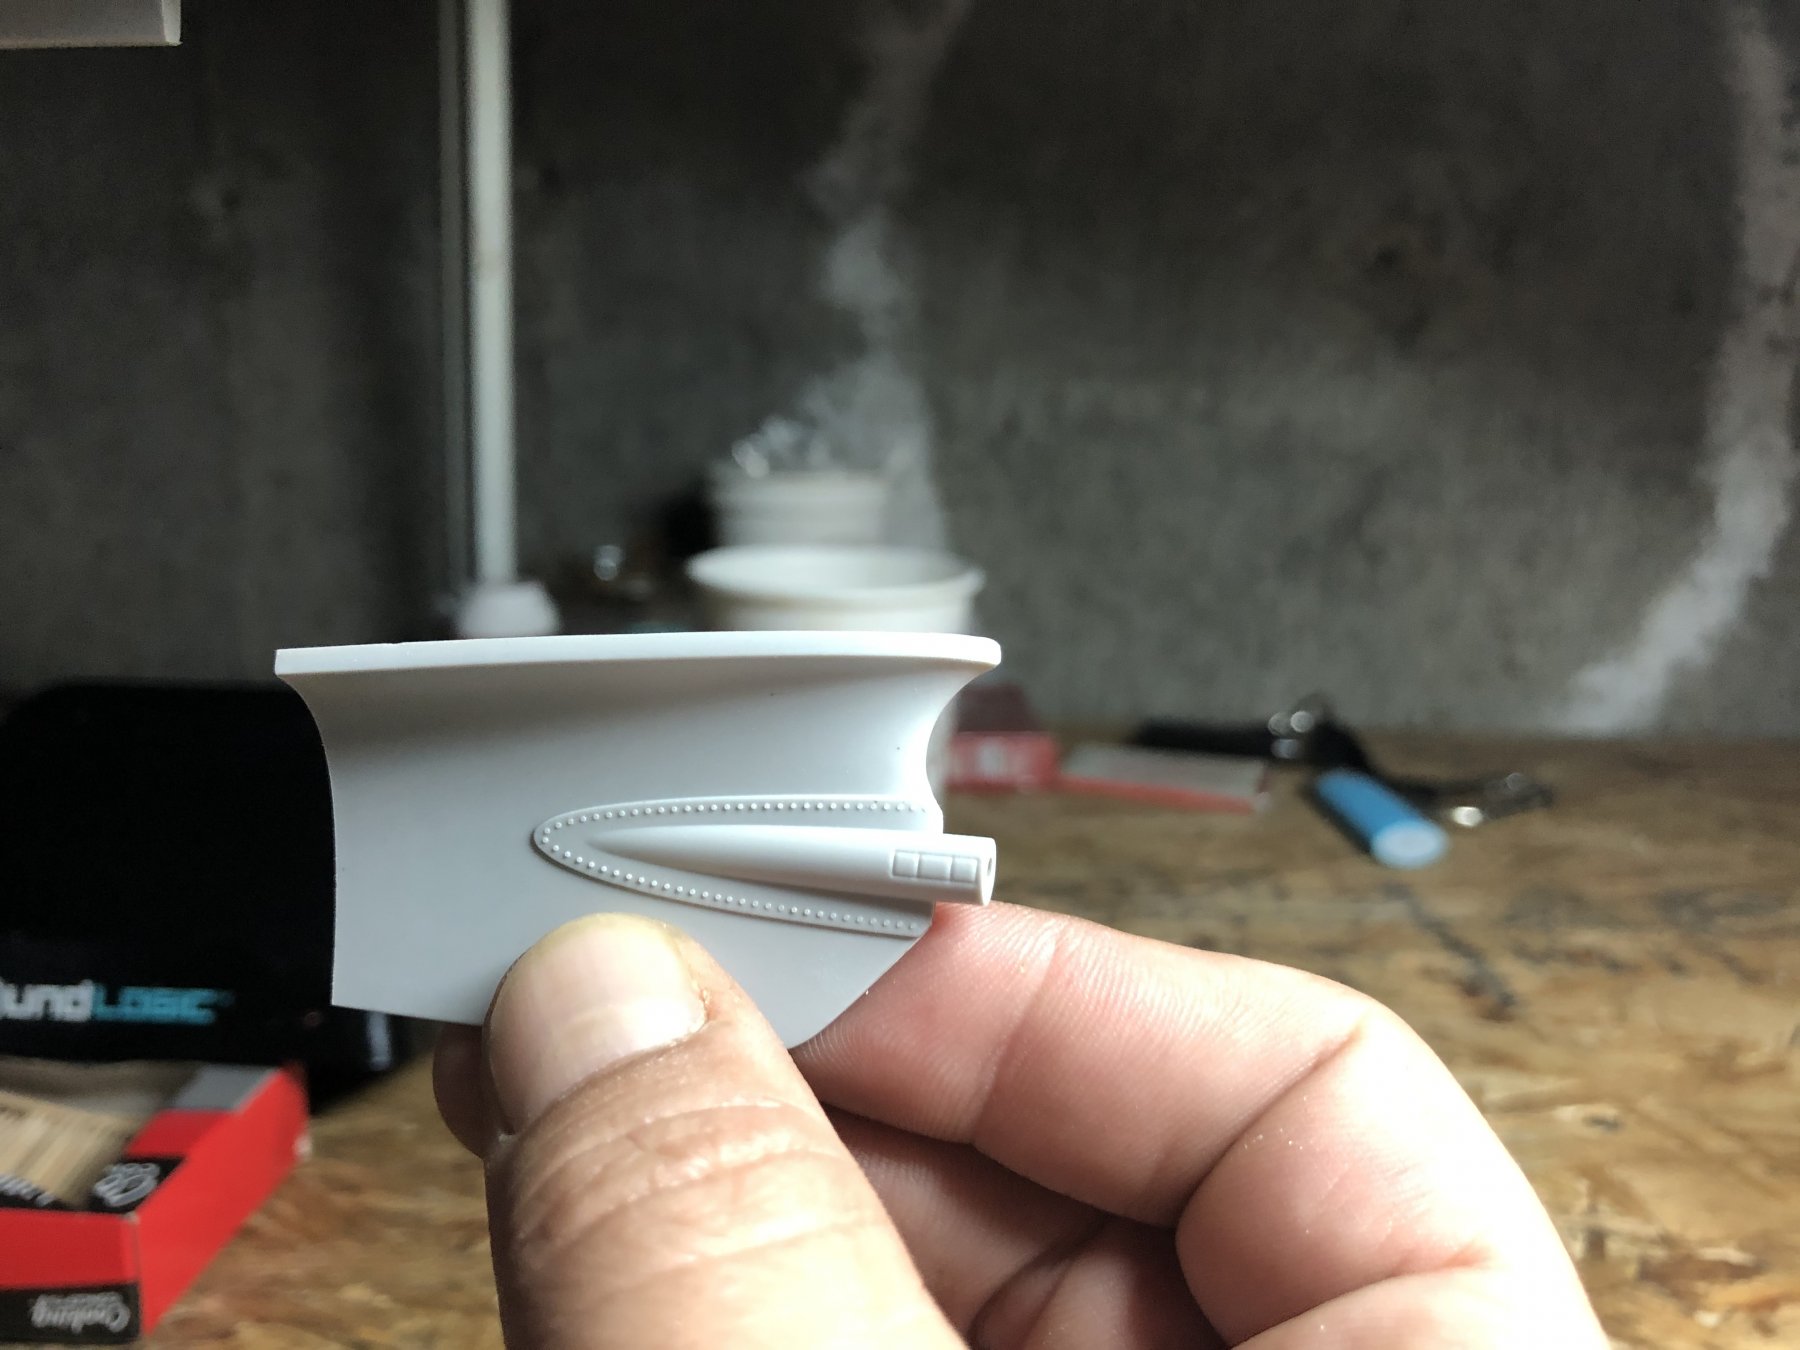
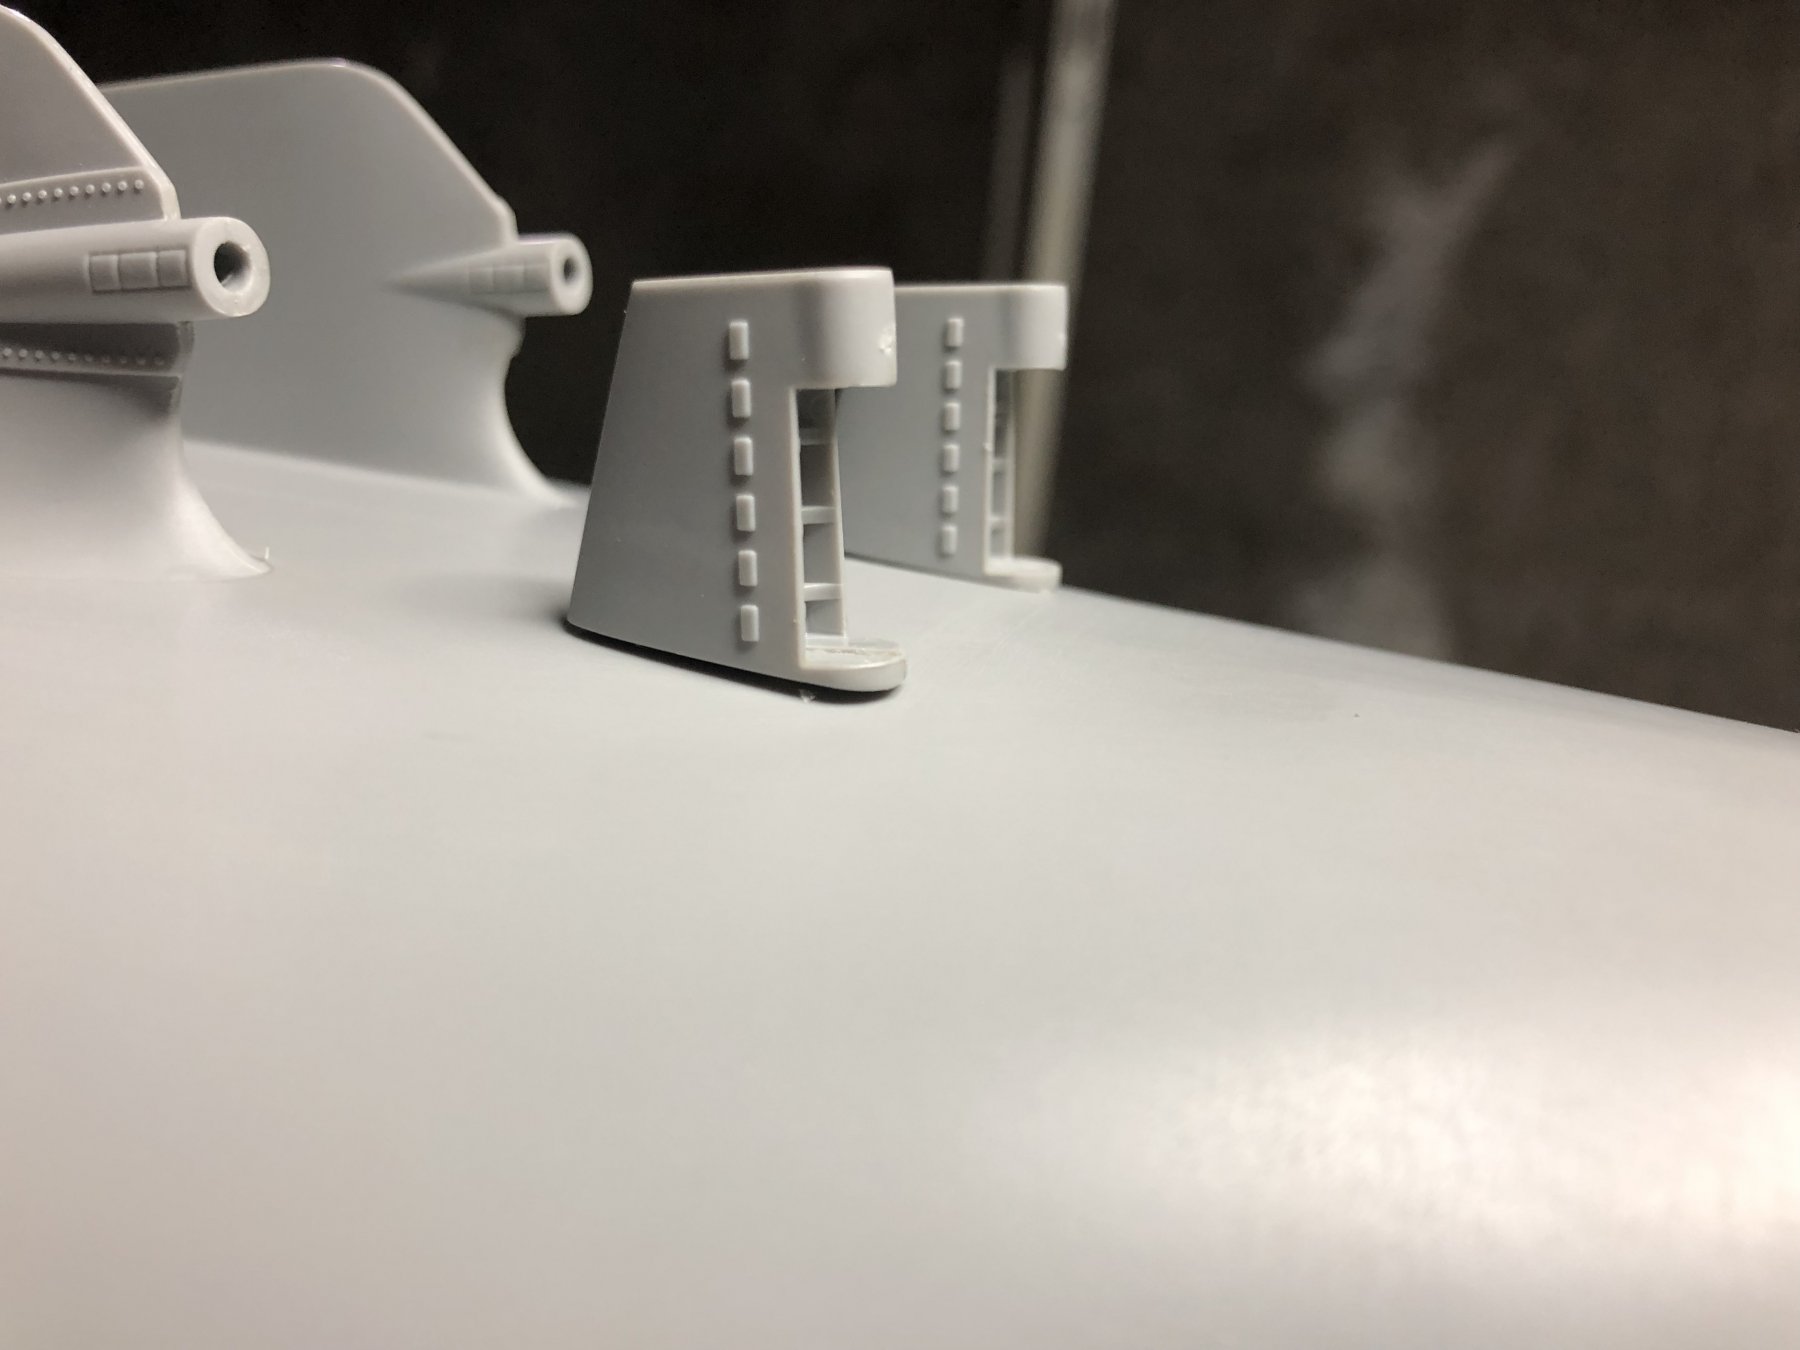
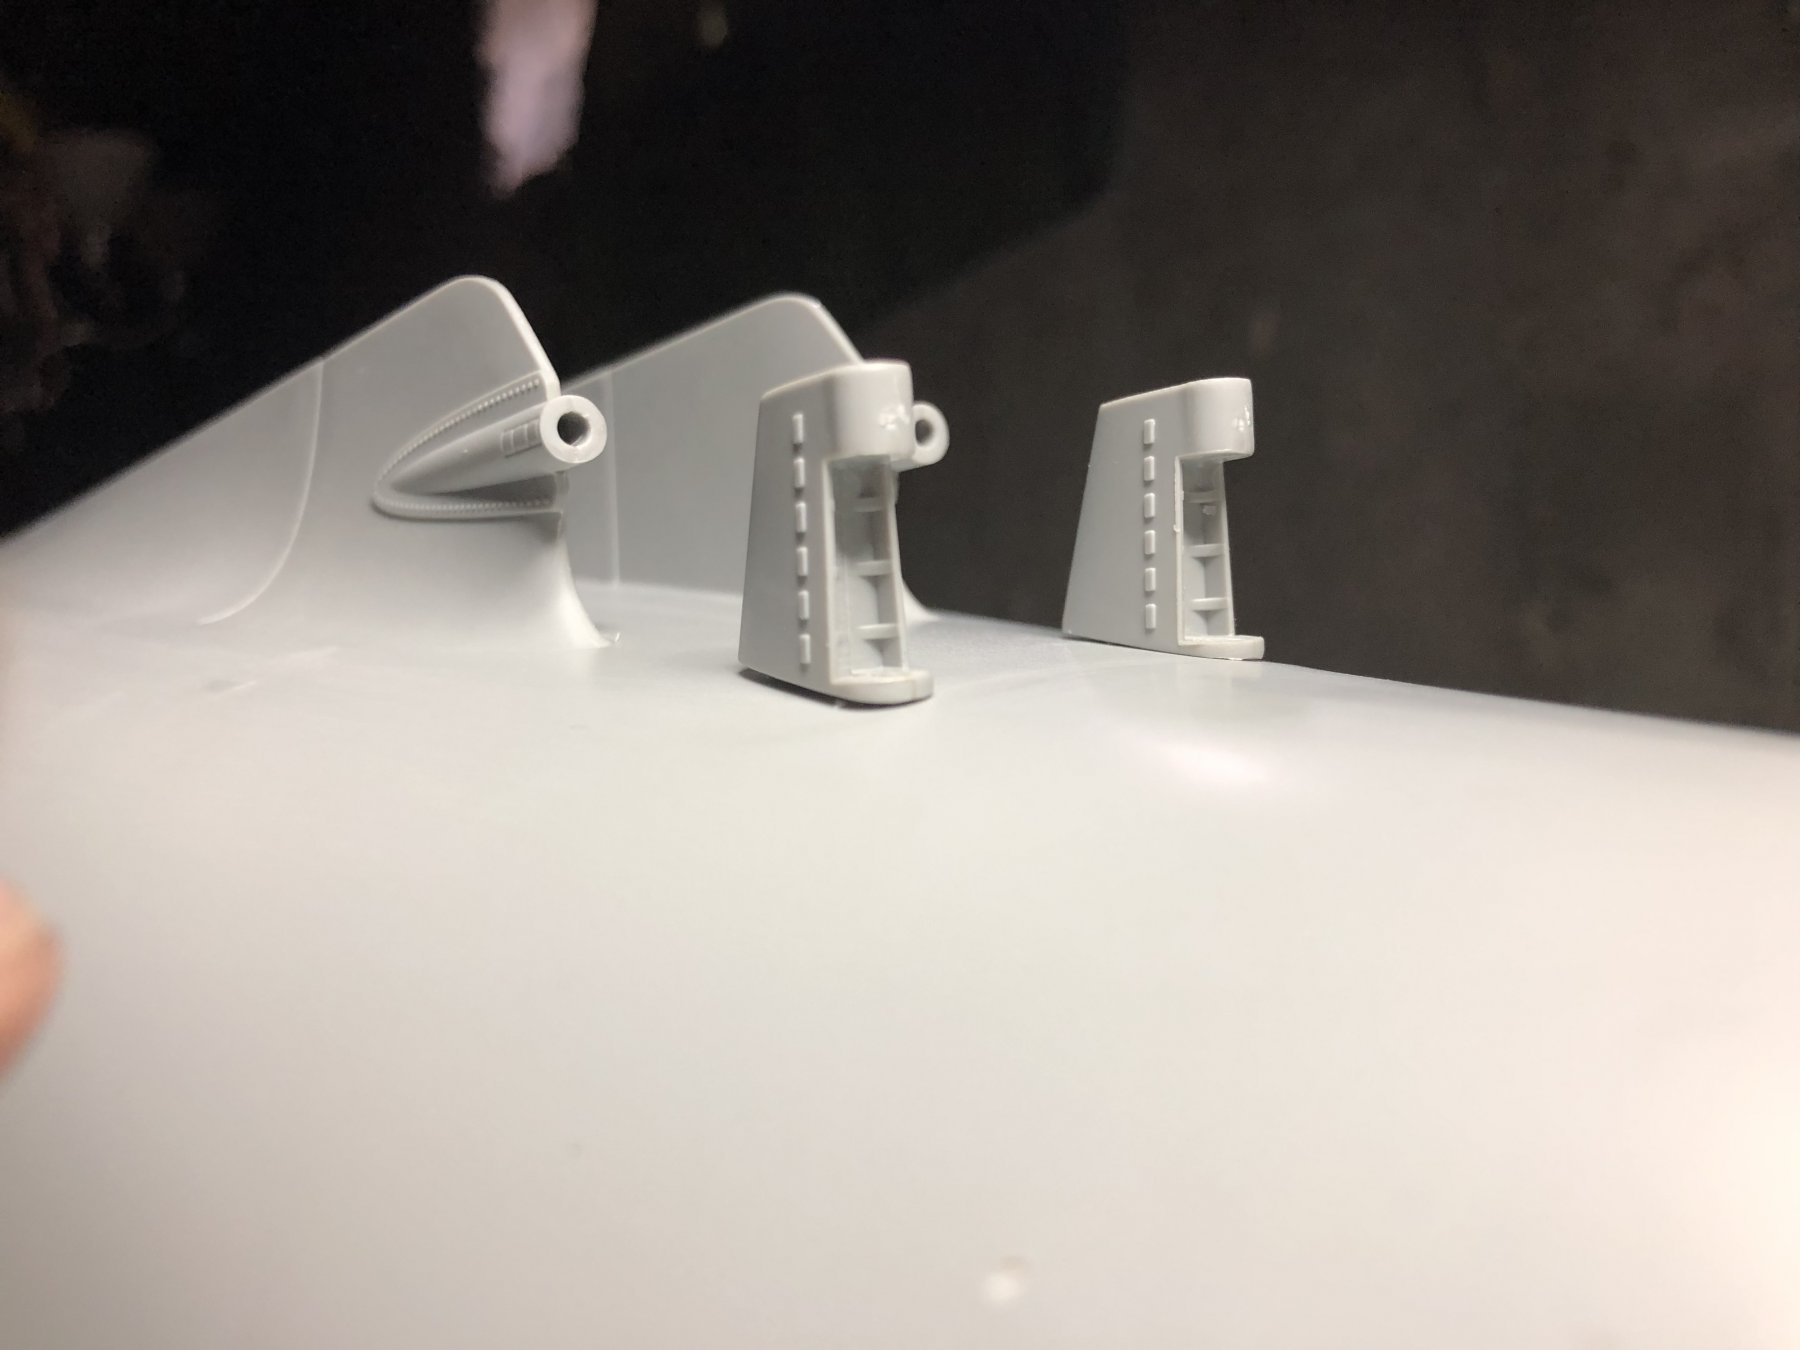
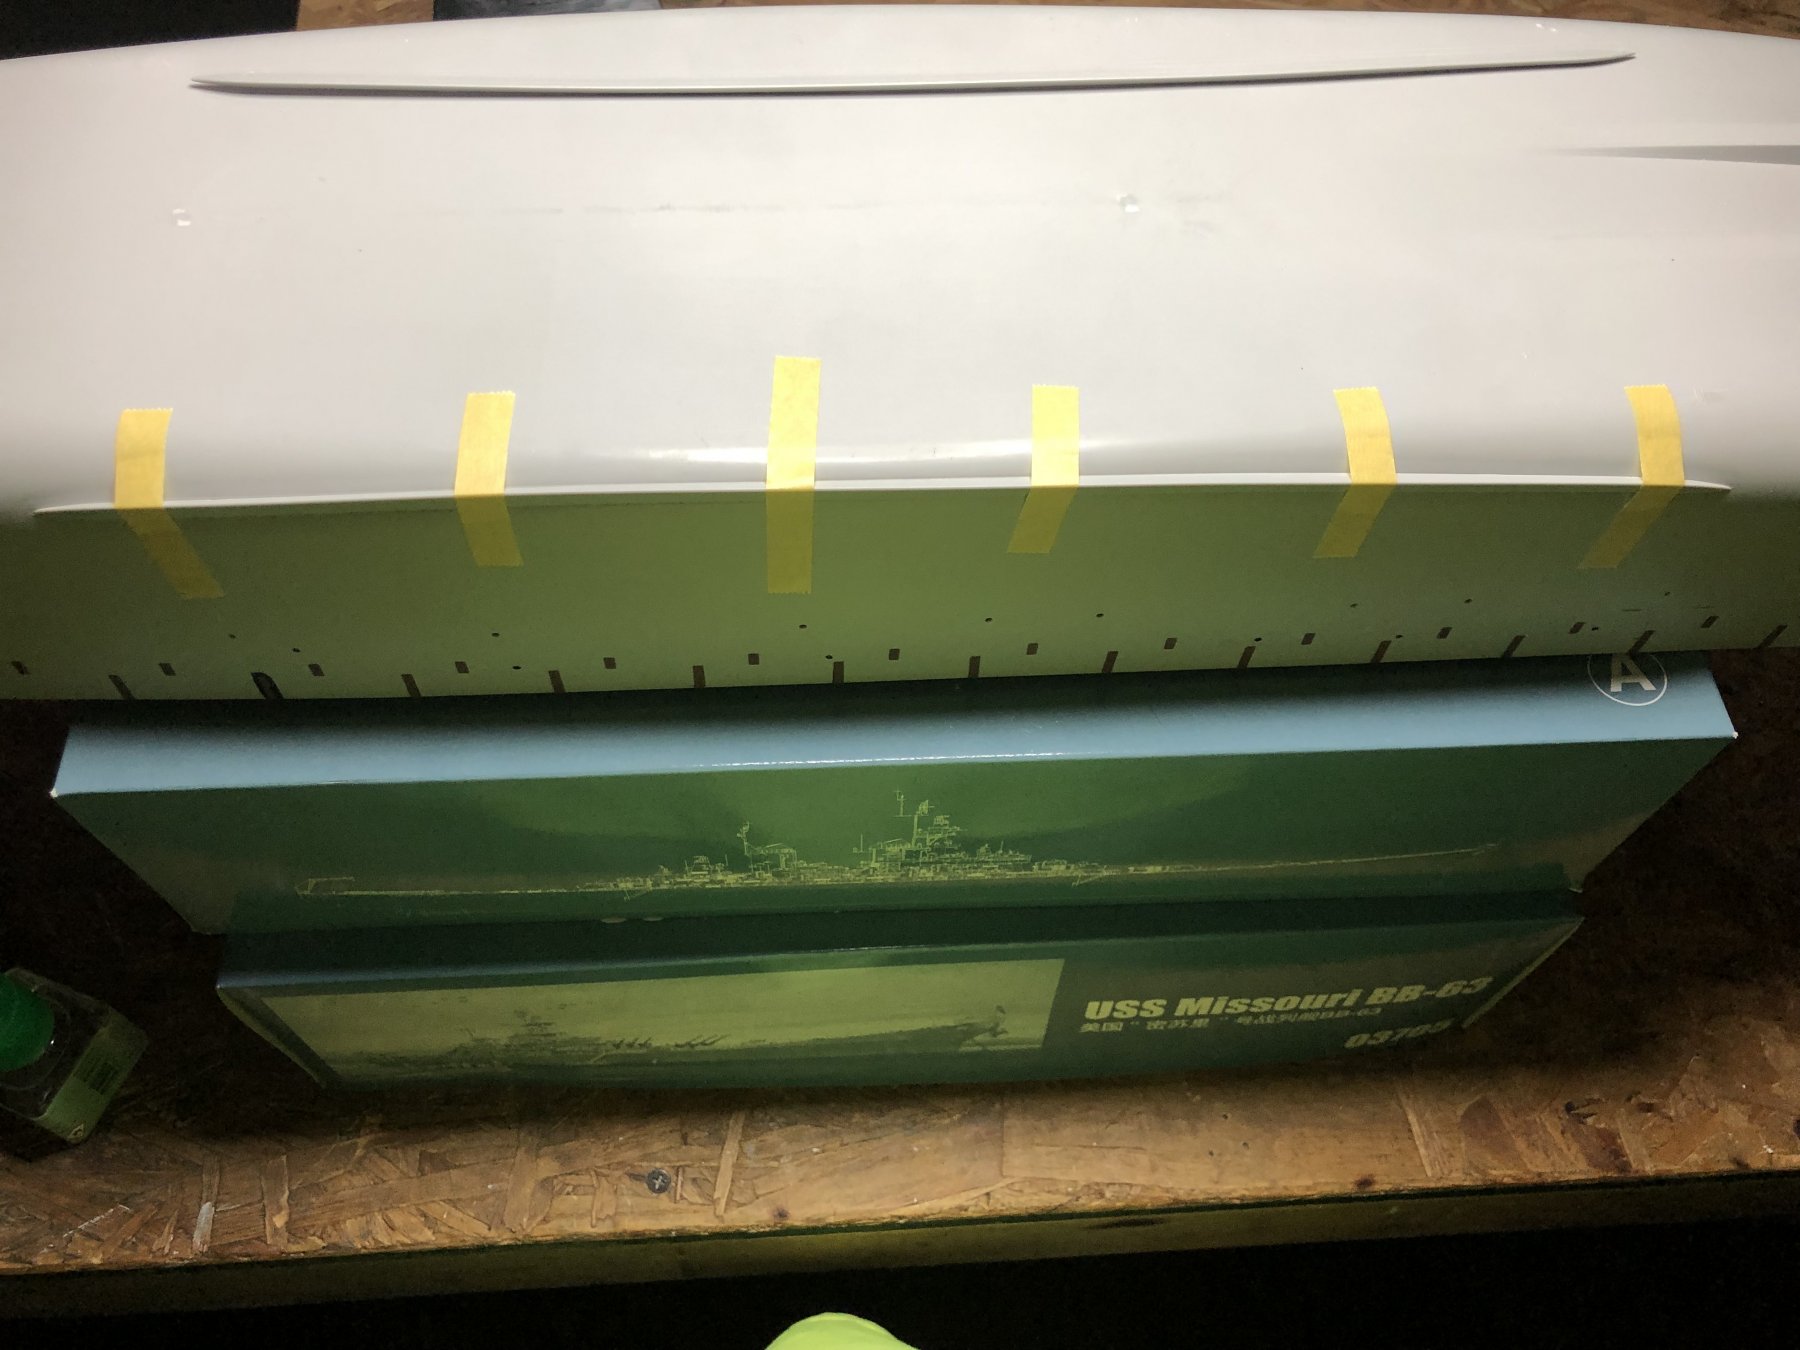
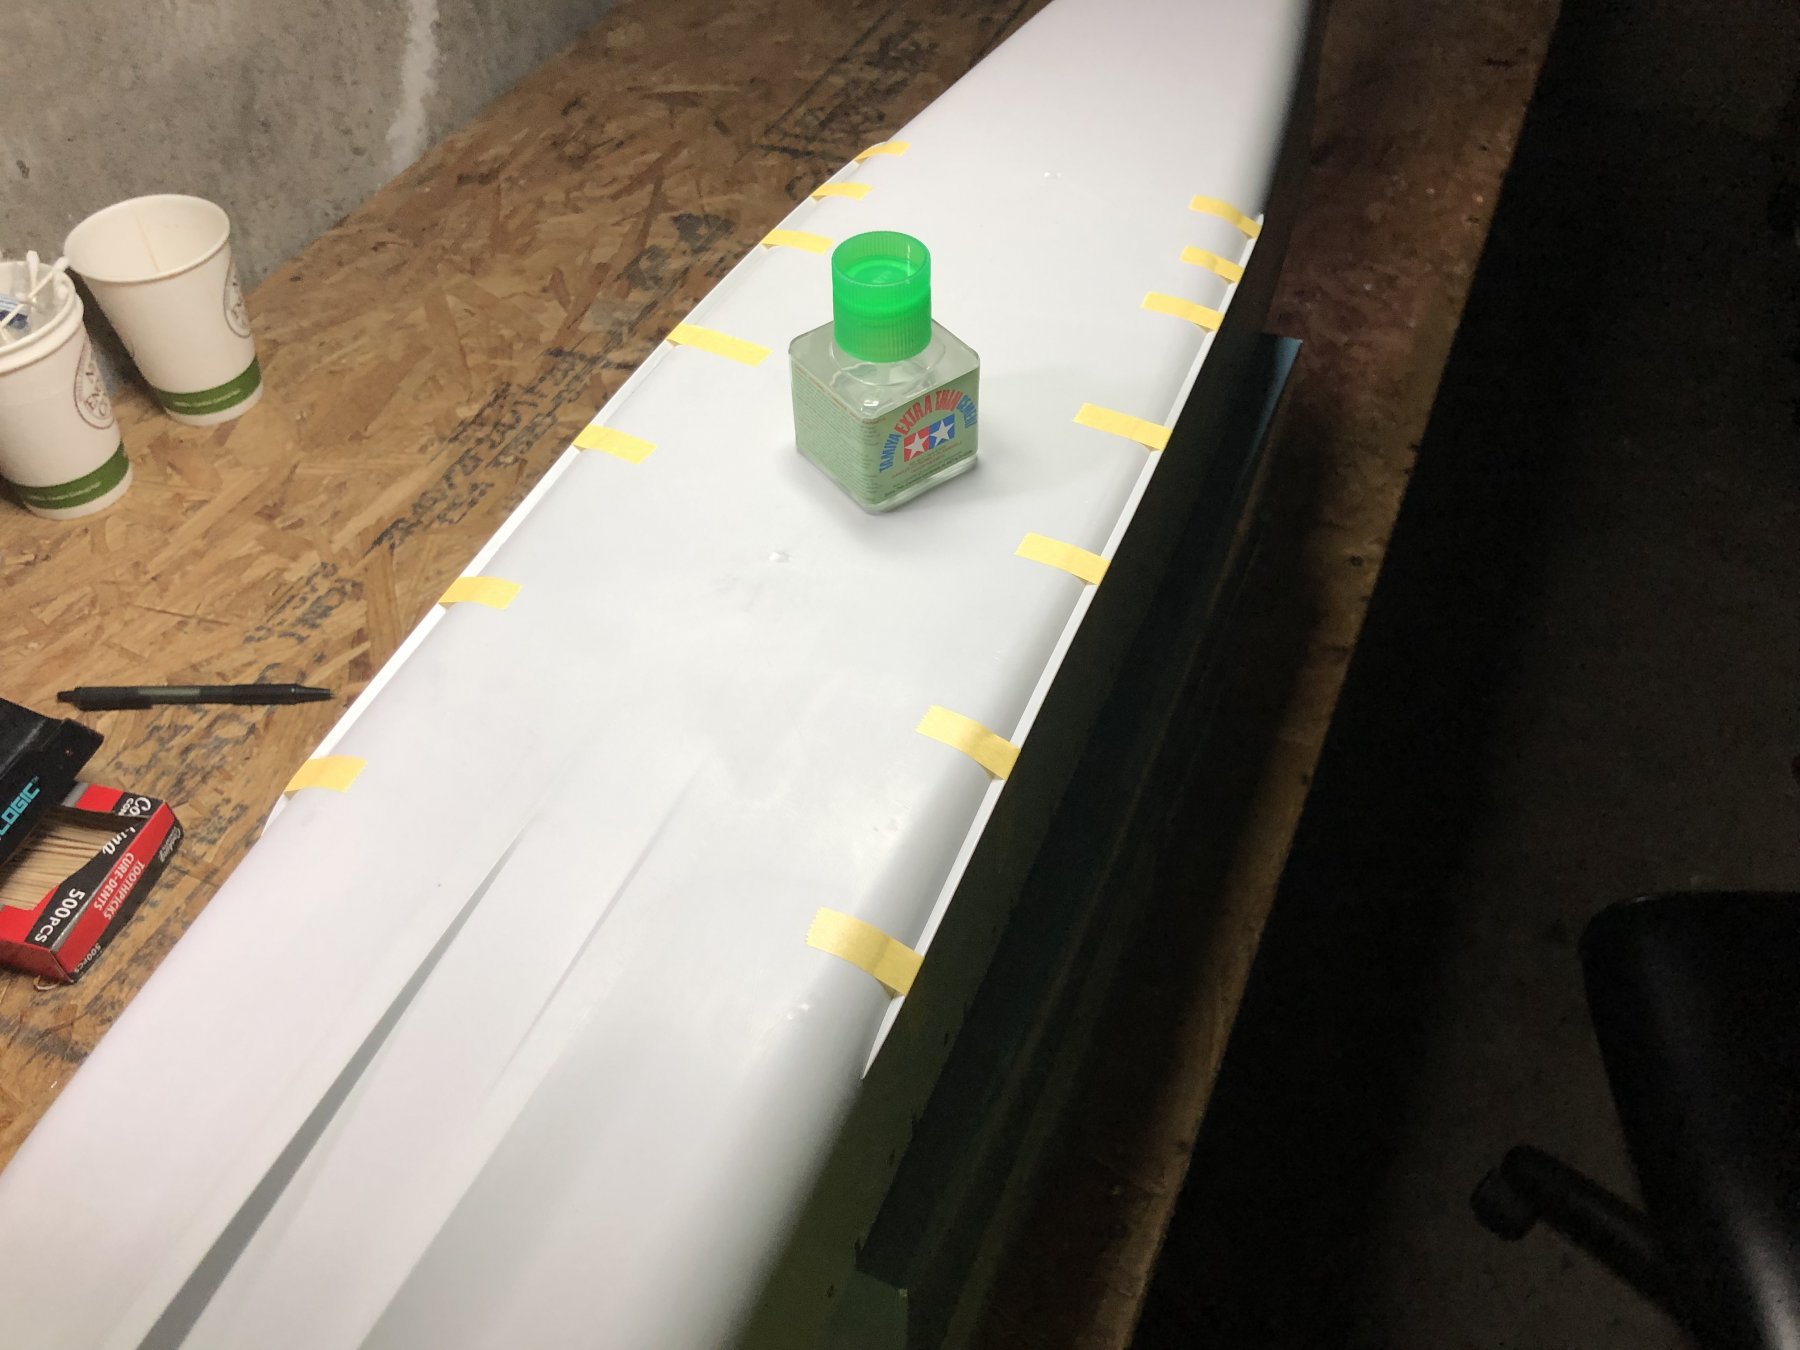
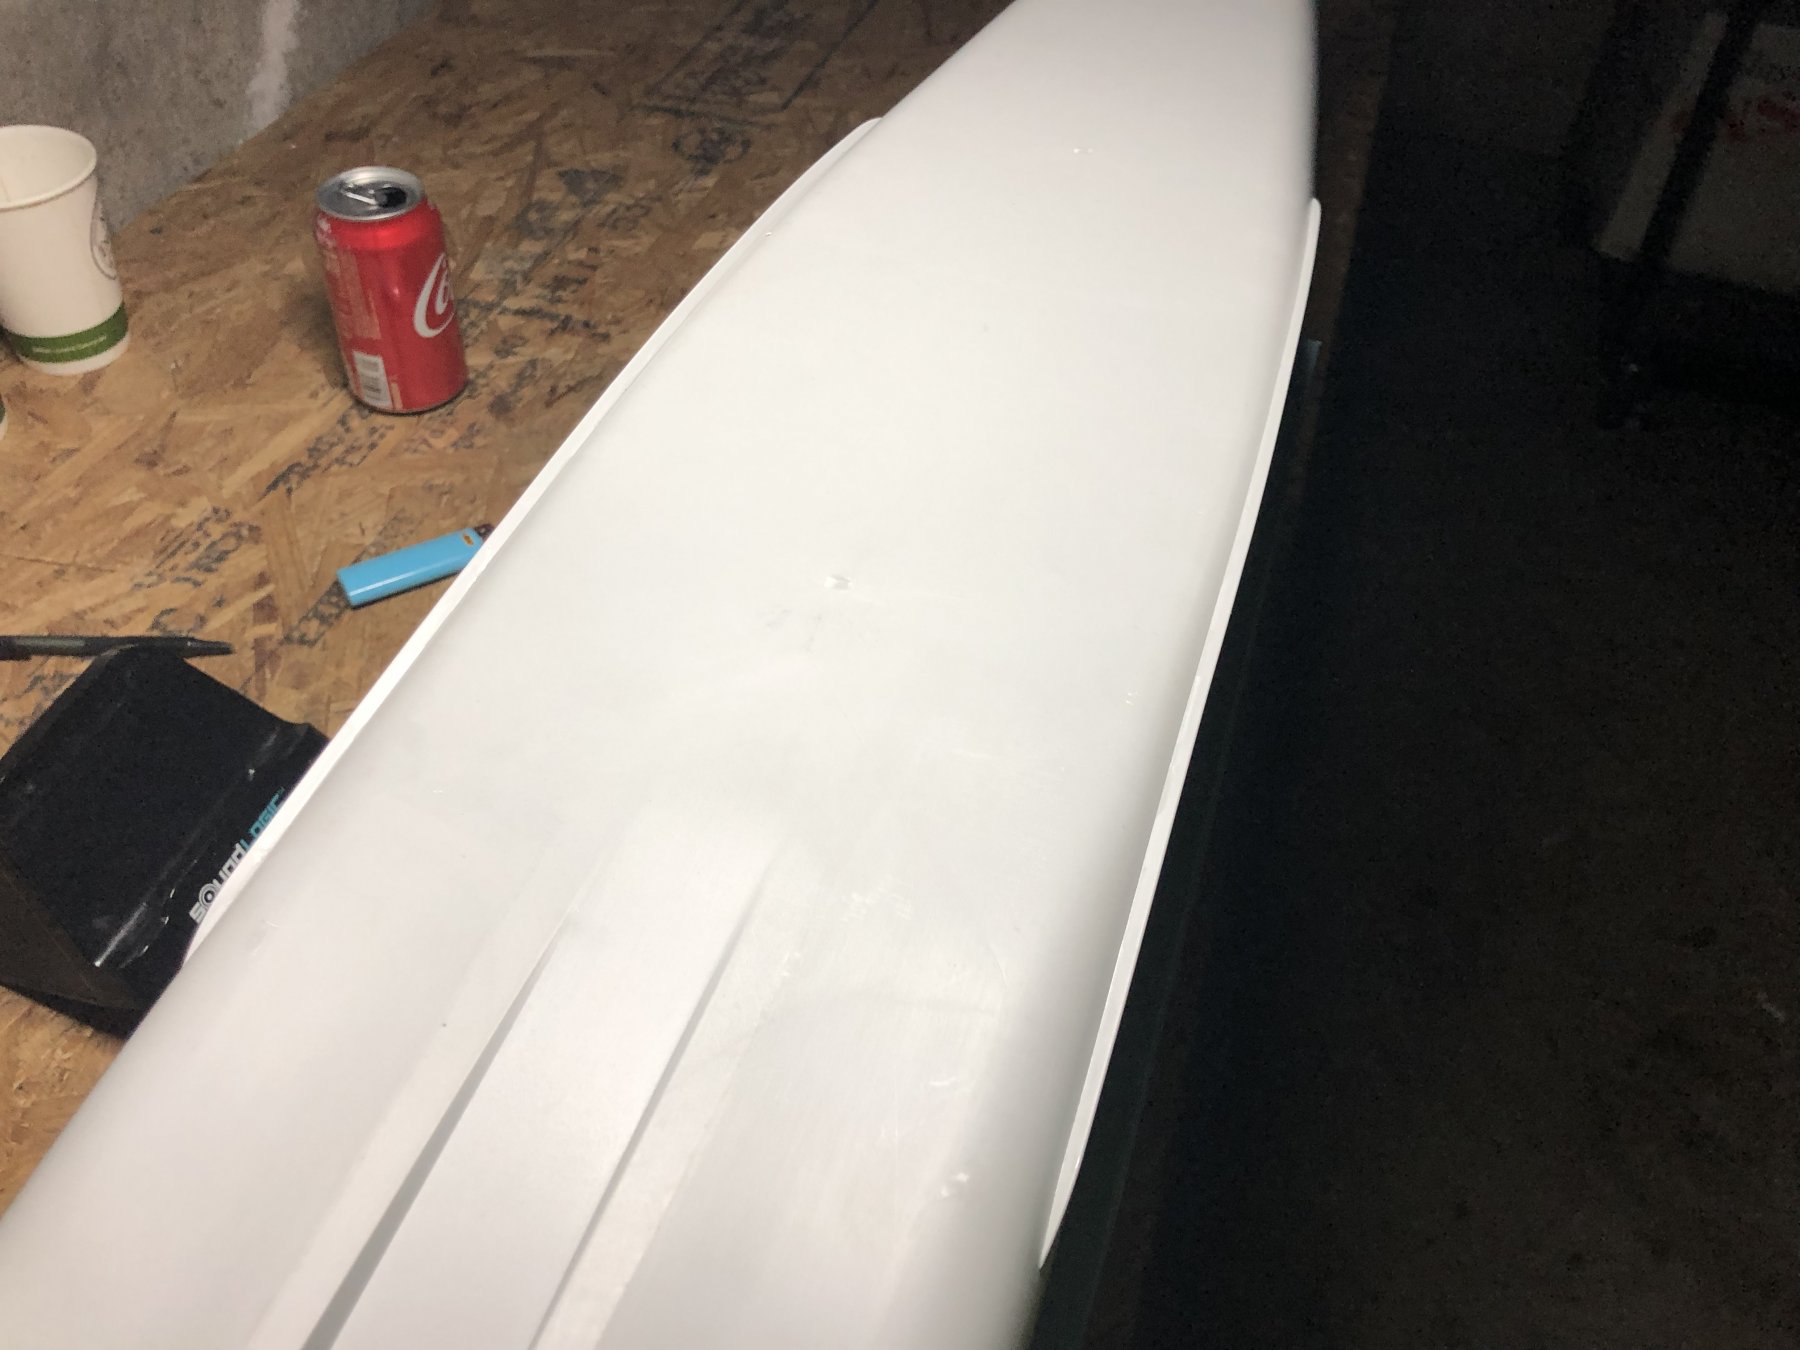
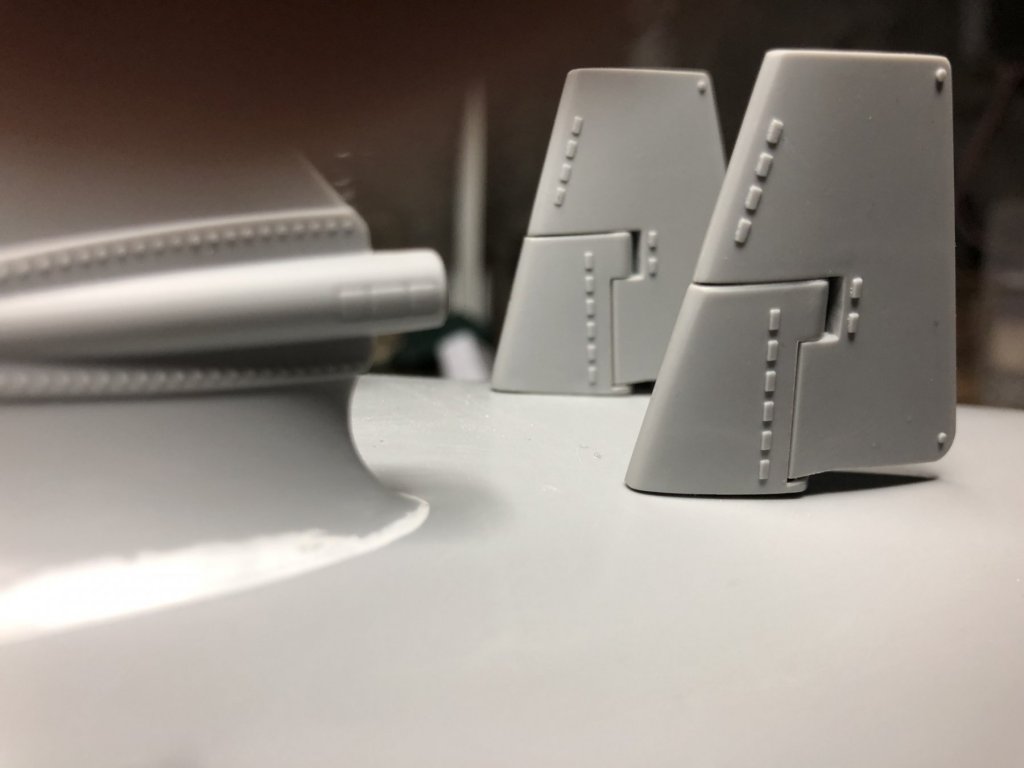
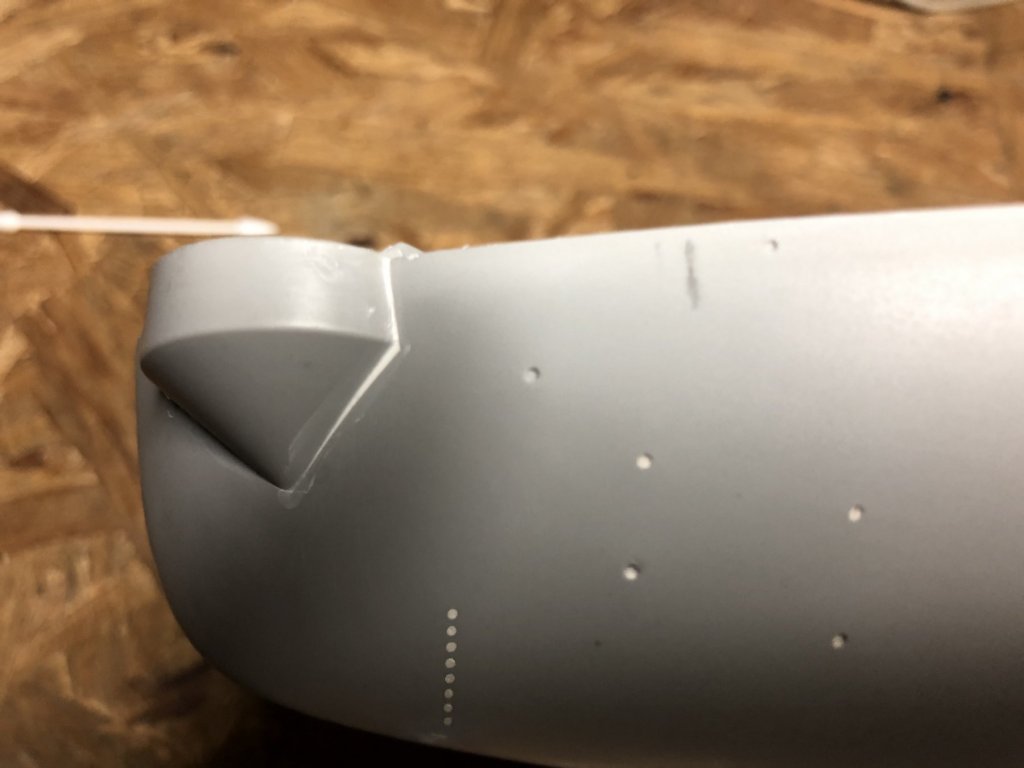
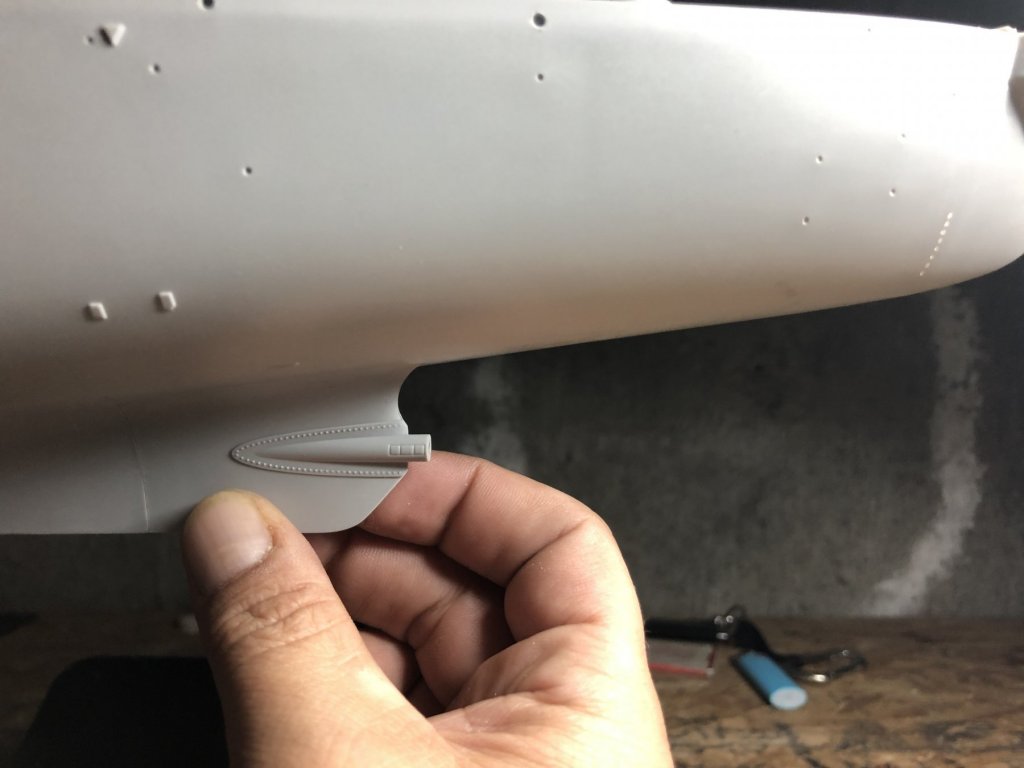
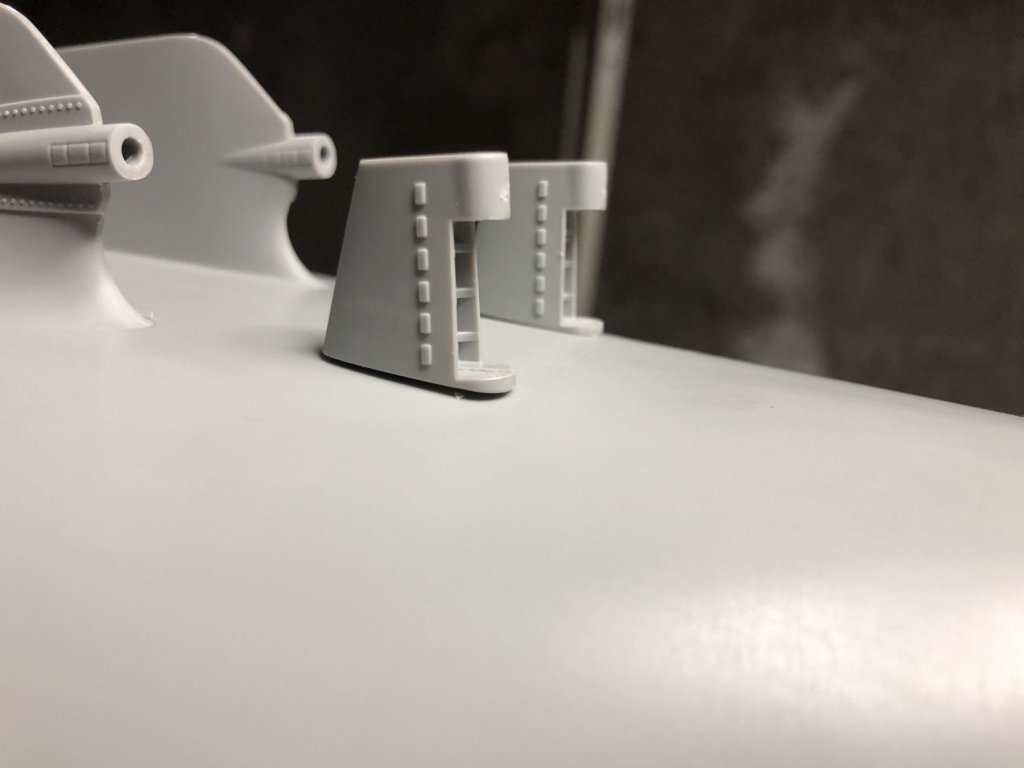
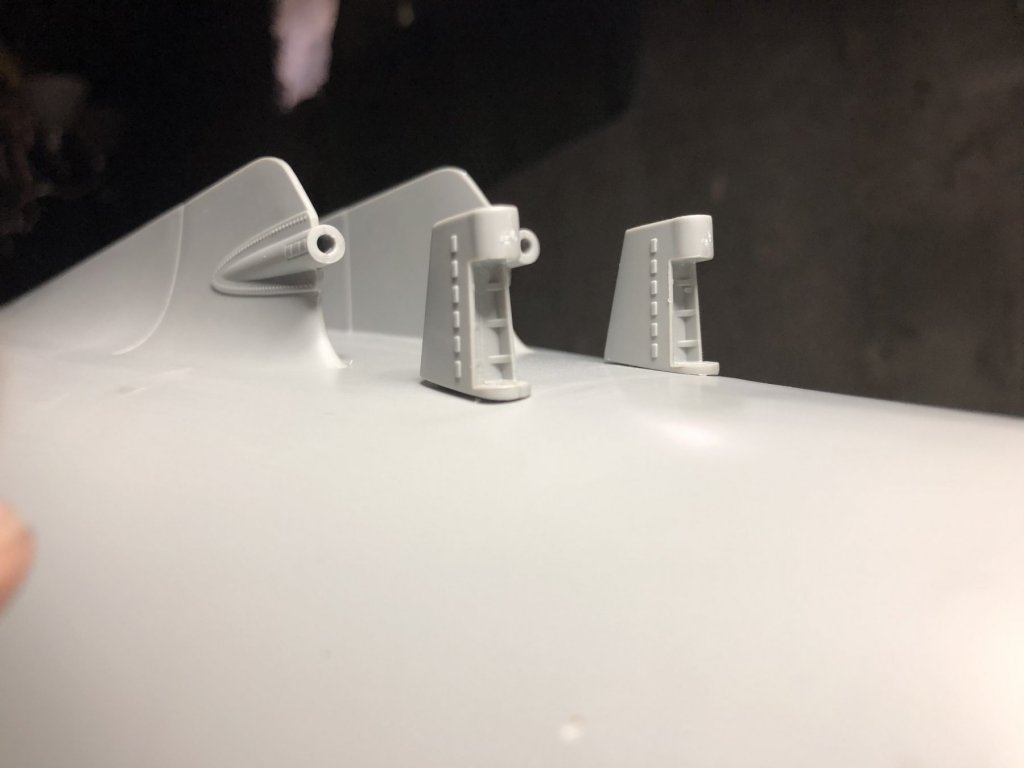
I filled some cracks today. I also dropped in the two tub floors next was to attach these two guys. They are also going to need to be sanded then they will need putty these are confusing me, I don’t know if there is supposed to be a gap between the hull and them or if they are supposed to butt right up against the hull... which they don’t. I guess I’ll leave them be for now. the last thing I was able to do today was installing these two fins. First I taped them nice and tight to the hull glueing was a snap. Then I removed the tape. They came out really good. thats all for today.


- 271 replies
-
- 14
-
-
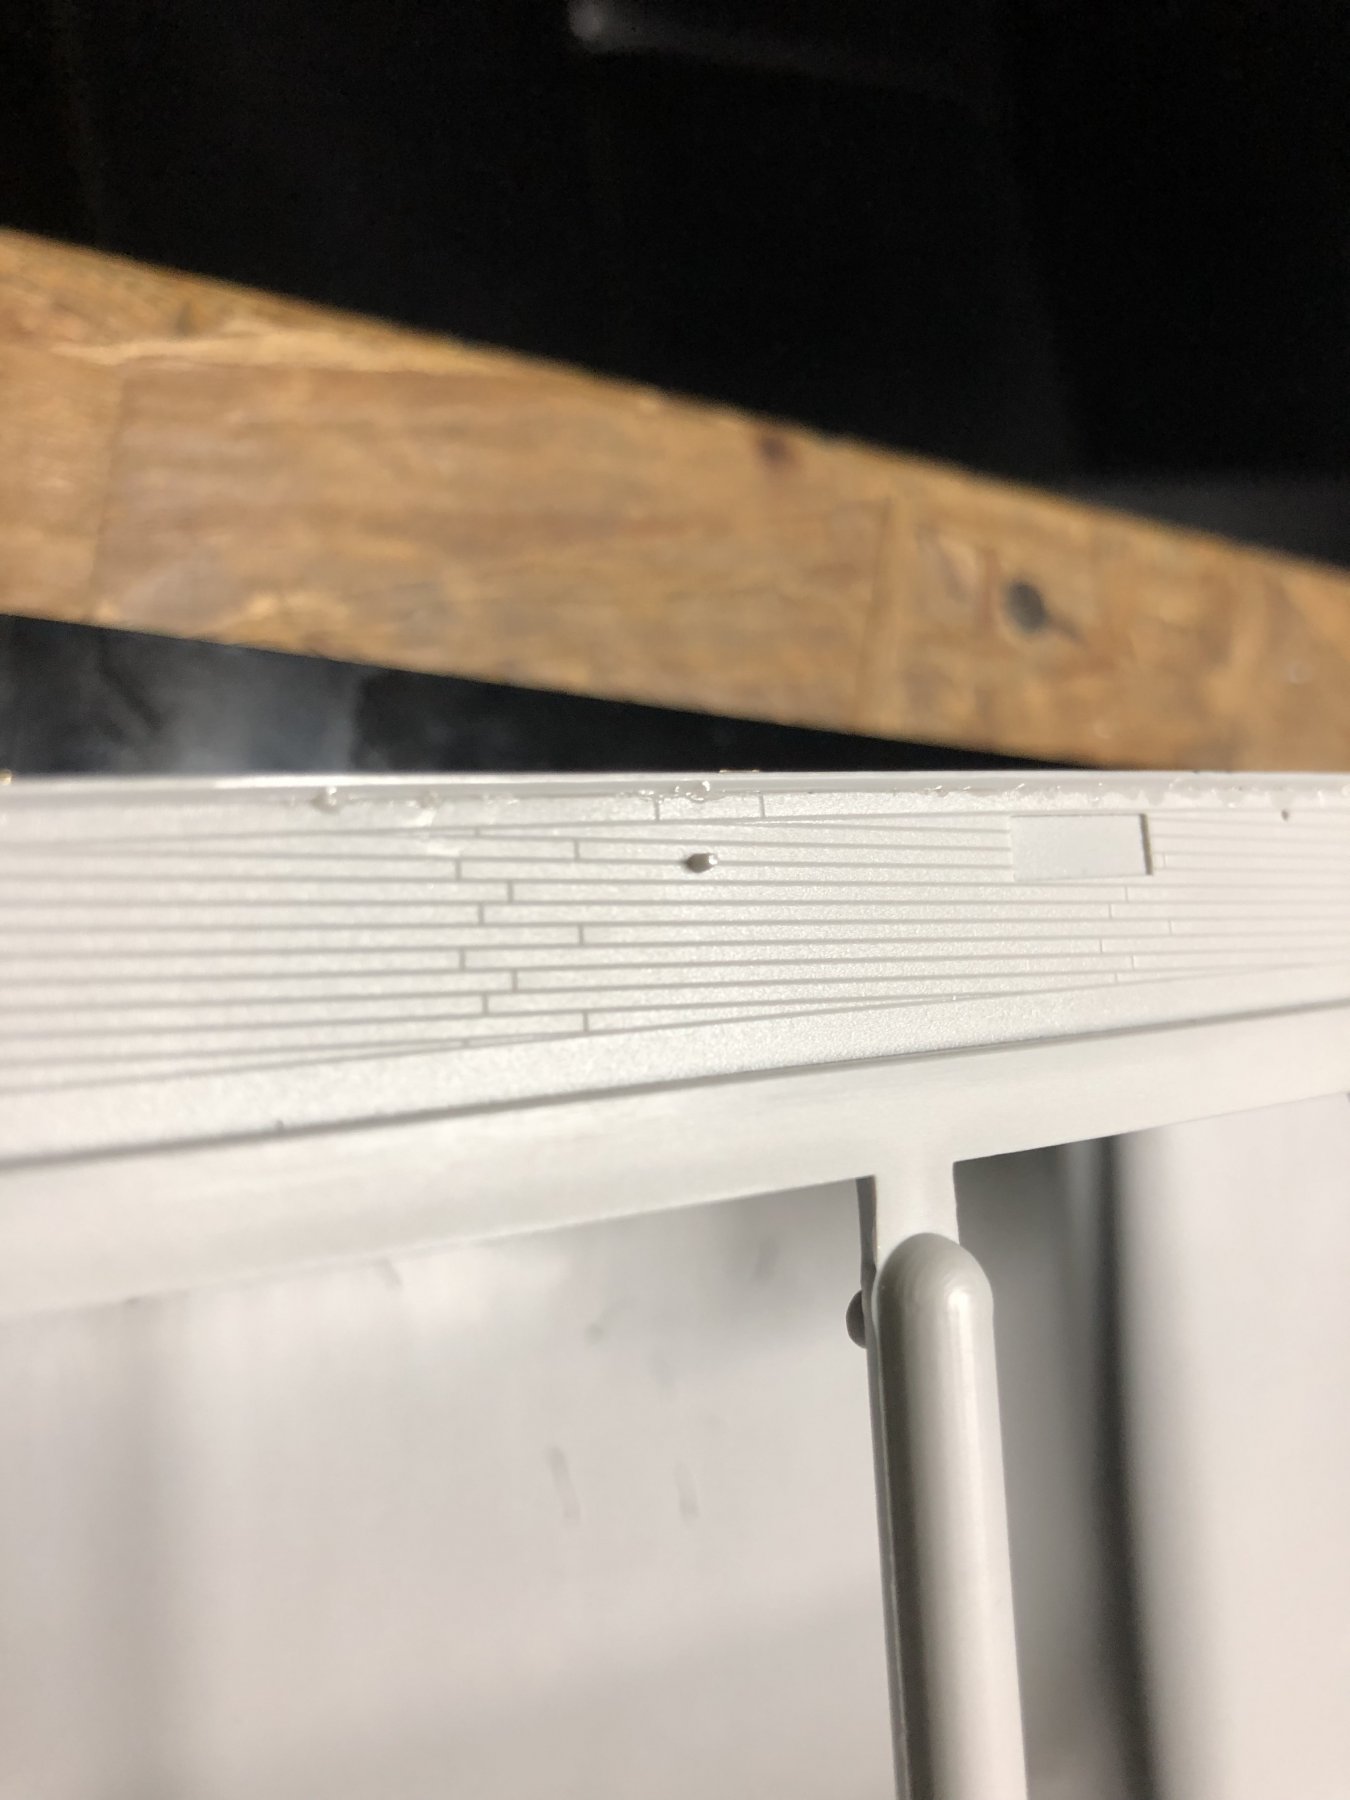
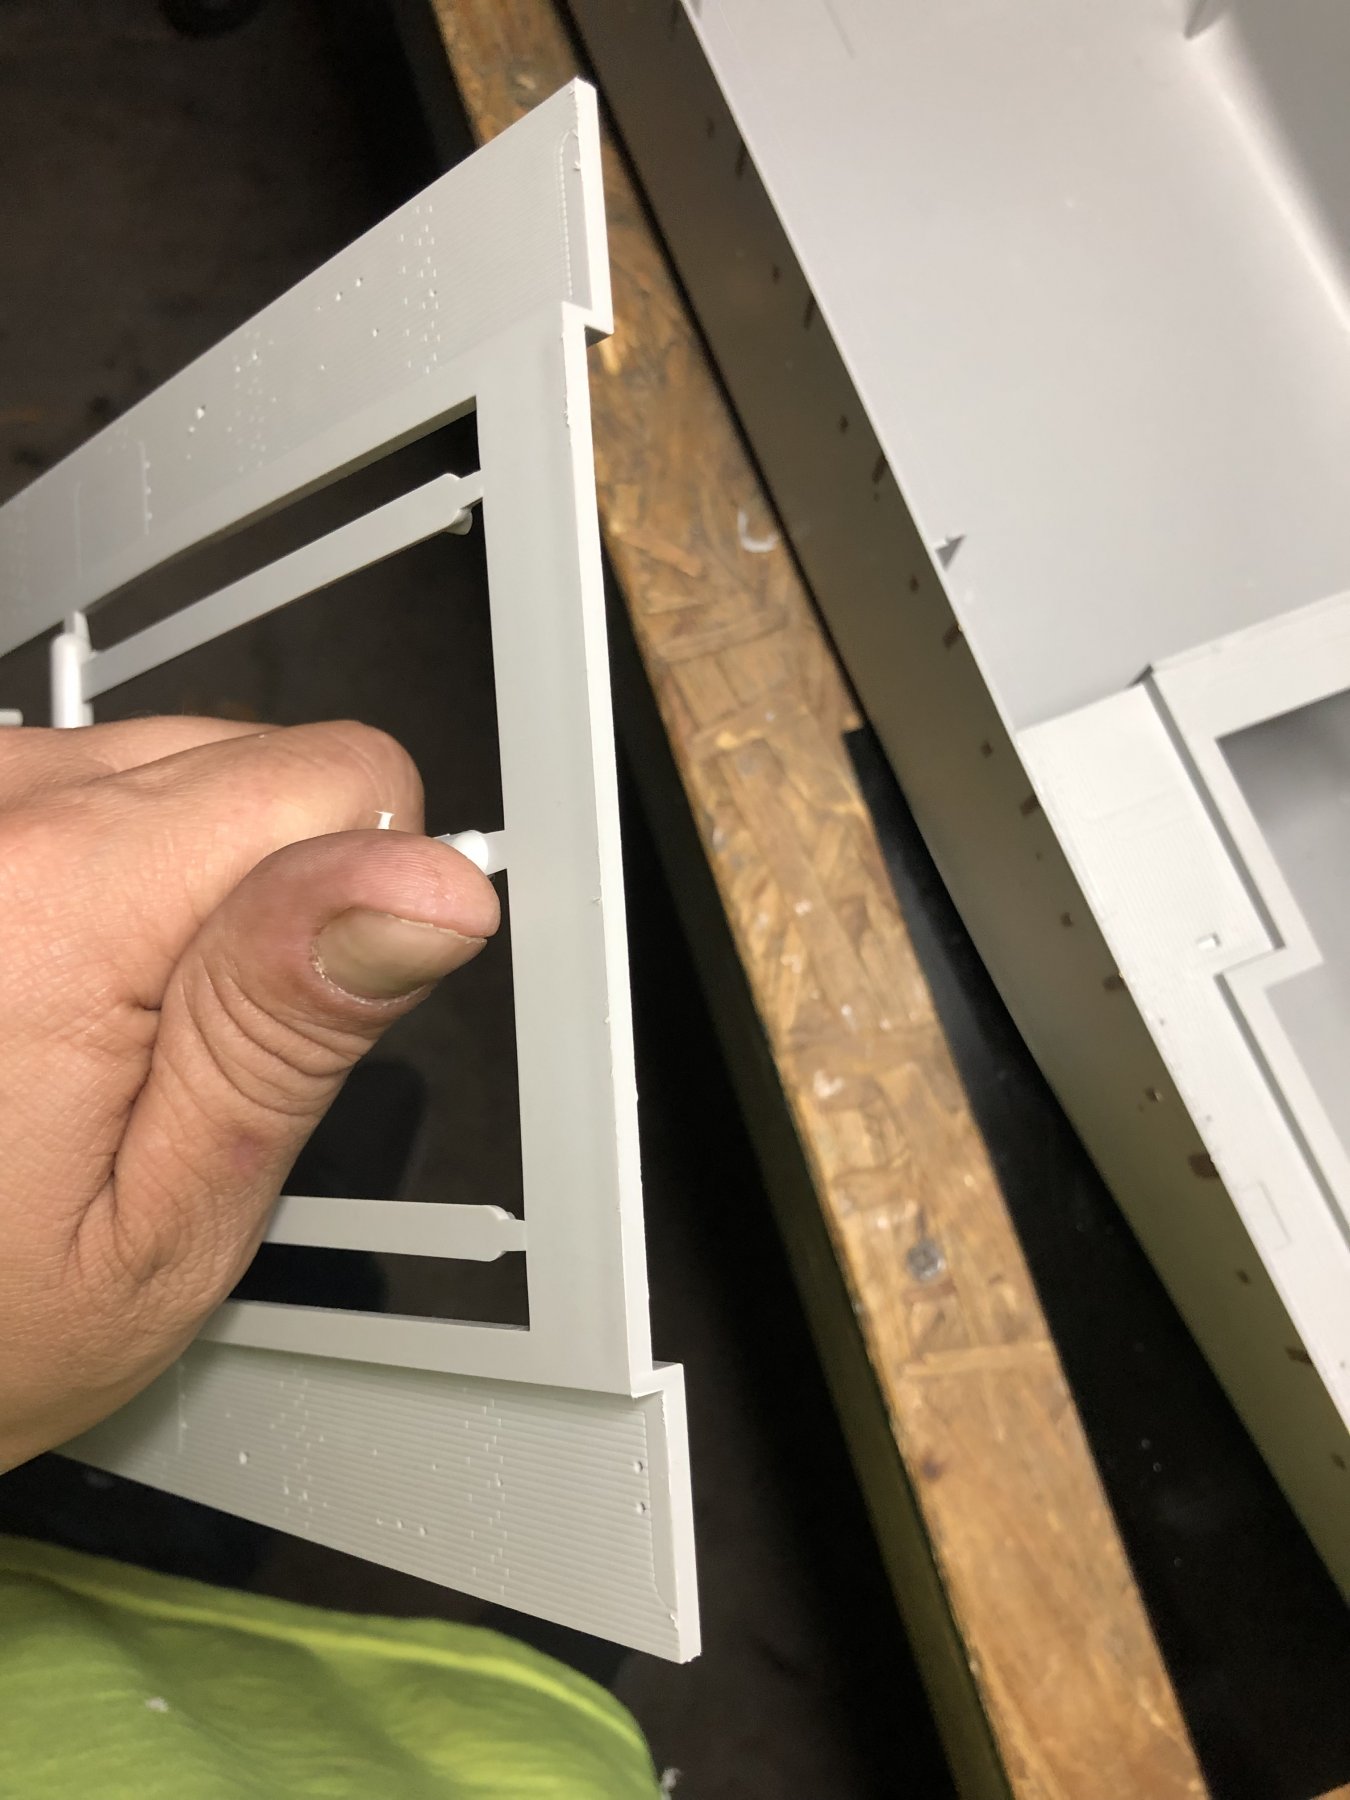
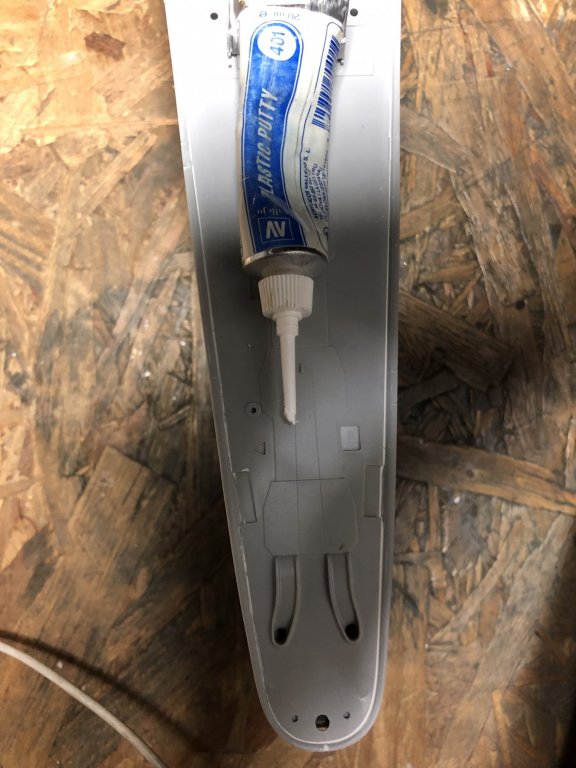
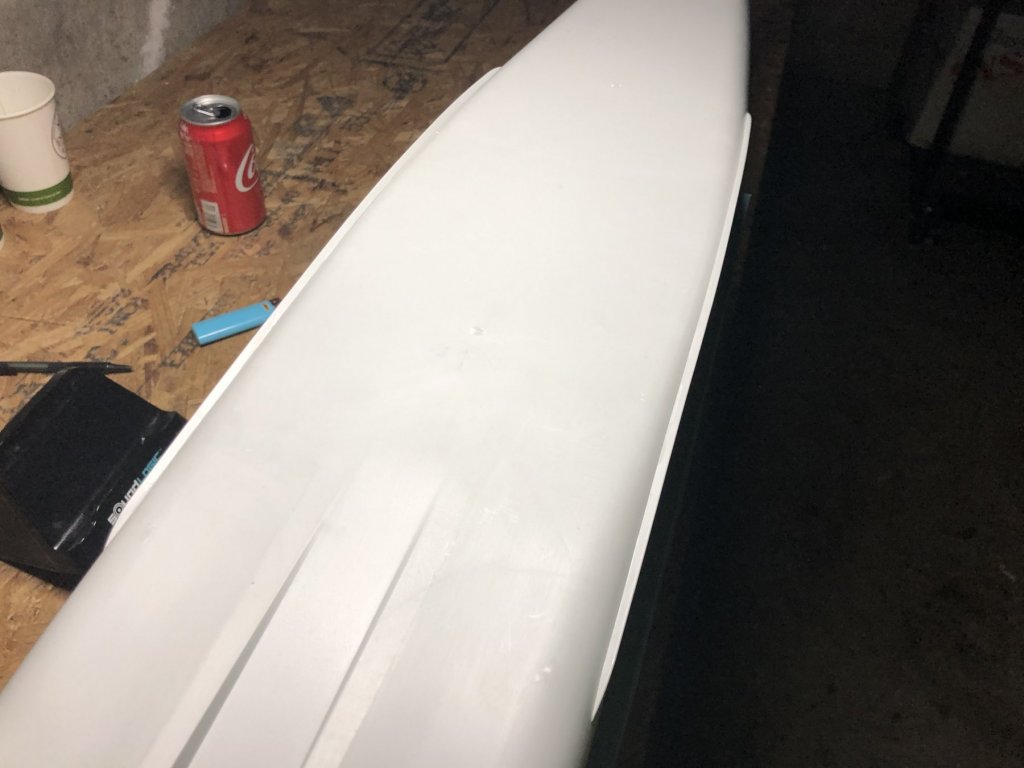
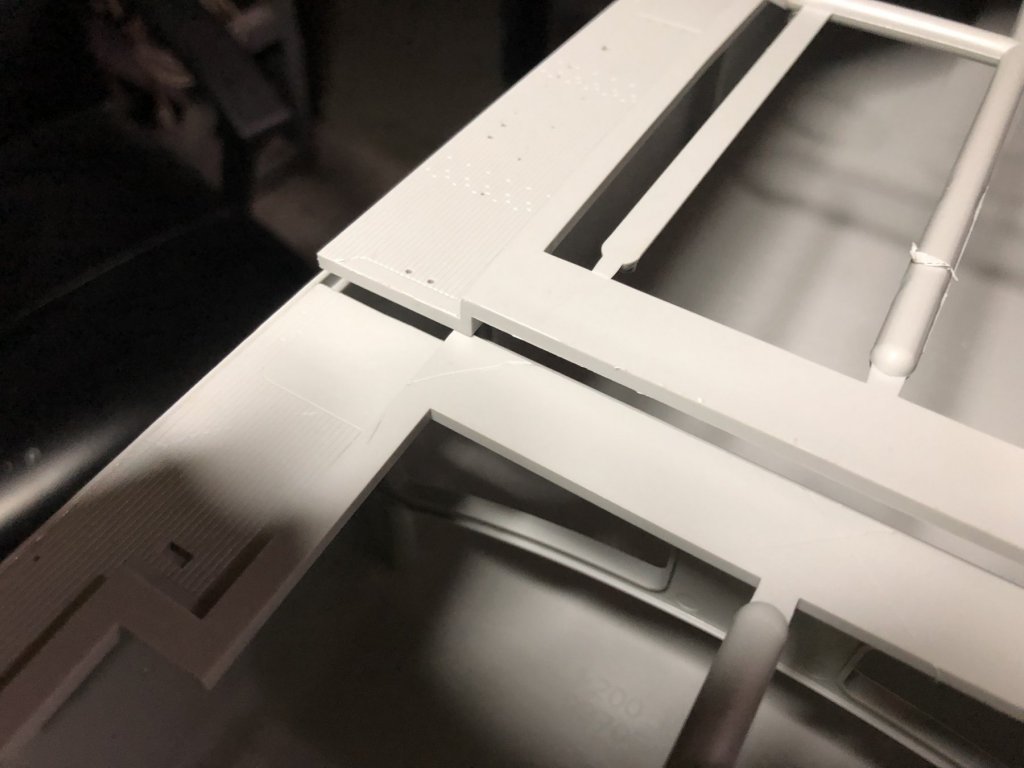
I started shaving some plastic then realized this tab had to come out also now the gap is to big. Good thing most of this gap is covered by super structure. seem like I’m going to have to use some plastic putty in a lot of spots. Big gaps everywhere.


- 271 replies
-
- 12
-
-
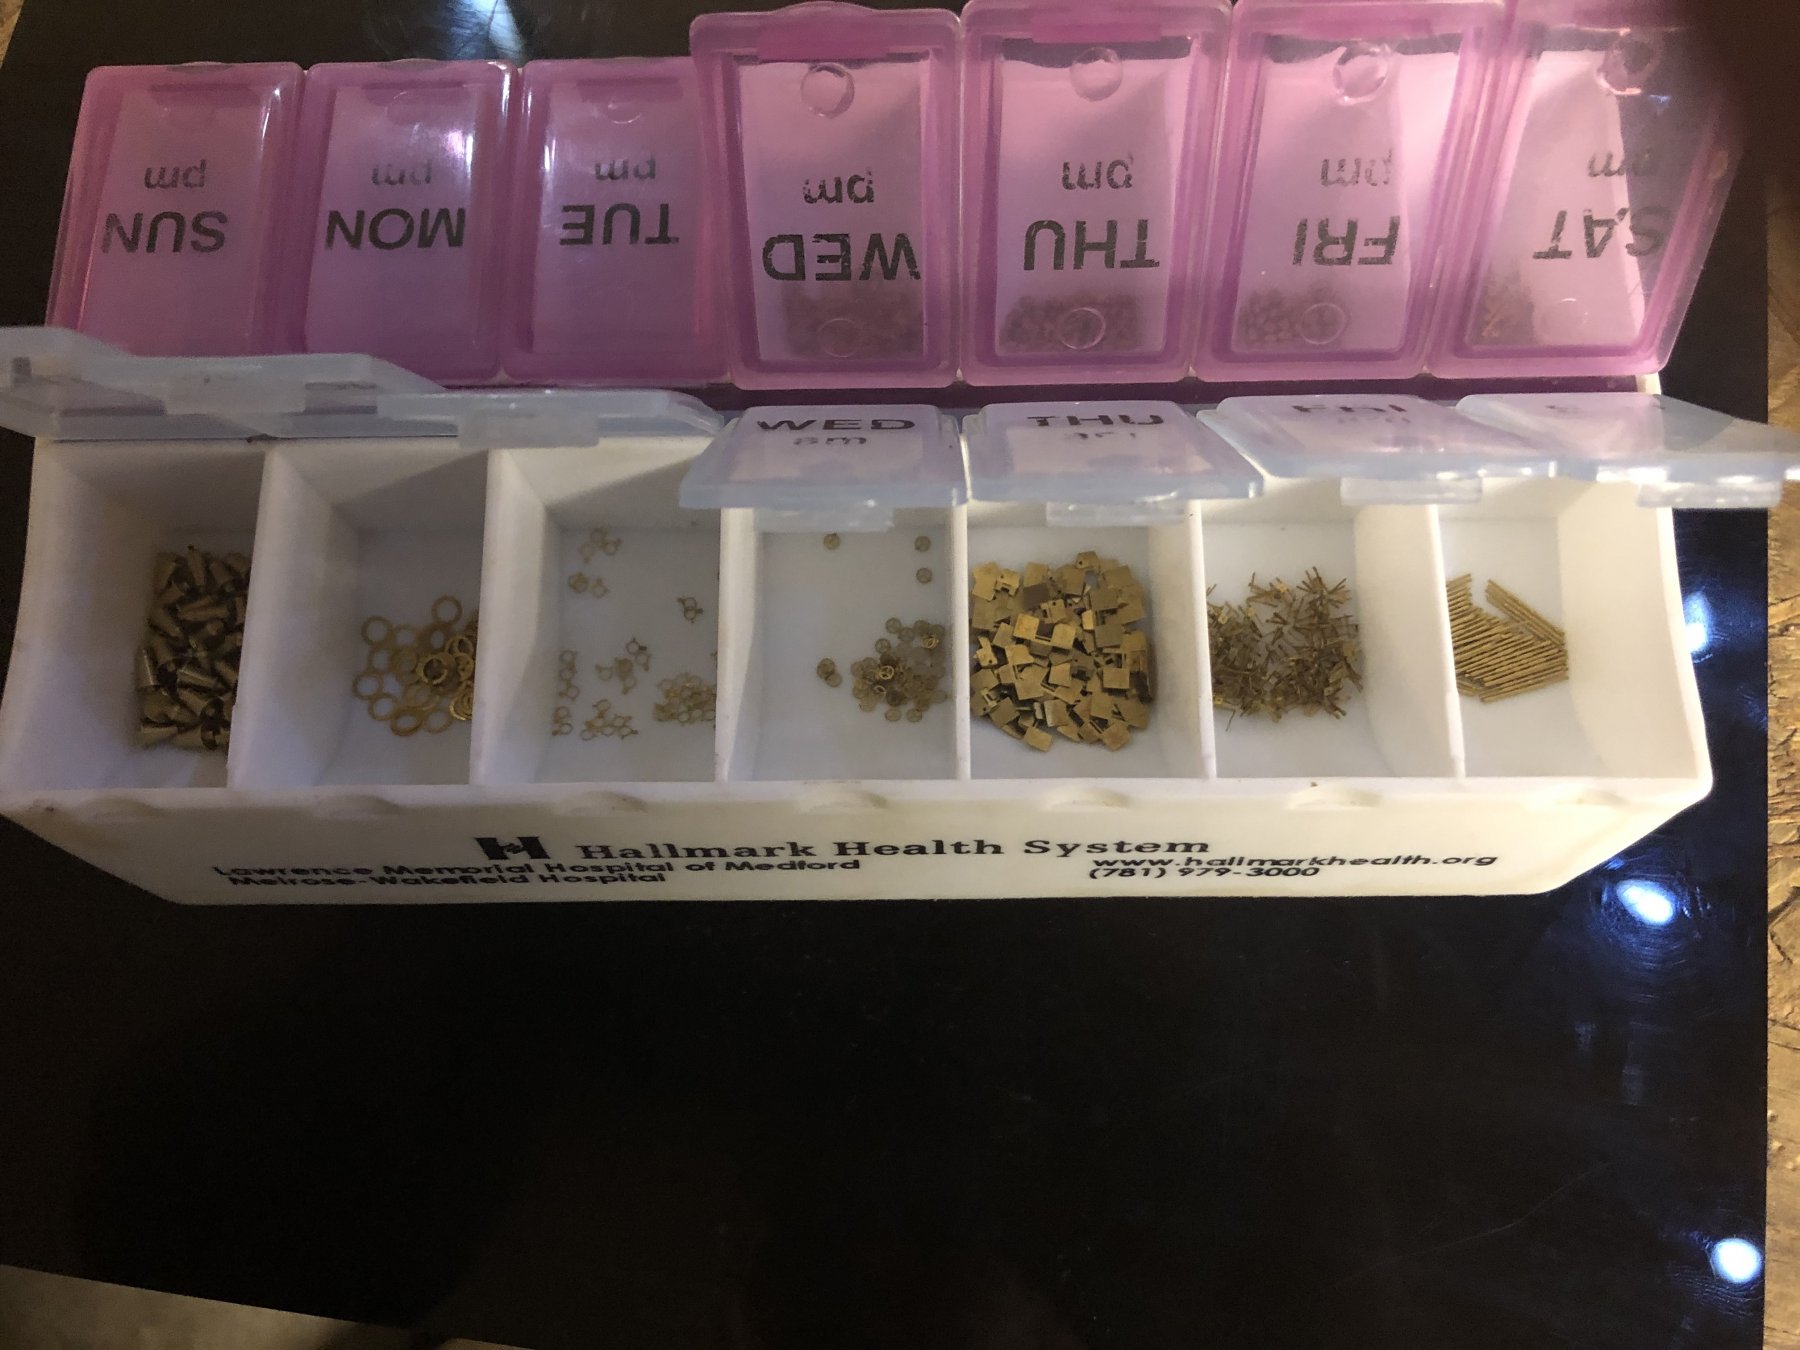
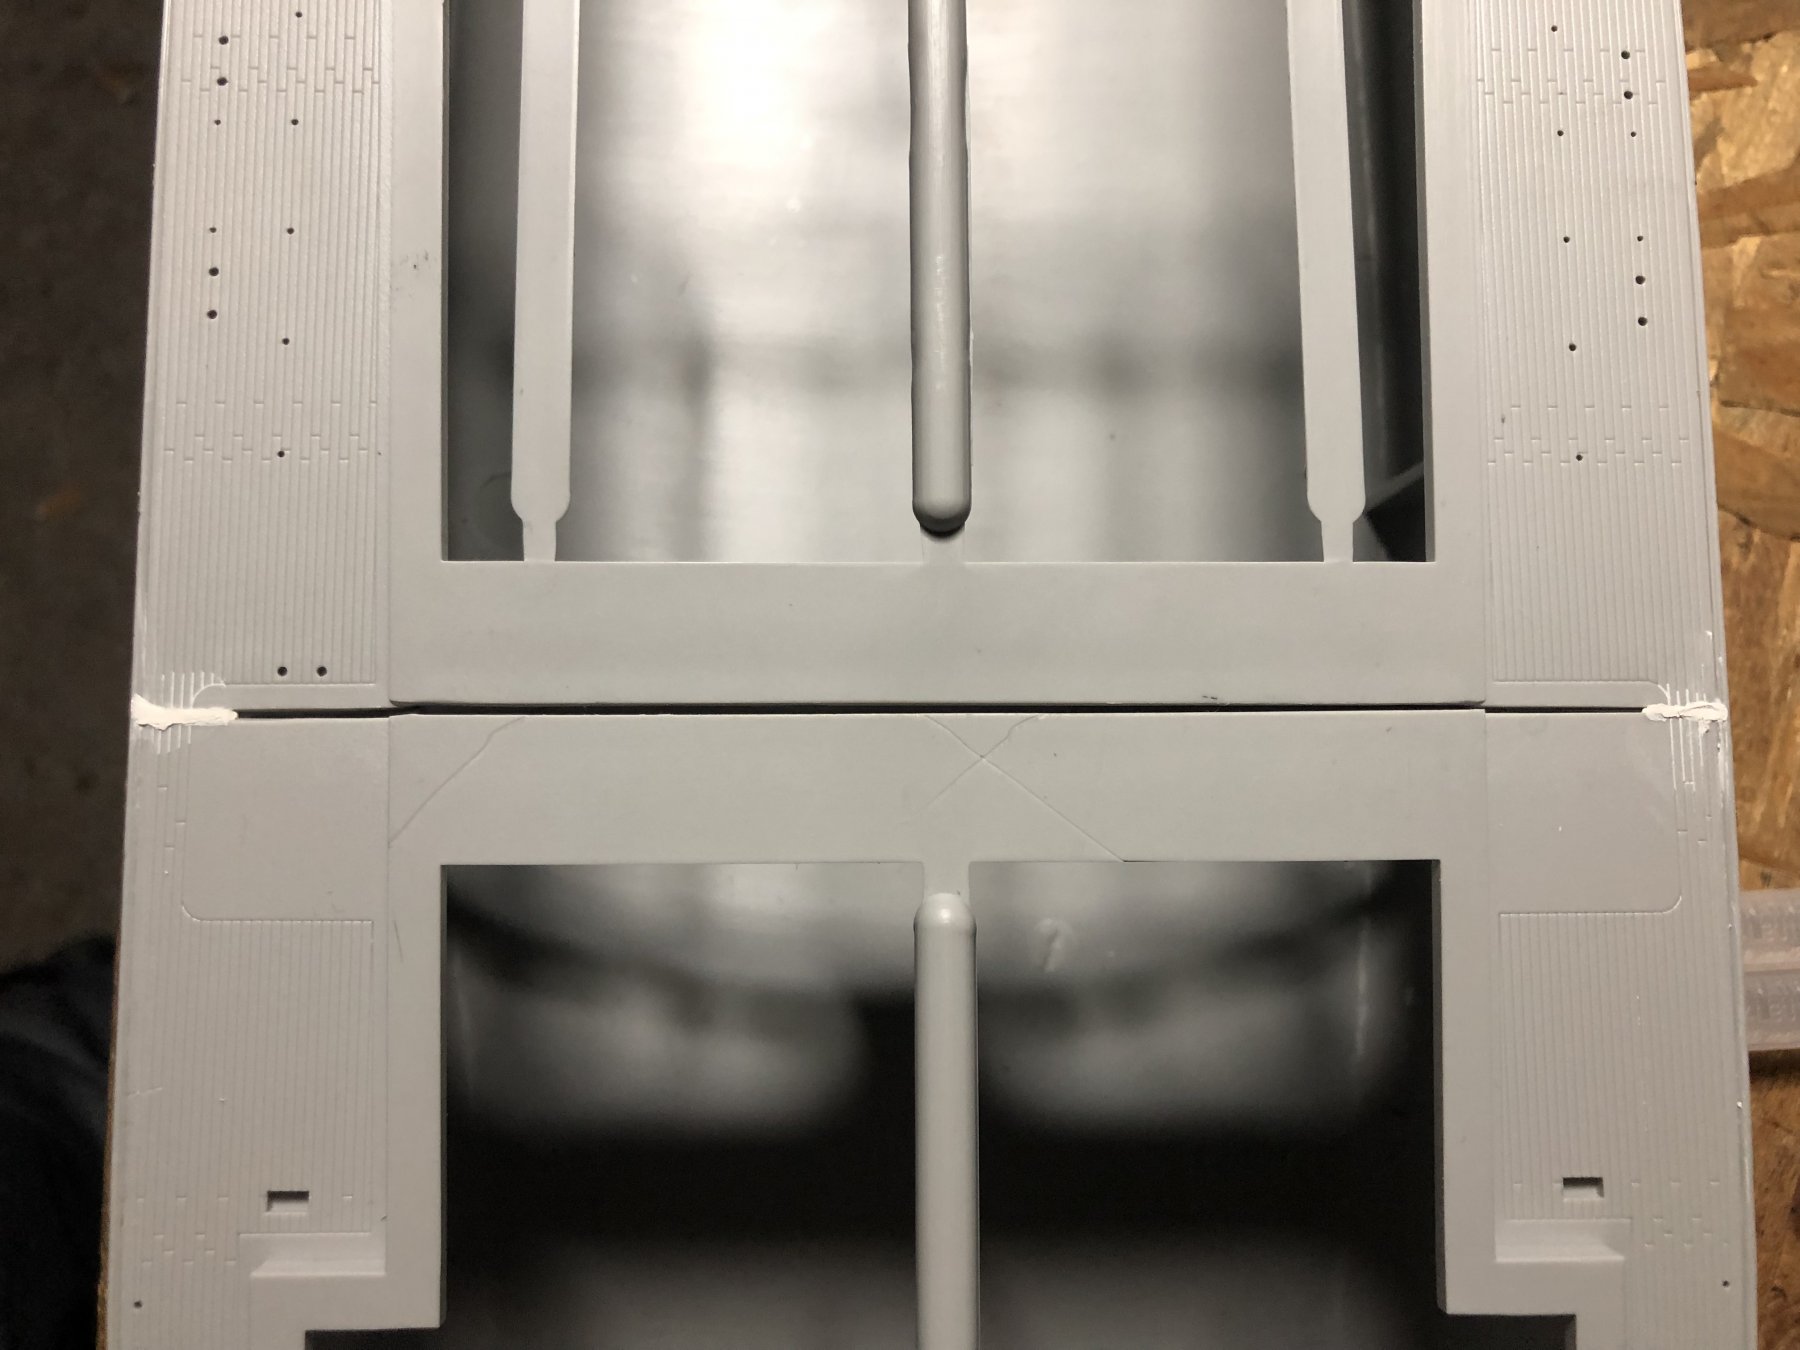
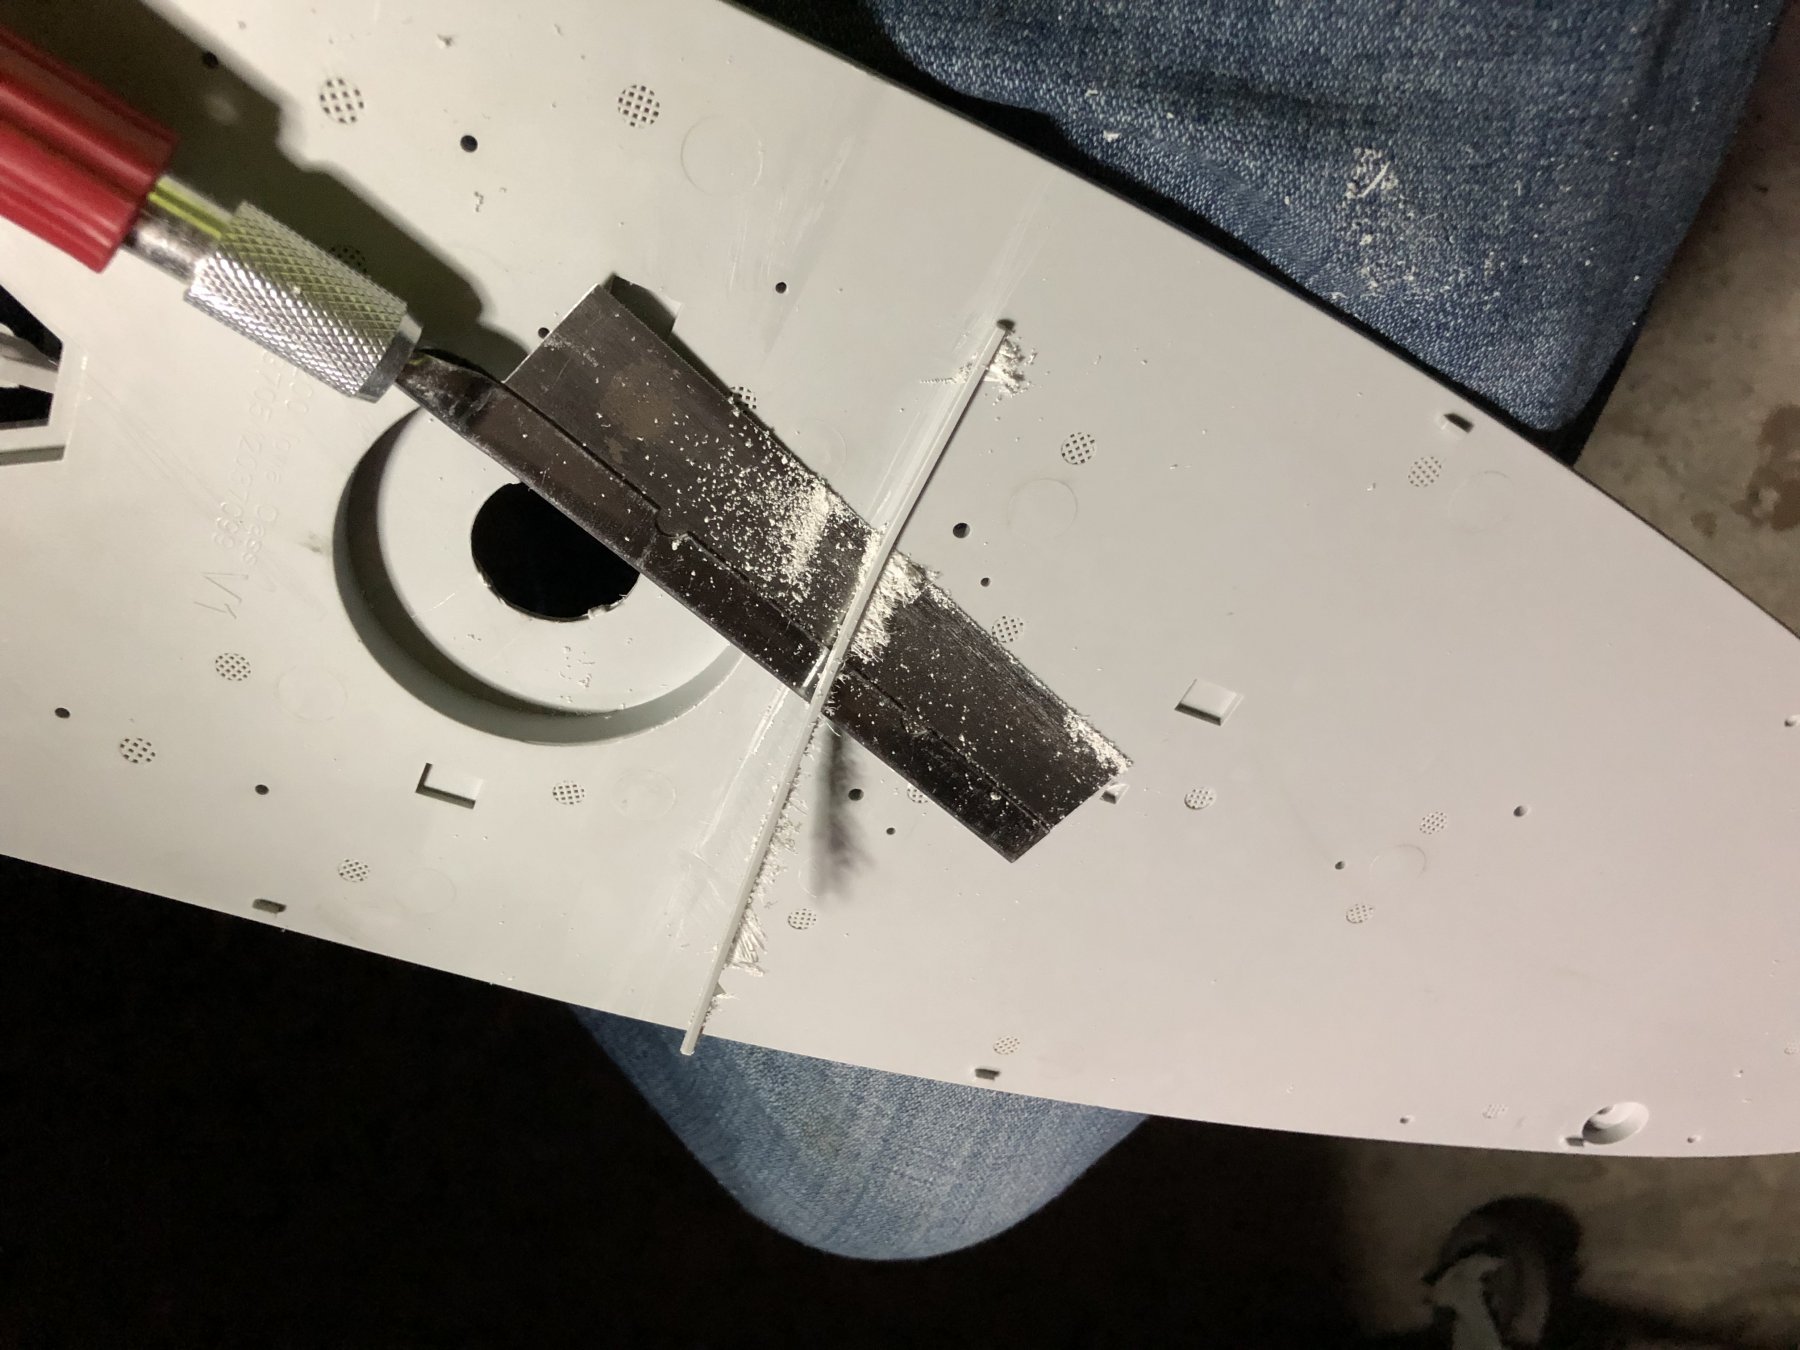
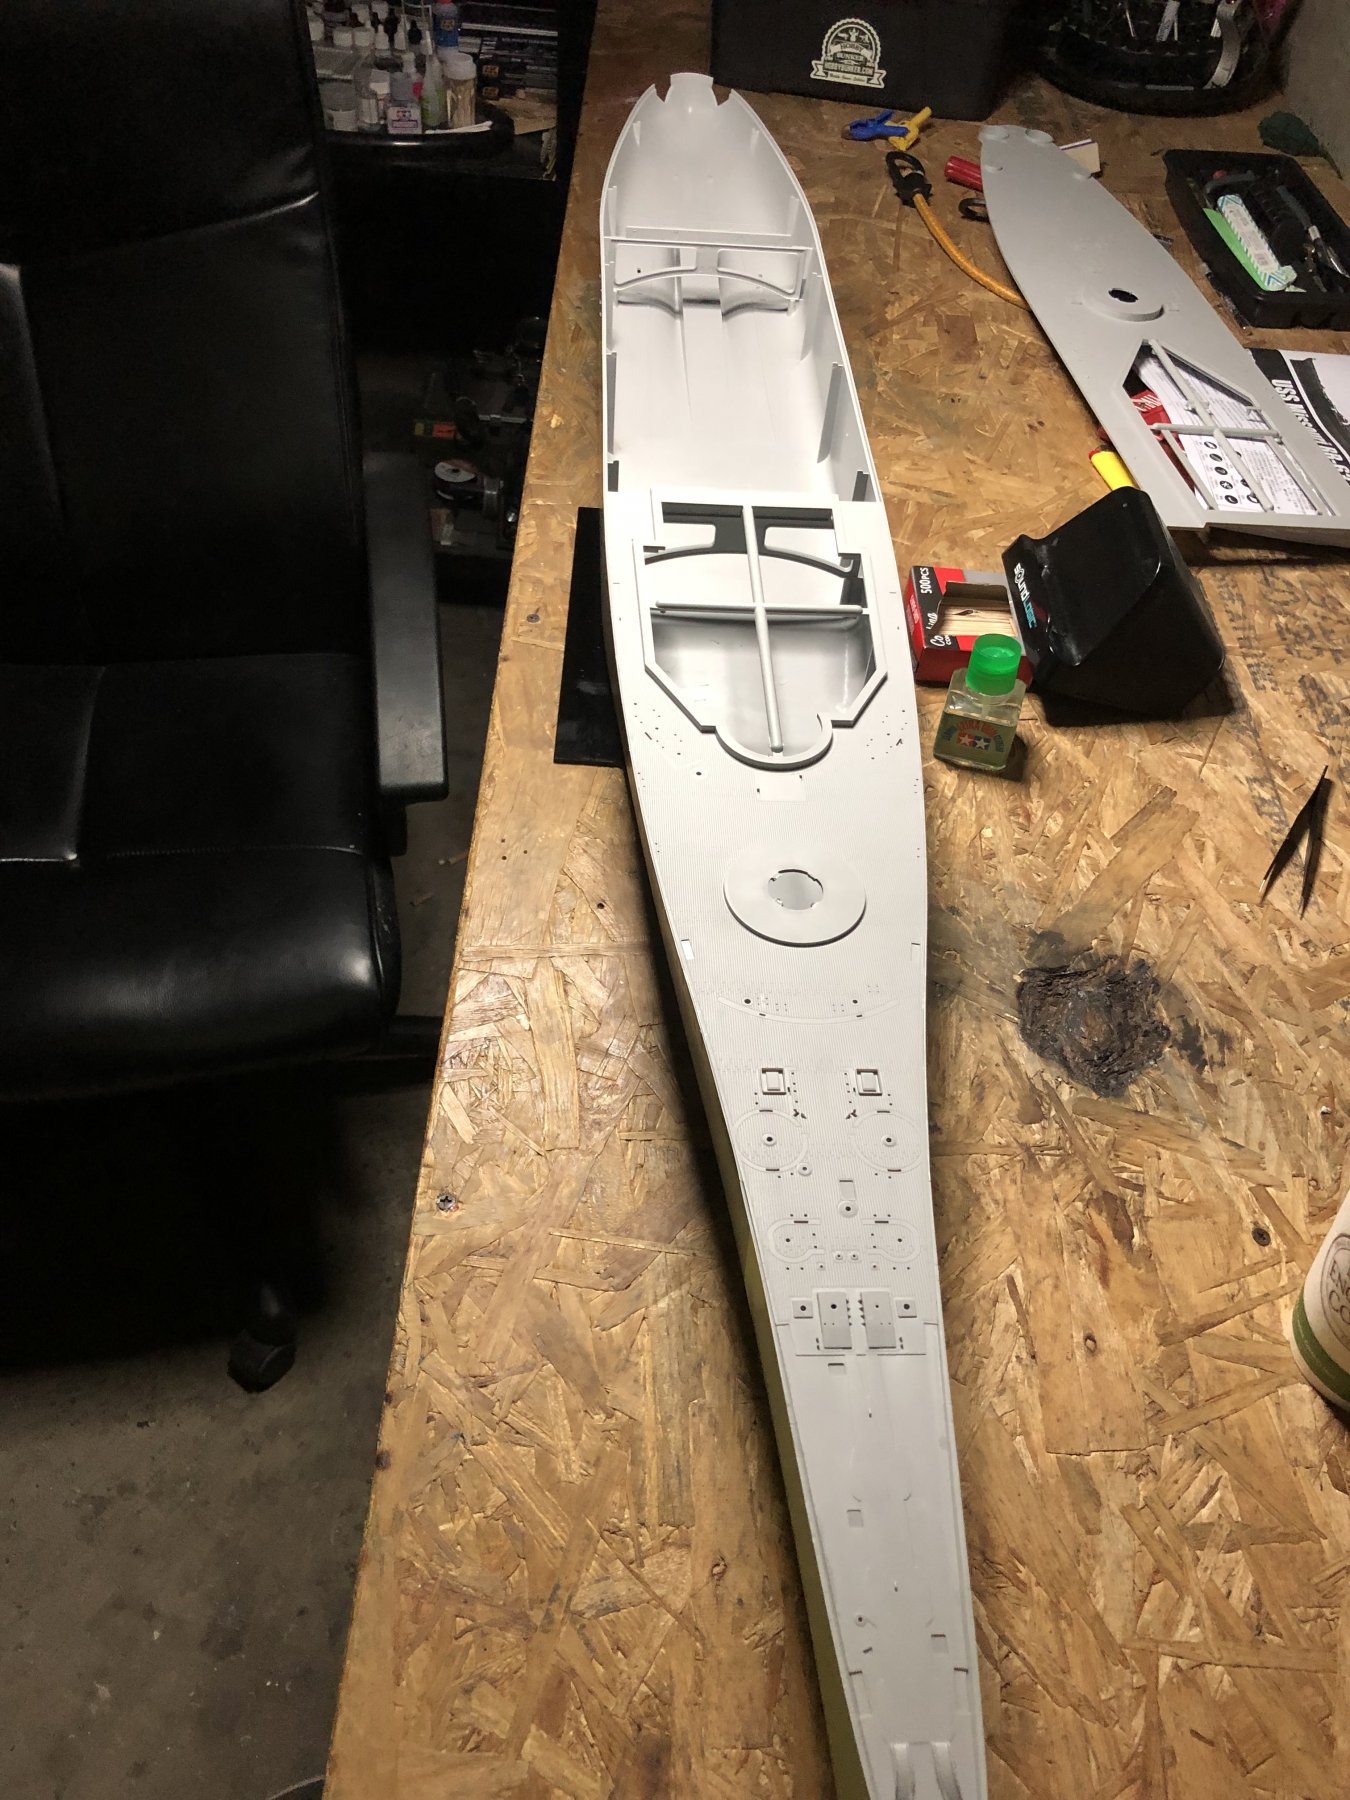
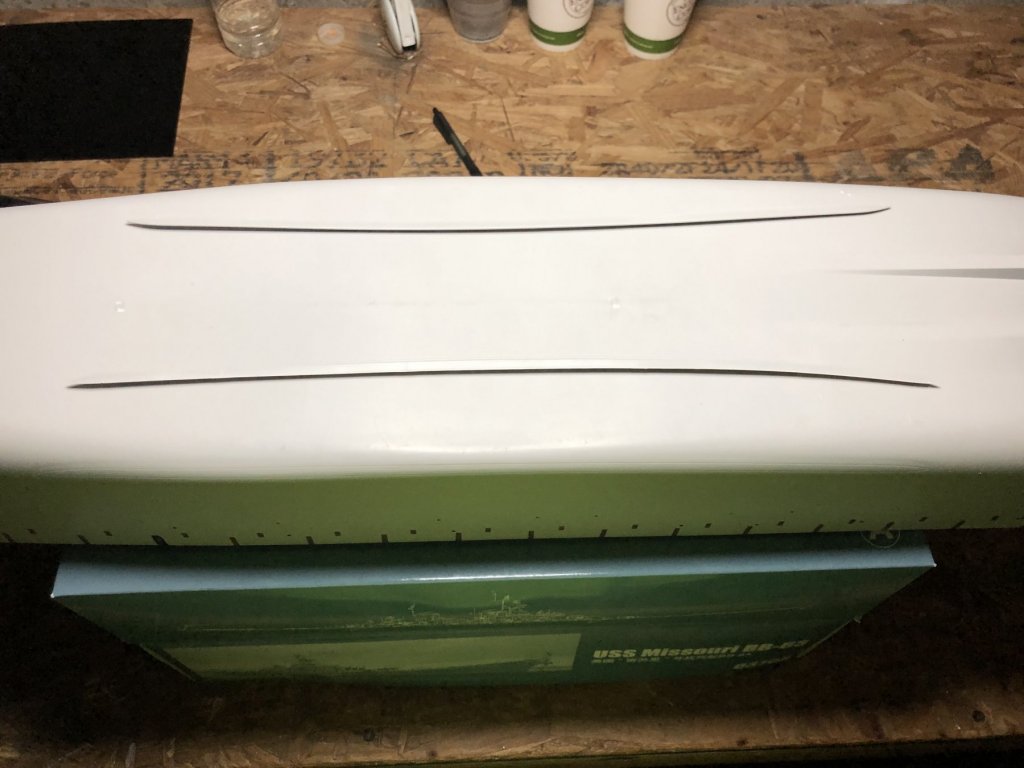
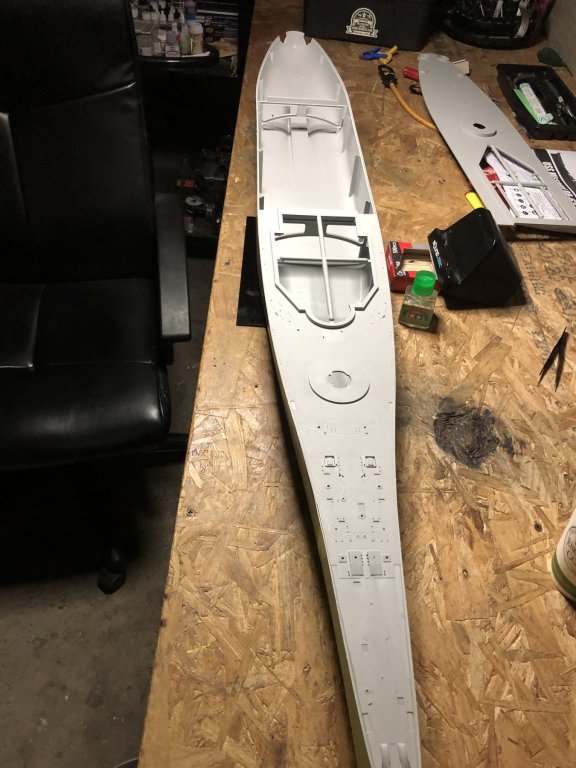
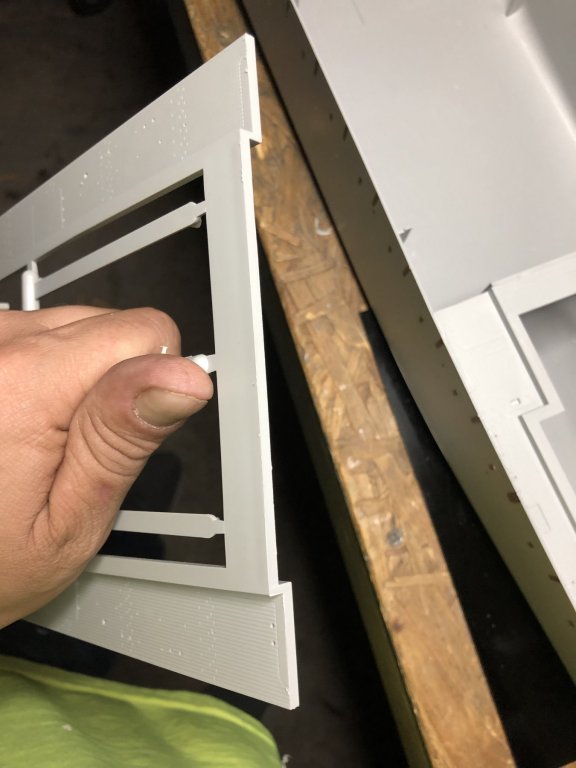
After dry fitting the deck onto the hull I realized this won’t be easy. The fit is awful. I had to get rid of a tab underneath. I used a razor saw. then the front half went in ok i hate when the glue bubbles up like that. this is where I am now. The back half is 1mm to long so I have to shave that off of this side. also I have cut out the PE for the 50 or so 20mm guns.

- 271 replies
-
- 12
-