semorebutts
-
Posts
664 -
Joined
-
Last visited
Content Type
Profiles
Forums
Gallery
Events
Everything posted by semorebutts
-
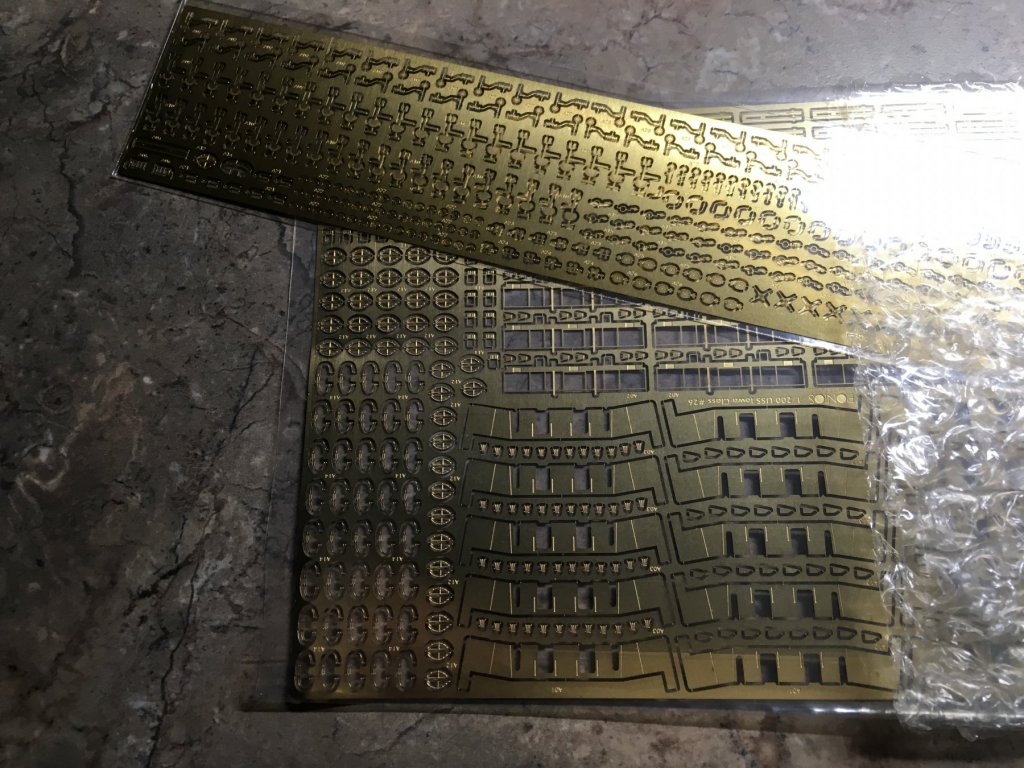
Oh wow thAnks Channell. Thank explains pontos not having enough porthole PE. It seems like and awful lot of drain scuttles. (16 on each side) maybe I should fill some in.
-
Hopefully! The birds are mine though at my house. They are why the Bismarck is still at my parents house until I get a display case made. I’m sure the Bismarck looks delicious and tempting for them to destroy. Just look at those sharp beaks...just waiting for a model ship.
-
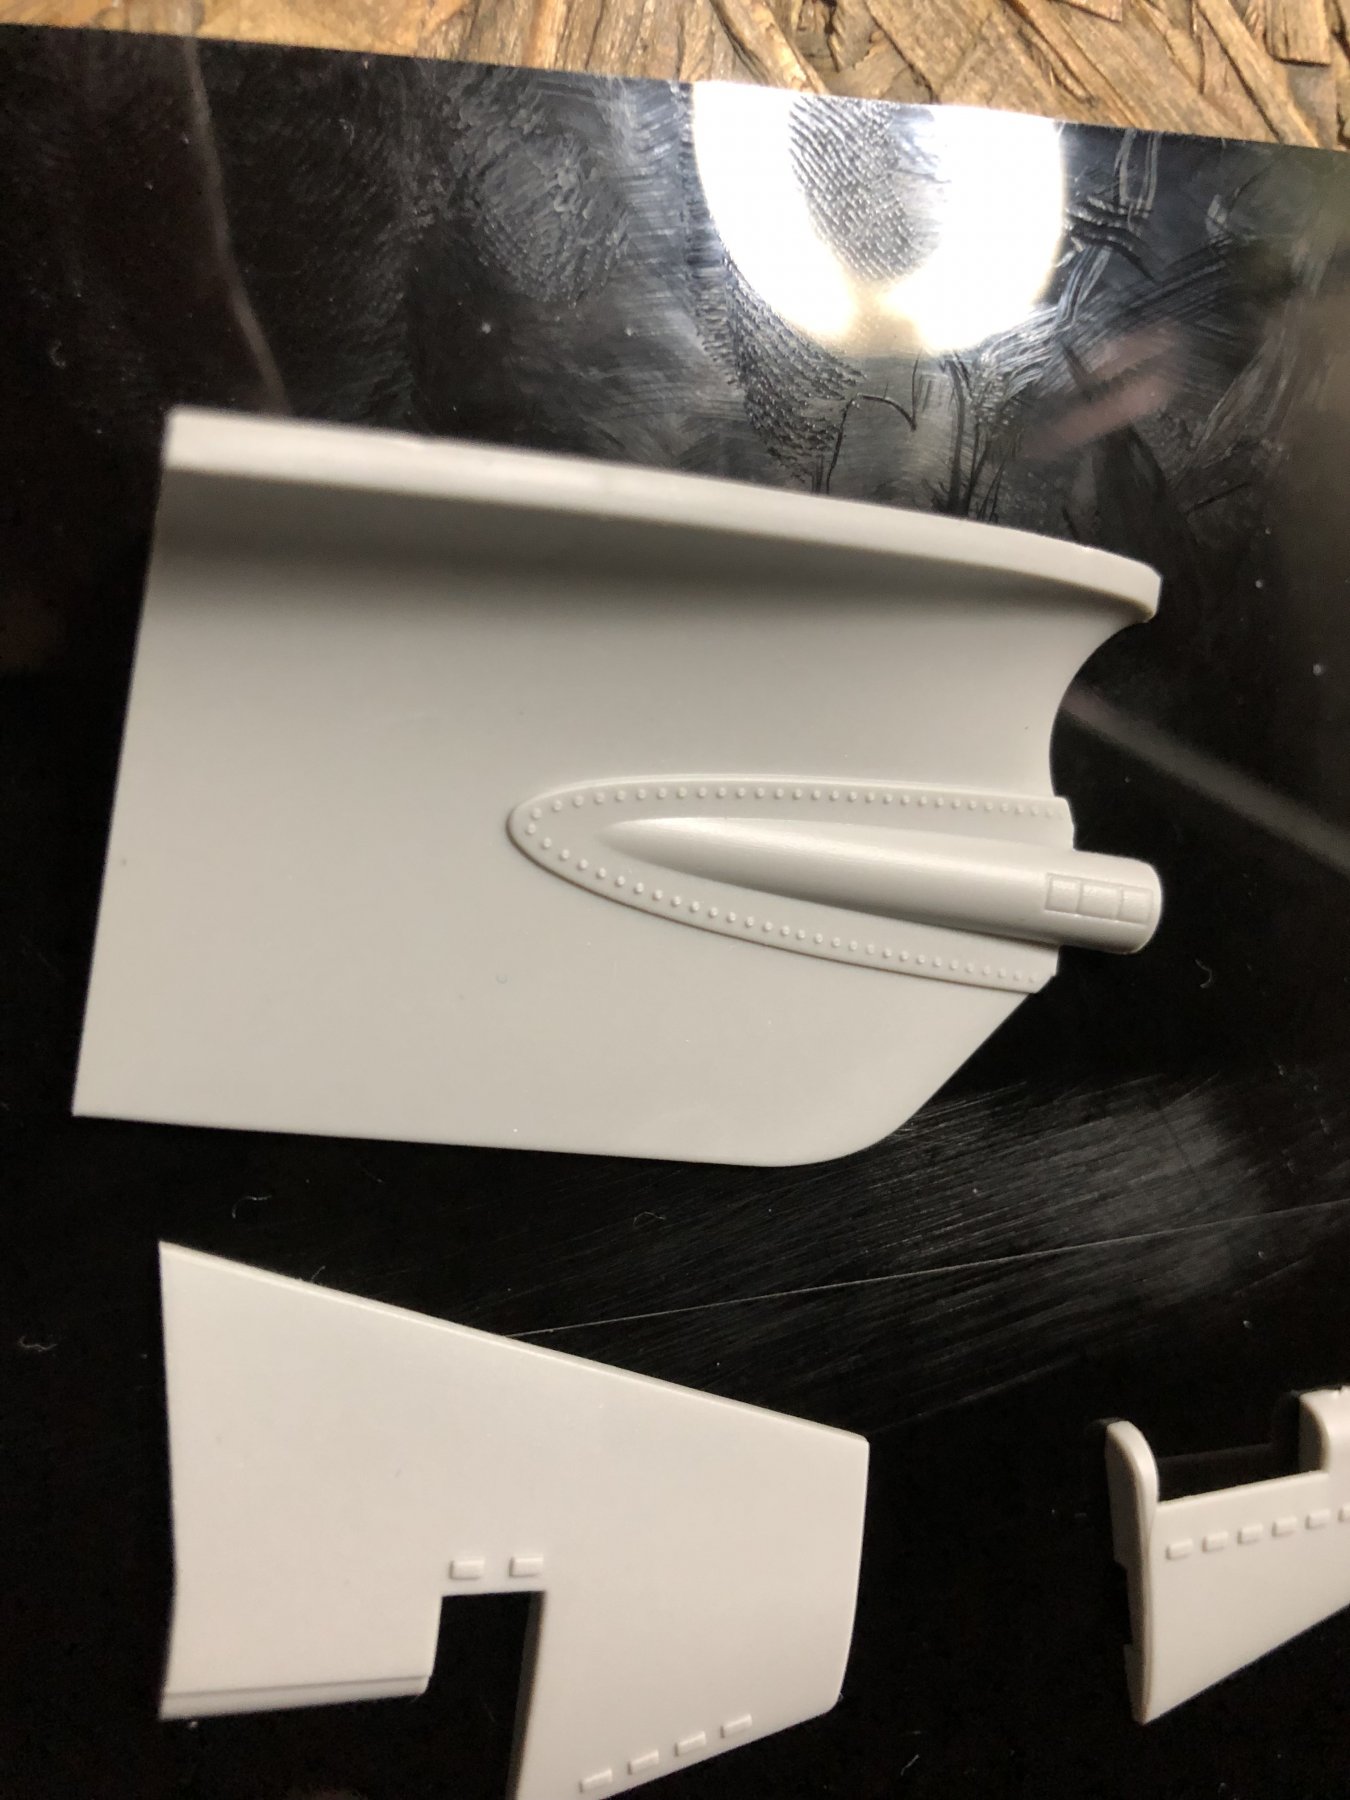
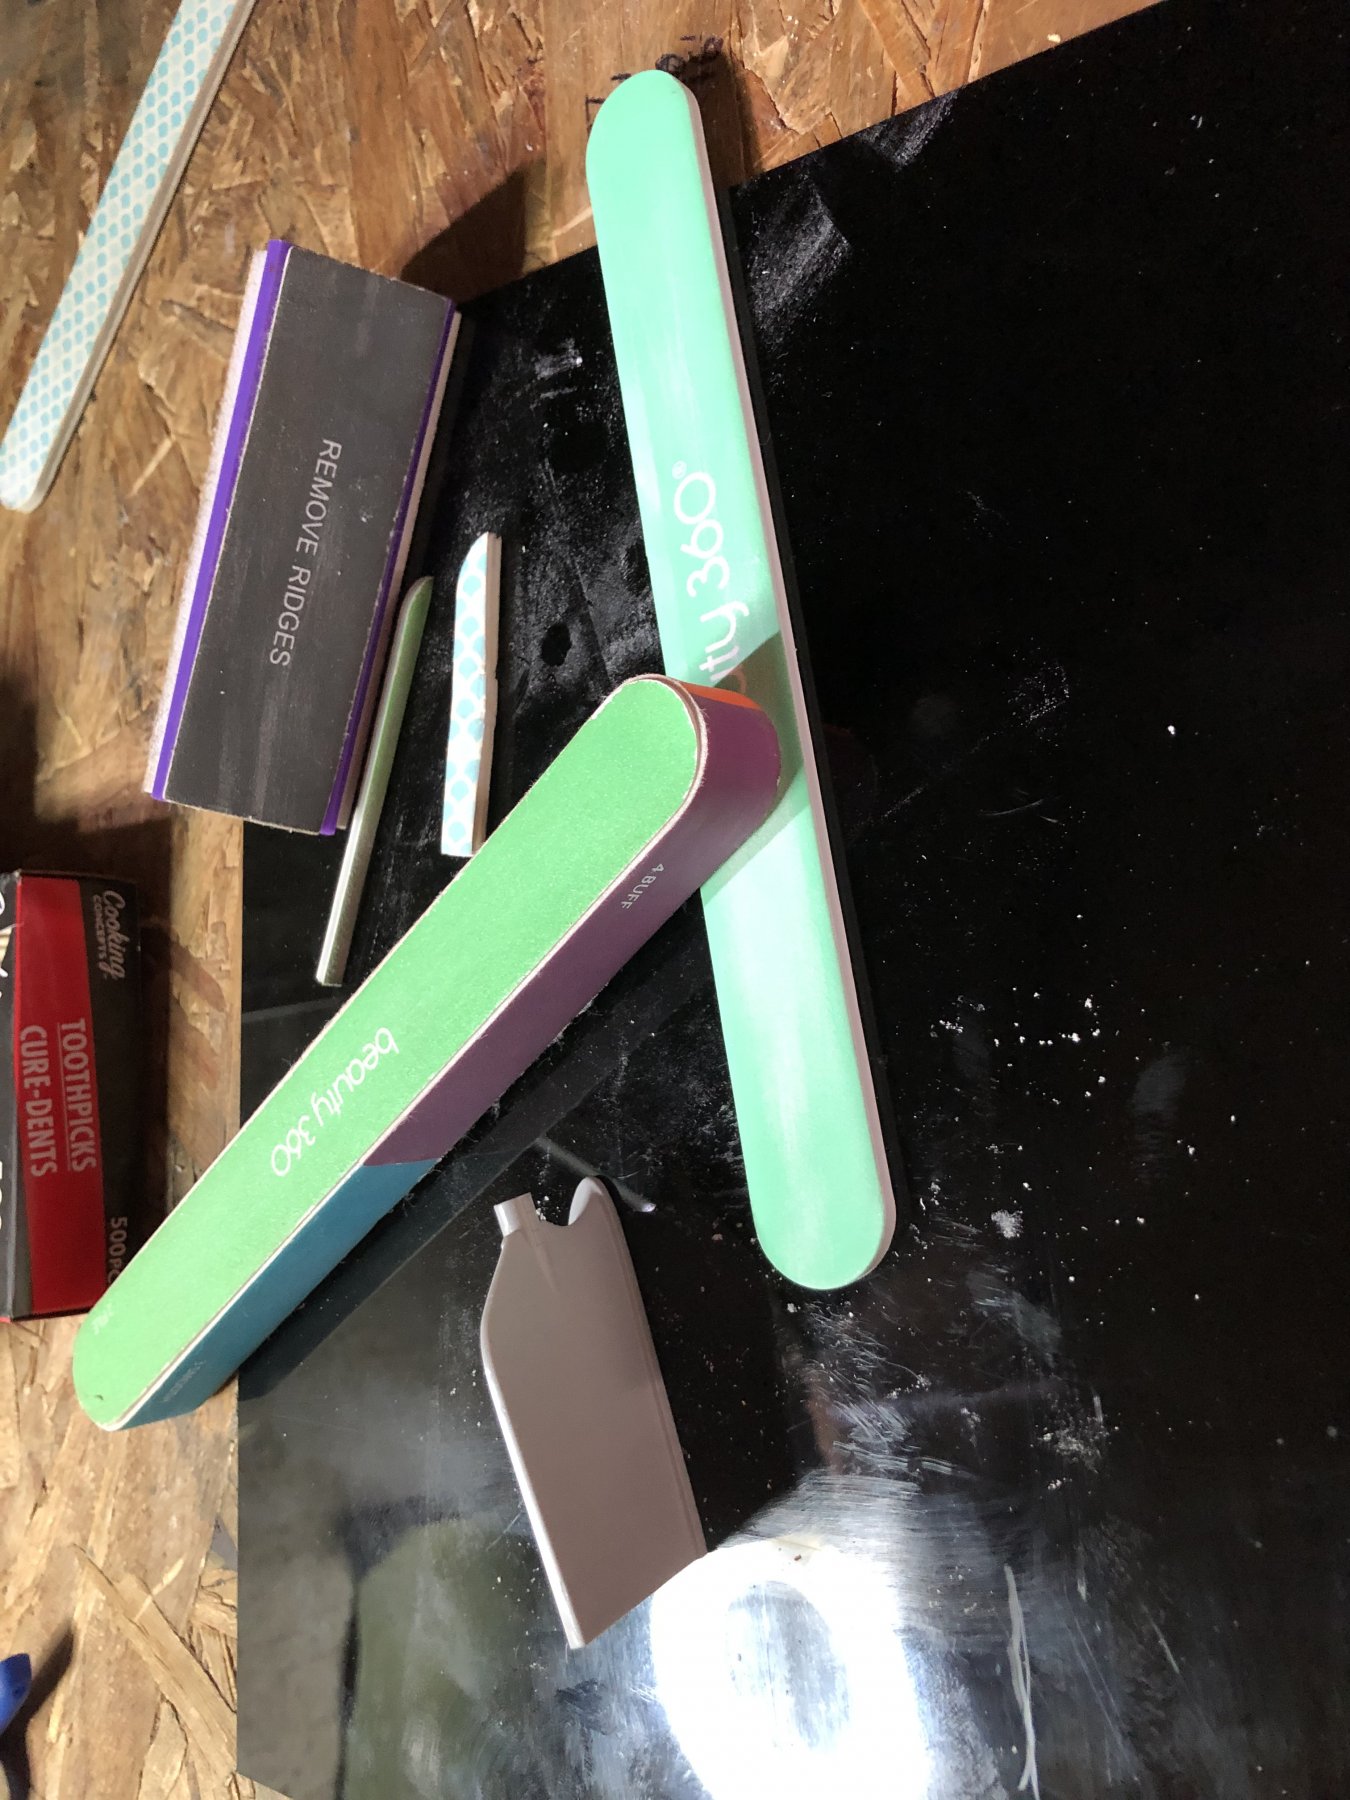
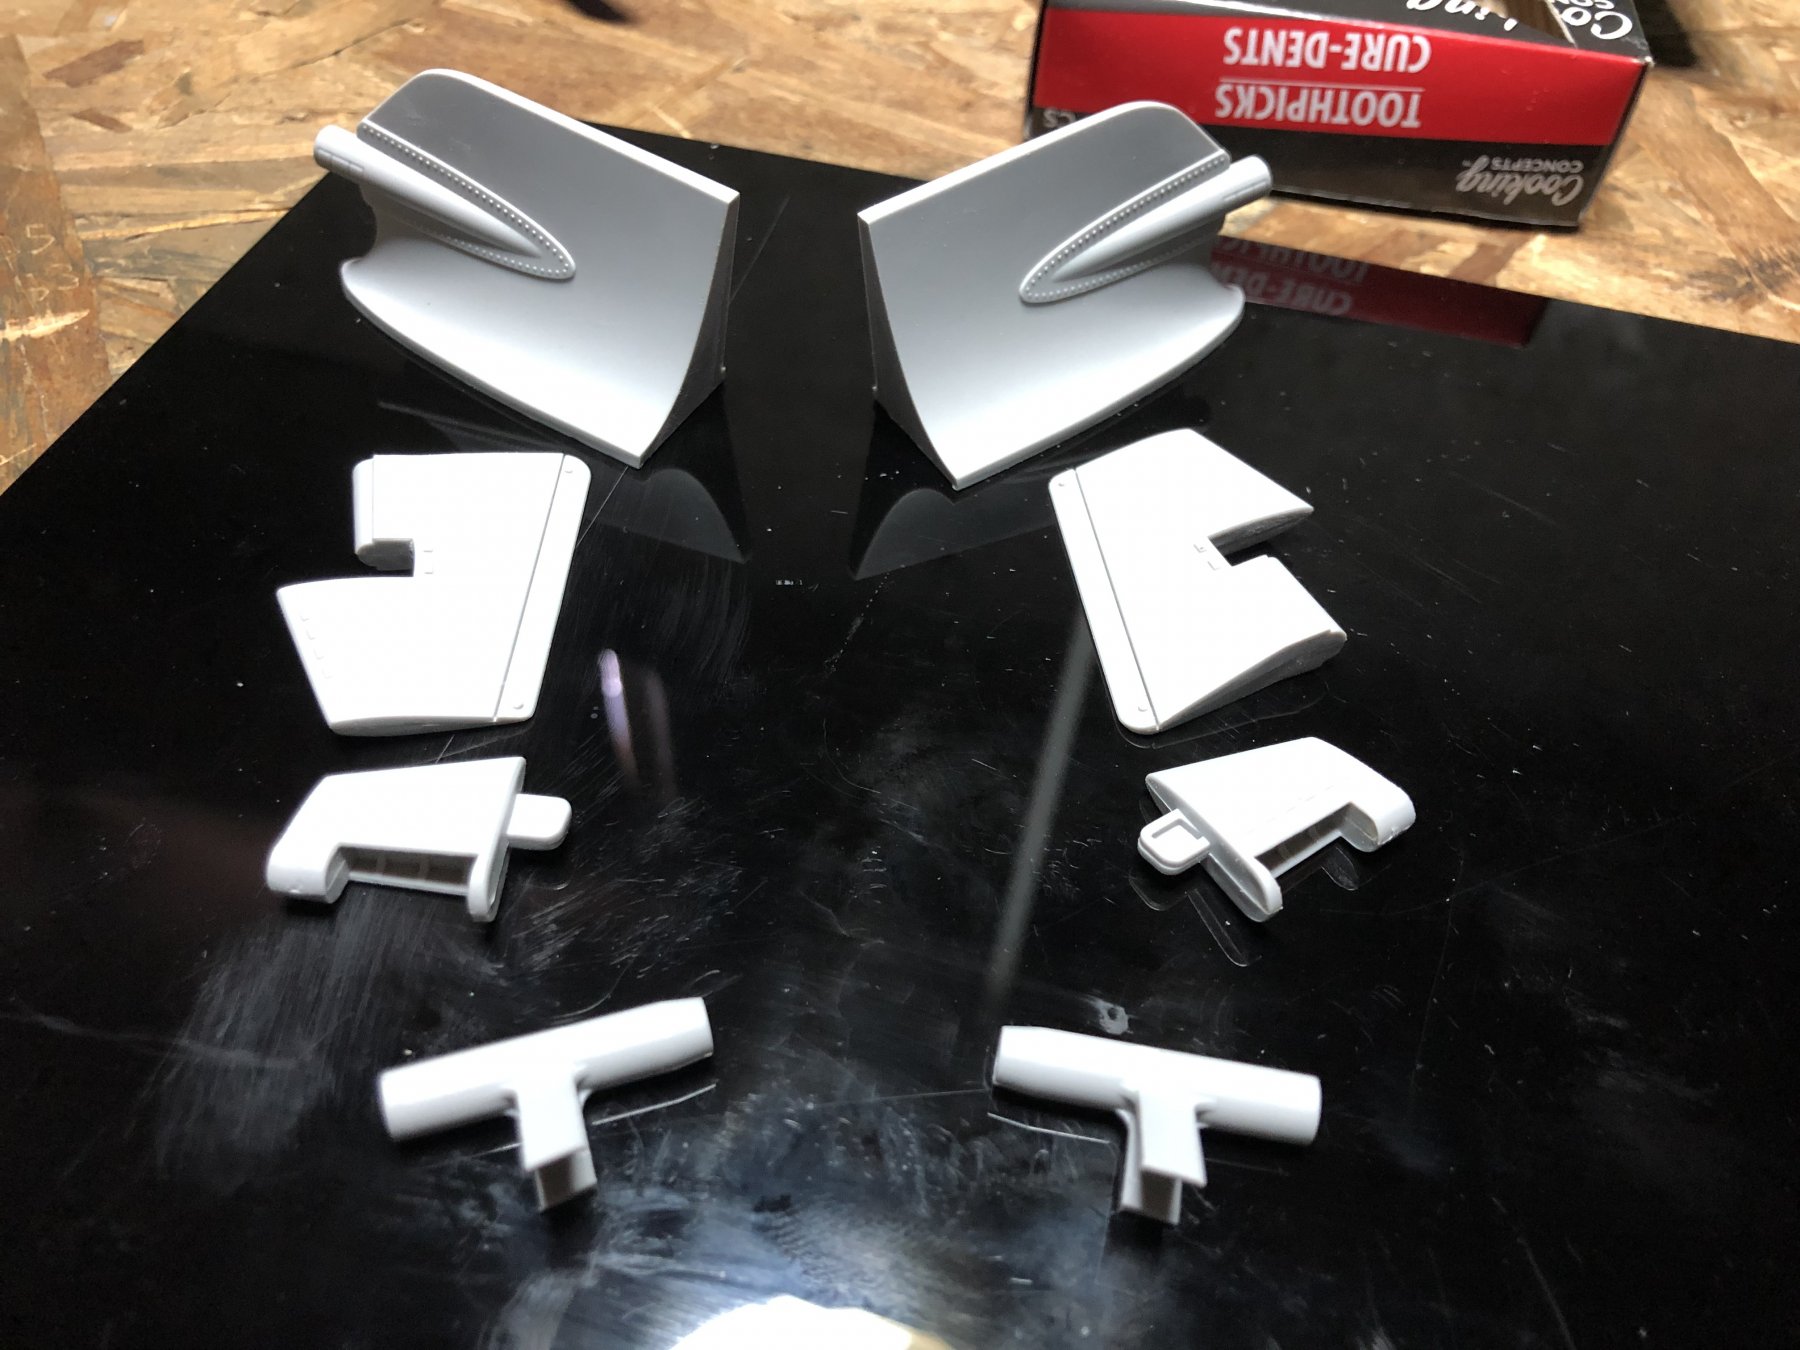
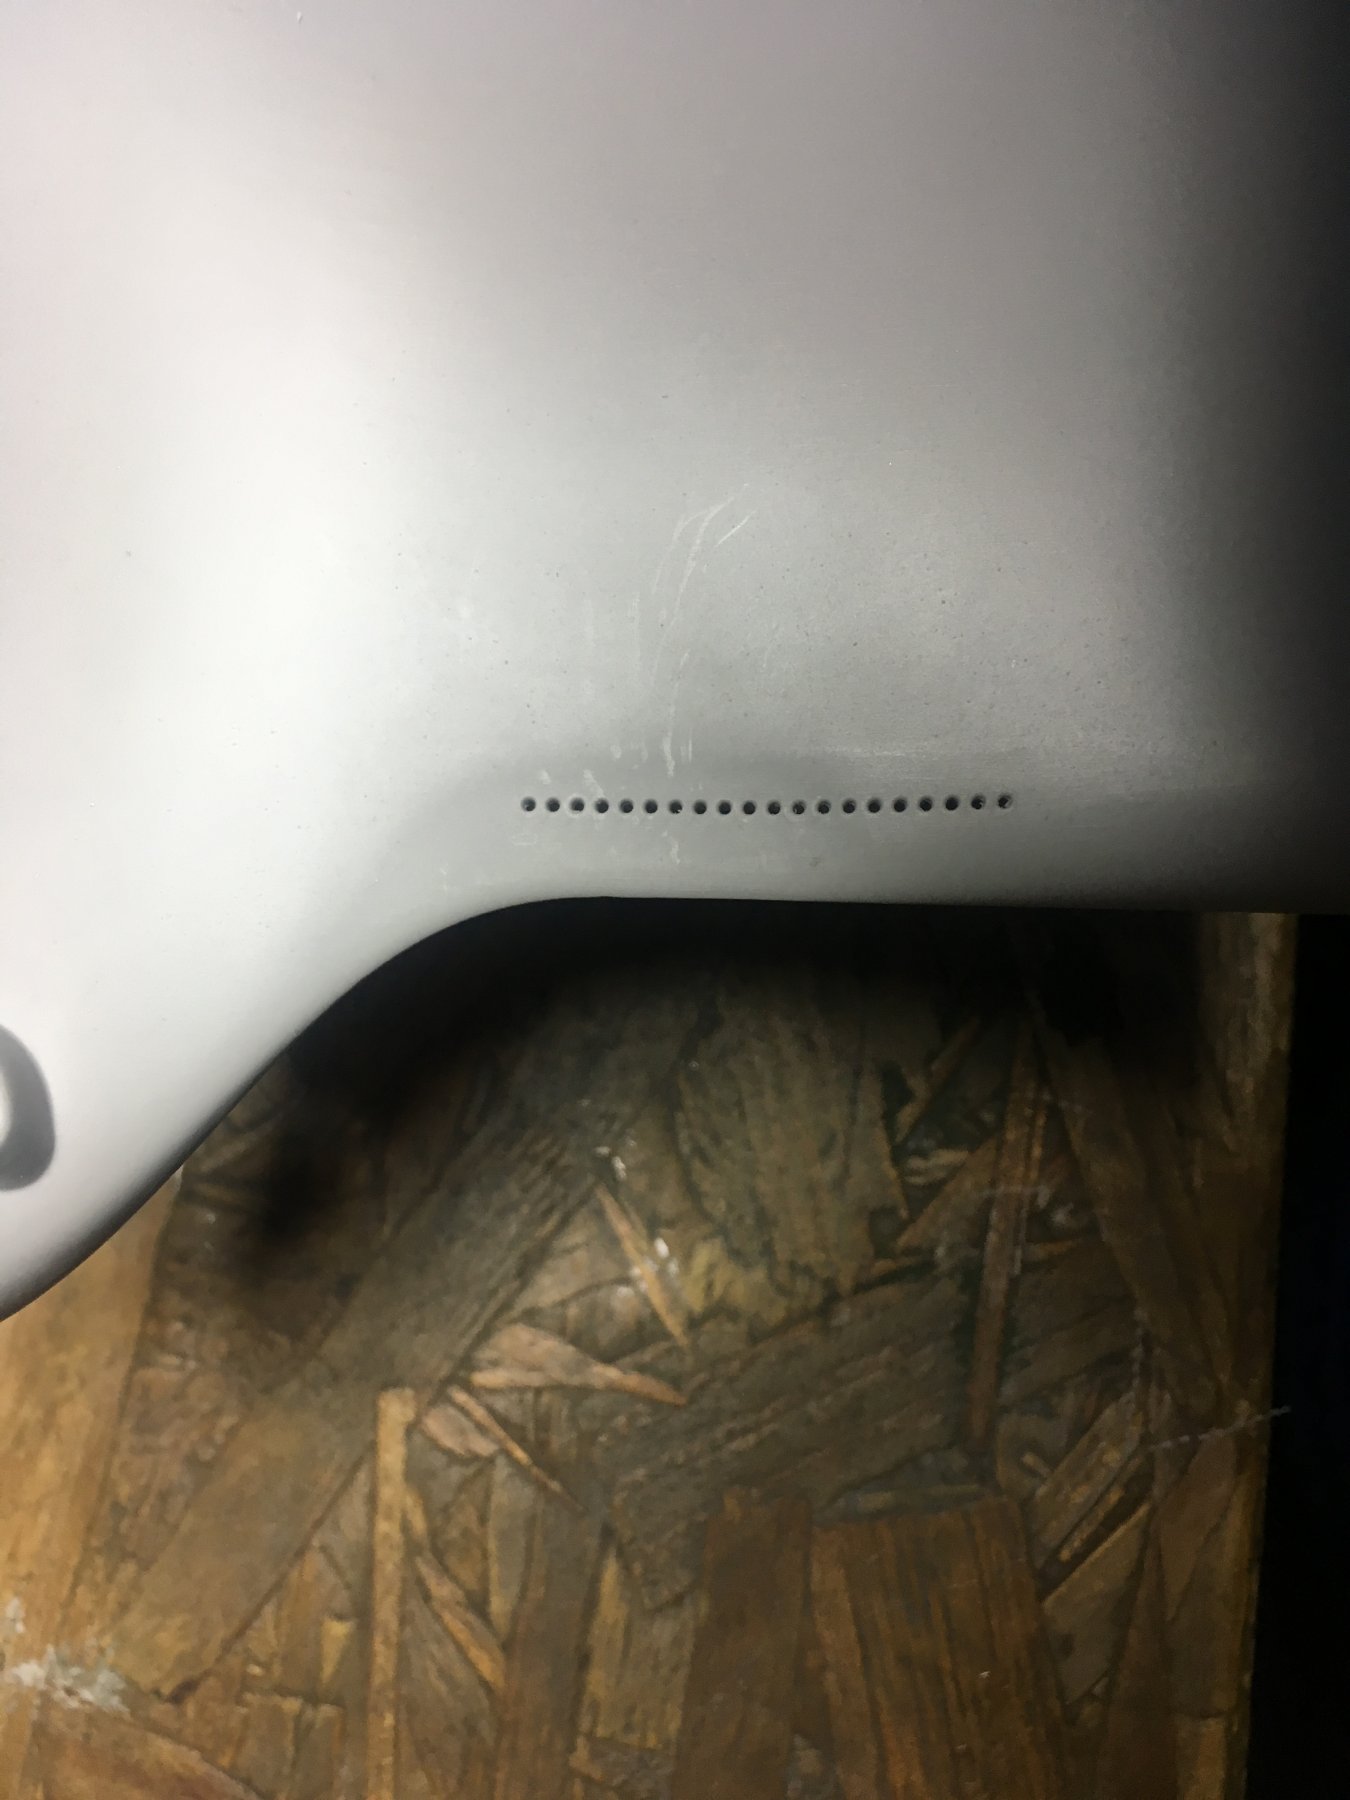
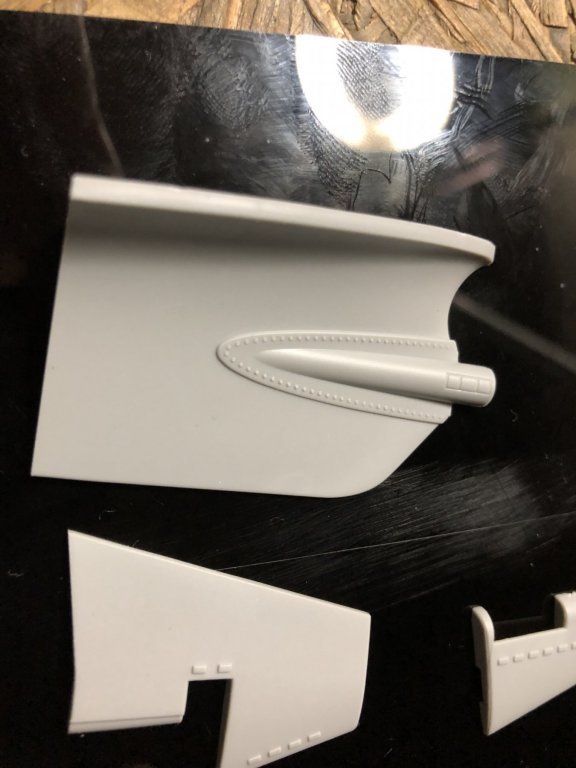
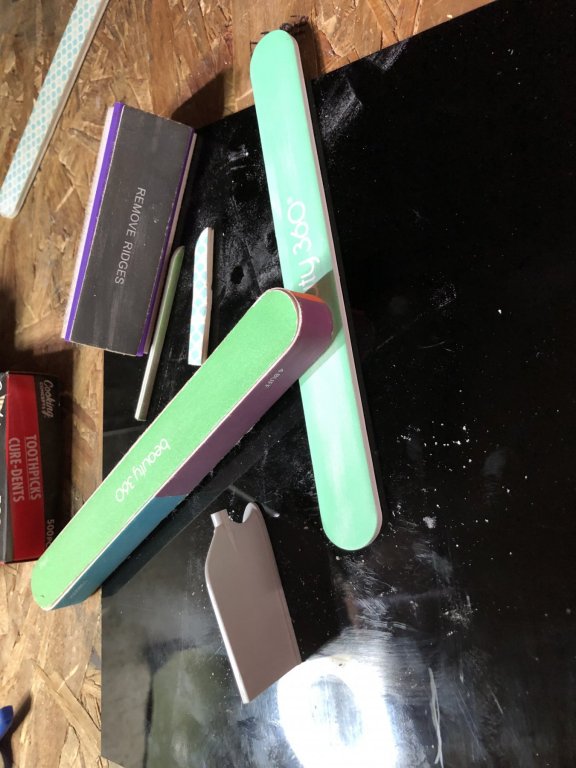
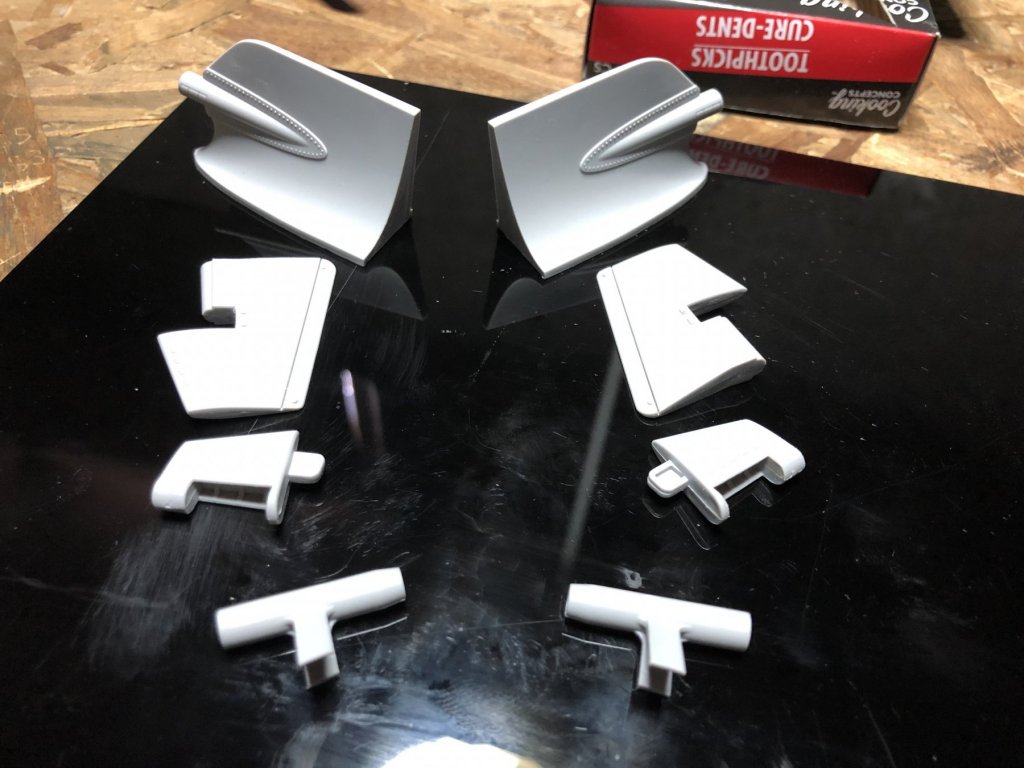
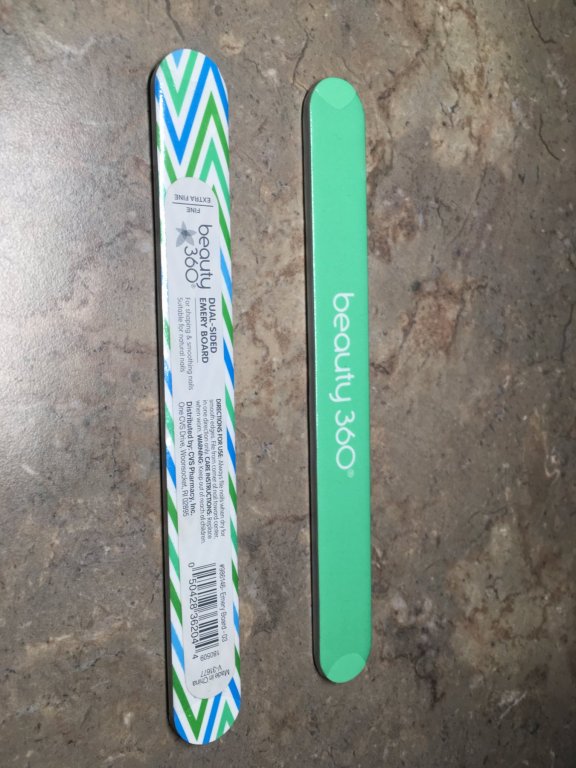
Hey guys sorry this is getting off to a slow start. I spent 3 hours this morning cleaning up there mess! Which took away Model time. I cut out the rudders and glued them together. I love the rivet details then I just sanded all visible sides. I love all of these Sanders. I have tried sanding sticks made for modeling but I still find these much better. also there are 32 portholes on the hull. I don’t see much Pontos porthole PE. I don’t know why.There’s tons of portholes on MO.... I had left over MK1 portholes for the Bismarck so I will use those for the hull portholes. that’s basically all I did. I will try to speed things up soon. I wish this workshop was at my house so I could work on it anytime.

- 271 replies
-
- 13
-

-
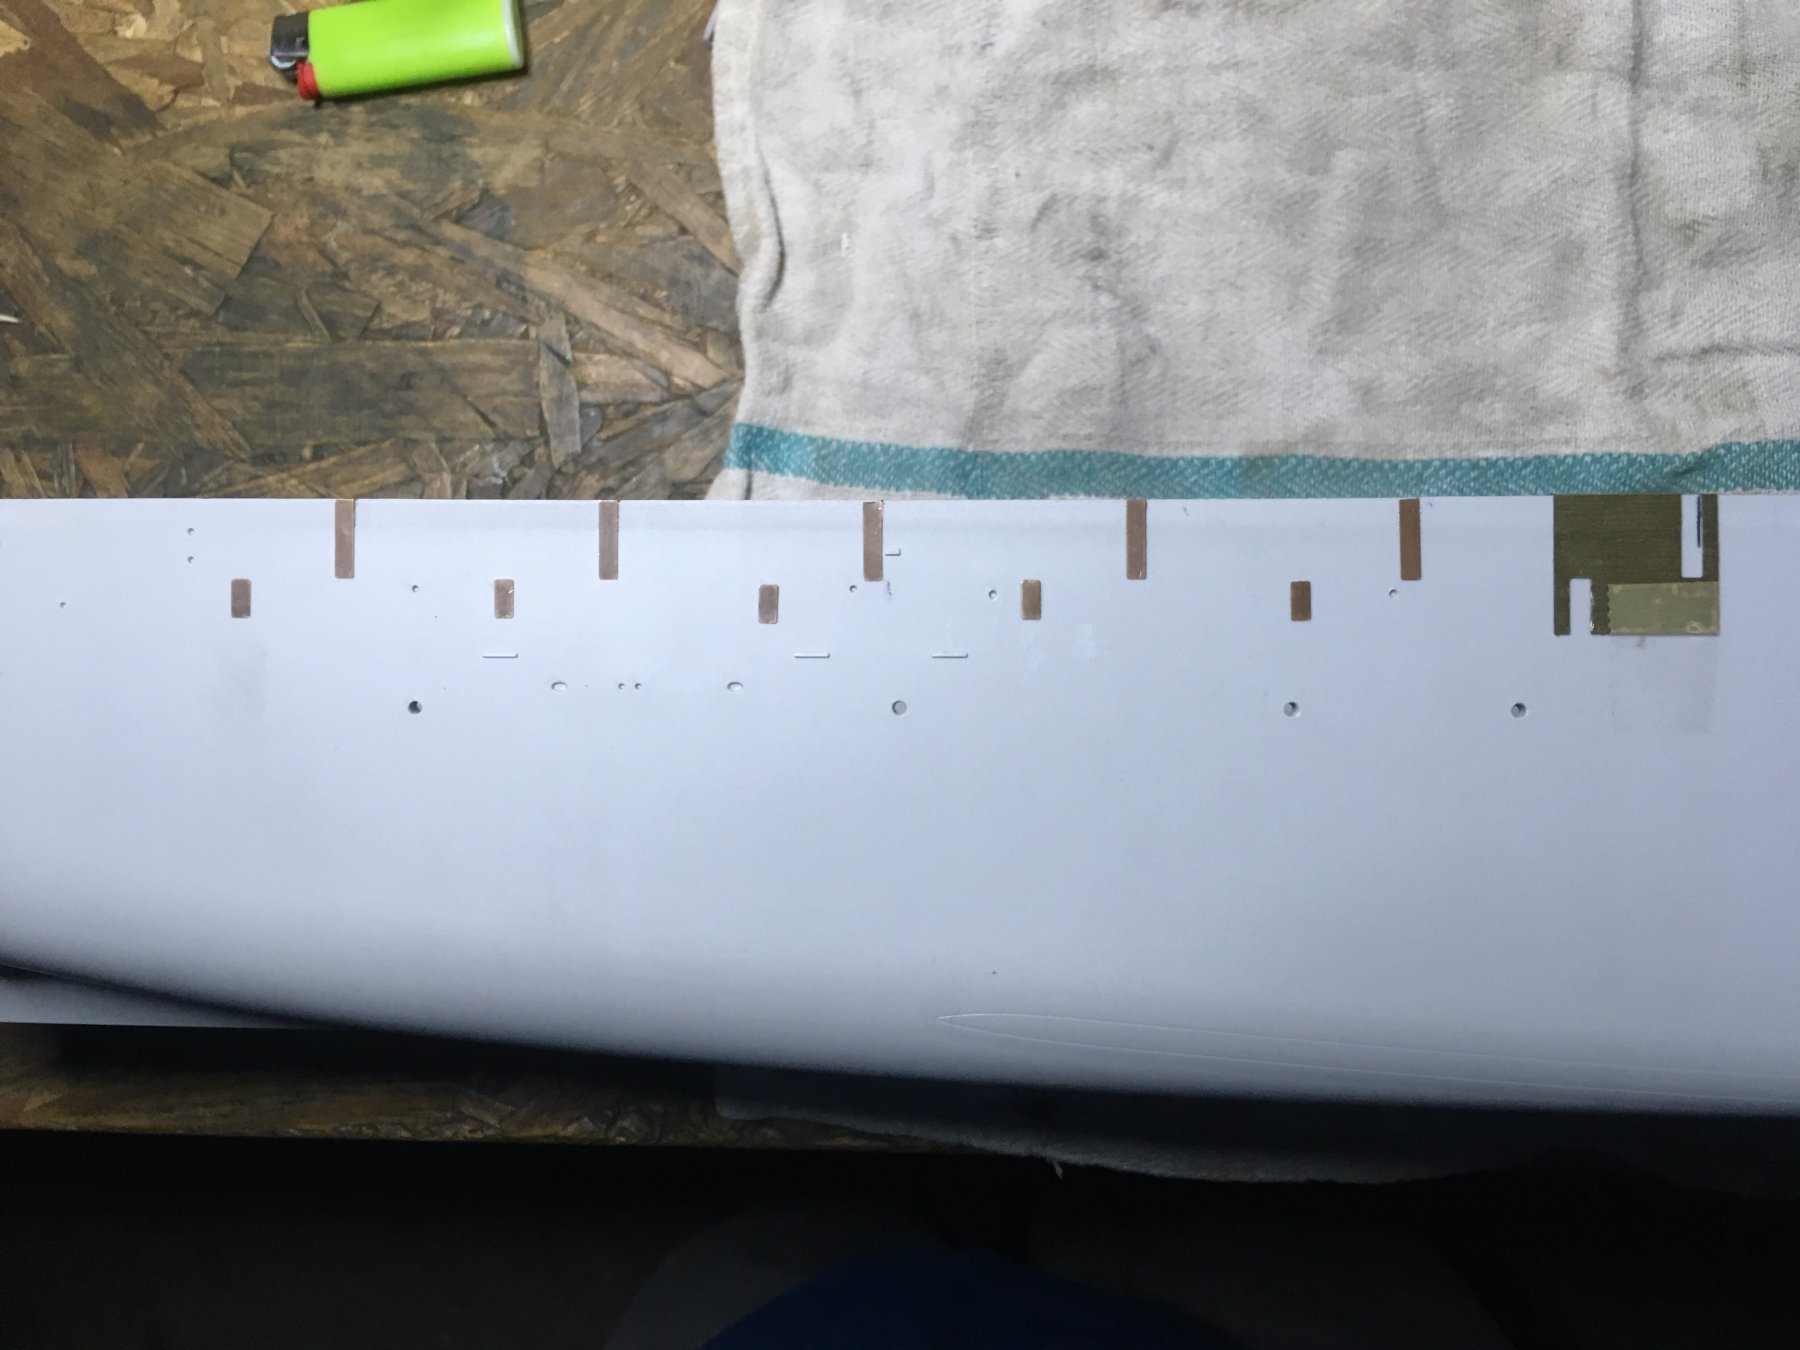
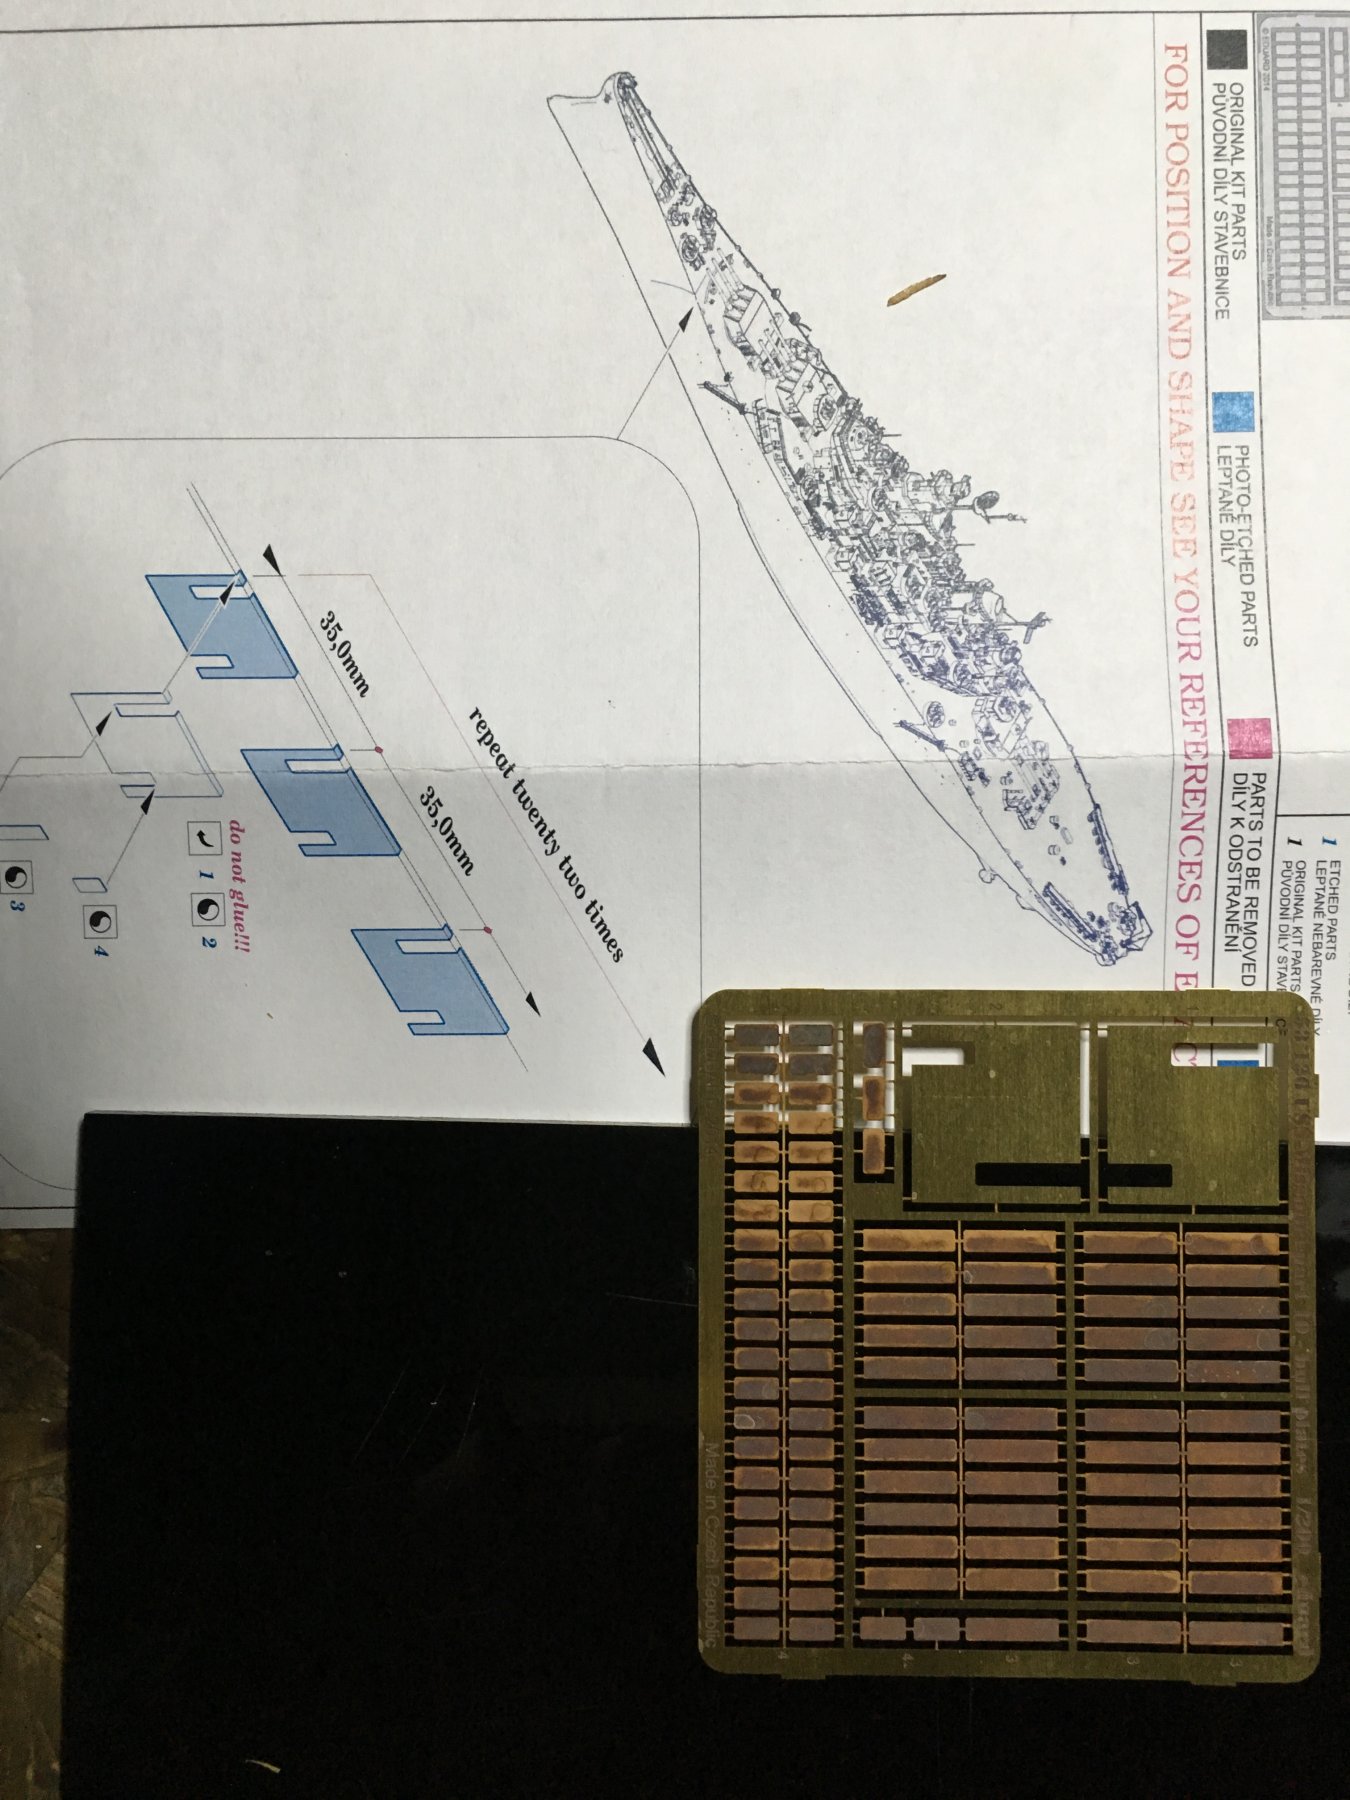
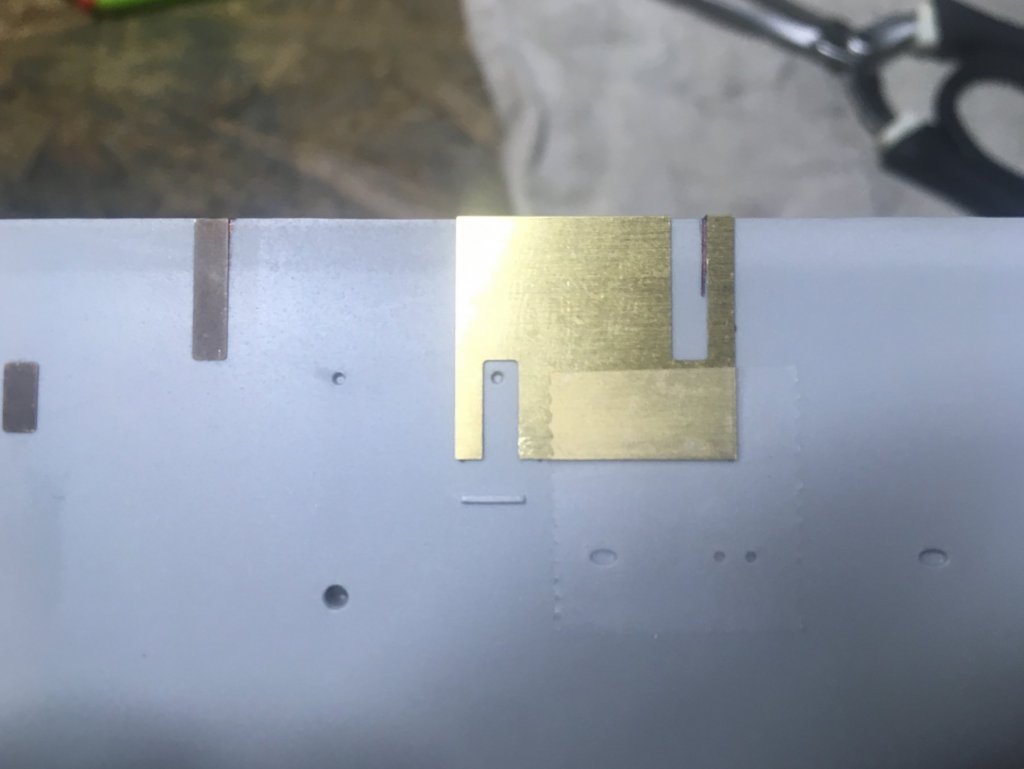
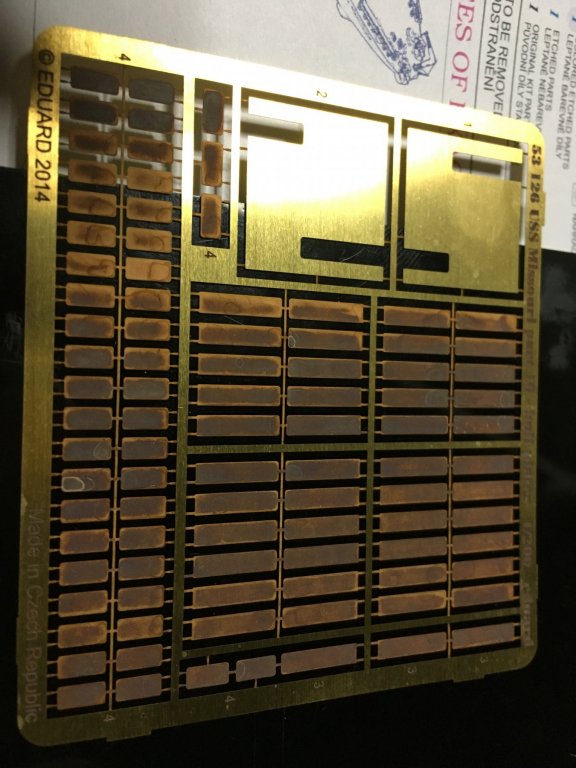
Haha Eduard hull plating PE instructions said to “ refer to photos of the actual ship for starting point” after you figure that out then they are 35mm apart. If I could have pontos PE with MK1 instructions ide be very happy.
-
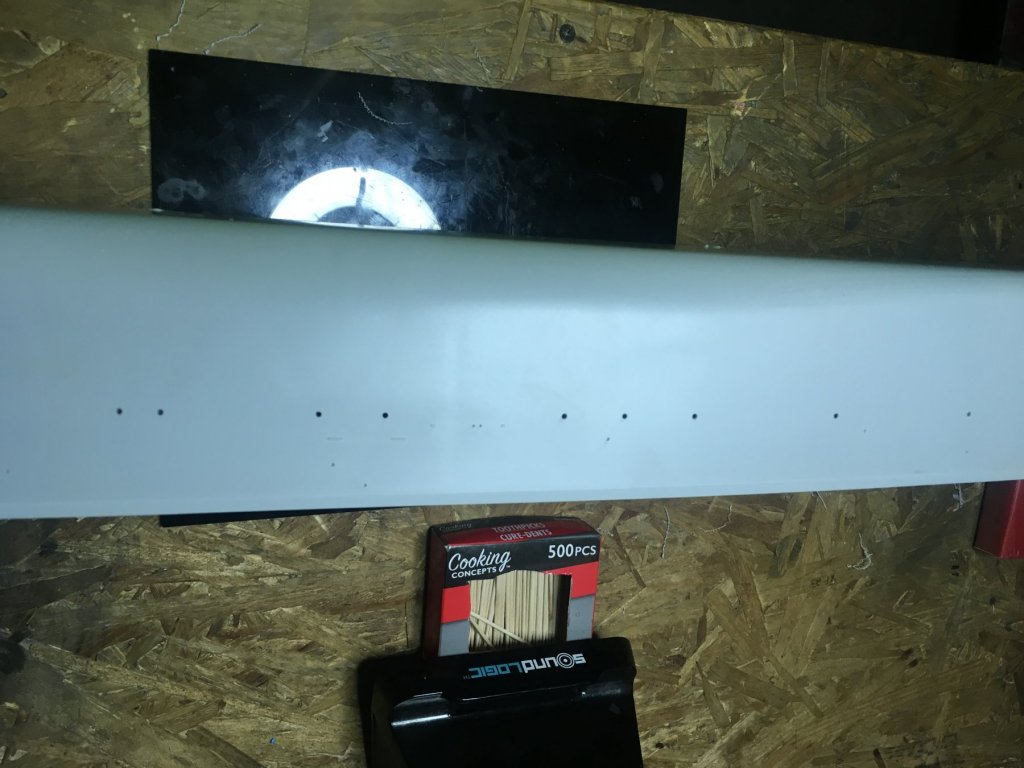
I got one side of the hull plates on today. Took longer than i thought. I hope that hole is not important

- 271 replies
-
- 12
-
-
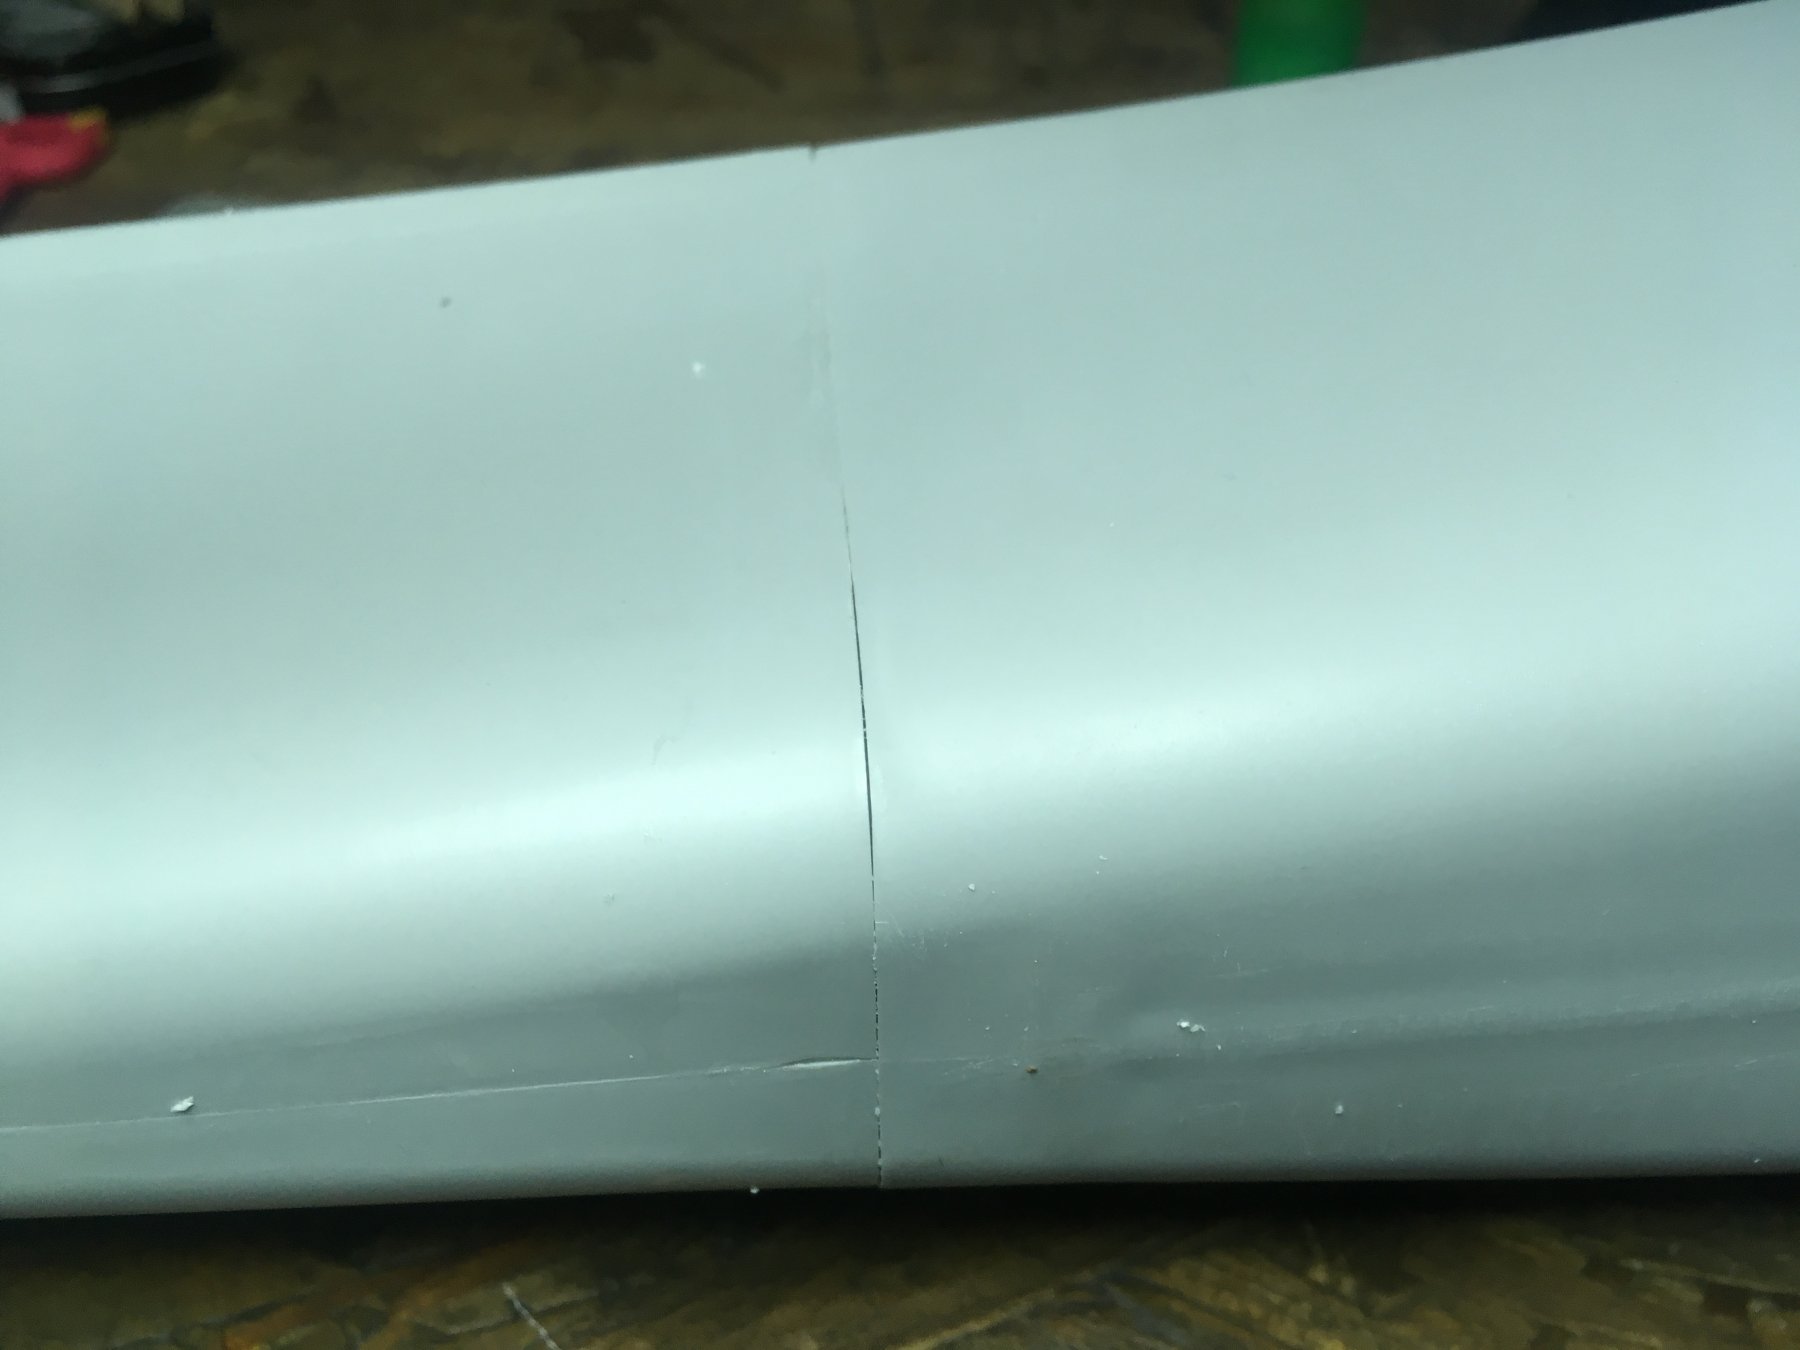
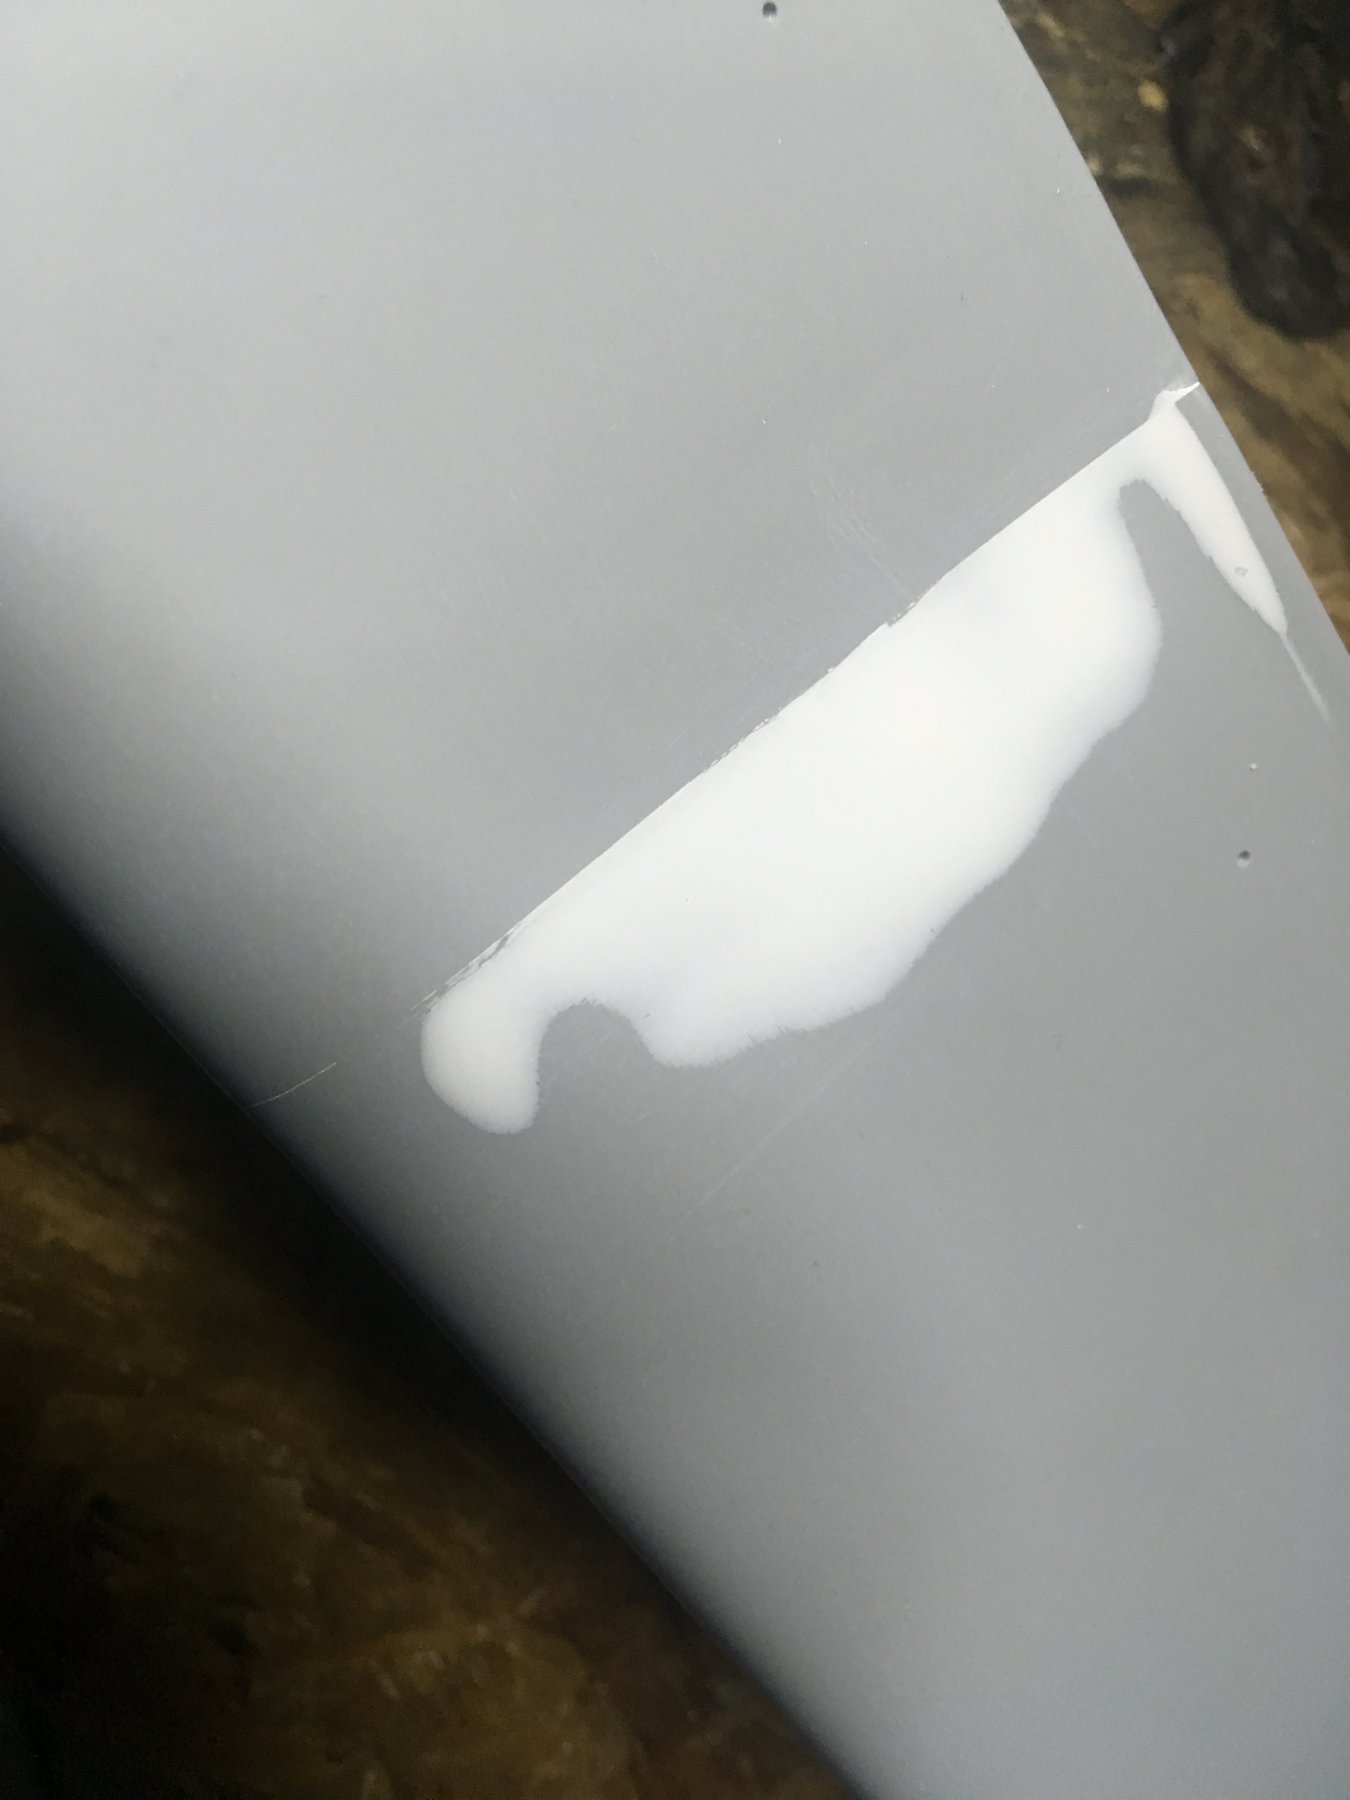
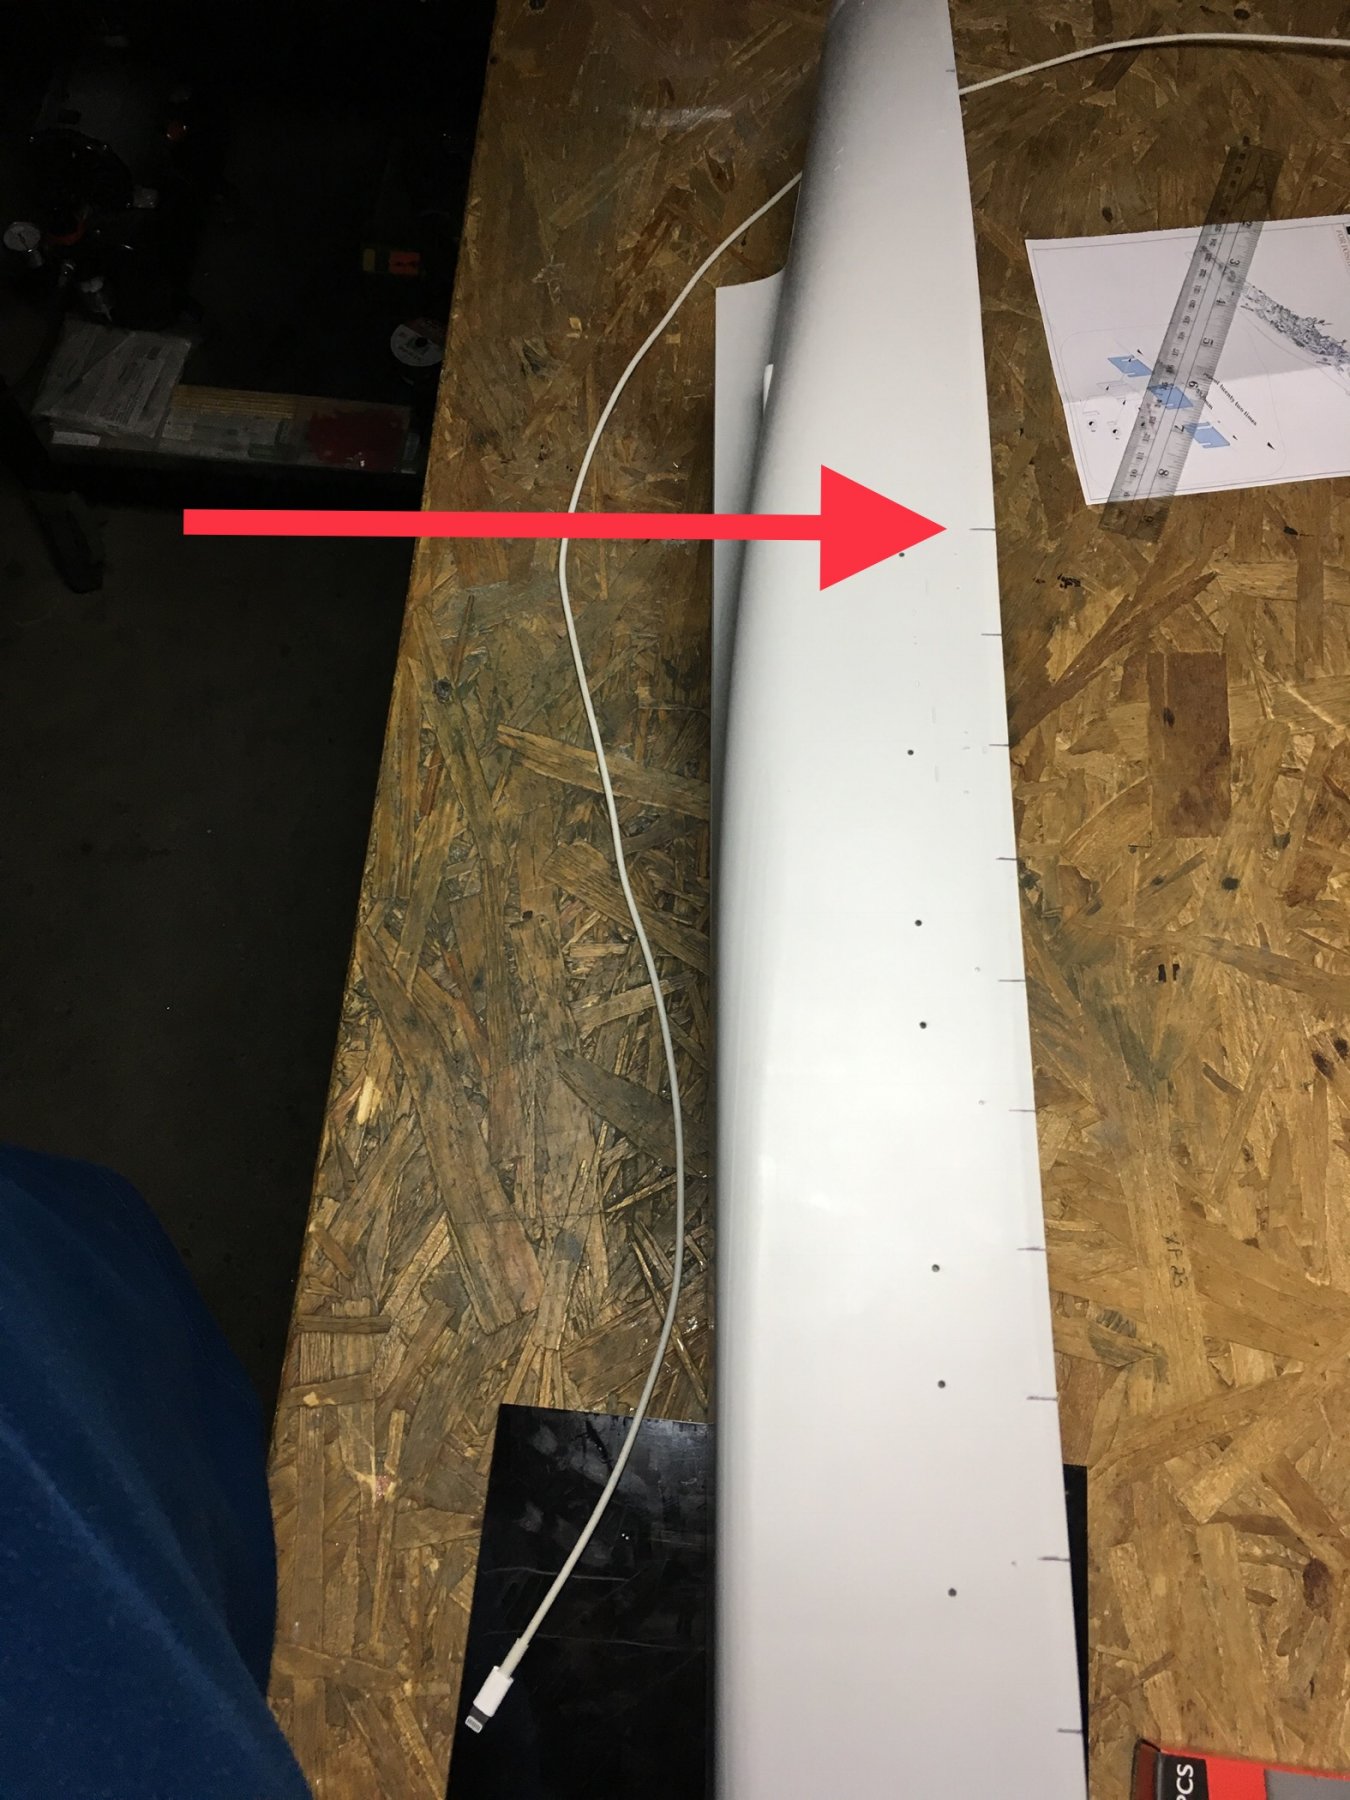
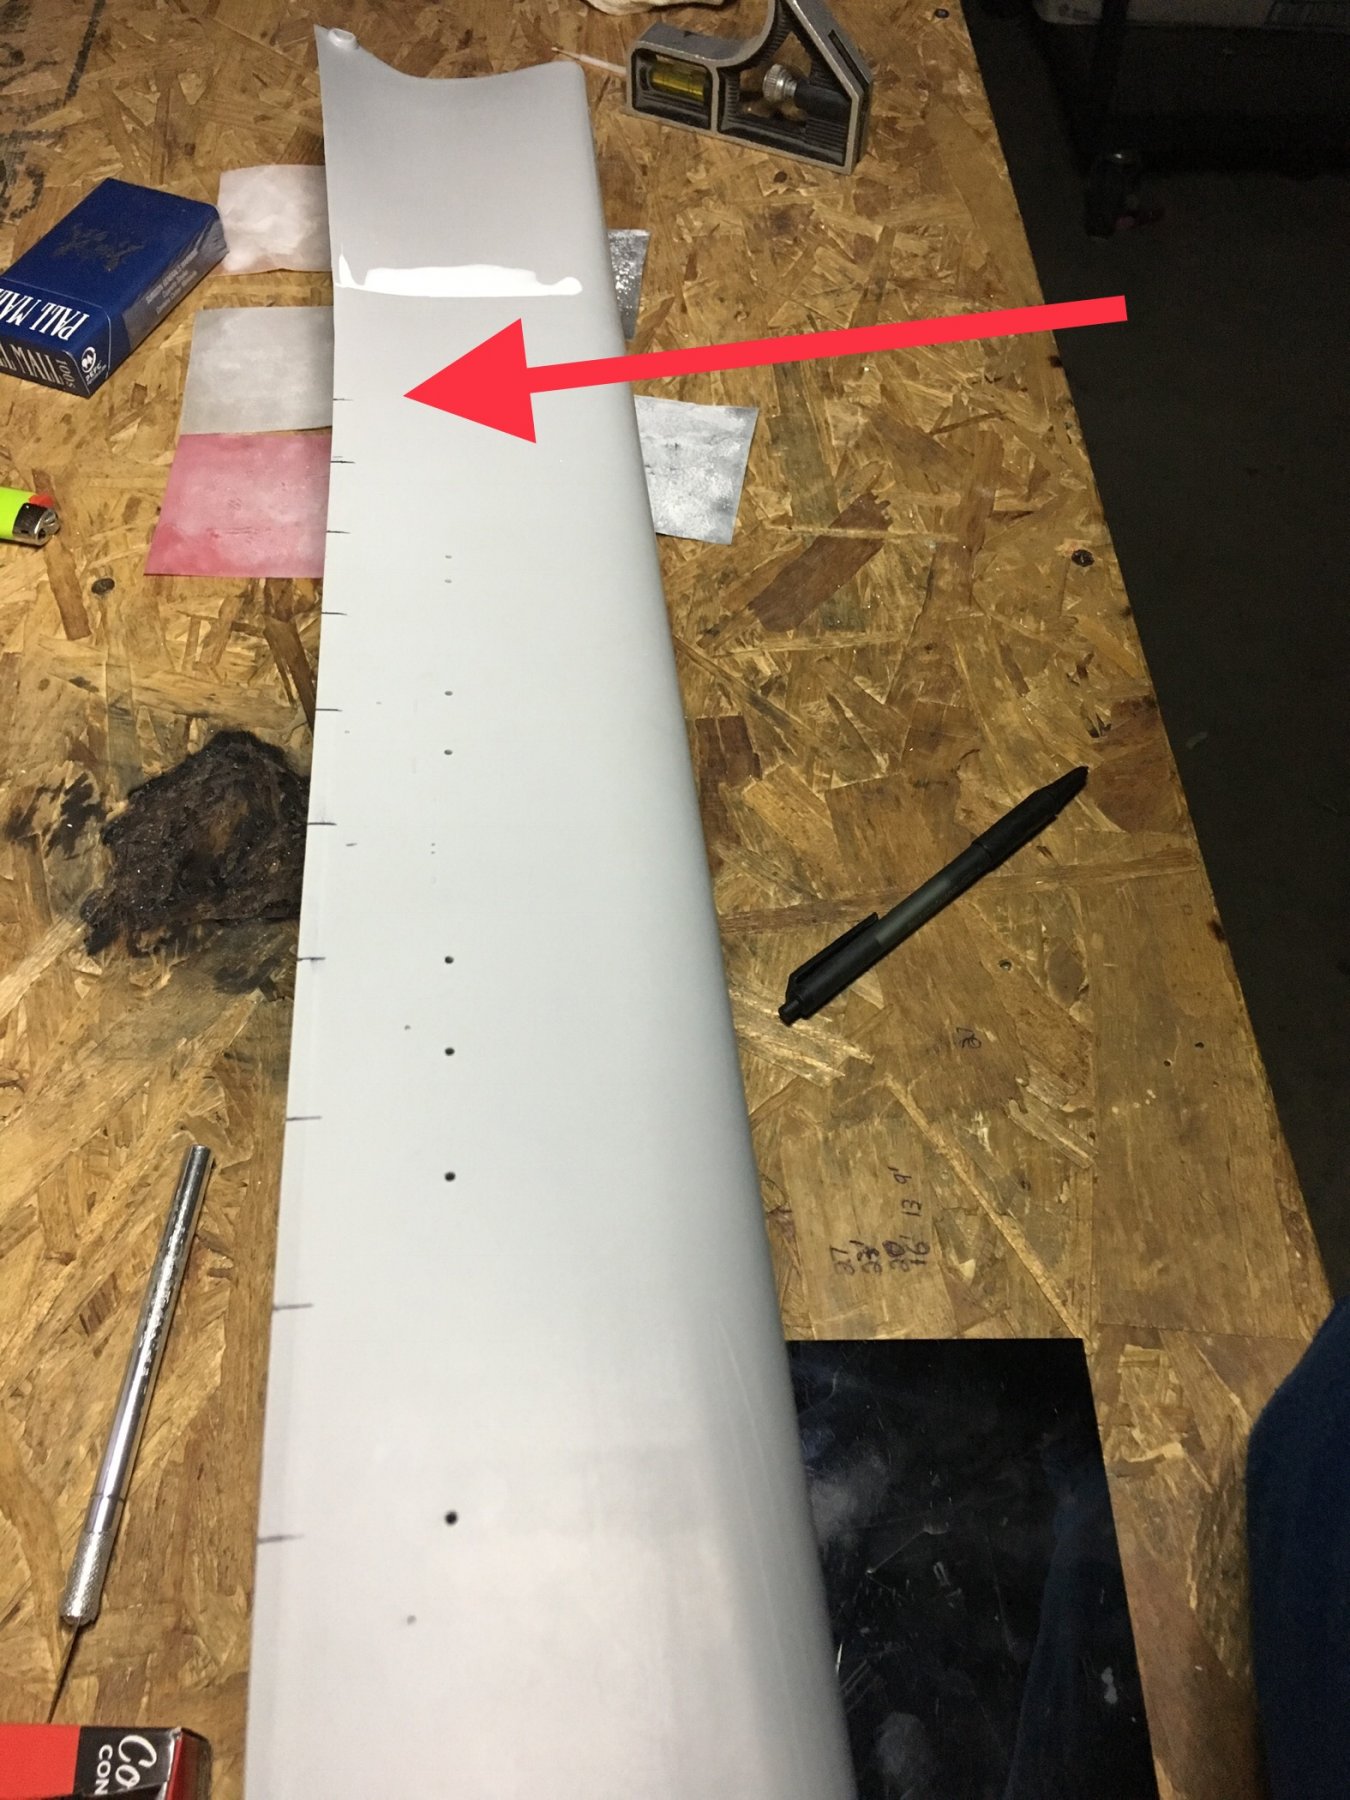
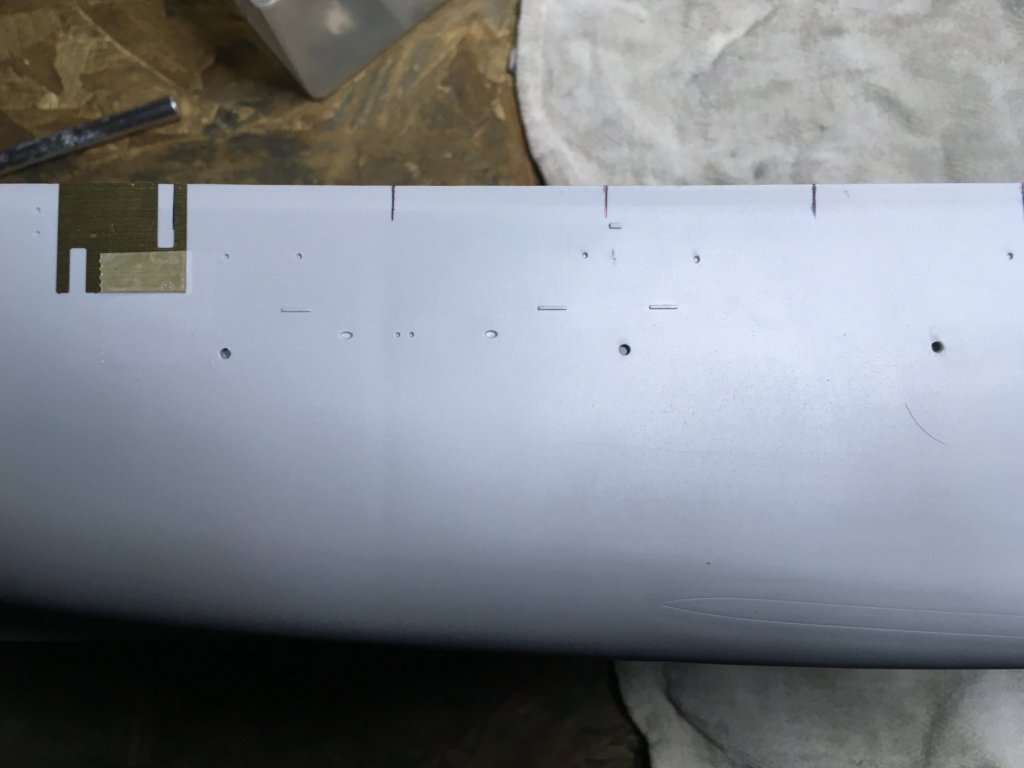
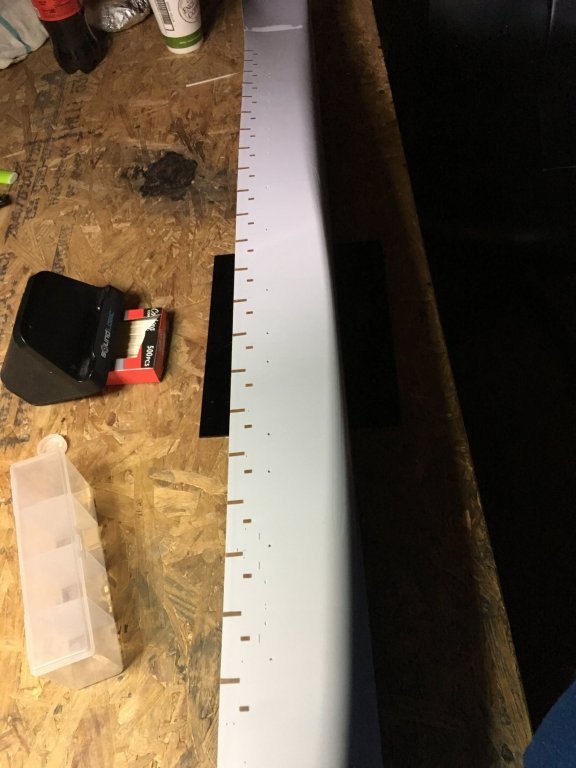
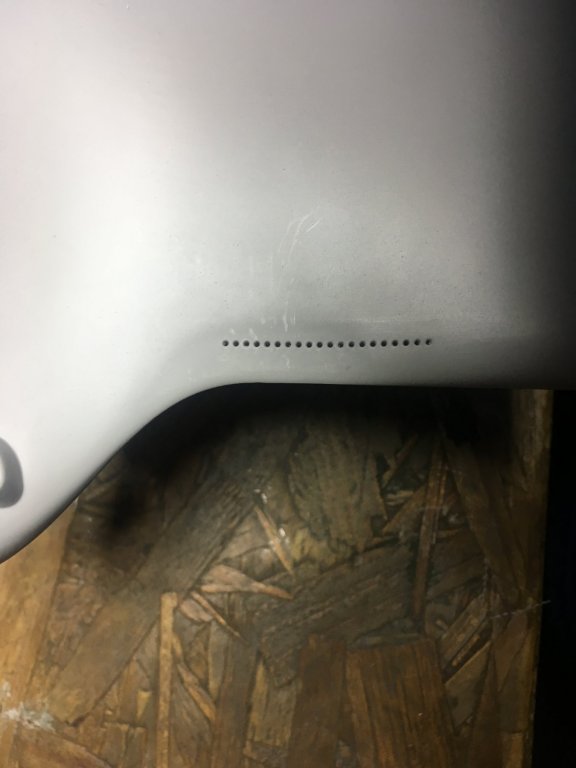
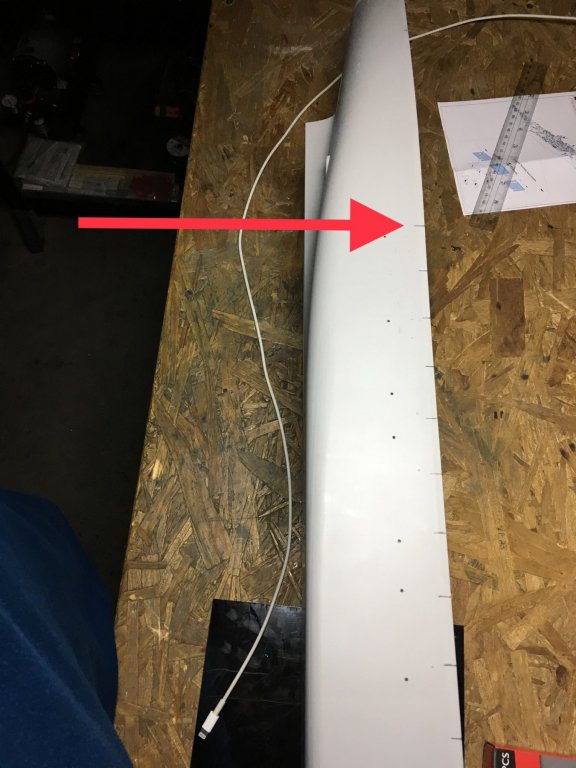
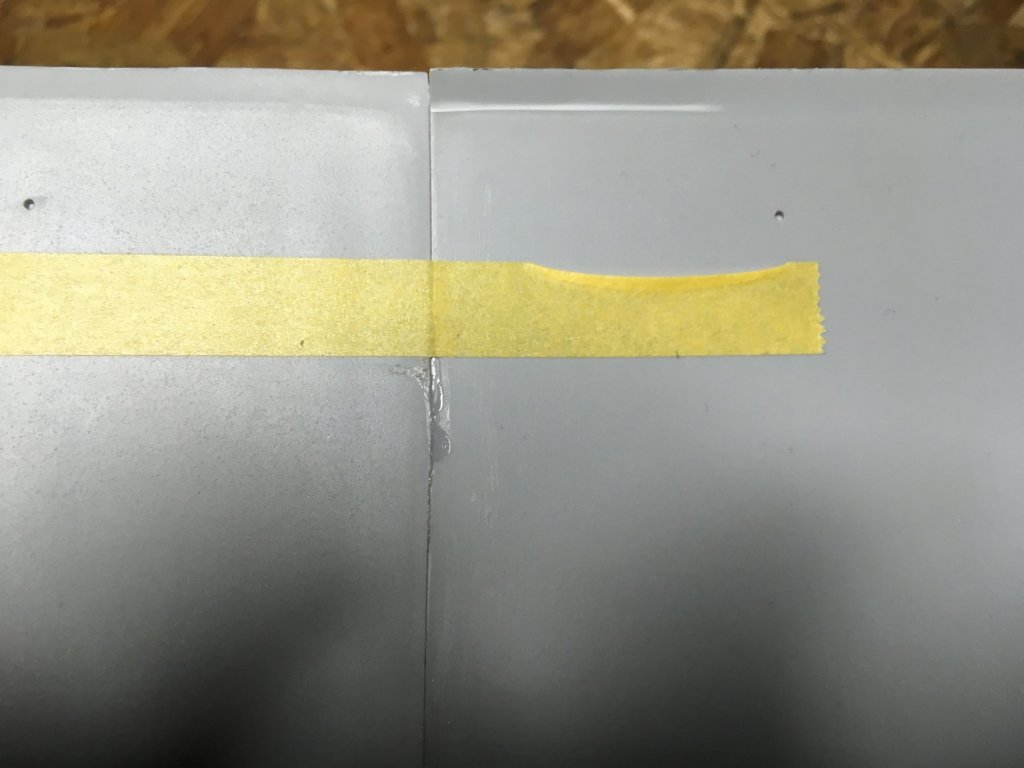
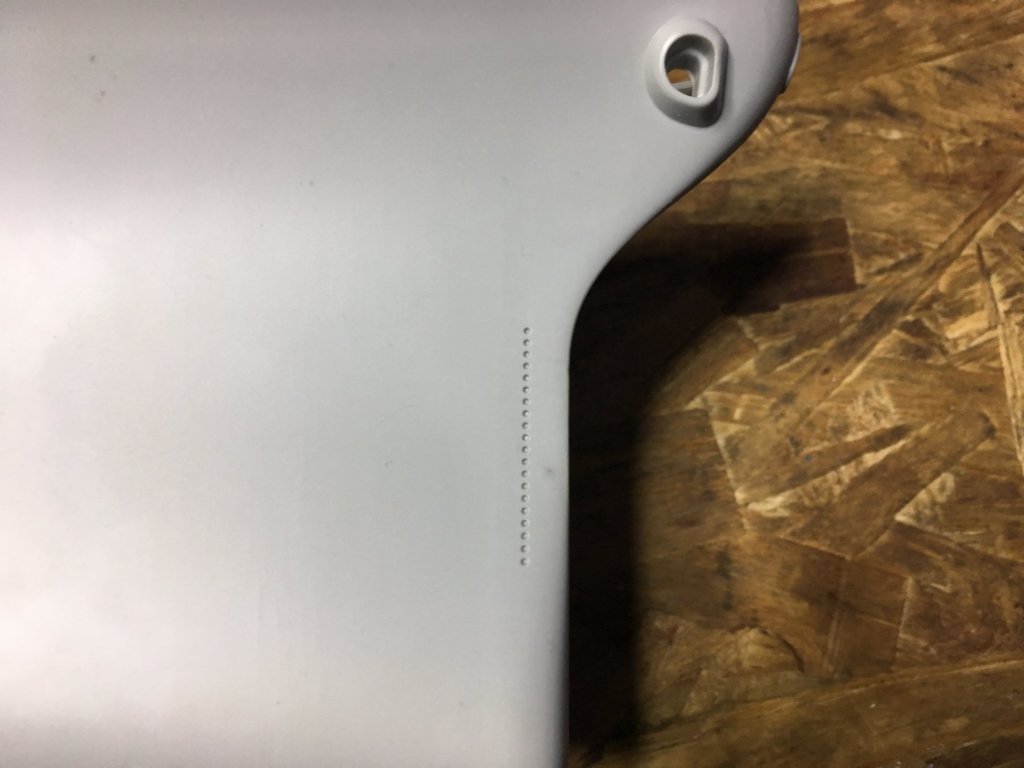
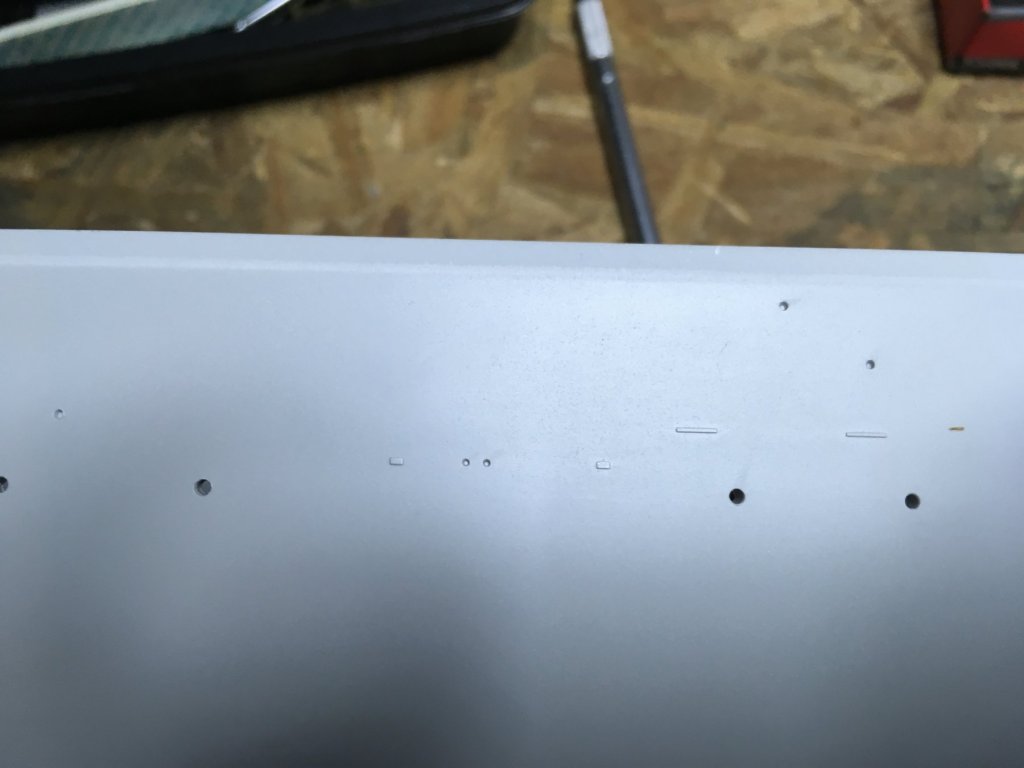
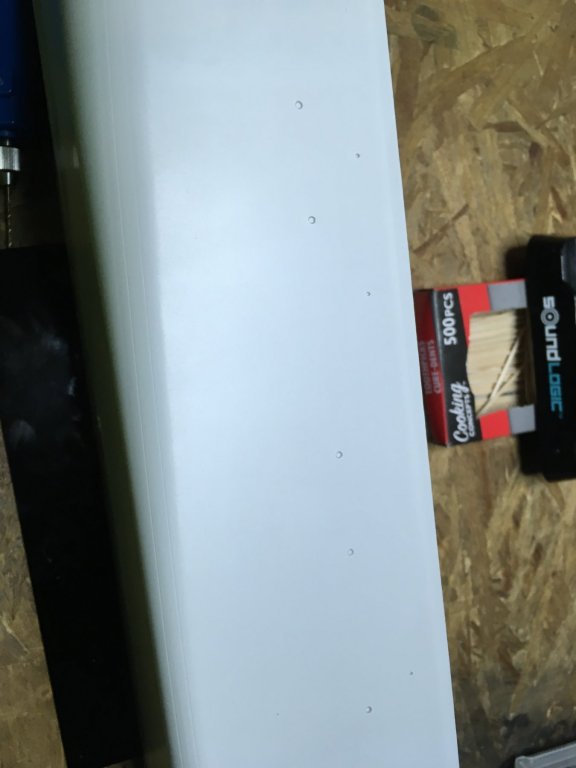
For no real reason I decided to drill out thoses holes then it was time to take care of this joint. I used vallejo plastic putty. i used progressively finer sand paper. When I shut my eyes and run my fingers across the joint and cant feel it I’m done sanding. I wonder what those holes are for? I am currently working on the Eduard hull plates. The instructions are pretty straight forward. I wonder why they are rusty or red? there are 22 on each side of the hull. I marked a line every 35mm starting here and ending here


- 271 replies
-
- 14
-
-
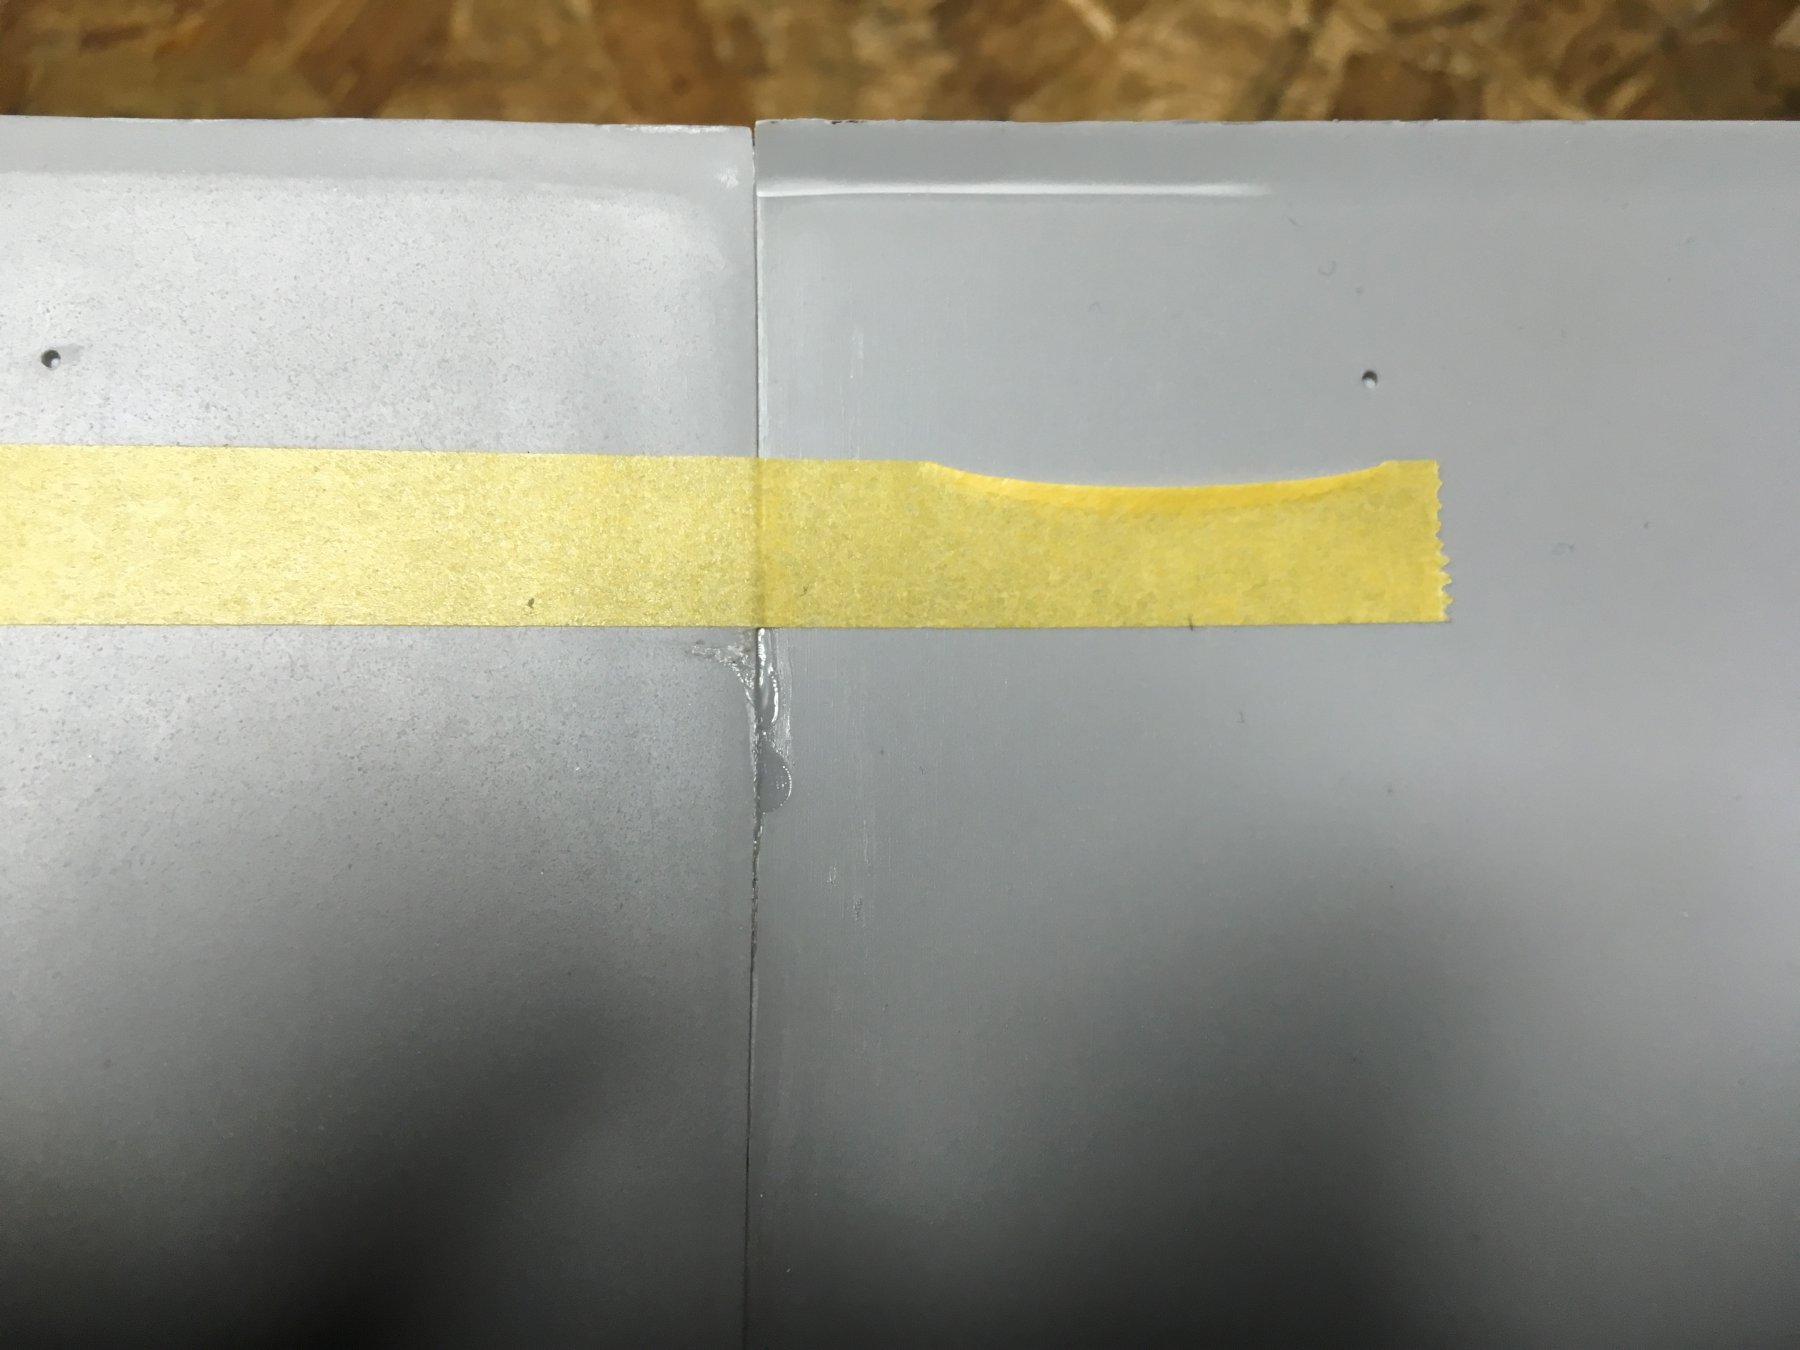
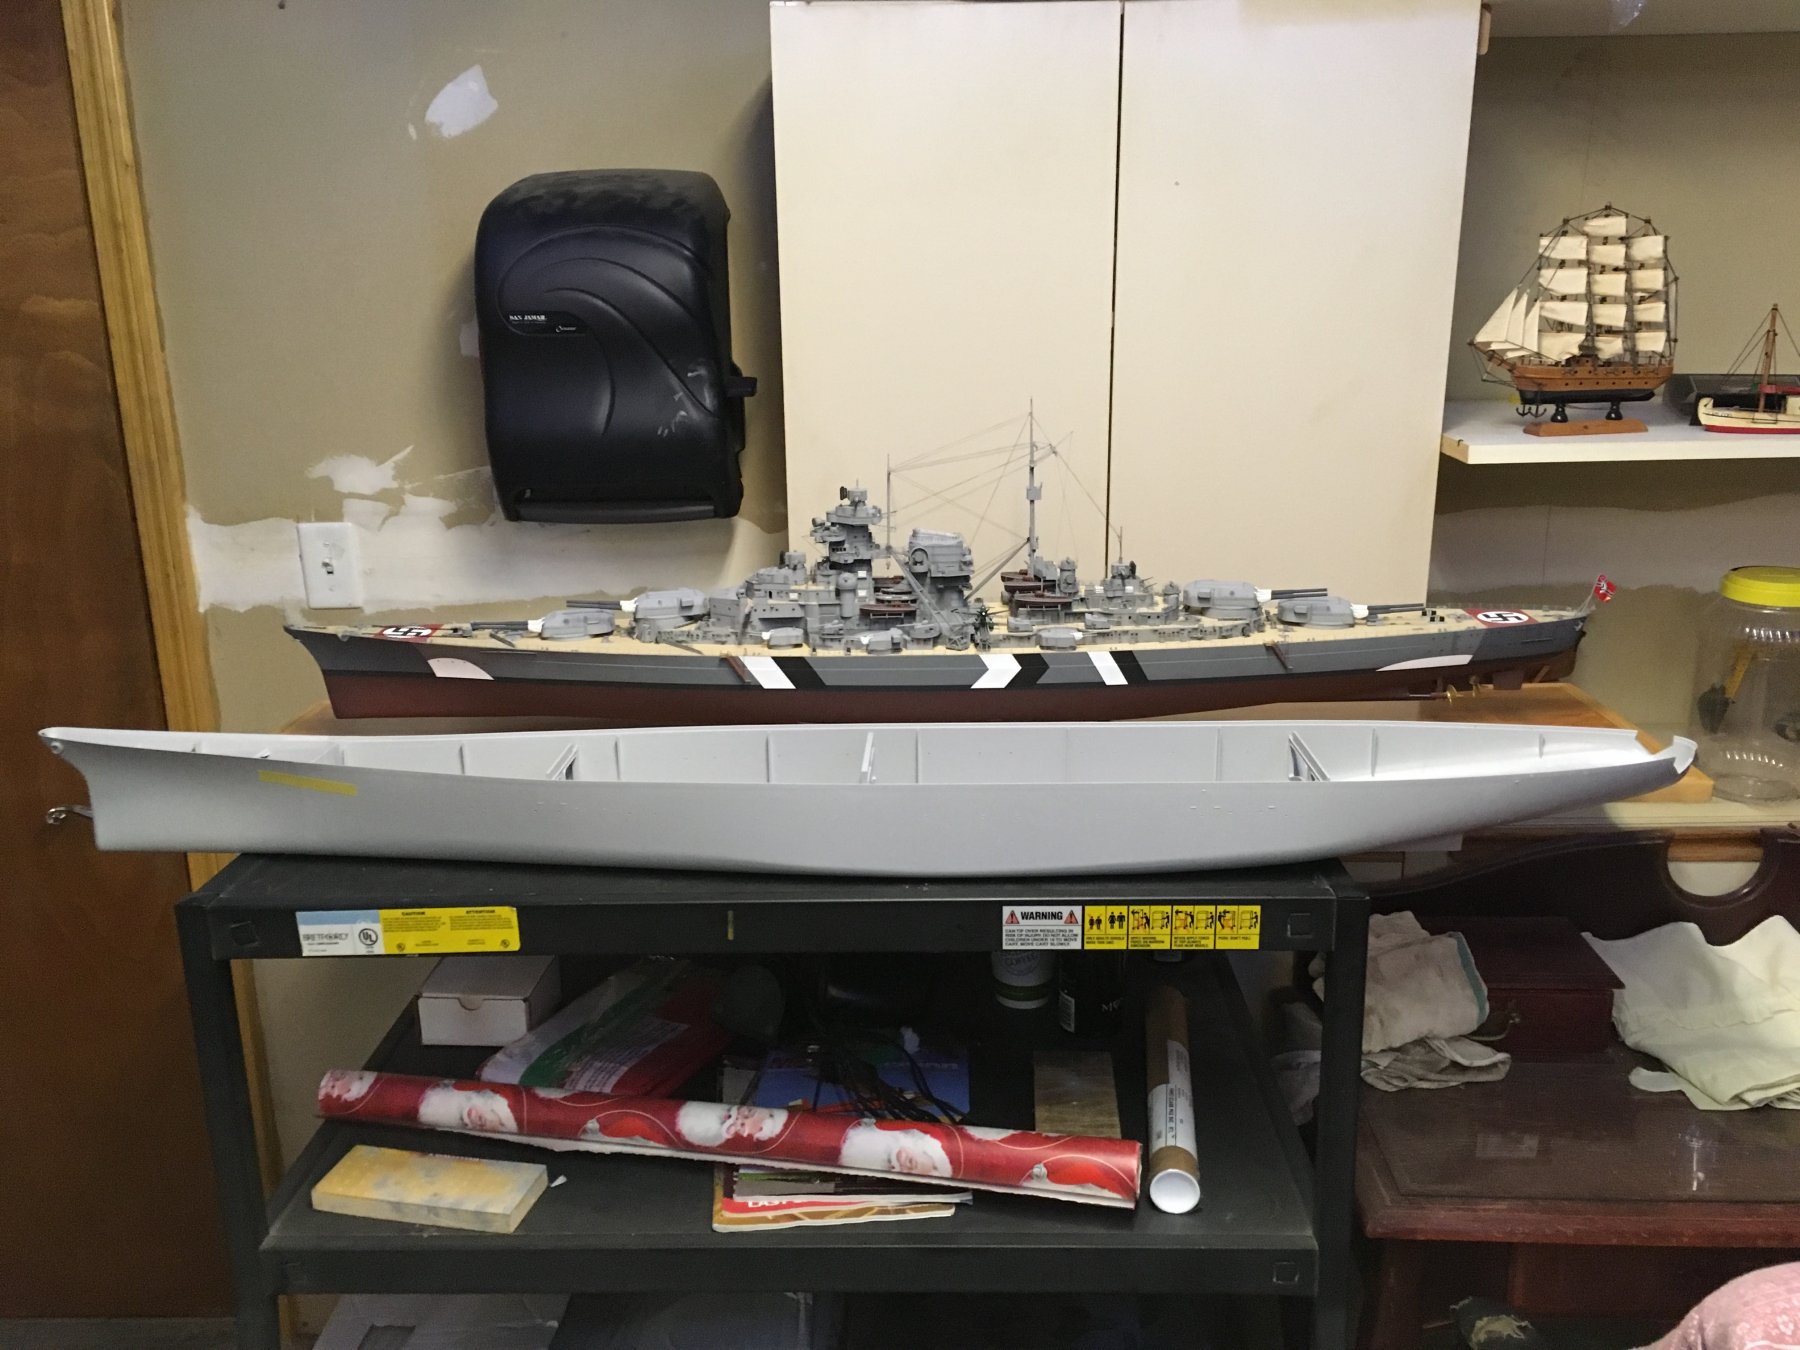
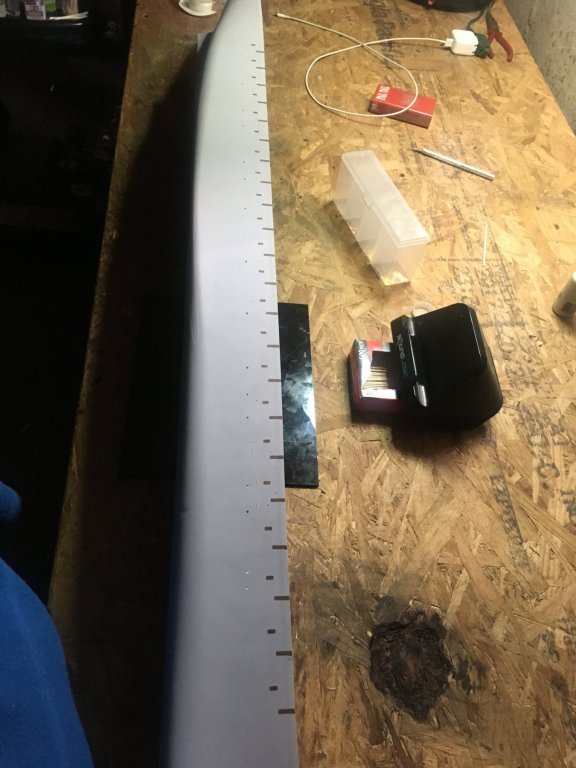
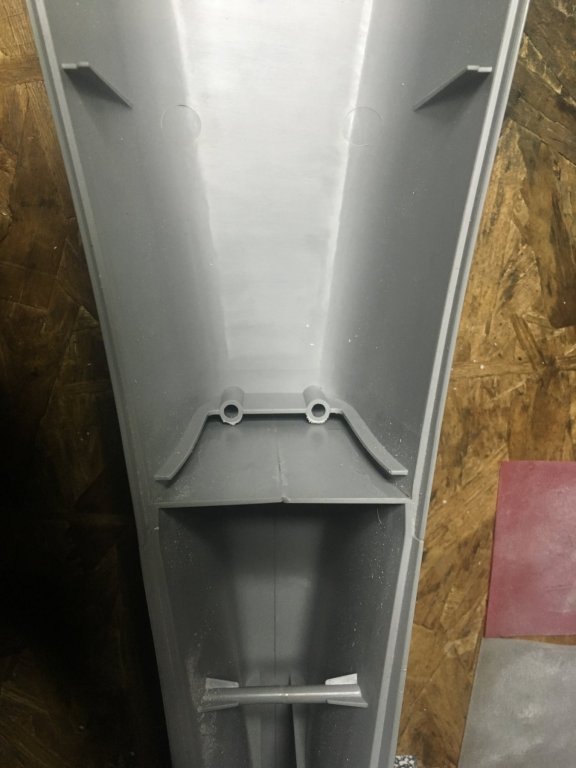
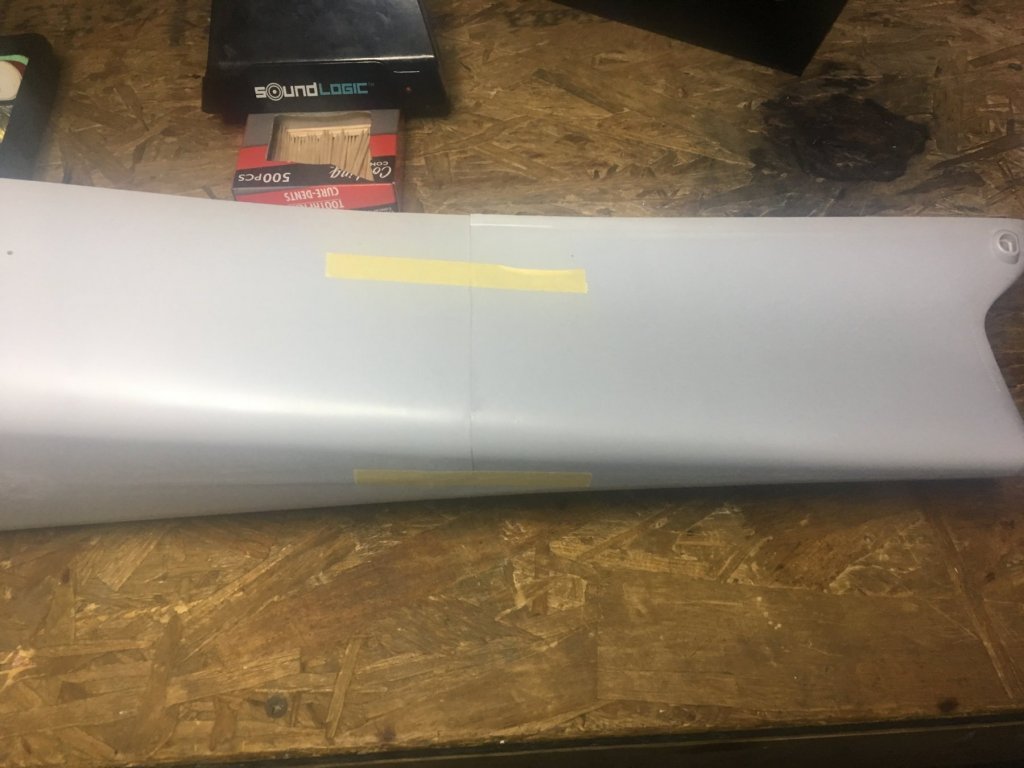
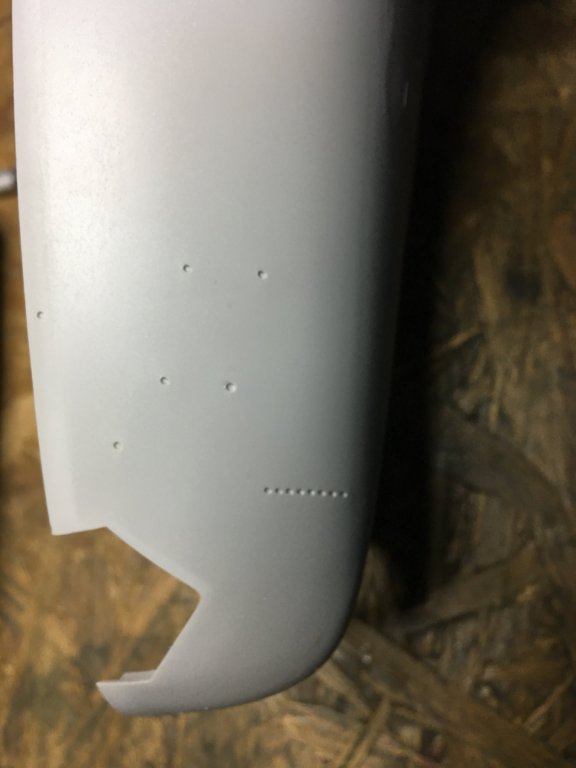
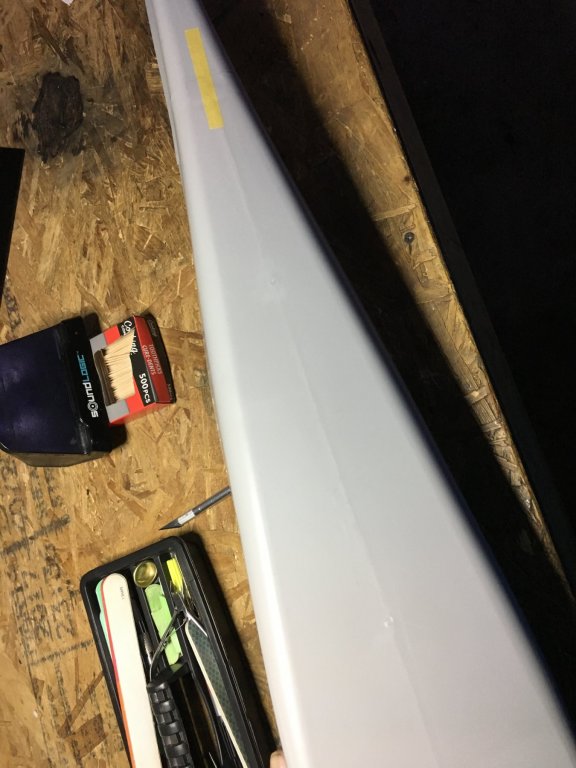
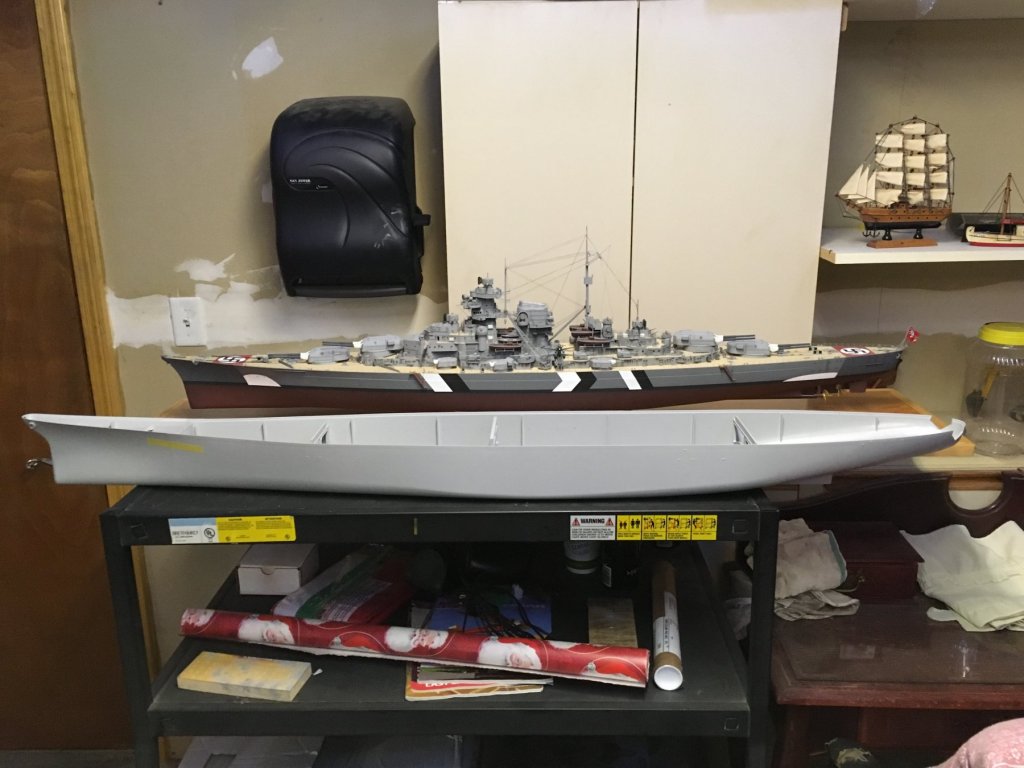
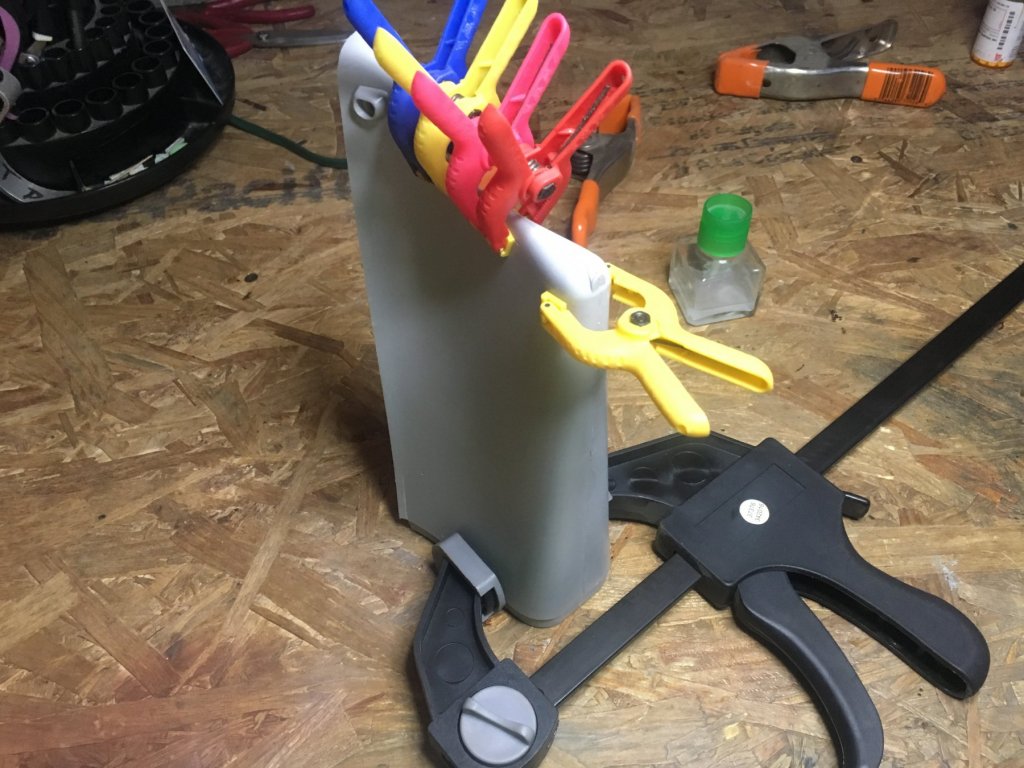
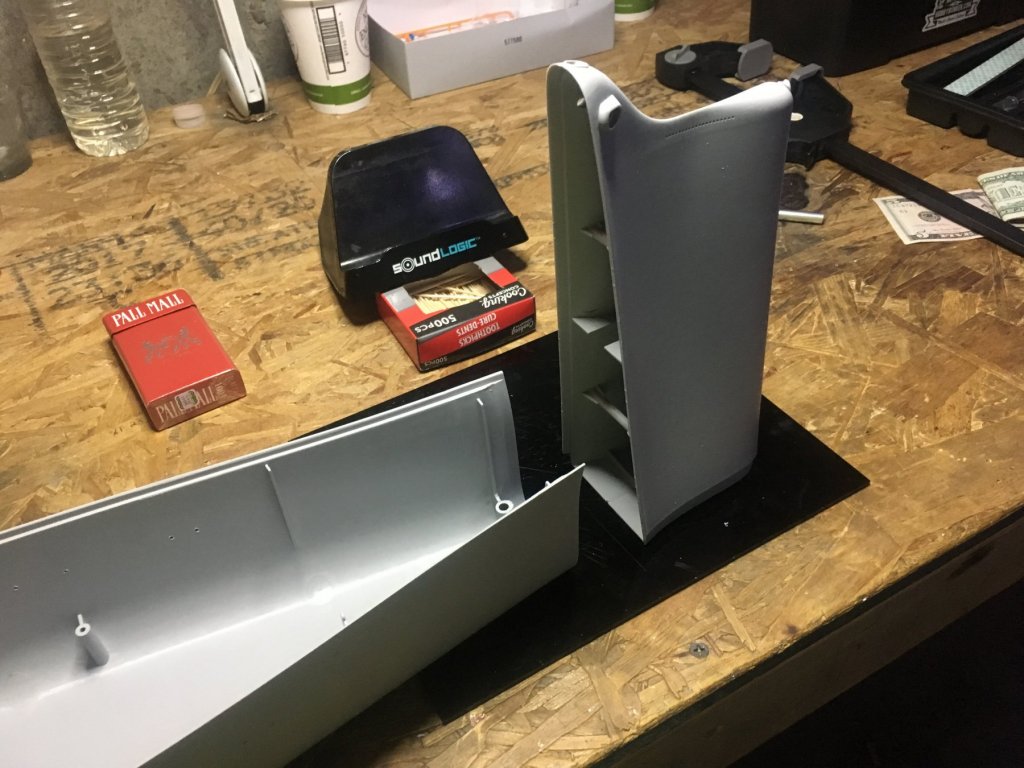
I figured i would post an update while I wait for glue to dry. I glued the 2 hull pieces together. check out the stress line above the tape i dont know if i should drill out these holes or these above the portholes or these in the back oh man there is alot of sanding in my future look at the size of her! the Bismarck could fit nicely into MO’s hull.
- 271 replies
-
- 12
-
-
Fairy lights seem like s perfect idea! I imagine a wArm white color would best simulate 1940s bulbs.
-
I havn’t seen that movie yet. But i want to. I’m thinking about adding interior lighting to MO. though I have no idea how yet...any thoughts?
-
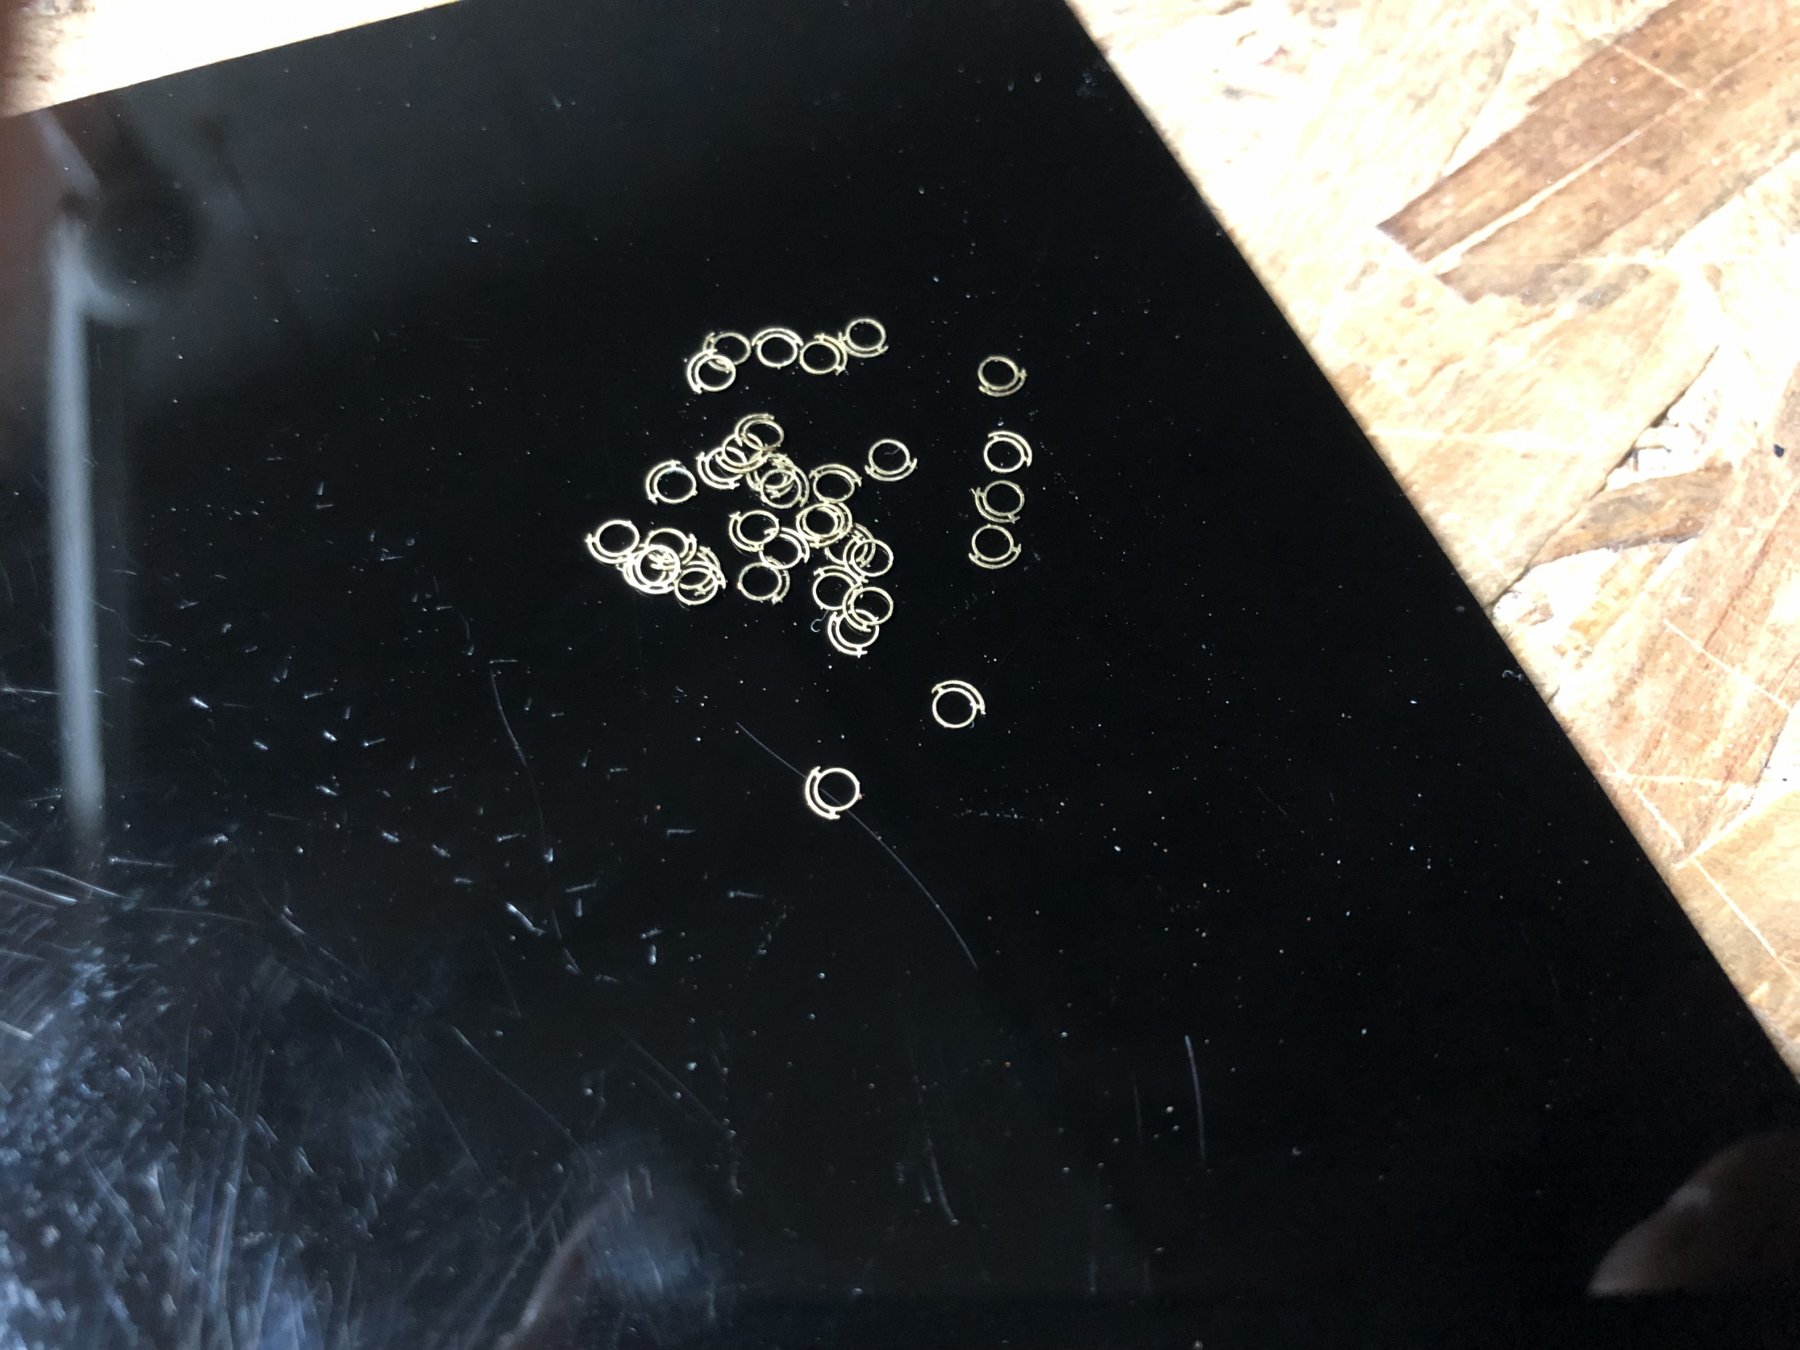
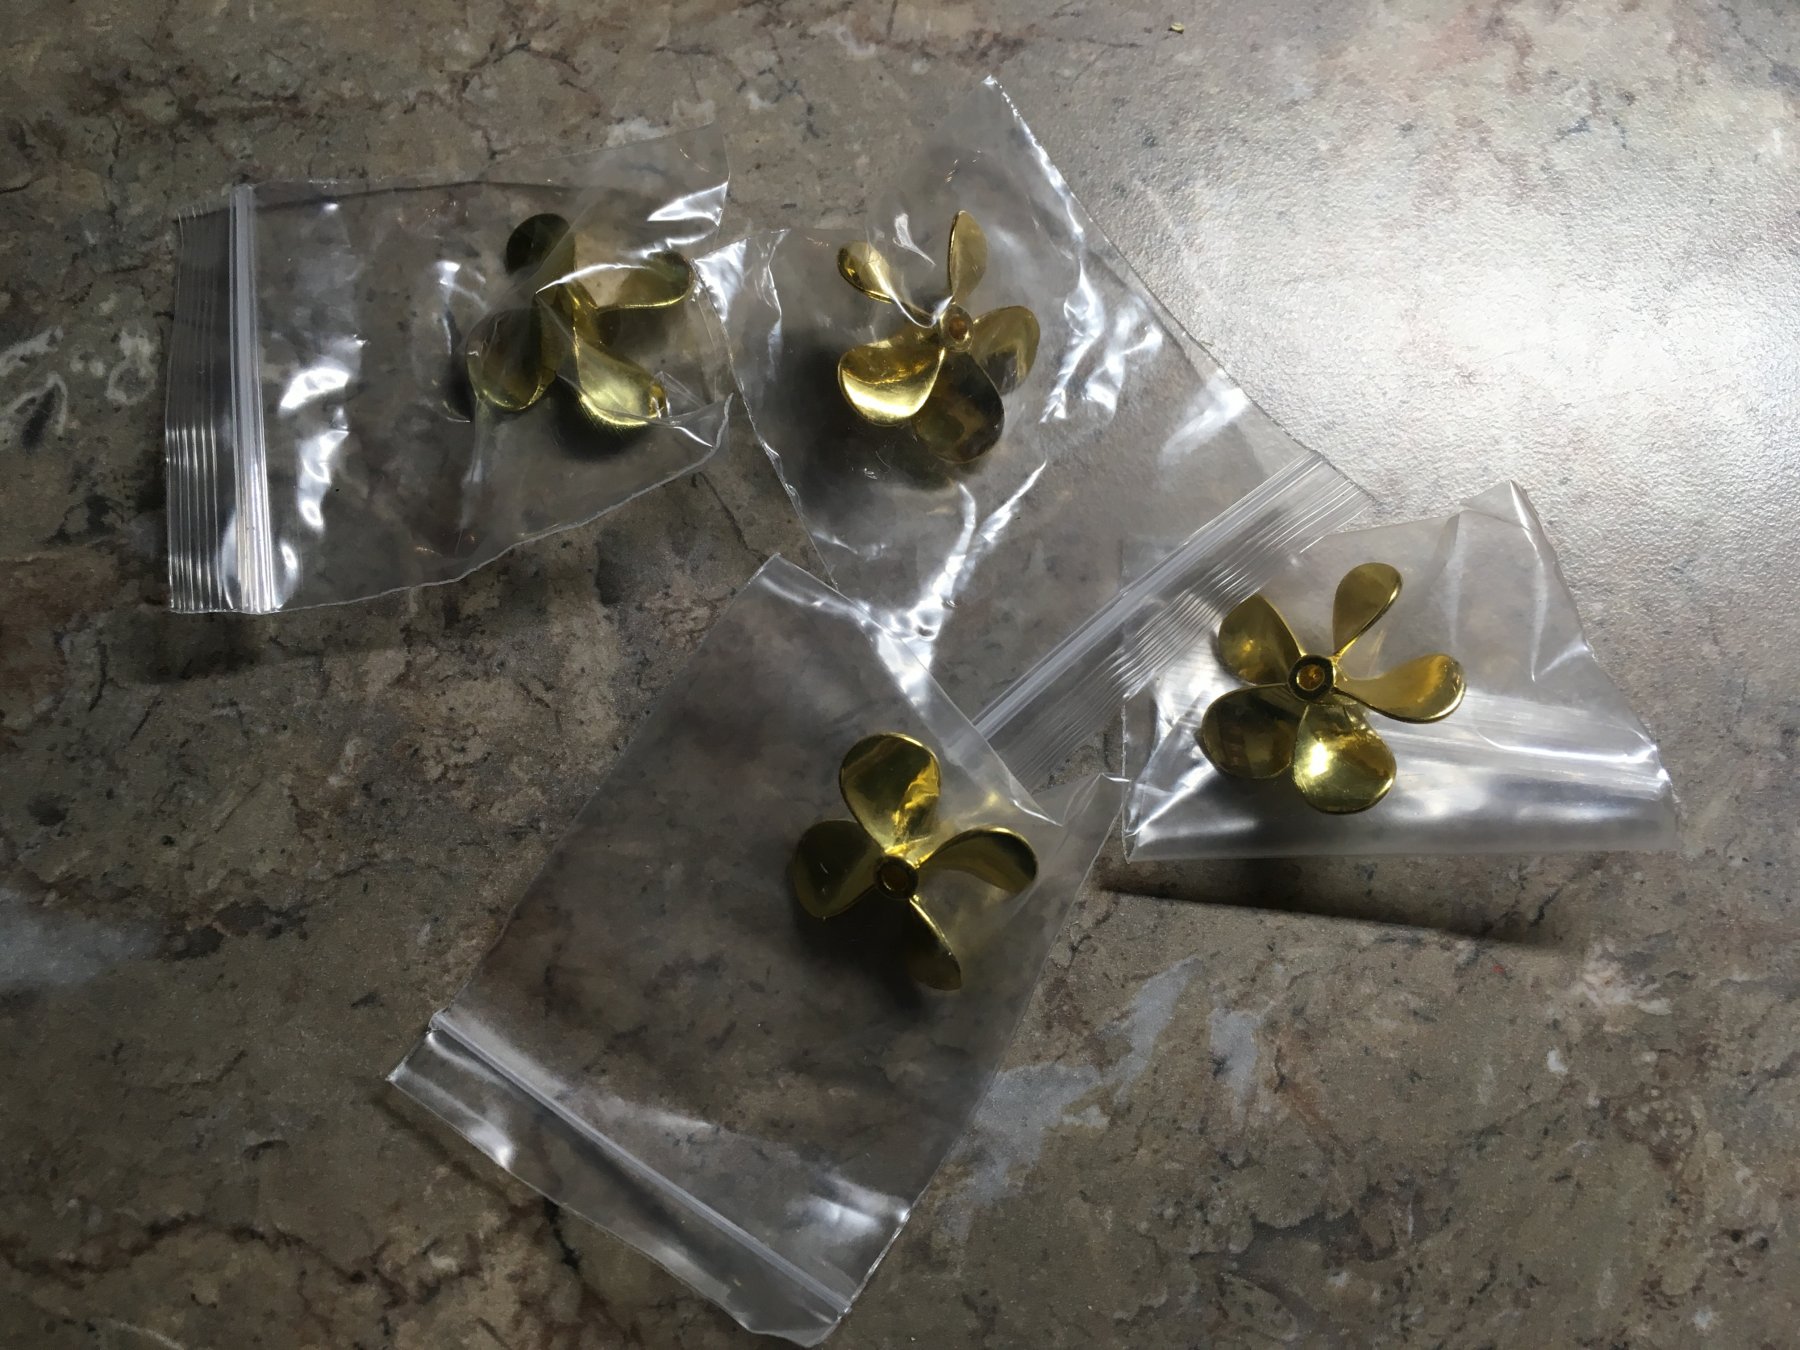
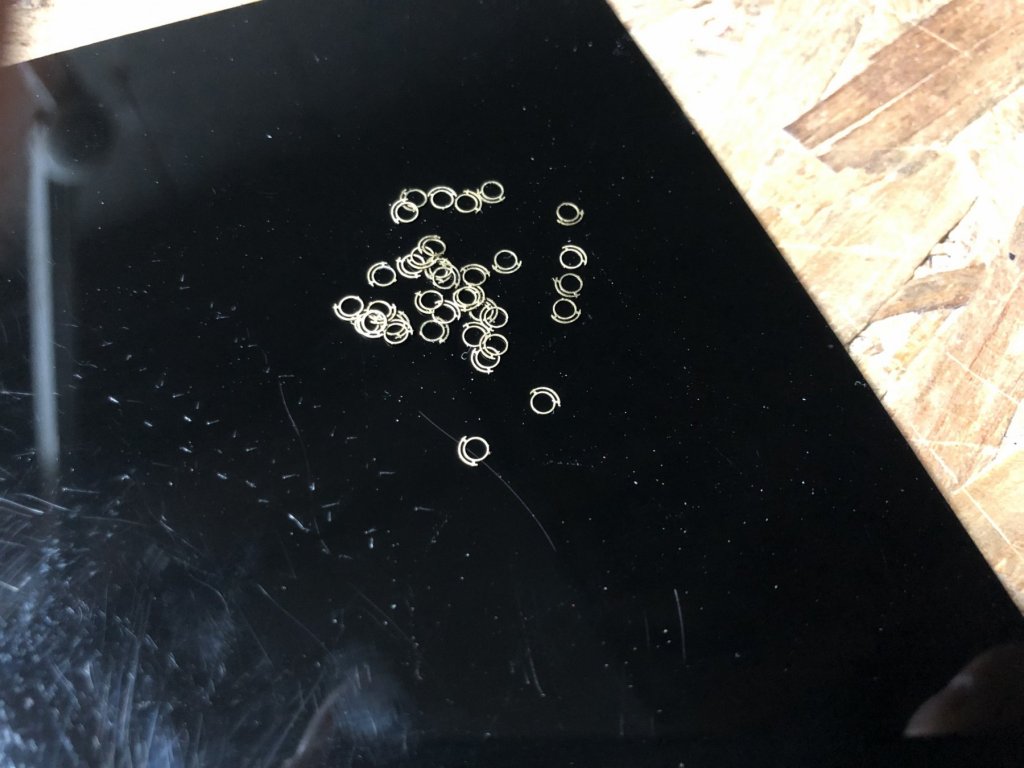
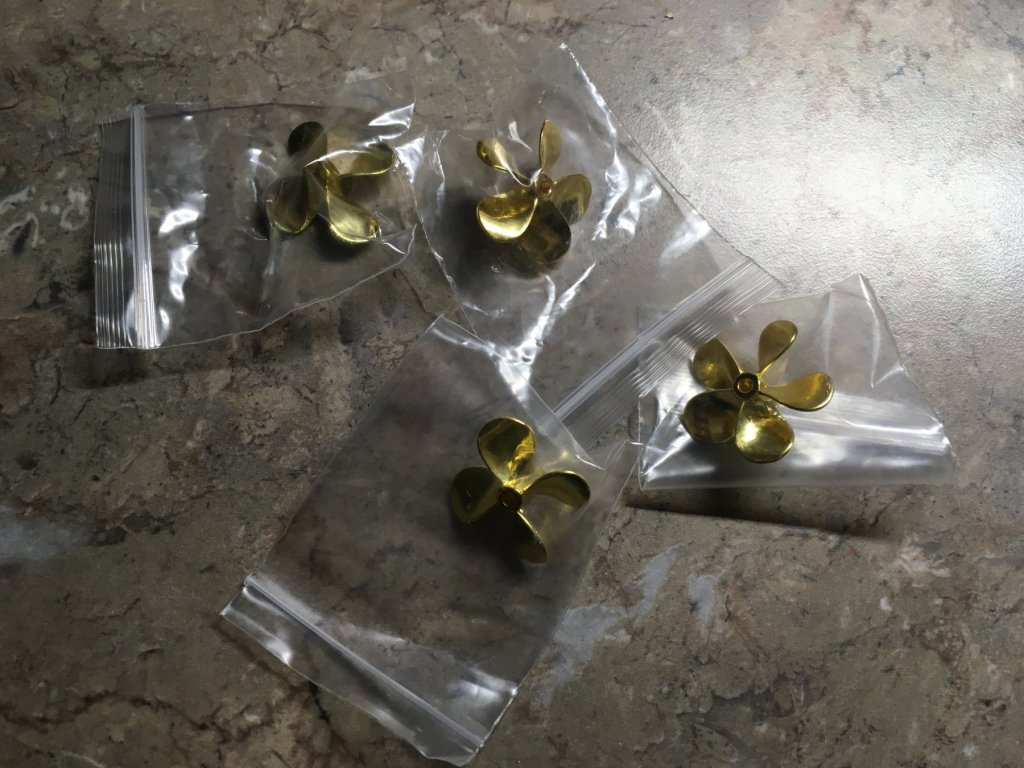
I agree Imagna! CDW, they are metal and all, but they dont look real. They are to shiney, to thick, edges to round. I think with the rite brass paint I can make the kit props look better.
-
Yup. What a difference in the amount of armorment between the Bismarck and Missouri. MO has more than double it seems. MO would destroy Bisy in a battle.
-
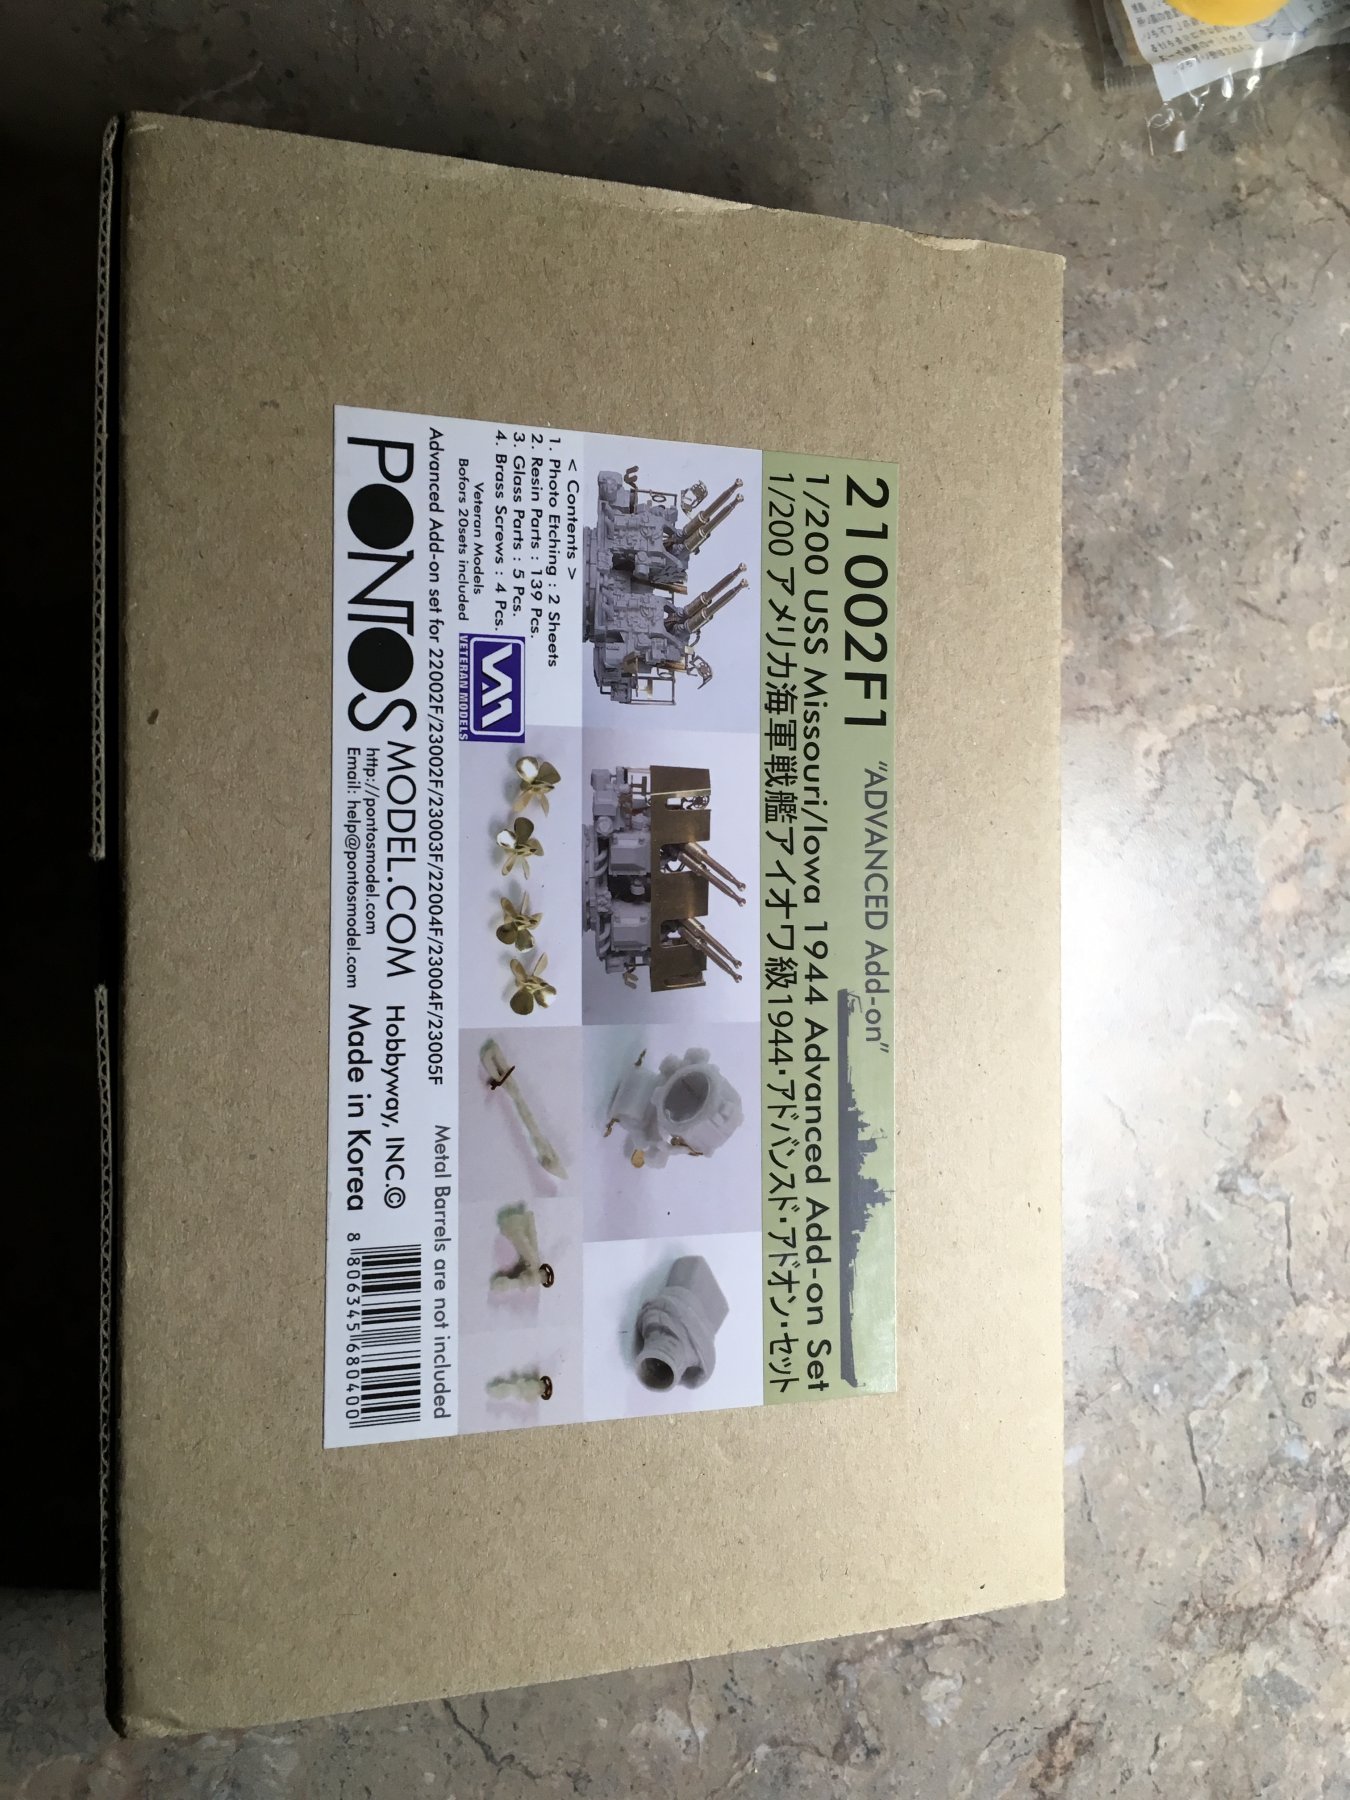
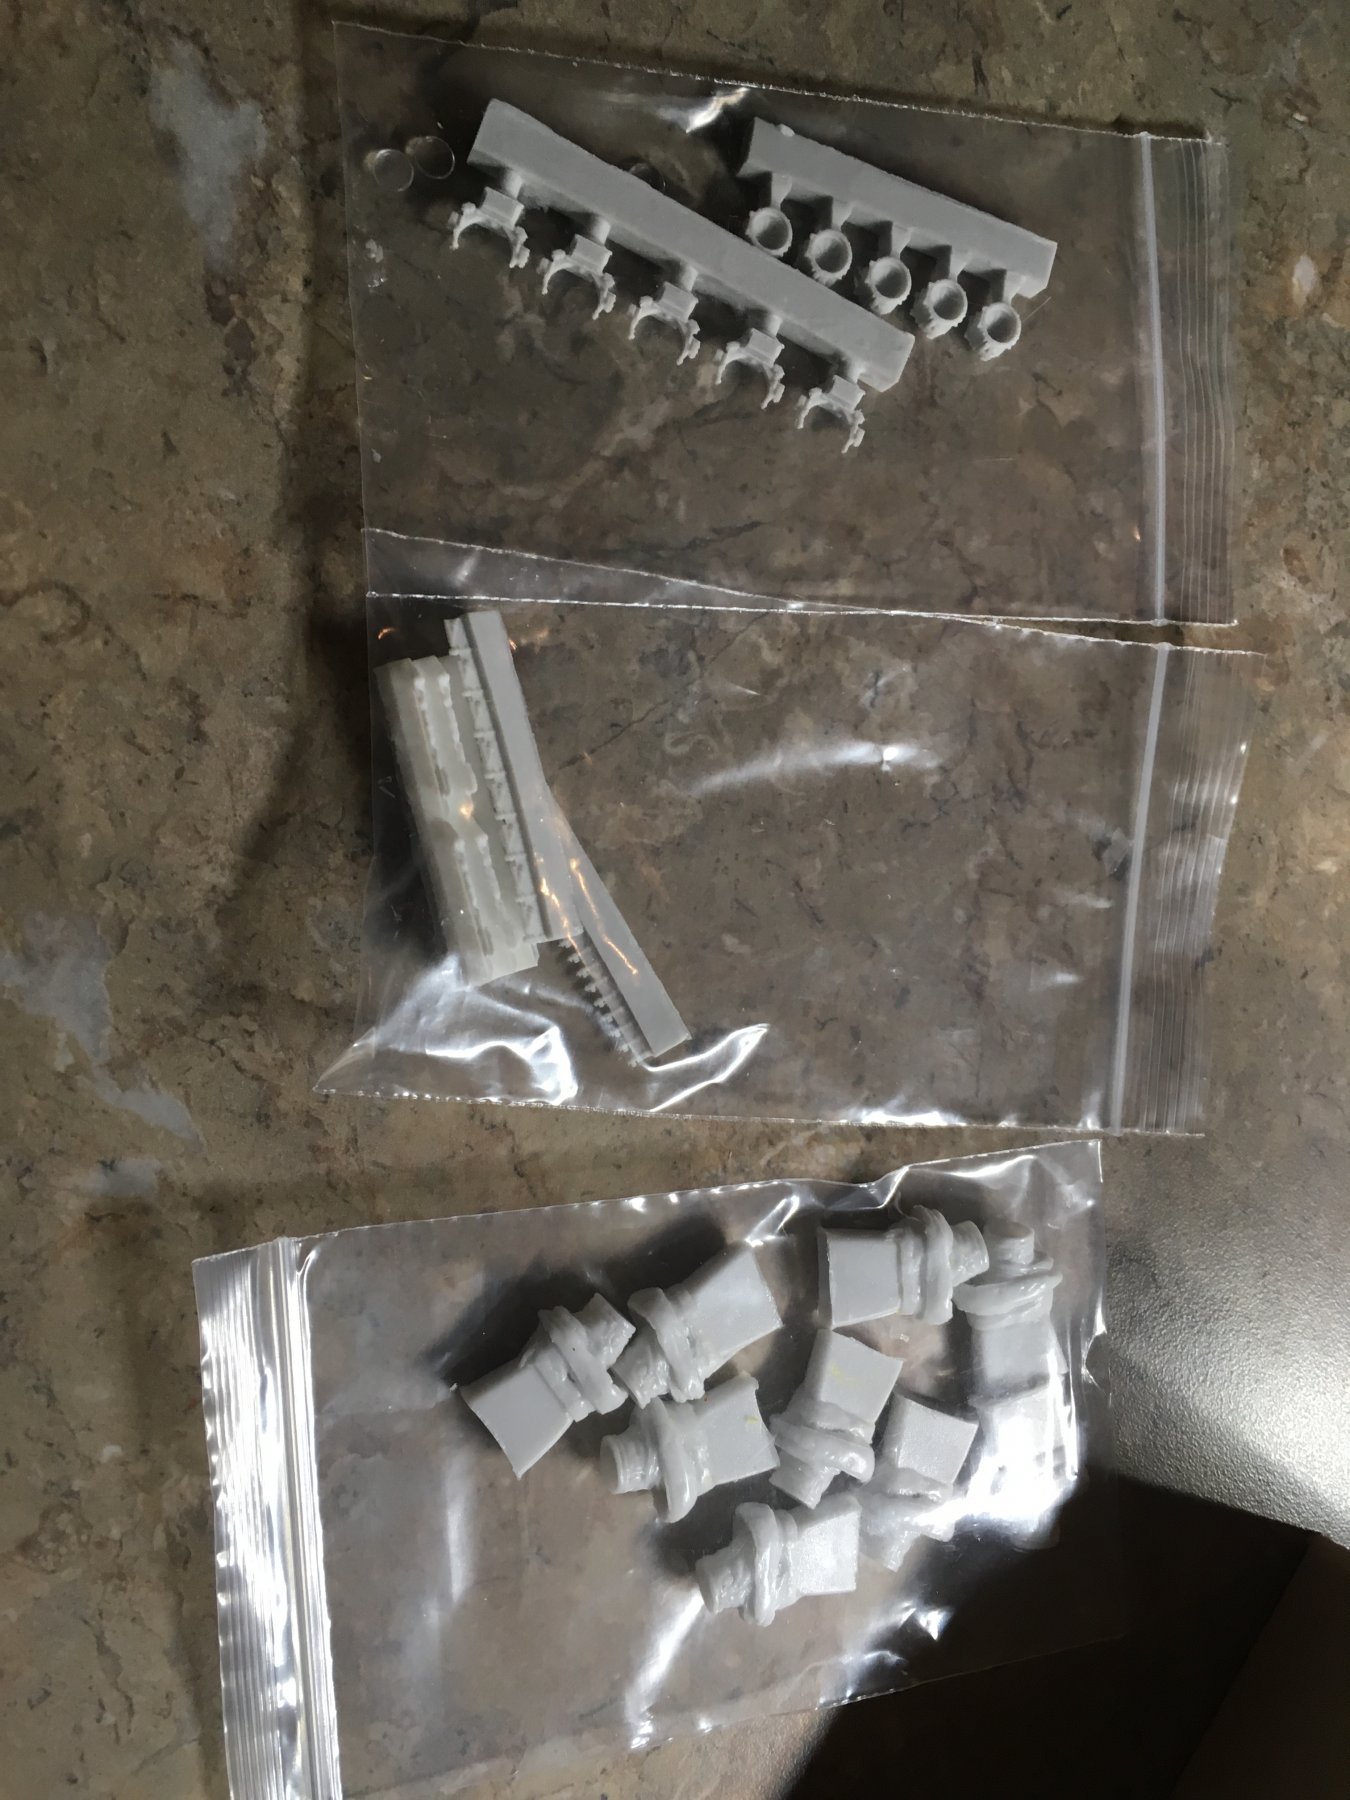
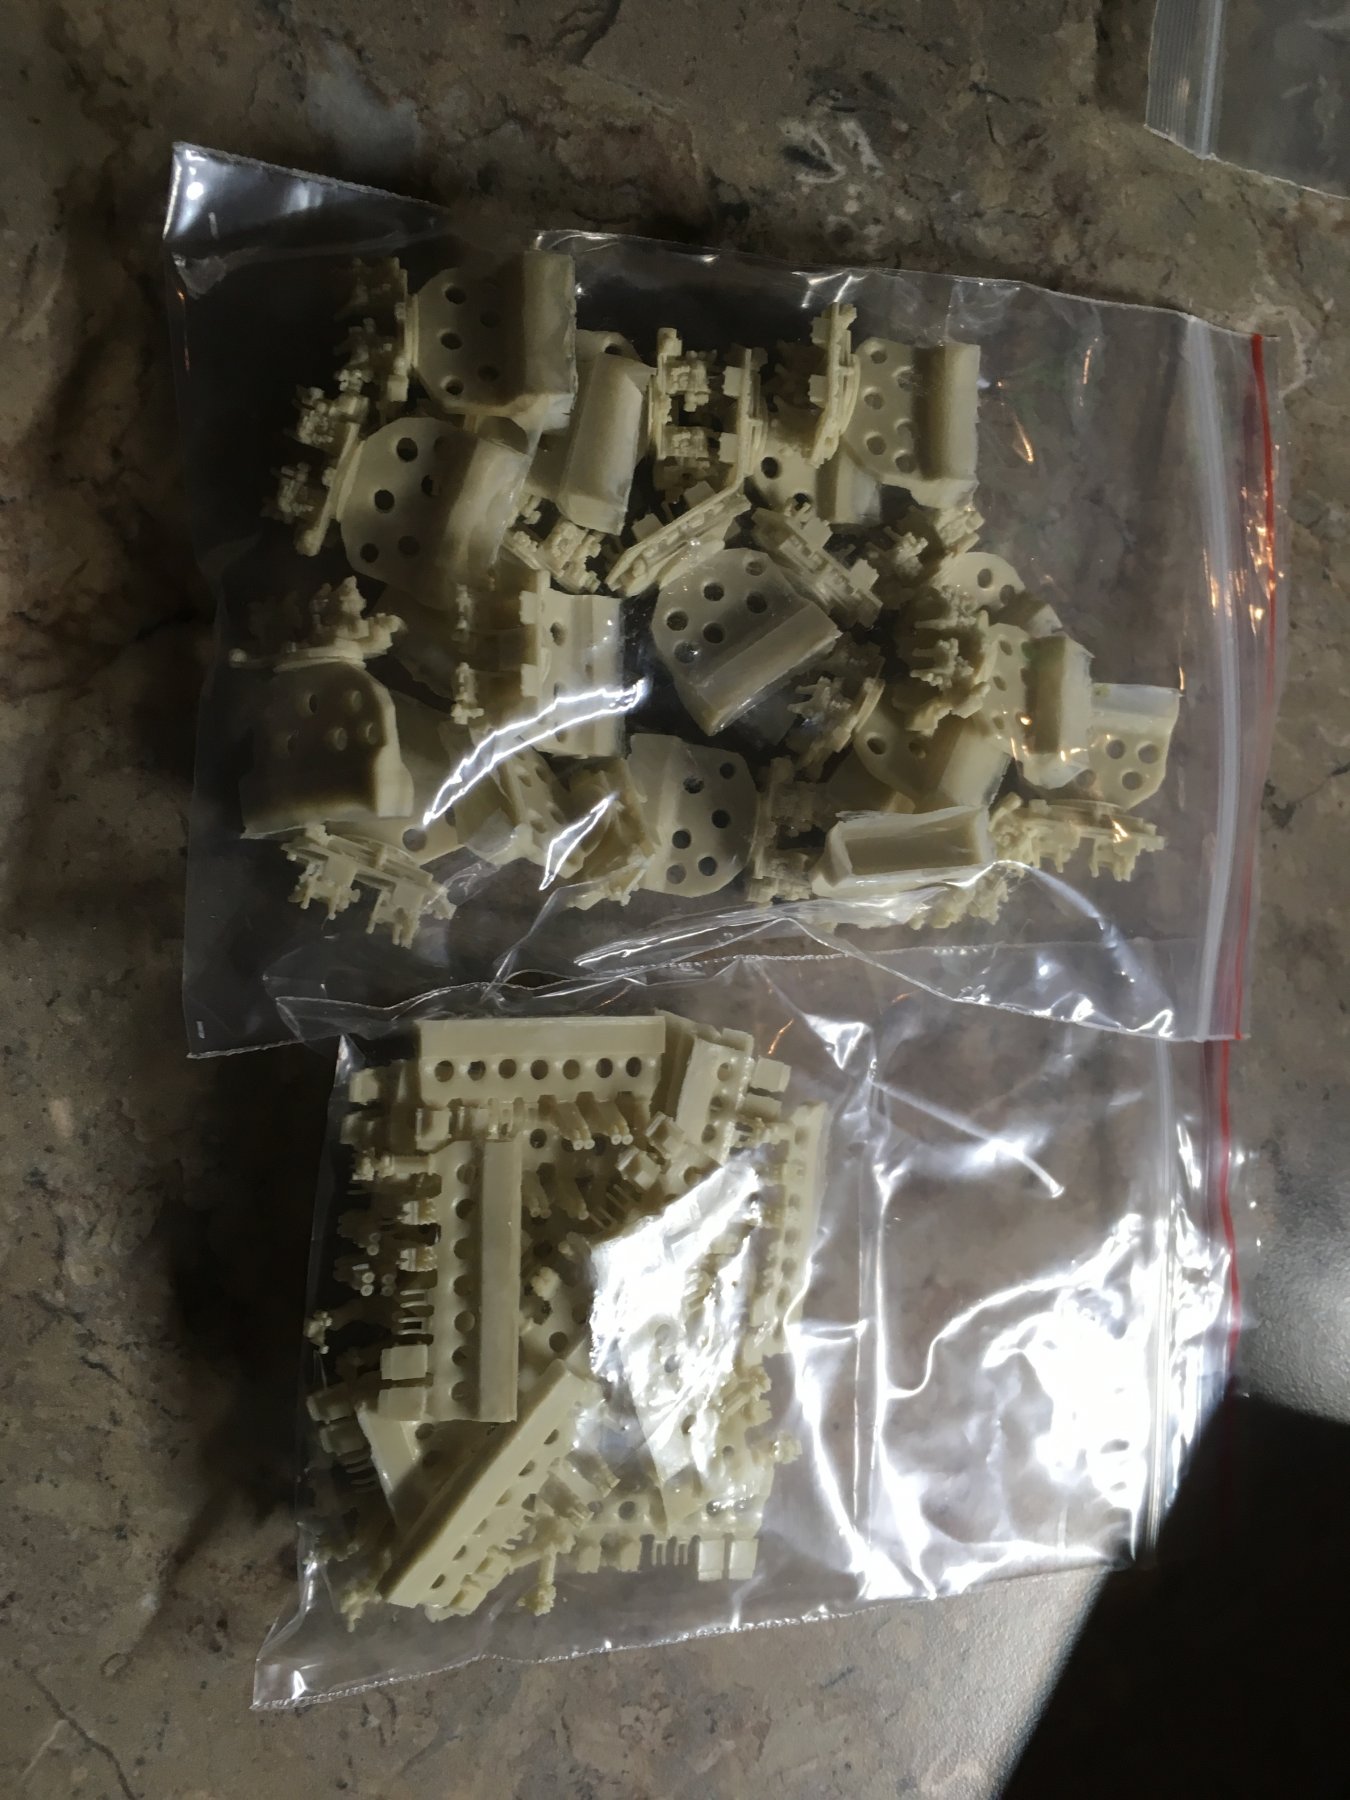
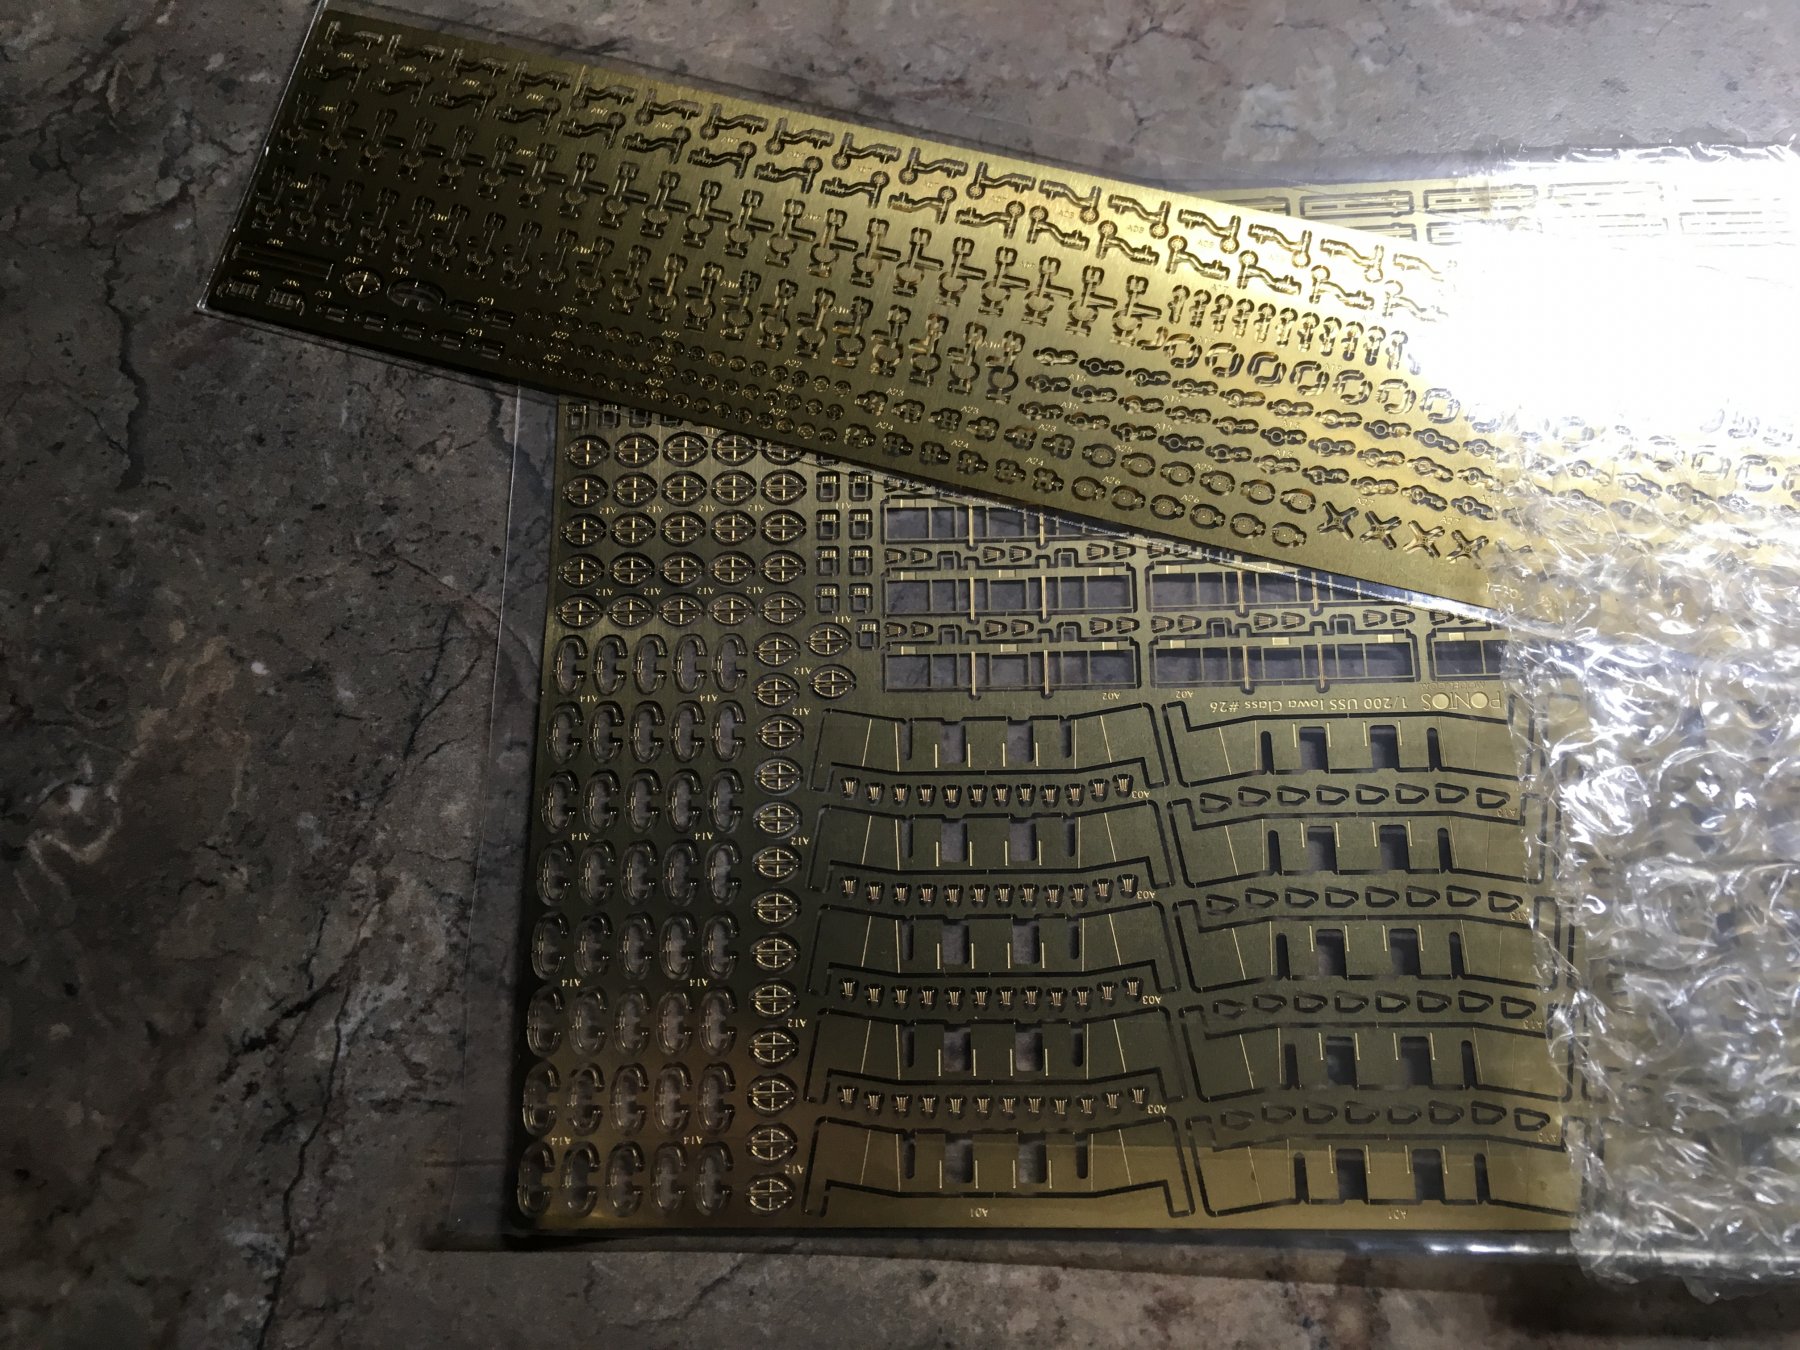
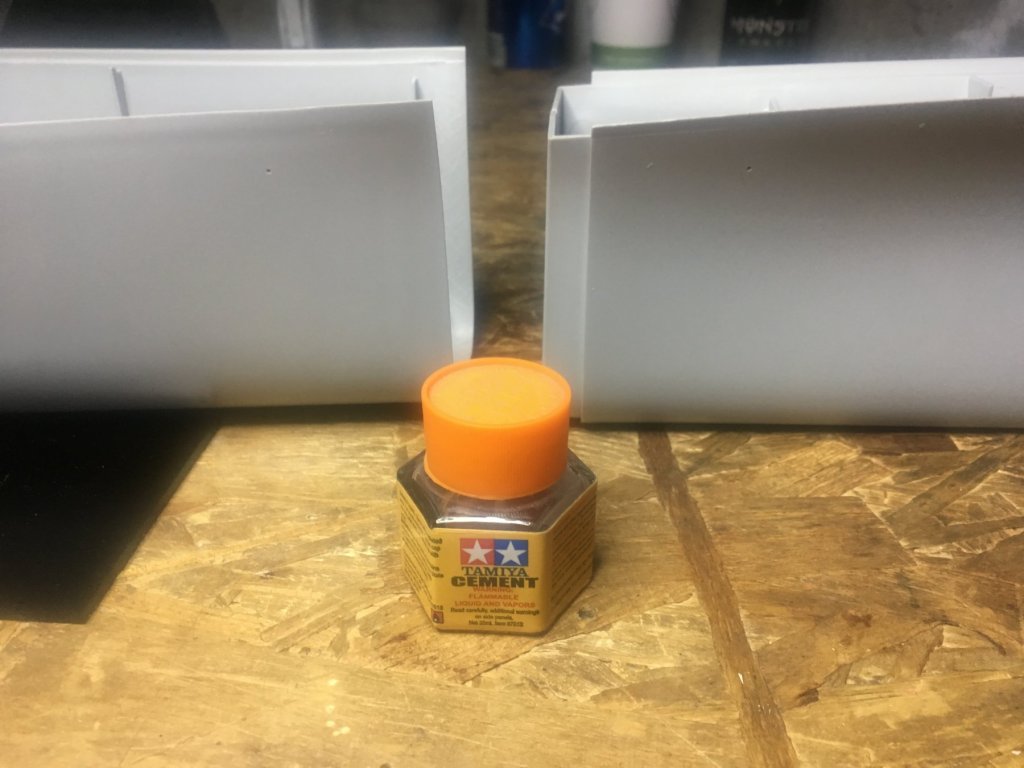
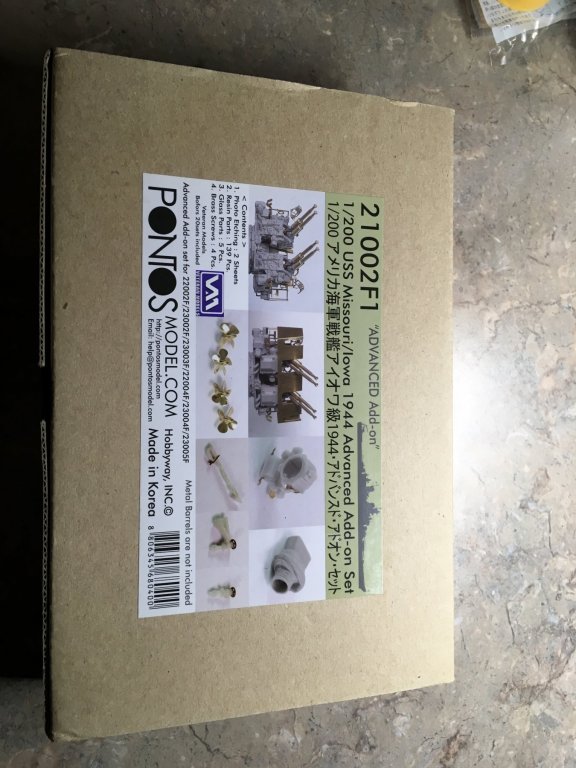
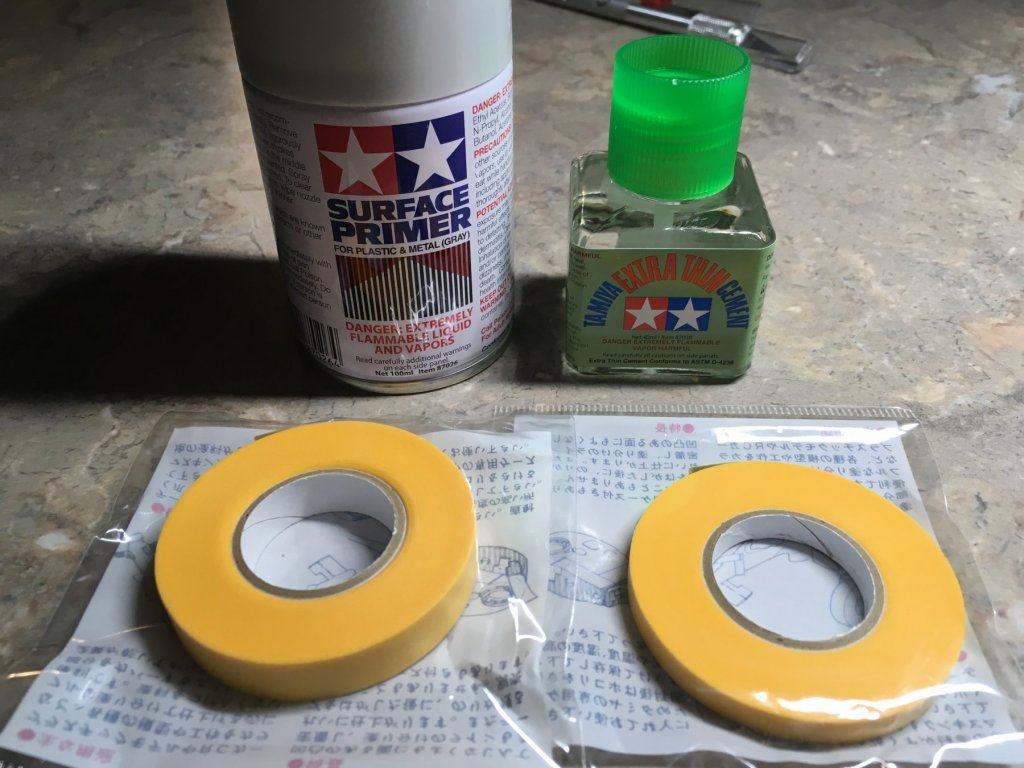
The final Pontos kit just came in. I’m now officially ready to role. theres alot of resin in this one. Its basically the bofor kits from veteran models. the props that I probably won’t use. and the PE for the bofors also some last minute supplies last but not least the best sanding sticks ever that I get from CVS.


- 271 replies
-
- 14
-
-
Im going to get the 5 pieces cut to size online. Then just glue them together. Should be simple. In Theory atleast.
-
Thank you! Im going to make a box out of 1/4 acrylic. Basically an upside down fish tank shape.
-
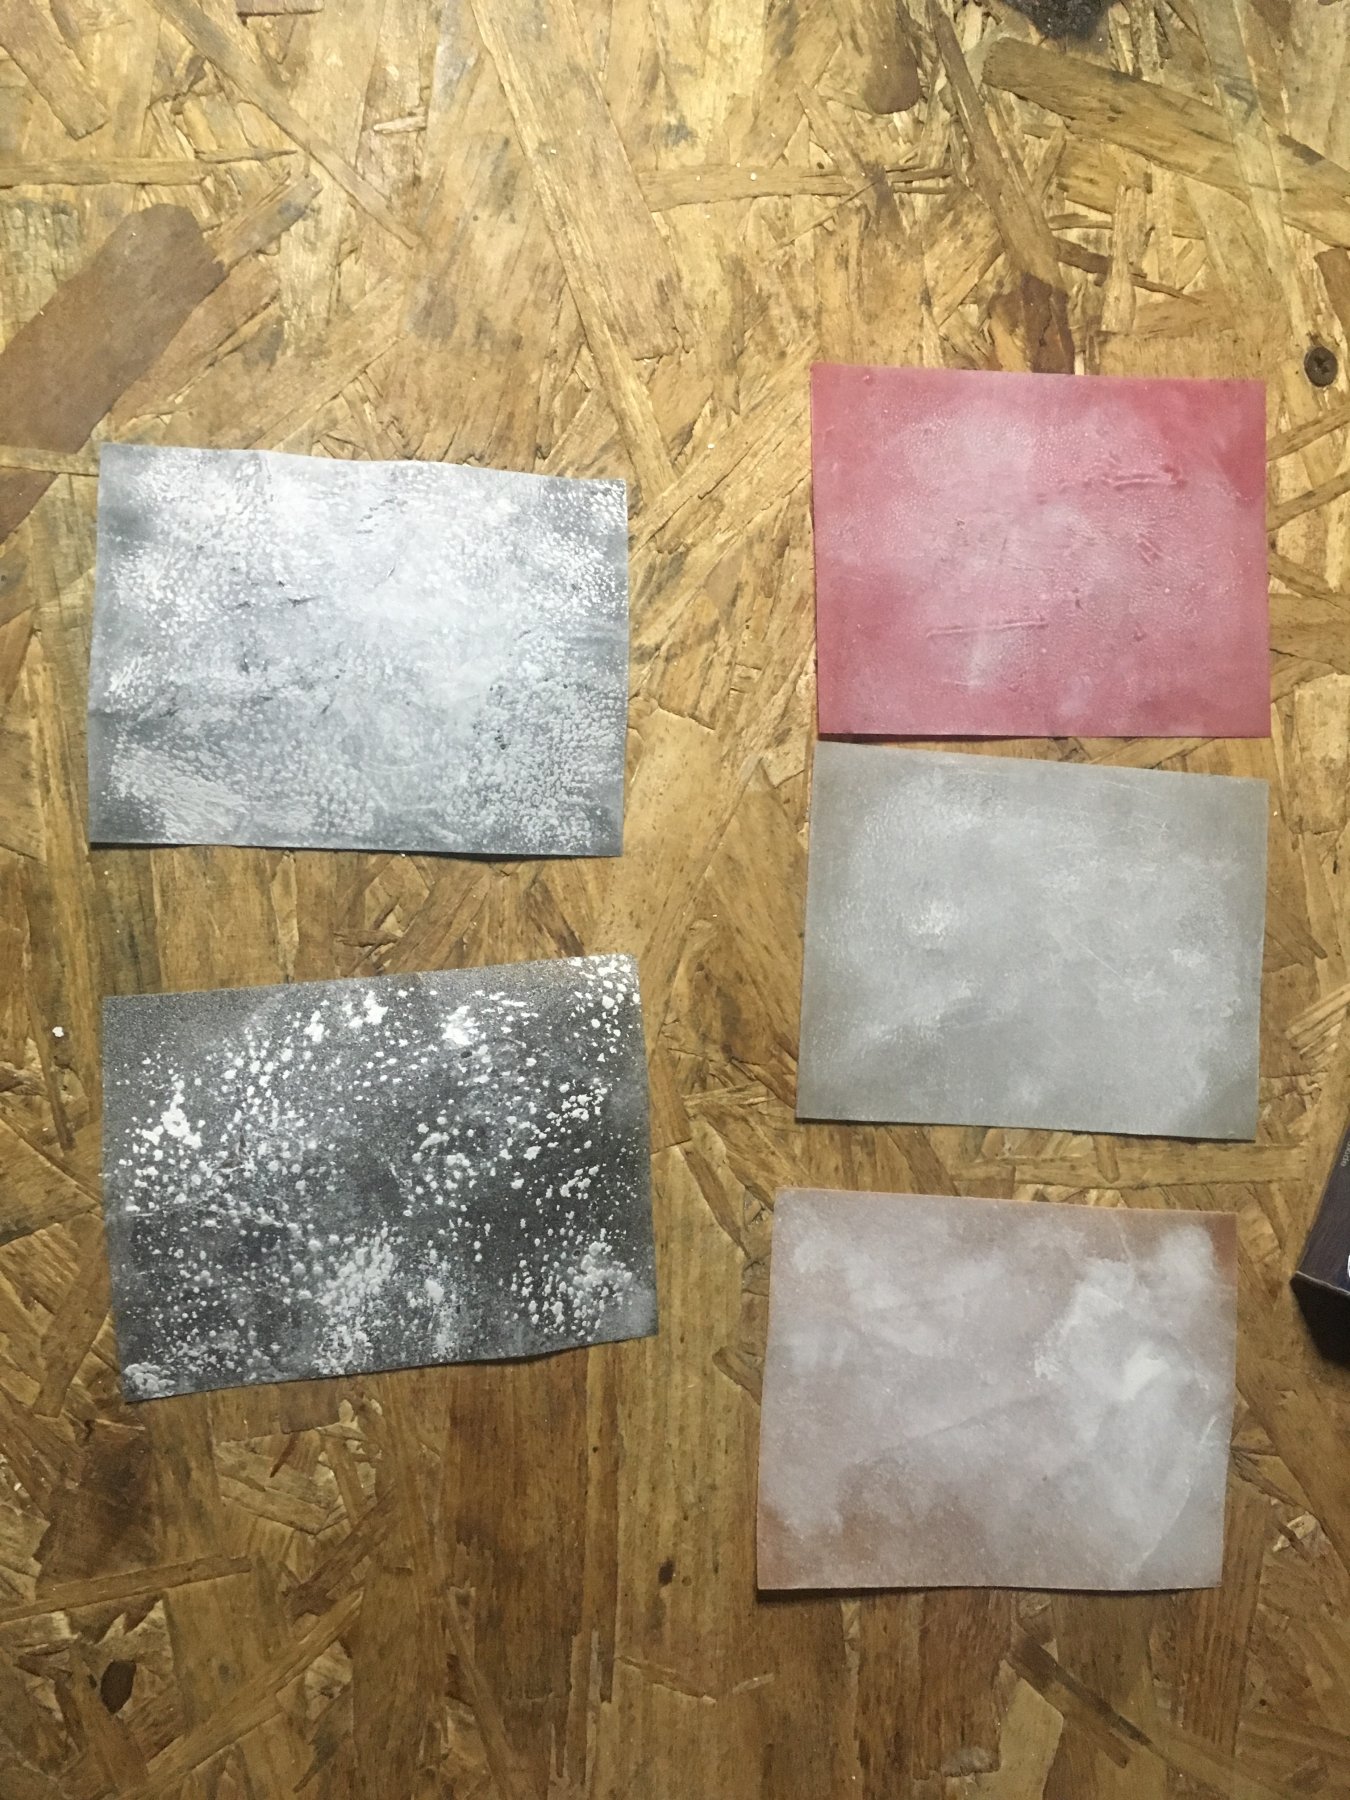
Thank you everyone! ccoyle - i agree about the weathering. It scares me when I think about it. I ‘am working on a 1/35 israeli tank when im not working on the MO. I think I am going to practice weathering on the tank to see how it turns out. Especially rust.
-
Thank you everyone. Seriously. Makes me feel like im actually a great scale modeler lol. I hope the missouri comes out twice as good. I think i will be lost without a build to emulate though.
-
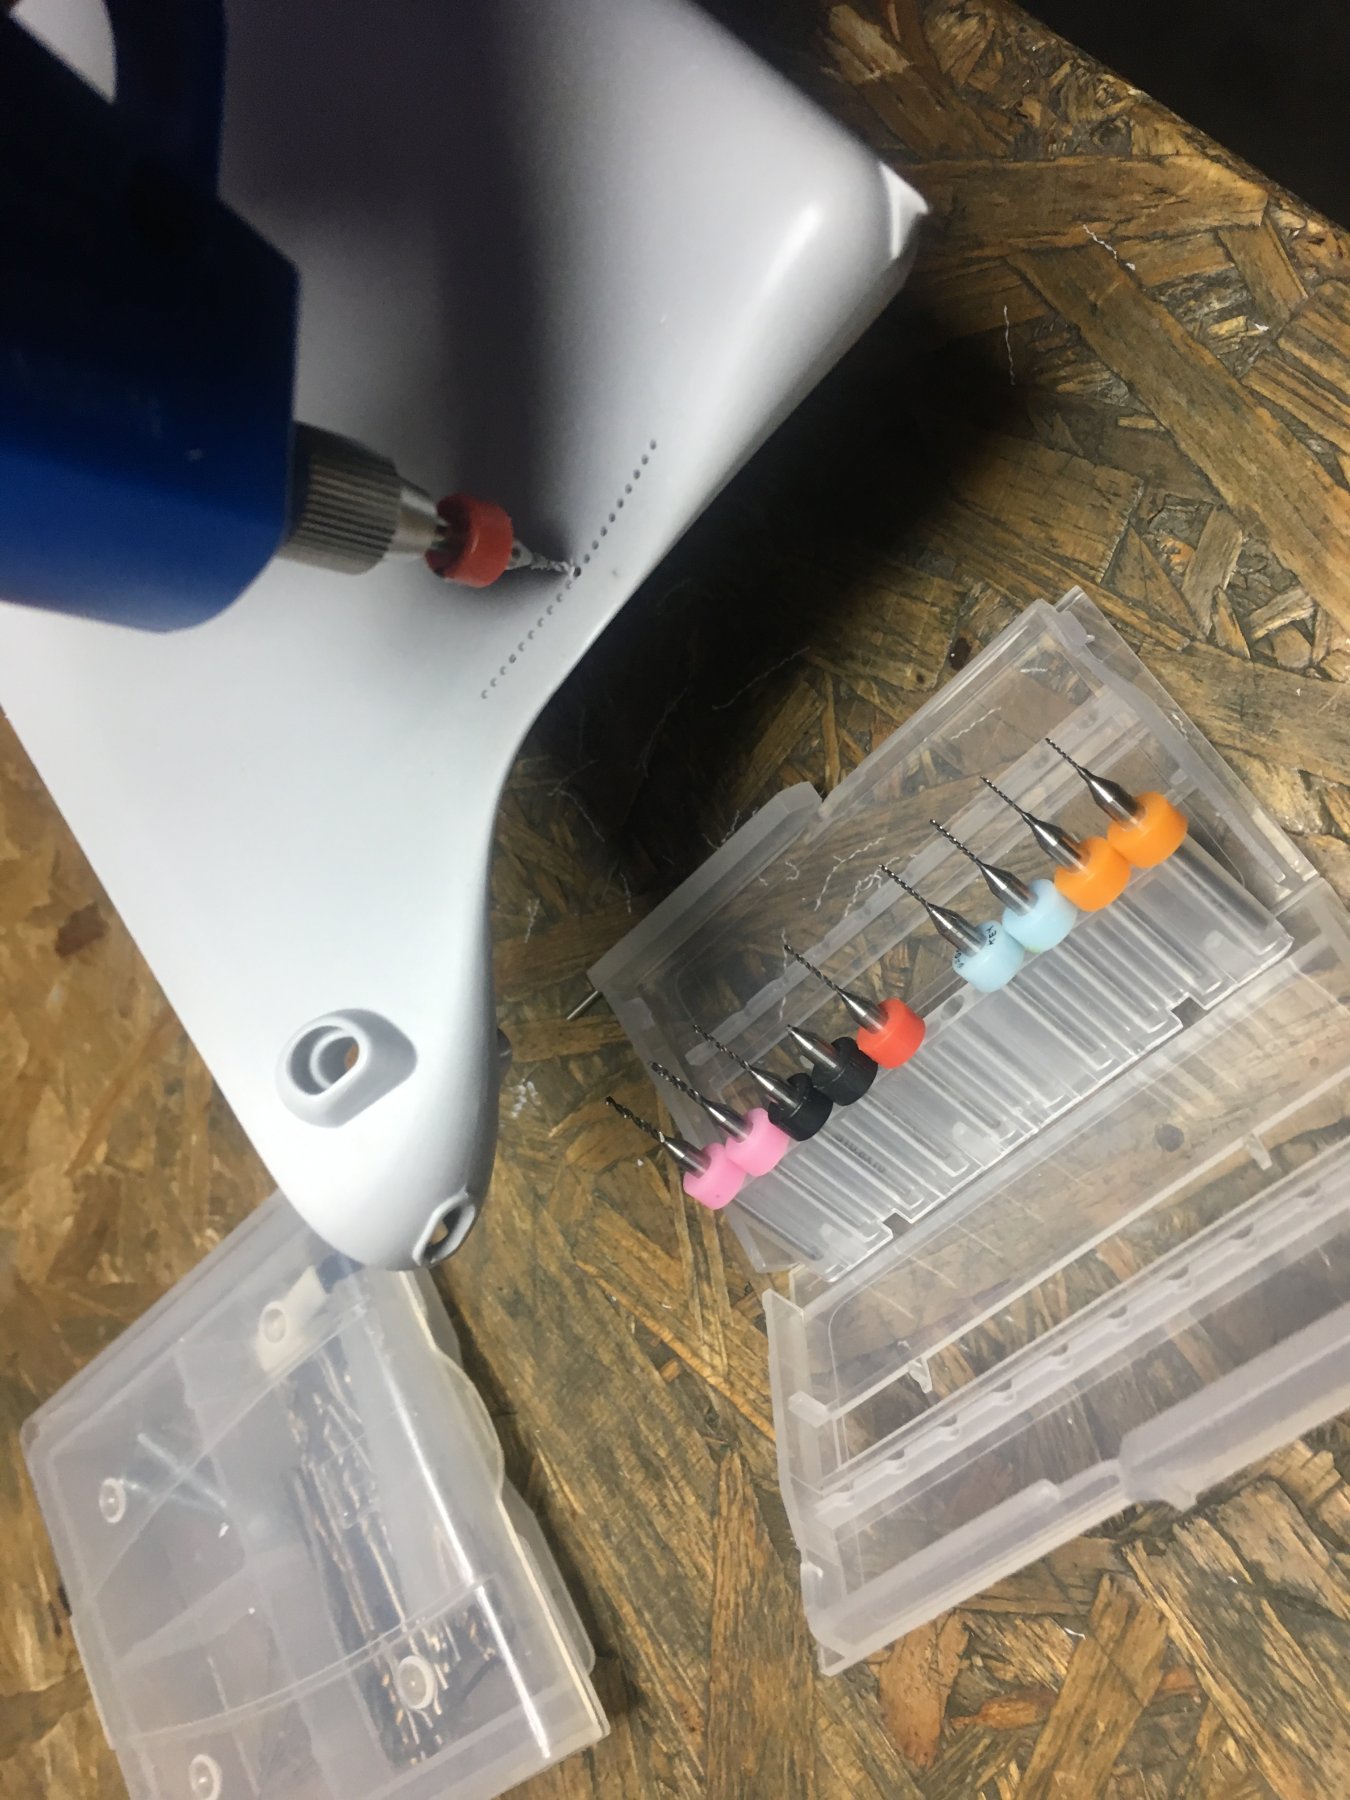
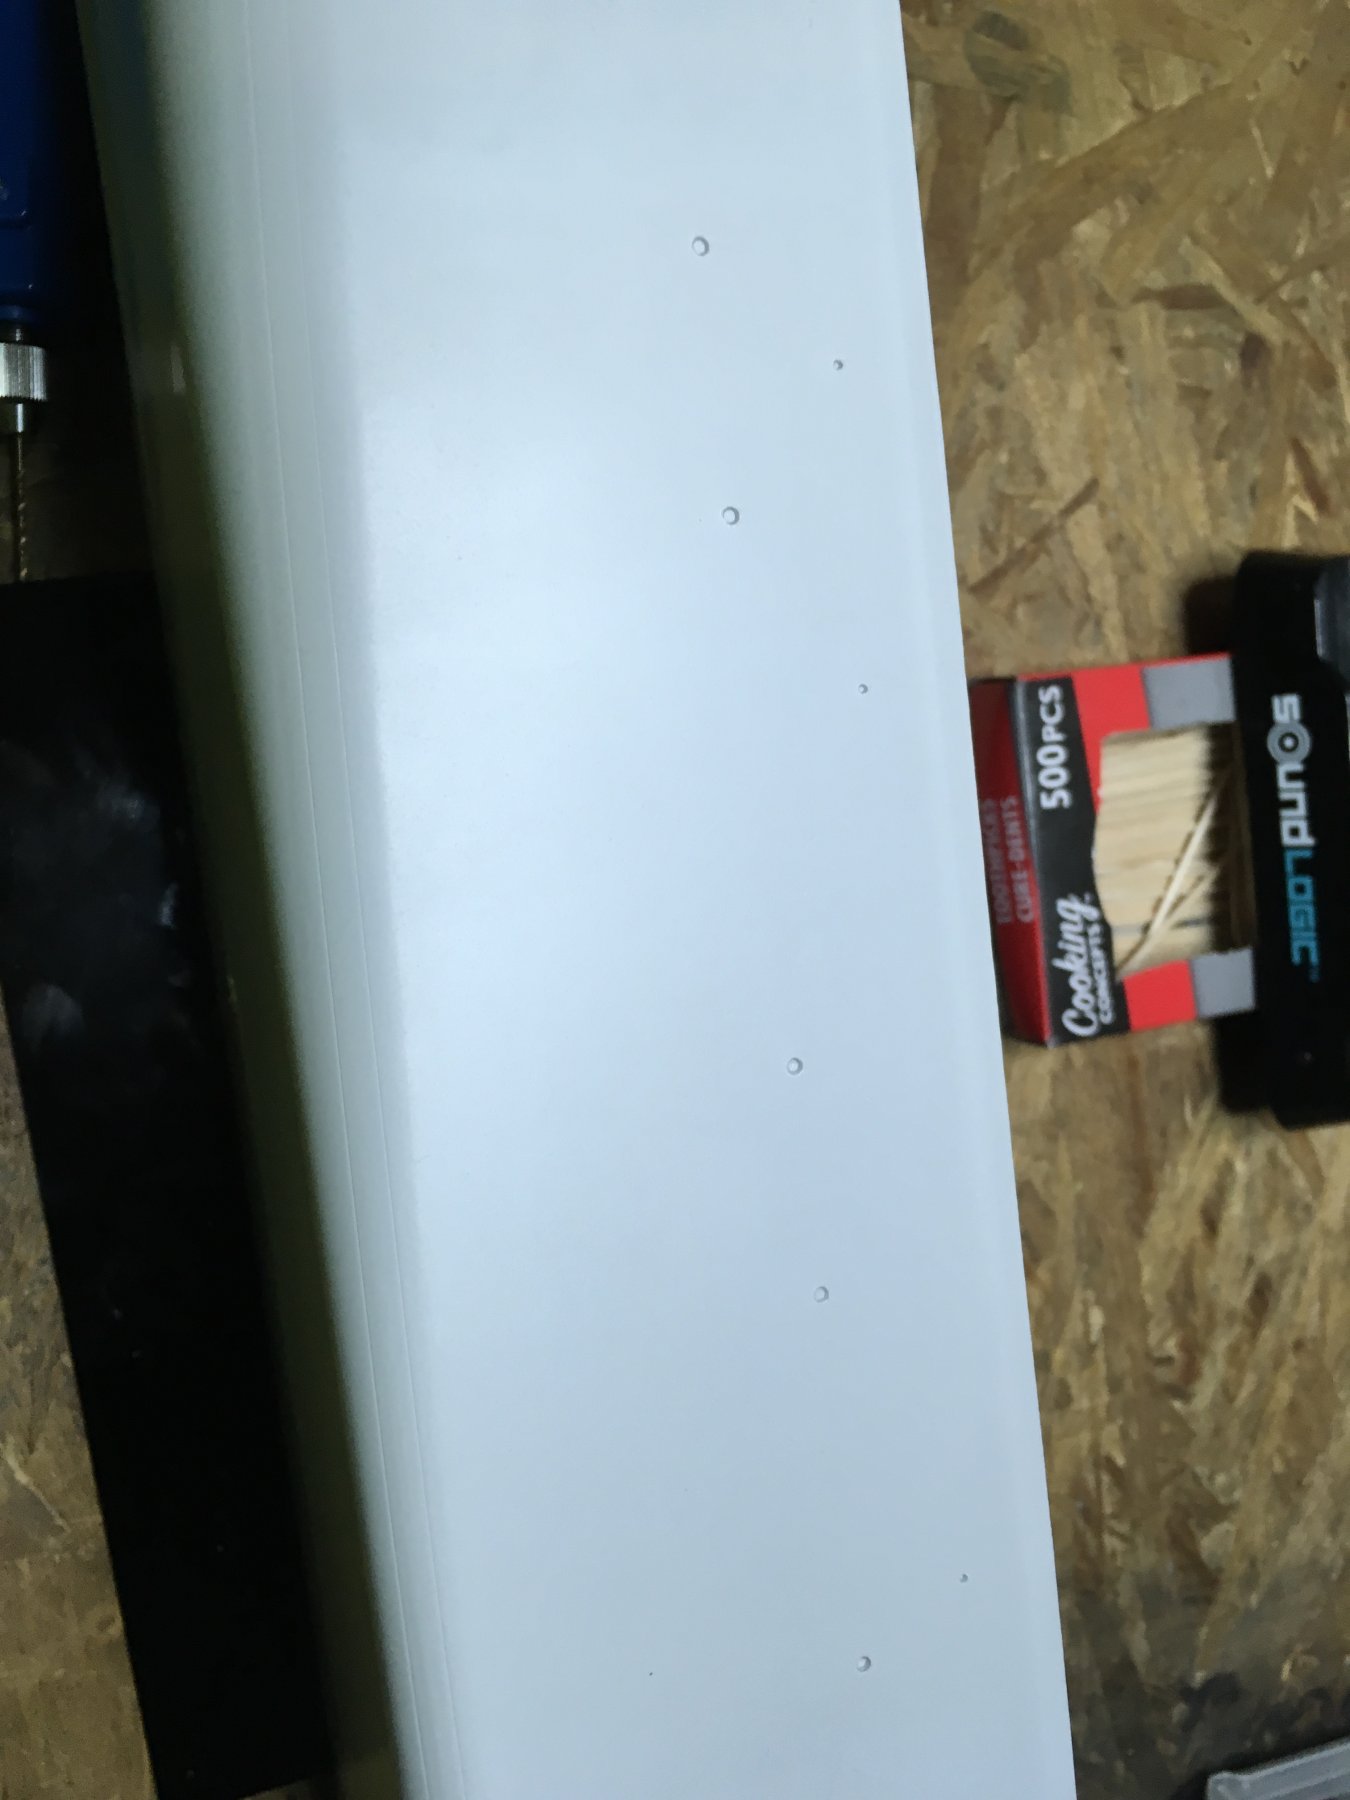
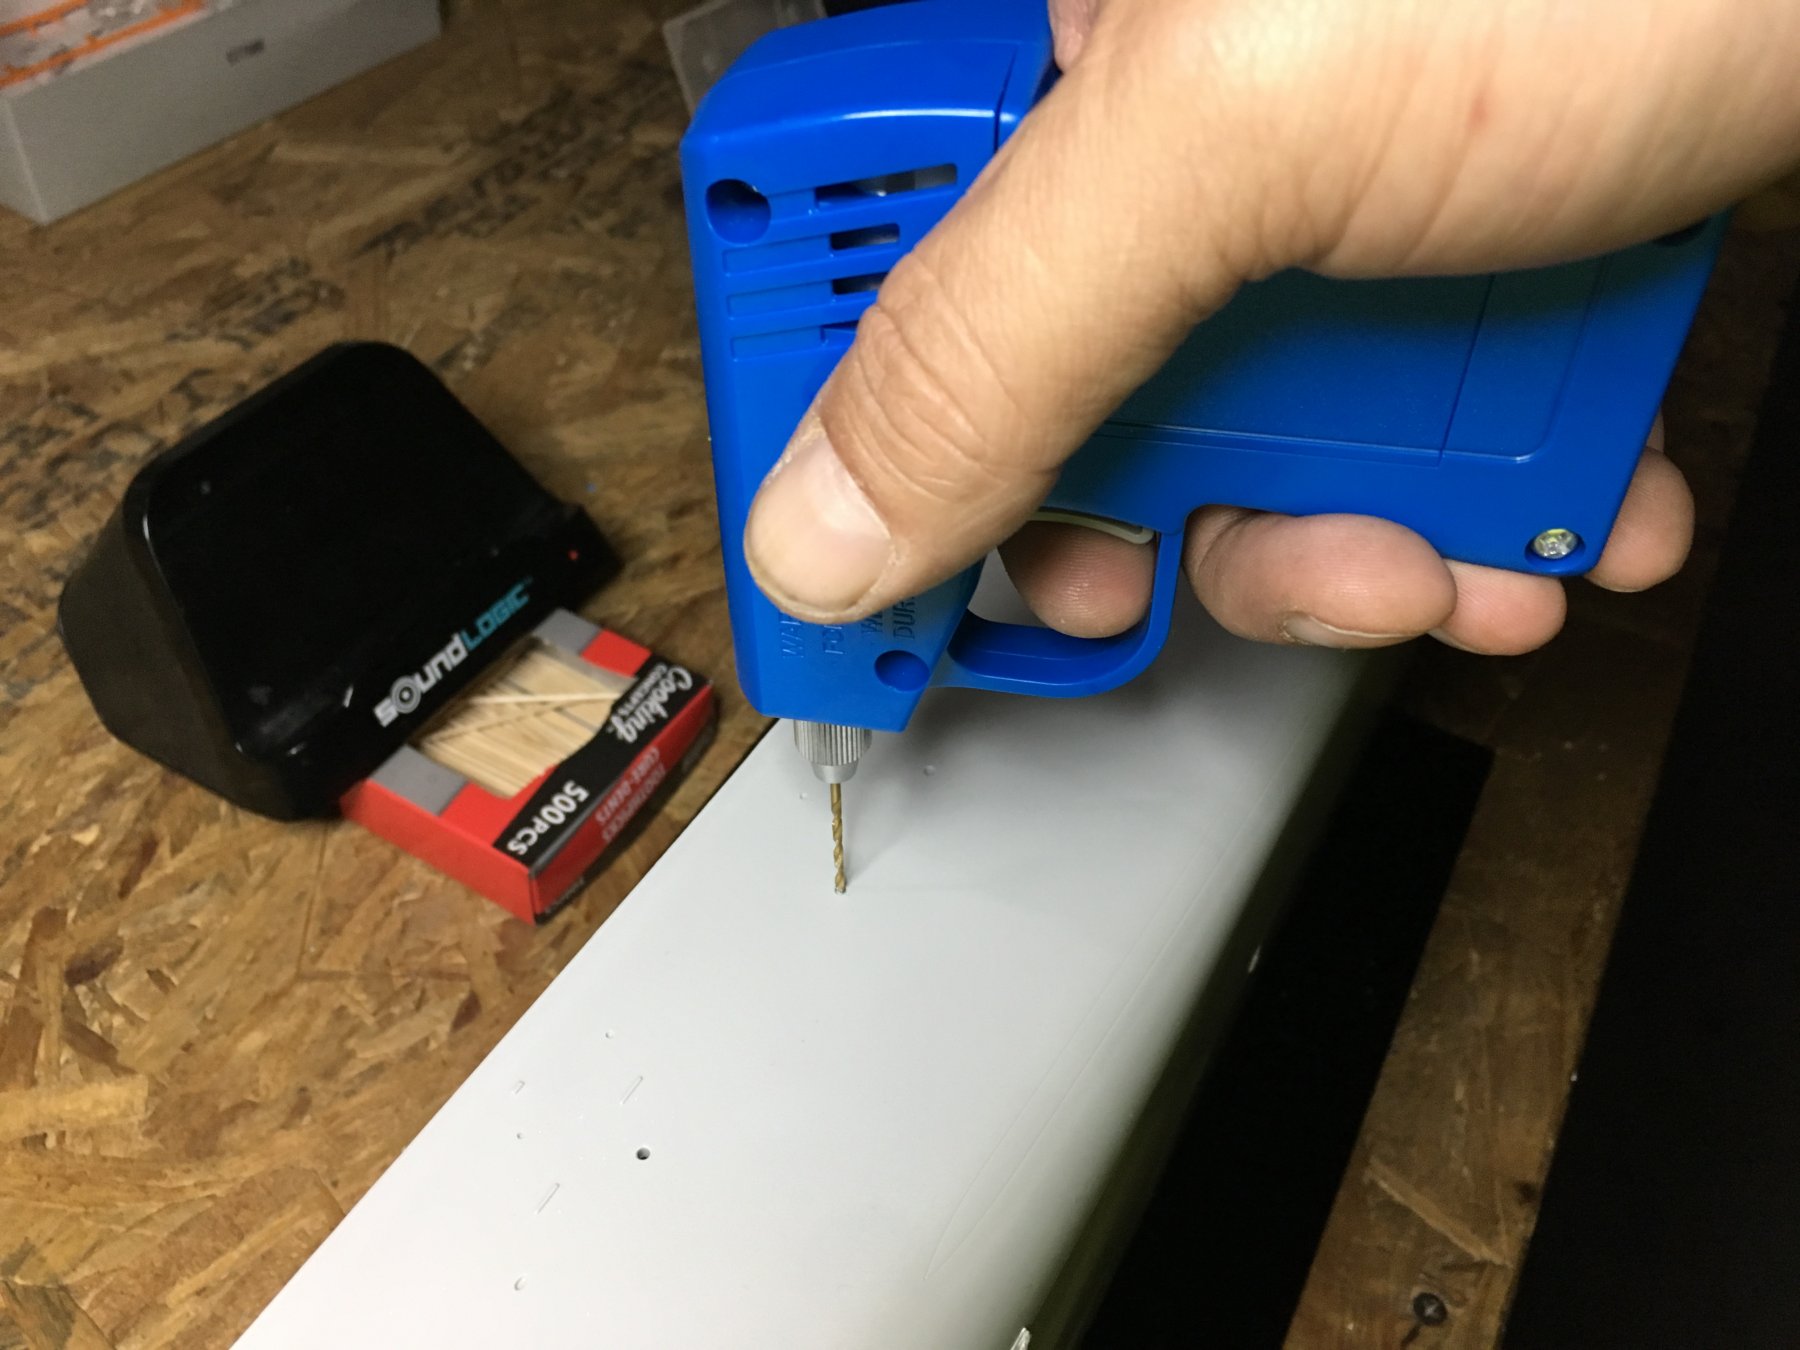
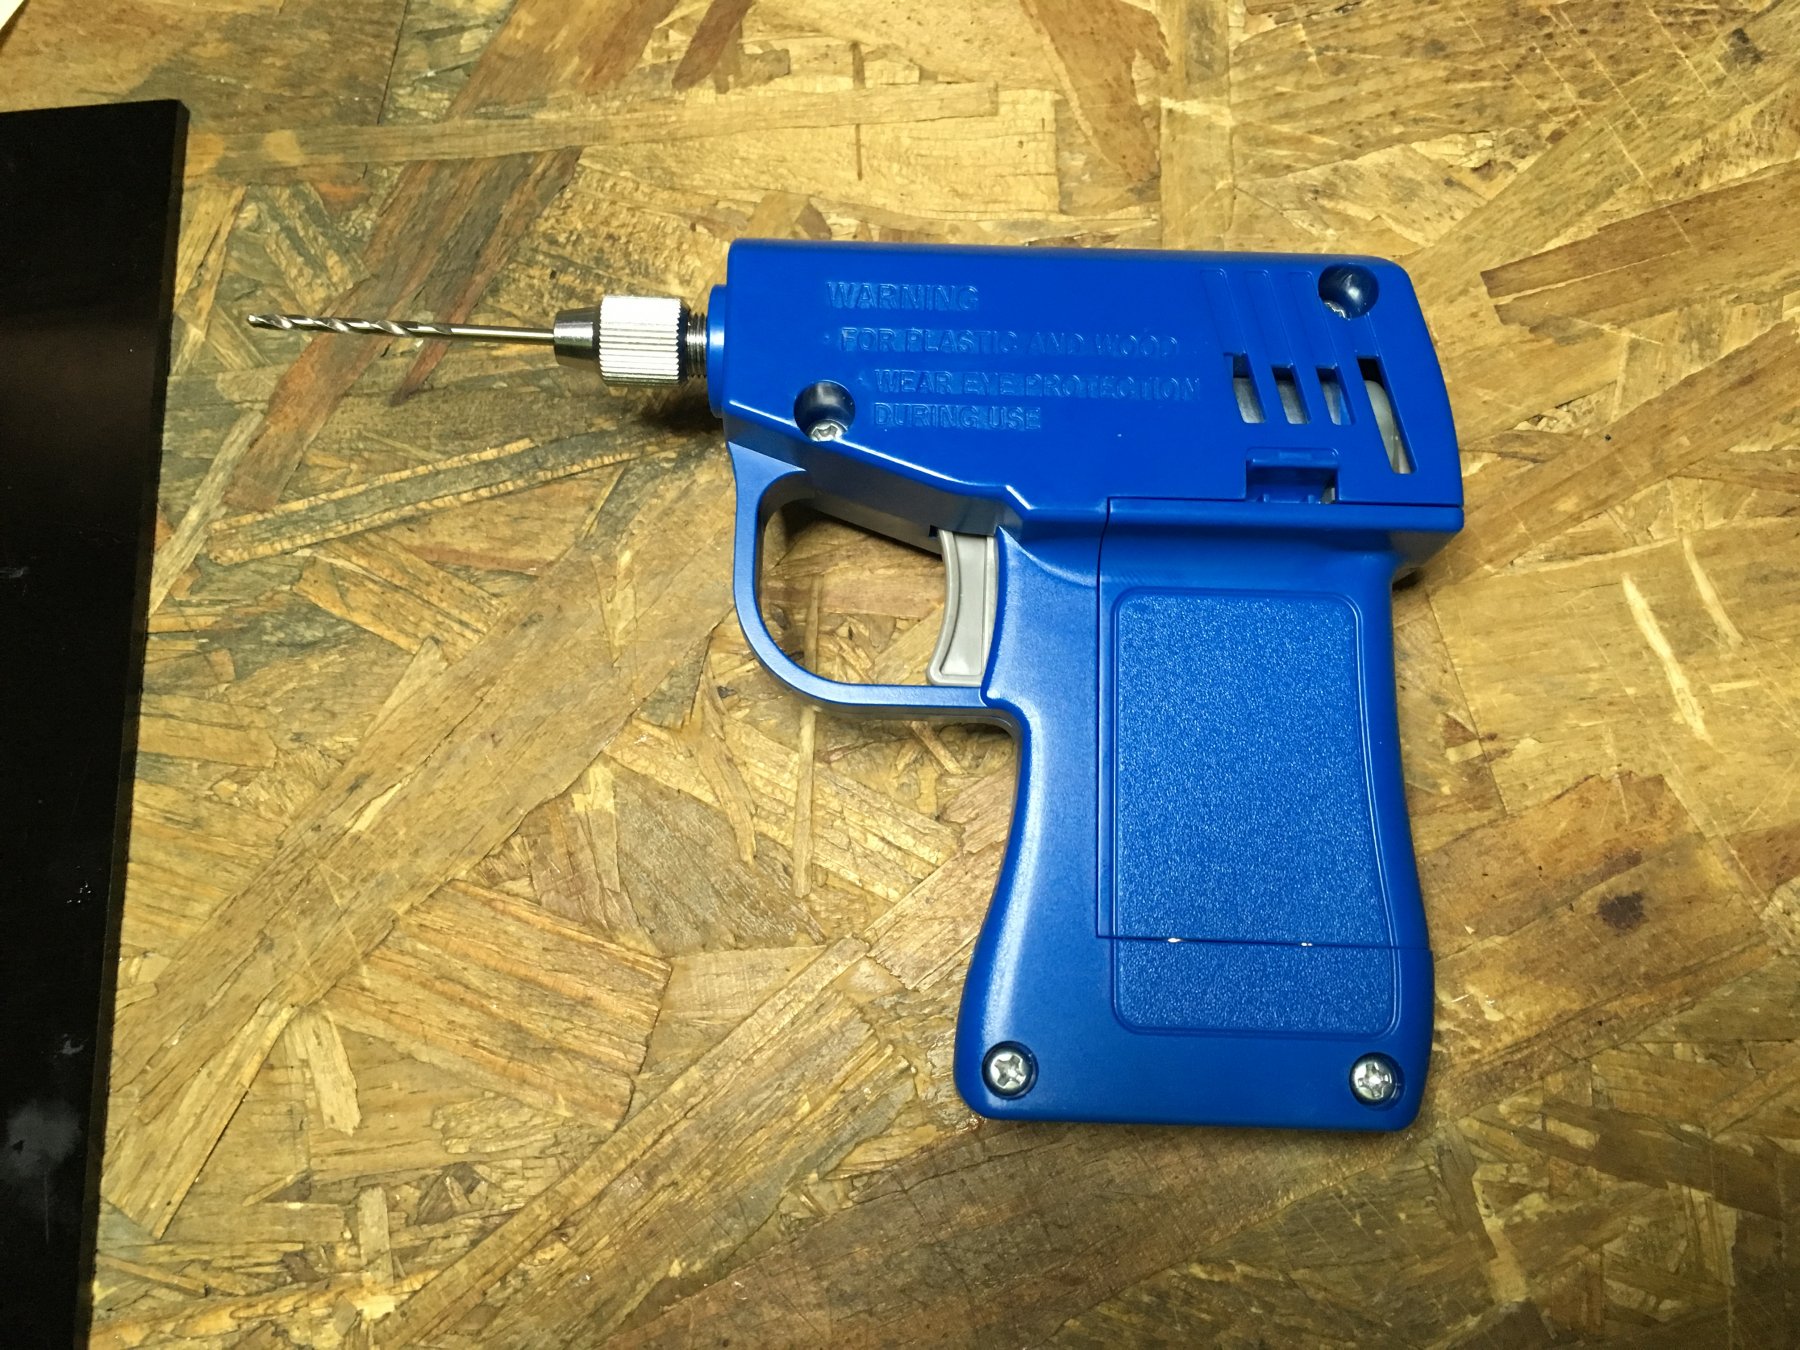
I guess I will stArt with the portholes on the hull, they need to be drilled out. i will use my trusty new handy drill and boom! First task done. next i glue the hull halves together it will be attached, but not today unfortunetly.

- 271 replies
-
- 13
-