rwiederrich
-
Posts
5,520 -
Joined
-
Last visited
Content Type
Profiles
Forums
Gallery
Events
Everything posted by rwiederrich
-
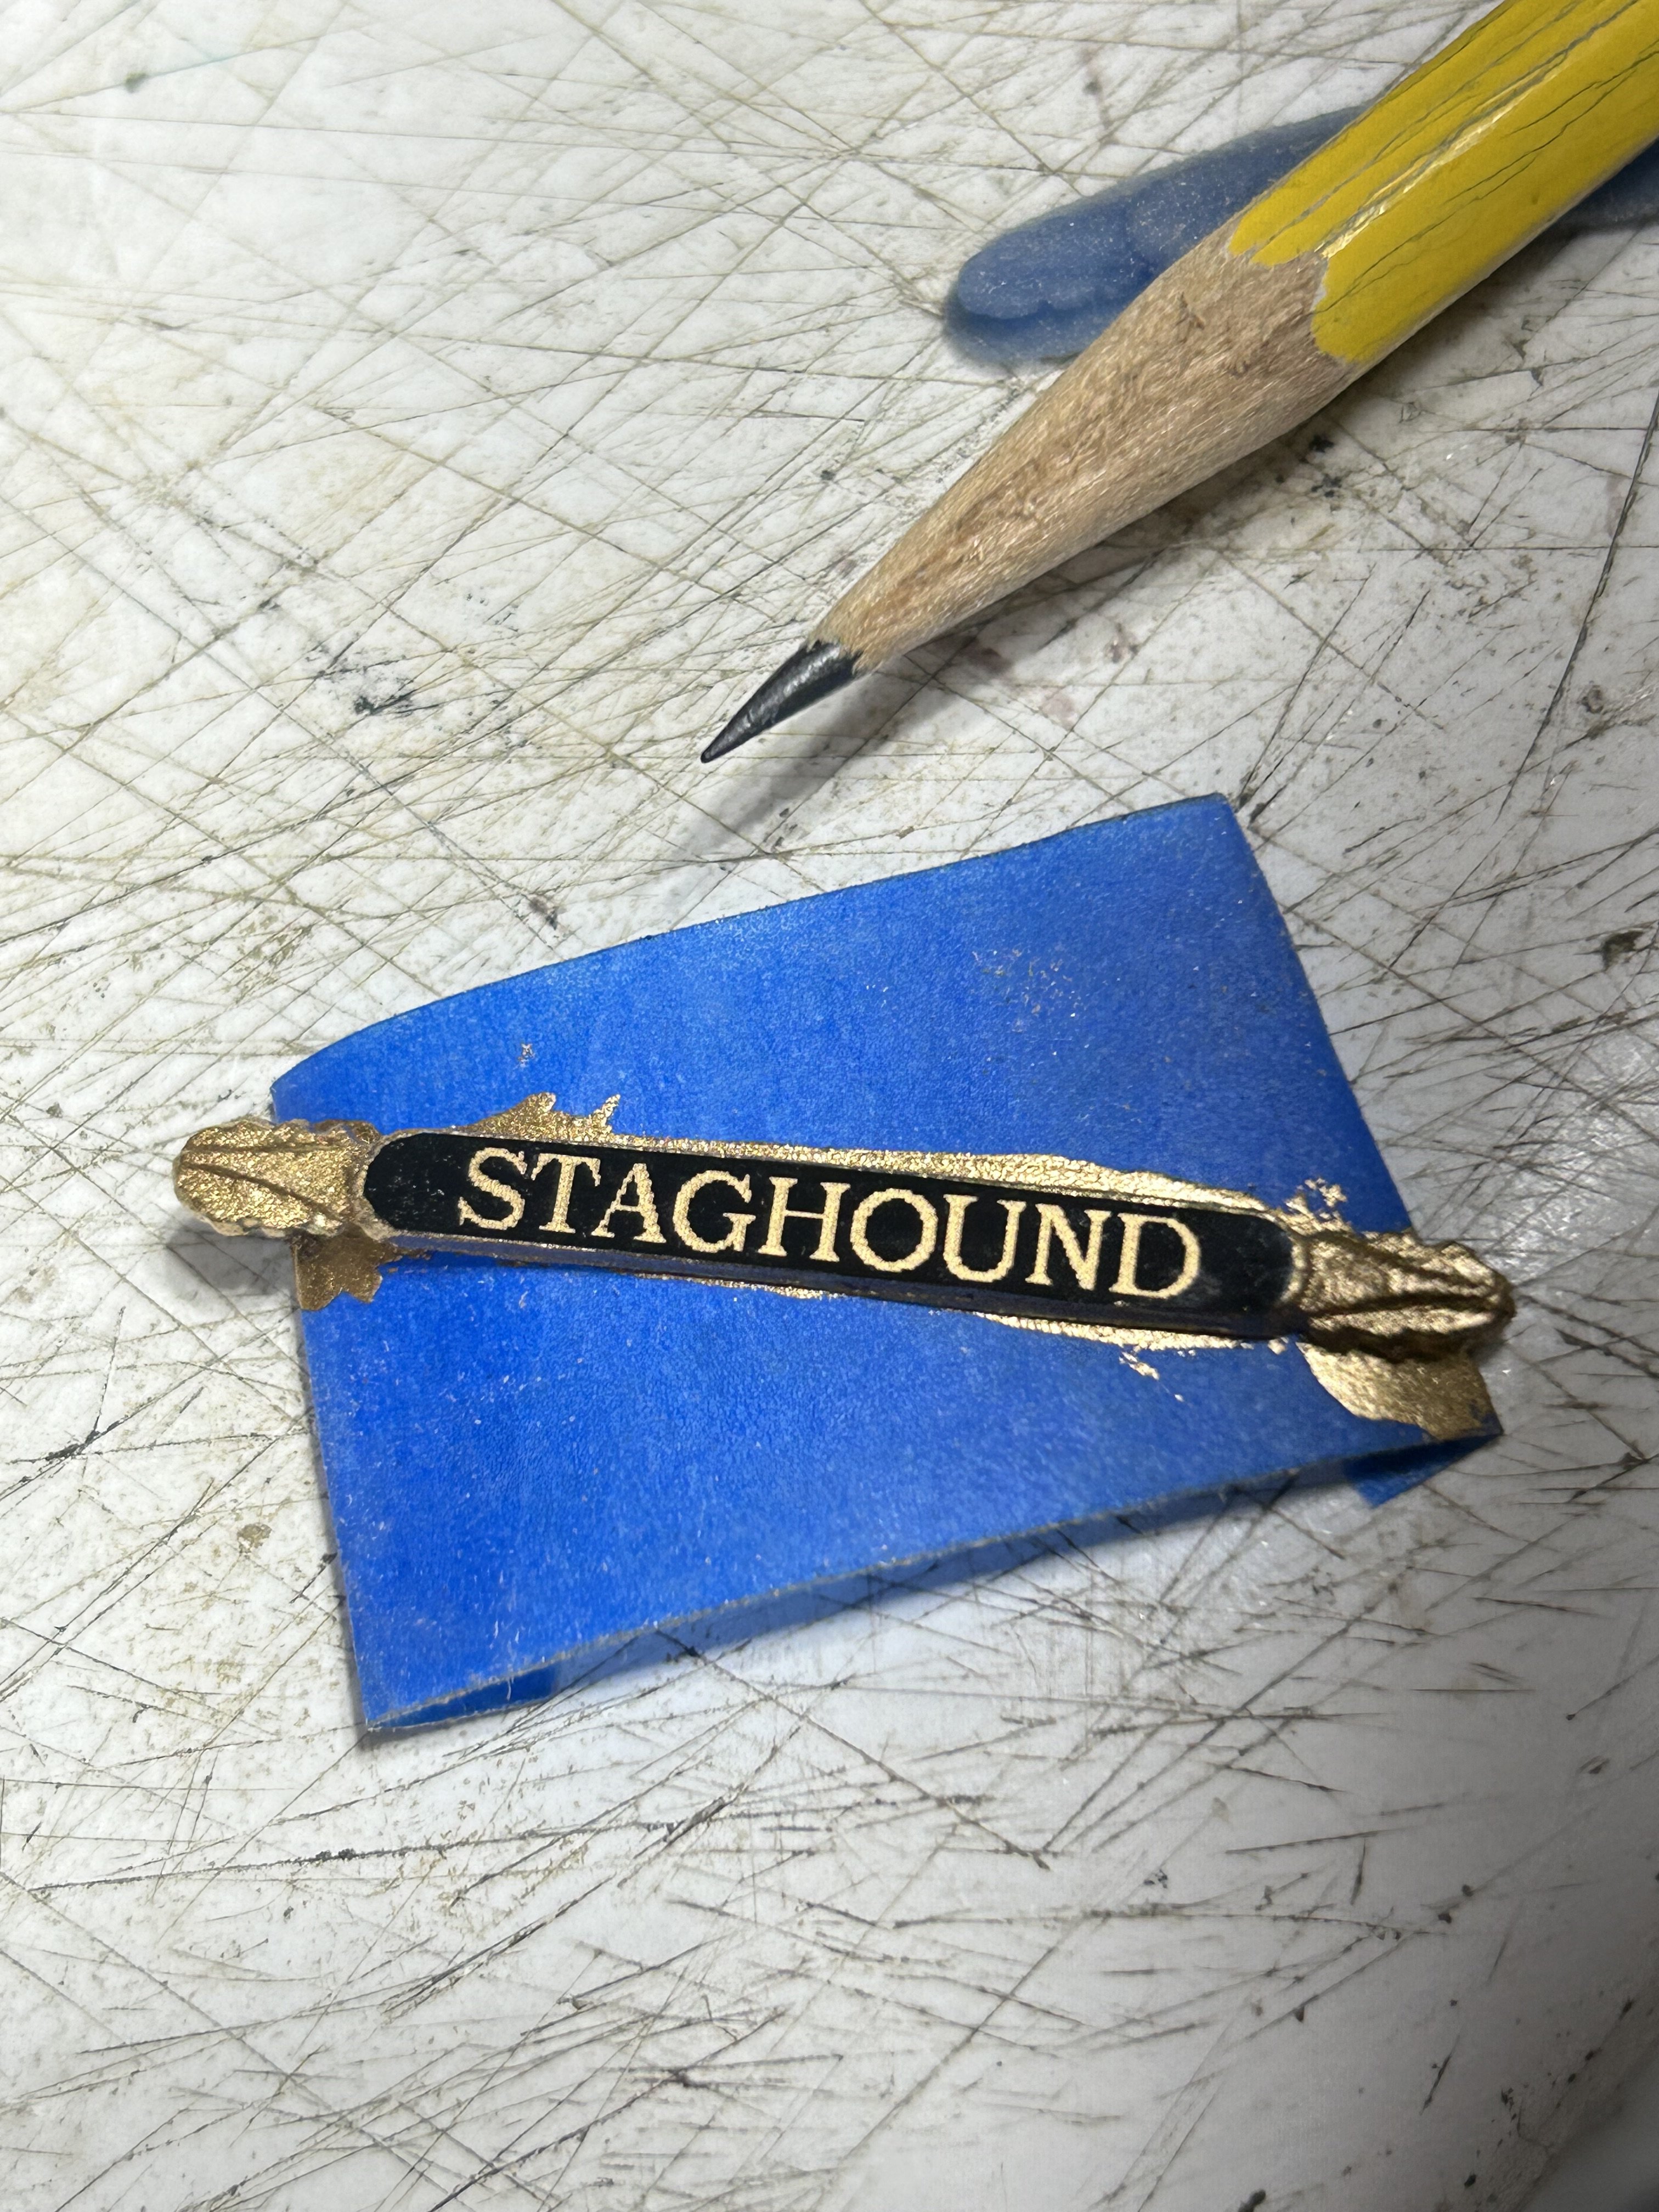
Great images Rich. Spent just a little time making the name boards. Rob


-
Buttersworth captured exactly how the massive single topsail was furled....or in this case..*Shortened*. You dropped the topsail yard half way and clewed the sail, allowing the top half of the massive sail to drop(flap) over the lower half. Reducing its effect and thus, reducing the stress upon the masts and rigging. This is how the topsail was reduced and eventually furled, prior to the advent of Captn. Howes revolutionary double topsail design. As mentioned earlier, this is how I plan on presenting my Staghound sail configuration. Rob
-
Flemishhorses, generally were used on yards that supported the stunsail booms. Crew deeded to get out far to rig and tend to the sail affixed to the boom. Rob
- 204 replies
-
- 1
-

-
- Flying Cloud
- Mamoli
- (and 1 more)
-
With the suggestion I made...it is easily applicable to 2 purchases. One port the other starboard. Simply end the tie chain heading back down to the deck with another gin block. Then run chain down to each purchase point and end in the block purchases. In essence the tie gin block would be the same for any double topsail arrangement. The tie leaves the yard, goes up through the mast fairlead pulley, just under the top tree....back down to a gin block that separates the two port and starboard purchase lines. That is how I plan on rigging the heavy topsail yard. Here is rudimentary drawing depicting what I'm describing. Note the gin blocks....the path of the tie.....the addition of the P/SB purchases......and the parral band wire lifts. Rob(Thanks)
-
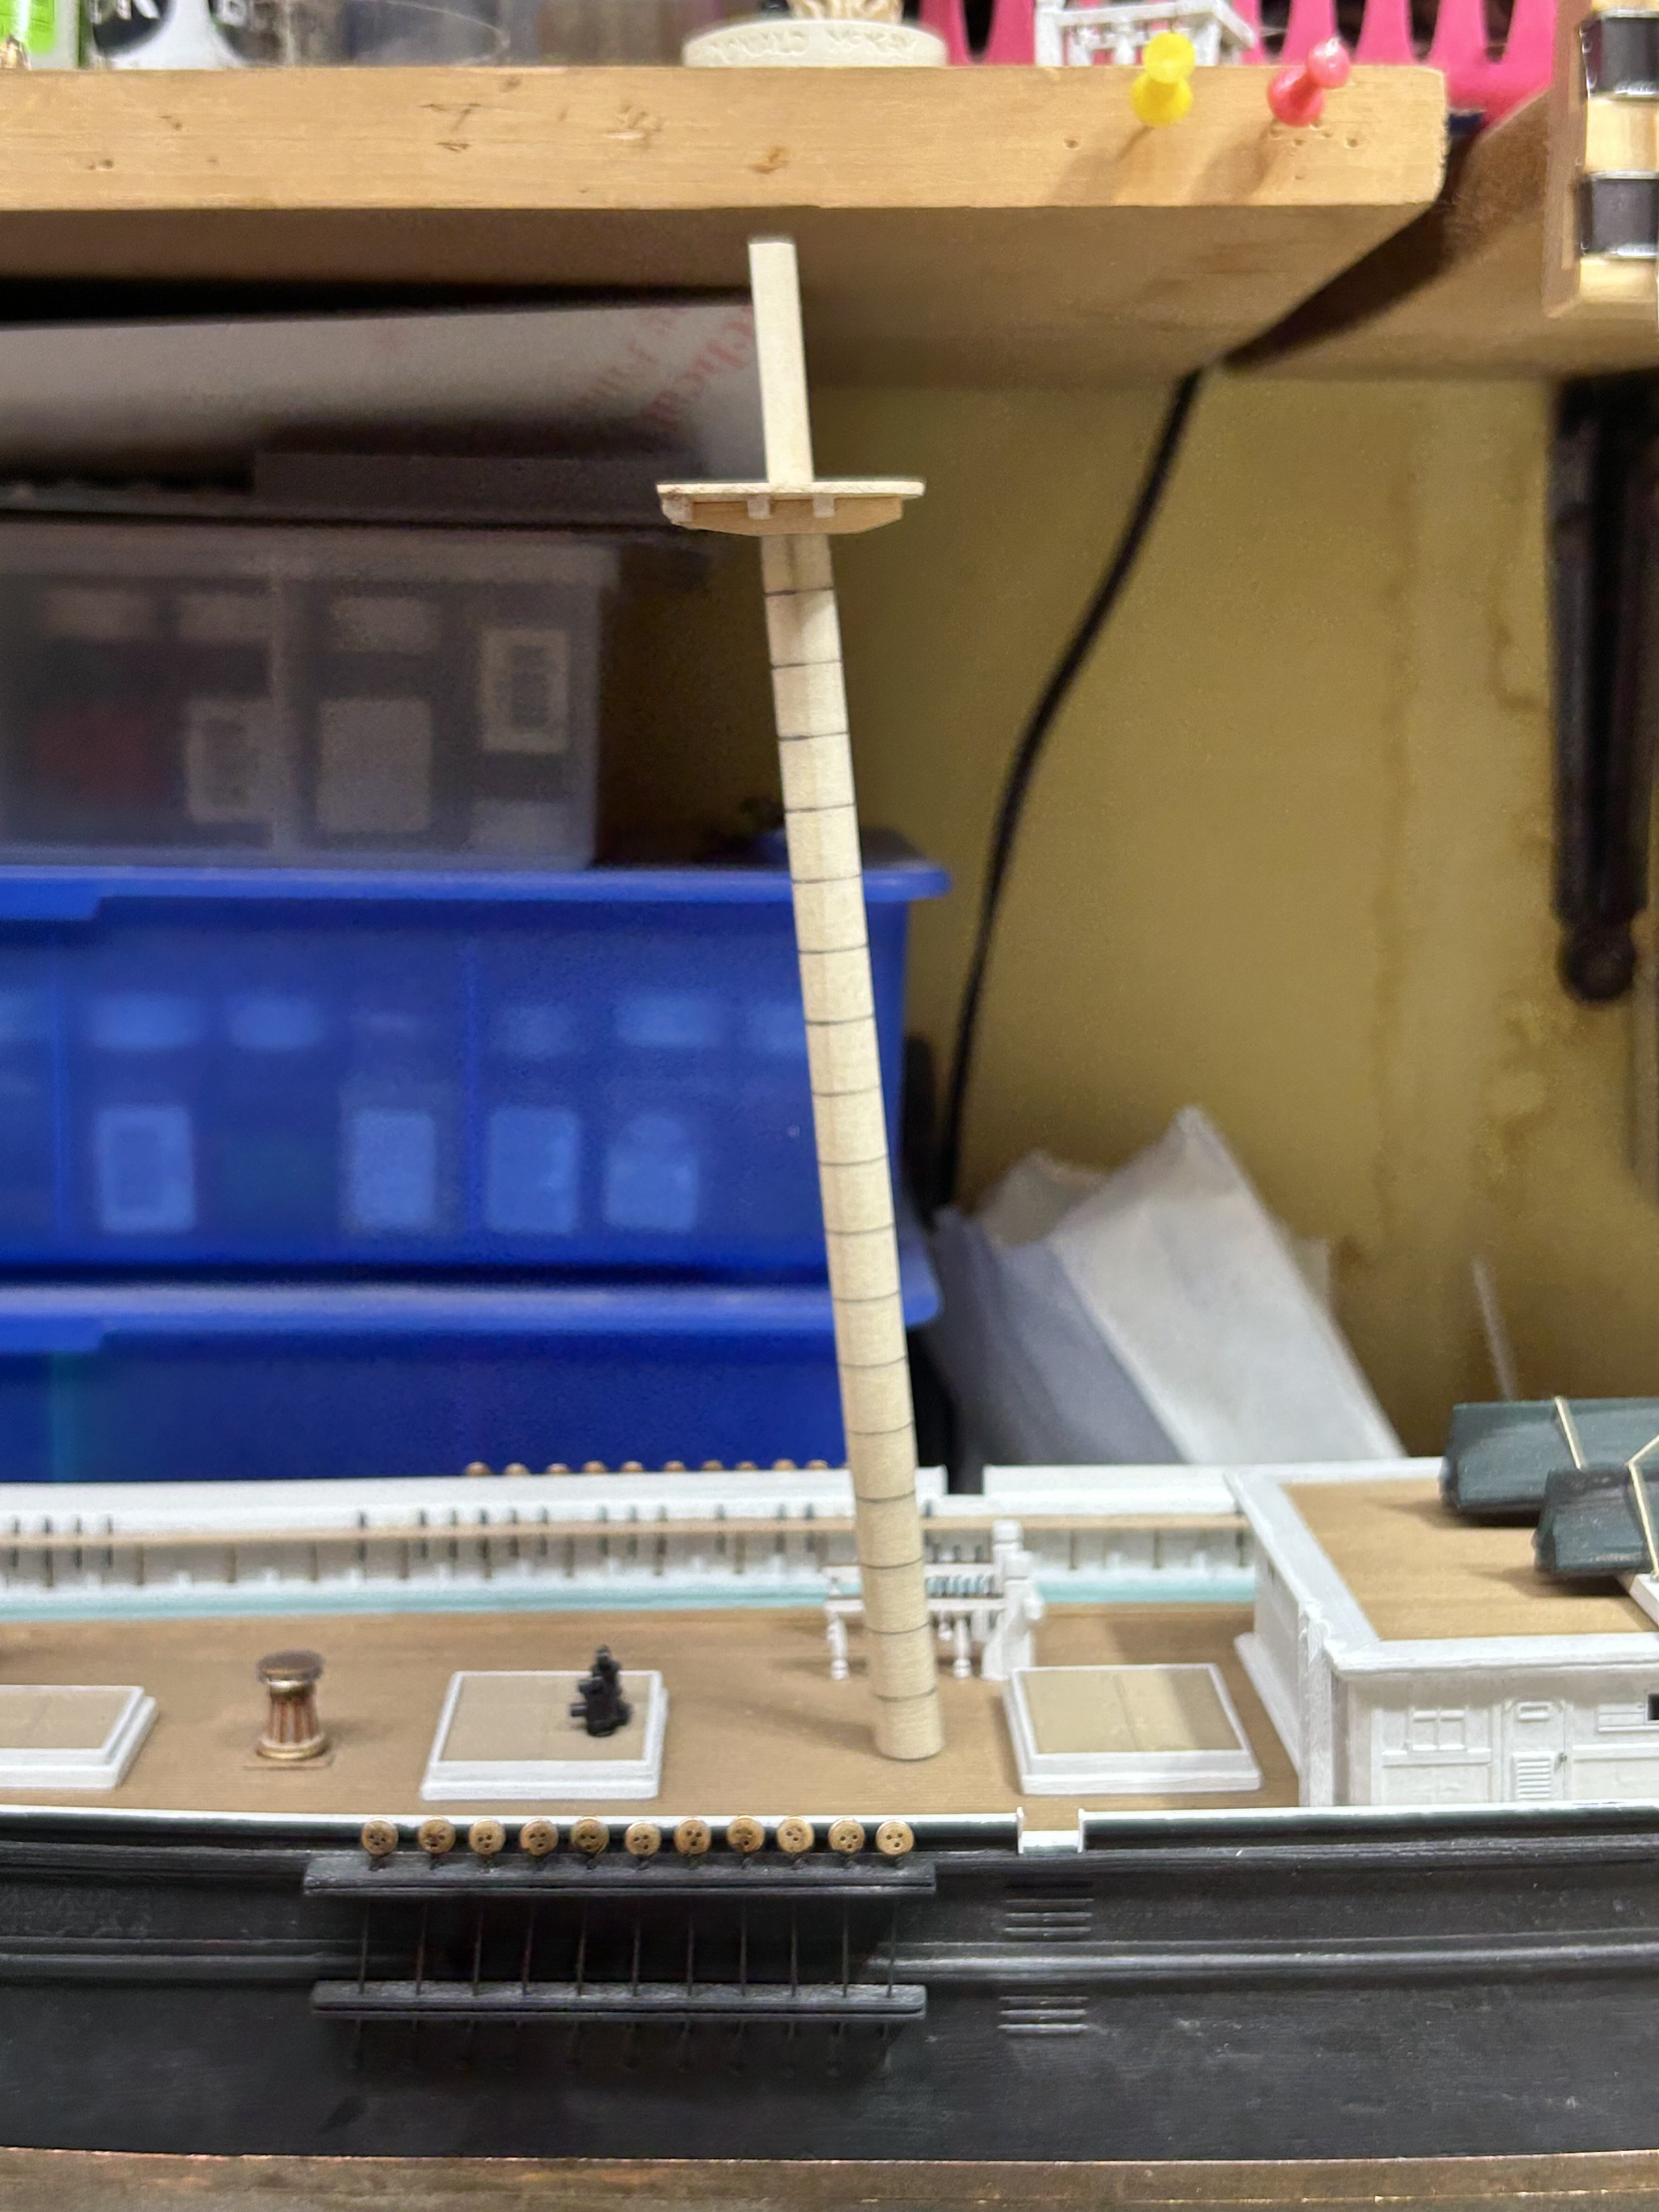
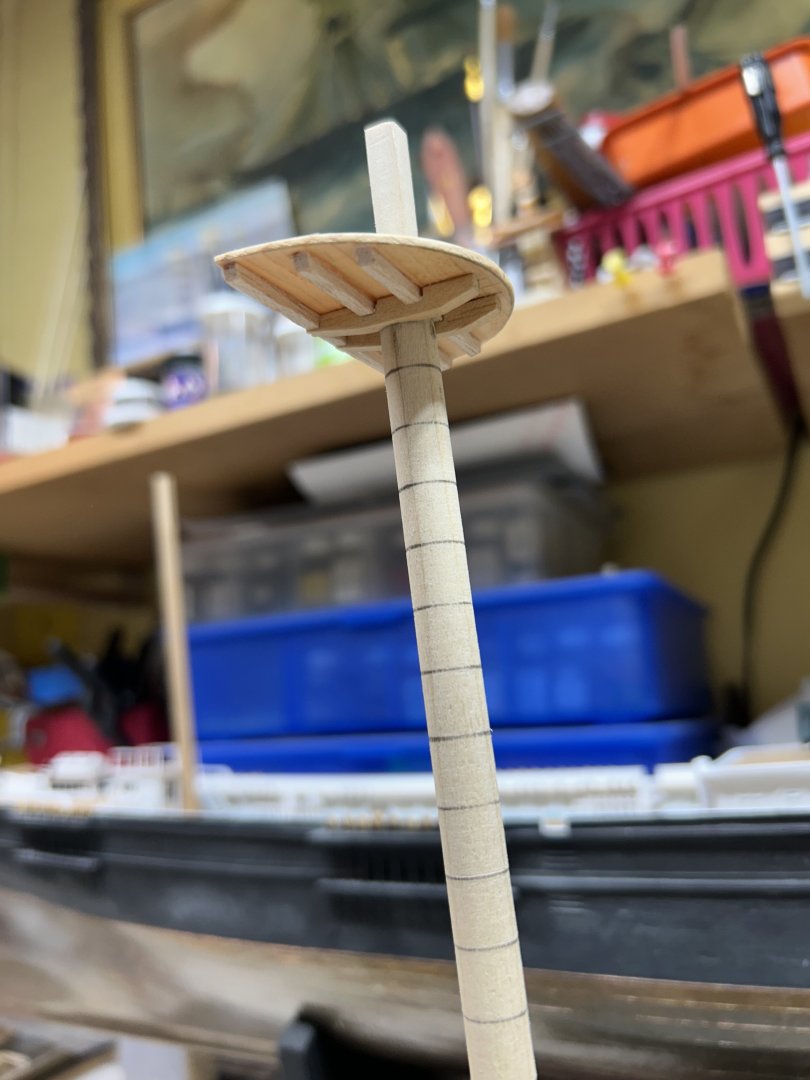
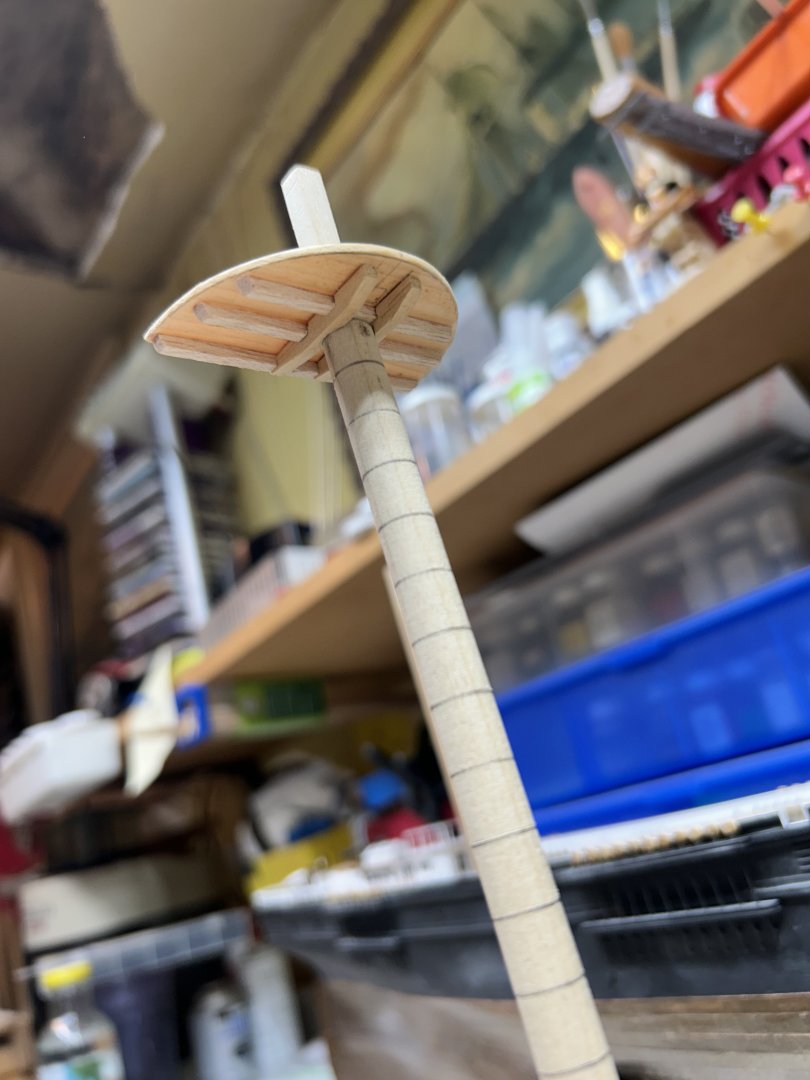
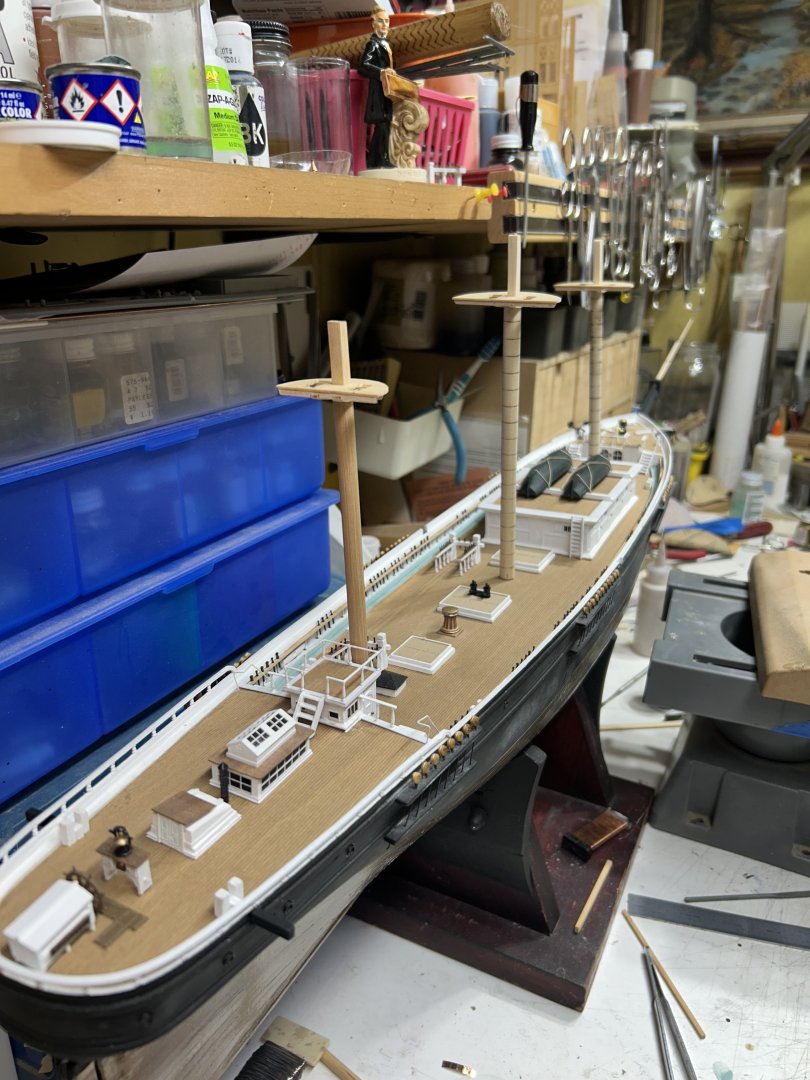
As I mentioned. I will begin adding detailing and adding trim. The cheeks won’t be added till I finished banding the main and fore masts. Once done, I’ll glue and paint the lower masts. I’ll then move onto the top masts, which will be varnished wood. And so forth, till the mast is built. No real detail will be added at this time , that will happen when each mast is treated as a single project. Till then…….simple mast construction. Rob
-
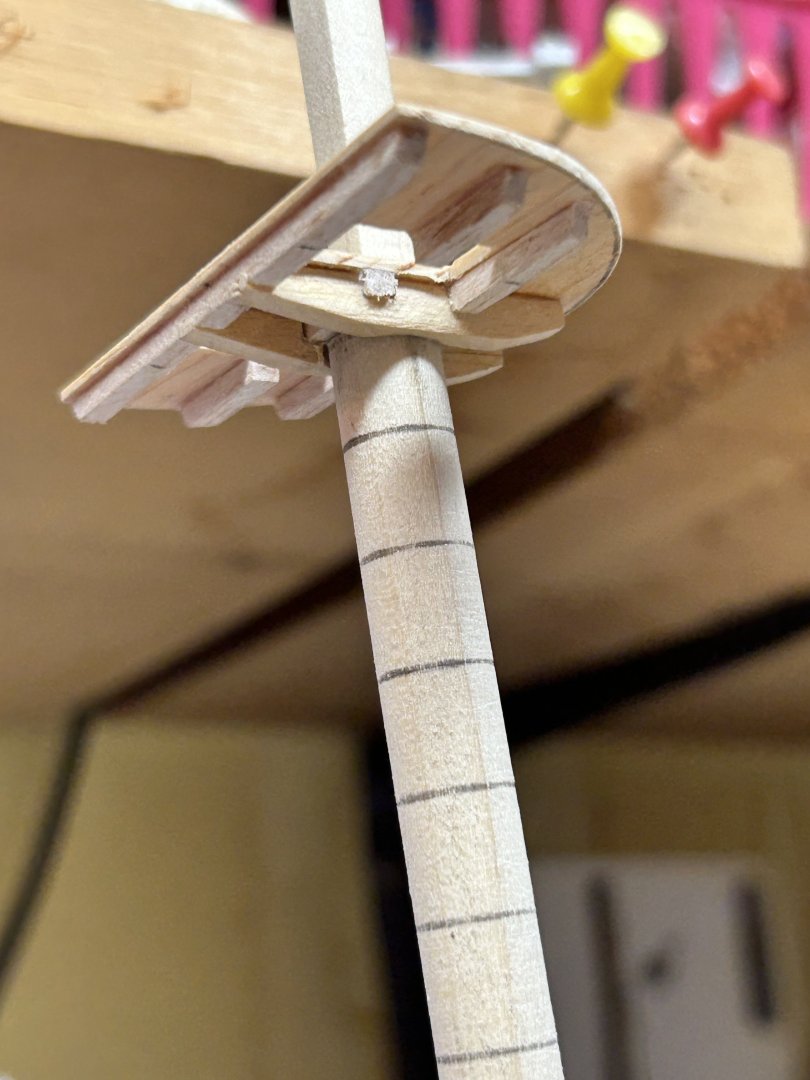
Spent a little time working on the 3 tops. Still have details to add, but the base construction is done. Rob


-
Pat. It came to me, so clearly. You can still use the double gin blocks at the tops, as described in Duncan McLeans description of flying Fish(which so happens to match your Victoria schematic). If you use the arrangement on the right...with the double gin blocks at the tops and a single gin block at the yard(which has an insertion eye) to affix the tie cable too) You can still add a parral band lift cable to the center chain just above its insertion point on the block. This portion of the tie does not rotate around a block....but simply moves up and down, in tandem with the yard and parral. I feel satisfied and comfortable with this arrangement for my Staghound. Your thoughts? Rob
-
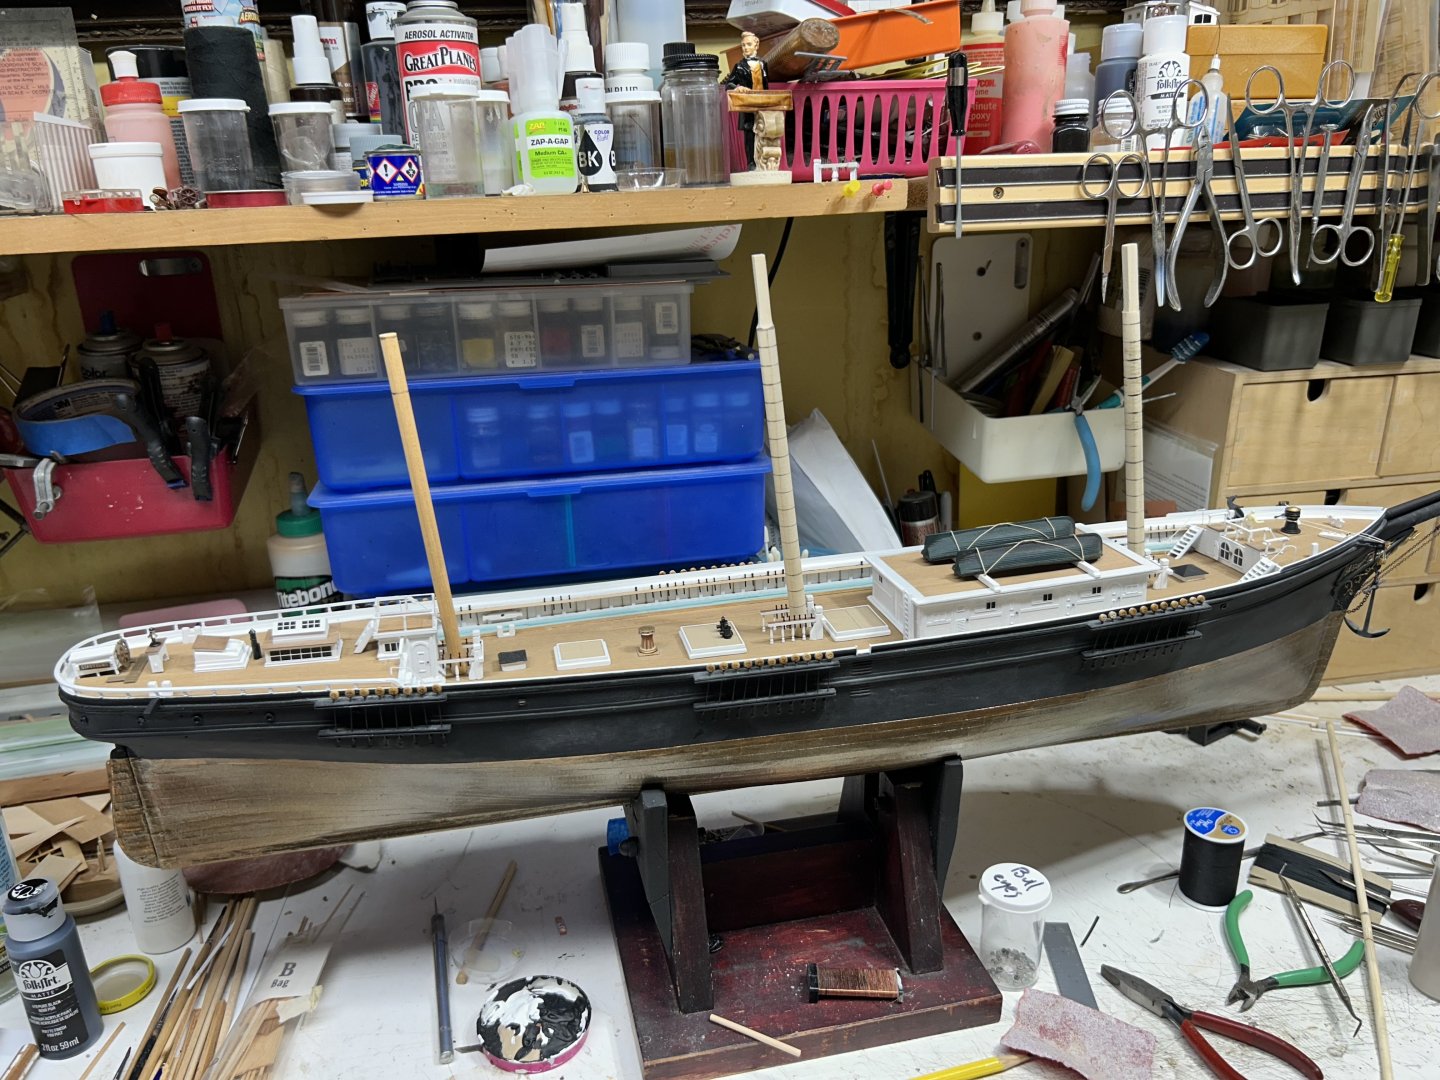
You've moved along impressively. Nice clean work....she looks wonderful. Rob
-
I began the construction of the 3 lower masts. Turned , tapered and marked out banding locations. Rob


-
Pat ……I love both of your examples. But if you examine the action of the tie cable….. you will see. That the action will not permit a parral lift cable to be affixed that would not be in danger of following the rotation of the chain along its gin block travel. Making it useable. Under normal tie lift action, the parral lift cable affixes to the central tie chain. And both move in tandem. One lifting the yard, the other lifting the parral band. Without this cable, the parral band will bind. Rob
-
It should be concluded that even though Flying Fish was a product of 4 vessels proceeding Staghound. It must also be concluded that the heavy single topsail yard required additional lifting mechanisms that were employed on, Flying Fish and described by Duncan McLean, must have been a fixture of Staghound/ Flying Cloud /Staffordshire/North America as well. However, this fixture as depicted by model manufactures(though looking impressive), will not function if parral lift wires are applied. Parral lift wires, were just as important as the main tie's were themselves. The modelers system is drawn to work as a pulley system, using the top 2 gin blocks along with the single yard trussed gin block. In essence, the yard gin block is simply acting as an insertion point for both tie cables. Each having their own upper gin blocks and purchases below on deck. Skip the yard gin block....secure the tie cable directly to the yard band...up through the top gin block and down to their appropriate, port/starboard purchase block arrangement on deck. Doing so, will still satisfy McLean's description of double gin bloacks and provide a workable solution for lifting both yard and parral bands equally. Avoiding the mast binding that would most likely occur if parral lift wires were not employed. Rob
-
Possibly to retain the banding from possible rotation on the yard. I’ve seen this octagon centers on other ships before. James Baines? Rob
-
Just beautiful. Your attention to clean precise details is just astounding. Rob
- 105 replies
-
- 1
-

-
- Cutty Sark
- Sergal
- (and 1 more)
-
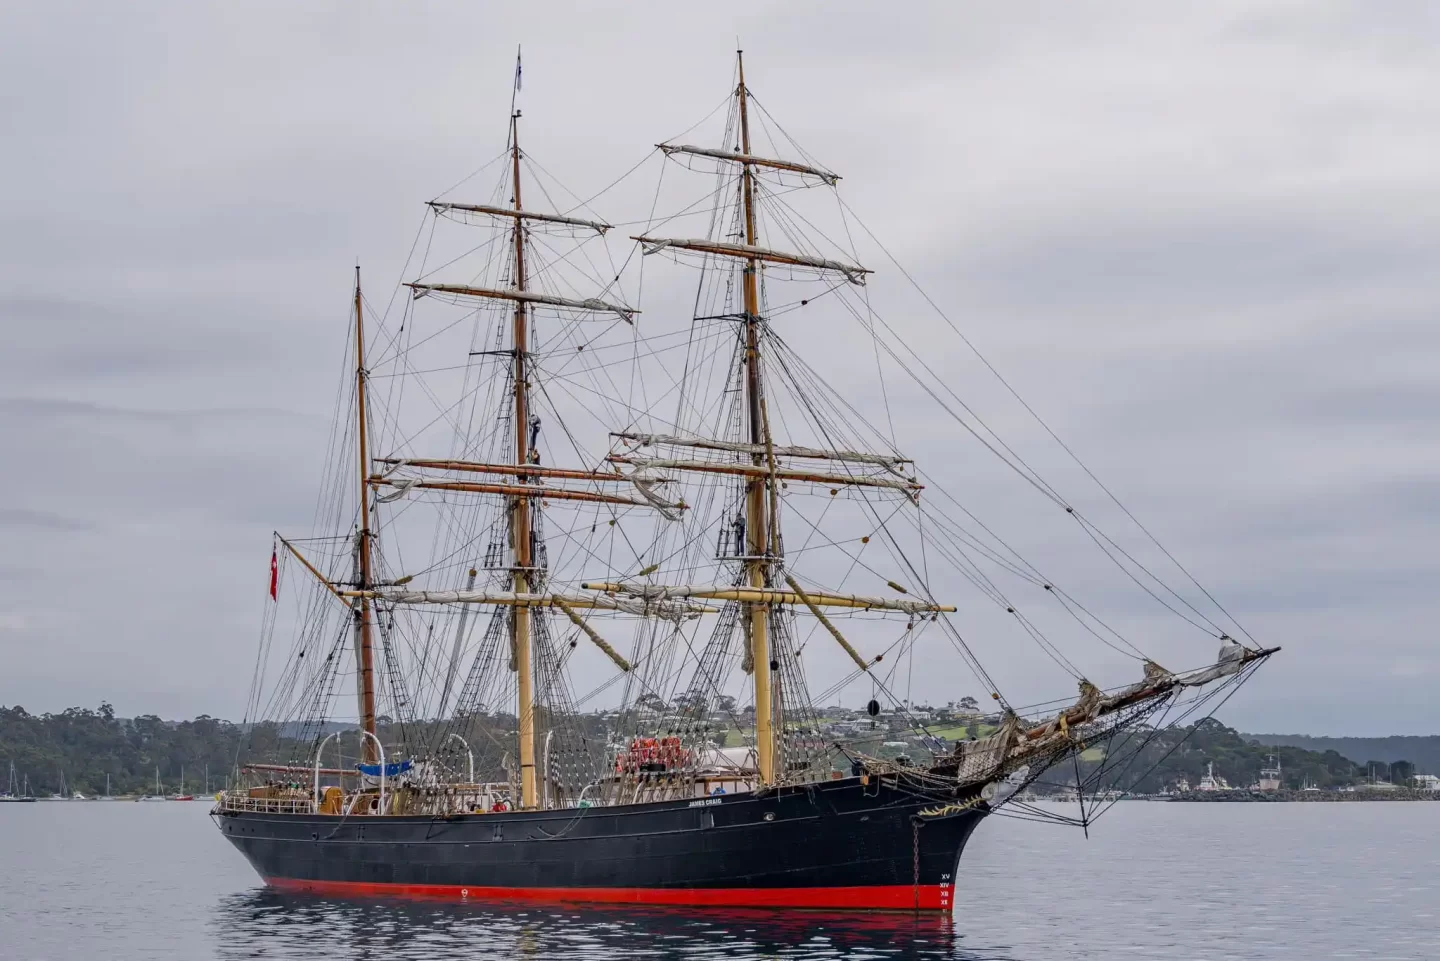
Pat...I believe I got illustration 97 from an online reference for the model plans for the clipper Flying Fish. The last is of the Barque James Craig.
-
Trying can only have two results. You either, tried and failed, where trying is your excuse, or you tried, till unacceptable failure was replaced by success. Rob
-
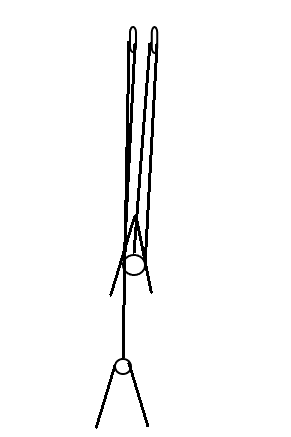
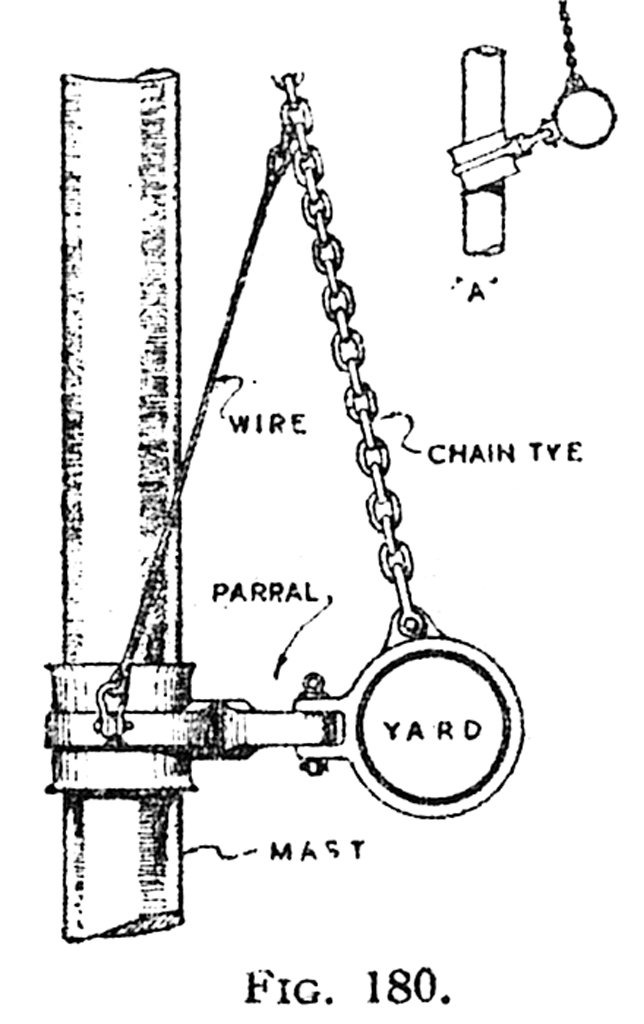
Further observation....concludes that it is true Duncan McLean of the Boston Atlas, did indeed say that Flying Fish did have double topsail ties. But I argue...not in the manner model designers have drawn. Their design causes the tie's to run free within 3 gin blocks. Meaning one side could be purchased in greater effect...resulting in the chain passing freely through all gin blocks. Making any parral lift cable bolted to the tie inoperable. For it would pull up against the cable or bind at one or both of the purchases. The arrangement drawn here is not compatible for top sail yard parral lifts. And if you can't lift the parral along with the yard...you will bind the parral on the mast. See first image. I propose that each tie coming down from each gin block under the top tree...attach to the iron band instead of on center of an iron bar. This would also eliminate extra hardware like the bar and gin block that would impede full upward travel along the mast. You would still have port and starboard purchases that terminate at the channel and pin rail .

-
Back to business. In my constant research, I have discovered(many years ago) that the double tie lift/halyards found on clipper models such as Flying fish and Flying Cloud's topsail yards...is in all practical purposes incorrect. They depict the tie on both sides of the top trestle tree as connected to the gin block found on the crane just top of the yard lift band. This arrangement, will not permit the necessary Parral lift wire to work at lifting the parral along with the yard evenly. Here is a picture of the said published design. Note that both ends of the tie end in haulyard purchases on opposite sides of the hull....along the channels. Here is another picture of the proper arrangement for a parrel left wire to attach to the tie and even lift the parrel and yard evenly....to prevent binding. Lastly, note the actual cable lift on this image that afixes to the parral from the chain tie lift.
.png.67d596a5dd915c503d6e38f7580a85a7.png)

-
There were far too many factors that led to the American clipper demise. North American Transcontinental access via rail(which helped and hurt). The war of Southern oppression, indiscriminately altered American shipping (Leaving few for robust international competition) . The Black Ball line of Liverpool purchased more American clippers that any other. More speed and cargo capacity. Economics(Shipping costs). If it were not for the British insatiable demand for tea...the *Great Tea races* would have never found fruition. so many factors....realized and otherwise,.... contributed to American clippers being lost to time. I, however, have but one non American clipper in my fleet of clippers. The little Cutty Sark. She shares the harbor with Sea Witch, Swordfish, Great Republic, Glory of the Seas, Staghound....oh and their little whaling friend C.W. Morgan. Long live the American clipper......at my house!😍 Rob
-
Not quite sure, it was on a plaque I kept in my denture office. But it applies to model building……I’m sure. Rob
-
In like manner… there is another adage I particularly agree with……. That is…… ”Quality is never an accident, it is the result of high intention, sincere effort, intelligent direction, and skillful execution. It represents the wise choice of many alternatives “. Rob
-
Try as you may…..it’s the tried and true method of trying without trying , that makes all other attempts trivial. I above all others will never shy away from a good ole fashioned attempt at trying. Rob
-
Thanks Rich for the calculations. I already concluded the dimensions and made the temp masts to replicate them. I know that only her fore and main were built as well. It is how I am going to replicate them for this model. That is my next project. Again …..thanks. Rob
-
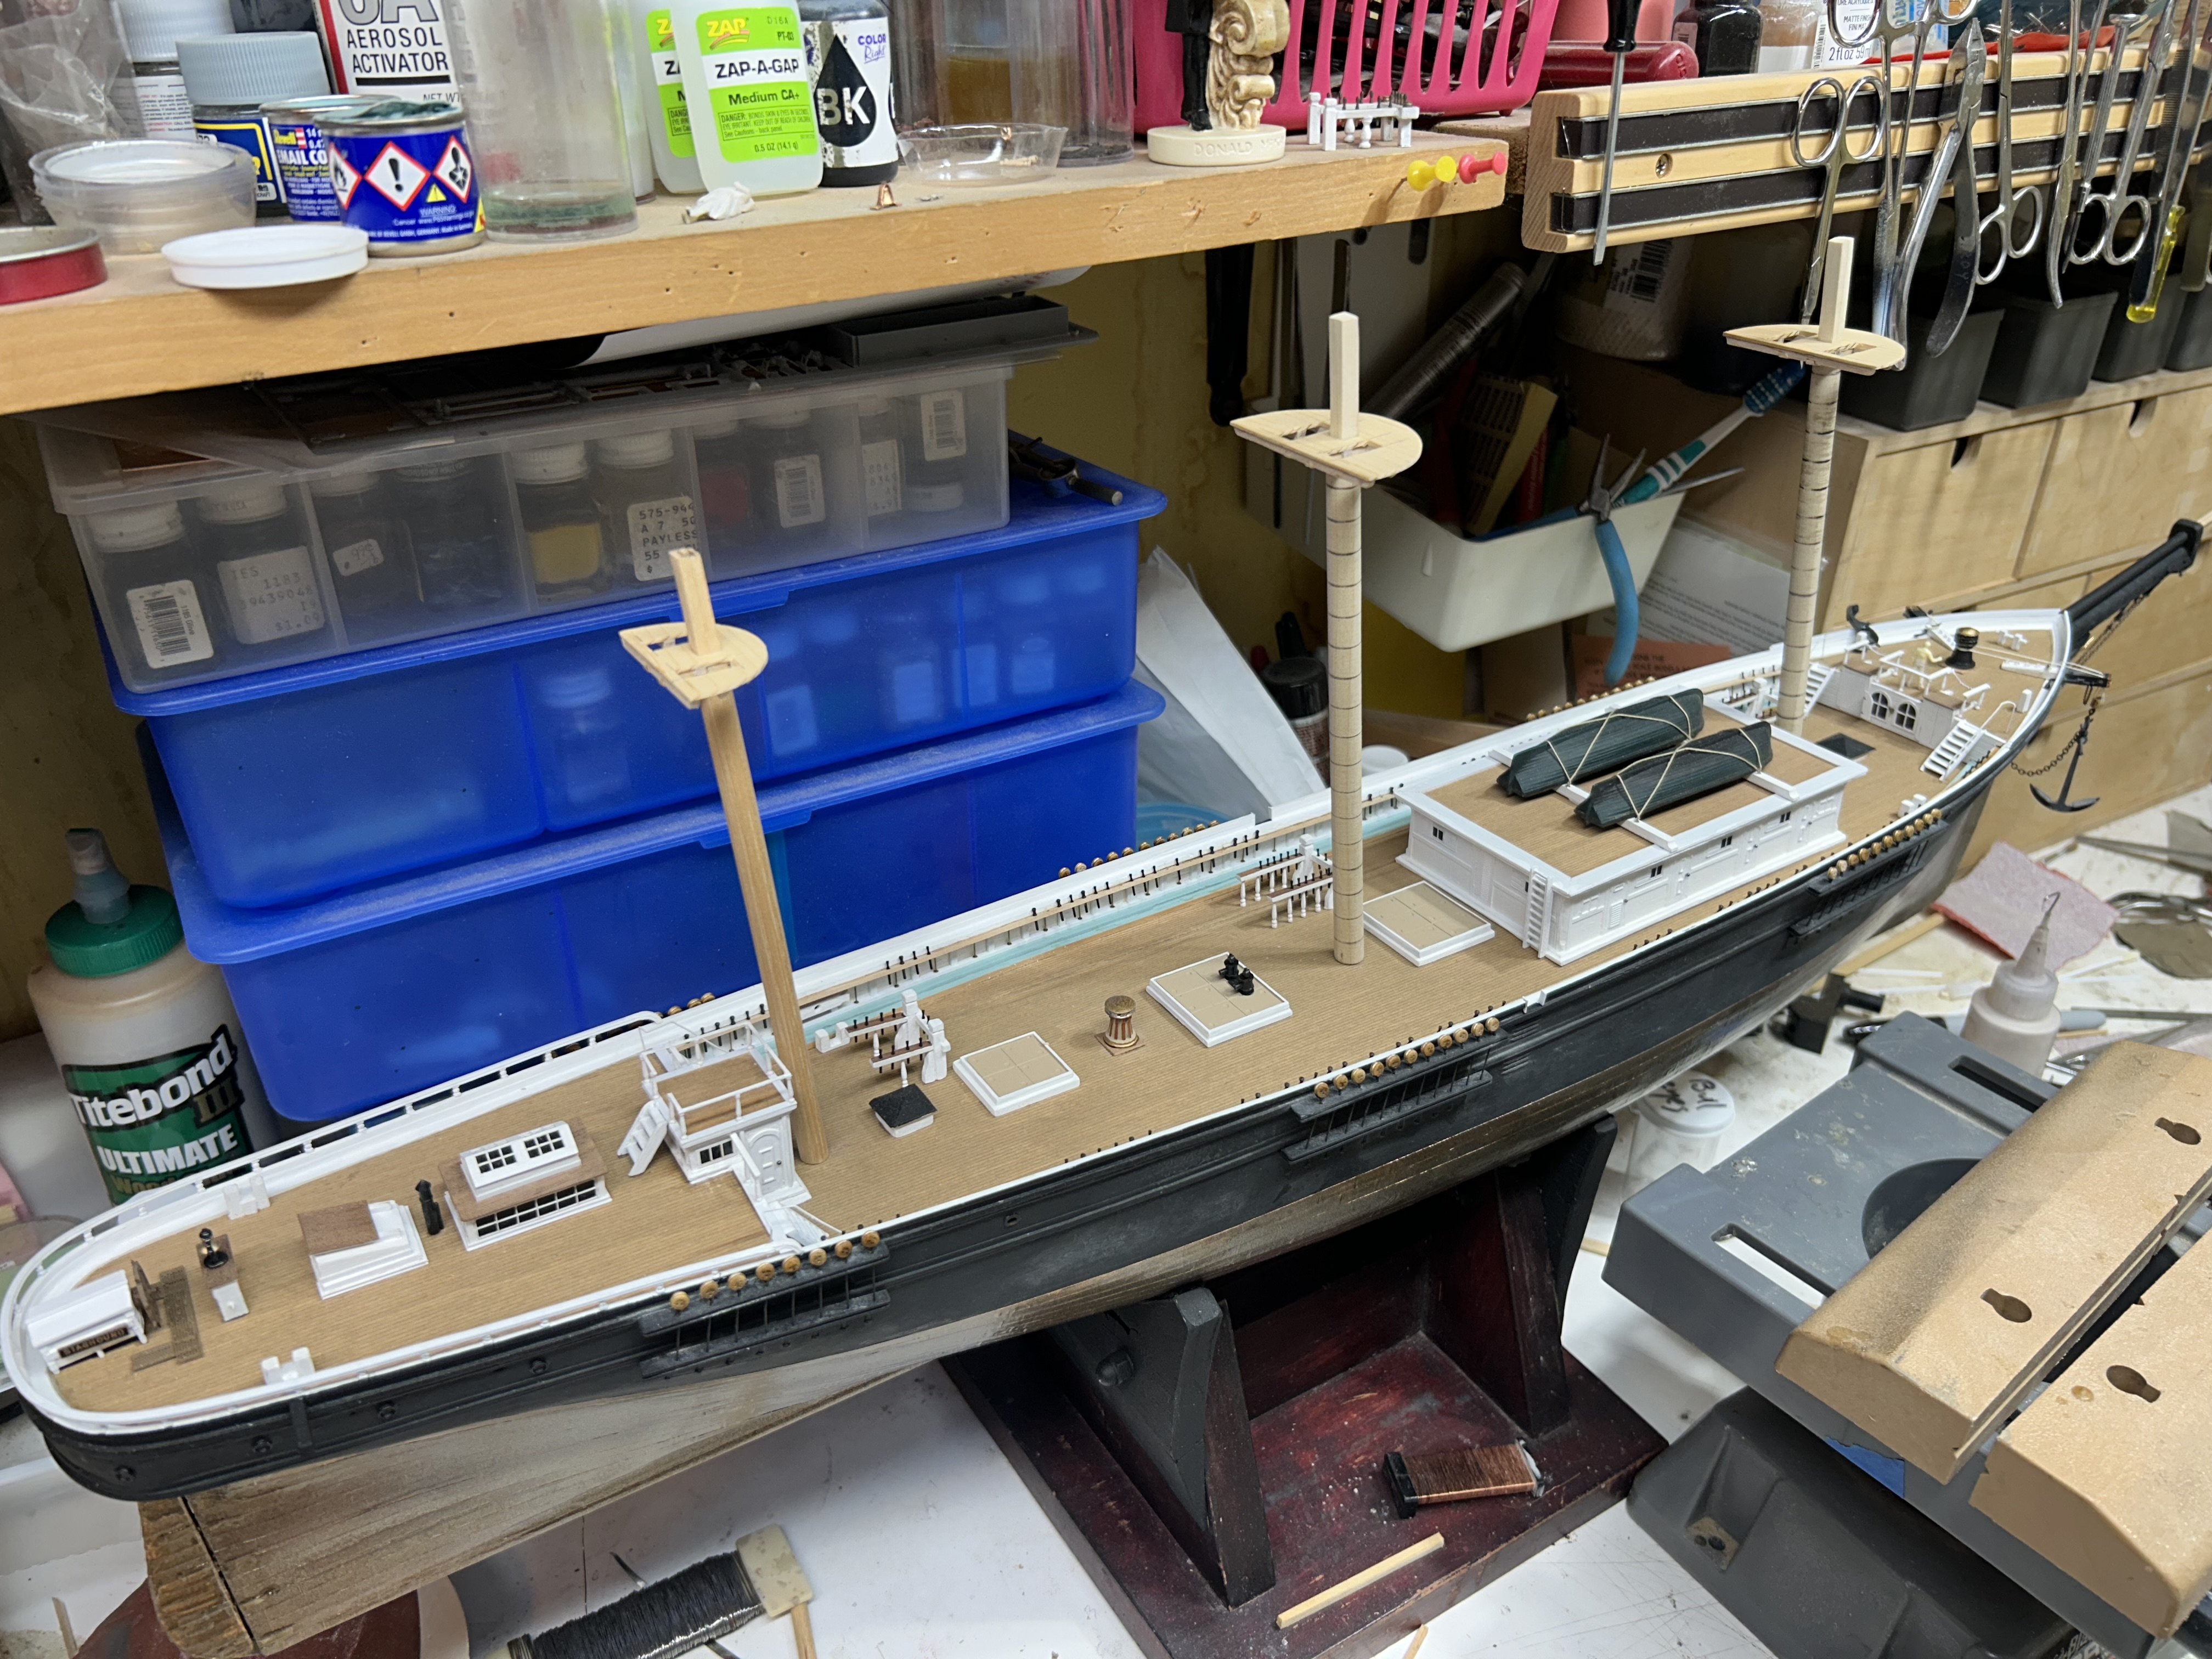
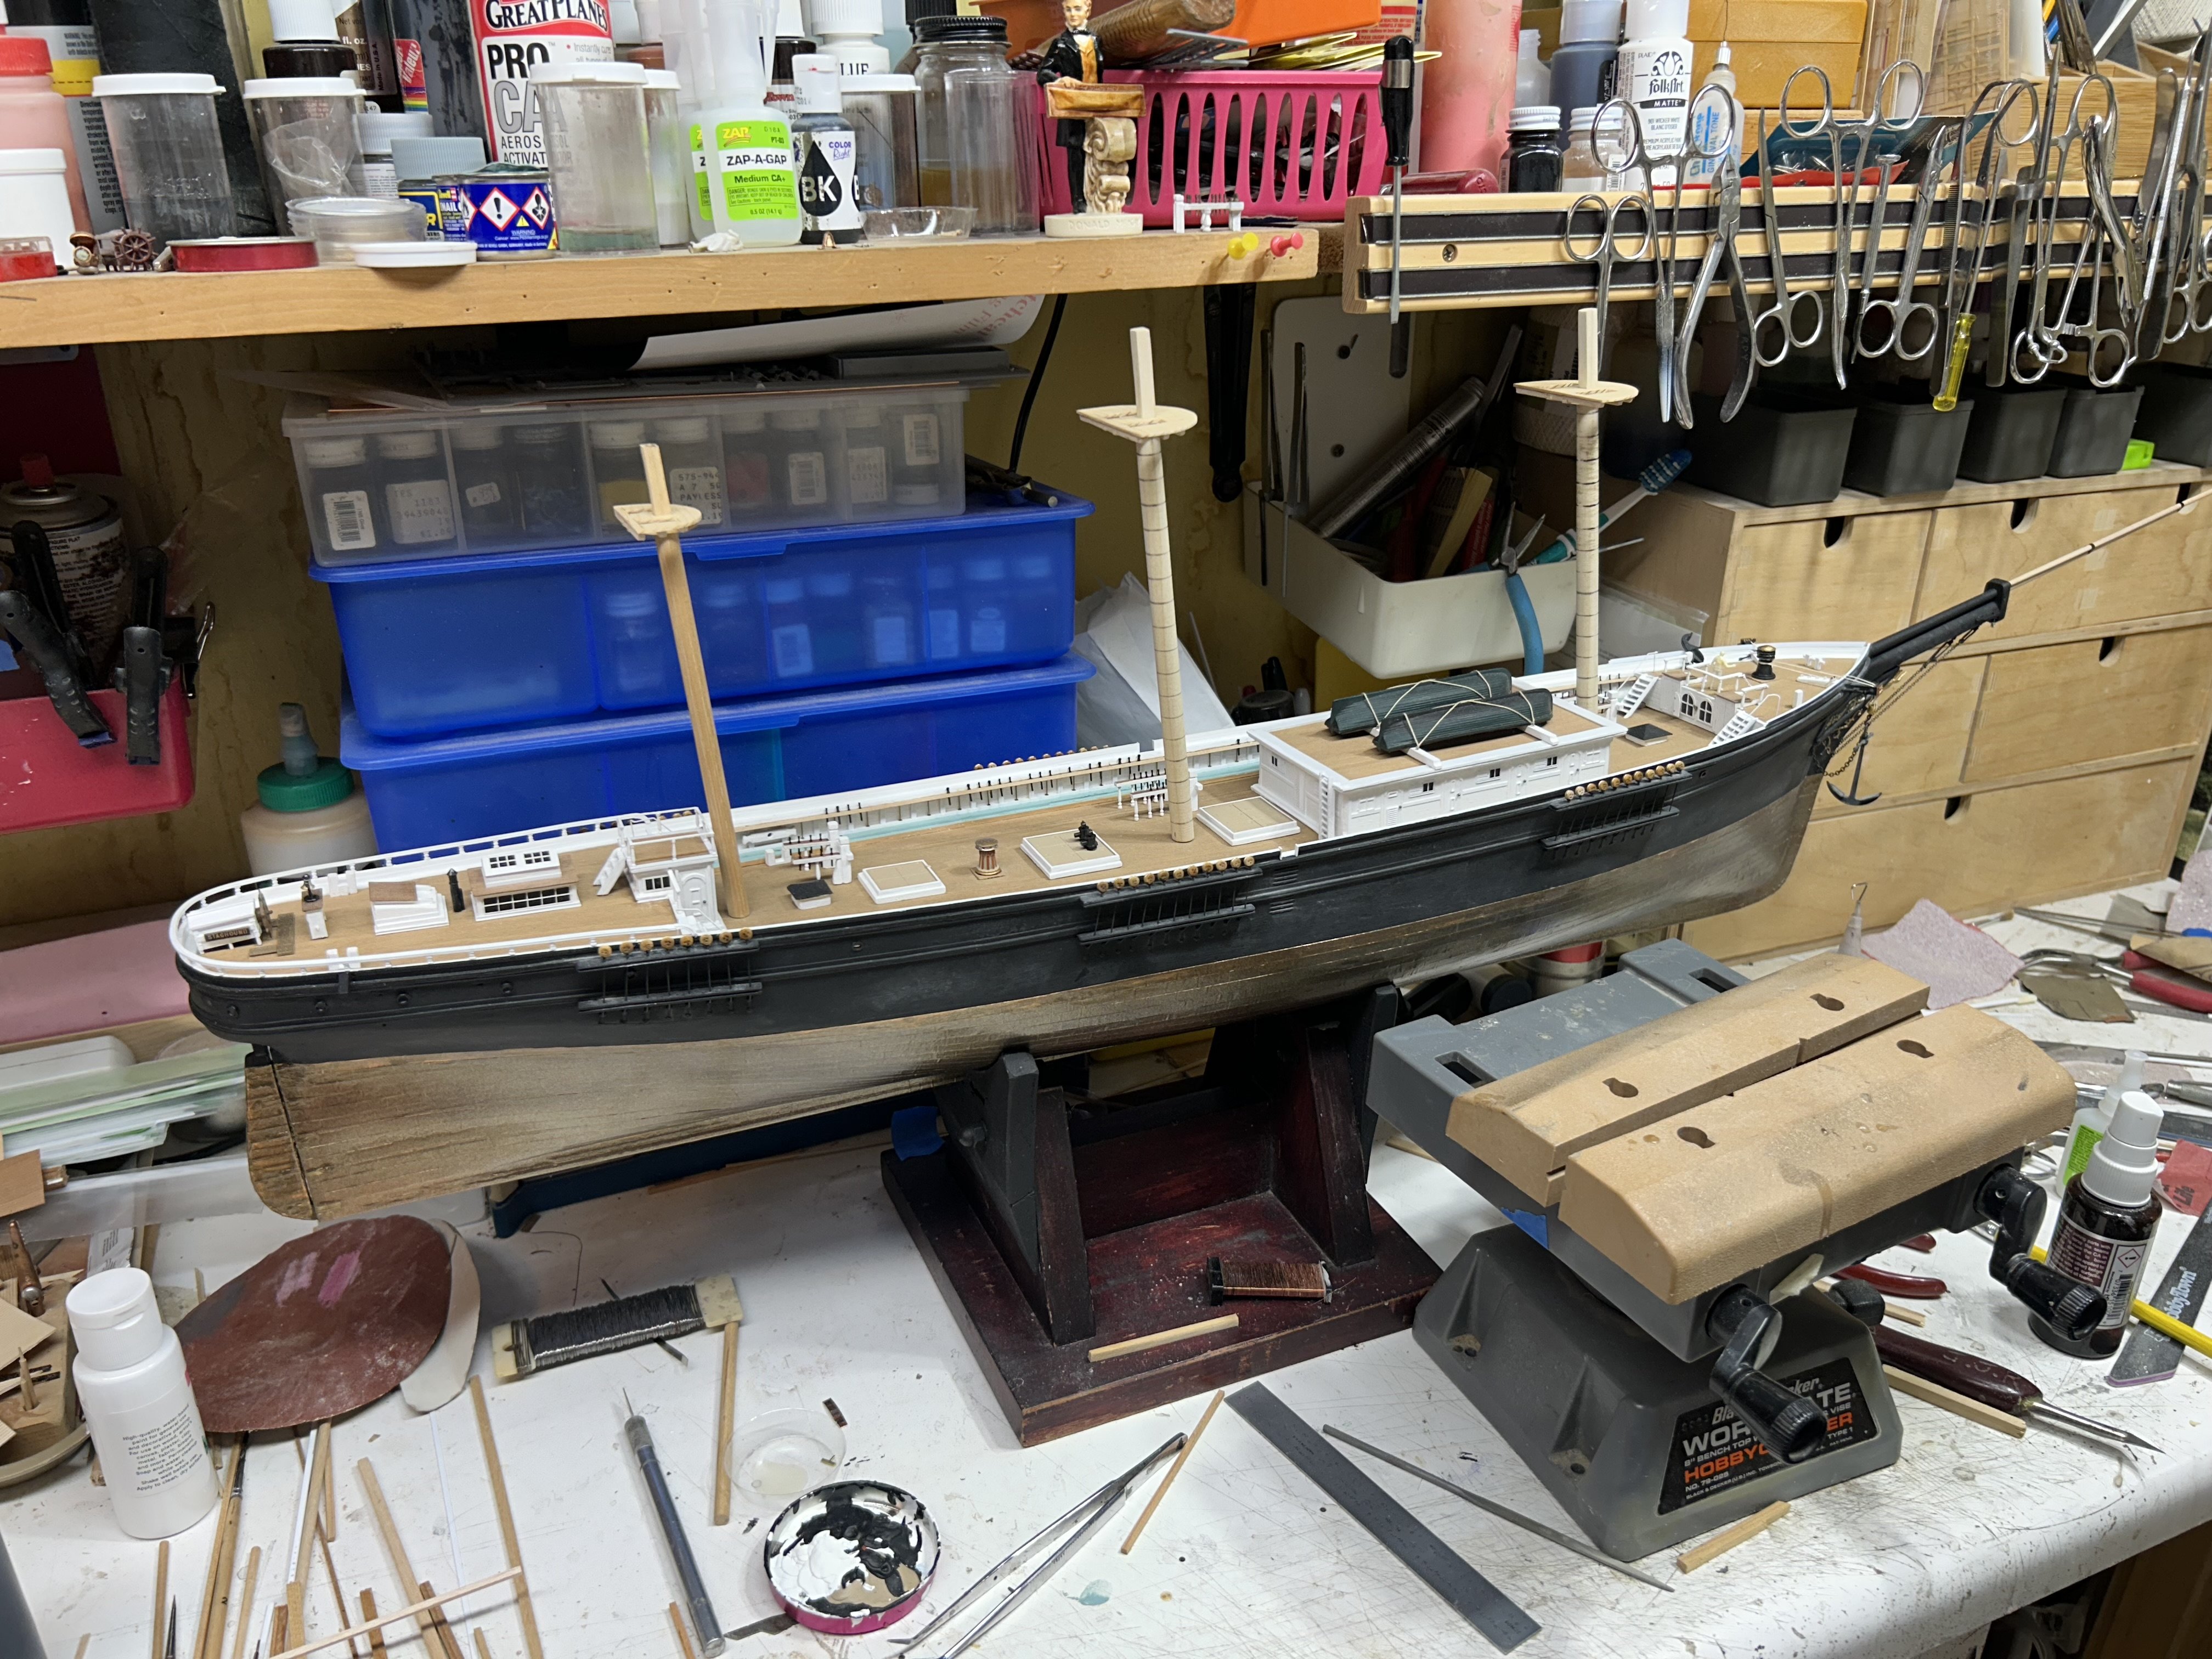
Setting up the mock masts to determine each mast height and doubling length. After reviewing Bruce’s Lightning’s lower built masts. I might consider simply banding them without the chapels. Rob

-
Reminds me of when Forest Gump run and broke free from the shackles of his leg braces....... Rob
-
If 465 nautical miles in 24 hours was sustained across the 14,000 mile journey. Lightning and Champion of the Seas would have made that trip in just over 30 days. Magine that!😲 Rob