rwiederrich
-
Posts
5,520 -
Joined
-
Last visited
Content Type
Profiles
Forums
Gallery
Events
Everything posted by rwiederrich
-
Oh....I agree...flying Cloud made the fastest passages during the seasons that she made them. and I agree, she retains that unequaled record for any large 3 masted deep water full rigged ship(to be clear). But, there IMHV, is more to the qualification as, *Best clipper*, then simply a fast passage. Far too many contributors need to be taken into consideration. But a flat out race...if the conditions were right for a 465 mile achievement in a 24 hour period were to be sustained during the entire voyage.....it would be clear who was the fastest vessel afloat. So many factors need to be considered....such as, hull design(which effects stability and buoyancy), friction coefficients, wind direction and speed, sail dynamics and placement, crew availability and aptitude, and course application. And the list goes on. And we haven't even discussed cargo capacity, and ship ergonomics. When one considers the ease of accessibility in deck arrangements that favors crew egression.....I'de have to stick with clippers like the Lighting and the Donald McKay. So much to choose from... Rob
-
No...William Webb and Samual Pook built fine extreme clippers. Just not as prolific as McKay. Rob
-
Good question. I would have to say the fast clippers Lightning or Champion of the Seas. (Both were *extreme* clippers). Lighting sailed over 436 nautical miles in one day. and Champion of the Seas sailed over 465 nautical miles in a 24 hour period. Making her one of the fastest clippers. (Note: McKay had several of his clippers achieve over 465 nautical miles a day). Both of these ships recorded speeds in excess of 21 knots. Both were over twice as large as CS. If it were not for the American civil war....we would probably have an American example of a clipper with us today. The Confederates captured and burned more clippers than were built, during that time period. Clippers were a truly an American invention. Rob
-
Another Rob

-
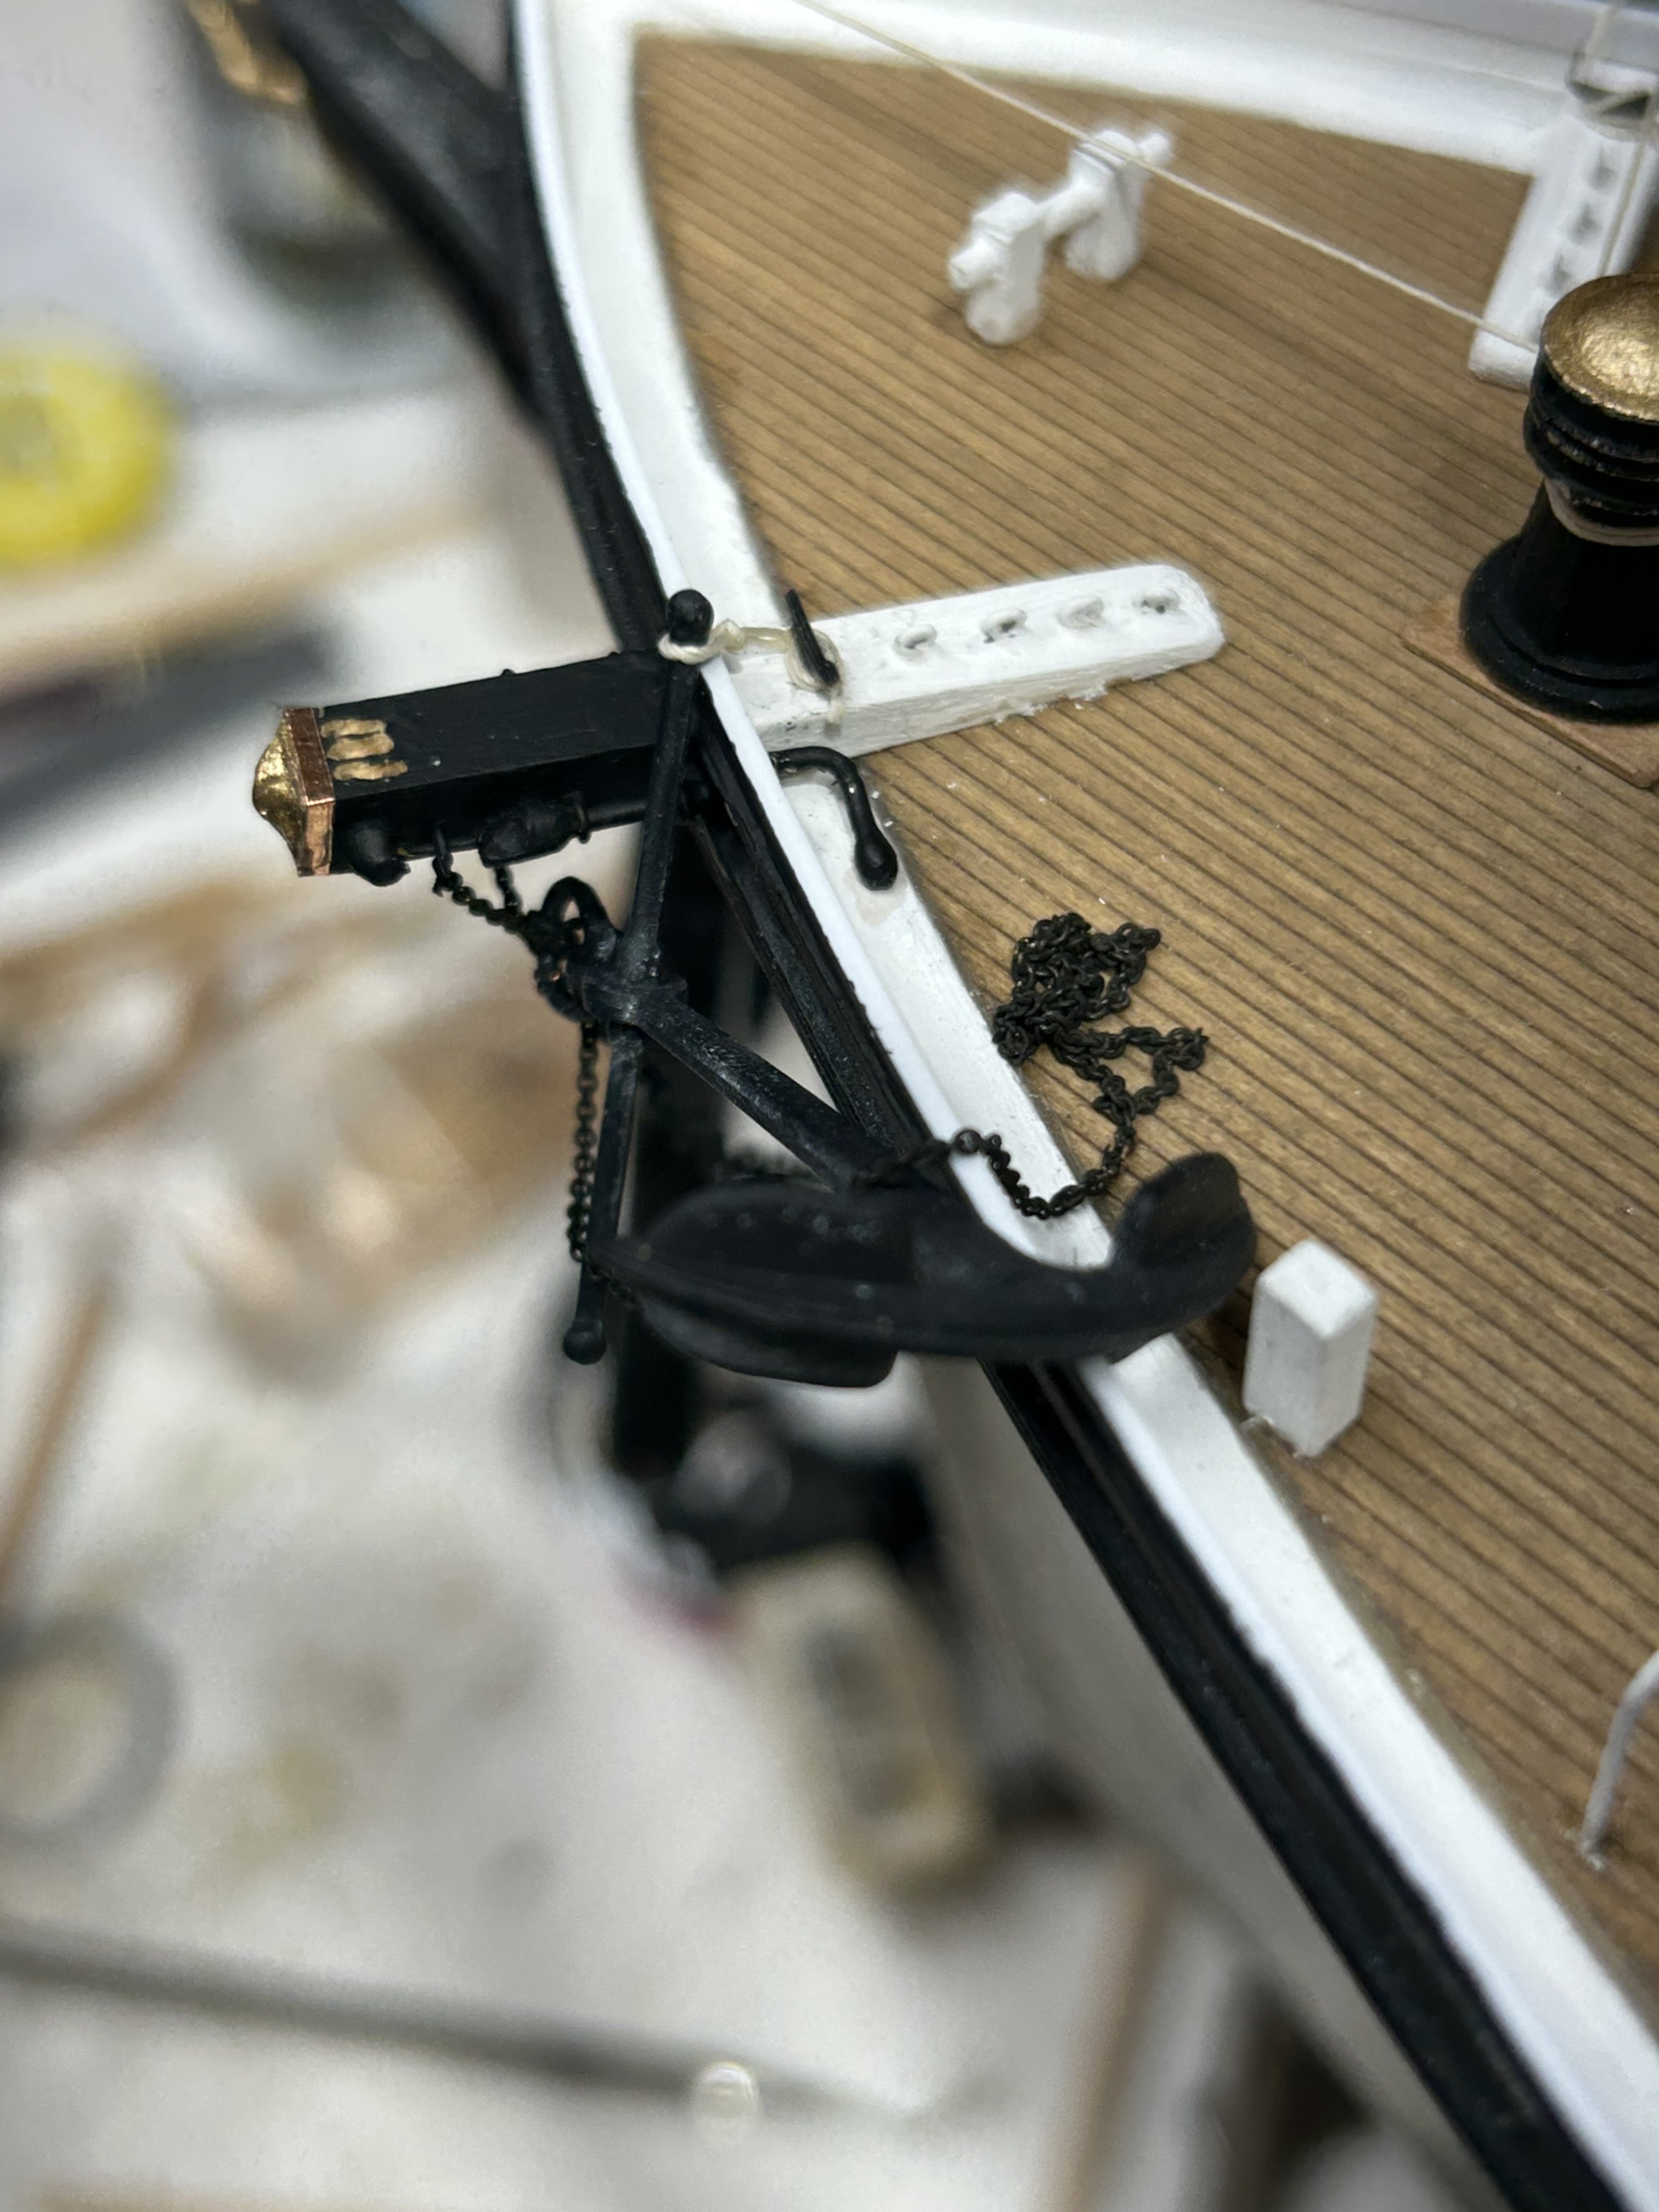
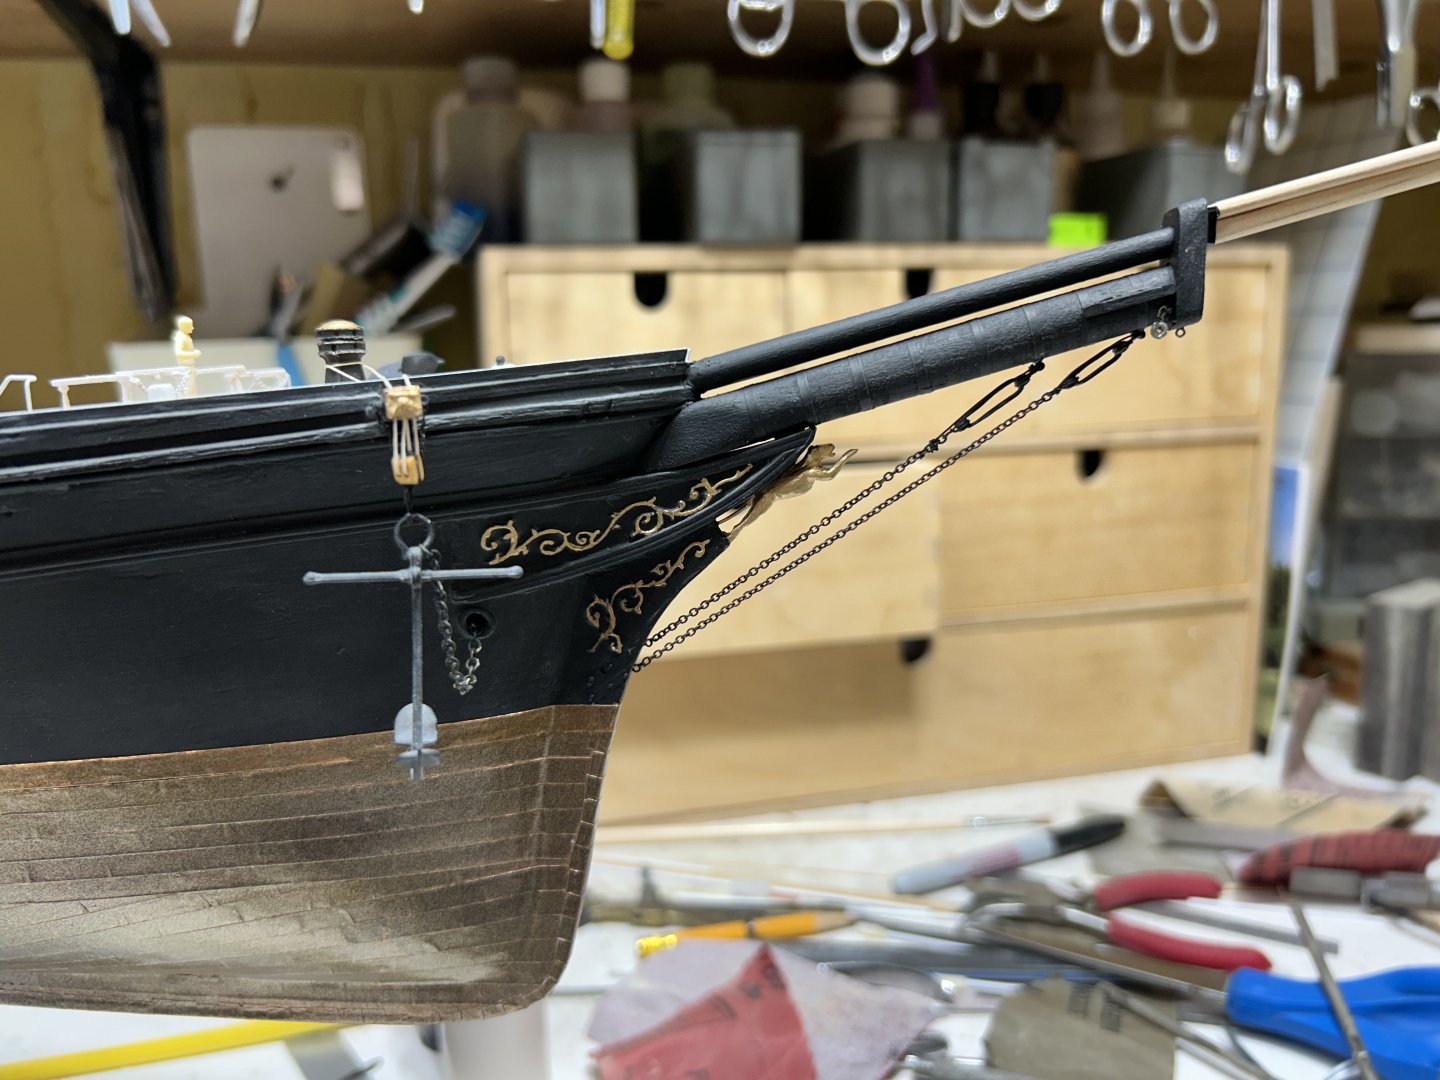
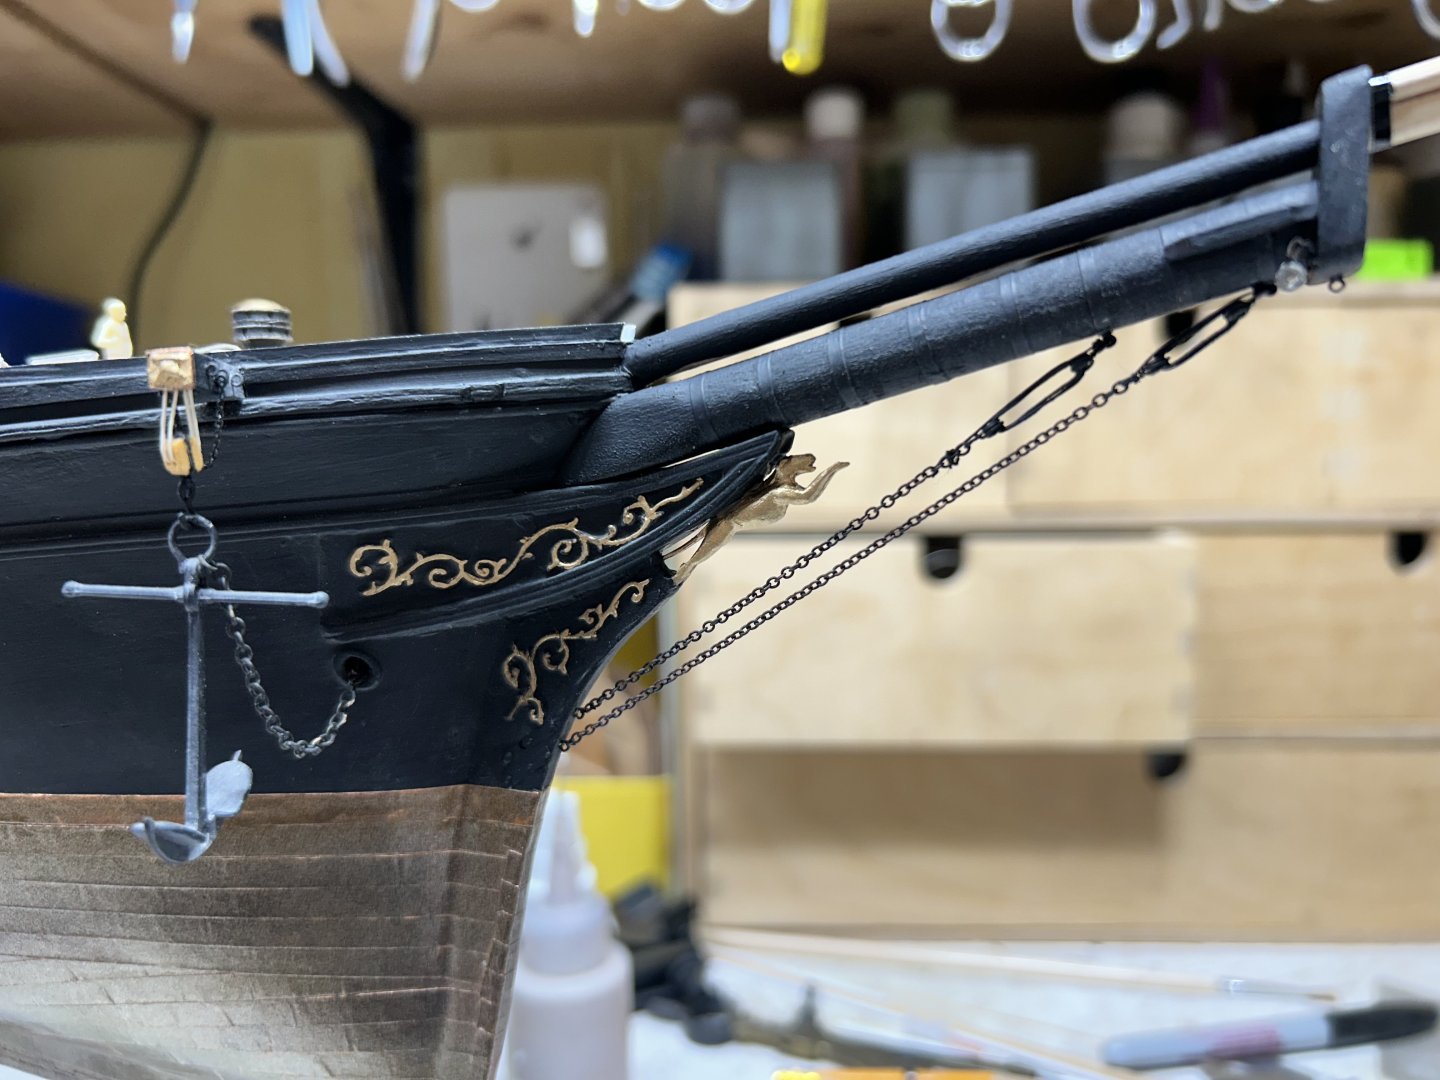
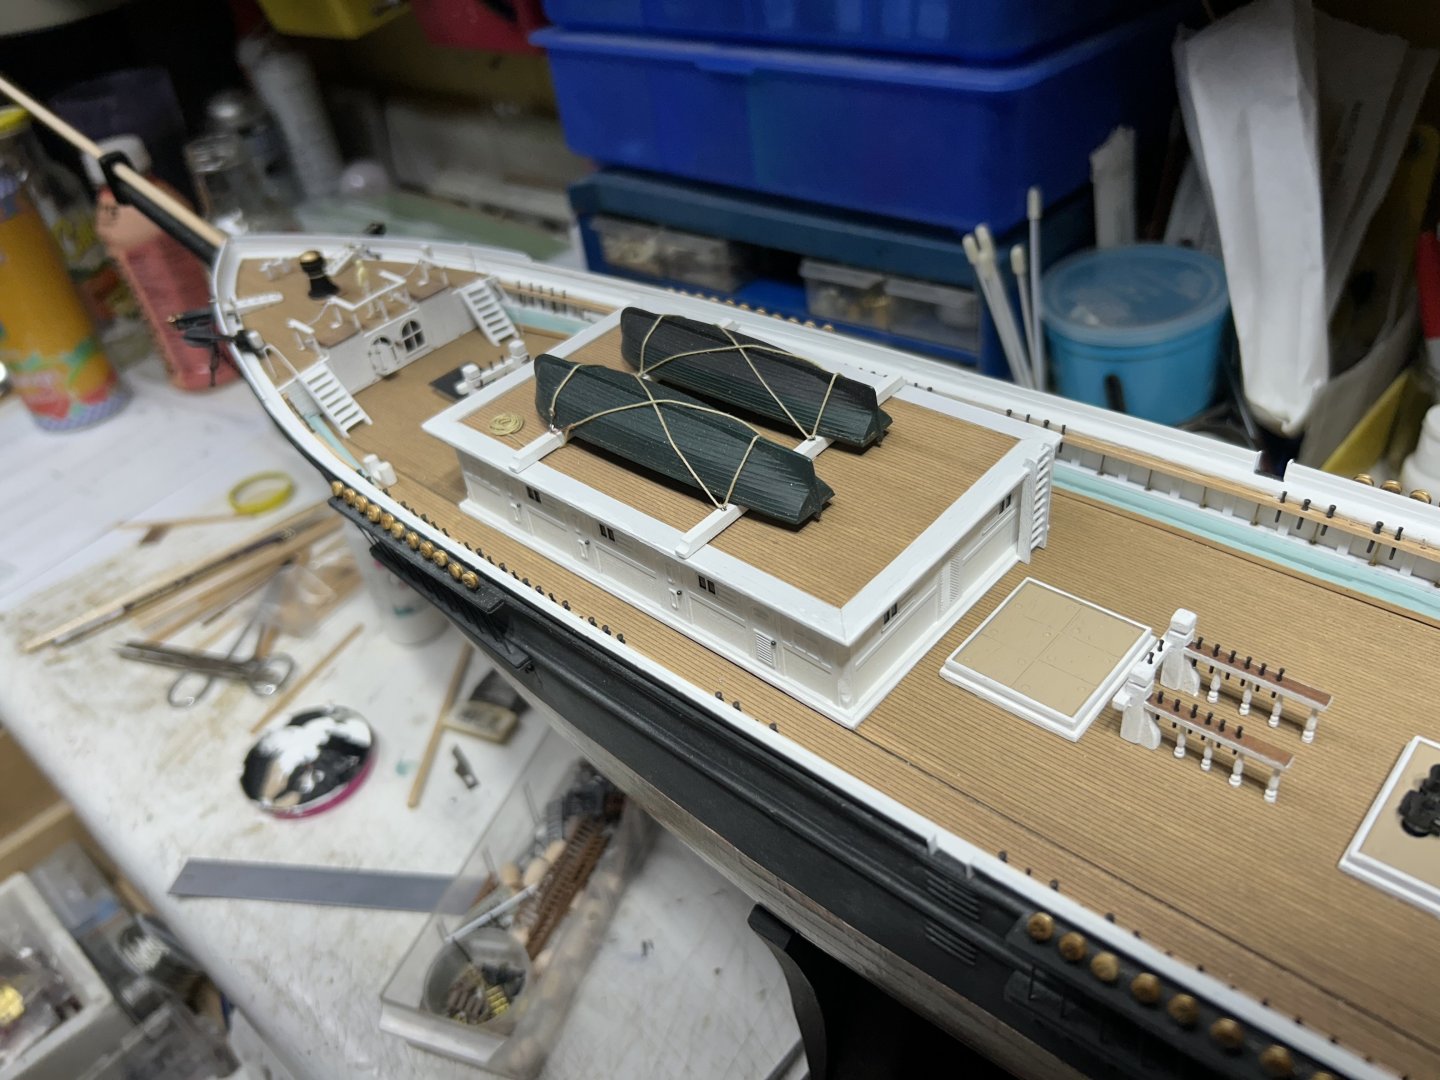
Putting on the bob stays. Rob

-
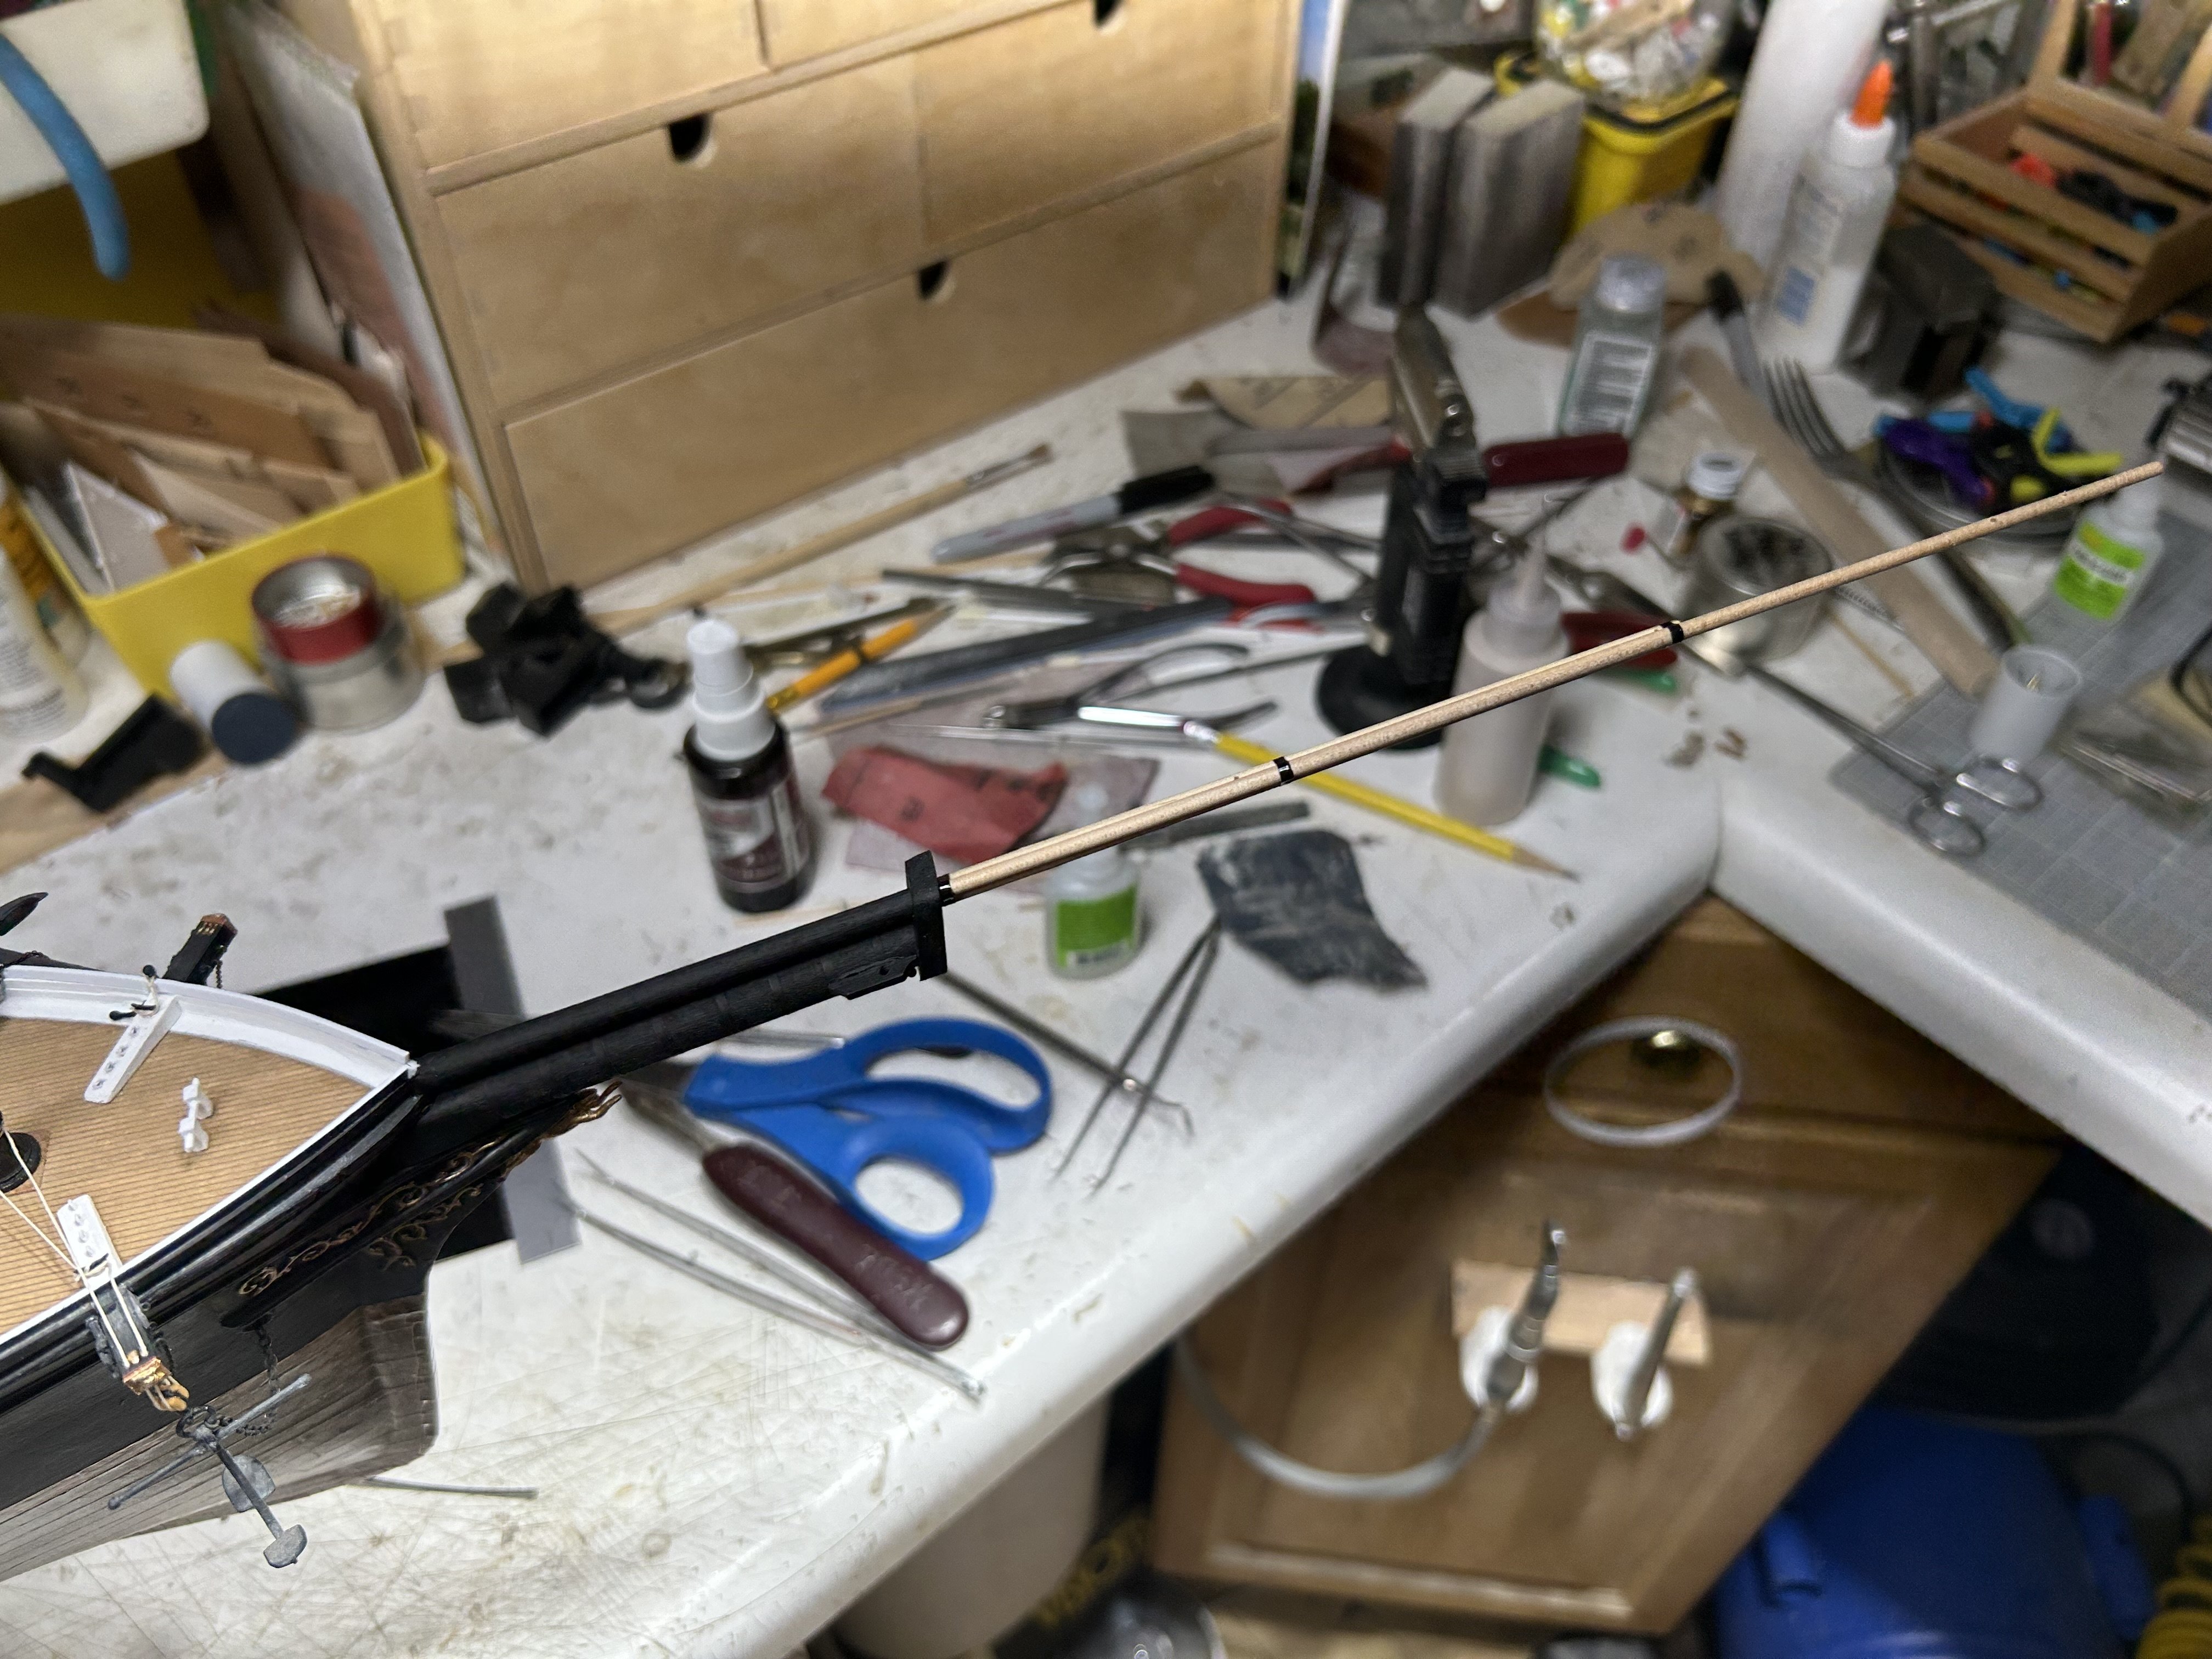
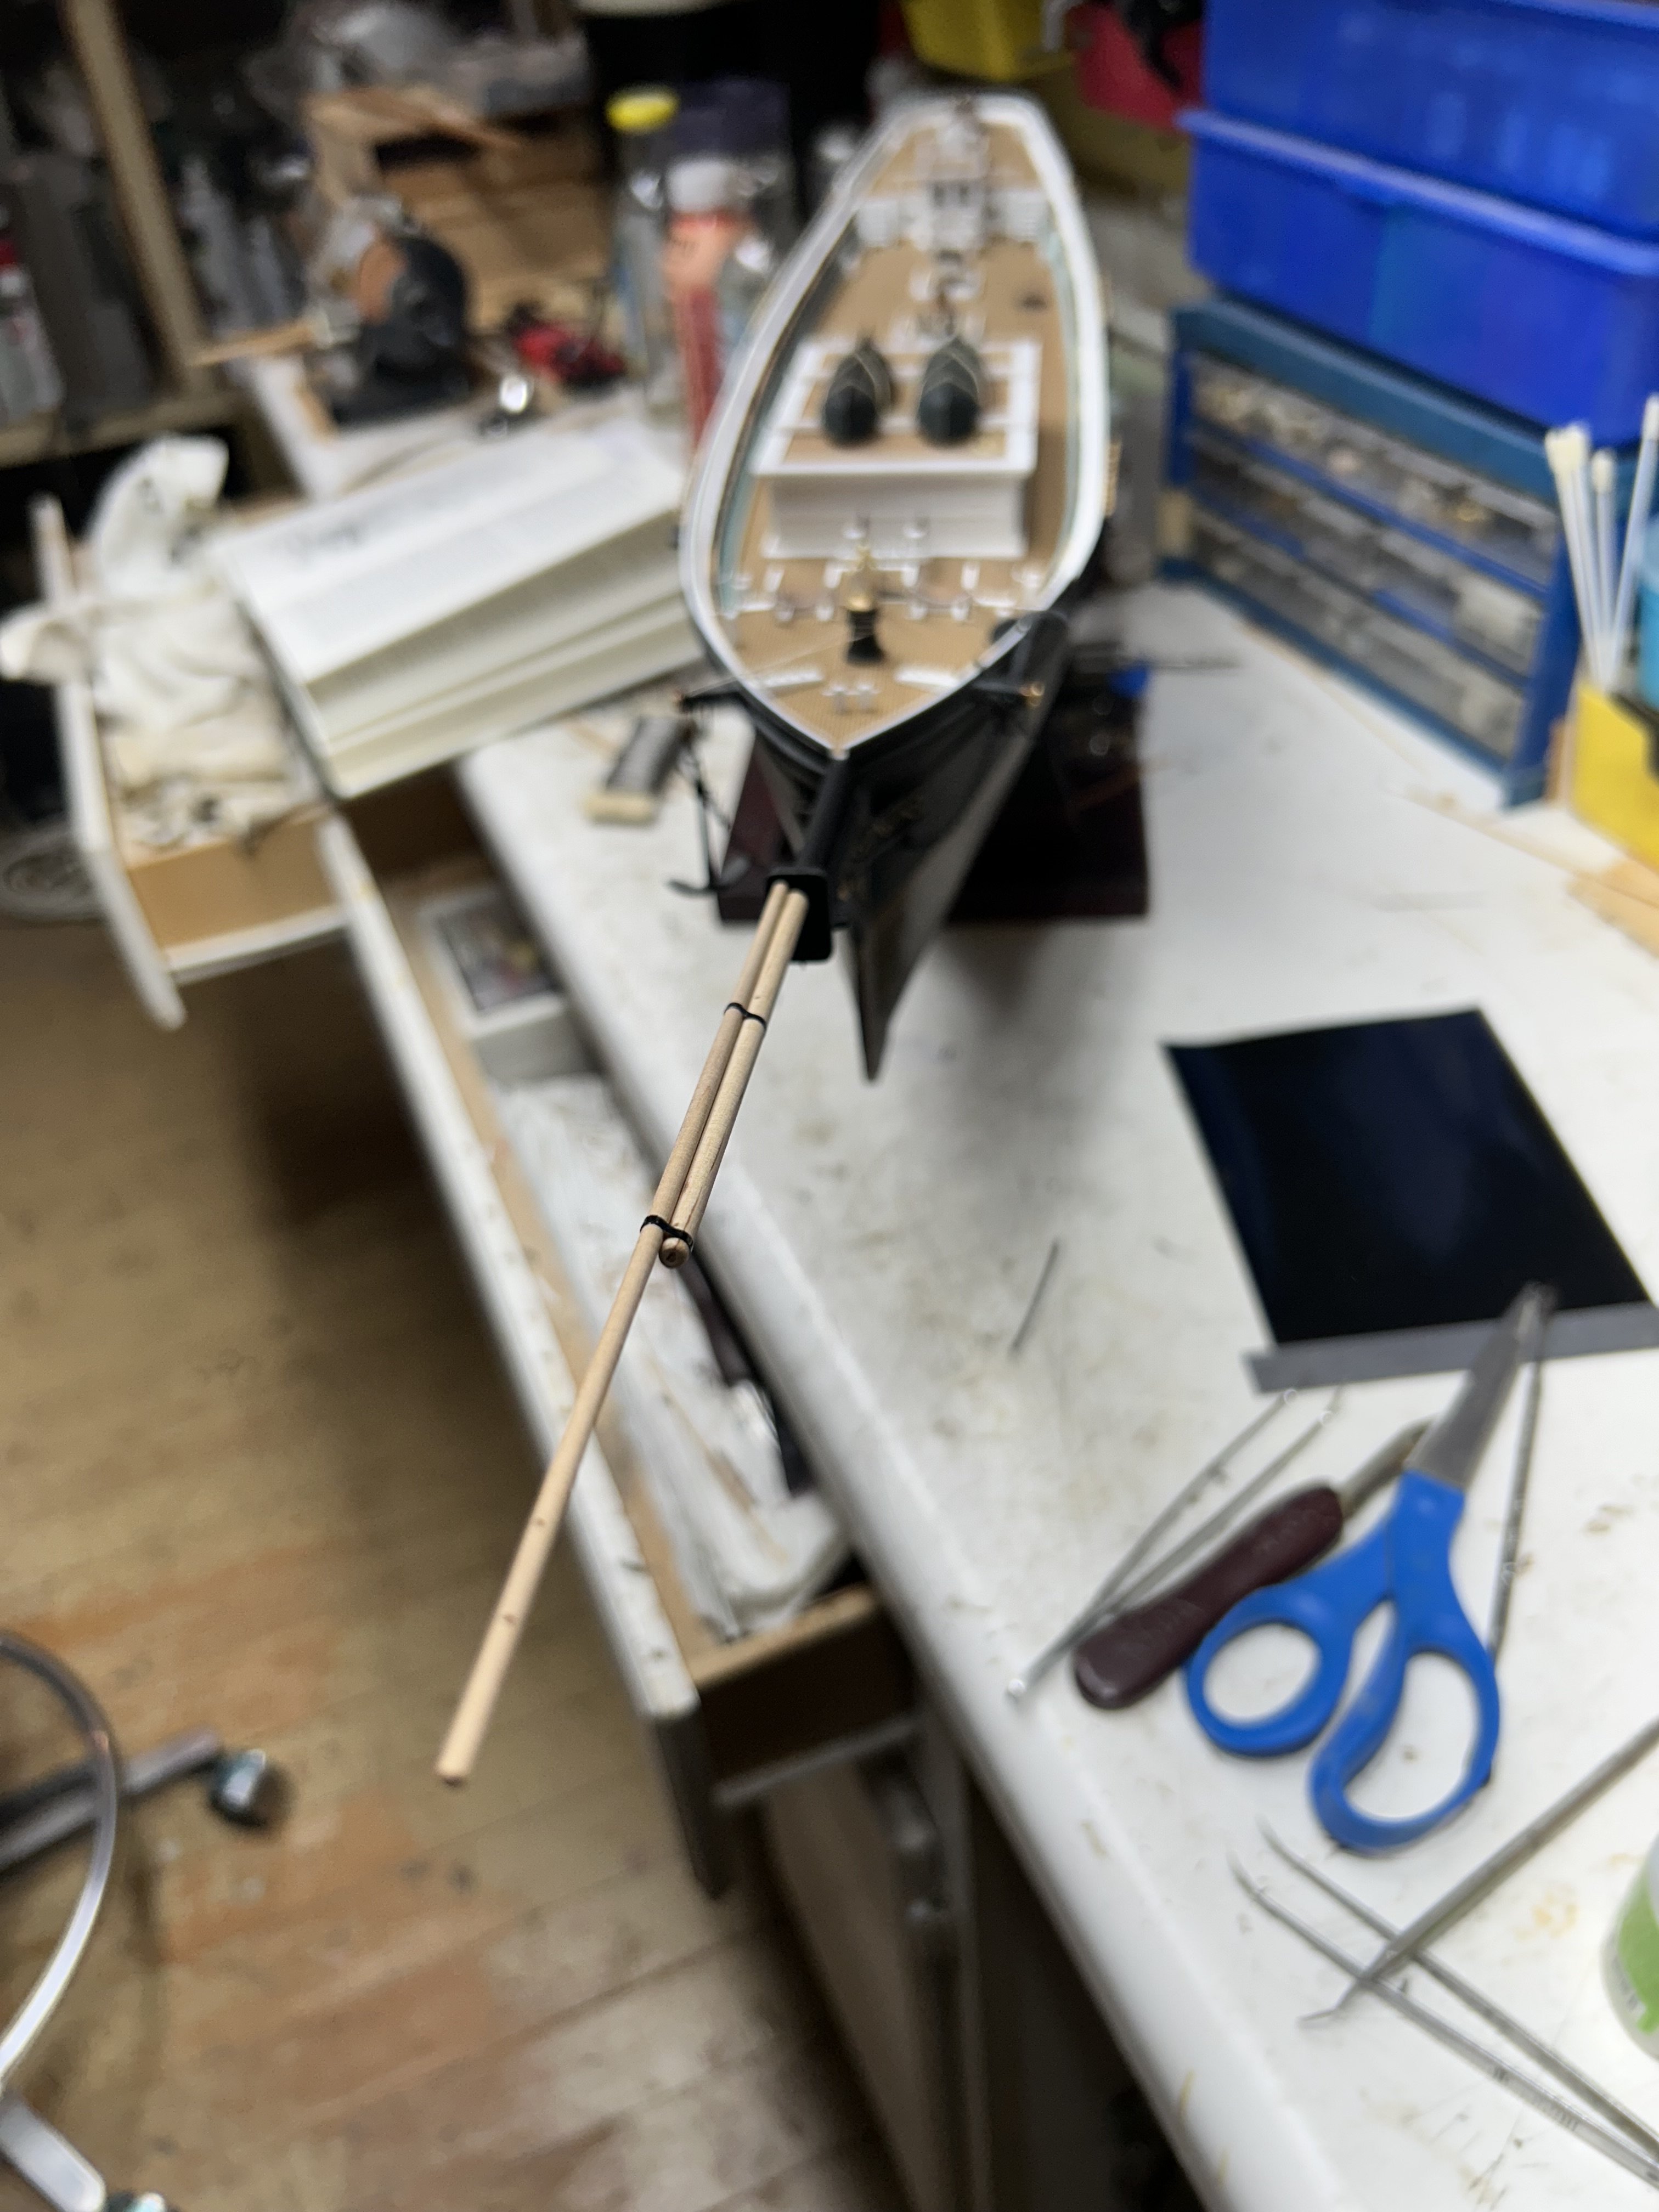
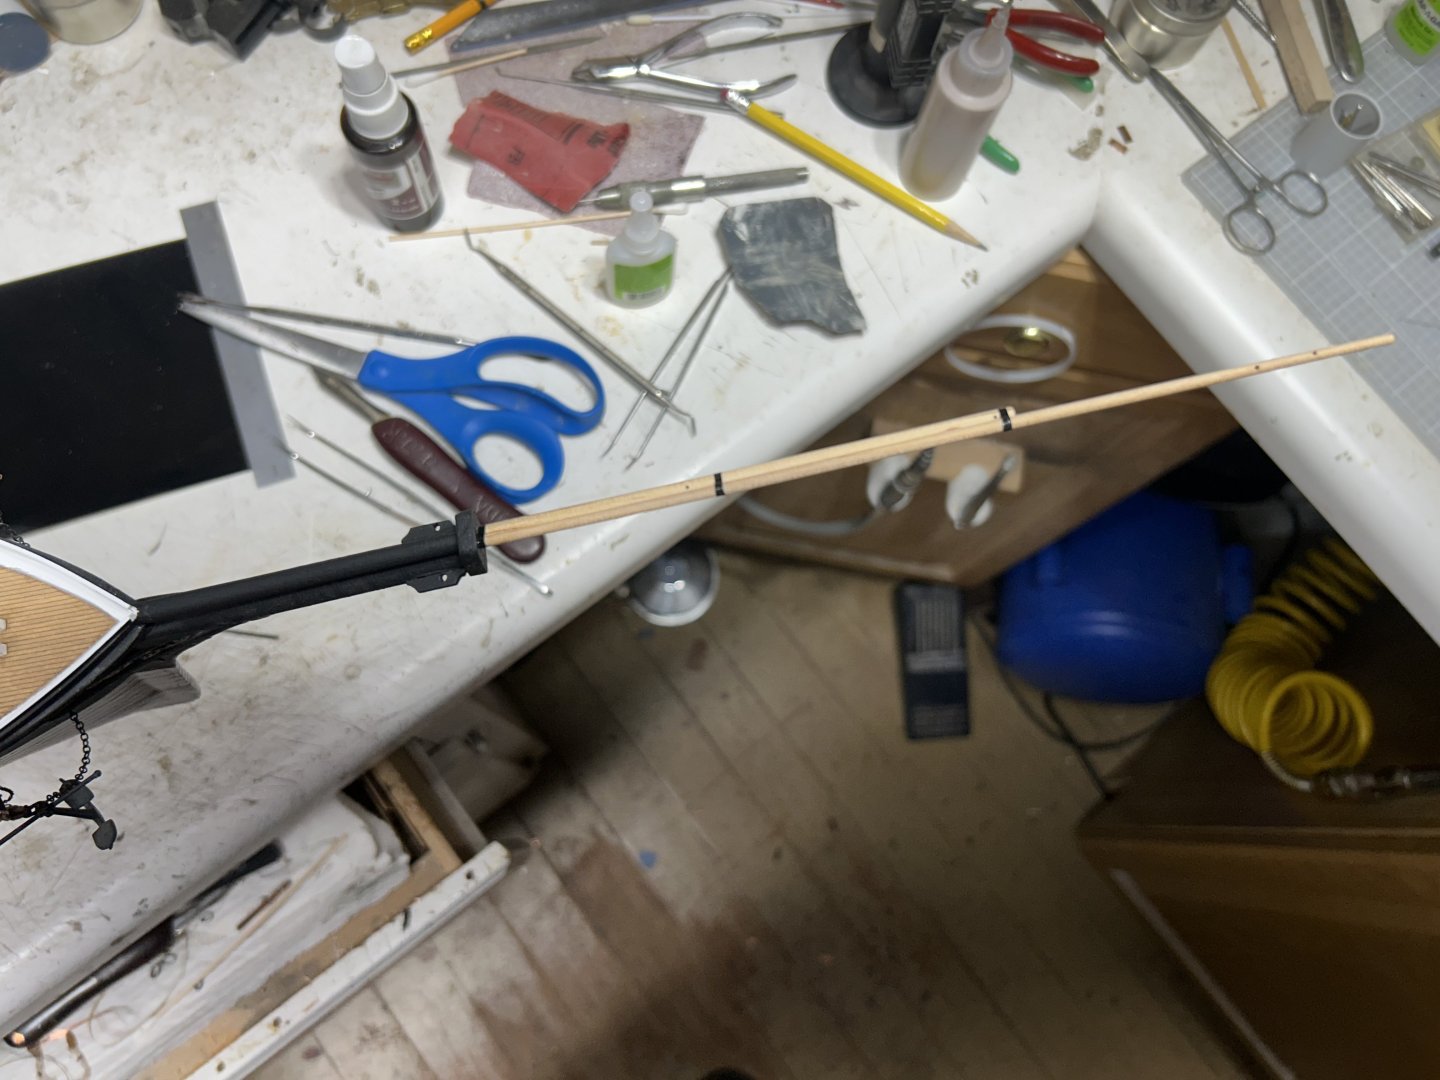
Worked on the flying jibboom. Rob

-
Our studies of McKay and his continually evolving clipper family of specific models......implores us to seriously conclude, that he also spent time developing his packet models as well. Though he fell to the whims of the owners, he didn't get to really show off his designing prowess until Staghound. And , as you put it, was *contractually committed* to build her at breakneck speed. It is very possible he drew heavily from his Packet days, and the prevailing rigging practices of that time. No time(YET), to re-invent the wheel.
-
Since further research revealed that McKay most likely followed a bowsprit design from previous packets and frigates. And particularly, those that exhibited the flying jibboom, generally followed one of three particular designs. I assumed Staghound's flying jibboom would be close to that of the Lighting. However, the lightning was built 4 years later...and she followed the shorter outer jib doubling method. Like how Bruce Von Statina replicated it on his Lightning model. Research is pointing me in another direction. Because Staghound was McKay's first extreme clipper, and it can be assumed with great confidence, that he followed many rigging principals and structures that were prolific at the time(such as the large single topsail). And....that Staghound had an unusually long bowsprit/jibboom arrangement. I have decided to replicate her using the fully extended flying jibboom, who's doubling extends the full length of the jibboom, up to the bowsprit cap. This full length flying jibboom...still extended 22ft past the end of the jibboom...but was lashed or ironed in 3 places along its length. As mentioned earlier, this design was used on packets and certain kinds of Frigates from the 1840's up until the late 1850's. In my assessment, this cleaner arrangement is more structurally sound. As with the shorter doubling design...the flying jibboom is canted to starboard to permit the forestays to sheeve through the jibboom along its centerline. I'll post images a bit latter today. Rob
-
Welcome Veszett..... I appreciate the fine comments. I hope the read isn't boring as you catch up. Rob
-
If that flying jib gets any smaller....the sheeves for the outer stays will surely compromise the boom and make it less resiliant to stress, and more apt to breakage. I think I'm going to recreate my iron works to permit the flying jib to rest against the outer jib. Reducing the gap between jibs and permitting a cleaner more continuous projection of booms. Trick is....the jibboom cannot be modified untill it is passed through the endap of the bowsprit....locking it in place. I will have to make all the necessary additions to the bowsprit...prior to any mods to the jibbooms. The mods to the flying jib will have to wait till the finishing of the bowsprit and I'm ready to glue it in place at the prow of the hull. Once the bowsprit is glued on....I can then glue the jibboom to the bowsprit, and then, I can glue the flying jib with the new hardware to the outer jibboom. I hope that makes sense.🤓 Rob
-
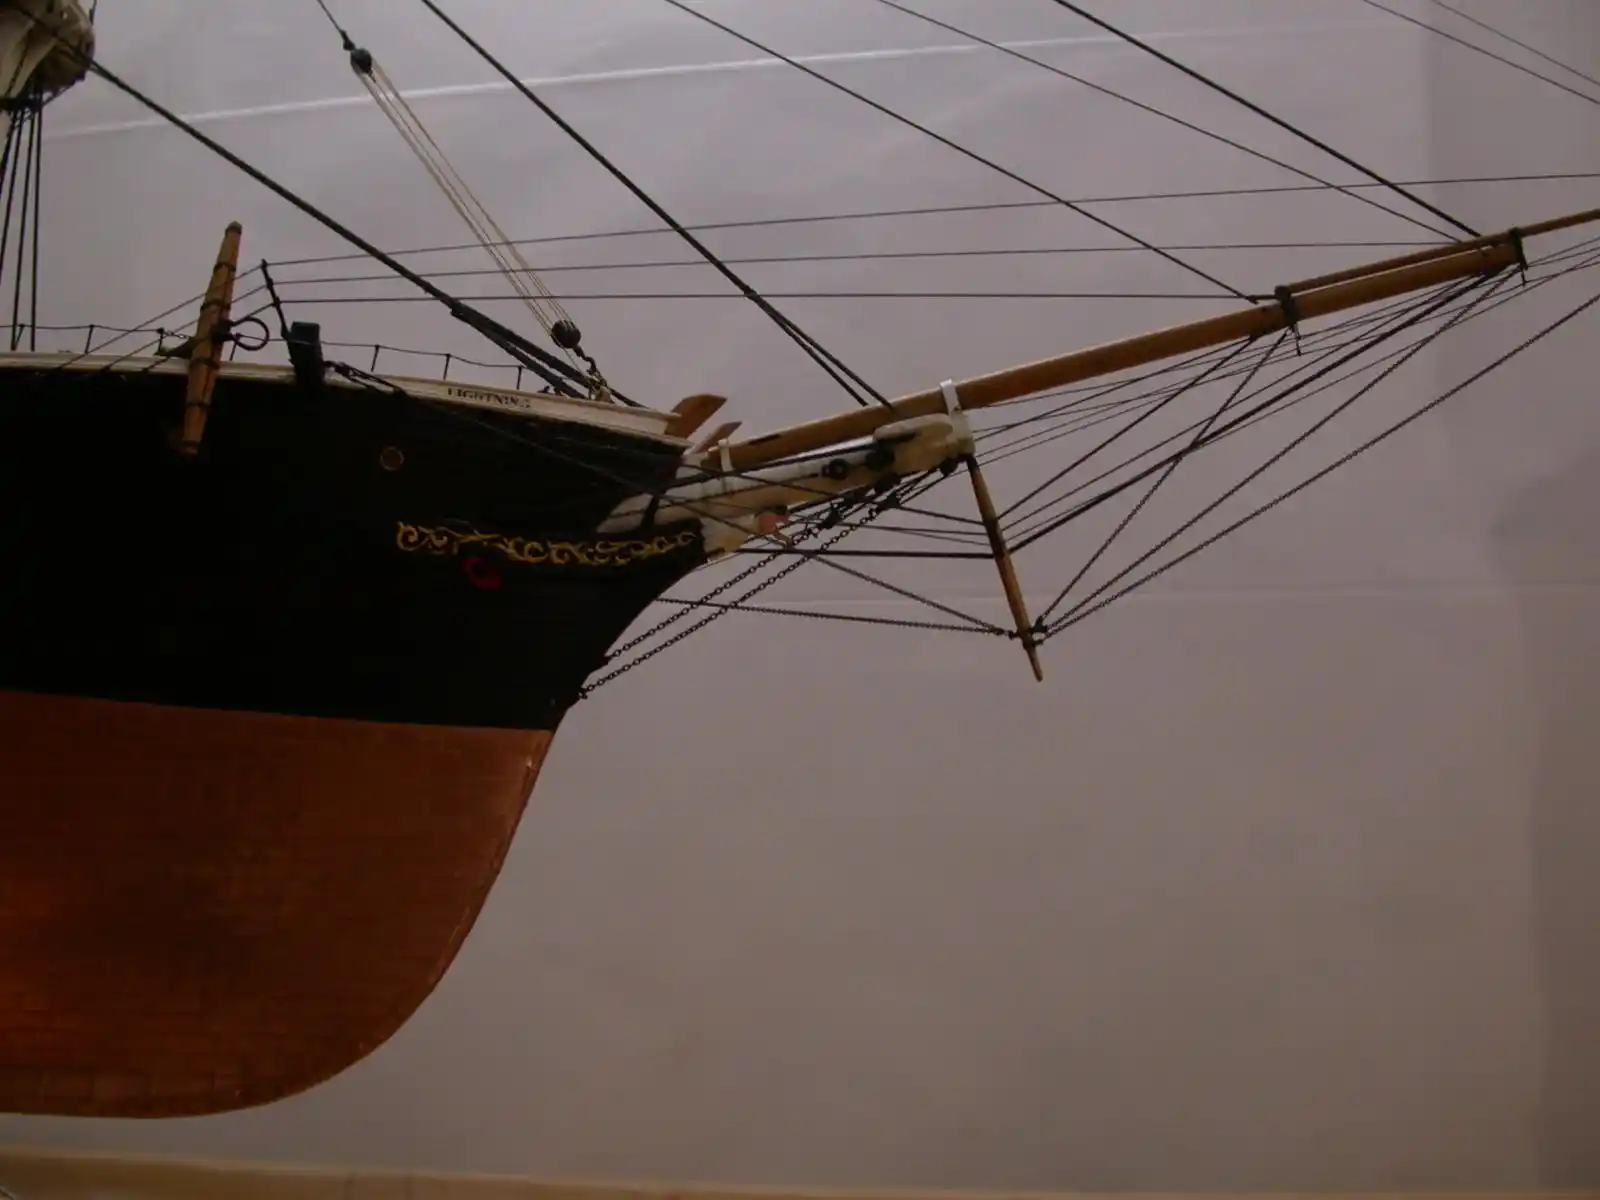
Not sure that is the solution. Bruce simply rigged the flying jib as I did. But I think I need to reduce the diameter of the jib and thus make the bracketing lighter. Here is another of Bruce's work...you can see the space clearly between the booms. The flying jib is rotated to the right to permit the stays clear passage.

-
Not sure I like the brackets. I might make a change.
-
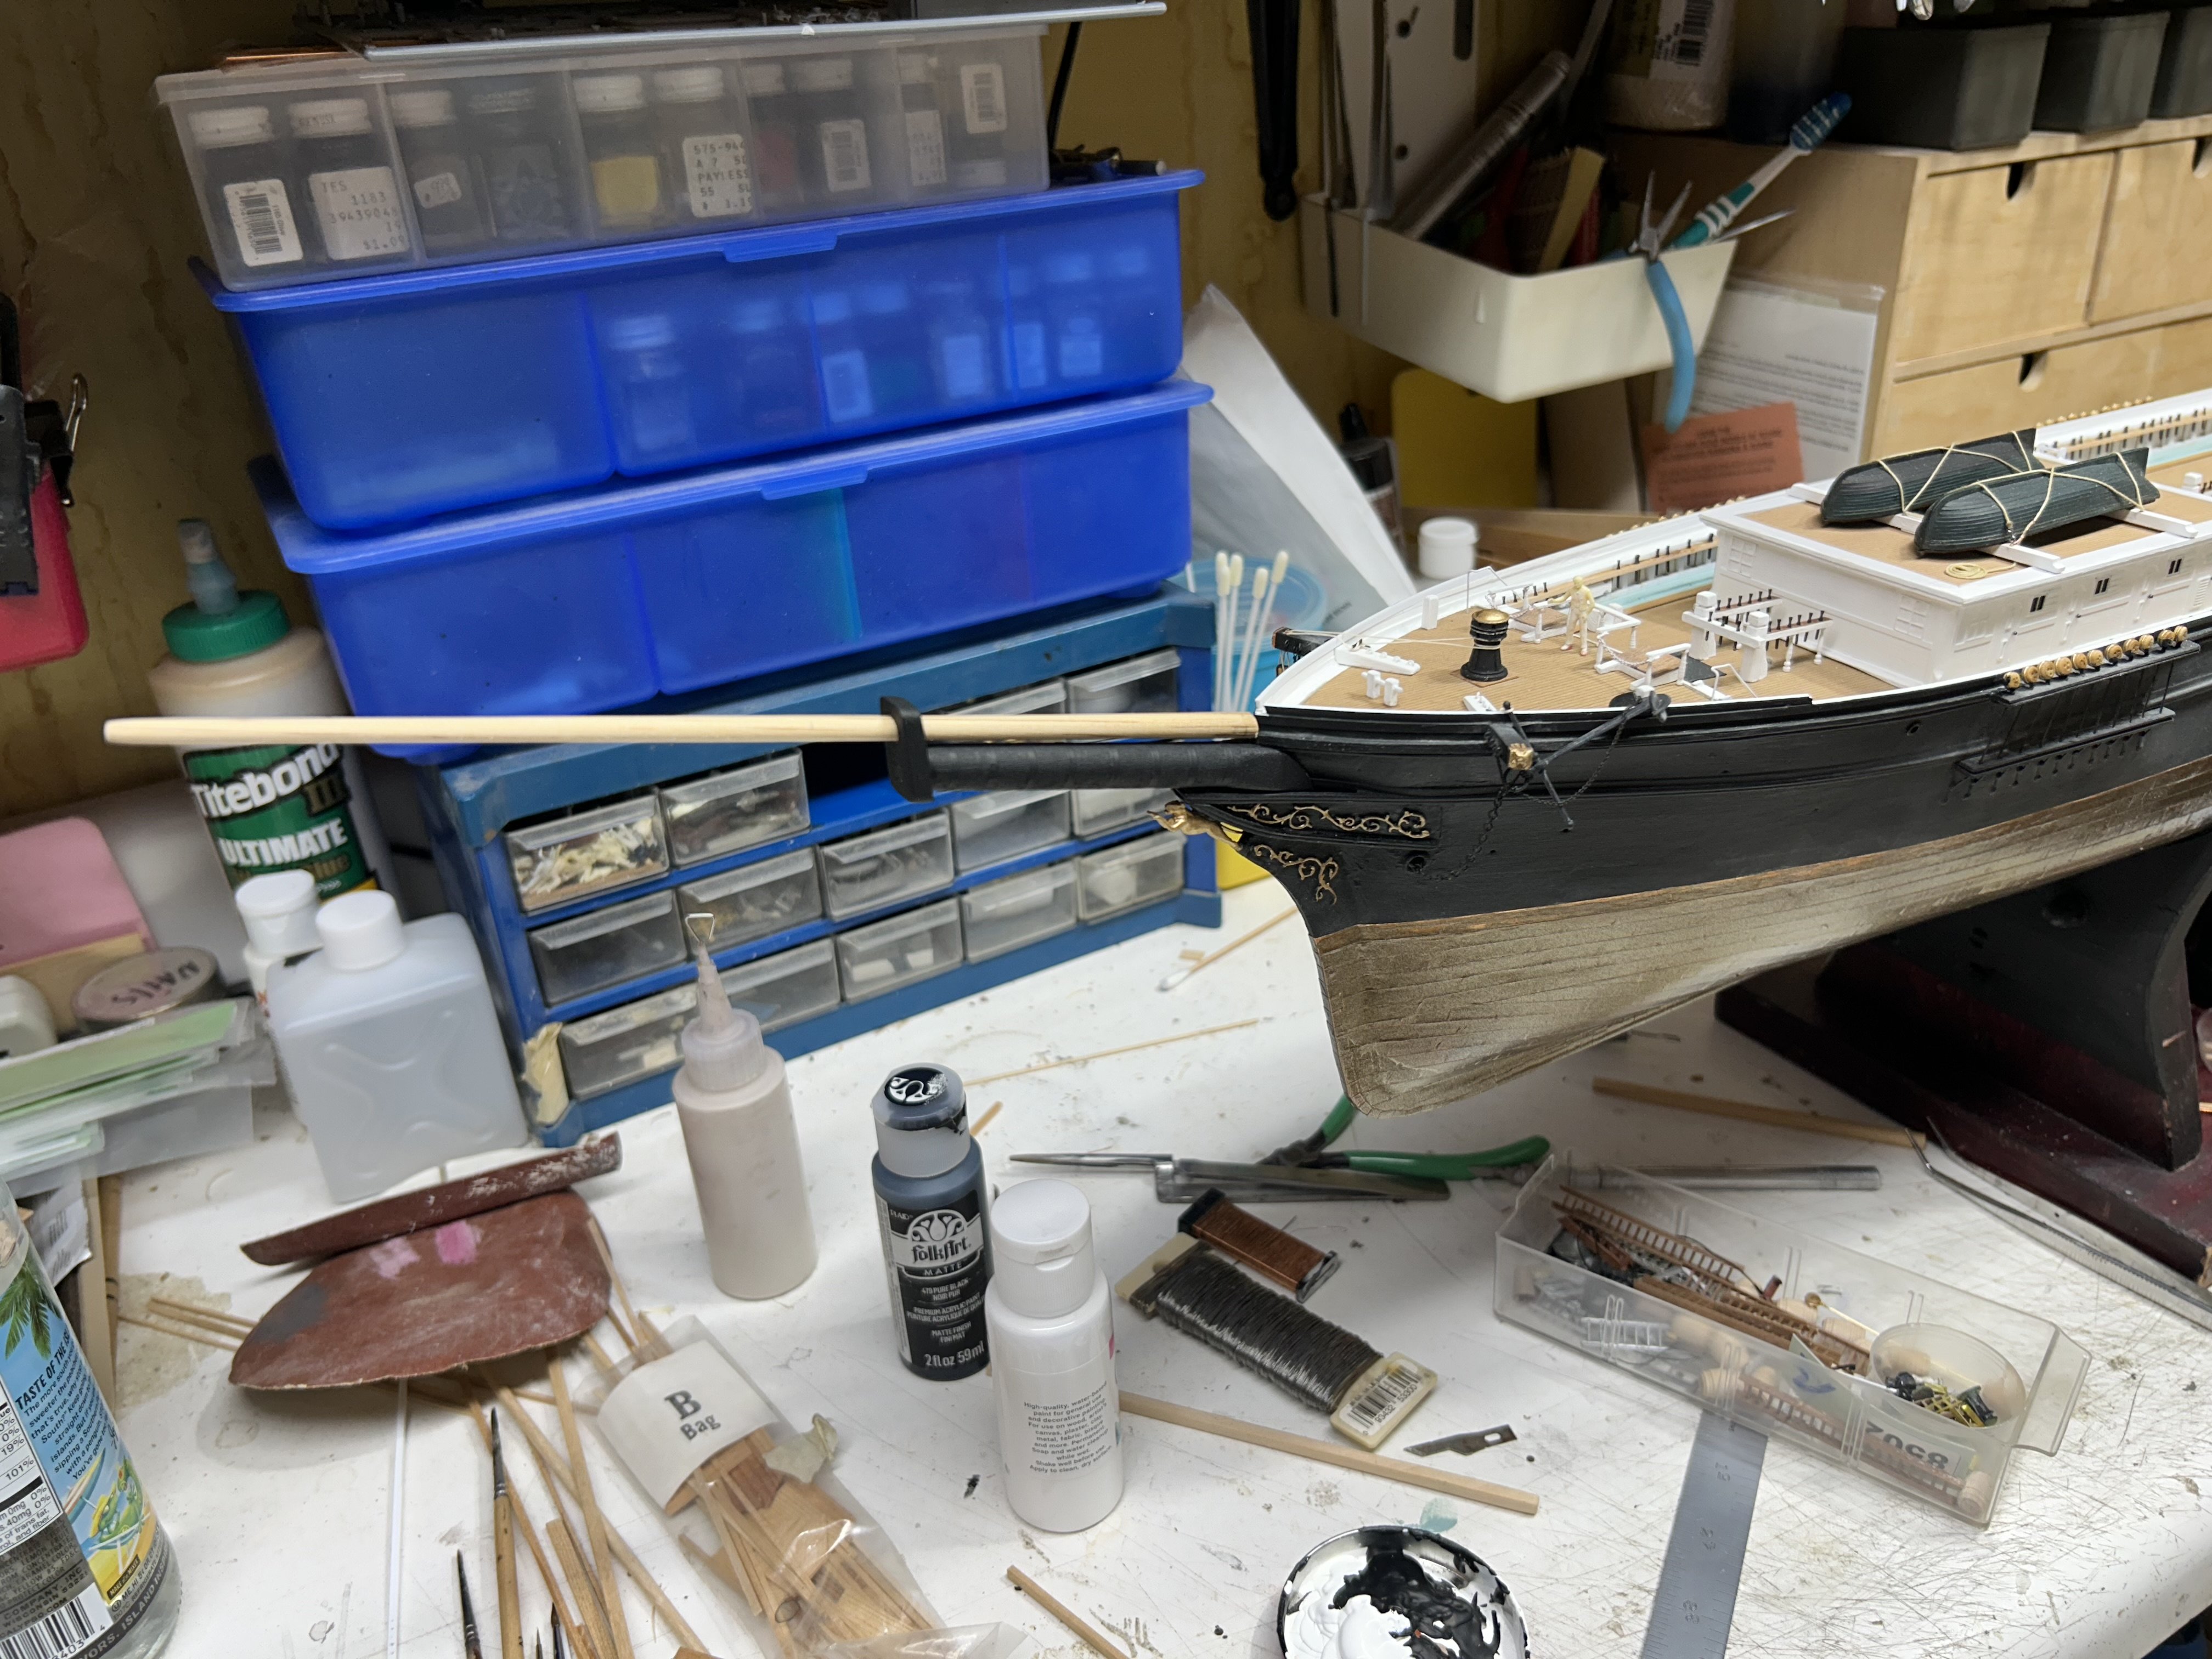
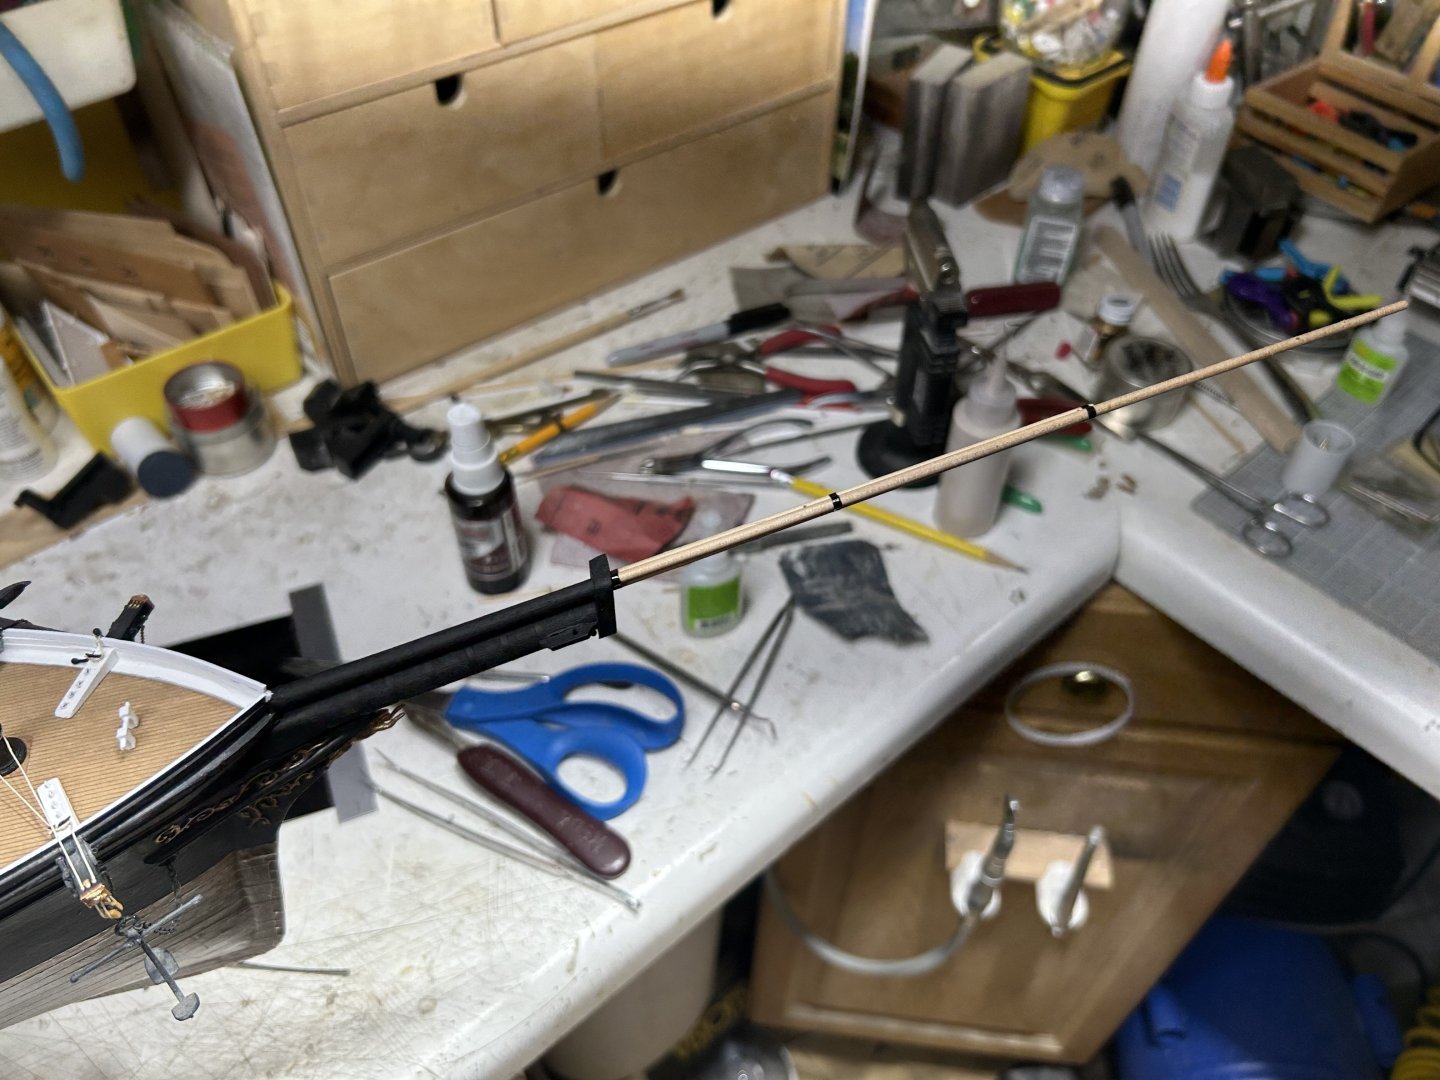
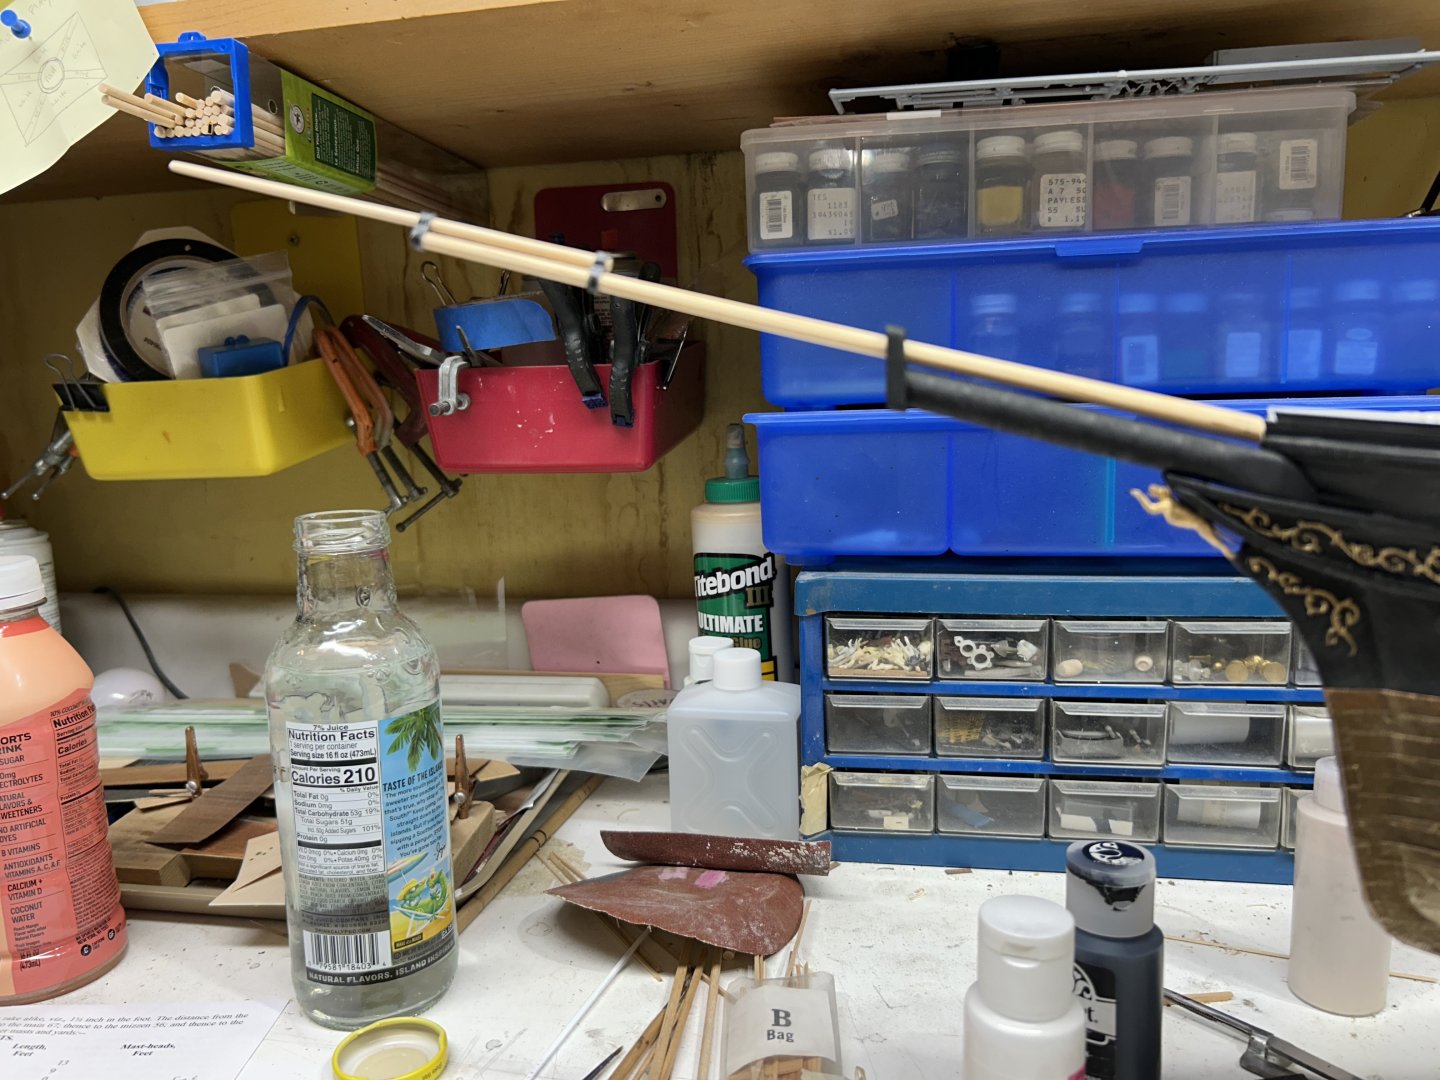
Worked a bit on the bowsprit. Rob

-
Remember, long ago I had told you, that clipper designs had a wonderful way of balancing the dimensions of similar structures? This is probably one of those *balanced* examples. Like, main yards are the same length as the main mast is from deck to cap. Many other examples exist. Not forgetting, that sea faring folk of long ago, tended to be very superstitious. Rob
-
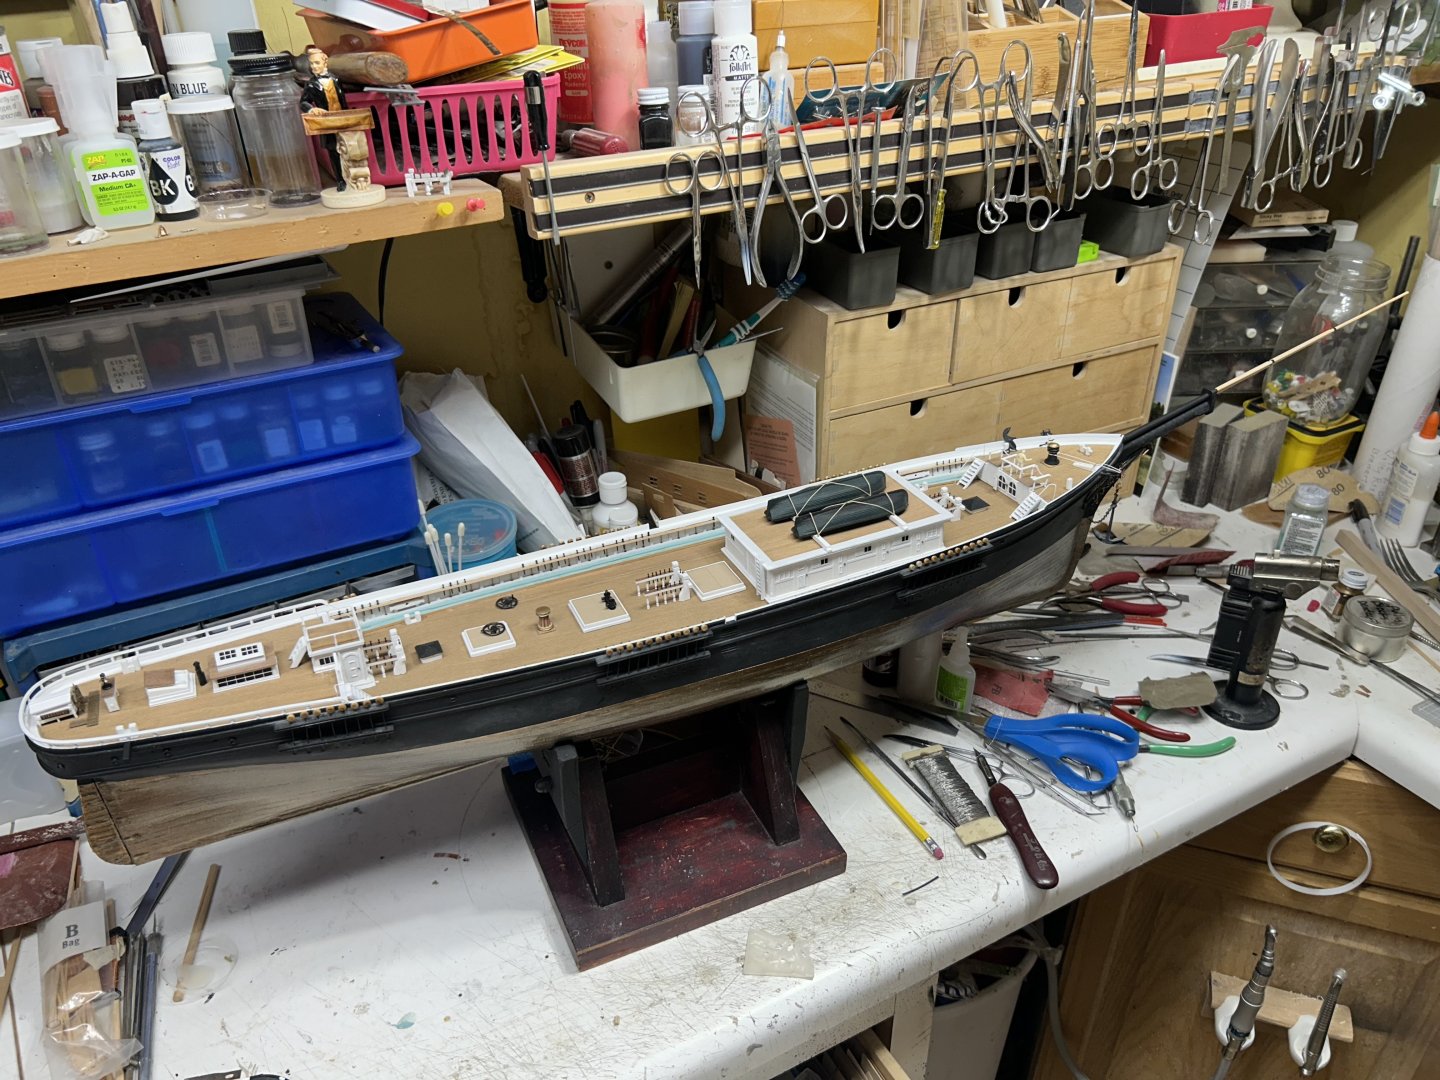
Years ago....when I set out to build replicas of my favorite clipper builder...Donald Mckay. I decided shortly after, that I Had to pay homage in the best way I could imagine. Reproduce, (to the best of my ability), the perfect vessels that exemplified...the true story of McKay's journey in Clipper design and construction. What better way to begin this adventure then by building his greatest clipper achievement. the Great Republic. She represents all that McKay's experience and knowledge could produce. Not withholding the fact, that she was to ever be the largest clipper ever constructed by man, Second, after years of unfulfilled gaps in research, I fell among folks, such as yourself and our dear friend Micheal Mjelde, and a blessed treasure trove of unpublished data and photos came my way. So it was obvious,(To me), that the last clipper Donald McKay ever constructed, Glory of the Seas, had to be my next construction. Knowing, I could never build every clipper McKay ever built....it became clear, to complete this collection, of the best representation of McKay's posterity, I had to build the clipper that set it all in motion. Donald McKay's first *extreme* clipper, Staghound. These 3 clipper designs, express the fullness of the ingenious imagination and the attention to skillful construction, that was Donald McKay. Rob
-
Looks like the Staghound had a bowsprit(proper)...10ft longer than did Lightning. 84ft verse. 74ft. What a spar arrangement. Rob
-
Well see Rich...THAT makes all the difference in the world. Not to mention all the sense in the world. My conclusion is that Staghound had the same arrangement as did the lightning. My jibboom was left slightly long...because I wanted to leave enough room to cut it back to the 38ft mark from the cap. Now I will make the flying jibboom with a doubling as long as the bowsprit to also include the extra 18ft required along with the 4ft end.. OH.....and yes...Staghound had a significant bowsprit/jibboom. Too bad Buttersworth doesn't clearly depict it on any of his paintings, that I can see. Rob
-
Interesting Rich. McLean says she has a 24ft long bowsprit, a 38ft long jib boom,(to include both inner and outer jibs, divided at 18 and 15ft). The flying jibboom is 18ft outside of the wythe. I'm not fully sure of that term, or how it is applied here...but it represents a vertical line as in masonry. Somewhere between 62 and 80ft...I suspect. Personally, I'm considering Von Statina's wonderfully crafted Lightning's bowsprit design, which includes the jibboom (inner and outer) and flying jibboom arrangement, as seen here. The flying jib's doubling length, appears to mimic that of the jibboom and bowsprit. I suspect from what is described in both descriptions, of Staghound and Lightning.....they are similarly designed. Nearly the same terms other than the dimensions are used.

-
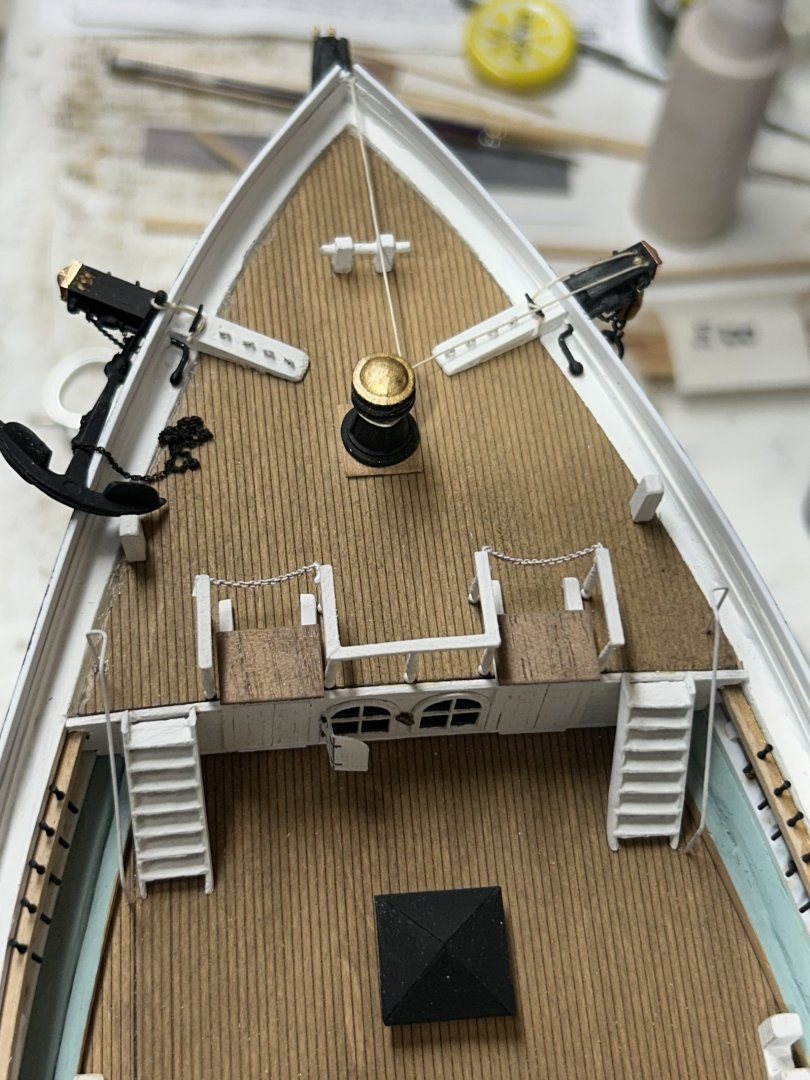
Extra picture. Rob
-
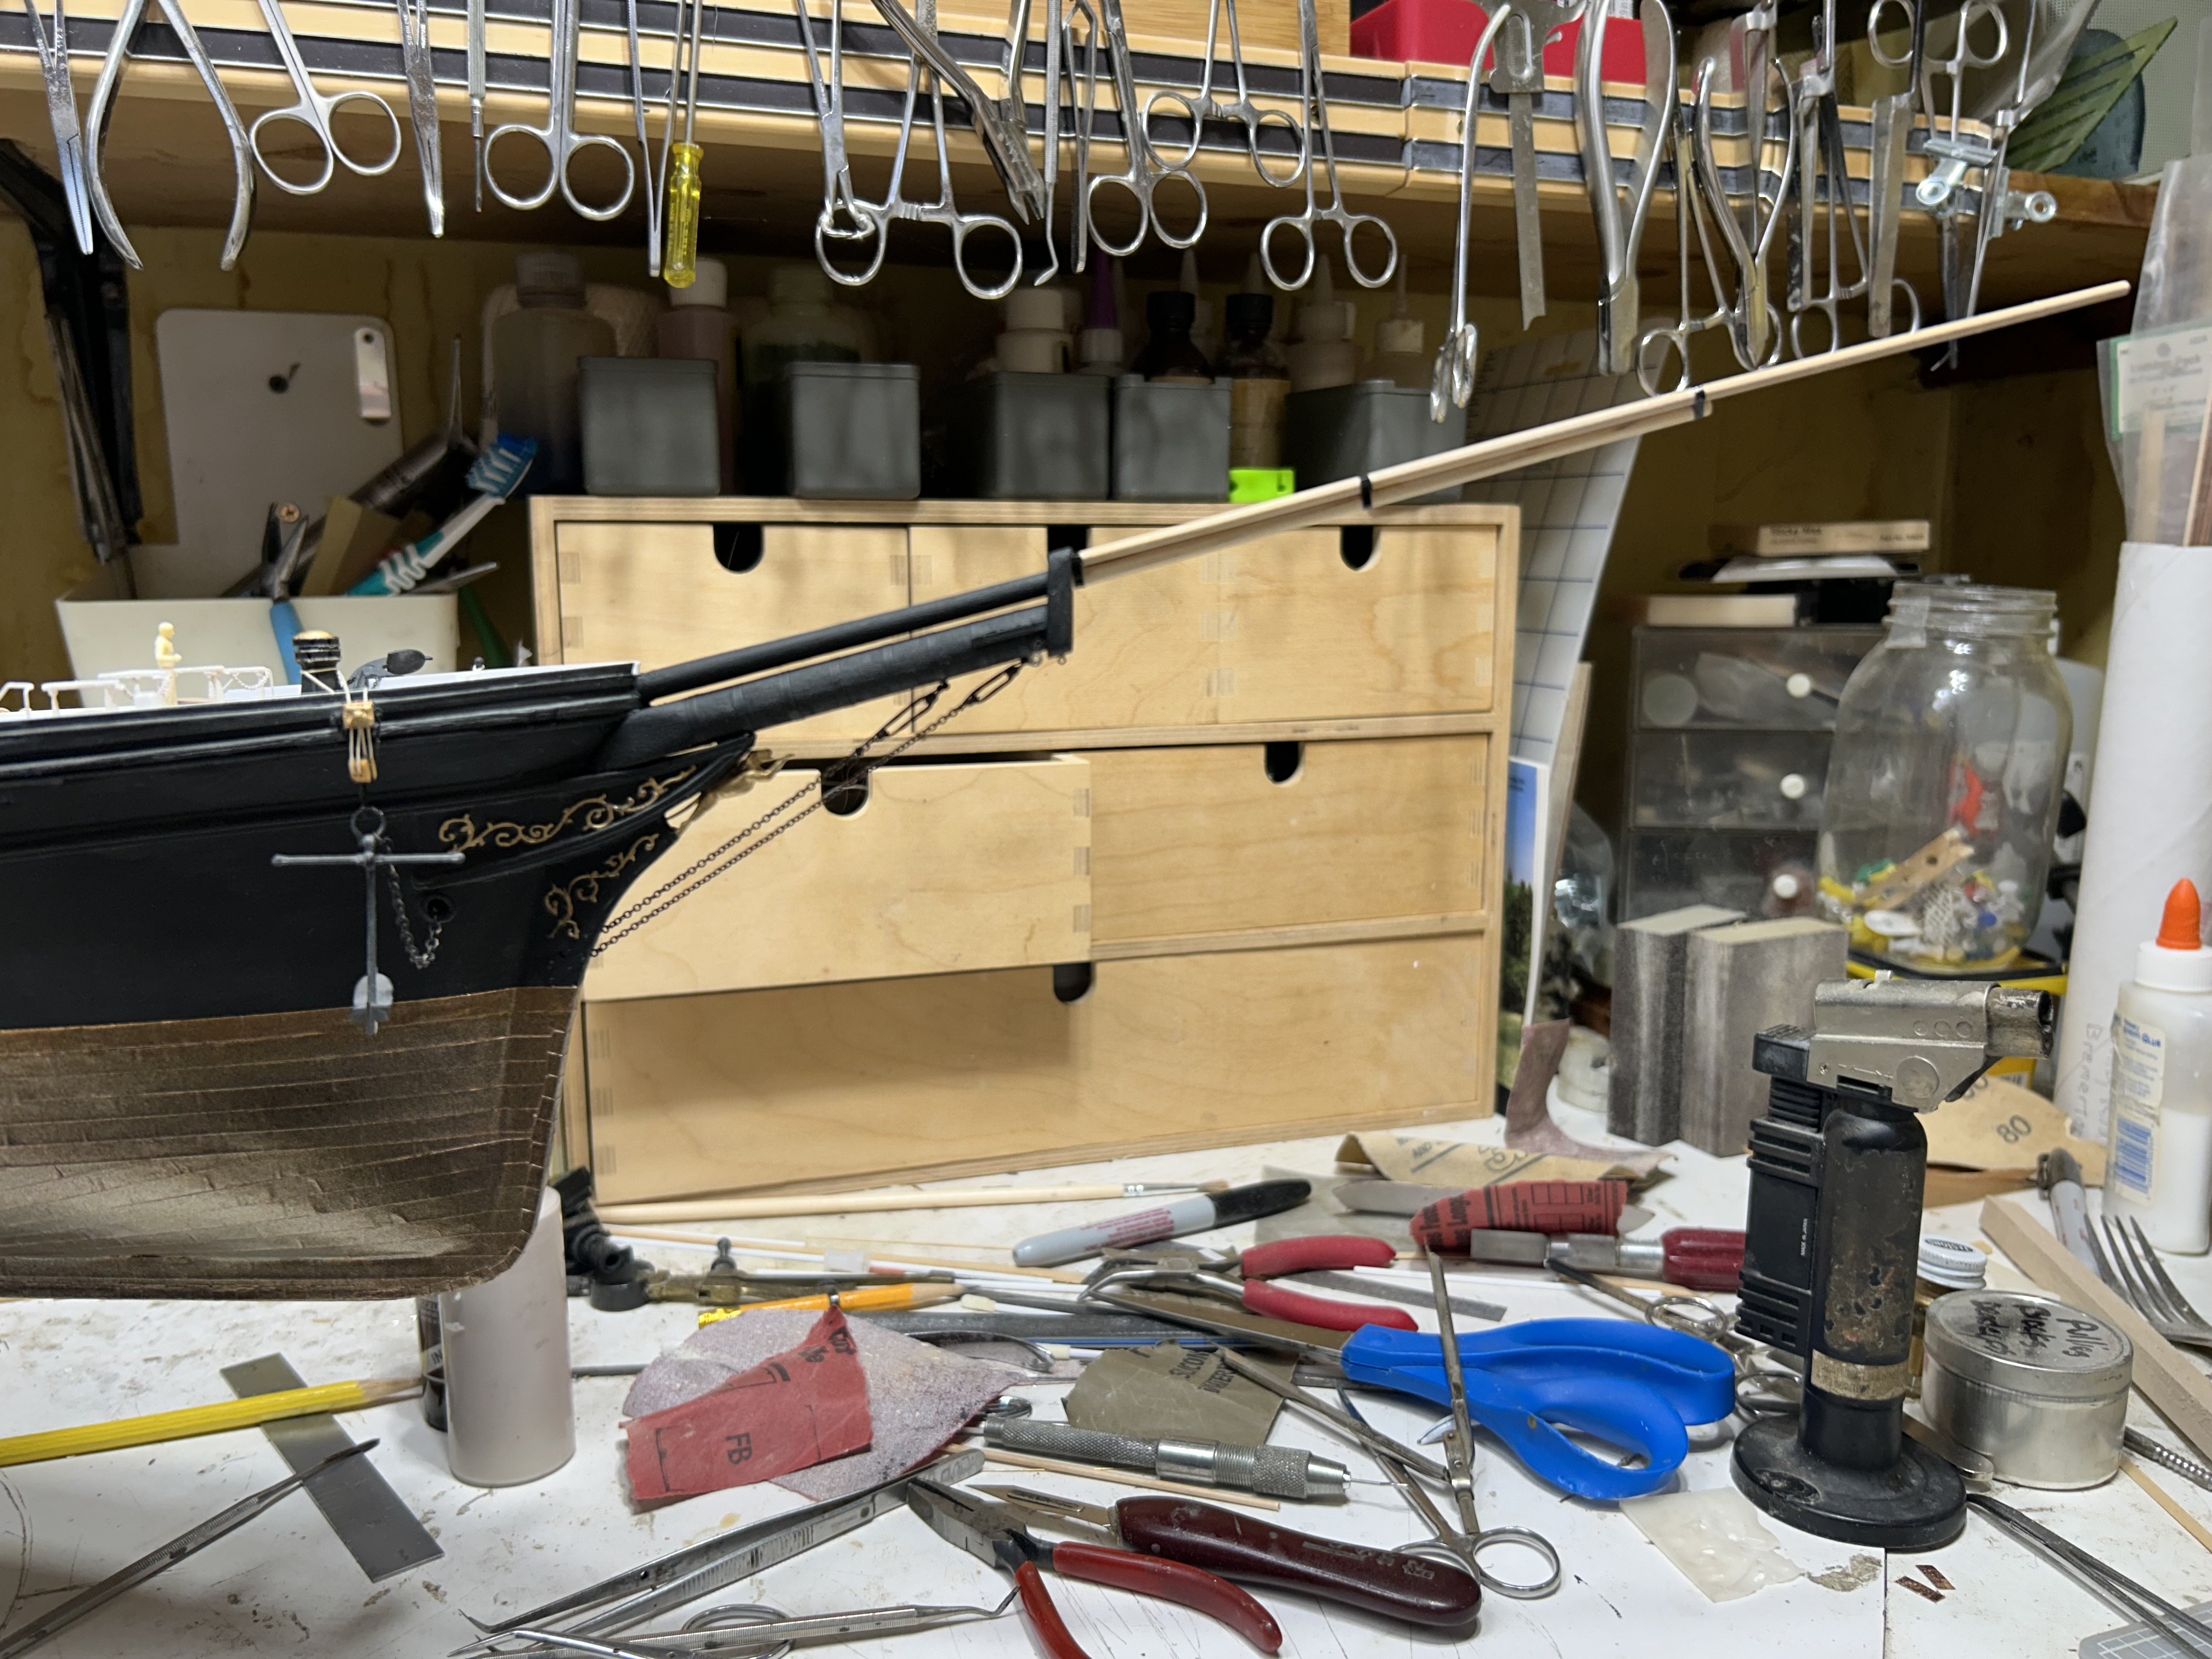
I began the work on the bowsprit and jib boom. Rob


-
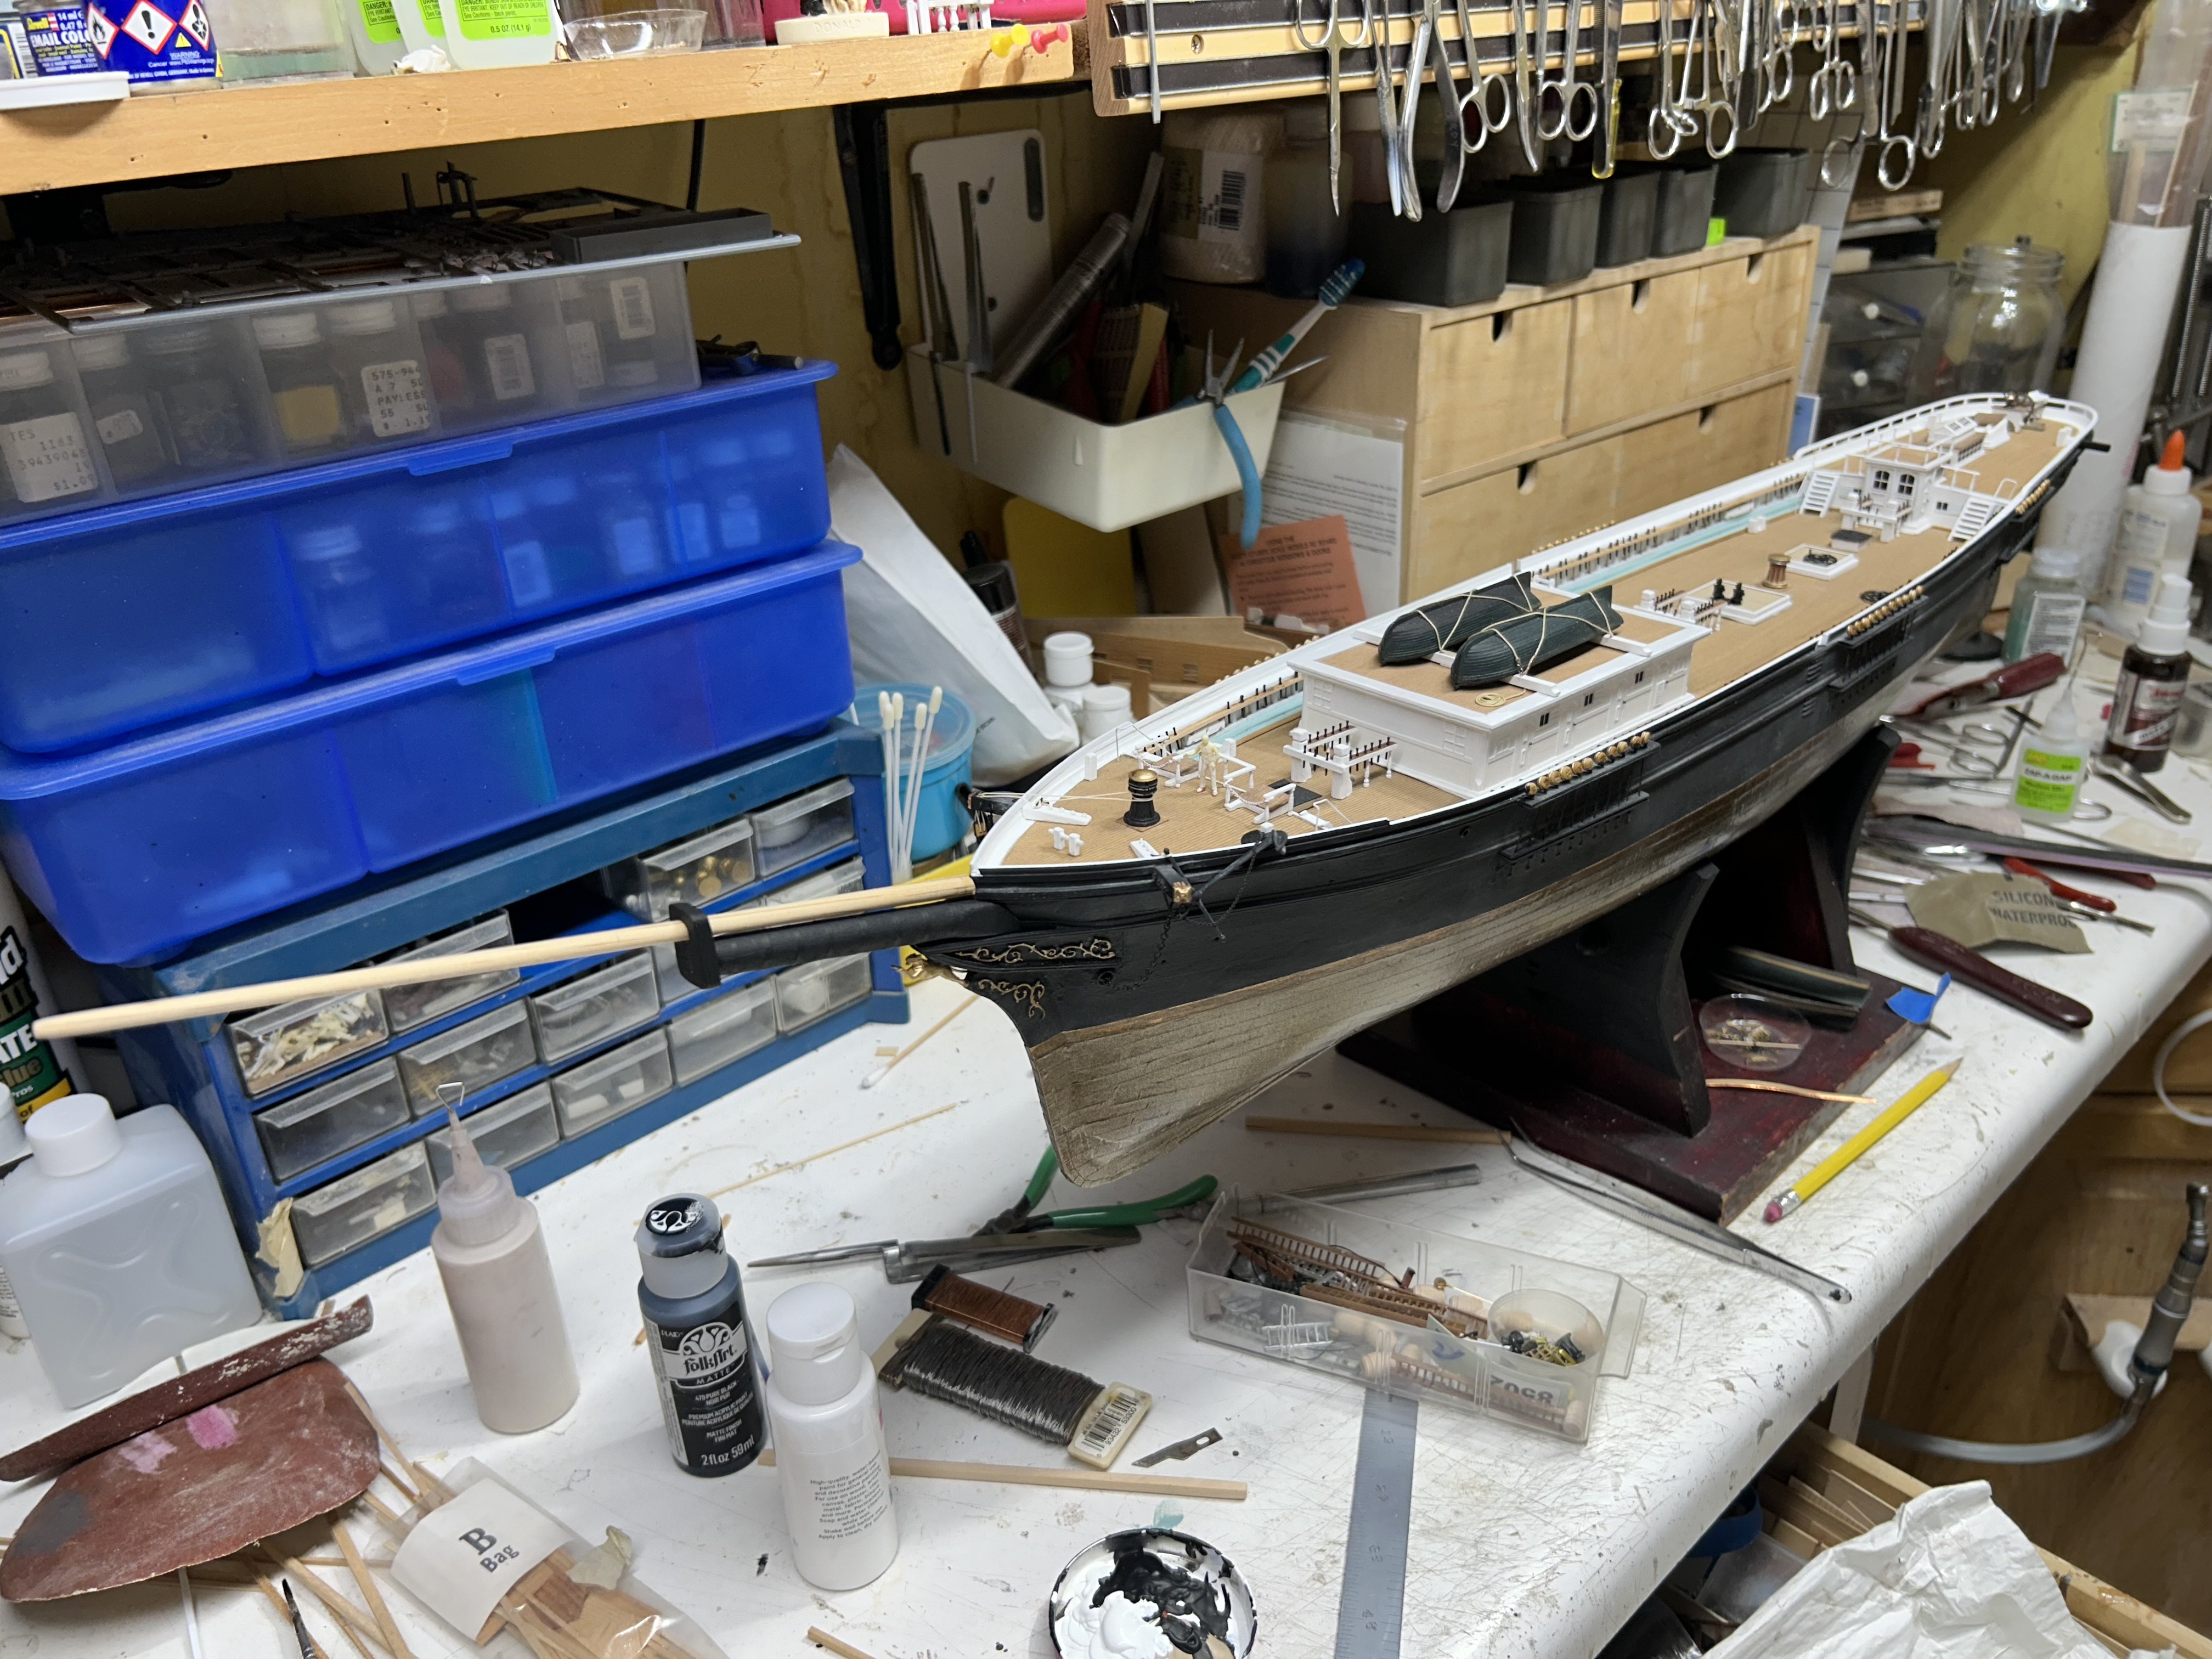
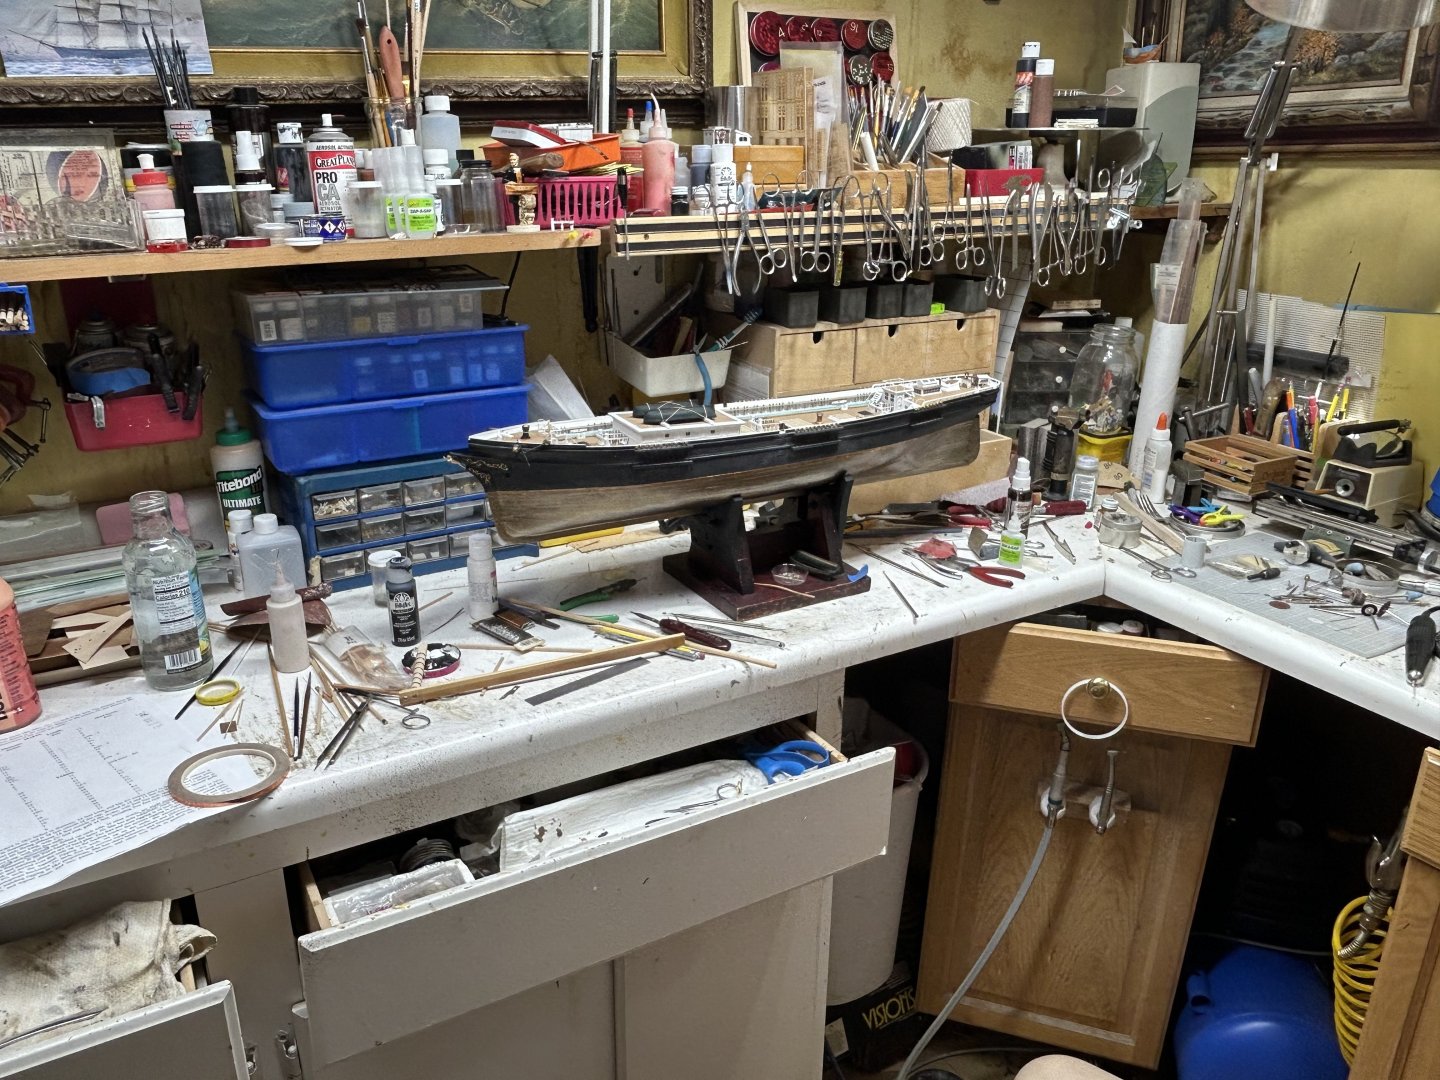
I thought I’d post a picture of my messy shop, where the magic happens. Rob
-
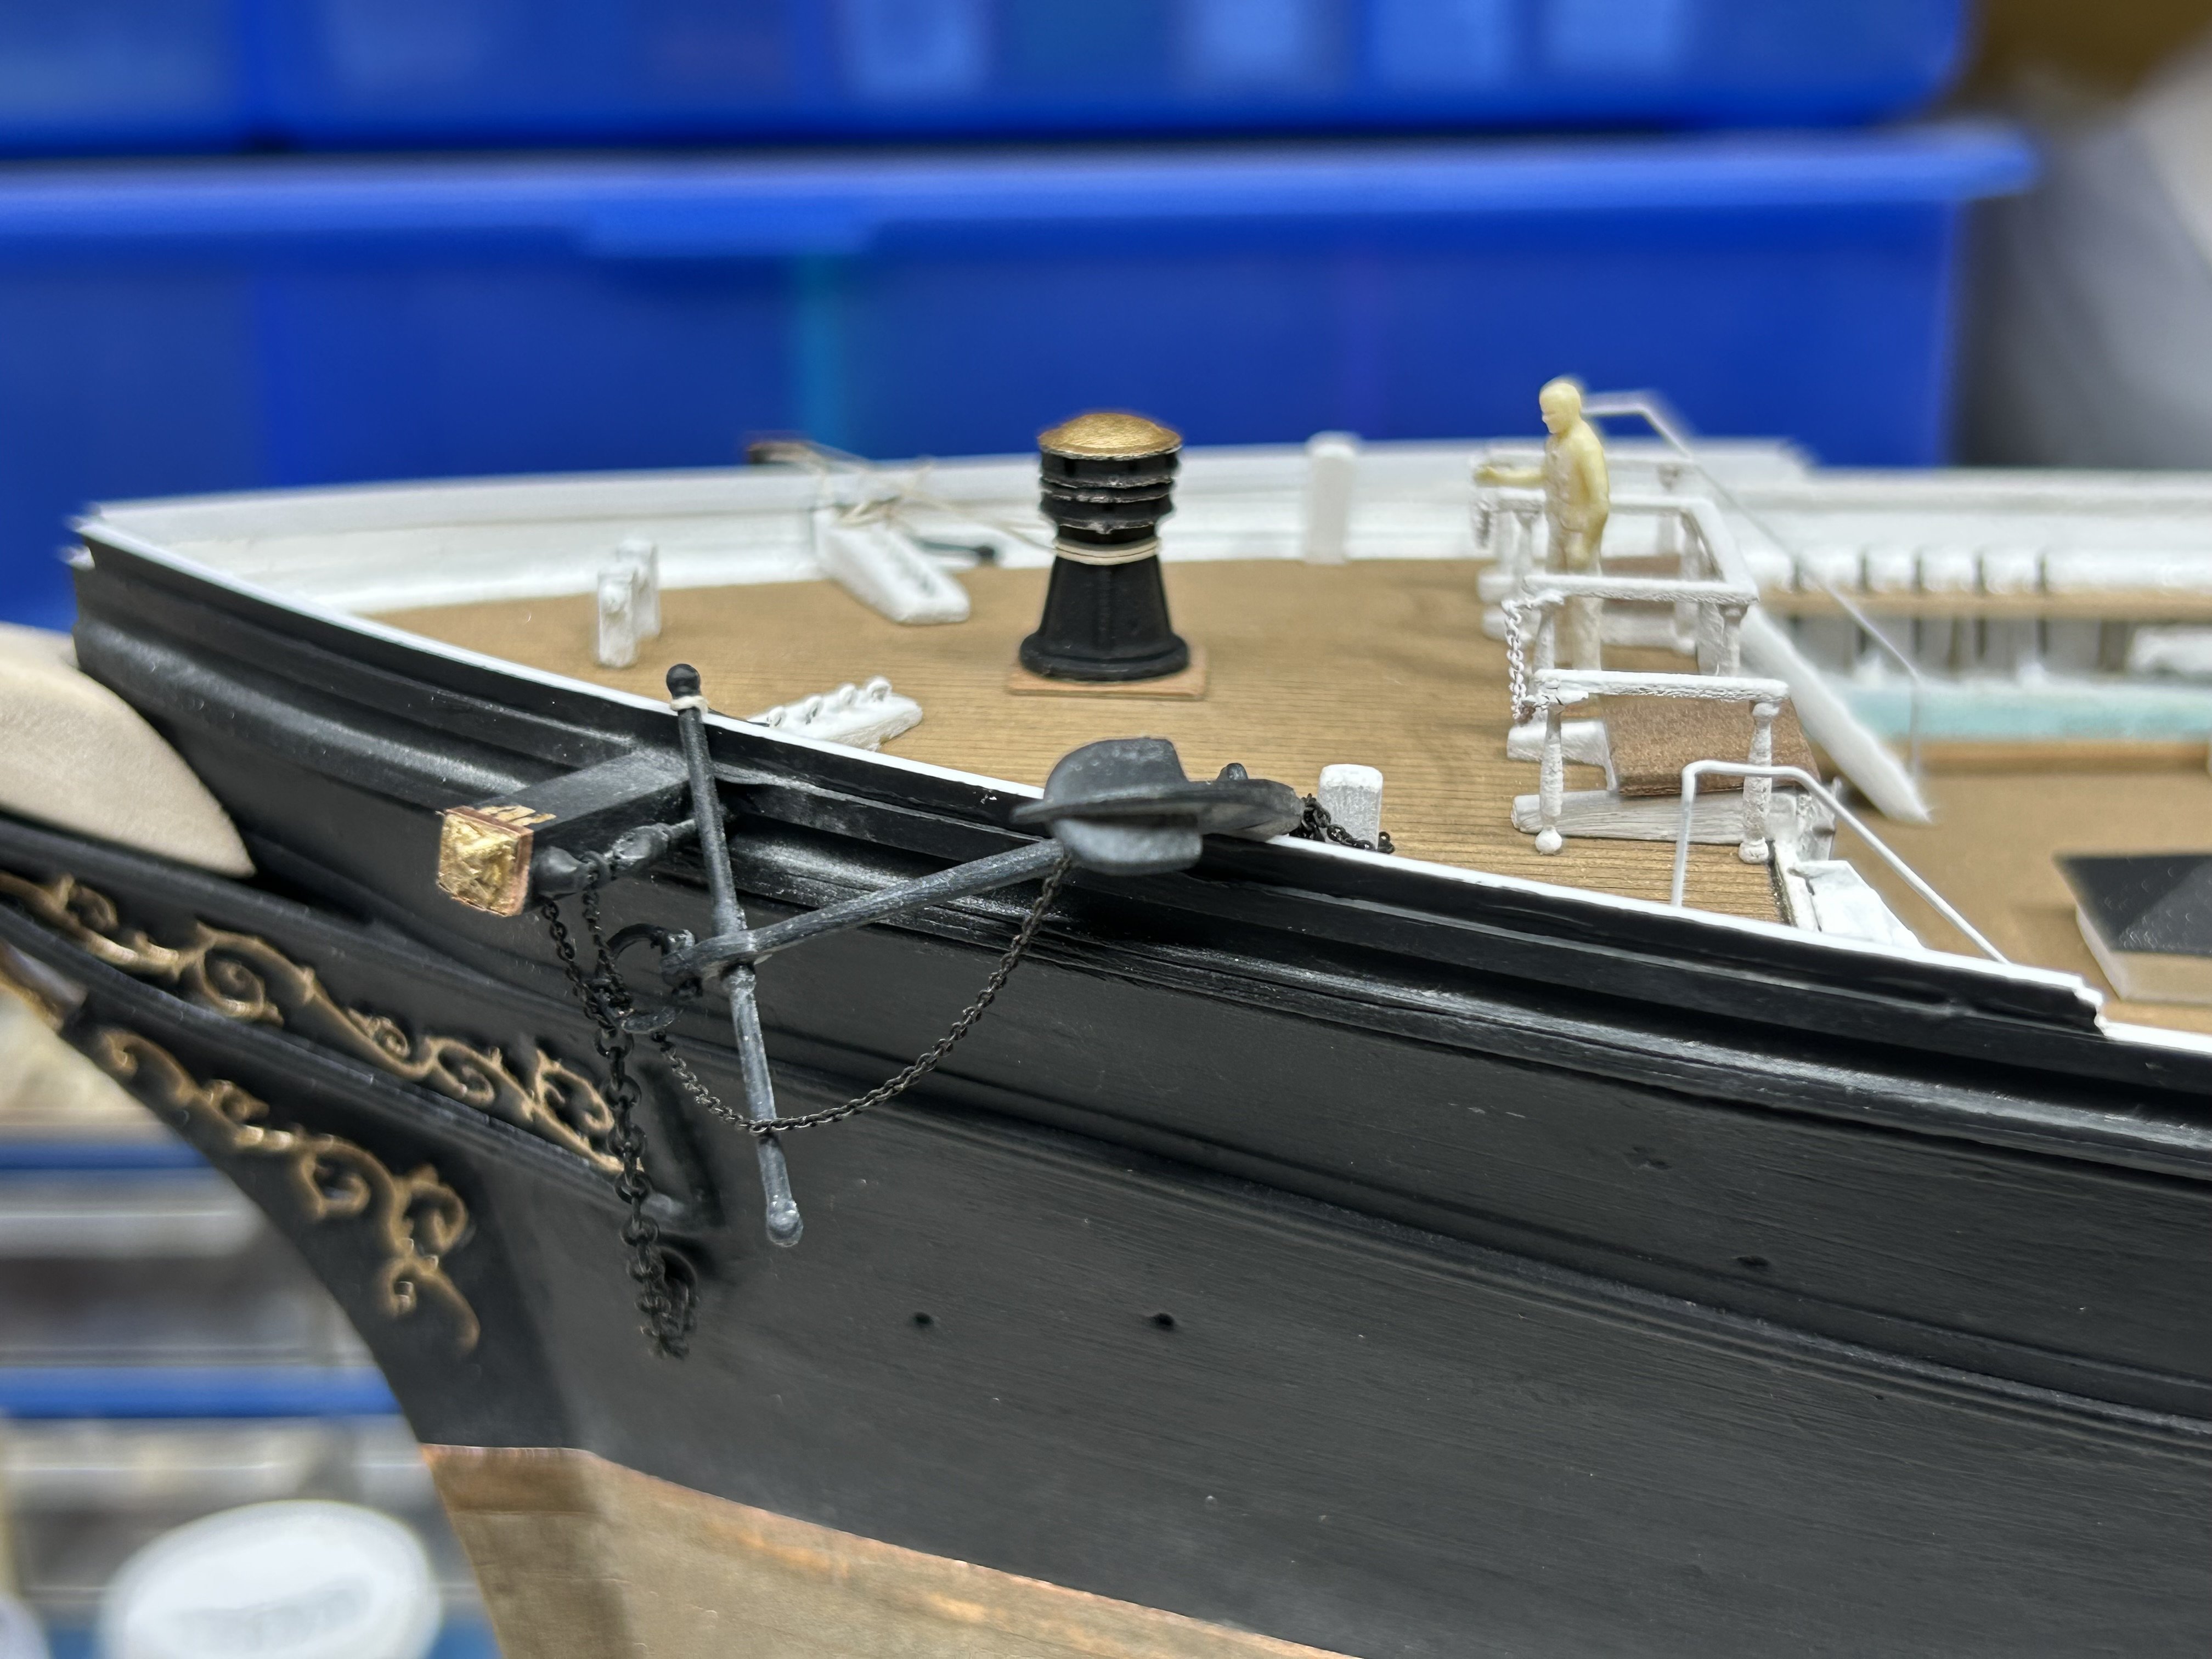
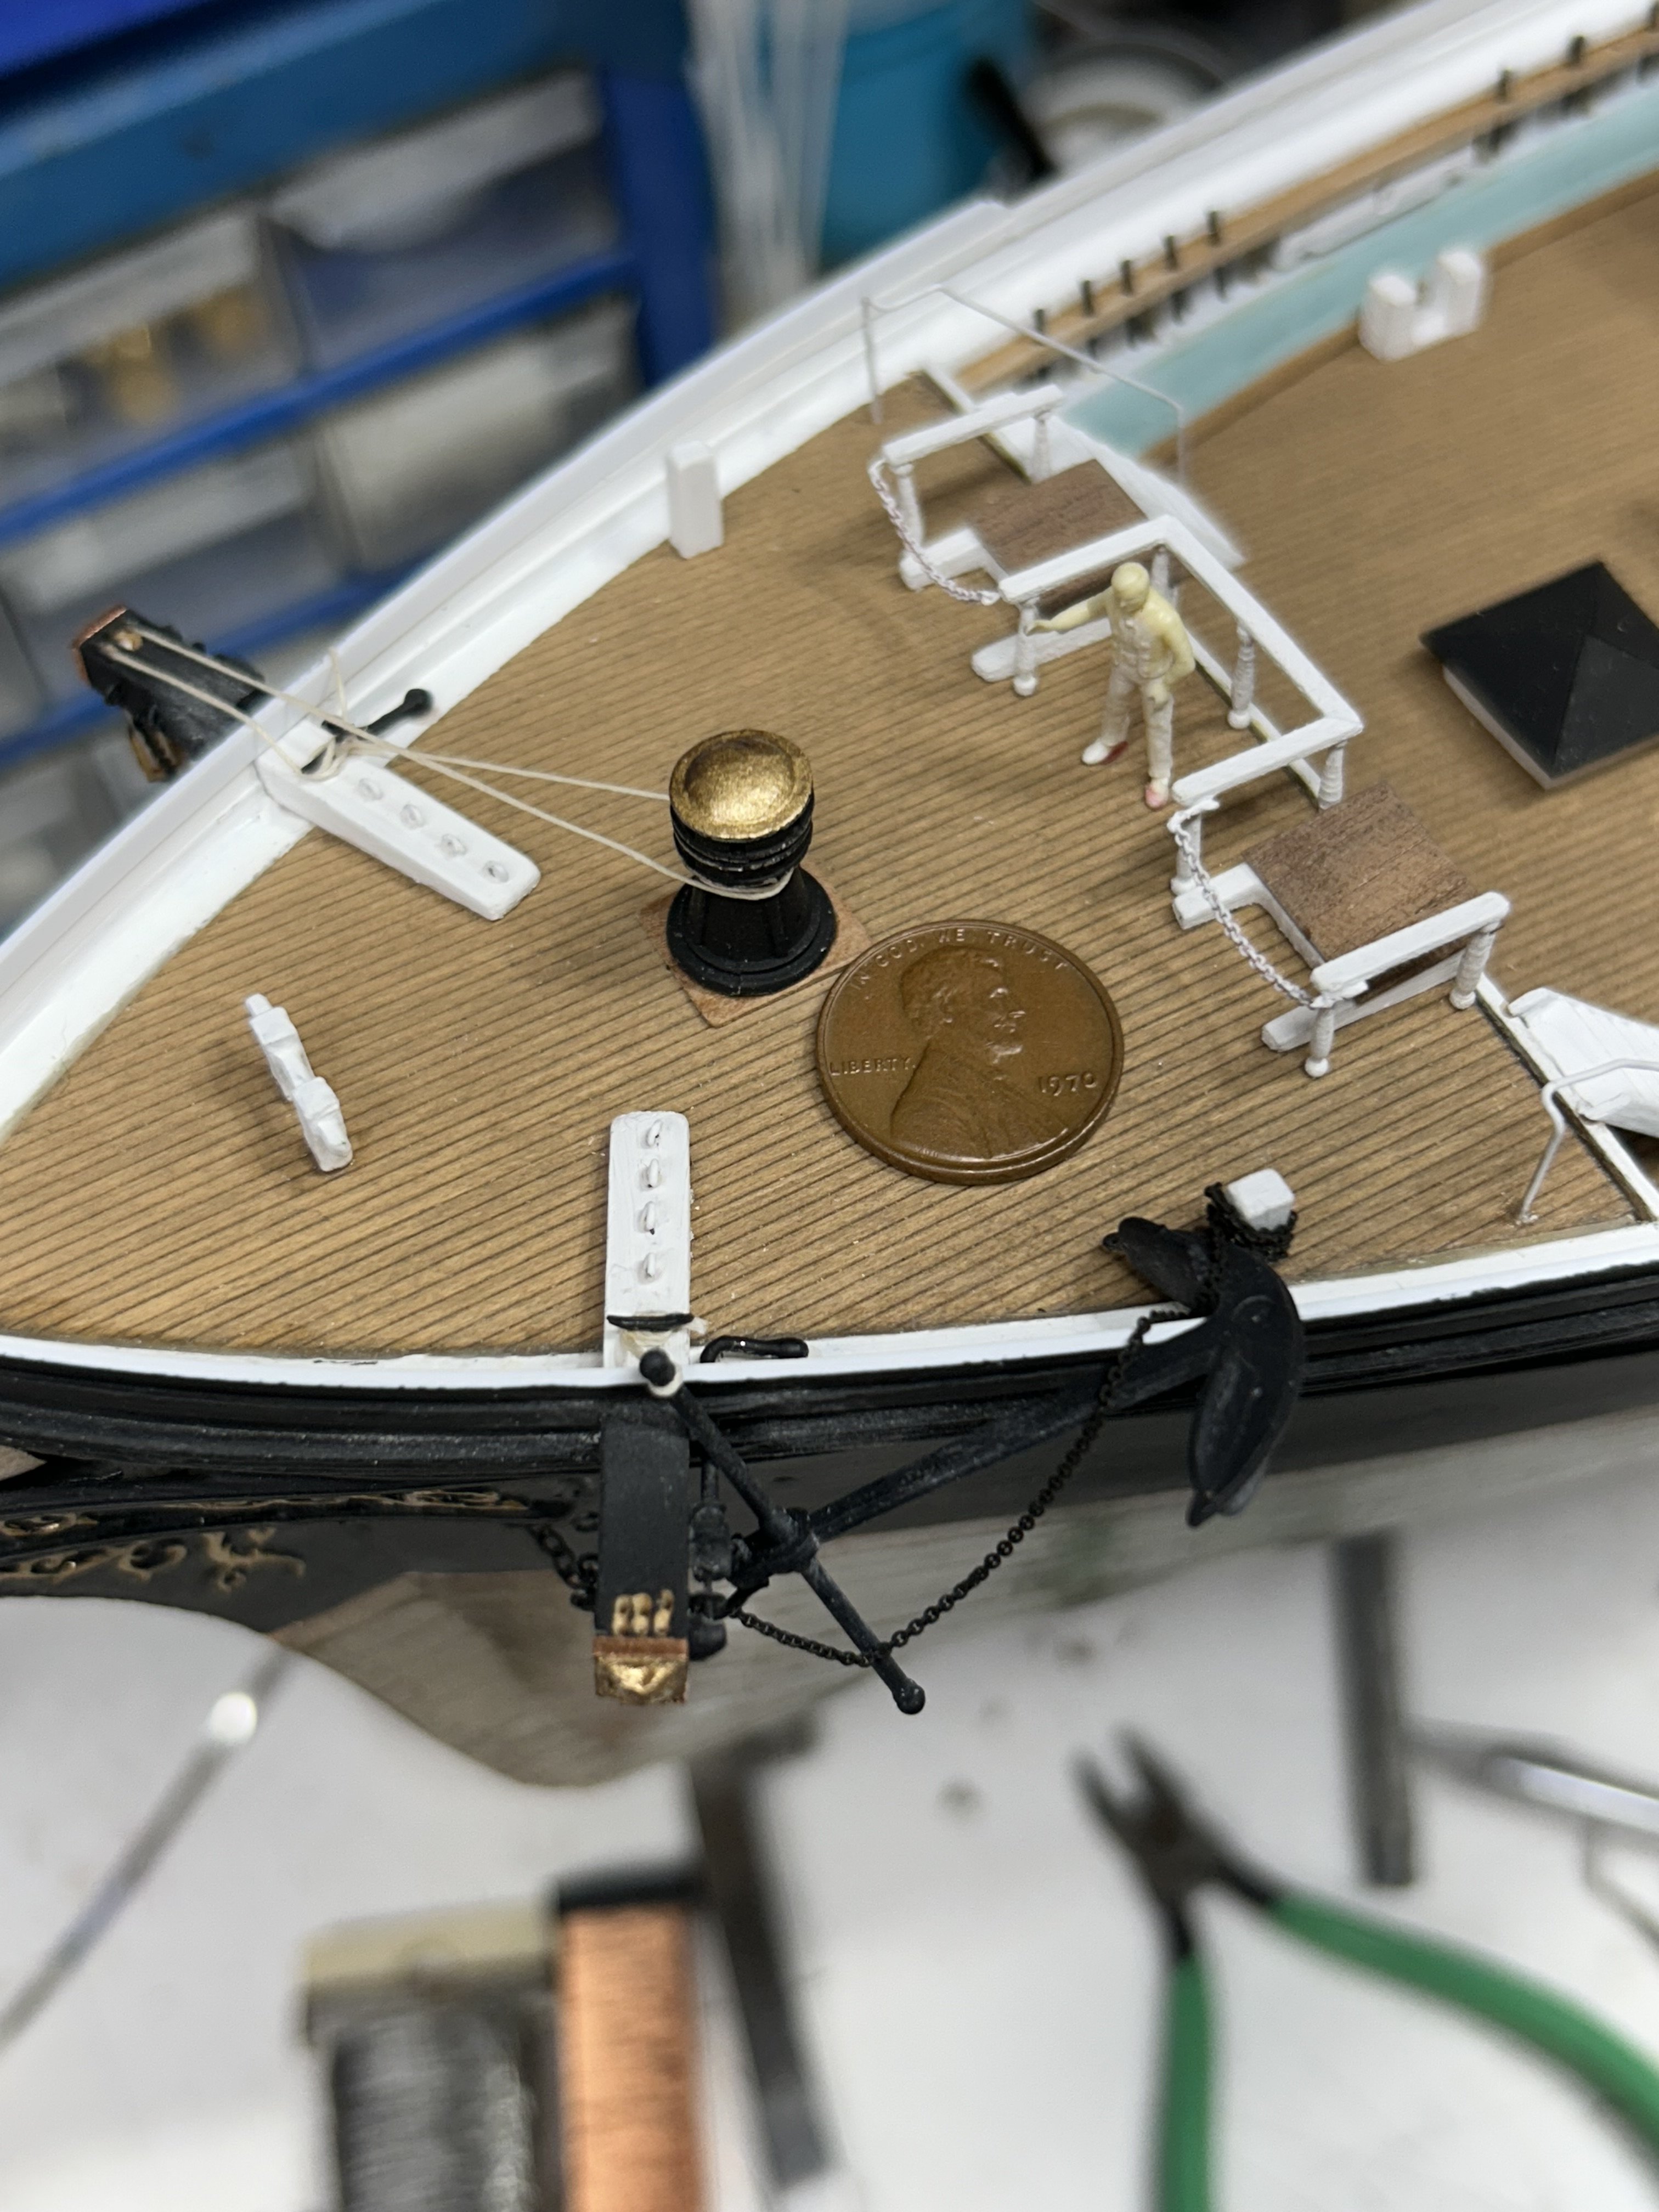
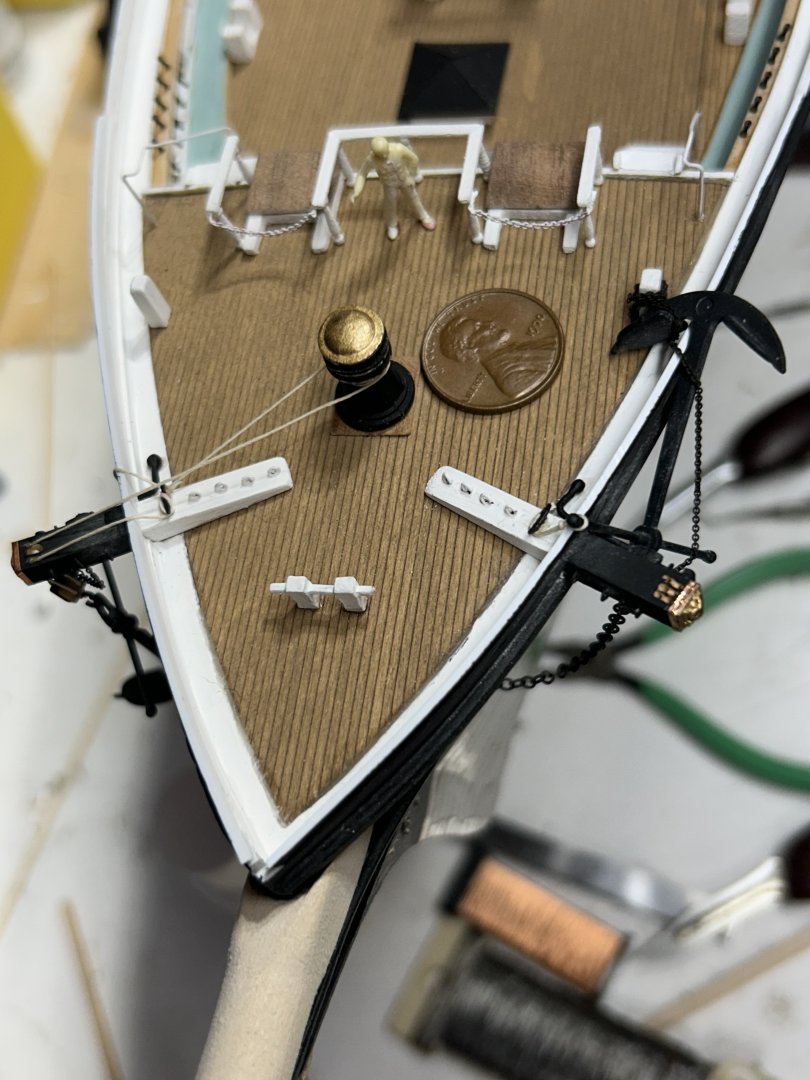
Couple pics with e penny for scale comparison. Rob


-
It’s a process that works for me and is convincing enough. Rob
-
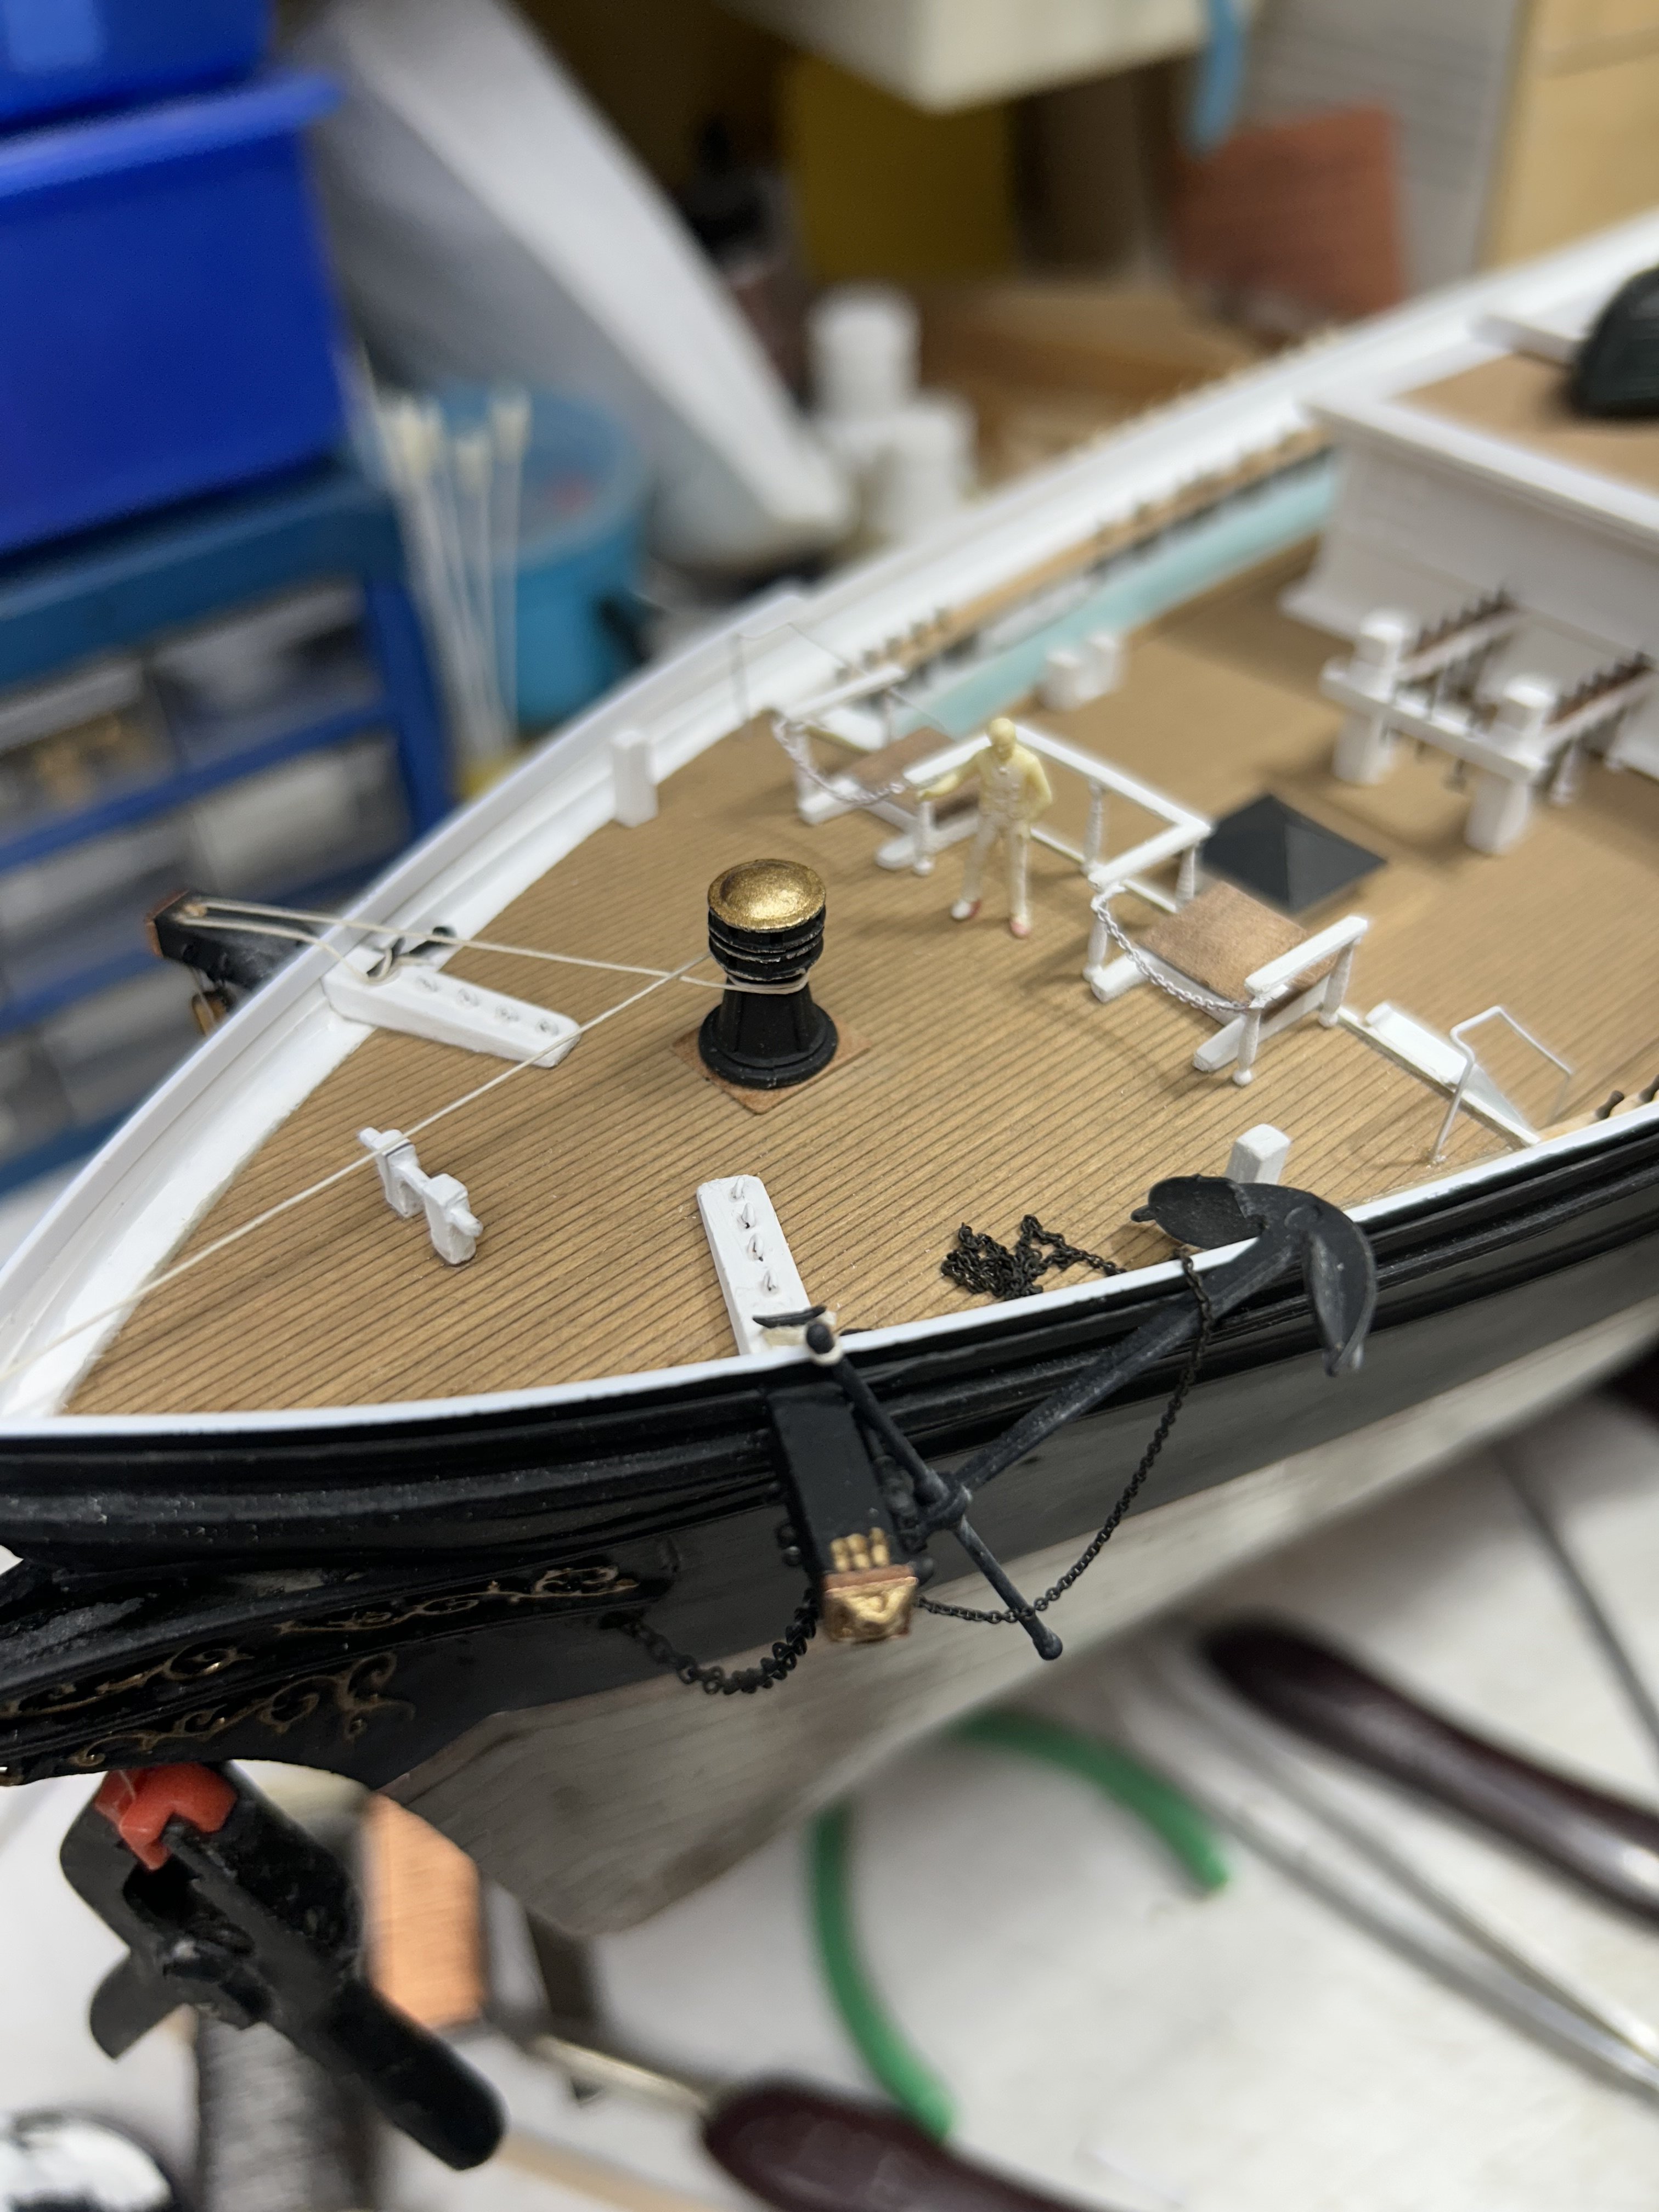
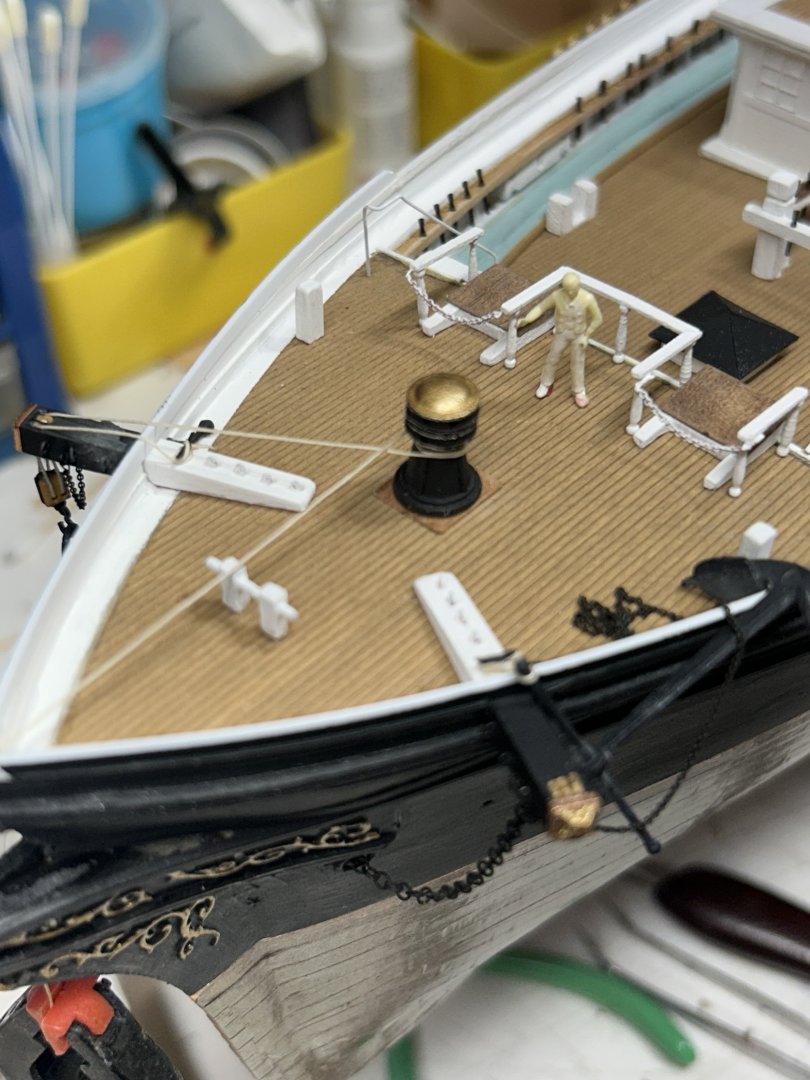
Some extras with the hired help. Rob

-
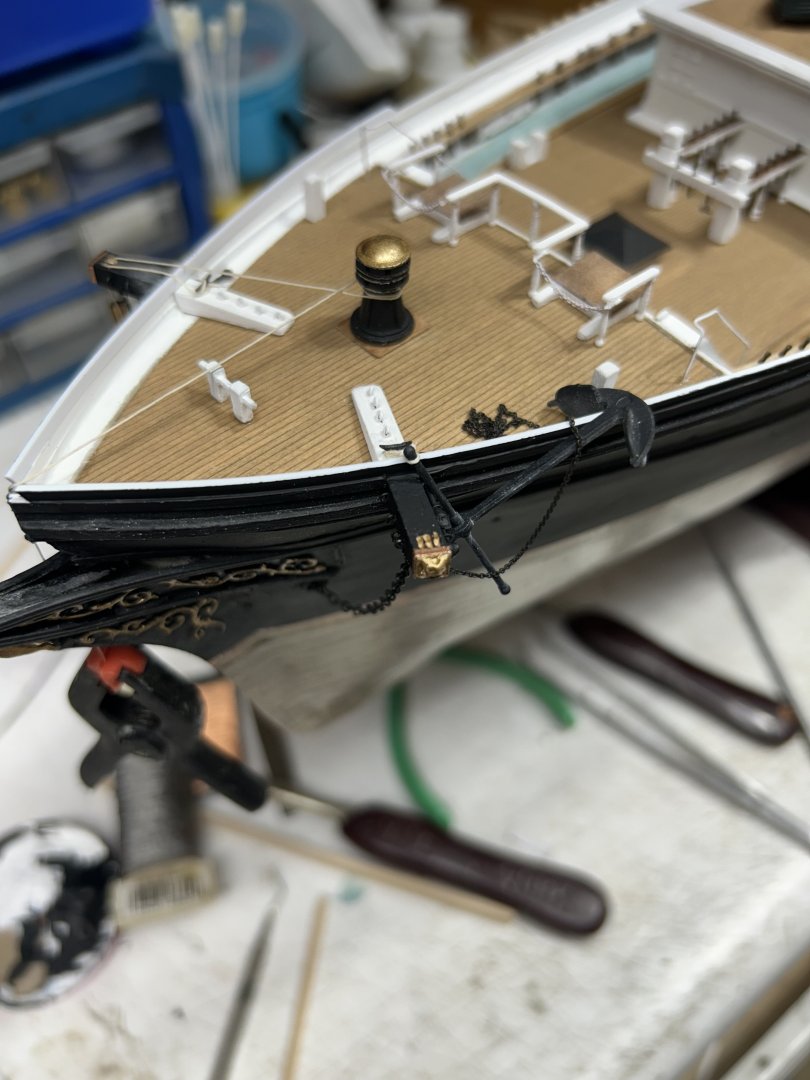
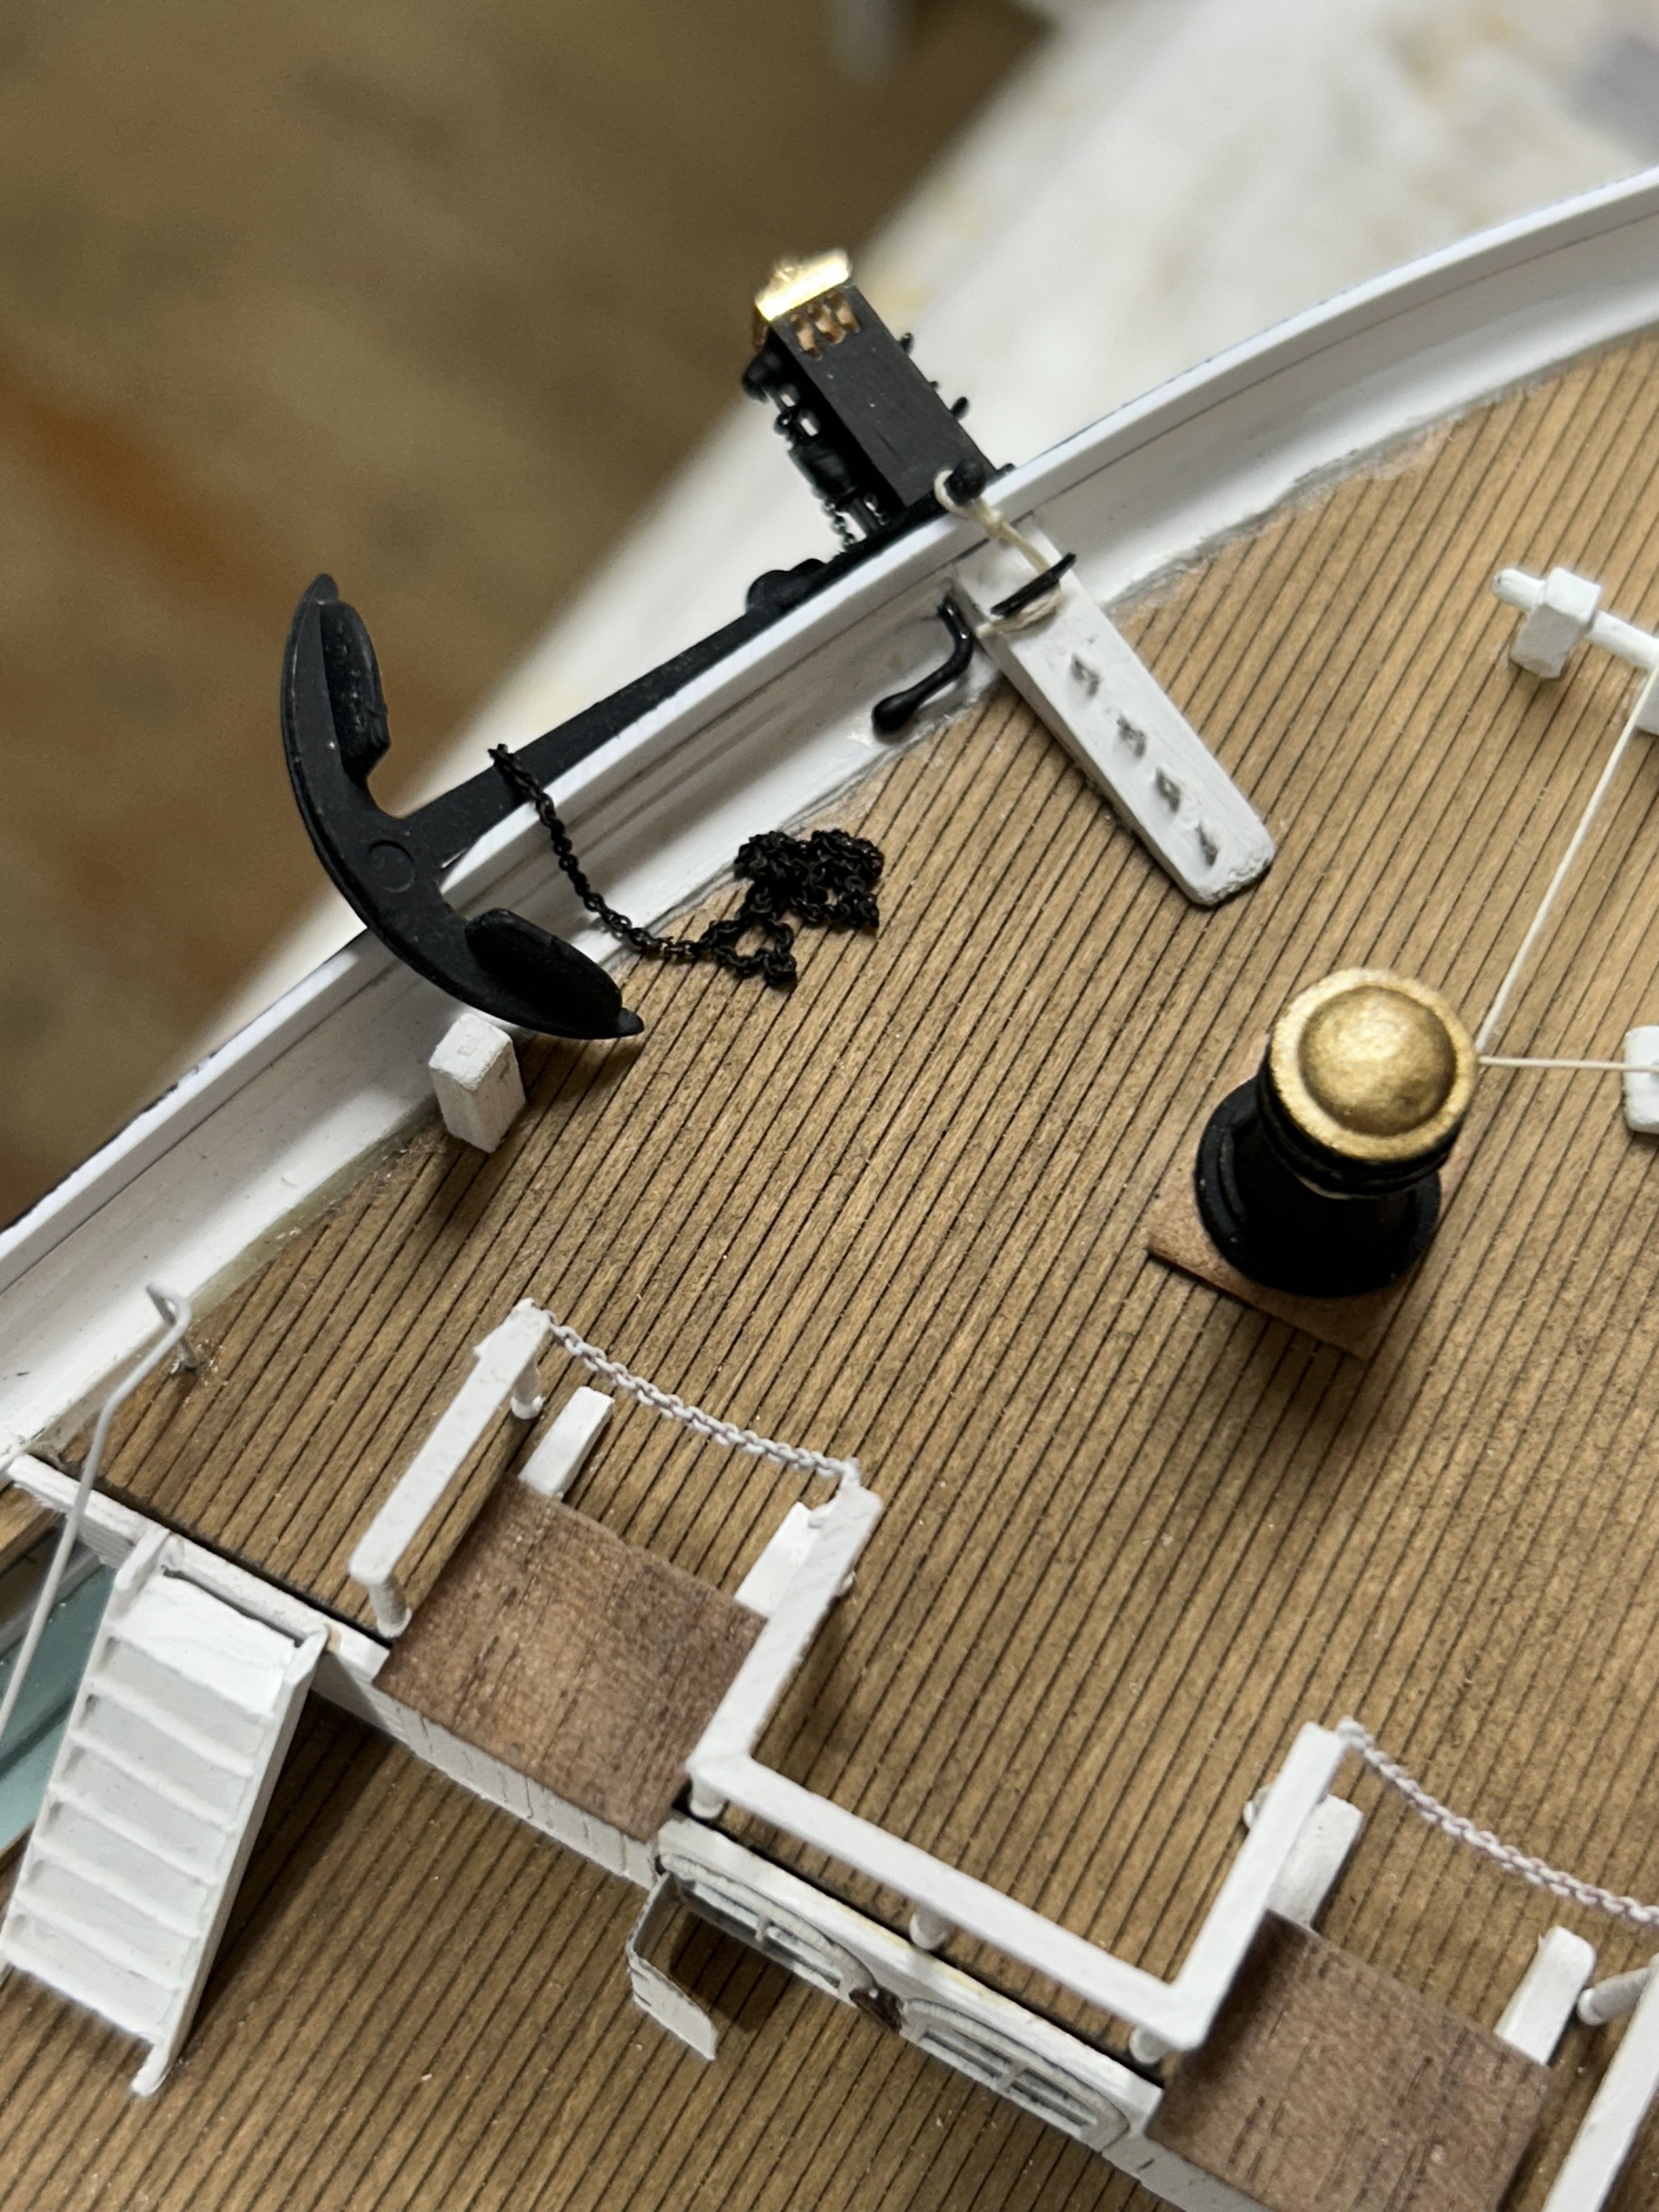
Finishing up with the anchors. Just a couple more things to do. Rob