rwiederrich
-
Posts
5,520 -
Joined
-
Last visited
Content Type
Profiles
Forums
Gallery
Events
Everything posted by rwiederrich
-
Good job Jared. I'm surprised there are no pennants for the topsail to main course yards........? It's getting pretty hectic now....isn't it? Imagine if you added 3~4 bunt lines with their blocks to each yard as well..... At this point, I'm sure you are beginning to think about a case and home for her. Rob
- 431 replies
-
- 1
-

-
- Flying Fish
- Model Shipways
- (and 2 more)
-
Thanks guys.... I can regain my focus and clarity. Last couple of days I've been distracted by home repairs. My sweetheart wants to redesign the master bedroom in the French country style. Good thing I know where to keep my focus. I'll be getting back to Staghound soon. Sneaking in a little work hear and there...... Rob
-
It is indeed. Going on my 3rd day pain free.....It's a new beginning. Rob
-
I'm all over that Rich...Those mooring howes, I mentioned......several of them are opposite the cavil's fairleads. I have all four located and they will all be addressed in my *from stem to stern* approach. Just inboard of them will be the double wooden bits. I will not be addressing the forecastle any time soon.....that will get its own attention, all by itself, .....at a later appointment. Thanks for keeping me honest......and reminding me of past wrestle-ings. Staghound was McKay's first clipper.....so I am sure she had plenty of robust wooden mooring fixtures. Rob
-
Thanks everyone for the fine well wishes and encouragement. Pain free for over two days....I feel ready to get back into the shipyard. Onto the fore fife rail. Once done with all the fife rails....I will go back to the stern and begin adding another layer of details, moving forward. This way I can keep track of the individual details without having to go back and add them later when it is less advantageous. Namely; bumpkins, cleats, bits, mooring howes, hand rails, and a myriad of eyebolts and their purchase blocks. ( Boom braces, foot of masts and such). So much to plan for and pre-think out. Rob
-
I’ve been generally pain free for over 24 hours…..thus far. Praise the Lord! Rob
-
Thanks Rich. I’ve been prescribed a liquid stone resolver called “StoneCrusher”. It’s supposed to aid in dissolving the terrorists. We’ll see how that works. Im happy how Staghound is coming along. I’ll make the fore fife rail ……. Then head back aft to work on finishing up the poop deck details. Rob
-
Finished rail and now I’m working on the pump. Rob

-
Another. Rob

-
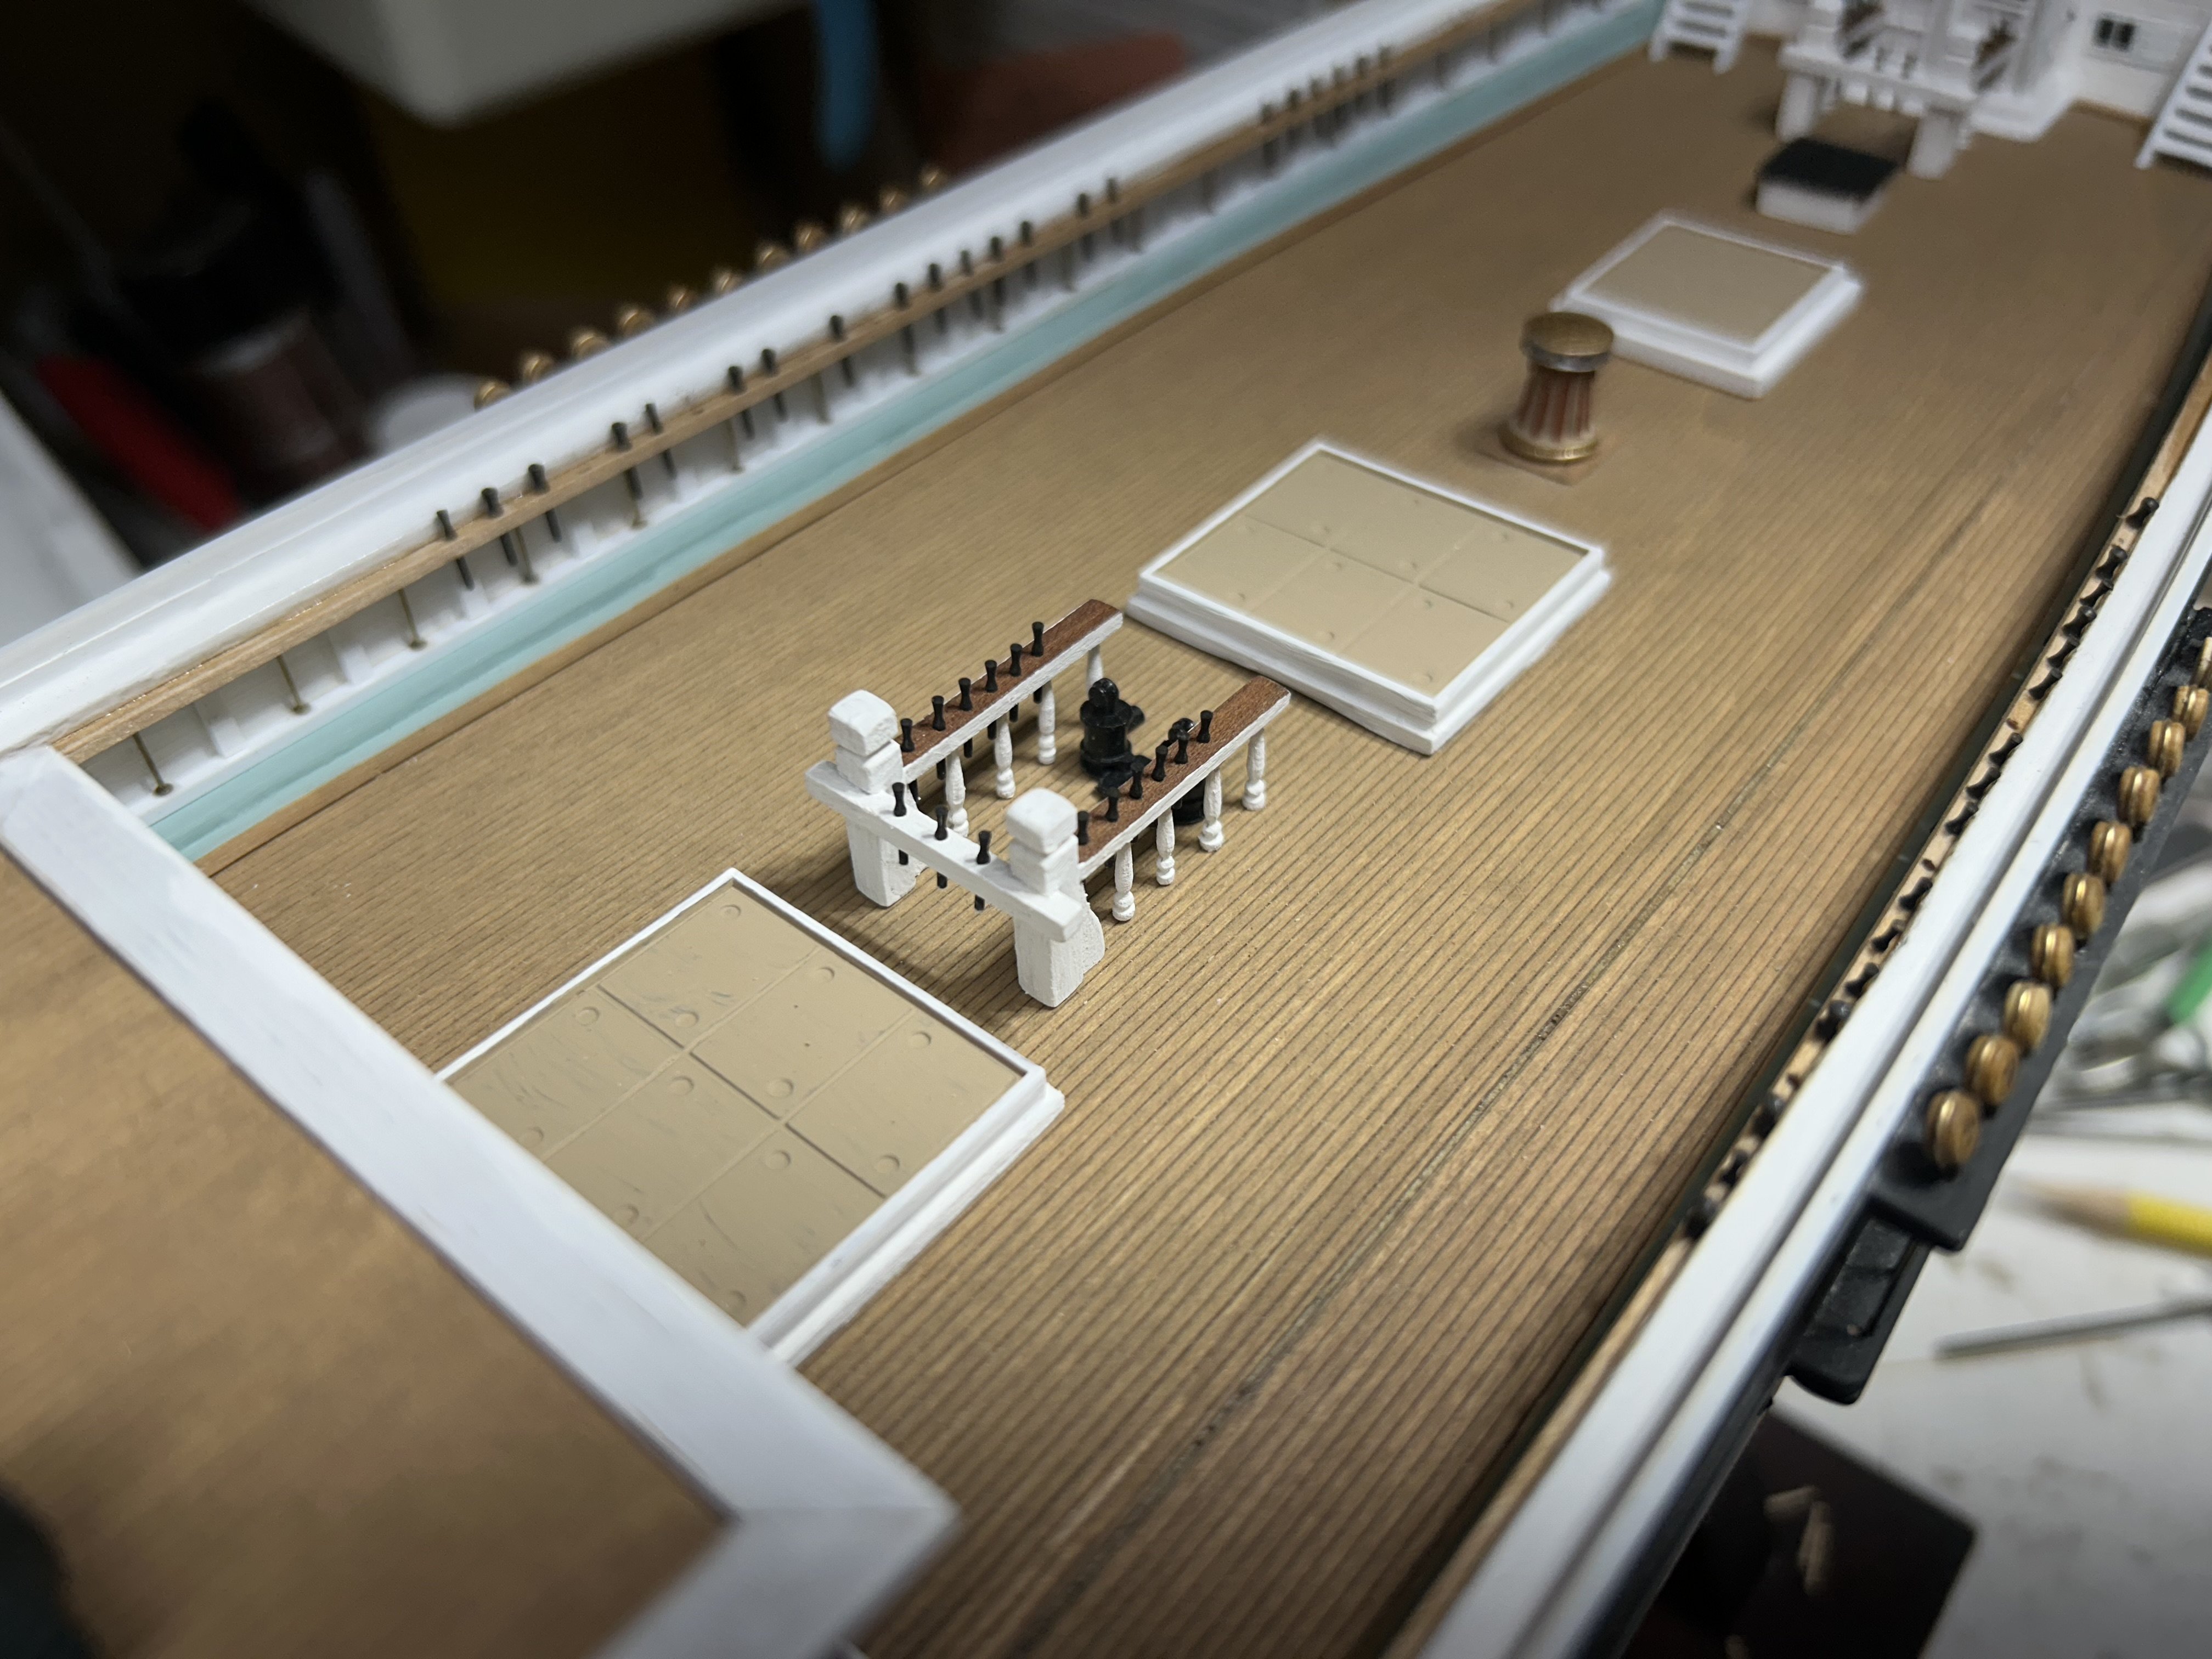
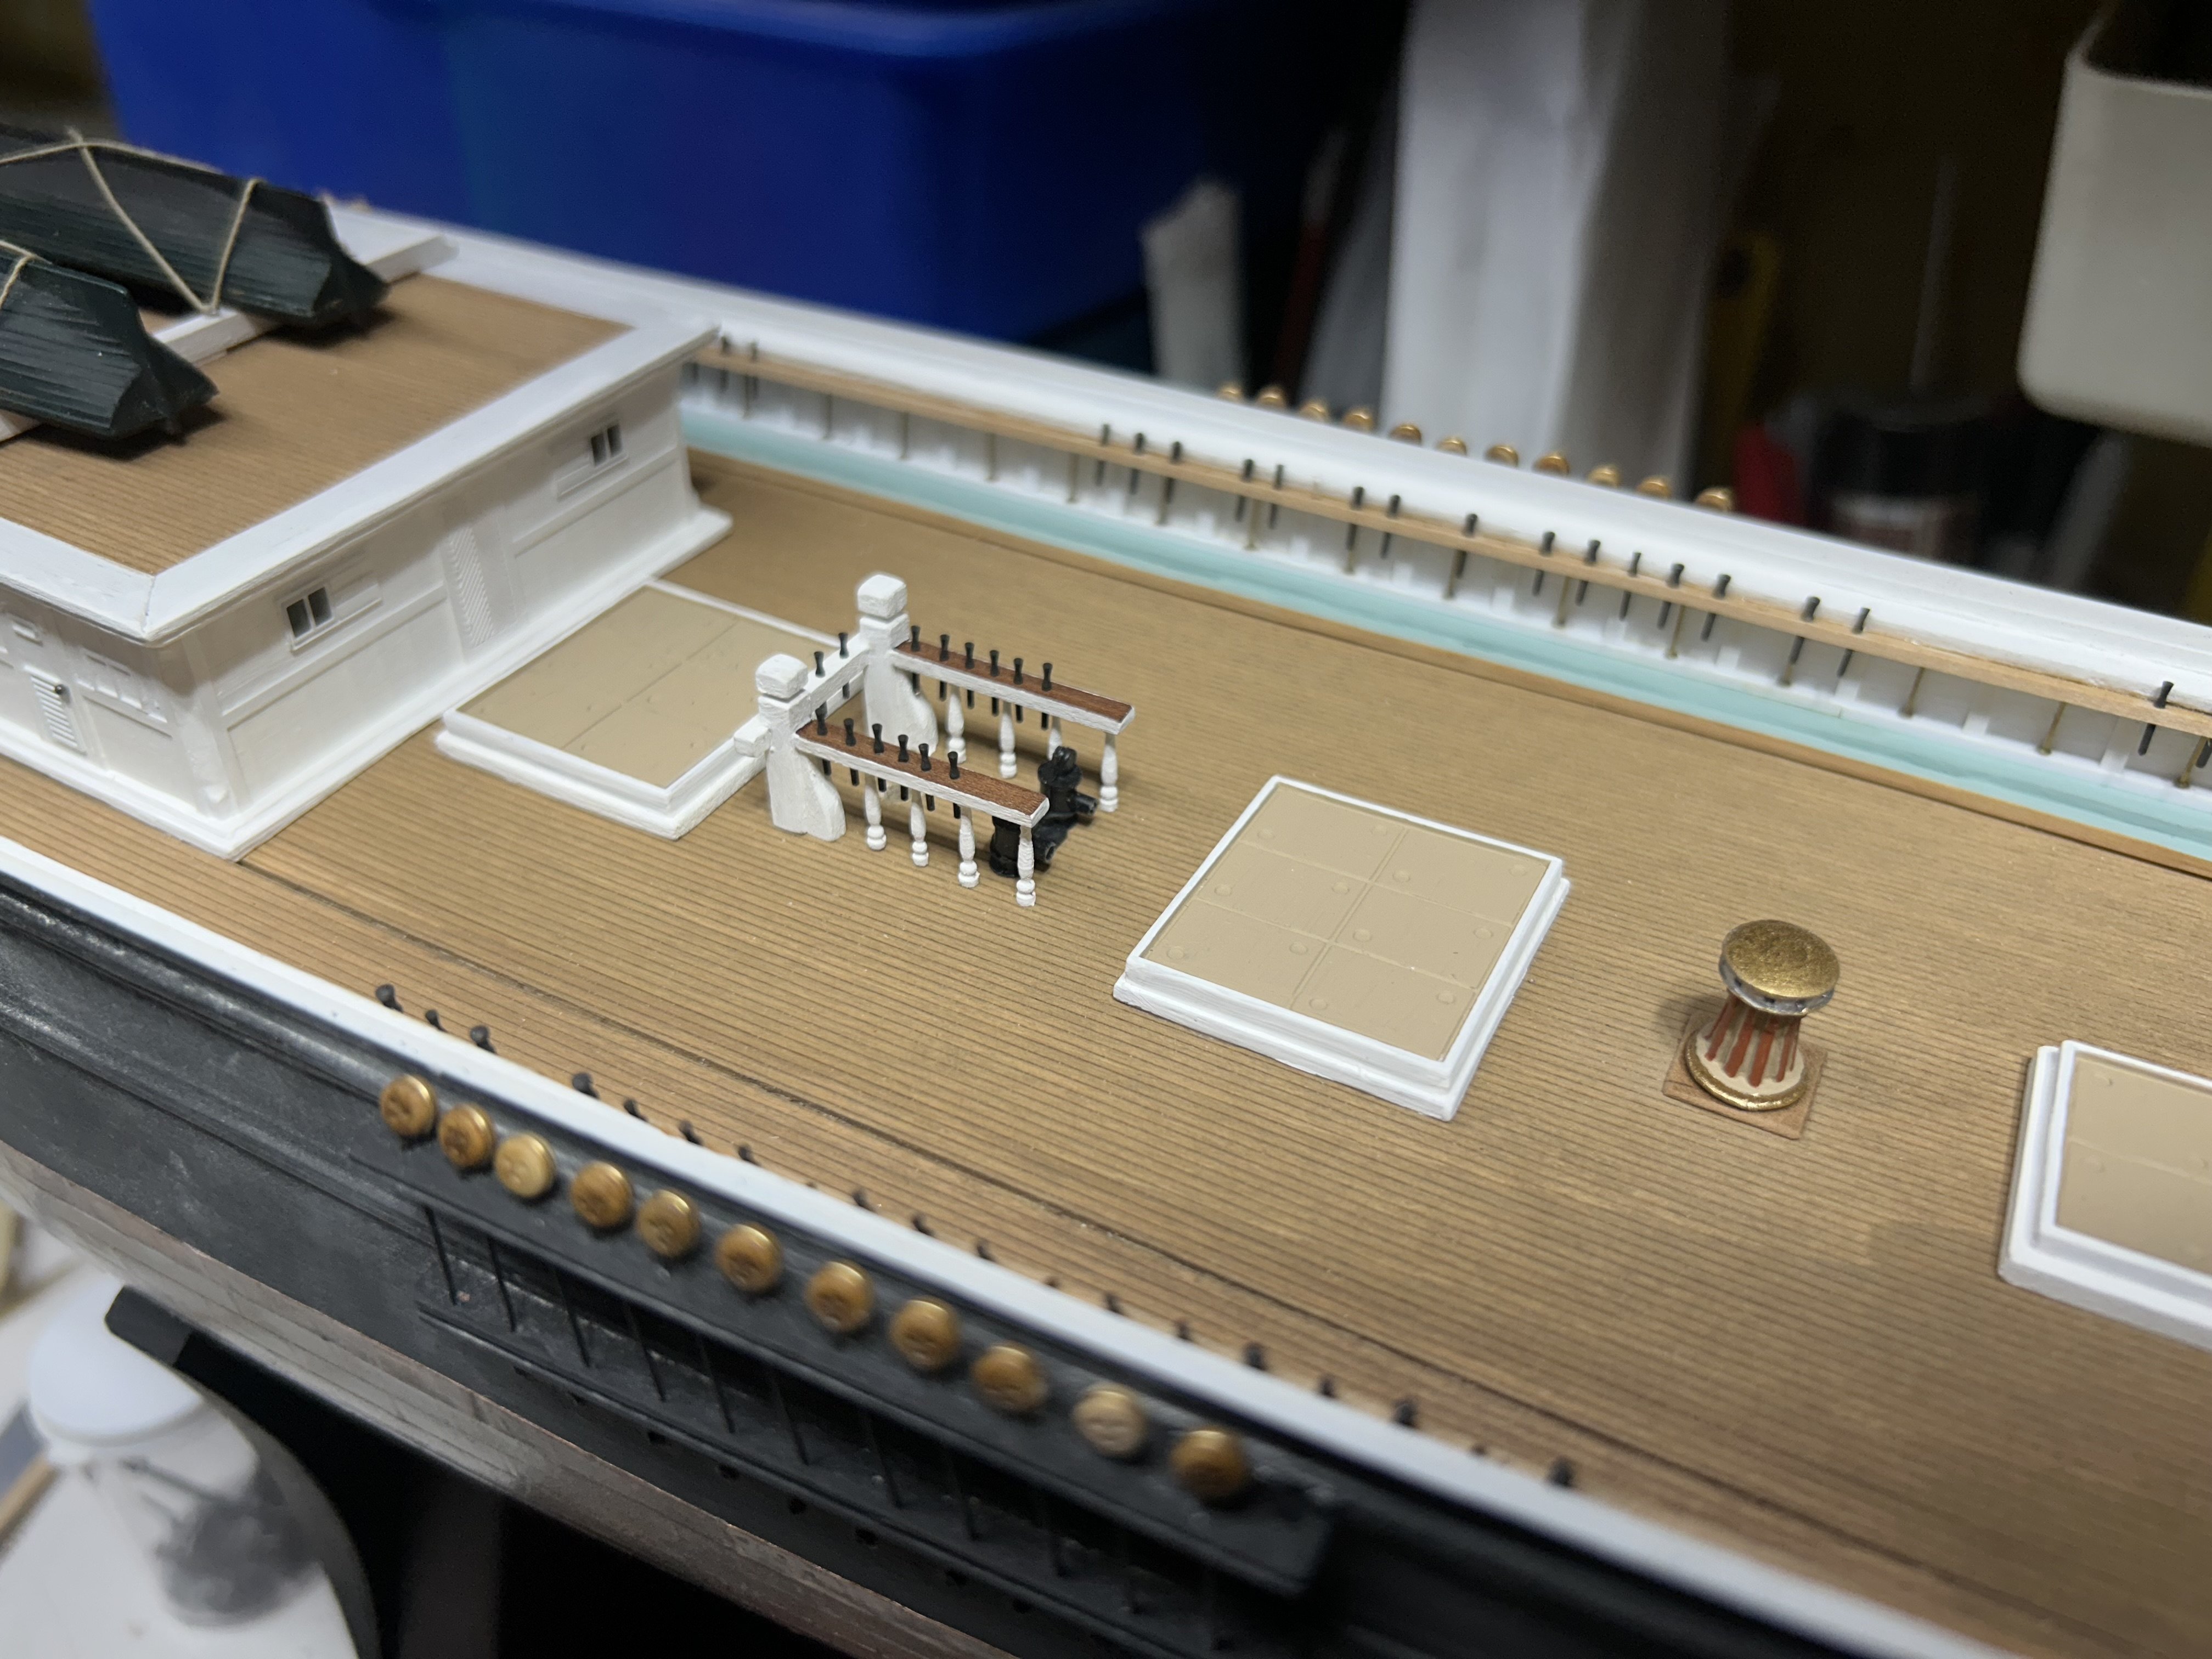
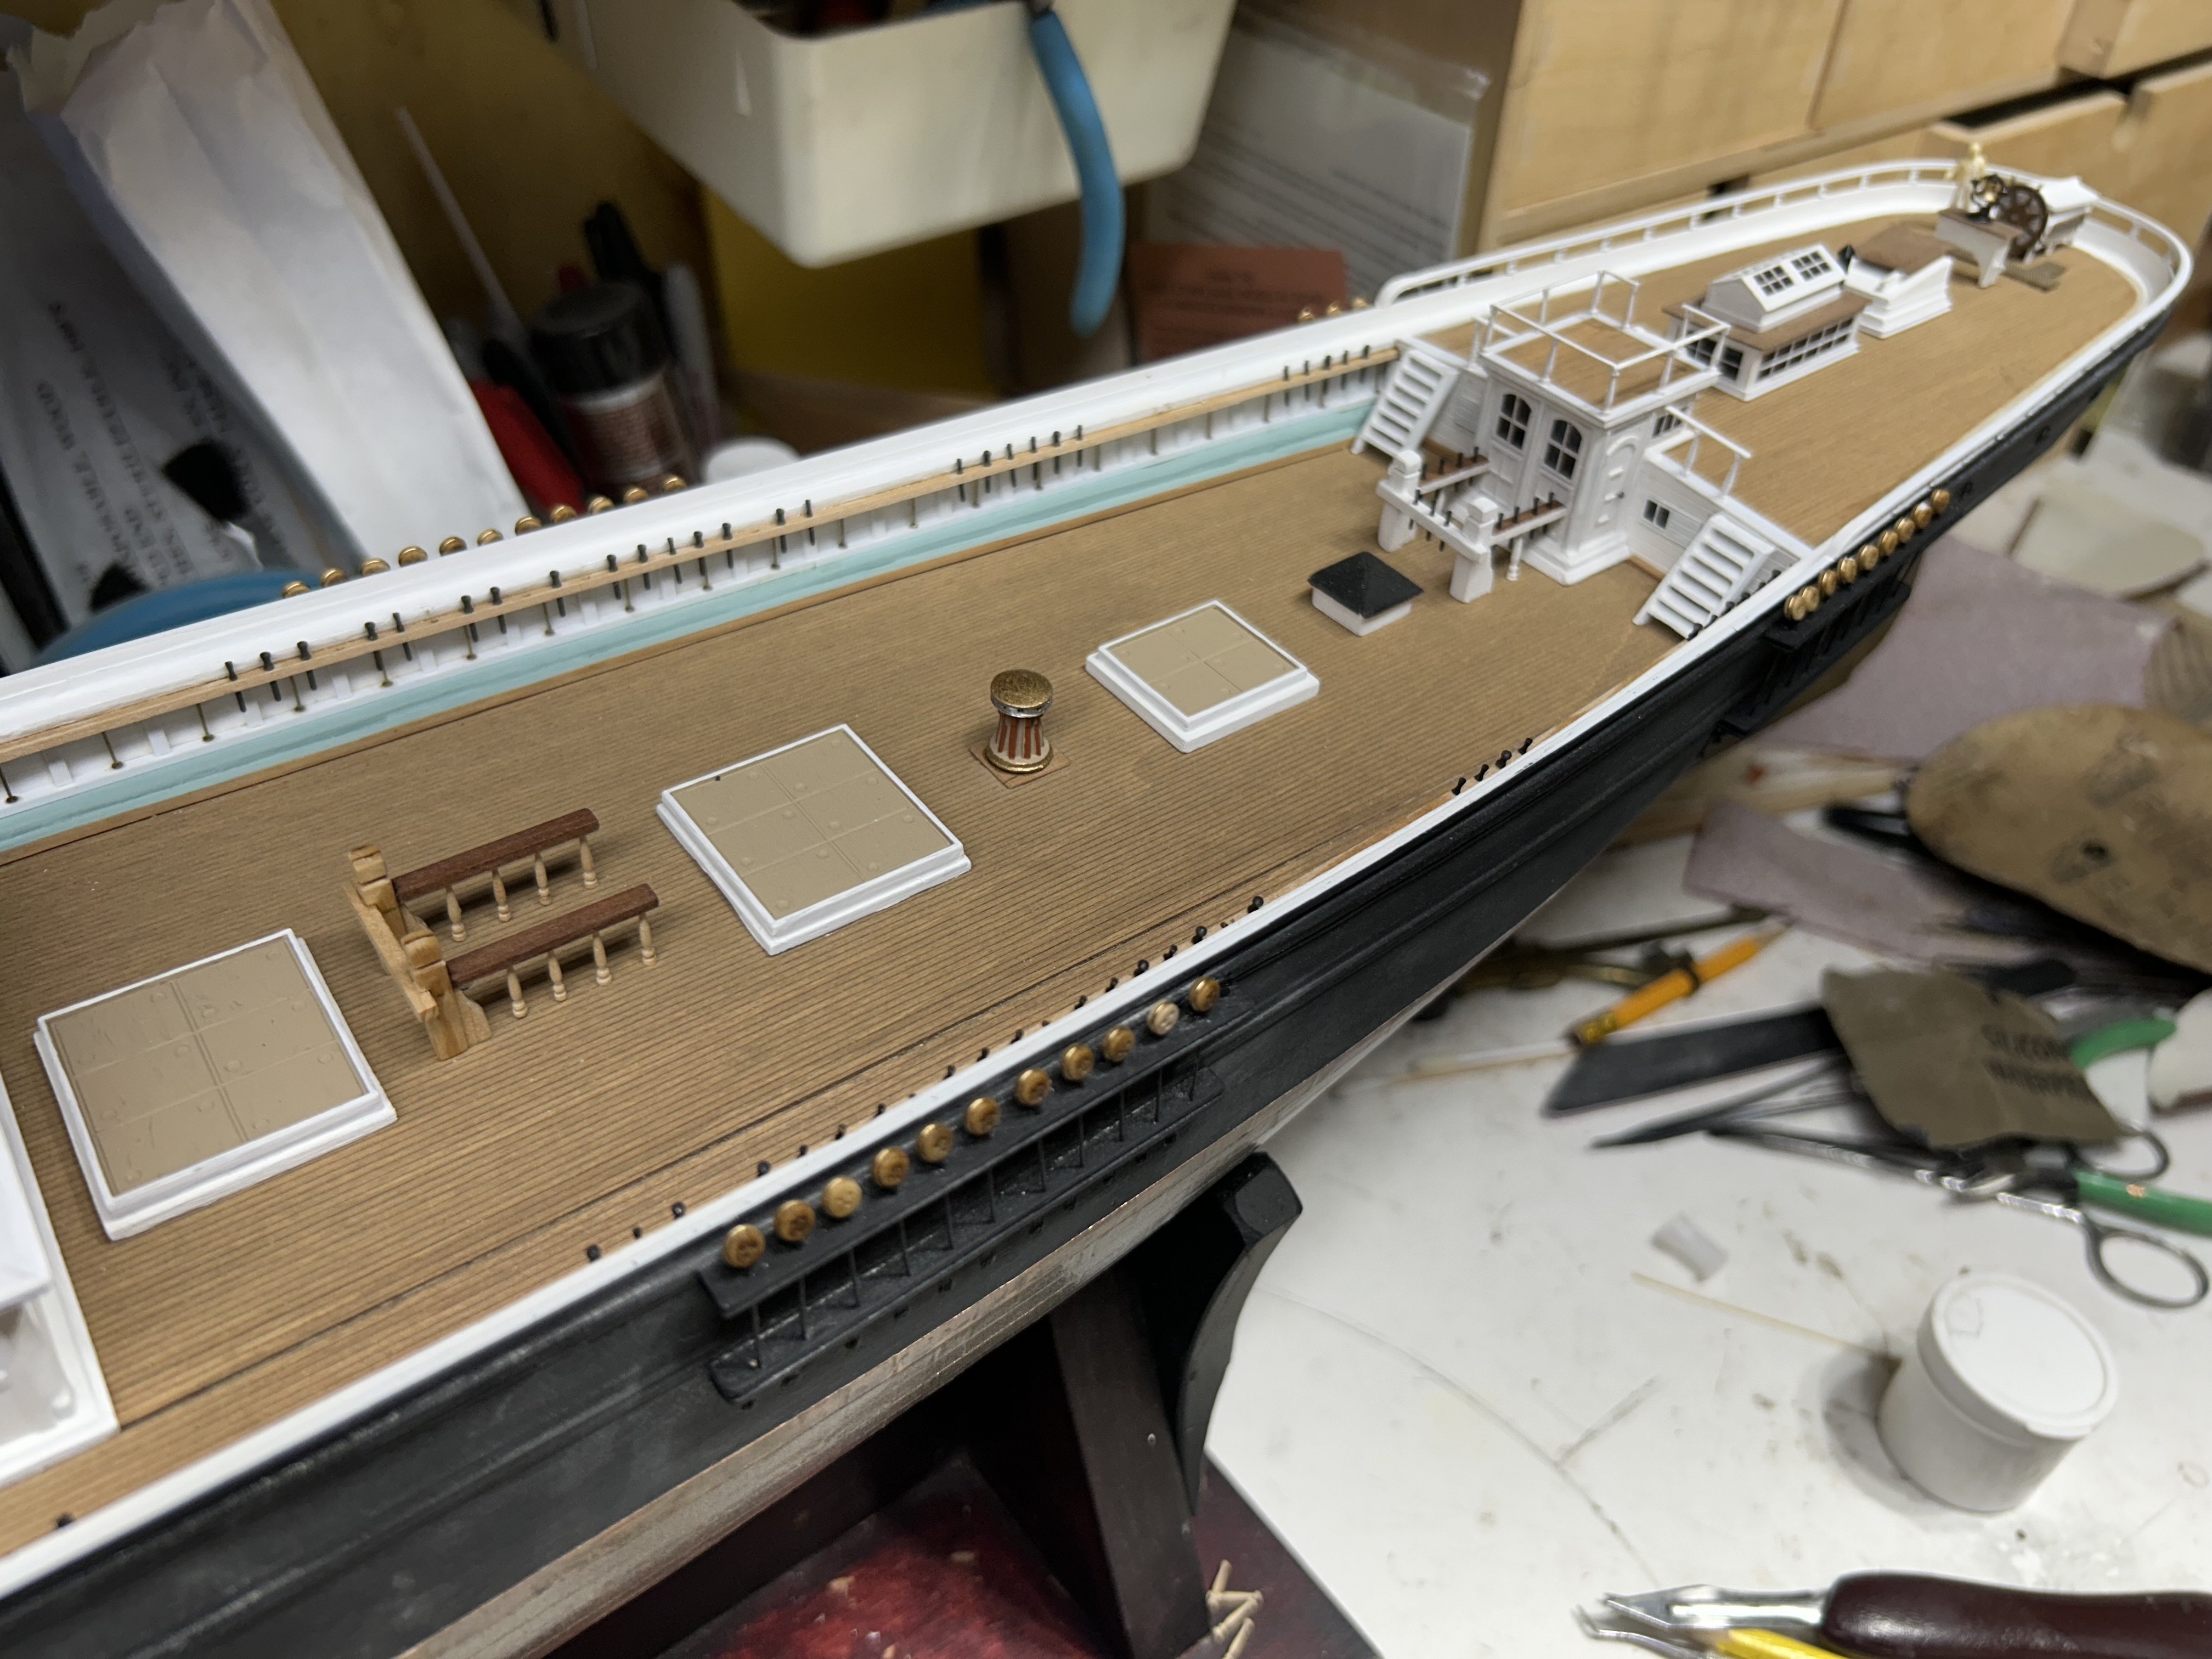
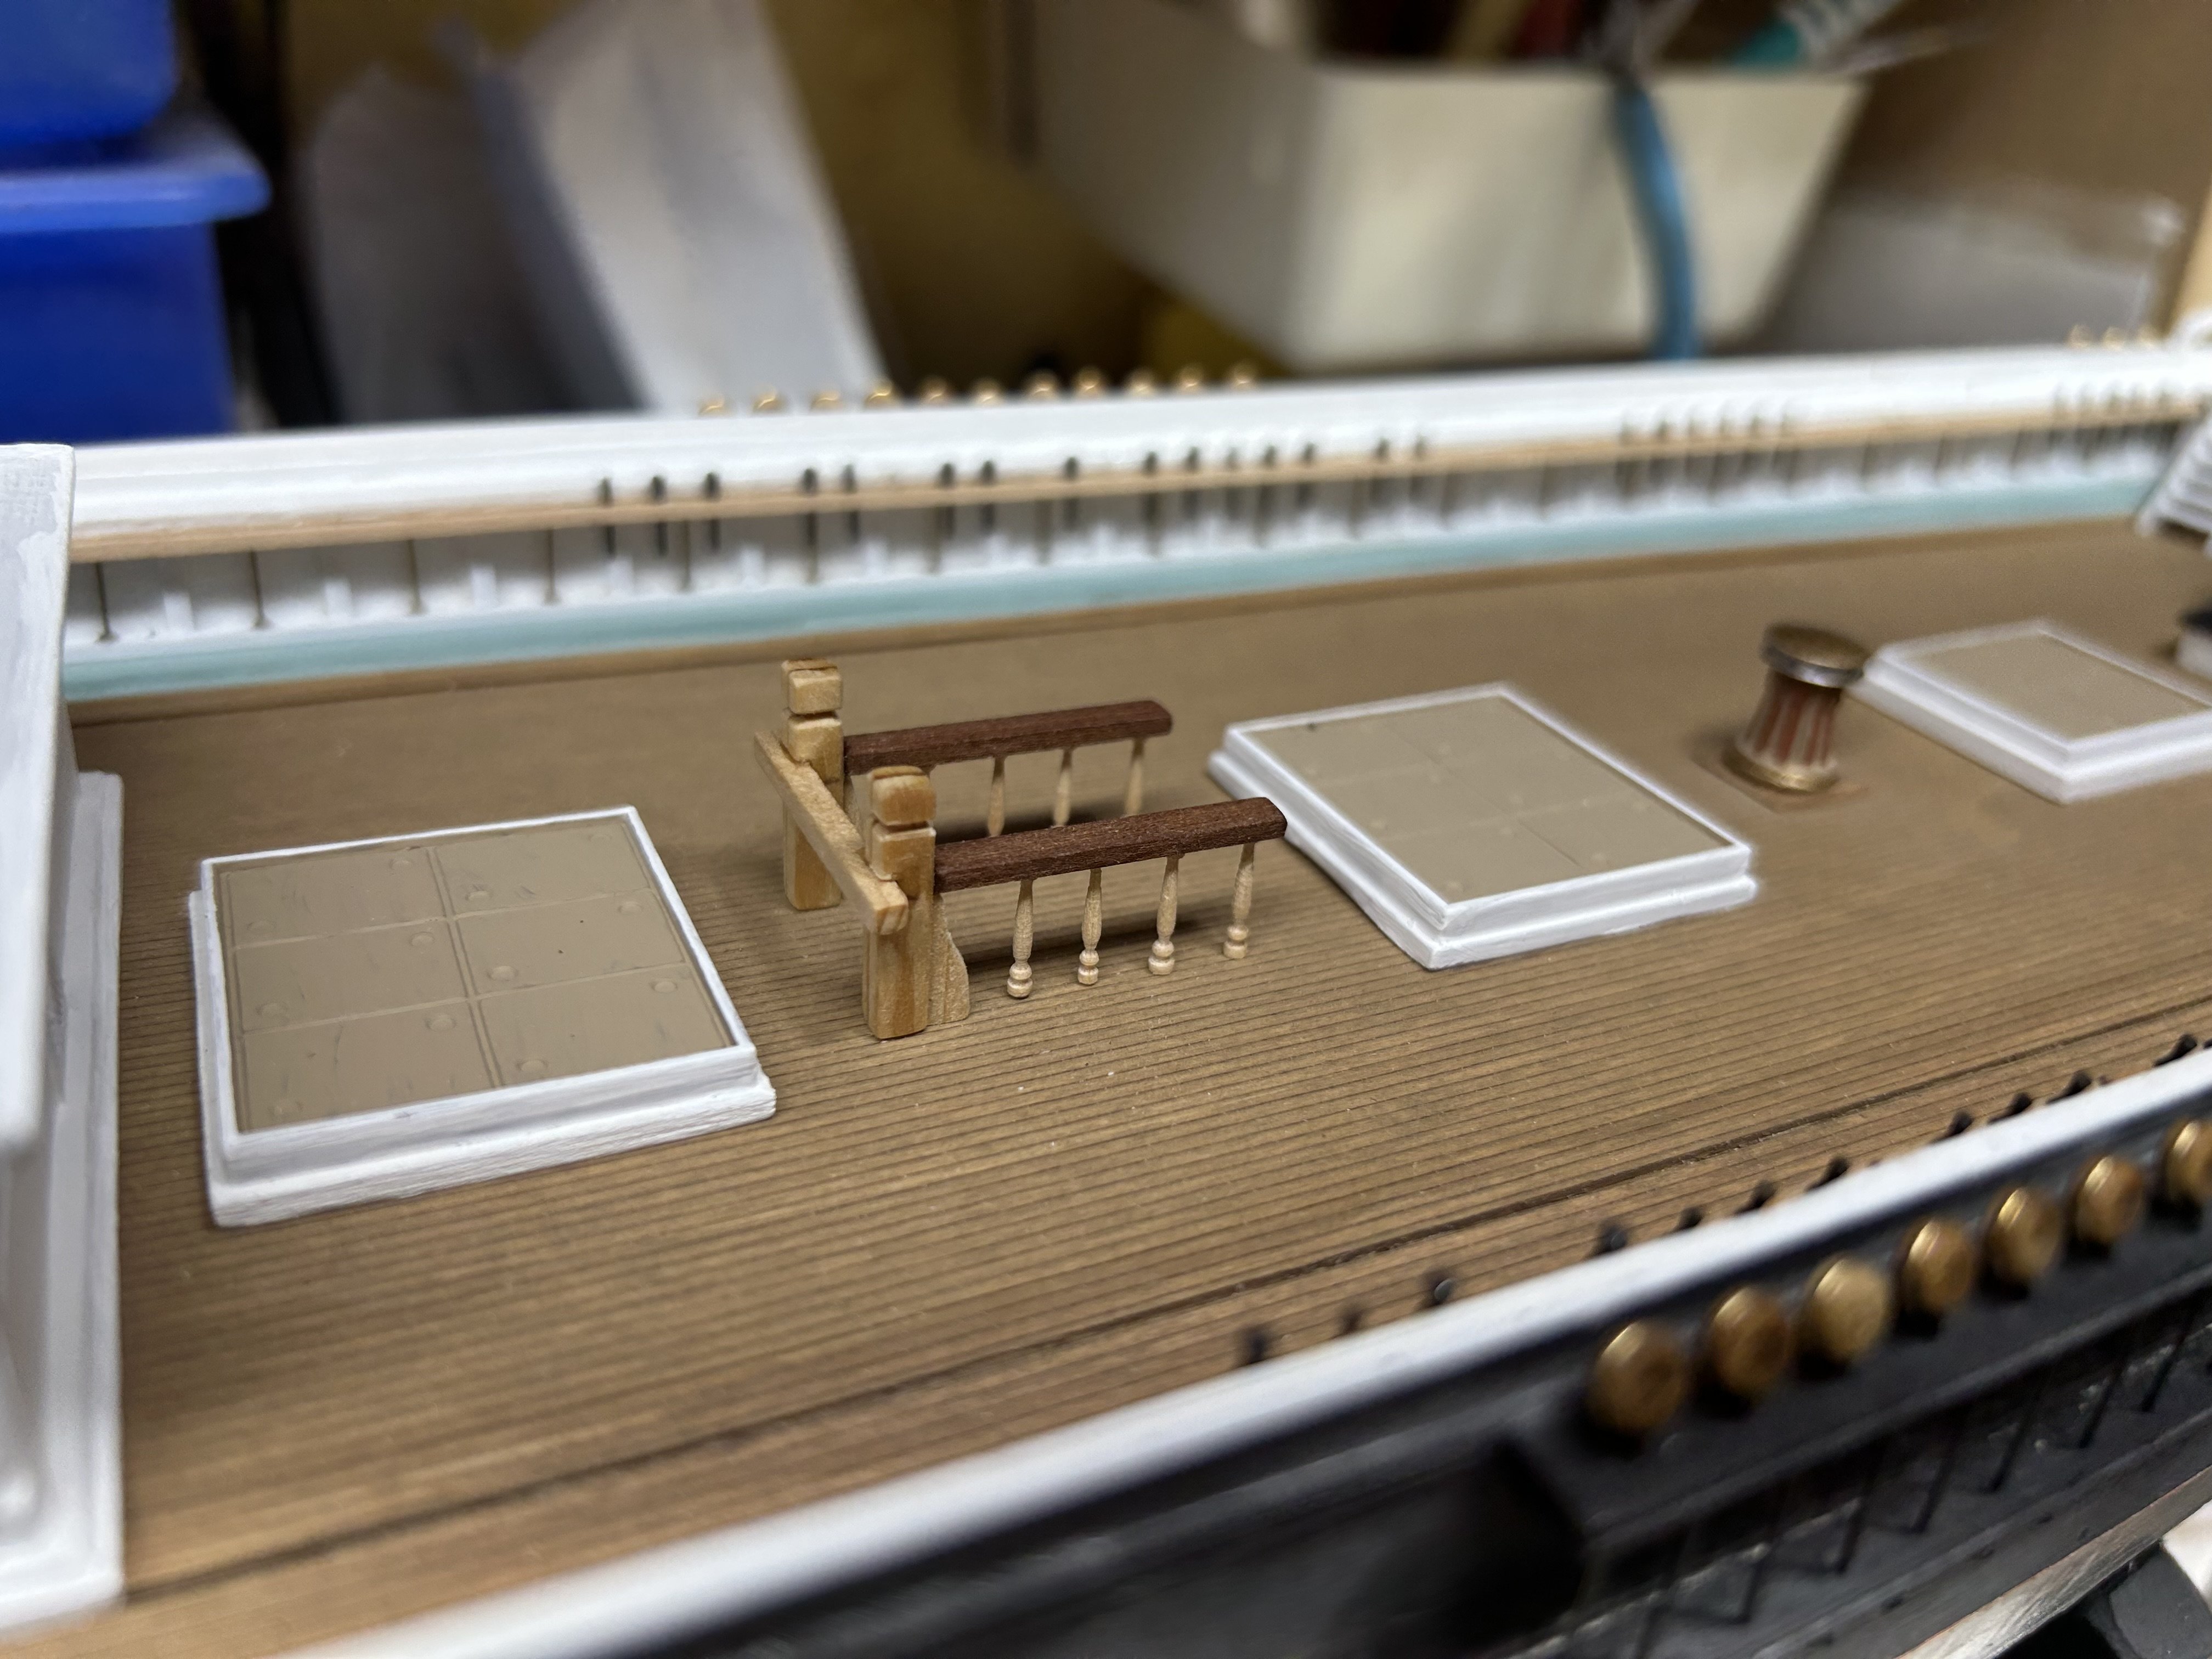
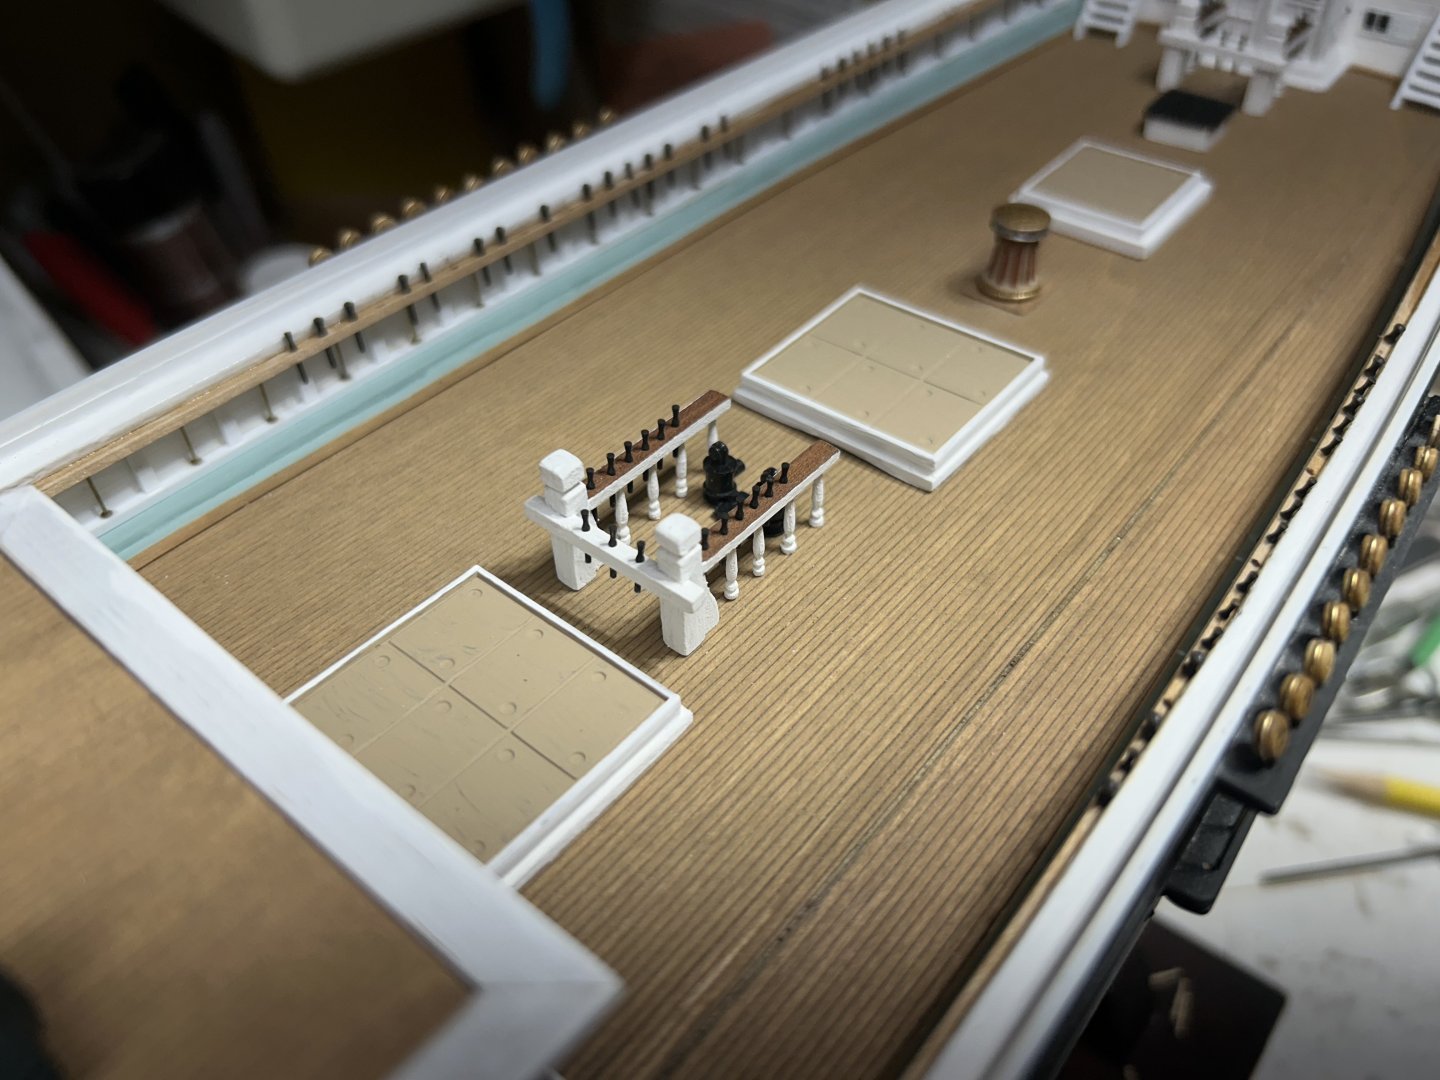
Began the main fife rail. With turned stanchions. Ron

-
Finished it up. Rob

-
Worked on the mizzen fife rail. Rob


-
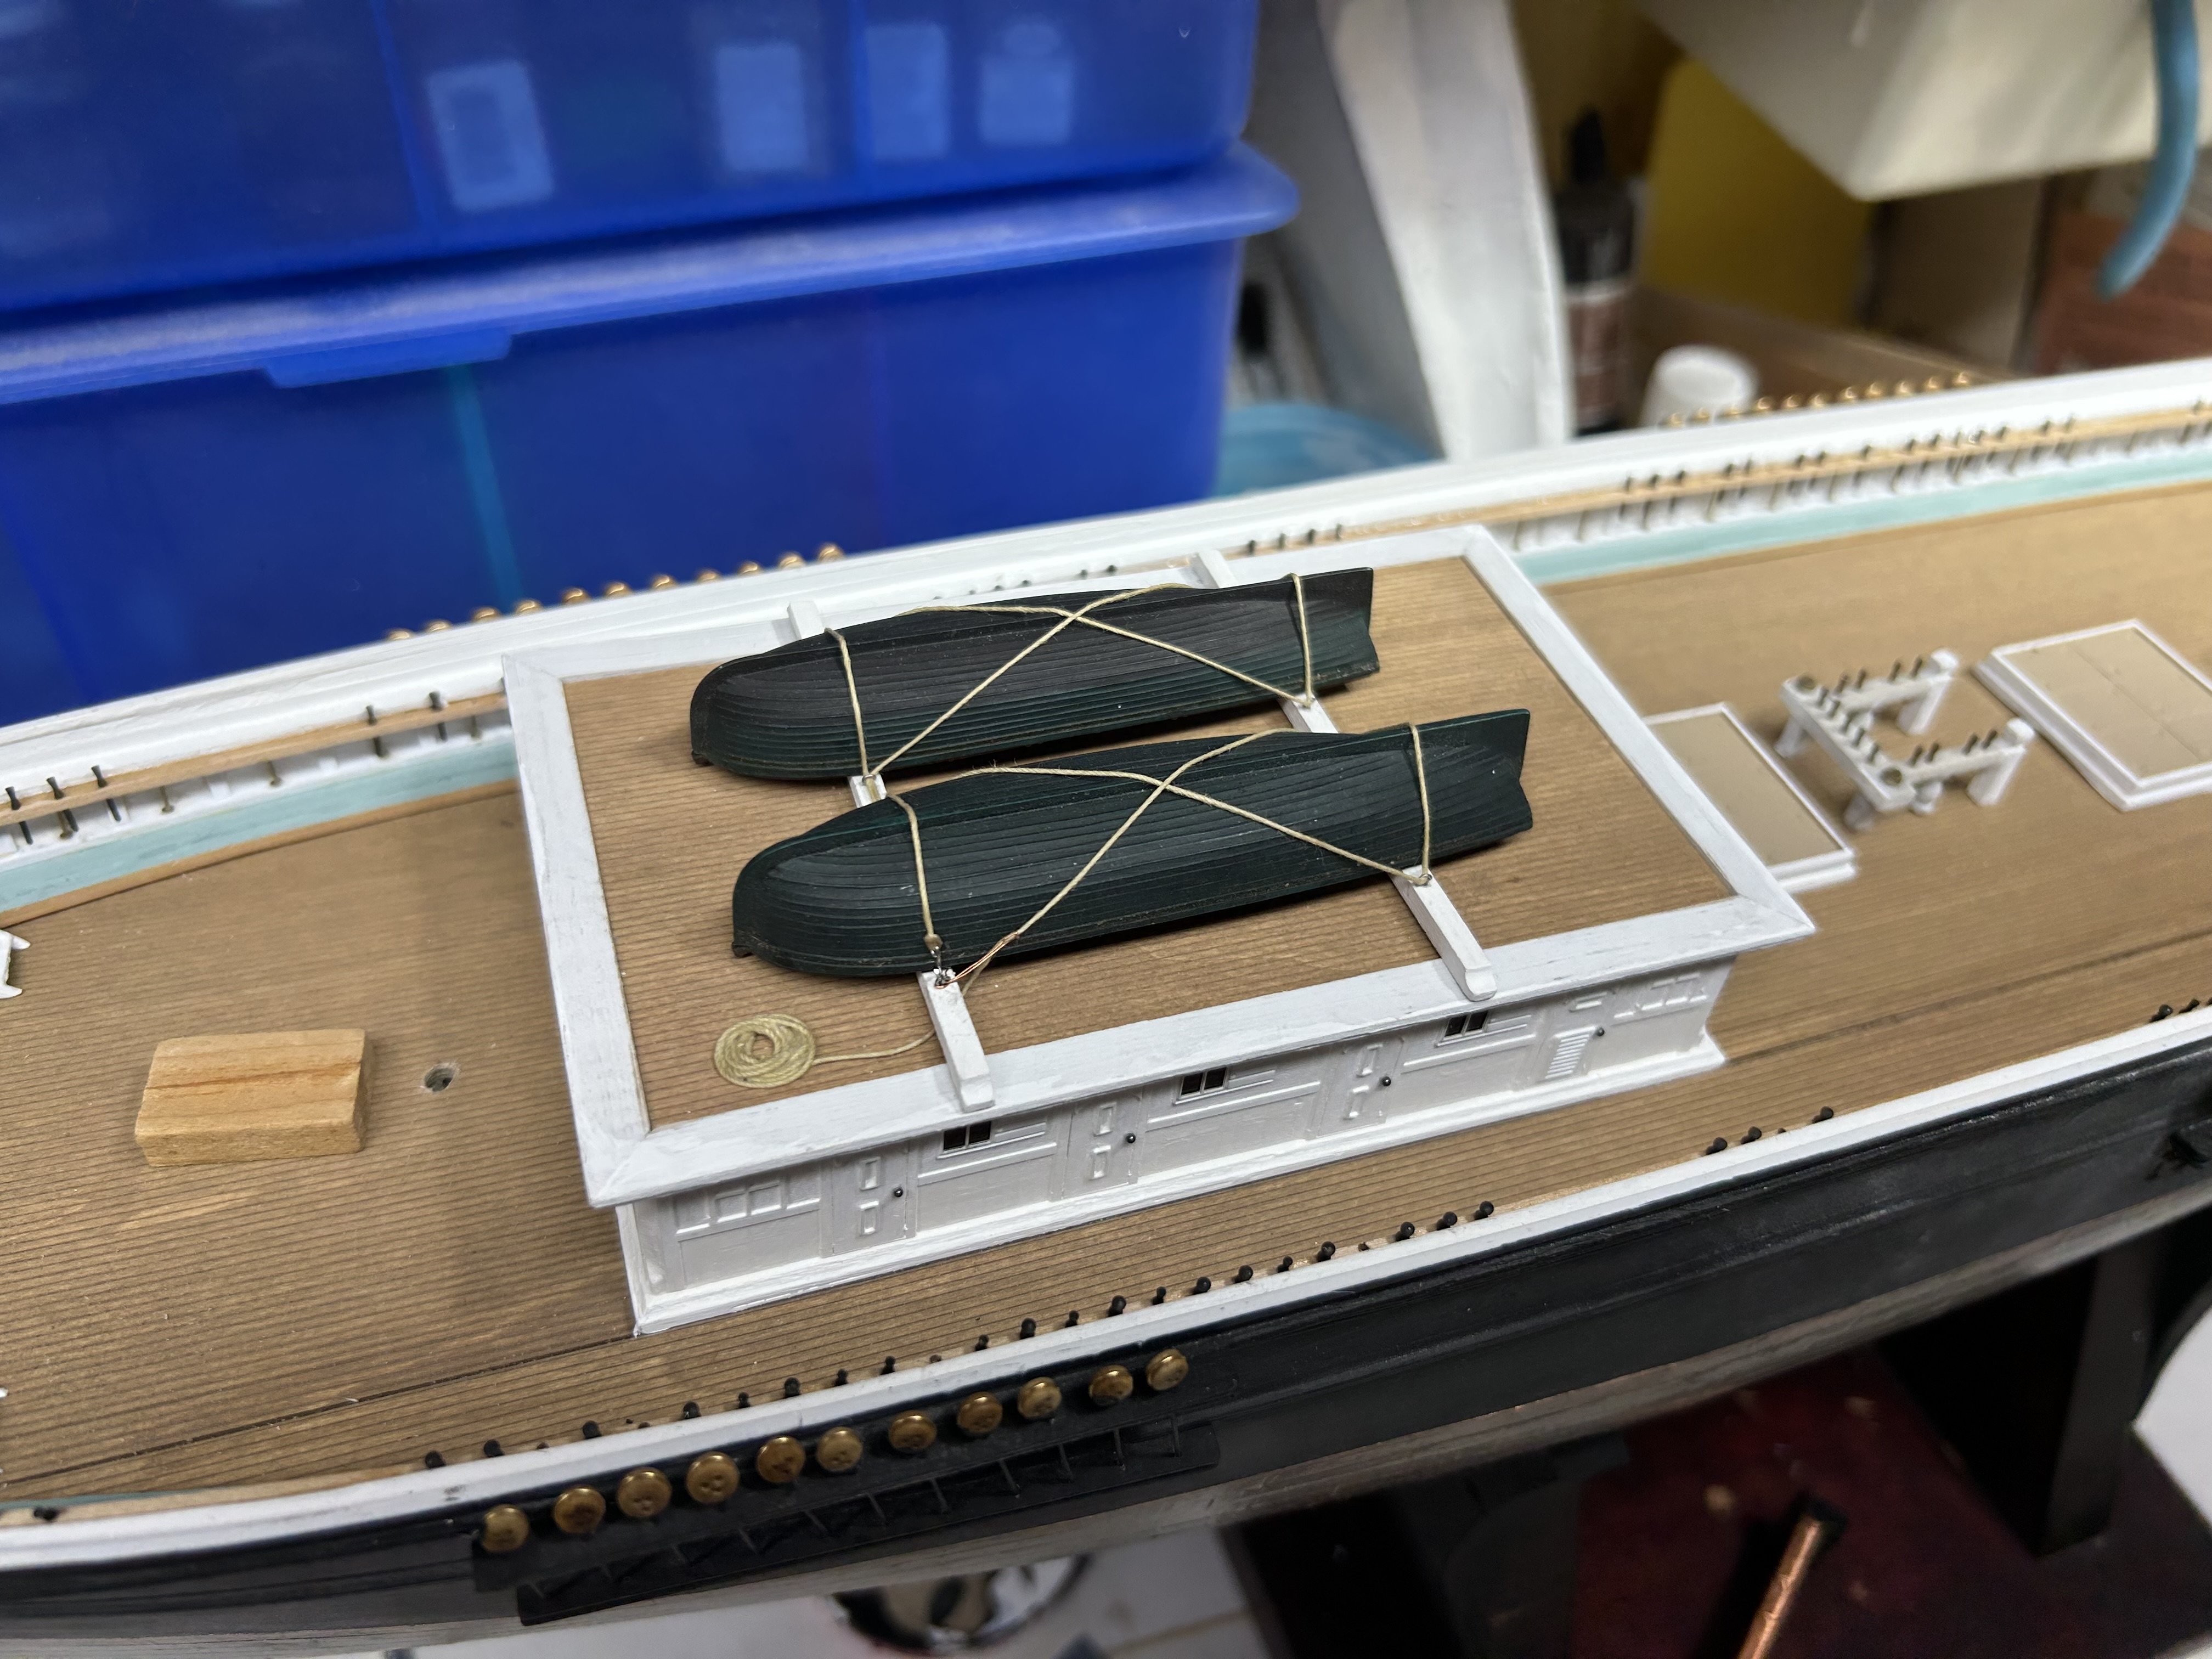
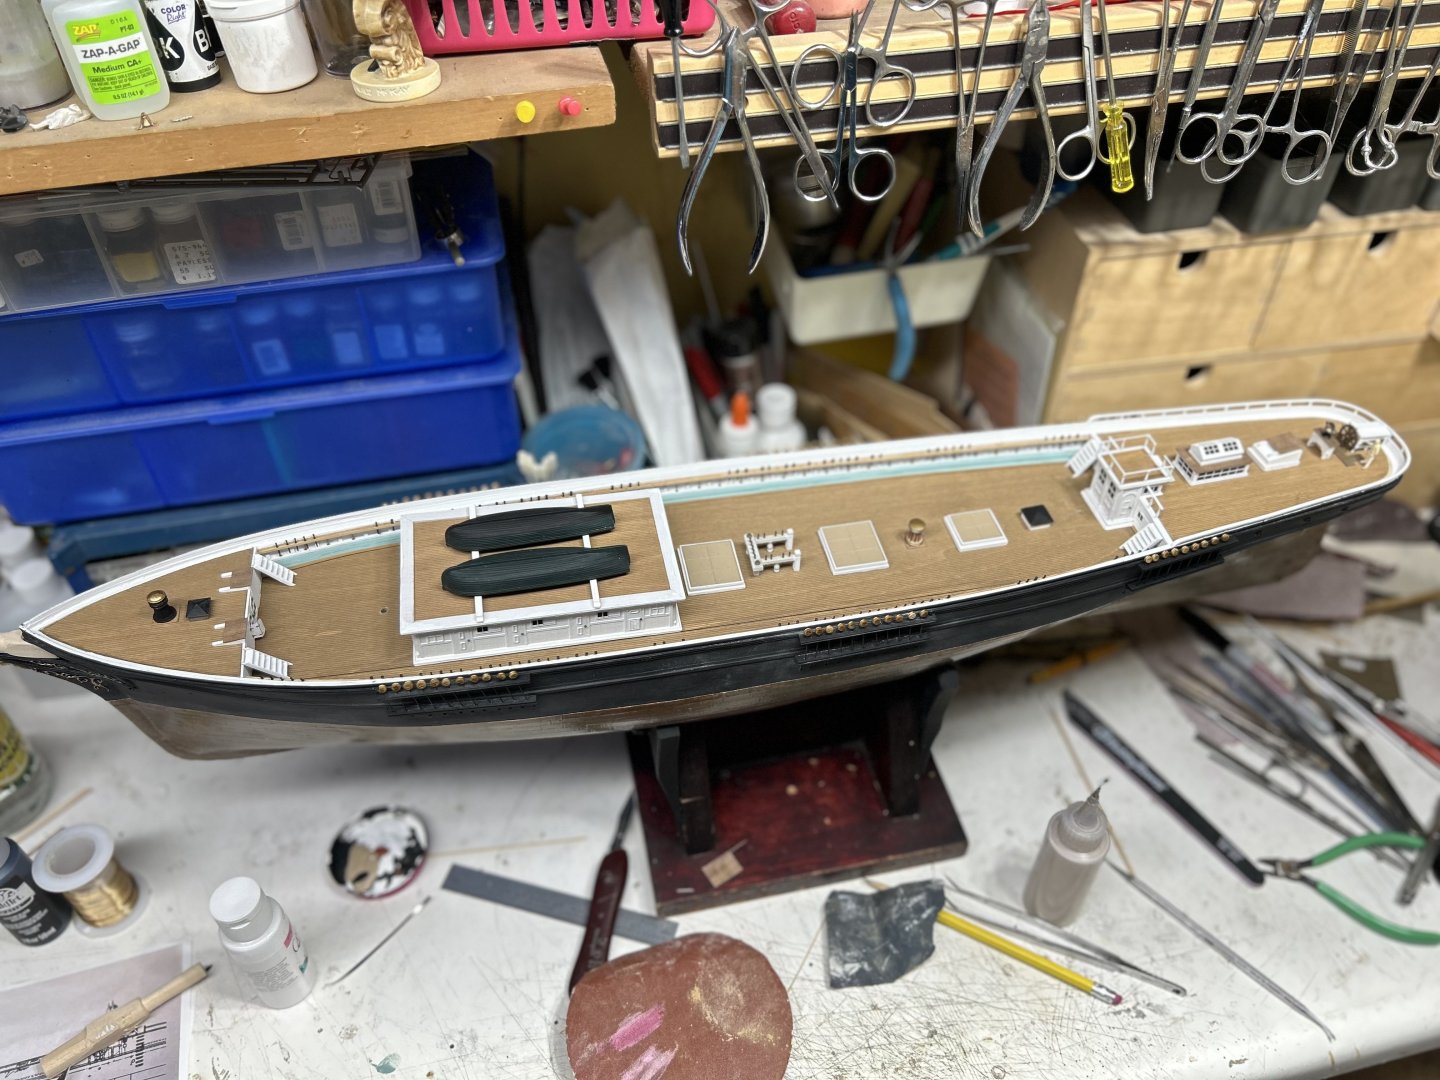
Tied the boats down for a heavy sea. Rob

-
I did Rich. Mostly preventative. I need these terrorists out now. Thanks Rob
-
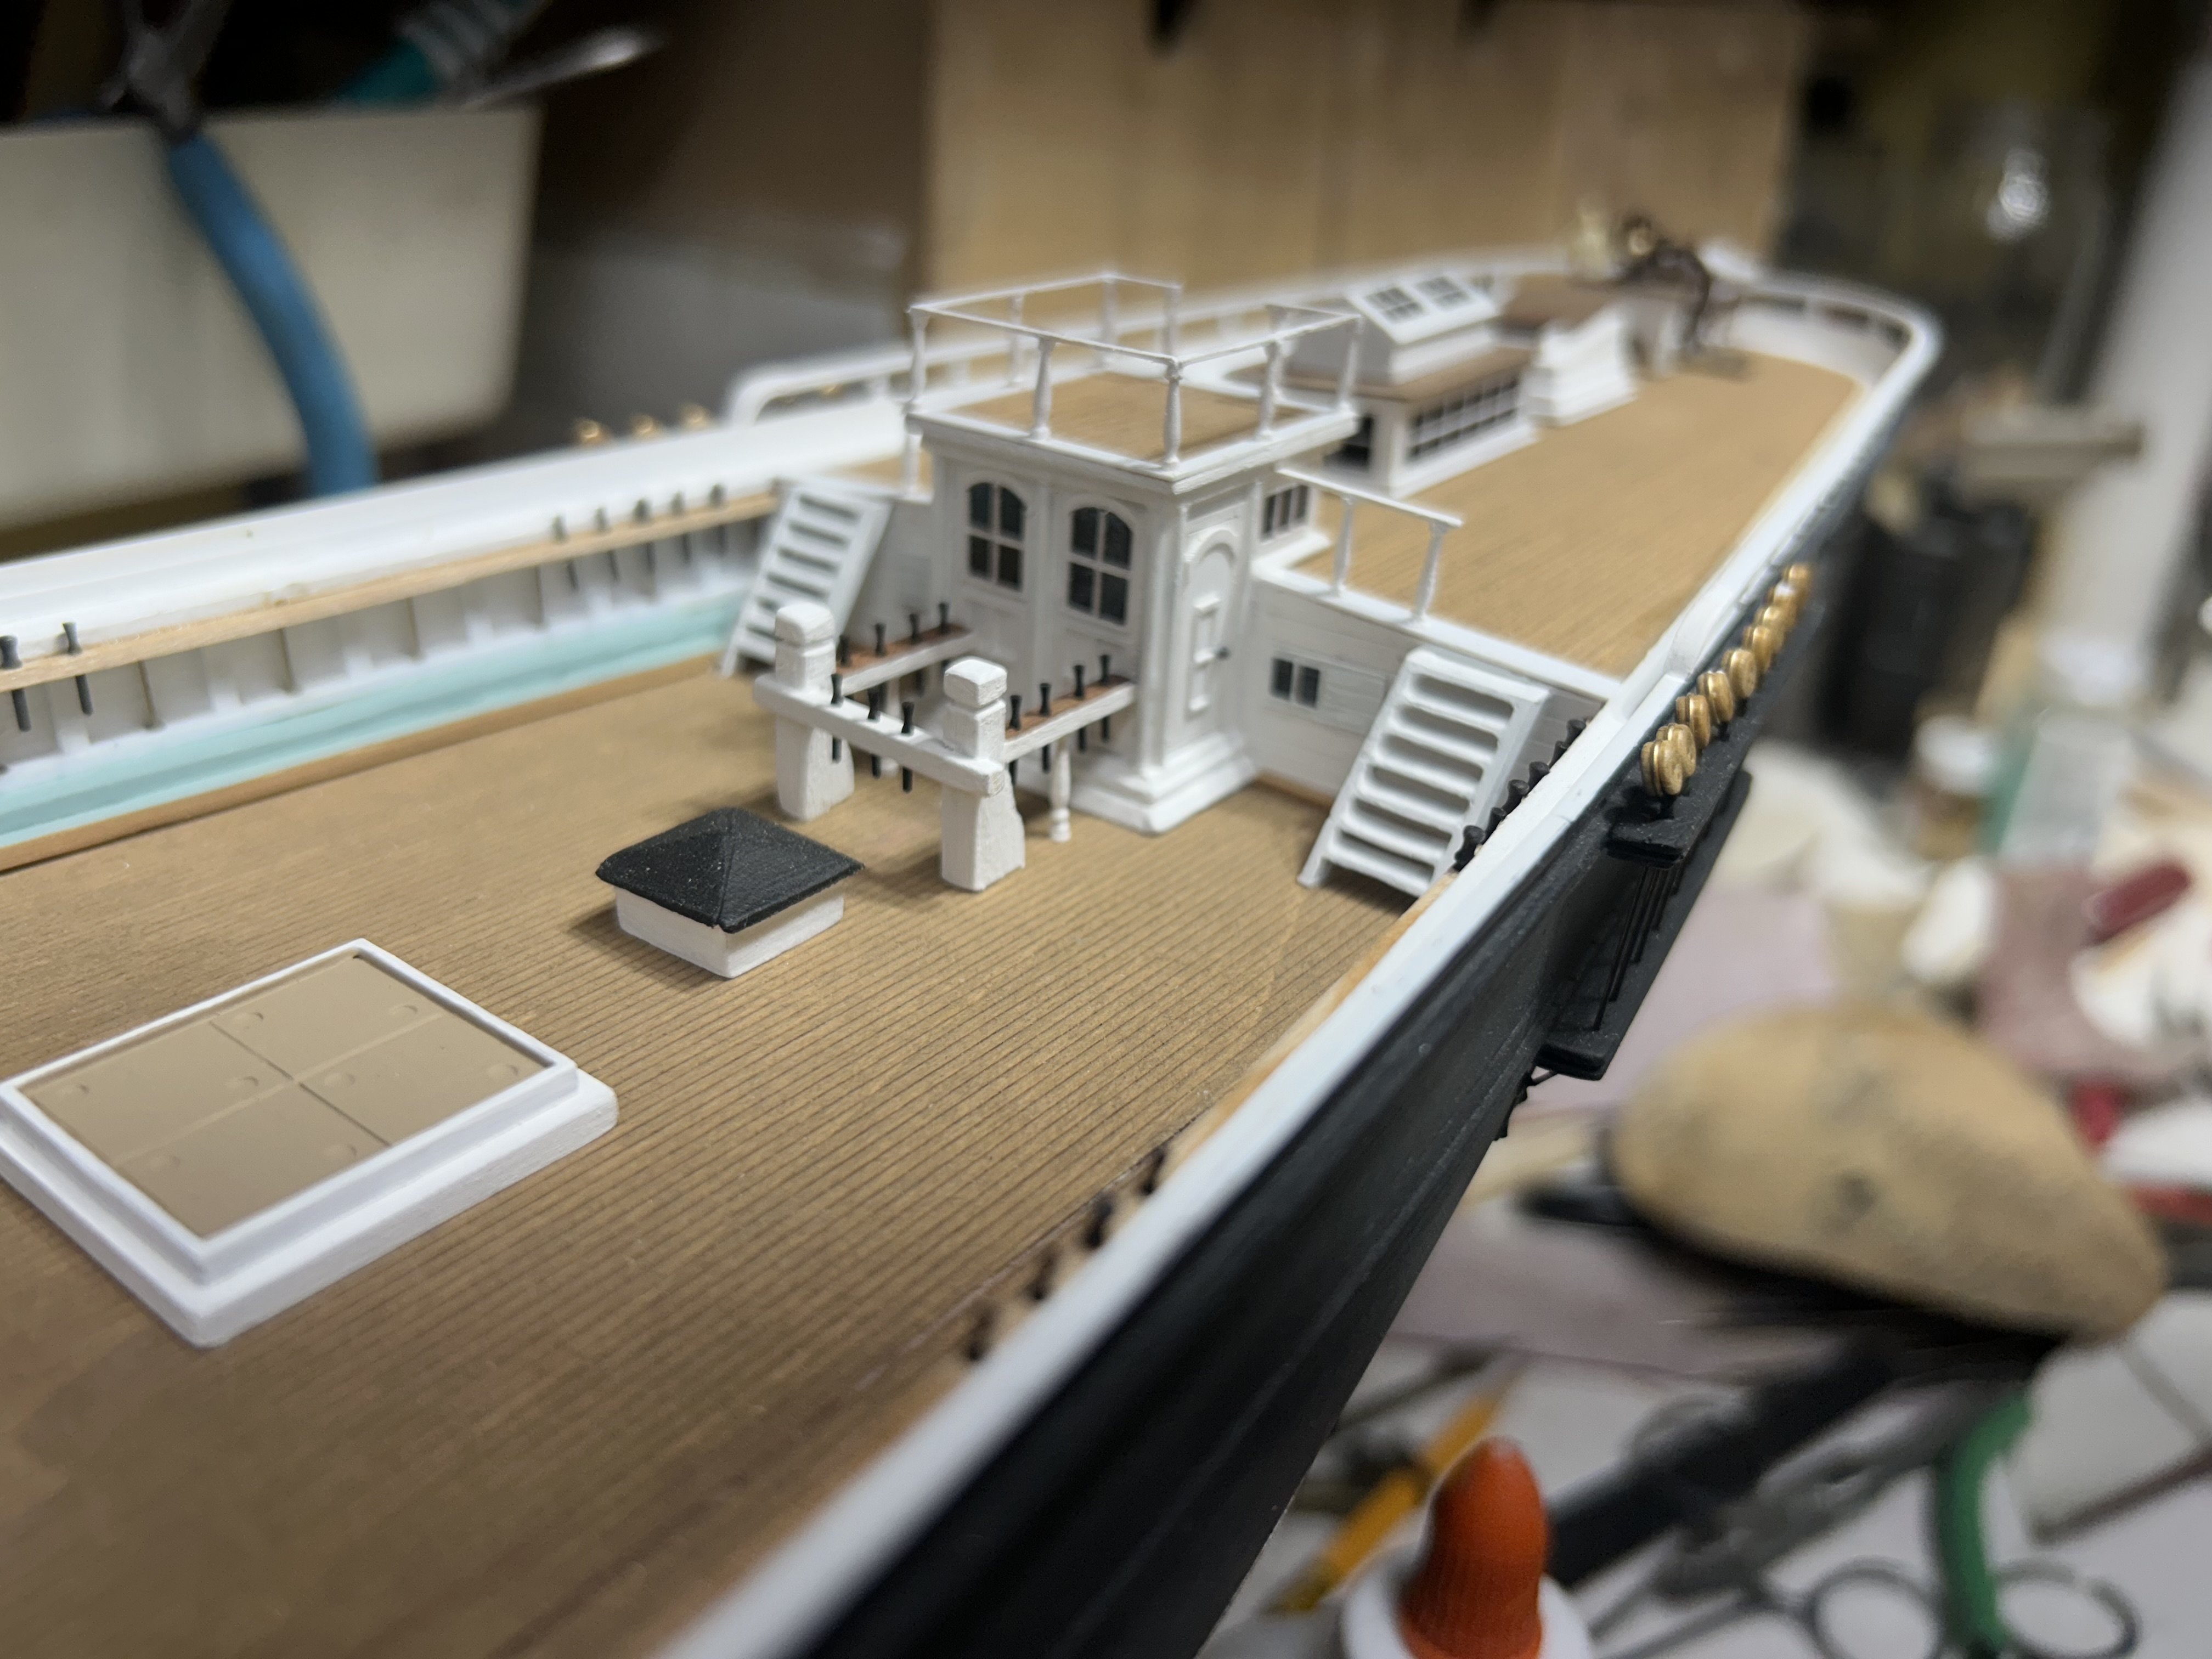
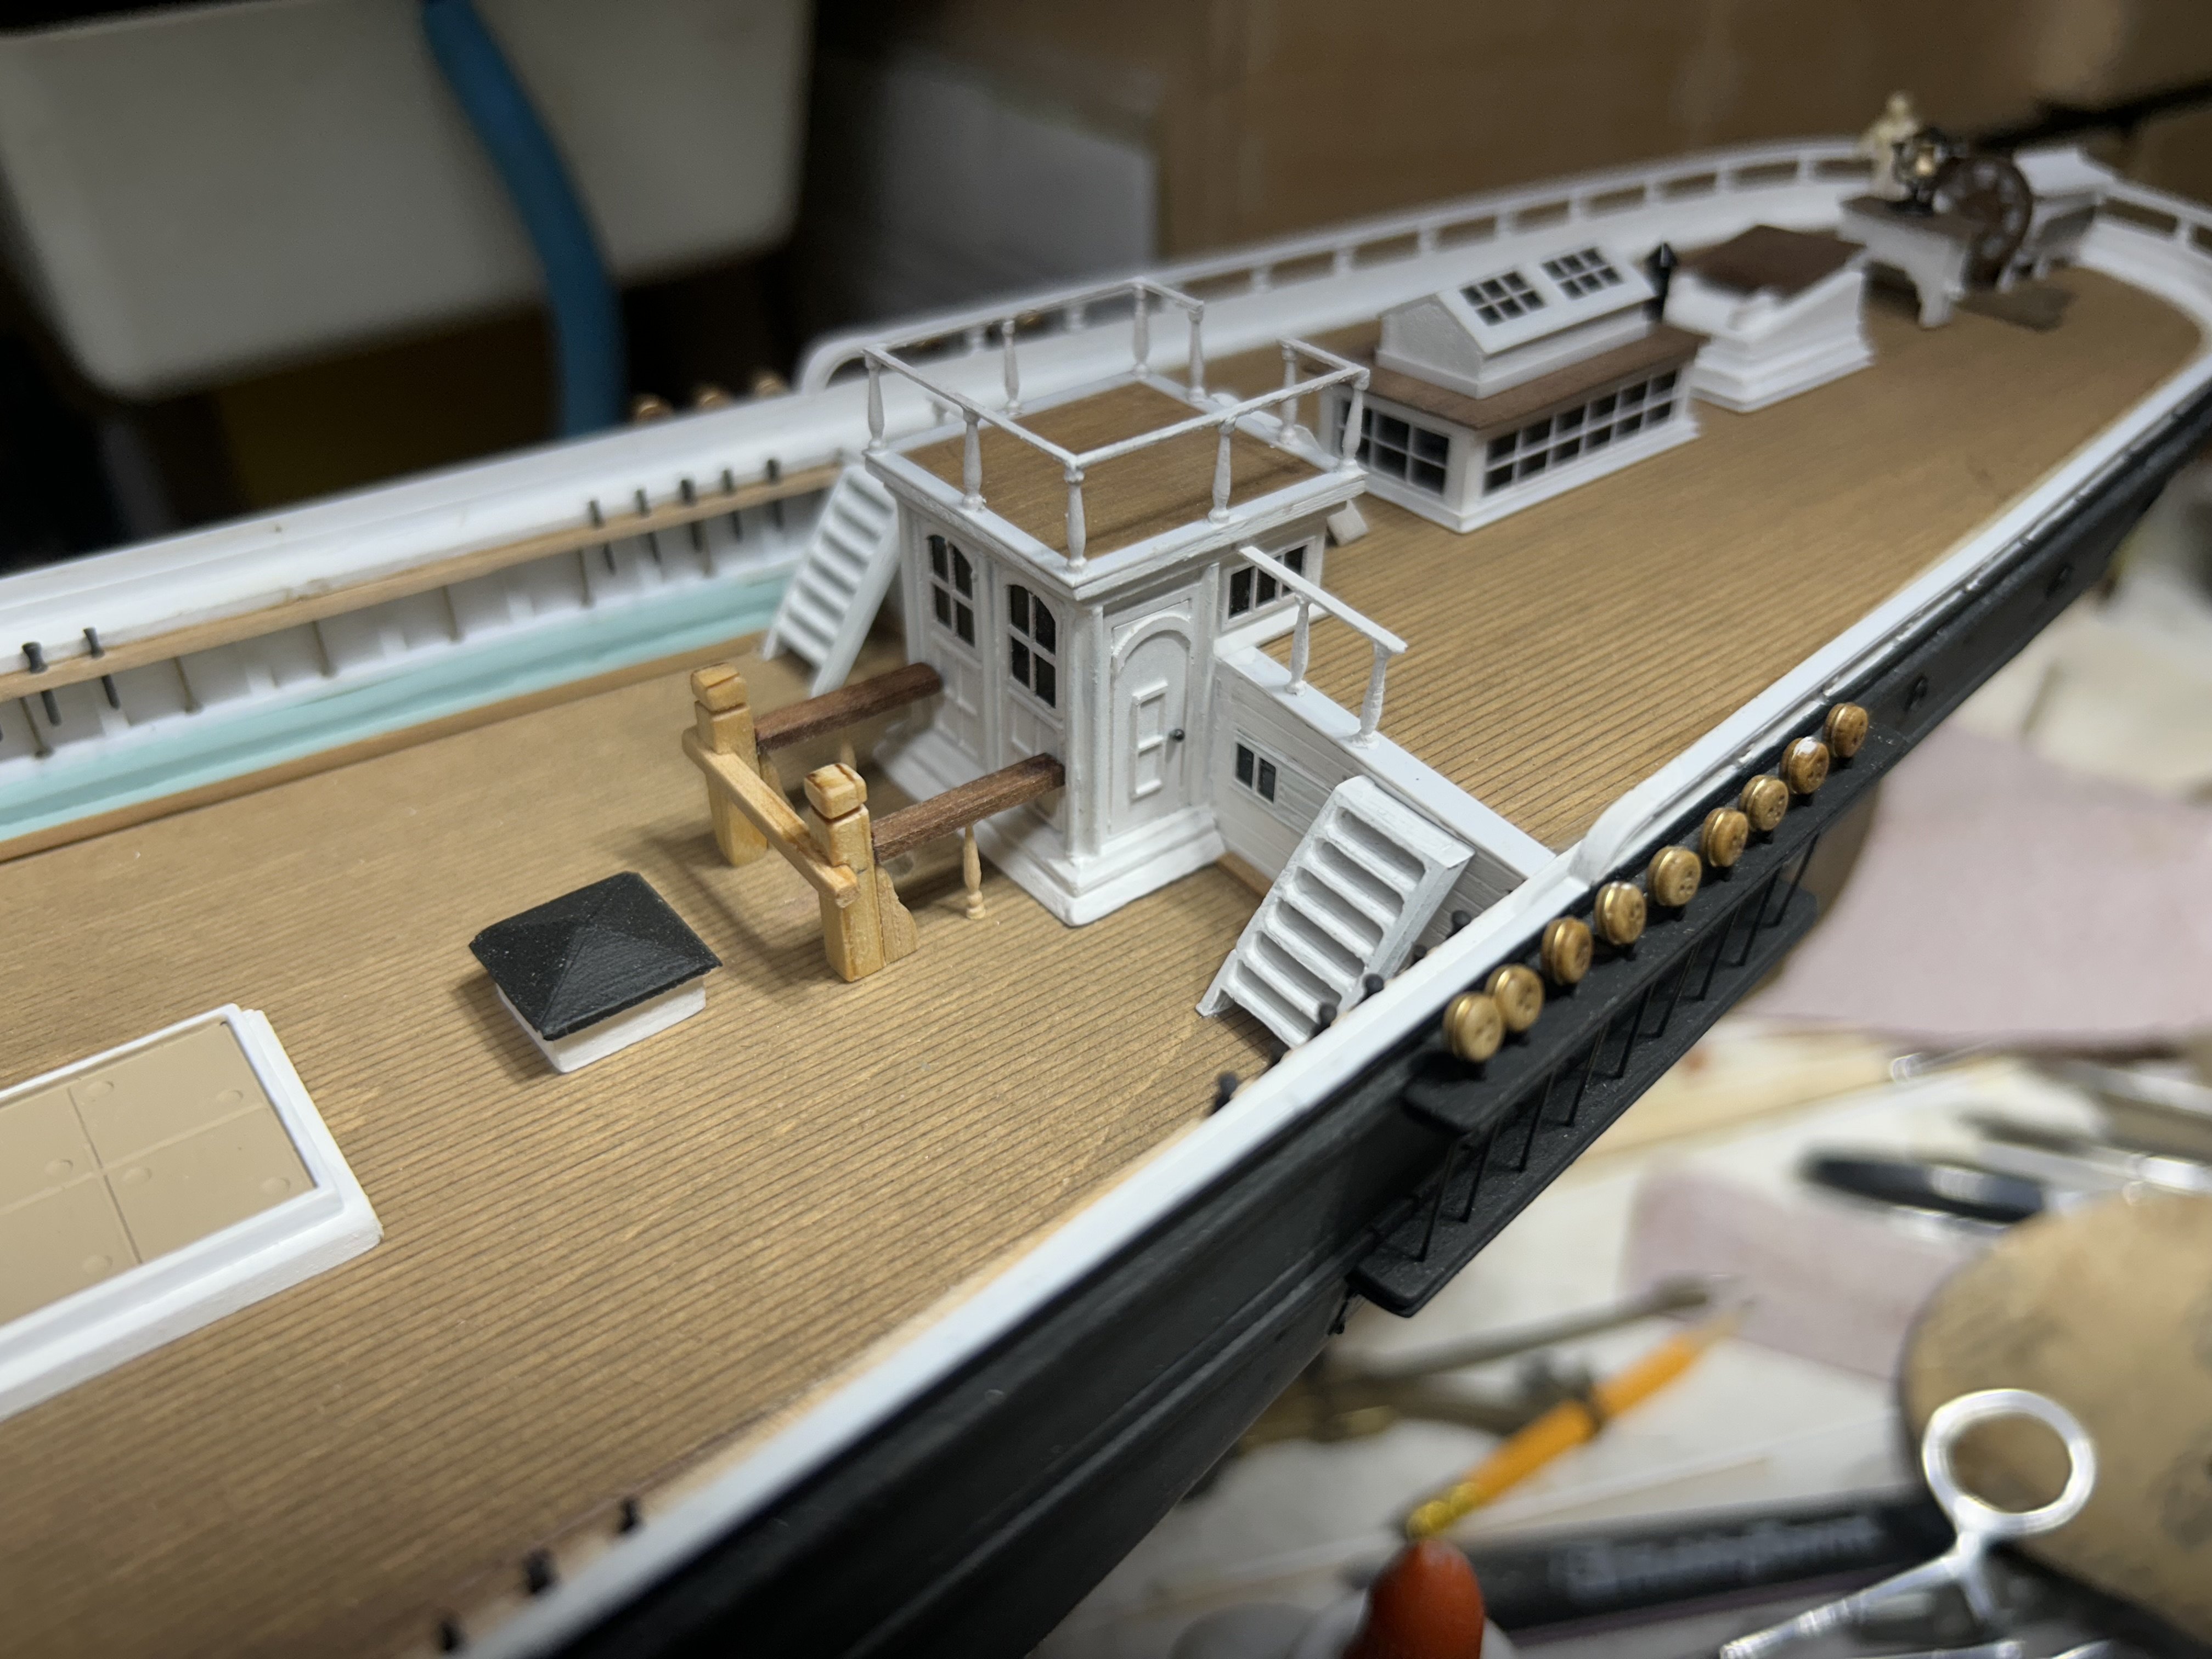
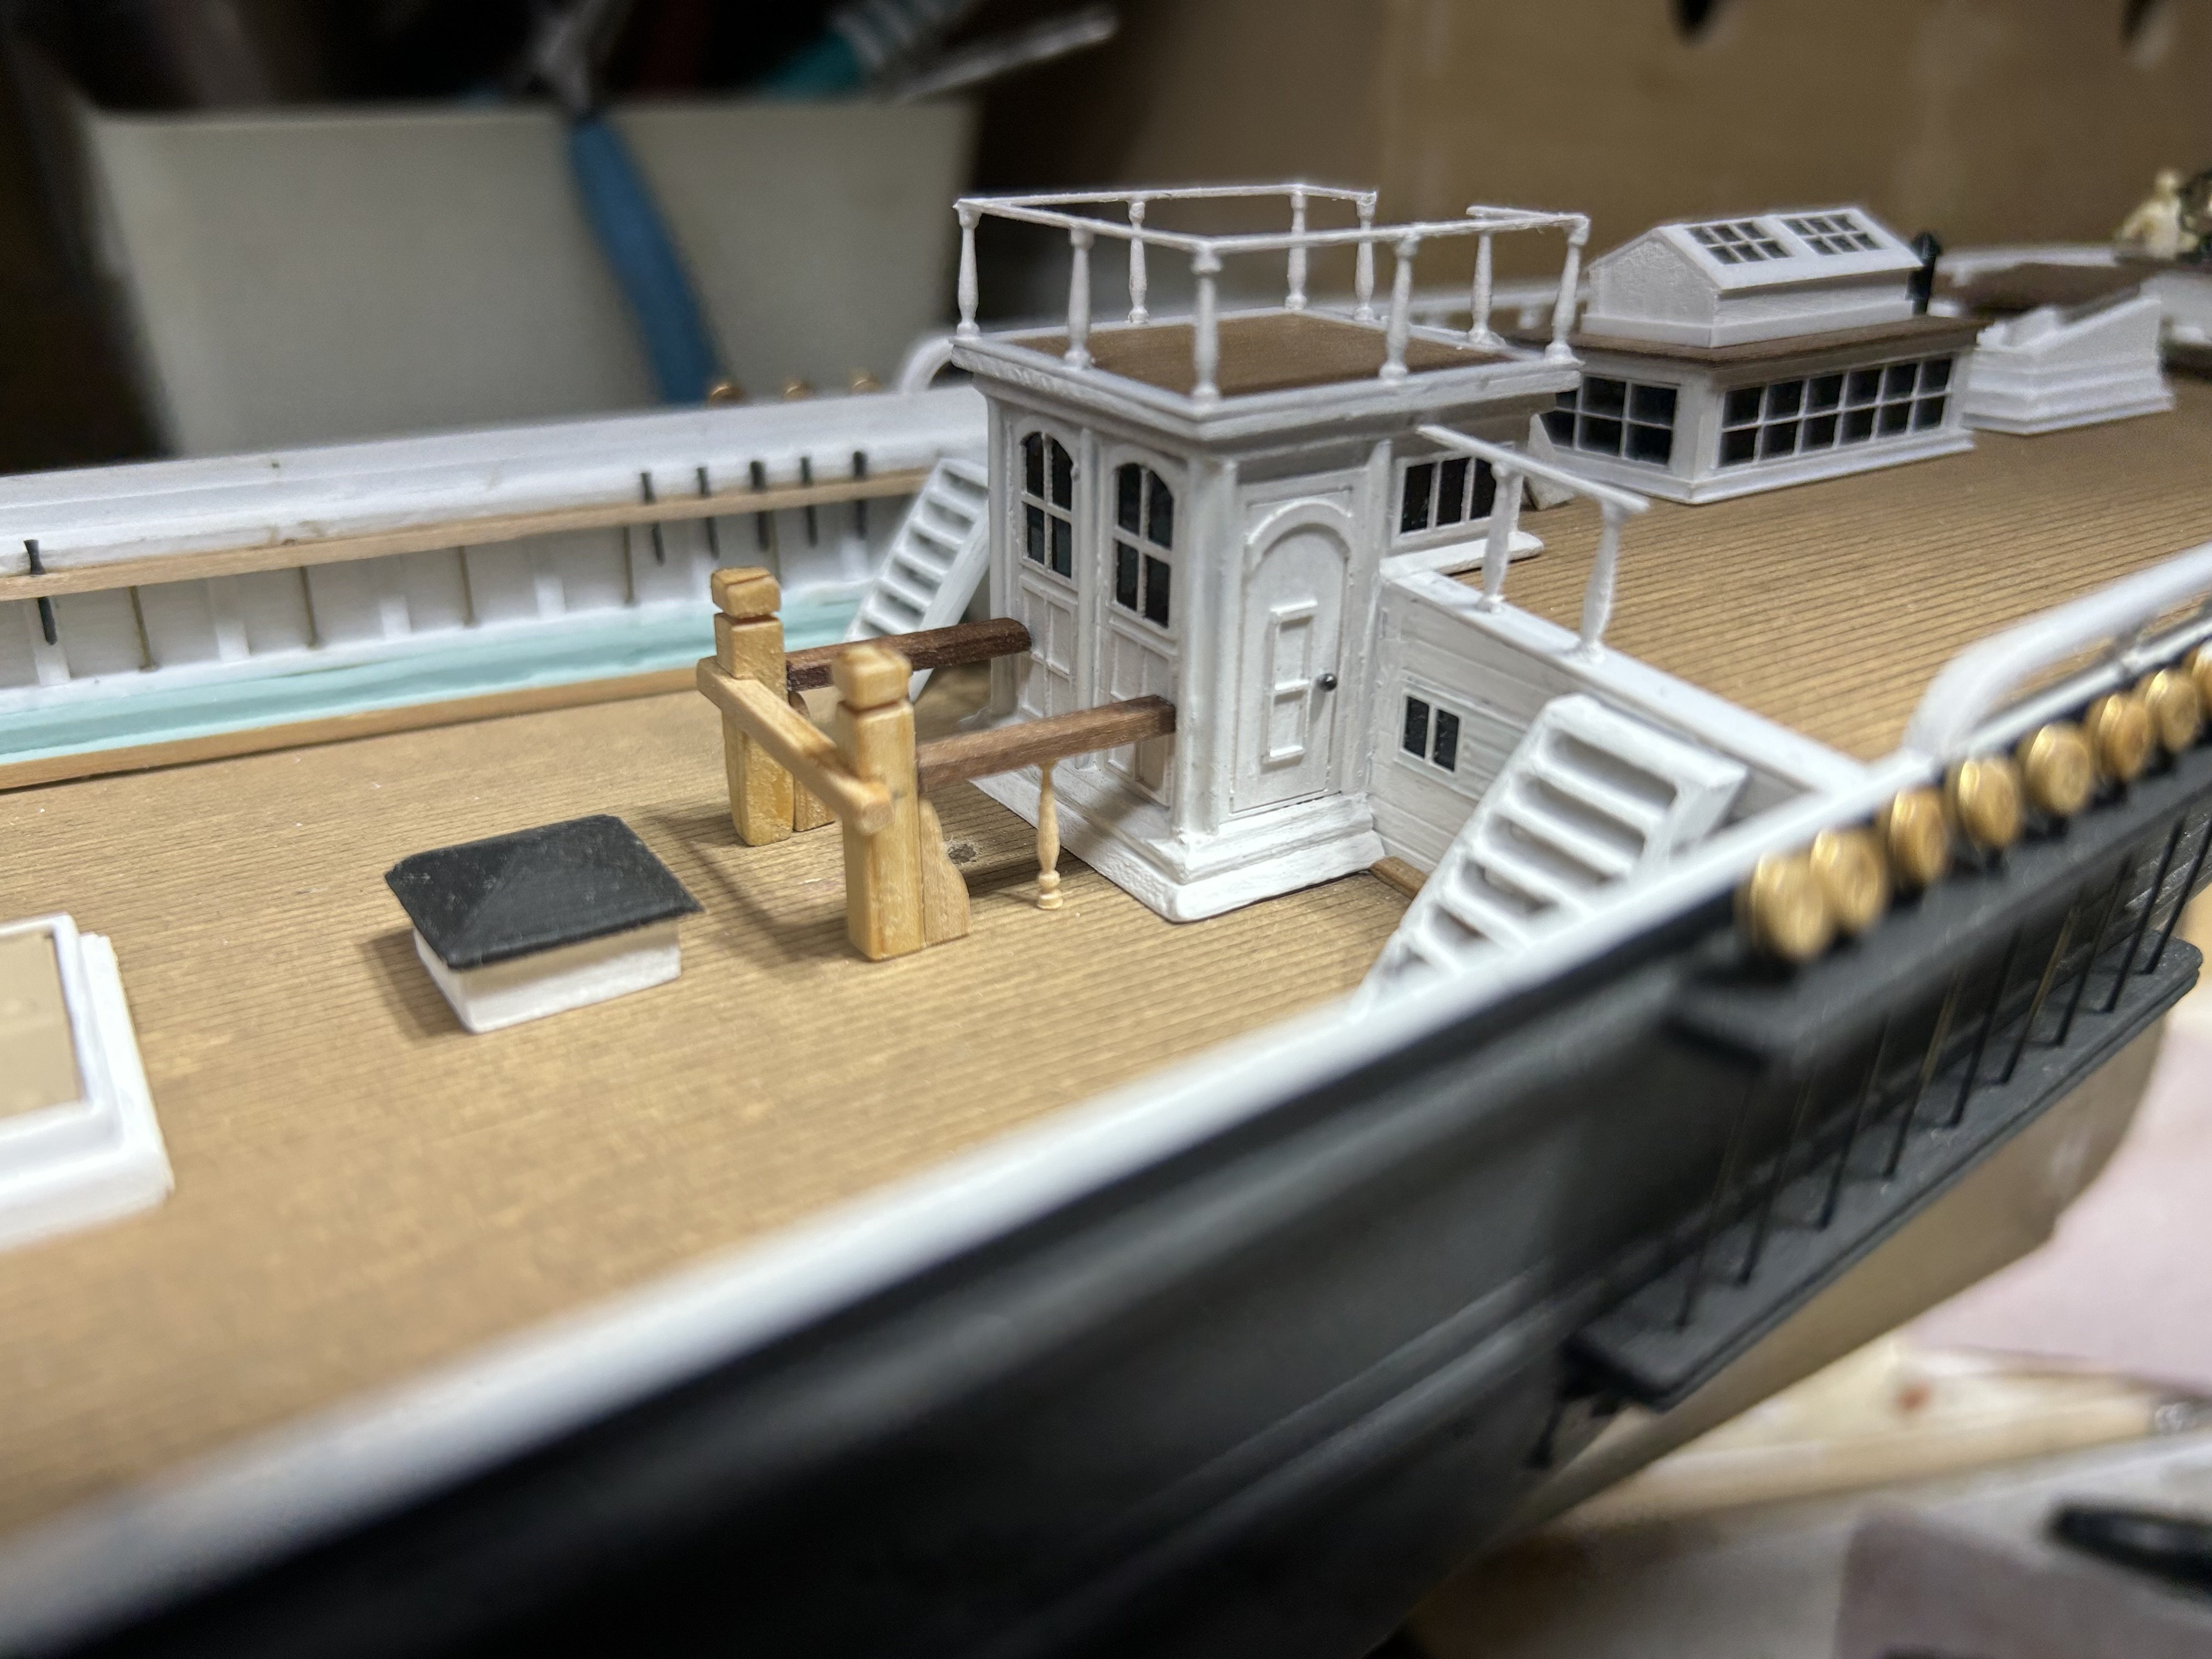
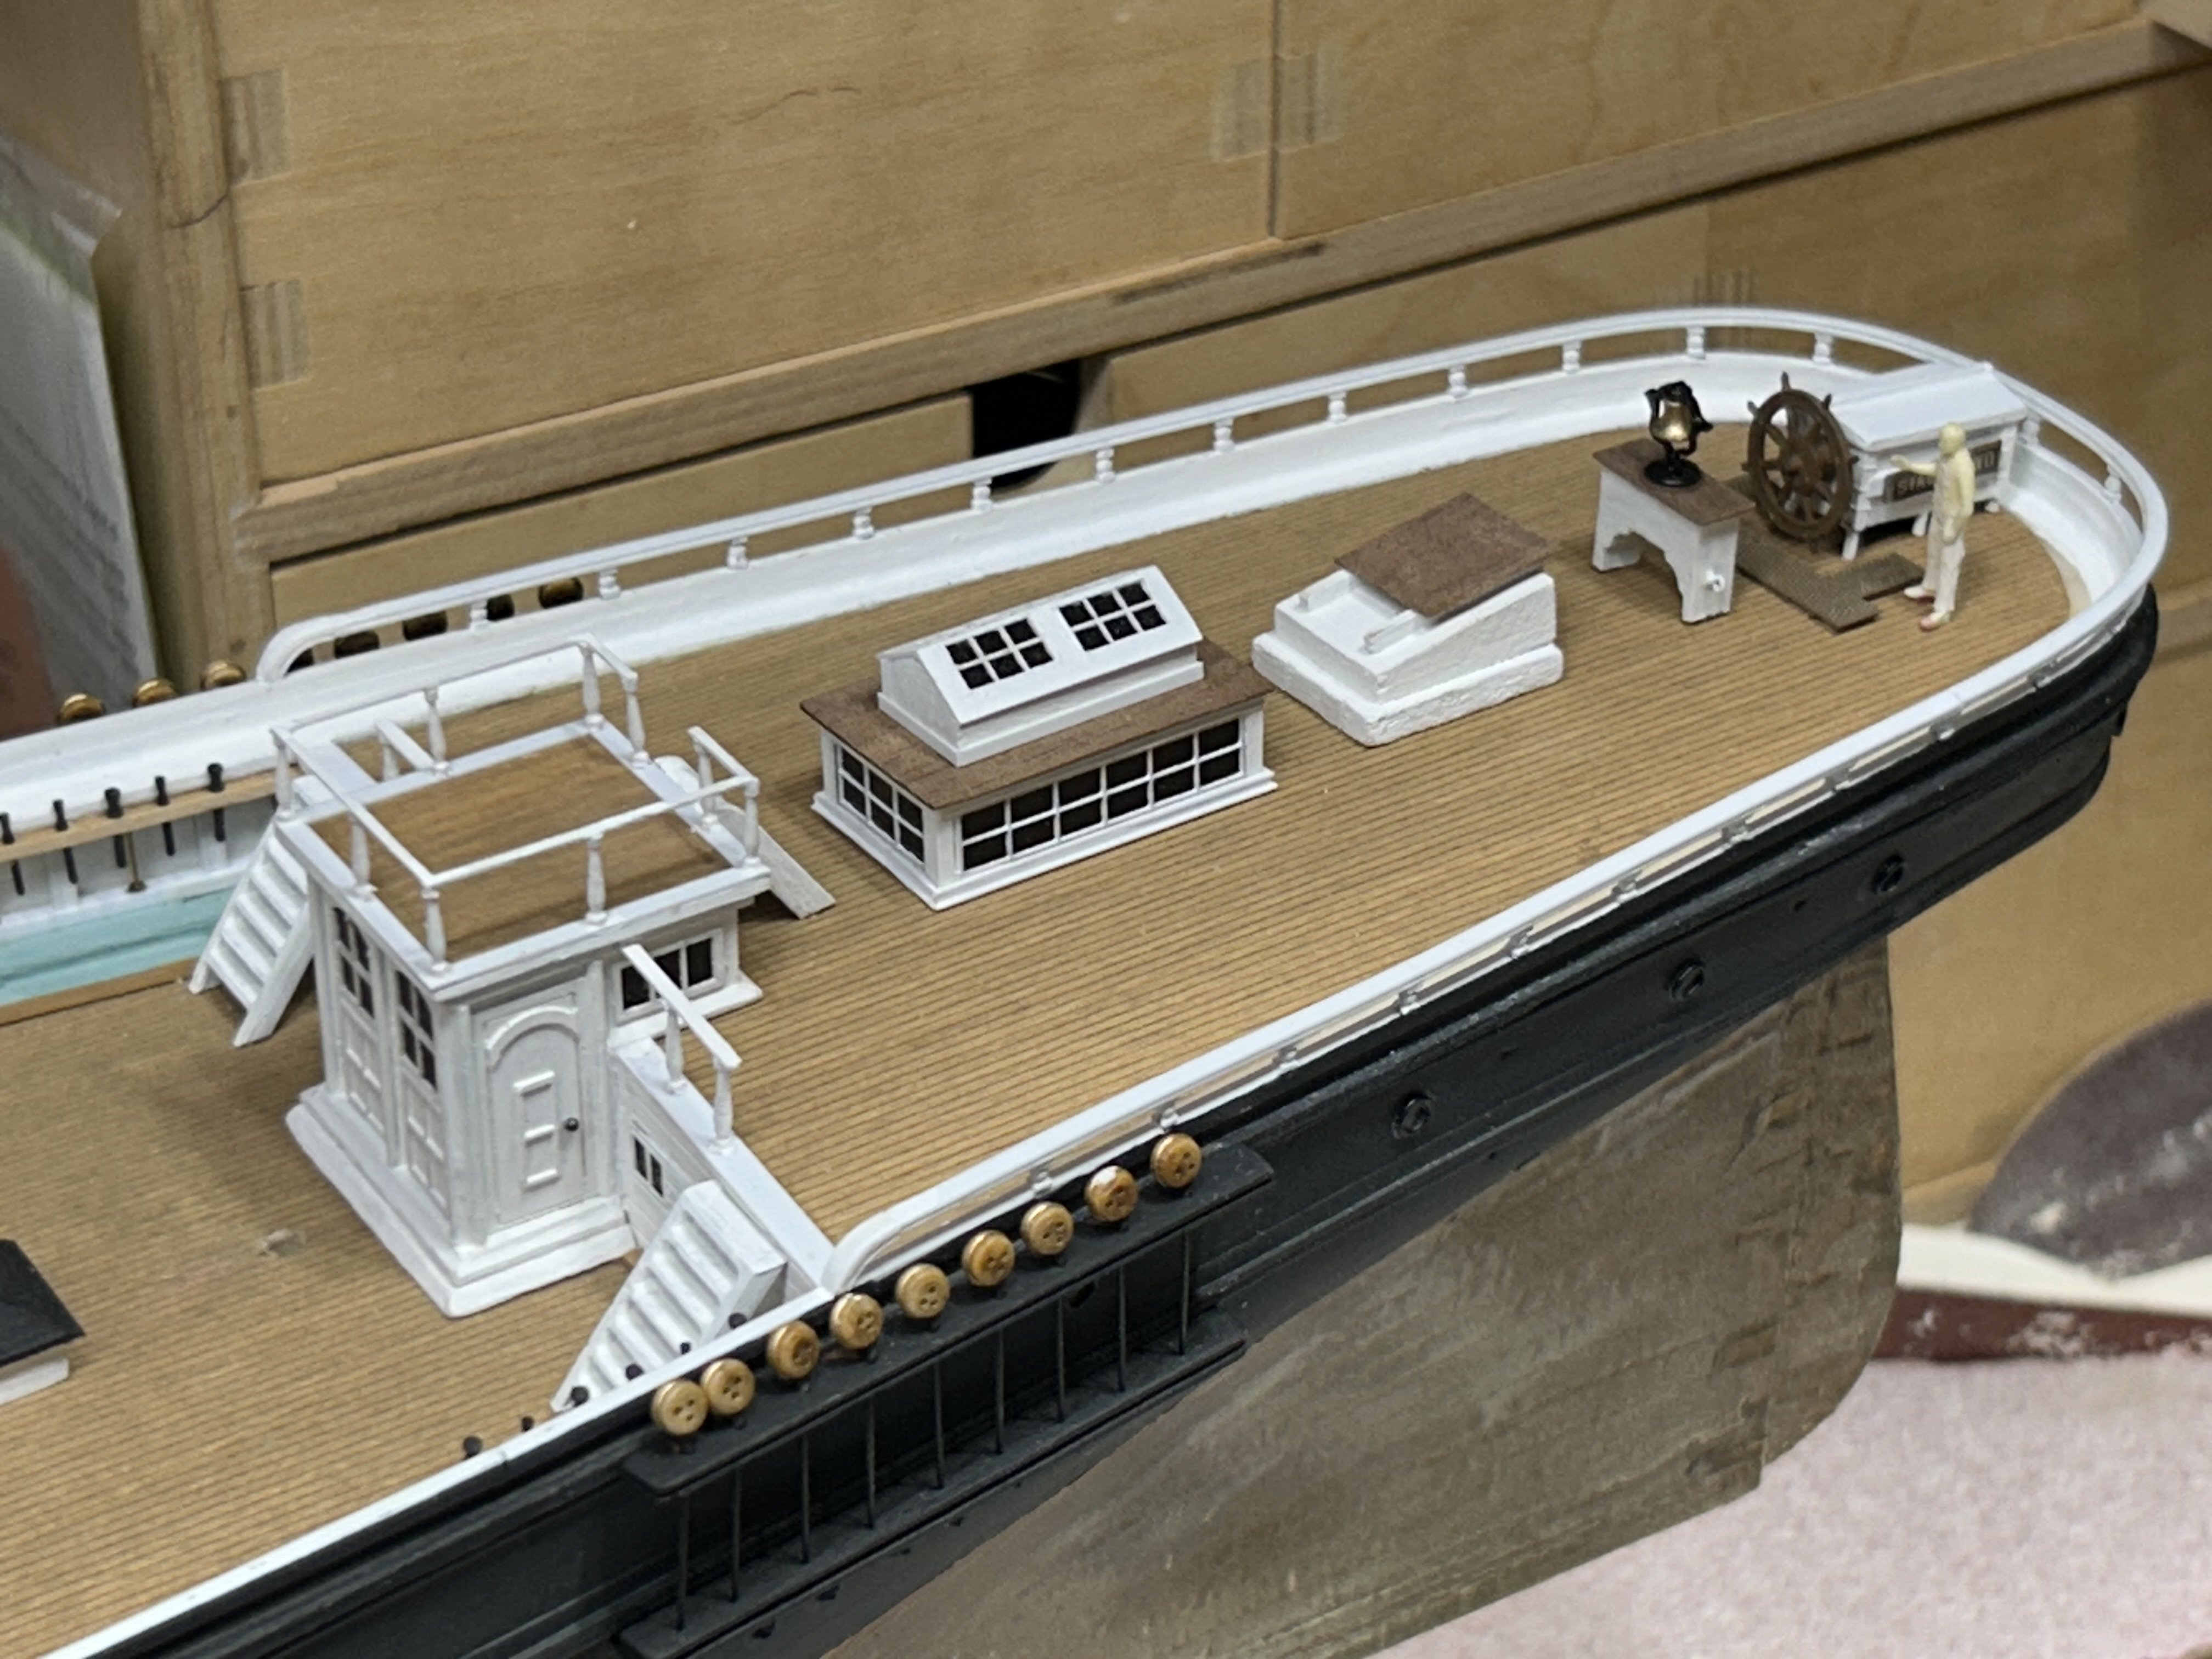
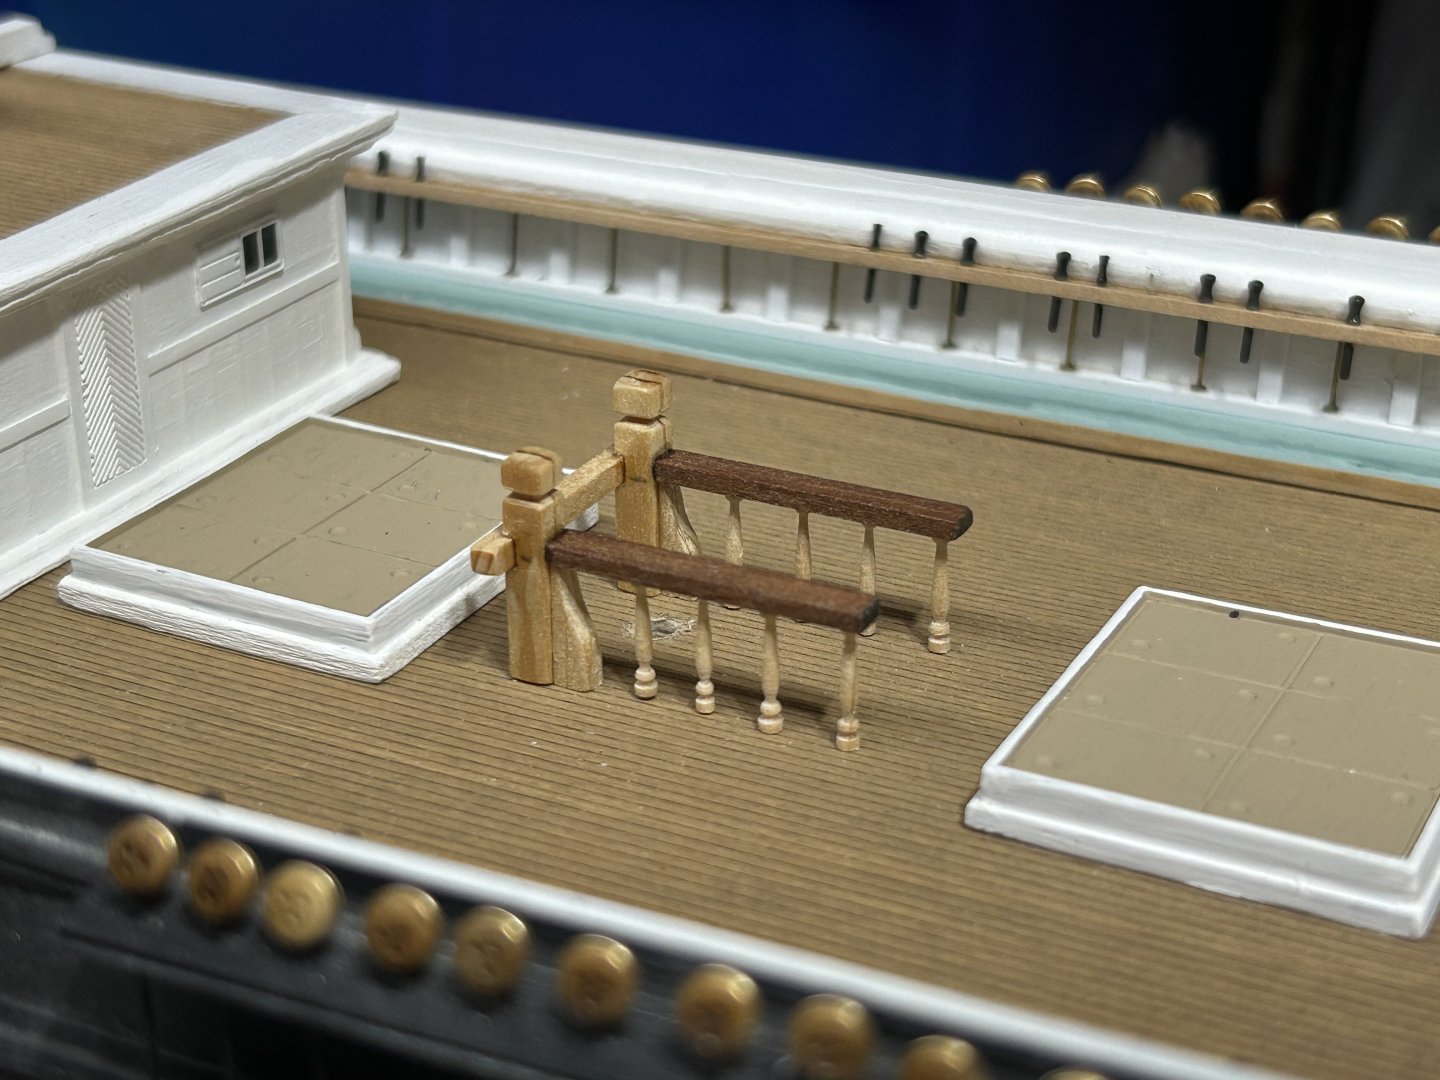
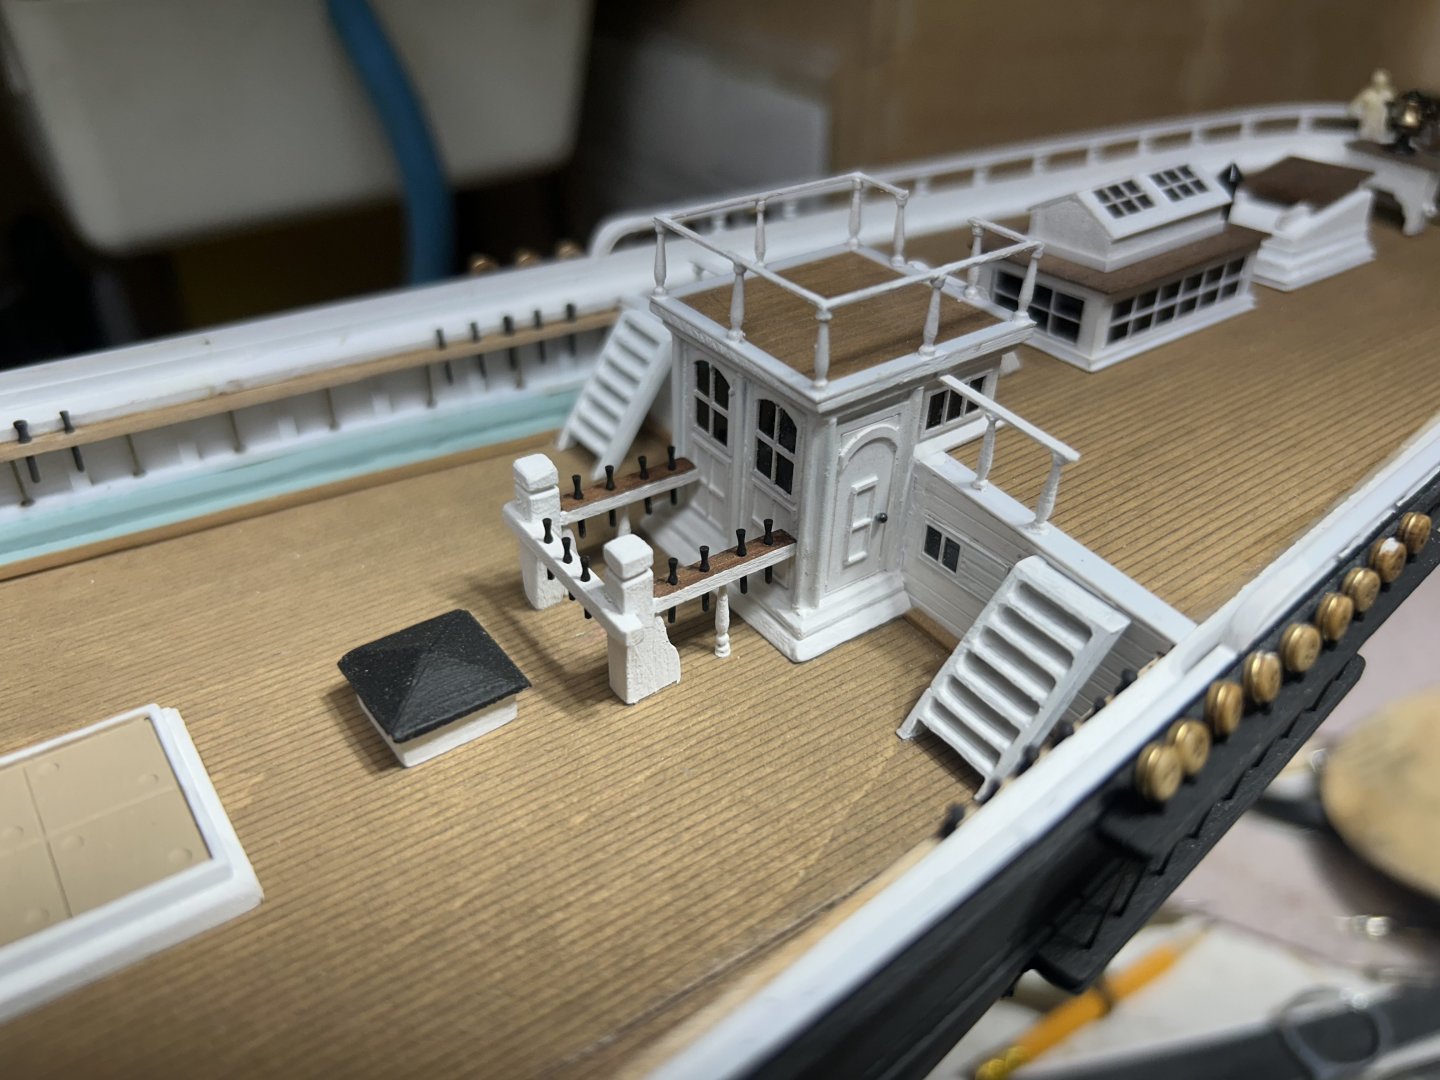
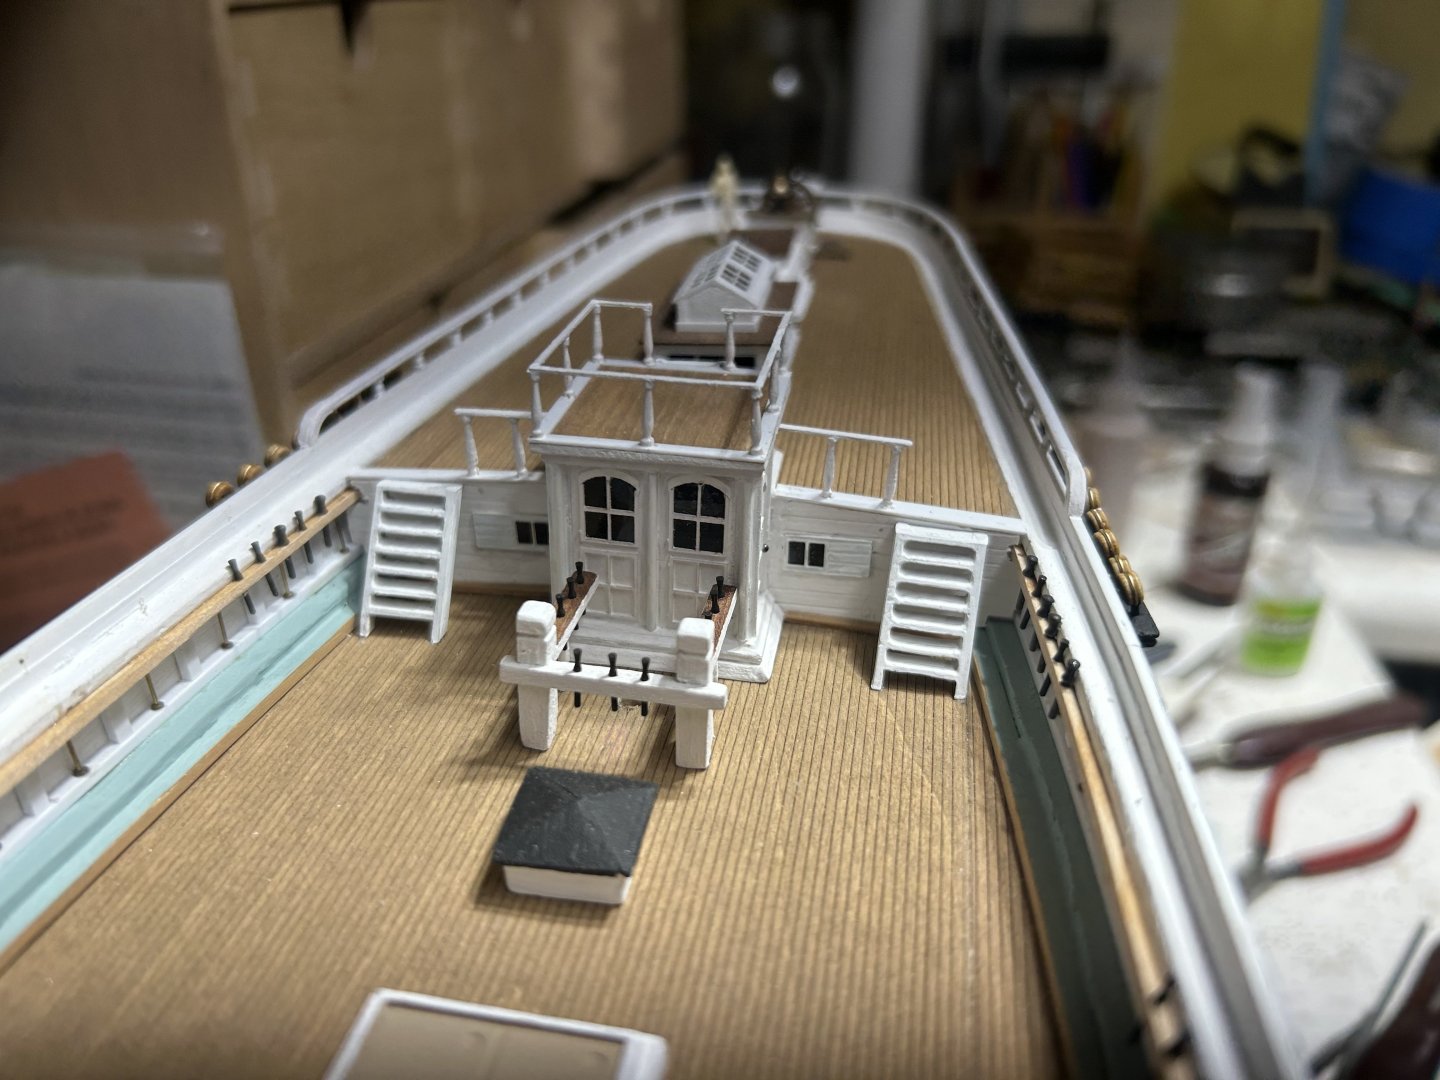
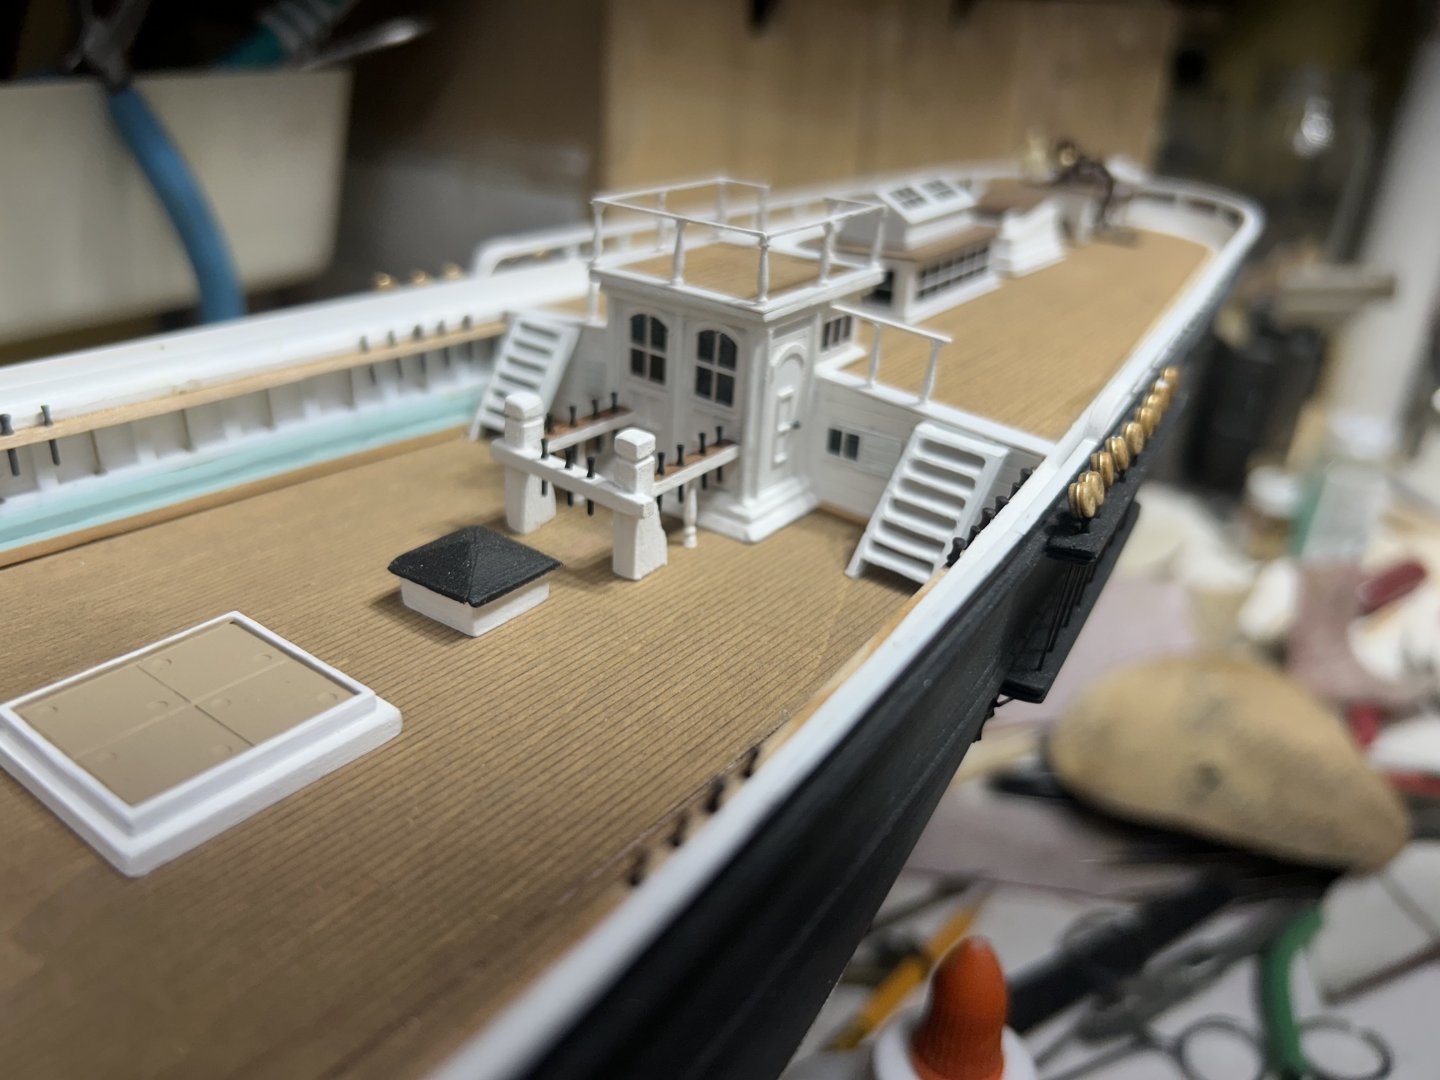
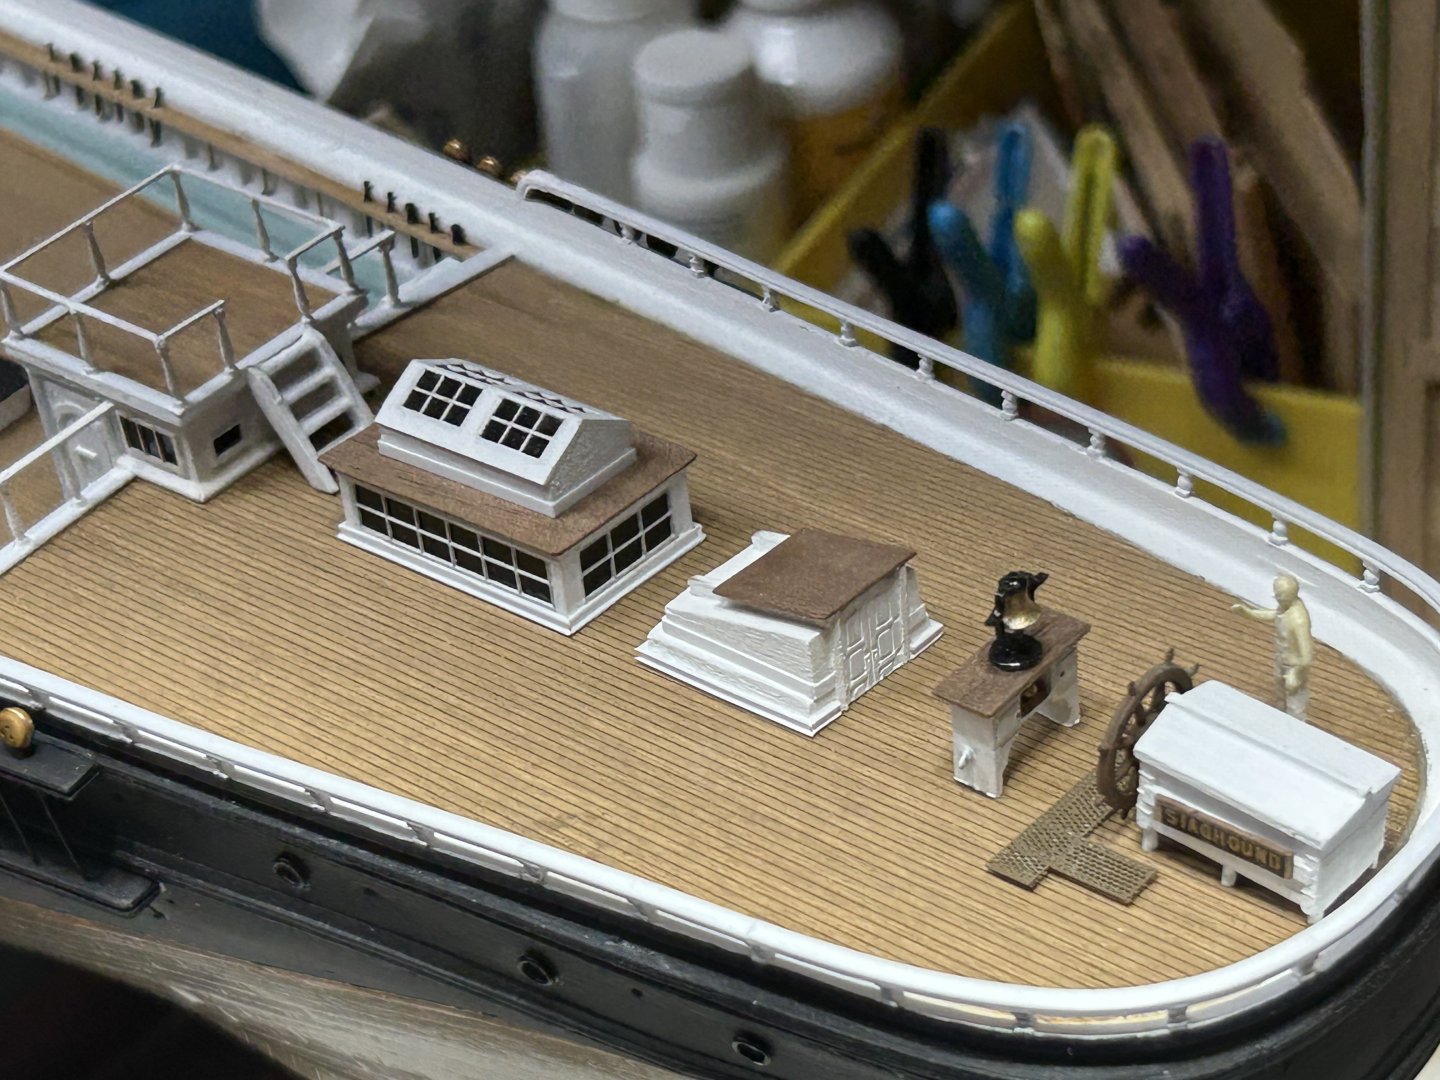
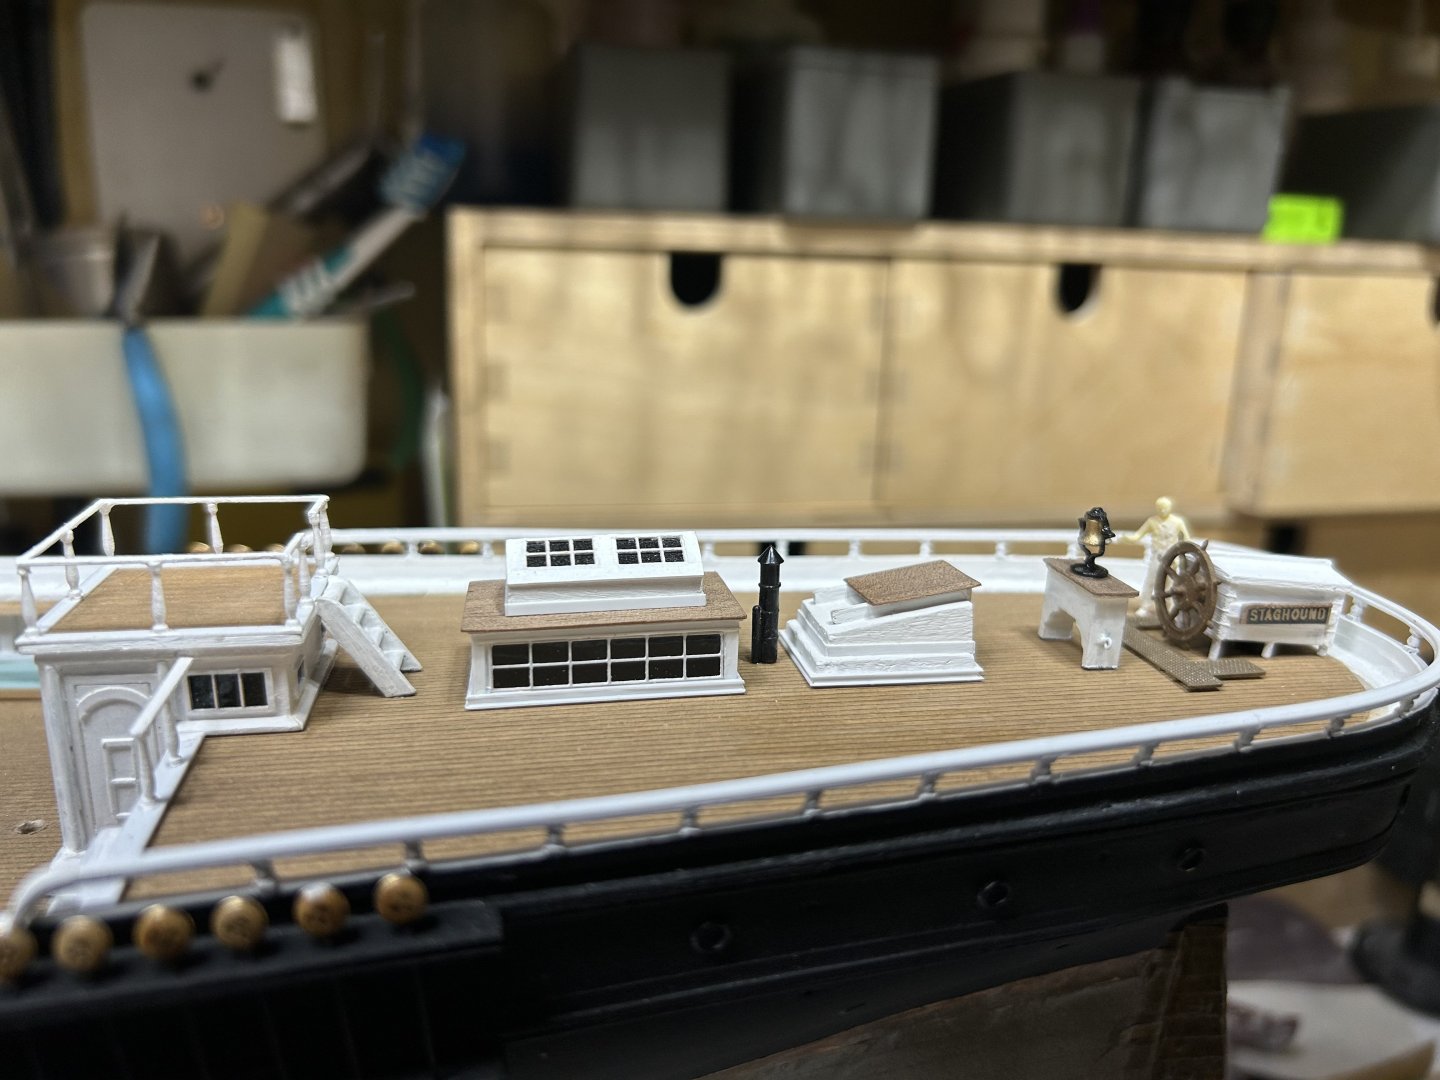
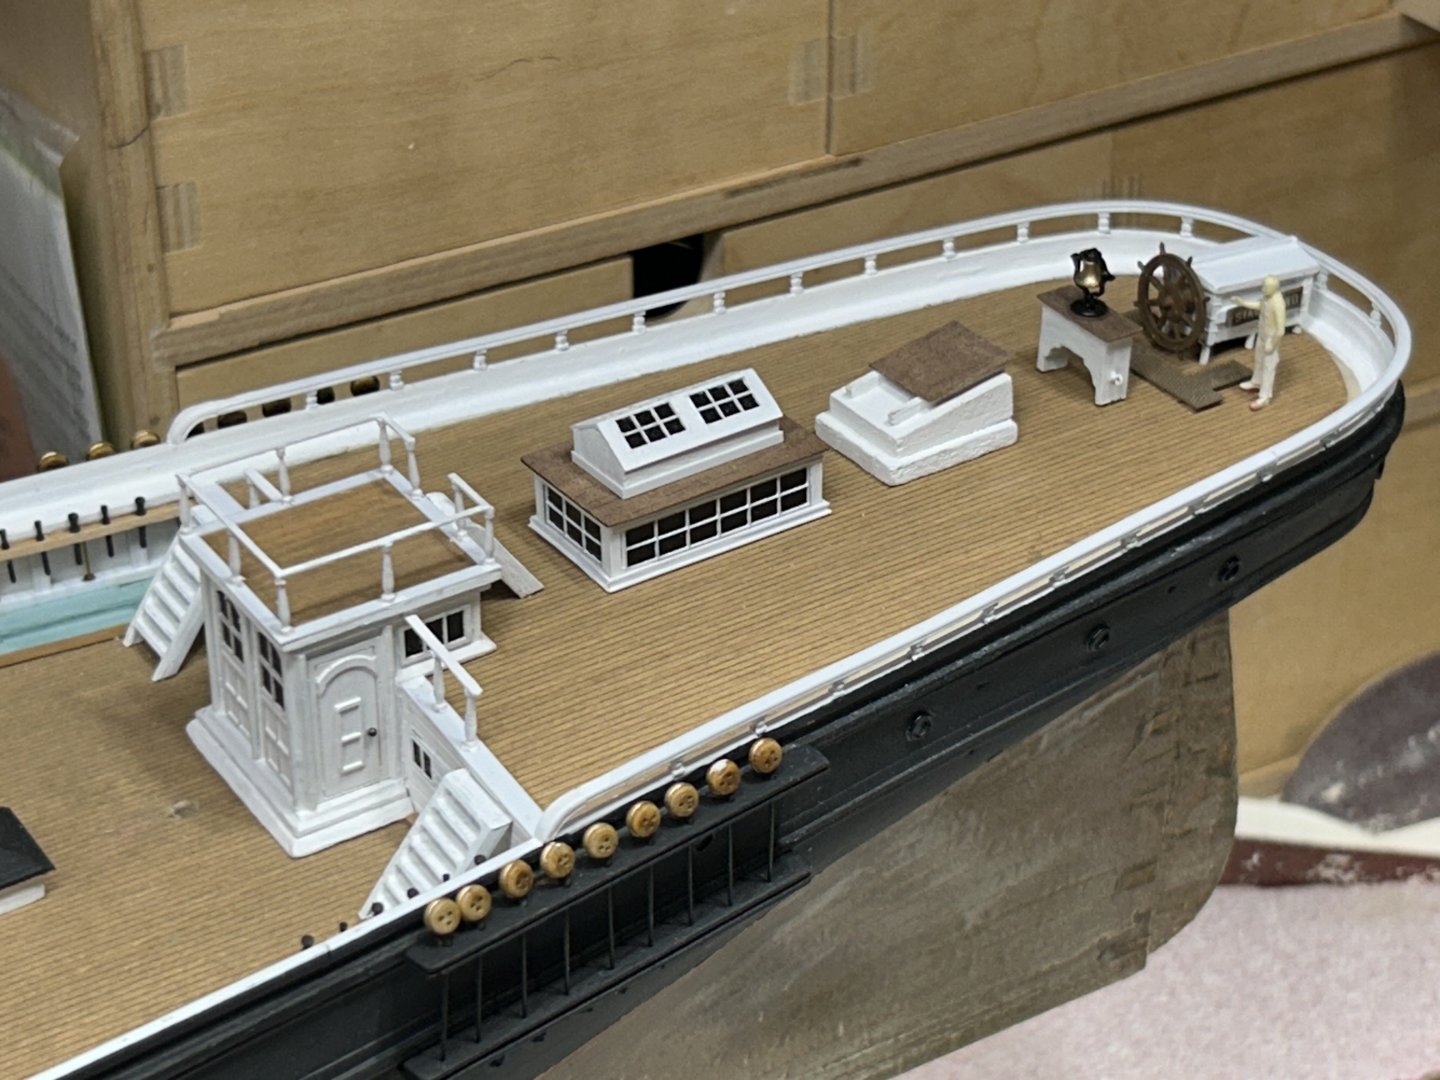
Finished the trim on the aft companionway. Rob

-
Thanks Rick. 2 months of writhing pain is hard to cope with.....but I am hopeful the end is near.
-
Well....I actually finished the structure...but I still needed to add the trim to really clean it up....so it is as smart as the skylight. Still struggling with these kidney stones. Soon, the DR says....soon. I might be dead by then. Pushing forward......... Rob
-
Finished up the poop companionway. Rob
-
Went to the ER again and got another CT scan. Looks like I have a left kidney stone as well and….. it looks like both are ready to enter the bladder and pass. I sure hope so…… I’ve been in so much pain pain the last two months. The end is near! Rob
-
Did a bit more today. Rob


-
Great start. I hope you want to correct her stem and cut water by following Clipperfan’s depictions. Good luck. Rob
-
Added the Taft rail. Still need to finalize the ends. Rob


-
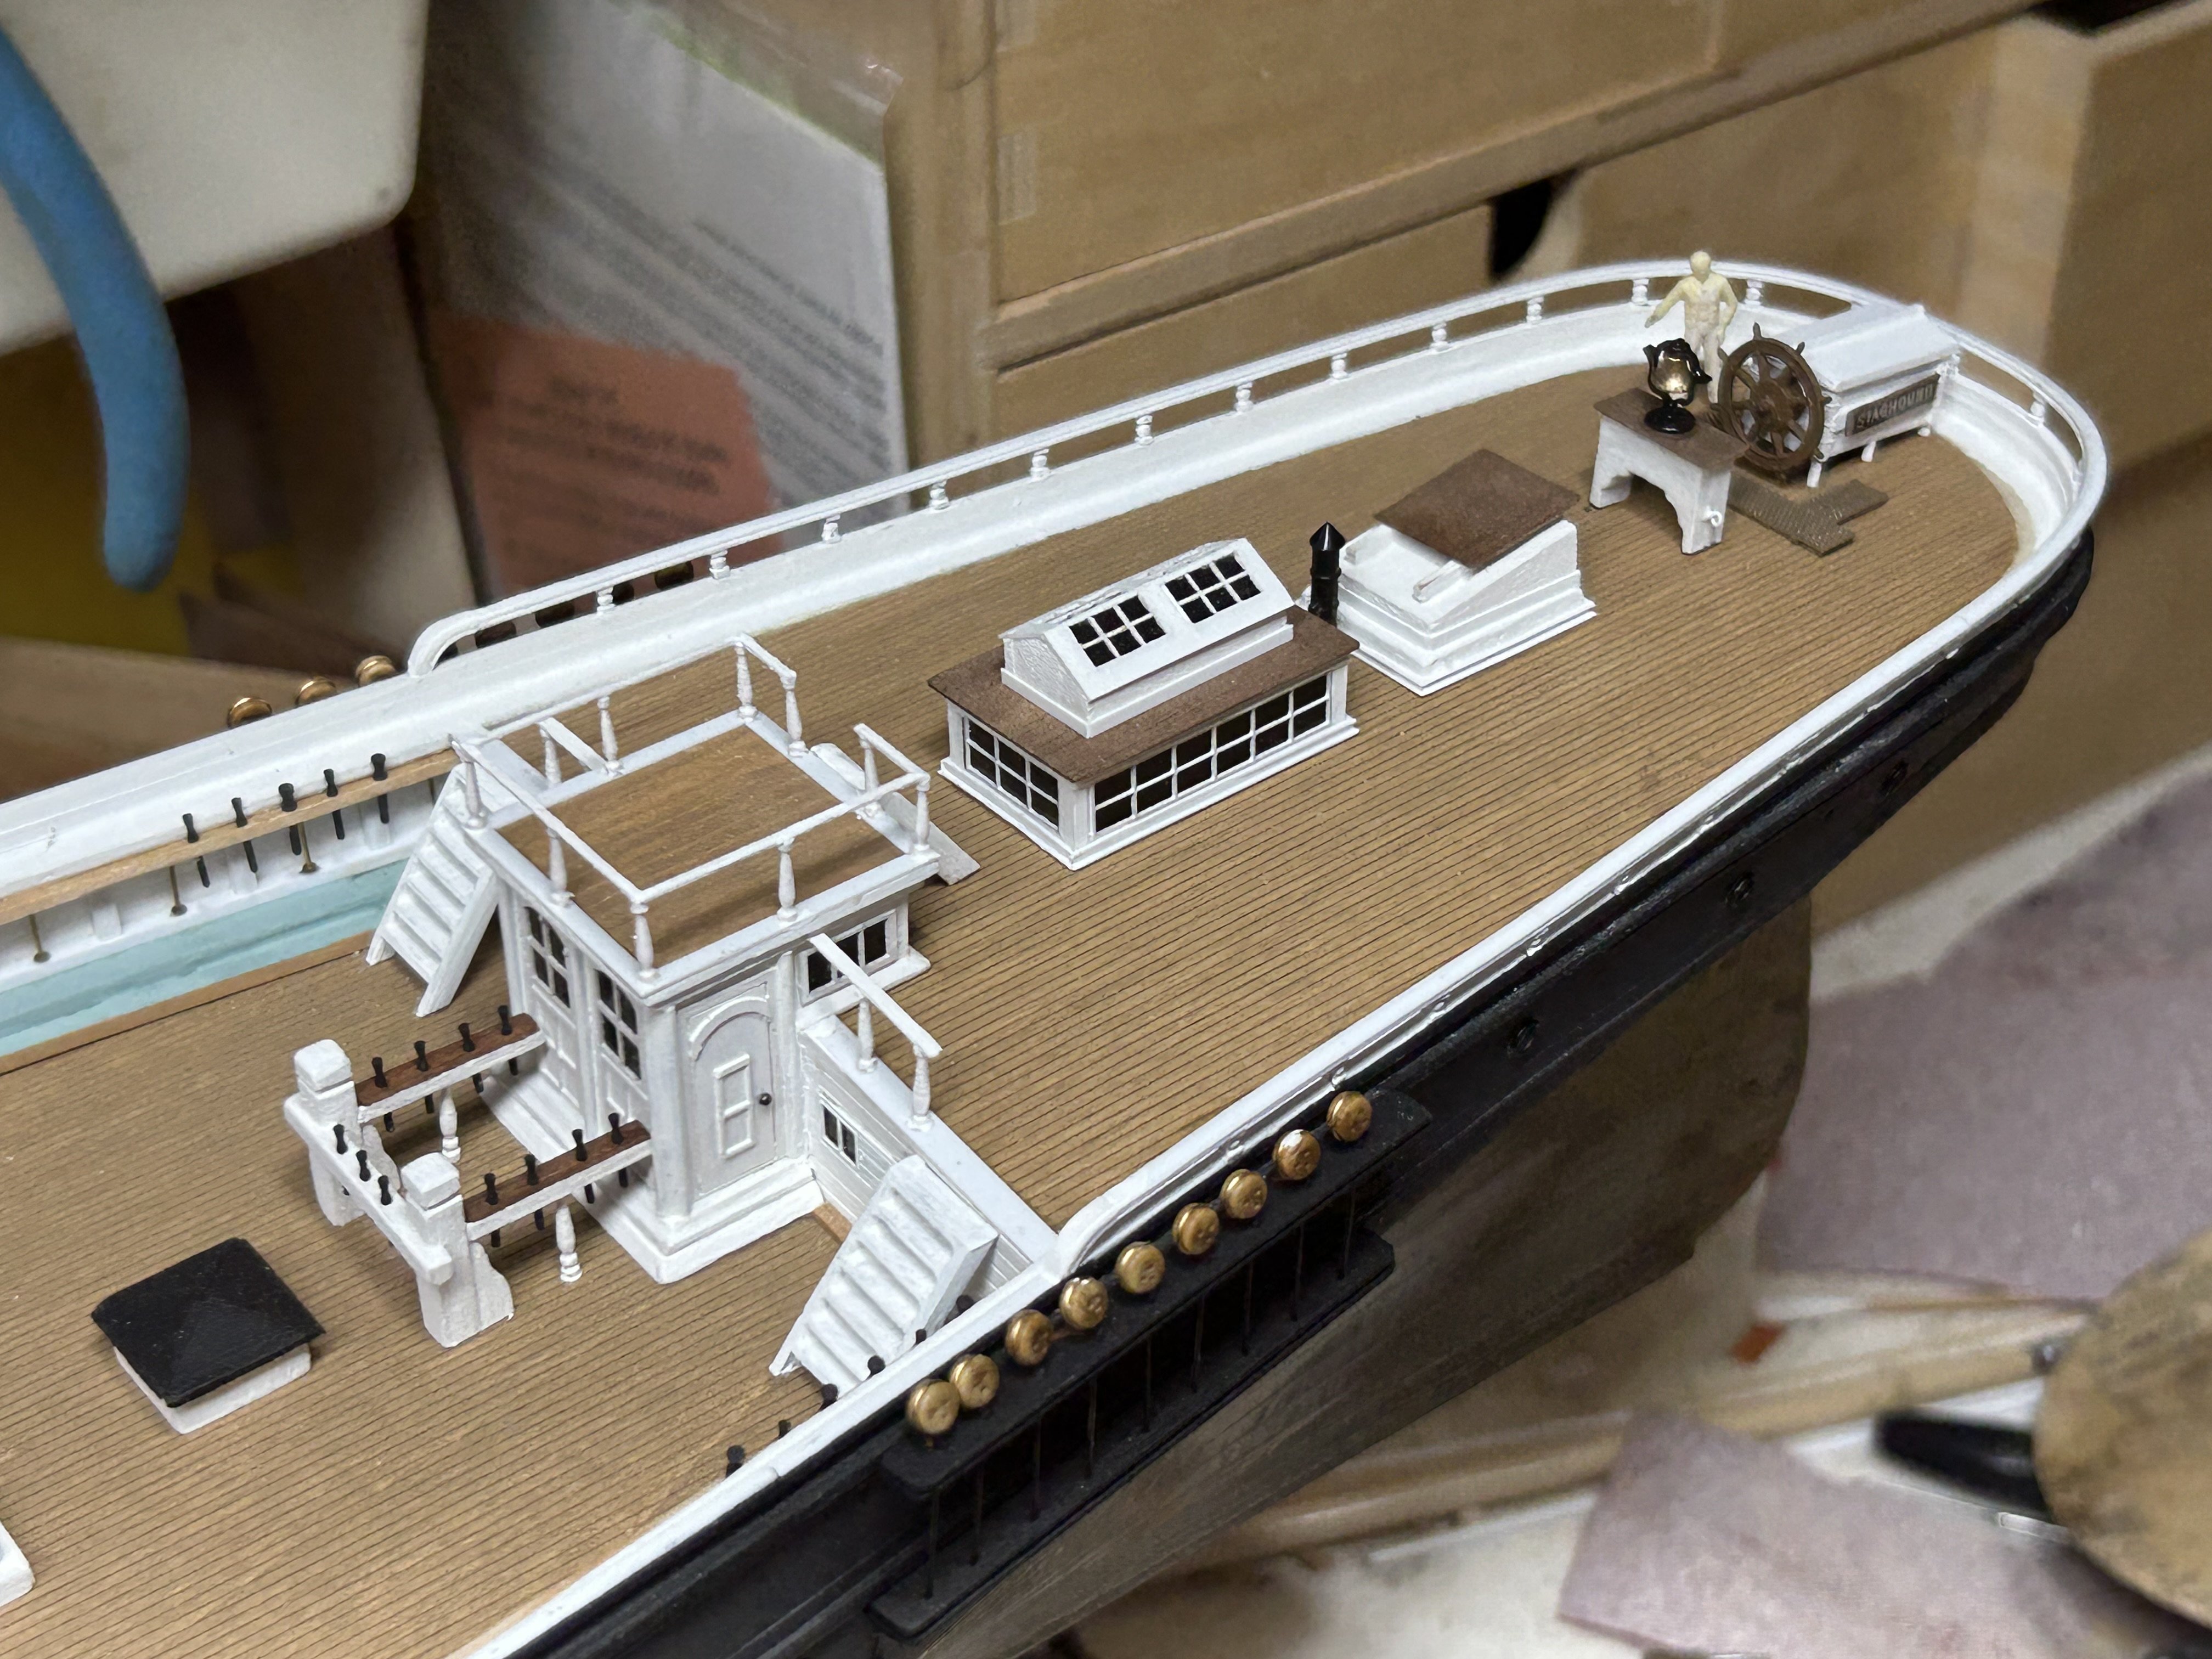
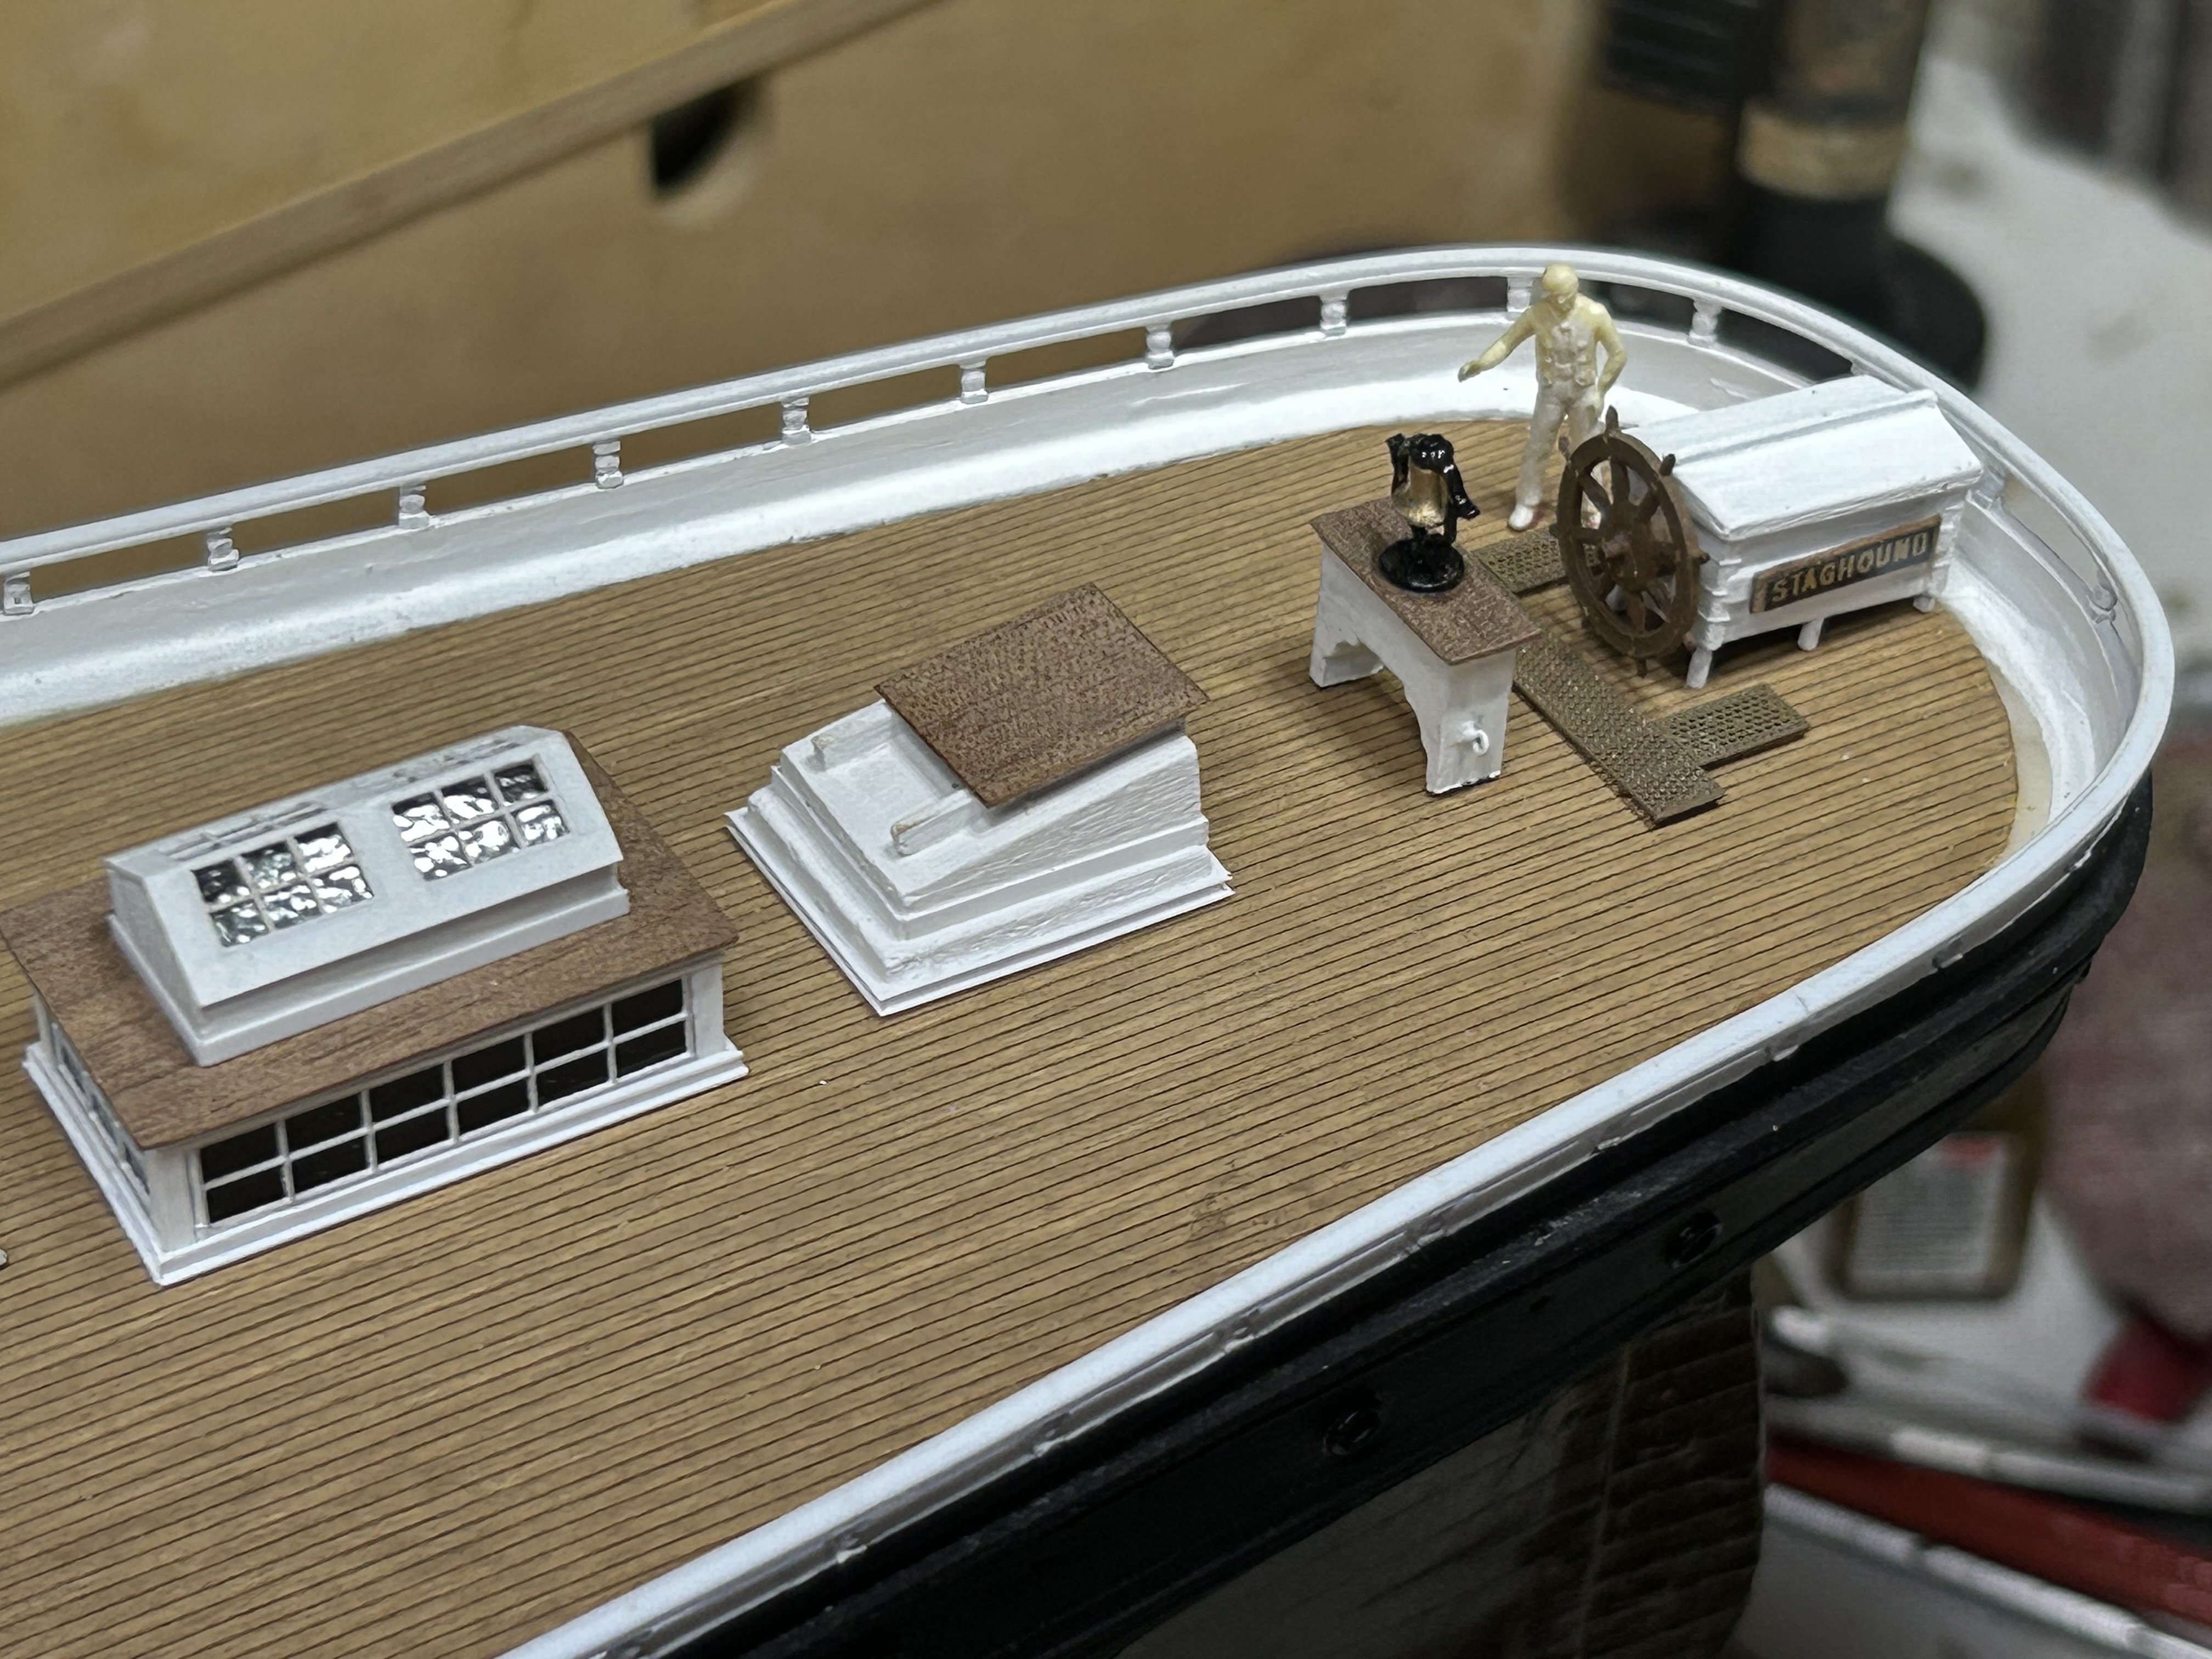
Added the boat skids and remade the steering box and added the elevated helm grating. Rob


-
Worked through the pain, and made the two capstans. The forecastle double action that drives the windless below and the mahogany one amidships. I then built the three hatchways and the small ladder access cover in front of the mizzen. I made and painted the two large boats on the main house. I opted to paint these a very dark green with blackened bottles , to mimic many paintings of Staghound. Still need to make their skids. Rob


-
They’re only 4mm. I get to suffer.