
Paul Jarman
-
Posts
478 -
Joined
-
Last visited
Content Type
Profiles
Forums
Gallery
Events
Everything posted by Paul Jarman
-
 I did the same working on Titanic.Only I managed to drop a pair of pliers on the stern railings.
 -
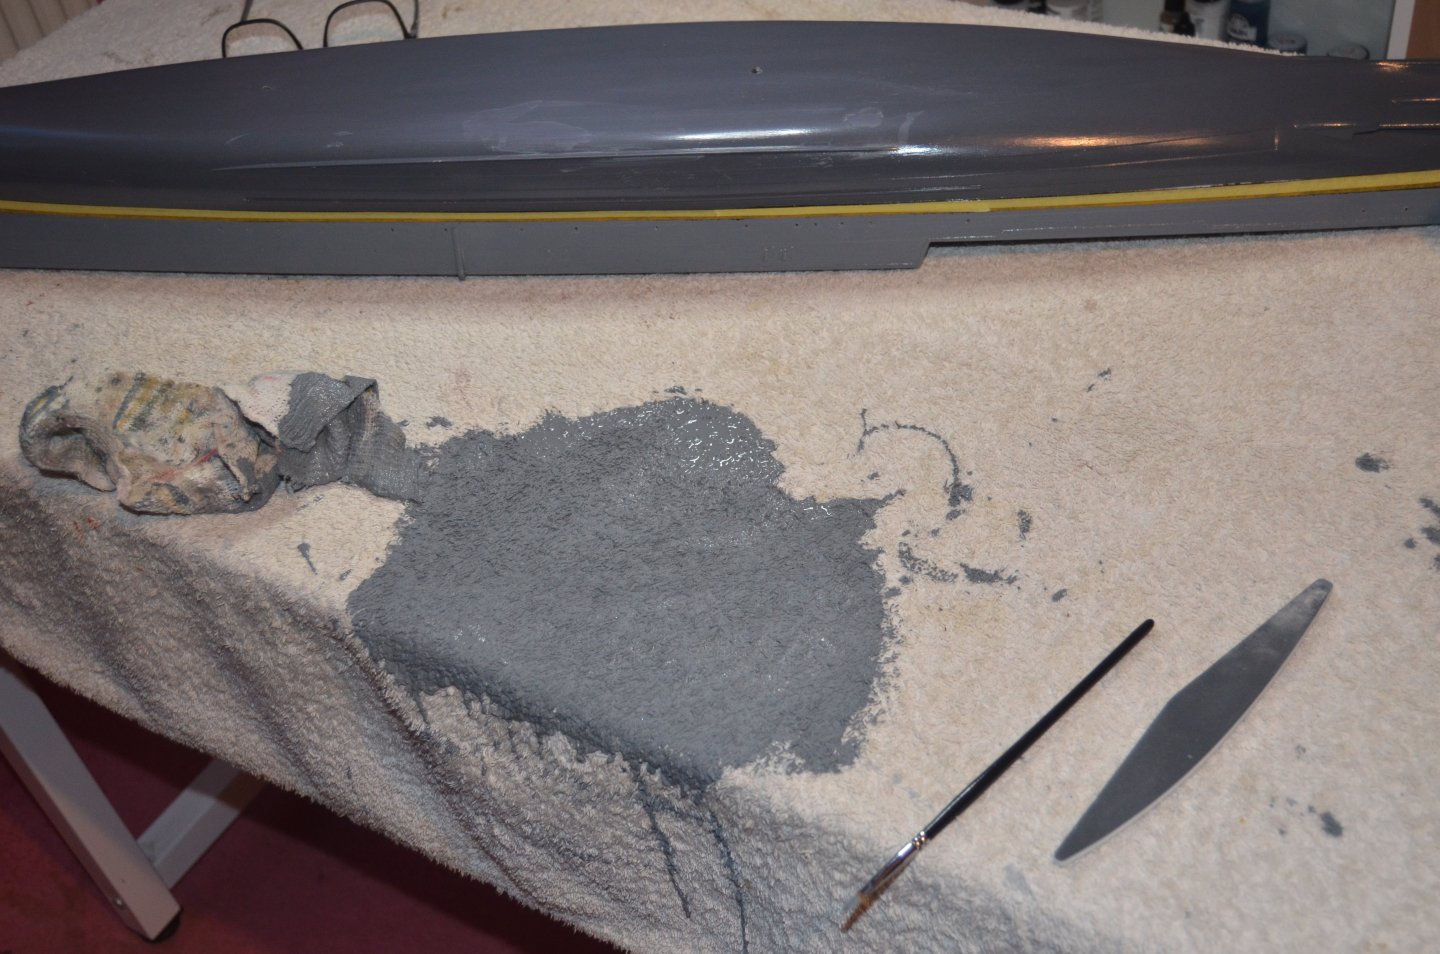
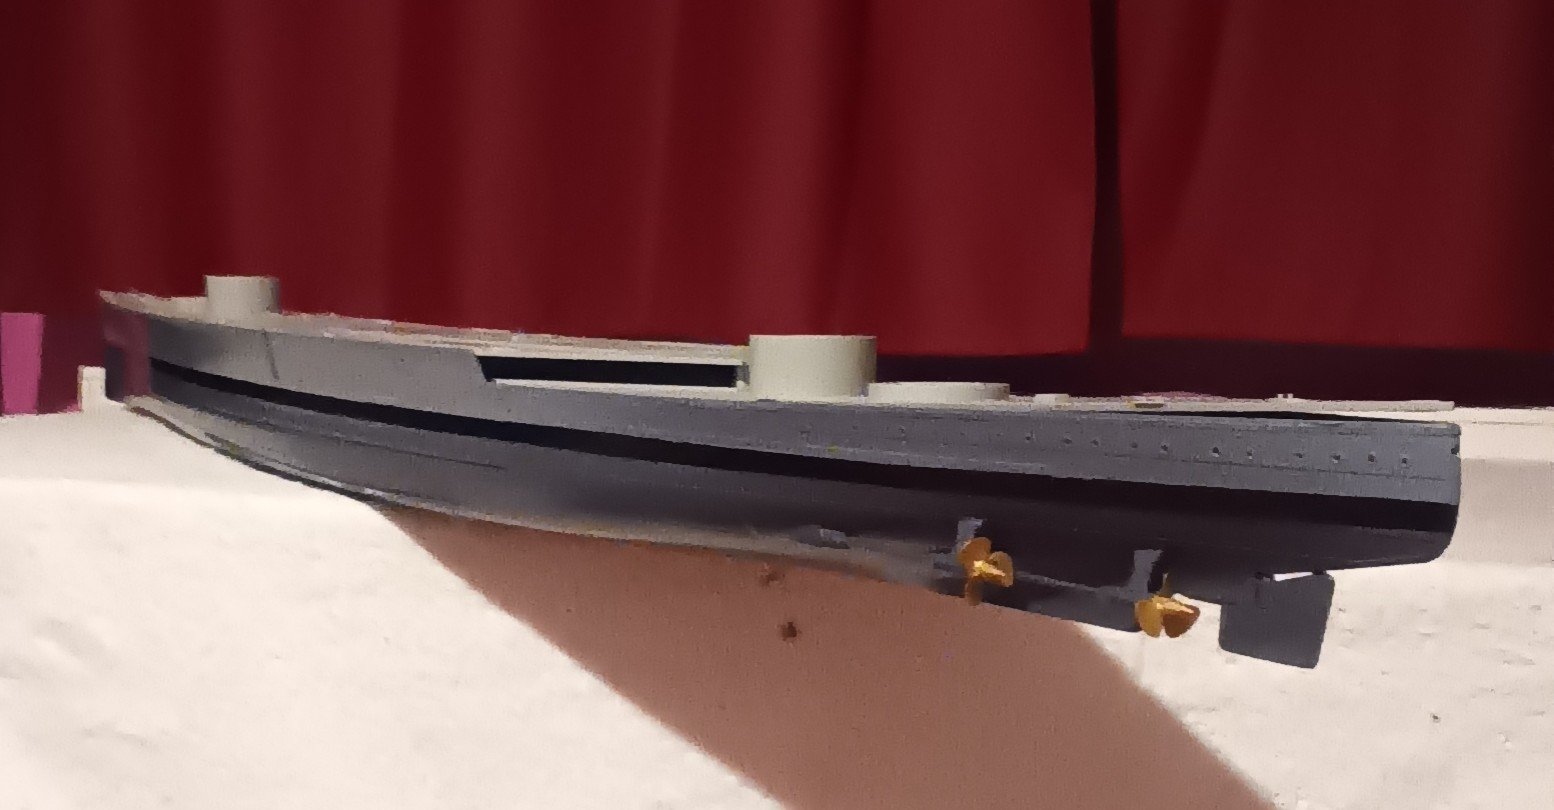
This is how the model looks at present. I have lost around half of the approximately 200 mls I had mixed.I have a number of grey paints. So I may redo the upper hull and mix another batch and share it between some 50mls pots I have.


-
To say I am a tadge miffed is an understatement. I have the hull almost complete. I was tidying up the boot line and knocked the paint jar over. Very lucky that most of the paint that went on the model is on the bottom of the hull. But because I made a mix of two different greys and added some blue to get the colour right, I don't know what the mix was. And there won't be enough to paint for all the deck structures and fittings. If it was a smaller model I would just start again from scratch and buy some more paint and make up another mix. Just hope I can get the mix right when I can afford to buy some more paint.
-
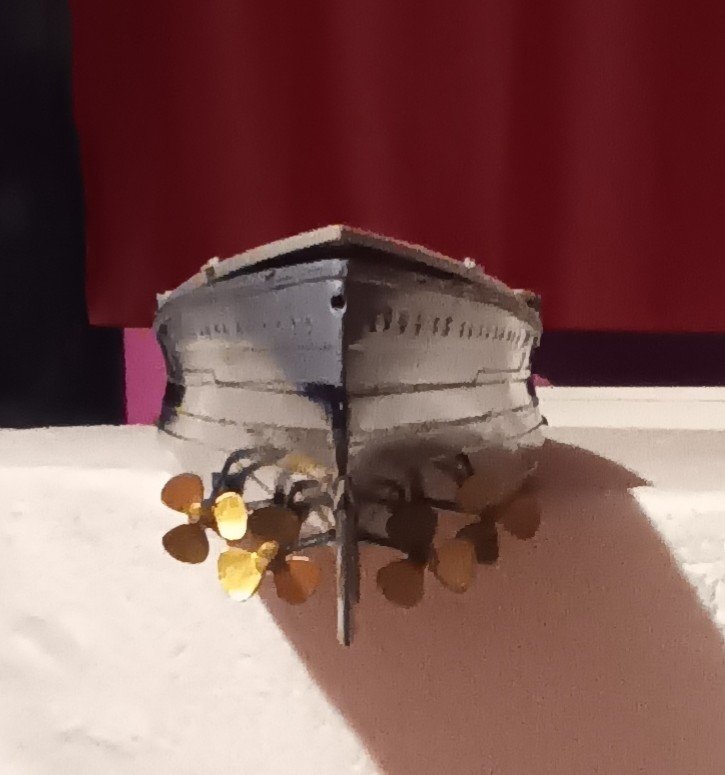
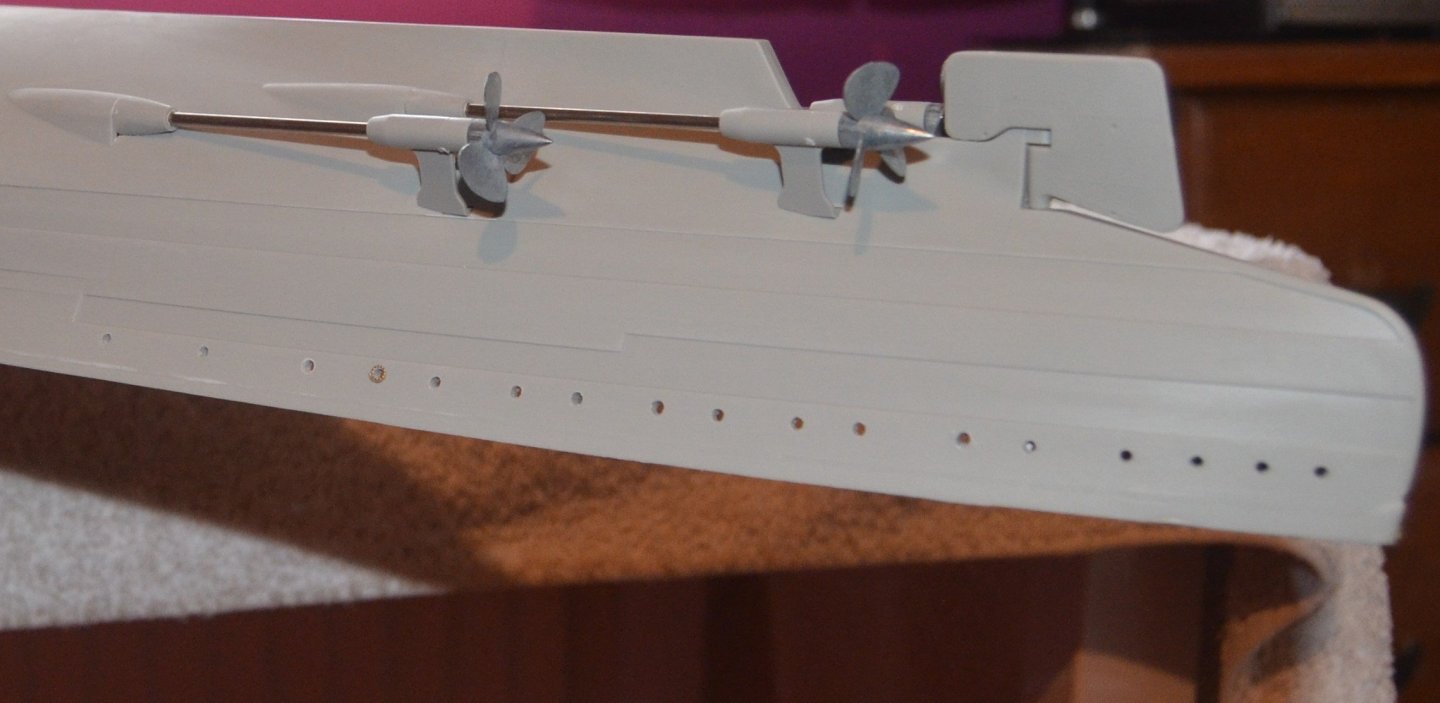
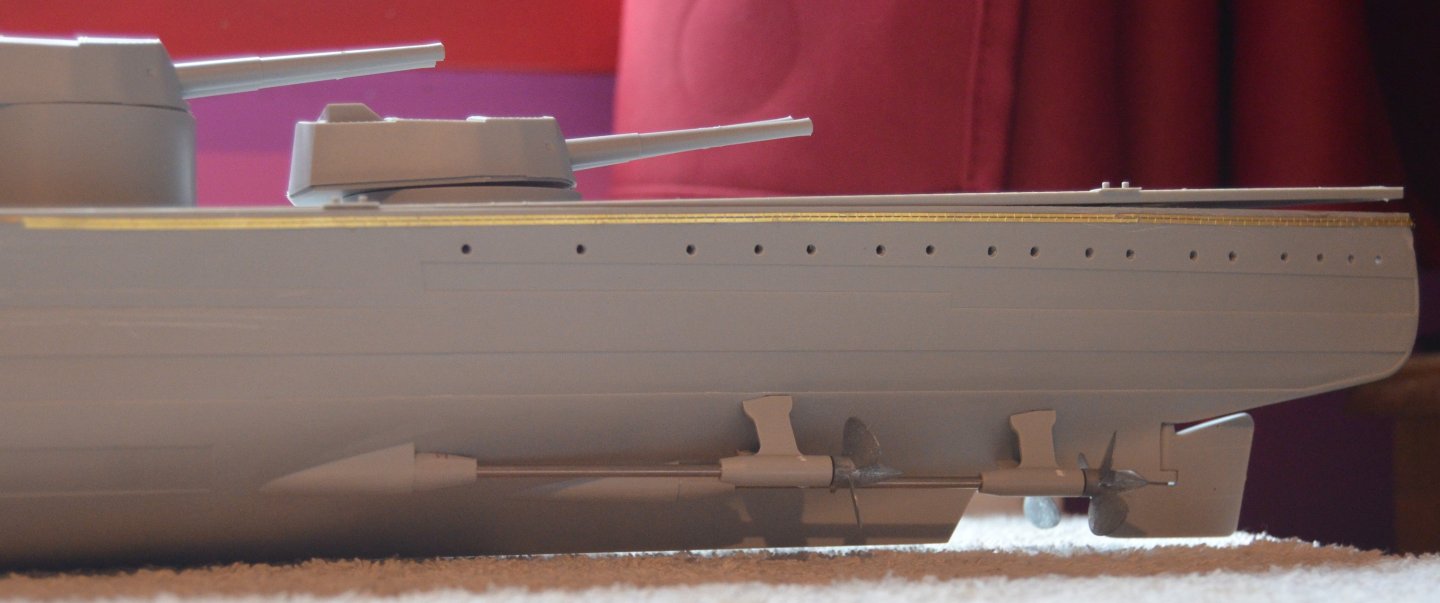
Thanks,I will paint the shafts the same color as the bottom as recommended on the web site. Which will be dark grey. The color scheme is also based on information from the web site,whitch is the best available at this time.
-
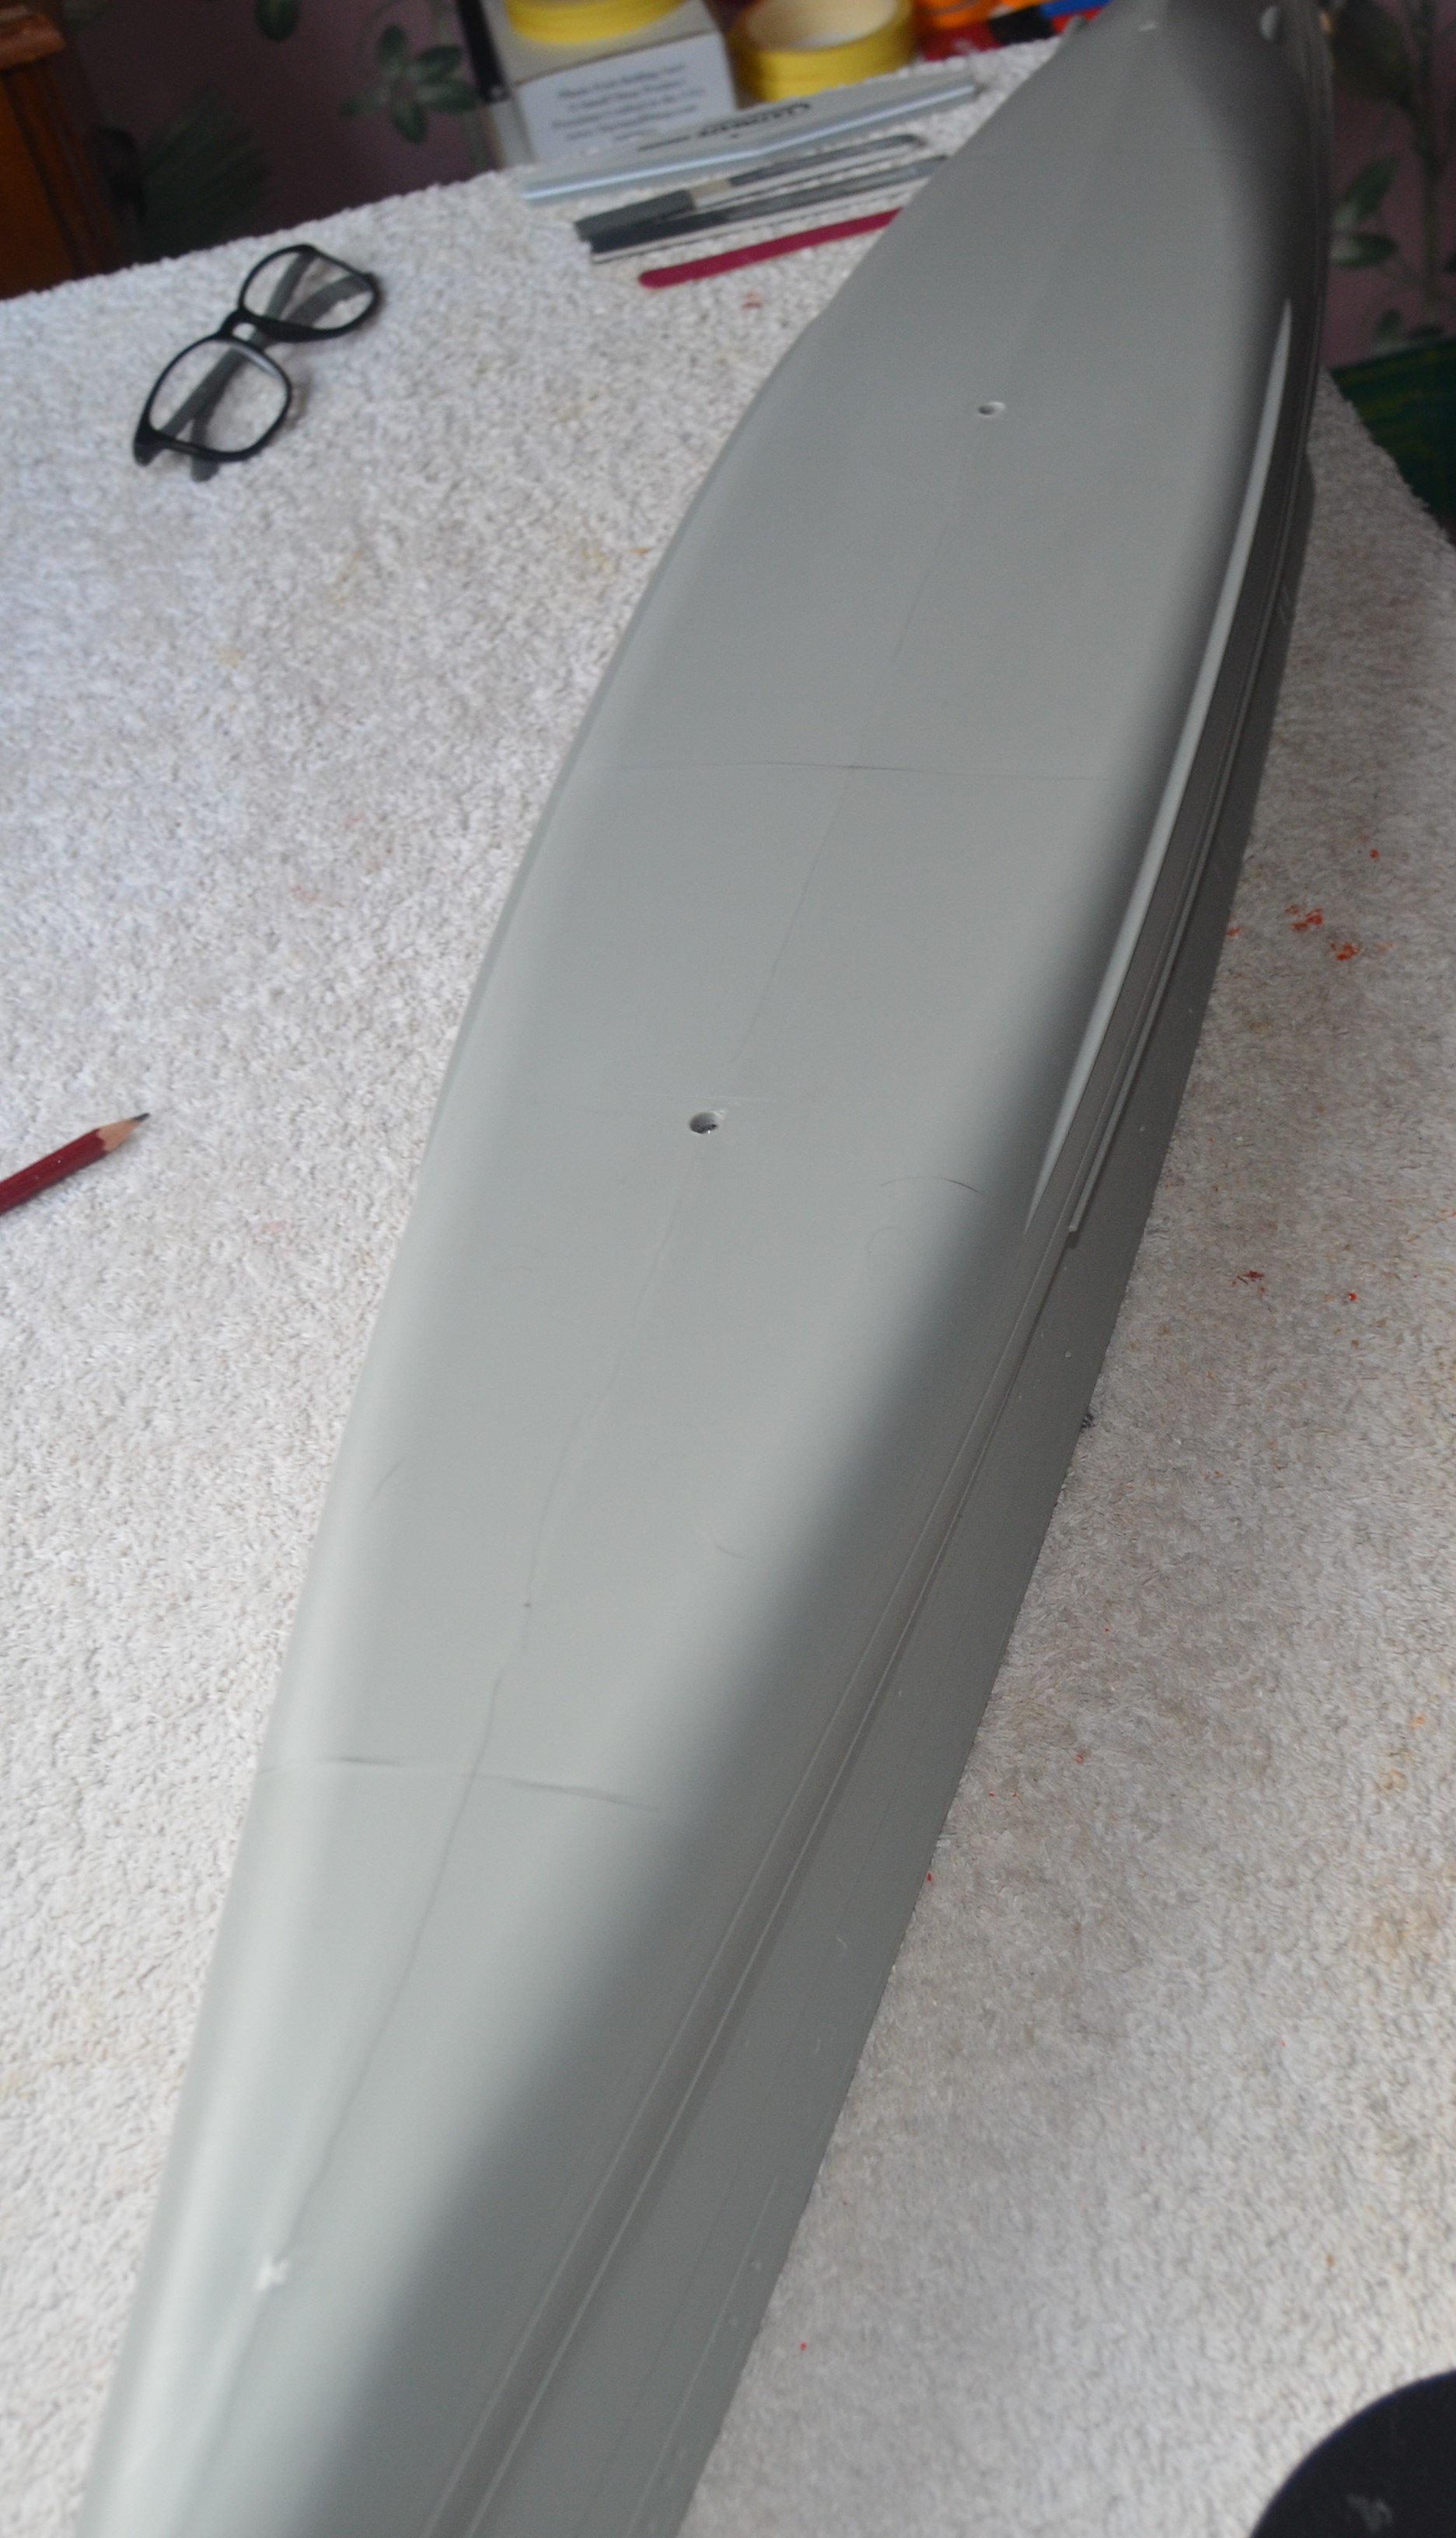
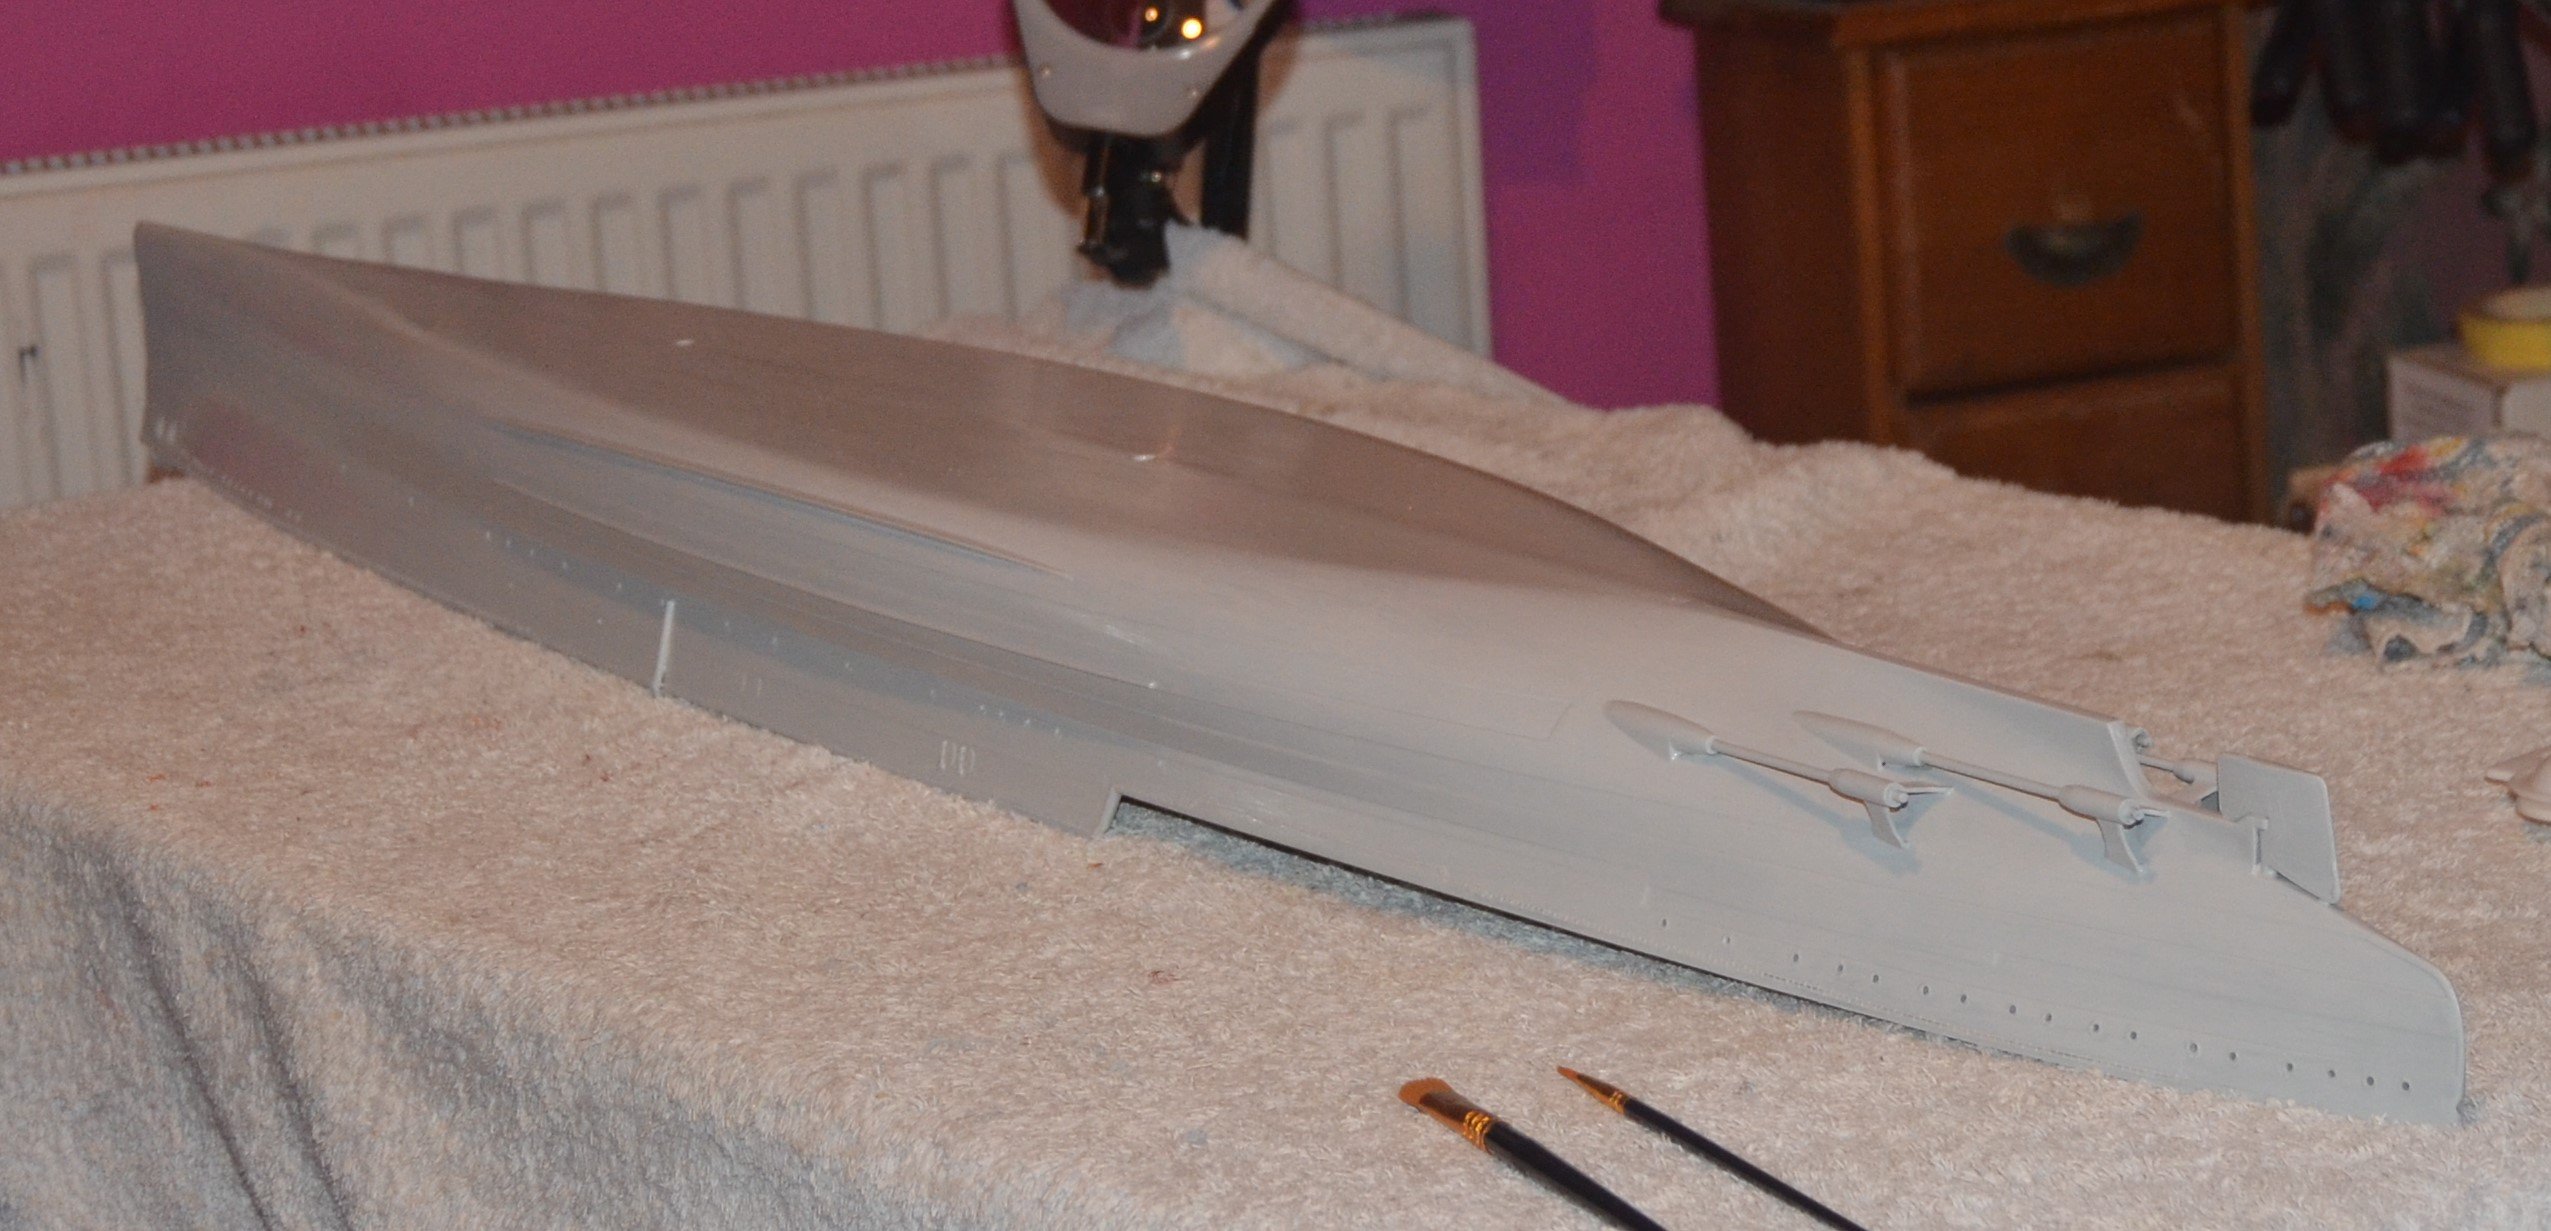
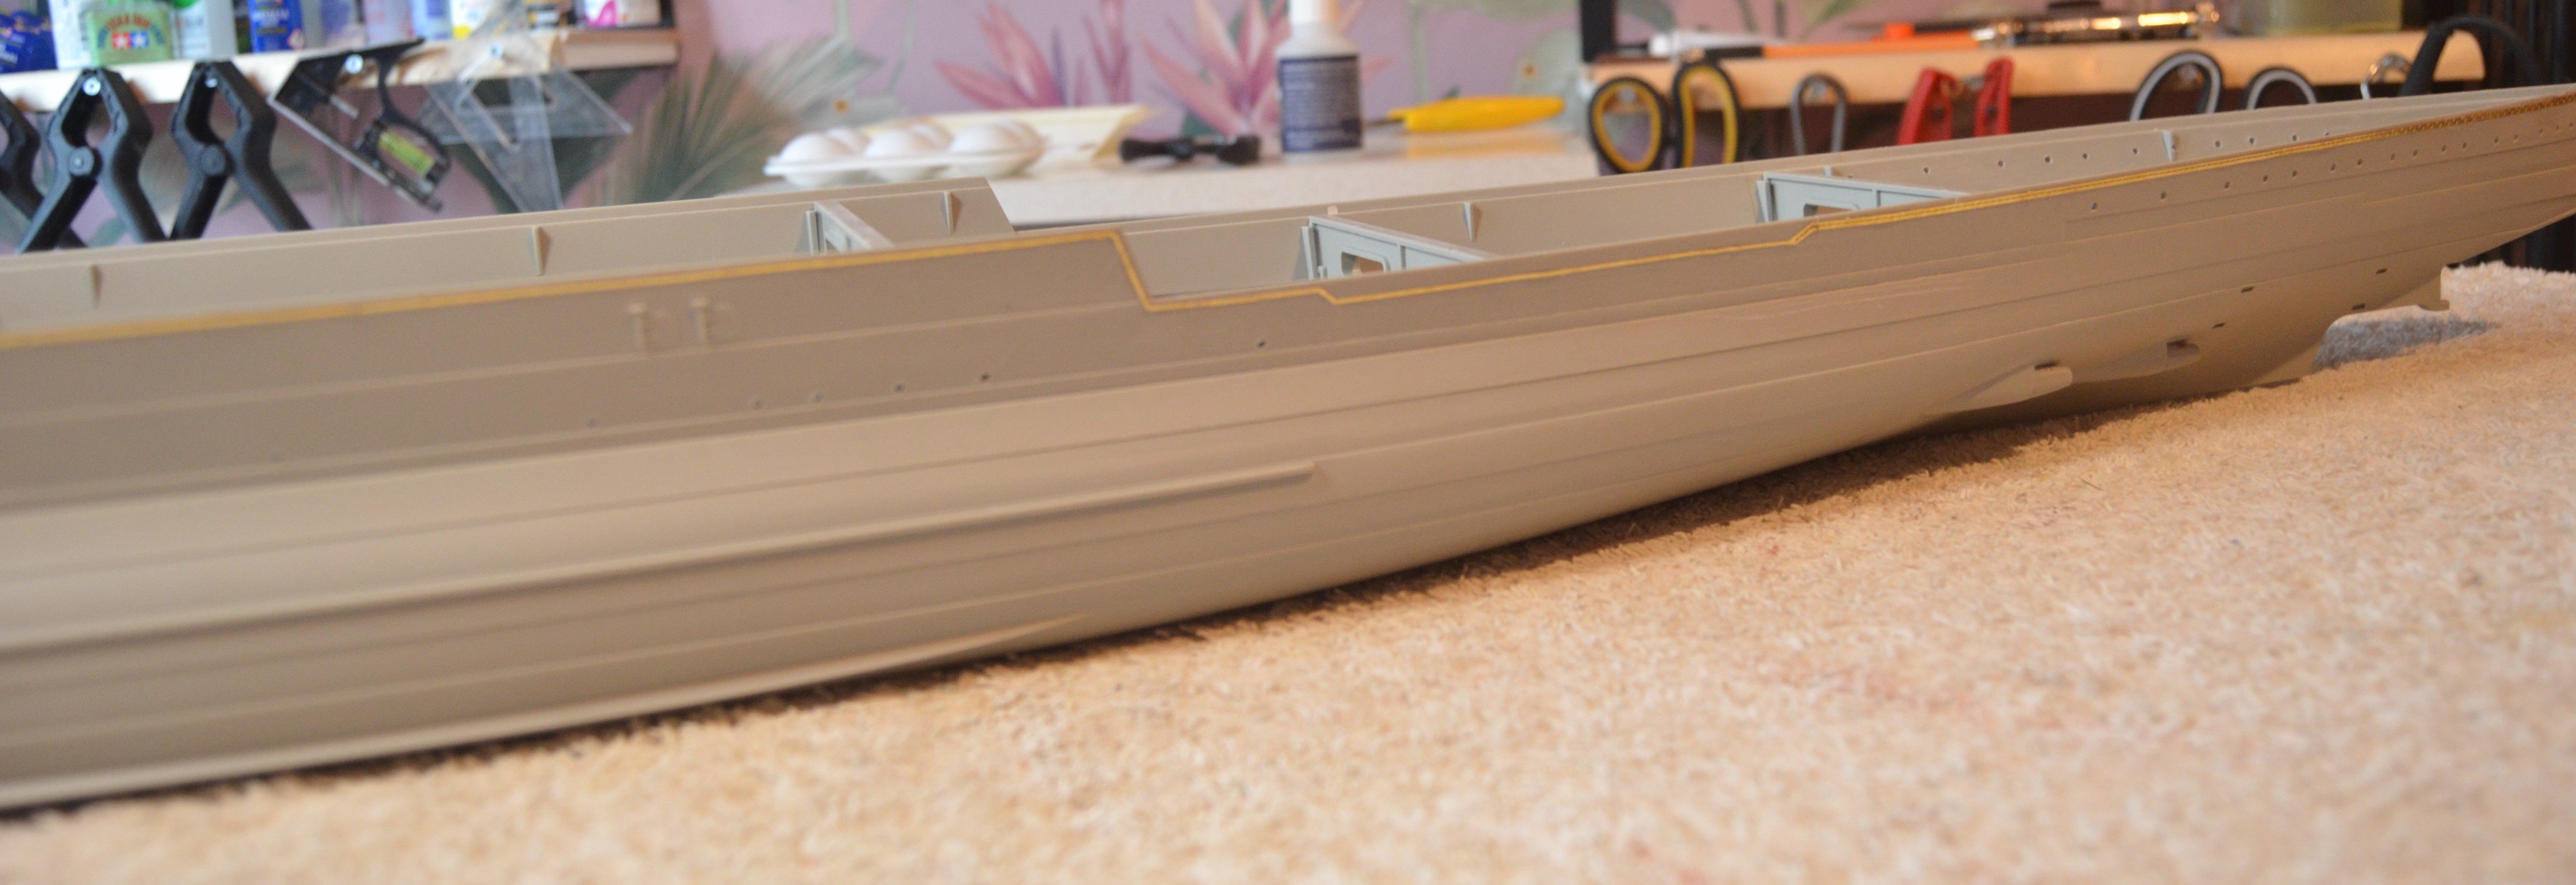
Two coats of primer on. It's a lighter shade of grey than the kit colour. Takes a lot of paint on that hull. I was worried it would hide the degaussing cable to much. But it actually makes it stand out more. Need to leave it overnight now and then a rub down with a very fine wet or dry sheet and maybe a final coat of primer before starting the painting.

-
So true. I dread to think how much Amazon have made out of me over the years in paints.
-
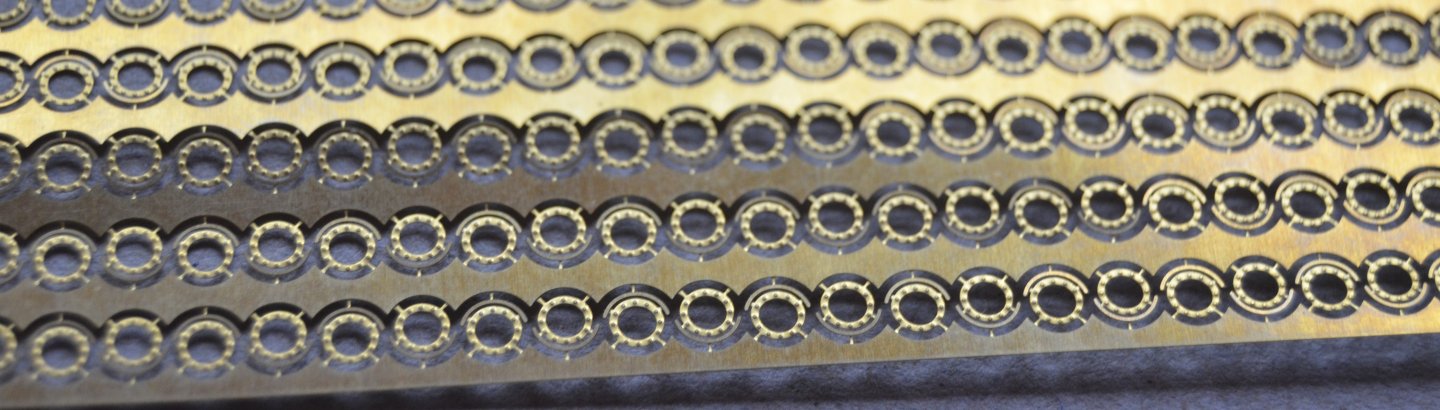
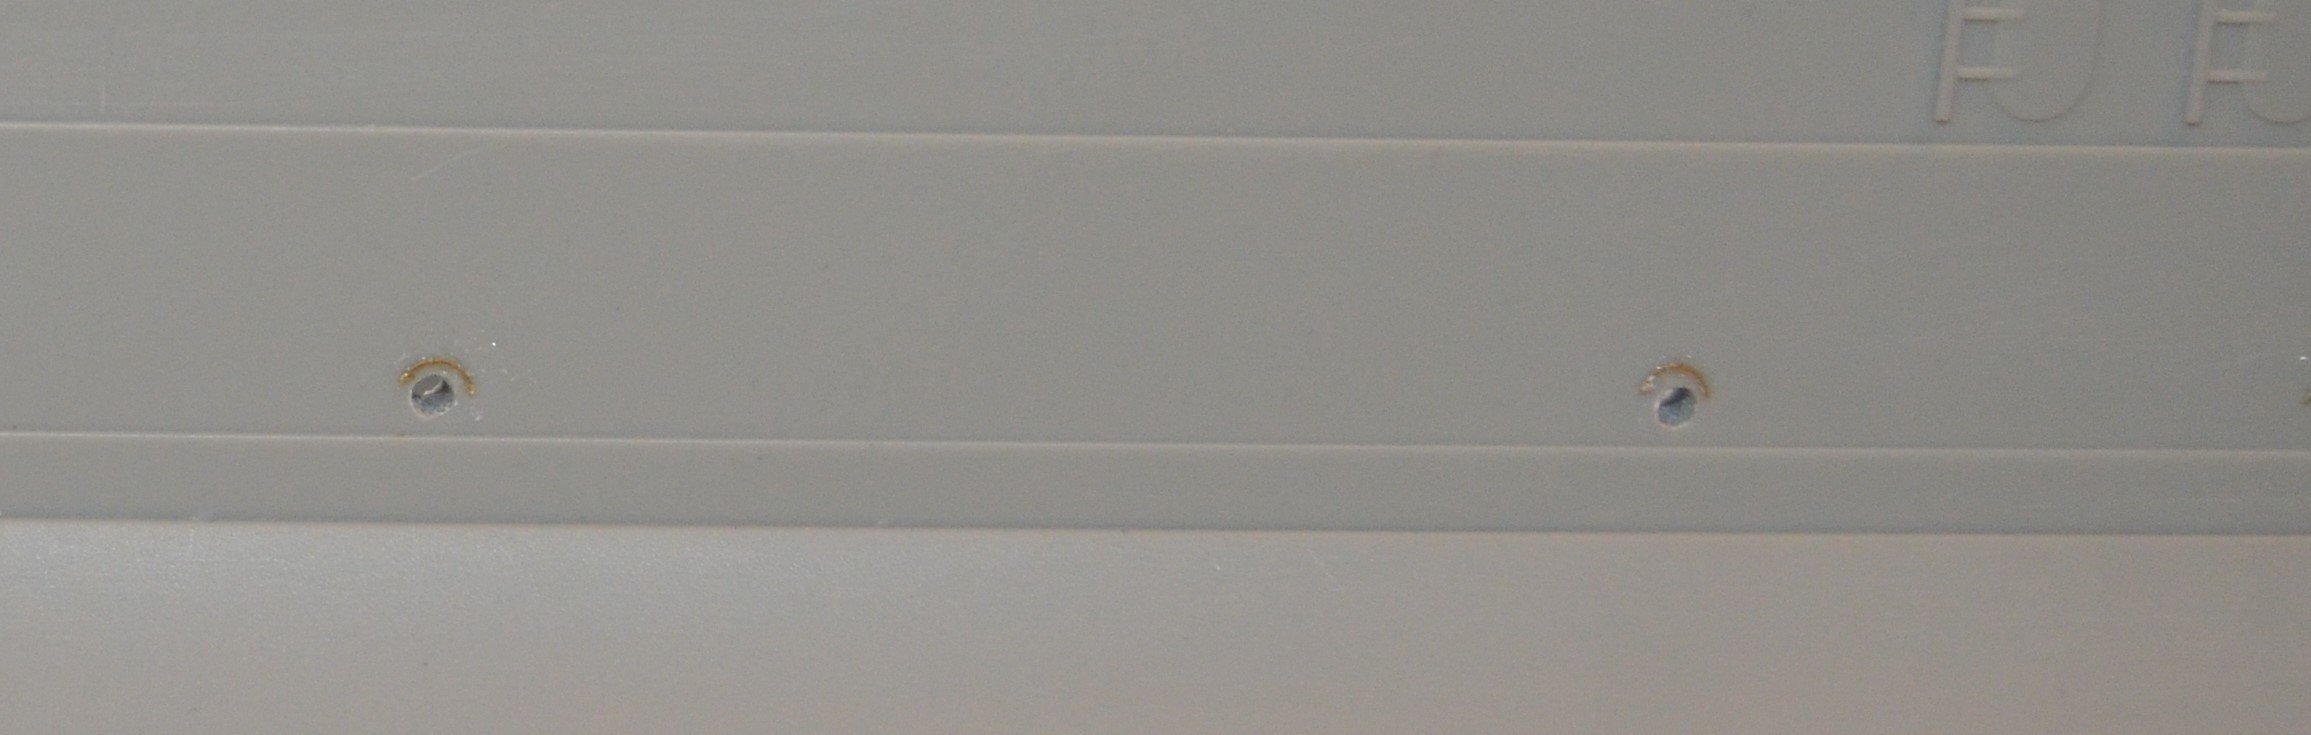
I'm adding rigols above the smaller portholes. These are part of the MK1 kit porthole covers.
-
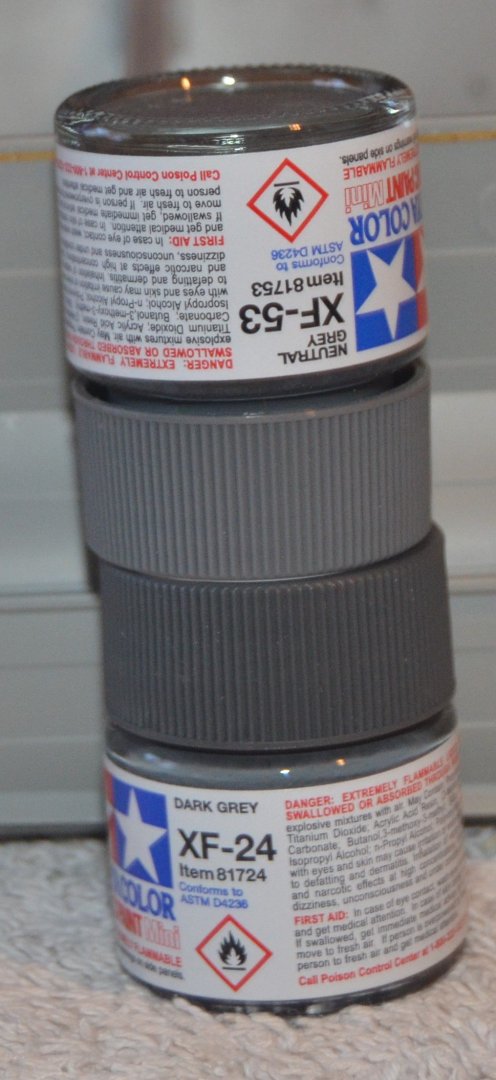
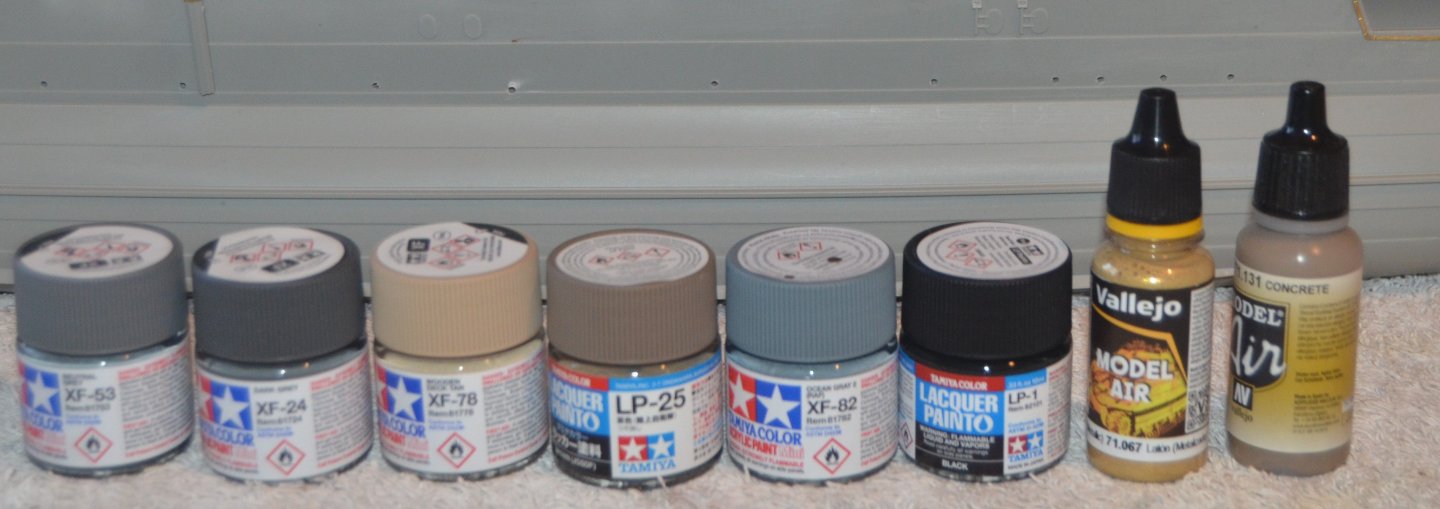
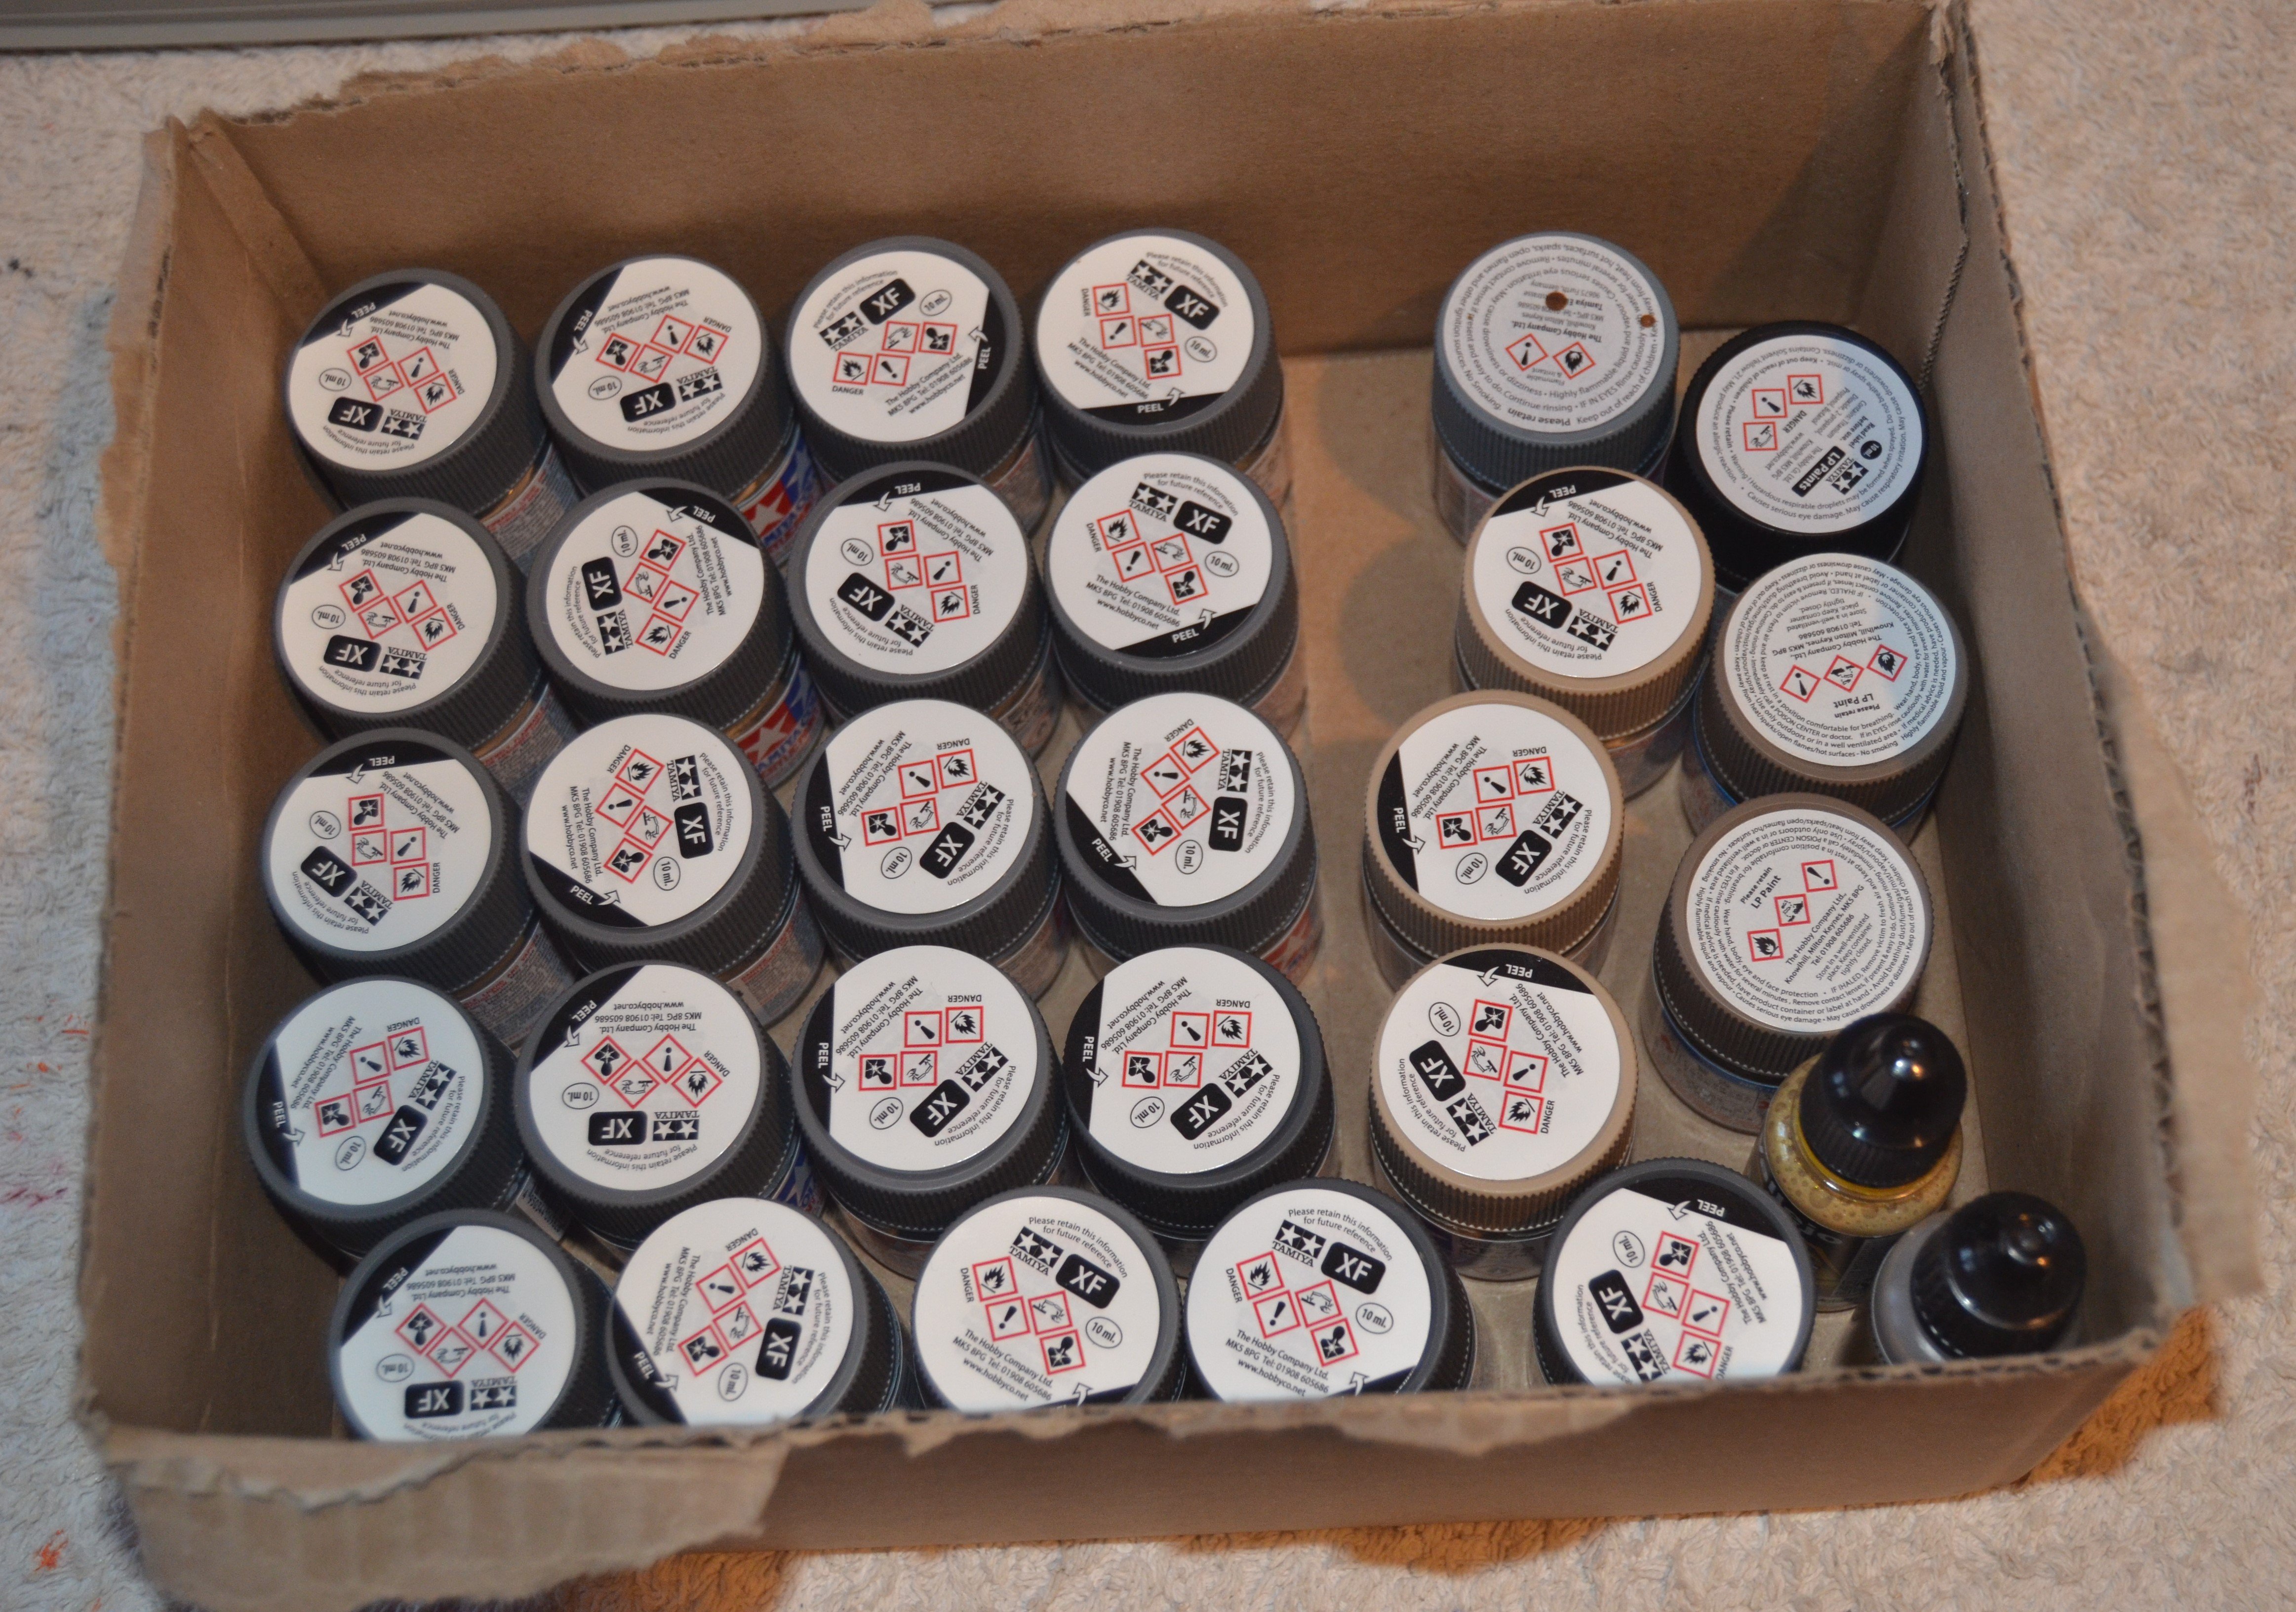
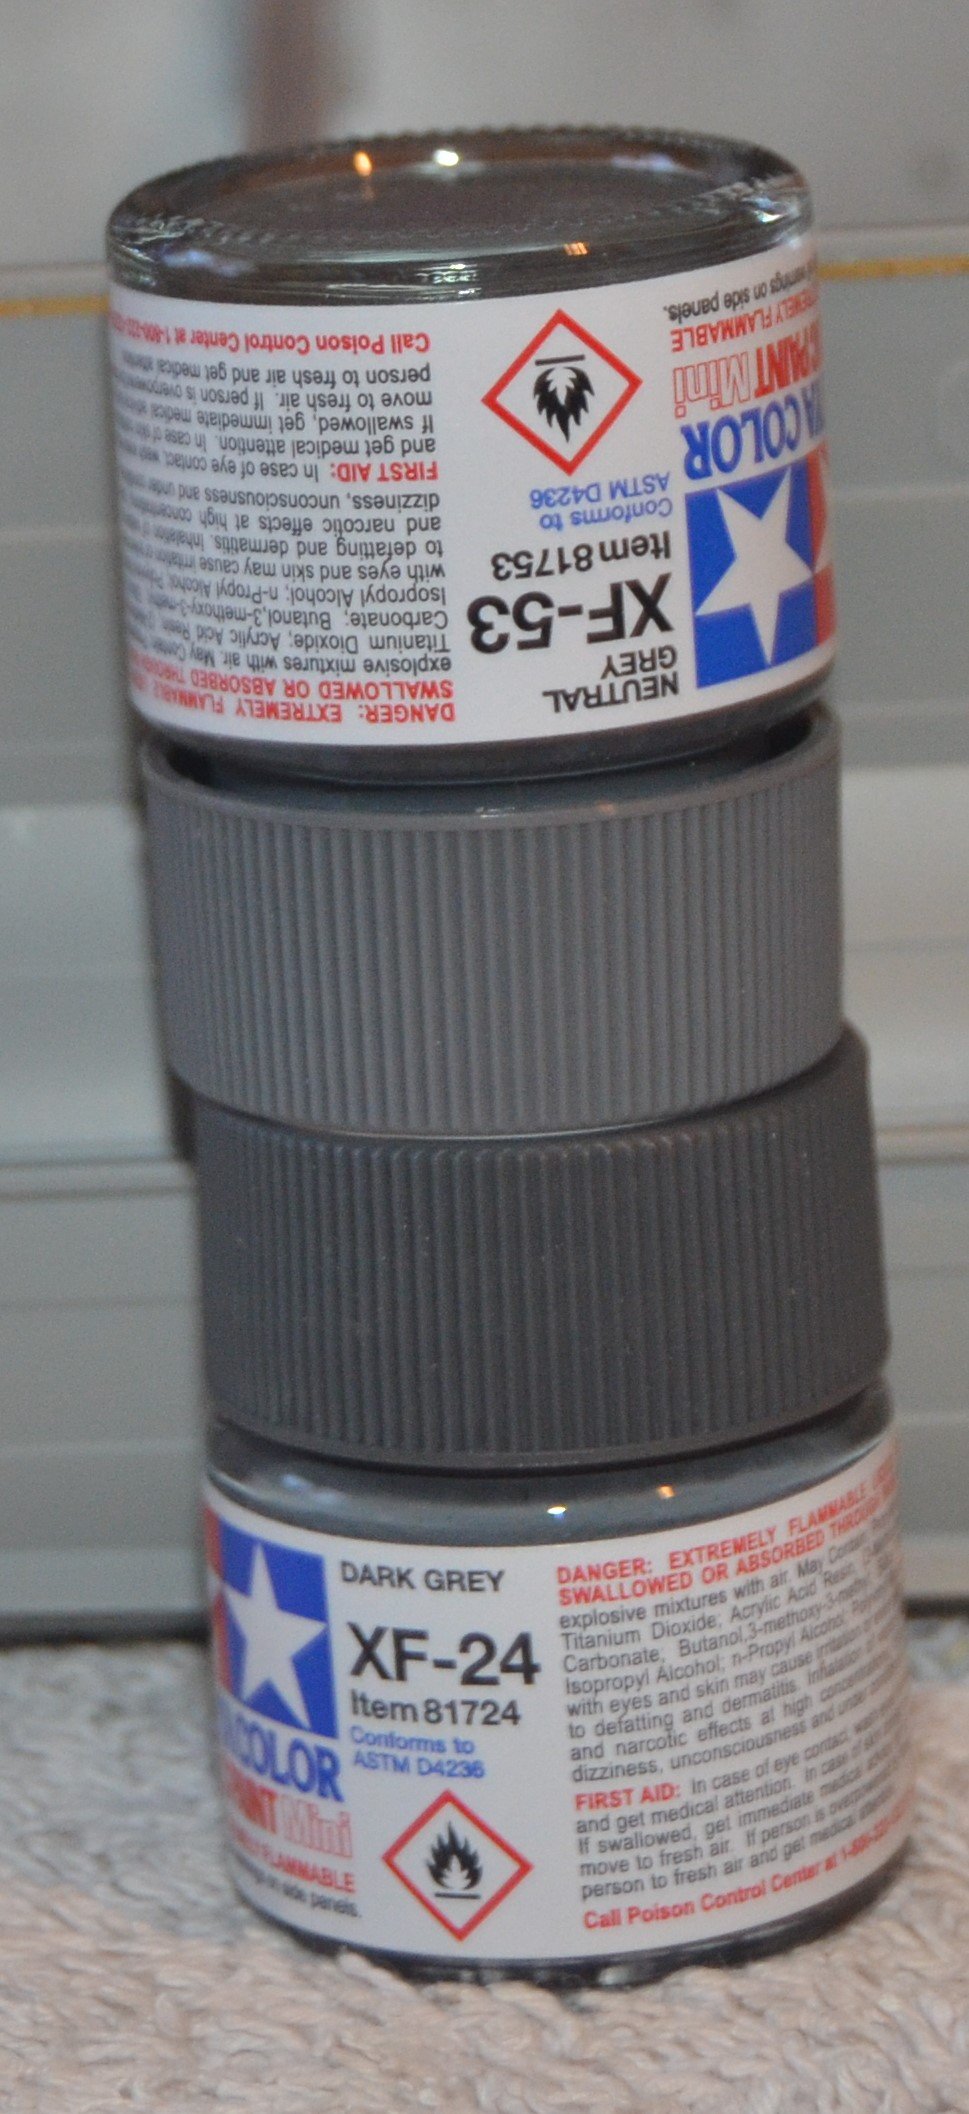
Received my paints this morning. Dark grey lower hull and neutral grey upper hull and superstructures. The LP25 is a brown lacquer paint for the cortisine deck and concrete colour for the semtex deck, with wooden deck tan for the deck colours. I usually buy all my paints through Amazon prime. When I put all these in the basket it came to just over £193 with around £9 in savings. I was about to break them down into two orders and buy half this month the rest next month. Before doing so I decided to check if they where sold elsewhere, to find out that Amazon are putting a huge mark up price on them. I found and brought them from Emodels. Total price £67. A saving of over £120. never will I buy paint from Amazon again.

-
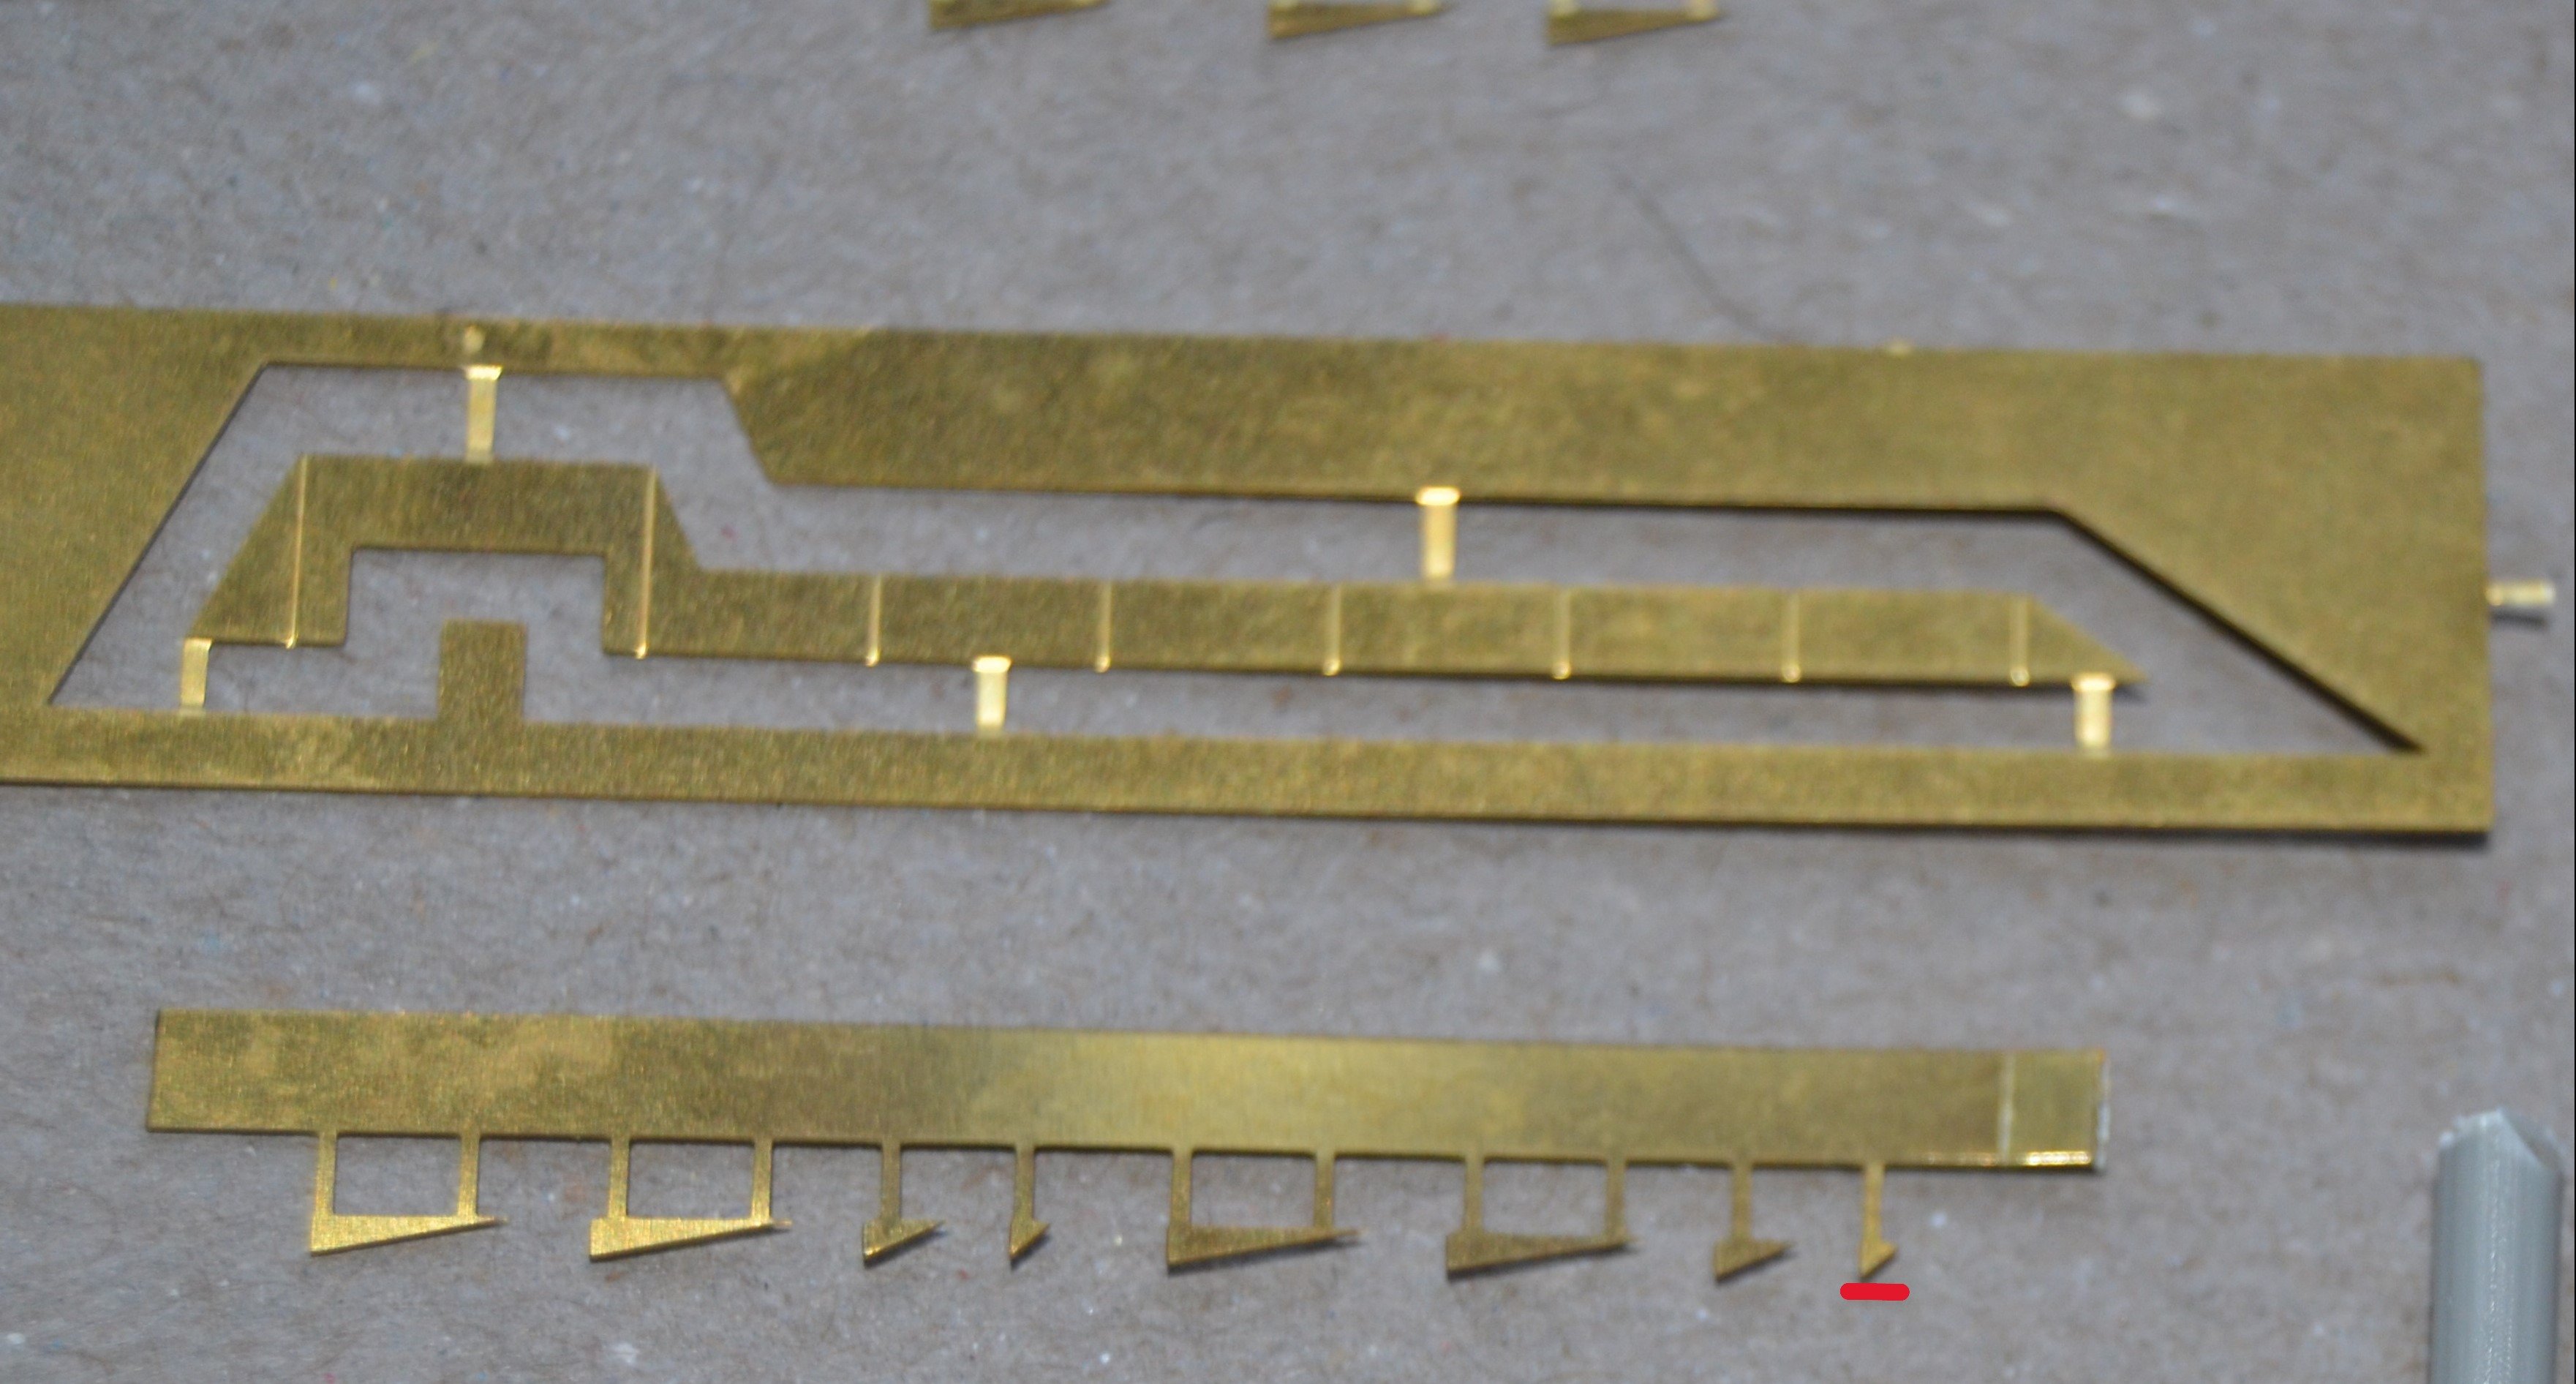
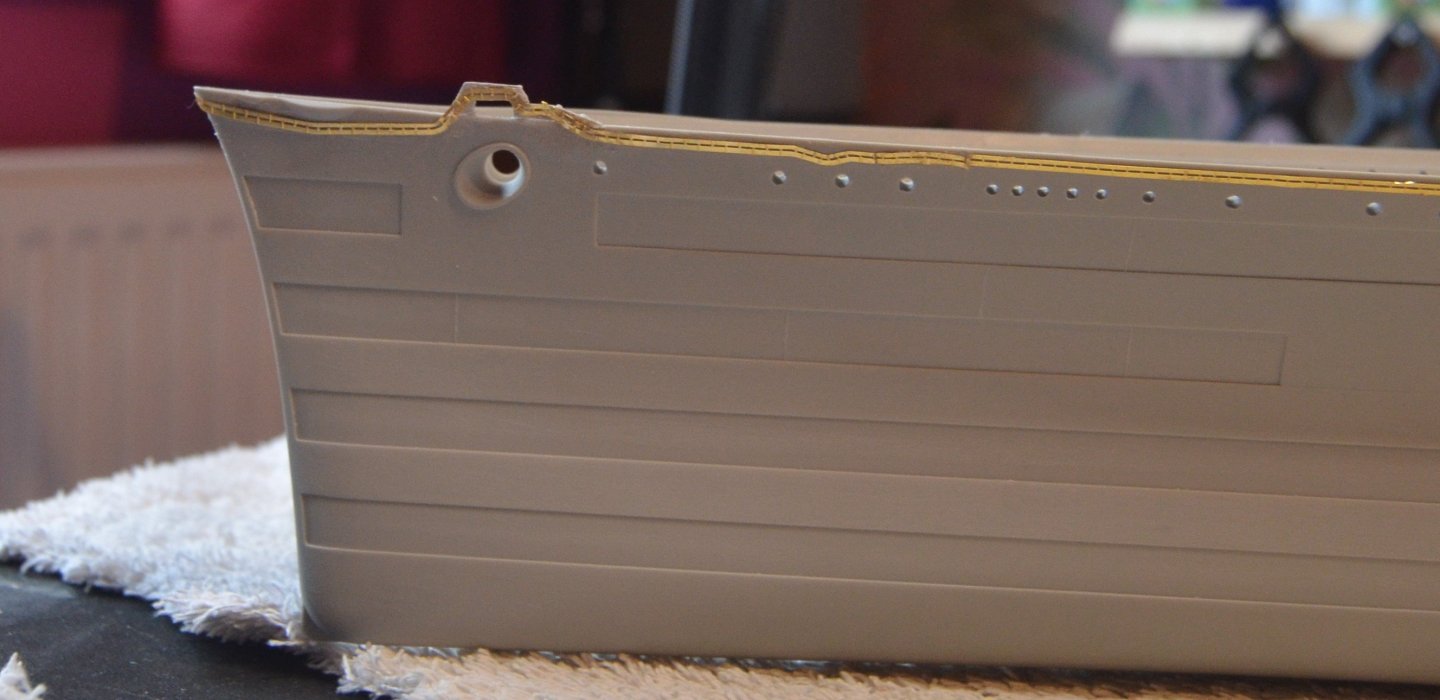
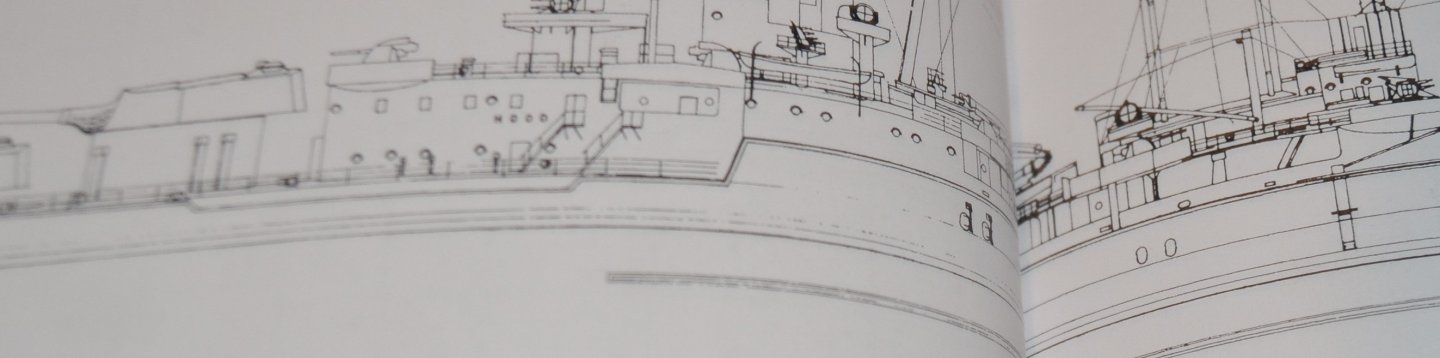
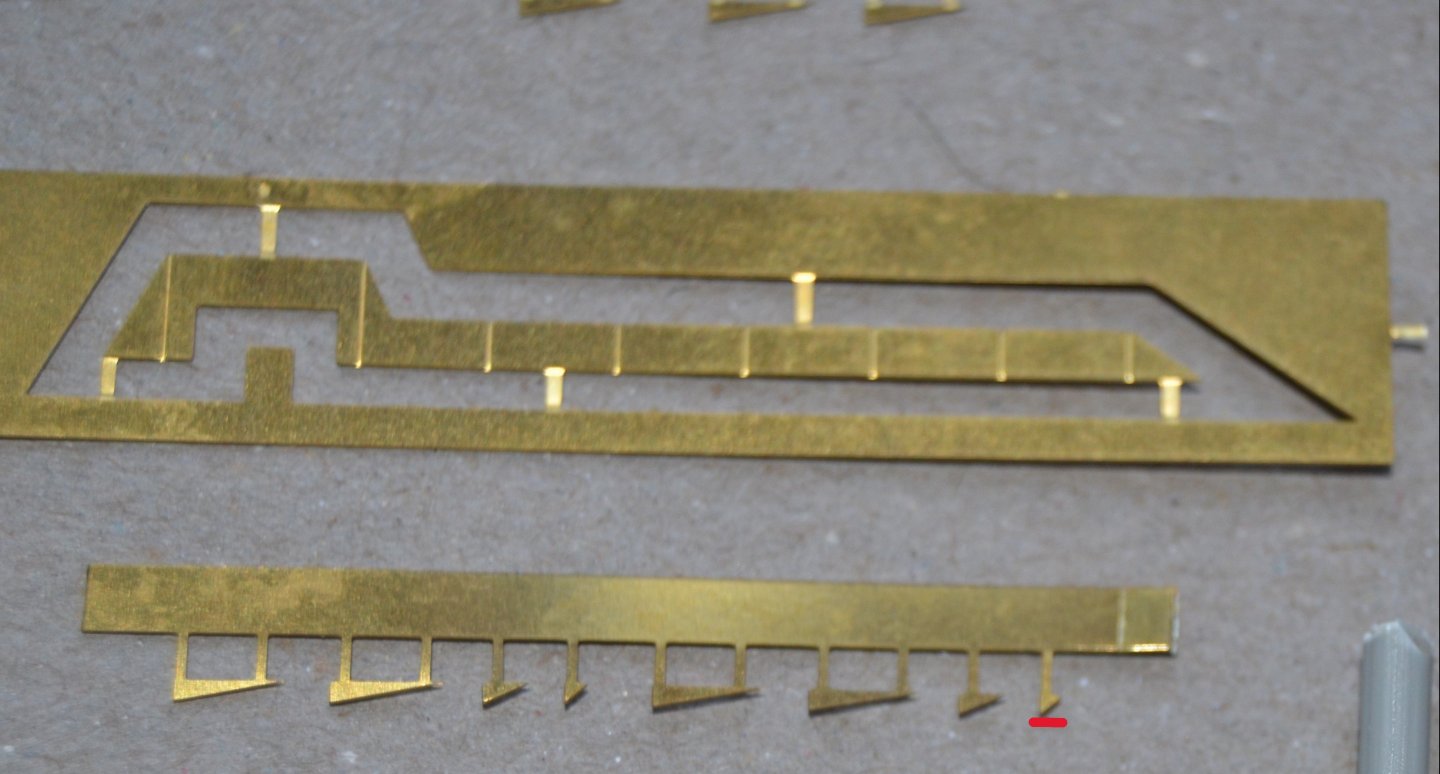
Port side degaussing cable fitted. Just needs a bit of tidying up. I followed the anatomy of a ship diagram more than the instructions that came with the PE. Good job I did because the part that is attached to the hull that the cable goes over is not shown in the PE instruction sheet. It was better to glue the cable to the anchor fairing before attaching it to get it correct. The fairing looks a lot better now than the clump of plastic that sat there. Looking at the photos on the web site I have probably made it to neat as it looks a right mess in reality. The picture from the book is of the Starboard side. But I reckon I have followed the run of the cable pretty much as it looks on the ship. Just a shame it will be mostly lost once the hull is painted. If you have the patience with adding PE it so worth the investment in a good upgrade set.

- 97 replies
-
- 10
-

-
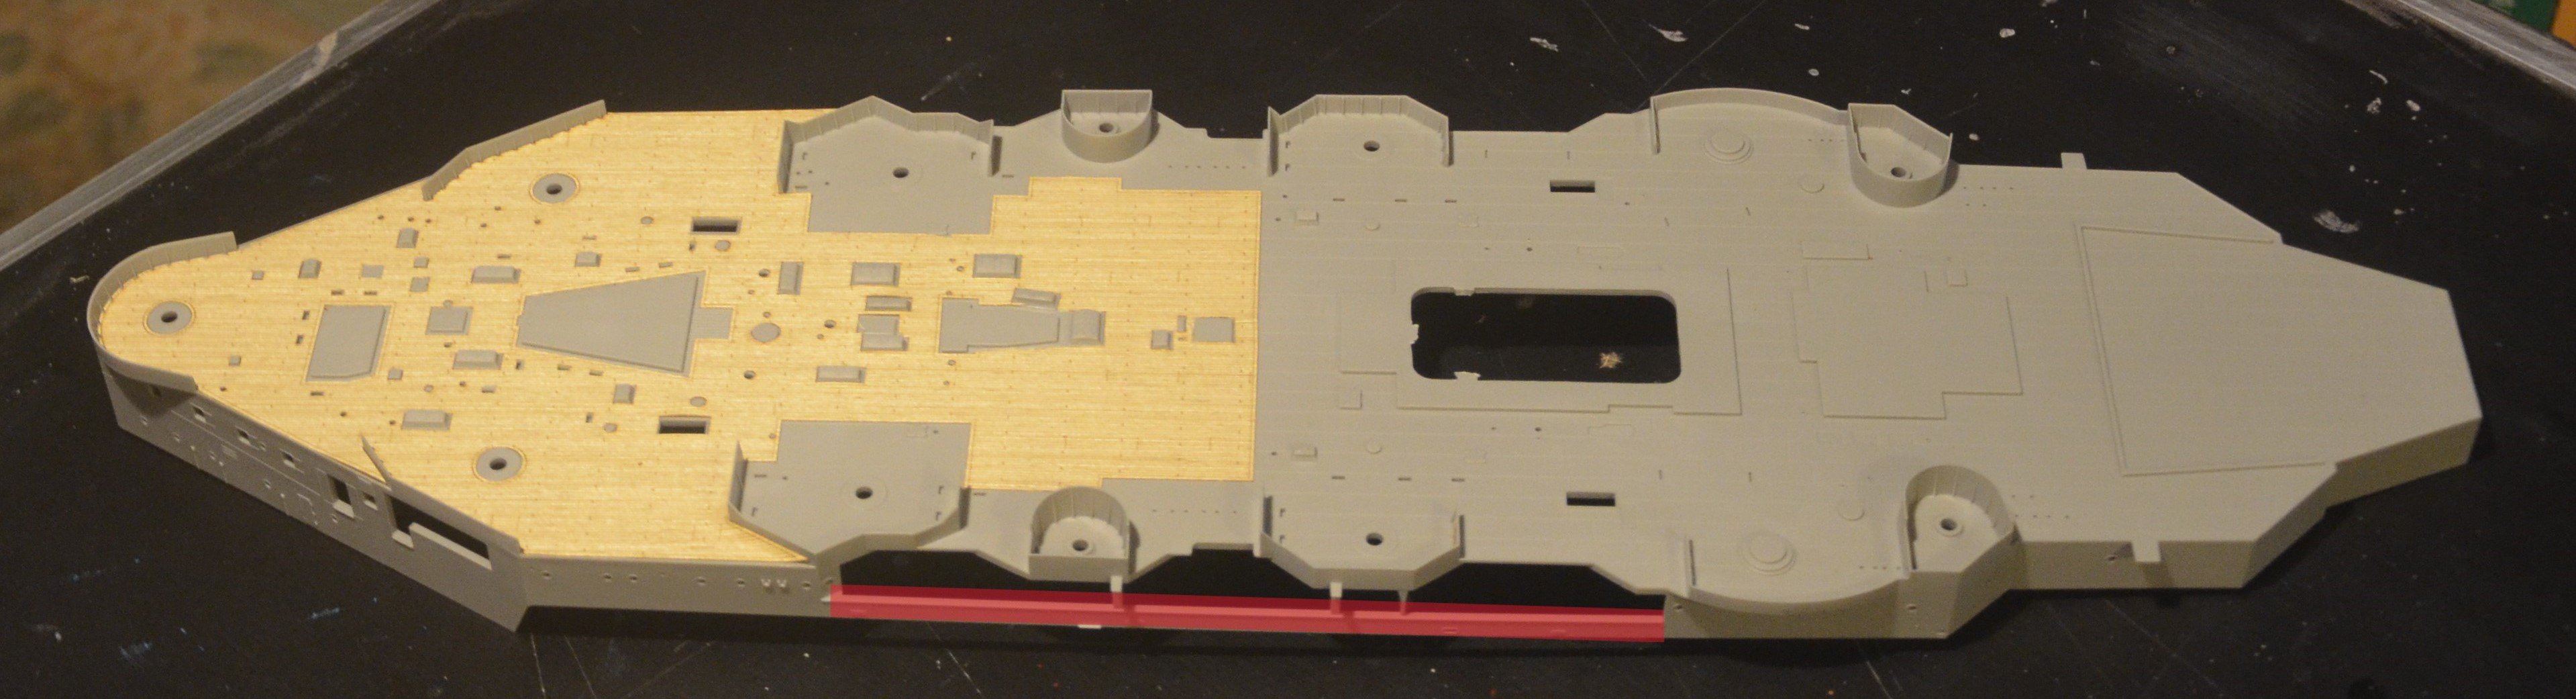
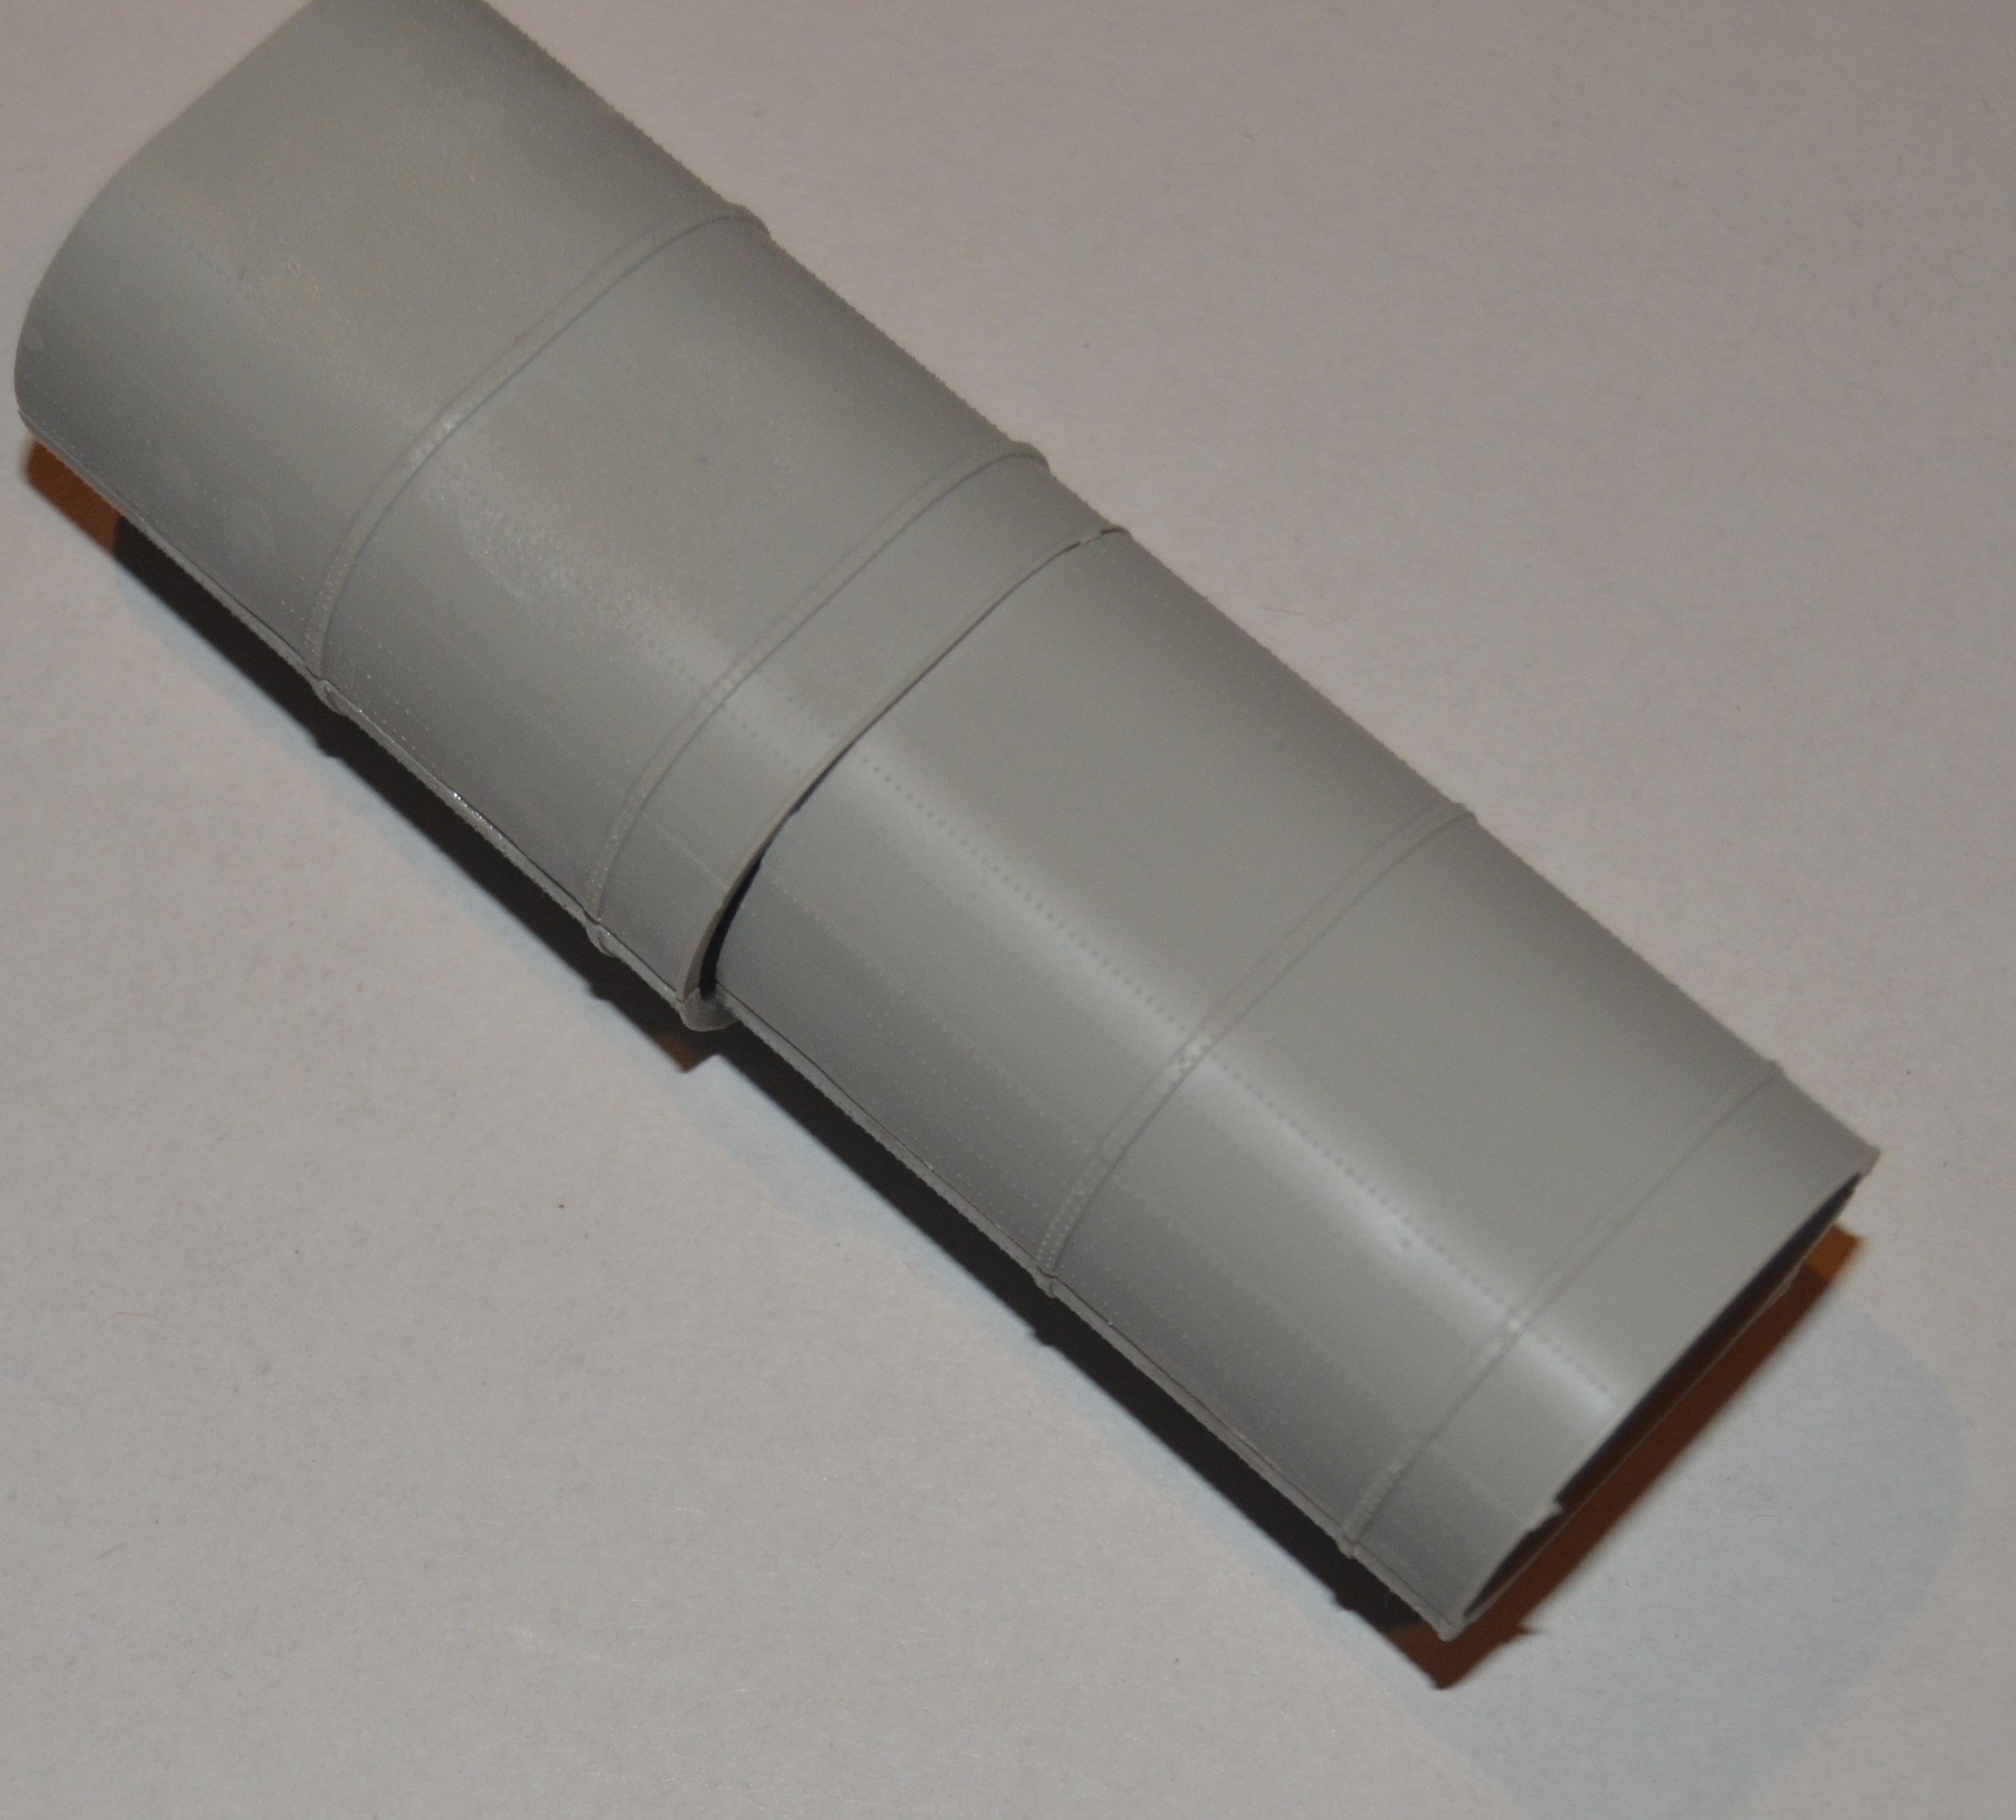
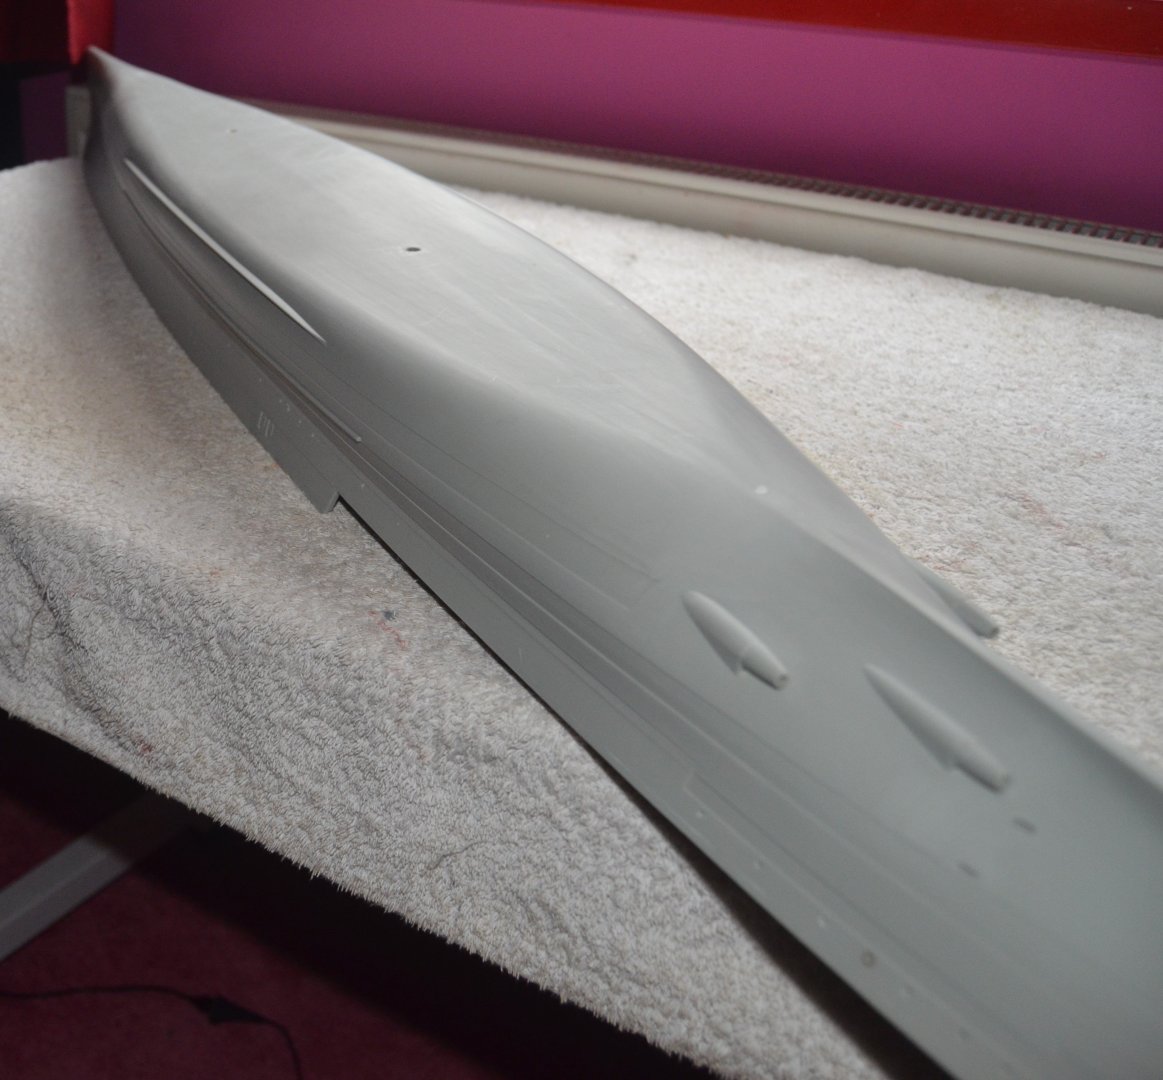
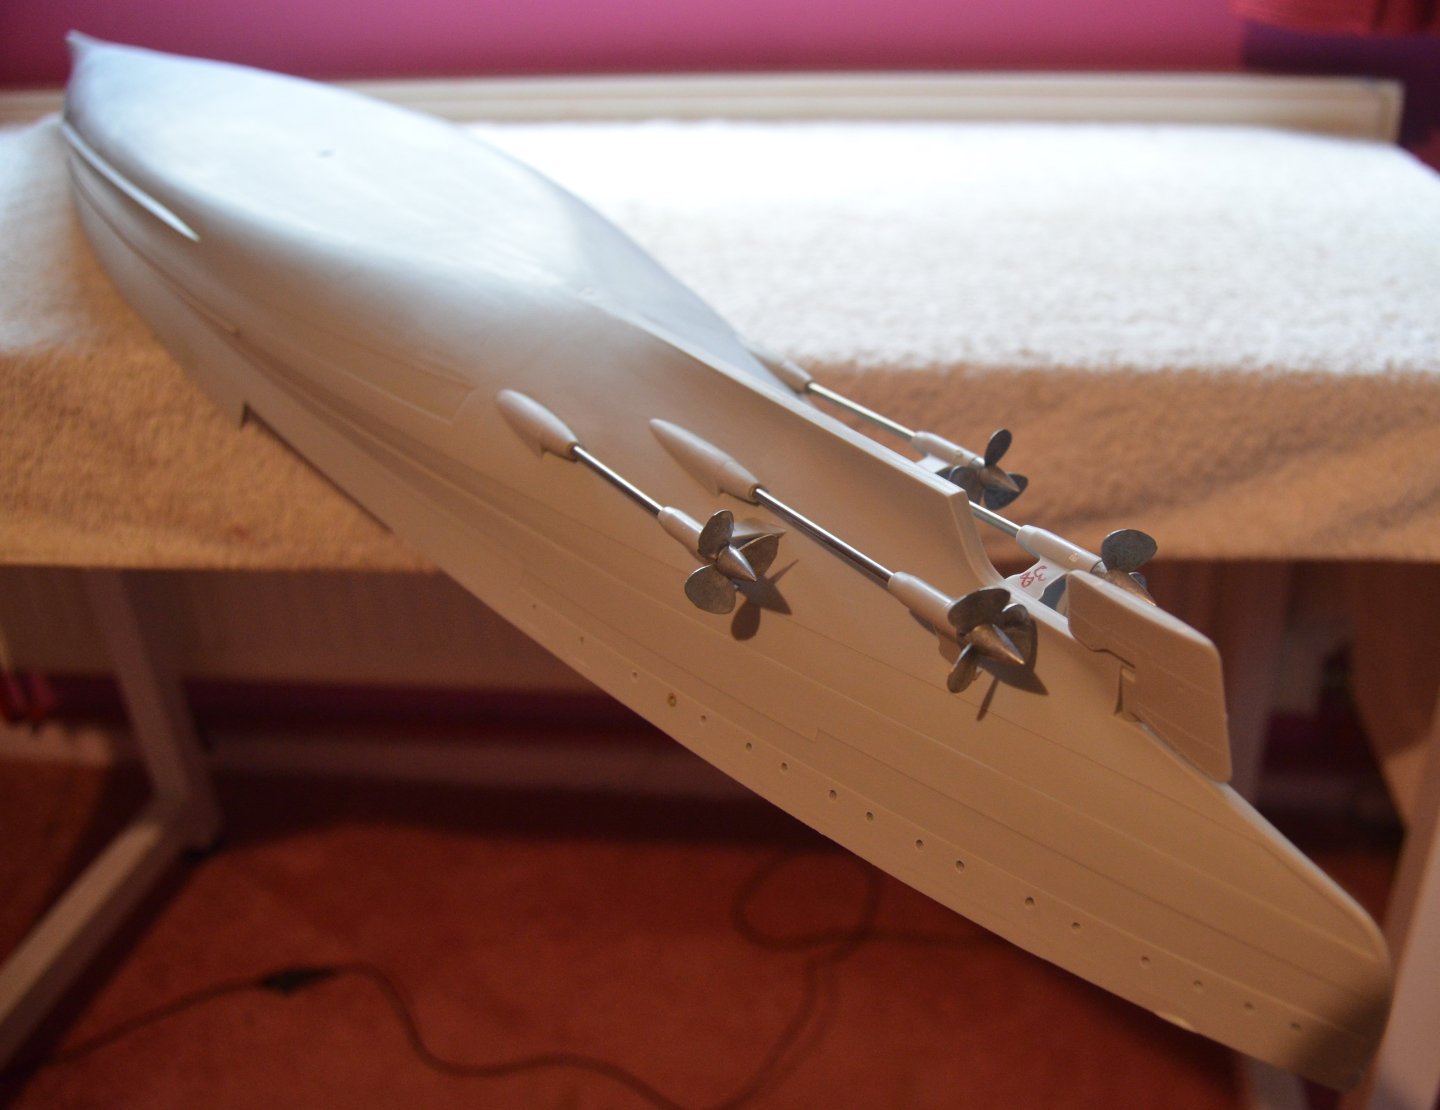
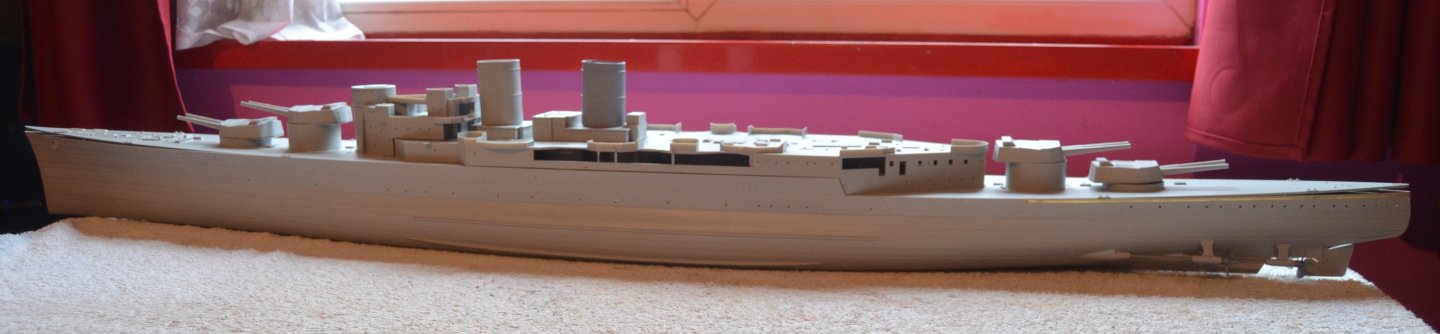
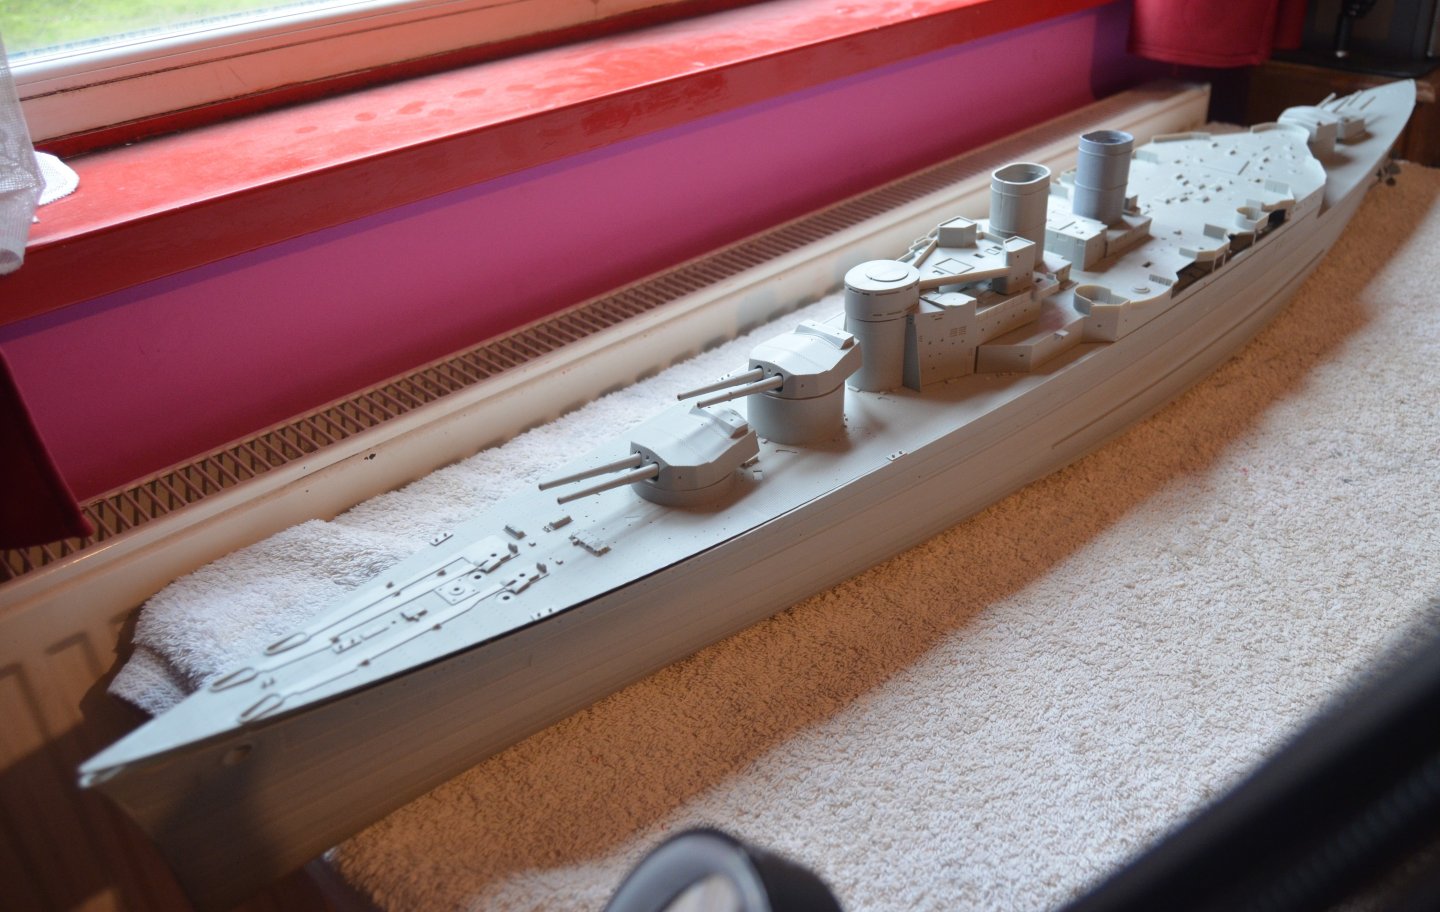
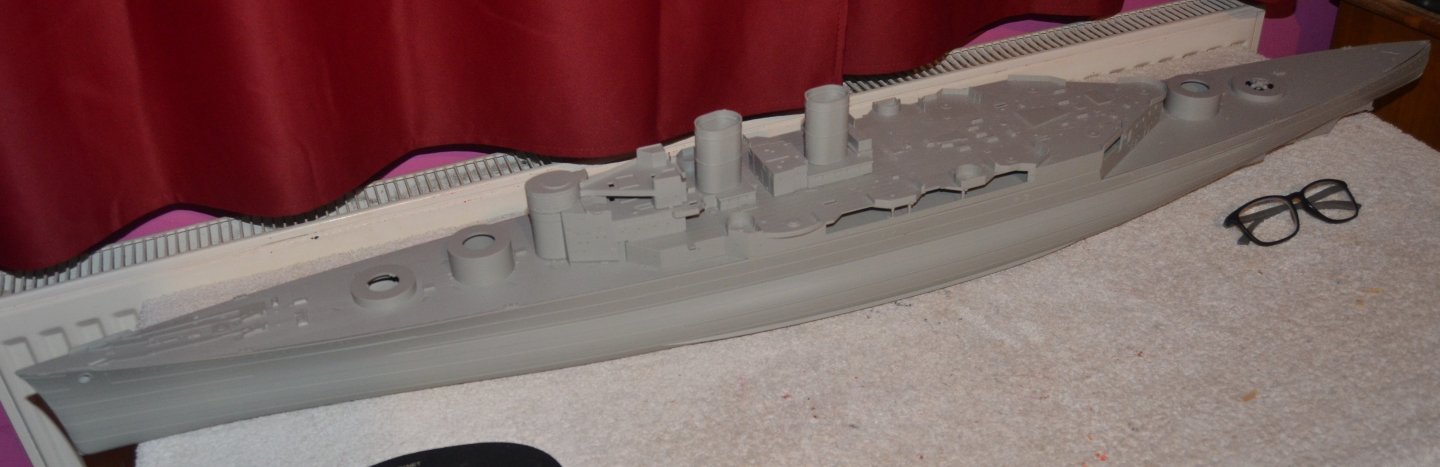
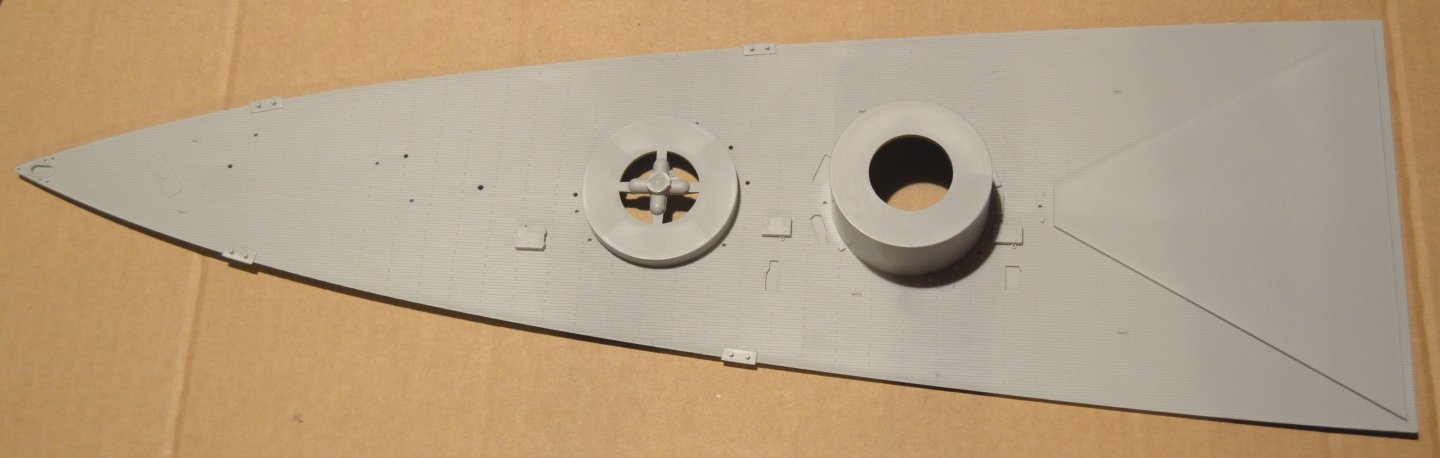
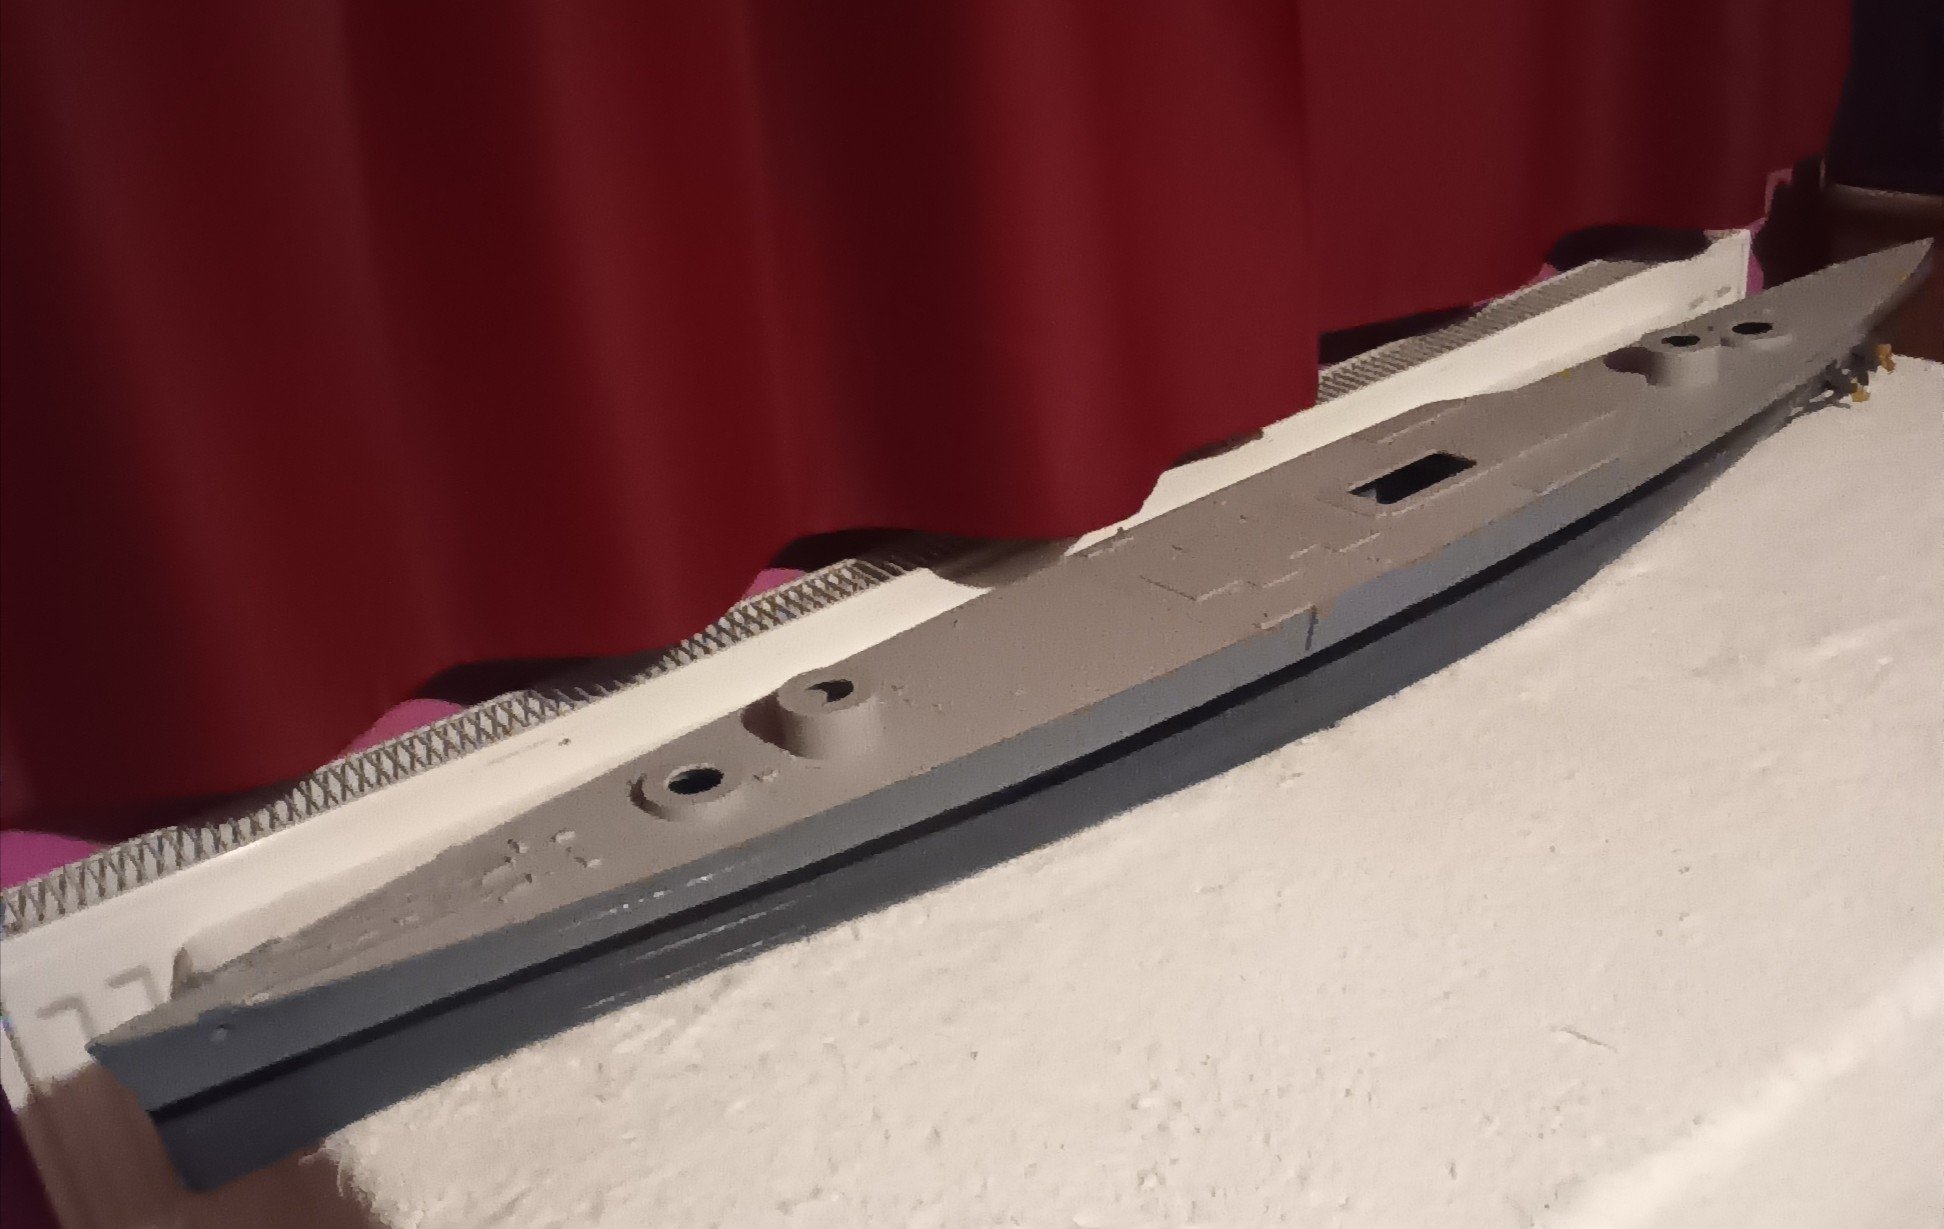
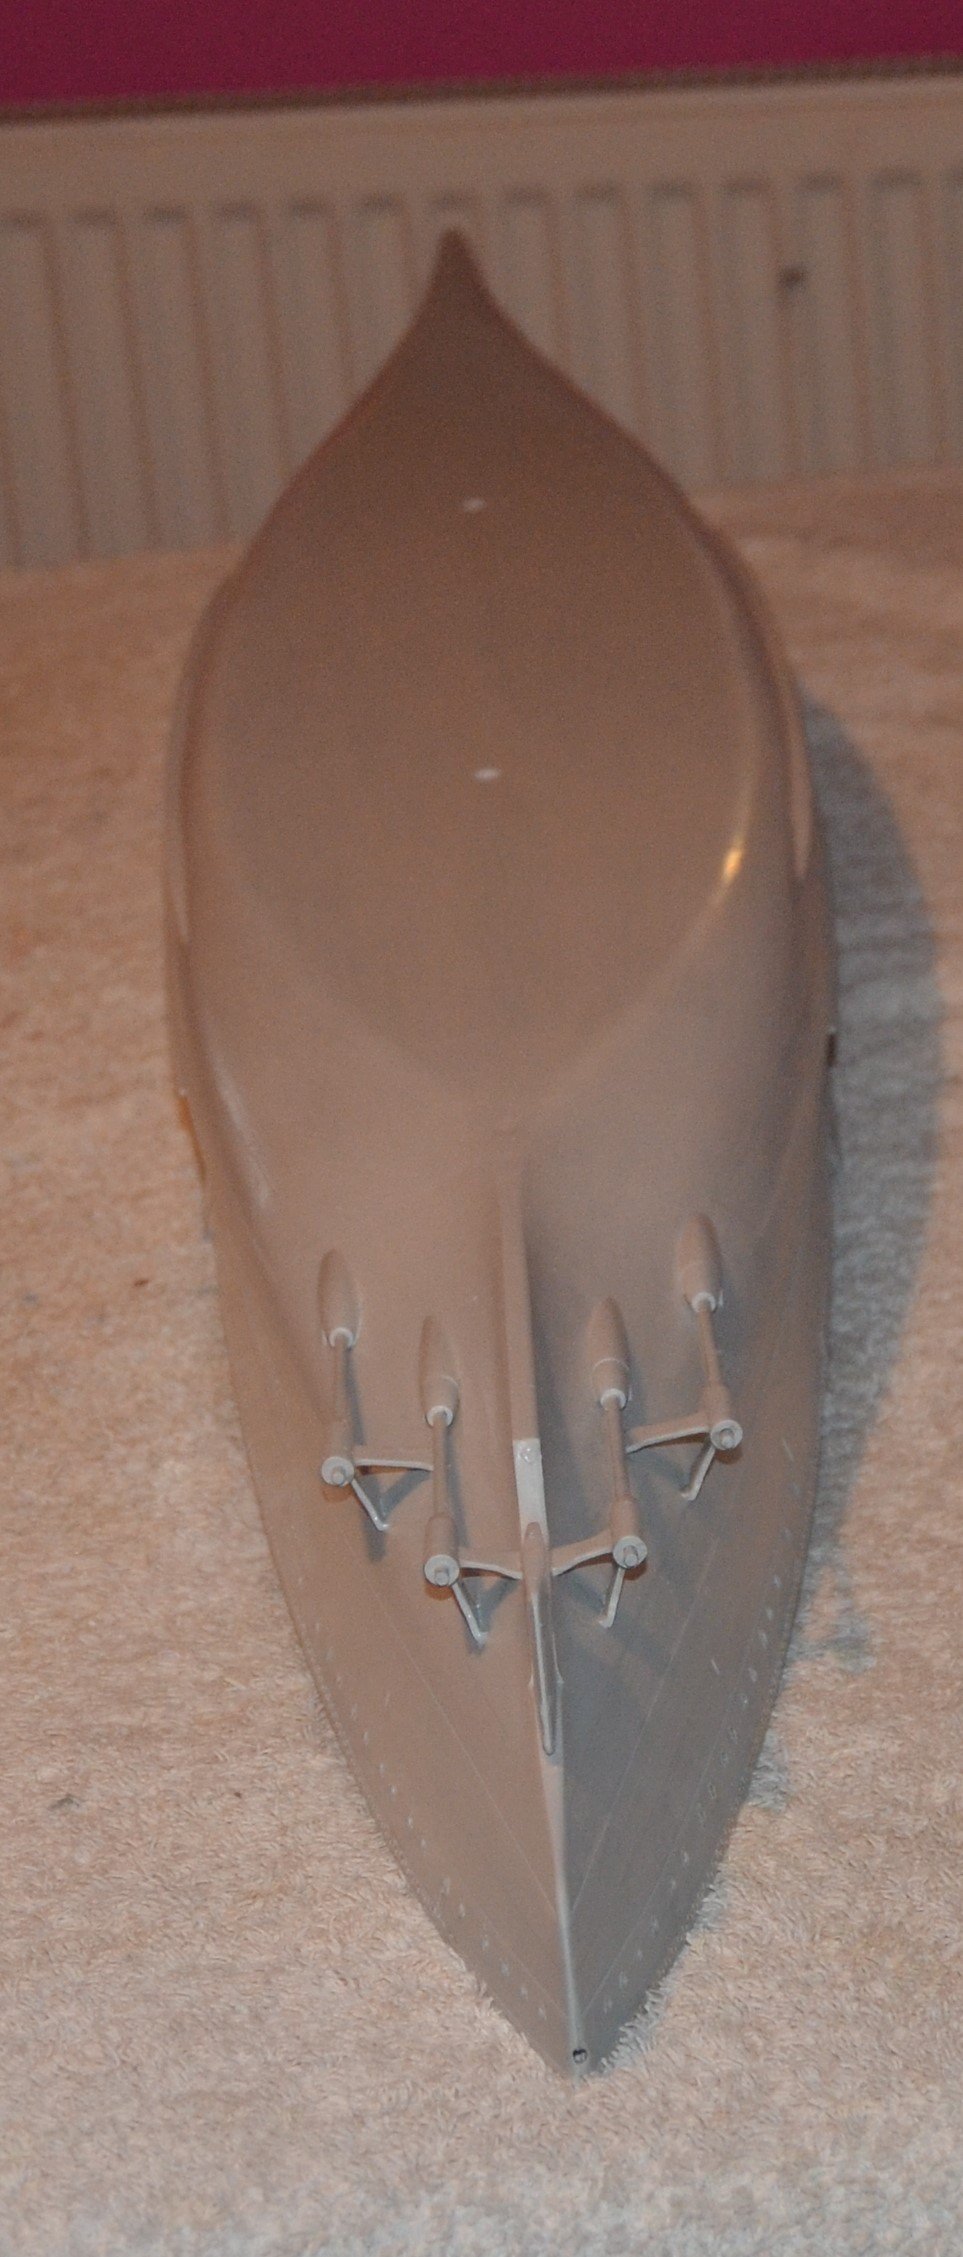
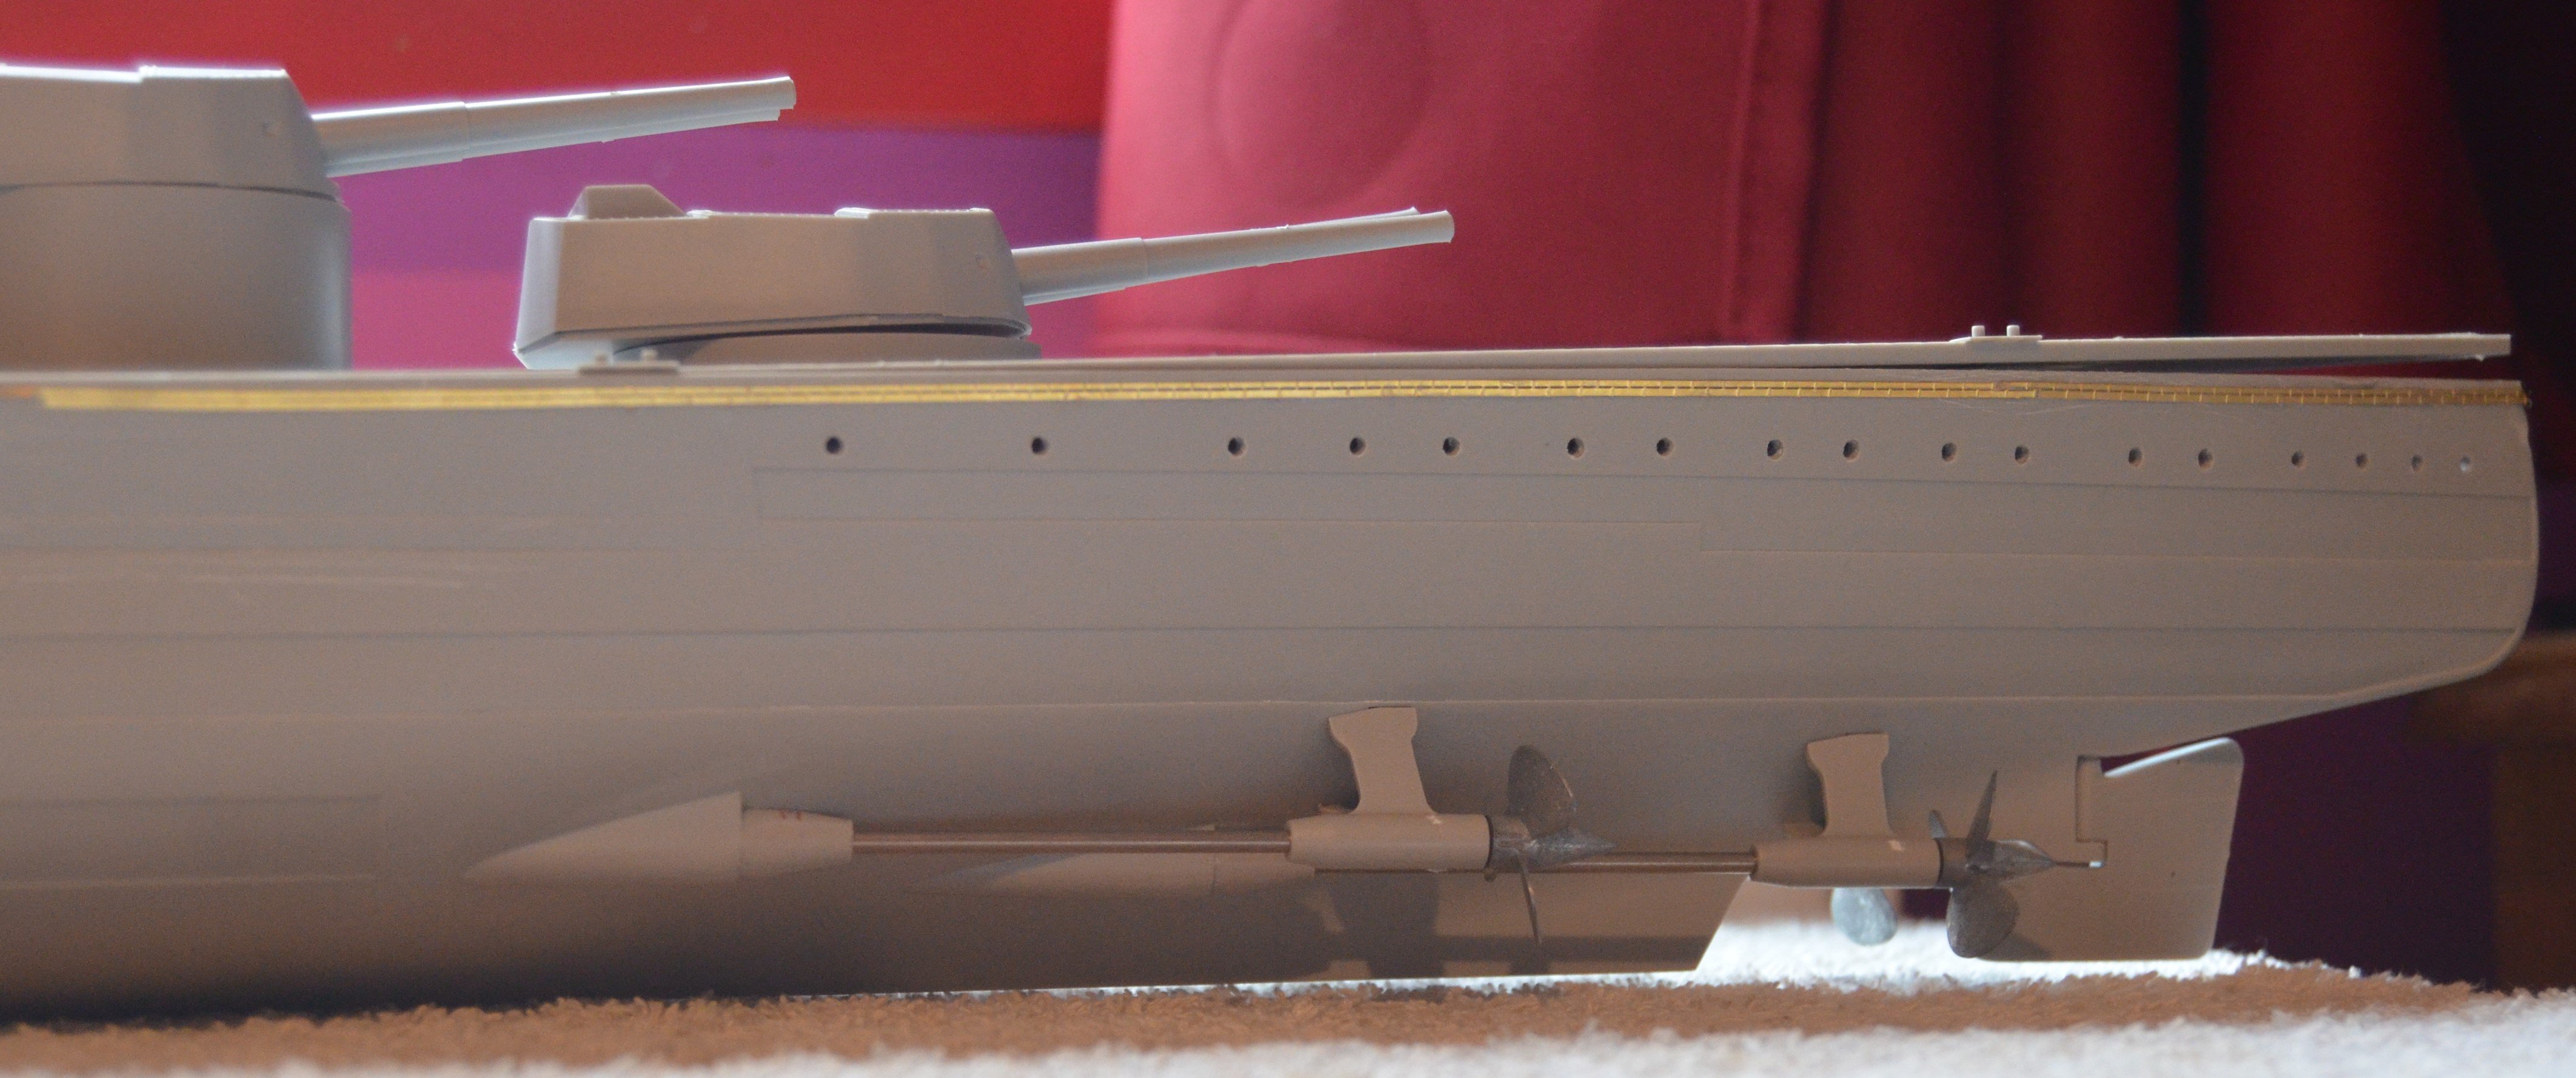
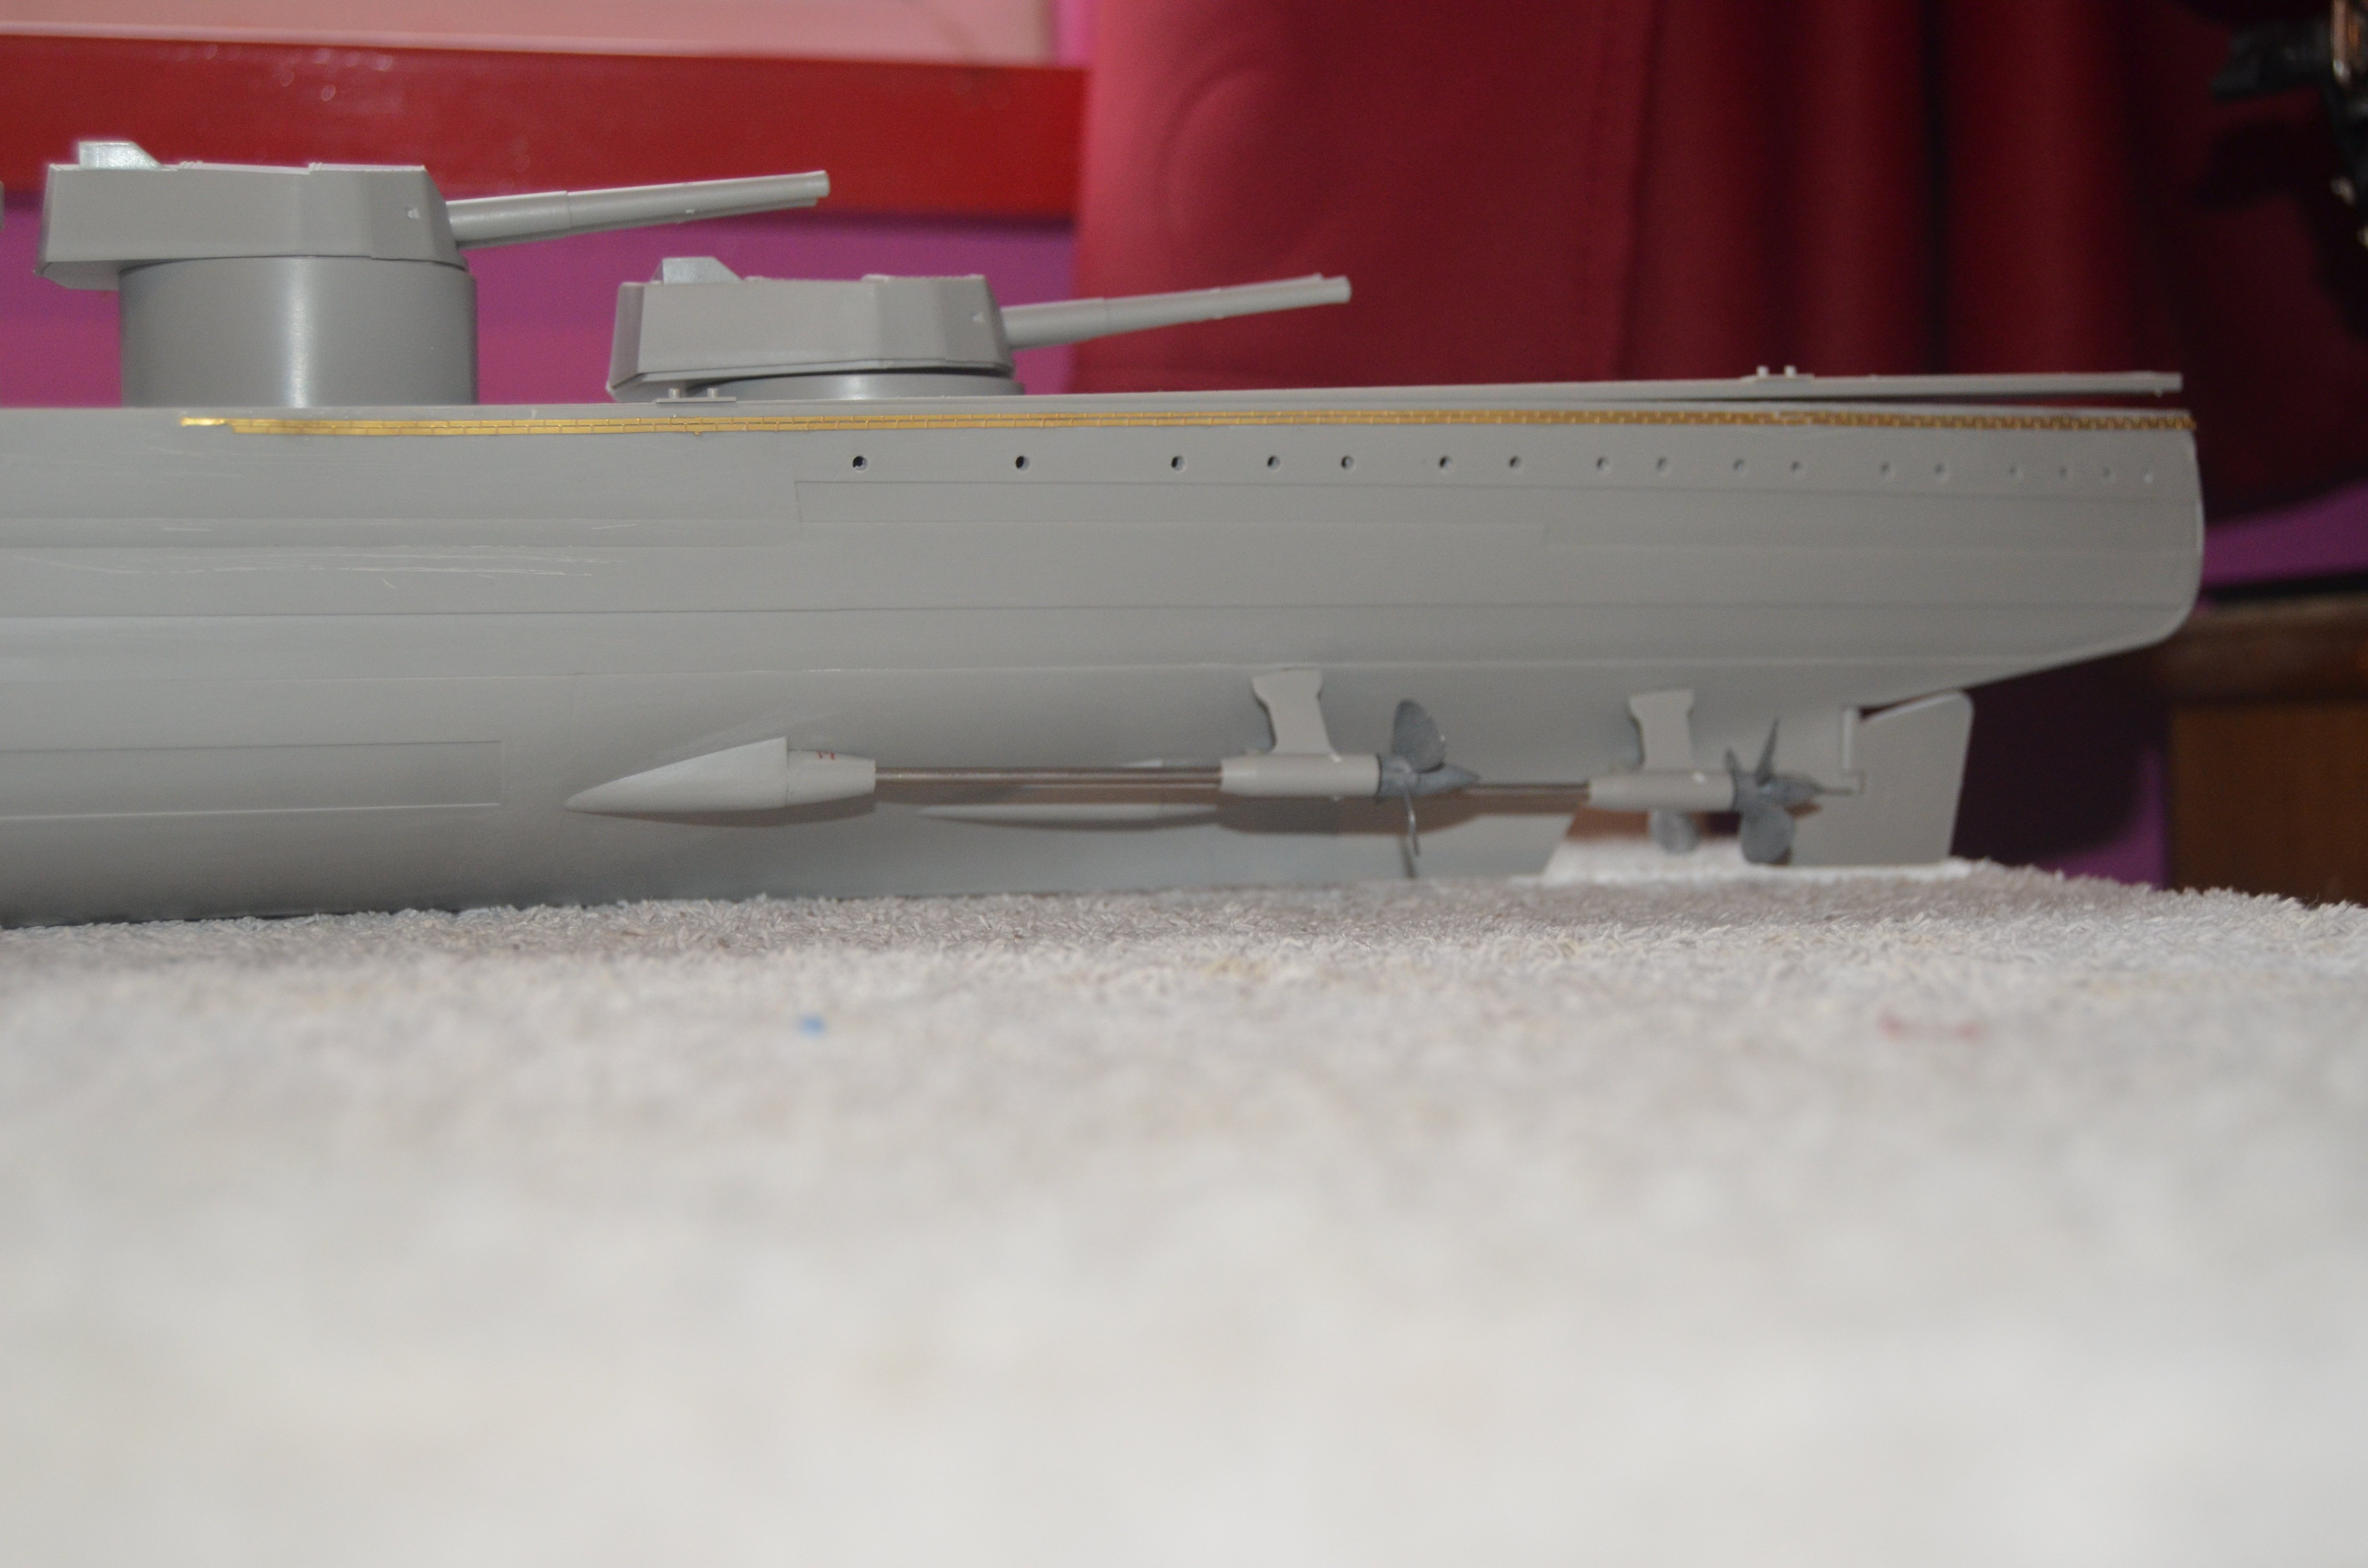
The hull is ready for priming and painting. All the structures on the deck are dry fitted. I added the guns so I could get an idea of how large the model will be. The bottom of the hull has been sanded with wet and dry to remove all the seams. I have reduced the armour plating as recommended on the HMS Hood website. It is not as thick as it was now and looks a lot sleeker. I have fitted the first 2 lengths of degaussing cable. It is a bit more time consuming then I expected. But will improve the look of the hull so much better then the moulded strip that represented the same part. All the port holes have been drilled out and I have the port hole rims from the MK1 kit. They have the rigols on top again as mentioned needing to be added on the website. The smaller ones do not have any of these. But there are so many parts that I will try to remove the rigols to add to them. They will also be glazed. The gun barrels are held in place with blu tack. They will eventually be replaced with white metal ones. The propellers are held in place on their own. The odd looking funnel colour is the replacement resin one.


-
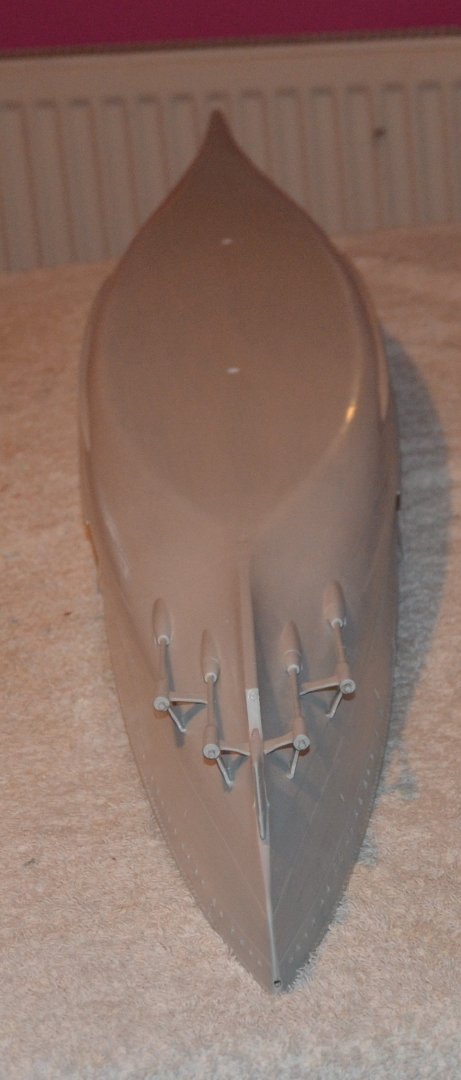
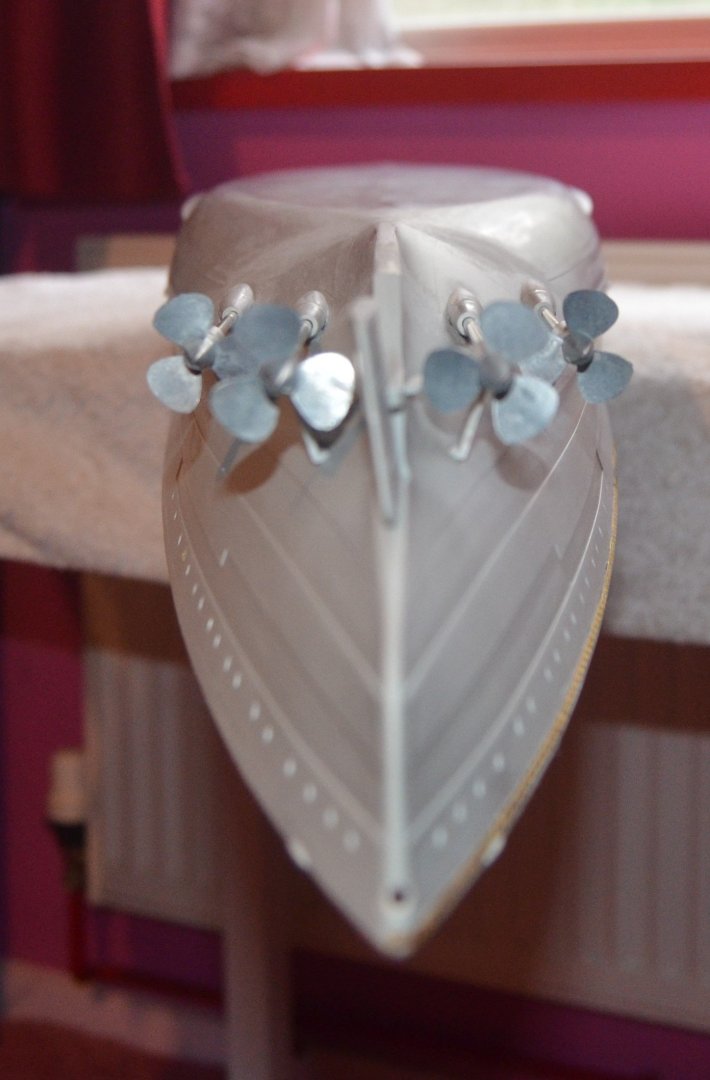
Small update. I gave it my best on those tiny slivers of PE for the anchor fairings. But they where just to small and after the second one flew out of the tweezers I decided to use the plastic rod to make the supports. Which has come out just fine. They look strange on the hull. That's because they are held in place with a bit of blue tac to get an idea of how they will look. Once painted and glued in place they should look OK. They certainly change the look of the bow without having the thick plastic moulds. Also one bit of advice on the HMS Hood web site was to drill out the stern anchor hole. The diagram is from the Anatomy of the ship book and I drilled the hole through the deck at an angle. I also found an anchor amongst all the bits I keep from various kits that I never complete. It looks quite good although it may be out of scale.
.thumb.JPG.891b2d3d237f47591544beda519facd0.JPG)
.thumb.JPG.0fd1c2968b6d44889603460de3a3b608.JPG)
.thumb.JPG.0e318300aeba869615527f29e360d19e.JPG)
.thumb.JPG.ef5b506b1371a343110c0724bed5bf72.JPG)
.thumb.JPG.5595b289f0daf3edd2fca2f7c3f4ec96.JPG)
-
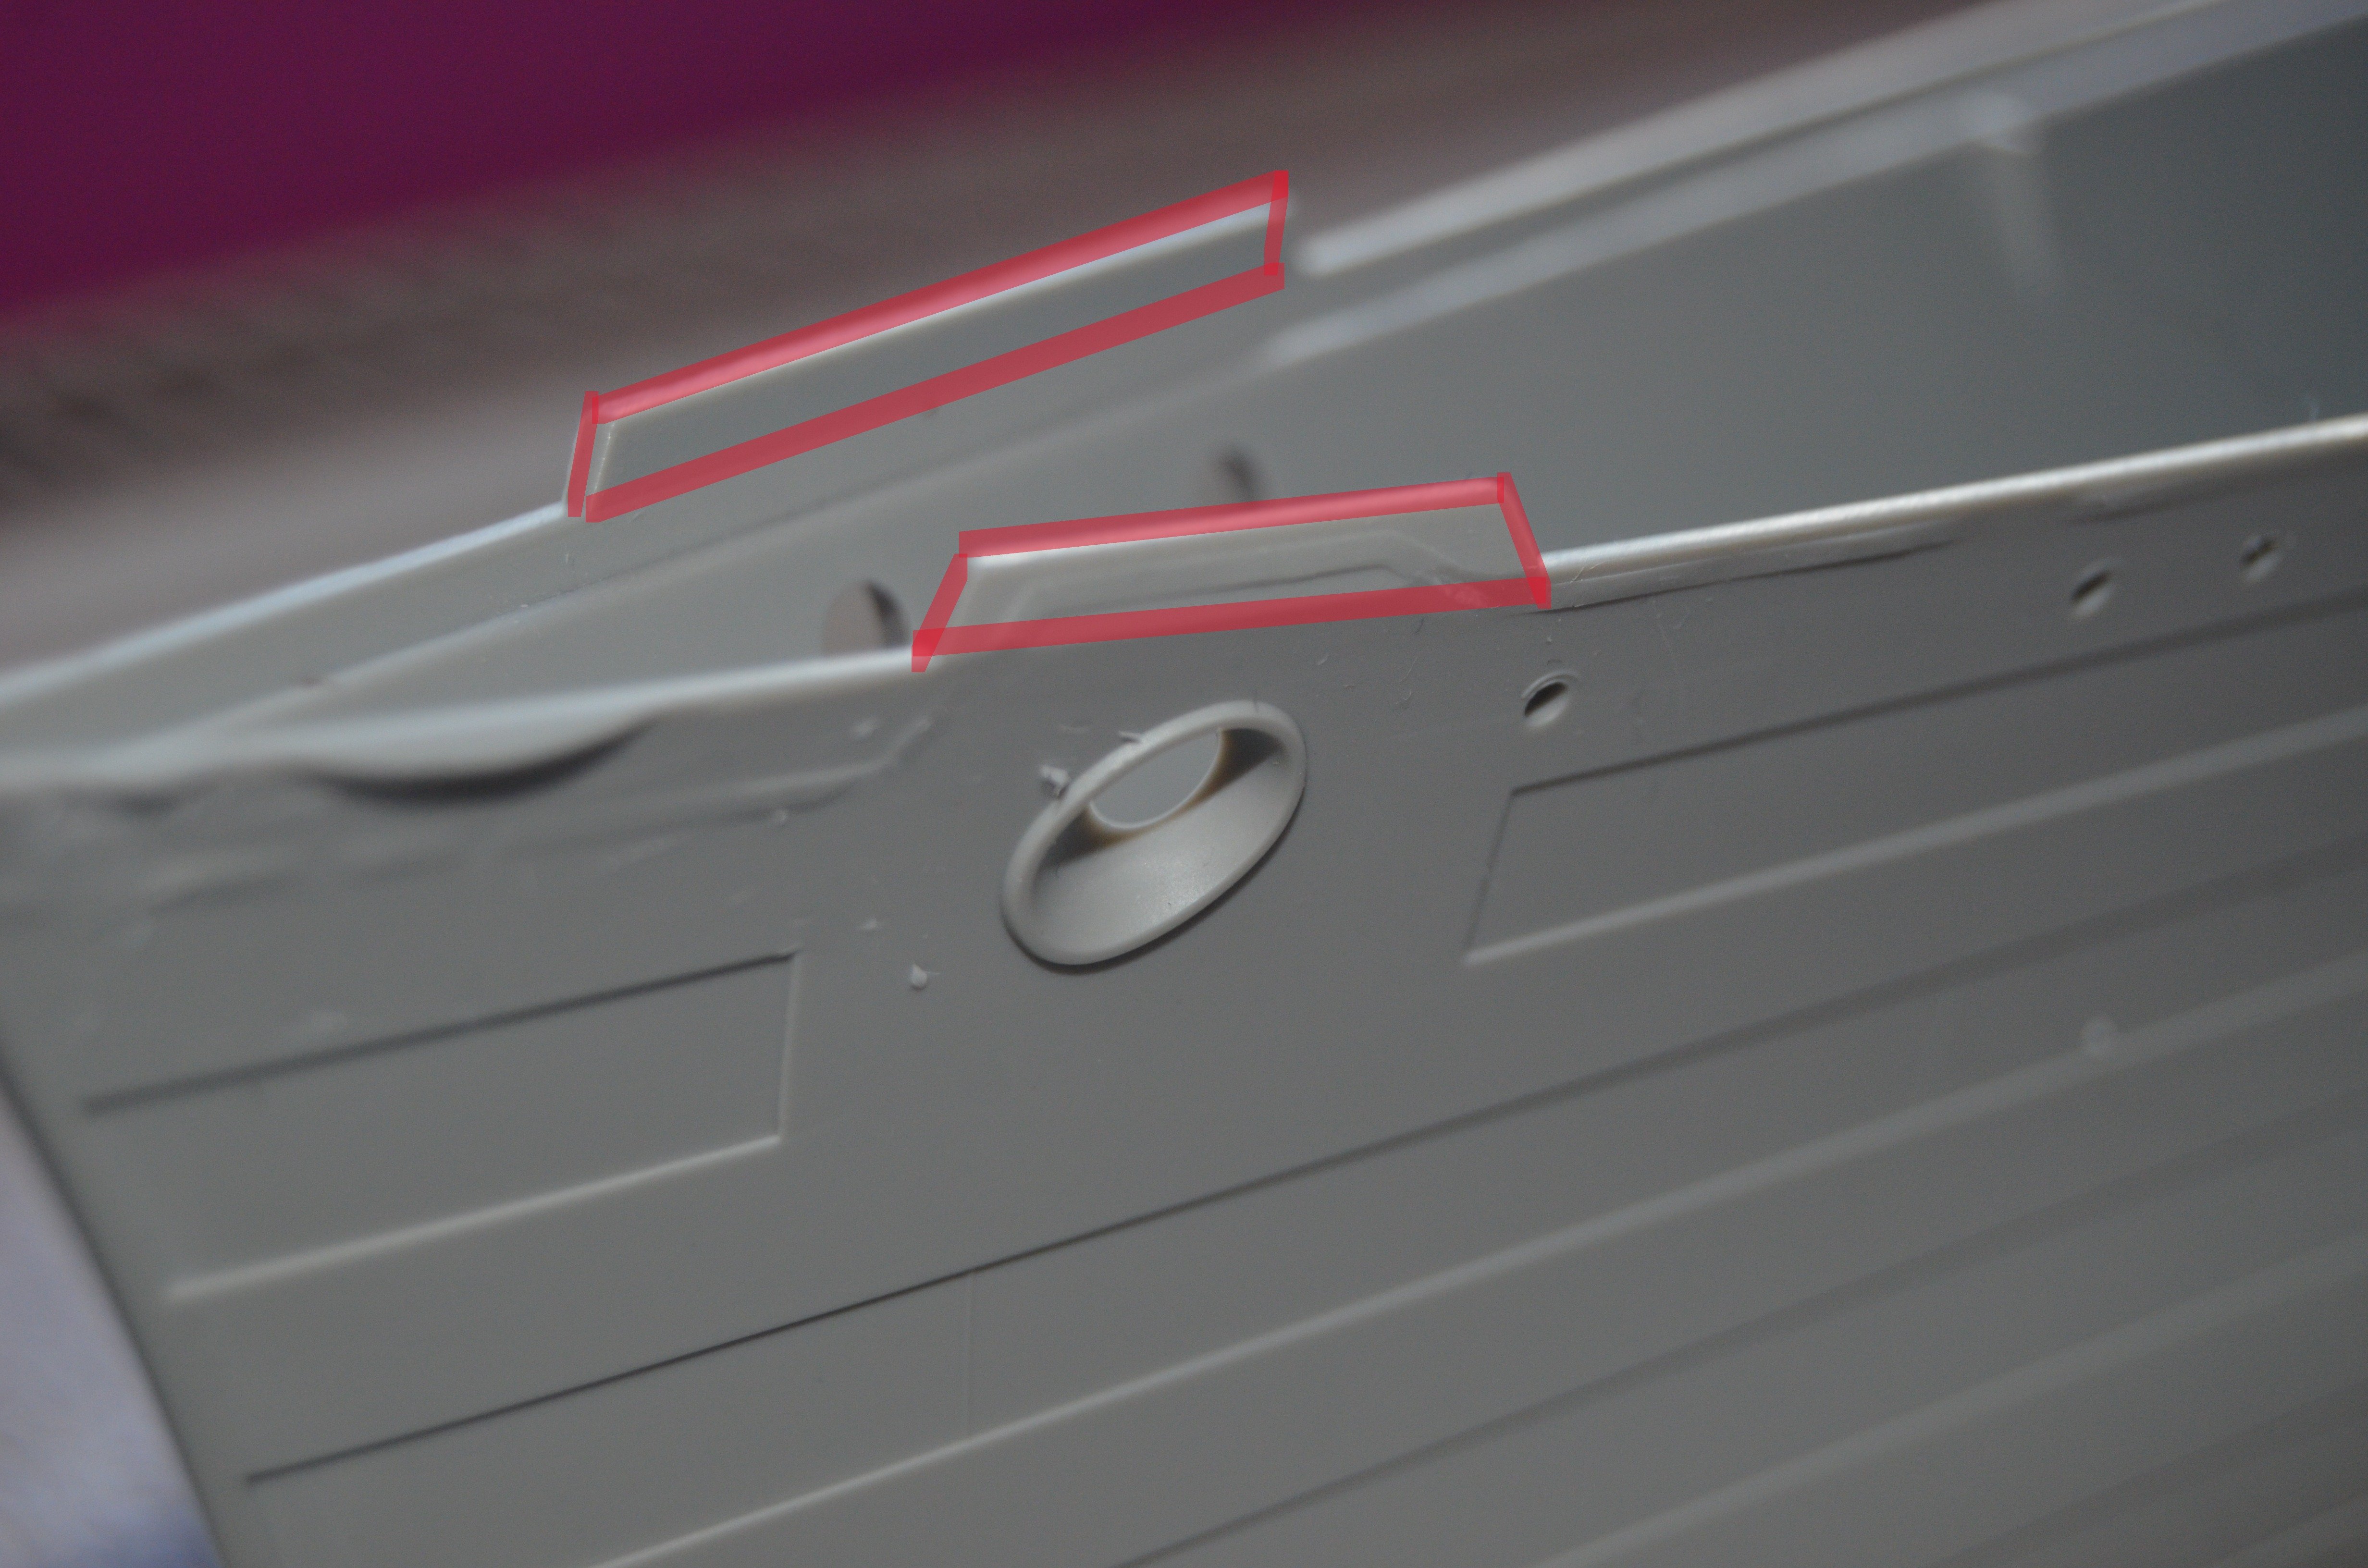
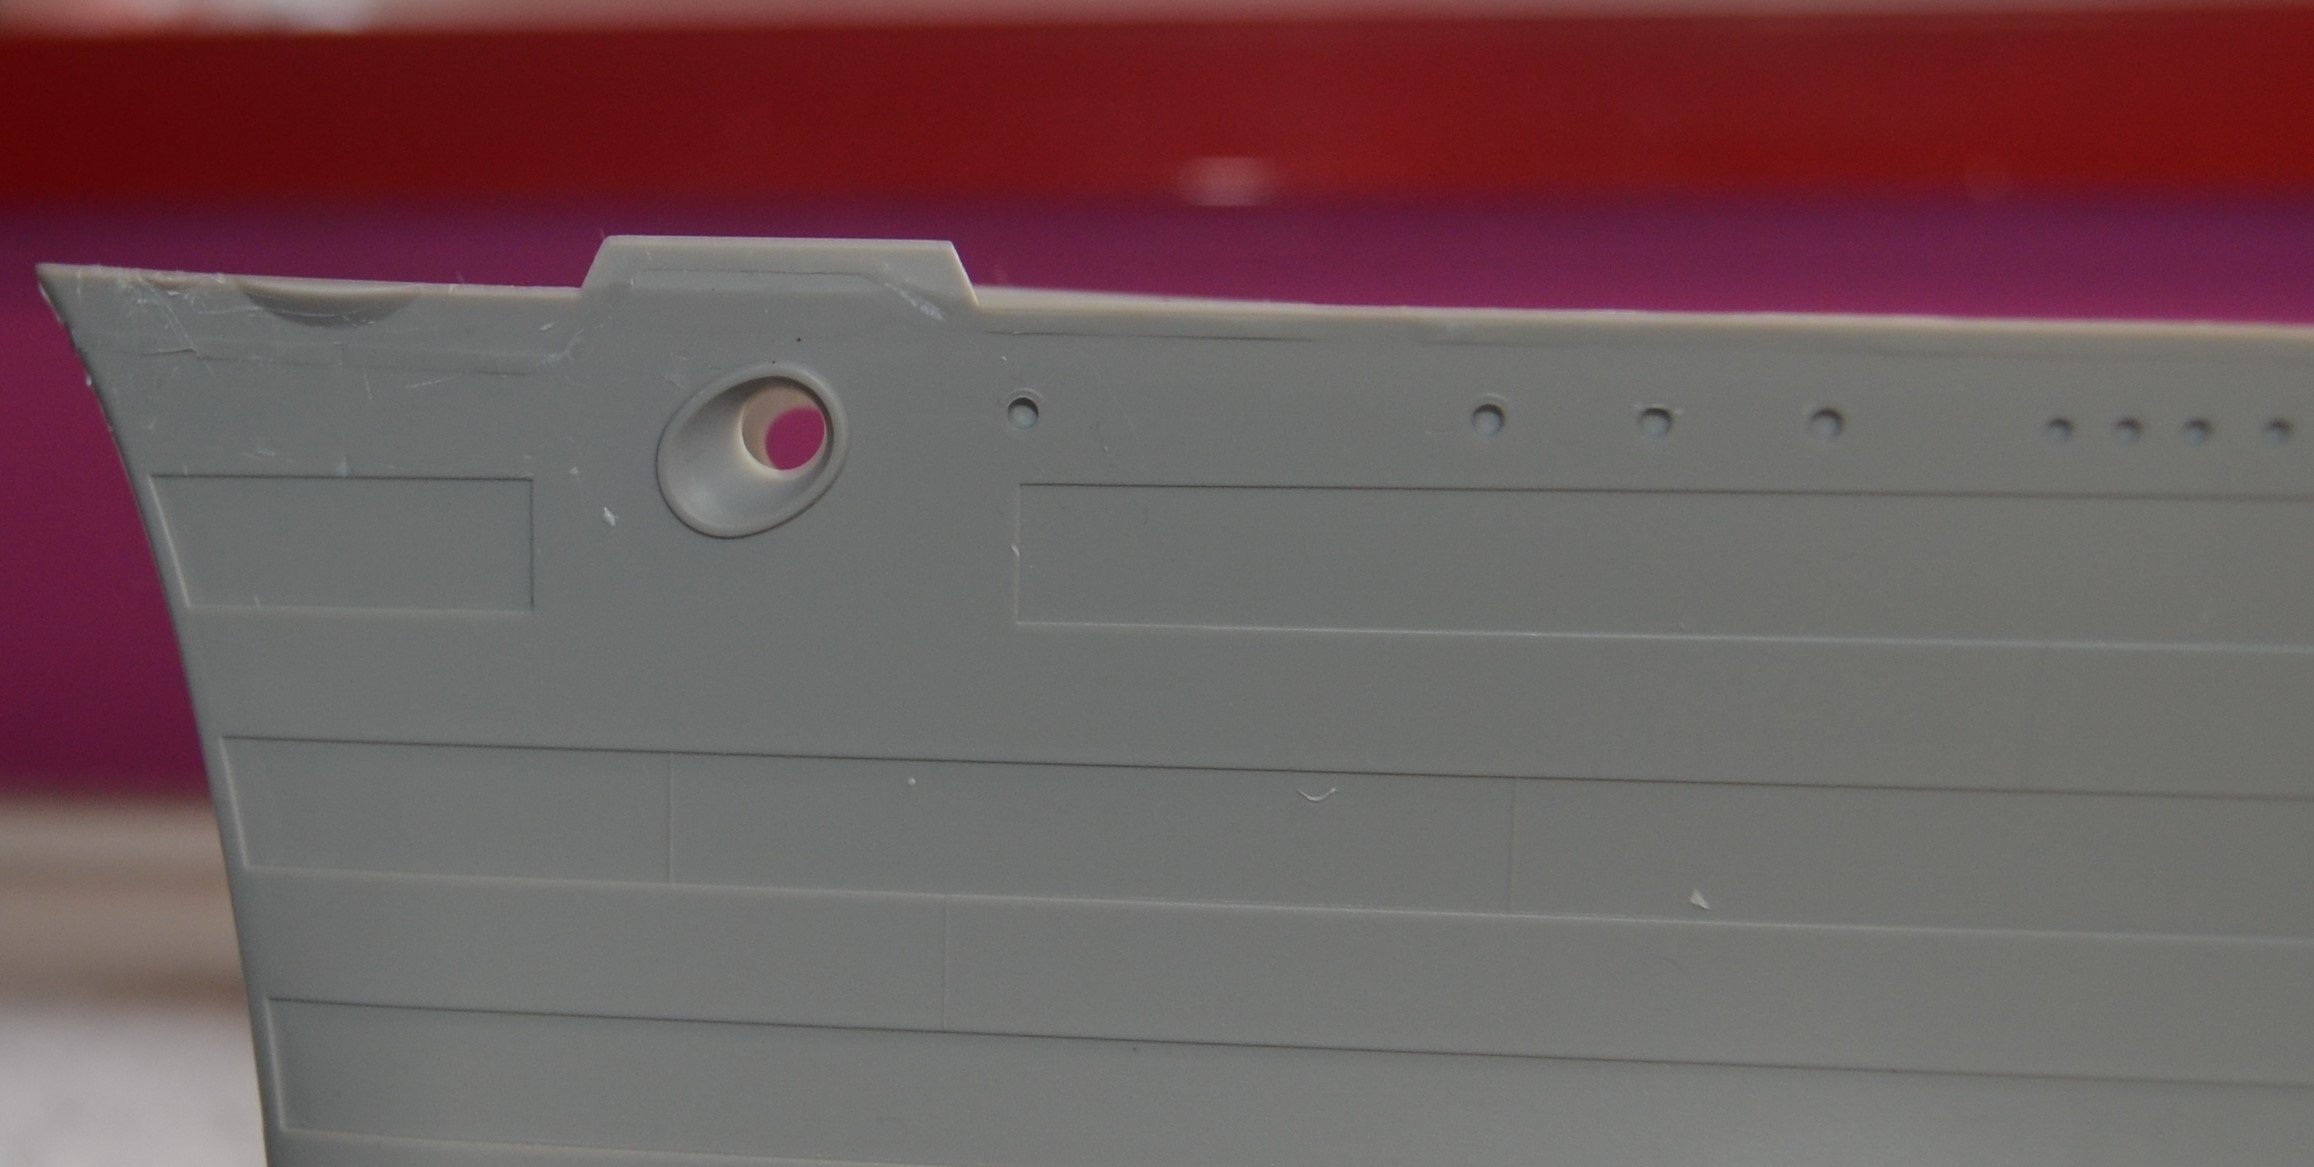
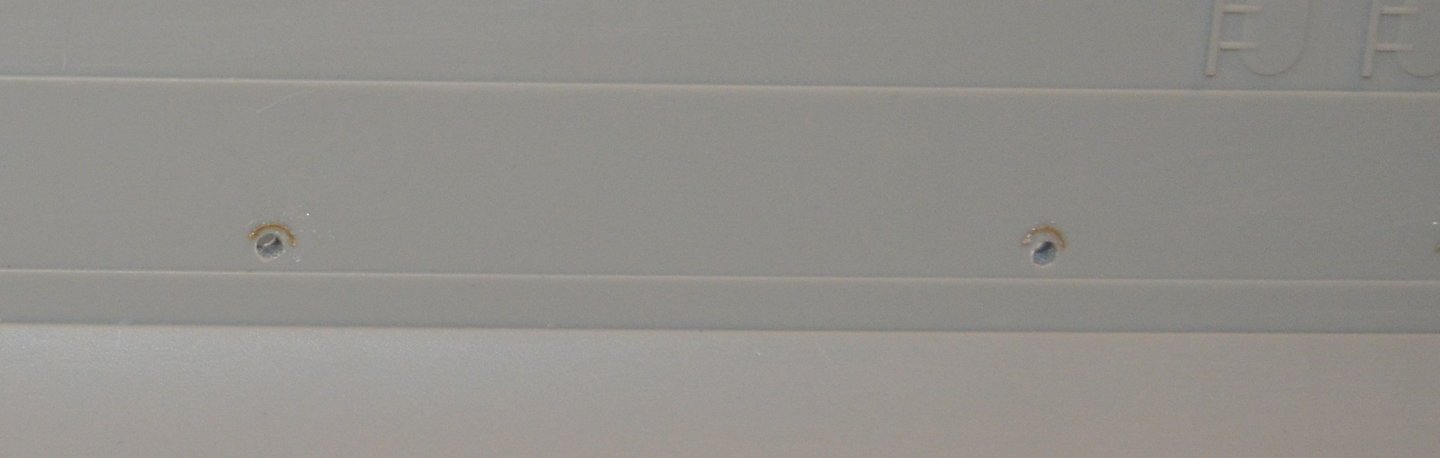
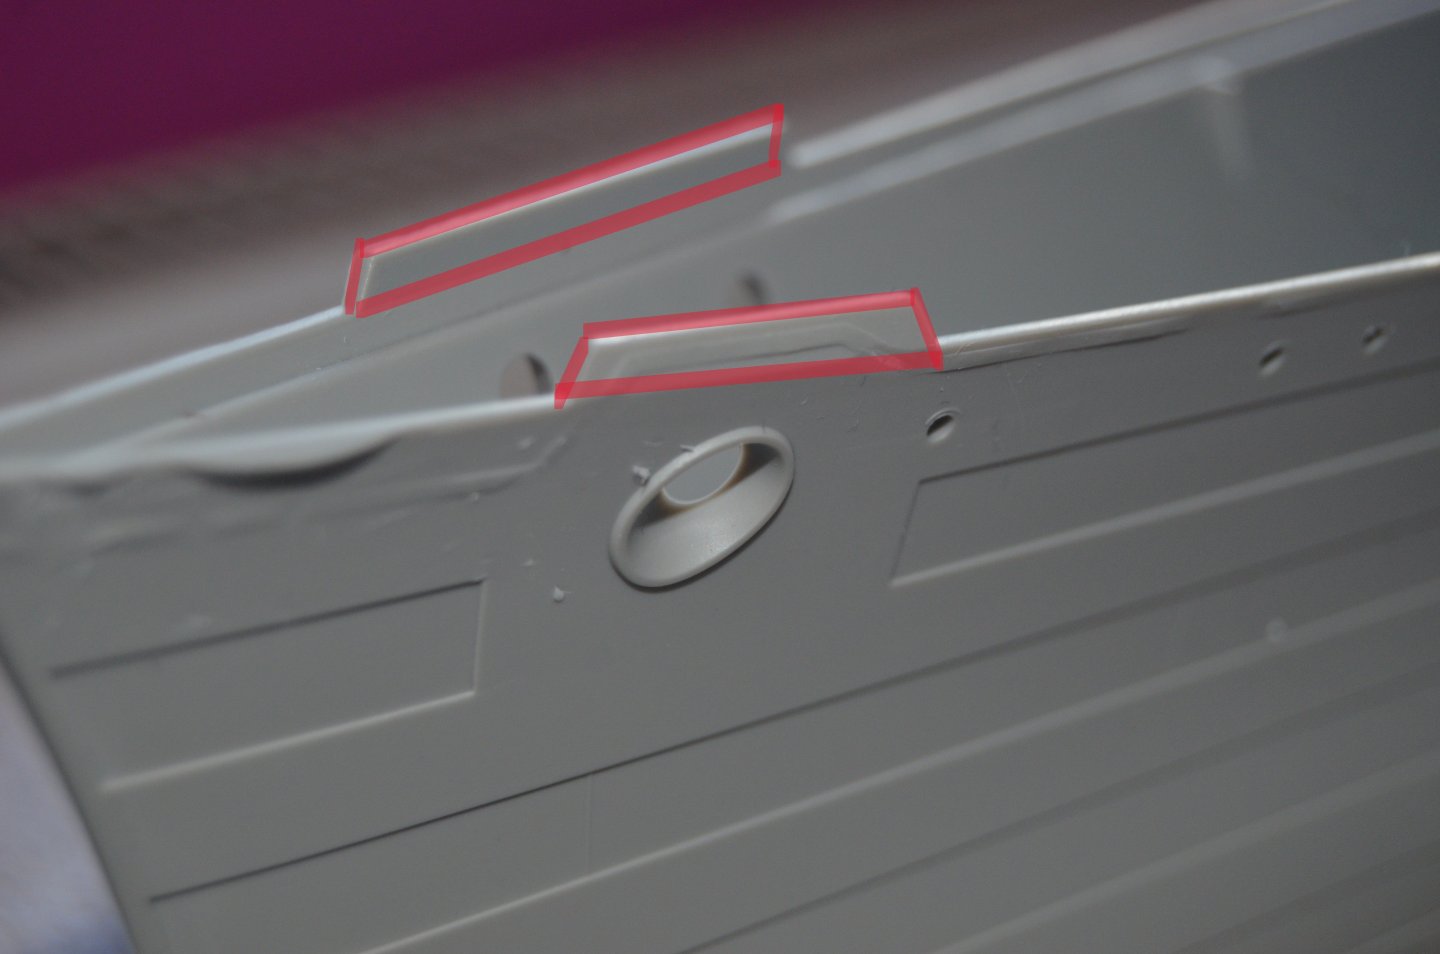
I'll be back in a month or so with another update. I am about to start preparing the hull. Along with the PE degaussing cable there are two anchor fairings. The two areas marked need to be removed to add these. Those fairing supports are as small as they look. The end one is just about visible so it should be a challenge to fit them. I've just checked the HMS Hood web site and they mention that trumpeter have the propellers the wrong way round so will need to check that out somewhere. Unless anyone here is familiar with this problem and can help me out. They also suggest sanding down the hull plating as it is to thick. Although it is not a huge problem and may take some time to get it correct without throwing the hull out, so I may leave it as it is.
-
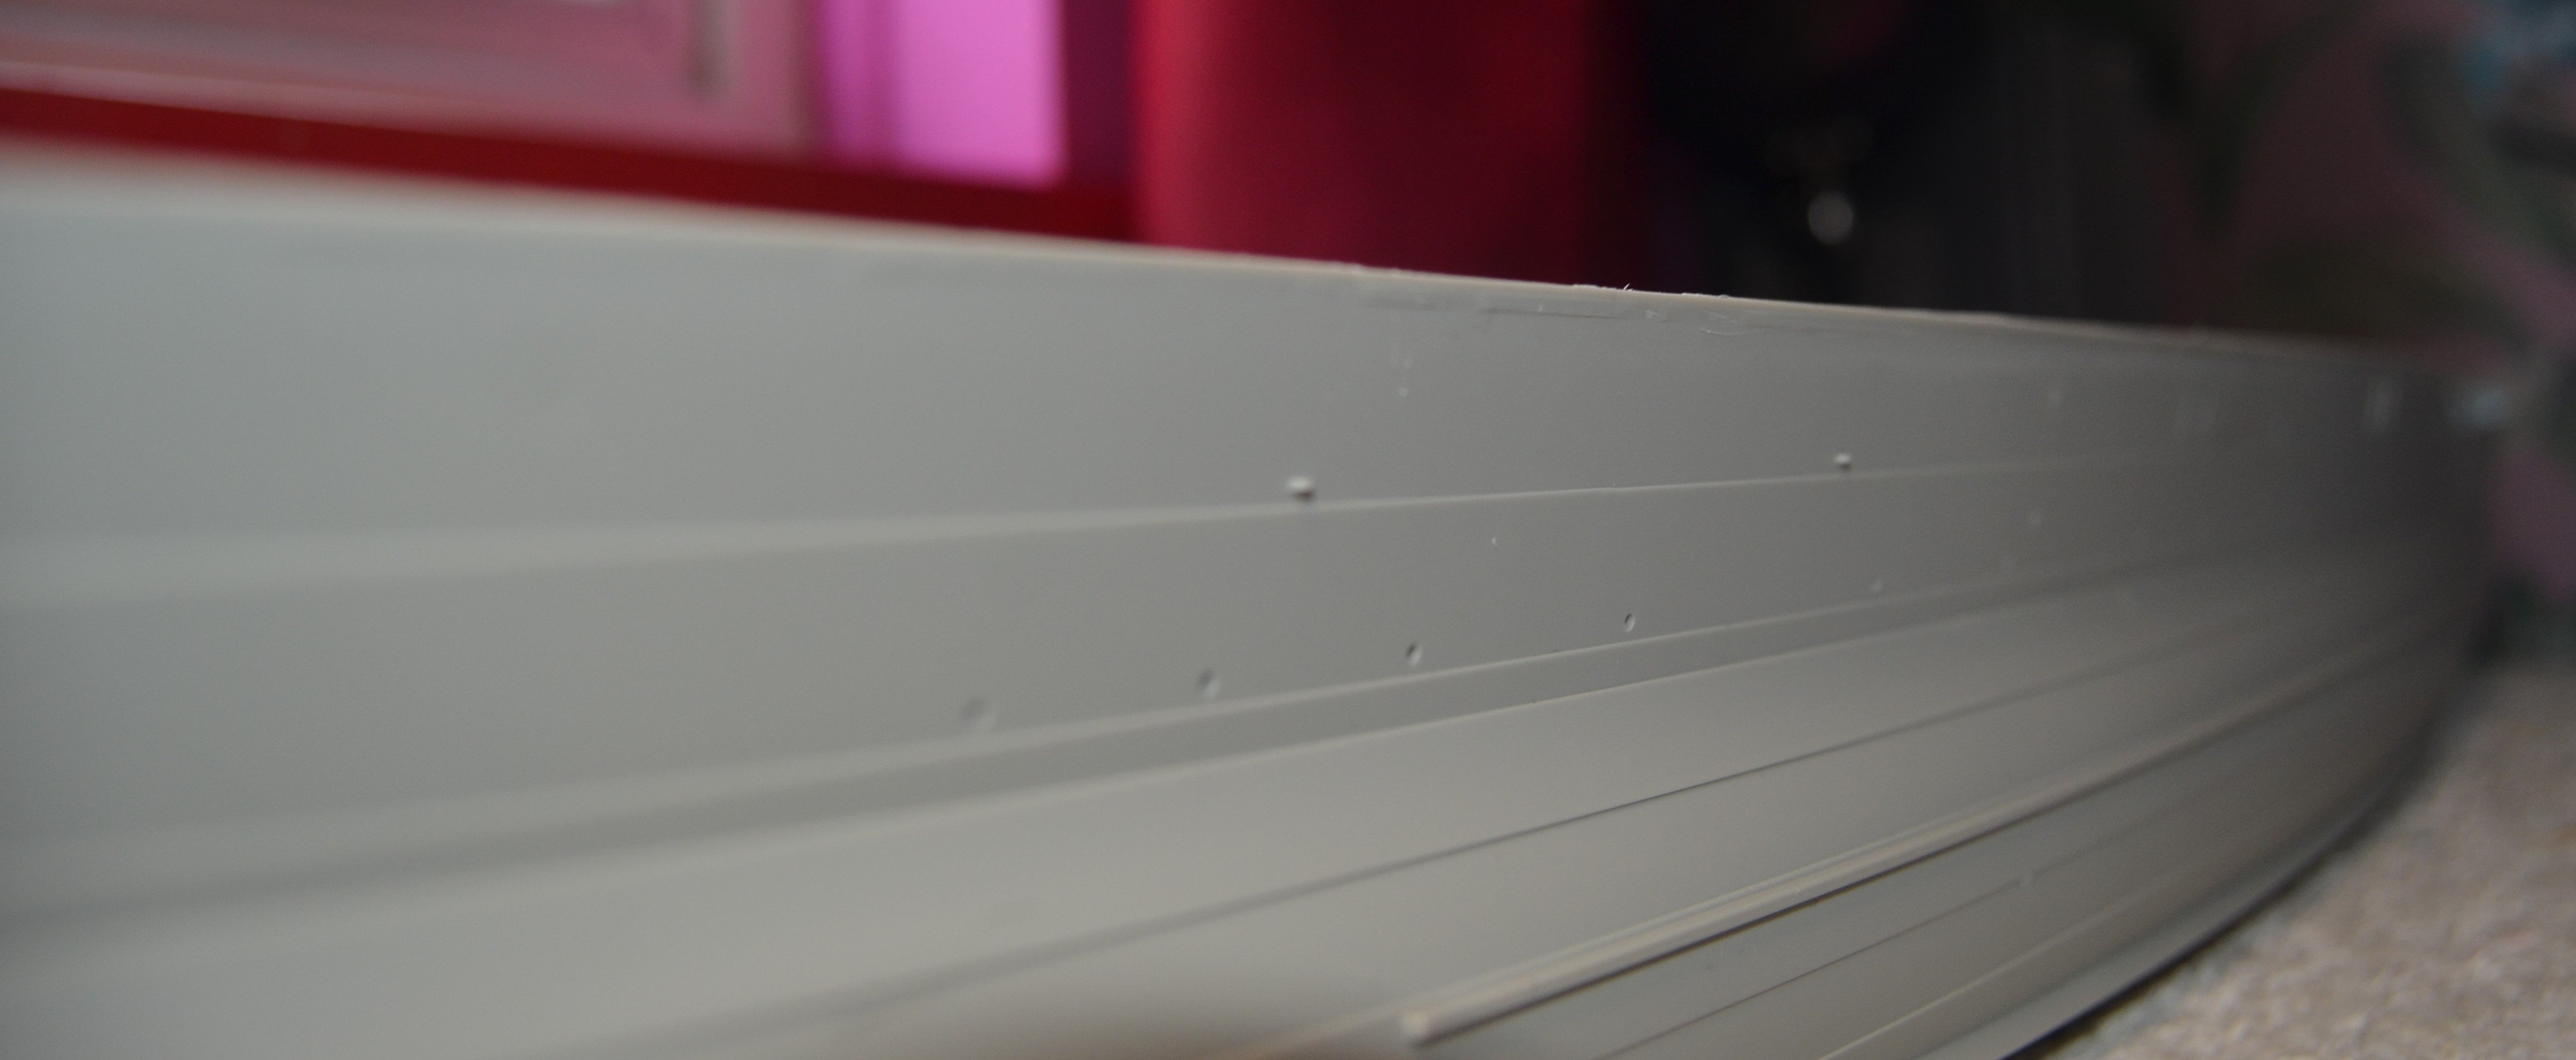
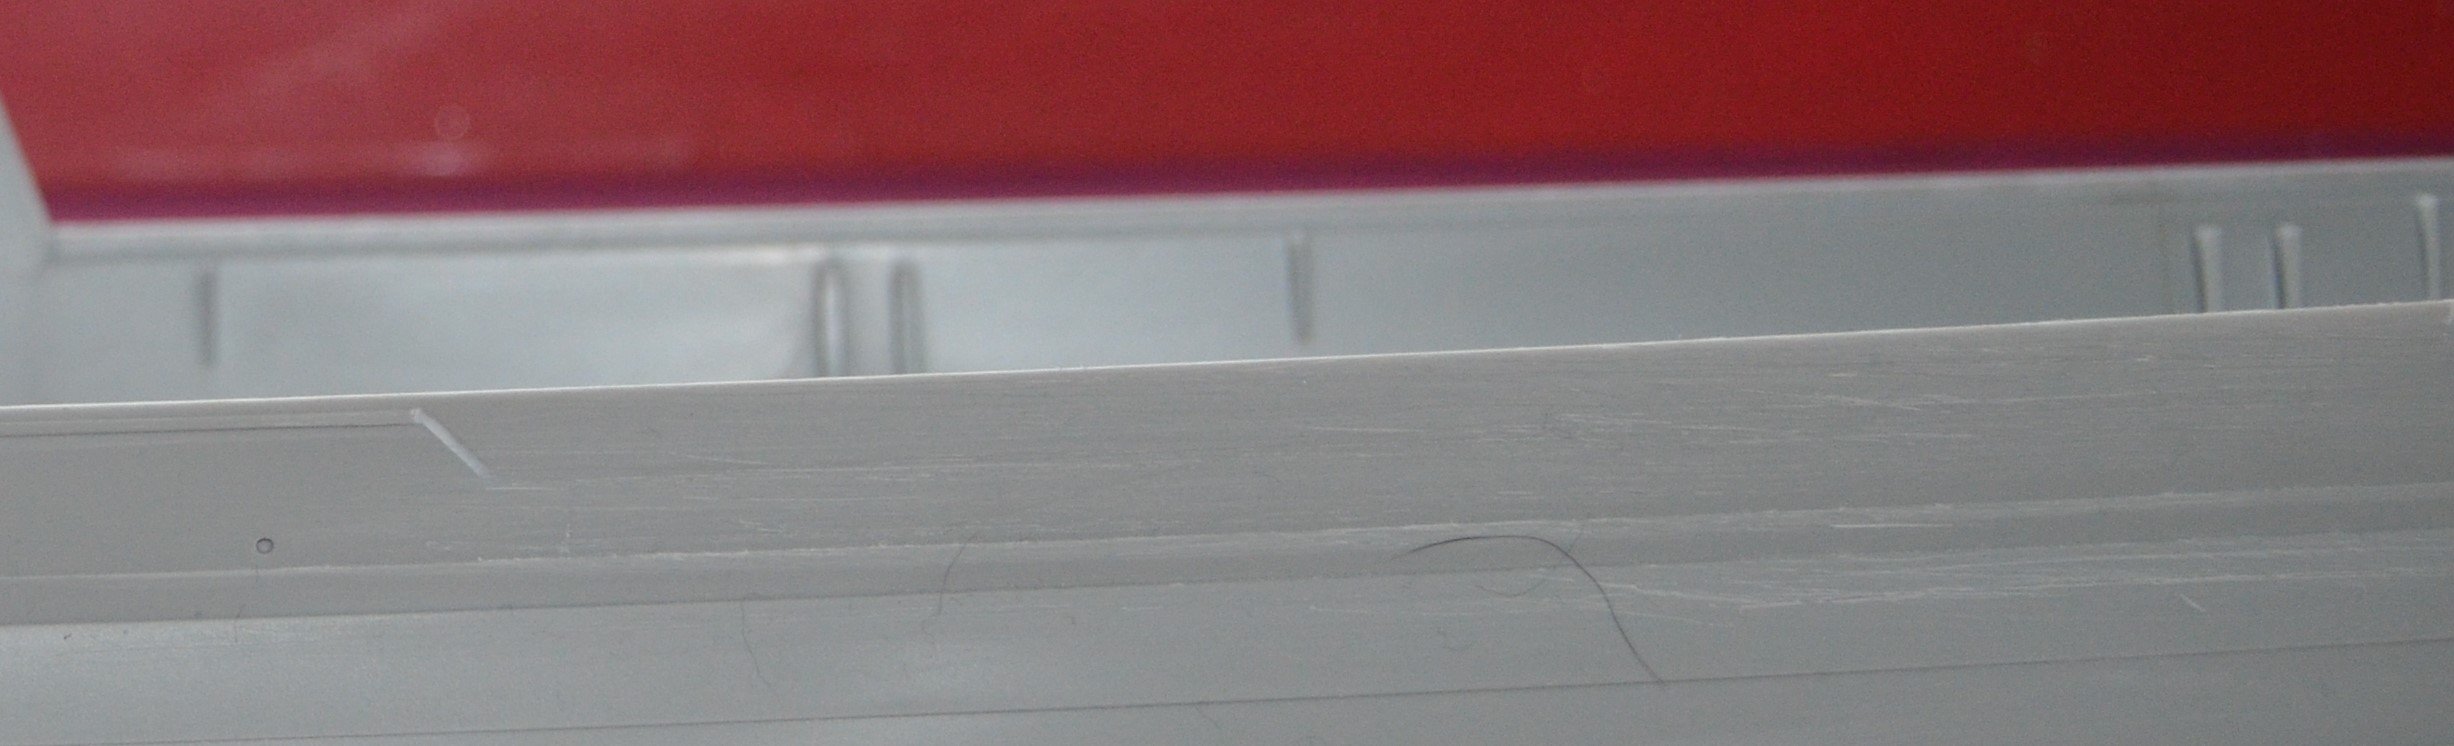
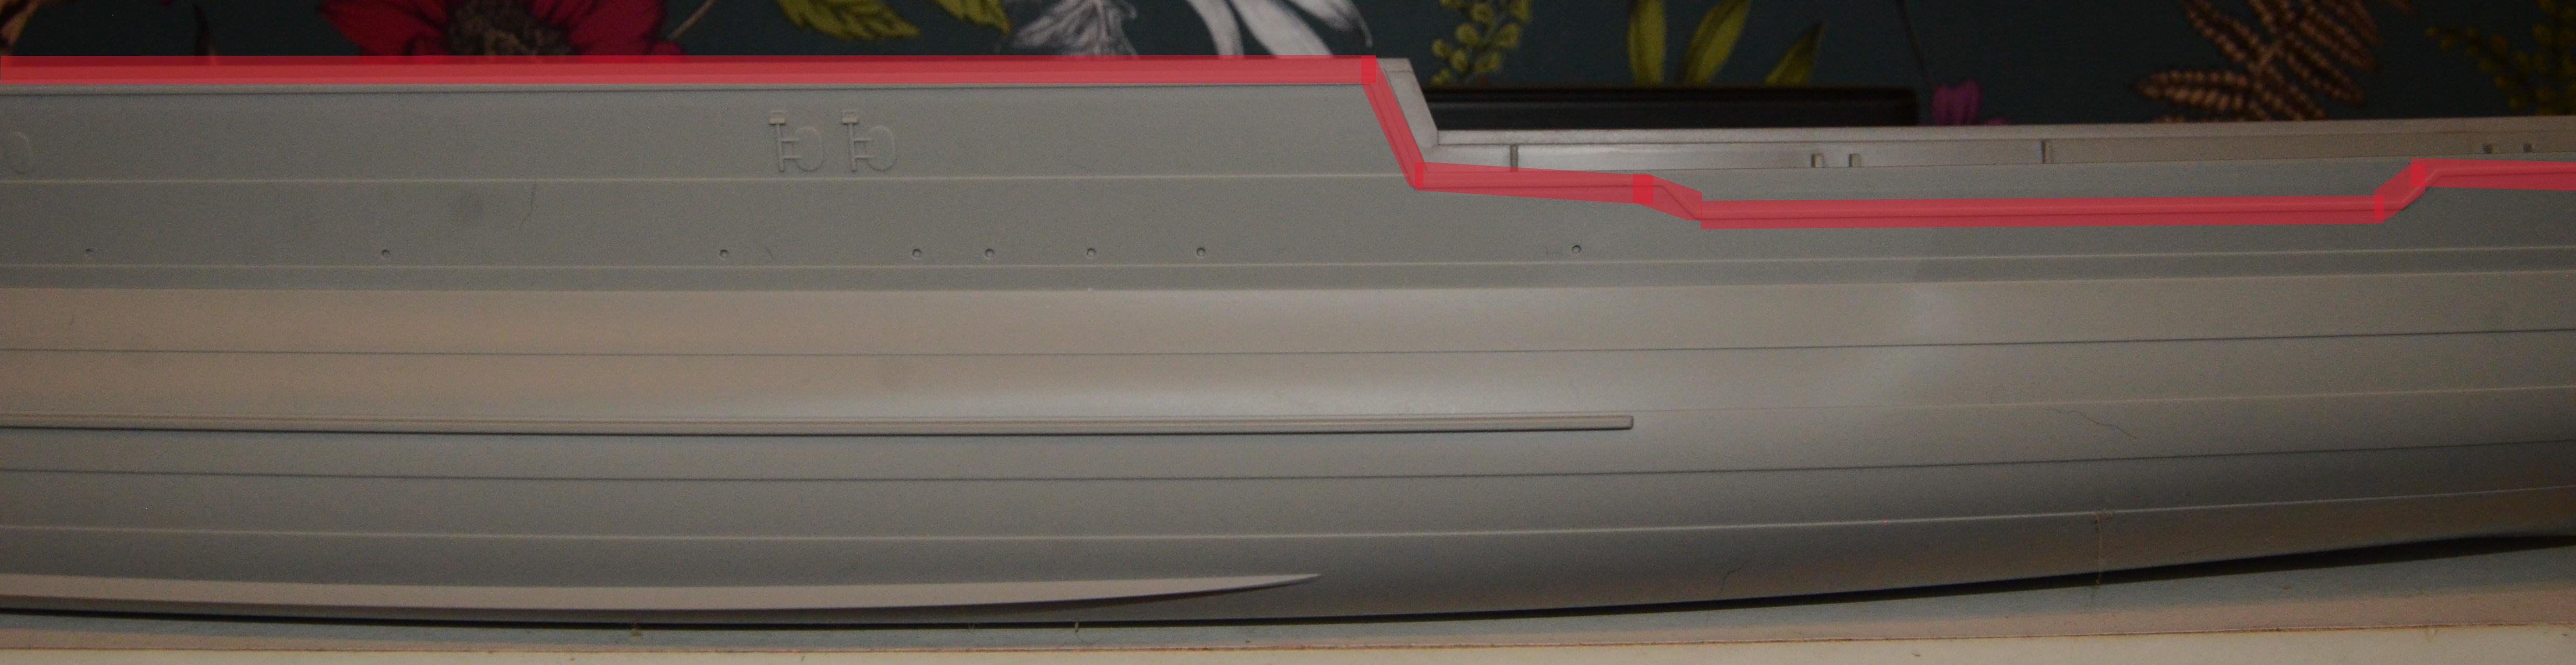
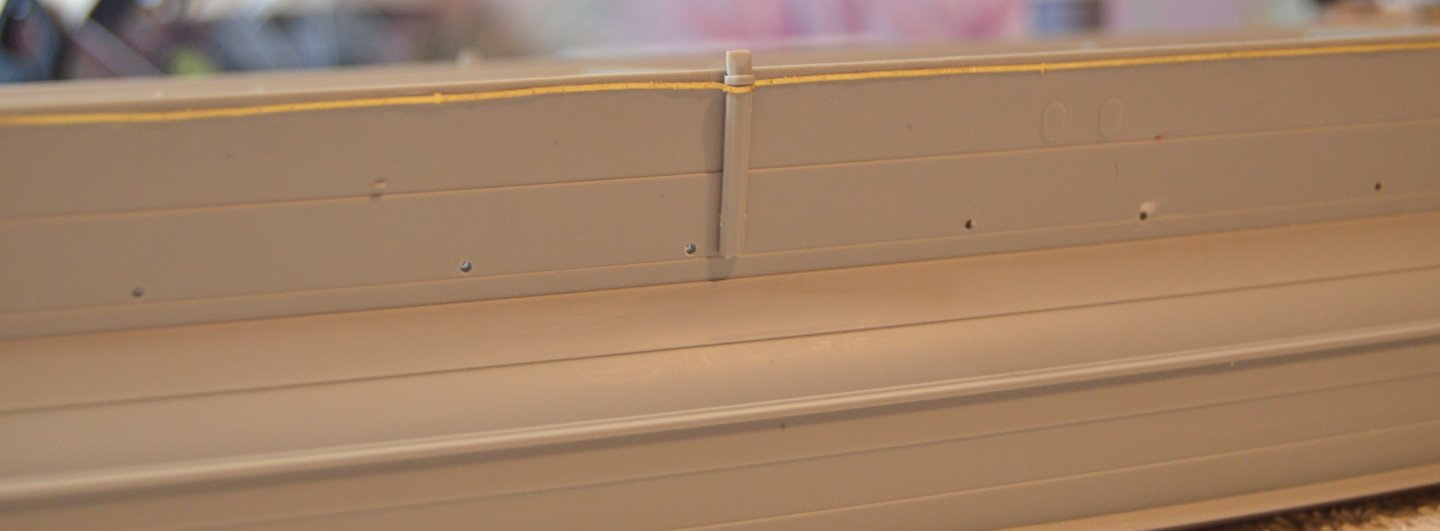
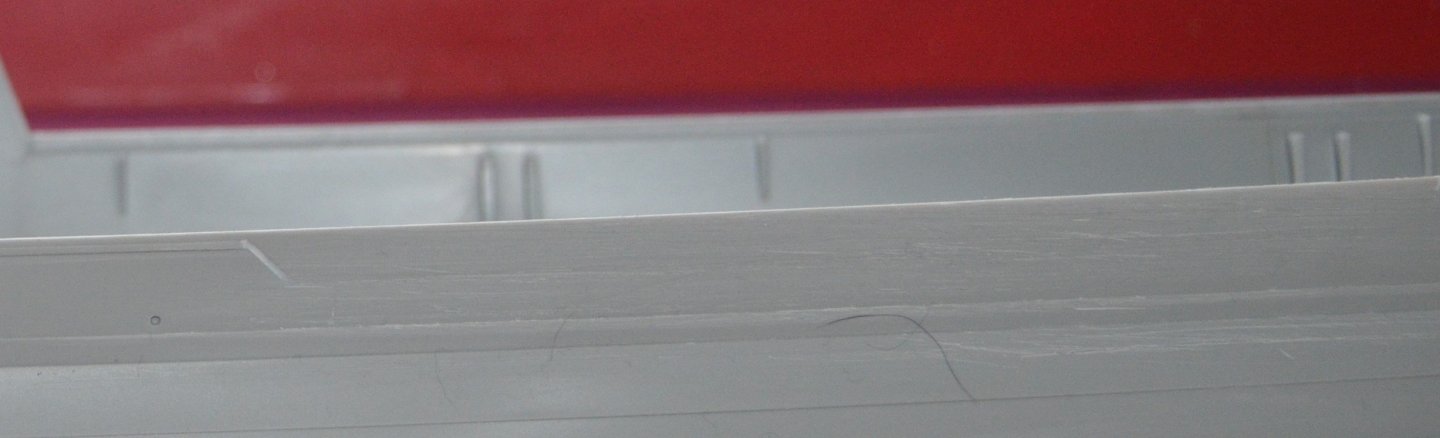
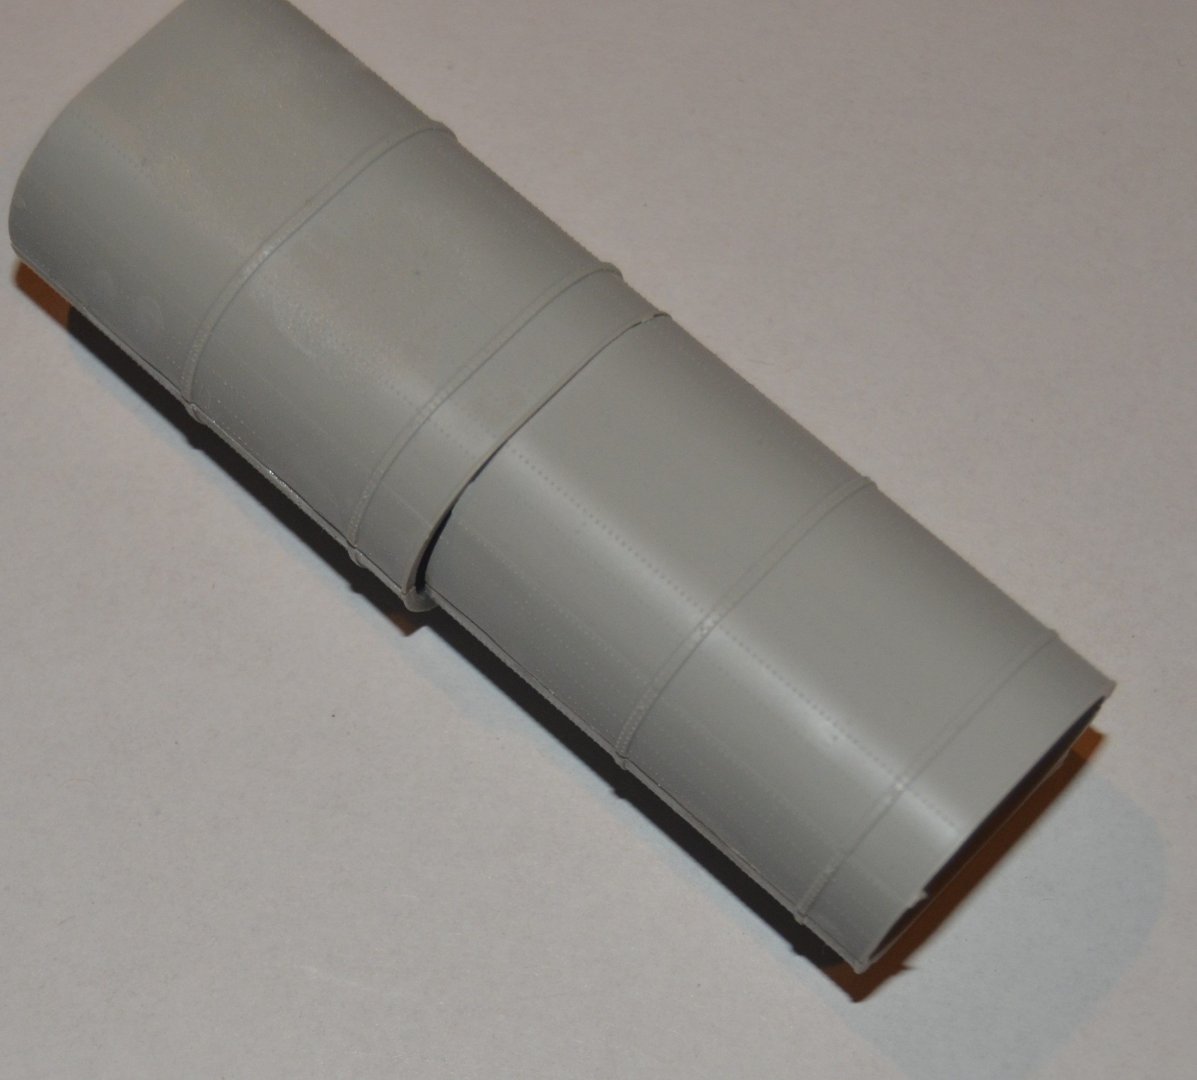
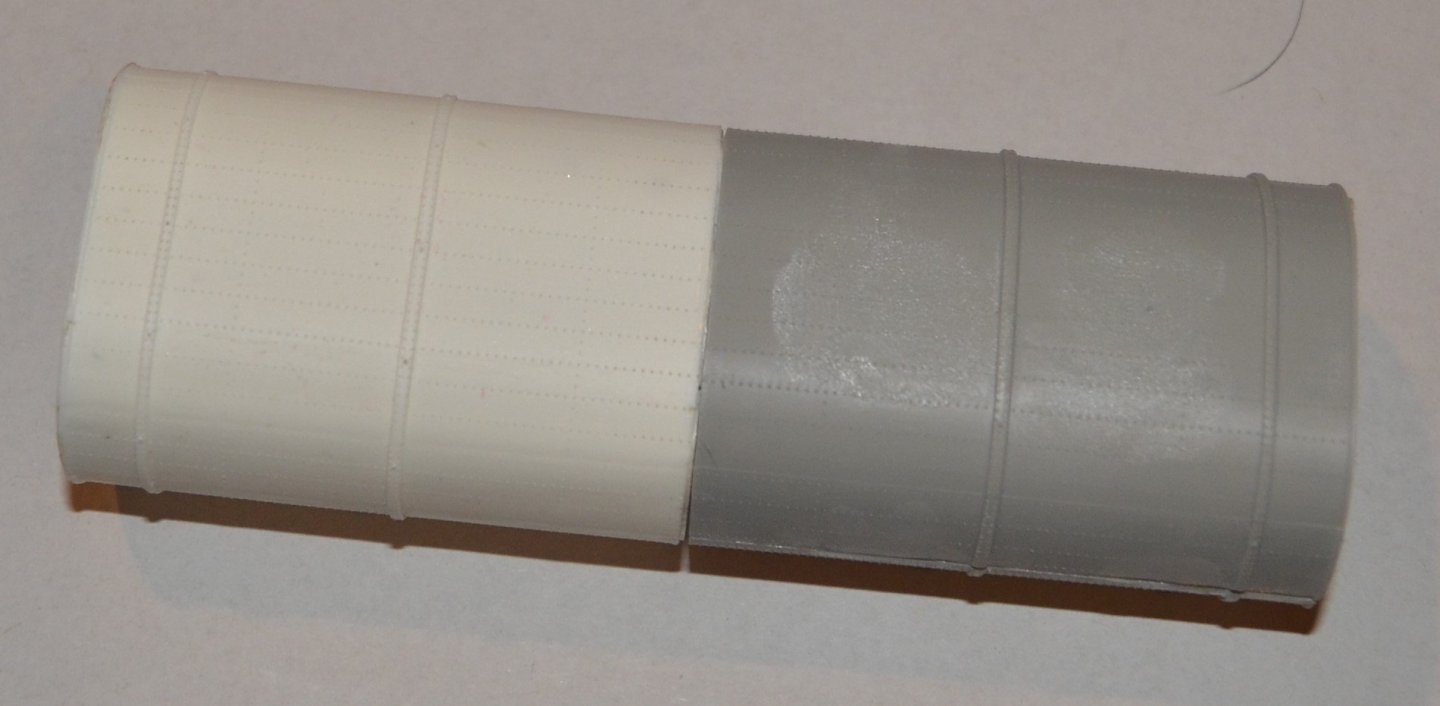
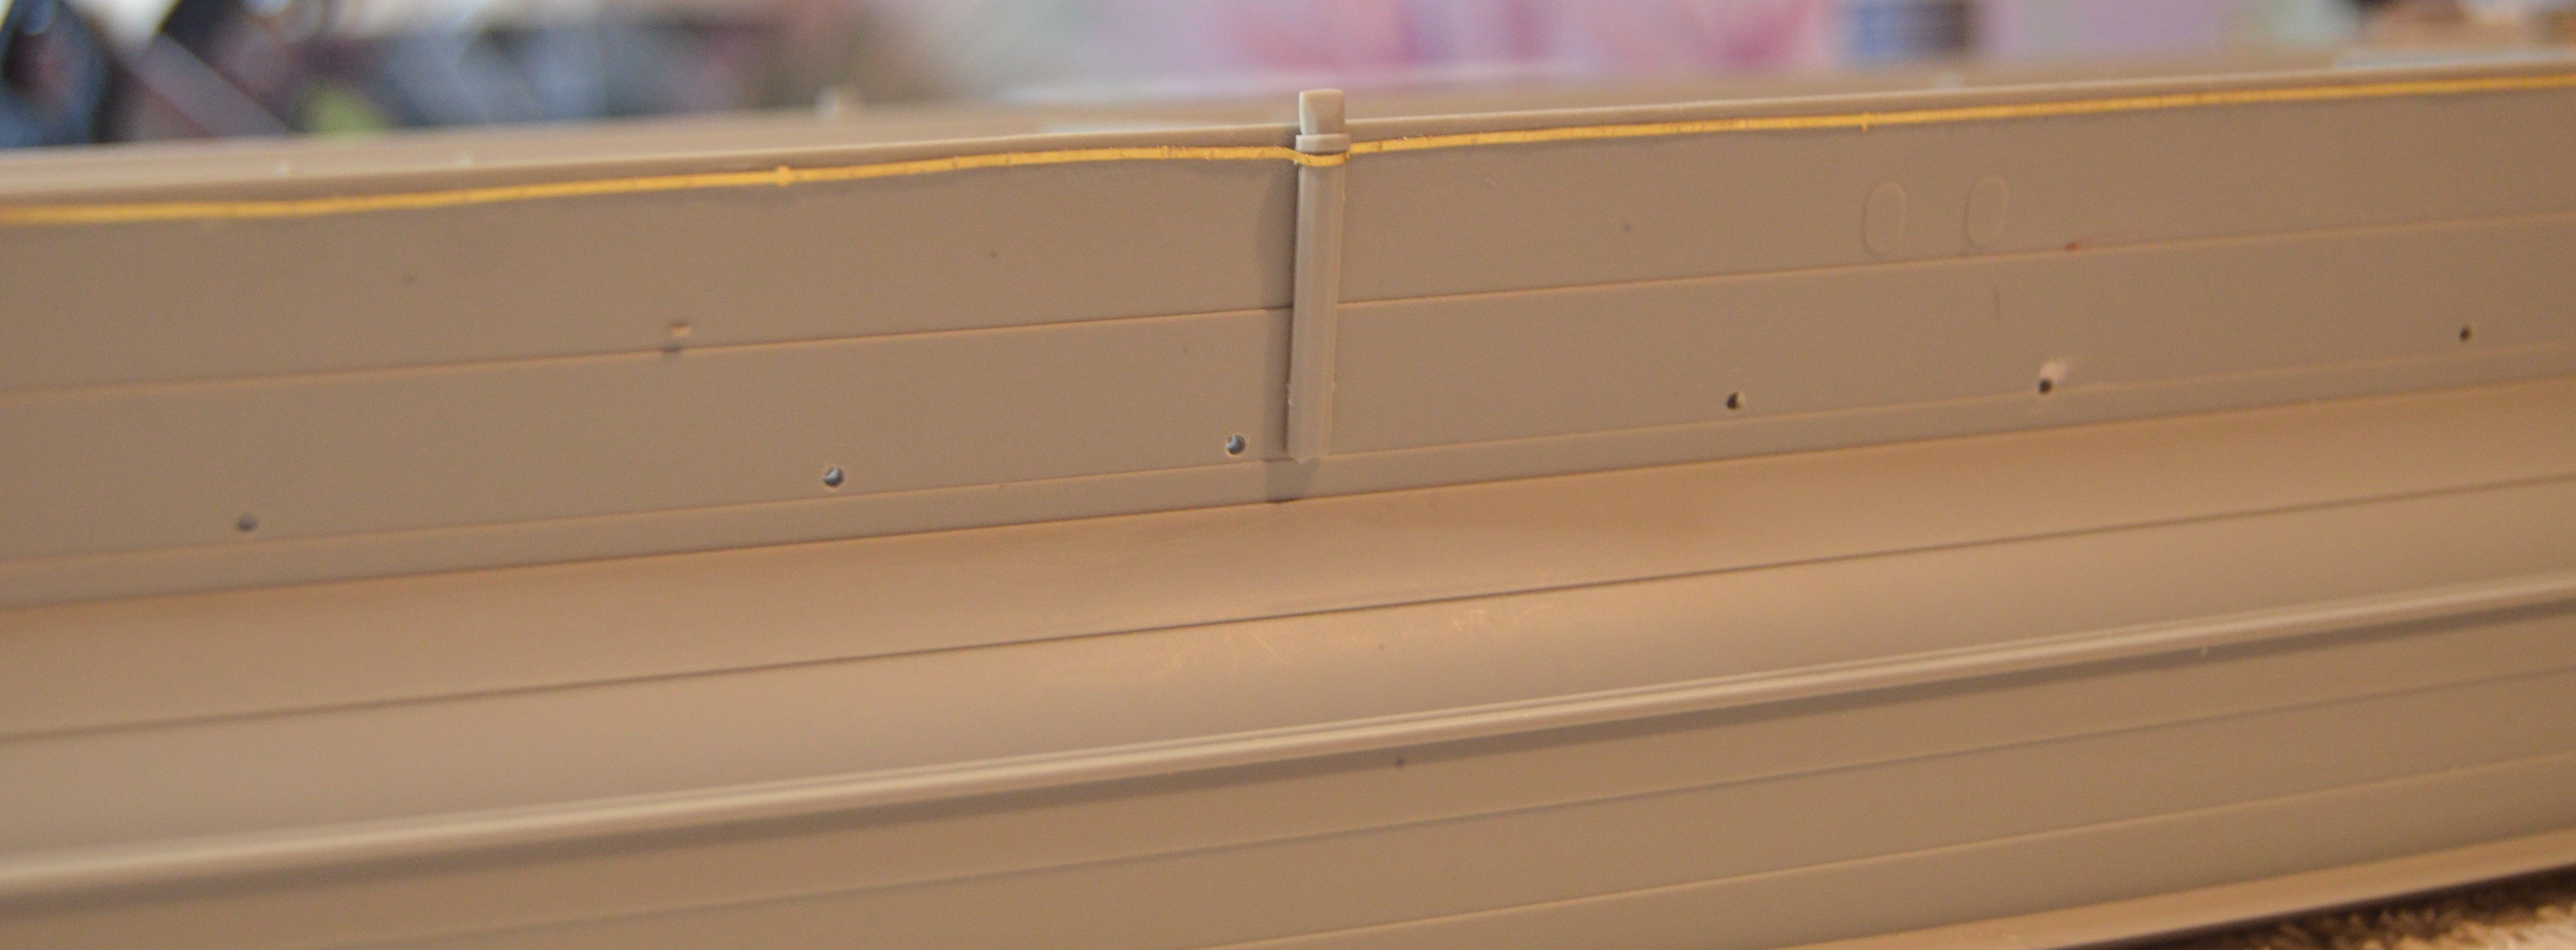
It looks like it was put together in around 5 sections. I've tried to show the joins in the picture.

-
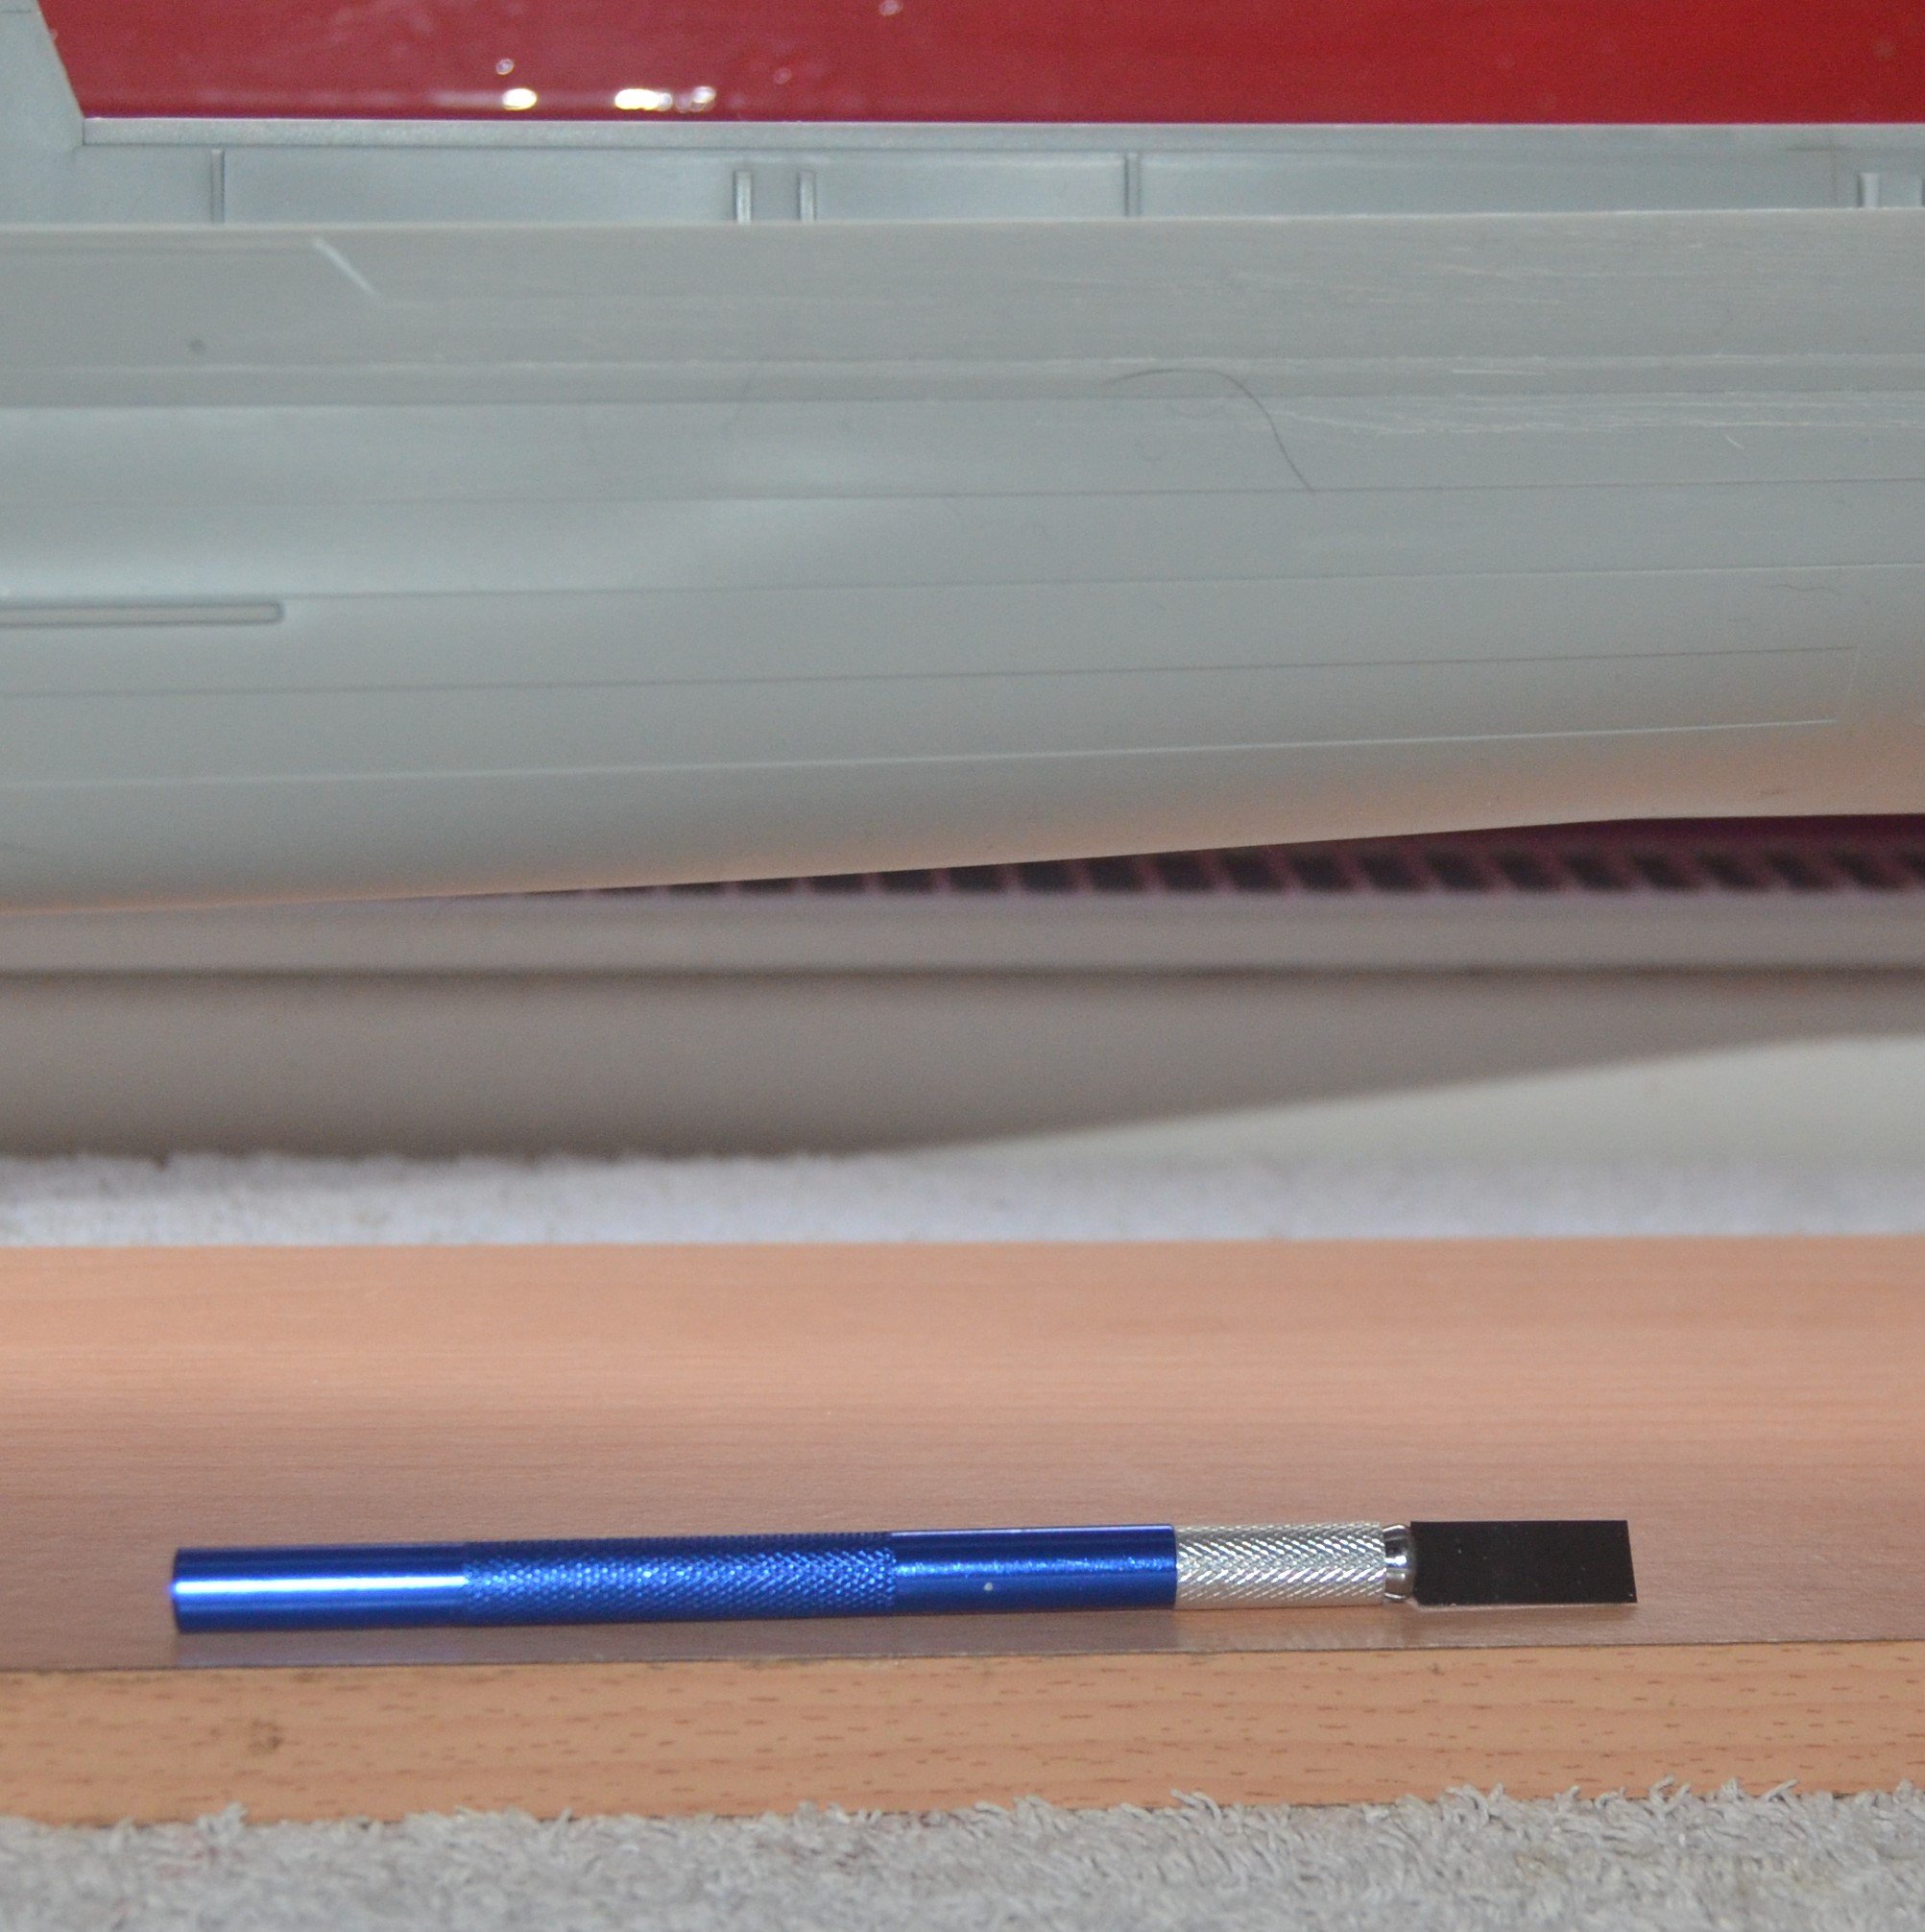
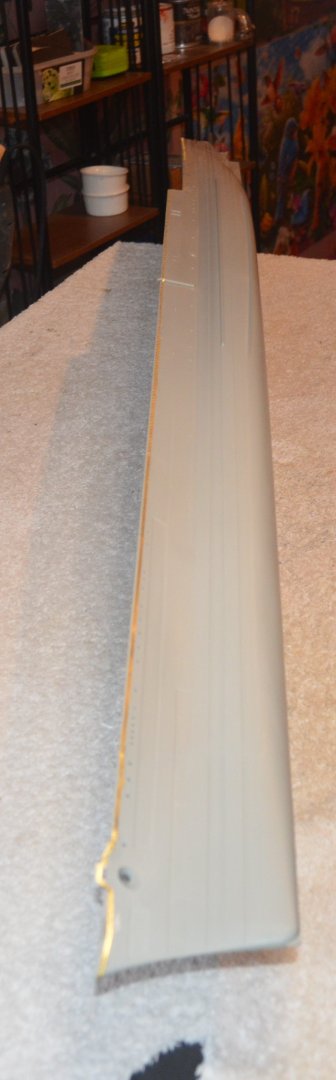
I'm committed to the PE degaussing cable now. The raised area came off fine. Just had to be carful near the bow section. Now I have to give it all a light sanding and a final clean up with some wet and dry. The PE should improve the hull and add better realism to the model. It is out of focus because I blew the picture up to try and give a better idea of how it will look. And I only sliced one finger as the scalpel blade slipped. Not to deep luckily.


-
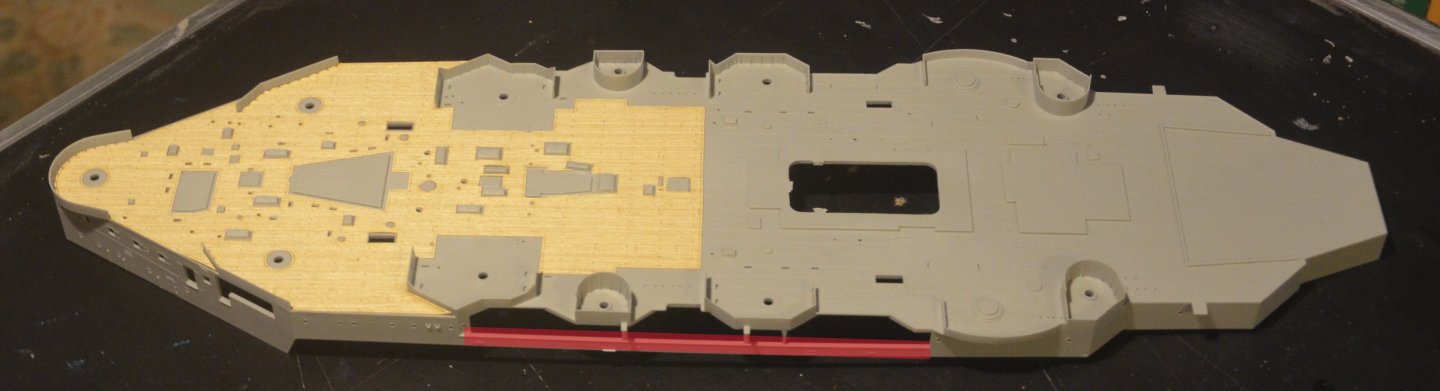
The decks and shelter deck and a couple of structures dry fitted. Everything goes together really well. One of the funnels will be replaced with the resin one. I have removed the wooden deck. I just do not like these decks. They look so false and a painted one will look a lot better. There are some very nice details in the wood effect plastic deck. As the wooden deck came away so easy, I could see this being a problem in a year or so. And needing continuous maintenance over time.
- 97 replies
-
- 10
-
-
Thanks Jeff,I reckon around a year depending on how much PE I add. I will check Micro Master out.
-
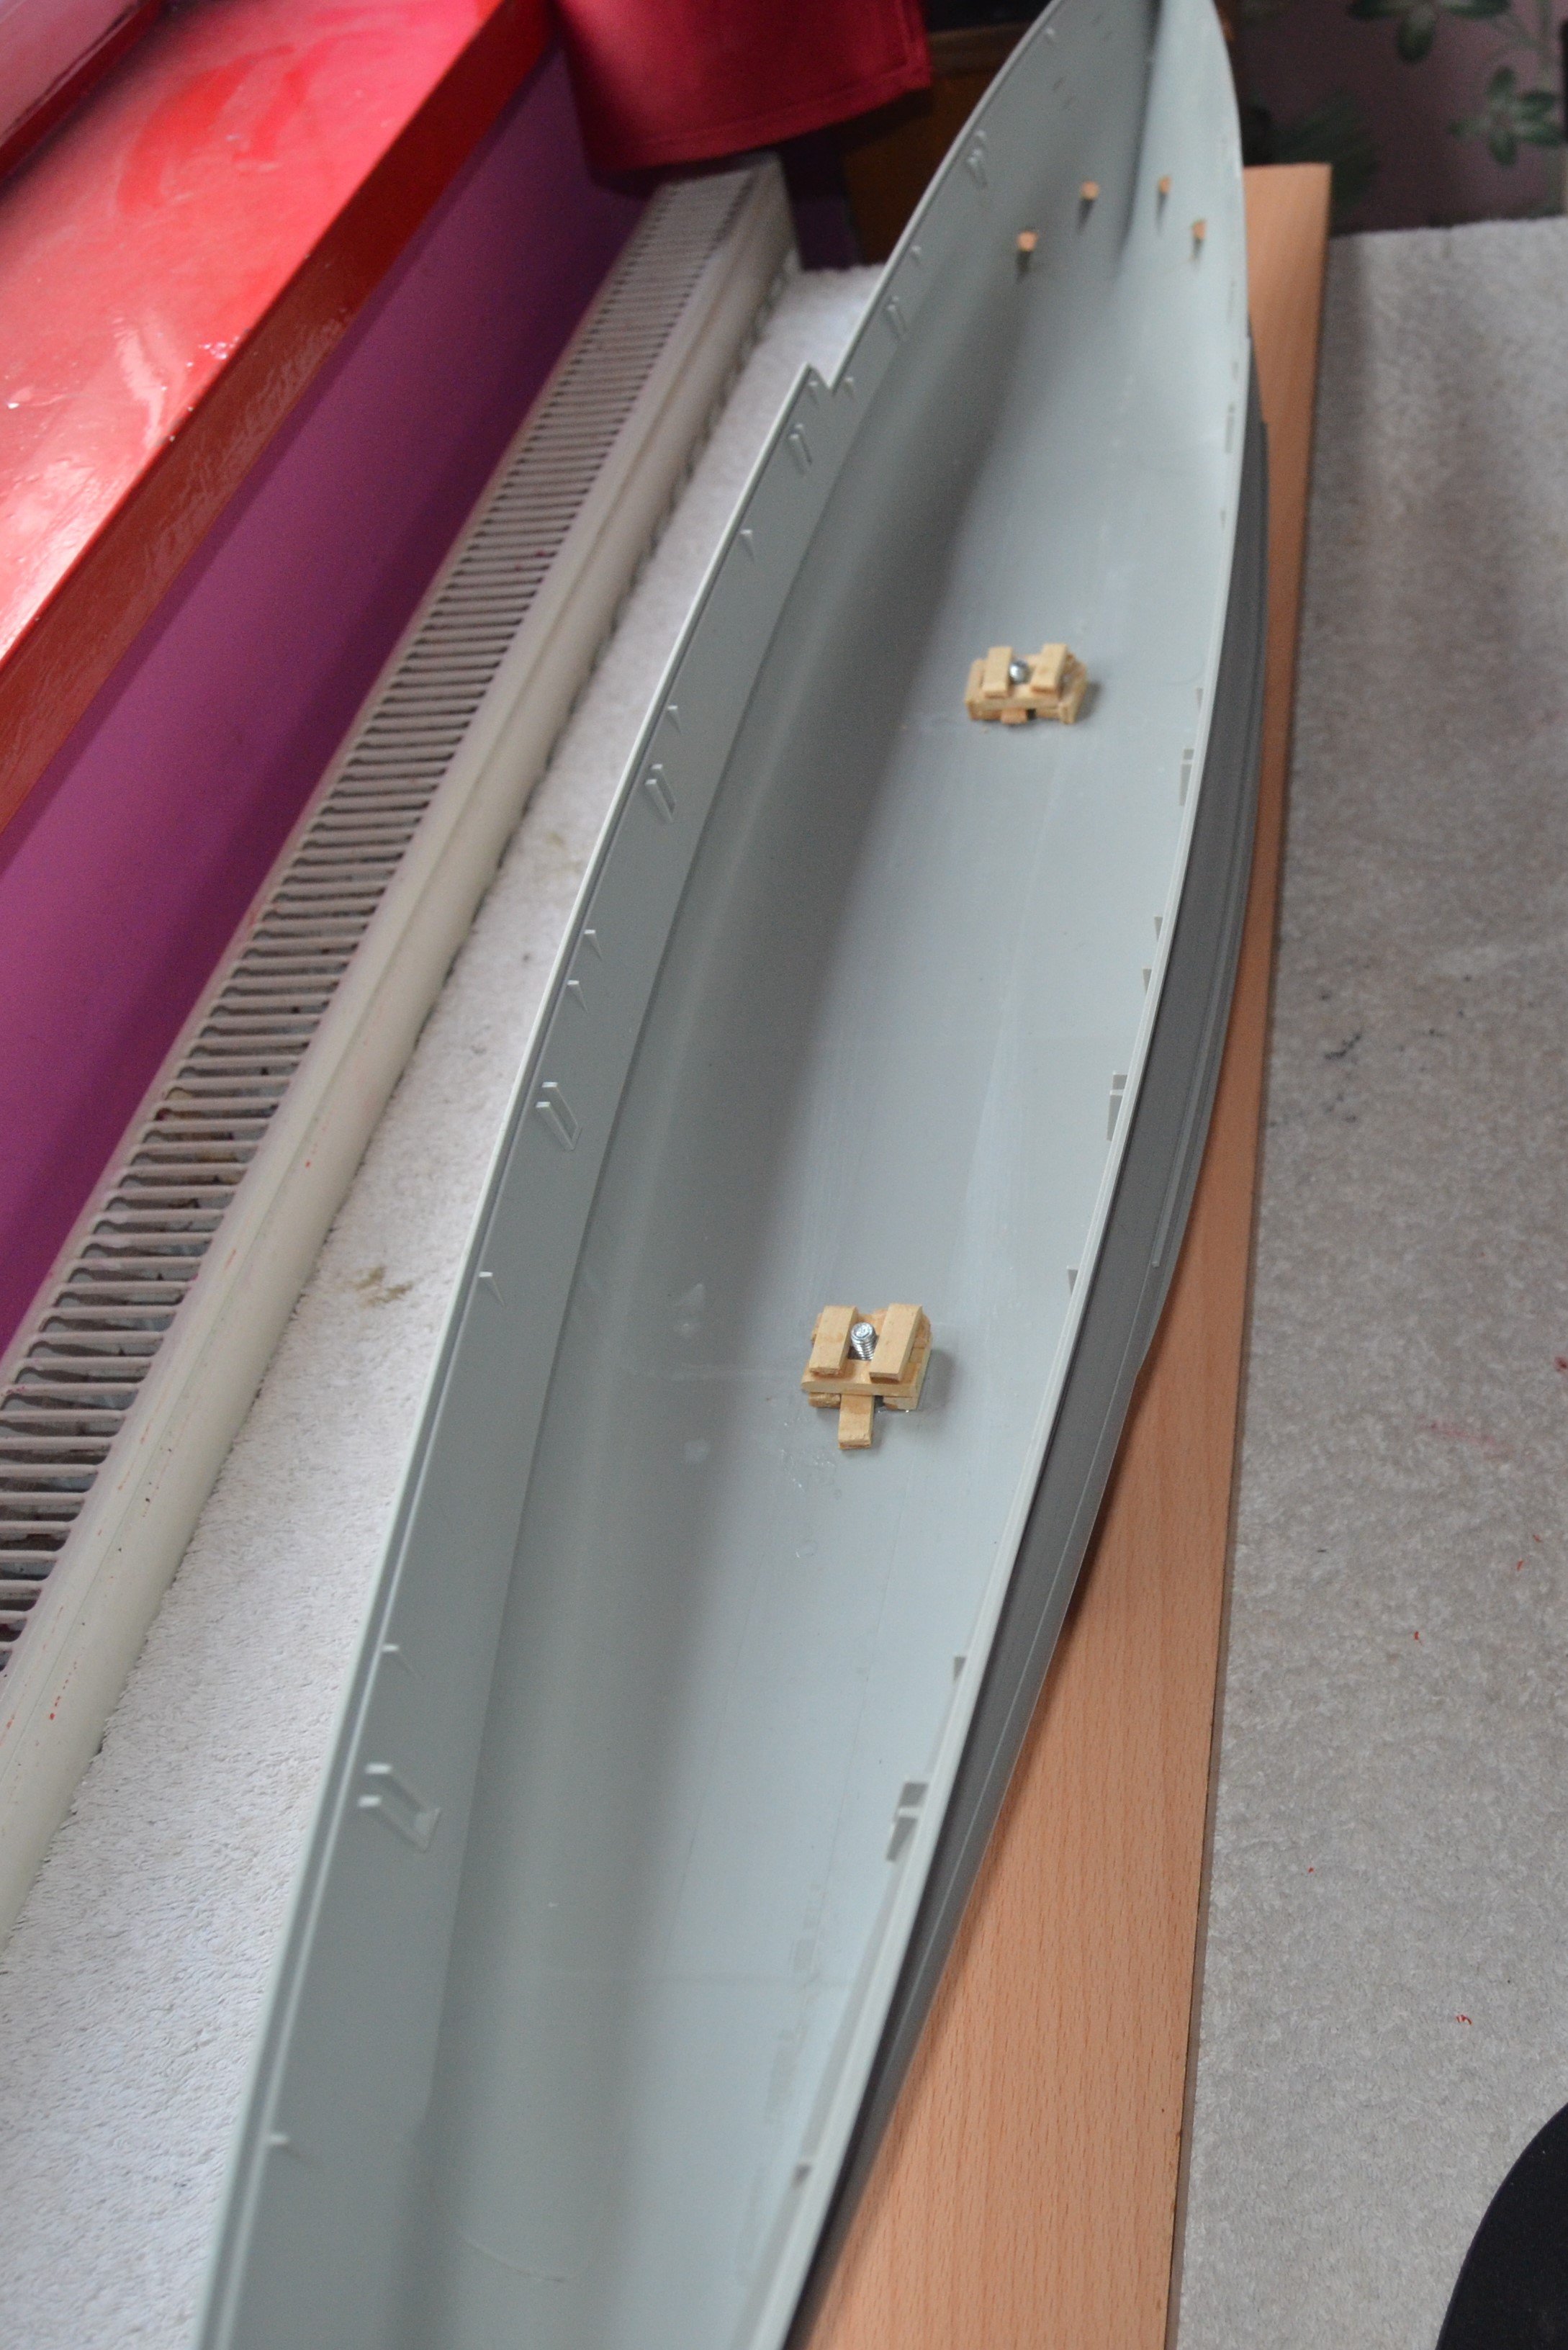
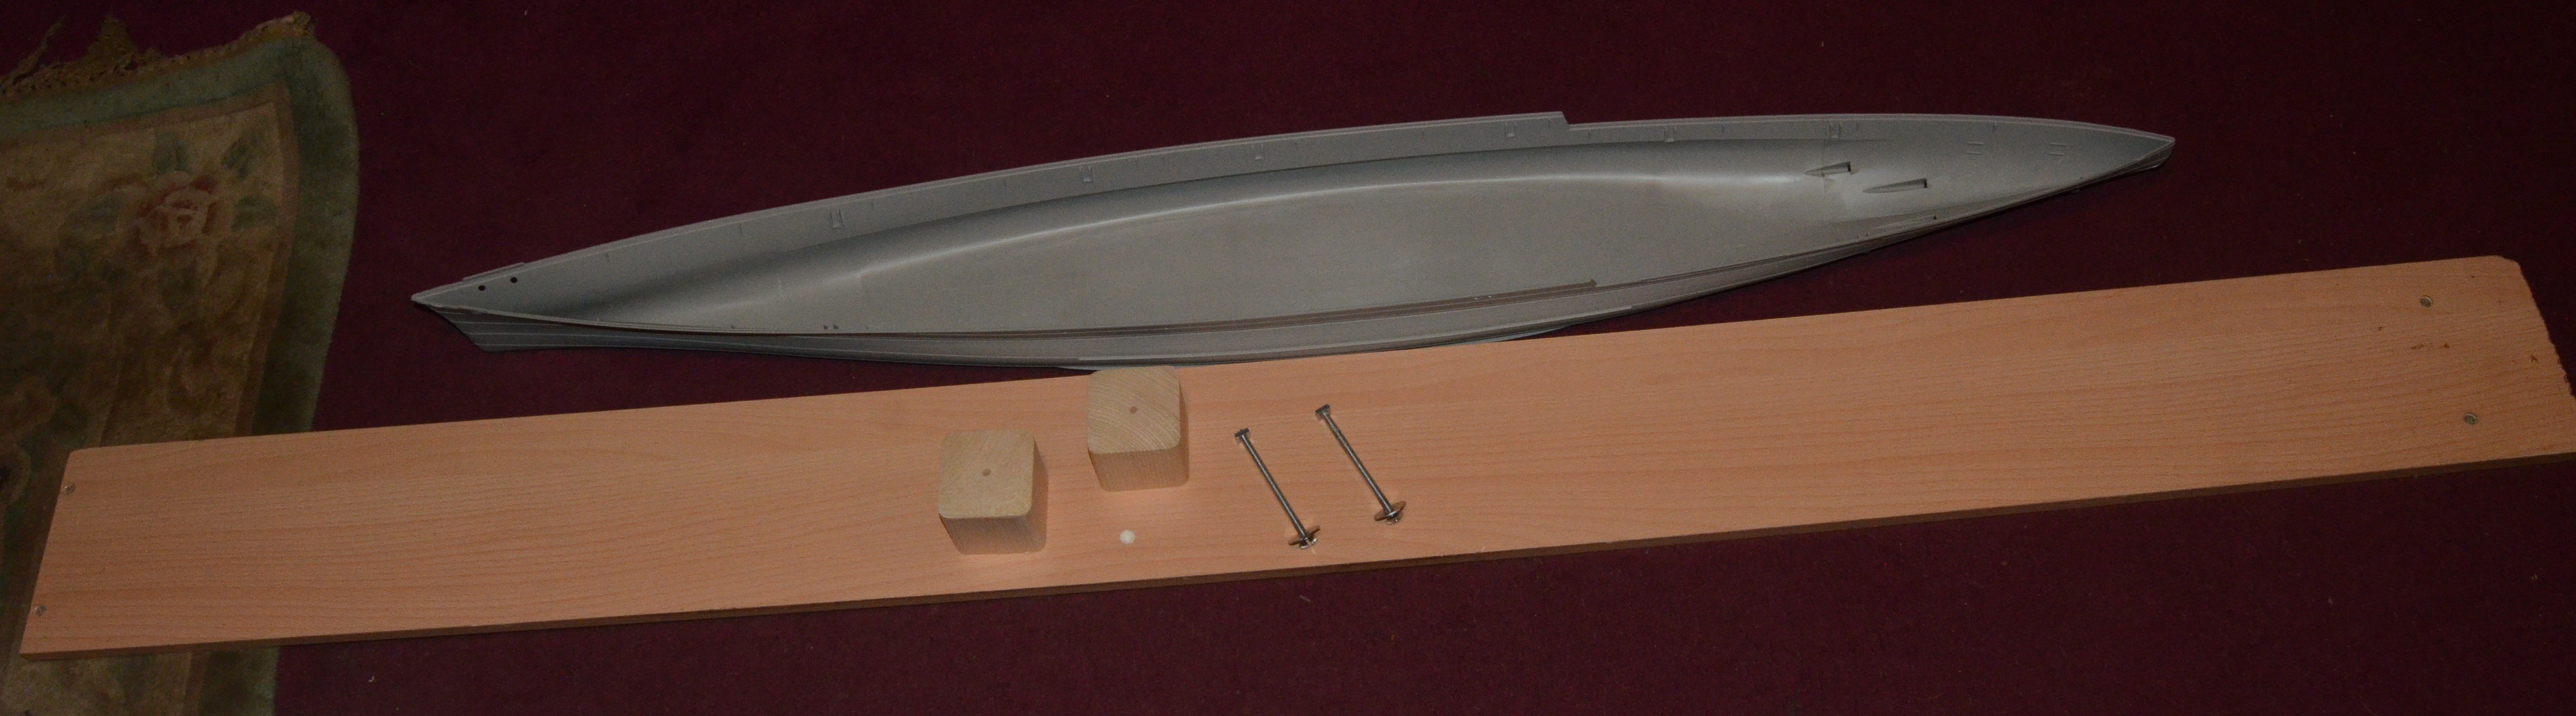
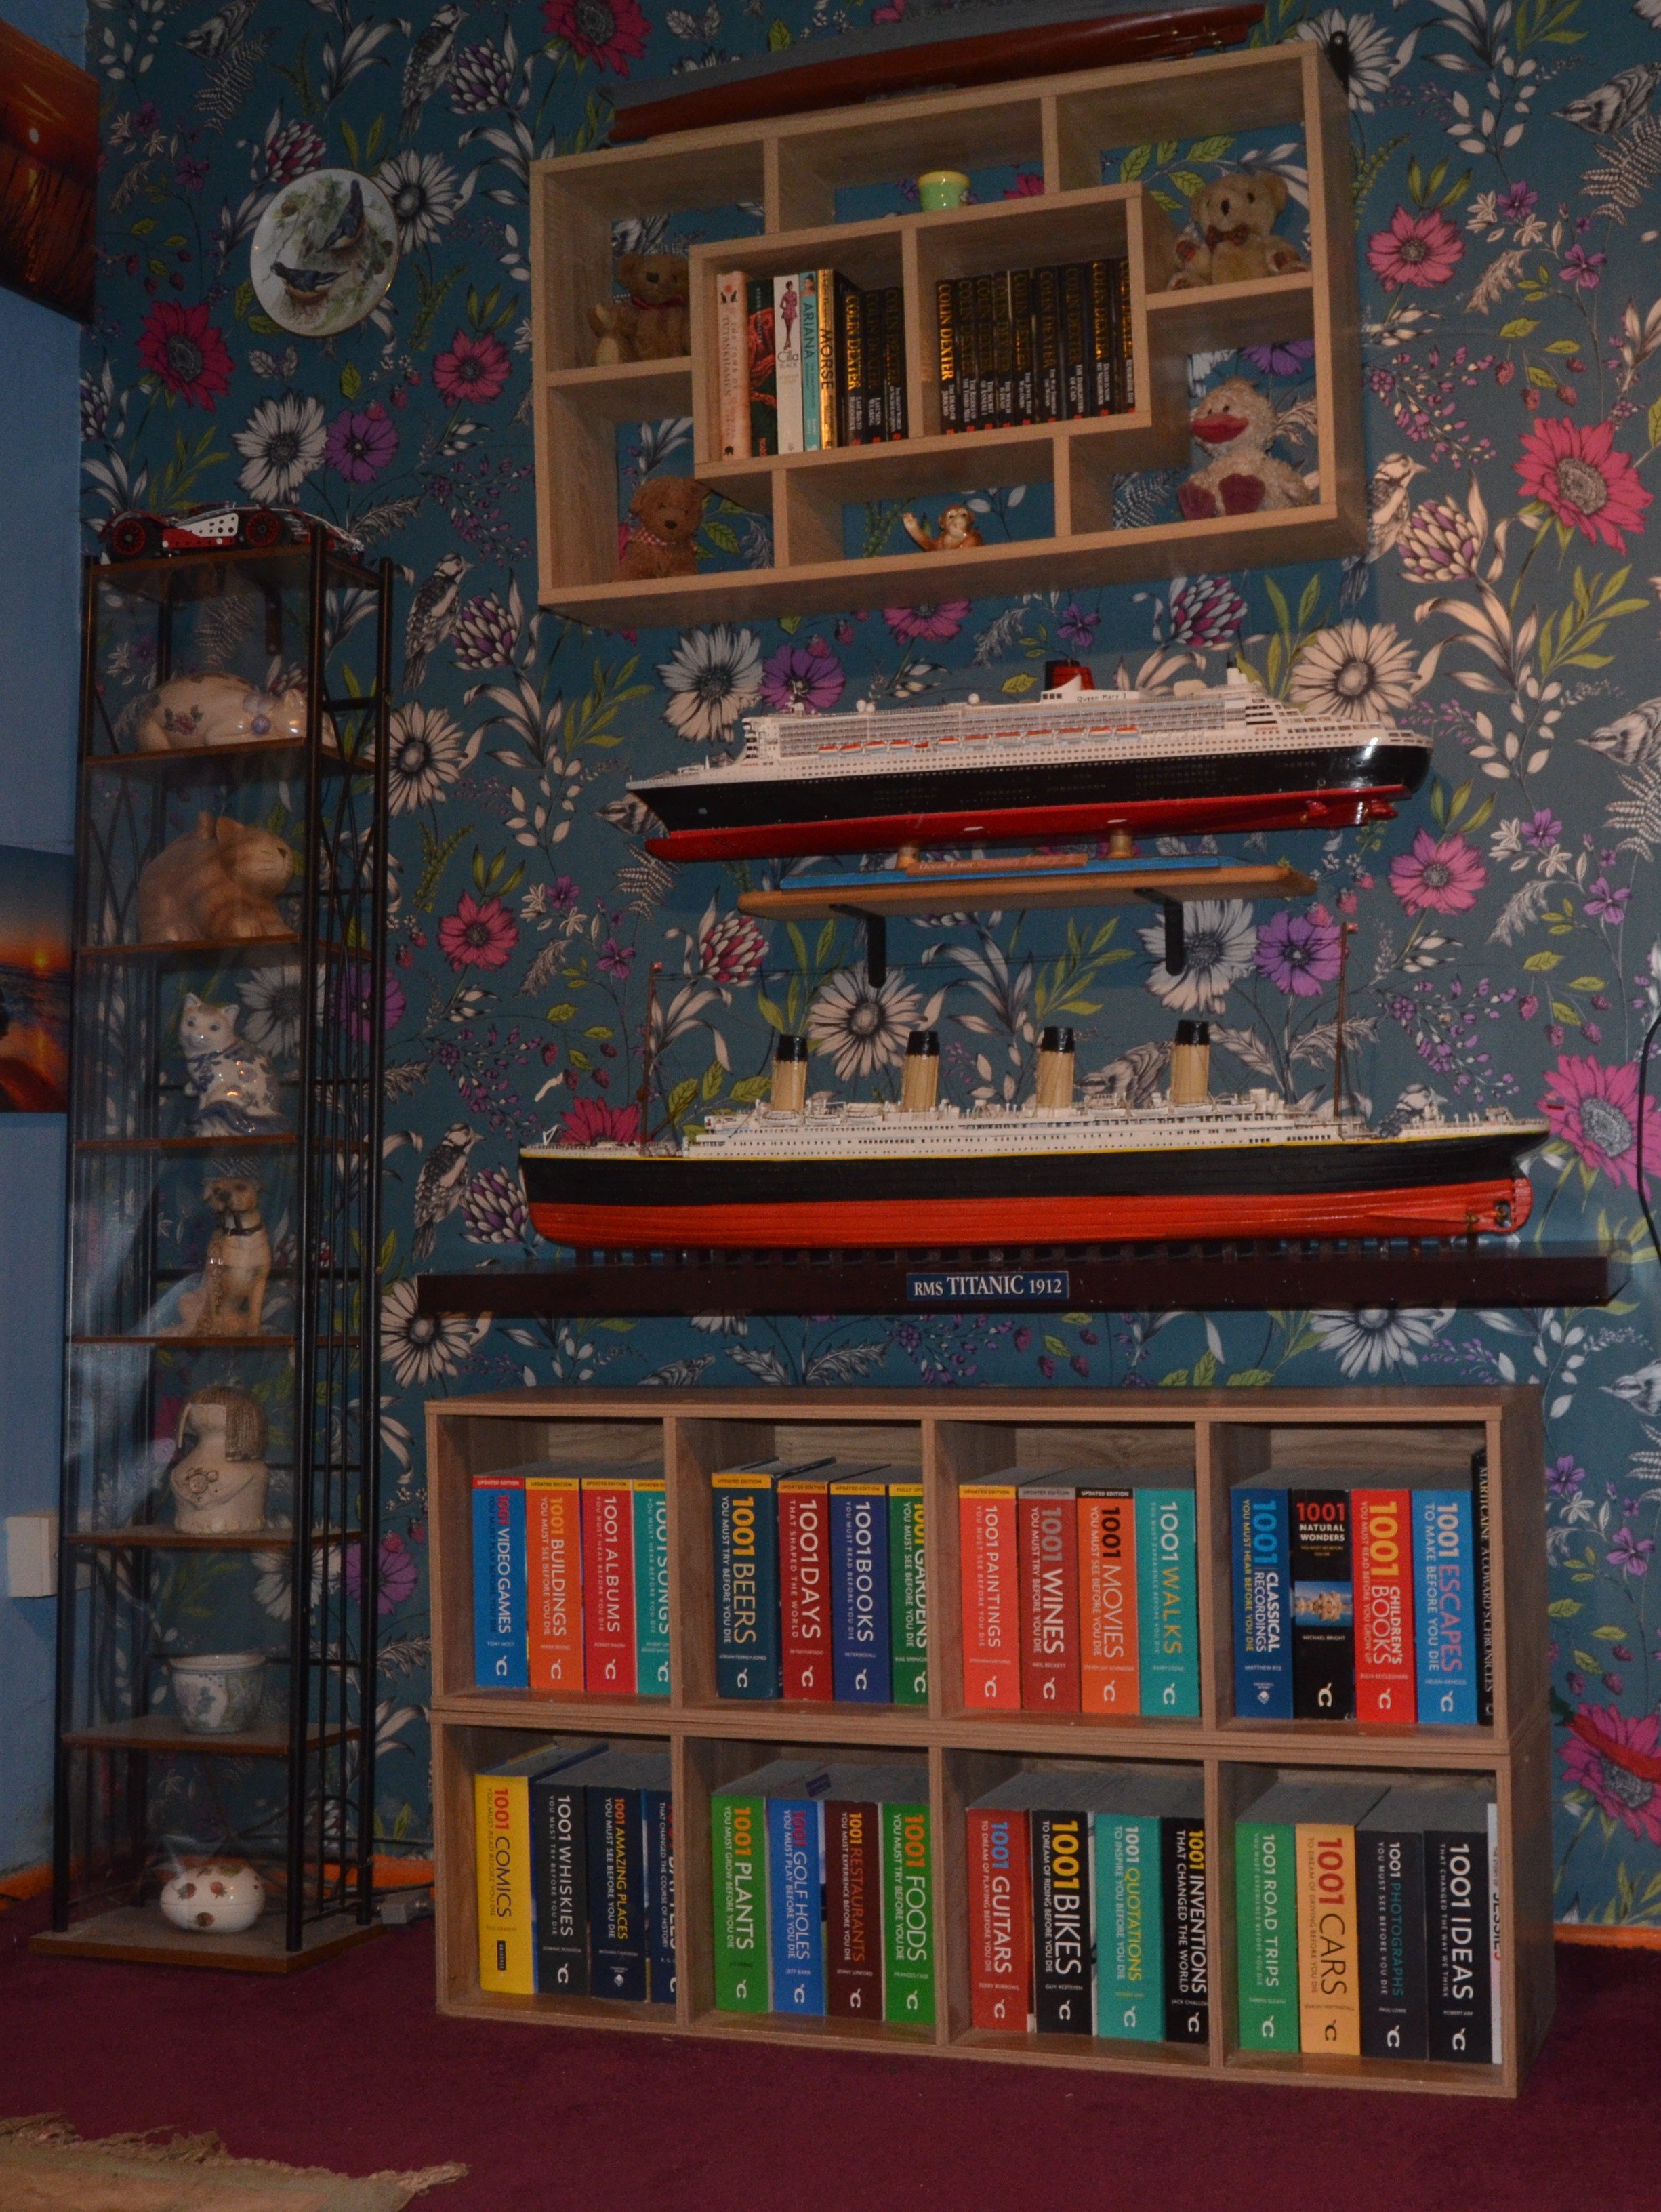
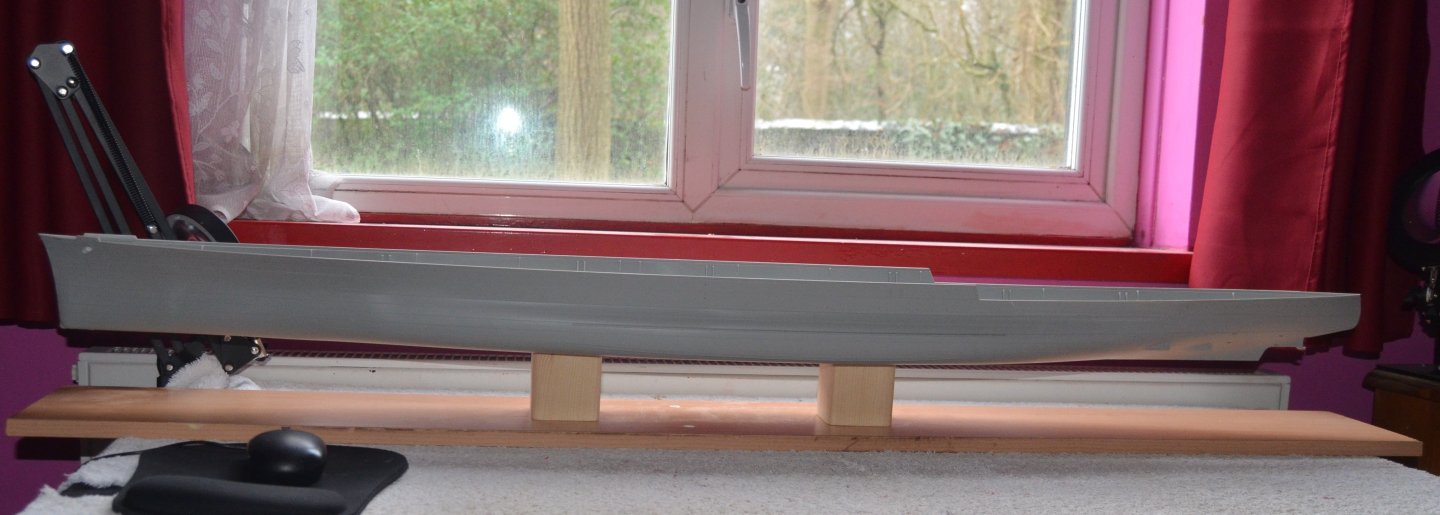
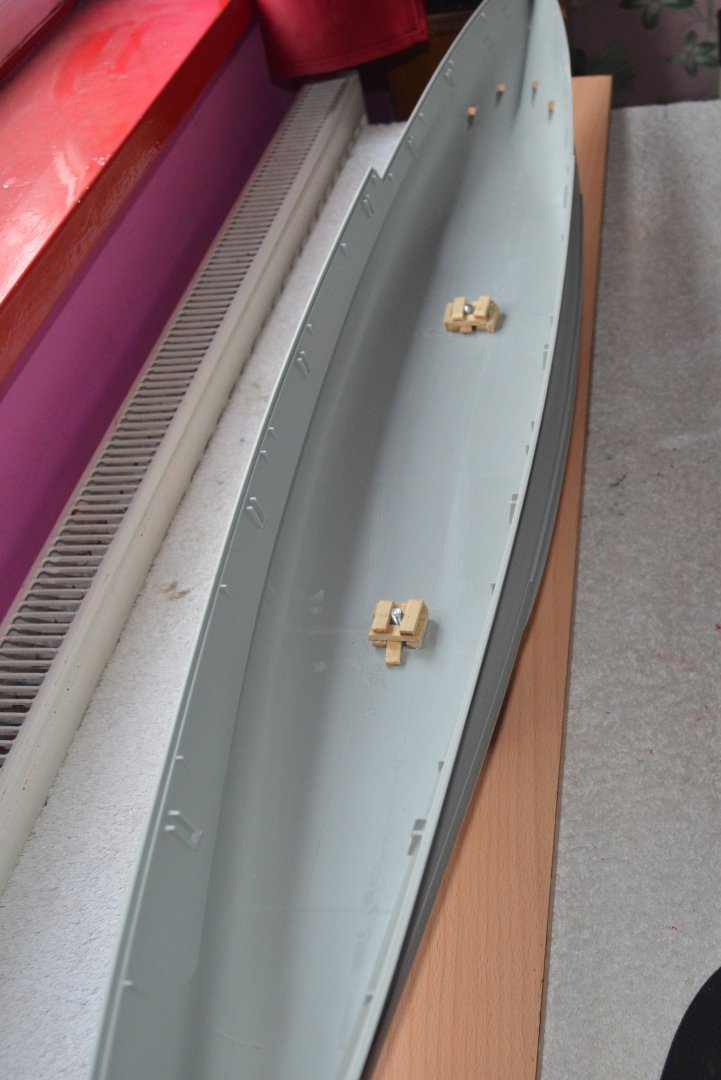
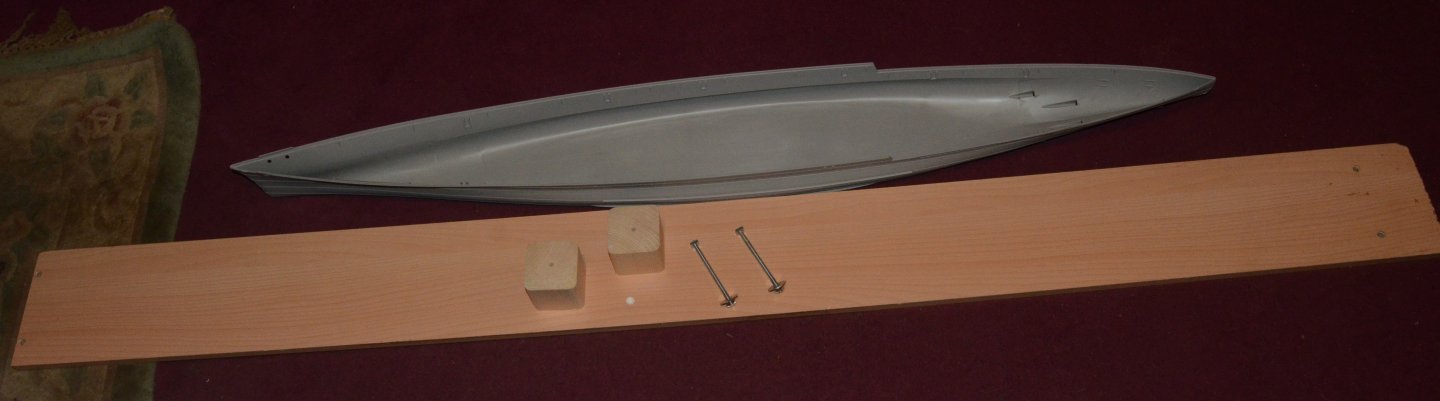
The base board has been built and the model is on the nice big square columns. The nuts are glued in place and I will give it 24 hours for the glue to fully cure. Then the hull will be removed to work on and replaced back on the columns when completed so all the work on the model from the decks up can take place with no need to touch the hull. I have also done a trial run on removing the raised rail going round the hull and it is going to be a long but worthwhile job. it requires a very sharp flat scalpel and a bit of sanding with a very fine sanding stick. Having just spent nearly 2 years 10 months building Titanic and Queen Mary 2 I think I might treat myself to a week of no modelling to wind down and come at this project fresh. I know being retired means I am on constant holiday. But I reckon you need a break every so often. It will also allow me to do a bit more research and decide on how to do the various alterations to the model. Forgive the dog hairs in the picture. They get everywhere. I have to ban her from the work area once I start painting.

- 97 replies
-
- 10
-
-
Yes I've watched all of his videos. That's where I picked up a lot of tips I am using. And will dip in and out of his build every so often. His painting guide is excellent. And it is one of the guides that they recommend on the HMS Hood web site. The deck is pretty much glued on solid. I tried to lift it but it was starting to split. So I may stick with them as it would look out of place with only one fitted. Its hard to plain off the planking on the deck to fit the MK1 deck as none of the boxes and such are replaced as they are with the Pontos kit.
-
Thanks,it is quite an undertaking. Yes, I have seen that review. As they point out such a shame Trumpeter didn't liaise with them . It could been an even better kit. But at least the alterations needed seem straight foreword. Paul
-
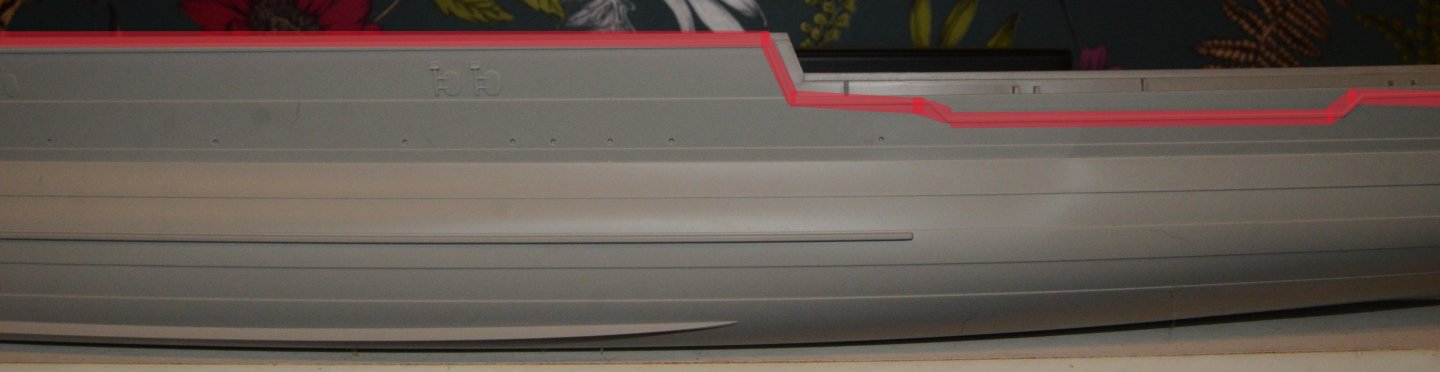
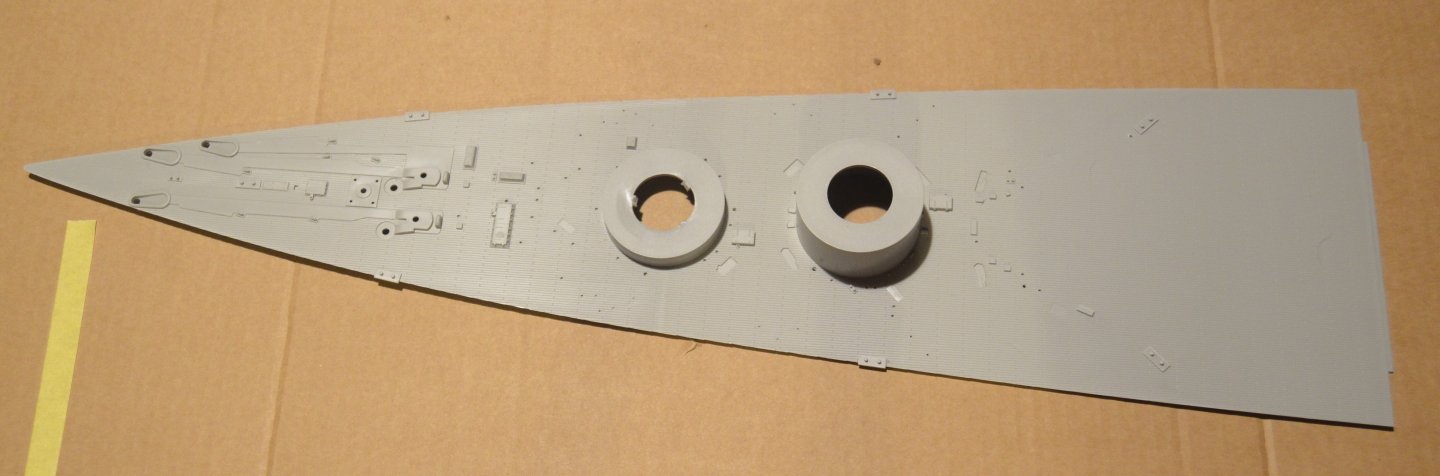
The first job is the degaussing cable. The area marked needs to be removed. Have to be very careful not to take to much off as the hull above the marked area has to stay. this is a case of taking my time to make a good job of this part of the build.
-
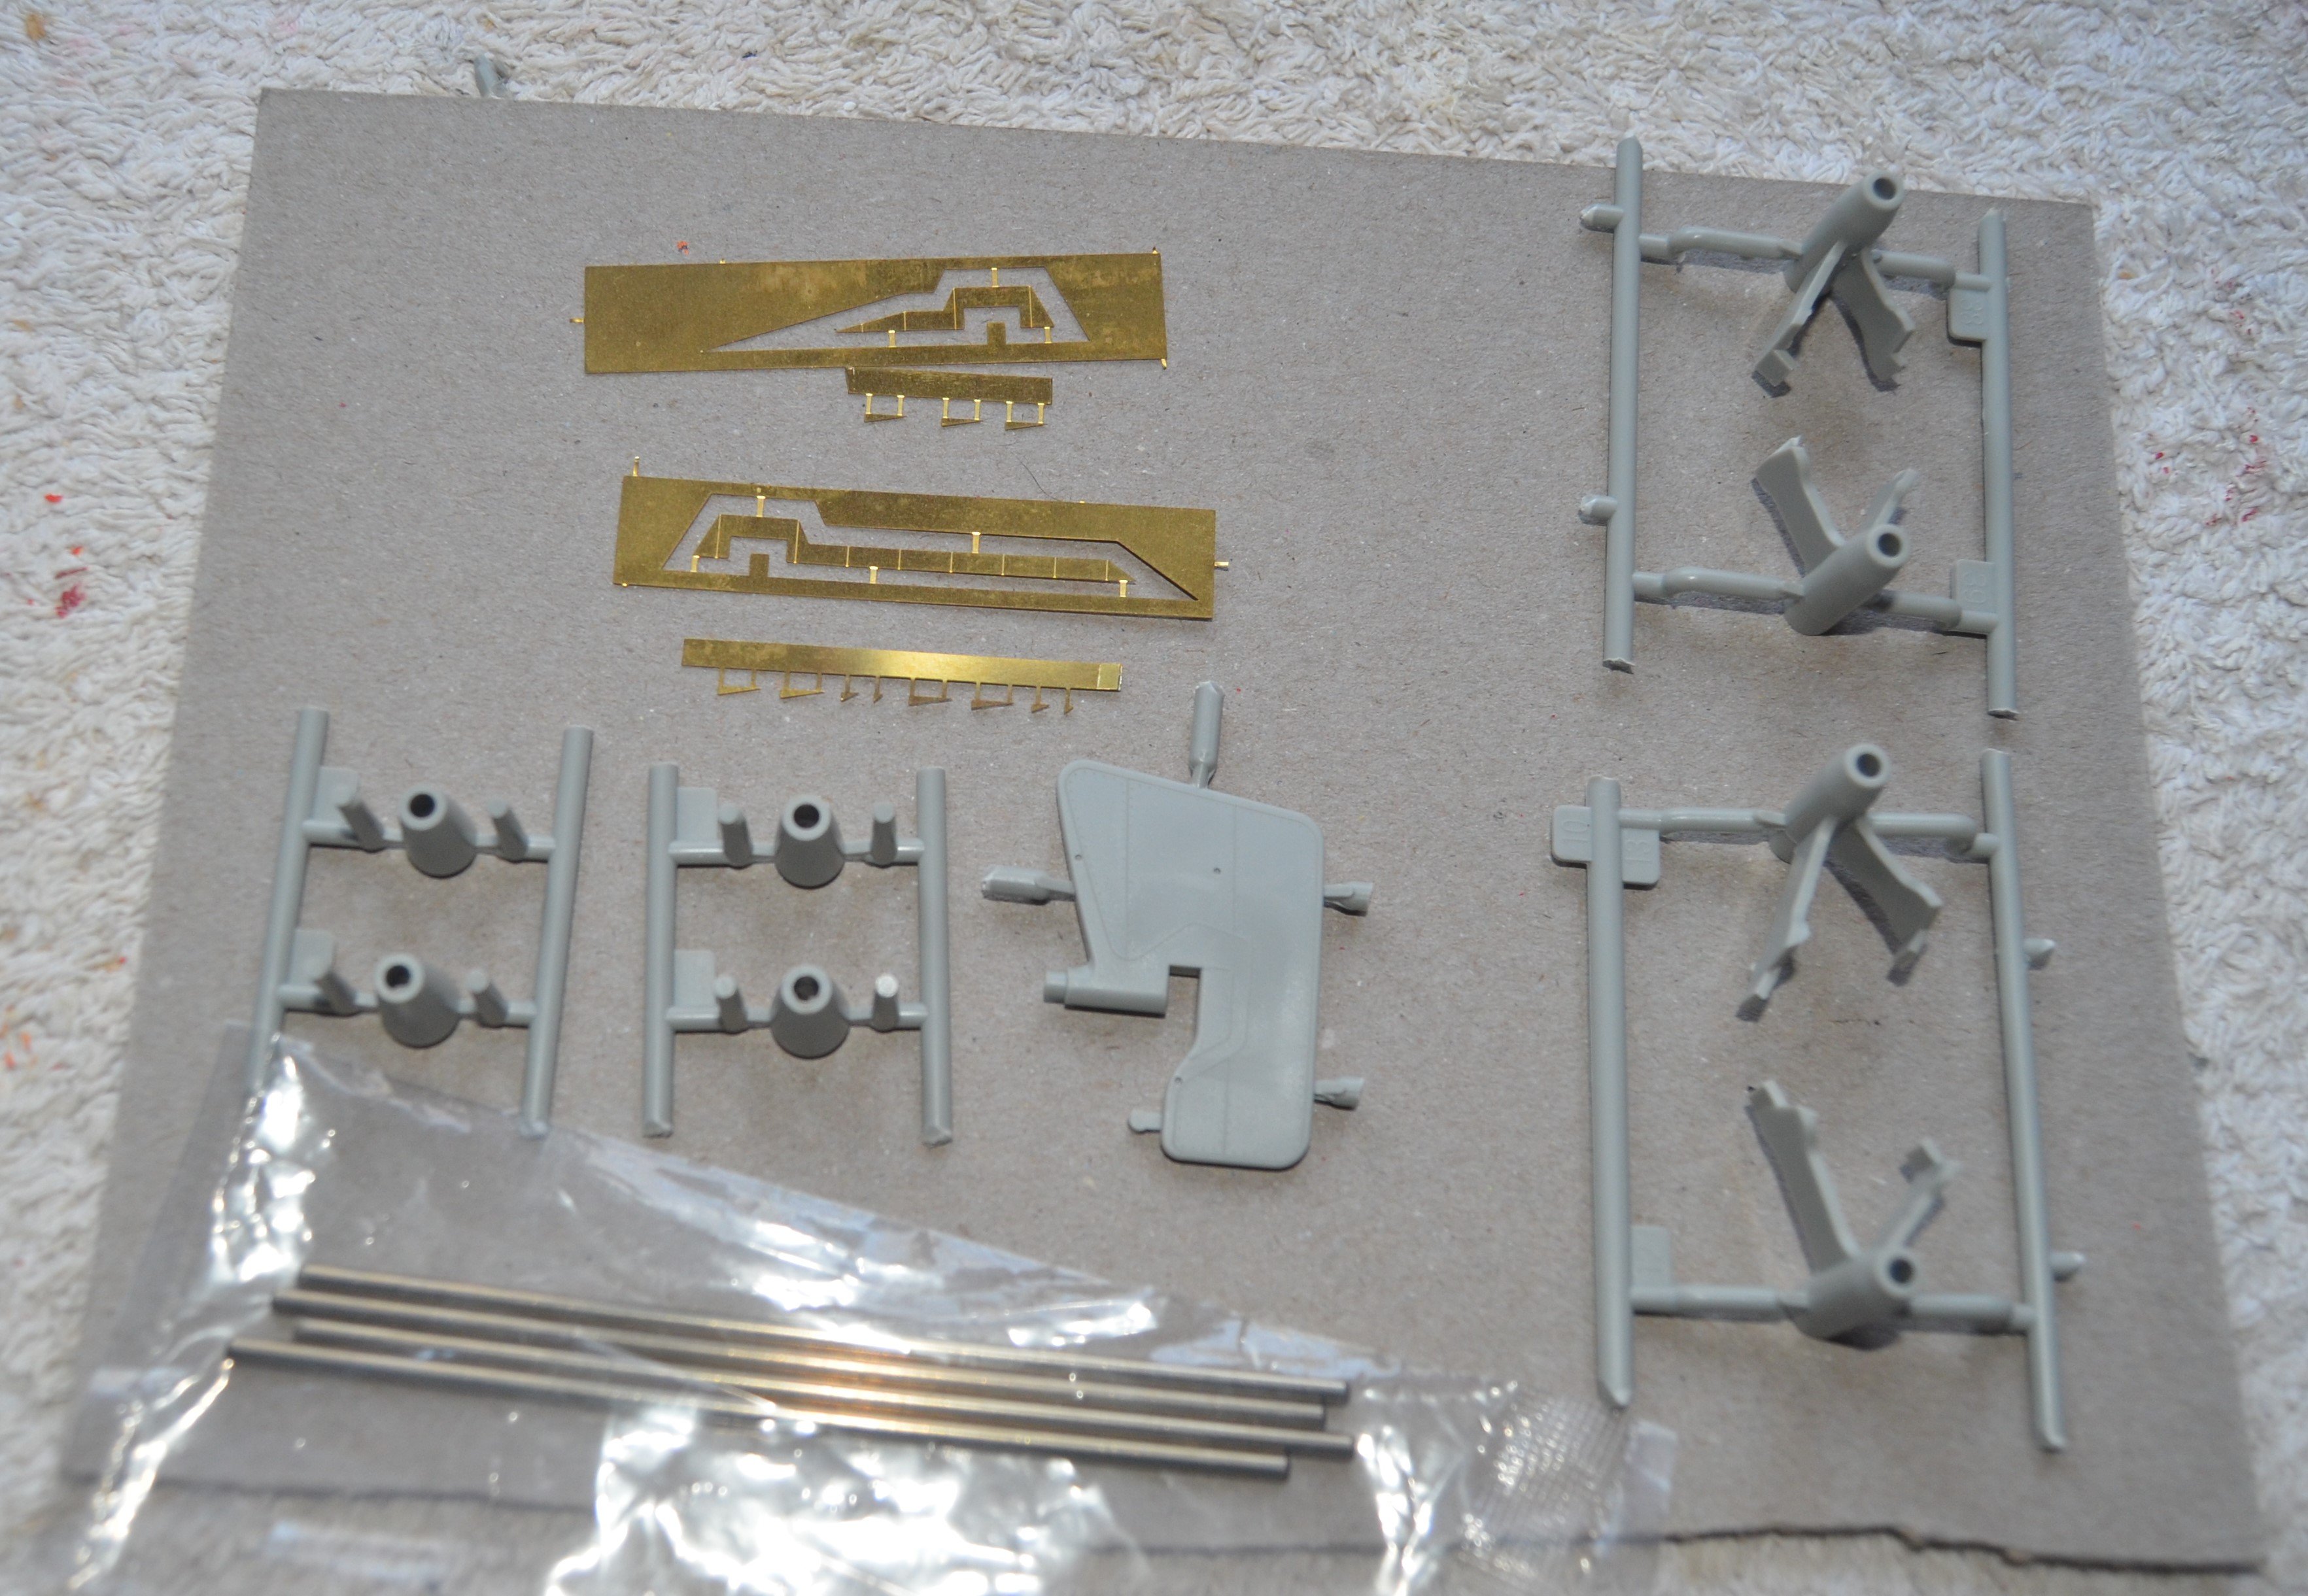
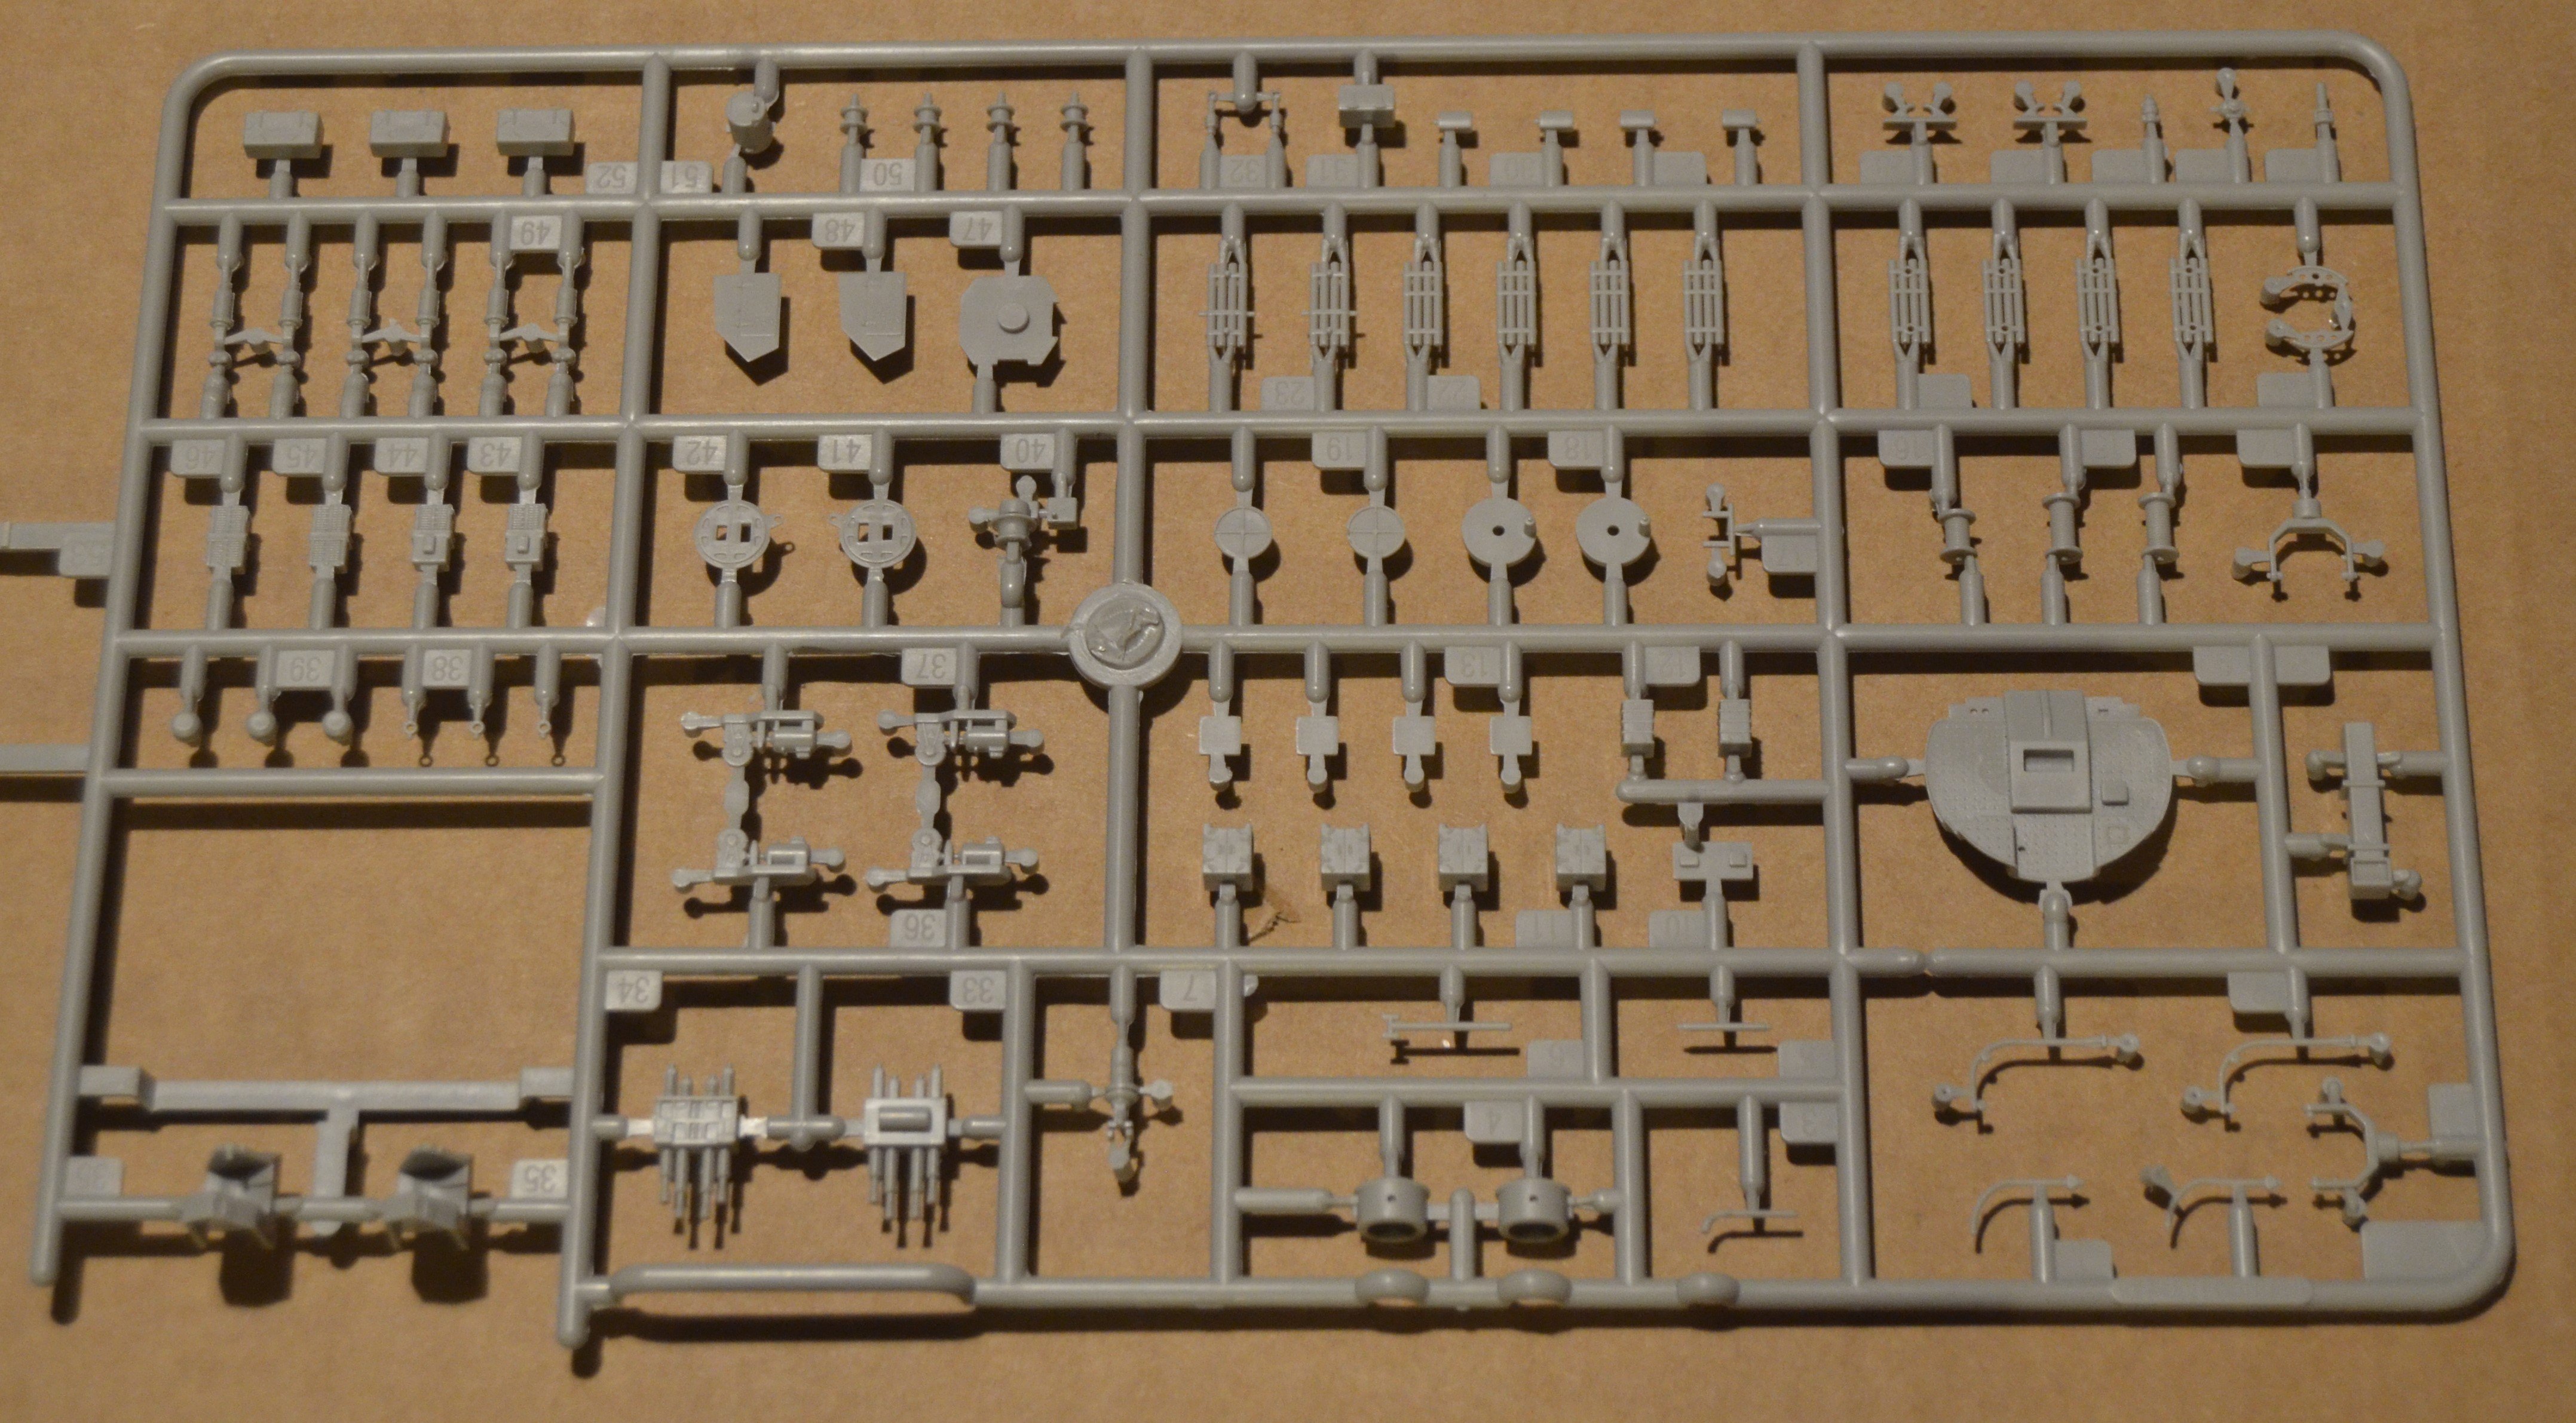
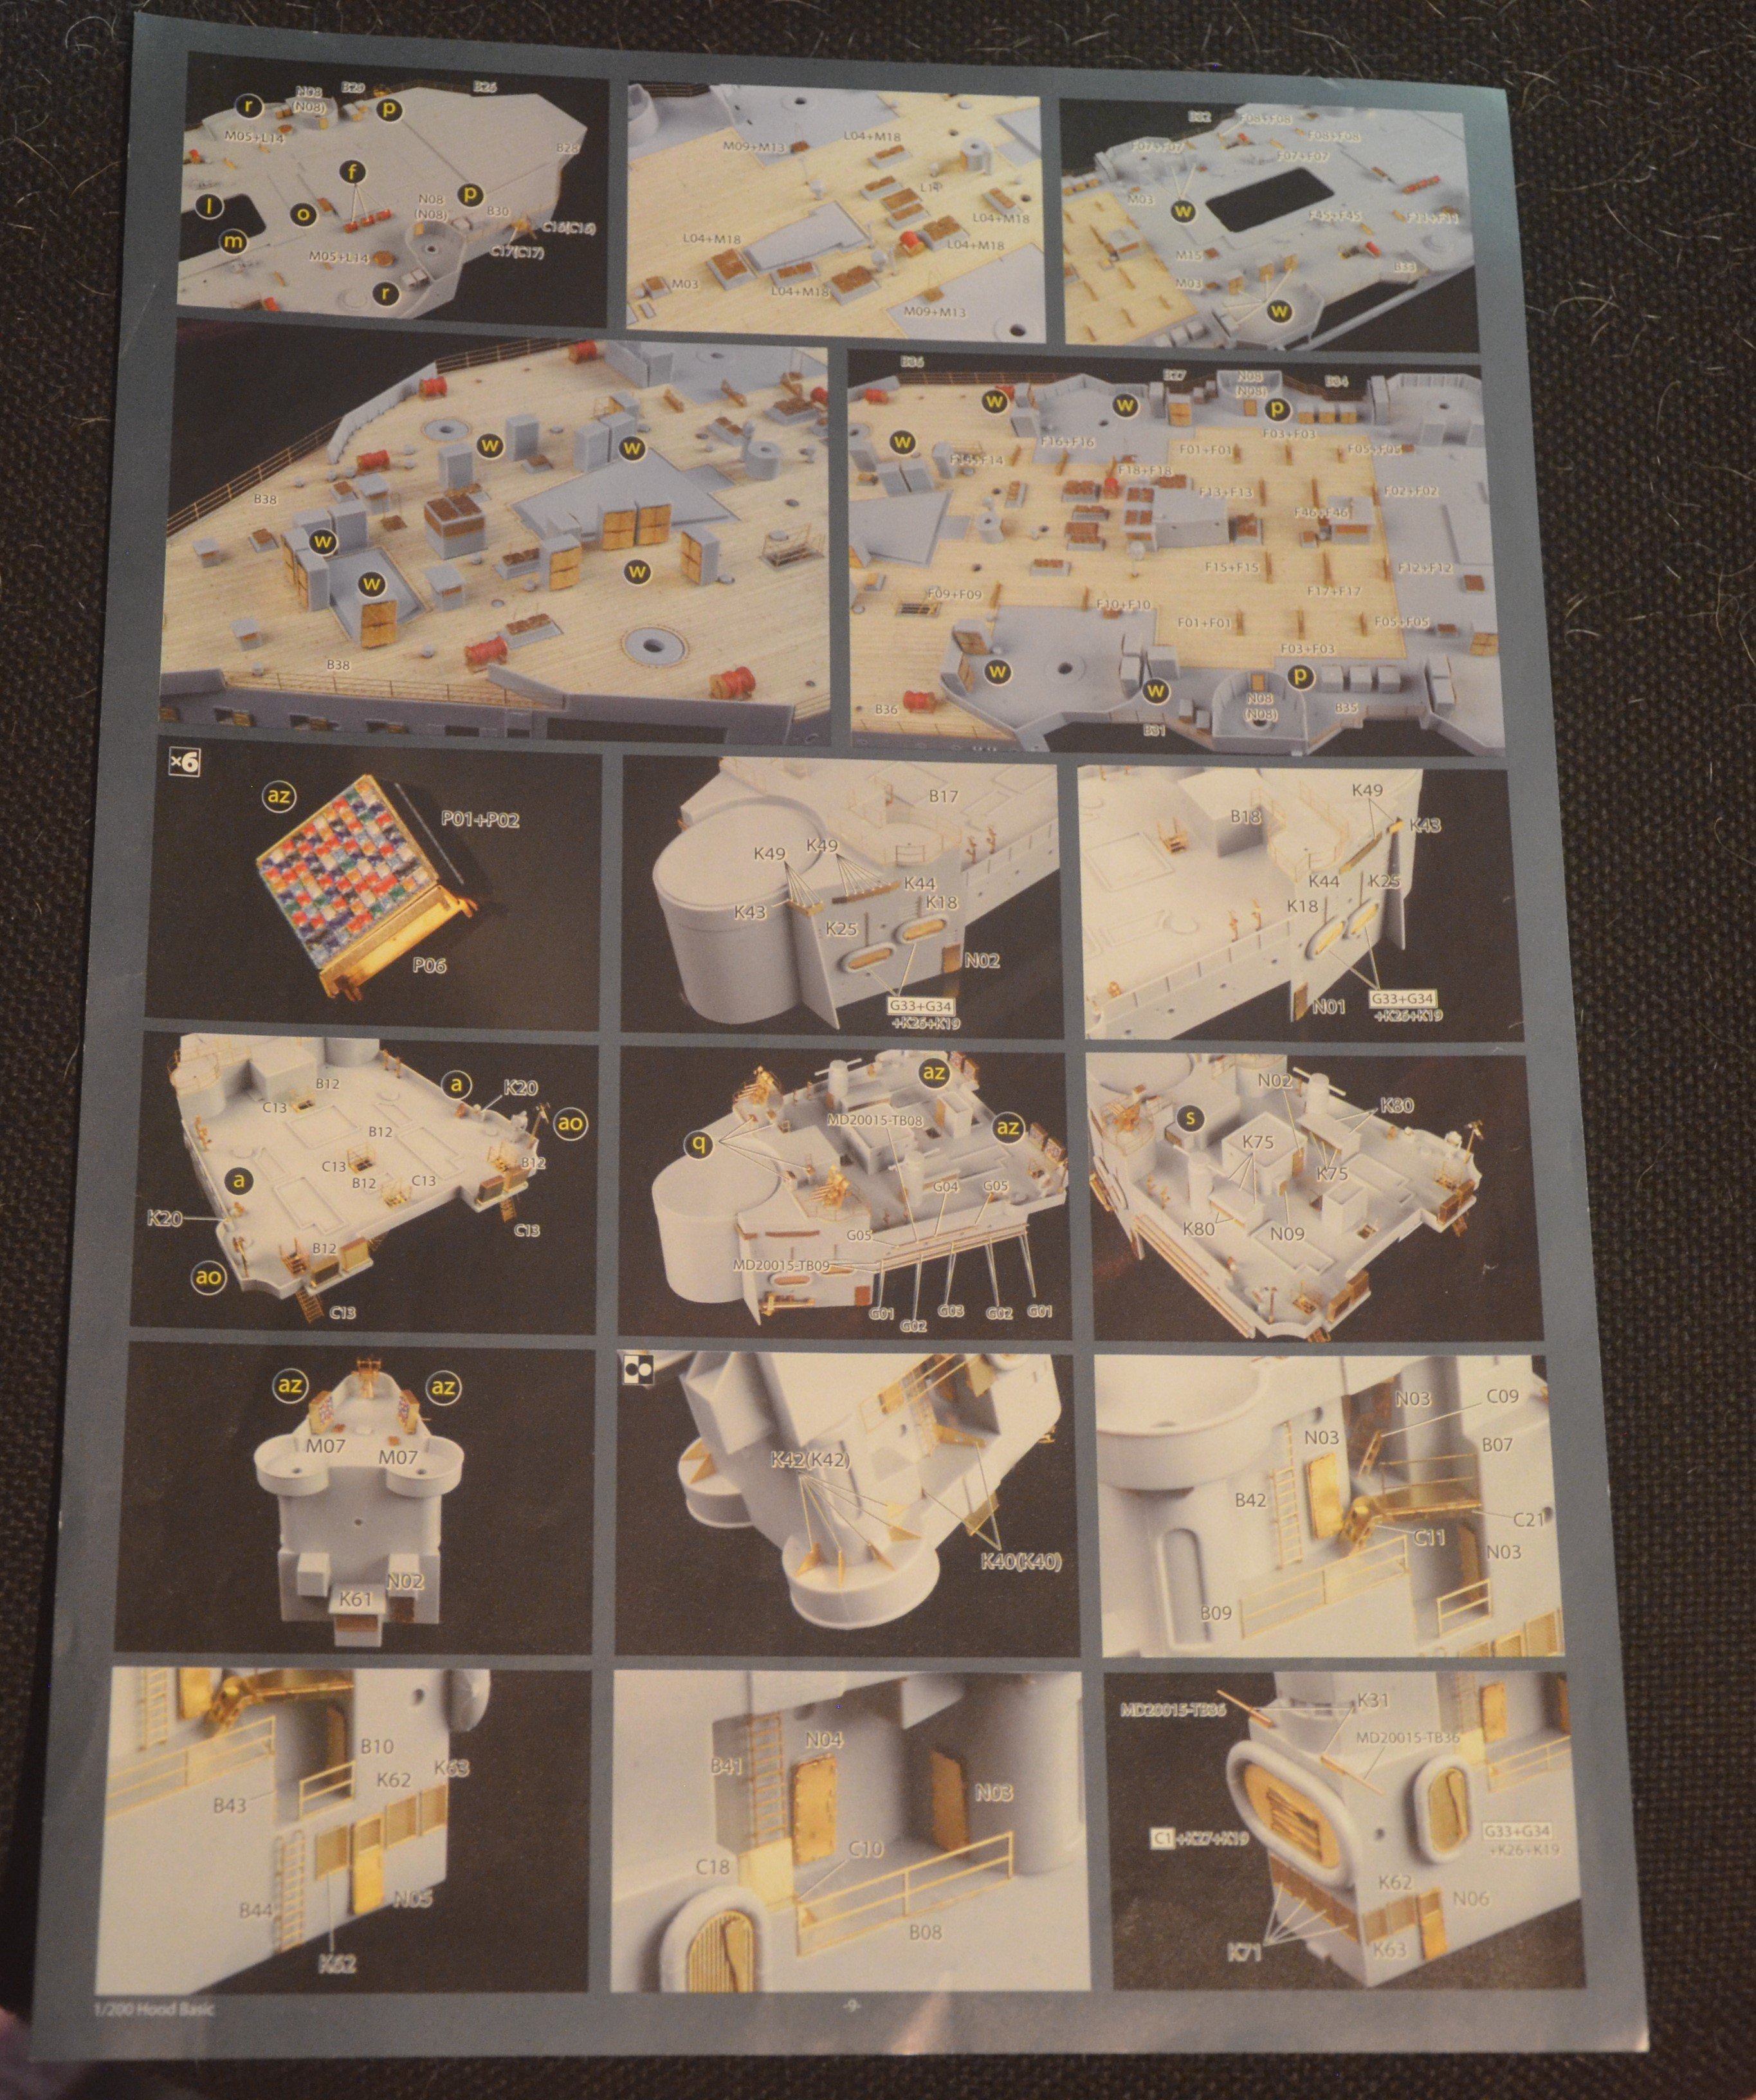
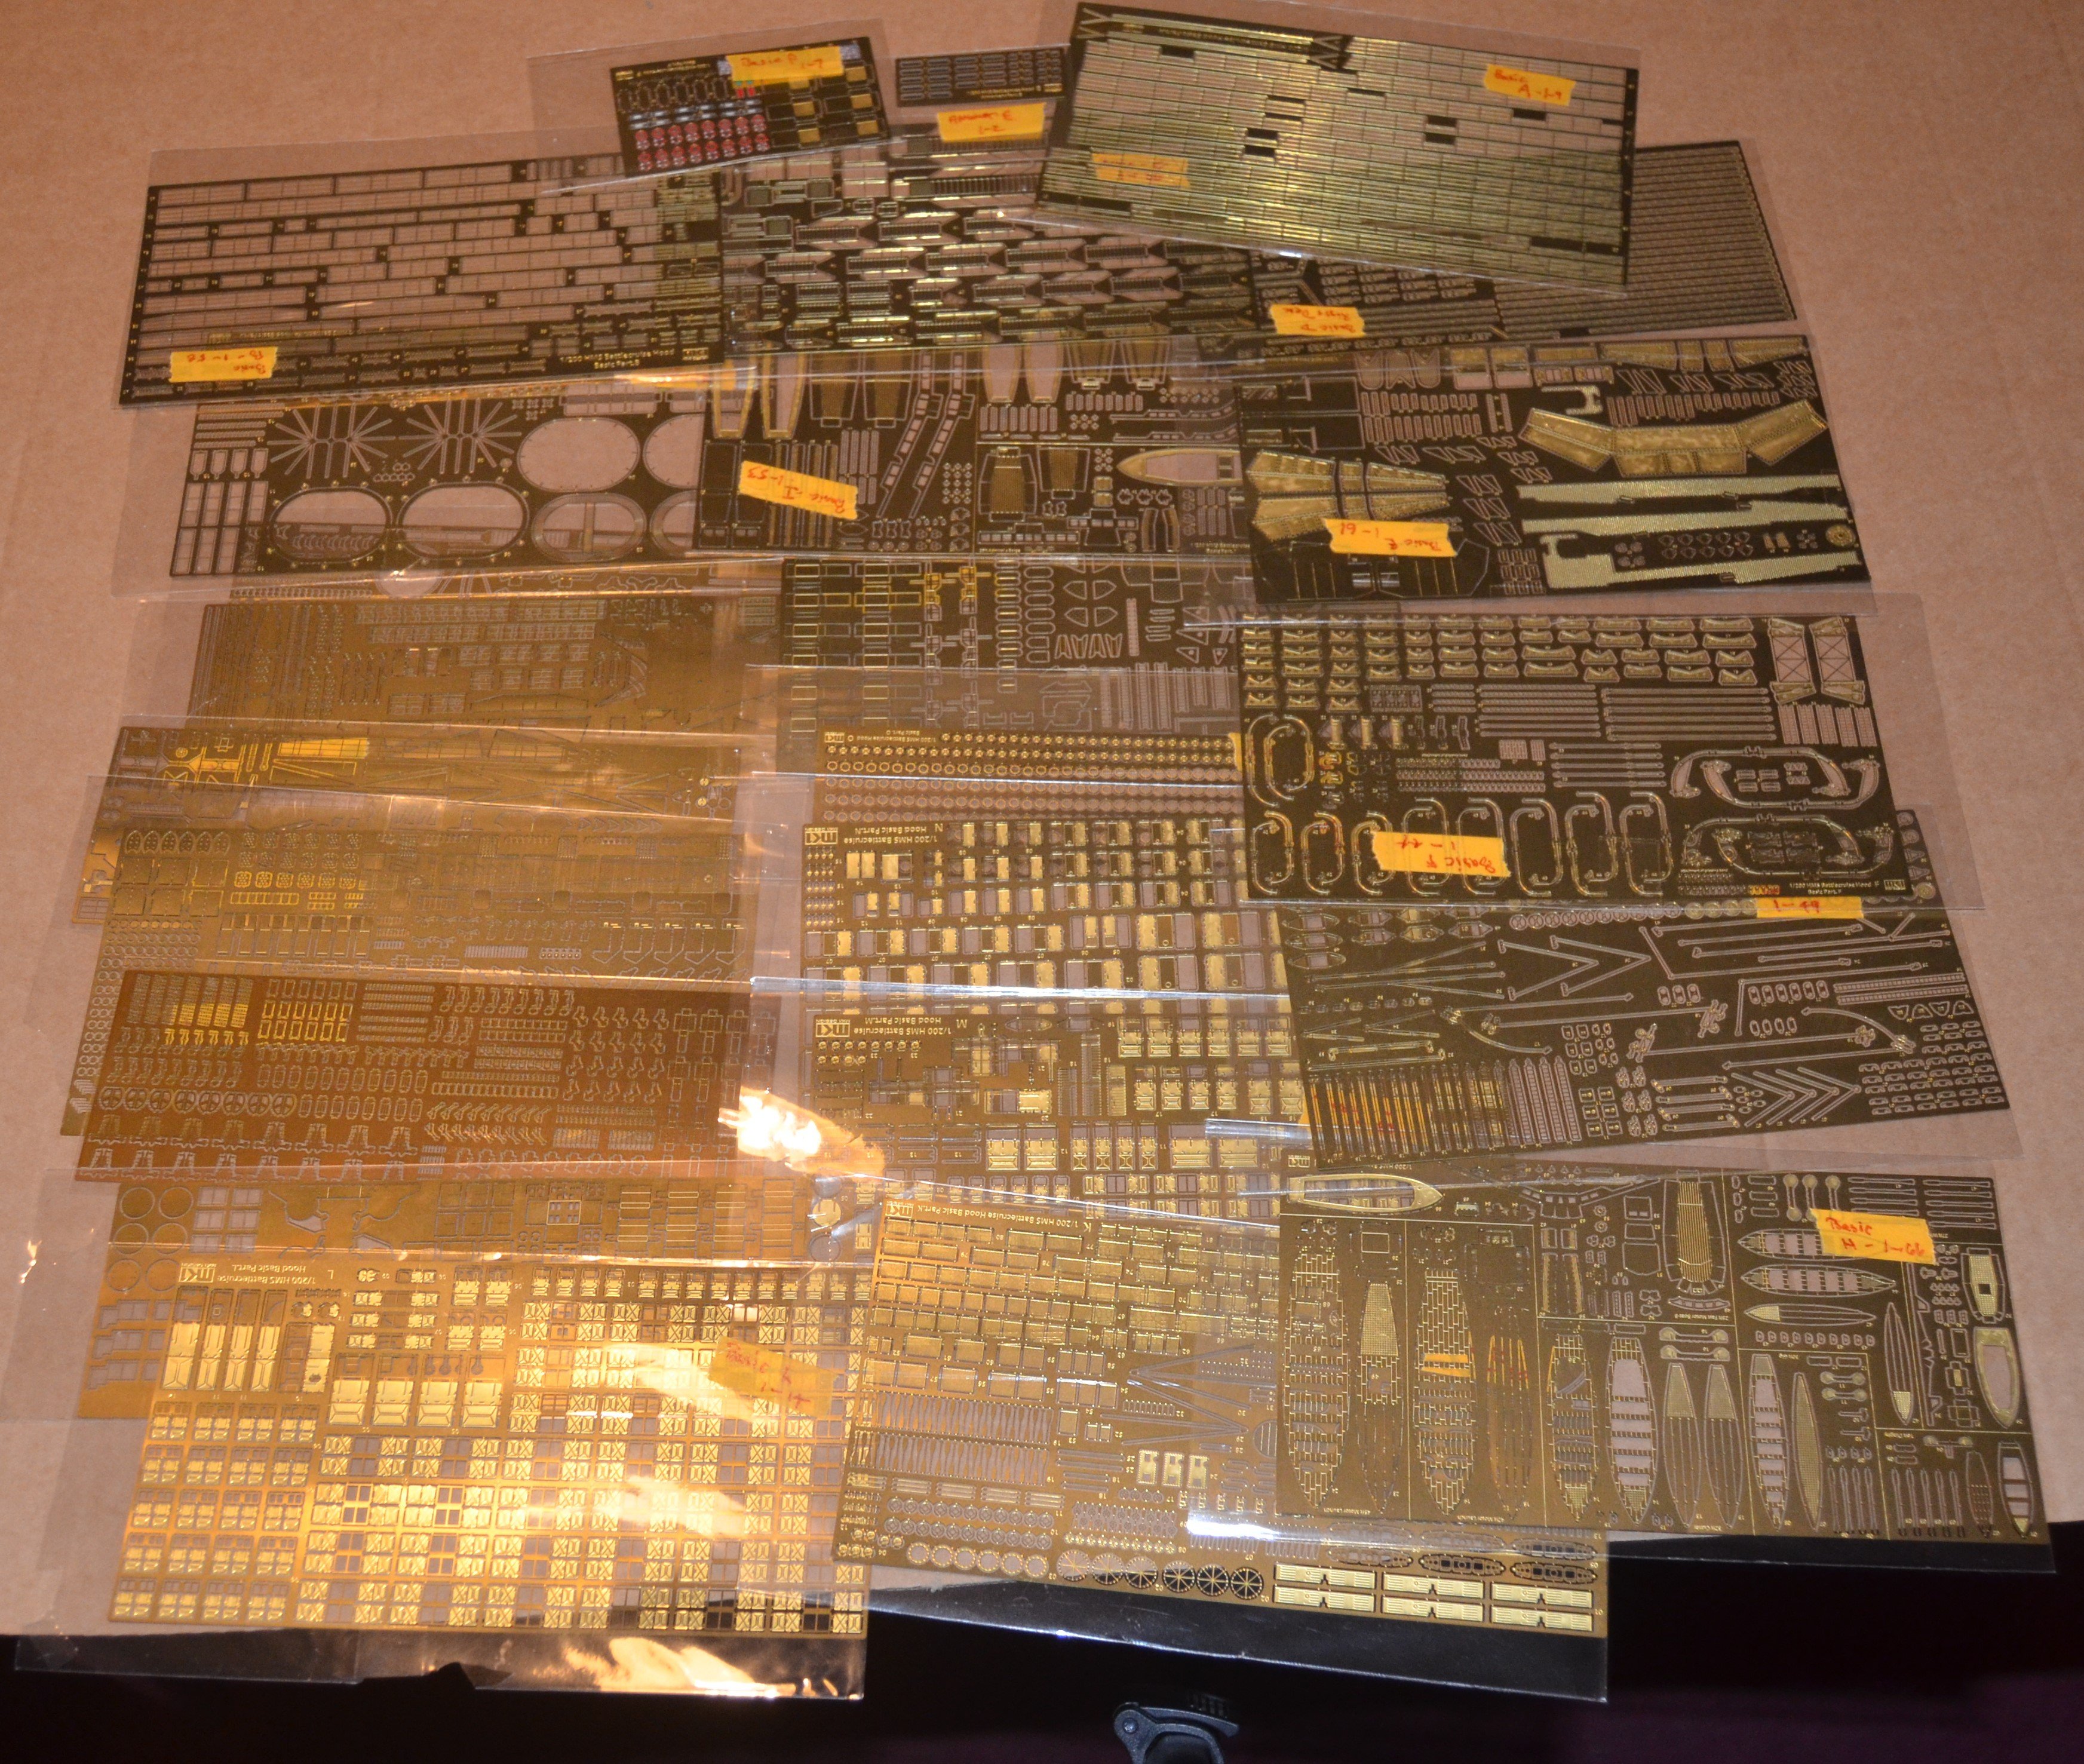
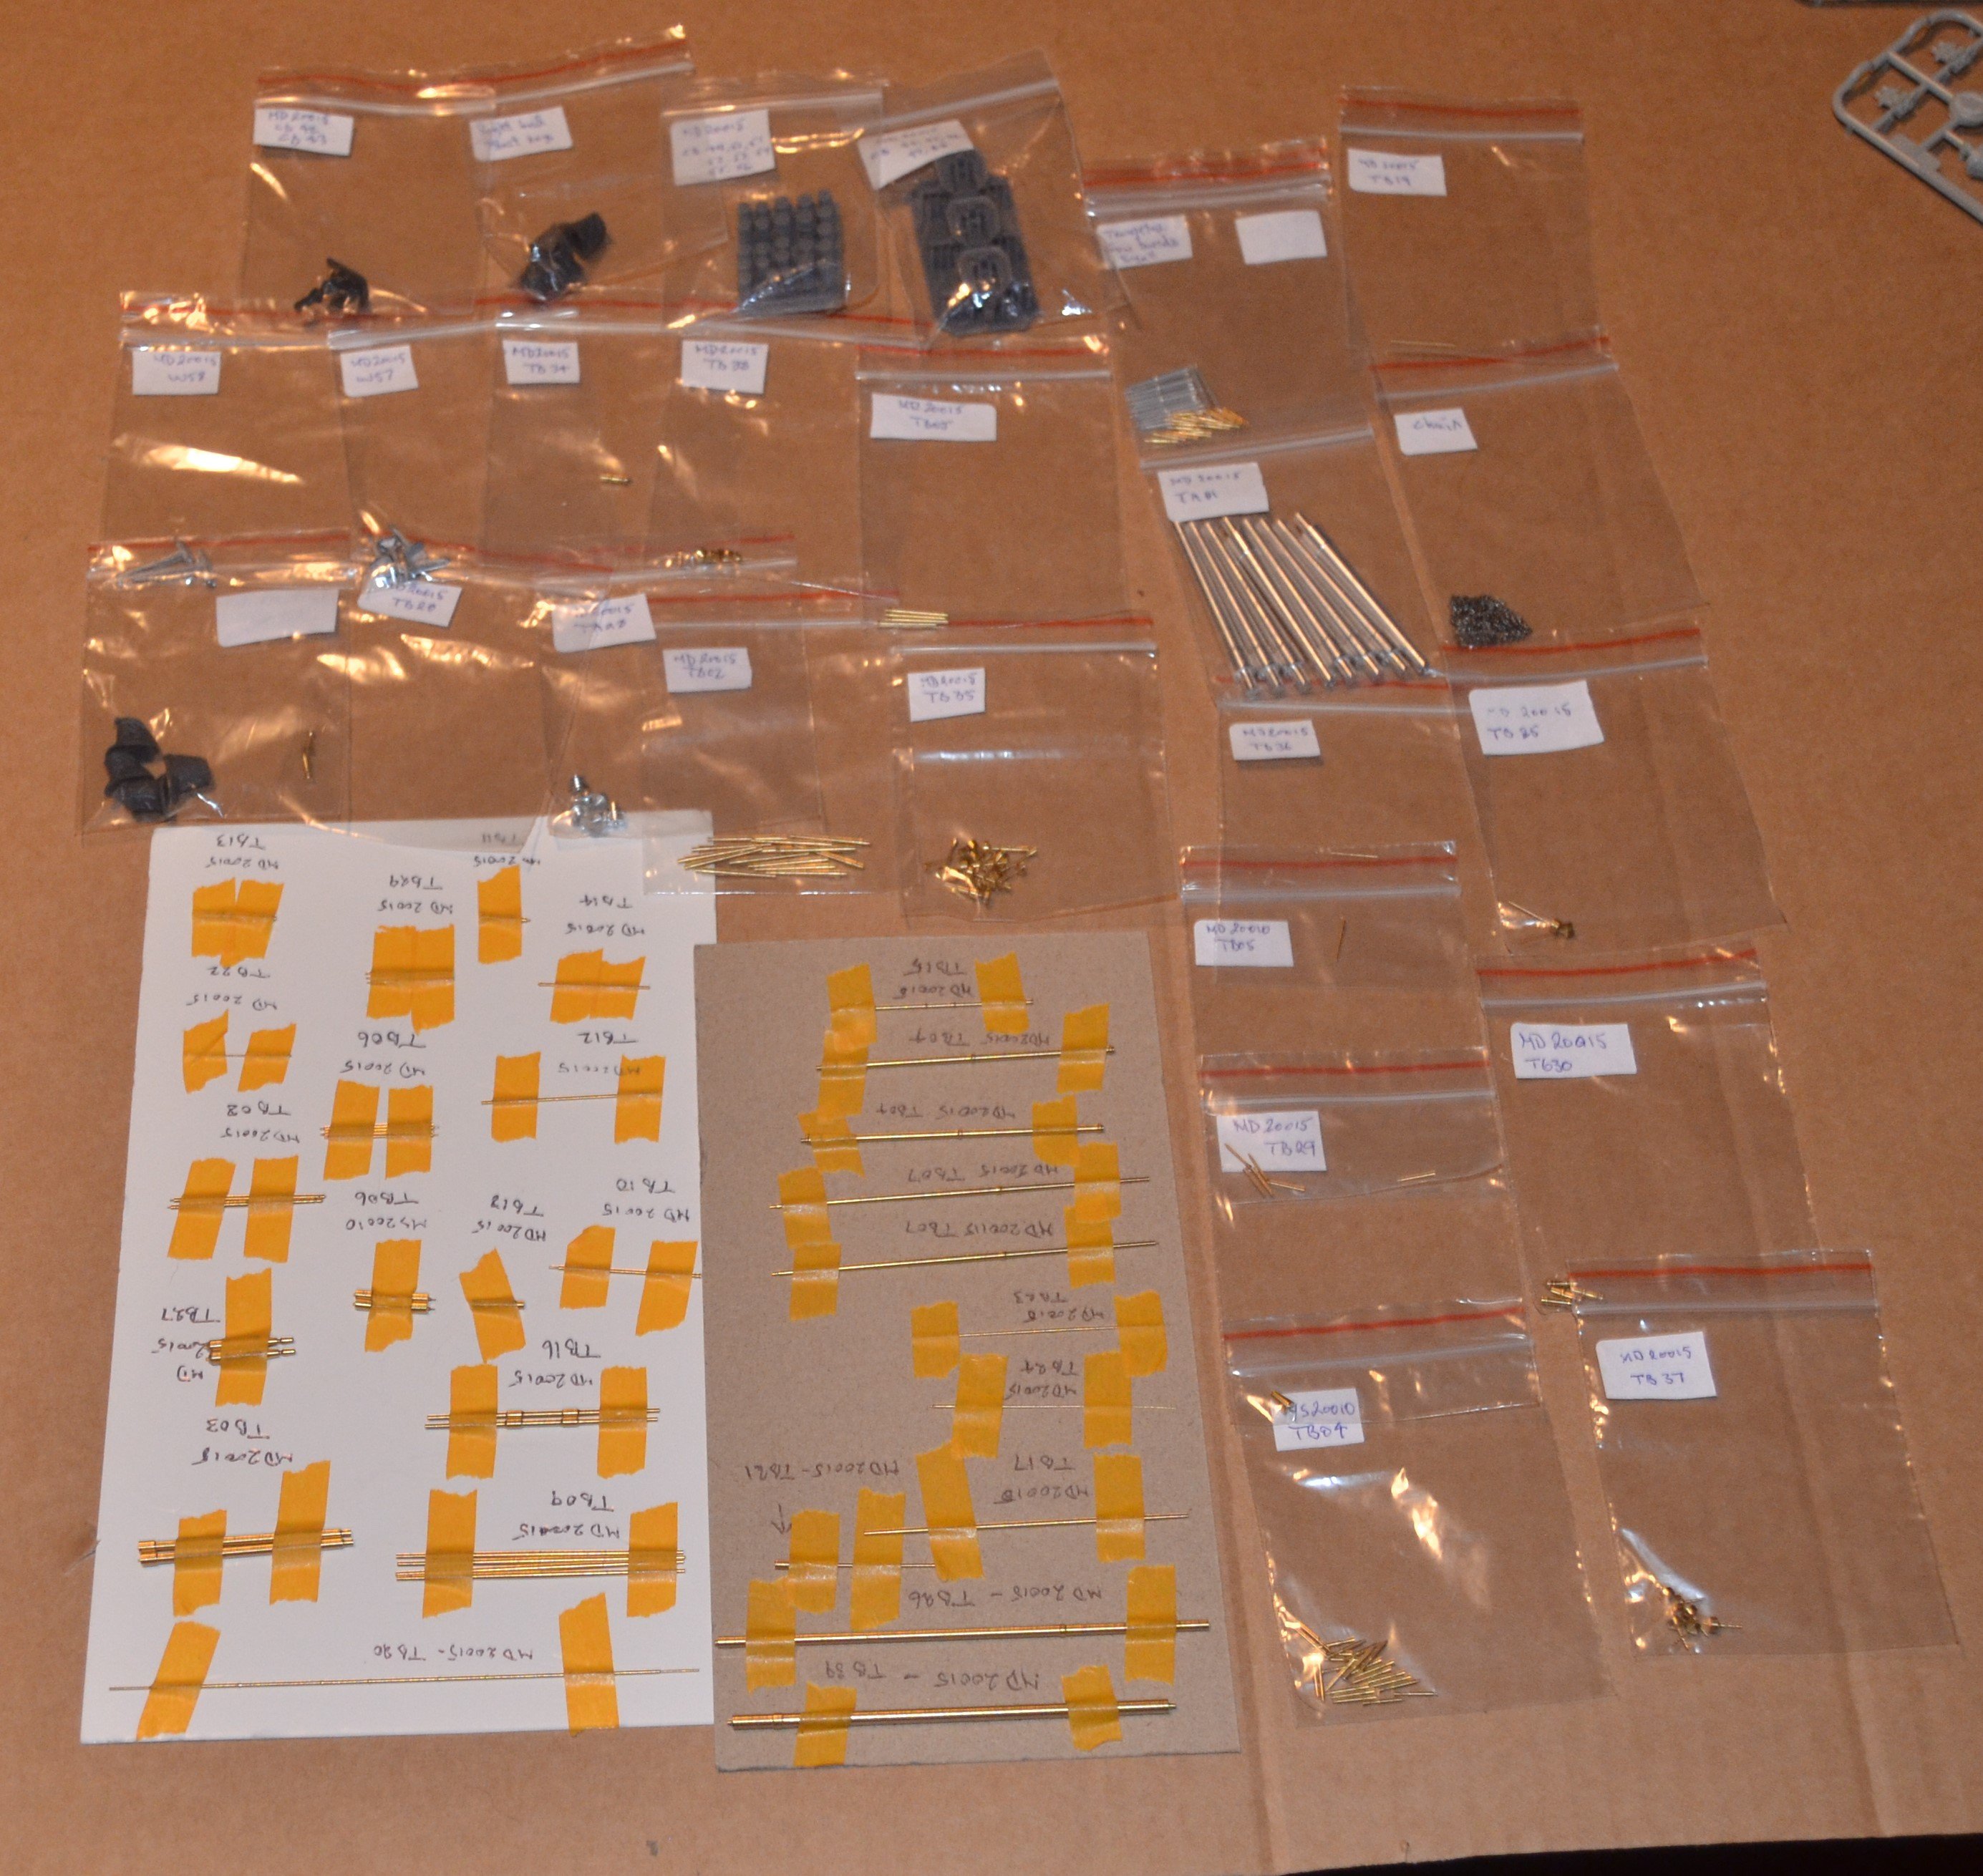
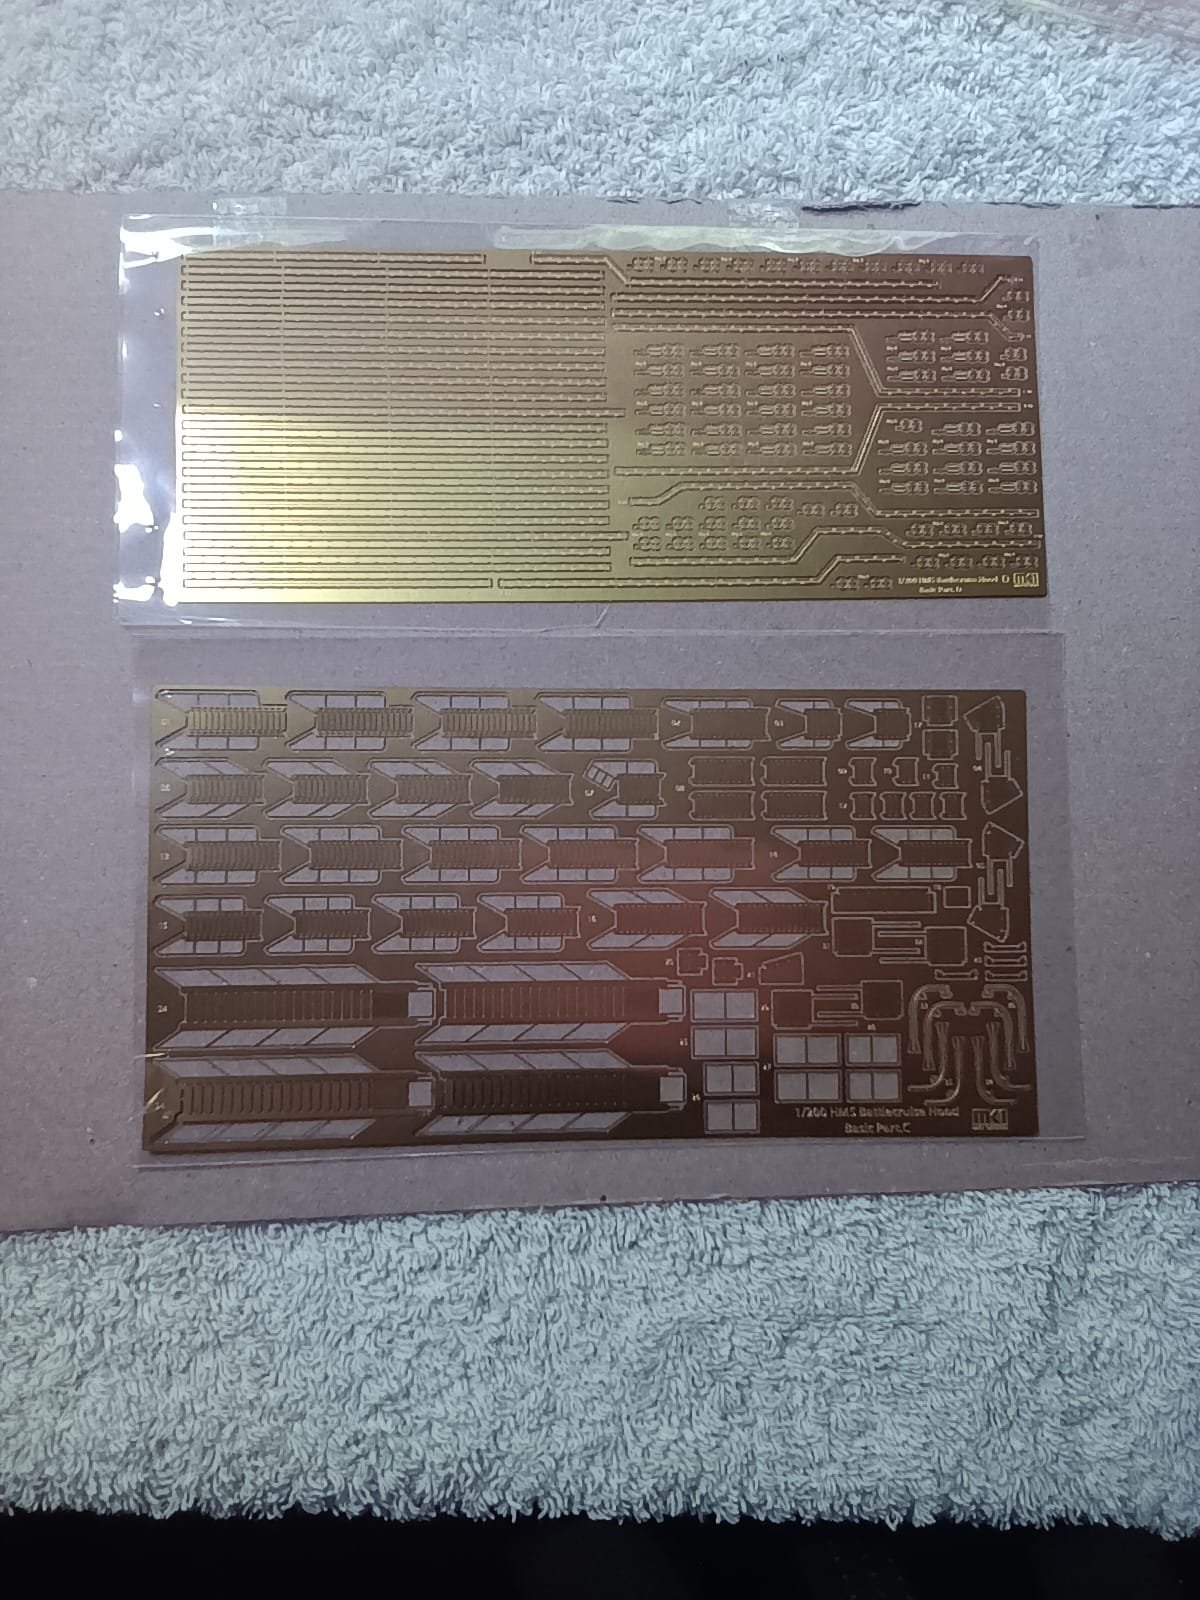
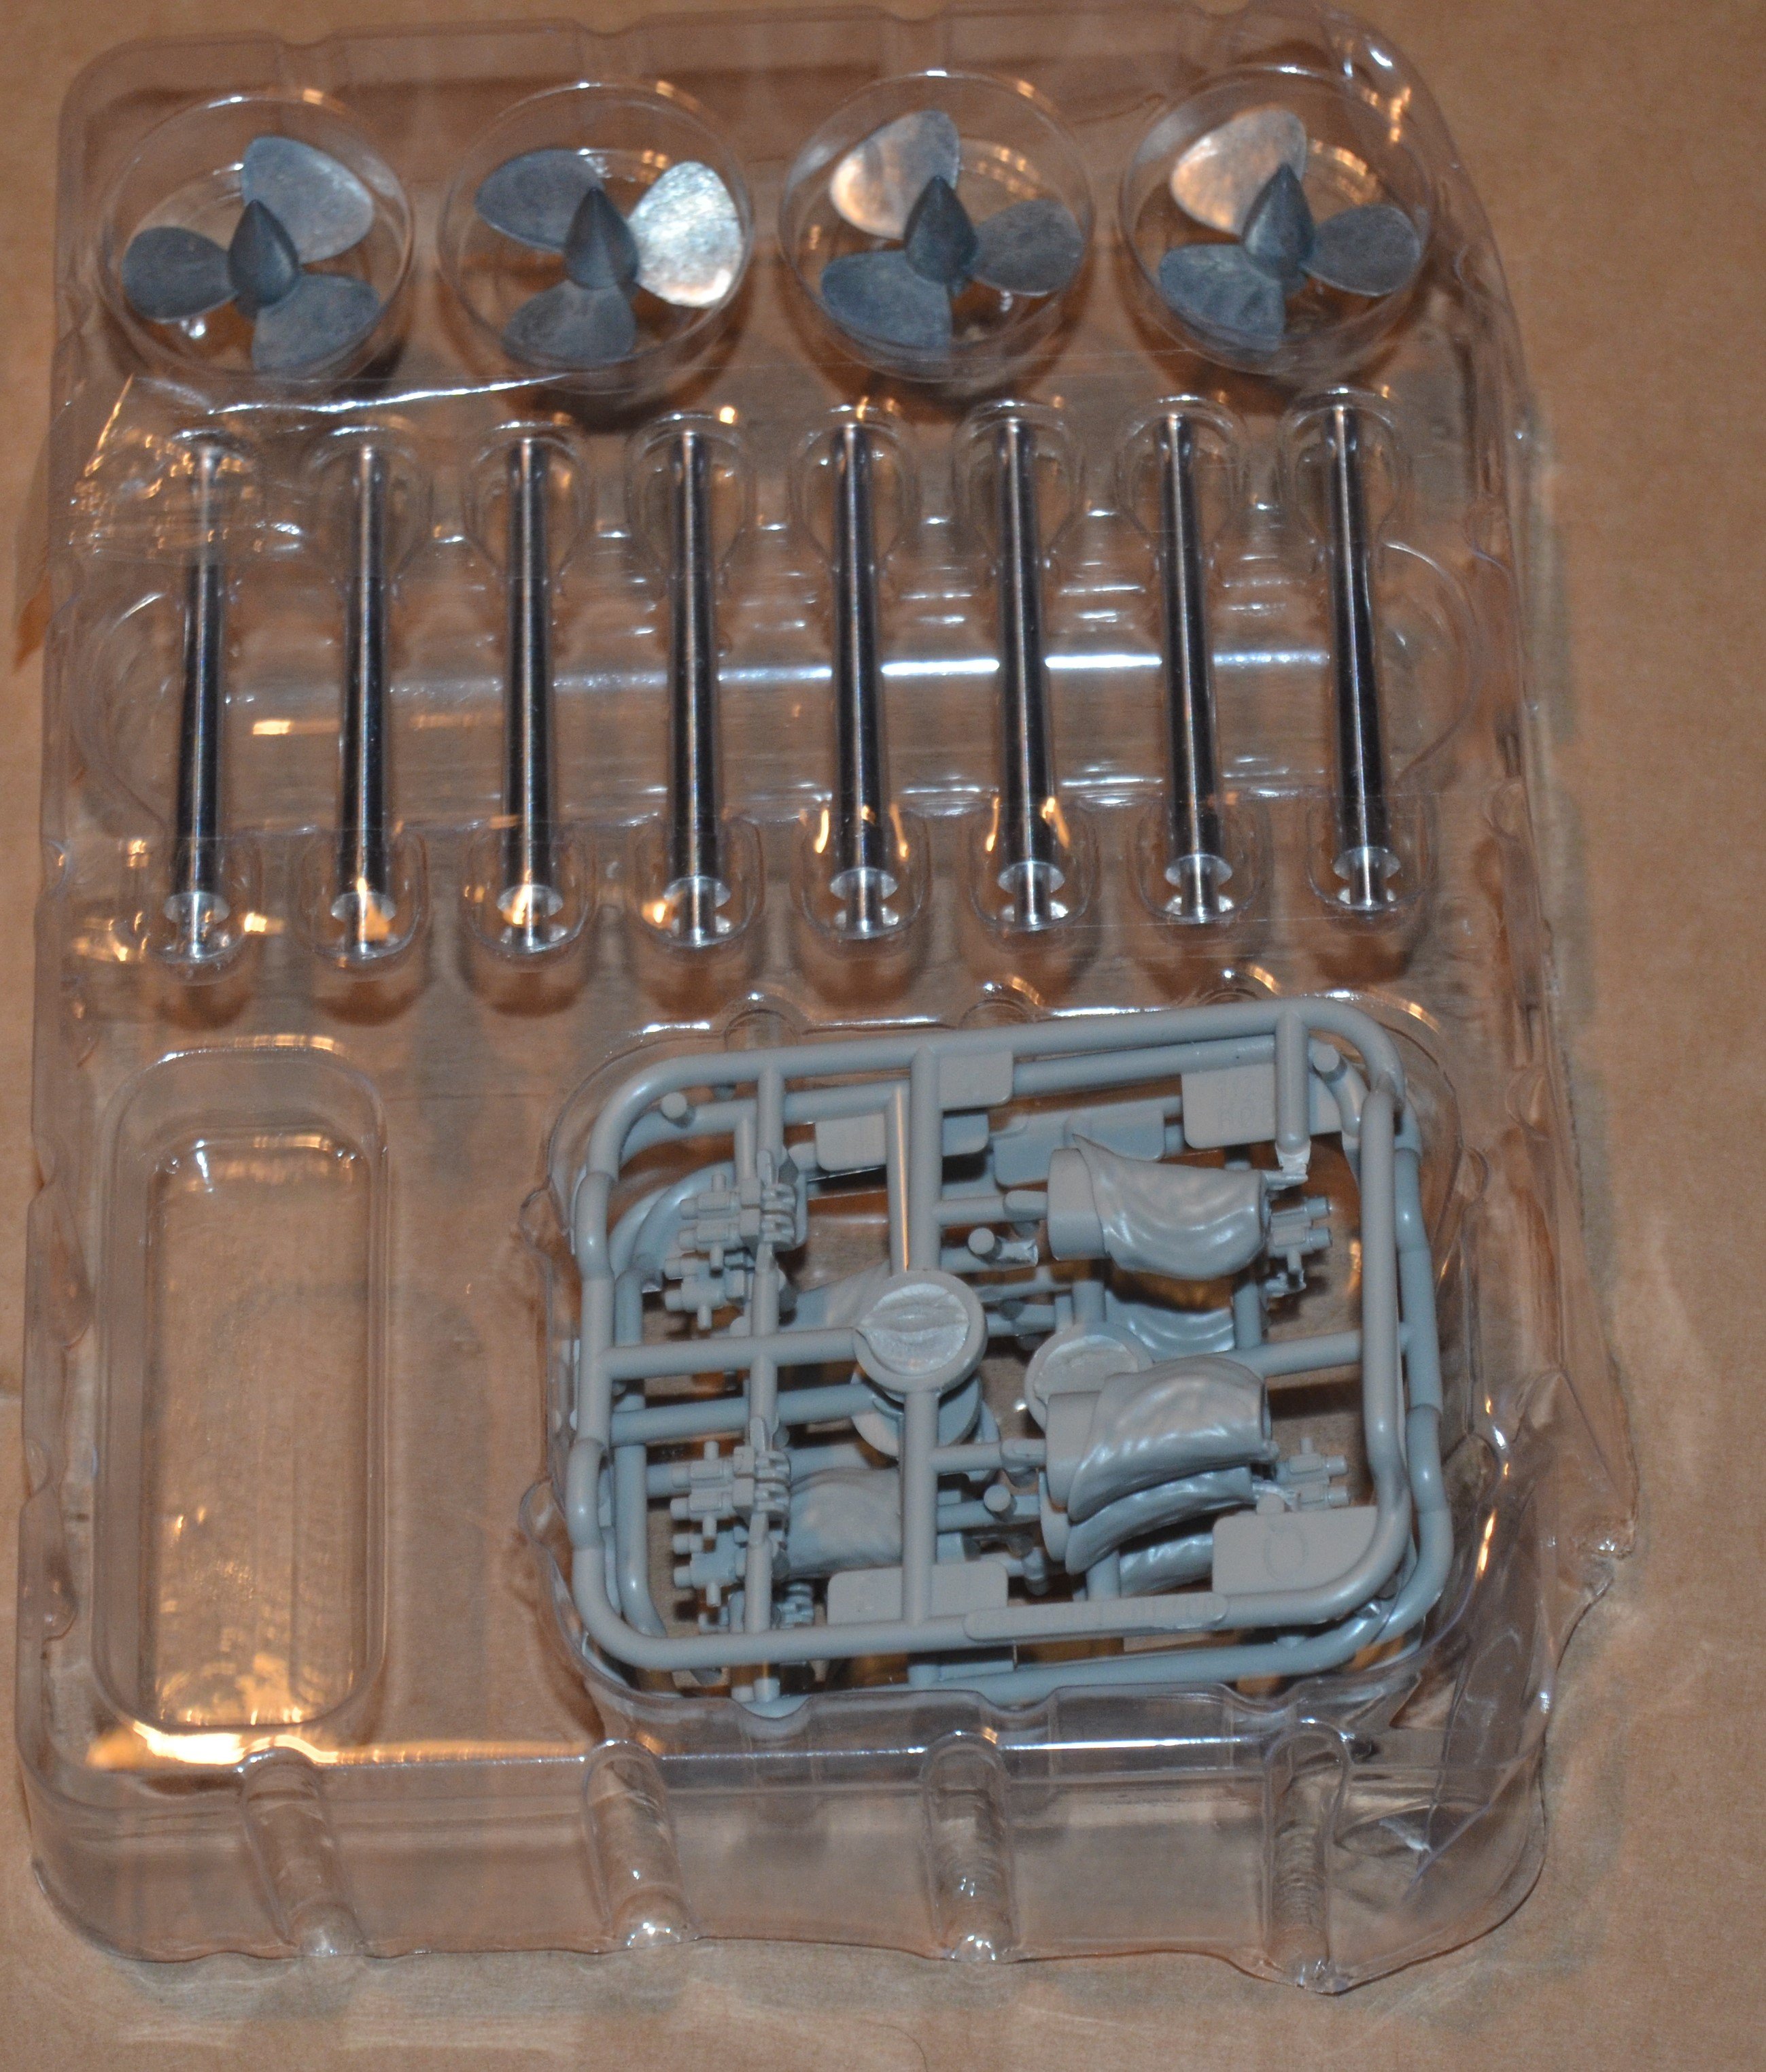
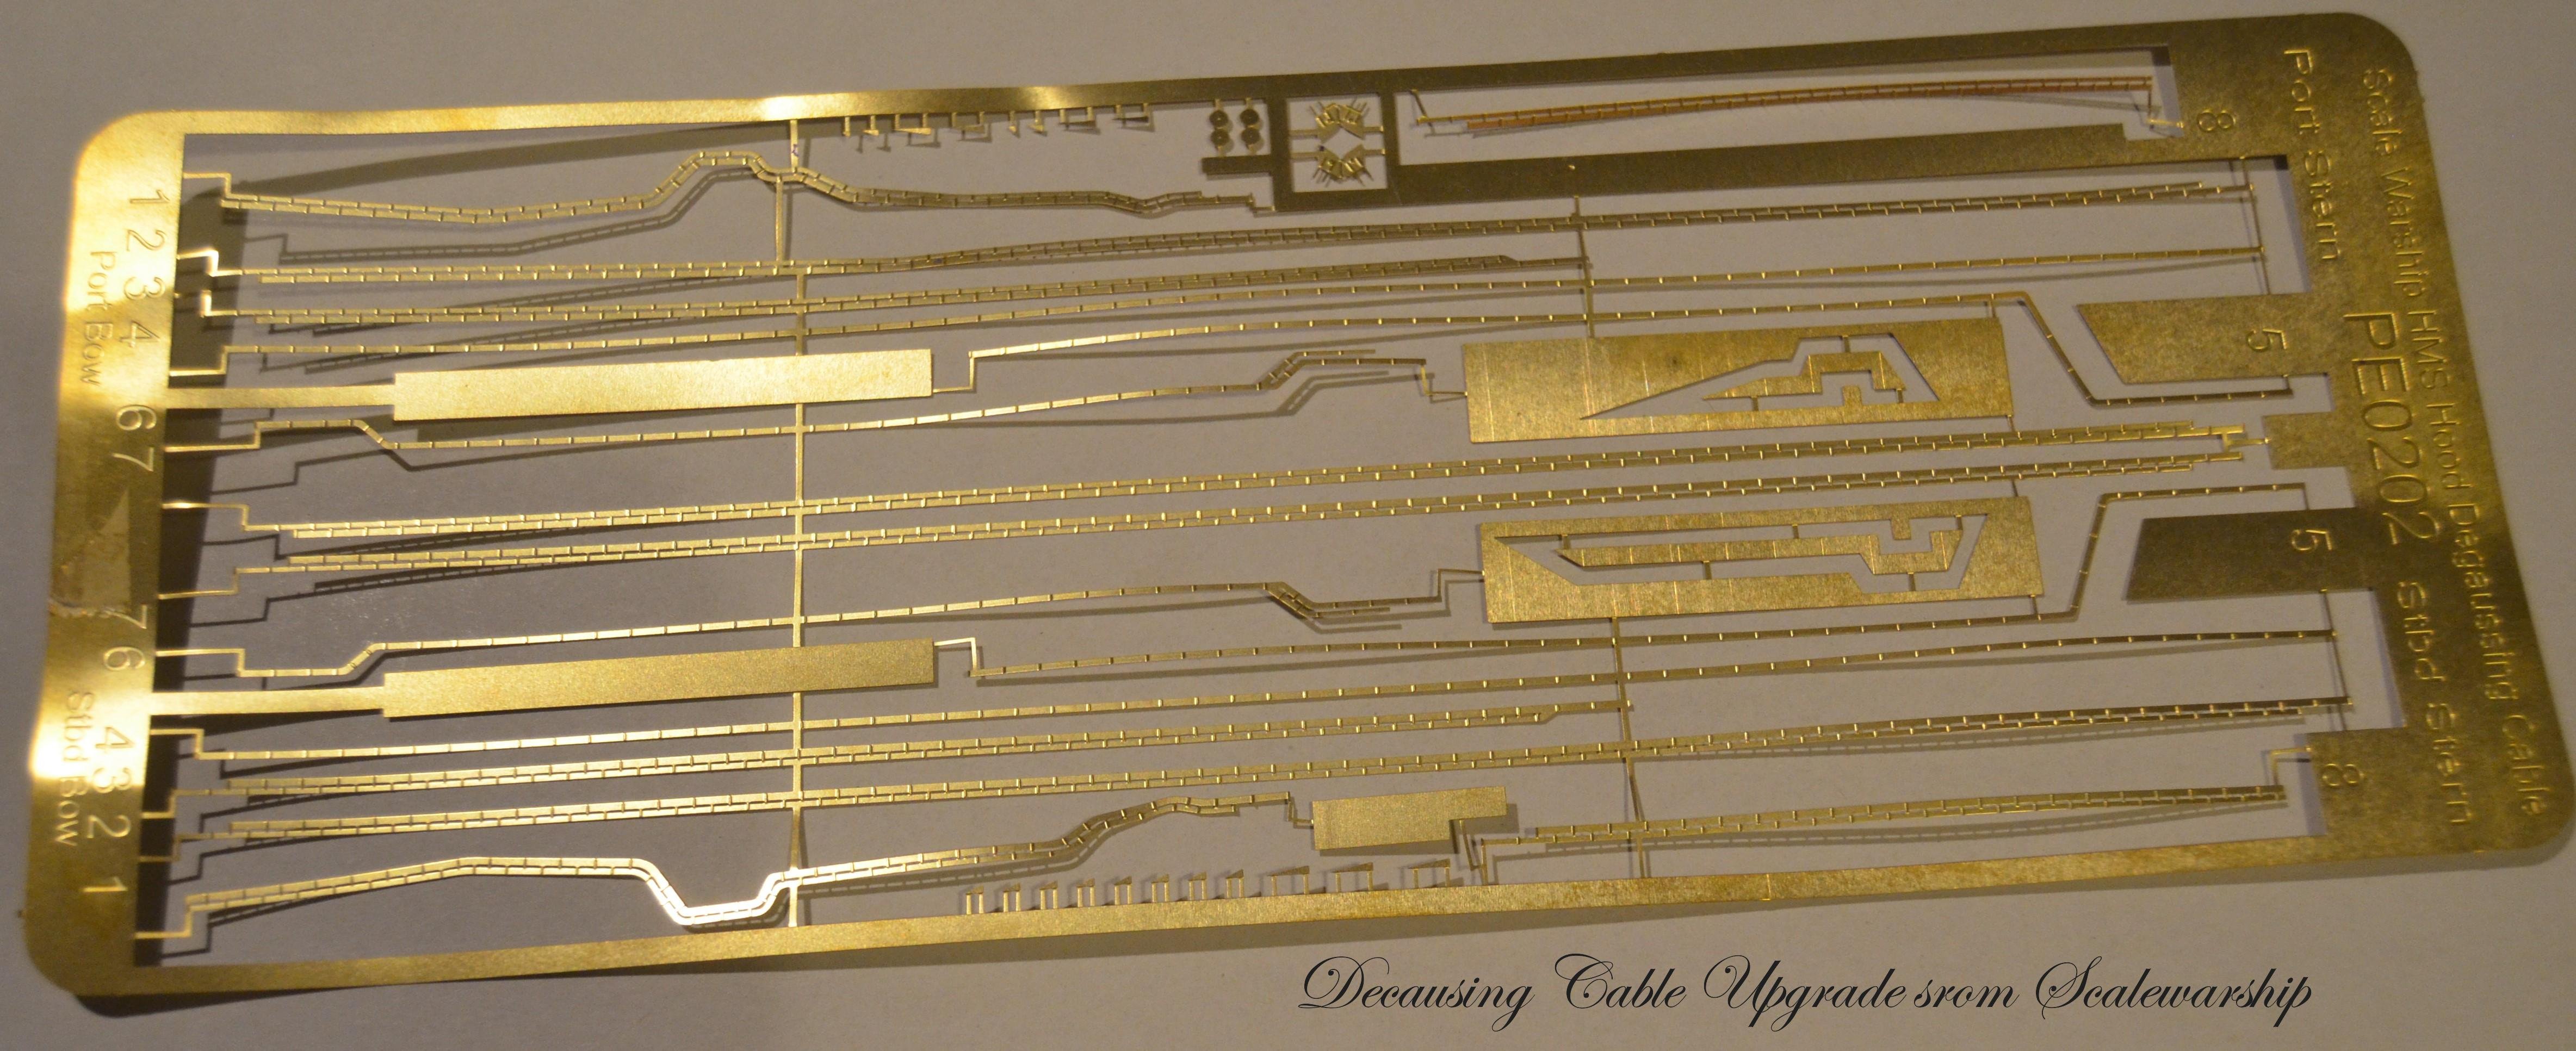
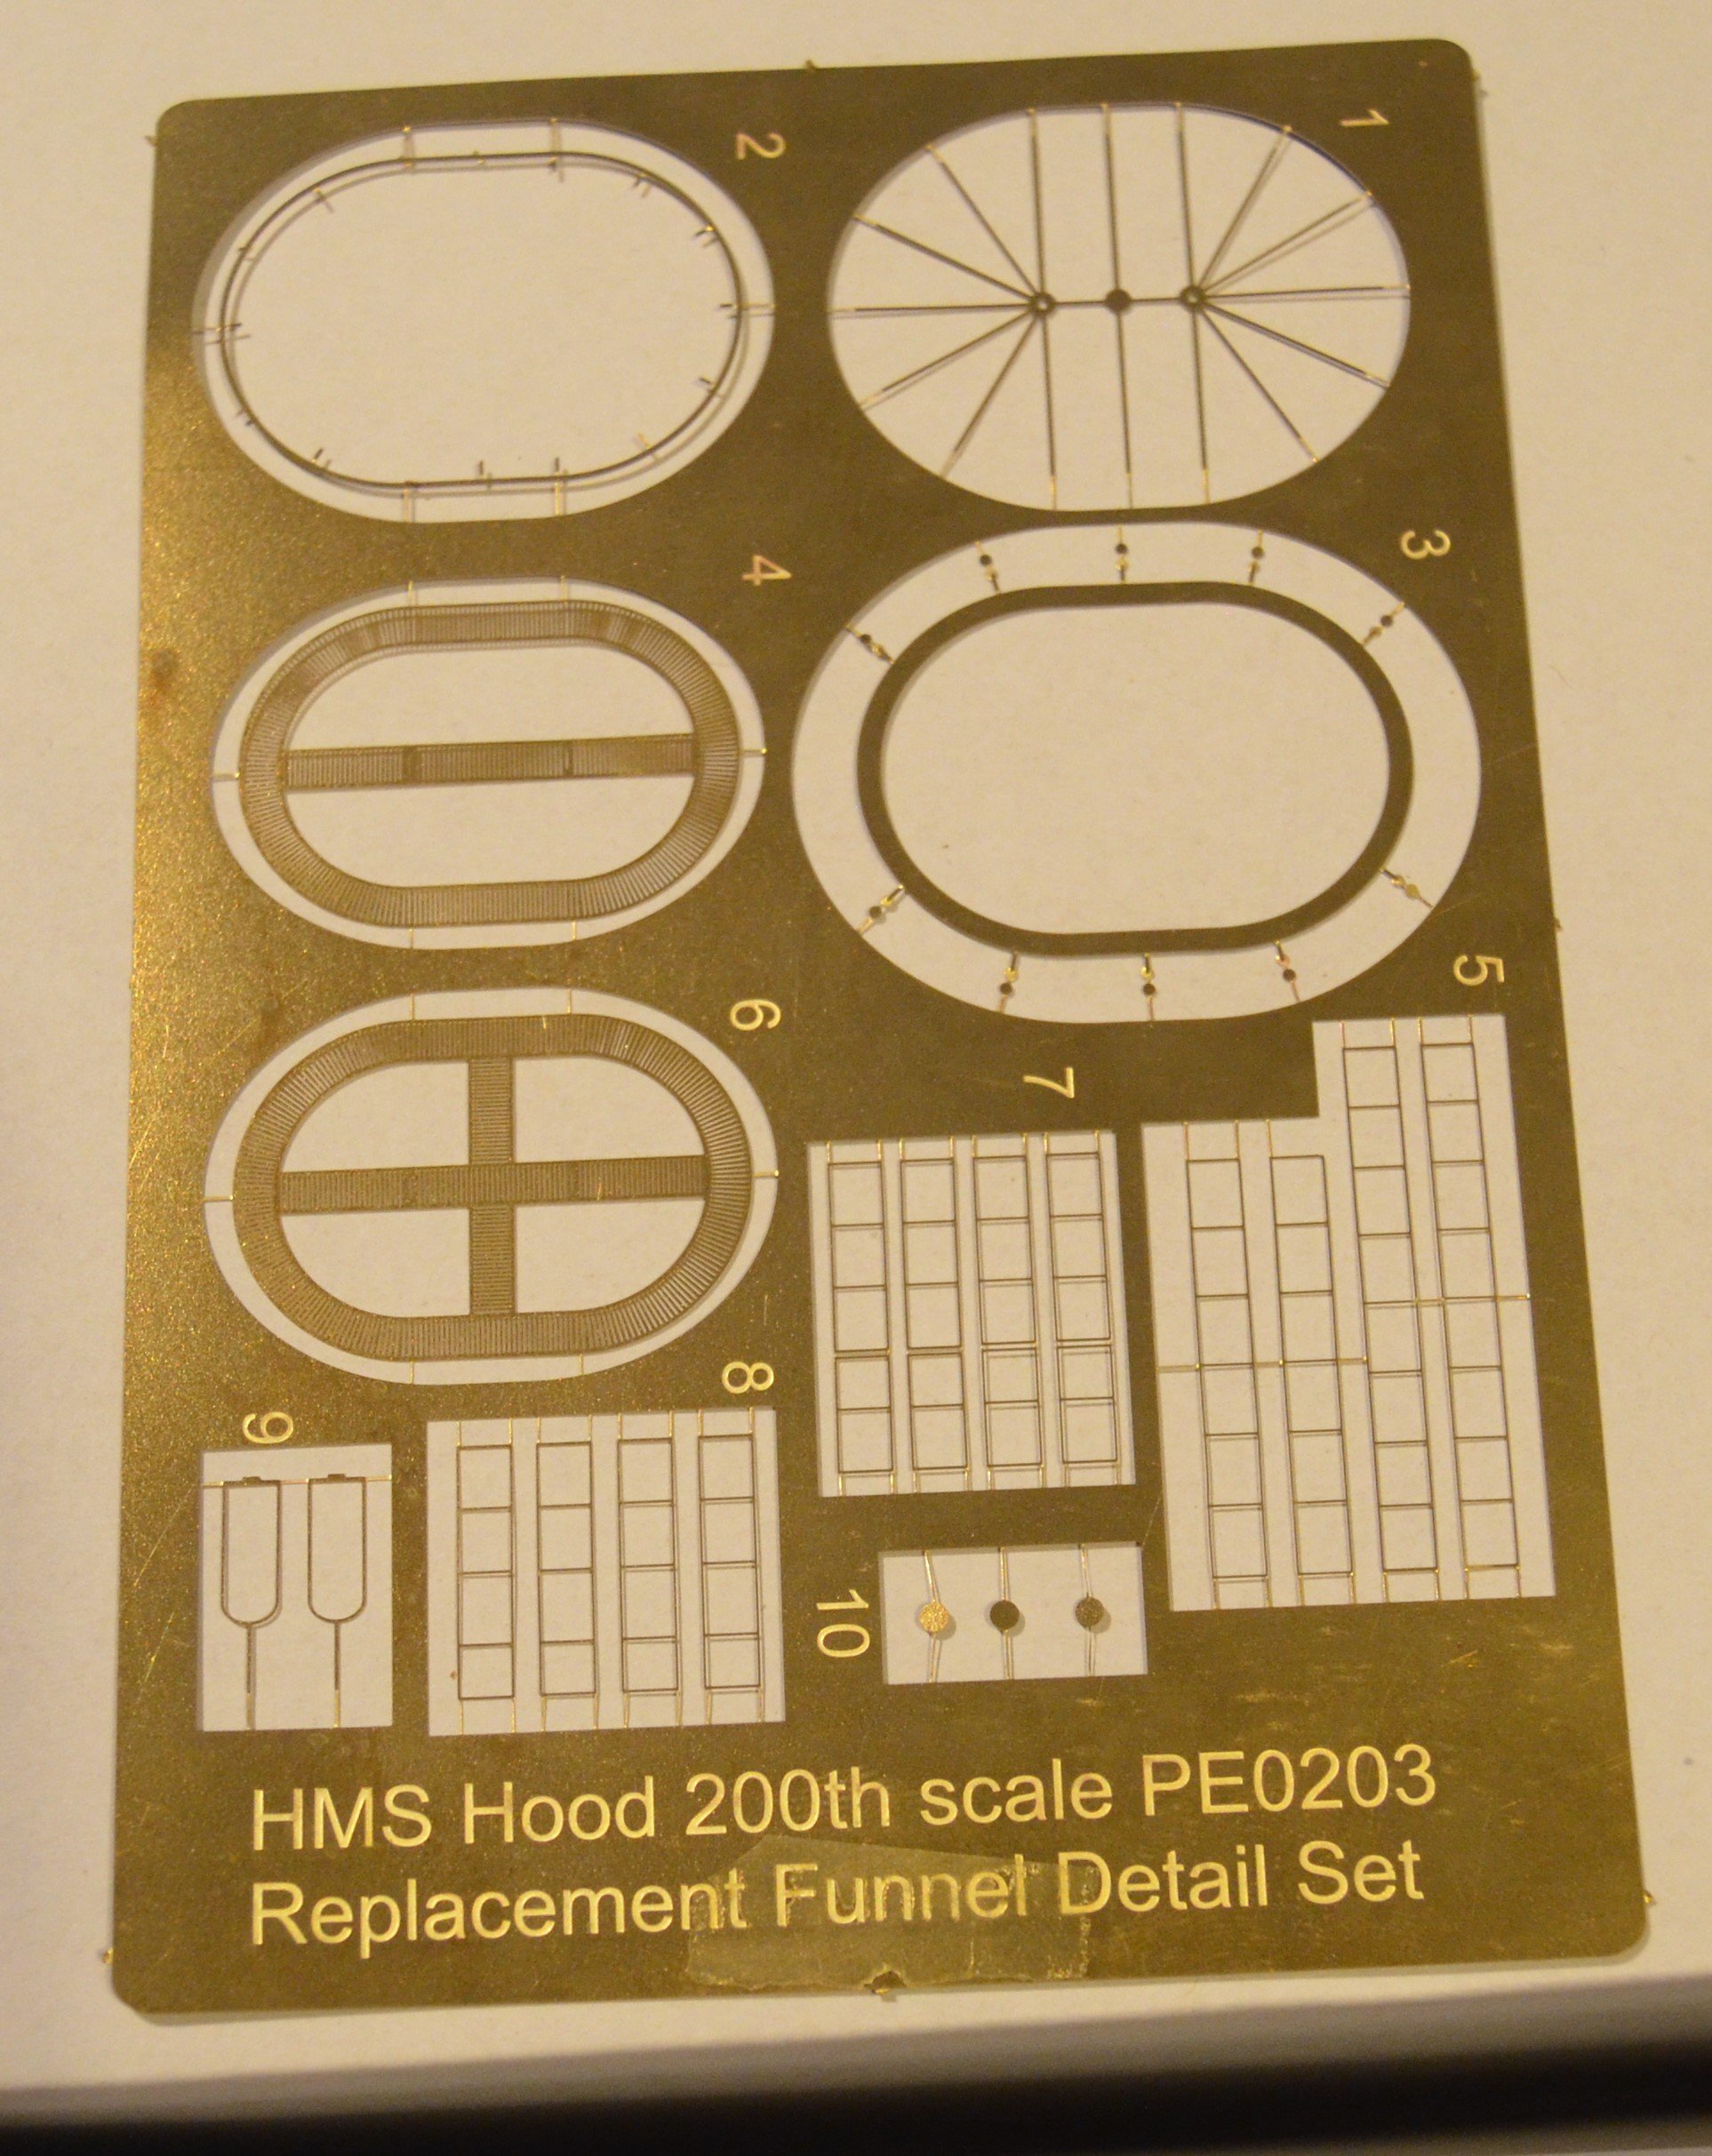
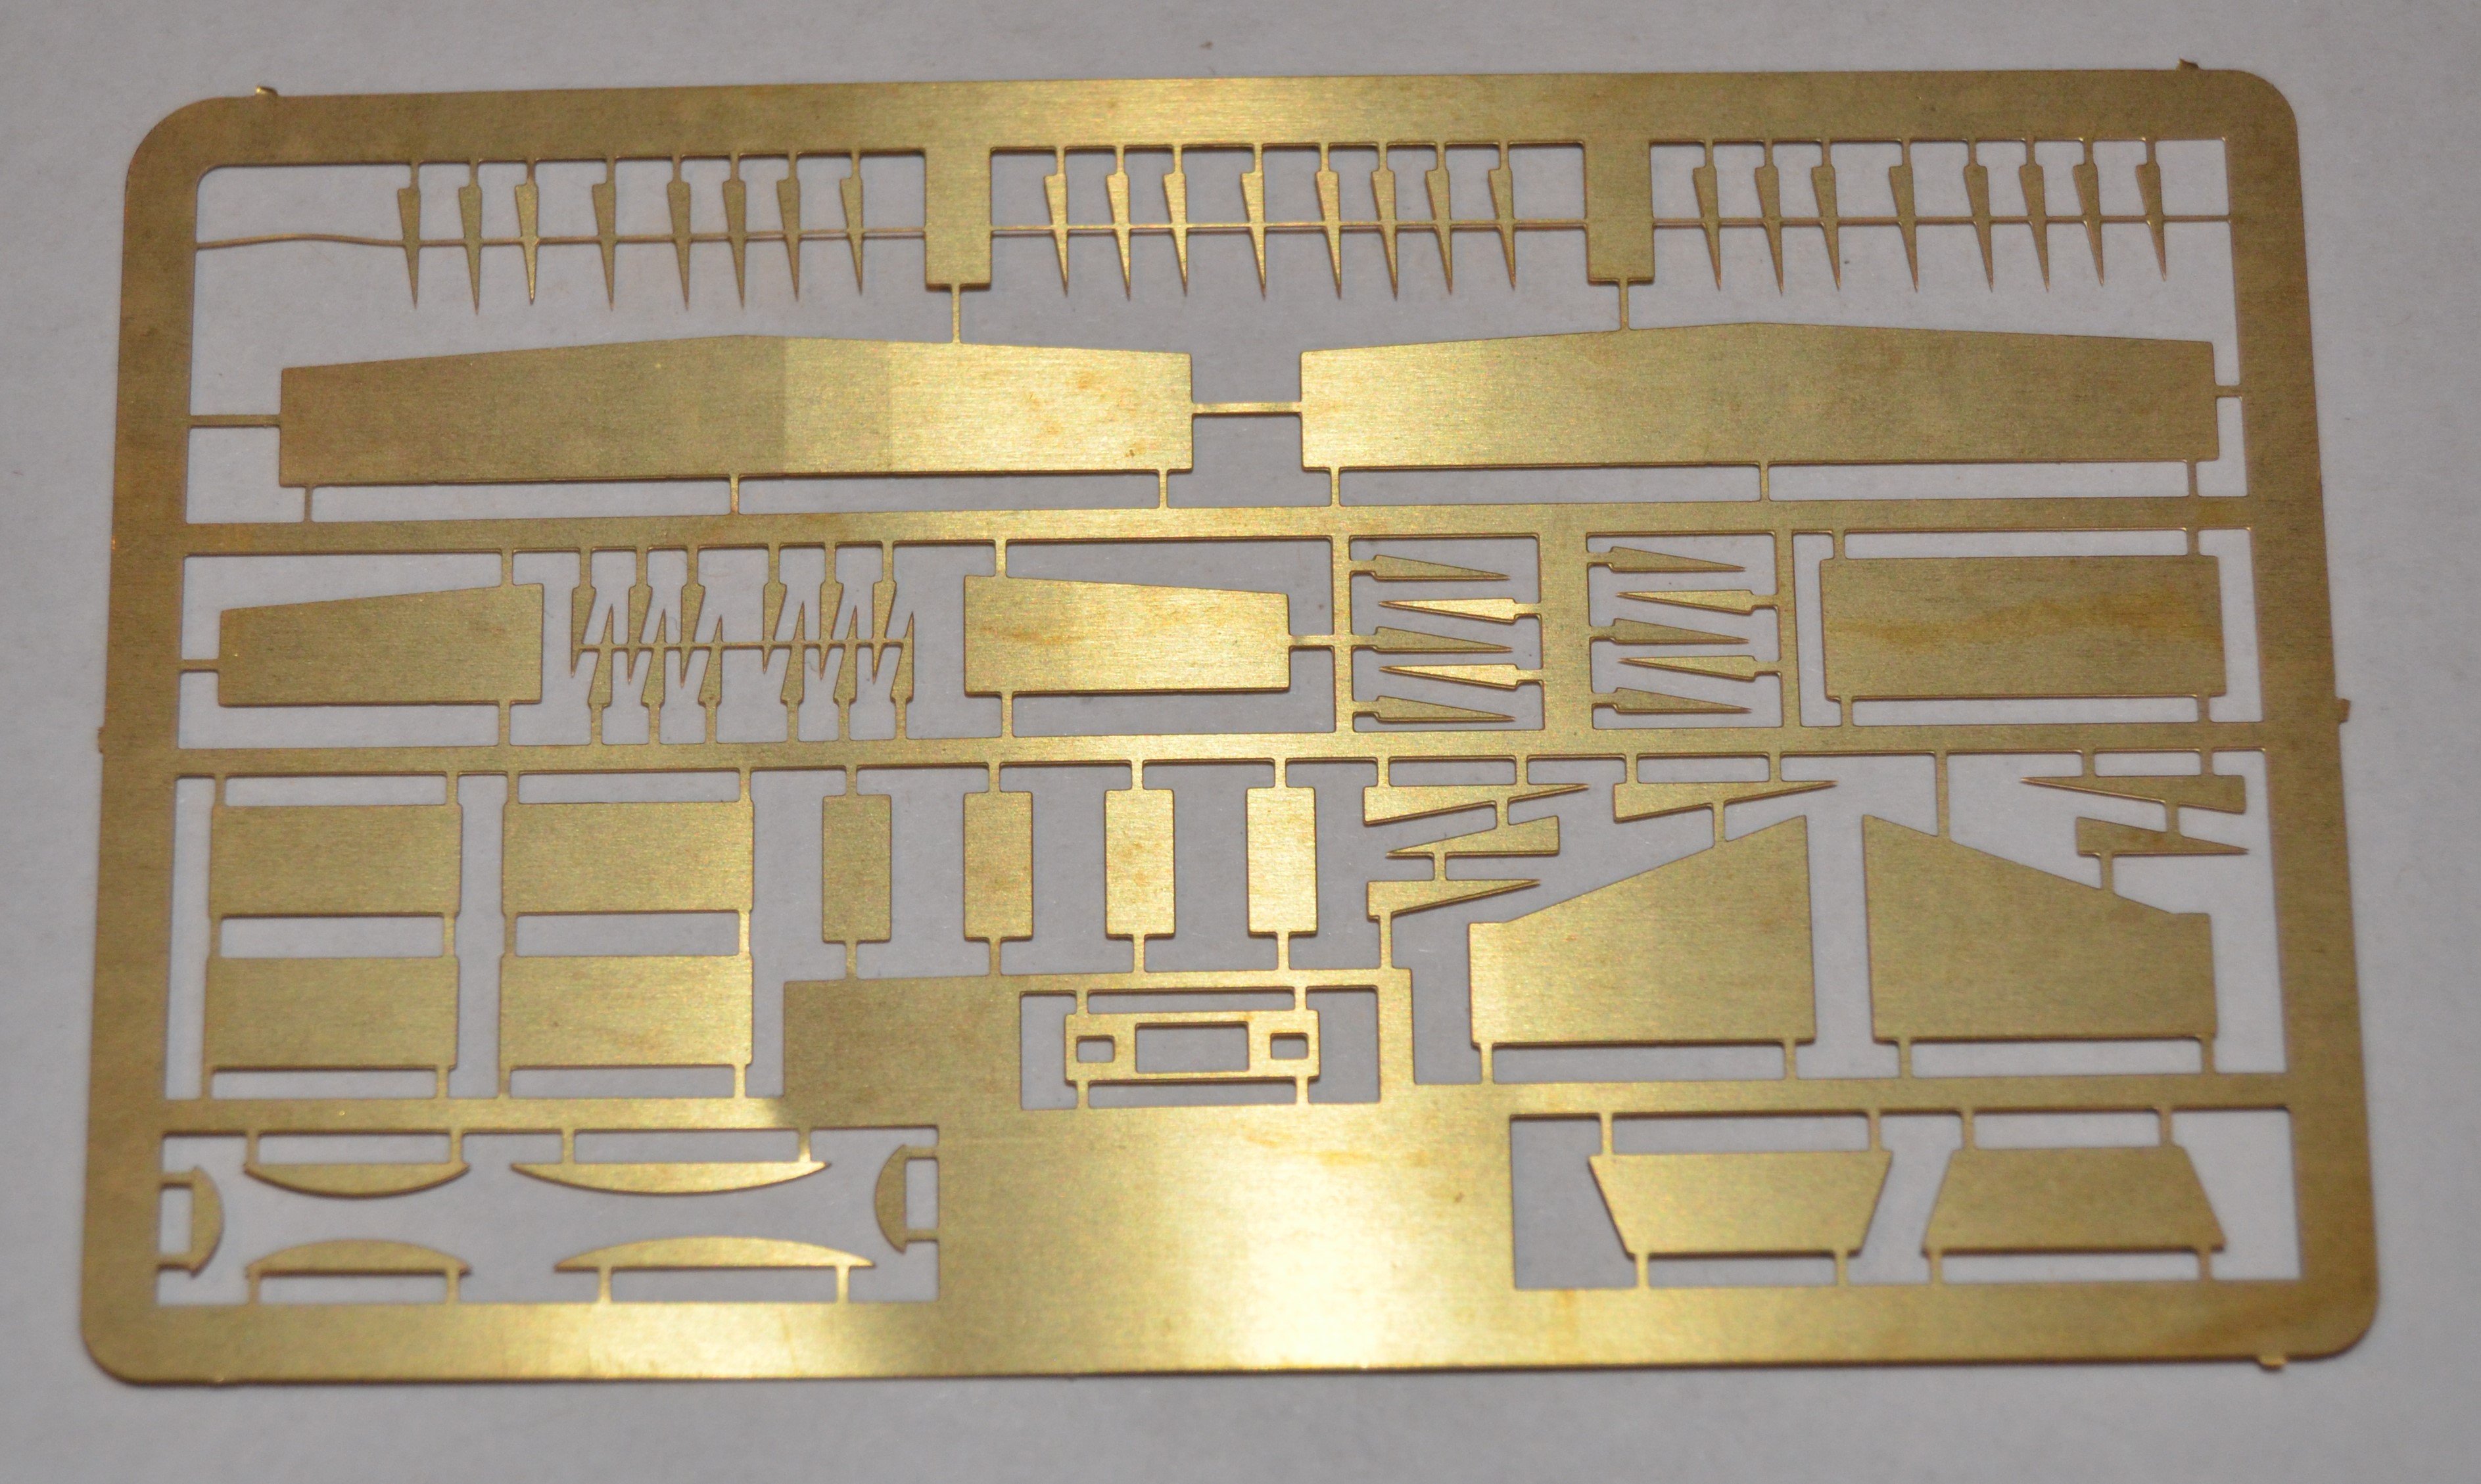
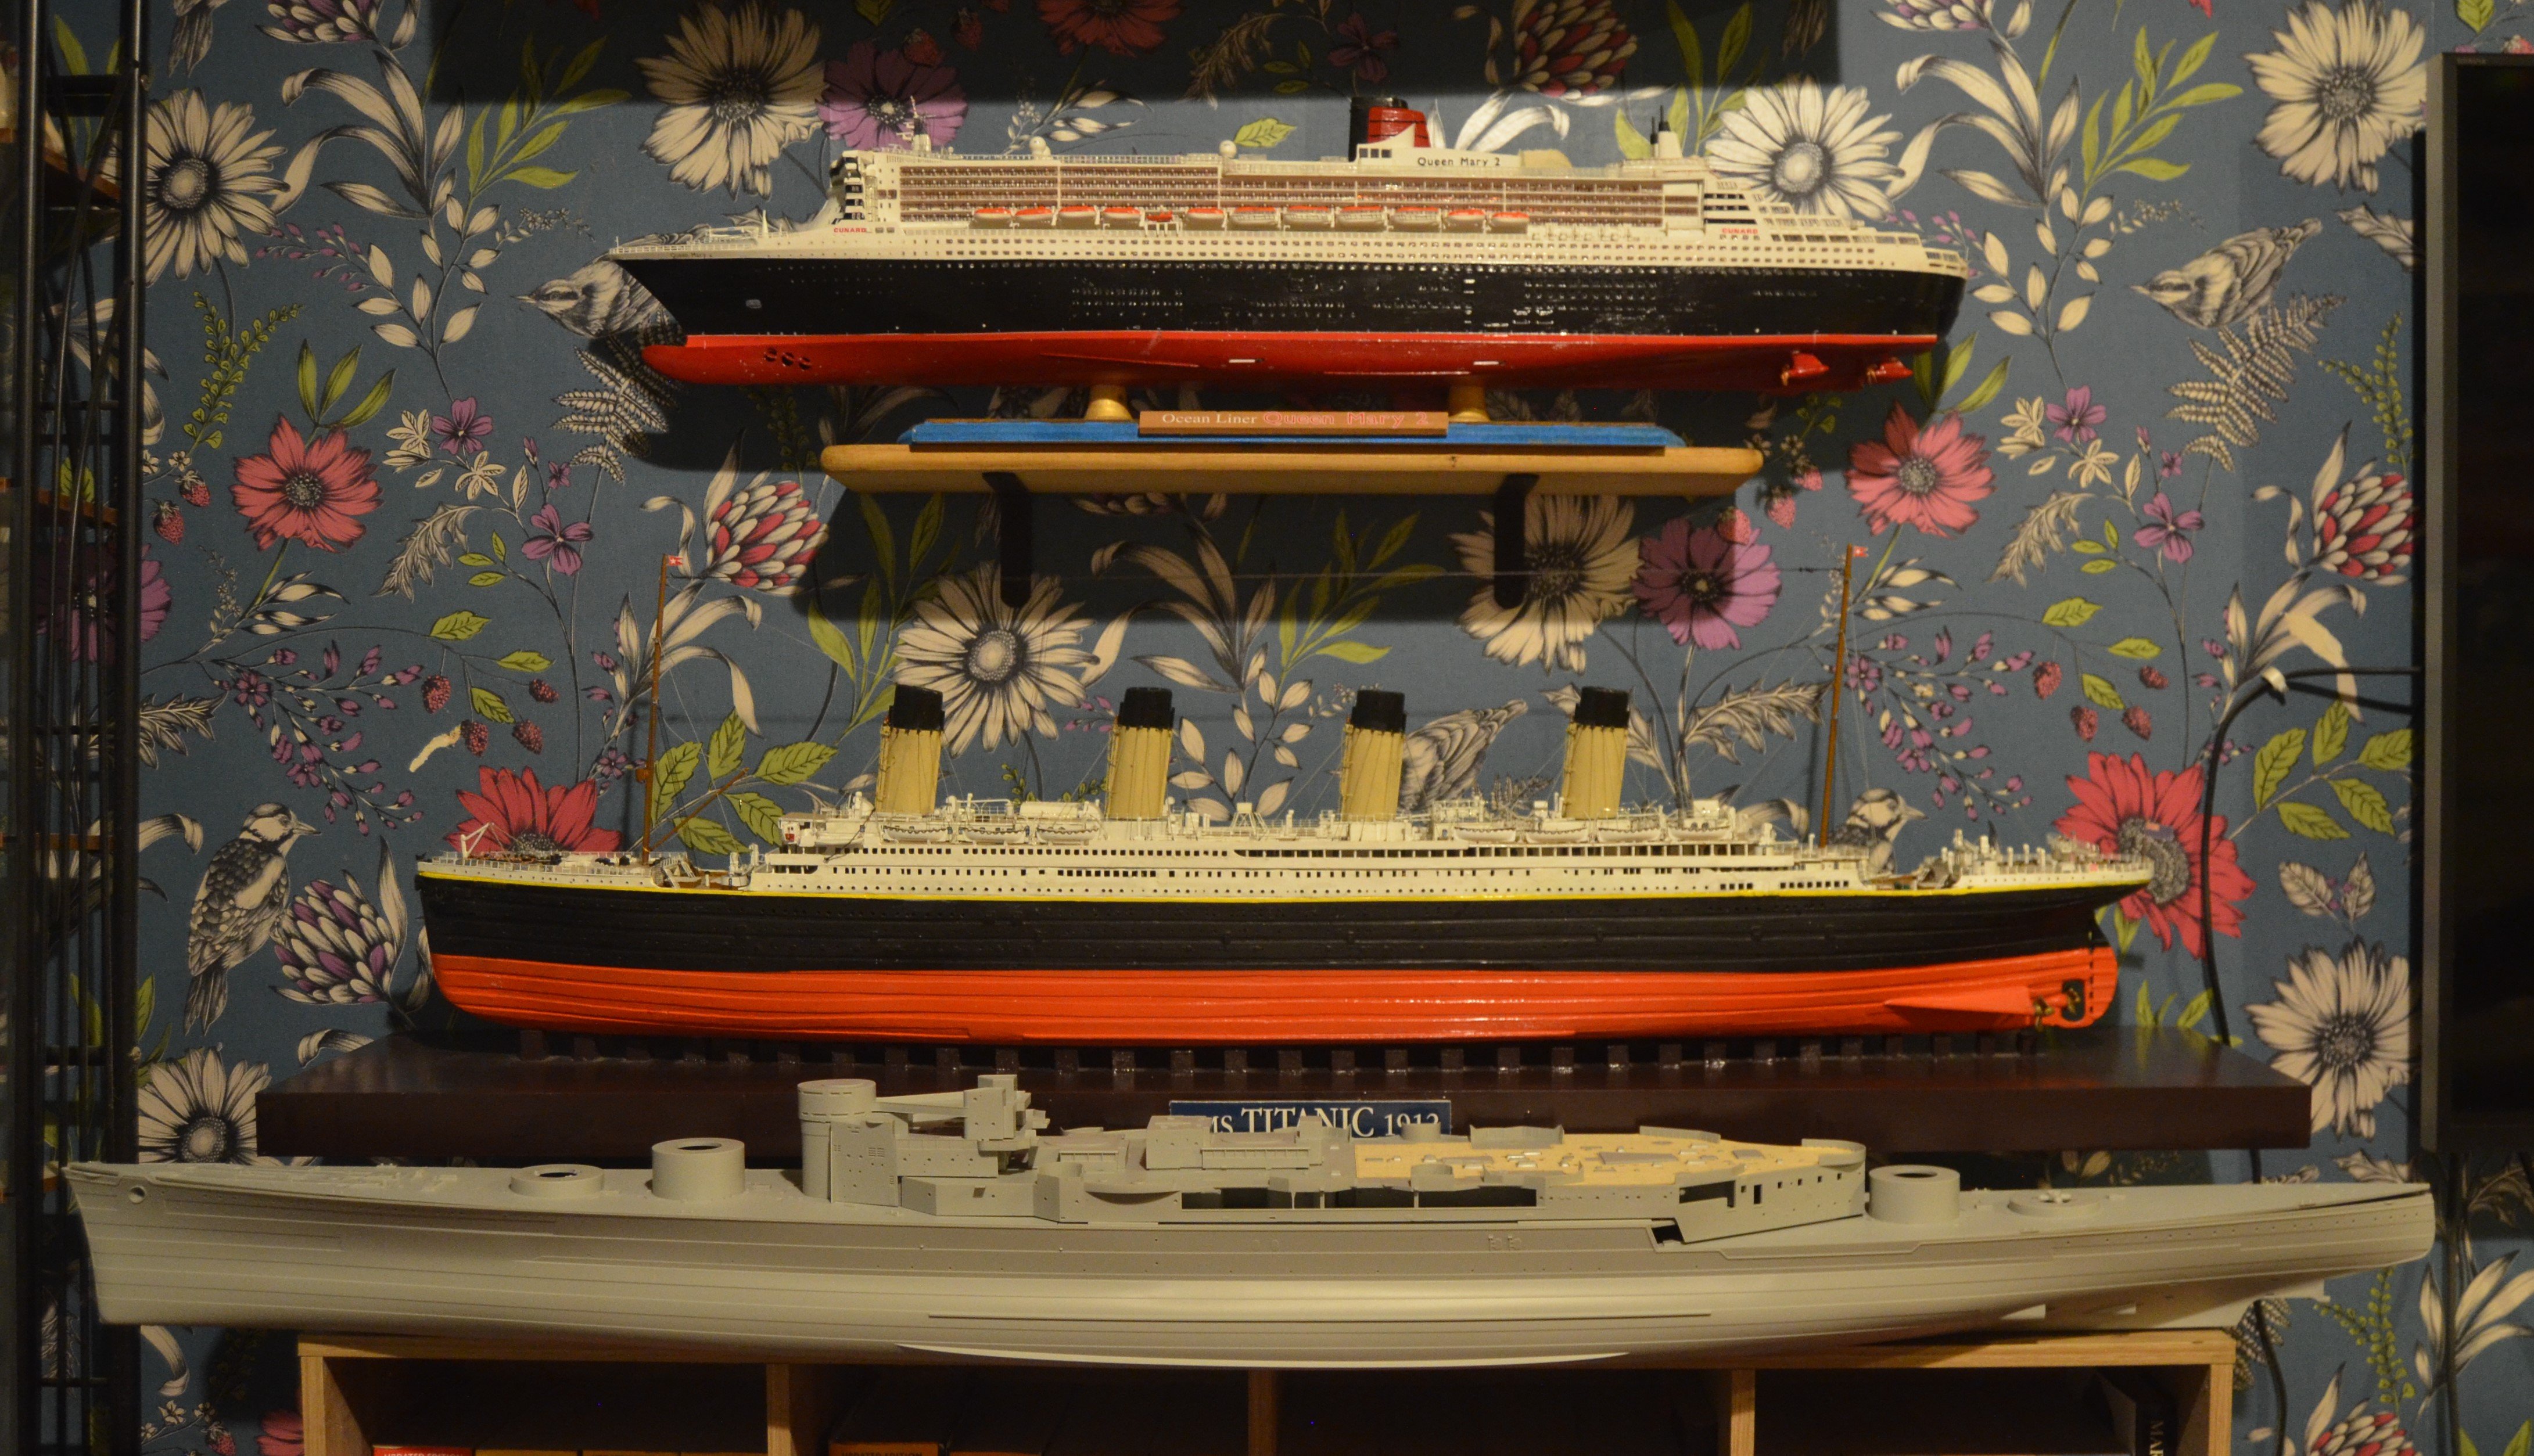
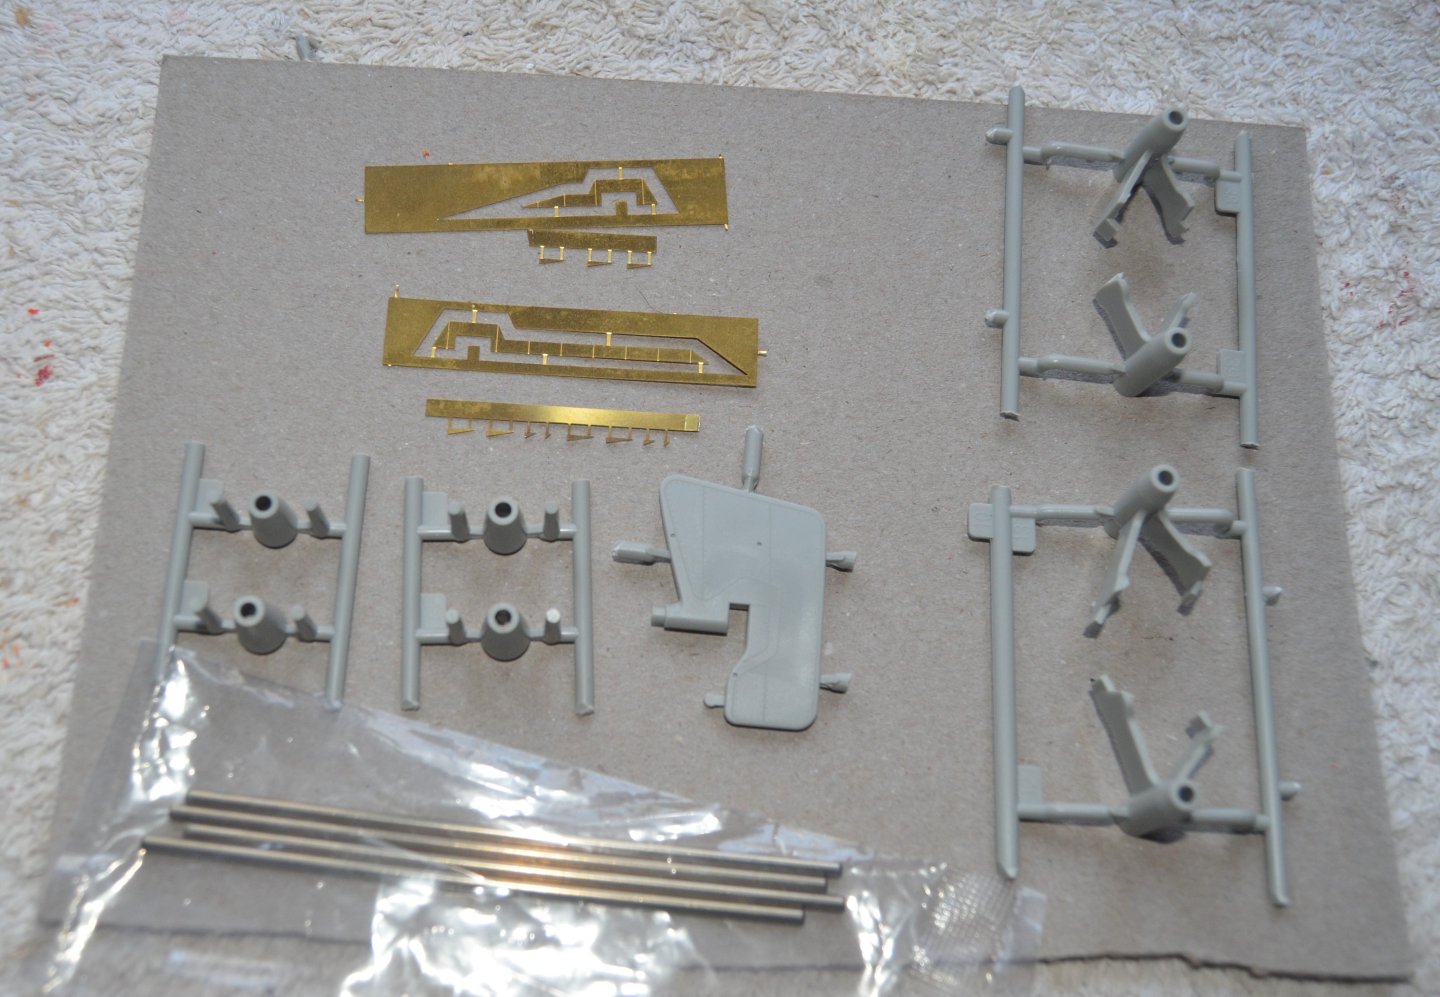
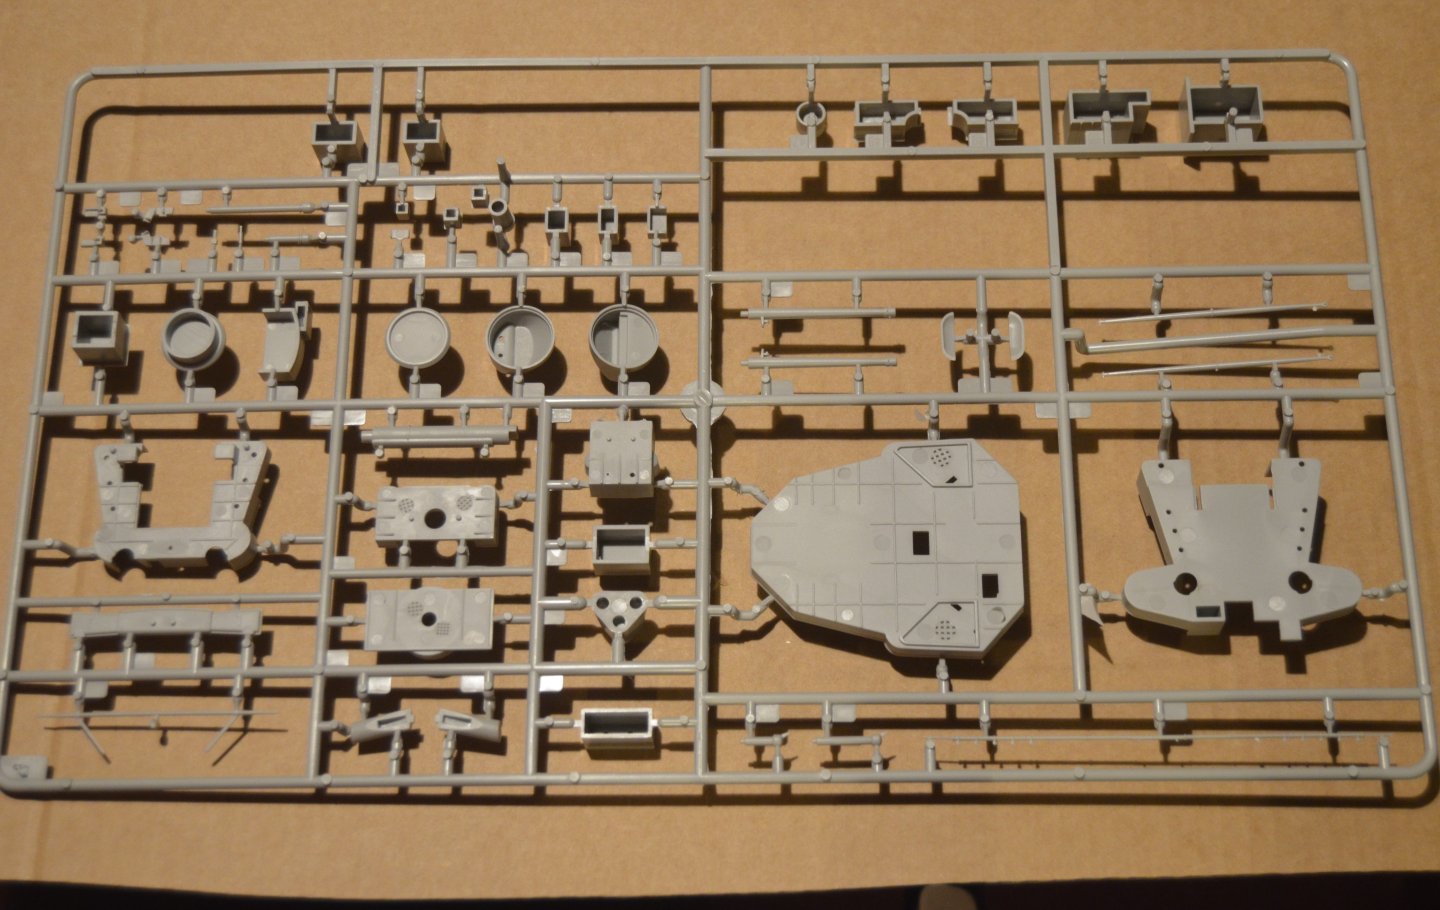
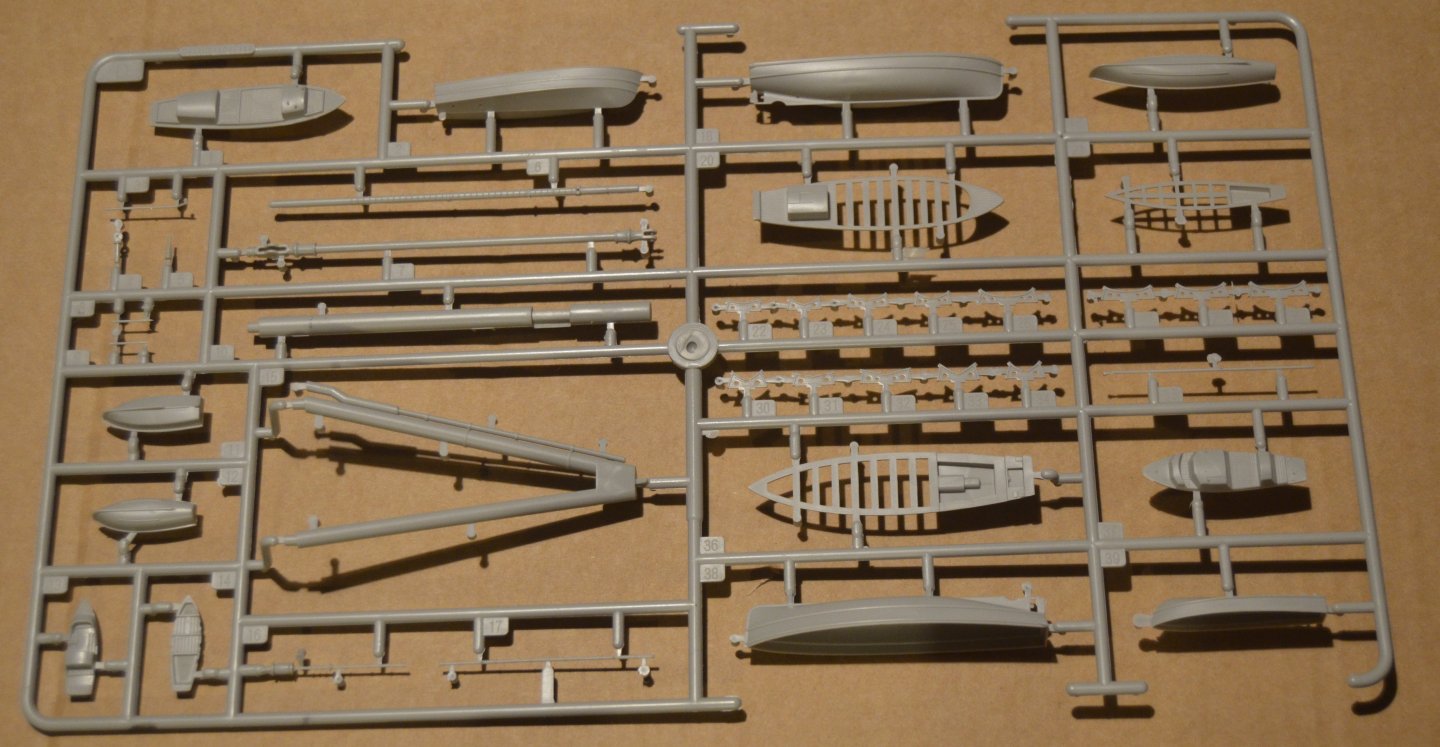
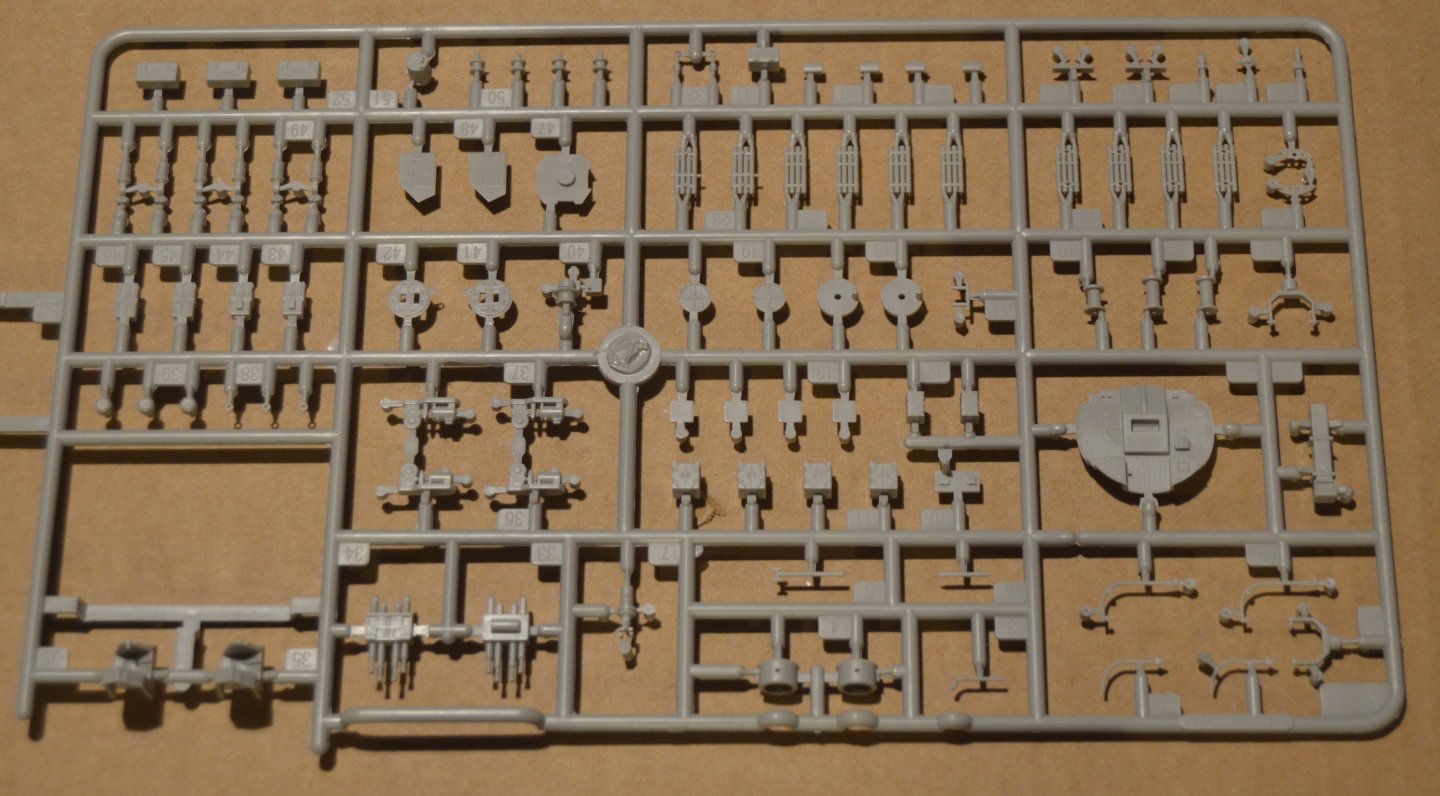
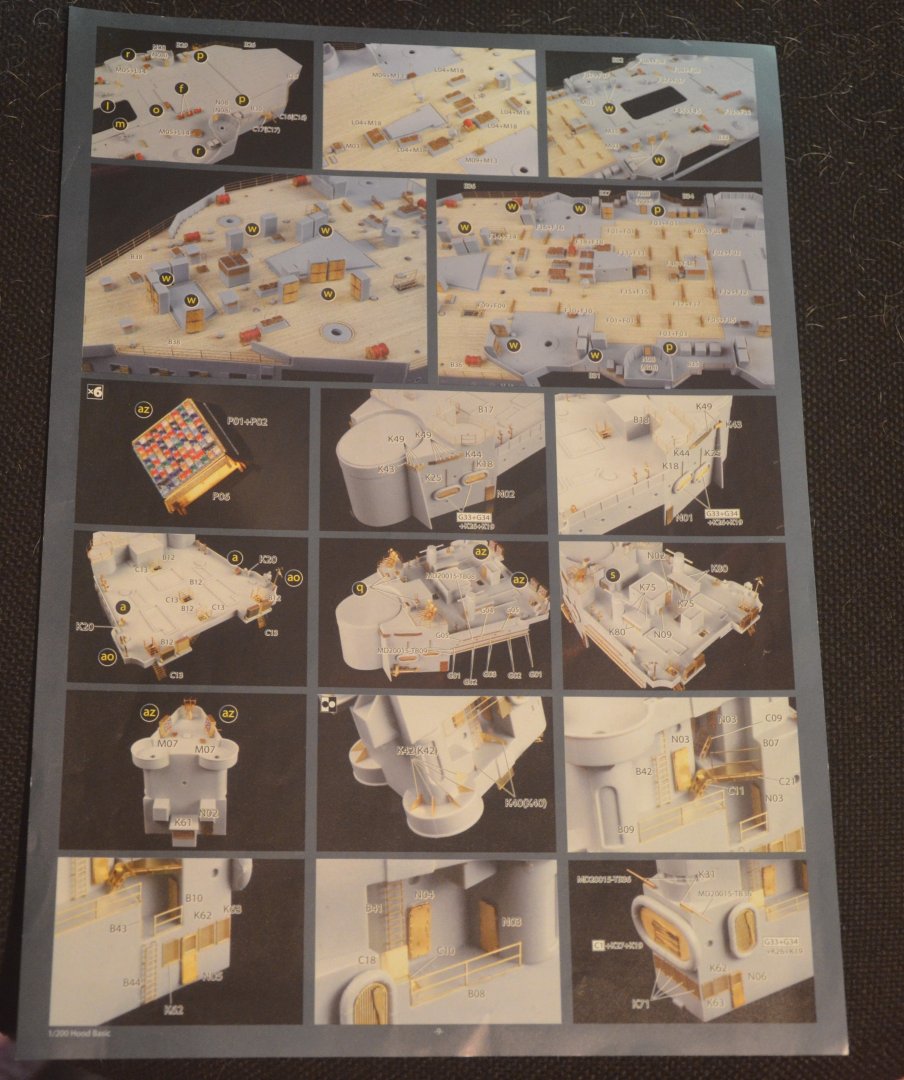
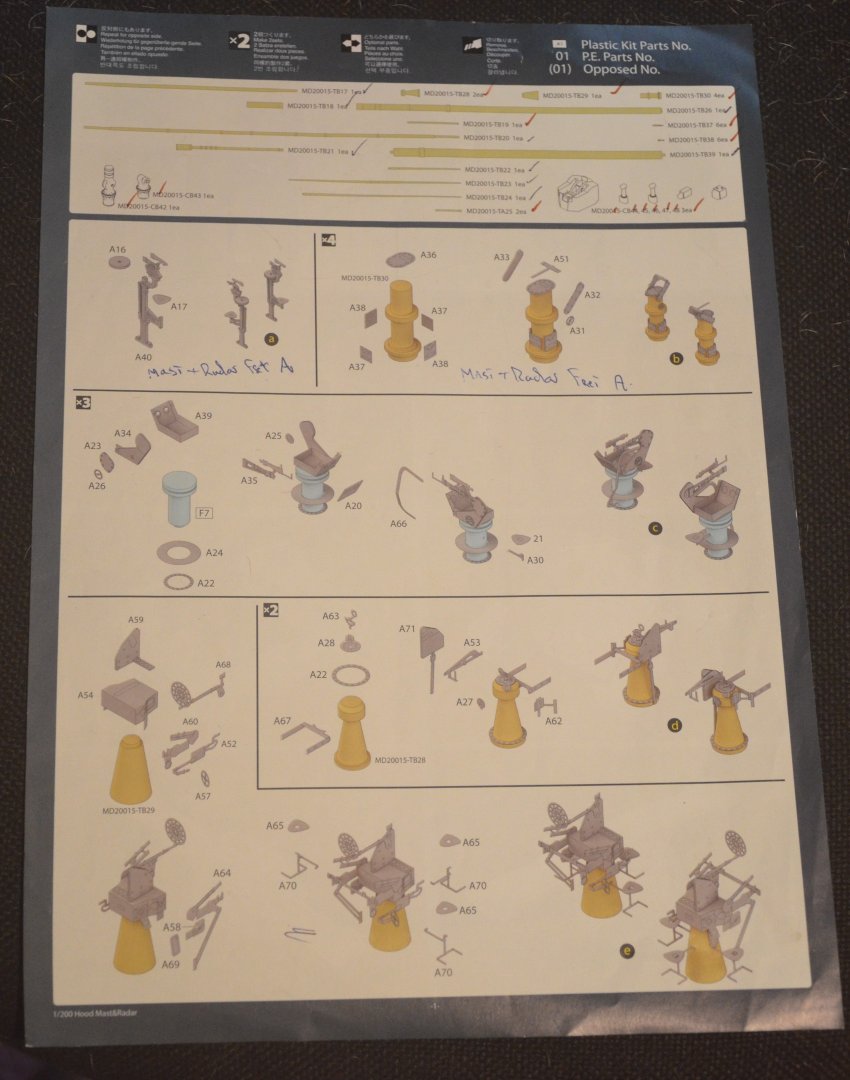
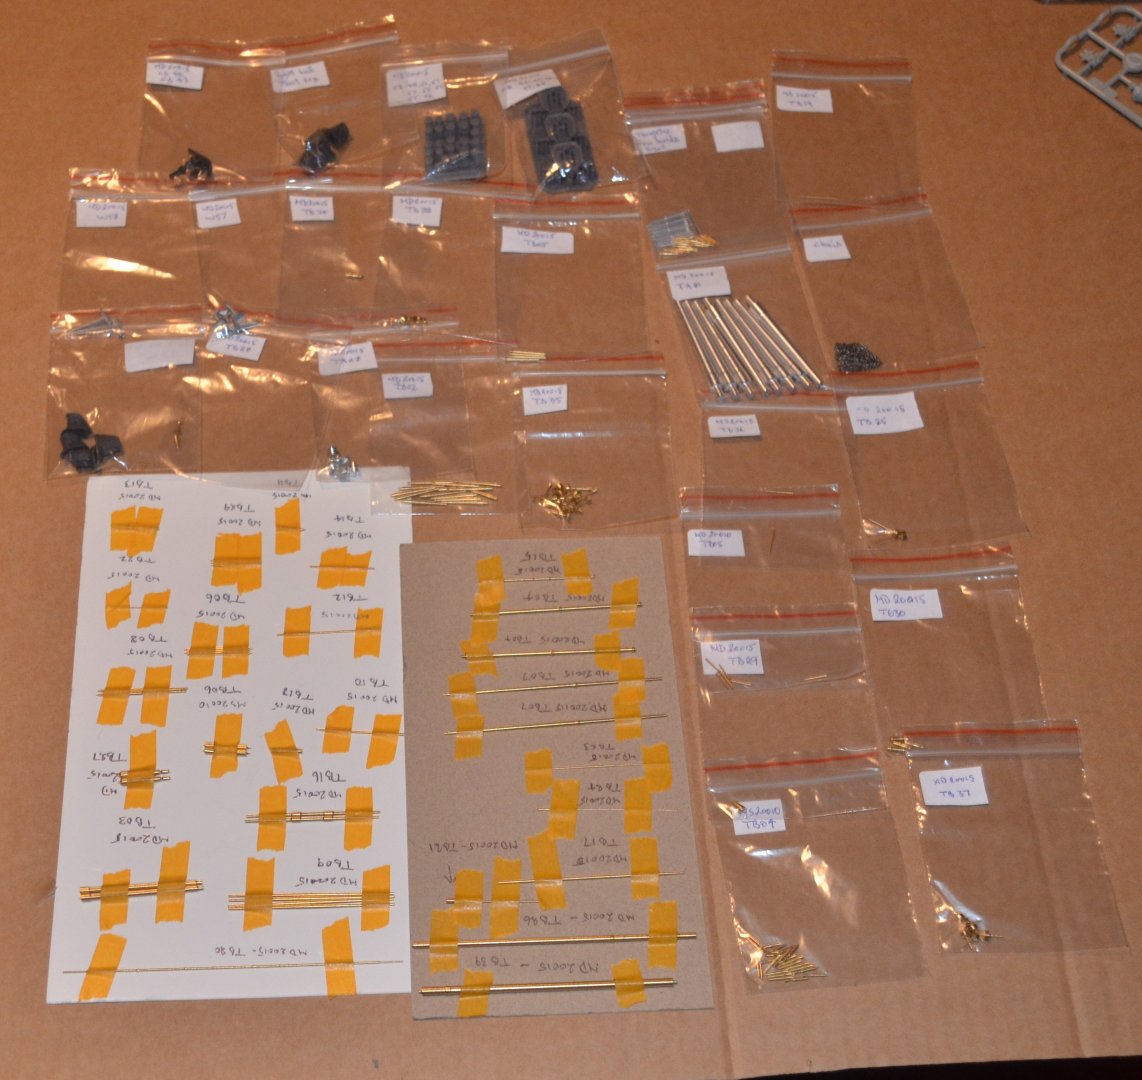
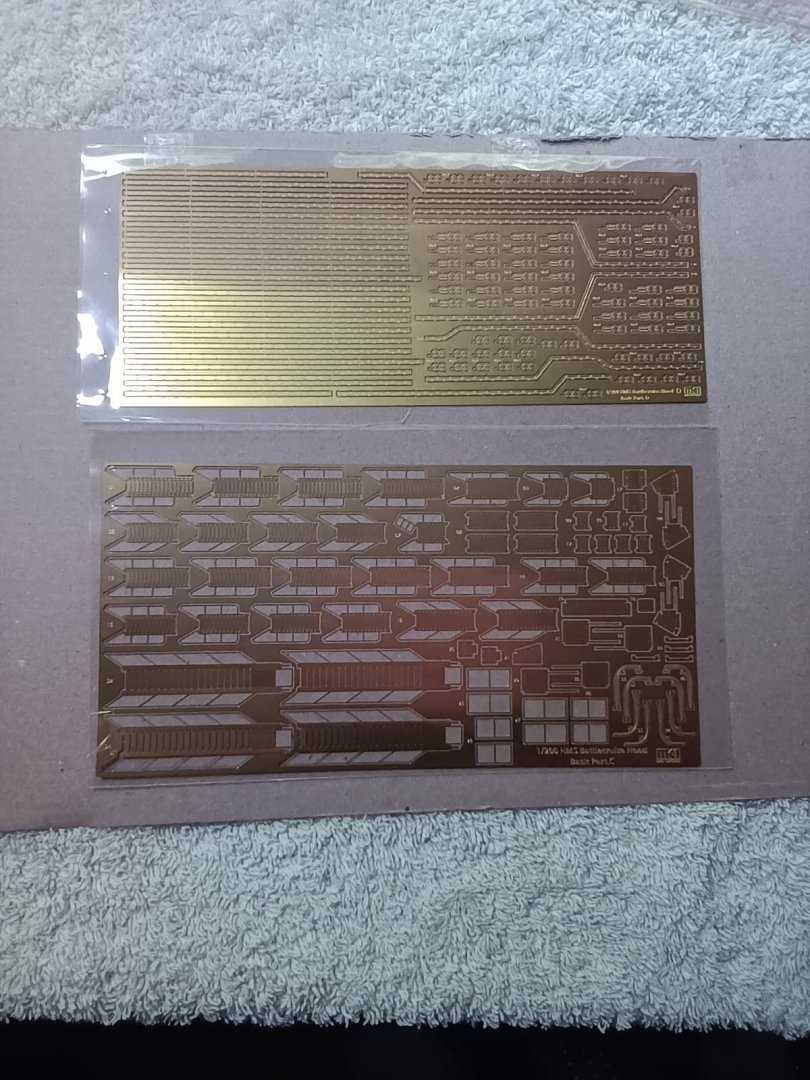
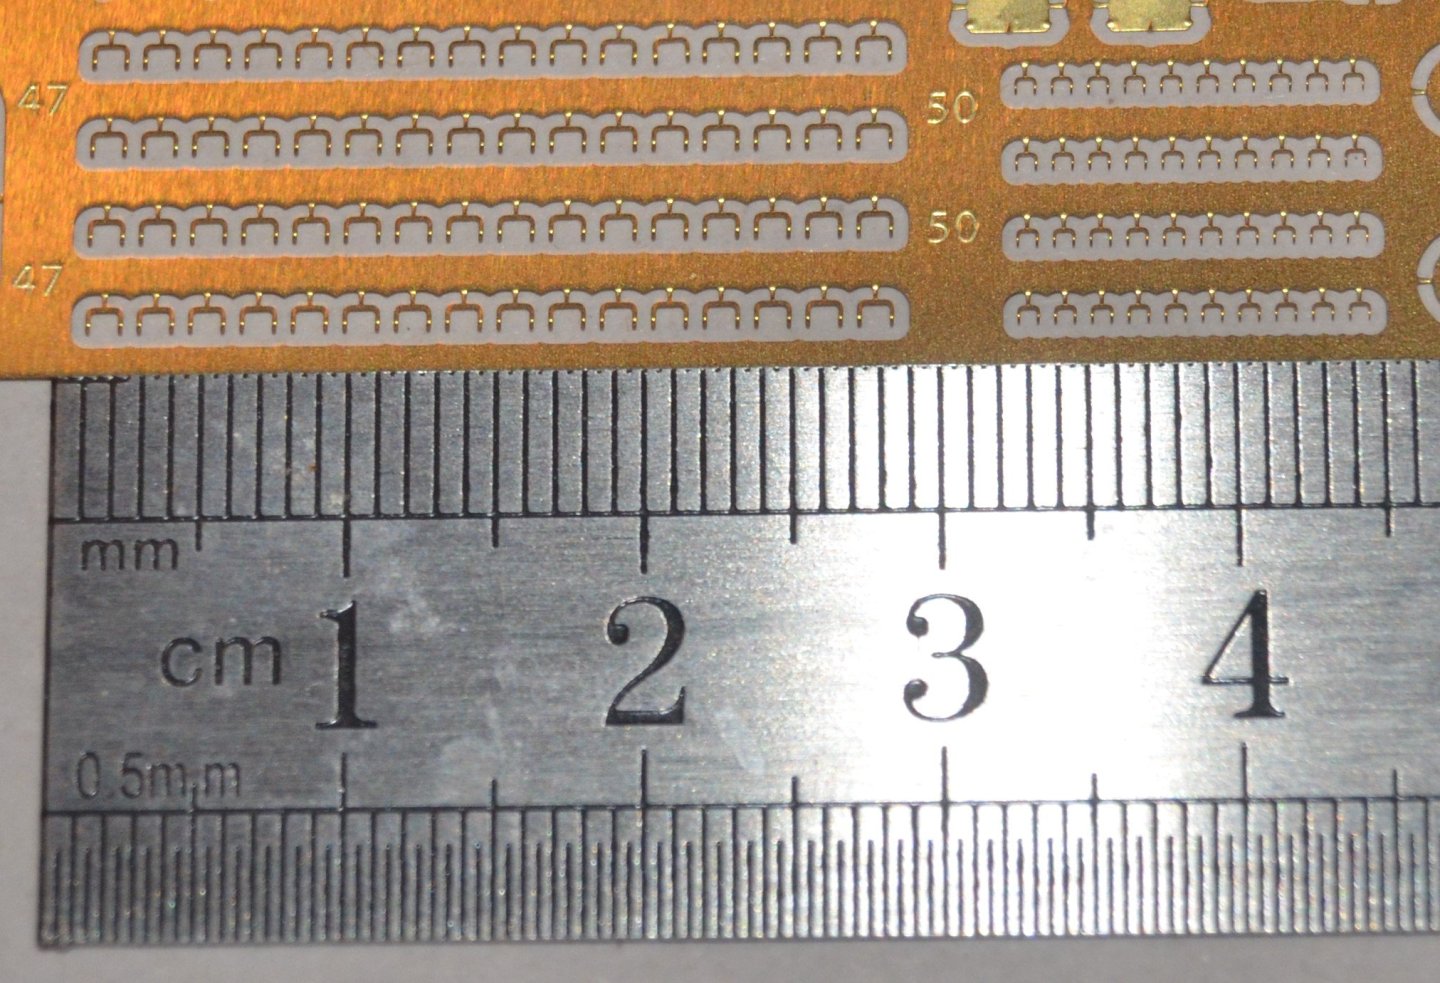
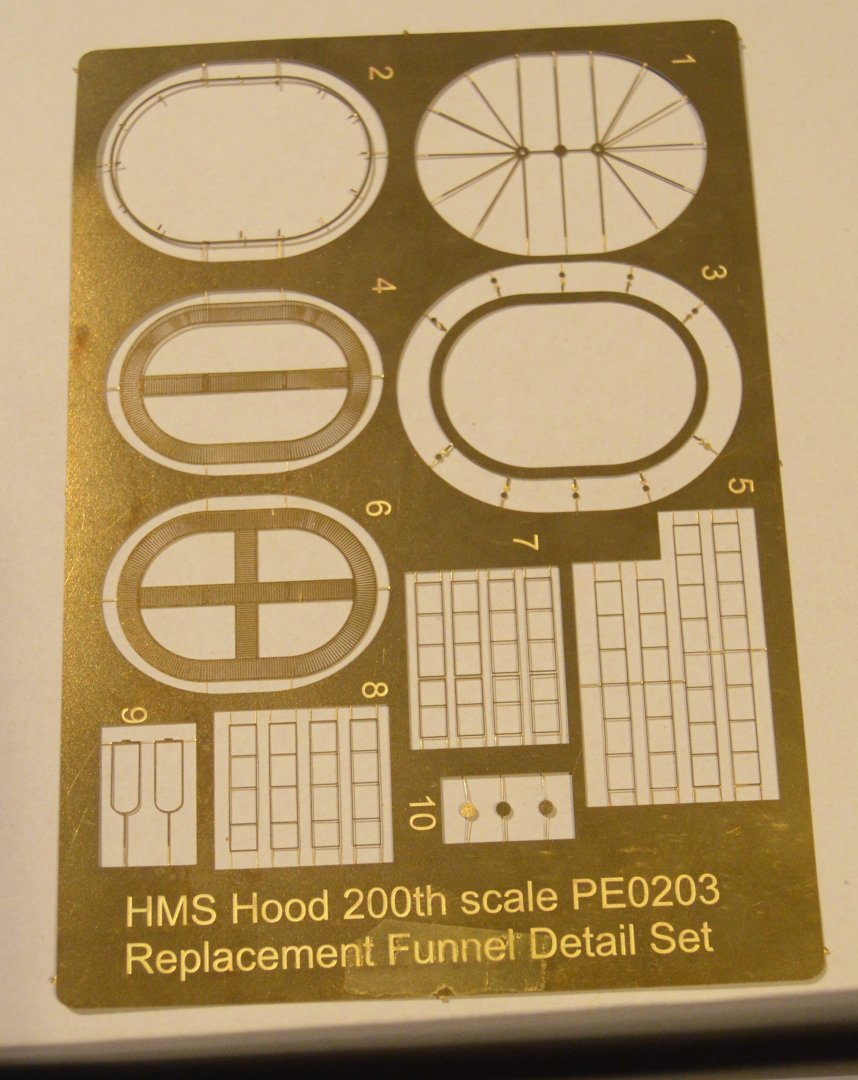
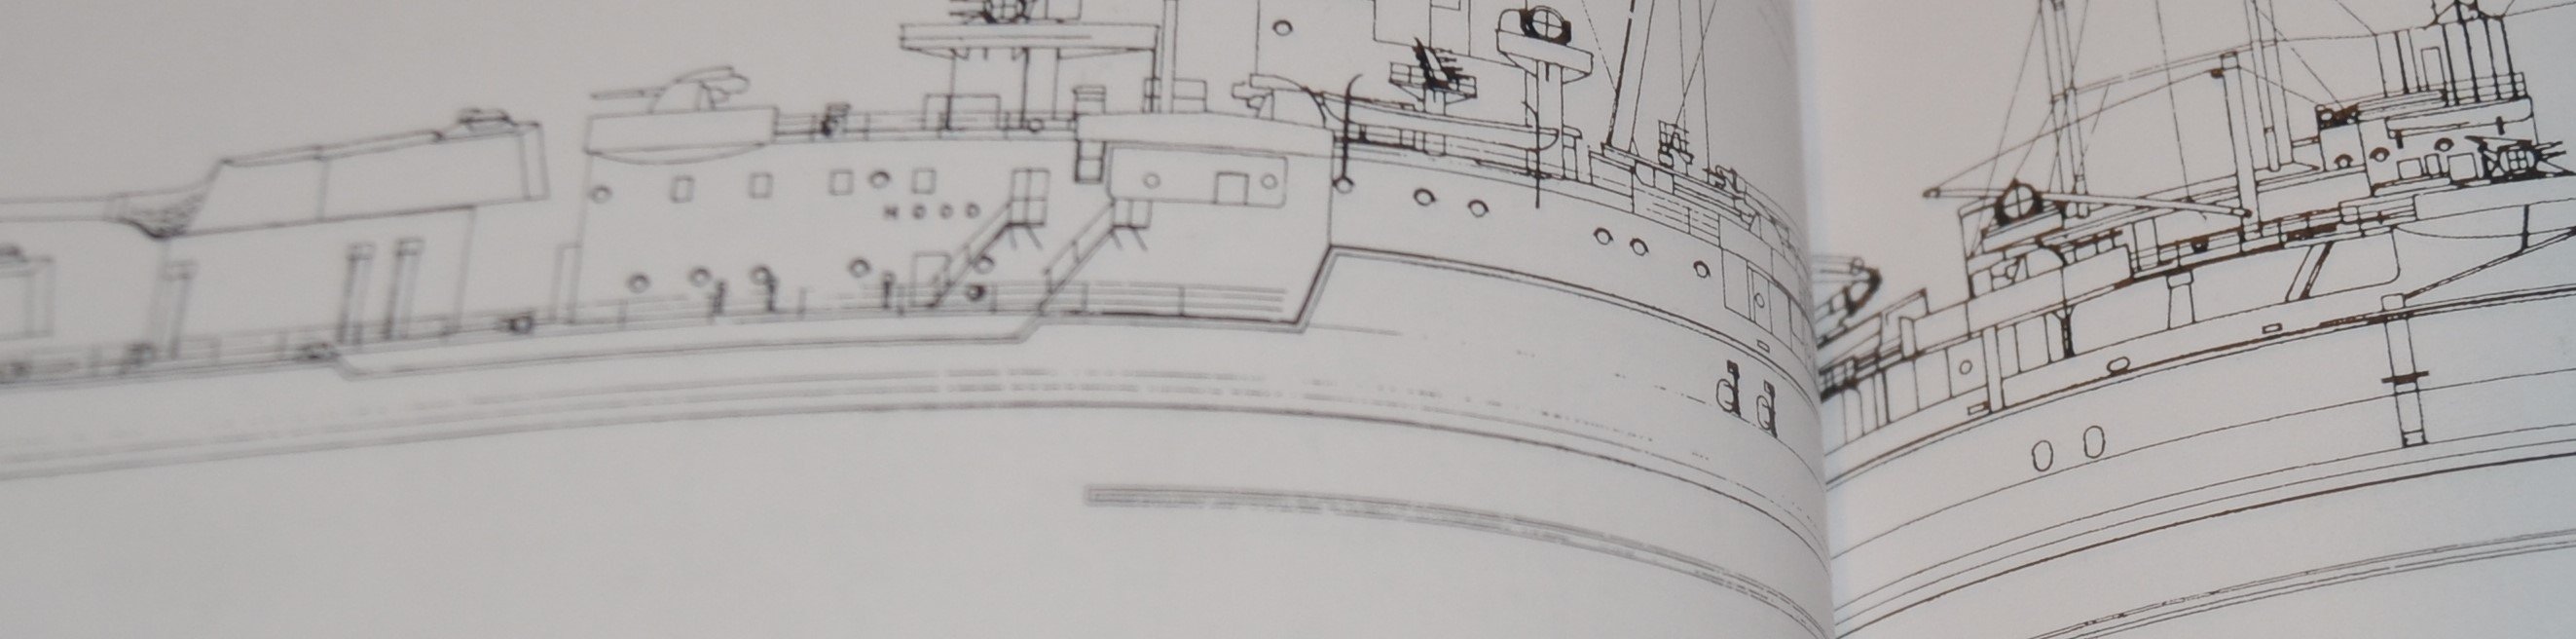
Good Evening everyone. My HMS Hood build log. I won't bore you with to many photos of the kit parts, but have included a few to give an idea of the quality of the parts. This 1\200 scale kit from Trumpeter is very well detailed. It could be built out of the box without any alterations or aftermarket sets. However there are quite a few areas that do require some attention. These areas can be found on the HMS Hood web site. There are around 50 in total, most of which are minor alterations. There are two areas that need quite a bit of altering. One is the degaussing cable that runs along the top of the hull. trumpeter represent it as a raised strip which is incorrect. I have been able to buy a PE upgrade for this from Scalewarships. The other incorrect part is one of the funnels. They should both be the same size. The kit has the rear funnel smaller then the front one. Also from Scalewarships I have purchased a resin upgraded funnel. As can be seen from the pictures they will now be correct. And as a gift for ordering these items they send you a PE fret of the splinter shields. I need to make a decision on the use of the wooden decks. I have to admit I don't really like them. I attached one and although it looks fine it is showing signs of lifting around the various ammo boxes. I have read that this is a downside to using these wooden decks. So I may try and lift it off and paint the decks. But if not then I will stick with them and see if I can get some glue under the areas it is lifting. I will be using the colour guide as near as possible with the information provided on the HMS Hood website. The Ani Fouling on the hull below the boot line will be grey not red. With grey above. So it will be dark grey below and light to medium grey above the boot line. I also have the HMS Hood Anatomy of a Ship book for reference. I need to make up a baseboard to attach the hull on wooden blocks to work on. I have an old DVD unit that I no longer use so this should be perfect once cut to size. I have invested in the MK1 upgrade set and there are a lot of extras to add to the model. Some of which is so small you have to ask yourself whether it is worth adding as it is unlikely to be seen once painted. This is a large model at 51 inches long. I have included a picture alongside Titanic and Queen Mary 2 to give an idea of the scale. I have never untaken a model kit of this size before so am looking forward to giving it my best shot. A breakdown of all the parts is as follows: Plastic parts = 1008 on 20 sprues MK1 PE parts = 4827 give or take 50 on 24 frets Turned metal parts = 157 resin parts = 41 White metal parts = 6 Chain = 1 that is 6040 parts if they are all used. Plus there are the 7 frets of PE that come with the kit. These will come in handy if any mistakes are made with the MK1 parts.


- 97 replies
-
- 11
-
-
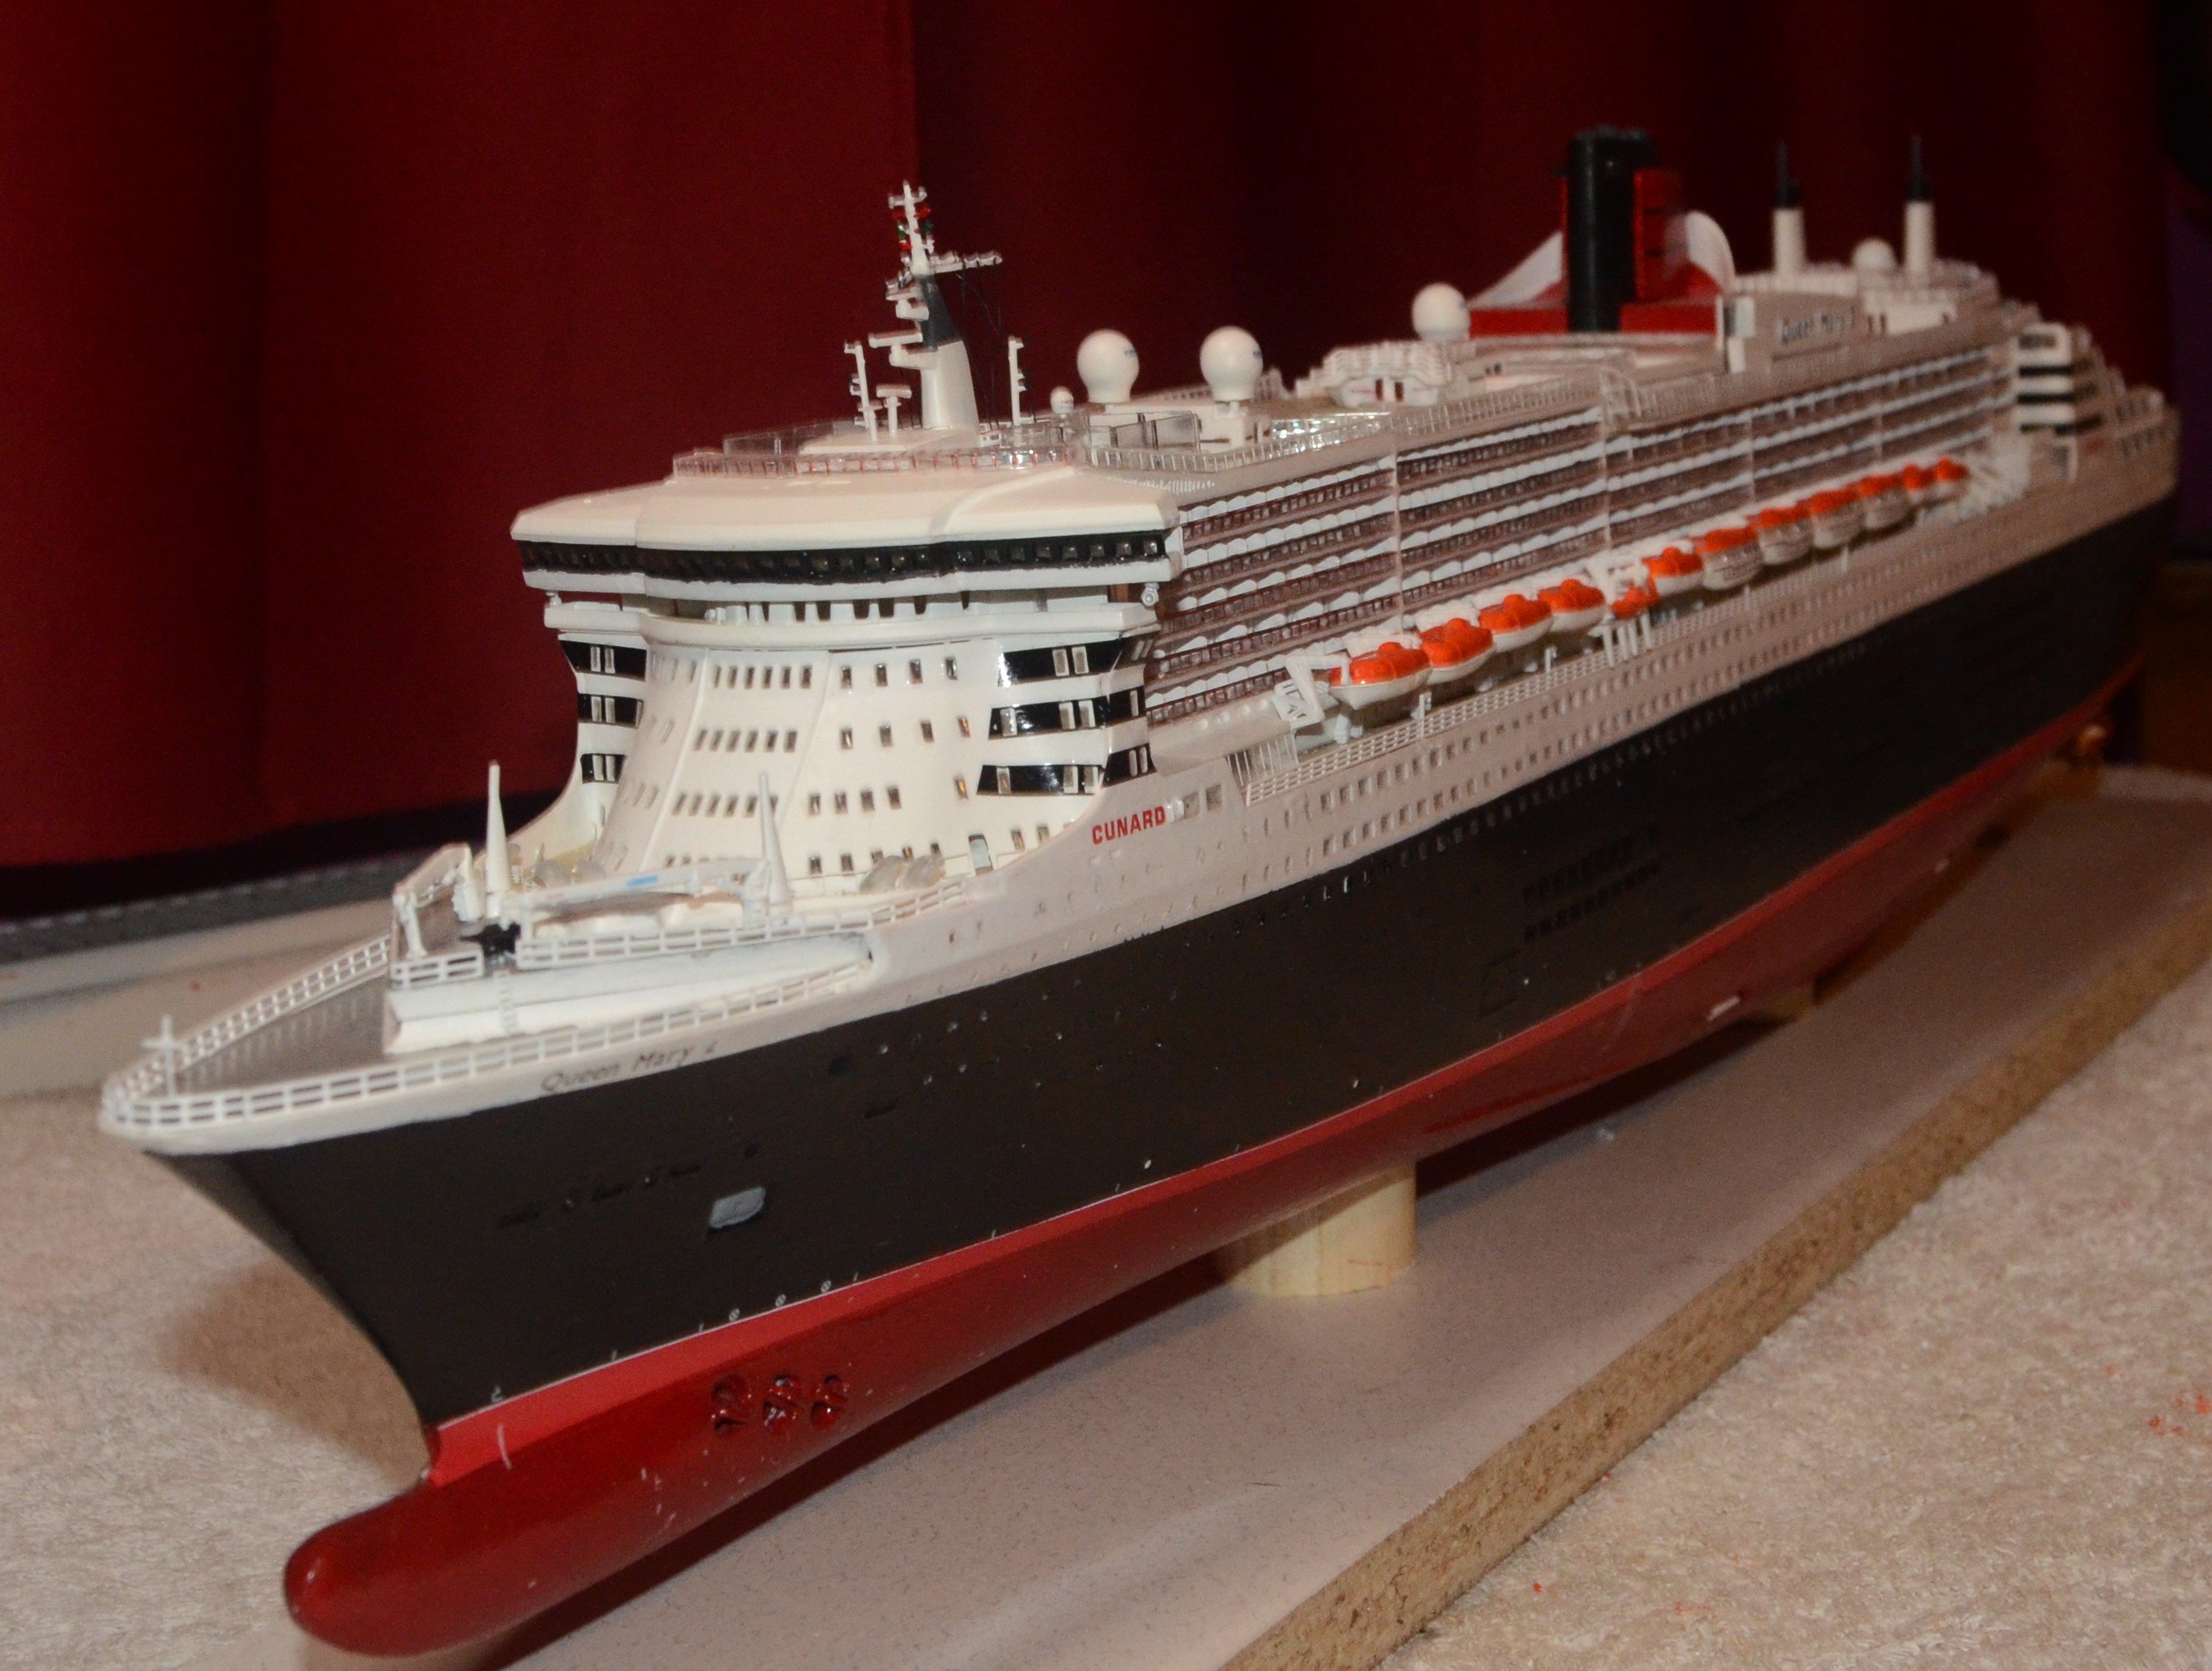
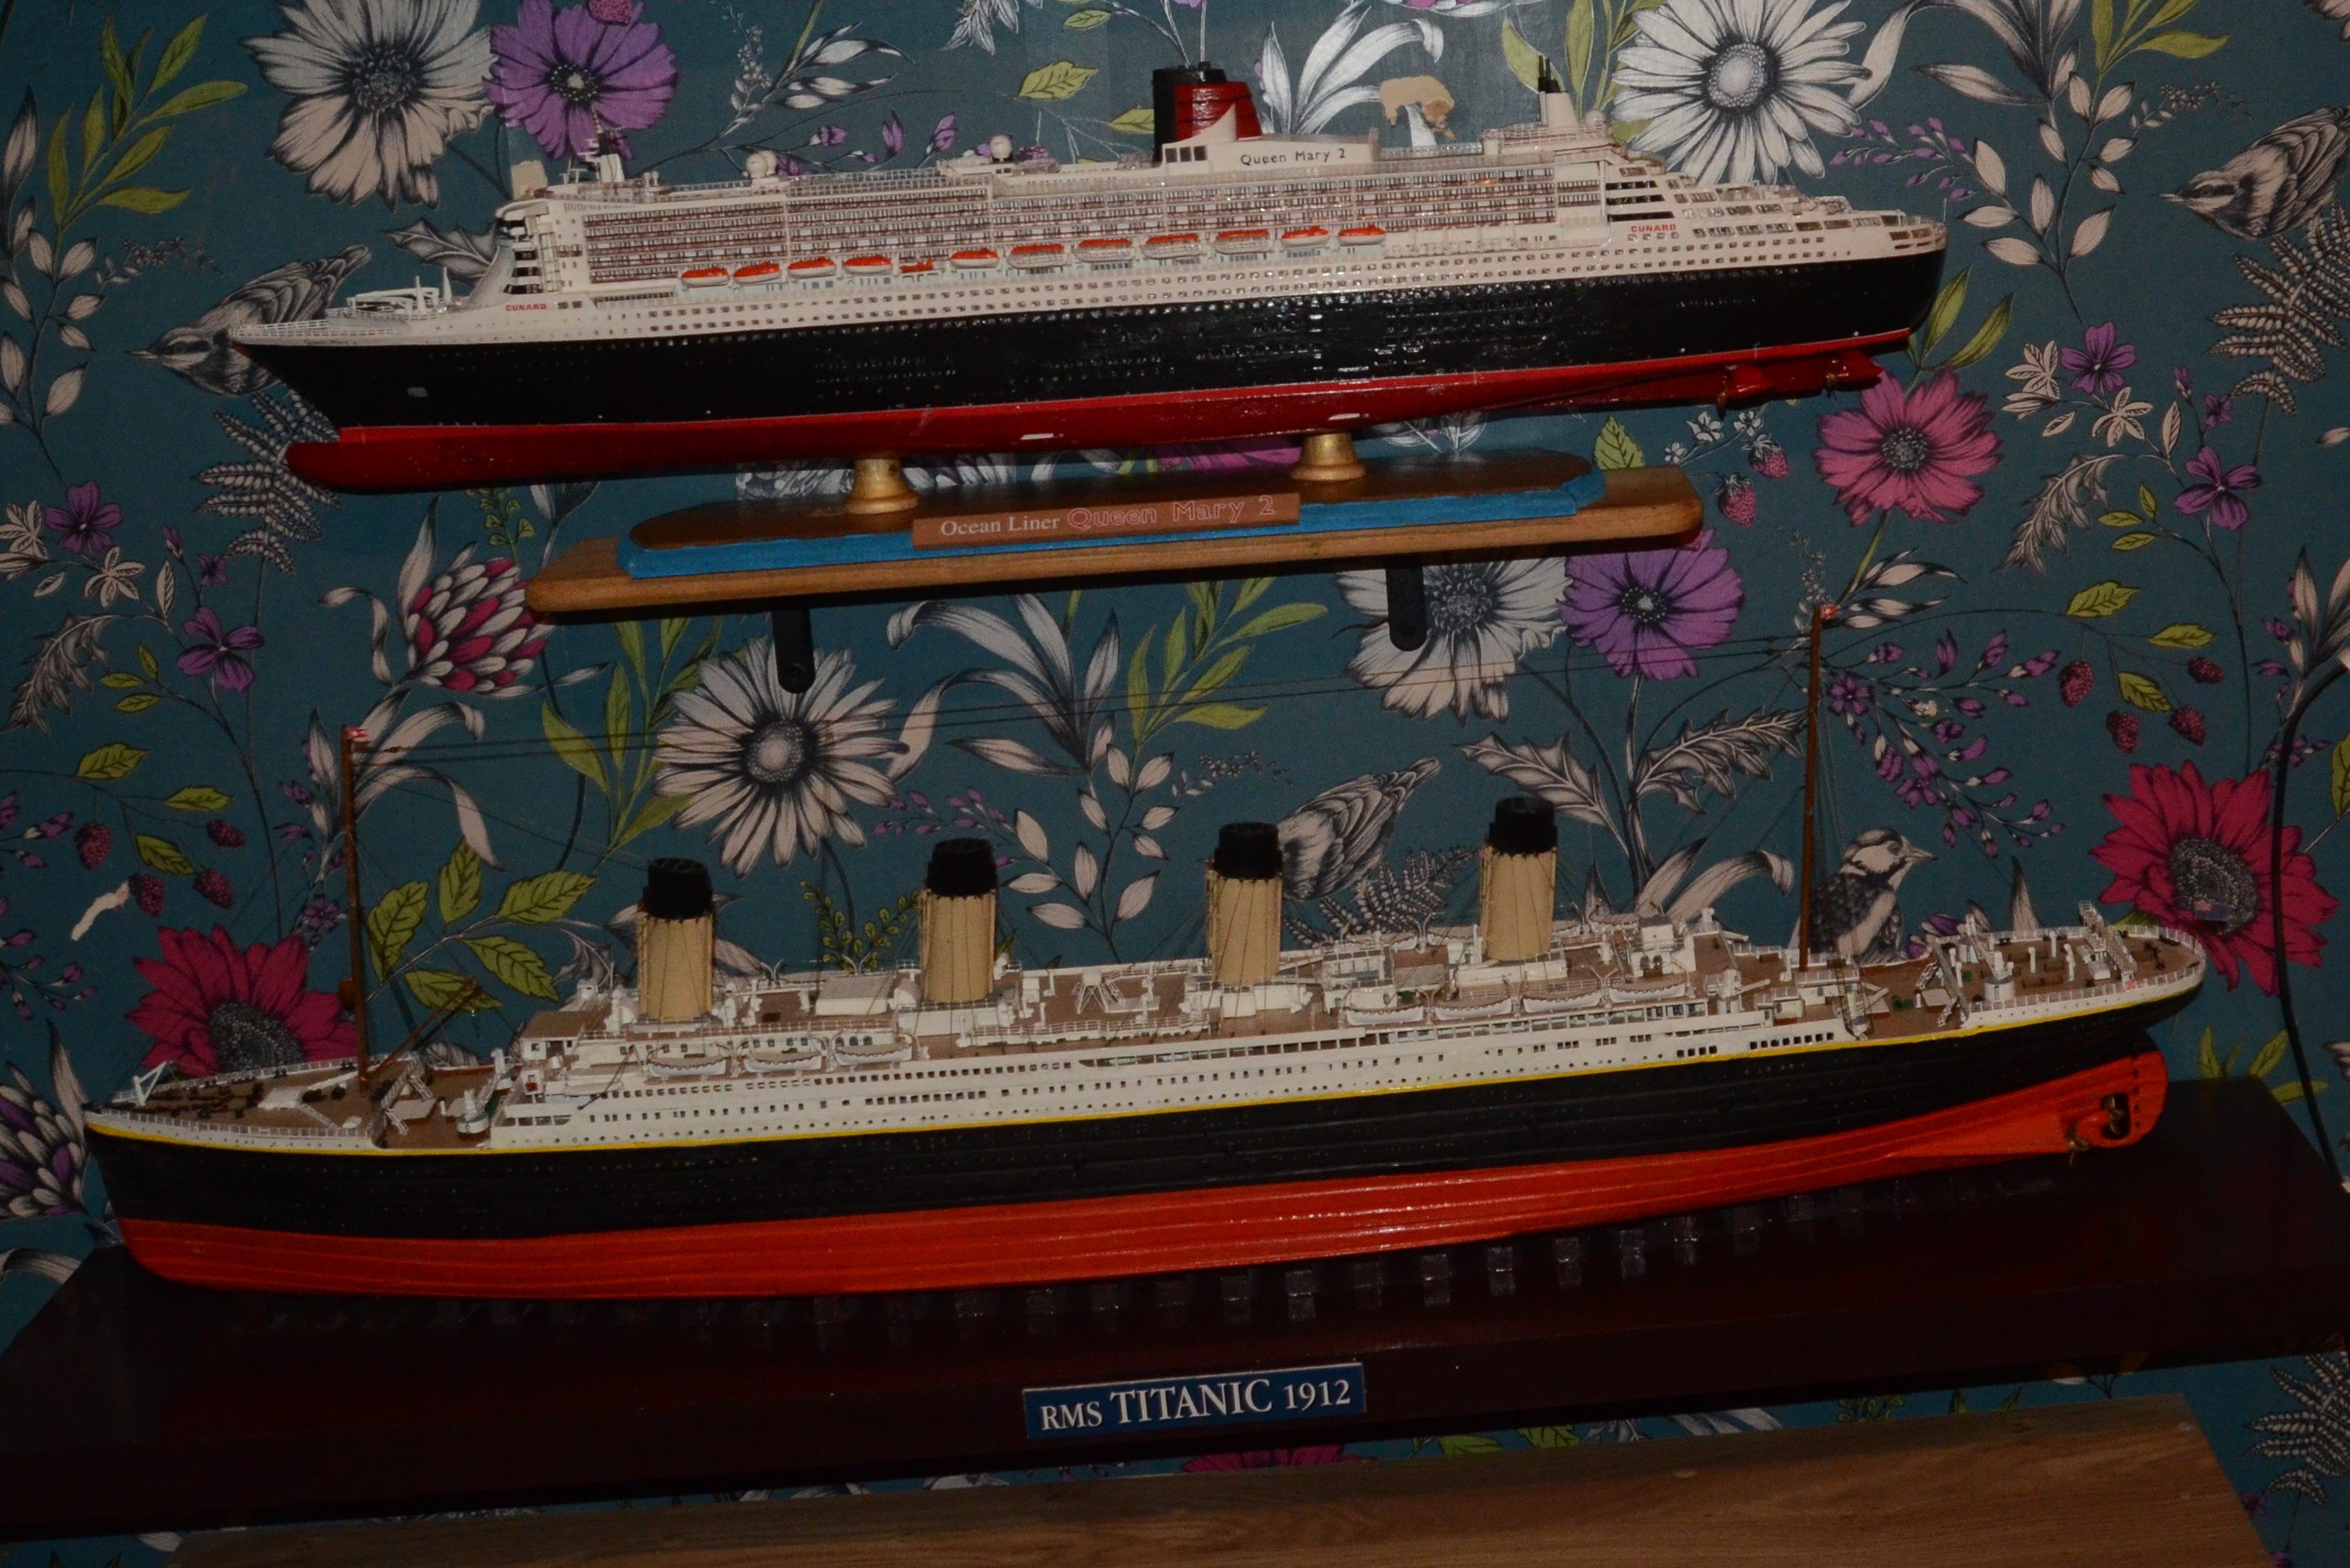
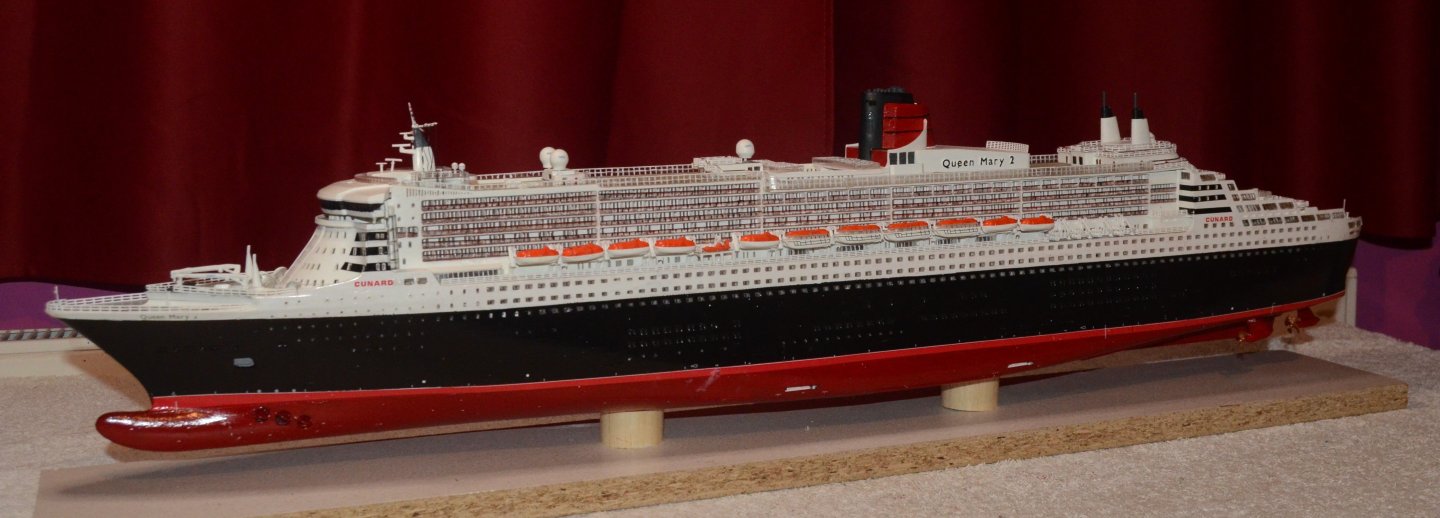
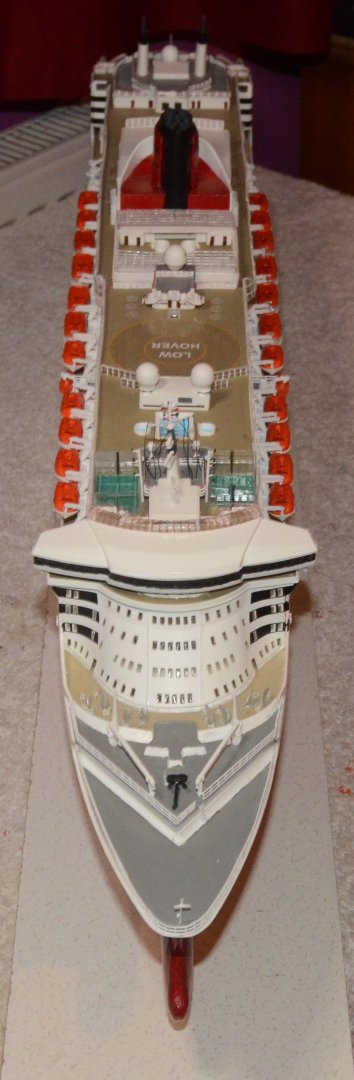
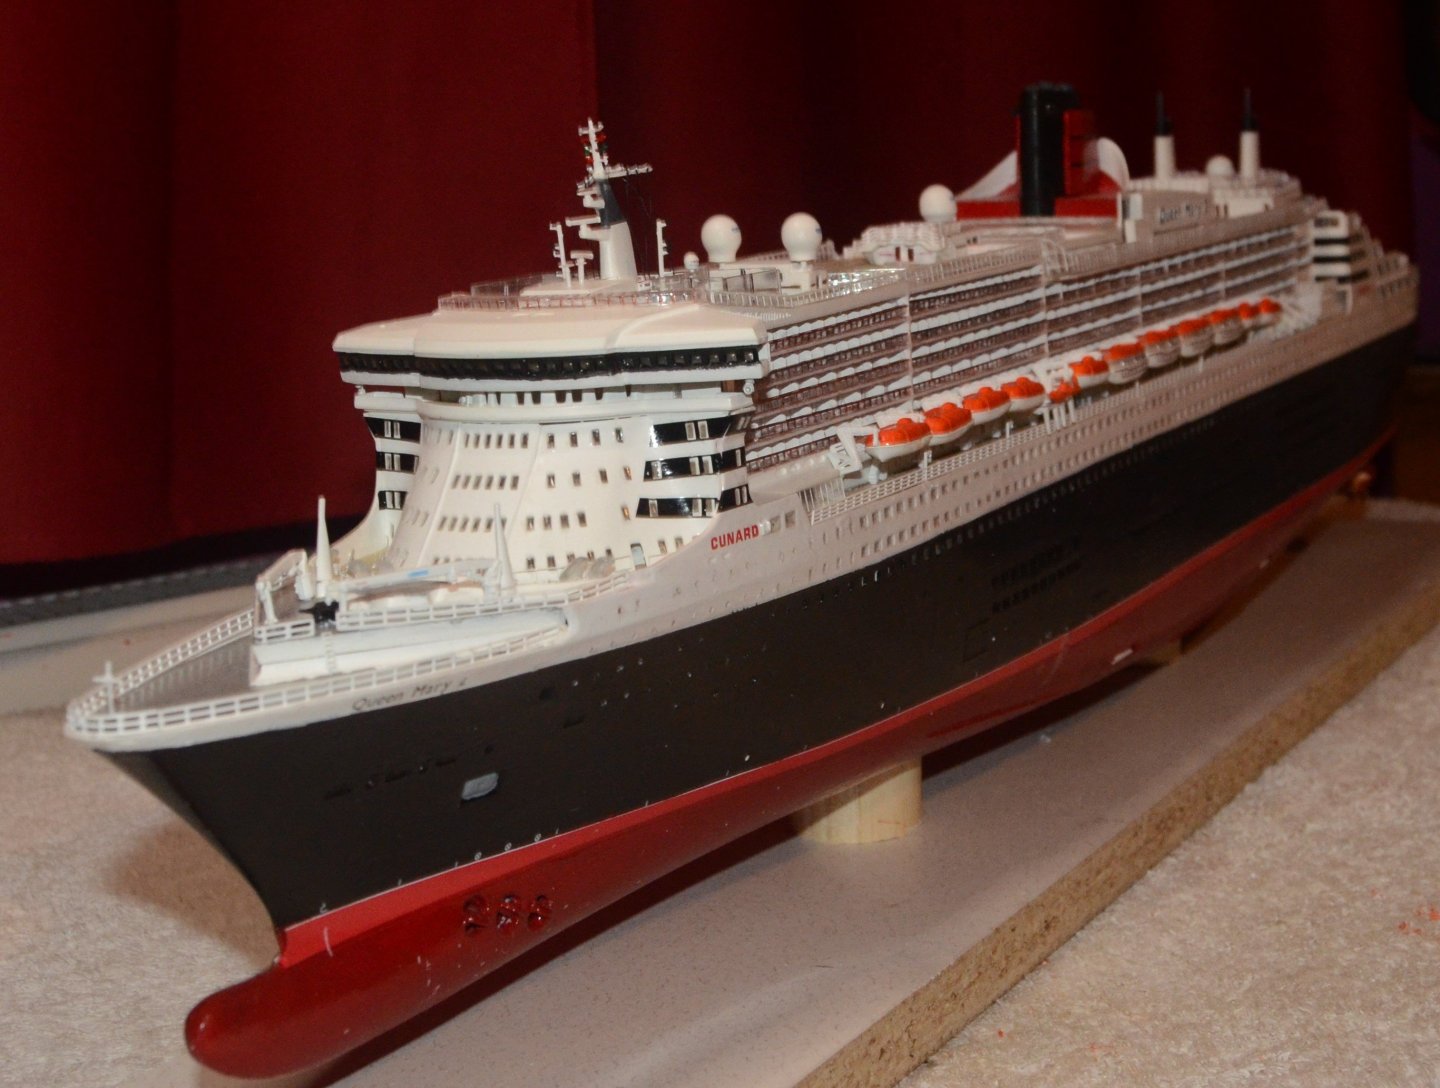
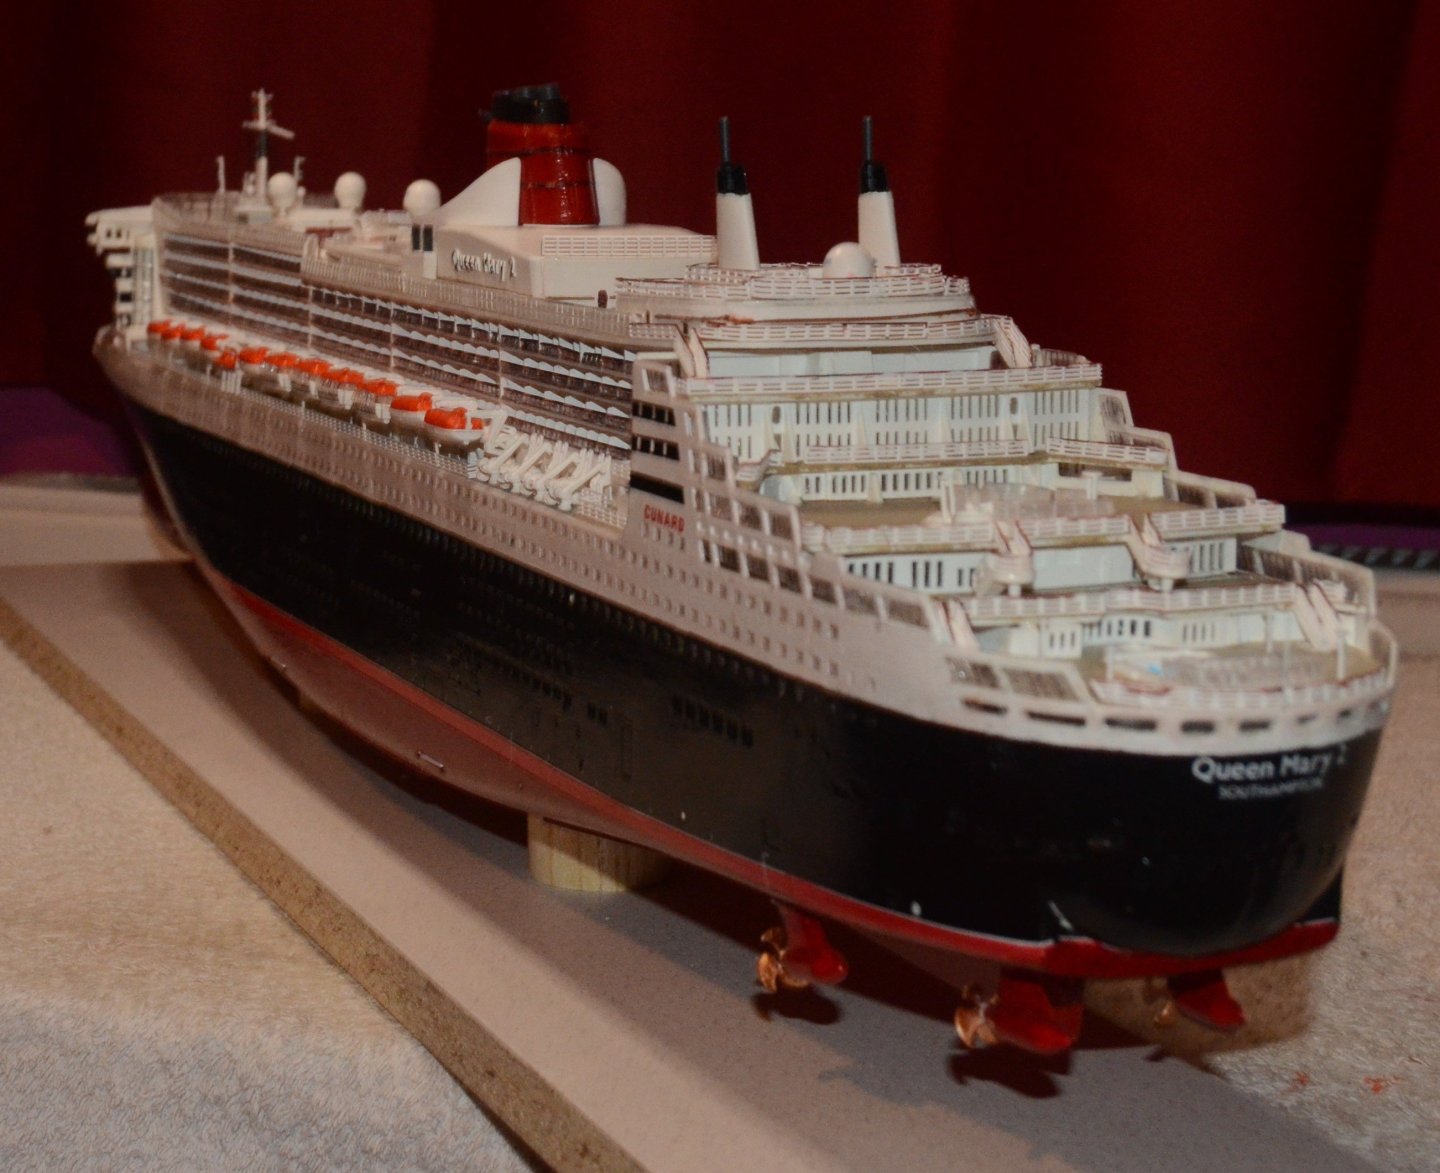
Queen Mary 2 finished. And displayed along with Titanic. both very nice looking ships. This has been a very good build from a good kit from Revell. However it has not been without the odd problem. Most notably the amount of broken and warped handrails. It has gone together very well for the most part. And the ships boats are 95% in a straight line. It has made a real change to complete a kit in such a short space of time. I could have made it look a lot more detailed with the added PE. But I did not want to add even more time to the build. Time for that with my next build.


- 33 replies
-
- 7
-
-
- Queen Mary 2
- Revell
- (and 3 more)


.JPG.c375e2ae20dc4121fb3f35263e3e590f.JPG)
.JPG.169bdb277178d51bd38bc10d836b28f3.JPG)
.JPG.6c744aa57f71529f040e1382e2772940.JPG)
.JPG.014e854b354b21be70b41fbbb32276f9.JPG)
.JPG.8296833dad48c8961ca9d06e88cded81.JPG)