
Paul Jarman
-
Posts
478 -
Joined
-
Last visited
Content Type
Profiles
Forums
Gallery
Events
Everything posted by Paul Jarman
-
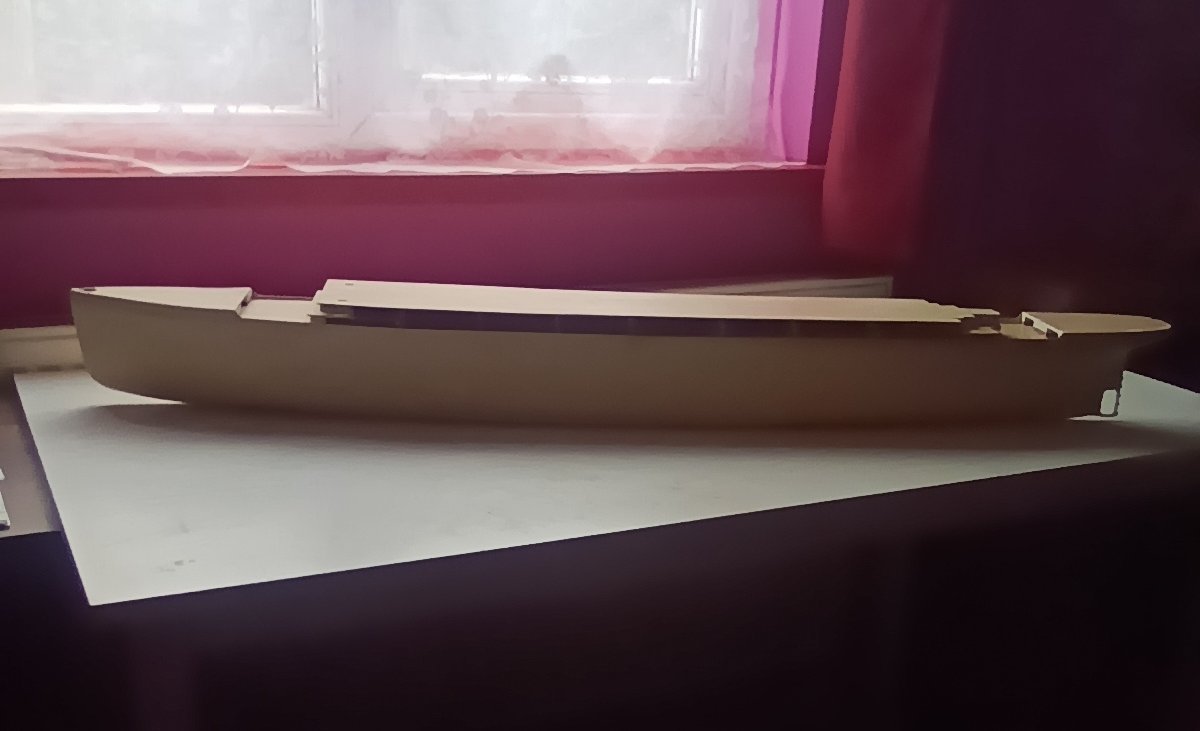
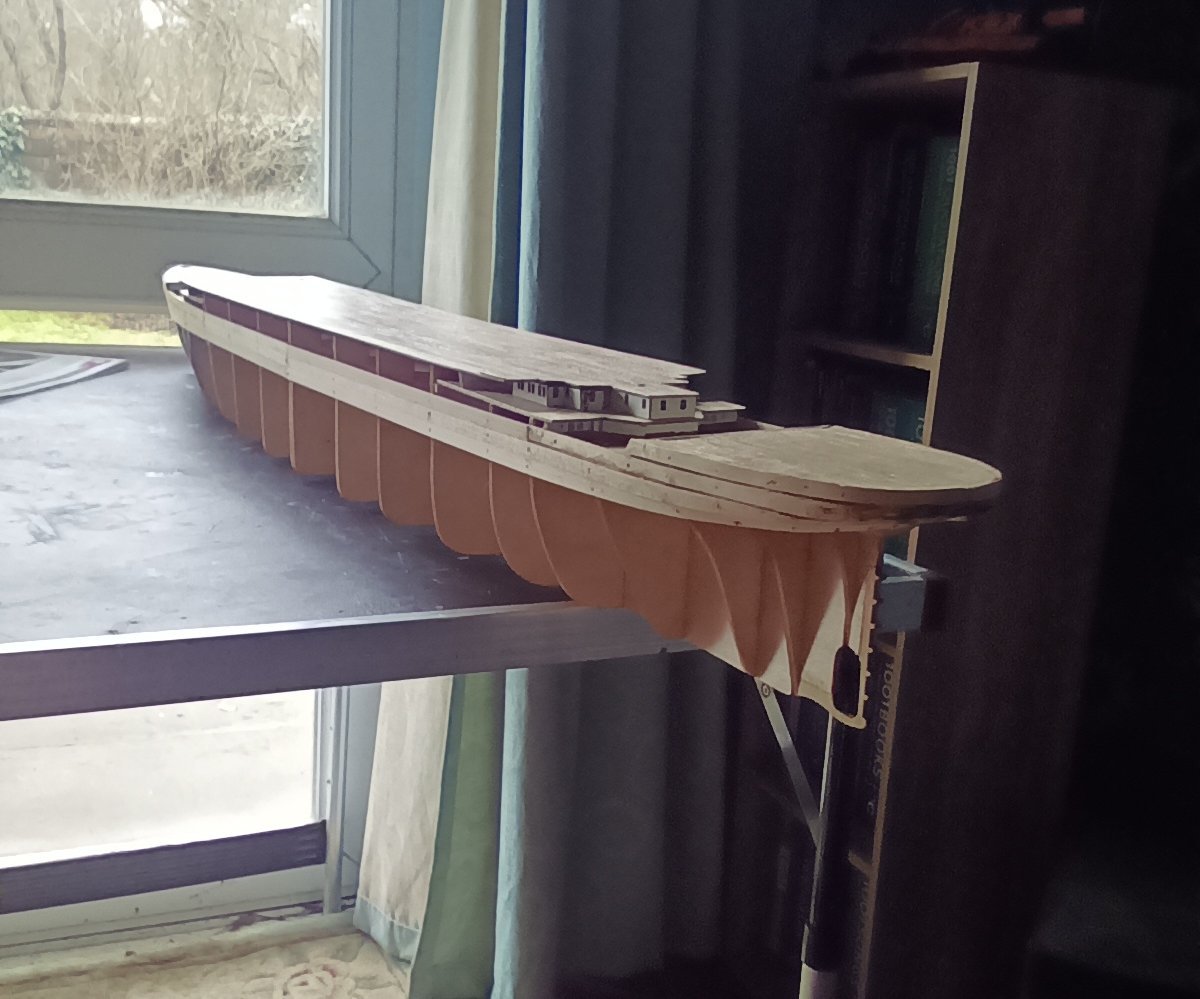
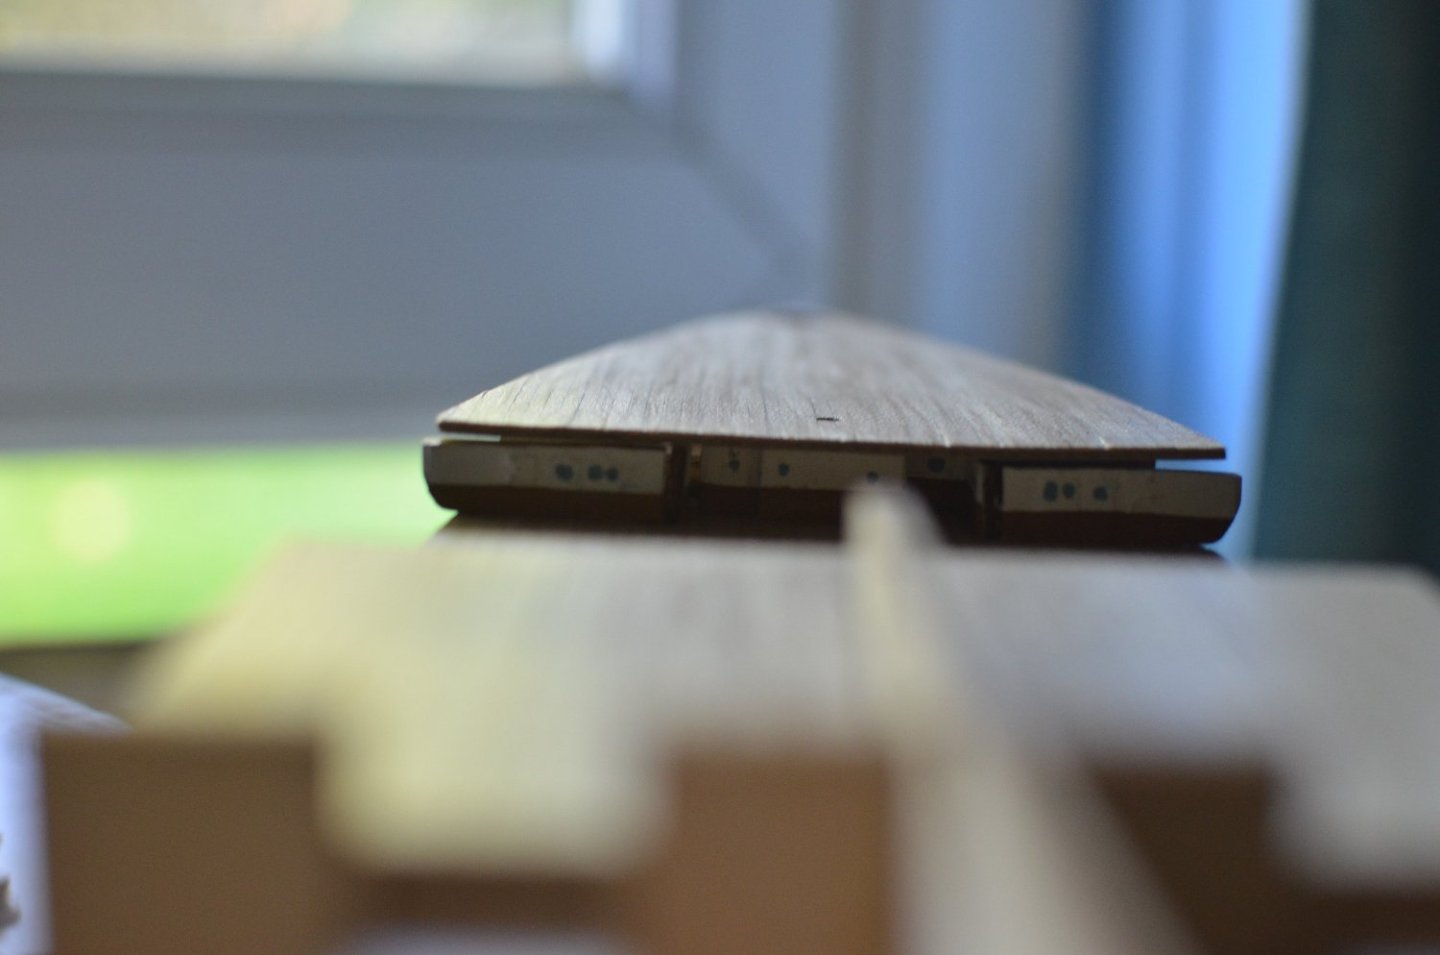
 First coat of undercoat. Don't see the point of building all the decks and funnels before painting. So will paint it before The next stage. The added photo etch stands out well. Good job I looked ahead of I would have added the cutwater strip after undercoating which would have made gluing harder than on bare wood. It doesn't actually look all wavey when seen normally. Photos never do these things justice. The smaller port holes look just fine.
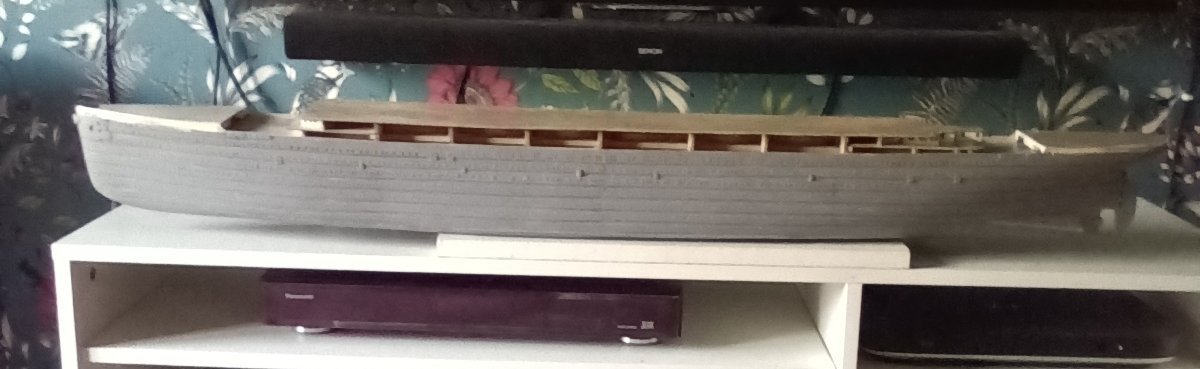


-
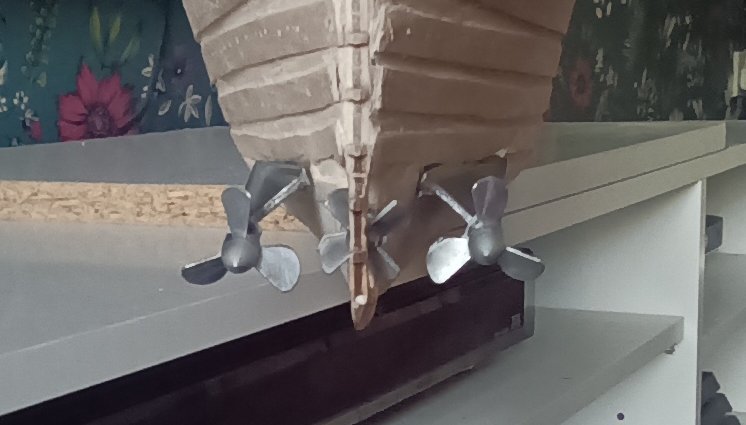
Don't really want to waste 900+ port hole flanges. Also want the port holes to look as they should. I have decided to add them and file/sand them down. Adds a huge amount of extra work but they will file down as close to the level of the hull as possible. They are not noticeable when looking along the side of the hull. On the plus side they make the port holes stand out a lot better and once painted will not be to noticeable. And more importantly they can be seen from a distance. And the hull will look neater. Now just got to add them all and start reducing them down. Then all the photo etch doors and bits to add. You have to think a few steps ahead with this kit as the instructions have the photo etch added after painting. The propeller blades are just held on with blue tac so I could get the orientation correct. I think they look alright.


-
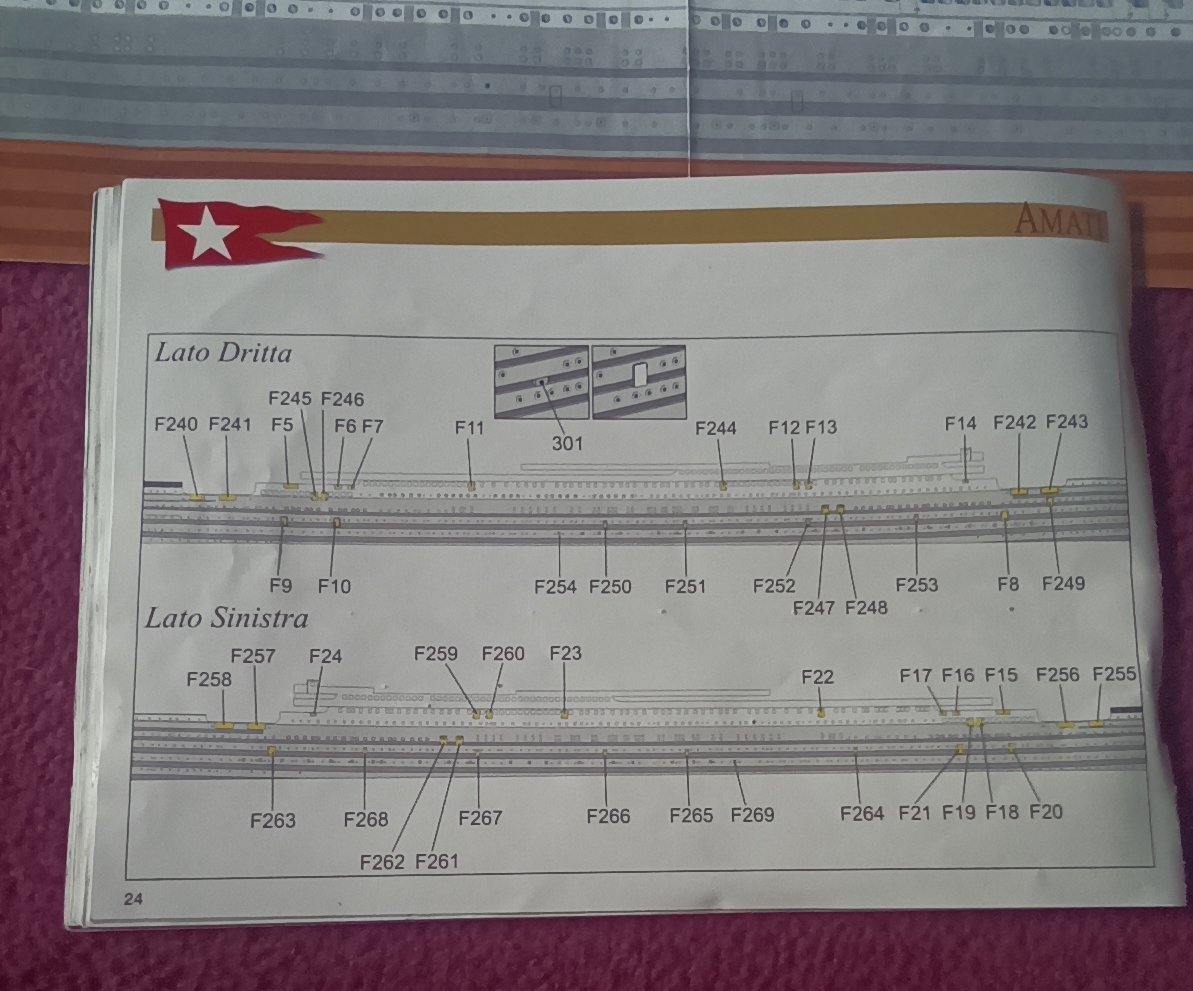
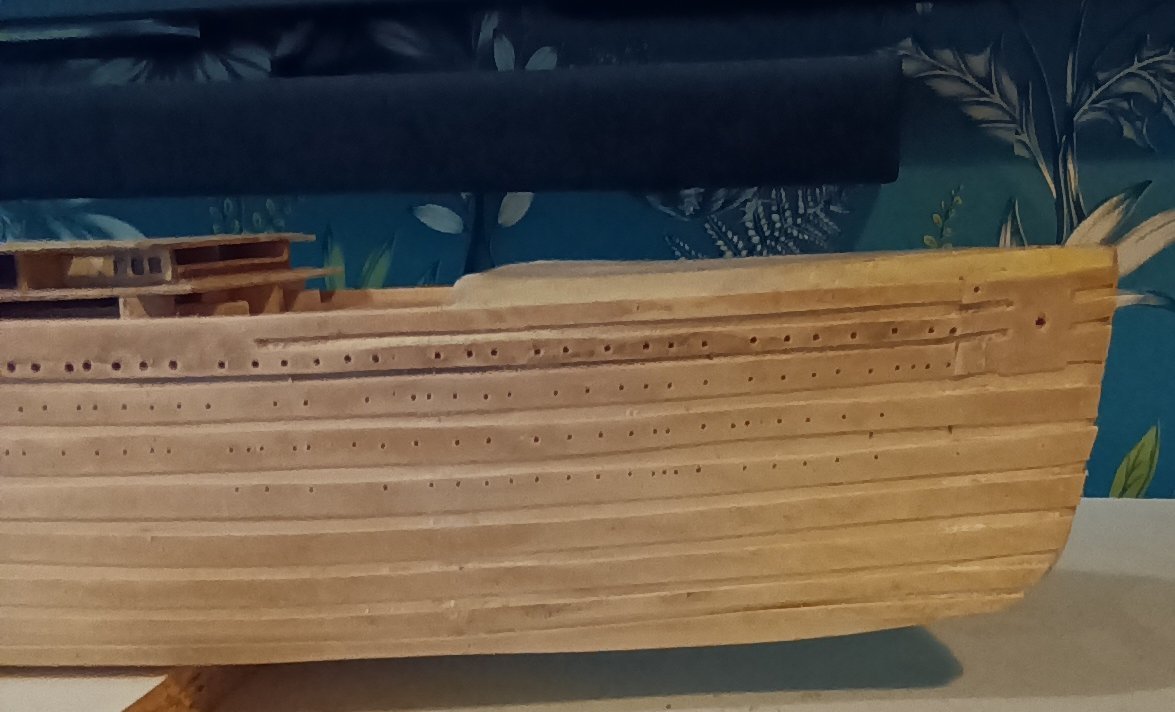
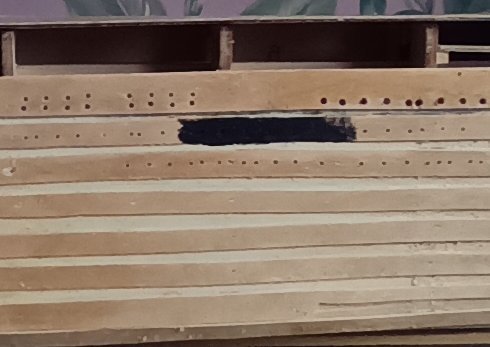
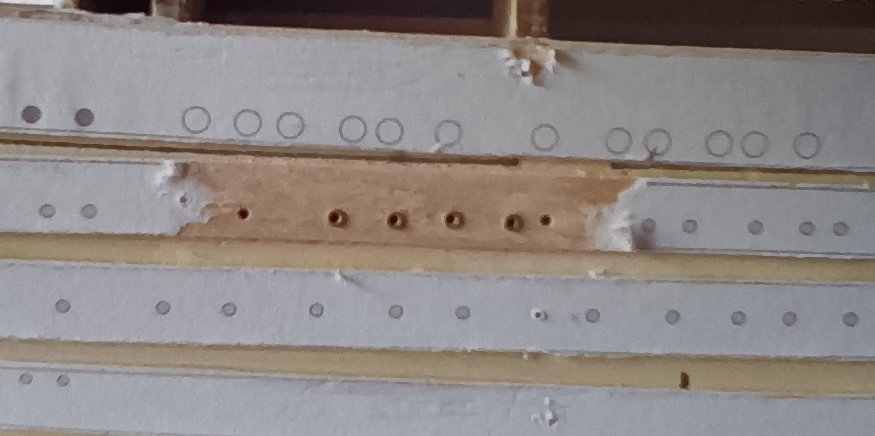
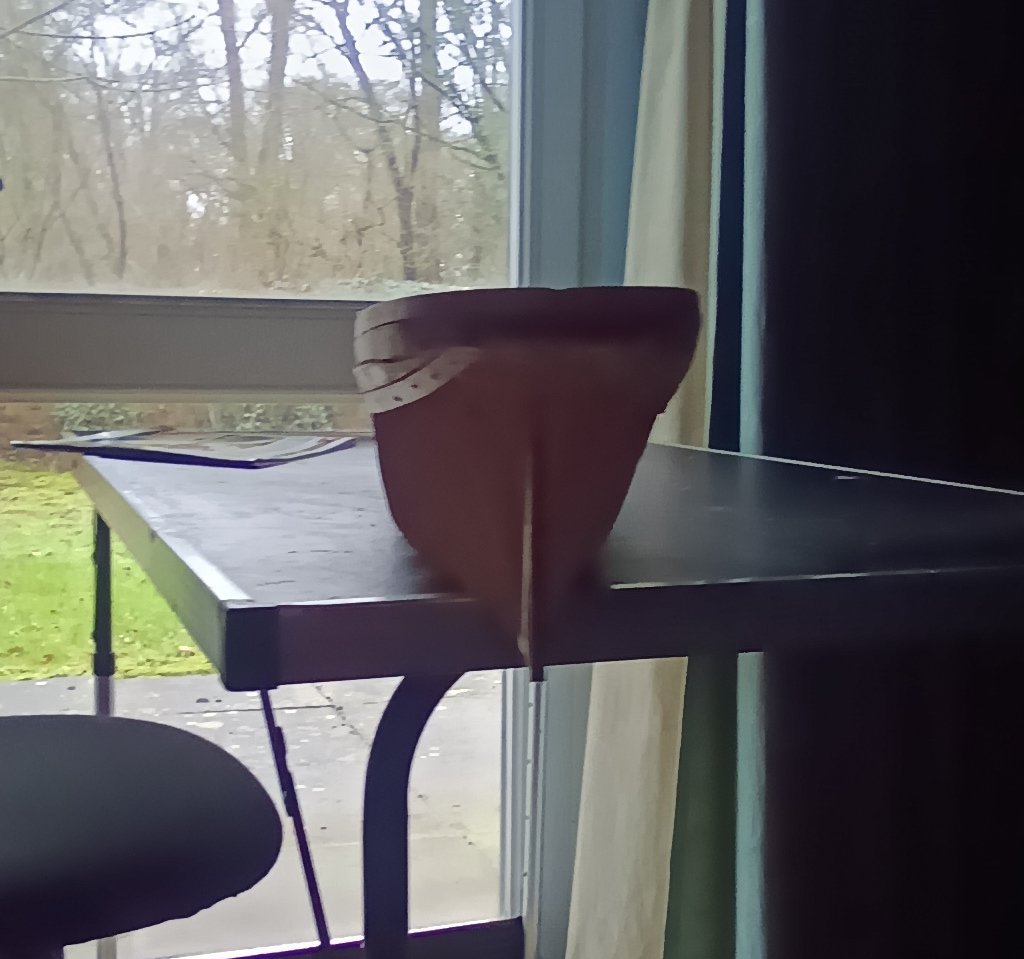
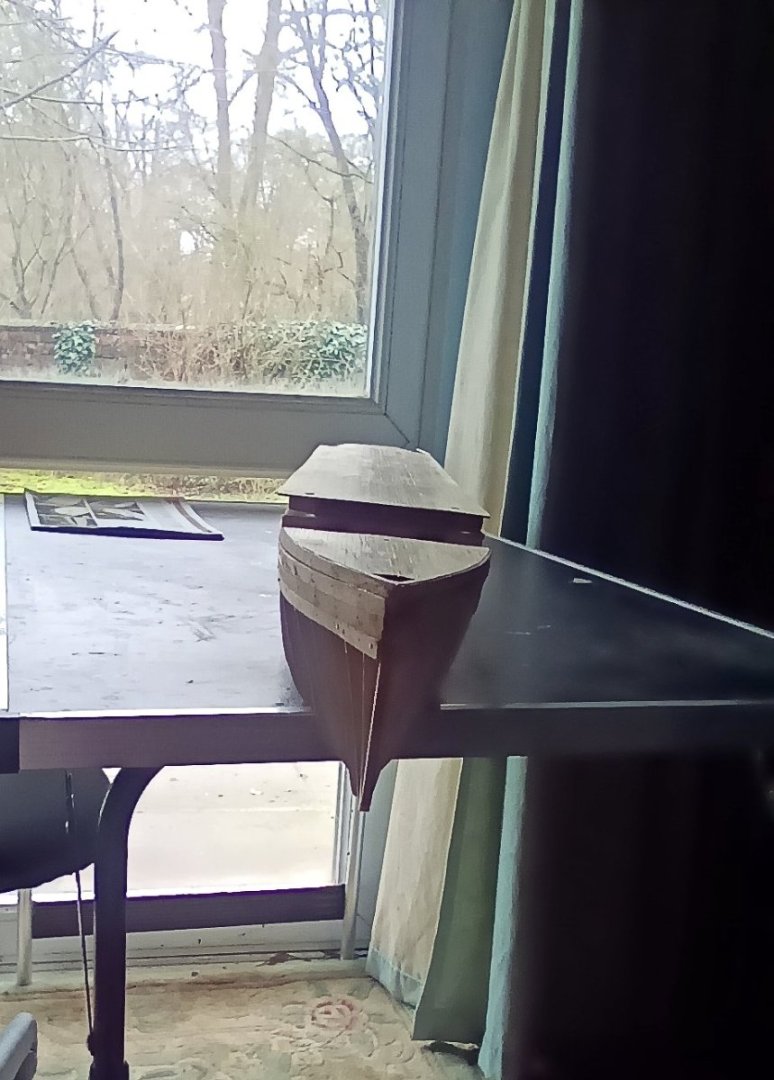
Port holes drilled out on one side. Still a fair not of work to do on tidying up the hull. Some sanding down and filling to do. Have to make a decision on the flanges. I have painted one small area as a test. Even close up they disappear. Would probably get away with leaving the top line as is. But then it would look silly having the smaller diameter ones flanged. The trouble is, because of the scale it looks like the hull has wood worm in it. And anyone seeing the final model displayed would question what would appear to be the absence of port holes. So I will almost certainly use the flanges so that all that hard work can be seen.


-
Start of the port holes. The flanges are not that bad. They sit very close to the hull. Viewing the model from a few feet away I can see the port holes with flanges. Those without disappear. Will probably use them for the effect.
-
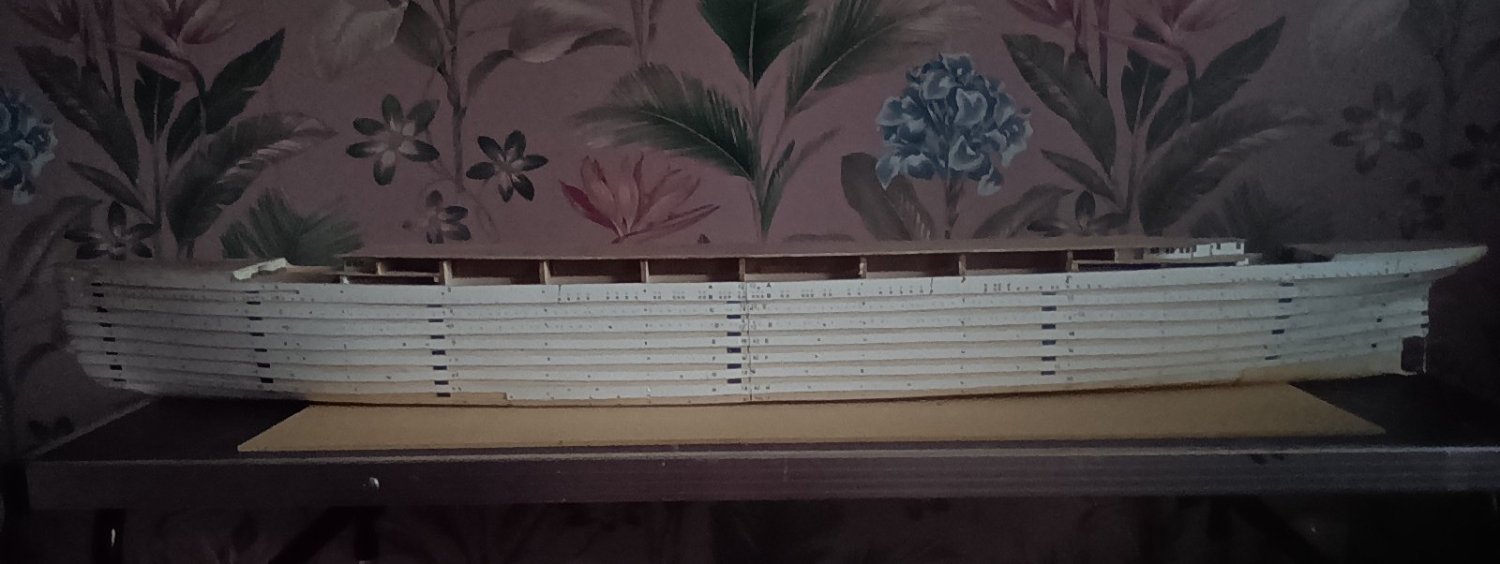
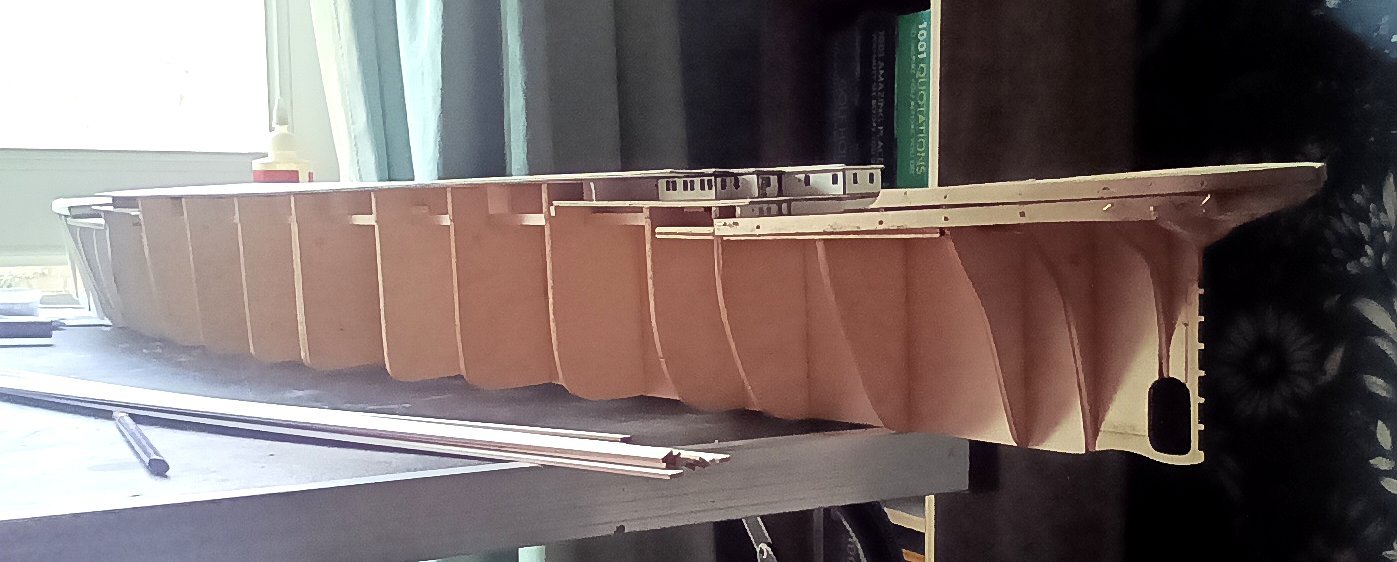
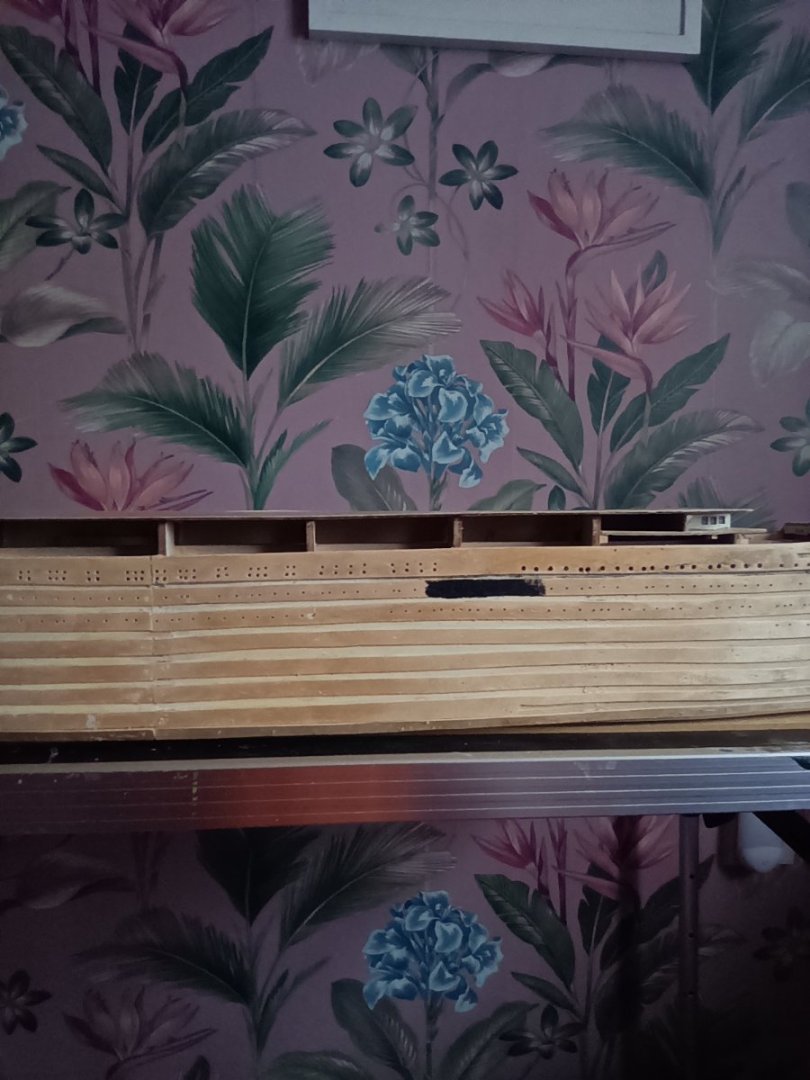
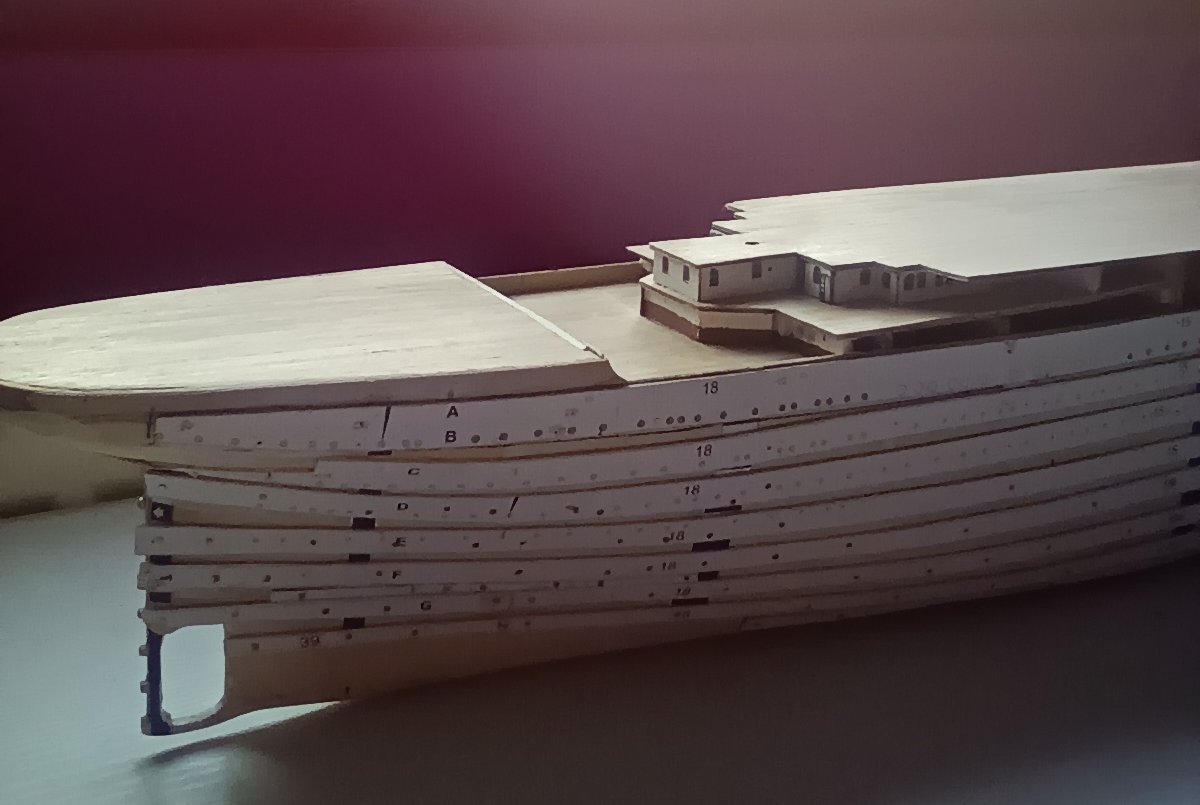
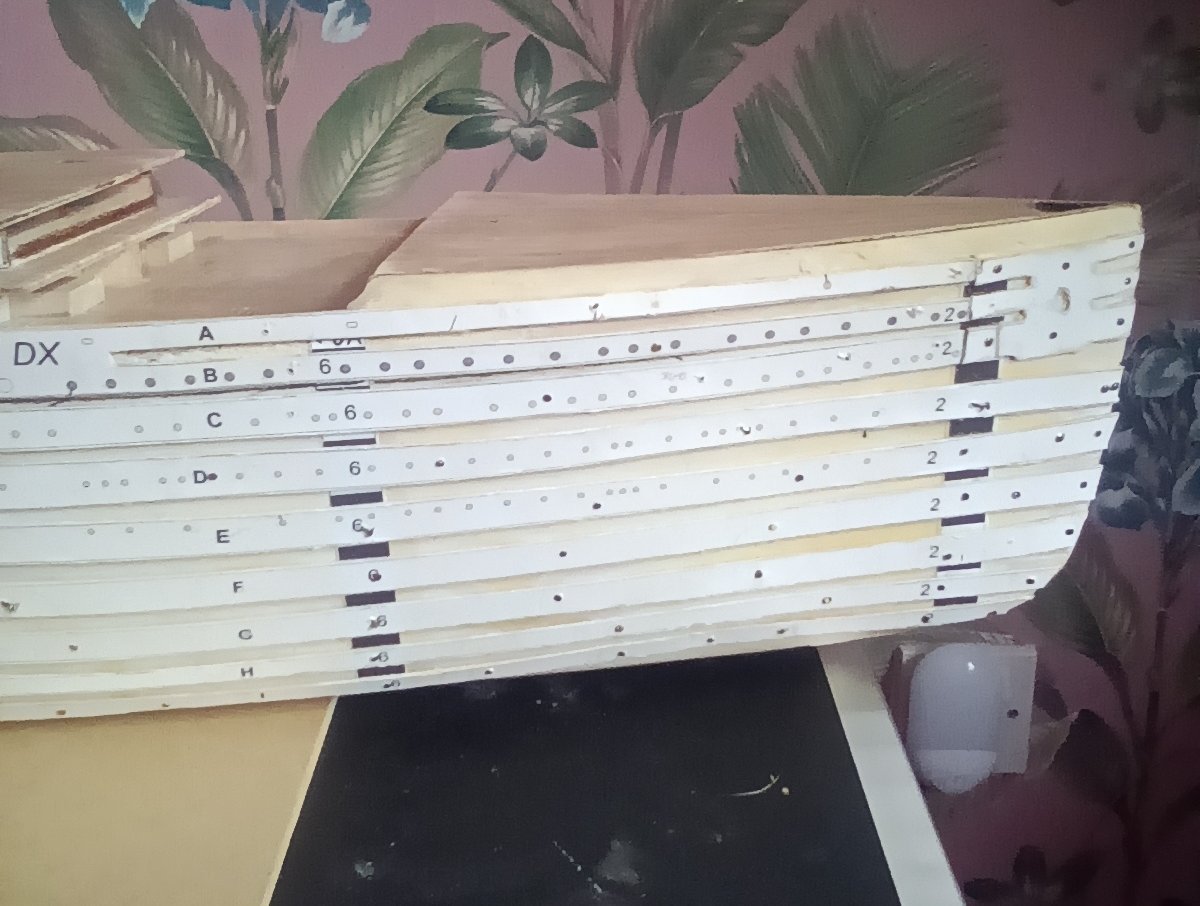
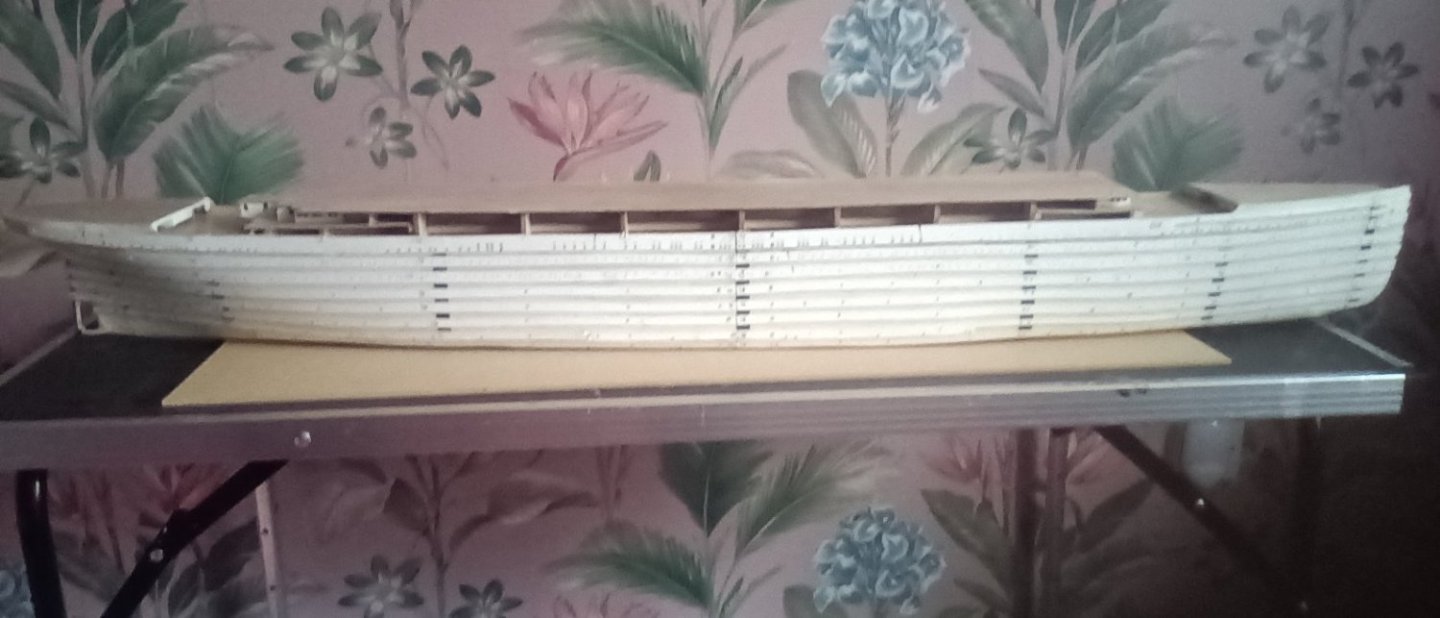
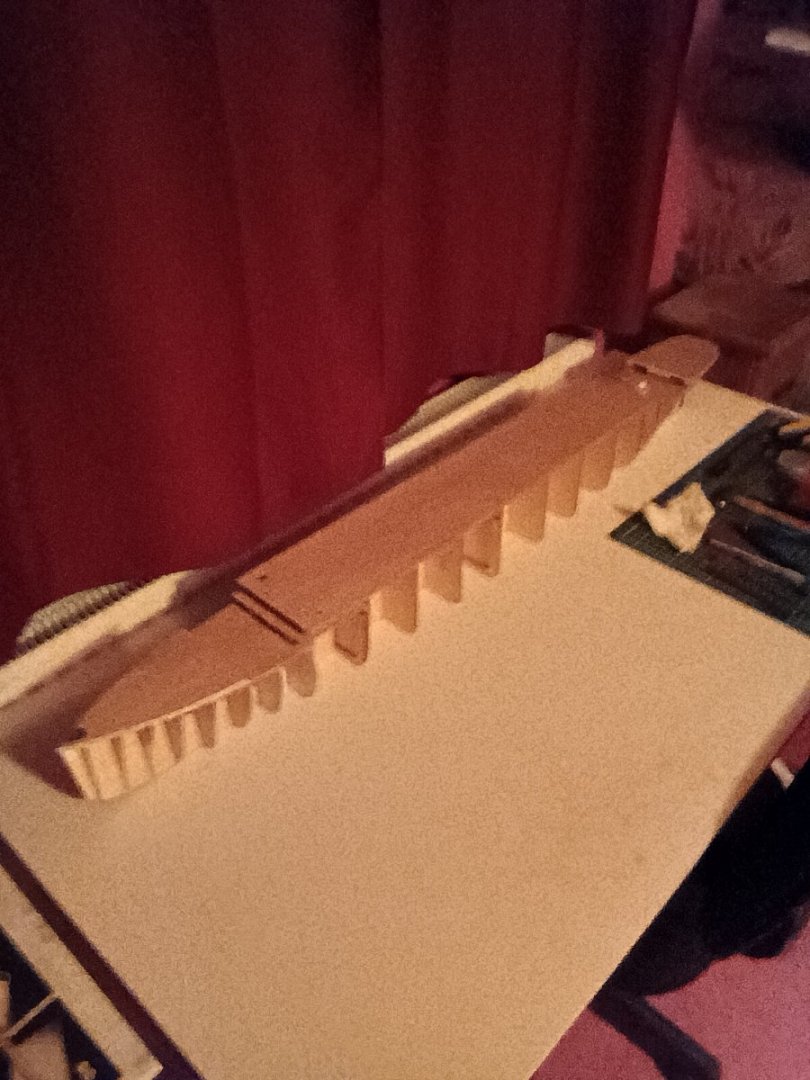
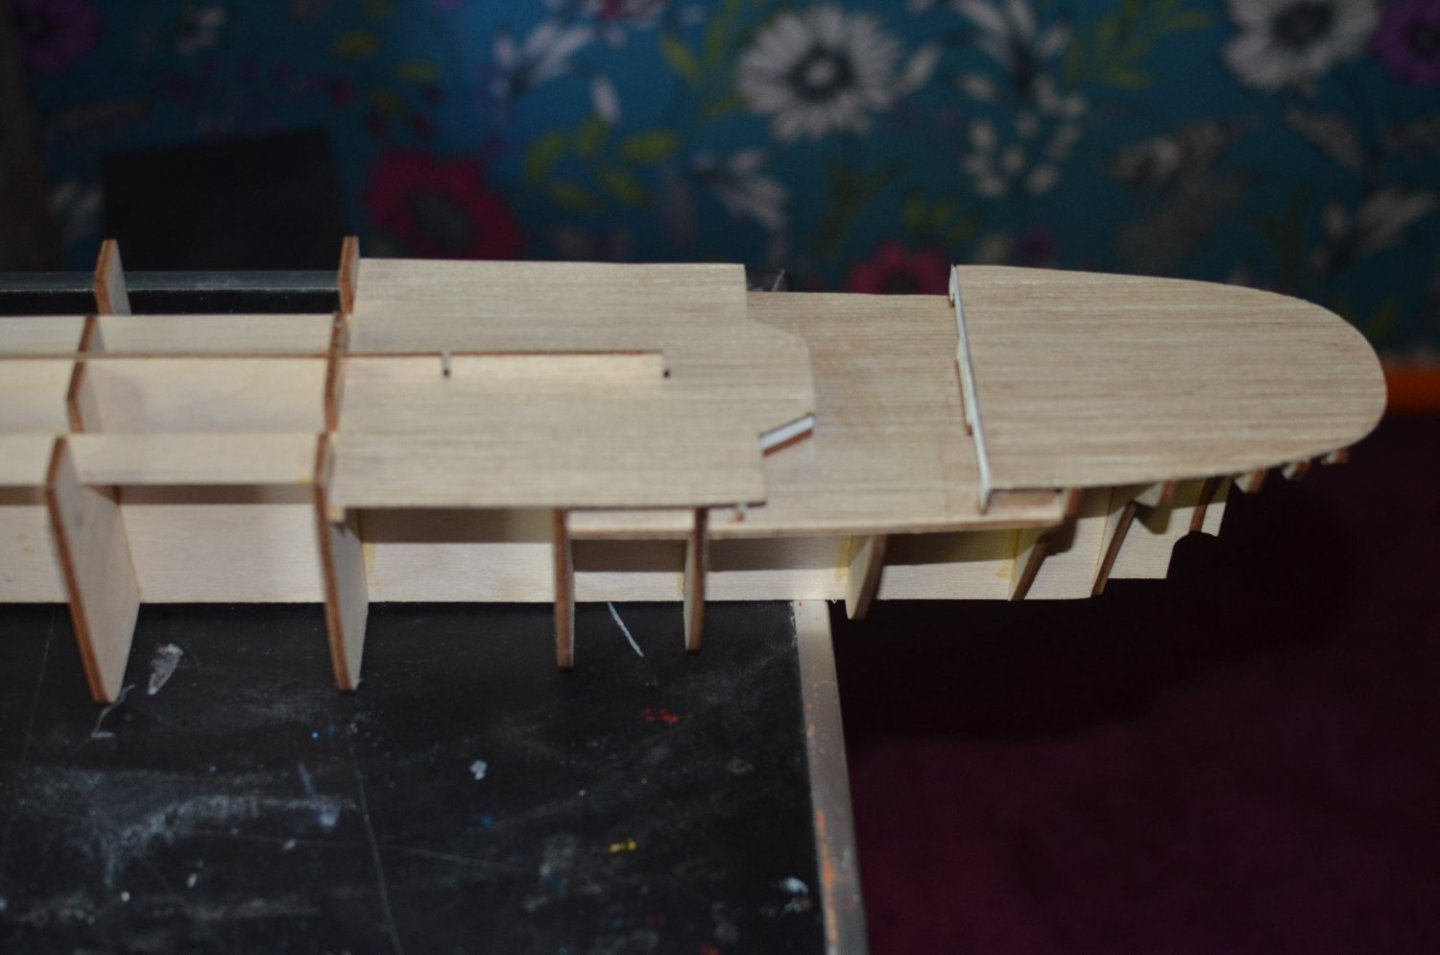
All profiles done. Just got to drill out 900+ port holes. Nearly made a bit of a mistake. I had not put the profile guides in the same place as the first side I did. If I had glued them on they would have been slightly out. Now after a bit of measuring each side is as close to identical as possible. Just got to decide whether to add the port hole flanges. I know that the port holes where flat on the hull. But at this scale they will be fairly small in diameter and may become invisible once the hull is painted. With over 900 being drilled out it would be a shame not to see the work that has gone into it. Therefore I may use artistic licence and add them for the effect. Maybe sand them down a bit so they are not so pronounced. But so that you can tell there are port holes on the hull. It is a lot neater then the photos make it look. Once all the port holes are drilled out and the paper removed and the hull is sanded and maybe filled in a few areas it should look alright.


- 84 replies
-
- 10
-

-
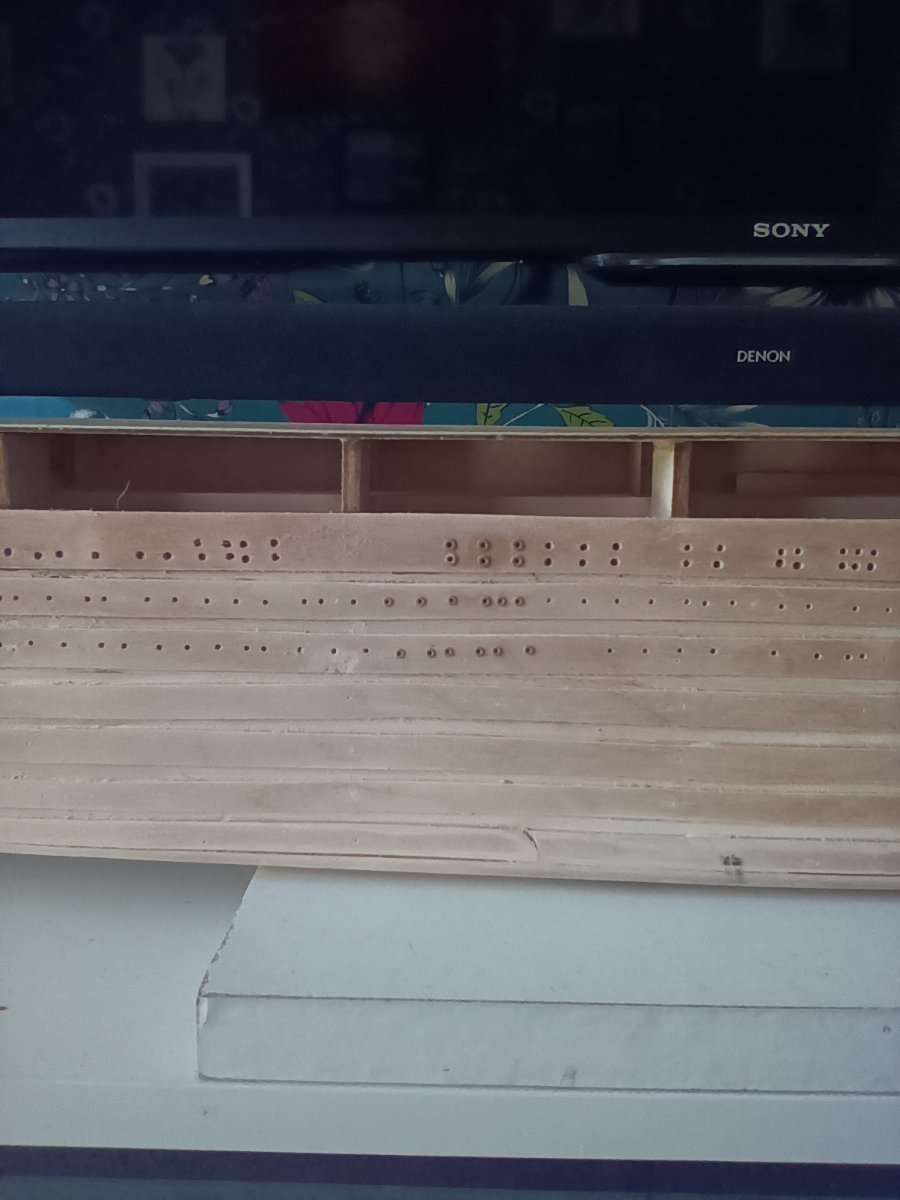
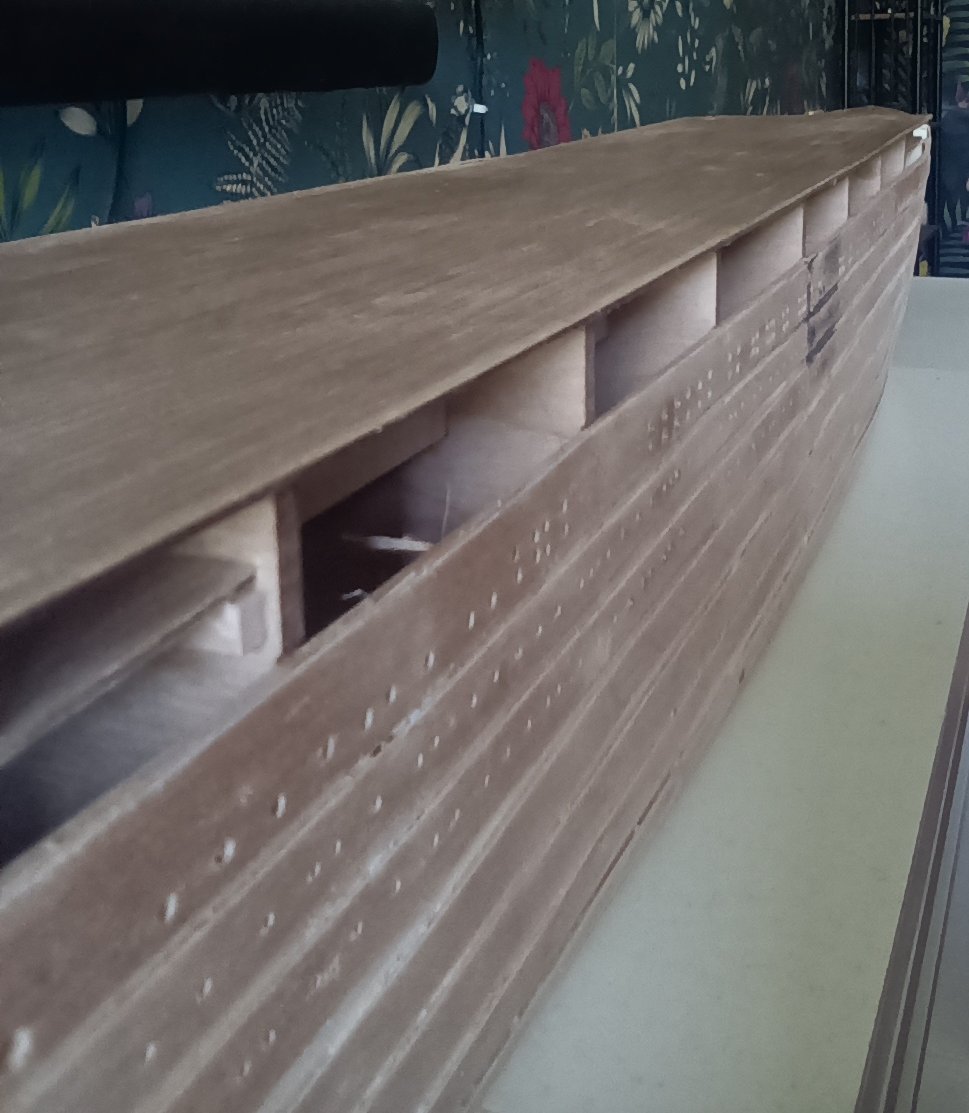
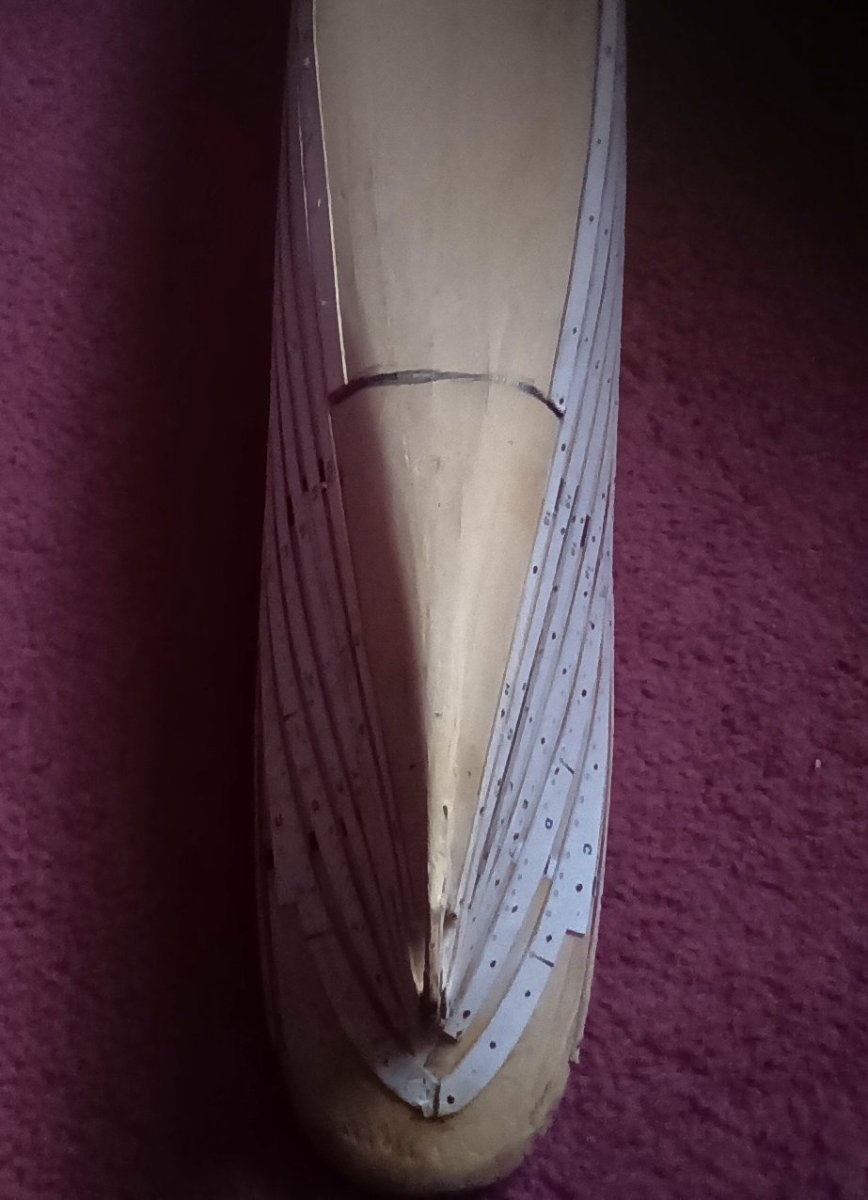
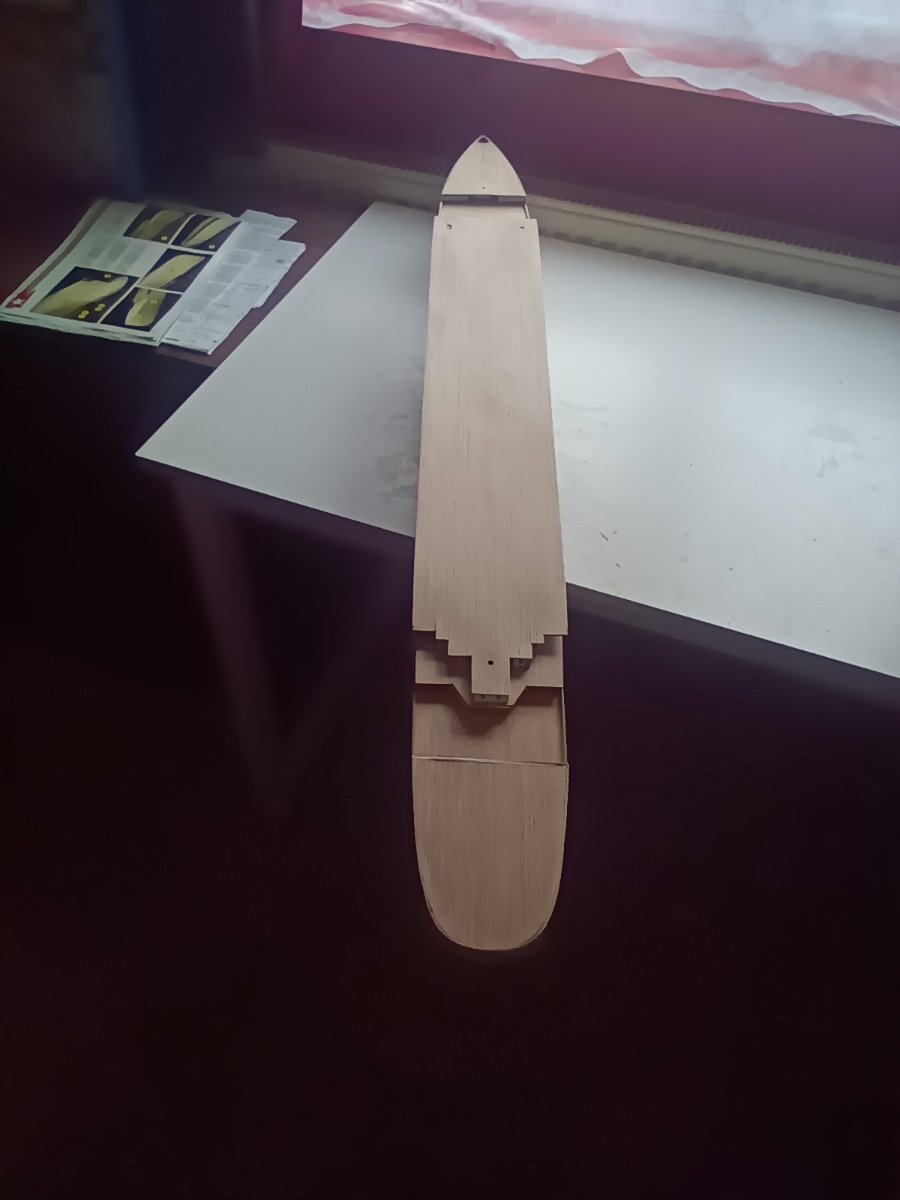
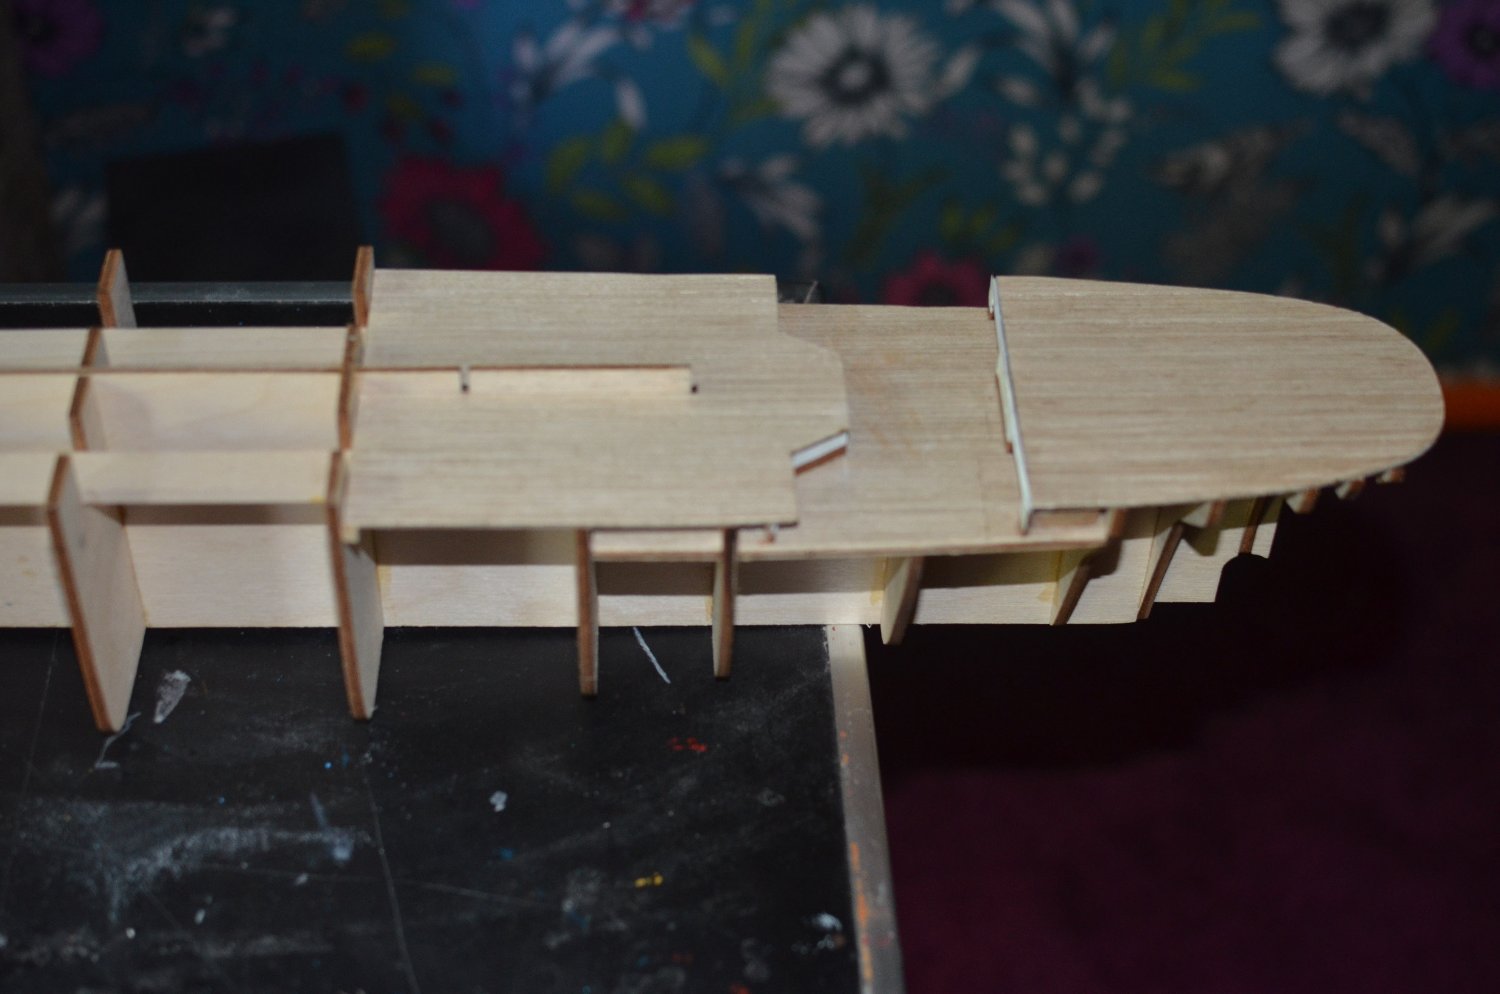
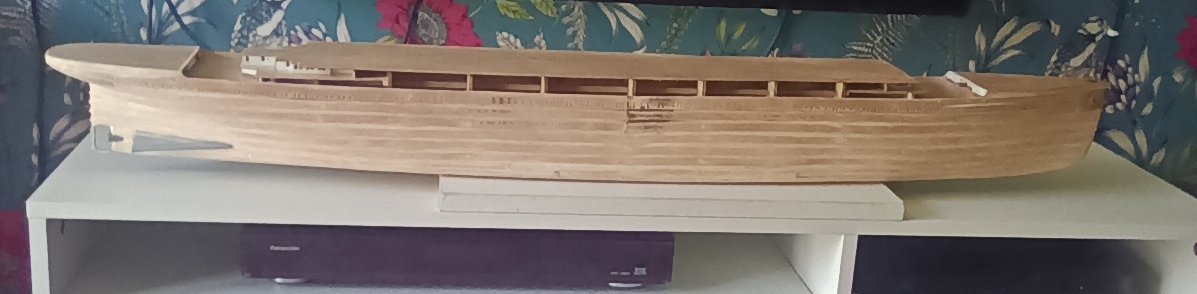
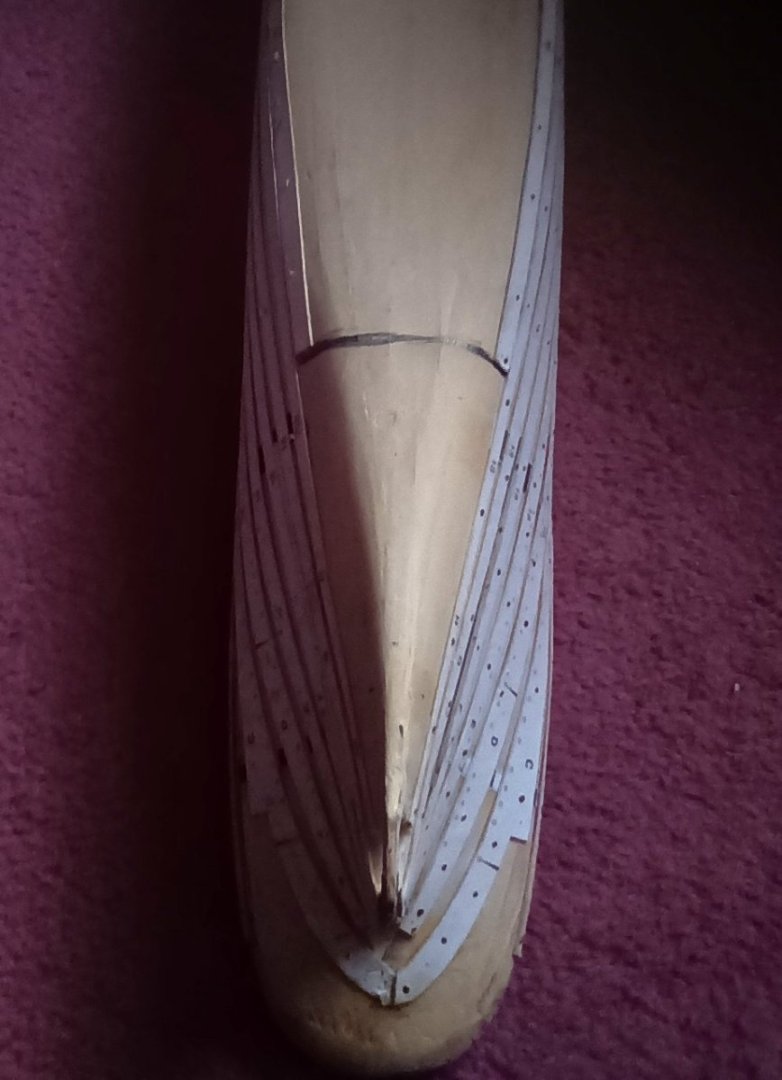
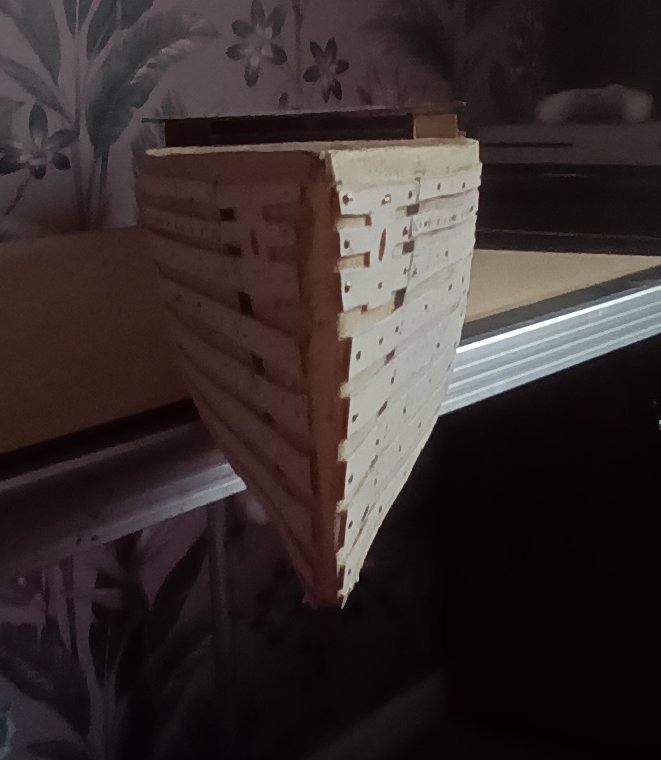
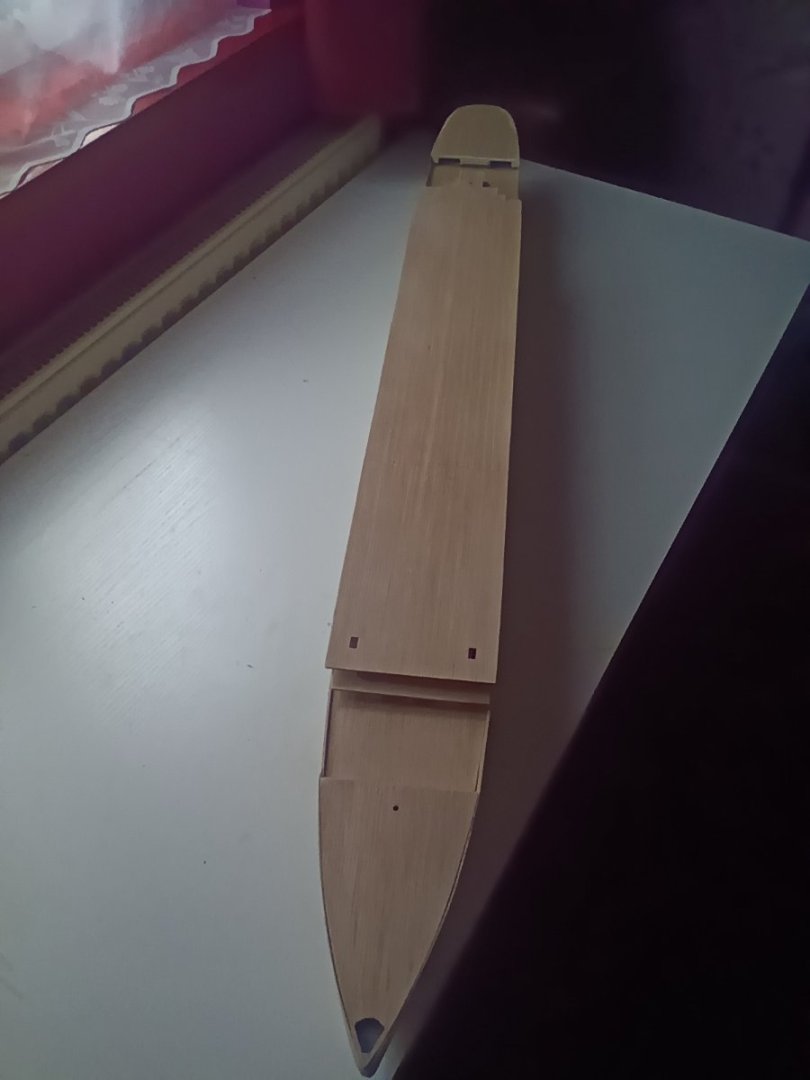
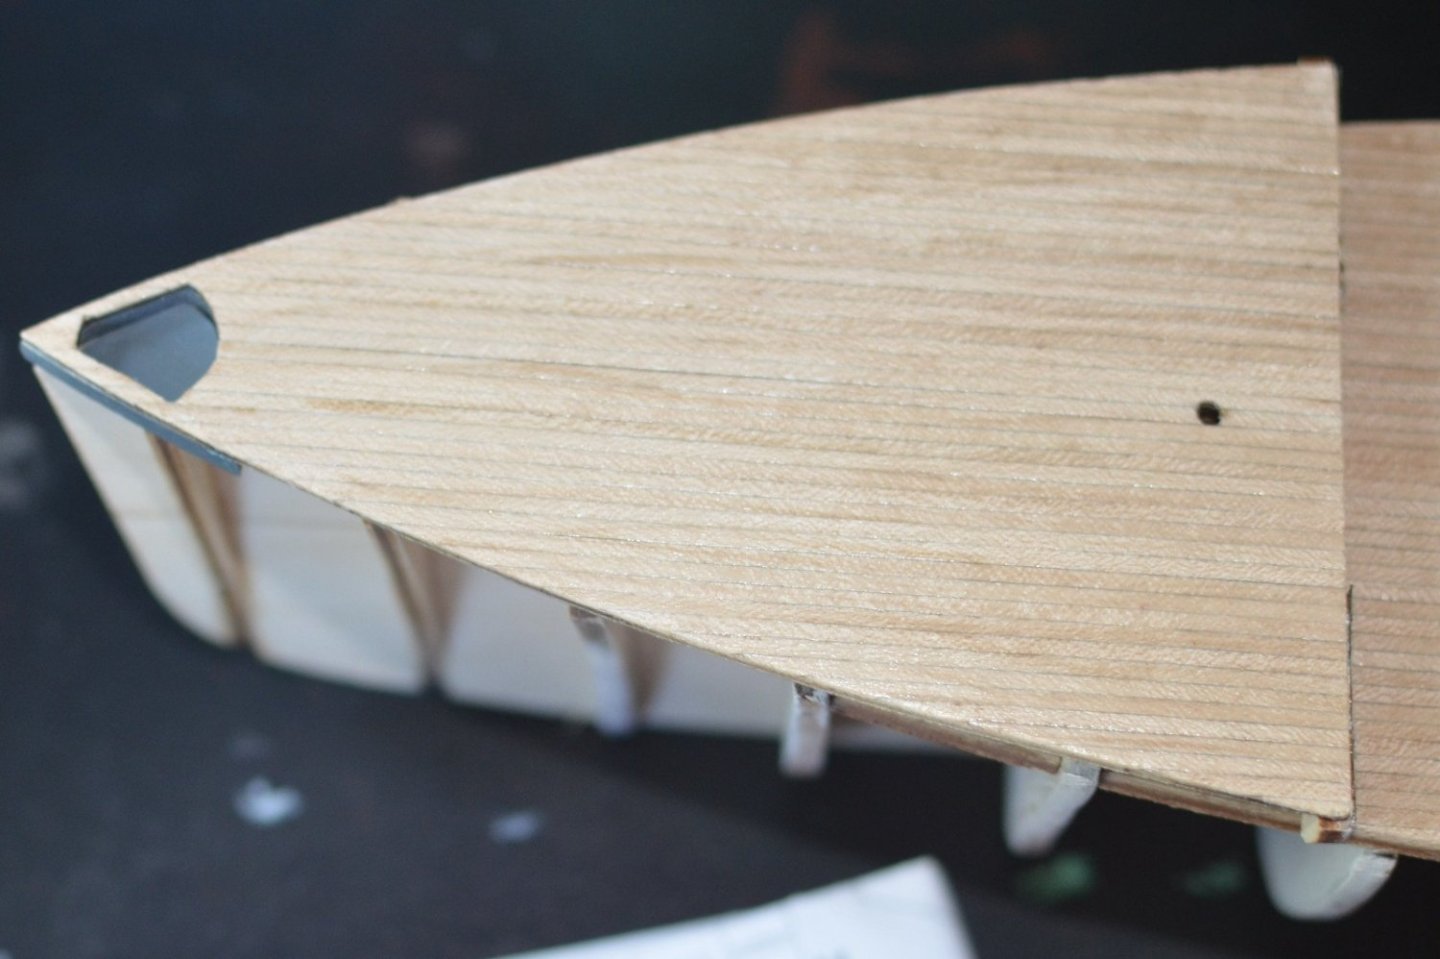
Profiles complete on one side. Stern needs a bit of work but should be ok once sanded. Would have have been far better if the plan sheet had been to scale rather than half scale. Not a brilliant way to do this. Would have been so much better with laser cut parts. Not to bad though, once all the port holes are drilled out and it is tidied up it should look alright. If I had followed the instructions to the letter the anchor would have overlapped the bow. I used the book Titanic in pictures to get an idea of where the port holes should be. There are some very good photos of her hull and port holes. Certain port holes line up with areas above especially around the well decks. So hopefully they are looking more like they should.
-
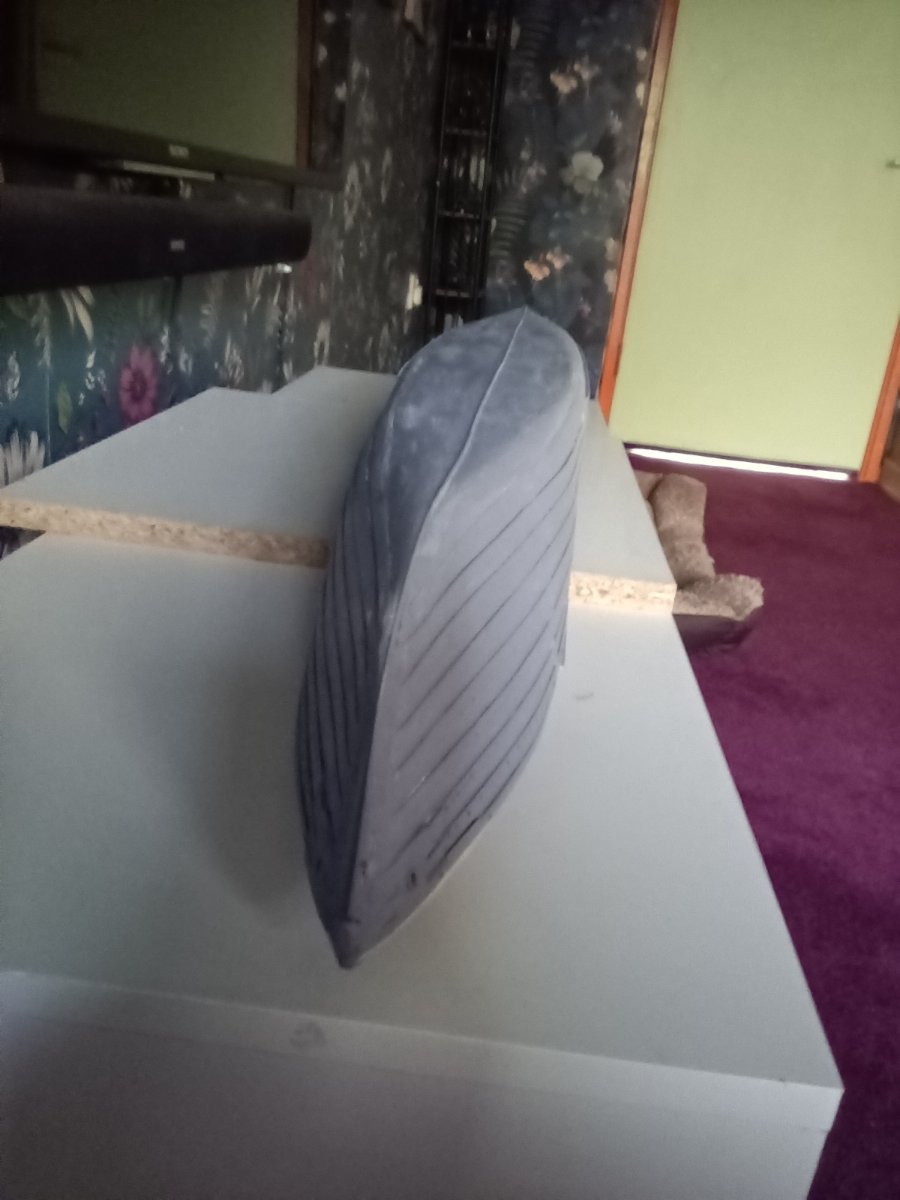
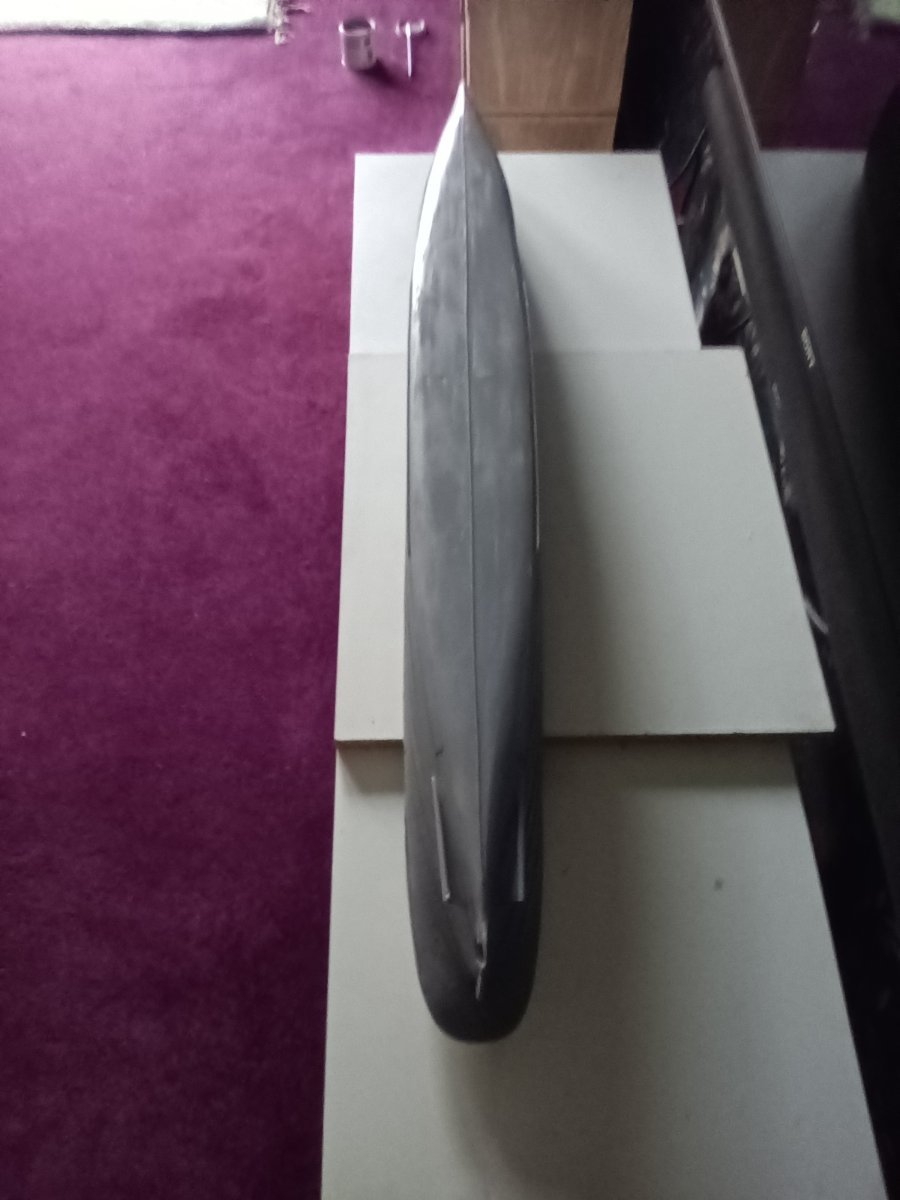
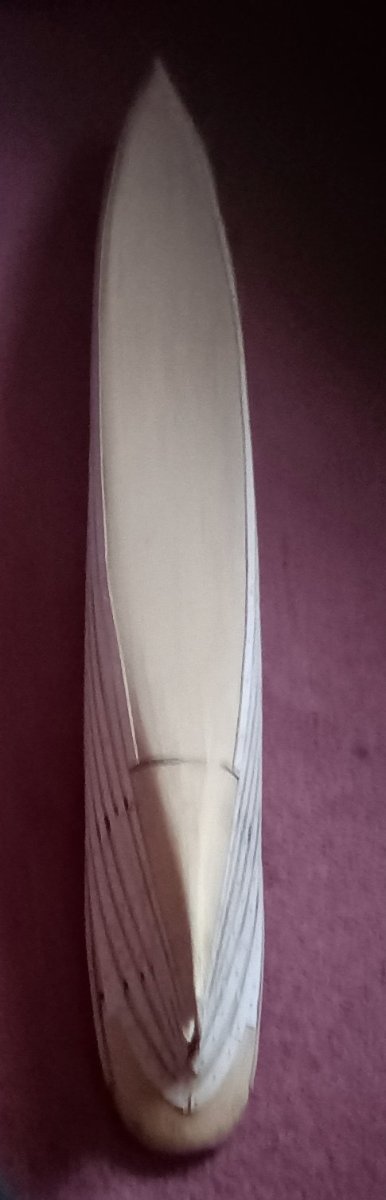
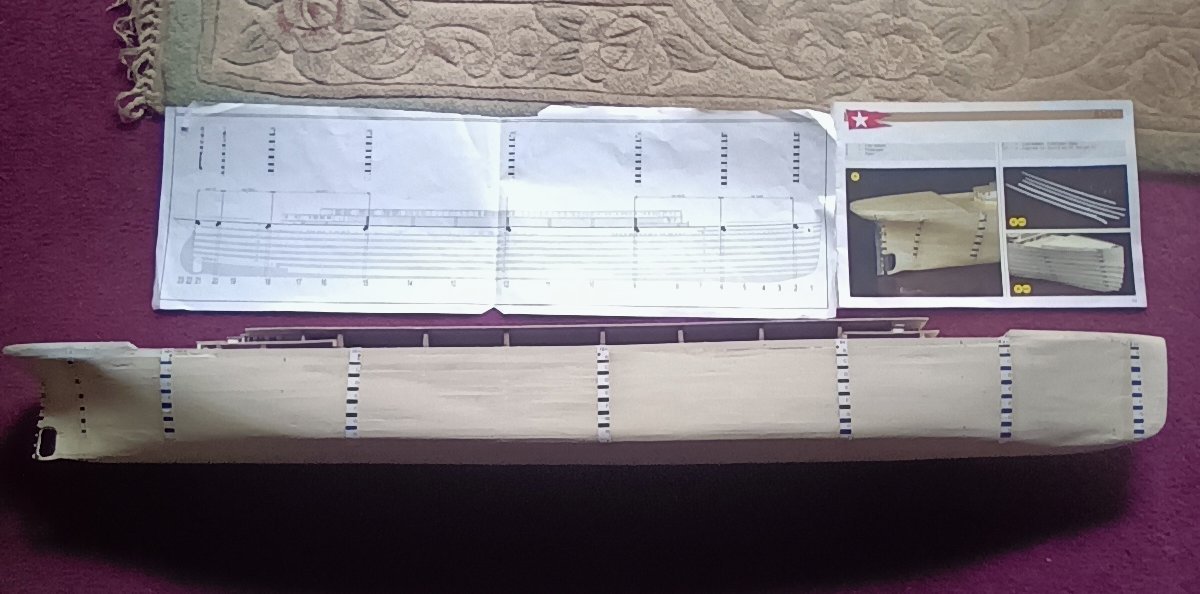
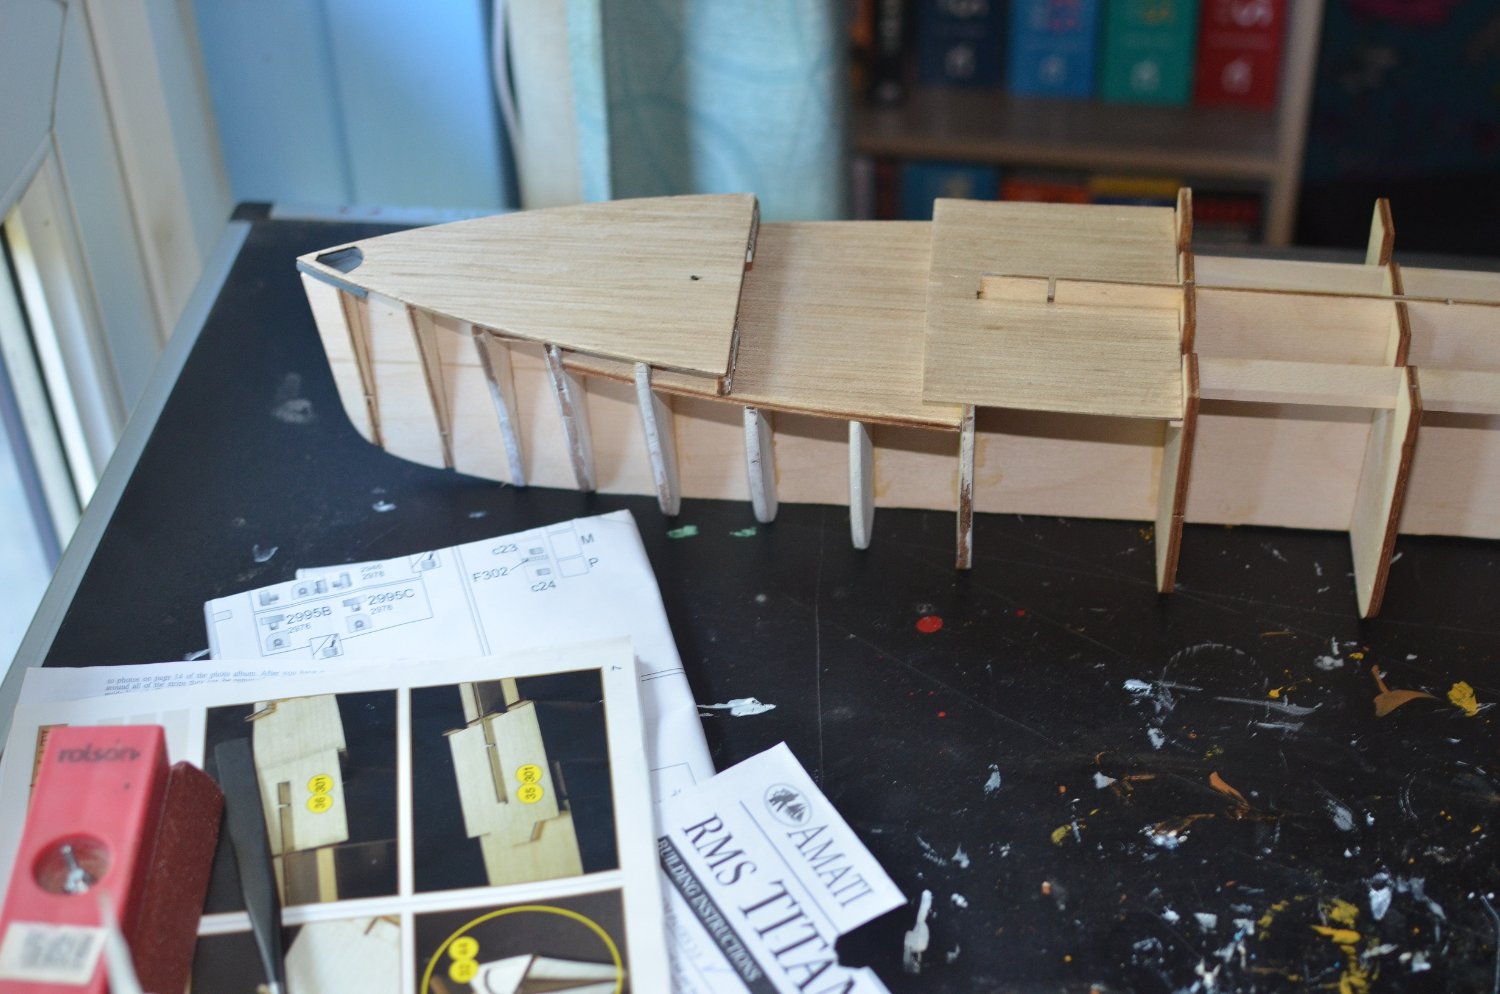
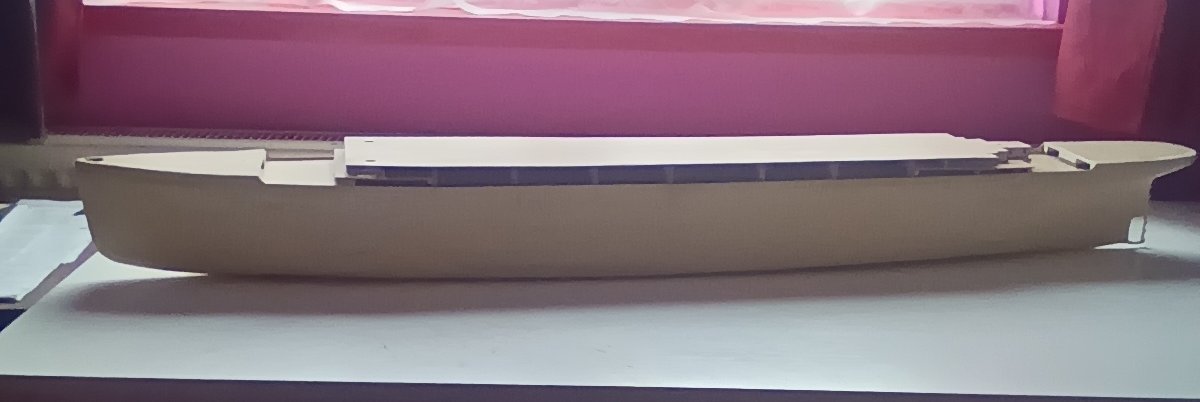
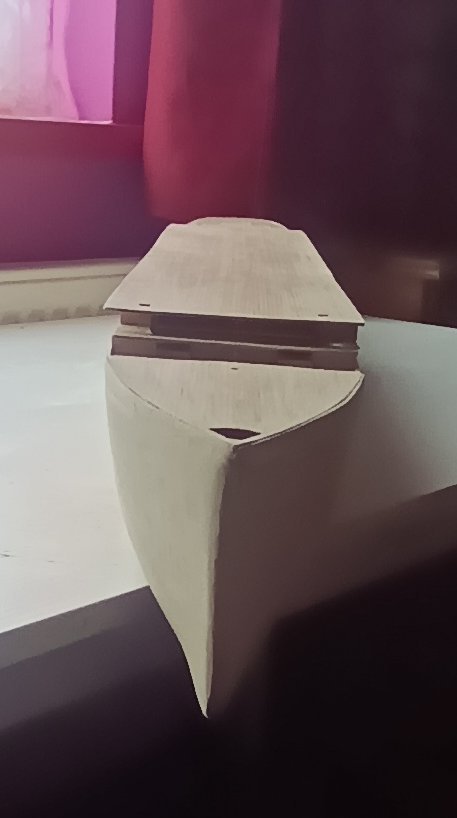
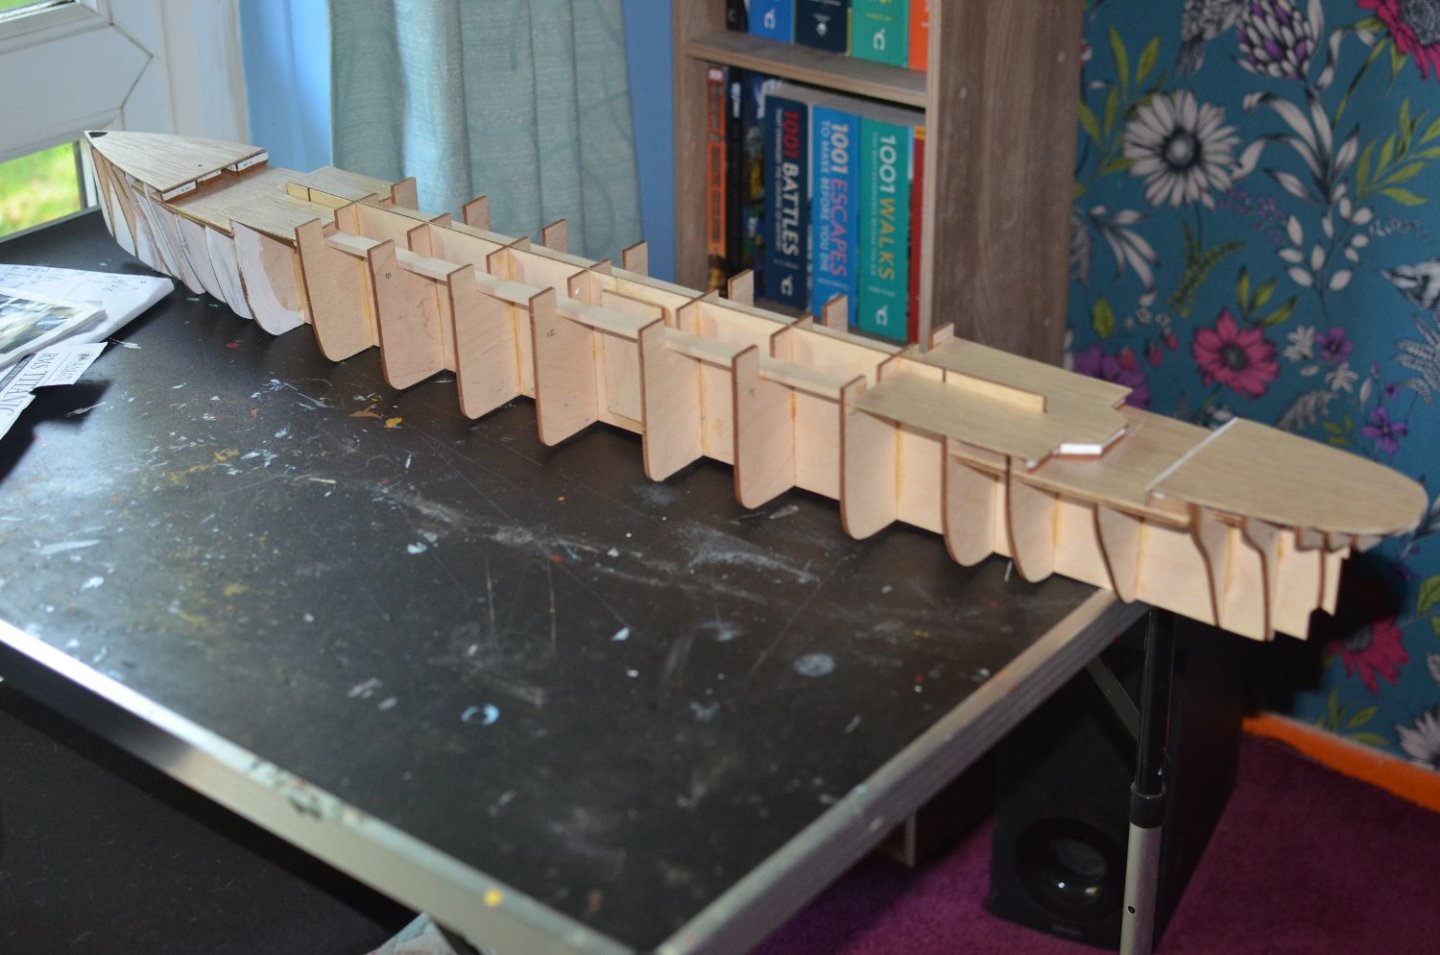
First planking complete. Ignore the stern still needs a bit of sanding and filling to get it right. The hull has come out well considering how it could have looked had I built it straight out of the box. Now onto the hull profiles. And all the port holes to be drilled out.

-
Brilliant job working at that scale. I Would find it far to frustrating putting that ammount of detail into the build. Oh,and I remember the Beatles, and used to go clubbing at the Cavern Club in Liverpool. Keep up the good work,looking forward to seeing your completed model.
- 137 replies
-
- 1
-

-
- Golden Hinde
- Revell
- (and 2 more)
-
Looking for suggestions for a good pin pusher
Paul Jarman replied to Capella's topic in Modeling tools and Workshop Equipment
I personally Don't like pin pushers. I have used them before and ended up with to many split planks and bent pins. Its a bit long winded, and adds a bit of time to the job. But I use a drill slightly smaller than the pin and then use a toffee hammer to insert the pin. Makes for a much neater job than pushing pins in. Paul -
I only use CA glue in areas like the bow and stern where the wood tends to have to much spring in it. And even then as little as I possibly can. For gluing the planks to the bulkheads I personaly use Aliphactic wood glue. I find this gives a stronger bond than normal wood glue. Paul
-
Starting the first planking. Considering the work that had to be done on the bulkheads, it is looking OK.
-
You have been given plenty of good advice. I personly find plank benders to much trouble to use. My method involves using cups,glasses and jars. Anything with an open rim will do. I Don't use boiling water as I find it can make the wood a bit too soft. I just use water from the hot tap. Around 40 minutes usually makes the wood pliable enough to bend. I then clamp the plank around the rim and leave it overnight. I prpare around 12 planks at a time. Next day the planks are ready for use and I prepare the next 12 Which are usually ready for use by the time I have finished pinning the first lot to the bulkheds. Paul
-
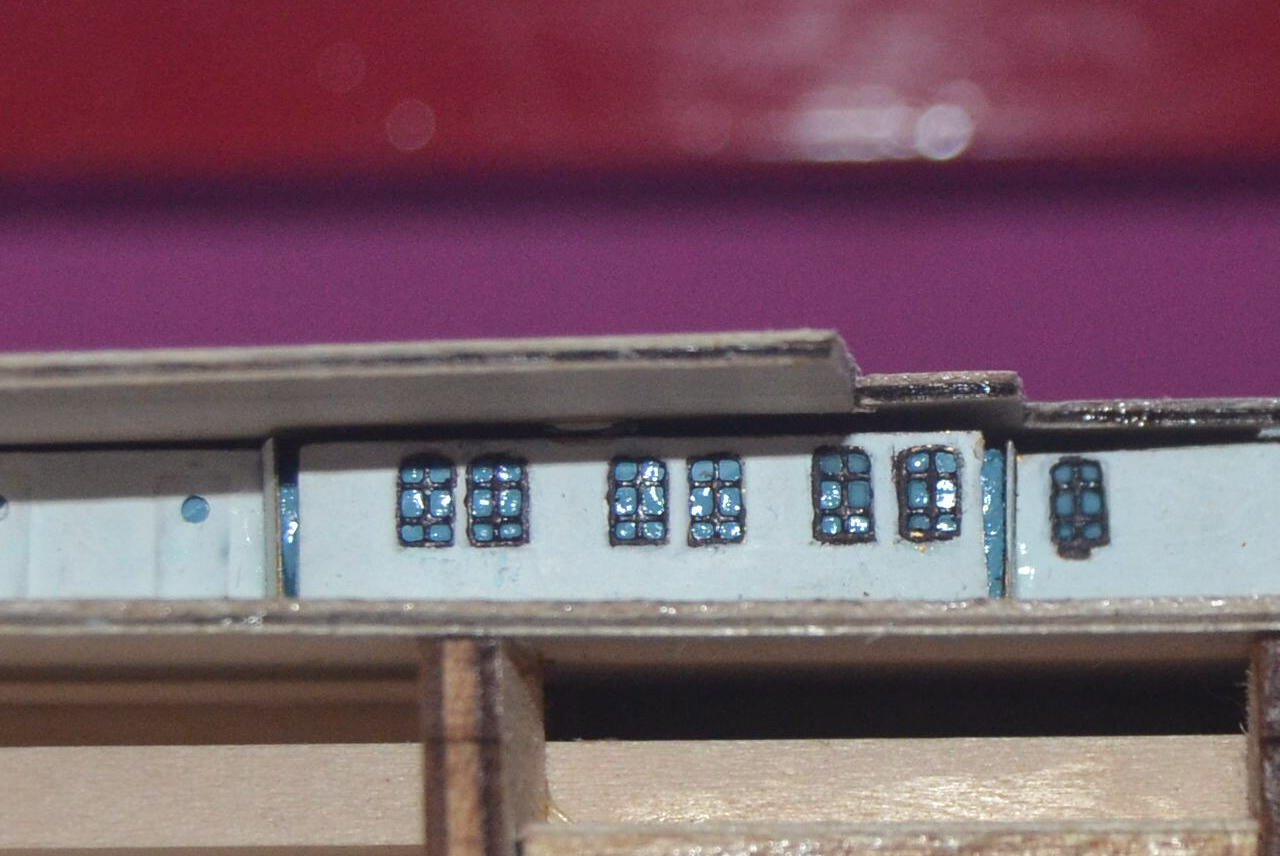
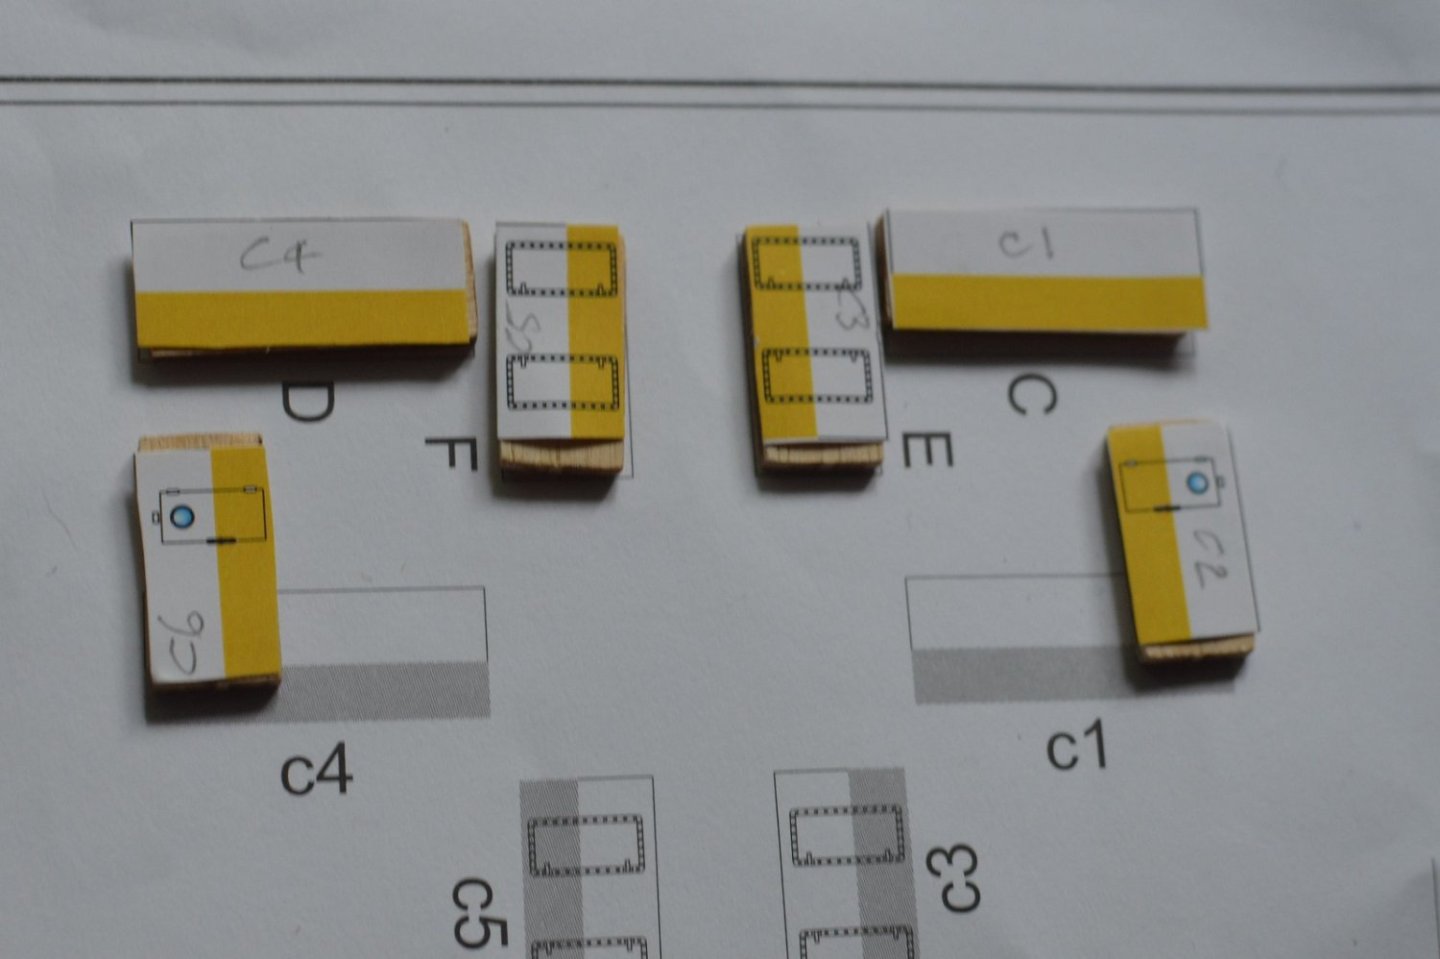
I can now take photos with the camera and transfer then to the tablet to upload. Not as good as using a PC. But it will do until I can afford a new PC. These are the photo Etched Windows that replace the coloured card that comes with the kit. Very small and time consuming to paint,especially with my shaky hands. I painted the background with a blue mix. Looks better when seen with the naked eye as you don't see the imperfections the camera shows.
-
Taken on Amazon Fire. Still working on it.
-
Silly me, I Hadn't coniderered that. Good advice I will check on that. Paul
-
I'm using Chrome. I've been playing around with all the various settings but nothing. I've even saved the pictures to a files named MSW,msw and model ship world upper and lower case but that does not work either. I can only think that my phone has a fault on it stopping it sending pictures. Although I am able to send pictures to Facebook no problem. Paul
-
I just tried to add a piture from my PS4 and get the message cannot use this feature. I think this may be a browser issue. On my mobile a screen pops up for a second then disappears. I have examined every feature on the phone to see if I had something turned off but can find nothing wrong. It is a cheap £54 Android so have always thought this was the problem. Wouldn't need an app would I? Good point with the tablet. Might have to wait untill summer when my bills drop down substantialy and try and get a cheap PC. Thanks for all the replies and information everyone. Paul
-
Thanks for the quick response. I'm not insulted so don't worry. Actually untill I retired I've always worked with computers.I know my way round a PC quite well. I just don't use one that much. Looking at Laptops or a Tablet seemed like a good investment because of some of the advantages they have over a PC.. But didn't want to buy one if I couldn't upload pictures. When I try with the PS4 I get a message saying cannot use this feature. And my mobile will not upload at all. I was just hoping someone had experience of using a laptop or tablet to upload pictures so I could put my mind at rest on their use for uploading pictures.The problem at the moment is obviously cost. And I can pick up a tablet fairly cheaply. Paul
-
Not sure if this is the right place for this. Feel free to move it if not. I am writing this on my PS4 and can'tupload pictures from it. I also can't upload from my sim only mobile.Same problem with my Xbox. Unfortunately my PC has packed up so need a new one.I only usue the PC occasionly for shopping and uploading pictures to here. I was looking at ivesting in a laptop or a Tablet. Not being familiar with a laptop or a tablet can I upload pictures to here with either one of these. Thanks for any help anyone can offer. Paul
-
I completed this kit a while back.It builds into a very nice model. I obviously had the version with instructions. Unfortunately I no longer have them. But at least you can download them. Unfortunately a lot of kits are going that way. Both wooden and plastic. Which spoils it for anyone buying a kit who does not have access to a PC or smart phone. I painted my model rather than leaving it with bare wood. What you have done so far looks good. Will follow your log with interest.
-
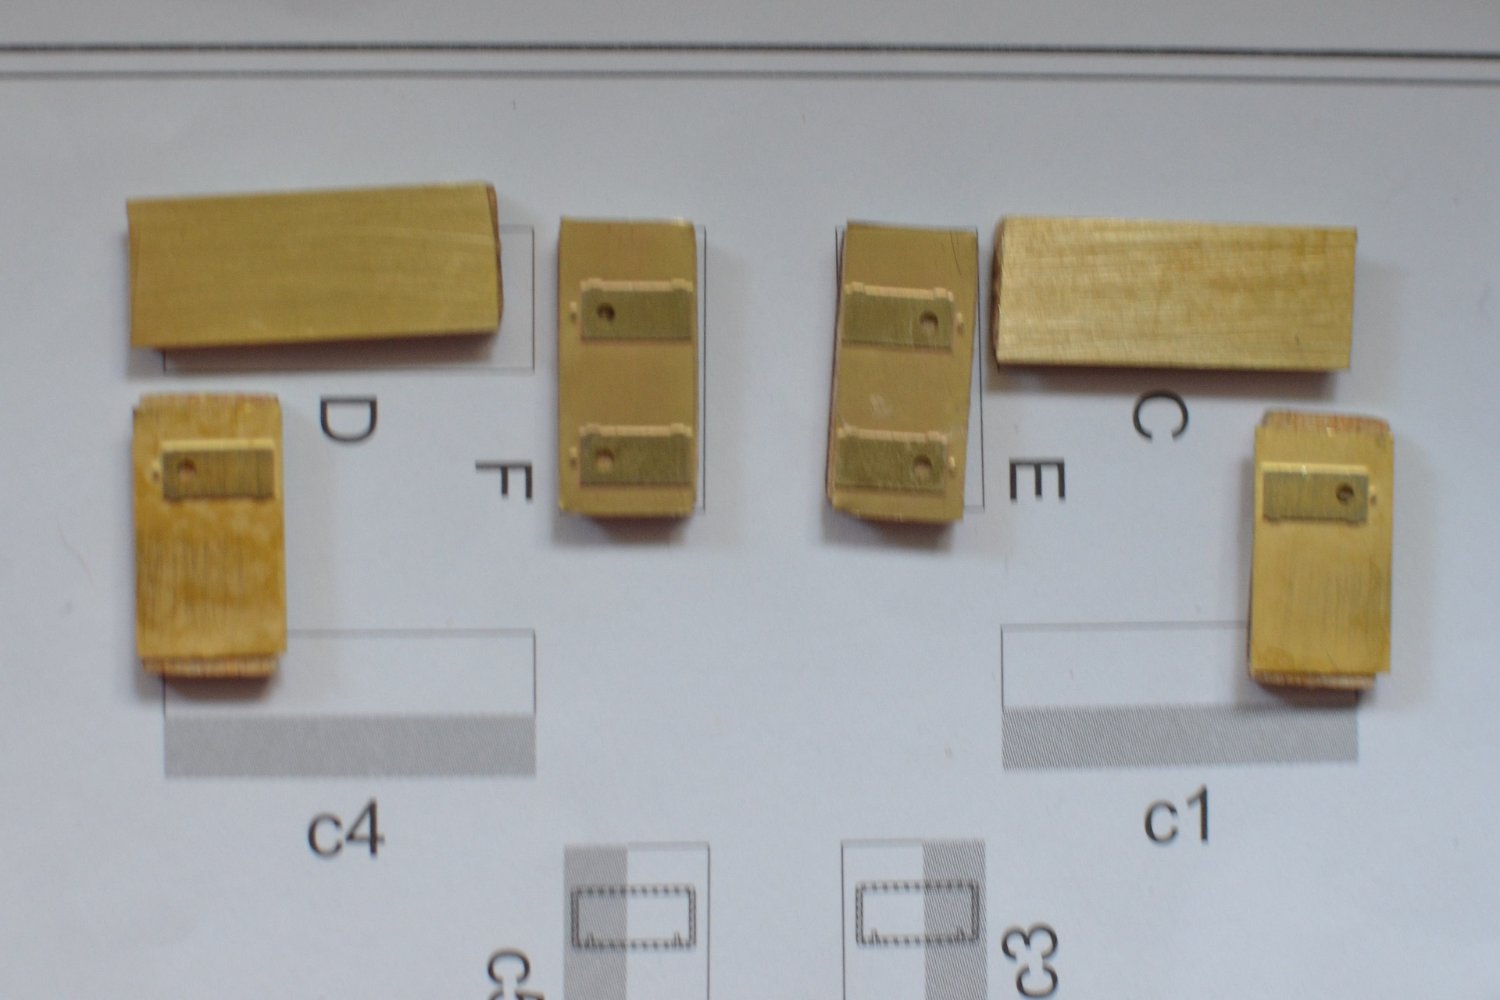
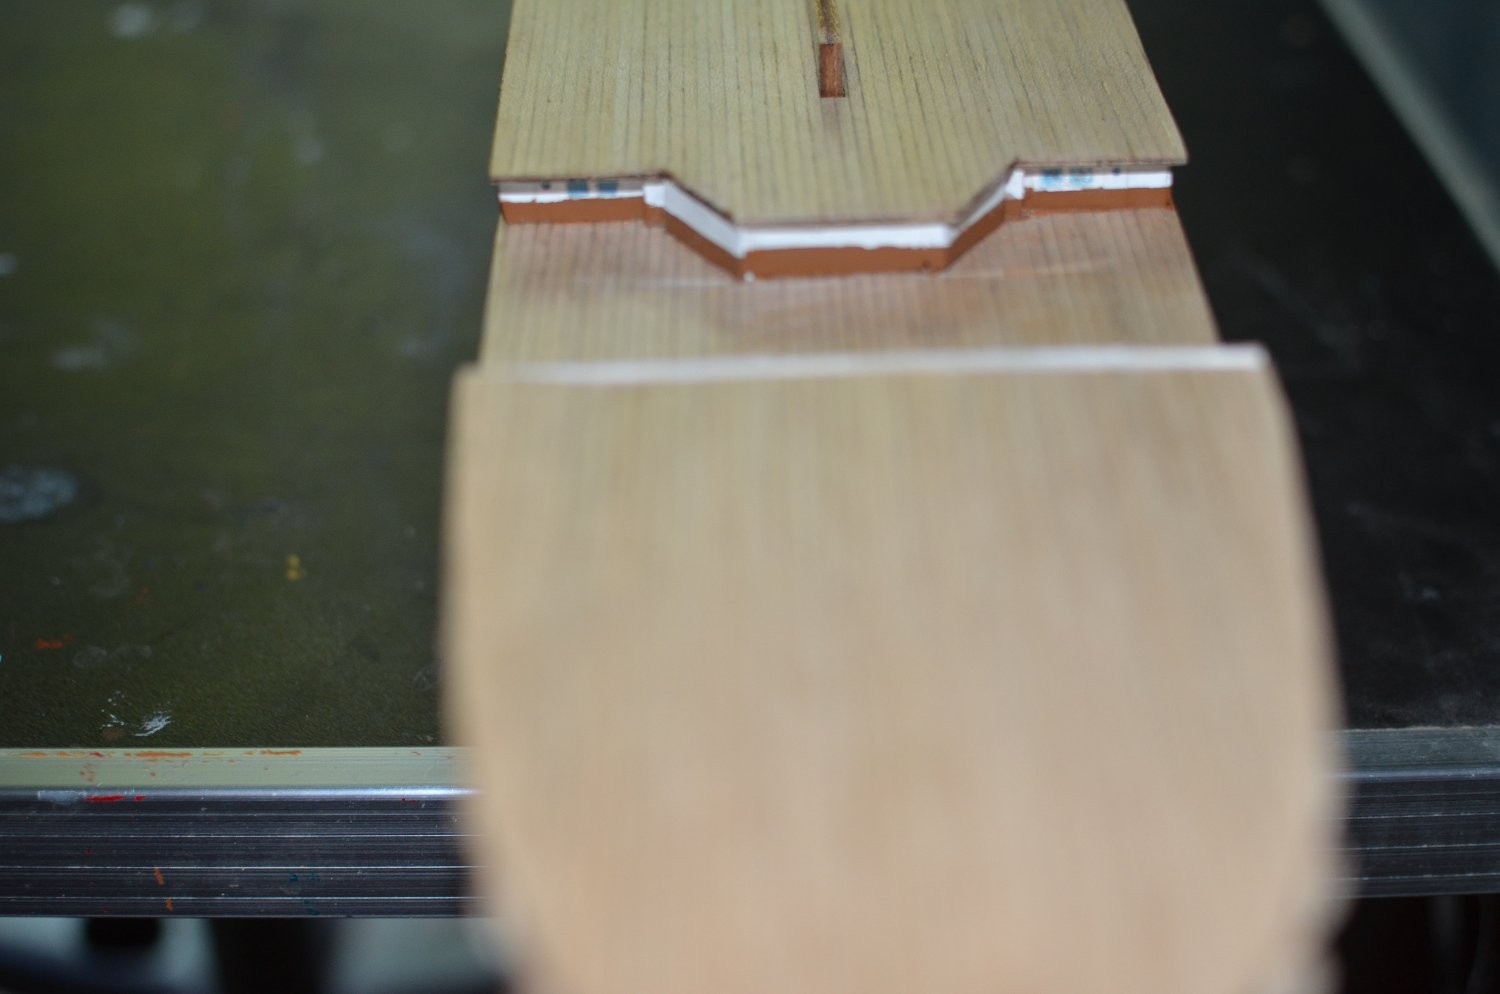
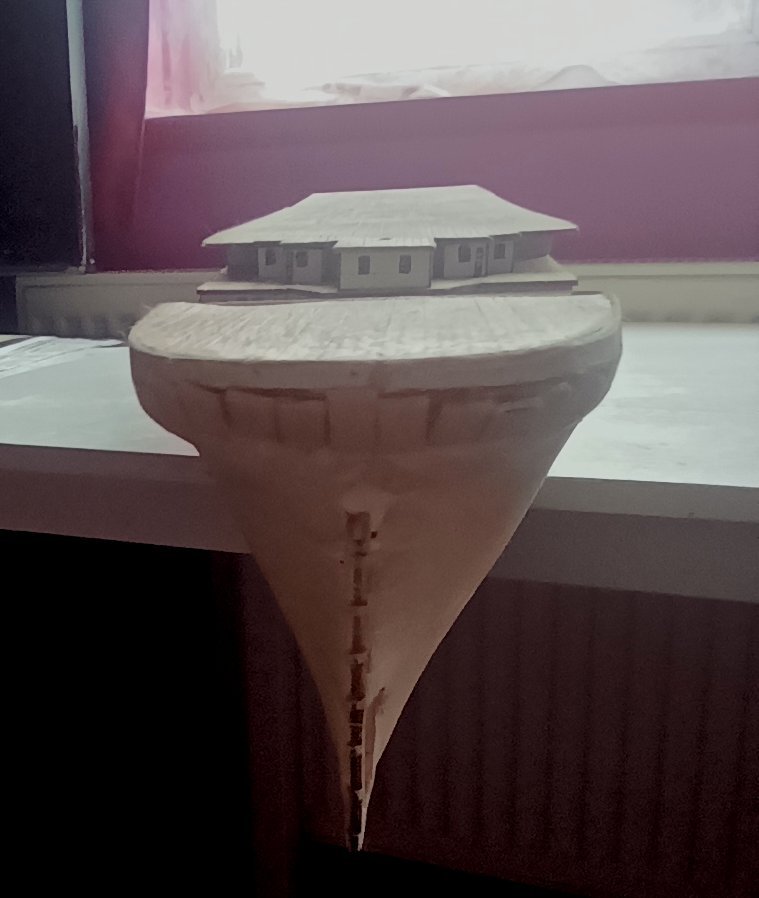
Well deck details and cabins under bow and stern deck. Mostly went together OK. Ignore the bow deck, have not clamped it down yet. The cabin walls how they would look with the coloured card. And the end result using the Mini Brass PE. Looks a lot better. I am using this web site for the colour references: Titanic Paint and Color Reference (archive.org) Also using RMS Titanic: A model makers manual by Peter Davies-Garner. And the book Titanic in Photographs by various authors. Paul


-
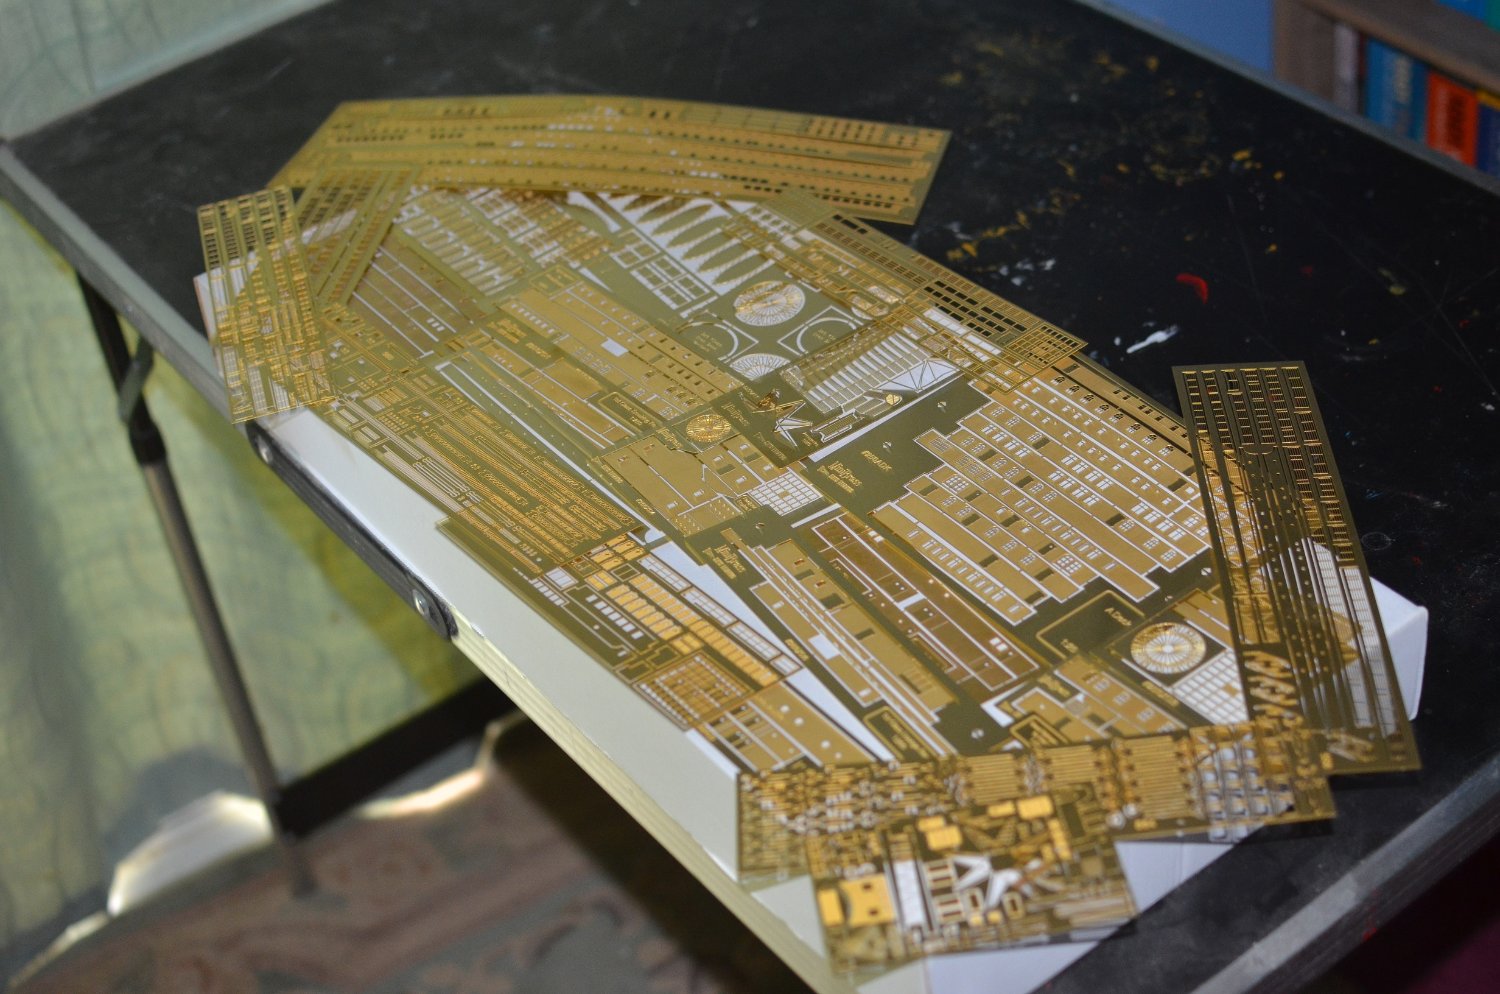
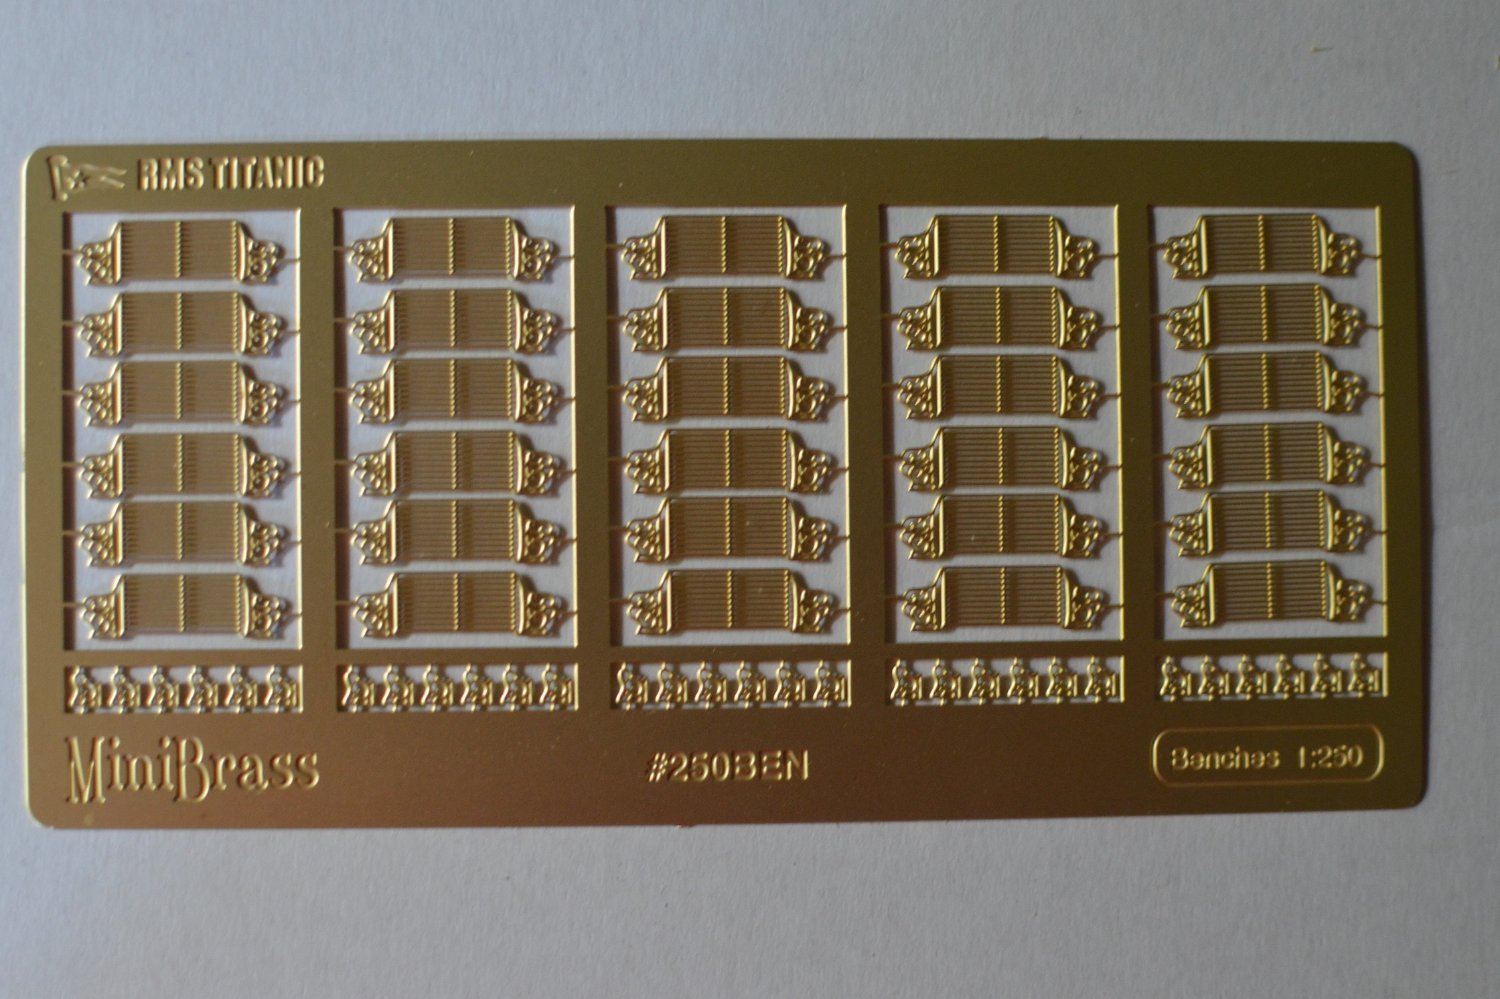
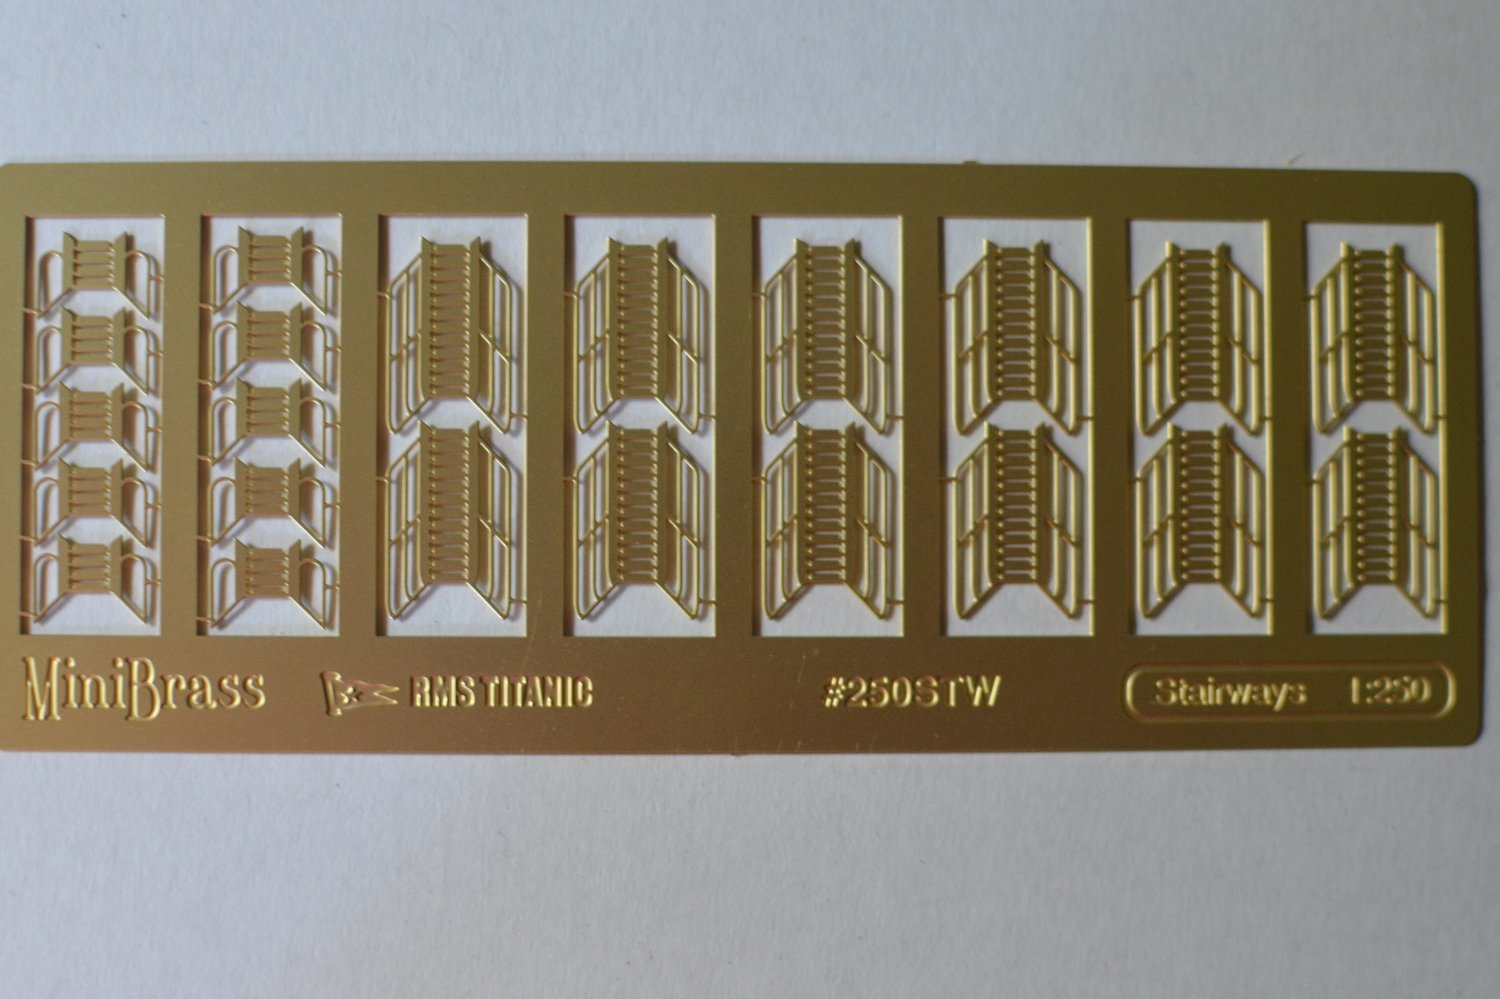
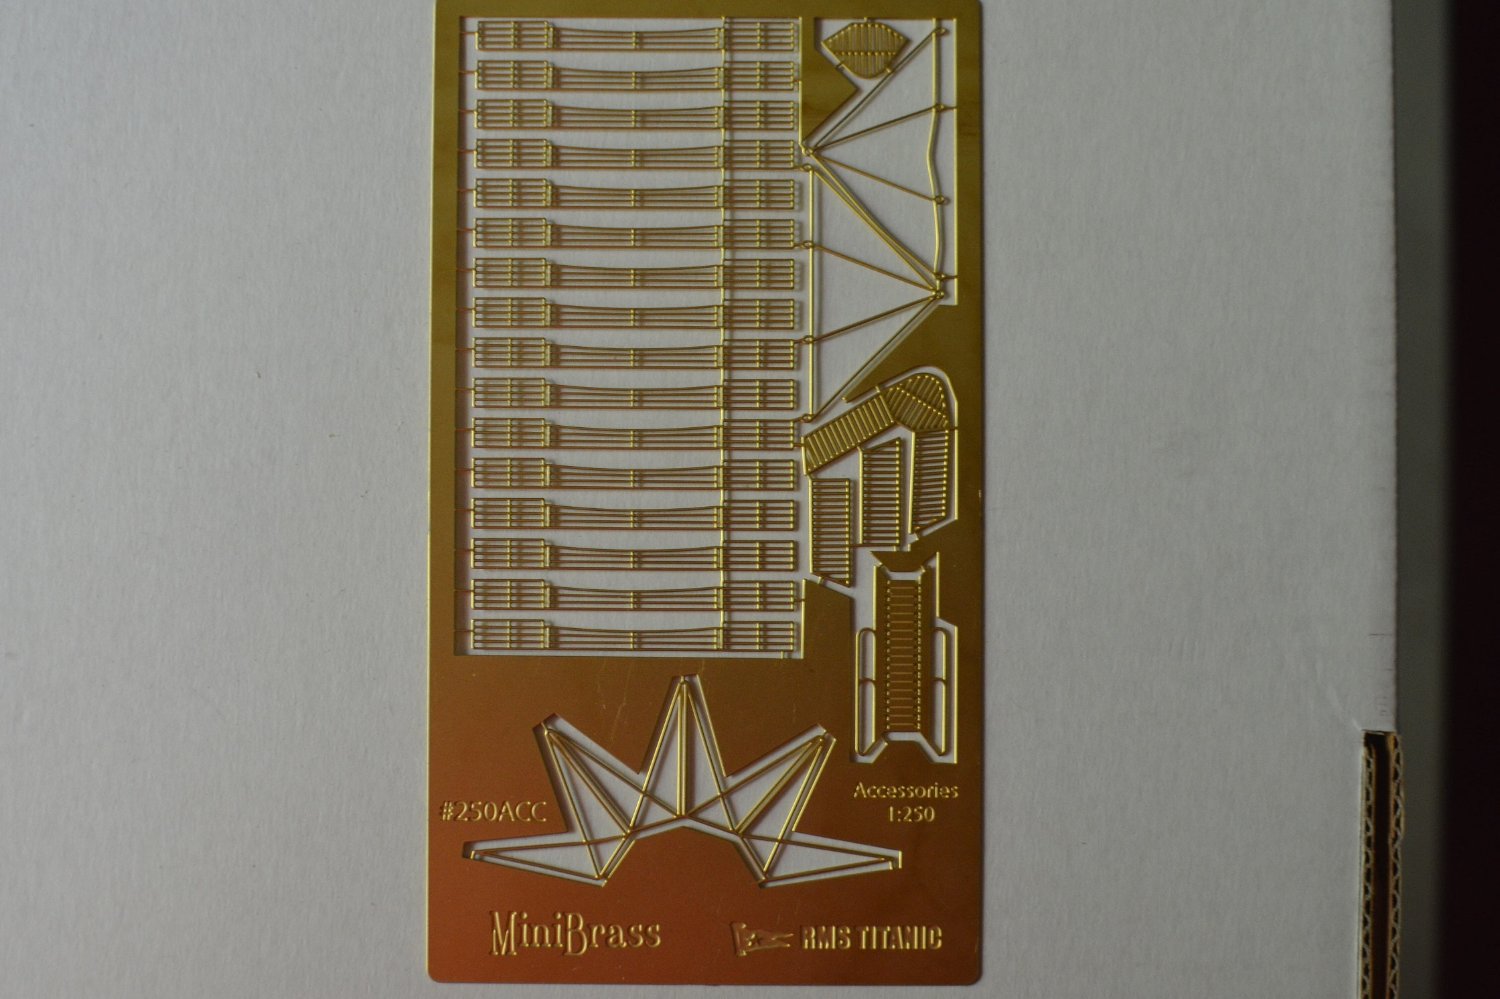
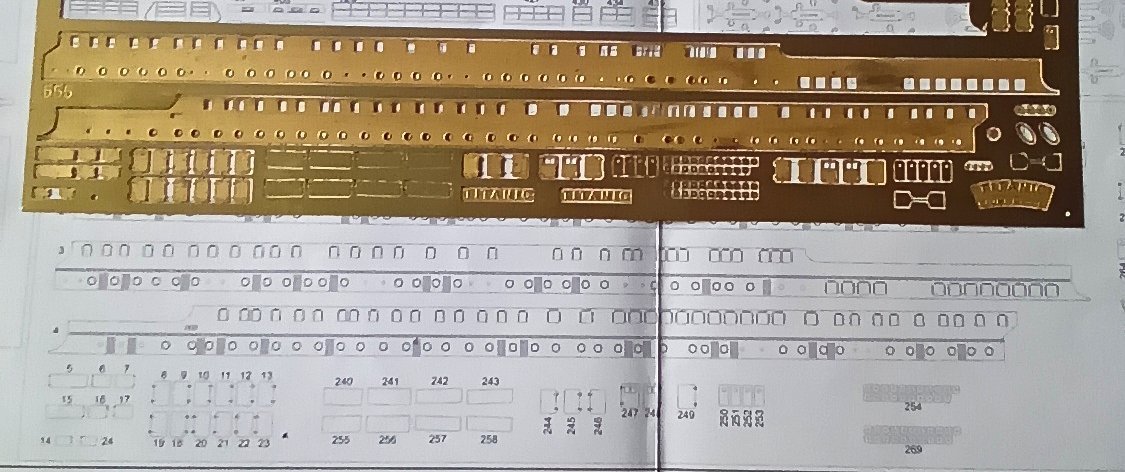
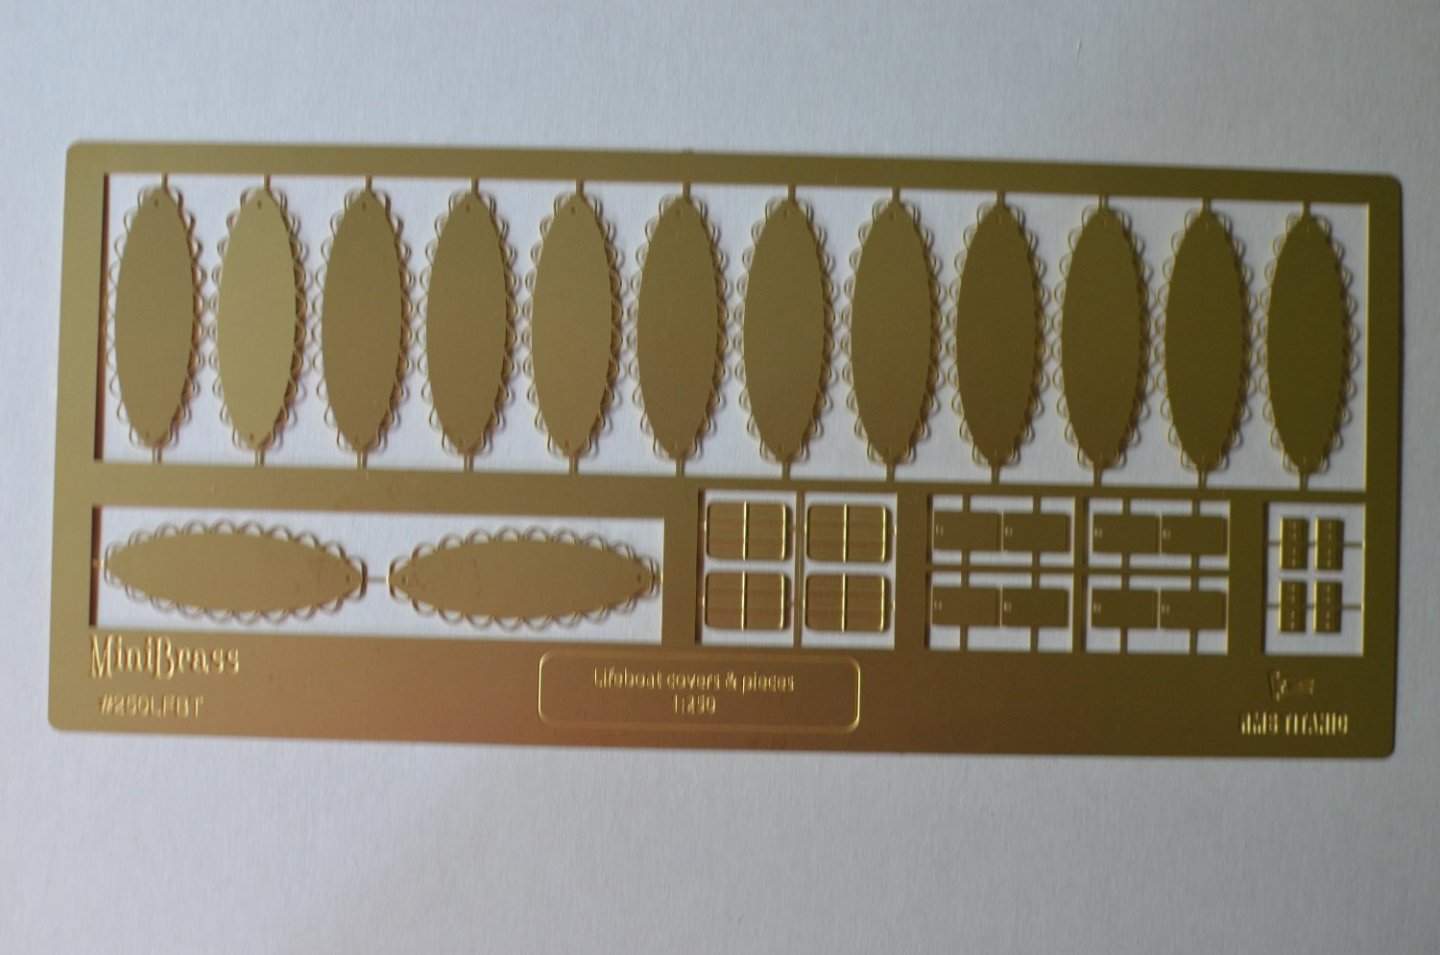
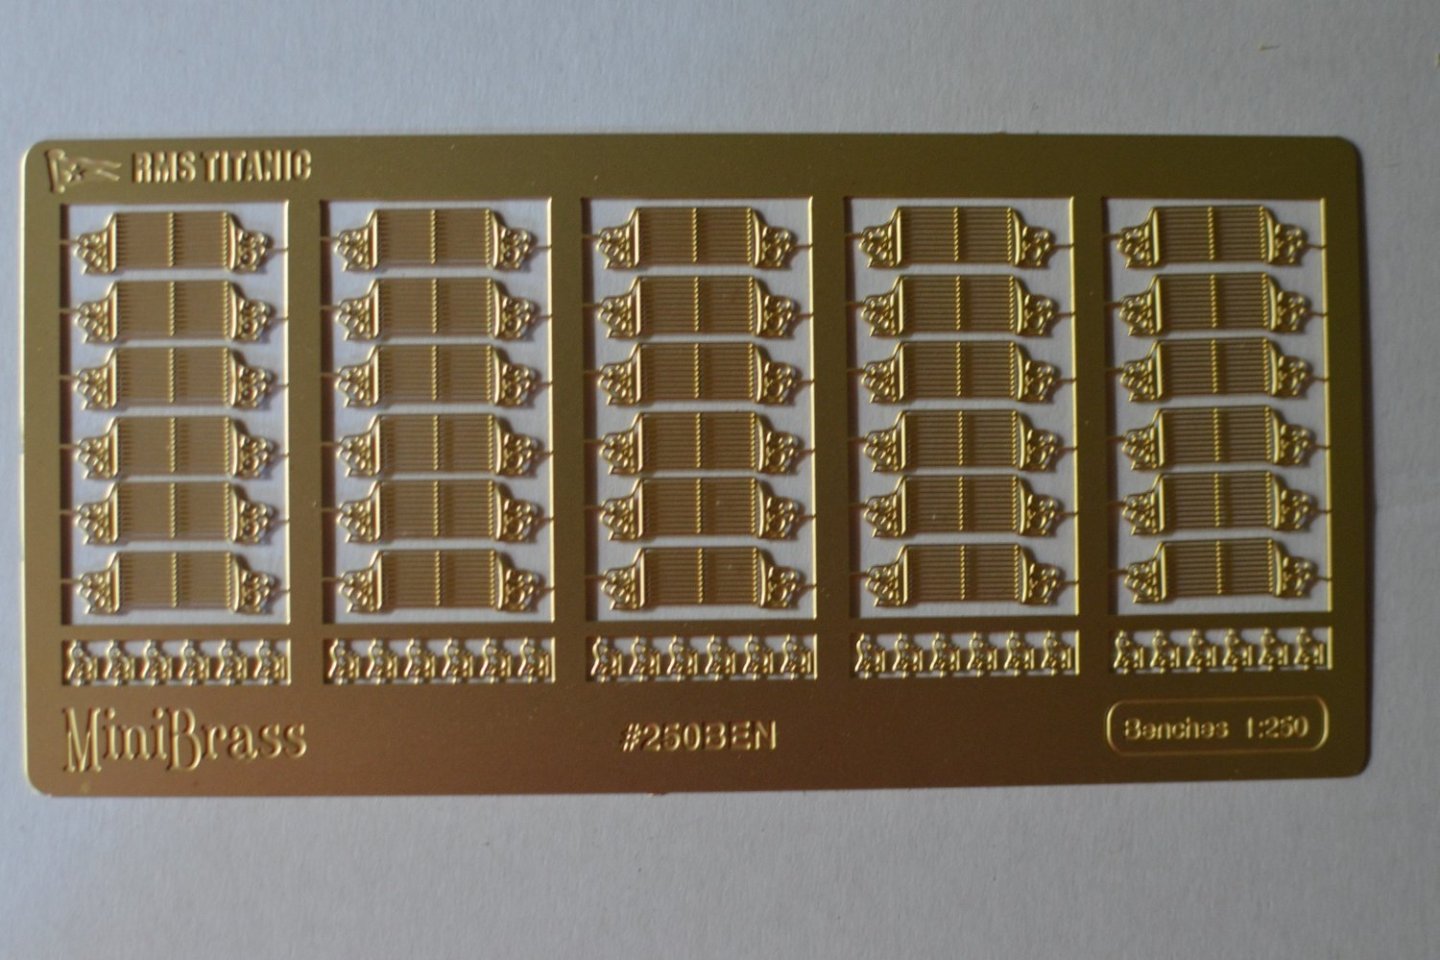
Next set of PE from Mini Brass. I now have replacement PE for the plastic benches, plastic steps and ladders, extra railings and replacements for the ships boat covers instead of needing to cut out said covers from the sheet of plywood. Only the two sets of PE to replace the longitudinals instead of the flimsy laser cut ones and I have all the upgrades. Just a case now of cleaning all that PE.


-
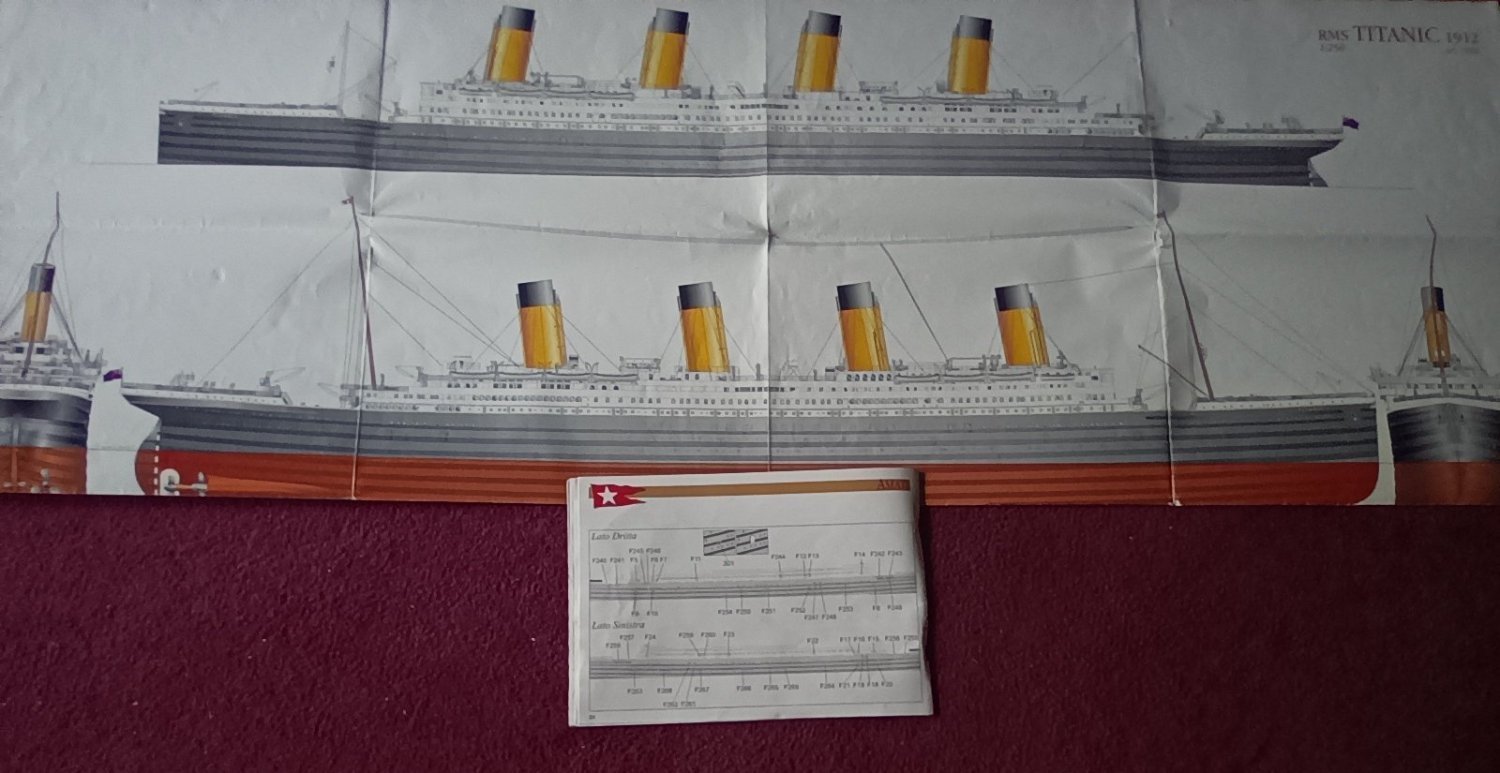
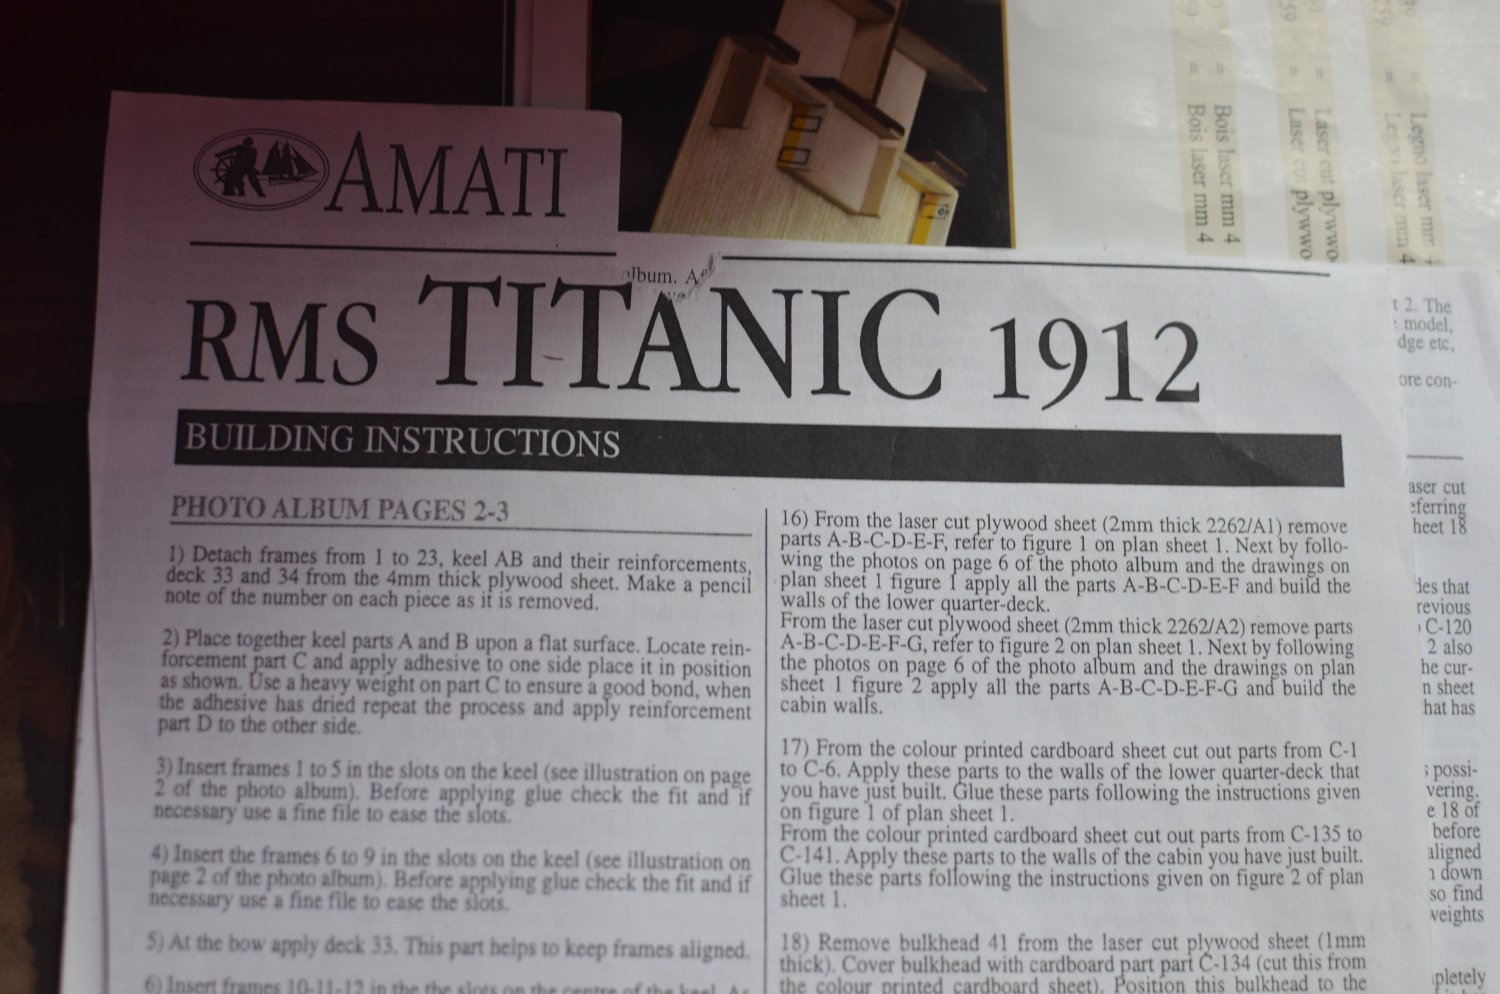
you should have the photo album, plans and the building instructions with the parts list on the back. there are a total of 94 written steps most of which refer to the photo album and the plans. You should have these instructions.