
Paul Jarman
-
Posts
478 -
Joined
-
Last visited
Content Type
Profiles
Forums
Gallery
Events
Everything posted by Paul Jarman
-
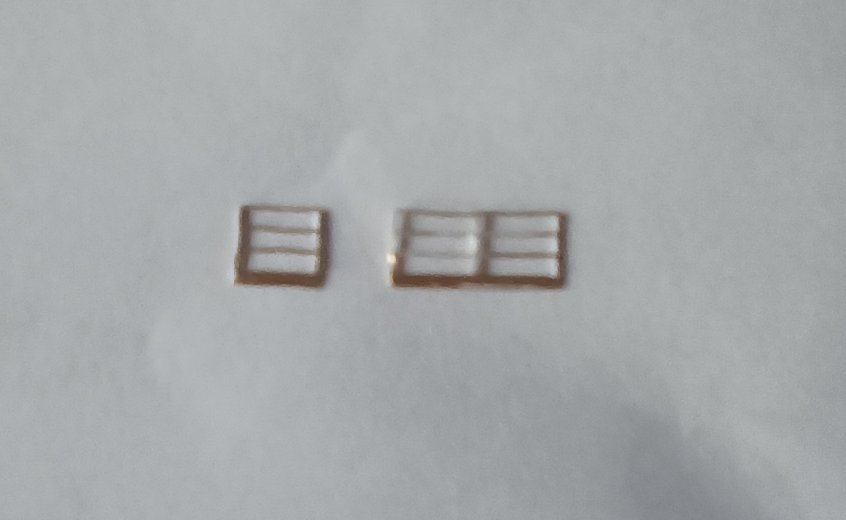
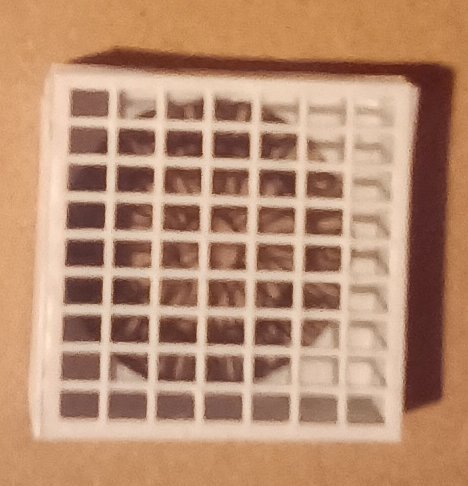
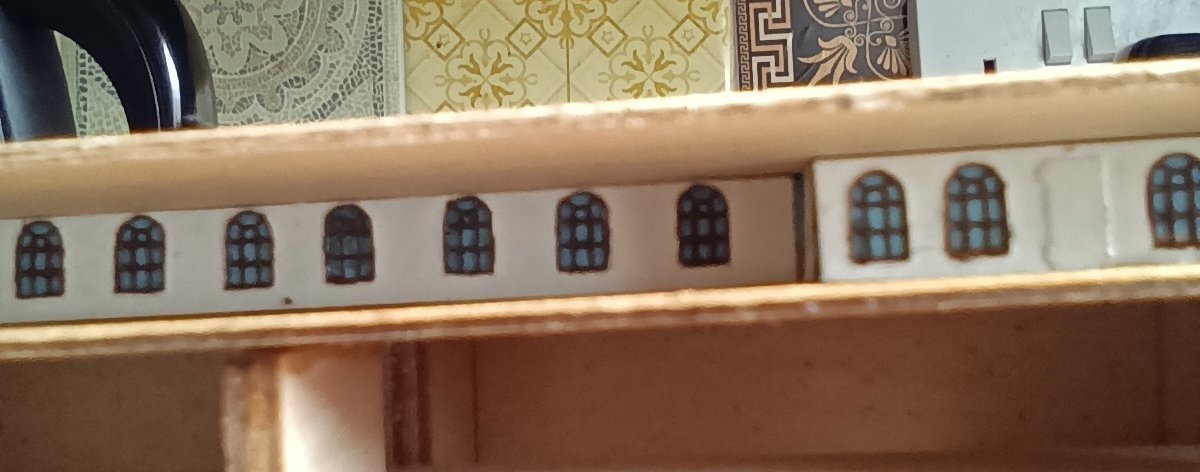
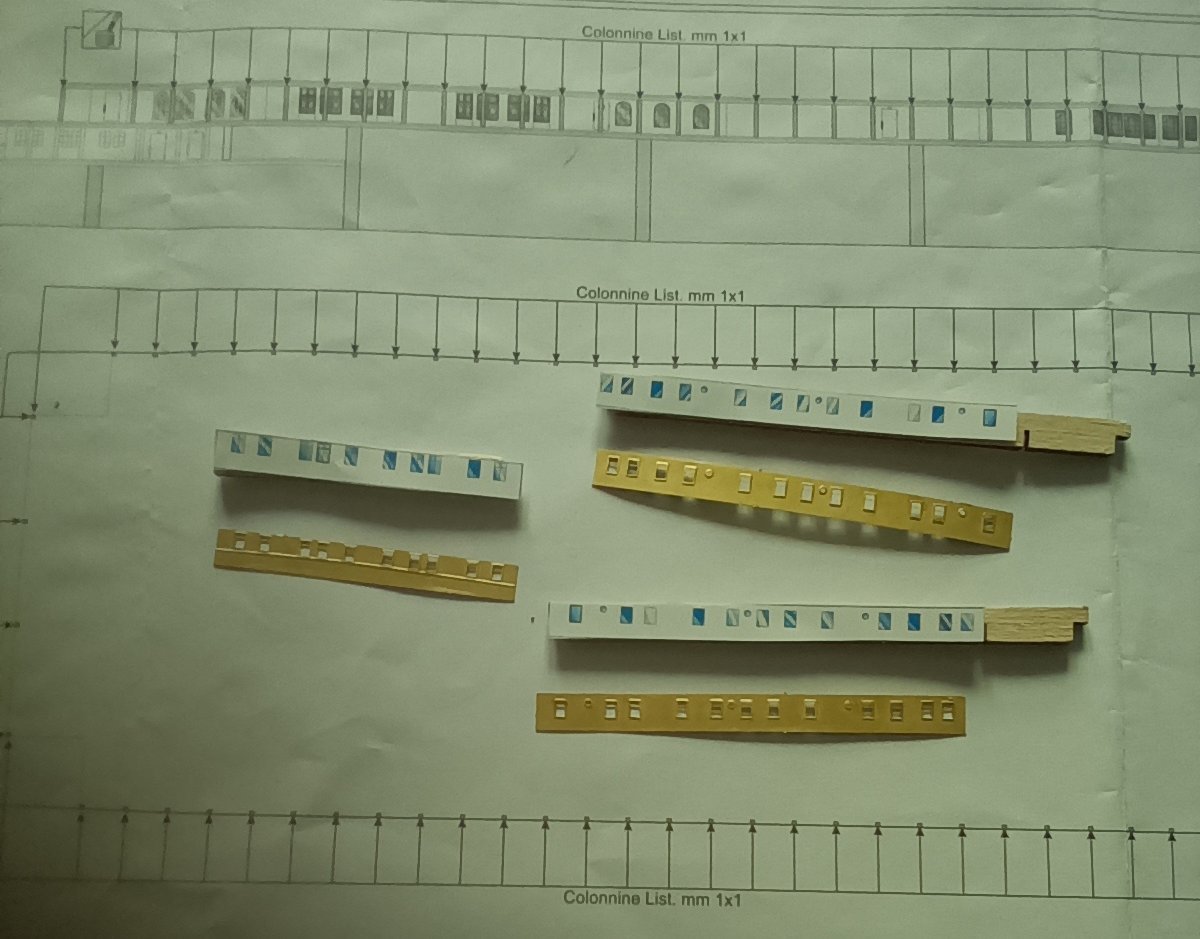
 Starting the first class lounge roof. The photos show the original photo etch that comes with the kit which has very tiny Windows And frames . Which makes it hard to paint the frames. And trying to get a very small amount of paint into the recess to represent the glass would be difficult. And the Mini Brass replacement. The Mini Brass photo etch is far better than the one supplied with the kit. And has open frames so The background can be painted to represent the glass.The only downside is that Mini Brass don't supply railings. The kit supplied photo etch has the railings attached to the walls. I did think about placing the Mini Brass etch over the original ,but it would have meant the wall protruding to much. But by carefully scouring along the bottom of the frame and then using the photo etch bender and bending the bottom part up and down very carefully I should be able to remove the railings. Just makes a lot more work.
-
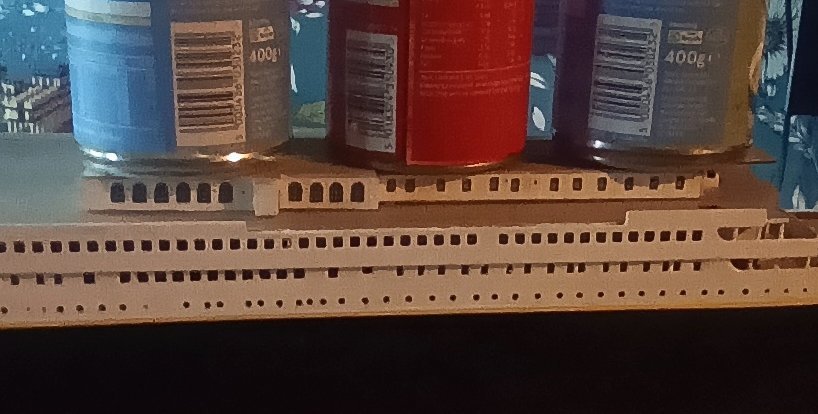
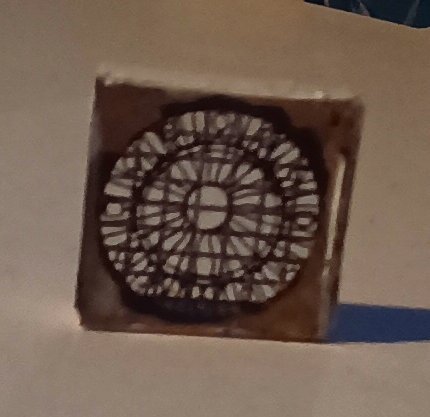
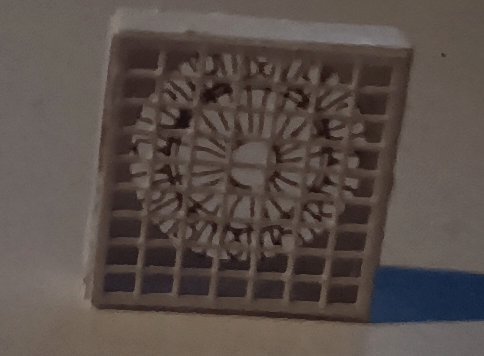
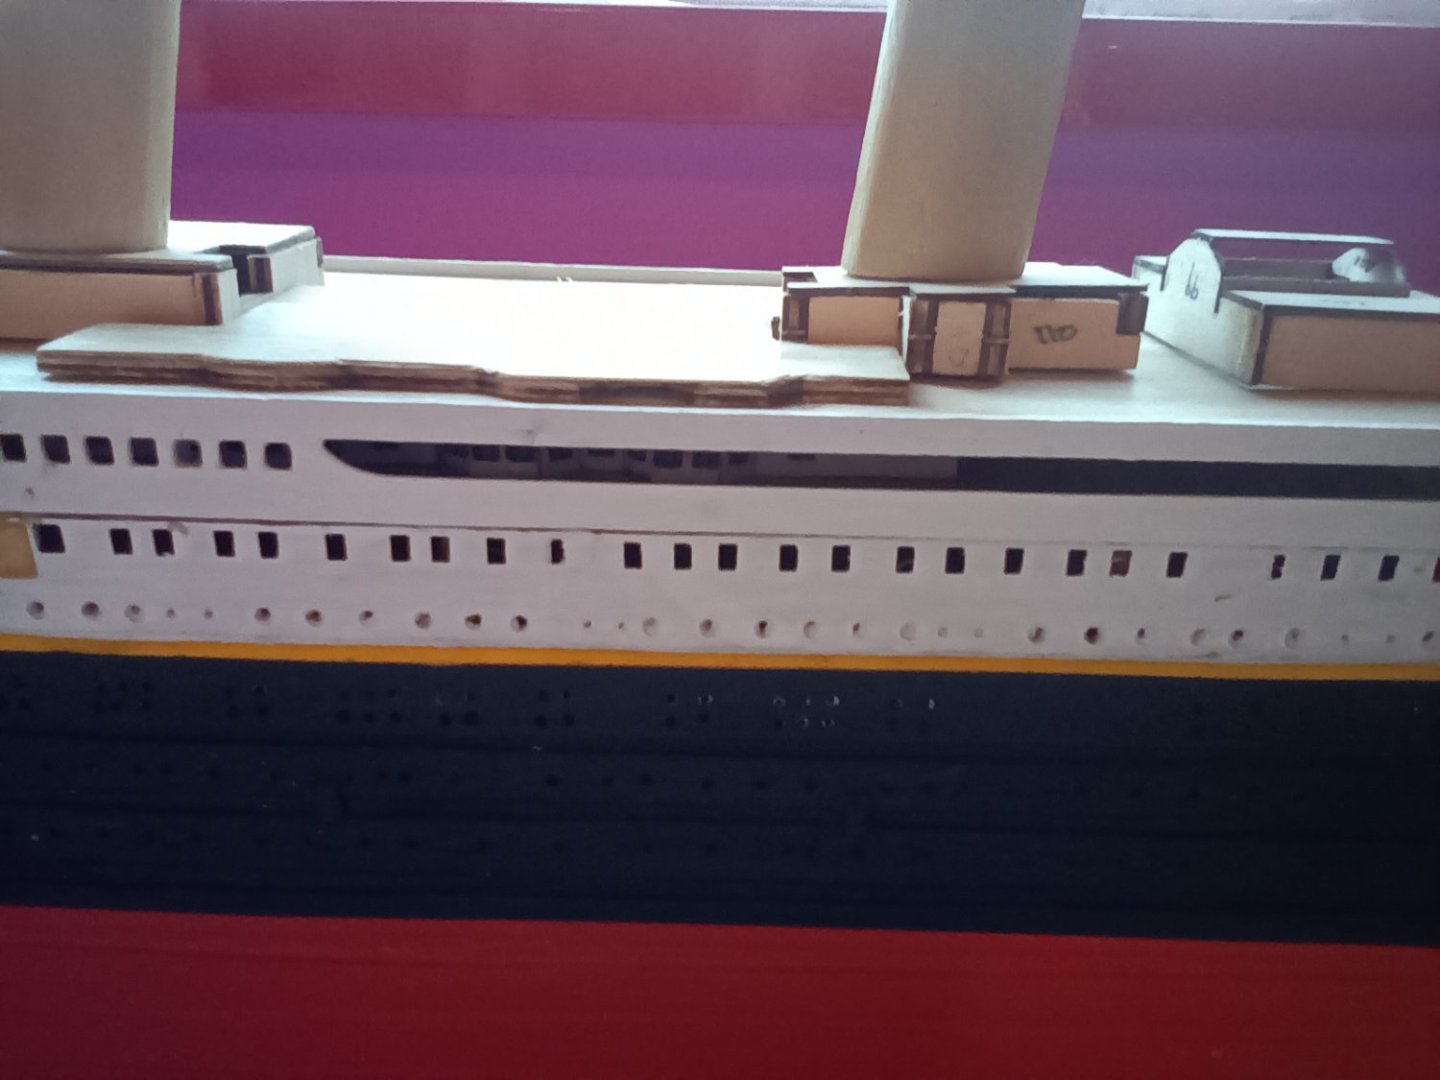
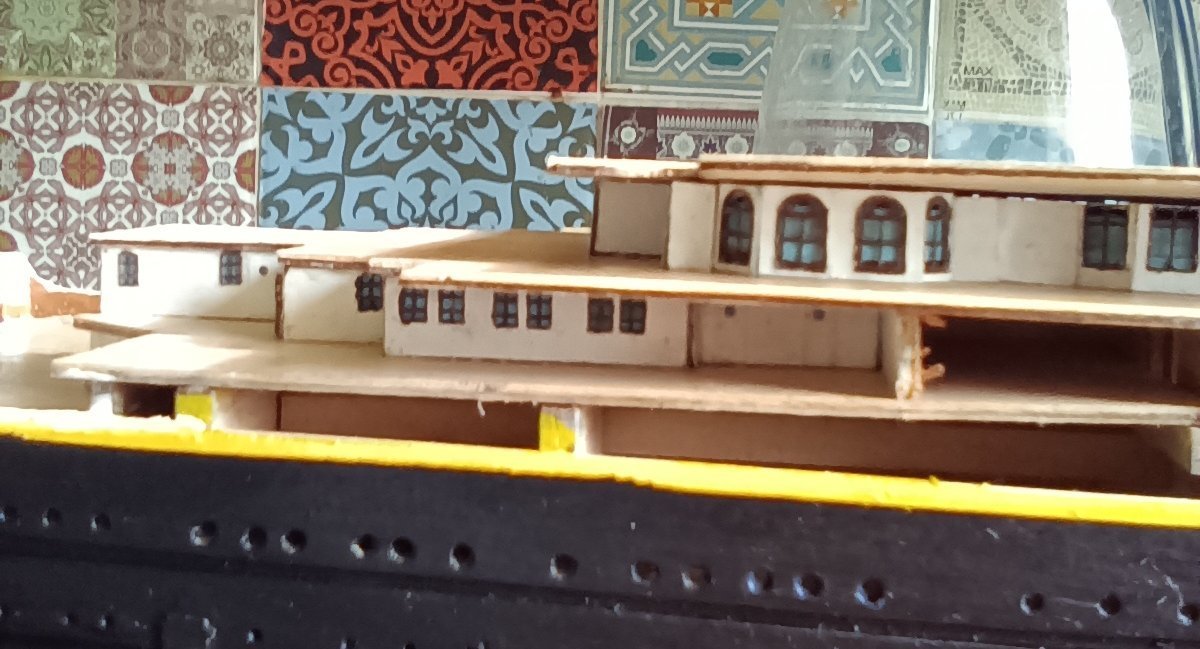
Gymnasium to wheelhouse roof completed and in place. The walls are lined with the Mini Brass photo etch. The Grand staircase dome and skylight. The dome is also from Mini Brass. Hard to get a decent photo showing it in place. It looks much better seen with the naked eye. And is a vast improvement on placing a piece of coloured card in the bottom to represent the dome. I did try to glaze it with krystel Clear. But at this scale it doesn't look to good. Concentrating on the deck structures first before adding any details.I Next is adding the photo etch to the first class lounge roof.

-
My condolences to his family and friends. RIP Jim.
-
Excellent work so far. You do of course realize that once you have finished adding all these authentic details you are going to have to add the Titanic rivet pattern. Only around a million rivets.
-
Looking good,I will follow along. I built the older version of this a few years ago.Looks like it has been improved quite a bit.
- 68 replies
-
- 1
-

-
- Sanson
- Artesania Latina
- (and 2 more)
-
Started adding the columns. To say this is a pain in the you know what is an understatement. 14 done around another 70 to do. Luckily one of the planks used later on in the build is the perfect size to get the measurements right.

-
Hi, No still working on the hull. Have started adding all the columns along the bullwarks. Probably another year or so before I finish. Shame you couldn't get the mini brass photo etch, it does improve the model a lot. What stage are you up to? Could you post some pictures, or even better start a build log. How did you get on with the alterations to the bulk heads? Paul
-
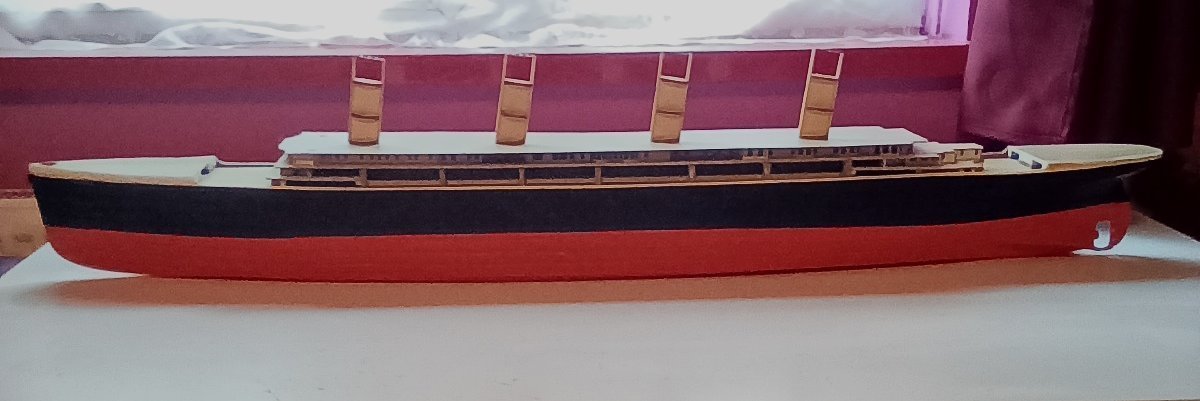
Bulwarks glued in place. I didn't think 80 stages ahead. I usually think at least 10-20 stages ahead knowing there may be problems.Once they where in place there was a gap along the first one above the yellow line. Not much of a gap,but big enough to bug me as I knew it was there. A cocktail stick and some very careful filling and it looks OK. Just need to do a bit of tidying up and repainting and it should look good.
-
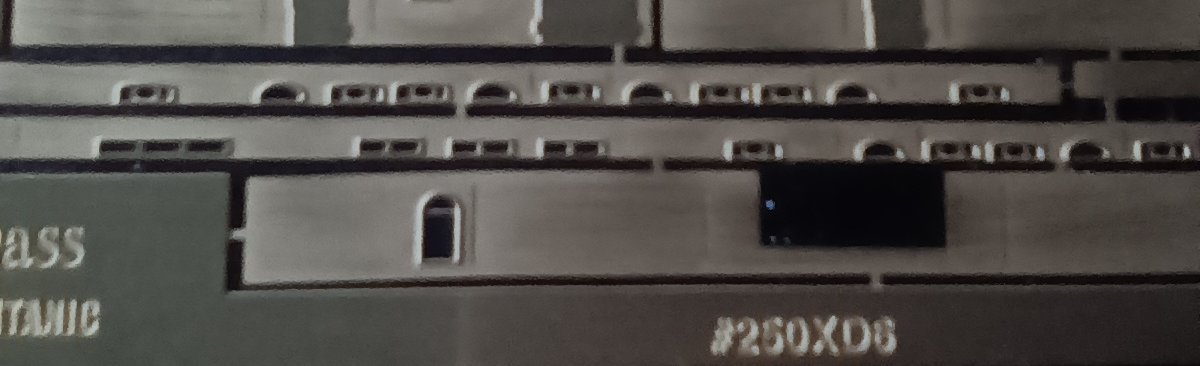
Bulwarks held loosely in place and ready to be fitted. The instructions call for the wooden strip that the photo etch parts are glued onto to be painted black or dark blue to show the depth of the port holes. I have found they look better being drilled out. Just have to add the 78 columns once they are fitted in place.
-
The only known colour photo of Olympic. Gives a decent idea of what White Star Buff looked like.

-
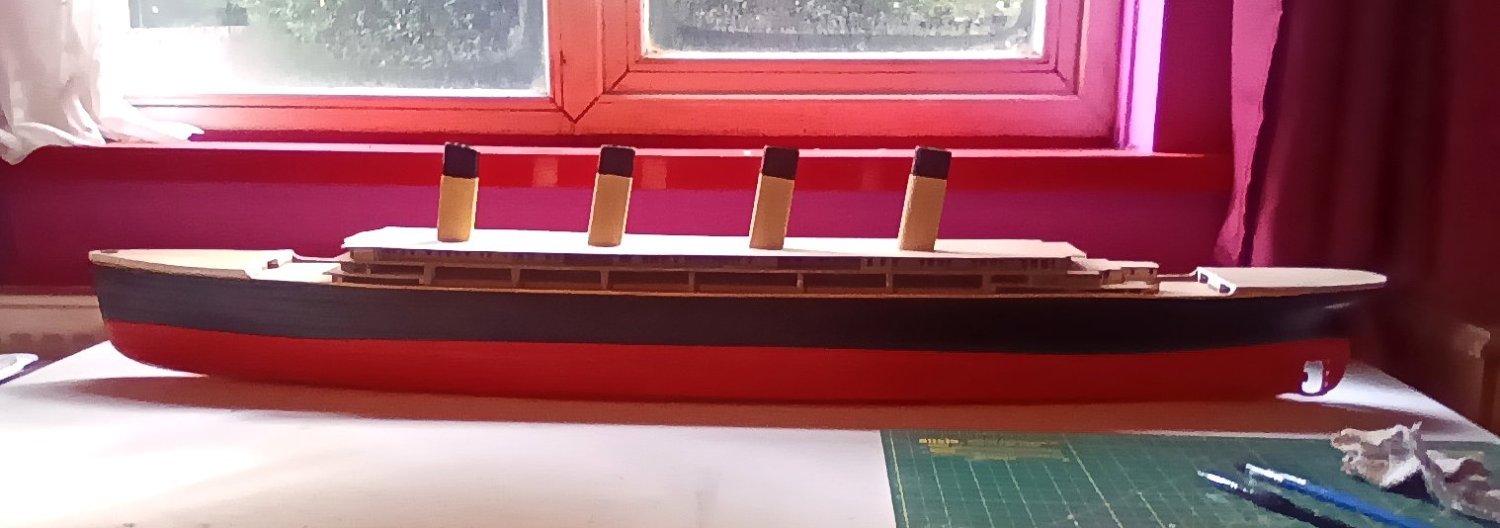
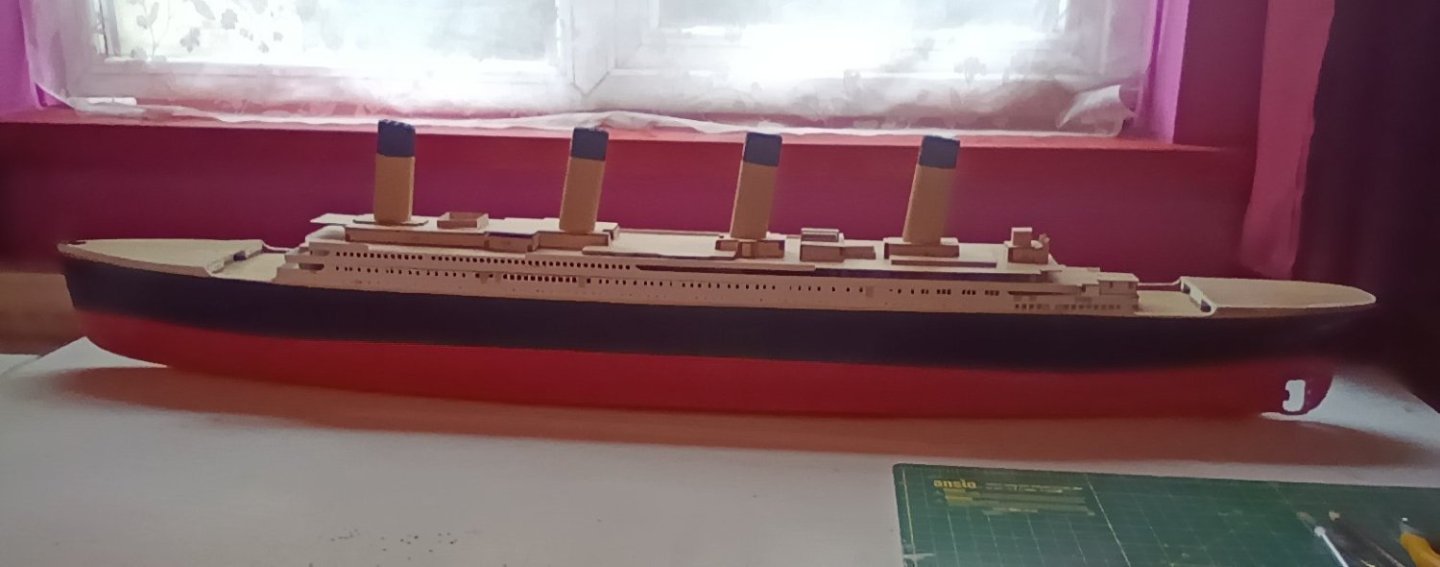
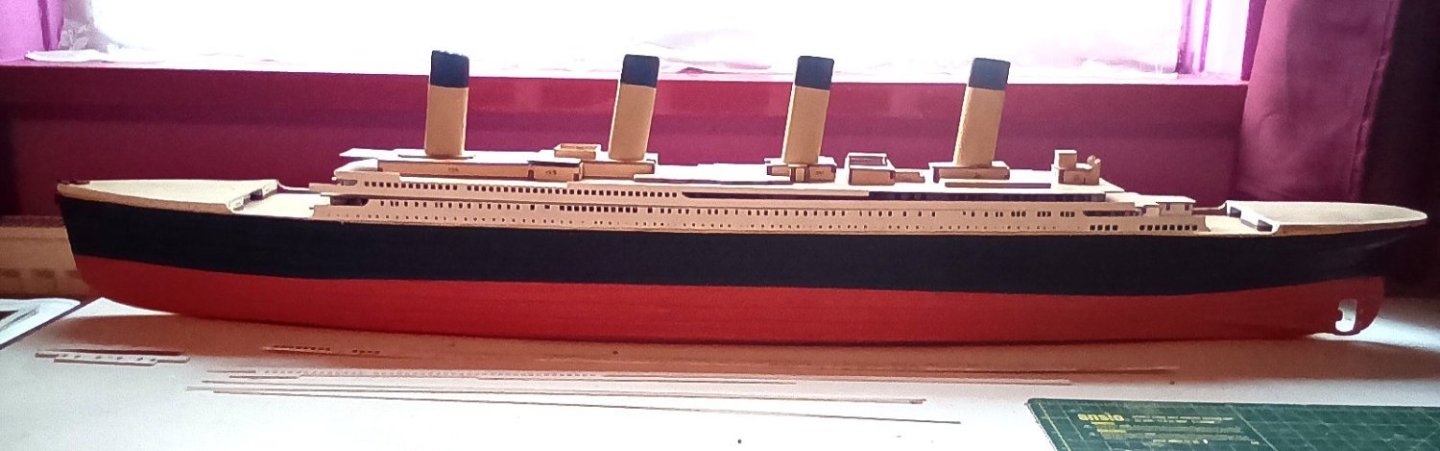
Funnels painted and ready for detailing. The representation of White Star Buff is RAL 1001 which is beige. Which is Peter Davies- Garner's suggested colour in the model makers manual. I have used a Humbrol sand undercoat which gives them a slight yellow colour without being too bright a yellow. They look far better when seen with the naked eye.

-
One of the best kits for accuracy and detail is the Amati 1/250 kit. A bit over 3 feet long.Once you except the 5-6 bulkheads that need altering and you replace the colored card and some of the plastic parts with photo etch it builds into a nice model. If you are going with plastic then the Trumpeter kit is the best kit to go with. Paul
-
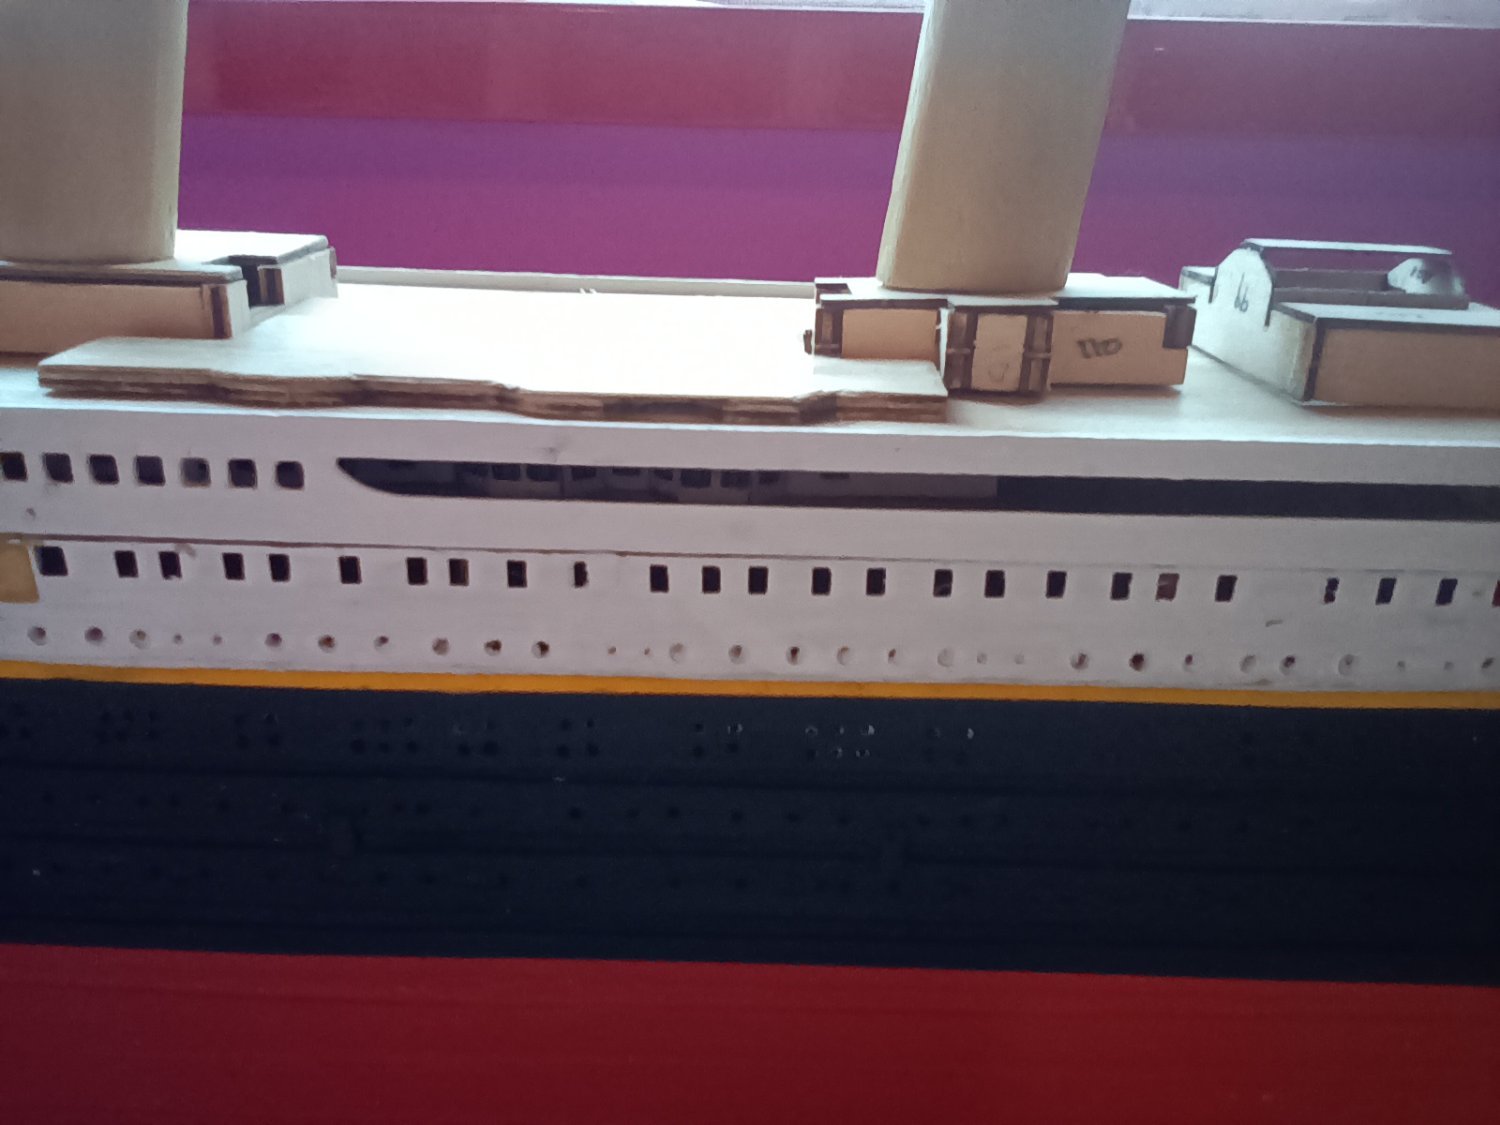
Replacement photo etch windows completed. So much better the the coloured card. Glue the deck in place then onto the funnels.

-
Looking good. I built this same model a few years ago. Only difference is I painted mine.
- 118 replies
-
- 1
-
-
- sanson
- artesania latina
- (and 1 more)
-
First coat of paint on photo etch windows. This will improve the look of the model so much better then using the coloured card That comes with the kit.

-
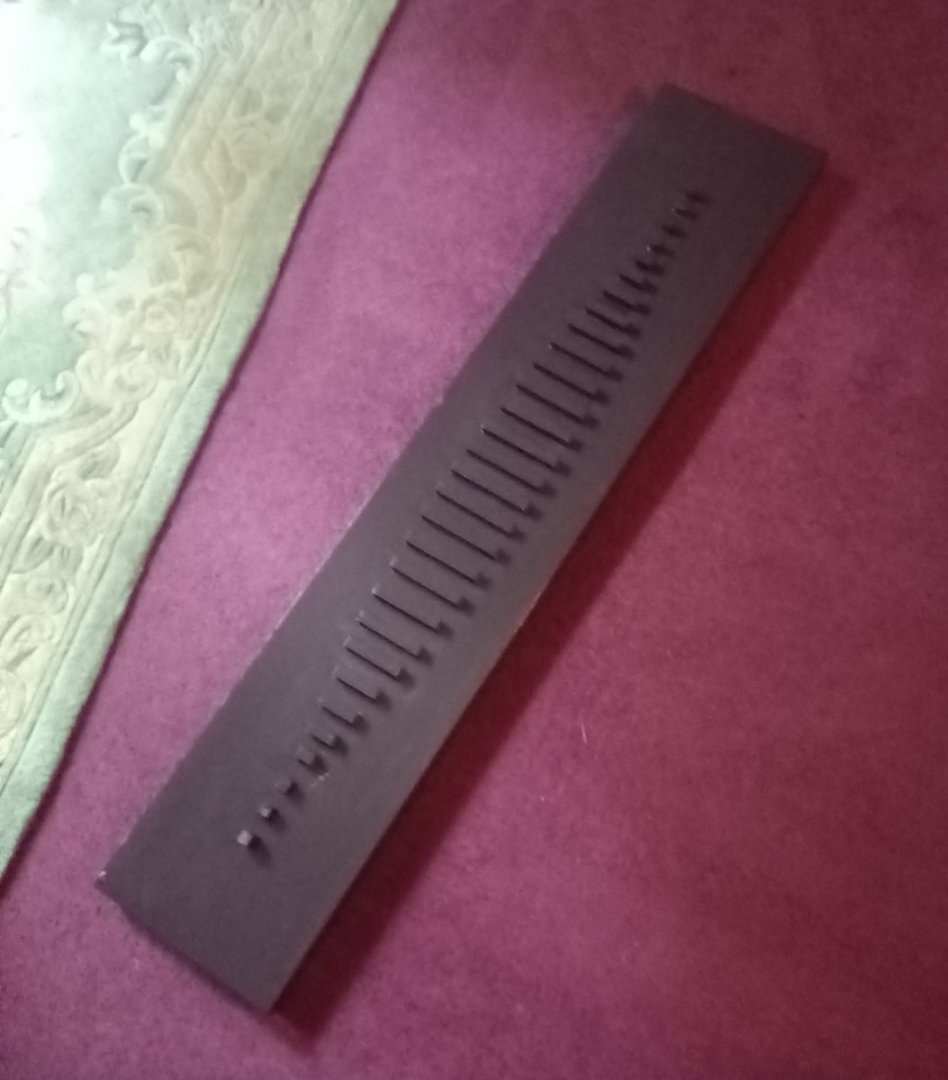
Slipway done. Could make the cross pieces lighter in colour. But I'm happy with it as it is at present. Displays the model a lot better than on pedestals in my opinion. Also working on painting and detailing the photo etch parts that will replace the coloured card.


-
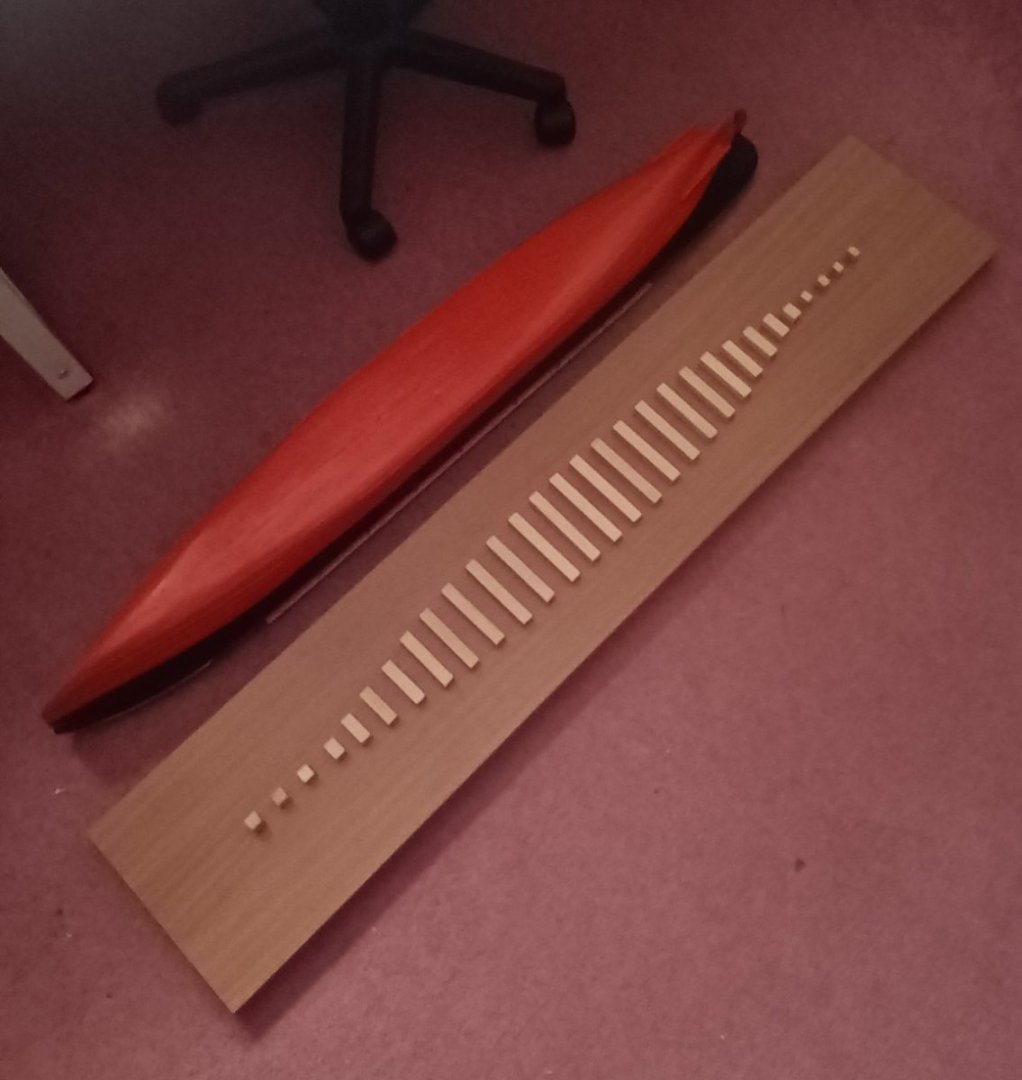
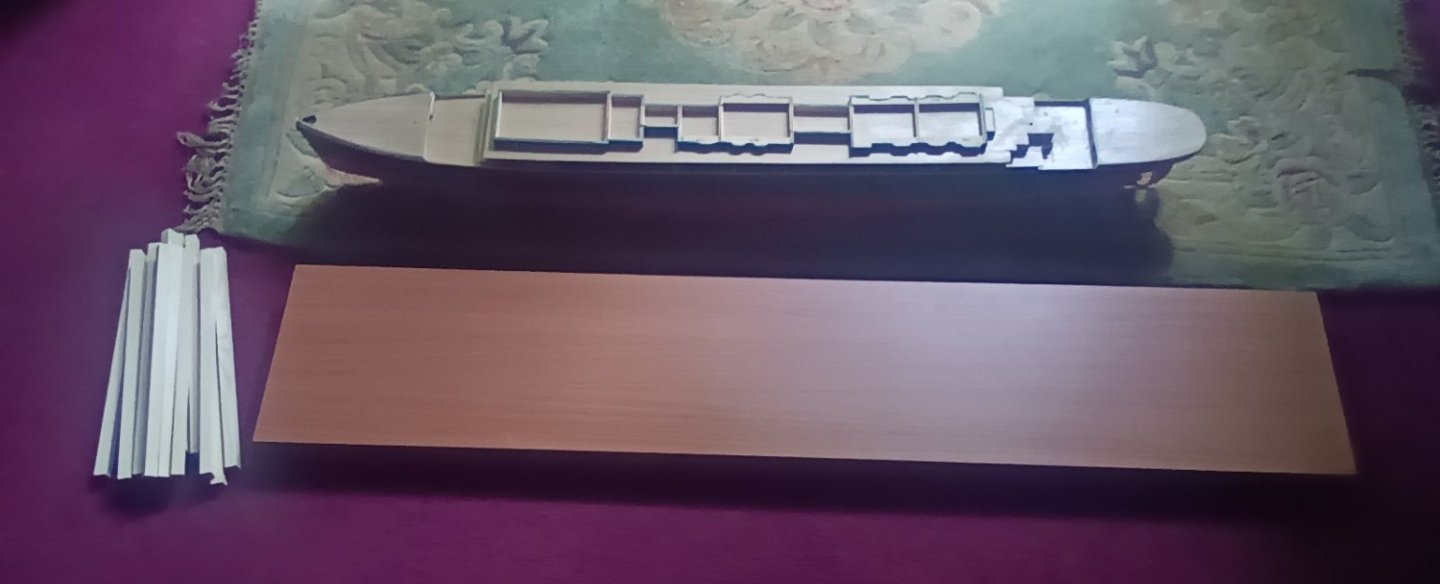
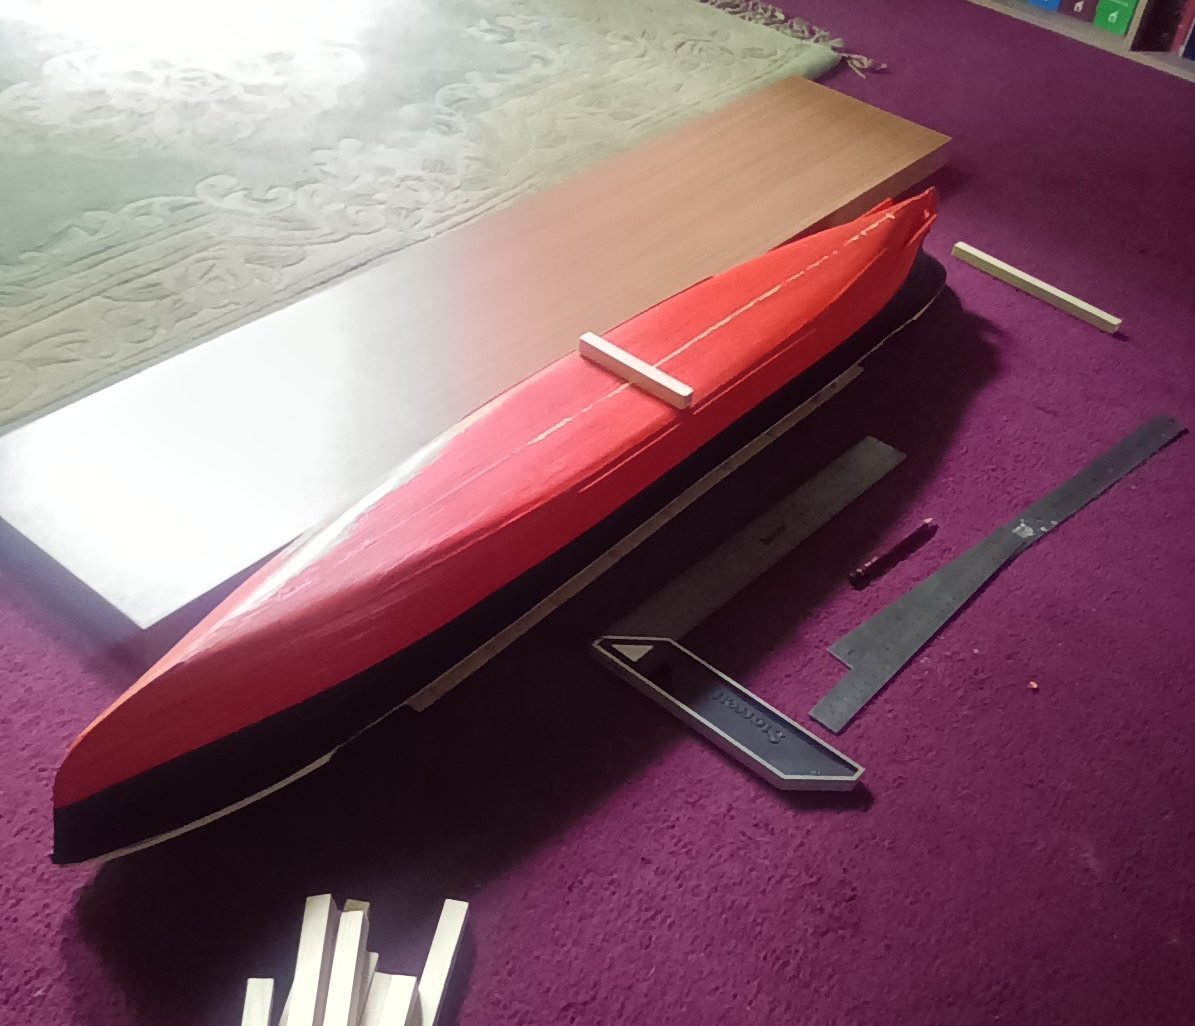
Starting to make a slipway to display the model. I brought a floating shelf which was cheaper than buying a pine board. Bit thick but I can use it either as a shelf or ideally for a display case. I have removed the cutwater strip from the bottom of the hull so the hull will rest flat on the strips rather then cutting a groove into them and hoping it would run level with the bottom of the hull. This is more complicated than building the actual model. I figured I would just need to cut out the strips and glue them to the board. Not that simple. Each one has to be the correct size for the hull shape. And each one needs to be central on the board.
-
About to start building the A deck cabin walls. Would have been nice if the instructions had been a bit clearer. Easy option is to add the coloured card. But I will be using the photo etch from Mini Brass instead. Will take a bit longer to paint in the details of the windows, but will look a lot better. Rather then cutting out all the walls for the deck I will build this in stages so I don't get in a muddle with so many pieces to add.

-
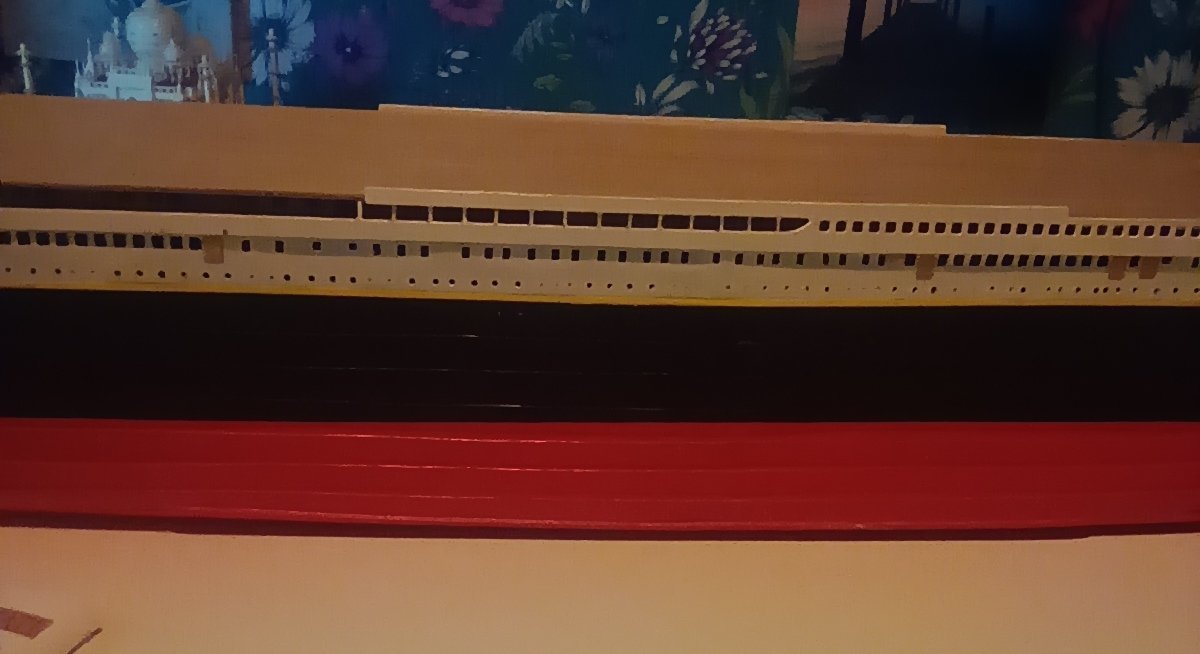
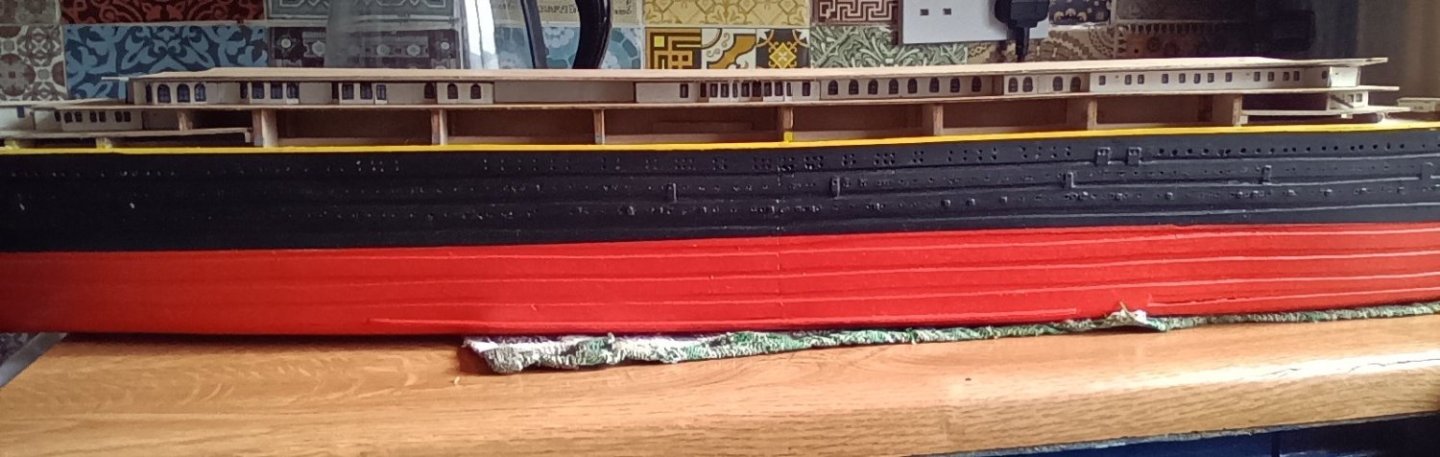
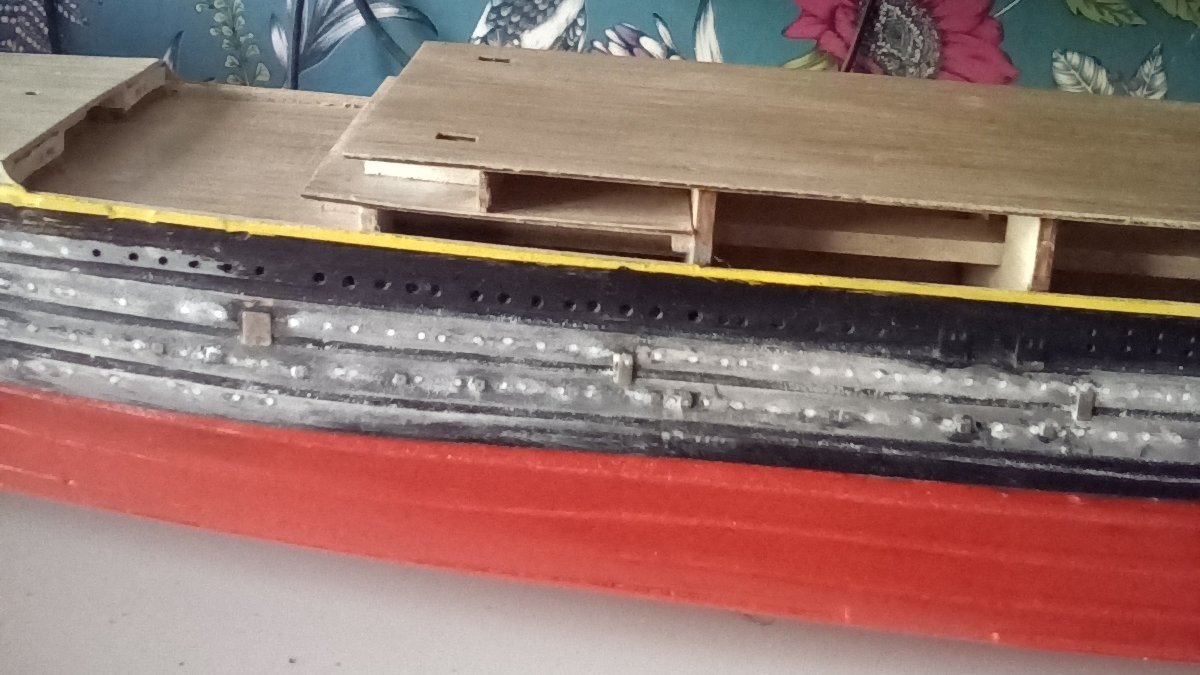
I do like making work for myself with this kit. The more I kept looking at the hull the more I didn't like the port holes being out of scale. Trying to represent glass in the port holes is difficult at this scale. The glass was not level with the hull as I had it. It was receded into the port hole. I might be able to do something with the larger port holes but will leave the small diameter ones open. So I made the decision to strip the paint off and fill the holes in. Now that I have returned them to the 1.2mm below and 1.5mm above scale they look better and as they should be. Just a bit of tidying up and the hull will be completed and I will stop making alterations to it.
-
As I dug out the flanges it caused around 30 of them to remove a bit of the wood from the port hole where they where glued. This has meant I've had to drill them out a bit larger diameter then they should be. 1.5mm instead of 1.2mm. It left me with the choice of having them slightly out of scale or striping the paint off above the waterline and filling them in and redrilling them to the correct scale. Which would have been a big ask. I tried mixing colour with the Kristal Klear but it didn't work out. So I have filled the port holes with straight Kristal Klear. And that has turned out very good and gives the effect of the port holes having glass in them. They look white in the photos, but they are actually clear and look quite good. That means l can put up with them being slightly out of scale.

-
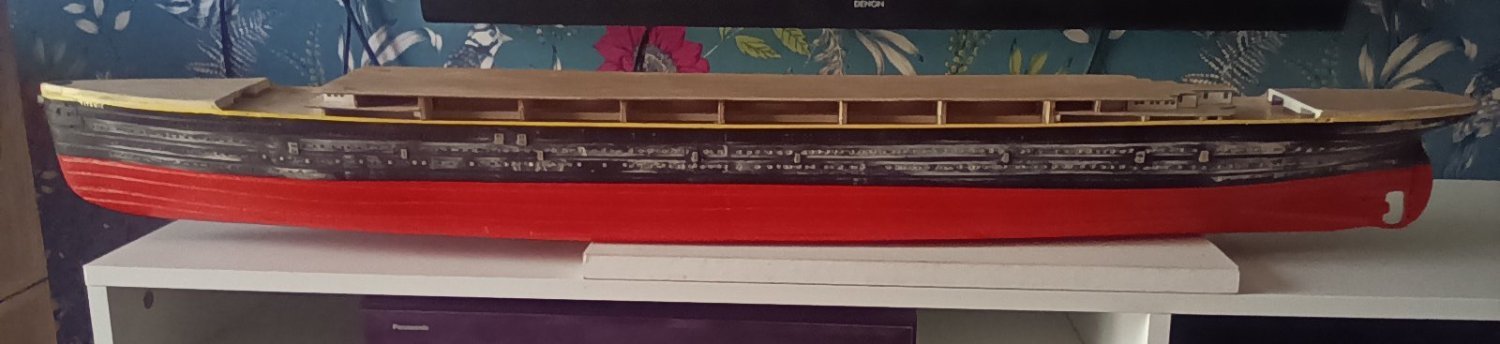
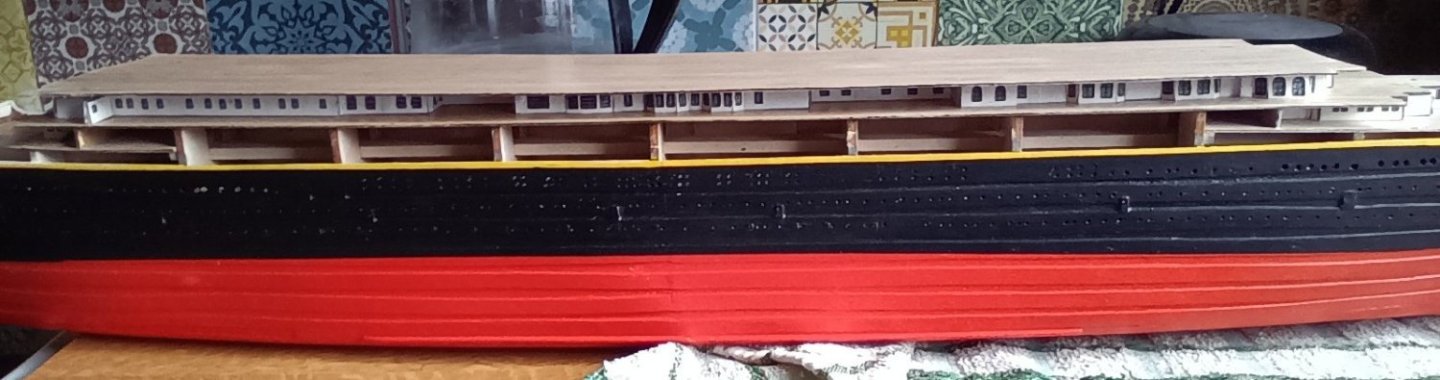
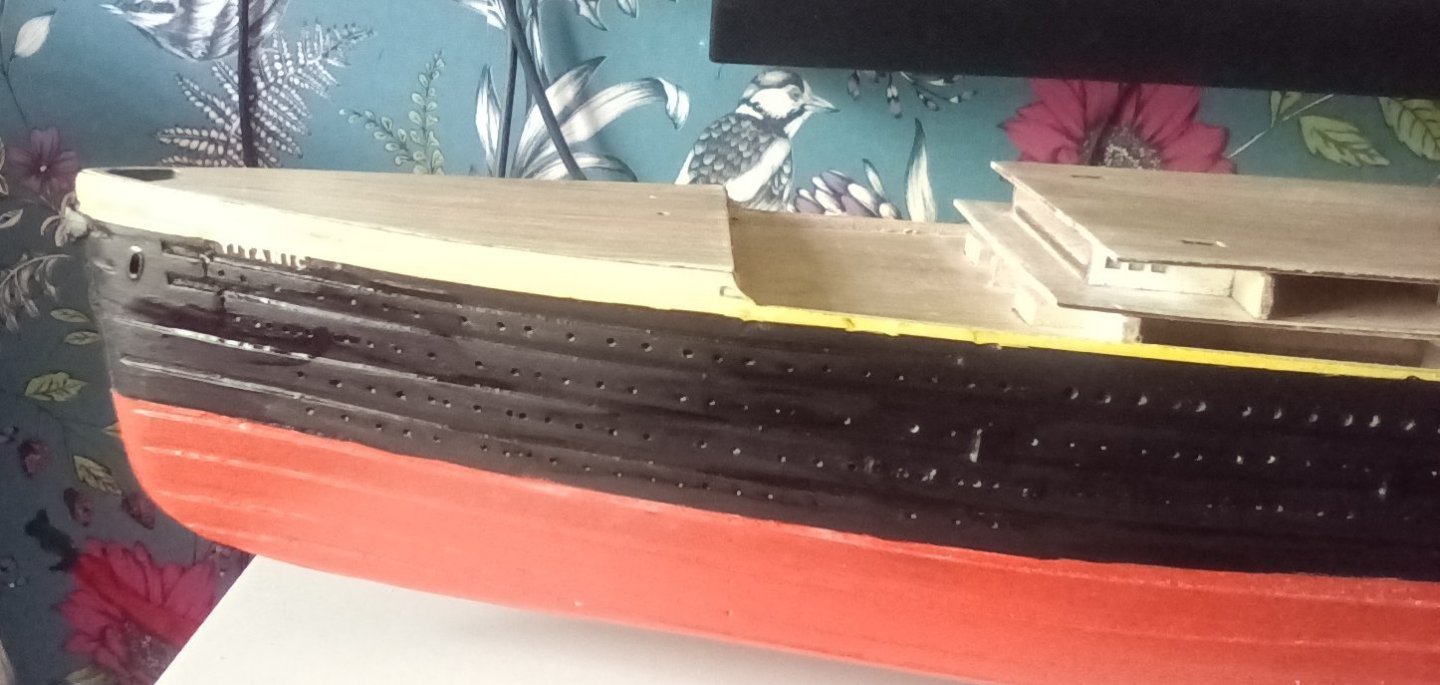
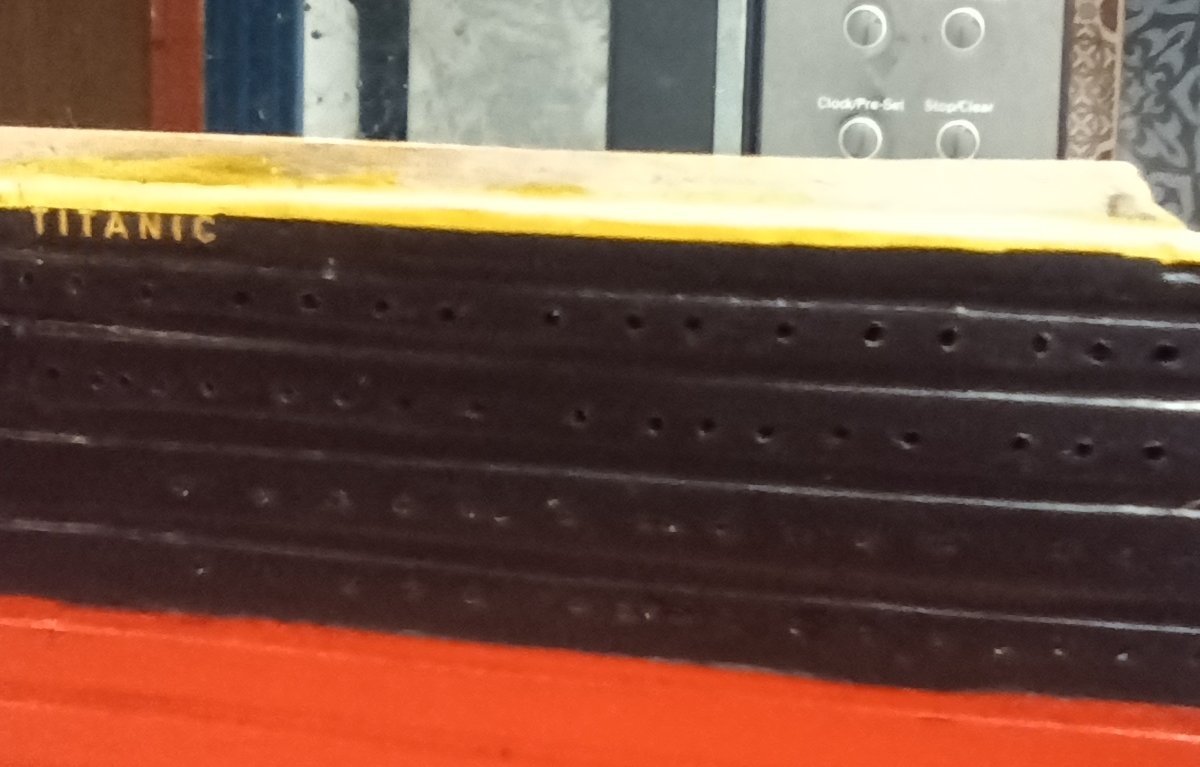
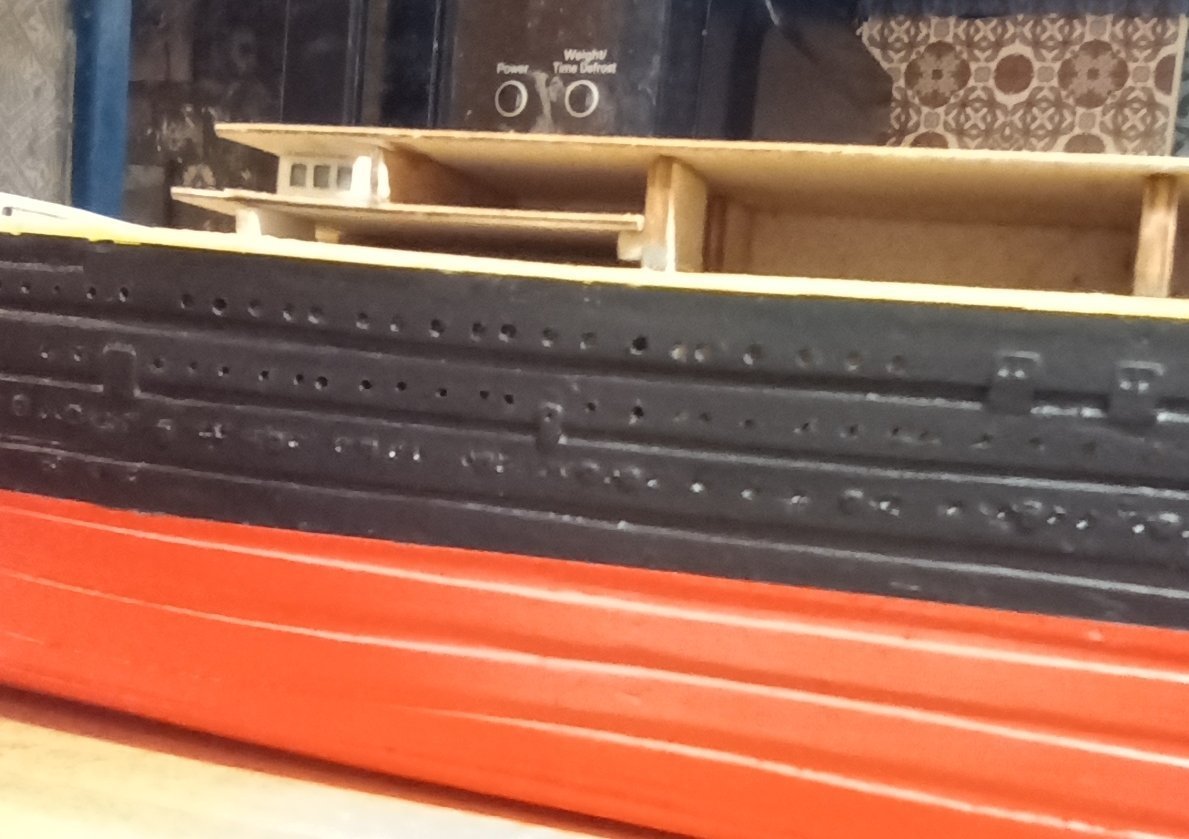
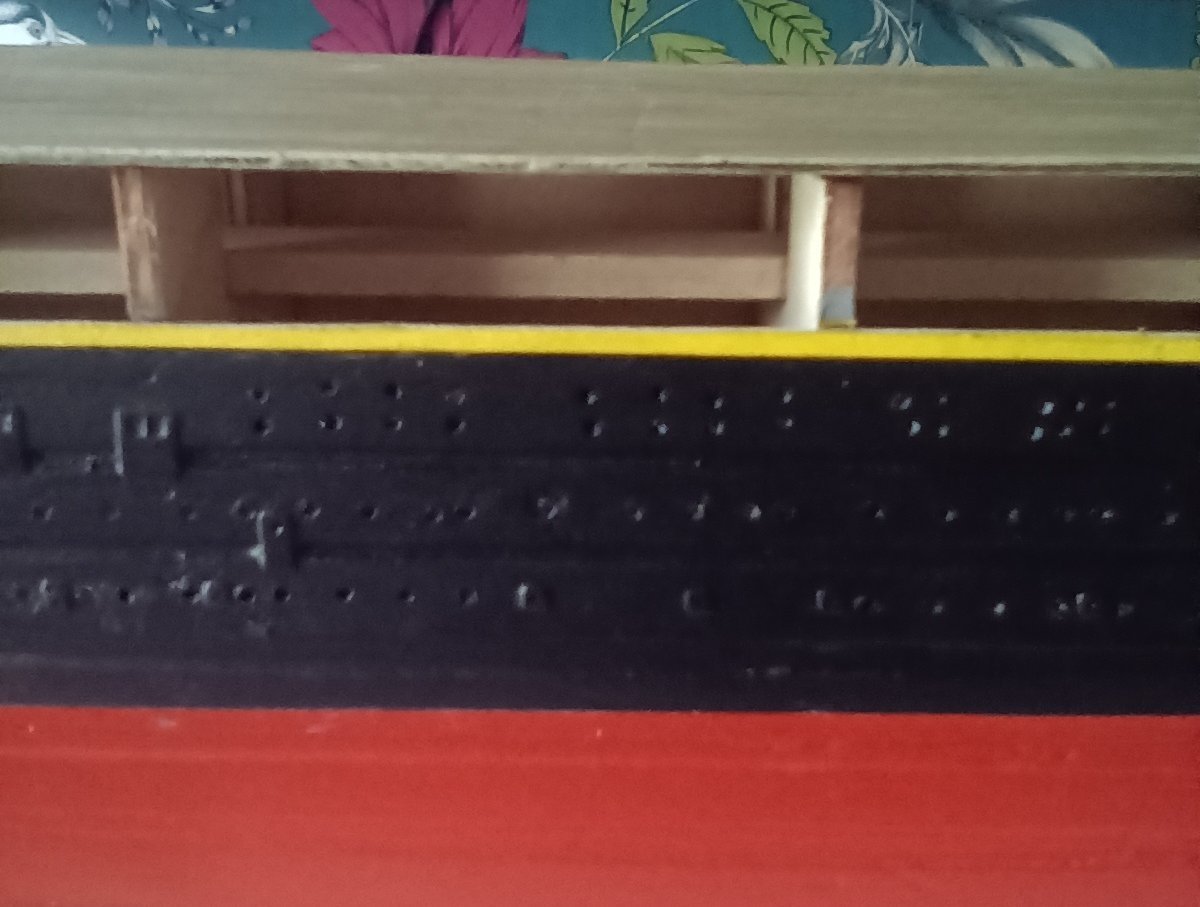
All the flanges removed from one side. Must admit I was a bit apprehensive on how it would look without them. But it looks a lot better. More in keeping with the way the hull should look. The line of port holes at the top are filled in with a mix of kristal klear and a blue/grey mix to represent the glass. Once dry it shouldn't look so pronounced. If it doesn't work I can push it out and paint over it. As always the photos don't really do it justice. It looks far better looking at it Normally. The hull above the waterline now looks a lot smoother. Just have do the same on the other side now. Should never have used the flanges in the first place. But we learn from our mistakes in this hobby. And at least it is easy to correct any little mishaps. I don't plan to use the pedestals that come with the kit to mount it. I will build a slipway for it, which should work better as a display base.


-
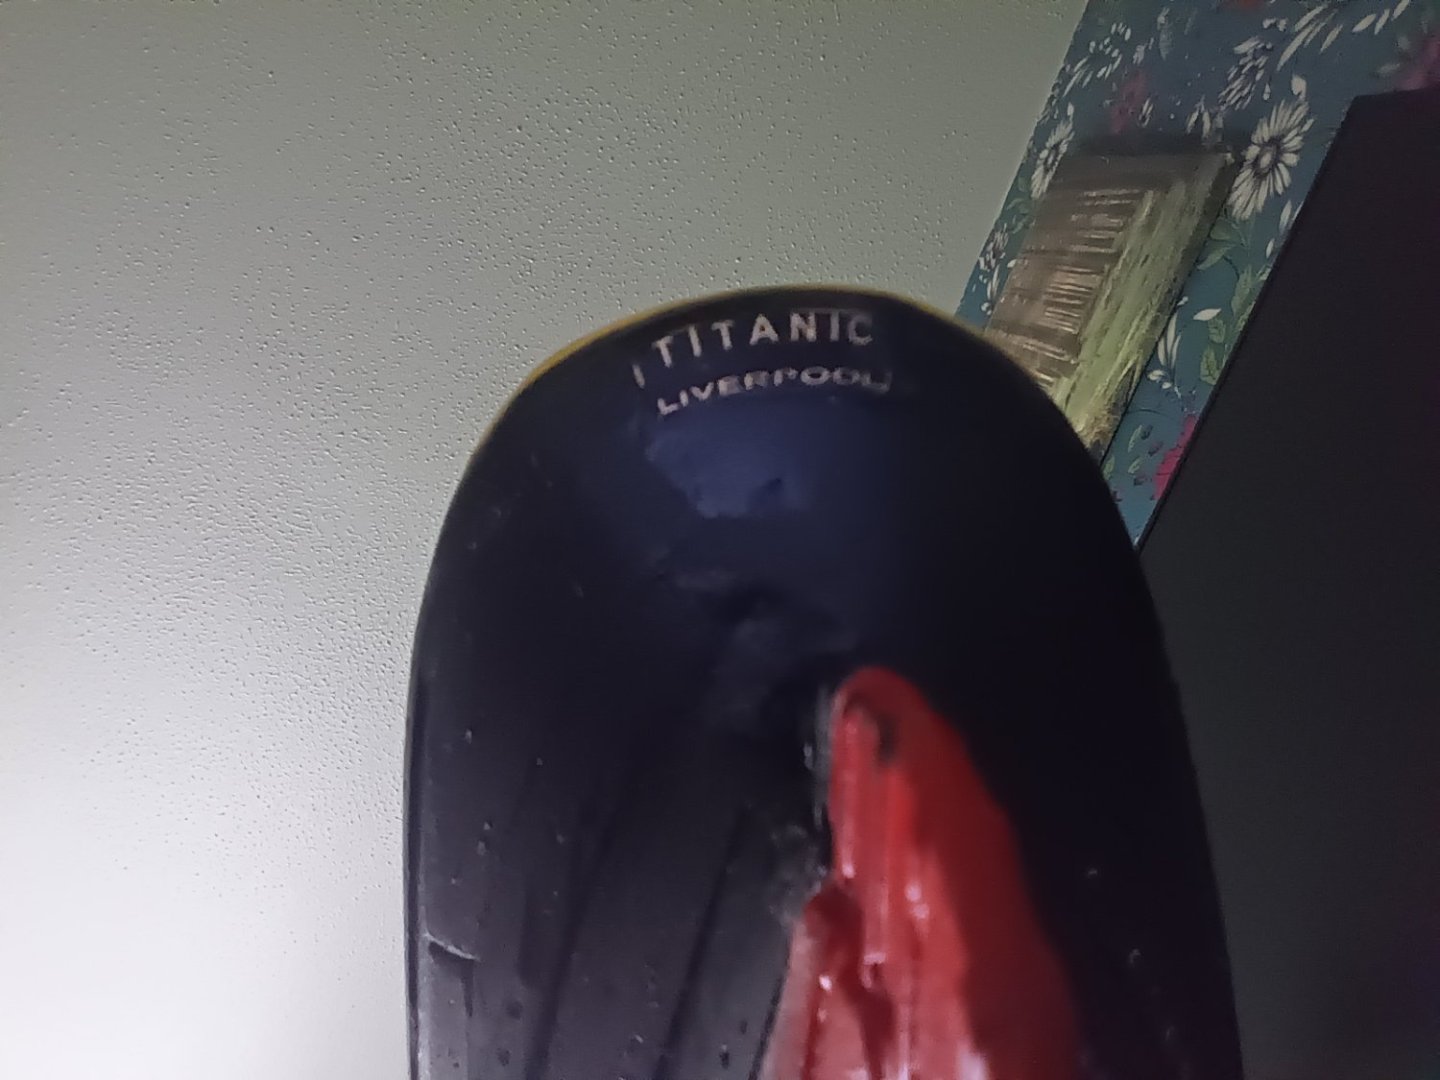
Decided on a fairly major change to the hull. Have decided to remove all the port hole flanges so they look as they should. The two pictures show how much it will change the appearance of the hull. Should look more like the real thing.


-
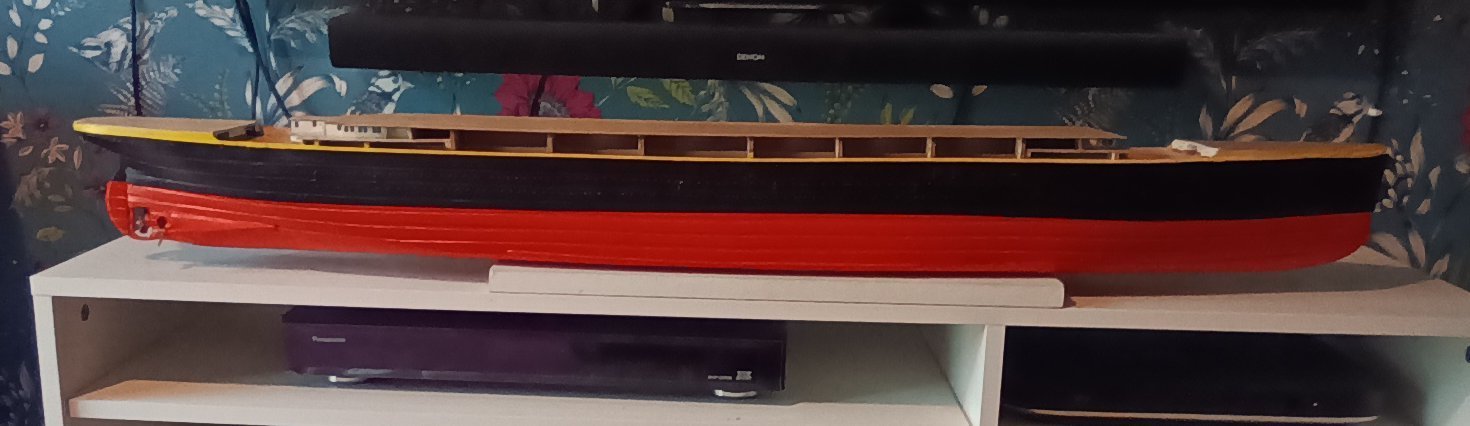
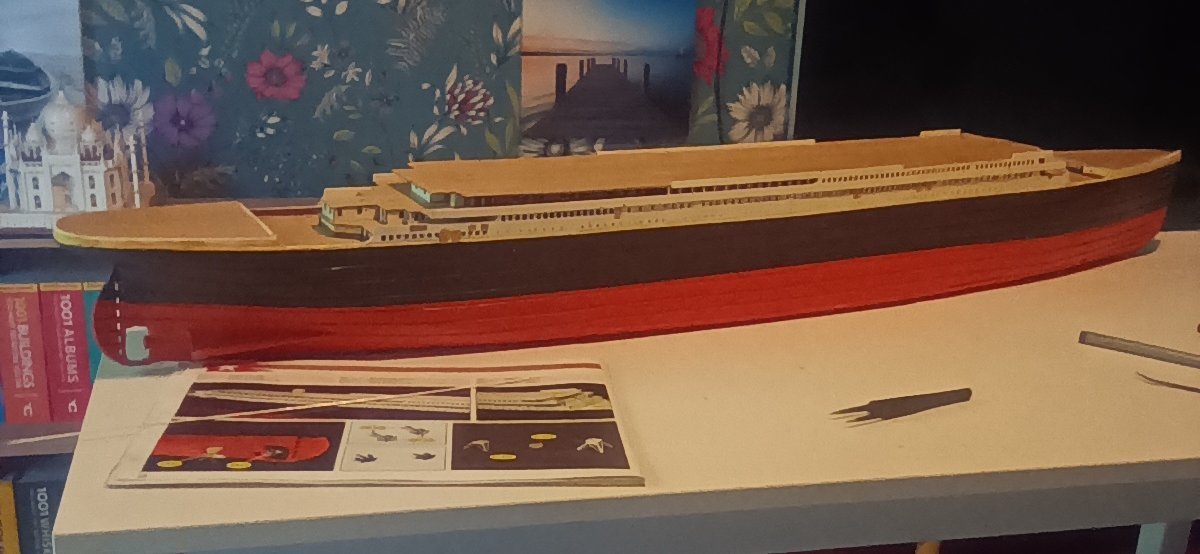
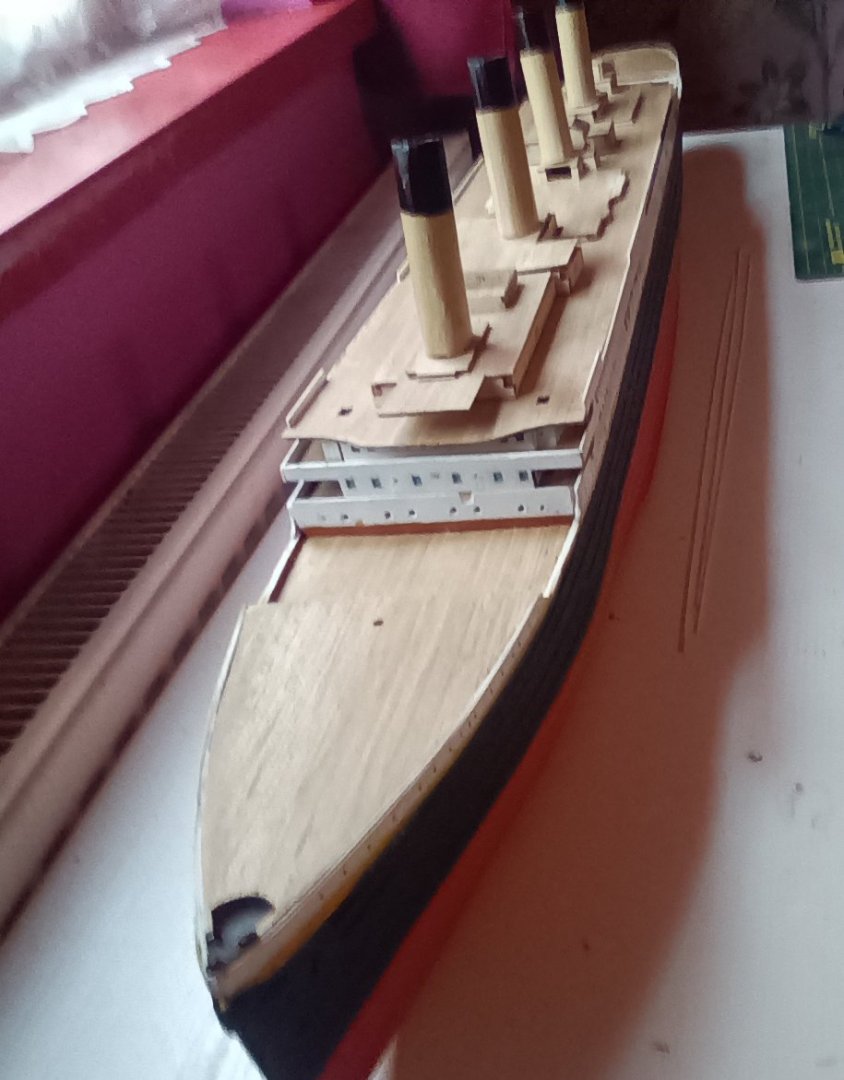
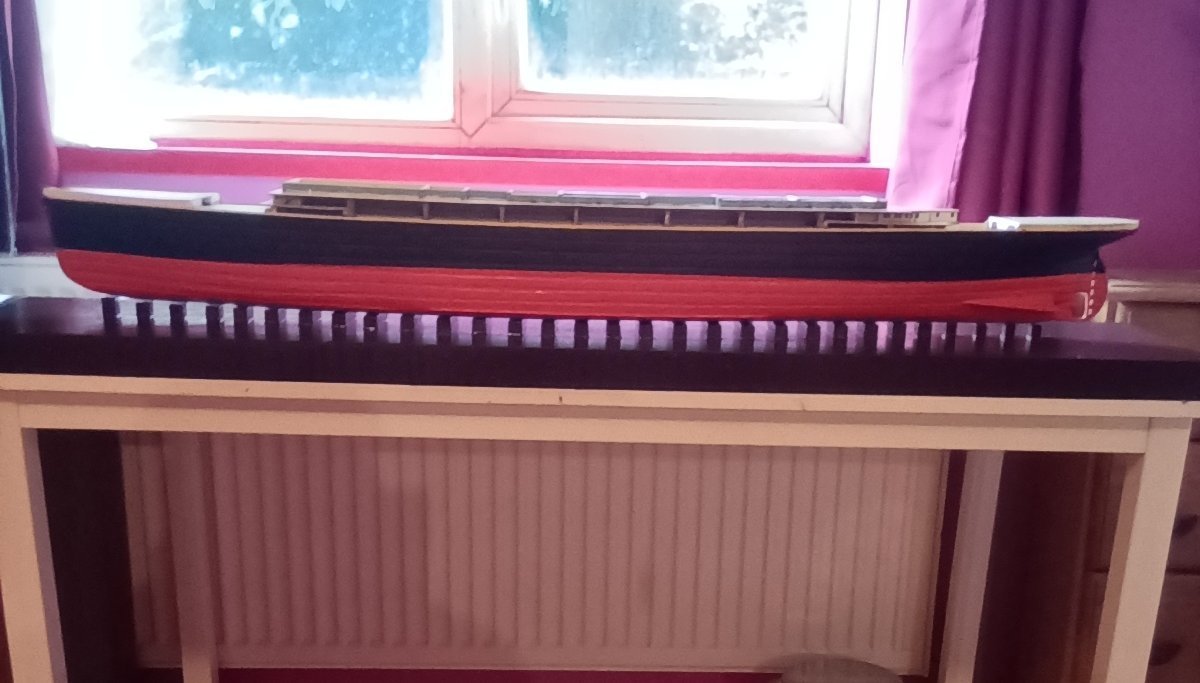
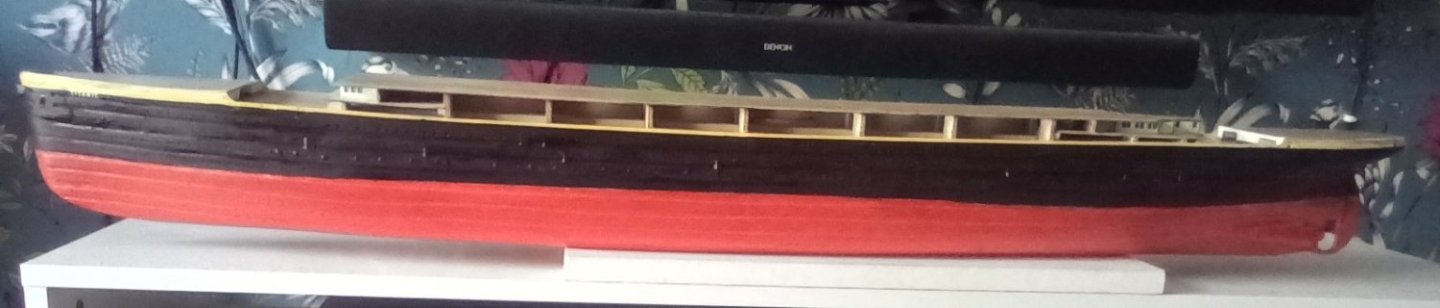
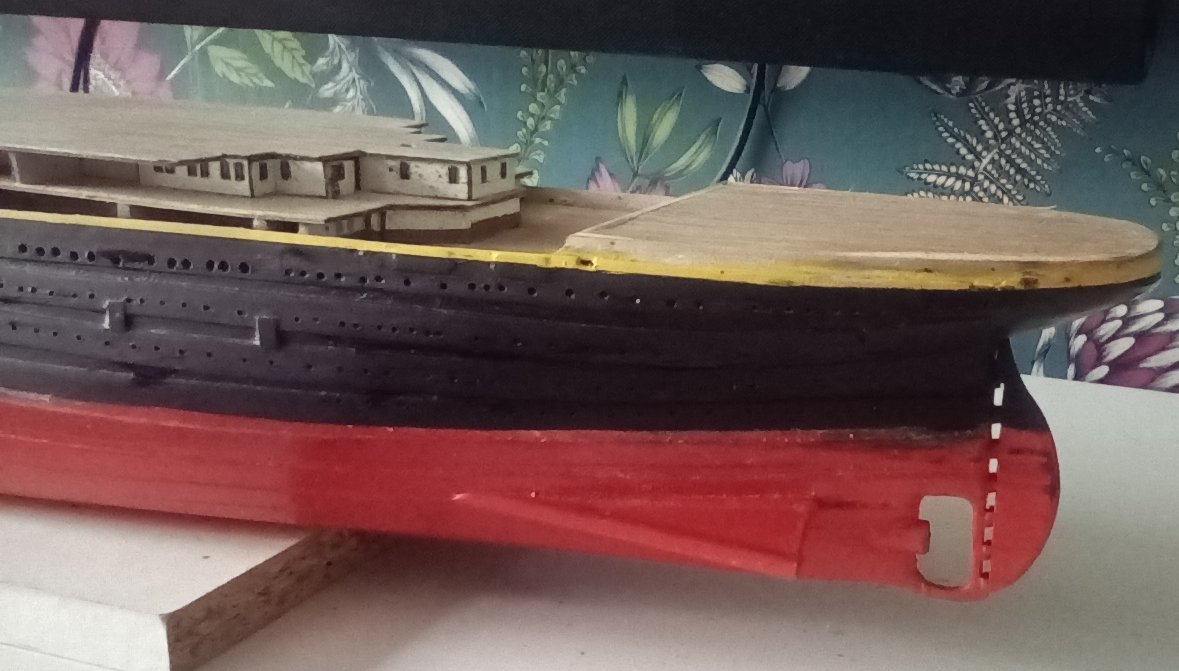
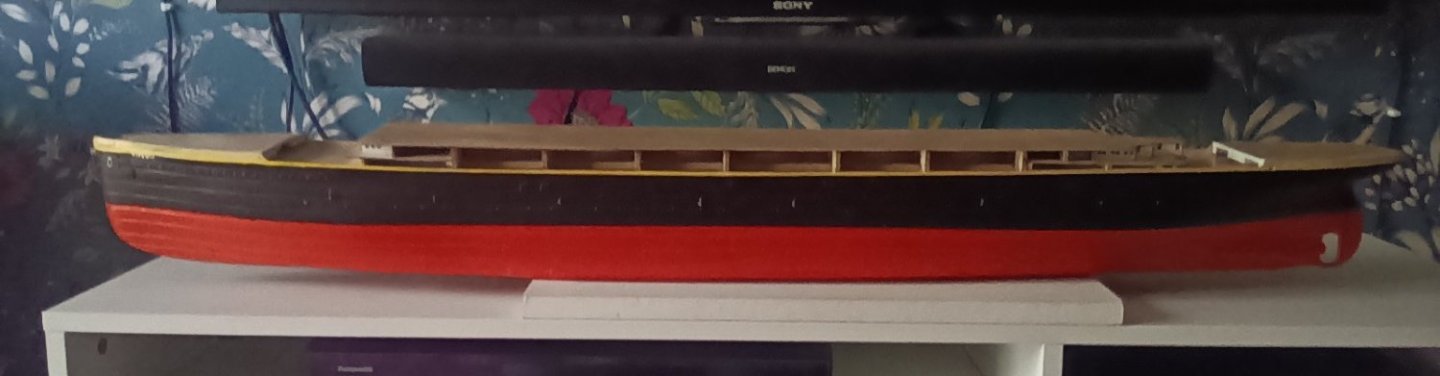
Hull painted and propellers added. The bottom colour is based on the colour used by Peter Davies -Garner from the modelmakers manual. it is RAL 3016 and is Coral Red. I could add a slightly darker red, but this looks quite good. I have started to glaze the smaller port holes with Kristal Klear. Although you can't see it once it is dry. I might add some blue to it and see if it will show up more. But not sure if I want blue port holes. just a few areas to touch up and then the puppet details to add. the yellow strip around the hull is the most frustrating part of this model. Most of it is painted free hand.
-
Hull painted and propellers added. The bottom colour is based on the colour used by Peter Davies -Garner from the modelmakers manual. it is RAL 3016 and is Coral Red. I could add a slightly darker red, but this looks quite good. I have started to glaze the smaller port holes with Kristal Klear. Although you can't see it once it is dry. I might add some blue to it and see if it will show up more. But not sure if I want blue port holes. just a few areas to touch up and then the upper details to add. the yellow strip around the hull is the most frustrating part of this model. Most of it is painted free hand.