-
Posts
533 -
Joined
-
Last visited
About Heinrich der Seefahrer
- Birthday 02/25/1970
Profile Information
-
Gender
Male
-
Location
Berlin/Germany
-
Interests
French baroque war- & pleasure ships, whalingships, history, books,
"I'm a trend-free and TV-abstinend person."
Recent Profile Visitors
The recent visitors block is disabled and is not being shown to other users.
-
 catopower reacted to a post in a topic:
Le Coureur 1776 by Heinrich der Seefahrer - Shipyard - 1/96 - CARD - French Lugger and additives
-
 catopower reacted to a post in a topic:
Le Coureur 1776 by Heinrich der Seefahrer - Shipyard - 1/96 - CARD - French Lugger and additives
-
 catopower reacted to a post in a topic:
LE COUREUR 1776 by Heinrich der Seefahrer - Amati - 1:75
-
 Archi reacted to a post in a topic:
Reale De France by 72Nova - FINISHED - Heller
-
 Archi reacted to a post in a topic:
Reale De France by 72Nova - FINISHED - Heller
-
 Archi reacted to a post in a topic:
Reale De France by 72Nova - FINISHED - Heller
-
 Archi reacted to a post in a topic:
Reale De France by 72Nova - FINISHED - Heller
-
 Archi reacted to a post in a topic:
Reale De France by 72Nova - FINISHED - Heller
-
 Archi reacted to a post in a topic:
Reale De France by 72Nova - FINISHED - Heller
-
 Heinrich der Seefahrer reacted to a post in a topic:
Pinnace by Kopape (Petr) - 1:64 - 1660-1670 - design Nicolaes Witsen
-
 Heinrich der Seefahrer reacted to a post in a topic:
Pinnace by Kopape (Petr) - 1:64 - 1660-1670 - design Nicolaes Witsen
-
 Heinrich der Seefahrer reacted to a post in a topic:
HM Yacht Chatham by SaltyDog - Caldercraft - 1:64
-
 Heinrich der Seefahrer reacted to a post in a topic:
HMS Bellona 1760 by SJSoane - Scale 1:64 - English 74-gun - as designed
-
 Heinrich der Seefahrer reacted to a post in a topic:
HMS Bellona 1760 by SJSoane - Scale 1:64 - English 74-gun - as designed
-
 Heinrich der Seefahrer reacted to a post in a topic:
HMS ROYAL KATHERINE 1664 by Doris - 1/55 - CARD
-
 Heinrich der Seefahrer reacted to a post in a topic:
HMS ROYAL KATHERINE 1664 by Doris - 1/55 - CARD
-
 Heinrich der Seefahrer reacted to a post in a topic:
HMS ROYAL KATHERINE 1664 by Doris - 1/55 - CARD
-
 Heinrich der Seefahrer reacted to a post in a topic:
Hannah by GrandpaPhil - FINISHED - 1/72 - CARD - from Hahn Plans
-
 Heinrich der Seefahrer reacted to a post in a topic:
Hannah by GrandpaPhil - FINISHED - 1/72 - CARD - from Hahn Plans
-
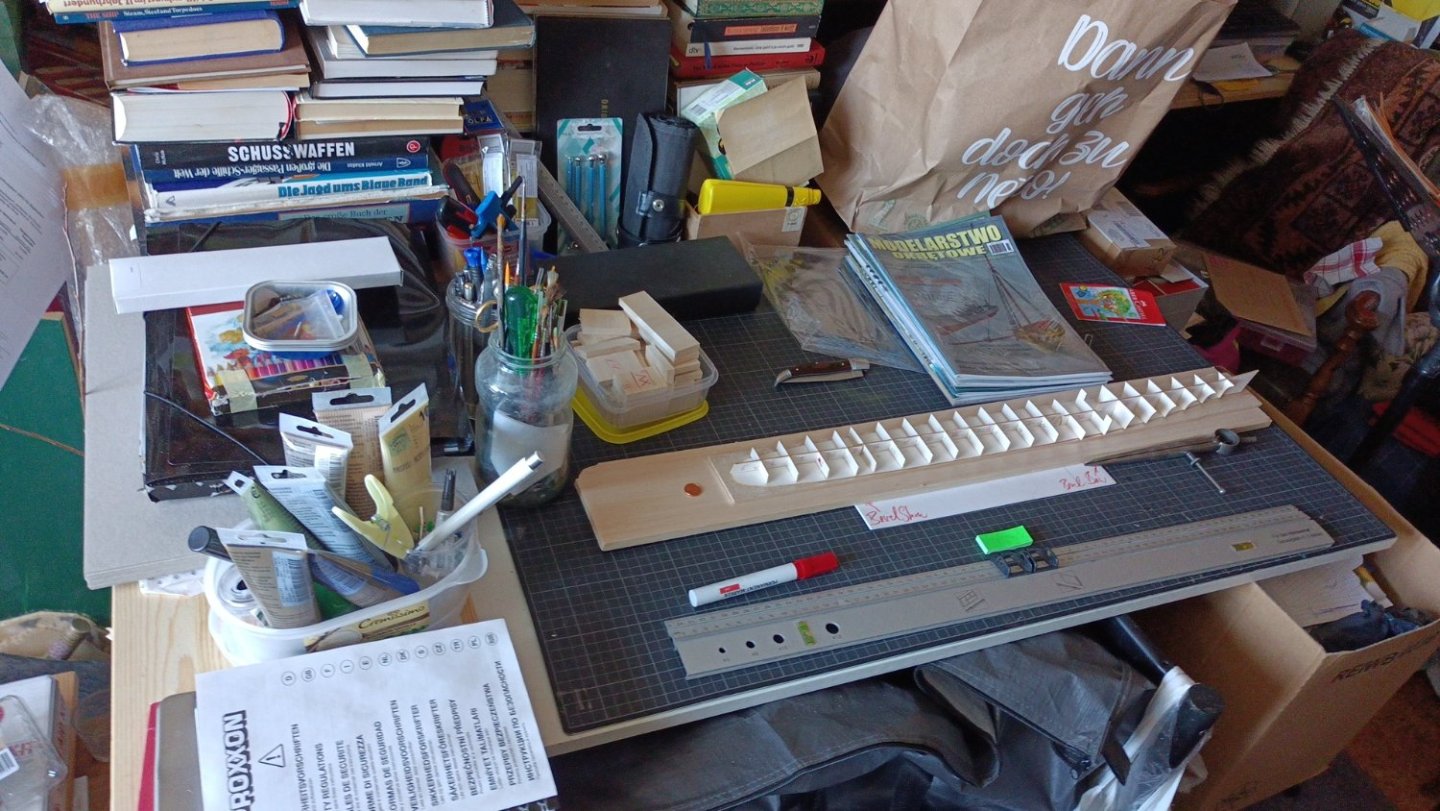
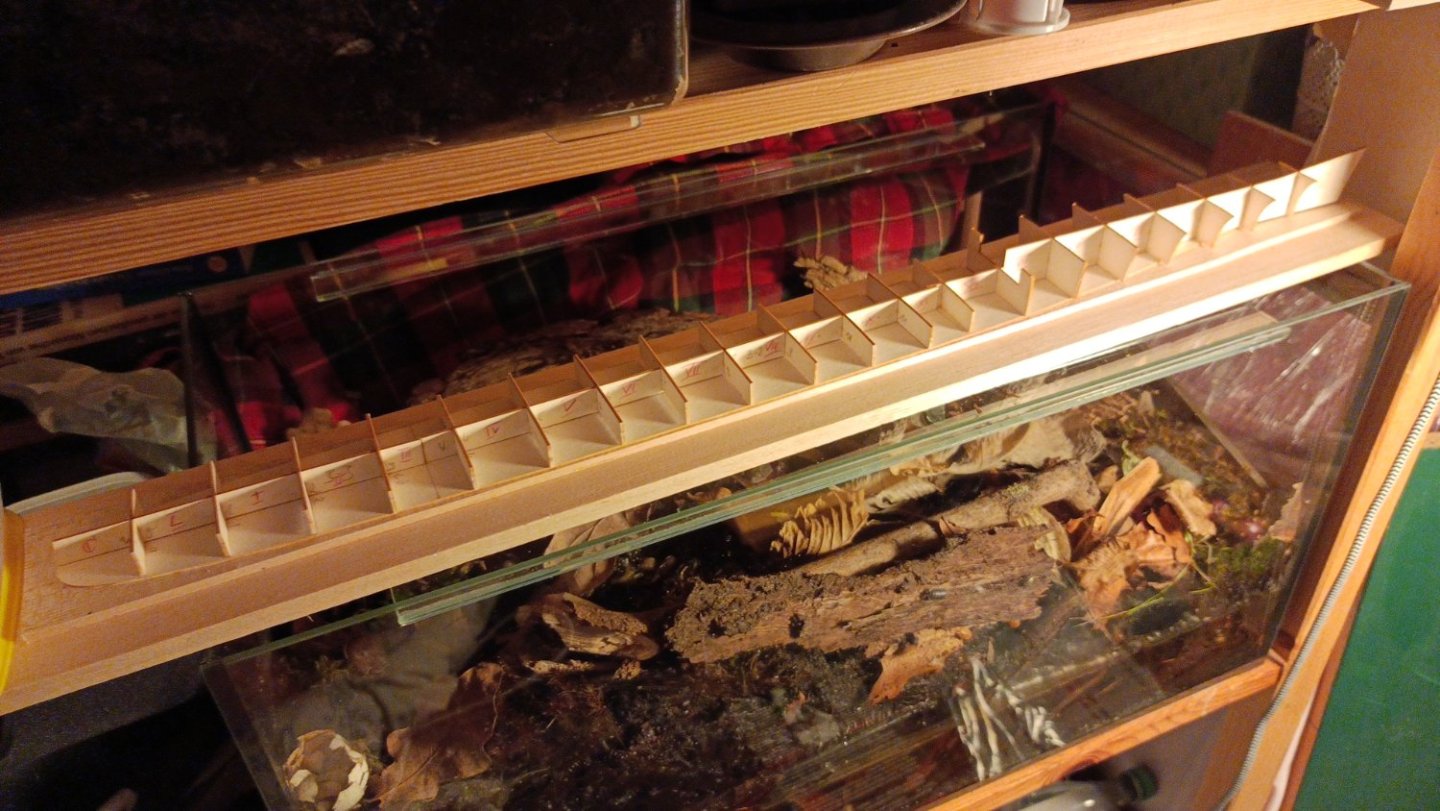
Hello, just short message and a first picture from sunday's progress silent in the model ship yard in the fifth floor. Doing the necessary filling between the bulkheads by cutting balsawood. I am trying foreward to keep the hull without look like the spine of Richard III. found some years ago. So I do have to get a straight red line to controle it perfectly. I do think about a little cut into stem and sterns - so a red thread has to stay in the centerline's middle...
- 9 replies
-
- Japan
- Wind-Class
- (and 4 more)
-
I do plan to "harden" the balsawood and cardboard combination with superglue - needing few gallons (-; onto this big surface only... QUESTION: Is the sanding result the very same? Or is balsawood soakef in superglue- and Bond still softer than Cardboard treeted the very same way? Does anybody have got any experience in this? Thanks a lot
- 9 replies
-
- Japan
- Wind-Class
- (and 4 more)
-
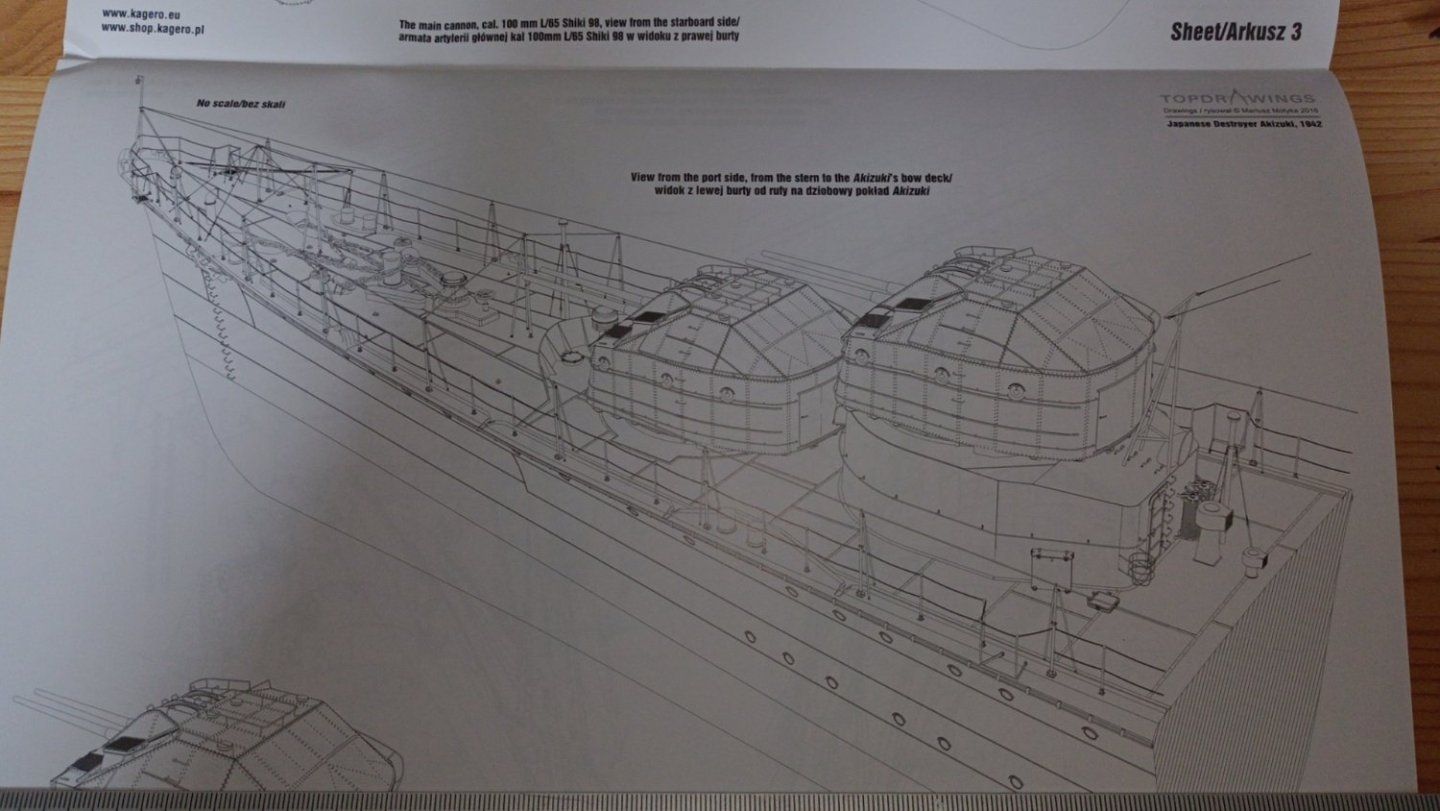
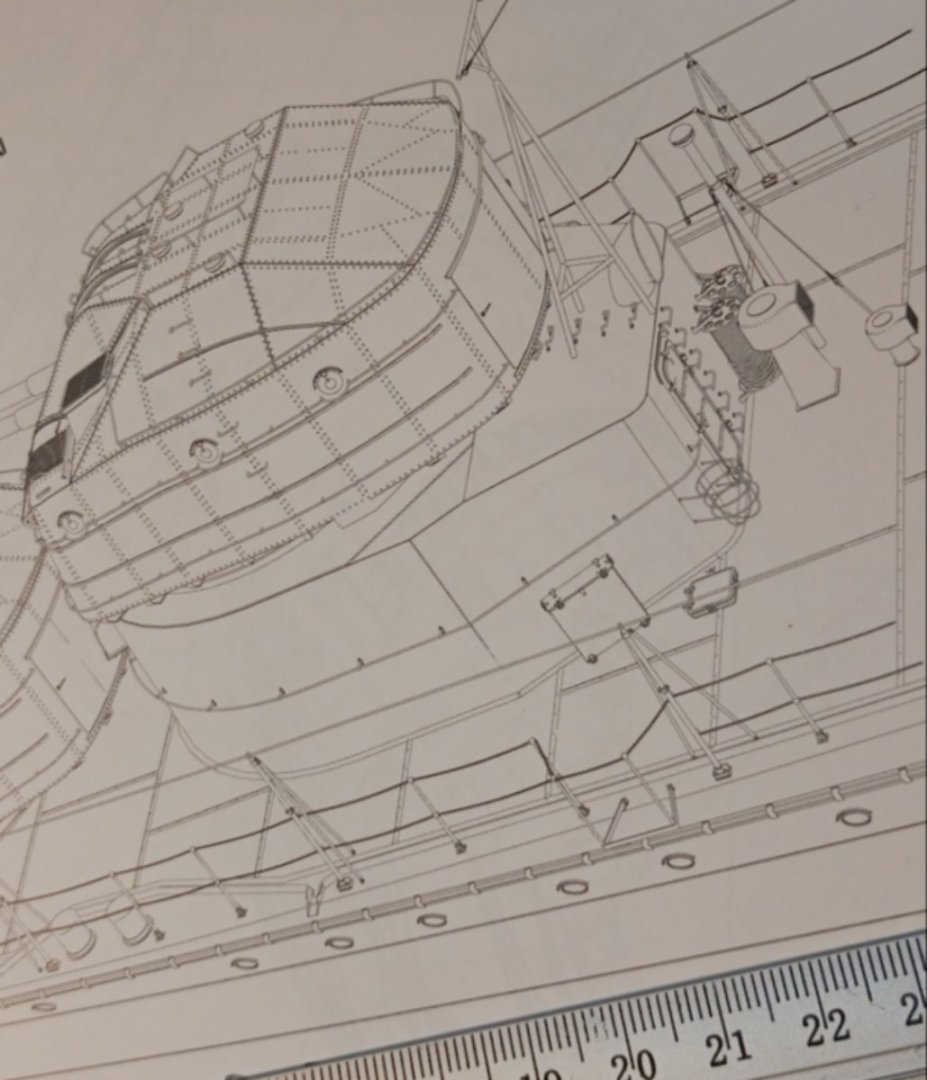
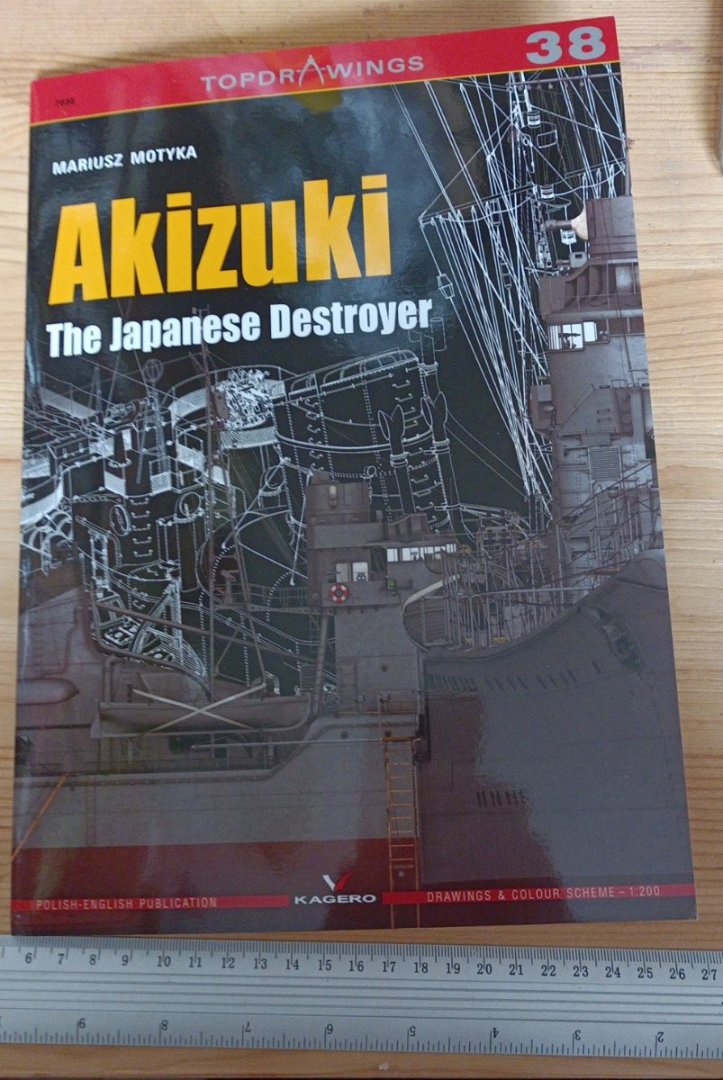
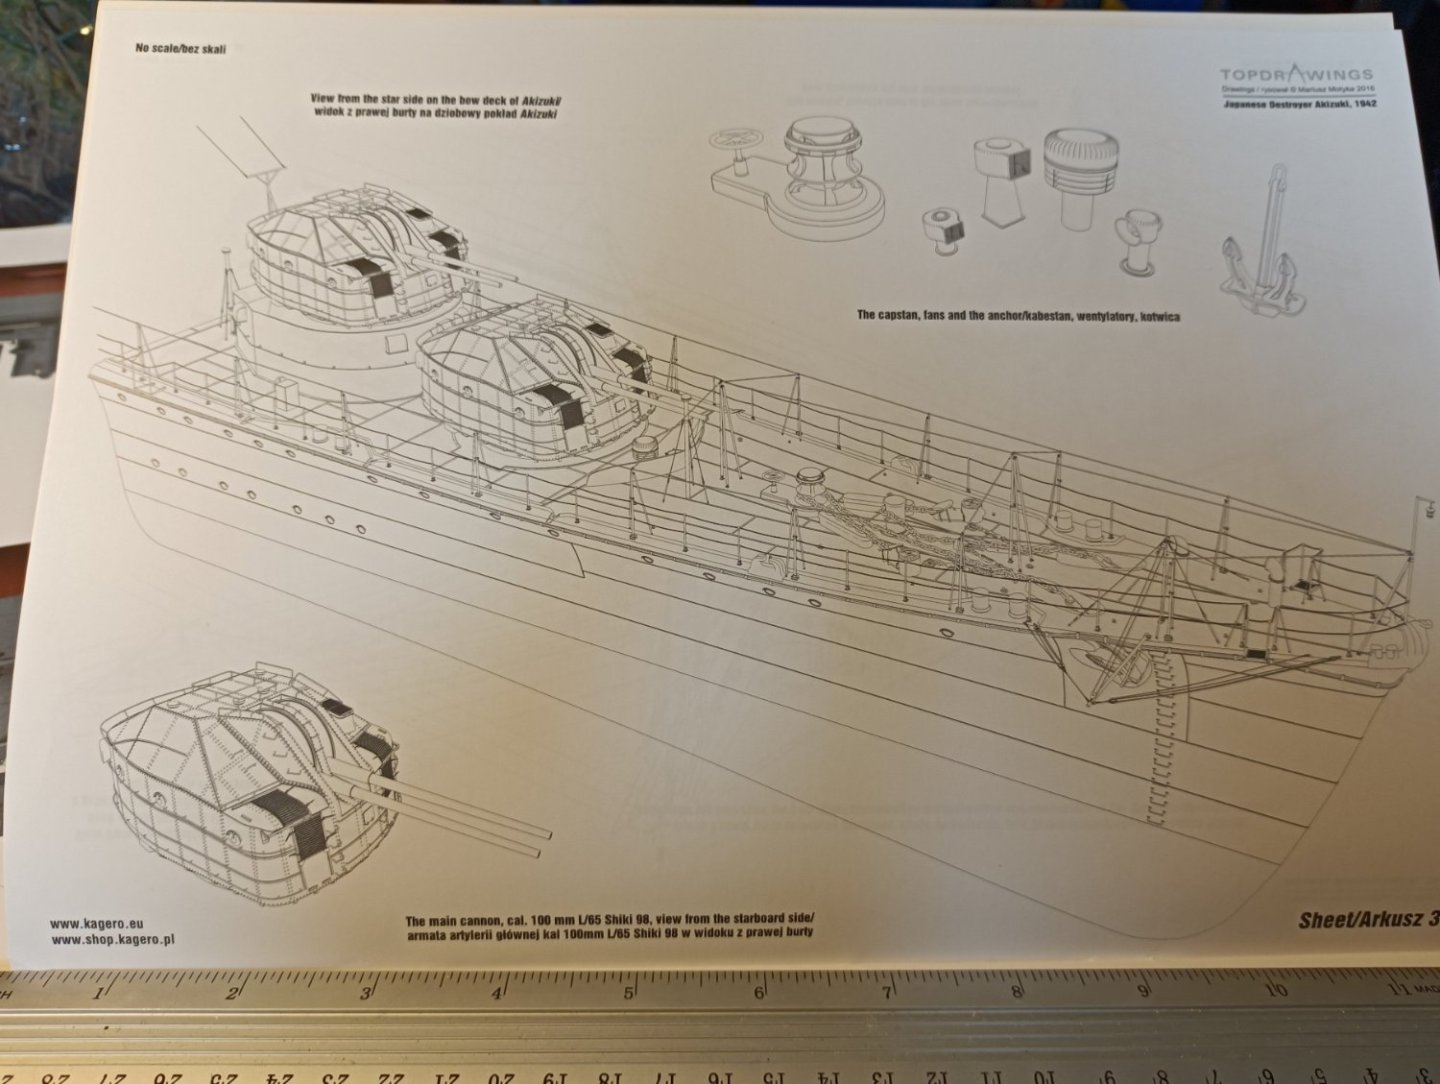
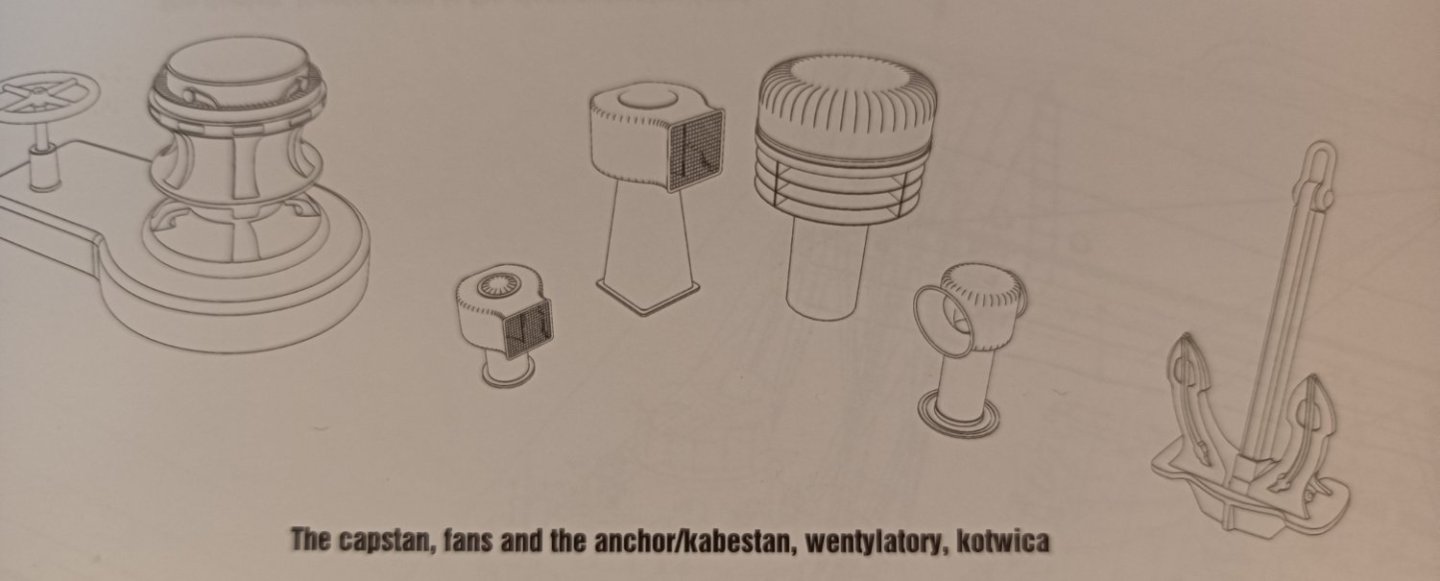
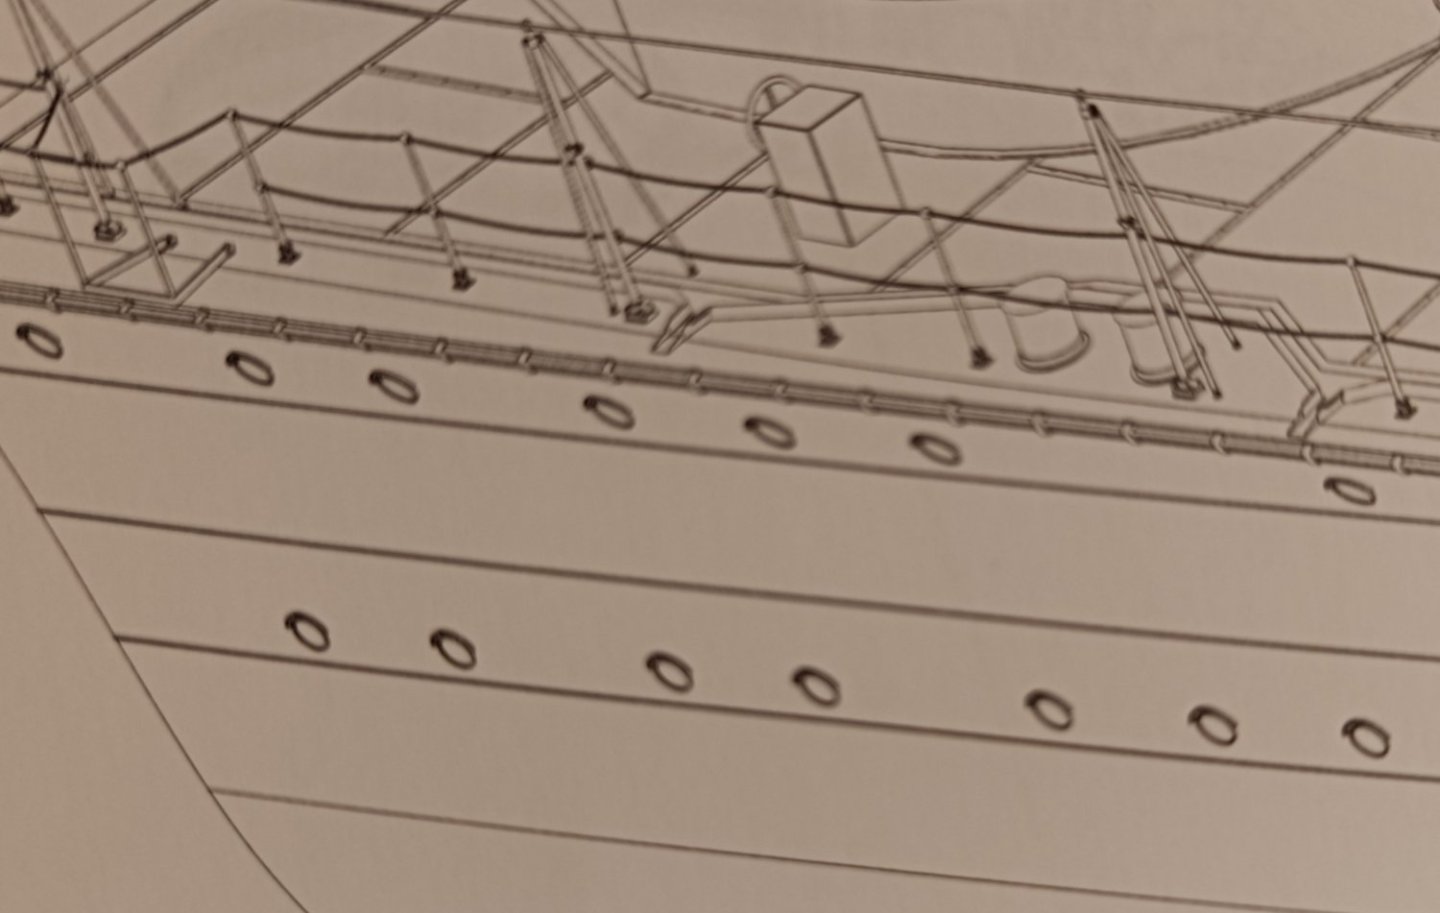
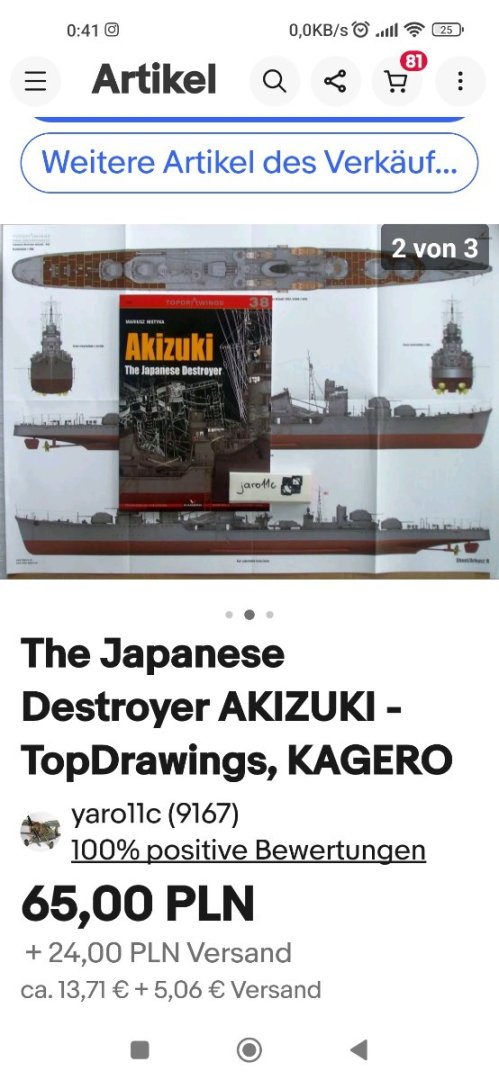
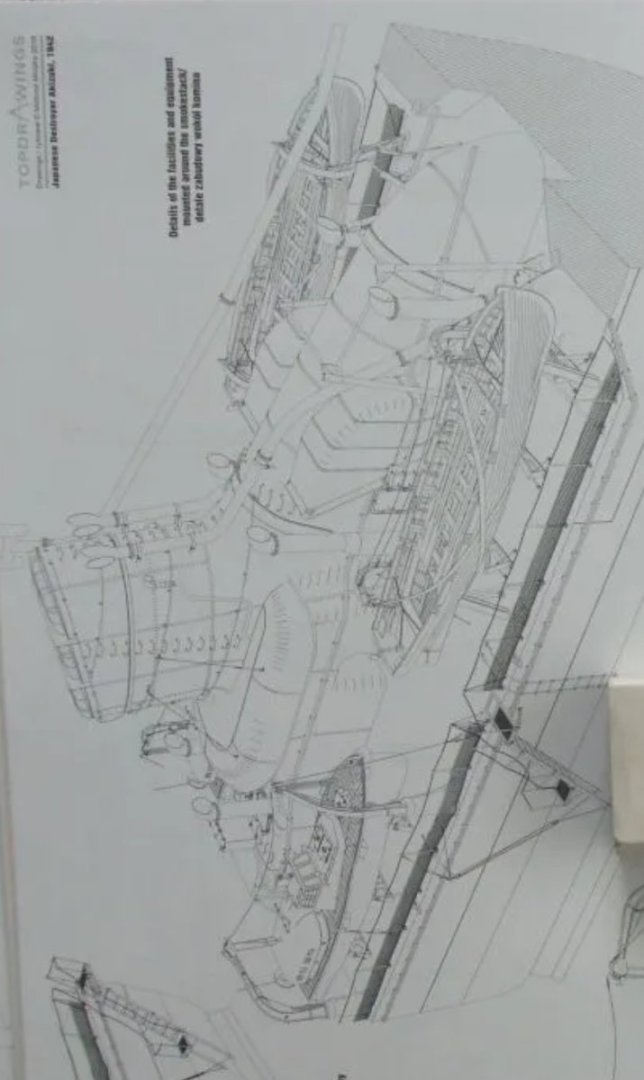
Okay Friends and followers, the critical mass is reached... there the Kagero 23 pageed booklet arrived and NOW I do realise what a massiv model (even as WL-build) I brought home from the fishing boat in the WavesWavesWaves... 😉 And by leaving through the sides of this fantasticly made booklet with all it's fine drawings. I am starting to get an idea what tons of detailling I do have to deal with in card - and altering it to resin, wood, paper and other materials. Let's just go through two sides so you do geht an idea of the helping hand you get offered: On sheet three we do see the bow deck - interestingly the anchor chain differs very much to most 1/350 and 1/700 plastic kits (showing her going across) I looked ad. Going closer I can see the different vents on deck and I do get them in the next page as a detail plus capstain plus anchor (plus turret and handrail with sun fabrice holders). Such a proper drawing of them does give me some help and I figured out to have seen the mid right "mushroomer" in some photo in the very foreground on an other destroyer or light cruiser so it is a kind of standard-item. And then I got a horrified view onto the scuppers and decided to add "plastic sheet" to my list of materials I will need: So this is the Impact of the booklet in some pictures I will go to my psychiatic surgeon for better pills...
- 9 replies
-
- Japan
- Wind-Class
- (and 4 more)
-
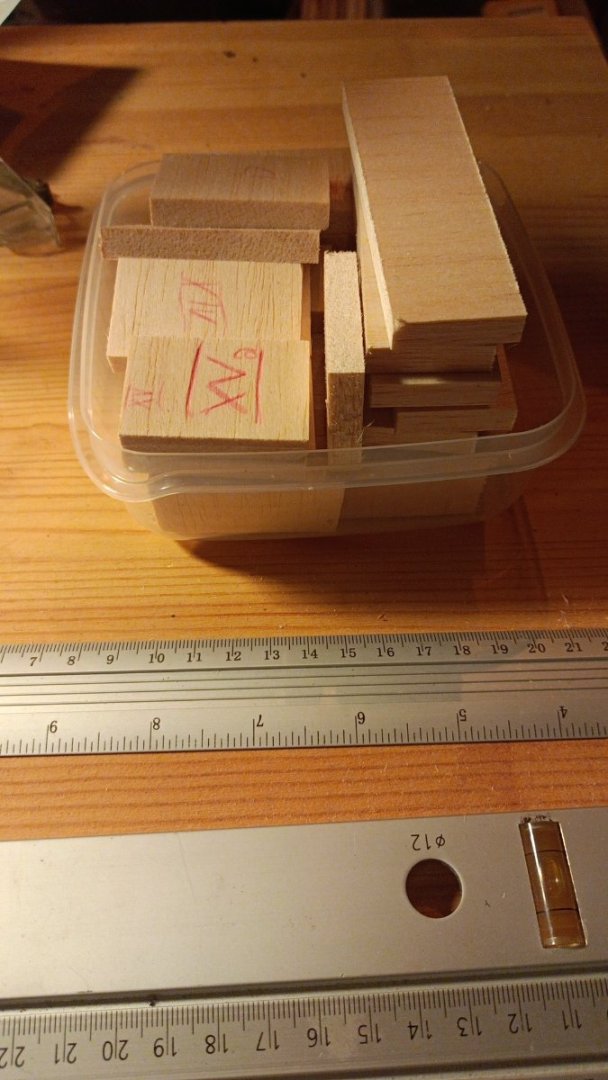
Thanks a lot Yves! Hopefully it will Work out as plan(n)ed. Today I cut further wood into slices to fill the "gaps". As the stem's part will need more and more "thickness" with less breadth I cut a pile of balsa (10 & 5mms) to get ready when doing mit hot phase next week. I glued the hull basis on a 4mms thick piece of balsawood so I may be able got give AKUSUKI a bit of a deepness under water by trimming ut into shape. Now my hull skelton is resting in my terrarium.
- 9 replies
-
- Japan
- Wind-Class
- (and 4 more)
-
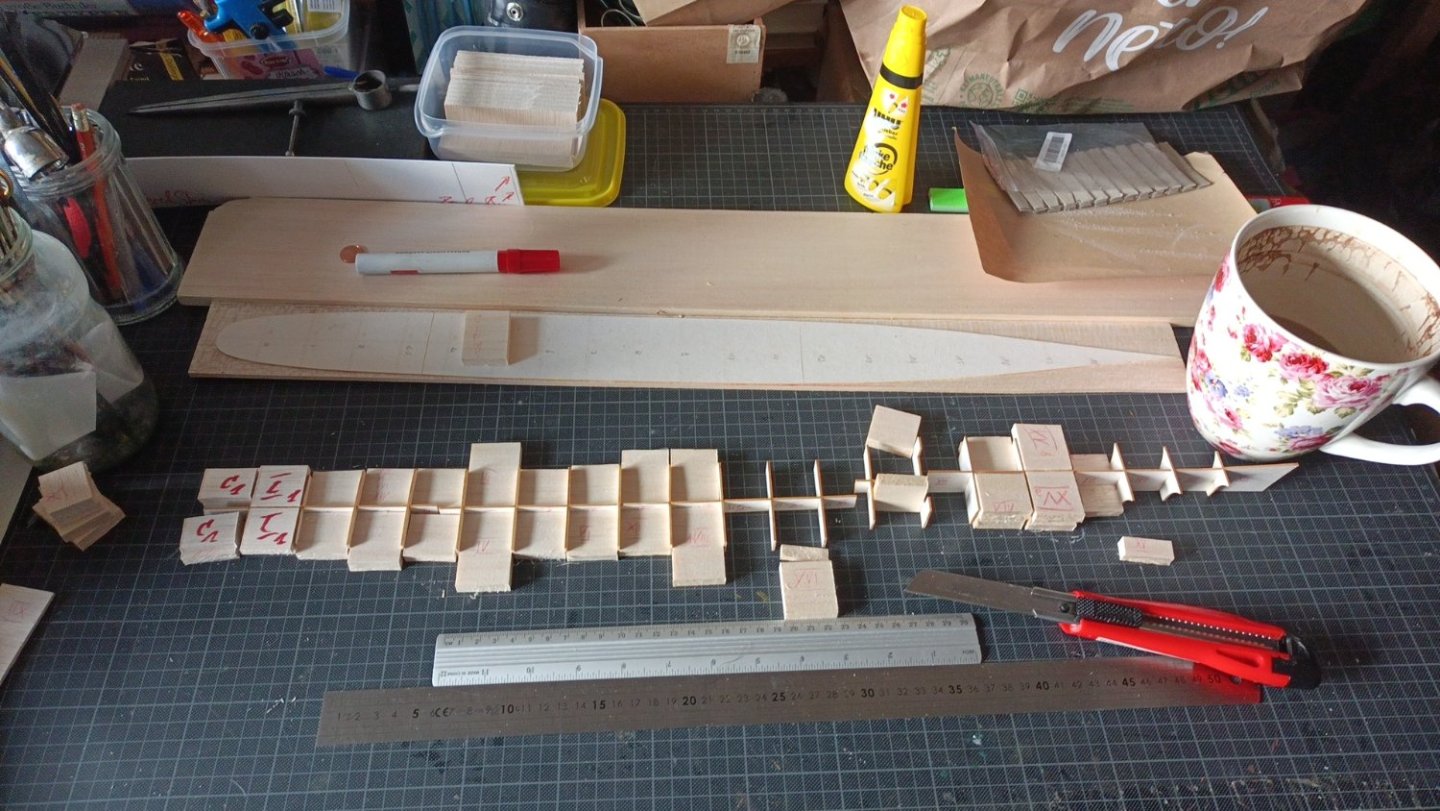
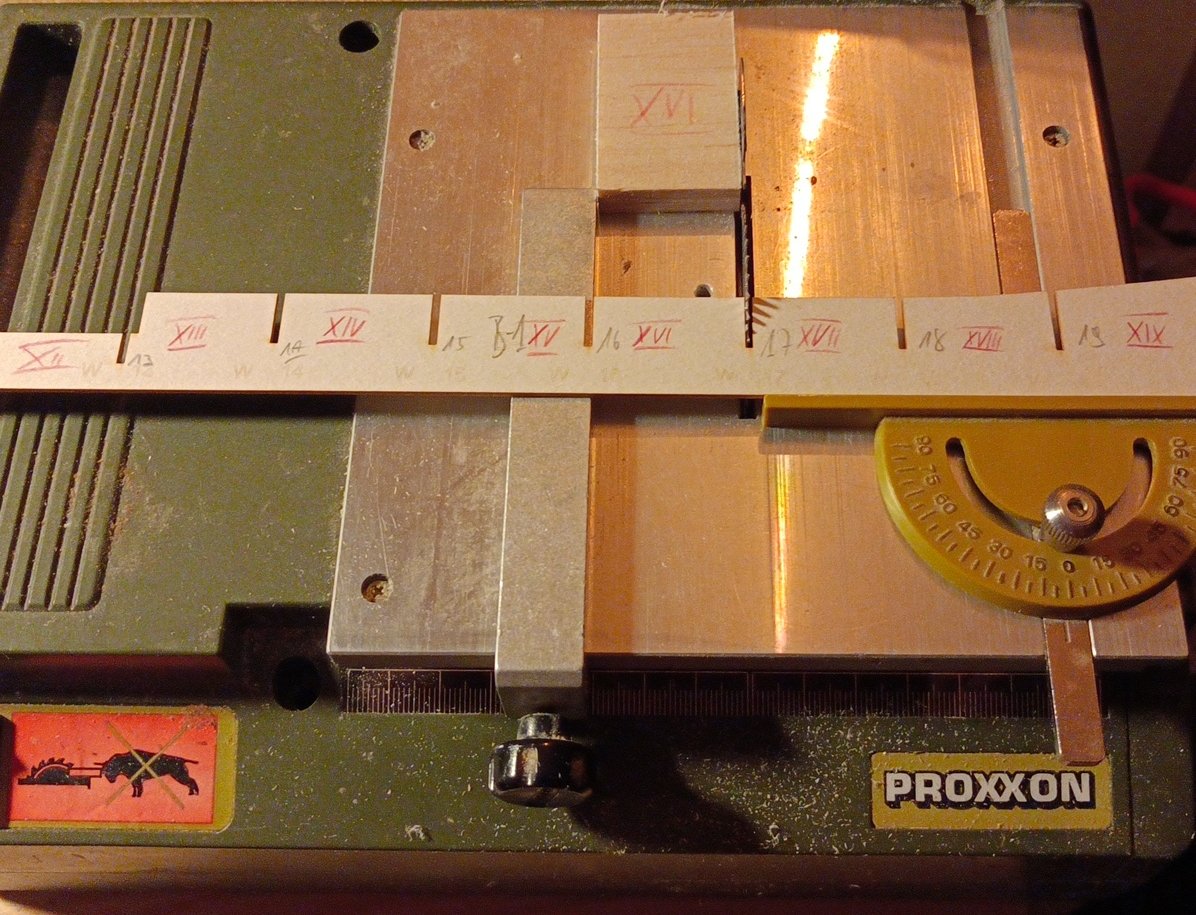
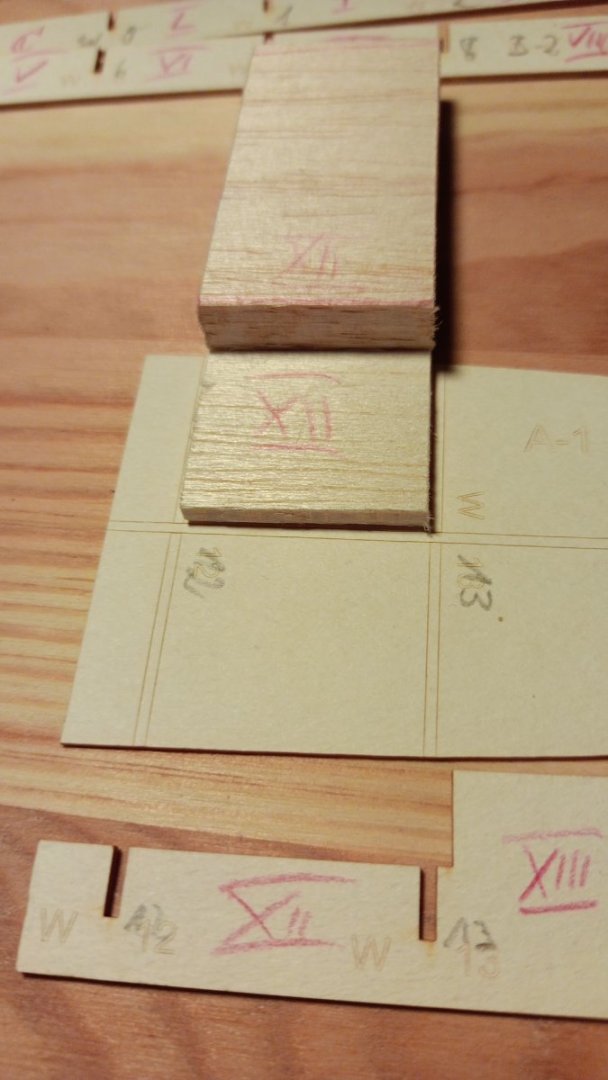
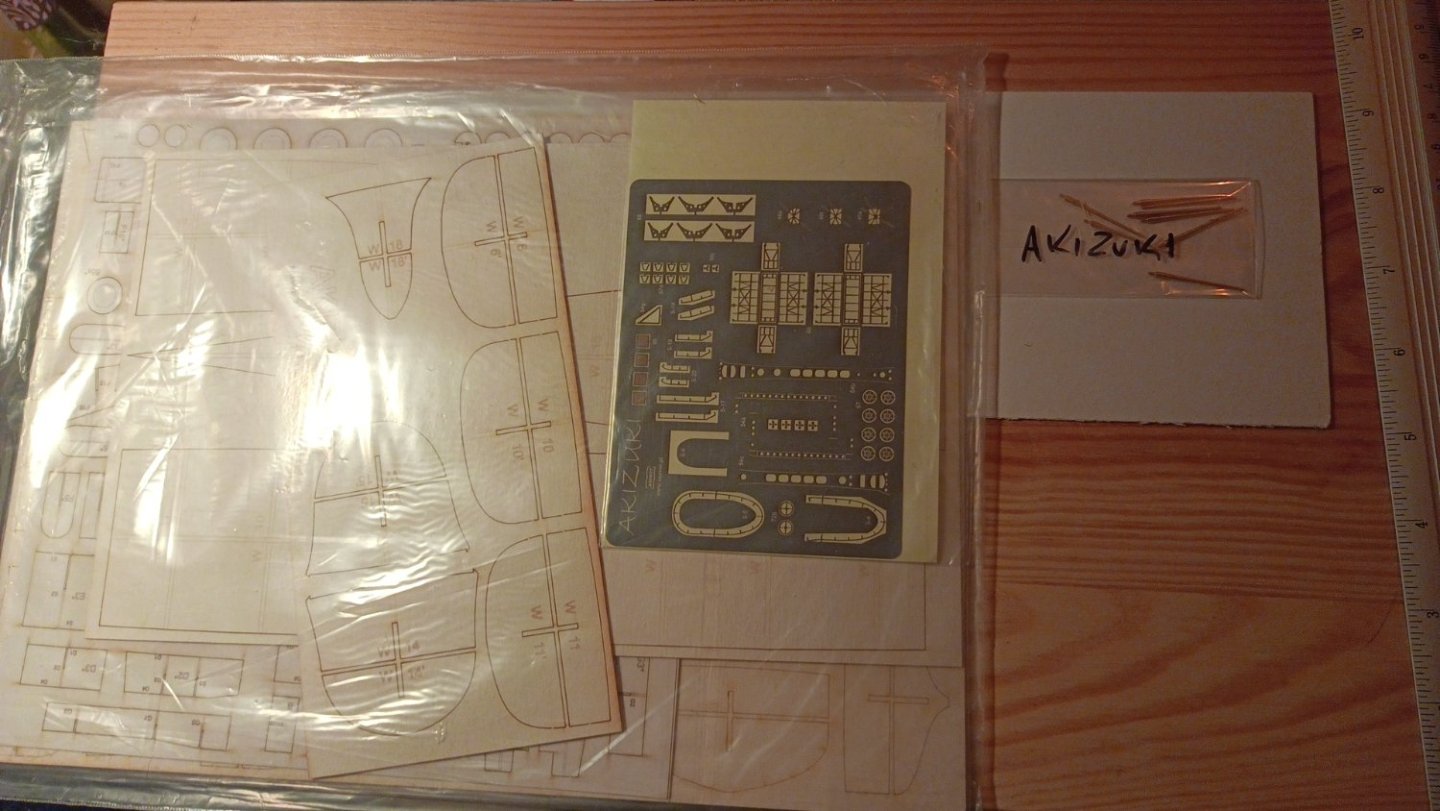
Today the long awaited parcel did come with my kit - and I found my twin-scales ruler for the imperial-loving Americans... 😉 Also the brass milled barrels and the detail set were in there. So I started with the typical cutting out and sanding the LC-skeletton (not to tell a well known story a third time in here). But I borrowed a table saw from a friend and started to get the spaces filled by balsa wood blocks. I decided to take the measurement directly from the kit's middleframe onto the "distancer". For a better orientation later on I decided to give Roman numbers to them - adding C (100) and L (50). Than I cut the balsa wood filling in to shape starting with the between-bulkhead-compartments C, I, III, IV, V, VIII, XI, XIV, and XVI. Re Rest will be a more indiviually kind of workload. It is my job to get them into the right breadth and after this into the right hight as the maximal hight is between a fracture below 12mms or 1/2" and 31mm or 1- 1/8 at the bow's tip. For this I'll have to pile my cutouts from the several thicknesses and glue them onto top to get the correct hight. Not to forget (I have learned 35 years ago) to lay a slip of newspaper between each wooden layer to imitate the PVA's additional thickness - and dotting the glue so the needed air to bond the glue can reach everywhere between the layers and not only to the outside. By all this I do hope to get a solide wooden hull I can clad by paper &t. as I saw it in the wooden warship builders so often filler the space between their bulkhads/moulds. For my very first model trial I decided not to cut the underwater parts in to slices of 10mms to get a proper underwatership illusion. "Let's get something finished - stay on the more simple side!" a friend told me - a less perfekt model is better ready than a mount of unfinished but more perfect kit builds... Sorry for this alteration of the plan - I will try to come to this feature with the building of the Avangard kit... hopefully
- 9 replies
-
- Japan
- Wind-Class
- (and 4 more)
-
The nice Thing withnthese WWLmodellingbis, there is no visuable damage BELOW the CWL so a good Junk of leaking oil in the resine around the damage will give the impression of a deeper damage - also an oily track towards the repairship. Great Job you do!
-
Hello Dion, that model does look very impressive and intetesting - did you Close down the paper yars as summer does start early in your country? 😜
-
Jreat Job you do - thank you very much for this map through this huge kit to get an authentic result. No No No No - I am not going to join the Titanic Fran Club.
-
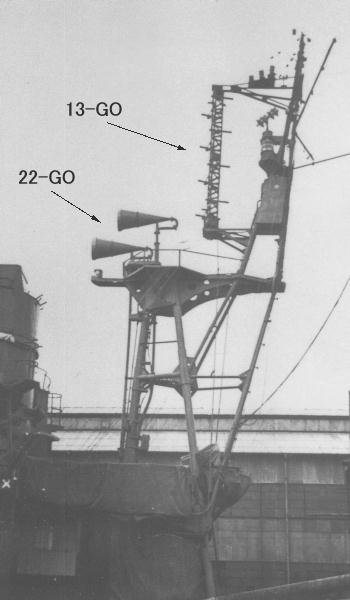
Hello Yves and ccoyle, thanks for the Infos and enthusiasm - I do think about building the model as a paper claded hull - mainly painted over in the IJN-grey, linolium and brass to get the most out of it. I absolutely cannot afford some 300 euros for a modelship in the same scale in plastic and etched partsbso I am dealing with any Trick I will figure out to get the best result out of the cardboard kit in detail - without of any idea of a Kind of pruristic nothing-than-paper-and-card-enthusiasts... ...as I am completly incompetent to build this surface 13-Go and 23-Go radar and this complex mainmast in combination out of some pice of paper and woodglue alone. And there will be a plenty of problems more araising from this kit. Sorry for this.
- 9 replies
-
- Japan
- Wind-Class
- (and 4 more)
-
Heinrich der Seefahrer started following Captain Slog
-
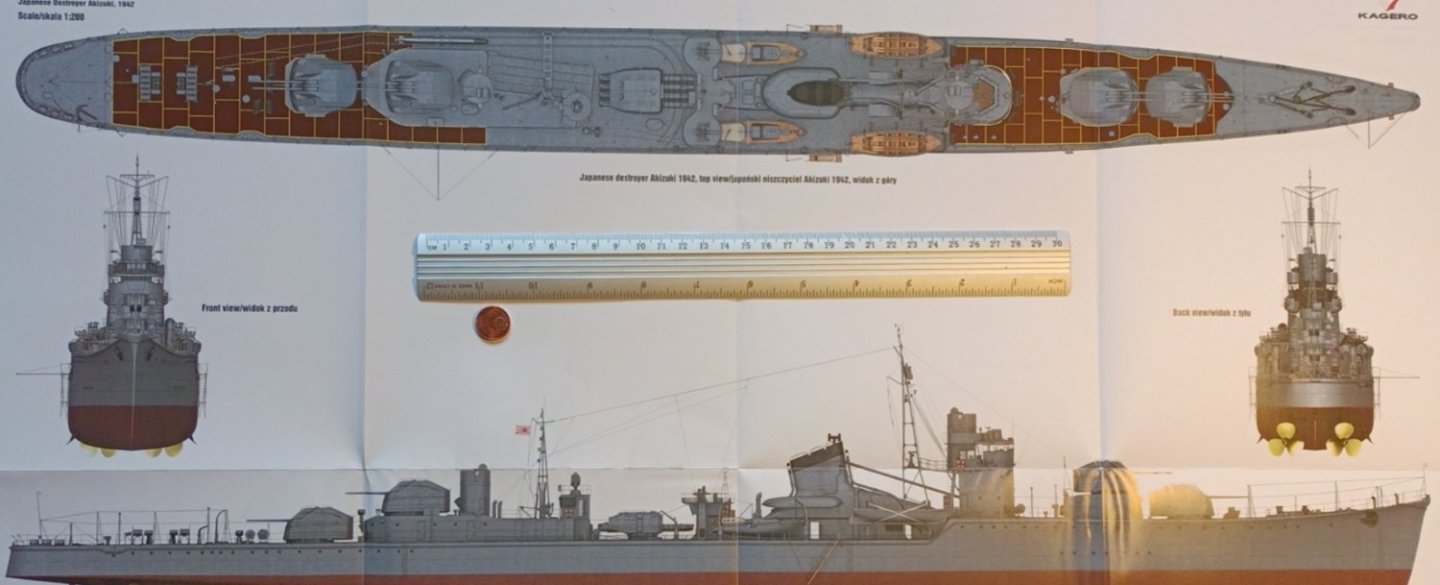
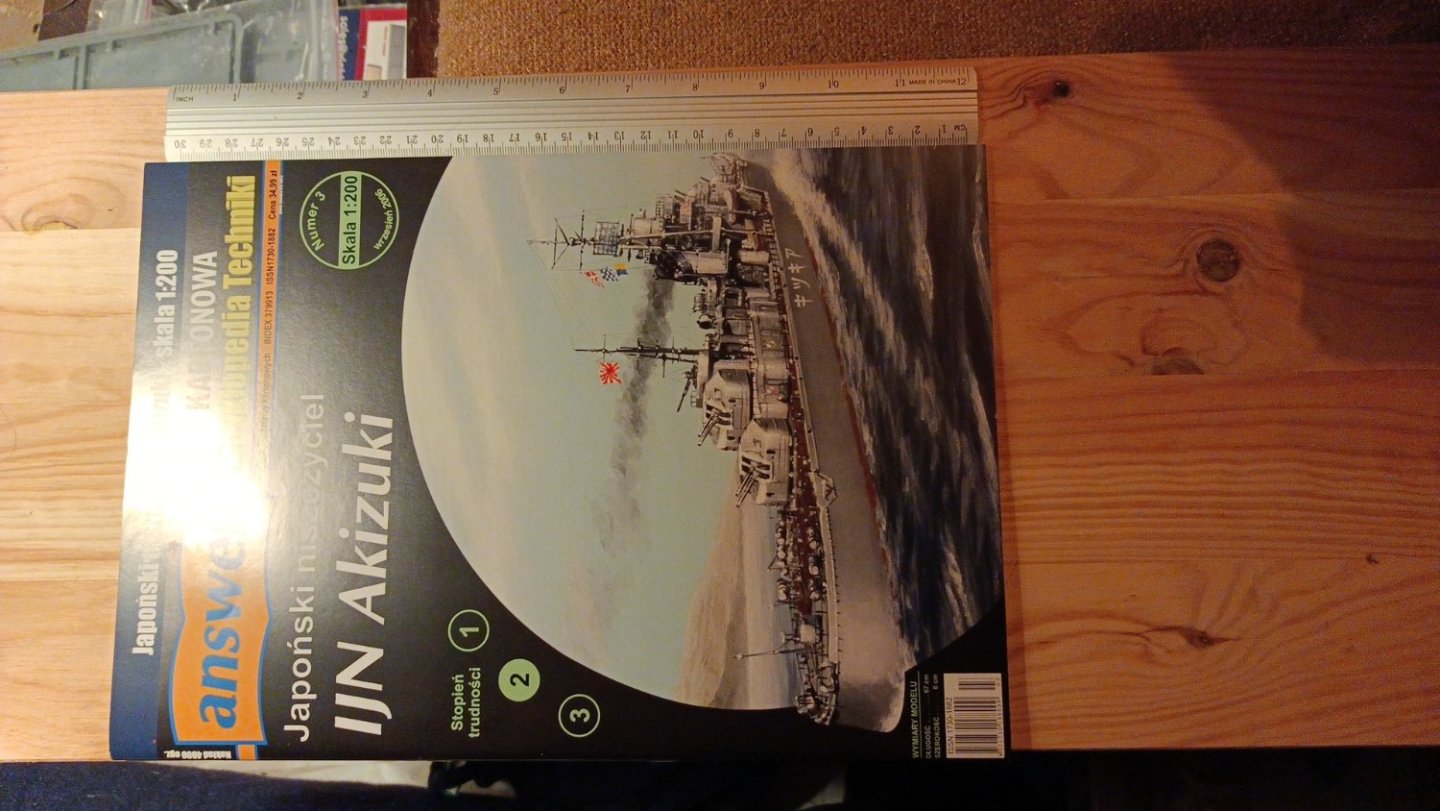
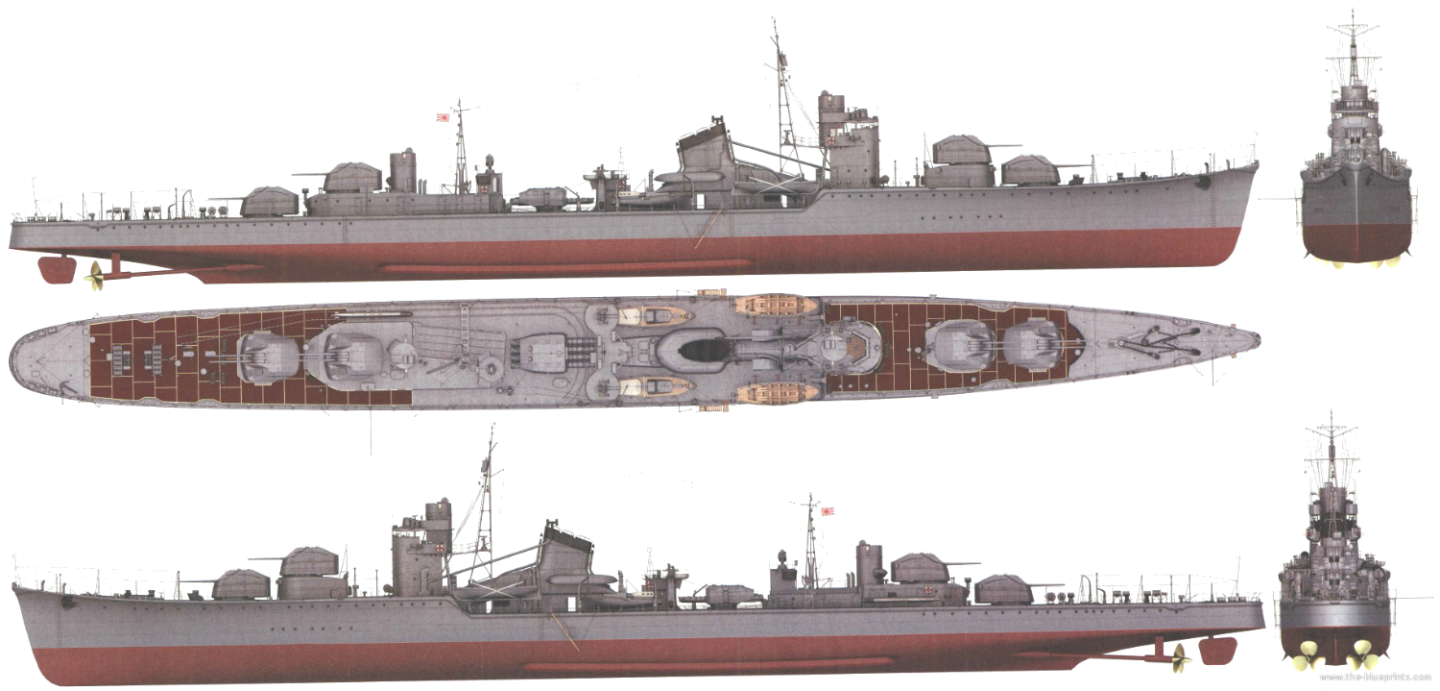
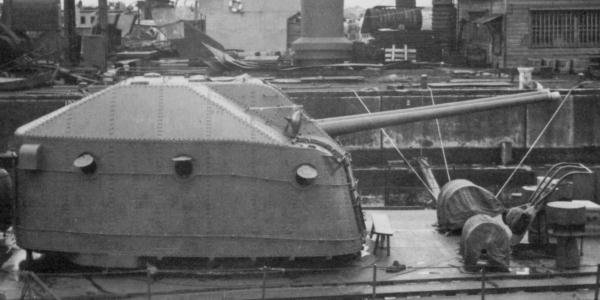
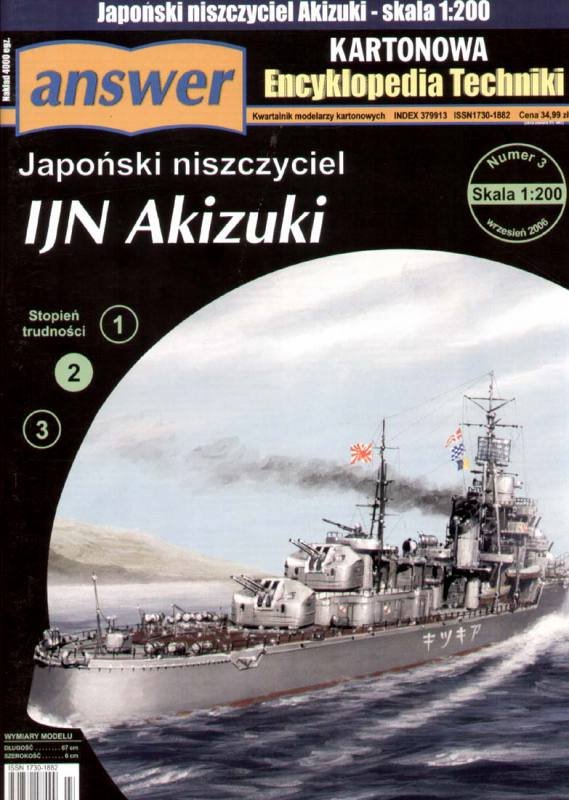
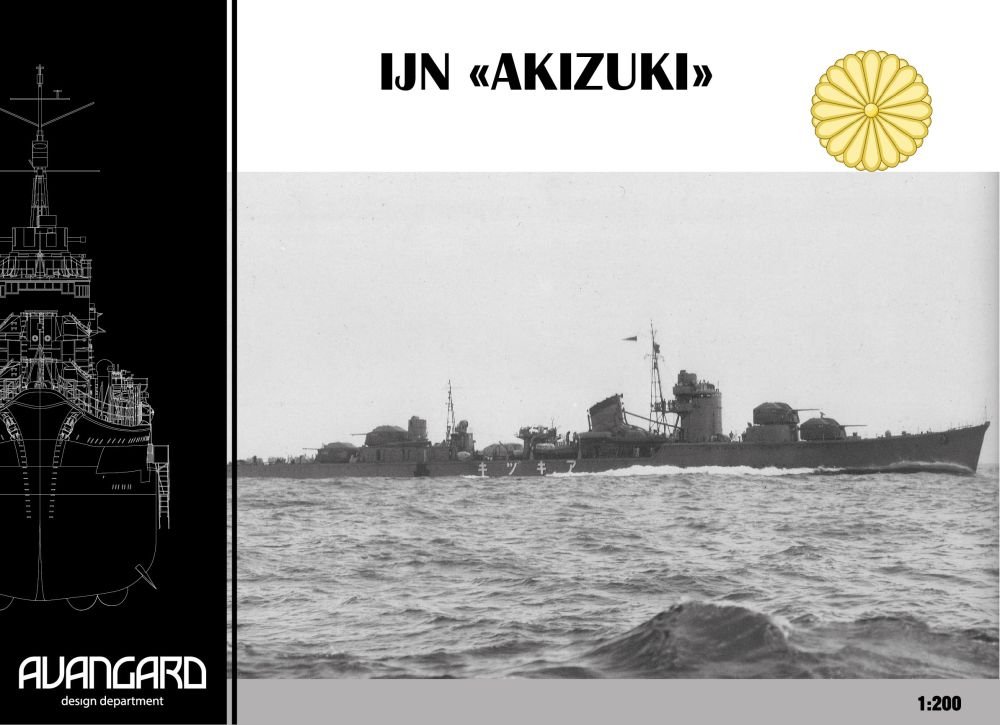
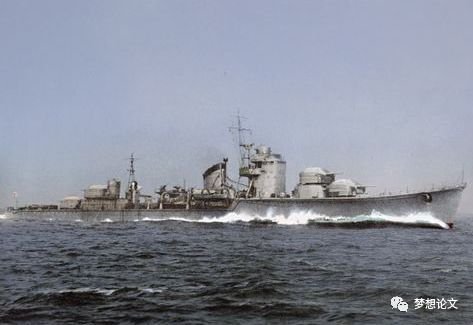
Hello, I am back from illness and do look for a big but small project. I voted for the IJN destroyer AKIZUKI (Snowwind) published in Poland by Answer in the 1:200 scale also due to the nice shape of the lines of this type of destroyer: The difficulty in a medium range of two of three does give some hope to me that I could manage this kit. As I did find this booklet about her and could afford the price for some drawings of very nice and helpful detailling. That made it clear to me I will have to use superglue to hardning the paper, sanding the coloured surfaces, repainting it afterwards and die to this all the printed Details will have to be added in the right thickness and shape. Due to my last strokes I have to search for a bigger scale on a smaler project and so I found this quadro turret destroyer a nice idea. I struggeled hard with the 1:350 plastic kit but as these were/are nearly twice the price I murdered this temptation shortly after it's beginning dawn. THE PROTOTYPE The AKIZUKI class was equipped with twin 100mms barrels in four fully enclosed turrets and very firstly fitted with surface radar model "Go". These destroyers were planed and built to escort CVs so their guns were able to elevate up to 90° as a dual perpuse weapon and the number of torpedotubes was reduced to four. Their length of 134ms to fit the fourth turret on the hull made them very long drstroyers - close to a light cruiser's typical length. Very often these group leading destroyers were misjudged by USN-submarines as CLs due to their size and shape of the funnel. The missing catapult would have been the most obvious detail of destinguishing them safely. THE KITS There are two kits in the German market: an Answer and a nearly three times more expensive Avangard kit - both in 1:200 scale. The some 1100 parts Answer kit seem to be astonishing detailed - but with this Avangard kit it must be brutally more. So I ordered both kits (and additives) and do hope the best the Avangard kit will not force me to buy an electron microsope to get modelship built... THE PLAN I do think about a diorama in resin - an imaginable scene at anchor. So I could cut the under water part of the hull and the LC-parts down to less than an inch below the CWL. This will be enough hullred to be seen in the greenish resine, but I will avoid all the complexity of hull building, shafts, rudder, Propellers, and so on. The AKIZUKI by Avangard will be the second build and she may be used to show one of the six sisterships - slightly different in detail and rigging. So I do await these parcels from Poland to get started.
- 9 replies
-
- Japan
- Wind-Class
- (and 4 more)
-
Thanks Marc for the support - this is very helphul I thought about higher frames to cut the hull along the wales inserting bent bars due to lifting the decks. 😬 So all this mindwork can be put aside. The benefit of the olaning is the recognition that I can work on the wales with a N° 11 scalpel to cut in the fine grooves of the joining bars easily. And my complete ship yard is removeled and sattled in the cellar to be reopened. 😁 So when the flat is in a status nearly that it is really there, too, the work on SAINT PHILIPPE 1693 can start again...
- 244 replies
-
- heller
- soleil royal
-
(and 1 more)
Tagged with:
-
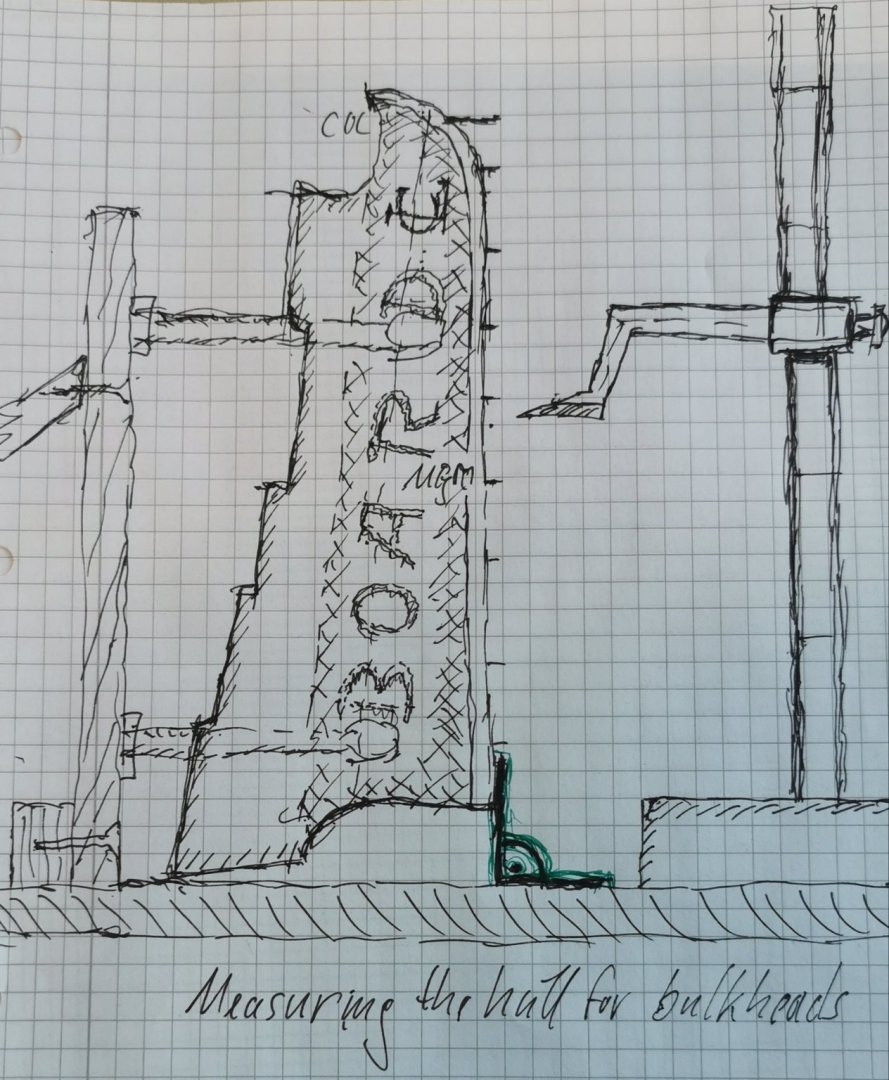
Principal idea to measure the bulkheads places on the SAINT PHILIPPE 1693 hulls keel. So I do have got to build a stand for the rectangular fixated hull. Due to work with my marking hights instrument - what it is called in English? Hights scribing measurer?
- 244 replies
-
- heller
- soleil royal
-
(and 1 more)
Tagged with:
-
Thanks a lot. Merci beaucoup pour le soutien merveilleux et rapide.🙏
- 244 replies
-
- heller
- soleil royal
-
(and 1 more)
Tagged with:
-
Hello Mr. Delocroix, thank you very much and is there any date is was introduced into the French navy?!
- 244 replies
-
- heller
- soleil royal
-
(and 1 more)
Tagged with:
About us
Modelshipworld - Advancing Ship Modeling through Research
SSL Secured
Your security is important for us so this Website is SSL-Secured
NRG Mailing Address
Nautical Research Guild
237 South Lincoln Street
Westmont IL, 60559-1917
Model Ship World ® and the MSW logo are Registered Trademarks, and belong to the Nautical Research Guild (United States Patent and Trademark Office: No. 6,929,264 & No. 6,929,274, registered Dec. 20, 2022)
Helpful Links
About the NRG
If you enjoy building ship models that are historically accurate as well as beautiful, then The Nautical Research Guild (NRG) is just right for you.
The Guild is a non-profit educational organization whose mission is to “Advance Ship Modeling Through Research”. We provide support to our members in their efforts to raise the quality of their model ships.
The Nautical Research Guild has published our world-renowned quarterly magazine, The Nautical Research Journal, since 1955. The pages of the Journal are full of articles by accomplished ship modelers who show you how they create those exquisite details on their models, and by maritime historians who show you the correct details to build. The Journal is available in both print and digital editions. Go to the NRG web site (www.thenrg.org) to download a complimentary digital copy of the Journal. The NRG also publishes plan sets, books and compilations of back issues of the Journal and the former Ships in Scale and Model Ship Builder magazines.






(26).jpeg.387cd7196b718844957069aaabd7f6e0.jpeg)