Mldixon
NRG Member-
Posts
152 -
Joined
-
Last visited
Content Type
Profiles
Forums
Gallery
Events
Everything posted by Mldixon
-
Yep, my figures are in the 18 to 30 mm range in Z axis, so I suspect that could be part of the issue. Your driver looks pretty good though.
-
I found this article, good explanation to get you going https://3dprinterly.com/how-to-calibrate-resin-3d-prints-testing-for-resin-exposure/
-
Yep, but you can still do it, by downloading a reference model as an stl. Then printing them individually one at a time for your resin. Then observing the best result and using those settings. This is labor intensive and a Pain in the a**. But if you use the same resins over and over well worth the effort. Much better than making wild guess only to have repeated failures. I'm still amazed that the Anycubic can print all eight at once with those different settings.
-
I'm not familiar with that printer, so maybe those timed cycles won't with their LCD screens. I'll check and post if I find a solution.
-
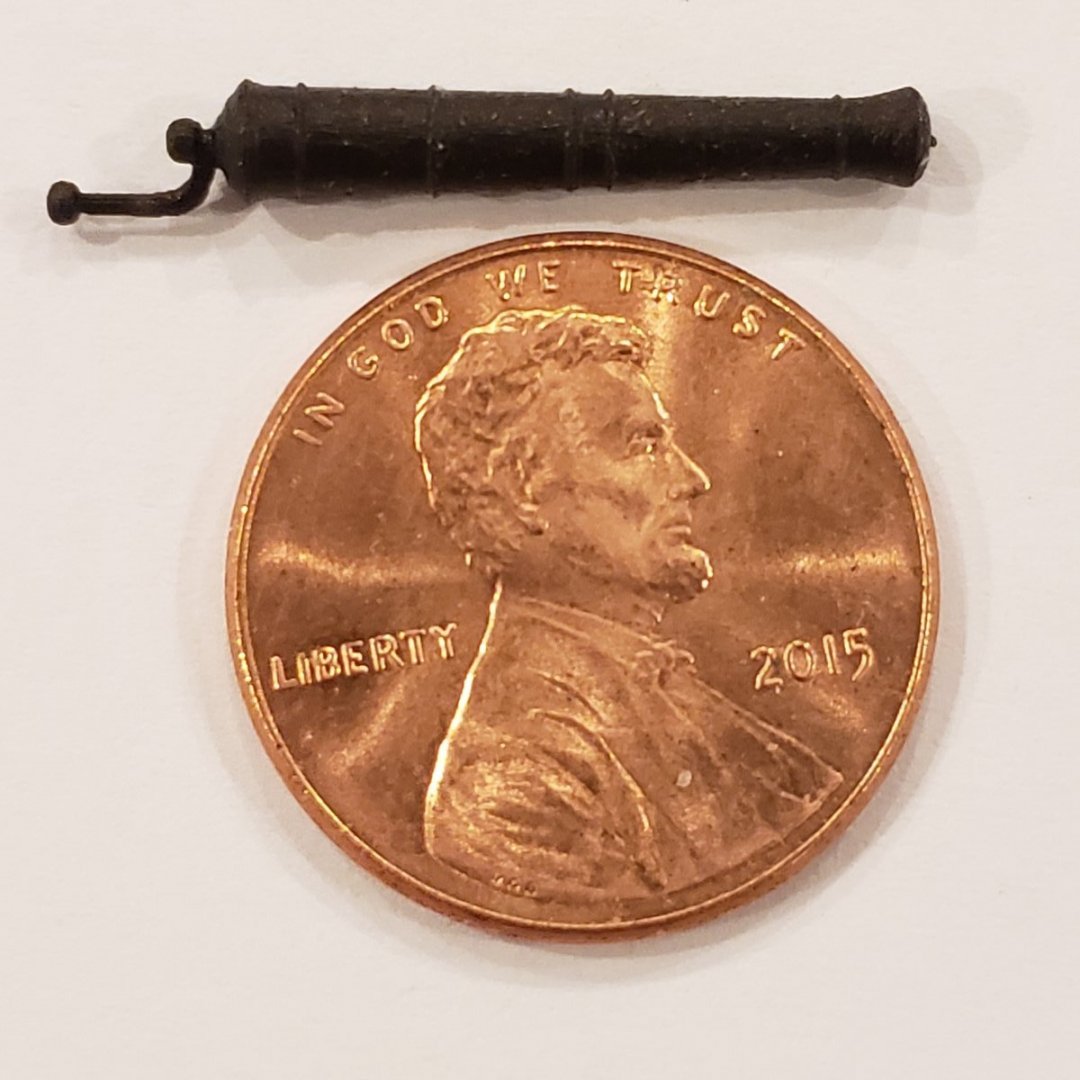
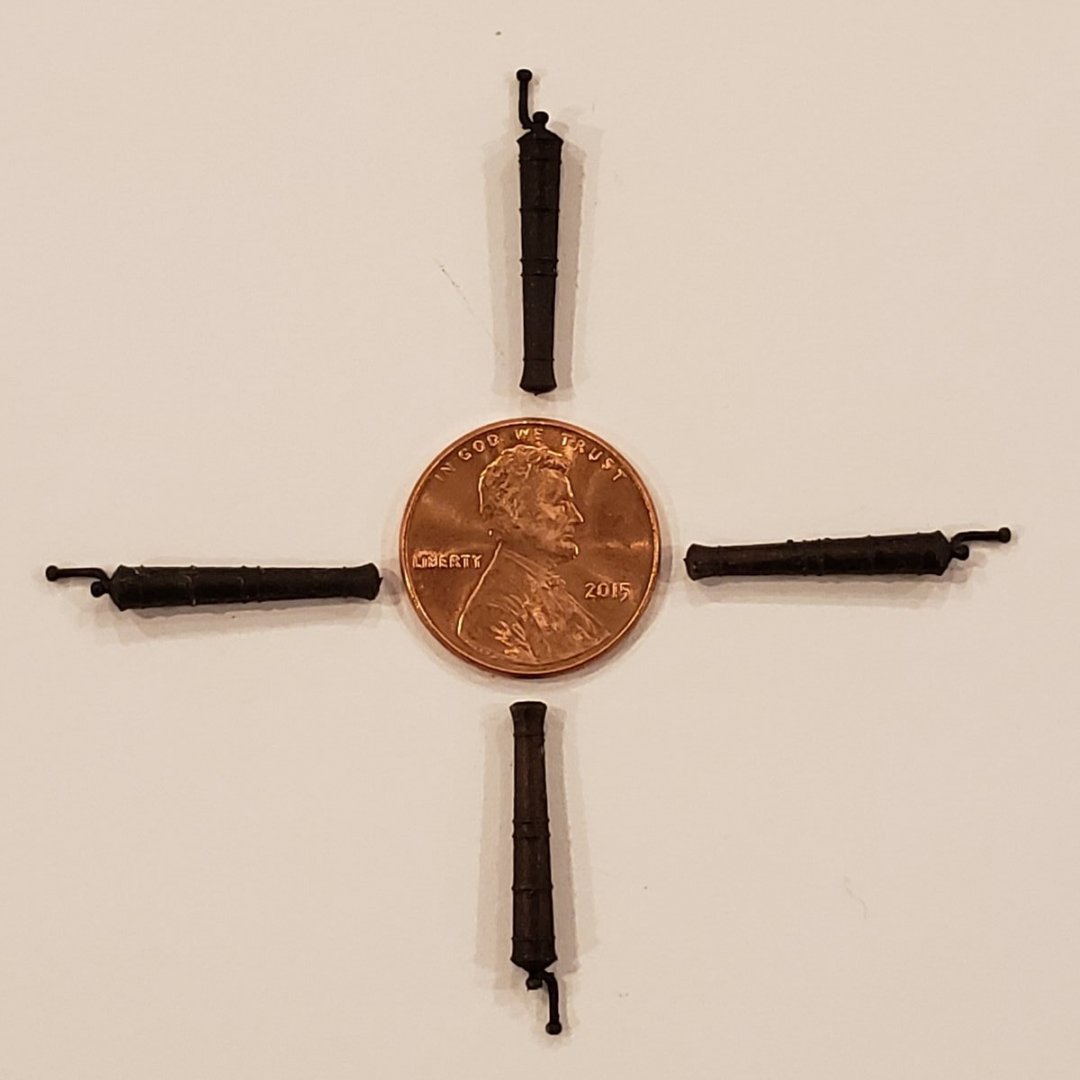
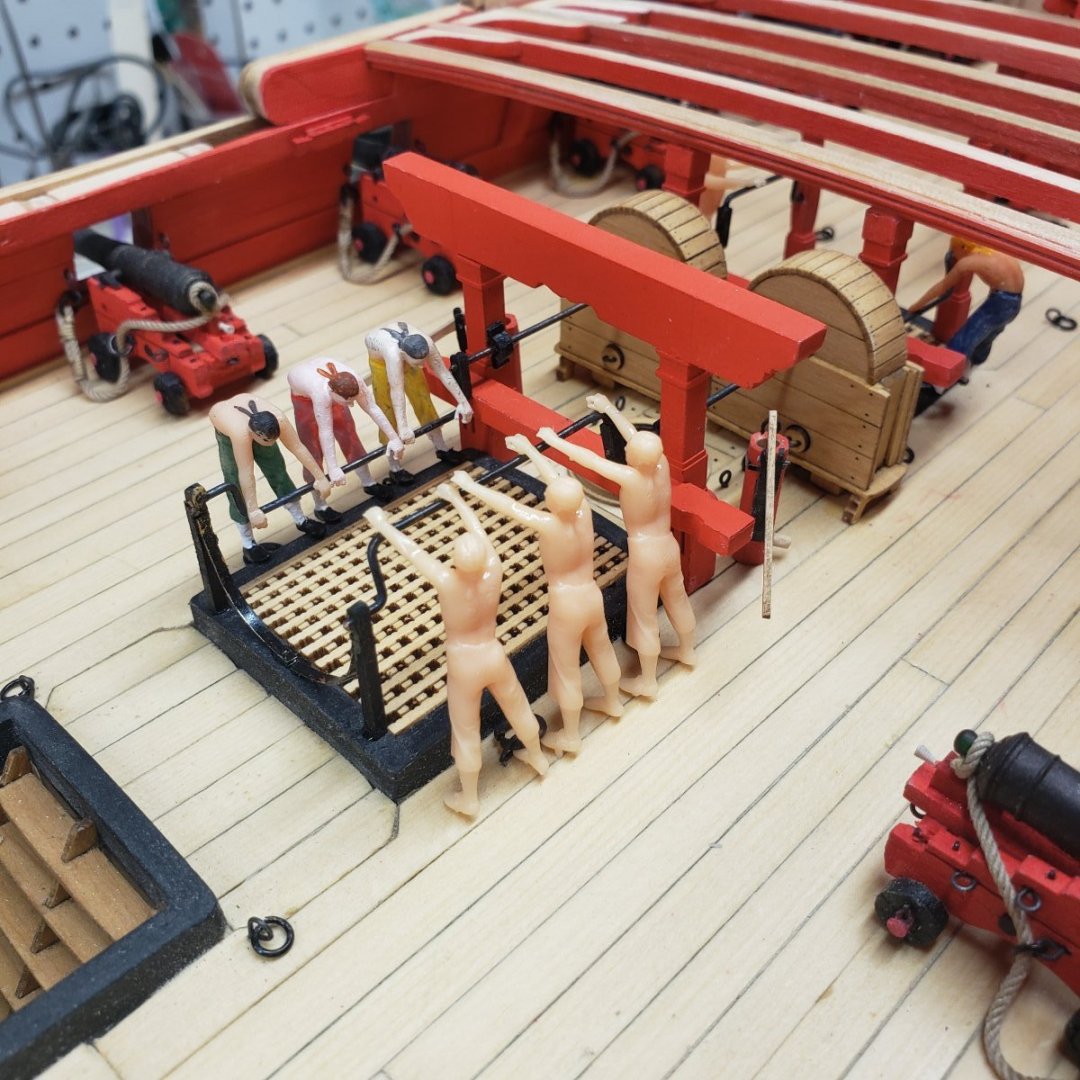
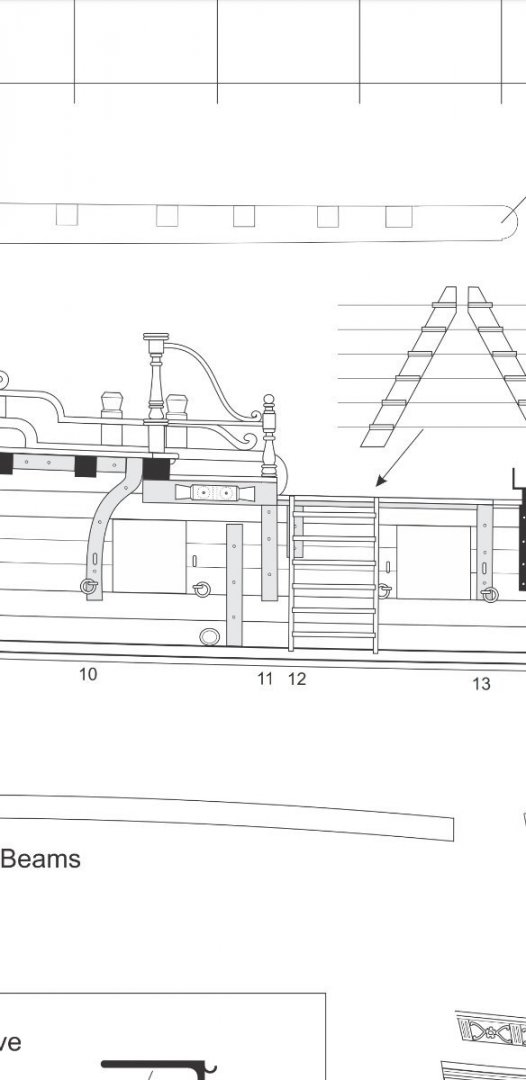
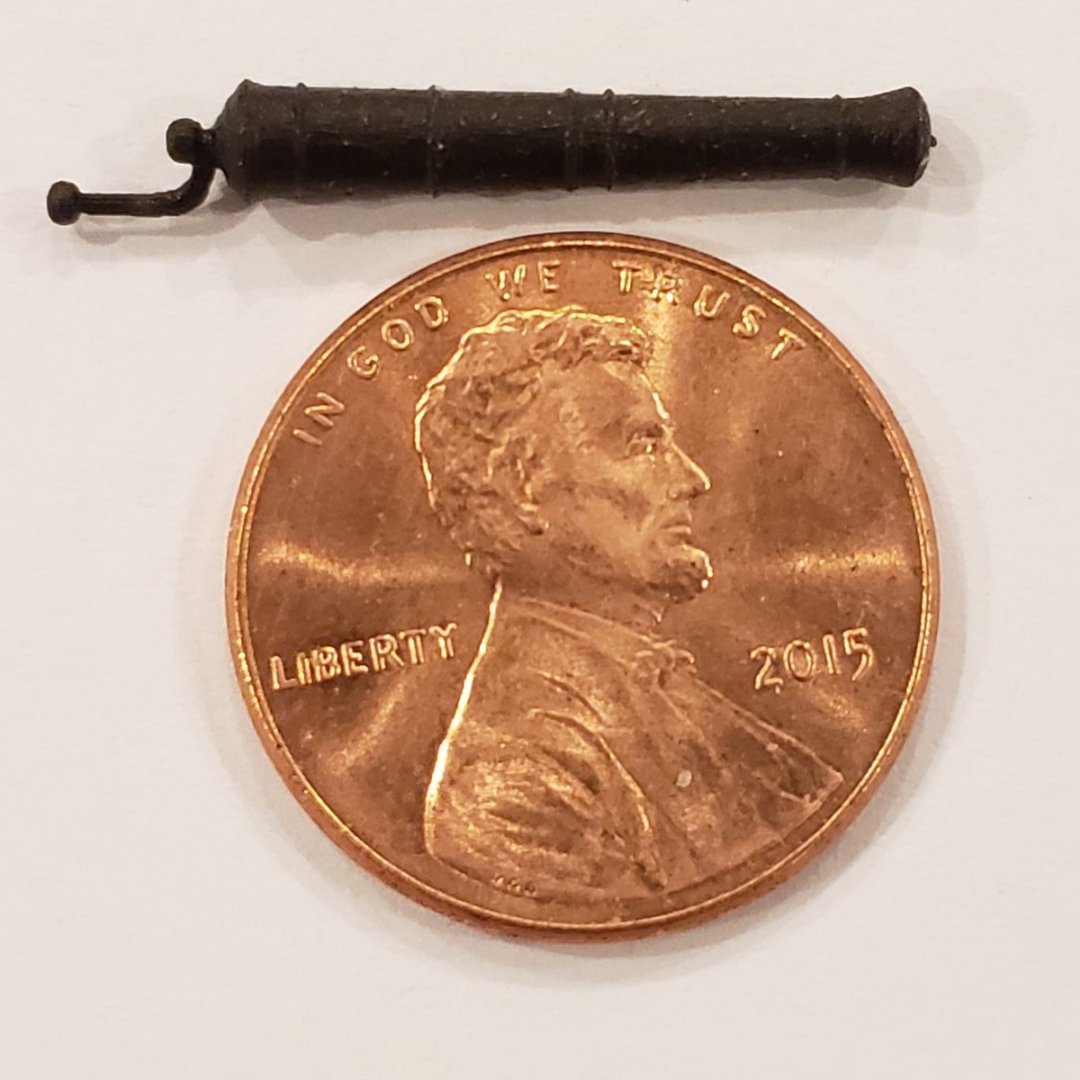
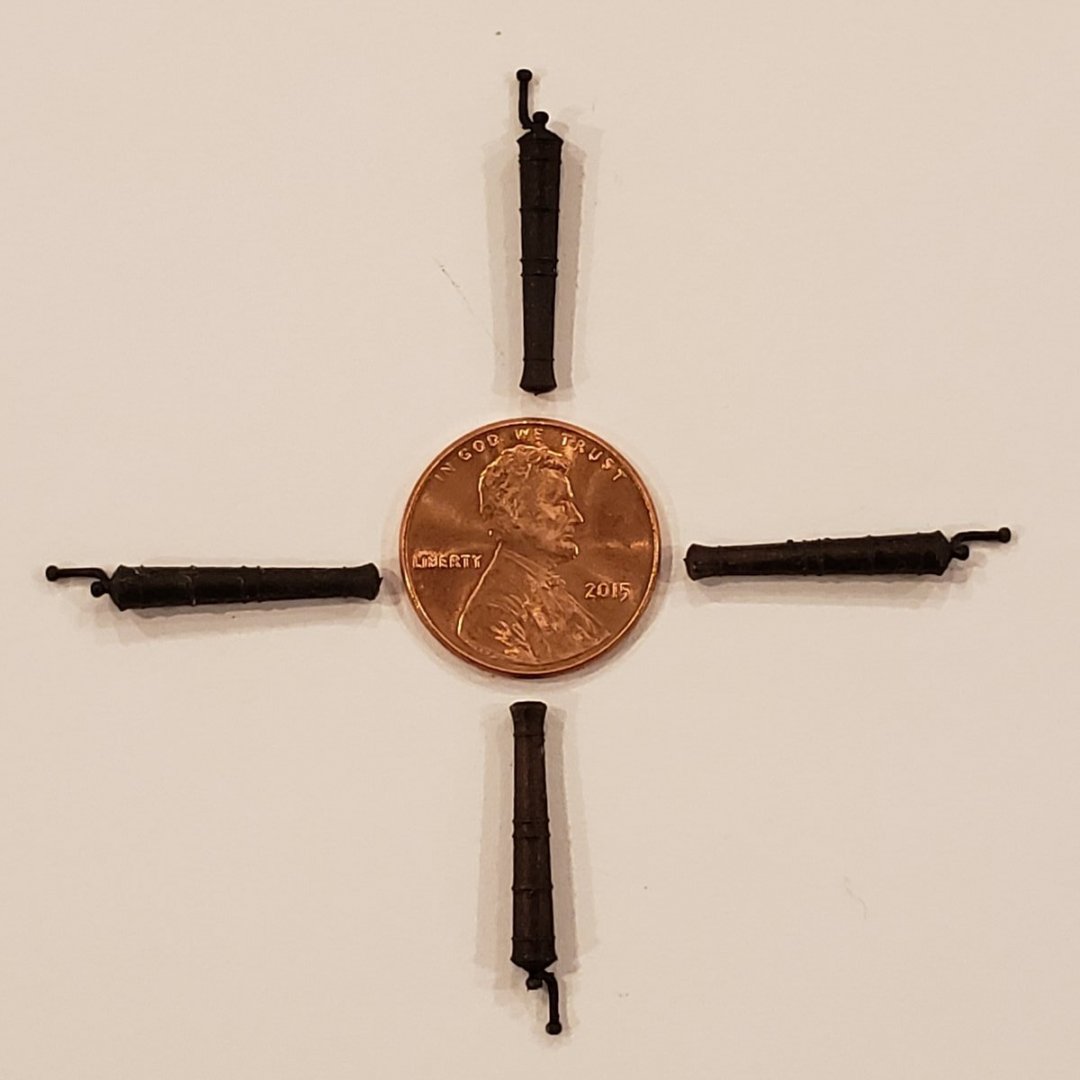
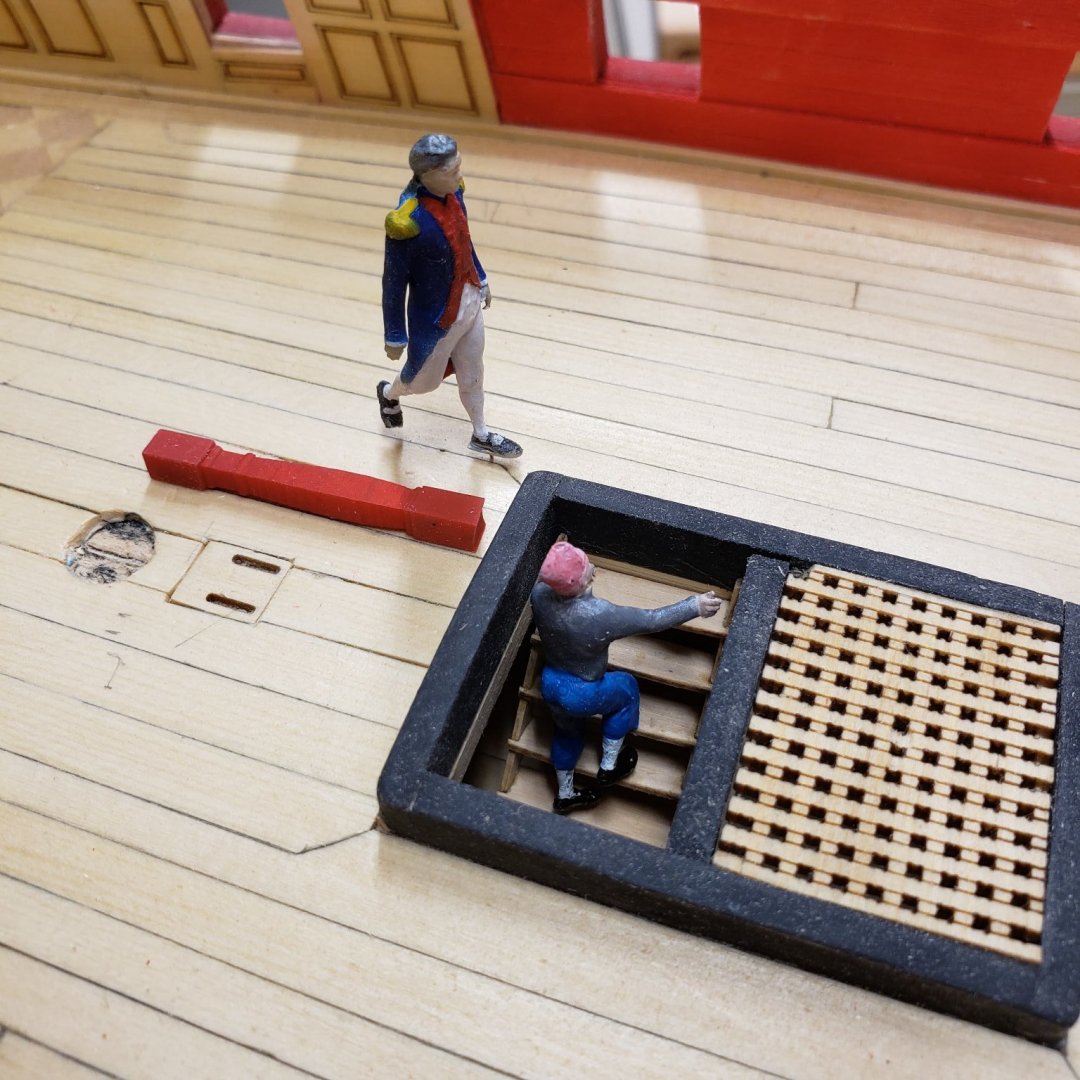
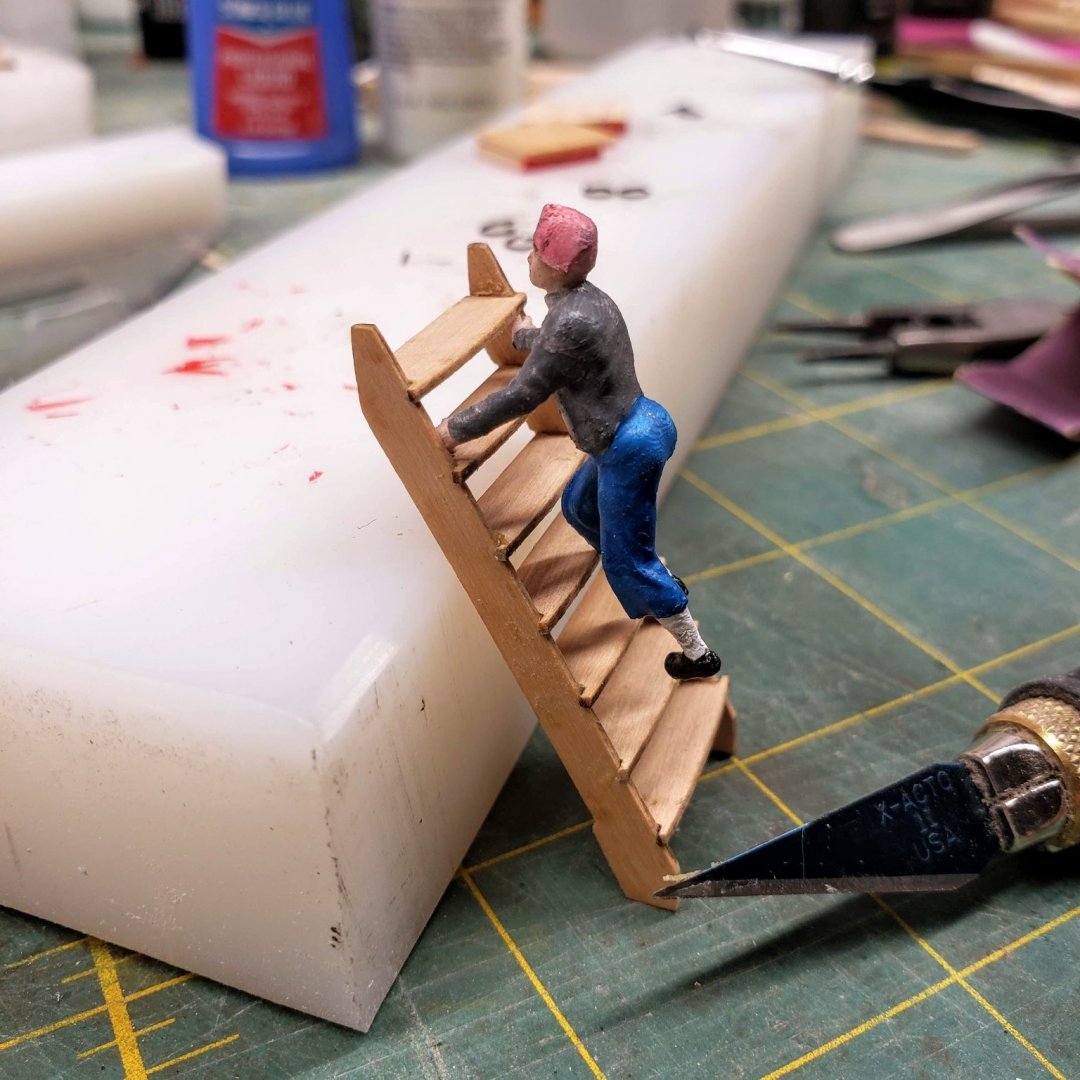
Download windows 3d builder, it also is free. When you open it use the import feature to bring in your seated figure, then when you import it, it will ask you if you want to repair, say yes. Then when it's done you will see multiple objects on the right side panel. Use the edit feature, select all the objects and then merge them. This creates a solid figure, save this as new stl file. Open in Chitubox, also free, and you will see that your figure is solid. Also in edit you can then resize the figure to the appropriate scale. This took me a lot of headbanging to get to, as their is no one source for doing these things. As far as printing little things, like laces, my Anycubic mono has no problem with this a very small scales. See cannon handle. If you don't want print it, when you see the objects in windows 3d builder just delete the laces and they'll be removed from the final merge. The steering wheel import into Daz is only for reference for positions. I would print it separately and then add seated figure. This is how I positioned the powder monkey for my ship model. The stairs were made in cad and imported into Daz. Then figure was set to that scale position 🔻and the final result.
-
Anycubic Photon S - Resin Exposure Test - R_E_R_F with custom timing YouTube · Jonathan Carroll
-
-
Yes if you search the net, you can find the files everywhere. I use the files provided with the anycubic printer. It prints eight different models, all at once. The eight models are different settings set up by whatever genius figured this all out. I have no idea how they do it, but the eight different models are numbered, you pick the one that prints the highest details and use its settings for your resin and printer. I used to cuss up a storm until I ran across this technique. Now I never print with a new resin until I run the reference files. I use Syartech and like it, but this was printed with ANYCUBIC 3D Printer Resin, 355-410nm Fast UV-Curing Photosensitive Wax Resin for SLA/LCD 3D Printing, Rapid Precise Printing Craftsman Liquid for Jewelry Anime Figure and Character Design its flexible and holds paint and primer.
-
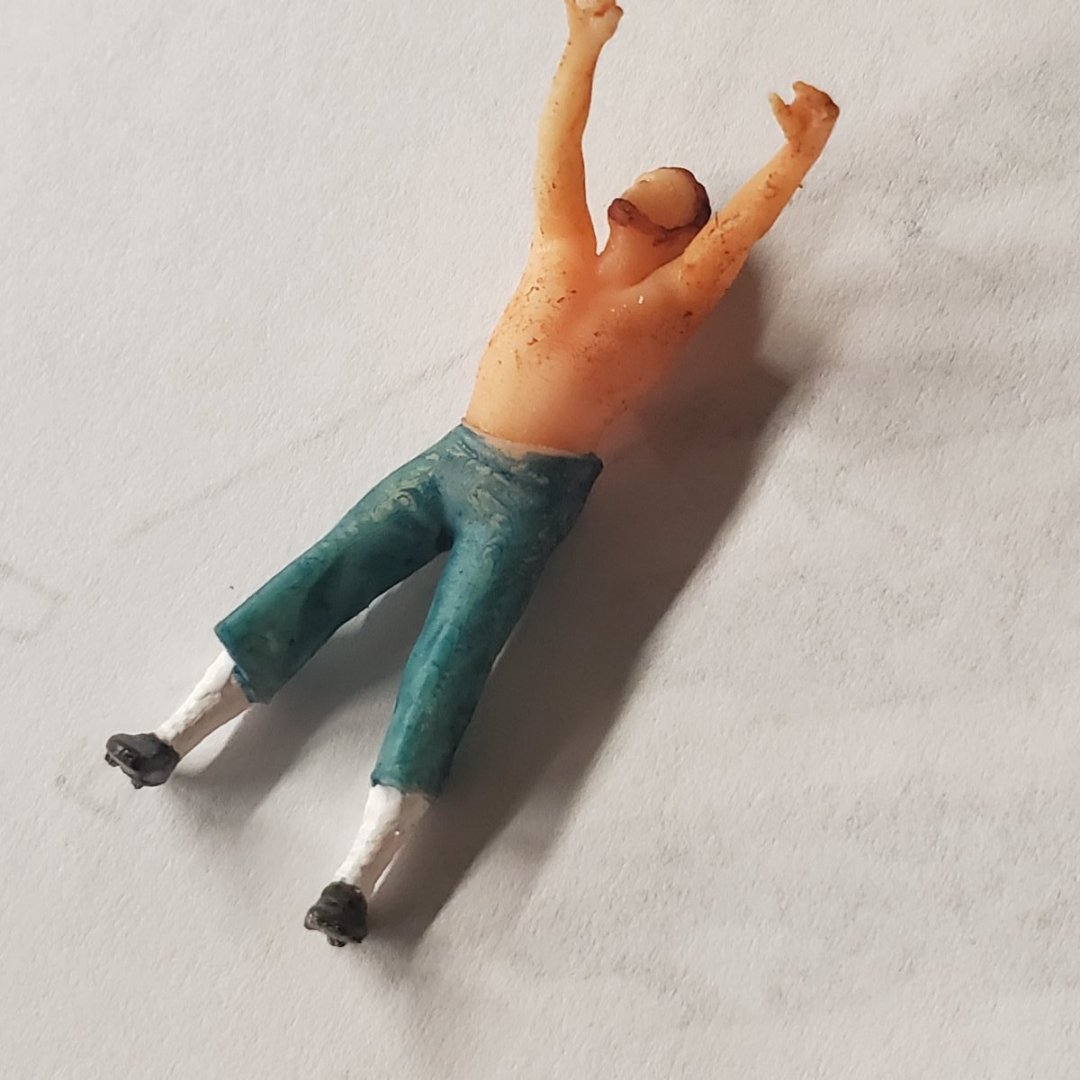
Those originate from Daz a posing program. Its free. But a learning curve. I design the parts of the ship they interface with and import them into the program. Then I pose the figures into whatever action I want the involved in. Then I export them in scale to an stl file. I repair that file to make it watertight, then print. I also use a program called z brush to add details I otherwise couldn't get. Accessories to figures, hats for example
-
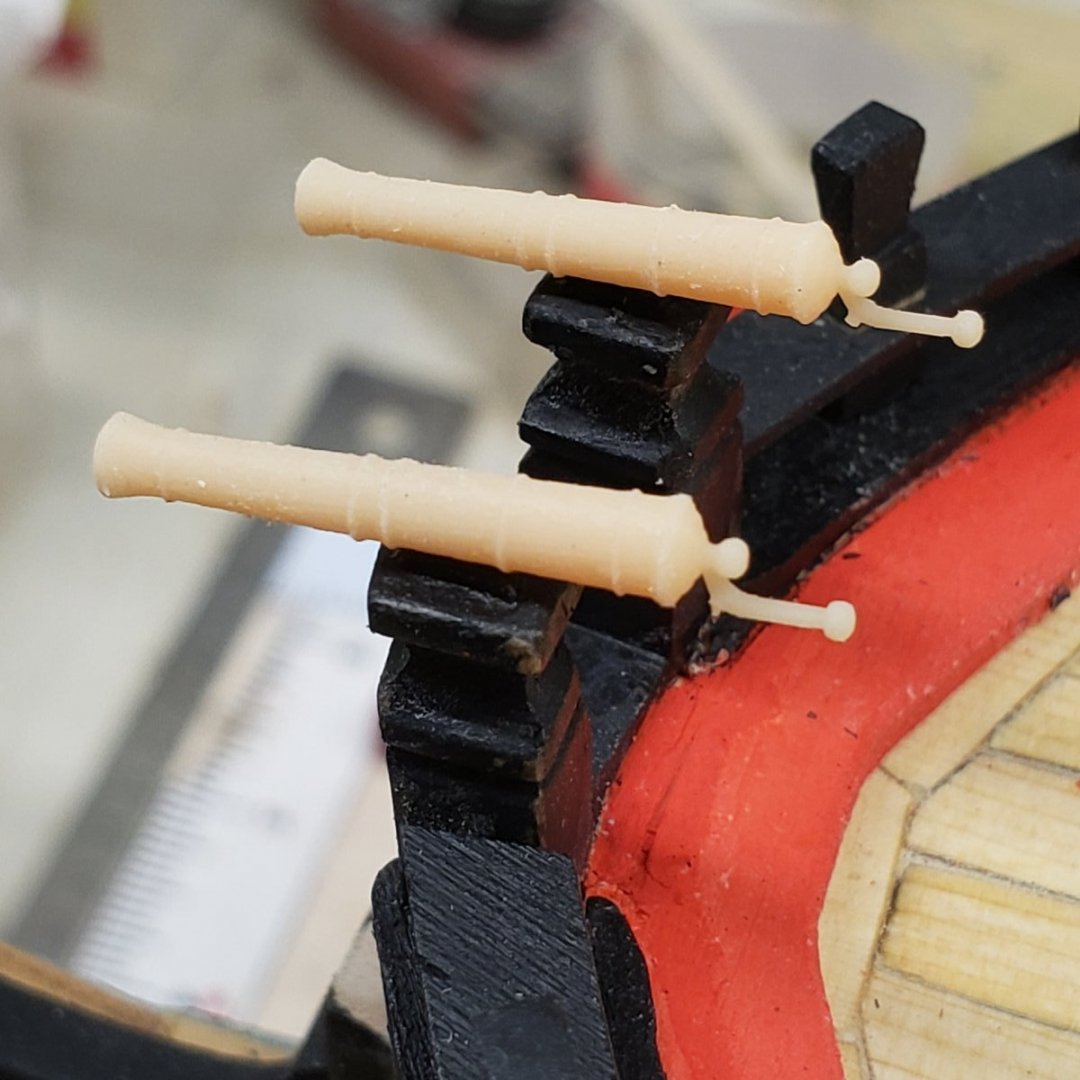
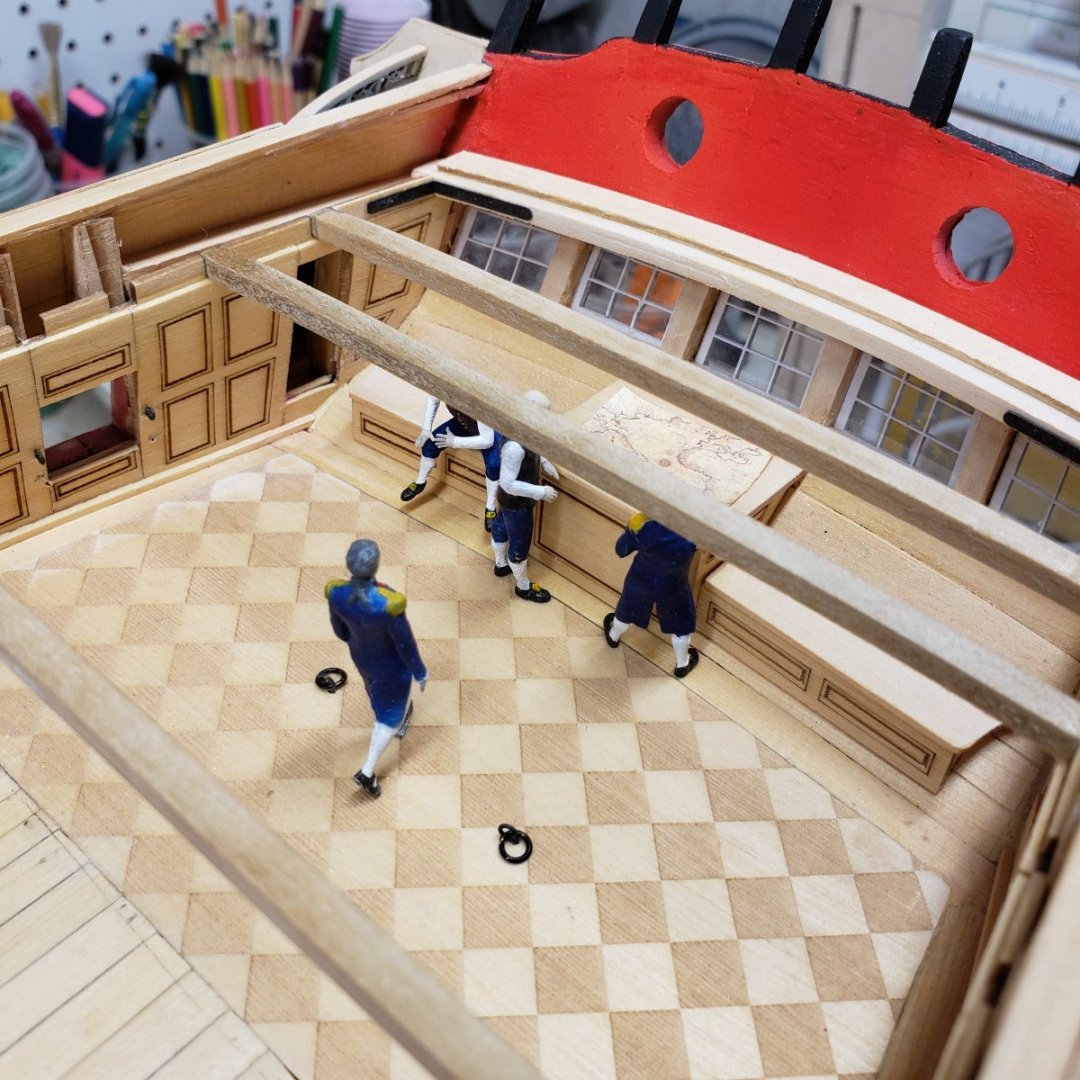
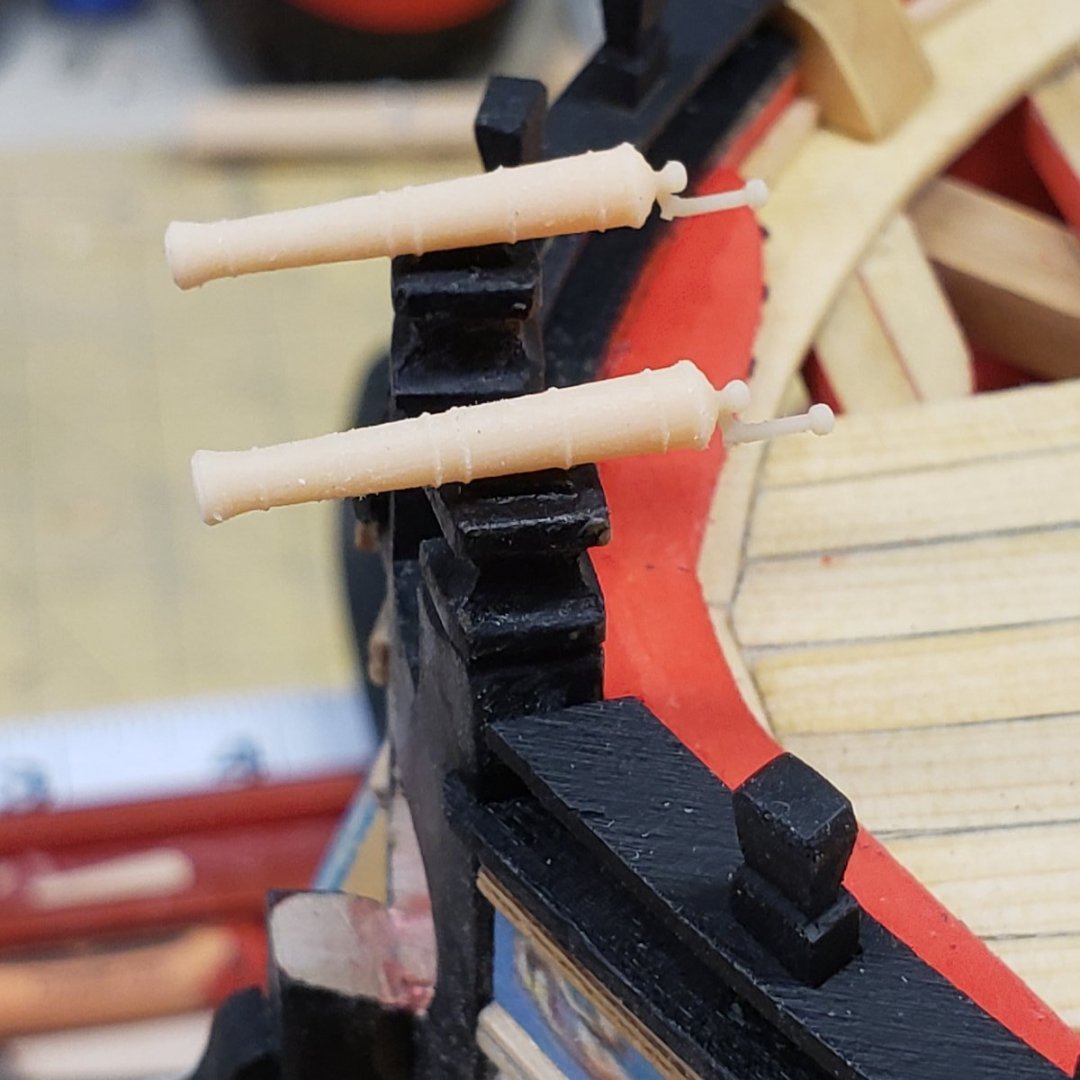
I've been printing parts for the Winchelsea. I started this process out of frustration with not being able to buy figures in the poses I wanted. It's an Anycubic Mono X printer. I've attached a pic of the Swivel Cannon. I had to print this with a flexible resin in order to get the handle to print without breaking off with handling 🔻The raw unpainted part. But the primary reason I turned to 3d printing was for scale figures for the ship. It is a 1:48 scale. This sailor is posed for a chain pump gang. I'm using many of the methods you have outlined. However I always print a reference file with any resin I use and make that my starting point. Saves a lot of hair pulling and anguish. 🔺️Three figures printed for Captains Quarters.
-
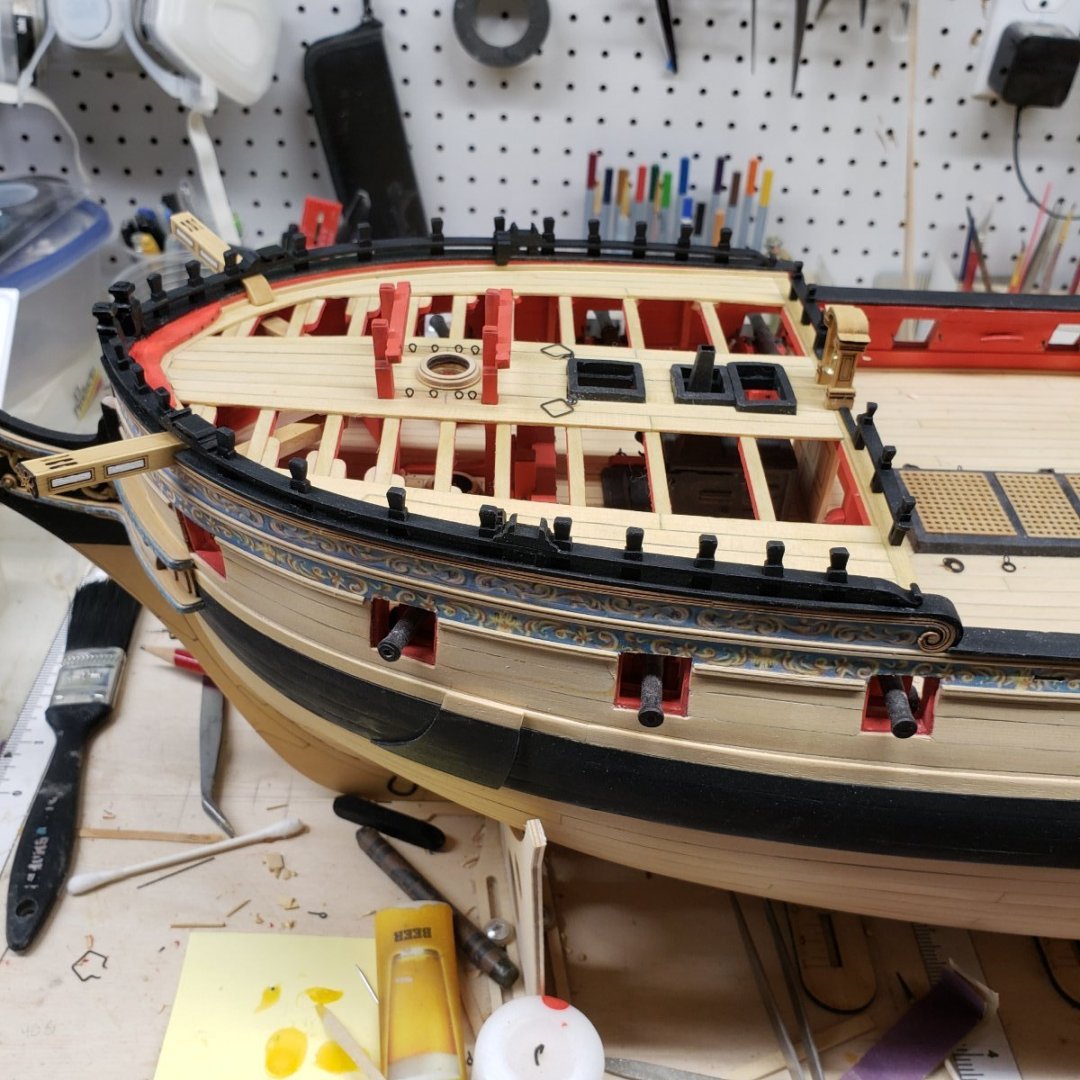
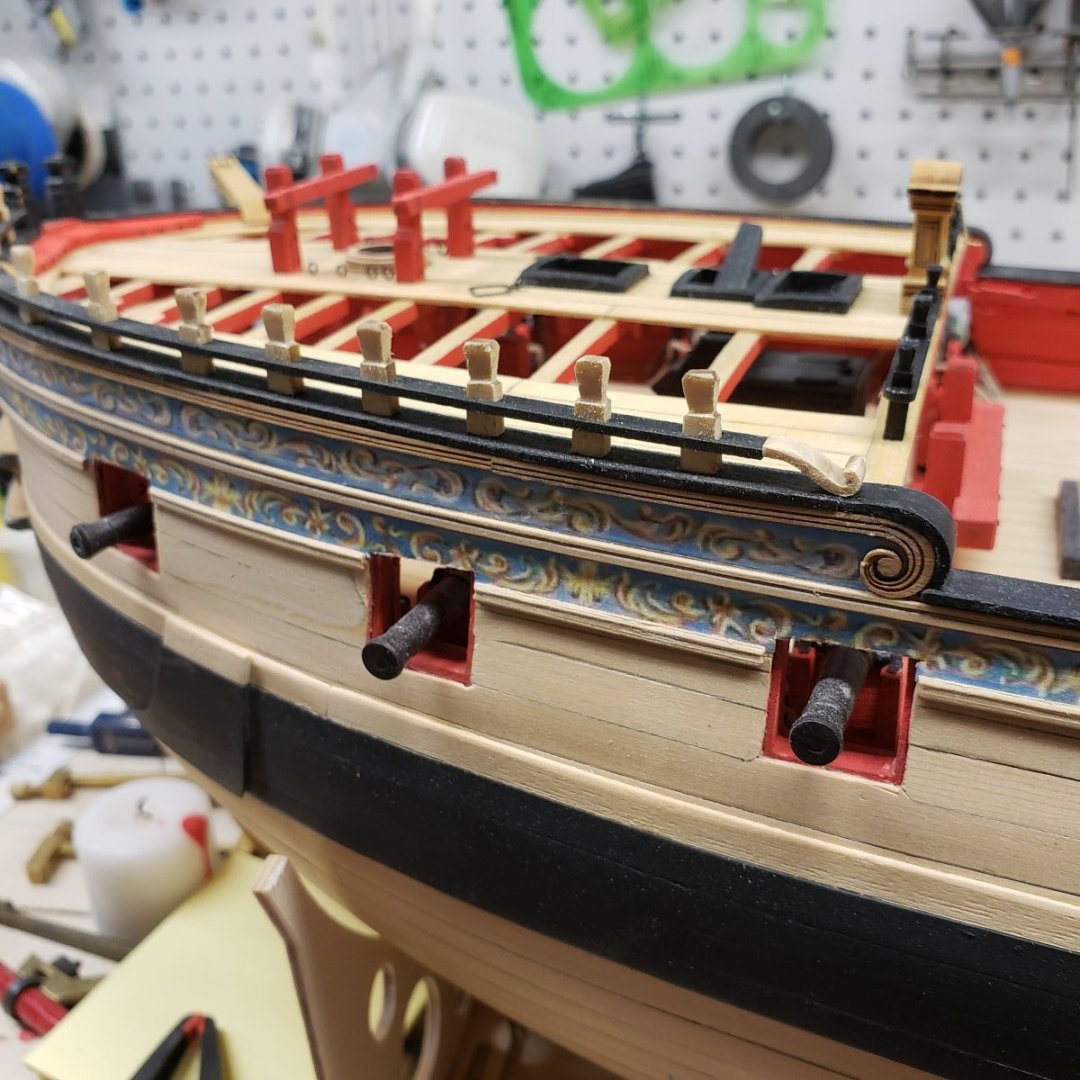
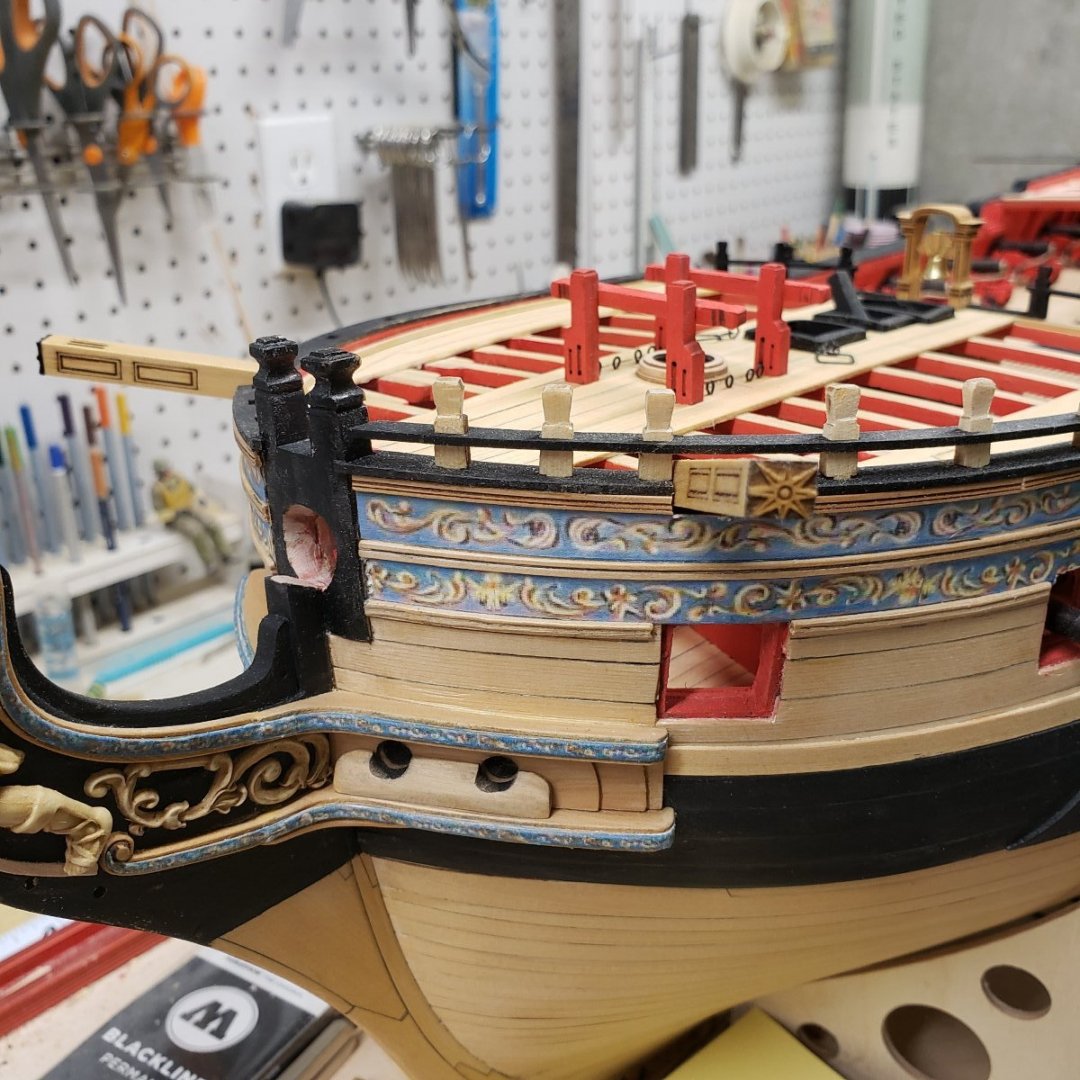
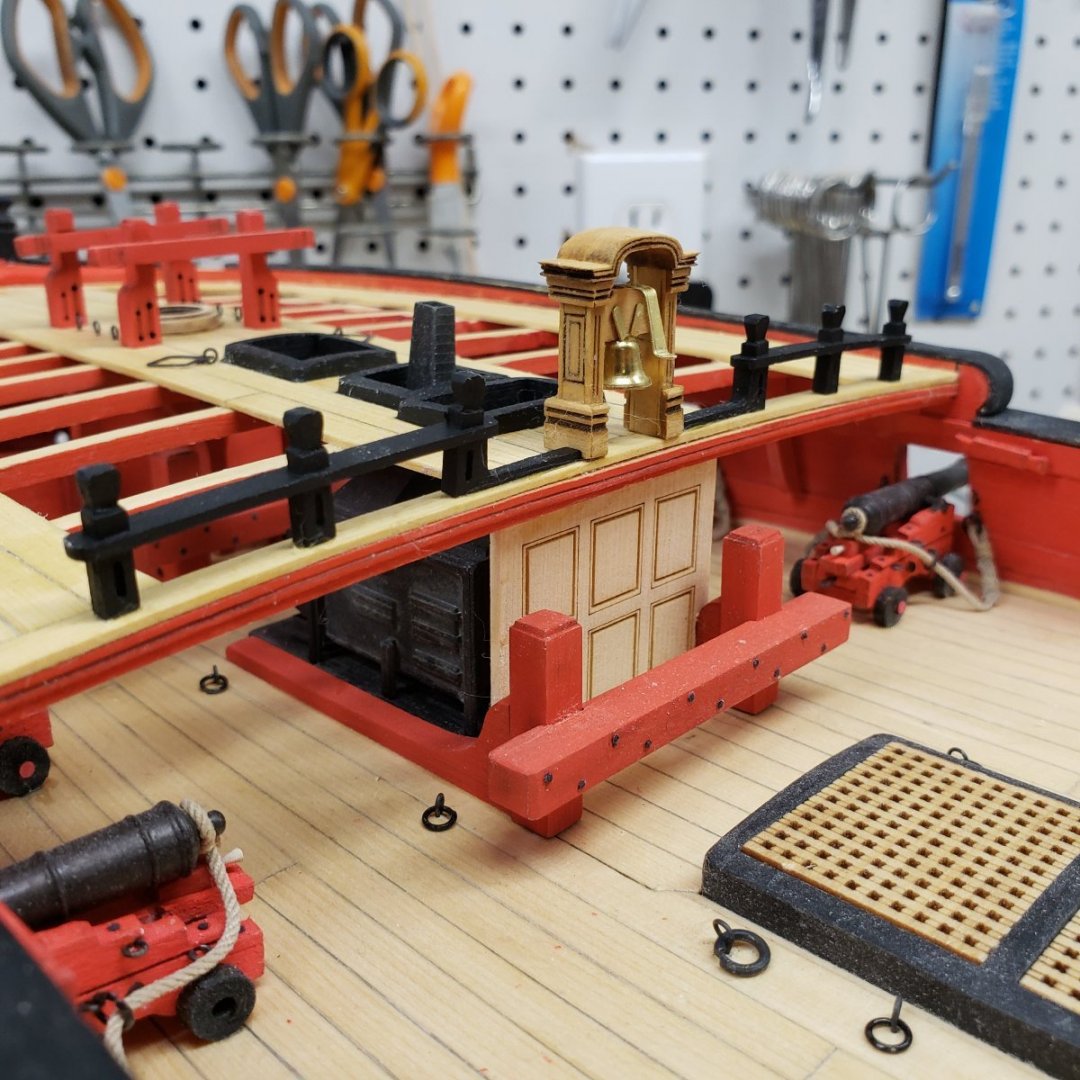
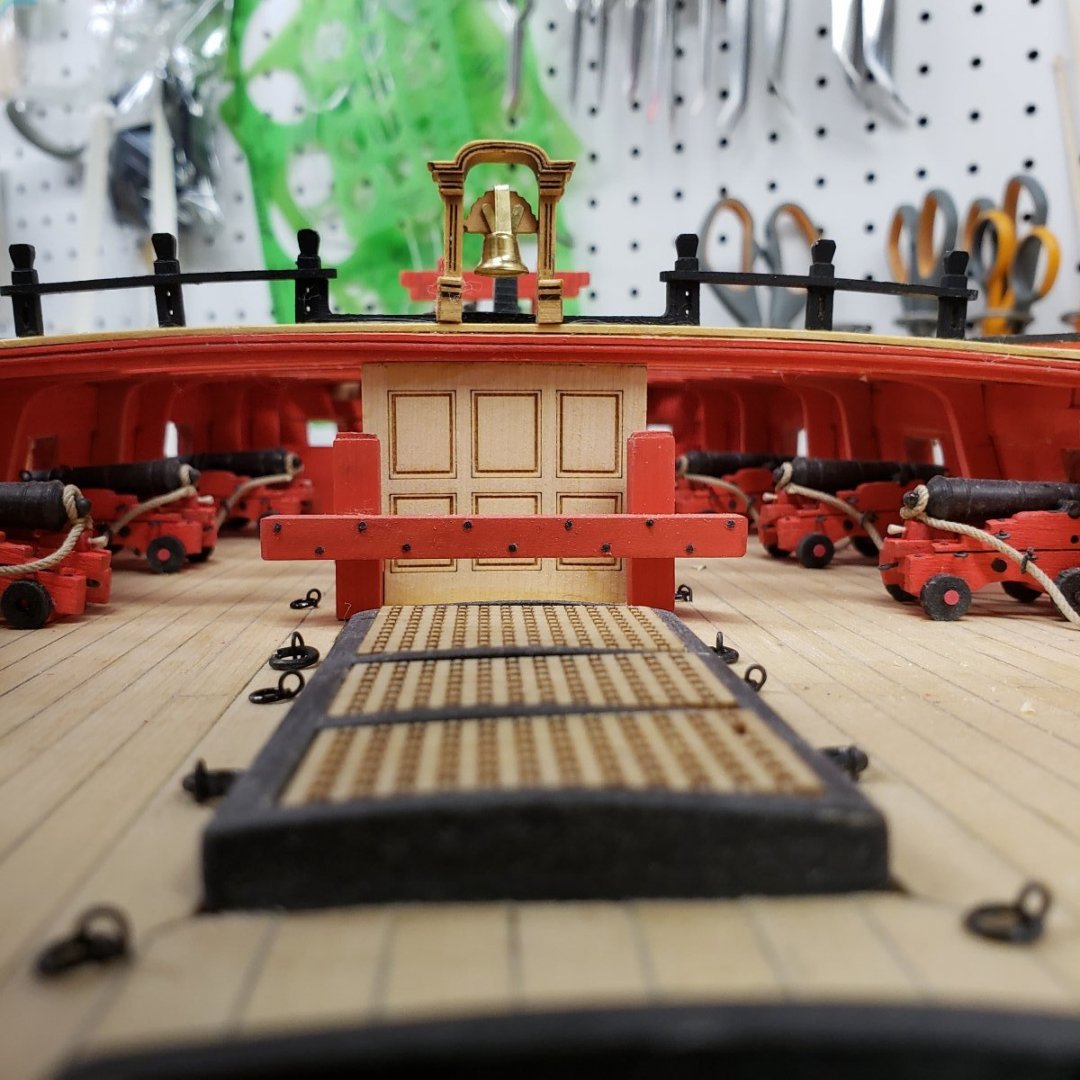
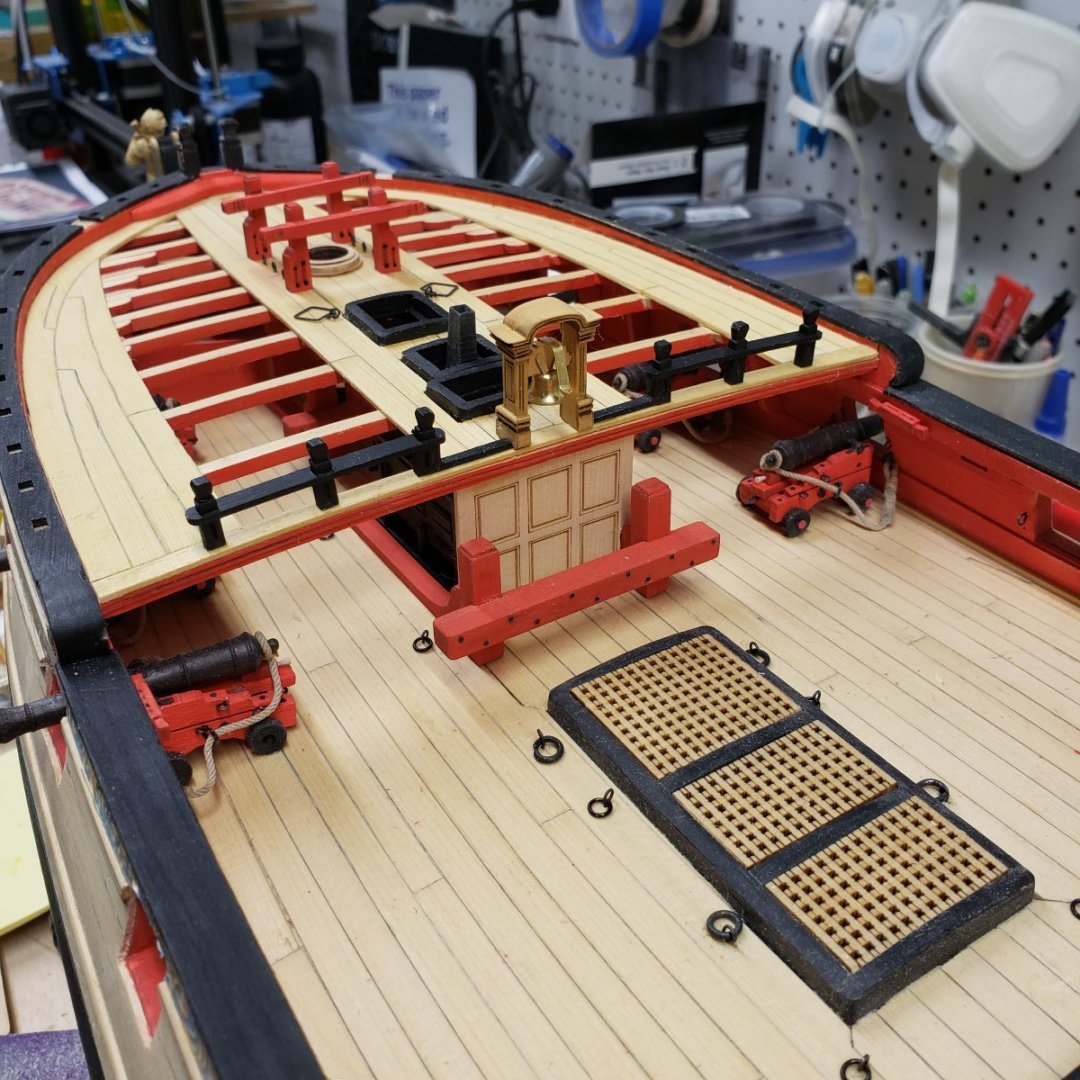
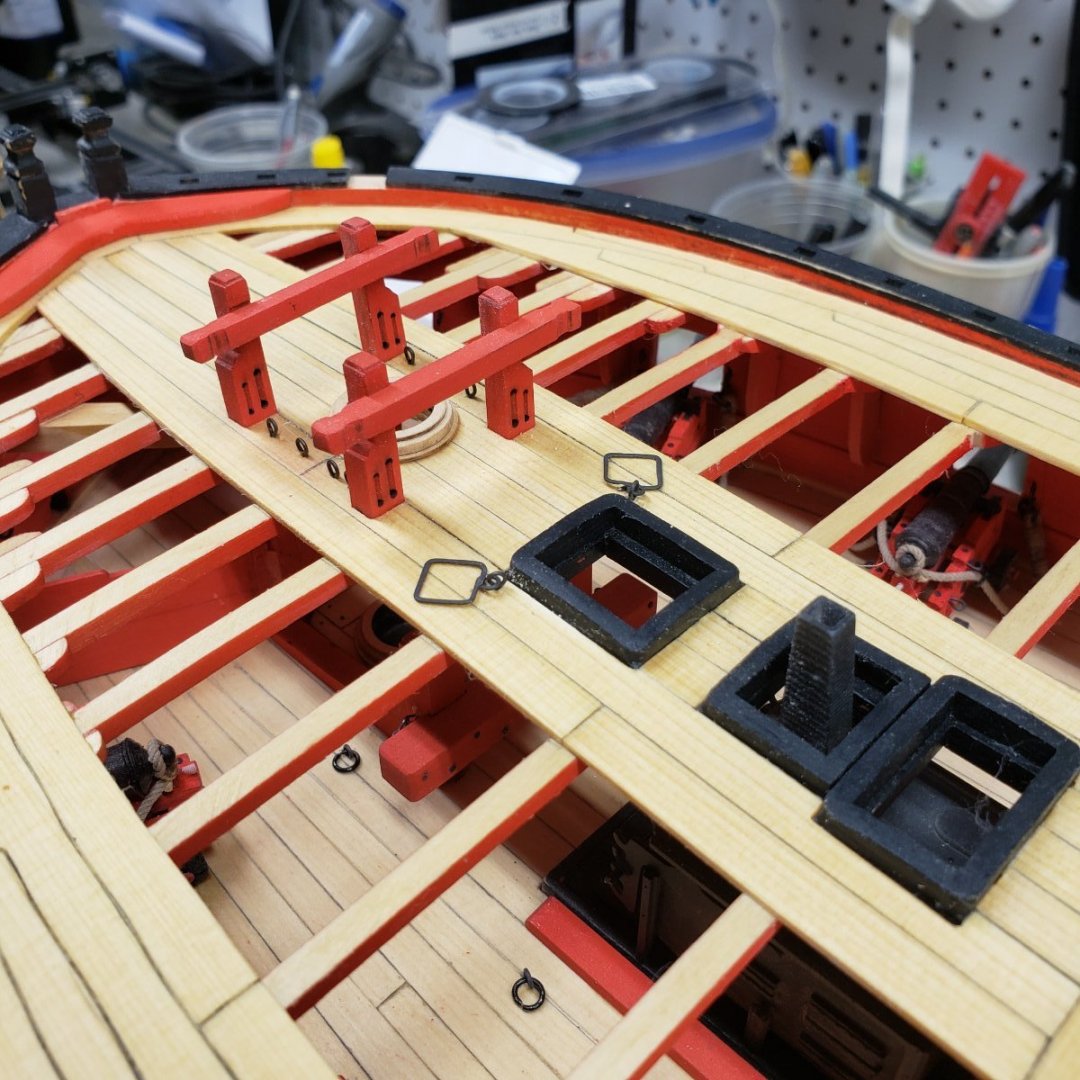
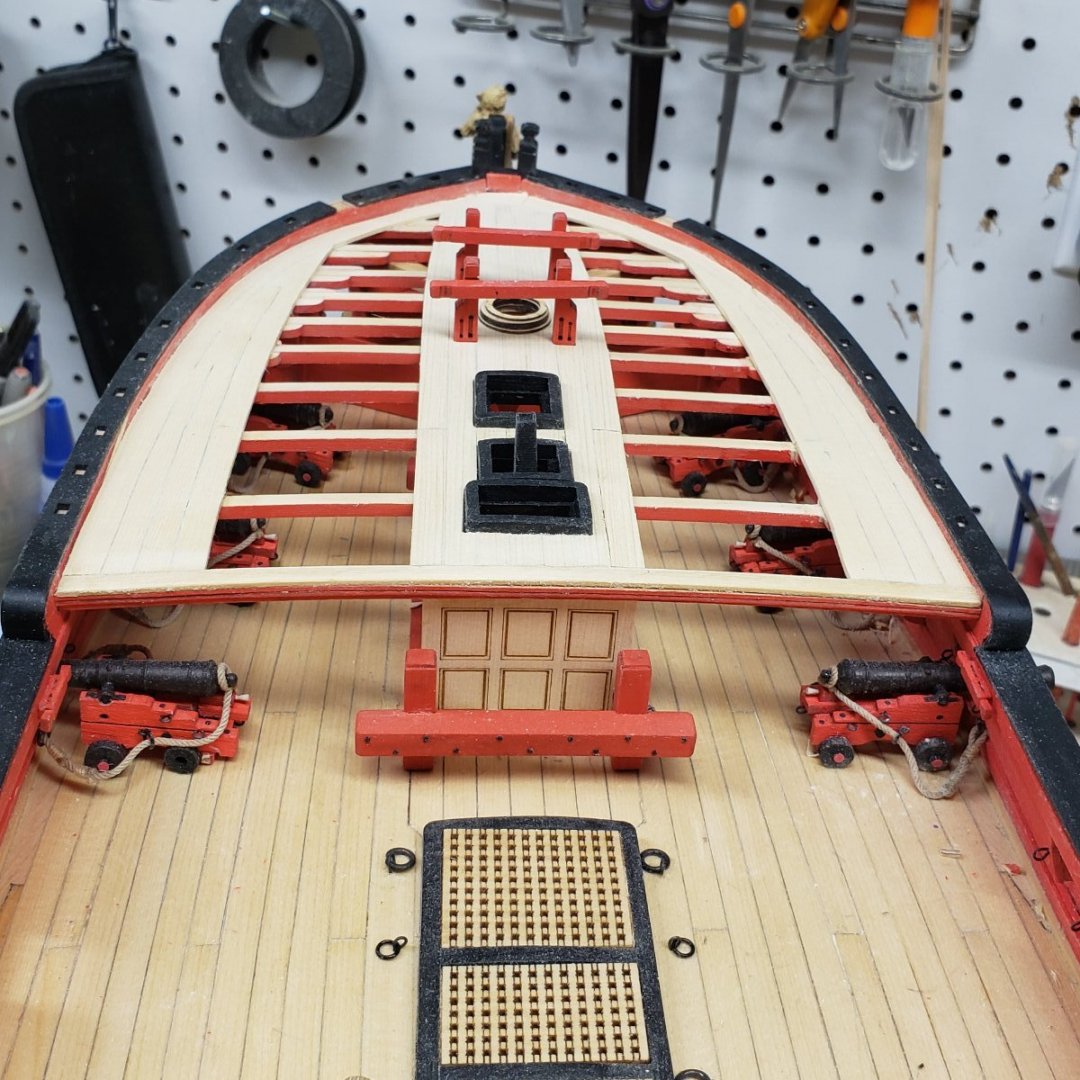
Forecastle complete except for grates. I still need to glue in the catheads. I took some time out to play with the printing of the swivel guns. These are very small parts, and I had a heck of a time tuning in the right settings, and the right resin. 🔻Still need to add the mounting bracket, that should be fun... 🔻All railings painted and glued into position 🔻First planking run on the Qdeck, this one is straight...
-
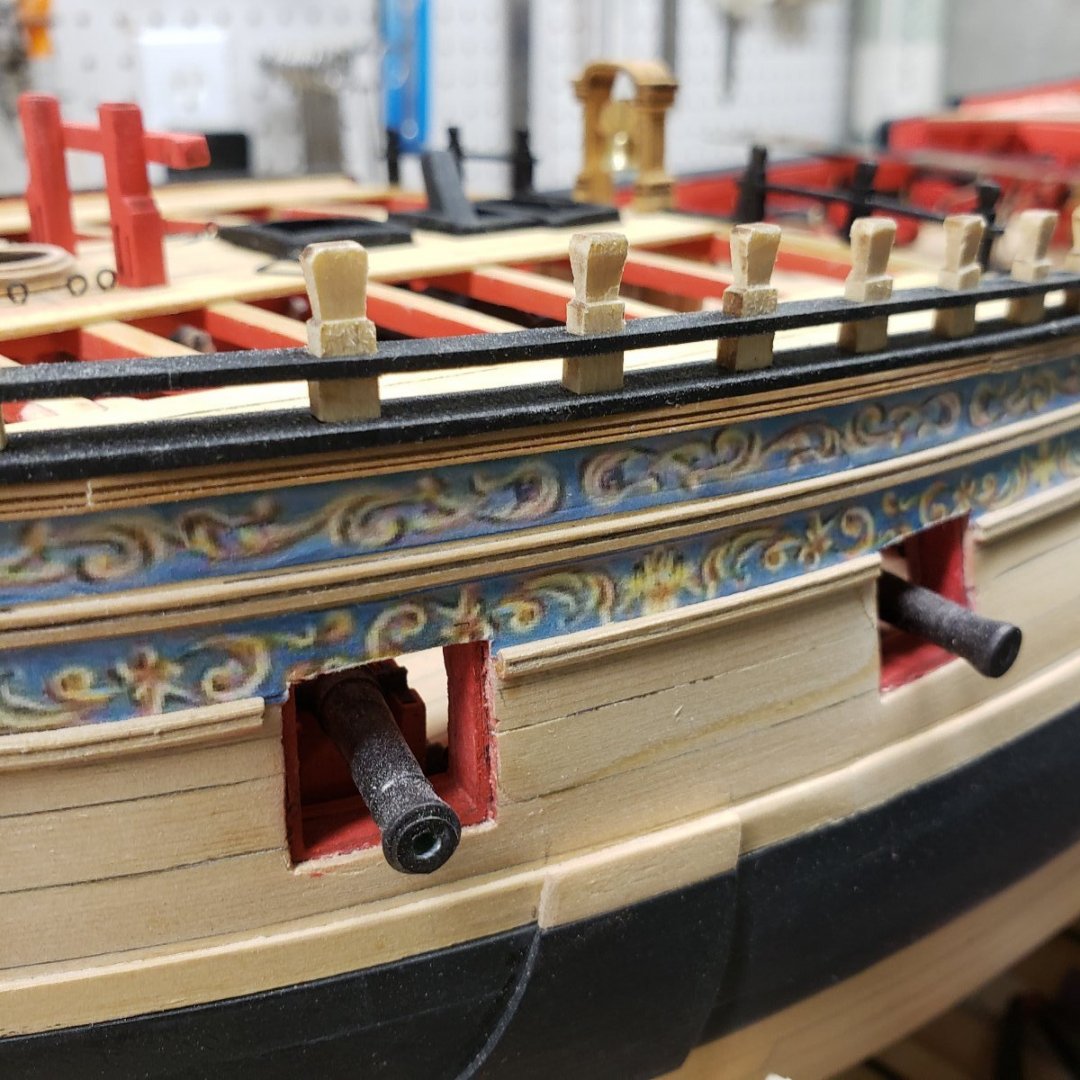
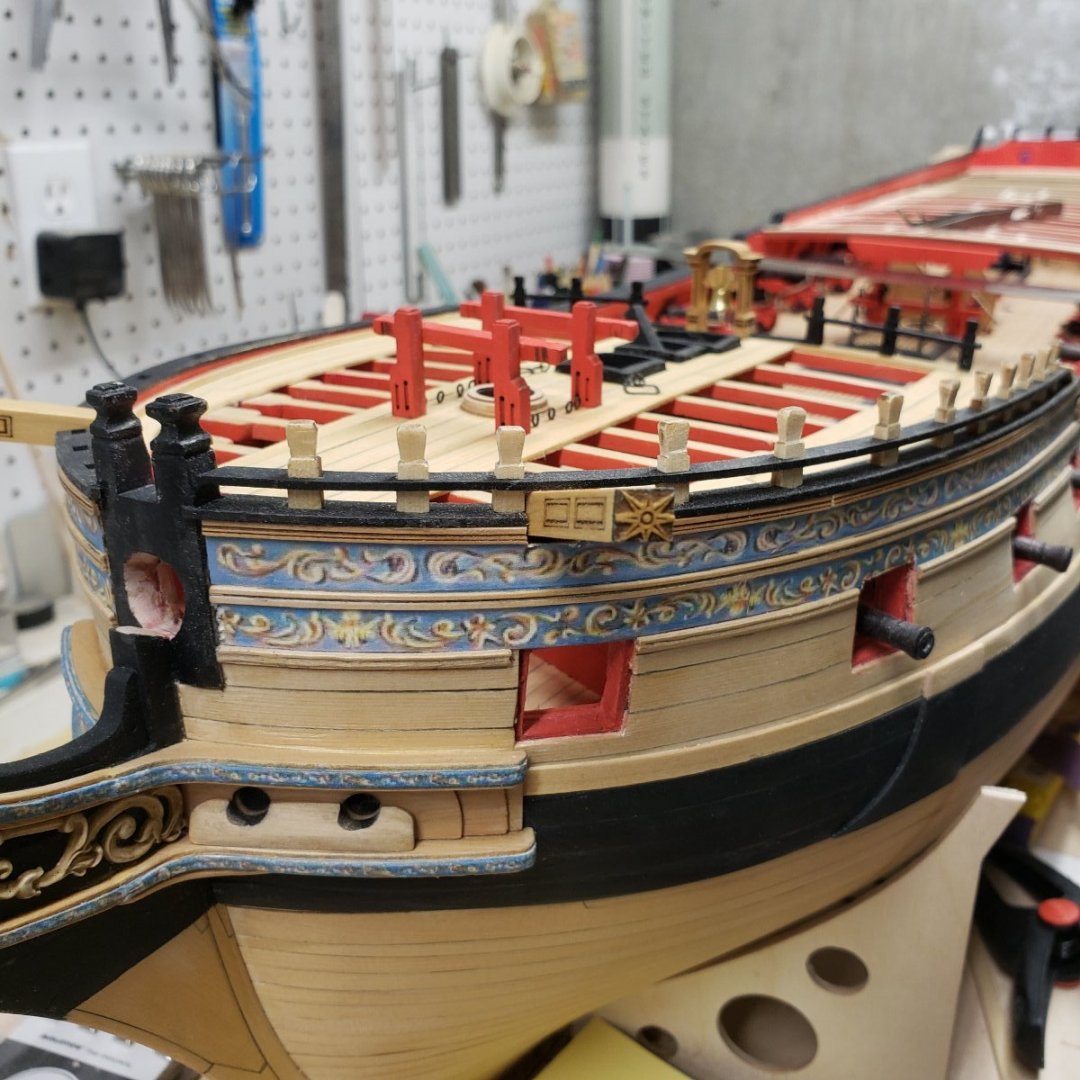
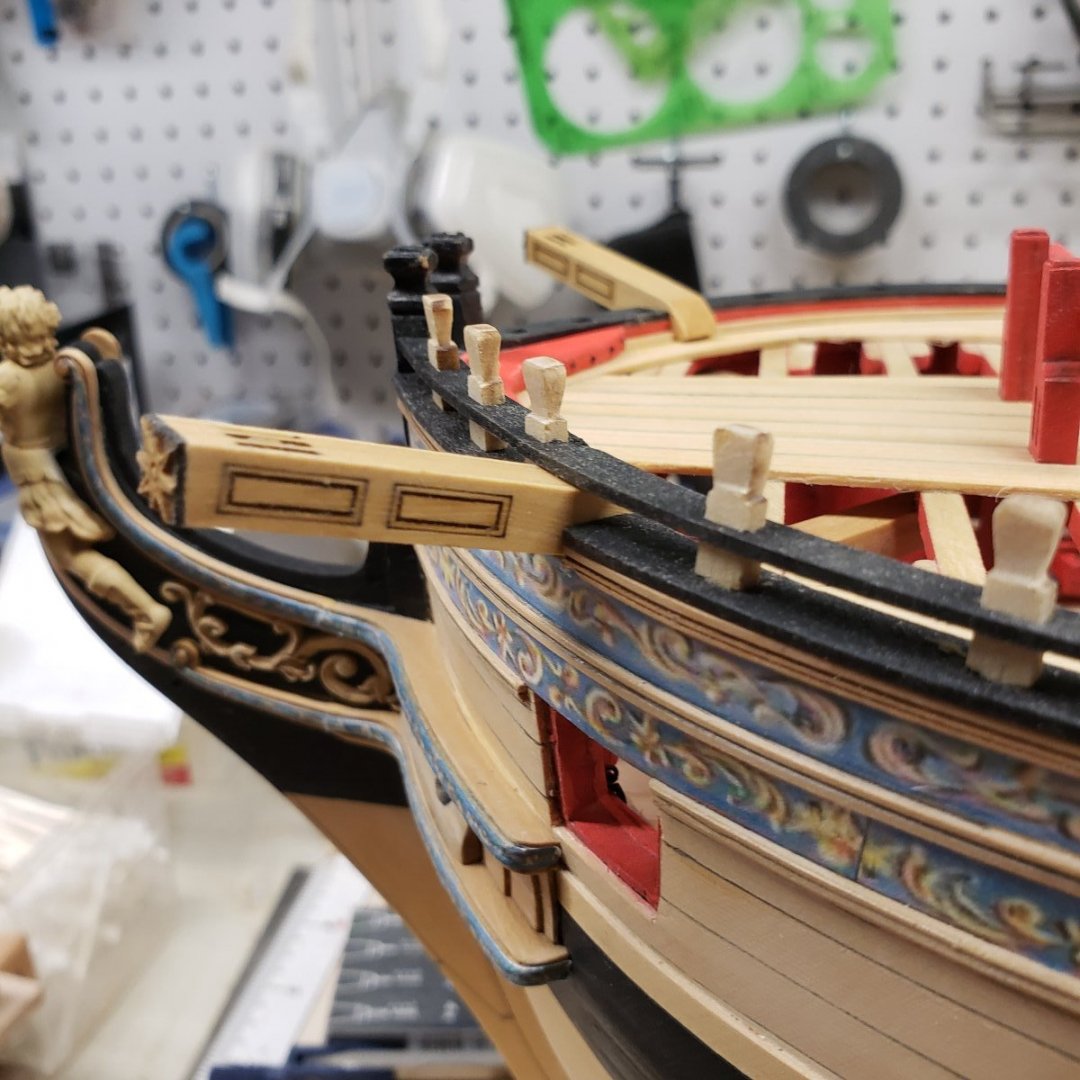
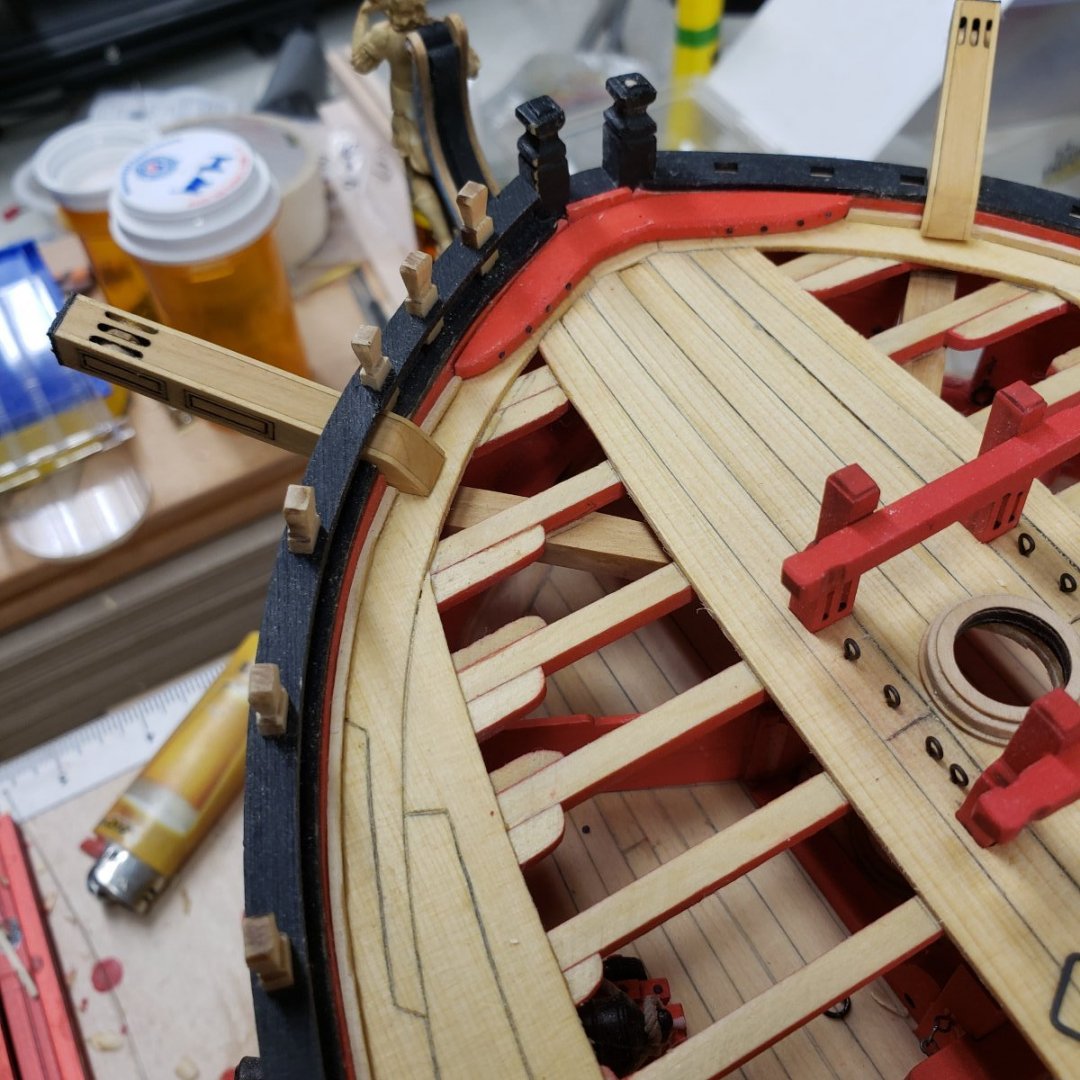
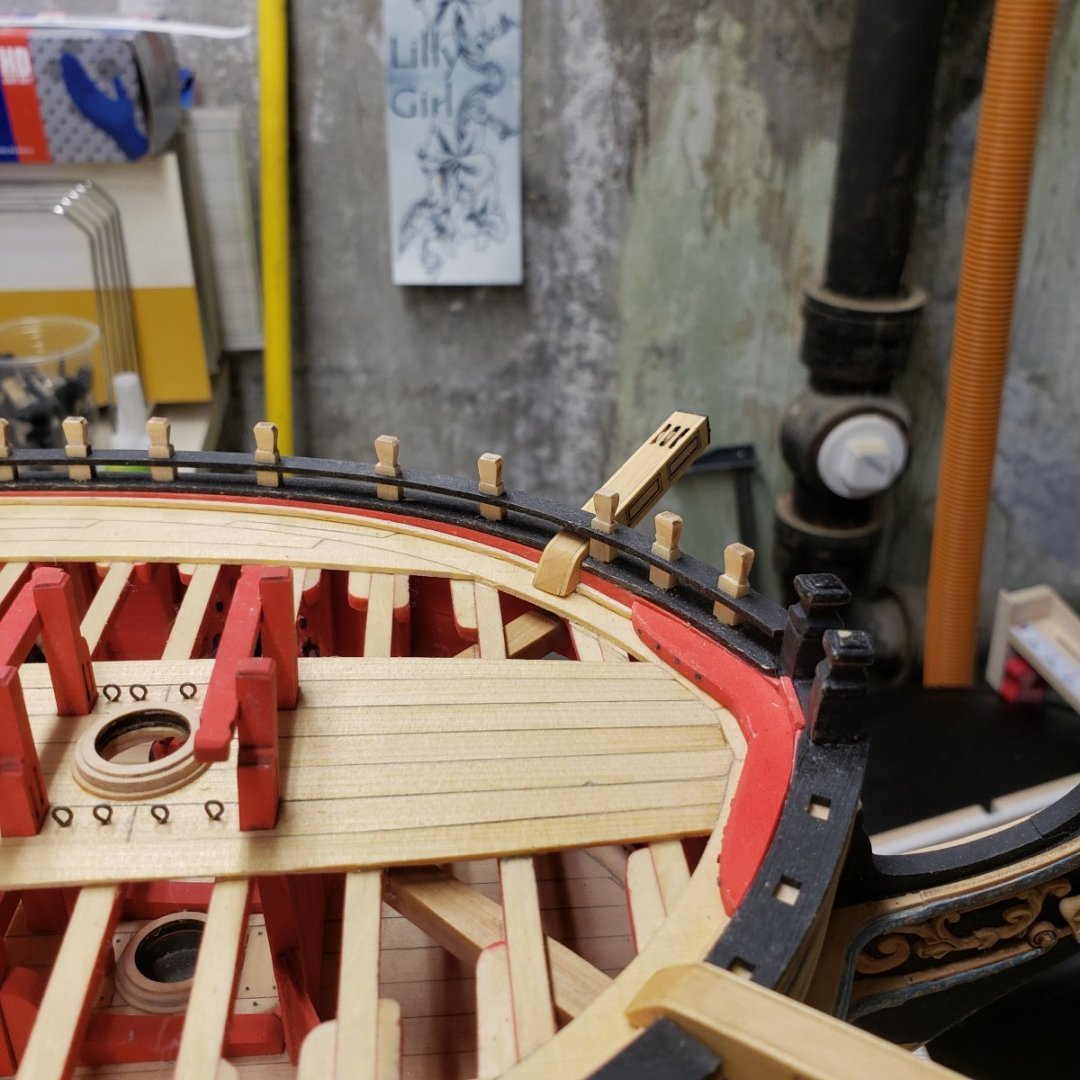
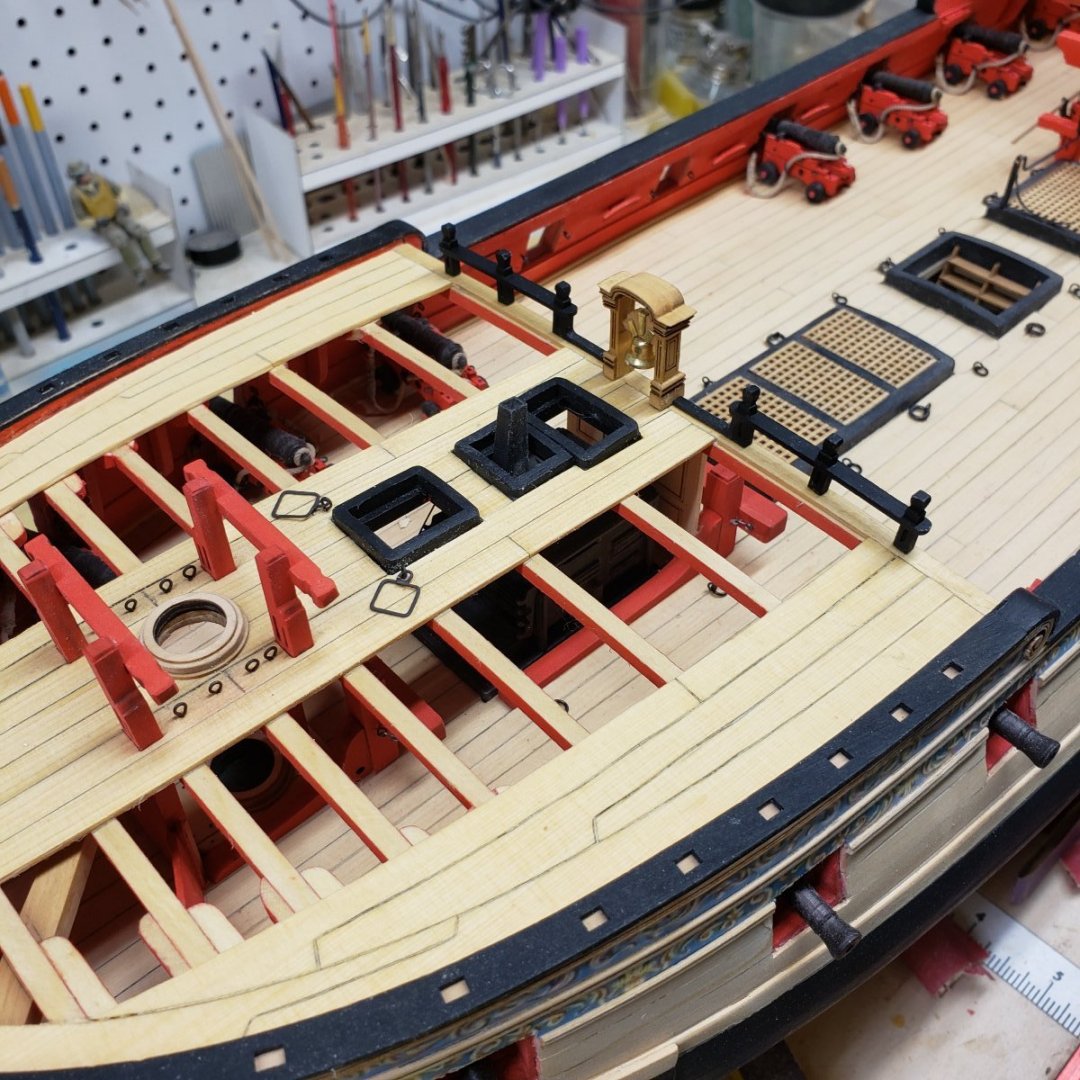
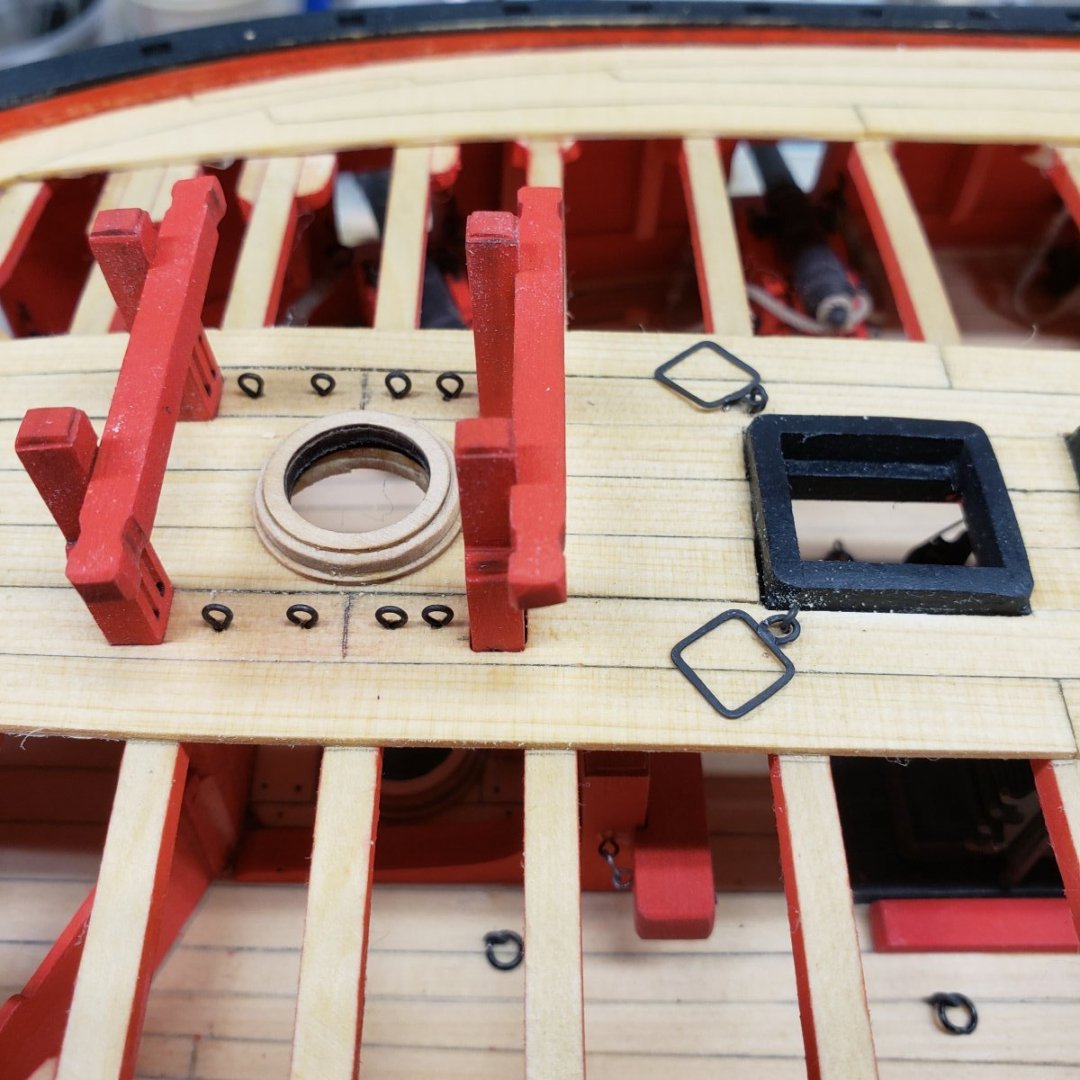
So a little more progress, I made the catheads and cut the channel for setting them. I painted the black line on the end of the catheads rather than taping them. I painted the rails black, after breaking it twice. I super glued it back together and used black filler to clean up the breaks. I am fine admitting my mistakes, and am getting really good at fixing them. The timberheads and rail were dry fit to check that the catheads were going to pass through. These timberheads and rails are delicate and required some finess to fit properly, which is why Chuck numbered them. Pretty much a custom fit to each location. The good news is they look like they're going to fit perfectly. Nothing glued up just positioned in the pics 🔺️I broke the rail just on either side of the cathead. Hard to see, CA saved the day
-
Yep. Having chapter 9 templates is a plus, but sanding those inner bulkheads to the correct profile is important...I learned the hard way.
- 840 replies
-
- winchelsea
- Syren Ship Model Company
-
(and 1 more)
Tagged with:
-
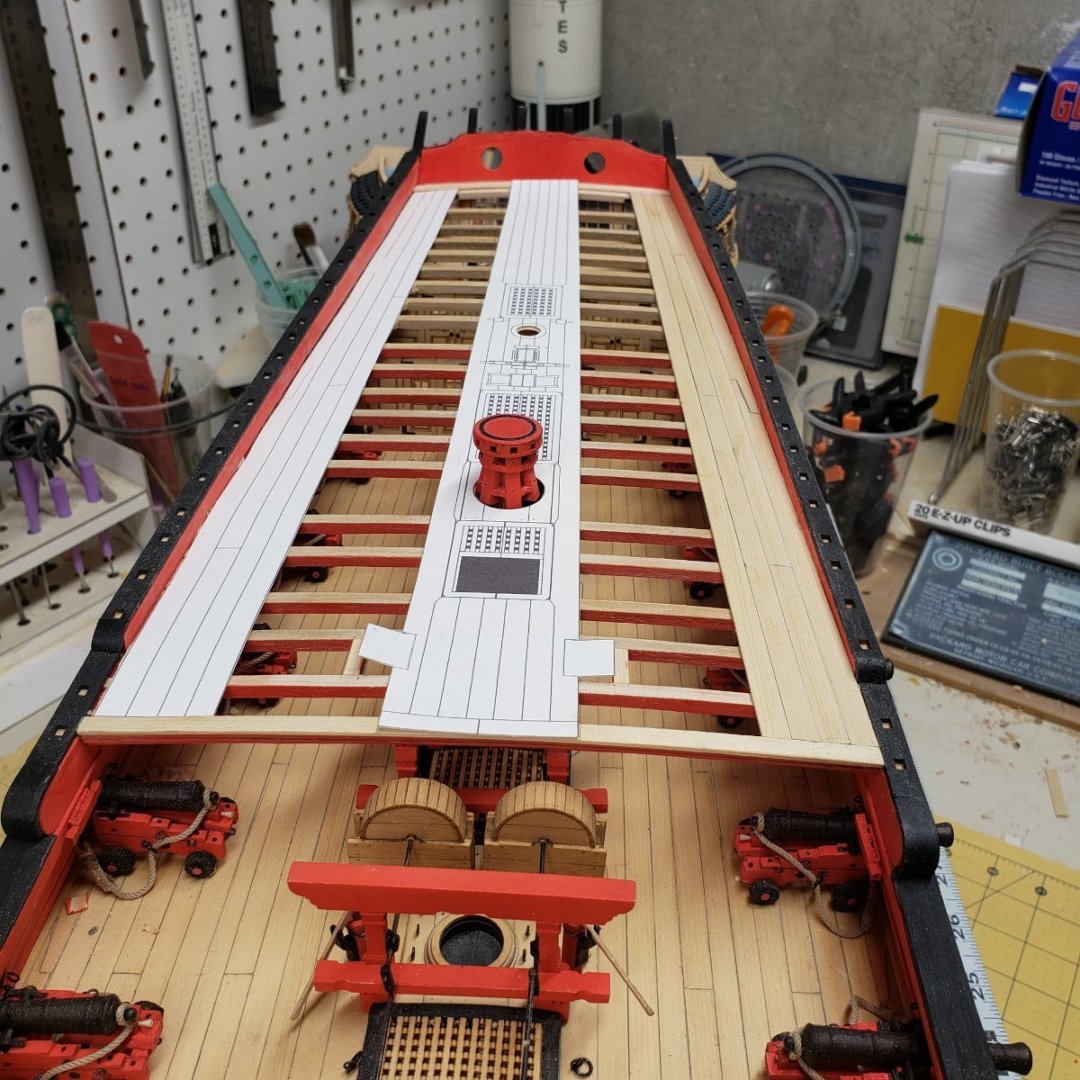
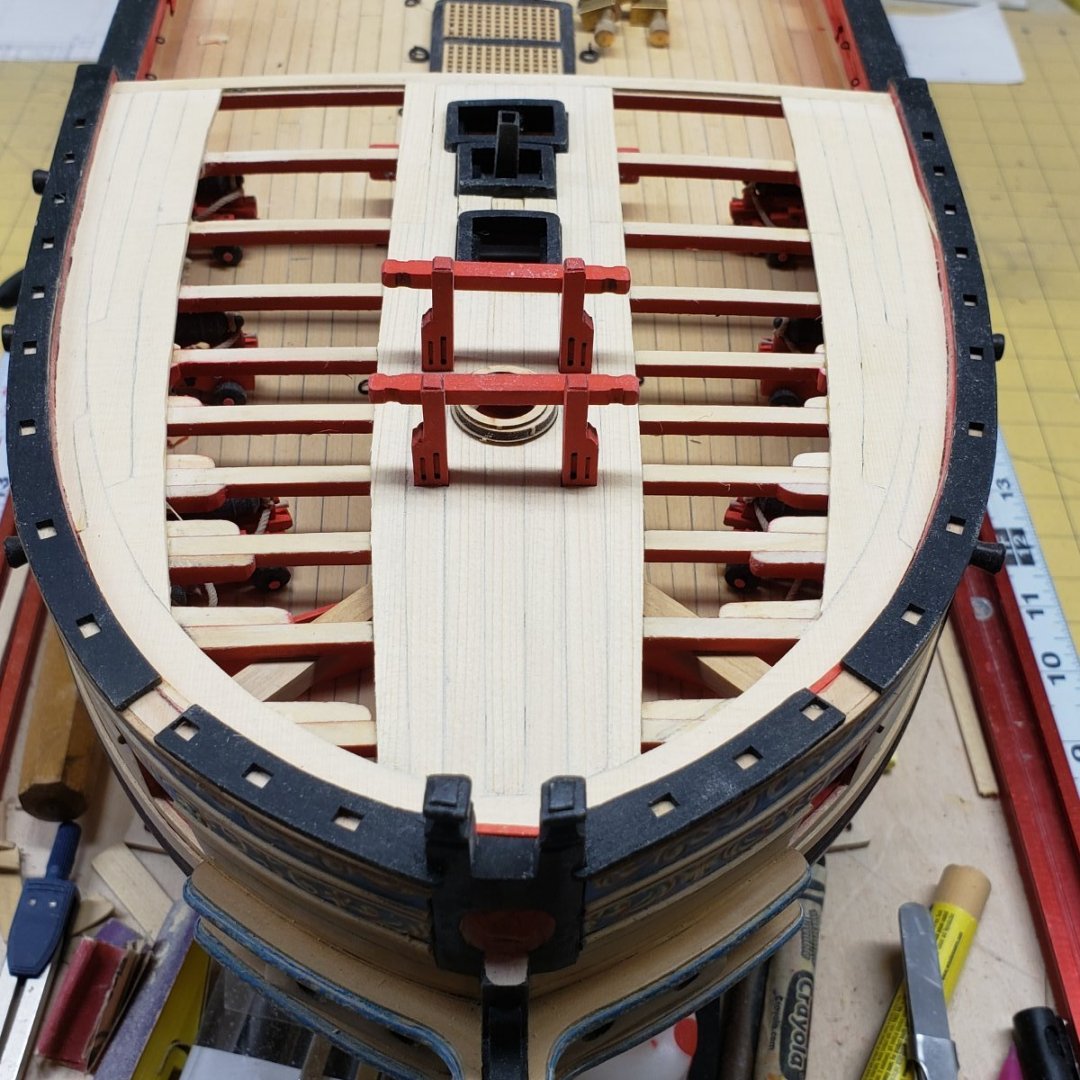
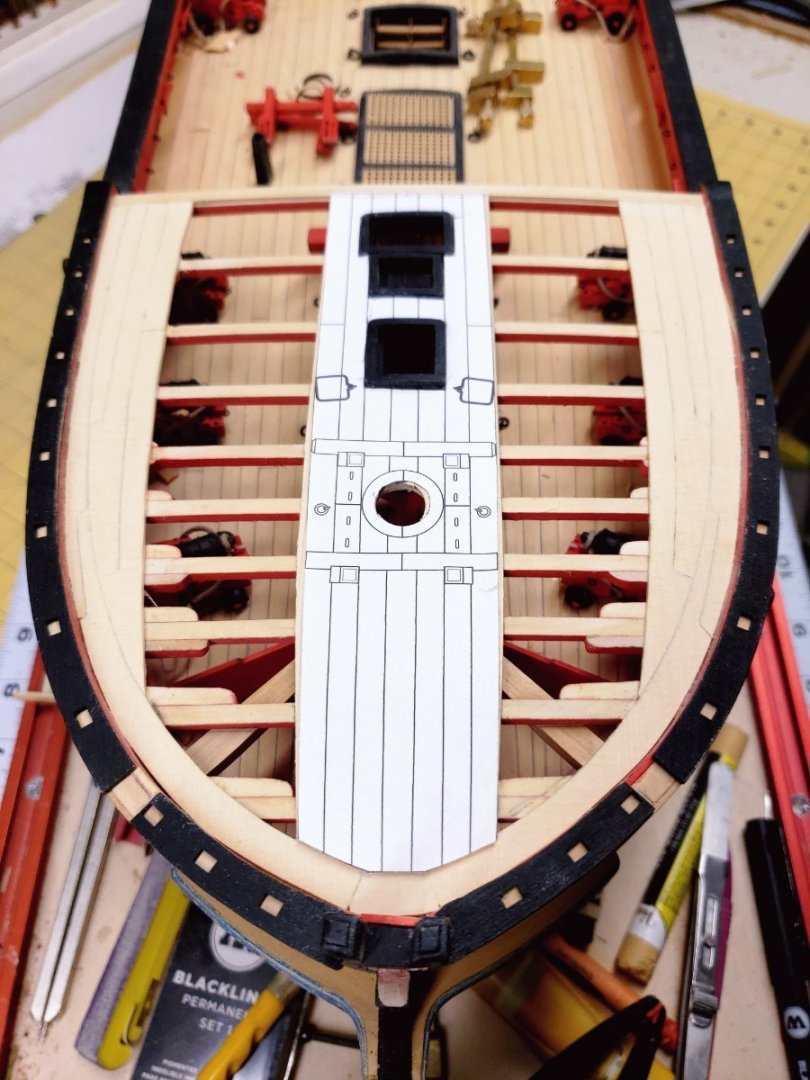
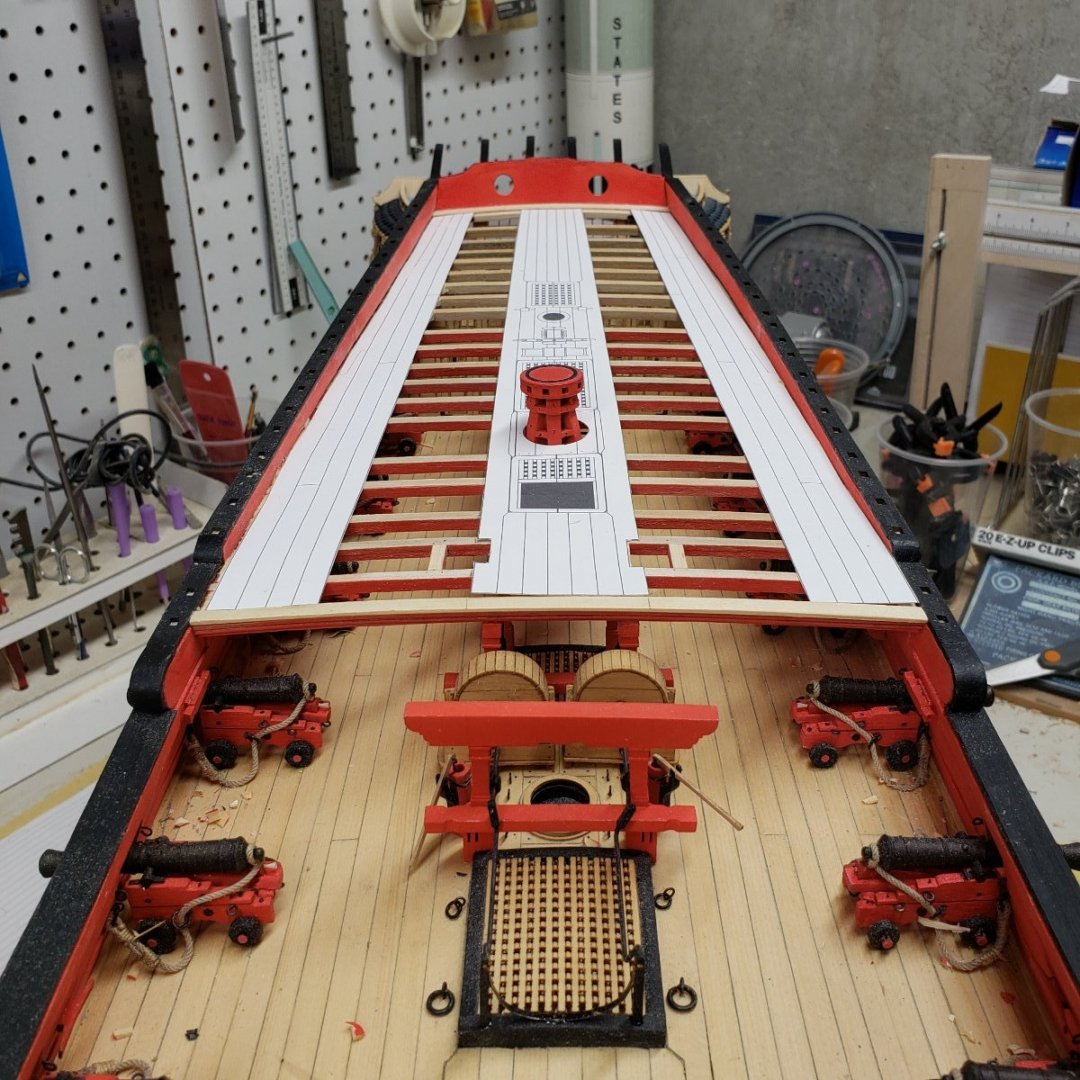
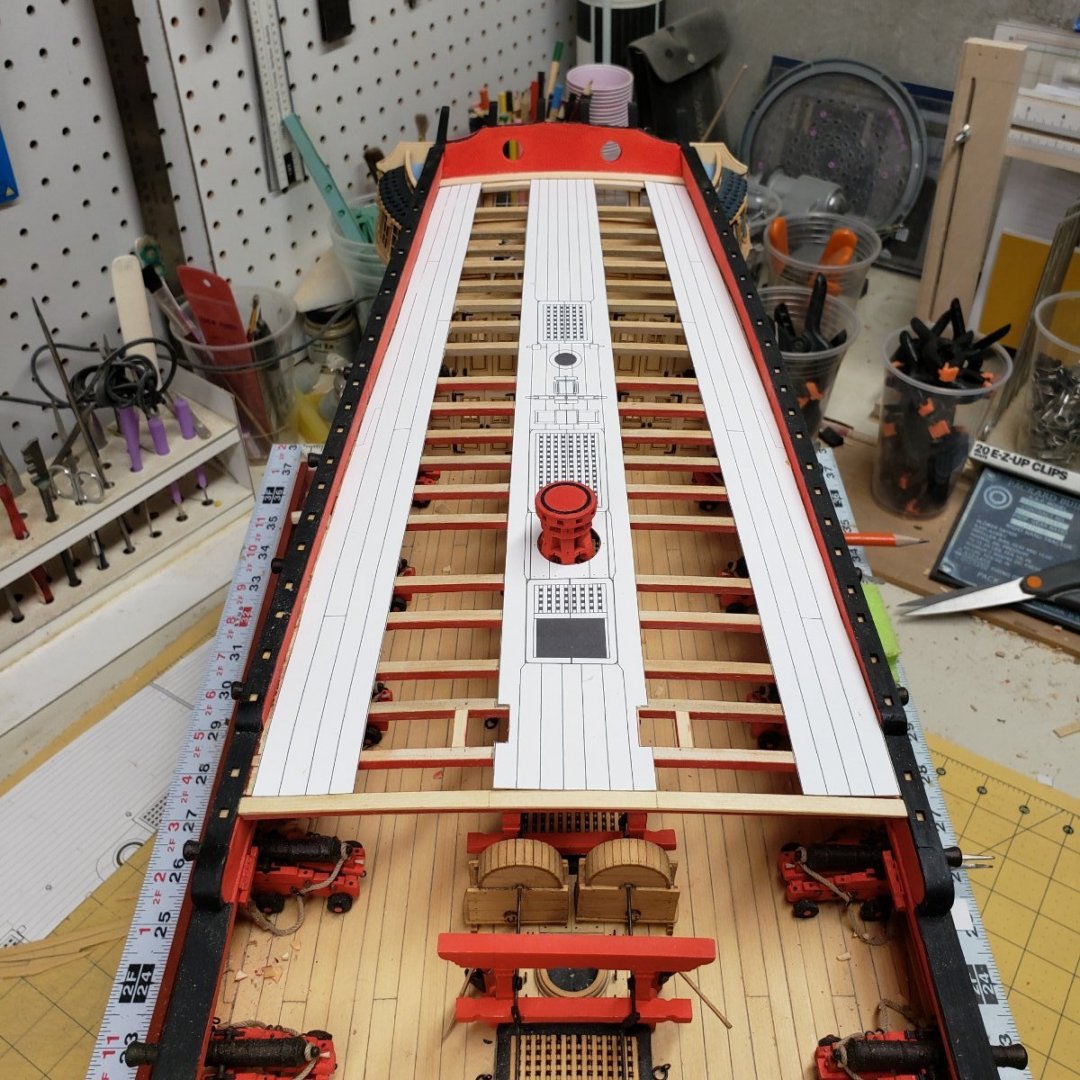
Ship corrections 101. An adventure into paying more attention to the little things that can wreck your otherwise boring life. I made the corrections to the margin planks at the qdeck. I did a scribe onto a blank paper that was taped to the beams, then scribed the existing deformity onto that sheet, cut to the scibed line, and then laid that onto the planking templates and then cut the margin to that new shape. Laid those onto the beams and measured and confirmed all was as it should be. Looks right now. The forecastle i'm afraid will be a little more involved, but is the same procedure. Onward and upward.
-
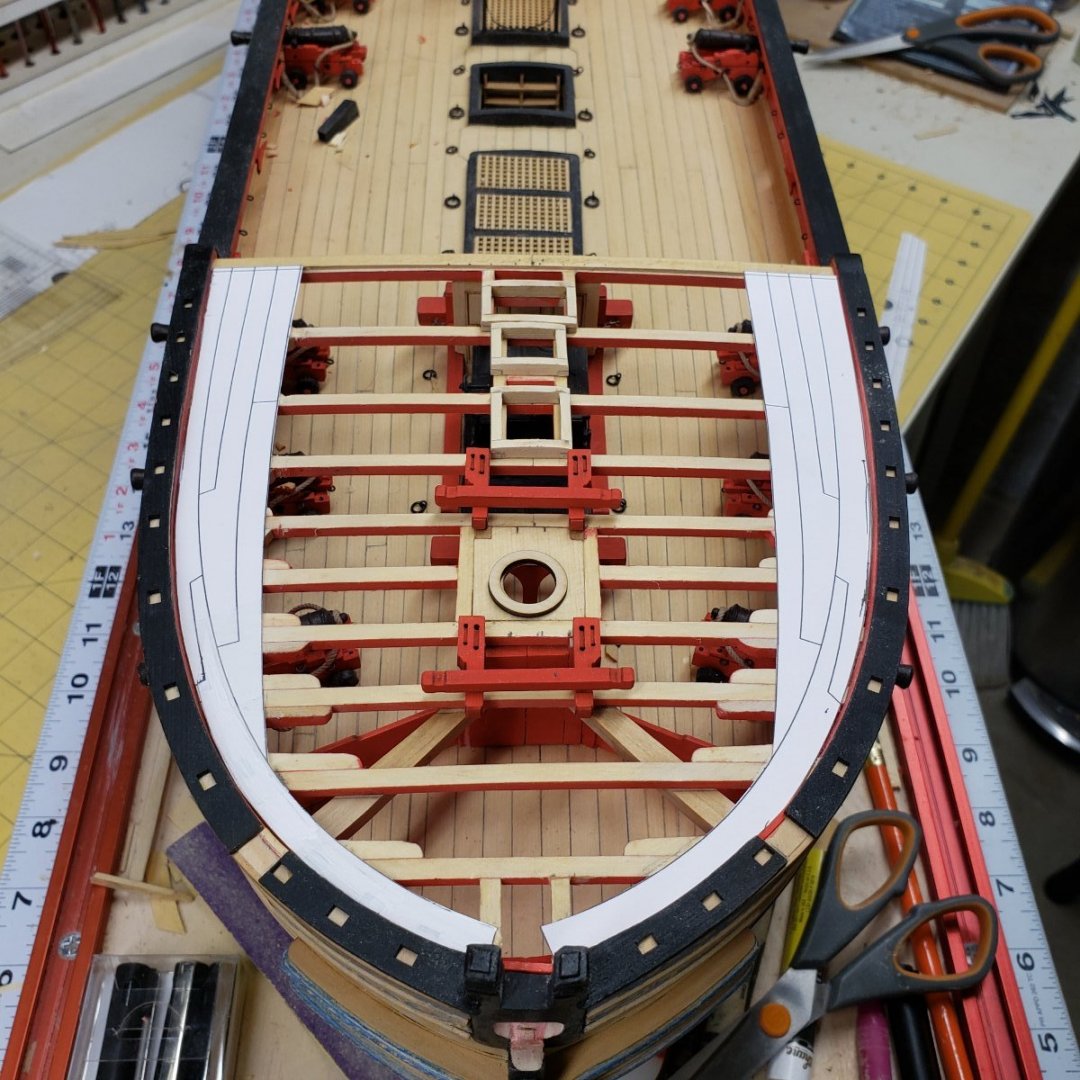
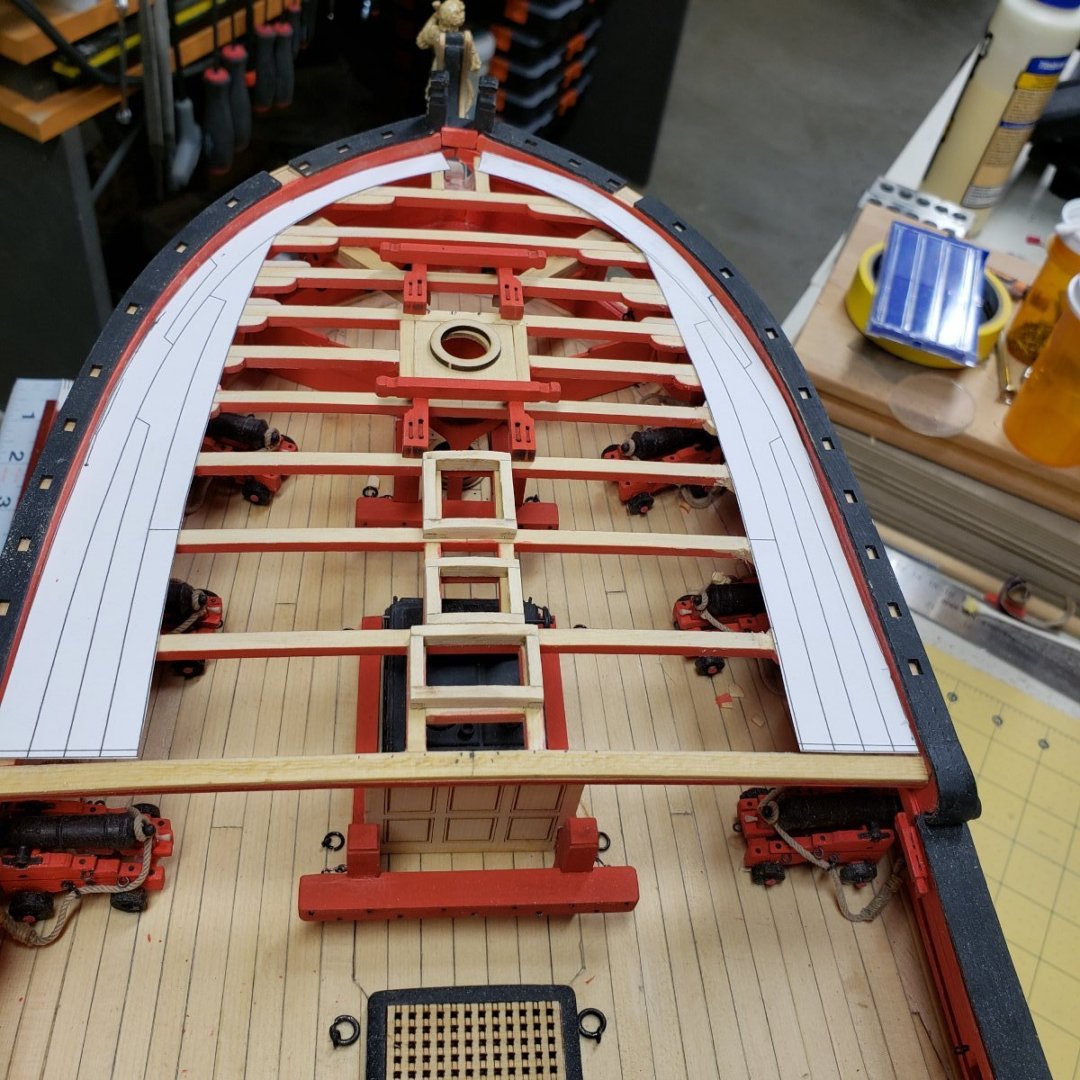
And the corrections to the forecastle templates, you can clearly see the narrowing of the starboard margin plank. It's a lot better than it was but not perfect, I'm going to blame this on hogging from long sea voyages resulting in the ships carpenter having to make repairs underway... The cap rail however fit with no effort of force. Strange, but for those who can still benefit from this, check your bulwark sanding , and I'm pretty sure Chuck emphasized this. Too bad I wasn't hearing the warning....
-
Ship corrections 101. An adventure into paying more attention to the little things that can wreck your otherwise boring life. I made the corrections to the margin planks at the qdeck. I did a scribe onto a blank paper that was taped to the beams, then scribed the existing deformity onto that sheet, cut to the scibed line, and then laid that onto the planking templates and then cut the margin to that new shape. Laid those onto the beams and measured and confirmed all was as it should be. Looks right now. The forecastle i'm afraid will be a little more involved, but is the same procedure. Onward and upward.
About us
Modelshipworld - Advancing Ship Modeling through Research
SSL Secured
Your security is important for us so this Website is SSL-Secured
NRG Mailing Address
Nautical Research Guild
237 South Lincoln Street
Westmont IL, 60559-1917
Model Ship World ® and the MSW logo are Registered Trademarks, and belong to the Nautical Research Guild (United States Patent and Trademark Office: No. 6,929,264 & No. 6,929,274, registered Dec. 20, 2022)
Helpful Links
About the NRG
If you enjoy building ship models that are historically accurate as well as beautiful, then The Nautical Research Guild (NRG) is just right for you.
The Guild is a non-profit educational organization whose mission is to “Advance Ship Modeling Through Research”. We provide support to our members in their efforts to raise the quality of their model ships.
The Nautical Research Guild has published our world-renowned quarterly magazine, The Nautical Research Journal, since 1955. The pages of the Journal are full of articles by accomplished ship modelers who show you how they create those exquisite details on their models, and by maritime historians who show you the correct details to build. The Journal is available in both print and digital editions. Go to the NRG web site (www.thenrg.org) to download a complimentary digital copy of the Journal. The NRG also publishes plan sets, books and compilations of back issues of the Journal and the former Ships in Scale and Model Ship Builder magazines.


.png.ee1ff91c5e8b1bb5509e1b8f703128b0.png)
