HOLIDAY DONATION DRIVE - SUPPORT MSW - DO YOUR PART TO KEEP THIS GREAT FORUM GOING! (Only 64 donations so far out of 49,000 members - C'mon guys!)
×


Mldixon
-
Posts
152 -
Joined
-
Last visited
Content Type
Profiles
Forums
Gallery
Events
Everything posted by Mldixon
-
Thanks, I guess I'll press on with the planking and see how I feel about it when completed...at the very least I'll get some more experience...
-
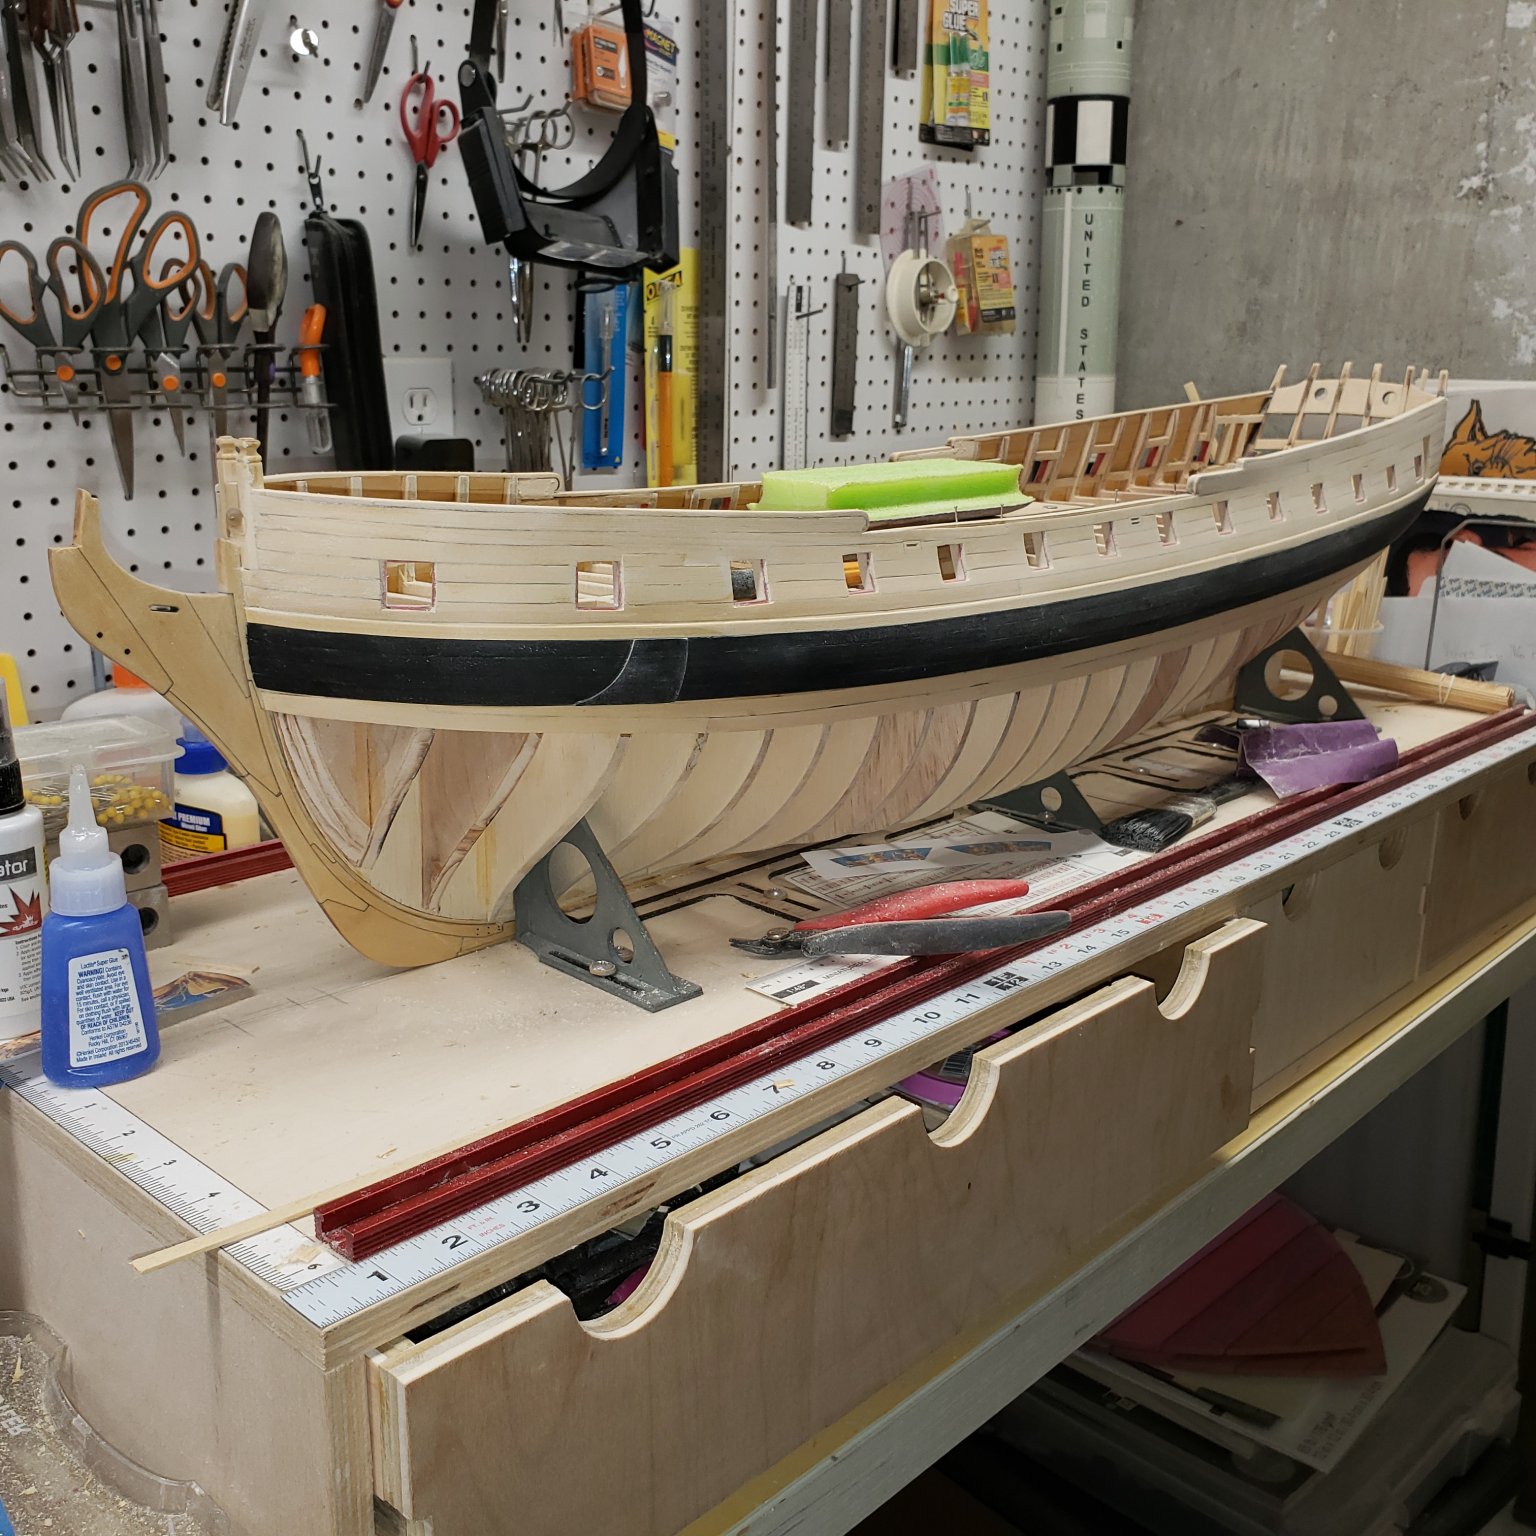
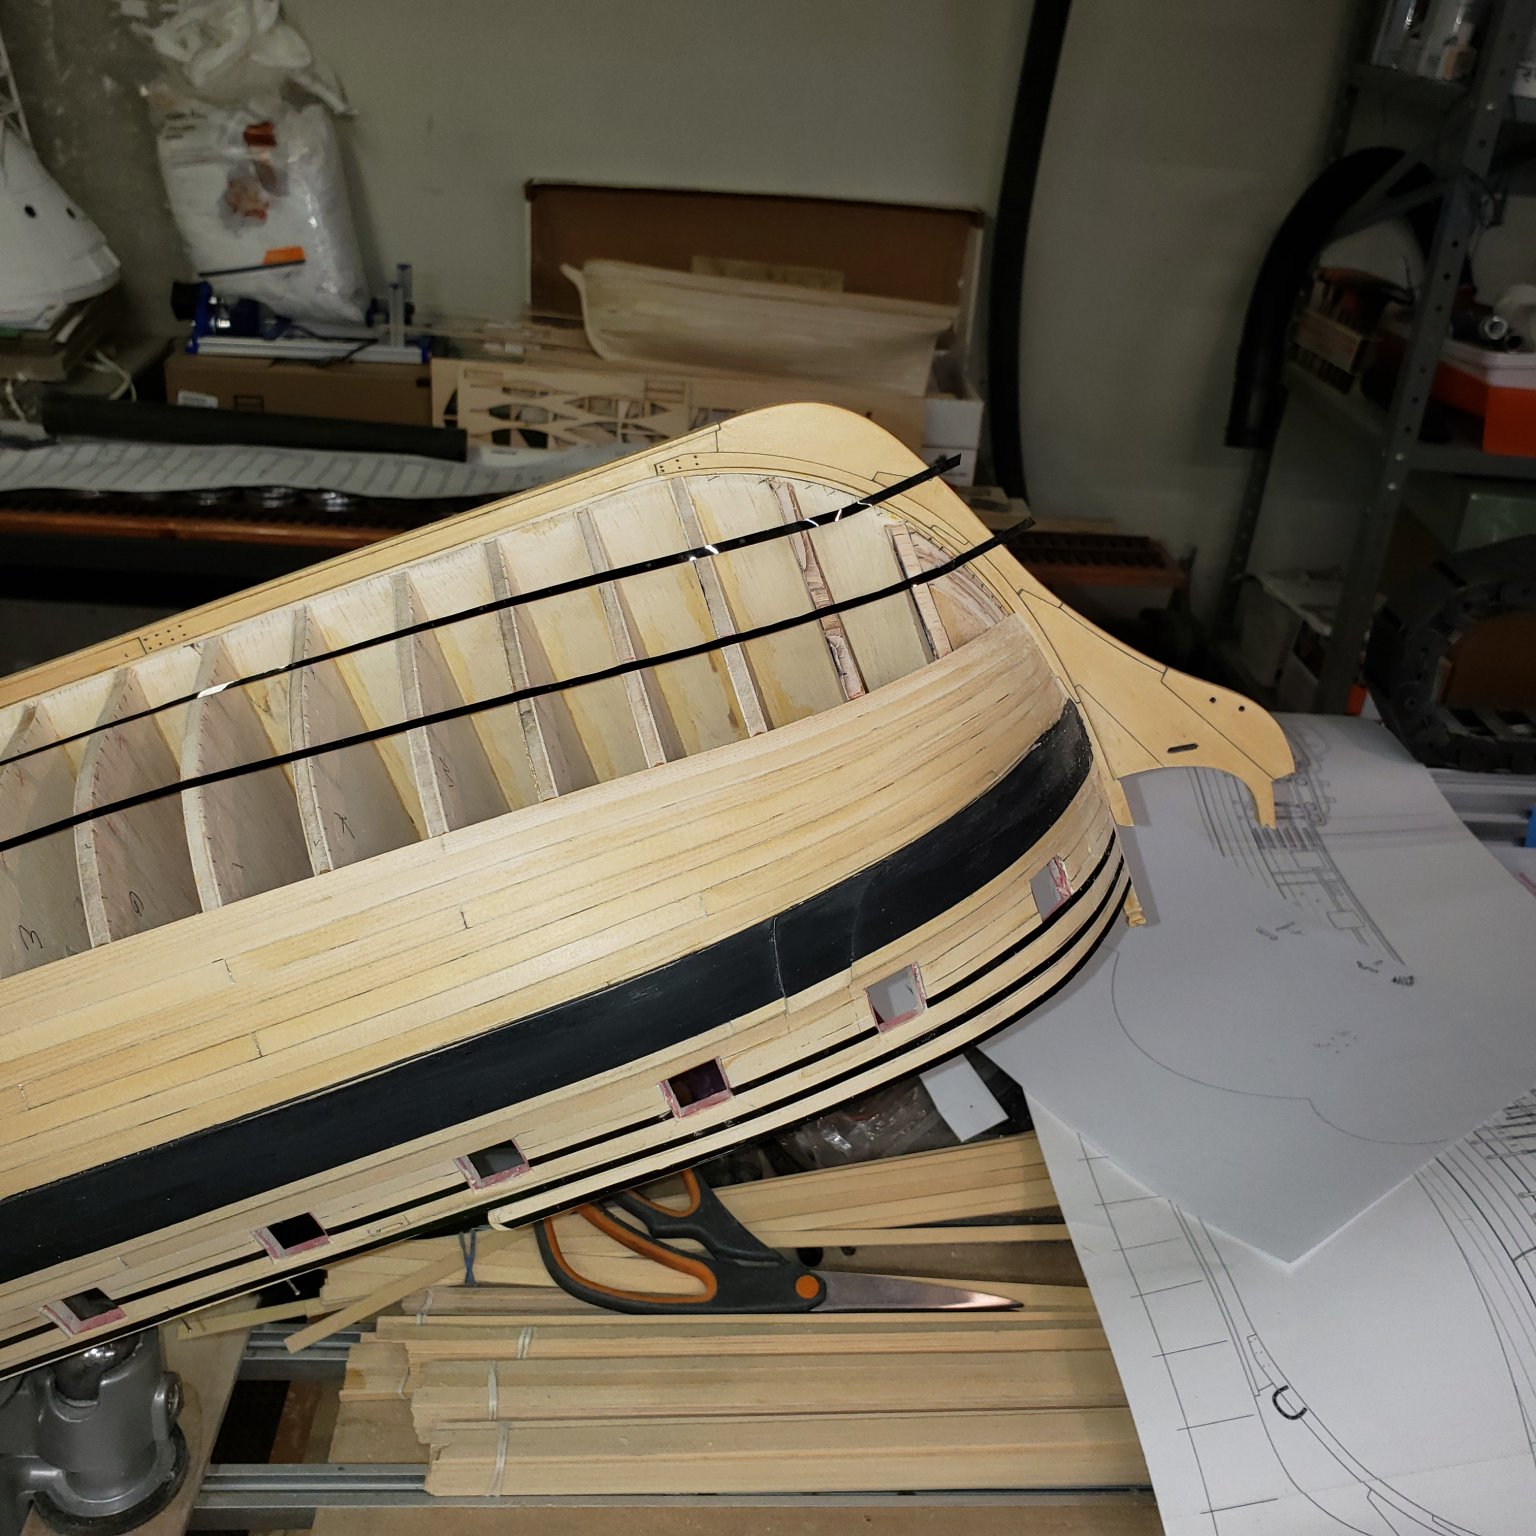
I've been moving along..but I am not very happy with the Hull planking. I am at a crossroads. I'm thinking about starting all over again from the beginning, I realize that we are out own worst critics, and in reality I will most likely be the only person who will see this after it is finished. So maybe it won't matter, but I have a lot invested in this and I am reluctant to move ahead with all those expensive parts on the stern. So maybe better to begin again.... Bottom of Hull as of today


-
I agree, so more sanding. Thanks for the heads up
-
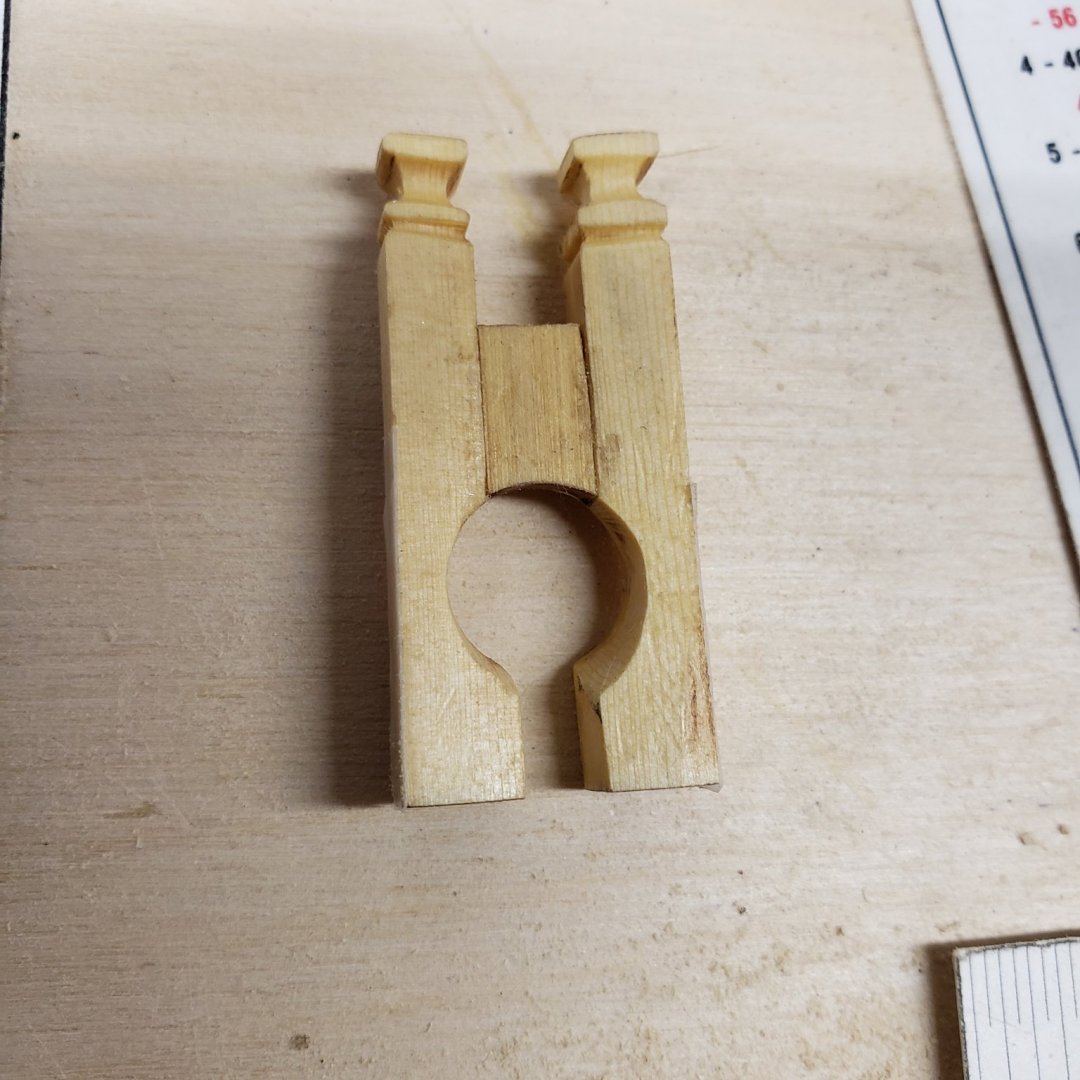
I decided to use this set of Bollards, second attempt needs a little refinement on the Bowsprit slot

-
Your planking is great, I'm starting down that road soon...I can only hope that mine is half as nice...😉
-
I bought a set of these. Best sanding solution I've seen. Thanks for the link, you're work is inspiring . These different build threads are really useful in avoiding traps and scraps...
- 607 replies
-
- 4
-

-
- winchelsea
- Syren Ship Model Company
- (and 1 more)
-
Thanks, I only wish I would've started with this , sanding symmetrical sides can be very challenging. Trust me I'm no expert😉
-
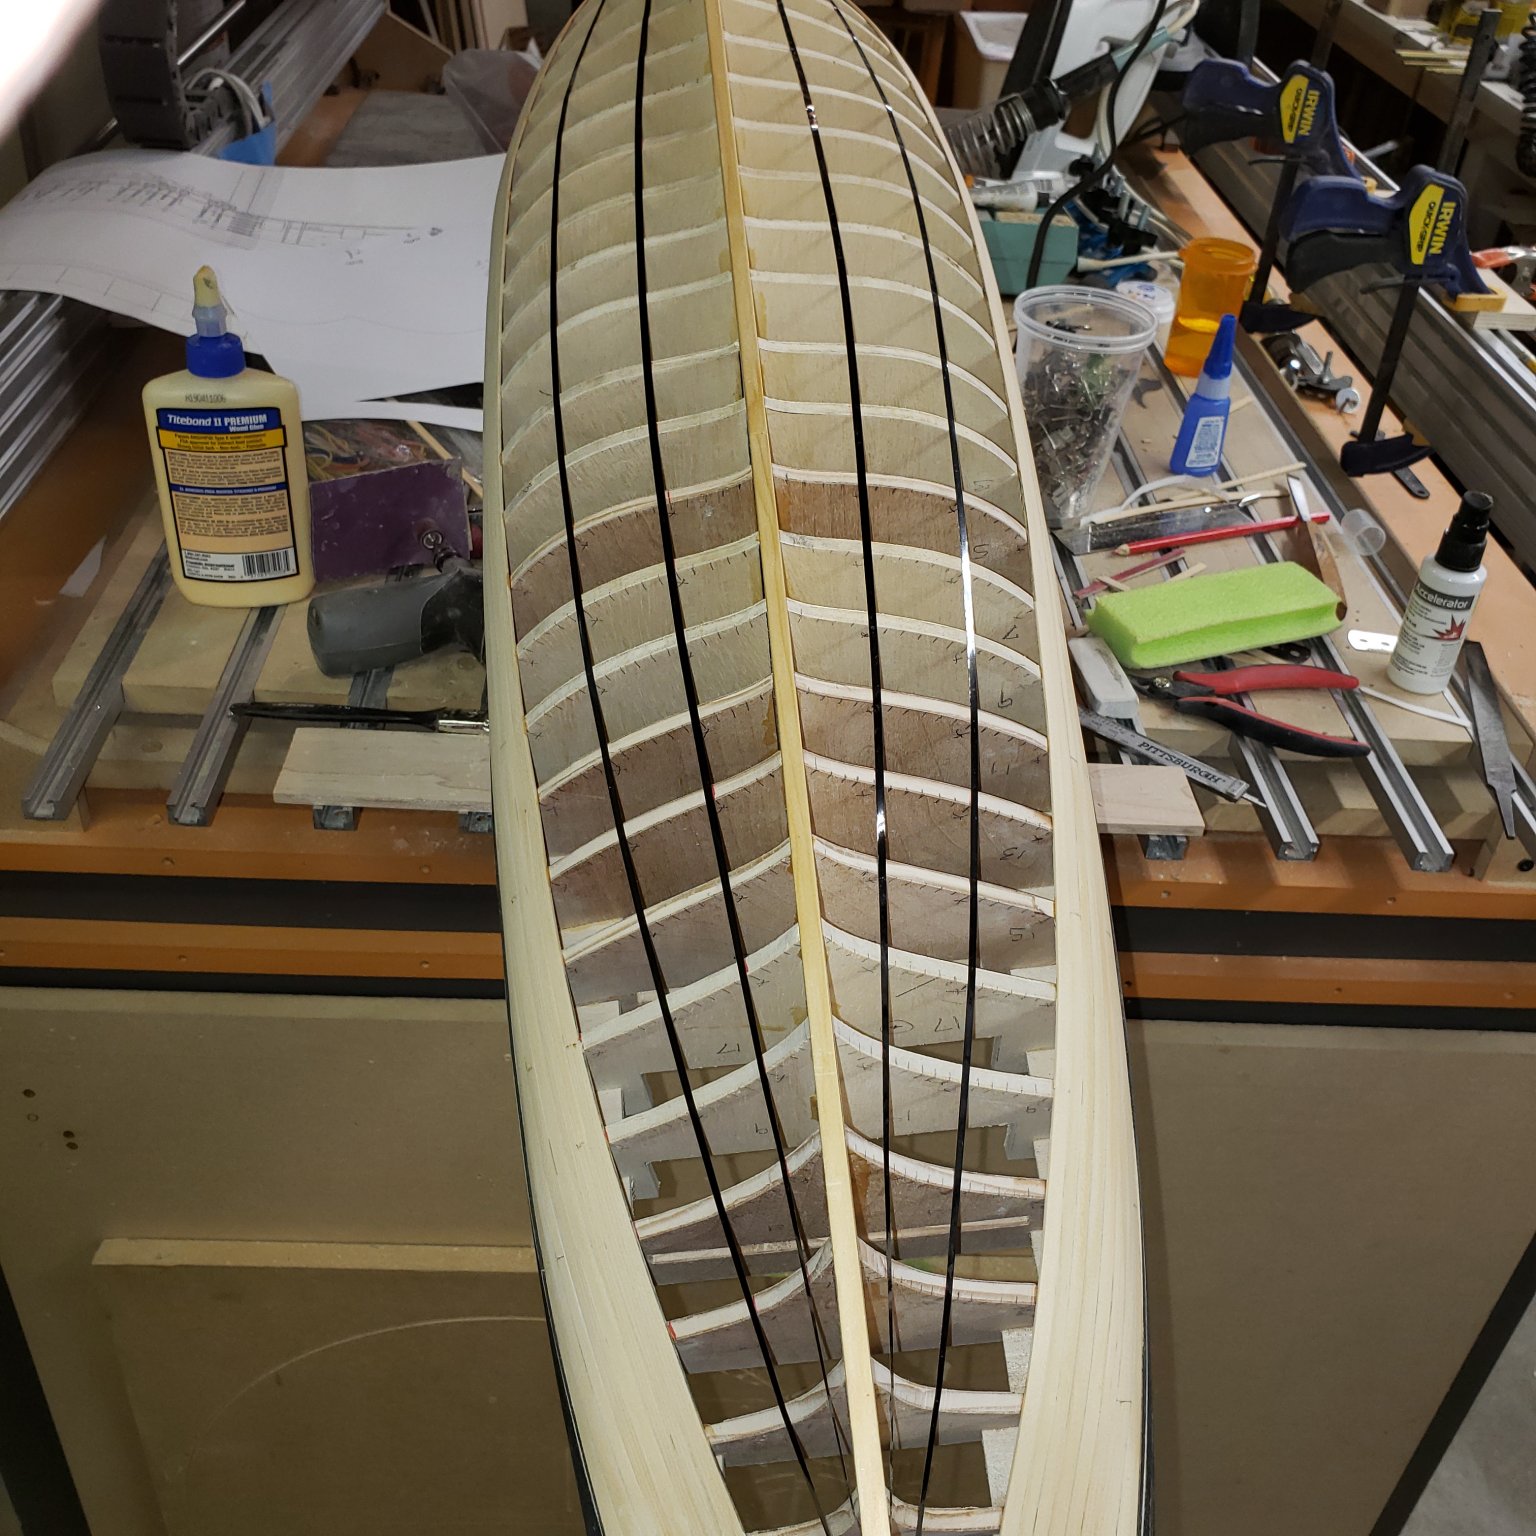
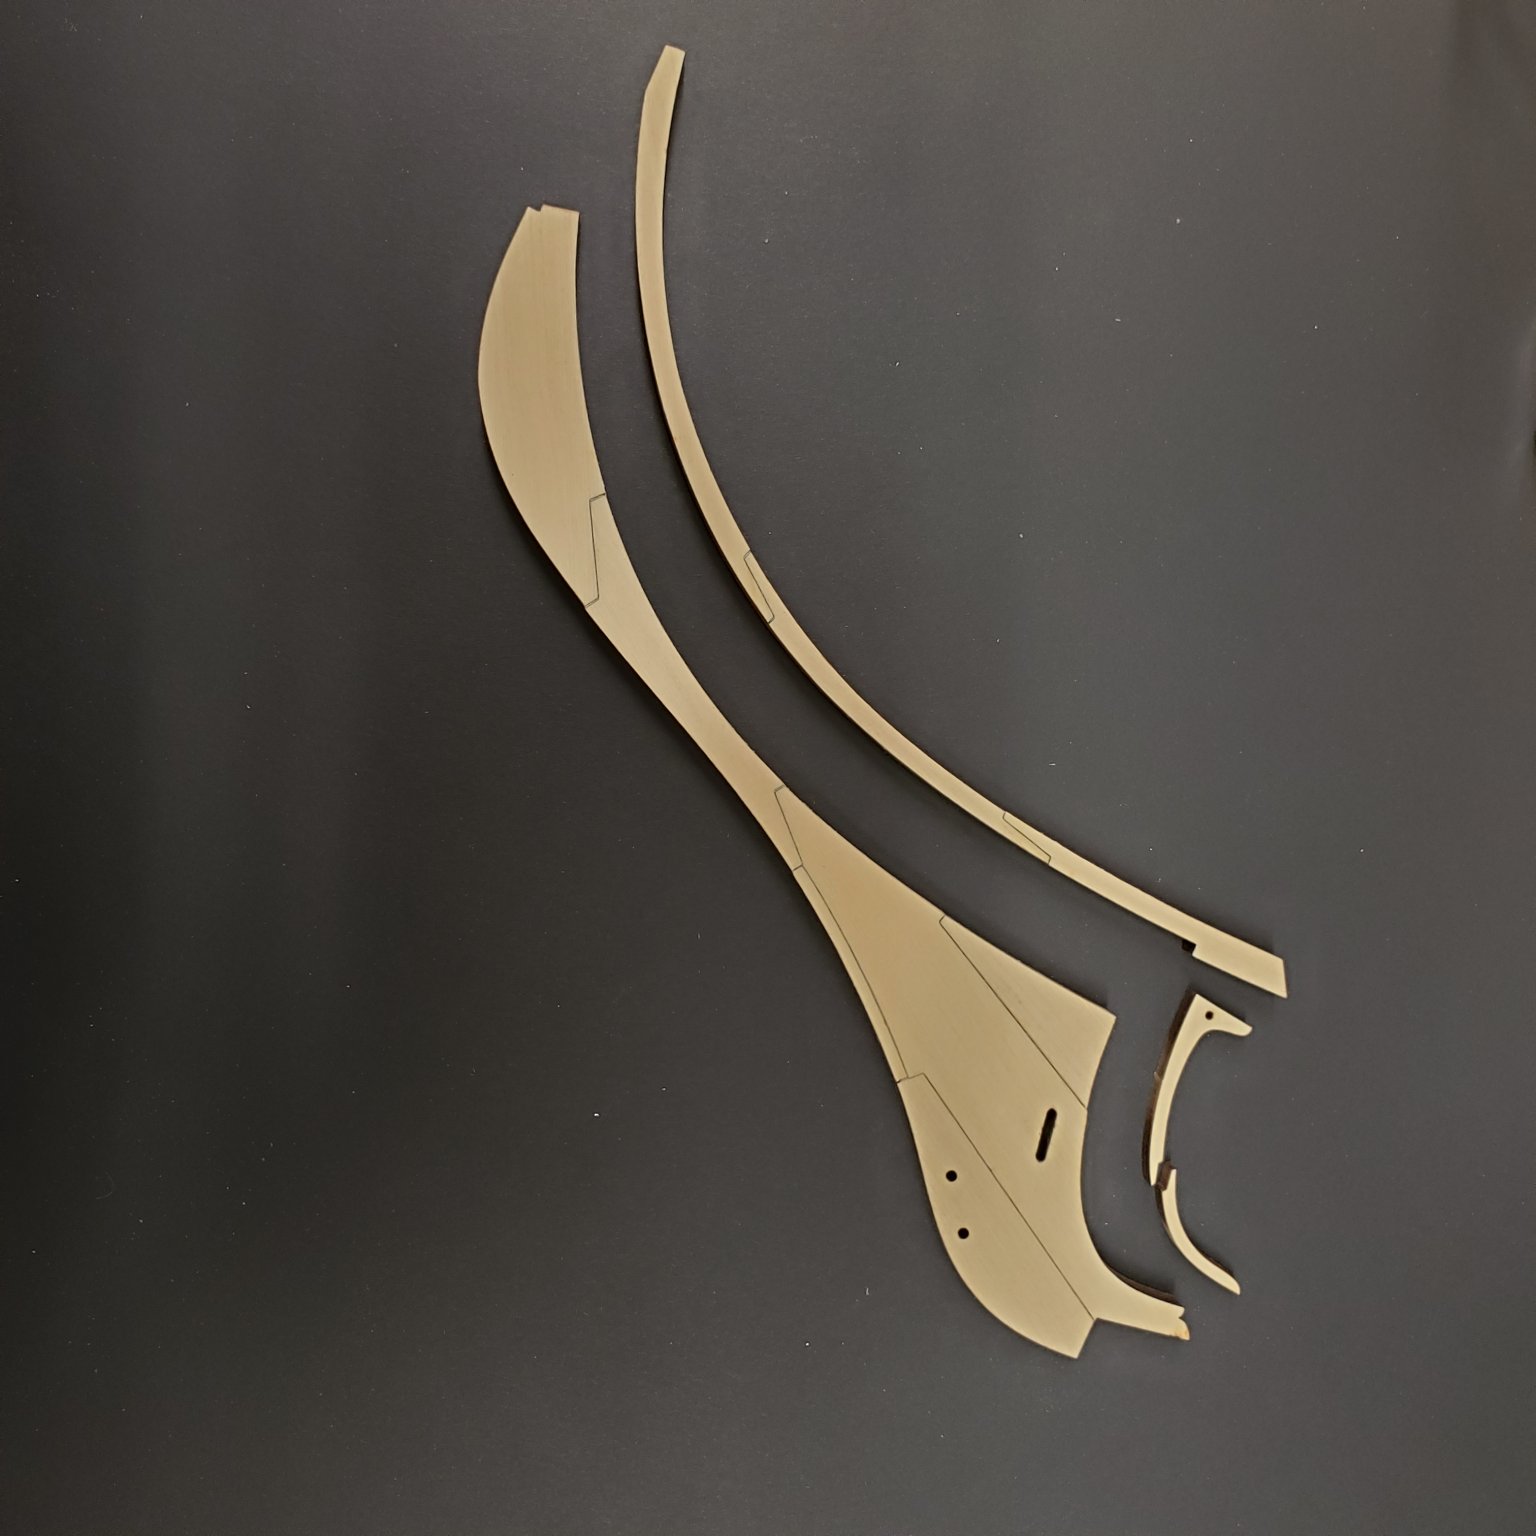
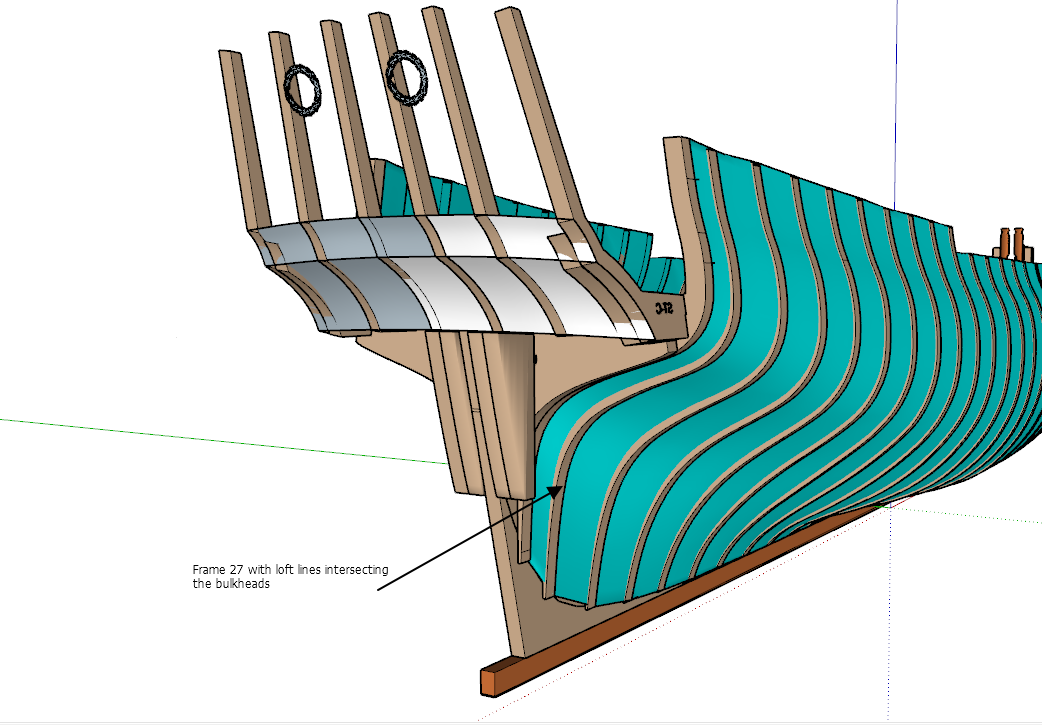
I make it a habit to build most of my models in 3d so I can see the sequence before I start building. I went ahead and lofted the lines of the bulkheads to scale and then intersected then with the model, this resulted in getting a template of the sanding profiles so you could sand just short of the lines and save a lot of time....which I didn't do... Anyway I might just start a second hull and use this method to see if it makes a huge difference. This is what the template looks like for bulkhead 27
.png.4bcbc91ab989970544903a42205eddff.png)
.png.6ad865863e83b9acb5d206b242f0bca3.png)
.png.e54a656e8cf9440ecedfbb12bd0e8f5f.png)
-
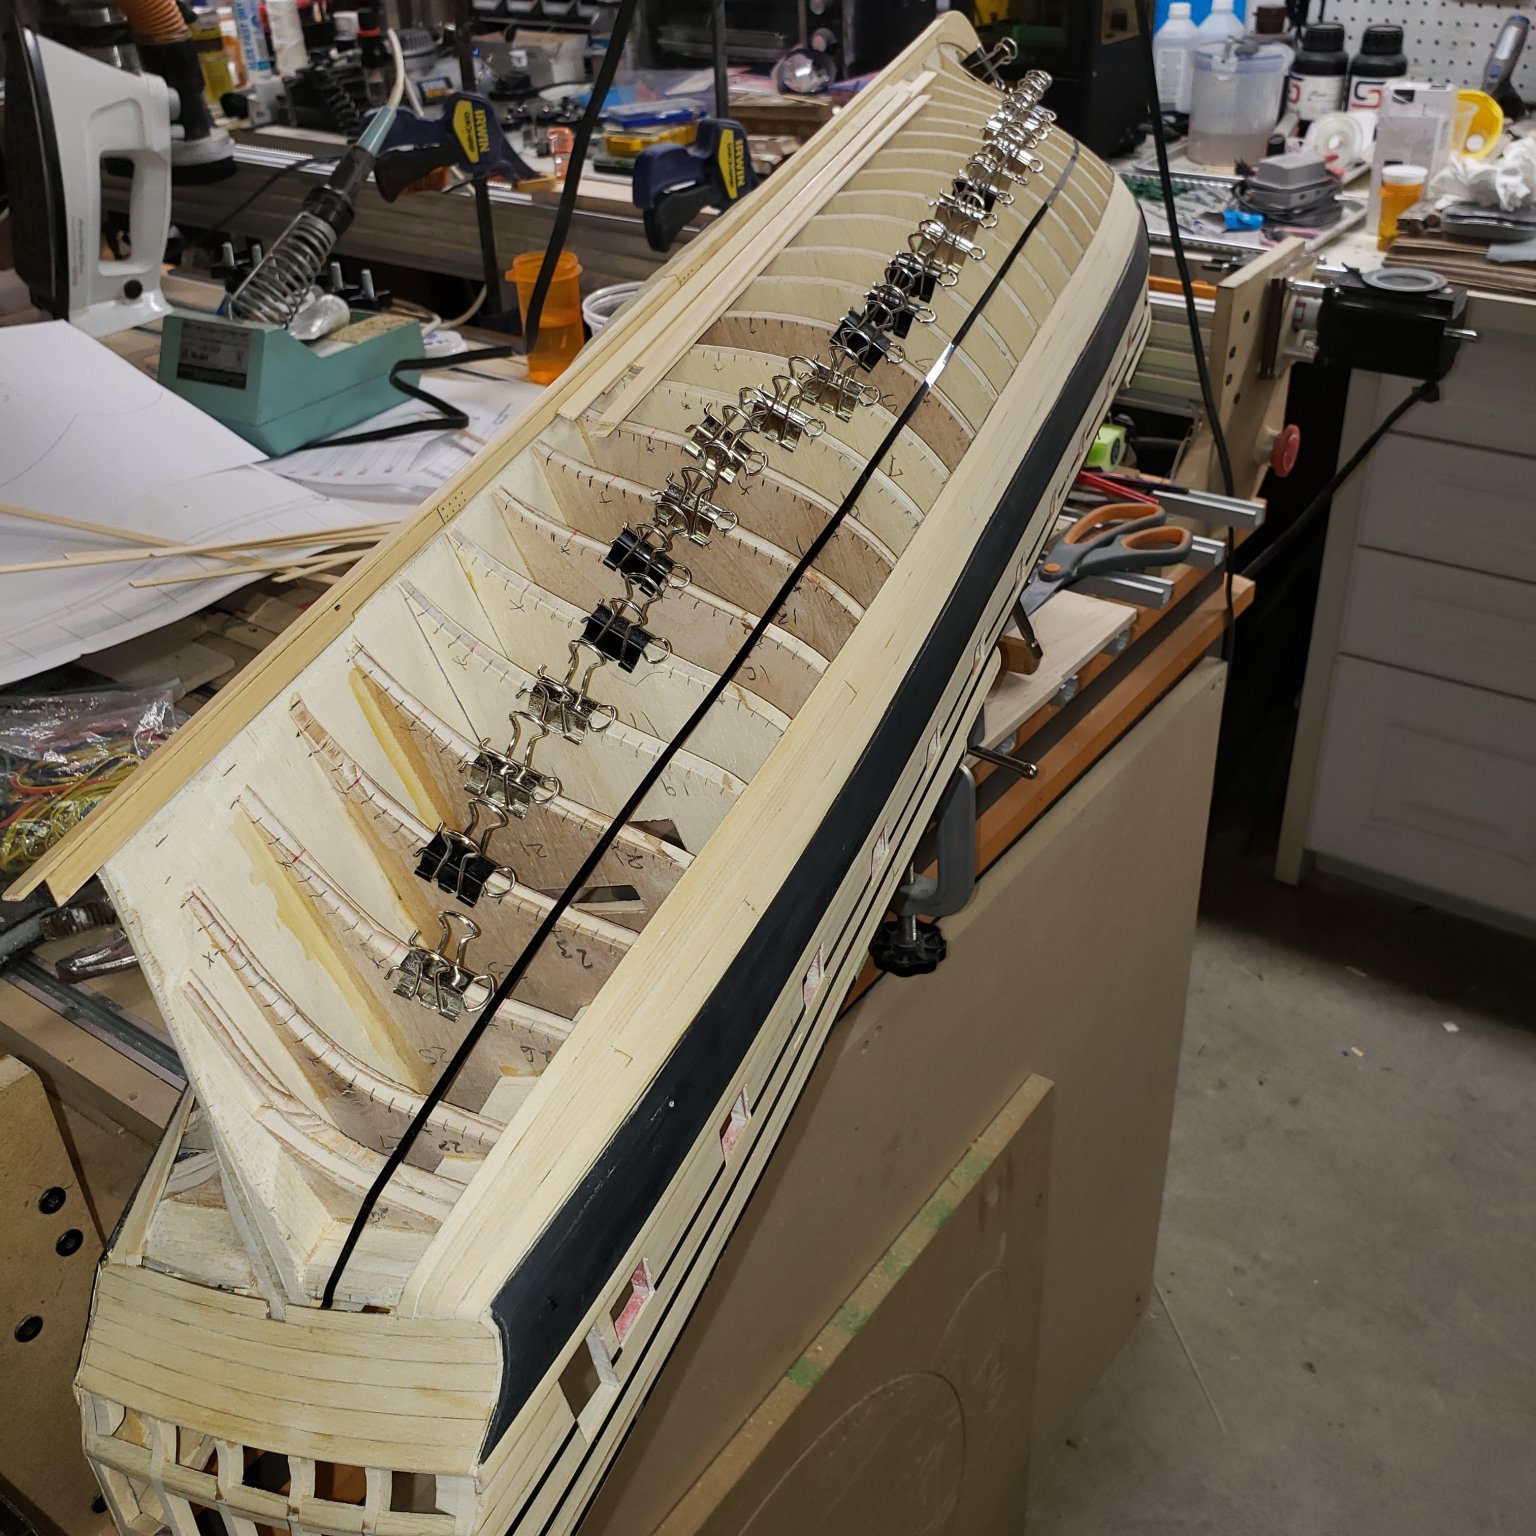
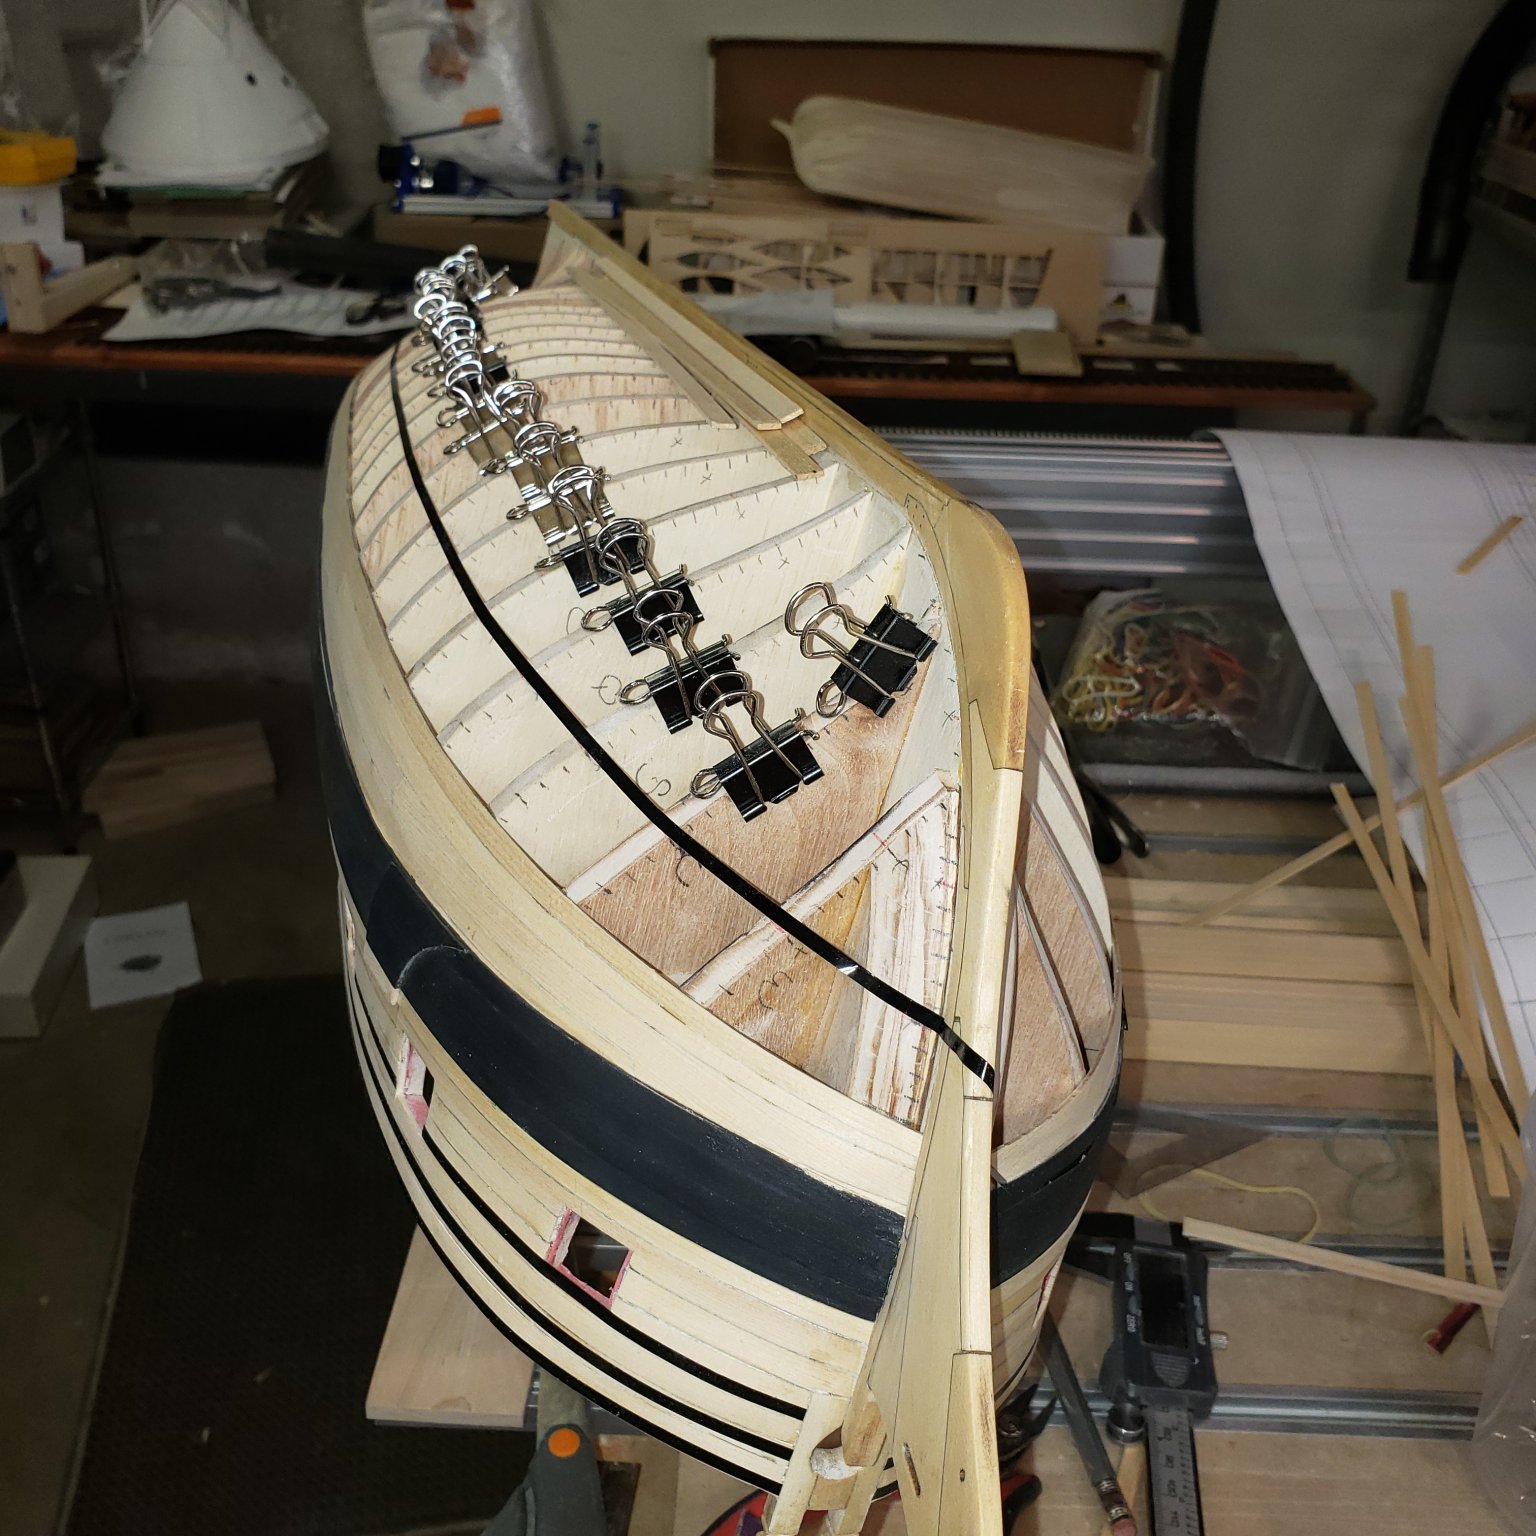
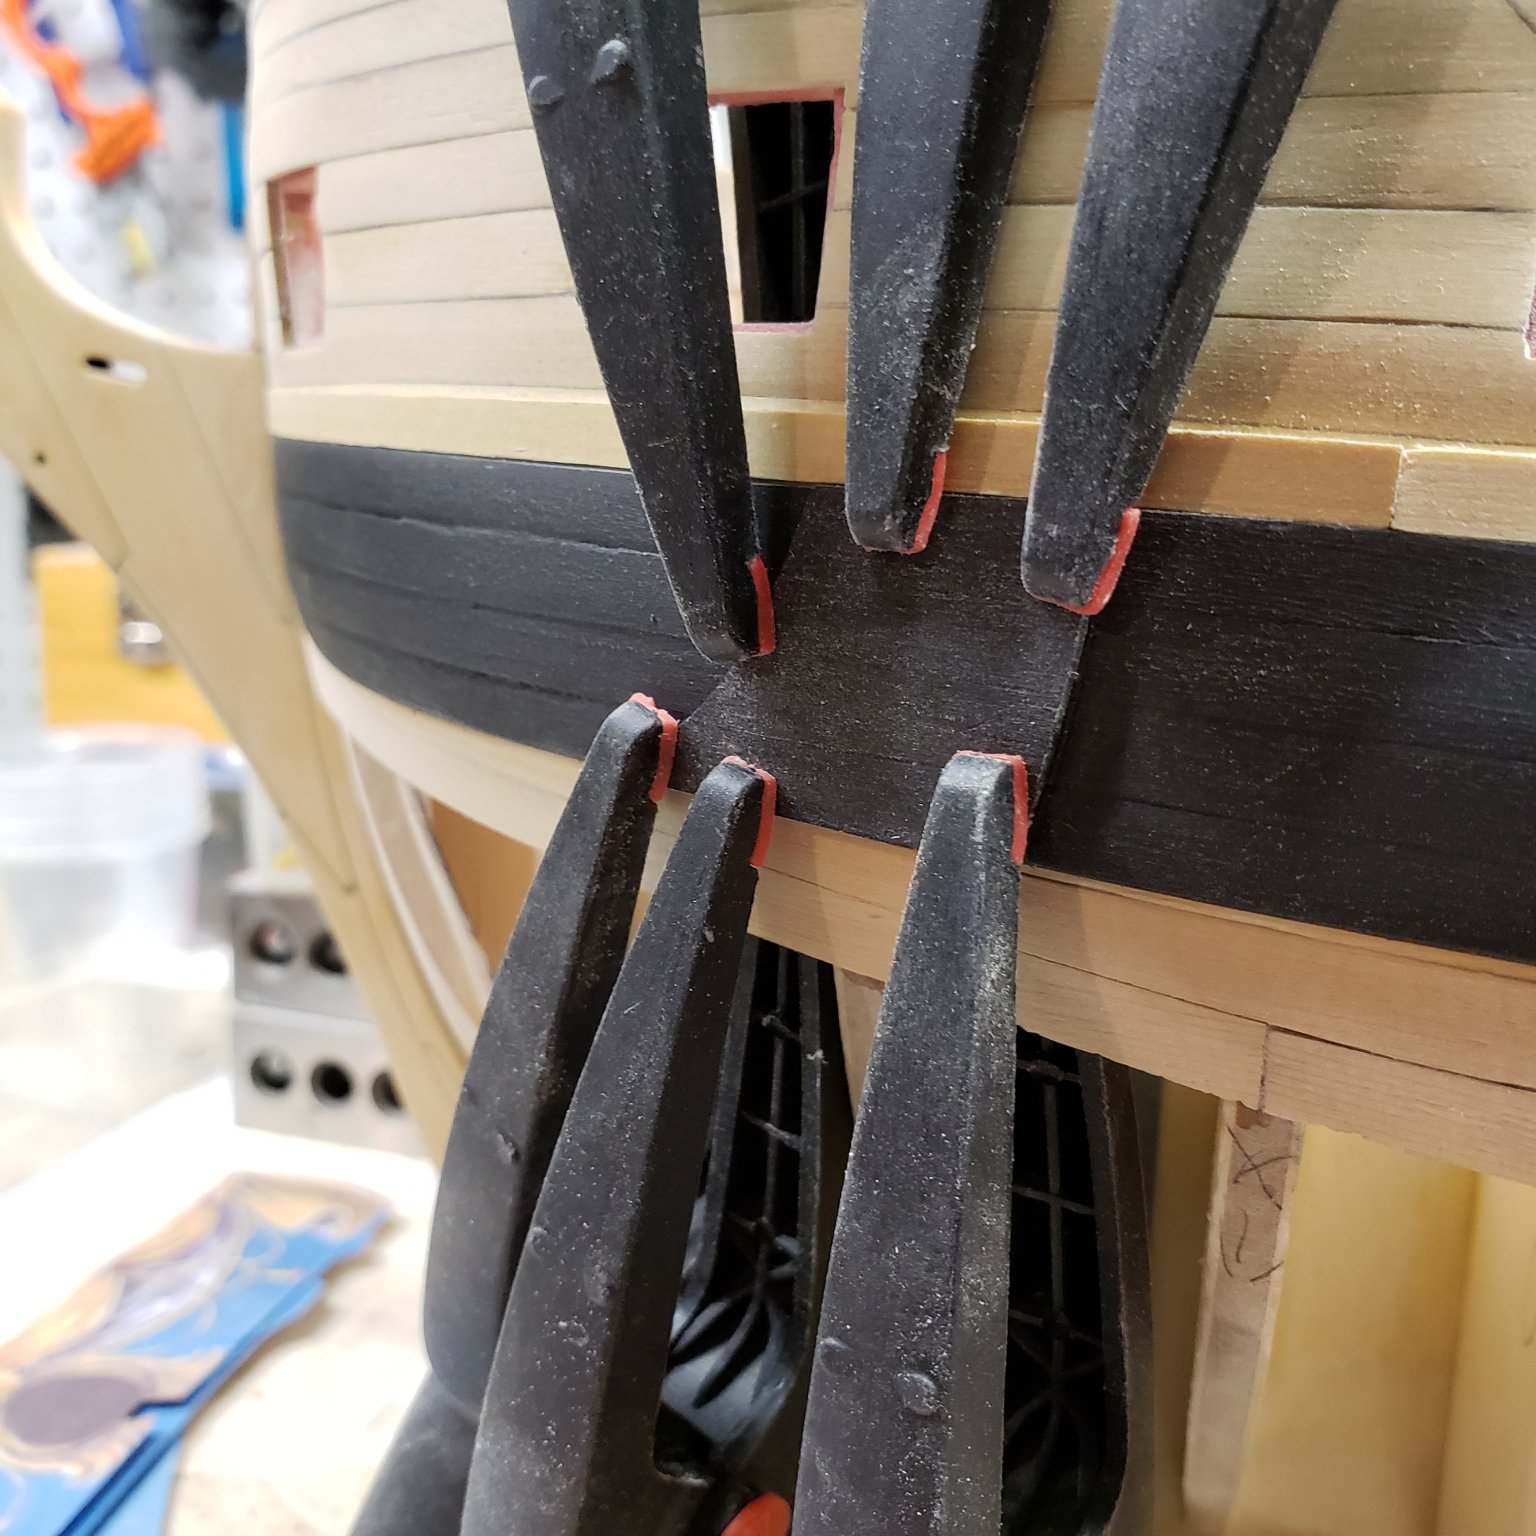
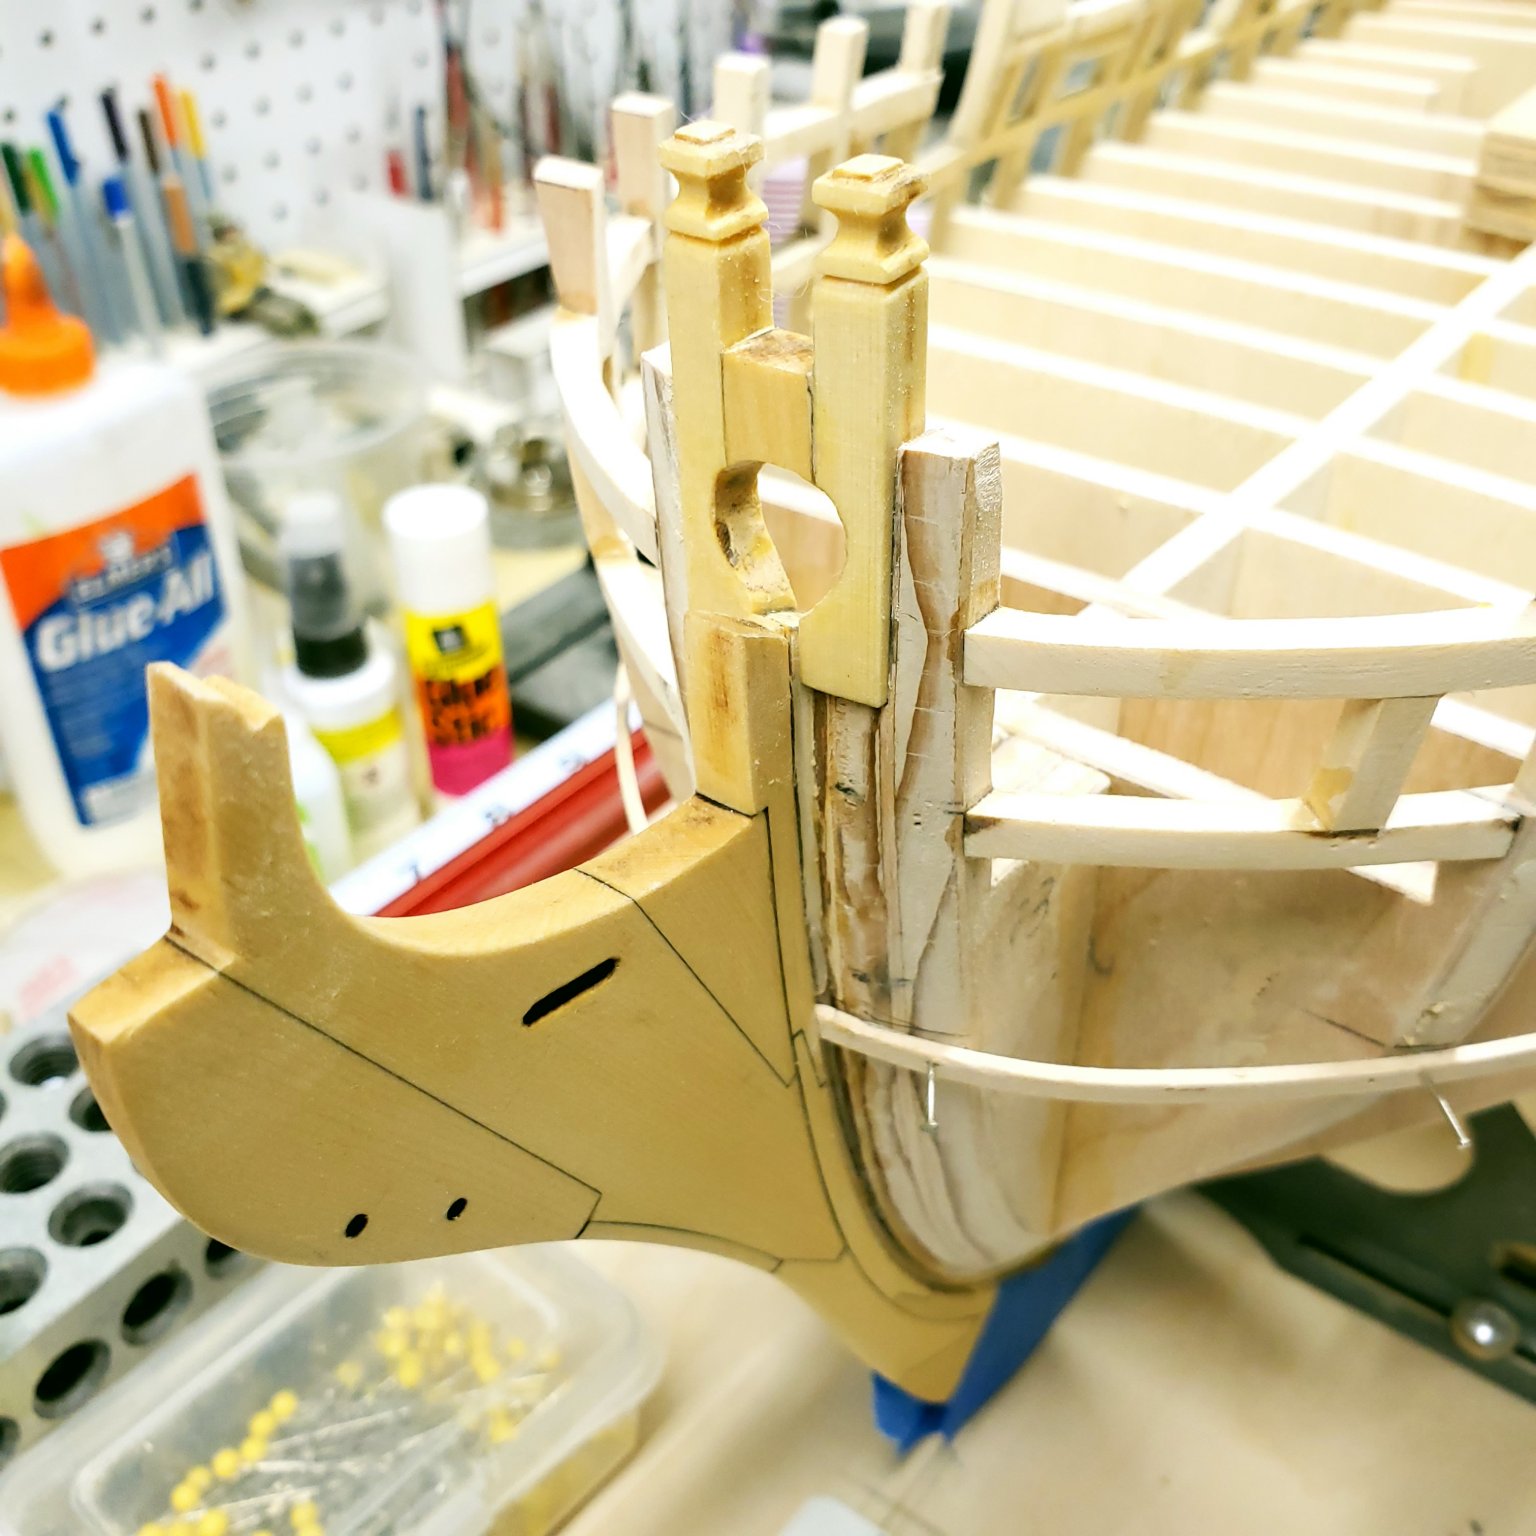
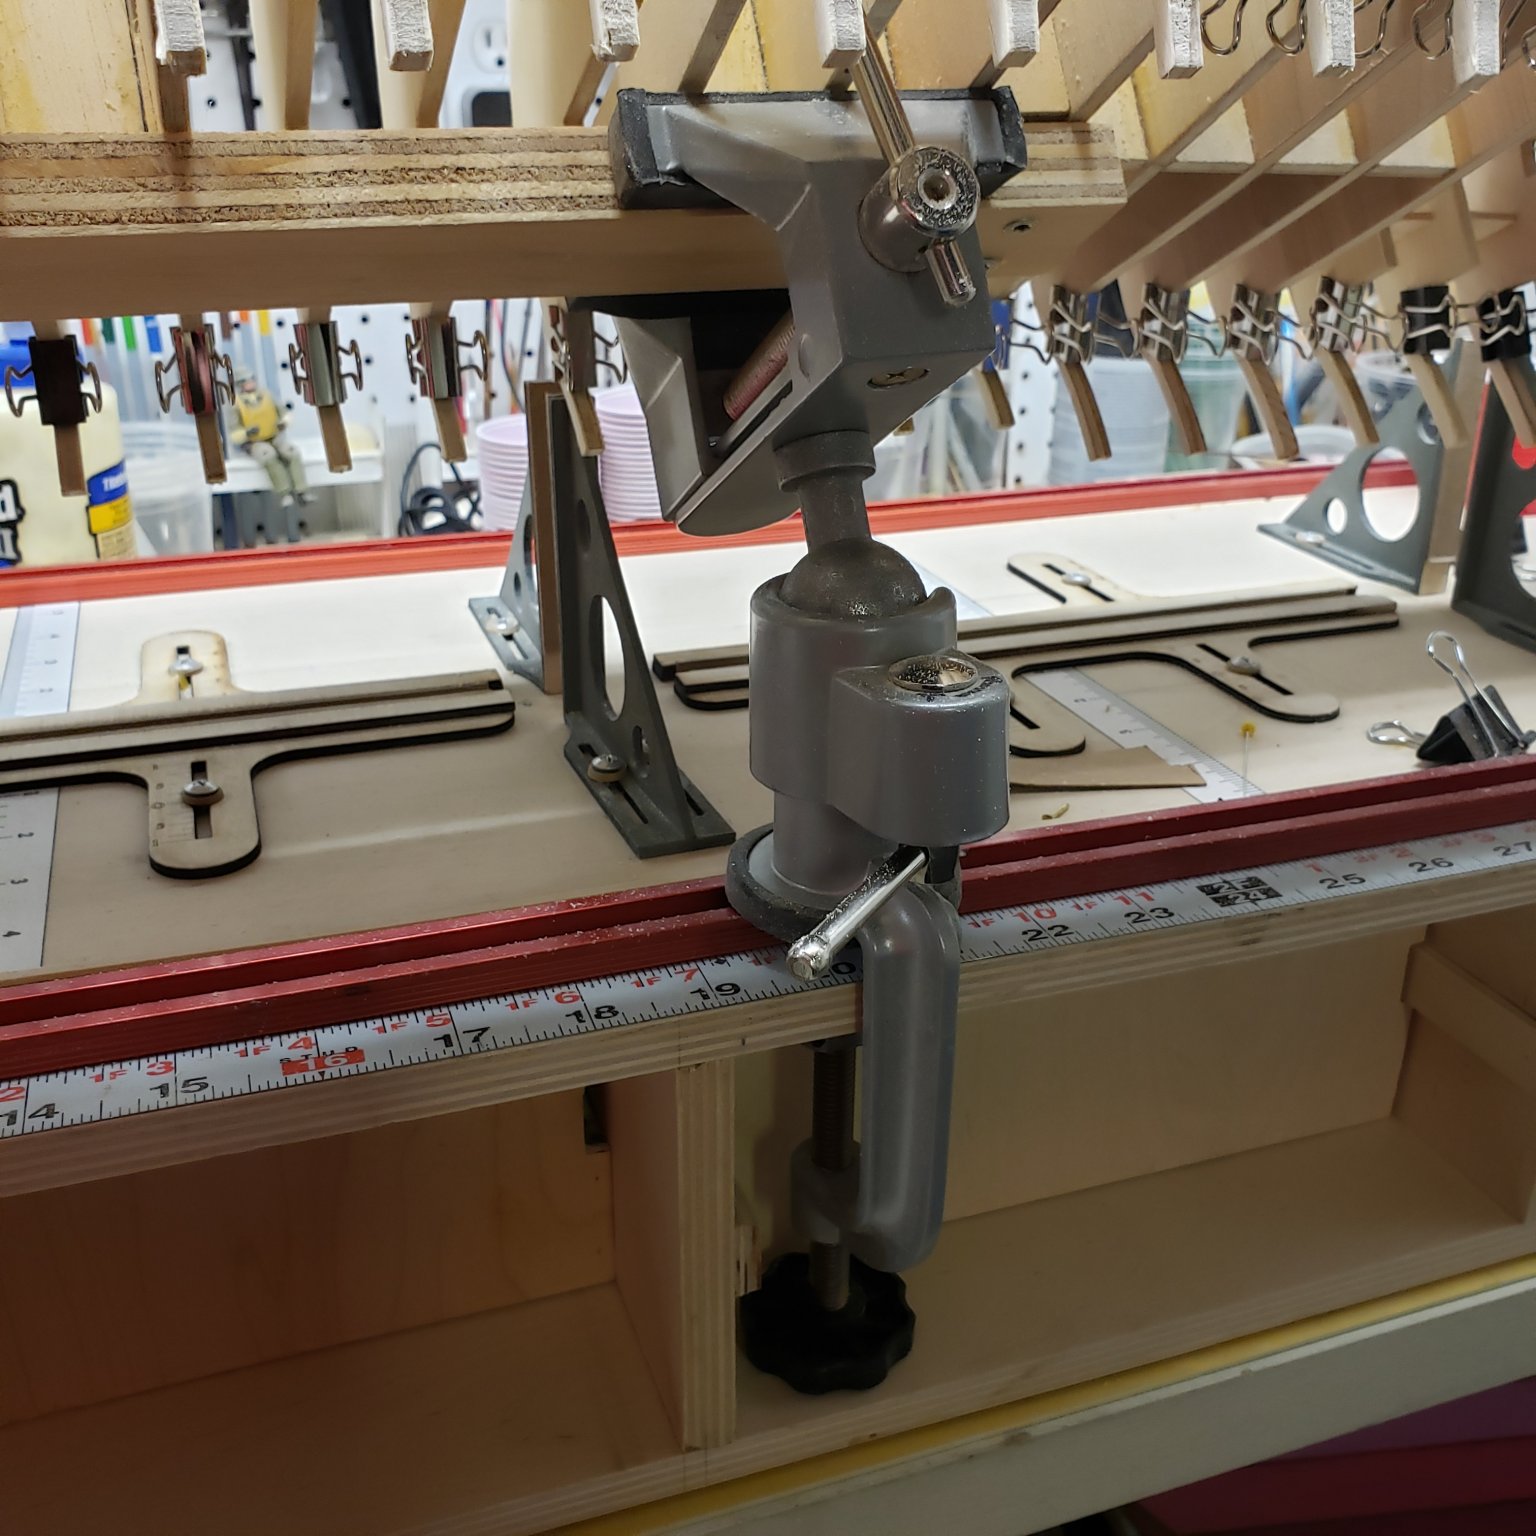
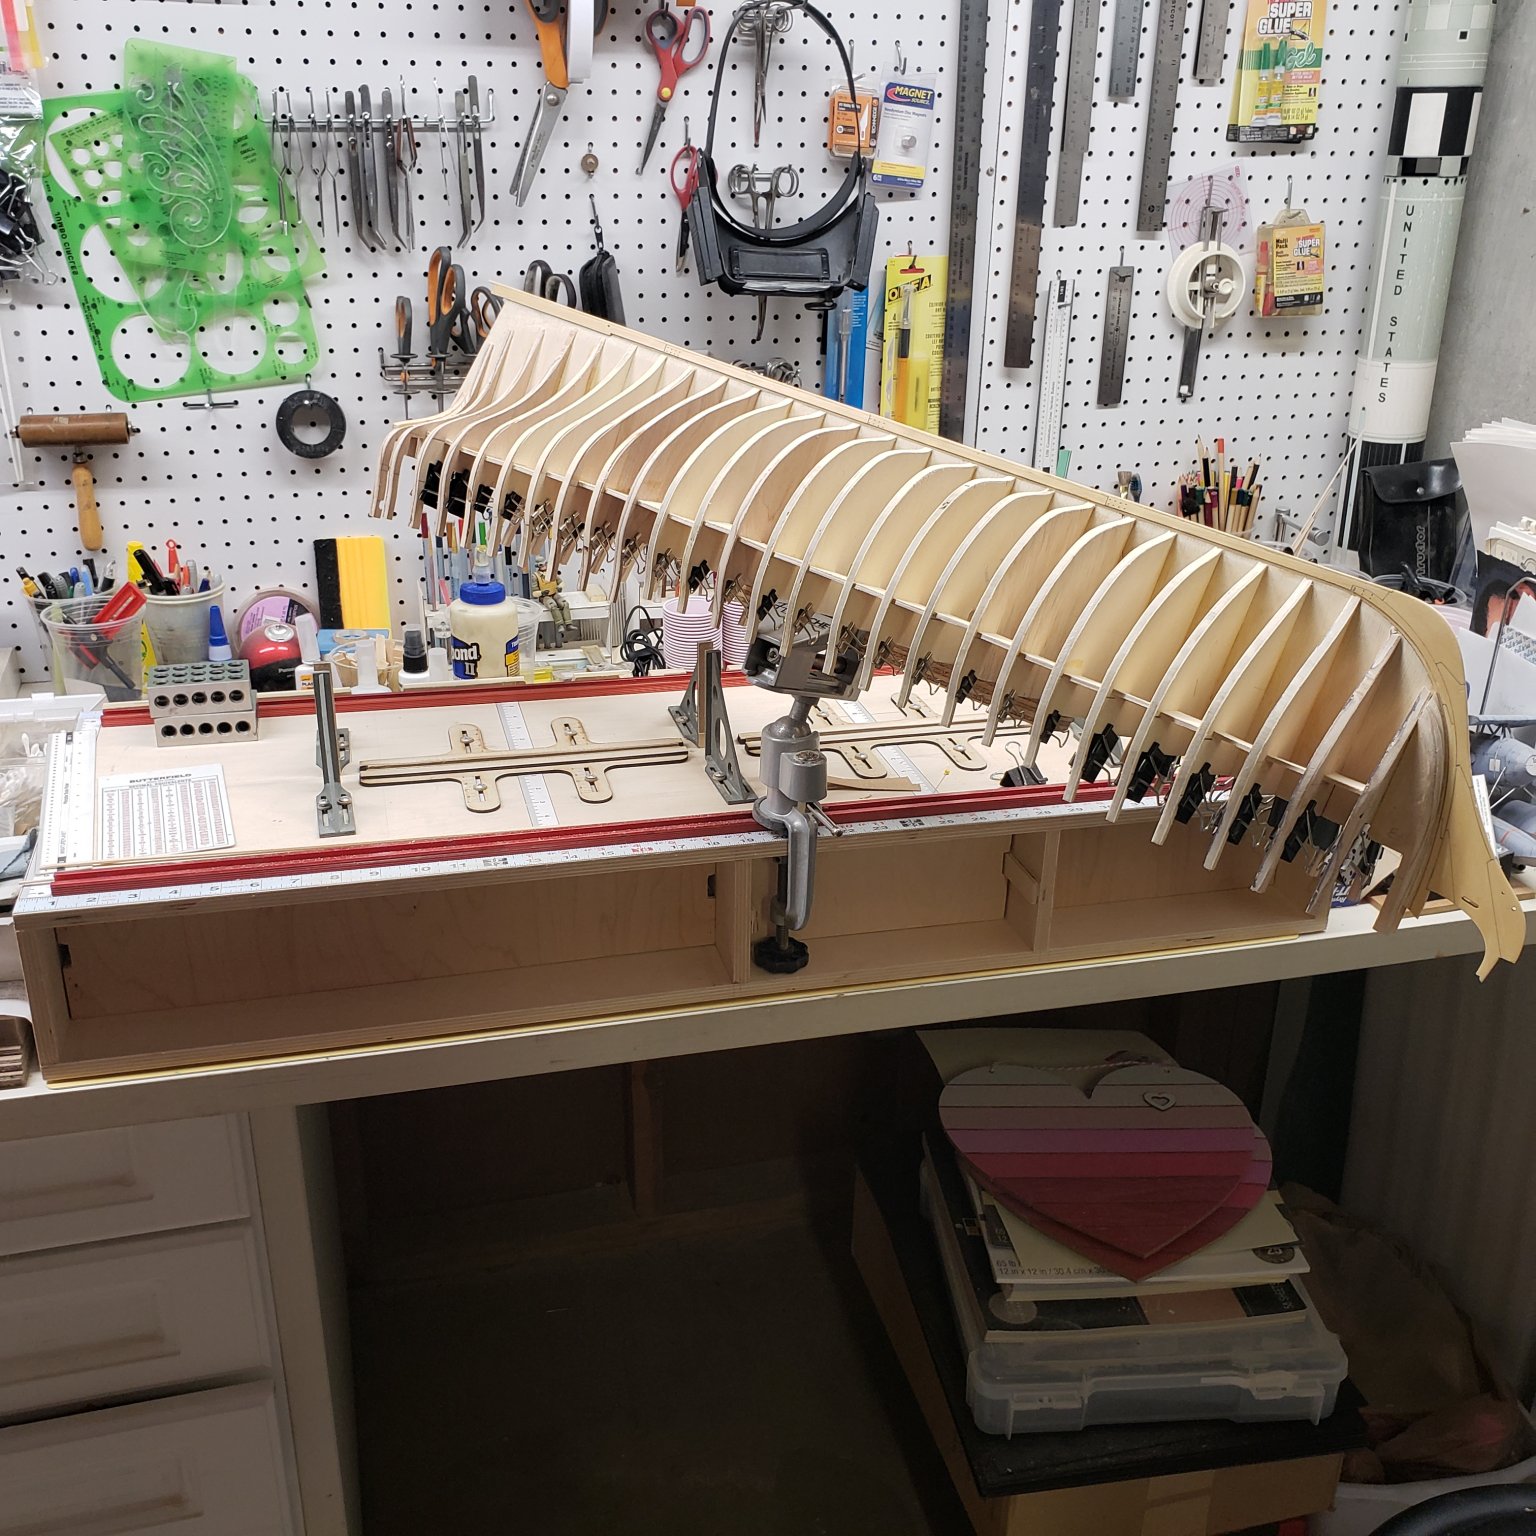
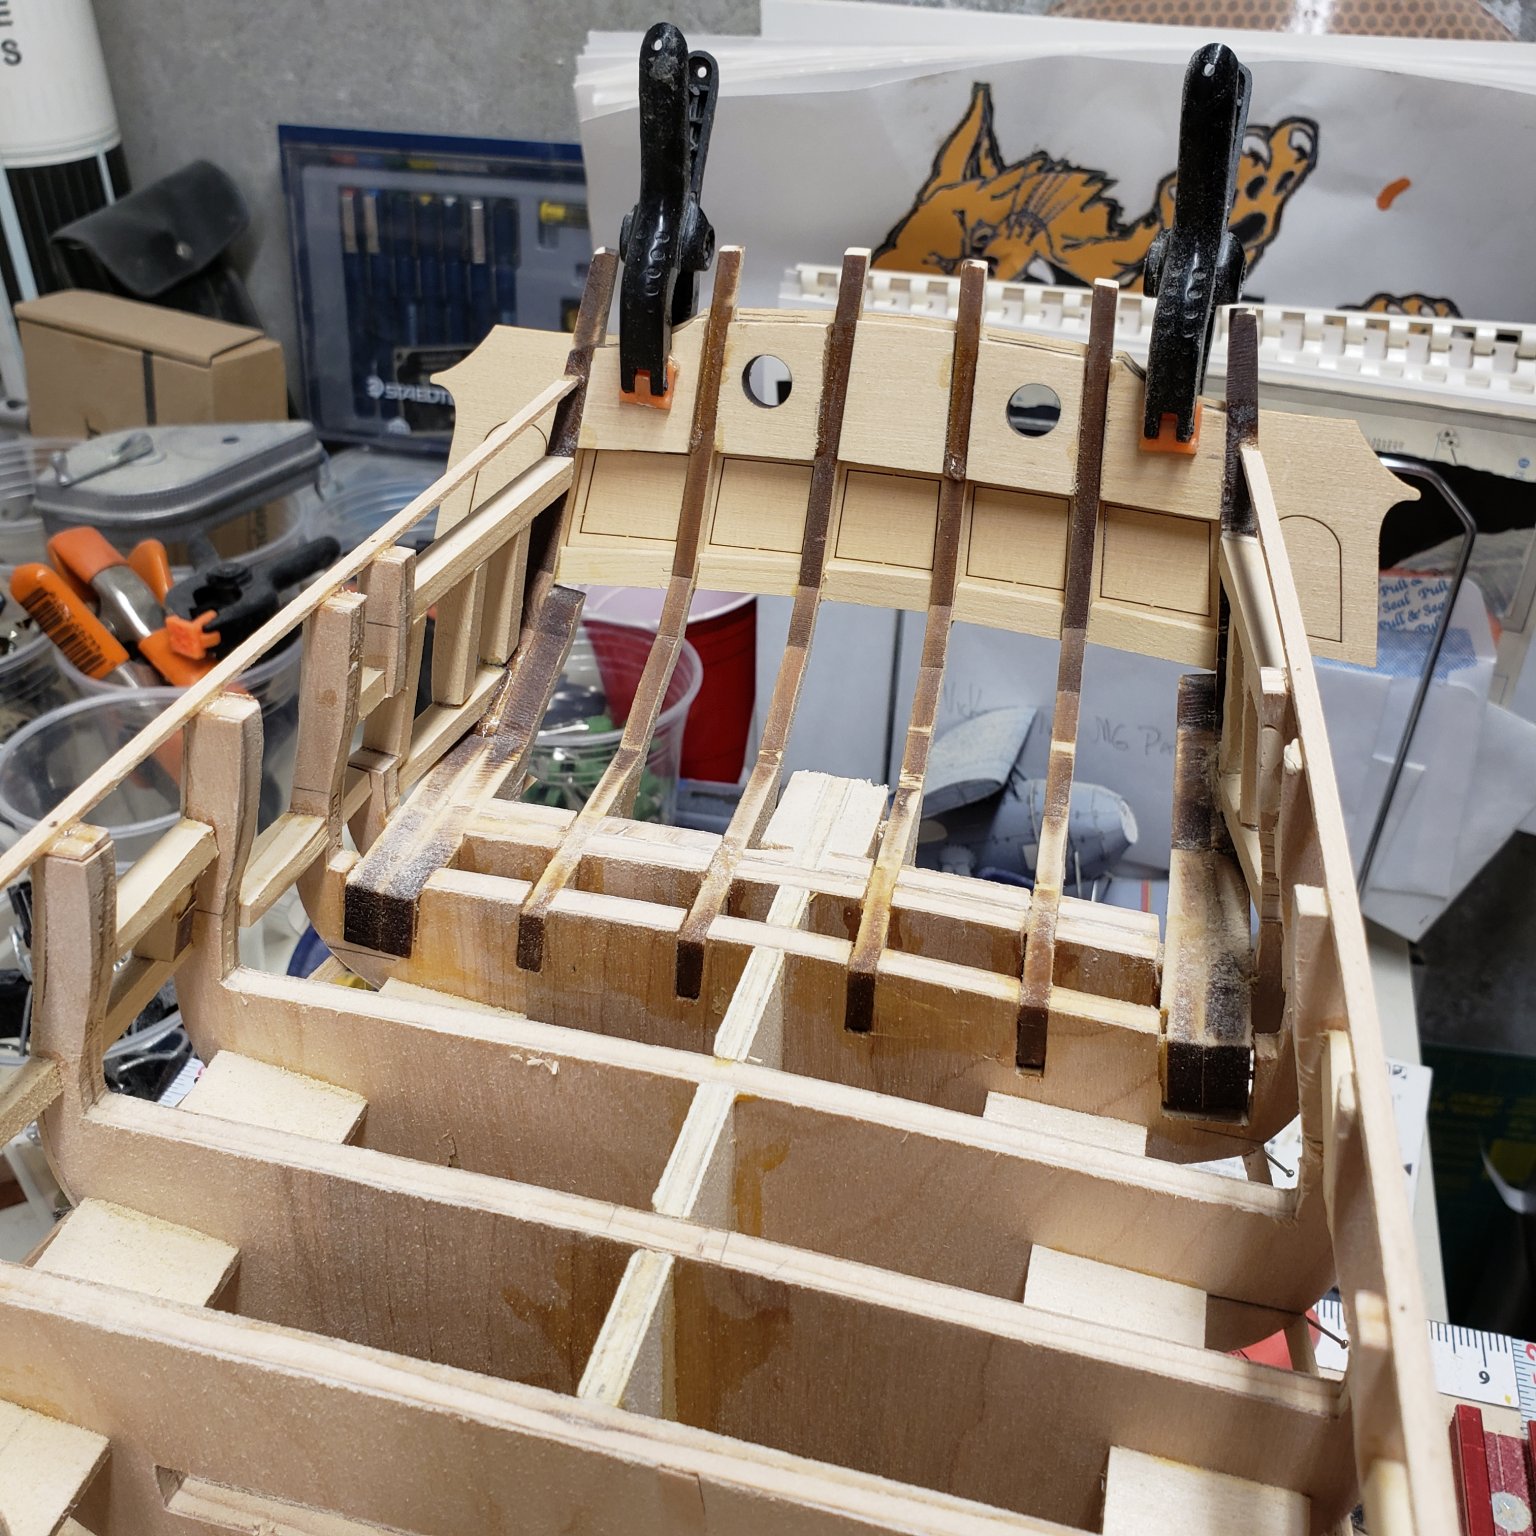
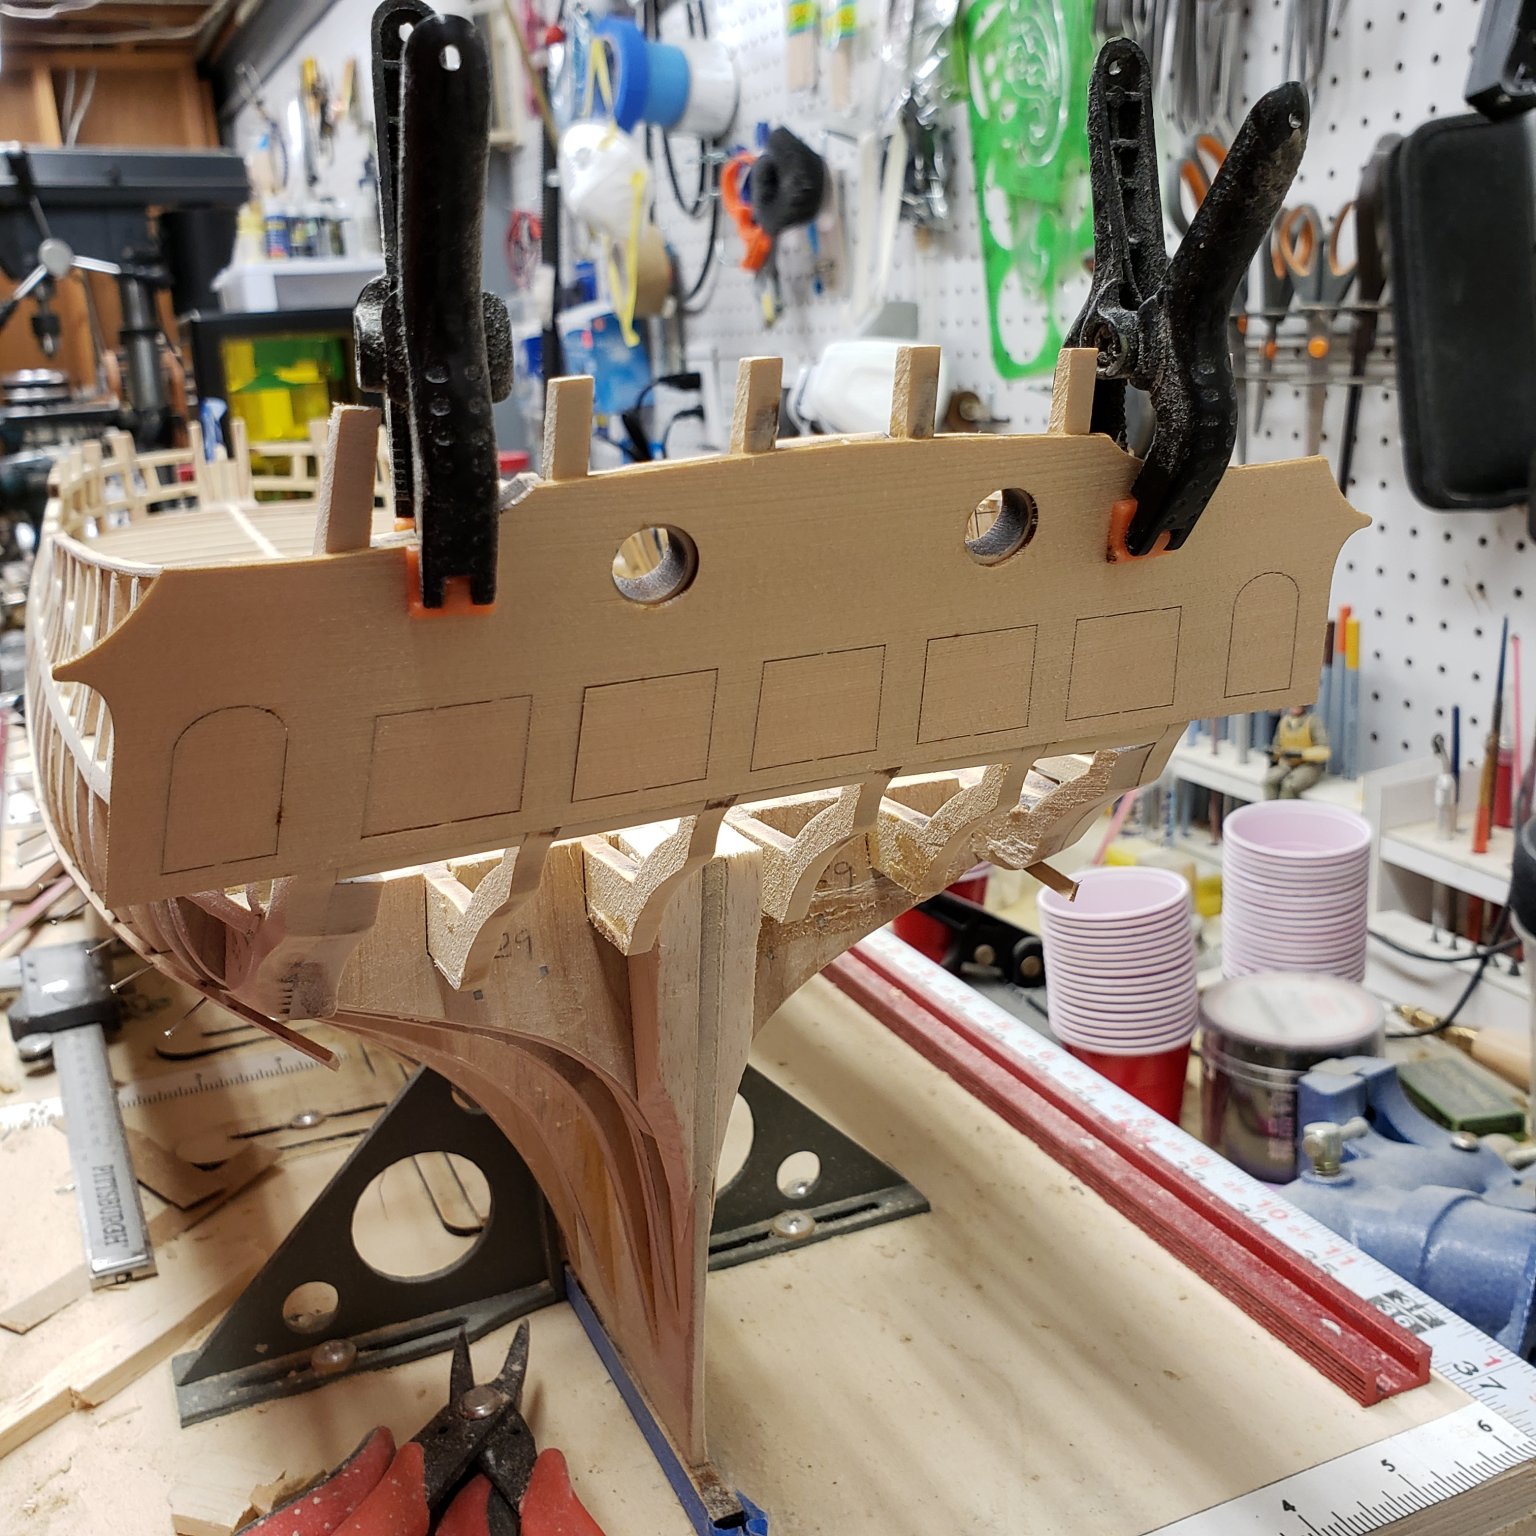
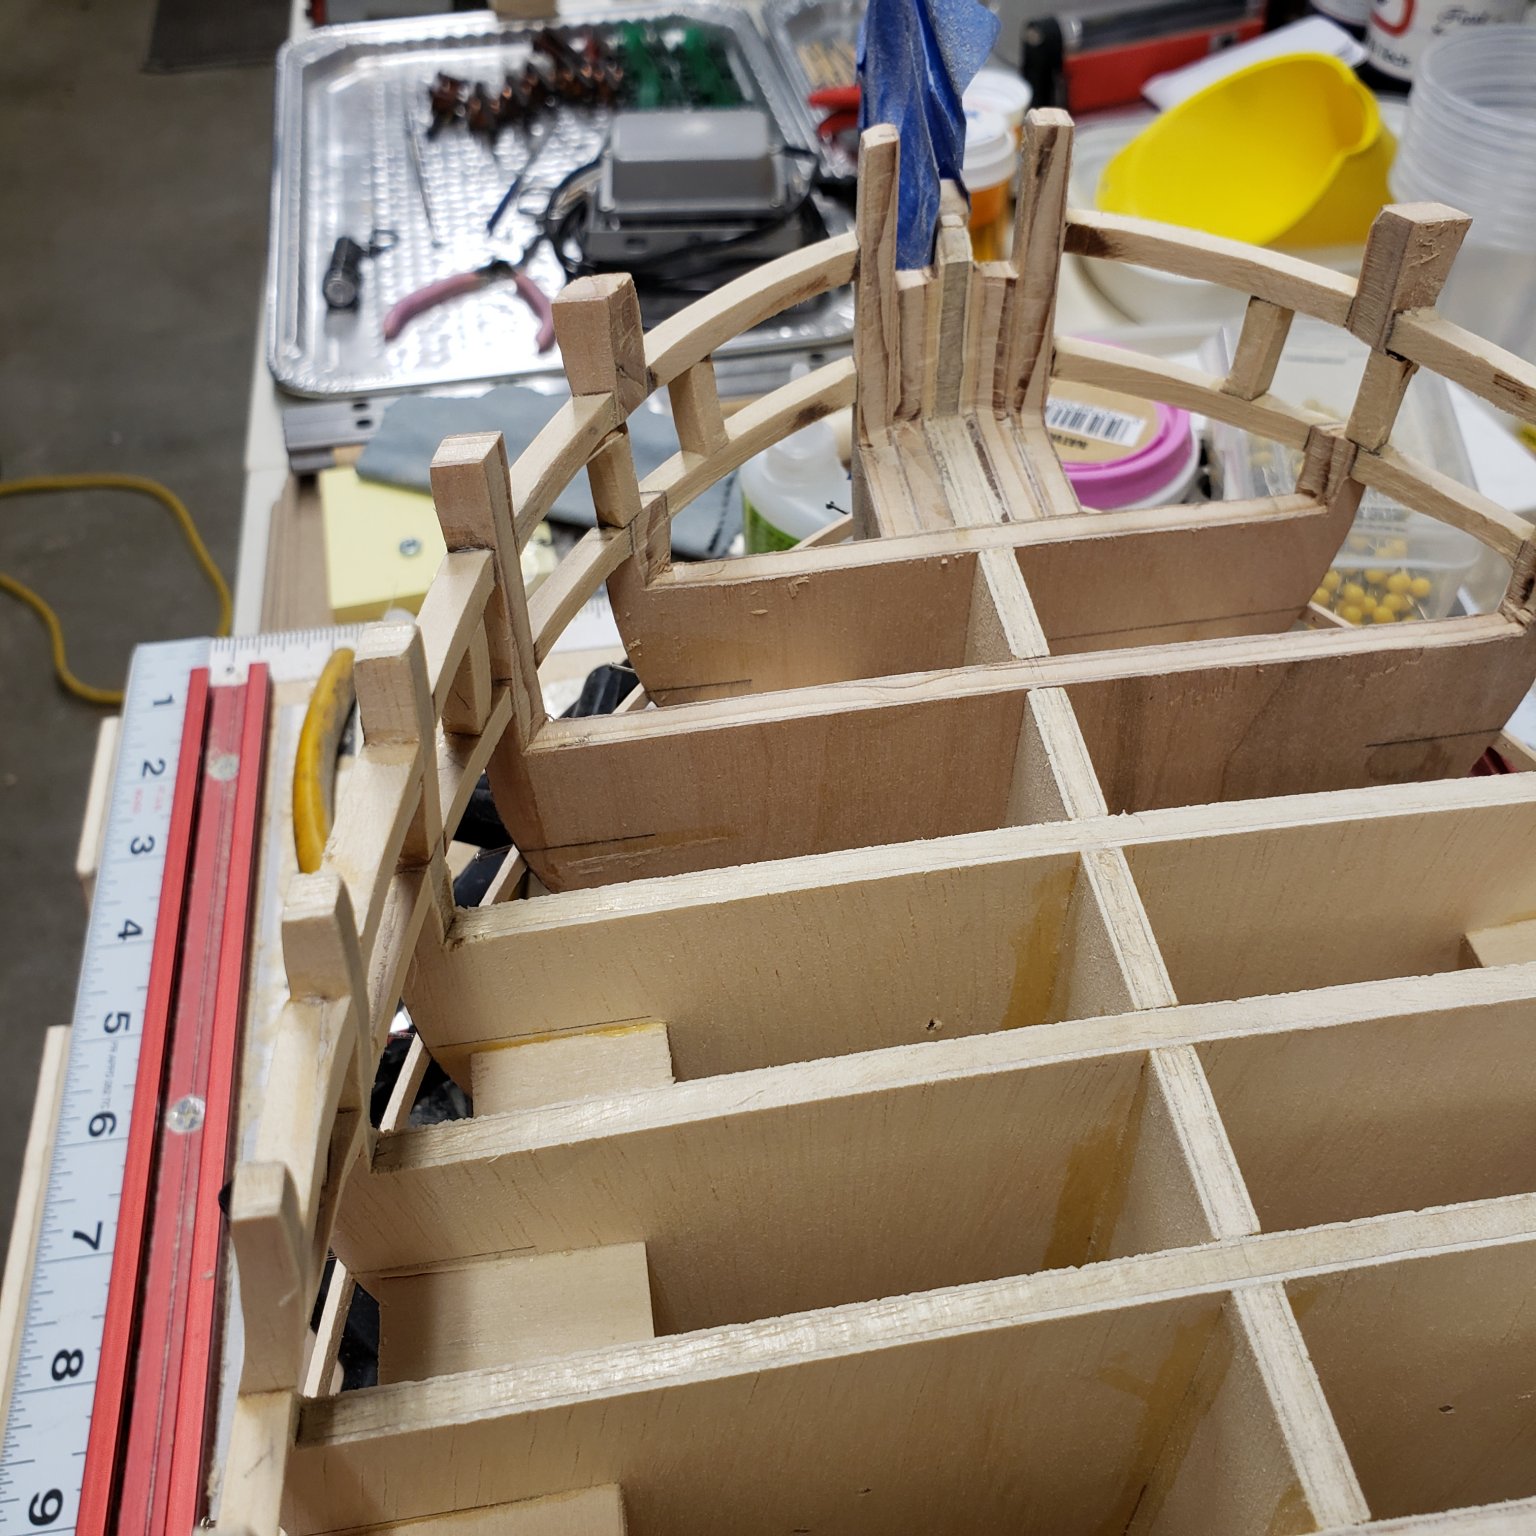
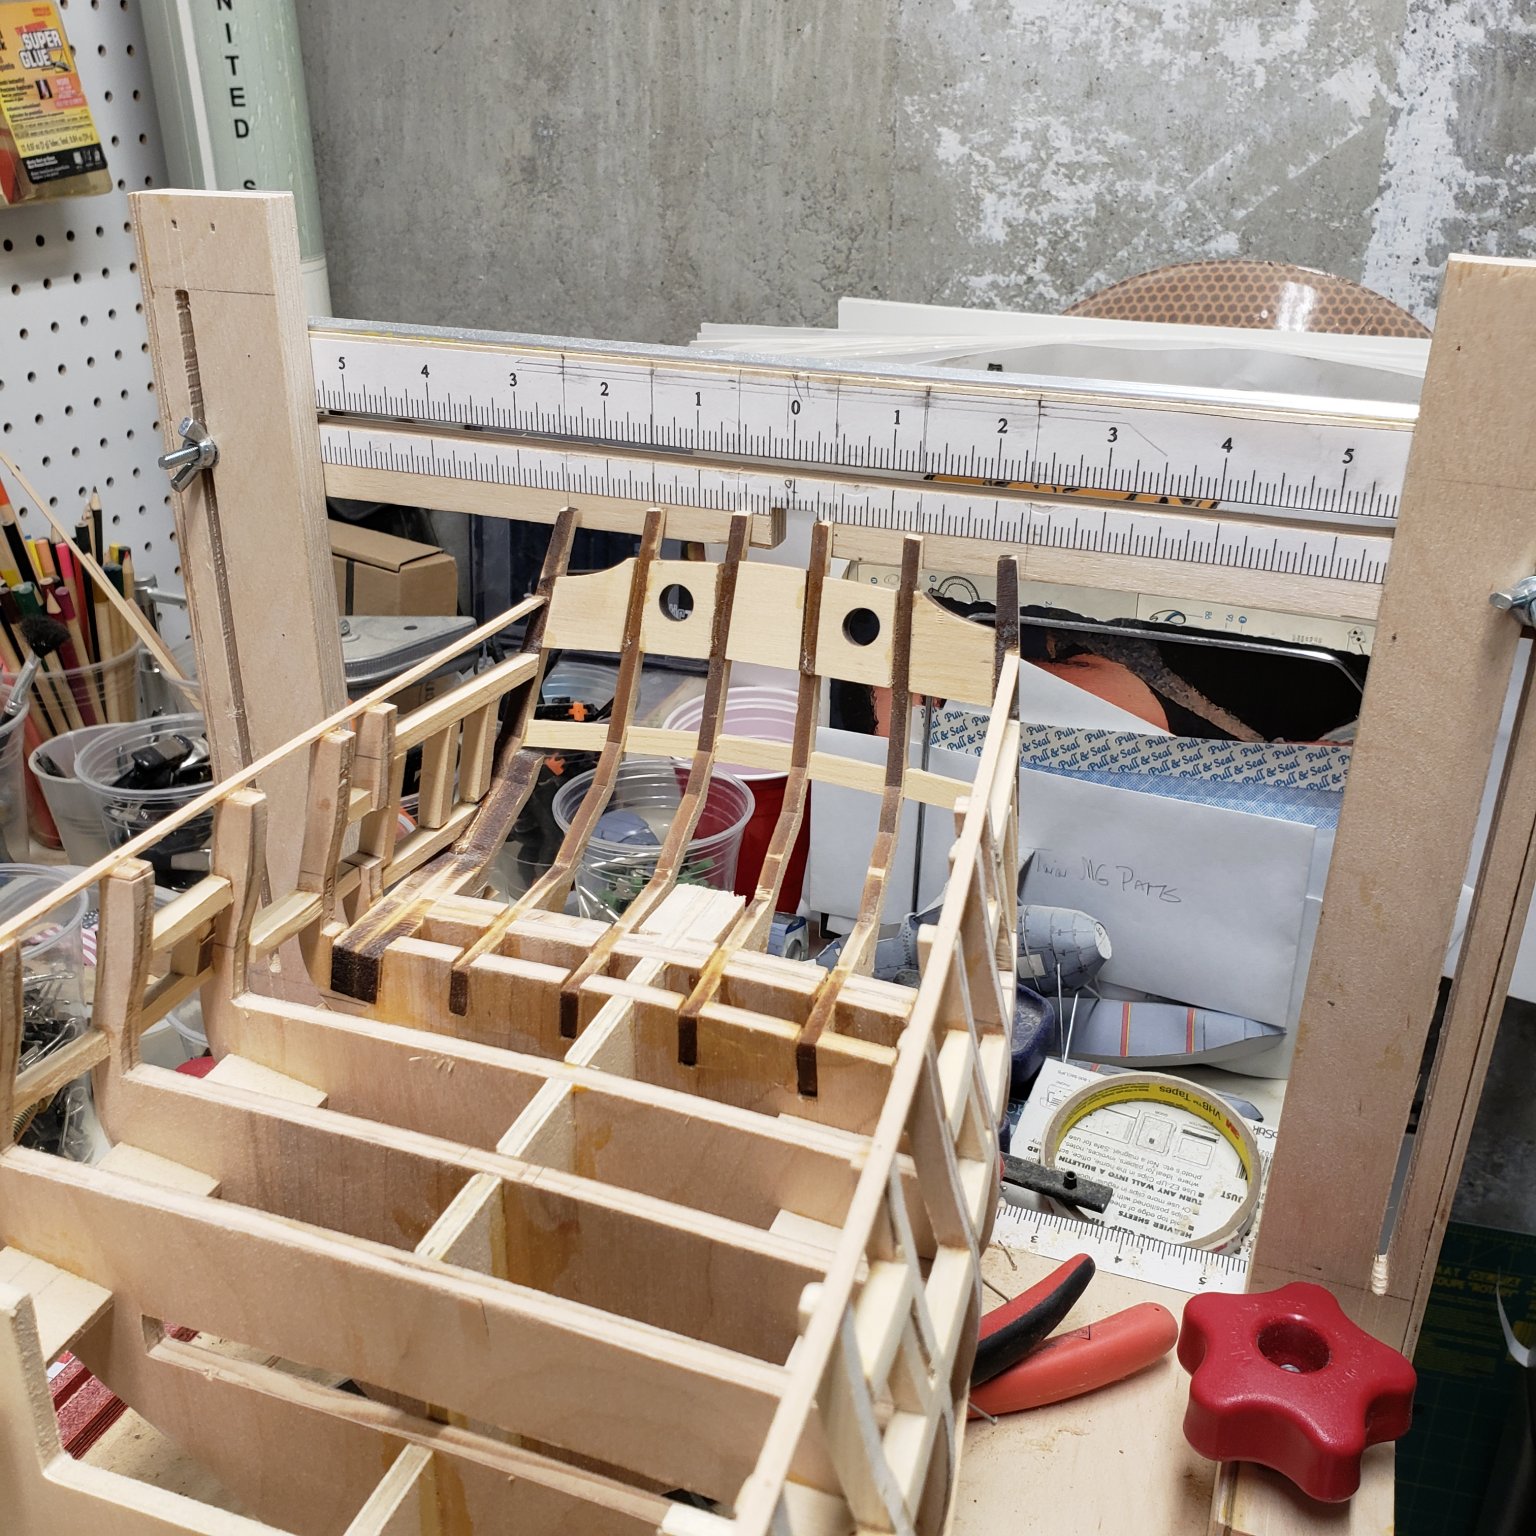
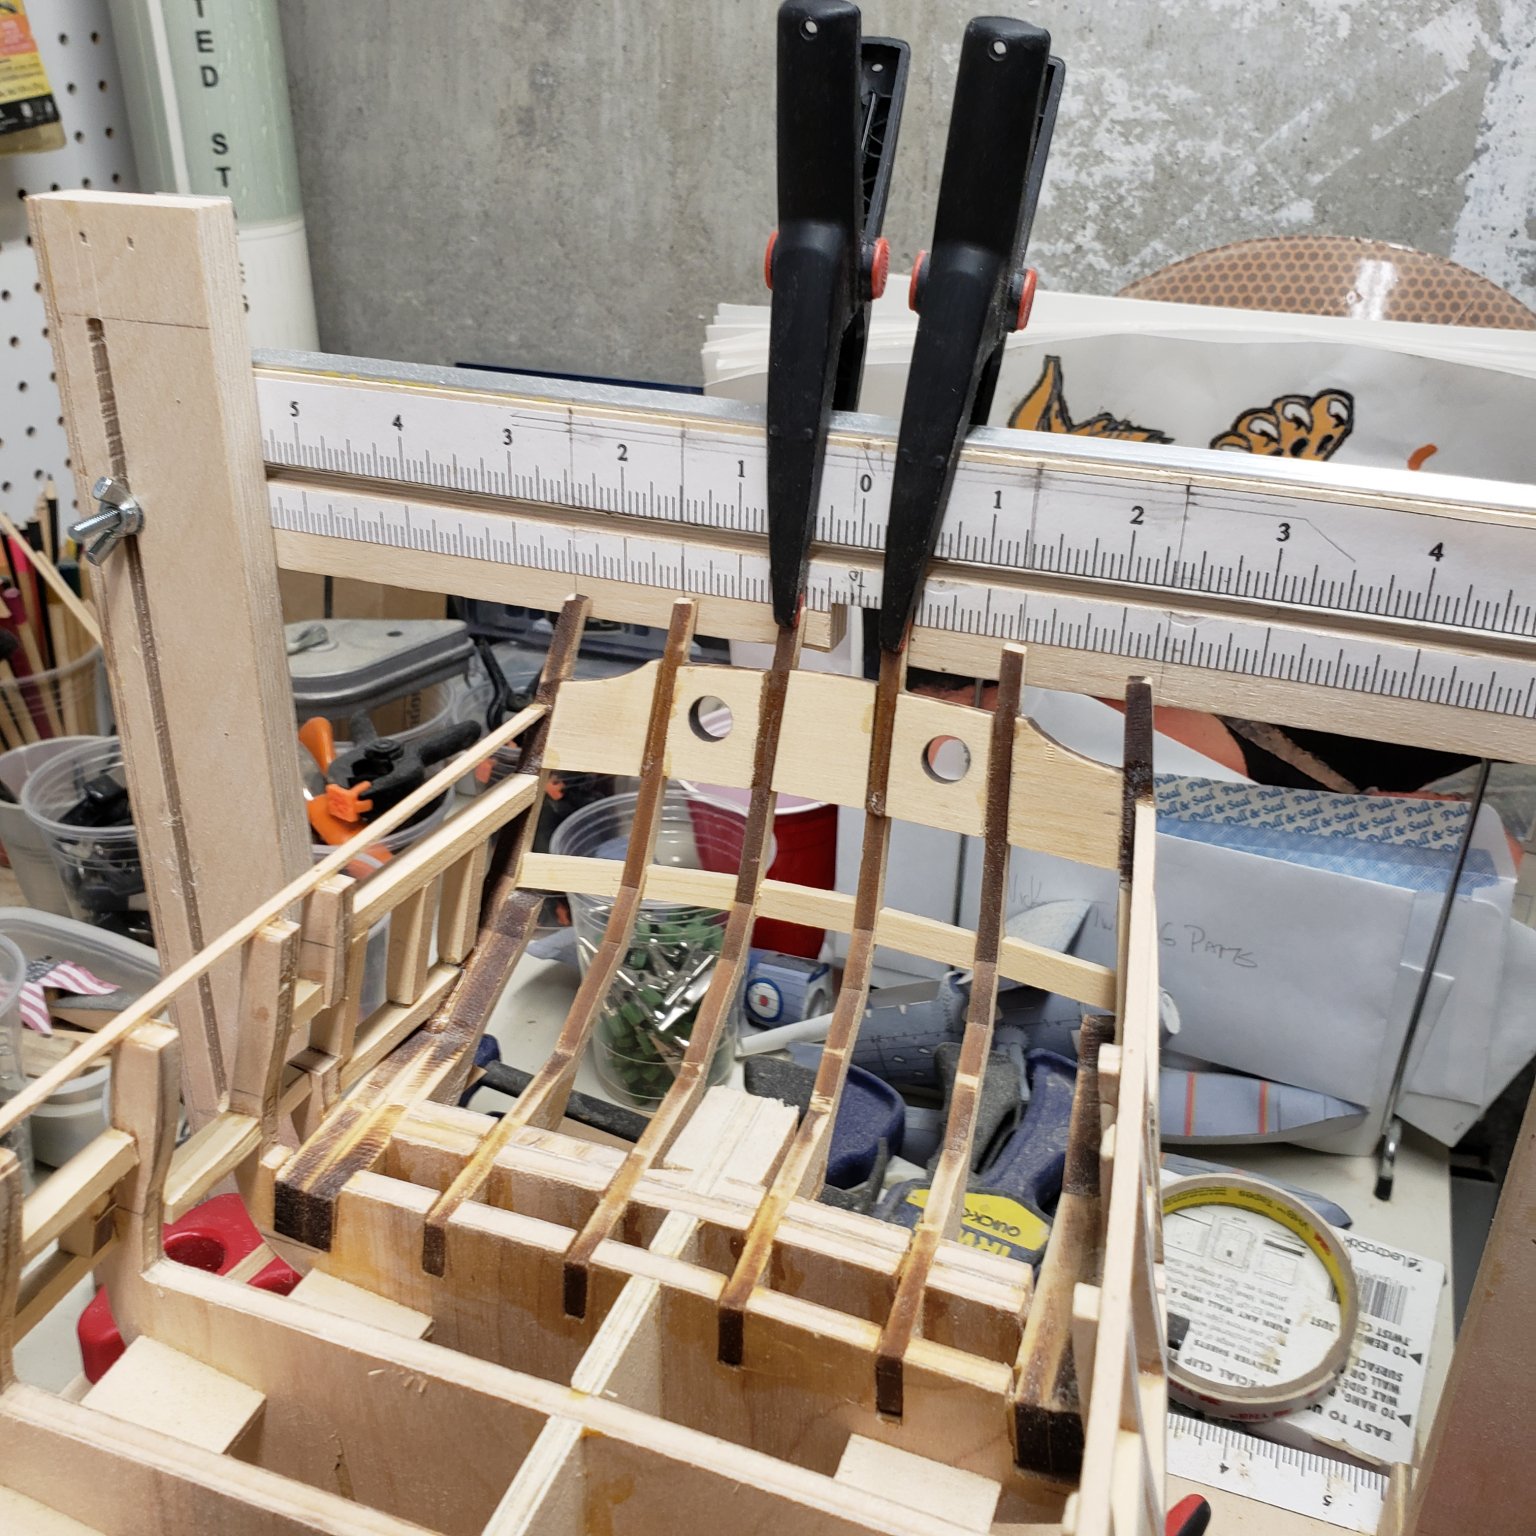
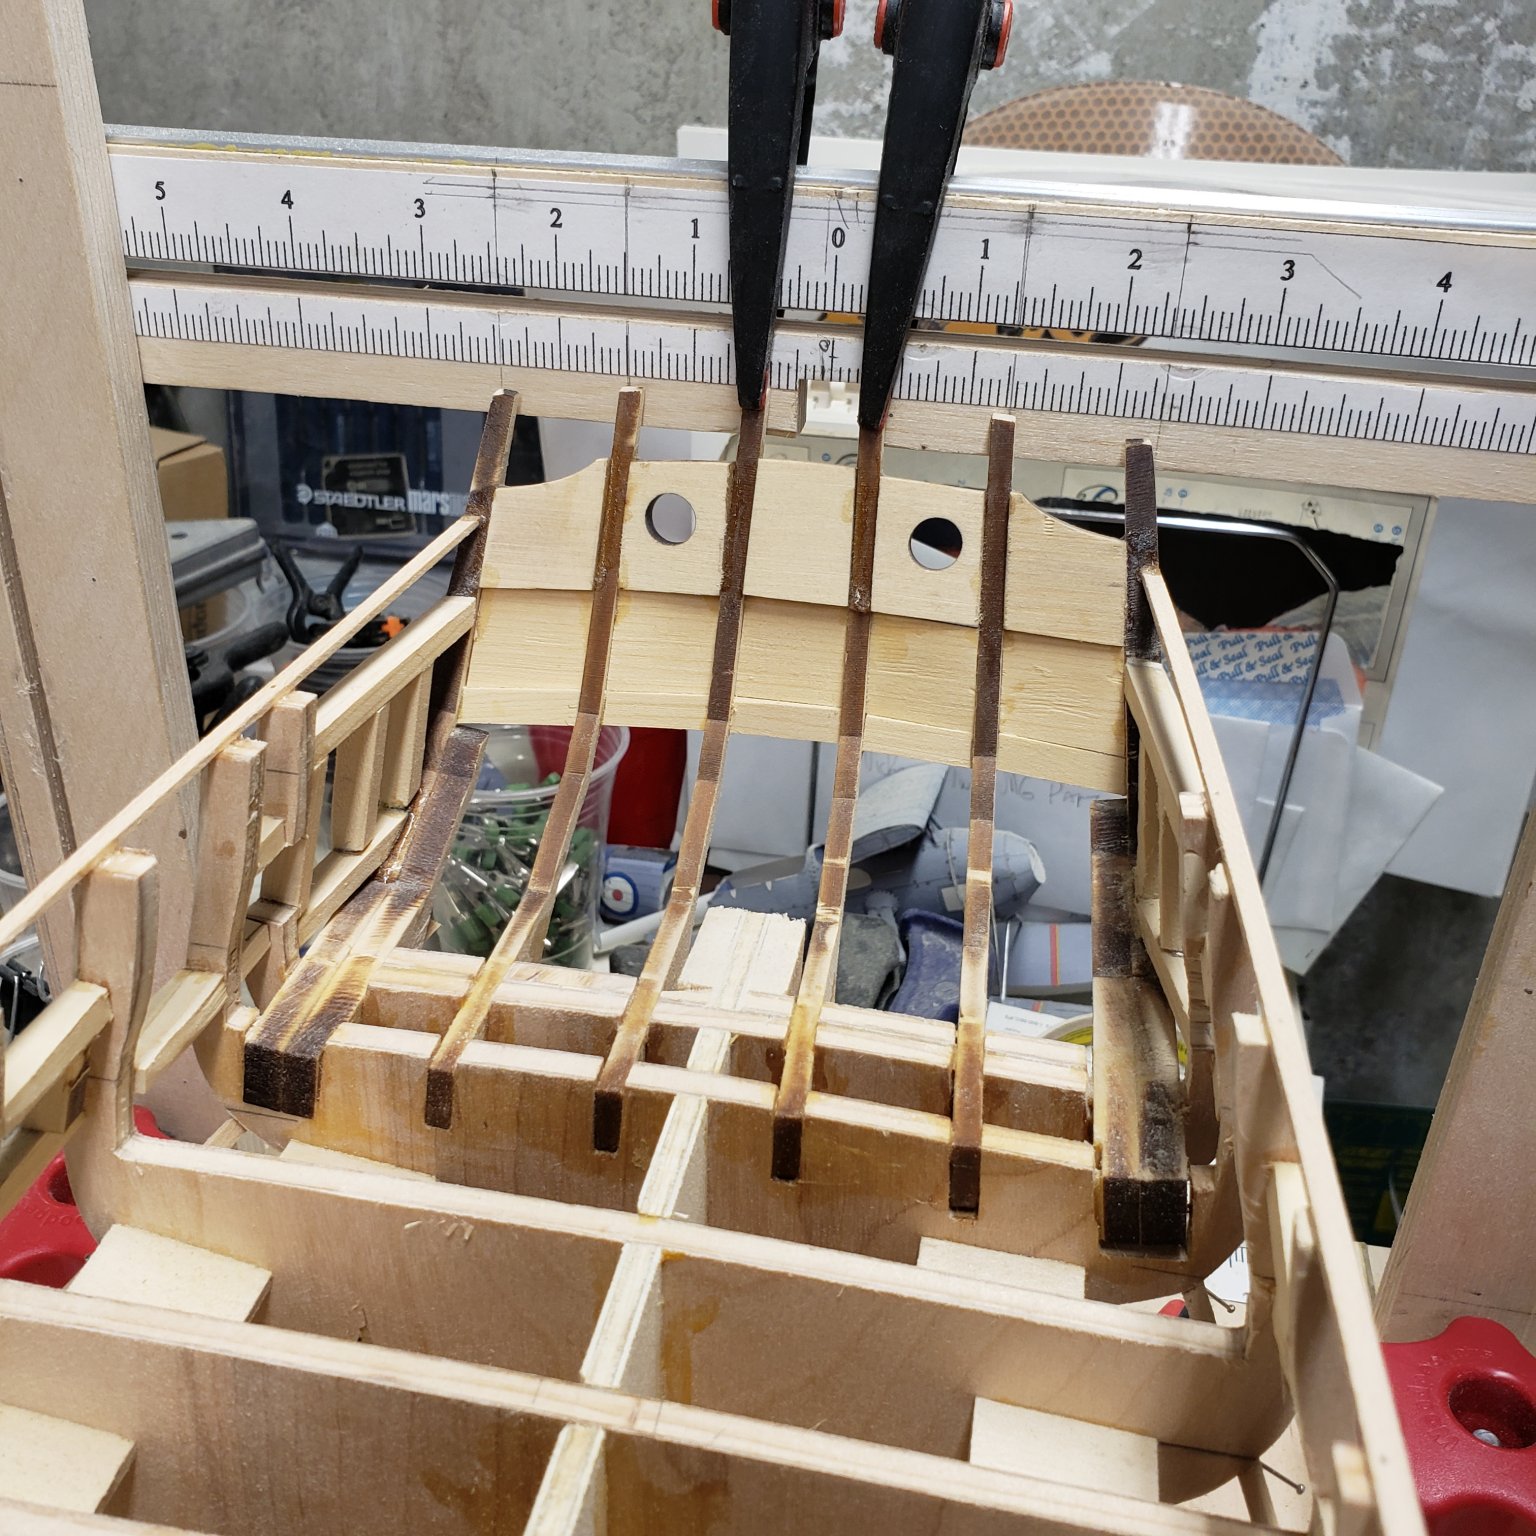
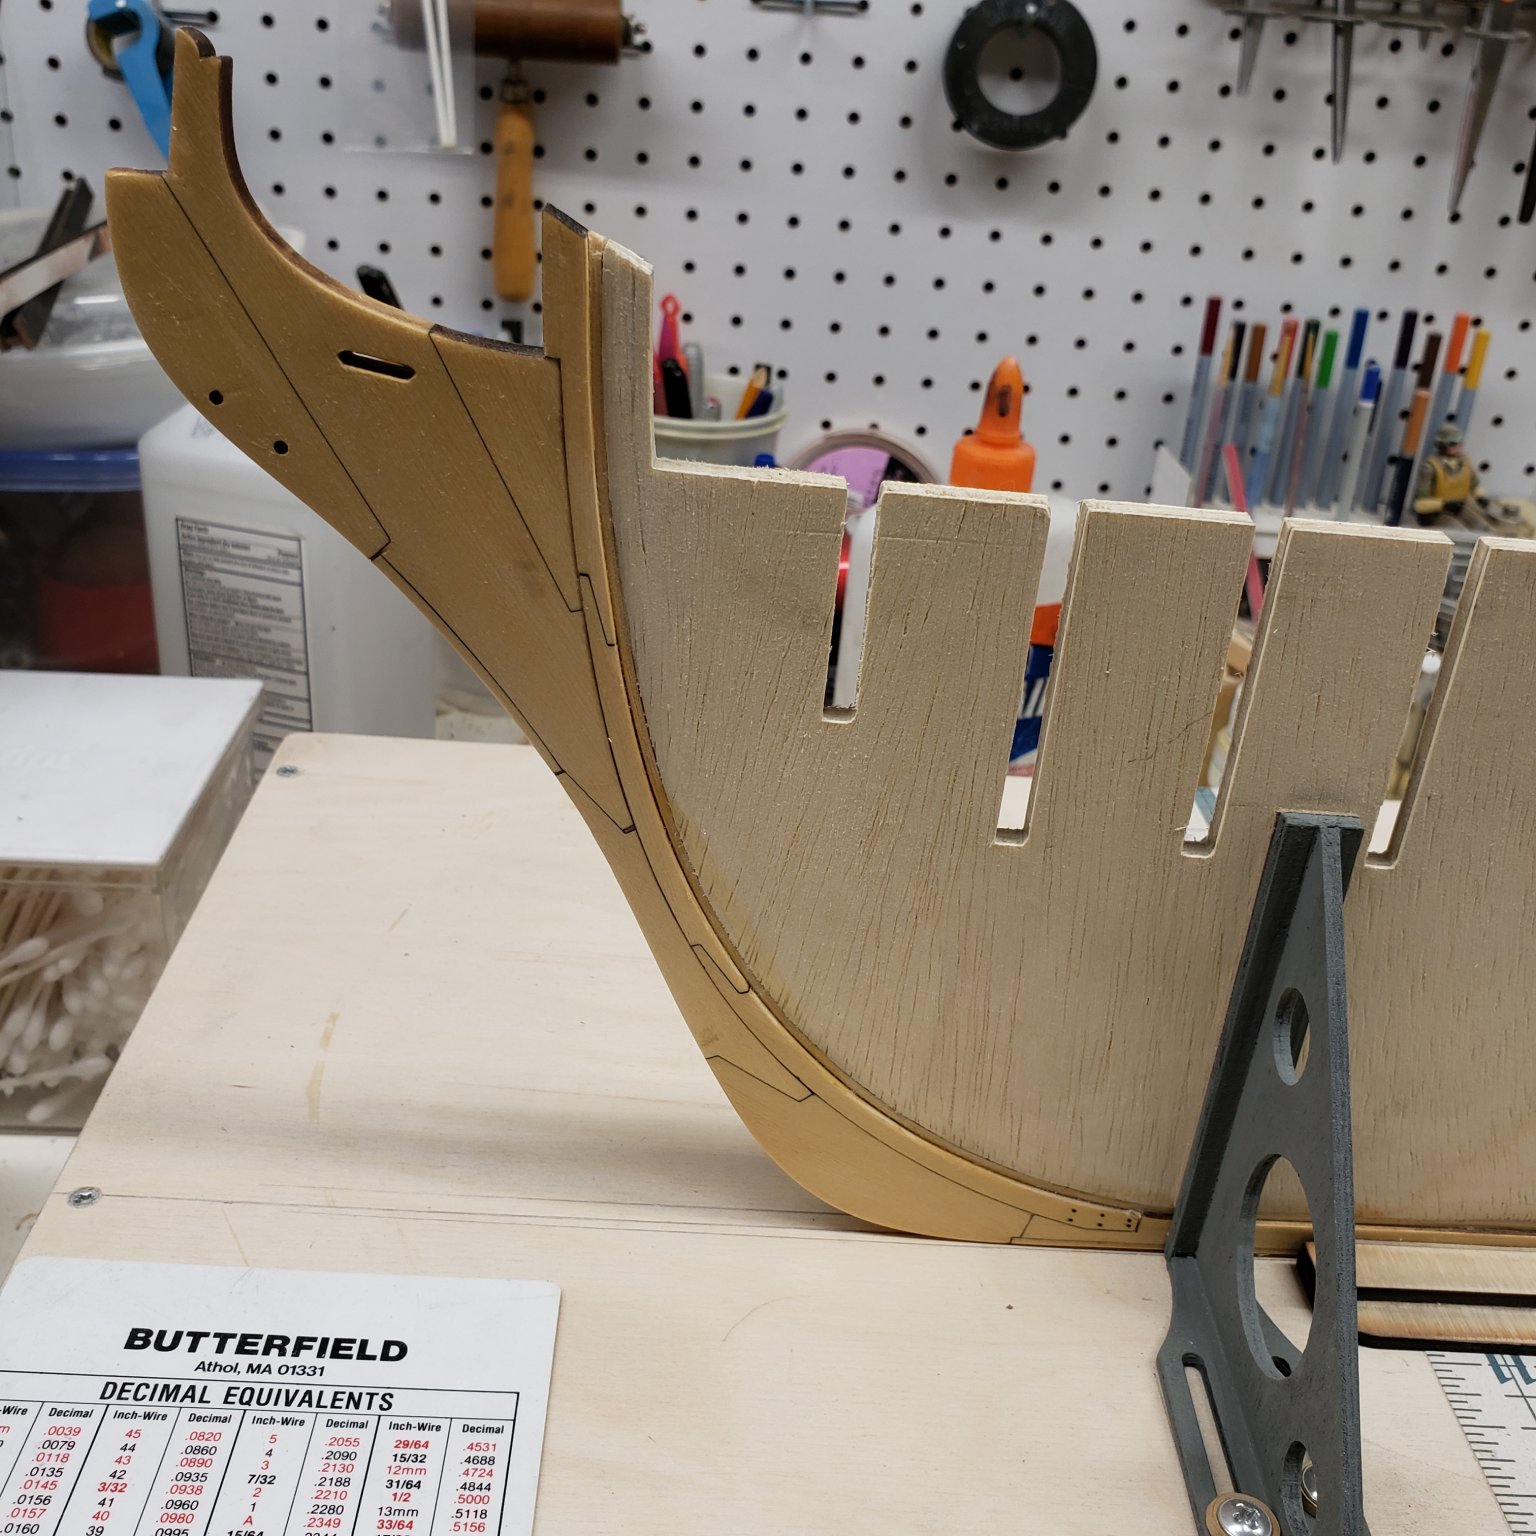
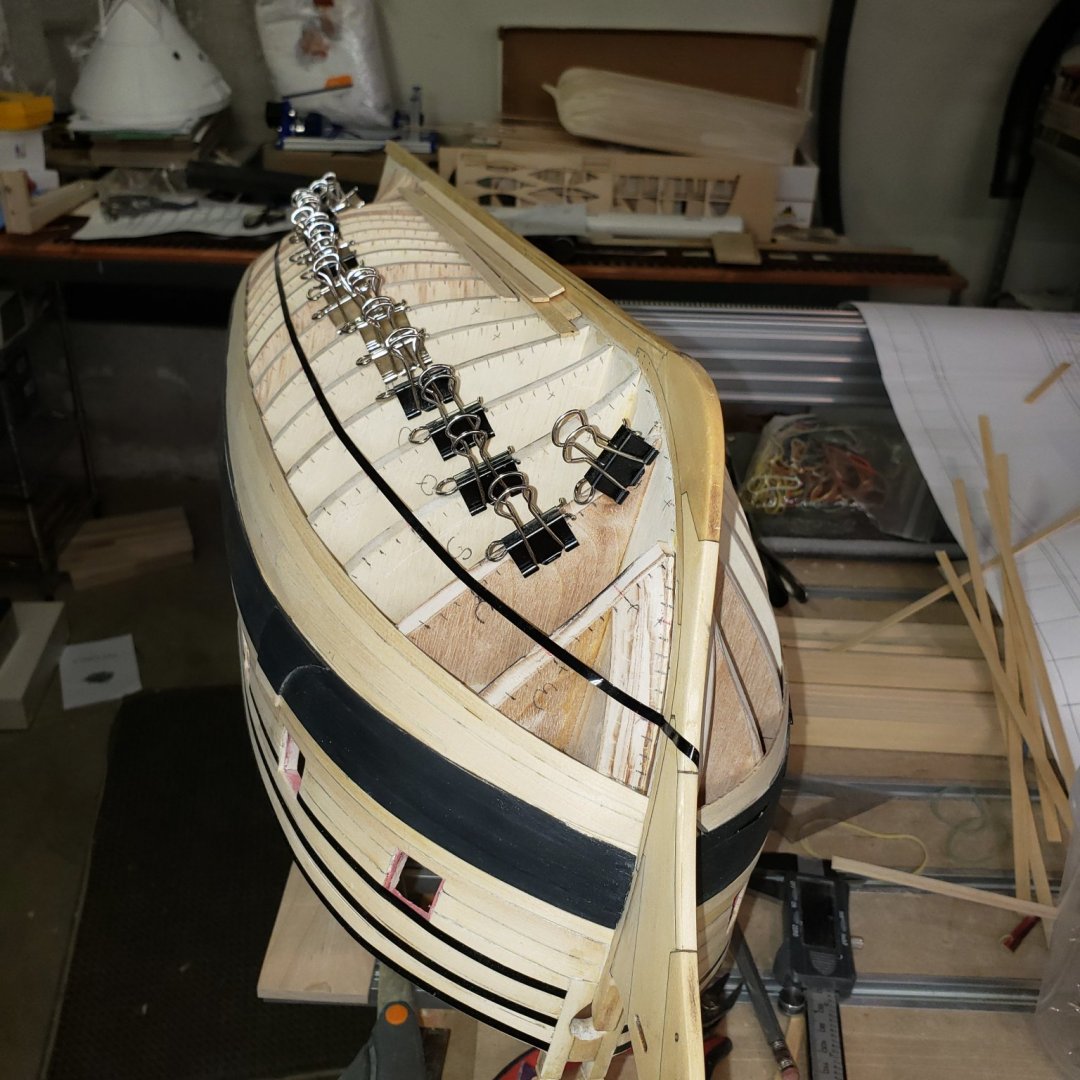
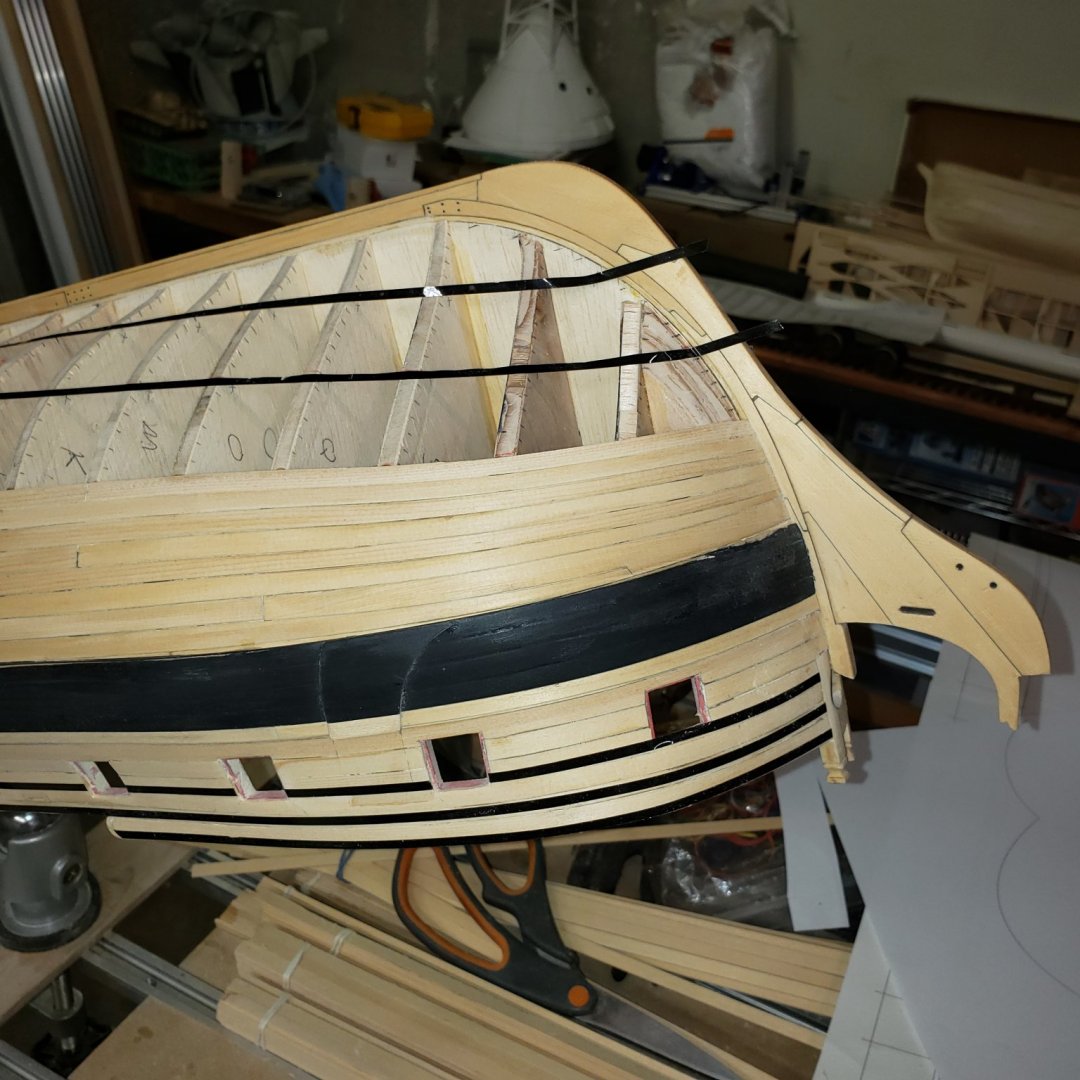
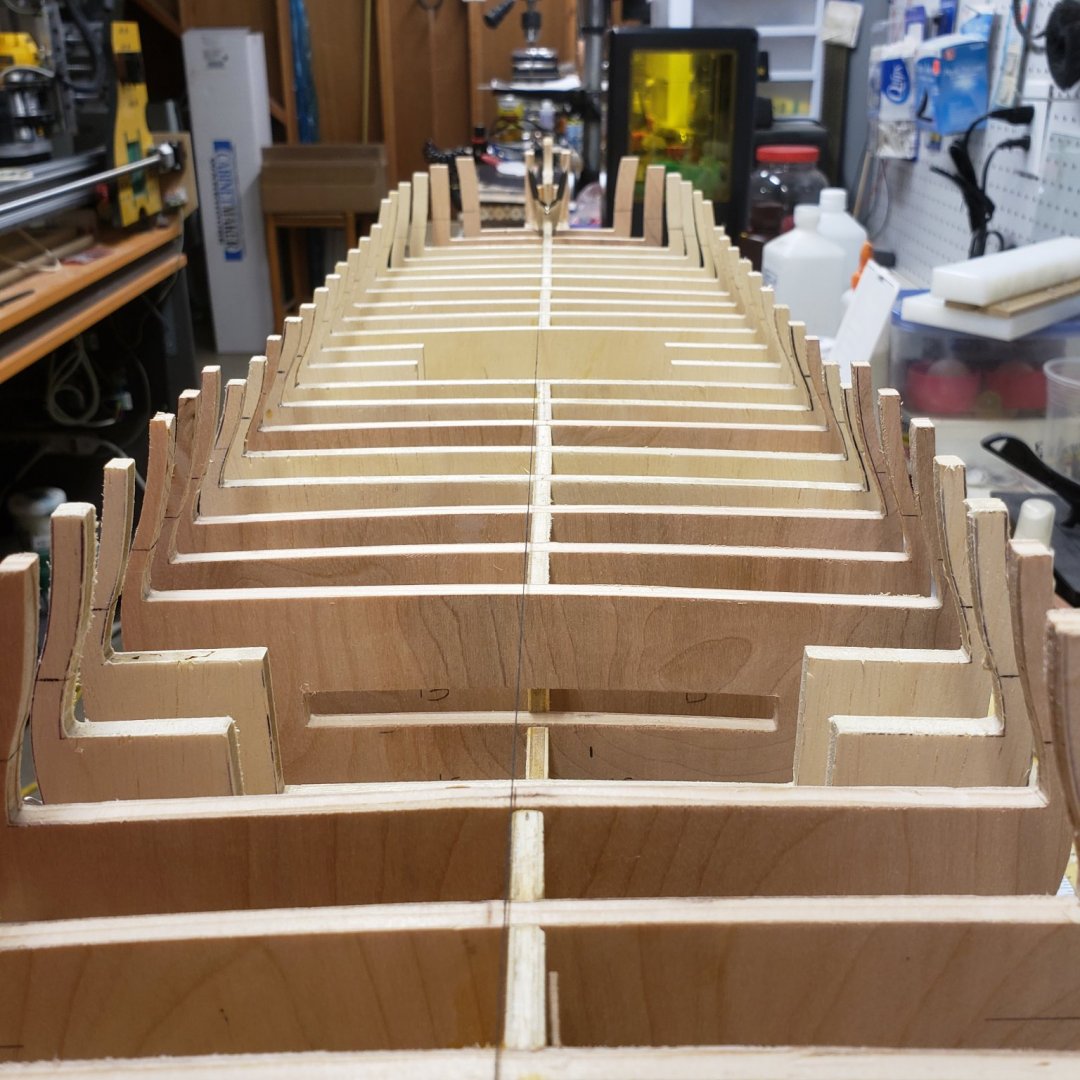
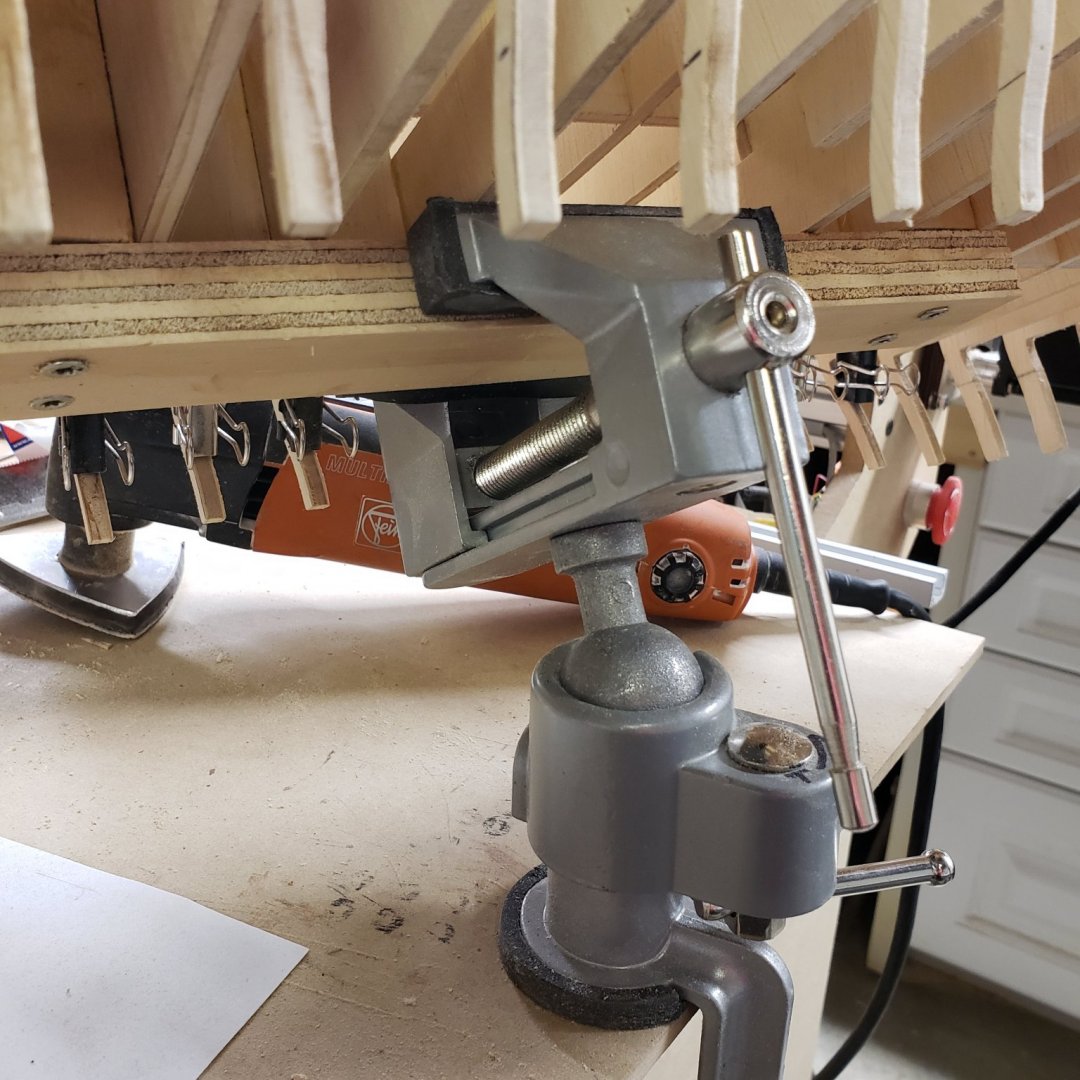
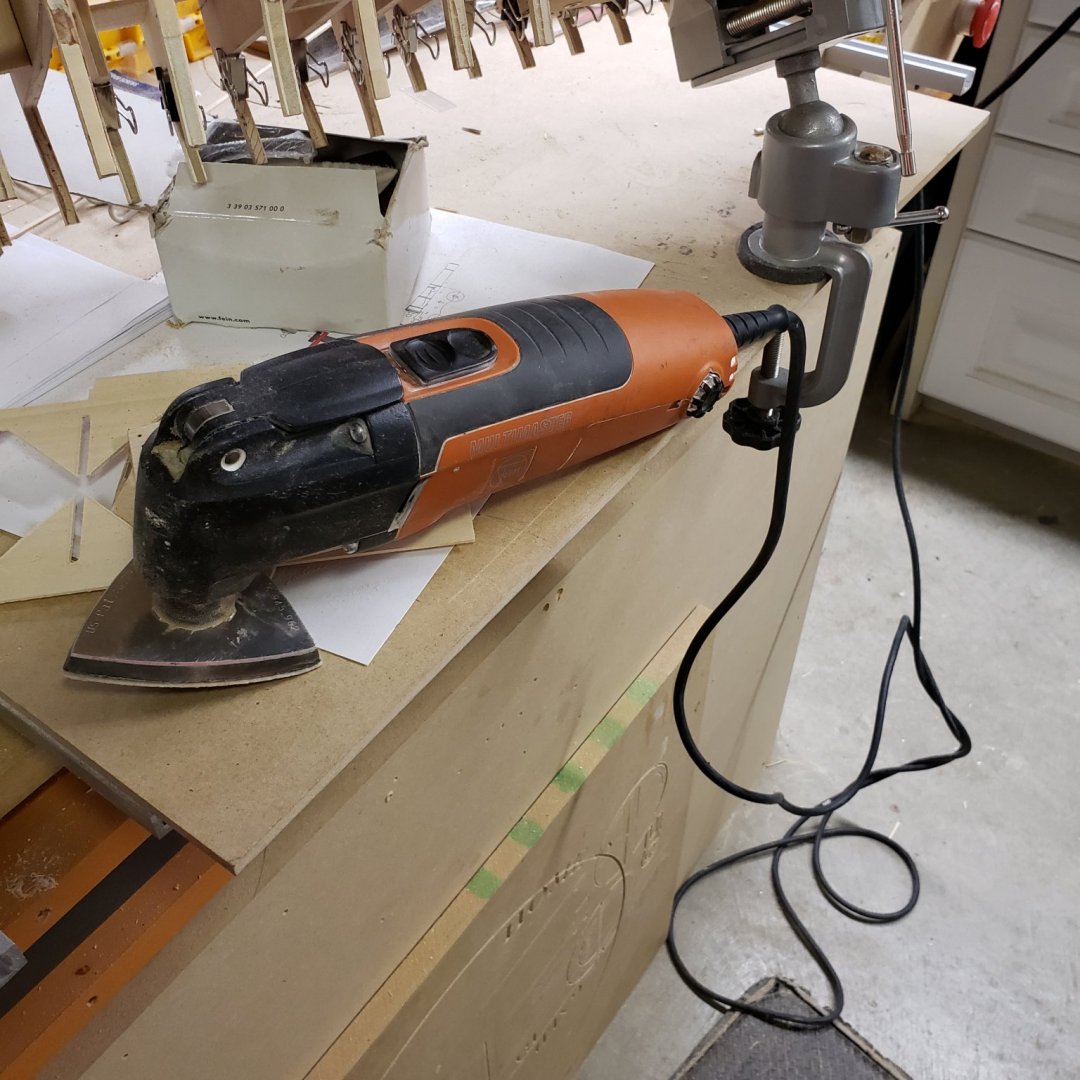
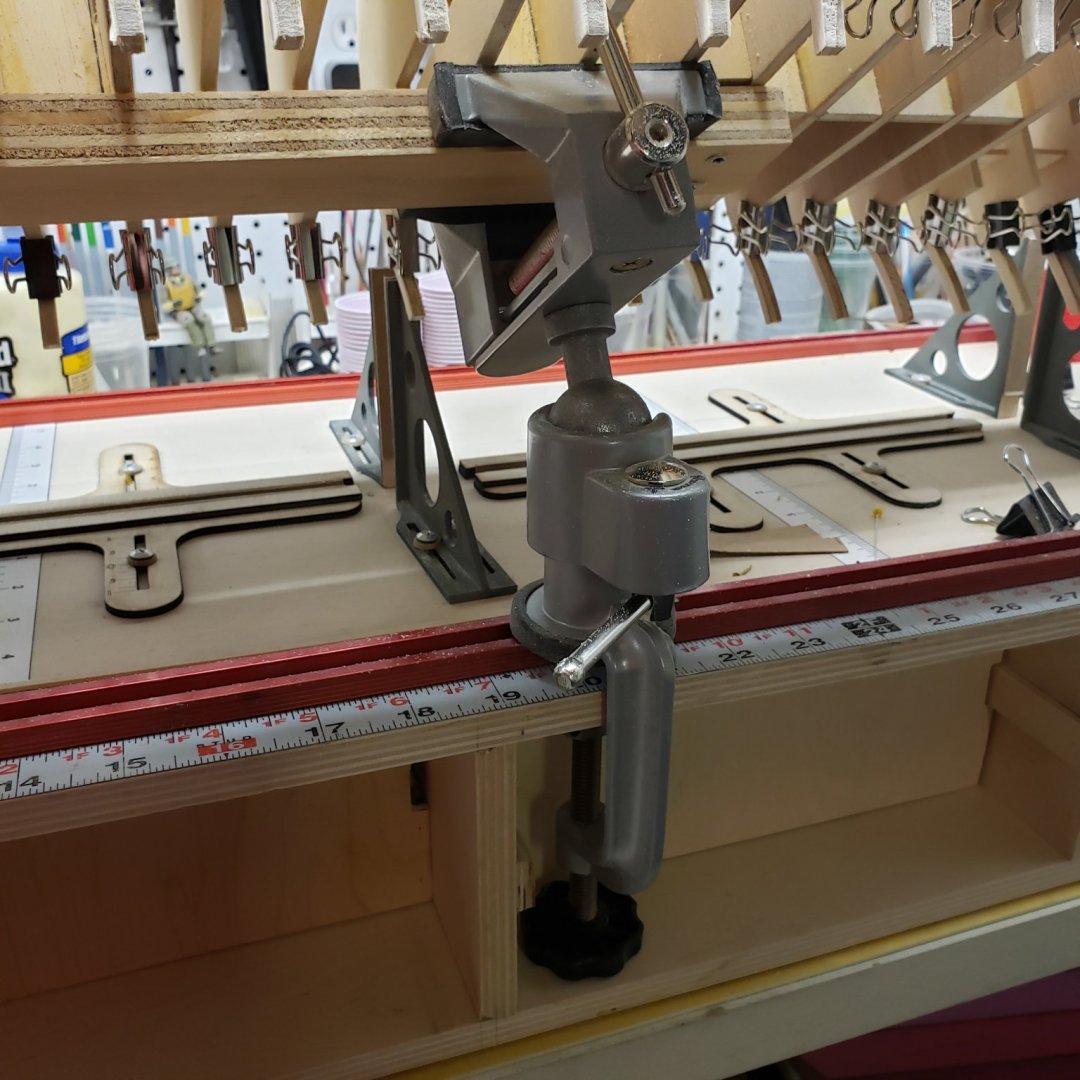
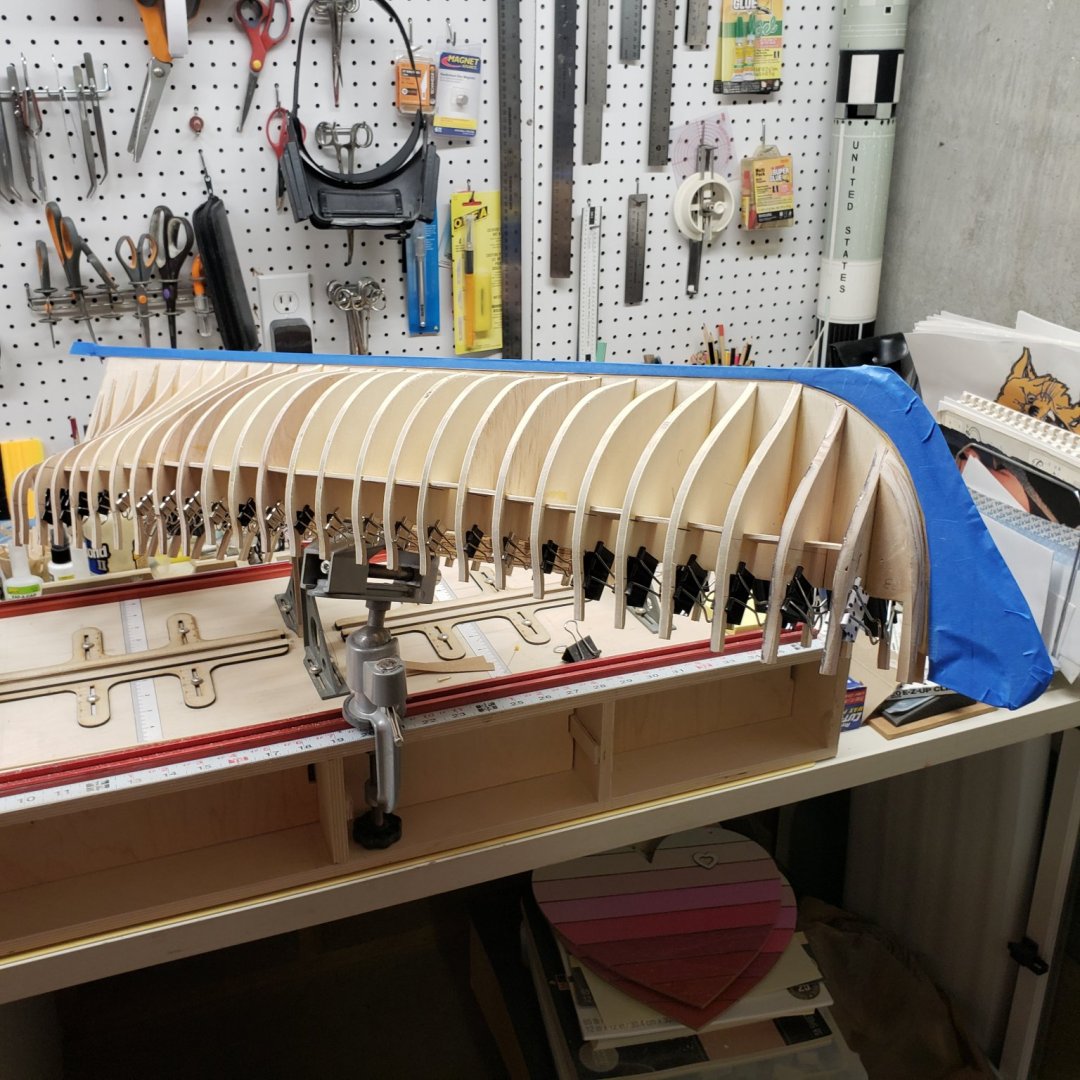
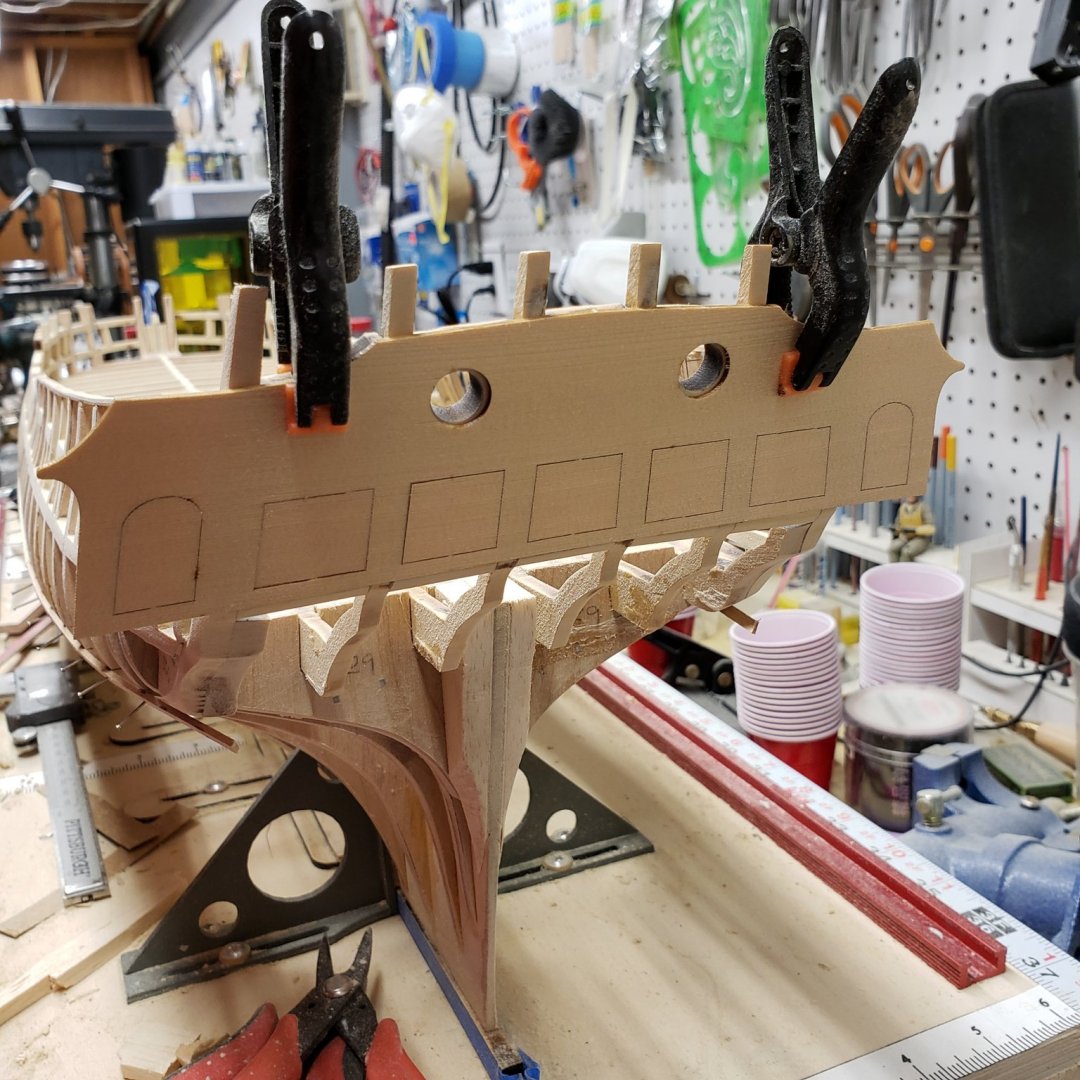
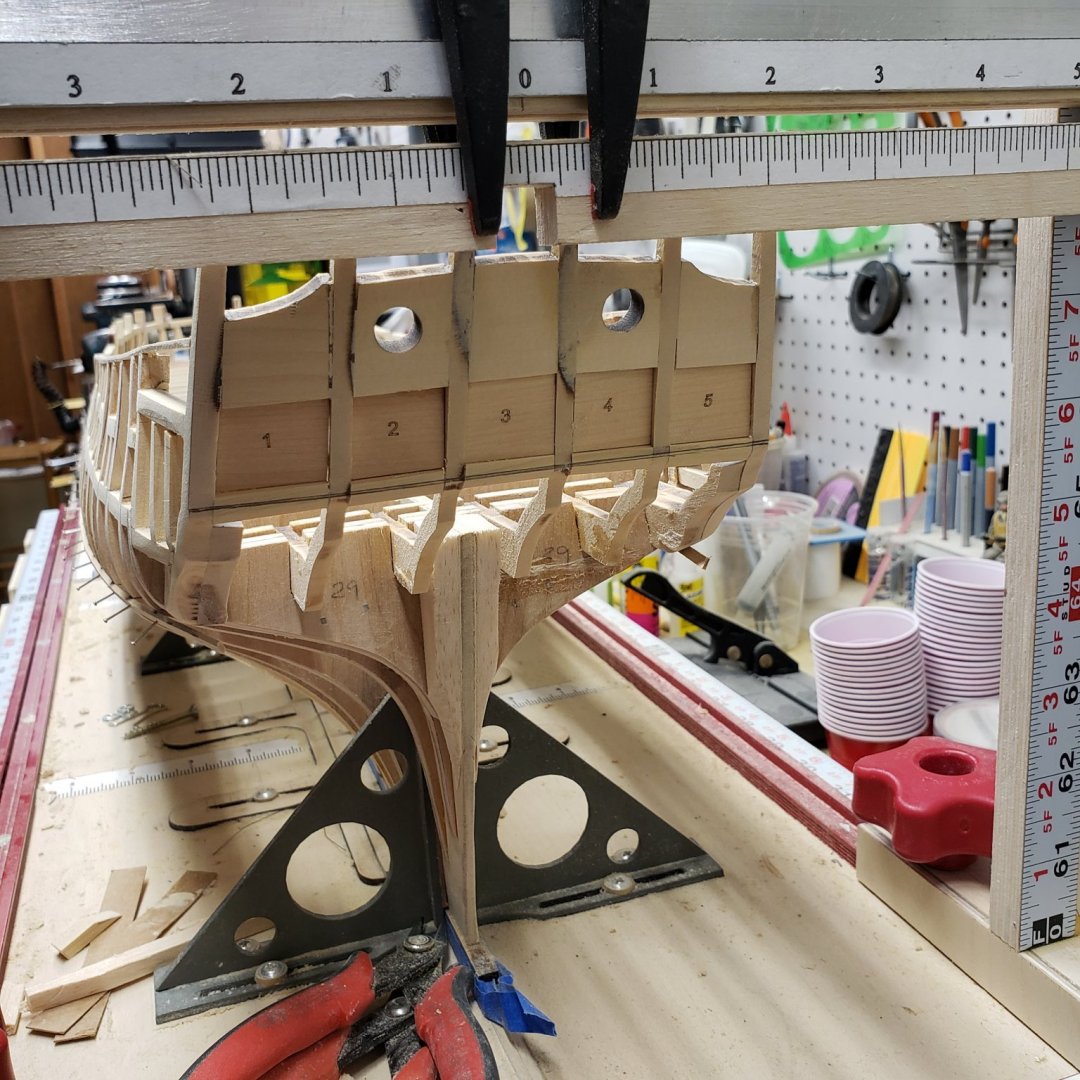
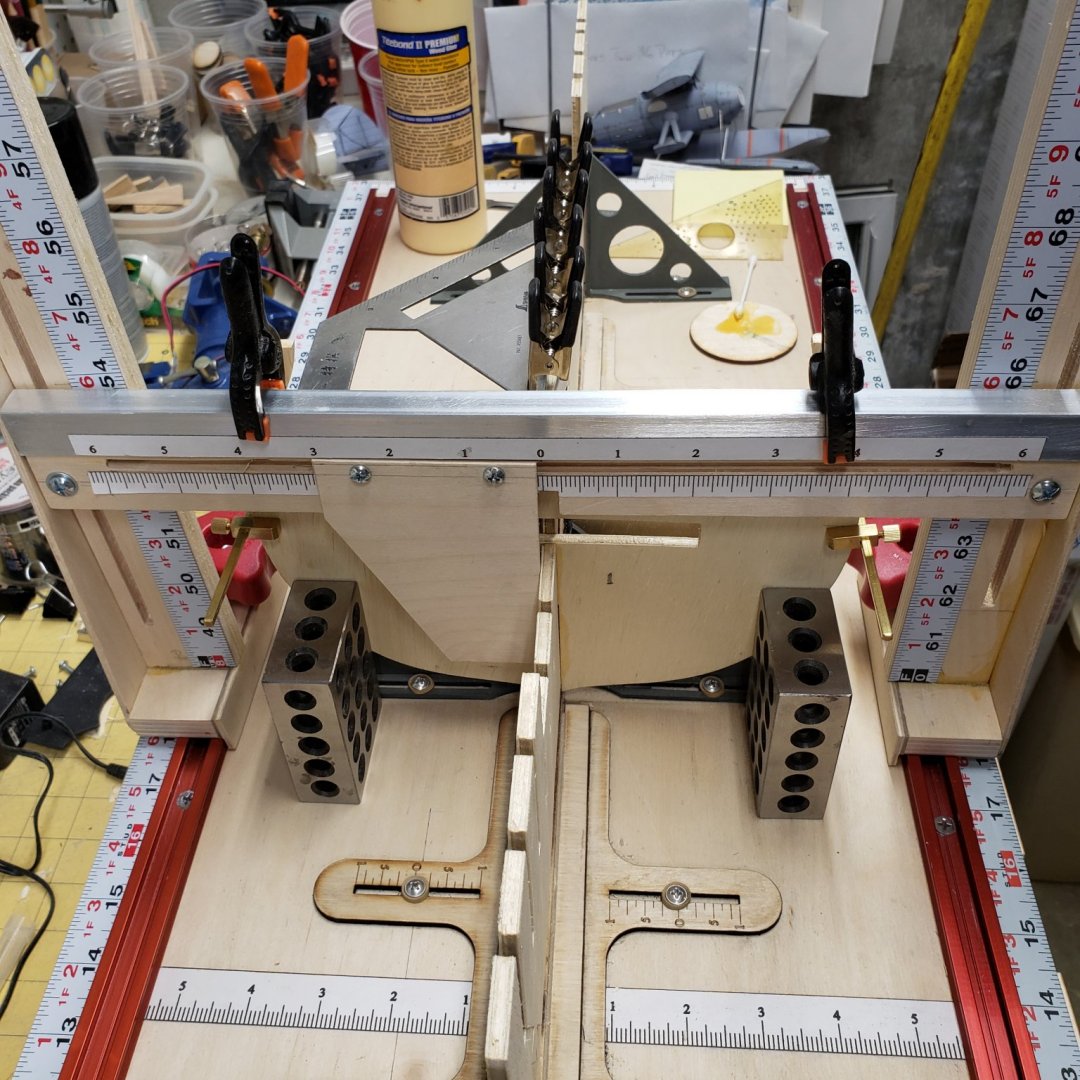
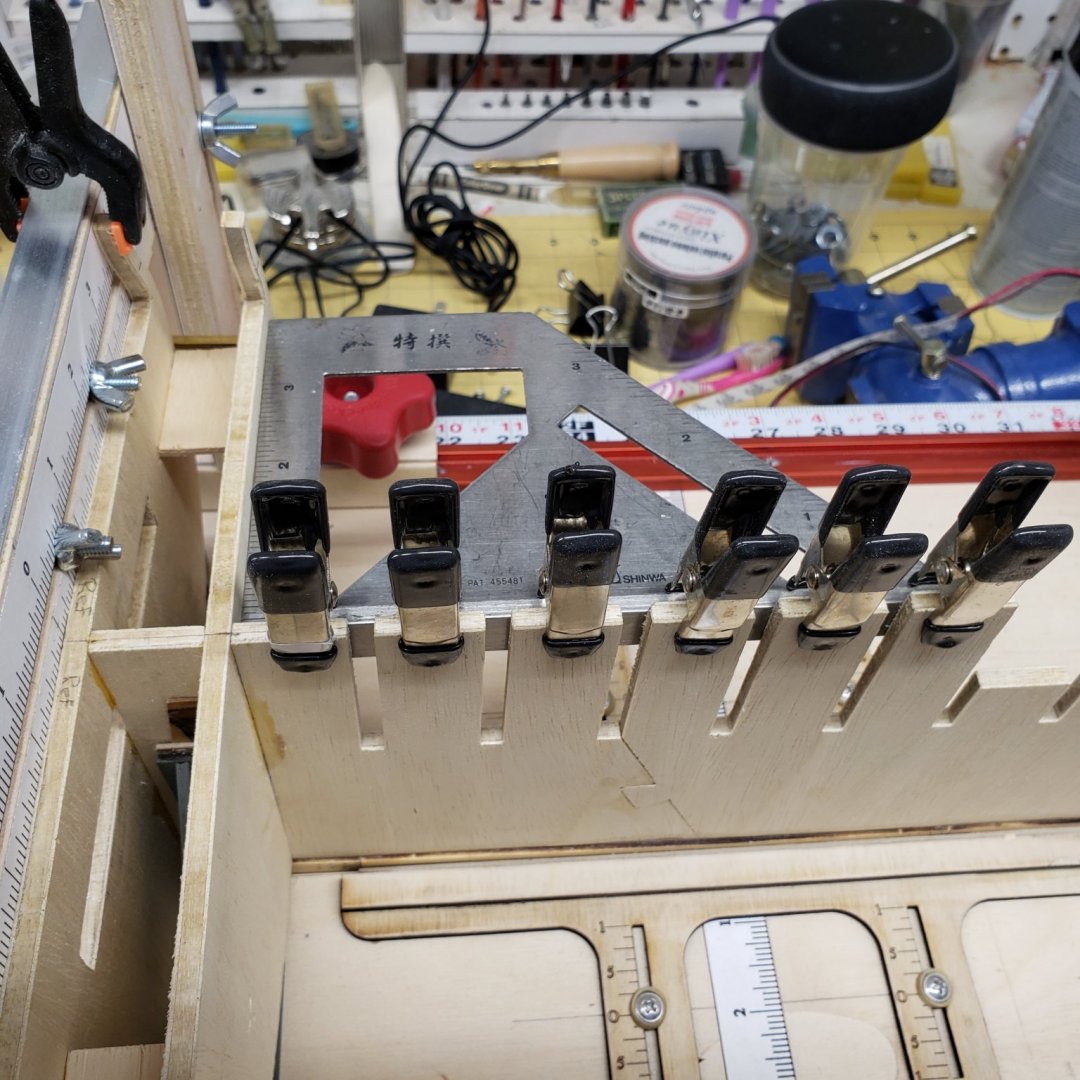
These group builds are just the ticket, I make it a point to peruse all the posts so that I can learn and benefit from others problems and their solutions... I am always motivated to keep moving forward when I see Chucks posts, even though I know my ship will never look like his, unless I Photoshop It I next set up the model to fair the bulkheads Binder clips worked just fine to keep the bulkheads stiff for sanding I added this block so I had a clamping surface to hold the hull while I inverted it for fairing Hull set up for sanding I used a 360 vice so that I could get good access and save my shoulders and wrists This is as Fein detail sander I used 60 grit for bow and stern , and then switched to 180 for the rest, finished off with 220 grit I also followed Stuntflyers advice and bought the Foam Sanders, man was that ever a good move, made for easy sailing. Lots of odd positions to get the job done. I cut a pair of bars that were the exact size of the ports and framed away Lots of clamping and adding strips to check for symmetry along the way I used the gantry to make sure the stern framing was aligned and it also aided as a holding device The window templates were a big bonus in getting the alignment just right Final check just to make sure it was in the ballpark Sanded the Bow on the insides in preparation for the Posts Not happy with these, so I am going to make sets 2 and 3, then choose Poor shot, but it was just set up for the picture, will continue working on this area, I am most likely going to cut some planking to the correct size and do some mocking up to get this just right.... to be continued


-
Thank you...looking forward to planking..
-
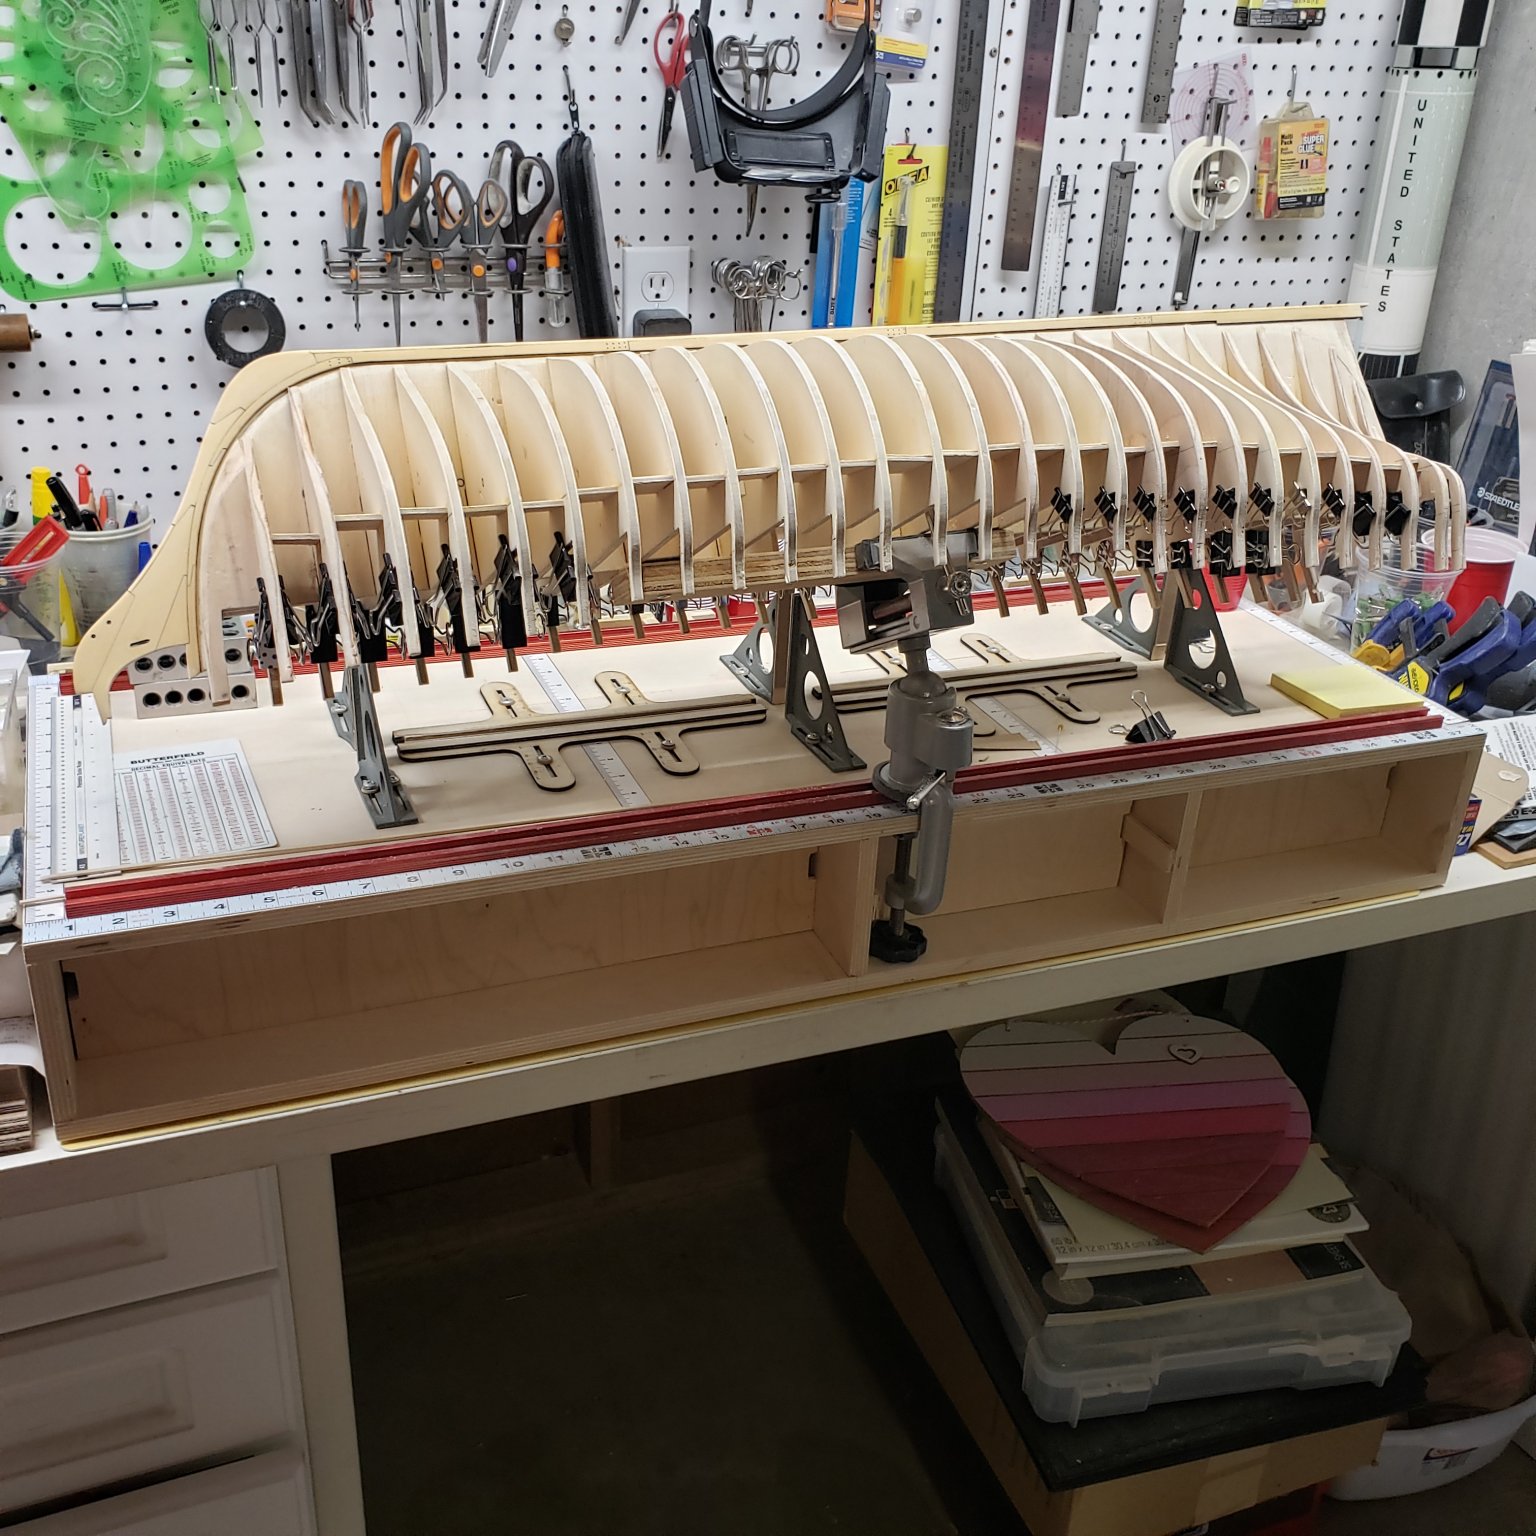
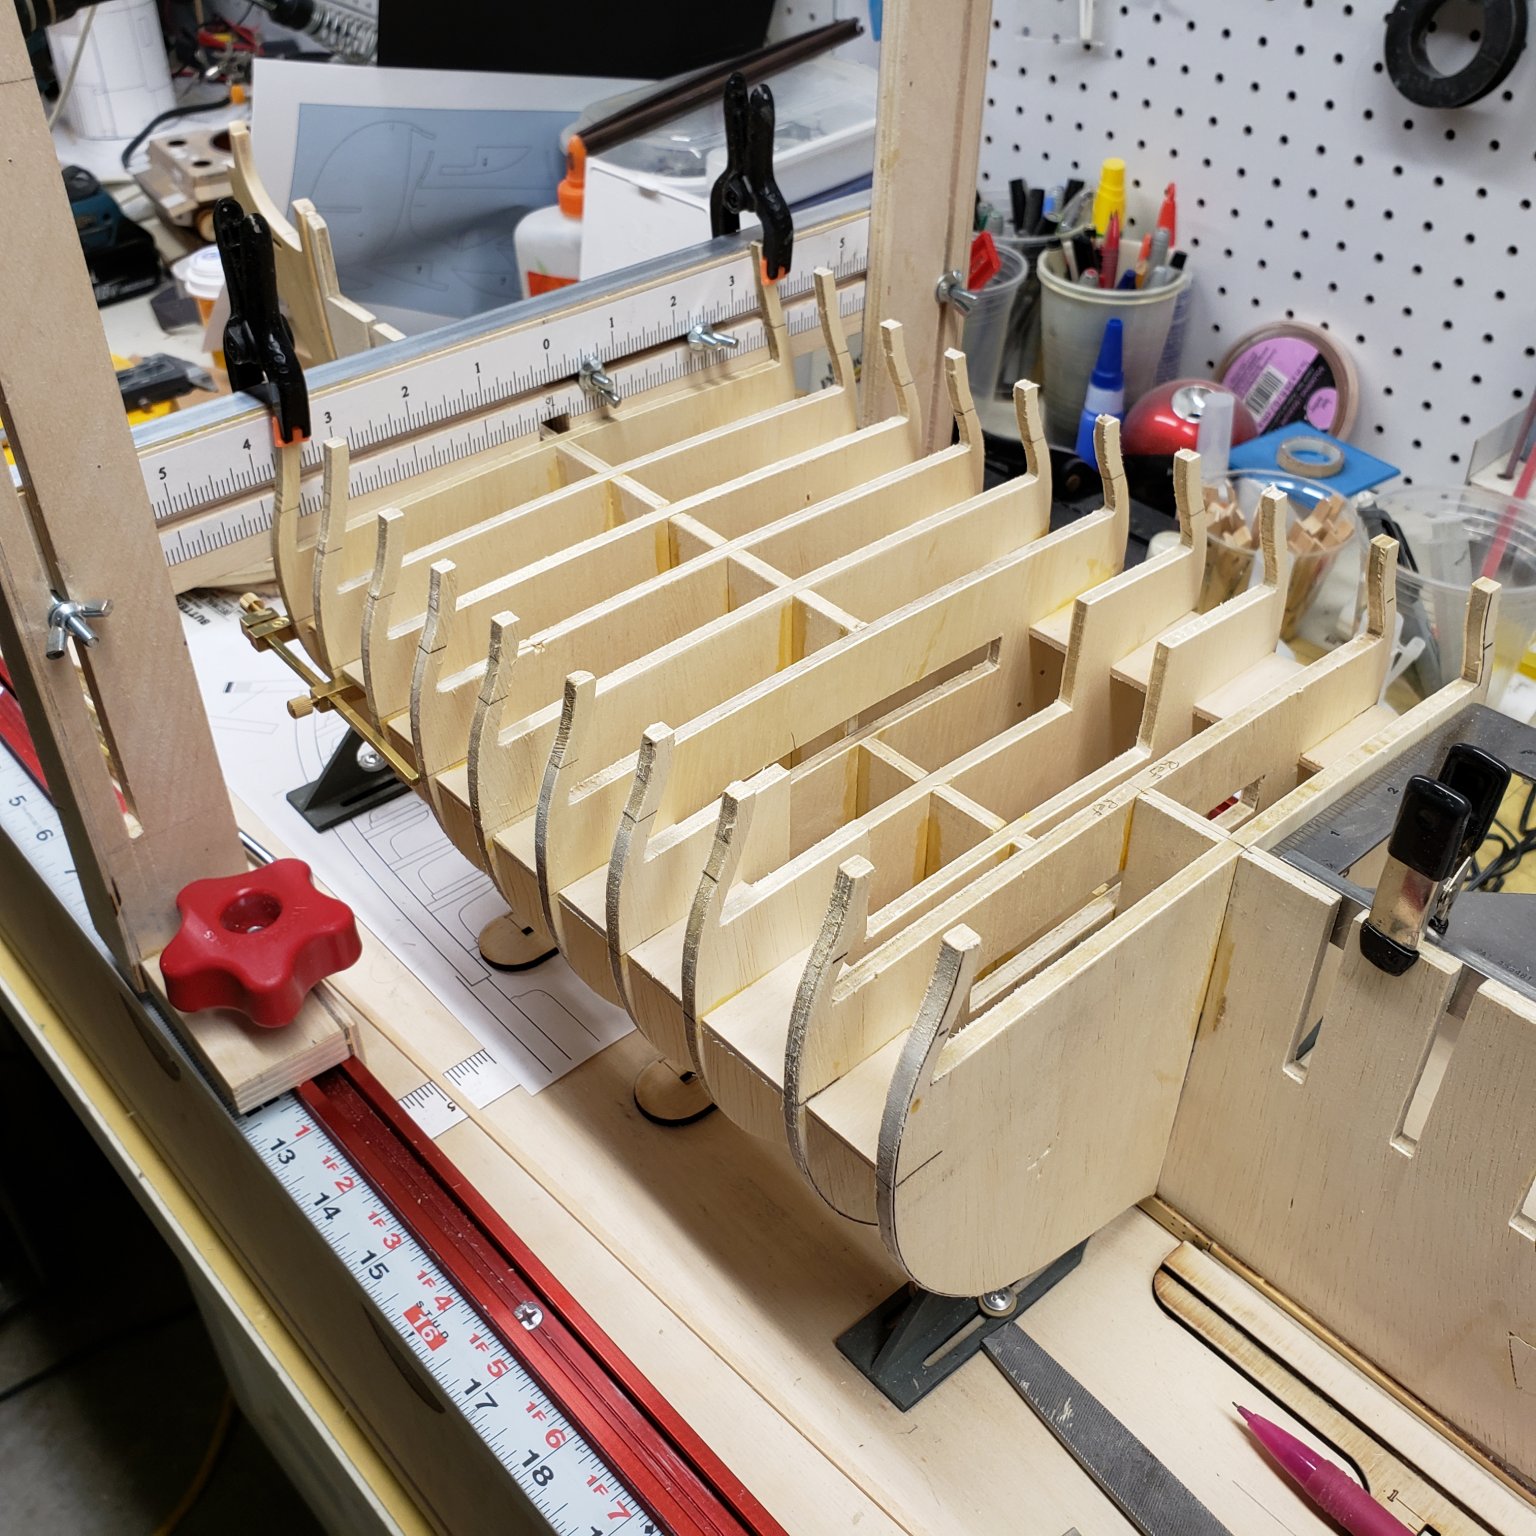
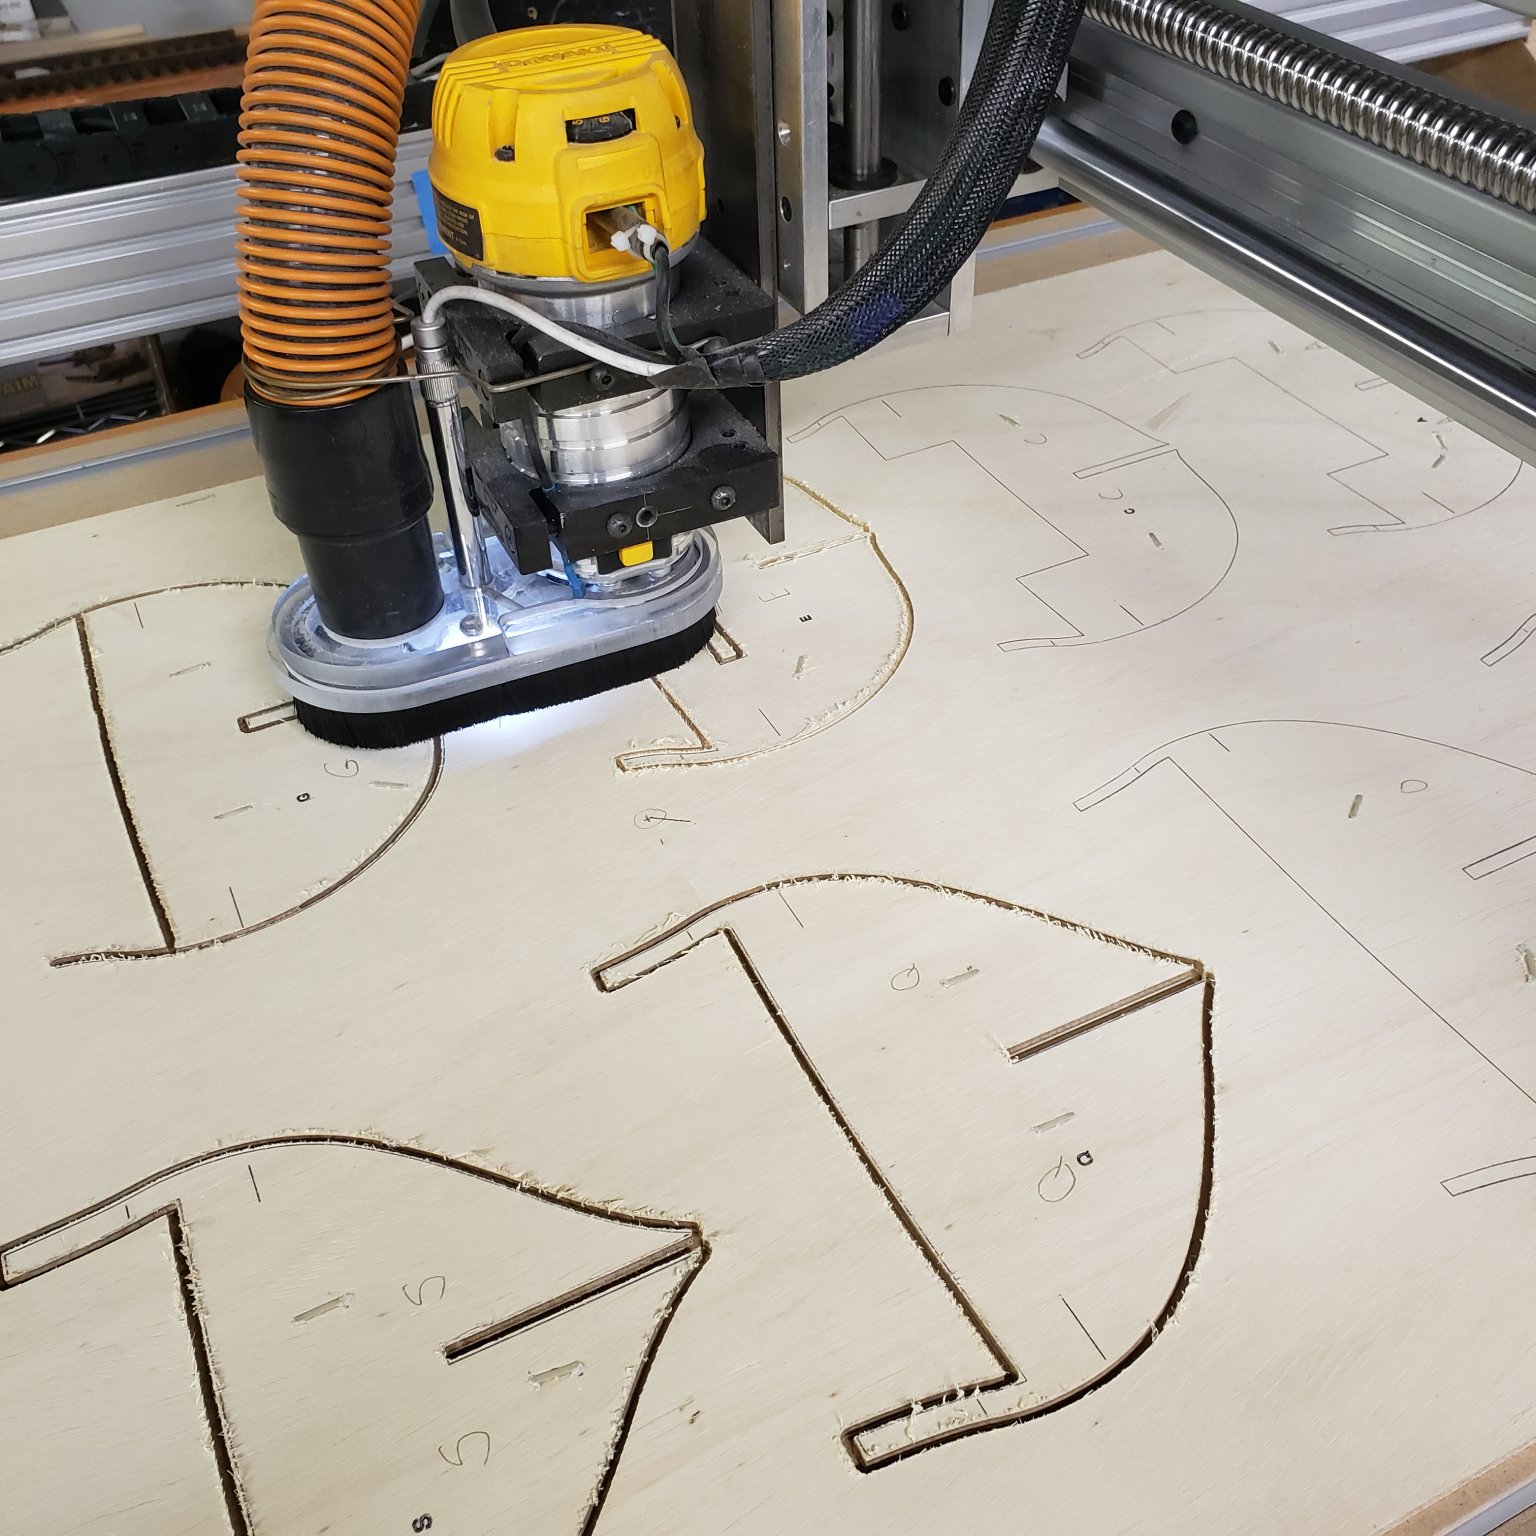
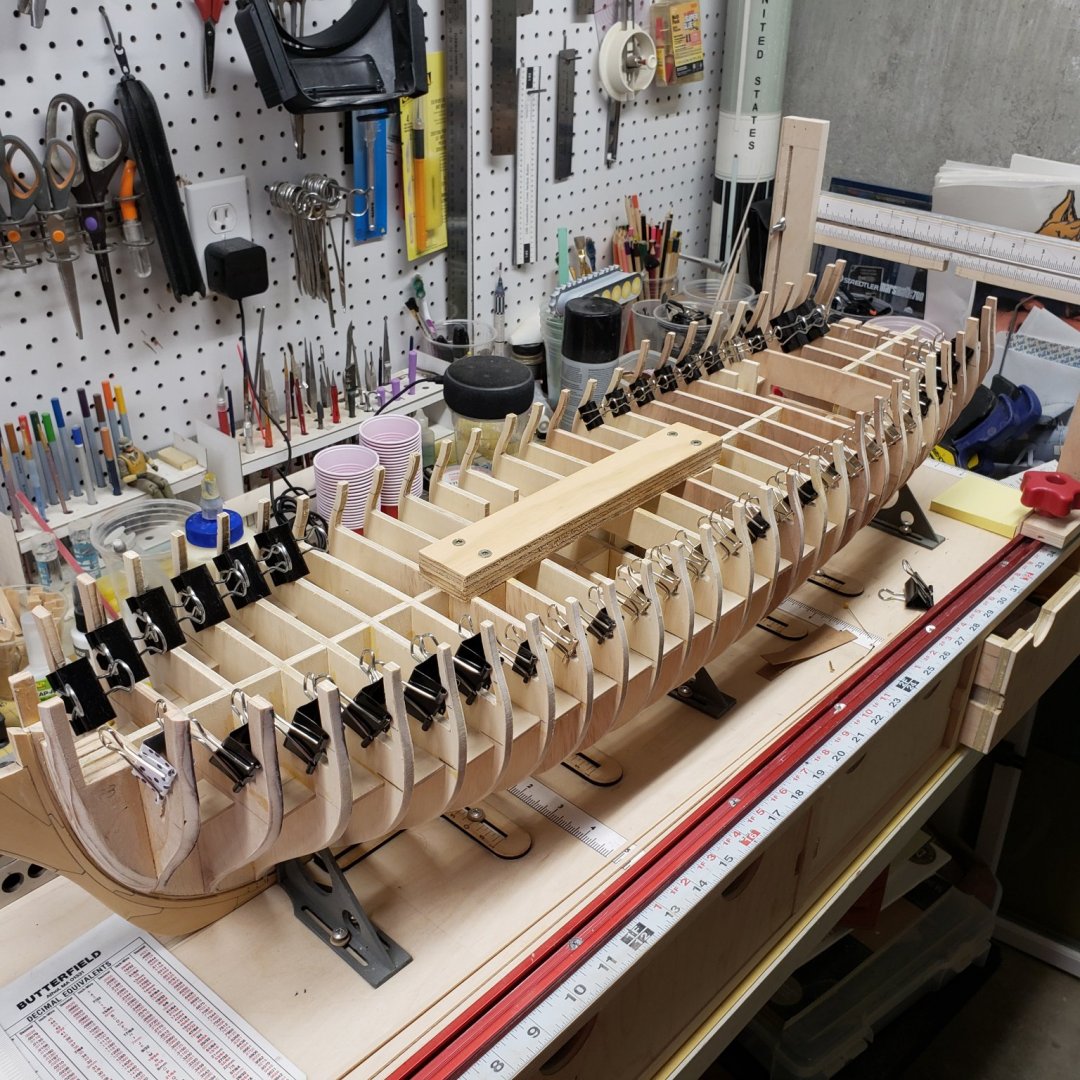
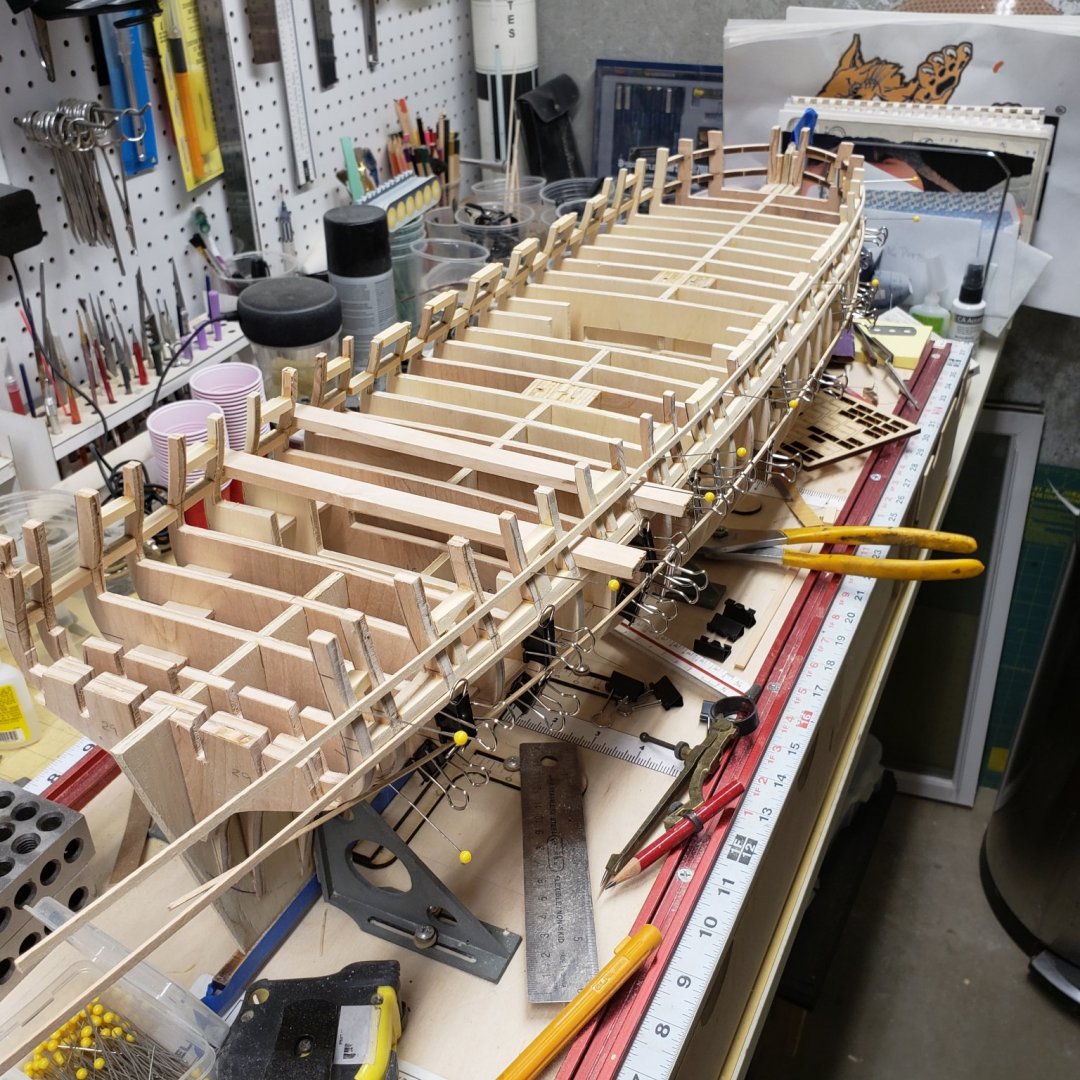
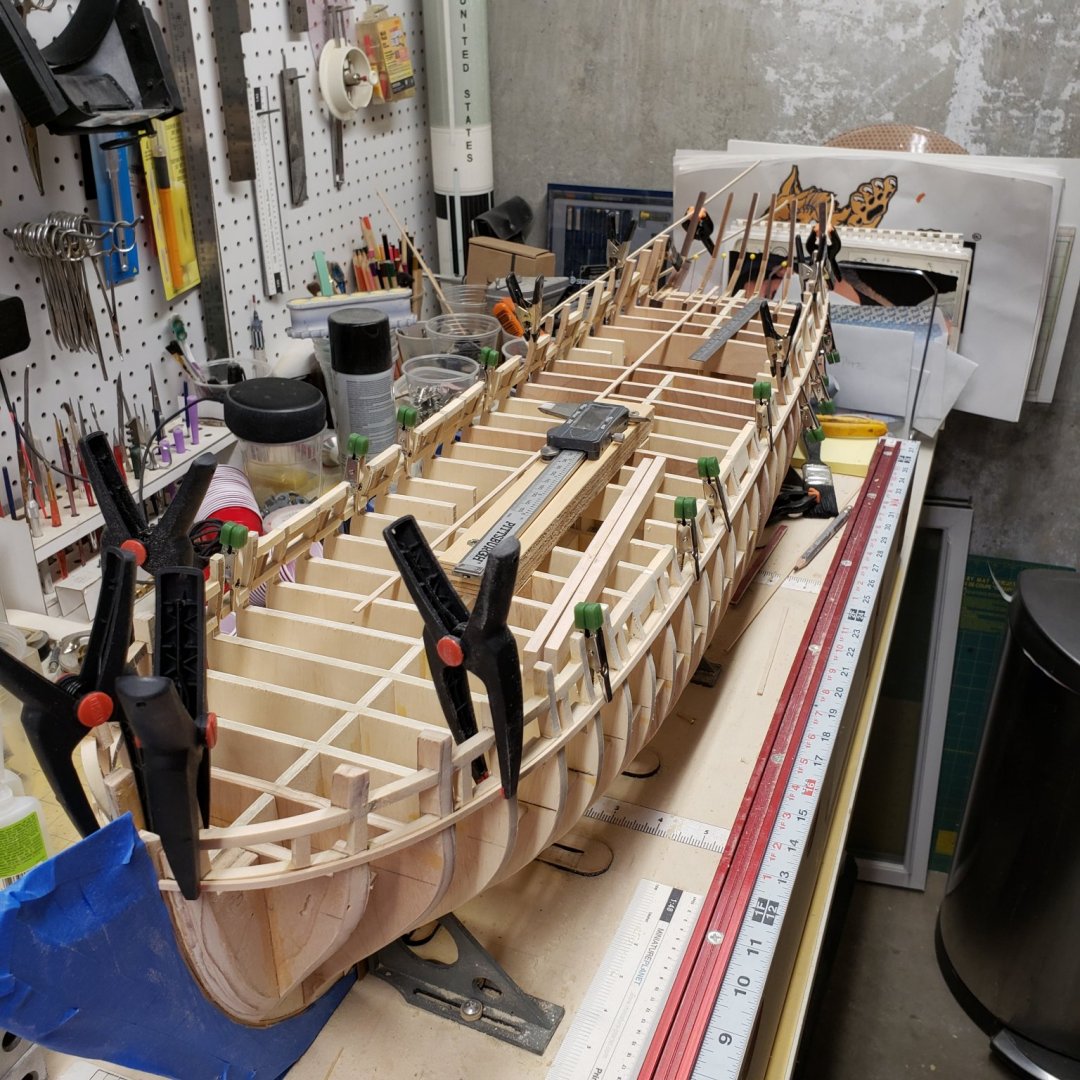
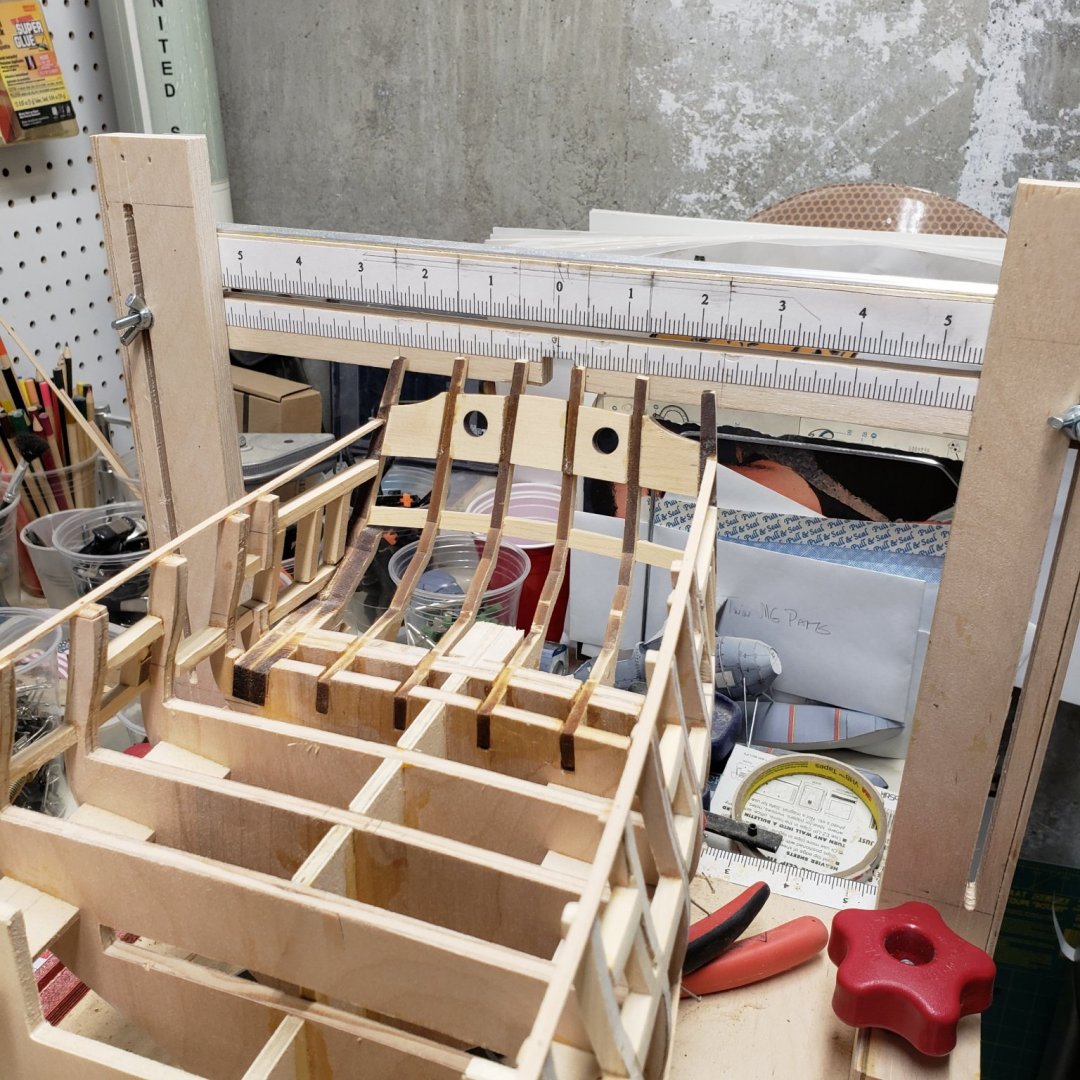
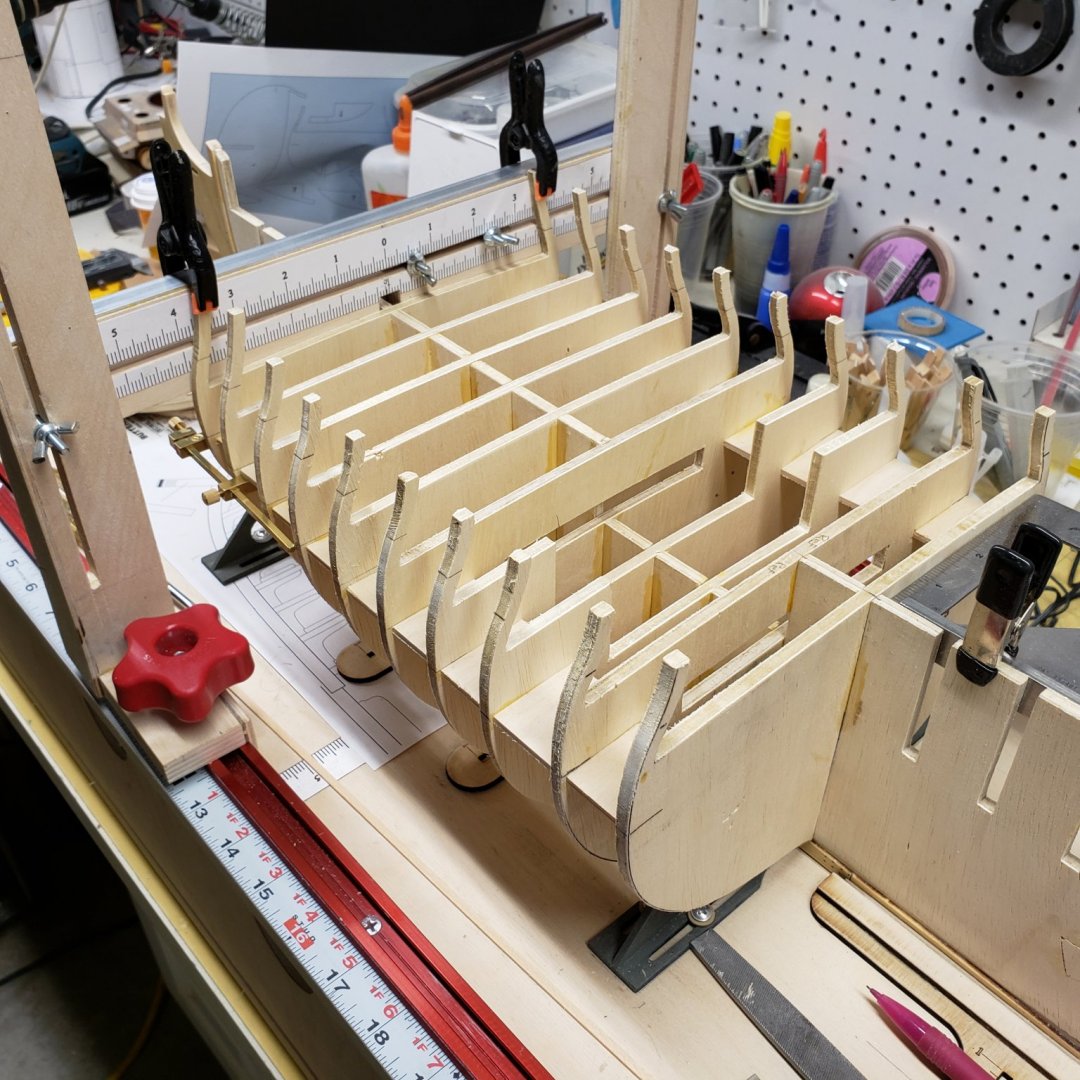
Been awhile since I posted progress, but it's moving along slow and steady The bulkheads were plotted and cut out on my CNC Router which I built over a number of years, Plot established the lines, the cuts were roughed out with a first pass and then the second pass was a light finishing cut to eliminate flex of the tool and gantry This is how I kept the bulkheads square and the Keel in alignment, the first two bulkheads were glued into place and spacers were added to keep them in alignment and then i used these two bulkheads as reference points for the run to the bow and the stern A square was clamped to the keel as i moved off to prevent twist and the bulkheads were kept equidistant with the help of the gantry which moved along as I glued each bulkhead and allowed them to dry before moving to the next one... This kept the keel in the same position as I added each bulkhead Moving to the Bow i used a black thread with two clamps to check the alignment after all the bulkheads were in place. I use Titebond Glue exclusively, I have avoided Cy as it seems to have a affect on me as of late... I am now starting the Fairing of the Hull, or as I like to think of it , as the unfairing of the Hull, because the whole process of sanding for days on ends seem so unfair.... More to follow.


-
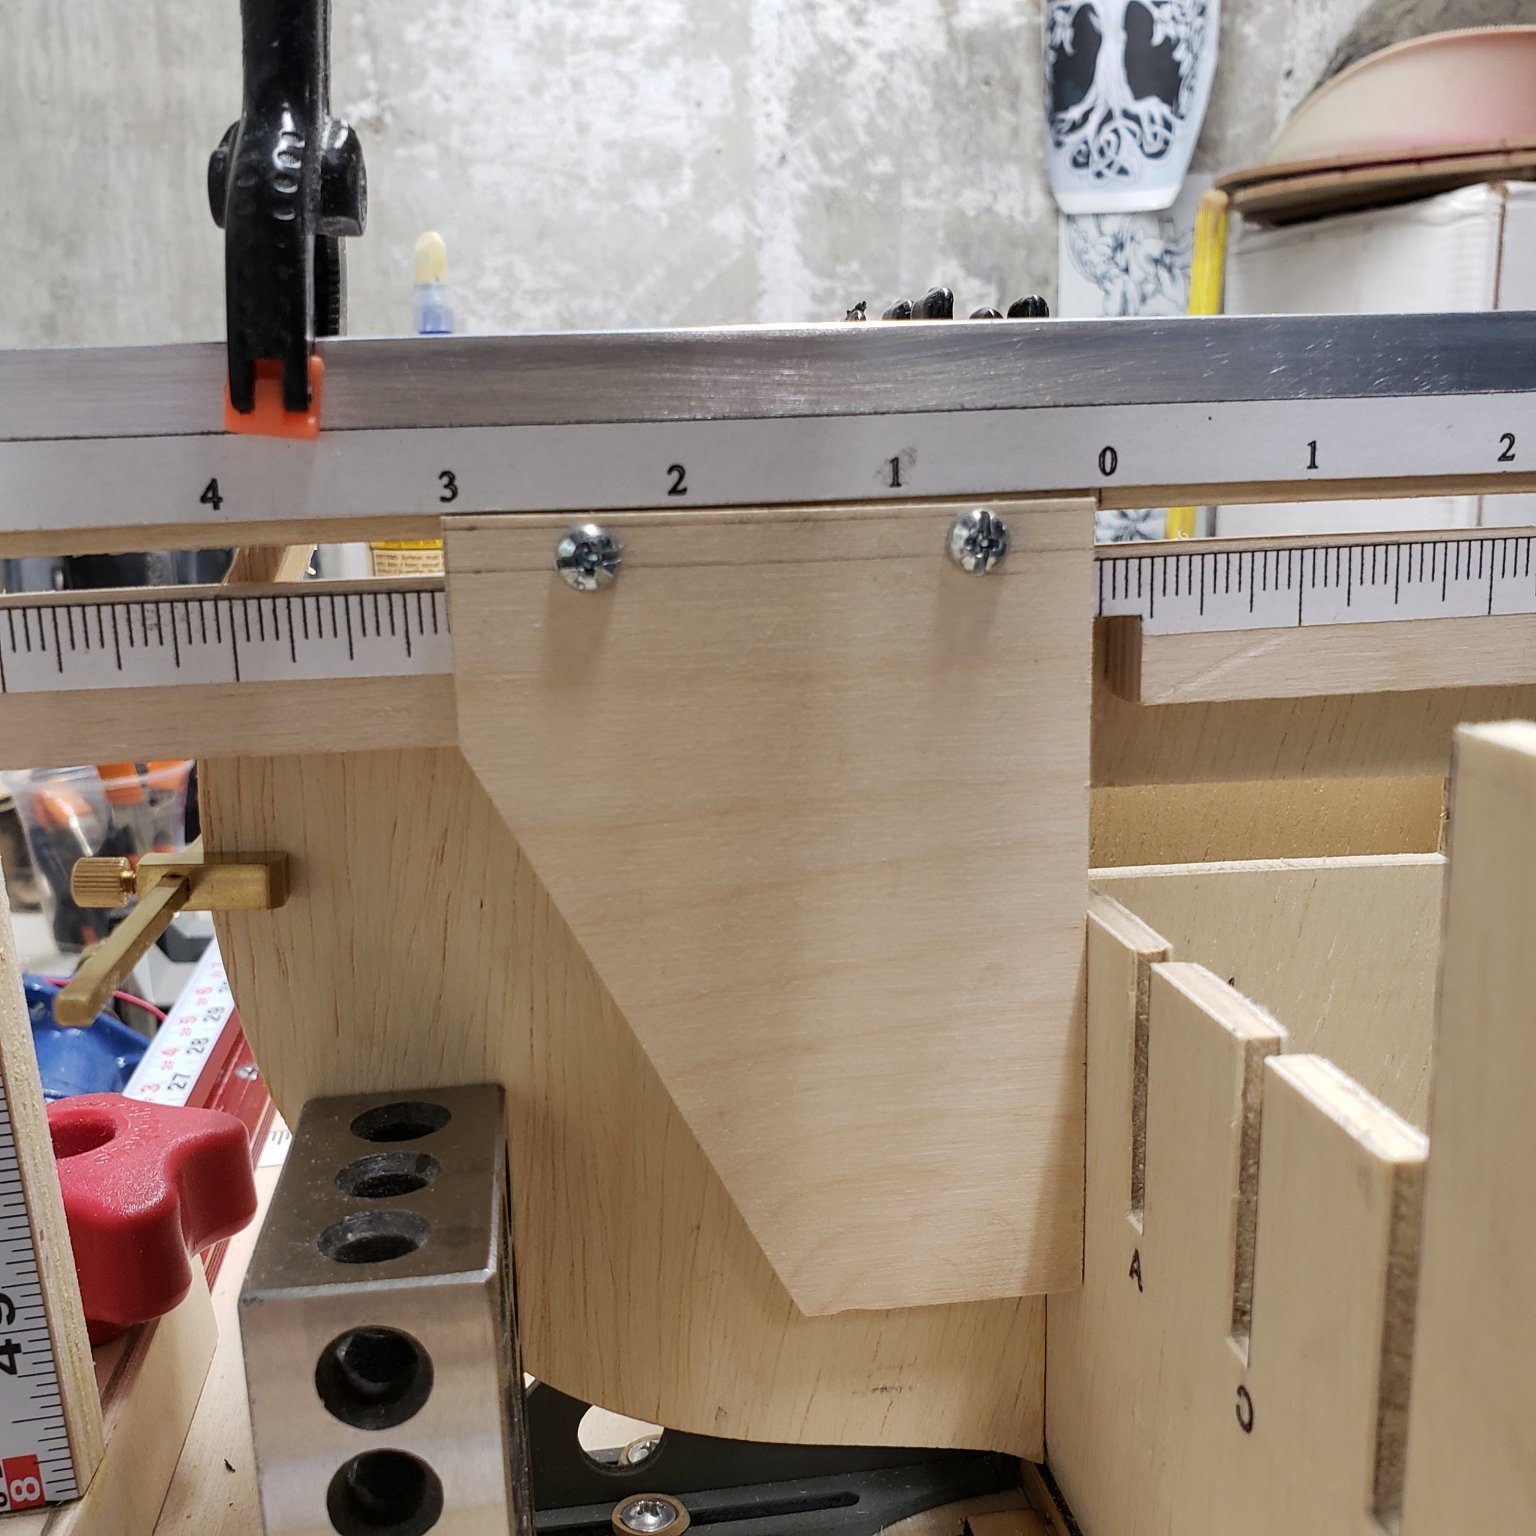
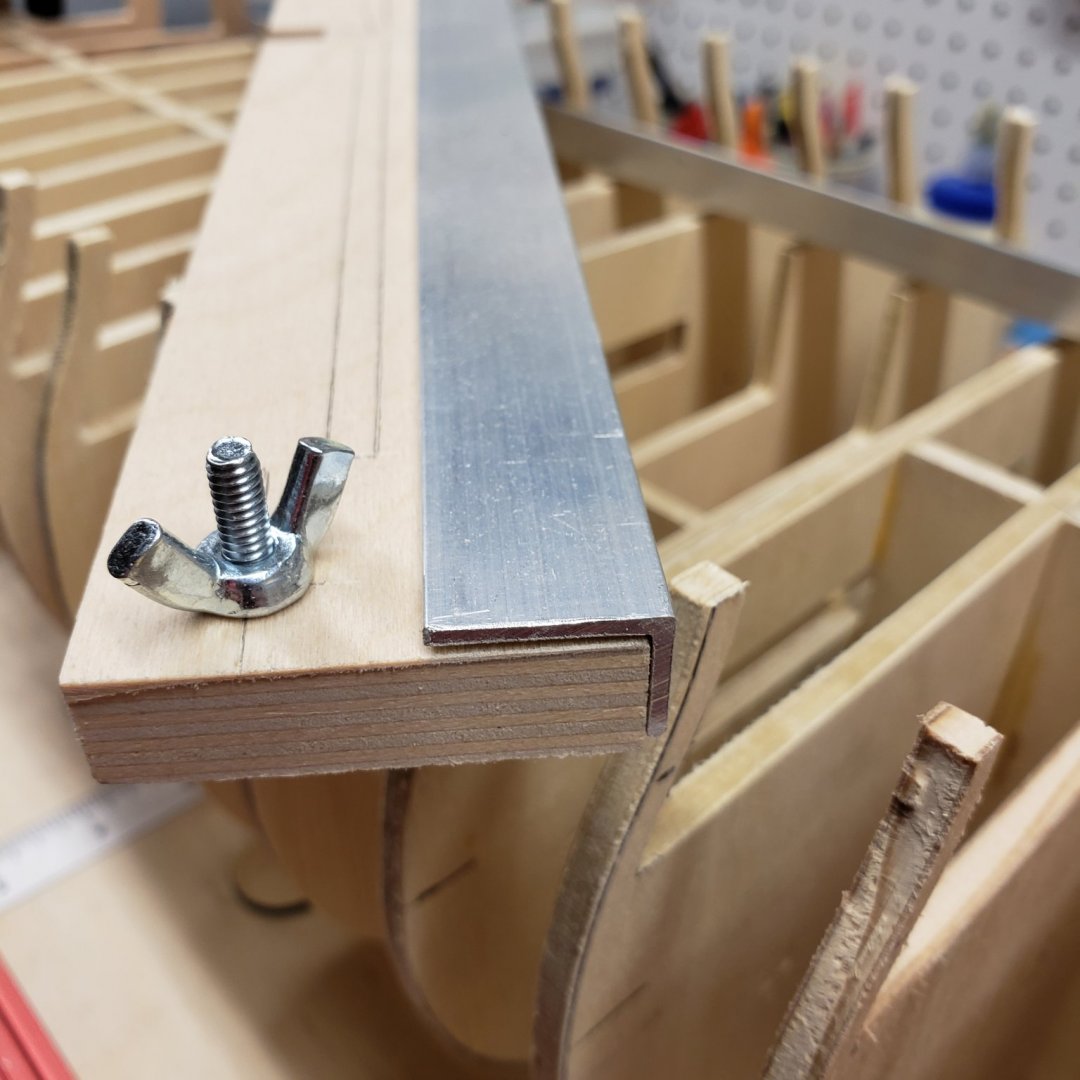
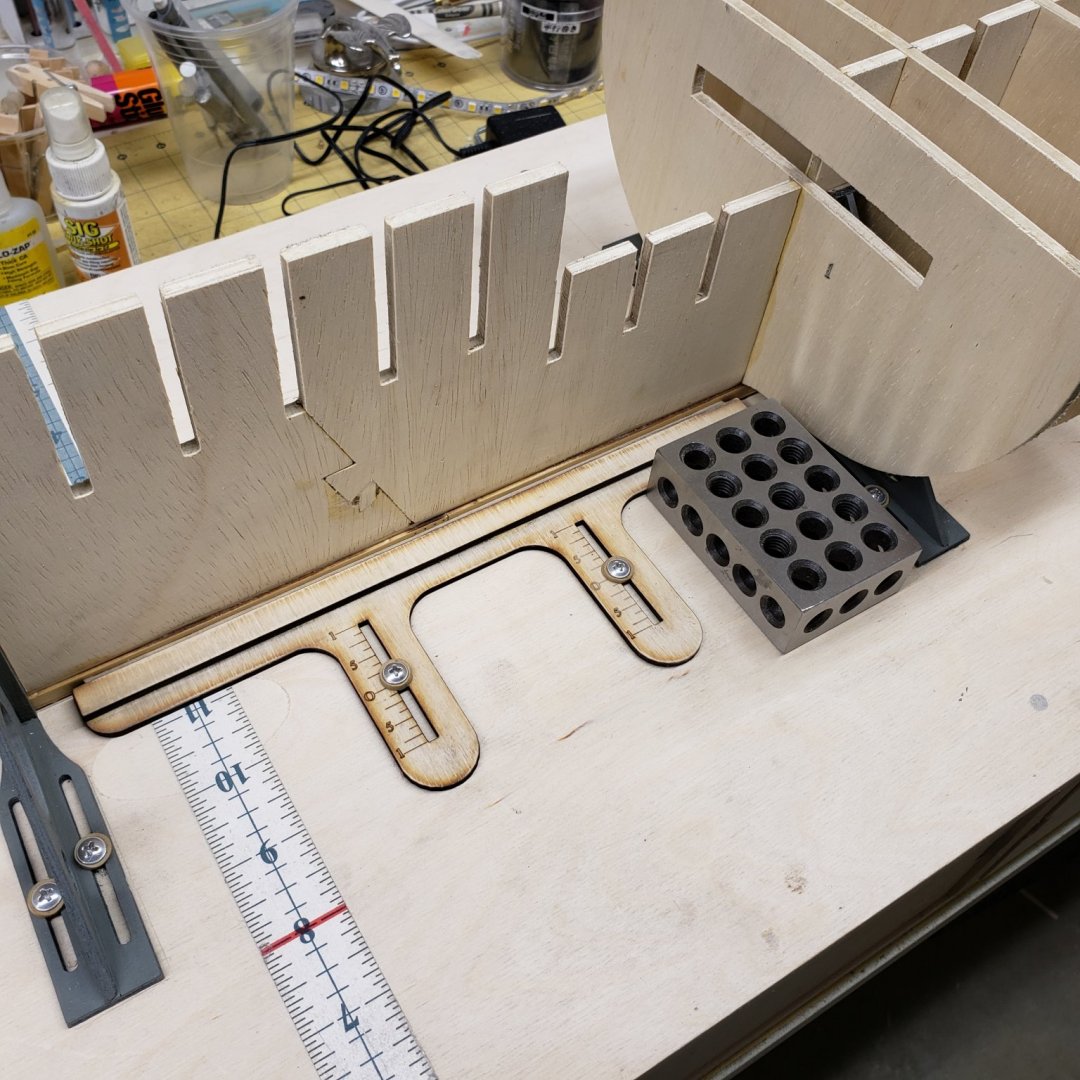
1/16" part of a jig for the build board for my Winchelsea project.... That's 1/2" ply its sitting on.
-
I guess they improved it, I cut a 1/2 × 3/4 aluminum angle with it today. Carbide blade, no wax, went right through it.
-
Man, I only hope my planking looks that good...great job
-
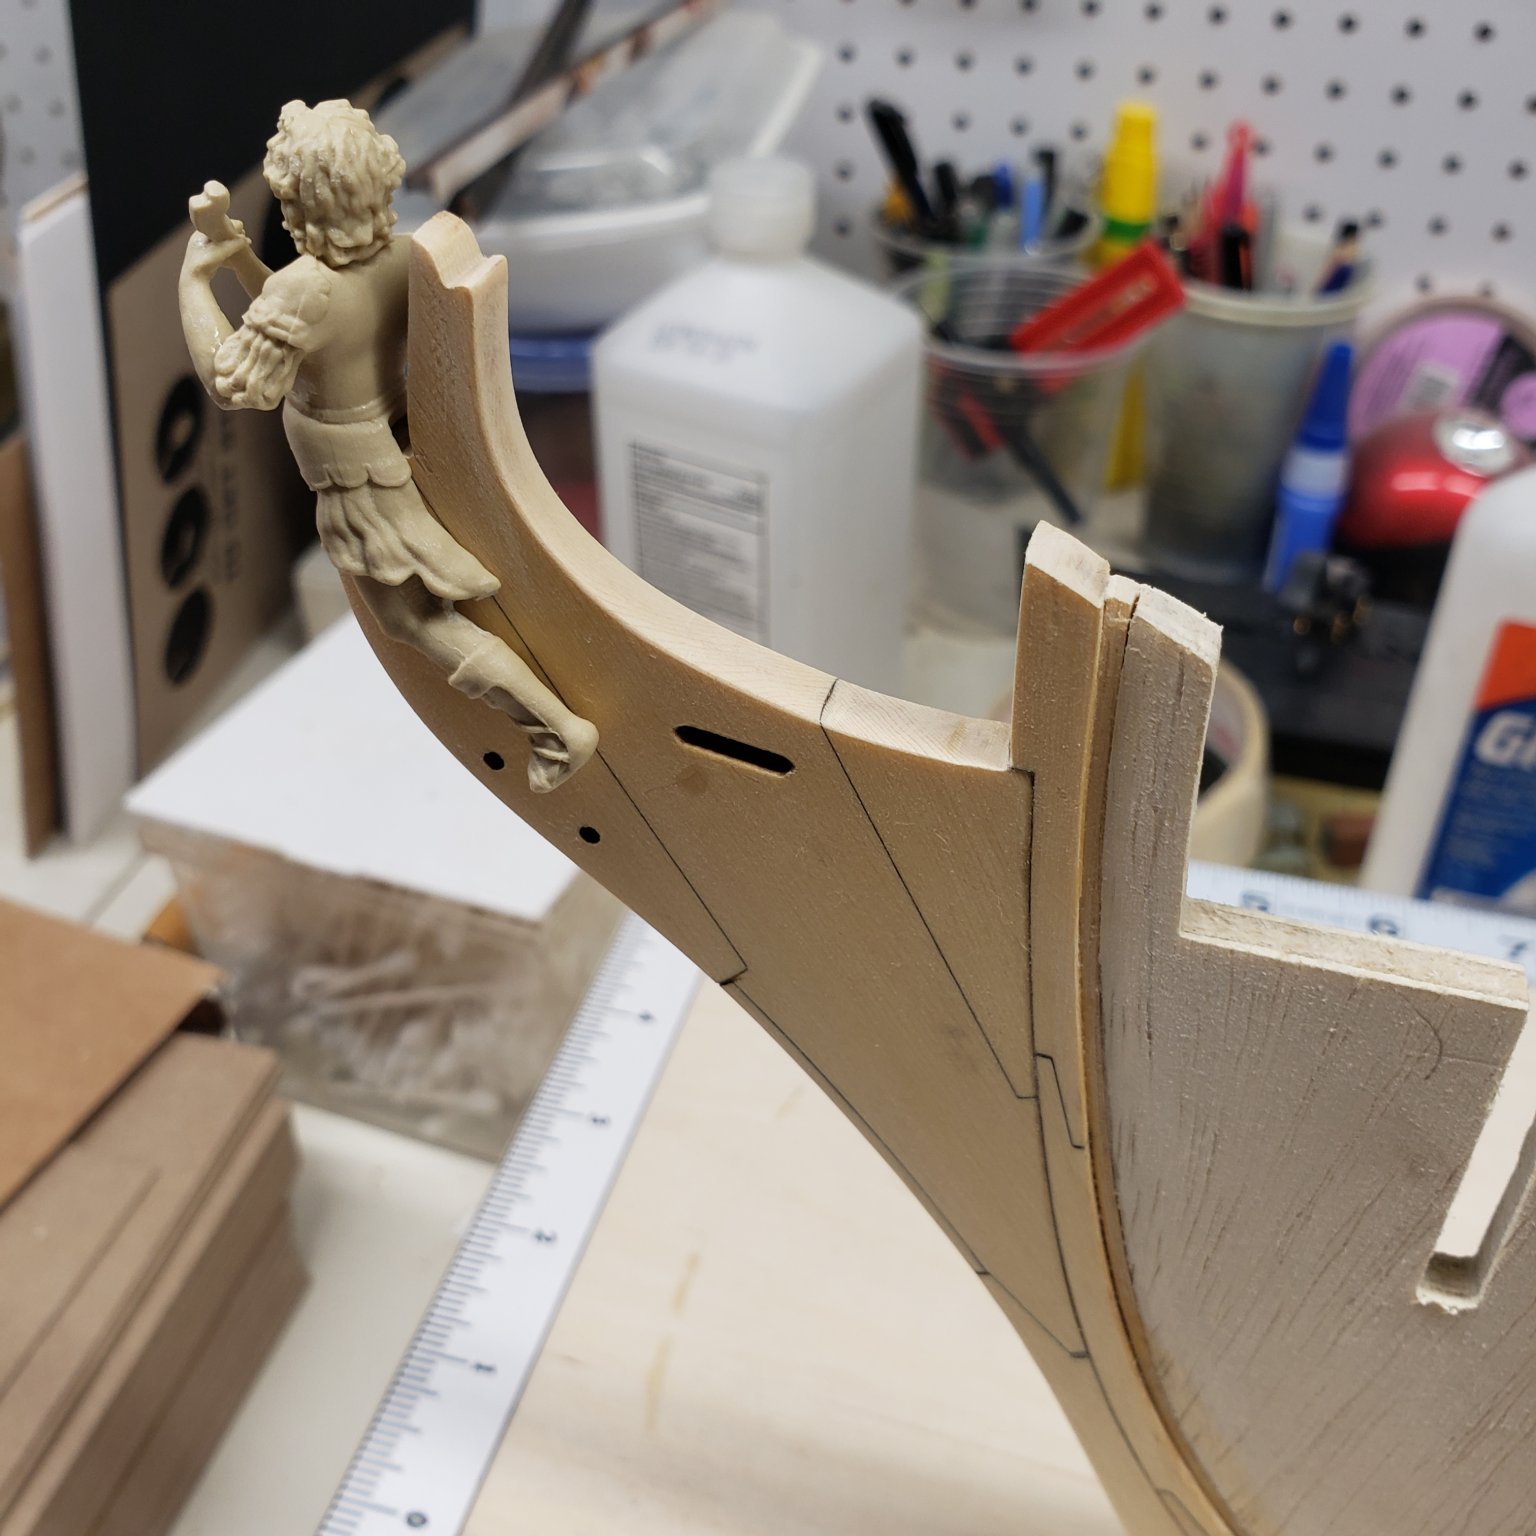
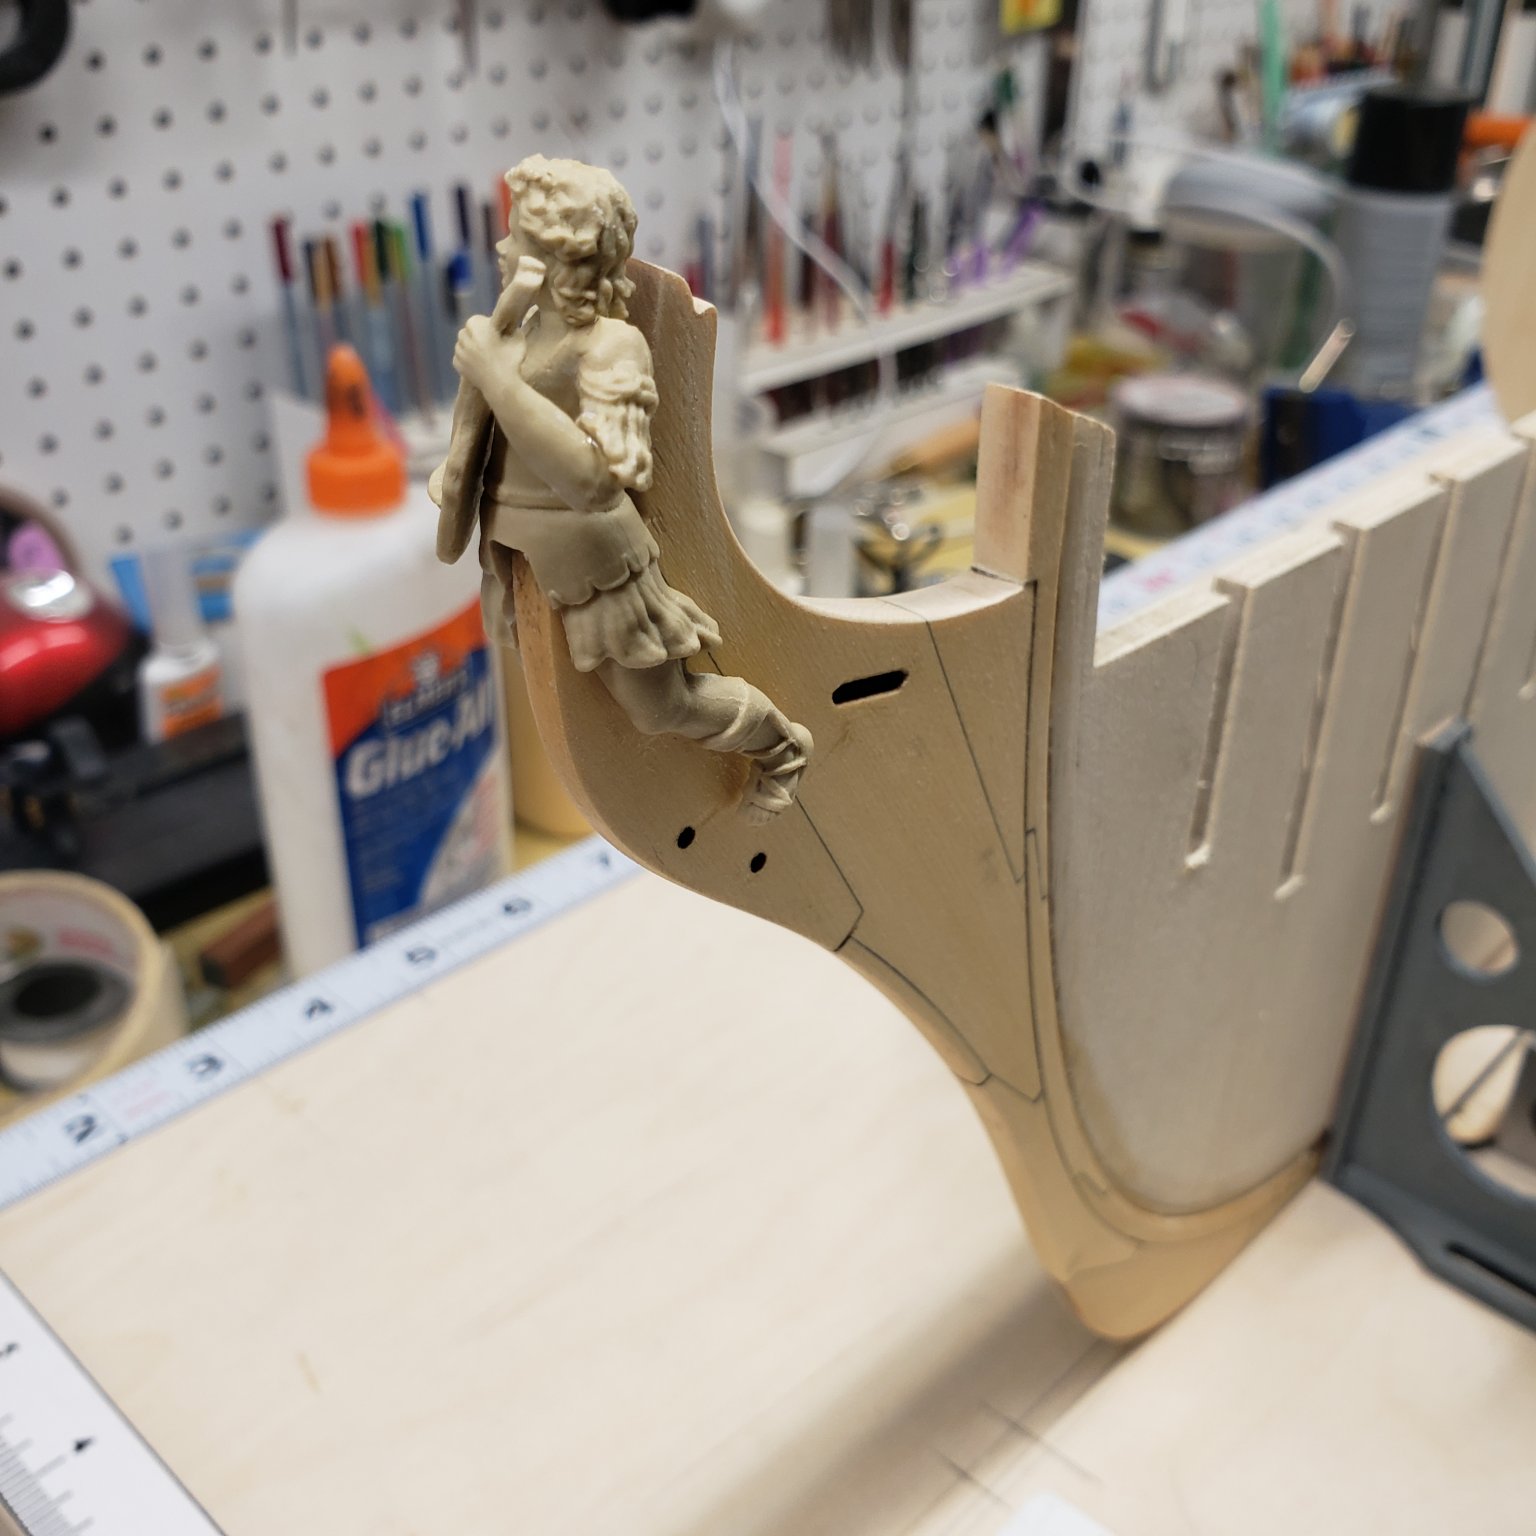
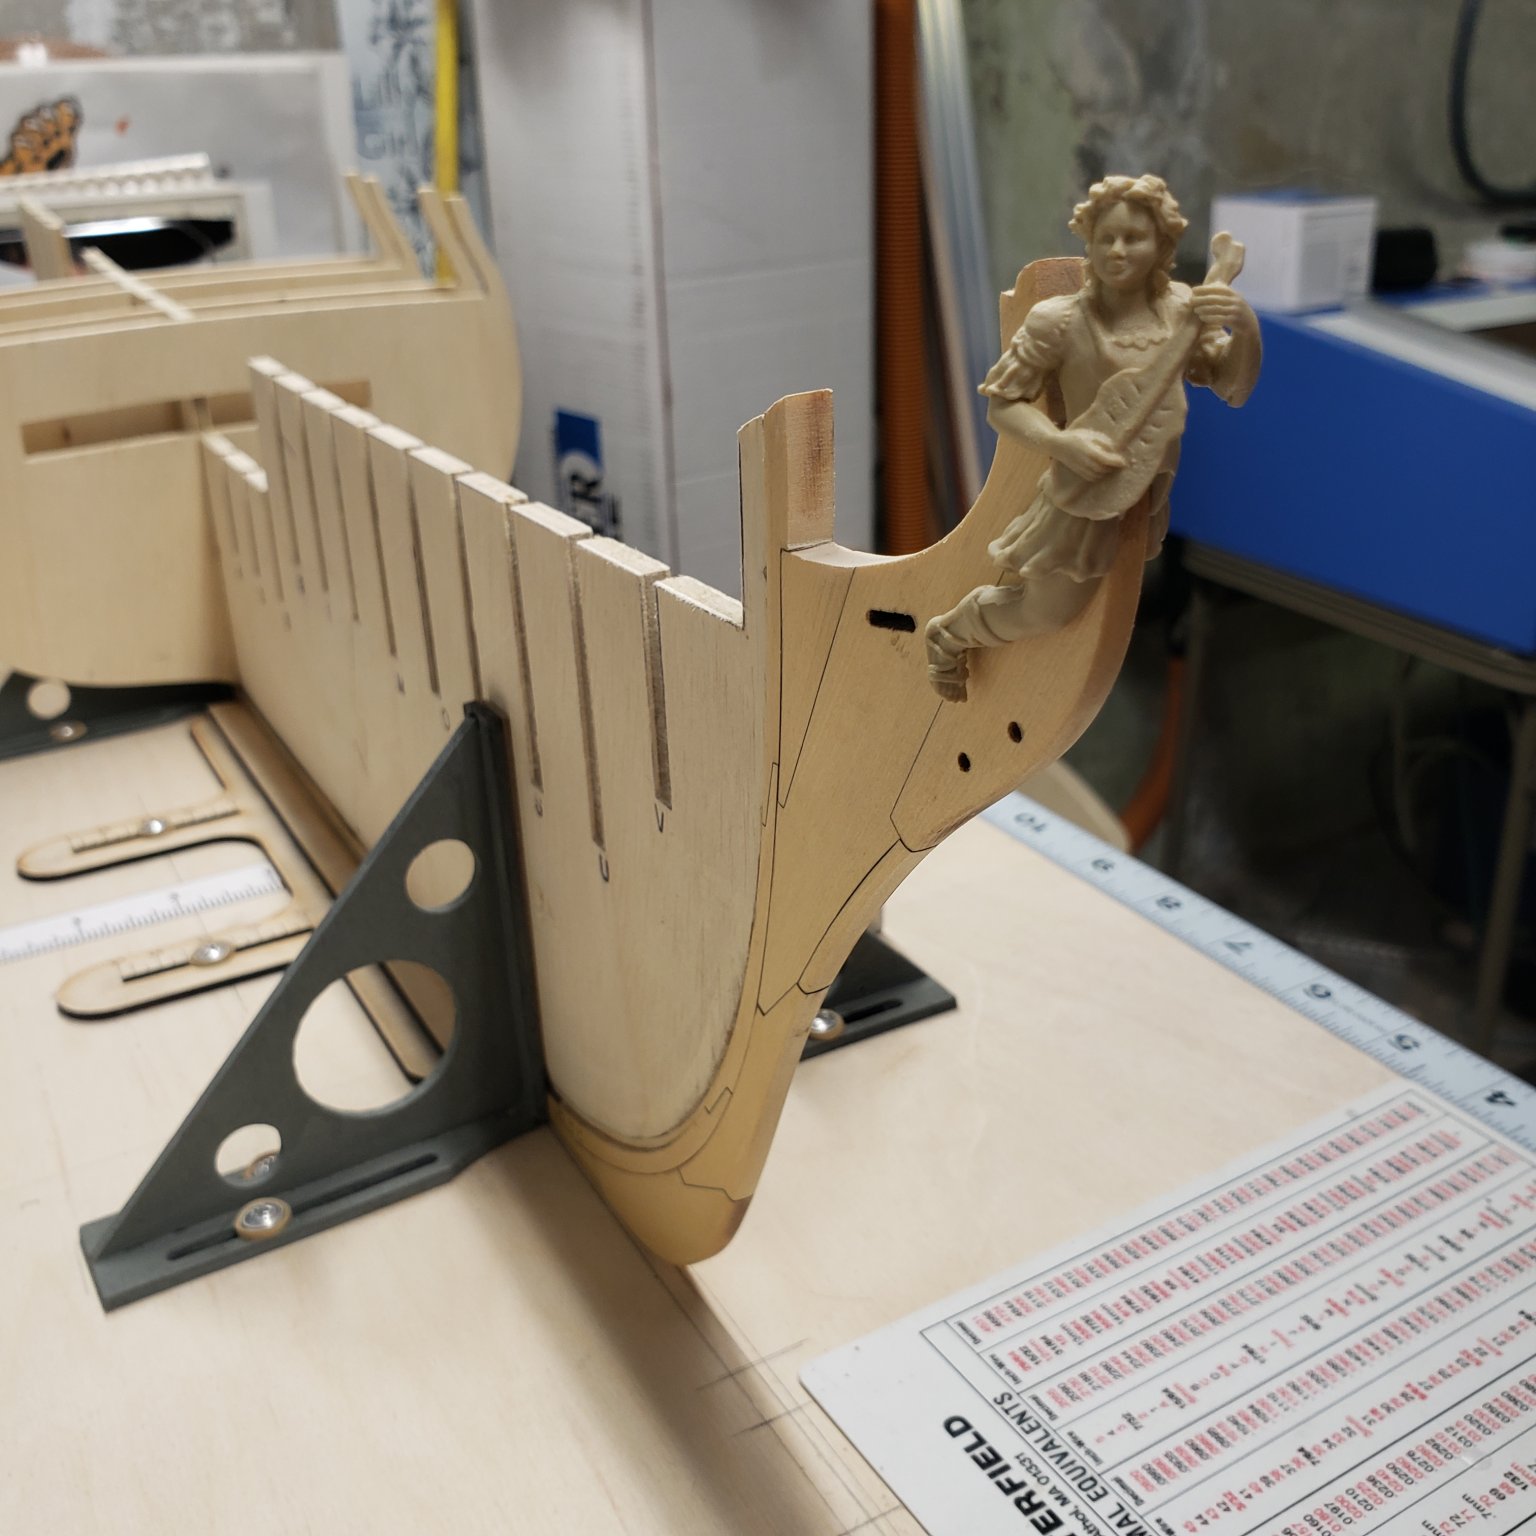
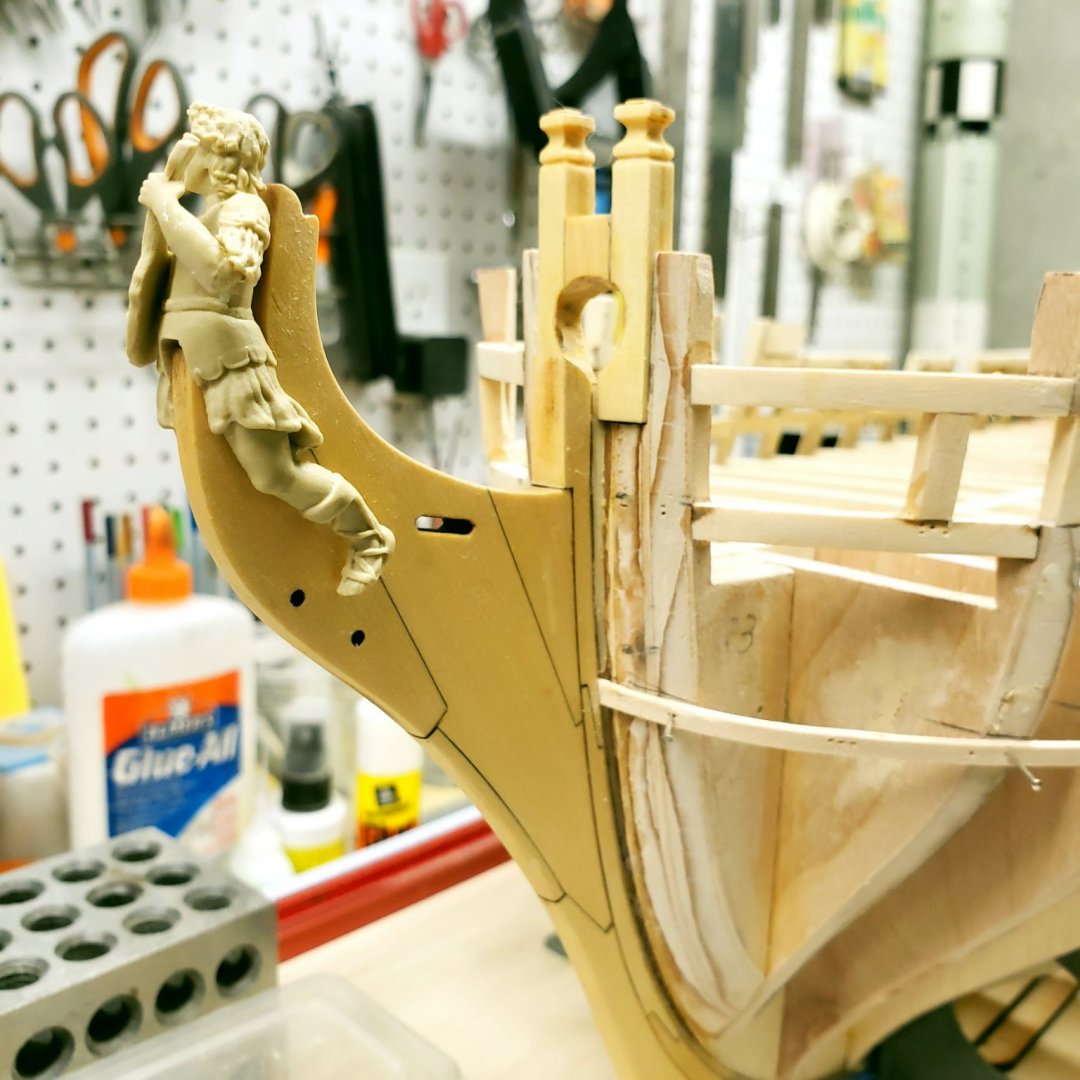
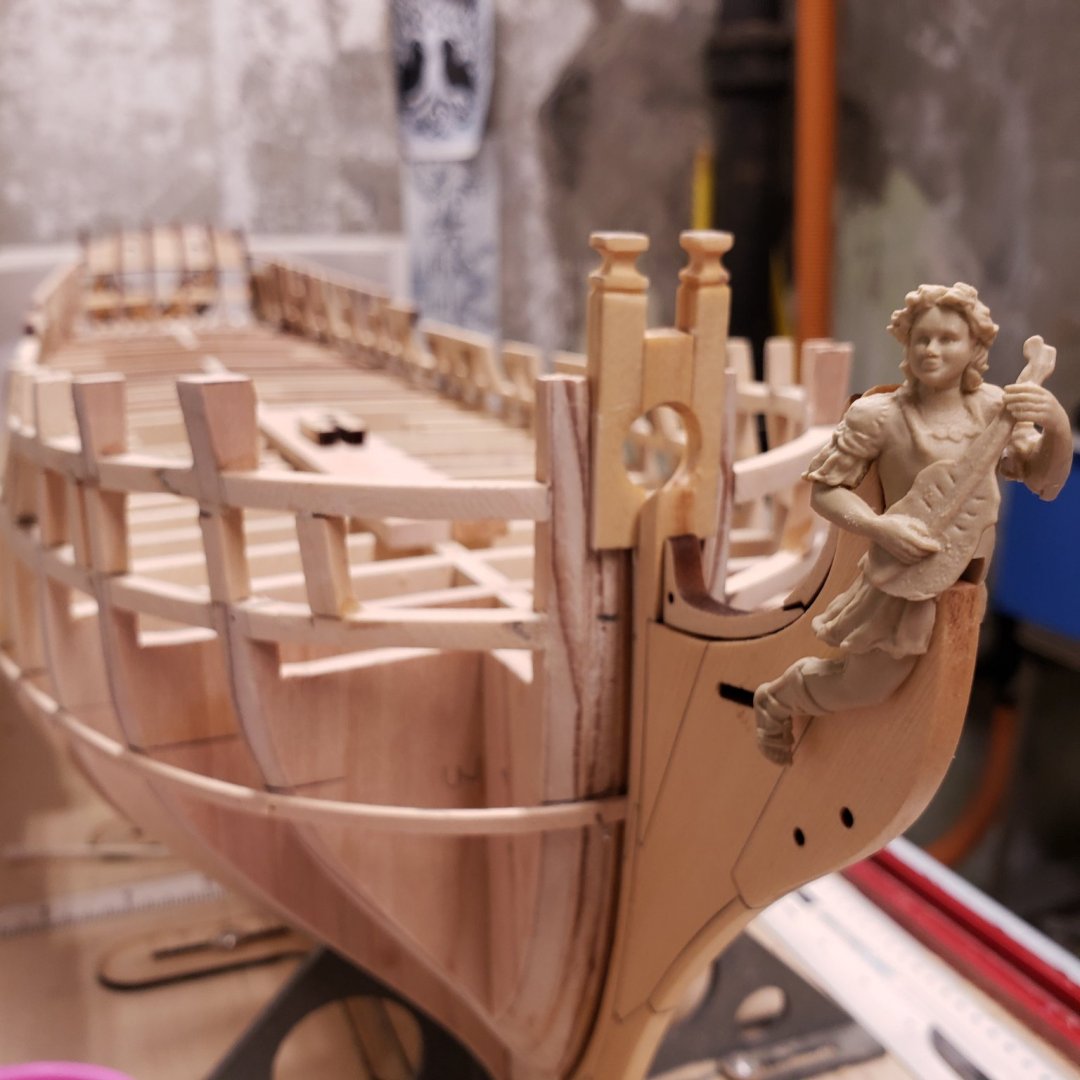
Fixed the char problem, with a little judicious sanding. Tested the figurehead for proper taper fit. char gone now He fits pretty good other side The camera is pretty unforgiving, I think it looks good then I close in on the photos, and put on my magnifier. But then I remember people who view it wont have that agility.


-
Watching closely. Paying attention, and taking notes...
- 642 replies
-
- 1
-
-
- winchelsea
- Syren Ship Model Company
- (and 1 more)
-
It is tapered, which is why I purchased that figurehead, tapered it for a fit , didn't include photos of that. Char sanding was overlooked, but I will correct that. Appreciate the feedback, got materials in today's post, so will be moving forward soon...
-
Yep. It fills a need at a small cost, not a product that works out of the box, but can be tweaked to take care of lots of things.
-
Nope, that's a scratch titan missile, built it for a grandsons school project, had a Gemini capsule on top. PVC pipe wrapped with a printout, and then a scaled capsule to fit PVC pipes scale....
-
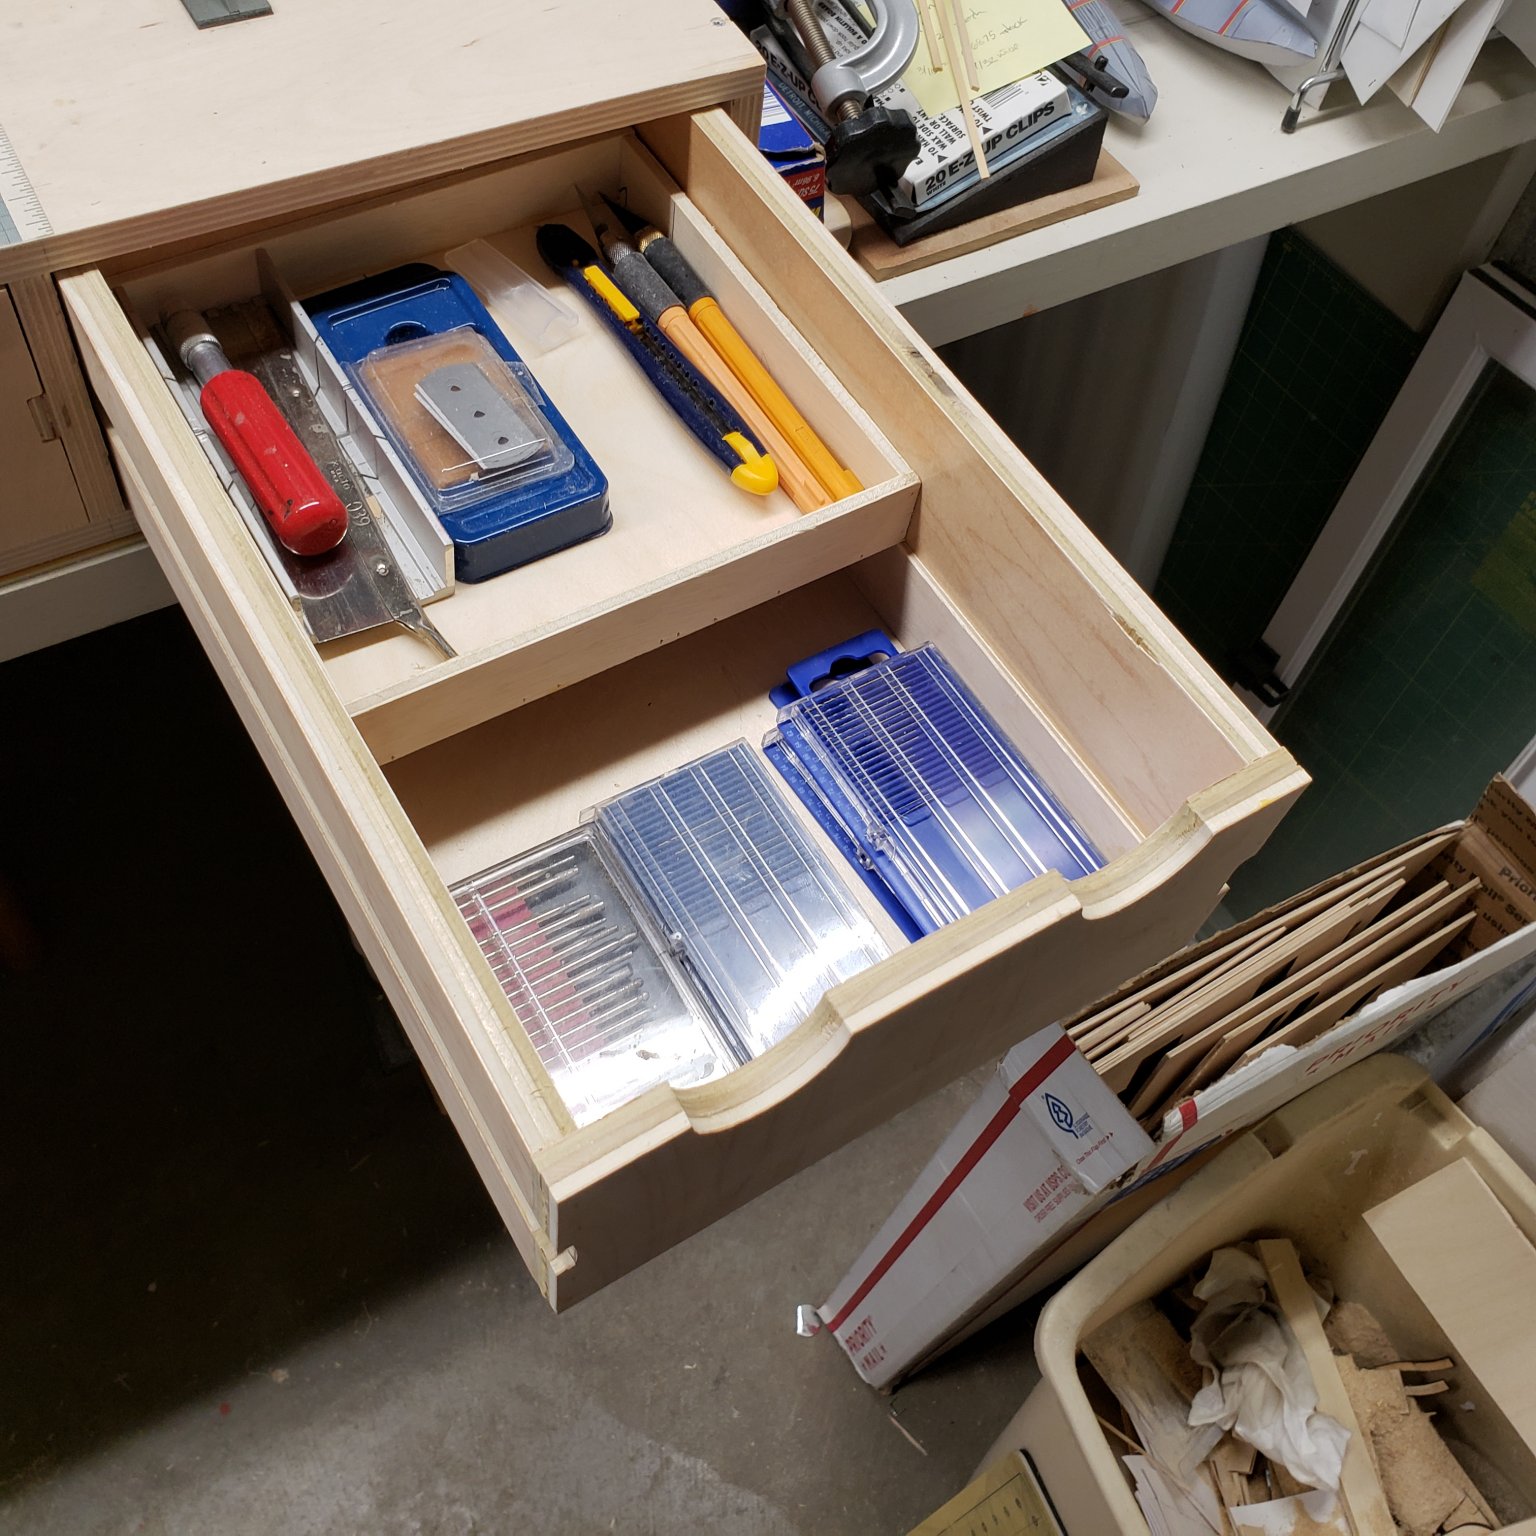
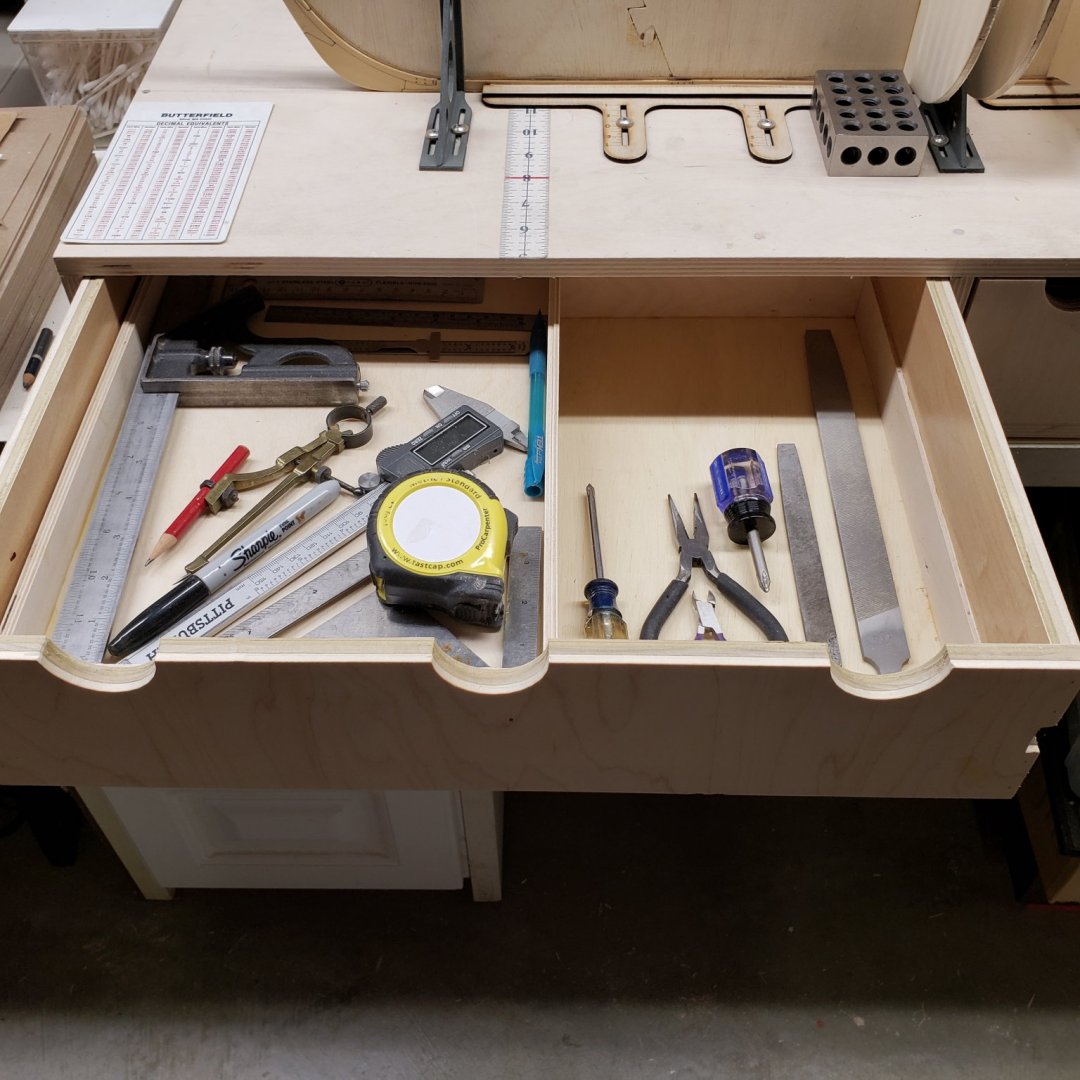
I have a hard time keeping up with tools when I'm working, so neatness is almost a necessity for me, I often spend as much time looking for things as I do building.
-
😉 thanks, I of course shamelessly borrowed much of it myself...
-
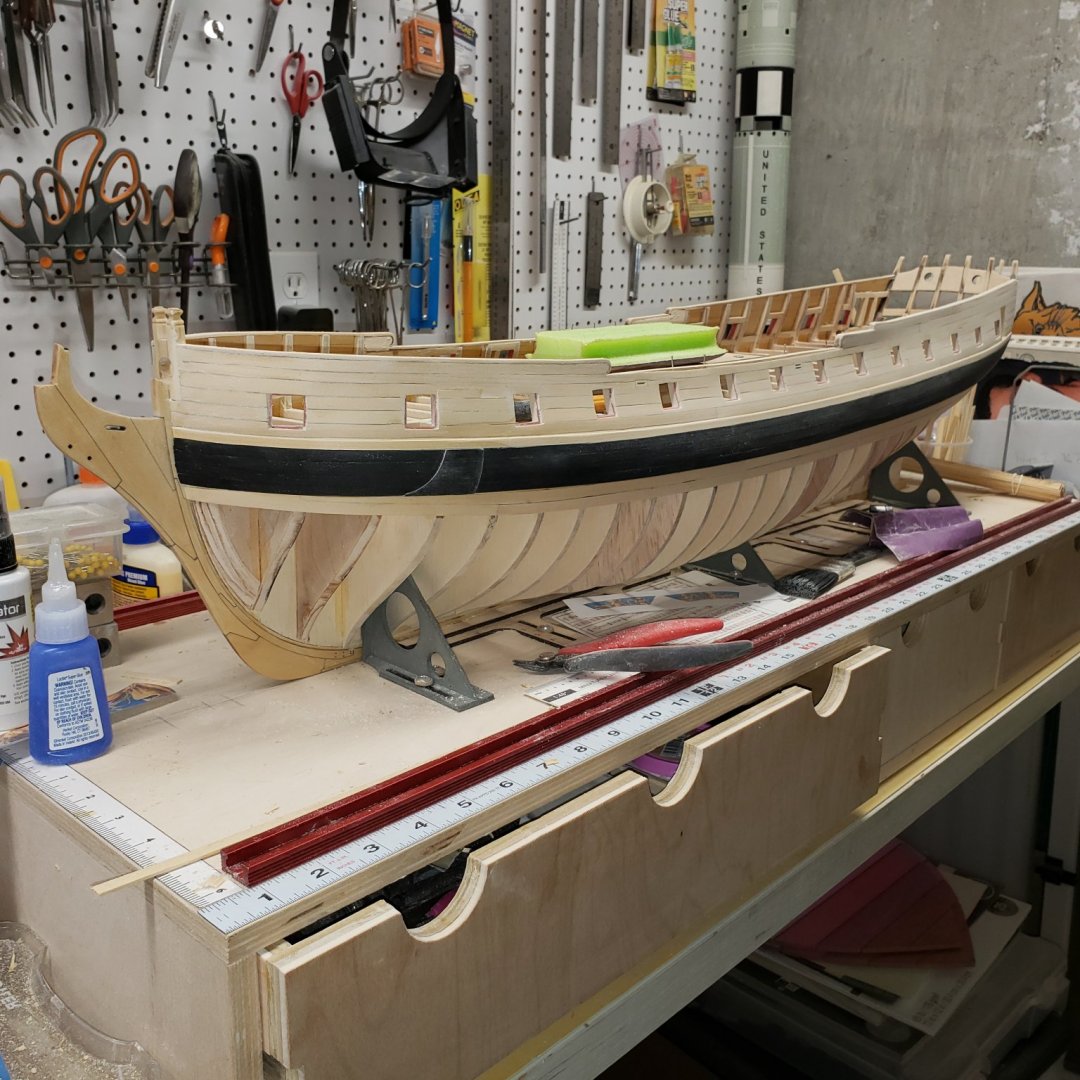
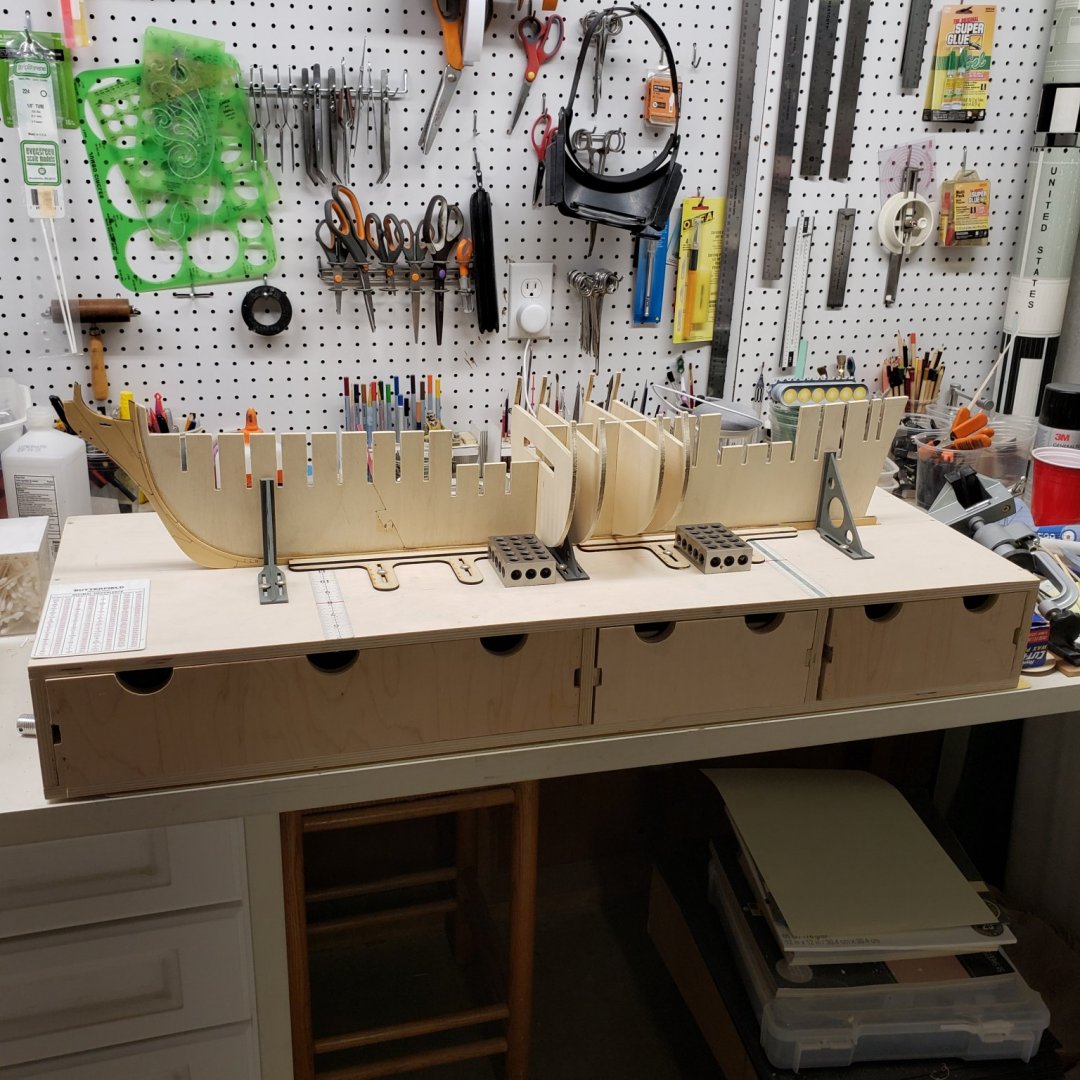
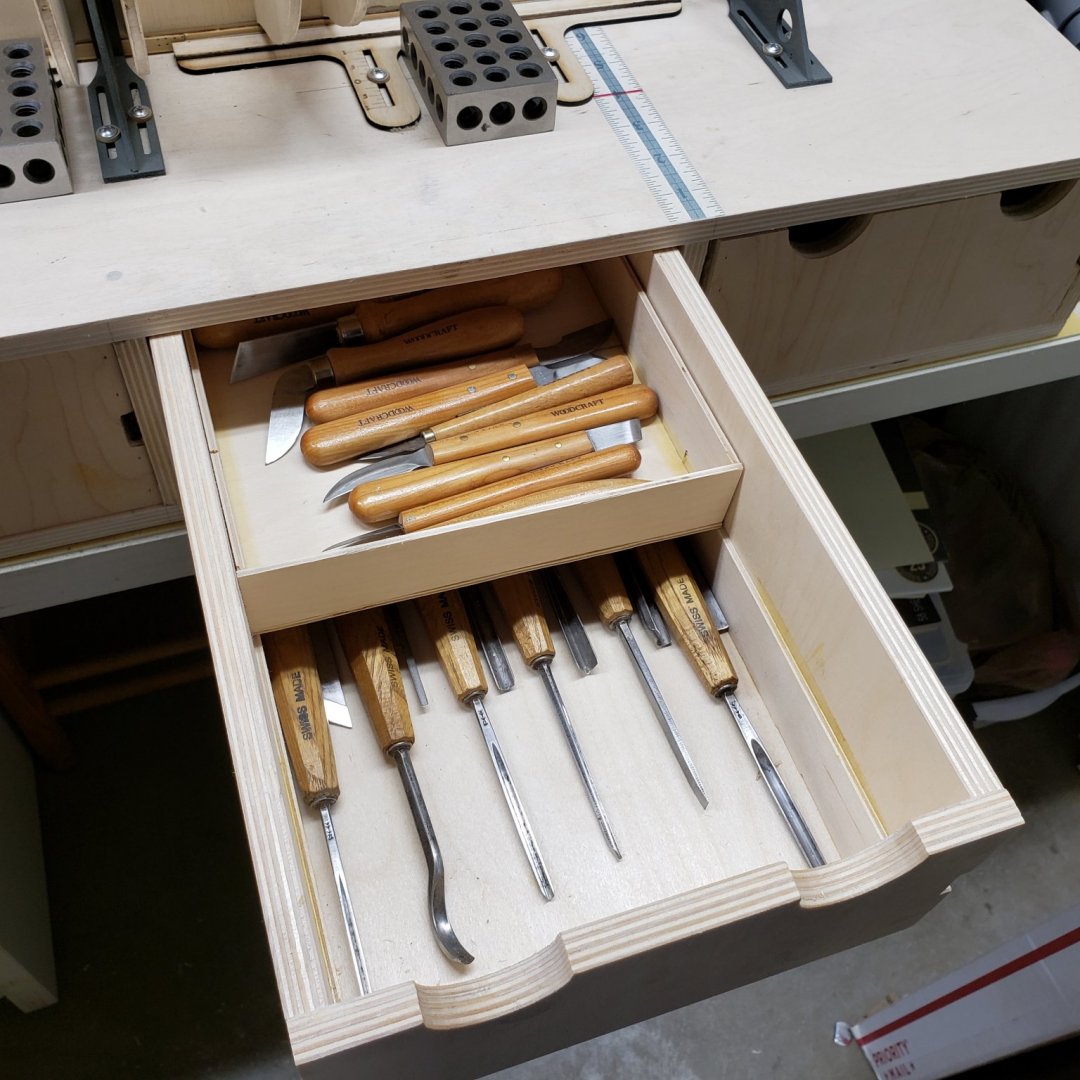
Well I finally started the build, my build board is more of a build station. I have drawers below the build which are interchanged as I move from one stage of the build to the next, I have shown some pictures of how I utilize the space, hard to be original with designs, much borrowing of many different ideas incorporated here. This is my first build, but have been modeling and lurking about the forums for years.... This is the build station with the progress to dateT Large drawer storage top tray slides left to right to increase storage capacity Carving tools Cutting and drilling items Keel alignment Progress to date, I have not installed the bulkhead former's yet as I am waiting on some material to finish. I used Chucks instruction on bolts #77 and 15# Fishing Line The Stem, I have used Watco wipe on Poly Satin to protect against dirt and grime


-
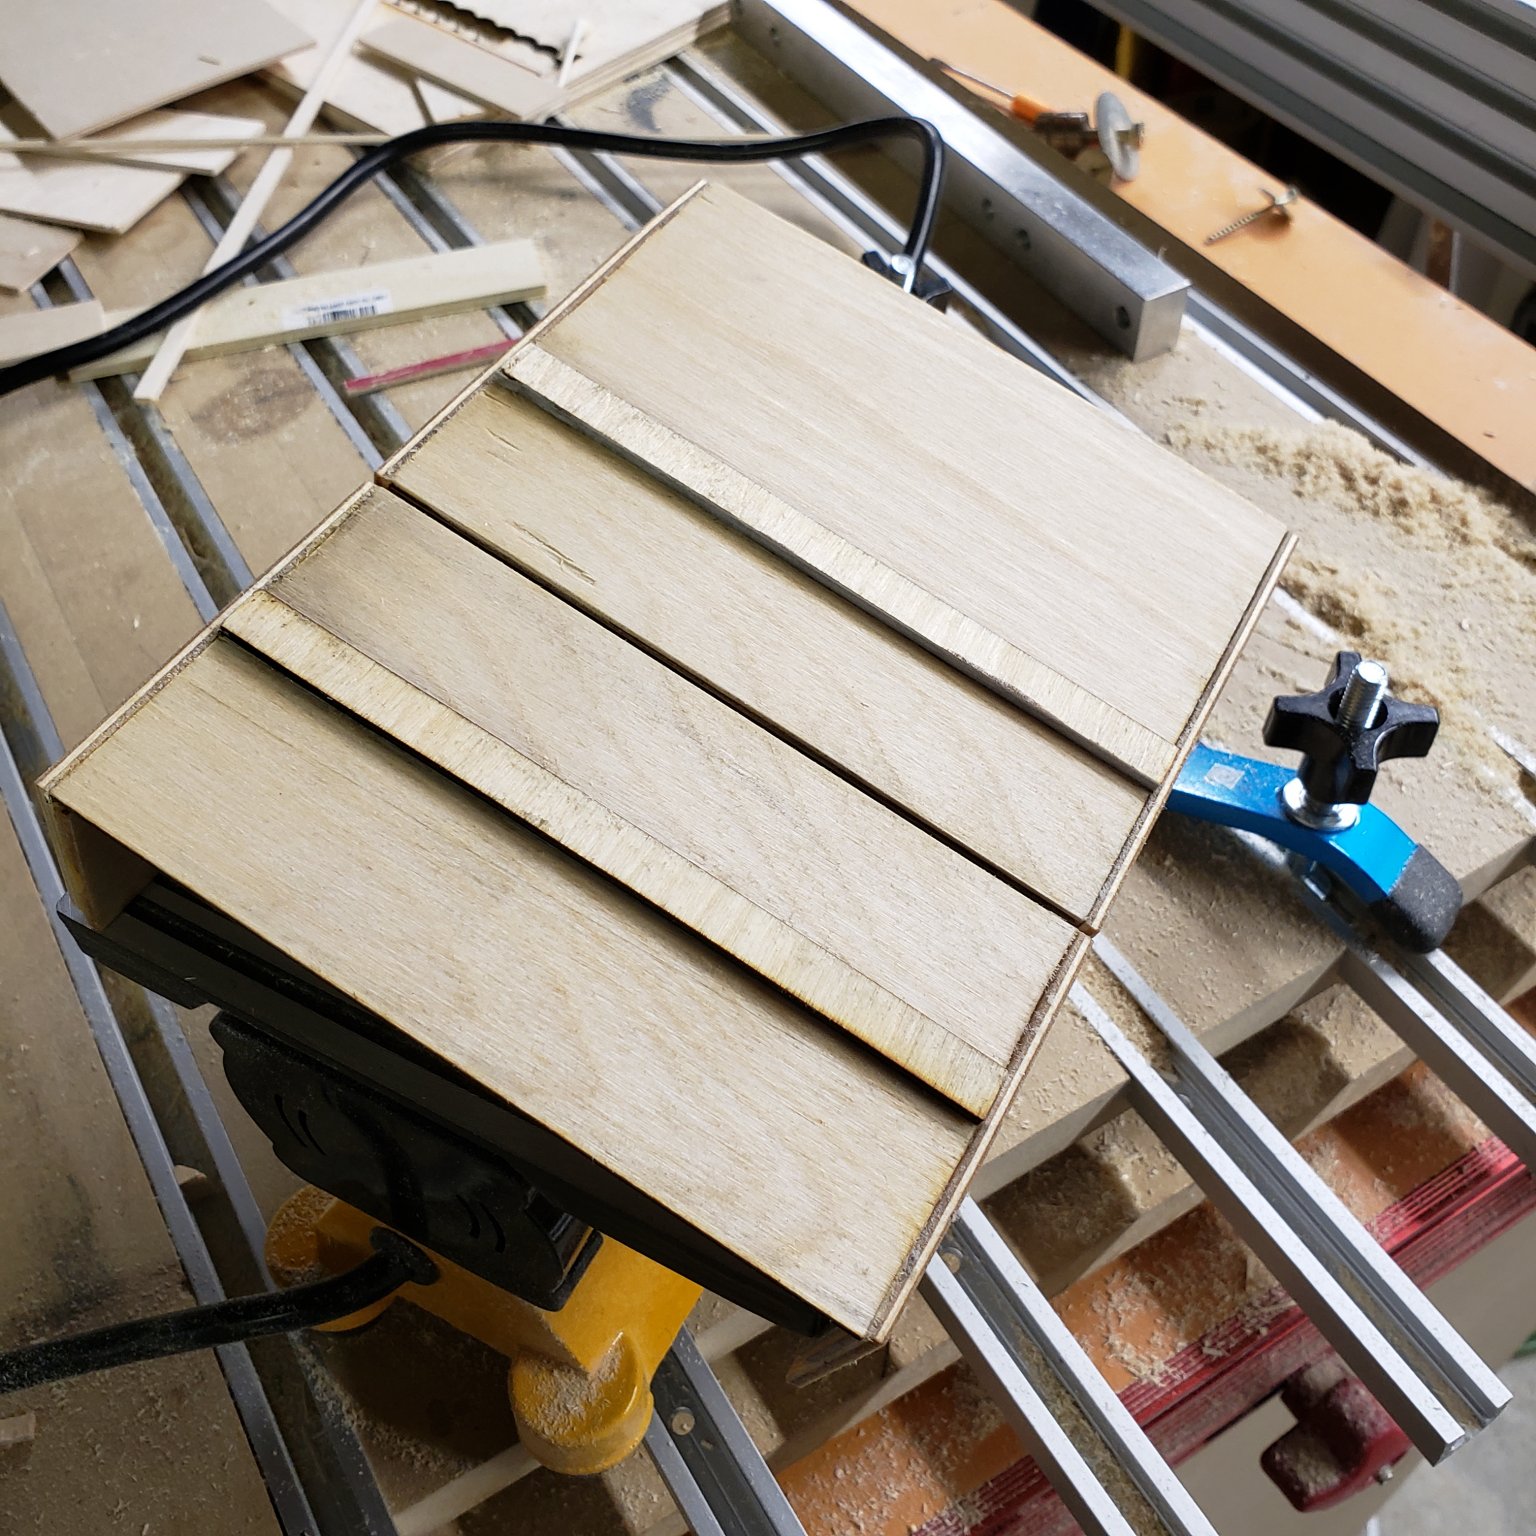
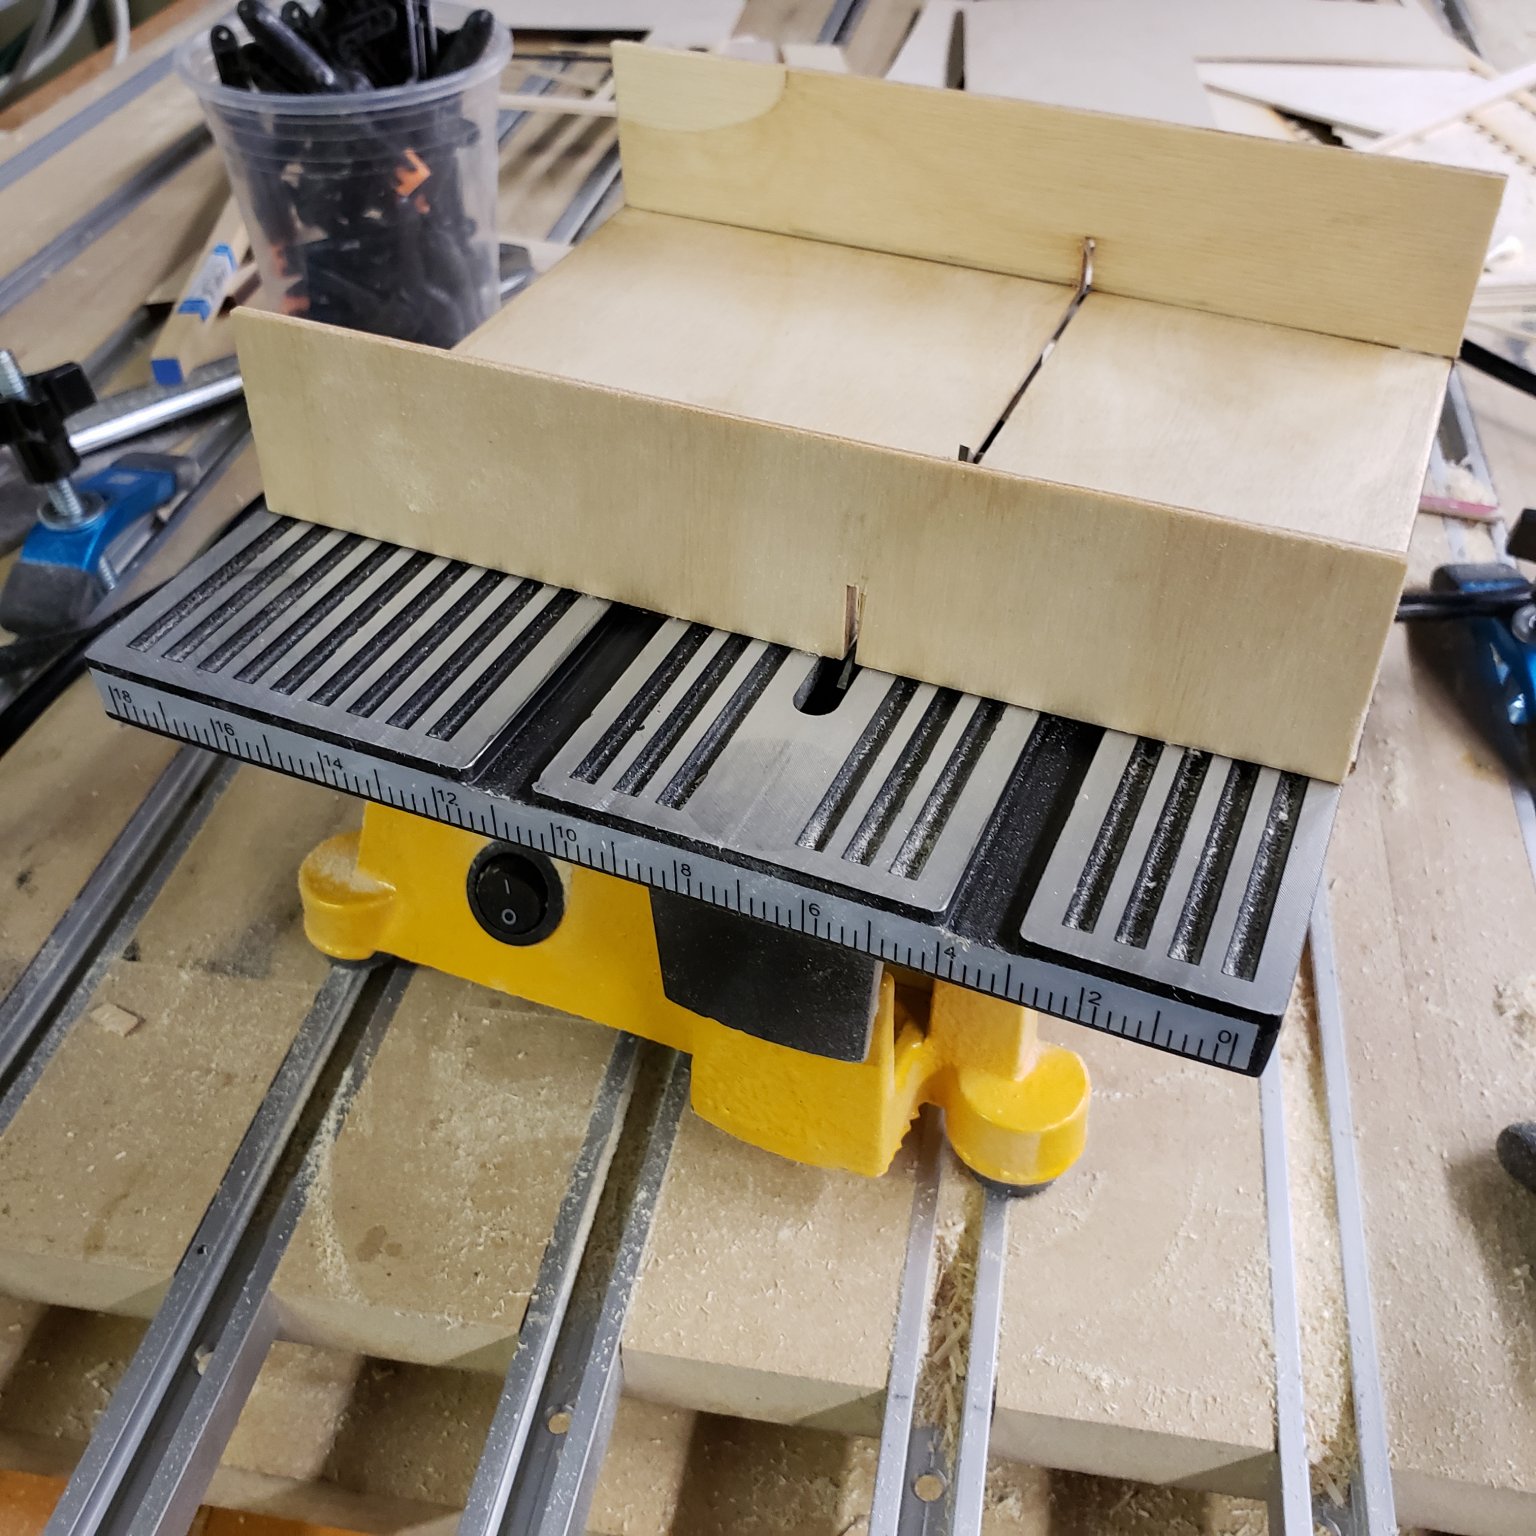
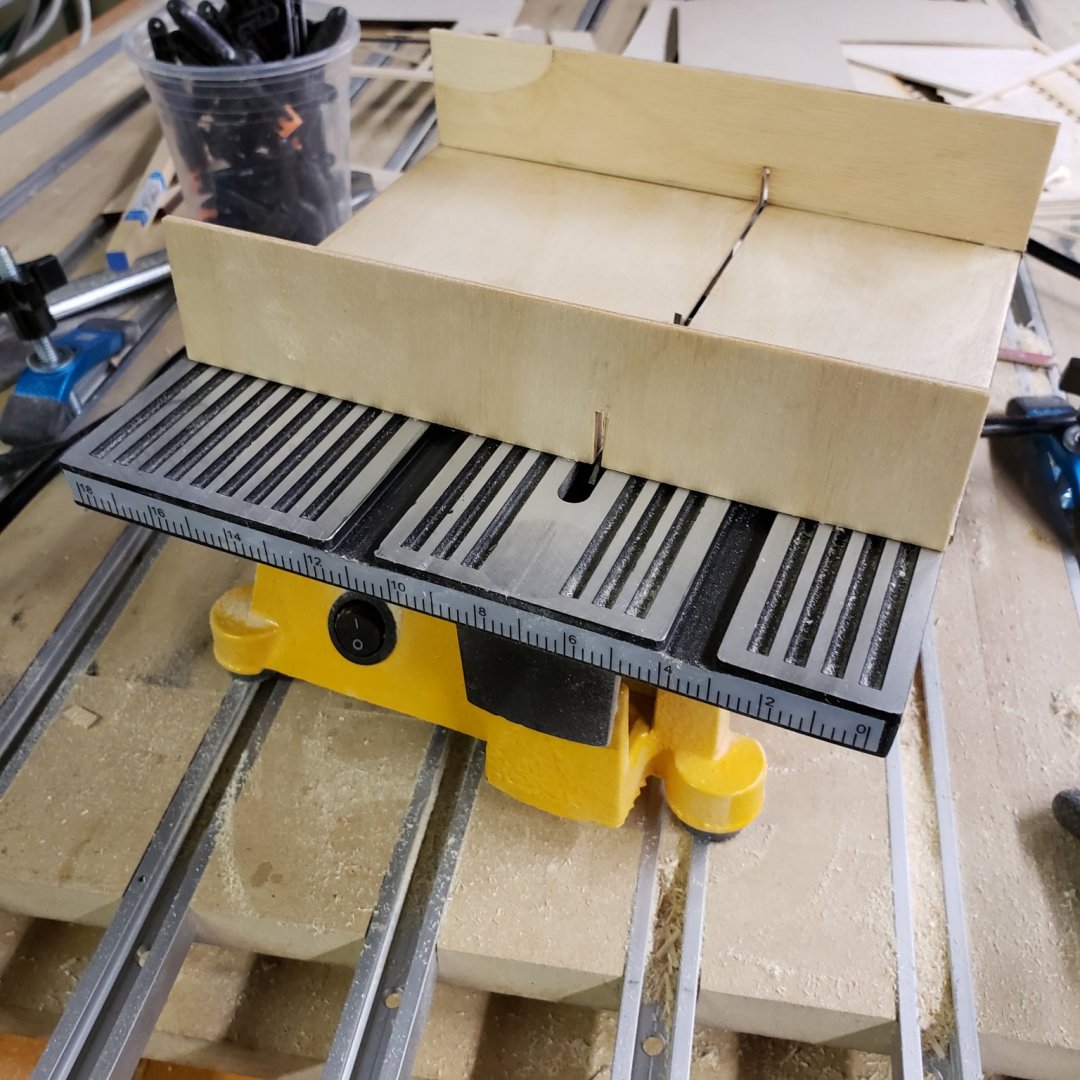
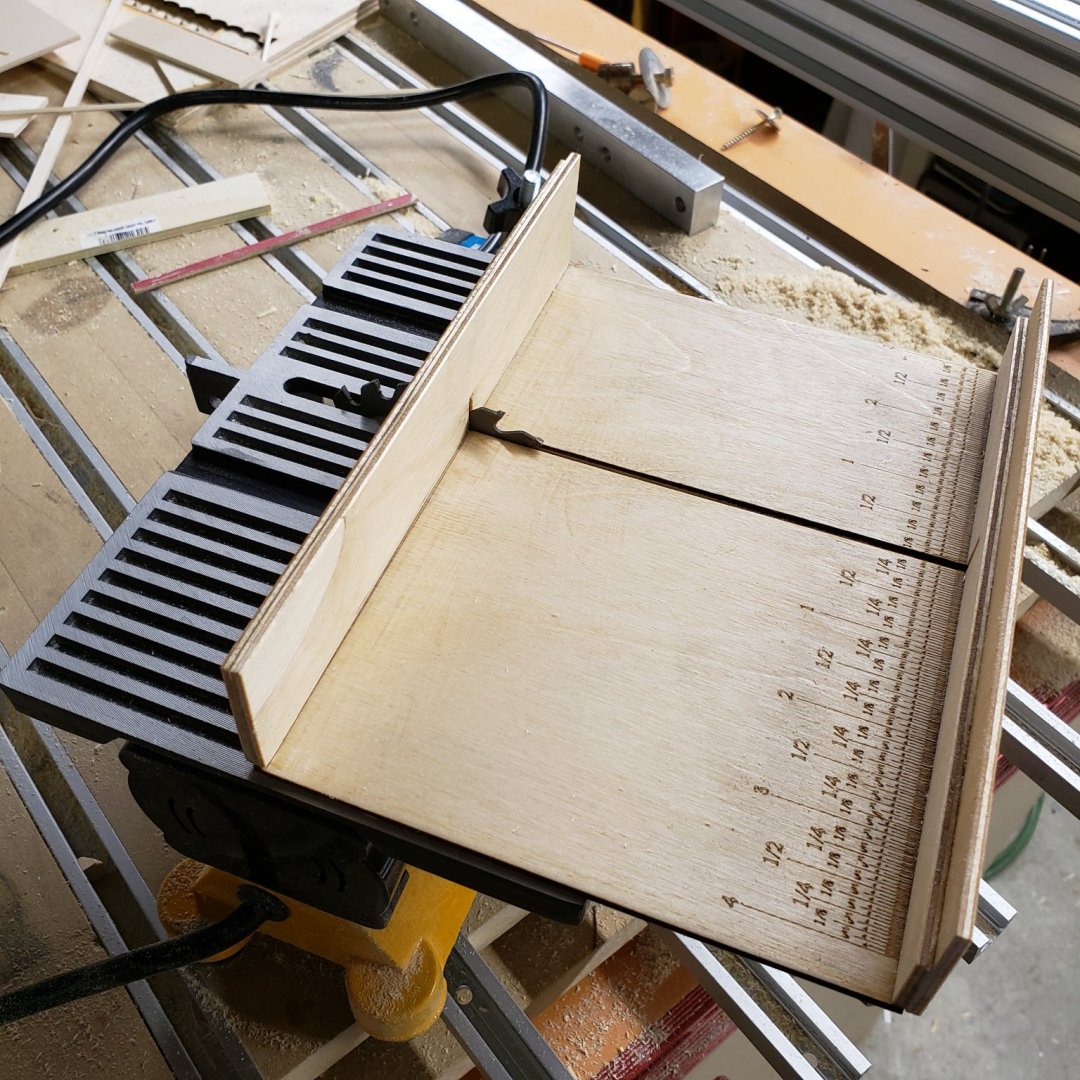
I liked this idea so I built a crosscut sled for the cheap little saw... I was getting repeat cuts, nice and square ends, accuracy was +or- about .004


- 34 replies
-
- 14
-
-
Thanks for the measurement, nominal sizes seem to be all over the place and I was unsure what the limits were as concerned this build, but it seems to be a problem on oversize ply, not that you can find that anywhere😏
- 642 replies
-
- 2
-
-
- winchelsea
- Syren Ship Model Company
- (and 1 more)
-
Thanks Chuck, I'm learning a lot following all these group builds, but it's time consuming to keep up with it all, so I guess I'll just jump in...great build Rusty, observing from the sideline and learning..
- 642 replies
-
- 1
-
-
- winchelsea
- Syren Ship Model Company
- (and 1 more)