HOLIDAY DONATION DRIVE - SUPPORT MSW - DO YOUR PART TO KEEP THIS GREAT FORUM GOING! (Only 20 donations so far - C'mon guys!)
×

Jonny 007
-
Posts
127 -
Joined
-
Last visited
Content Type
Profiles
Forums
Gallery
Events
Everything posted by Jonny 007
-
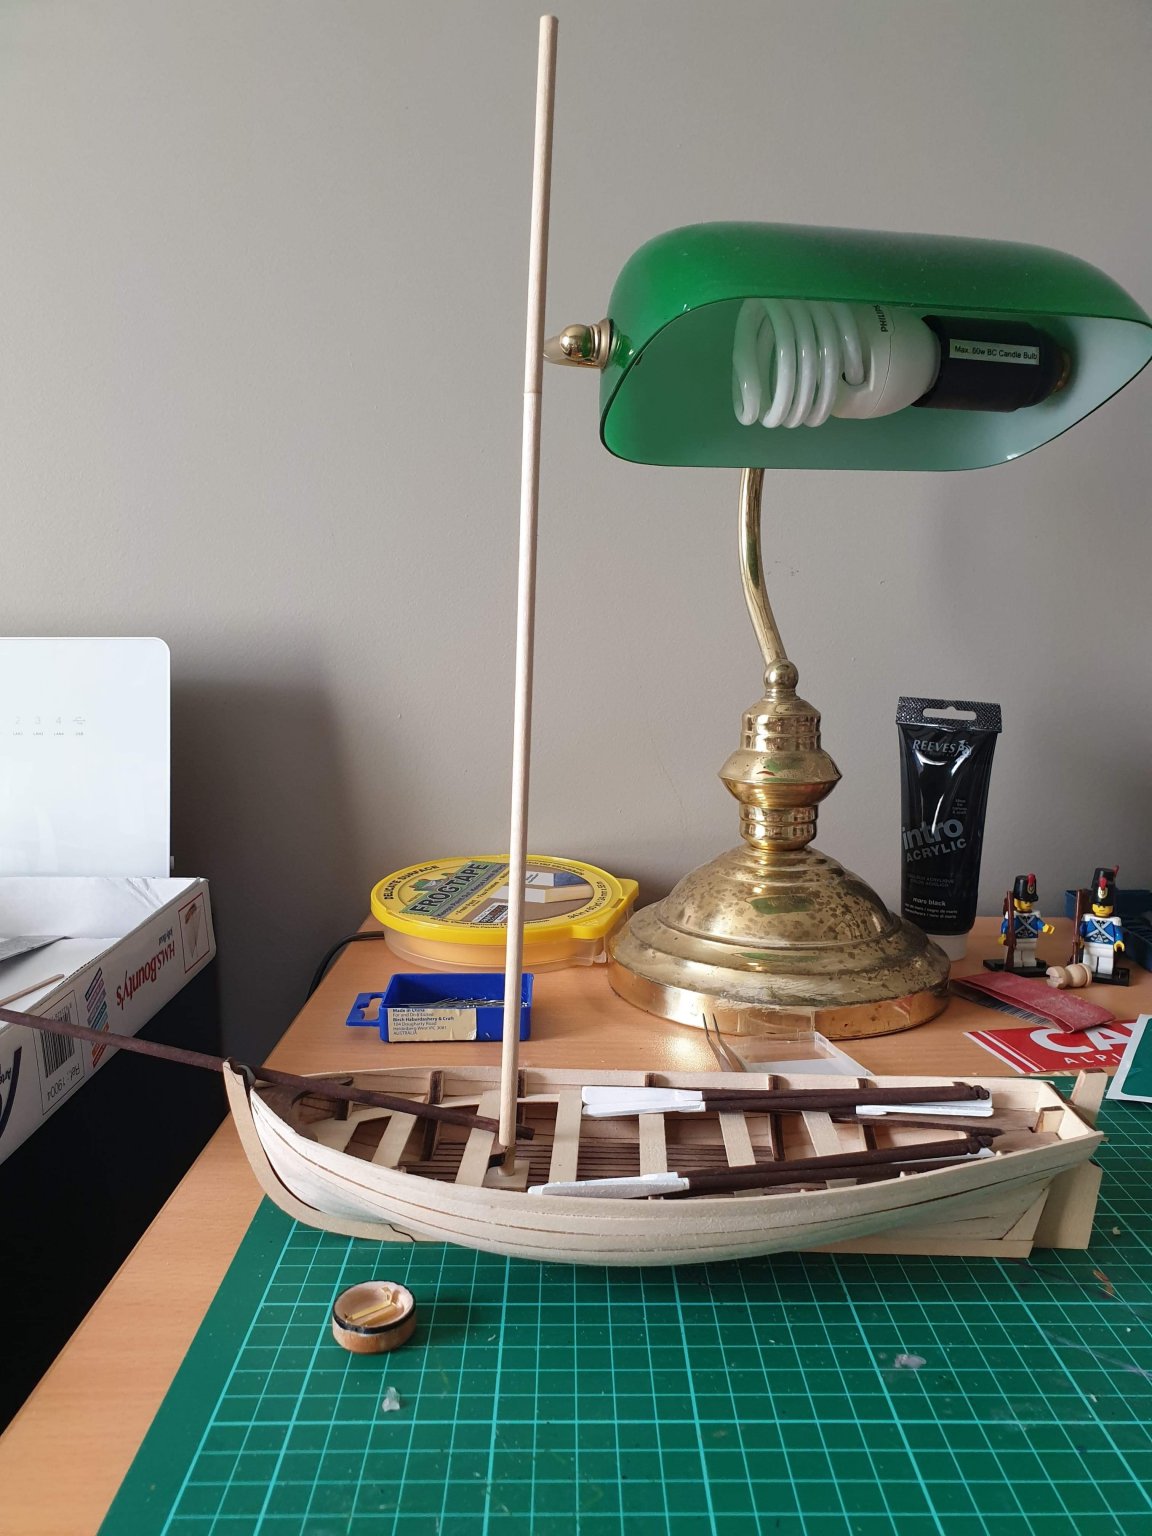
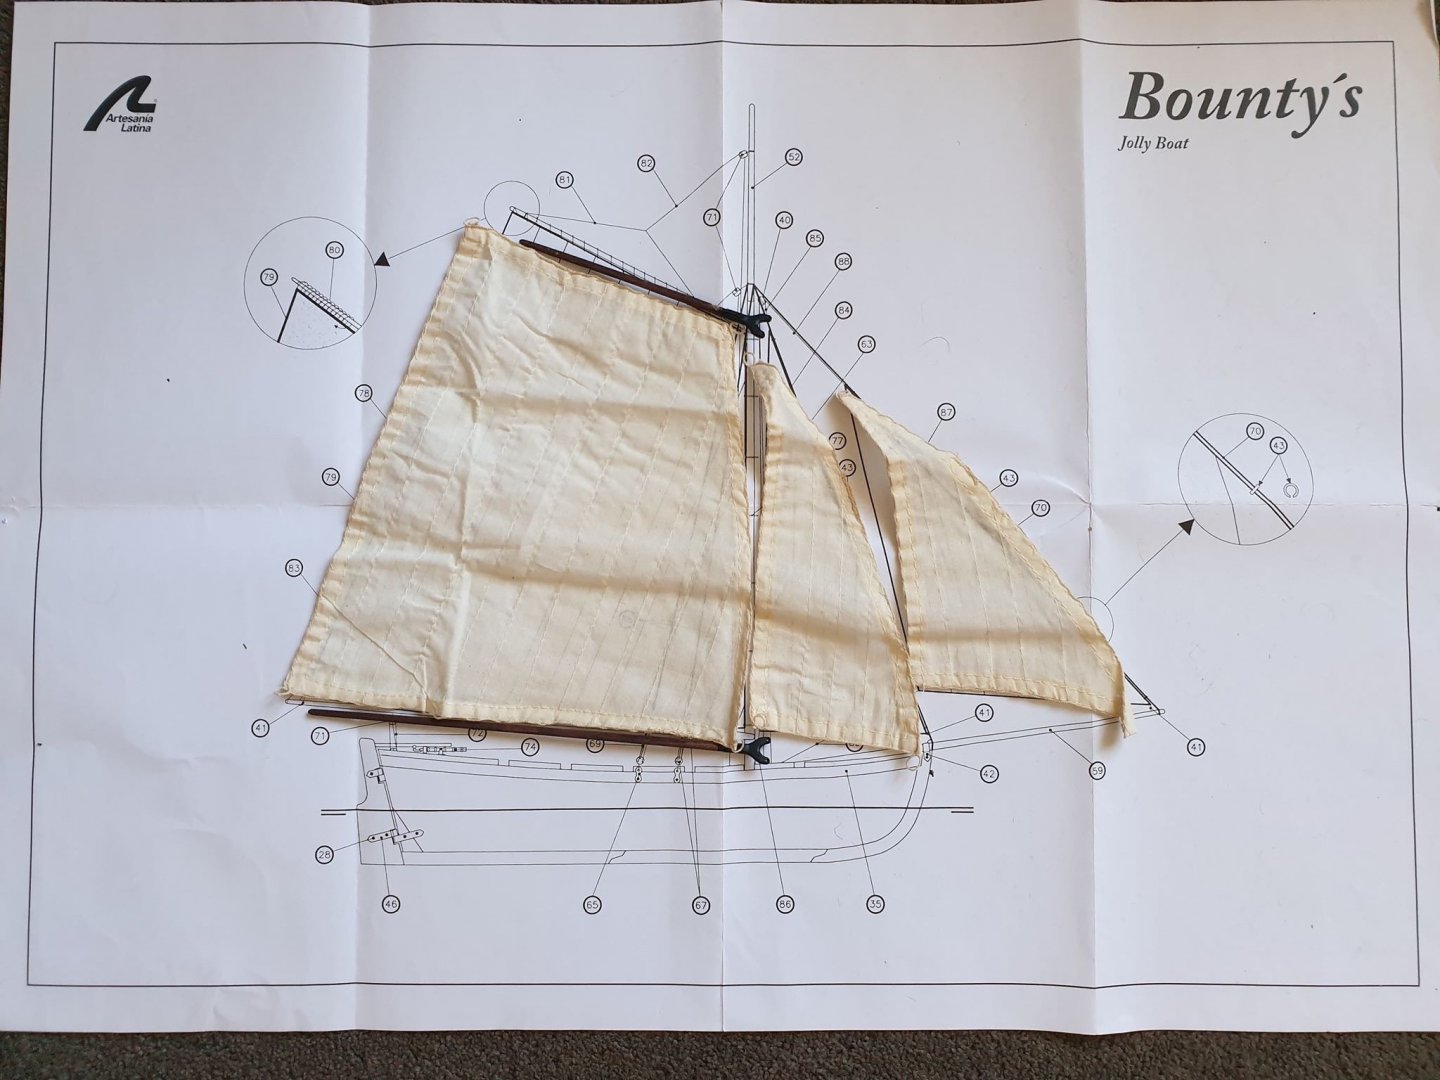
 First sails hoisted. It’s pretty exciting! A couple of pictures to document the momentous occasion haha. I also had a bit of a tidy up of my work station... Profile picture. Now it’s back to rigging the dead eyes.
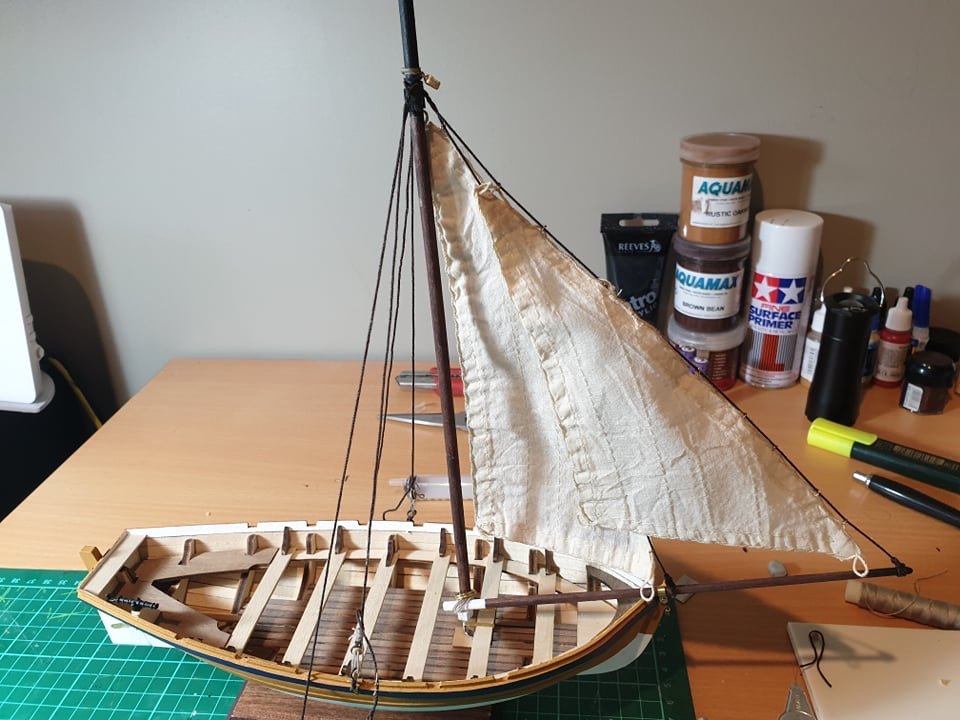
- 60 replies
-
- 3
-

-
- bounty jolly boat
- artesania latina
- (and 2 more)
-
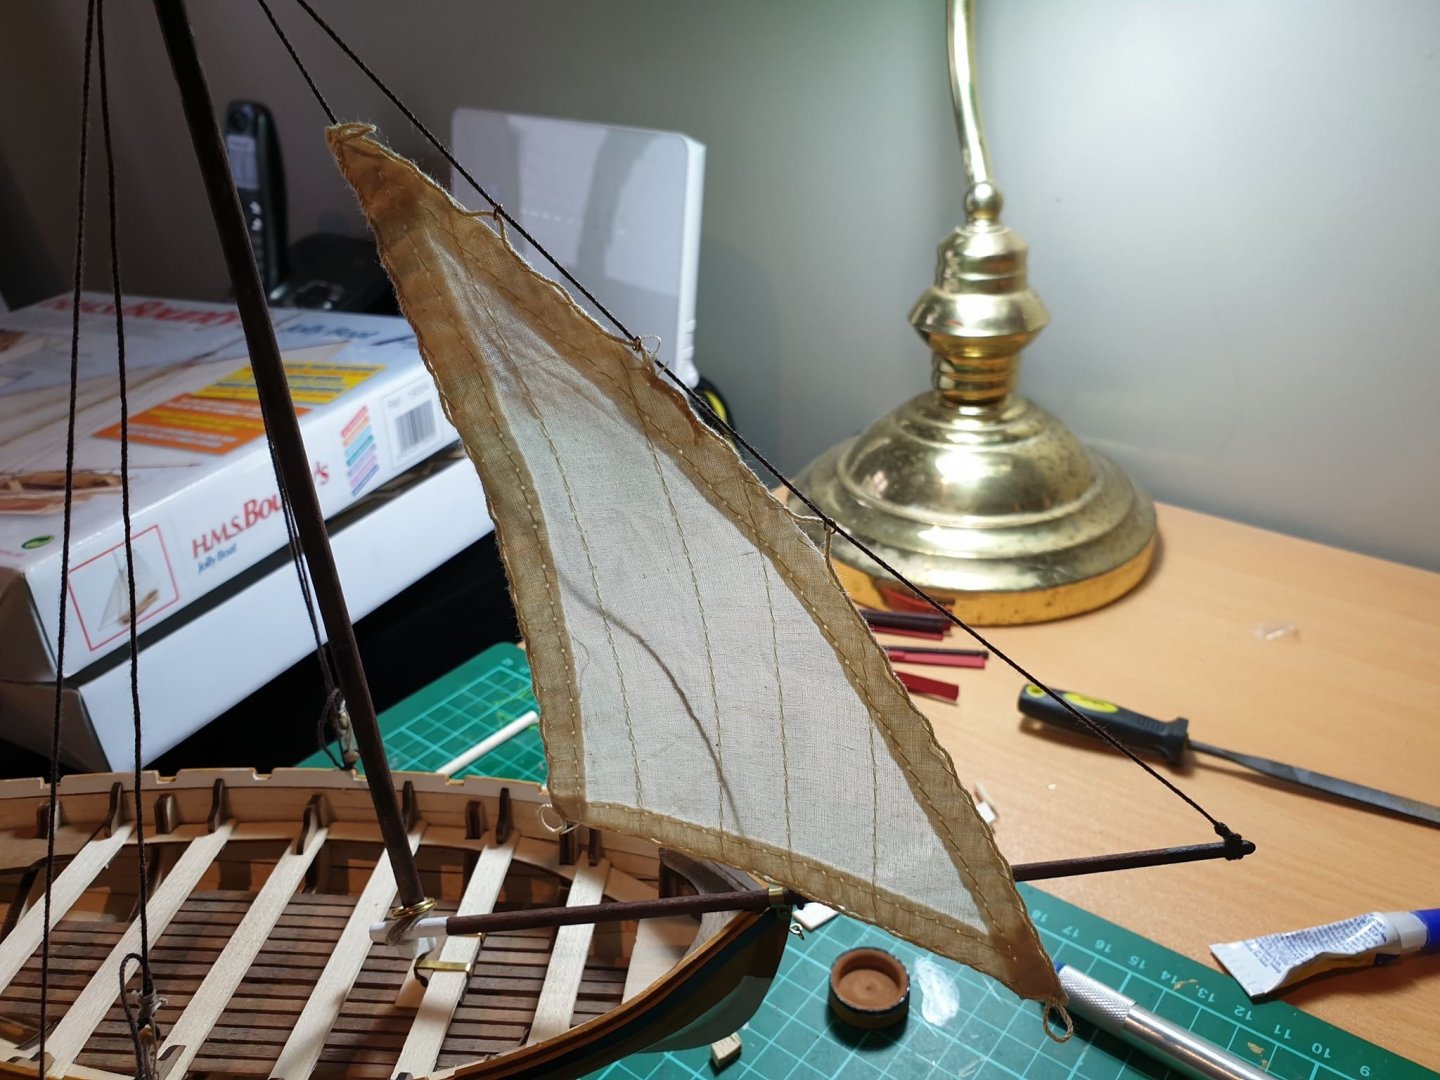
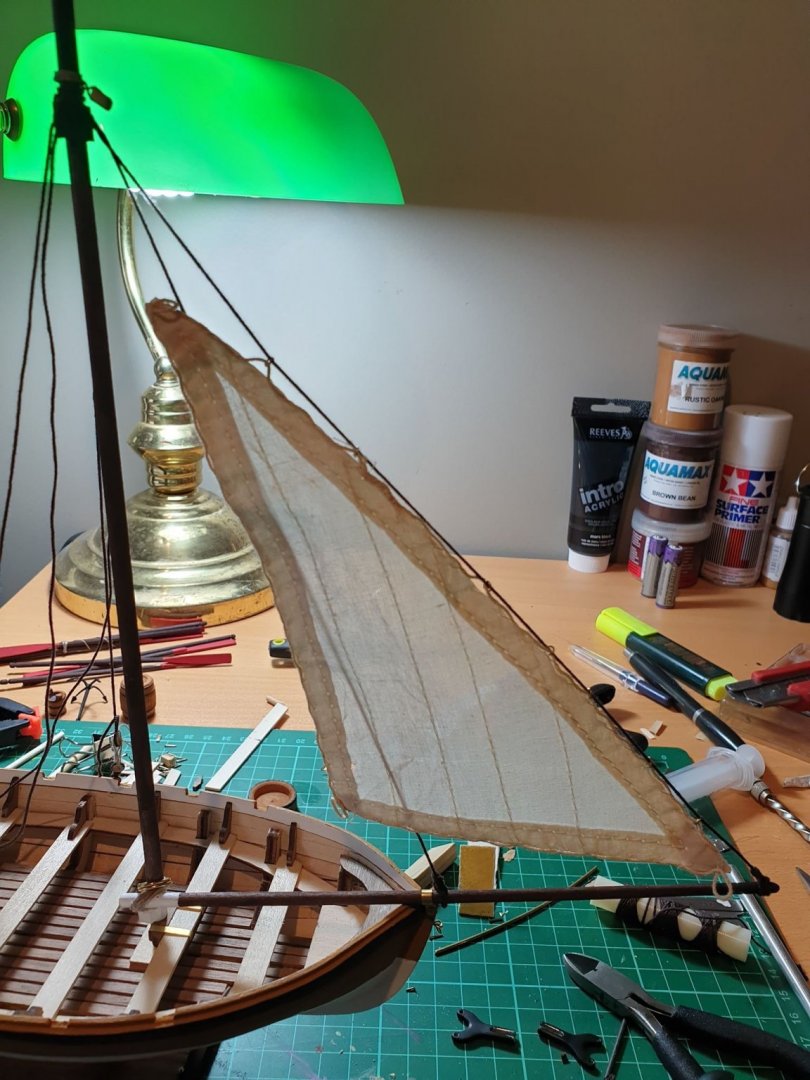
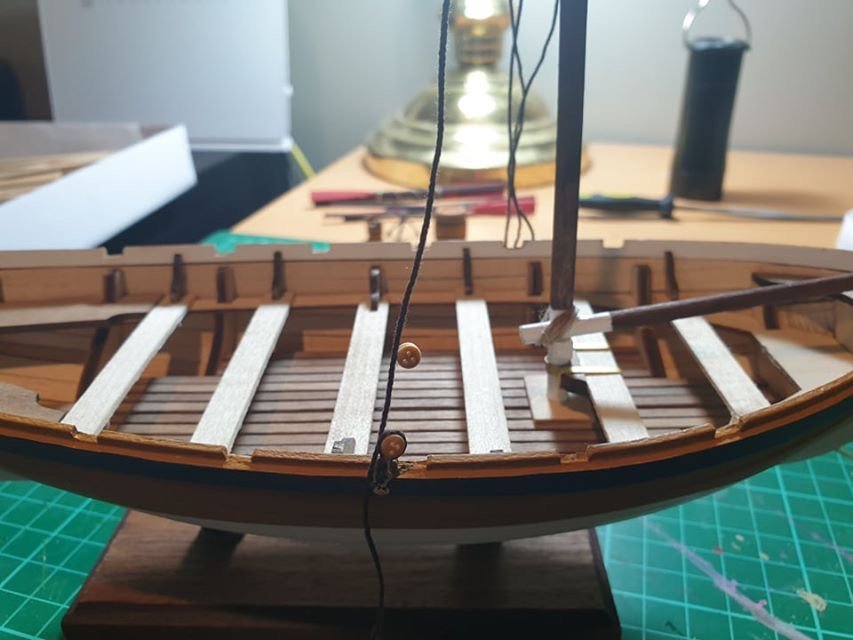
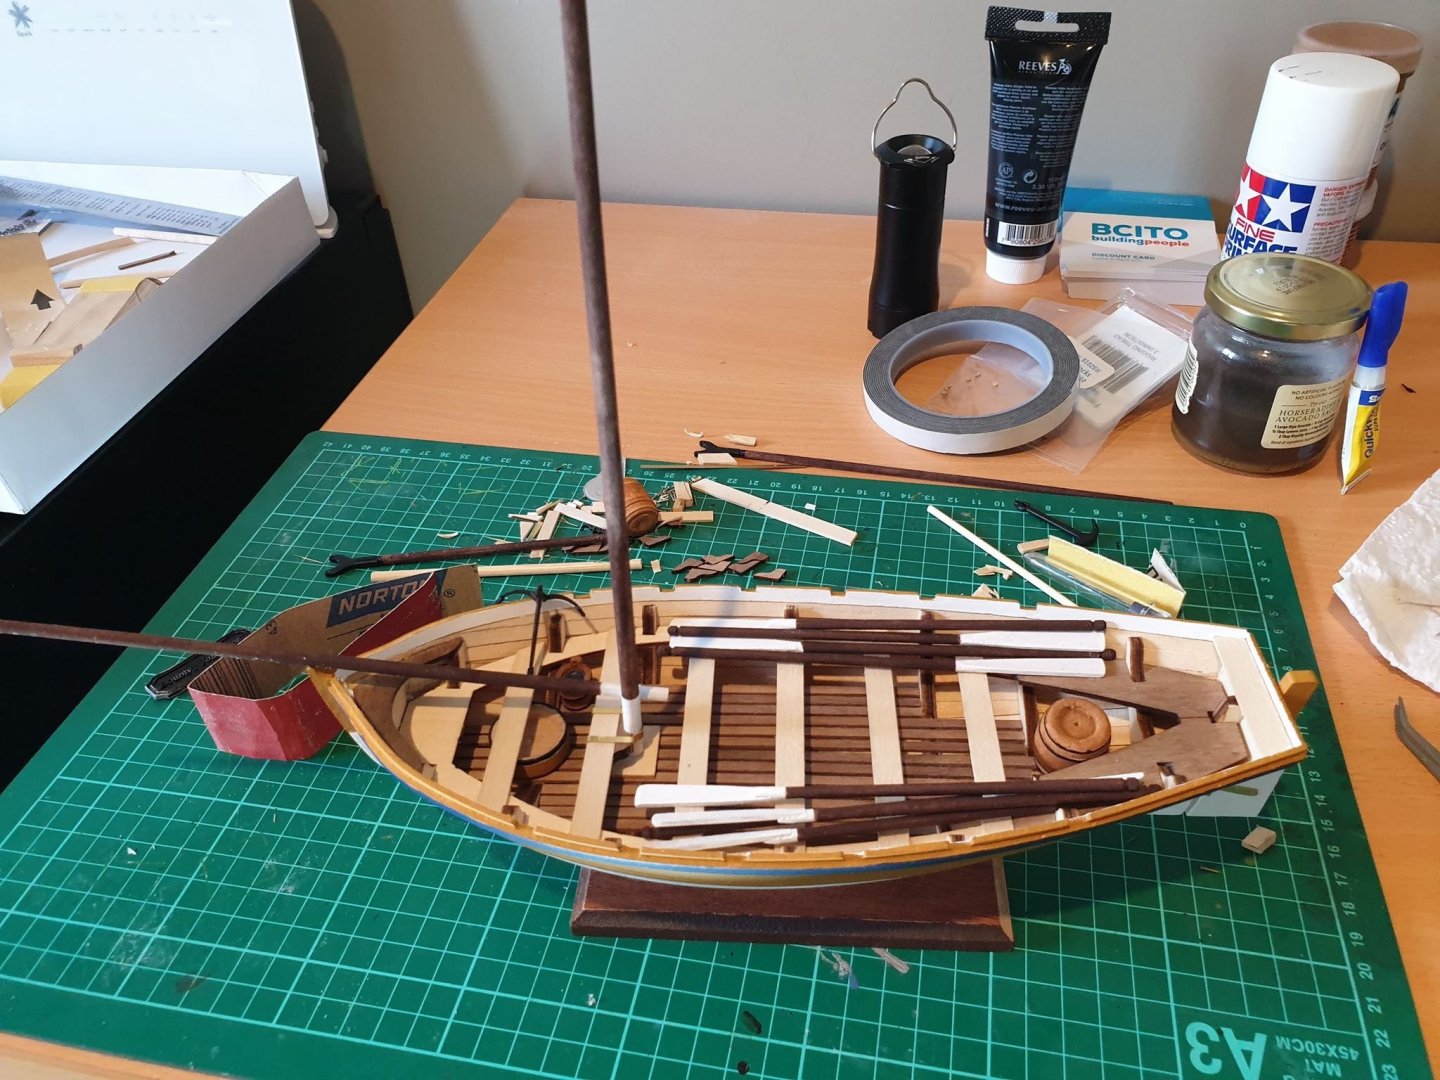
I did the port, then starboard side dead eyes. They did not turn out to flash so I decided to move to something else to rest my nerves. I have also ordered some extra bits and bobs for my rigging which should arrive this week. In the mean time I thought I would hoist the jib sails. This involved adding a double block on the mast above the (insert actual term) and then adding little brass eyes to the sail cloth. Was a bit niggly at first and part of my wondered if I should have added them to the rope first. But all it took was a bit of trial and error but in the end just used to pairs of small needle nose pliers and I was away. Although one of the 3mm brass rings pinged off into the abyss never to be seen again. I feel that 8 rings per sail is not enough, and then picture on the box shows a lot more. So I ordered a lot more. 8 a sail gets them hoisted though. And the first sail is hoisted! Hooray!
- 60 replies
-
- 4
-
-
- bounty jolly boat
- artesania latina
- (and 2 more)
-
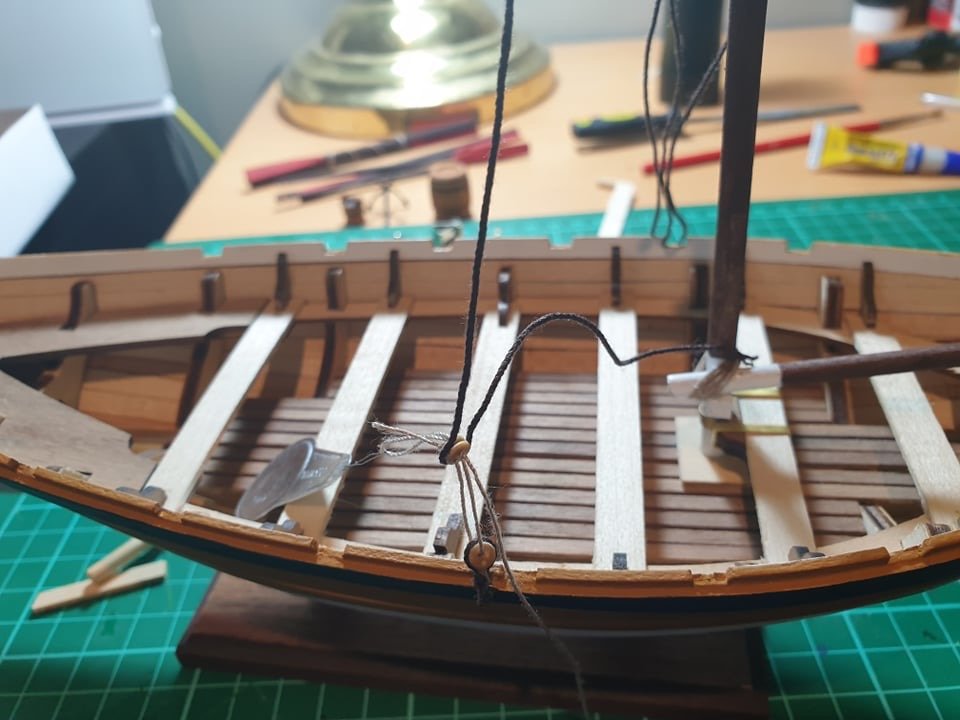
So this is niggly... My first attempt at rigging dead eyes. First I connect the bottom dead eye to an eyelet. Next up I used a dab of superglue to locate the top dead eye roughly where I want it, allowing a bit extra for it to pull closer with tension. Once the super glue dried, I used PVA and a clamp to hold the line in place. Next up was using the ‘pin threader thingy’ to start pulling the line through. I need practise doing this. Half way there!
- 60 replies
-
- 3
-
-
- bounty jolly boat
- artesania latina
- (and 2 more)
-
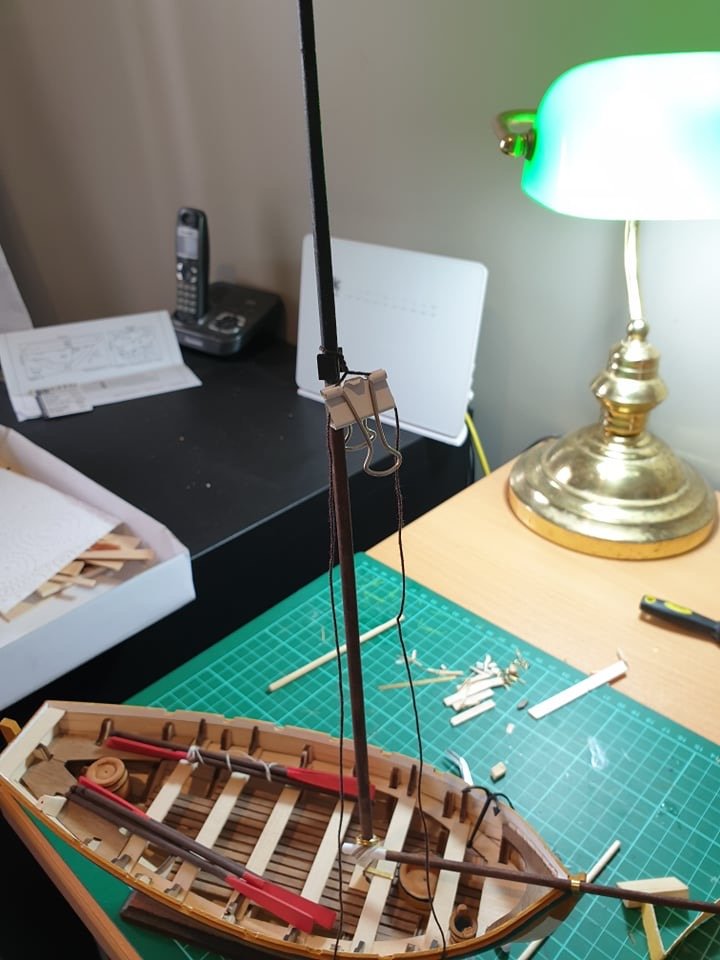
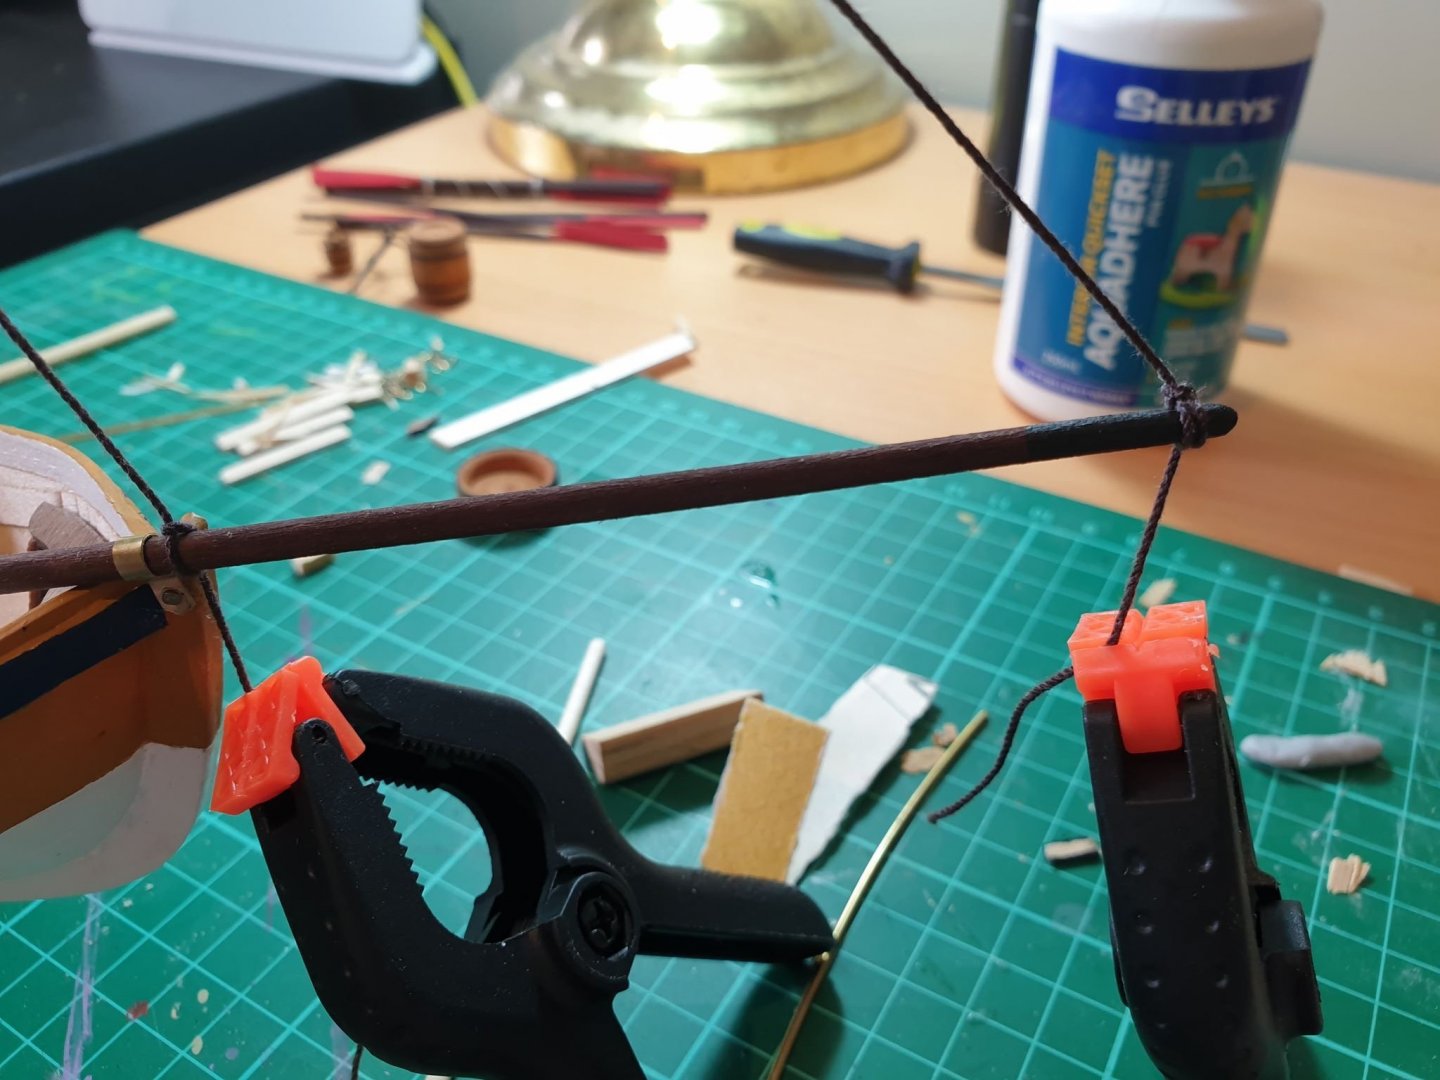
Welcome to Jonny 007’s newbie attempt at rigging a jolly boat. If, like me you find the rigging instructions vague at best with this kit you are not alone! So this will be my step by step guide to how I attempted the rigging. I also invite any tips or tricks that may help a newbie rig a jolly boat. Including corrections for terminology! First up is the rigging for the jib sails. From the pictures they require a twist at the top. I did this and then held it tight with a bull dog clip and added some watered down PVA to lock it in place. I then looped and glued them to the bowsprit and added a bit of weight to add to the tension. Once the watered down PVA dries I’ll do some lashing.
- 60 replies
-
- 2
-
-
- bounty jolly boat
- artesania latina
- (and 2 more)
-
It’s now time to start rigging my little jolly boat. I have decided that I will add extra rigging to my model to make it look s bit more interesting. I have ordered some extra blocks, some rigging hooks, cleats and some belaying pins to help. This was not the original plan but looking at other builds on here it really helps lift the model. I ordered this book to help with future kits and will add some elements to my jolly boat. Some of my rigging will be simple for looks and will have no actual use in the real world/may not be historically correct, but only you and I will know! I also plan to do a step by step guide so that it may help other newbies.
- 60 replies
-
- 2
-
-
- bounty jolly boat
- artesania latina
- (and 2 more)
-
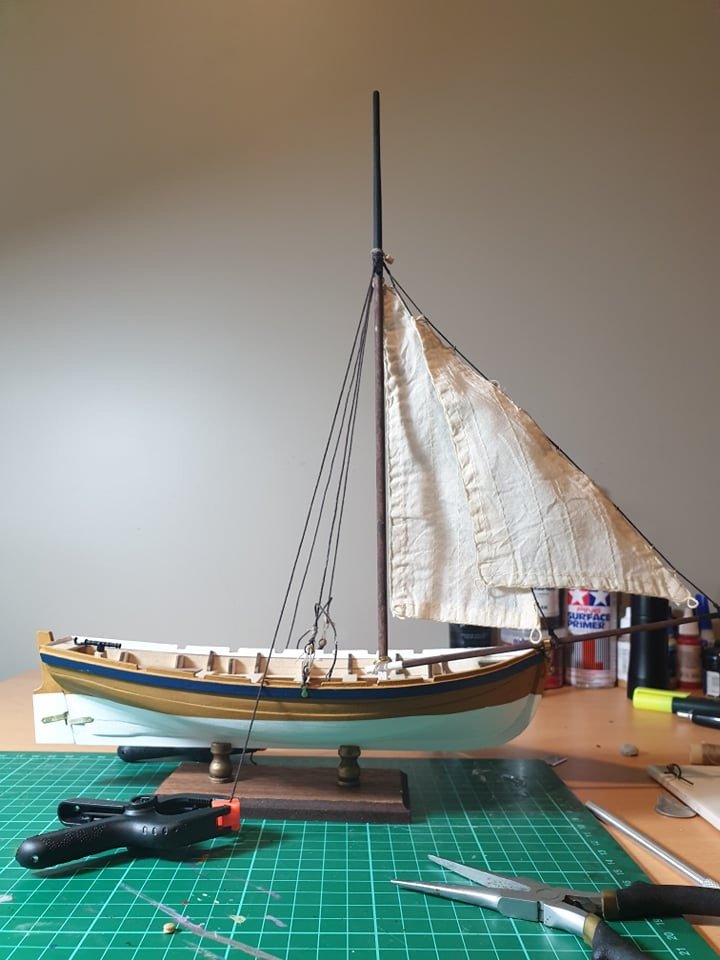
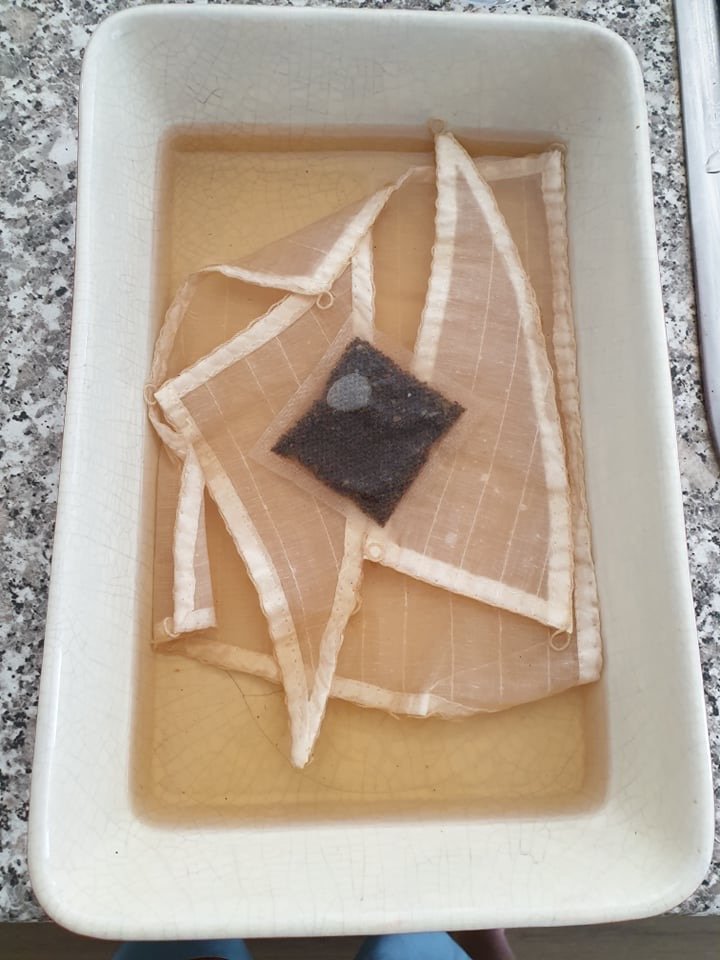
Small update with pictures! I have installed the bowsprit and lashed it to the mast. And I have quickly soaked the sails in some Earl Grey to add a hint of colour It’s added a slight hue to the edges. Still waiting for them to dry to see if I’ll go a bit more...
- 60 replies
-
- 3
-
-
- bounty jolly boat
- artesania latina
- (and 2 more)
-
Small, picture less update: I have been wanting to find some replacement 4mm dowel to remark my boom and spar but haven’t had any luck locally due to the restrictions (which I highly approve of). So I have ordered some from a very well known shop in England. I also ordered a few little extra bits and bobs. This is so I can add some extra rigging details. It does mean a slight move away from my built as per instructions original plan. However looking at some other builds, a bit of extra rigging greatly improves the look of the model. Why I have been waiting I have been looking through the instructions and parts of my next boat model haha!!
-
Hi Clare, Thank you for your thoughts on this. I have decided to follow you advice and remake the boom and gaff. However, due to COVID 19 I am currently unable to order any replacement timber. So my new plan is to finish rigging the model as per the plans, but have that main sail rolled up in the boat. That way I can finish the model, then come back to it at a later date and replace the parts needed. I really want to finish so I can start the next model haha!
-
Hi David, Great build log! It’s nice to see another newbie working on this kit, and more importantly, finishing it. You seem to have the same idea as me. Build it as the plans, learn stuff and make sure it gets finished. It so easy to get distracted by all the superb craftsmanship on display in here. I’m about to embark on the rigging of my Jolly Boat. The instructions a vague at best, but by looking at your log it has cleared a few things up. I’m also intrigued by your idea of rigging the mast, spar and boom separately from the main boat. Something to ponder! Anyway, well done on a great first build. Jonny
- 30 replies
-
- 1
-
-
- jolly boat
- artesania latina
- (and 1 more)
-
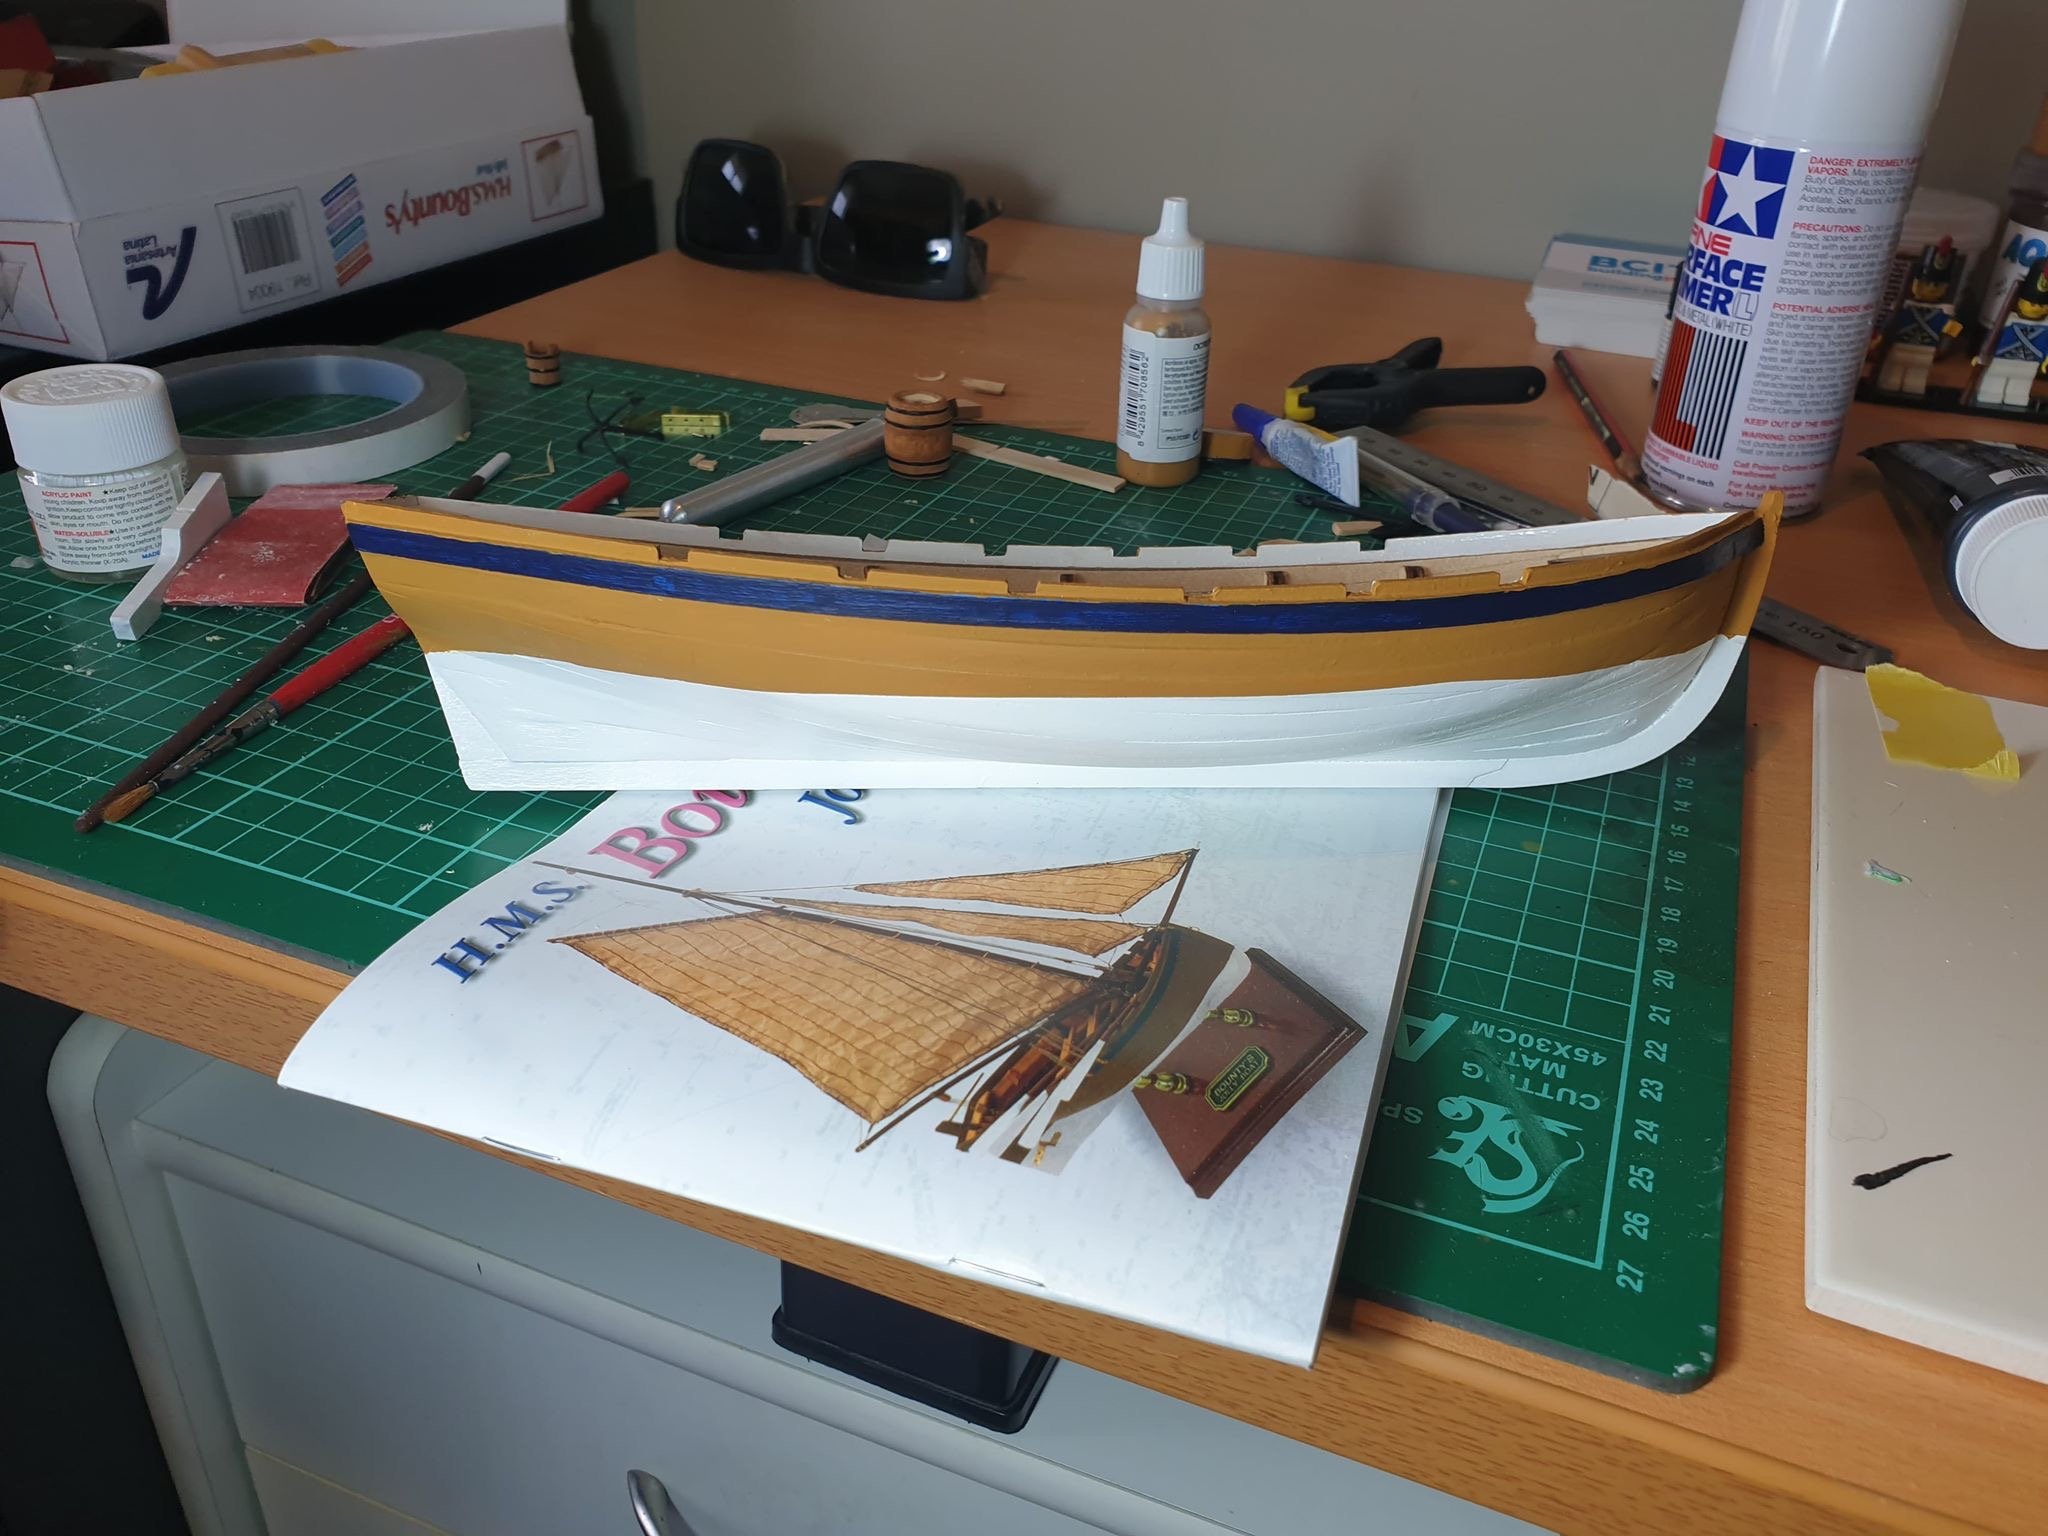
So one thing that comes up regularly with this kit is that the main sail (sp) is much bigger than what the plans suggest. The are several options out there but my option is I am going to un-pick the back end of the sail, trim to fit the spars and re-sew it. I don’t have access to a sowing machine (in lock down) so the plan is to do it by hand. If I mess it up I’ll just furl (sp) against the bottom spar. If I succeed by my sewing skills are poor then I will hopefully be able to fix it at a later date. Not that excited about the thought of hand sewing, but will chalk it up to an experience. Wish me luck!
- 60 replies
-
- 2
-
-
- bounty jolly boat
- artesania latina
- (and 2 more)
-
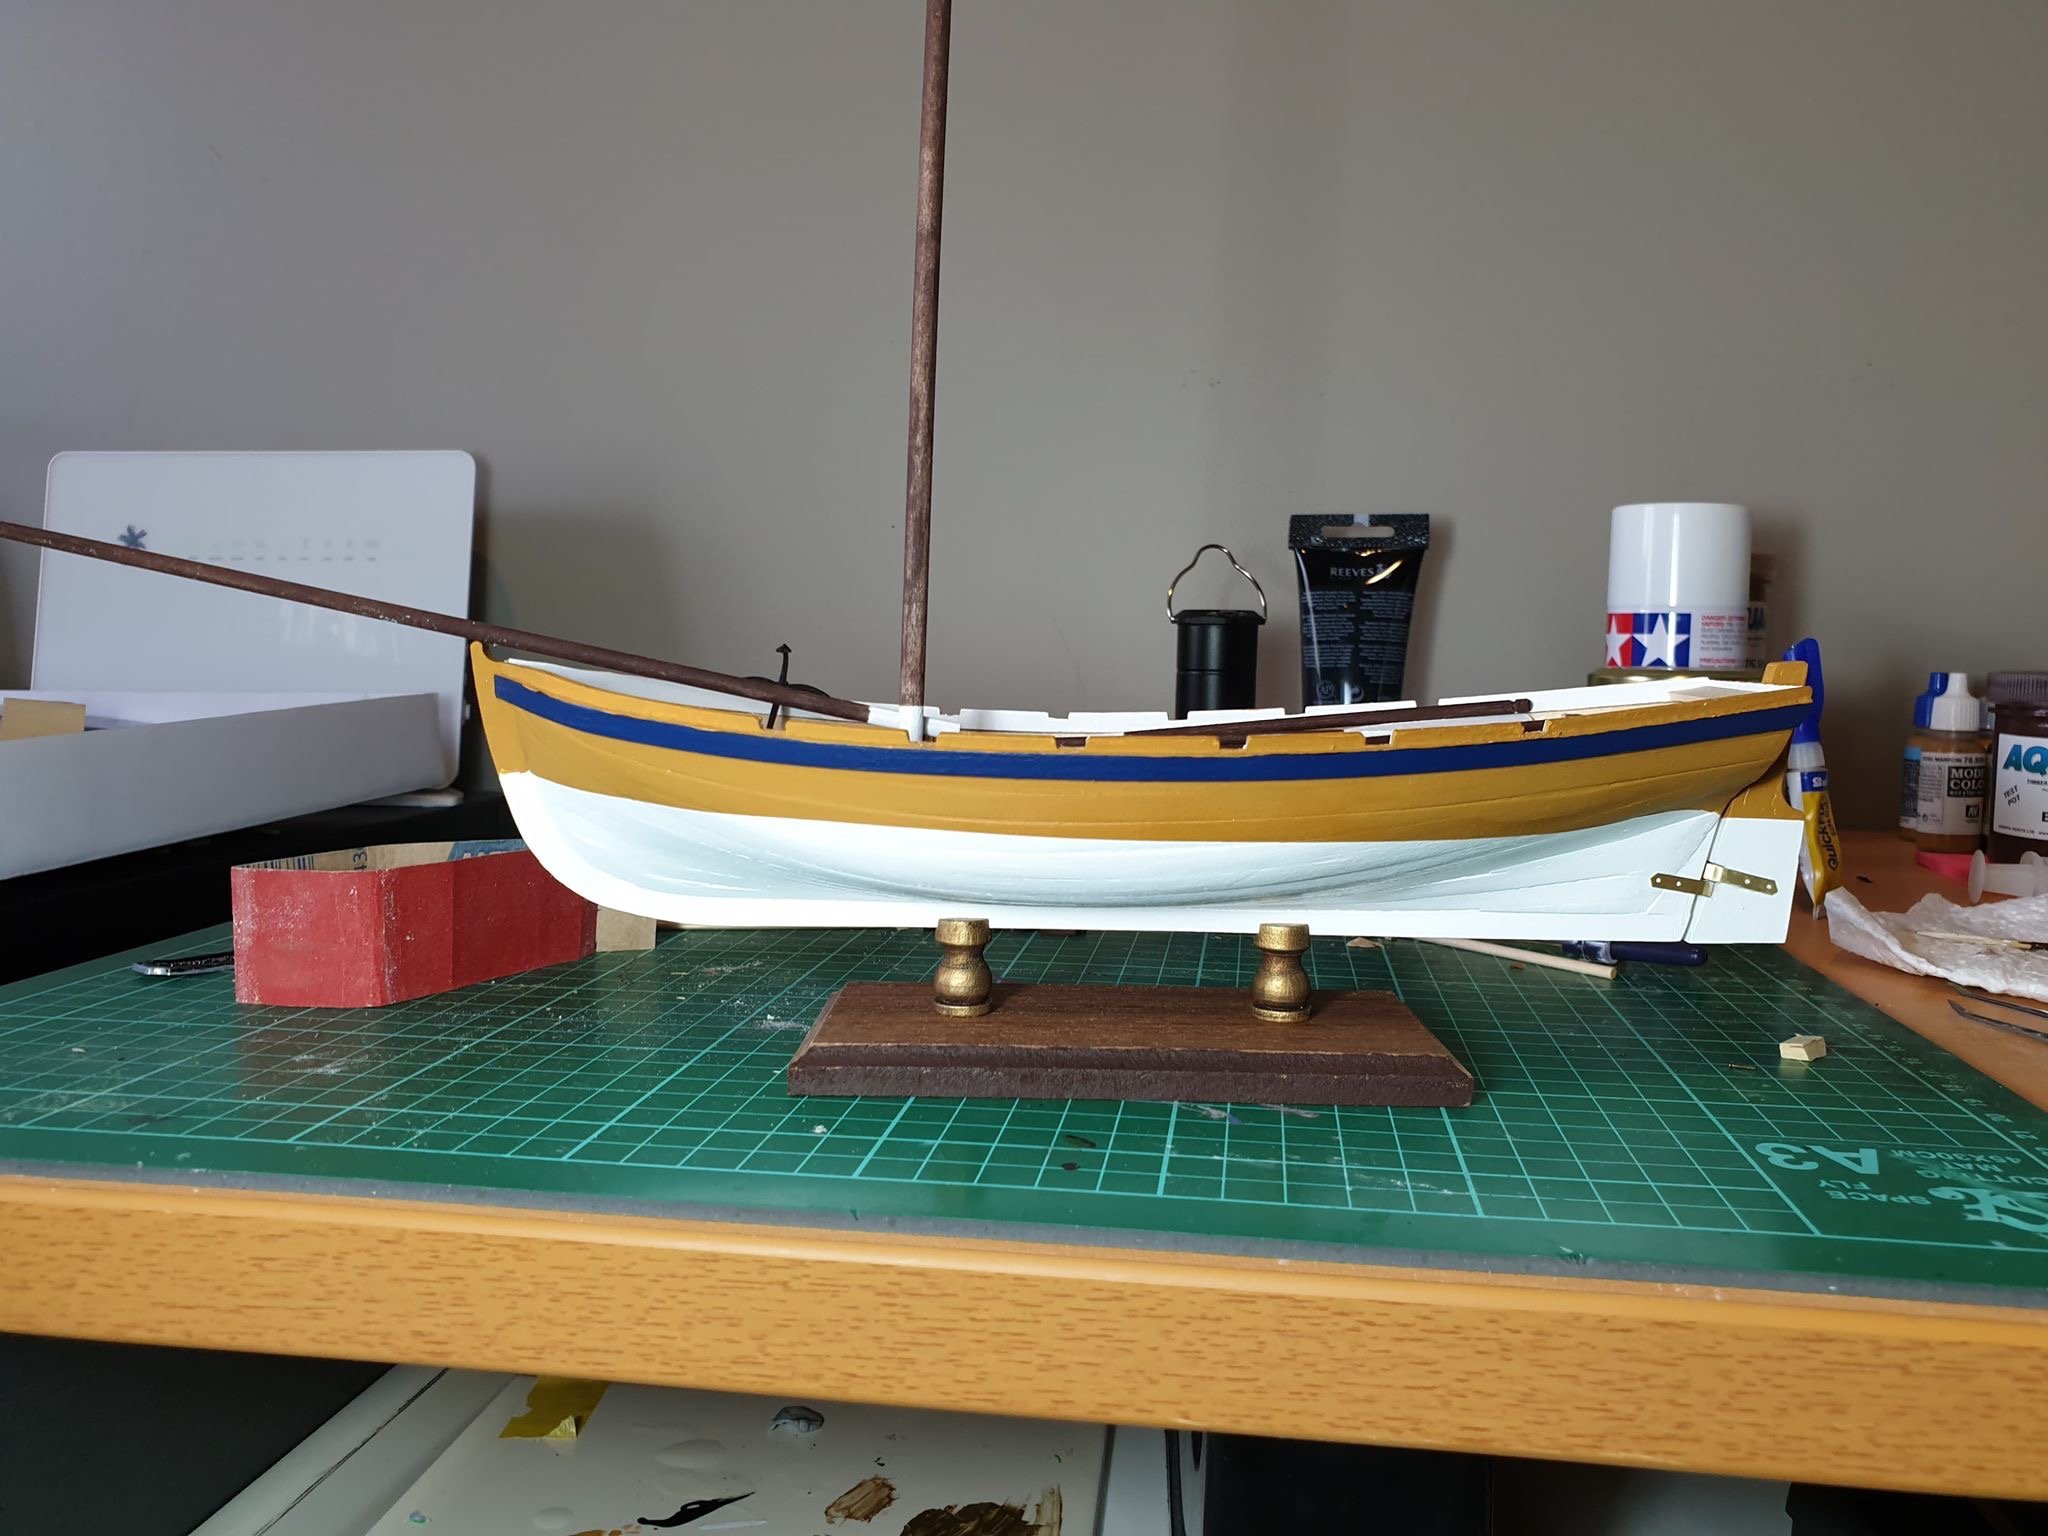
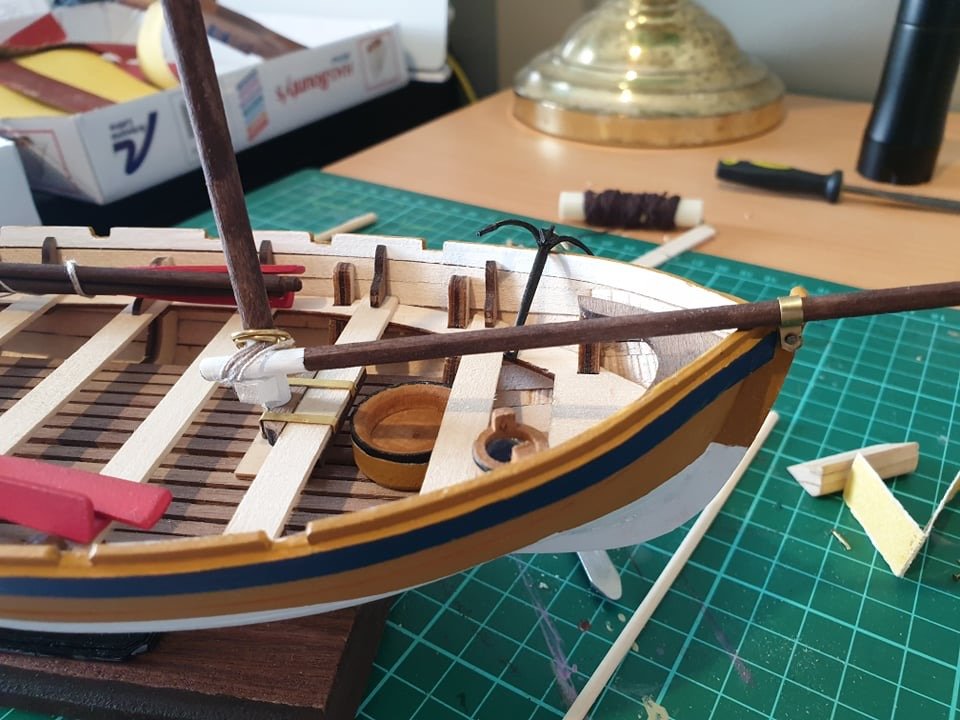
I built the rudder and have test fitted it to the hull and I’m happy with it. I also test fitted it on the stand which looks okay. Happy with how the plain wood pedestals turned out. I then mocked up the bits that I could. It looks like a model boat! I replaced the original aftermarket anchor I purchased it a grapple as this seems to be what they might actually have had. And added a small barrel that I’m going to pretend contains water.

- 60 replies
-
- 5
-
-
- bounty jolly boat
- artesania latina
- (and 2 more)
-
@catopower thanks for stopping by and thanks for the tips on ways to mark the waterline. I did find that my technique did mean the pencil moved which is why I will need to refine this for future builds. Nice flat books is a good idea! @Jack_Dusty a build log is a great way of keeping all of your musings in one place. It also is a great place to ask for advice or for people to share tips or point out potential issues. Plus everyone likes pictures of model boats so it’s win win. Thanks to everyone else that is following along and thank you for the likes!
- 60 replies
-
- 1
-
-
- bounty jolly boat
- artesania latina
- (and 2 more)
-
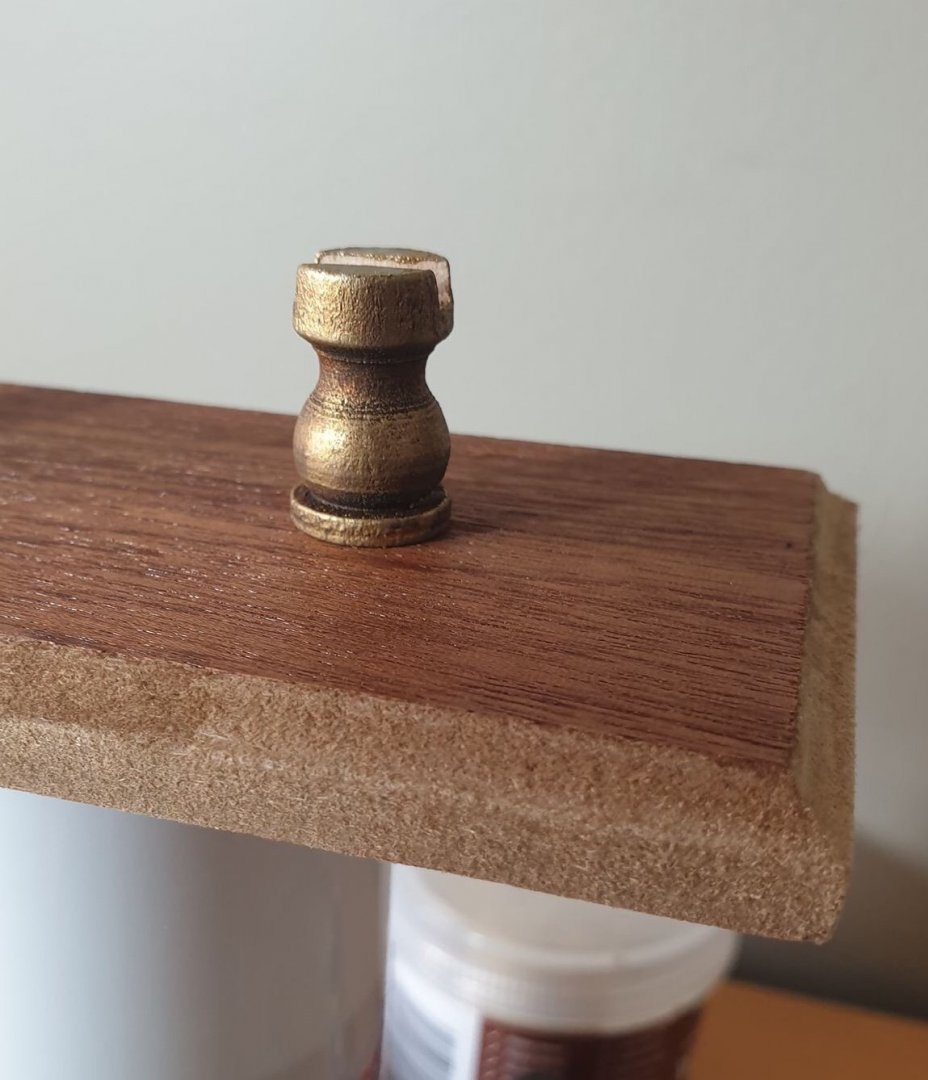
Quick update about the base: I gave the top side a coat of matte varnish and will have to paint the sides as the MDF doesn’t really like any of my stains. I’ve also painted the pedestals to try and make them look a bit prettier. It also has a name plate and obviously a boat to go on yet, so once all that’s done I’m confident it will look okay. Okay, picture time.
- 60 replies
-
- 3
-
-
- bounty jolly boat
- artesania latina
- (and 2 more)
-
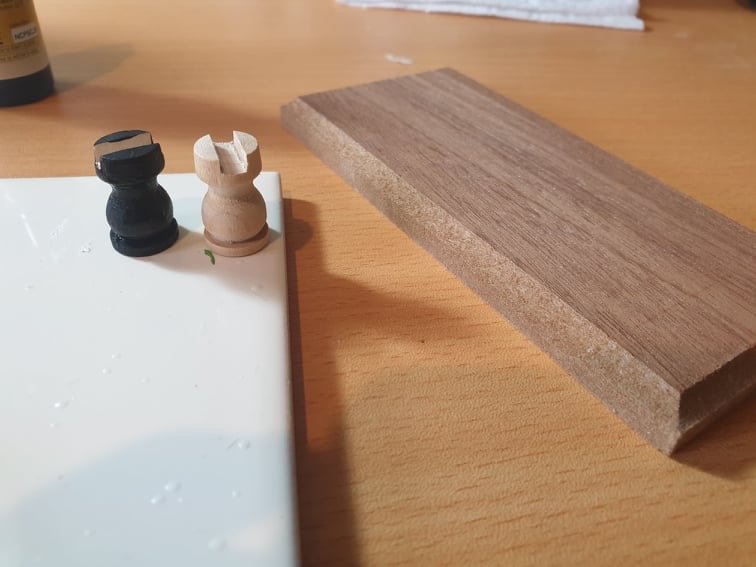
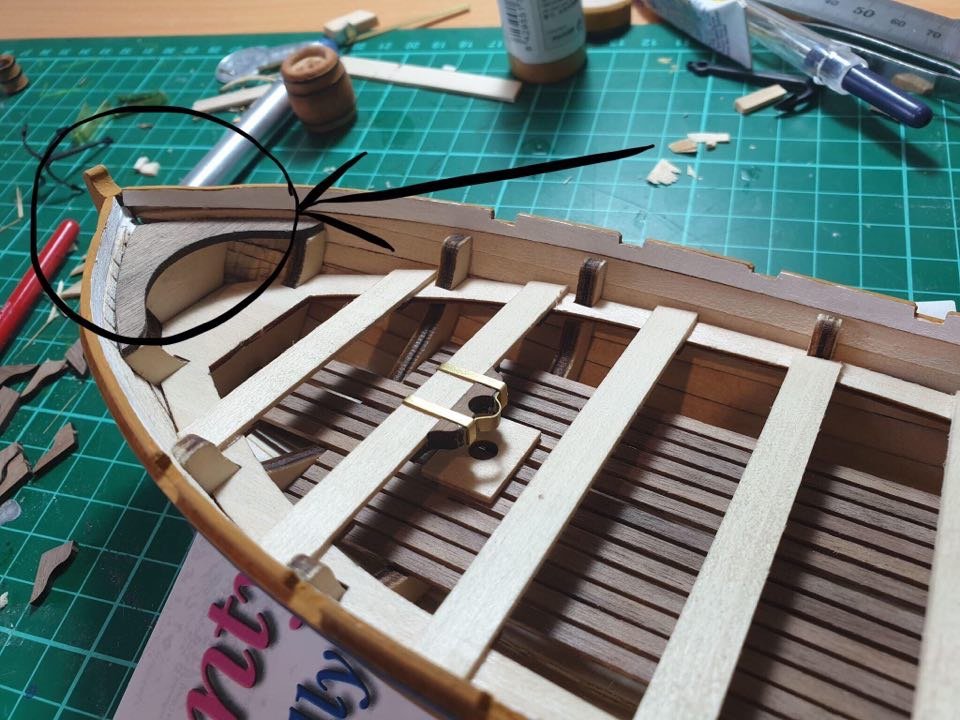
I still need to mount the rudder and add a couple more detail parts. There is also a gap right near the bow that I’m not happy with. I’m going to attempt to fill it and paint it white. It will be mostly covered bow the bowsprit but if I don’t fix it, it will annoy me. One thing about this kit is it shows it having nice turned brass pedestals to sit on. However the kit only supplies some plain wood ones. So I’m going to do some modelling tricks to try and make them look a bit nicer.
- 60 replies
-
- 5
-
-
- bounty jolly boat
- artesania latina
- (and 2 more)
-
Hey hey it’s SATURDAY! (And we are in lock down...) Today I hope to finish the hull, get it mounted so I can start on the mast, sails and rigging. The hull needs a couple more coats of blue. It’s quite dark so the next two coats will get a touch of white.
- 60 replies
-
- 6
-
-
- bounty jolly boat
- artesania latina
- (and 2 more)
-
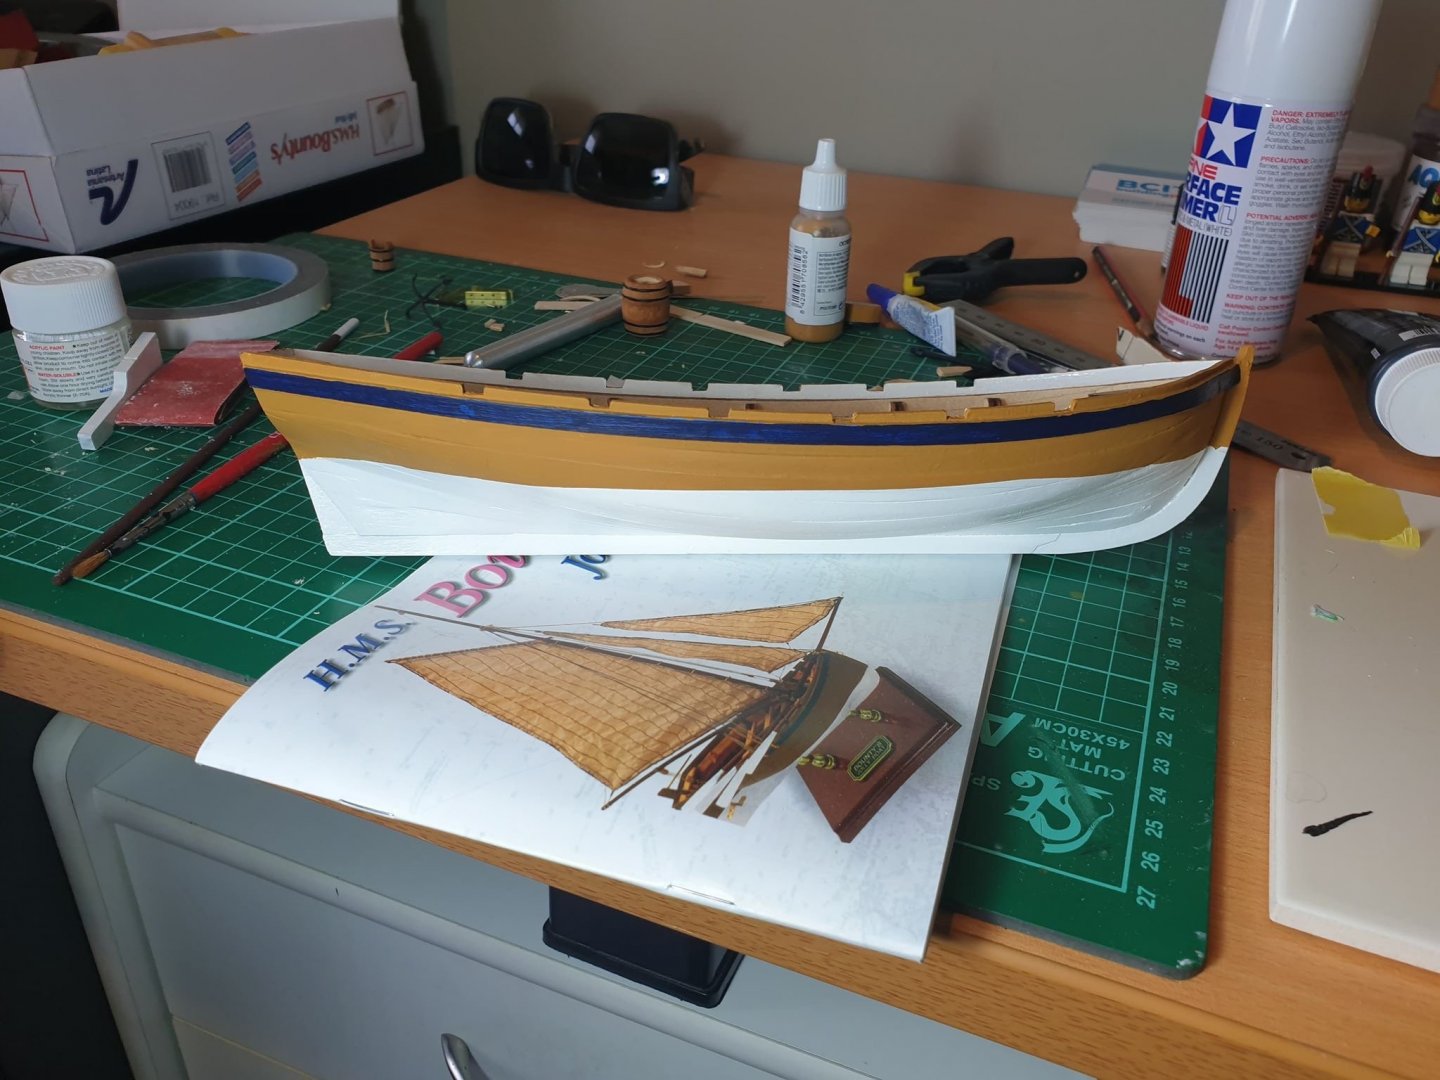
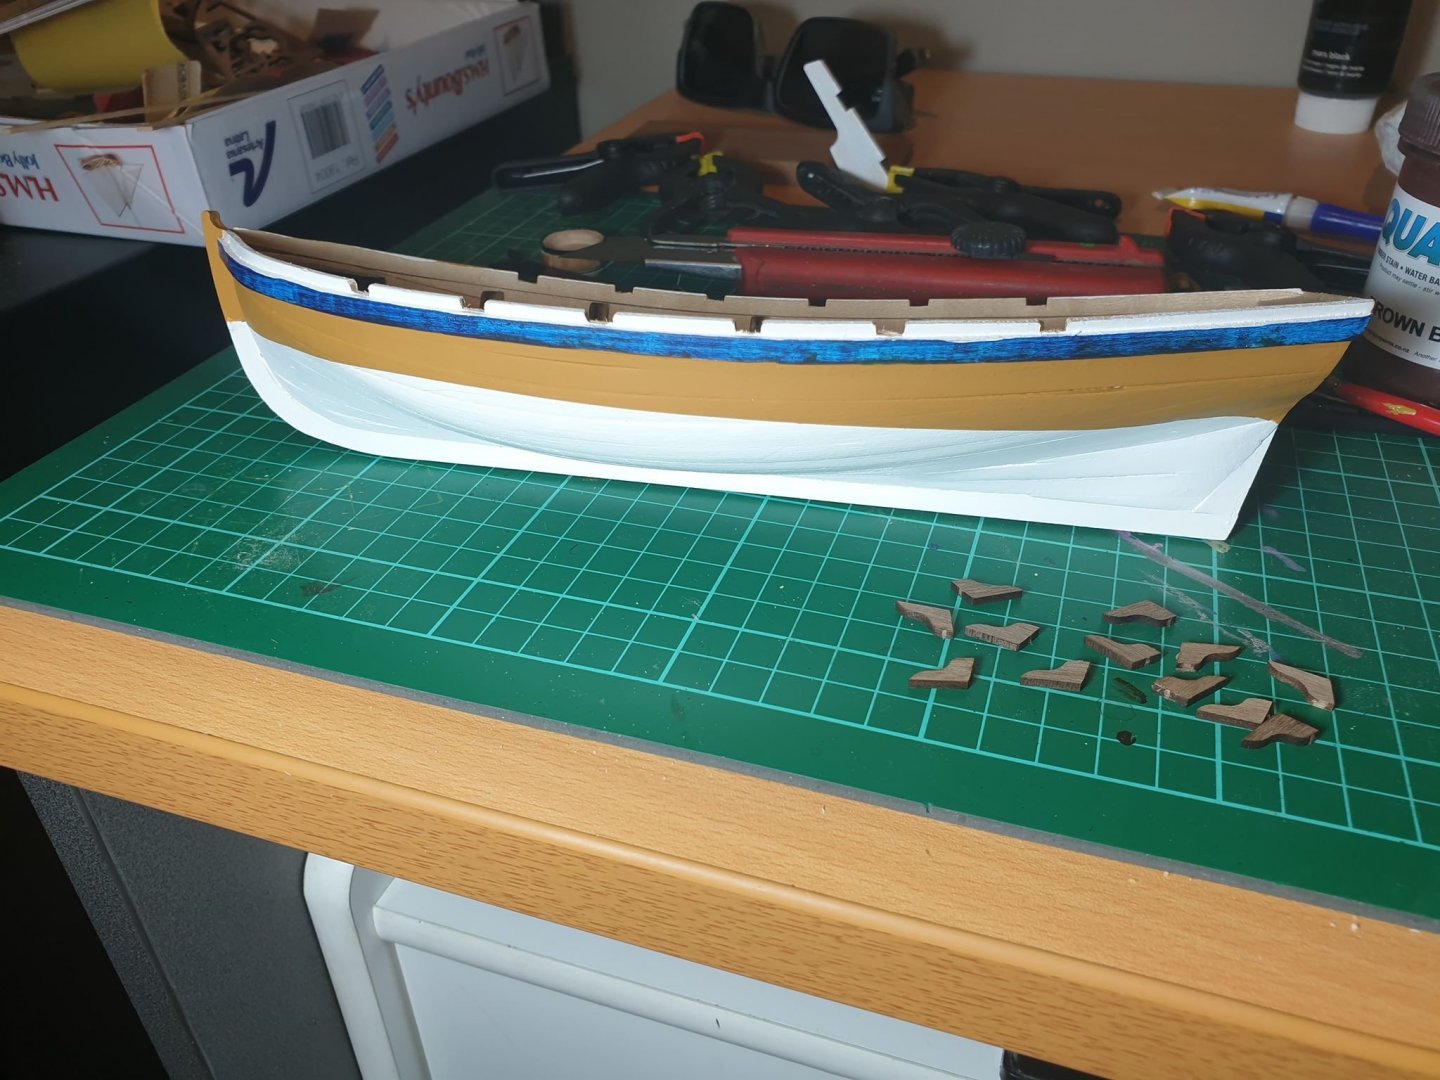
A wee bit of colour changes the whole look. At this point I want to say I am really enjoying the build process. I have so far built it pretty much to the plans and it is turning out okay. For a first build, I’m quite pleased with how it looks. Sure, it’s no master class. But I have to remember not to get too caught up by how awesome other builds are.
- 60 replies
-
- 8
-
-
- bounty jolly boat
- artesania latina
- (and 2 more)
-
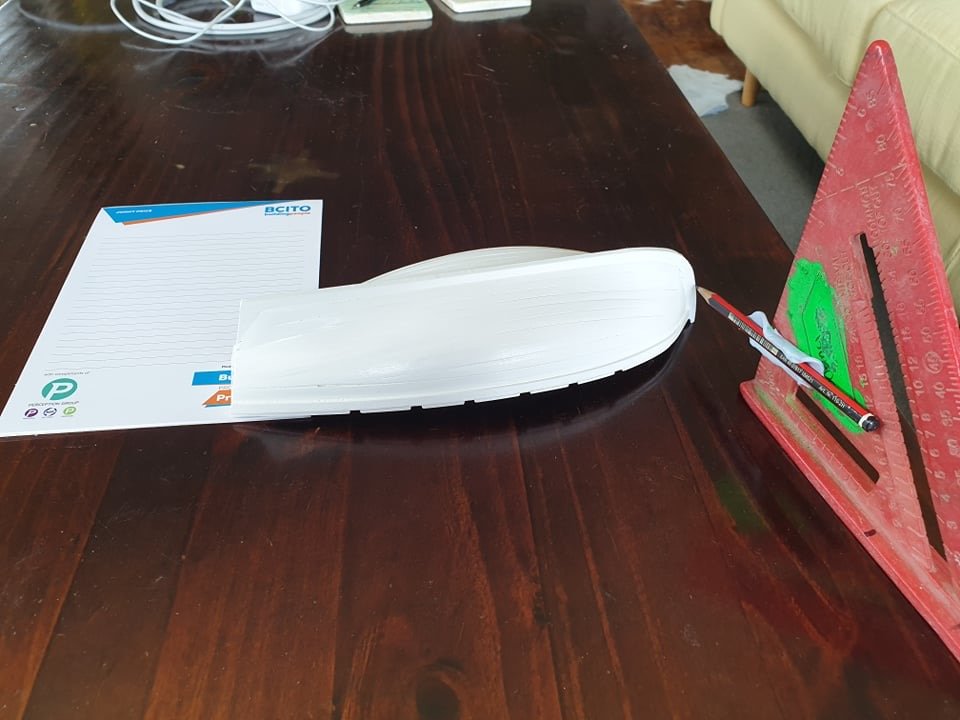
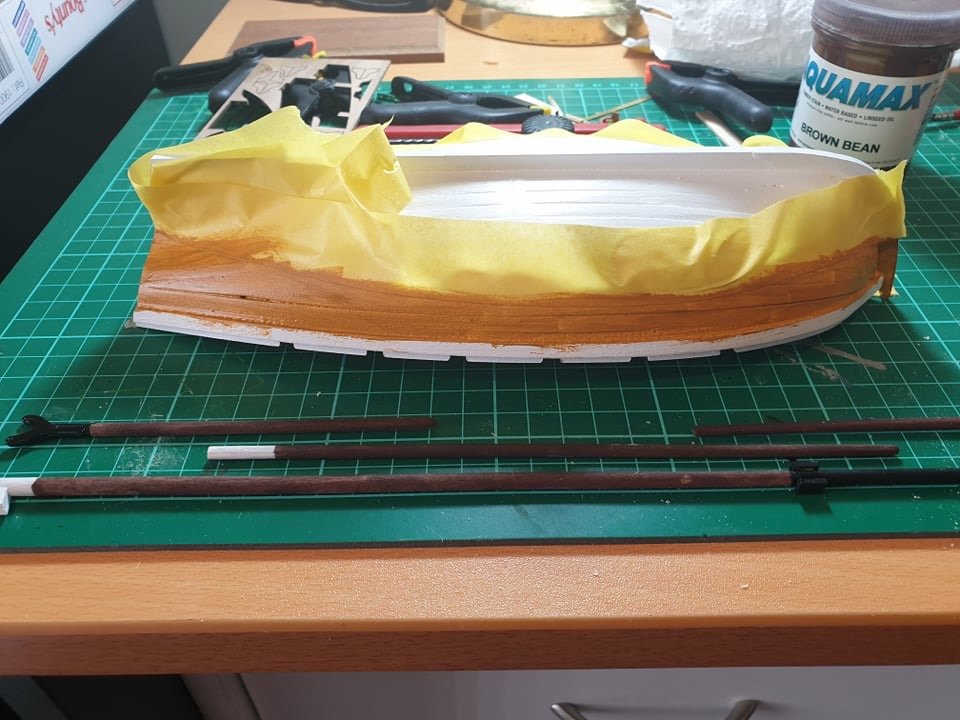
Time to mark the water line. I’ve seen some very nice tools for doing this. I don’t have one of those nice tools so I used some blu-tac, my quick square and a pencil. For future builds I will need to refine this! I then used Frog Tape to mask the water line. Then applied the first coat of Occre Brown. in the foreground is the masks and spars.
- 60 replies
-
- 5
-
-
- bounty jolly boat
- artesania latina
- (and 2 more)
-
At 1:30pm local time on Monday 23 of March, the New Zealand Government announced that in 48 hours, New Zealand would enter our Level 4 response to the COVID19 outbreak. This means New Zealand is going into total lock down for at least 4 weeks.
-
I can really understand why people kit bash! I have strongly resisted the urge so far. But when you see the results of other builds, it’s very tempting! Below are links to some of the excellent build logs I have used as a guide and inspiration for my build: This has a cool colour scheme: Finished in timber (unpainted) with some sweet details And some nice work on this one too. Time to go work on mine!
- 60 replies
-
- 1
-
-
- bounty jolly boat
- artesania latina
- (and 2 more)
-
I also put a first coat of paint on the hull. Will need some caulking! (or no more gaps in this case). I’ll be onto the rigging in no time!
- 60 replies
-
- 3
-
-
- bounty jolly boat
- artesania latina
- (and 2 more)
-
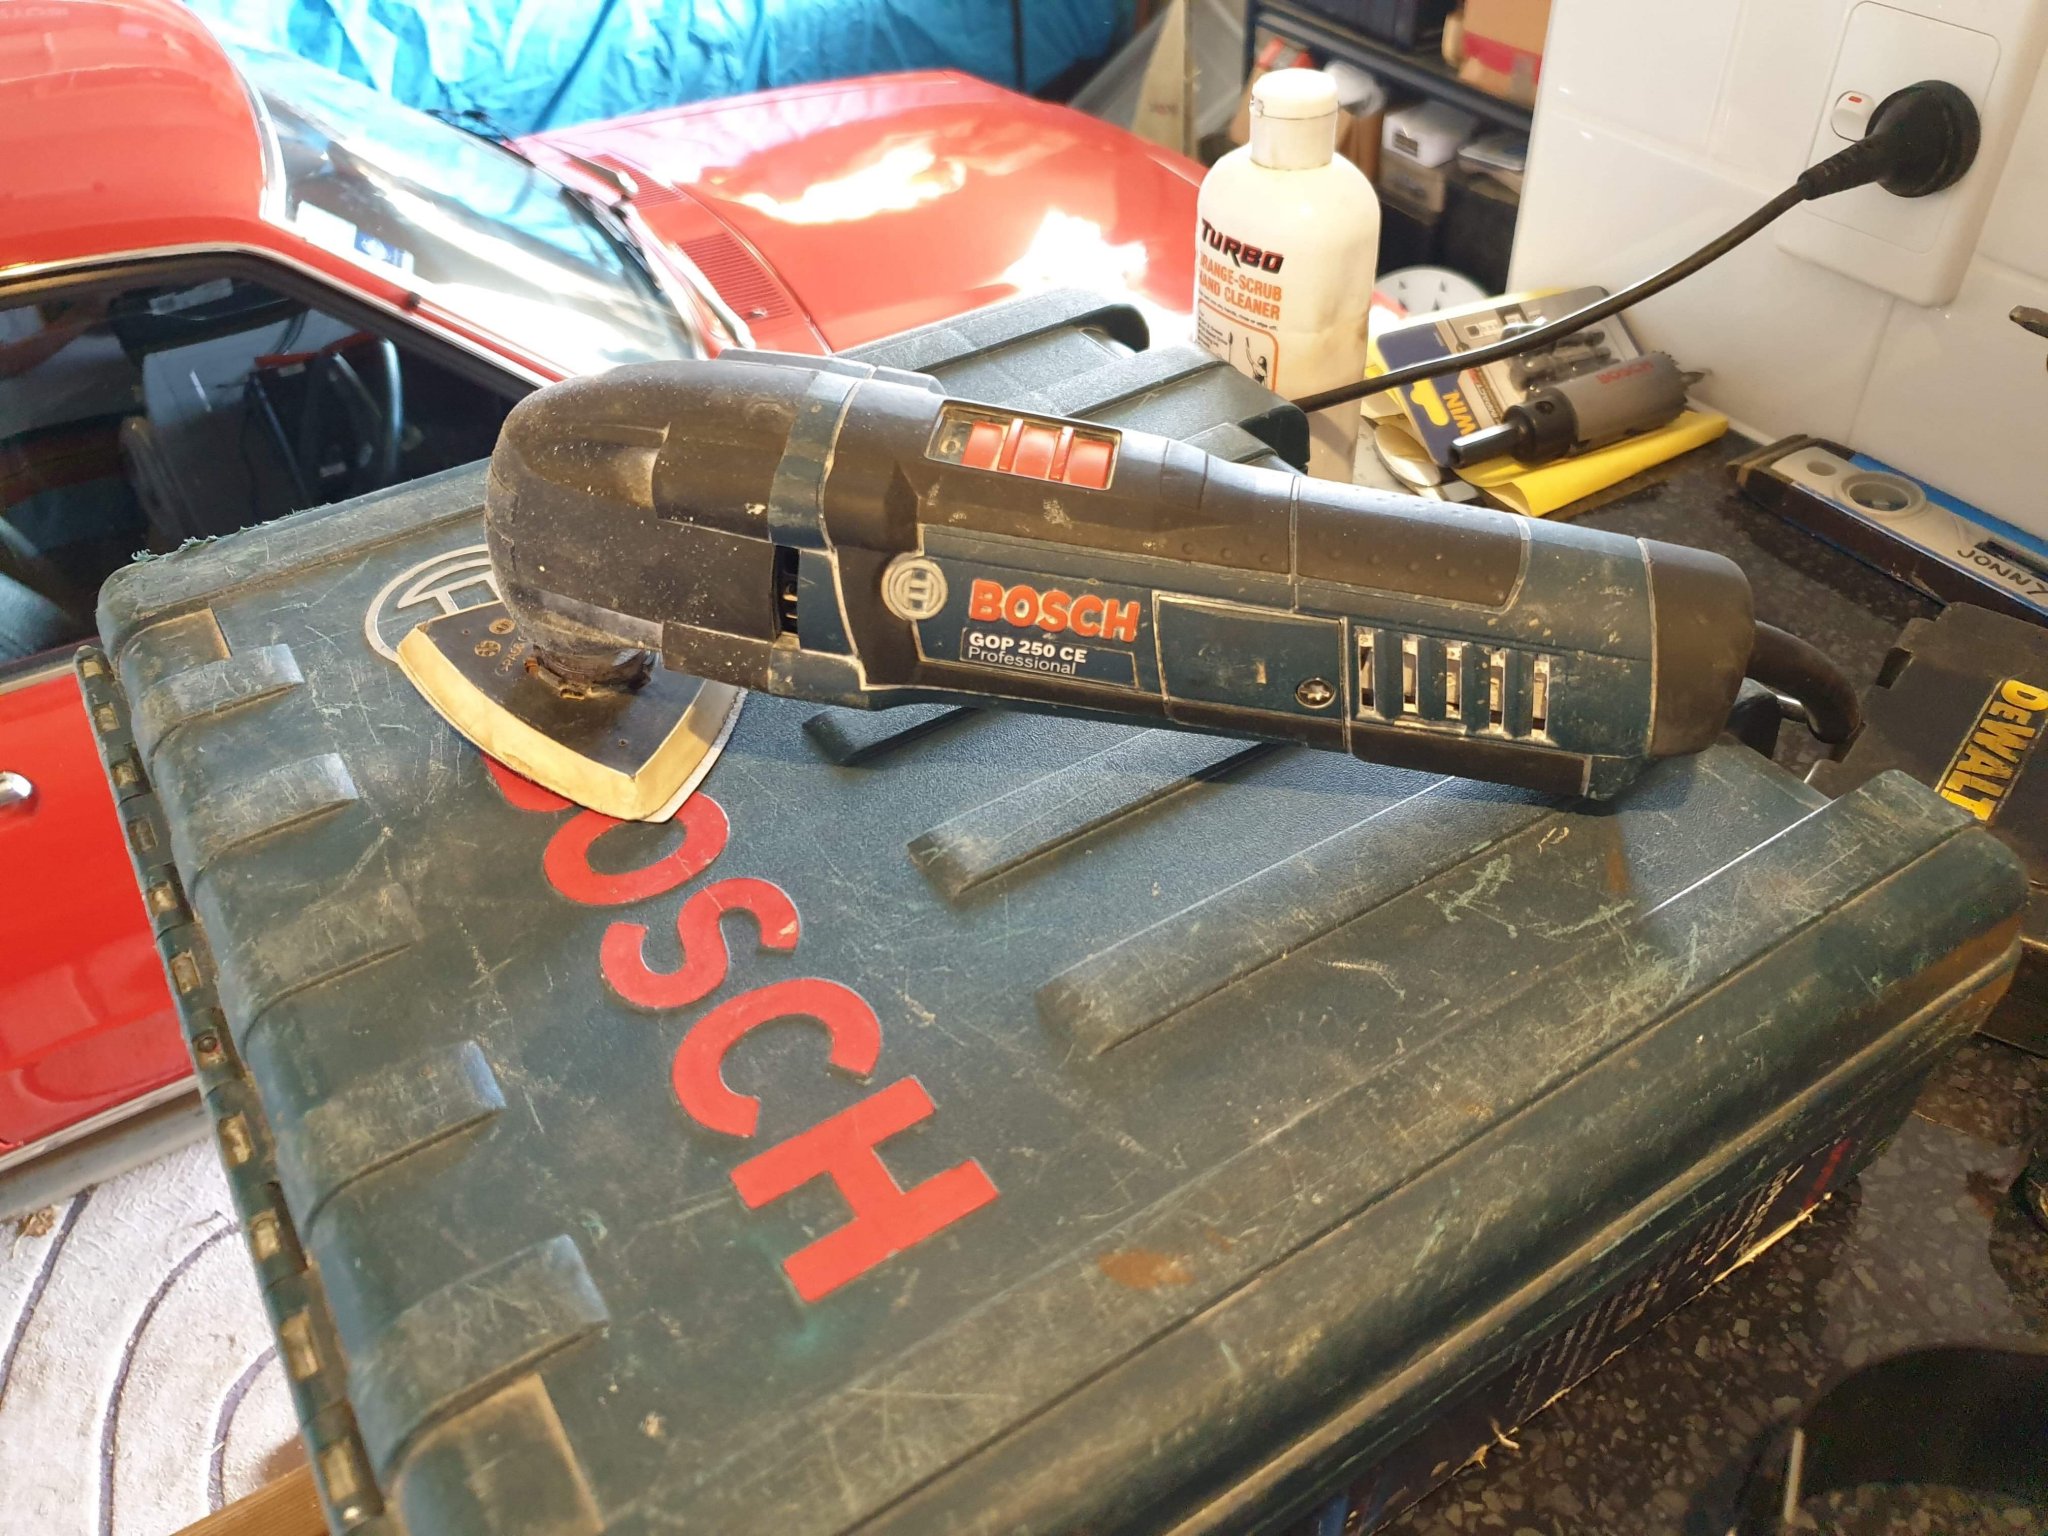
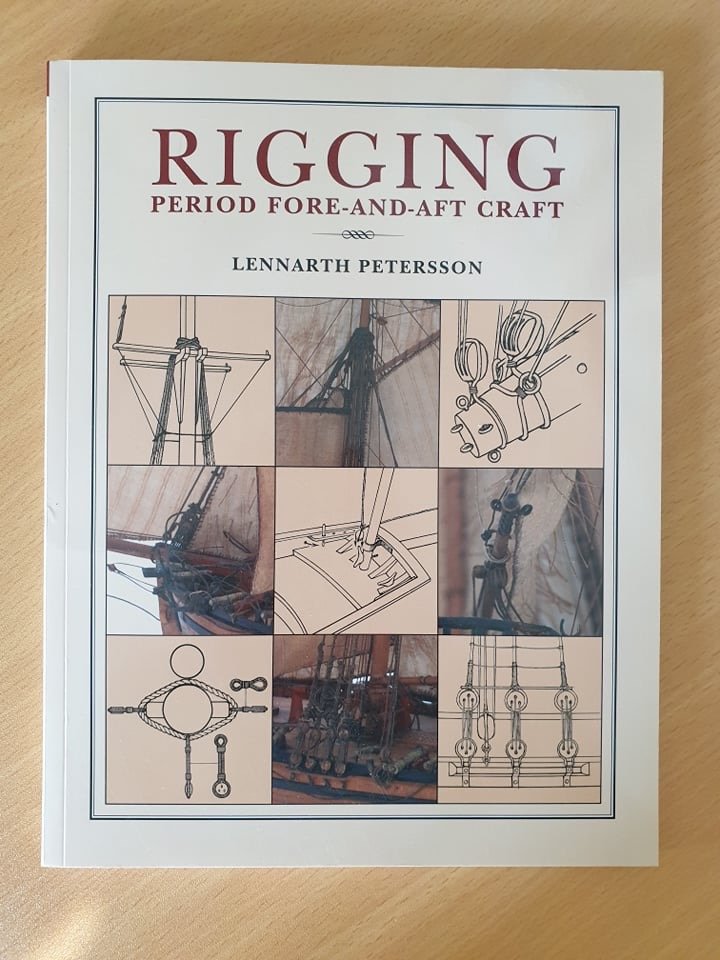
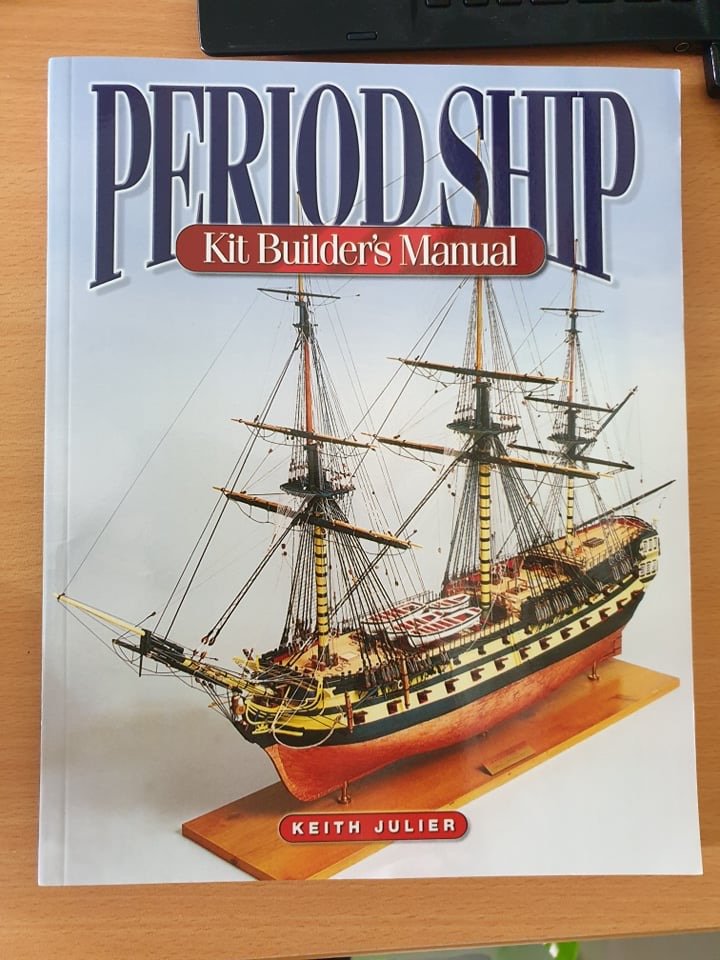
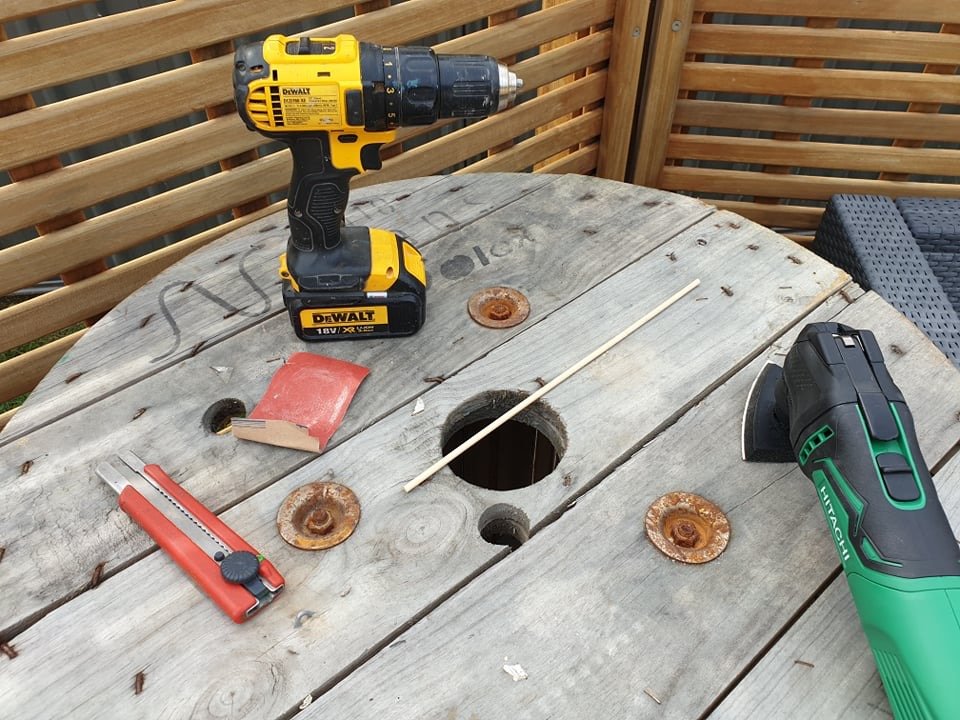
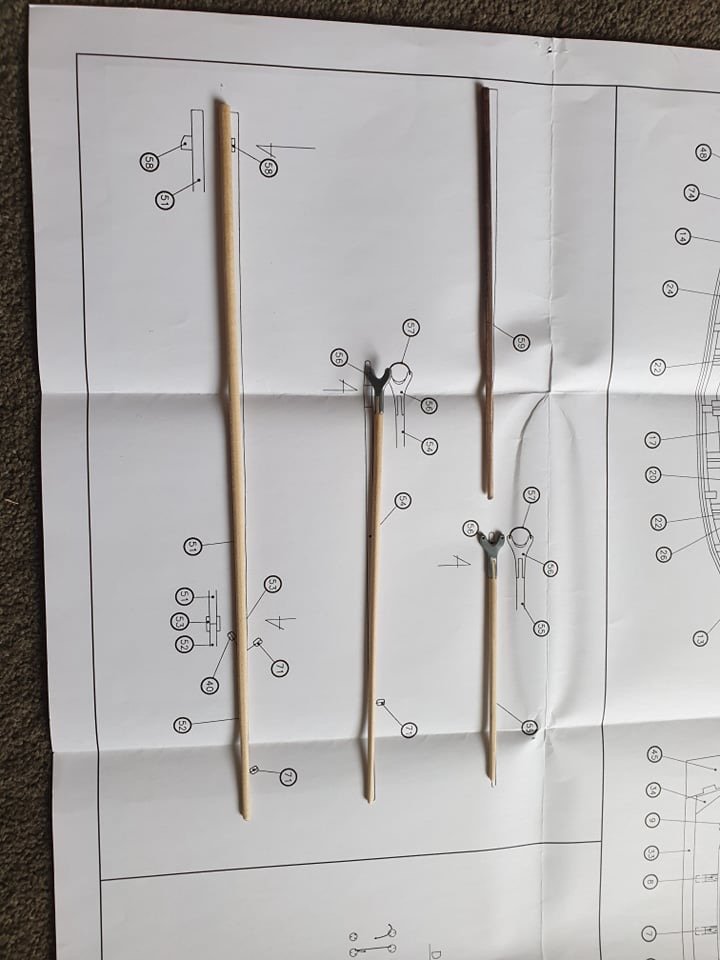
Progress has been slow because I was putting off tapering the masts and spars. Mainly because I had tried tapering the bow sprite and it didn’t really work. But my wife got me this book and it has some awesome ideas in it and some great information. I was worried that because I didn’t own a lathe that I wouldn’t be able to taper the spars correctly. In this book however, he has a very simple tip: File into a square and then an octagon and finally finish with a bit of sand paper. I found this technique incredibly easy and got to use my bran new multi-tool. I pleased with the results and a task I though would take hours took mere minutes. Here’s how they look against the plan. I even re-did the bow sprite! Next up is some stain which I’ll be doing once I finish updating this build log.
- 60 replies
-
- 4
-
-
- bounty jolly boat
- artesania latina
- (and 2 more)
-
Welcome aboard mate! Nice to have another Kiwi on here lurking. Just an FYI it seems to be perfectly normal for model ship builders to have lots of purchased kits sitting on the shelf ready to build at a later date. So if the kit you buy seems a bit too much, you can always shelve it and buy another! I’m currently on my first build but already have my next build ready to go and a plan of what future ships I wish to build. Also, Mighty Ape have a sweet hobby section if there isn’t a model shop close by. Good luck and I look forward to following your build log.
-
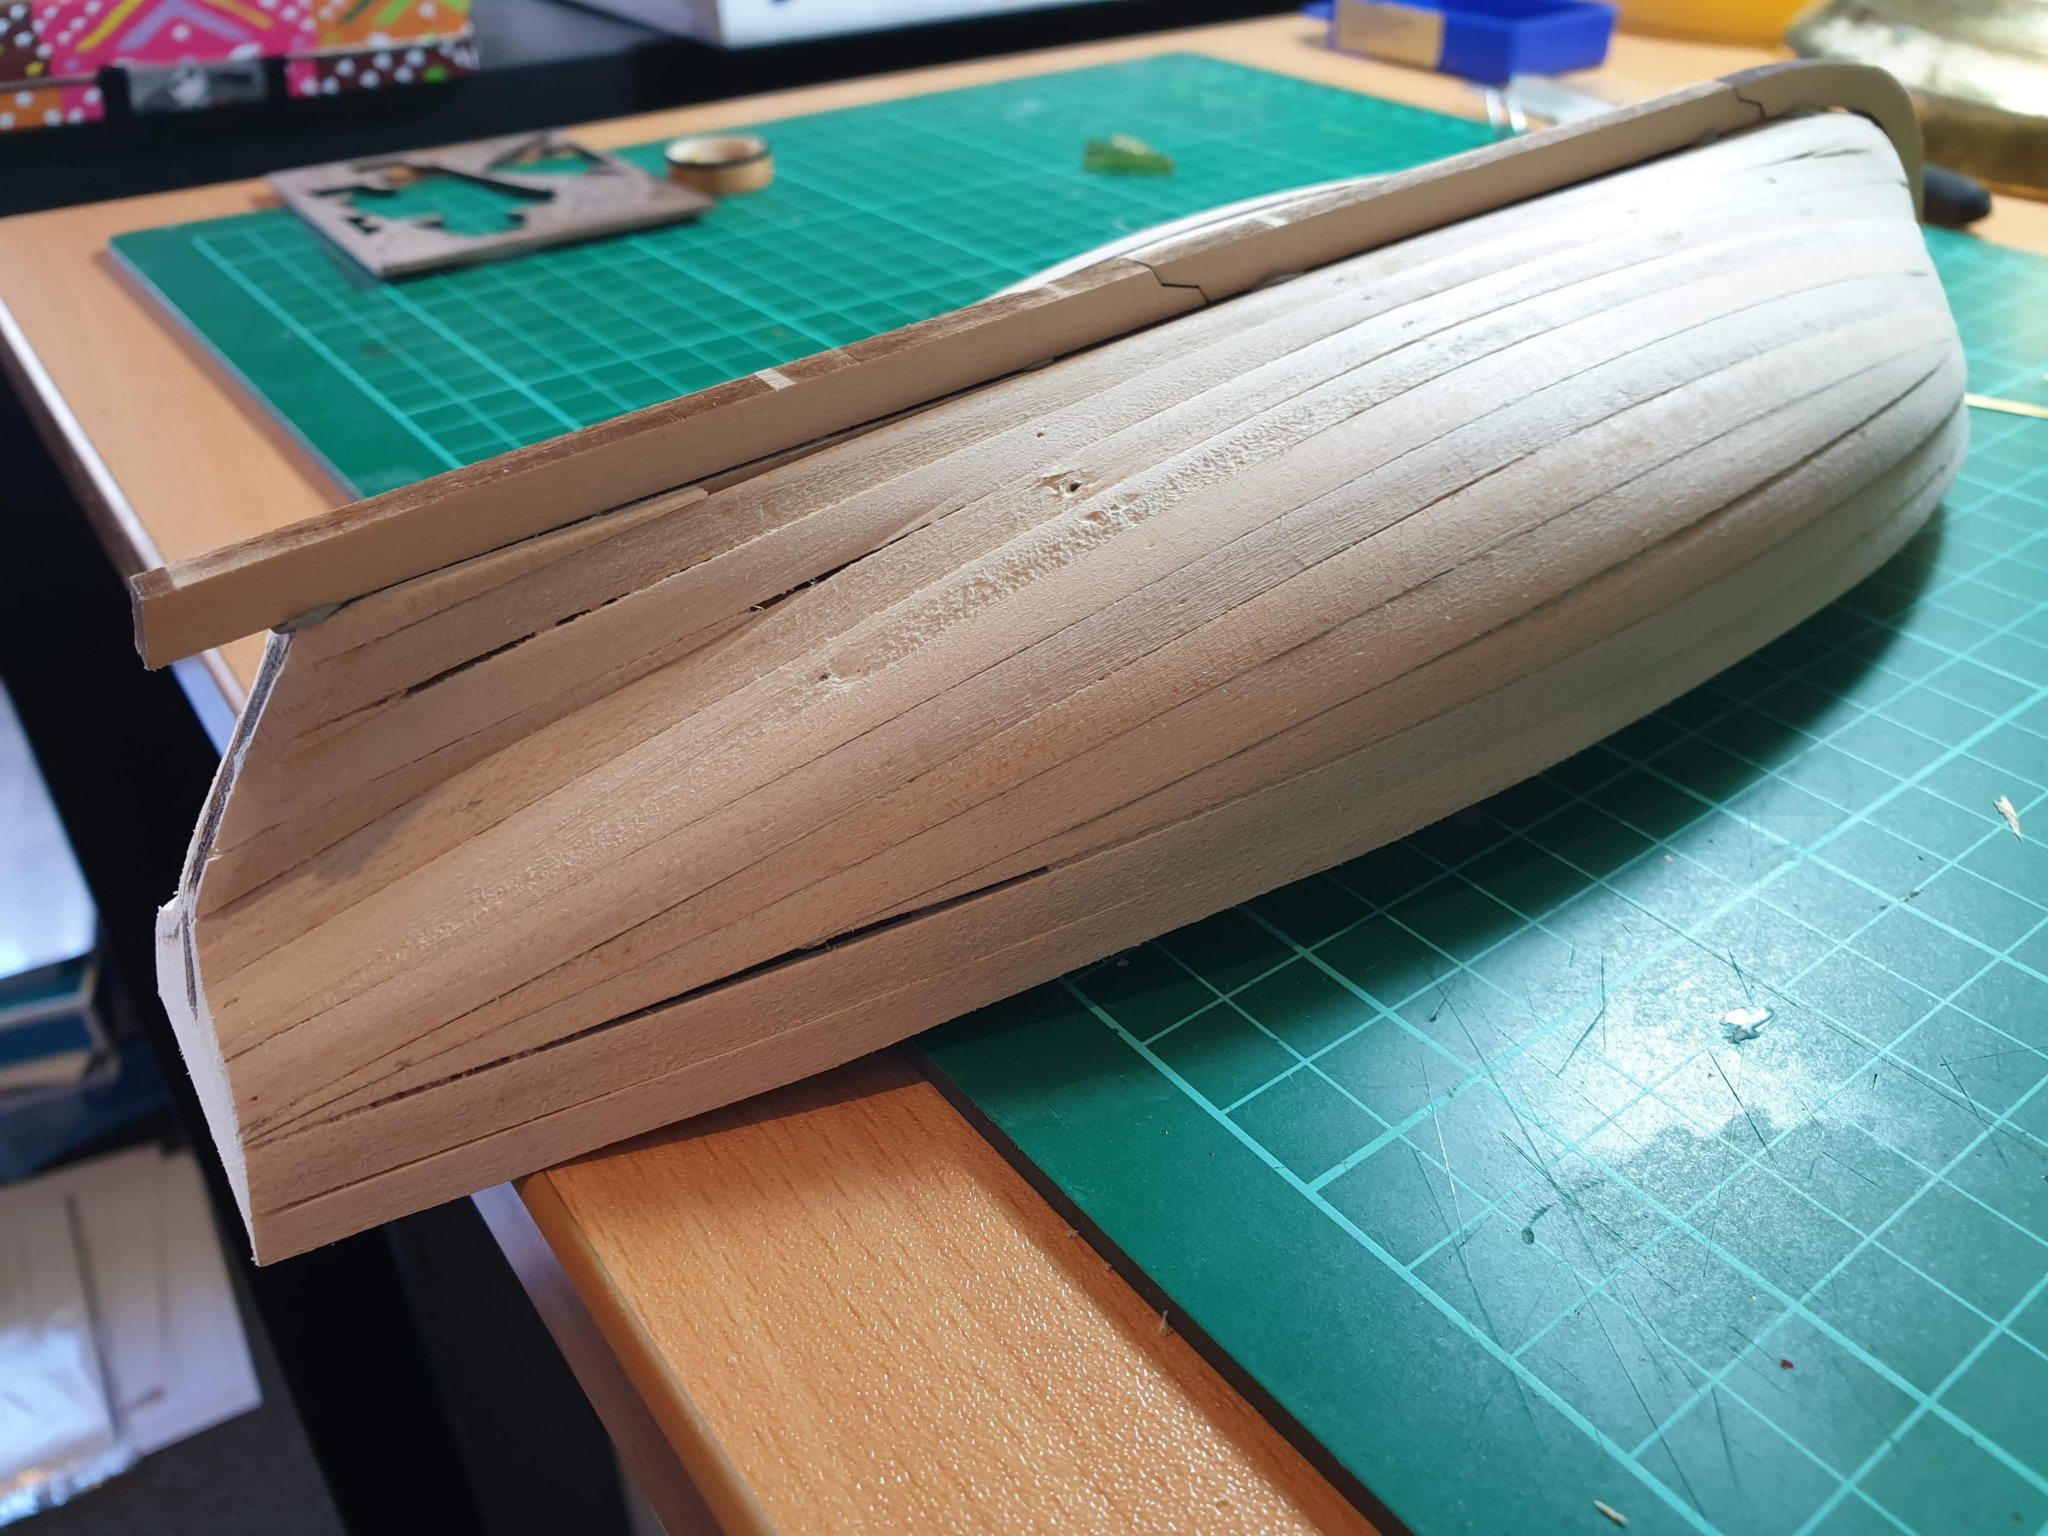
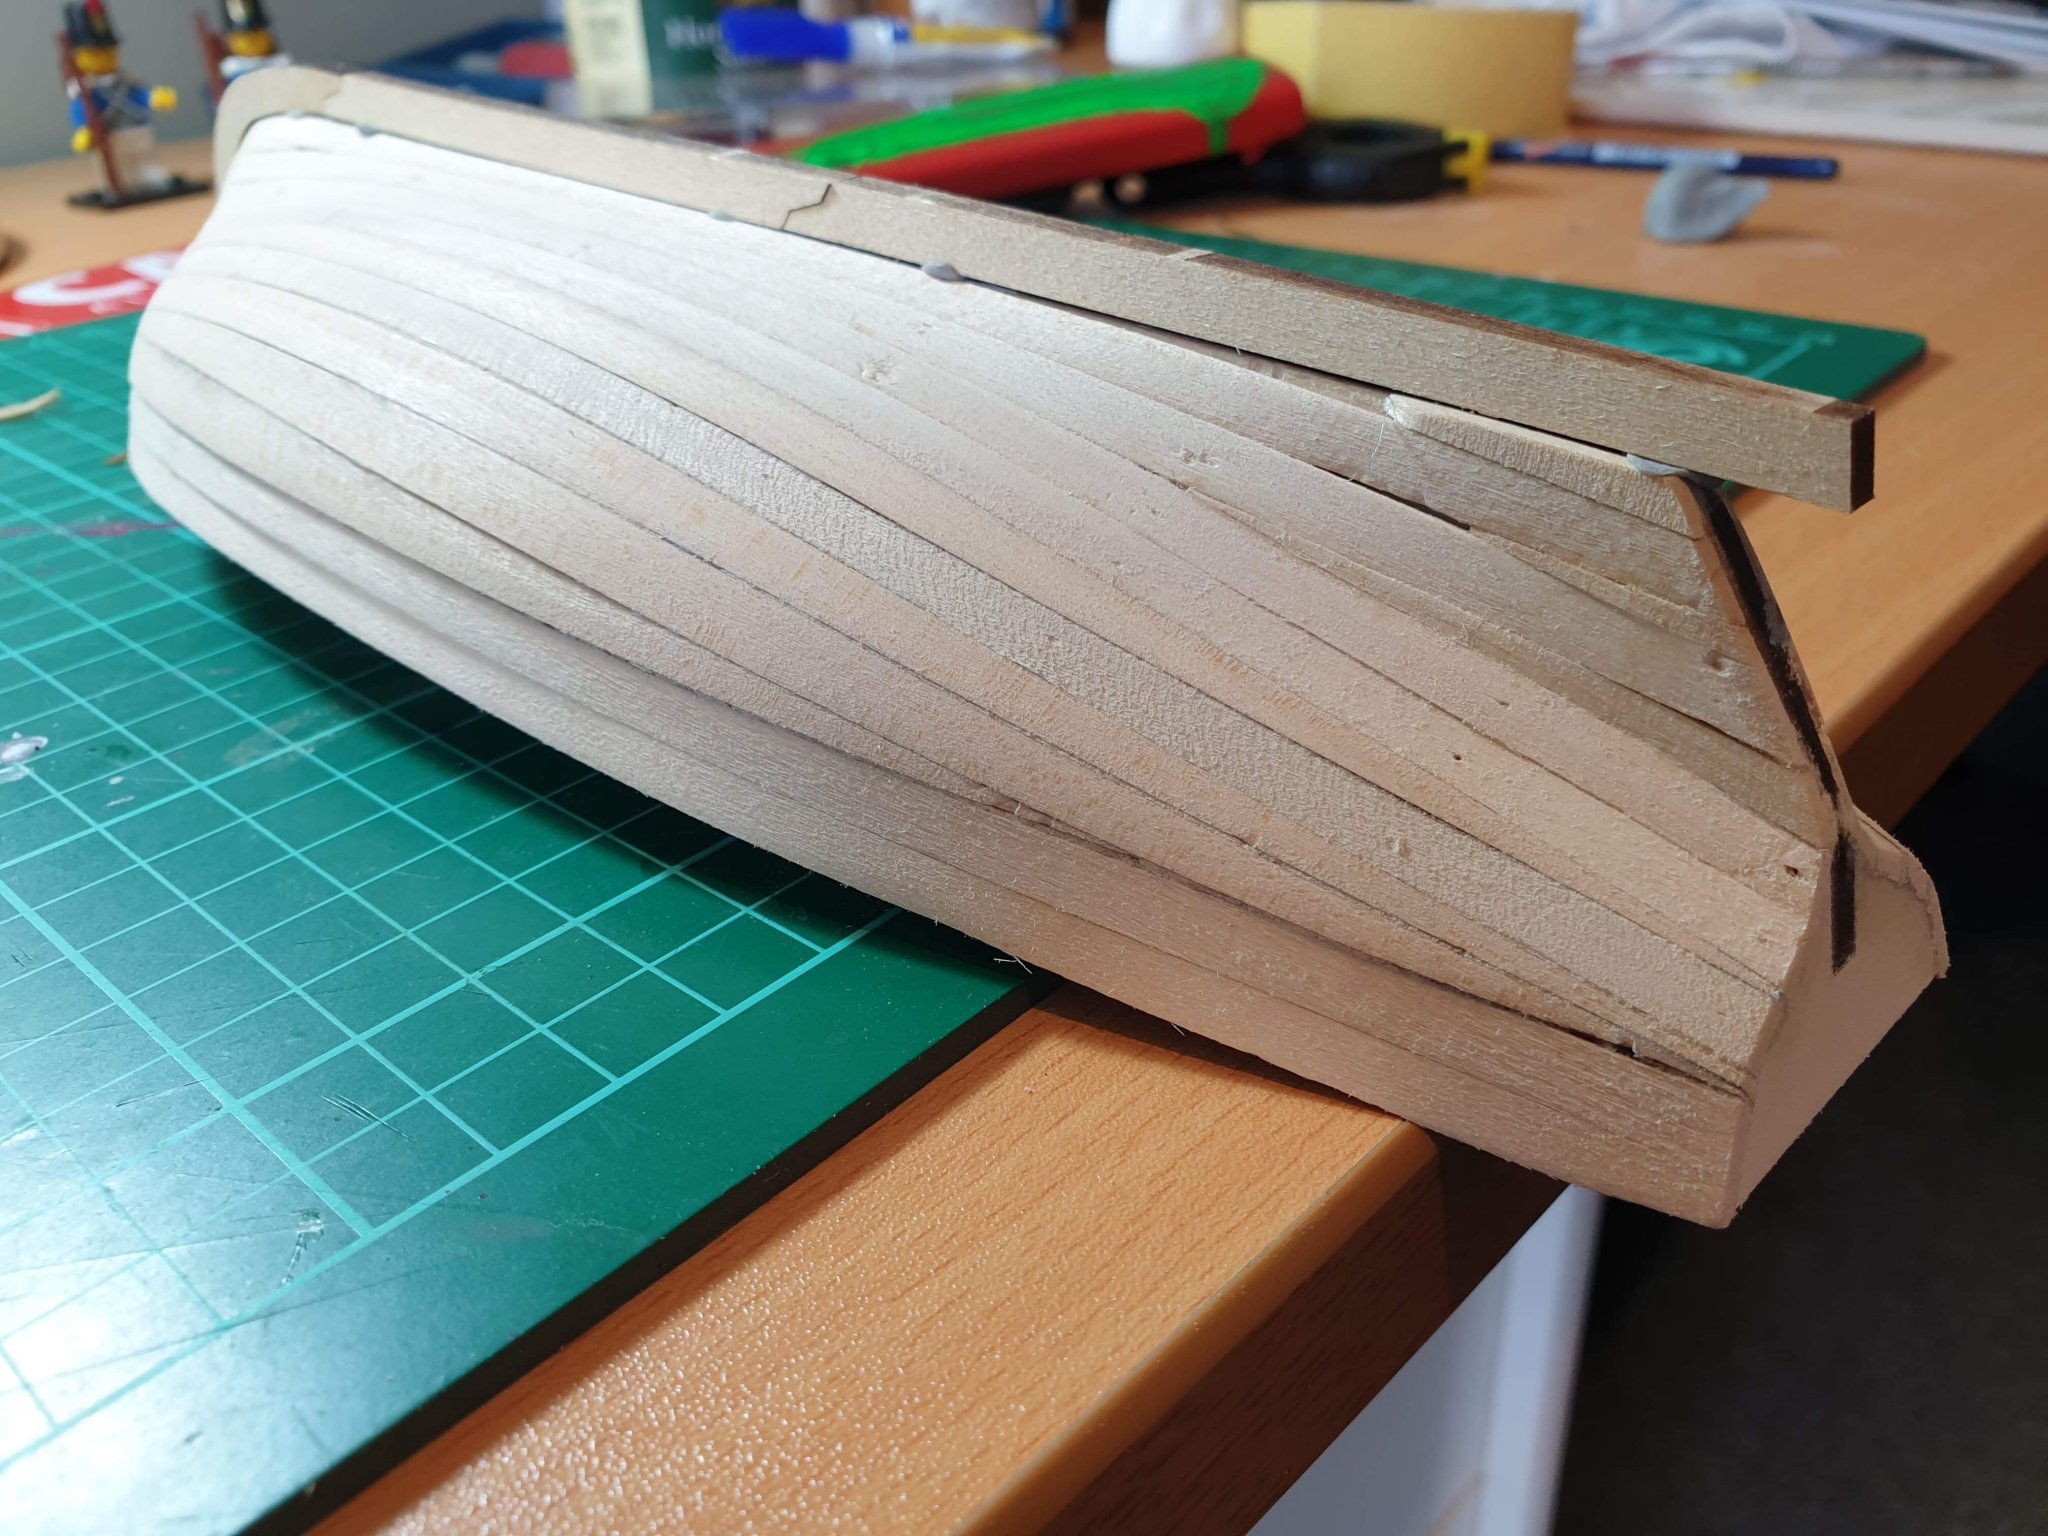
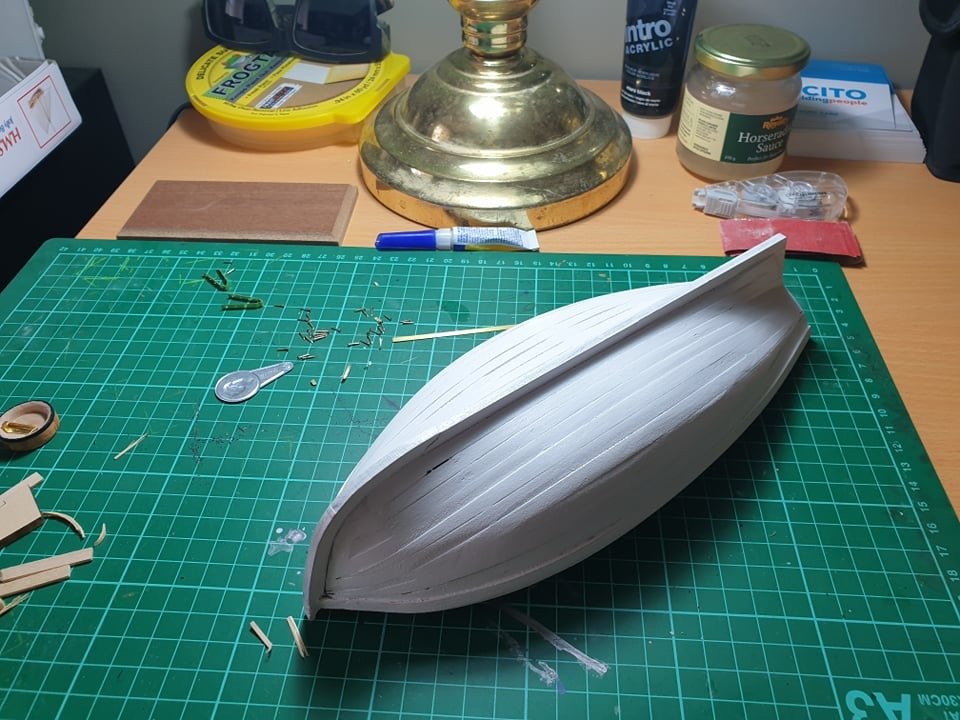
I did a bit of filling and a bit more sanding. I also read somewhere that Chuck used an electric sander to speed up the process before finishing it off by hand. Due to the fact that the pre cut strakes were thicker than standard strakes my hull did require a fair bit of sanding. Luckily I had this to help! I also installed the keel parts and after a few tweaks I will be able to put the final two strakes on and then a coat of paint will be in order. Its starting to look like a model boat now.


- 60 replies
-
- 7
-
-
- bounty jolly boat
- artesania latina
- (and 2 more)
-
Superb craftsmanship and something to aspire to. Thank you for taking the time and posting such a detailed build log. I have thoroughly enjoyed reading through it. Cheers, Jonny
- 335 replies
-
- 1
-
-
- alert
- vanguard models
- (and 1 more)
-
And a close up of the stern. It’s starting to look like a boat!


- 60 replies
-
- 5
-
-
- bounty jolly boat
- artesania latina
- (and 2 more)