
Jorge Hedges
Members-
Posts
119 -
Joined
-
Last visited
Content Type
Profiles
Forums
Gallery
Events
Everything posted by Jorge Hedges
-
Stitching sails with sewing machine
Jorge Hedges replied to Jorge Hedges's topic in Masting, rigging and sails
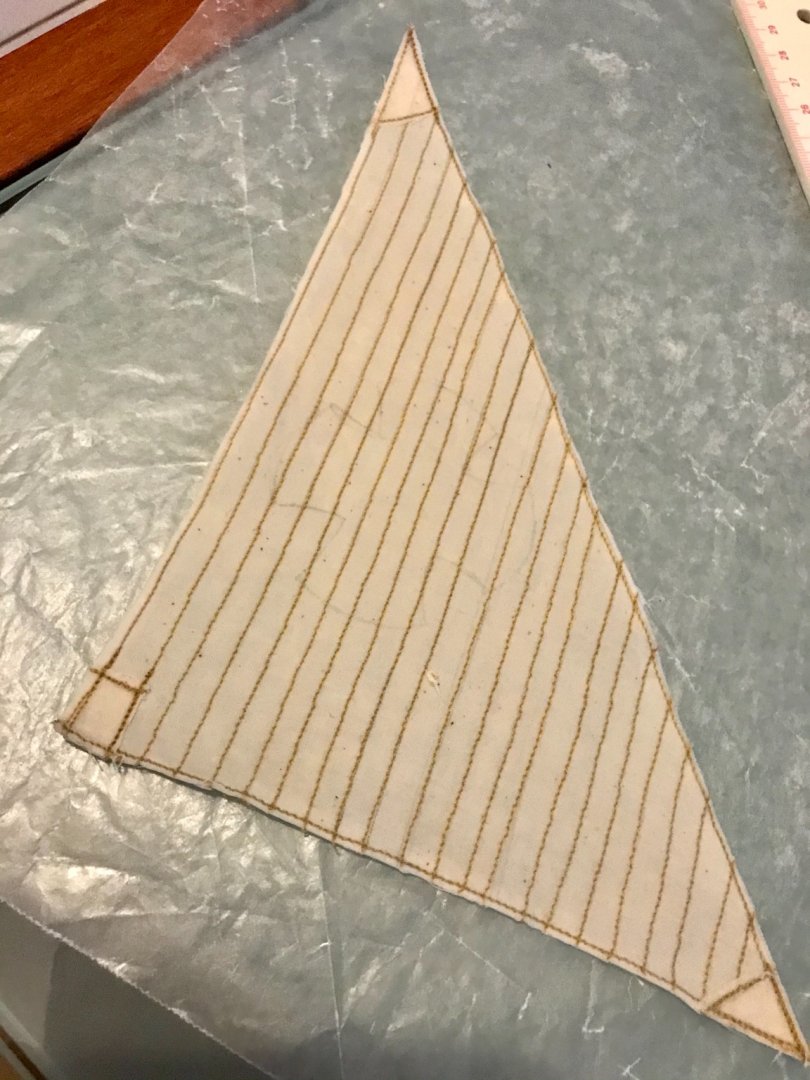
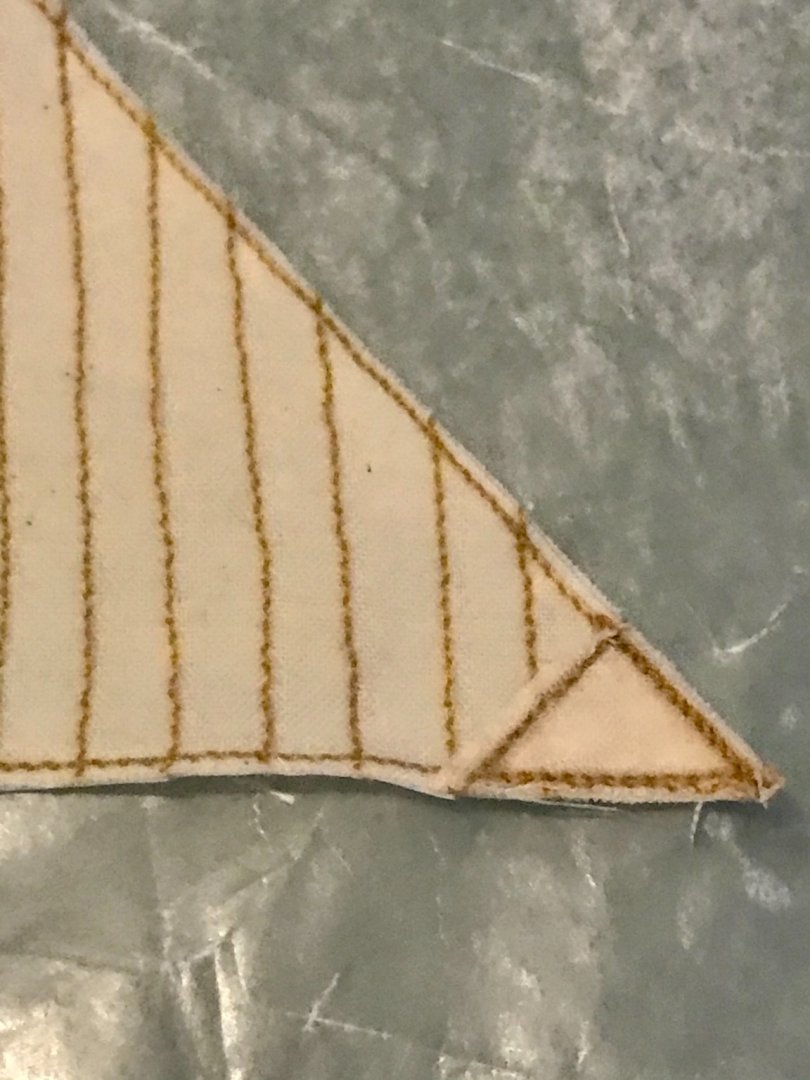
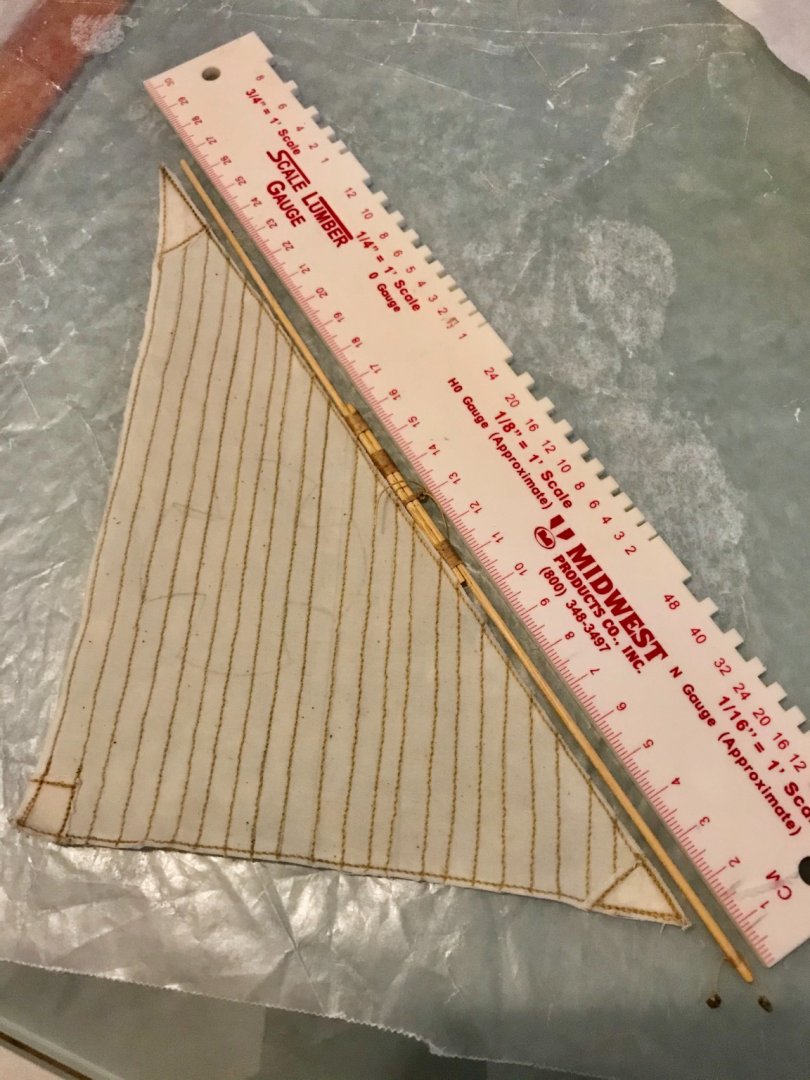
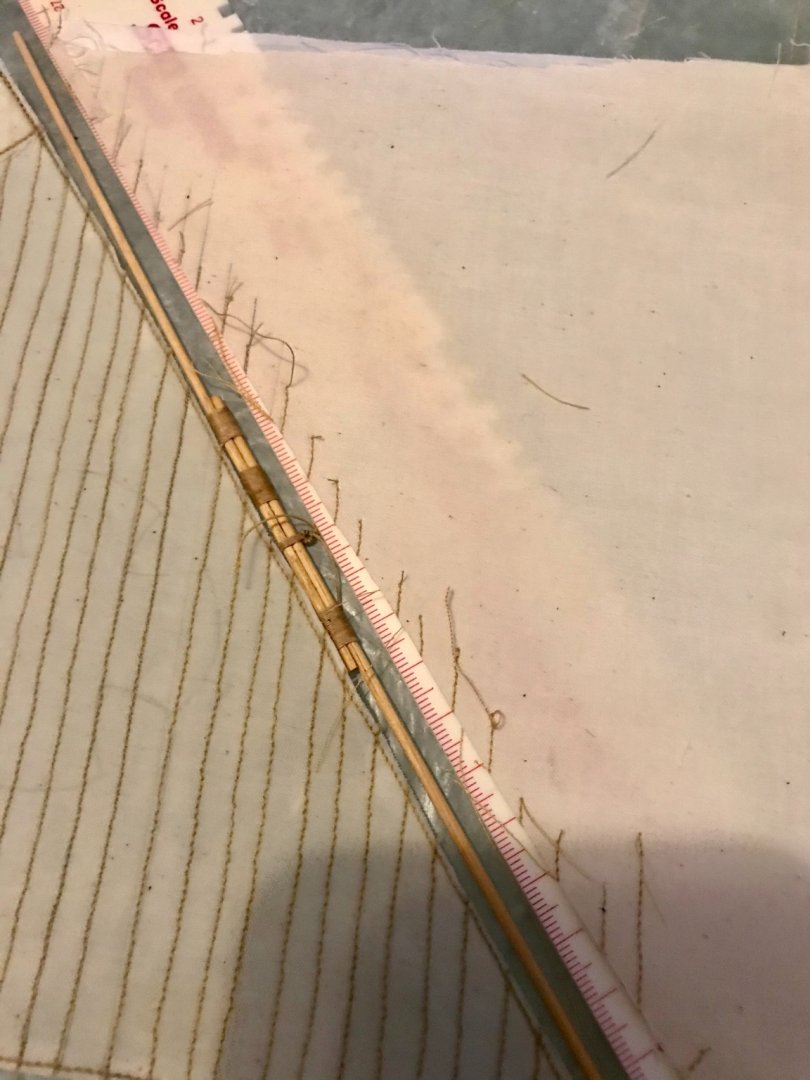
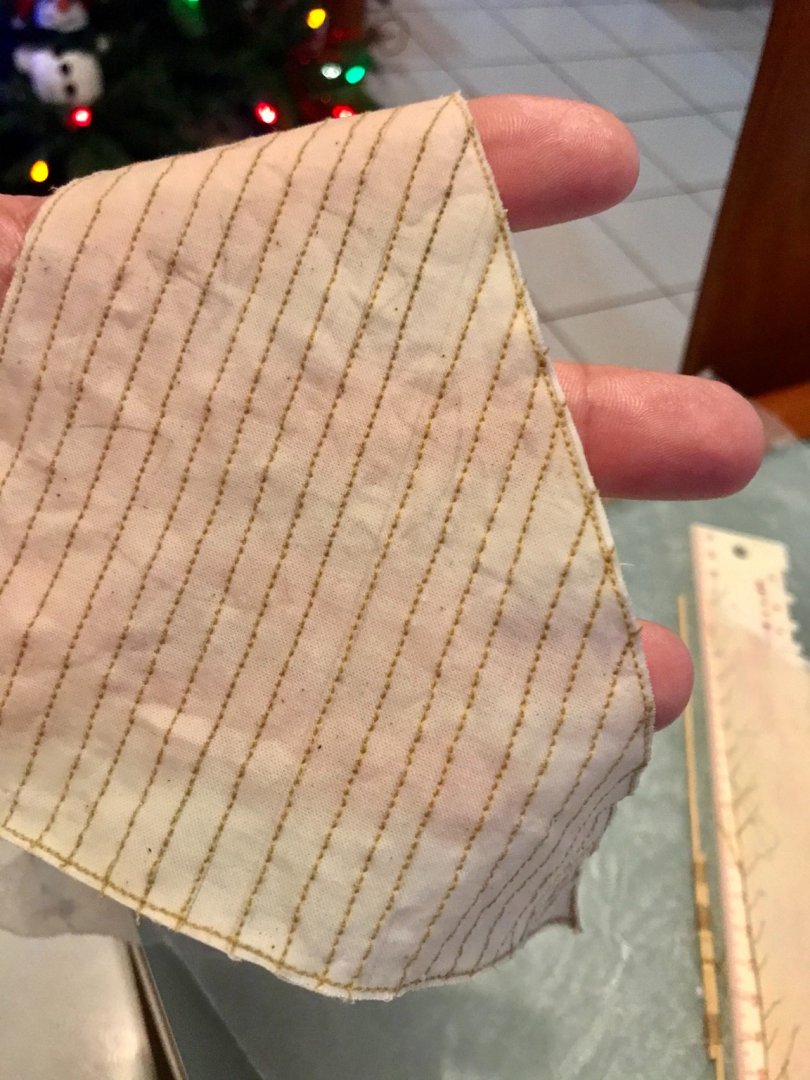
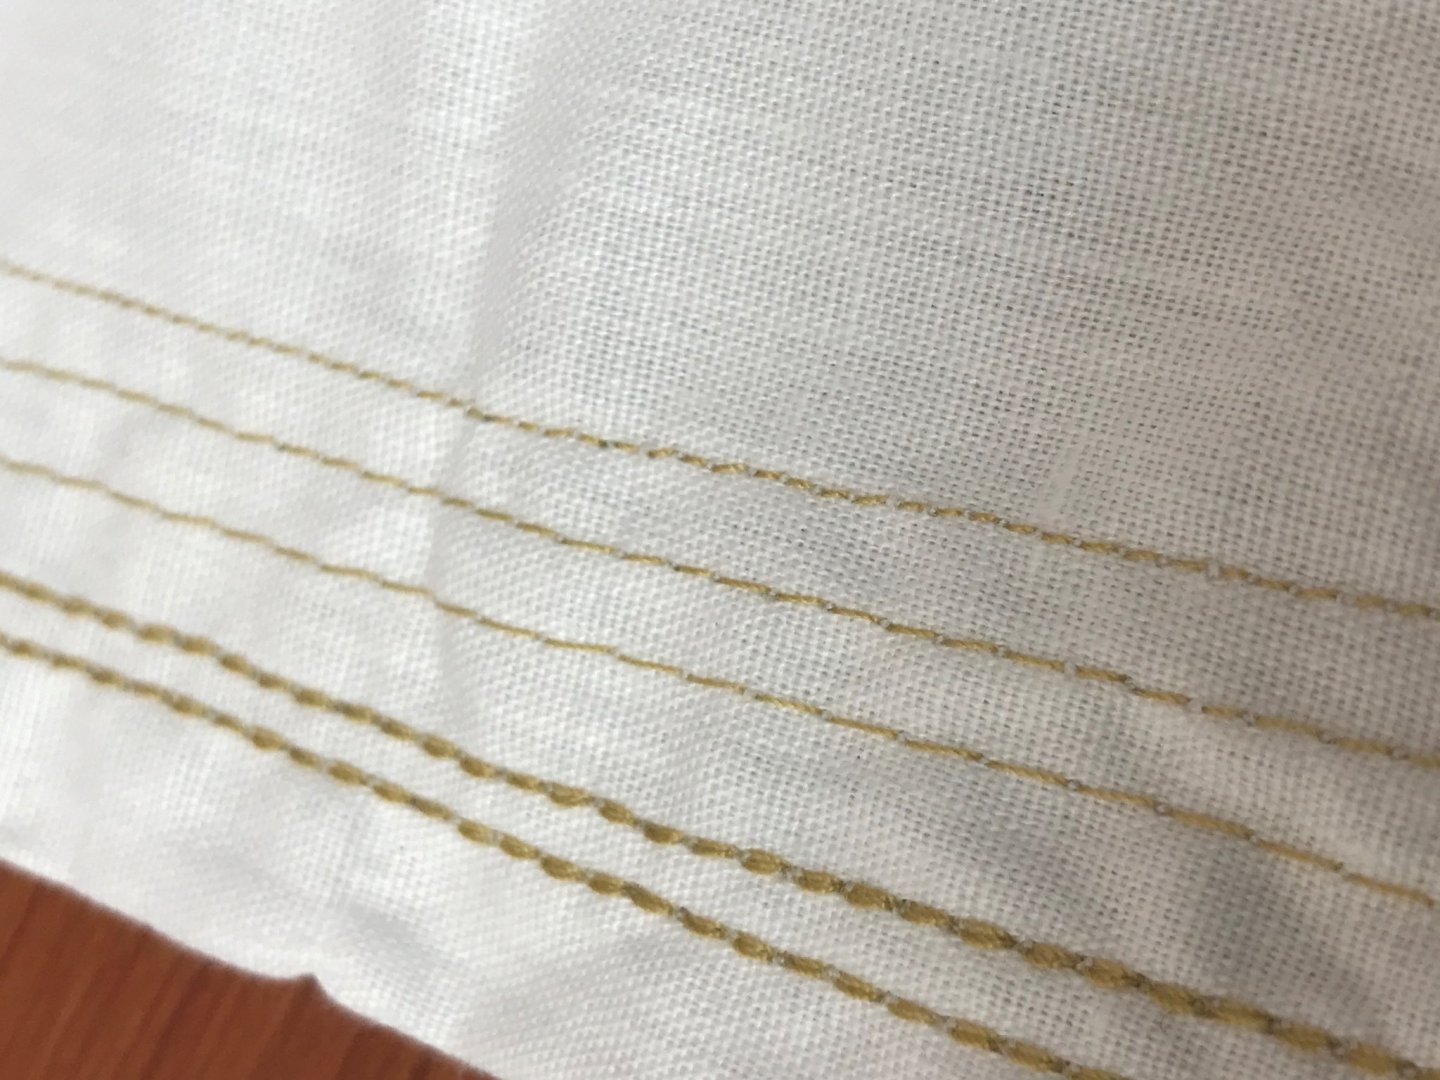
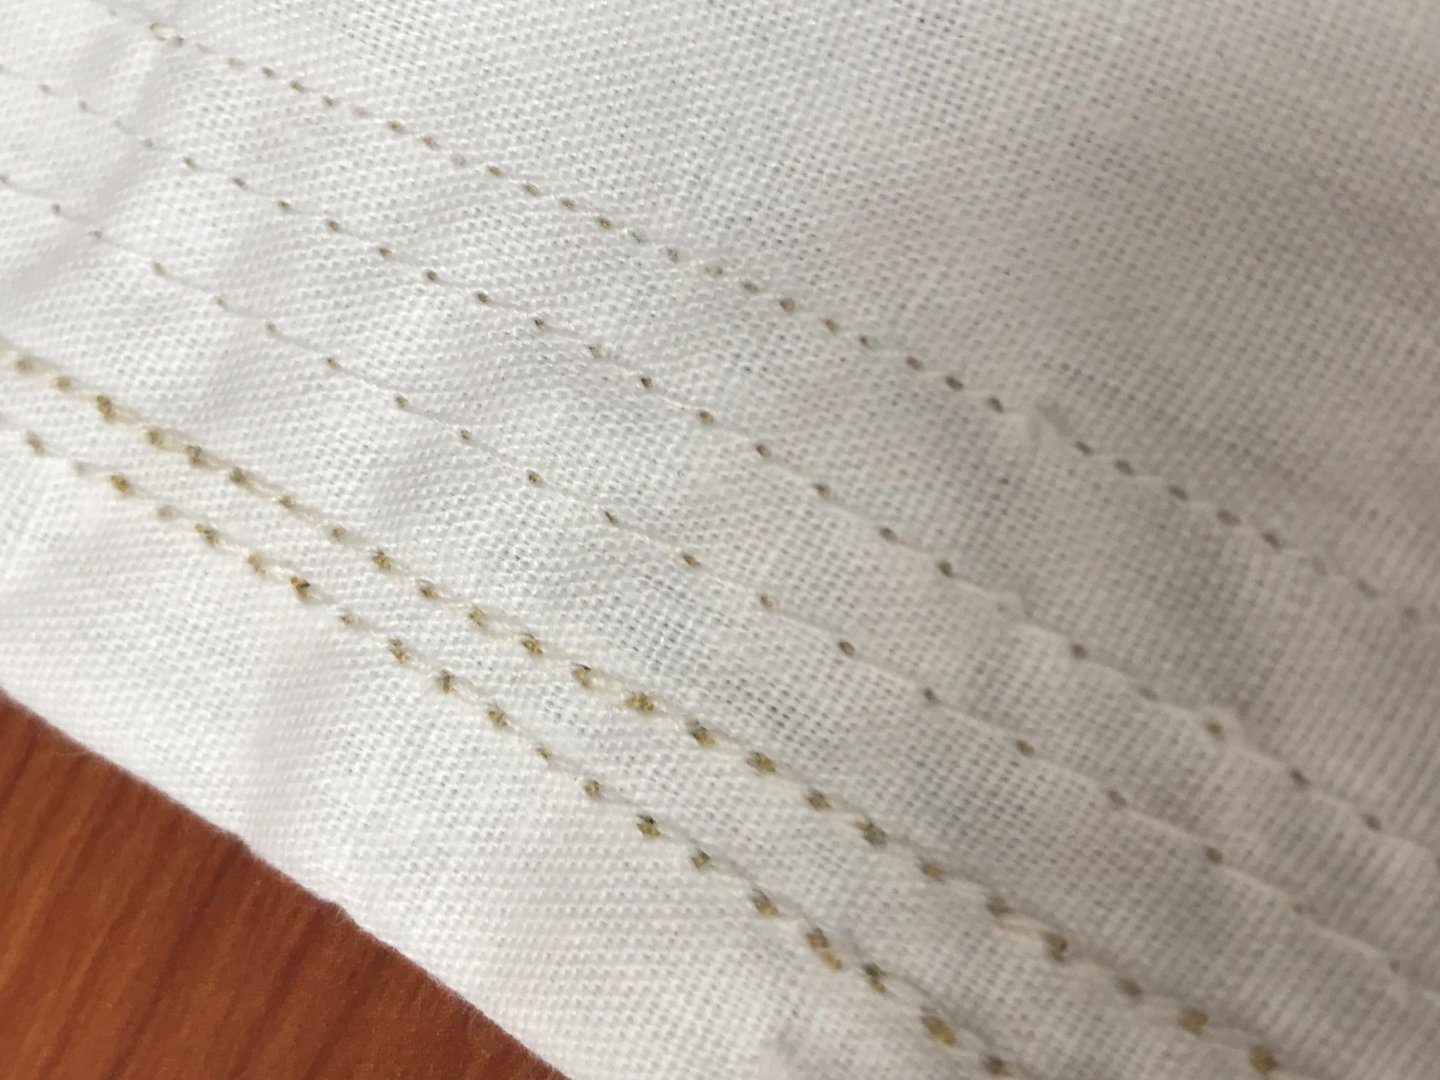
Hello All! After much trial and error, first sail build completed! See pics below... feel free to critique. Already removed the ter-away fabric, and looks nice enough... can’t complain much for this first one. now, as soon as it dries, will apply the no-fray liquid, and basically Don, and ready for sewing to the spar. question, though... what type of paint do you use to paint crosses on the sails? again, thank you all for your support and comments! -
Stitching sails with sewing machine
Jorge Hedges replied to Jorge Hedges's topic in Masting, rigging and sails
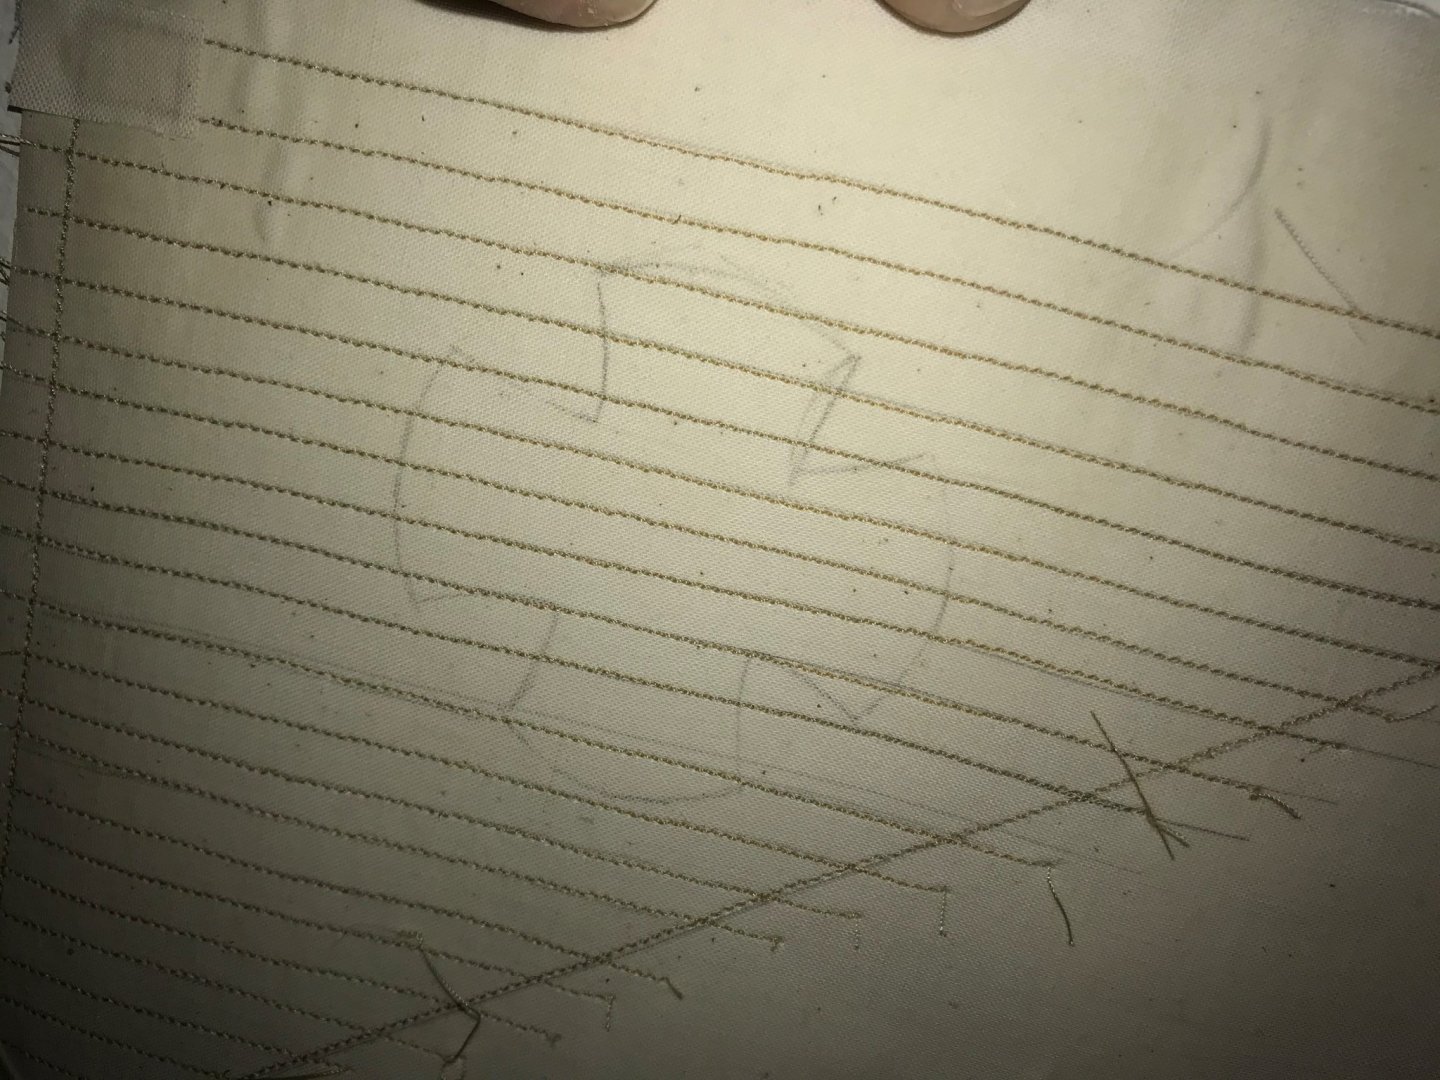
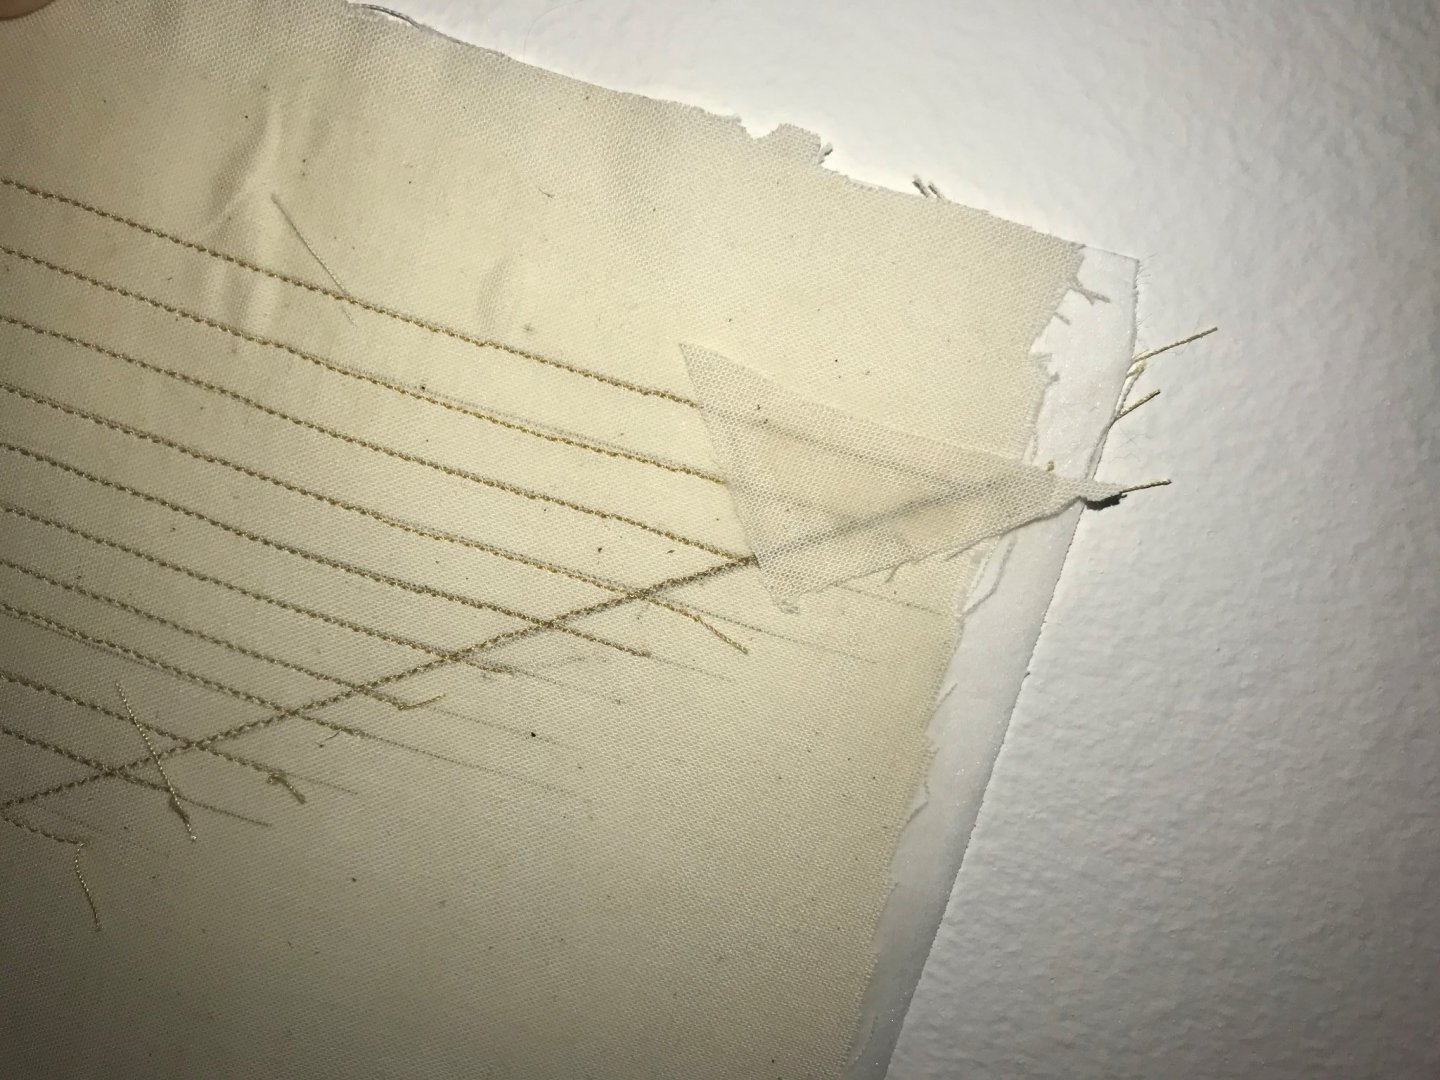
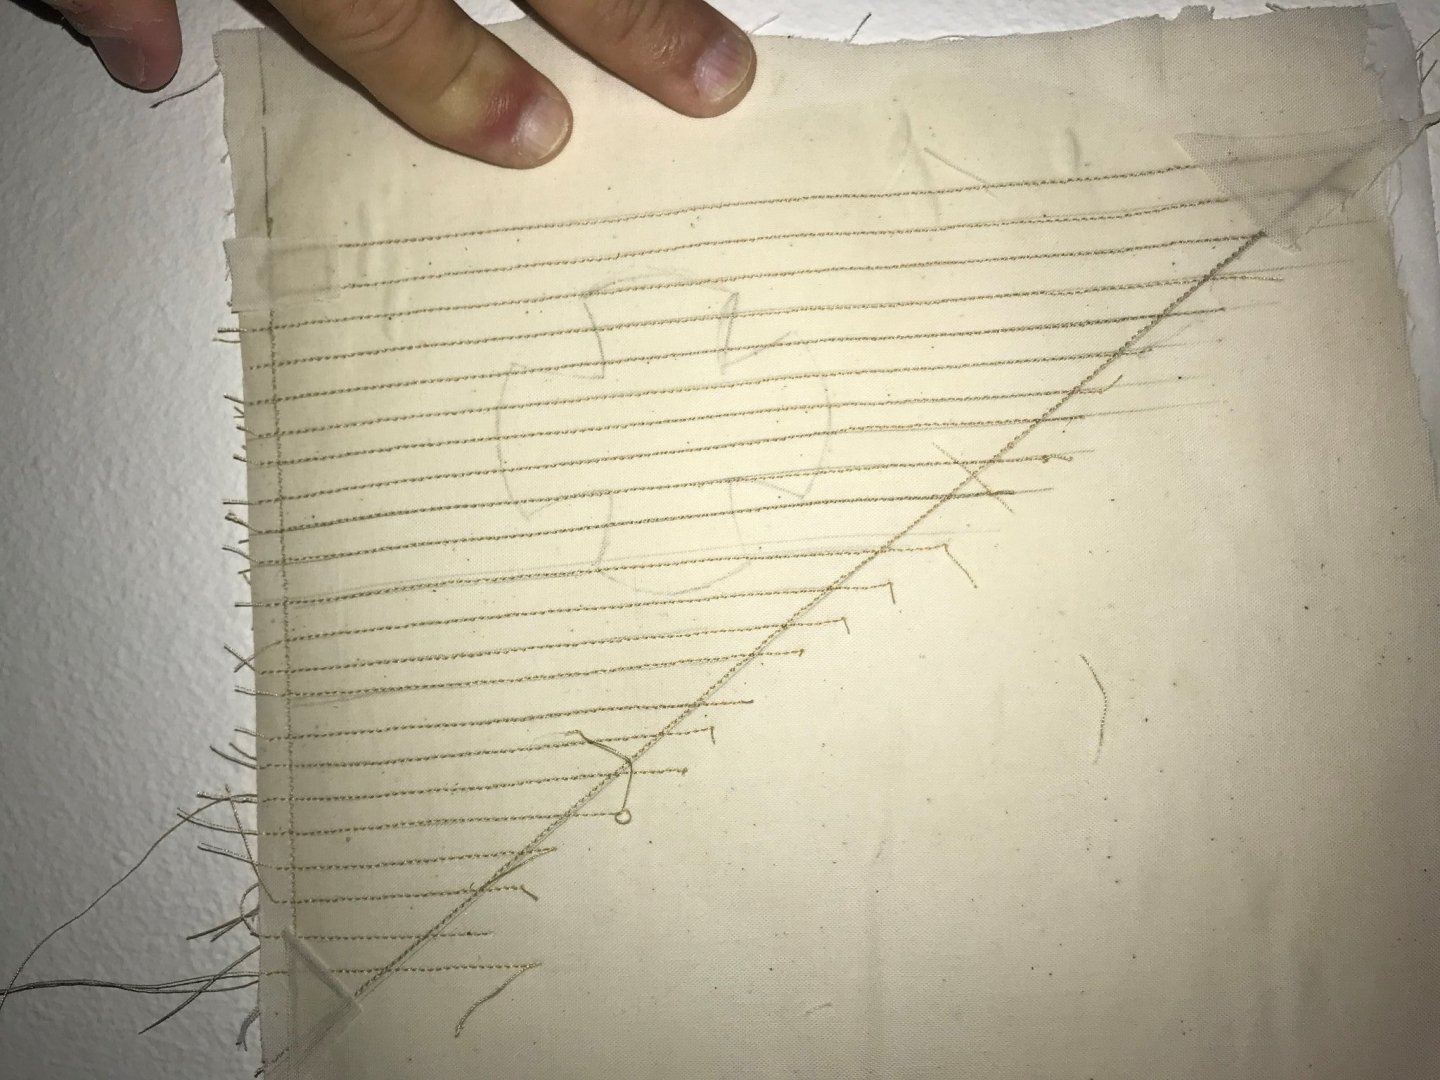
Well, first formal sail test run performed. Used a Singer "Simple" Sew 3327 in the smallest stitch setting, and a cotton cloth, sort of creamish colored (definitely not white) in order to simulate the aging better when "tinted" with coffee or tea. Used a tear-away fabric with pva (white) glue, placed the sail cloth, and "squeegeed" (sic?) the glue... set aside for drying, and had a nice, flat surface semisolid but flexible material, and great backing for the machine. Gave it the required pases, and the machine performed flawlessly... I was the cuplprit, in the event you see a couple of misalignements. After the sewing, I cut the corner reinforcements and glued them; when dry, will sew once again. Before cutting, I will apply a anti-fraying solution in the sail borders, and remove the tear away, and after that, cut the fabric right next to the stitch... and see what other detailing I can apply, other than the red cross in the main sail. Pics follows... critiques/suggestions welcome. These were early am flash pics... will take better ones. I know it is not the most correct form of build, but happy with the looks, and "learned" a new trade... and hope to improve with practice. Thanks for all of your support! -
Stitching sails with sewing machine
Jorge Hedges replied to Jorge Hedges's topic in Masting, rigging and sails
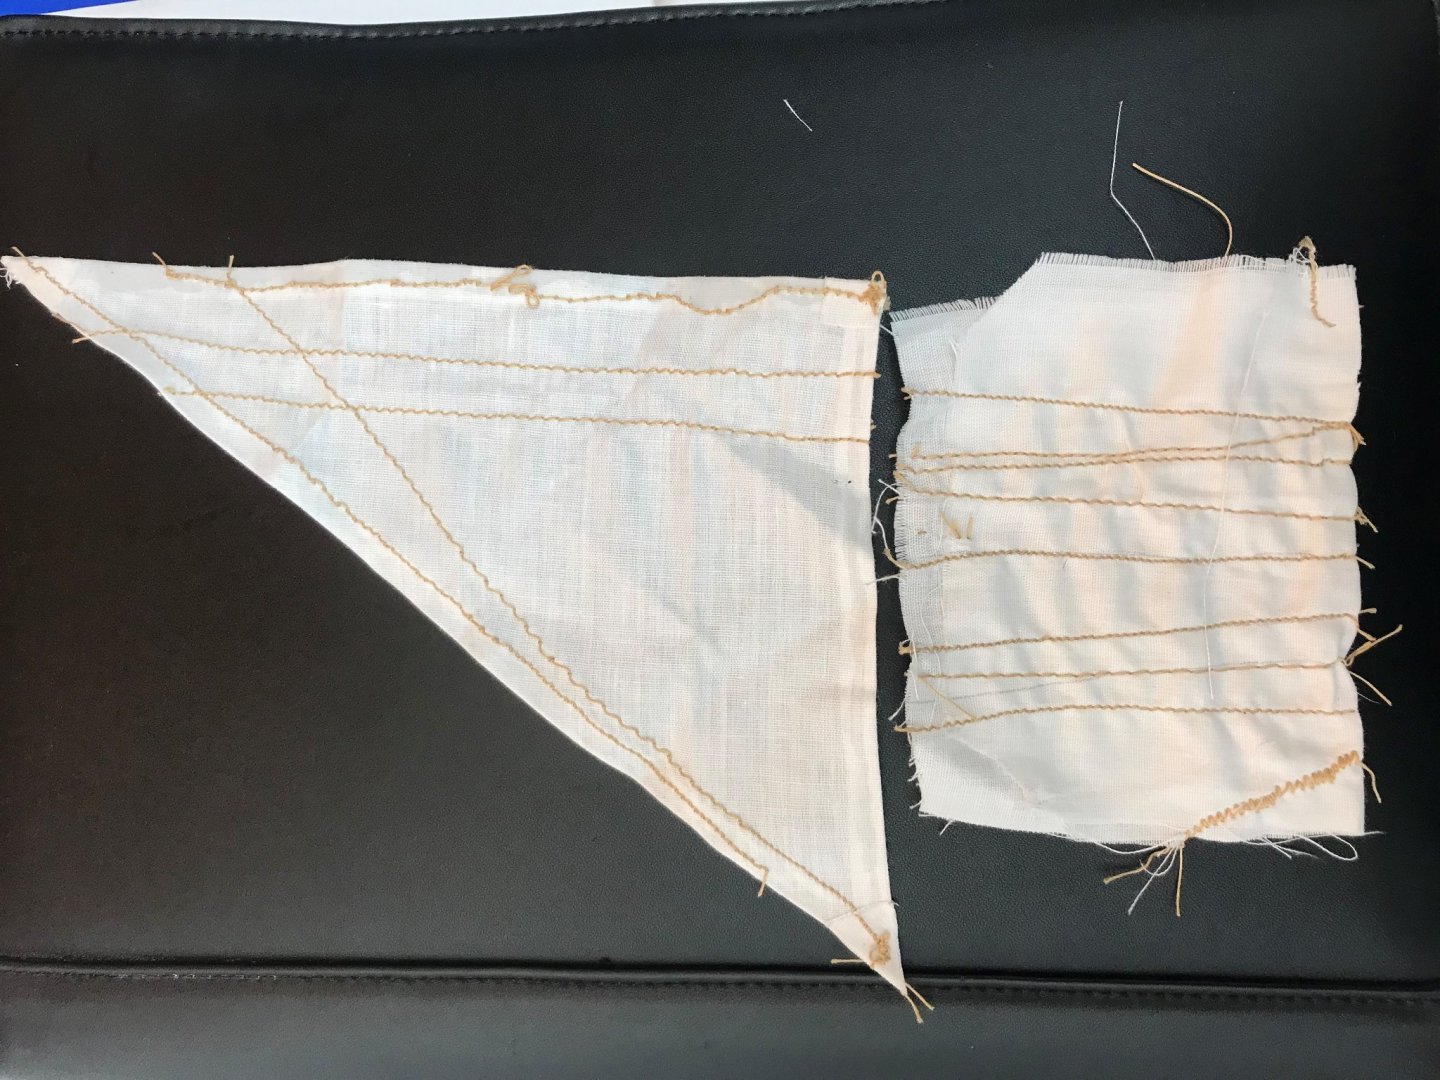
Success! Played around with top thread tension, and fianlly got the expected results. A little adjustment, and we should be done. Top thread is the beige colored, bottom is the white on the bobbin. I will use the smallest stitch for this particular build, and the thread color will be the camel color. Left the sail cloth material drying on a tear-away fabric with white pva glue so I have a better material feed through the machine. Thanks for all you replies! Regards, Jorge -
Stitching sails with sewing machine
Jorge Hedges replied to Jorge Hedges's topic in Masting, rigging and sails
It can be always looked as a showcase of techniques....! -
Stitching sails with sewing machine
Jorge Hedges replied to Jorge Hedges's topic in Masting, rigging and sails
Thanks, Allan! -
Stitching sails with sewing machine
Jorge Hedges replied to Jorge Hedges's topic in Masting, rigging and sails
Hello Allan! Is that a frame you prepared to maintain the cloth taut while the acrylic medium dries? Thanks for your feedback! Jorge -
Stitching sails with sewing machine
Jorge Hedges replied to Jorge Hedges's topic in Masting, rigging and sails
Thank you all for your feedback. Got some tear-away fabric, and glued the sail cloth on it with white (pva) glue, and have it drying nicely on a flat surface... will keep you posted with the results after sewing. Thanks again, Jorge -
Hello All! Hope you are all doing well. Quick question... please see image below. Pretty sure I will get the hang of stitching straight lines soon, but for the life of me, I can't get one thing right. I am unable to get a line going on the sali borders, like a hem-type stitch. My question is, should I set/pin the sail on a tear-away fabric of a bigger size, so I can properly run the sail and stitch (pass) thru the machine? NOt sure if I am explaining myself... I am pretty sure that the issue is that the cut sail is too small, and I cannot hol properly for the initital stich pass. Any good links/tutorials out there? BTW, the sewing machine is a Singer 3337 "Simple" stitch... yeah, right... simple... Have a great weekend!
-
Two questions... Mast and rigging related.
Jorge Hedges posted a topic in Masting, rigging and sails
Hello! Quick question... do you assemble masts/sails/rigging off the hull, or install on the hull and then the rest of the work? Pros/Cons of each appreciated. Also, any good rigging tool kit available? Or what tools do your recommend for a very nice rigging tool kit? Thanks! Jorge -
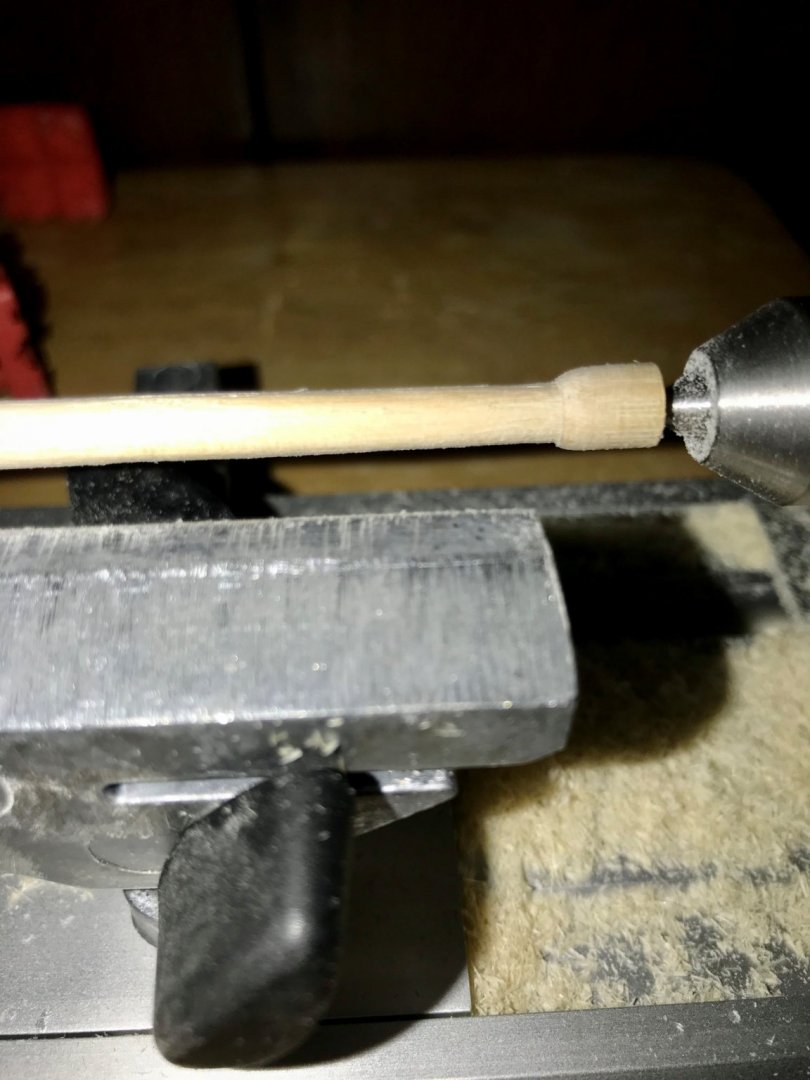
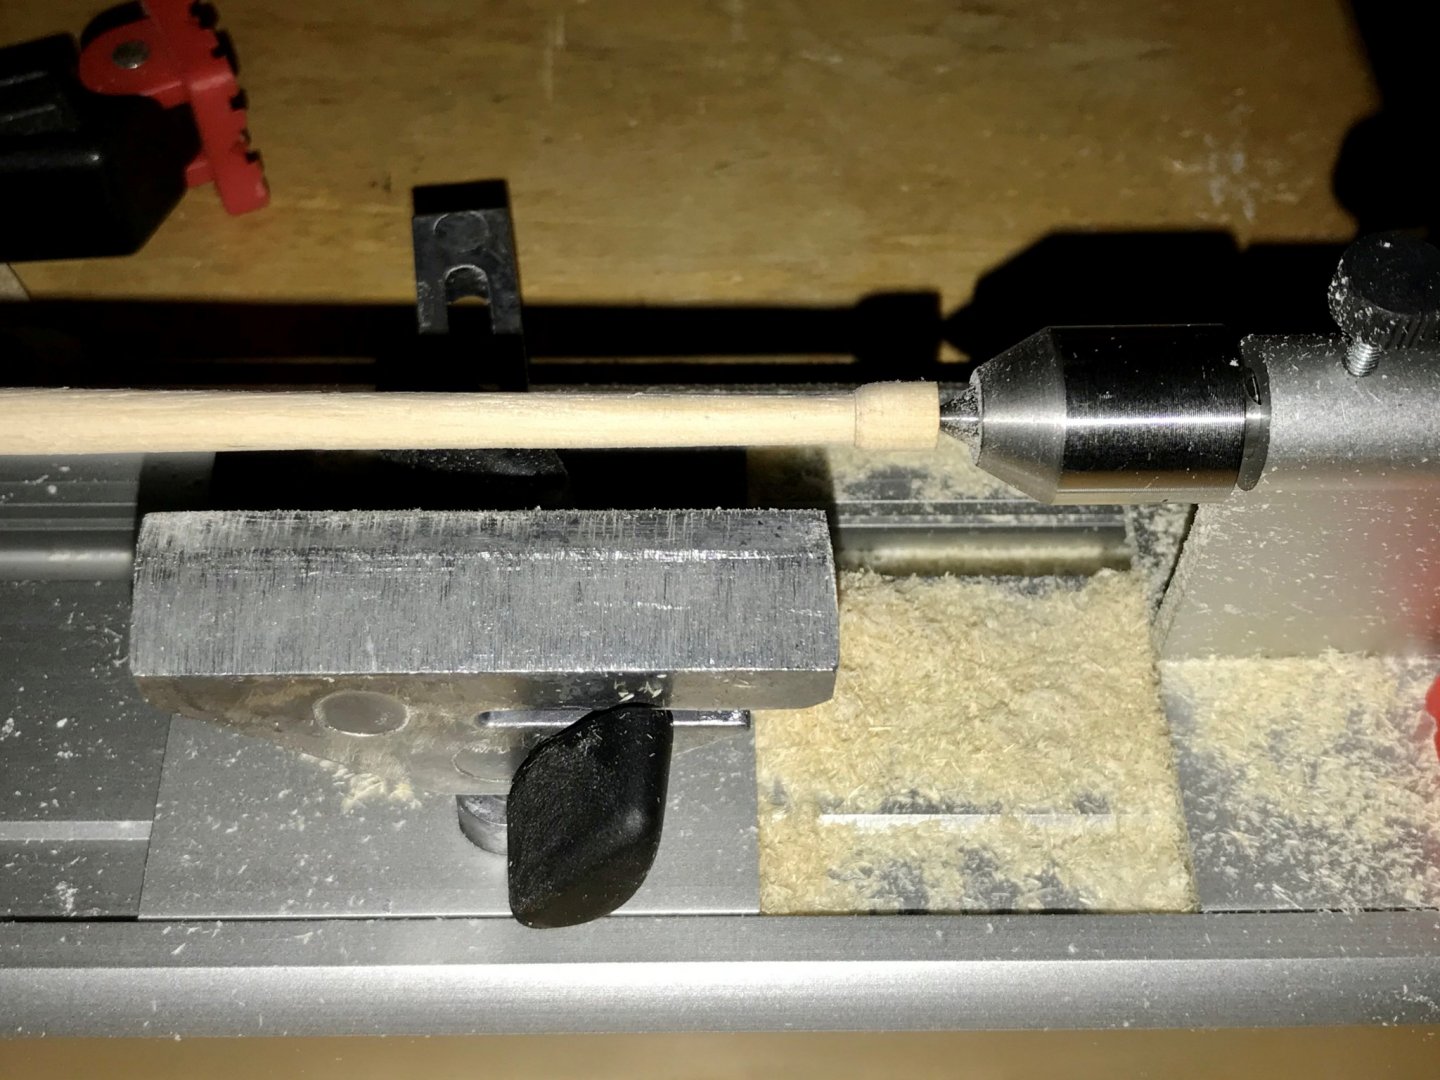
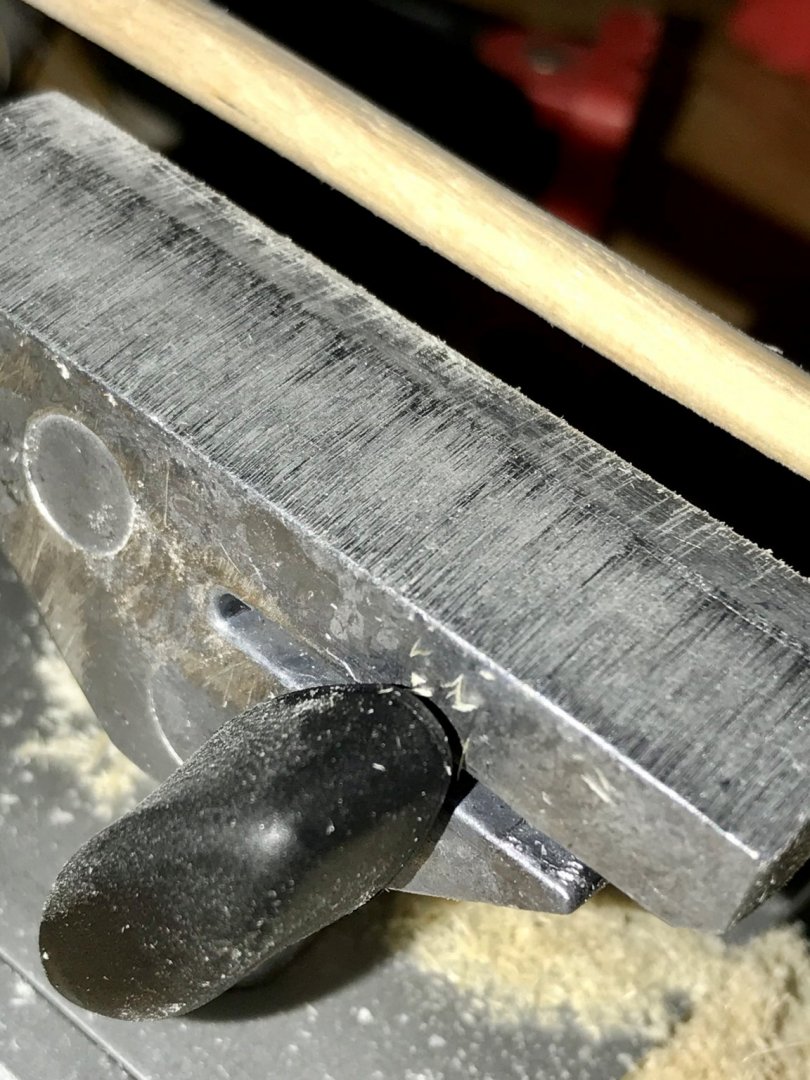
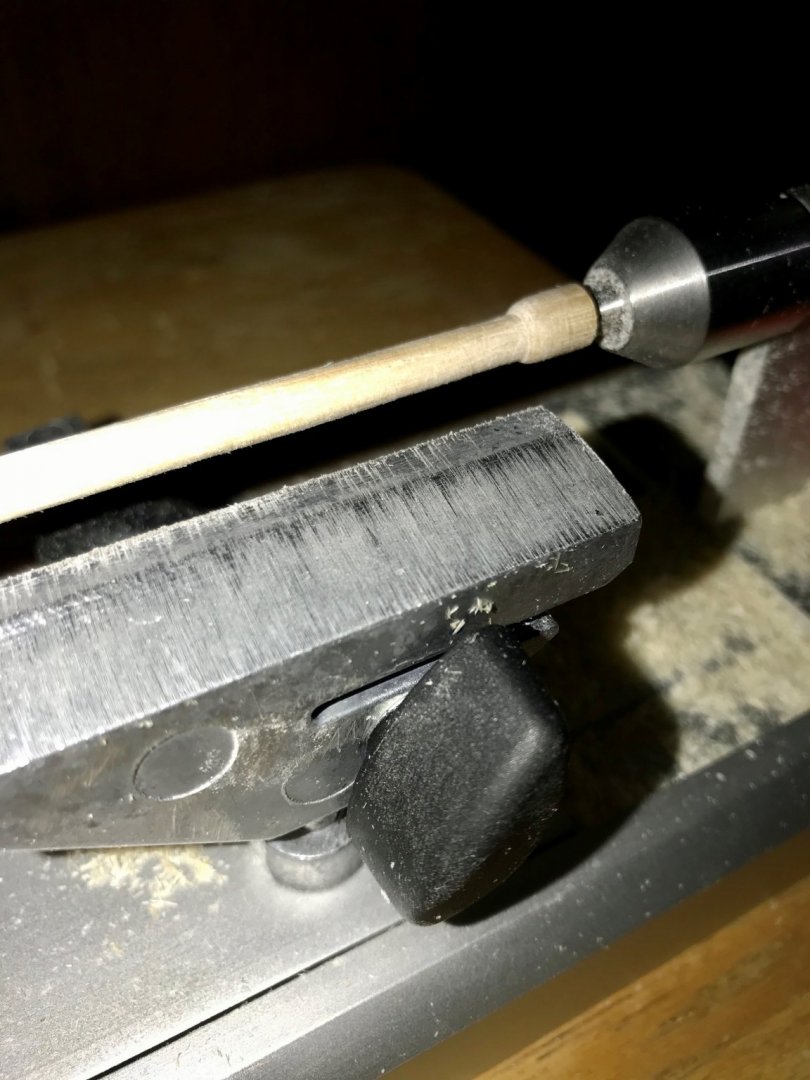
So, the Proxxon mini lathe has arrived... here's my 5am test first impression: Unit is compact, but the feedthrough will definitely help with masts and larger spars Tested it with a 6mm diameter dowel, which will be a small mast; will be reduced to 5mm at bottom of mast and at the top turned down to to 2.5mm diameter. Use the 3-Jax chuck, with the live tailstock (which spins very nicely). Cutting performed with the Proxxon turning tool set, whih performed nicely. My only REAL gripe, however, is the tool rest surface... short, and badly finished, as the tools tend to snag/catch. Will remove from the bed, and polish the same as best as possible. Maybe have a machineshop prepare me a stainless steel unit, wider? That way larger tool passes can be performed. Sanding was a breeze as well with this unit. Alignment as very nice between chick centyer and tailstock. All in all, very satified with the purchase, while the savings go for the Sherline later down the road! A couple of pics follows, so any questions you might have, please feel free to ask!
-
Proxxon DB250 mini wood lathe
Jorge Hedges replied to Jorge Hedges's topic in Modeling tools and Workshop Equipment
Small improvements always help as well. For what I purchased tHe unit, I can do a couple Fixes/improvements, and still be under the new price. Got it from a widow that can’t stand to see her husband’s hobby stuff in the house. New, in the box, for $100. Seems he never got to use it, as all the manuals are there, and the chuck in the original package as well. Got a kit as well during the visit.- 11 replies
-
- db250
- mini lathe
-
(and 1 more)
Tagged with:
-
Proxxon DB250 mini wood lathe
Jorge Hedges replied to Jorge Hedges's topic in Modeling tools and Workshop Equipment
Found it and ordered, so will be waiting for the same later in July/August (out of stock, and ordered from Germany). Thanks! jorge- 11 replies
-
- db250
- mini lathe
-
(and 1 more)
Tagged with:
-
Proxxon DB250 mini wood lathe
Jorge Hedges replied to Jorge Hedges's topic in Modeling tools and Workshop Equipment
I did notice that there is an extension available, but I have only seen it in Australia; I have searched multiple time/ways, but I havent been able to find it anywhere in US... Thanks! Jorge- 11 replies
-
- db250
- mini lathe
-
(and 1 more)
Tagged with:
-
Hello Gents! Got a sweet deal on a Proxxon DB250 wood lathe, so I pulled the trigger on this unit with the 3 jaw chuck while I save up for a Sherline (which you guys really sold me!). Are there any tips/tricks/mods that can be performed to improve function/added value? Would love to see what you guys can come up with... already saw a stainless steel mod for the tool rest, so this one seems a no brainer to perform... bugger, more stable tool rest. Please, let me know what can be done to improve the unit. Thanks! Jorge
- 11 replies
-
- db250
- mini lathe
-
(and 1 more)
Tagged with:
-
I understand that if you order the pre-built deck, it substitutes the deck planking - see below from the Vanguard Models' page: "Please Note – We have developed a laser etched deck for the Alert, which is laser cut and laser etched in 1mm limewood. The etched deck includes the correct planking arrangement and all treenails are included. If you would like this deck instead of the standard planking, please let us know when ordering, and we will swap the planks for the ready cut and etched deck." Hope this helps! Jorge
-
Hobby saw with larger table top
Jorge Hedges replied to ONEVW's topic in Modeling tools and Workshop Equipment
I was jut about to ask if I can saw 1mm or 2mm planks with the saw... any good ripping plank tutorials using your saw out there that you know of? Thanks again! Jorge -
Hobby saw with larger table top
Jorge Hedges replied to ONEVW's topic in Modeling tools and Workshop Equipment
DAMN, that looks NICE! Where was I when this showed up??? I am the technical type... why do I have to send the table top? I would've assumed that the top, if bolt off/bolt on, that I could do at home. How much is the extended top? Thanks, Jim! Jorge -
Blackening brass advice
Jorge Hedges replied to Bossman's topic in Metal Work, Soldering and Metal Fittings
Just ordered all of the products for the blackening process as well; will post results plus any observations during the process. Thanks! Jorge -
Blackening brass advice
Jorge Hedges replied to Bossman's topic in Metal Work, Soldering and Metal Fittings
Hello! What is the link for the tutorial? Thanks! EDIT - Never mind... just found it. Thanks again! Jorge -
Got the Alert book from Abe Books... used but EXCELLENT conditions; only detail is a sunbleached jacket spine. Other than that, book is basically new; seems to be one of the originals, as the jacket does not have the plans inside... cant beat it for $57 delivered, when compared to new prices. Thanks for the search tips! Regards, Jorge
-
Well, an early surprise for Father's Day has arrived at home... I just received the Vanguard Models HMS Alert 1777 kit, Version 2. Mr. Watton was nice enough to guide me to his US rep (Ages of Sail), so placed the order and got the kit; I asked for the deck that need to be built up (not the etched complete deck), as I find that the built up one looks way better... the etched deck is convenient, but I think the individually laid planks looks way better. Very nice to have all parts bagged and marked... and the instructions... damn priceless! Finishing up a kit at home, so as soon as that one is completed, will put the Alert on the workbench, and see if I create my first build log here Best regards, Jorge
-
I was looking at this package... any opinions? Sherline 4410: https://www.sherline.com/product/4400a-dro4410a-dro-package/ And this tool rest for manual work: https://www.sherline.com/product/extended-wood-tool-rest-set/ Now, is there any lever action quick release cutting tool holder? I have seen these on YouTube videos, but can't find it in the Sherline page; maybe a competitor's compatible accessory? Is it a nice to have item, or would it really help? Thank you all! Jorge
About us
Modelshipworld - Advancing Ship Modeling through Research
SSL Secured
Your security is important for us so this Website is SSL-Secured
NRG Mailing Address
Nautical Research Guild
237 South Lincoln Street
Westmont IL, 60559-1917
Model Ship World ® and the MSW logo are Registered Trademarks, and belong to the Nautical Research Guild (United States Patent and Trademark Office: No. 6,929,264 & No. 6,929,274, registered Dec. 20, 2022)
Helpful Links
About the NRG
If you enjoy building ship models that are historically accurate as well as beautiful, then The Nautical Research Guild (NRG) is just right for you.
The Guild is a non-profit educational organization whose mission is to “Advance Ship Modeling Through Research”. We provide support to our members in their efforts to raise the quality of their model ships.
The Nautical Research Guild has published our world-renowned quarterly magazine, The Nautical Research Journal, since 1955. The pages of the Journal are full of articles by accomplished ship modelers who show you how they create those exquisite details on their models, and by maritime historians who show you the correct details to build. The Journal is available in both print and digital editions. Go to the NRG web site (www.thenrg.org) to download a complimentary digital copy of the Journal. The NRG also publishes plan sets, books and compilations of back issues of the Journal and the former Ships in Scale and Model Ship Builder magazines.



.jpg.a7b0f6ede67c07fd9e659c32e93f758b.jpg)