HOLIDAY DONATION DRIVE - SUPPORT MSW - DO YOUR PART TO KEEP THIS GREAT FORUM GOING! (89 donations so far out of 49,000 members - C'mon guys!)
×


Jorge Hedges
-
Posts
119 -
Joined
-
Last visited
Content Type
Profiles
Forums
Gallery
Events
Everything posted by Jorge Hedges
-
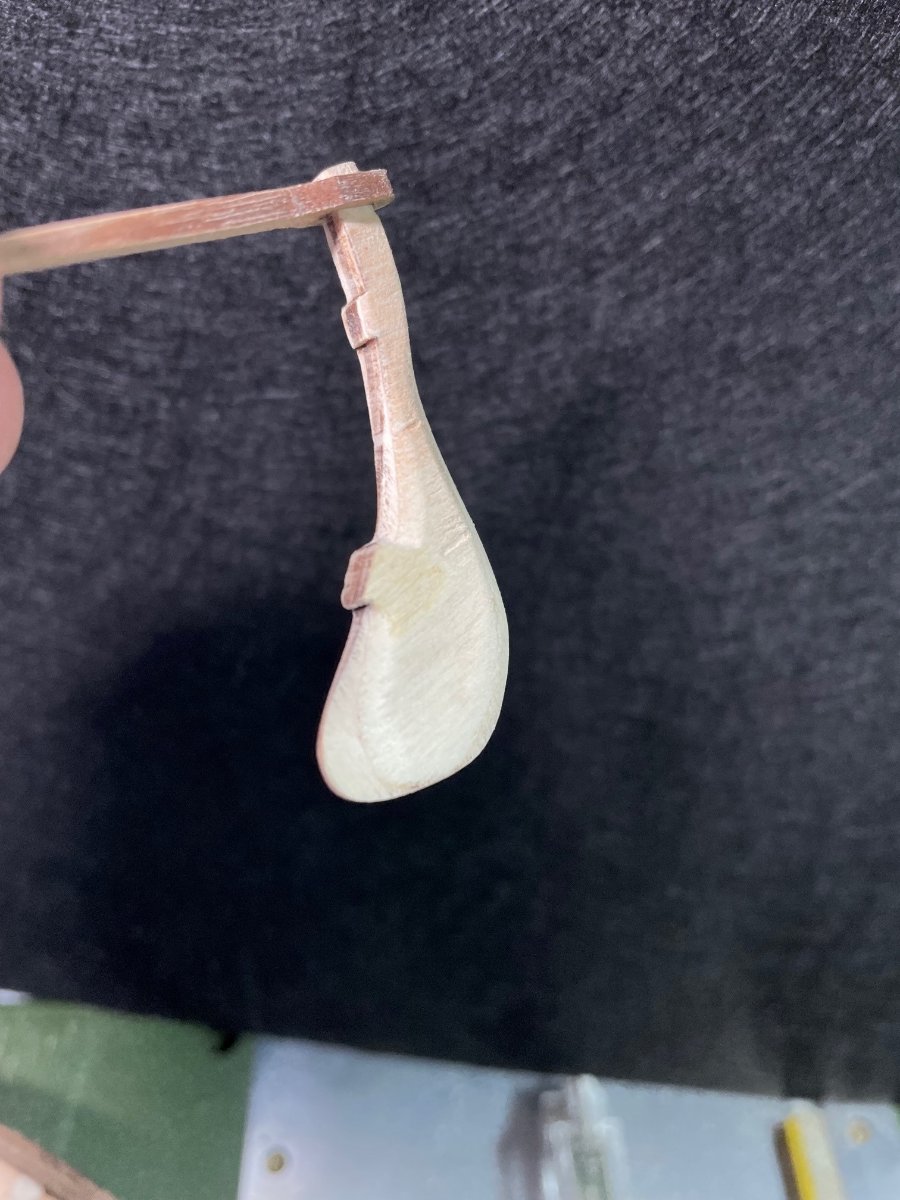
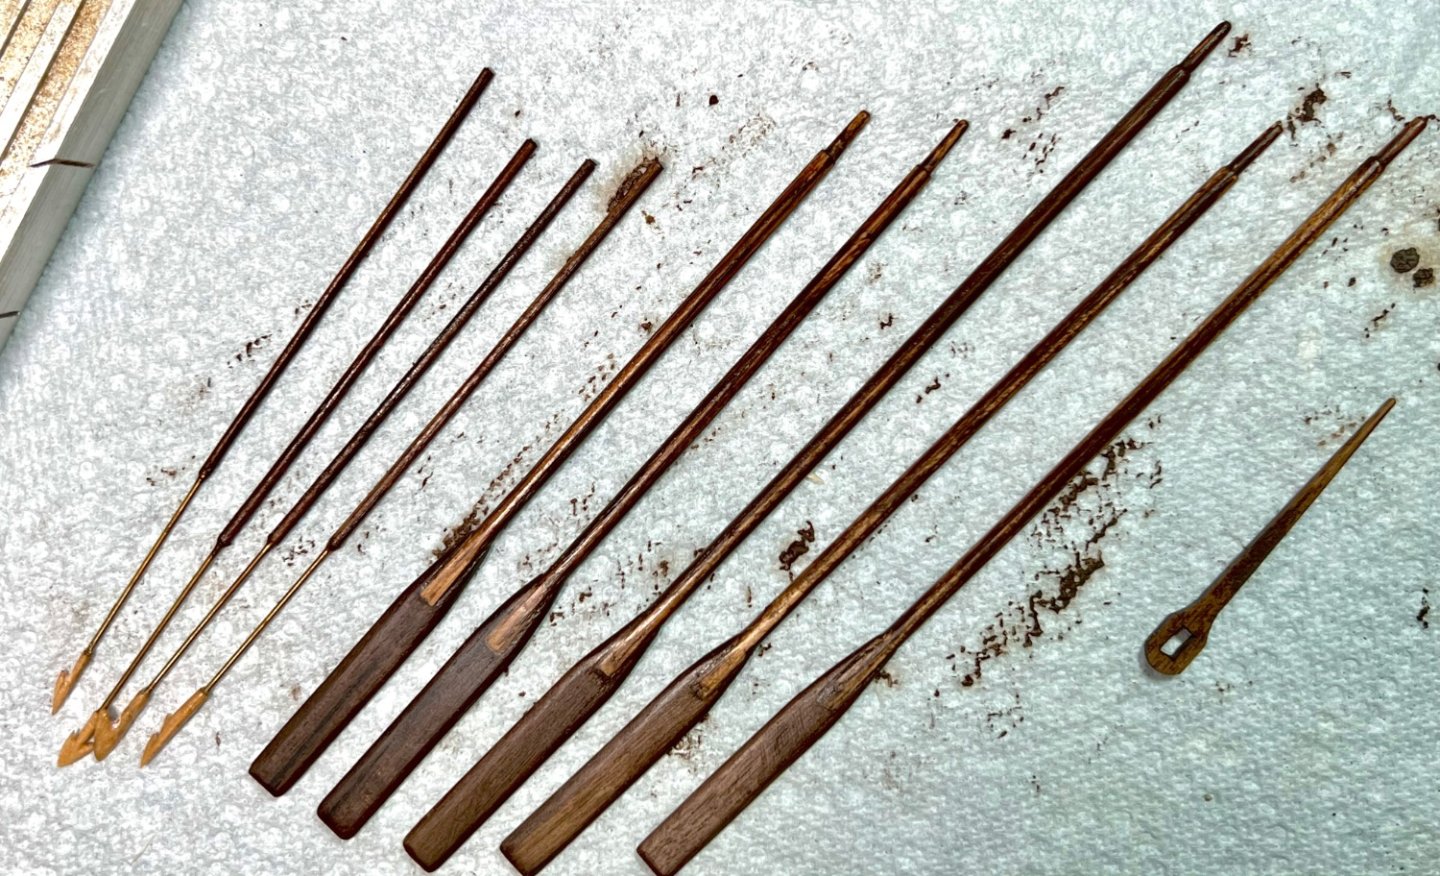
Quick update… oars and harpoons tinted…. Slowly, but surely…
-
A bit of oar work going on... as soon as I have the 5 of them ready, will tint and mark positions. Kit does not have the "oar chock" in order to have the oars in angled/upright position, so will review some pics to determine shape and locations. Any pointers to this greatly appreciated. Thinking of buying a book that specializes in Whaleboats for my Model Shipways New Bedford Whaleboat that I have stowed away for later build...

-
Doing a bit of researching on whaleboat oars, I came across this interesting pic from National Geographic (credit due to them, of course). Why the research? I was unsure if the oars had the square section near the oar handle. Now that I know that they are round, and different diameters on the same, the pic shows an interesting detail... a small notch so that the hand outside the handle per-se has a better grip on the thicker side (see inside the yellow circle): Will see if I can replicate this after using the lathe to shape the oars, just for the fun of it; if you see the next lady behind the one with the blue shir up front, i has the notch as well. Will keep all posted! Jorge PS: Link to article here... interesting... “What we did with the whaleboats, which is absolutely incredible,” says Filipe Fernandes, current captain of the Maria Armanda, “is we removed the whale." From Whales to Buoys: Finding a New Sport in an Old Custom (nationalgeographic.com)

-
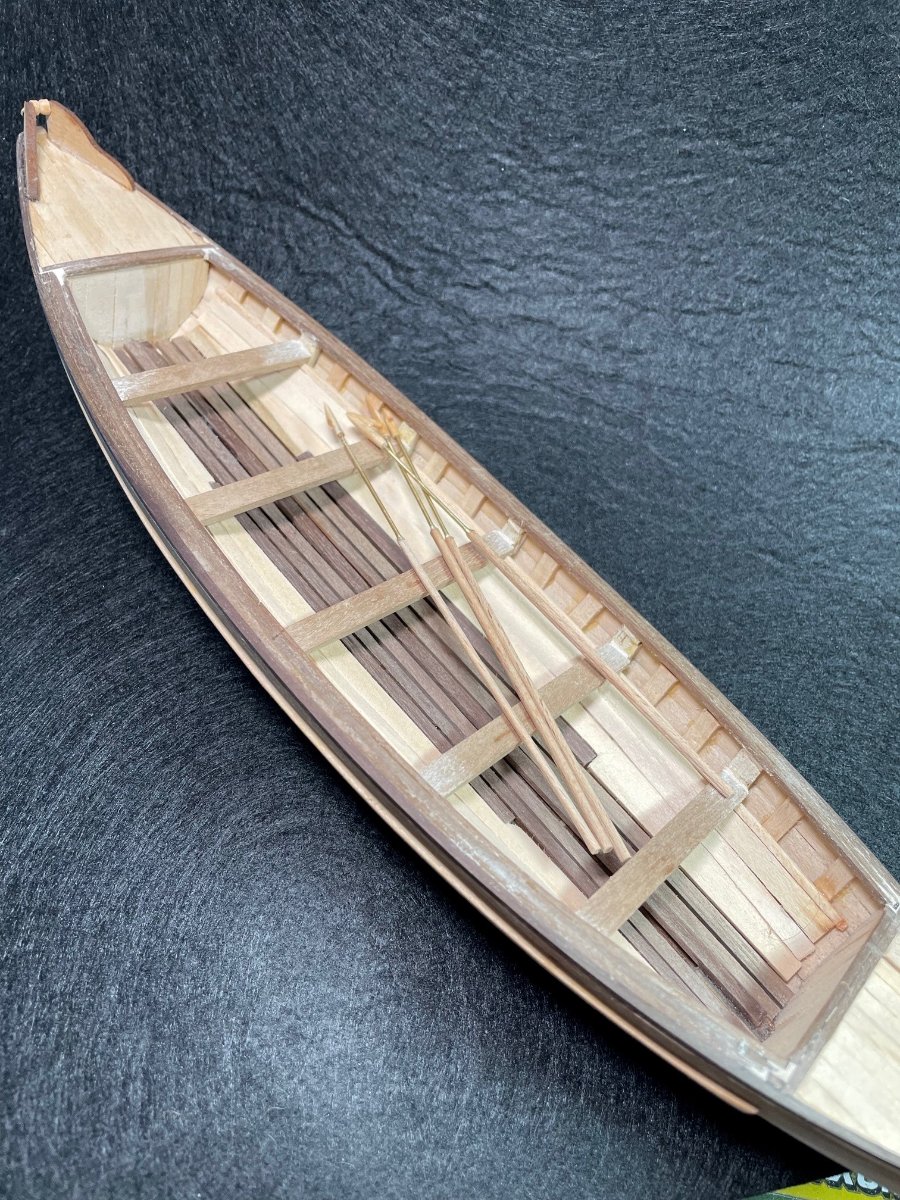
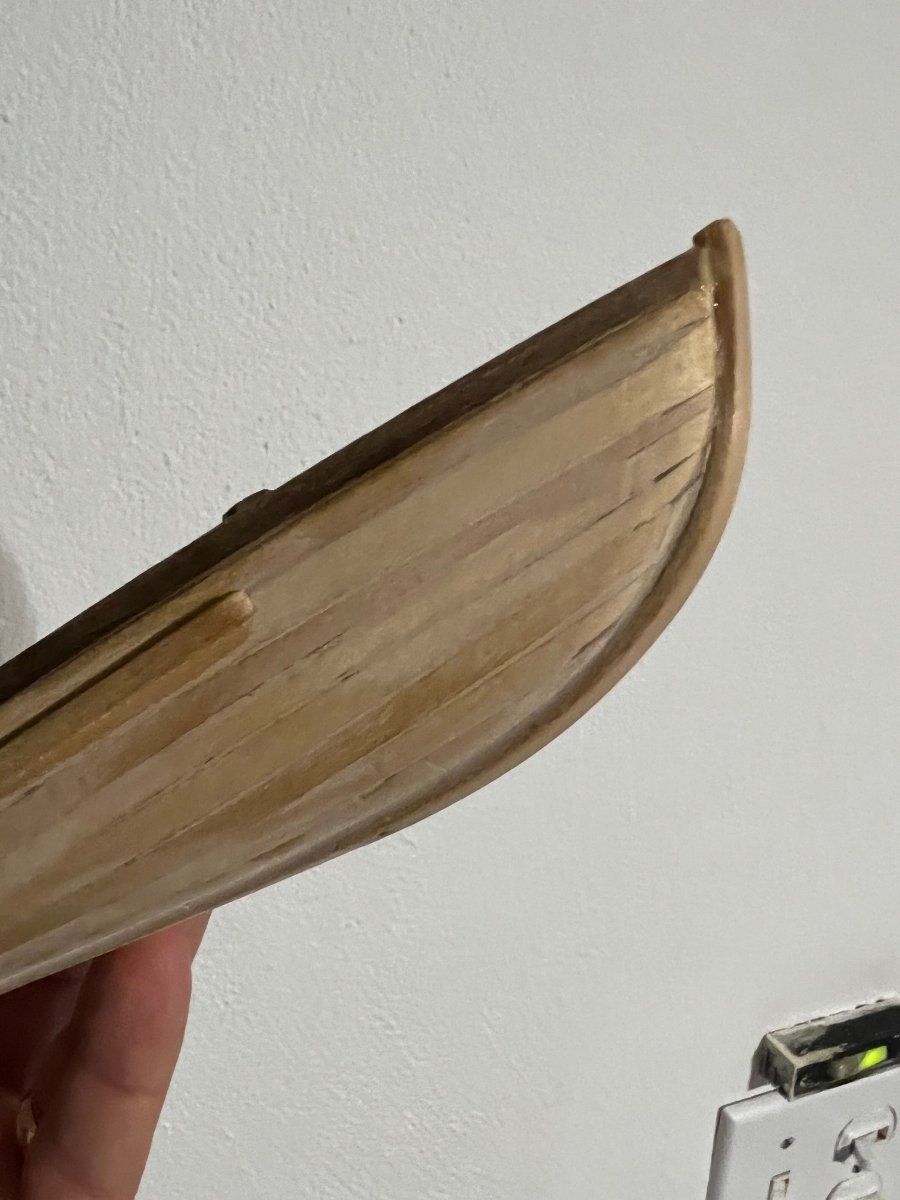
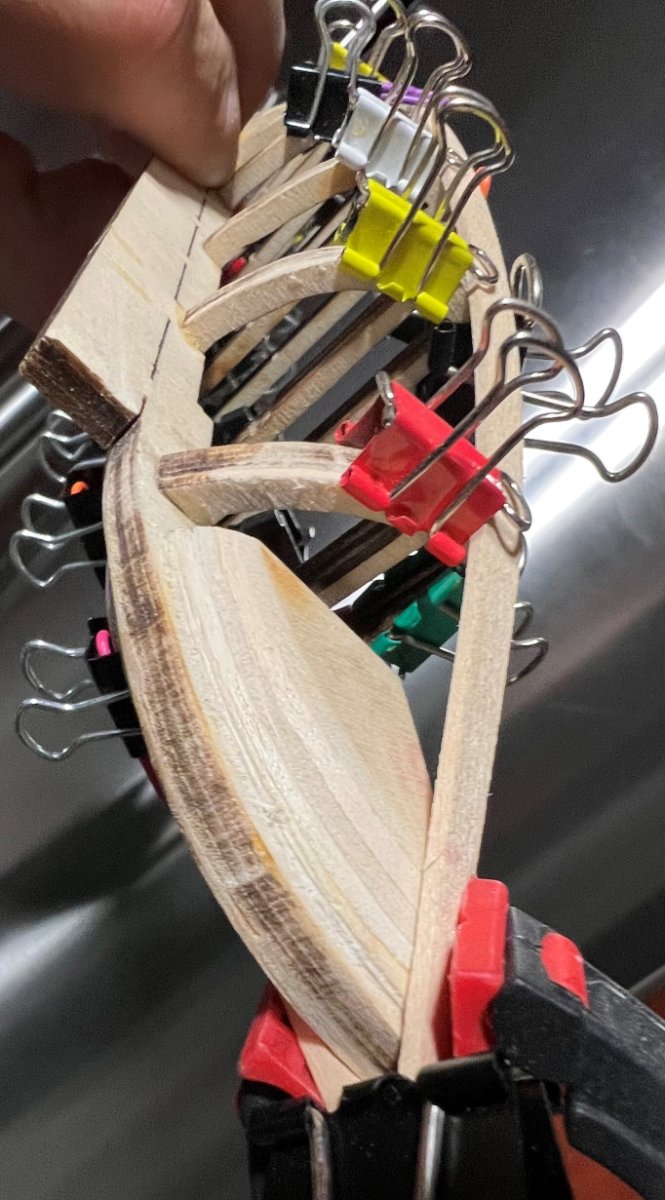
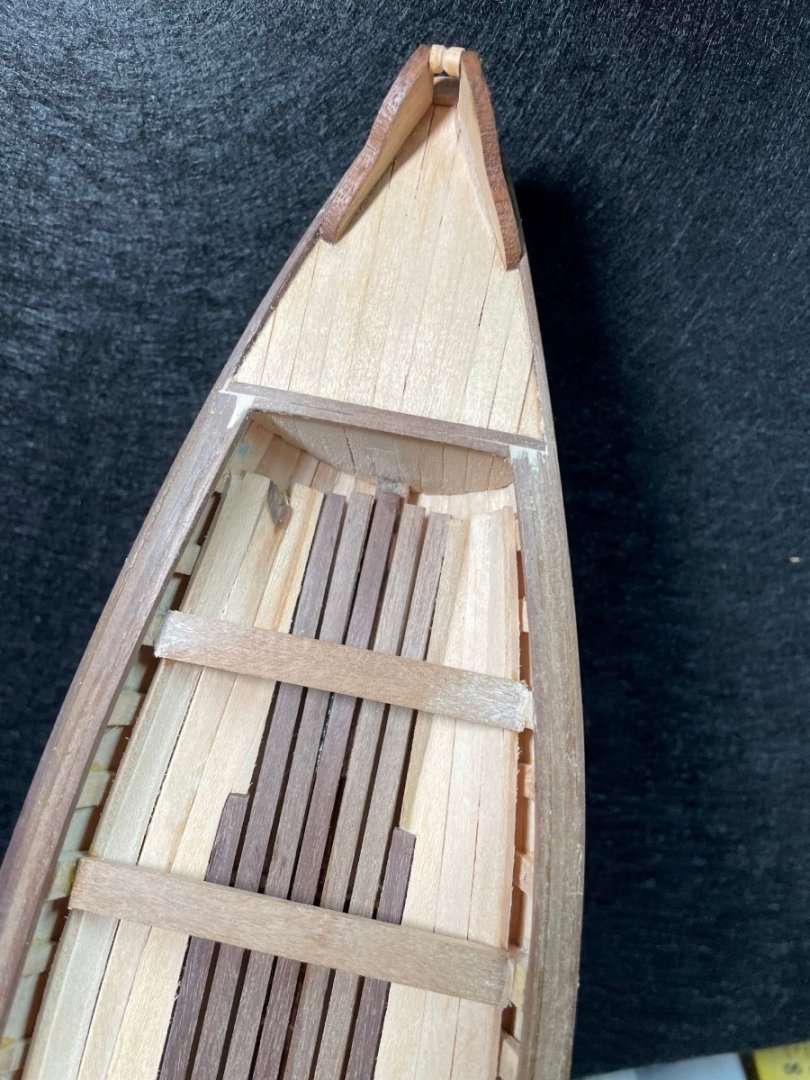
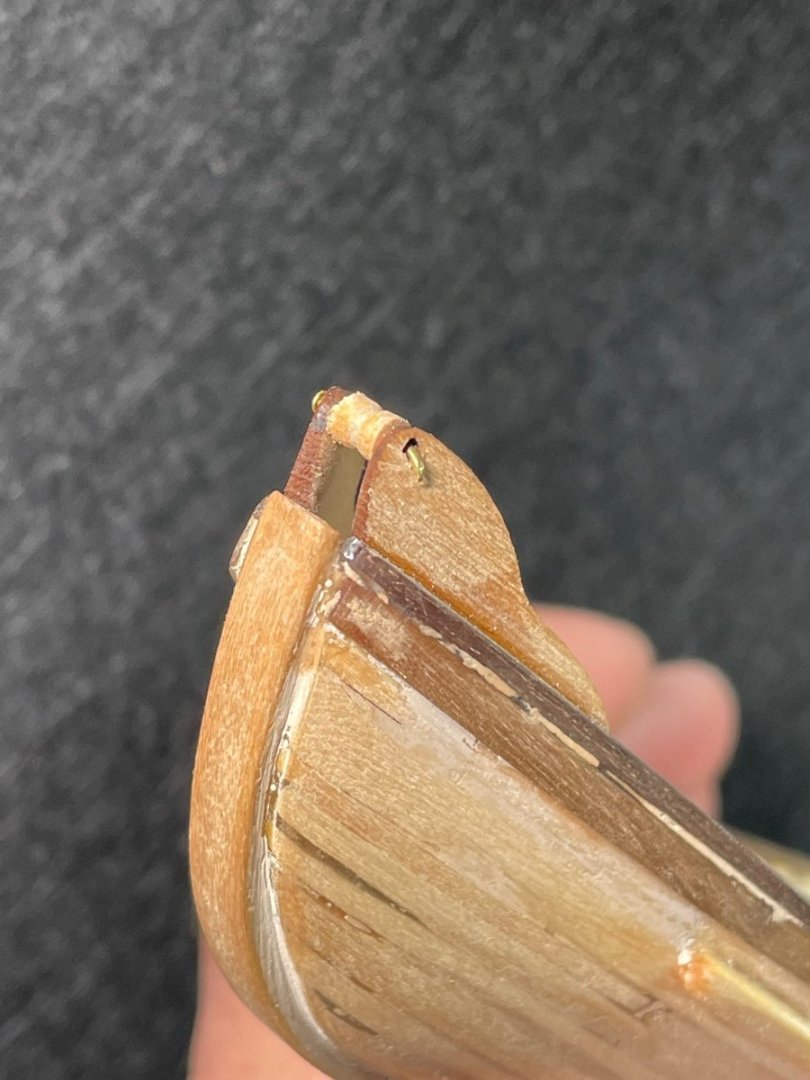
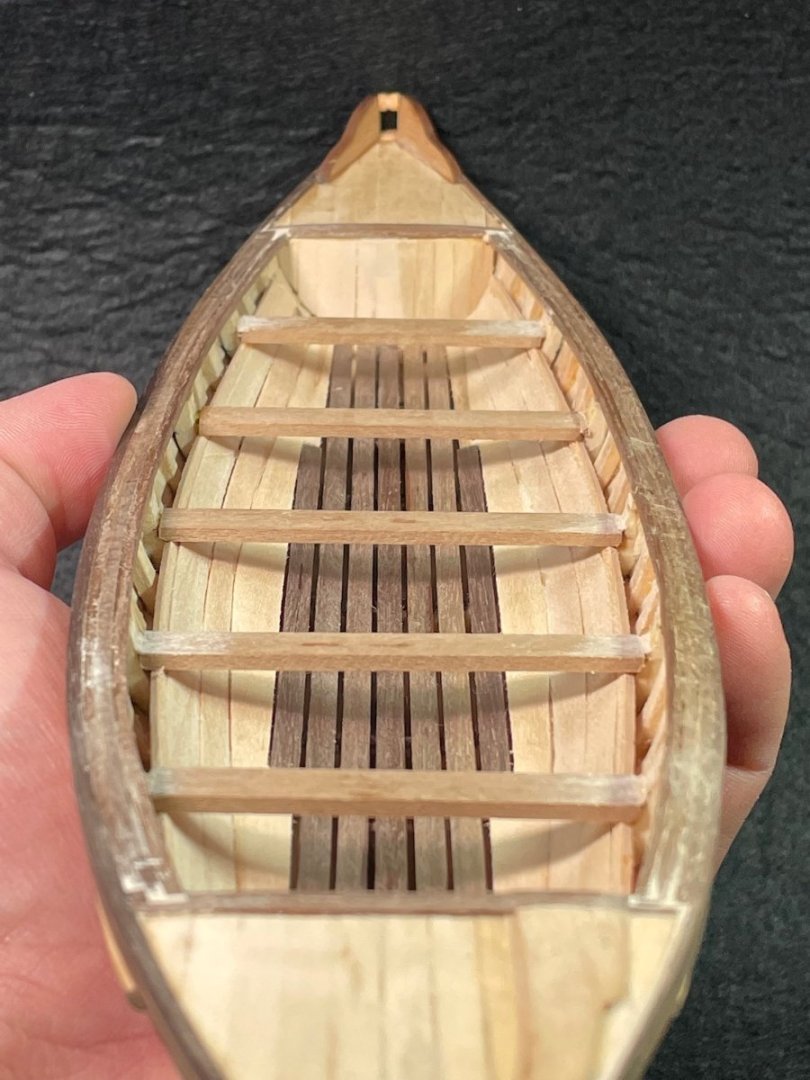
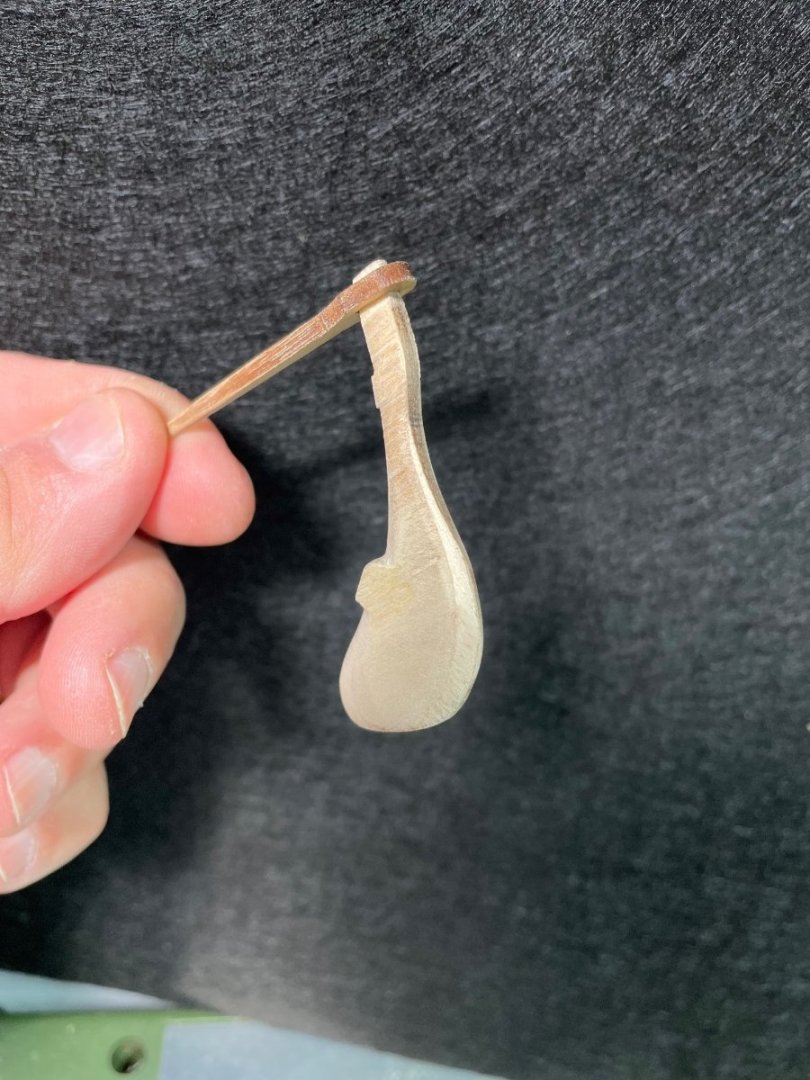
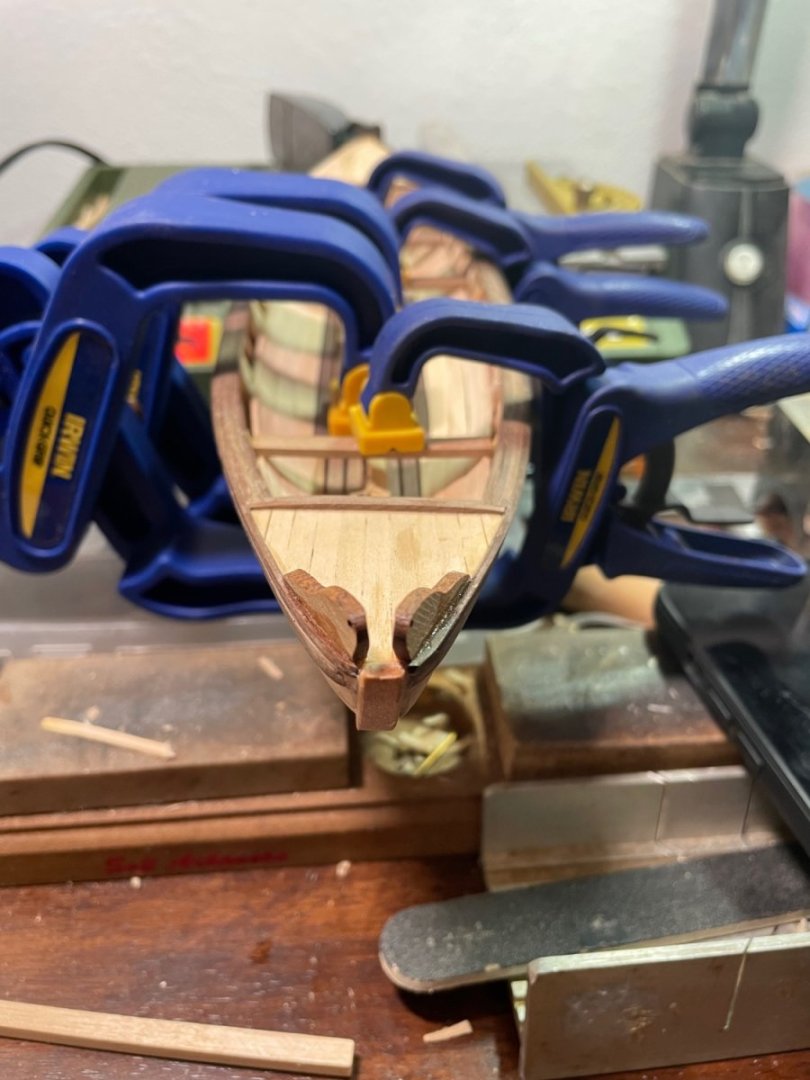
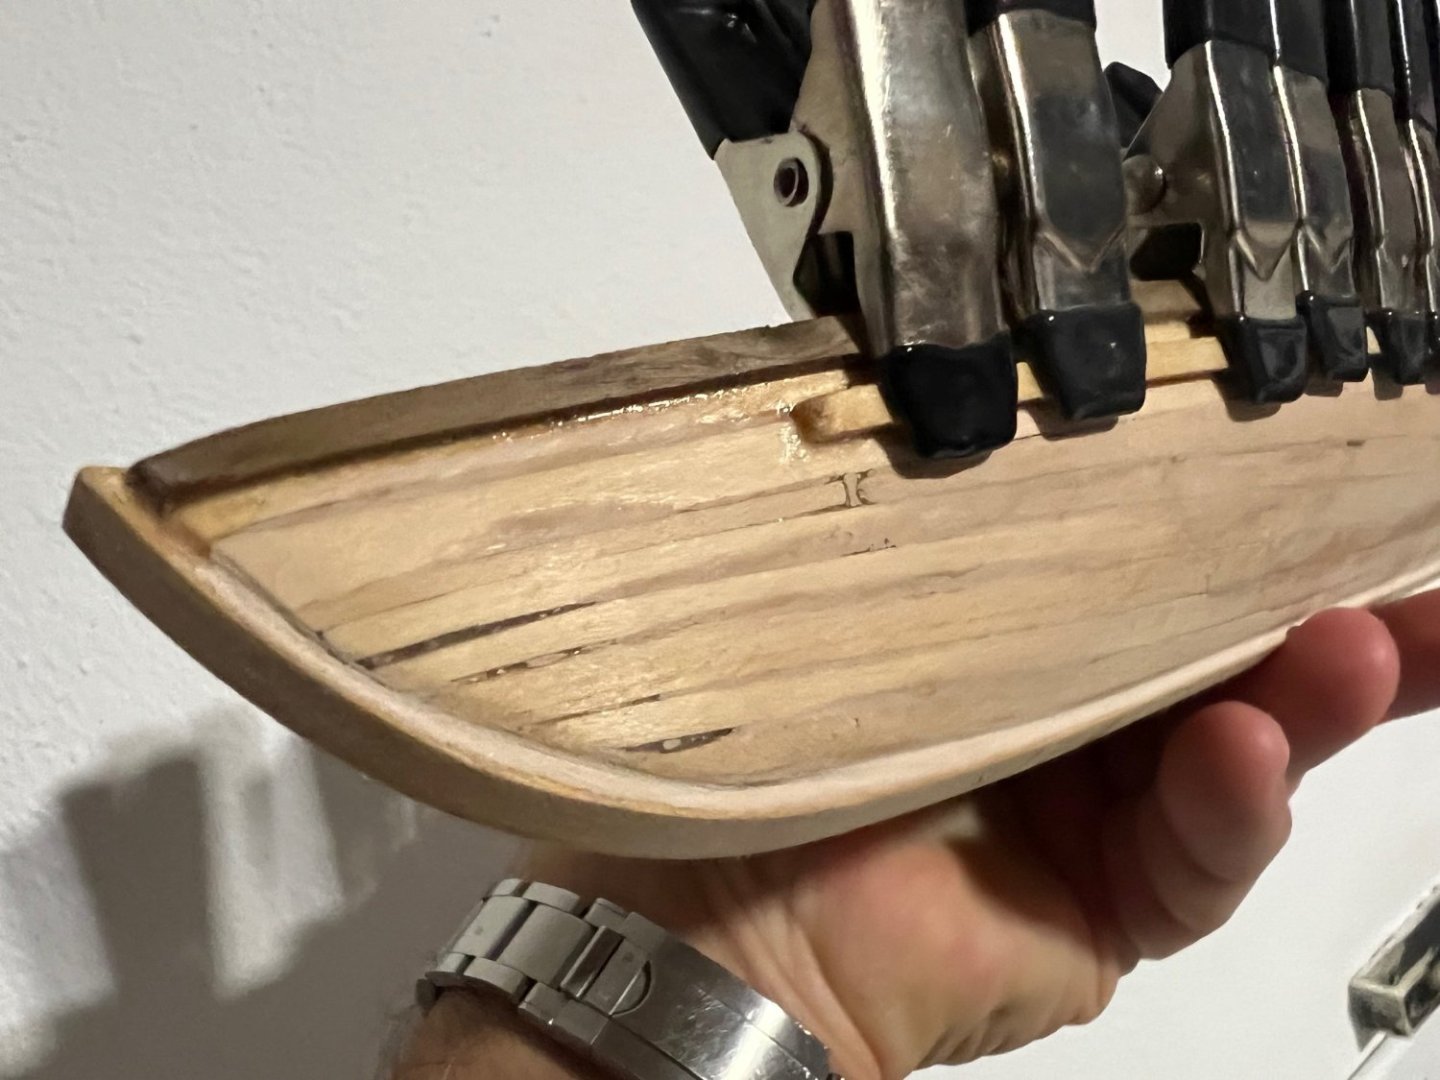
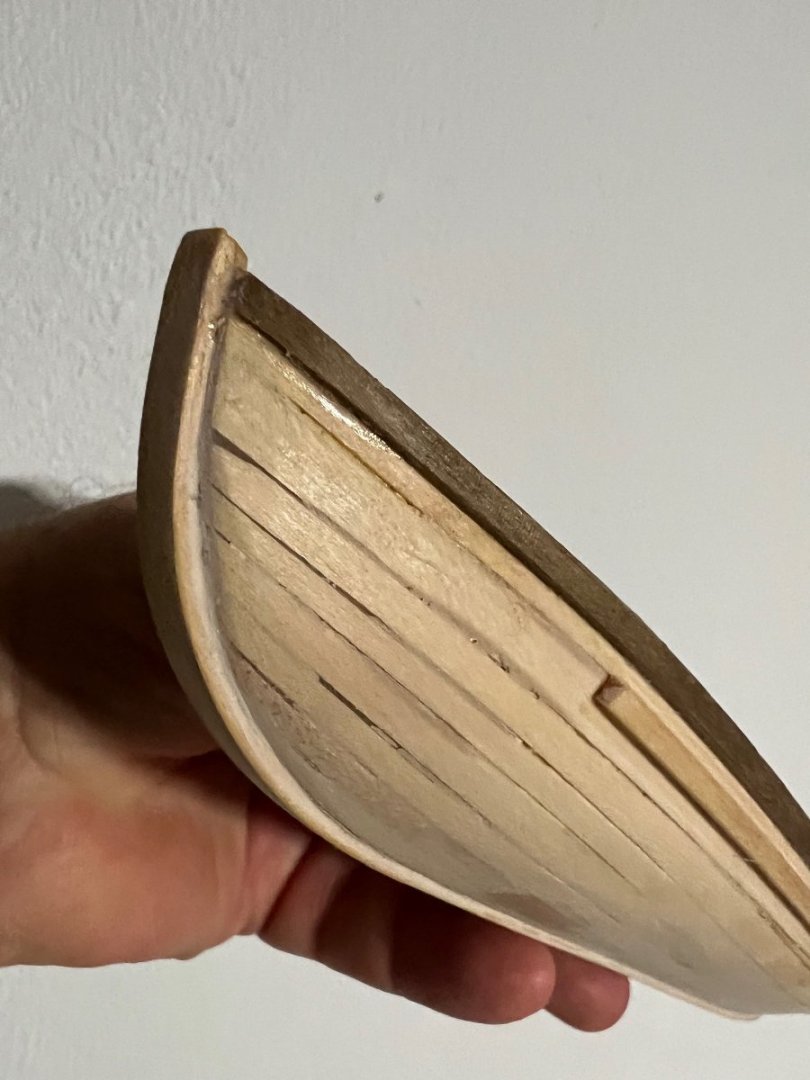
Quick little Monday morning update, now pics of boat w/o clamps. Slowly, but surely getting there... bench planks in, now to work on the bench knees; I think I will be scratching them, as I find the kit ones to be minuscule... let's see how these come out. Also, need to find some brass of copper sheet, in order to do the rudder mounts/hinges... the kit says to glue them, but why not some more detail? Also, the rudder steering arm (handle) was square all the way; I rounded out the area where the whalers would grab the same, as well as faired the rudder edges, as the kit was very square/thick on the rudder outline. In addition to rudder hinges, will see if I can start to work on the oars and oar "swivels". Kit pics show them to be a wood base with two wooden dowels... will see if I can build them with brass rods. Hope you like what I've done so far; as always, comments/critique welcome!


-
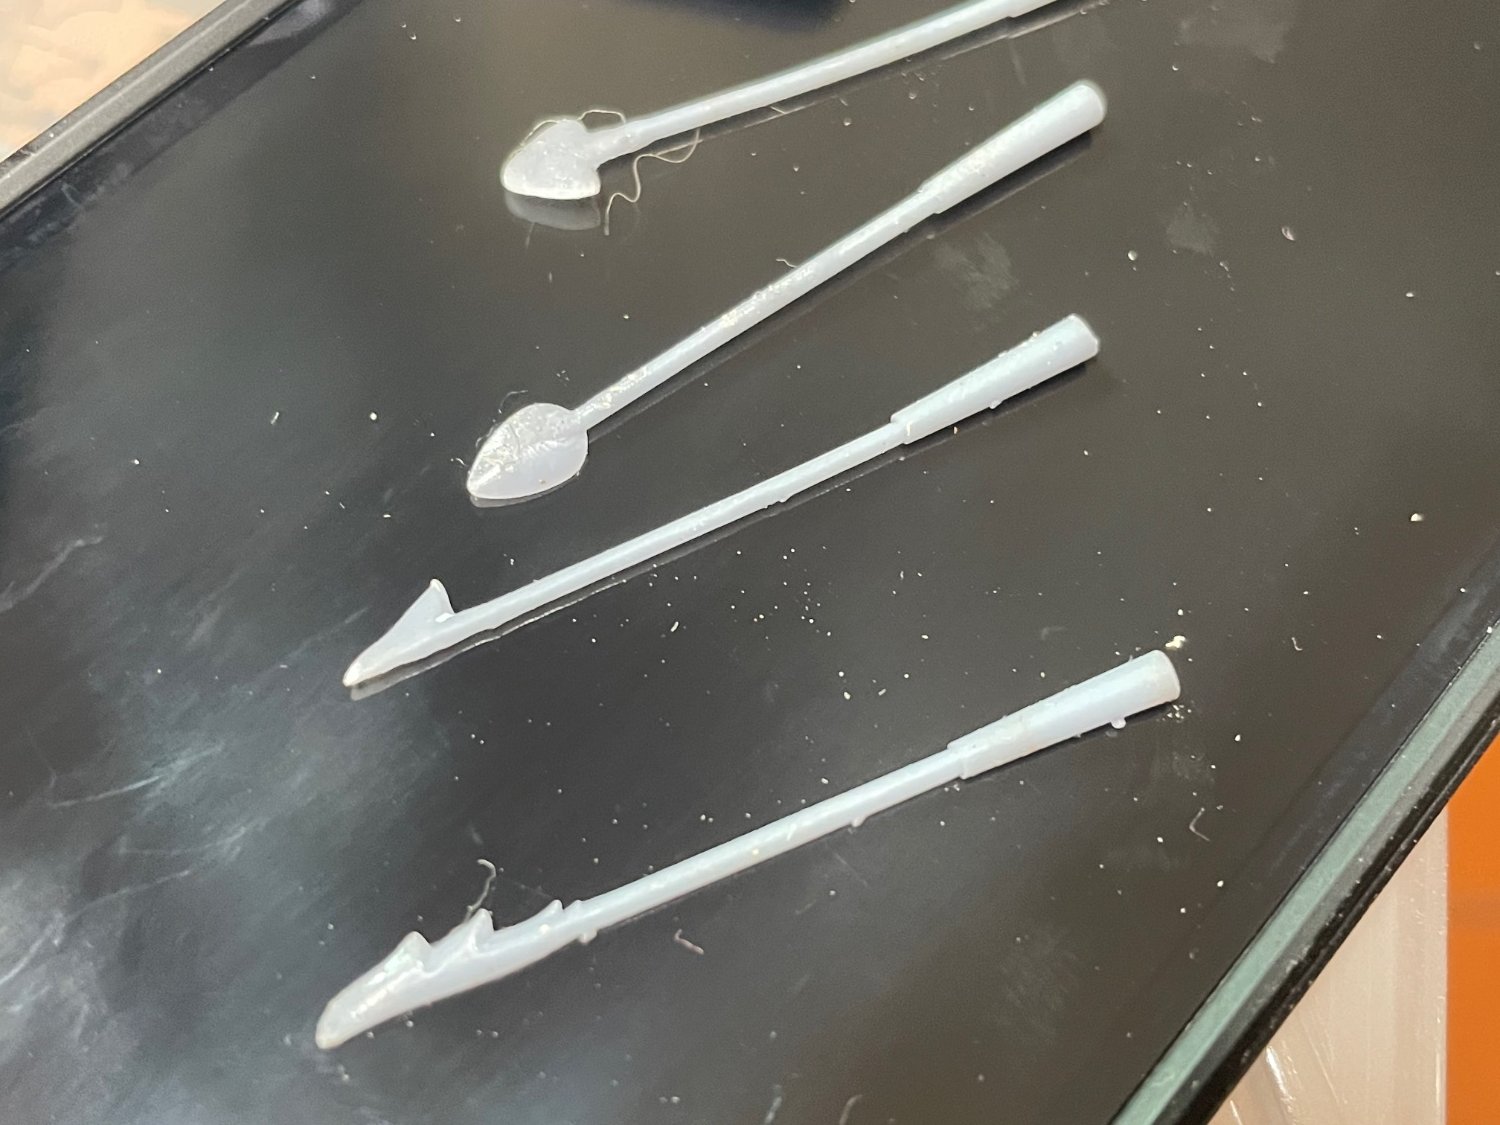
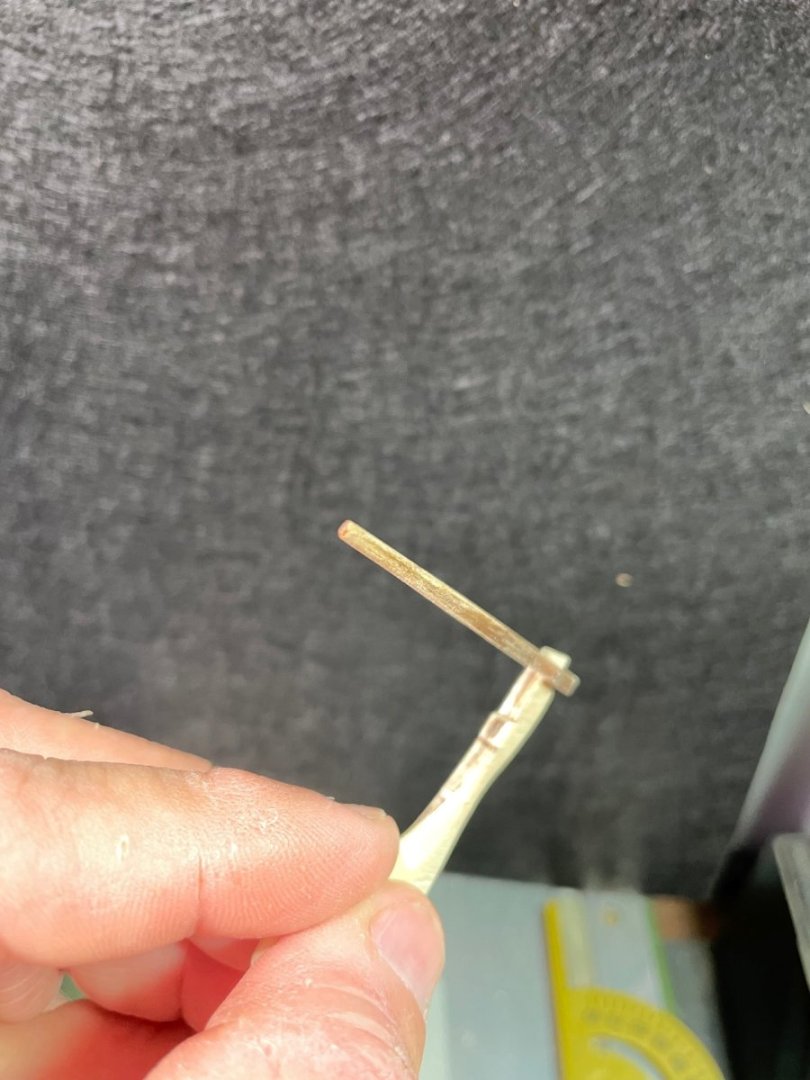
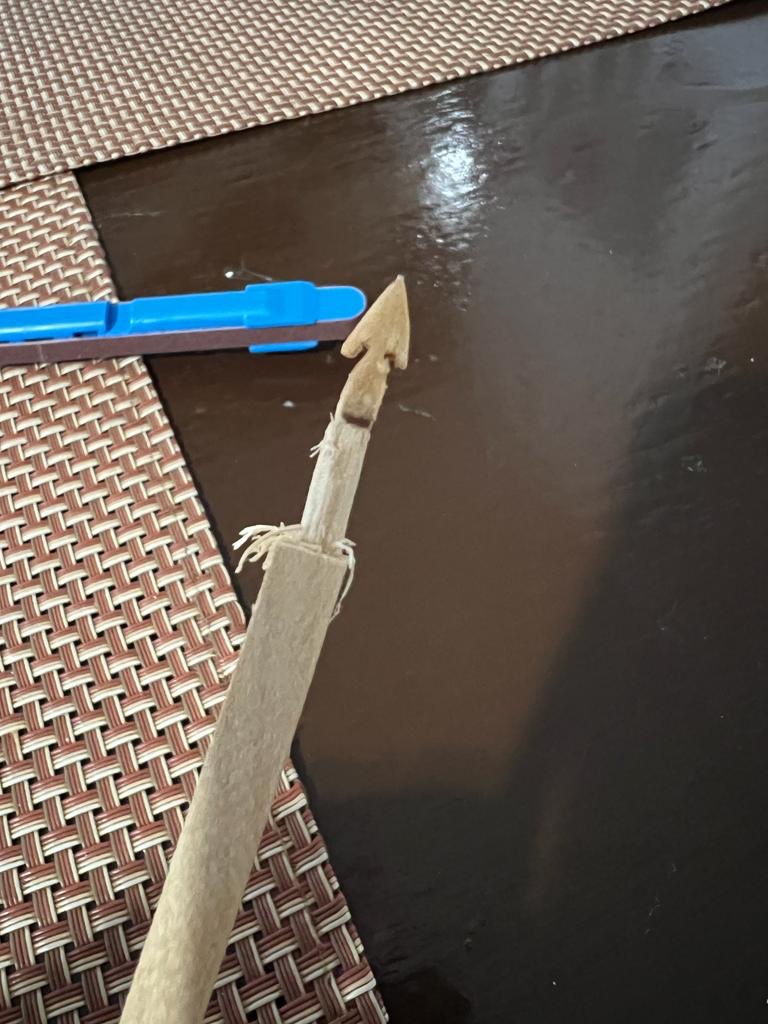
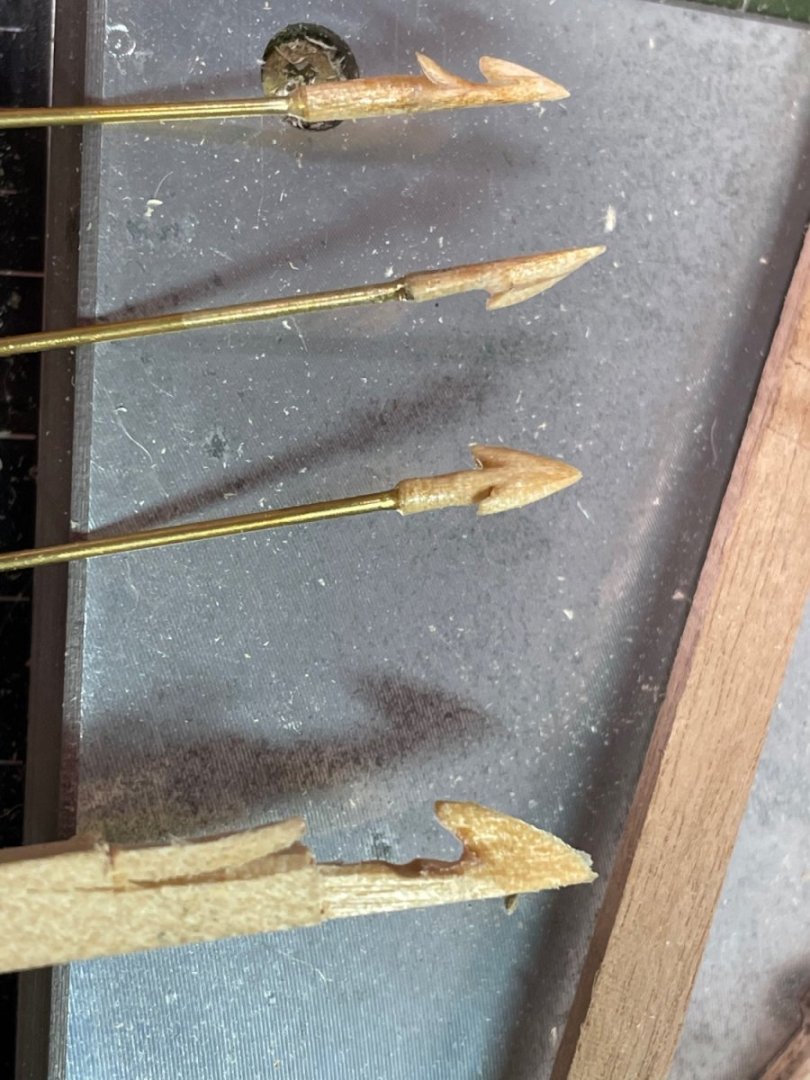
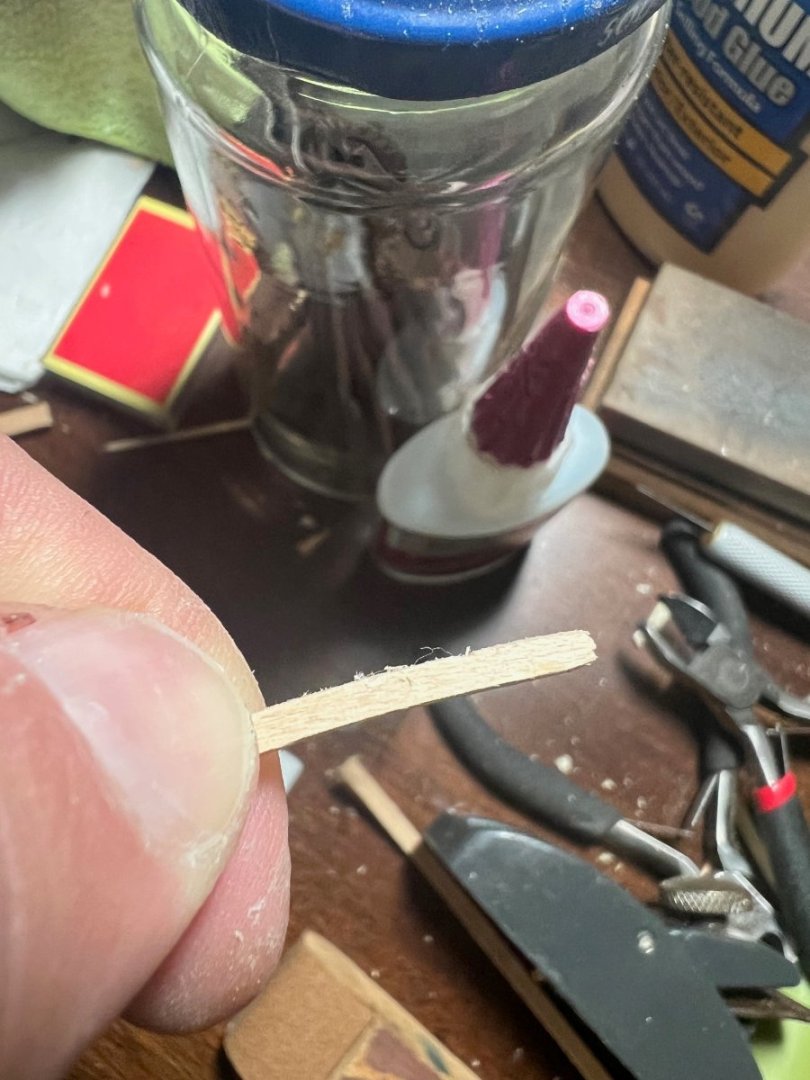
Good Morning! some extra work on the whaleboat. Currently gluing the benches, and while the glue dries, did some work on the harpoons. The resin ones that the kit included are pretty lame, so decided to scratch build from wood and 1mm brass rod. Pretty sure they are not to scale, but I think they look way better than the kit ones. Pics follows; comments/critique always welcome.


-
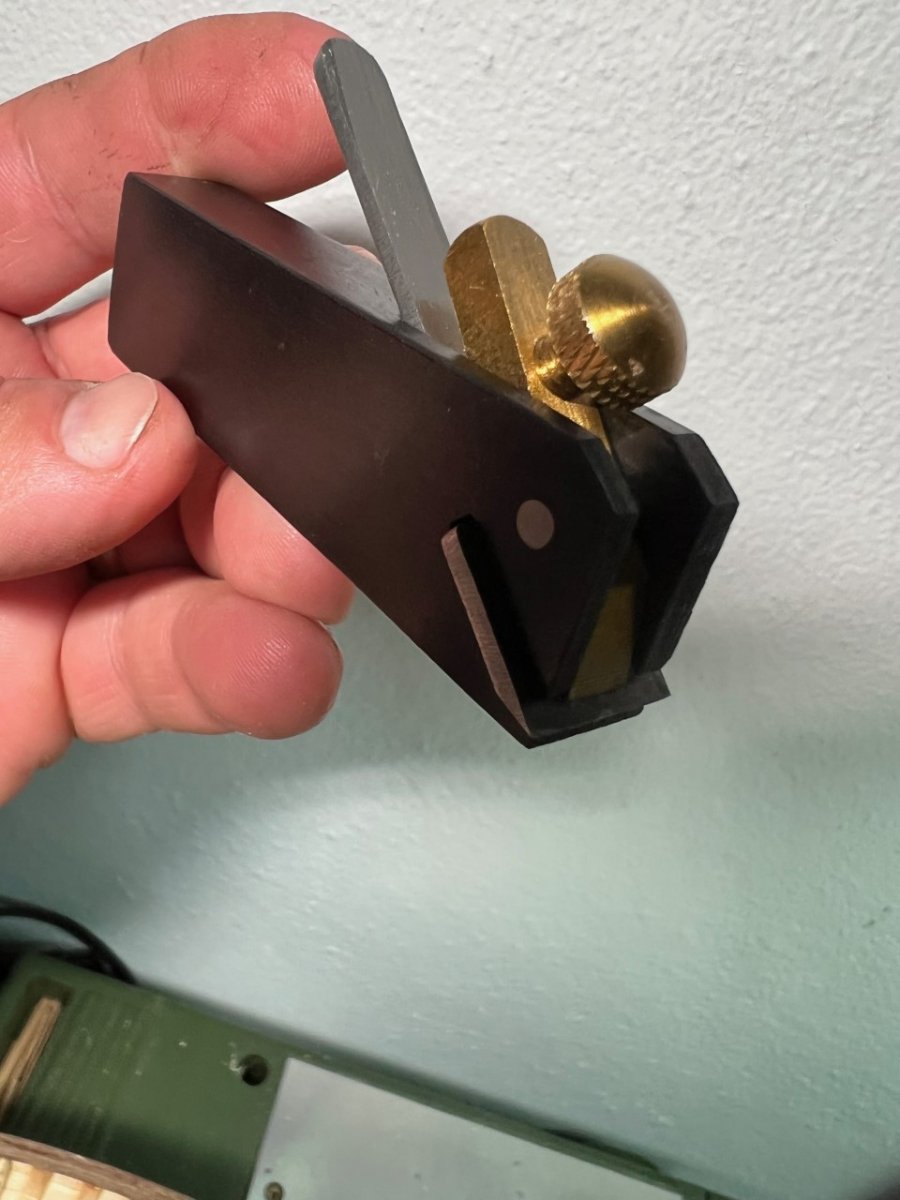
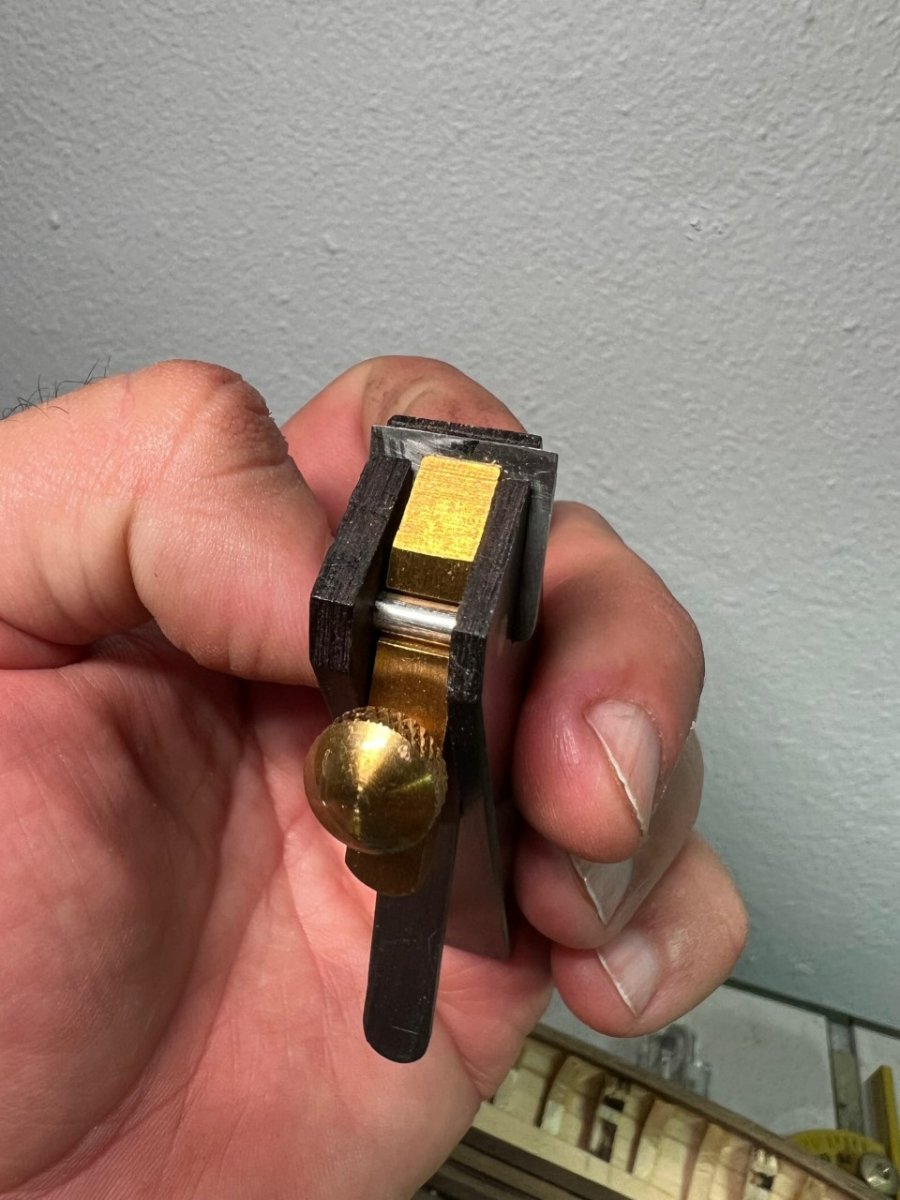
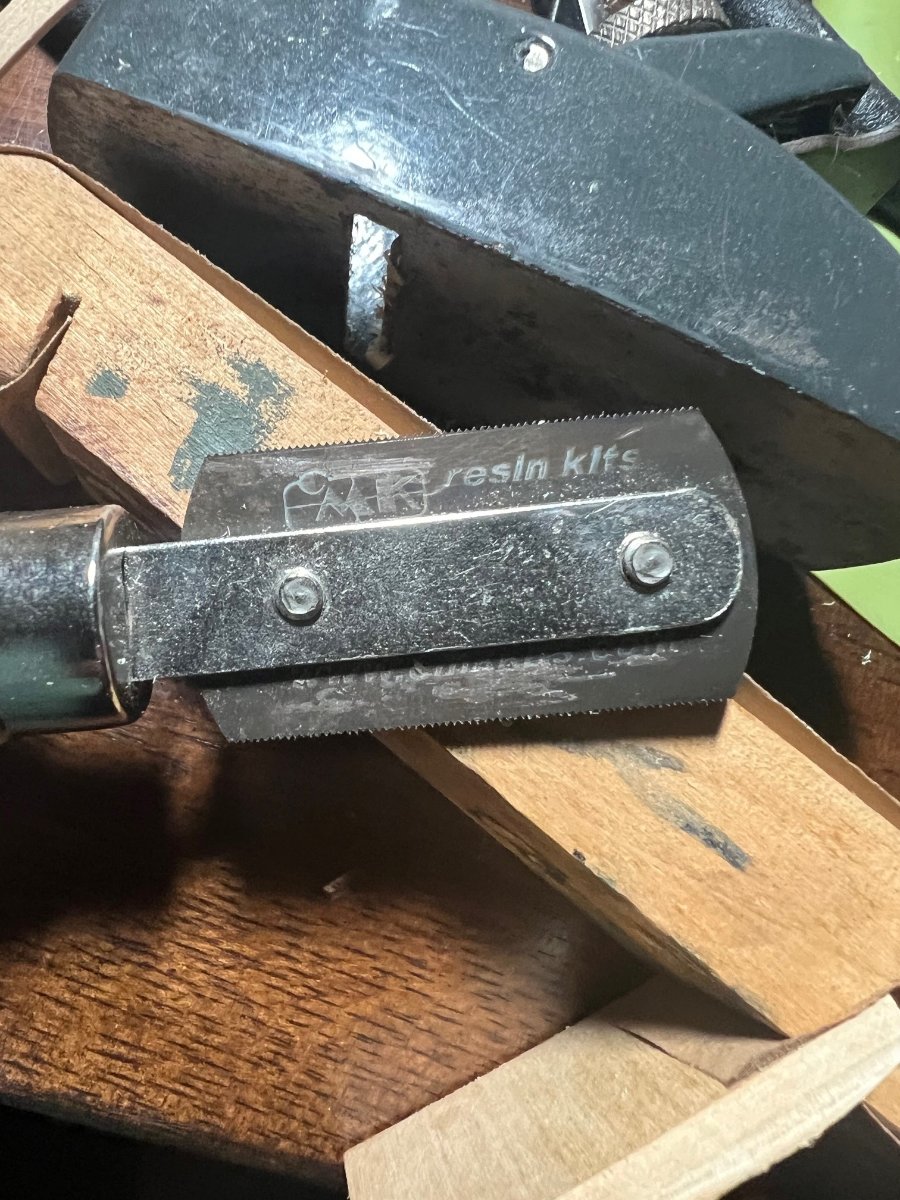
Just got it last Thursday, and have used it the last couple of days. To date, very satisfied with the tool. The only thing I am just wondering is how long the sharp edge will last. Hope this helps!
-
Here you go…

-
Some additional progress pics. Need to sand/finish the ribs on one side of the boat, as the opposing side is completed, and install the last section of the cap rail. Fore and aft "decking" almost completed; need to finalize the details. Will commence soon work on the benches, and see if I can start priming and painting. Last 2 pics are related to an ebony mini wool planer I purchased... beautiful thin shavings produced by this mini tool. As usual, critique welcome!


-
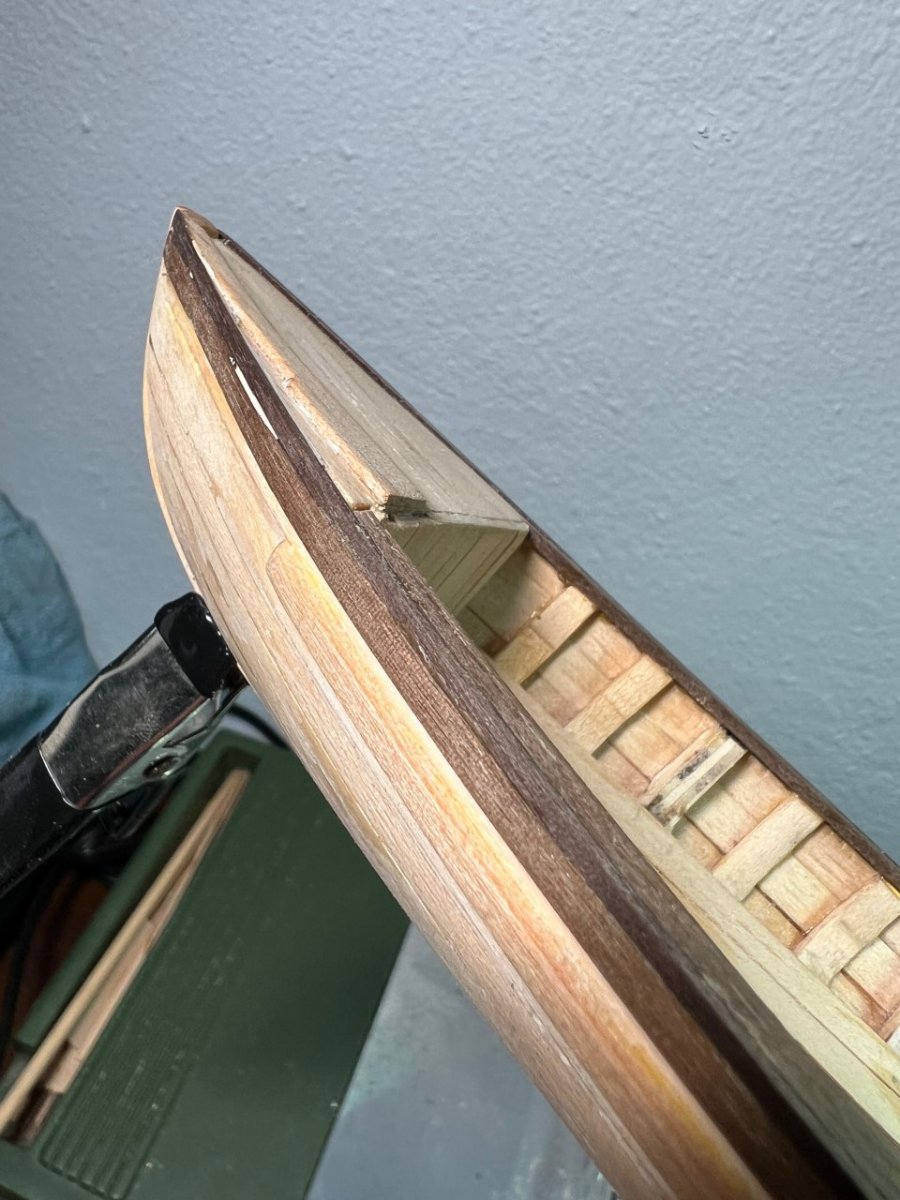
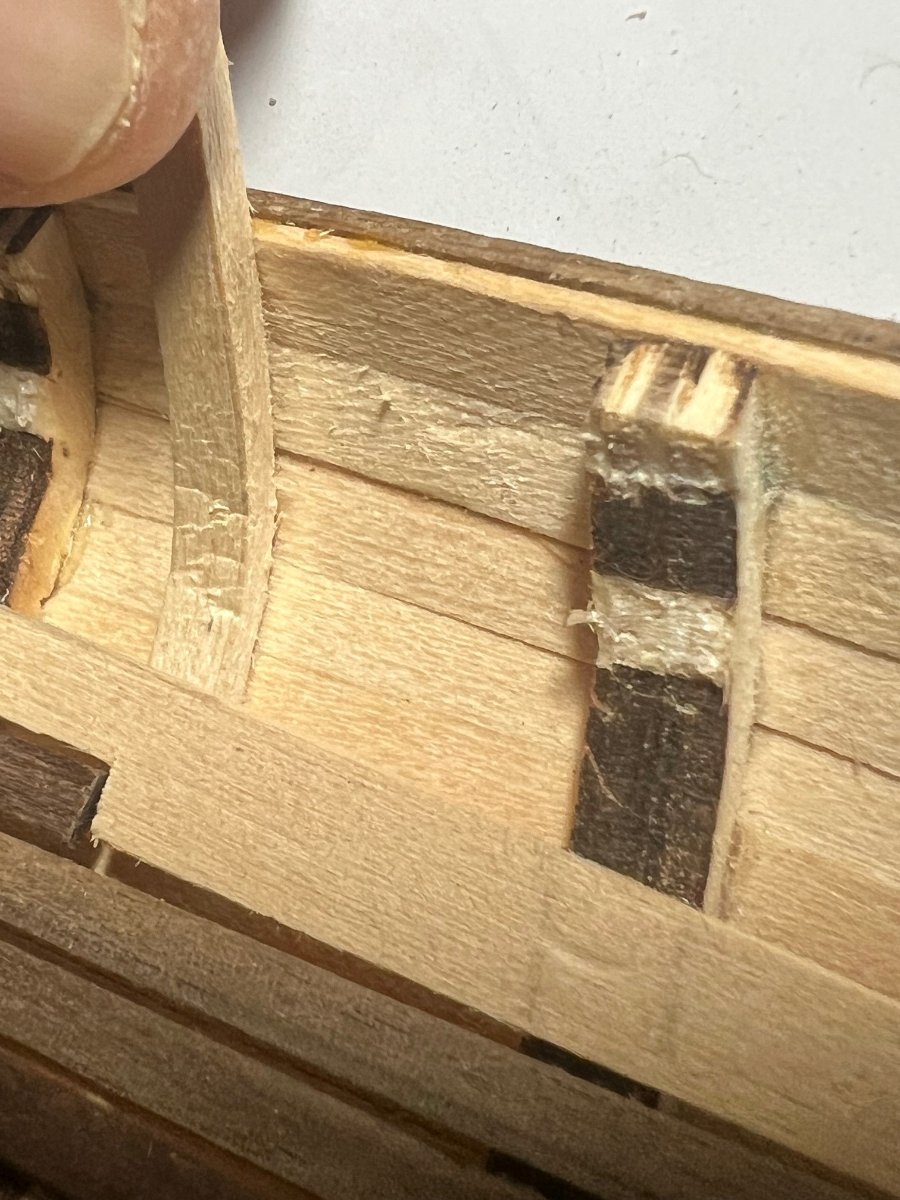
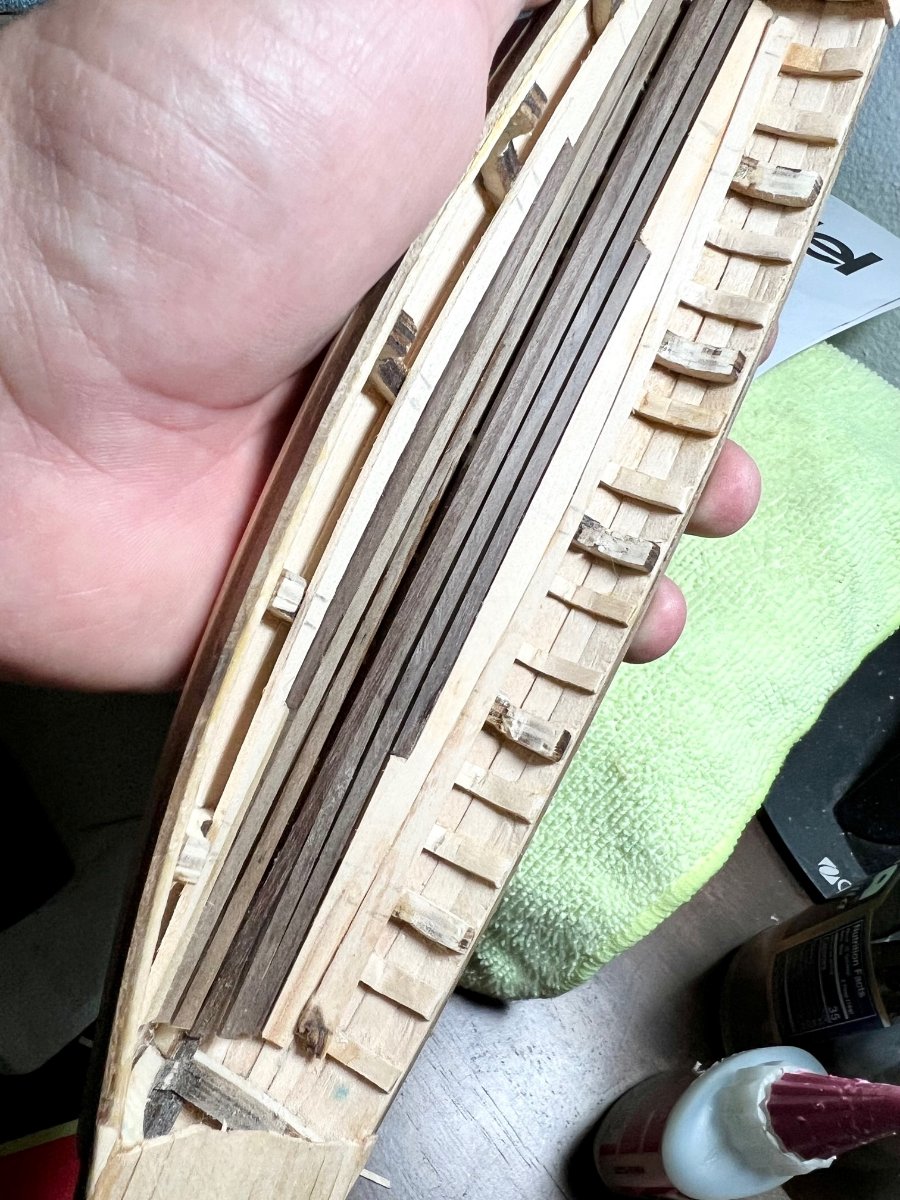
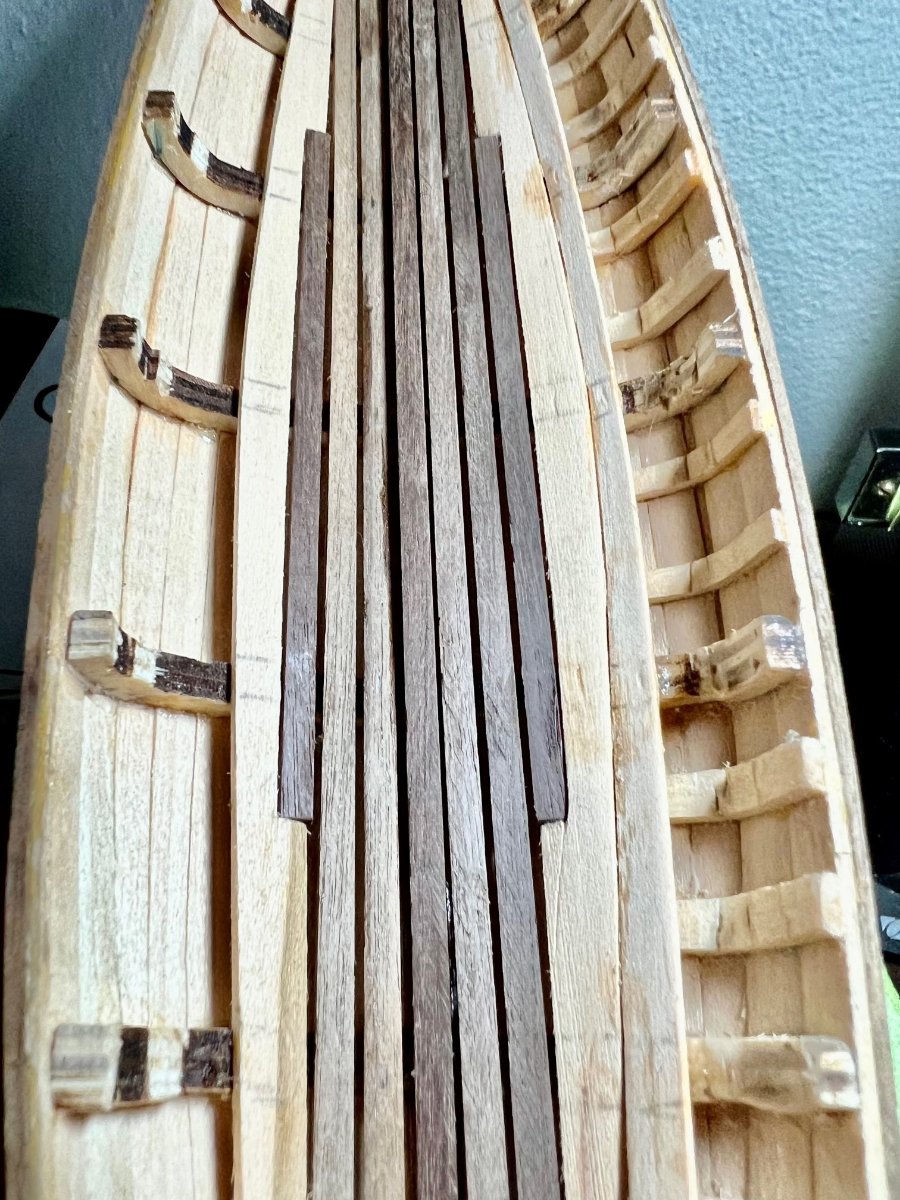
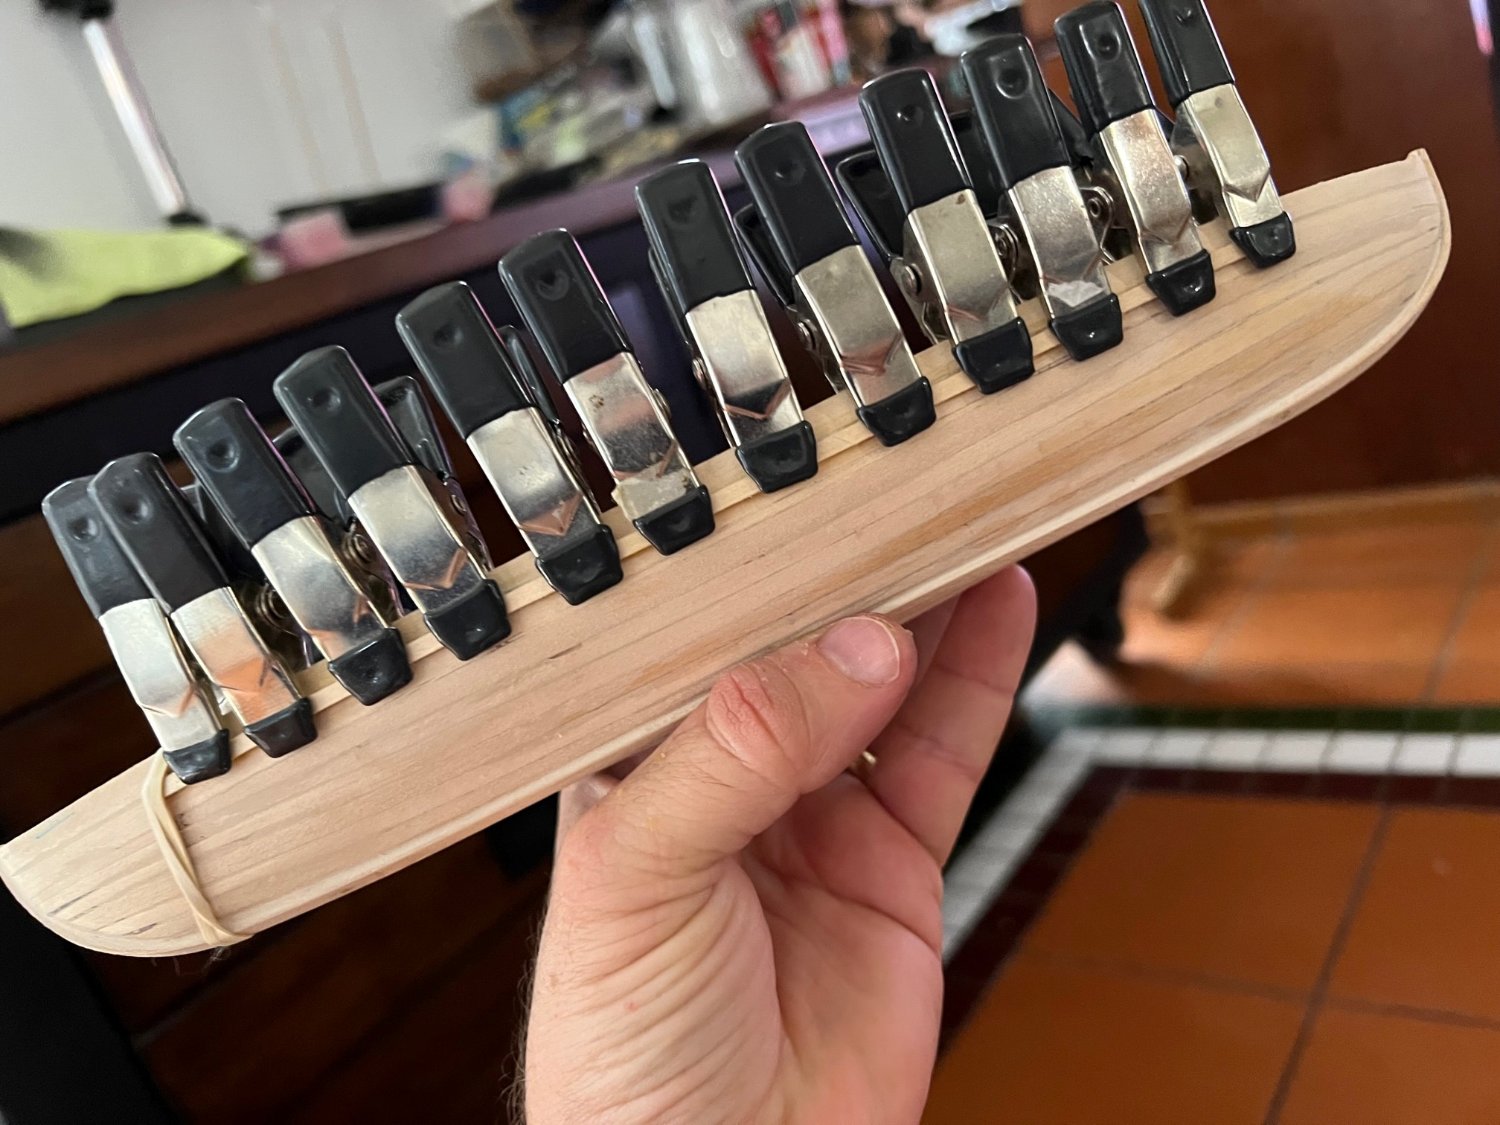
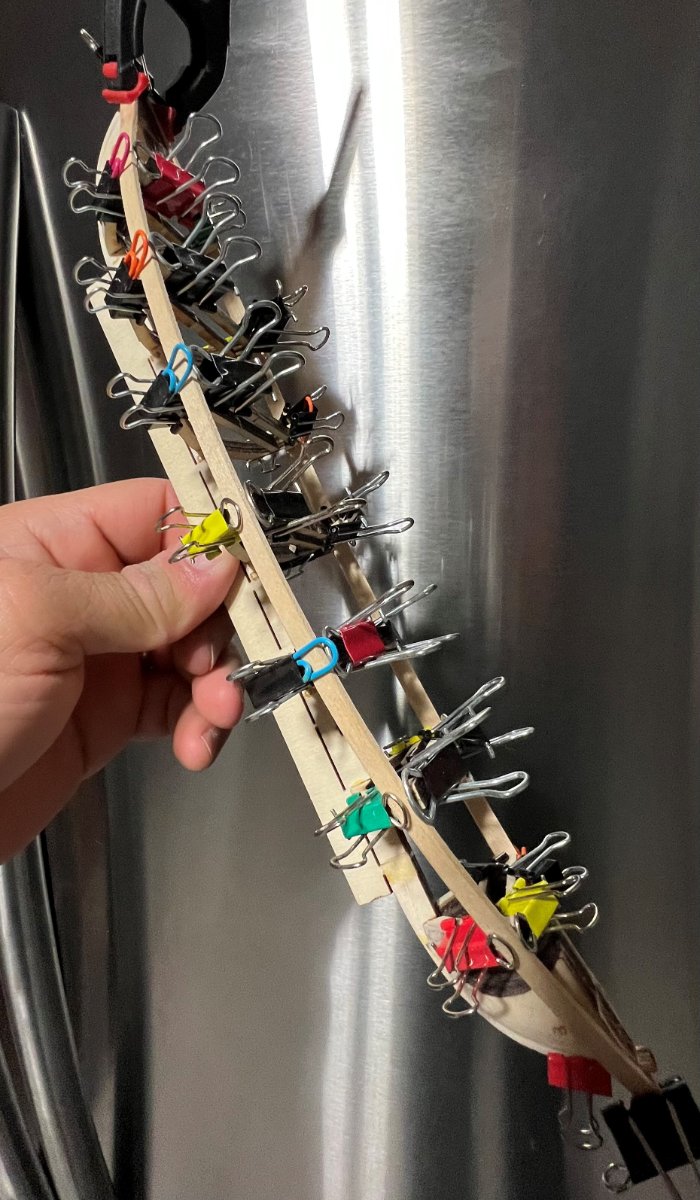
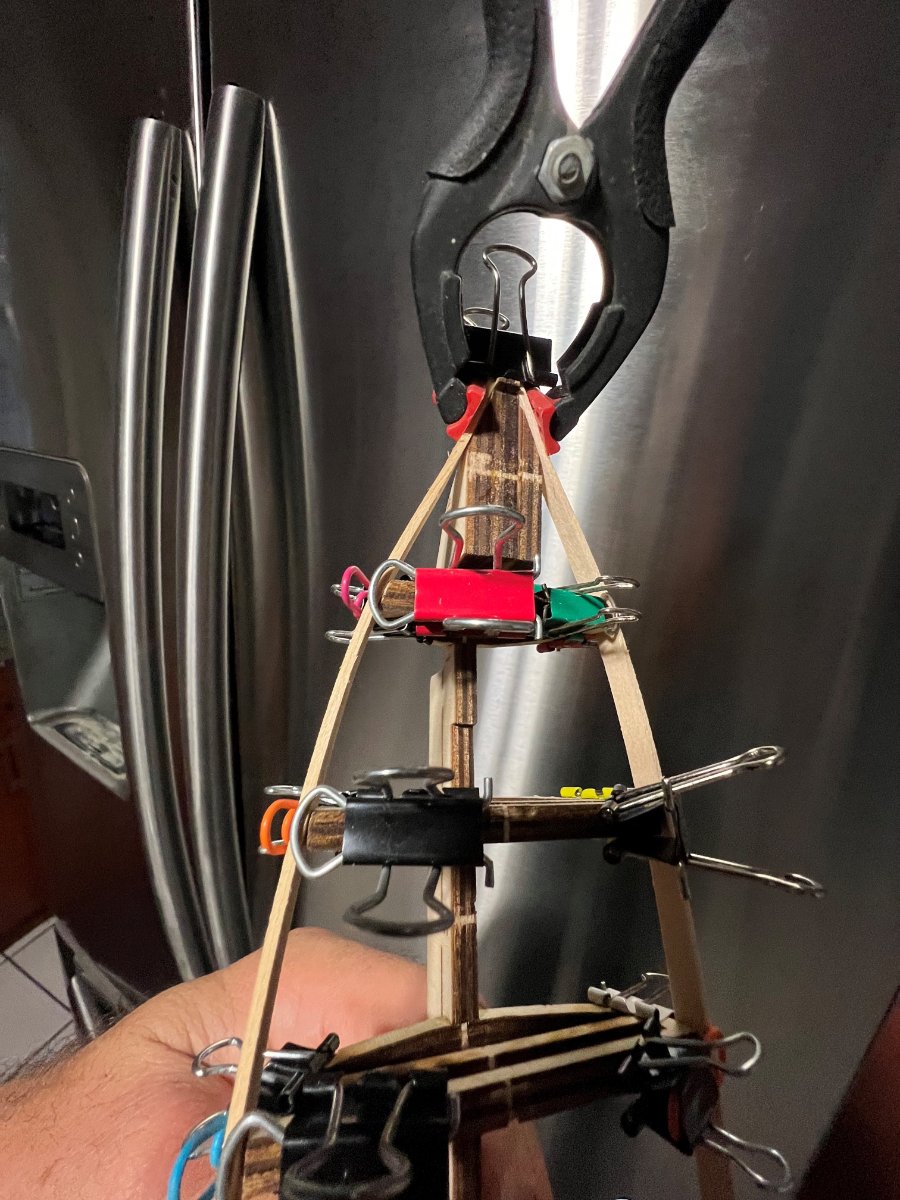
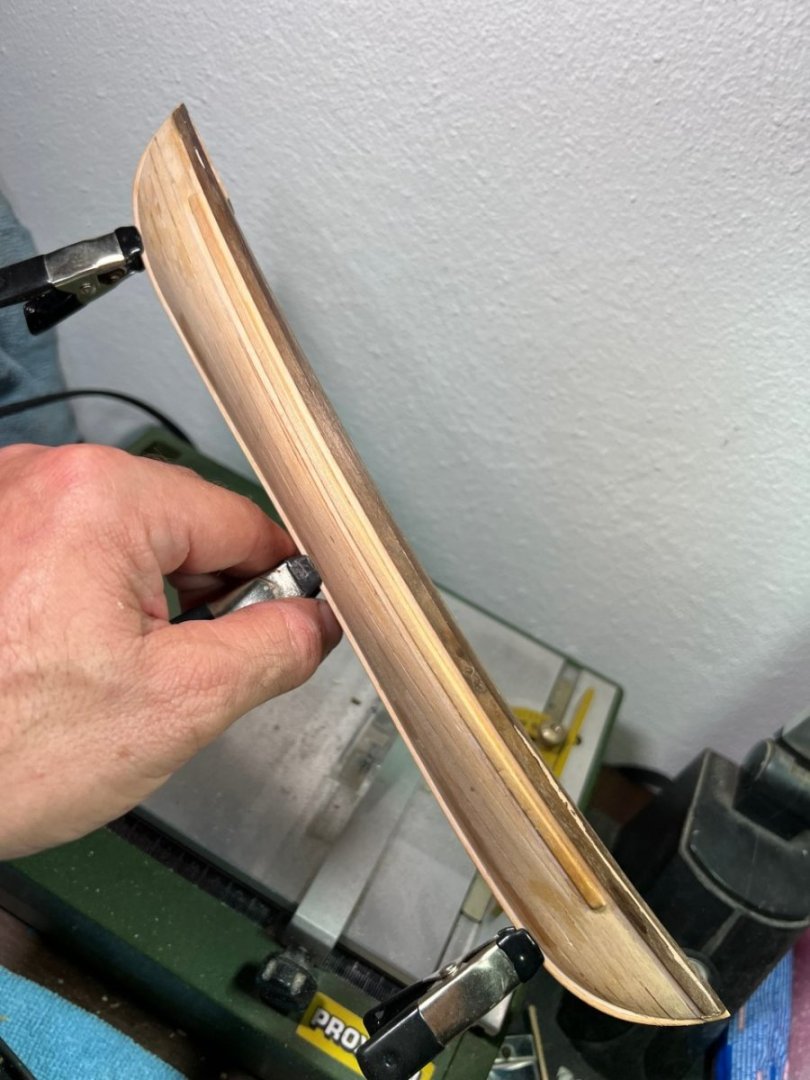
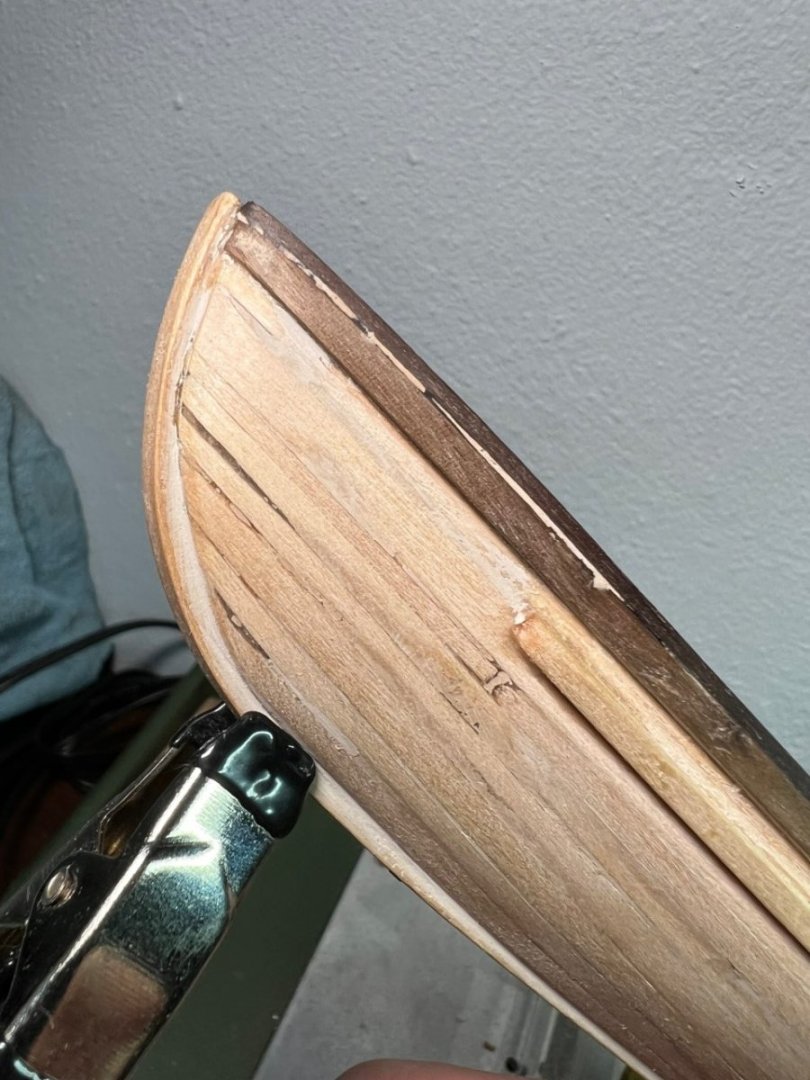
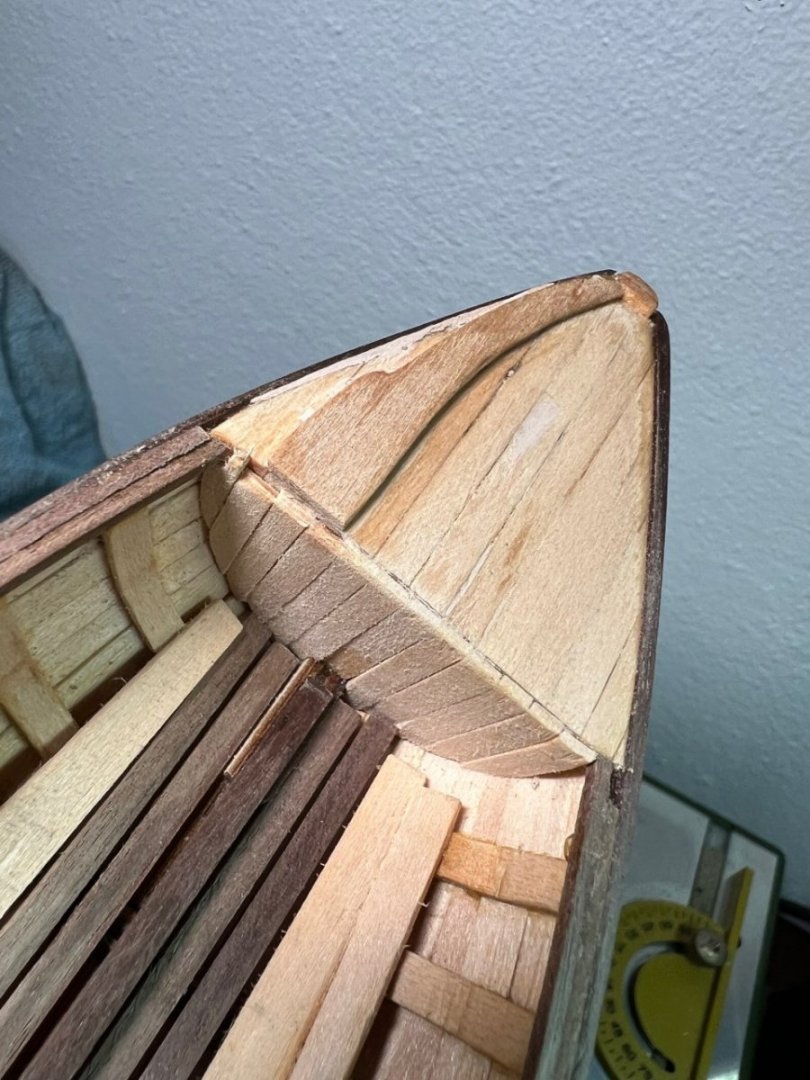
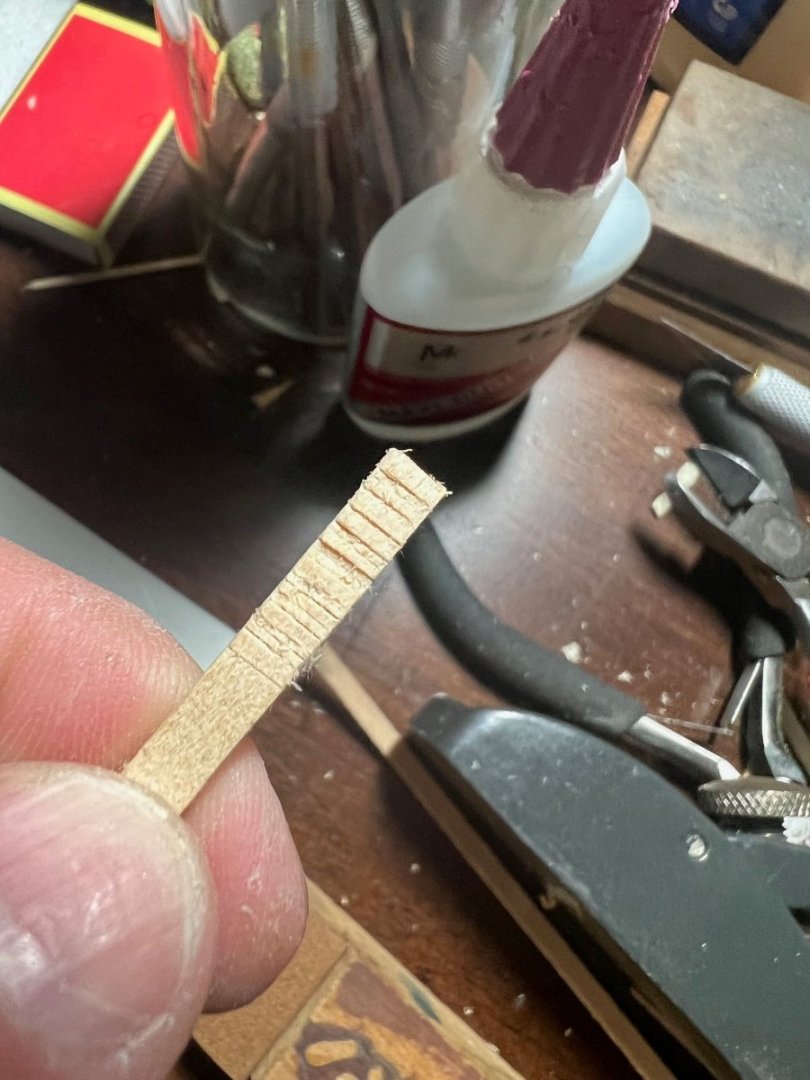
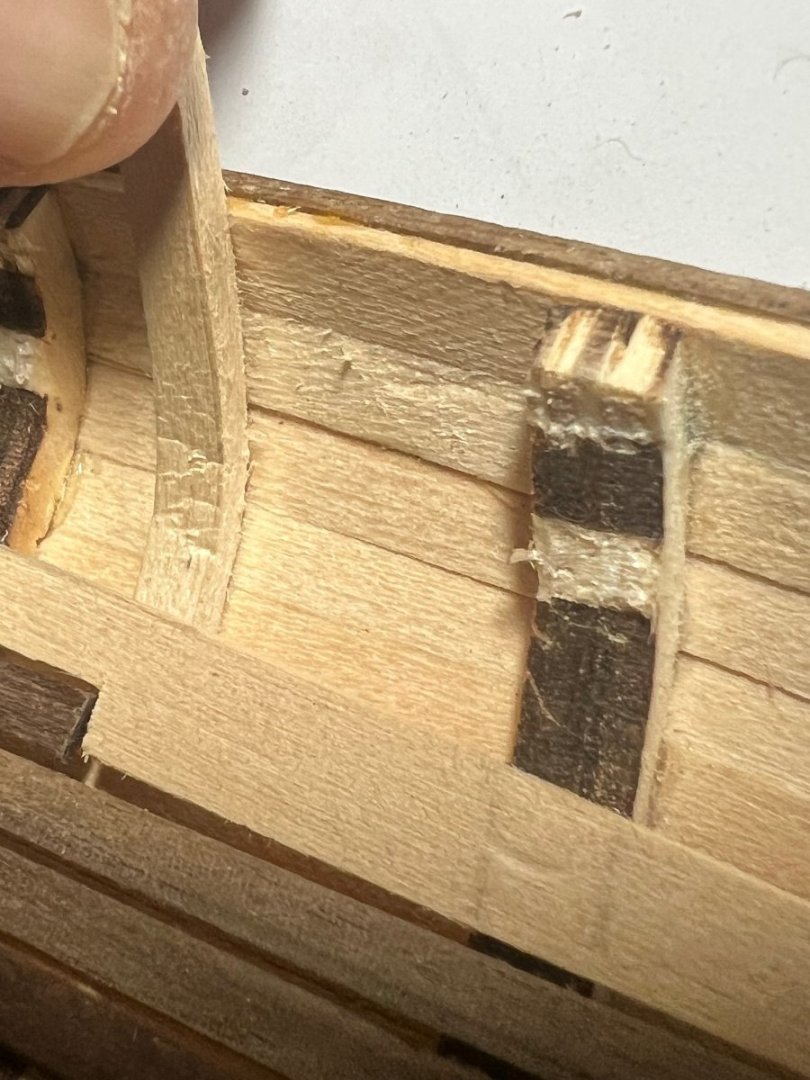
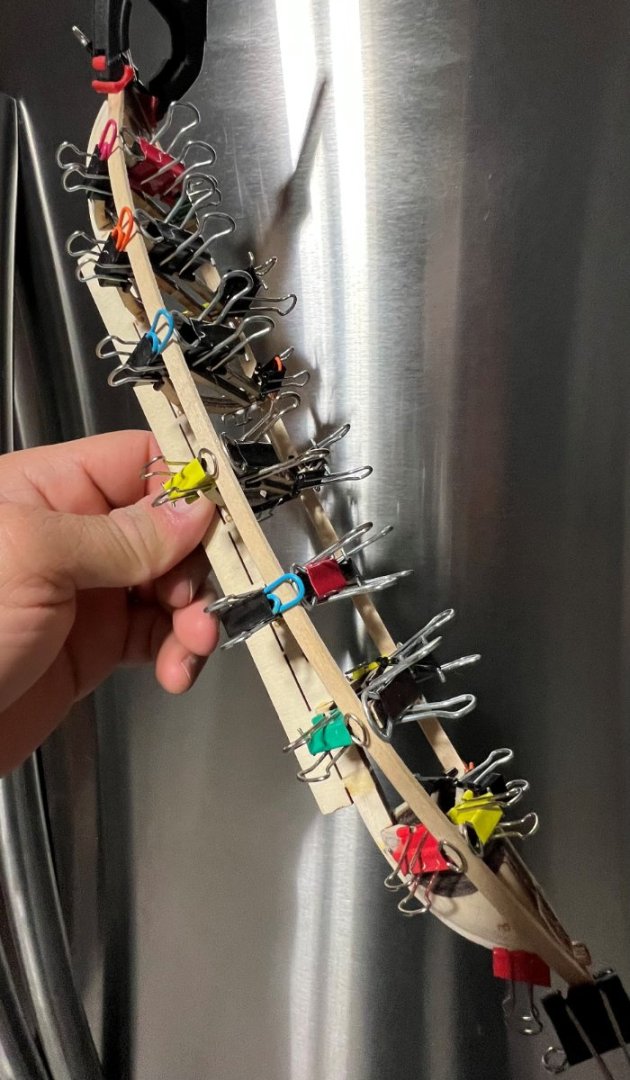
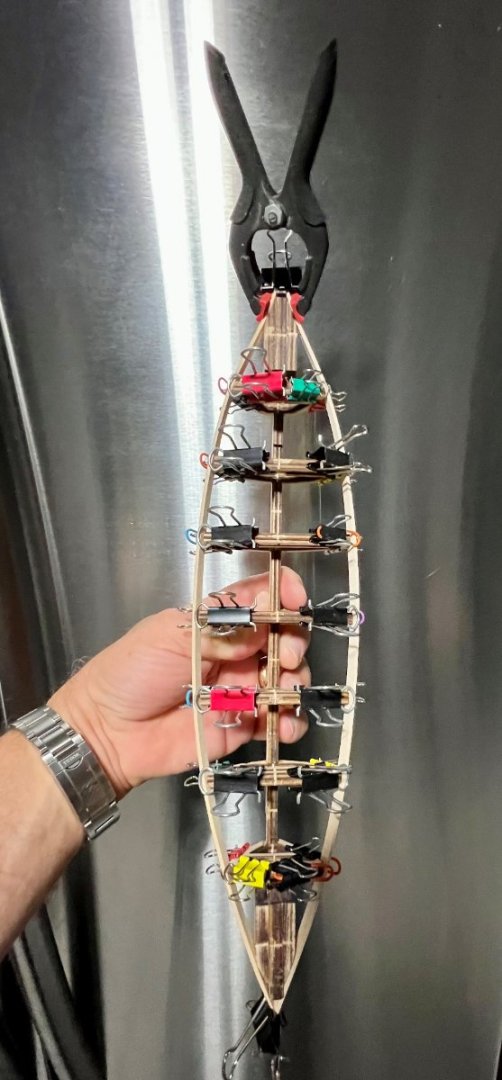
Hello All: Decided to test a trick I have seen, used by woodworkers, as well as gypsum board installation crews, for curved wood. I ended the framing of one side on the whaleboat, and decided to see if I could fine tune the wood on the other side. What I did was created a number of fine serrations on the frame side that would be contacting the hull, in order to be able to fine tune the bend, after having it soaked and het bended with the plank bender. After this, plank set to be glued, and when cured, sand and finish. A bit of a longer process, but the bends are way nicer and easier. Pics follows:


-
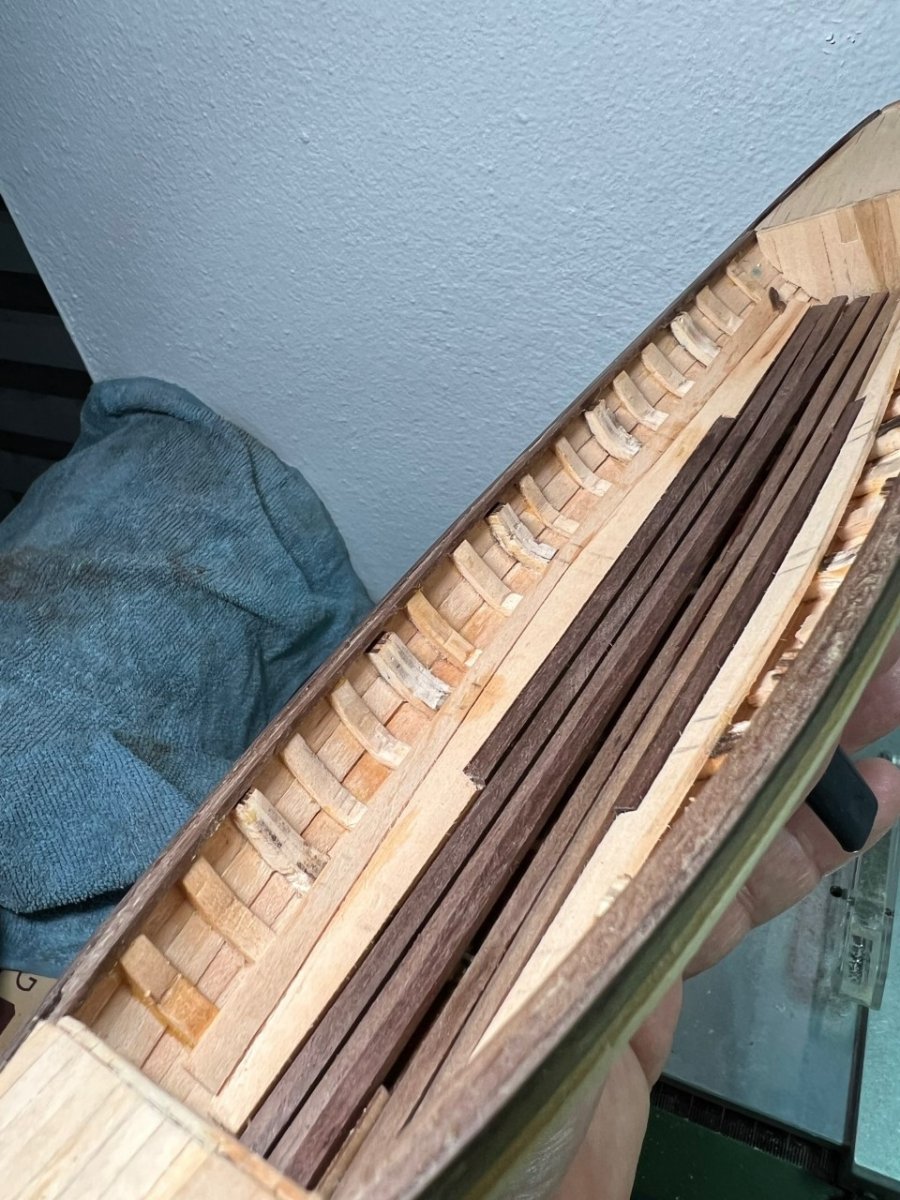
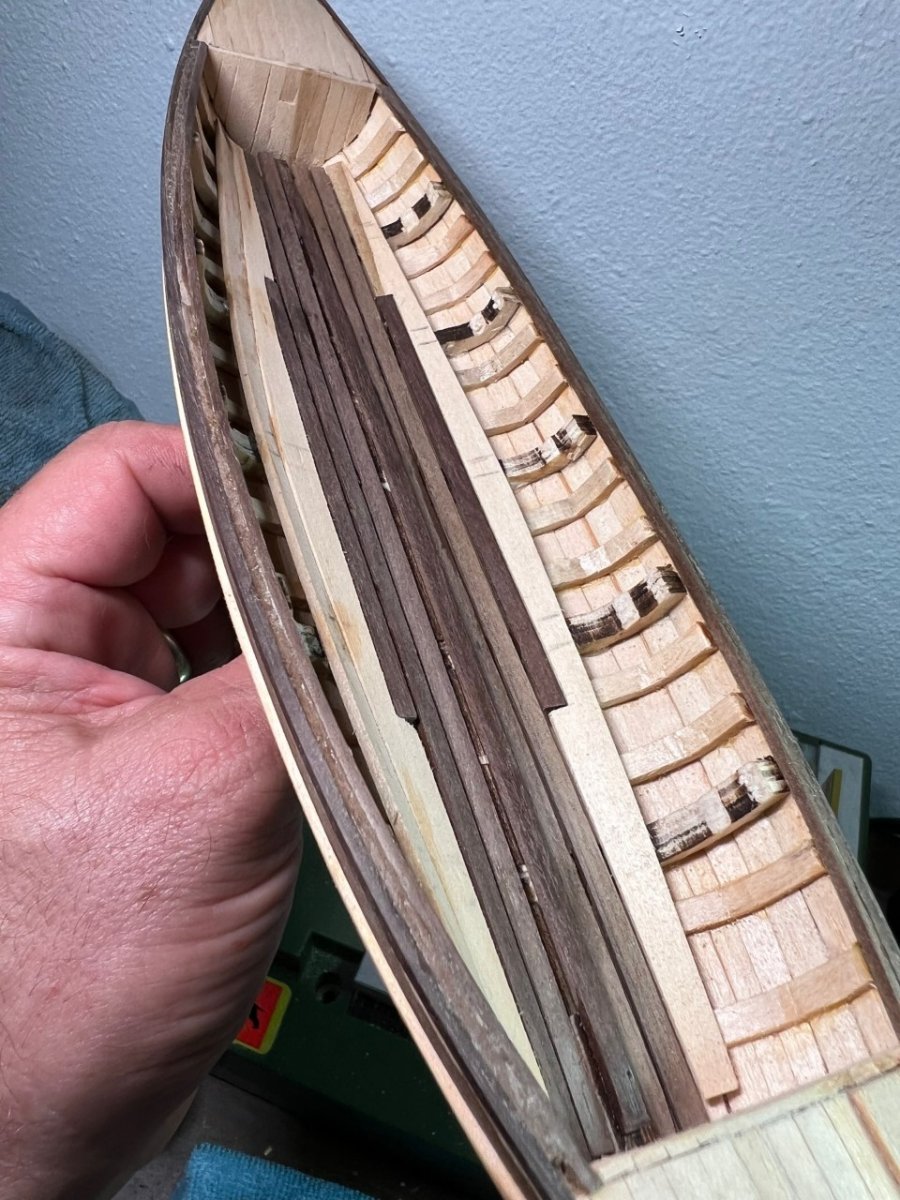
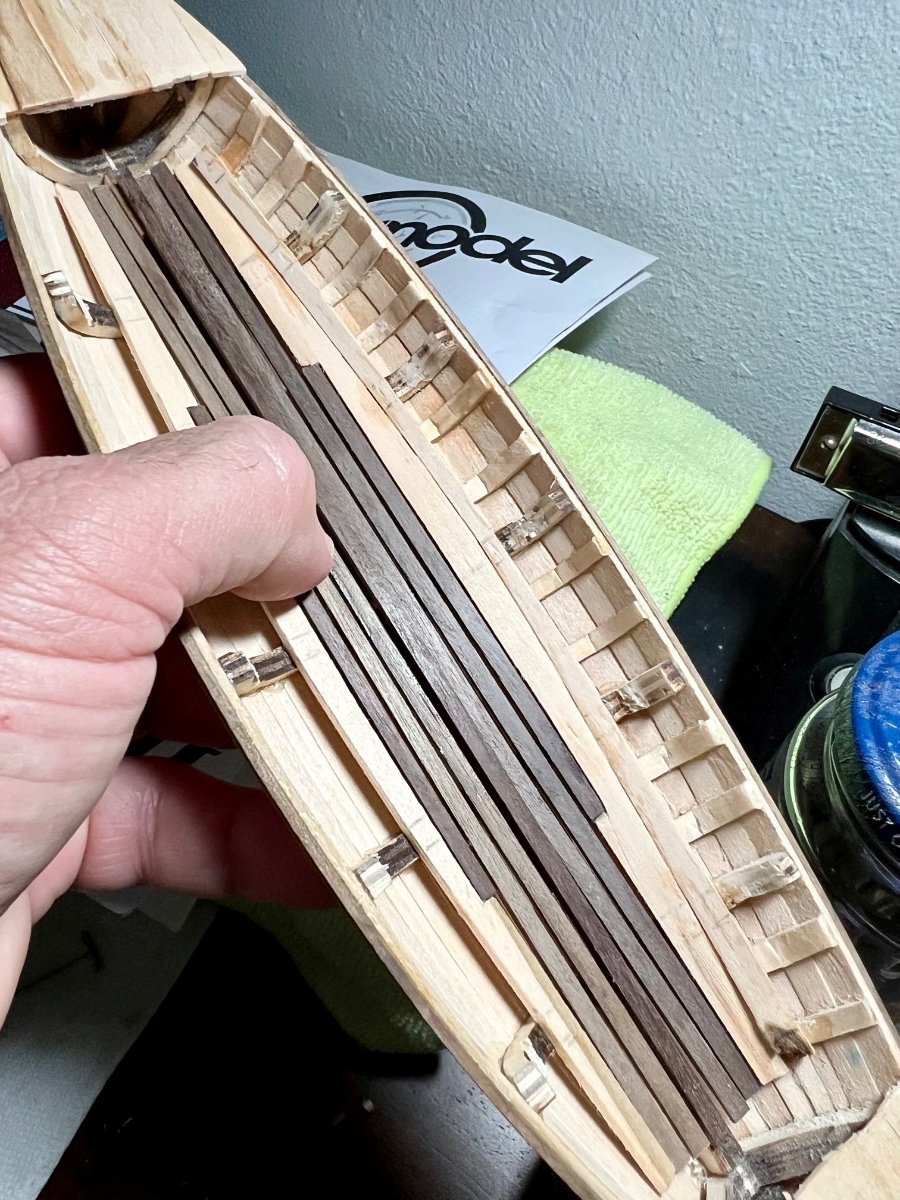
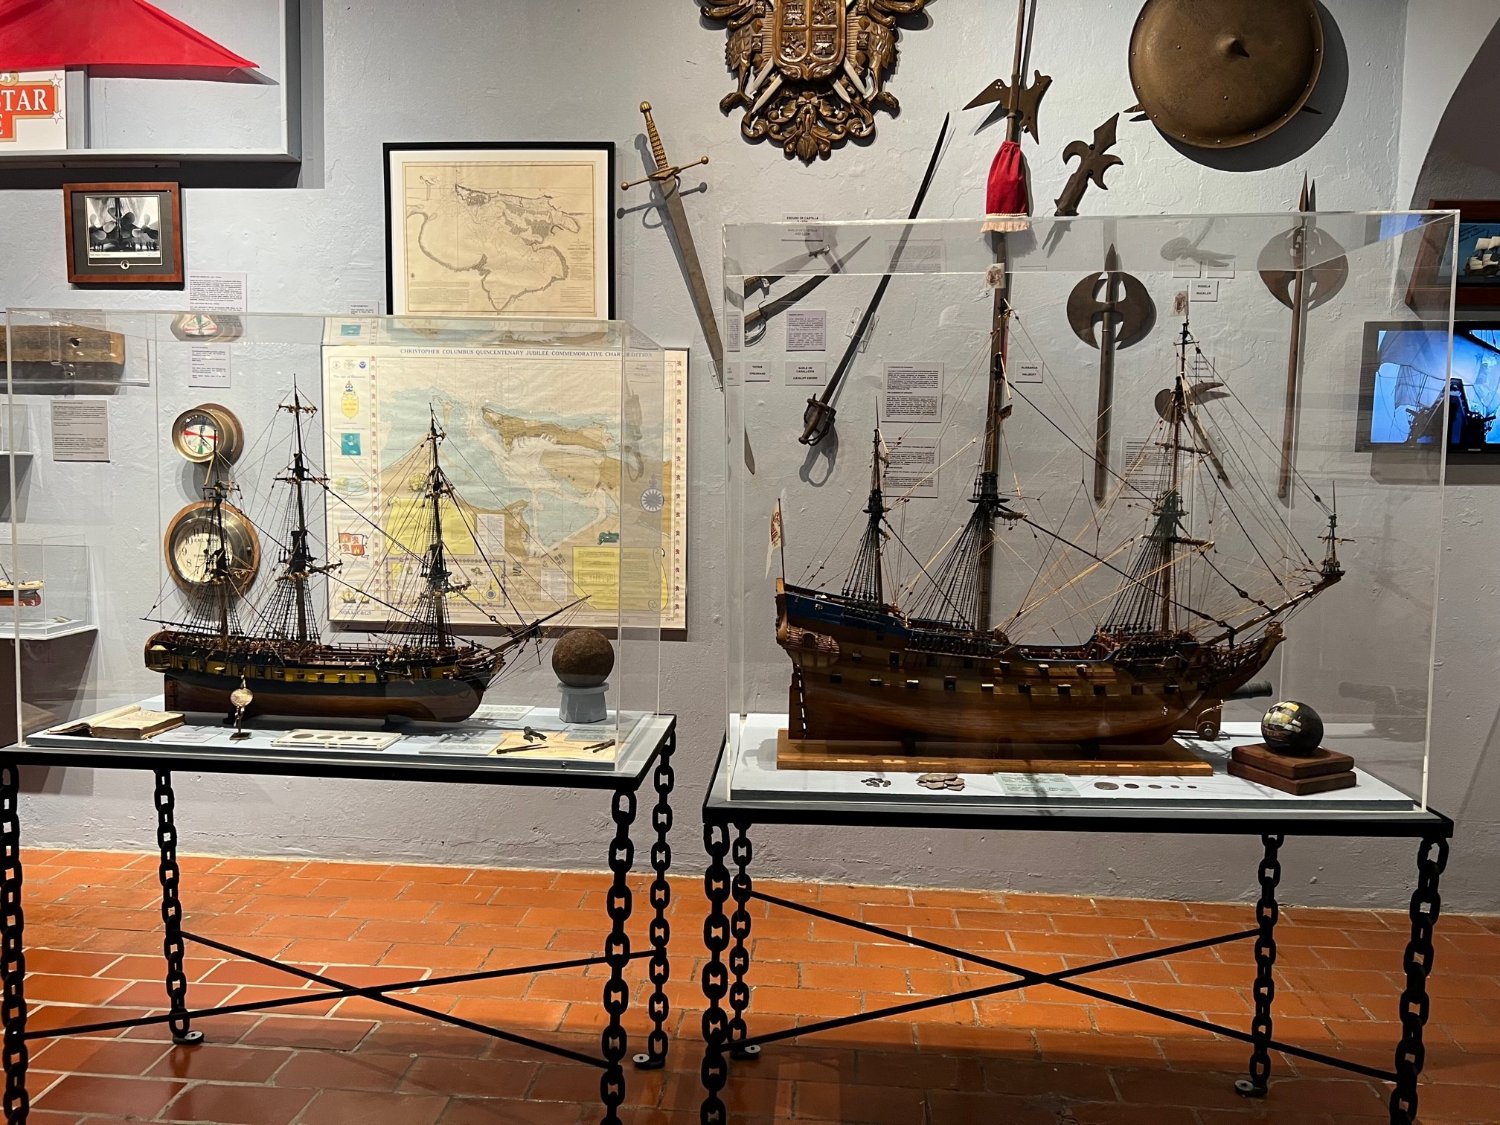
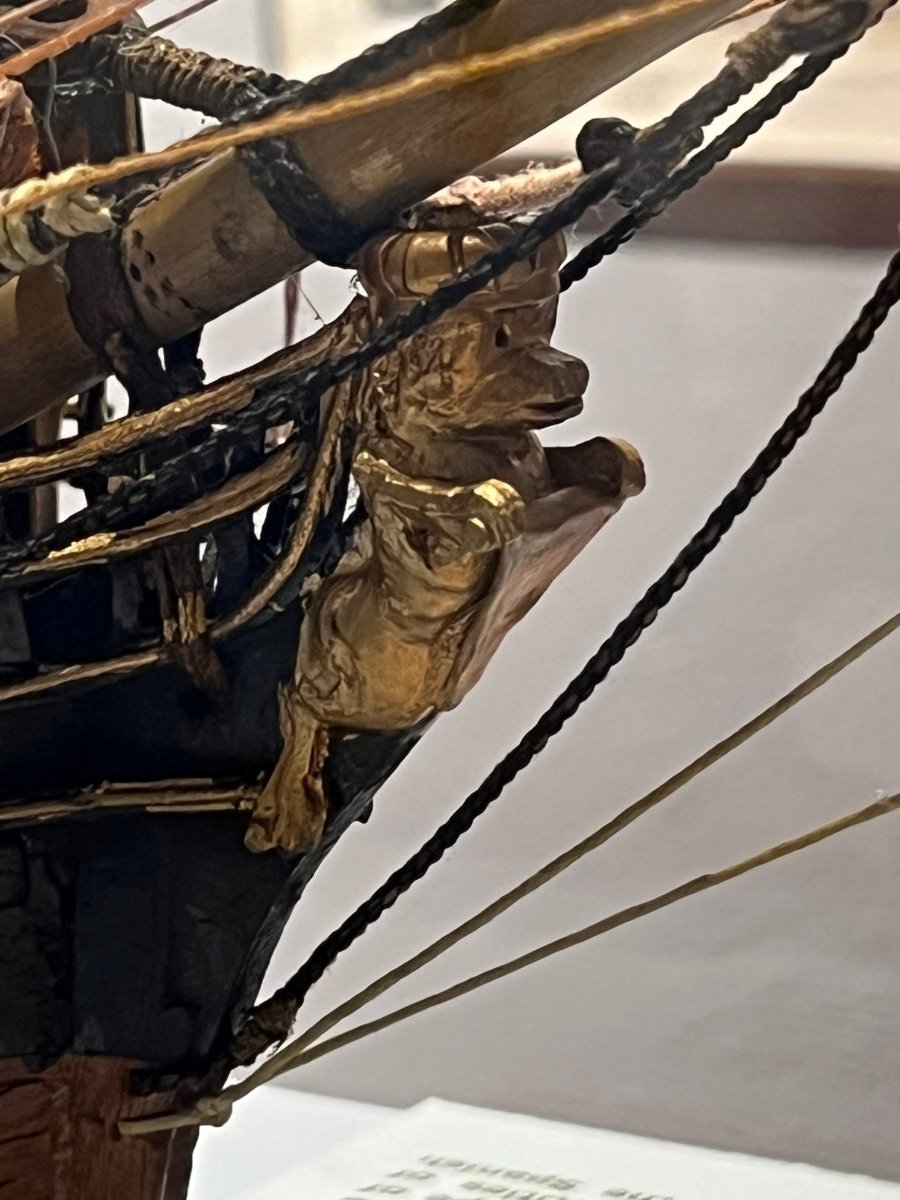
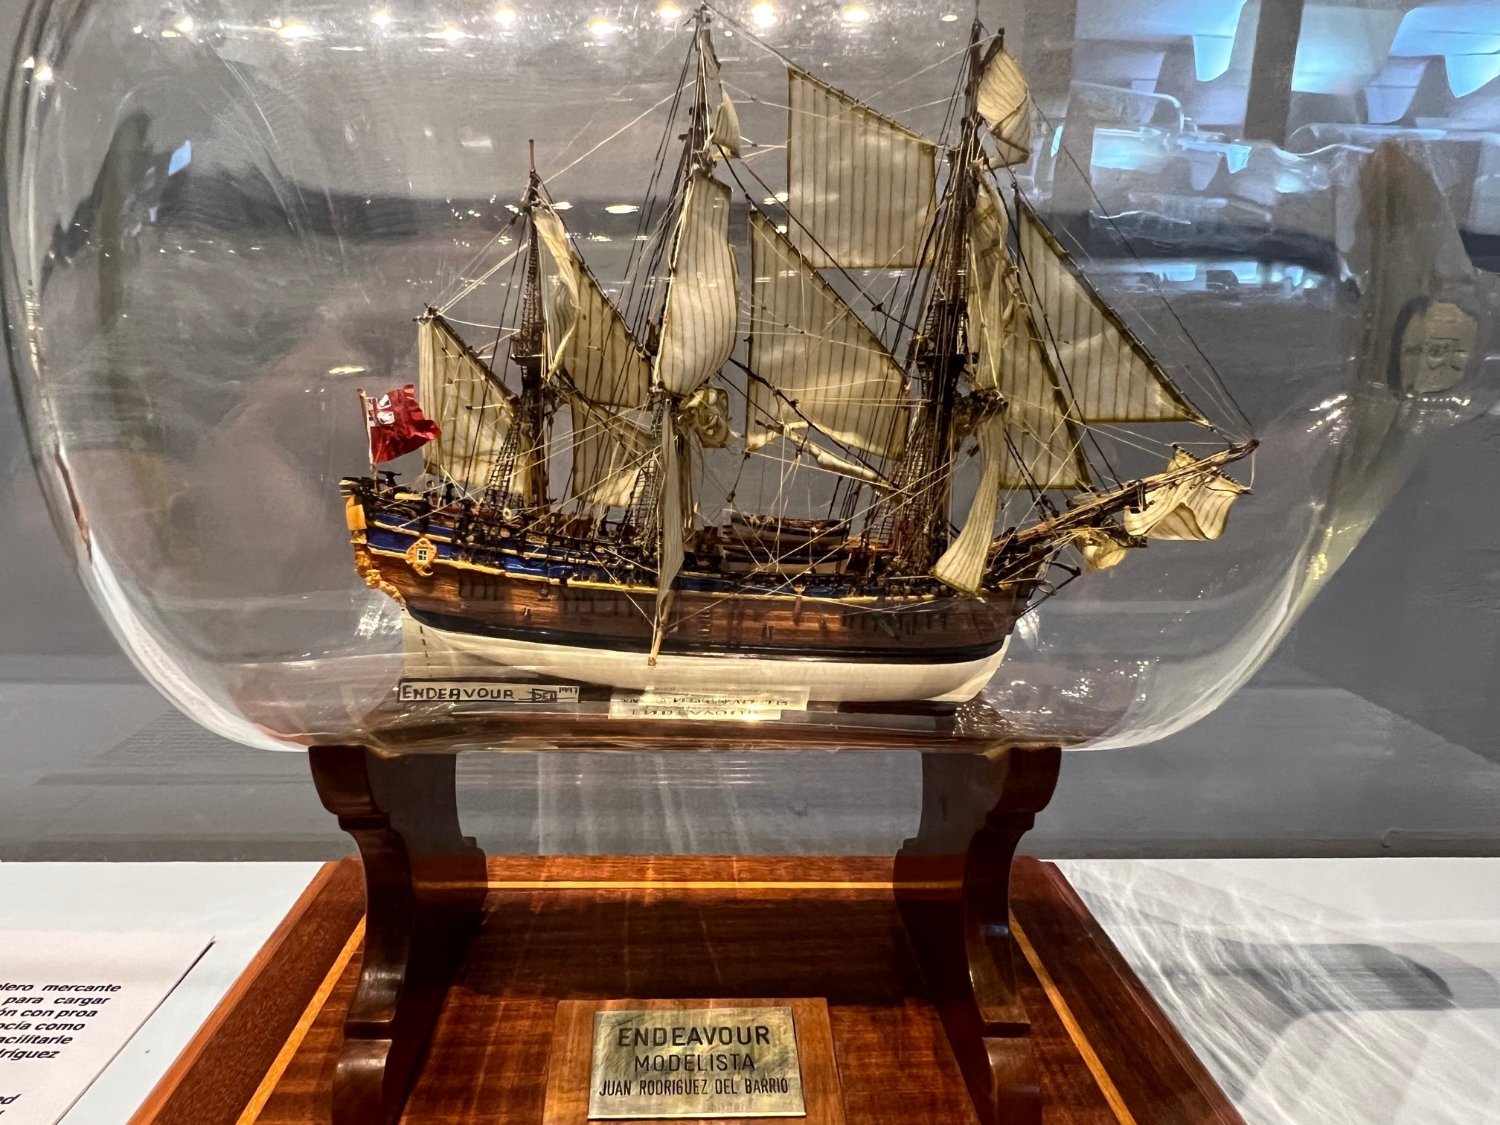
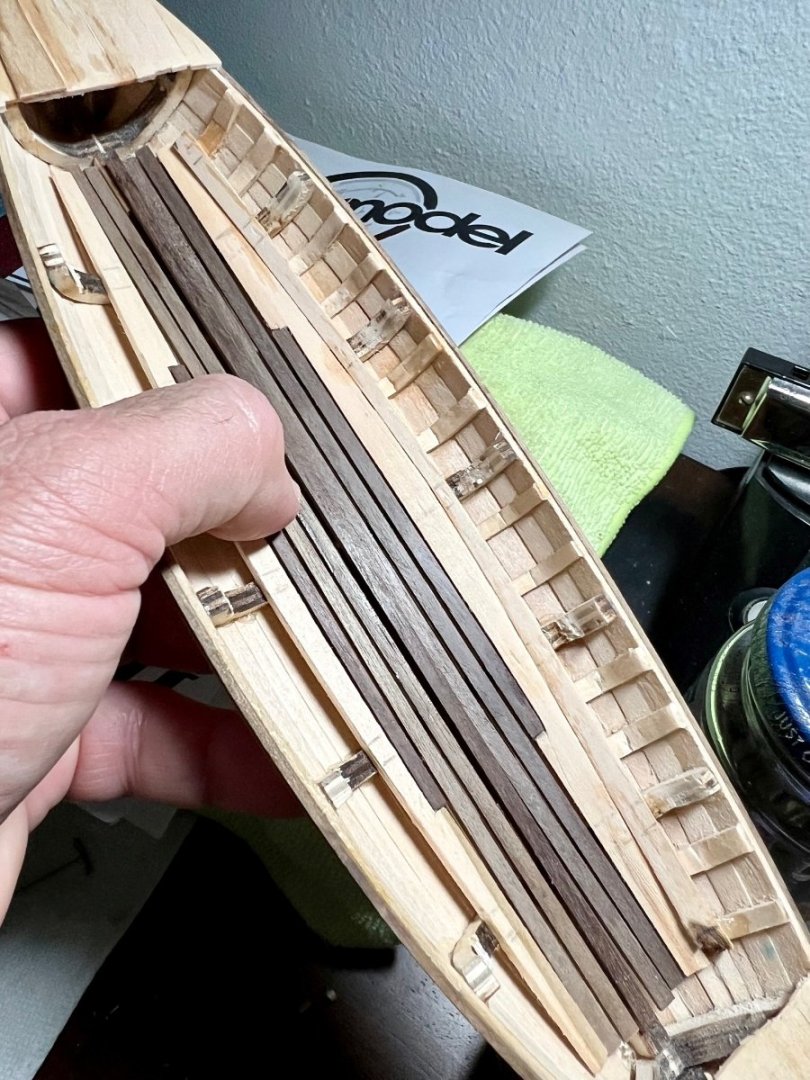
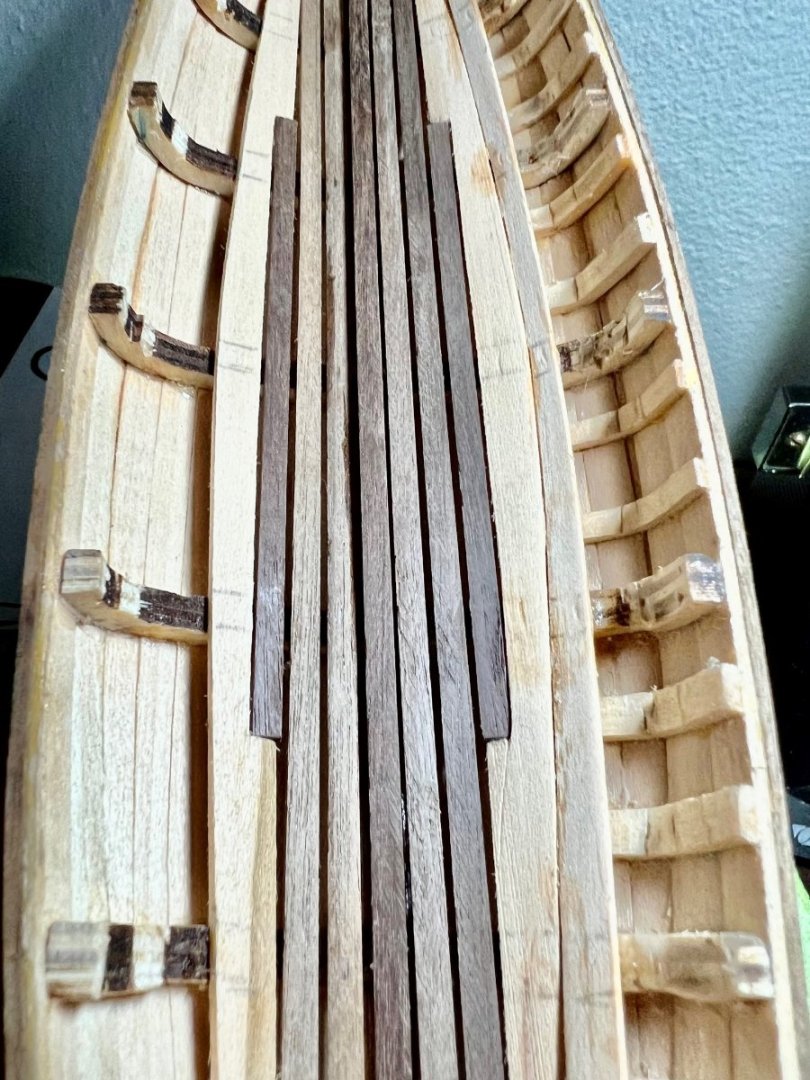
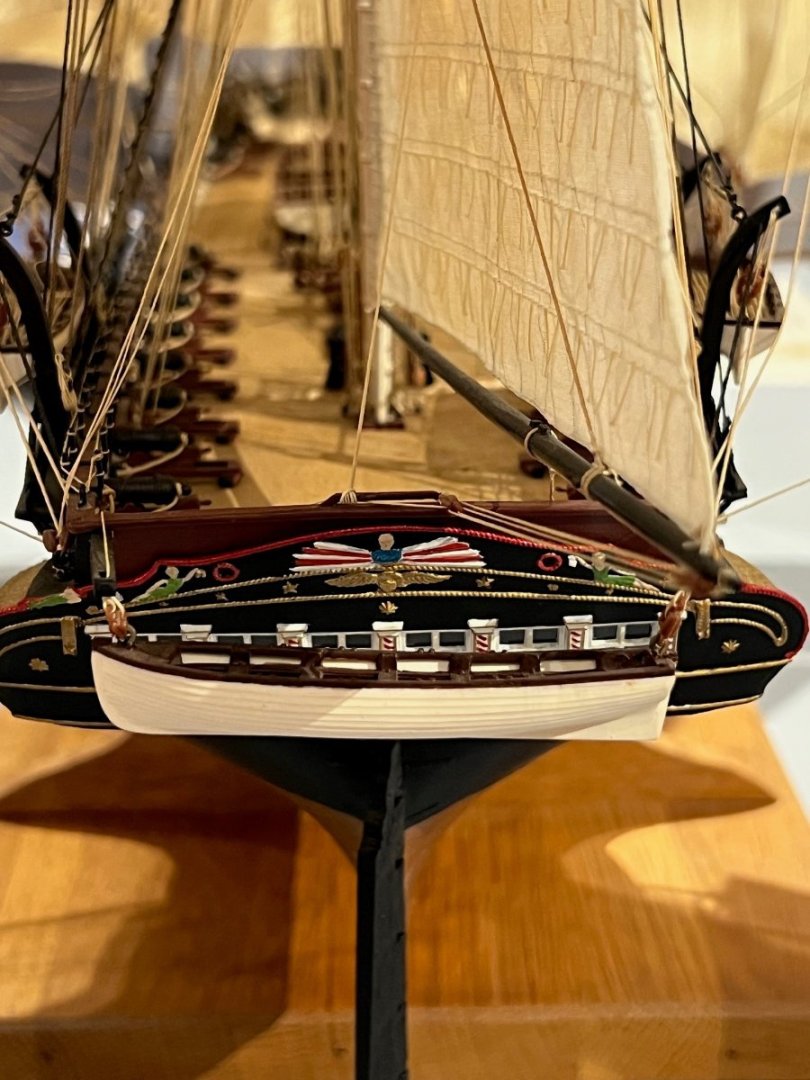
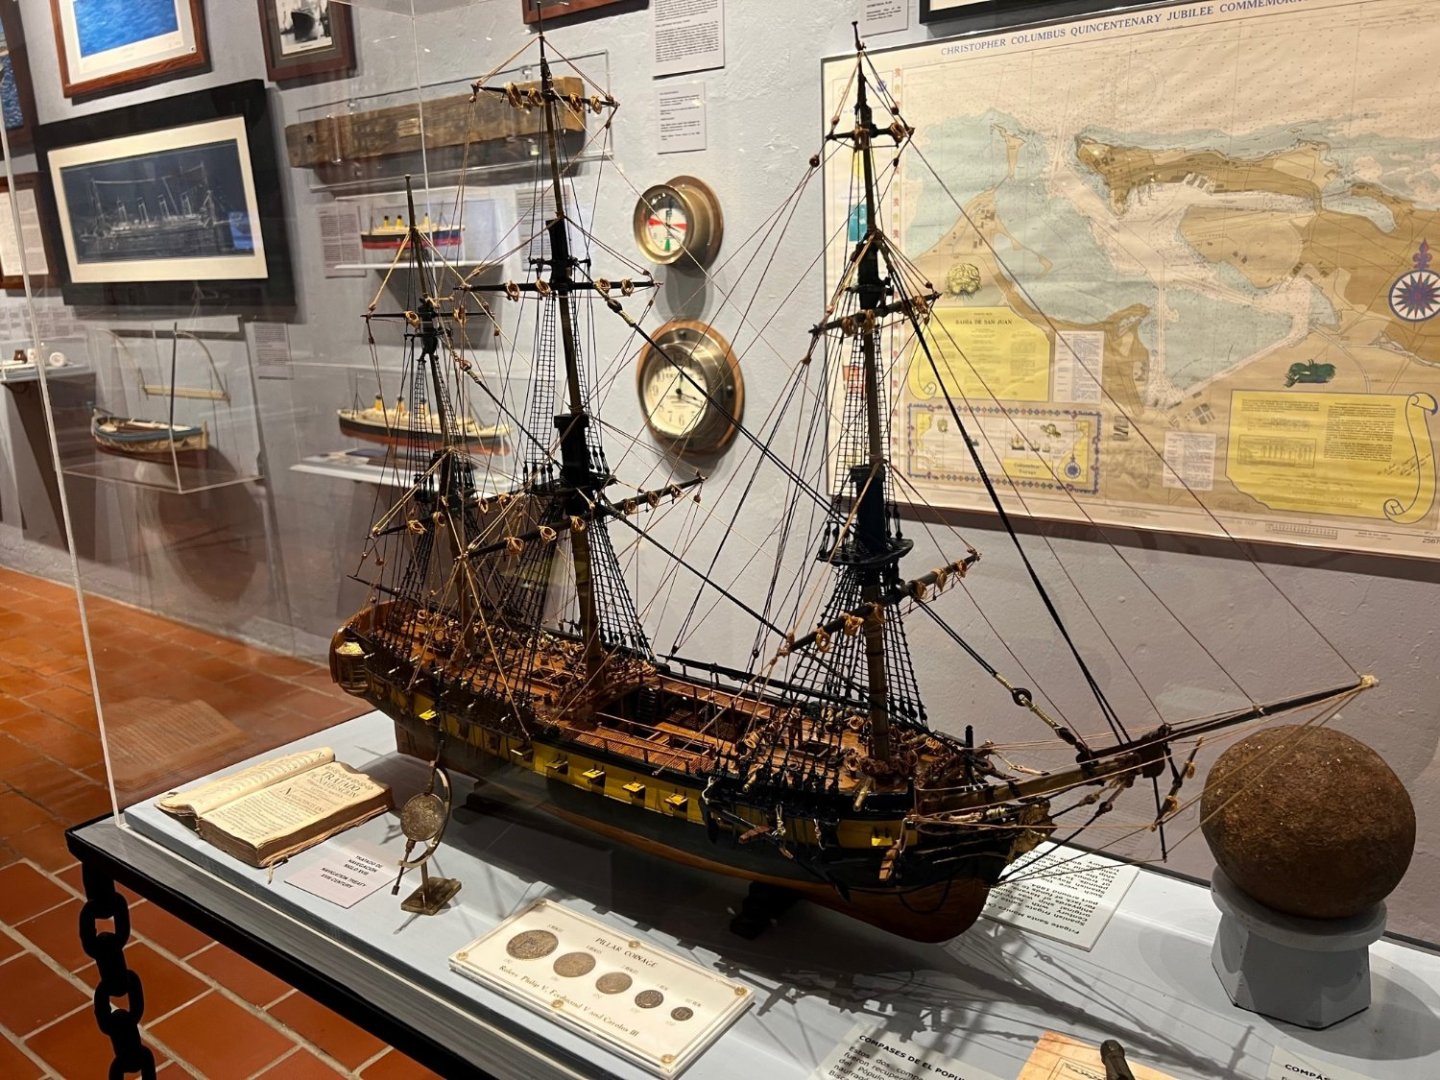
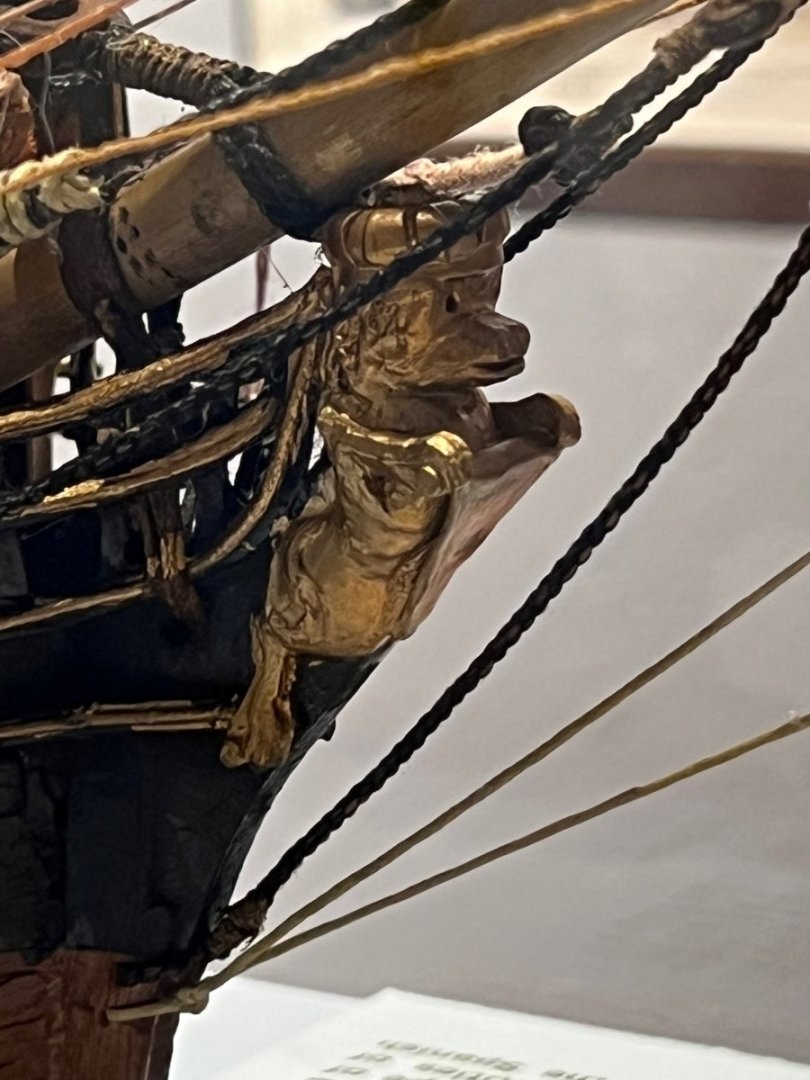
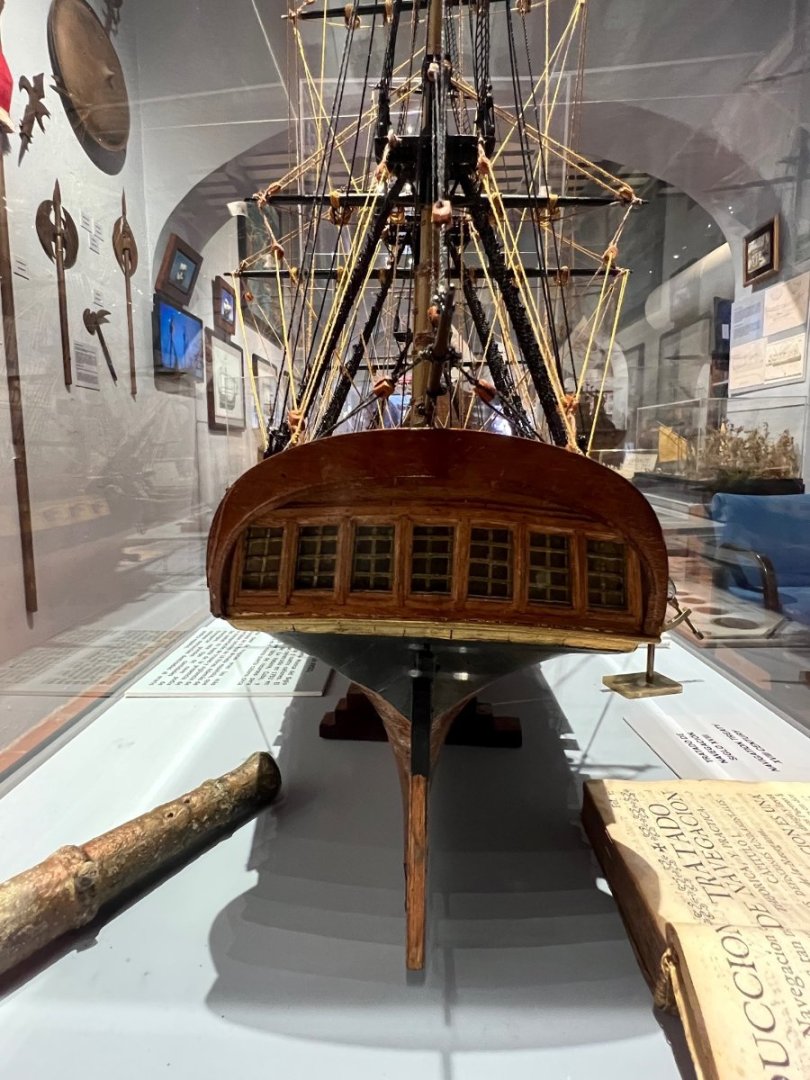
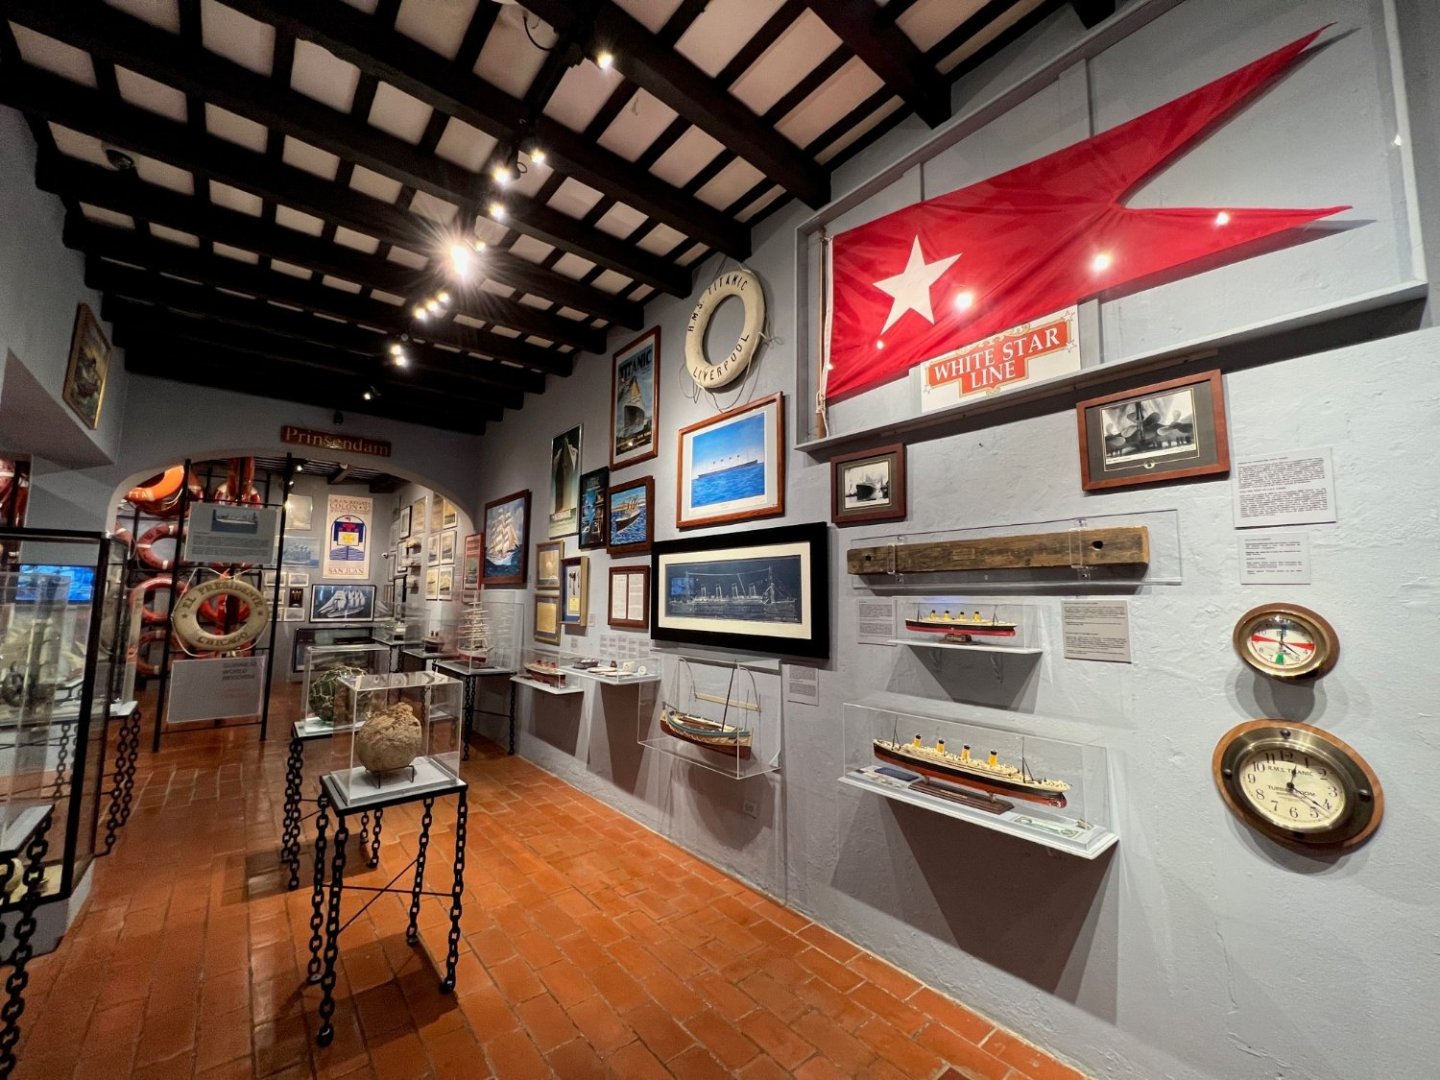
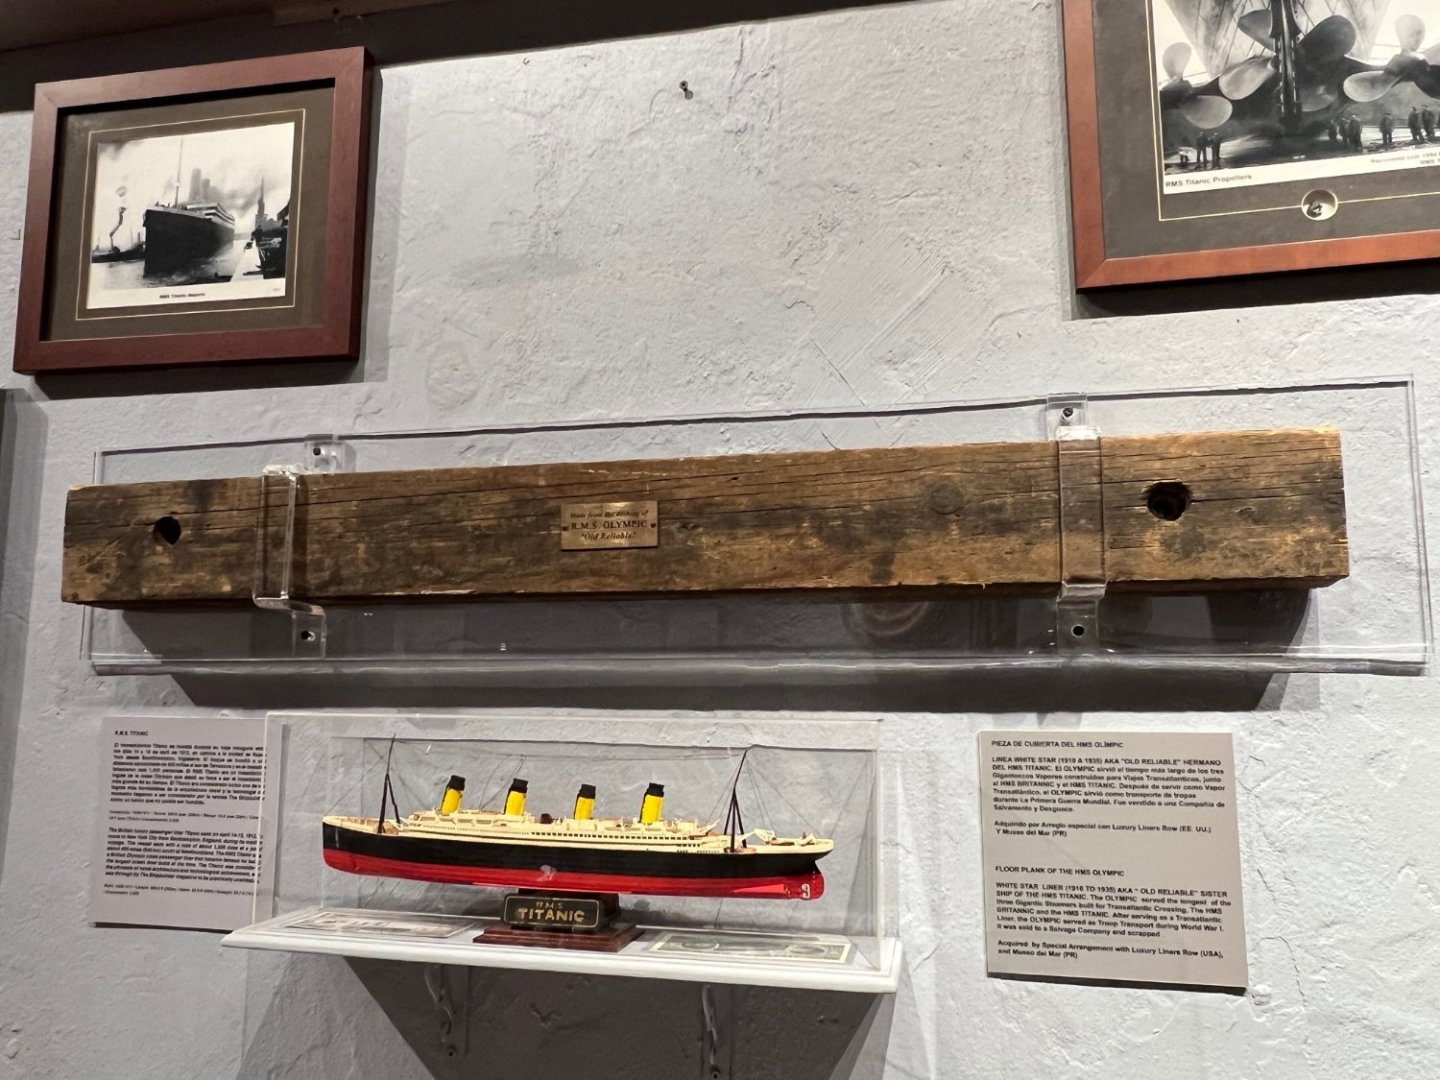
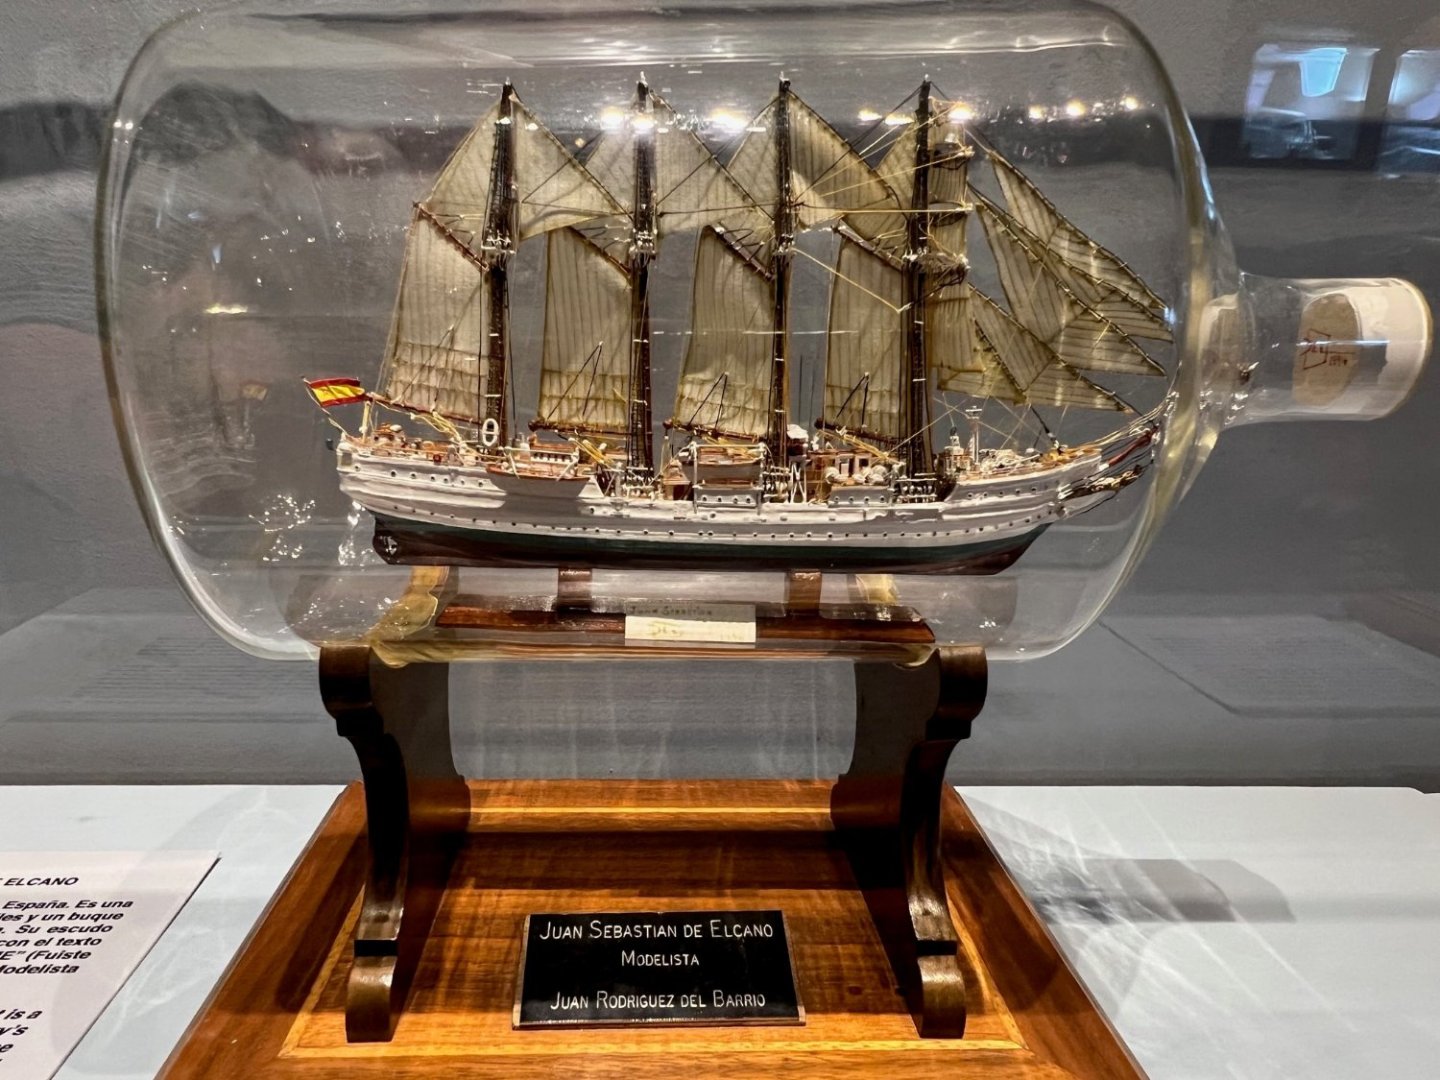
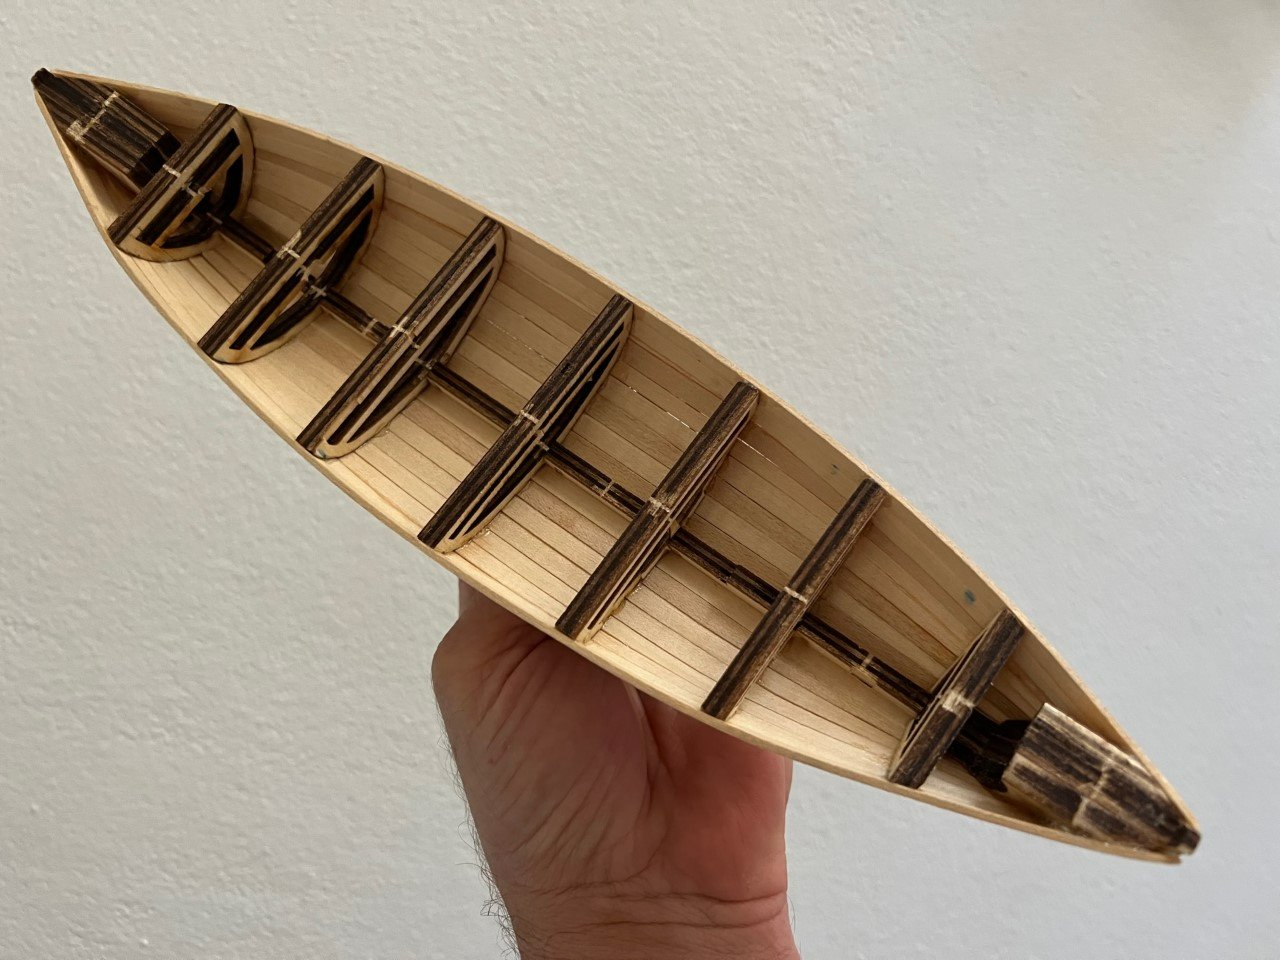
Good morning, and a Happy New Year 2023 to all! Did some lazy day work on the whaleboat yesterday. As you can see in prior pics, the inner hull in pretty much simple, related to rib work. I decided to add some extra basswood strips in order to have more ribs show in the build. Mind you, the pics are still of a WIP; need to sand down in order to have a better finish for painting purposes. One side is semi complete, and when done, will commence the other one. if you notice, I added some additional interior floorboards as well. You can see the differences of one original side vs the modified side in the images. As you can tell, this is not a specific-type build; I am adding some additional detailing as a means of practice for the upcoming ship I will be building. As always, critique/suggestions welcome. And by the way, taking my first walk of 2023, I happened to find a museum (mind you, a small one) called the Museo del Mar in the historic city of Old San Juan, Puerto Rico (where I am from) that has some wooden ship builds, including ships in a bottle by builder Juan Rodriguez del Barrio, a Spaniard and member of the Spanish Royal Naval League... impressive, to say the least. Link to his blog is: BOATS IN BOTTLE (juanrodriguezdelbarrio.blogspot.com). Also, the museum boasts to have in the Guiness World Book of Records the largest collection of Throw Ring life preservers. When I get the chance to visit again, will take more pics. Now, onto the pics...:


-
Yes, I will be priming and painting the hull... looking to see what realistic color combination I will be applying. Thanks!
-
Hello All! Quick couple of snaps with the rub rails on. Need to correct a bit of sanding work with #320 grit, and ready for inside work. Thinking of leaving the thick frames on, and adding thinner wood strips to simulate the ribs, adding a bit of detailing to the build. The thick frames will be mostly covered by the benches, so really no need to remove them. Pics below; feedback/comments welcome!

-
Thanks! Some measurements are off, as I had no prints to go off, but as you said, it's pretty much looking good so far... nothing that sawdust/glue paste can't fix! Again, thanks for your feedback. Jorge
-
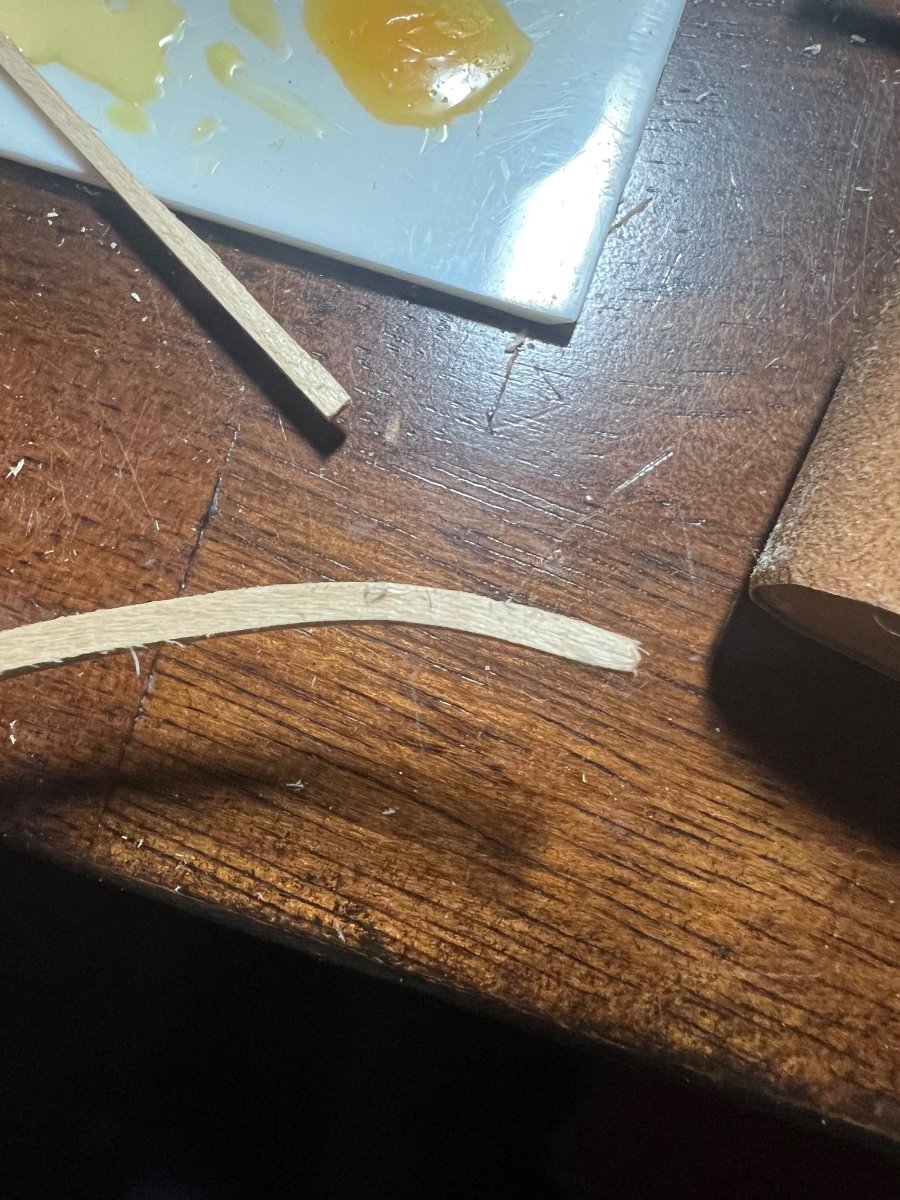
Good Morning! Some additional progress pics. Hull has been partially filled/sanded and will retouch the outside after rub rail that is not in the kit has glued dry, but have seen some pics of whaleboats with them. This is in addition to the sheer plank that the kit describes as Rub Rail (walnut strip not yet in place, as it is currently being formed while it sets drying). Progress pics below; have enjoyed the build so far... will post later if I get a chance to install the walnut "sheer plank rub rail".


-
Jeez, Mustafa... don't know how I missed this build of yours, as the Alert is one of my favorite little vessels! Your work is coming along beautiful; the attention to detail is astounding, and being your first clinker hull, it is beautiful! By the way, how did you assemble the clinker hull? Did you create the lapstrake type joint? If so, how did you manage to create it? Many thanks for your time, and keep the beautiful work coming!!! Merry Christmas! Jorge
-
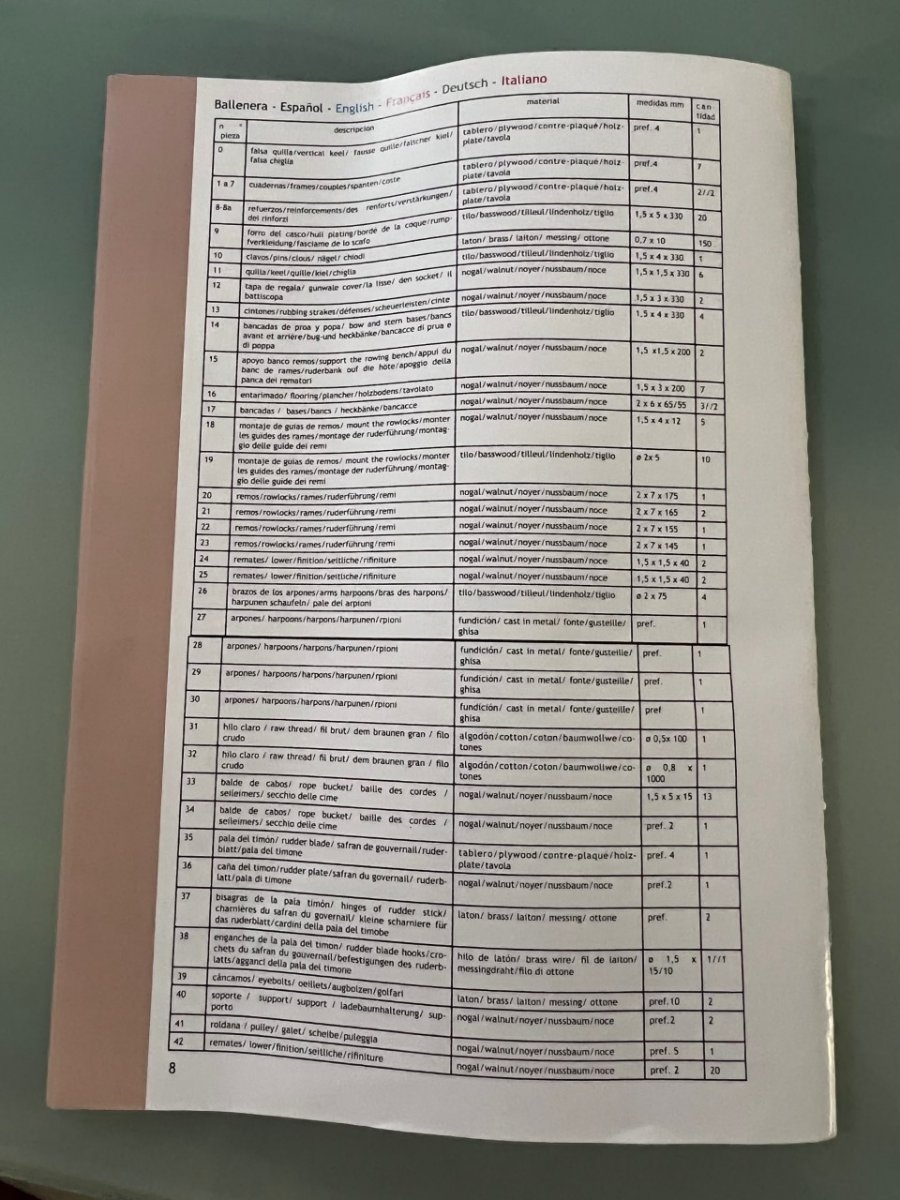
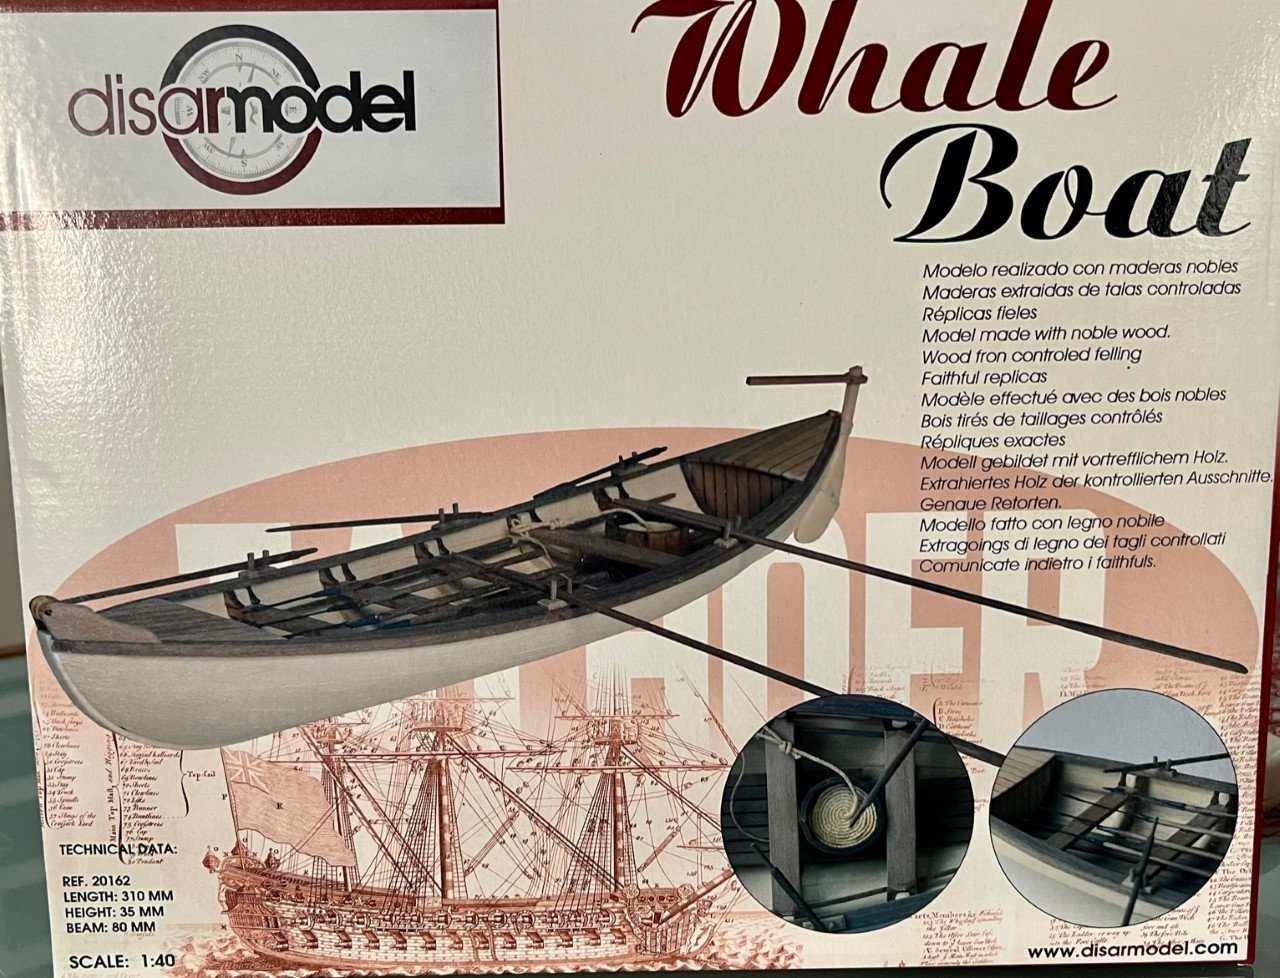
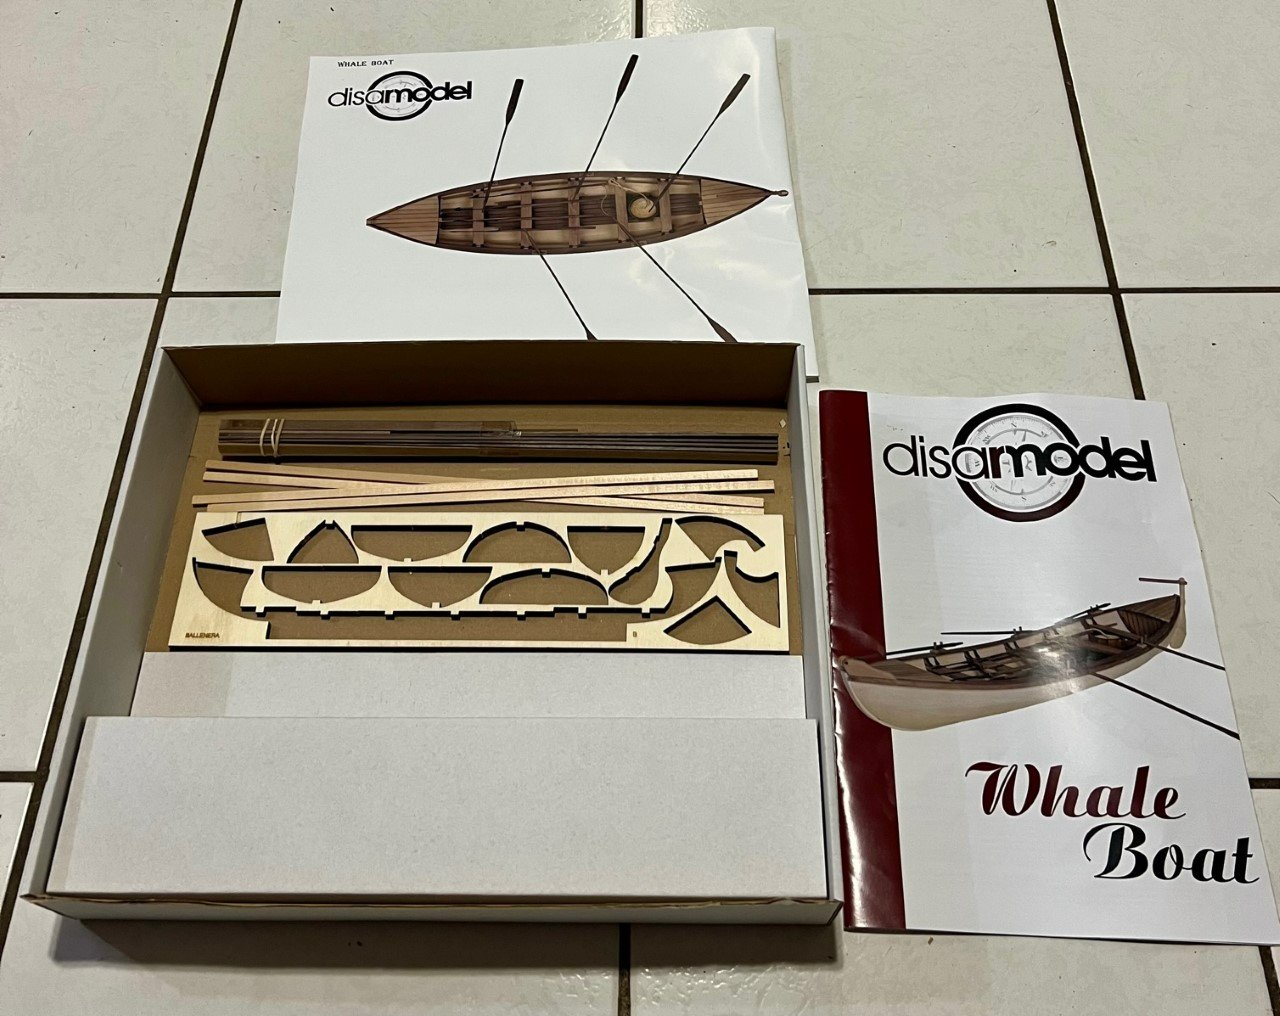
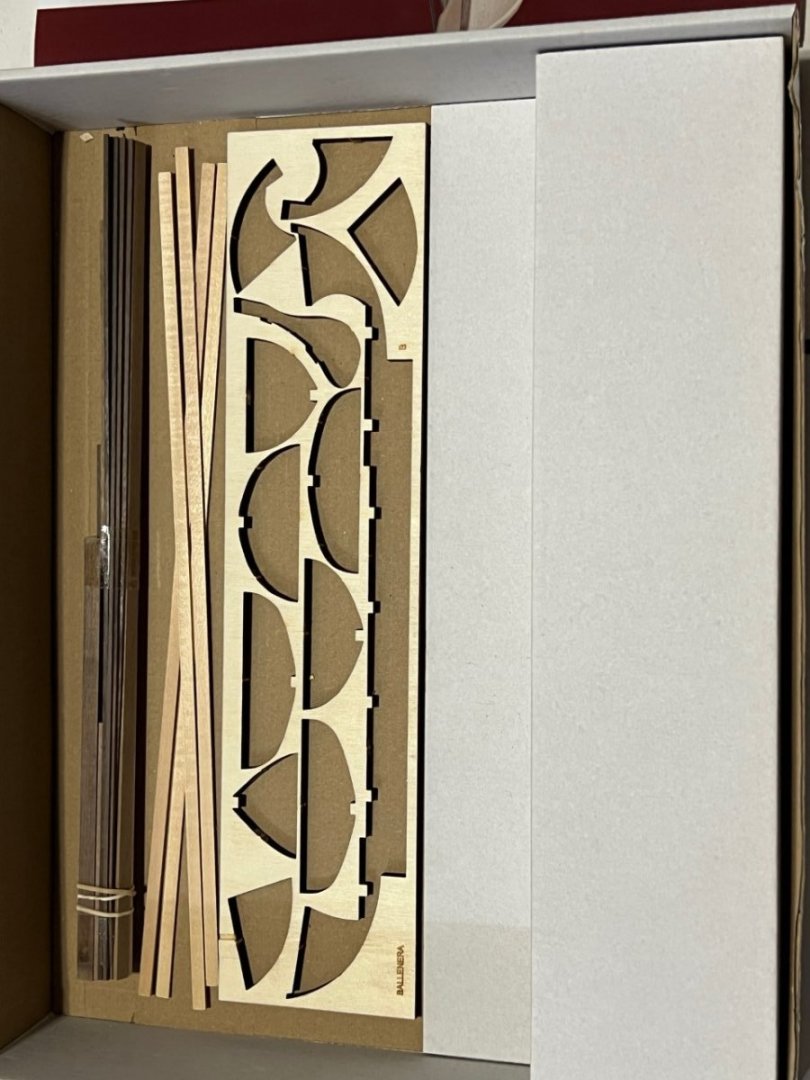
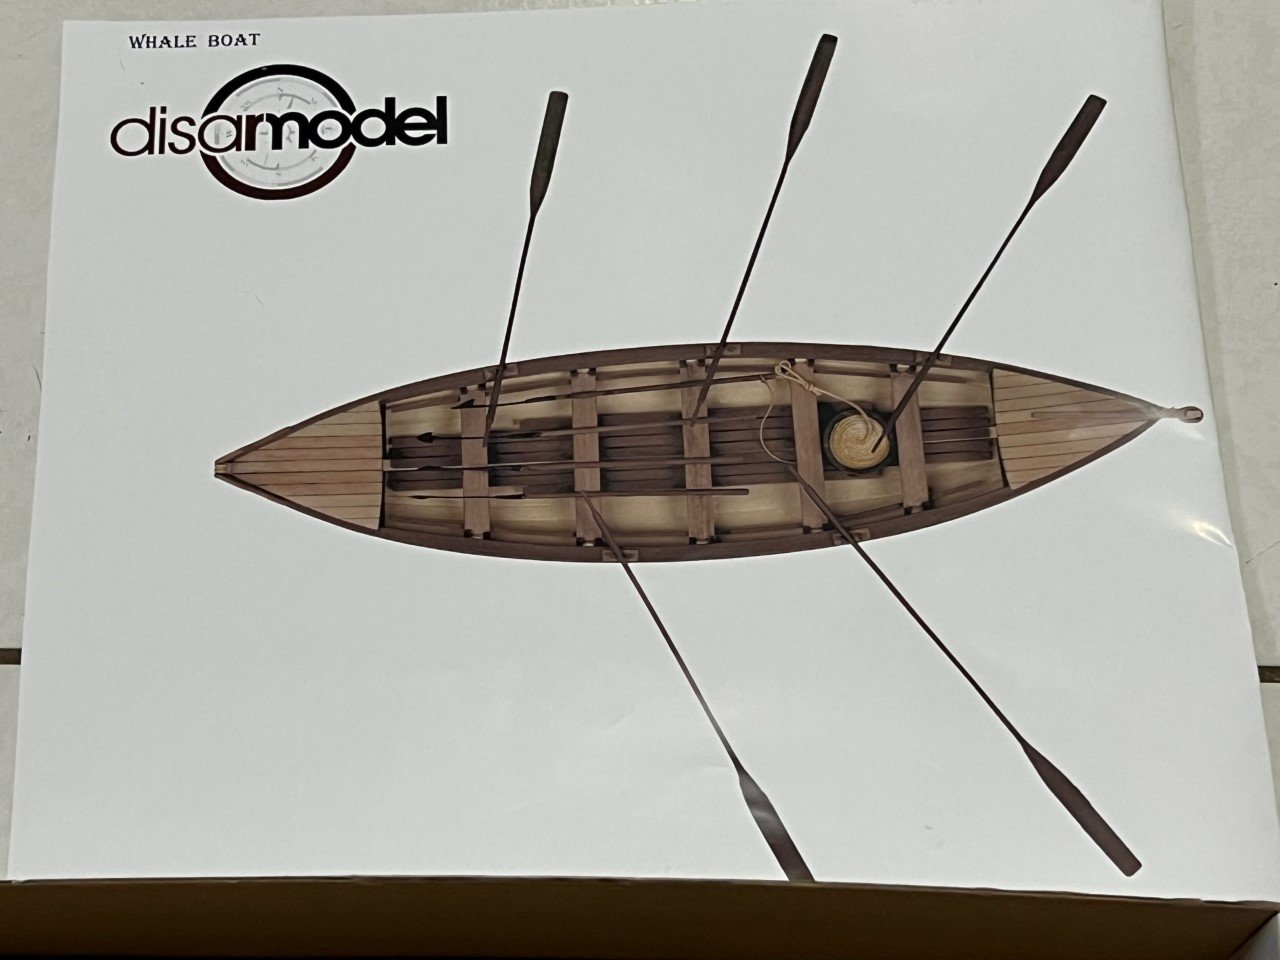
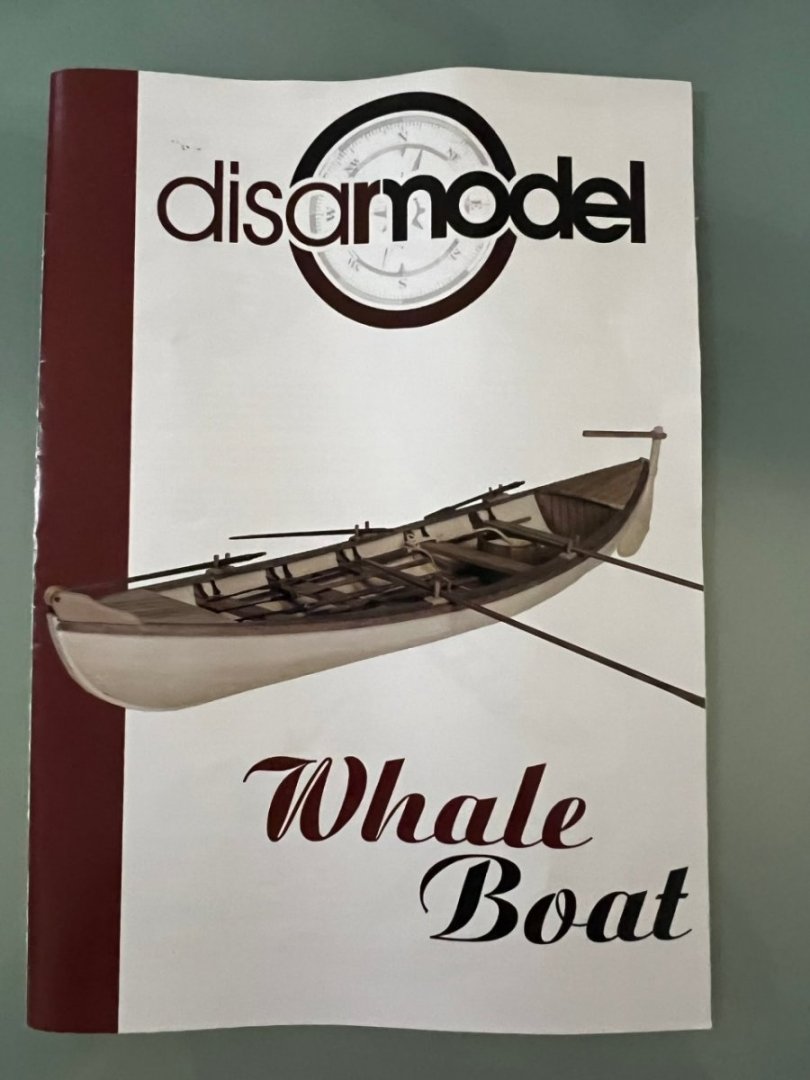
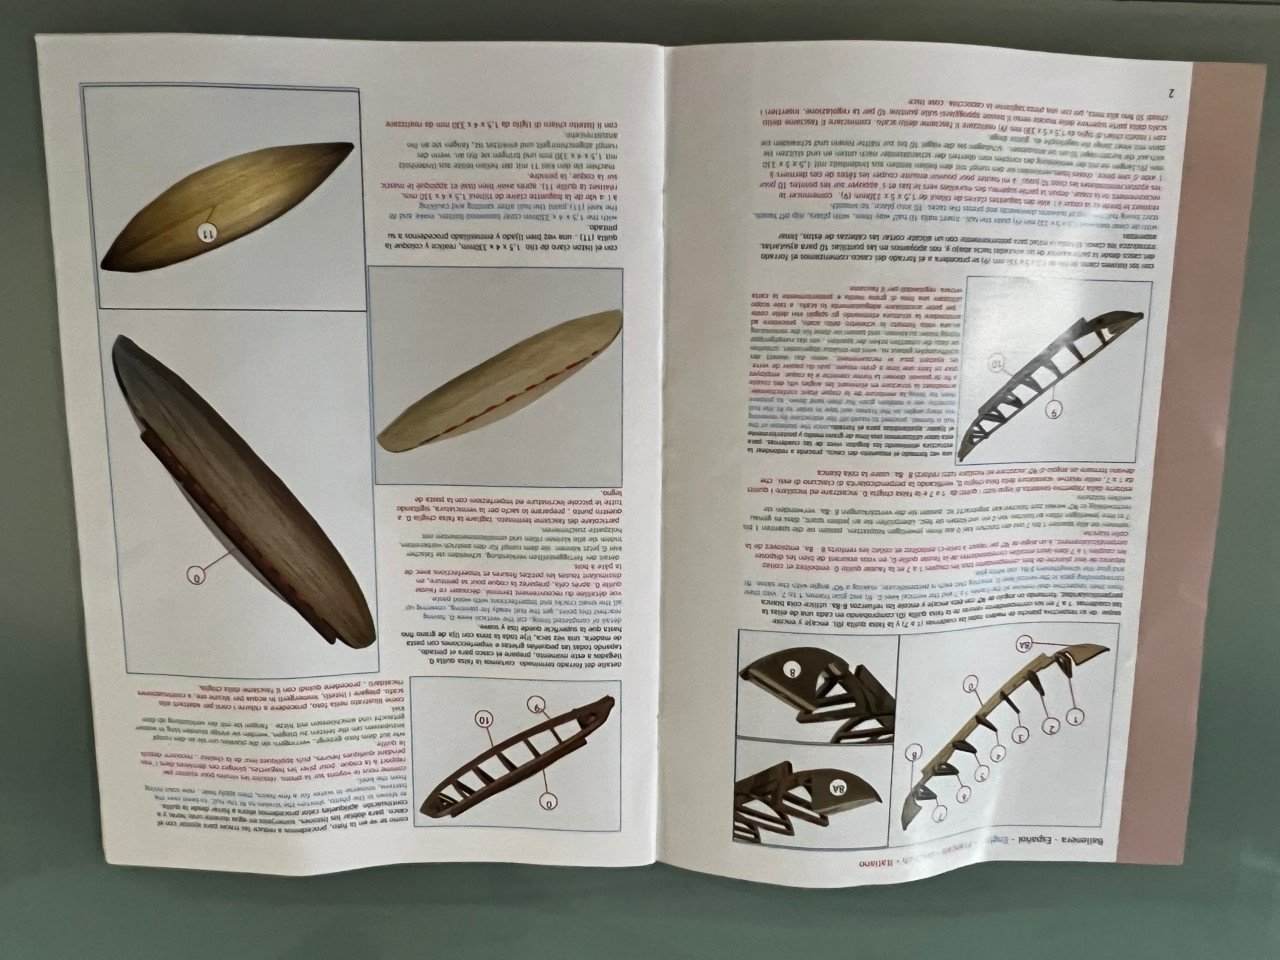
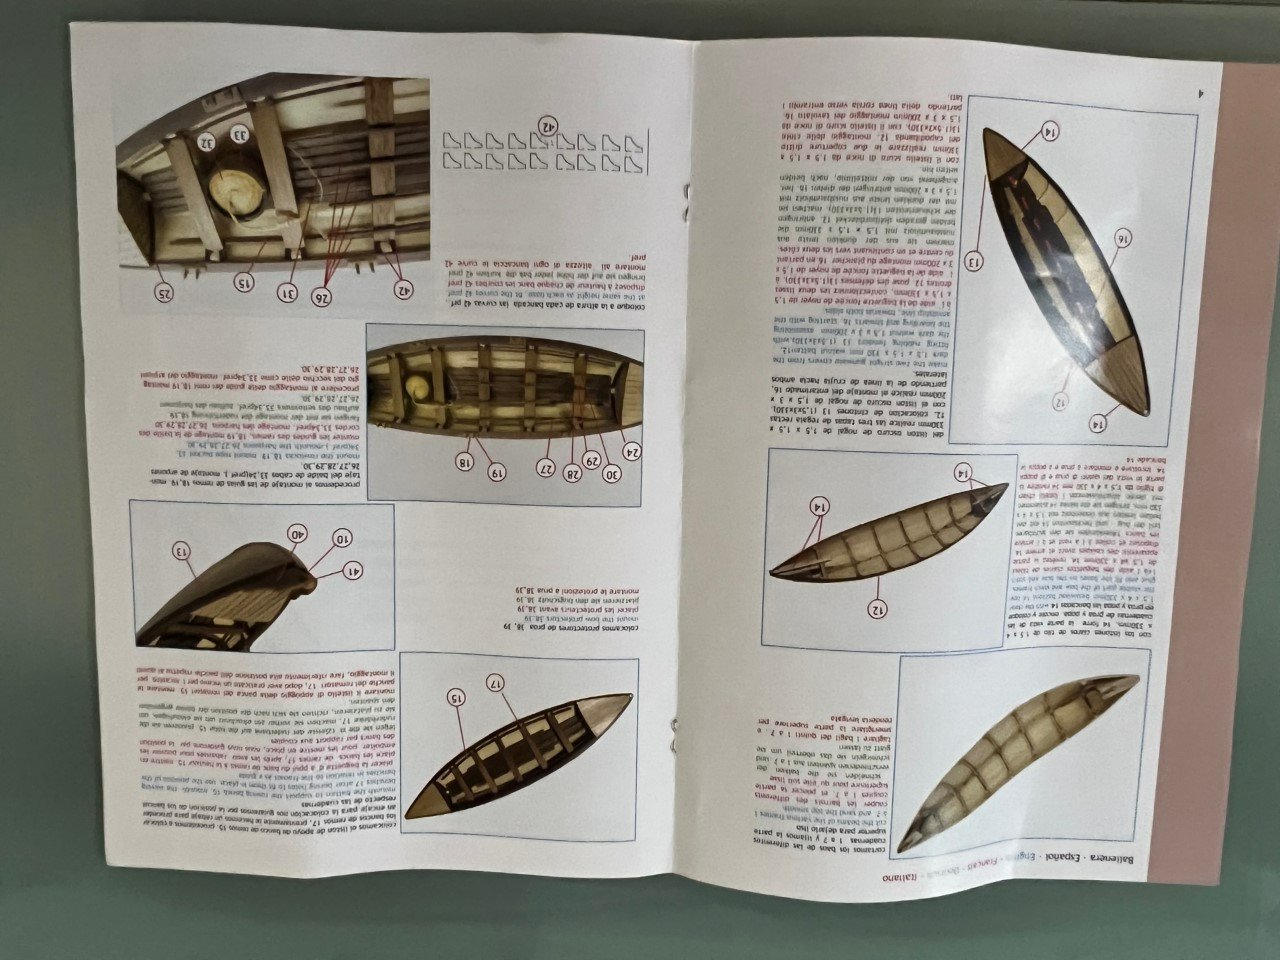
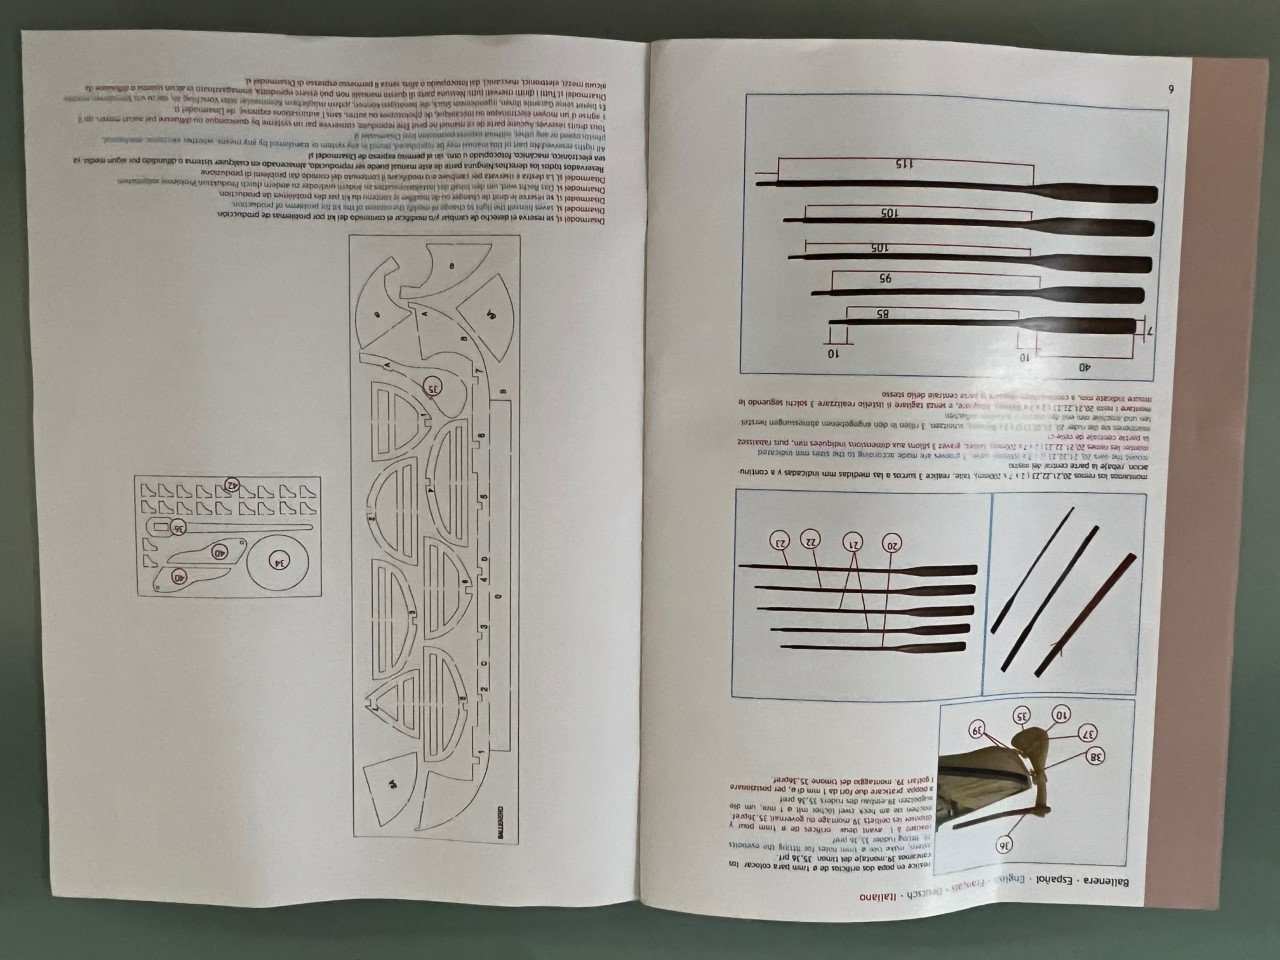
Good Morning!!! As promised, some quick pics of the Disarmodel kit box contents. Box is a very nice, sturdy one, that really protects the contents. All parts came neatly bundled (strips), and two wood types were included (basswood, walnut). Frames are nicely cut but delicate. they have like a veneer that tends to "pop" off when removing them from the sheet, so watch out for that. Other than that, frames are strong enough to handle the build process. Missing from the kit is any form of plans... all you get is an instruction booklet that is kinda light on the process, so at least for me, the missing images/measurements usually found on a kit made it a bit "difficult" on the planking, since there was a lot of measuring, cutting/trial/error during the same. Fortunately, I am used to the measure 3 times, cut once, and leaving a bit of extra "meat" on the wood in order to get nice plank runs. Needless to say, I screwed up a couple of times, so you might be able to see these in the pics. Nothing that some sanding and glue won't fill. To date, cant complain about the kit other than the missing plans, which could be helpful for a novice. Now, onto the pics:


-
Very NICE build, Janelle! Love the shoreline setting for the whaleboat. Hope my Disarmodel Whaleboat comes out as good as yours! I just completed the basic hull build; need to perform some small corrections, and will post in my blog. Keep up the GREAT work! Jorge
-
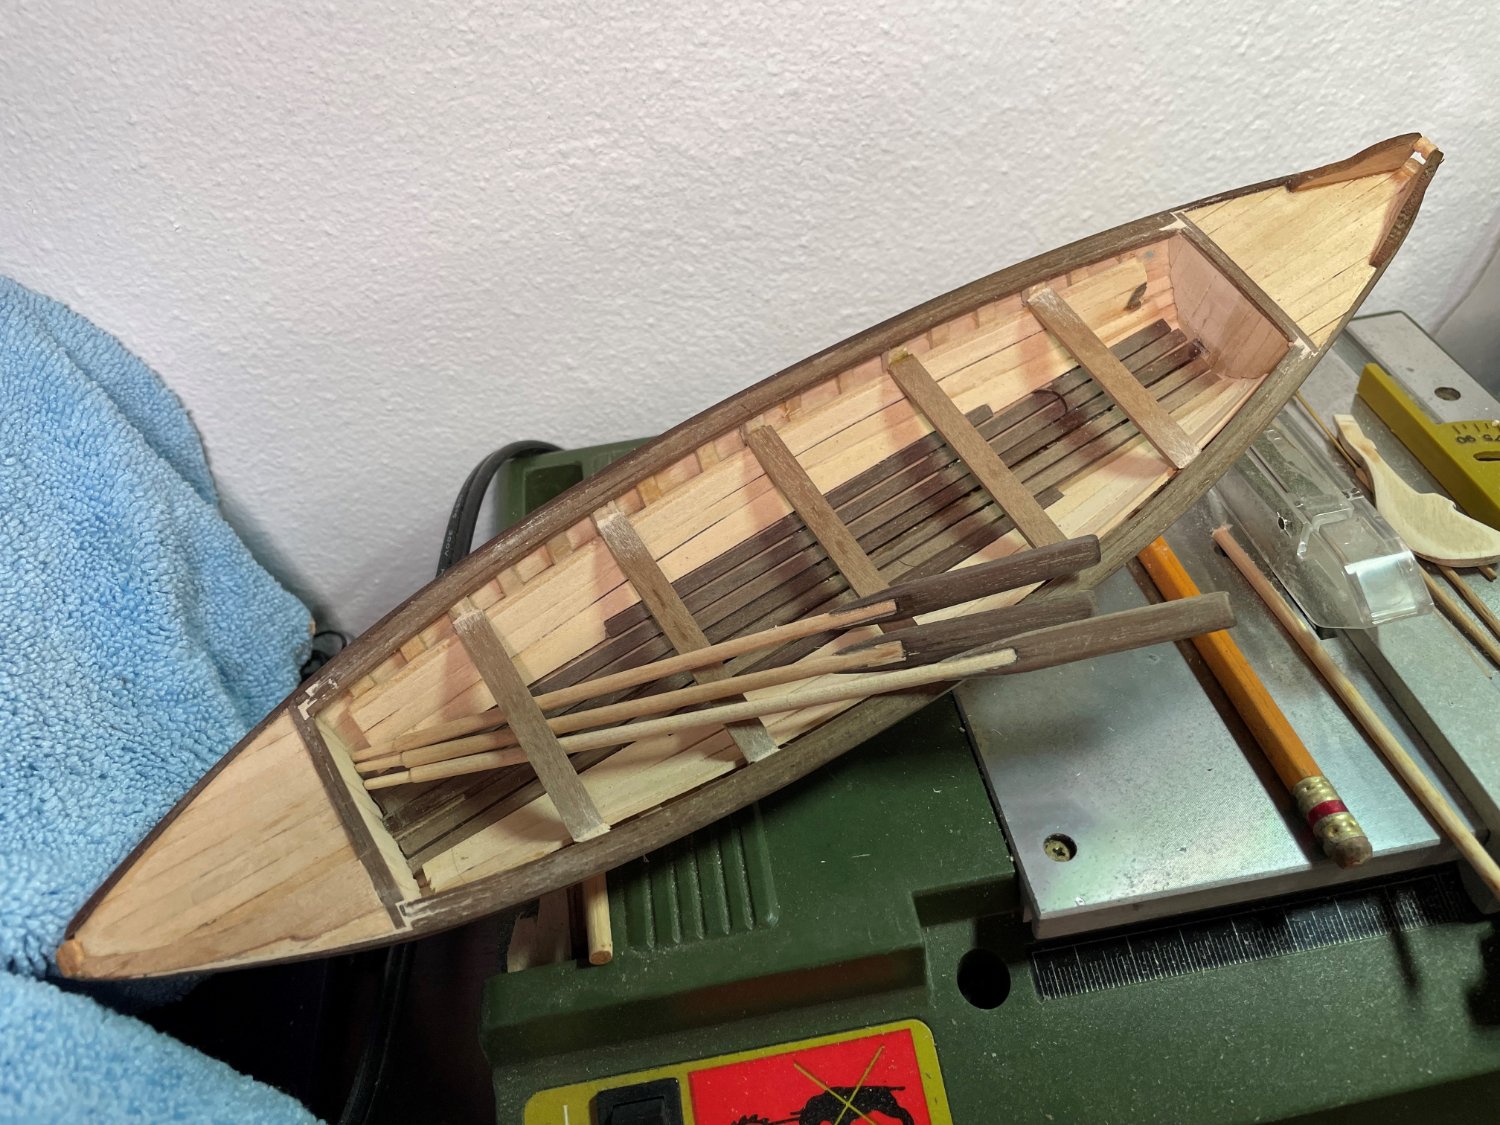
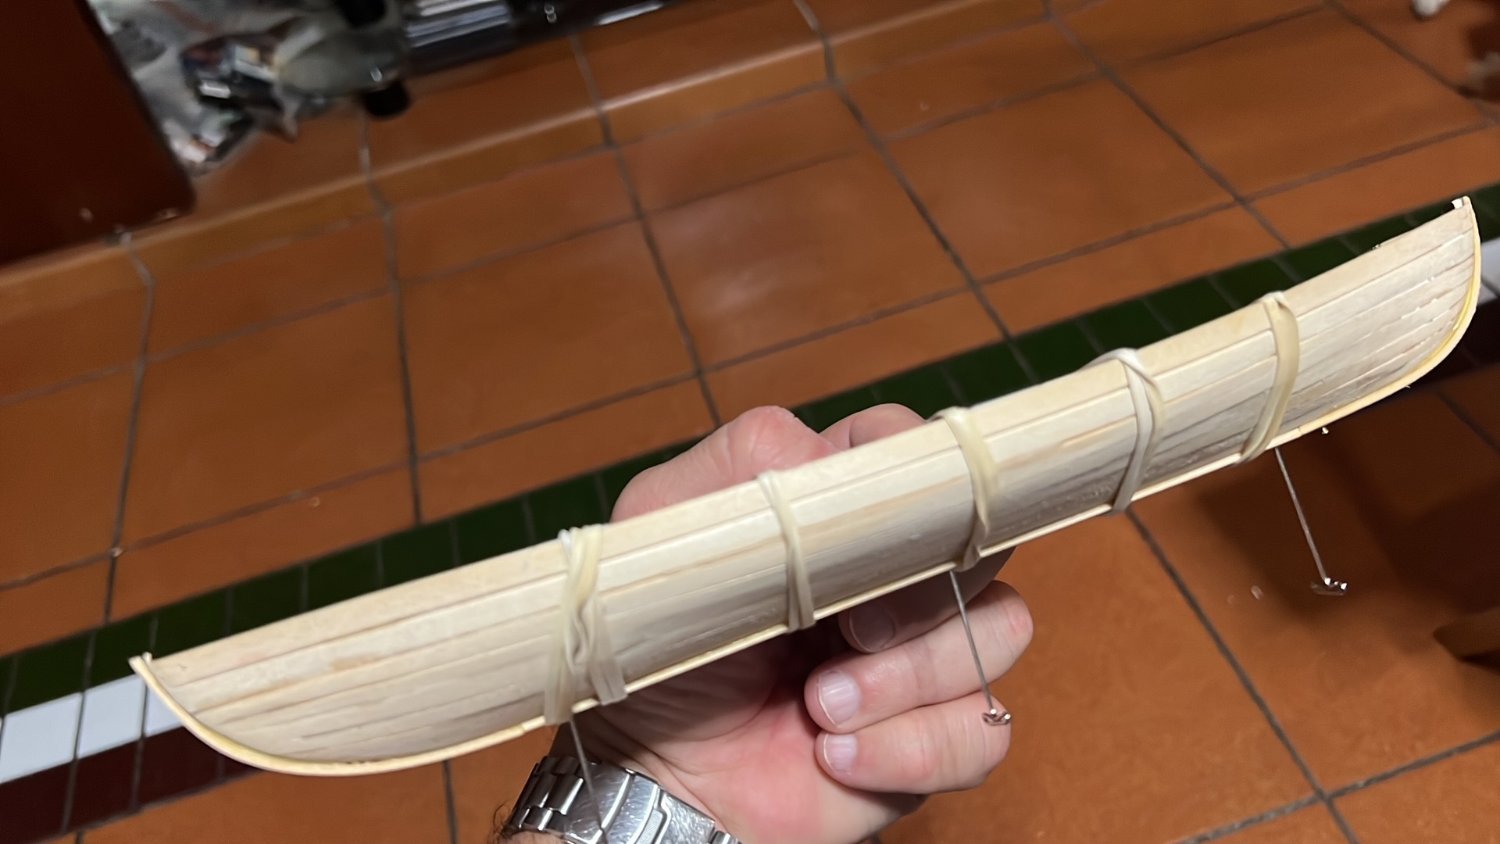
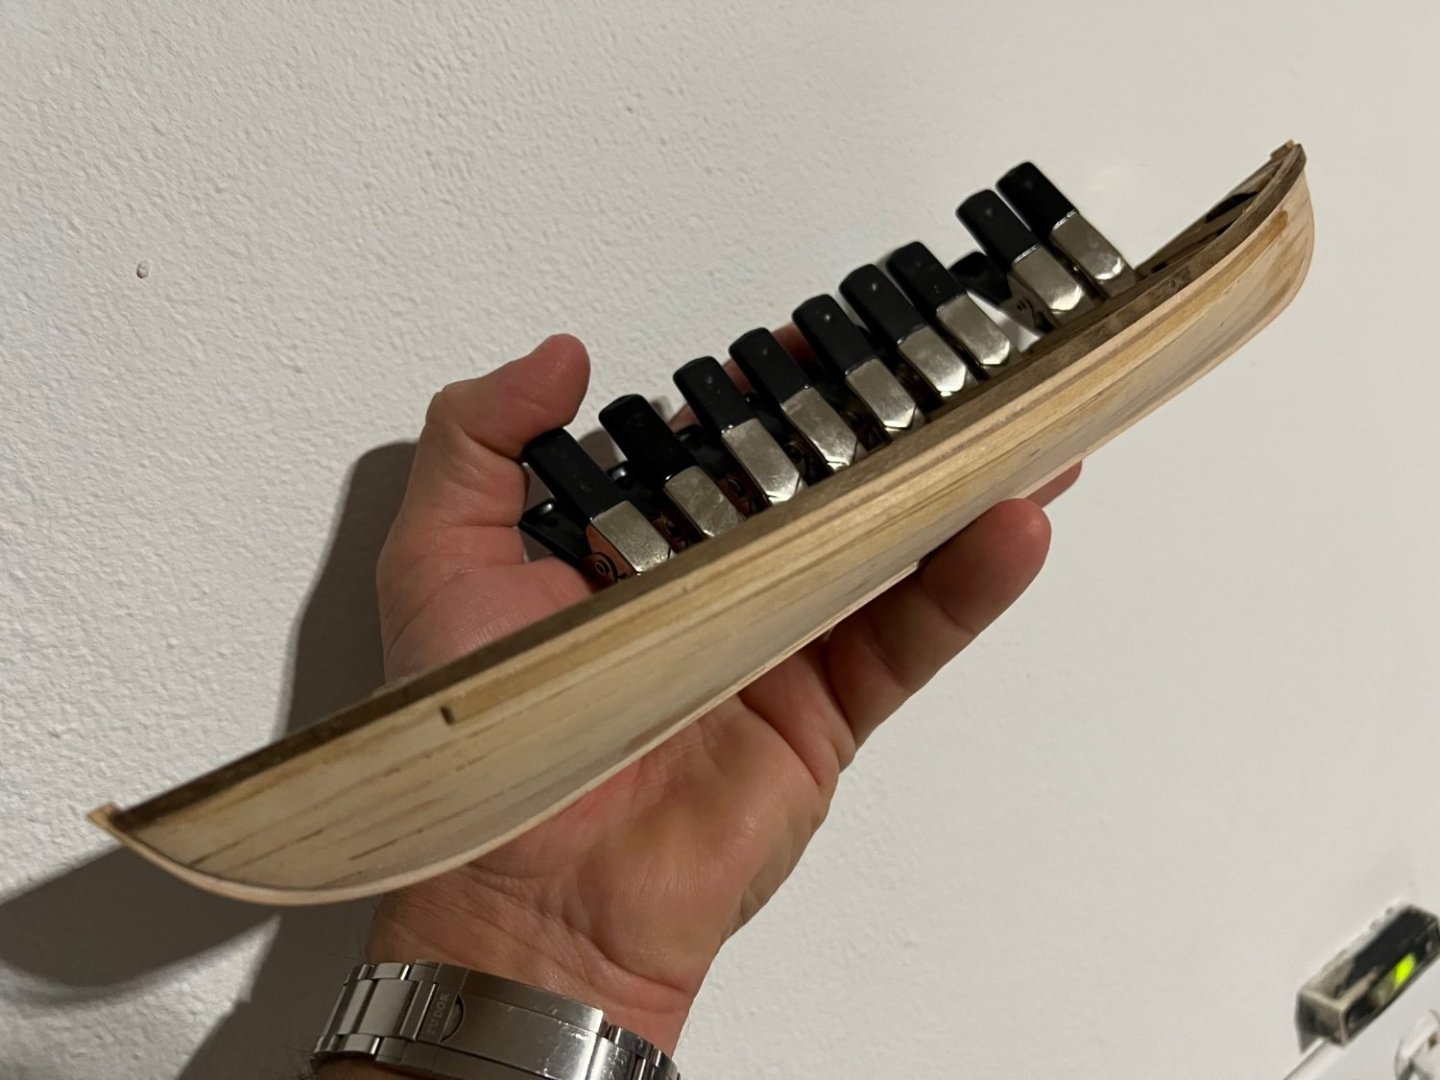
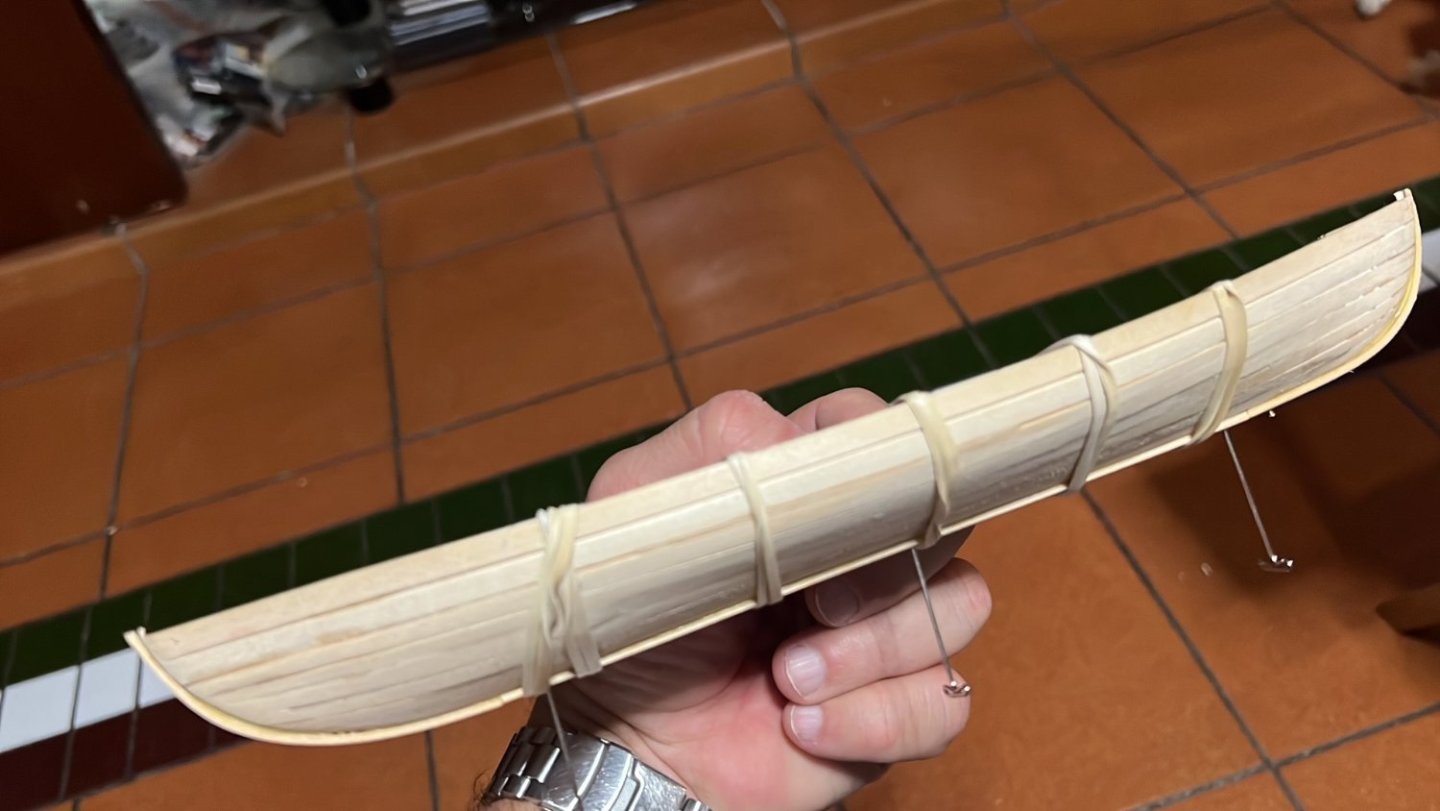
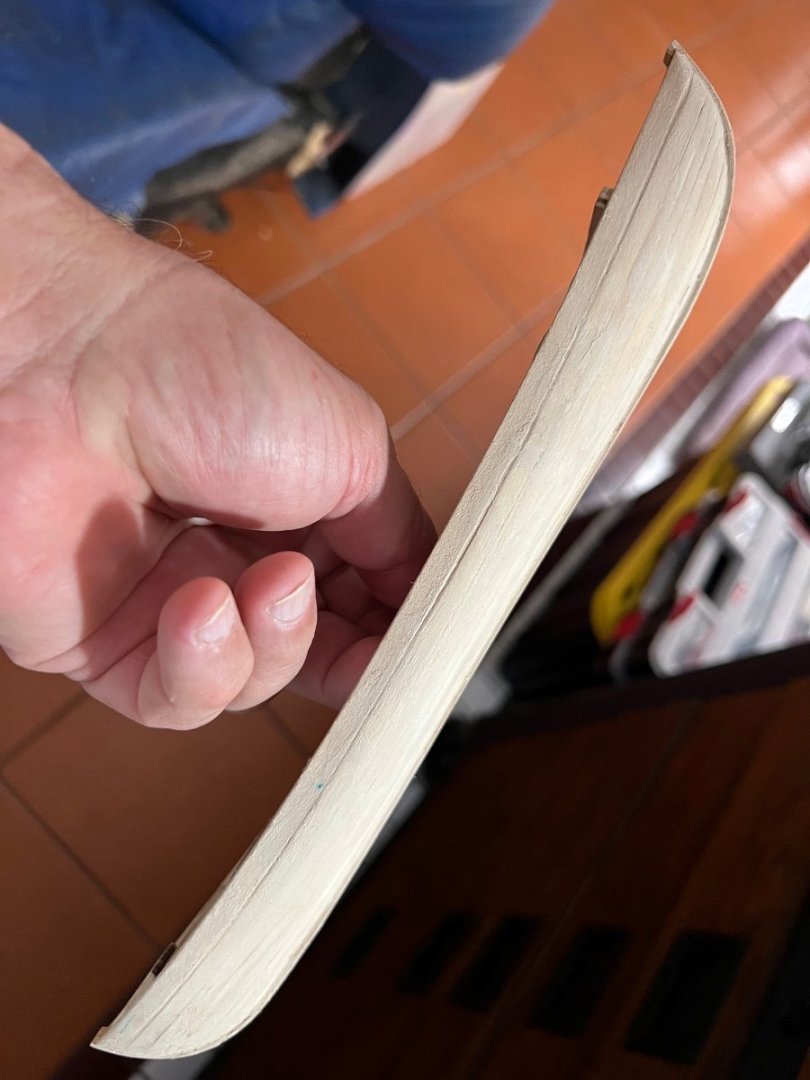
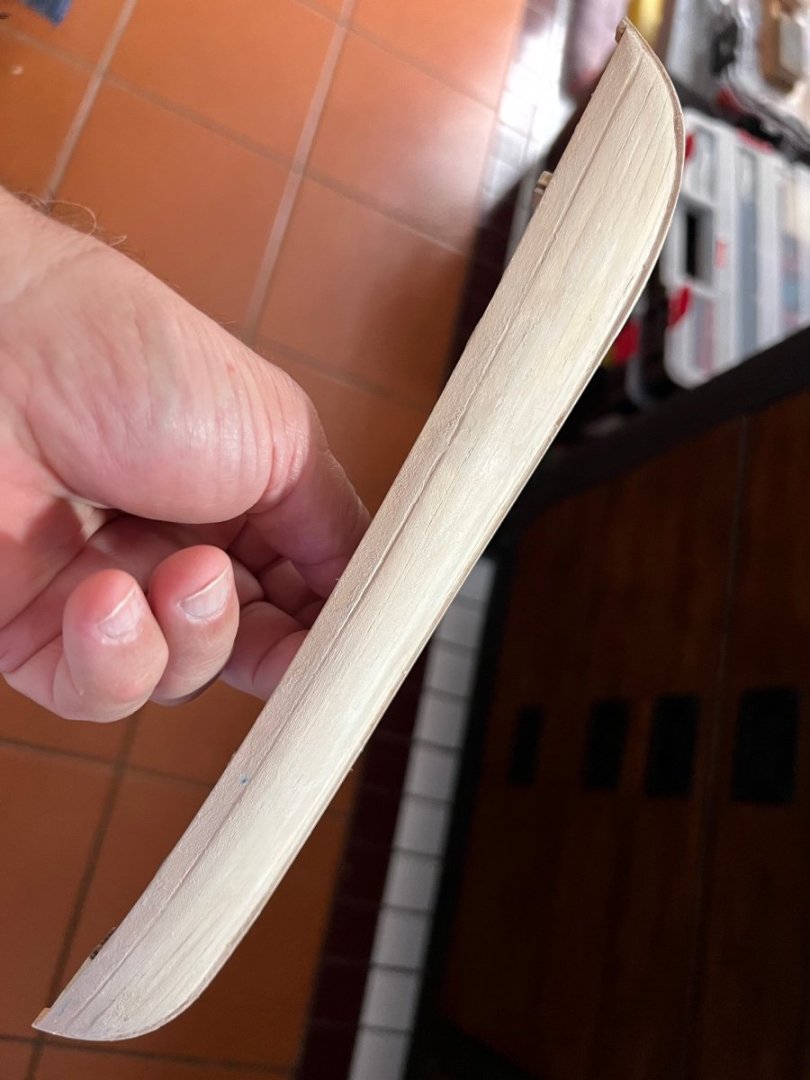
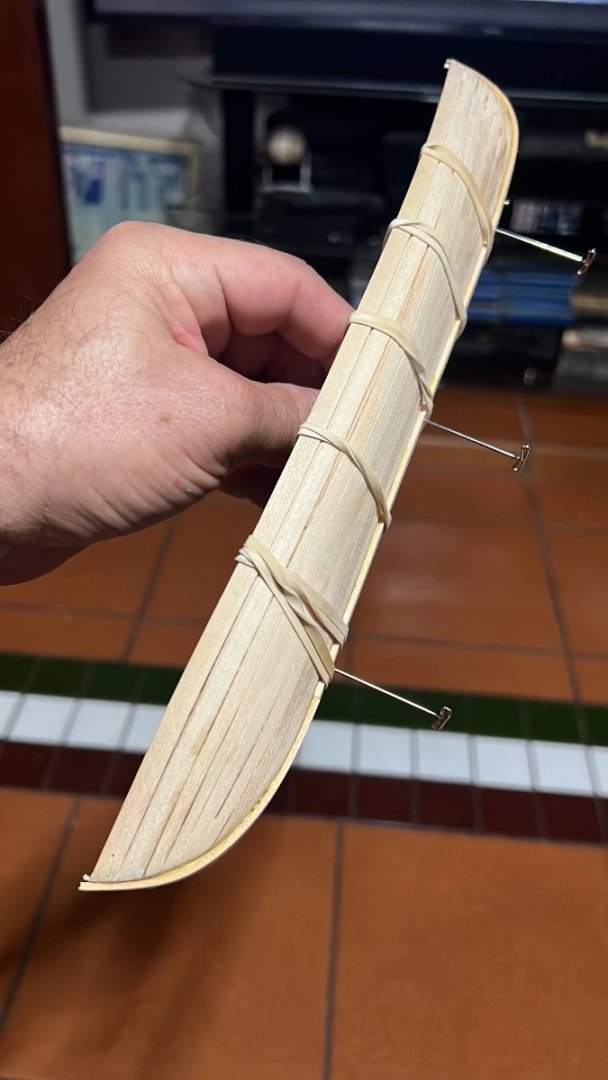
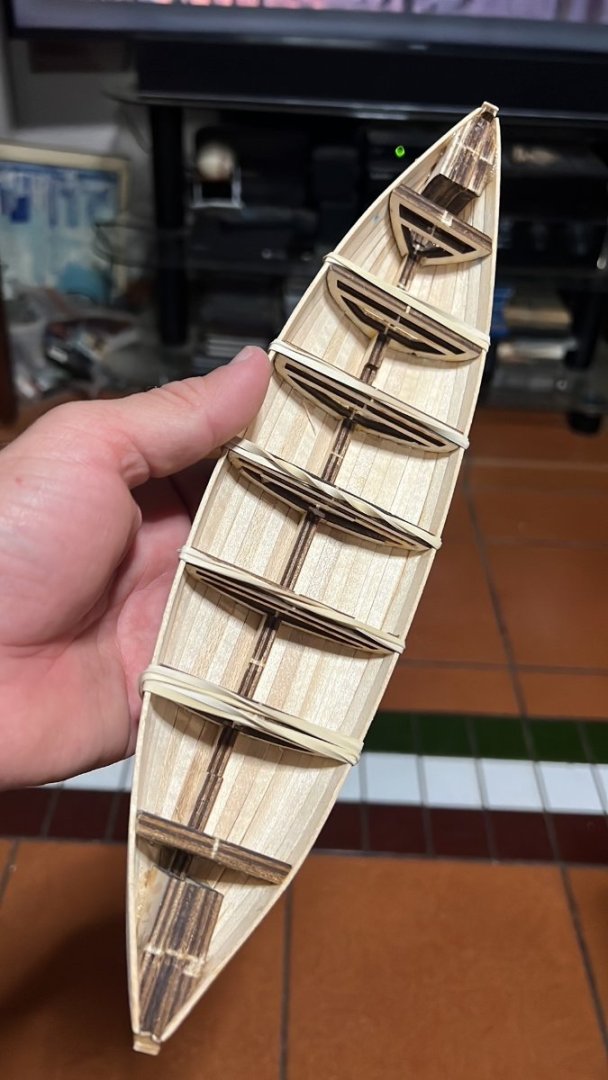
Hello! This would be my first build log, as recommended by Mark Taylor in another forum section, when asking about the Disarmodel Whaleboat, 1:40 scale. I really have no open box pics at the moment, but I can get some later and upload. It is indeed a very nicely packaged kit, all of the wood tightly grouped, as well as a small plastic box with the smaller parts inside. There is a nice poster of a top-view of the assembled whaleboat, and last, the instruction booklet. This is where the fun begins... instructions are basically quick comments per each step, and not that many pictures to help a novice builder. There are no plans whatsoever, so for those looking a kit with a nice instruction/print set, this is not for you. In the other hand, the frames are nicely laser cut, but delicate... they have a very thin veneer, so to speak, that will eventually come loose, so there will be sections that you will have to fill in, as these frames become part of the structure of the boat (think of huge ribs). Assembly was pretty straightforward, with 2 thik additional pieces for bow and stern that you will have to fair, along with the frames, in order to install the planks. The keel per se is delicate in a couple of places, so you have to be delicate when sanding/fine tuning the fairings on frames. Now, onto the first pics... first planks, port and starboard. Not glued in place... the planks were lightly wet, and installed so they take form... not sure if I will form the hull, and prepare ribs in lieu of the kit frames... still thinking if going this way! And sorry for the background, but my worktable was too cluttered with other stuff that I have to clear! As soon as I have a bit of progress, will post more info/pics... duty calls, have to work, pay the bills! All feedback greatly appreciated!


-
Good Morning! Just bought a Disarmodel Whaleboat, just out of curiosity, as it was on special sale; haven't had the chance to open the kit just yet. Anyone build one of these that can share impressions and pics of the kit? Thanks! Jorge
-
Model Shipways USS Constitution Cross Section
Jorge Hedges replied to Jorge Hedges's topic in Wood ship model kits
Appreciated the link... watch a number of videos from the series last night, so it might work for any cross section, technique-wise speaking. Good Stuff! -
Model Shipways USS Constitution Cross Section
Jorge Hedges replied to Jorge Hedges's topic in Wood ship model kits
Not sure what you mean... My post is about the Model Shipways USS Constitution cross section... you shared one about the Victory. Thanks anyways; might be a good watch! Jorge -
Model Shipways USS Constitution Cross Section
Jorge Hedges replied to Jorge Hedges's topic in Wood ship model kits
Yes, it is sort of newish, and supposed to be a good one... that might be the reason it is not here yet then. Link to kit: Model Shipways USS Constitution Cross-Section 1797 Wood Model - 1:76 Scale (modelexpo-online.com) Link to instructions: https://modelexpo-online.com/assets/images/documents/MS2045 USS Constitution Cross Section Assembly Instructions_OLD.pdf (modelexpo-online.com) I'll see if I post some pics of the kit when it arrives... I have just ordered one, and was wondering if anyone had already started or reviwed one. Thanks! Jorge -
Hello All! Anyone here has built or is building a Model Shipways USS Constitution cross section kit? If so, anyone has a link to the build log and what is your opinion? I searched, but I cant find anything related to this particular cross section; I do seee the Mamoli, but not the MOdel Shipways version. Thanks! Jorge
-
Beautiful build! Congrats!
-
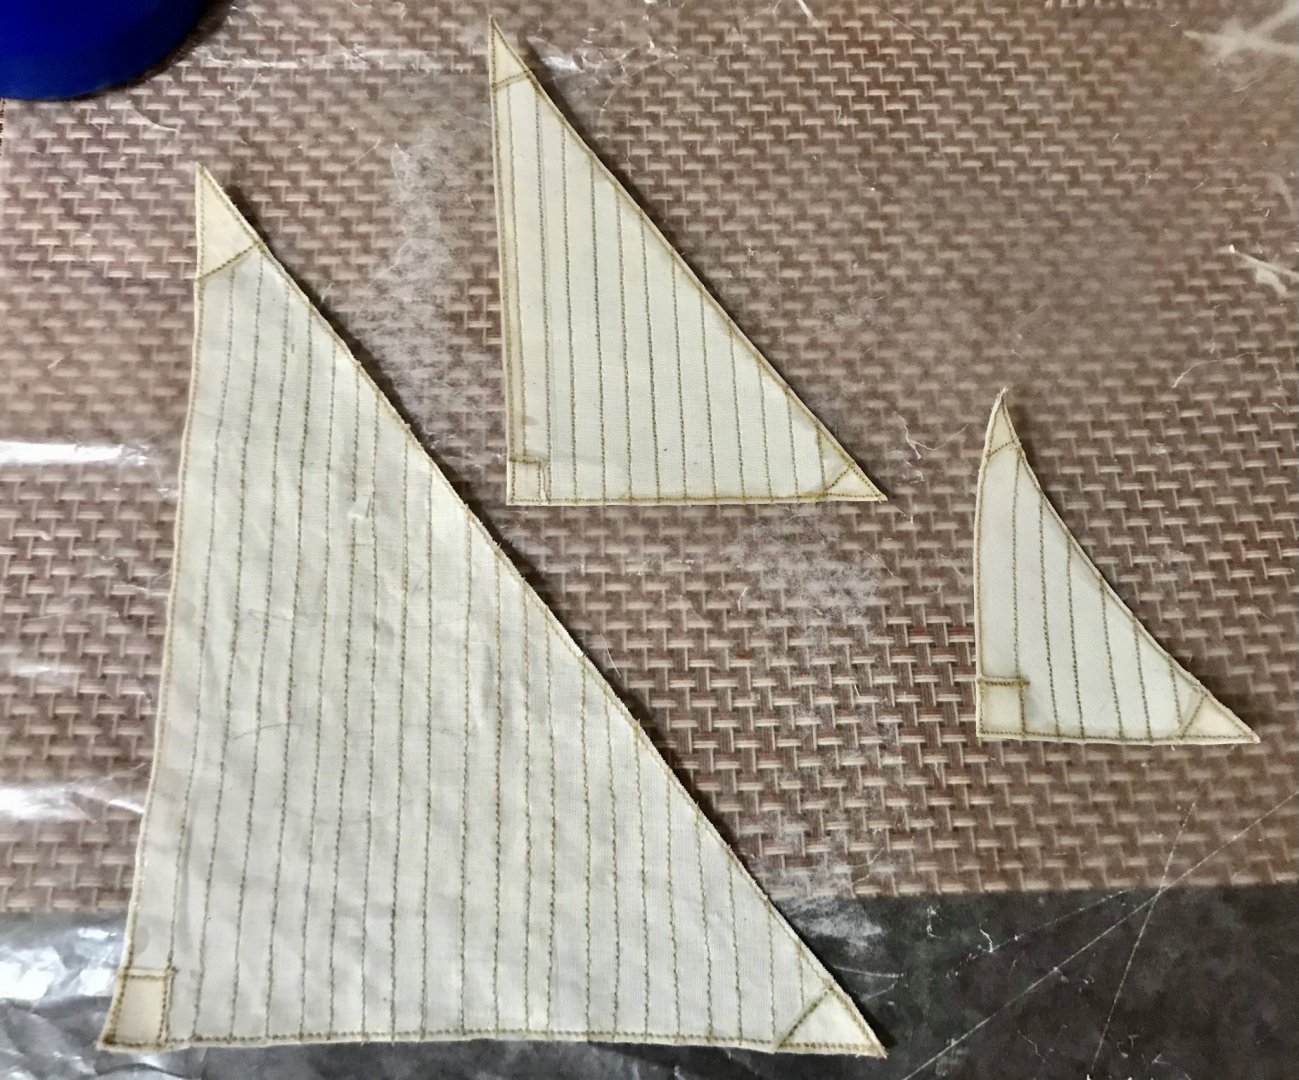
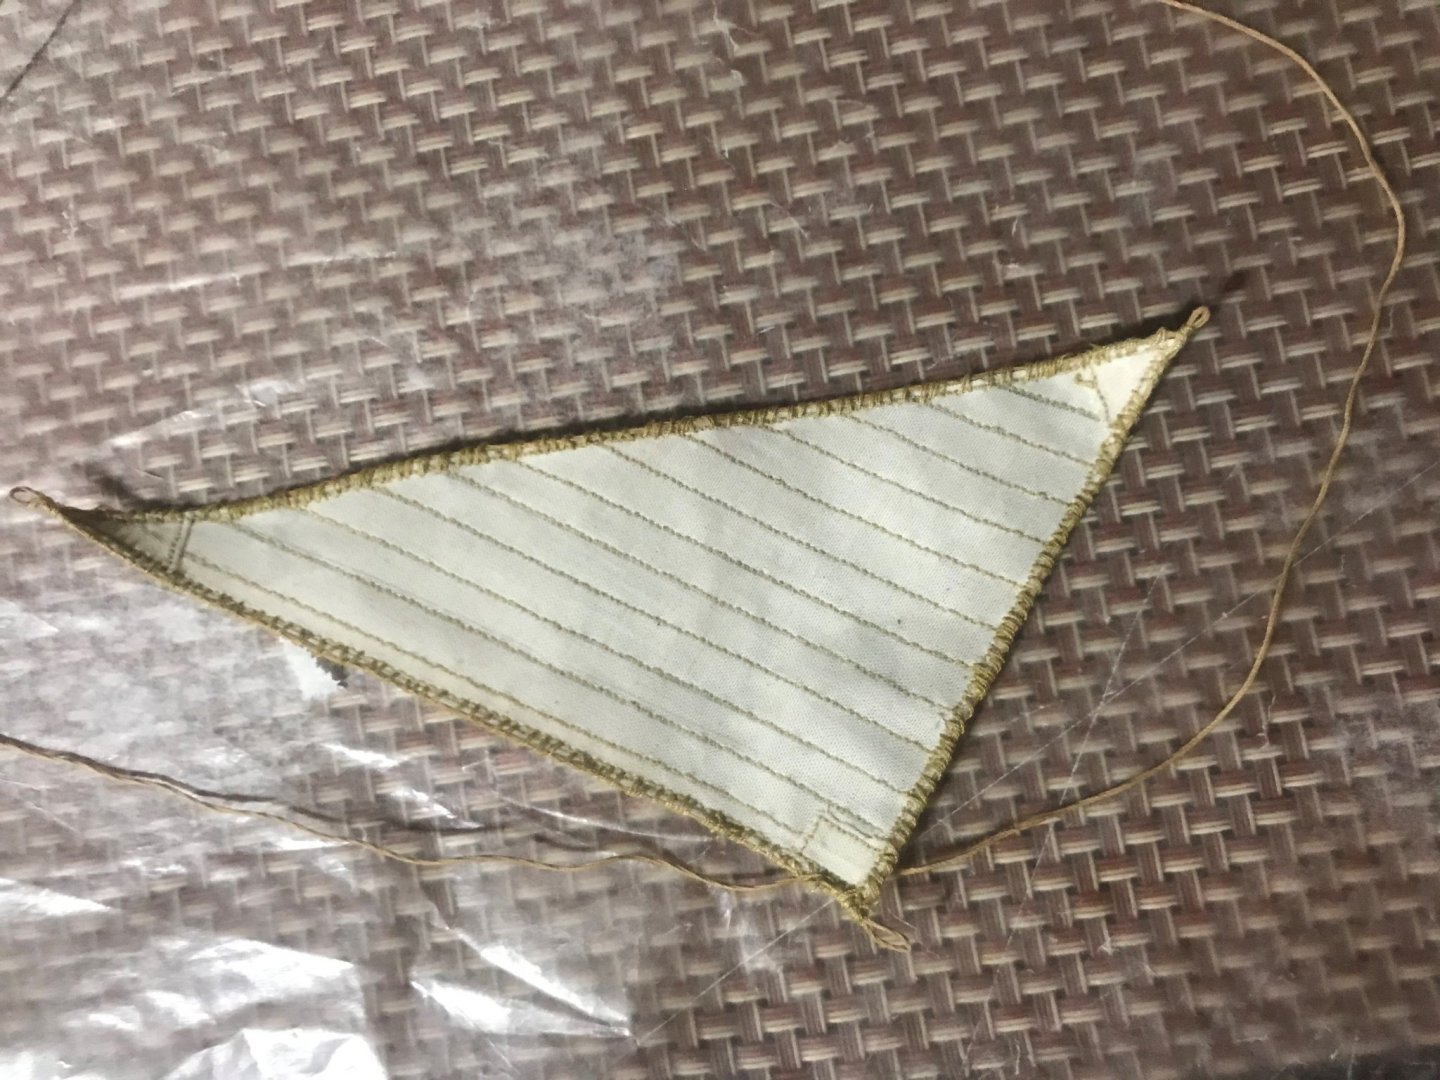
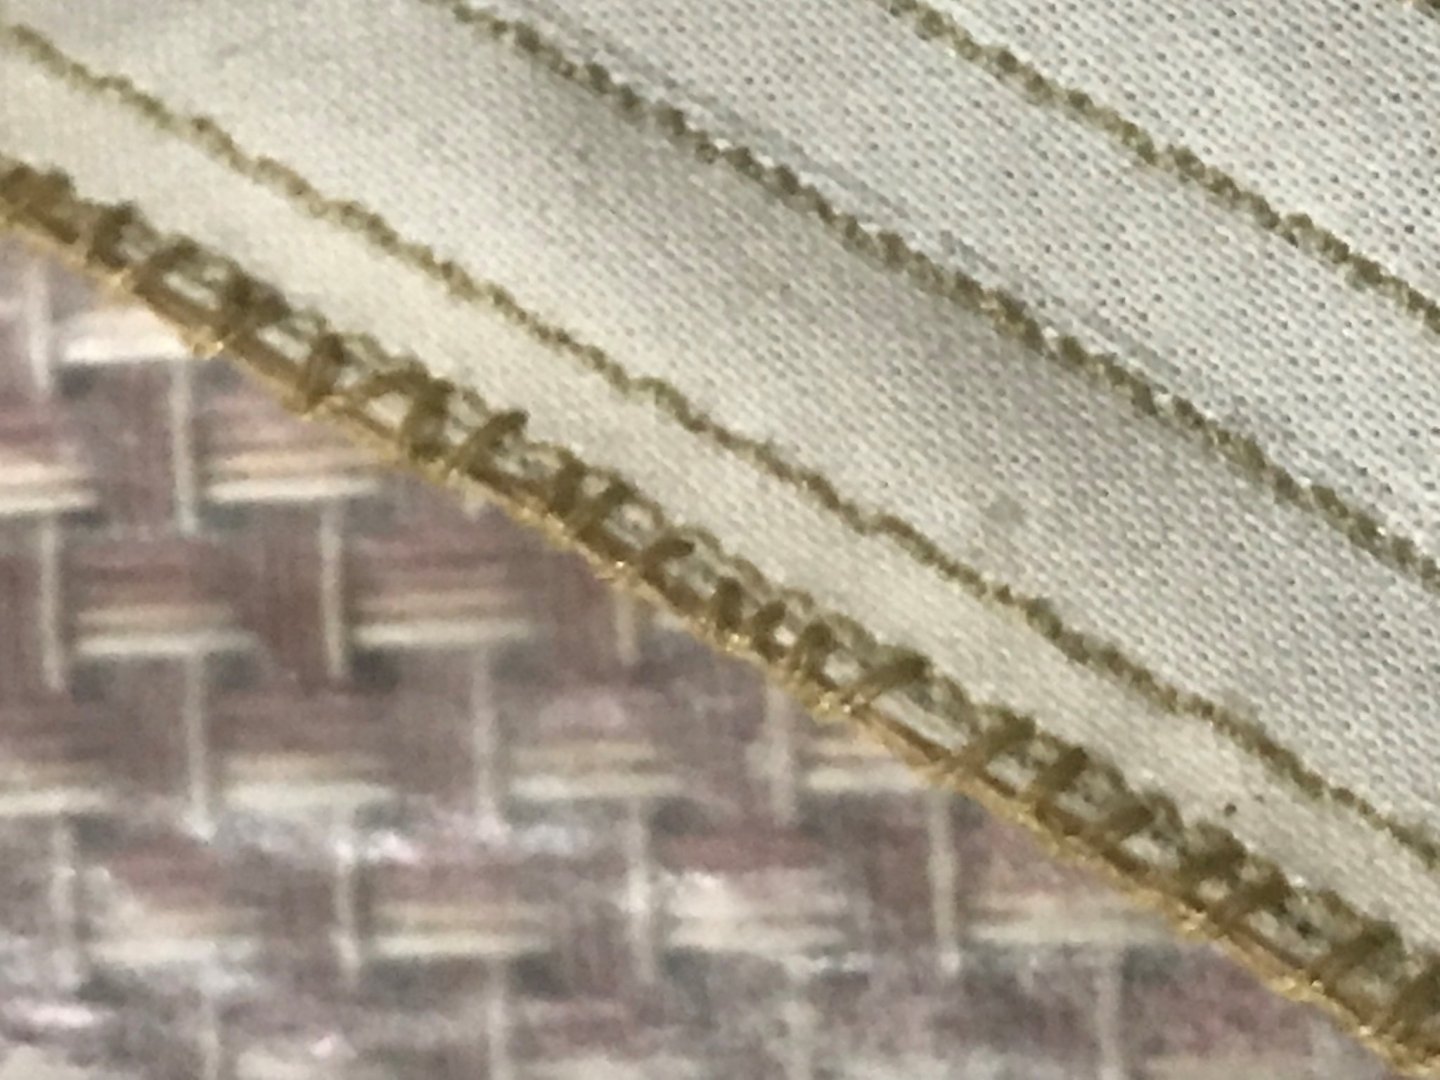
Stitching sails with sewing machine
Jorge Hedges replied to Jorge Hedges's topic in Masting, rigging and sails
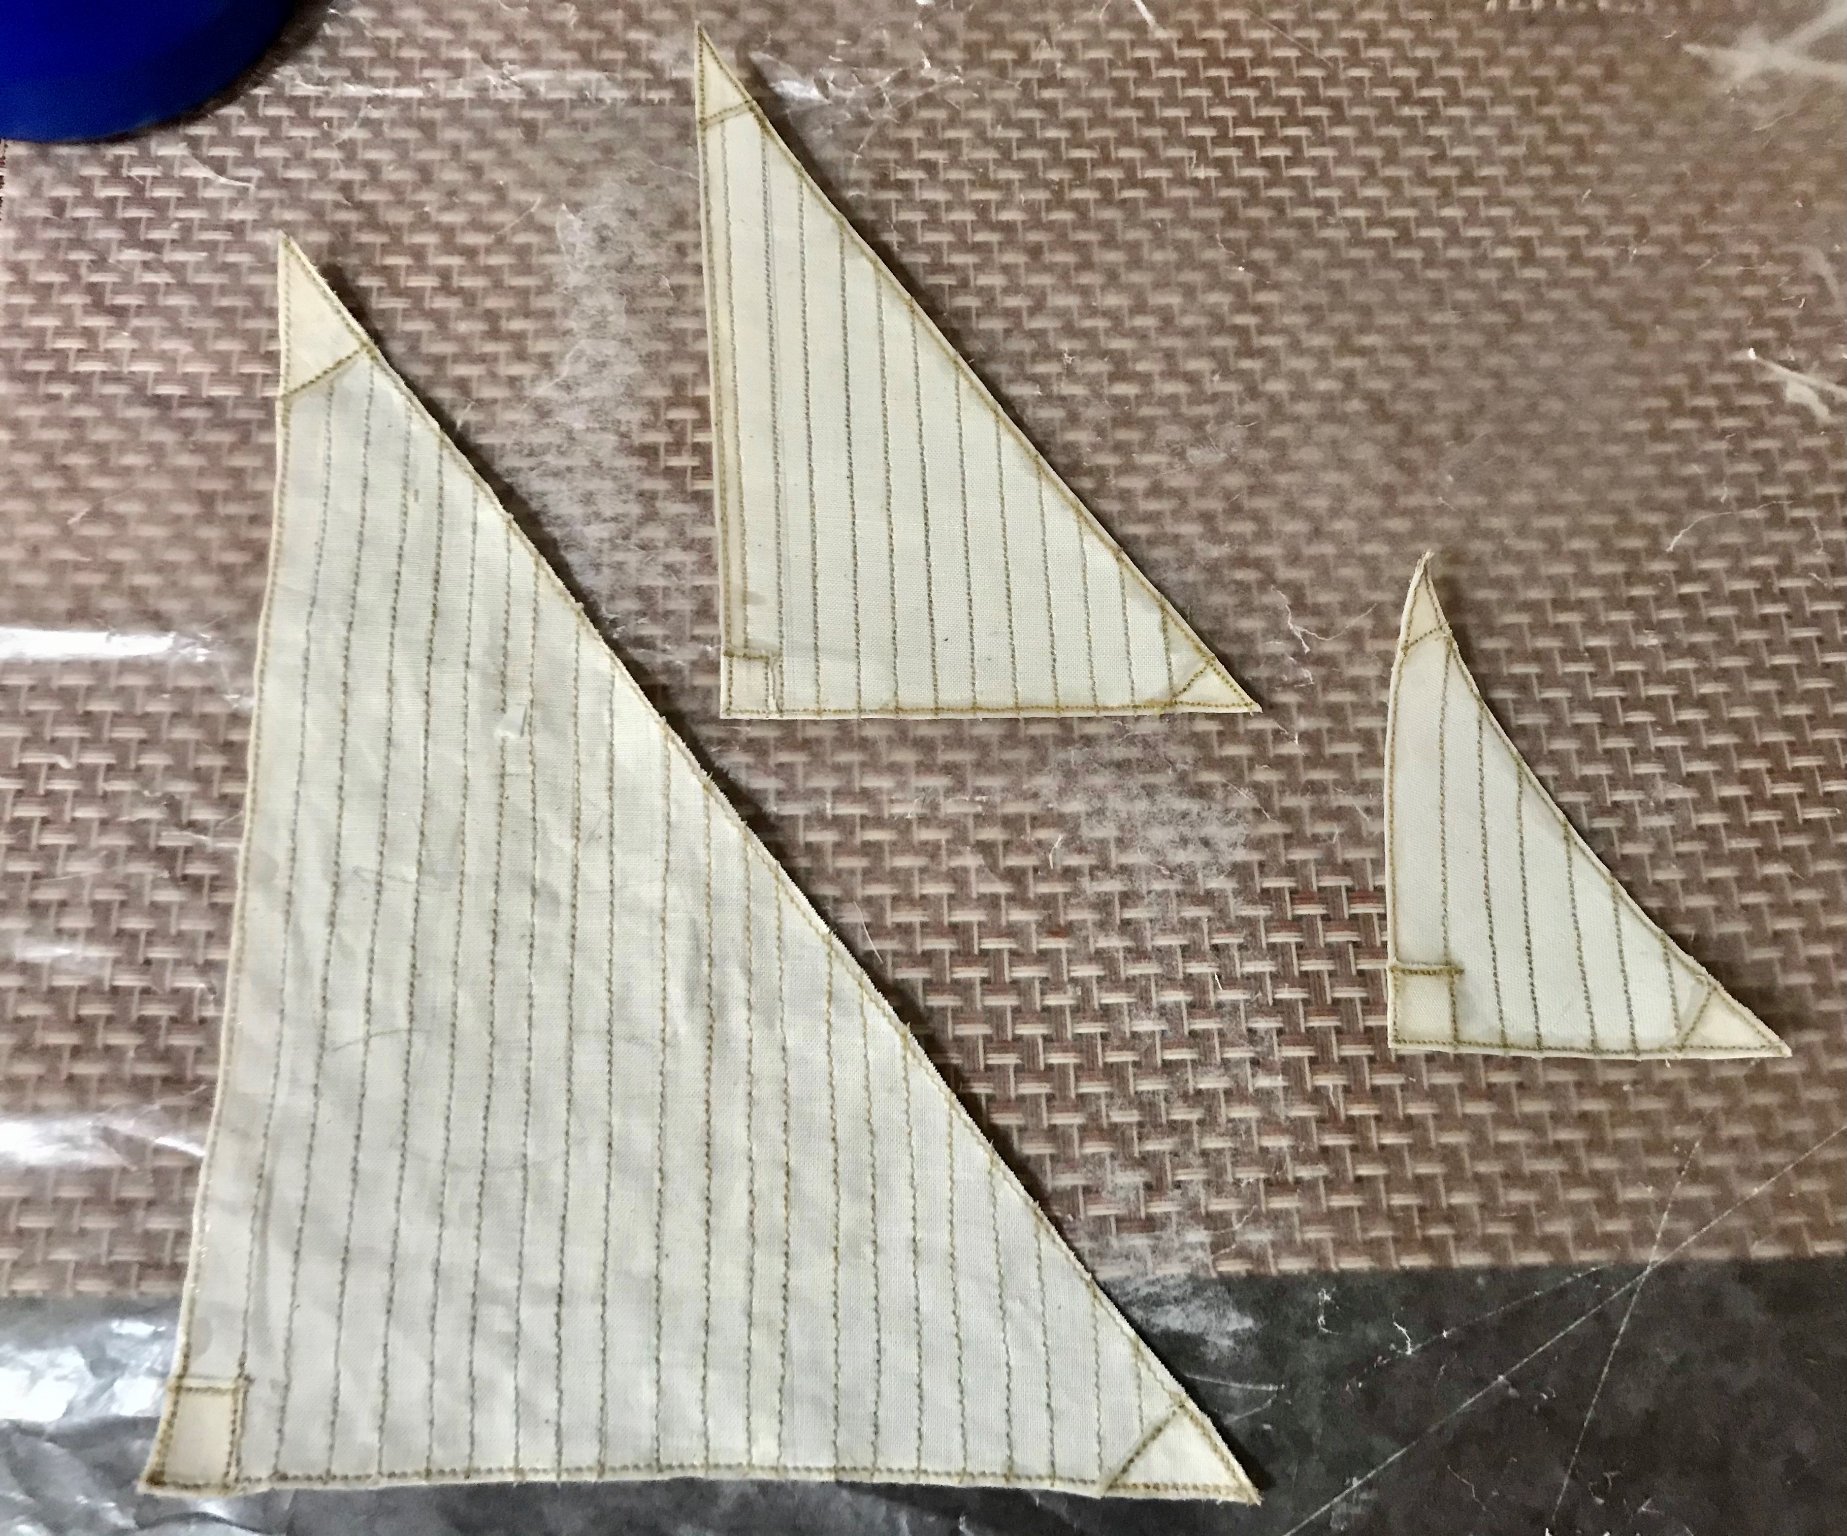
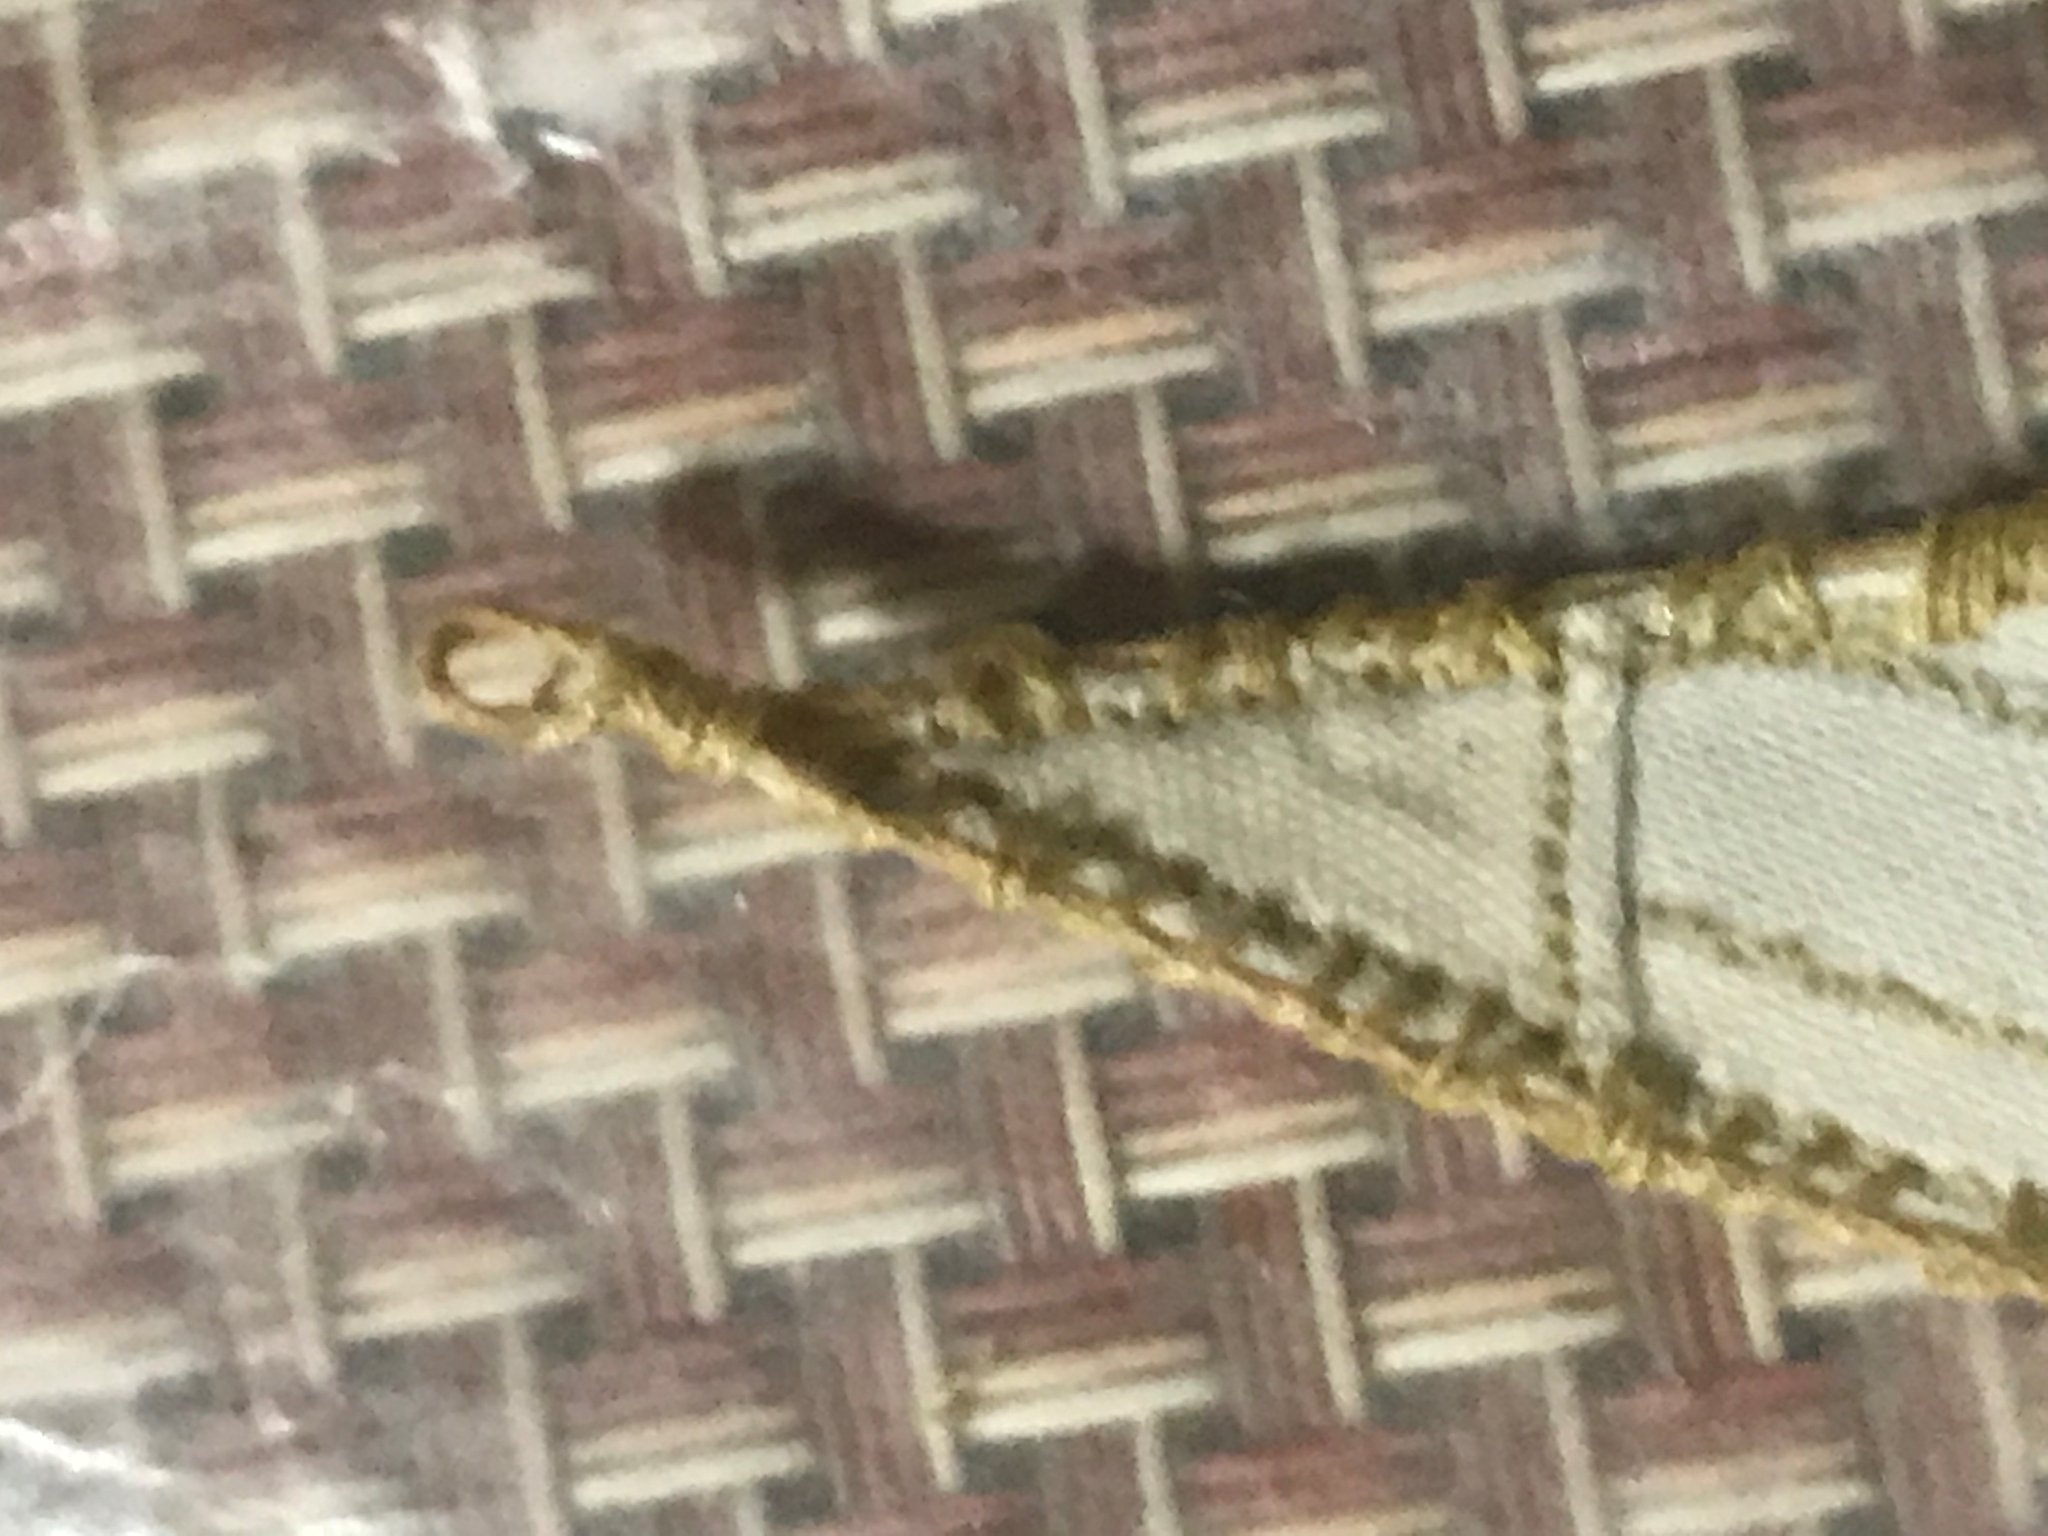
Hello All! All sails stitched, and 1st sail completed with bolt rope, if I recall the term correctly. Pics below... please feel free to comment/critique... suggestions always welcome.