niwotwill
-
Posts
597 -
Joined
-
Last visited
Content Type
Profiles
Forums
Gallery
Events
Everything posted by niwotwill
-
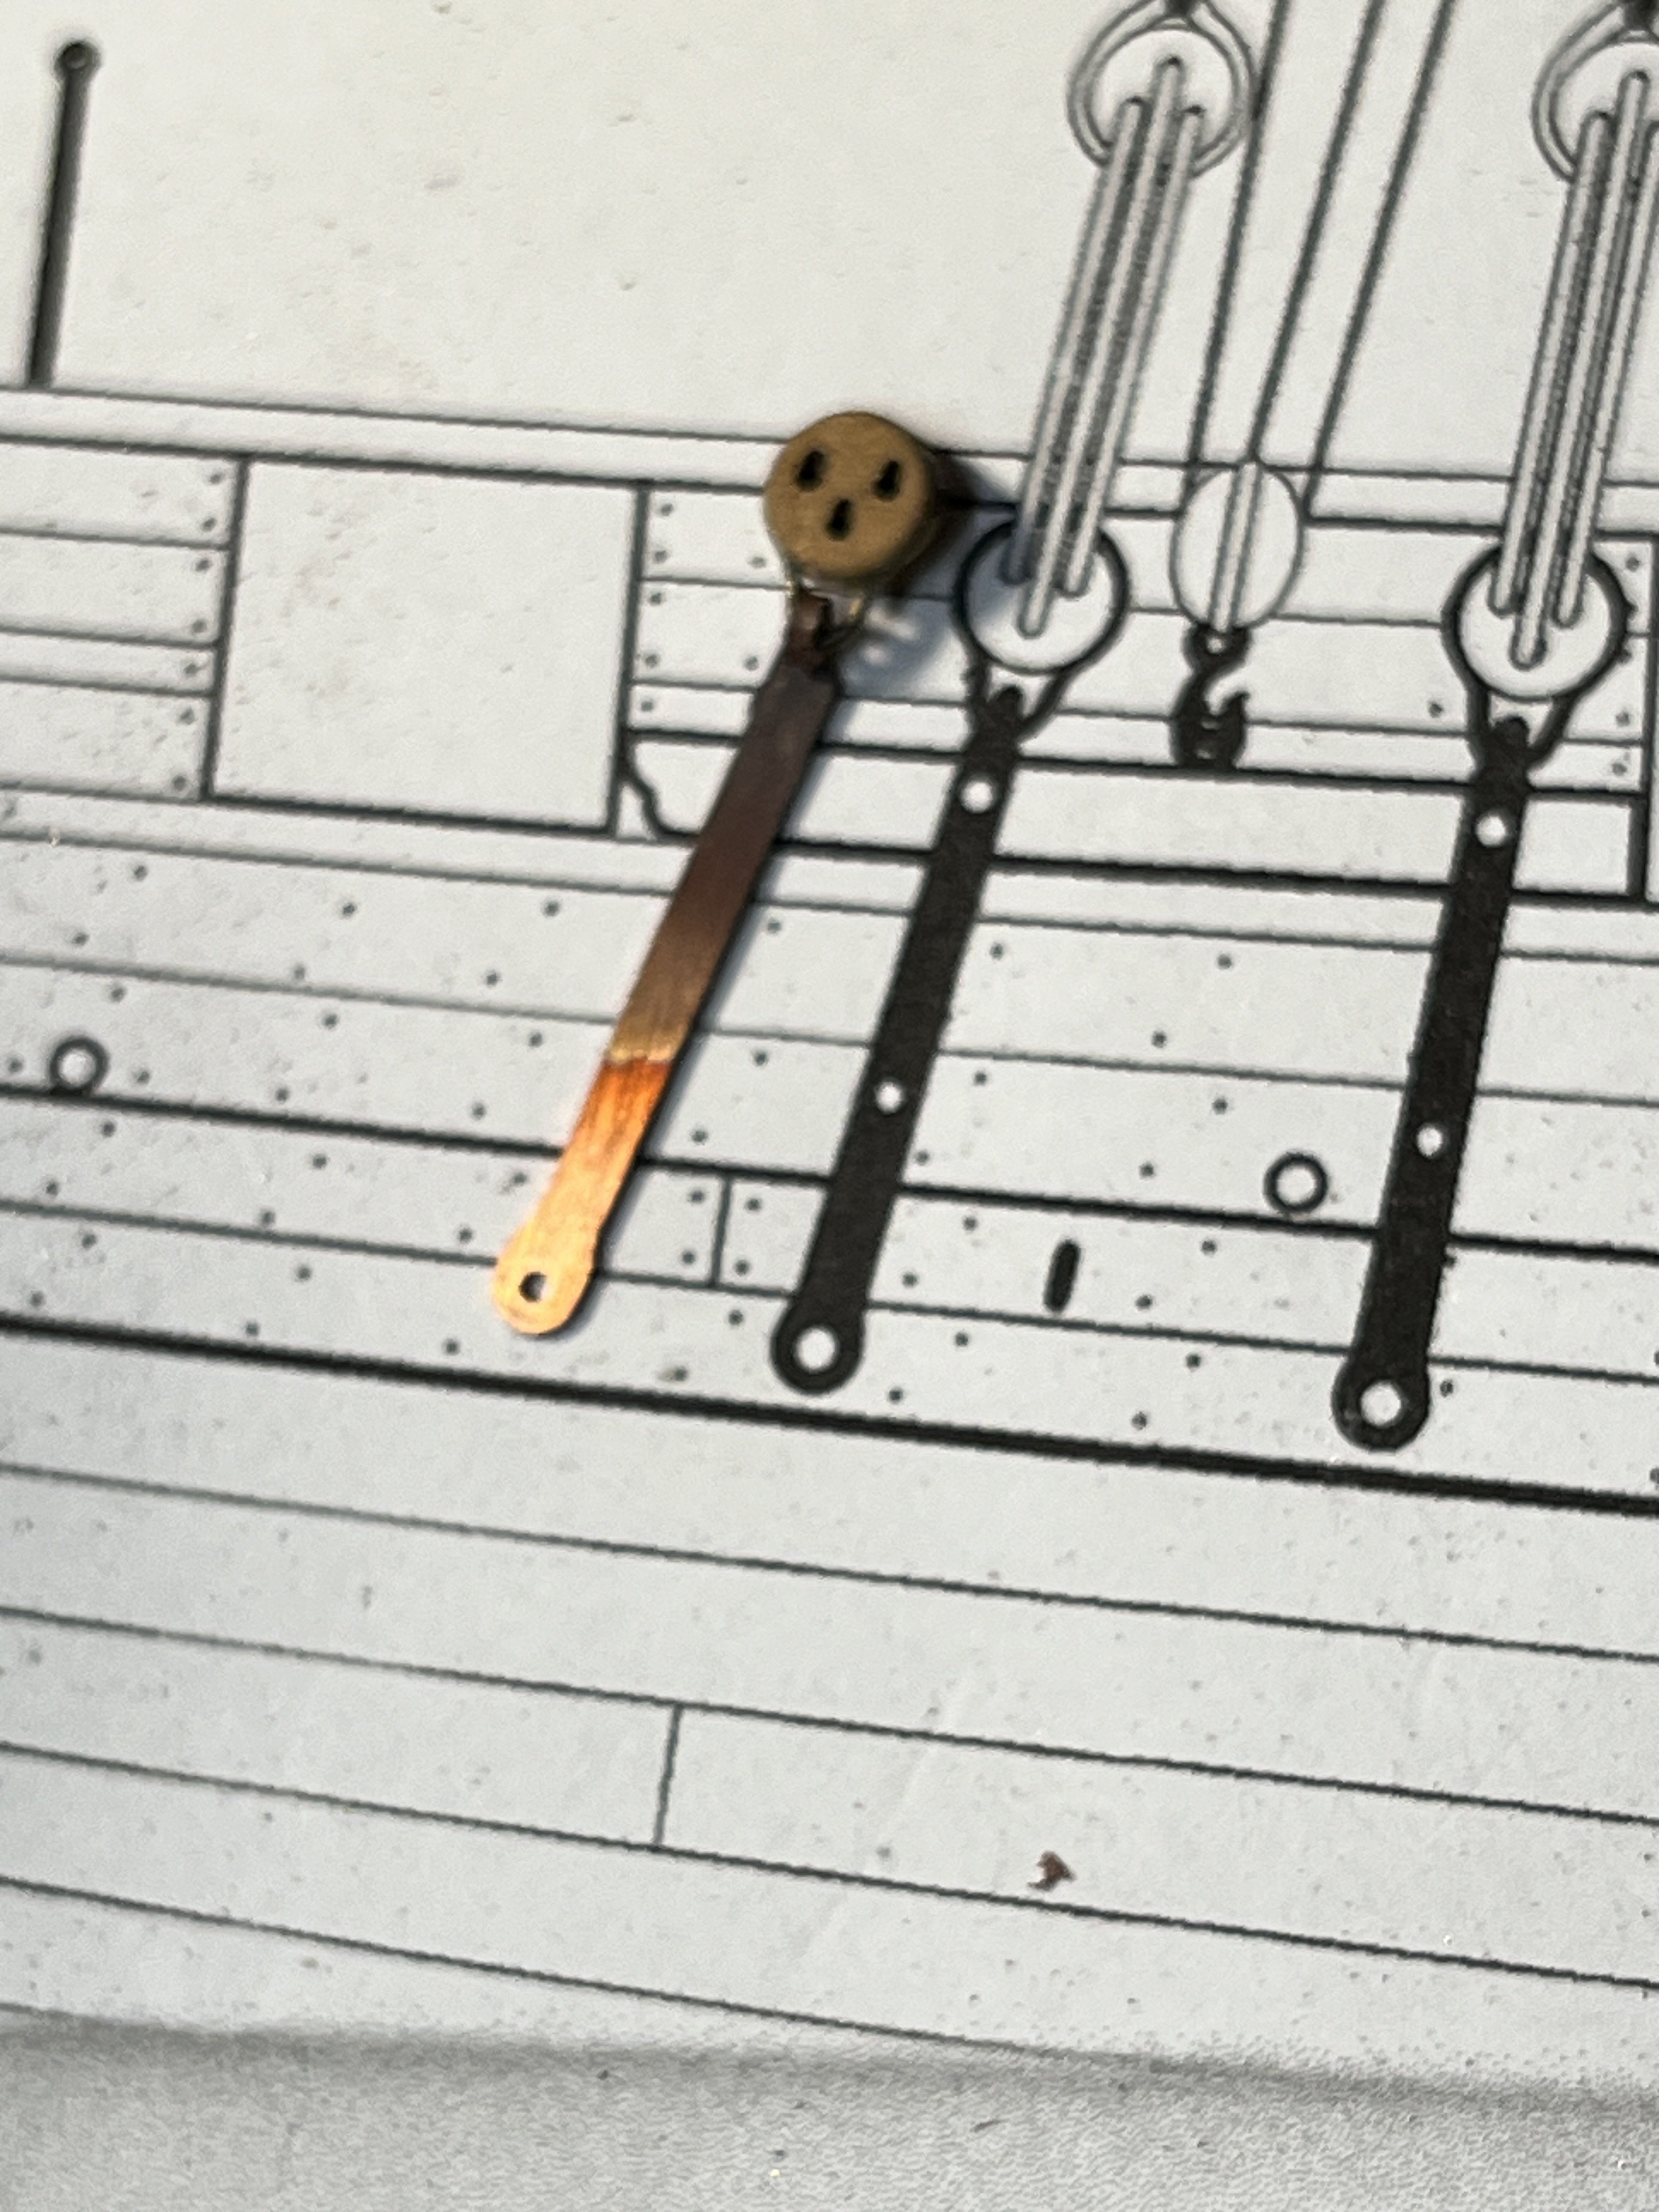
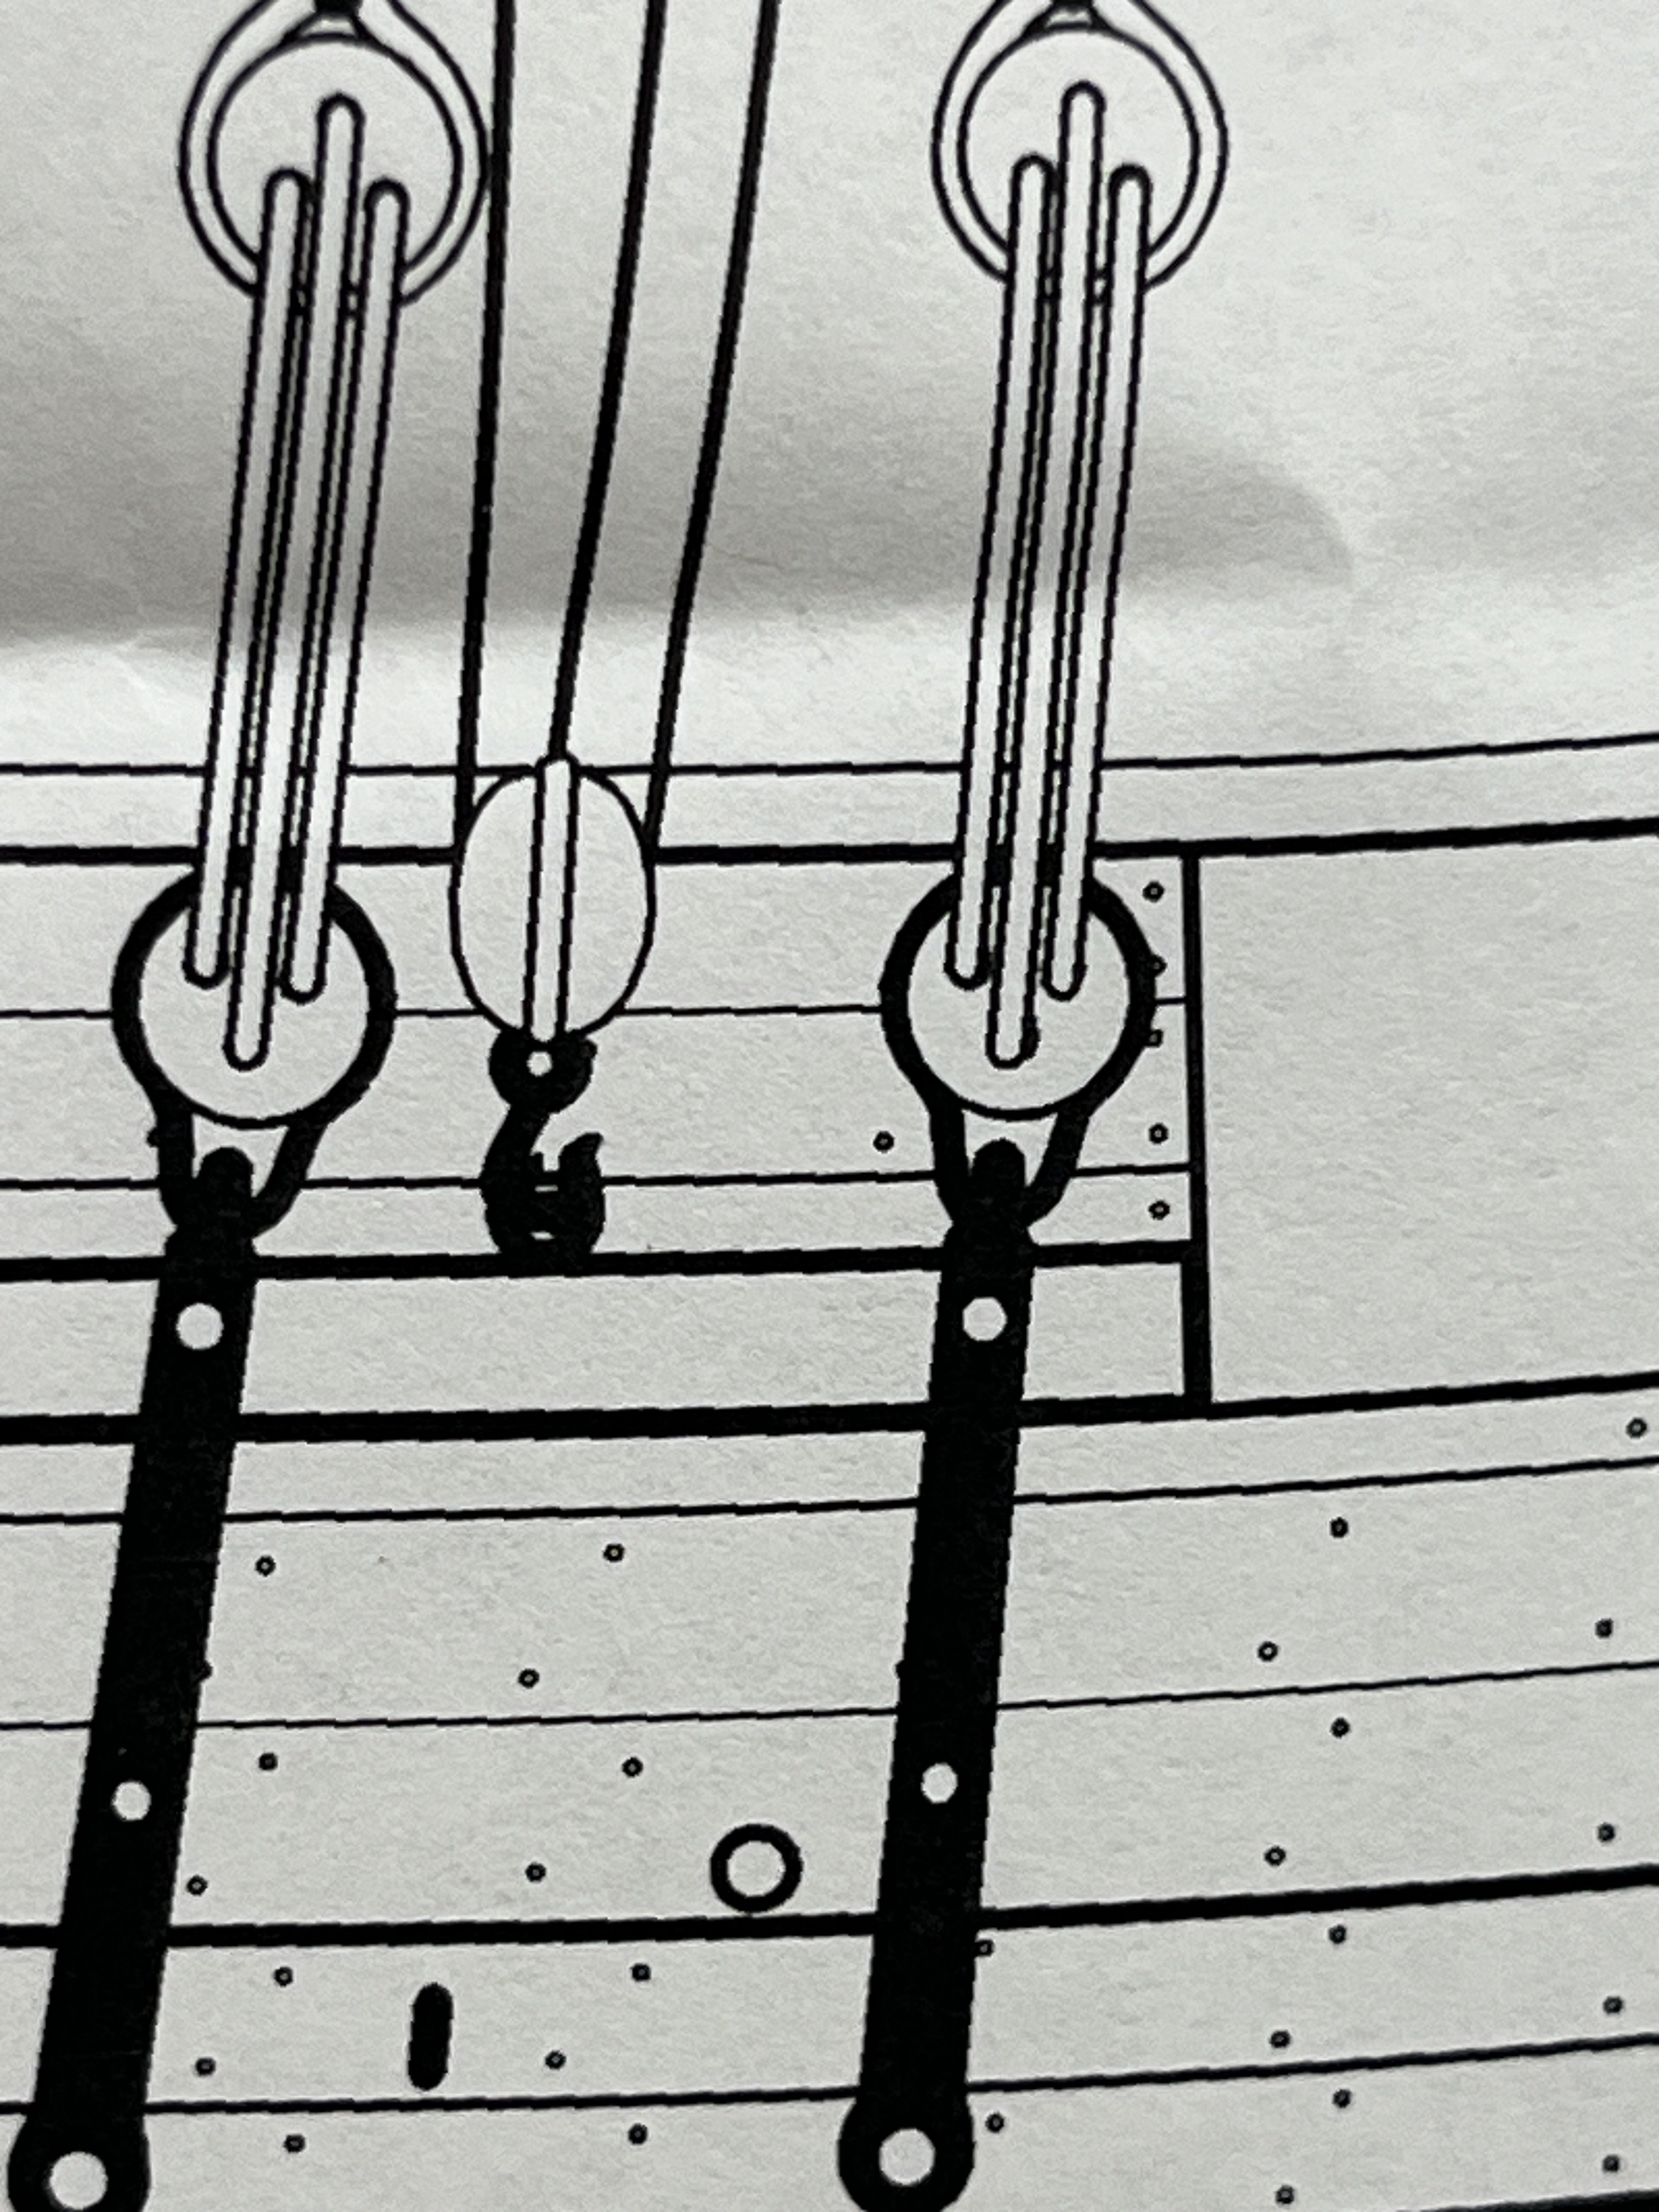
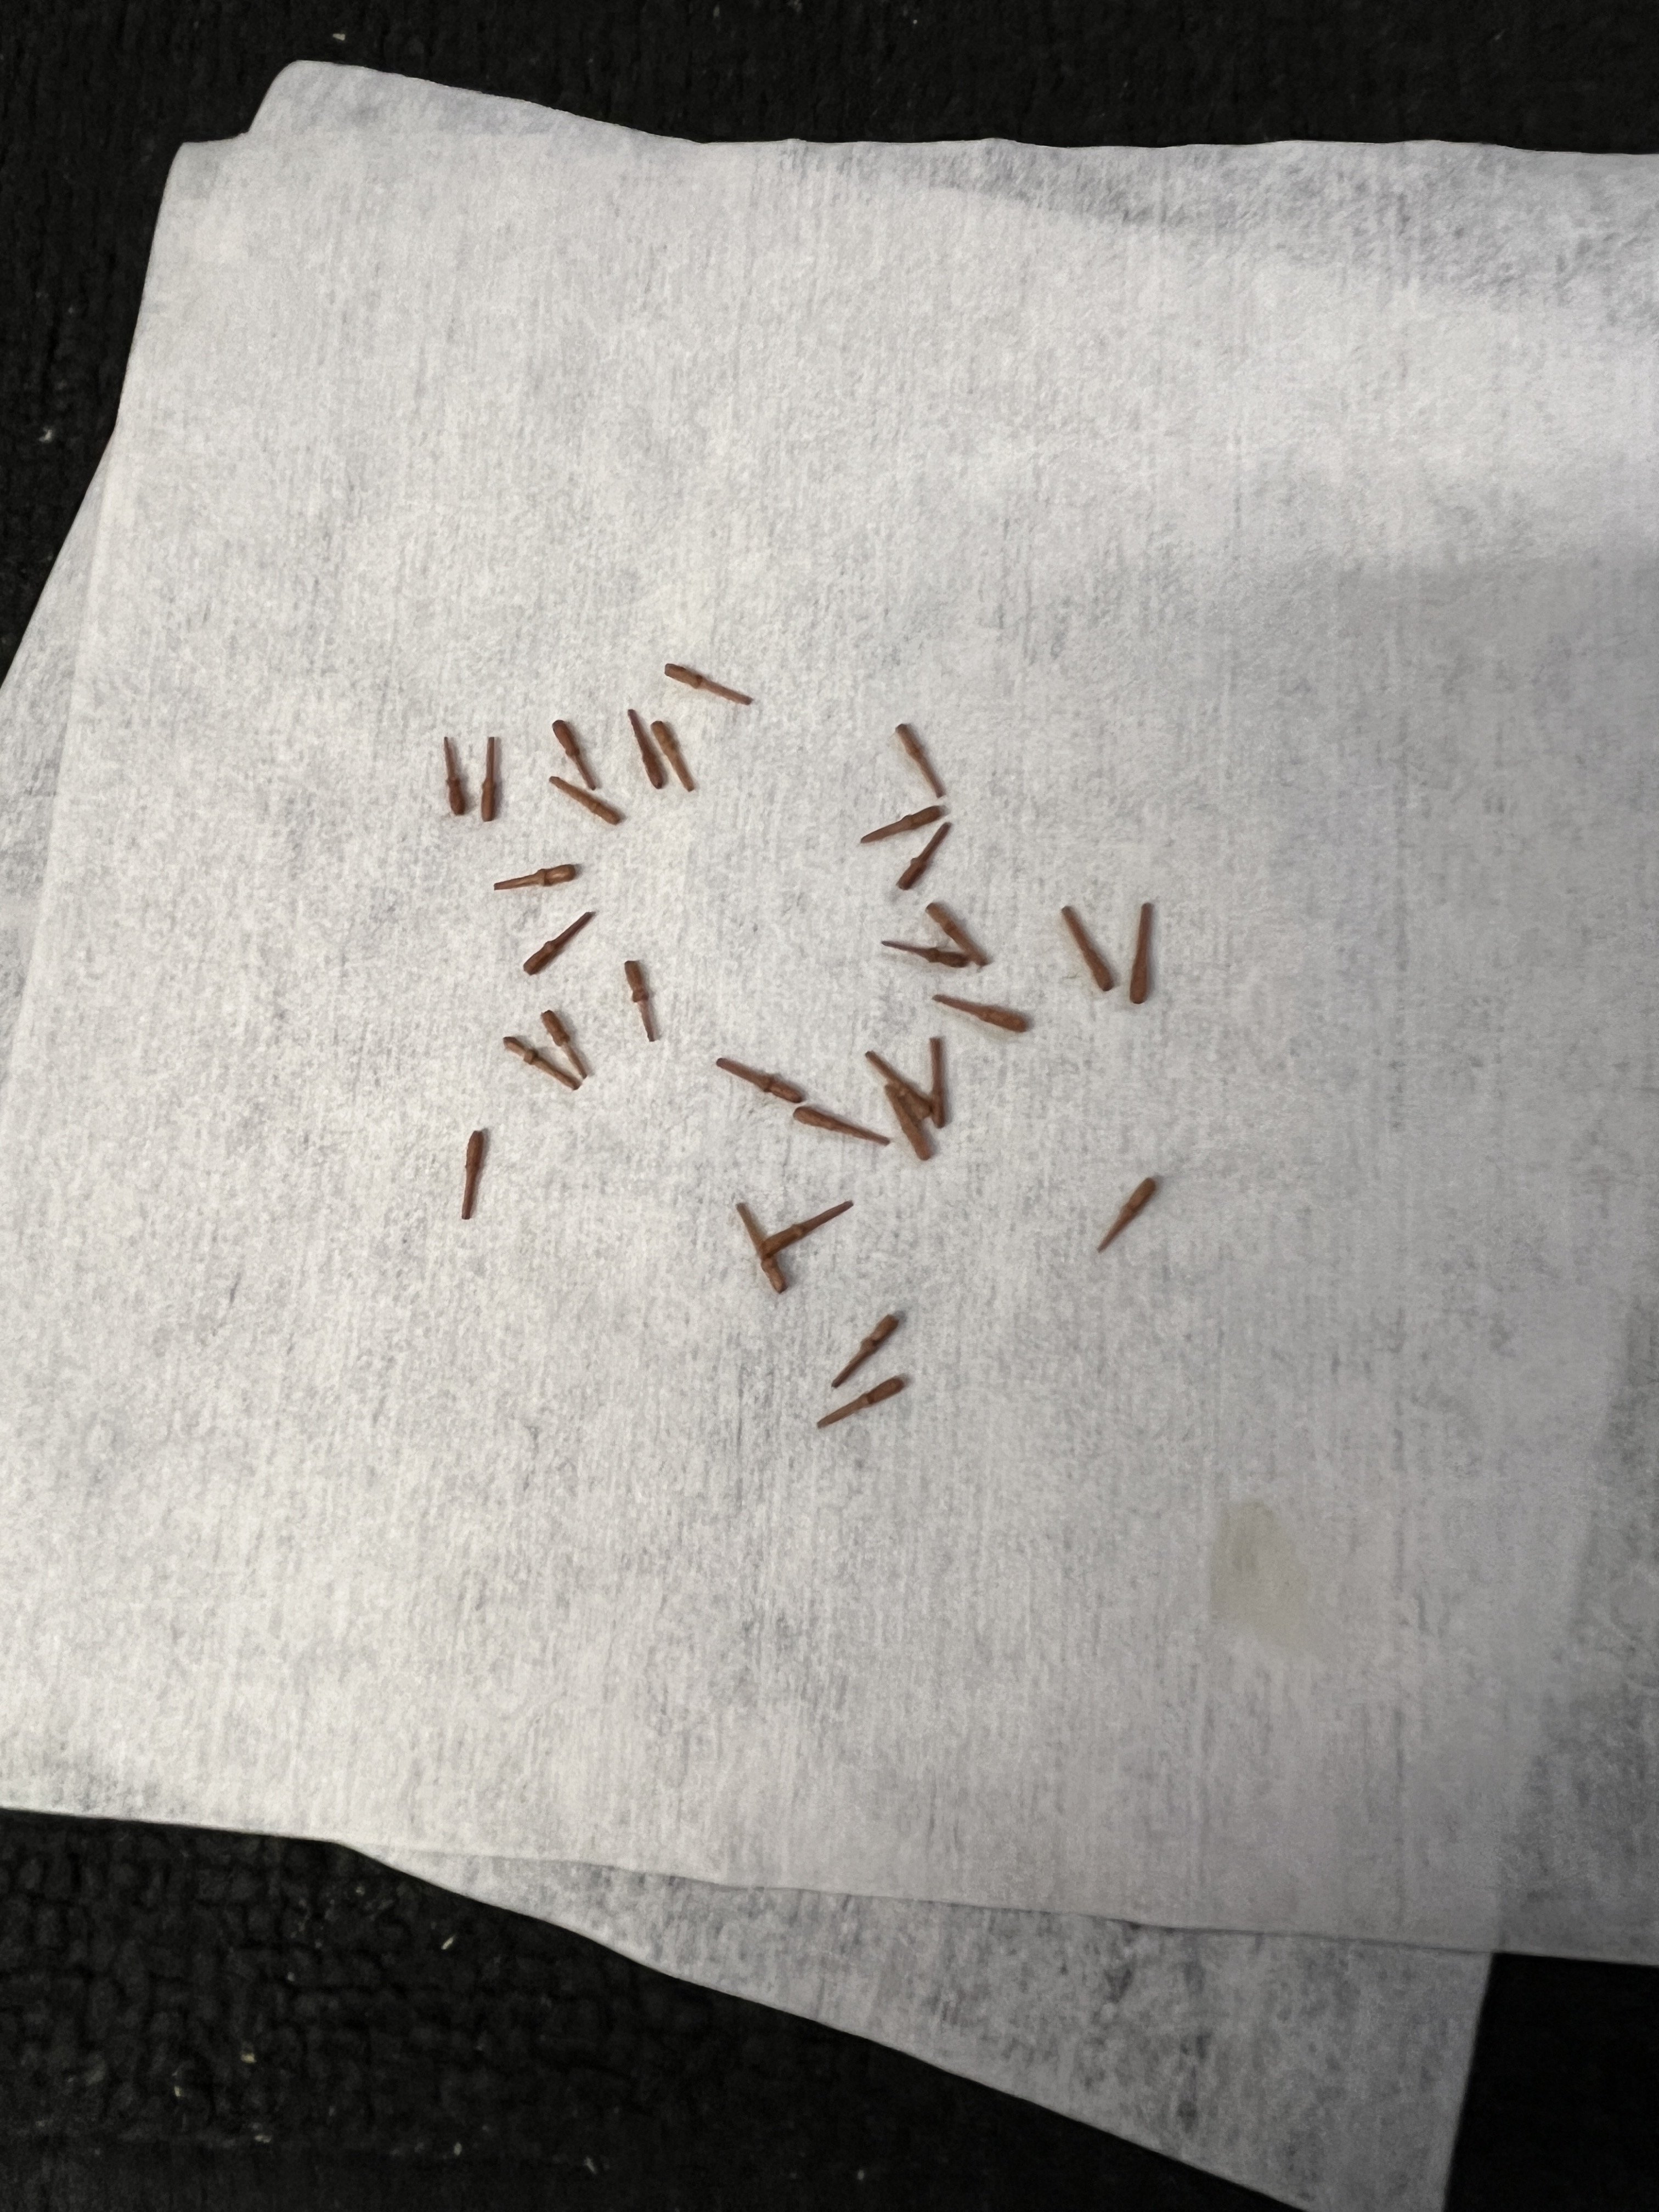
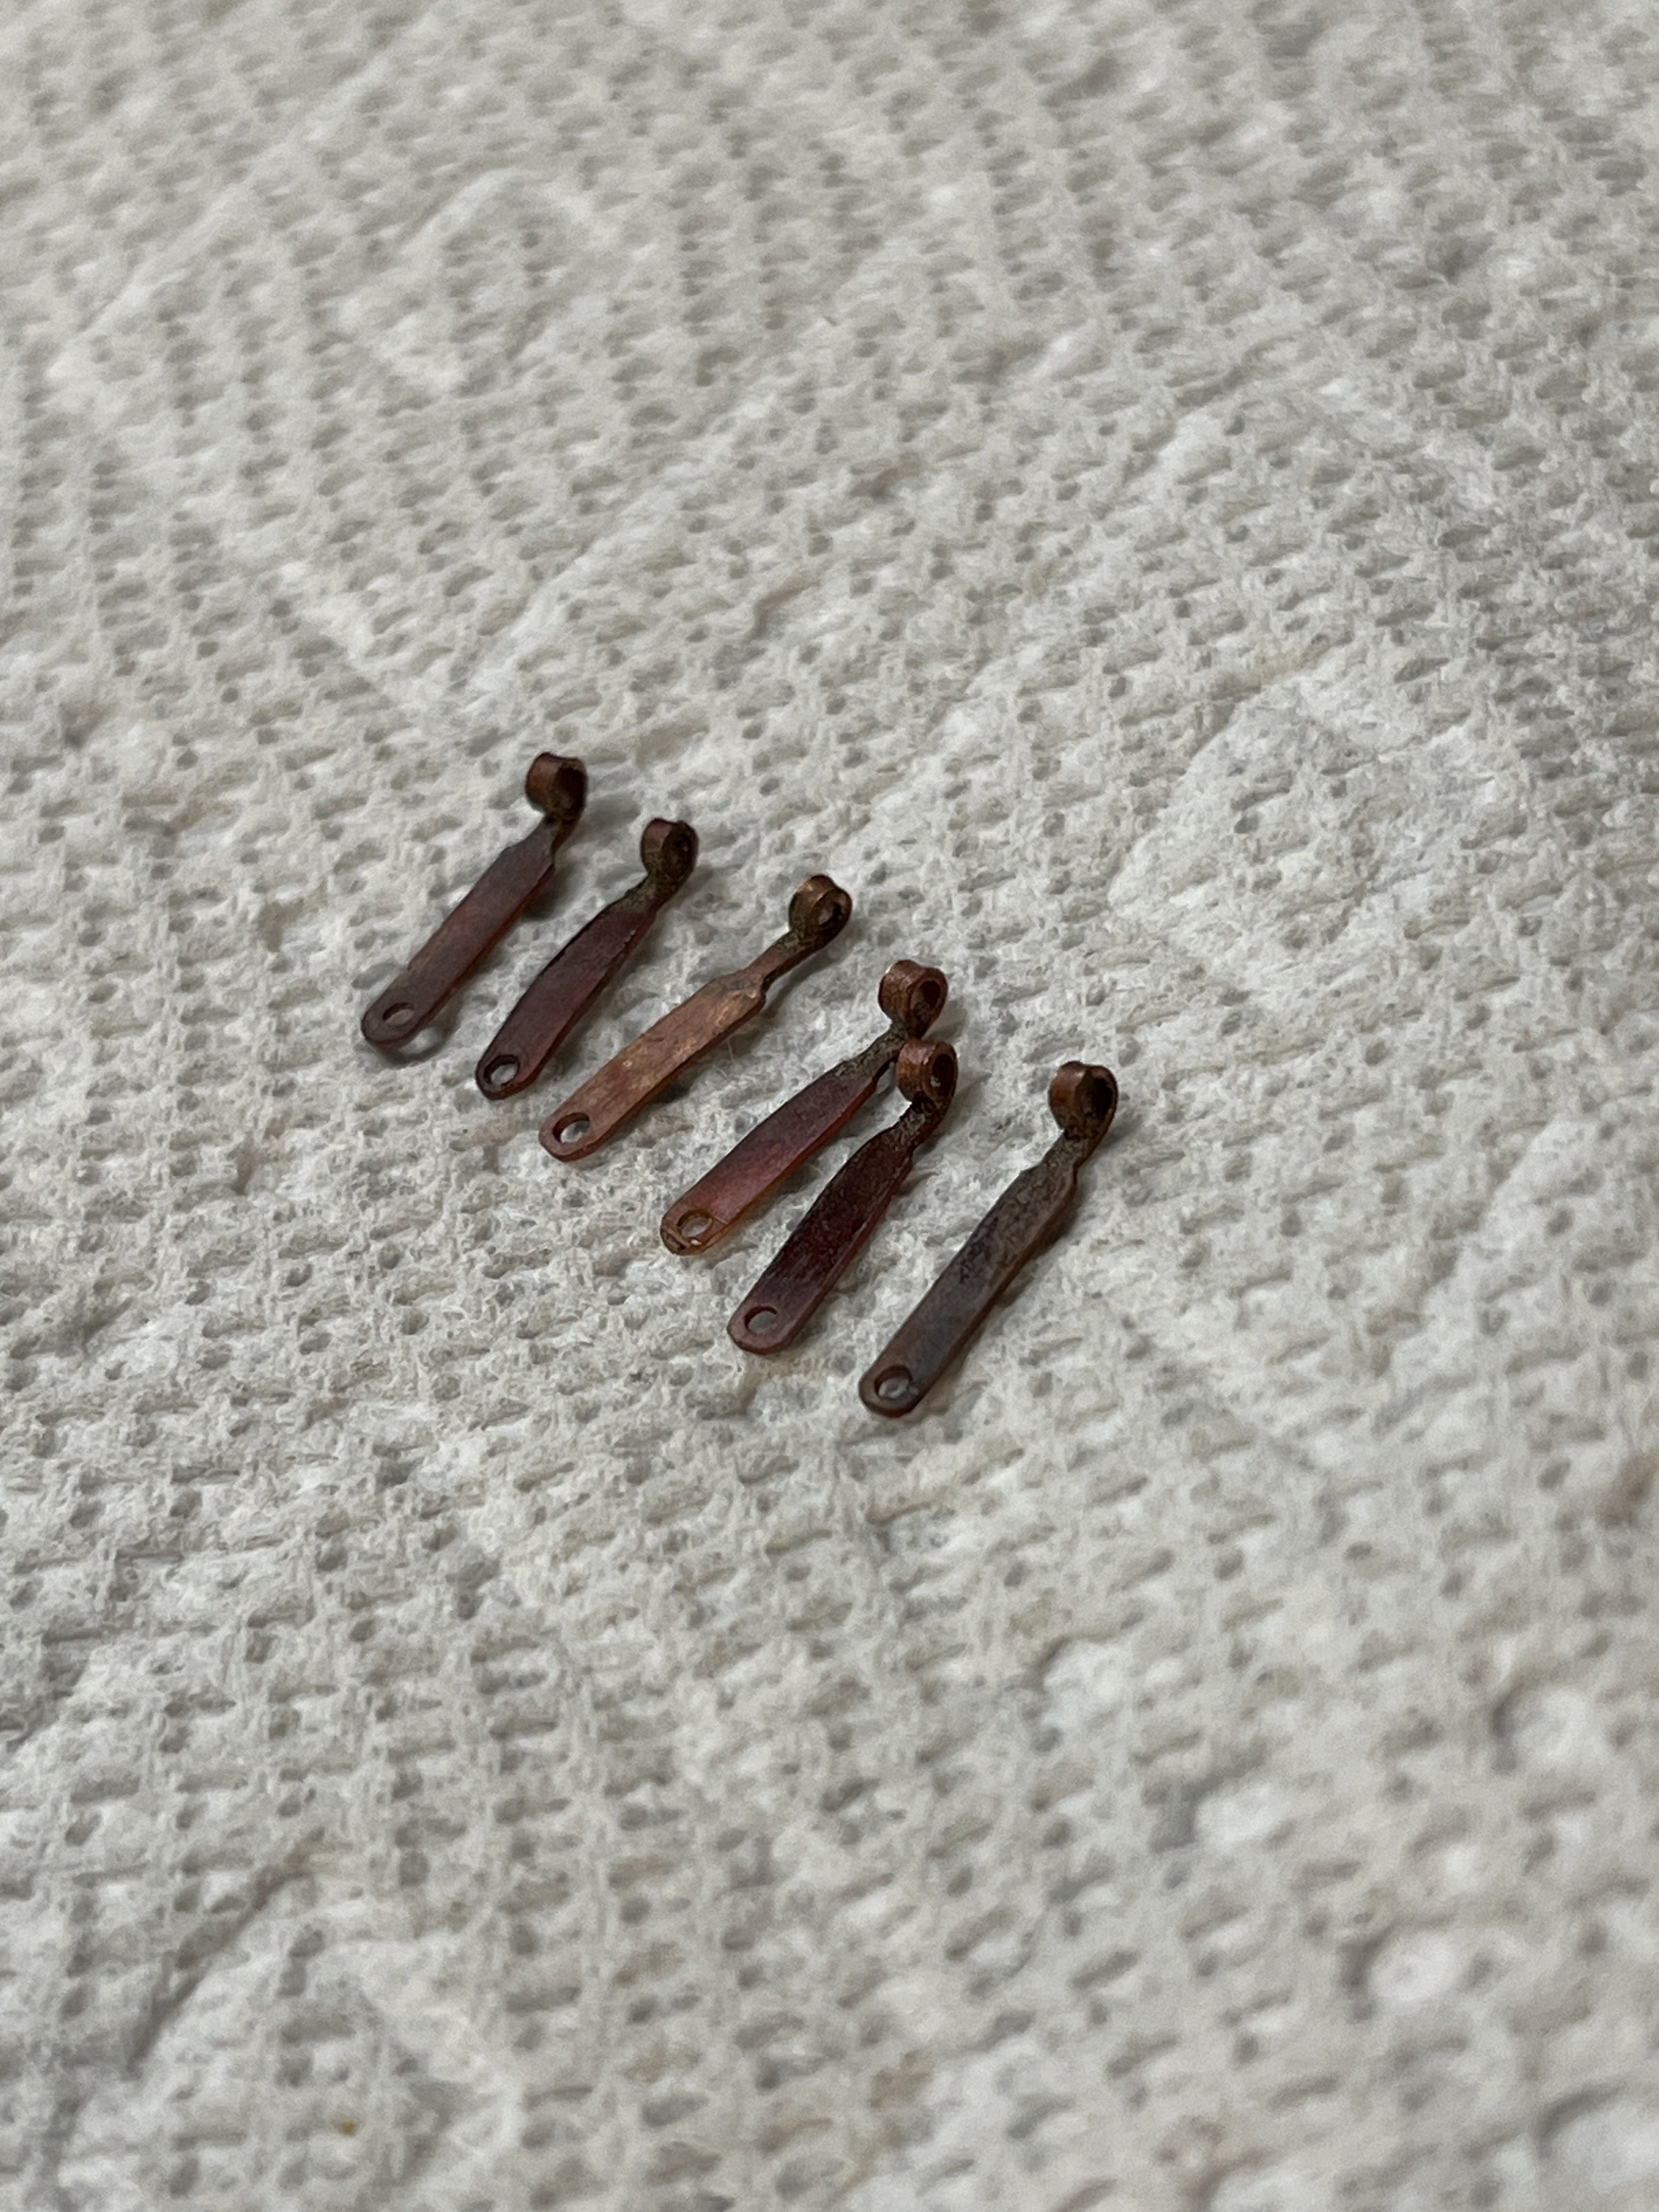
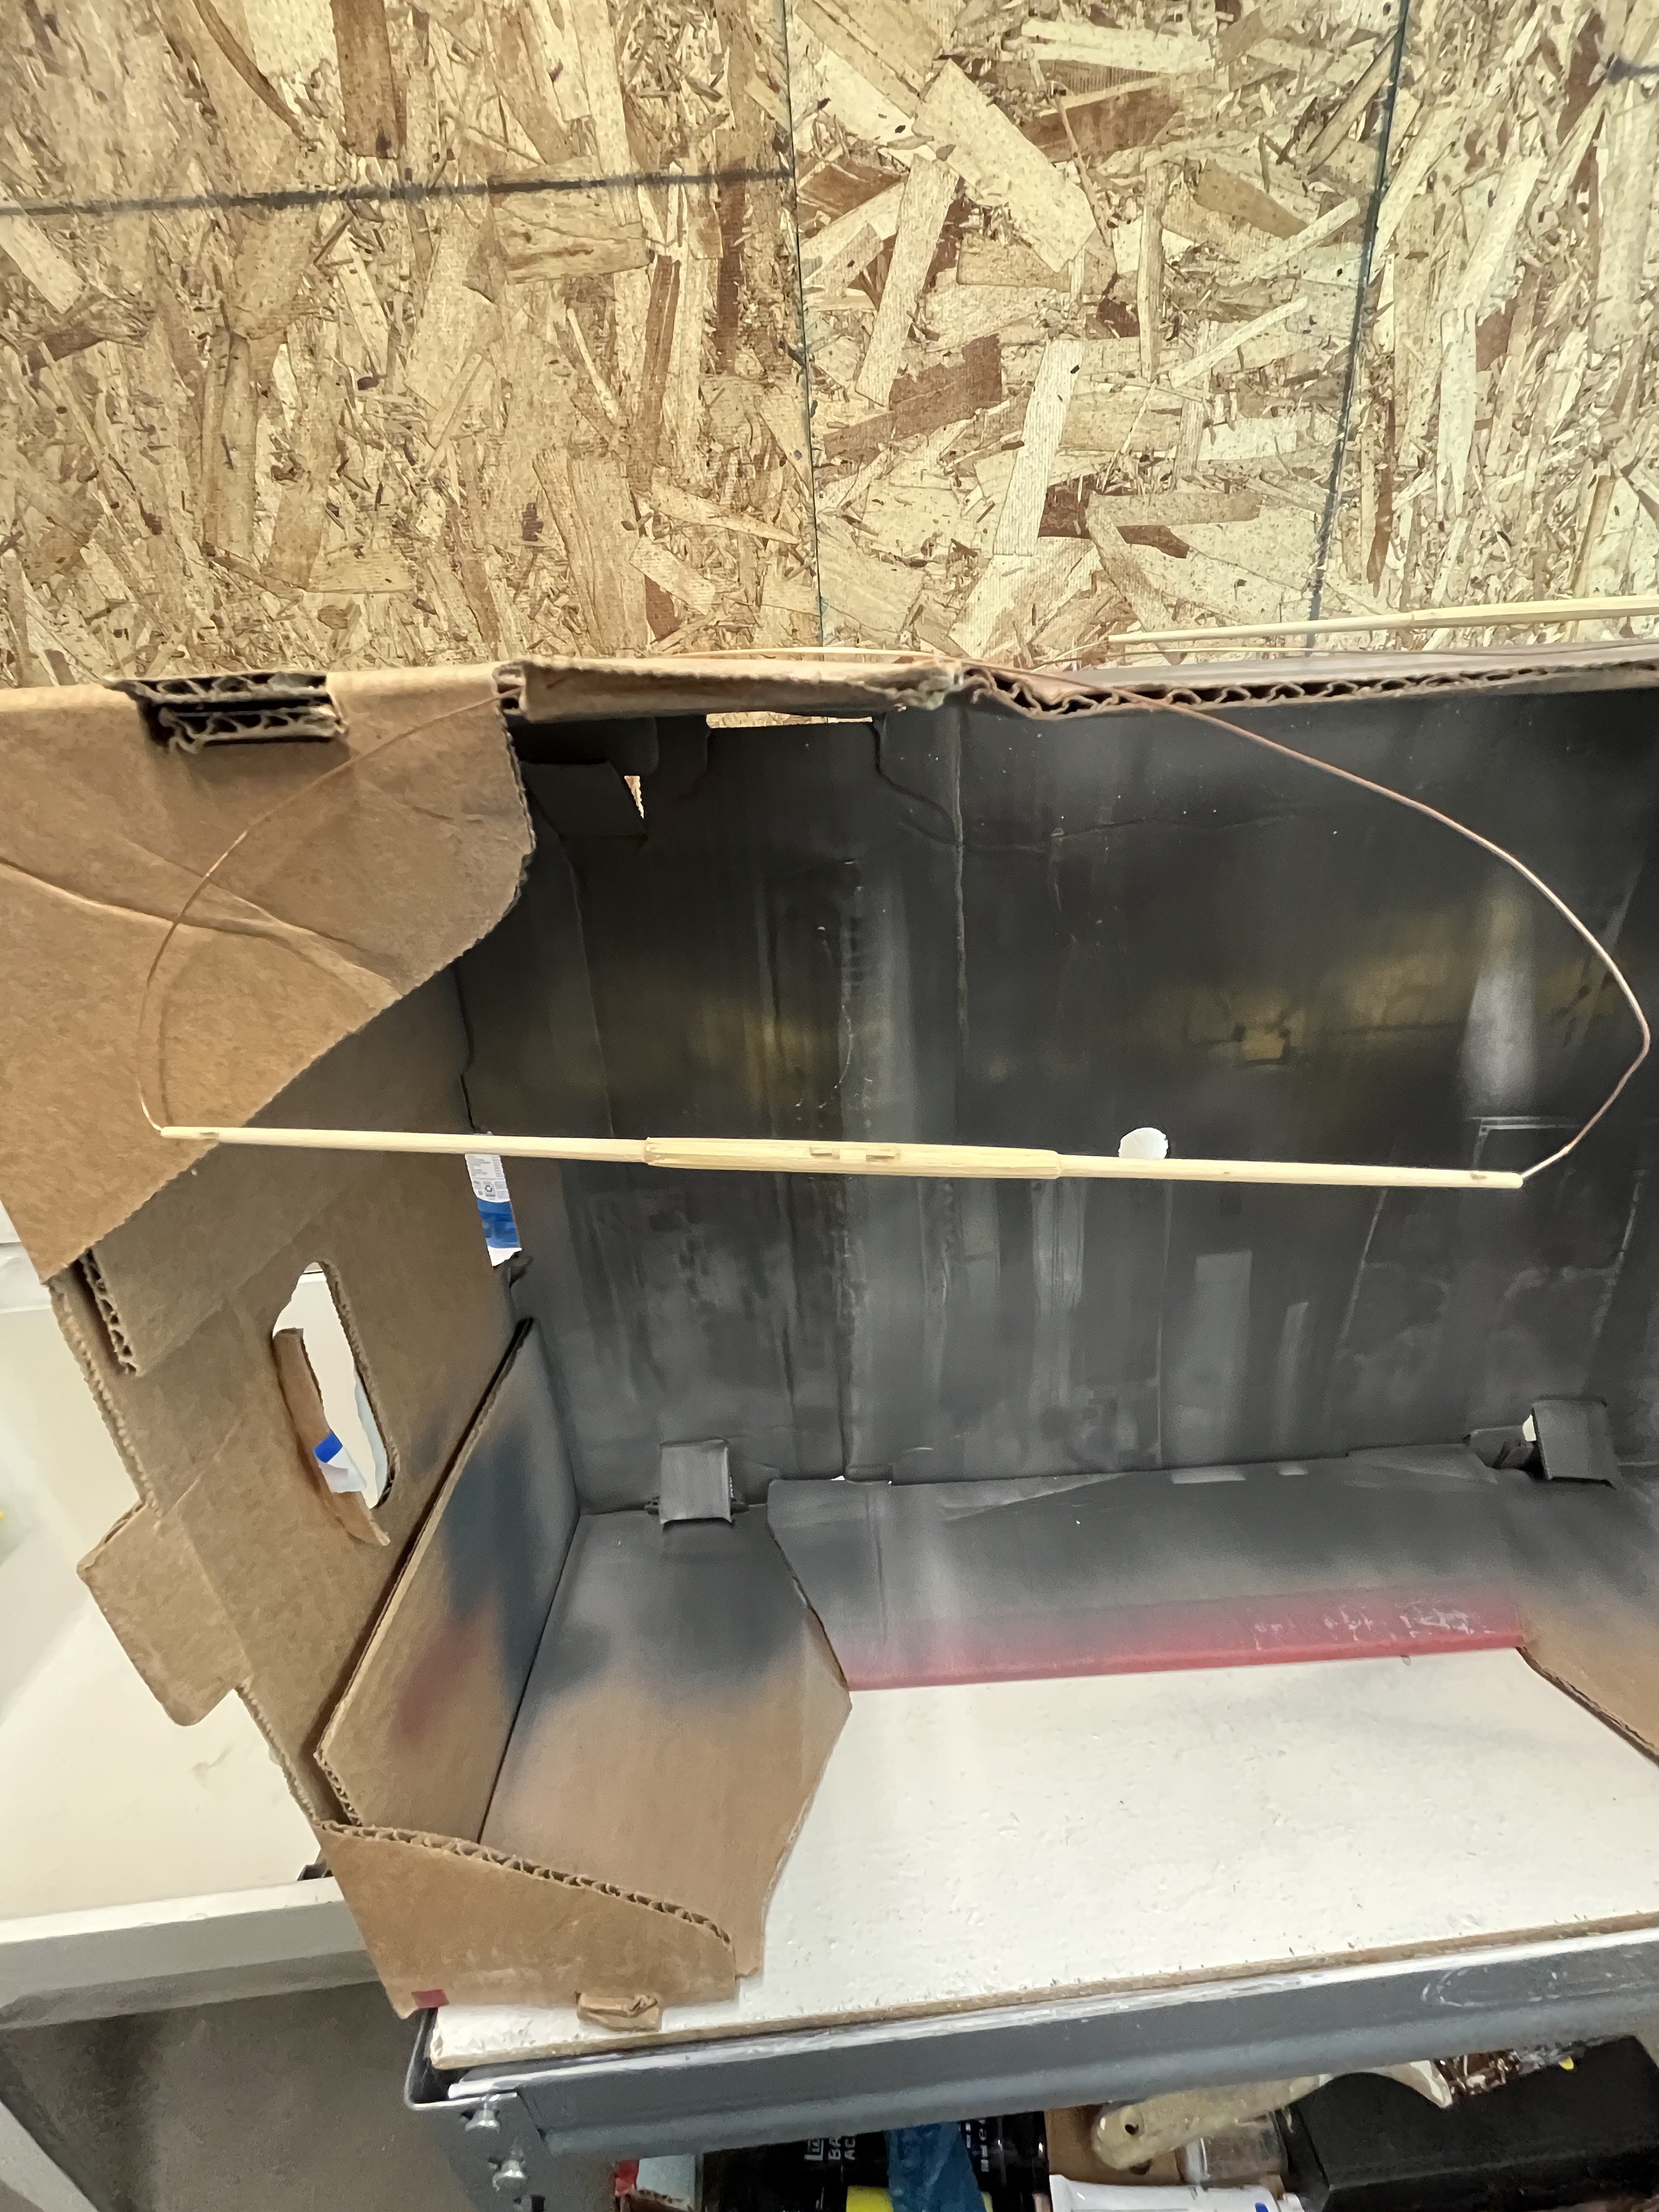
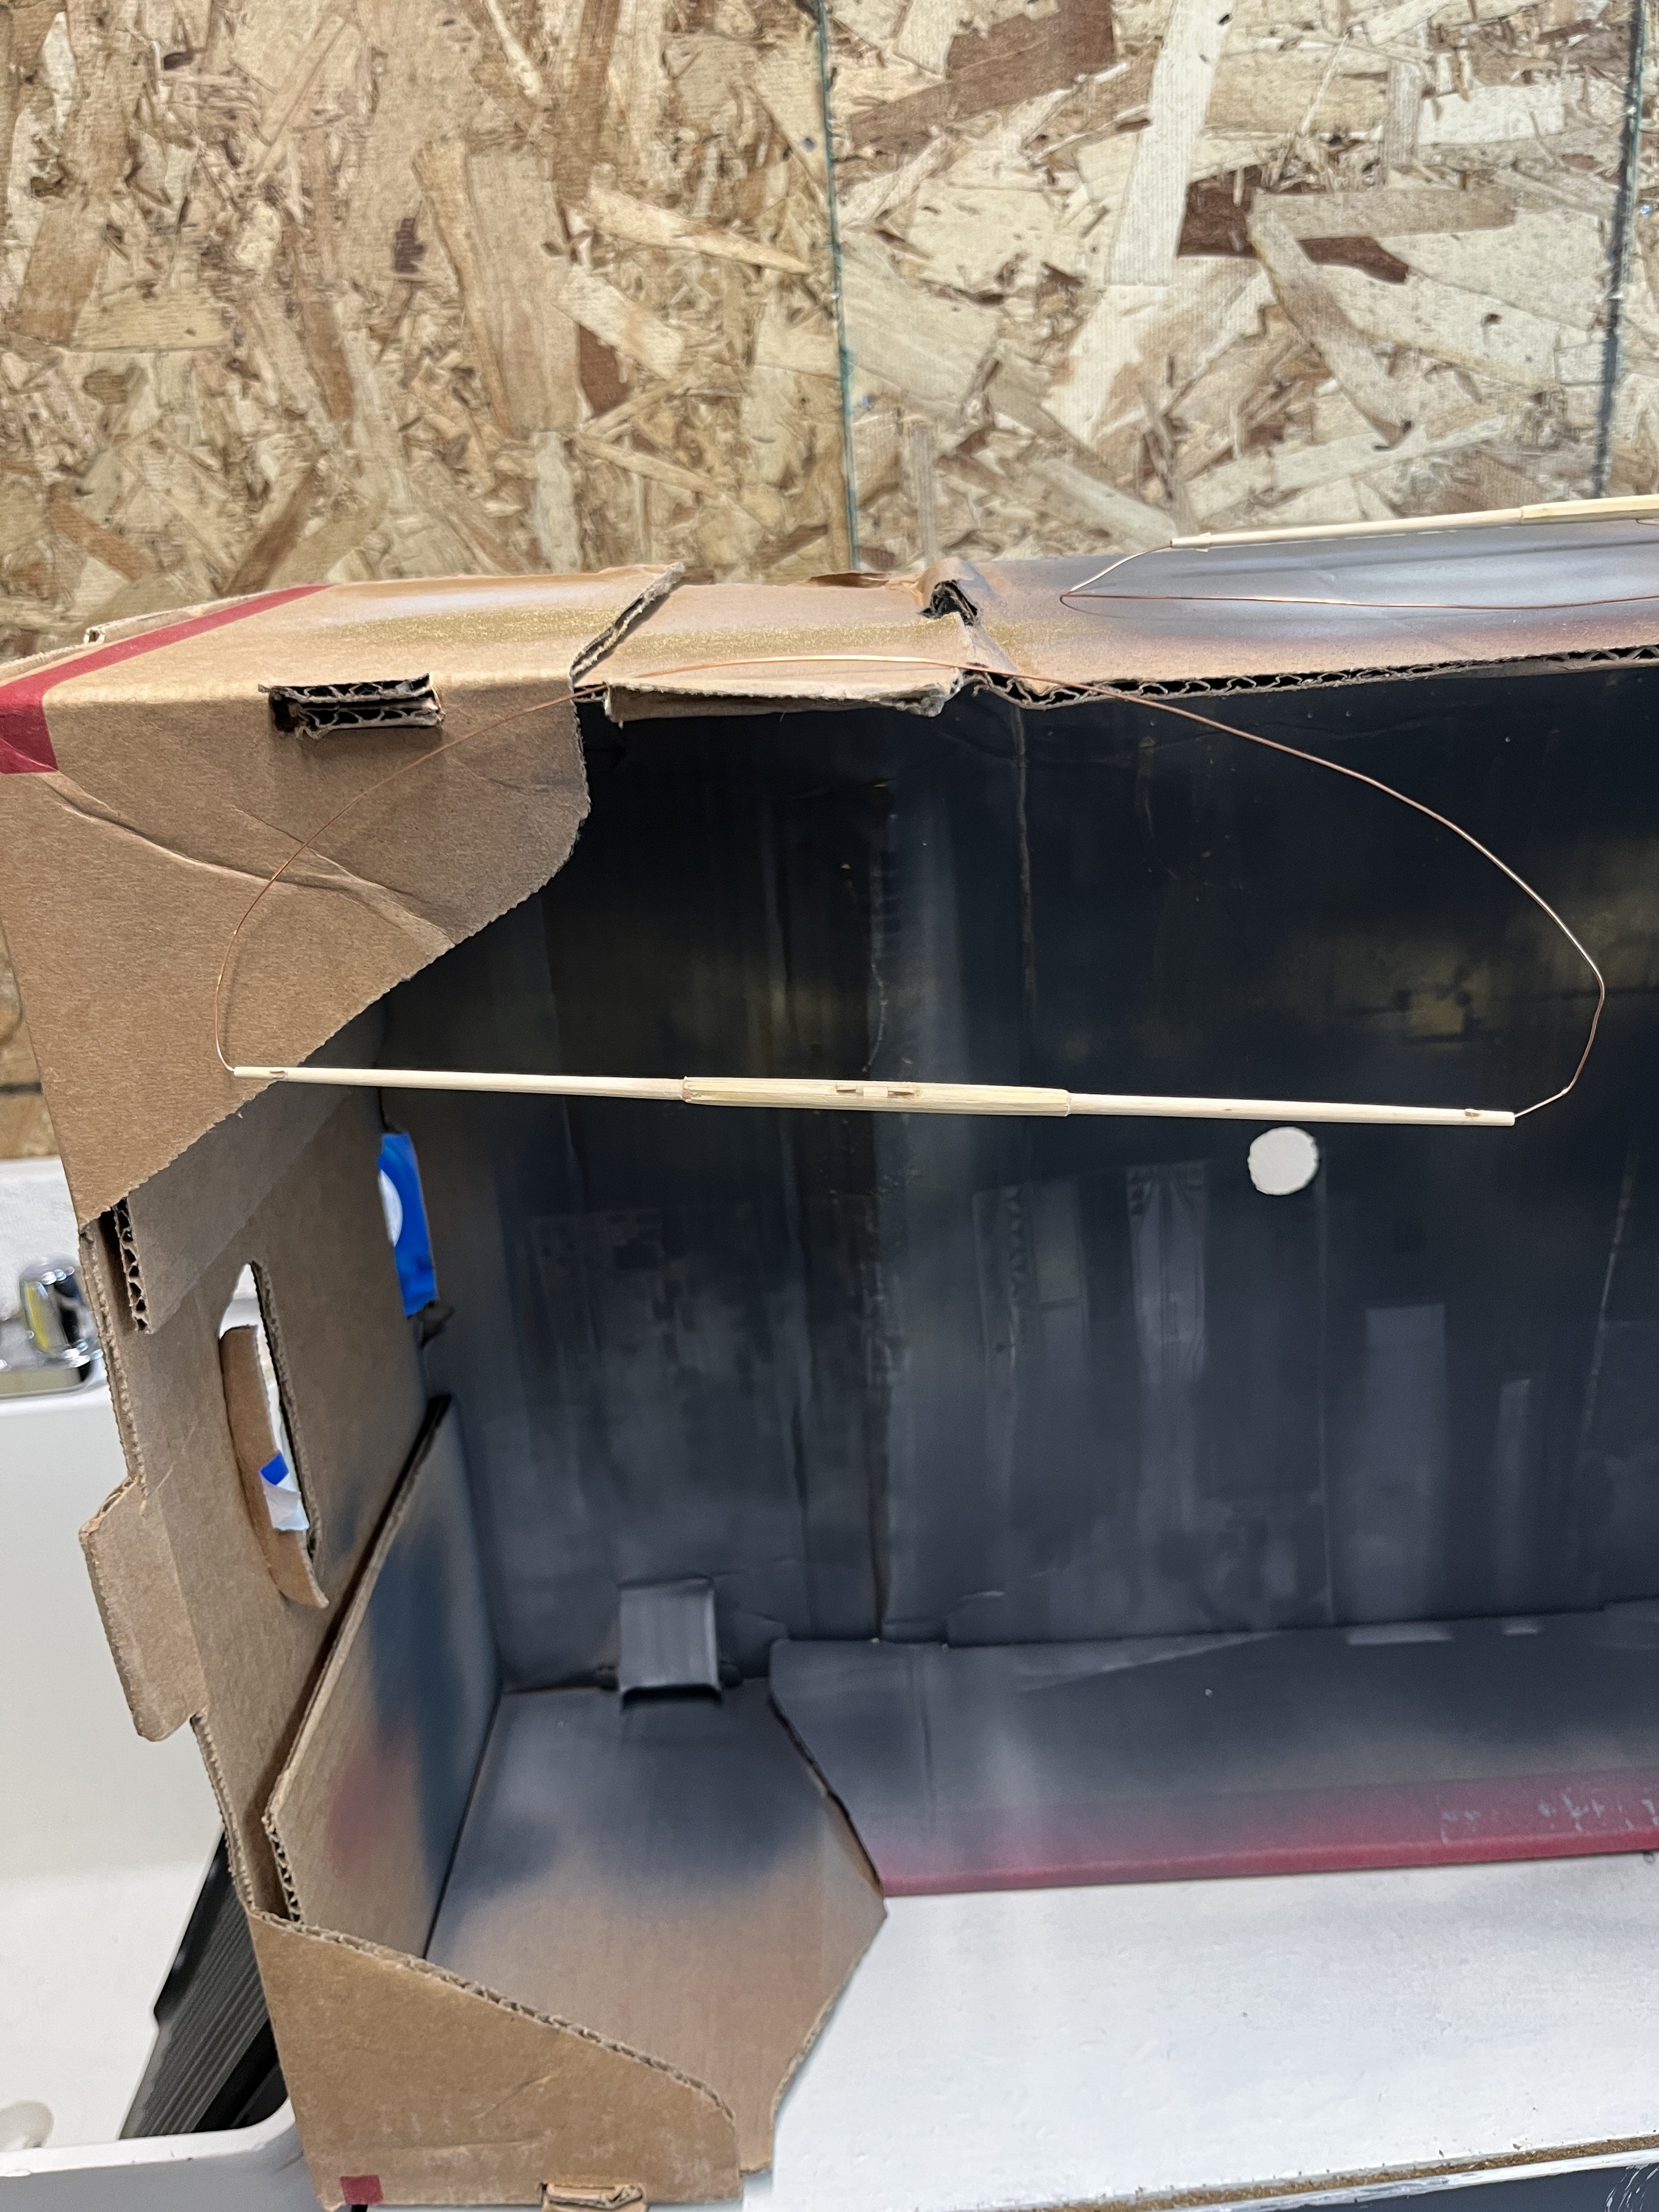
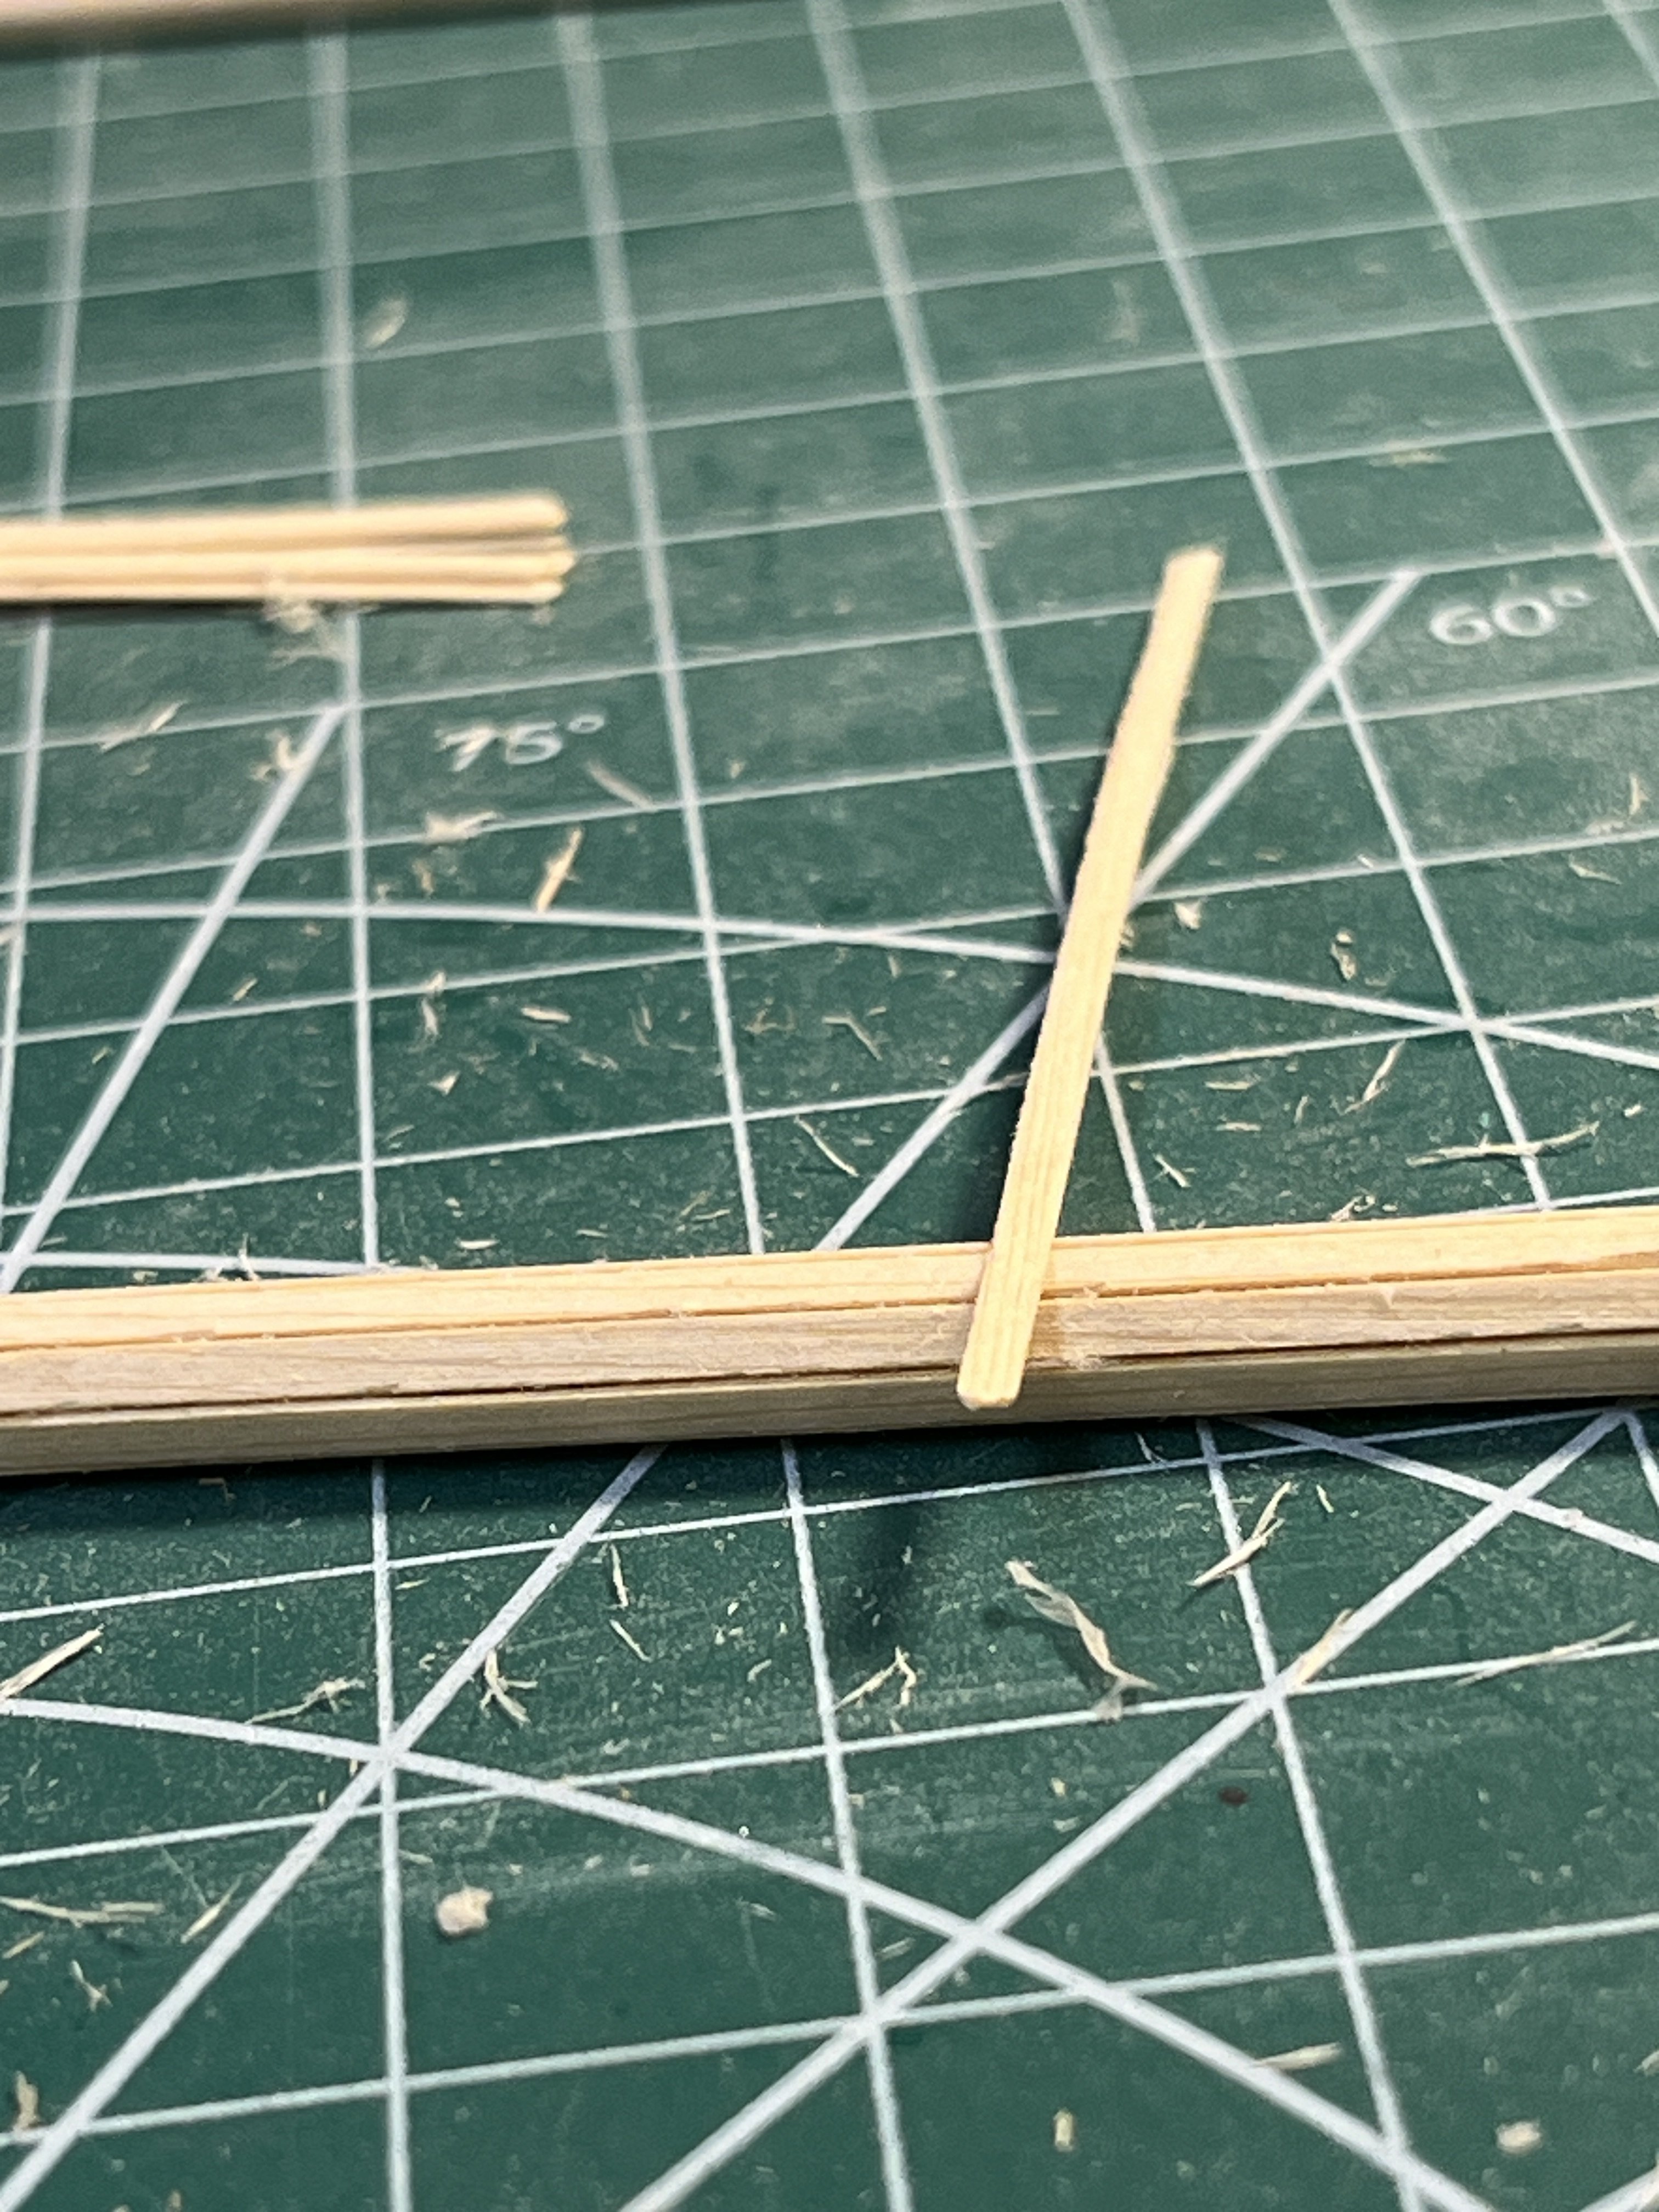
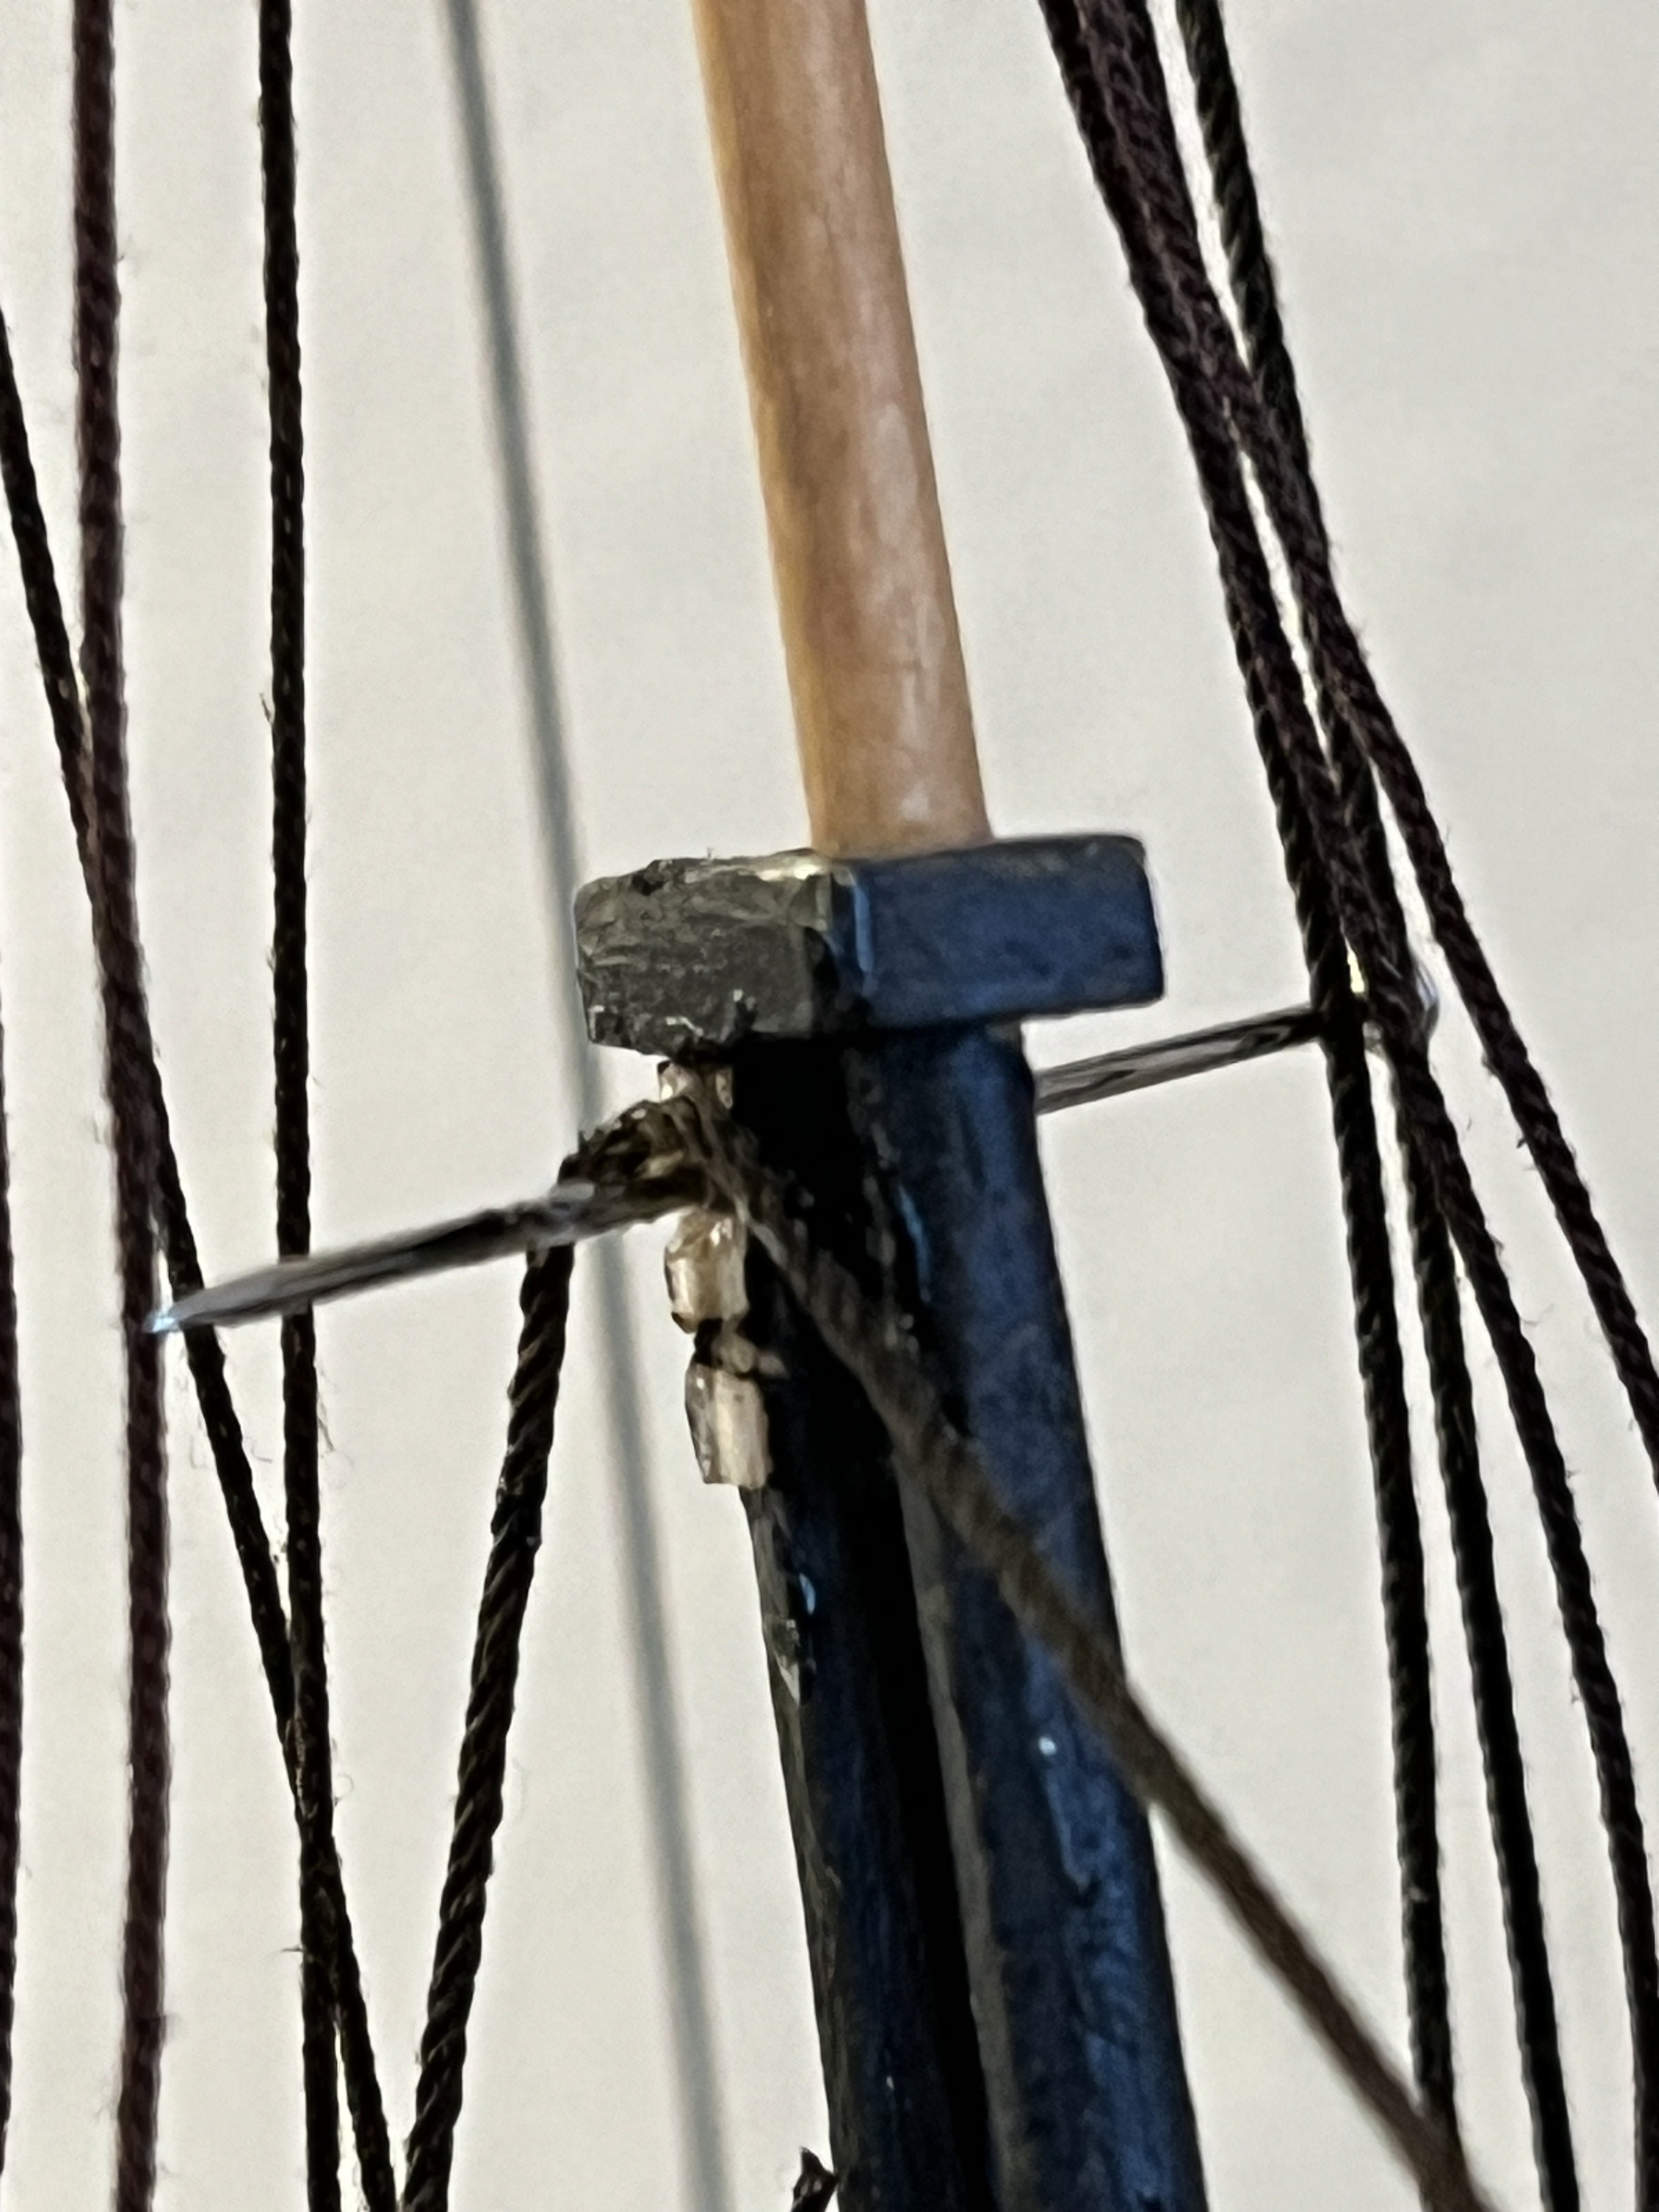
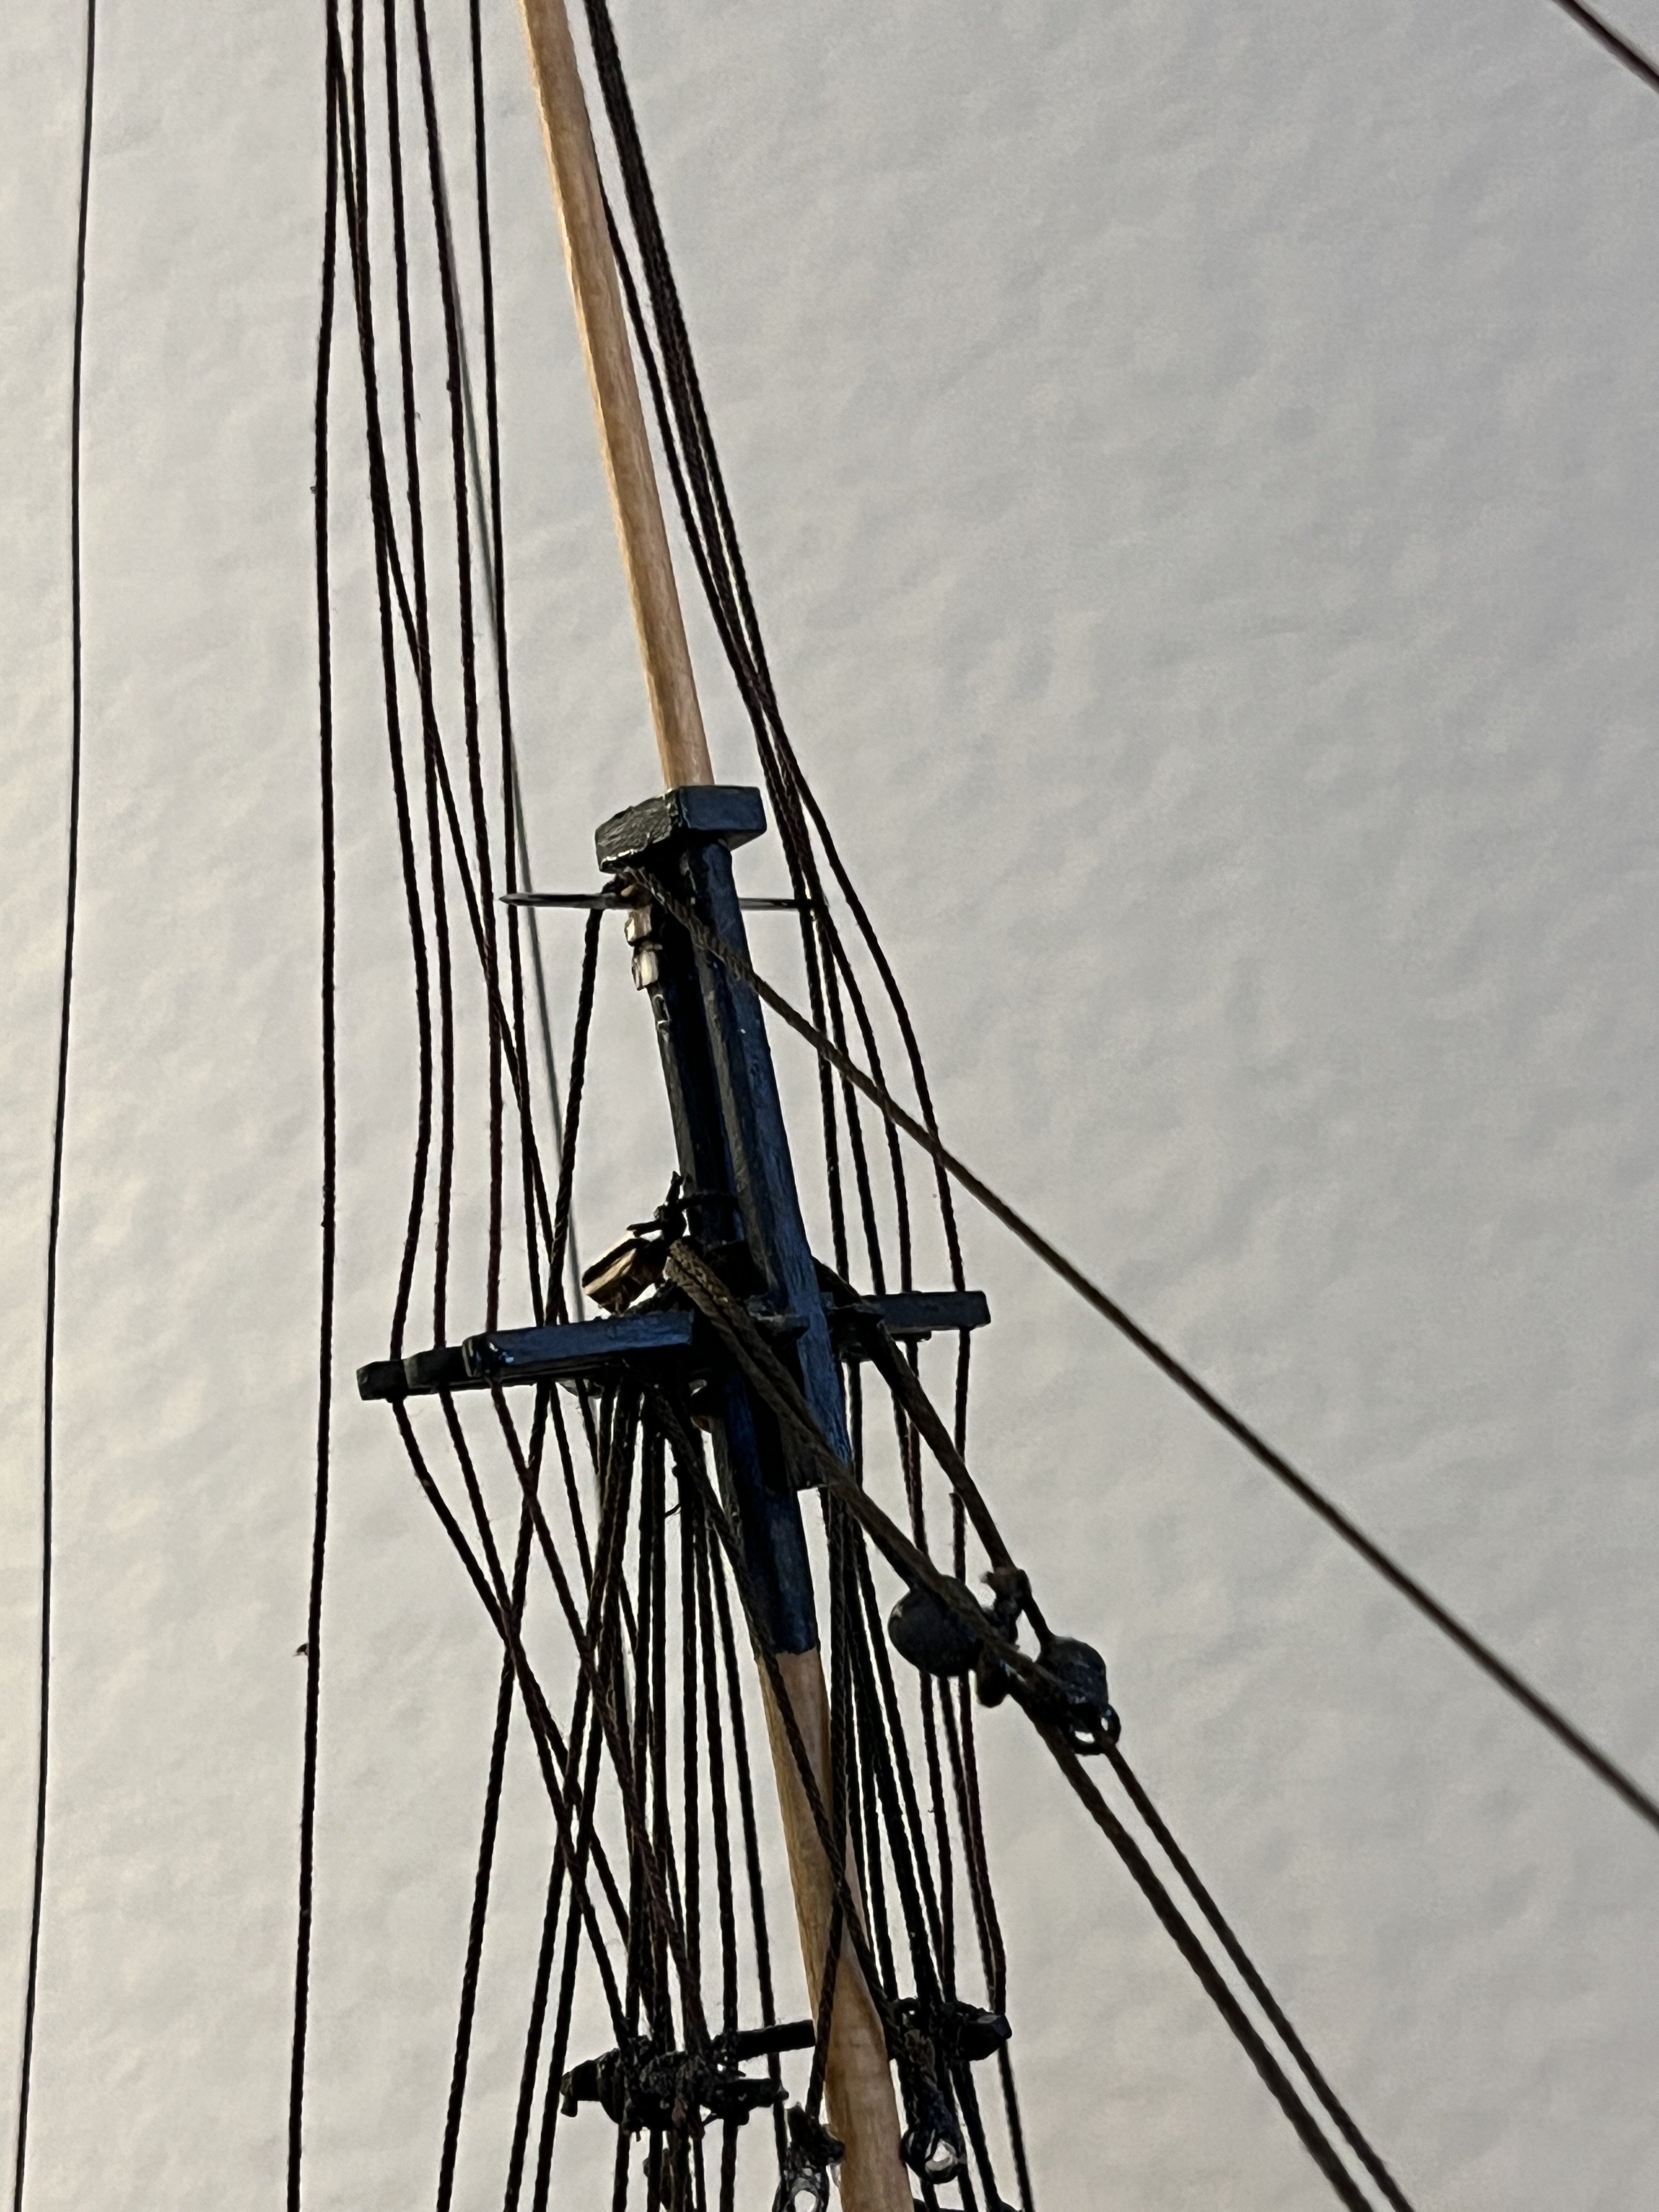
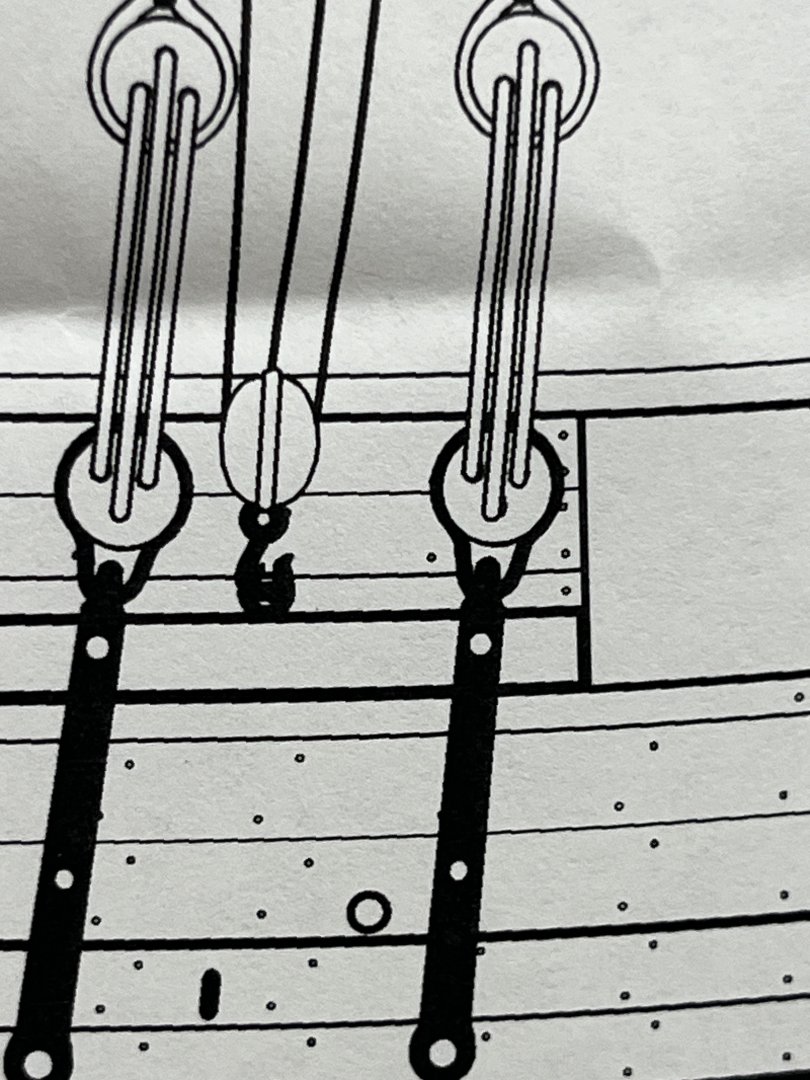
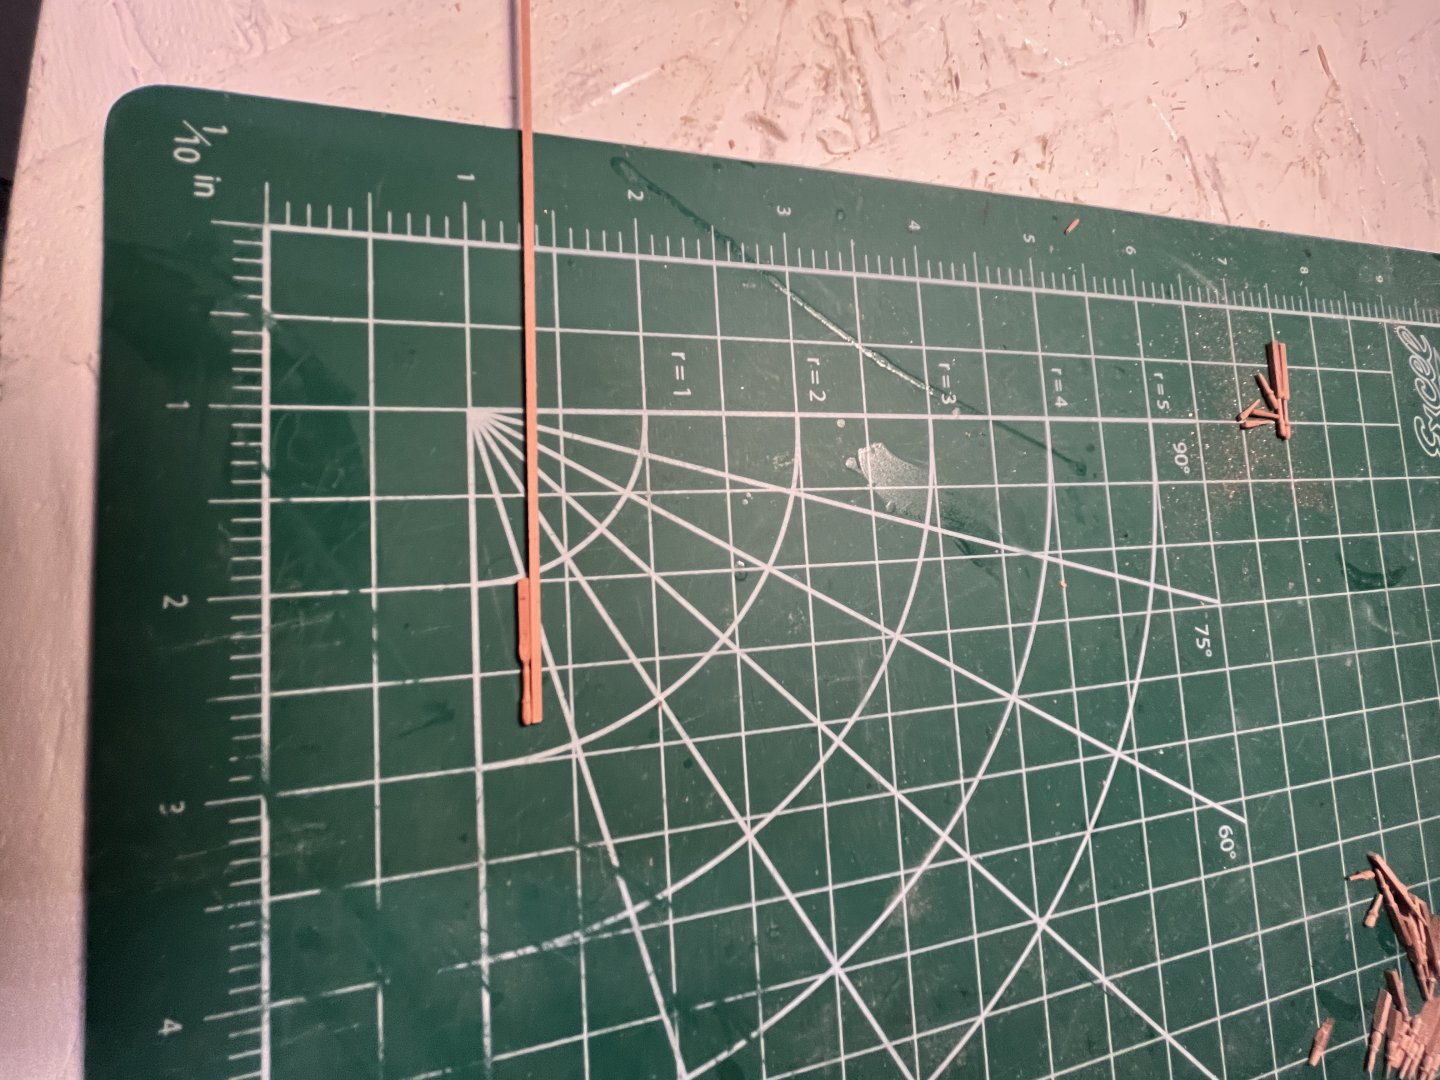
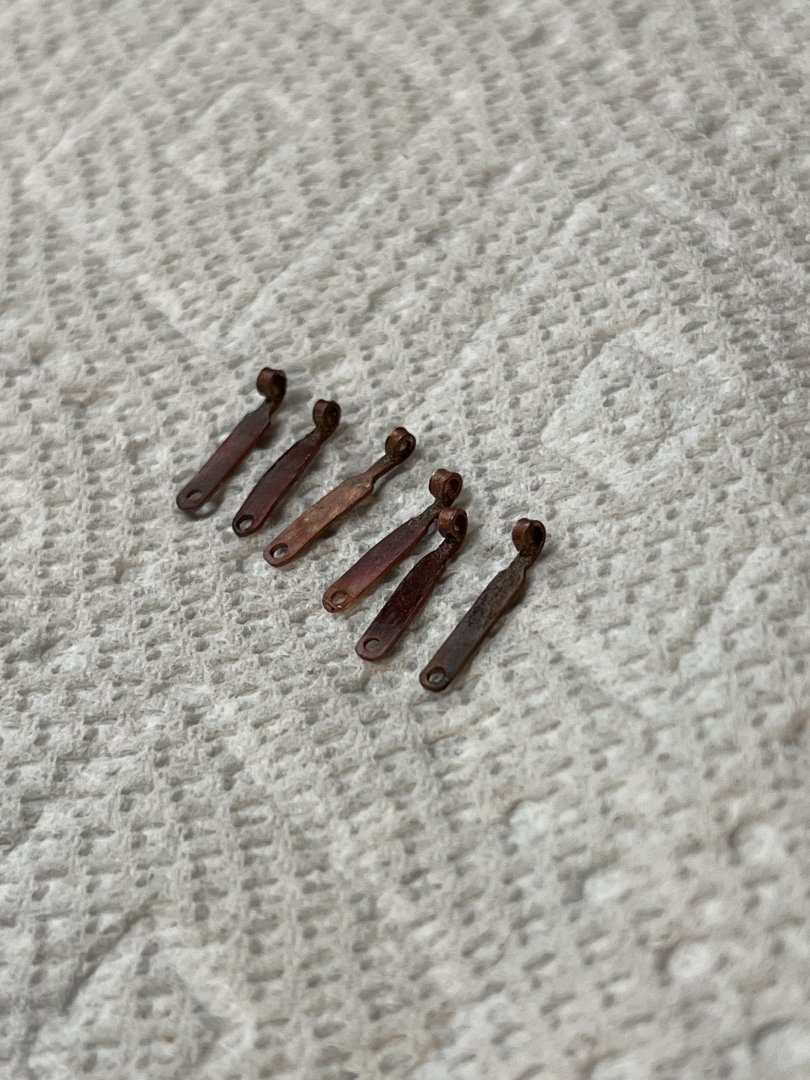
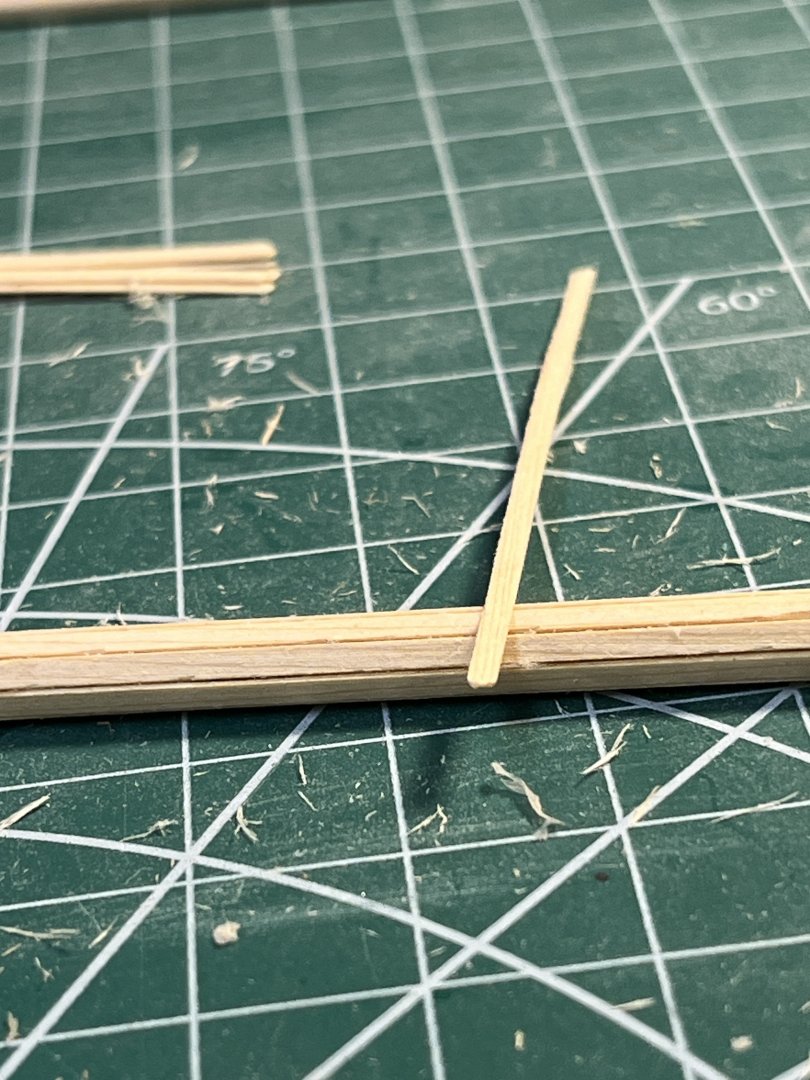
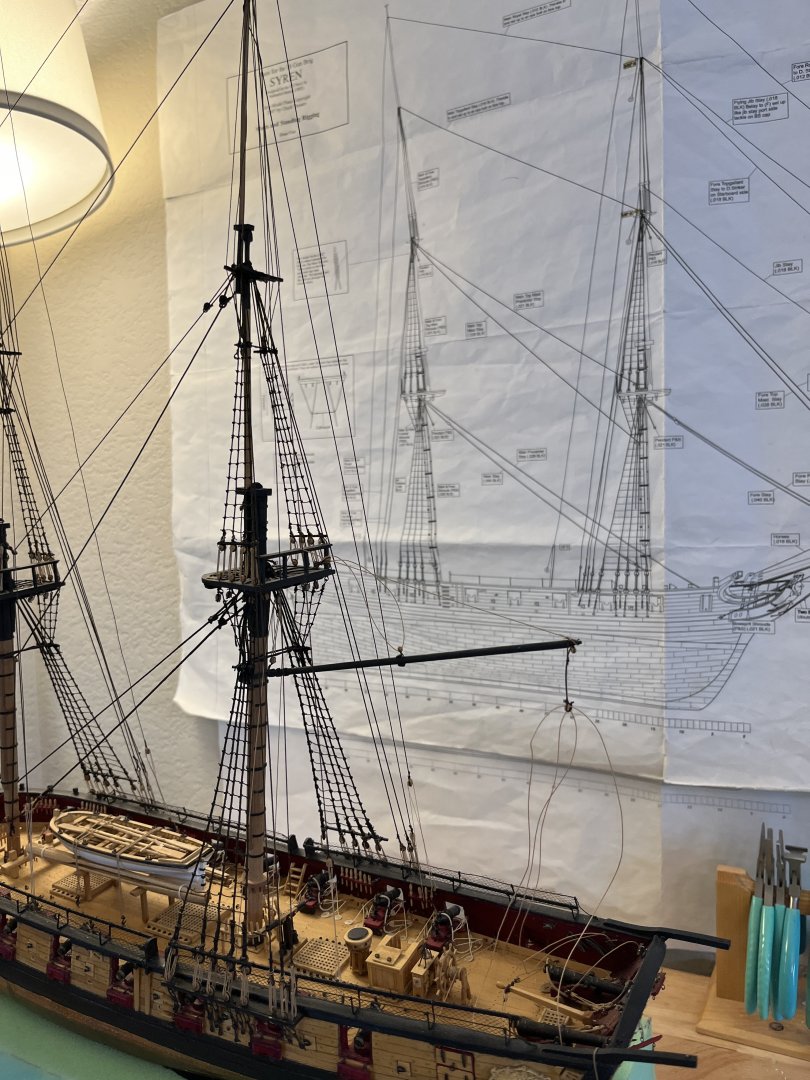
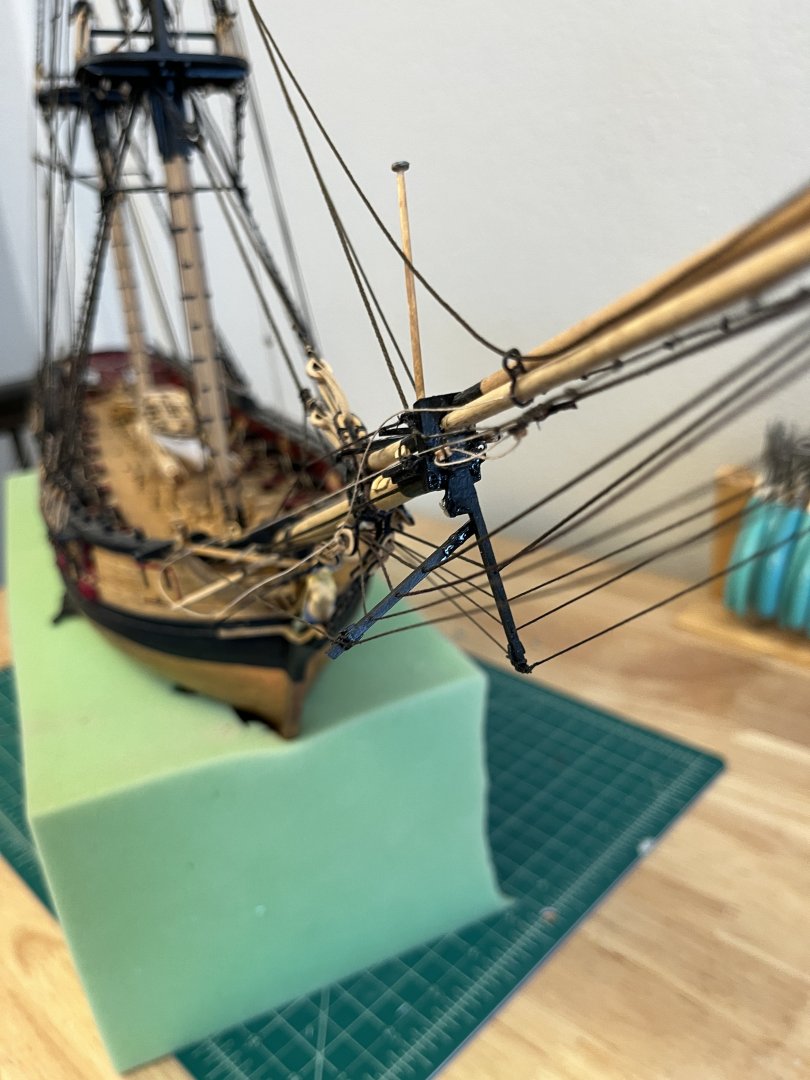
 Now with the deadeye strops ready for finishing I started on the chainplates. Using the same methods as the backstays I made the 8 chainplates. I just realized that it has been a month since my last post as I was in Arizona visiting my daughter along with a little holiday travel so the last two days have been filing the chainplates and now the backstays and chainplates are ready for blackening. Just a photo of one aligned with the print. Next is to blacken the parts and then make a simulated mast so the chainplate angles are determined with string.
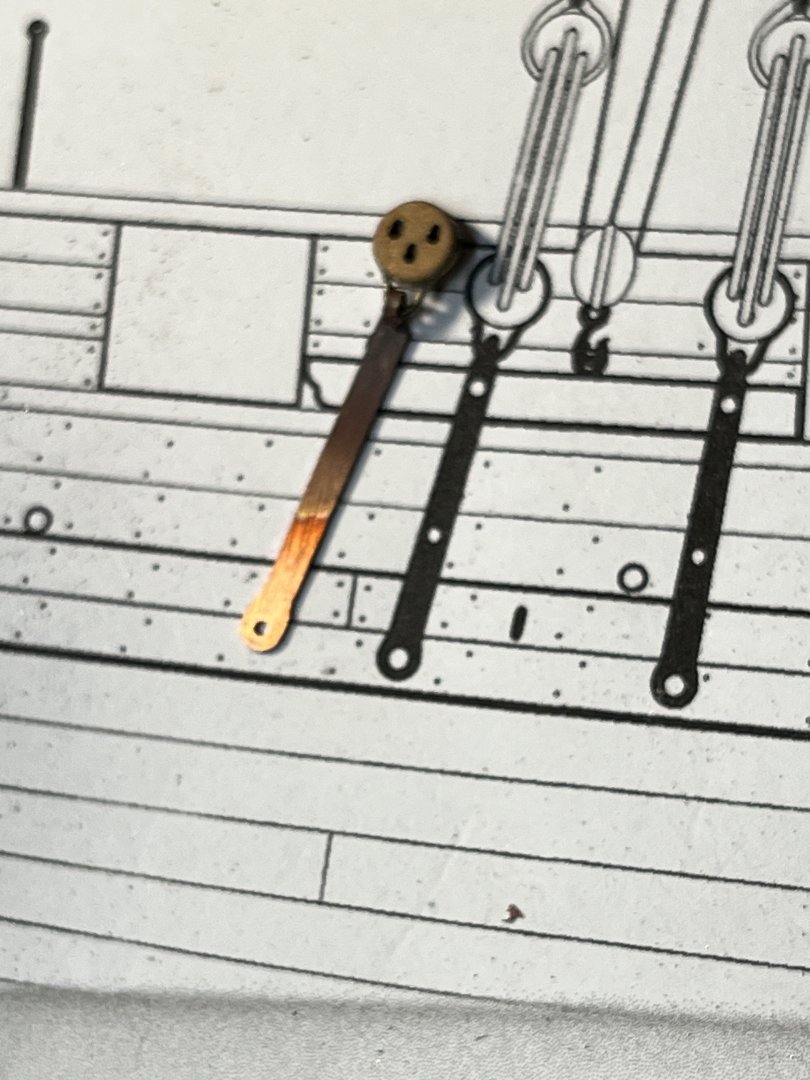
-
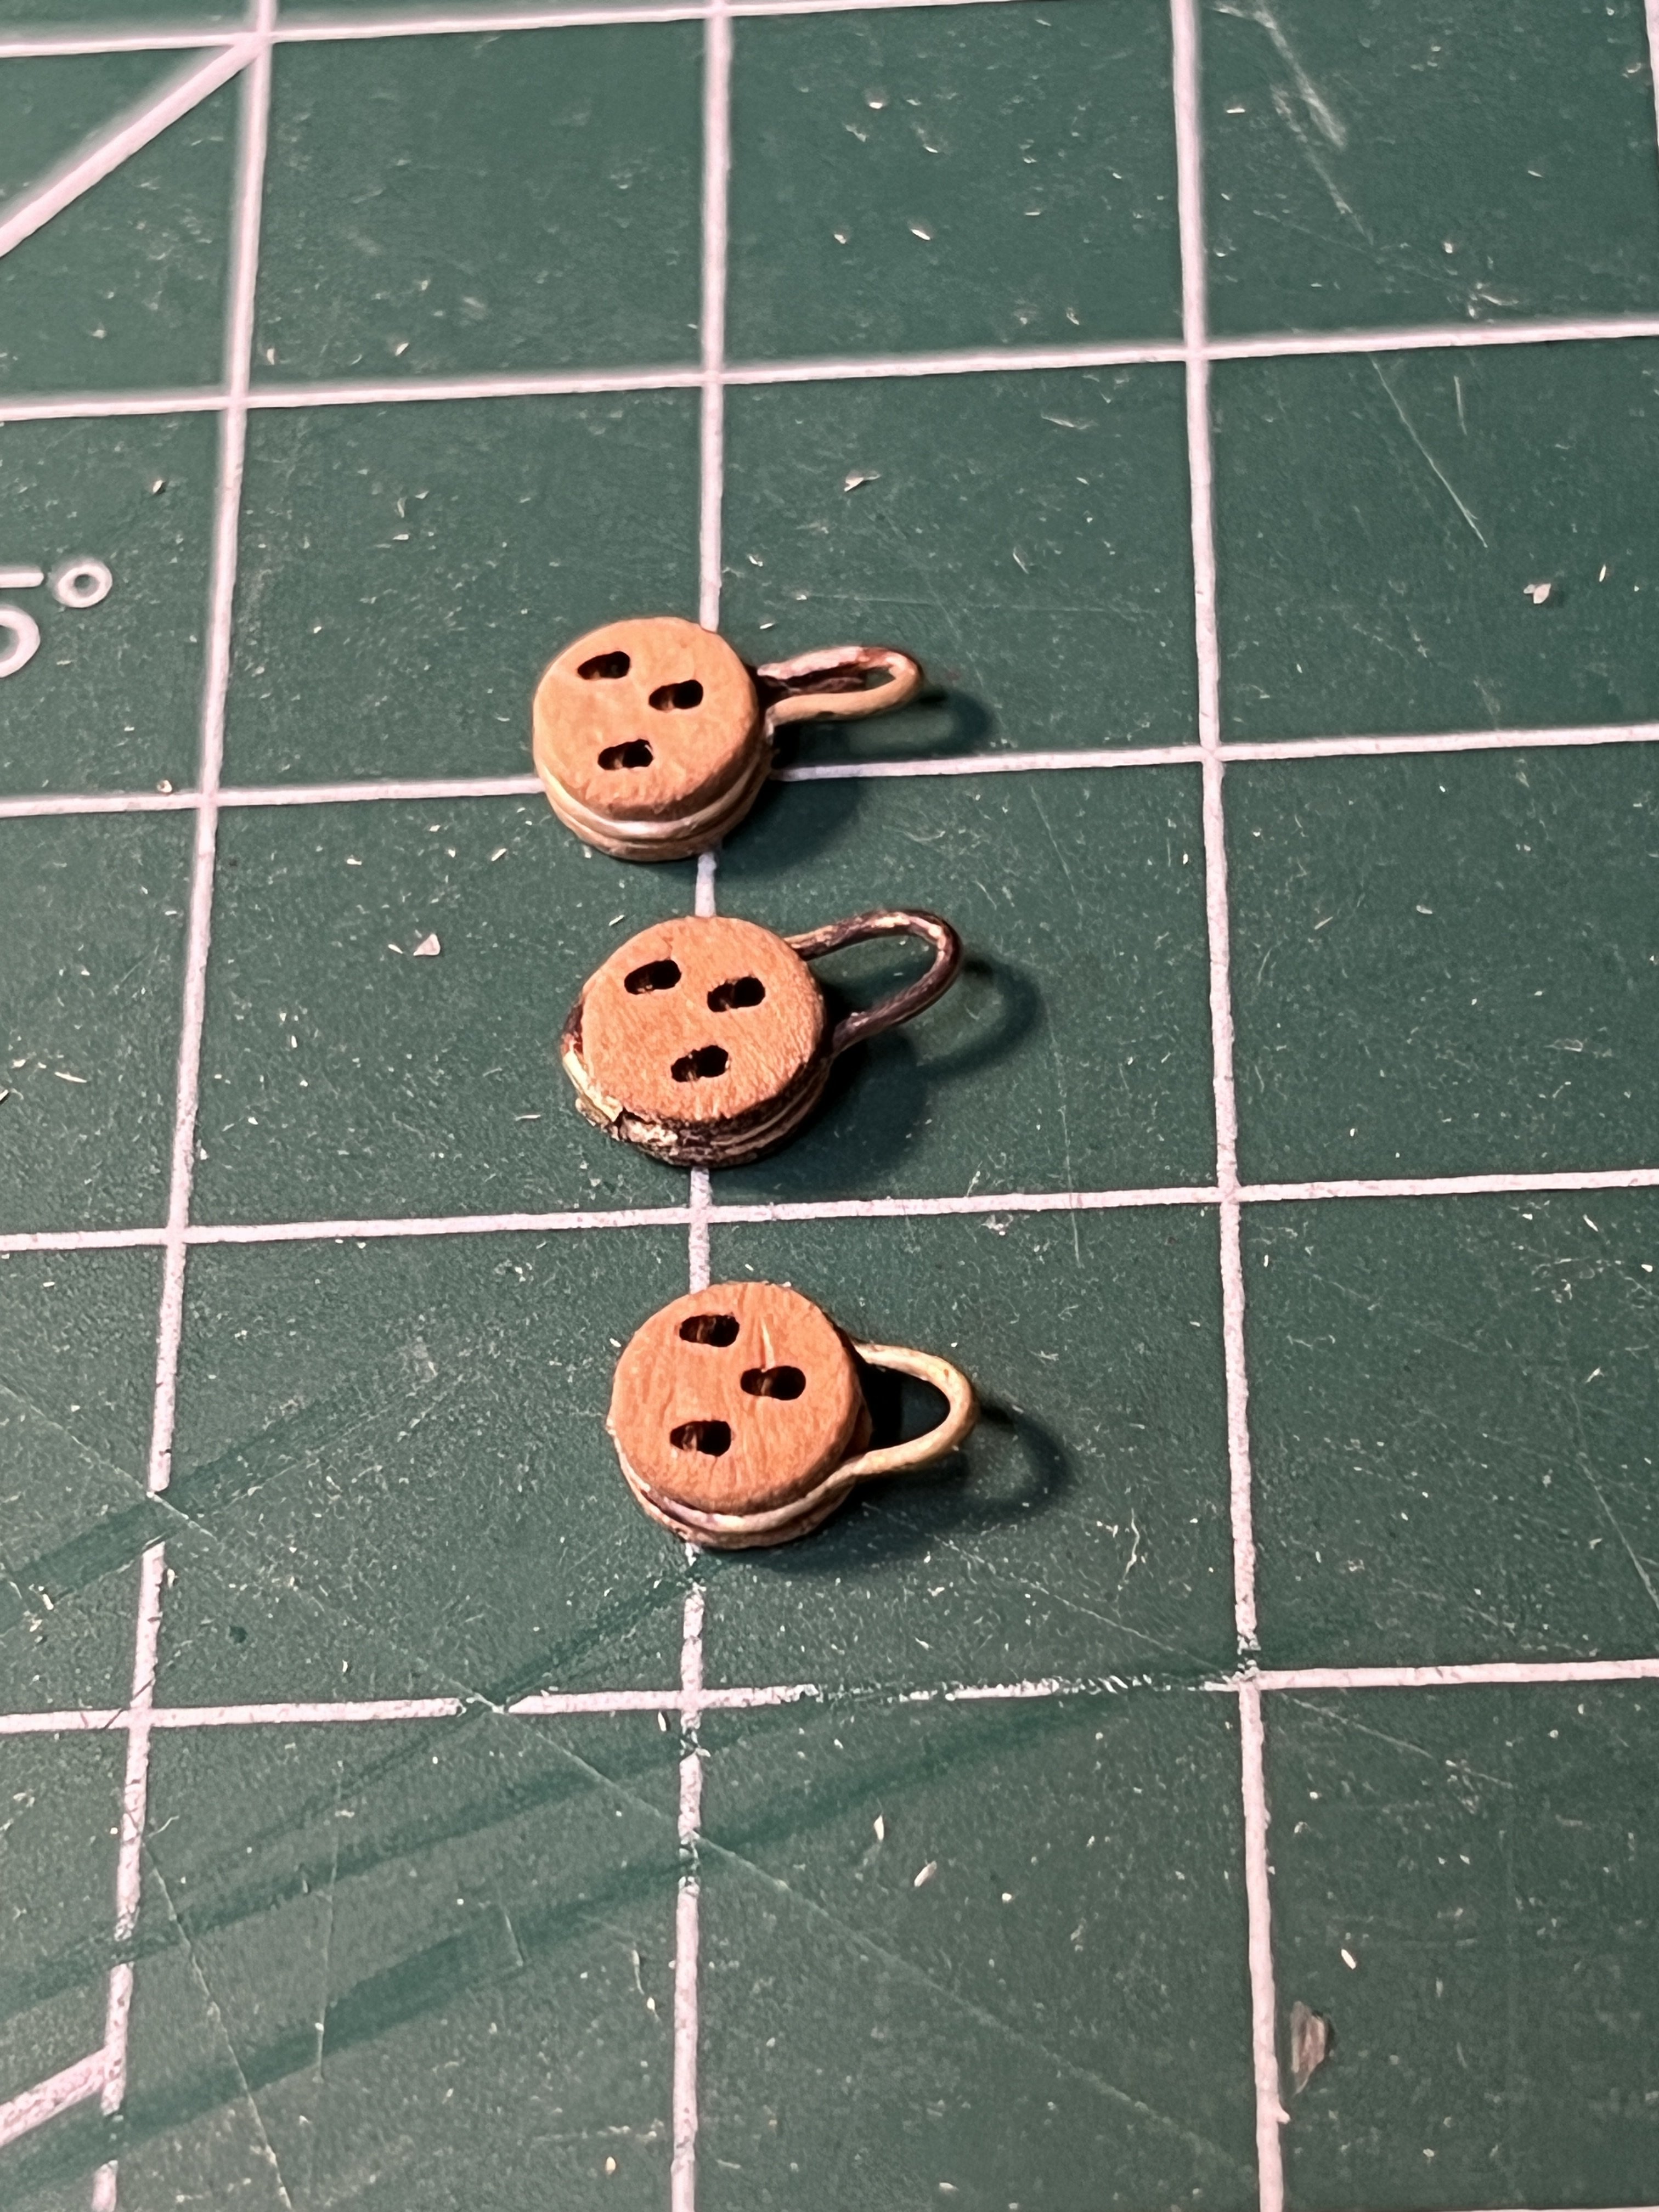
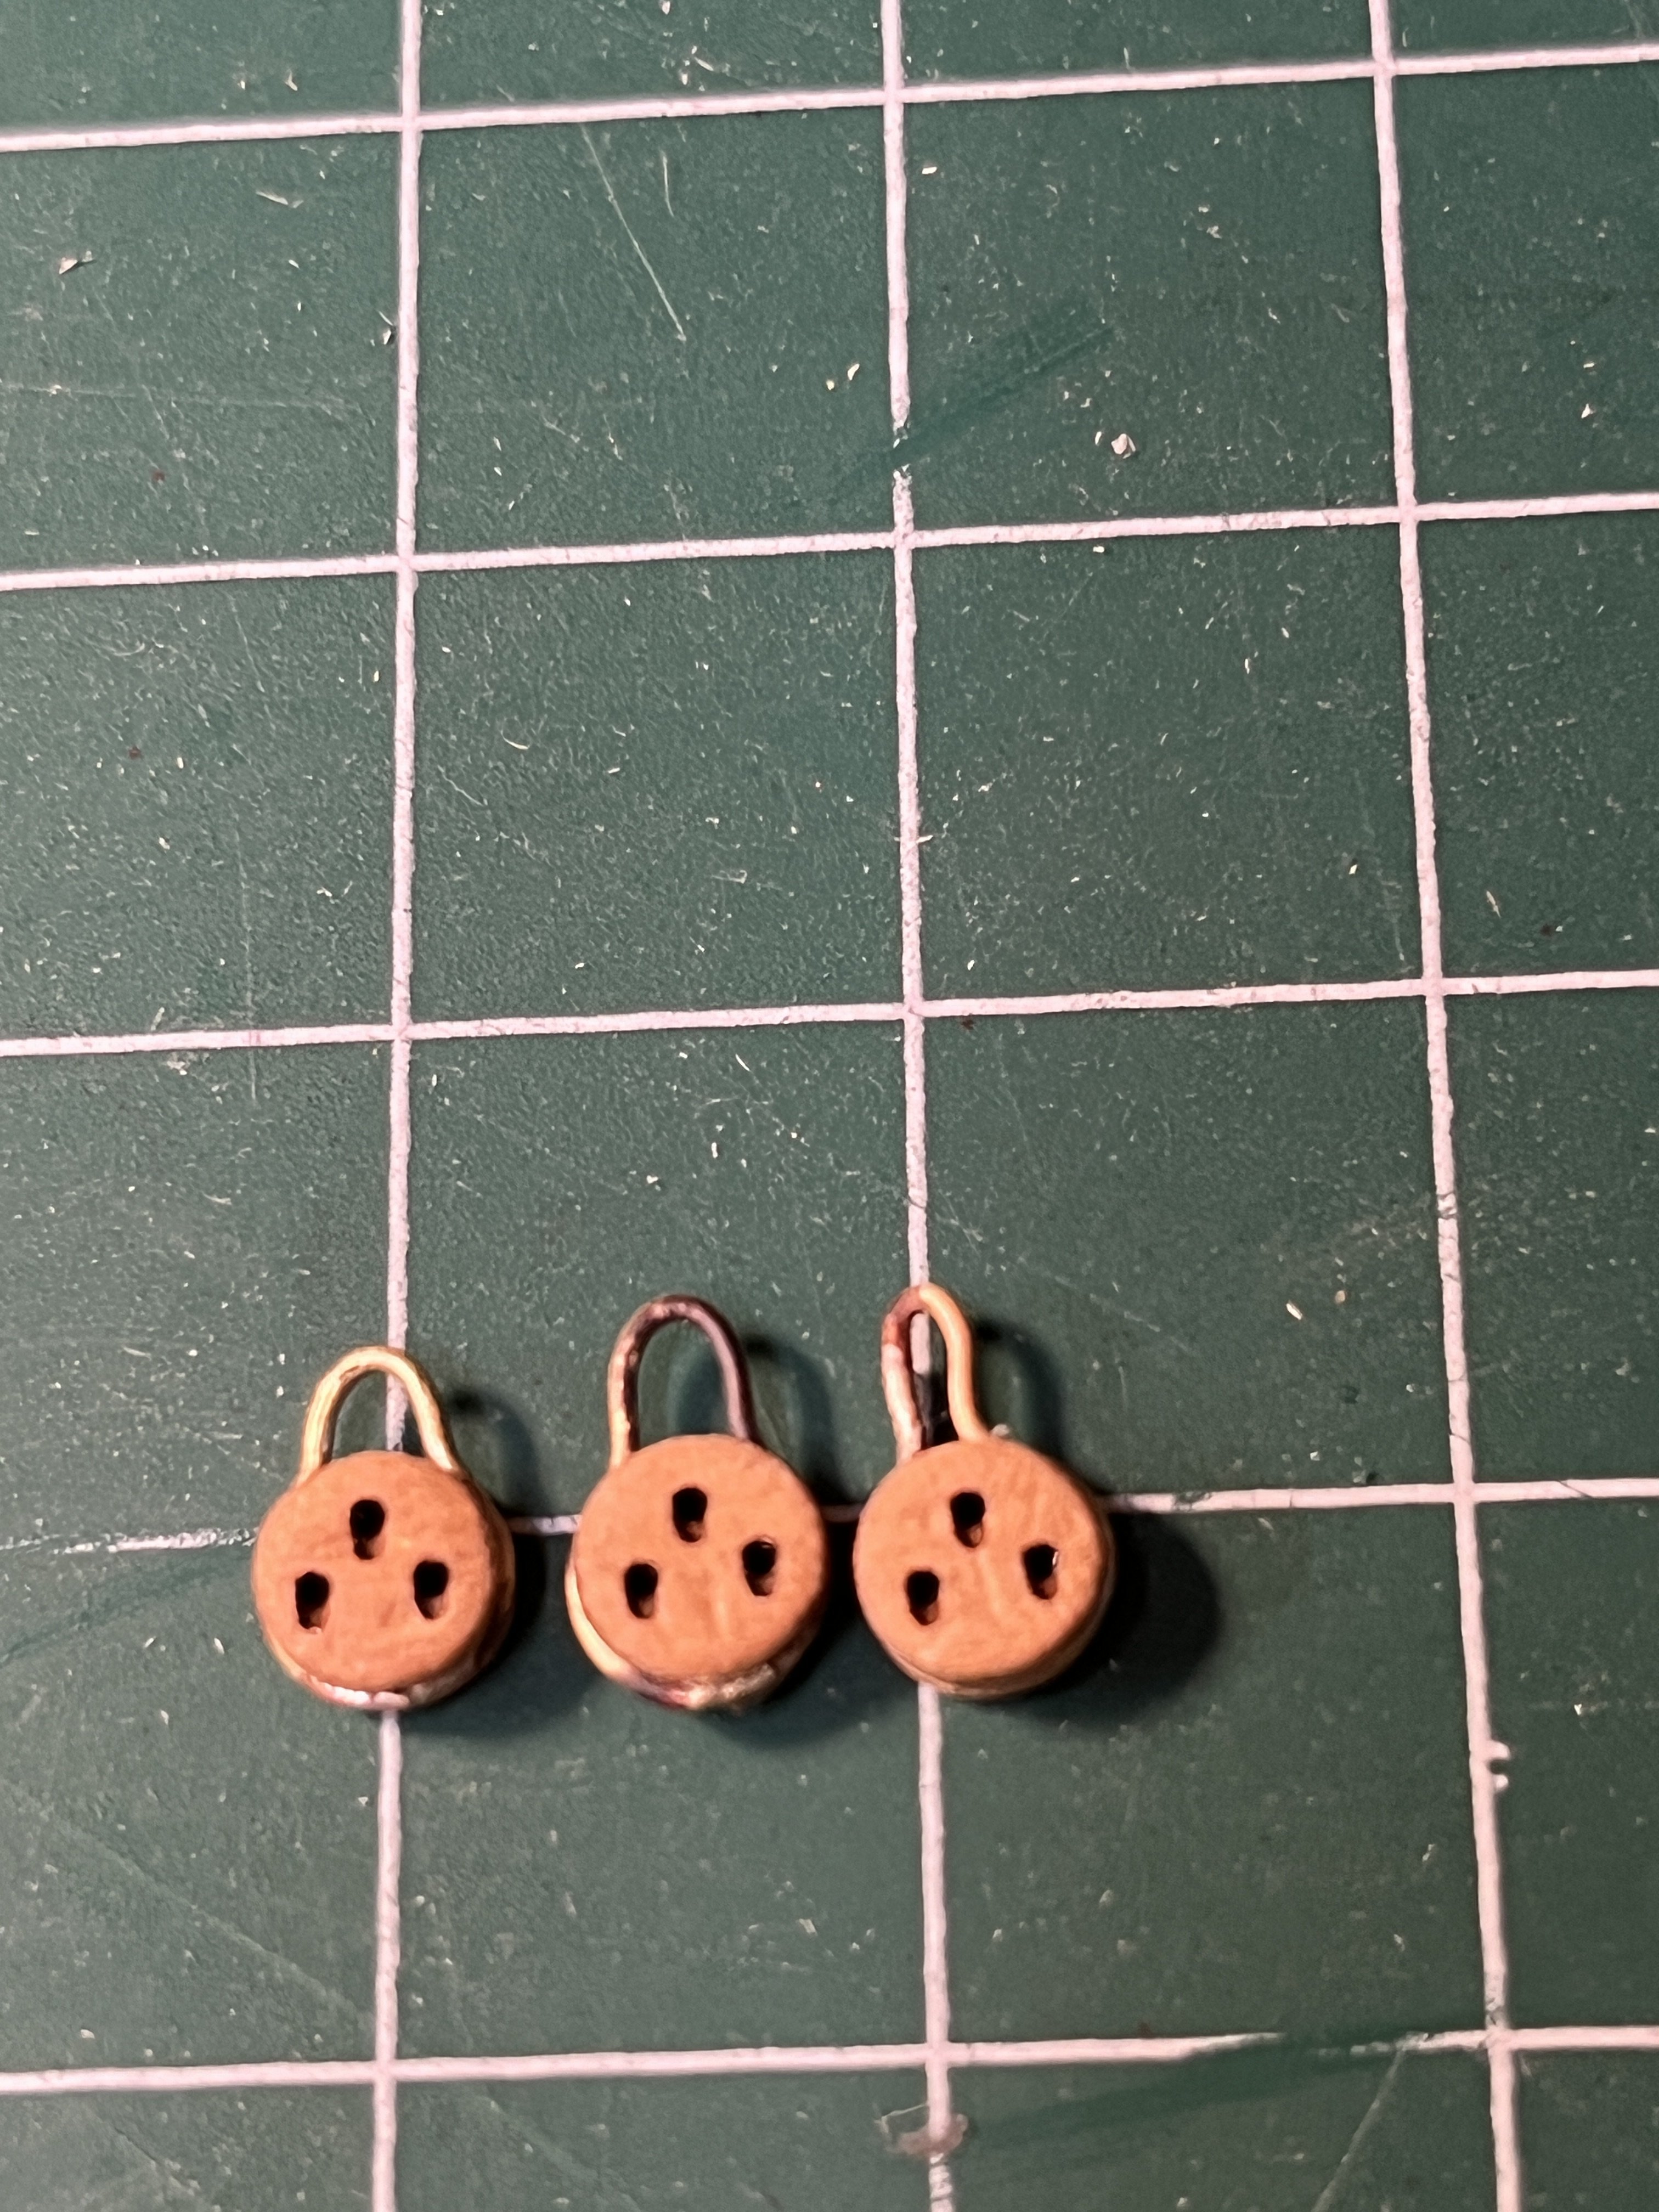
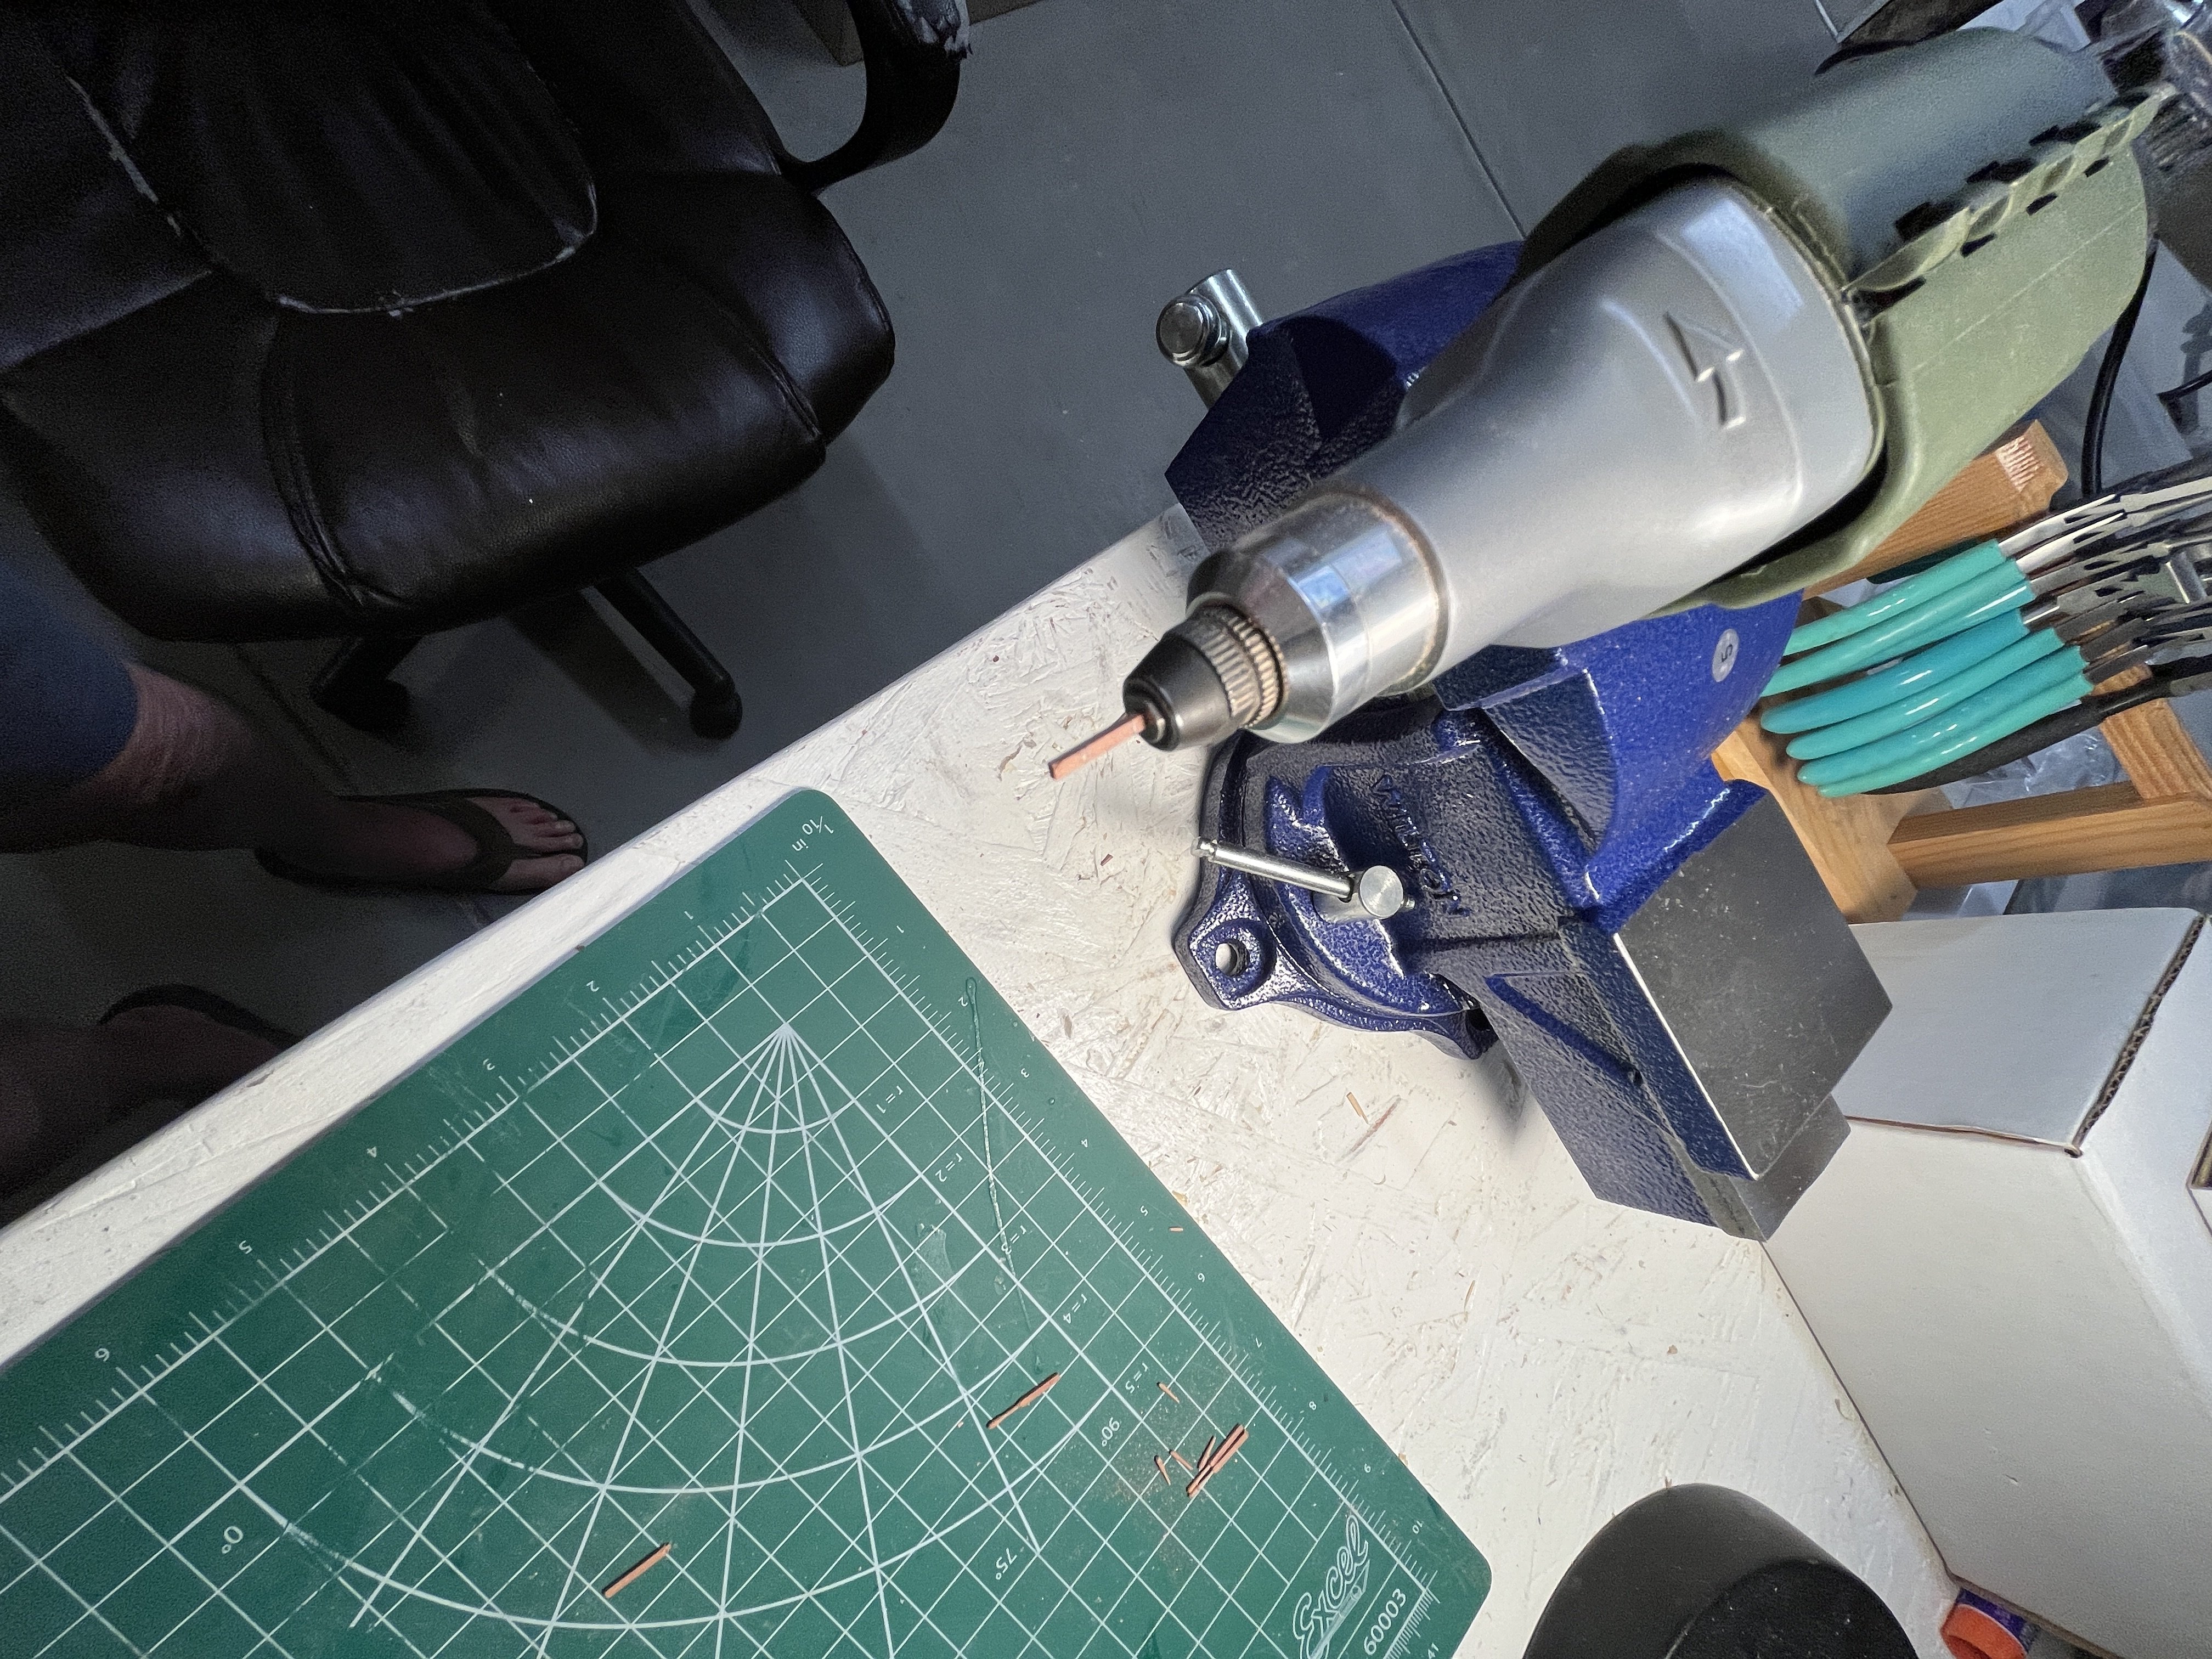
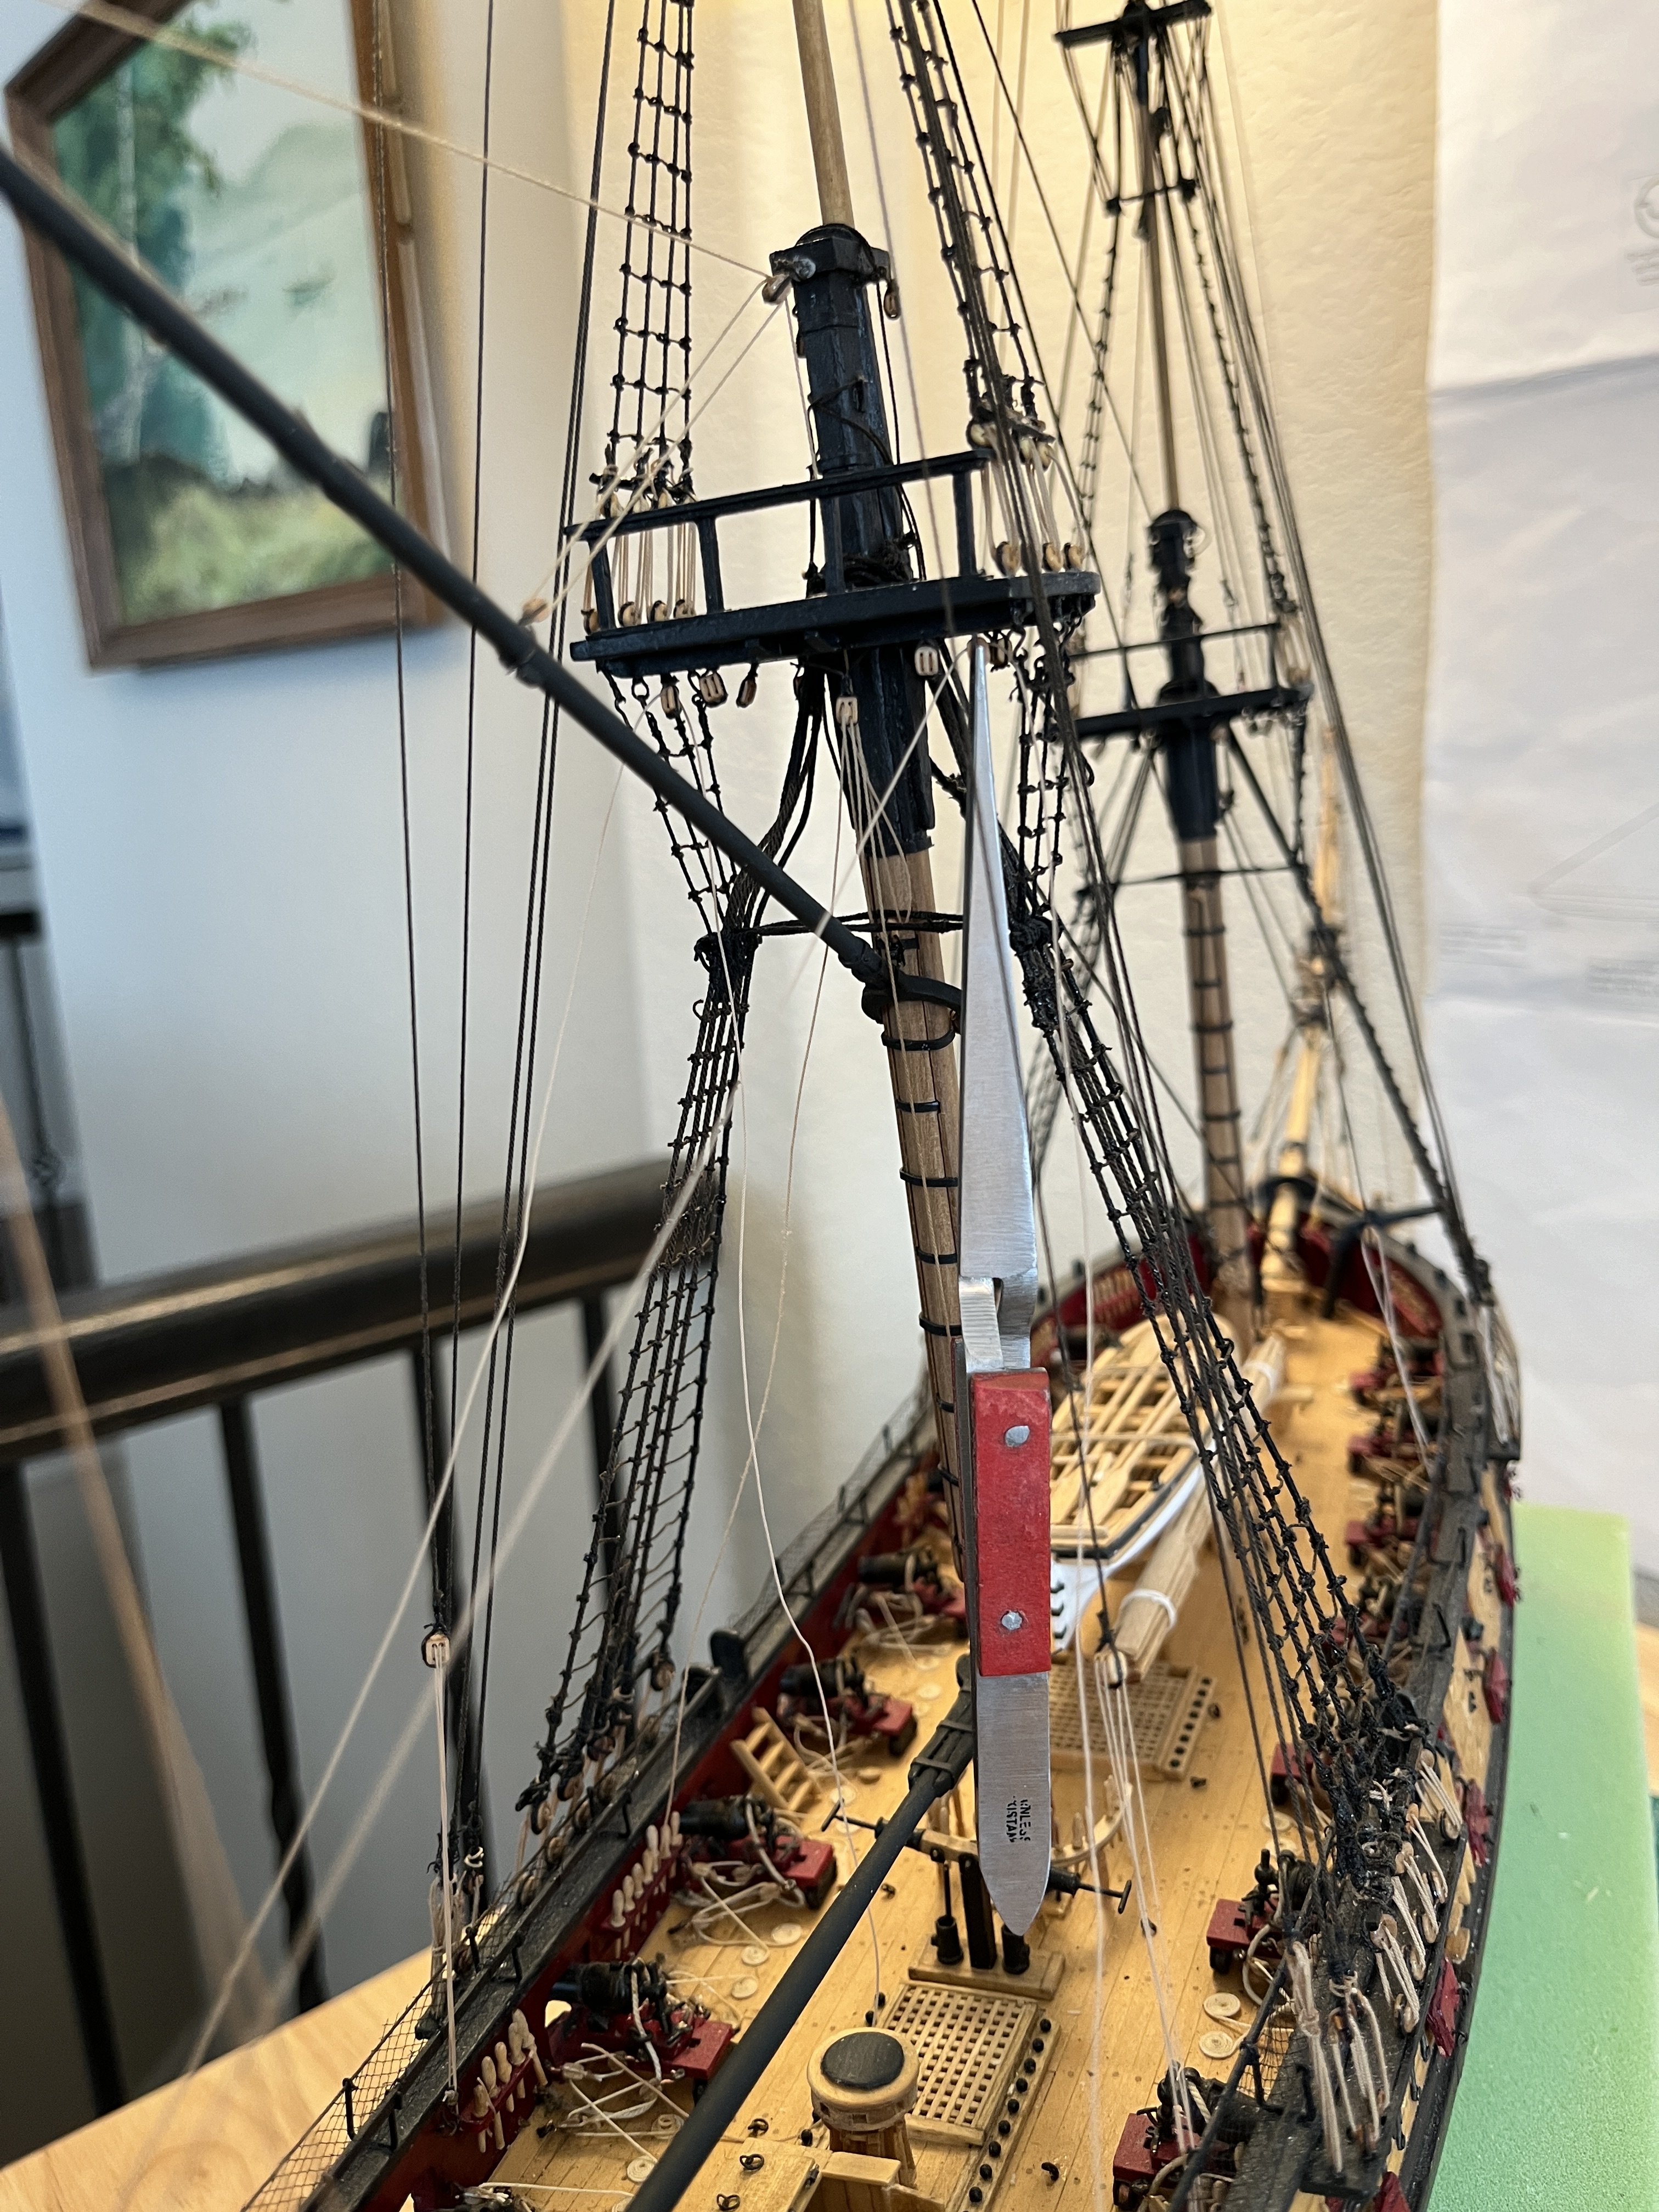
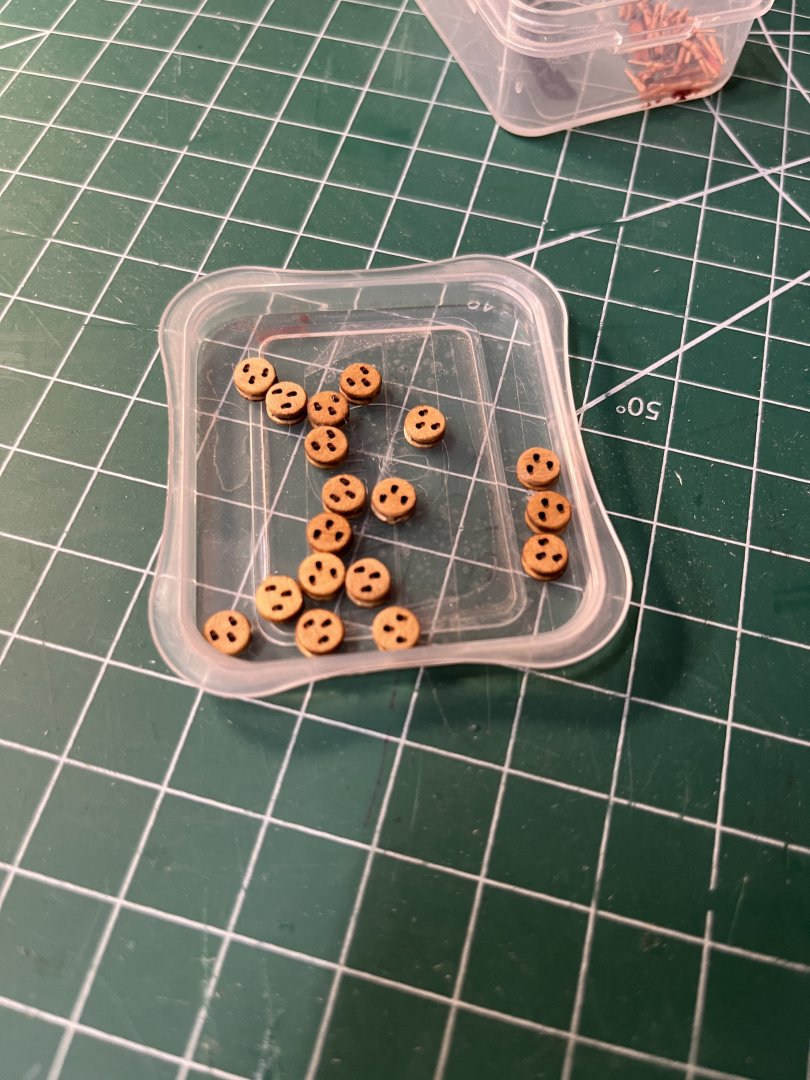
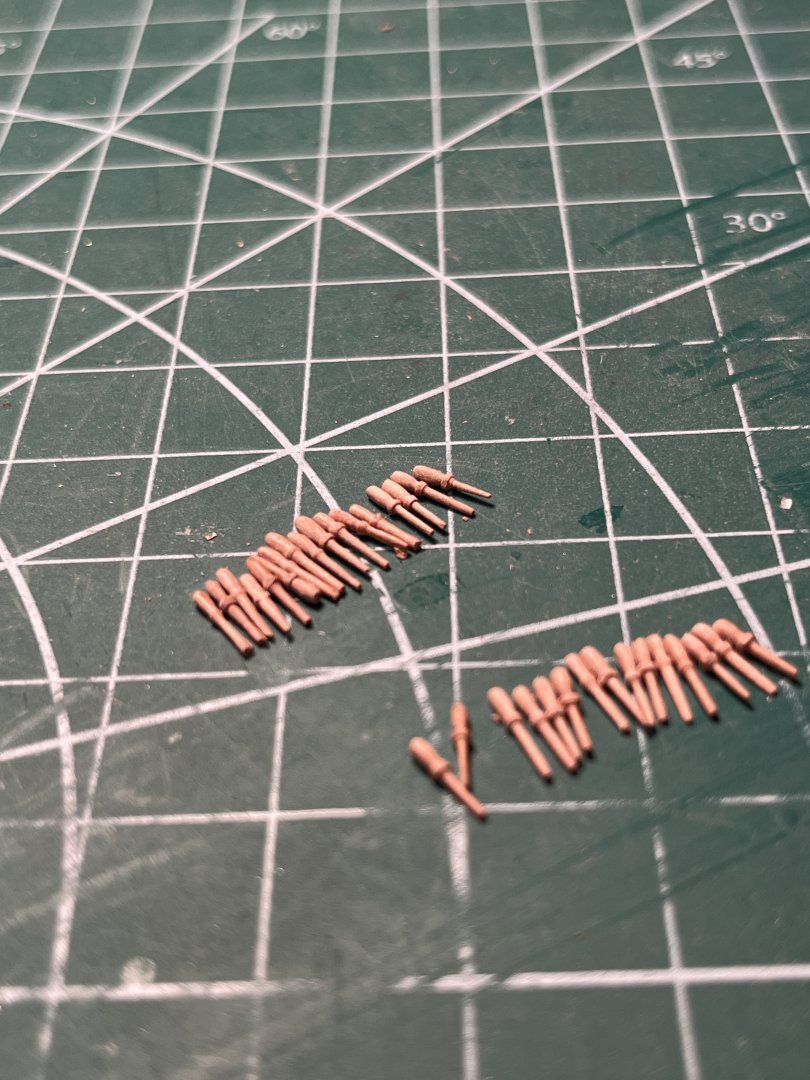
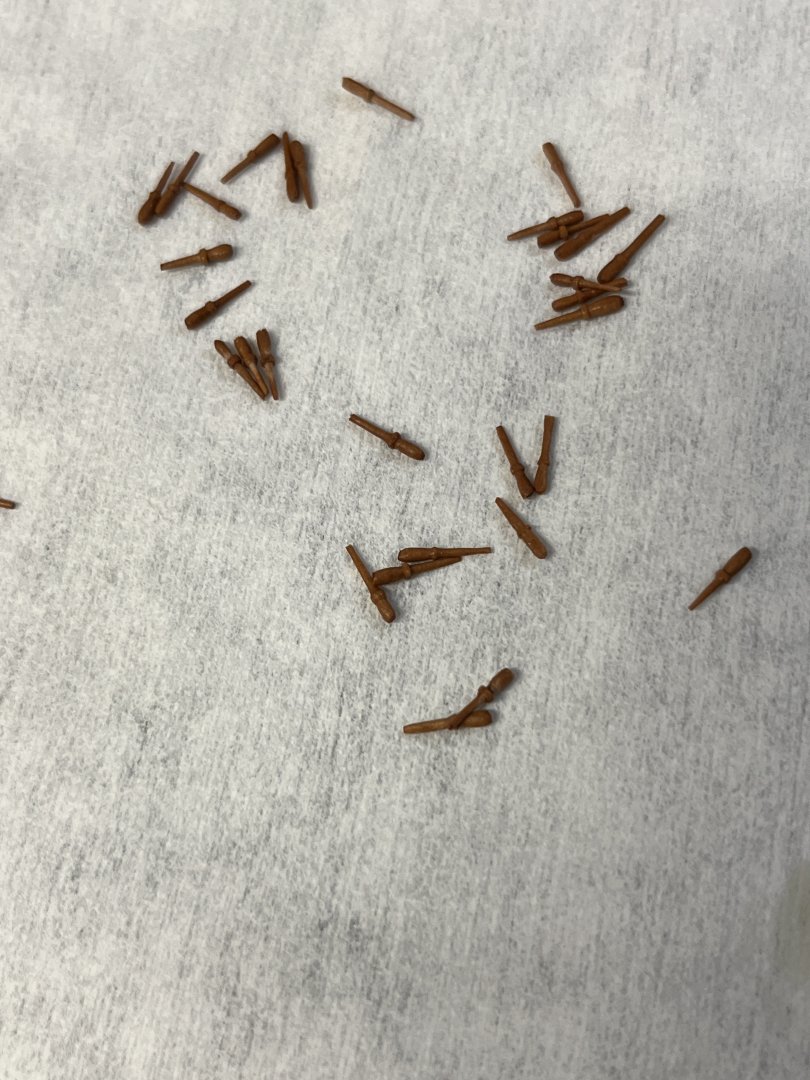
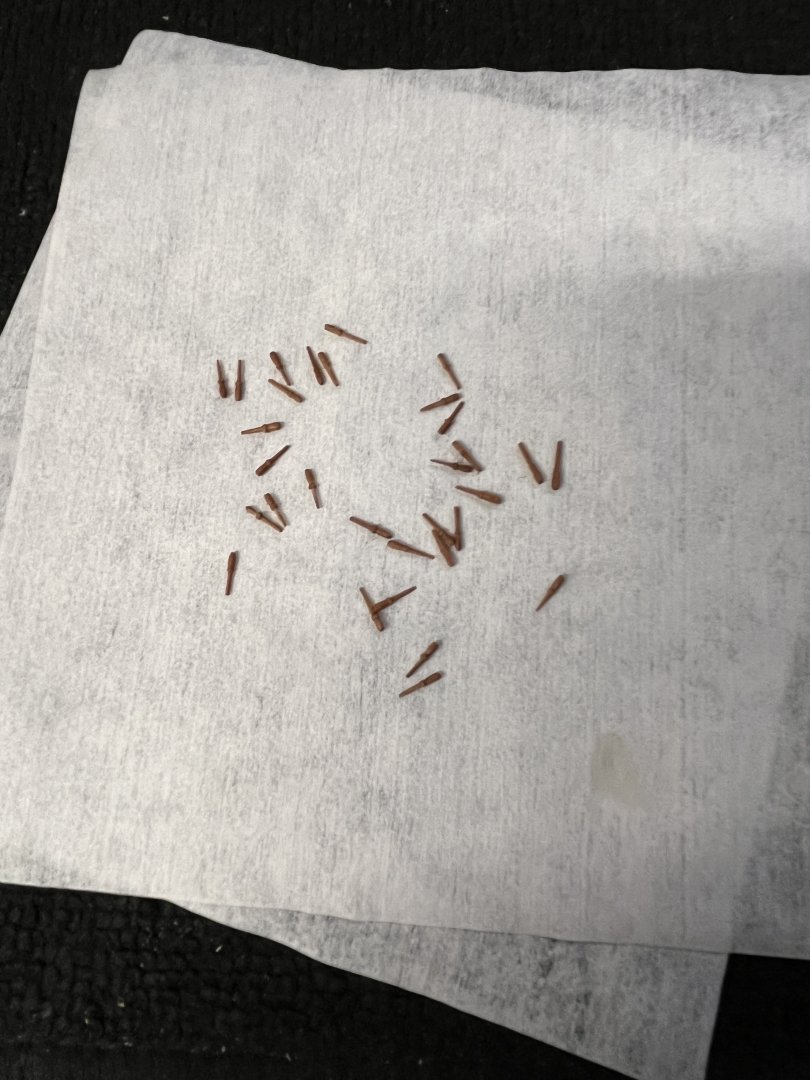
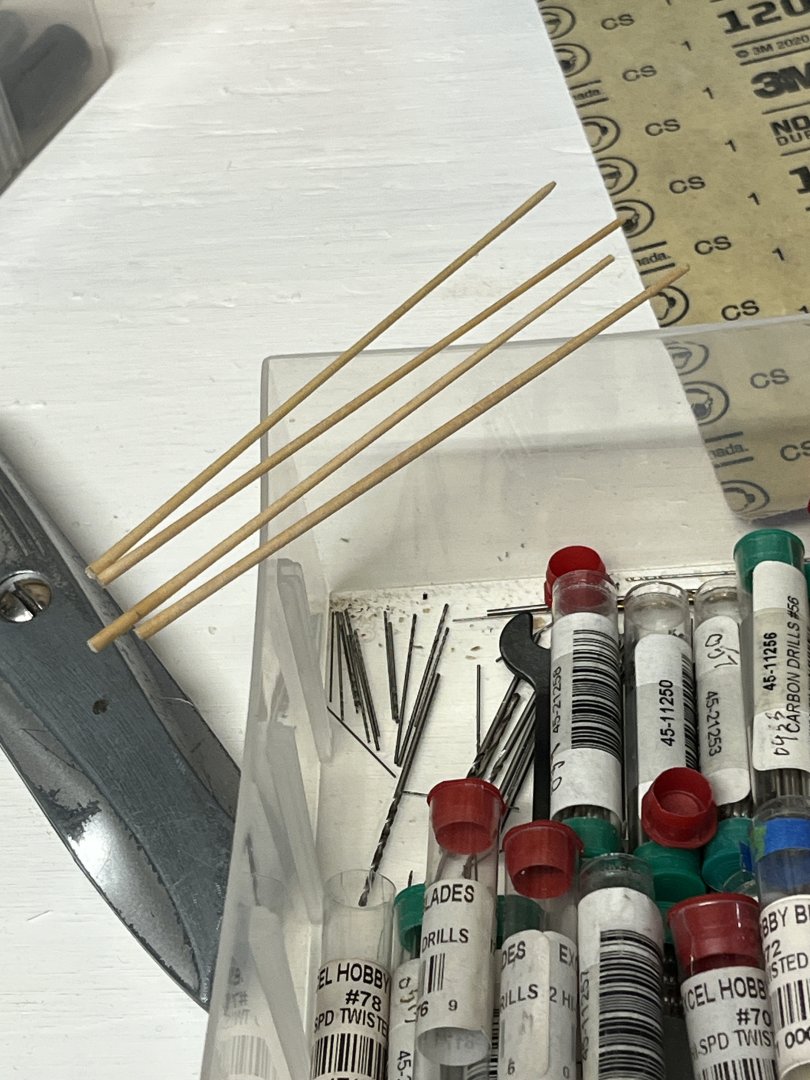
Well the block buster arrived the other day so now on the building 6mm deadeyes. I've used Syren block kits before so the deadeyes were no problem just more of the same. When I used my old block buster on kit blocks without removing the char from the edges the sawdust was black and stained the blocks. With that in mind the edges were sanded removing the char before the block buster. When complete of the 28 deadeyes made I had 5 come apart. When completely sanded I applied WOP giving the deadeyes a nice golden tint. Deadeyes Now it was time to make the strops. Reading other logs a user said a 22mm length of wire was used to create the strops. I found the diameter of a 22mm circumference and started the with the appropriate drill bit. Taking a length of wire wrapped around the drill bit to form a strop. Silver solder was used to complete the circle and then placed the deadeye and wire in a vice that allowed the wire to be squeezed into a strop. I found it necessary to have a .5mm overlap on the wire giving it strength to hold during the squeezing. The joint was squeezed into almost not seen and when placed on the deadeye at the top it will be hidden bye the ropes. I like the strop on the bottom and right side in another and I may give a slight squeeze to bring more into shape as the drawing. Tomorrow will be making all the strops and blackening them.


-
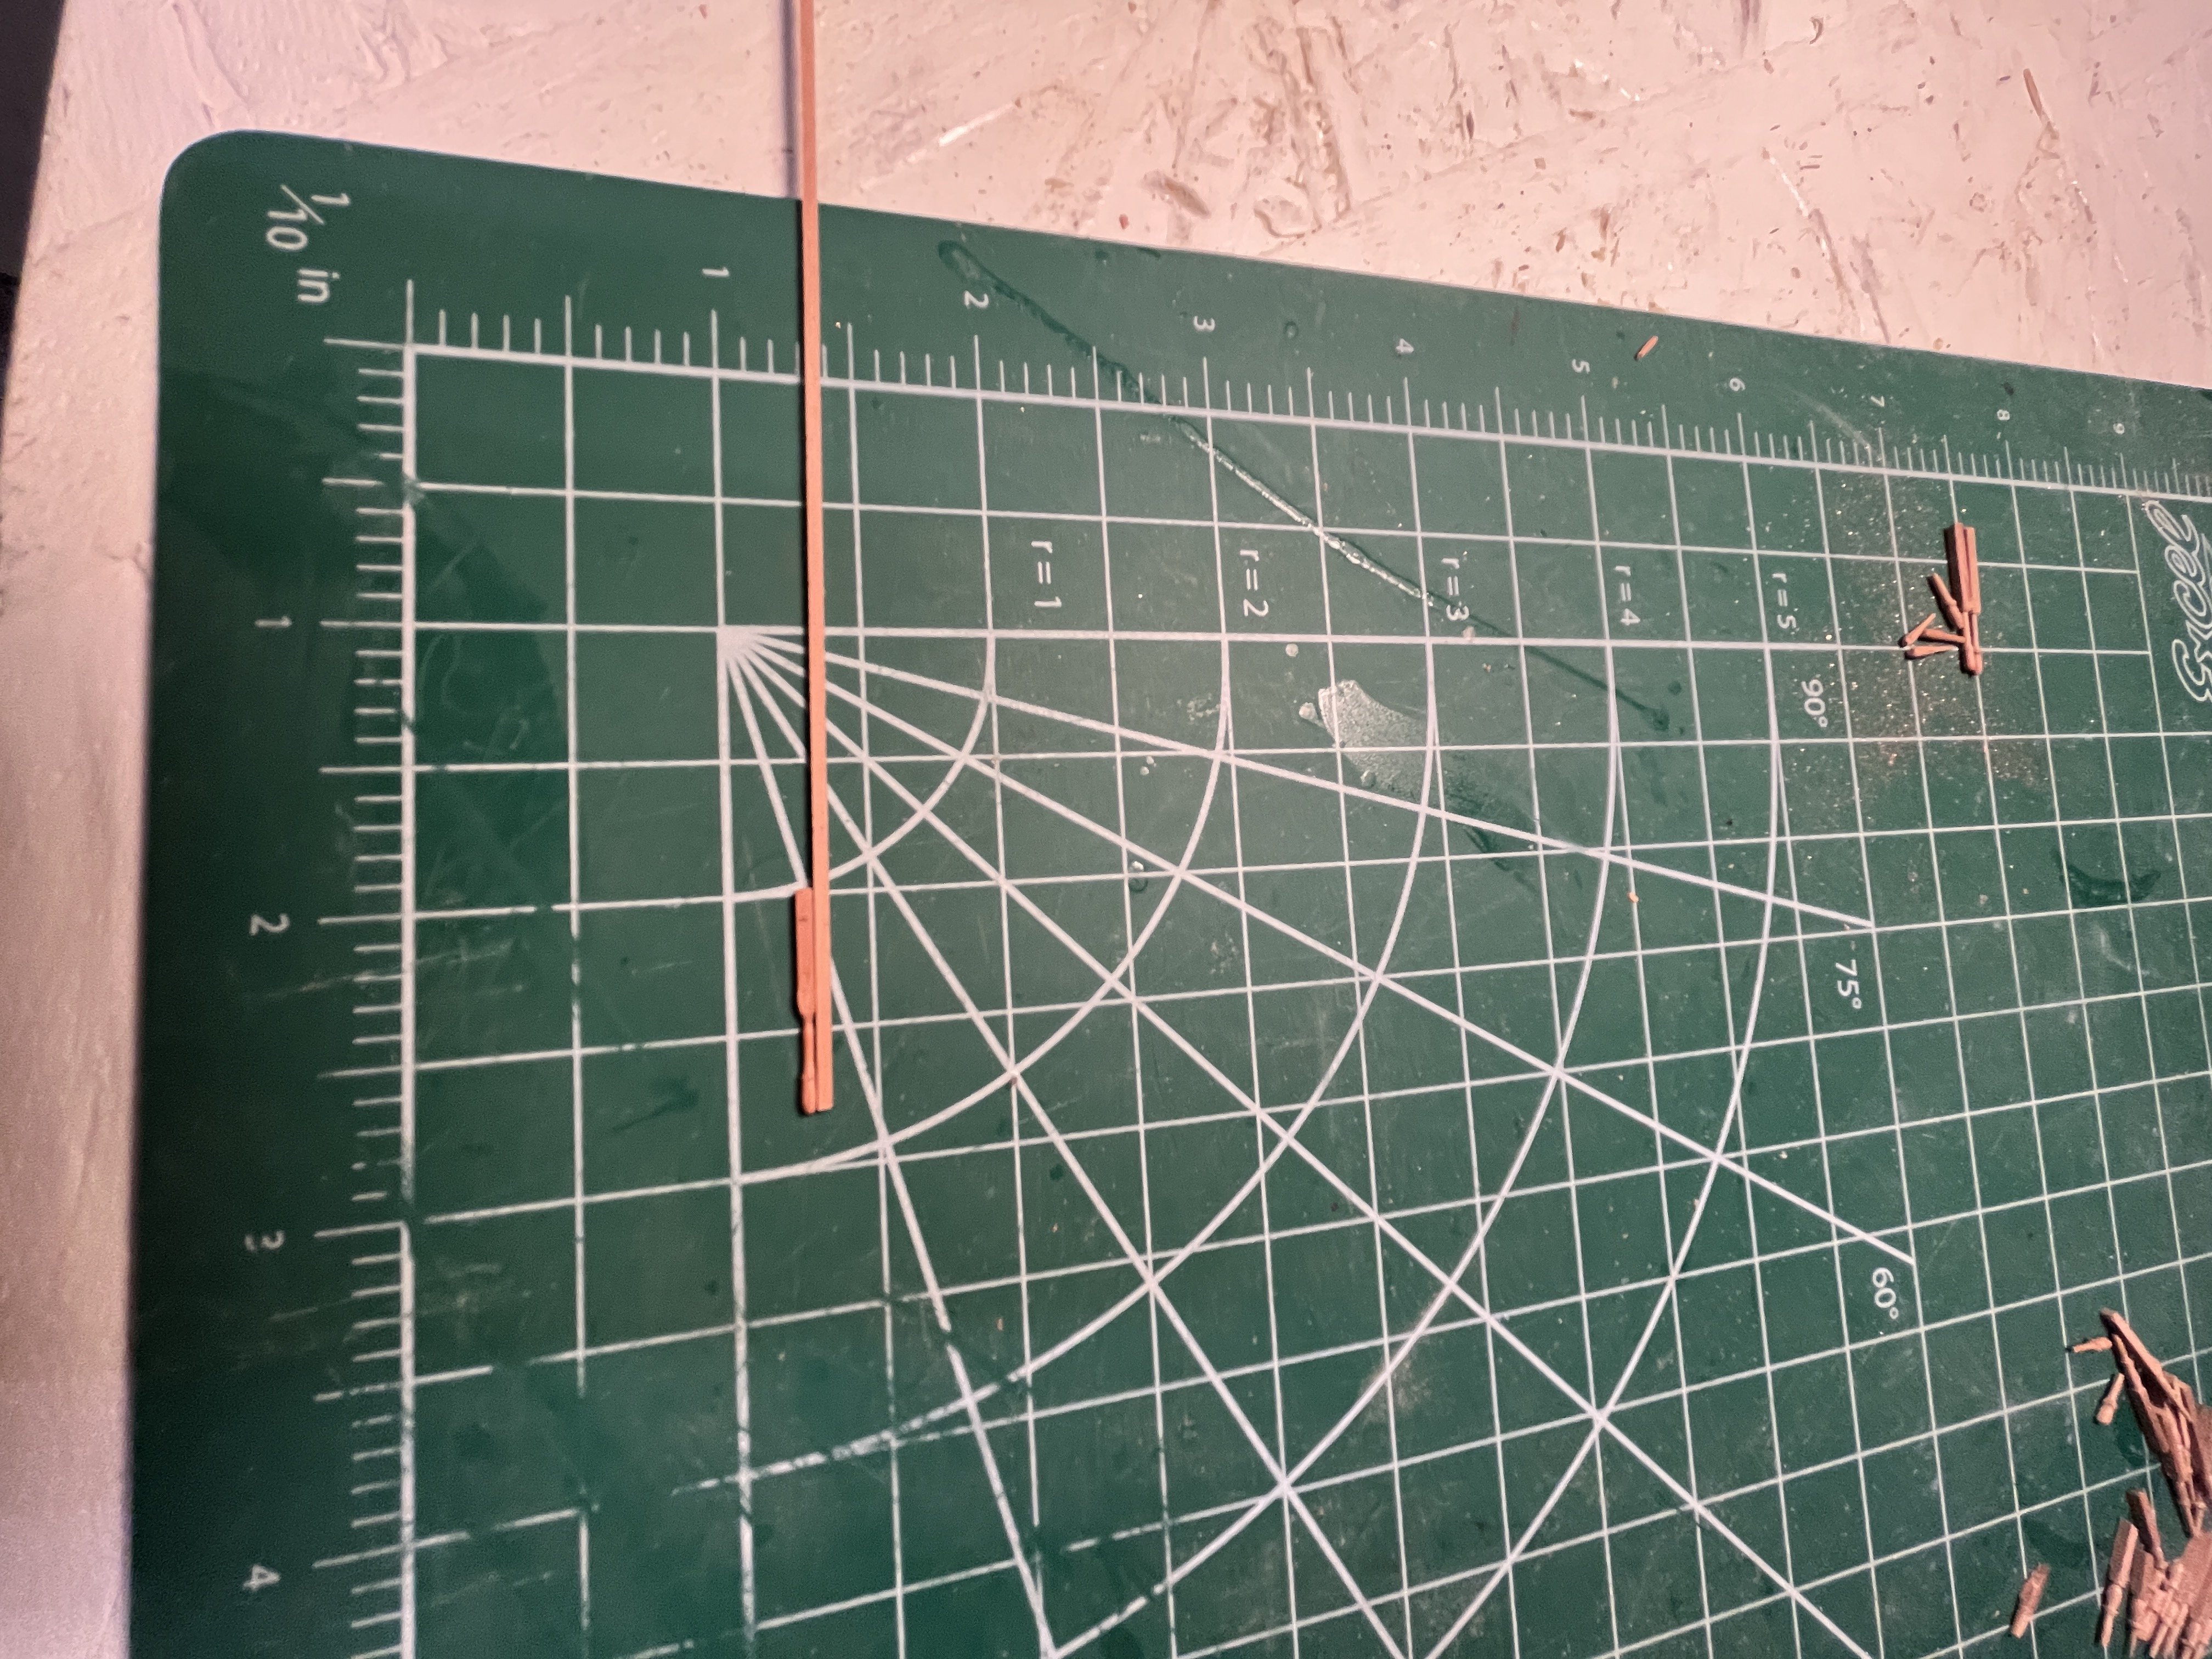
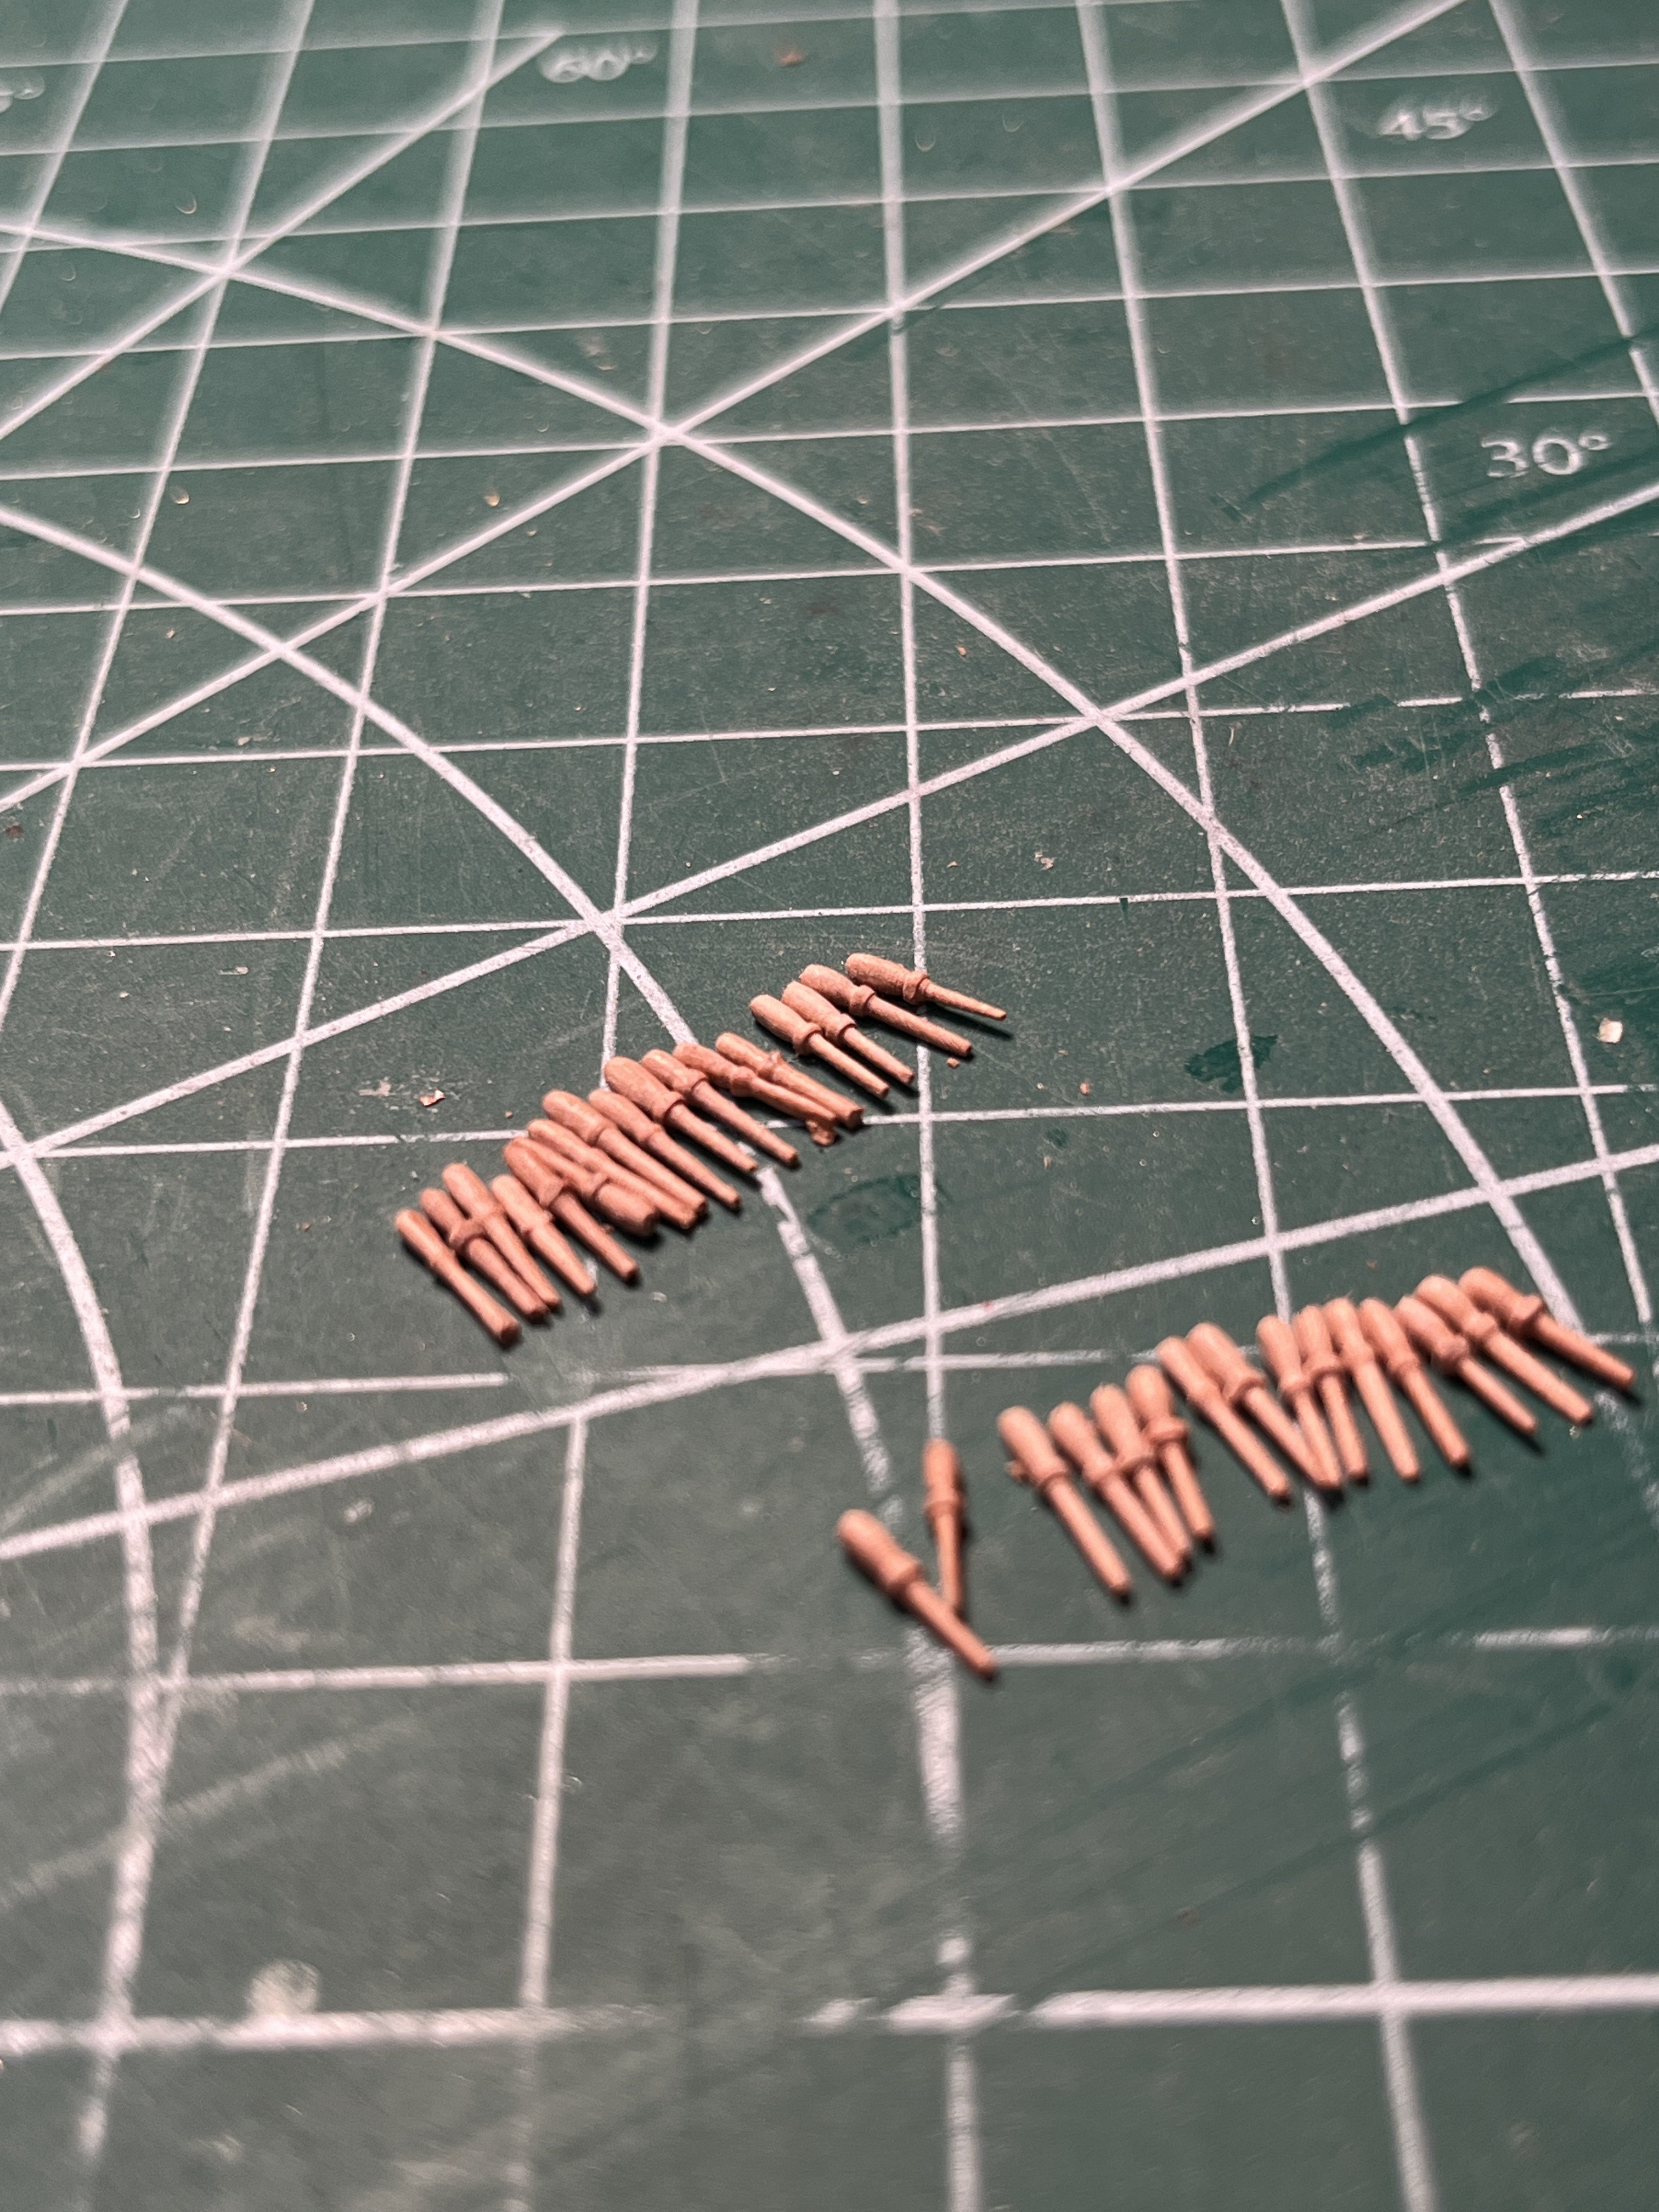
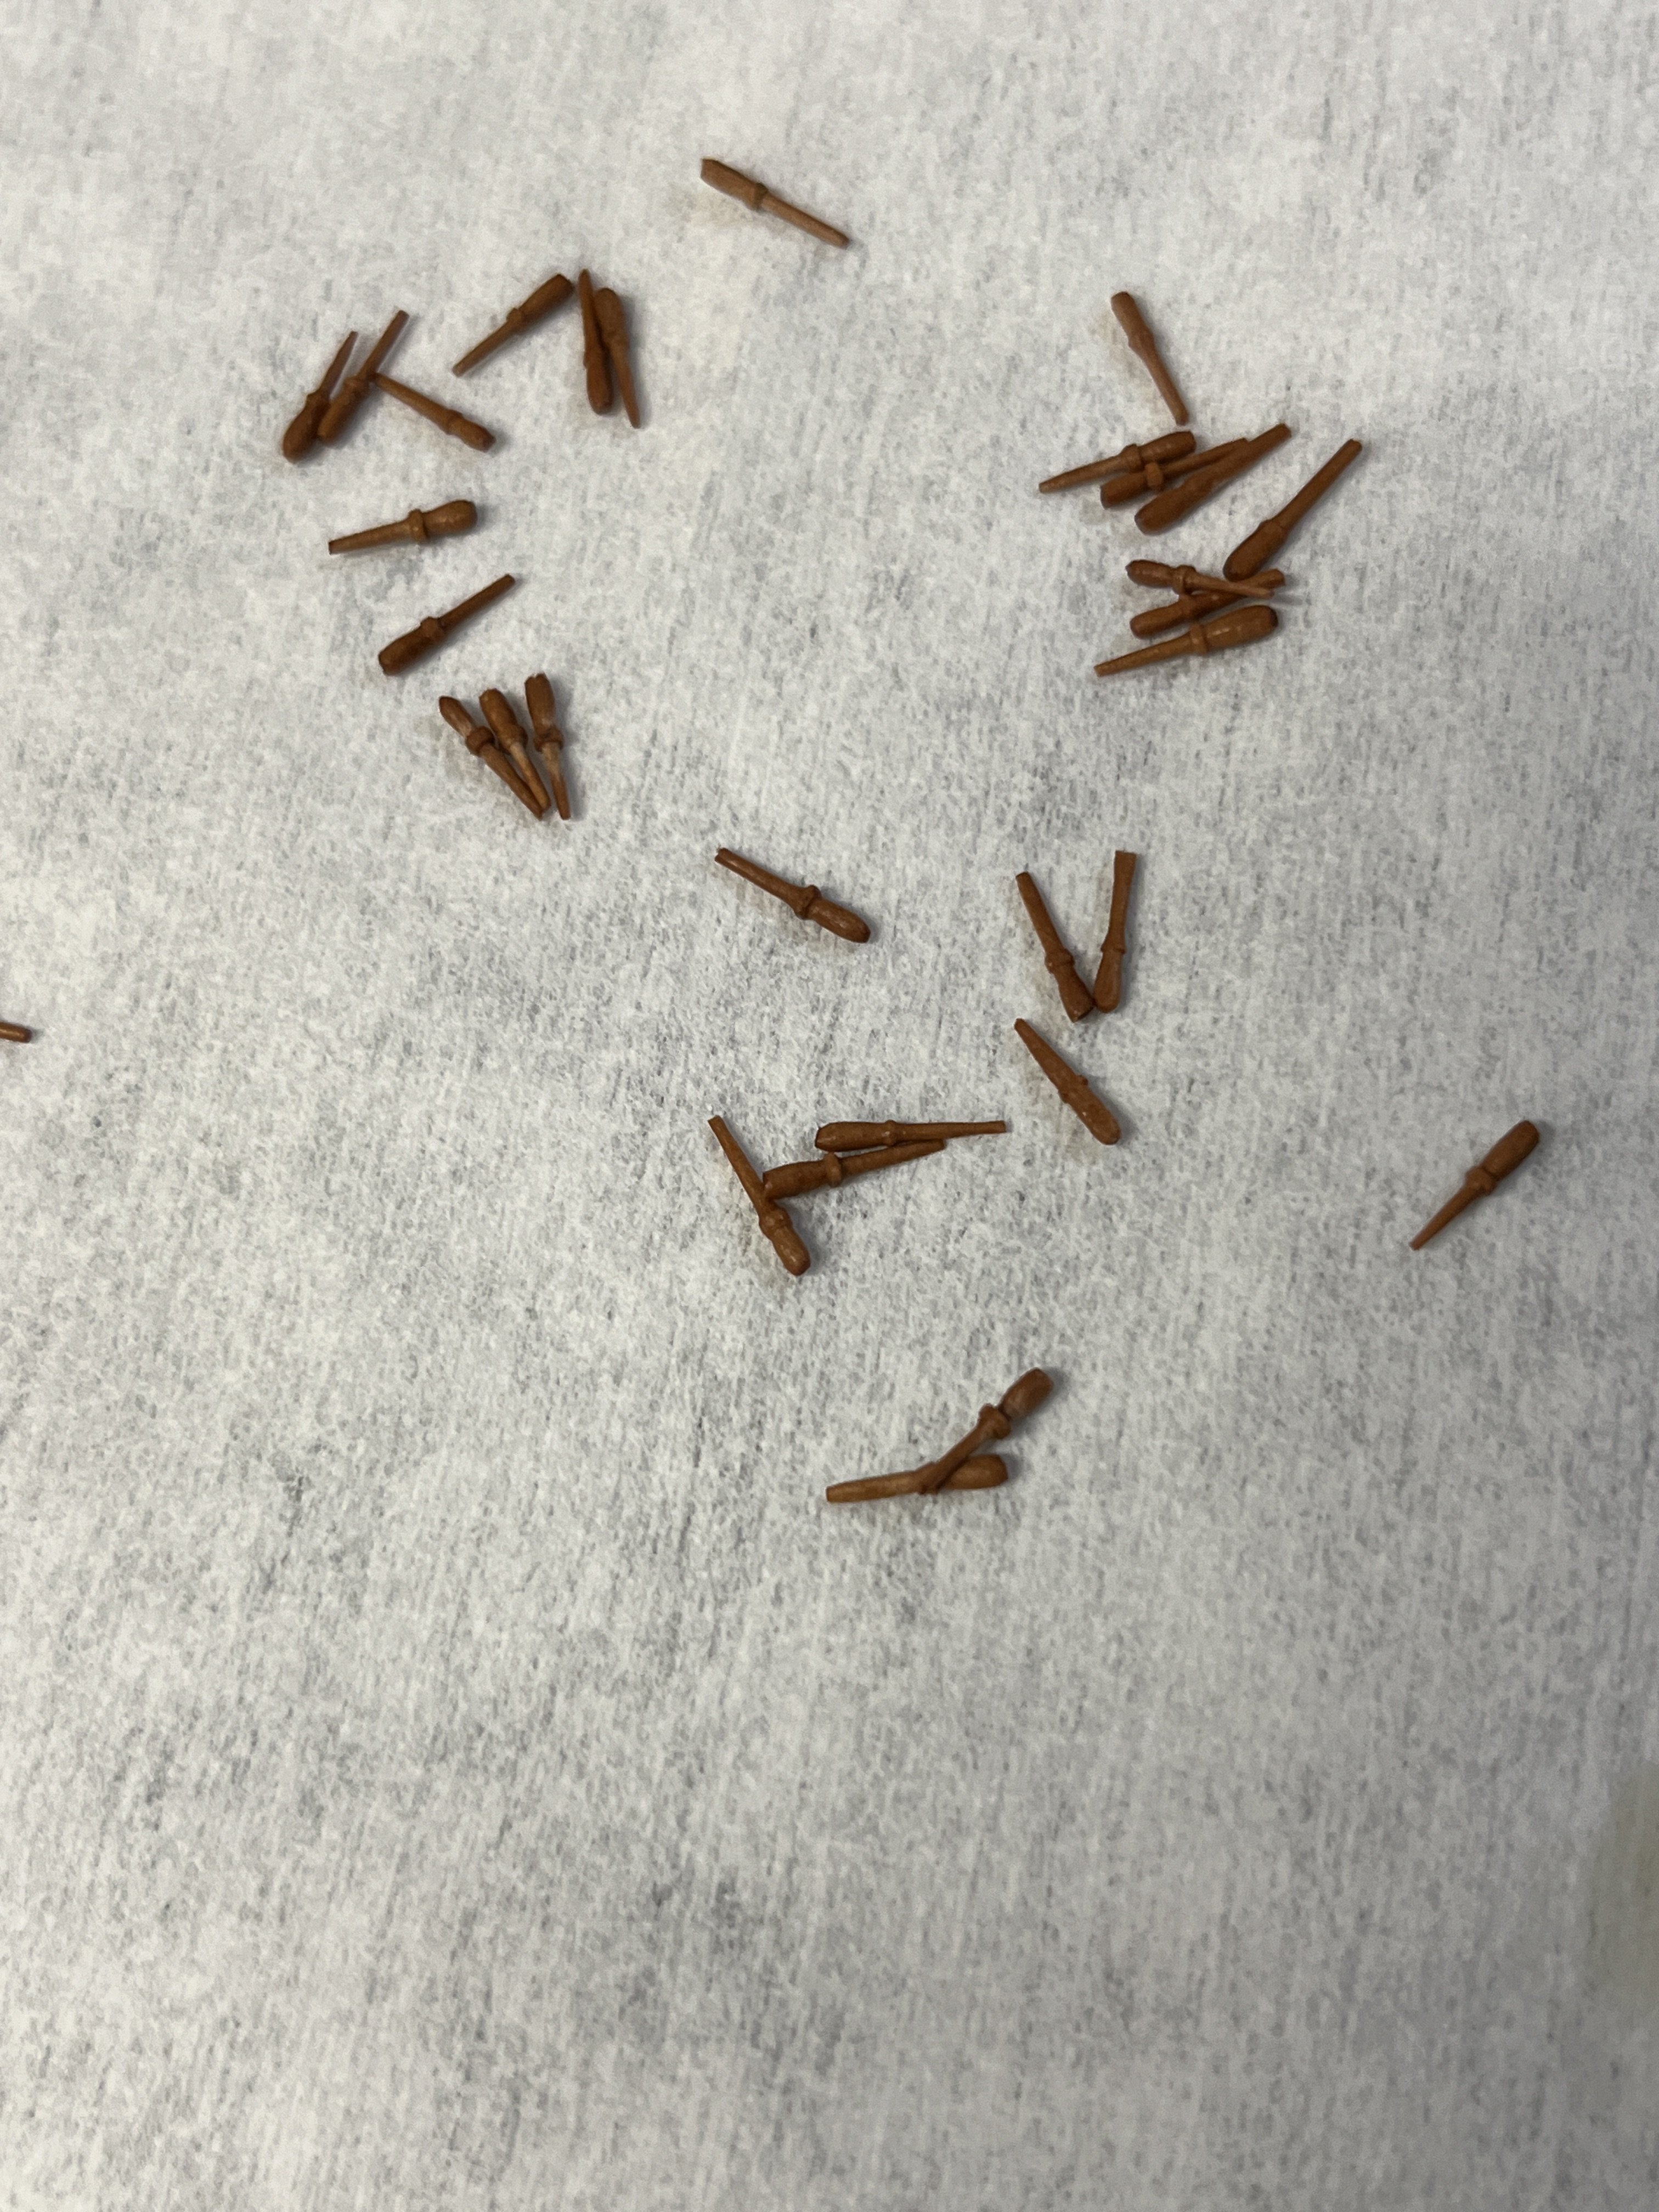
With the backstays complete except blacking it was time for chain plates and dead eye strops. After the backstays the chain plates seem fairly straight forward but the dead eye strops appear to be another story. So on to looking at what others had done and it seems that everyone has their method. I found one method that appears that it'll work and keep me within my abilities. I'm using Syren Shipmodels 6mm deadeye. So I have to make the deadeyes before I can make determine my strop length. Once again I know I had a block buster but can't find it in my boxes, so ordered a new one. Making the deadeyes from the Syren kit it very straight forward. While waiting for the block buster I made belaying pins. Rather than Boxwood I decided to use Swiss Pear to add some color character. I had a sheet of .05 Pear so I ripped .05 strips, or as close as I could get, for the pins. A note on my table saw I had micrometers on the saw from Byrnes Model Machines, but since Jim died I not sure if you can still buy parts. So with the micrometer I was able to make strips .05X.O49. Also while writing this I went the Byrns website and the micrometers are still available in metic and english. Enough talking let's make belaying pins. A short stick was chucked into my Proxxon hand machine and guessed the shape of the belaying pin making multiple until I found one the looked good to me. Using that one pin as a pattern I marked each feature on a new stick. Pattern pin alongside the next strip Strip ready for shaping I used a flat file from my swiss file set to shape the pins. I made 20 pins before I realized I had made the pins so the top would not be curved when the holder was cut from the pin. So another 20 pins made so the small end was held and the top was curved. Top row second pass bottom first pass Carfuly sanding the tops and now ready for some WOP After WOP Now wait for the mail to get the block buster and on to the chain plates

-
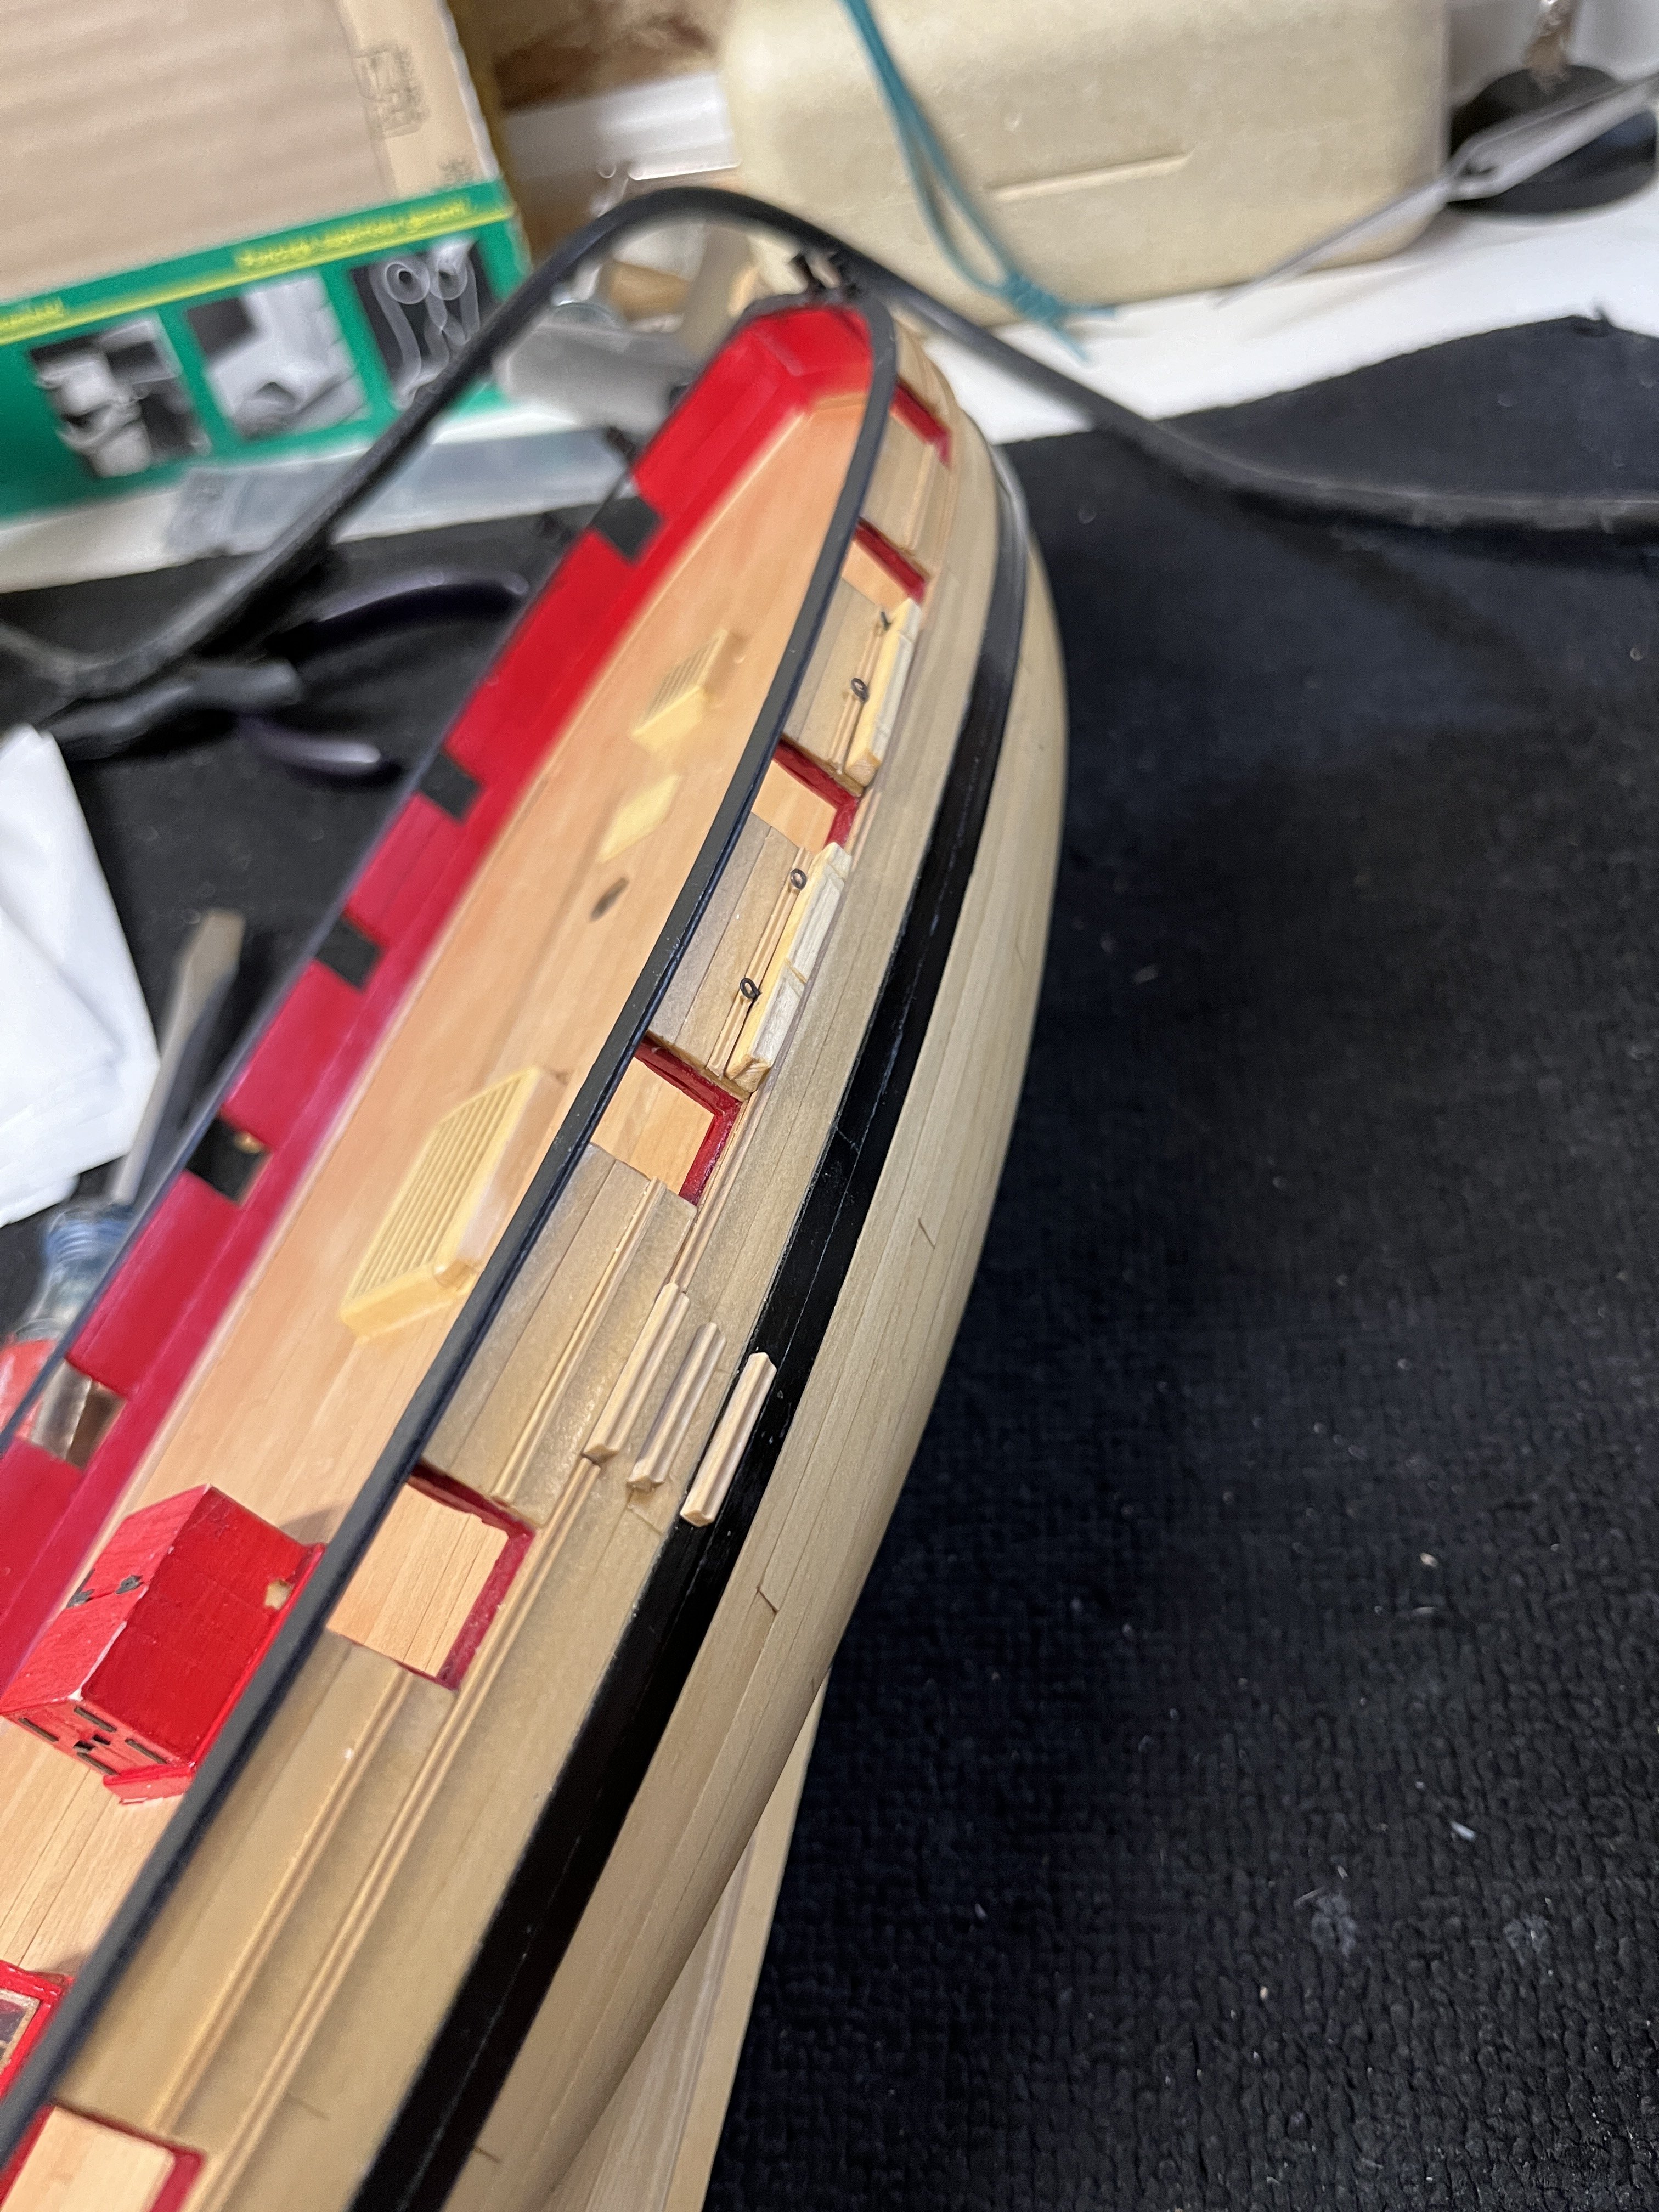
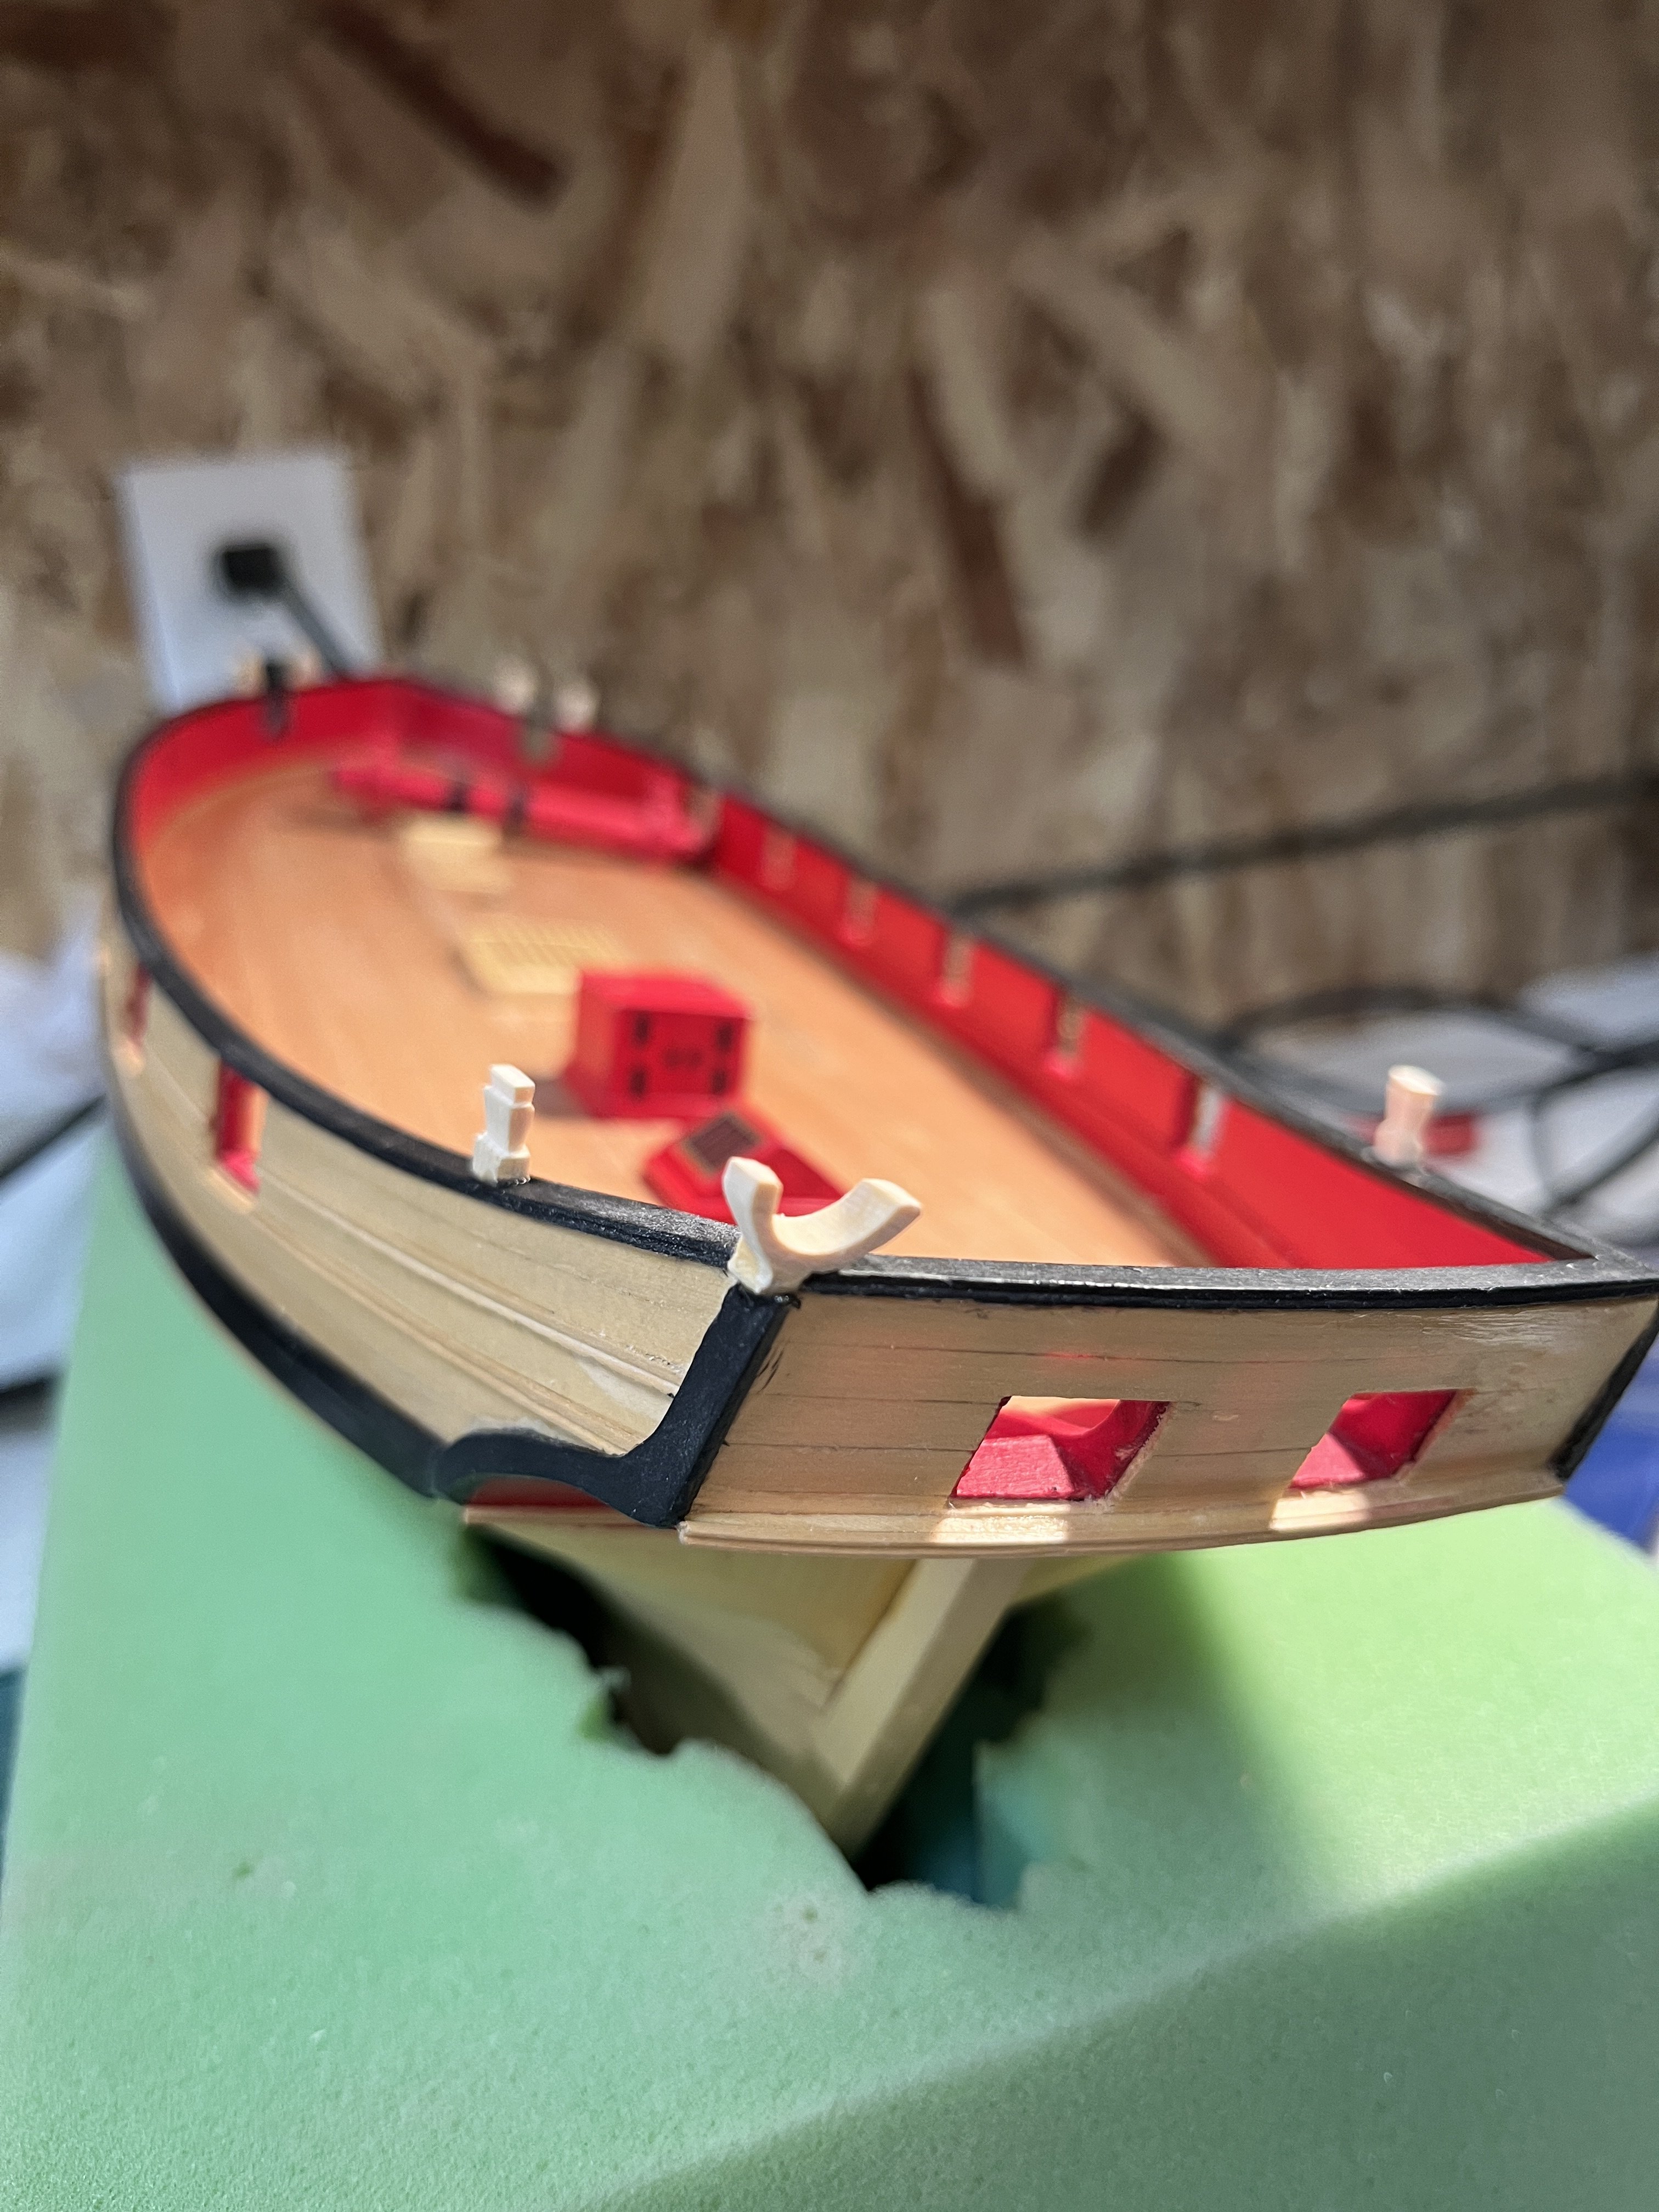
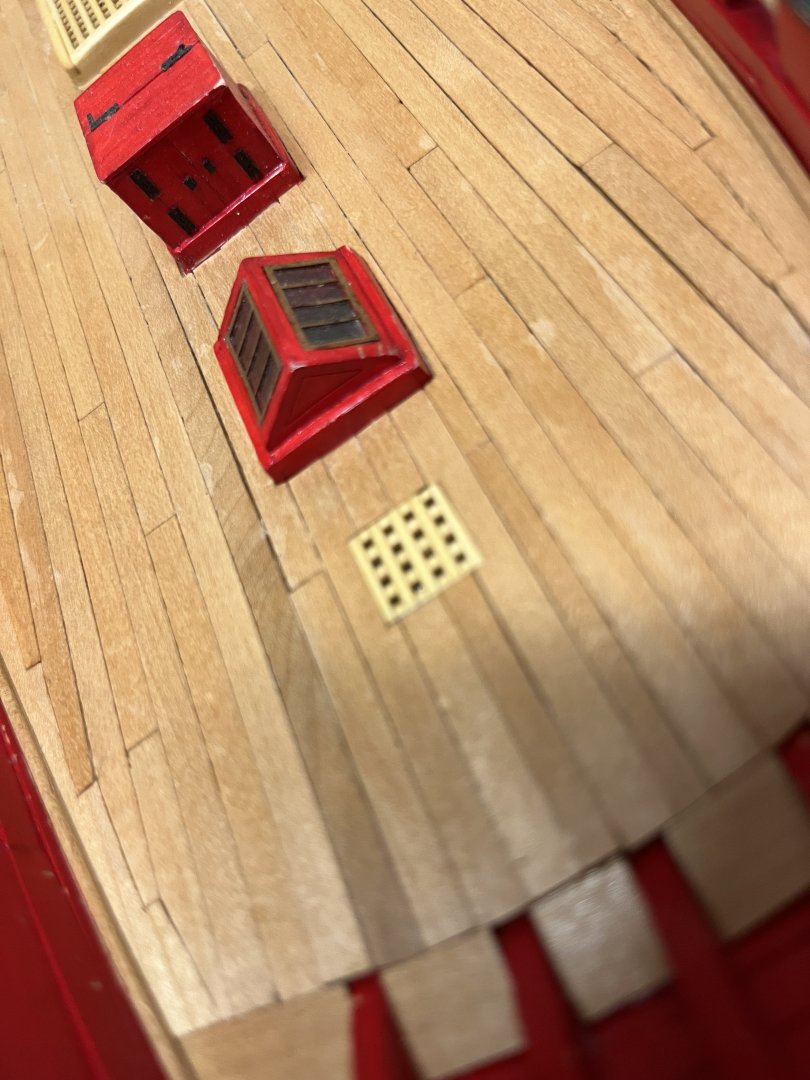
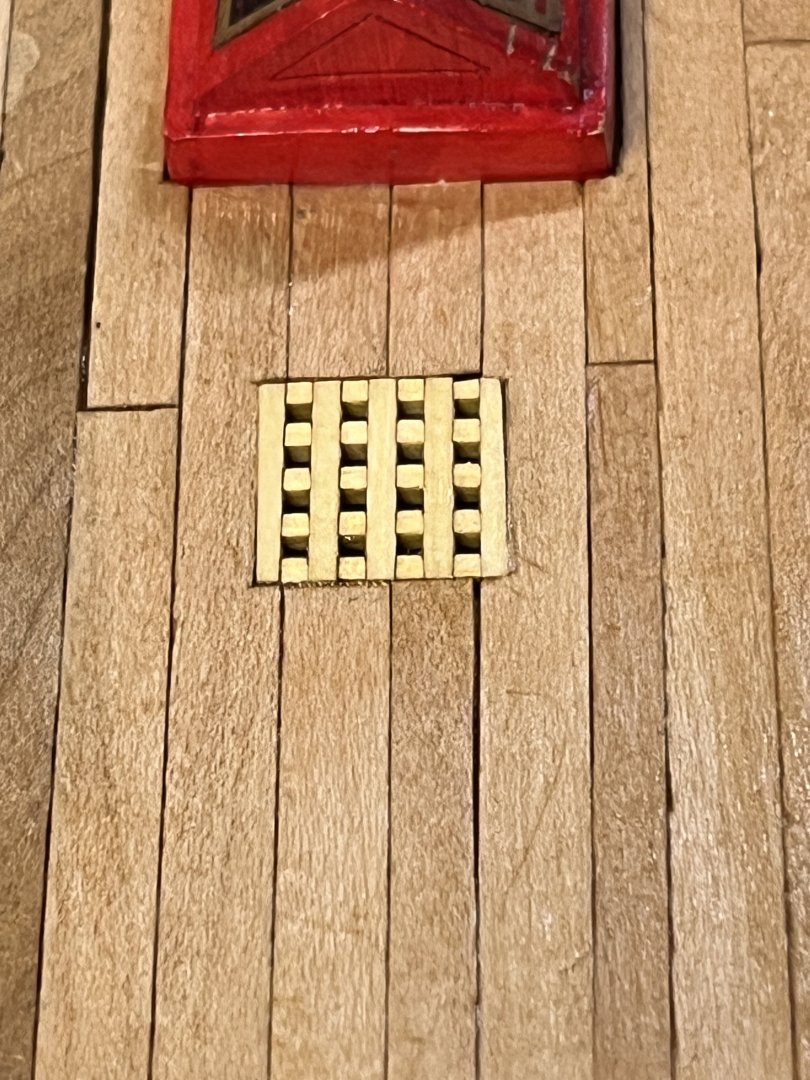
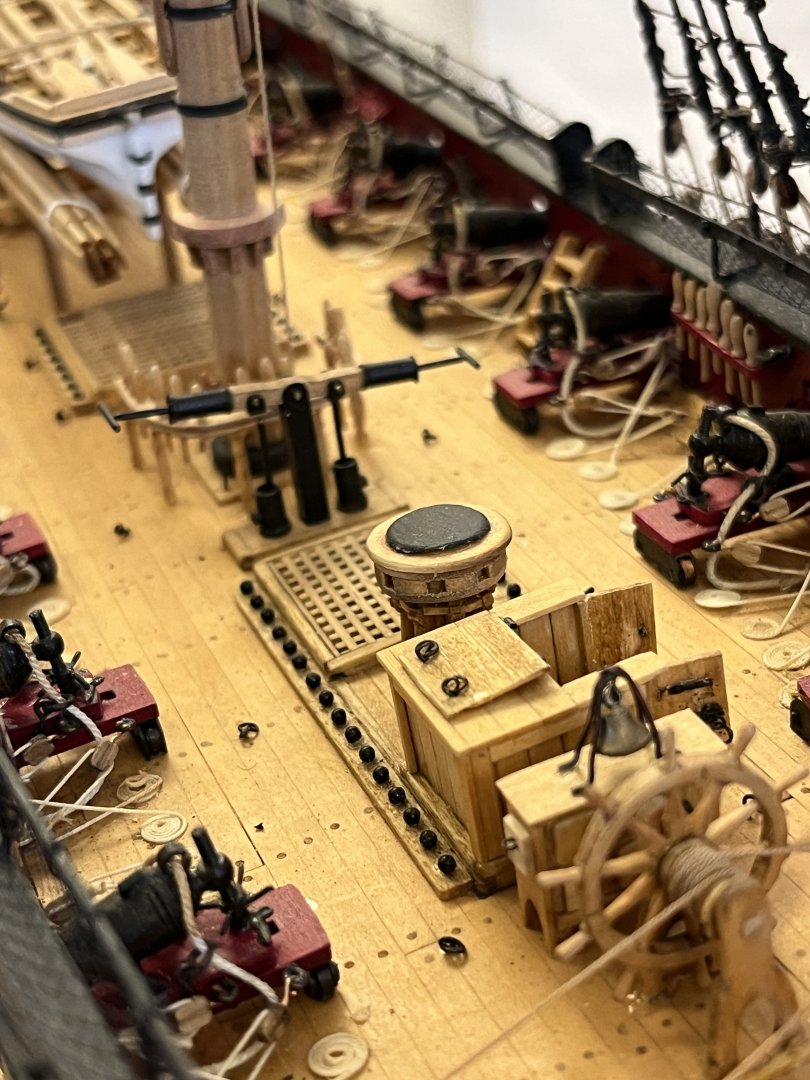
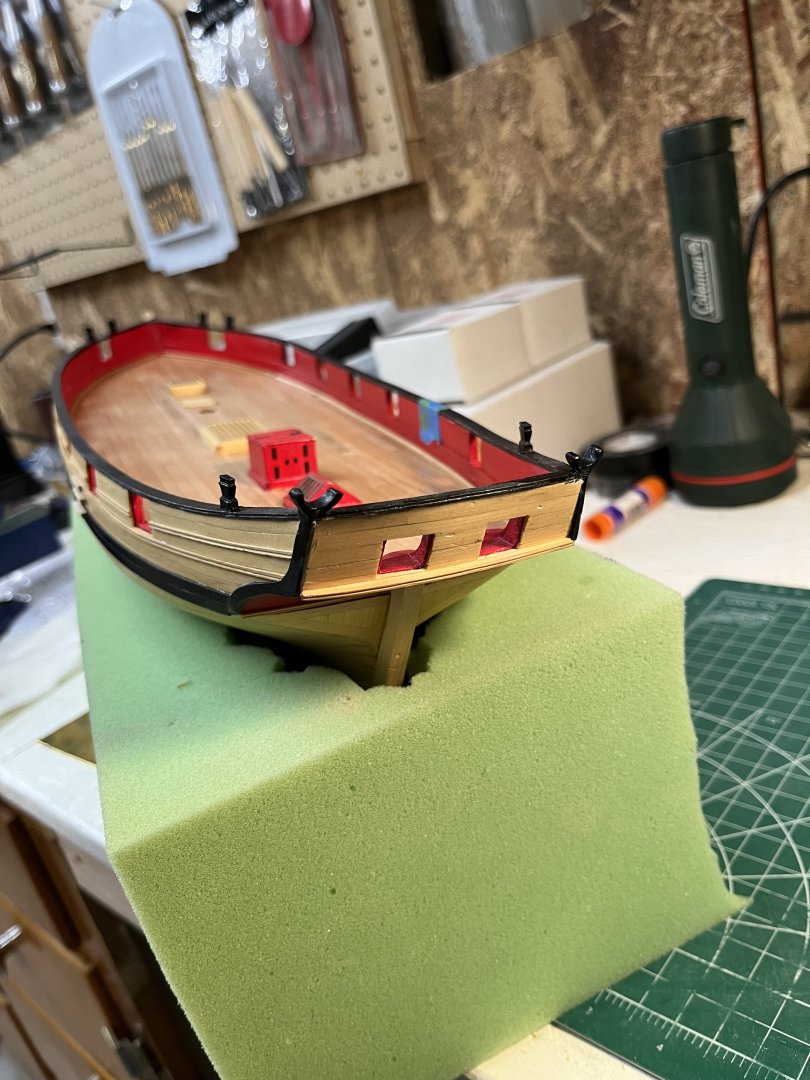
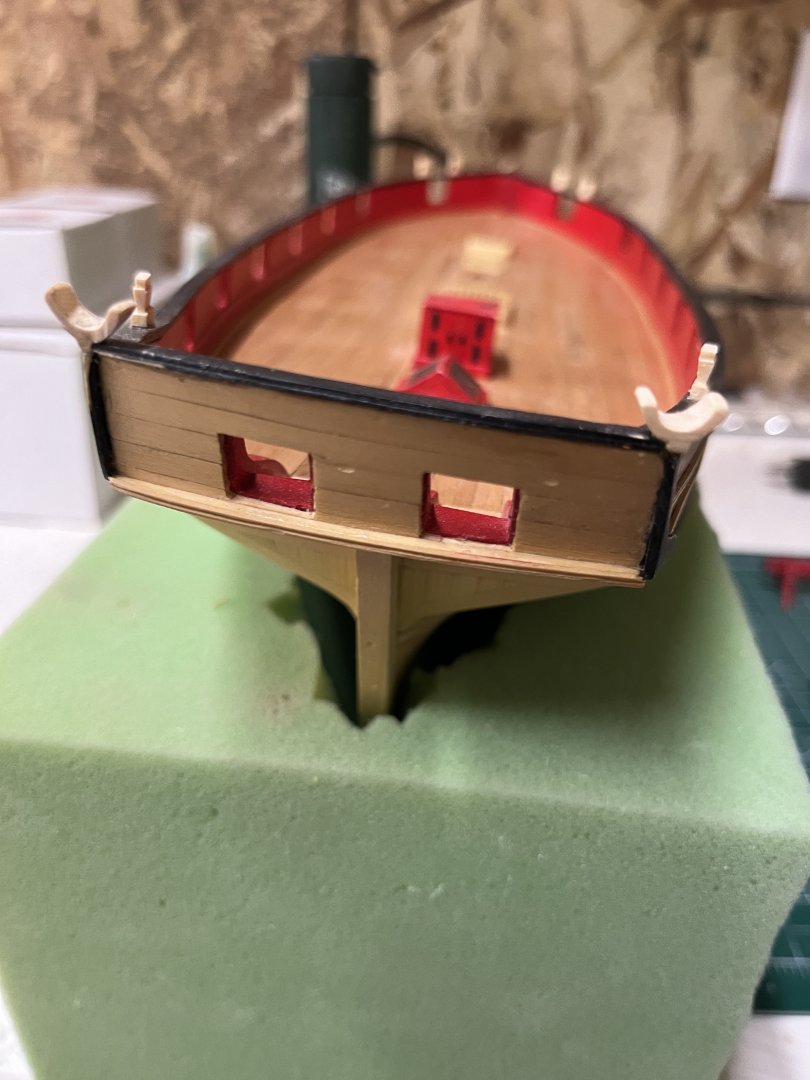
Per Glenns suggestion I went back and looked at his and others Cheerful and decided to follow their lead. Using a small set of Veritas chisels I slowly removed the protruding hatch until nearly flush. Next with 220grit the grate was brought flush with the deck. Several coats of wipe on poly were applied and tomorrow I will wipe the deck with WOP. I'm really glad that I did this and like the way it turned out.
-
Thank you Glenn. Your work has always been my inspiration. Now I'll look at your Cheerful for the bread room hatch.
-
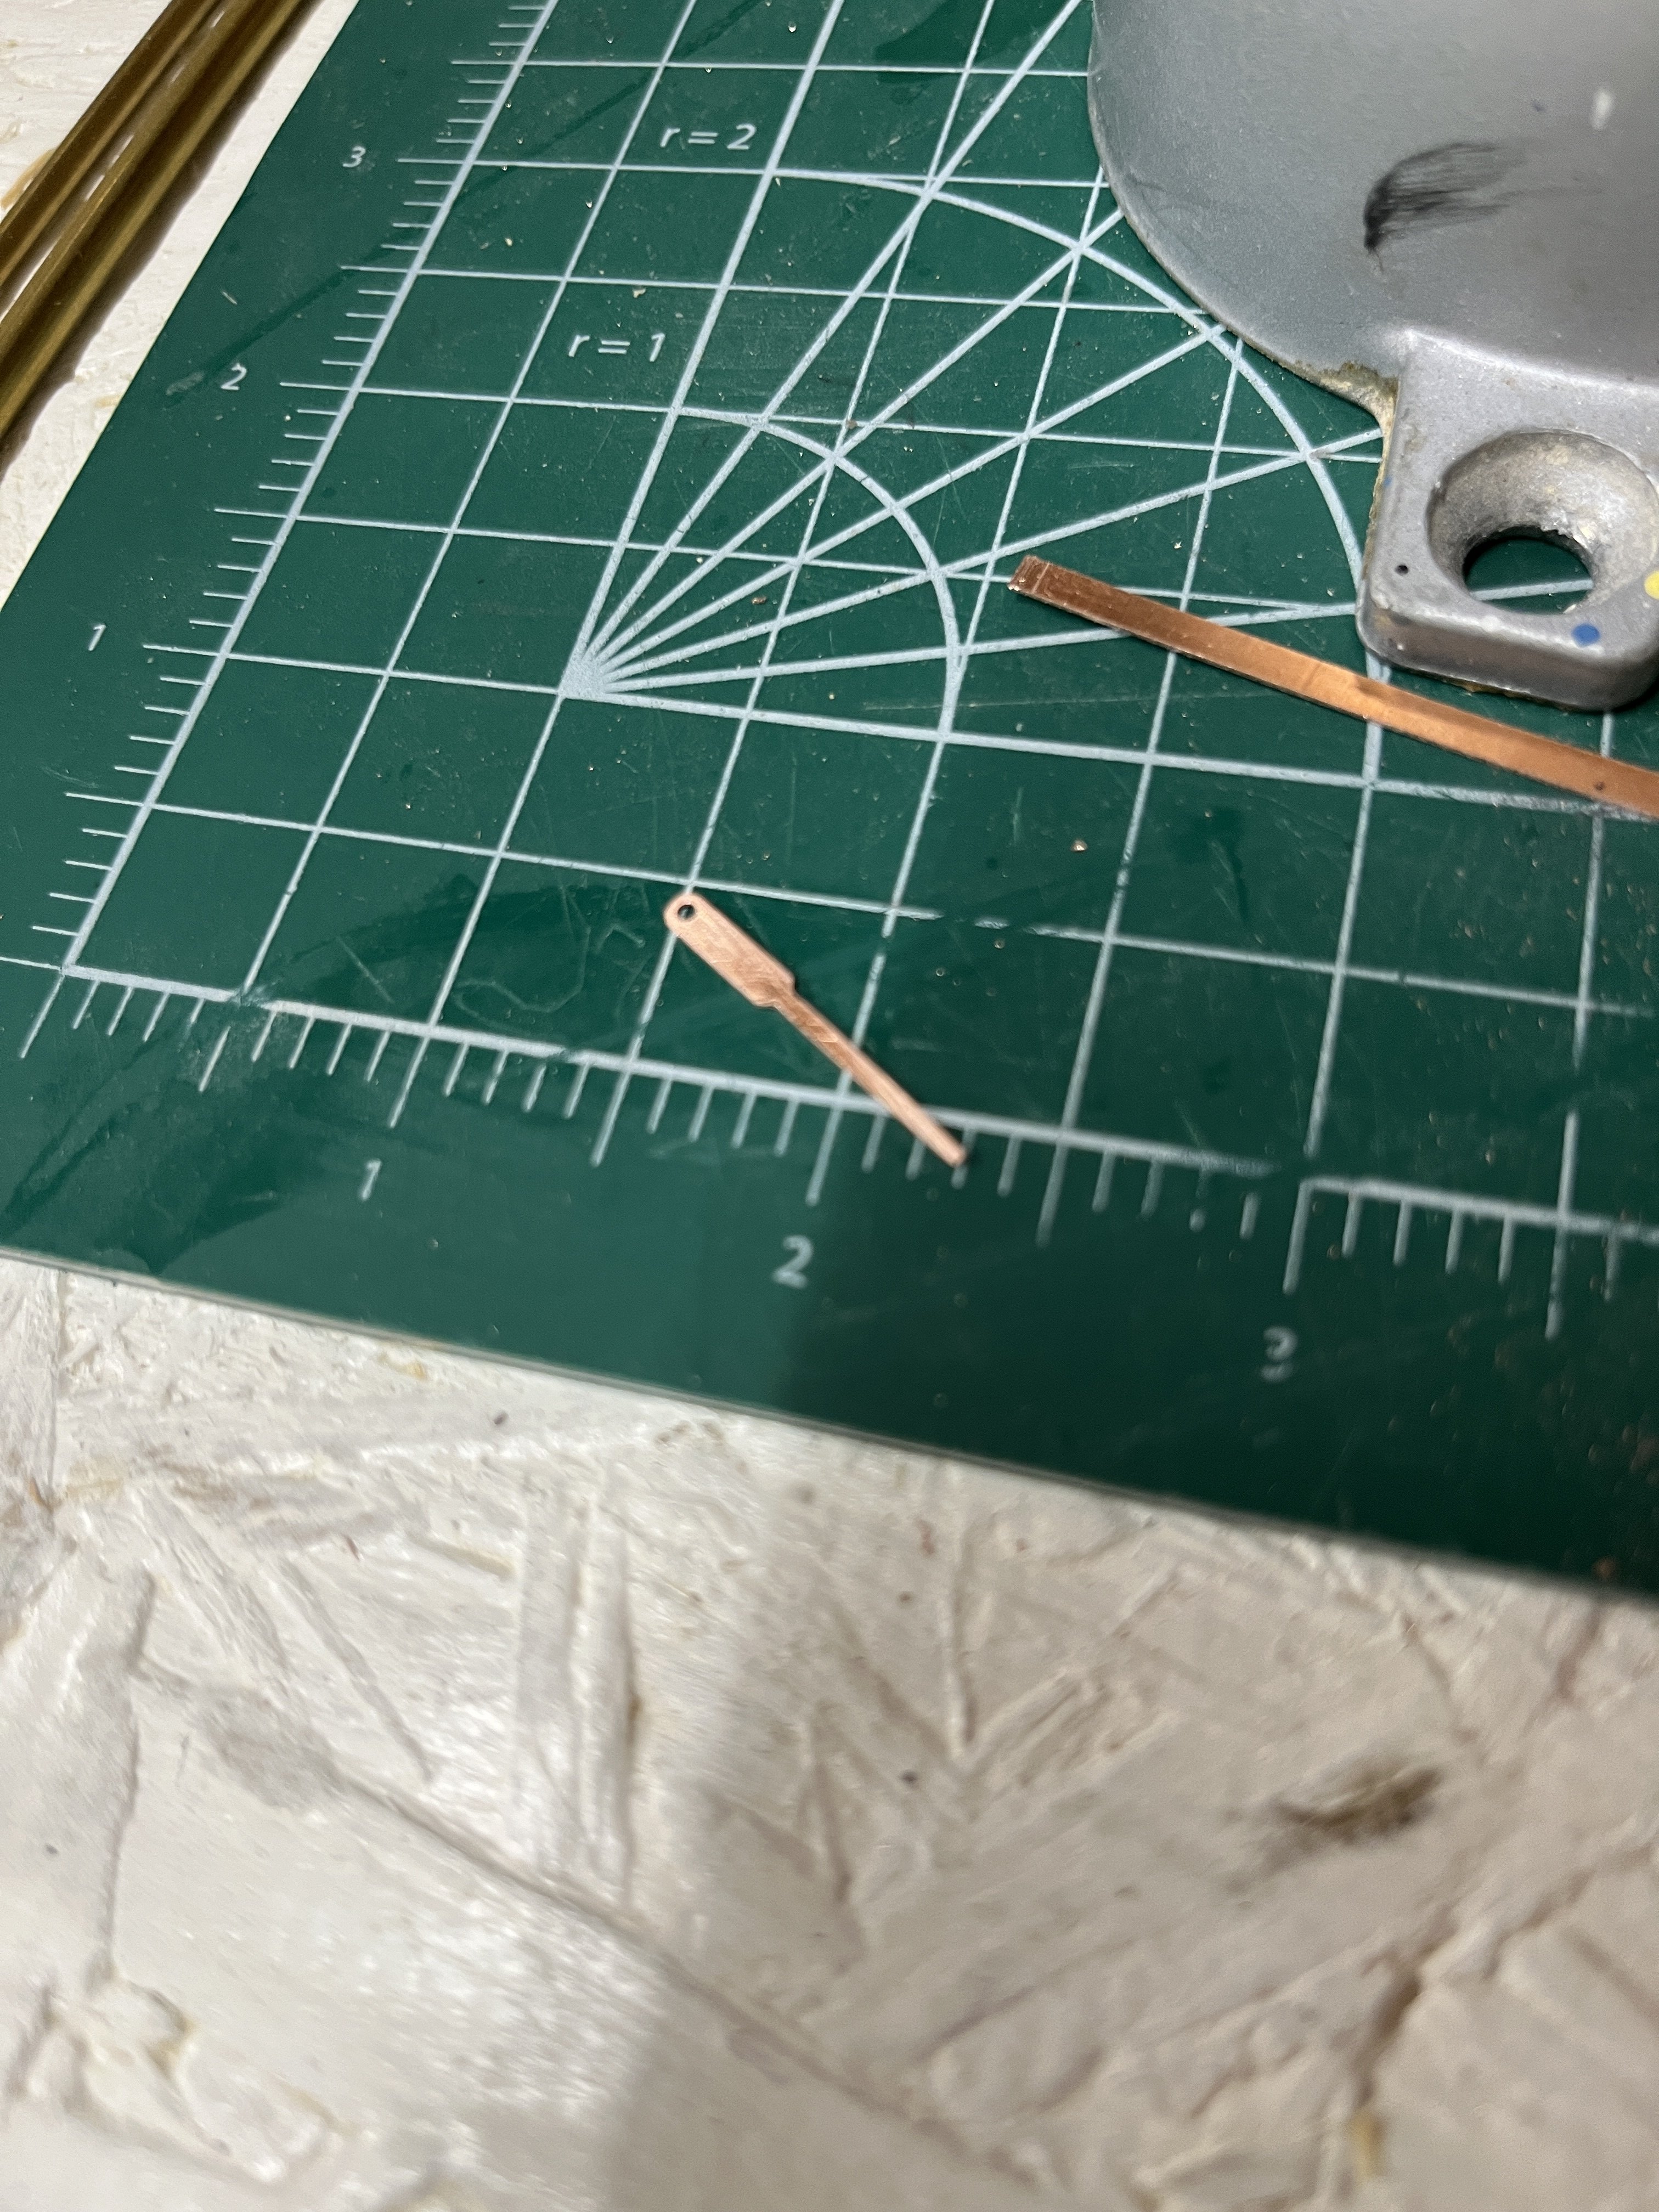
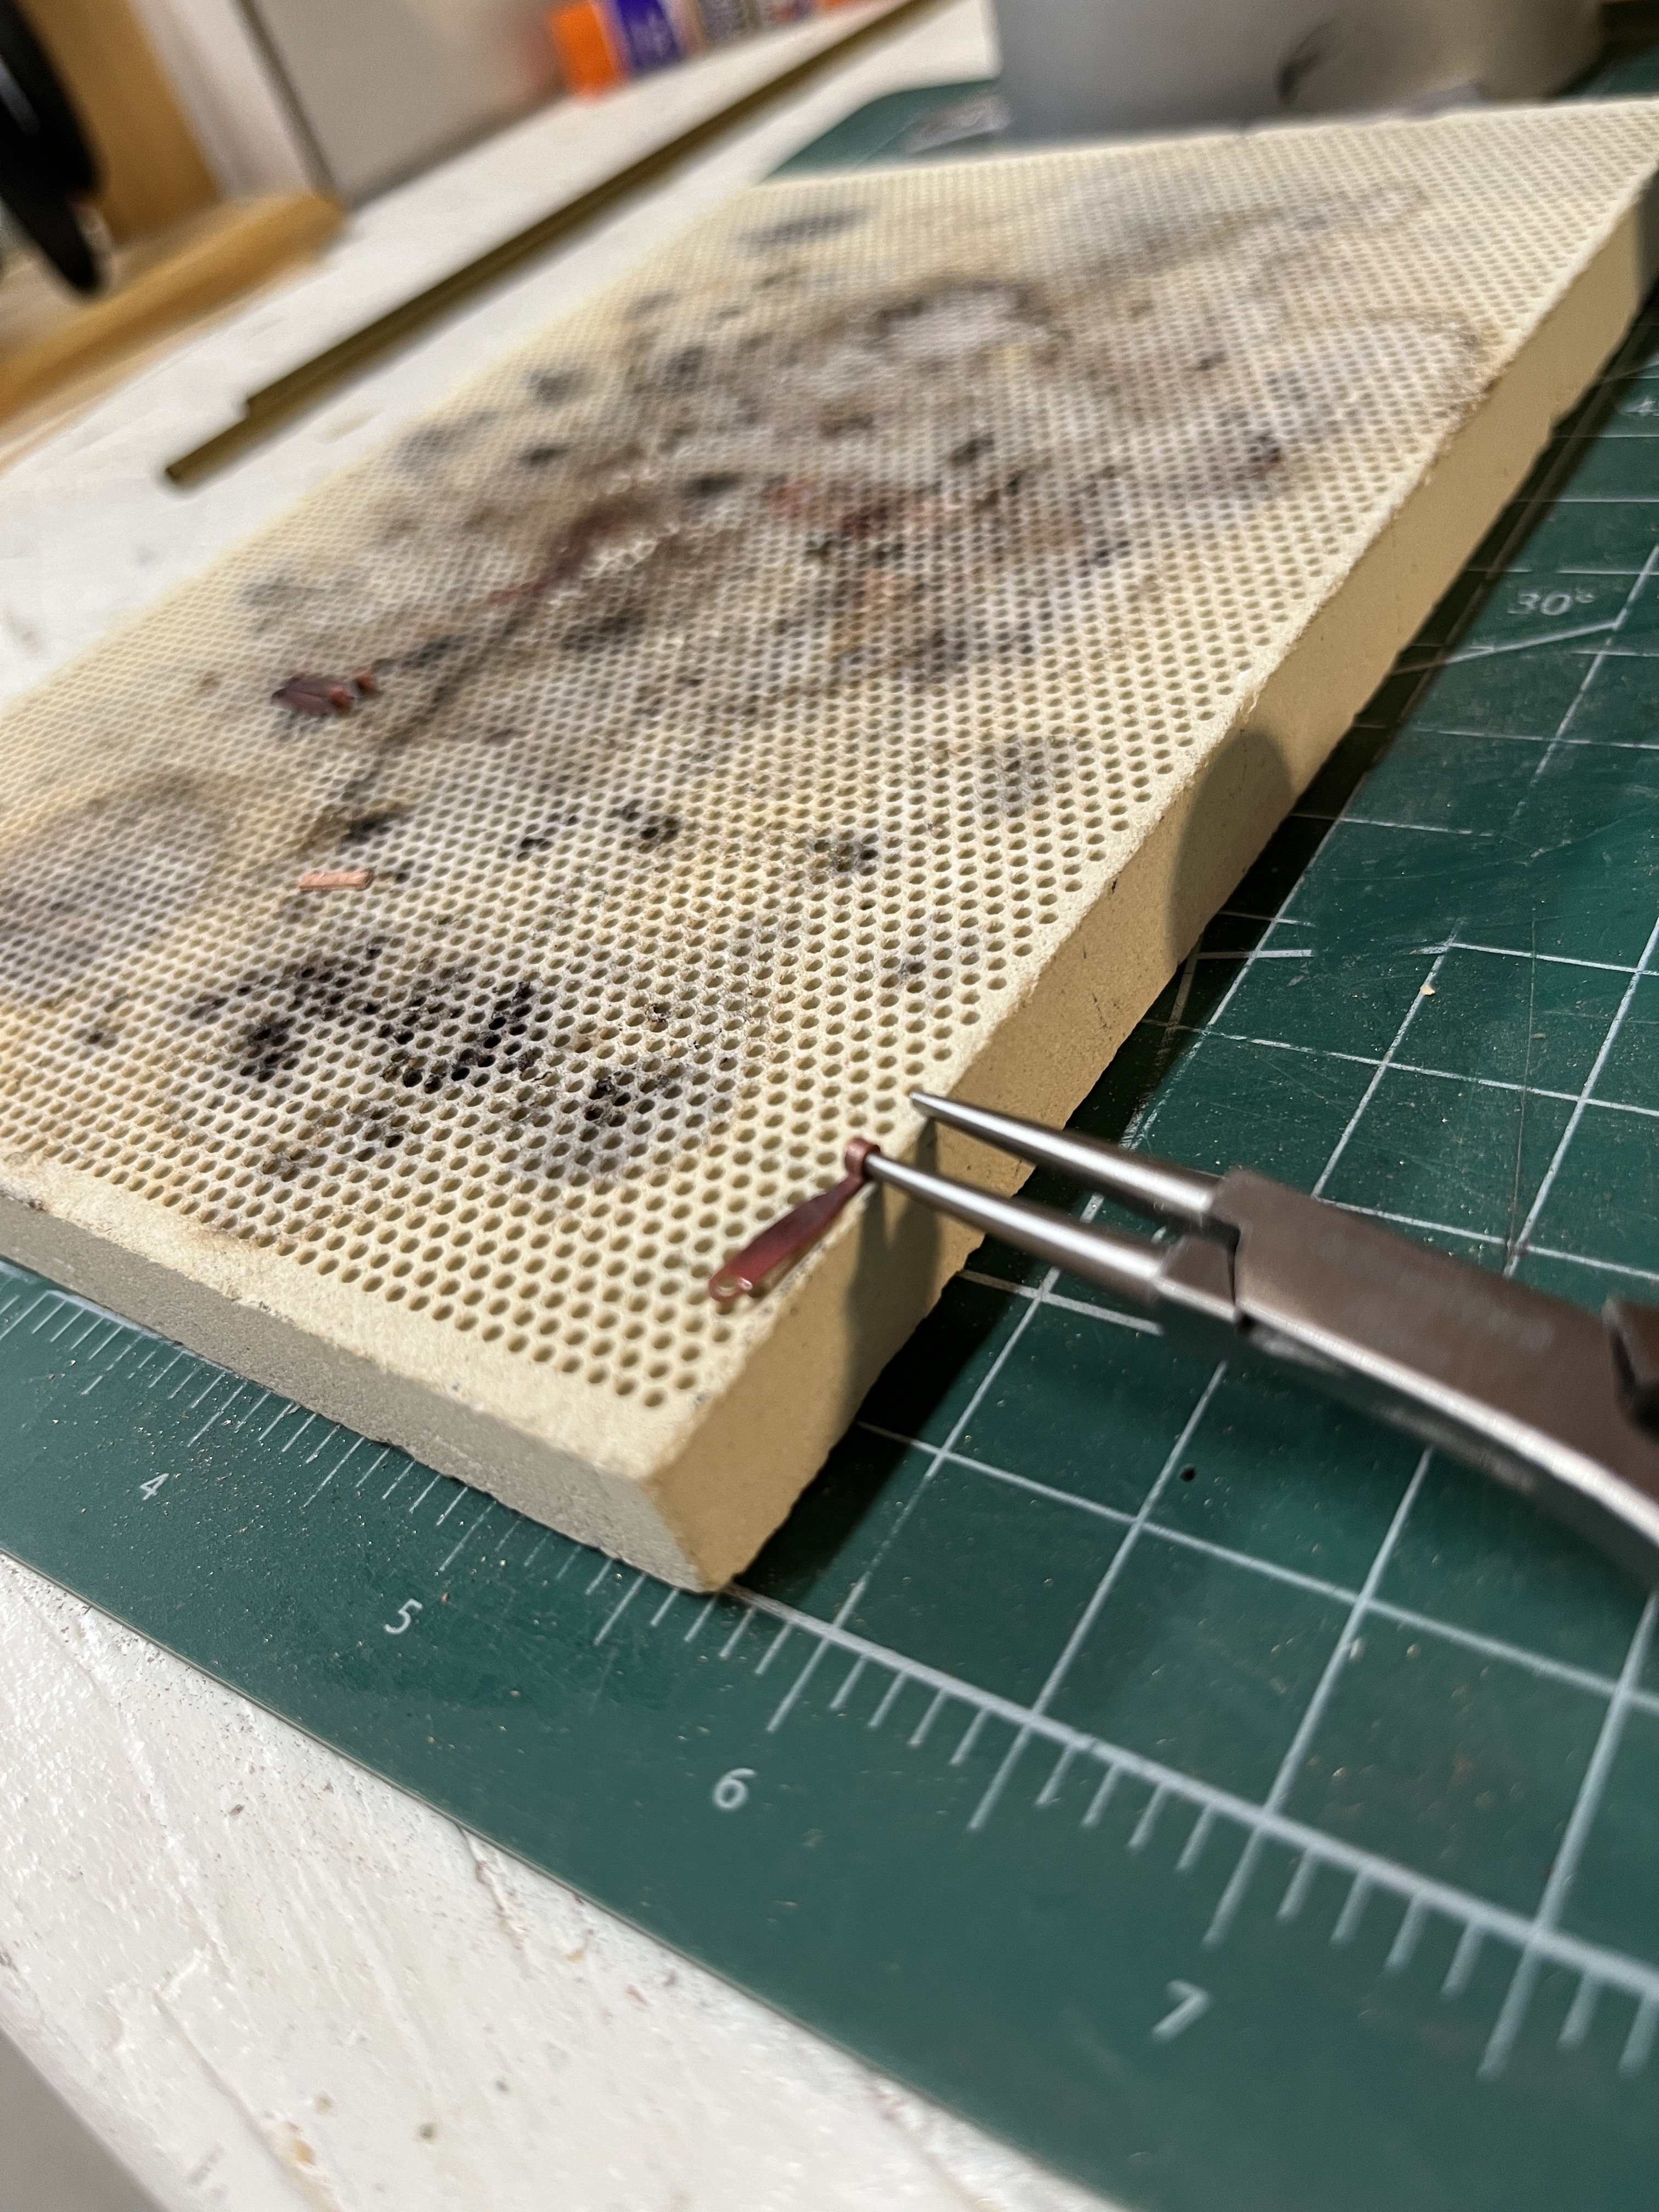
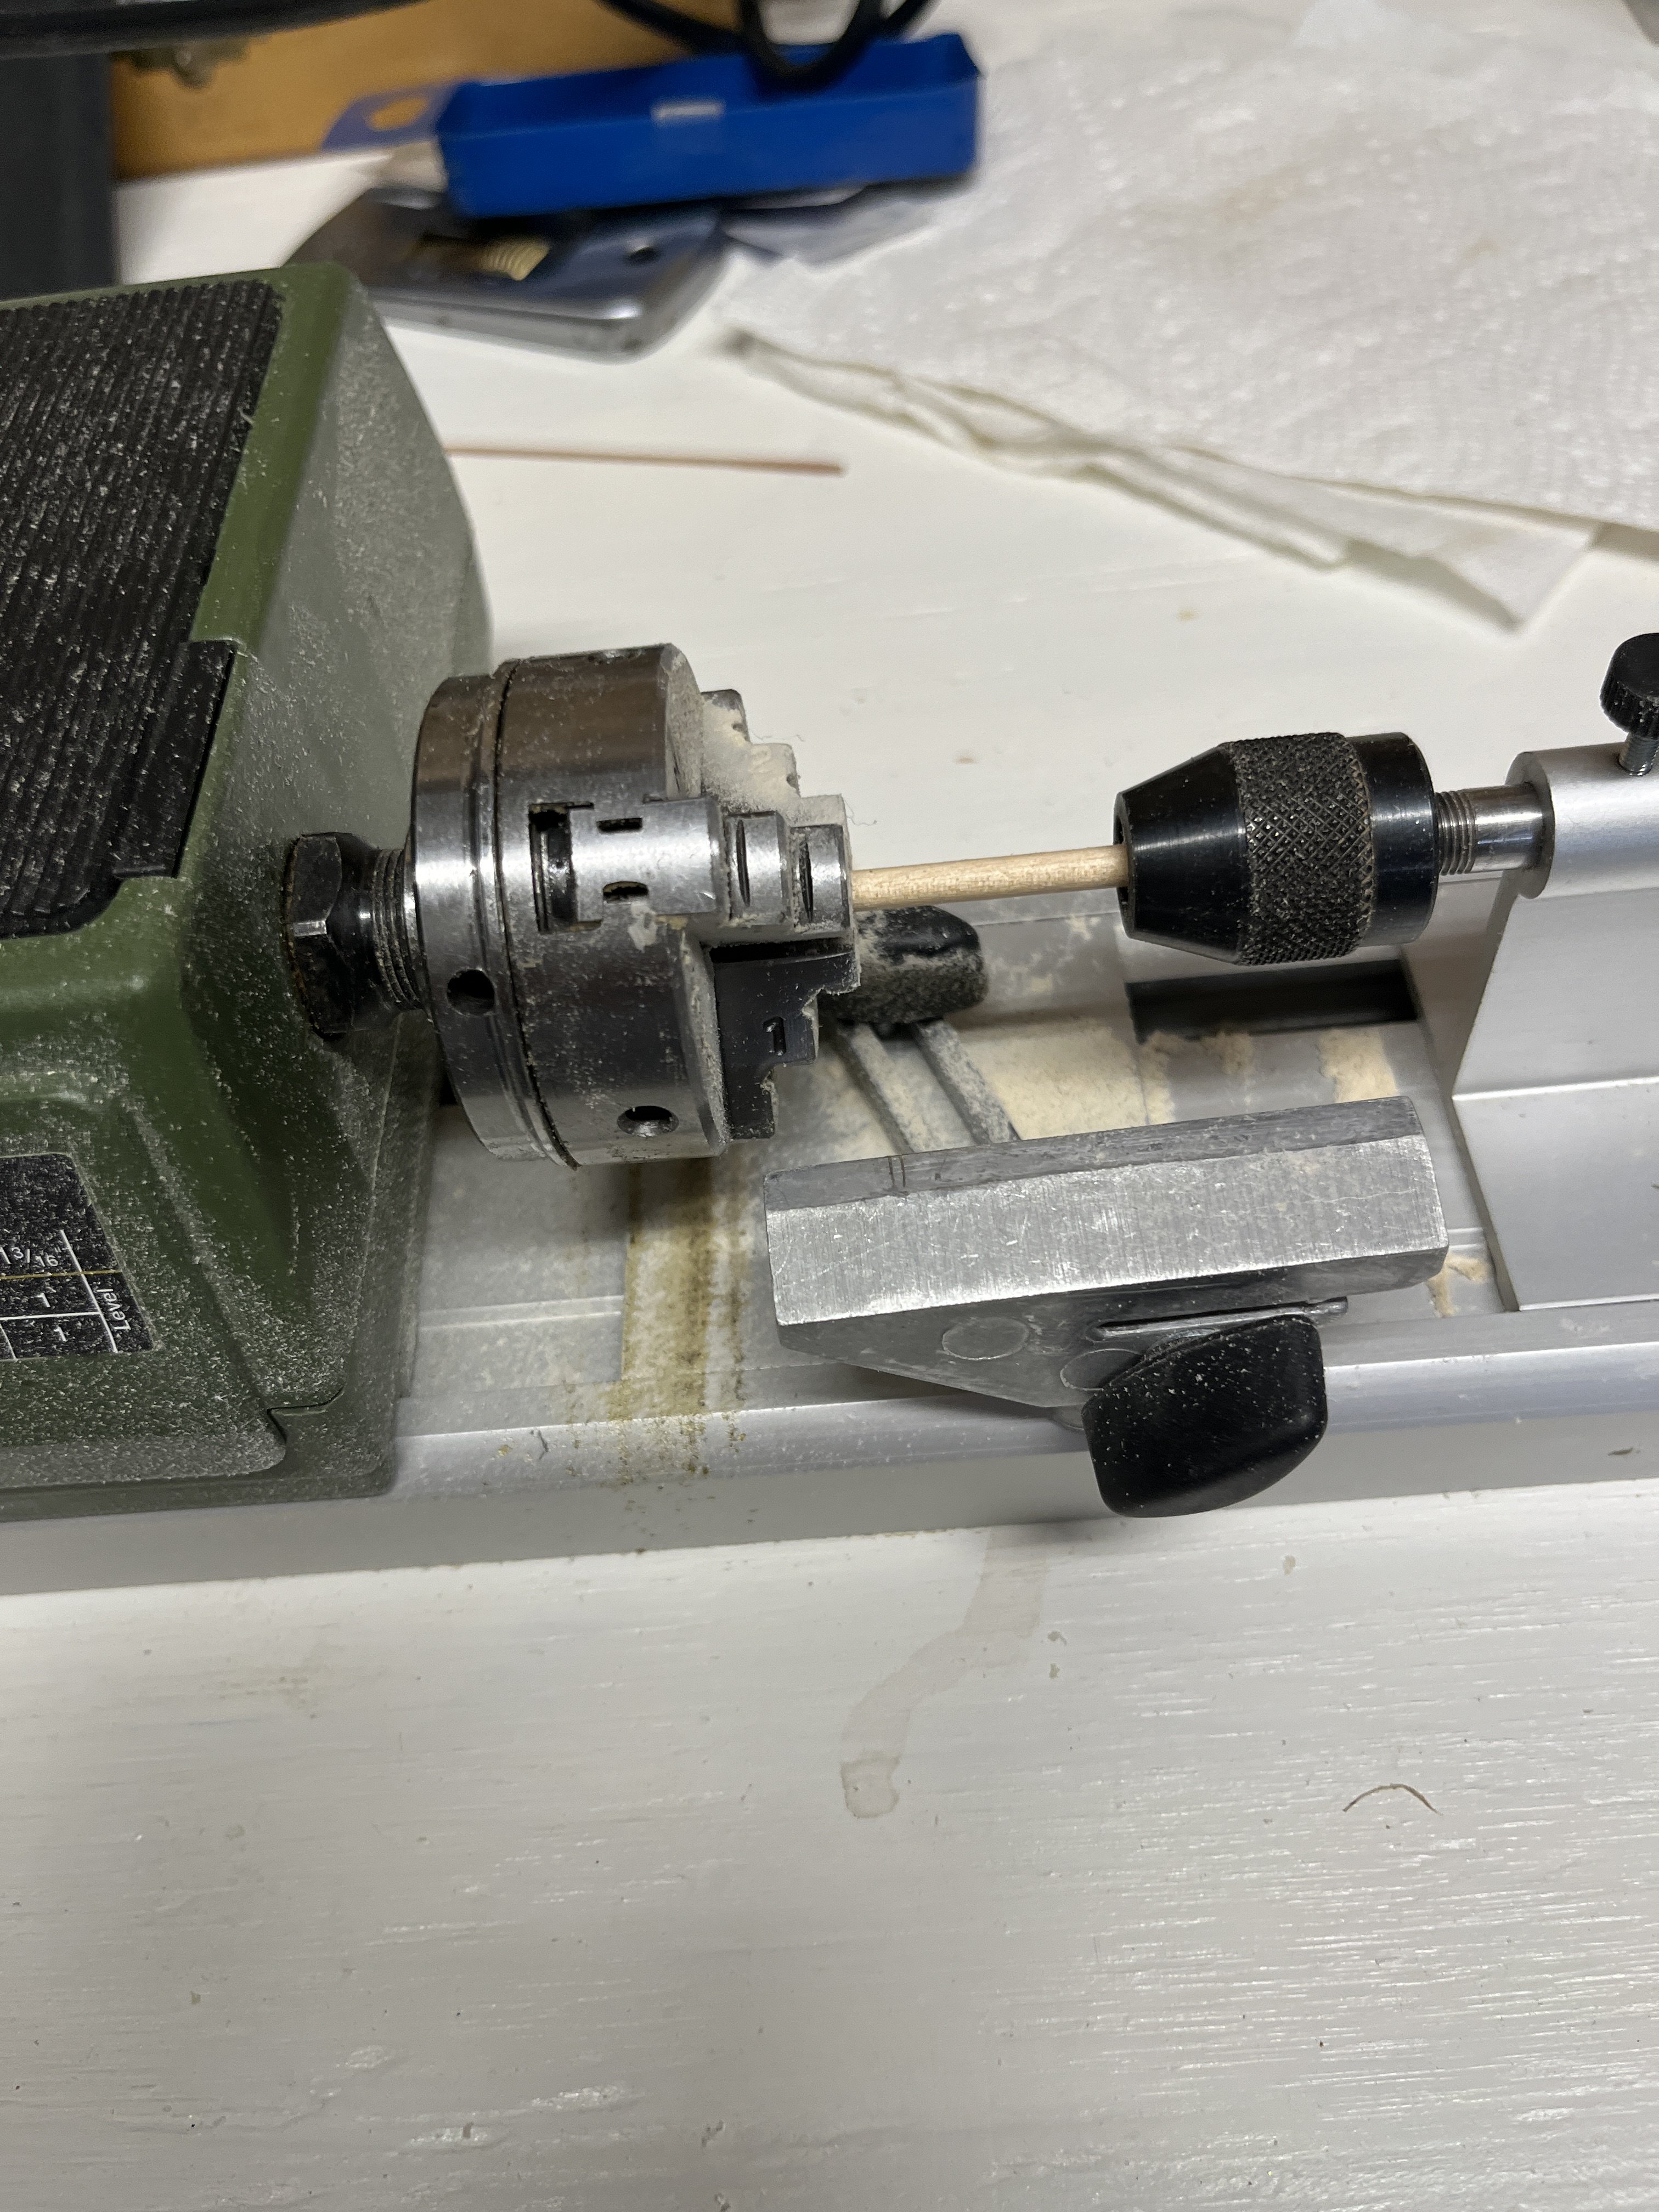
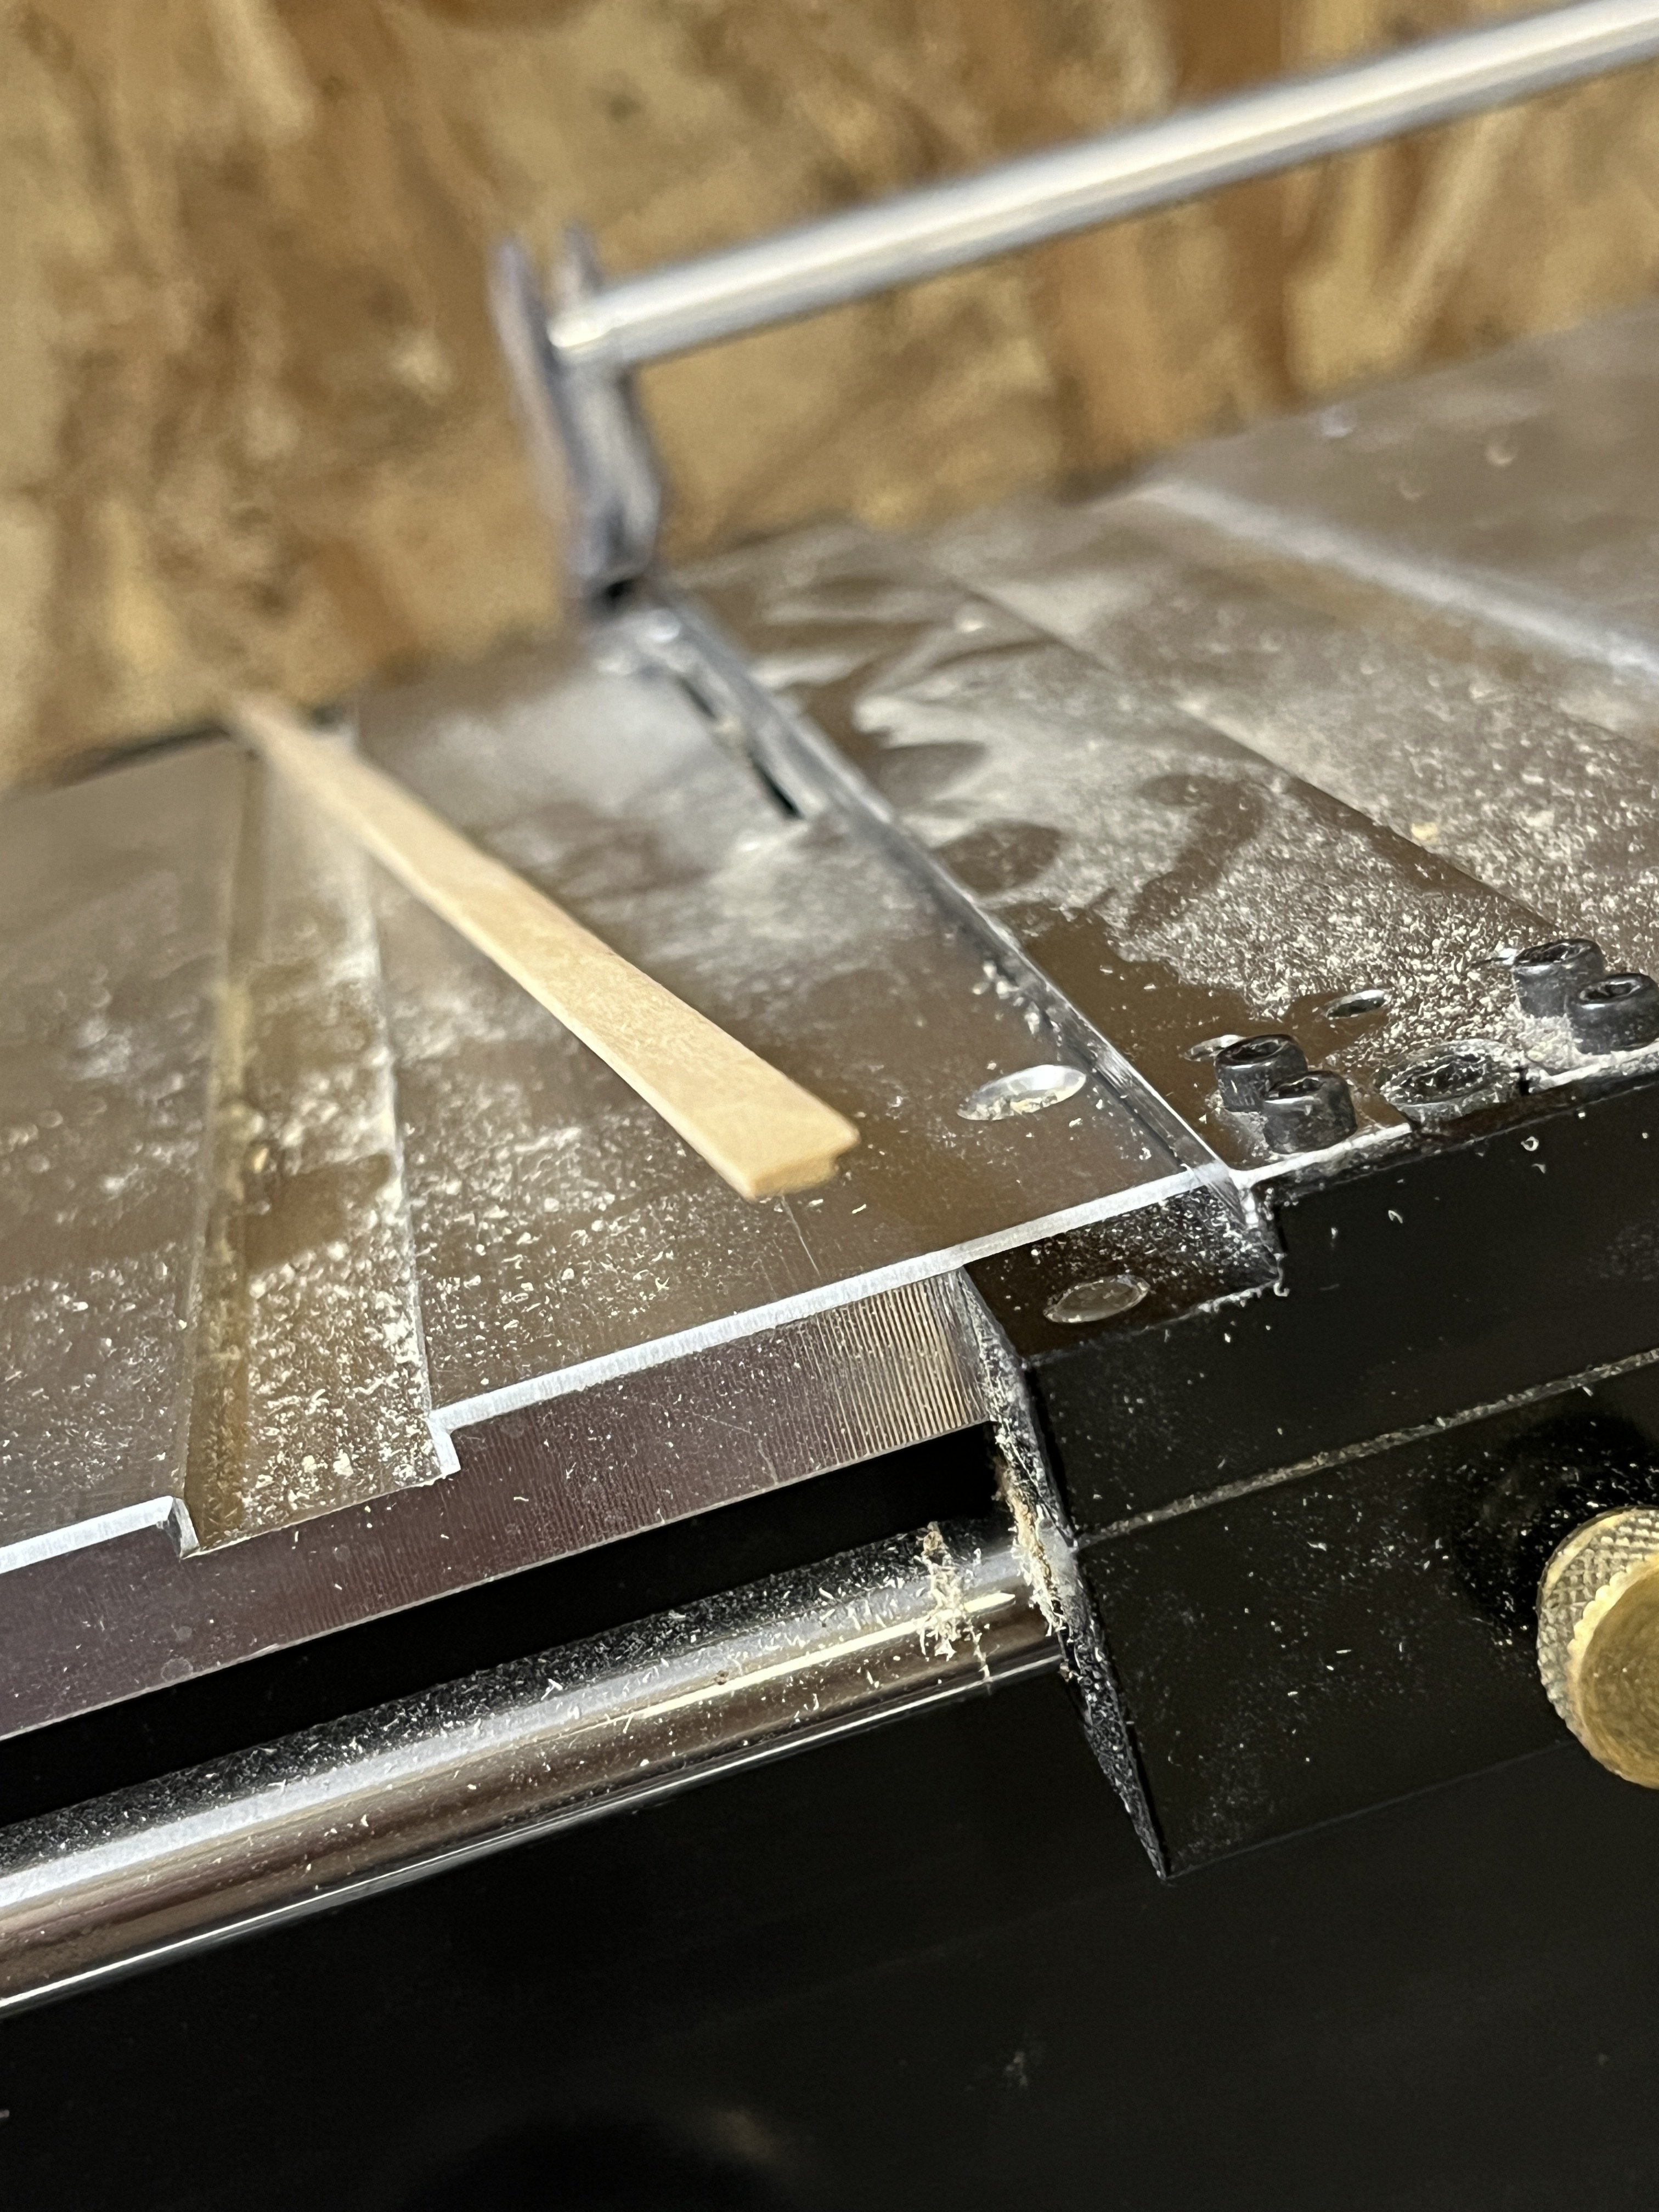
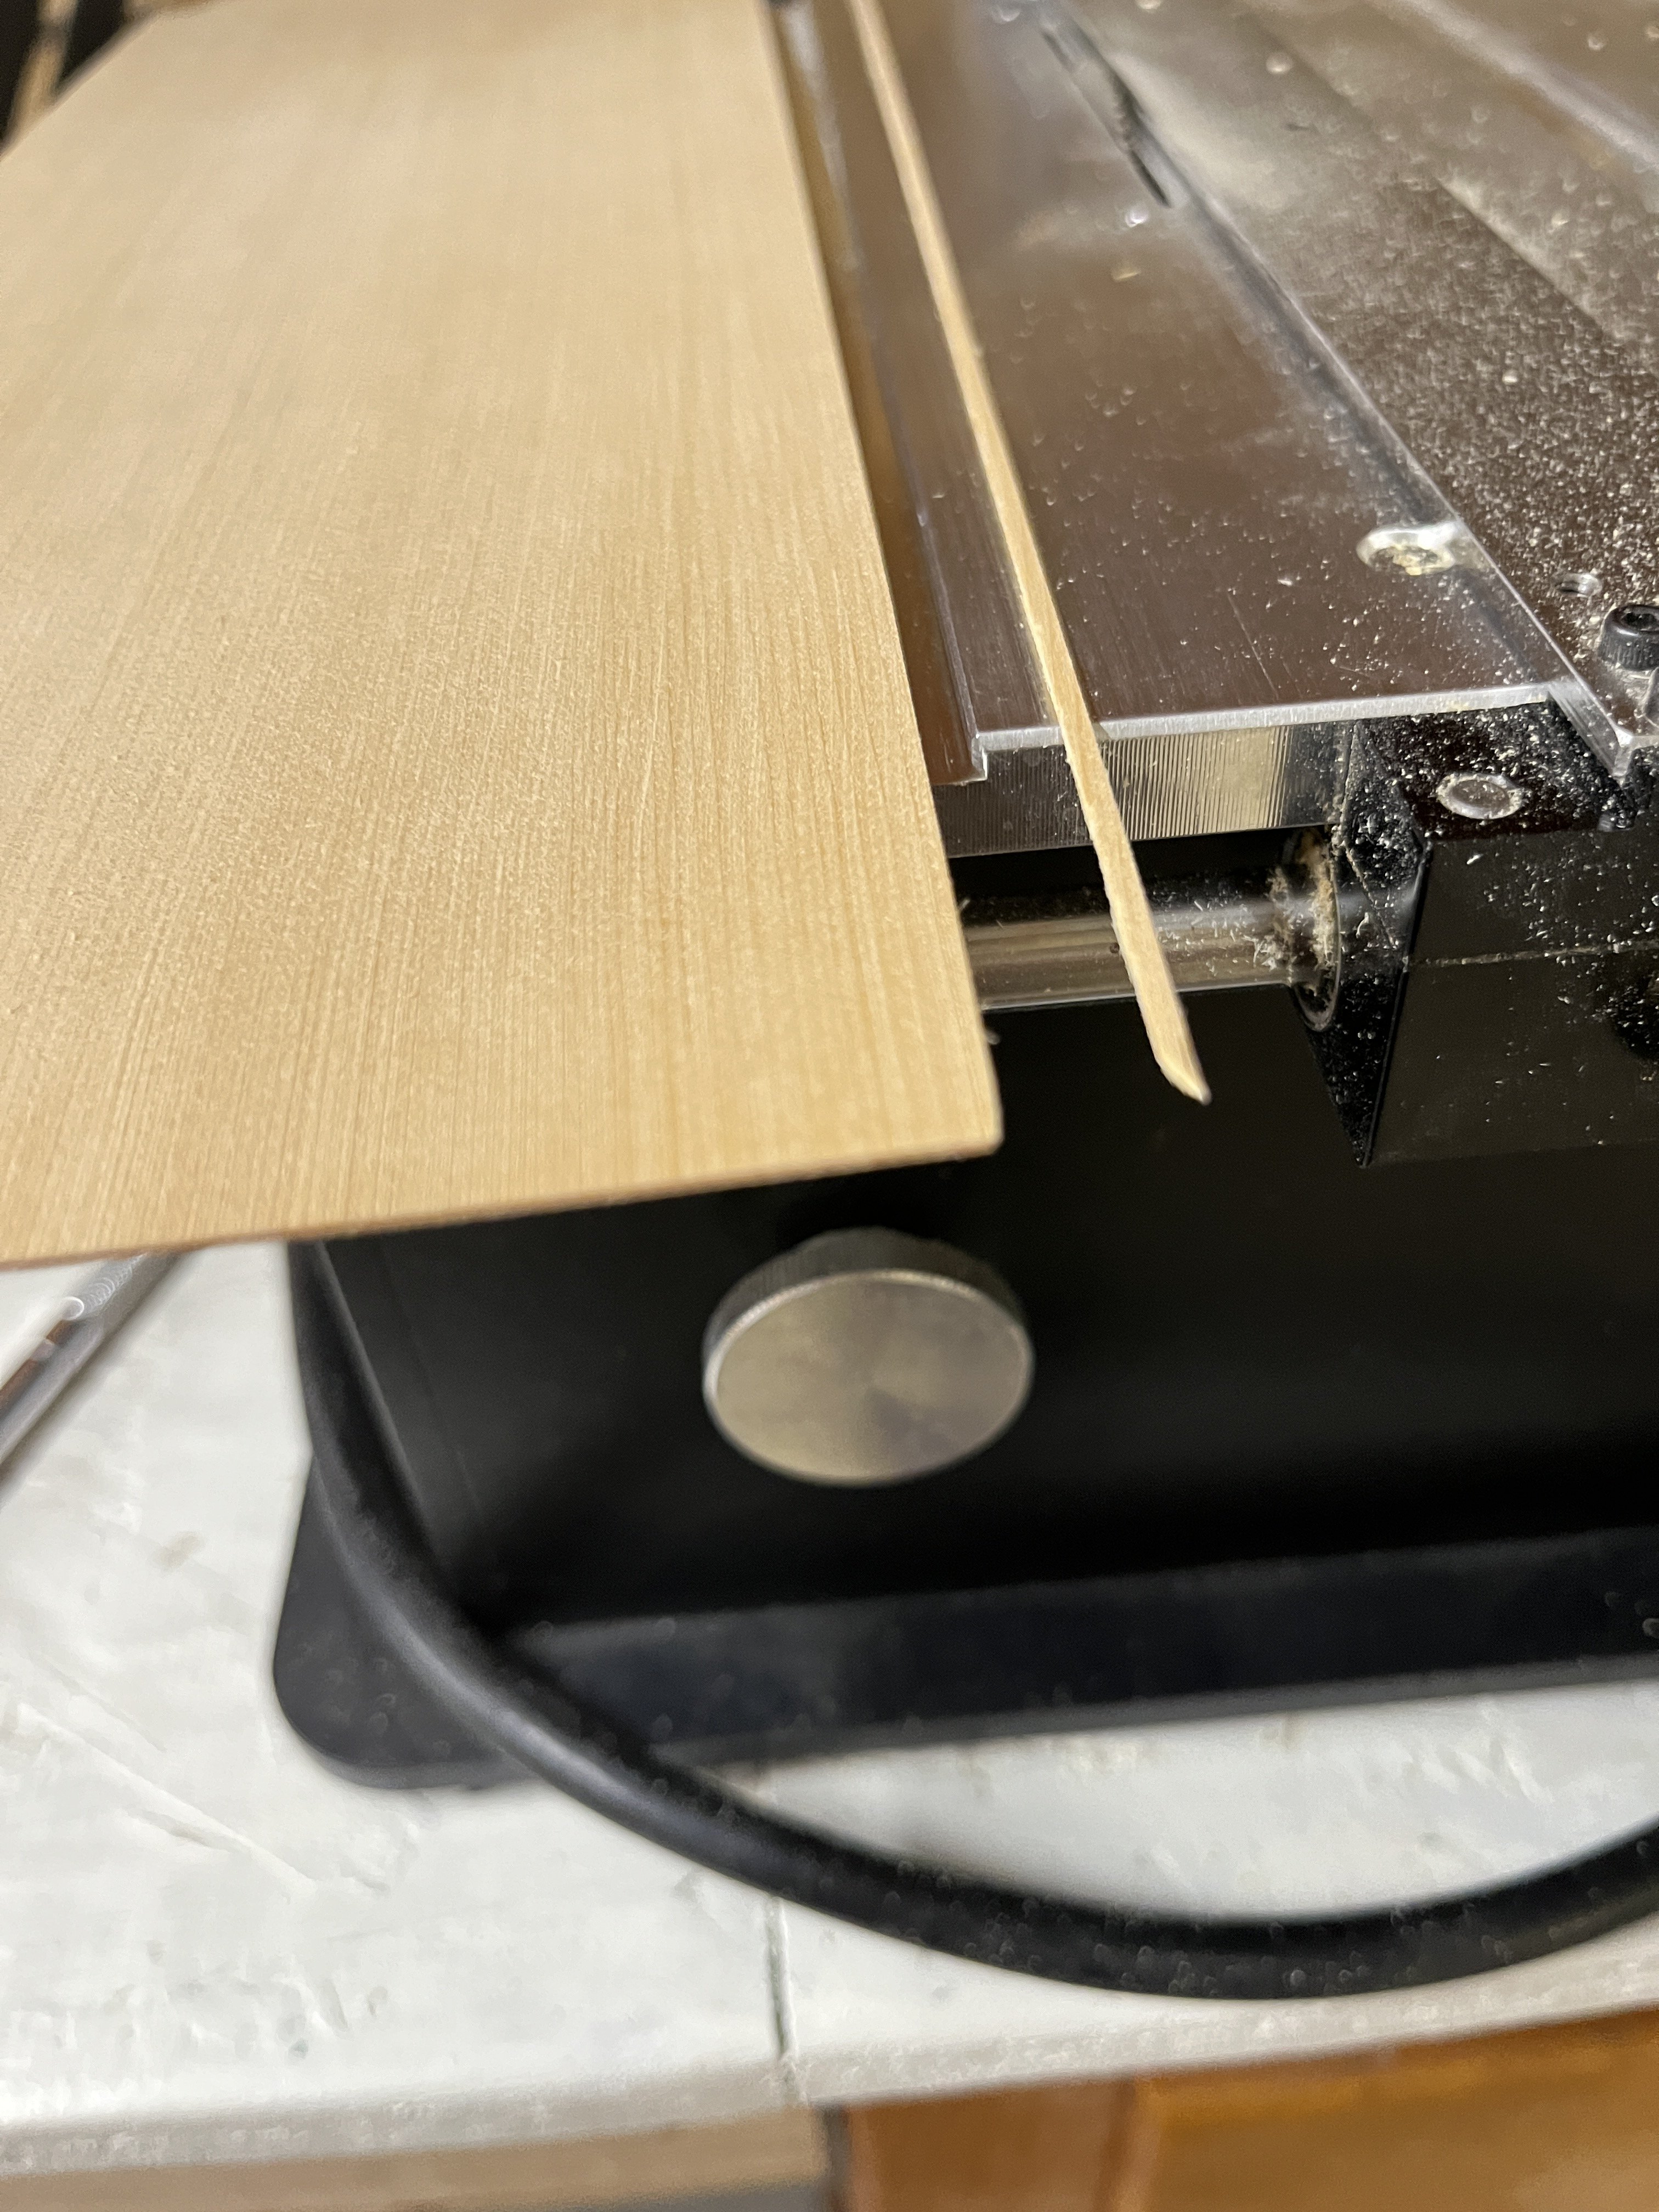
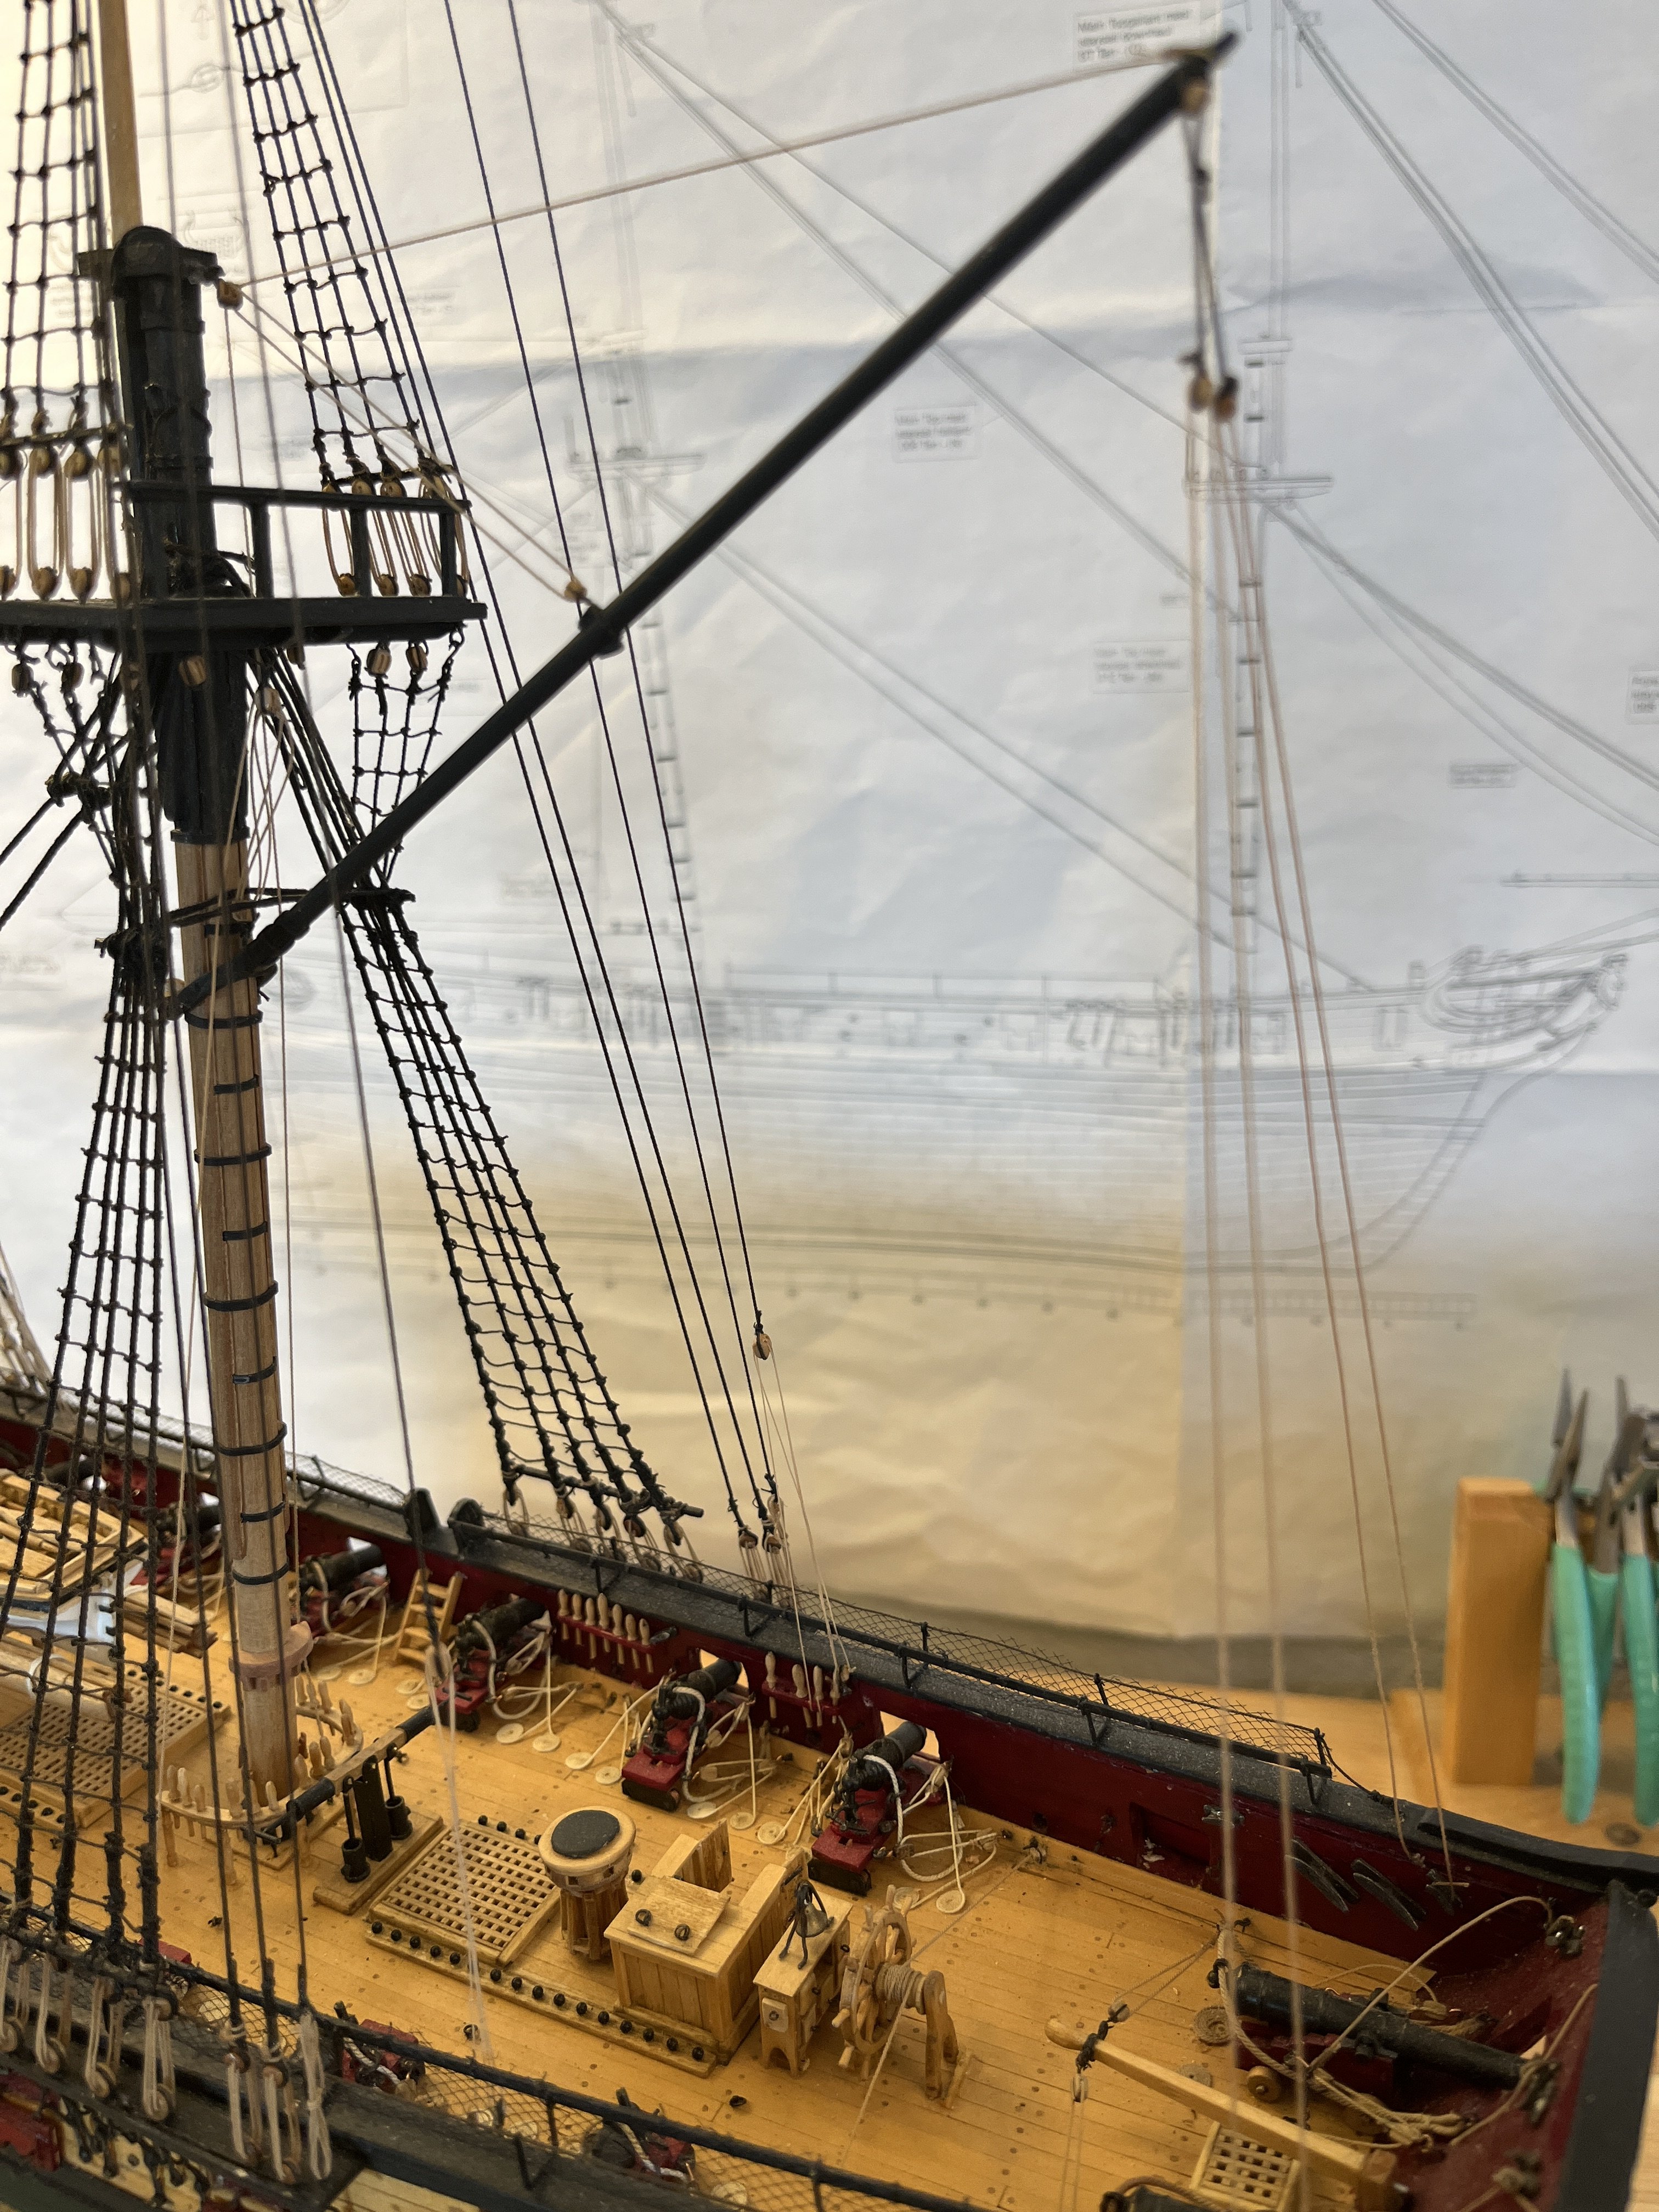
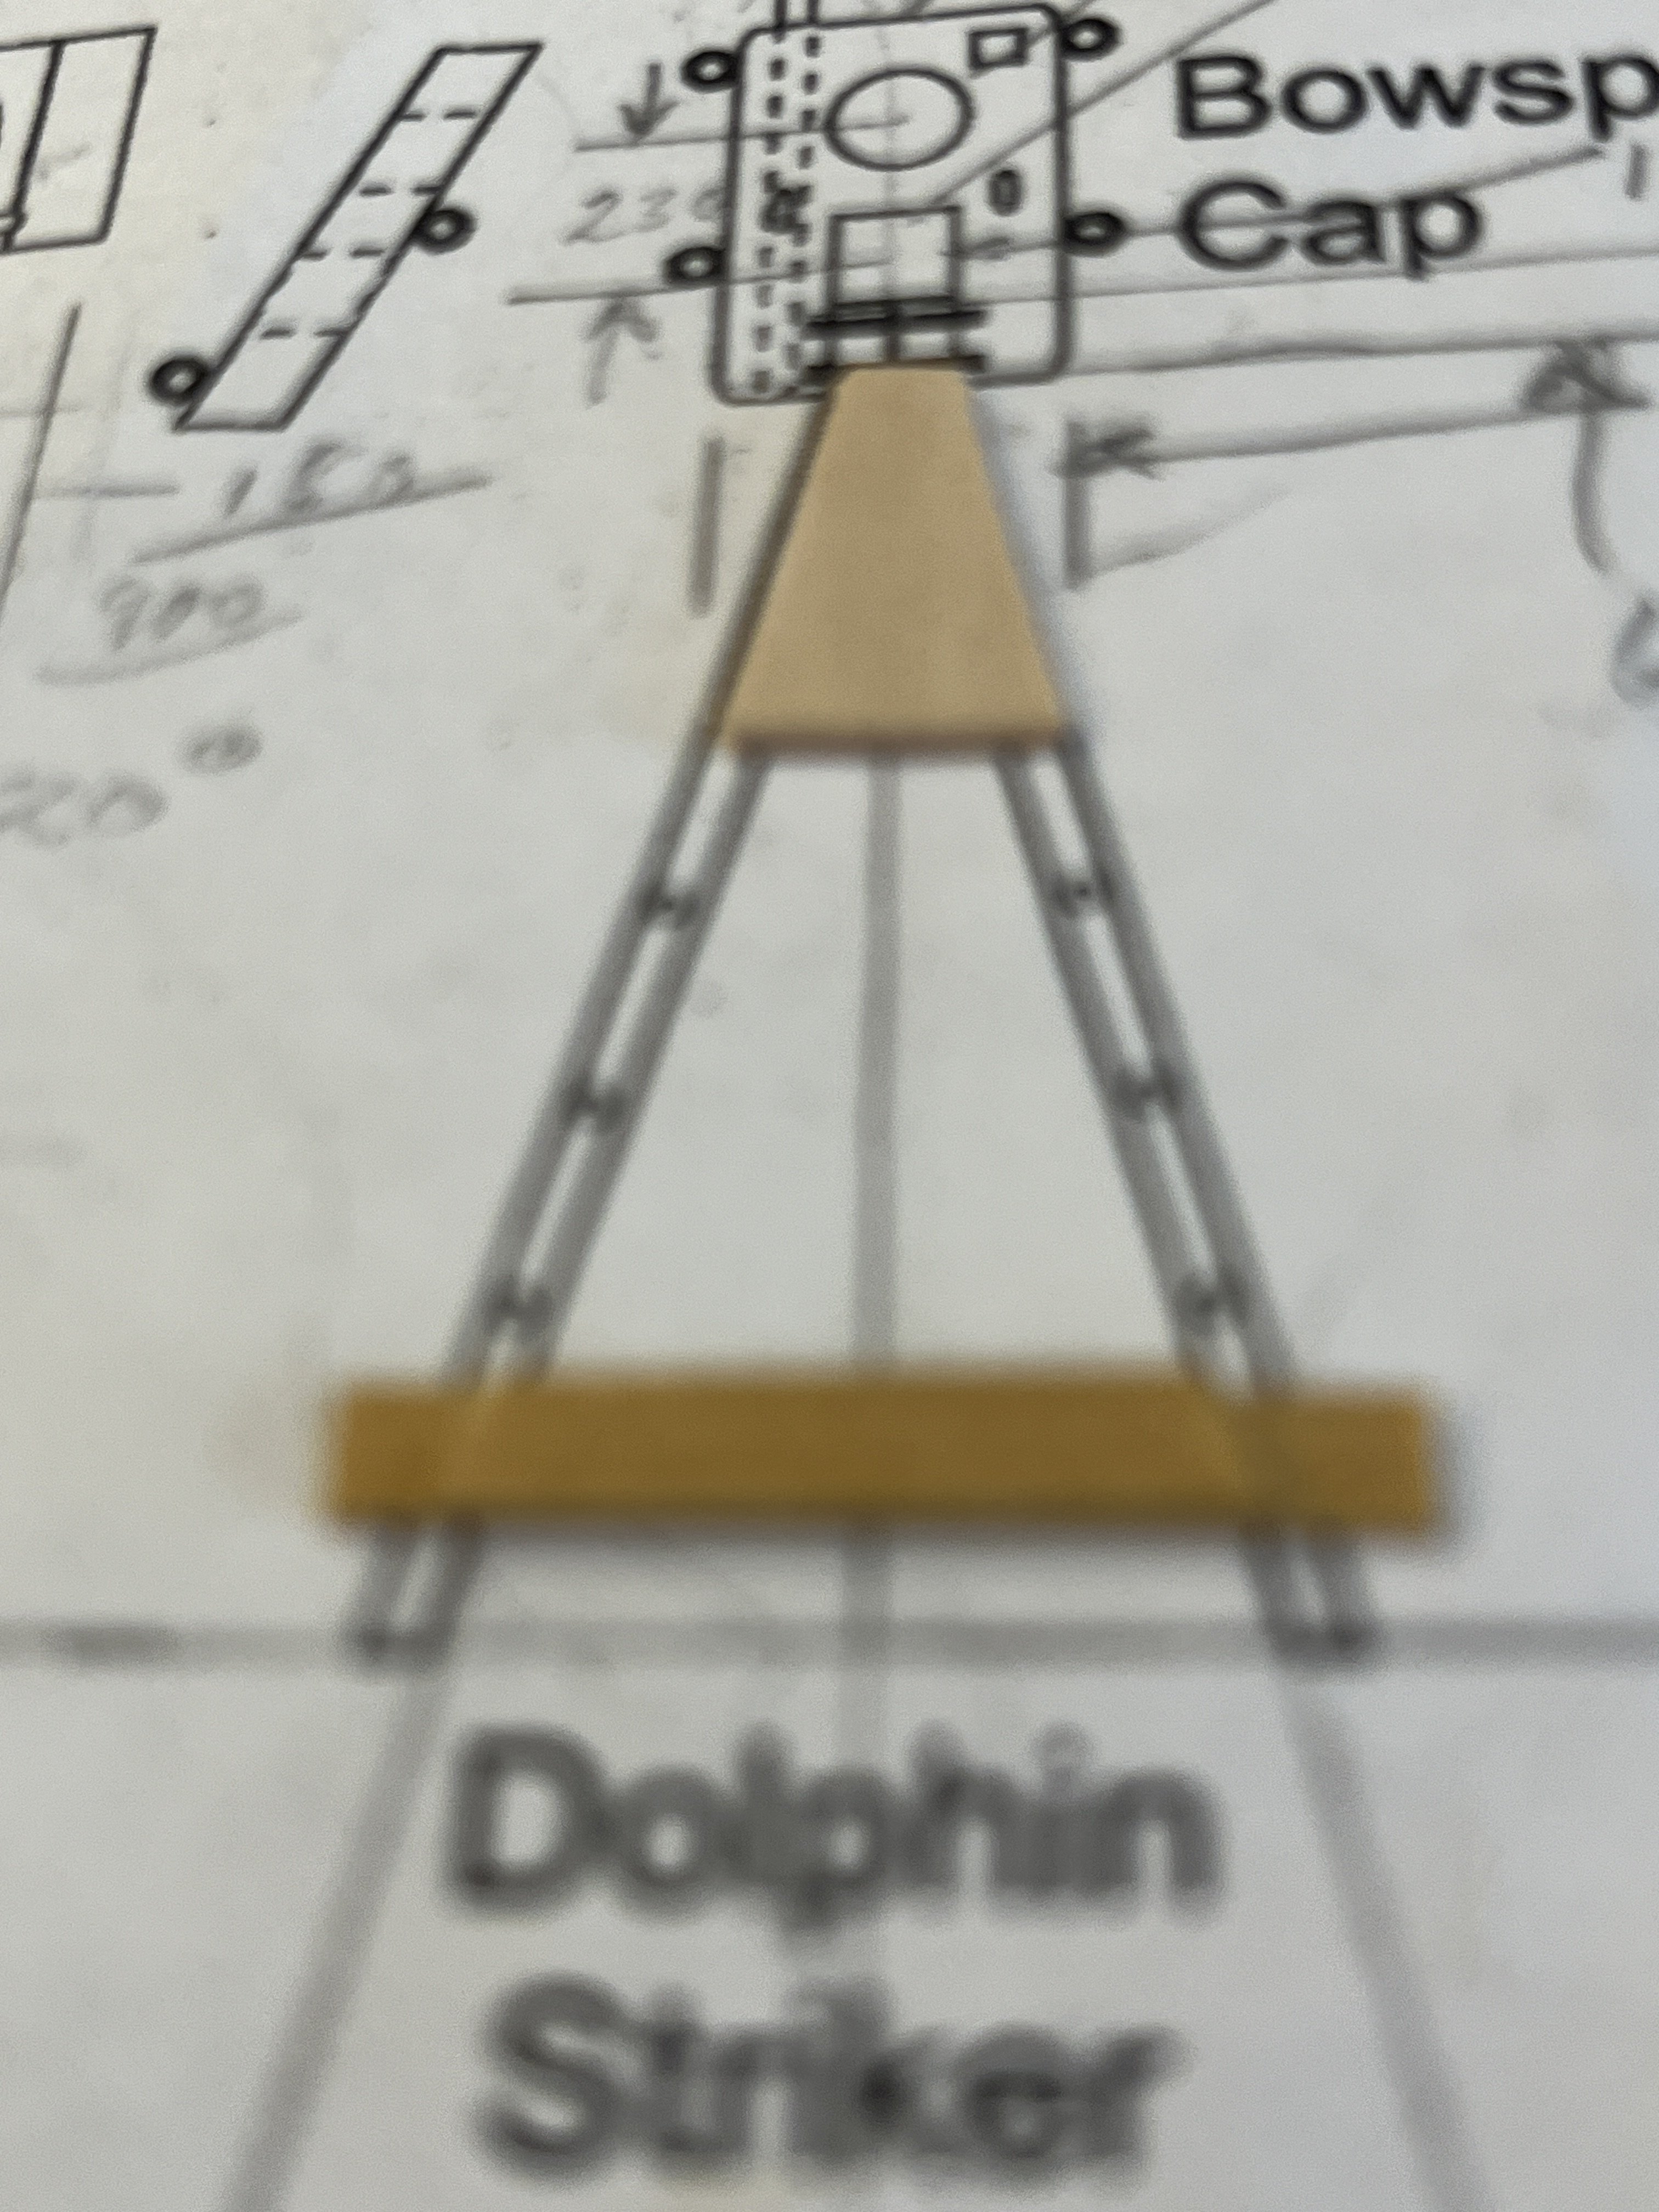
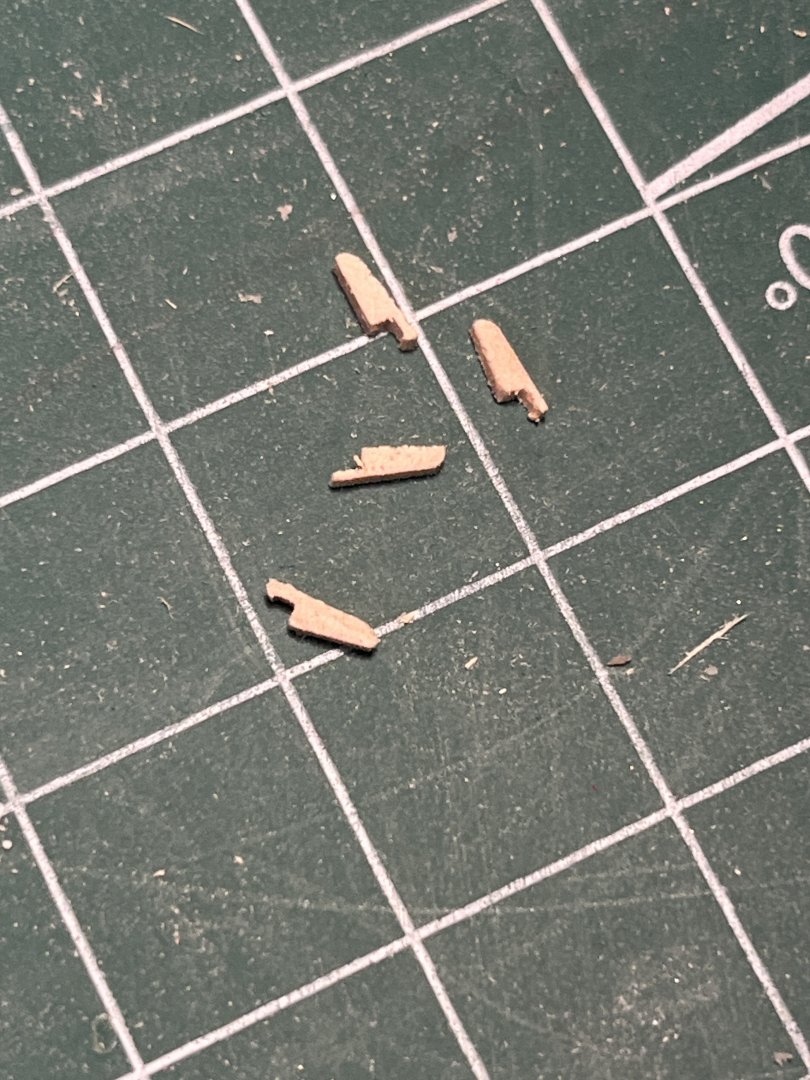
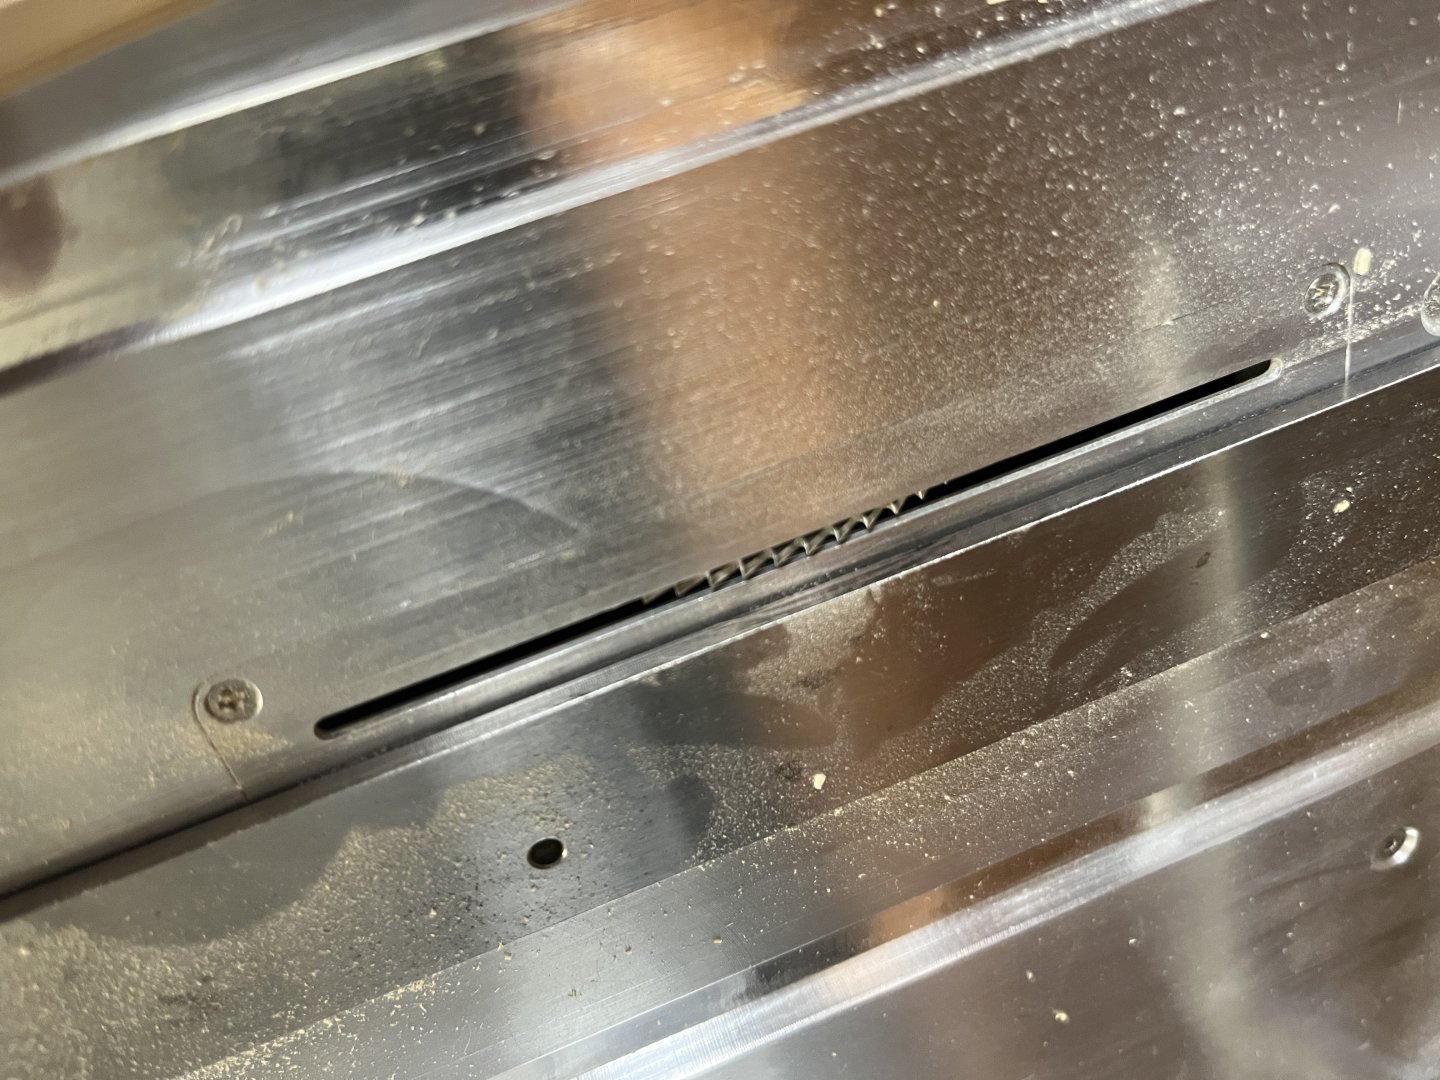
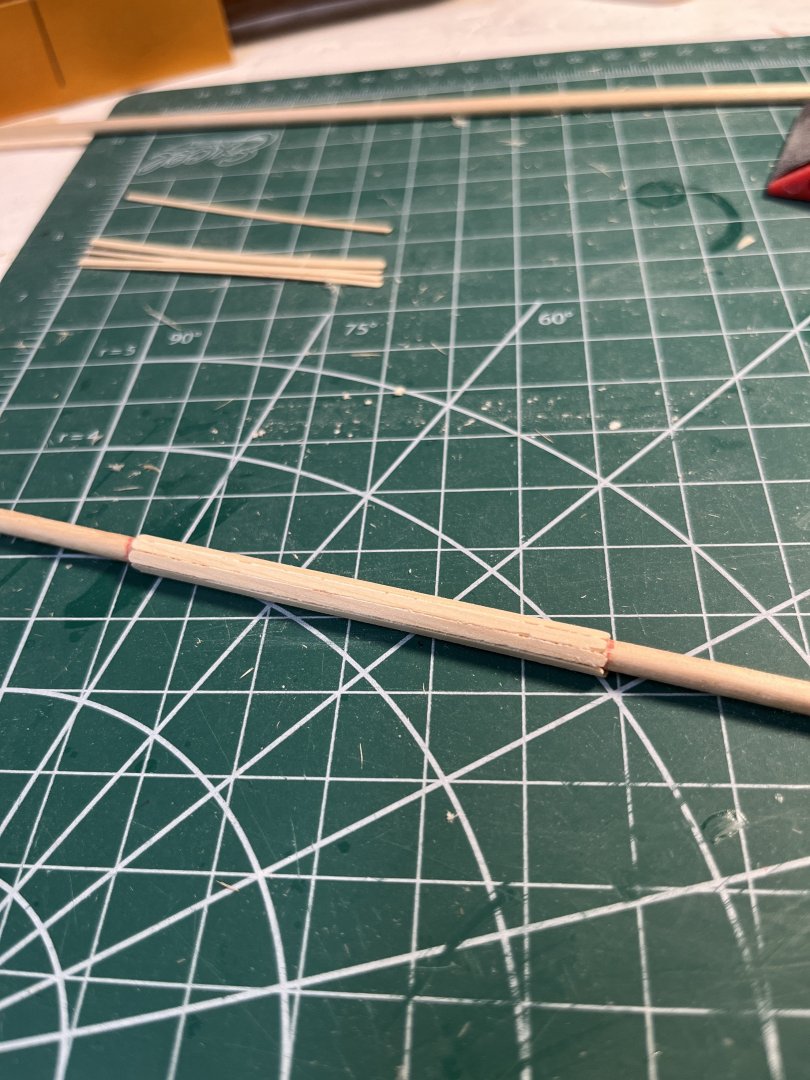
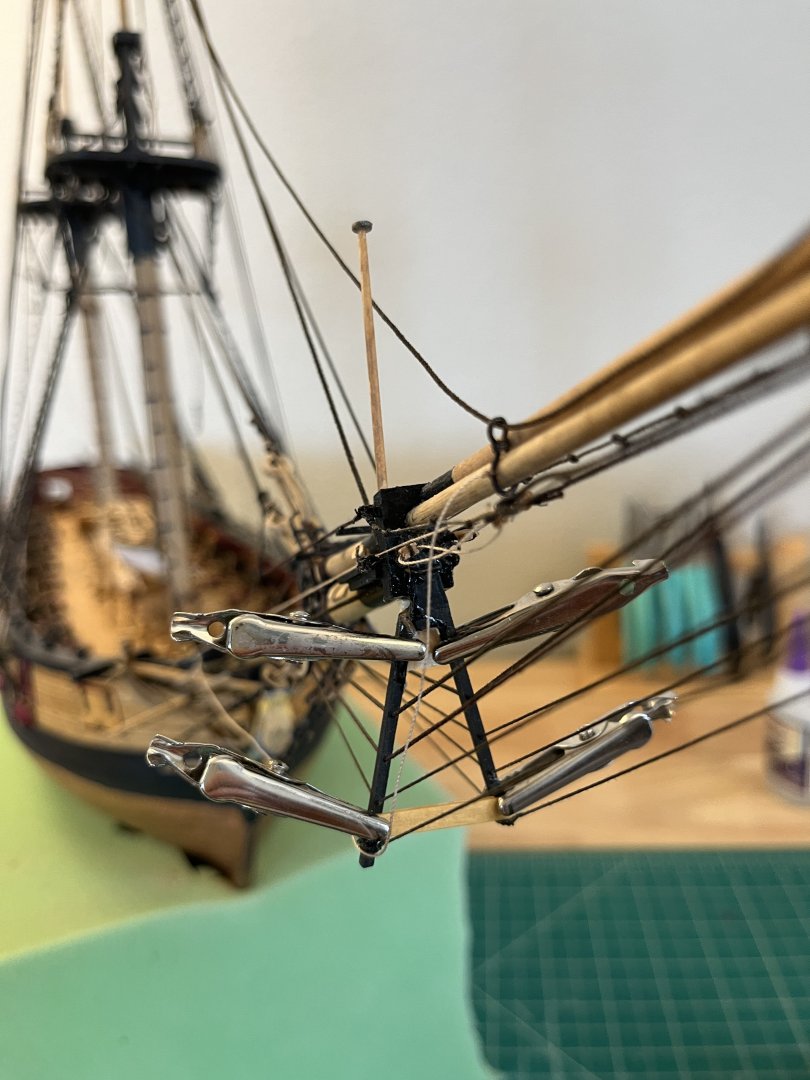
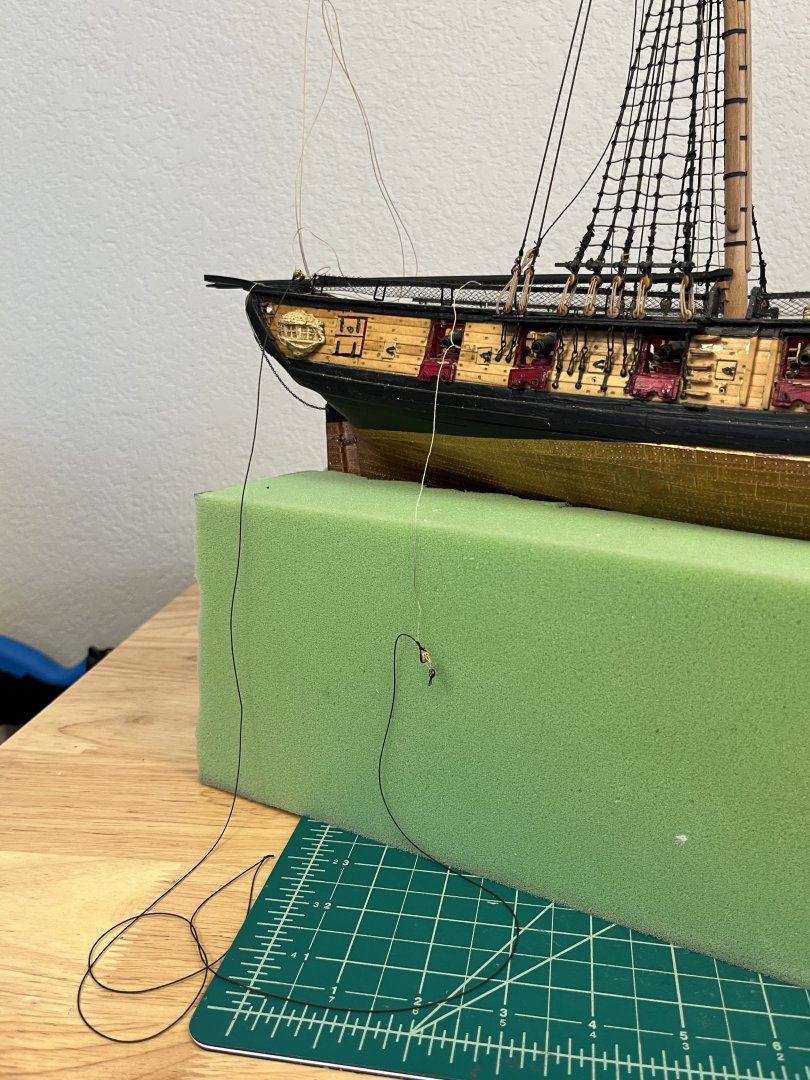
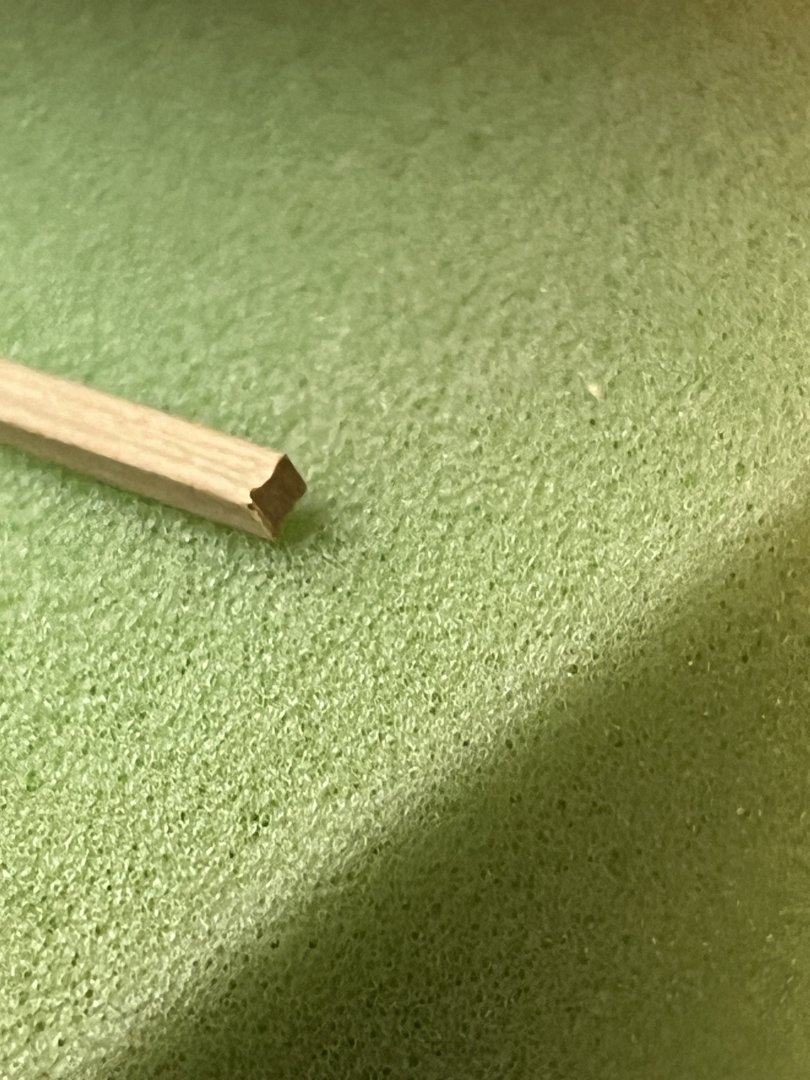
Started backstays with a sheet of .016 copper from K&S Metals. The monograph calls for the backstays and chain plates to be 3/64" thick and 3/32" wide strips. The first step was to rip the strips from the K&S .016" sheet using a 296 tooth slitting 3" blade on the table saw. After putting blue painters tape on the backside I ripped several .1 strips. Next a .04 hole was drilled in the strip and the end radius'd. The strip was brought into shape per the monograph. With the 6 backstays shaped they were annealed using a propane torch before bending the end loop. A needle nose pliers was used forming the loop. With parts completed the loops were silver soldered closed to ensure from opening when rigging pulled taught. Image is of the backstays after pickling and before ultrasonic cleaning. Parts will be painted and coated with aging dust after the chain plates are completed


-
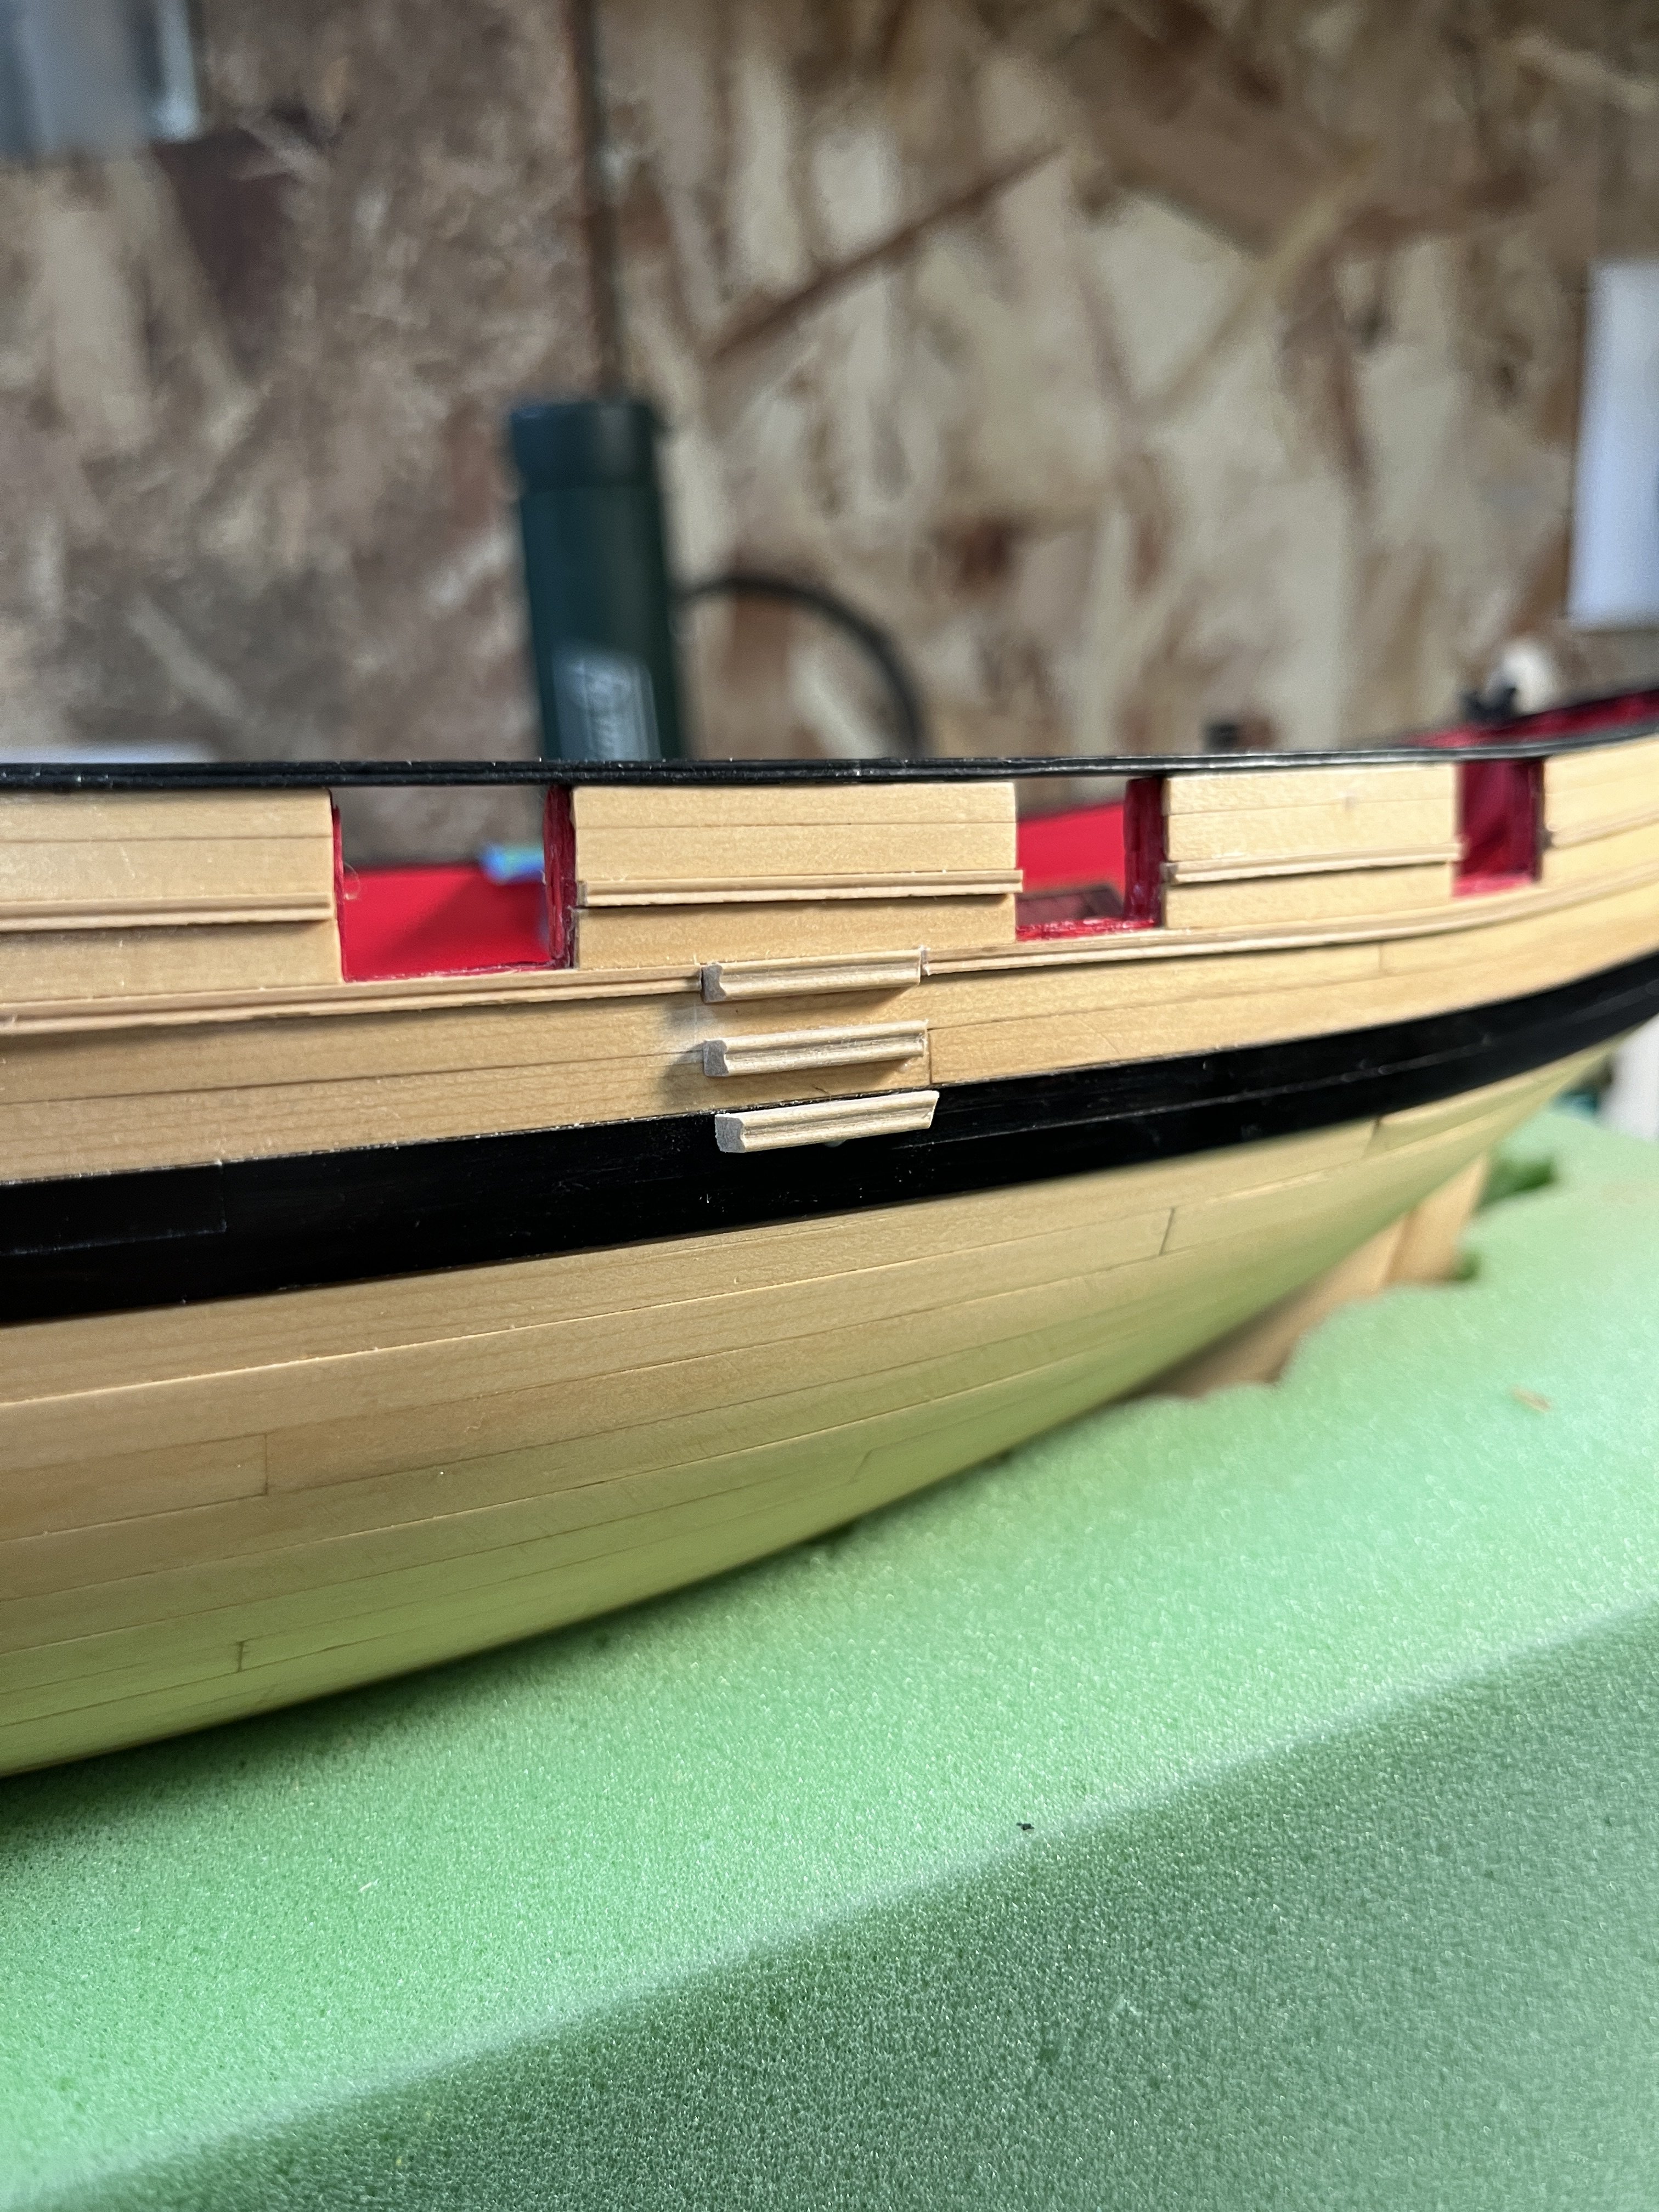
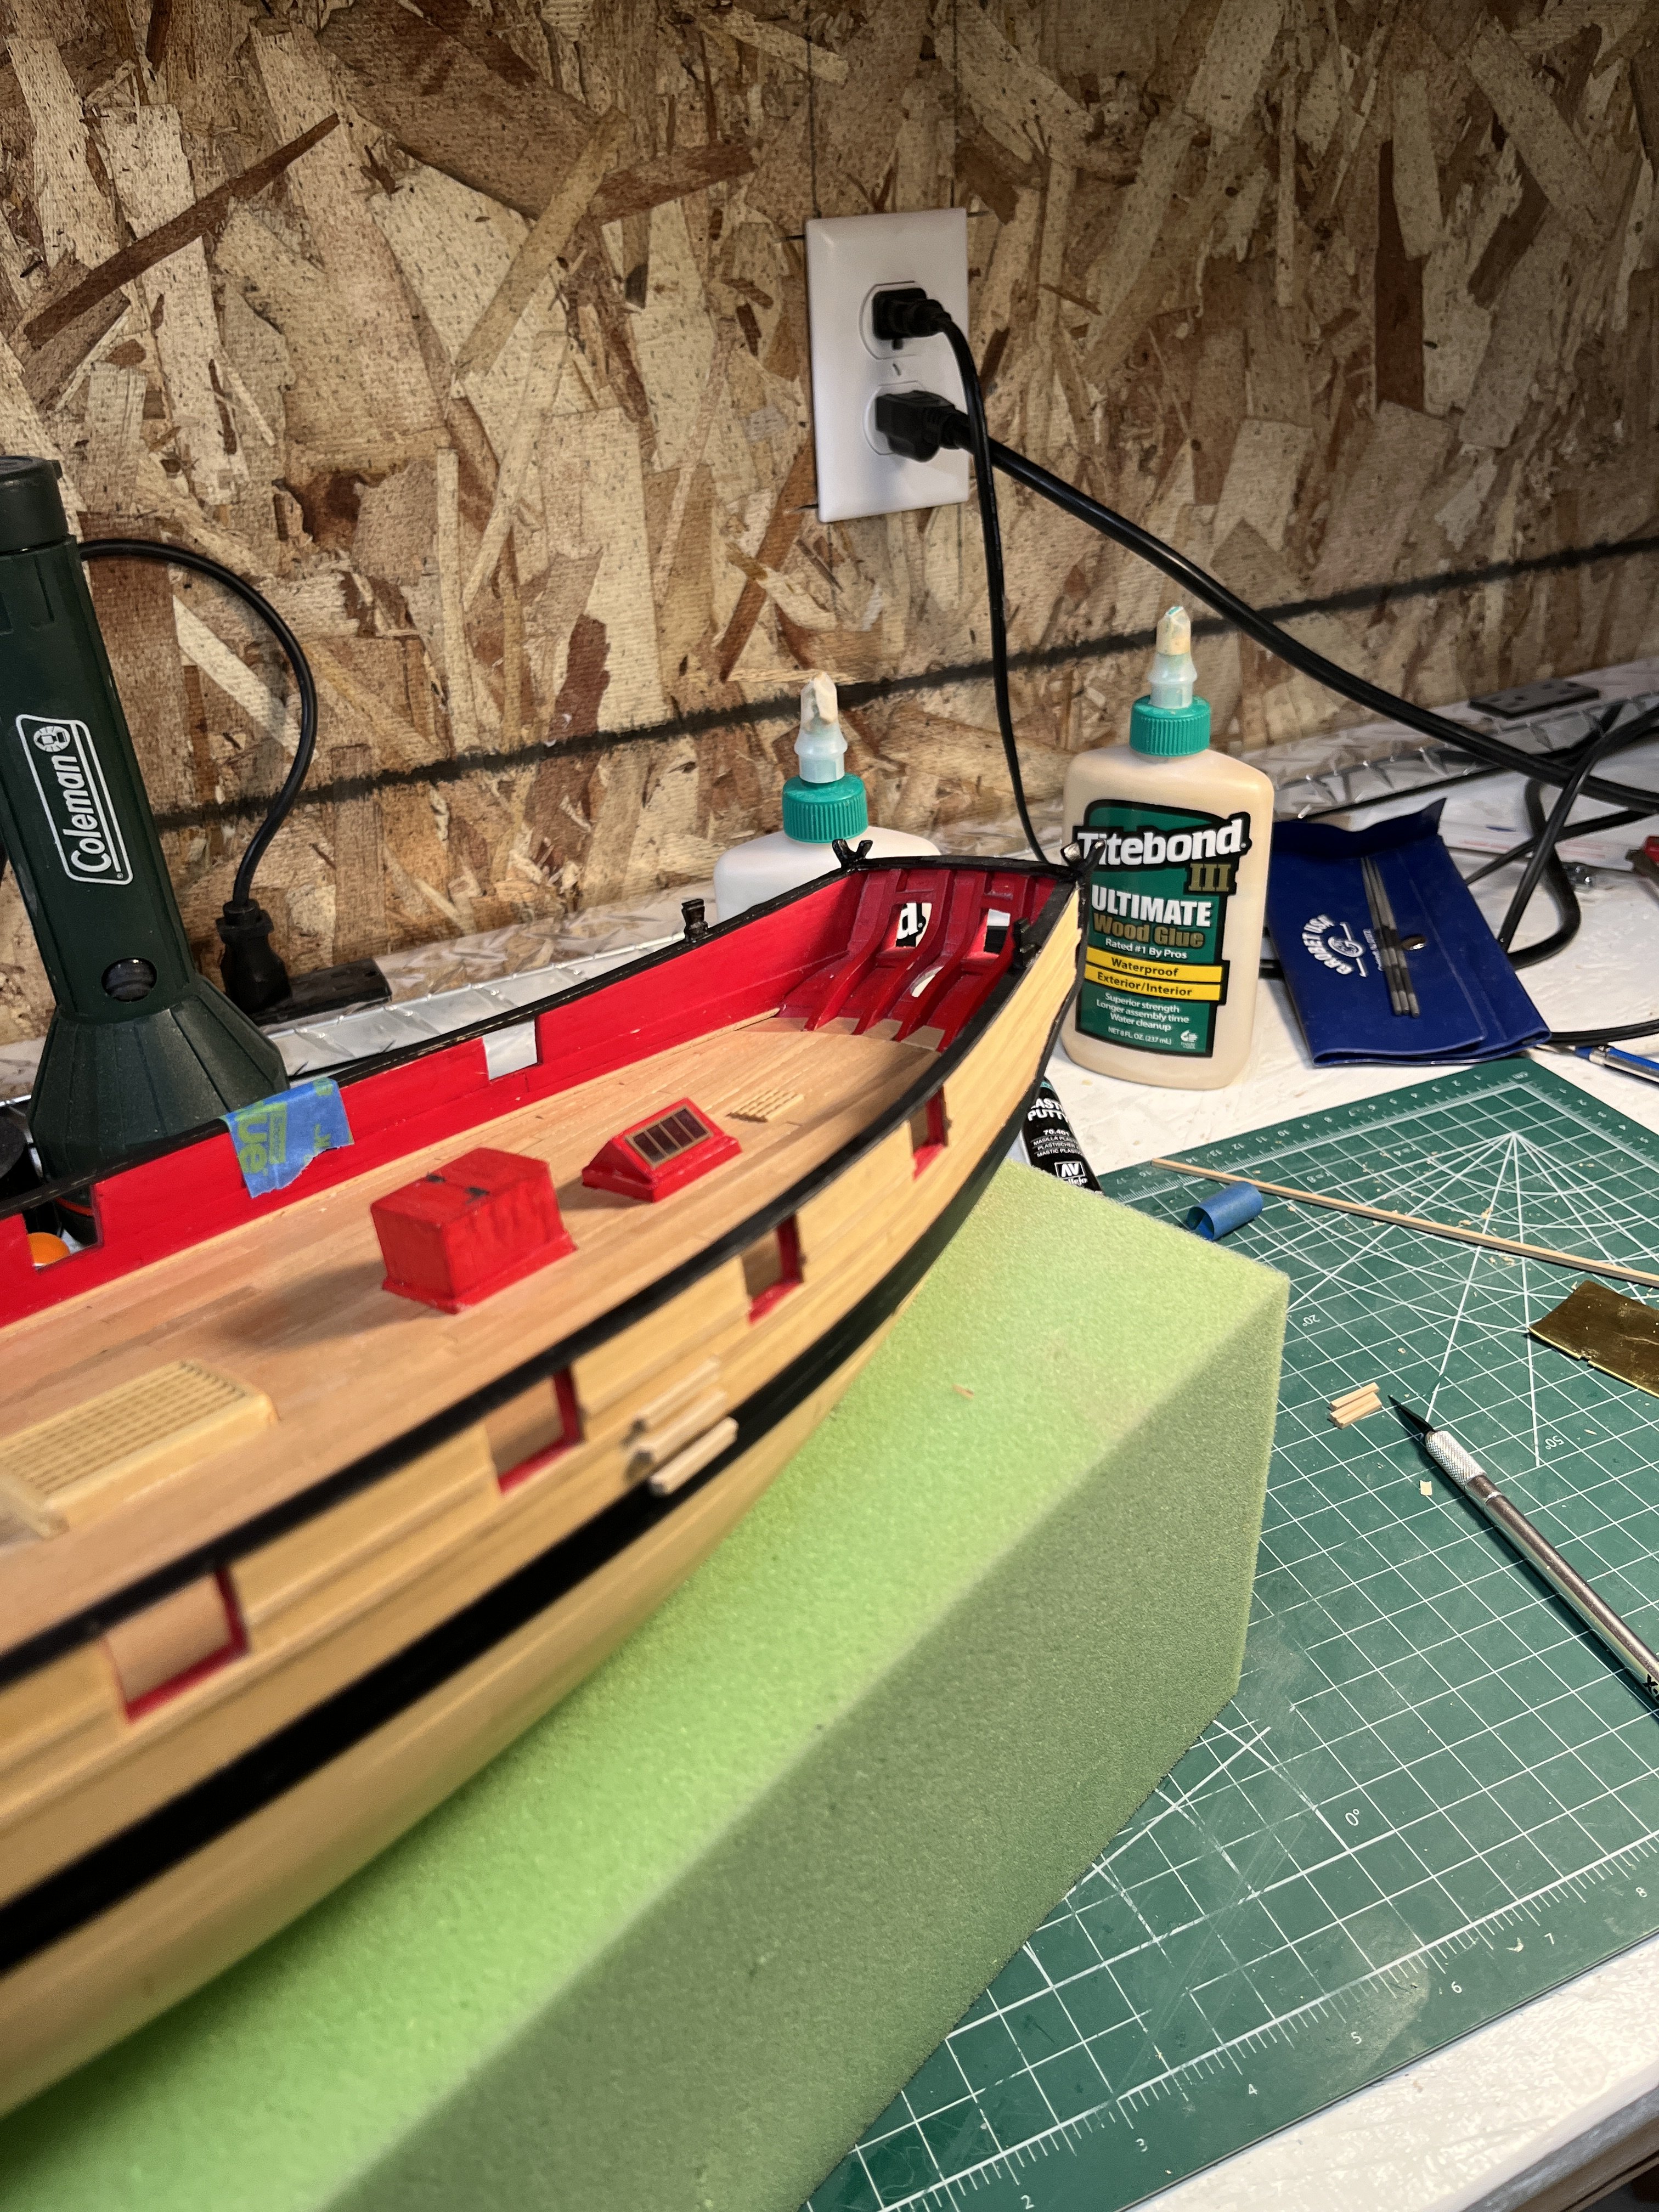
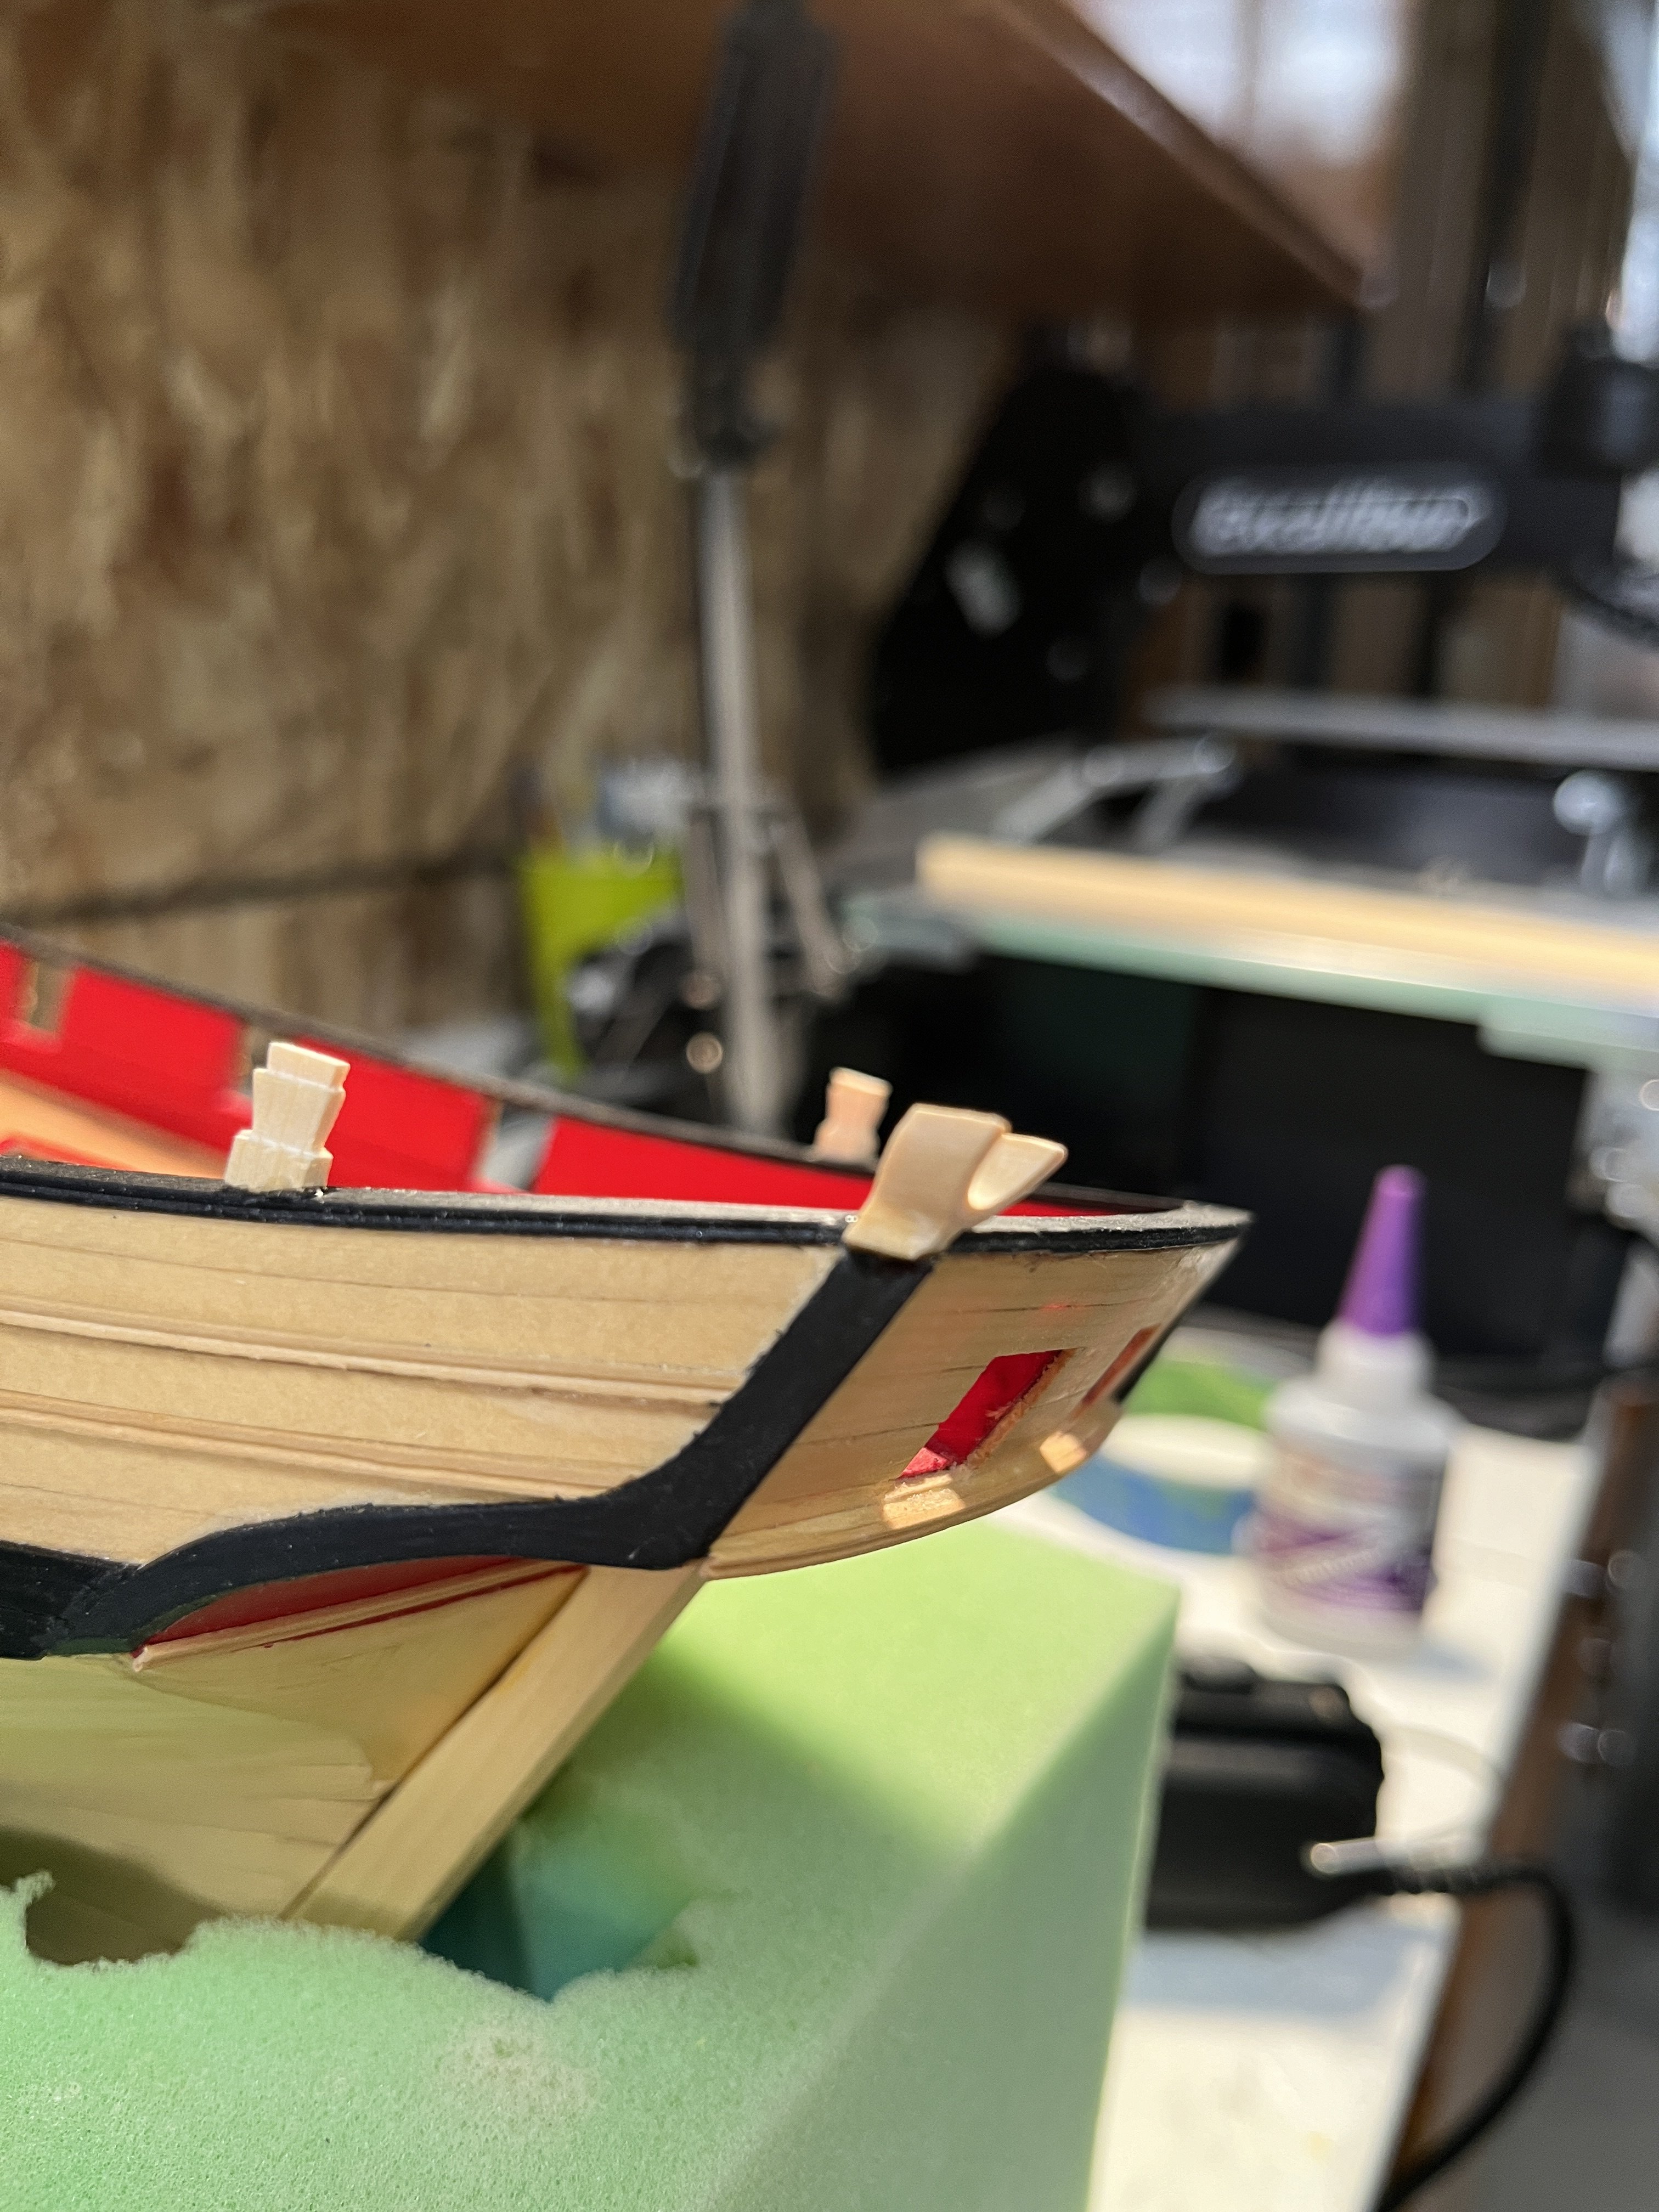
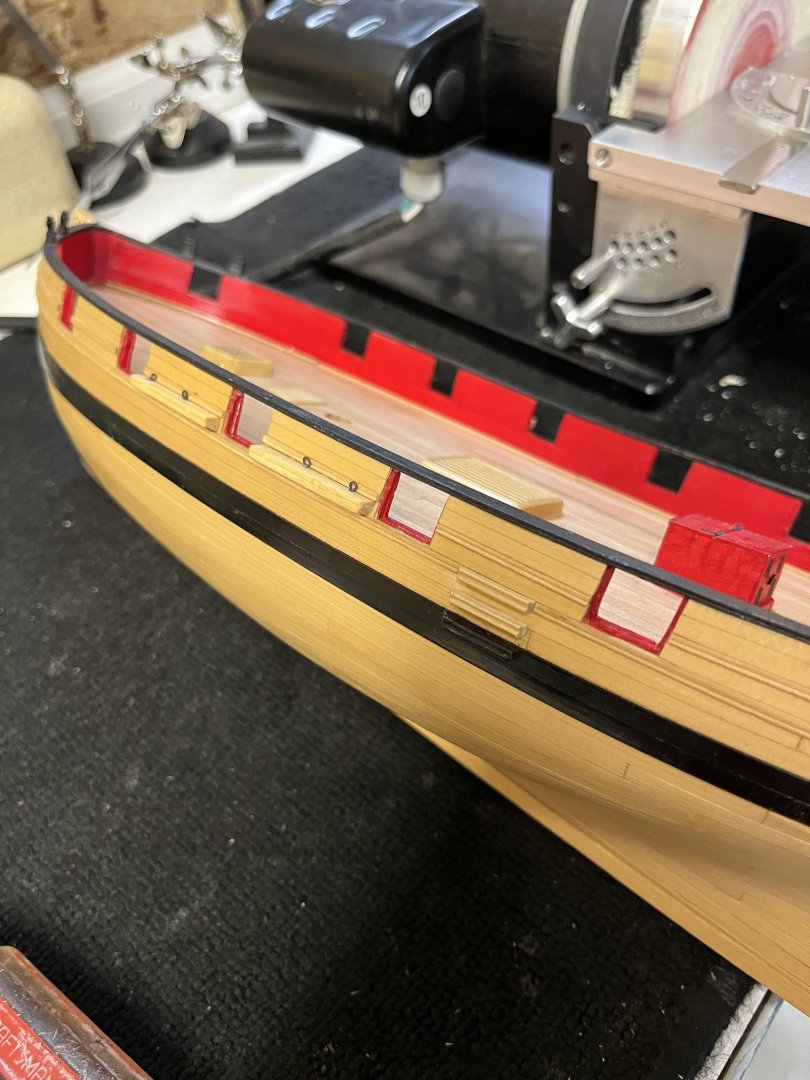
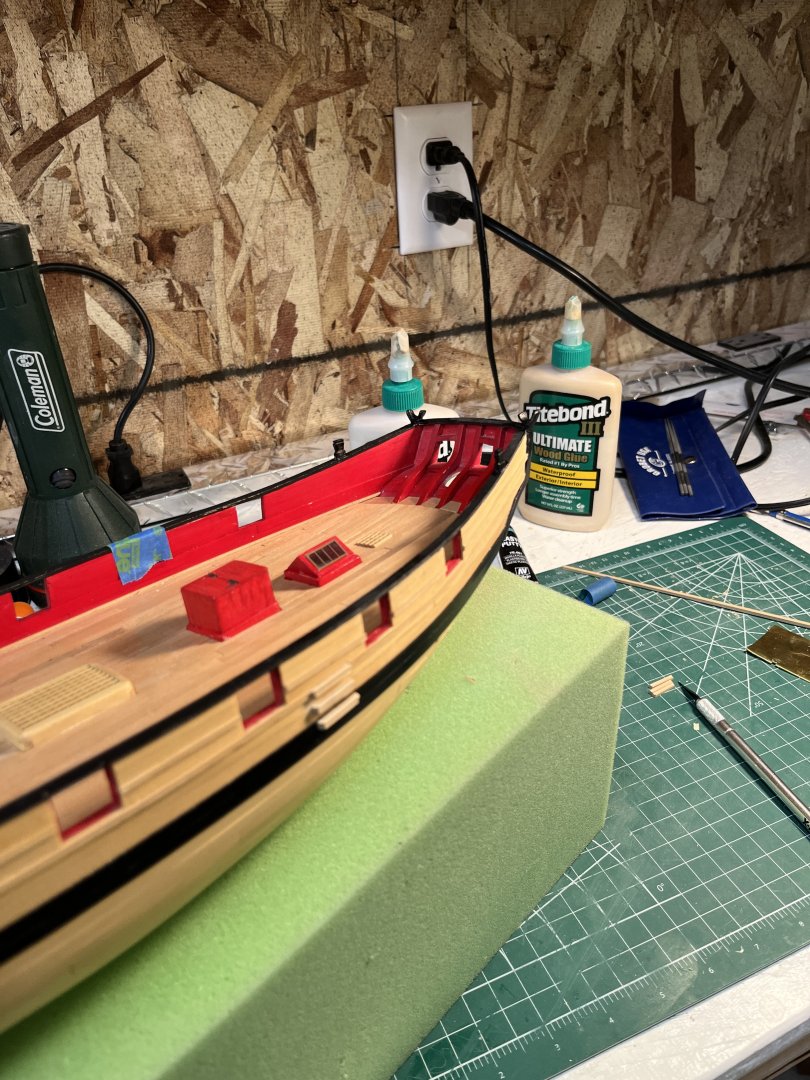
Been awhile since the last post so here's what's been happening. I didn't mention that while in Arizona I thought that I could do two models concurrently and started Cheerful while in the middle of the Syren brig kit, BAD IDEA. I had gotten Syrens standing rigging complete and then the move. So I've been working on the Syren and neglecting Cheerful. The work I've done was the make the boarding steps, channels and rigging eyes which I completed today. Port picture which I now realized that I had not painted the step on the black wales. Starboard side step painted Next on to chain plates etc. and I'll dry dock Syren.

-
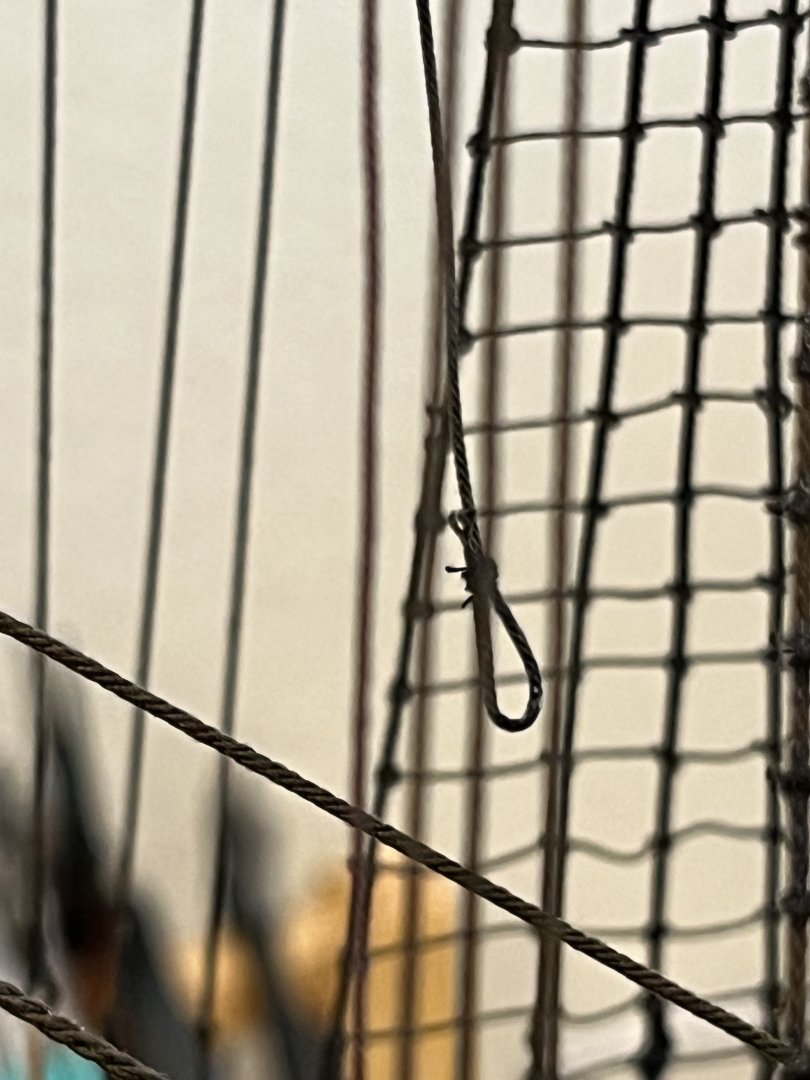
Not much to report on. Spent time making some black .019 line for the foot ropes had to make sure to have enough for the 4 yards foot ropes. To male the stirrup loops I used a .028 drill bit and used a tight half hitch to simulate the loop. On other places I've found that a tightly pulled hitch gave a close approximation of a seized loop. With the stirrups hanging with an alligator clip creating a straight drop a small amount of very fine CA was used stiffening. Threading the foot rope through the stirrup loops creating the foot rope. Again CA was used to create the hanging appearance. Two vises used holding the yard while being worked making a easy process. main course yard

-
The fore and main course yards and stuns'l are complete. Painted the yards black and the stuns'l were wipe-on-poly. While everything is drying started the foot rope stirrups and will then stiffen so they hang properly. Stuns'l with WOP Ready to paint Painted


-
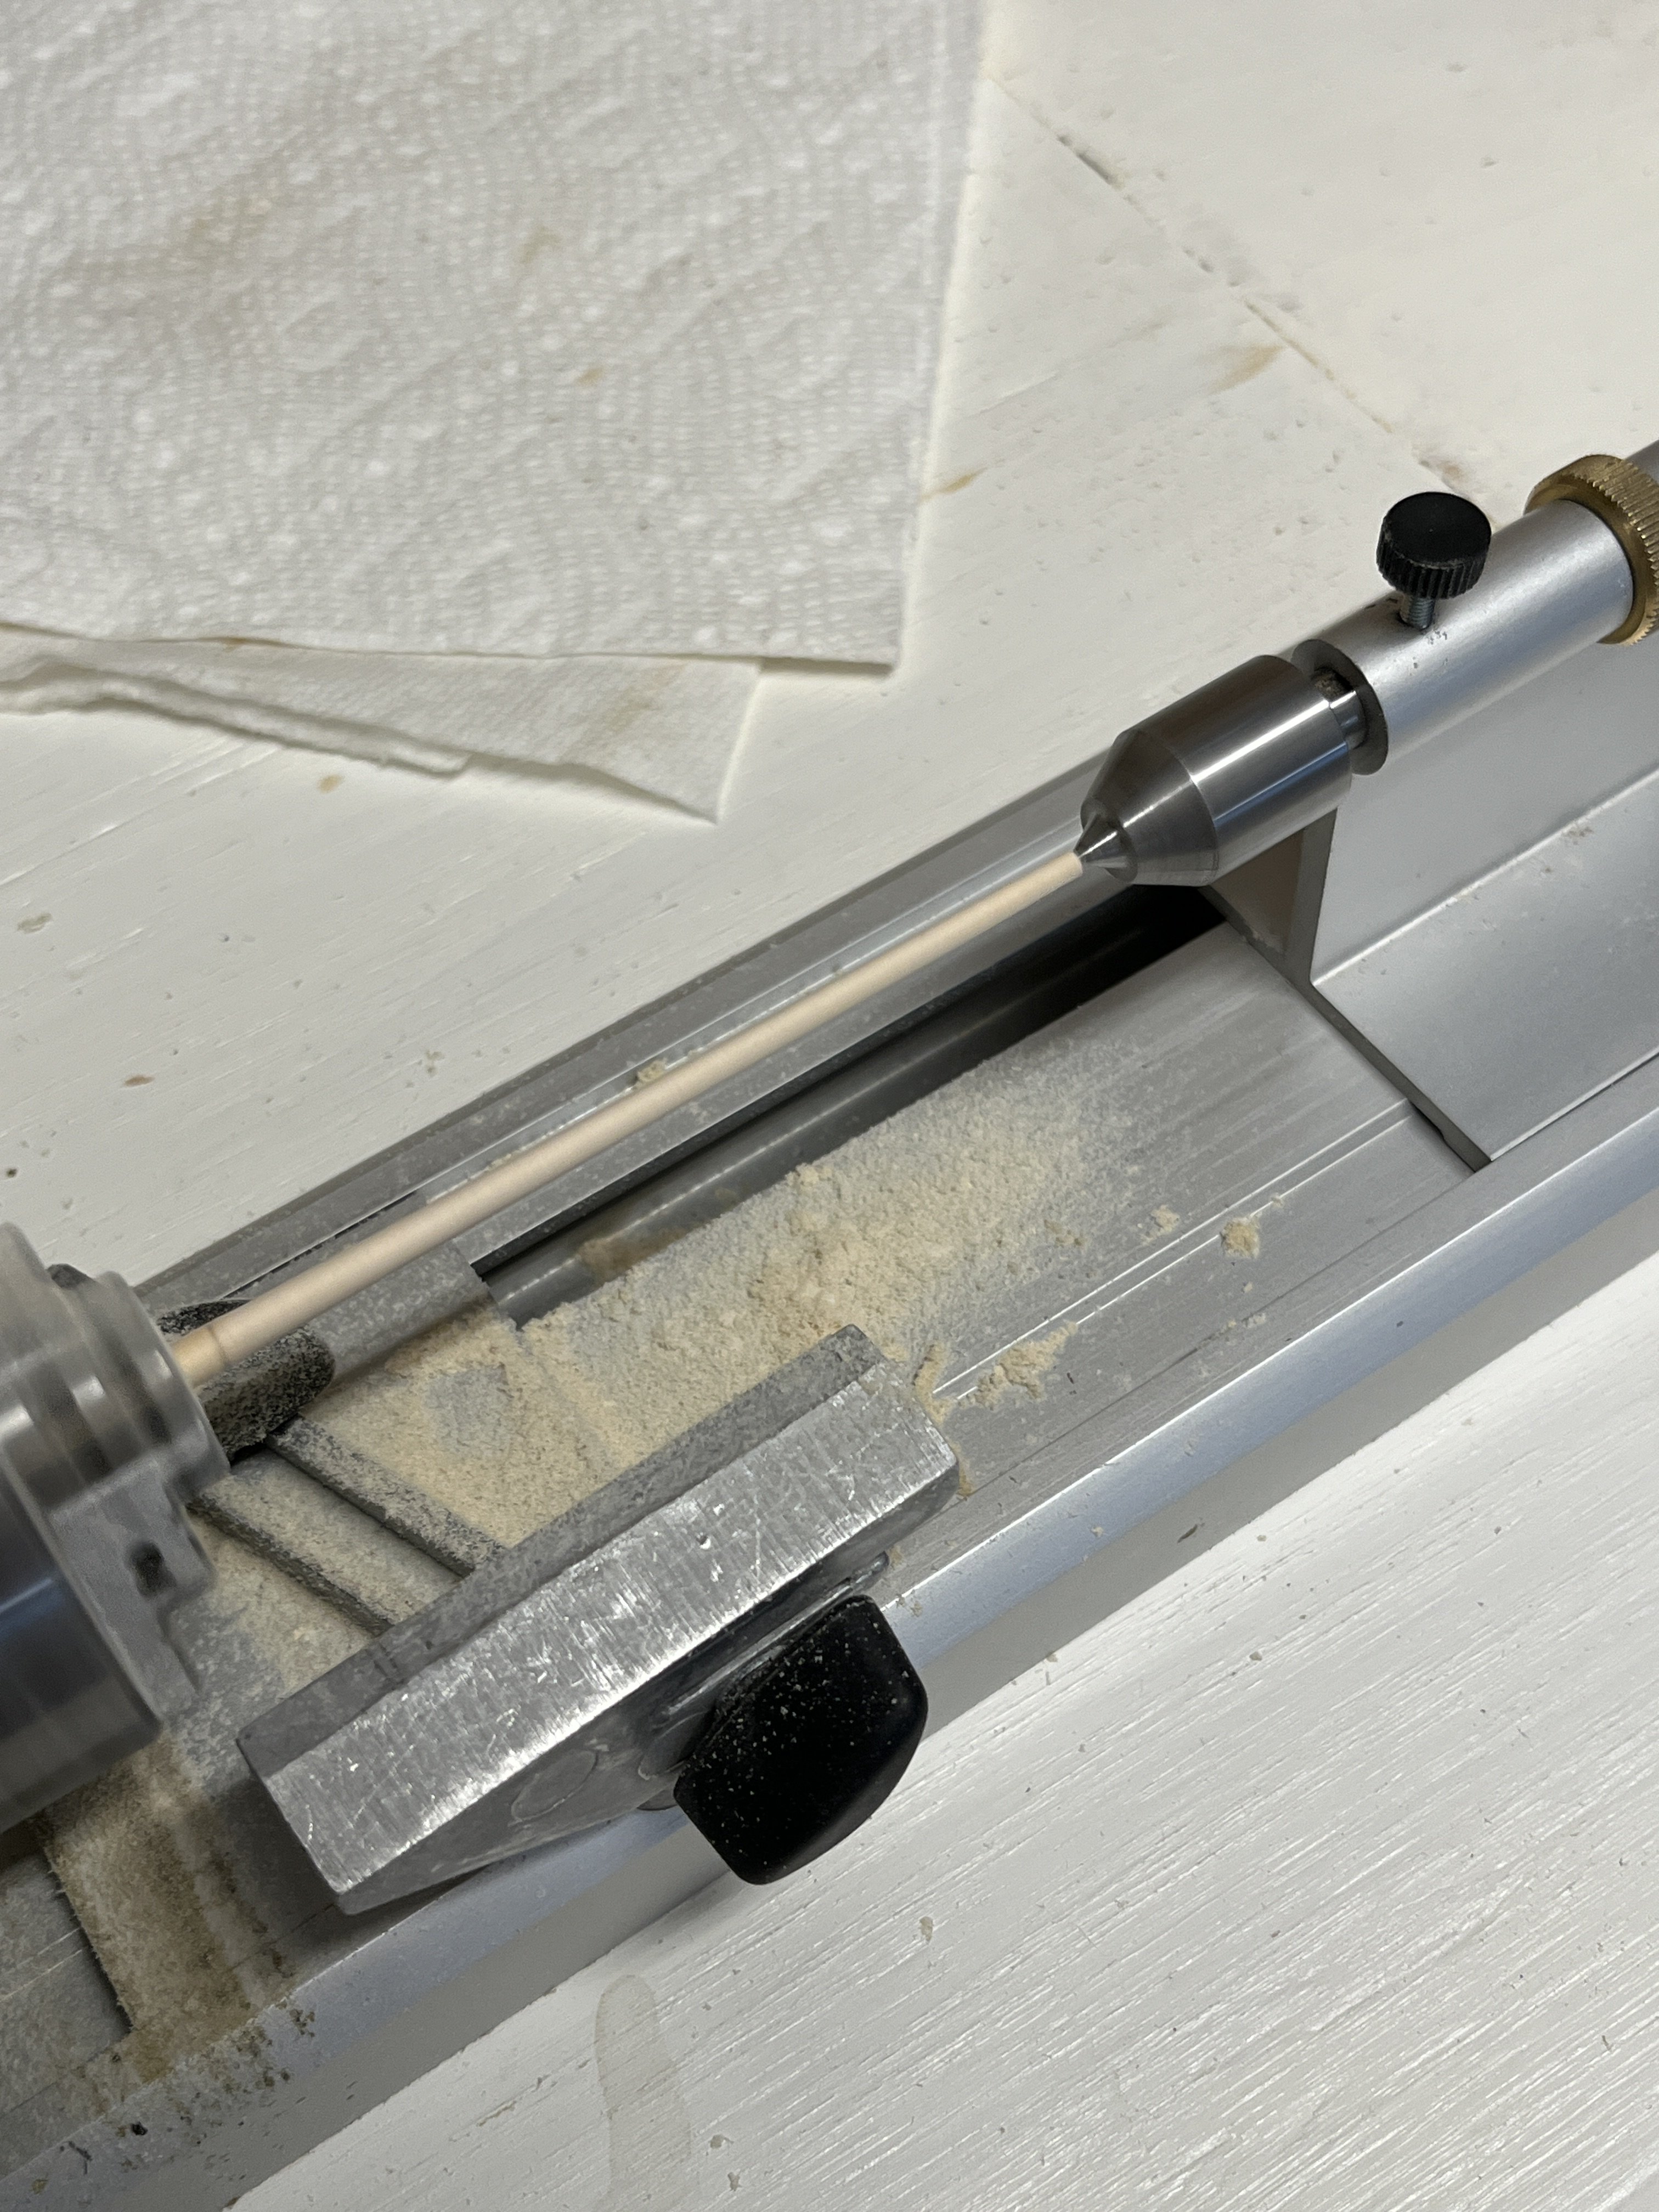
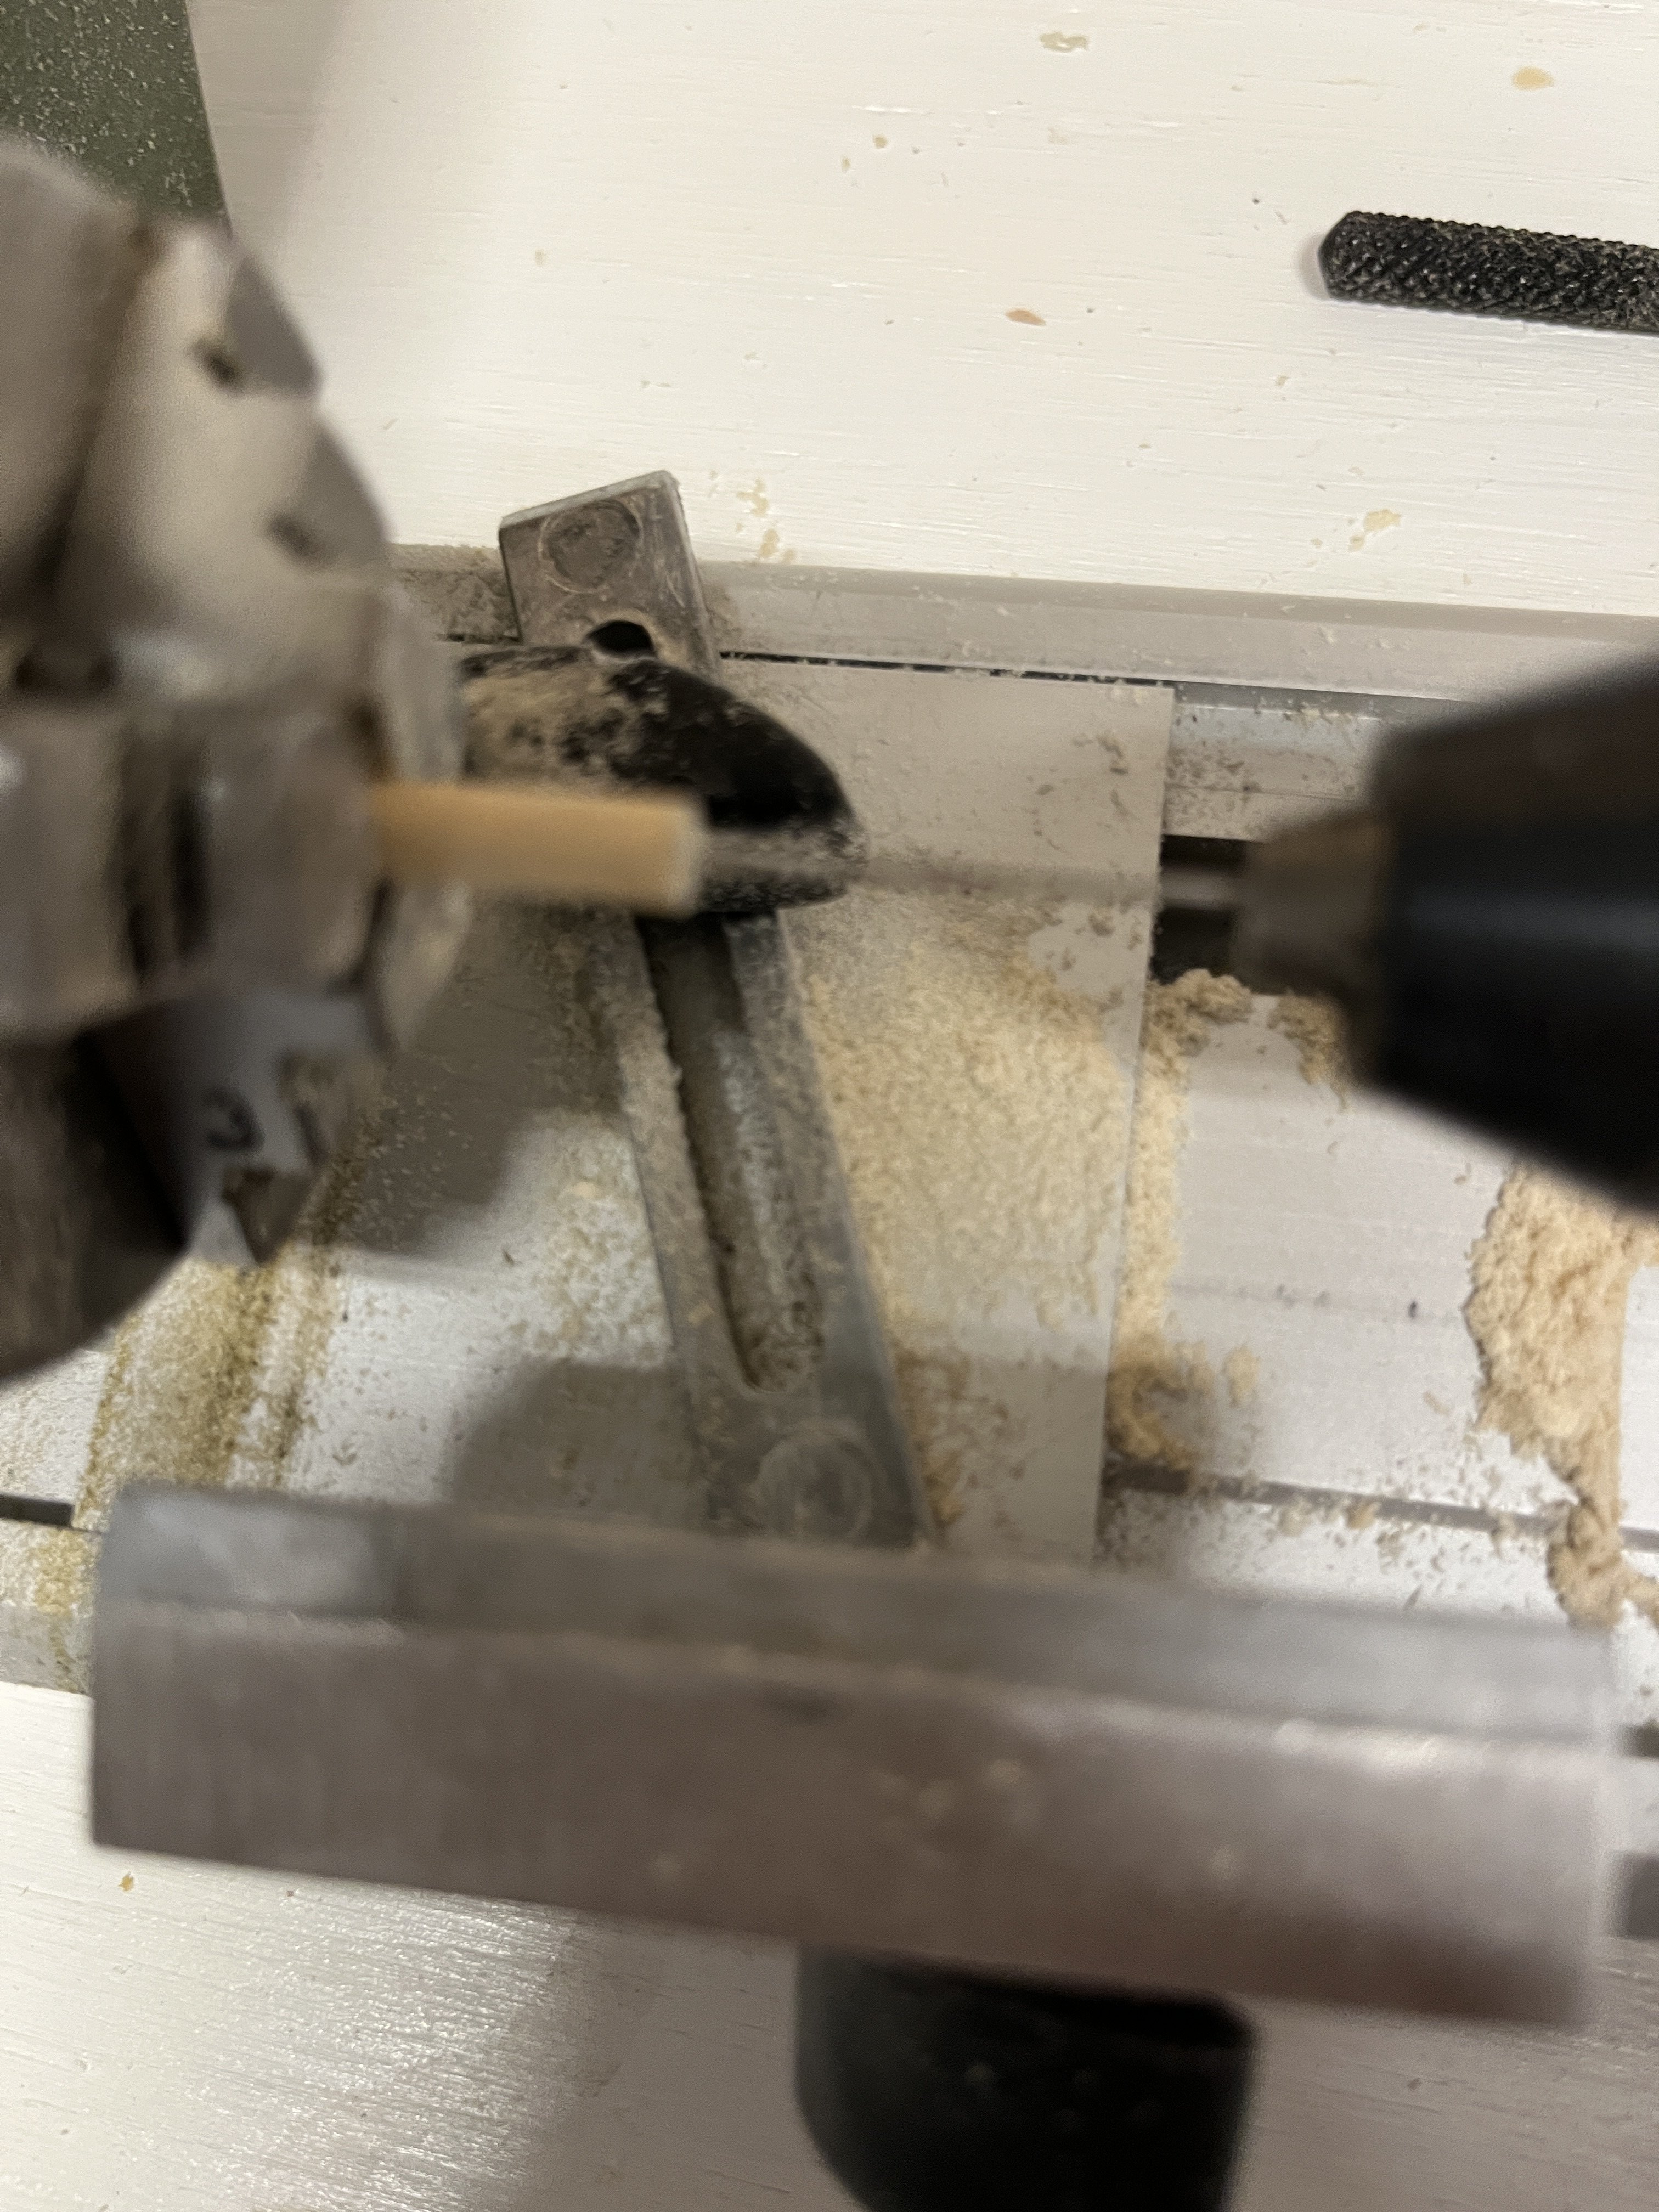
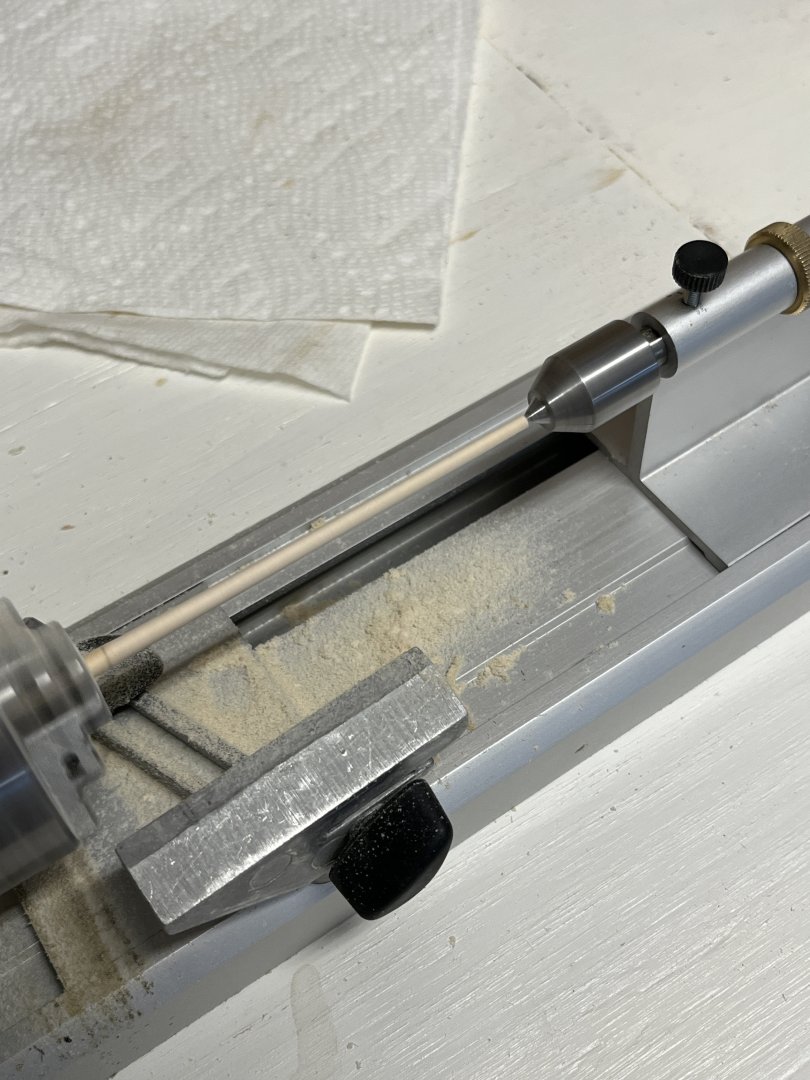
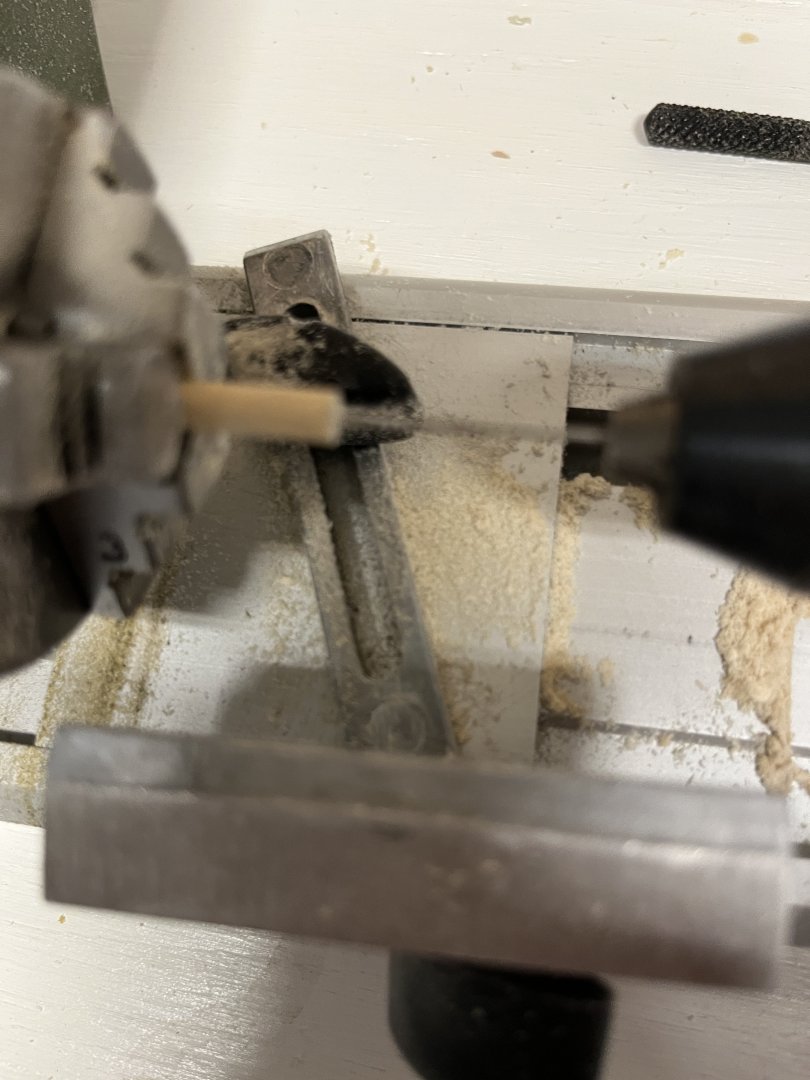
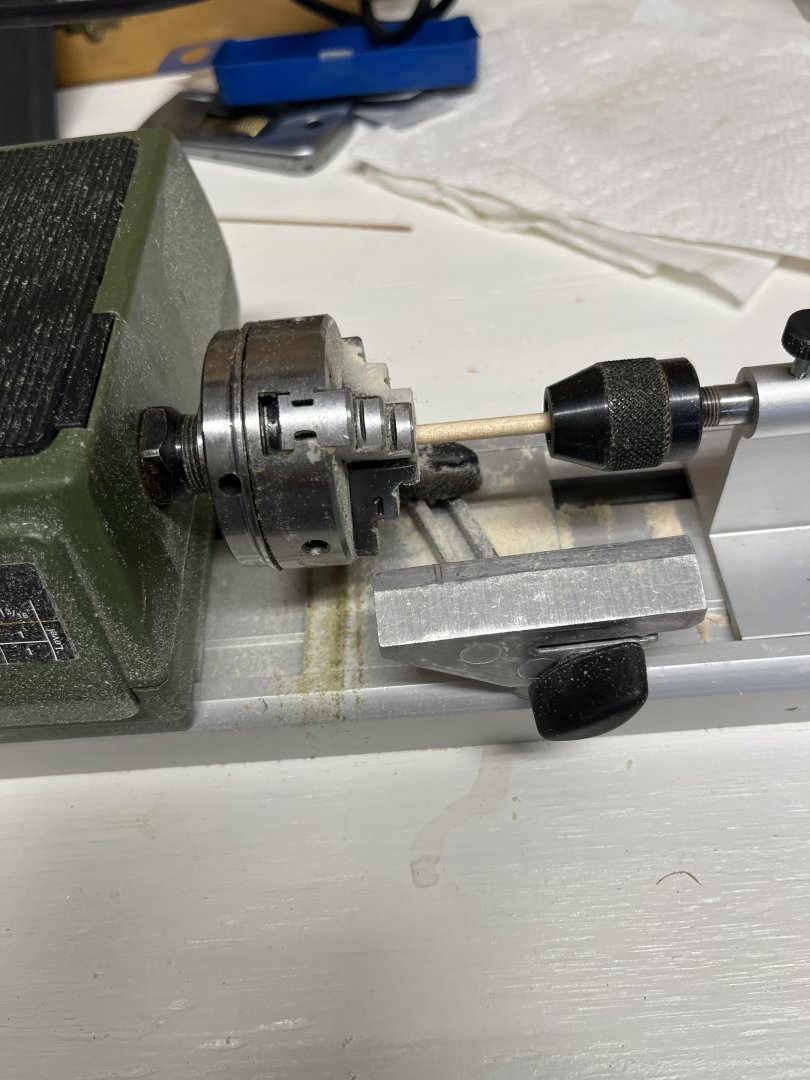
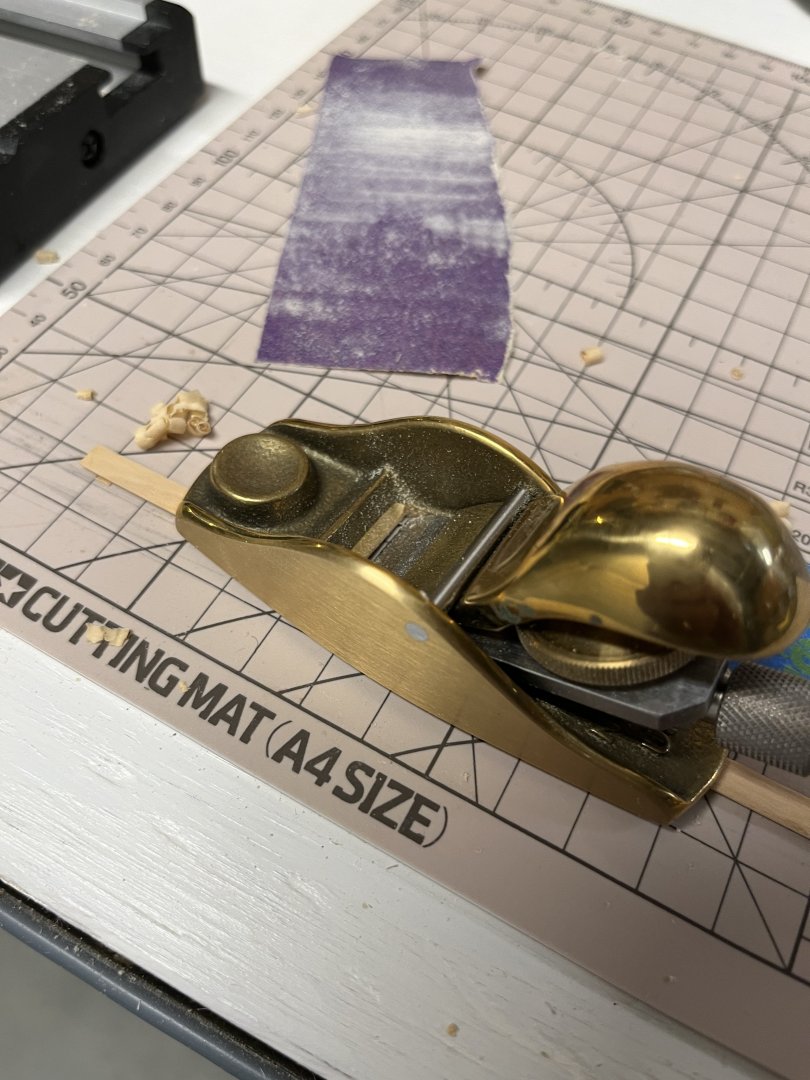
Completed both yards and with the final sanding and sealing the gaps became less evident. Before tapering the holes in the ends needed drilling. Finding the center of a circle to drill holes brings its share of problems. So after studying the of how to center a hole of a rod I decided to use the lathe. To find the center the rod was chucked in the lathe and with a drill chuck in the sliding support the drill chuck was attached to the dowel aligning the ends. Taking the dowel out of the lathe and without moving the drill chuck a bit was placed and the dowel slide to alignment with the drill bit. Using the thumb wheel the drill bit was brought into play to the correct depth. Pictures of the process Aligning the drill chuck to the dowel Bringing the bit into play With the drill chuck replaced with a freewheeling center the yard was brought to length centered using the previously drilled hole it was possible to begin the tapering using 150 grit paper and a #2 flat file. With the tapering completed it was time to make the sling cheats. These are a simple part to be glued to center of the yards and having to make 7 of these the same presented another challenge. I made a boxwood strip the correct hight and width and using the table saw was able to cut the groove to the correct width and depth the length of the strip. Using a modelers plane the strip brought the correct angle shape with the angle completed 280 grit sandpaper rounded the edges. With strip completed a mini mitre box saw was used cutting 1/16" wide pieces and with a little light sanding the the parts are ready to be glued in place. Saw set to correct depth and fence spacing The ripped groove end view Plane to create the backside angle The sling cheats for the main and fore coarse yards ready for sanding

-
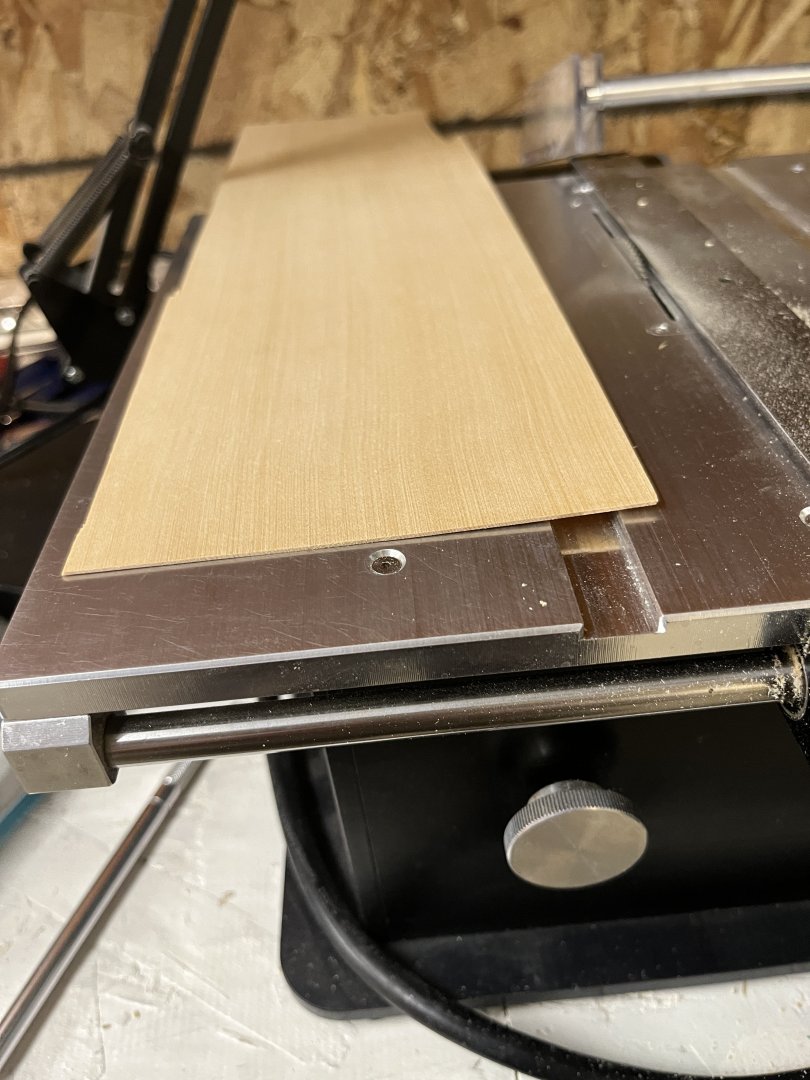
Spent the last two days making sawdust. First I had a 1/32" thick of Alaskan Yellow Cedar in my wood pile and decided that's what'll I'll use since it was the correct thickness. Second I ripped some 1/16" wide strips. The center of the yard was marked with red pencil (didn't matter as the yard will be painted black) to indicate the 1/4 of the yard to be octagonal. Cutting the strips to the marked length the edges were beveled and the ends slightly rounded and glued around the circumference to create the octagonal section as per the reference manual. With the strips around the yard the 1/32" added to the circumference was way too large making the yard center bulbous. Next I said to myself I'll fix this and run new strips through my Byrnes sander to making 1/64" strips. After placing around the yard it was way too small. Remember I said "making dust" so I ripped more strips a little wider than 1/16" since the first two passes left a little gap. The new strips were .07 wide and after the planning the finished size is .07 X .021 give or take .001. After cutting to length the edges were beveled to ensure a close fit. I have yet to drill the holes in the ends before tapering to correct thickness. Picture of 1/32" sheet Typical strip and sheet Yard and strip for reference Finished octagon after light sanding I'm hoping the gaps will be less evident when painted black. Next final sanding, drilling, and tapering.

-
Just quick update, but one that is amazing. I finished all the rigging for the main staysails, fore staysails, jib staysail, flying jib staysail and now on to the next chapter "Constructing the yards". So now it is downstairs to the shop and make some sawdust.
-
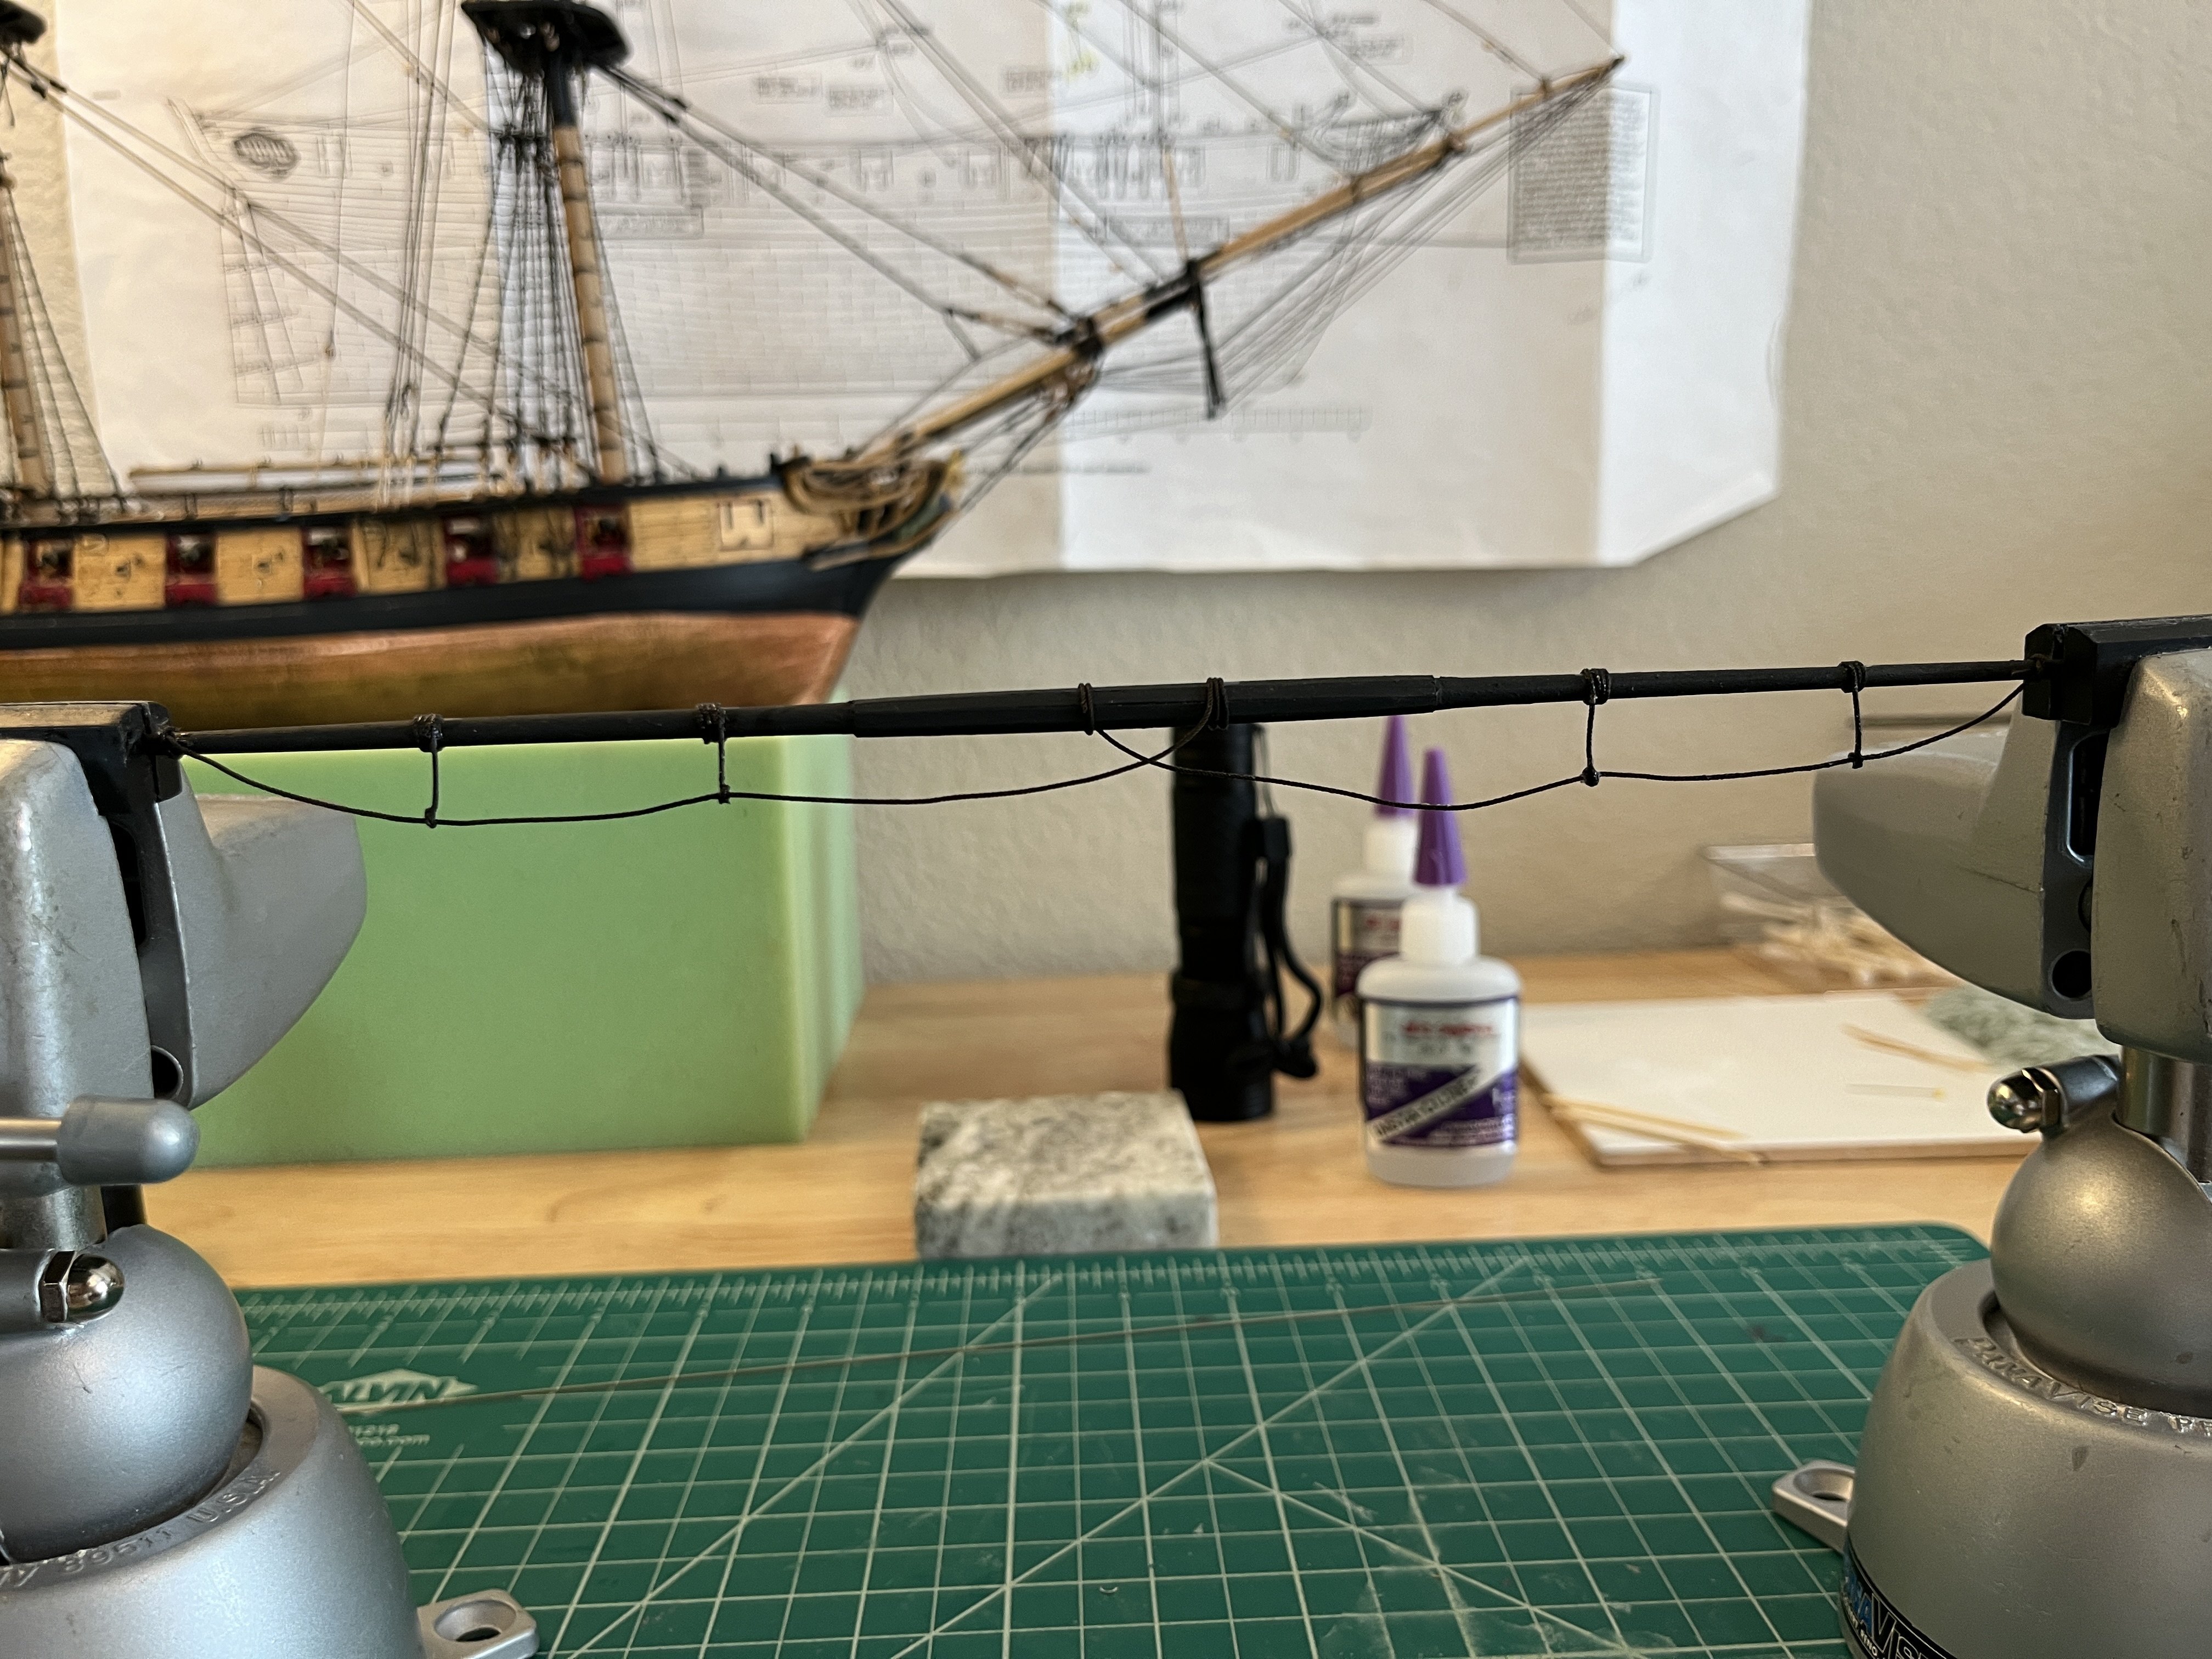
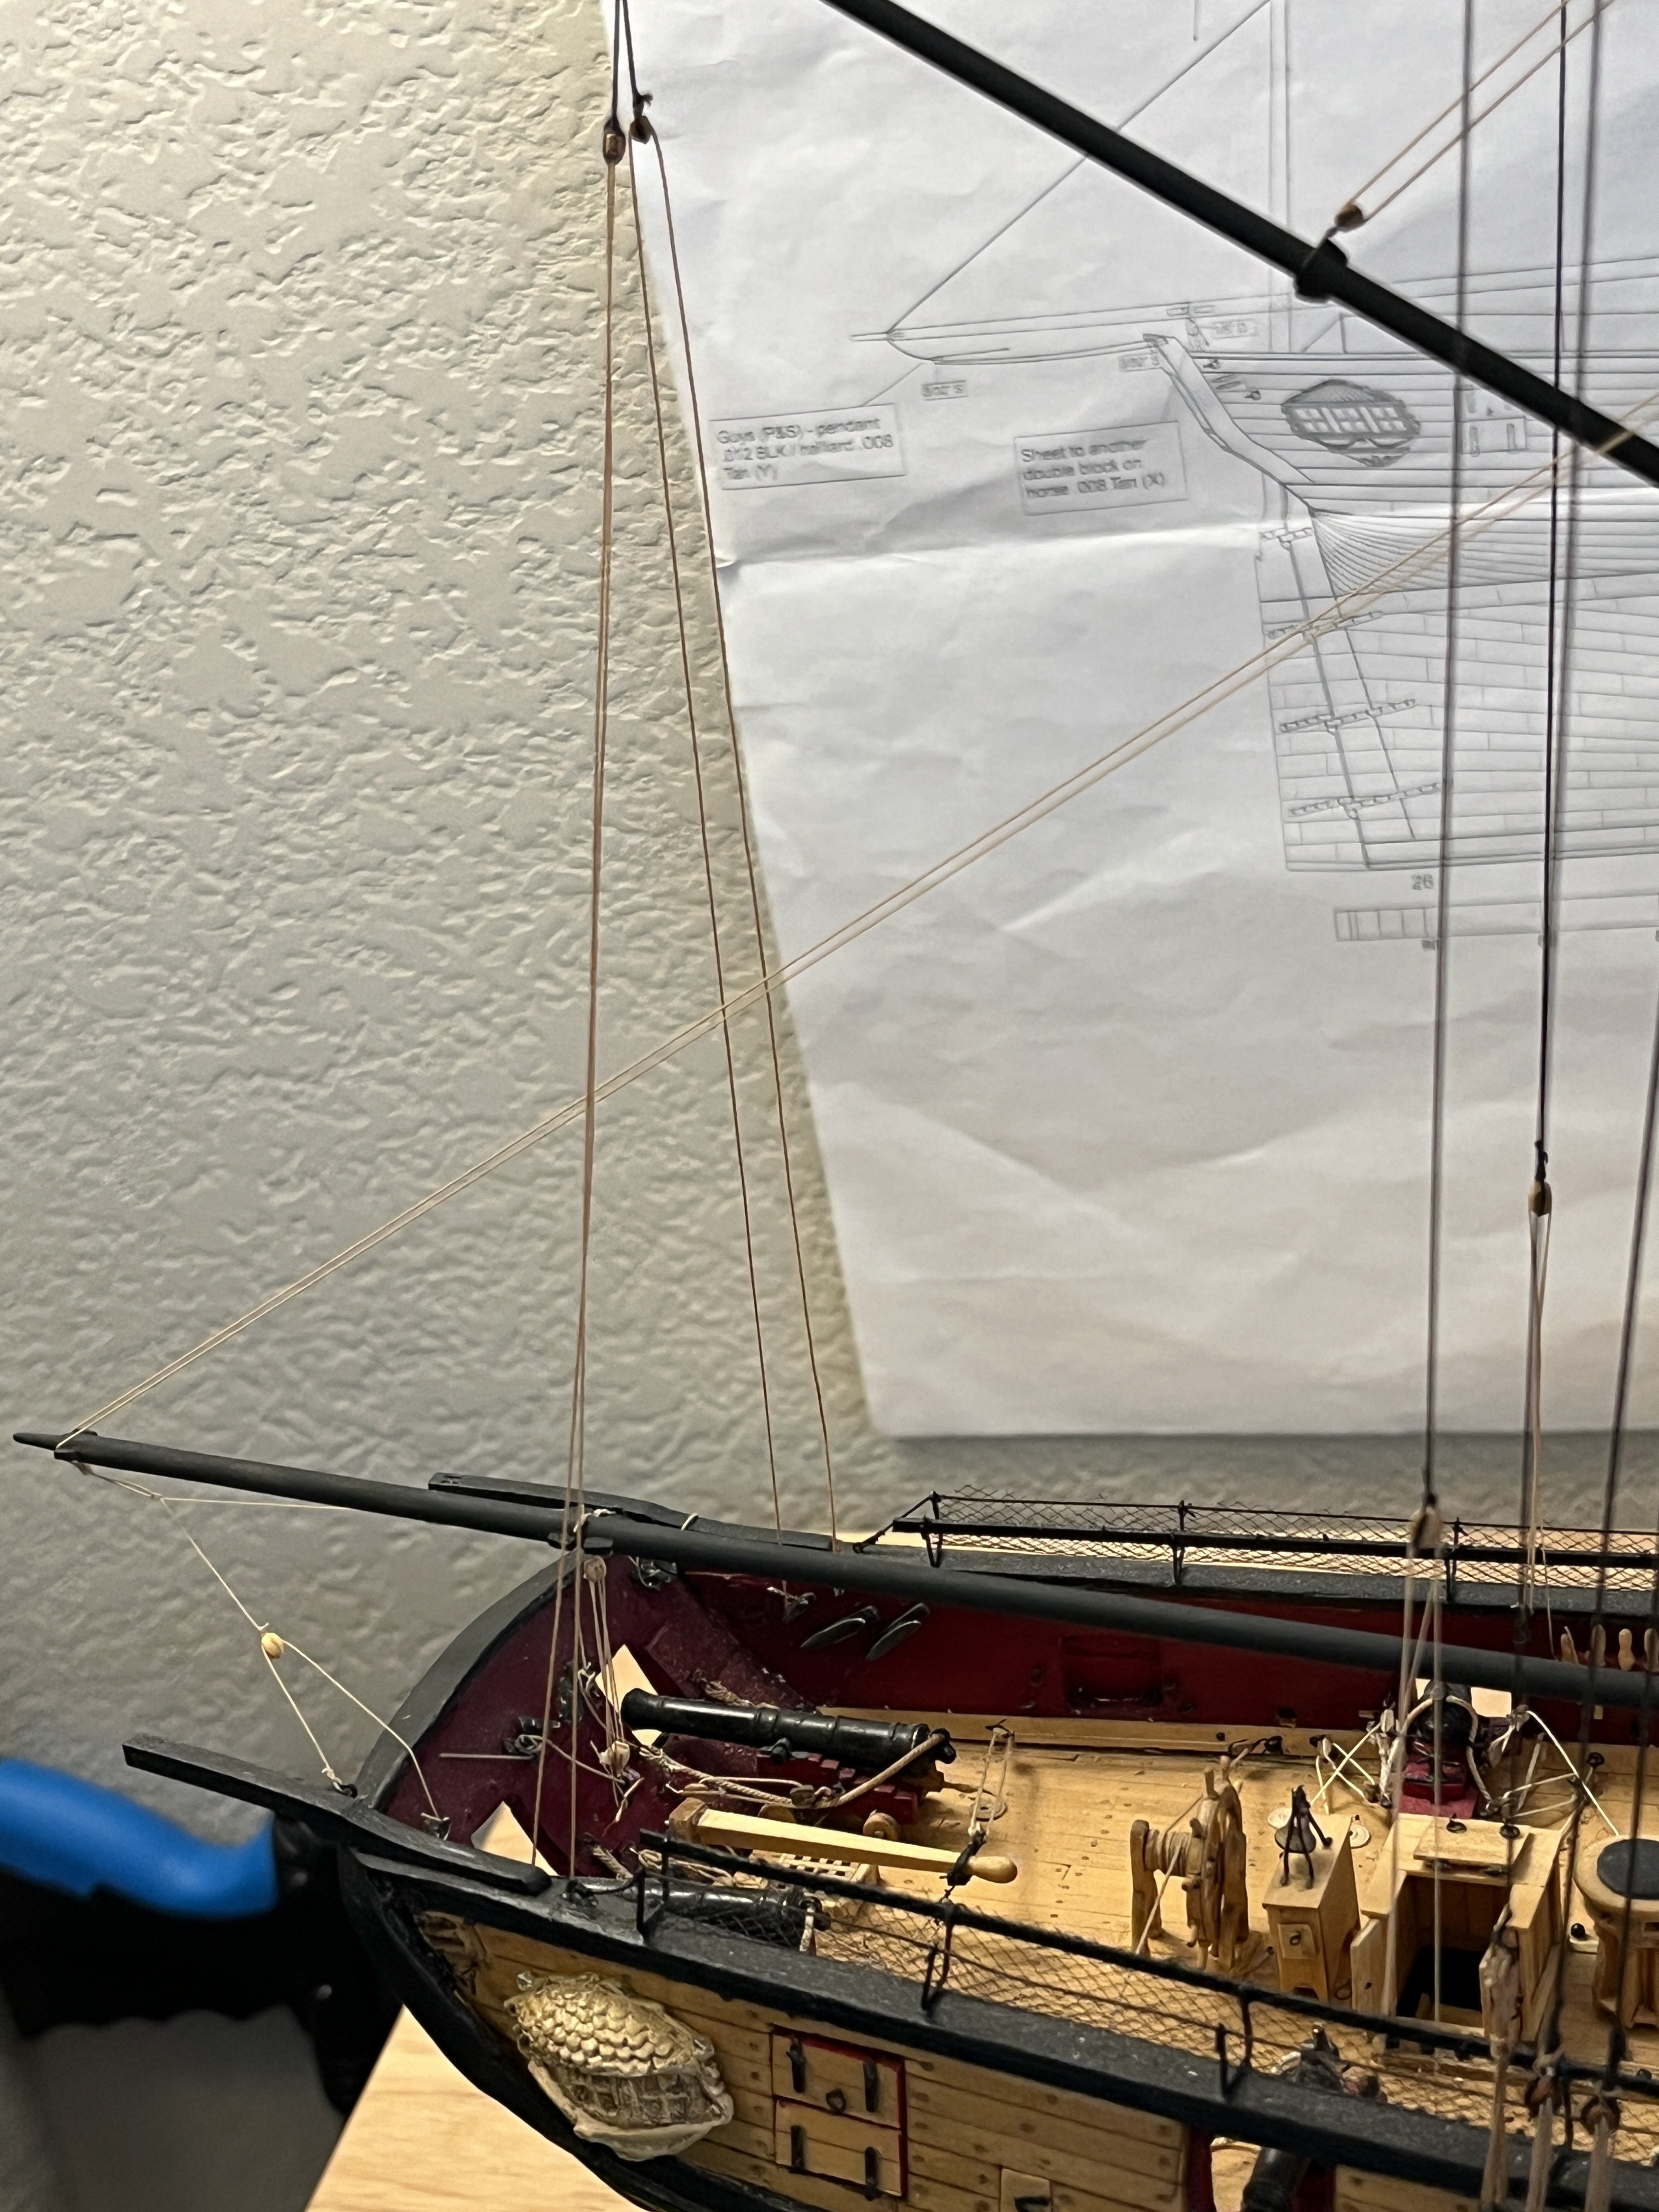
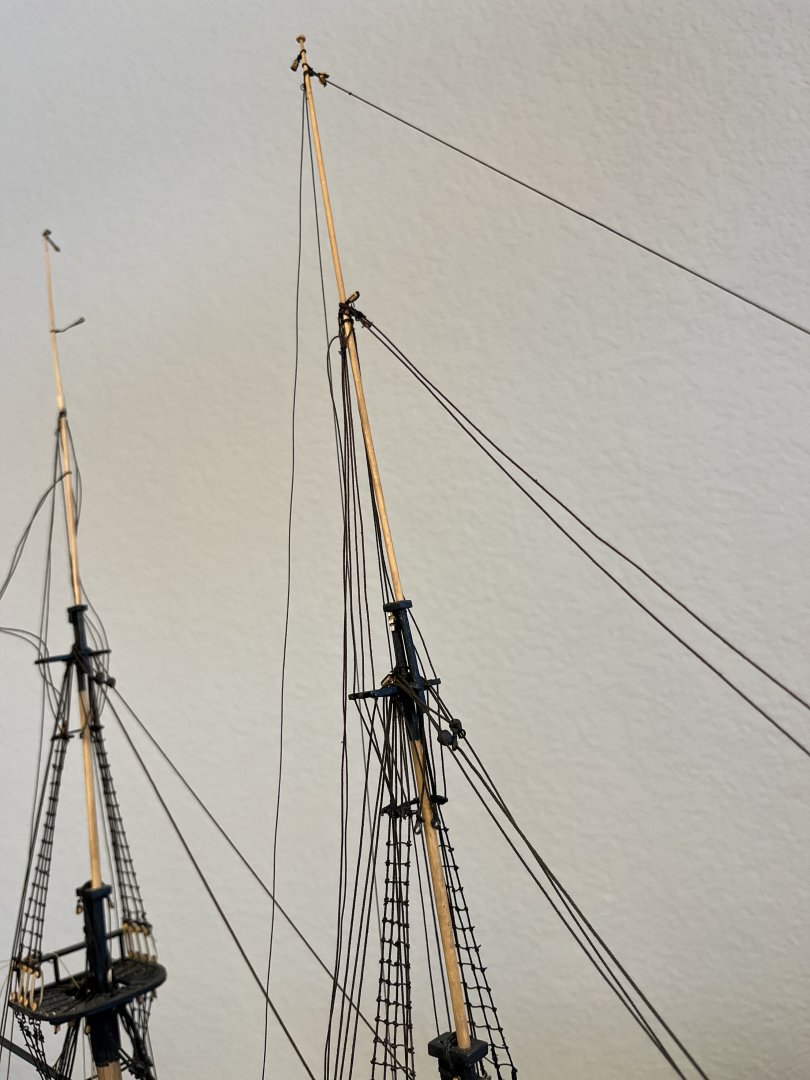
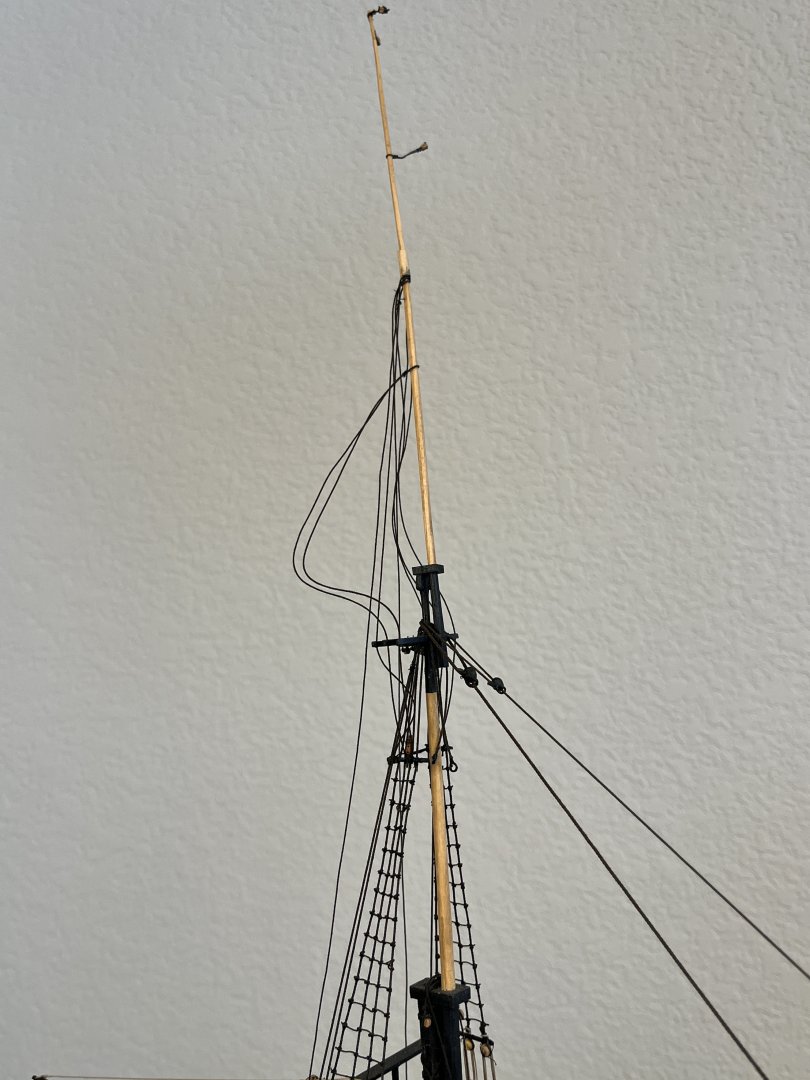
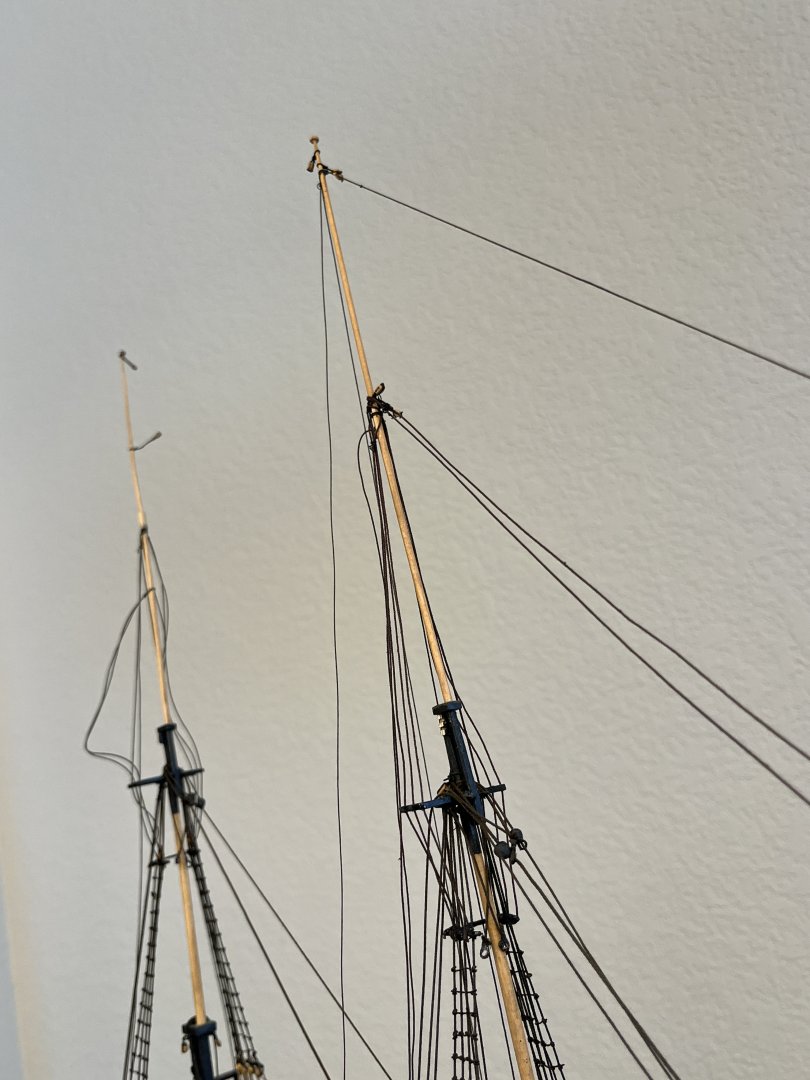
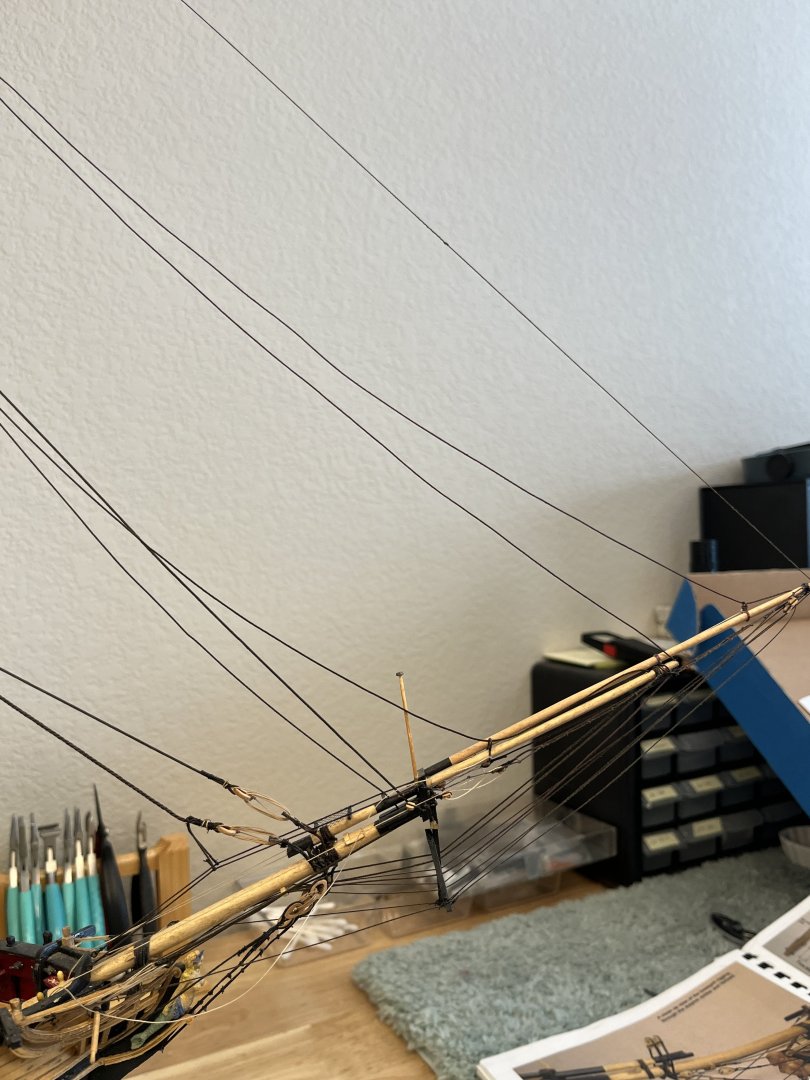
Been a week since last post but rest assured I've been steadily working. On the boom rigging the halliard is in place along with the guys that completes the boom. I moved on the topmast staysail down haul and halliard were added along with the topgallant staysail and top royal staysail completed so now its on the foremast topmast and jib rigging. Not much to see but a couple of picture anyway. Boom rigging staysail rigging


-
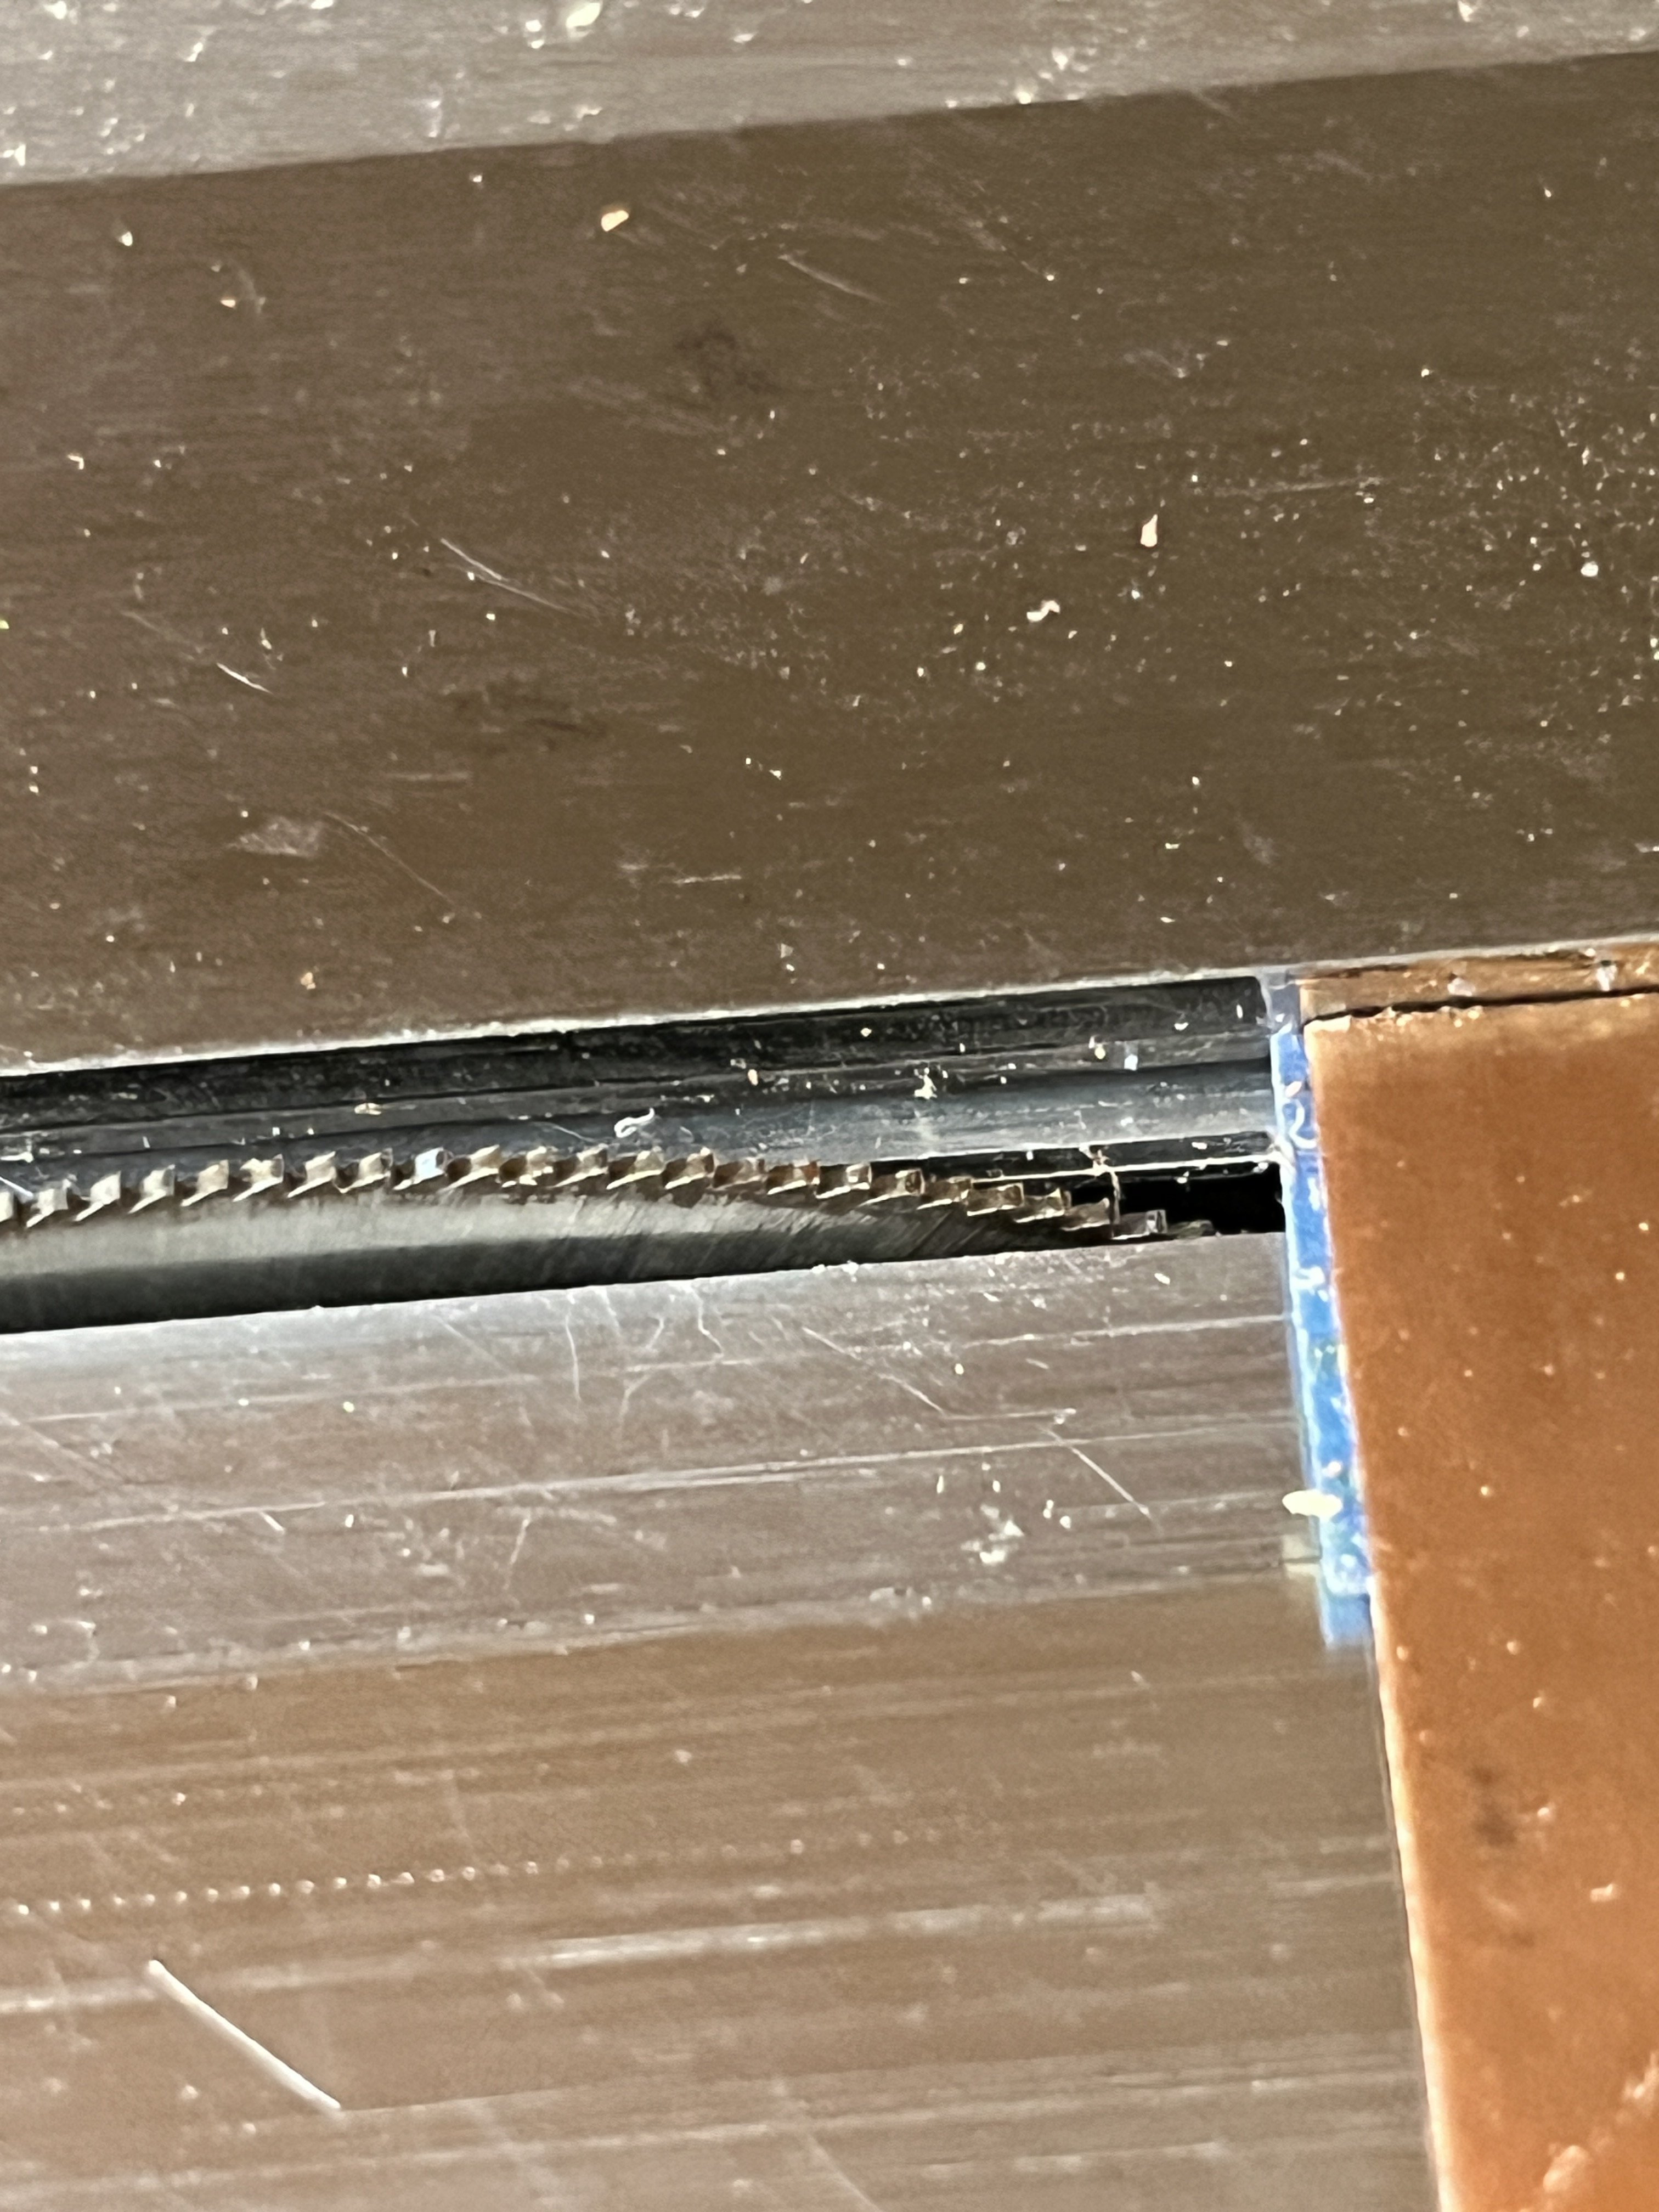
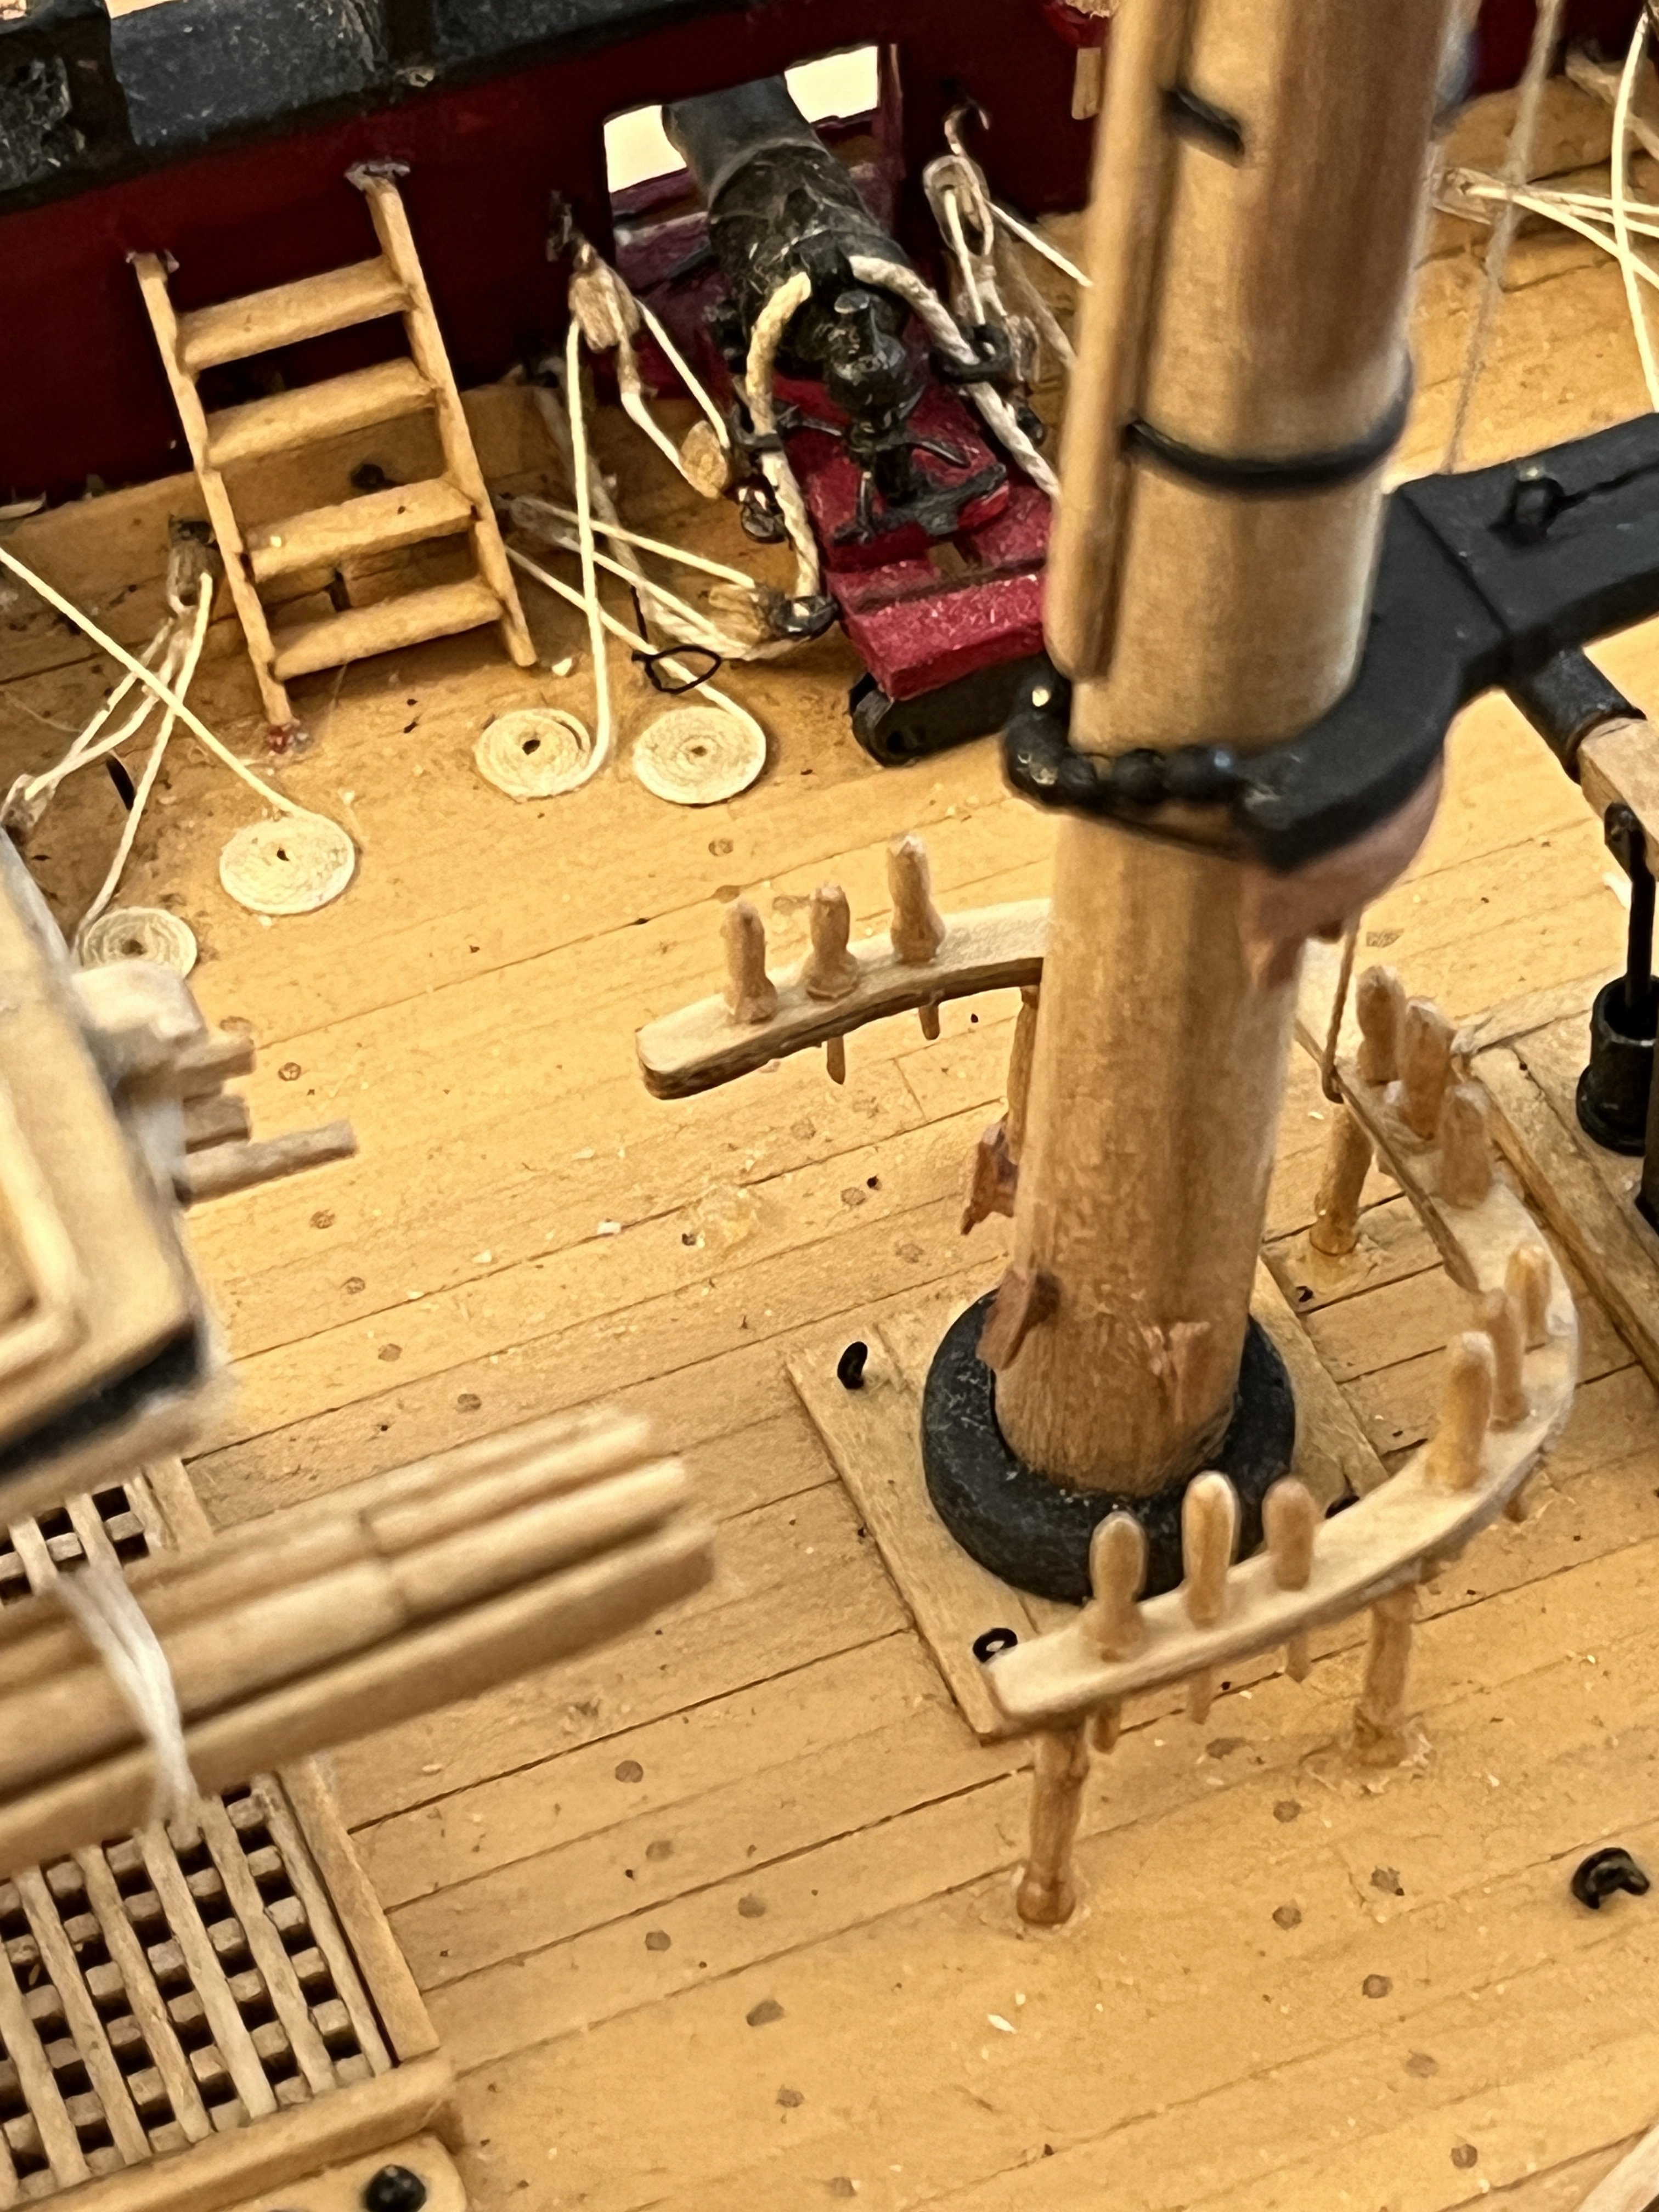
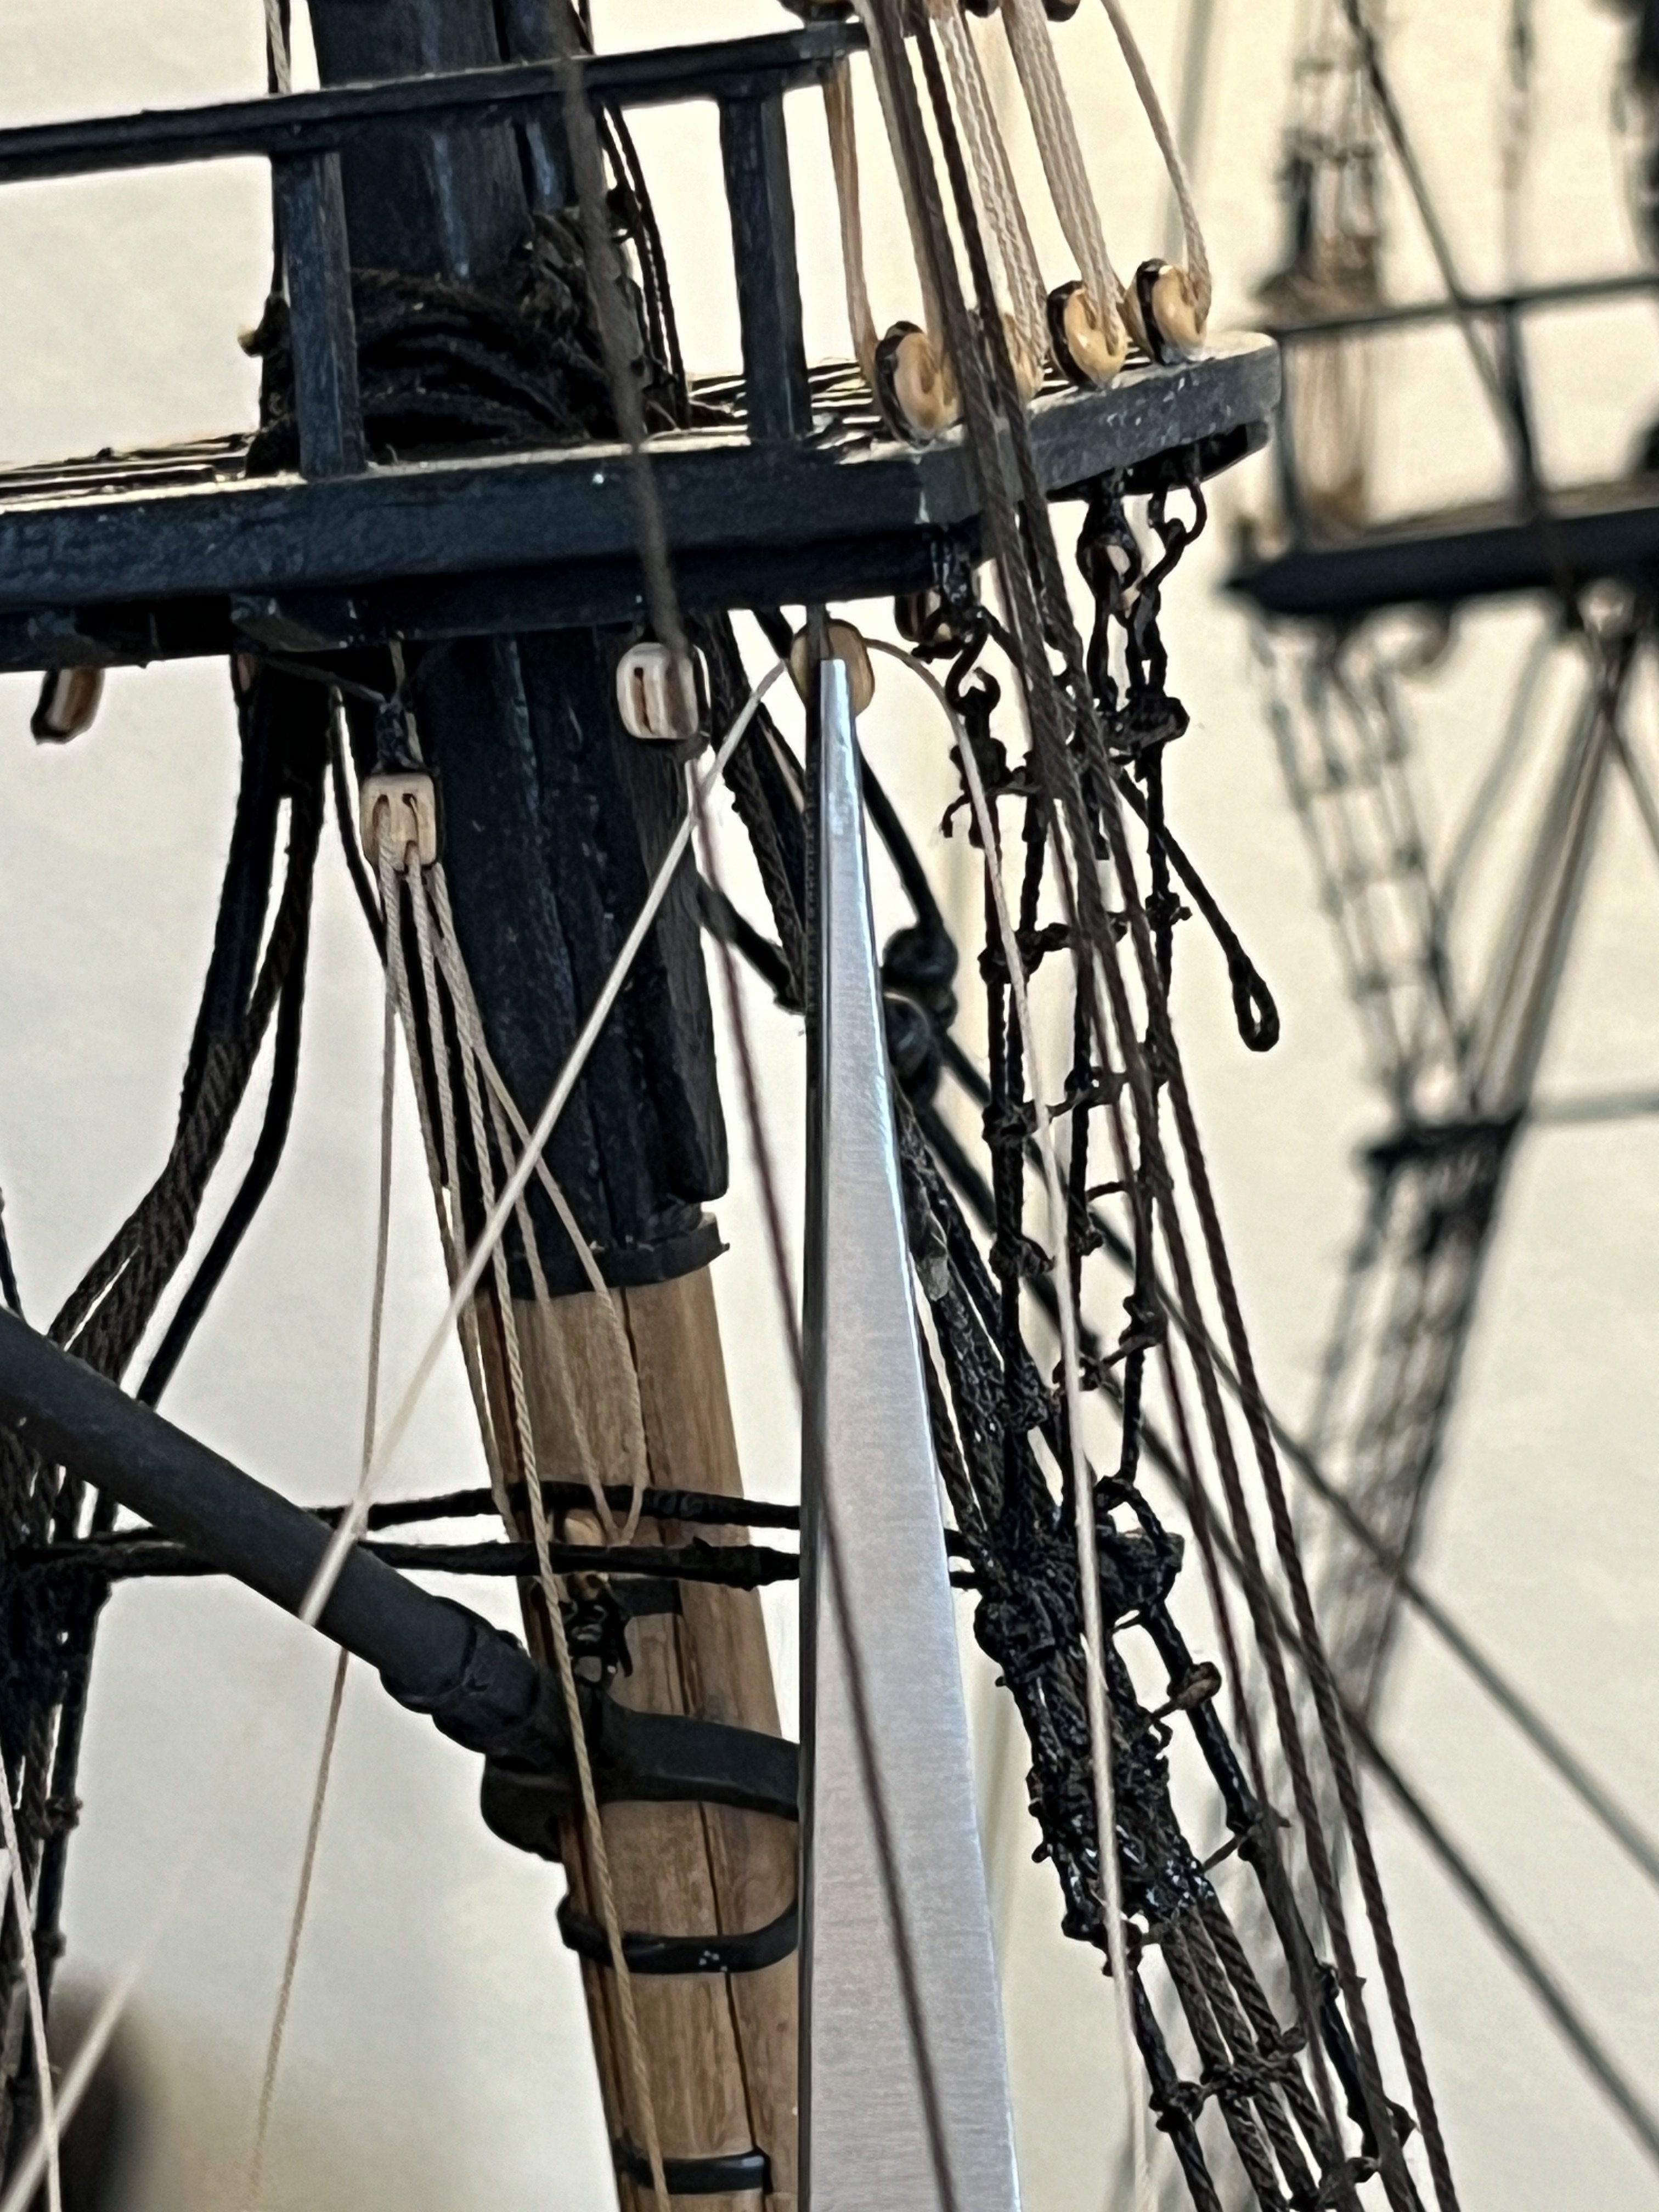
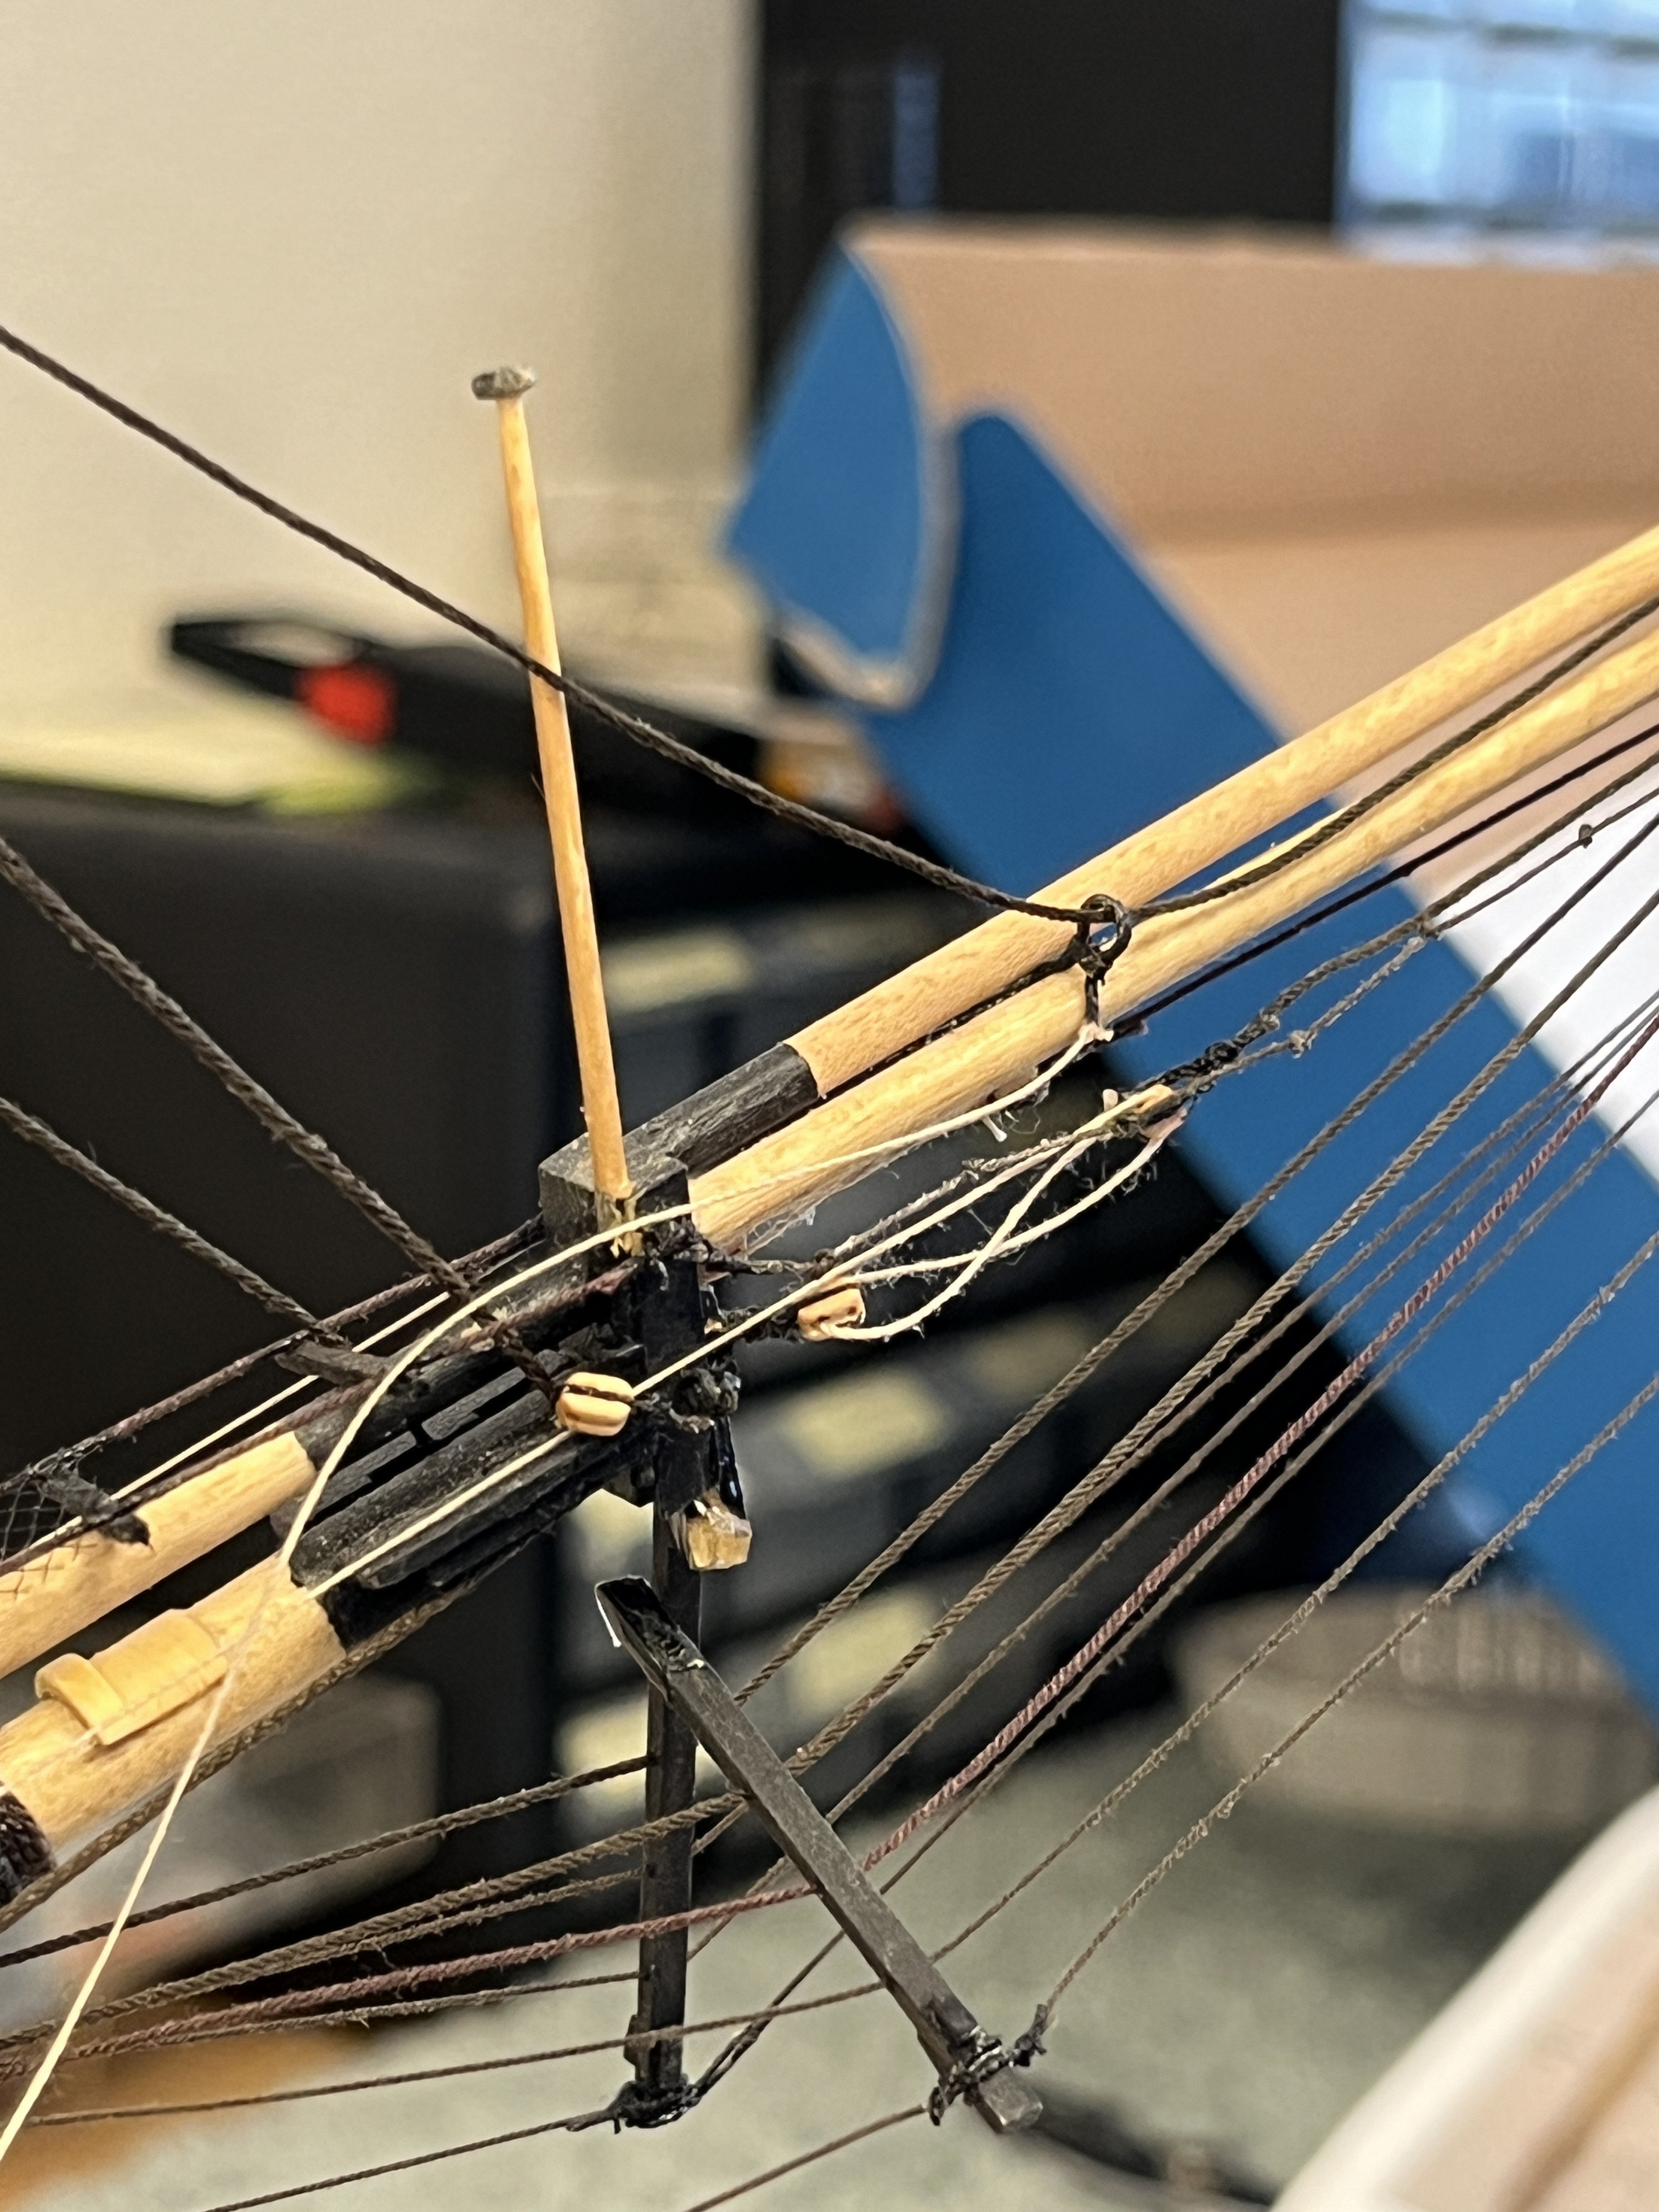
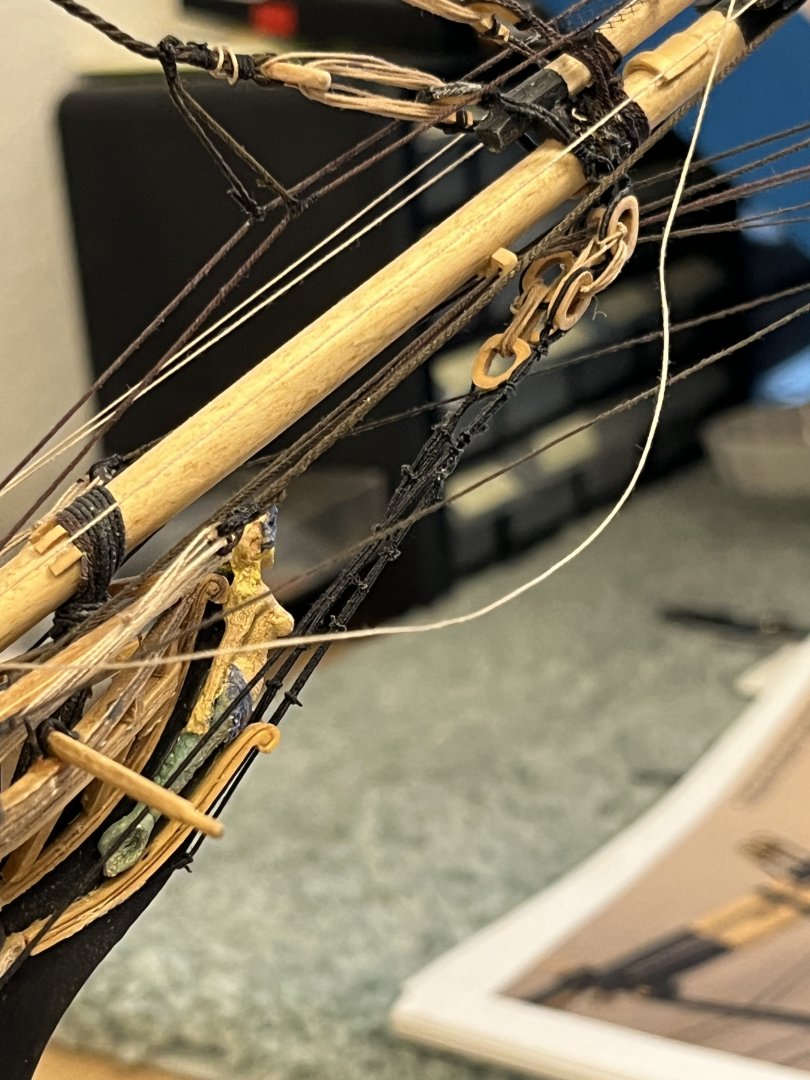
Now that all the repairs are complete, I thought, I discovered that starboard rudder chain was broken. Fortunately I have more of the same chain so it is going to be an easy fix. Since the last post I've been working on the boom. First was to string the parrels around the main mast between the boom jaws. With the boom jaws resting on the stop I was a fairly straight forward to string. The beads in the kit had a hole for stringing making it easy. Working in this scale the beads seemed small until I realized that they would be 9" diameter in scale and I've been away so getting used to 3/16" scale it taking time. Did the carpet monster get a parrel bead yes and maybe more than one. Good thing the kit had plenty. With the boom attached it was time for the topping lifts. After seizing equal lengths of line to the boom and then up to the single block under the main top and then down to a block. So two days later working between all the previously routed back stays and on a swings 3mm block I had the port and starboard routed ready for the blocks. Many attempts and with just as many mental rest periods I came up with an idea. Using a reverse twizzer clipped to the block holding it in alignment and steady I was able to get the line through the block and down ready for a seized block. Not sure when I'll be able to work on the Syren as we have company this weekend in town for the wedding shower. One of my daughters is getting married on 11/02/2024 so its a crazy time.


-
Thank you Richard and all the likes from the others. 👍
-
Everything fixed and ready to start where I left off. Gaff rigged

-
Finally finished the repairs with the addition of the main royal backstays. This has been a long and tedious process where I found it necessary to make the minor adjustments as described. The only thing left to bring me up to the time the model was packed is the boom rigging. This was not damaged in transit and only became loose so I'll get to that tomorrow. Picture of main royal backstays While working on the backstays I kept looking at the deck furniture and how much I liked the way it looked so I took another picture.
-
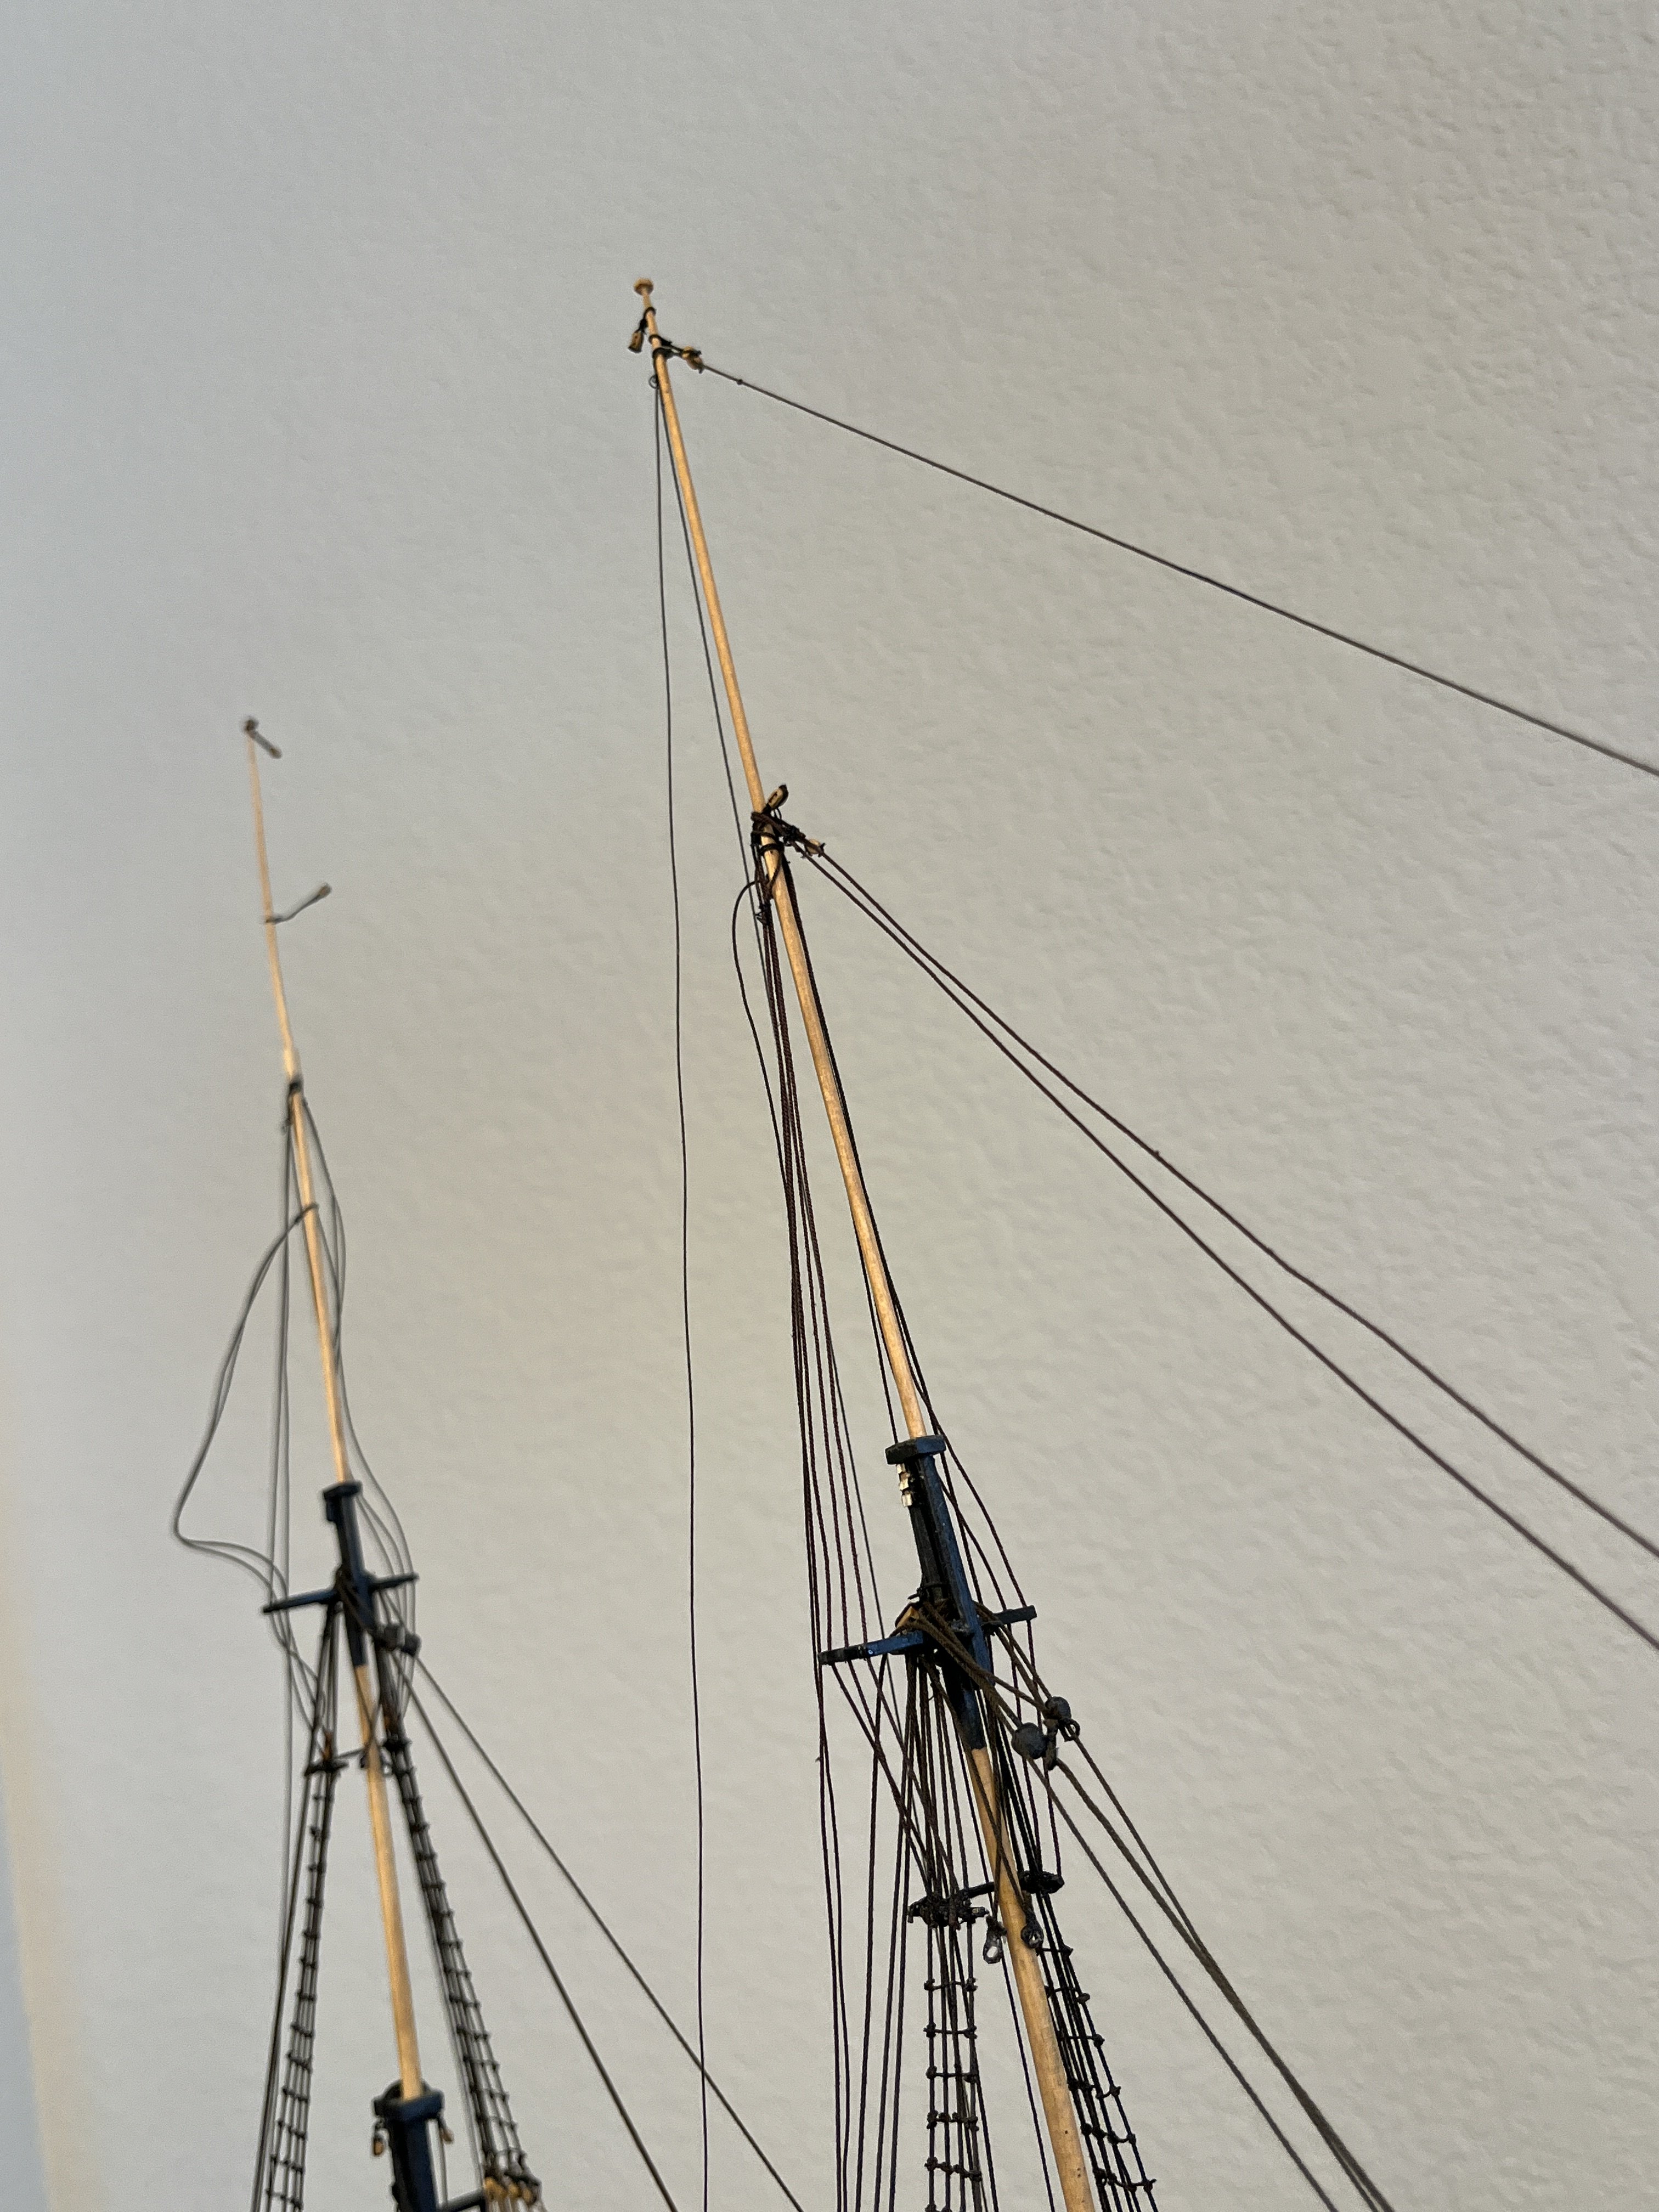
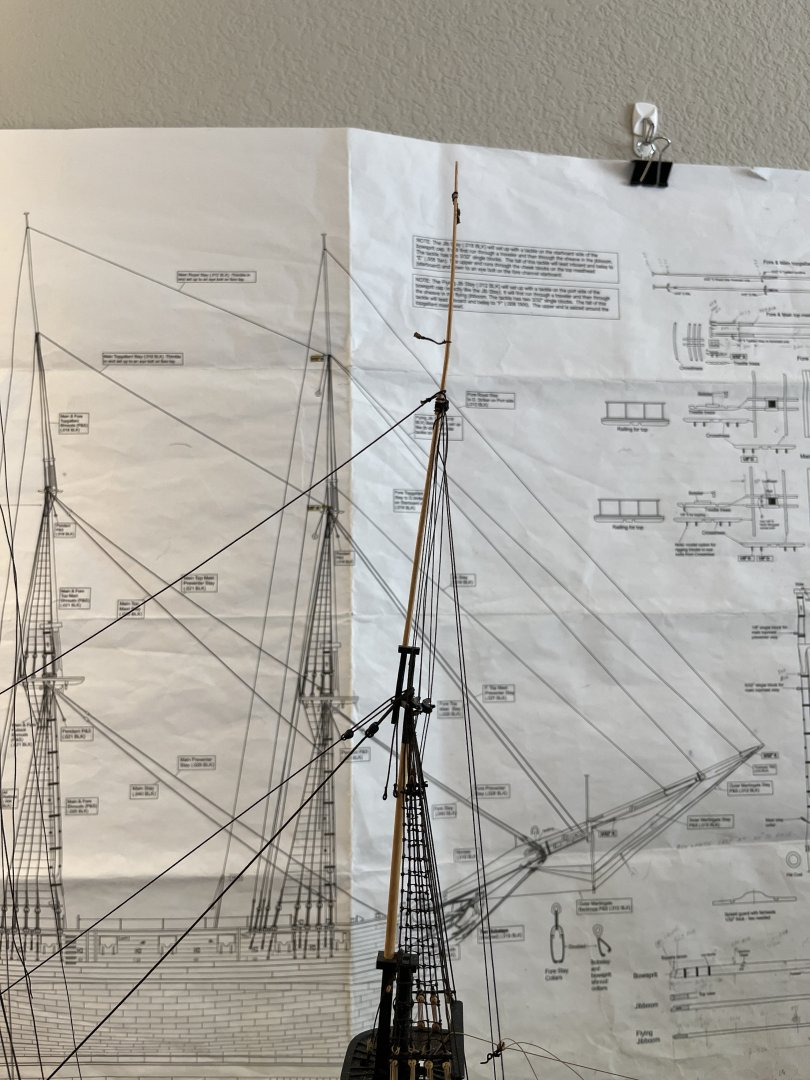
I'm slowly getting back to where I had stopped before moving. Today getting the main top gallant shrouds back into their correct position. After trying to rearrange the shrouds I found it necessary to remove them and reroute with new. The same was with the main top gallant back stays. Now on to the gaff sail rigging that is laying on the deck and over hanging the sides. Sorry had to define the model and prints behind.
-
A lot of work without much to talk about meaning getting the cheek on the fore topmast head fixed with the jib stay in place. The problem was the cheek had split leaving no sheave for the jib stay. I had to smooth the cheek still attached to the mast and and make a new cheek for the jib stay sheave. To make the jib stay remain in place I pushed a small pin through the remaining cheek and the mast and taking the new cheek pushing onto the pin with glue. I the trimmed the pin and painted the new parts.
-
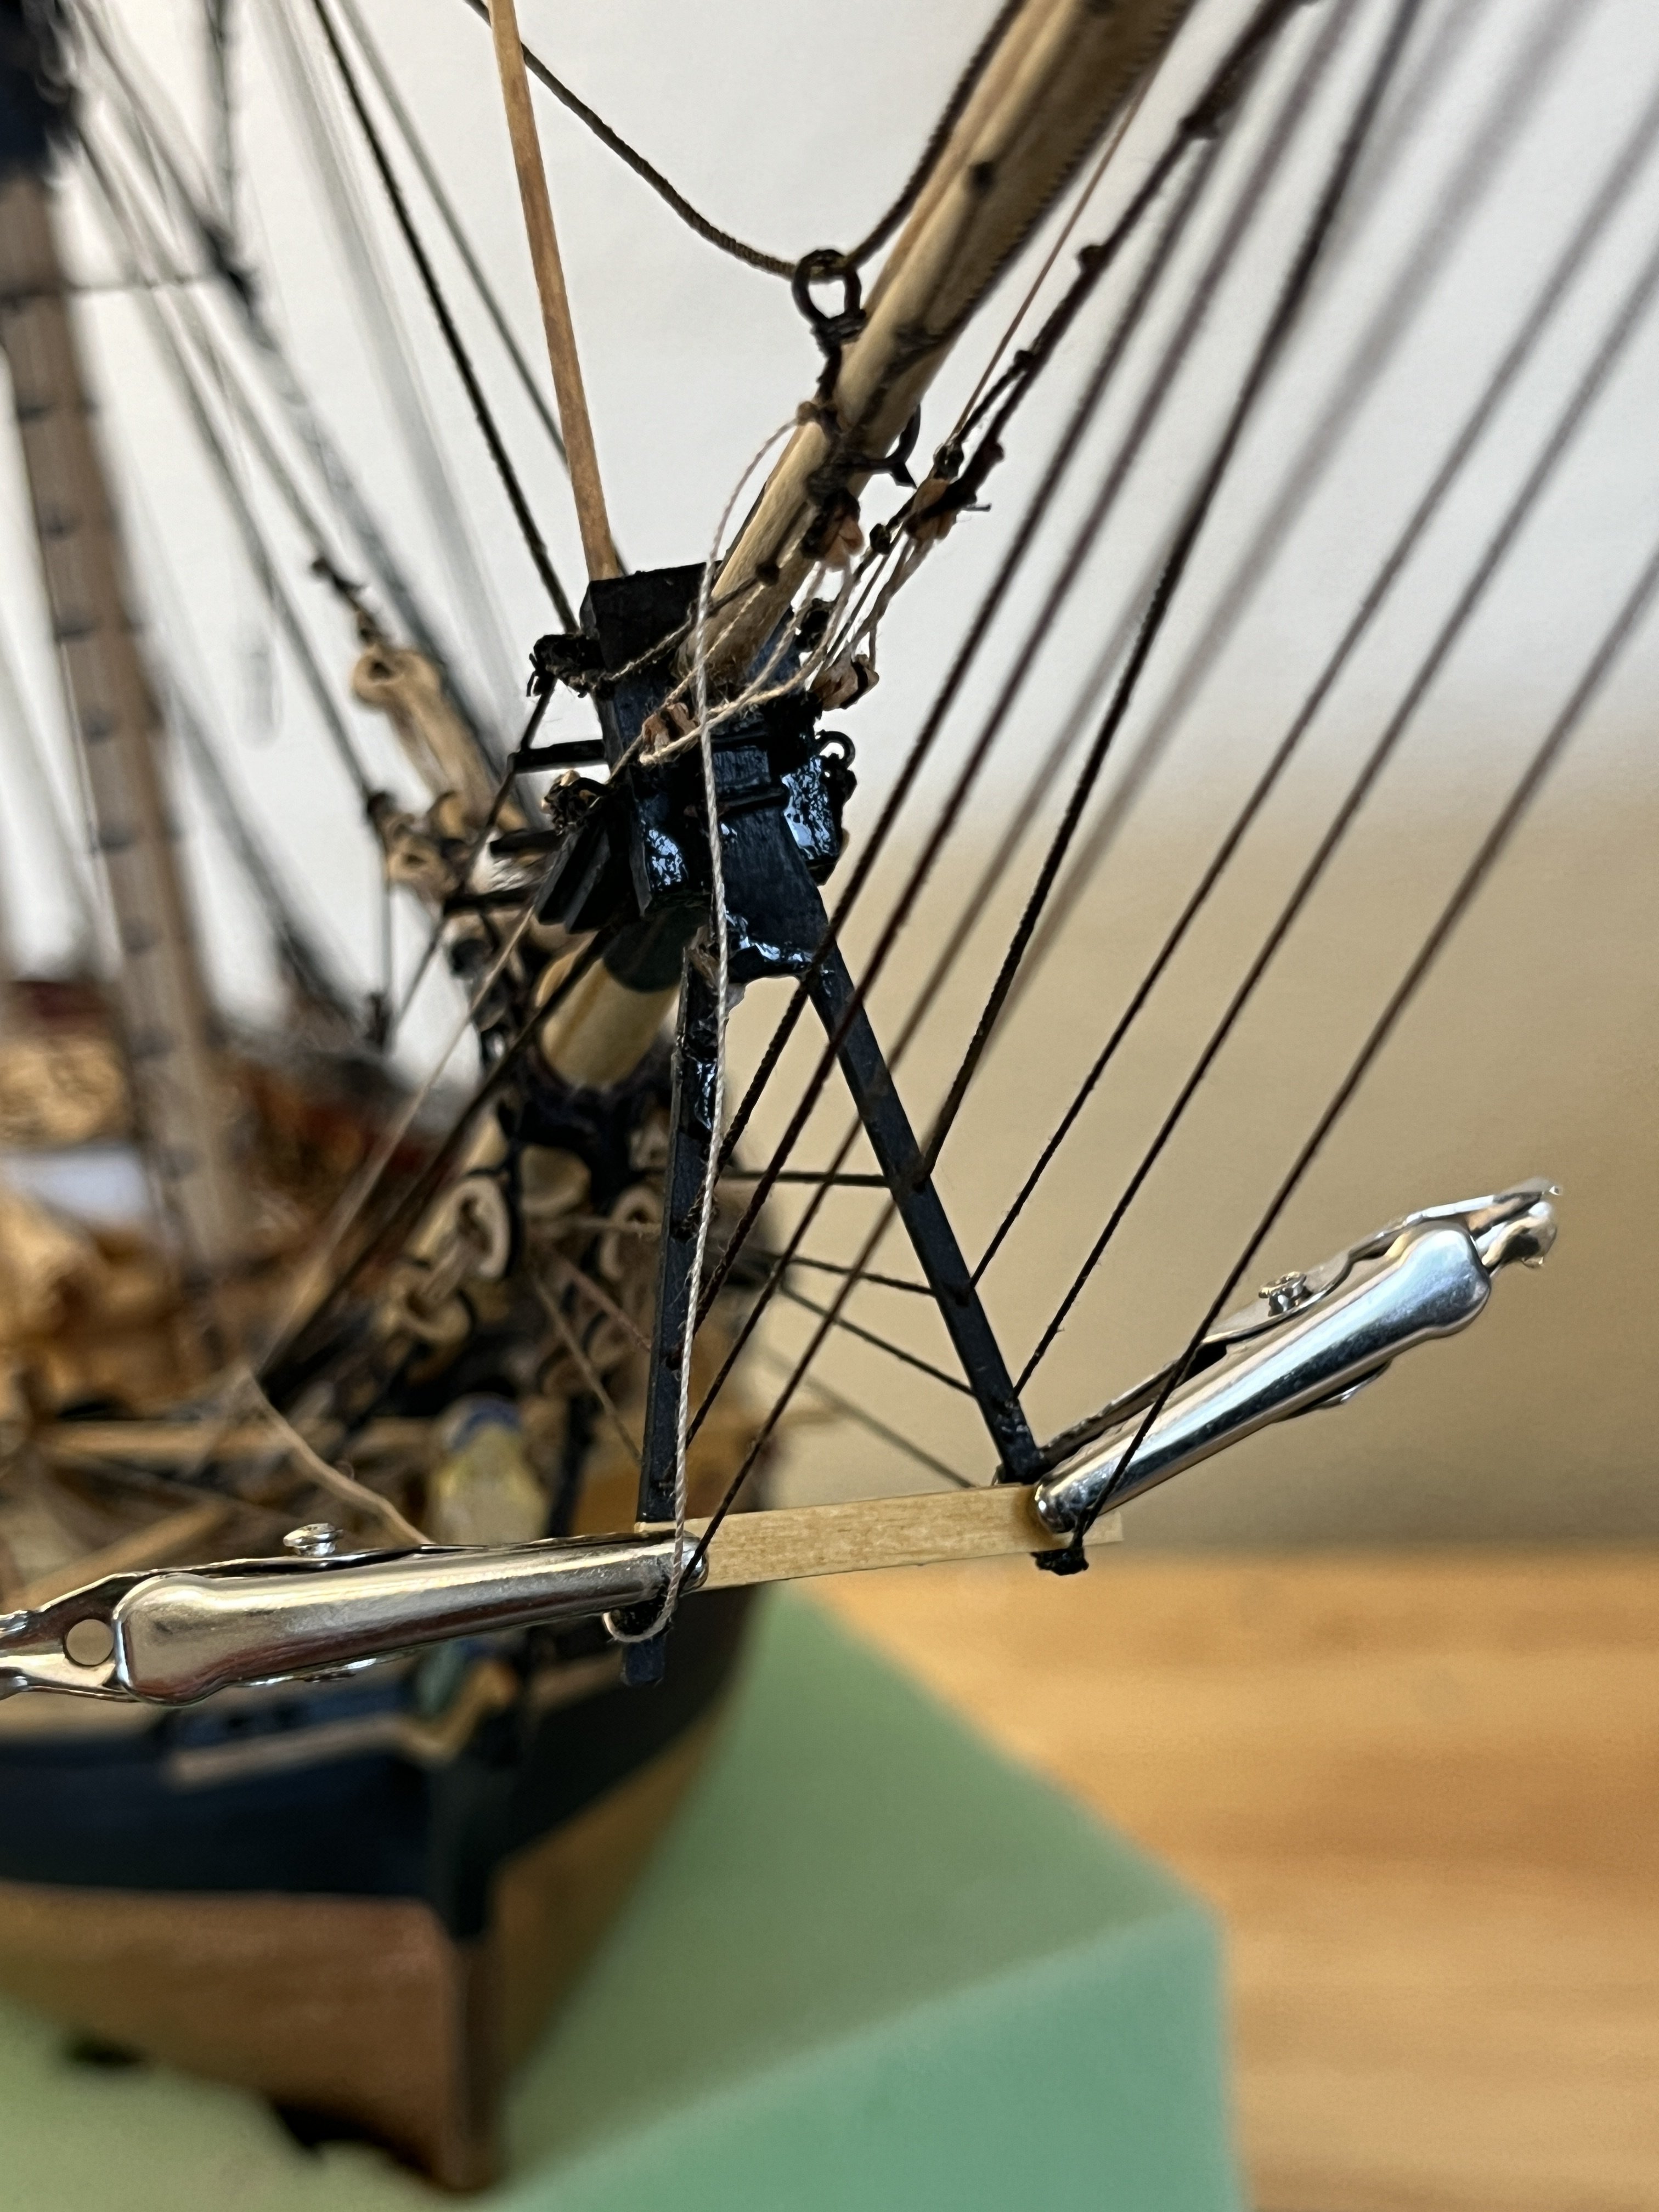
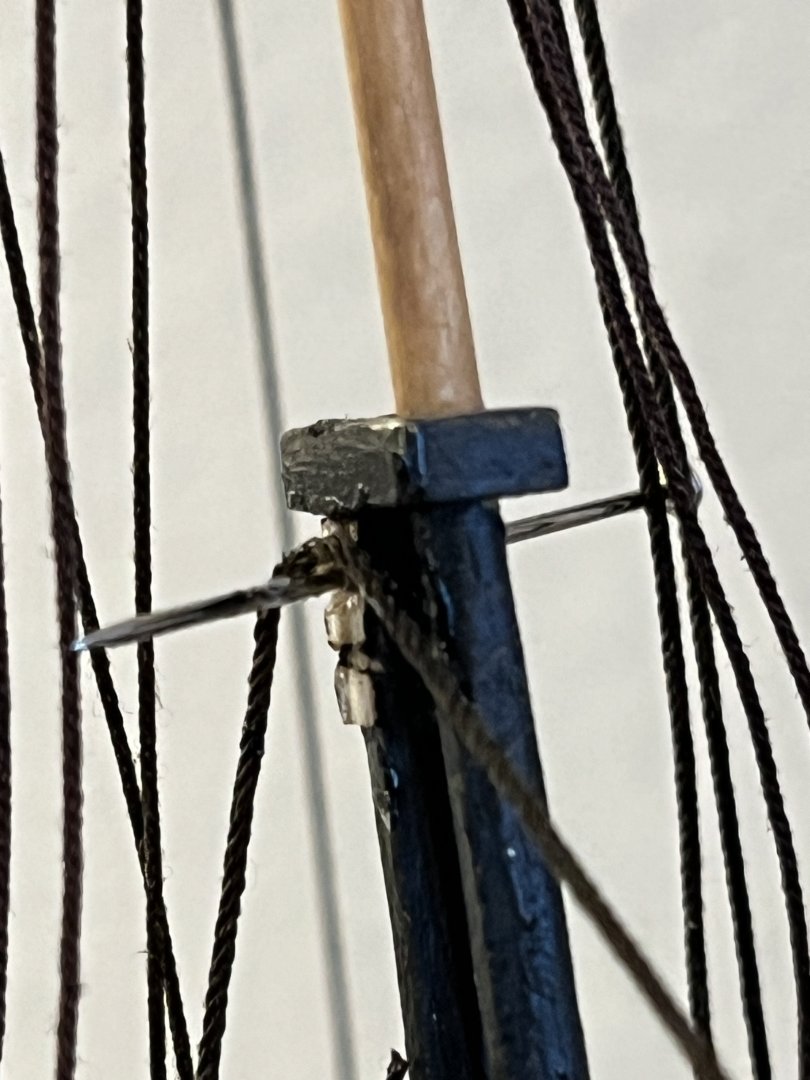
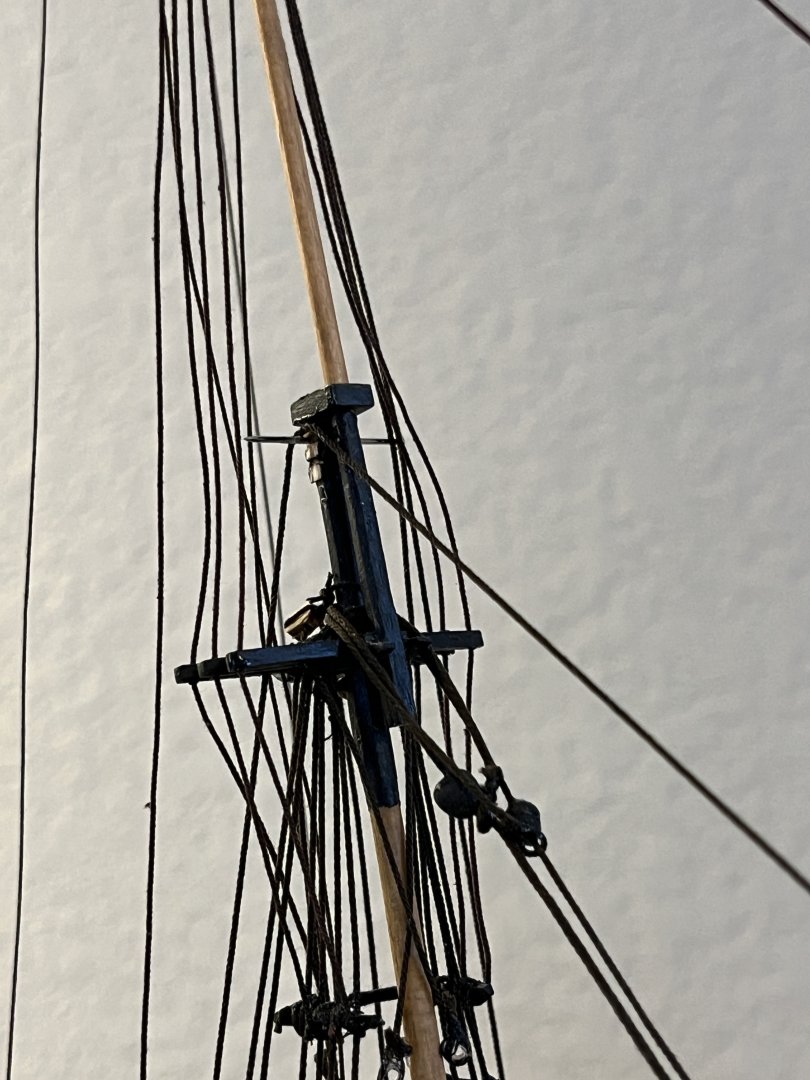
Just a quick update. The dolphin striker is very secure with addition of the support piece. So now on to how to fix the starboard fore top mast cheek that the jib stay runs through. So just a photo of the repaired dolphin striker.
-
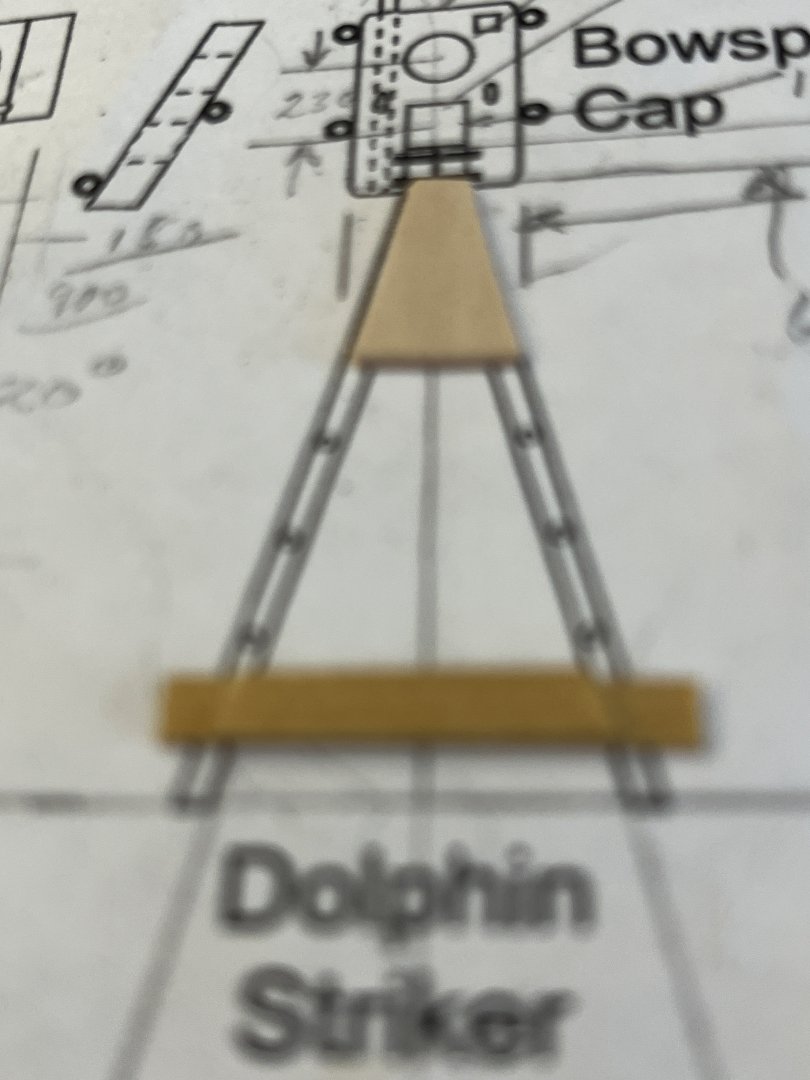
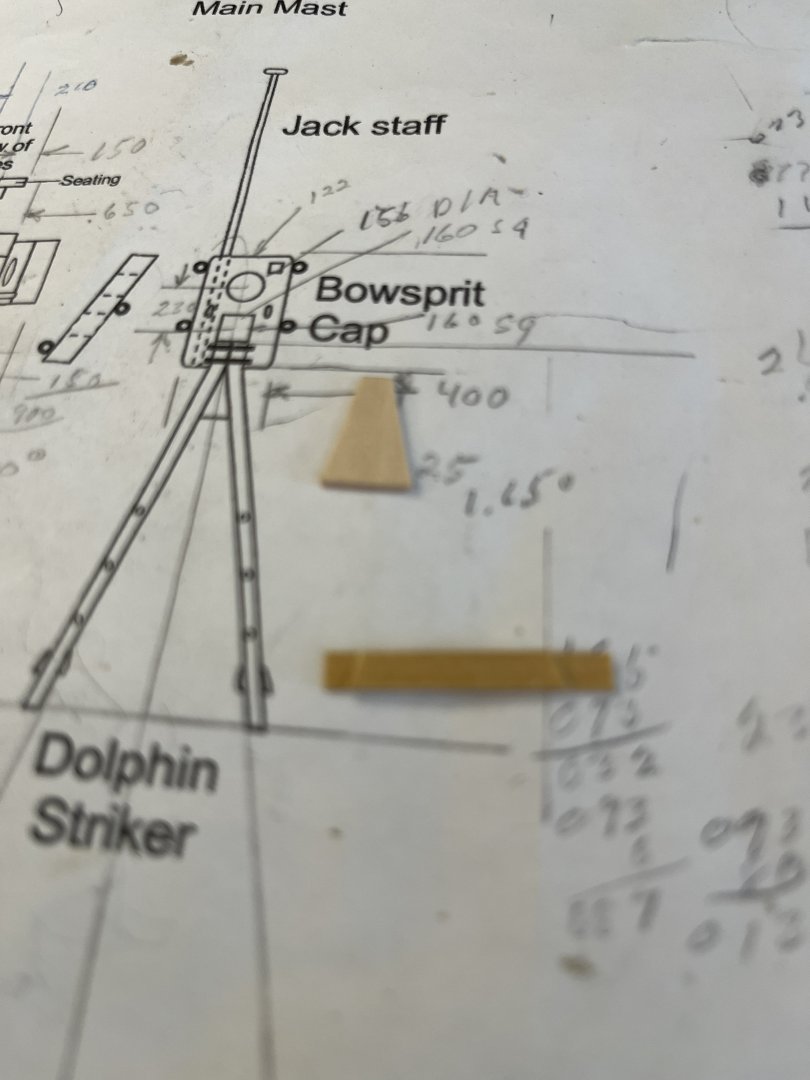
While pressing ahead with the investigation I decided to follow the manual assembly. So the dolphin striker was the first repair. With the rigging not allowing the part to be just glued I had to make a jig to hold the parts until the glue set. The martingale lines seized and run to the being set to the bow kept the striker in place longitudly leaving only the correct width spacing. Using the plans I made at jig to hold the spacing correct and needed something to support the break. At the top joint of the strikers I made a triangular piece out of 1/32" sheet. These are the parts made laying the drawing. To make the jig to space the strikers I used a 1/8 by 1/32 strip and attached a piece on the strip that would keep the spacing This with the jig and support laying on the plans as the would on the actural part. I hope Sorry for the focus of the photos Rather than trying to place the parts I decided to glue the broken pieces with CA holding while setting. With the parts in place and the glue not completely set I was able to add triangular support and the jig at the bottom keeping the spacing and angle correct. I used alligator clips to keep the jig in place and after setting the support more alligator used to keep the support firmly against the striker legs while the glue set. When the glue has set I'll paint the support and the glue to eliminate the shinny joints

-
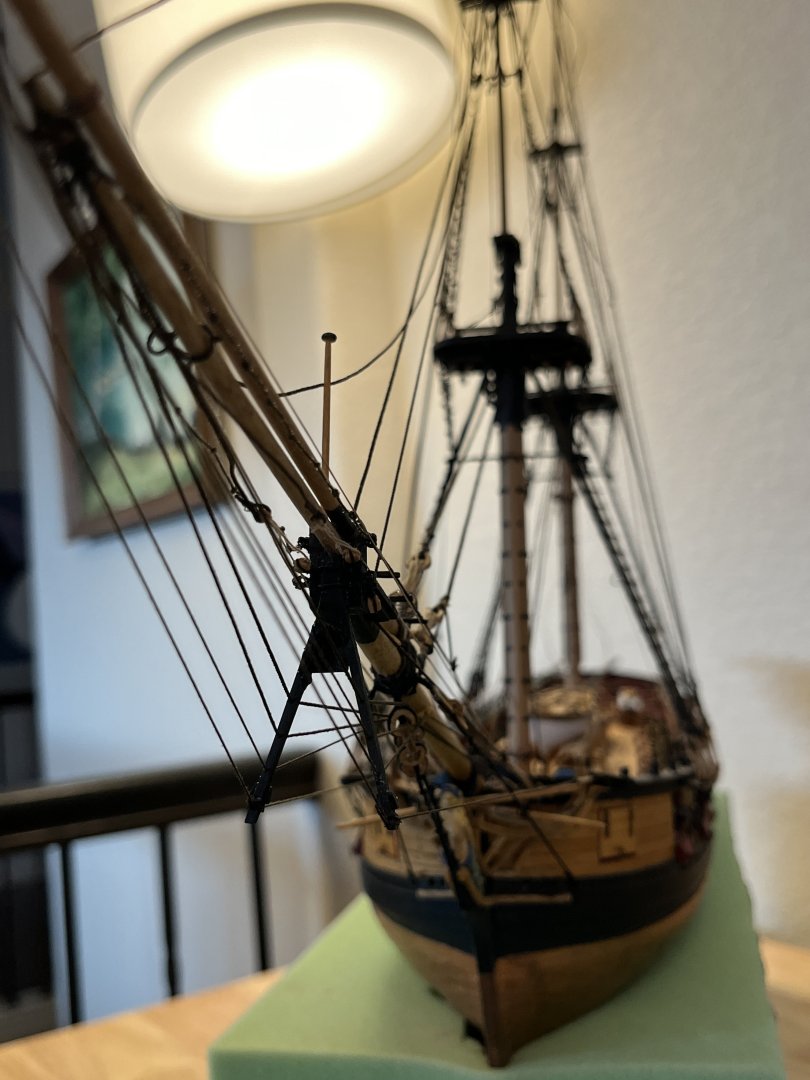
Well my shop has been completed and I've weeks setting up my equipment and figuring out where everything goes. I had only peeked inside the Syren shipping crate for a quick inspection to ensure it made the move, but now with the model unpacked. UHG is all I can say. While waiting for a year for our basement and my shop to be completed I built a couple of plastic models to make the year pass. I set up a work area in dining room to build the plastic models and that is where I'll finish the Syren. Sitting on the table allowed me to see just how much has been damaged so now how to proceed. I took some photos showing the damage and for me to best determine where to start. I think the best way forward is to fix the dolphin stricker more when I figure my method. Any suggestions will be appreciated.


-
Finished the boom crutches final shaping and applied the first coat of black paint. Next to be built are the mounting steps with the first being creating a scraping tool to make the edge shapes. Using a 1/32" thick piece of brass sheet I files the shape making sure the sides would fit the piece of woods thickness. Using the tool the shapes were drawn onto the wood strip. The strip was cut into 6 correct lengths and sanded to the finished shapes. Shape shown on end of strip before being cut to length. After carefully removing a section of strip the steps were glued in place as shown on the plans using a piece of masking tape to ensure step alignment. Next to paint and apply wipe on poly to the bare wood matching the existing.

-
Finally finished the starboard crutch and added some putty so now let it all set up. Too Chucks statement is "now just do it again" that was a classic understatement. I can tell how hard it was to make another as it took days of cutting, filing and sanding to get a somewhat correct piece. Now as to how many attempts can be seen in this pile Now I'll and some gesso to seal the new wood and putty before painted. While in the painted process I proceed to the mounting ladder and channels.

-
With all that done it is time to make the boom crutches. These are going to be simulated to be an extension of the fashion piece. Following the manual I first made the stem angle aligned with the fashion piece when viewed from the rear. The second angle is to align with fashion piece when viewed from the side. These are to simulate being one piece with fashion piece. Now the face needs to be looking at the mast and with this done I glued the crutch to the cap rail. Next will be filling the joint and sanding making it appear as an extension of the fashion piece. That said it took two full days and seven attempts to make one. Couple of photos from stern and side Not to sand the top making the last angle toward where the boom would be at rest. Putty and paint. Oh yea I have to make another for the other side.