sjanicki
-
Posts
227 -
Joined
-
Last visited
Content Type
Profiles
Forums
Gallery
Events
Everything posted by sjanicki
-
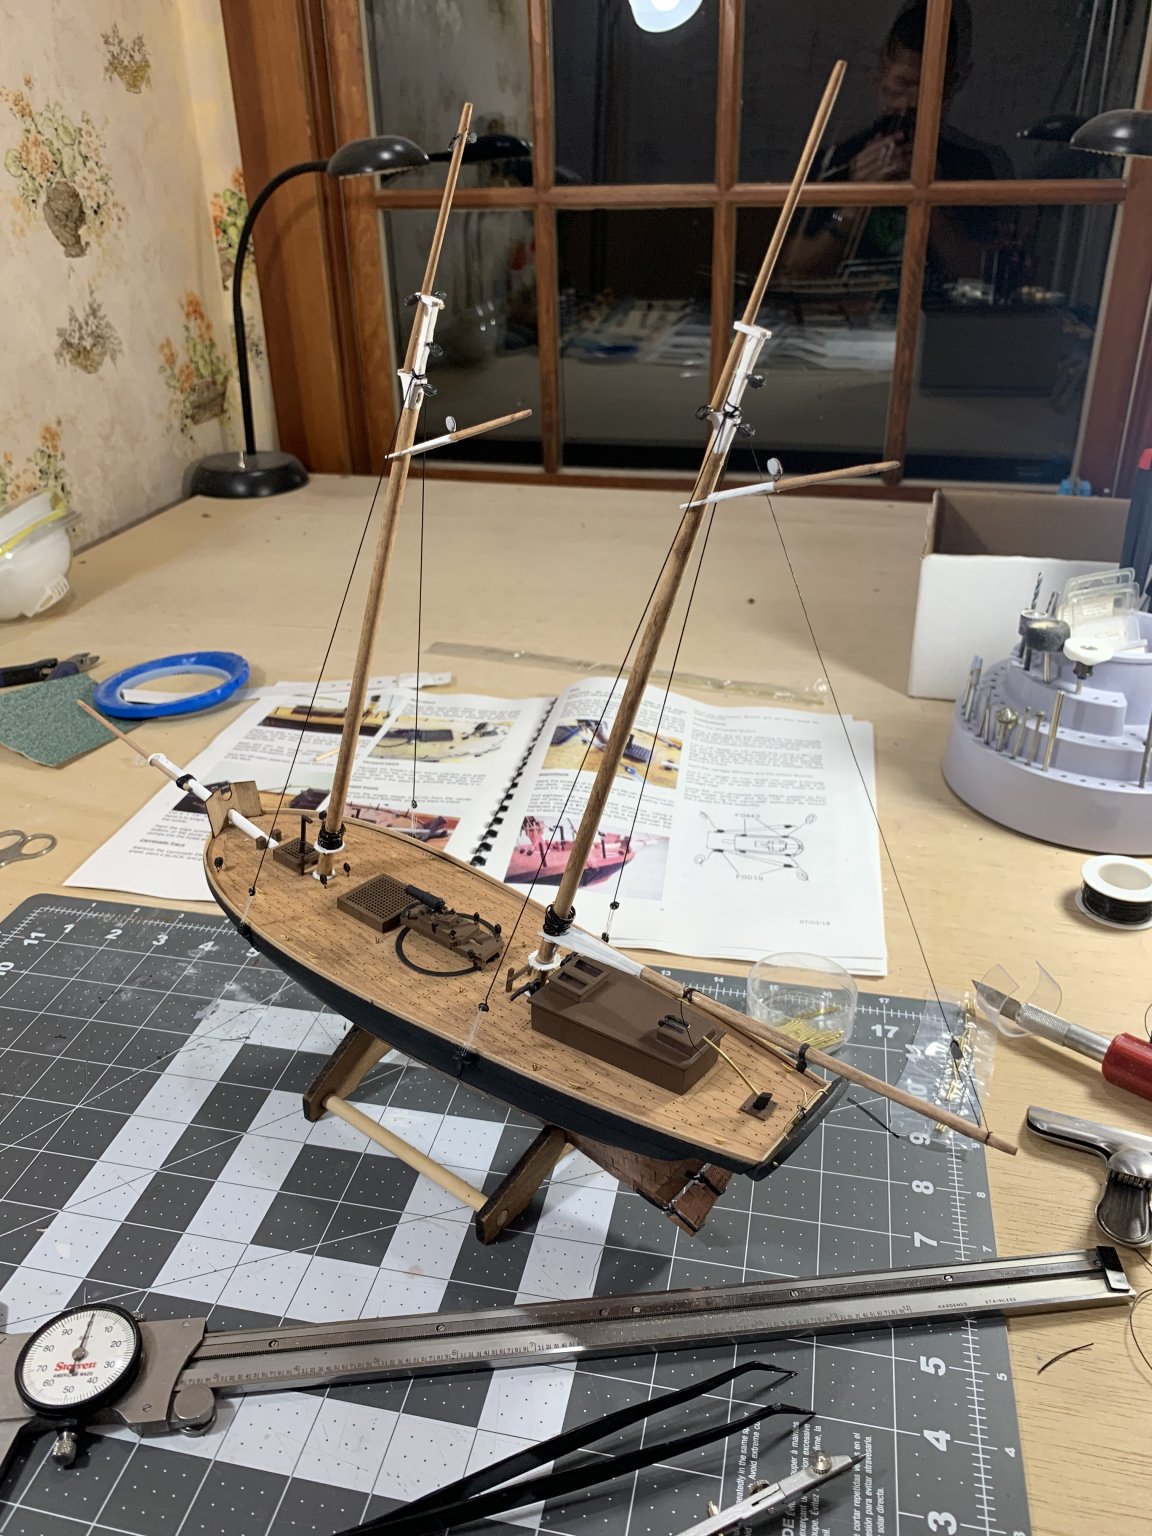
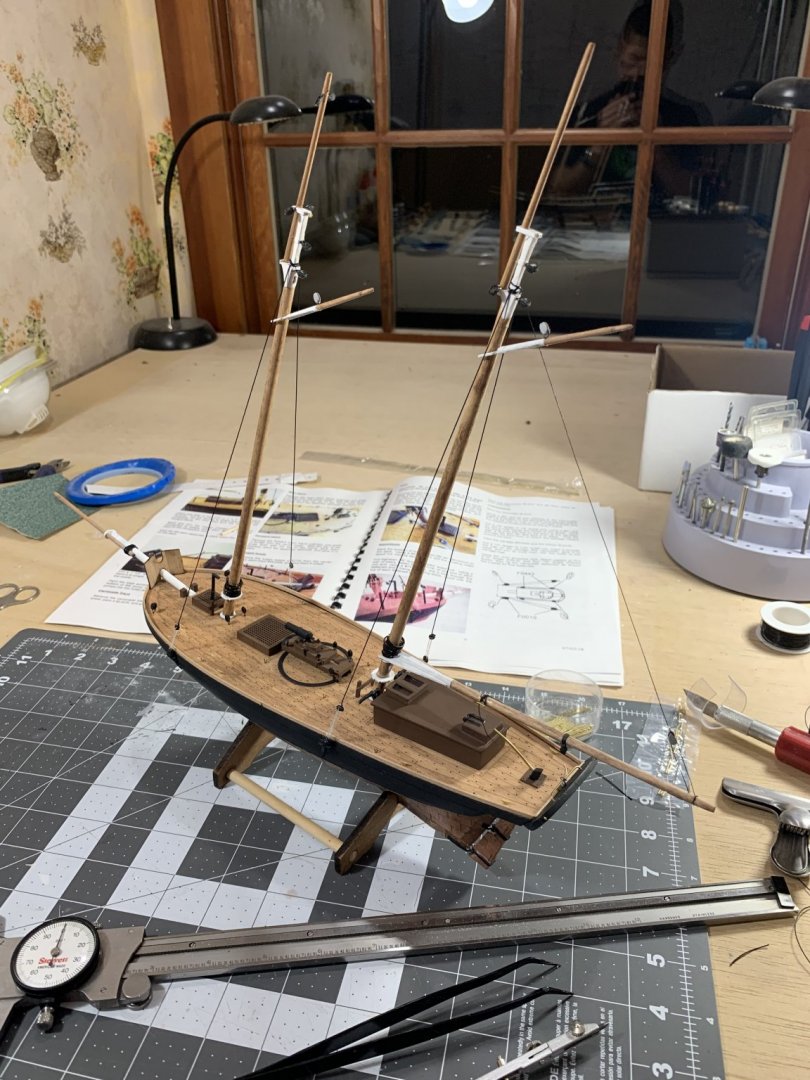
Made a little more progress last night on the rigging. Continuing to chug away!
- 104 replies
-
- 5
-

-
- revenue cutter
- BlueJacket Shipcrafters
- (and 1 more)
-
@AndyXO sorry I missed your posts! I don’t have any photos beyond just what I have so far. I’ll be sure to post as I make it through though. Also, the other build logs may perhaps have photos that are further along.
-
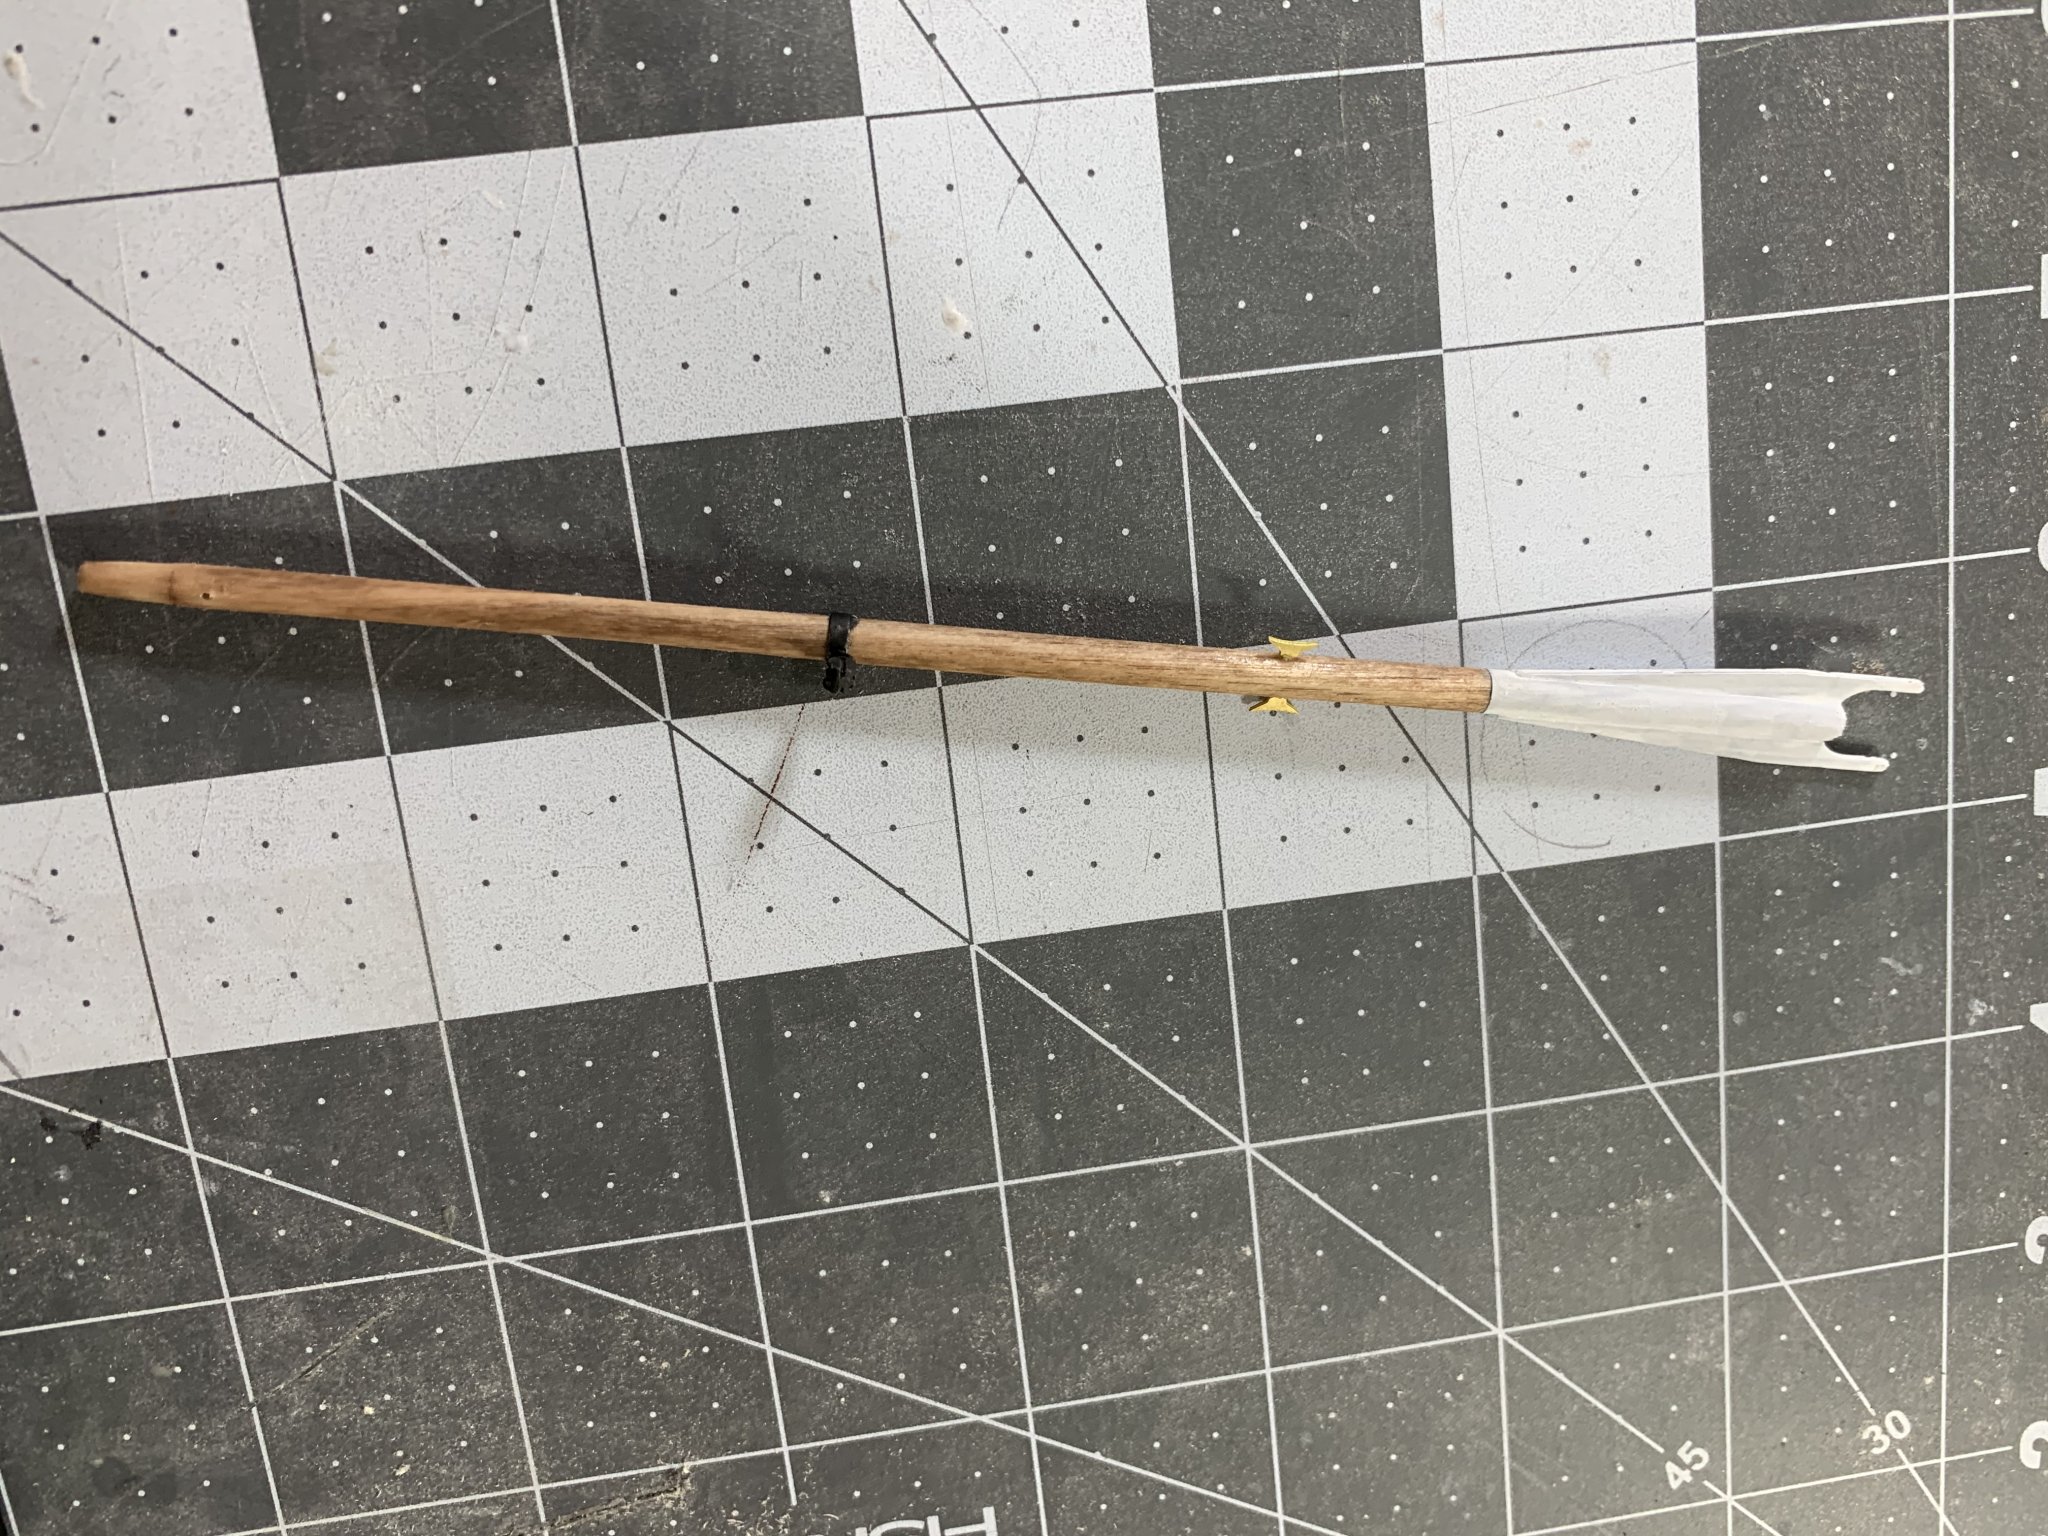
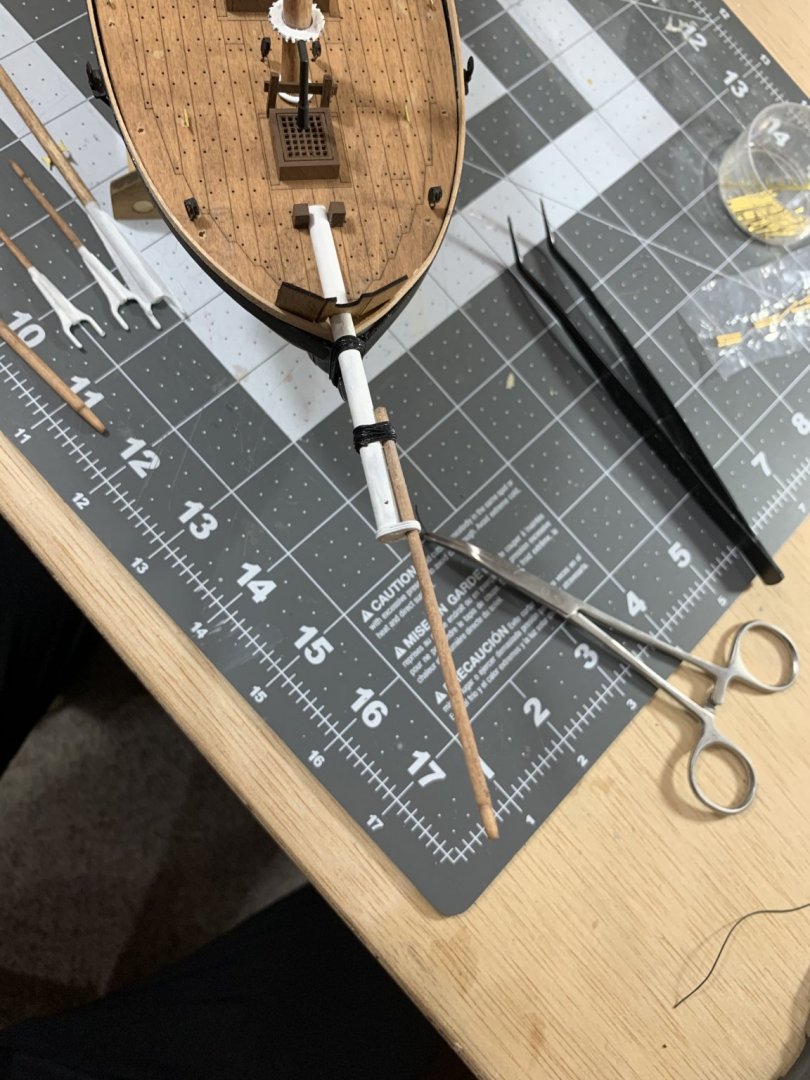
@RickyGene thank you so much! I really had no idea what I was doing on most of this build so I am glad people think it’s turning out so nice. I think the addition of a power tool and plenty of time made the hull go well. The copper plates I am most proud of and, considering my inexperience, actually look pretty good! Looking forward to your build log when you start. Made some progress tonight on boom, gaffs, deadeyes, and boom traveler. The combination of very clear plans and and detailed instructions make it a fairly straight forward task. It’s my first time rigging so I am glad that there haven’t been any surprises.
- 104 replies
-
- 4
-
-
- revenue cutter
- BlueJacket Shipcrafters
- (and 1 more)
-
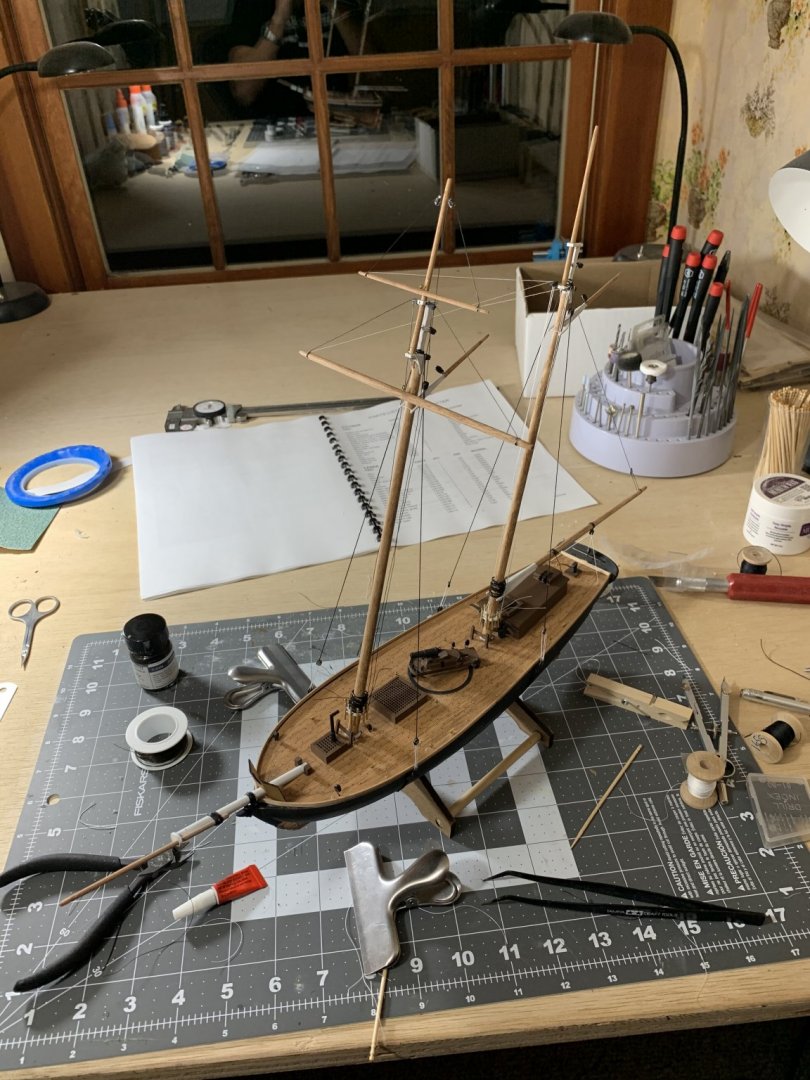
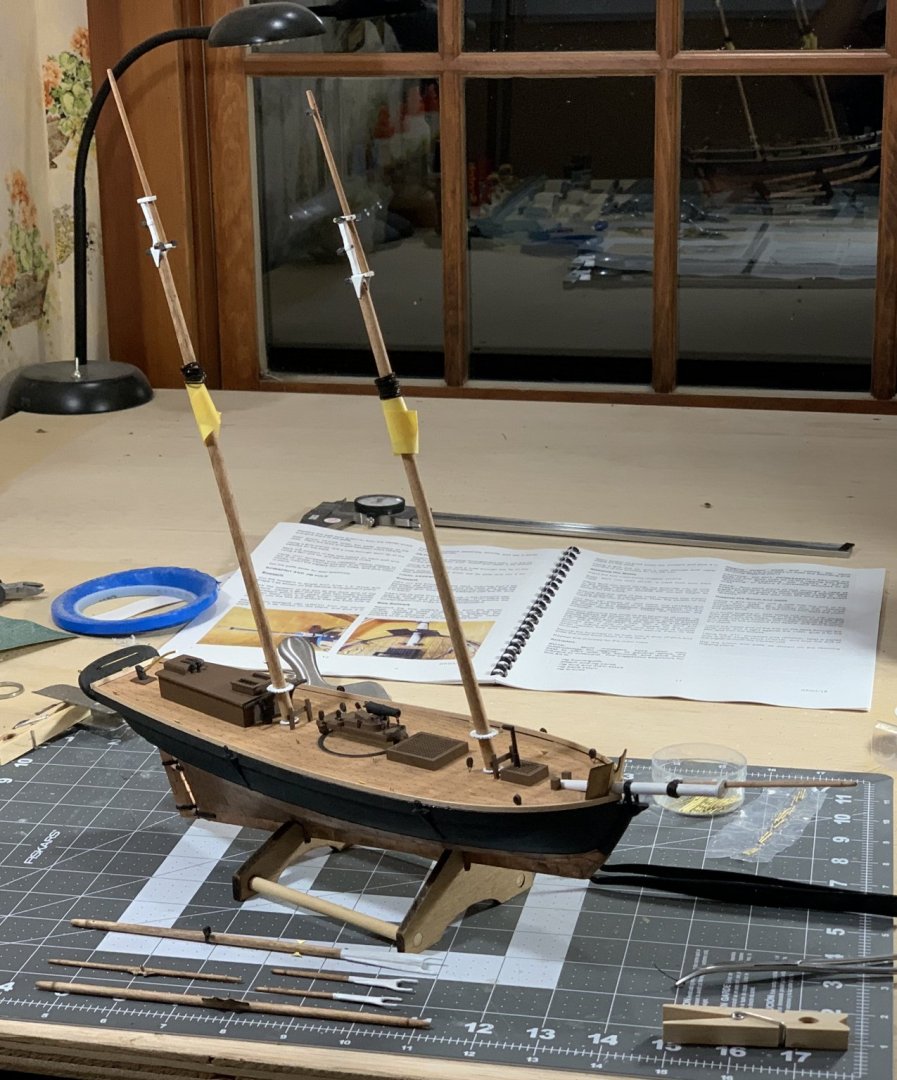
Made some more progress on the bowsprit and masts tonight. Also, I finished the last wooden piece in the entire kit! So now it’s just a matter of rigging and assembly. Getting close!
- 104 replies
-
- 5
-
-
- revenue cutter
- BlueJacket Shipcrafters
- (and 1 more)
-
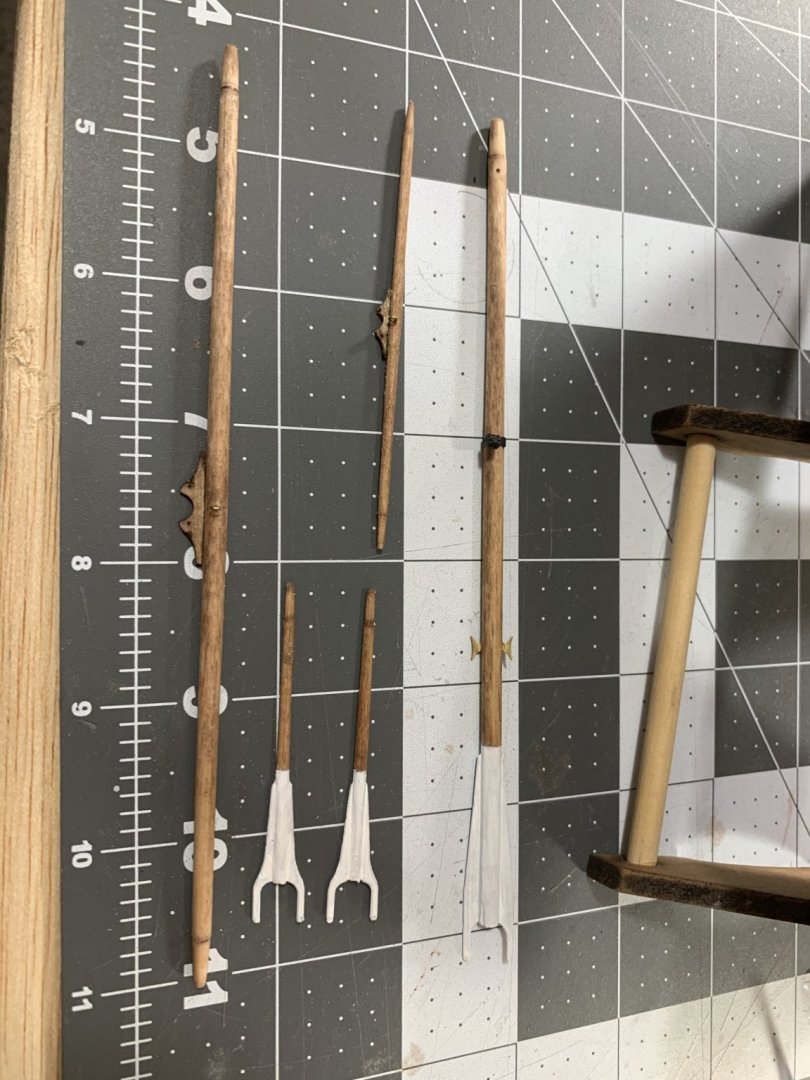
Thanks so much @RickyGene! The Perry showed up this last Friday and it looks like an awesome kit! Once I finish the revenue cutter I’ll be sure to start a build log. Being a bit more complex of a model I am sure I’ll ask for advice here. Anyways, made a little bit of progress today on the boom and gaffs.

- 104 replies
-
- 3
-
-
- revenue cutter
- BlueJacket Shipcrafters
- (and 1 more)
-
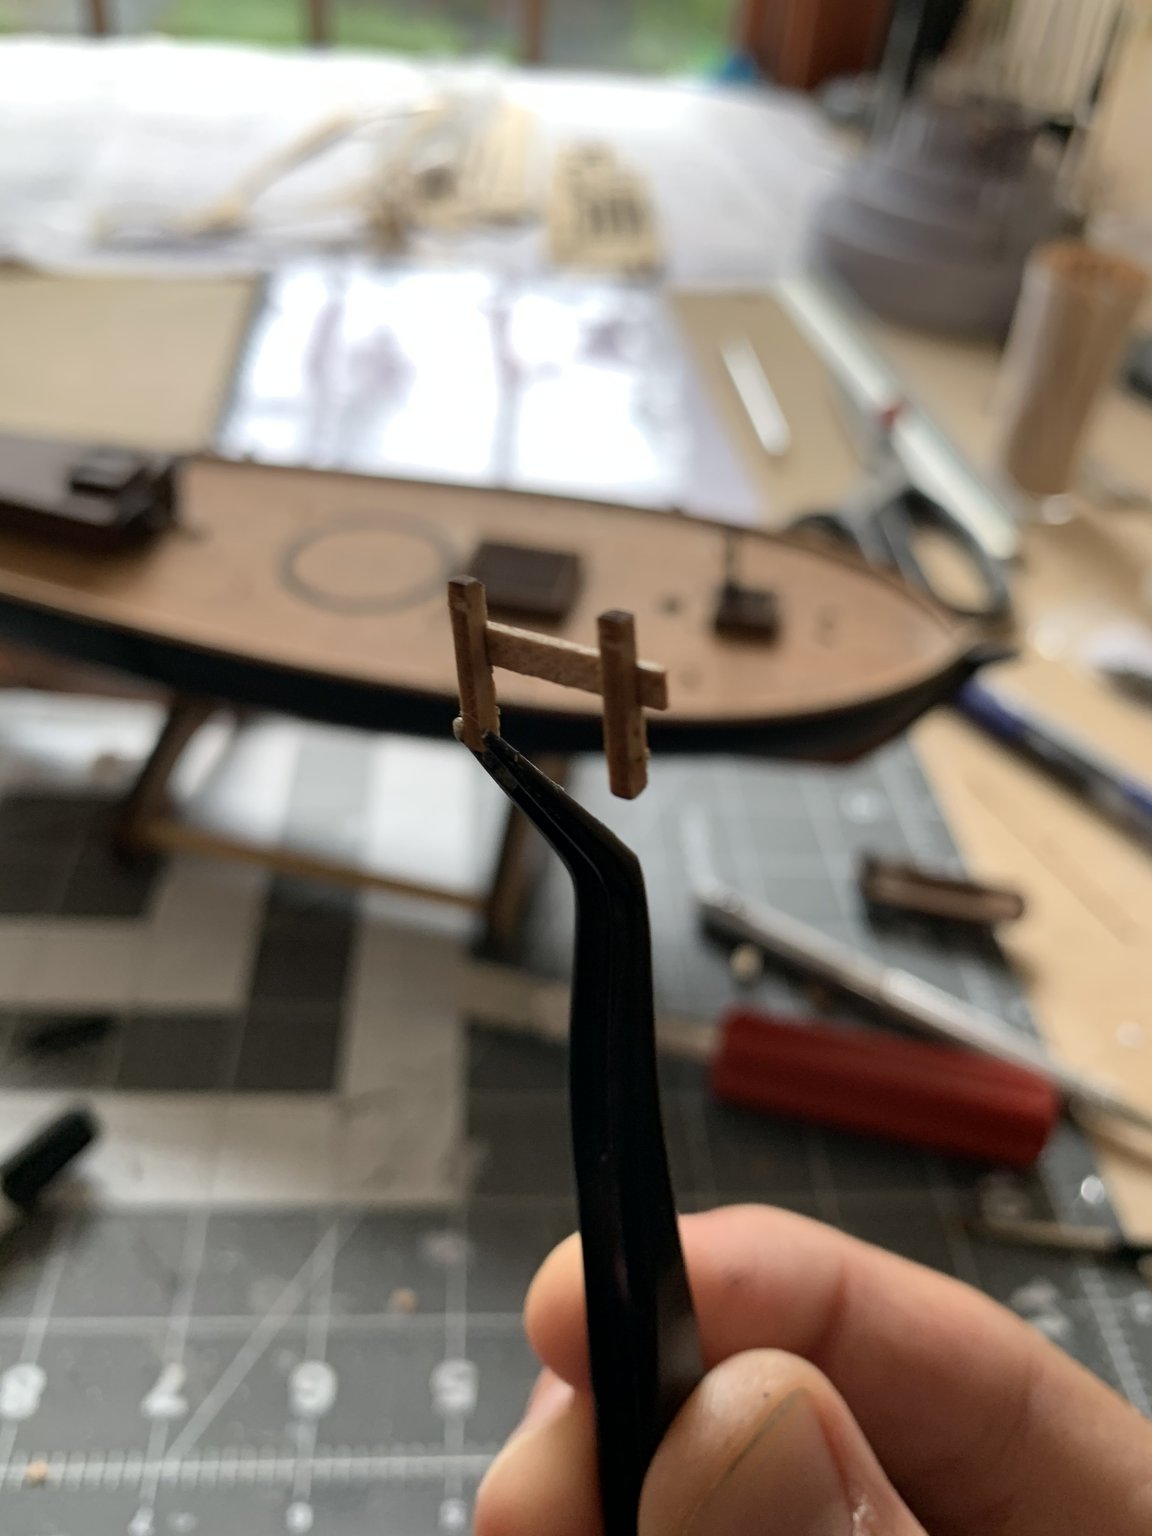
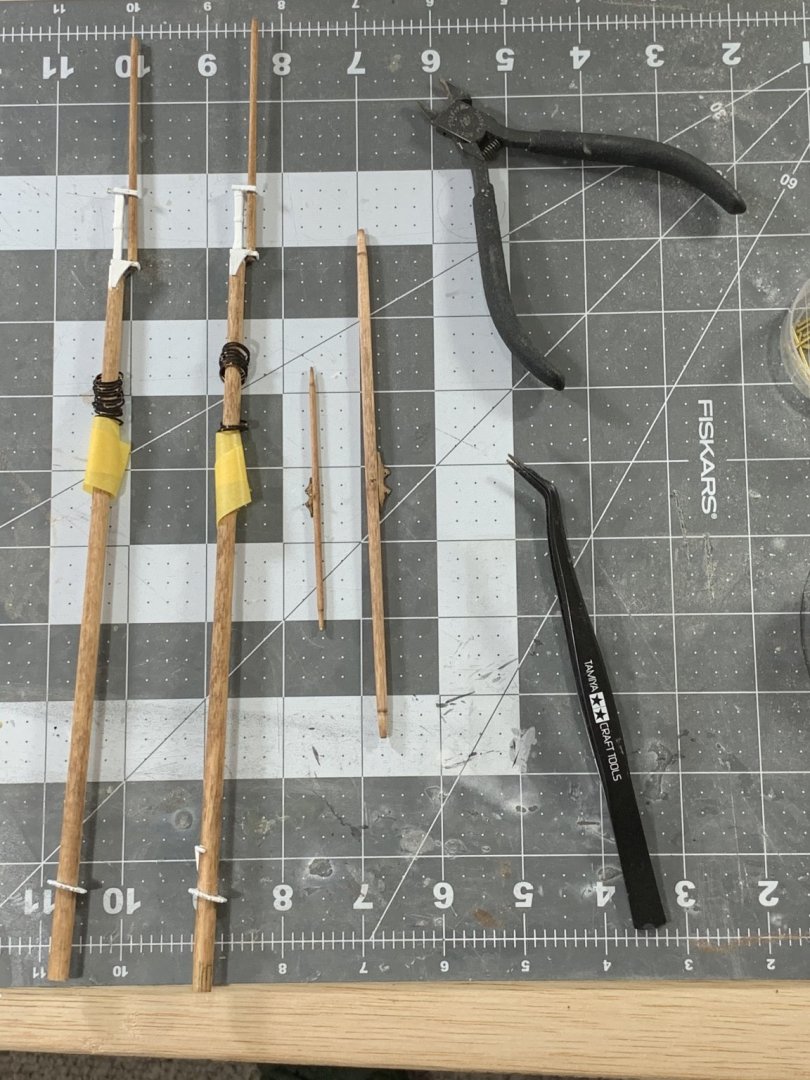
Made some progress tonight on the top masts, spiders, boom jaw rest, yards and mast hoops. My improvised carpenters drill lathe continues to work great. Tapered the top masts without issue and drilled the appropriate holes per the plans. After a quick stain they were installed as well as the fid (evidently the fid is a small piece of brass that is inserted perpendicular to the top mast to keep it in place. I had never heard this term before this). I also installed the mast hoops and held them in place with some masking tape. Unfortunately I broke a few while cutting them from the sheet so hopefully nobody notices on the final build. After the hoops I installed the spiders and boom jaw rest and bracket without issue per the plans. Next I cut and tapered the lower and upper yards. For the small step on the ends of the yards (I’ll bet there is a name for this but unfortunately I don’t know it) I used a small saw to cut a little bit into the yard and then utilized a file and sand paper while rotating the yard to trim it down. Overall happy with the result! My first time rigging so excited to be making progress!
- 104 replies
-
- 4
-
-
- revenue cutter
- BlueJacket Shipcrafters
- (and 1 more)
-
Wow! You have made crazy good progress in a very short period of time! Looks super great and far superior to my first build no doubt! Also, I would recommend you either build or purchase a glass case for the model. It really takes the display to the next level and keep the model looking great for years. Again, awesome work!
-
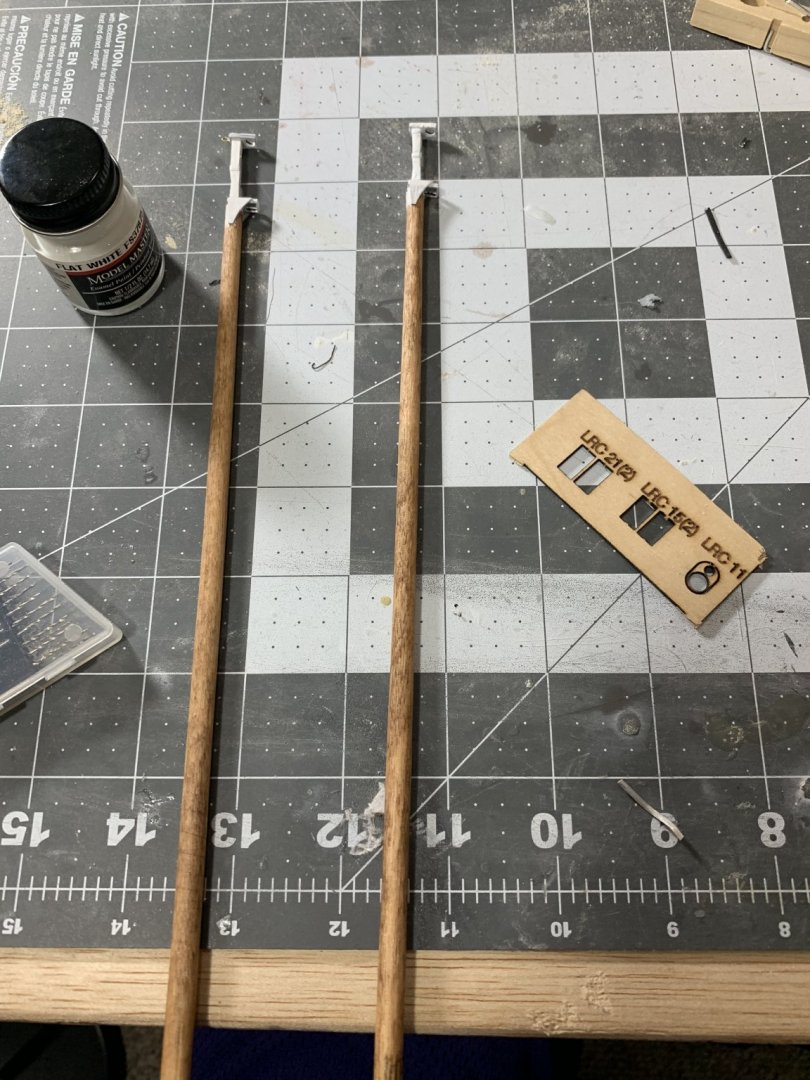
Made some progress tonight on the masts. I don’t have a lathe so I needed to improvise on how to evenly taper the masts. I chucked them in a normal carpenters drill and utilized sandpaper as well as my rotary tool perpendicular to the mast to easily taper. Once the masts were tapered I used a combination of the rotary tool, razor blade, and sandpaper to square off the ends as the plans say. I then mounted the various laser cut parts per the instructions and stained and painted. Next up is just continued progress on the masts and rigging. Some extra drill bits showed up so I’ll be hopefully drilling the rest of the stanchions soon.
- 104 replies
-
- 5
-
-
- revenue cutter
- BlueJacket Shipcrafters
- (and 1 more)
-
@RickyGene thank you so much for the kind words! I am still a total novice with this model ship building so I appreciate the kind words! Especially as it relates to the coppering as I had no idea what I was doing. I think I'll have some time this weekend to make some progress on the masts - looking forward to it. I actually just ordered the USS Perry from BlueJacket. I was told it is really the perfect jump in required skill level and will also allow me to continue with coppering hulls. I ordered it before I was done with the Revenue Cutter so that I would be motivated to make fast progress 😂
- 104 replies
-
- 1
-
-
- revenue cutter
- BlueJacket Shipcrafters
- (and 1 more)
-
Thank you @Cathead! Really learning a ton on this build so I am quite glad its actually turning our ok
-
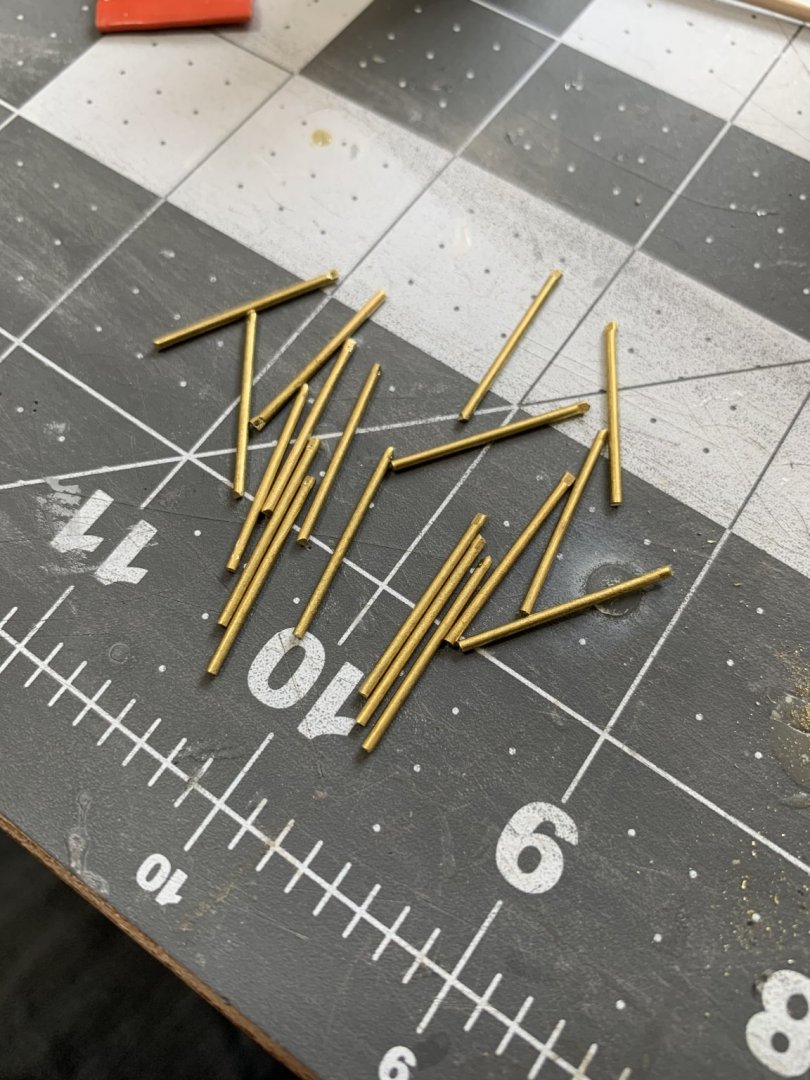
Made some more progress this weekend on the various deck fittings. Mounted the various blocks as well as the knight heads, bites, tiller, and cabin companion hatch hinges. I also rigged the carronade but didn’t get glue it down. Also, made great progress on the stanchions. Cut them all to length, flattened the ends, and drilled a couple till I broke off my drill bit. Ordered another drill bit (actually 12) and should be finished with them later this week. Aside from the stanchions, I am done with the deck fittings and will move on to the masts next!

- 104 replies
-
- 7
-
-
- revenue cutter
- BlueJacket Shipcrafters
- (and 1 more)
-
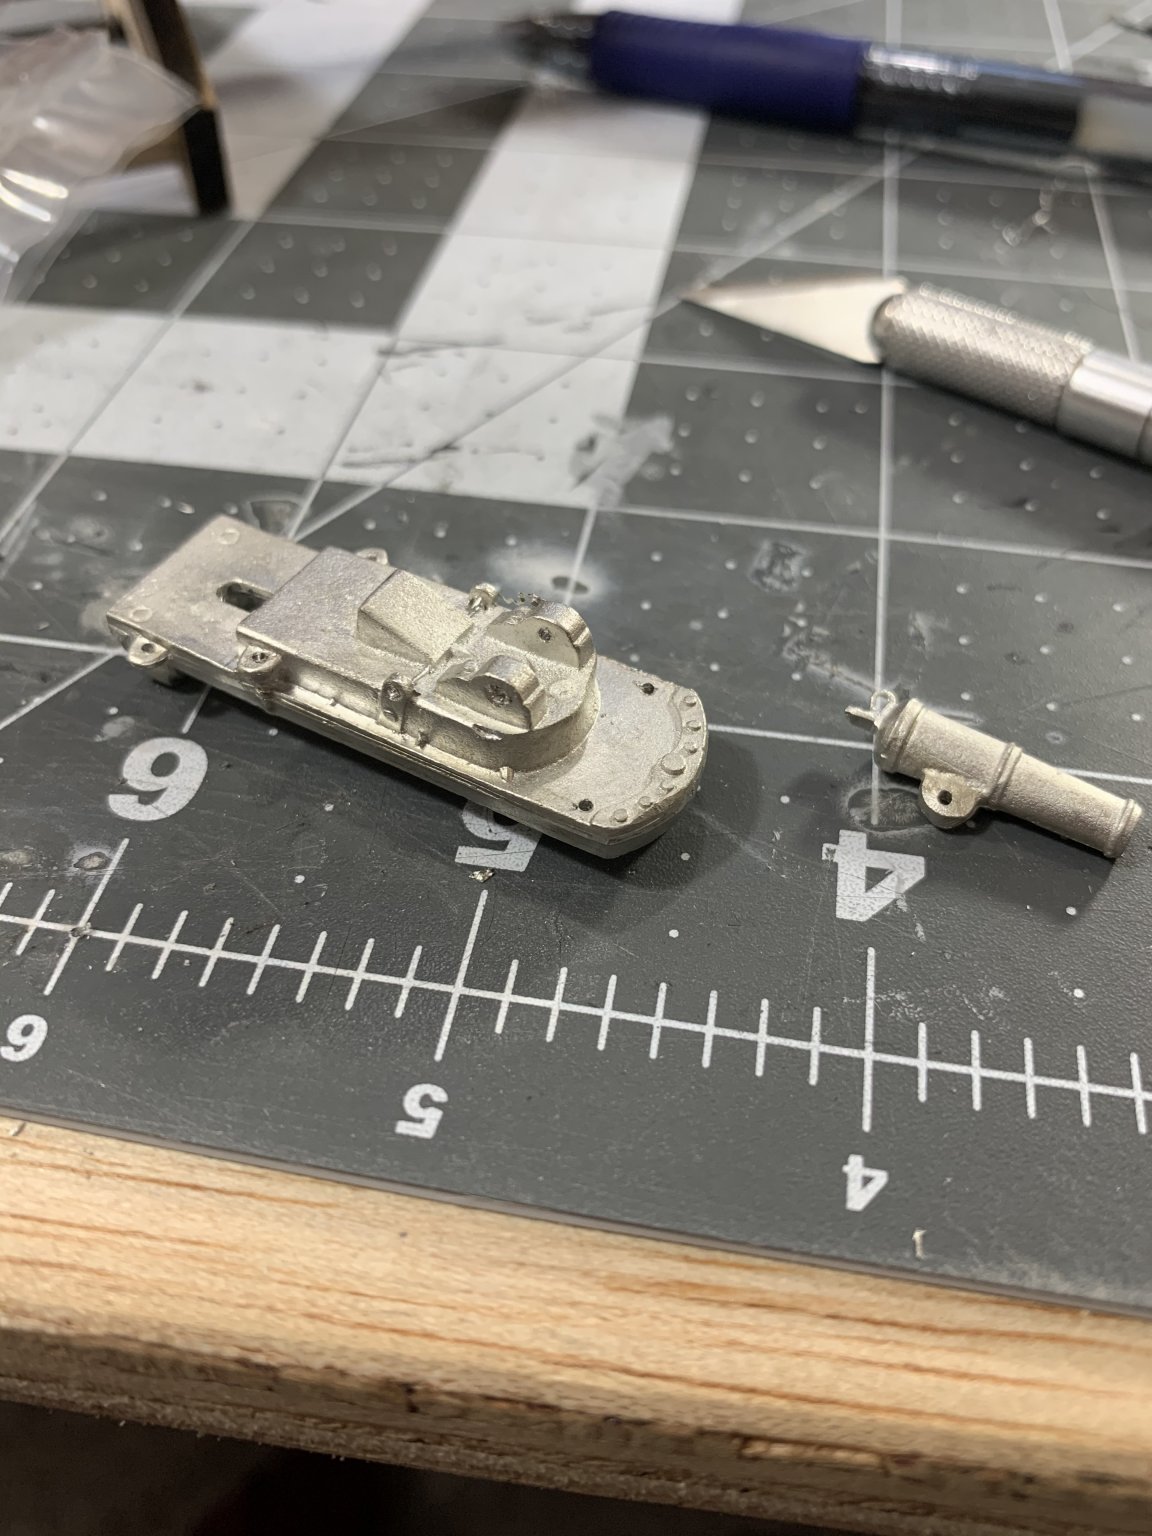
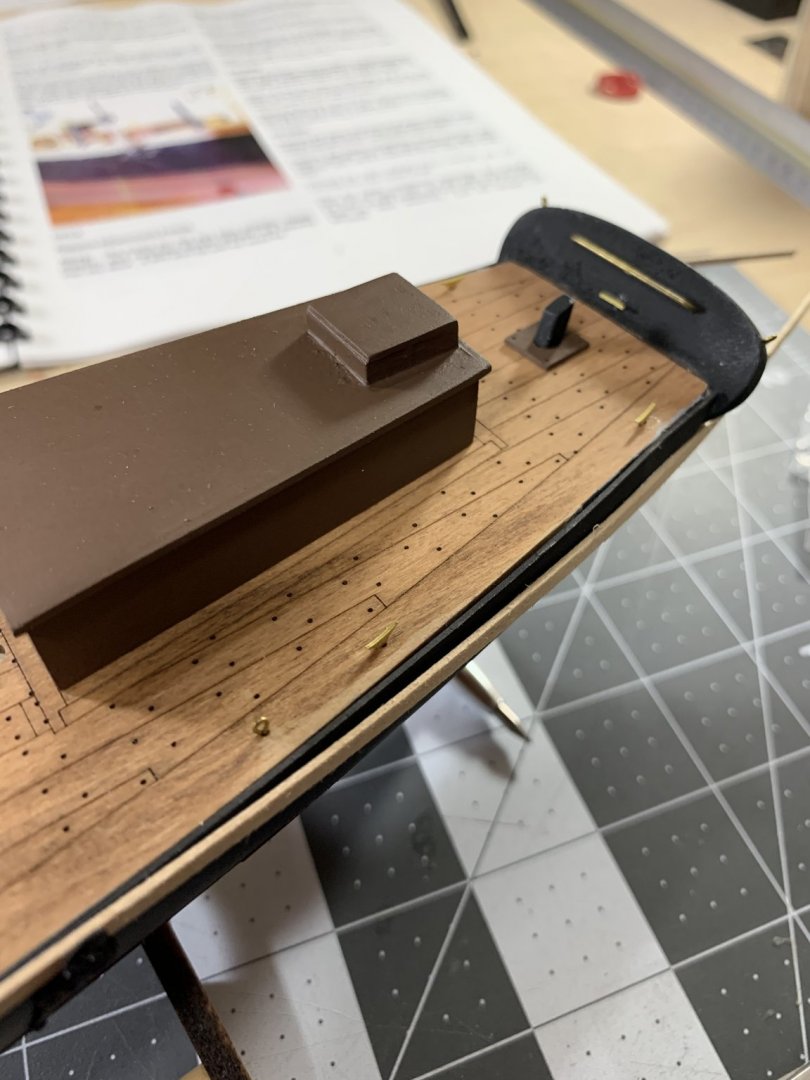
Made some more progress tonight on the toe rails, hatches, carronade, and various deck fittings. Cleaned up the carronade and it’s carriage. It’s really an intricate casting and quite cool. I had to drill out the lug mounts as well as various pulls attachment points. Next I painted the carronade black and carriage brown. I also prepped and painted the forward and main hatches, carronade track, bilge pumps, and galley stack. After gluing down these various components I realized I needed a darker stain on the toe rails so I wasn’t able to glue them down yet.


- 104 replies
-
- 3
-
-
- revenue cutter
- BlueJacket Shipcrafters
- (and 1 more)
-
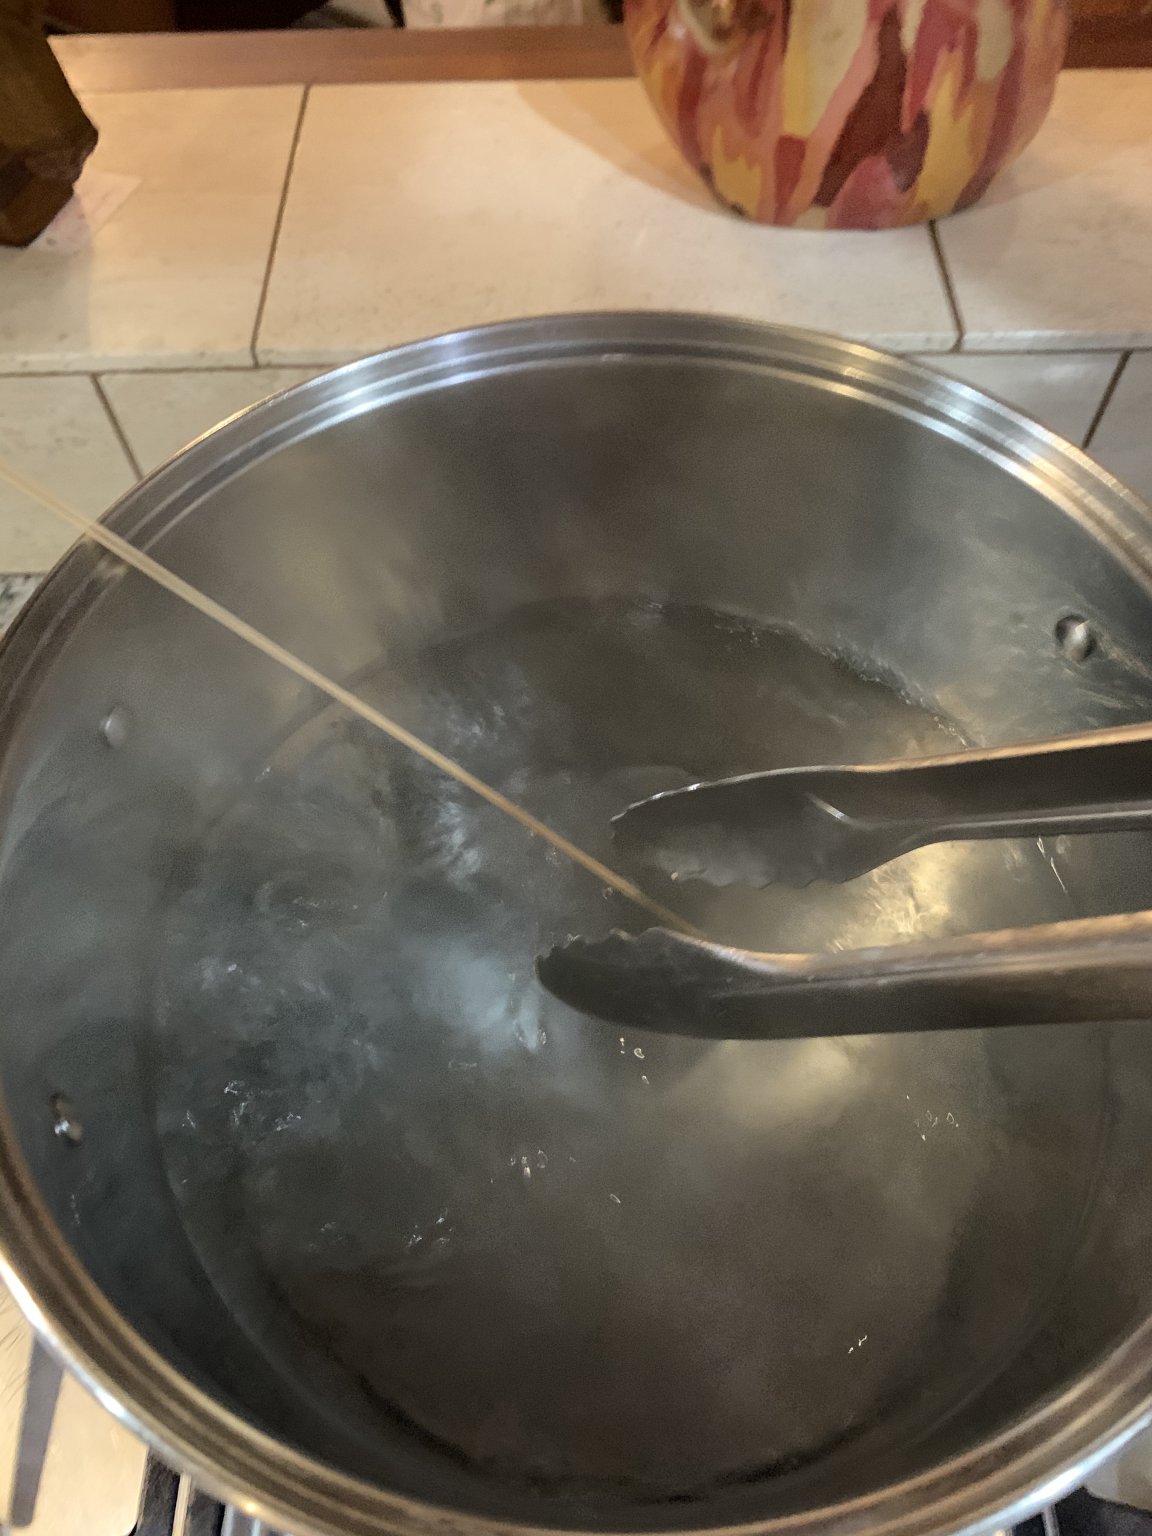
Made some more progress tonight on the Deadeyes and cleats. I used the drill again to drill the various holes in the pre-marked locations on the deck as well as the transom. I elected to leave the various brass fittings in their natural color Made some progress on the toe rails as well. First time having to boil a pot of water for this hobby (though I suspect it won’t be the last!) The instructions do a great job on explaining what to do.

- 104 replies
-
- 3
-
-
- revenue cutter
- BlueJacket Shipcrafters
- (and 1 more)
-
Hi @Dr PR, thanks for all the great info! I have the “History of the American Sailing Navy” so I’ll be sure to reference those pages.
-
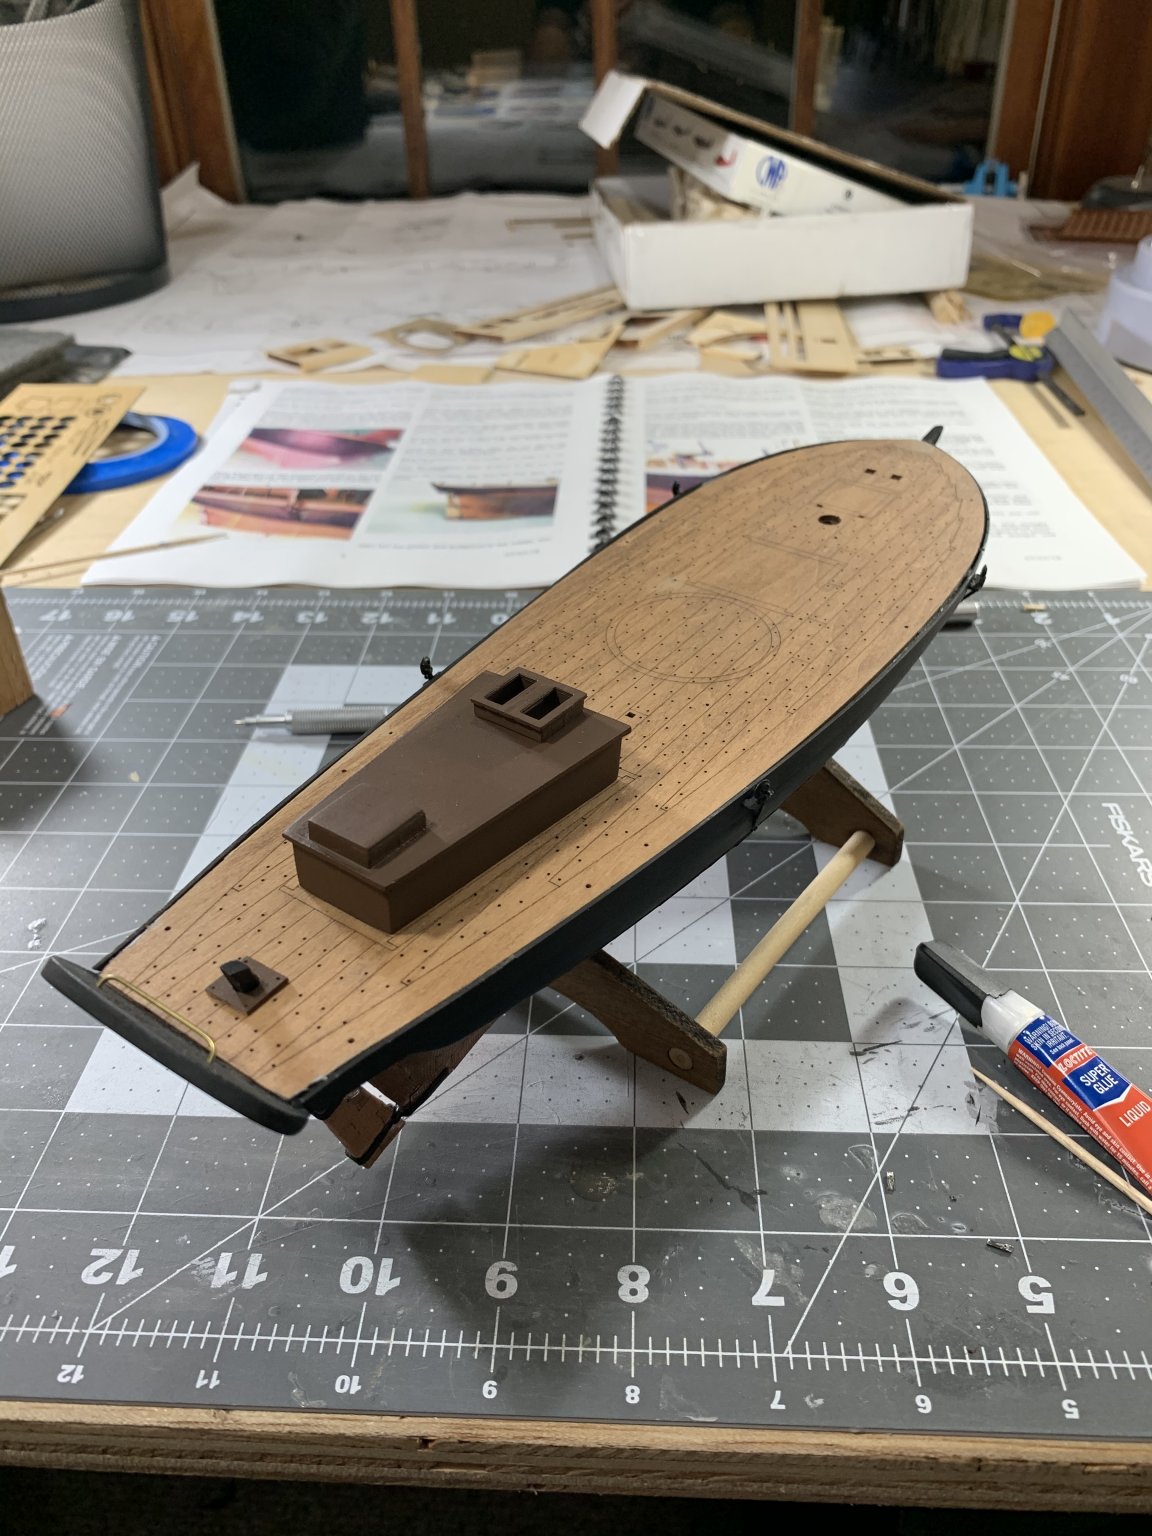
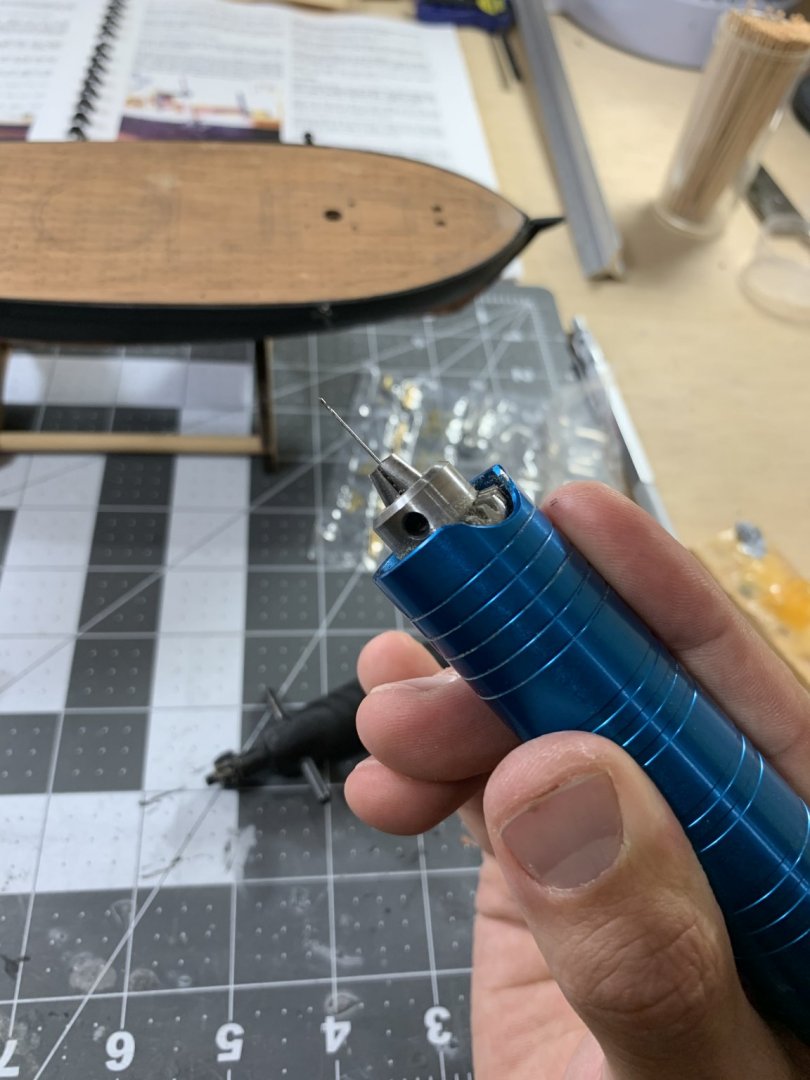
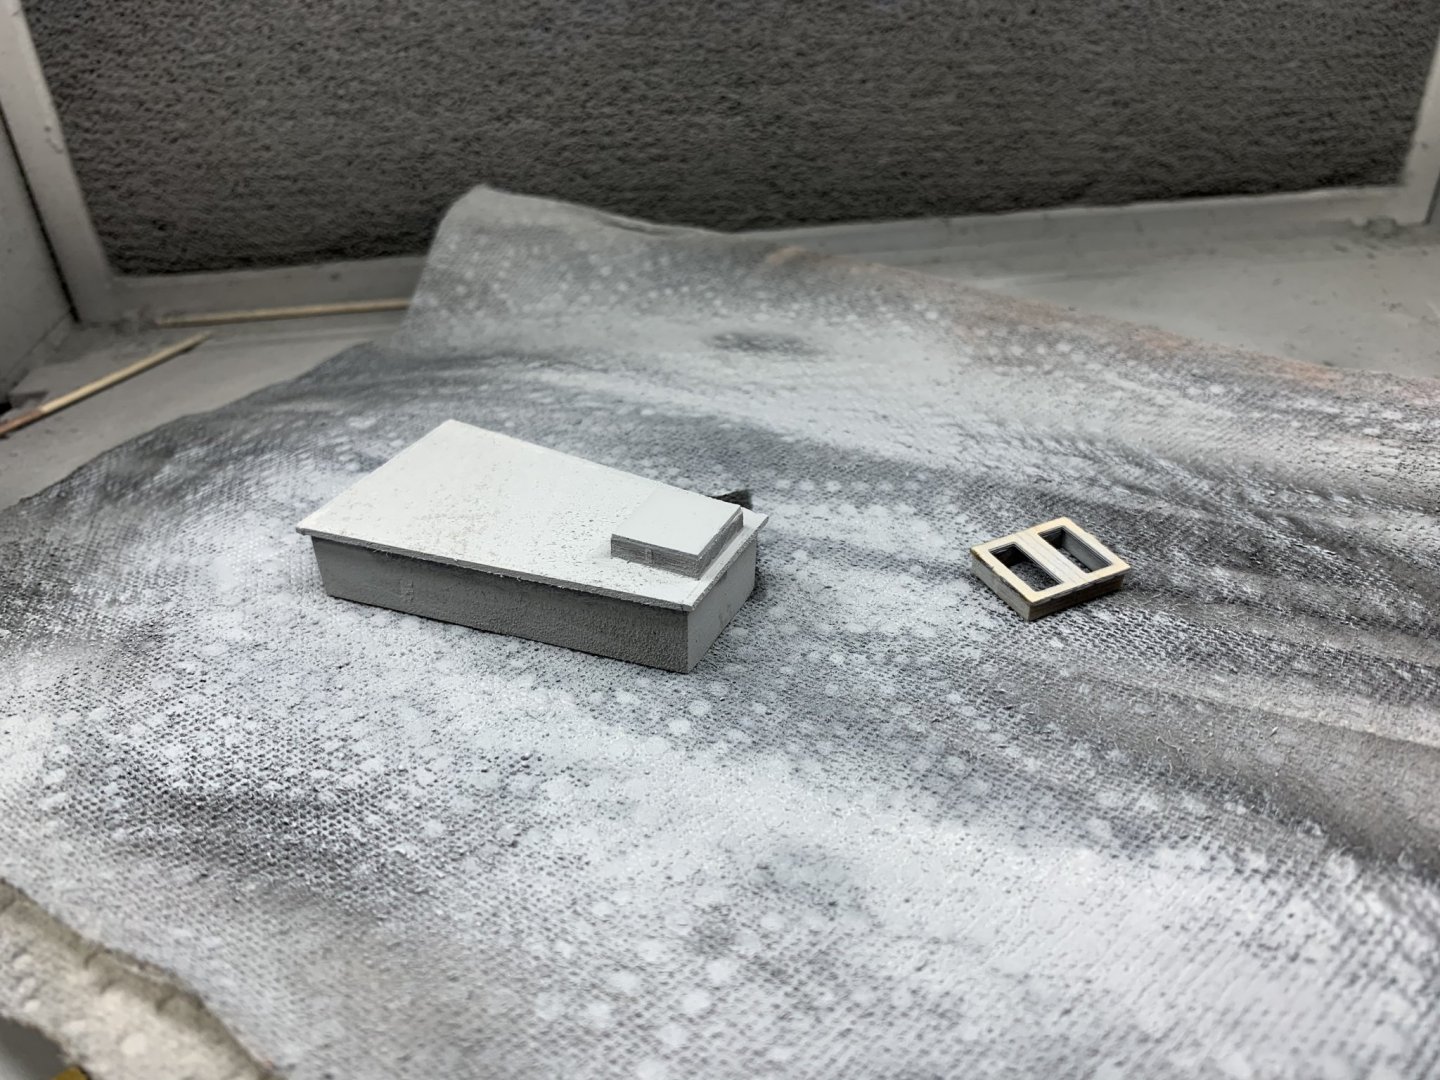
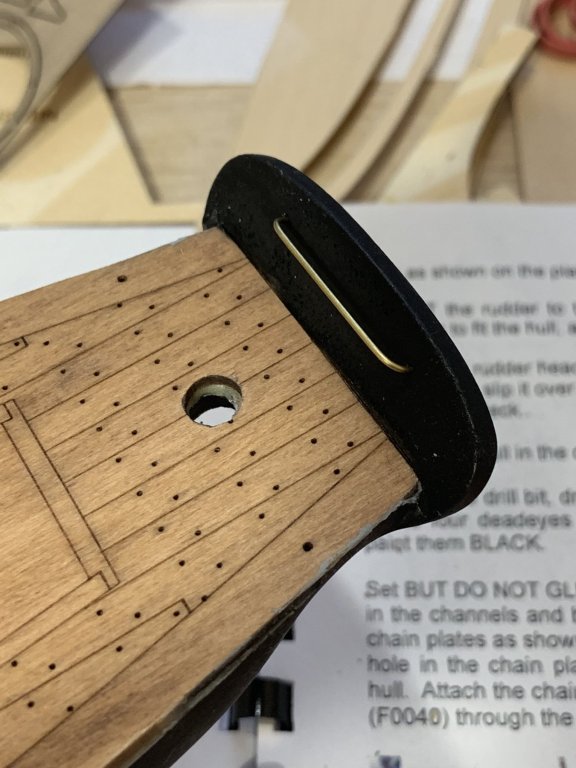
Made a little more progress tonight! Mounted and pinned the rigging attachment points to the deadeye chain plates. After mounting I added another coat of touch up paint. The #75 drill worked great in the drill and was much faster than a pin vice. Next I painted the rudder plate cover and rear cabin assembly as well as the skylight cover. I glued the rudder plate cover in place and dry fit the remaining pieces. I need to cut the clear plate next to shape before gluing the cabin down. Compared to carving and coppering the hull these features go very fast

- 104 replies
-
- 3
-
-
- revenue cutter
- BlueJacket Shipcrafters
- (and 1 more)
-
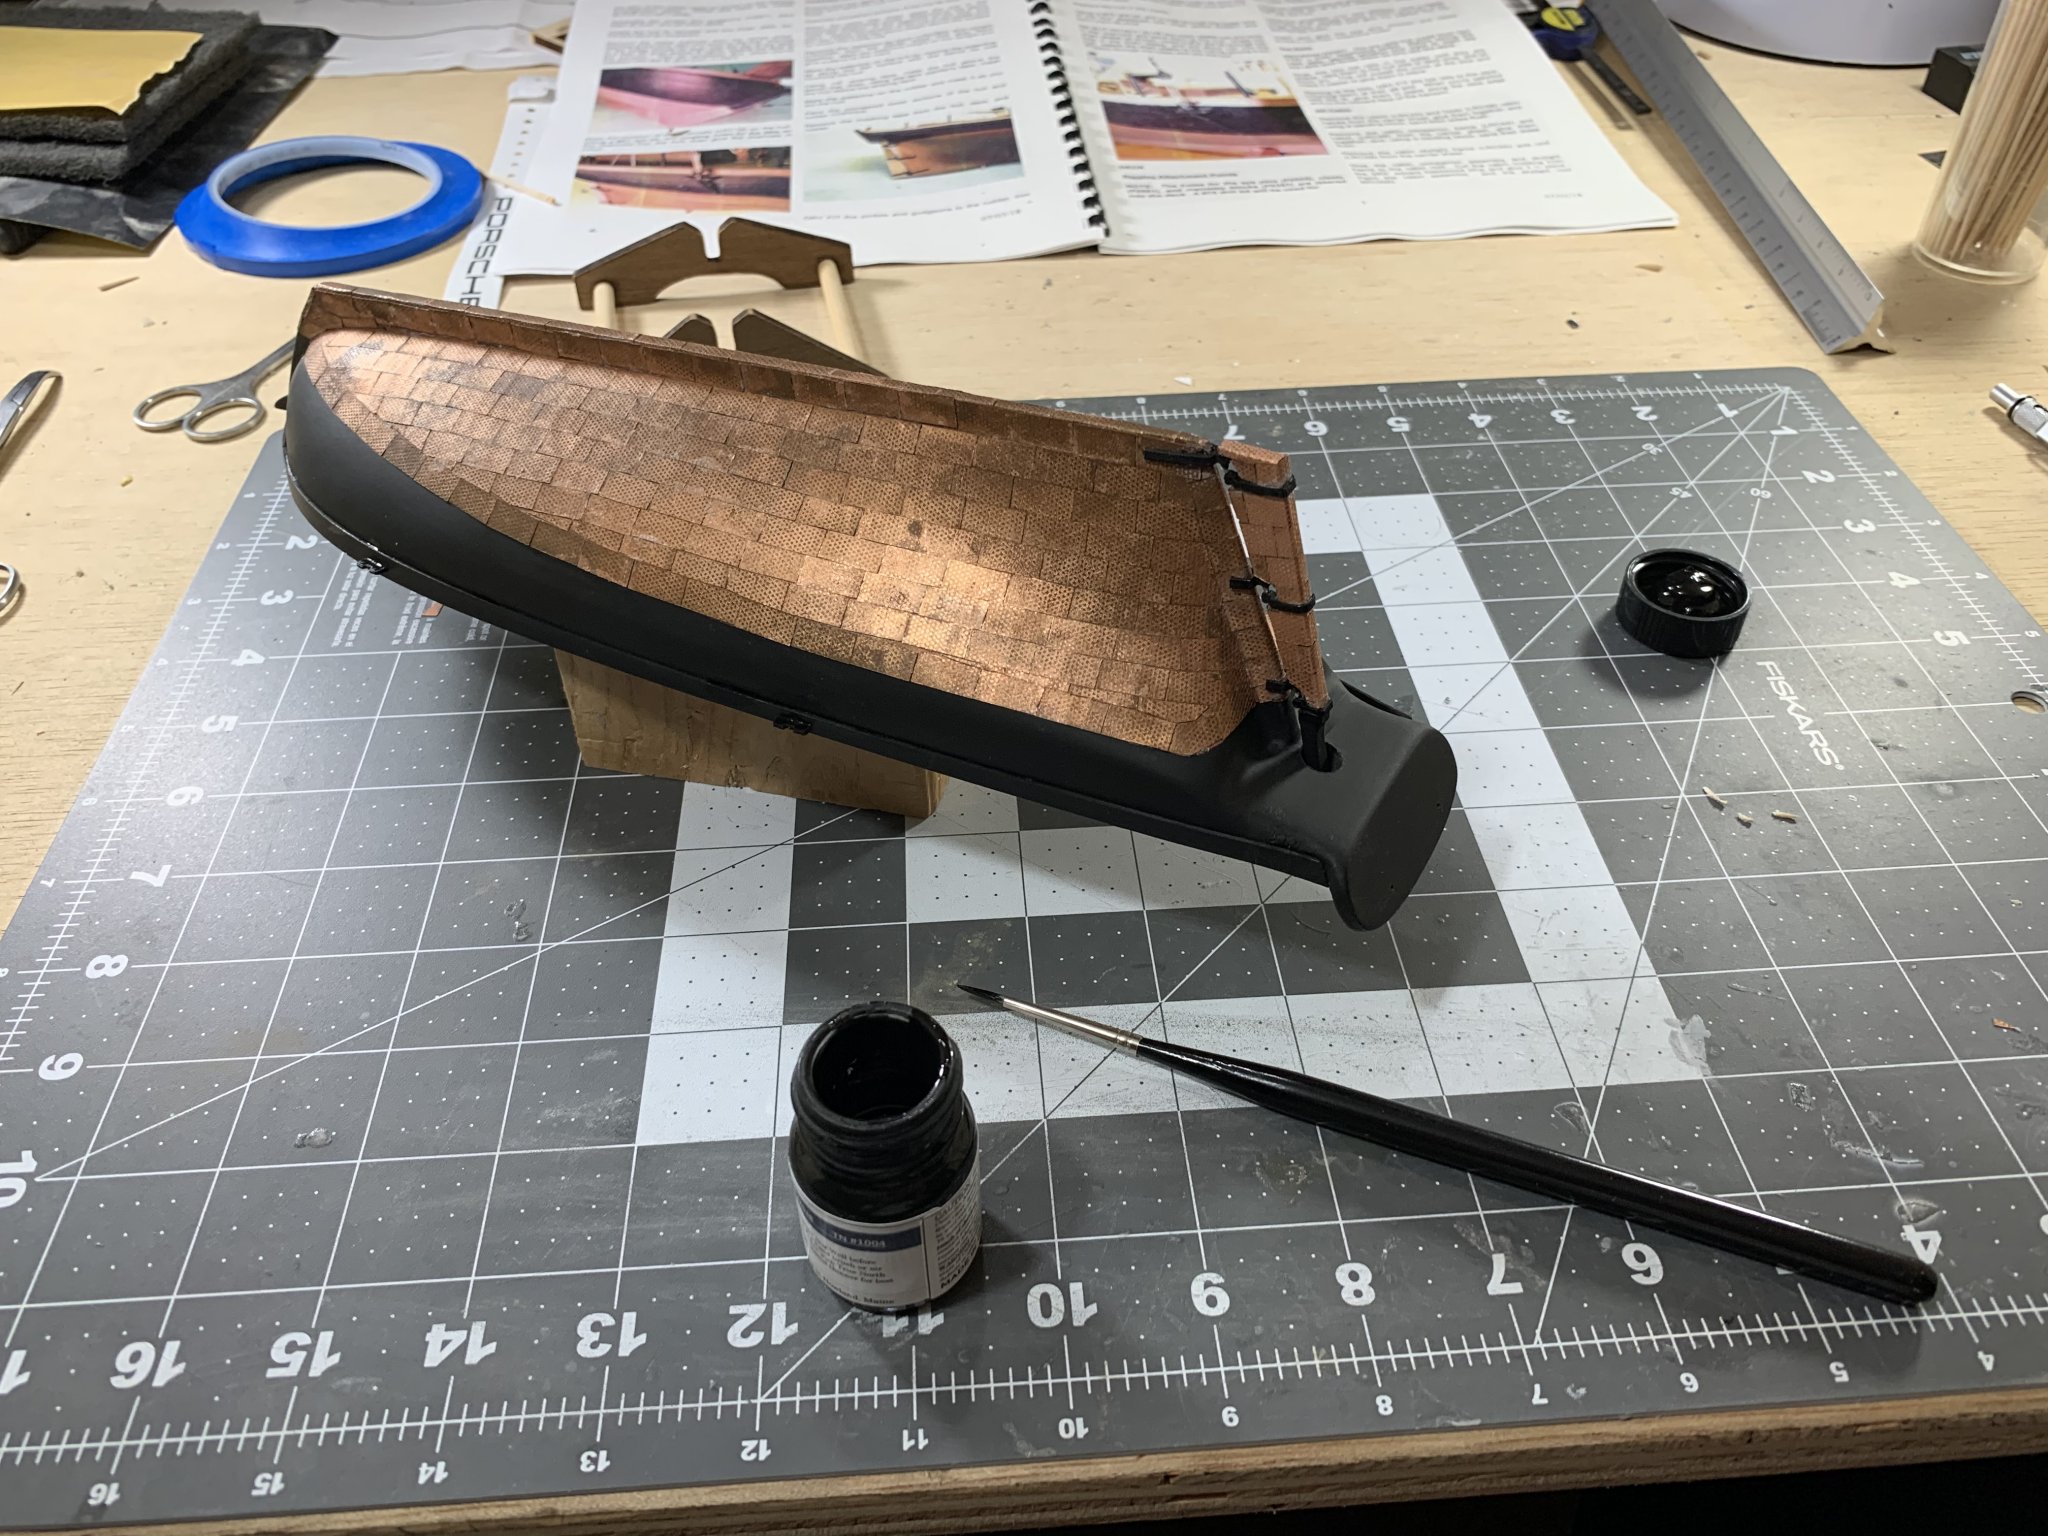
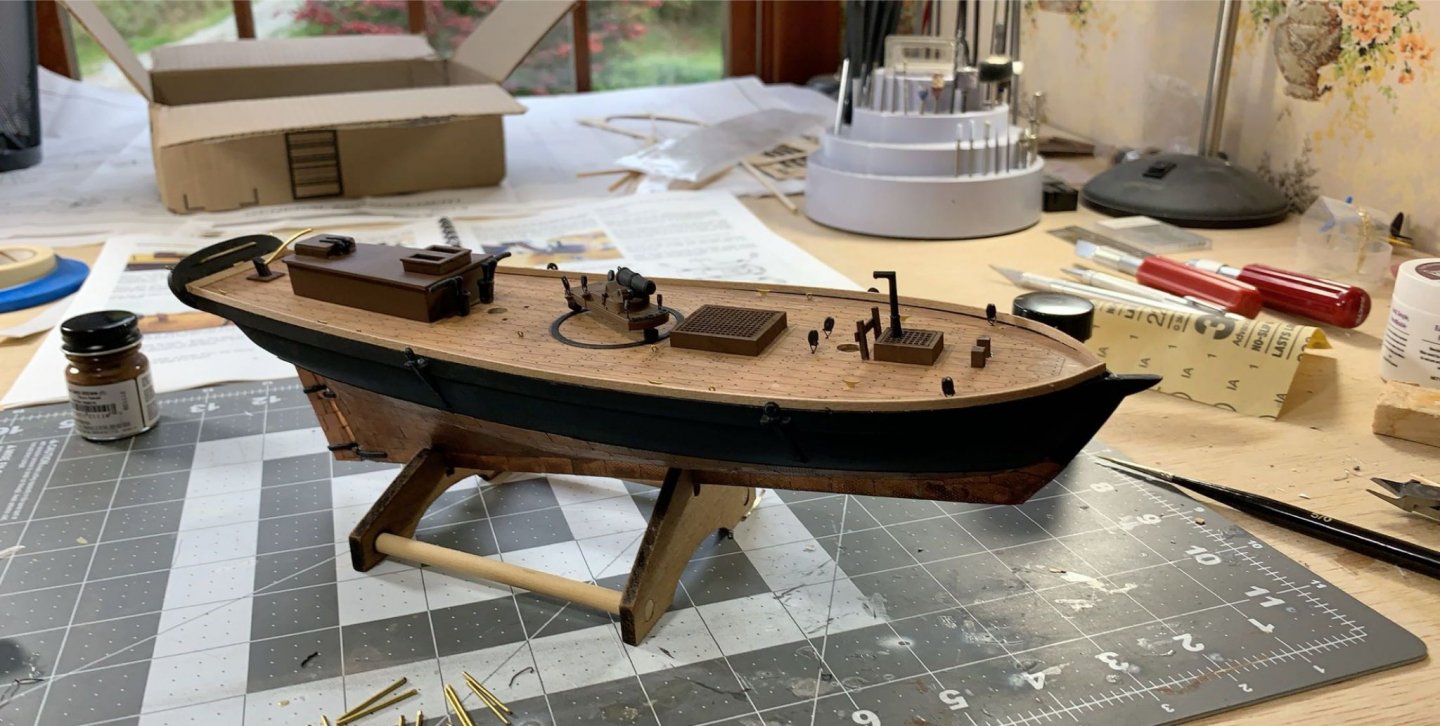
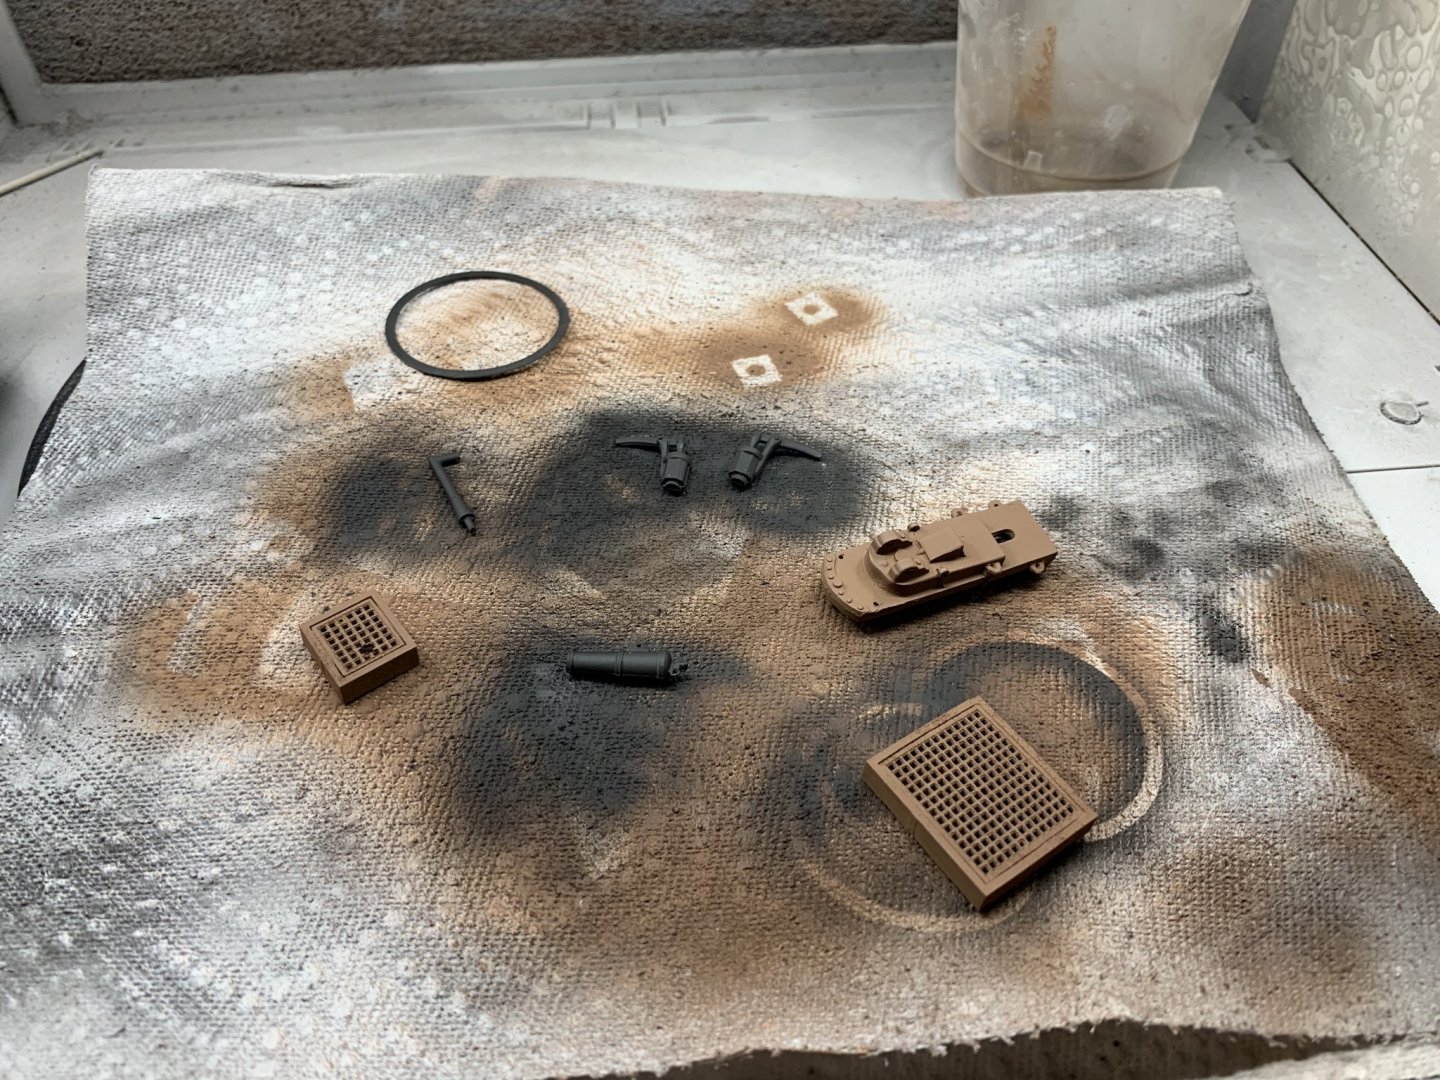
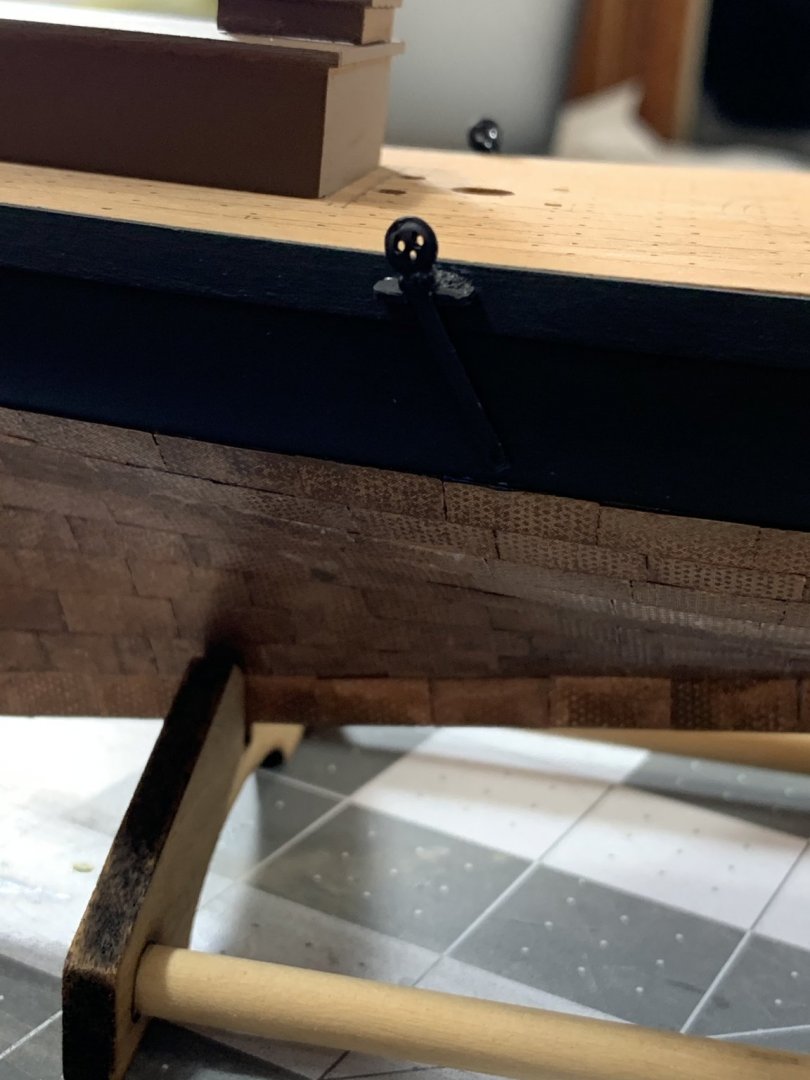
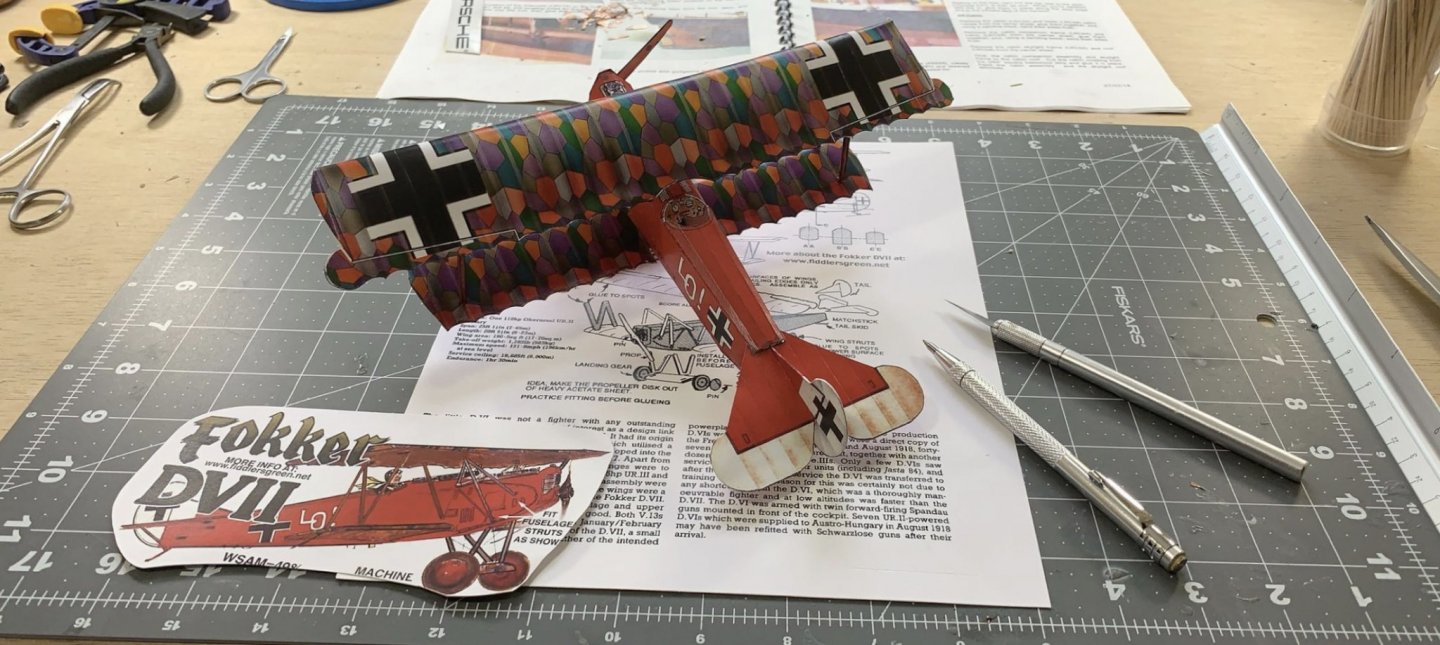
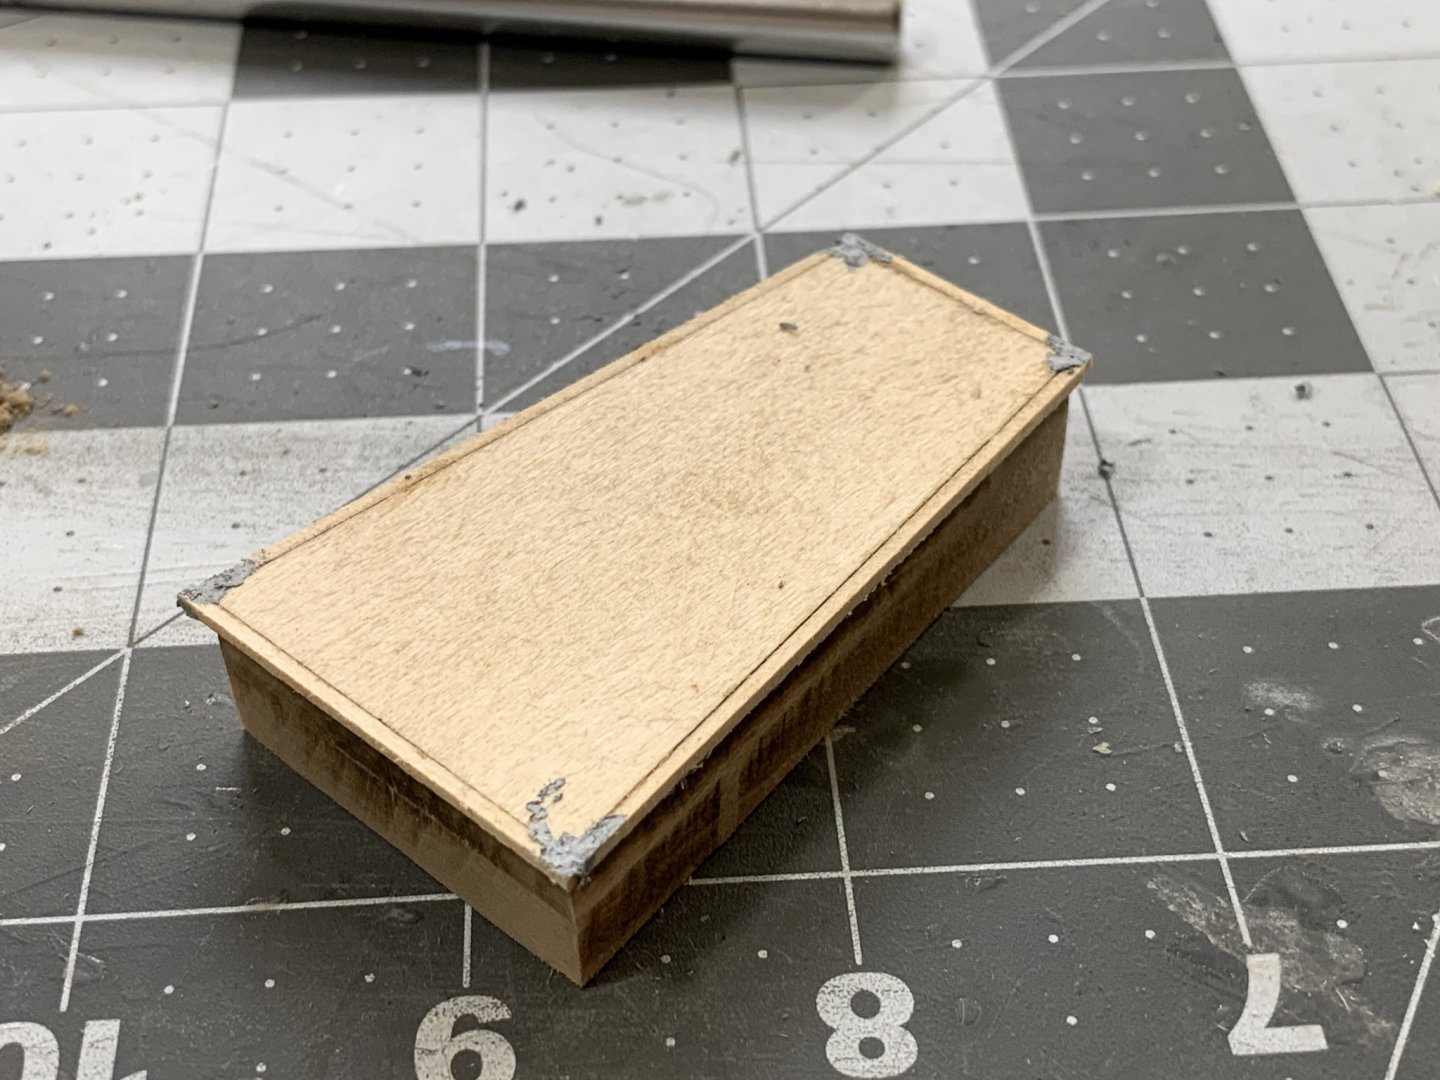
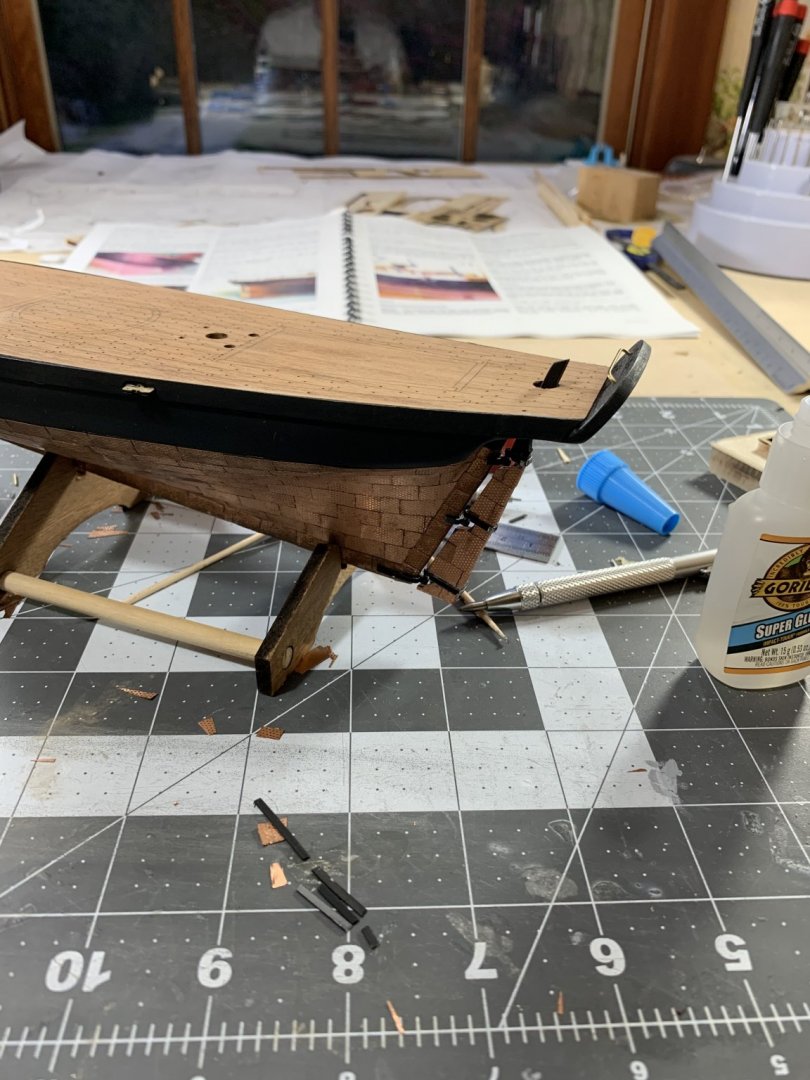
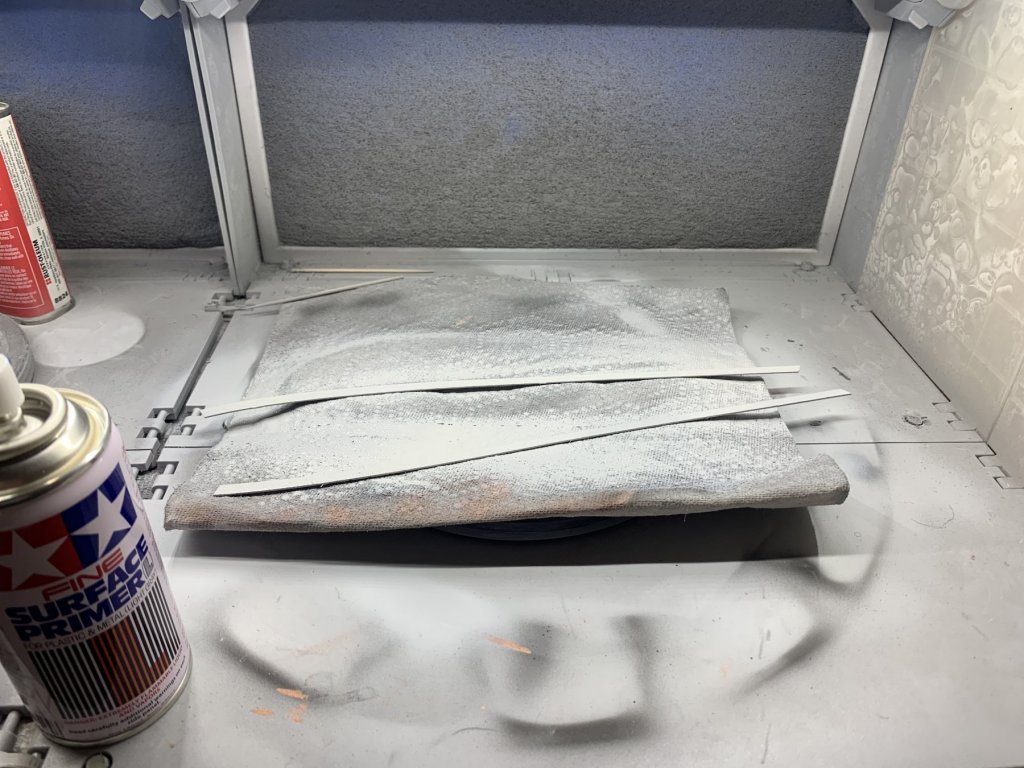
A busy end of summer meant I am just now getting back into the build. I also took a quick break from the Revenue Cutter to put together a card stock aircraft model. My first card stock model so fairly happy with the result. I finished copper plating the rudder and then installed the pintles and gudgeons. They were a little difficult to make fit since after adding the copper plating the rudder was ever so slightly thicker. After mounting the rudder to the hull it actually looks pretty good! I also went and installed the deadeye chain plates as well as the wales. The entire hull and various fittings needed a bit of touch up paint before moving on. I also got a start on the aft cabin. Gluing it together and getting a first coat of primer. Super happy to be back working on the model and making progress!


- 104 replies
-
- 6
-
-
- revenue cutter
- BlueJacket Shipcrafters
- (and 1 more)
-
@Heinrich der Seefahrer thanks so much!
-
Thanks @Heinrich der Seefahrer for all of the great advice! I was going to ask for what to do with the tarnished plates on the hull. Do you have a link to the benzol wash you are thinking of? Maybe Amazon link? I think that would be super helpful in restoring the luster to the plates. I have a copy of Chapelle's book (which I believe the plans for this kit originated from). I'll read through it to see what I can find as it relates to the false keel. Thanks so much for the pro tip! Thank you for the compliment and the advice! I'll try the recommendation for emphasizing each separate plank. Also, everyone else, thanks for all of the likes!!
- 104 replies
-
- 1
-
-
- revenue cutter
- BlueJacket Shipcrafters
- (and 1 more)
-
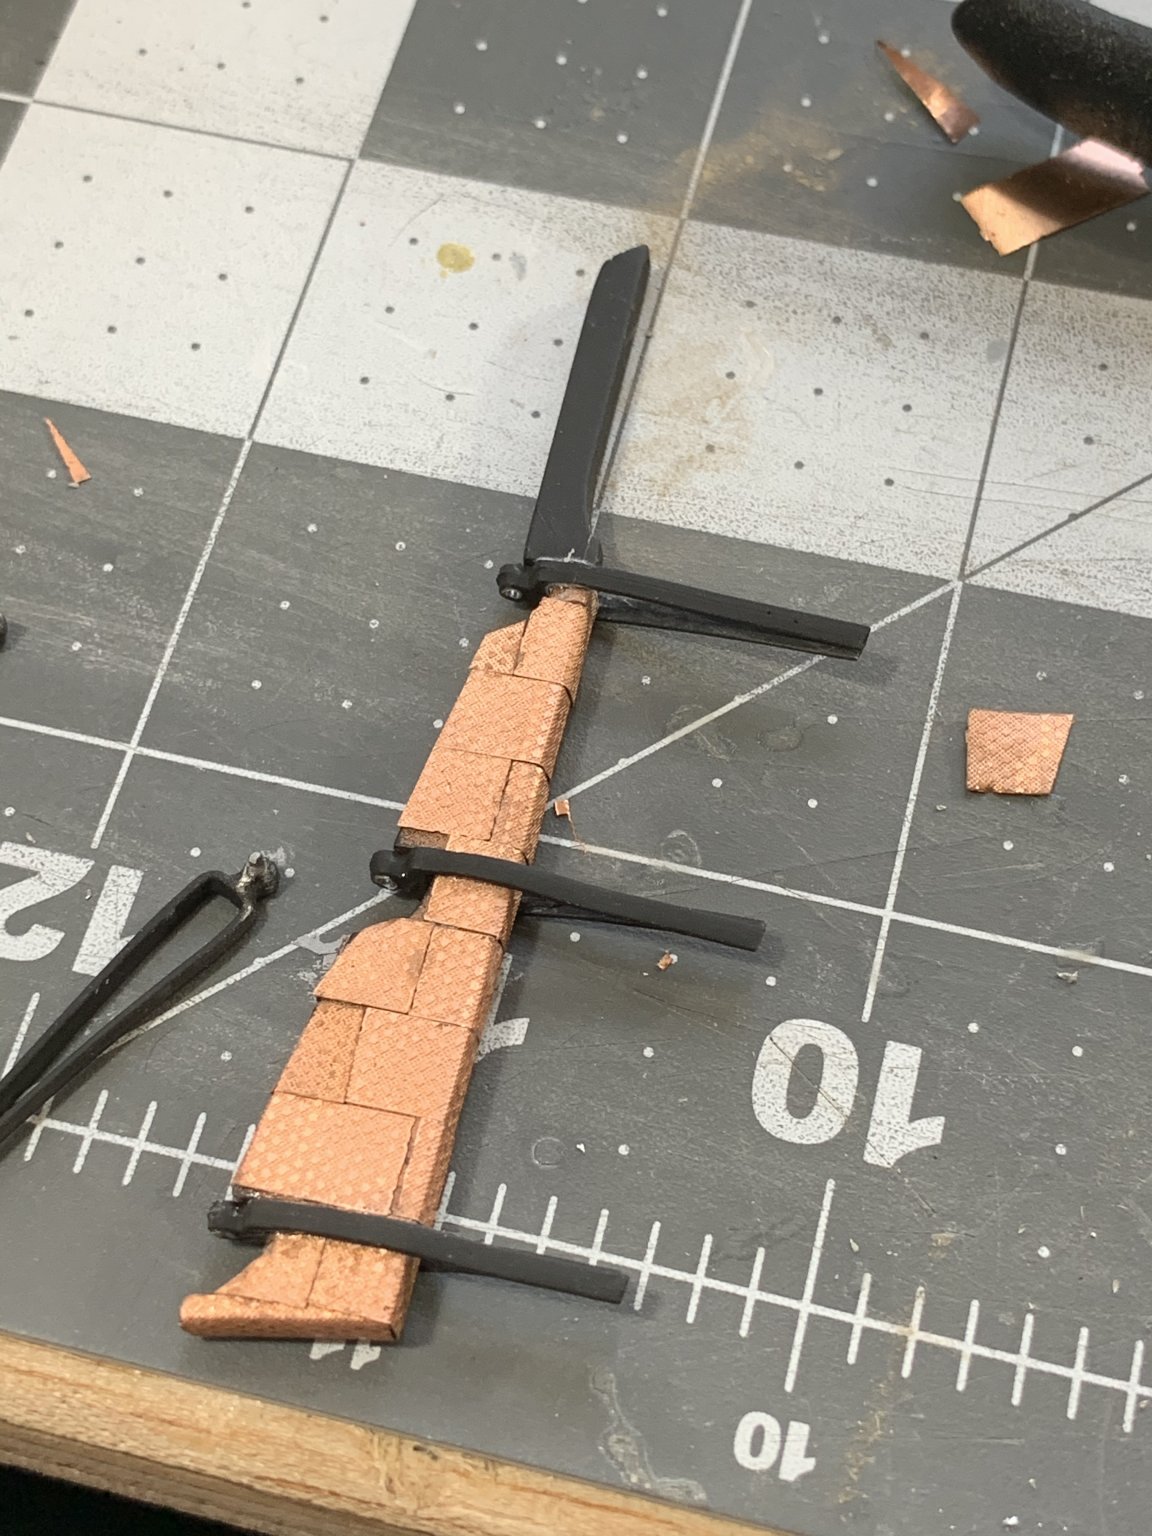
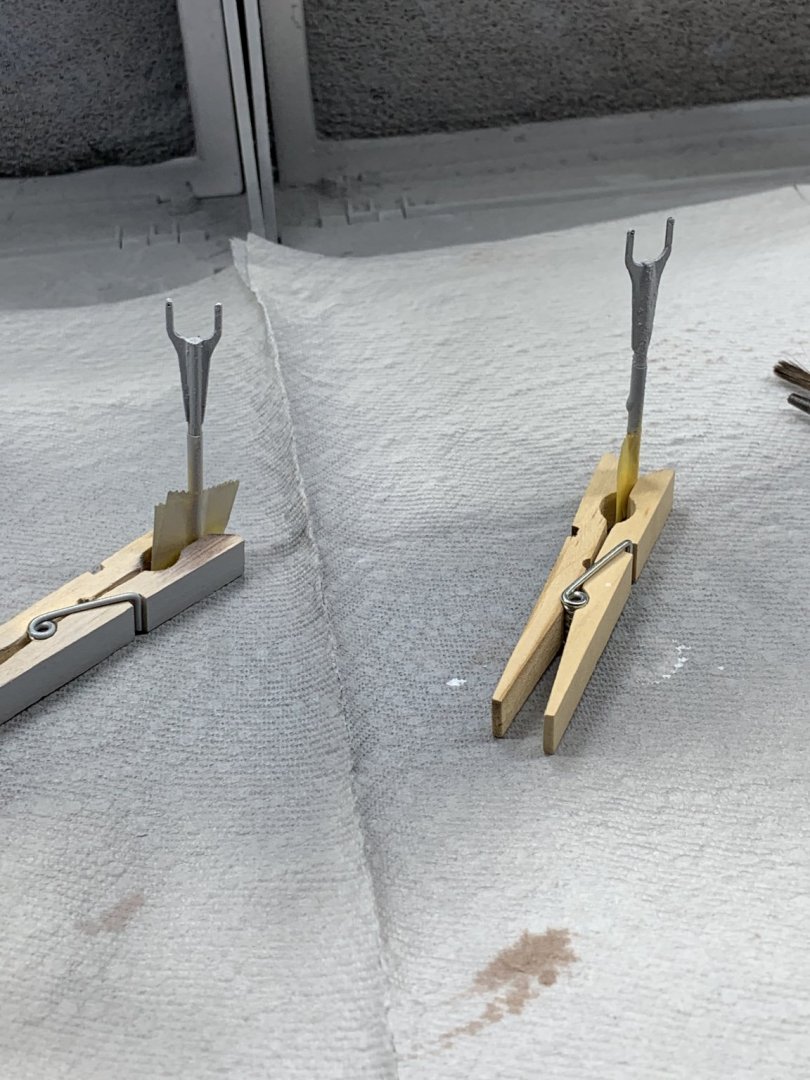
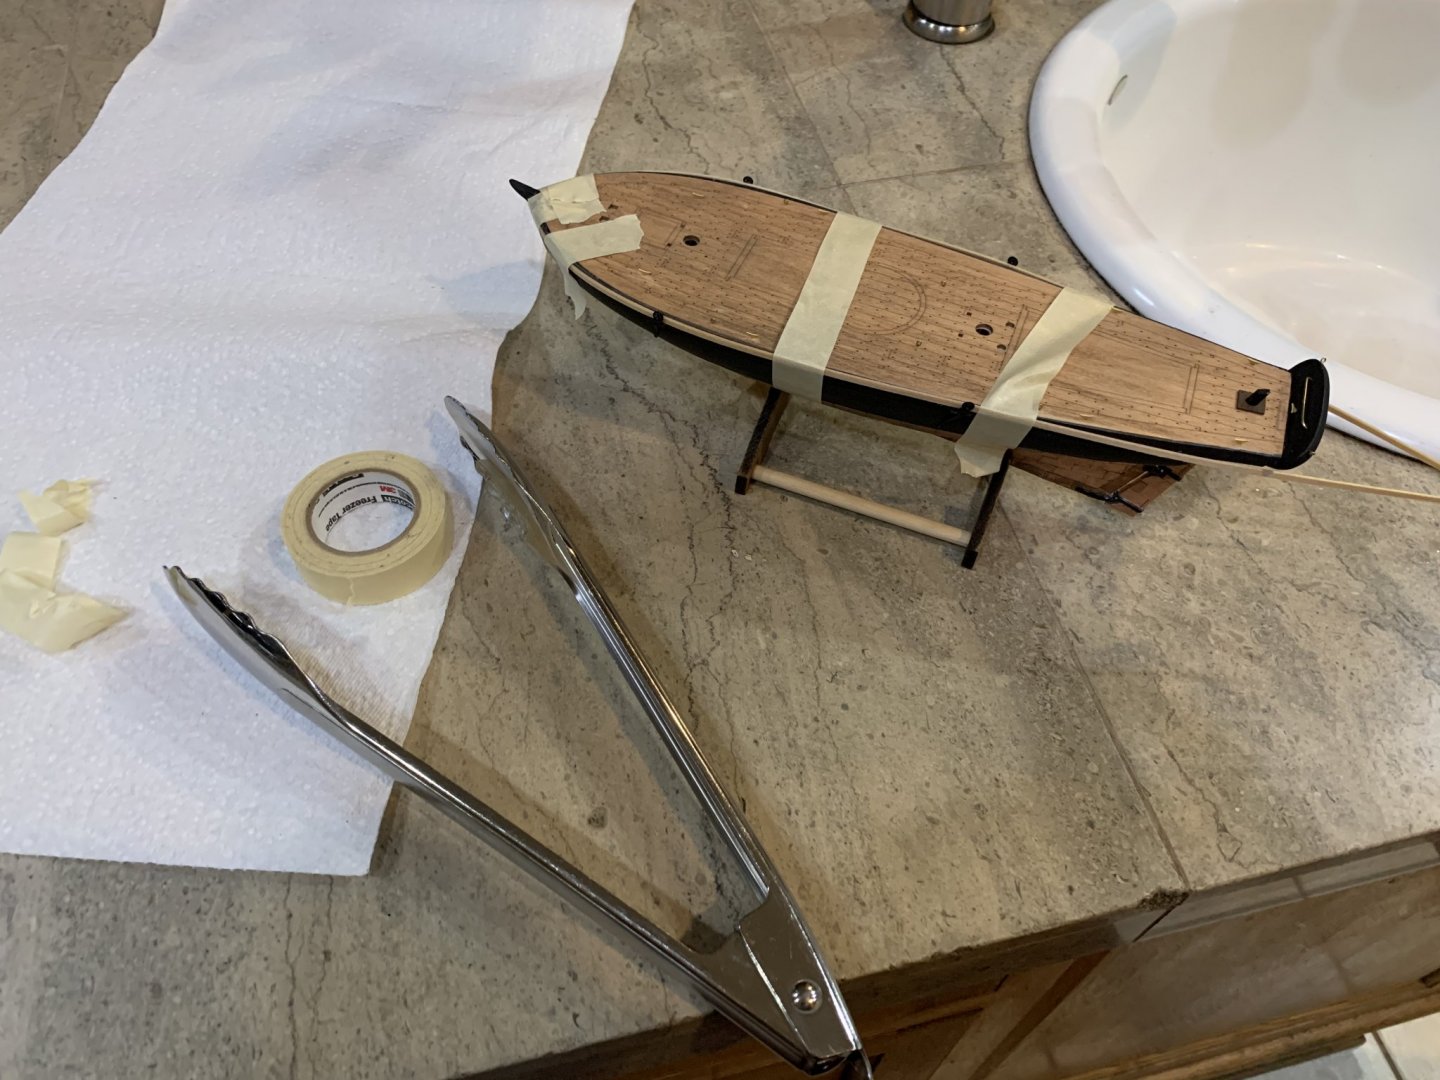
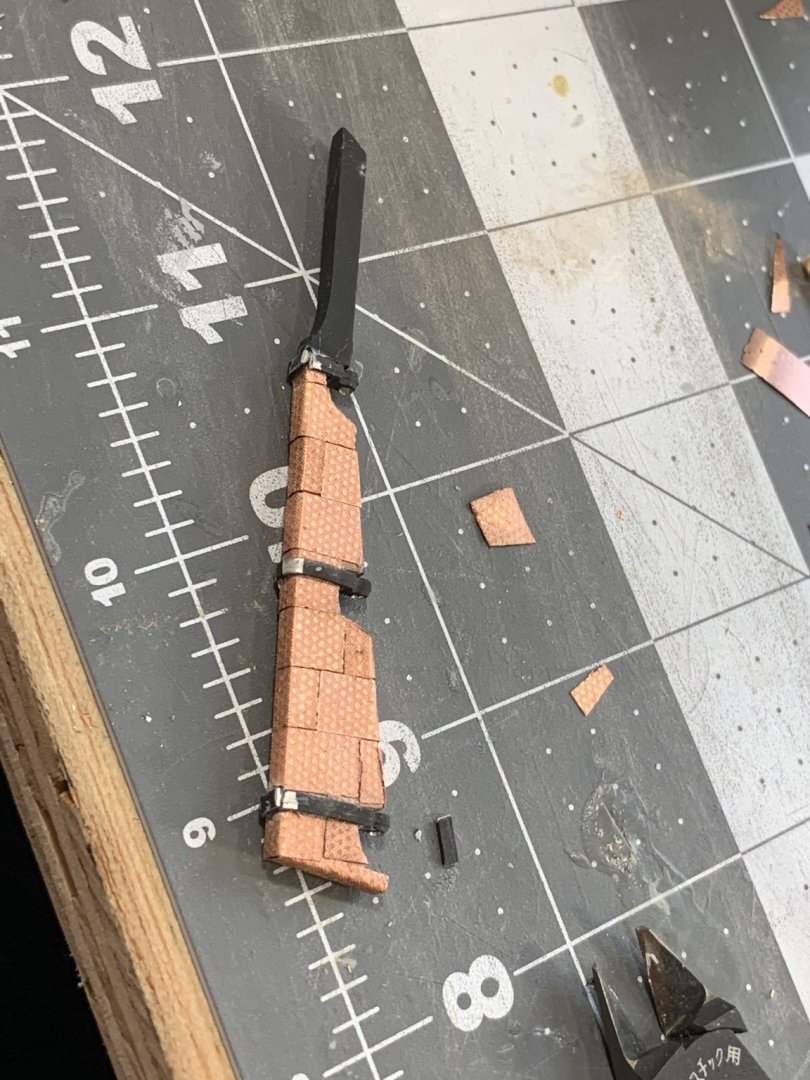
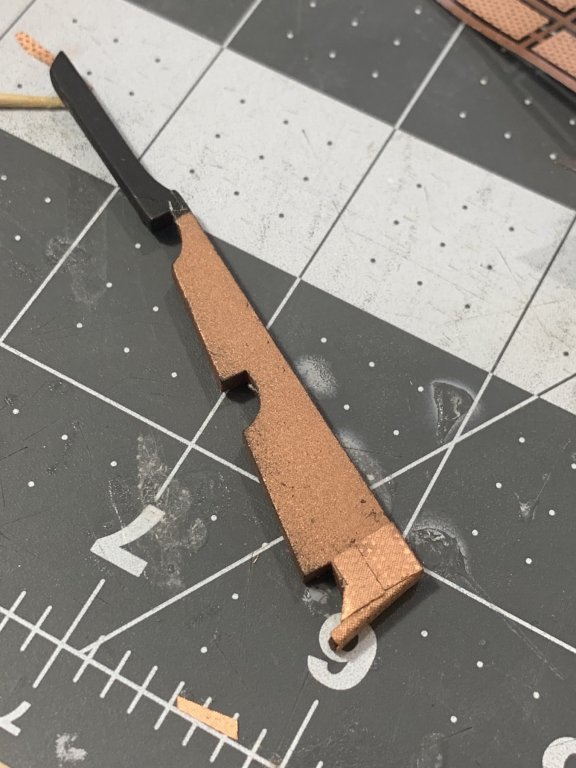
Made some more progress this evening on some small details. The first detail was sanding the cradle a but a bit so the keel would fit in again. The keel is now a little bit thicker because of the copper plates. I bent and and installed the brass boom traveler into place. I have a cutting mat with one inch squares on it so it made bending the corners at an inch per the plans super easy. I also cut off the extended bass on the backside and used a bit of touch up paint to cover the brass. Next was painting the copper part of the rudder to prepare for the copper plates. I should have done this earlier but forgot. I held it upright with a clothes pin for easier painting. I then measured, cut and began priming the wales. They are laser cut to shape and match the hull and deck perfectly when bent - a great touch by Bluejacket. I then applied a couple copper plates to the rudder being careful to cut, bend, and dry fit each plate before gluing. After coppering the hull I feel like I have learned a ton in the skill.

- 104 replies
-
- 3
-
-
- revenue cutter
- BlueJacket Shipcrafters
- (and 1 more)
-
Thank you! @MrBlueJacket
-
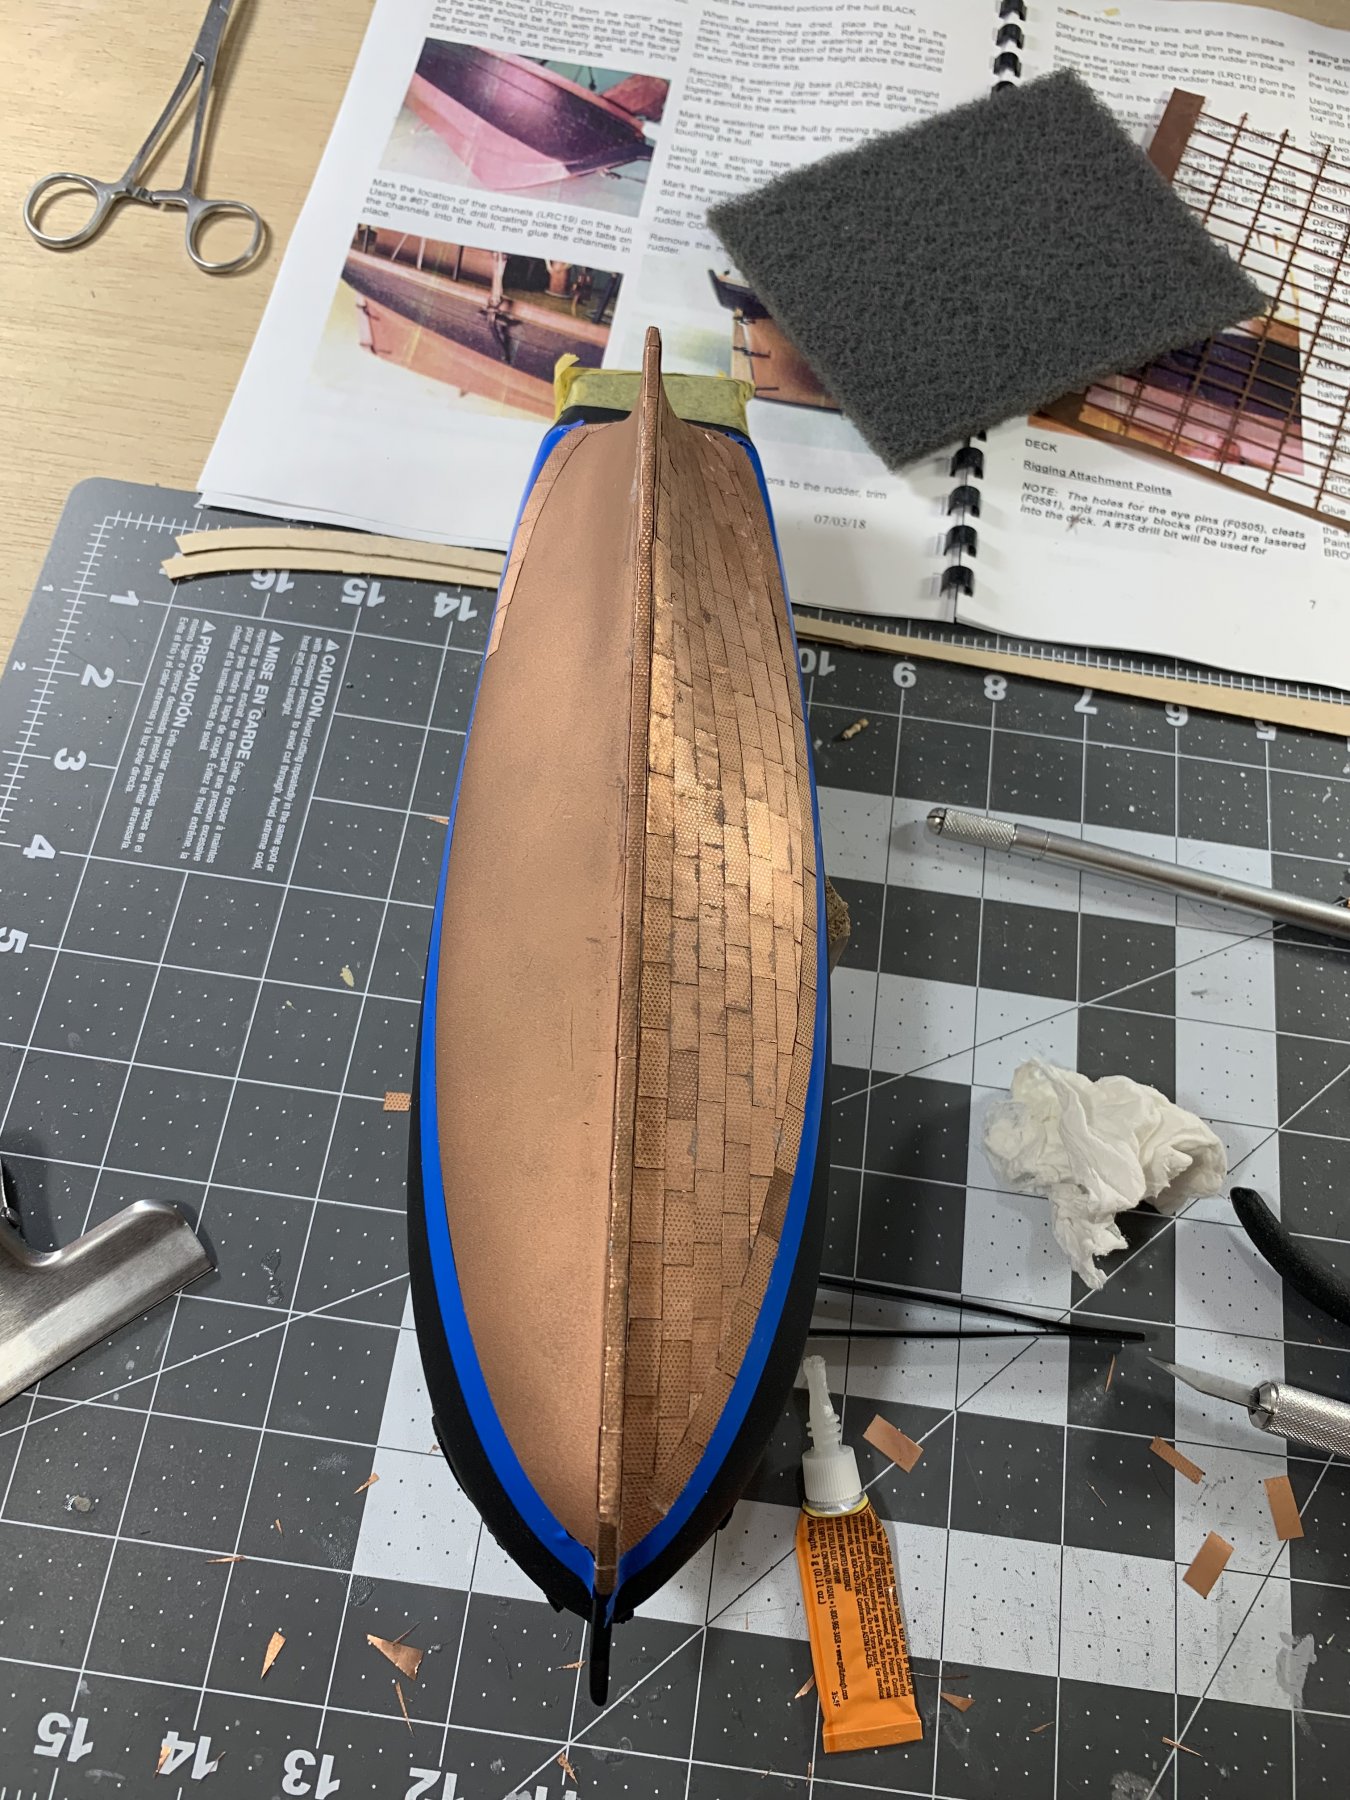
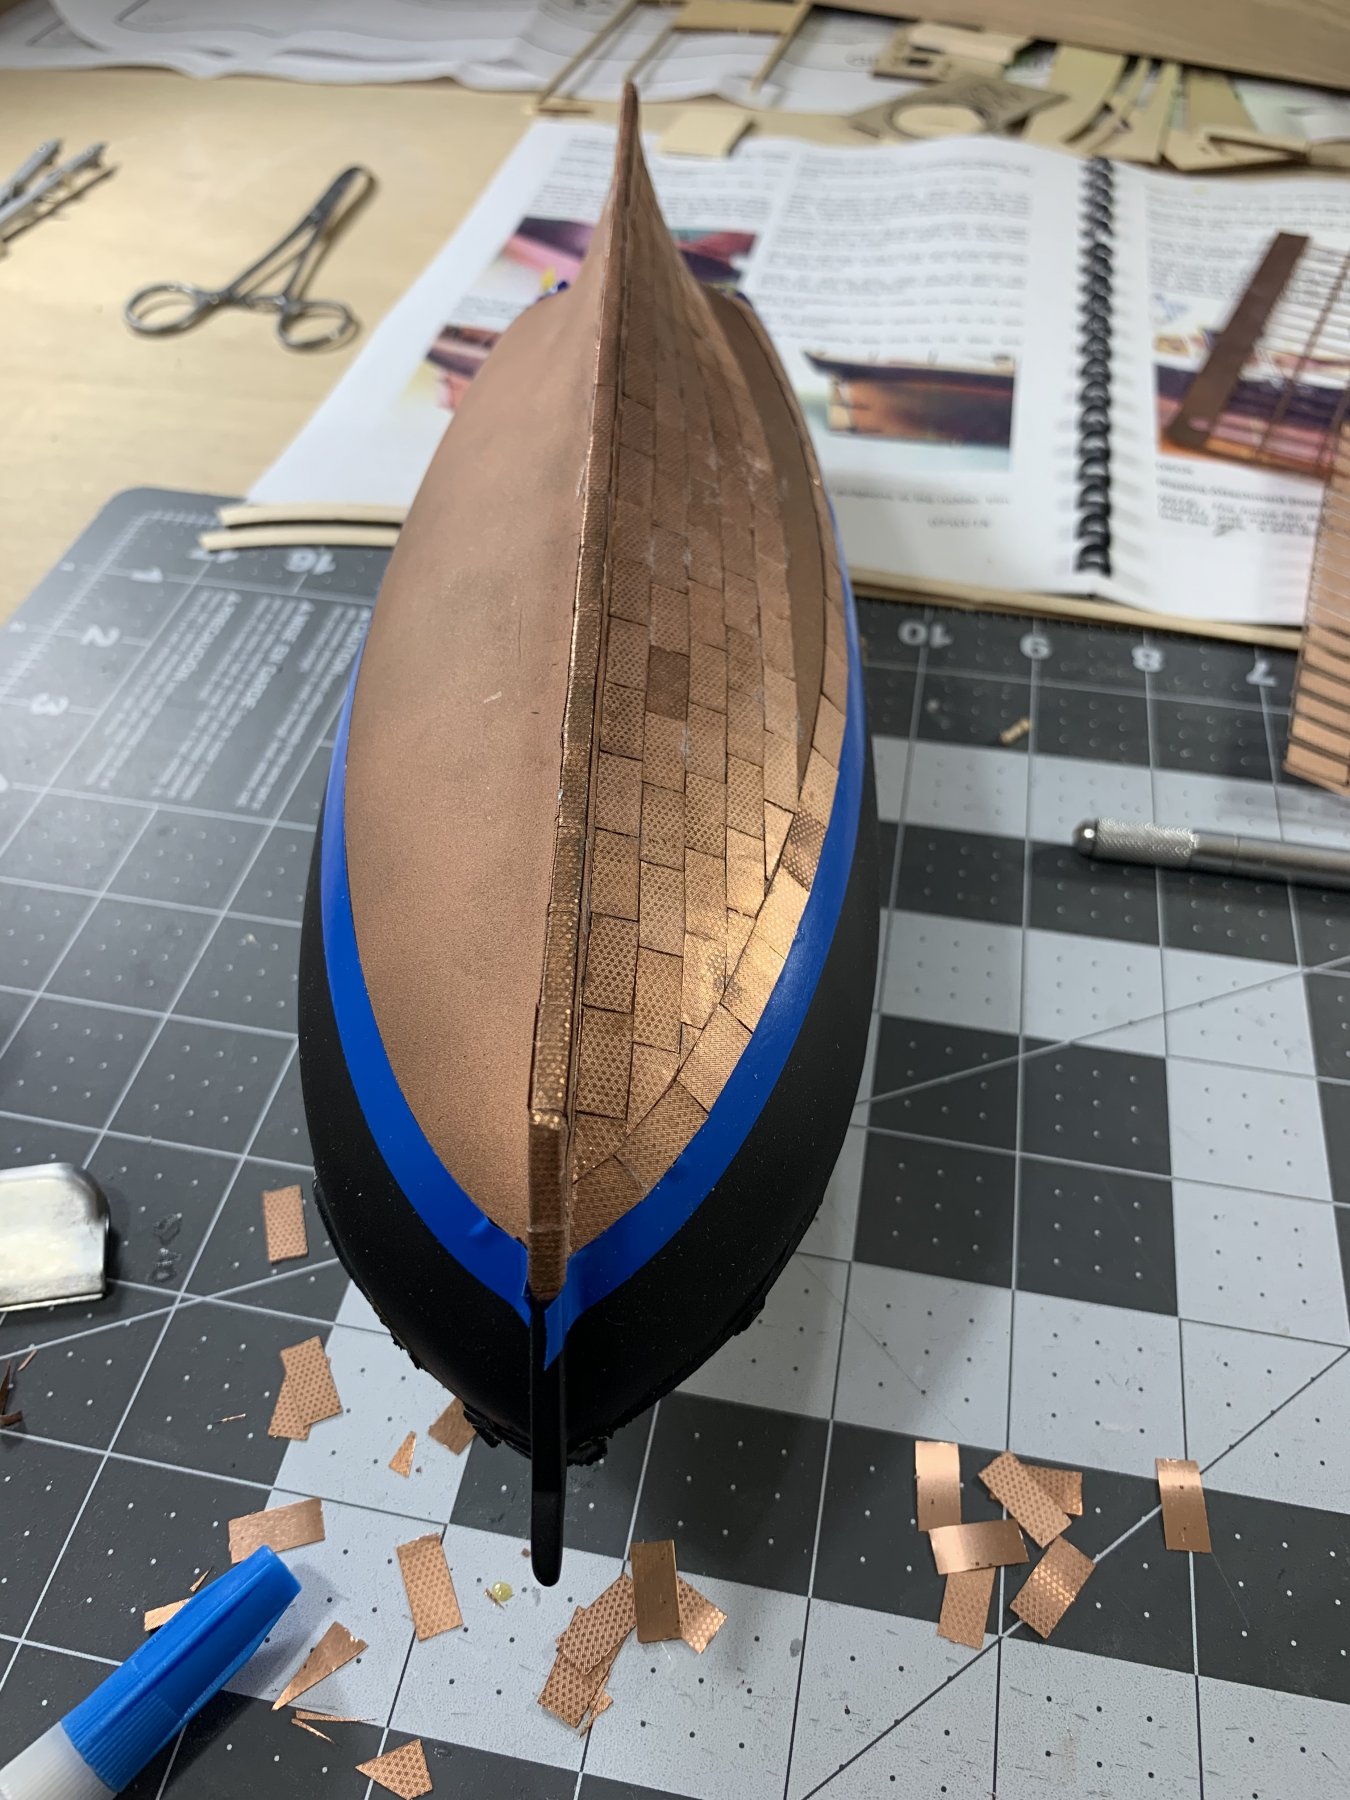
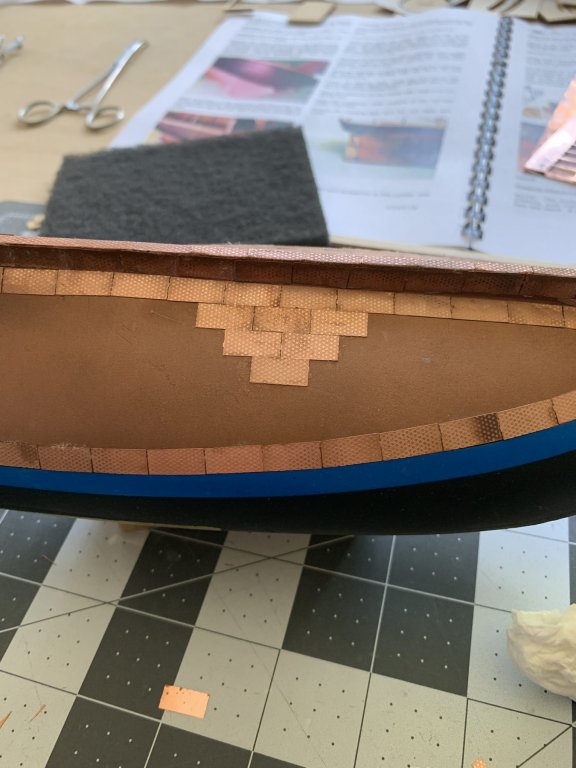
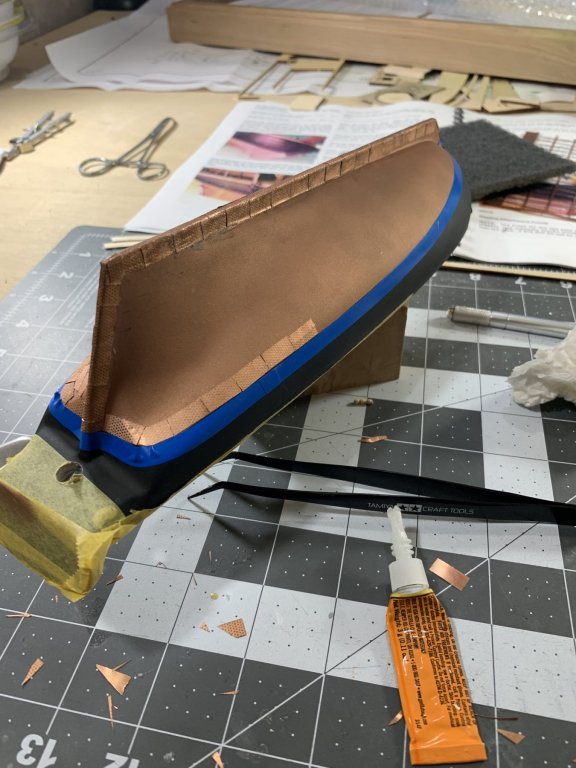
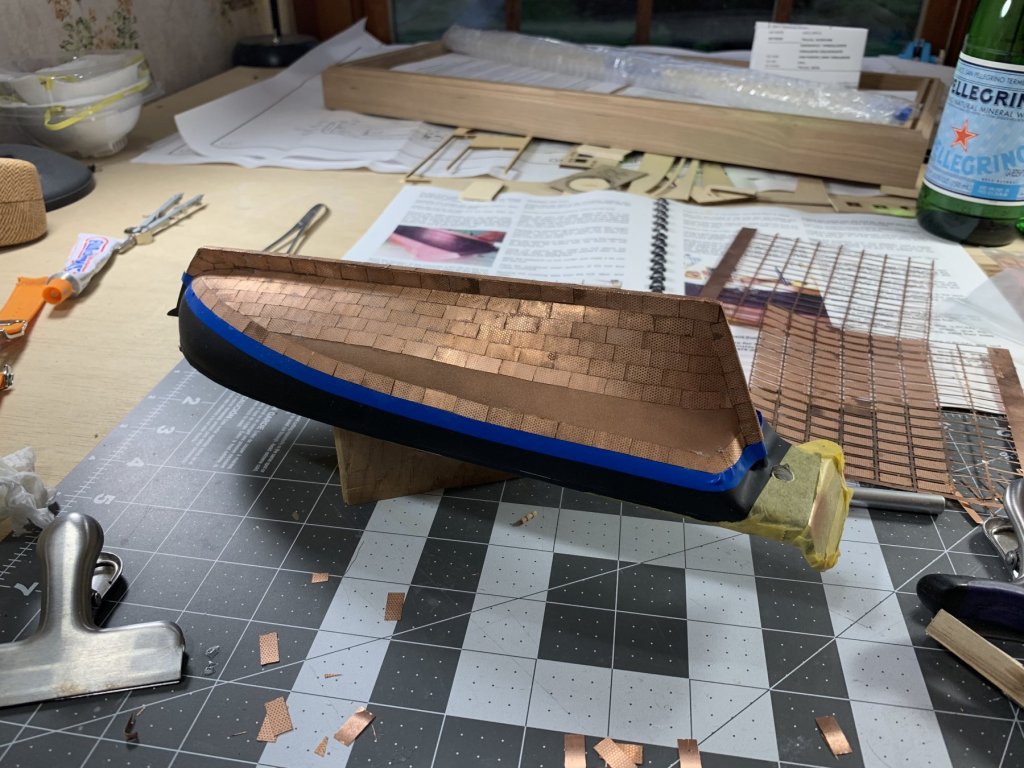
Had some unexpected time this evening and finished the plating! One major difference I made this time was starting in the middle and working my way out to ensure an even overlap between each set of plates. For my first time ever copper plating and only my third model ship I am pretty happy with it


- 104 replies
-
- 7
-
-
- revenue cutter
- BlueJacket Shipcrafters
- (and 1 more)
-
Thanks @Cathead! I totally will be doing that on future builds. Made a a little more progress this weekend. The first pass on both the top and bottom take the longest. Also, cutting the plates along the keel takes a while because of the various curves. Overall happy with the progress!

- 104 replies
-
- 3
-
-
- revenue cutter
- BlueJacket Shipcrafters
- (and 1 more)
-
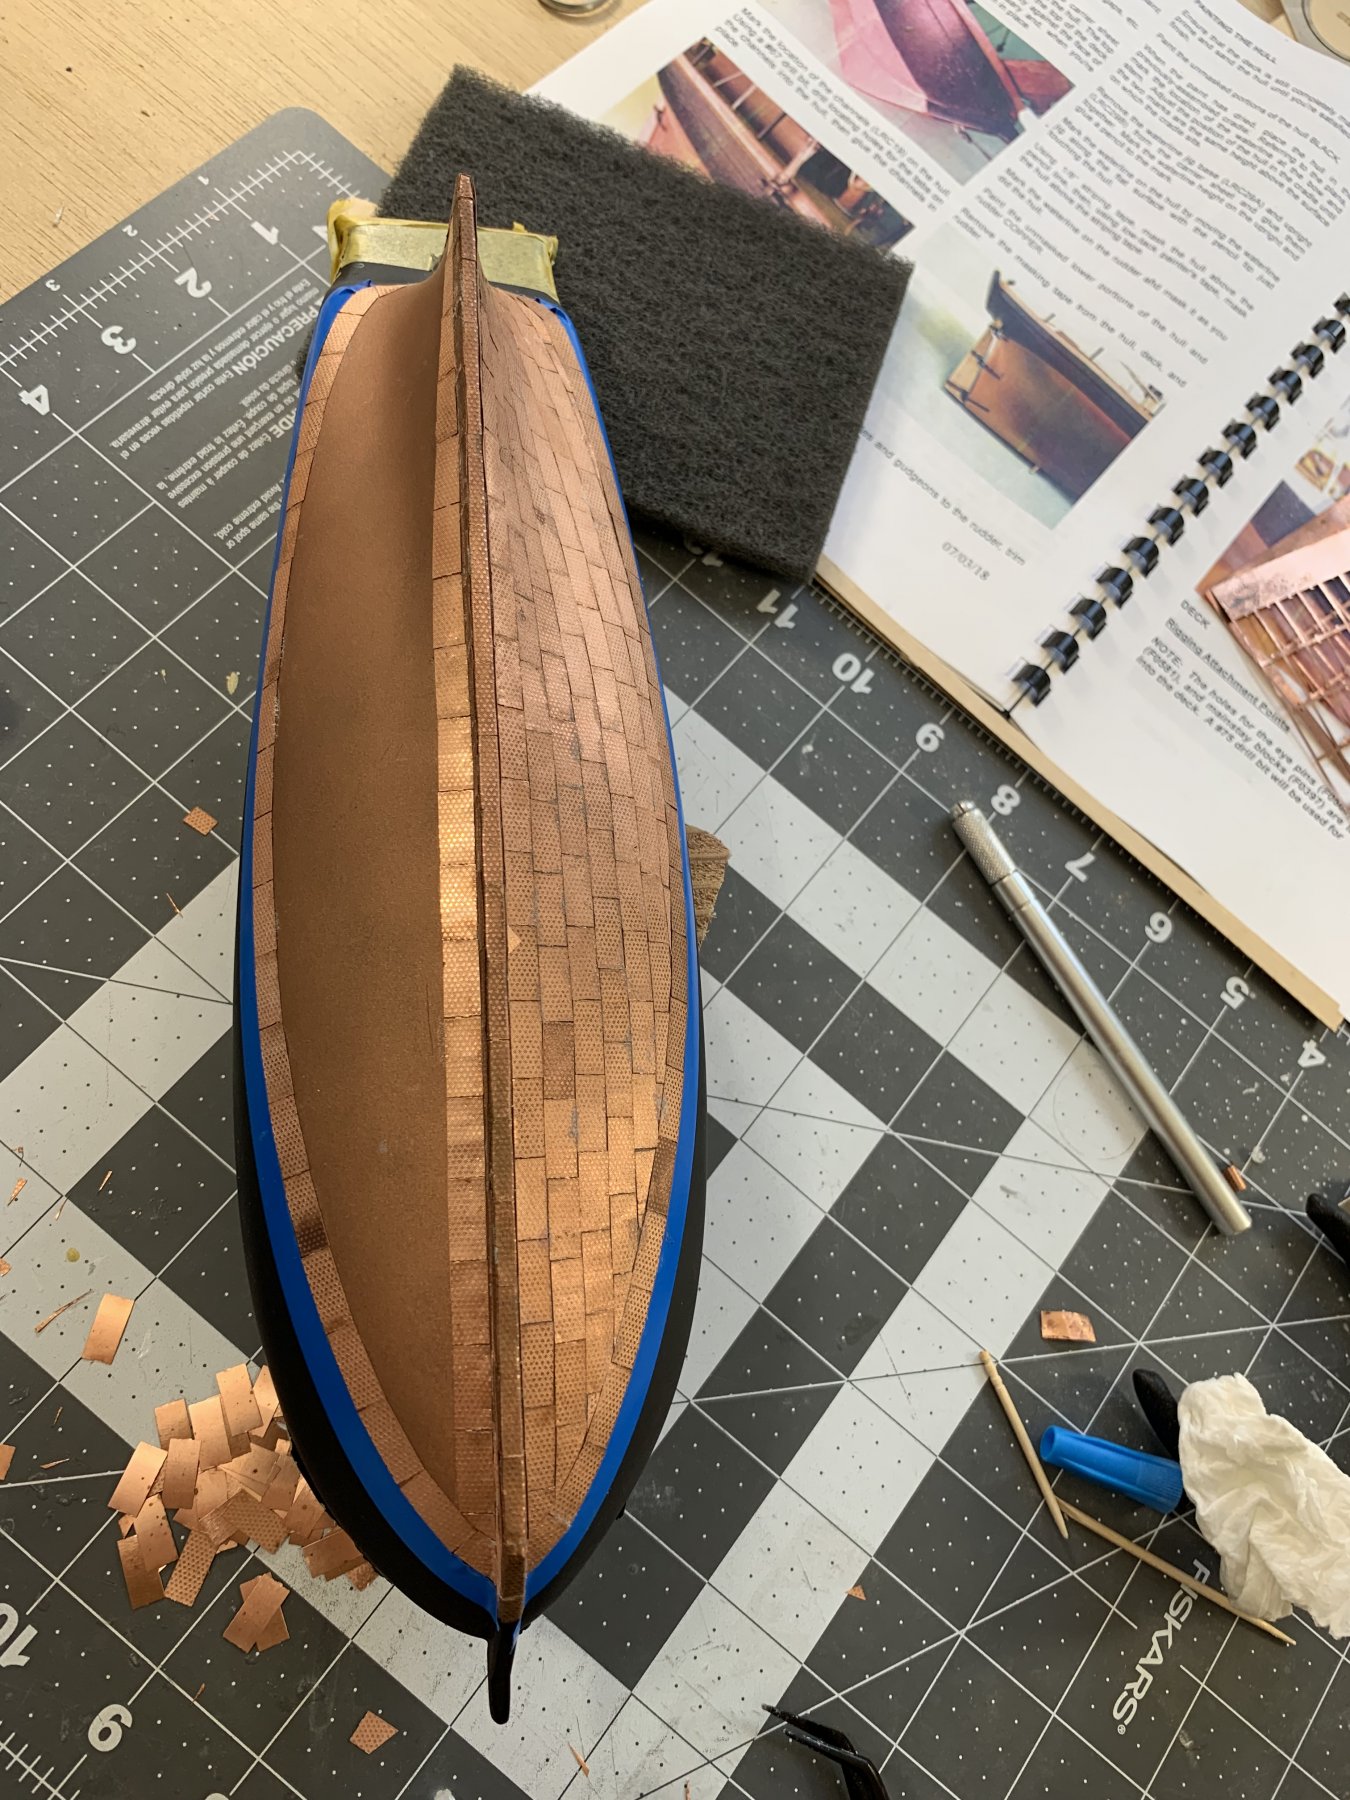
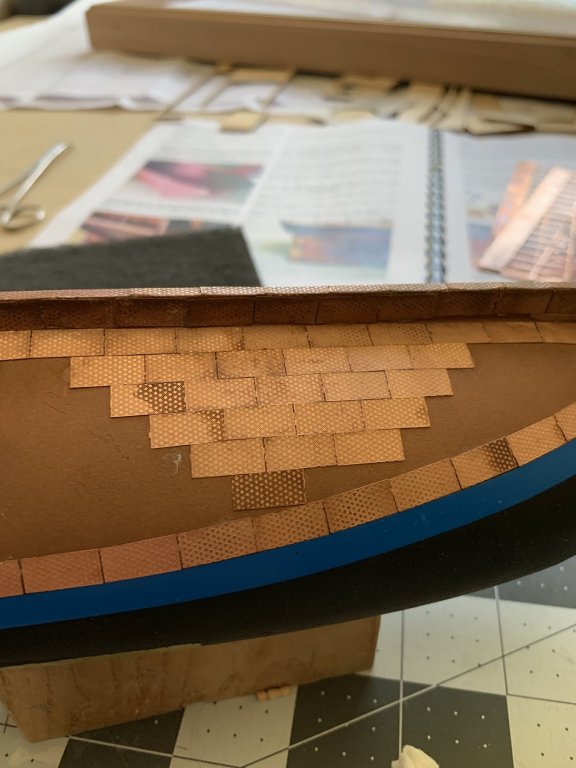
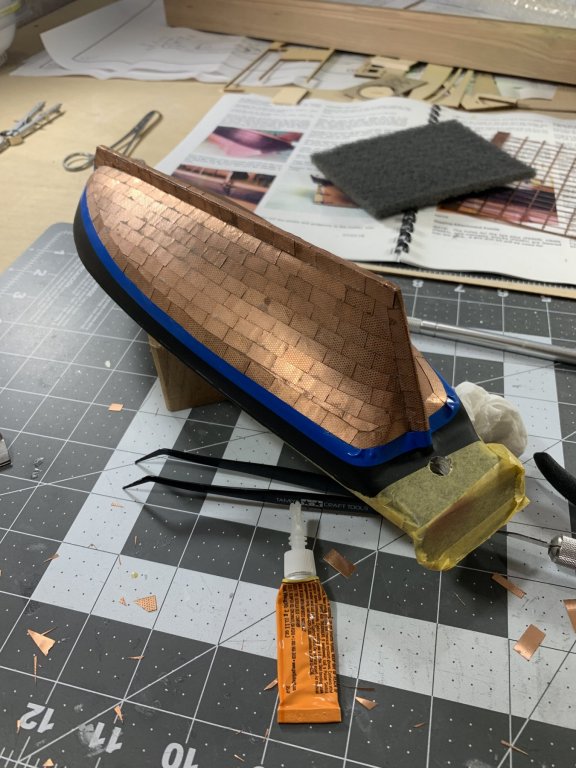
Finished half the hull of copper plating and started on the second half. I suspect the second half will look much better (it’s already looking better) so I may have to be clever in displaying the finished model. Honestly its it’s very rewarding to look at the completed plates.


- 104 replies
-
- 3
-
-
- revenue cutter
- BlueJacket Shipcrafters
- (and 1 more)
-
Made some more progress this weekend on the plates. I feel that as I continue I keep getting better at shaping and applying the plates. When the intersect at the bow and stern they need to be cut to match properly which takes way more time than I would have guessed. Anyways, learning a ton and looking forward to putting plates on my next model I work on as well.

- 104 replies
-
- 3
-
-
- revenue cutter
- BlueJacket Shipcrafters
- (and 1 more)
-
Thanks guys for the tips! I'll see if I can get some of the cutters that were recommended. Going to try and make some more progress tonight
- 104 replies
-
- 1
-
-
- revenue cutter
- BlueJacket Shipcrafters
- (and 1 more)