HOLIDAY DONATION DRIVE - SUPPORT MSW - DO YOUR PART TO KEEP THIS GREAT FORUM GOING! (Only 69 donations so far out of 49,000 members - Can we at least get 100? C'mon guys!)
×


AndyMech
-
Posts
363 -
Joined
-
Last visited
Content Type
Profiles
Forums
Gallery
Events
Everything posted by AndyMech
-
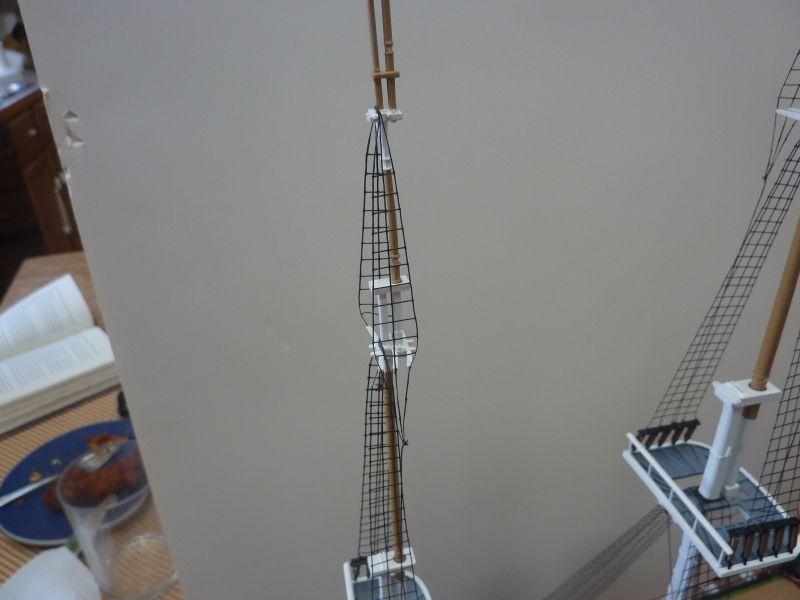
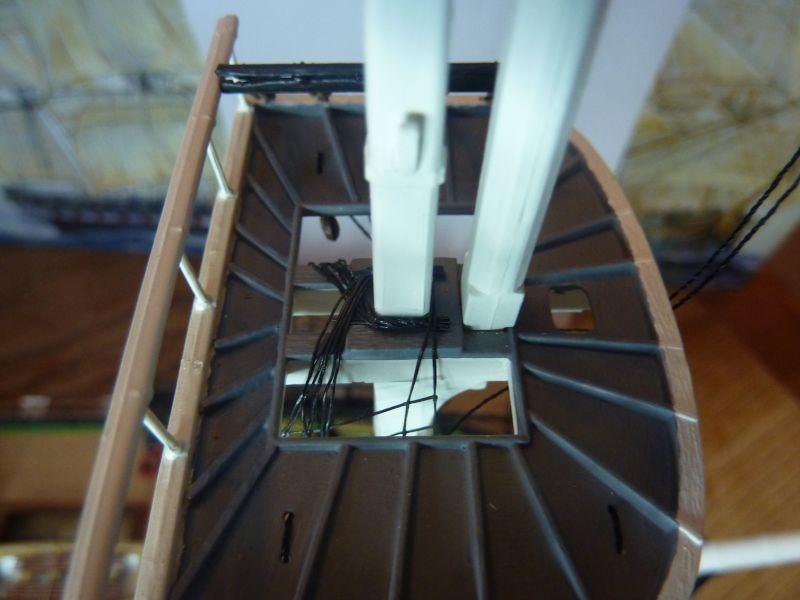
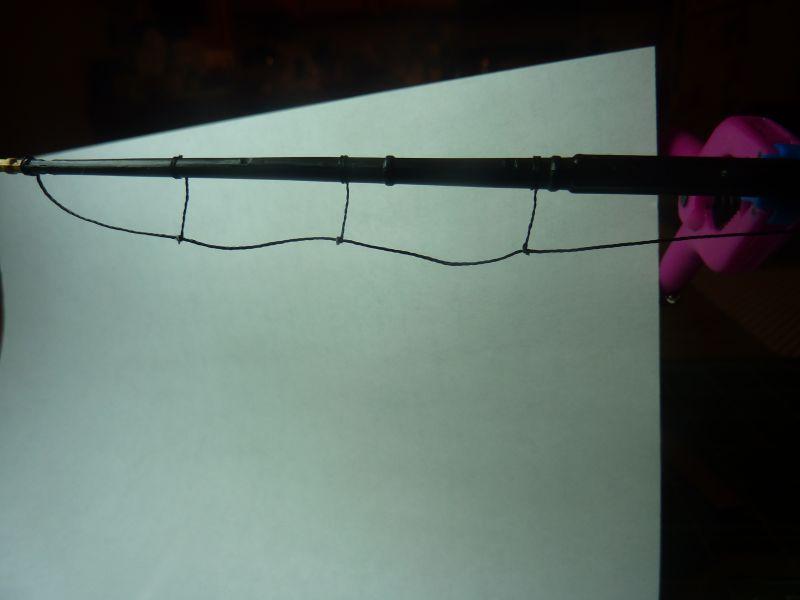
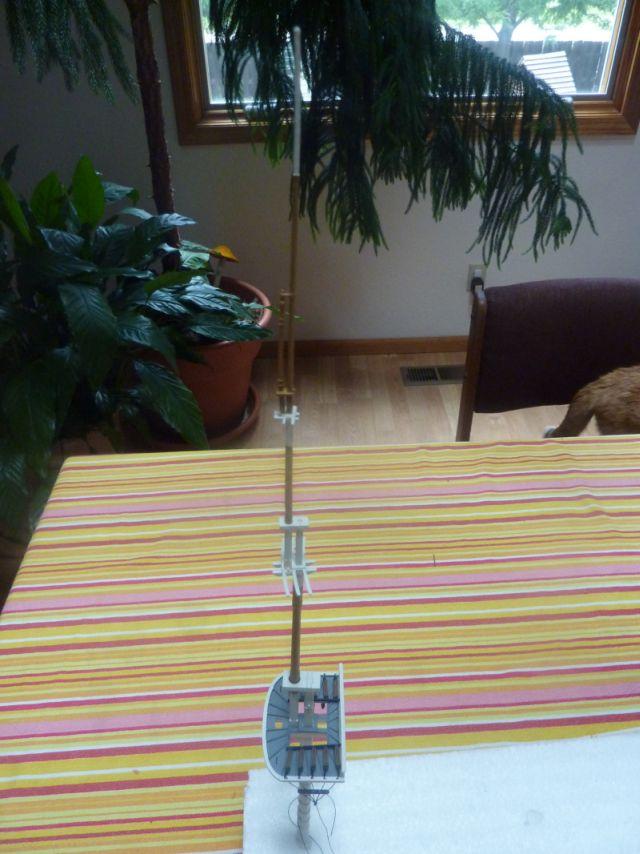
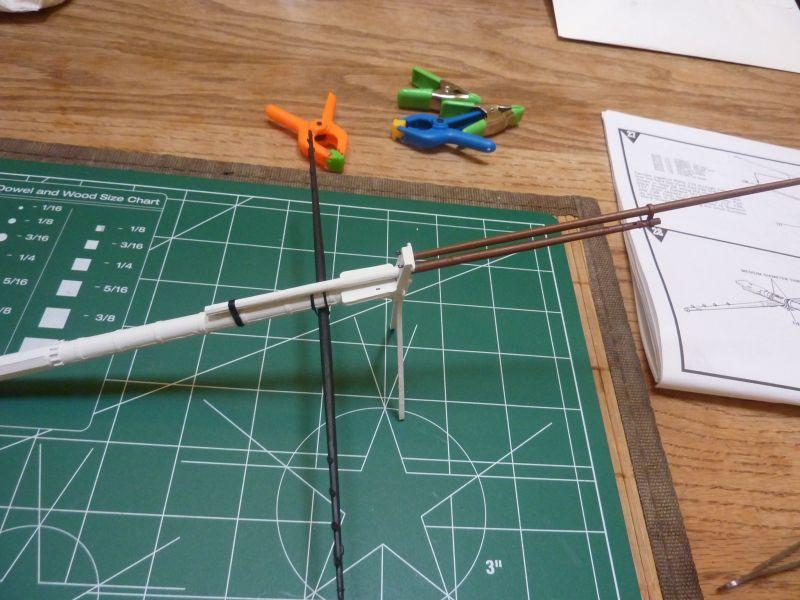
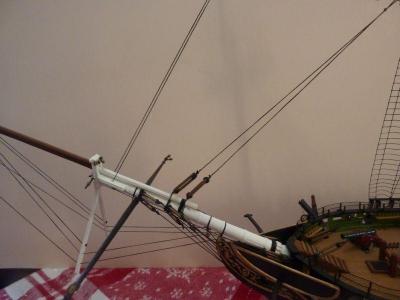
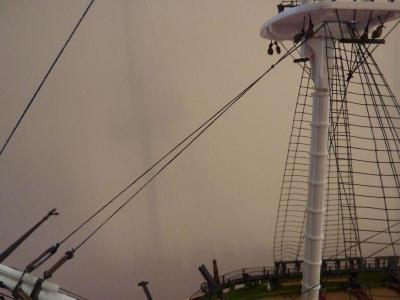
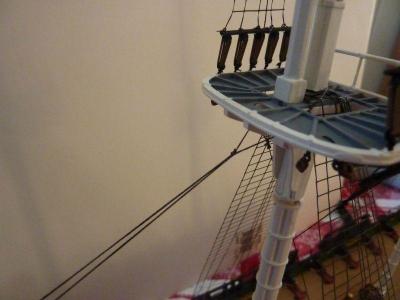
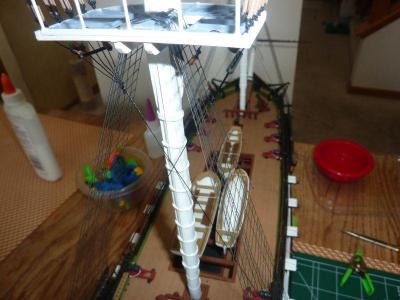
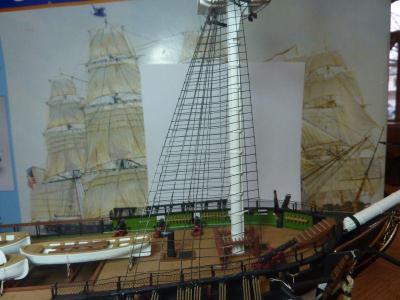
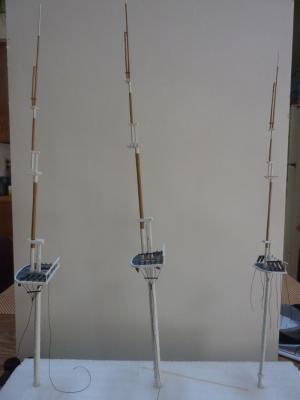
I continued the rigging, following the instructions closely. First, rig the guys and stays on the dolphin striker. That completes step 3 of the standing rigging. Next was the forestay rigging - I started with the bow to mainmast stay, then did the foremast mainstay and the fore topmast stay. I still need to add the ladder thread to the forestay. Shows how the rigging wraps around the mast and is tied to form a loop.

-
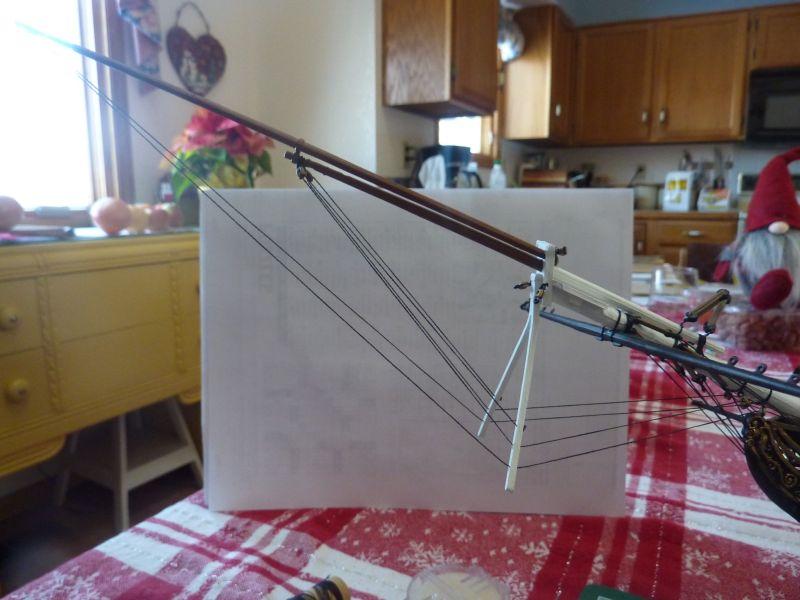
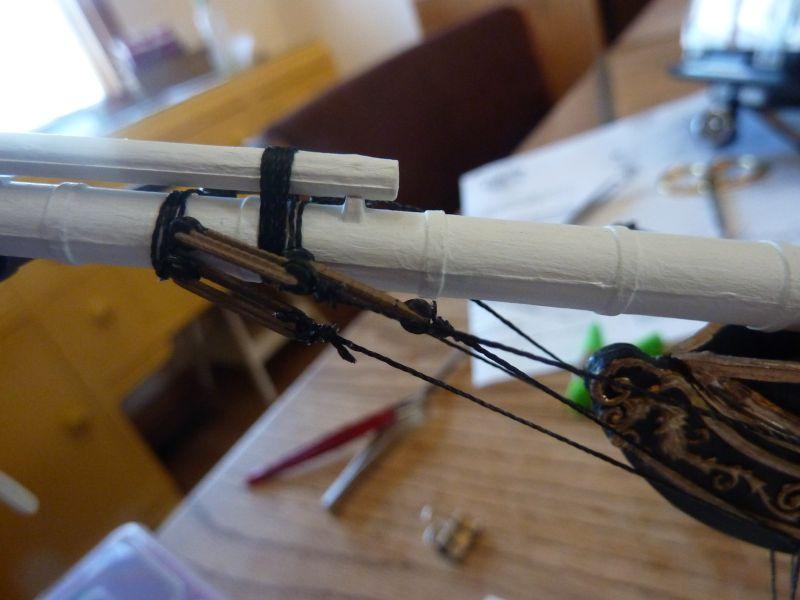
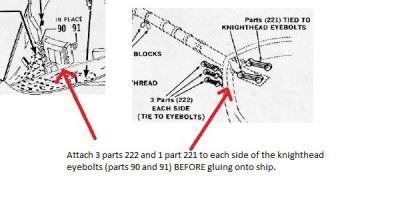
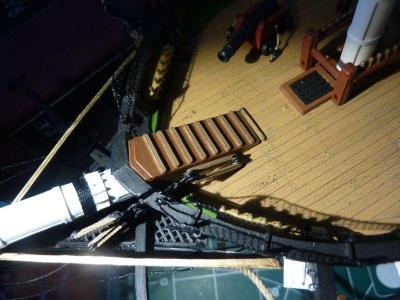
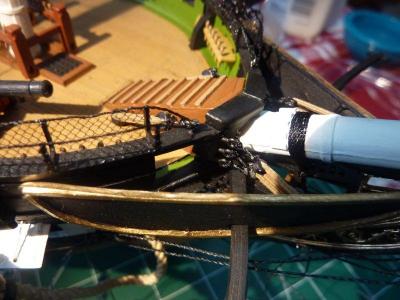
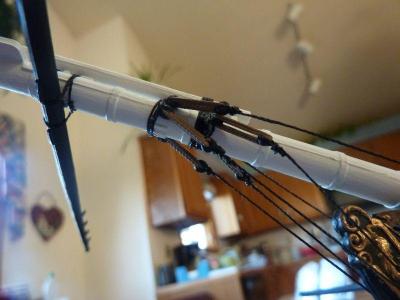
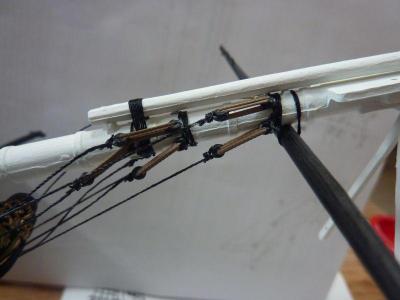
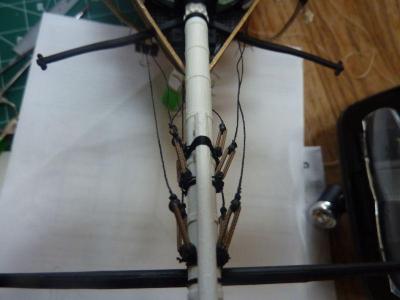
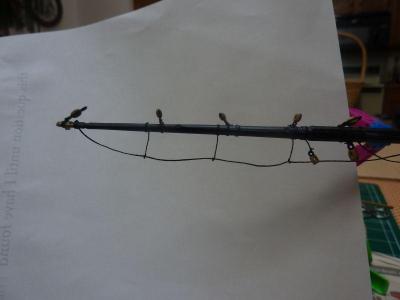
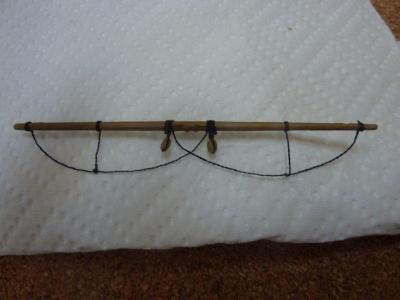
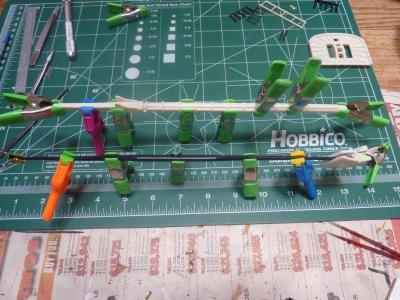
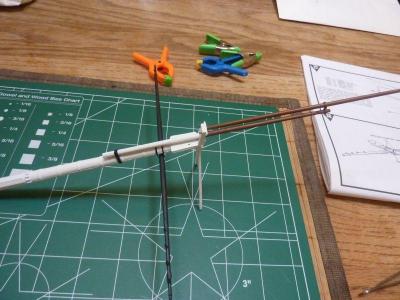
I completed the first step in the rigging of the bowsprit - the shrouds and stays. Tying the pre-formed "Bulleyes" to the bowsprit and the blocks to the yard were mostly straightforward. The hard part were the three bulleyes tied to the section where the bow rails come together. It took me all day yesterday to tie just the 4 bulleyes there on the port side. As I worked, I noticed the starboard side piece was loose, so I removed it. Since it was out, I tied the bulleyes to it, then installed it and that was sooooo much easier. Future kit builders - attach those bulleyes to the eyebolt piece (see photos) prior to gluing onto the ship.

-
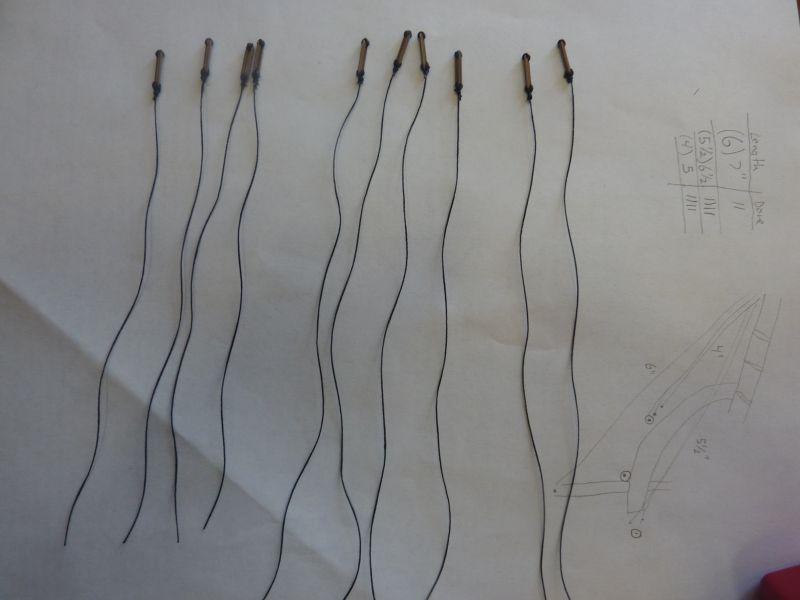
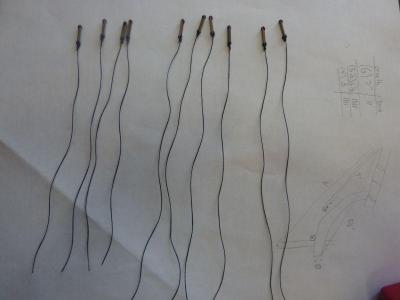
I started rigging the bowsprit last weekend, and finished only part of it today. I got 10 bulleyes tied to the bow. First, I measured how long each line needed to be, then seized that line to the 10 bulleyes prior to putting them on the bowsprit. The plans called for 5 bulleyes on each side, with the lines going to various eyebolts installed earlier. Next up, I need to tie some blocks and a few more bulleyes to the bow area.

-
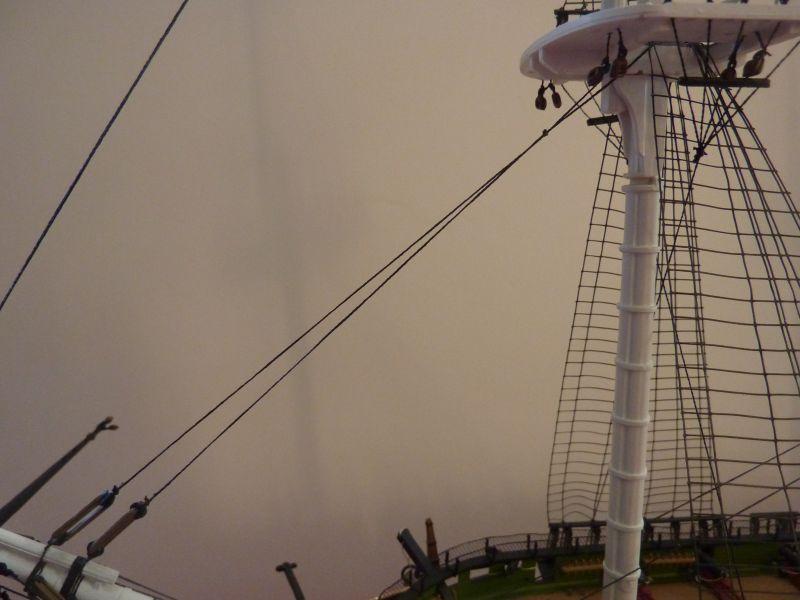
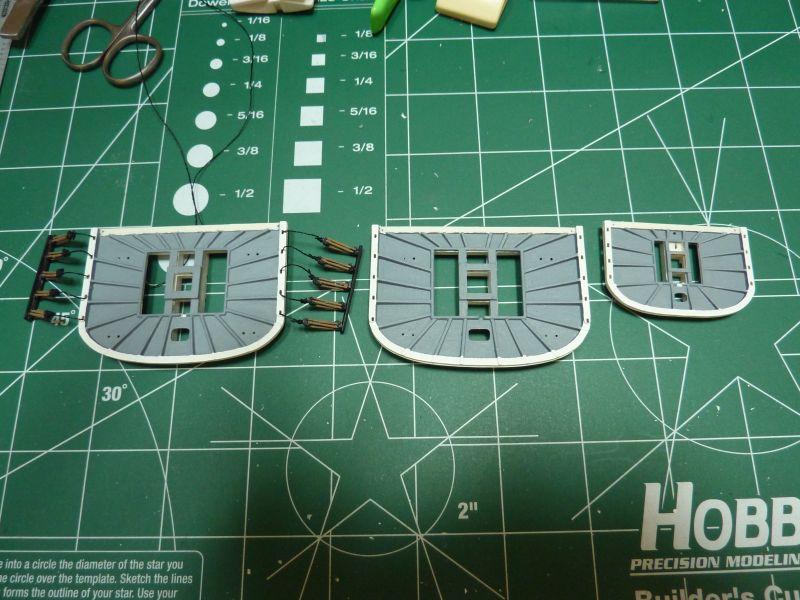
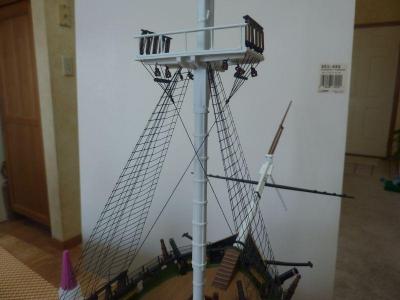
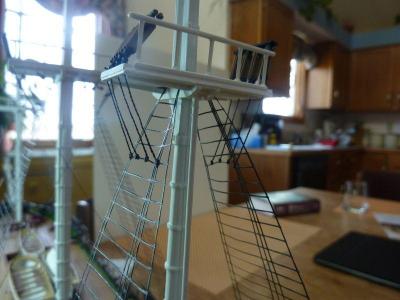
Tied off the futtock shrouds this morning. I seized the foremast and mainmast shrouds and used a simple overhand knot for the mizzen mast. Tying to plastic ratlines is a challenge. I've completed the shrouds and ratlines for the masts. There are three levels, all using the pre-formed ratlines. Mostly, it works ok. Doing them by hand would certainly look better and I'm sure this is the last time I'll use any pre-formed things for this. Next up is the bowsprit rigging.


-
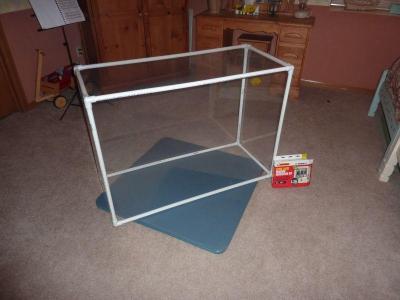
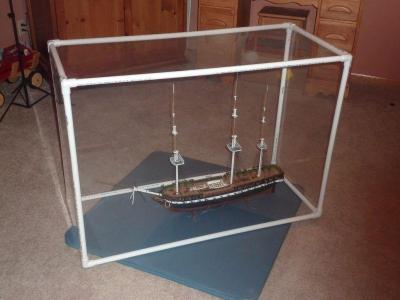
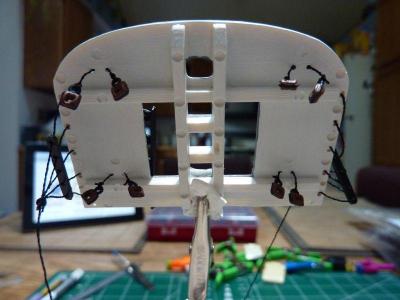
I added the lower shrouds and ratline assemblies to the main and mizzen masts, which was pretty straightforward and identical to the foremast. I've been worried about dust getting on the model especially now that the rigging is going up. A lot of build logs here mention having a case ready to go well before the model is completed, so I took that advice to heart. On the other hand, I don't have good place to display model yet and haven't had the time to create a "nice" case. So, I came up with an interim solution. I'll keep the model on the floor of my basement and constructed a temporary case on the cheap. I went to a local home improvement store and bought 30 feet of 1/2 inch PVC tubing, and the store cut them for me -- 4x40inch lengths, 4x28inch and 4x16inch lengths (going for a 40x28x16 inch case). I also bought 8 1/2 inch corner fittings and a window insulation kit. Total cost was under $25. I assembled the PVC tubing, using the corner fittings and without glue - it fits together quite tight enough without cement. Next, I wrapped the window plastic around the 5 sides and used a hair dryer to shrink it tight. It's quite lightweight and easy to move on and off my model and should keep the dust off and the spiders away. I do plan on making (or having made) an acrylic box on a wooden base as a more permanent home - meanwhile this will do during construction (I can also re-use for future models).
- 246 replies
-
- 1
-

-
- revell
- constitution
- (and 2 more)
-
I started with the standing rigging today. After painting the trysail mast and doing a little other white paint touch-up on the just-glued masts, I began with the foremast lower shrouds/ratlines. On the Revell kit, these are pre-formed. As this is my first attempt at tall ship rigging, I figured I would use them. If they looked terrible or didn't fit or something, I could always remove them and do them by hand. Overall, I was pleased with how they went - was able to make them decently taut. I'm sure I'll keep them.

-
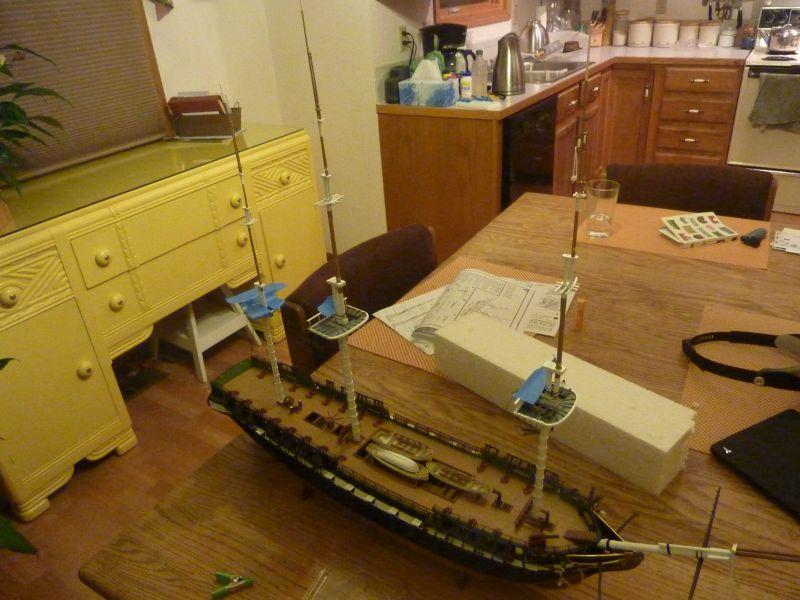
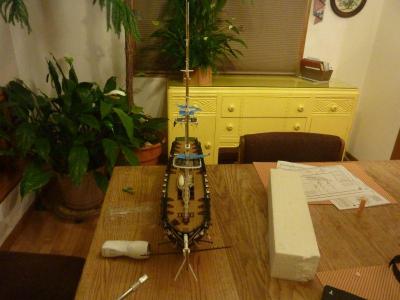
I got the masts installed yesterday - all three glued into place. I had earlier dry-fitted them, so this part went pretty well. It definitely looks more like a ship. I may have to do a little touch up paint where I scraped it away to make the glue work, and I need to paint the trysail mast.

-
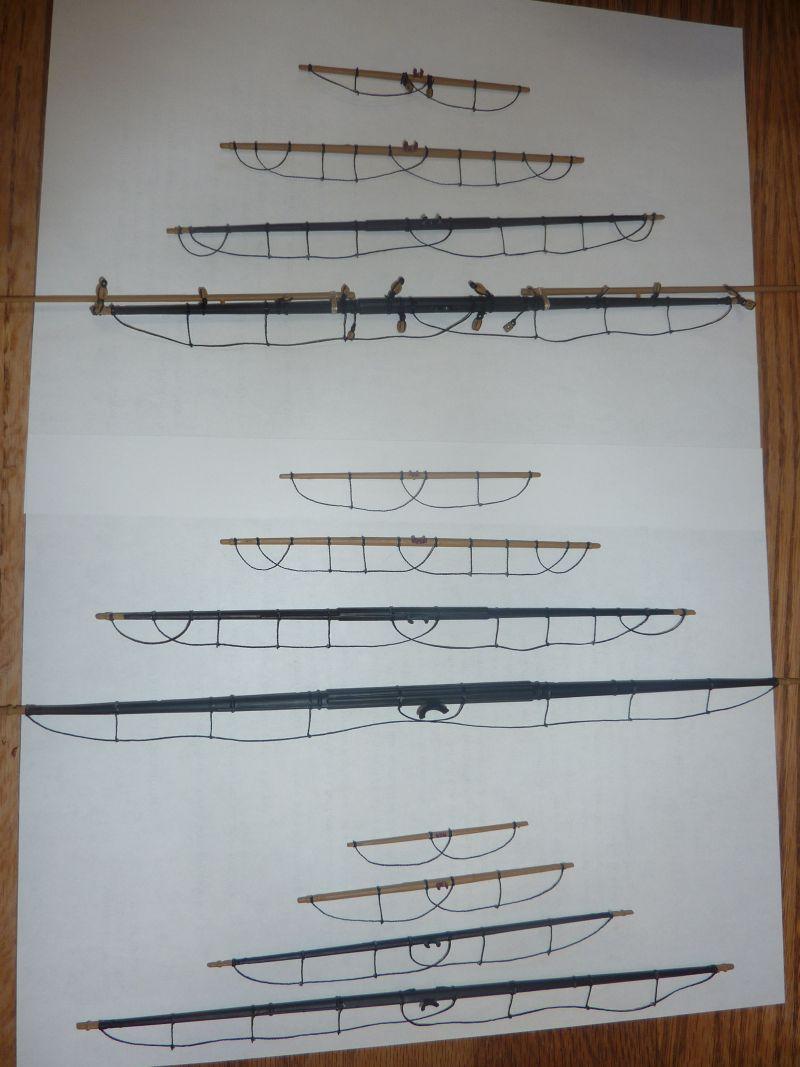
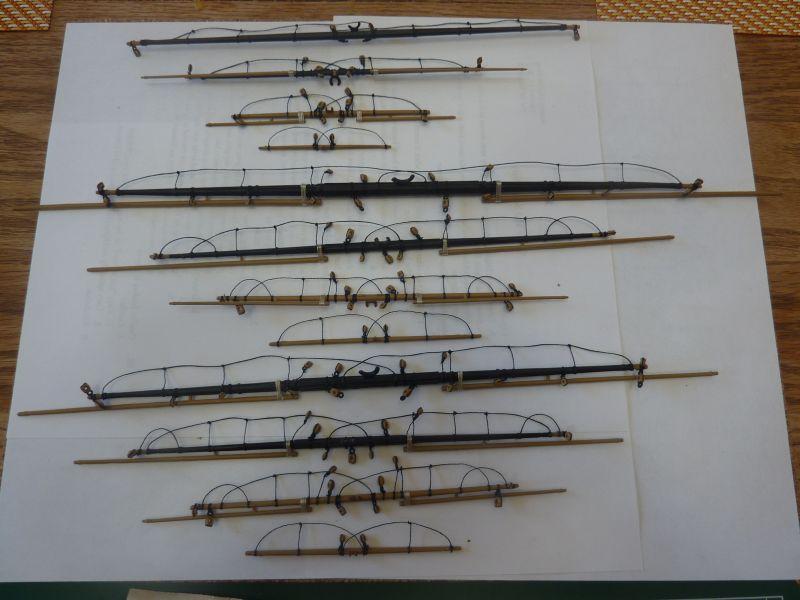
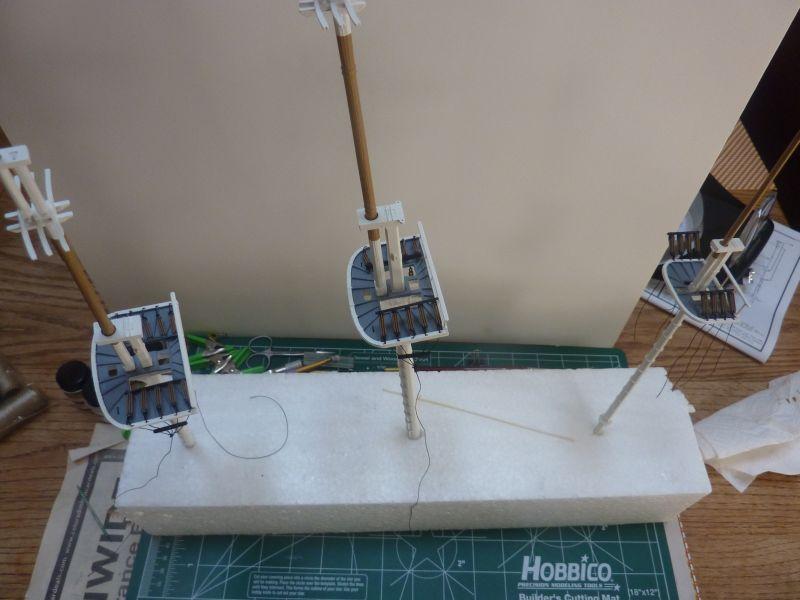
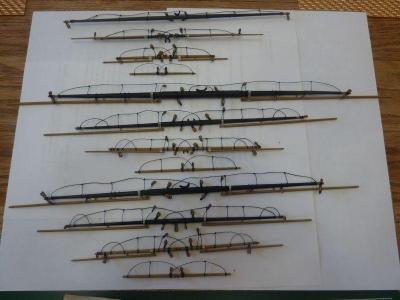
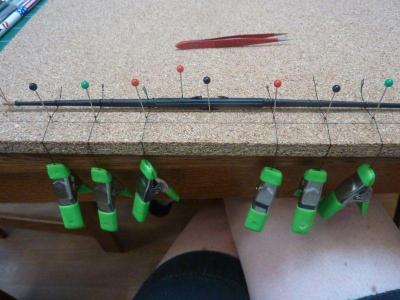
Have finally finished the foot ropes for all 12 yards. The photo shows them foremast, mainmast and mizzen mast. I decided to do them all at once rather than attach blocks and booms since I seemed to get better at them as time went one. I completed the lower main mast and mizzen mast ones today, for example, in much quicker time than the earlier ones. Next steps will be to attach the blocks to all yards and then the booms. I'll do a little touch up paint, then set the yards aside and work on installing the masts and the starting the standing rigging.

-
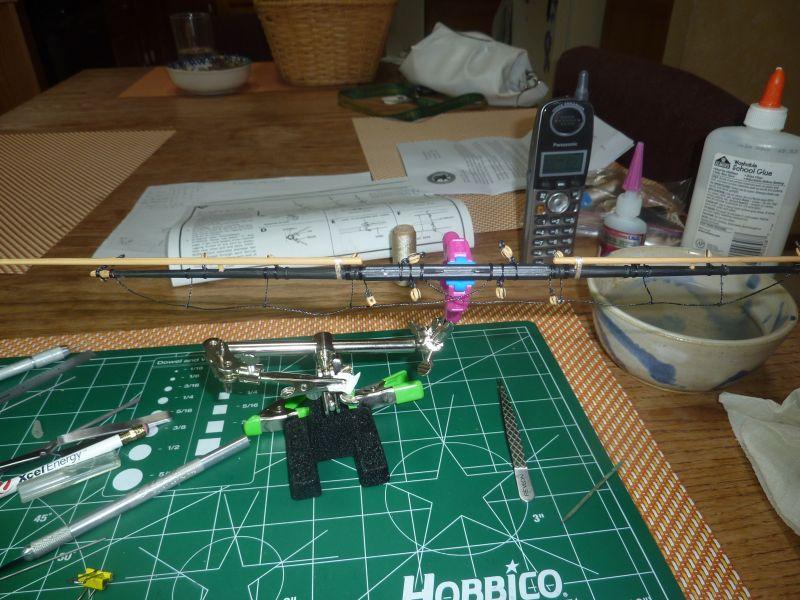
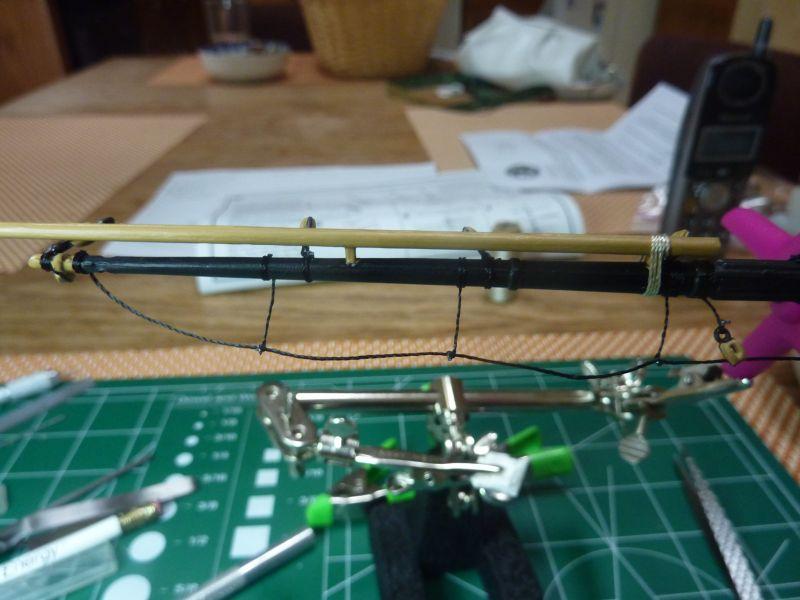
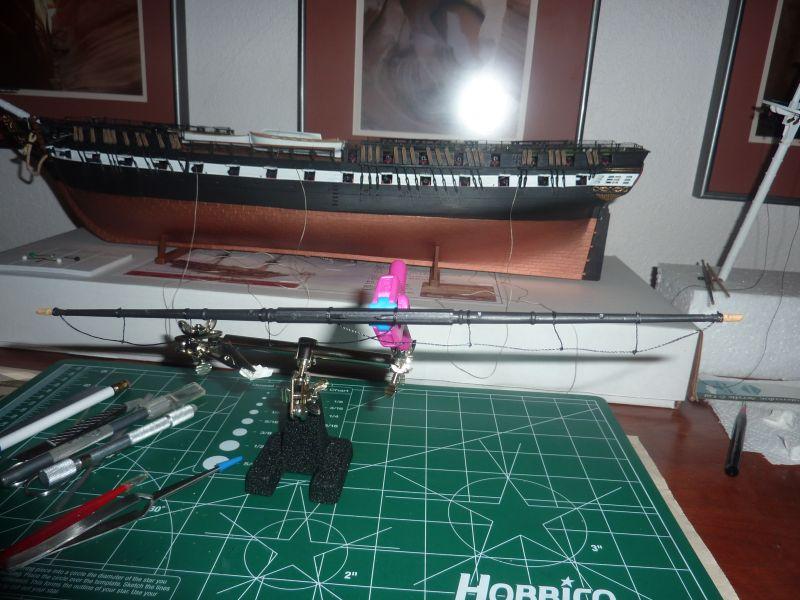
I finished my first yard before installation on the mast. This is the foremast lower yard. I've tied all the blocks to it, added the booms with lashing. I've taken to using plain white Elmer's glue to fix the knots. I did buy some fabric cement, but I'm not overly pleased with it - seems to be a bit thick coming out the tube. The trick with the white glue is to not let it clump up before drying as that still shows, so I will dab a bit on with a needle, let is dry a little, then move the rest around so it doesn't show. It works pretty well, especially for getting overhand knots to stay until I can complete the knot. Plus, its much more forgiving than CA. After spending nearly 3 weeks on the foremast lower yard, Iwas able to do the top yard in just a day. Only two blocks and two stirrups, so it went pretty quick.
-
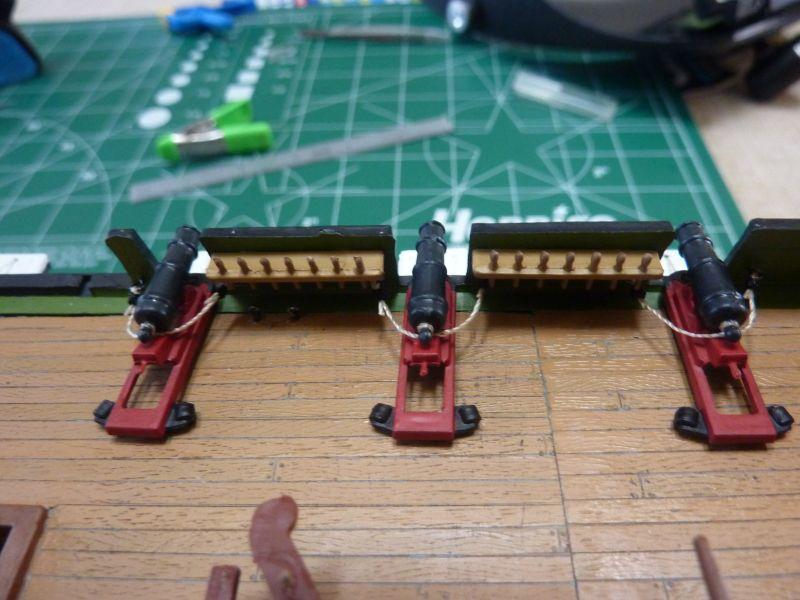
Time was spent trimming and painting blocks. It's mind-numbing, and I only did the amount needed for the foremast and main mast yards. Painting blocks. Each gets two coats of "wood" color, followed by a black for the ring and strop (not shown here) The footropes on the other side of the yard.

-
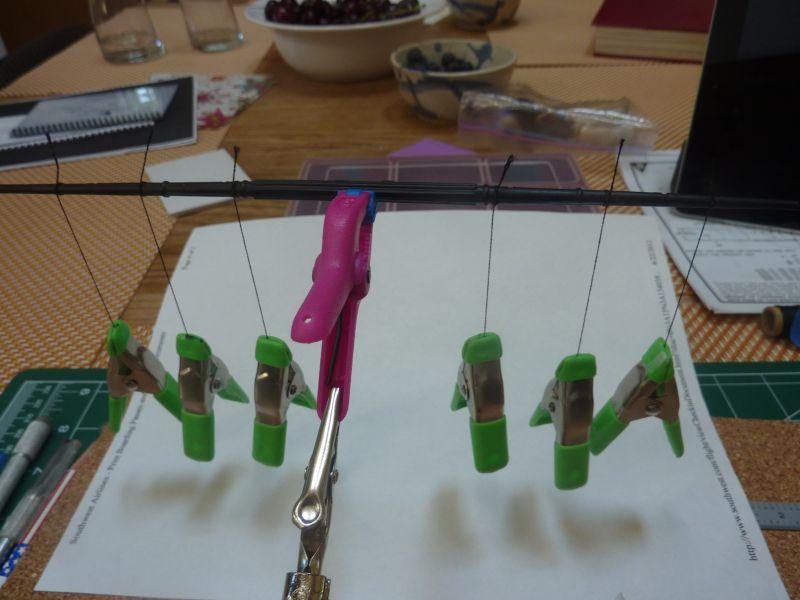
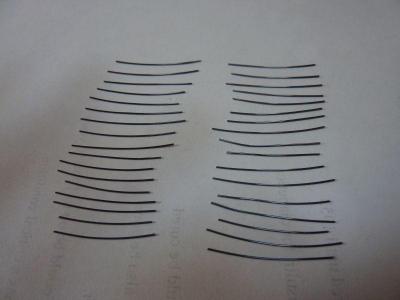
I finished the stirrups and footropes on one half of the lower fore mast yard. I started with a clove hitch to attach a the 3 stirrups, then made a loop over a pin and applied a little CA to hold it. After the CA dries, remove the pin, leaving nice little hole. I strung the large diameter black thread through this hole and attached the two ends to the yards with another clove hitch. One of the holes collapsed, but it wasn't too difficult to glue it back once the threaded footrope was through it. Little weights in the form of bent pins are placed between the stirrups to create a sag and then set in place with some more CA. The technique complements of Hubert Sicard at Ship Modeling for Dummies. Clove hitches attach to the yard. I know seizing is more accurate, but for the smallness of the detail I went with the easier knot to tie. The little loops are glued under tension of the clip weights The finished footropes - I hope to improve the sag for future ones.


-
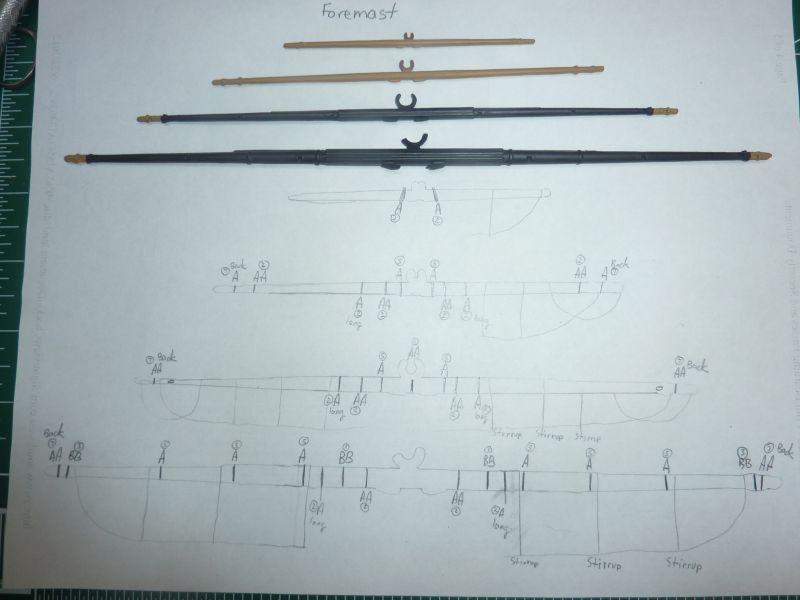
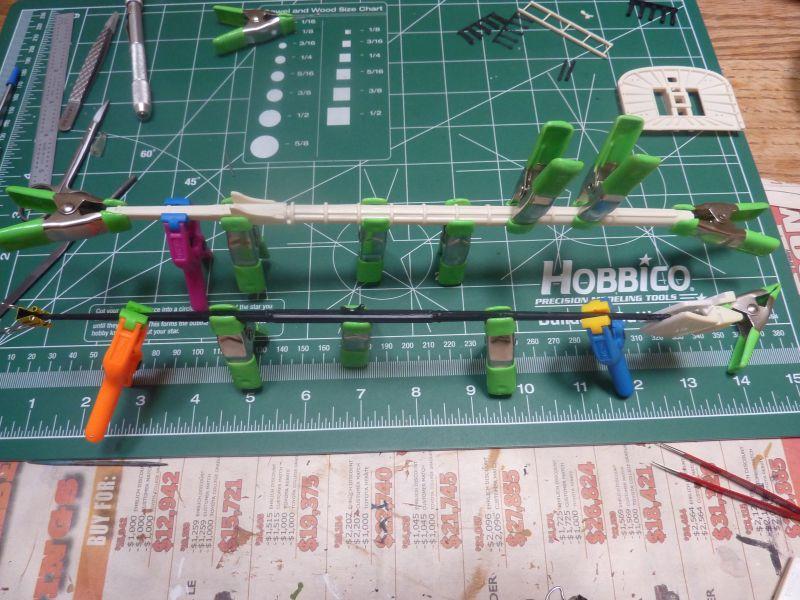
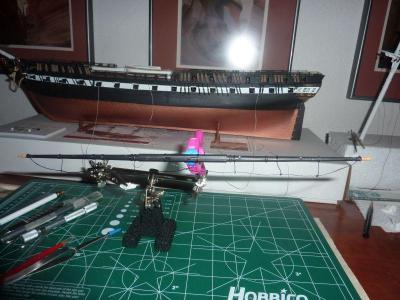
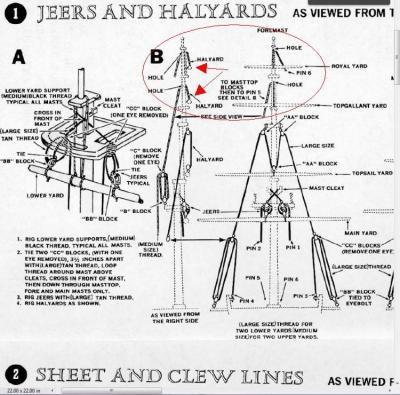
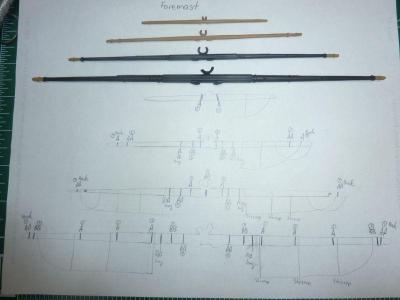
I've spent a lot of time poring over the rigging plans with the intention of marking off on the yards all the blocks and lines attached to it. I created a paper diagram the of 4 yards on the foremast. My plans is to 1. Add the footropes and stirrups 2. Add all the blocks 3. Lastly, add the booms There are a couple of questions: - The braces attach with a block at the end of the yard. I noticed on the Syren's plans, that block is good distance from the yard, but my rigging plans have it quite close. Any opinion on this distance? - The halyards for the upper two yards (topgallant and royal) seem to be "singles". I can't tell from the plans if those two halyards have a left AND a right component. Do they? Also, it looks like those two halyards are tied to the yards instead of to a block - is that correct? I'll post a picture of those instructions.
-
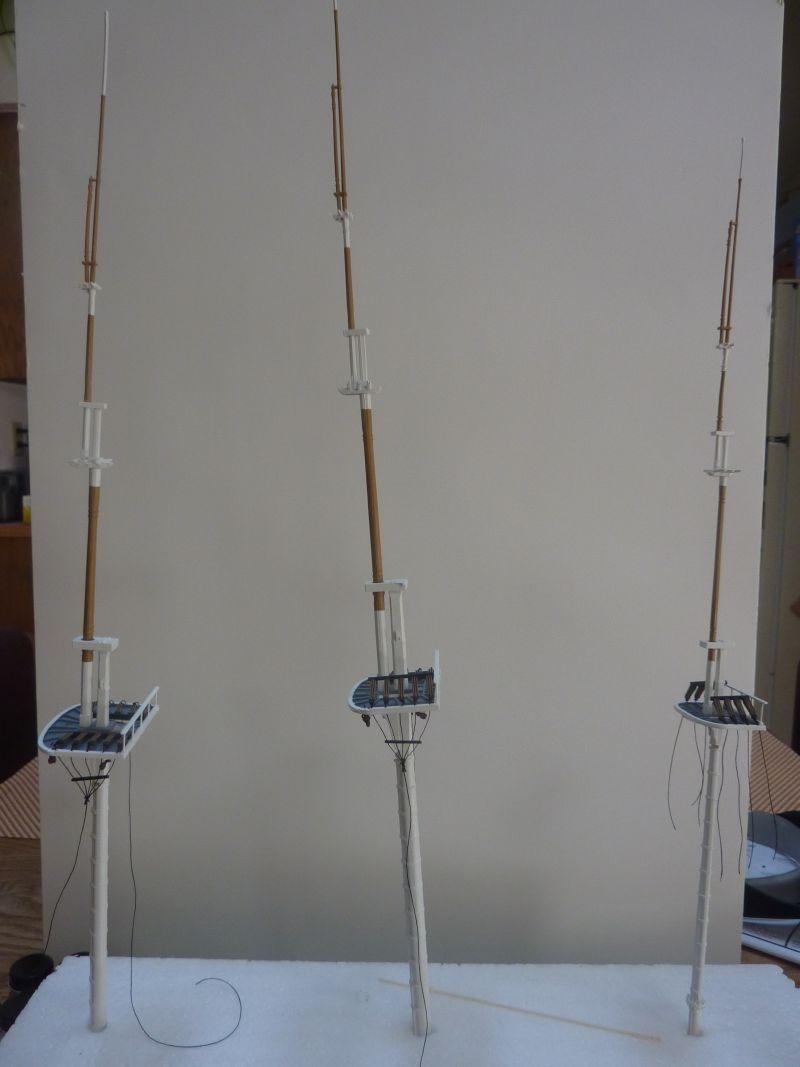
My plan is to finish all three masts, with the exception of the yards, then pore over the rigging plans to attempt to understand how the blocks are used, which ones go where, etc. I did a first pass of this a week or so ago and found the rigging plans more-or-less clear. There's a lot there, but if I took my time to puzzle it out I think I made progress understanding it. I bet it'll take a few more readings to get a better feel. I finished all three masts, with the exception of the yards


-
I completed the fore mast, with the exception of the yards. I'll add those after building all three vertical masts. The critical eye will notice that I changed the wood paint color on the masts to a lighter shade of brown. This is the "Wood" color (Model Master Acryl number 4673). The older Leather color just seemed too dark after looking at some photos of the masts.
-
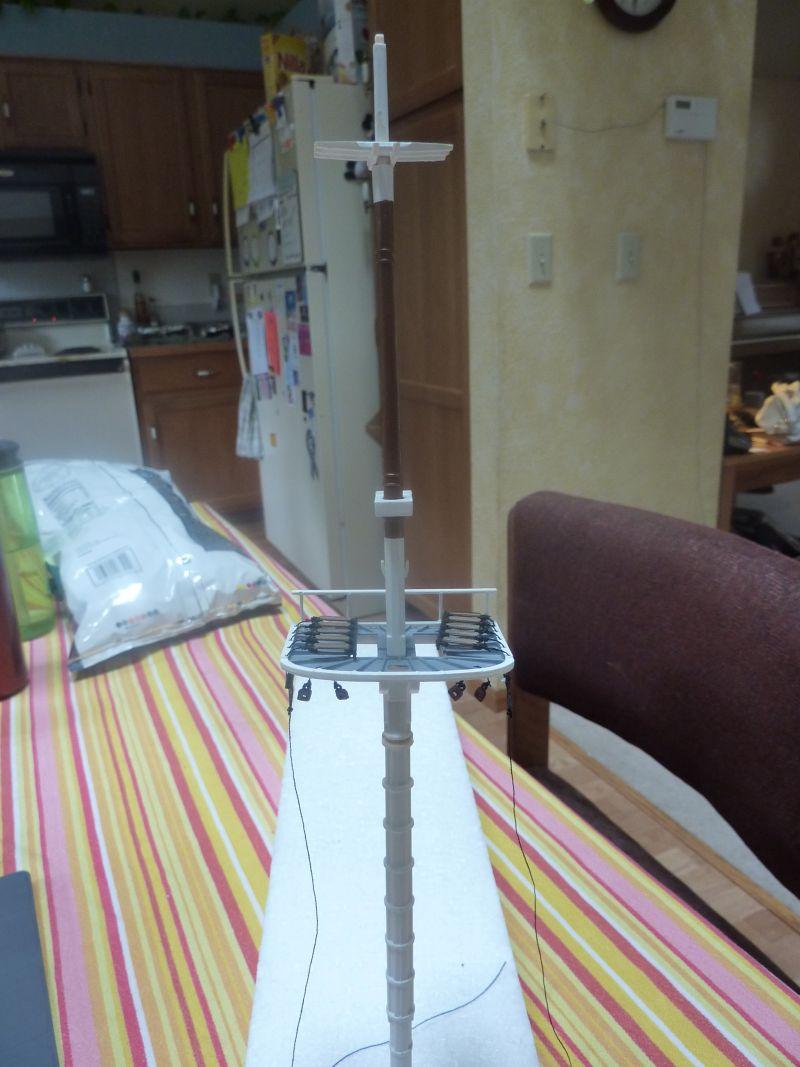
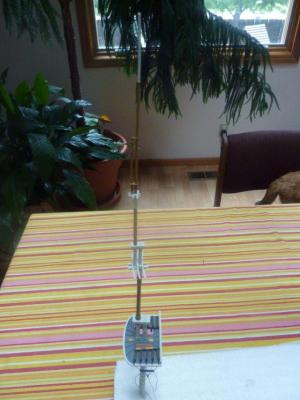
Mastops: top is gray, rest is white: Block close up:


-
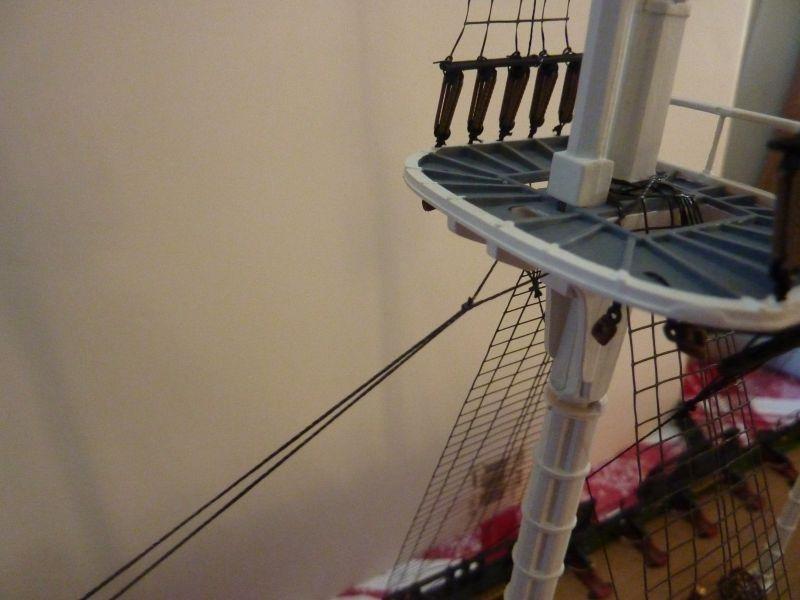
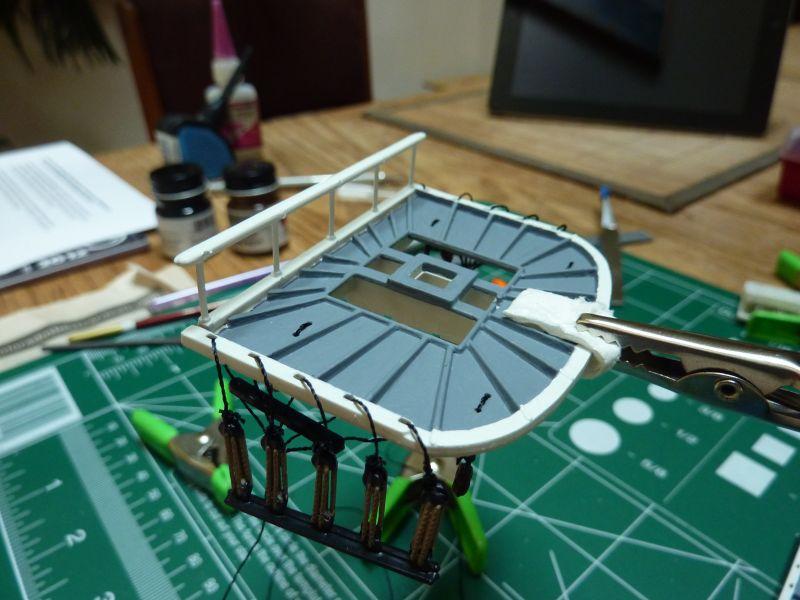
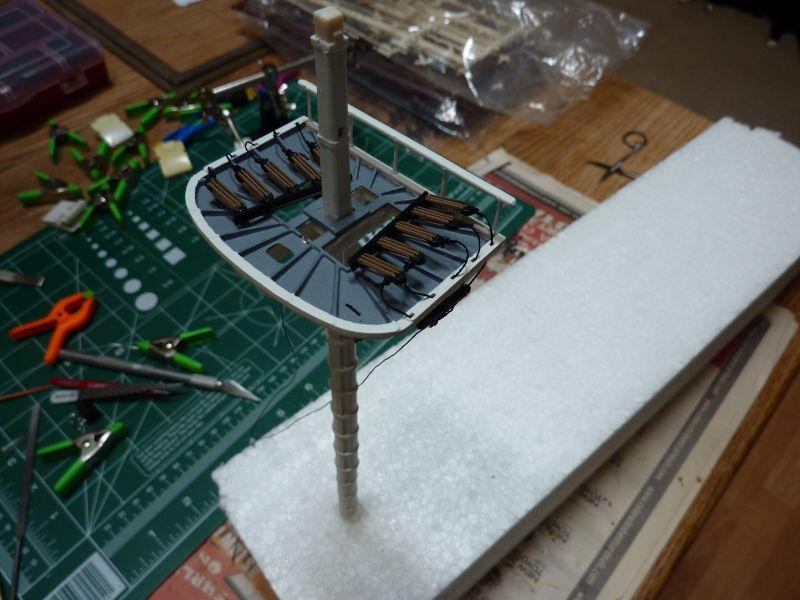
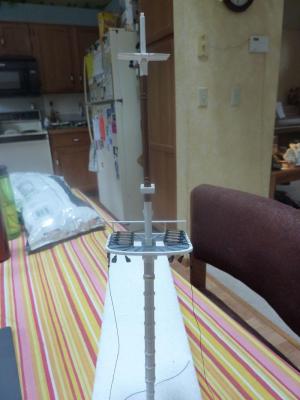
I've started the mast construction: - I'm reinforcing the masts with 0.047" (1.19mm) music wire from my local hobby shop. It's pretty stiff and difficult to cut, so I hope it helps stiffen the masts. The wire is glued in with thick CA. - My white paint thickened up over the few weeks break, so I thinned it with a little water and was amazed how much better it went on the masts! It took multiple coats of course, but no brush marks and looks very good. I'm starting to need the various blocks provided with the kit, so it will be a long process to clean off the flash, remove from the sprue and paint. Wire reinforcement in the yard. Gluing the mast and yard together. The deadeyes installed on the foremast top.


-
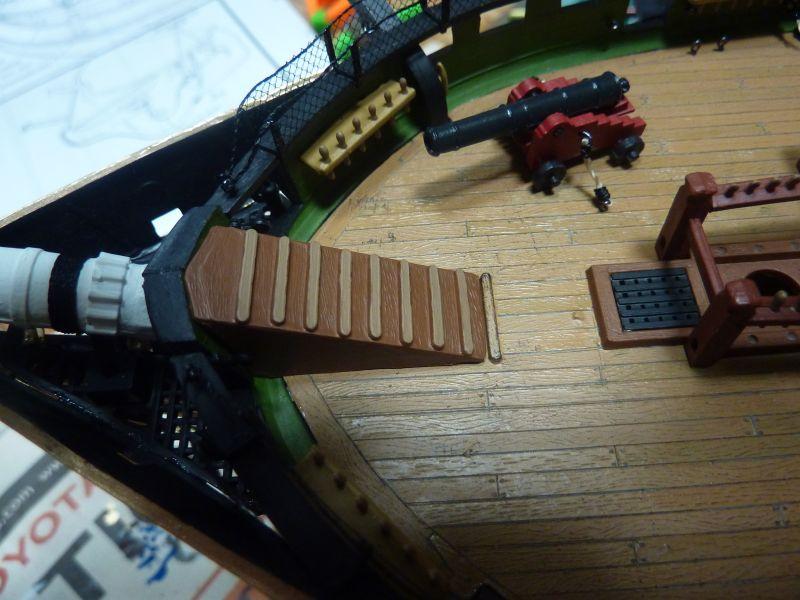
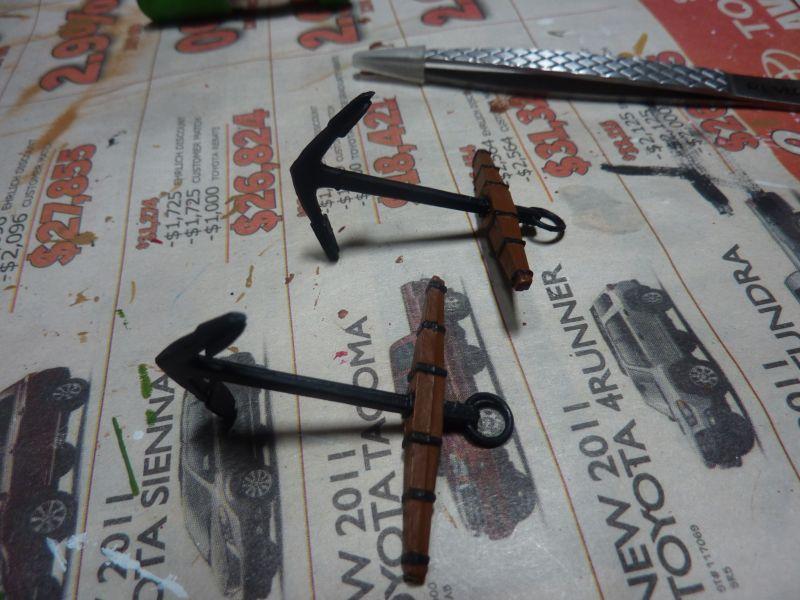
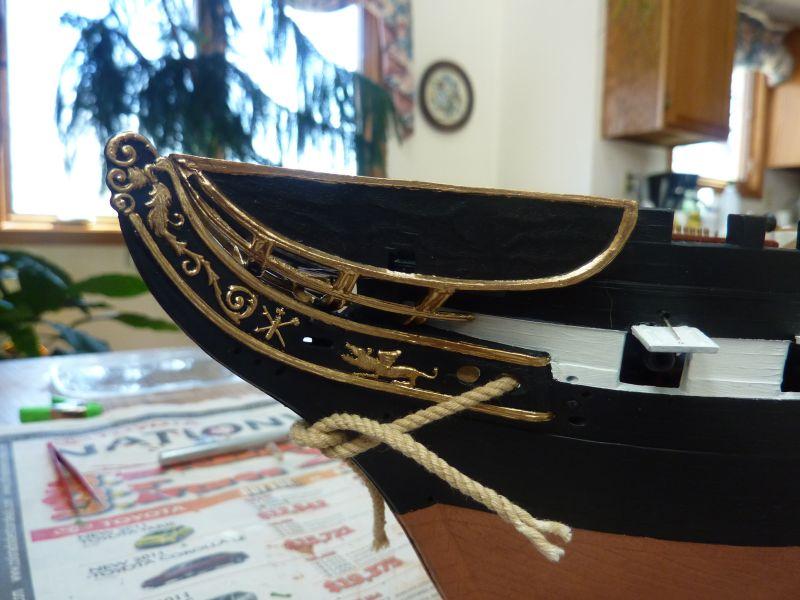
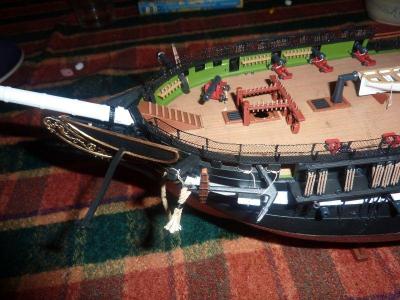
After putting in the bowsprit cover, I got to work on the anchors next. They were pretty straightforward - glue together, a little paint and tie them to the bow. After seizing all the cannons, doing a little seizing on the giant anchor rope was a piece of cake. Anchor on port side. You can also see the boomkin glued into place.


-
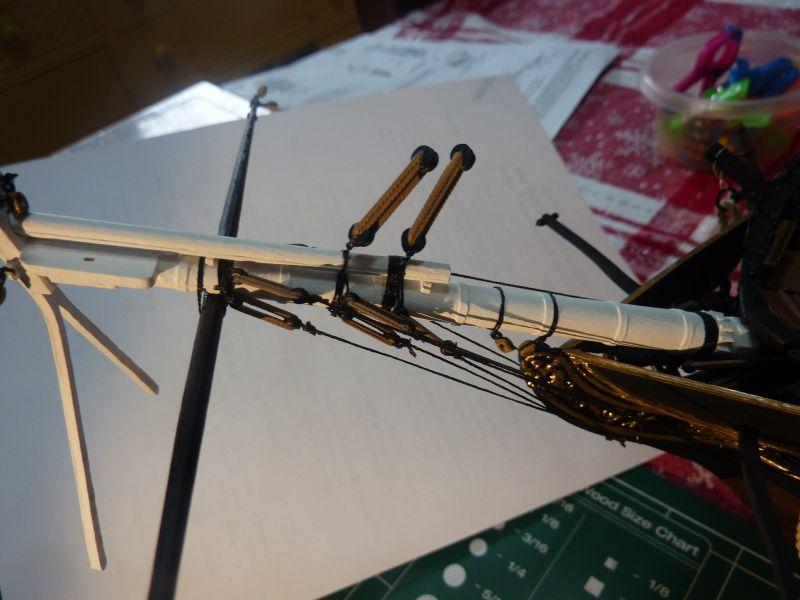
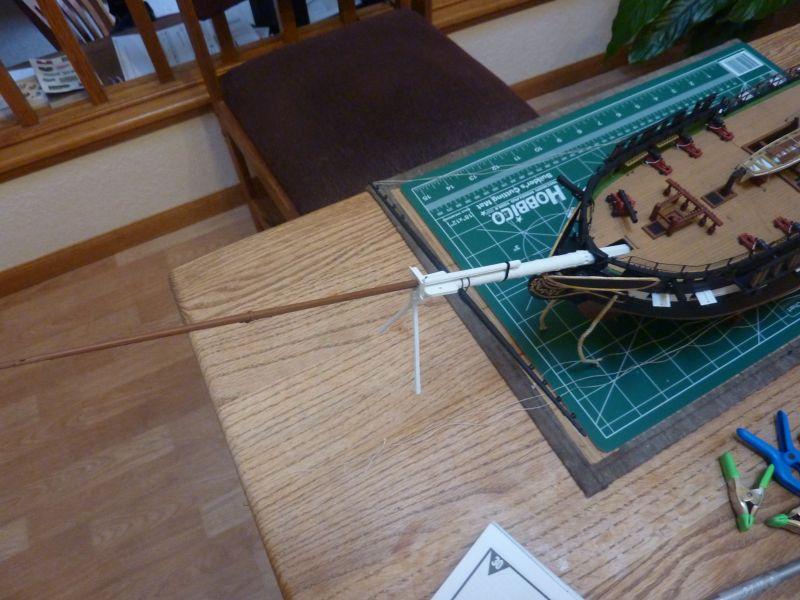
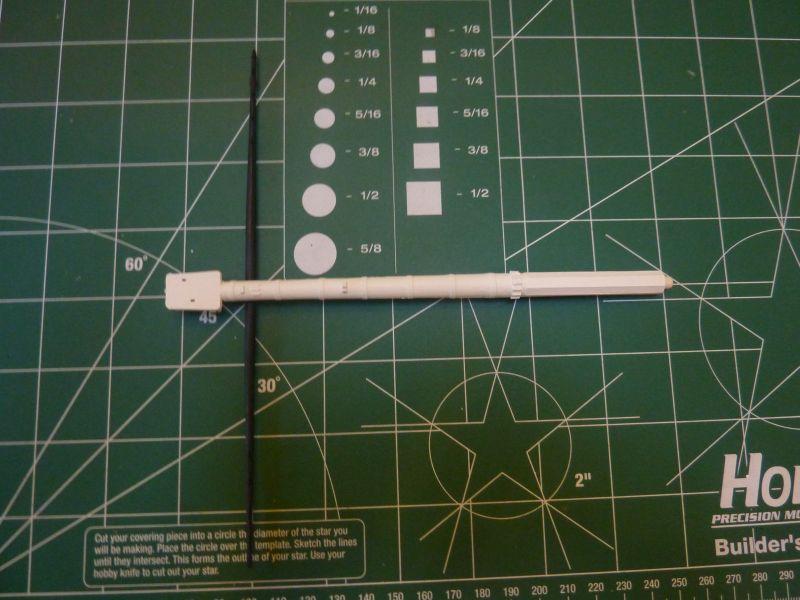
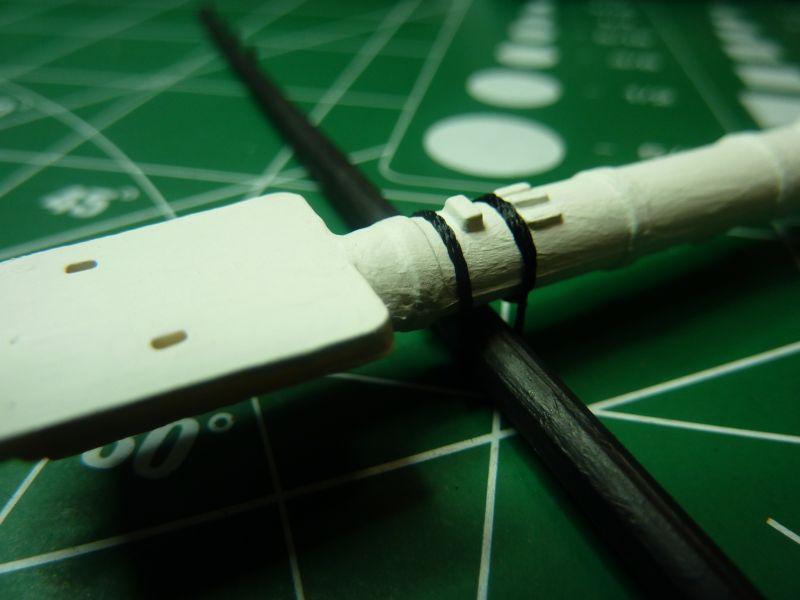
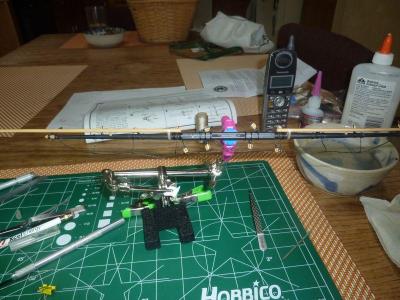
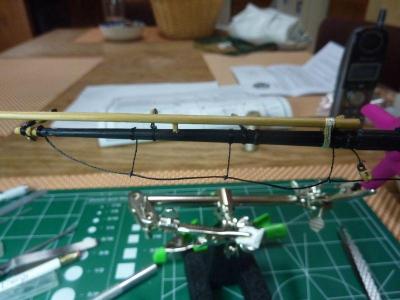
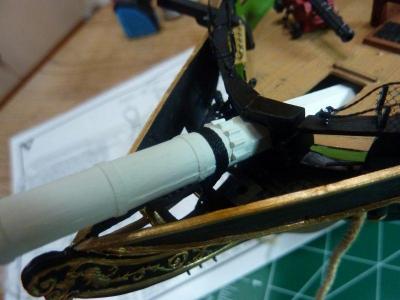
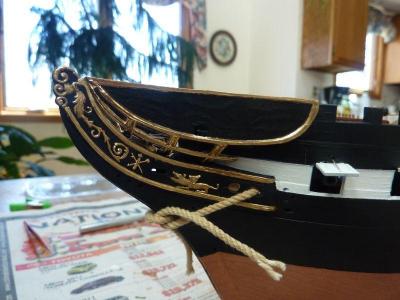
I got the bowsprit assembled and installed. I decided to paint the upper spars brown (leather) instead of white as it more closely matches current photos. I also like the look of that a little better. Everything went pretty well except for some inadvertent bumping of the black yard - I repaired it as best I could, but it's pretty fragile. All the pieces assembled and painted. The jib-boom is lashed to the bowsprit as well. The gammoning around the bowsprit. I used a needle to thread it through and it went pretty well.


-
Deadeyes: There was a lot of flash to remove from these pieces, which took a day by itself, then they were painted black and the ropes a dark tan. Finally, glued onto the ship. I'll start the port side next -- I kept them separate so as not to get confused about which pieces went where. Port side:

-
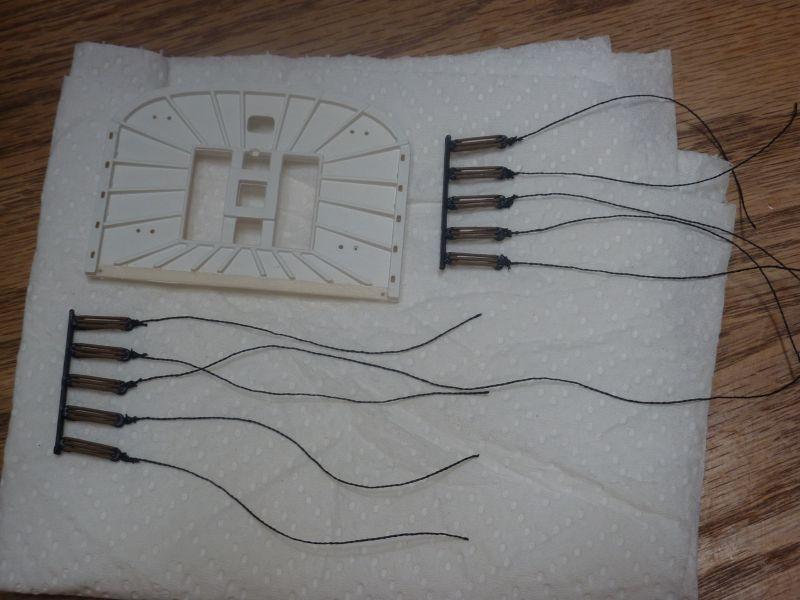
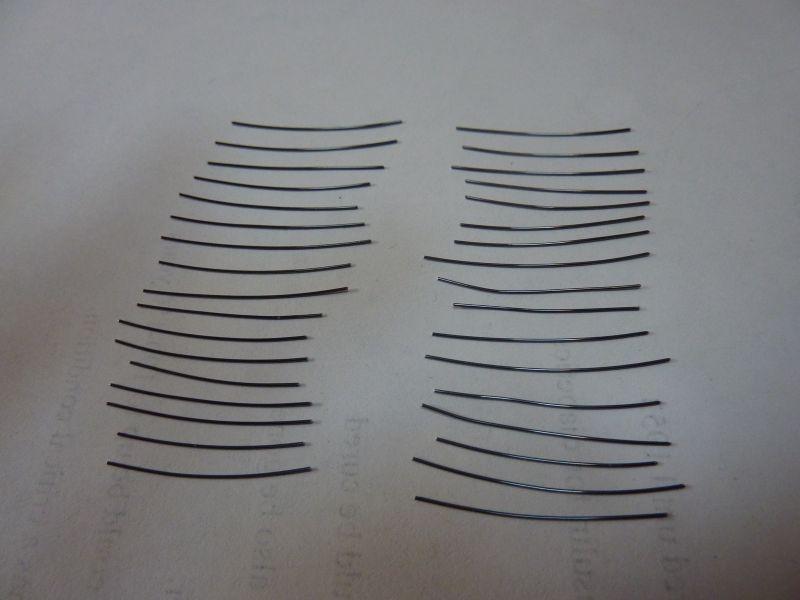
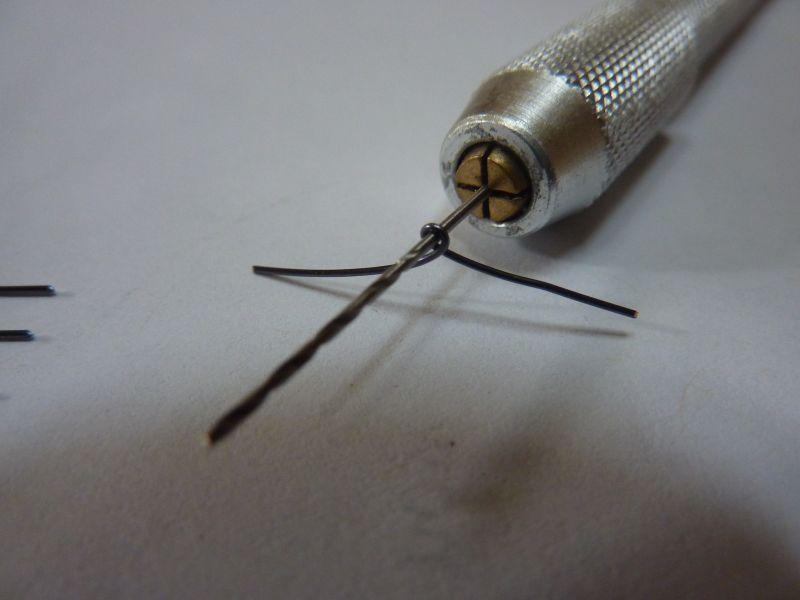
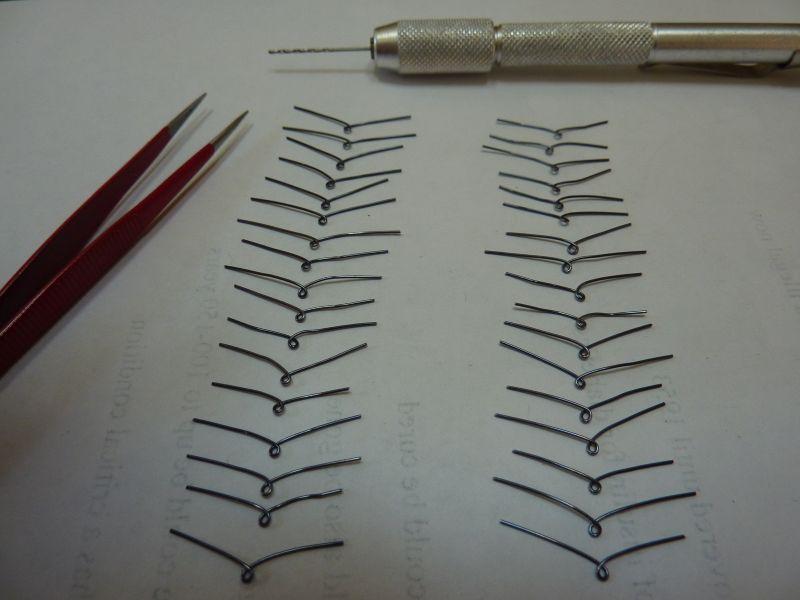
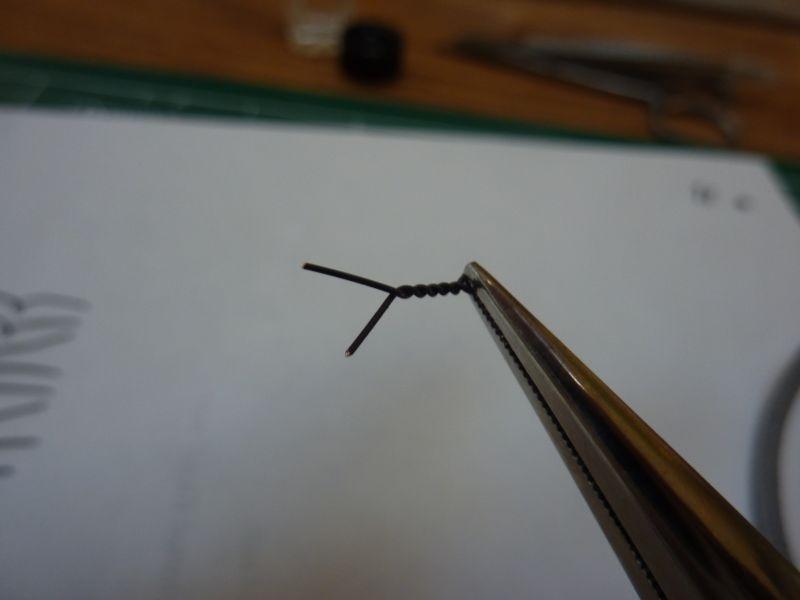
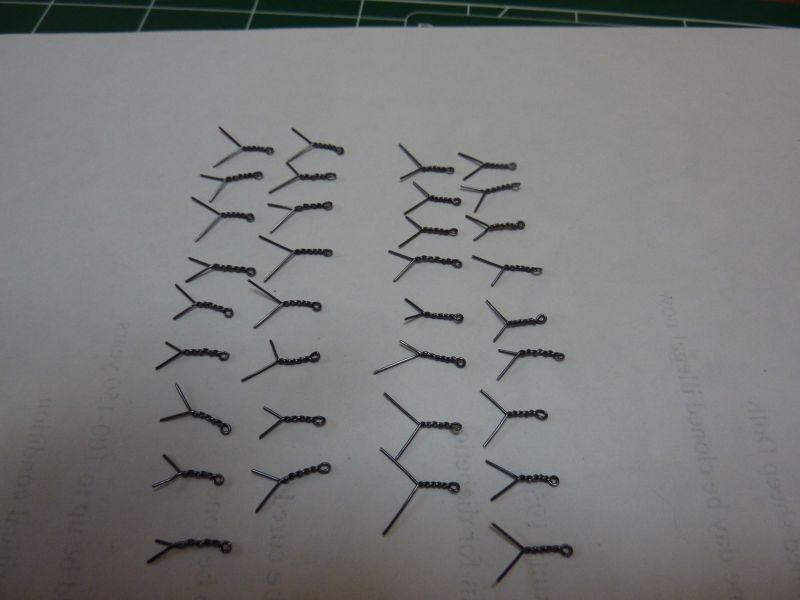
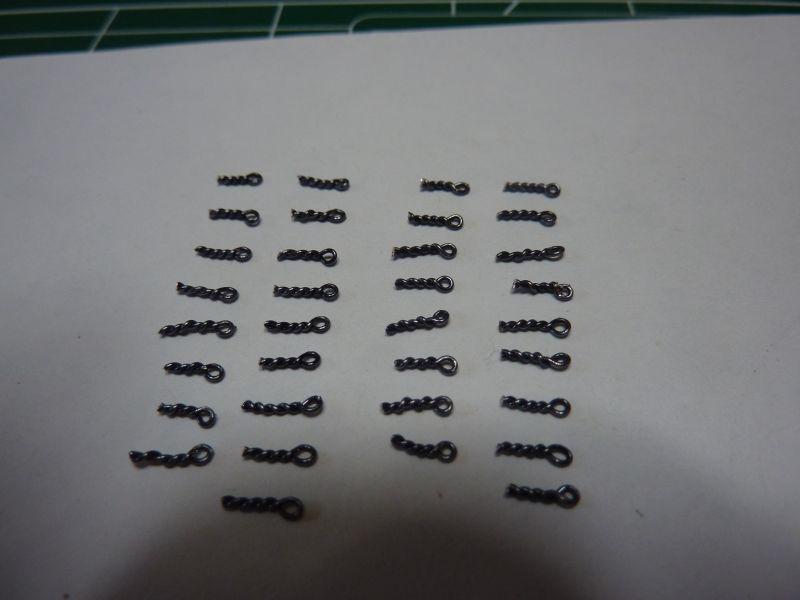
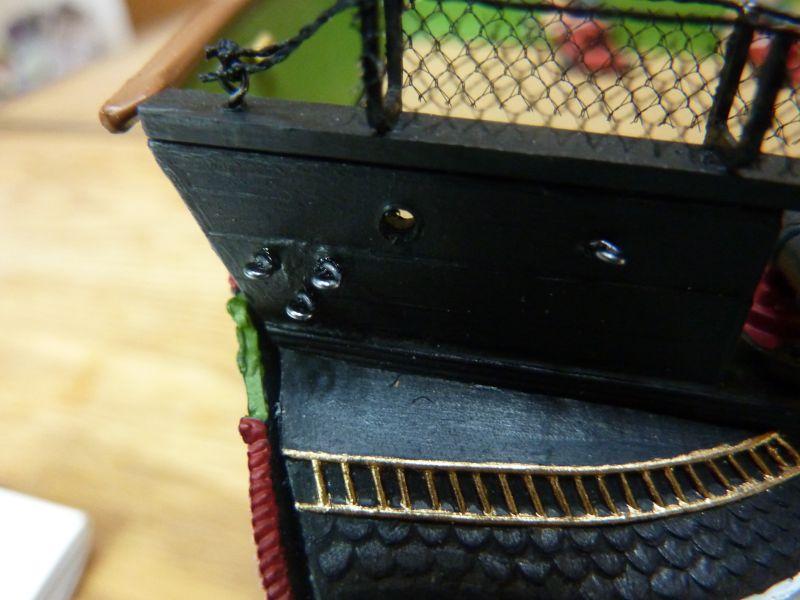
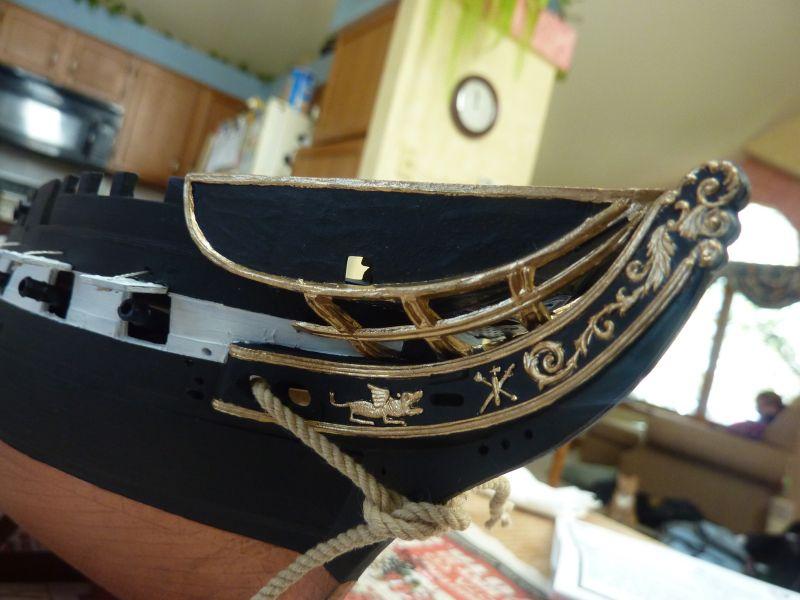
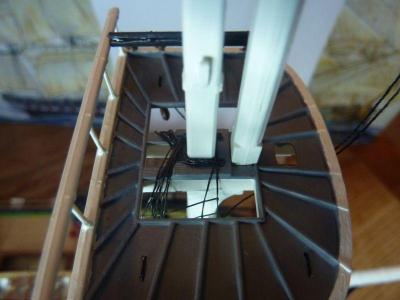
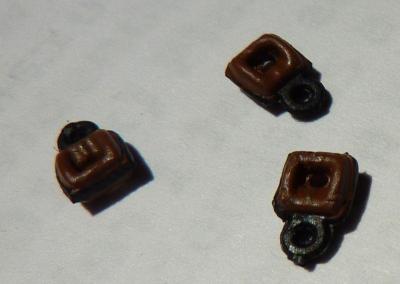
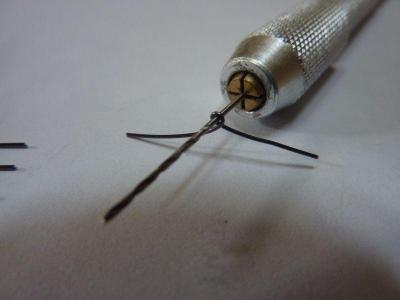
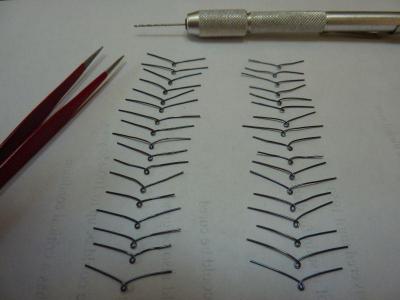
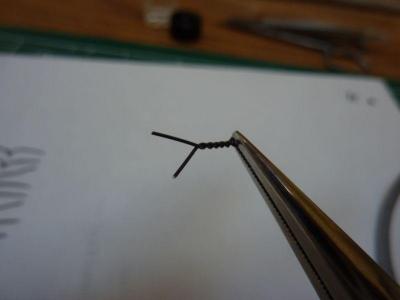
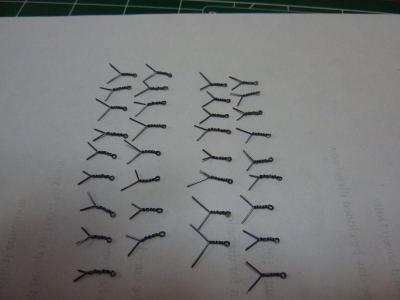
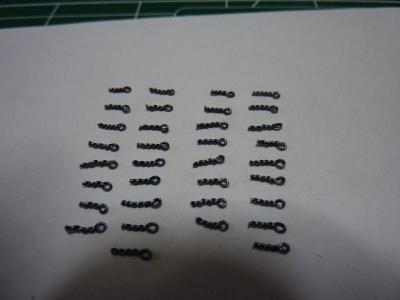
Next step in the instructions is to glue 34 eyebolts to various positions along the hull. Previously I had made the decision to make my own from 26 gauge beading wire, so I spent the day making them. I thought I would document the process for anyone who's interested. I cut 34 lengths of wire approx 4cm or 1.5 inches long I loop each wire around a pin vise bit, chosen to give a good sized, but not too large, "eye" 34 loops ready for twisting. To twist, I secure the loop with needle nose pliers and use my fingers to twist each of the two ends equally All twisted and ready for trimming Trimmed up and ready for dry fit Glued into the stern:

- 246 replies
-
- 3
-
-
- revell
- constitution
- (and 2 more)
-
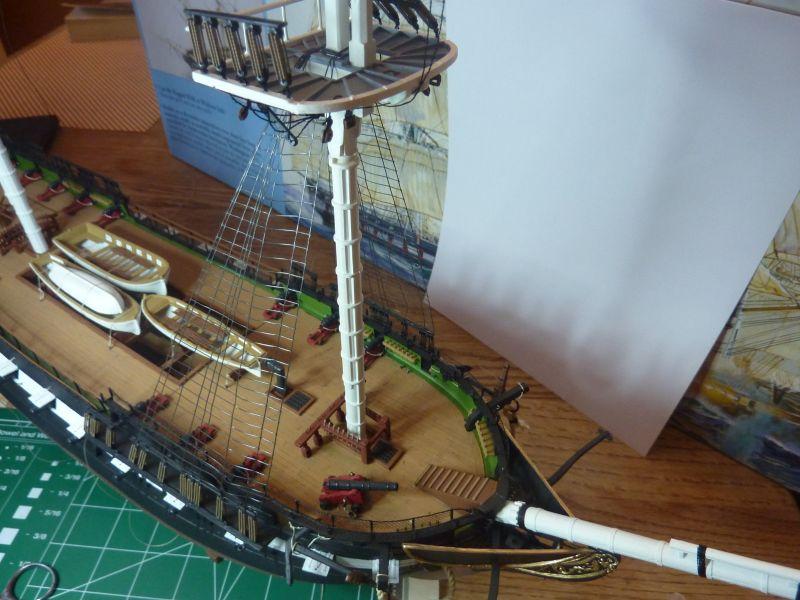
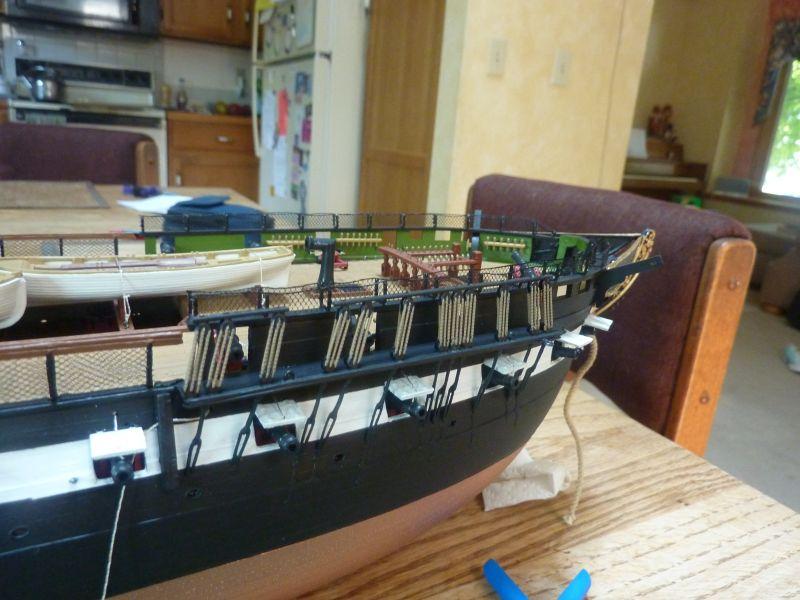
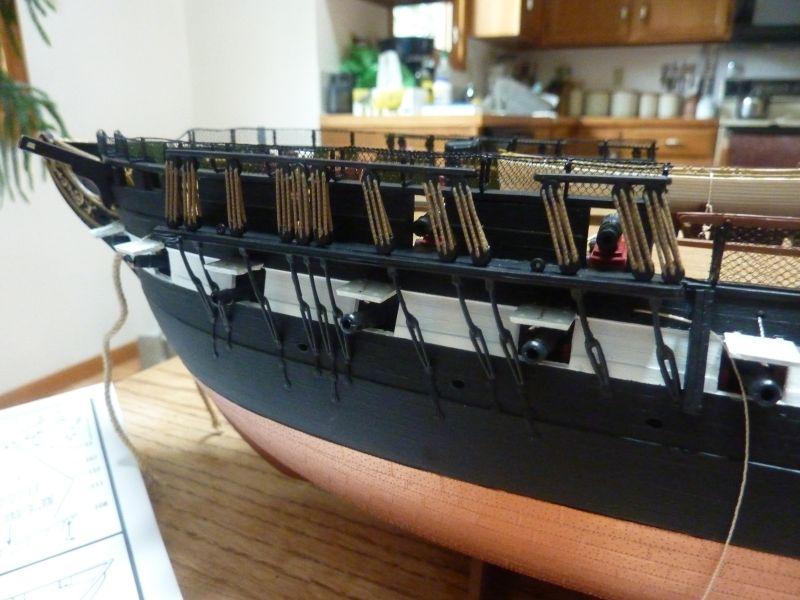
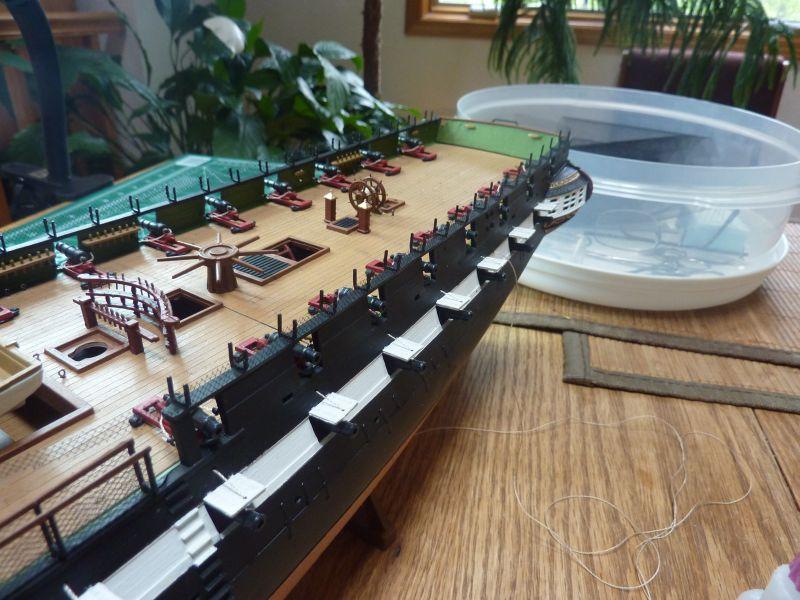
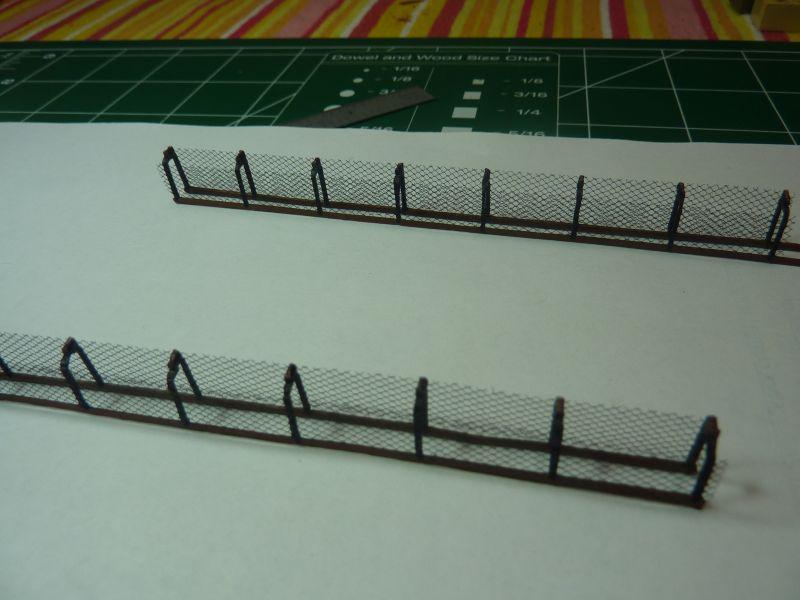
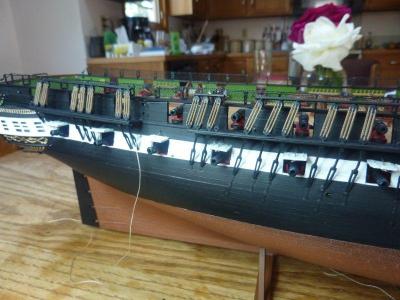
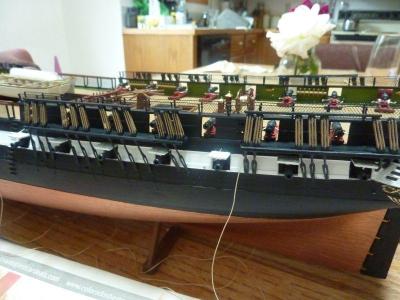
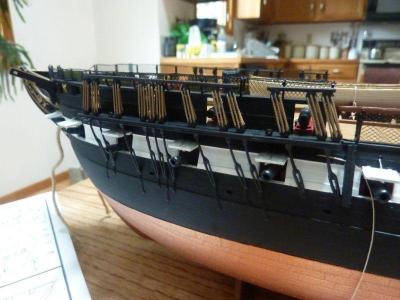
Ok, it took 2 weeks, but I finally finished the cap rail stanchions and hammock netting. I deviated from the instructions here, as they called for wrapping a tan thread in two rows along the stanchions. Photos of the ship clearly show a black hammock netting with a black rope at it's top holding it in place. The stanchions themselves needed a lot of trimming - both the flash and the little tab that fits into cap rail slot which was too long. I wanted the stanchions to fit flush to the cap rail. After all 58 stanchions were glued in (with plastic cement), I painted them flat black to match the cap rail. Then, I cut out 8 pieces of the Tulle fabric in thin strips the width and length that I needed. They were held in place by small clips as I glued them with CA on the outside of the stanchions. Finally, I added a black rope to the top by tying to the end eyebolts and gluing with a small drop of CA at the top of each stanchion. I used the medium size black thread that came with the kit.


- 246 replies
-
- 1
-

-
- revell
- constitution
- (and 2 more)
-
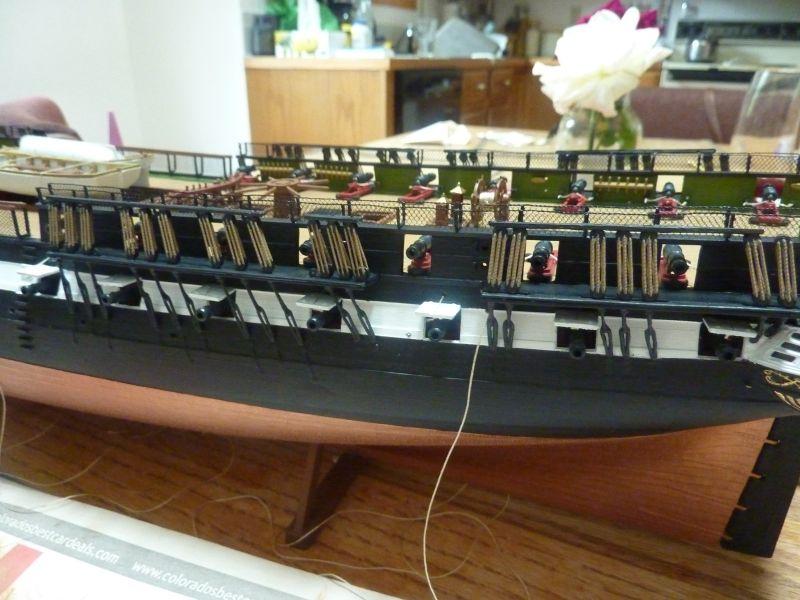
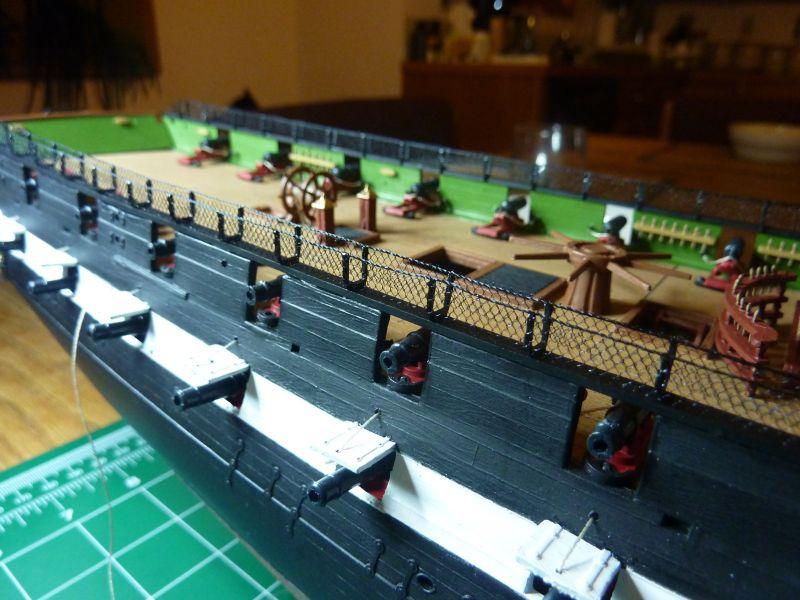
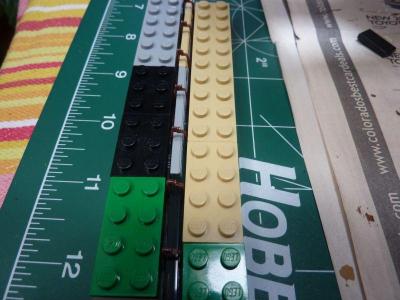
Next step in the build is to install the cap rails and begin the hammock netting. Based on photos of the ship, I painted the cap rails black and glued them into place. The amidships rails were next and they were somewhat difficult. Based on photos, the stanchions were black and rail above them was "Wood" colored. I chose to paint them my "Leather" color for contrast. The instructions also specify to thread them with tan thread, with two rows both inside and out. Photos of the real ship, however, shows hammock netting both above the cap rail and in the amidships section. After a recommendation to check out the local Hobby Lobby, I found some "Tulle" which has the same shape as the hammock netting and I was able to get an eighth yard for 18 cents. More than enough Tulle. The very thin rail sections had a lot of plastic excess on them and I spent a lot of time with a very sharp knife trimming them. Luckily, there were no mishaps or breakage during this step, but it could easily have happened. Next, I glued together the two pieces that make up the amidships rail. I jigged this with legos to keep them the proper distance apart and used plastic cement on them, unpainted as I wanted a strong bond. After letting them dry overnight, I painted them black and "Leather", cut and glued the Tulle to them with CA and then used CA again to attach the rails to the ship. Personally, I think it turned out great. I plan to use this Tulle for the rest of the cap rail hammock netting as well.


- 246 replies
-
- 1
-

-
- revell
- constitution
- (and 2 more)
-
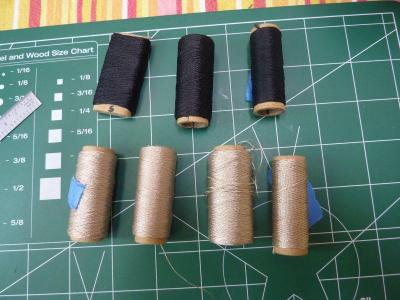
Next, there was a question about thread sizes: 3 black spools and 4 tan, but 3 sizes of each.
-
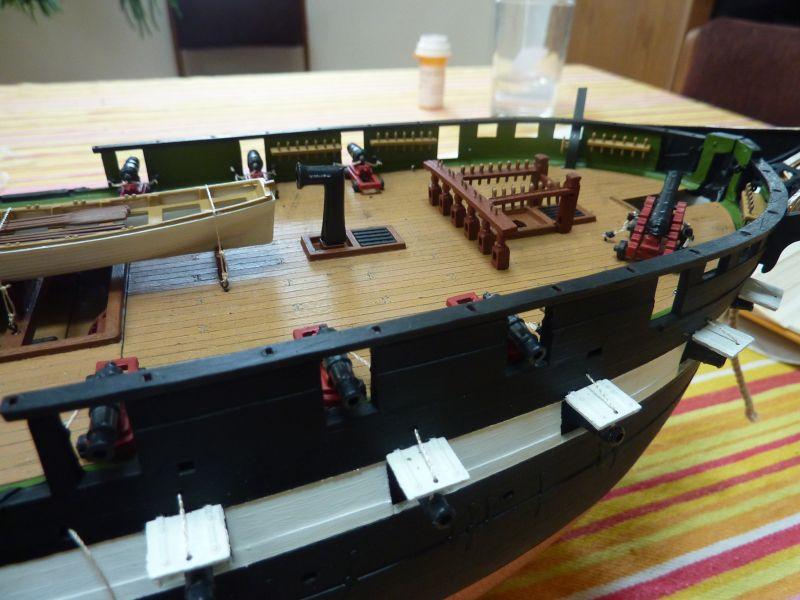
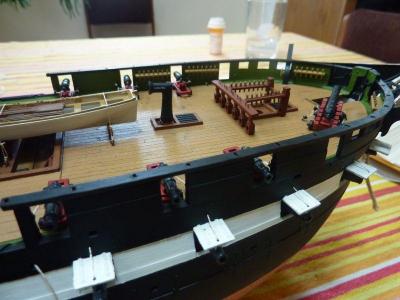
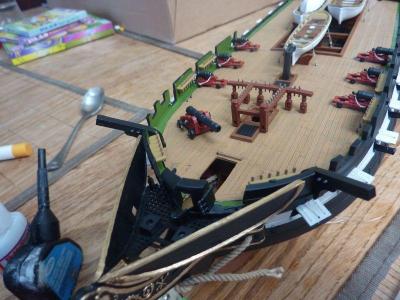
I glued in the head timbers, applied a little touch up on the gold paint and finally glued in the two water pumps and eyebolt assemblies. Next up: the catheads and then the railings.

- 246 replies
-
- 1
-
-
- revell
- constitution
- (and 2 more)
-
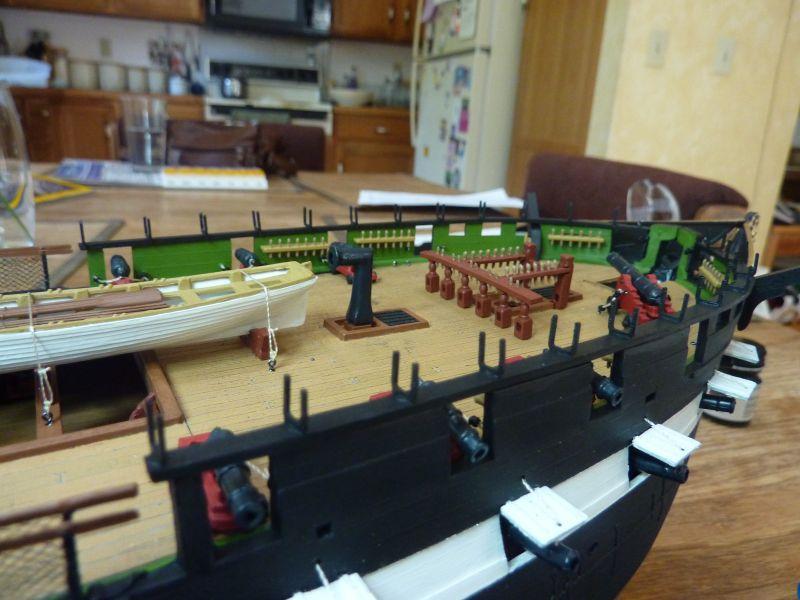
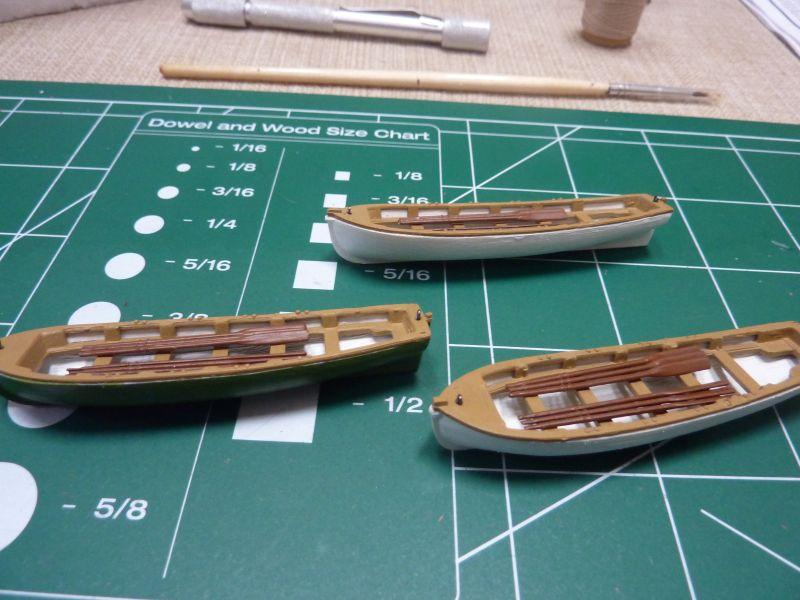
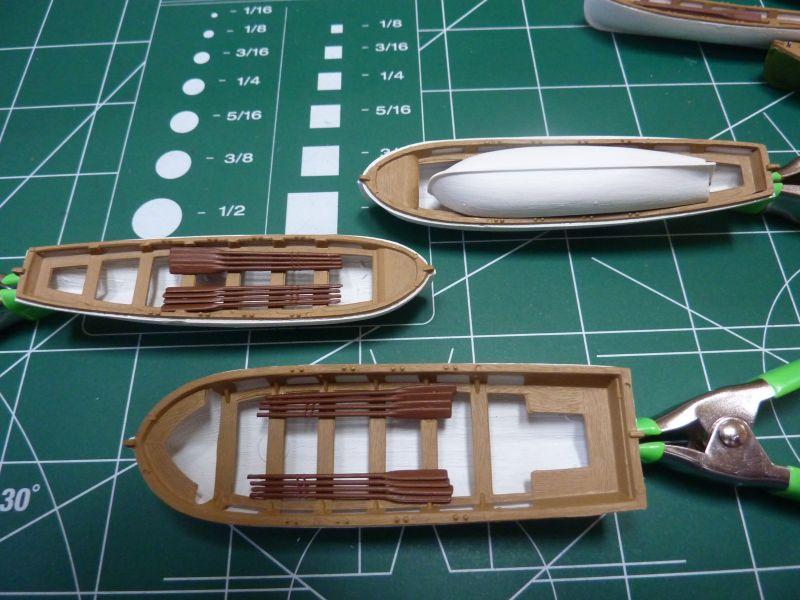
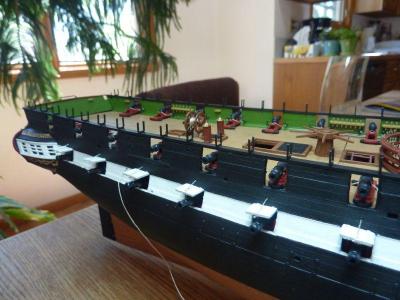
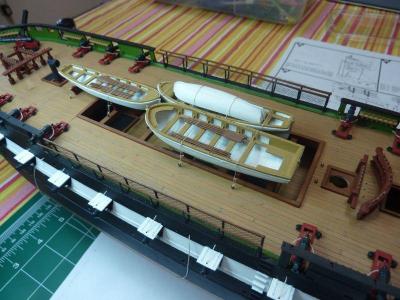
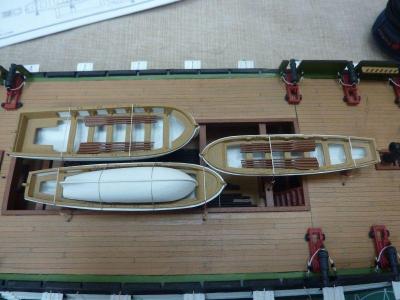
Final pinrails: Next up are the ship's boats -- I've assembled and painted them as well as the 34 oars that come with the kit. The instructions say to distribute the oars among the boats -- there are 2 jolly boats, 1 cutter (Captain's cutter?) and 4 boats which are lashed to the deck. Any ideas/suggestions on typical oar distribution? Also, would it look weird to just glue the oars in place or should I attempt to lash them to the boats?


- 246 replies
-
- 2
-
-
- revell
- constitution
- (and 2 more)