HOLIDAY DONATION DRIVE - SUPPORT MSW - DO YOUR PART TO KEEP THIS GREAT FORUM GOING! (Only 69 donations so far out of 49,000 members - Can we at least get 100? C'mon guys!)
×


AndyMech
-
Posts
363 -
Joined
-
Last visited
Content Type
Profiles
Forums
Gallery
Events
Everything posted by AndyMech
-
Hey John, You can see a photo of all my yards, including the mizzen mast yards at the bottom of page 3 of this log. I have rigged the mizzen mast up through section 6 of the instructions, but have not yet completed the spanker gaff. I'd be happy to take other photos - anything in particular you'd like to see? I have my instructions handy, so let me know which step or line you have a question about. Let me know your question as well and I can perhaps describe (as well as provide a photo). Of course, no guarantee I did mine "correct" ! Andy.
-
I know Augie's stirrups look good, but when I did mine I was very concerned about getting the wire not have kinks in it. I use a 28-gauge wire (I think it's 28 gauge) to make the eyebolts, and since it's so thin it's easy to get a sharp bend that may be difficult to remove. So, I did my sitrrups with a rig and little white glue (the Ship Modeling for Dummies method) and it worked pretty well. The tough part is getting the footropes to lie naturally and I got better at that with practice. And with 12 yards to rig, there's plenty of practice to be had, as you well know. Perhaps, Augie, you can enlighten us on how you attached the wire to the yard and how you made the loop at the end for the footrope? Maybe it's not as tricky as I imagine? Andy.
-
Thanks Augie and texxn5, I was kind of wondering if I was overly slow with or not. I suspect not, and I agree that the end result is the goal, not the time taken. Mainly, I was wondering if there were tricks or techniques that might allow it to go faster, but other than the yard mounting, perhaps not. I did do all my standing rigging before mounting yards. And, Augie, I remember decorating yards - the Connie has 12 yards, and I think it took me several months to get all the footropes, blocks, booms, etc, on them all. I was sure glad when I completed that. I am also looking forward to wood modeling, as I feel the plastic requires so much finesse to keep things from bending or distorting. Wood will bring it's own challenges, I'm sure. Plus, there's the bar set by Augie's Syren Andy.
-
If you can do all those lines in a day, even if just for one mast, you are blazingly faster than me. I've been doing my rigging a bit orthogonal to you - same lines on all masts (as opposed different lines all on one mast), but there are days where I can only get 4 lines rigged, in about 4 hours. Balancing the lines is the hard part for me, where one line goes through two blocks down to two pins, etc. Andy.
-
Good to know. I'm ok with keeping it slightly slack. I kind of like the idea of doing it without glue as well. If I applied a little CA, I'm sure I could keep it tight, but that can always be done later if I'm unhappy with it. Andy.
-
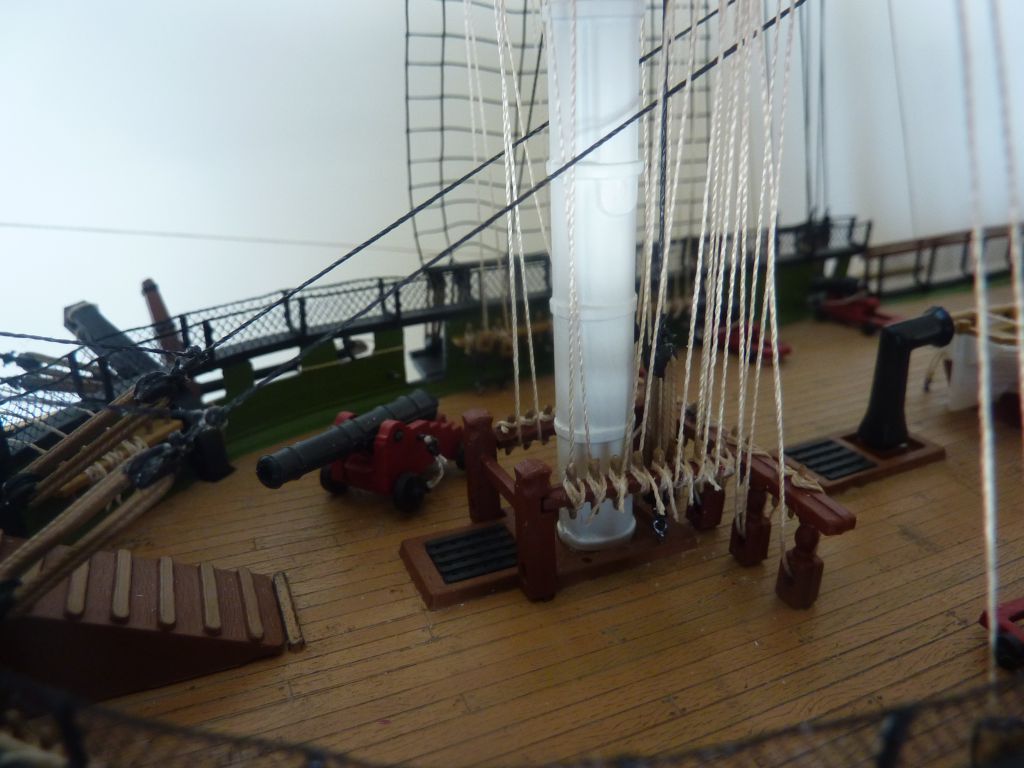
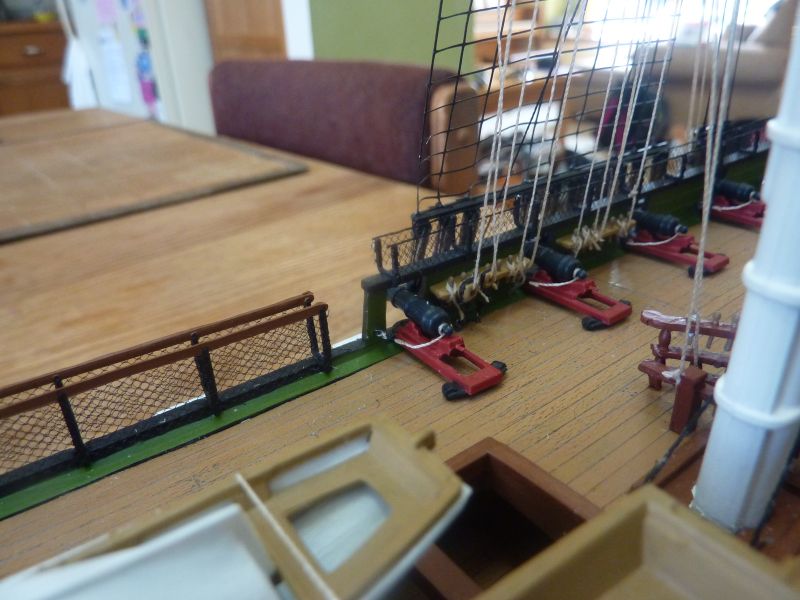
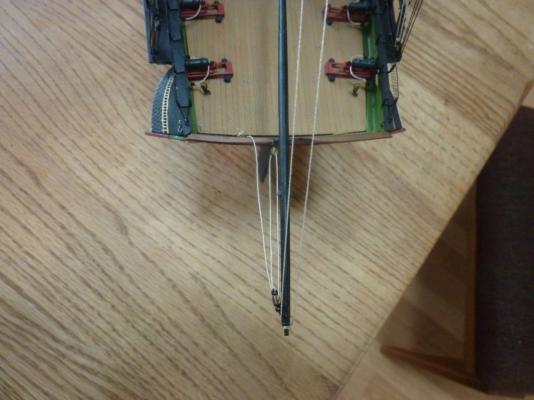
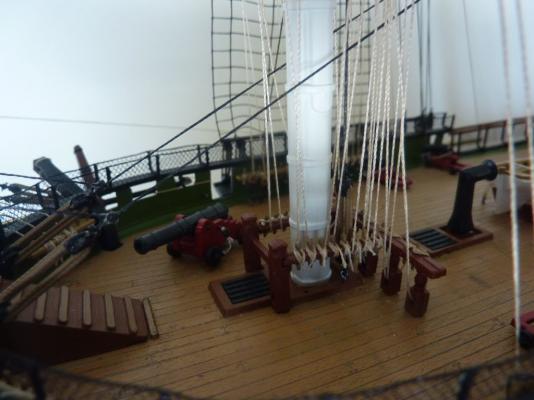
Thanks everyone. There are other pinrails still to worry about, have no fear. But, they are getting filled up. More progress this afternoon - I finished the mid-ships studding boom and started on the spanker boom. It's not glued so when I released it from the clamp I used to hold during rigging it swung to the side making the block rigging not at tight. The instructions call only for rigging that on the port side - do you think that's an oversight or on purpose? Port side rigging.
-
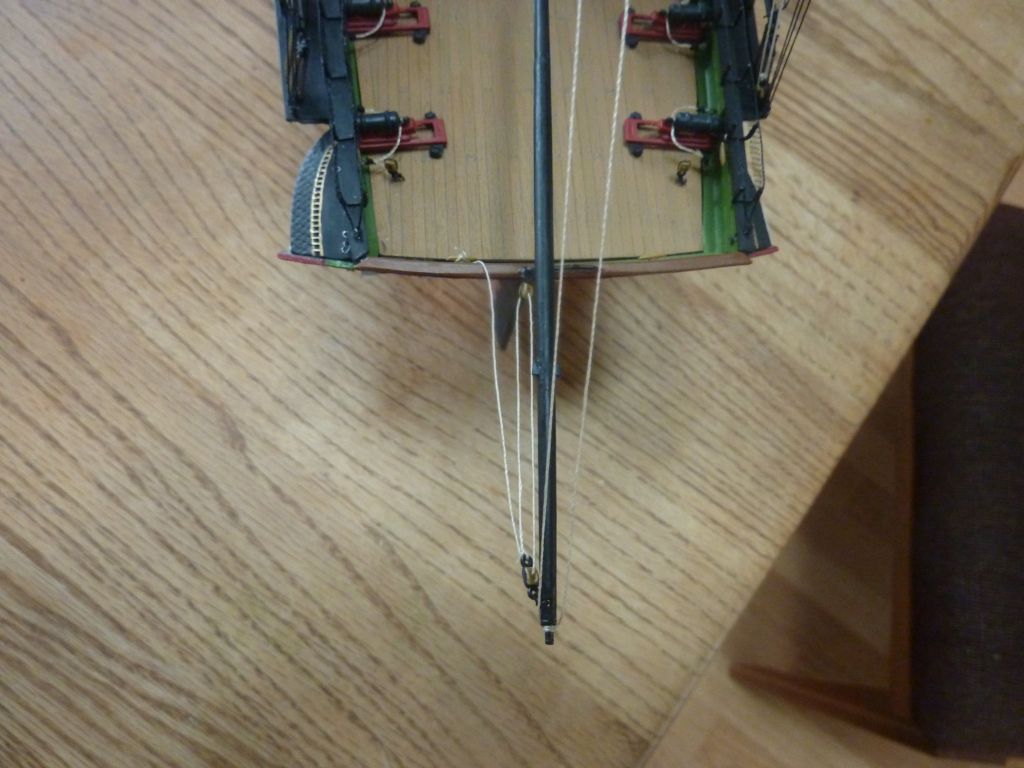
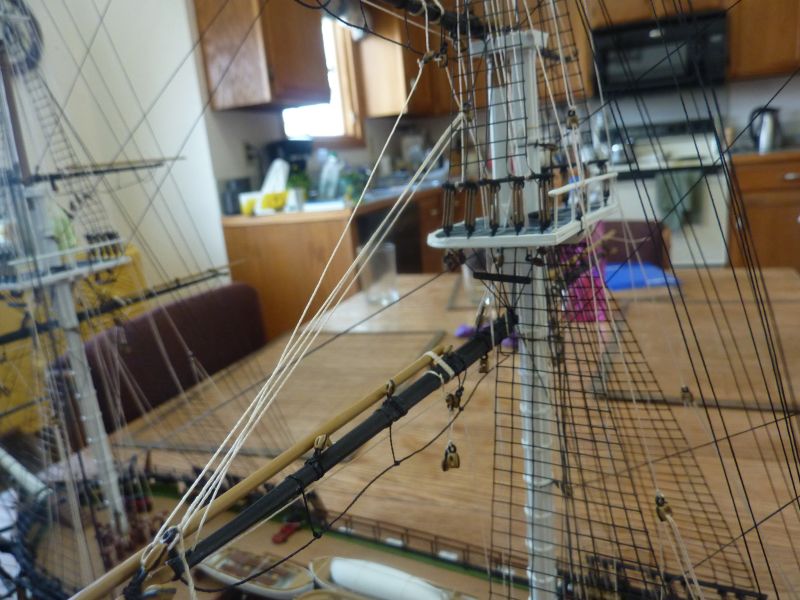
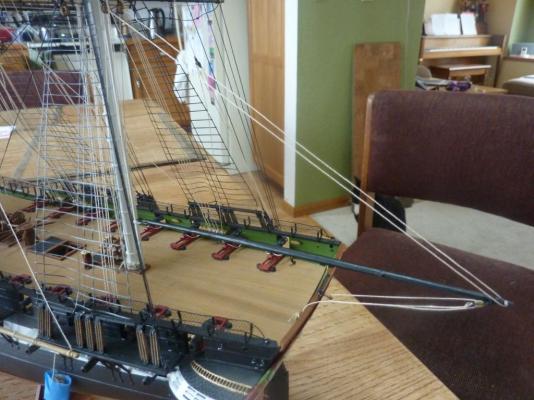
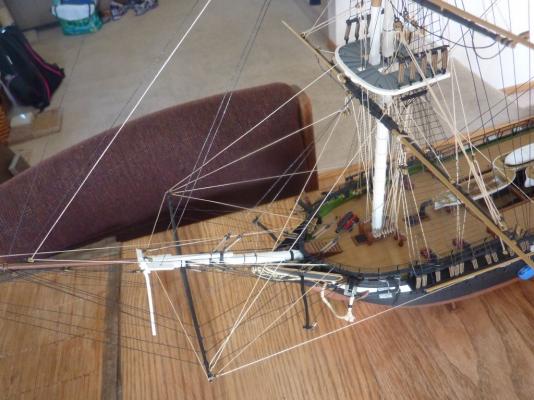
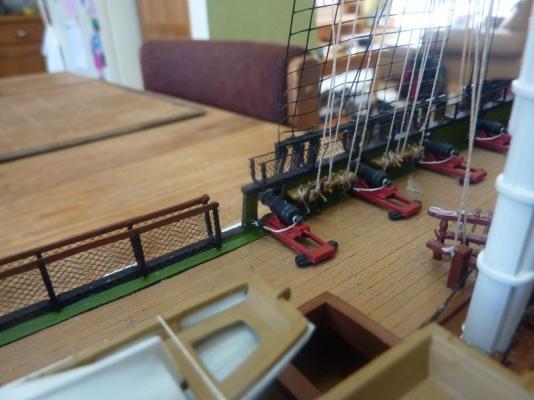
I was off work on Friday, so made some great progress on the rigging. - I completed the upper masts fore and aft running rigging - these lines parallel the standing rigging forestays: Next, I was able to finish the bowsprit rigging, including the studding sail boom near the bow (still working on the mid-ships studding sail boom) The foremast pinrail is full up! The CA I used to glue it down has held, which I was worrying about a little. Andy.

-
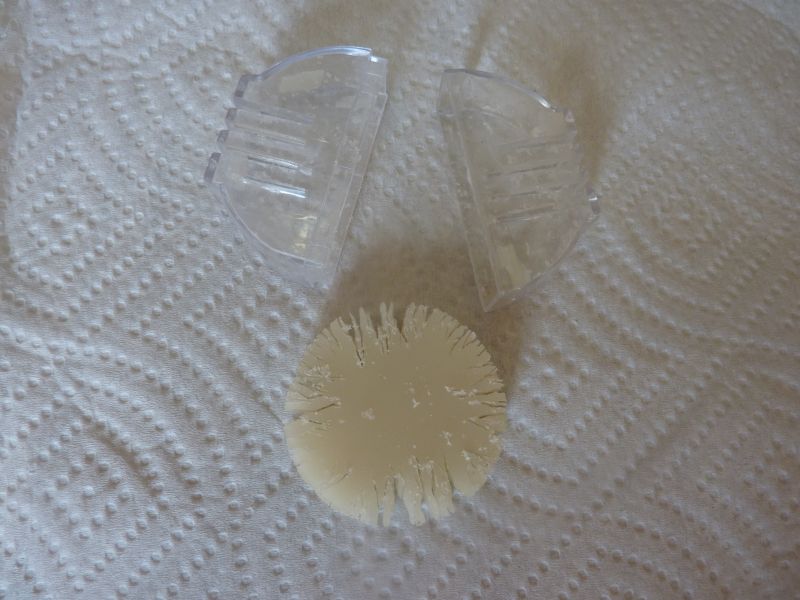
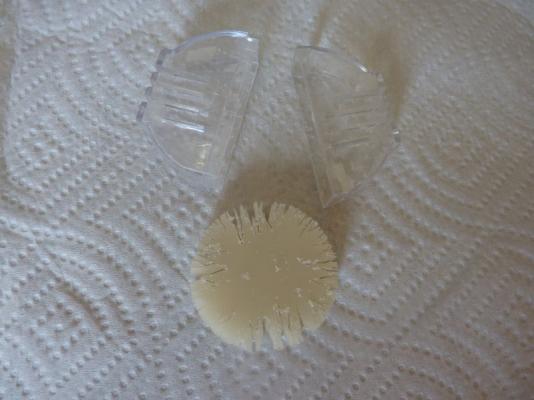
I use the same beeswax applier from MS, and find it works pretty well. It's getting a little beat up and flaky, but still works well. I've heard that local fabric stores carry beeswax too for when this block gets used up. Andy.
-
I, too, am following the instructions, with slight deviations on paint color here and there. With respect to the rigging, I'm pretty much following that to the letter. I hope to make progress this weekend on the fore/aft running rigging, step 6. I plan to start with the bowsprit. I've also skipped for now the sheet and tack lines (step 4) as I feel they may get in the way as I try to access the pinrails. I'll add them in later. I have noticed that step 6, part G calls for 2 eyebolts on the rear deck that don't seem to exist (nor do holes for them). I guess I'll need to drill holes - not sure if you've noticed this yet or not. Good to see someone at approximately the same state I'm at, solving the same problems. Andy.
-
This is looking very good; super impressive. Thanks for sharing those photos. Andy.
-
Hi JPett, I am using the thread that came with the kit. It is unlabeled (see page 2 of this log for a photo of it). The running rigging has three sizes, just referenced as small, medium and large. I think it's polyester, not cotton and comes on cylindrical spools. It is generally fairly stiff and I run it through beeswax prior to using it. I'll see how it hangs next build session (probably the weekend). One thing I might try is melting the beeswax after applying. I had to do that on black thread as the wax showed up a bit, which is not a problem on the tan thread. But, melting the wax might allow for some nice hanging property. I melt it by filling a drinking glass with near-boiling water and then running the thread along the now hot glass. It works pretty well and if you use a large glass it retains the heat long enough for multiple meters of line. I think if I melt some wax on the line and then hang it up between two posts, I just might get a nice natural looking arc. Can't hurt to try. I'll post pics of the experiment if I find the time. Andy.
-
Yes, thanks. So, achieving a nice graceful arc in lightweight thread (instead of heavy rope) is difficult. Make sense. I personally am not willing to attempt a fake curve on a long line, set with glue etc. It was hard enough to do on the footropes. Andy.
- 246 replies
-
- 1
-

-
- revell
- constitution
- (and 2 more)
-
Thanks everyone for the nice thoughts. Still a lot of work to do, but it is moving along. Sheets and braces are indeed next, and I have a question about those. So far, I've been keeping all lines taut, but should that also be the case with sheets and/or braces? Those lines are long enough that they might create a natural curve if some slack is left in them. Is there any consensus as to what lines (if any) are kept loose? Andy
-
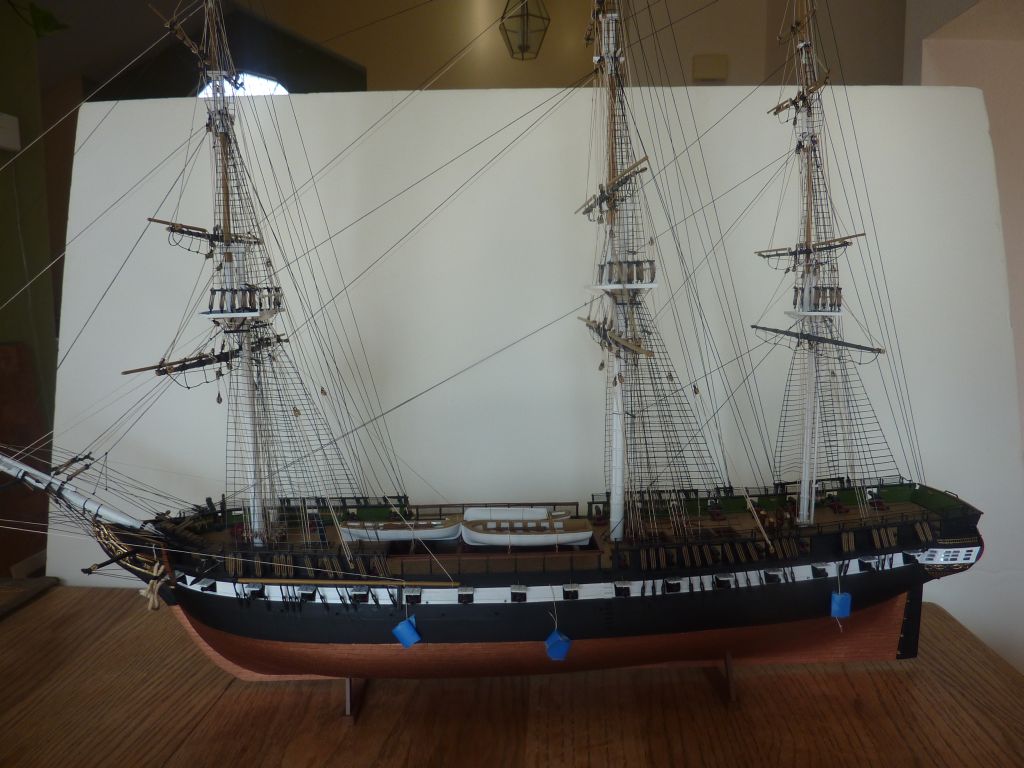
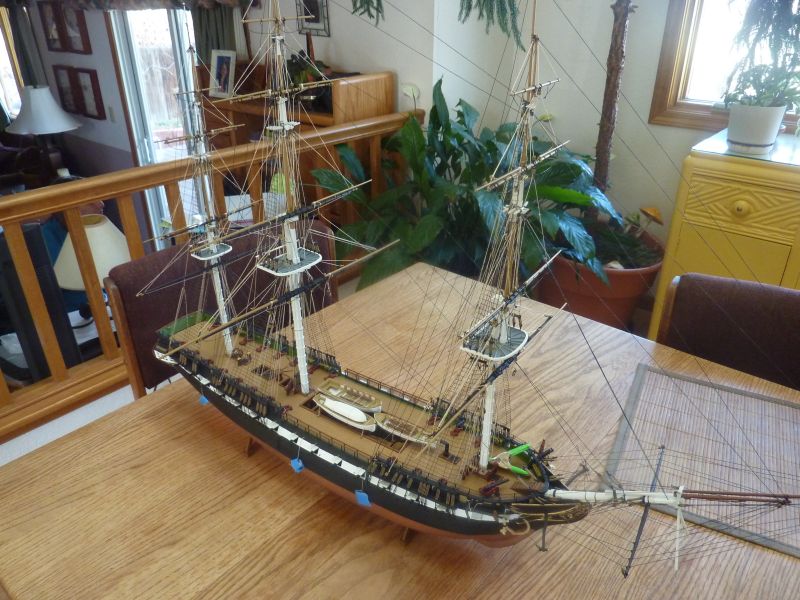
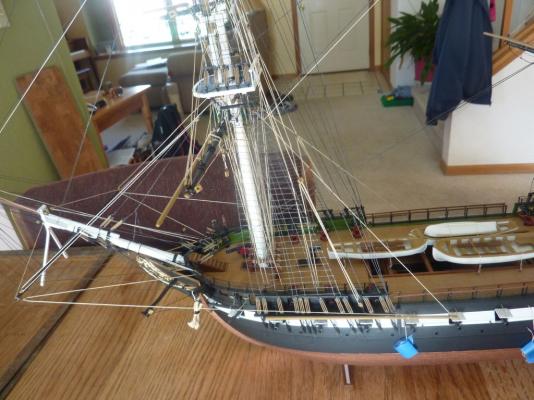
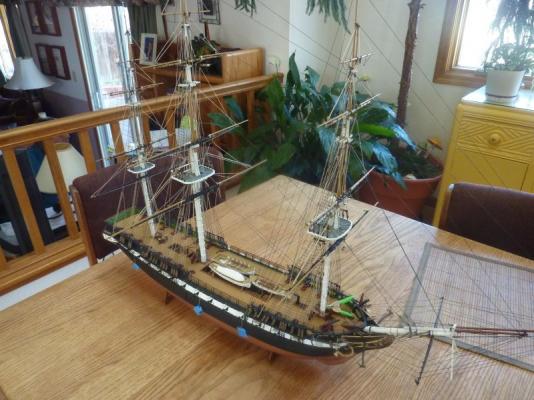
I had a good 3-day weekend on the ship. On Friday, I finished the lifts on all three masts and tied in the blocks to the crosstrees in preparation for doing the leech and bunt lines. Saturday and Sunday, I completed the leech and bunt lines (step 5). The upper ones tied off on the fight top railing, the lower ones through blocks and tied off at a railing. I skipped step 4 for now so as not to work around those lines (sheets). I'm going to look through the instructions and rig those lines that tie off near the mast base prior to doing some of the outside lines. Next up will be rigging the bowsprit left and right, including the studding sail boom. Andy Foremast: Mainmast: Full ship as she stands:
- 246 replies
-
- 3
-
-
- revell
- constitution
- (and 2 more)
-
One thing to be careful with is the alignment of the masts. If the spar deck is fixed, then getting the masts in straight might be an issue. I know when I put my masts in, the spar deck (which was floating) did have to move slightly. Once aligned, I'm guess it would be fine to glue it in with braces. Andy.
-
Thanks Russ and Augie. I think she does look better in person, but I also remember looking for detailed photos of this model so I could decipher some instructions, so I try to include them. Someone else building this hopefully will be able to interpret what I did in order to avoid a mistake or copy something I did right. Andy
-
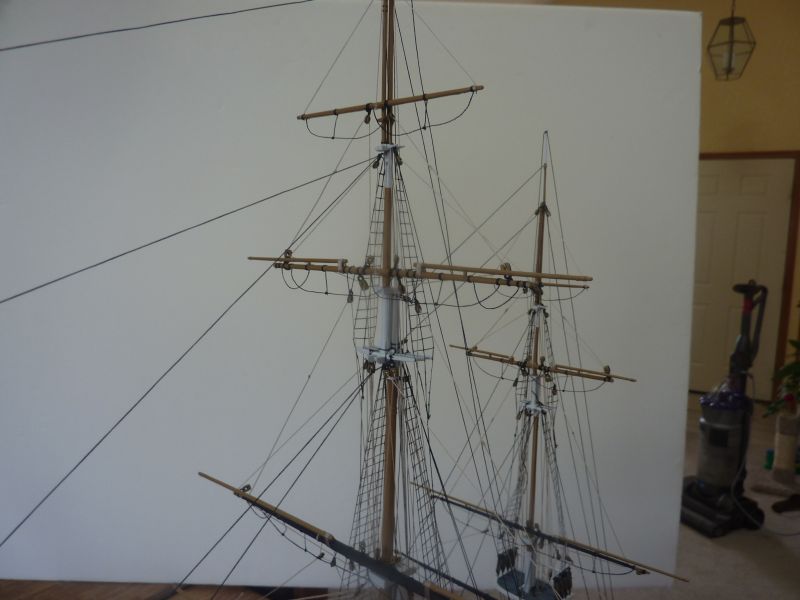
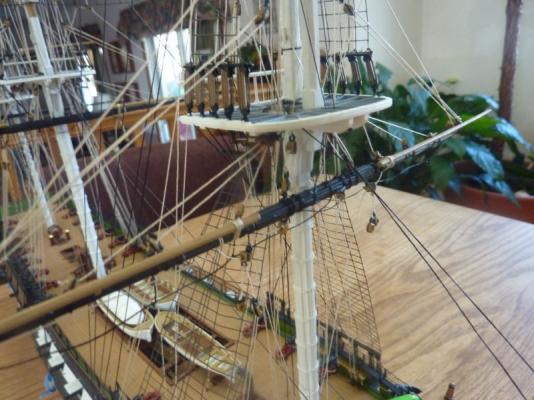
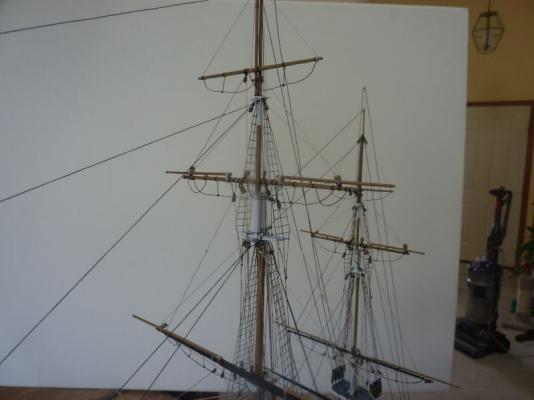
I've been adding the lift lines to the yards - trying very hard to keep things symmetrical and balanced. So far, so good. I don't think the photos turned out very well, but better than nothing. I still need to finish 2 more lifts on the mizzen mast lower yards and then move on to either the lower sheet and tack lines or the leech and bunt lines. I may do the leech/bunt lines first (step 5), skipping step 4 for now as I think it might give me easier access to the pinrails if I leave off the sheet lines for a while. Andy.

-
That's a great thought. Light and stiff, and a plastic ship and case don't weigh too much, but the outside dimensions of my case is 18x42 inches. The largest board they carry is 16x48, so close, but won't work, I don't think. Thanks for the idea though. I remember when I built my one and only balsa airplane, one recommendation was to use a large ceiling tile as a base. I wonder if they come in larger dimensions? Andy
-
Thanks! The "case" is indeed quite light, but large so a bit unwieldy. I have found a way I can get my ship out of "storage" without help, but I get nervous each time that I might drop it or bang the case. I'm using a foam-core base, which isn't really that strong. It bends in the middle and isn't quite long enough to completely go to the end of the case. I would recommend a firmer base, but I'm at a loss as to what might be light enough and stiff enough. Any ideas are welcome. So far, so good. I wish I had created it earlier in my build actually. Andy.
-
Good luck with the spray painting - I wasn't nearly as thorough as you with my masking job, and it showed. I had plenty of leaks, but even if you do it's not too difficult to touch up and fix it. I had a very similar experience with the inner bulkheads as well - I almost didn't paint it at all until a another member here reminded me. I had to remove the gun deck which I had just installed (but not glued, luckily) and apply what seemed like 5 coats of white paint. Now that it's all assembled, you'd need a flashlight to see it. Still, worth doing though. Looking good - I look forward to seeing the deck treatments. Andy.
-
I can see the light, perhaps, at the end of the tunnel, but I try not to think that way. I'm afraid it would me to rush things and do a sloppy job of the final rigging. Over the weekend, for example, I only added 2 lifts to the main mast and rigged a couple of blocks. I'm on step 3 of the running rigging. I may finish that step next weekend, if I can get some time in. I'll post photos, perhaps, at the end of each rigging step. Thanks for stopping by - appreciate the comments. Andy.
- 246 replies
-
- 1
-
-
- revell
- constitution
- (and 2 more)
-
Yes, it's a very cheap PVC tube and window film box (I won't dignify it with the word case) to keep the dust out. I can only find the time on weekends to work, so I like to protect it during the week. It also relieves the pressure to get a real case quickly as I can use this instead. Avant guard! Awesome. Andy
-
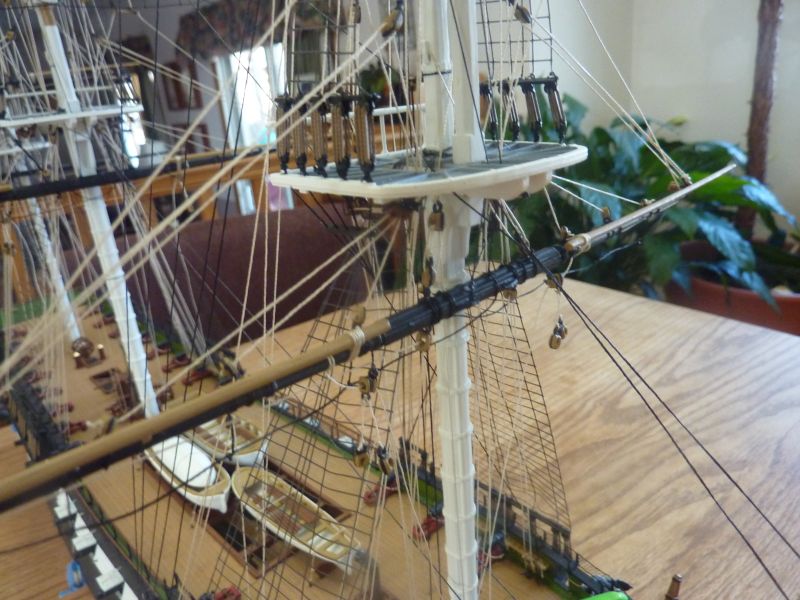
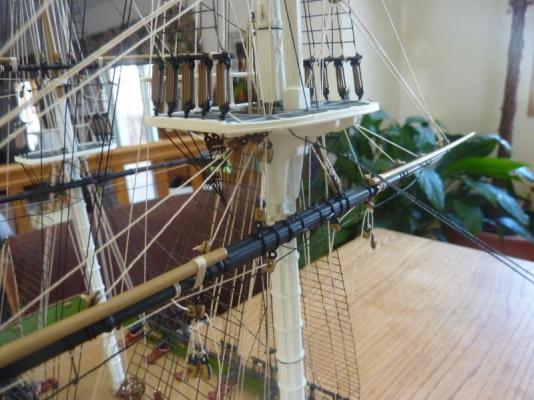
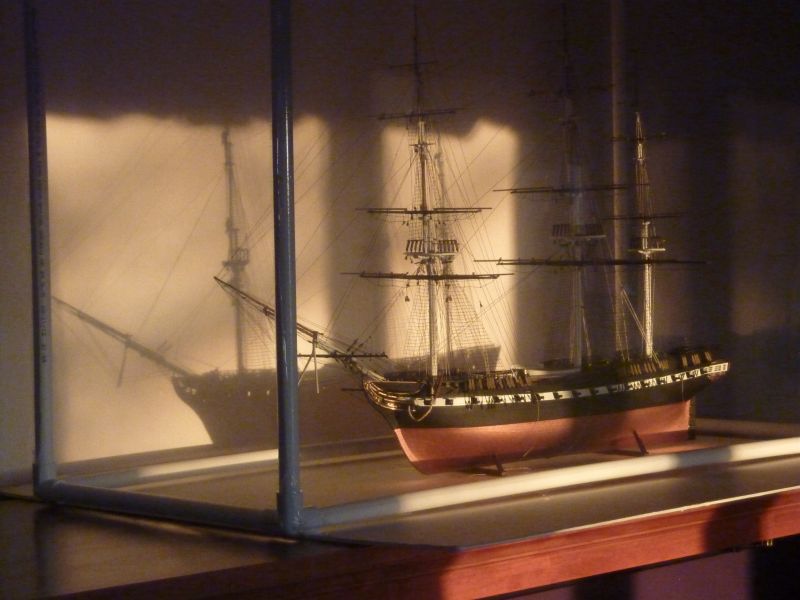
As promised, a couple of photos. Today, I started the lifts on the foremast. Yesterday was spent painting blocks and tying them to the deck in preparation for the lift lines. The upper two yard lifts are tied to the deadeye rail at the masttop. This first photo was from earlier this week. I was about to head to work when the sunrise came through a window and lit up my model quite nicely. These next two are attempts at the lift lines. You can probable make them you if you try real hard. Andy.

-
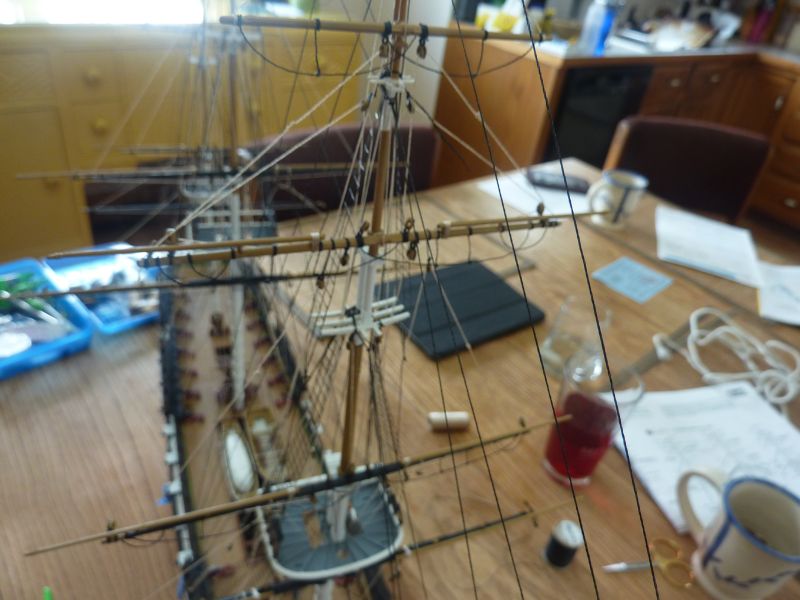
Thanks, everyone, for the kind comments. I really do appreciate it, and it helps keep the motivation up. I've not had an update recently, but not due to lack of progress. I completed the sheet and clew lines (step 2) and started on the lifts. In fact, I was so busy that I didn't have the time to photograph it. Also, getting a good photo seems really tricky as the running rigging lines are everywhere and bringing out the new work is hard. Thanks again, Andy
-
The final shot you've shown there looks pretty good to me. I had a similar reaction to the shroud/ratlines - didn't line up very well on the 1:96 scale I'm doing. Keep up the good work - are you planning on a full rigging? Andy.