Valeriy V
-
Posts
1,116 -
Joined
-
Last visited
Content Type
Profiles
Forums
Gallery
Events
Everything posted by Valeriy V
-
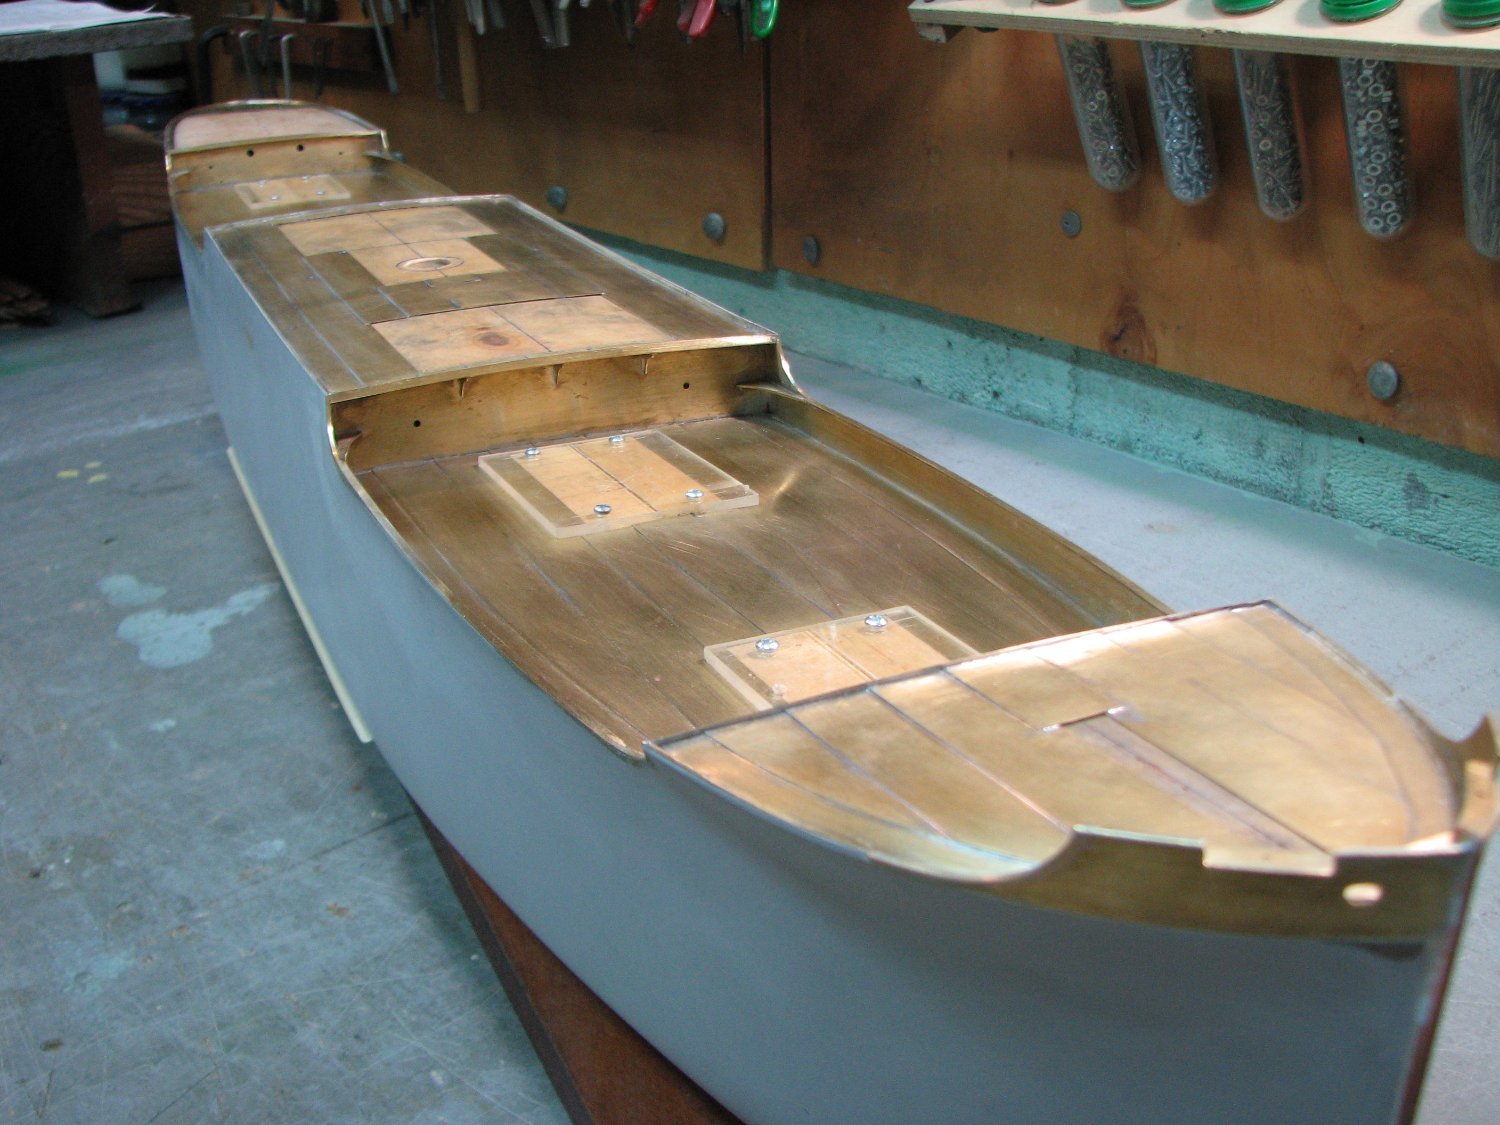
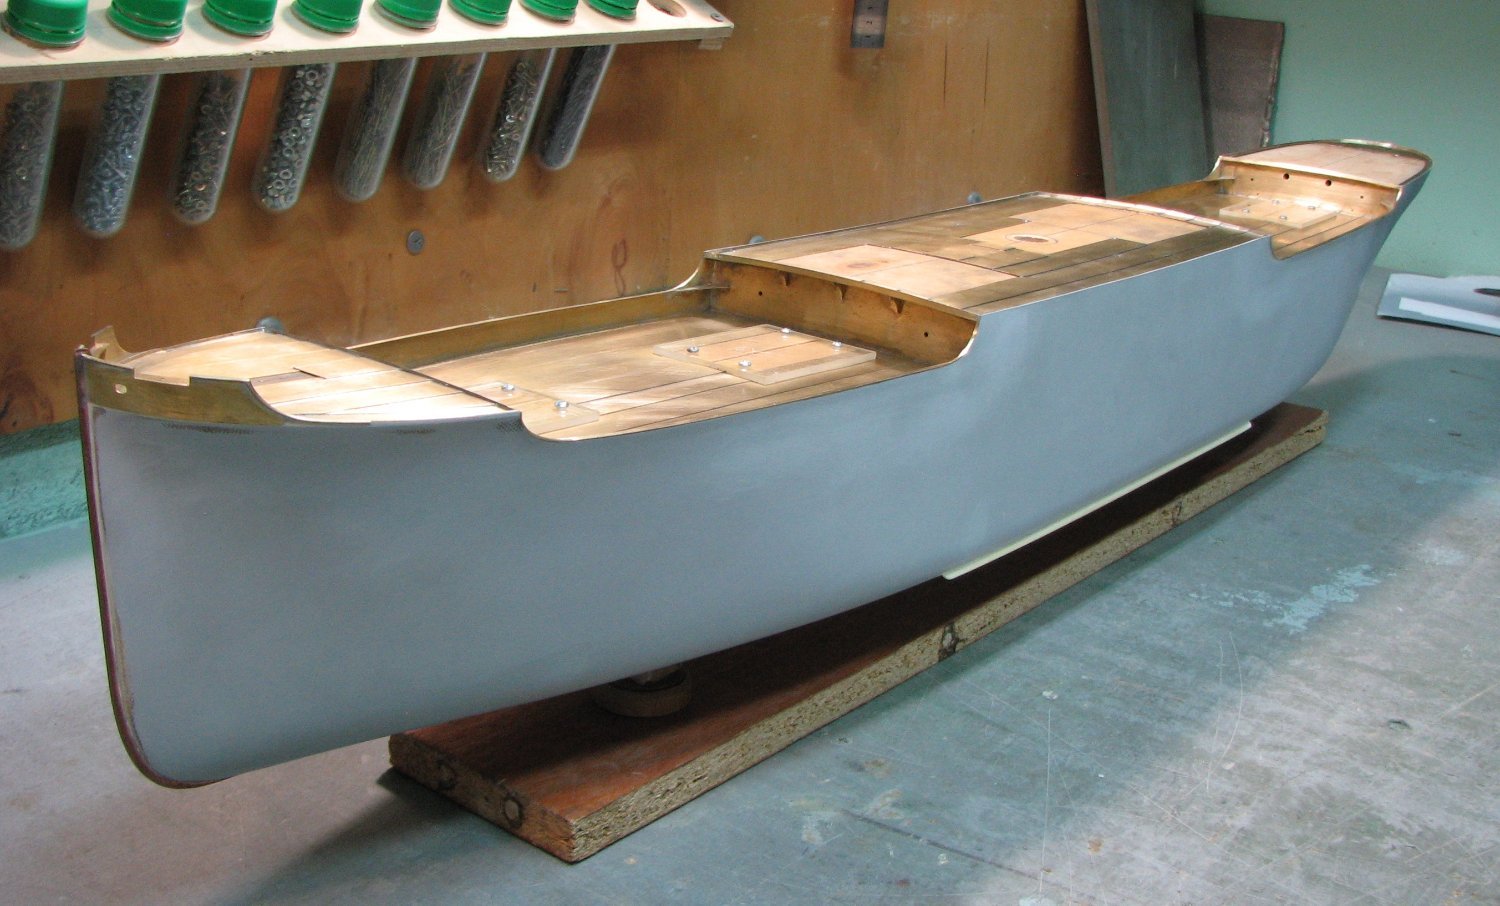
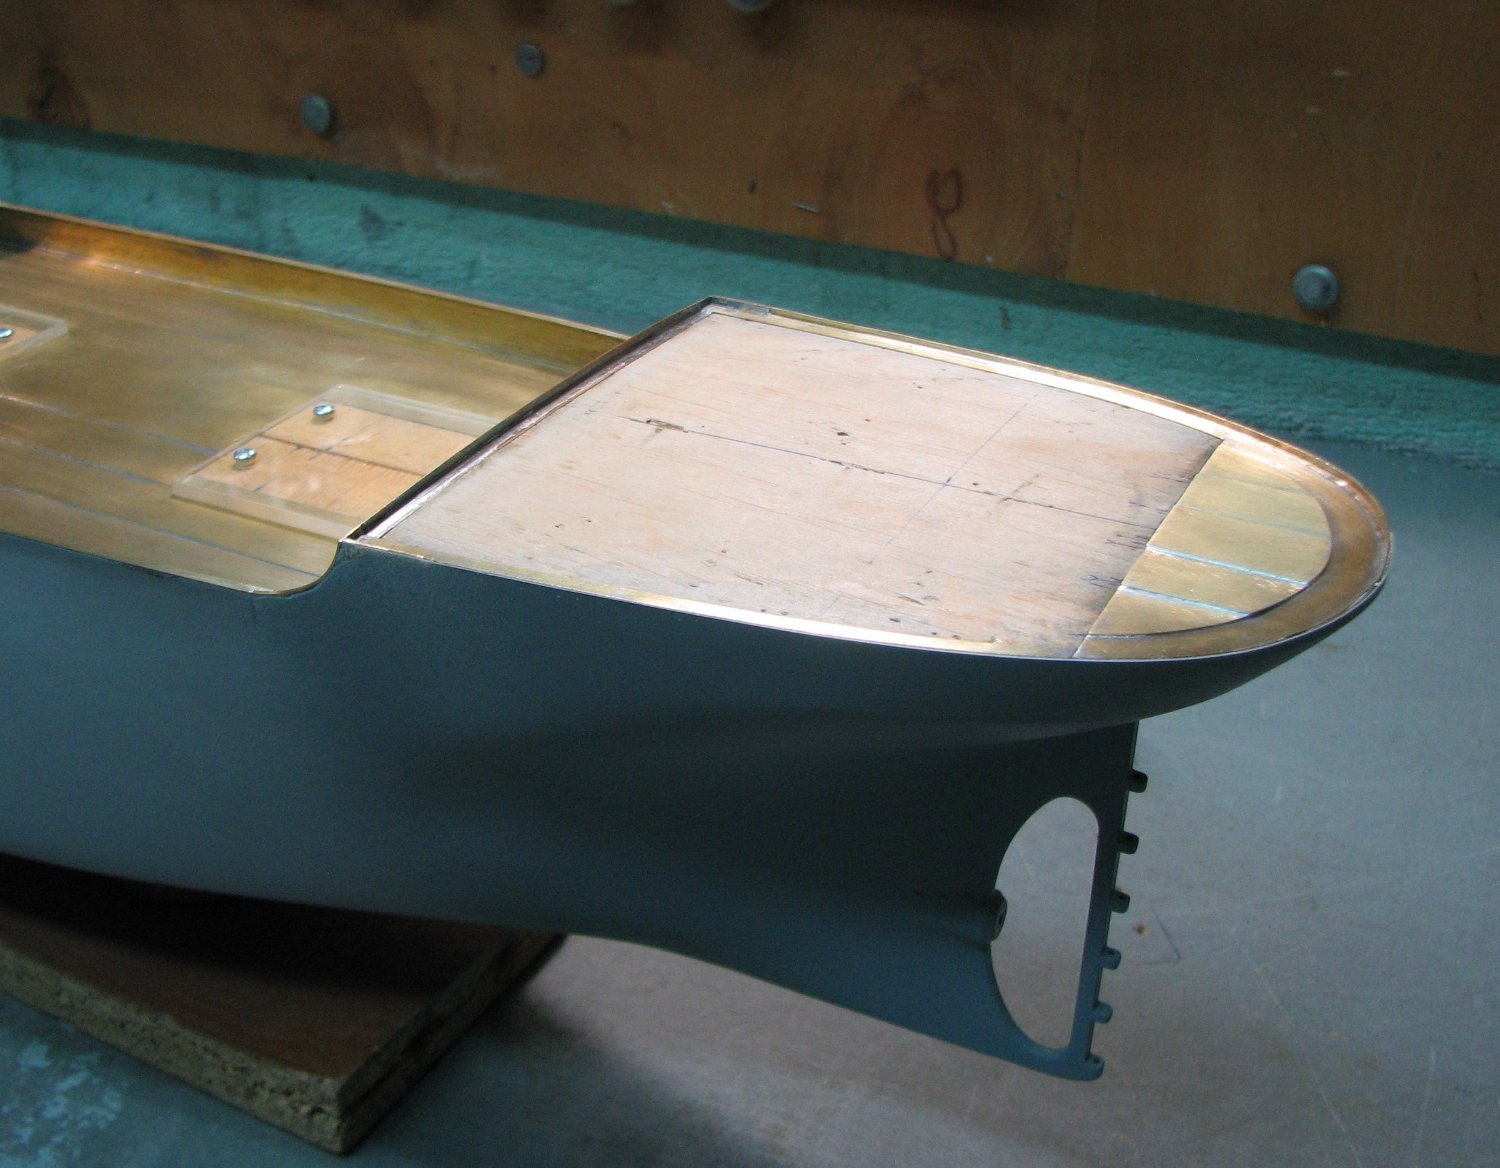
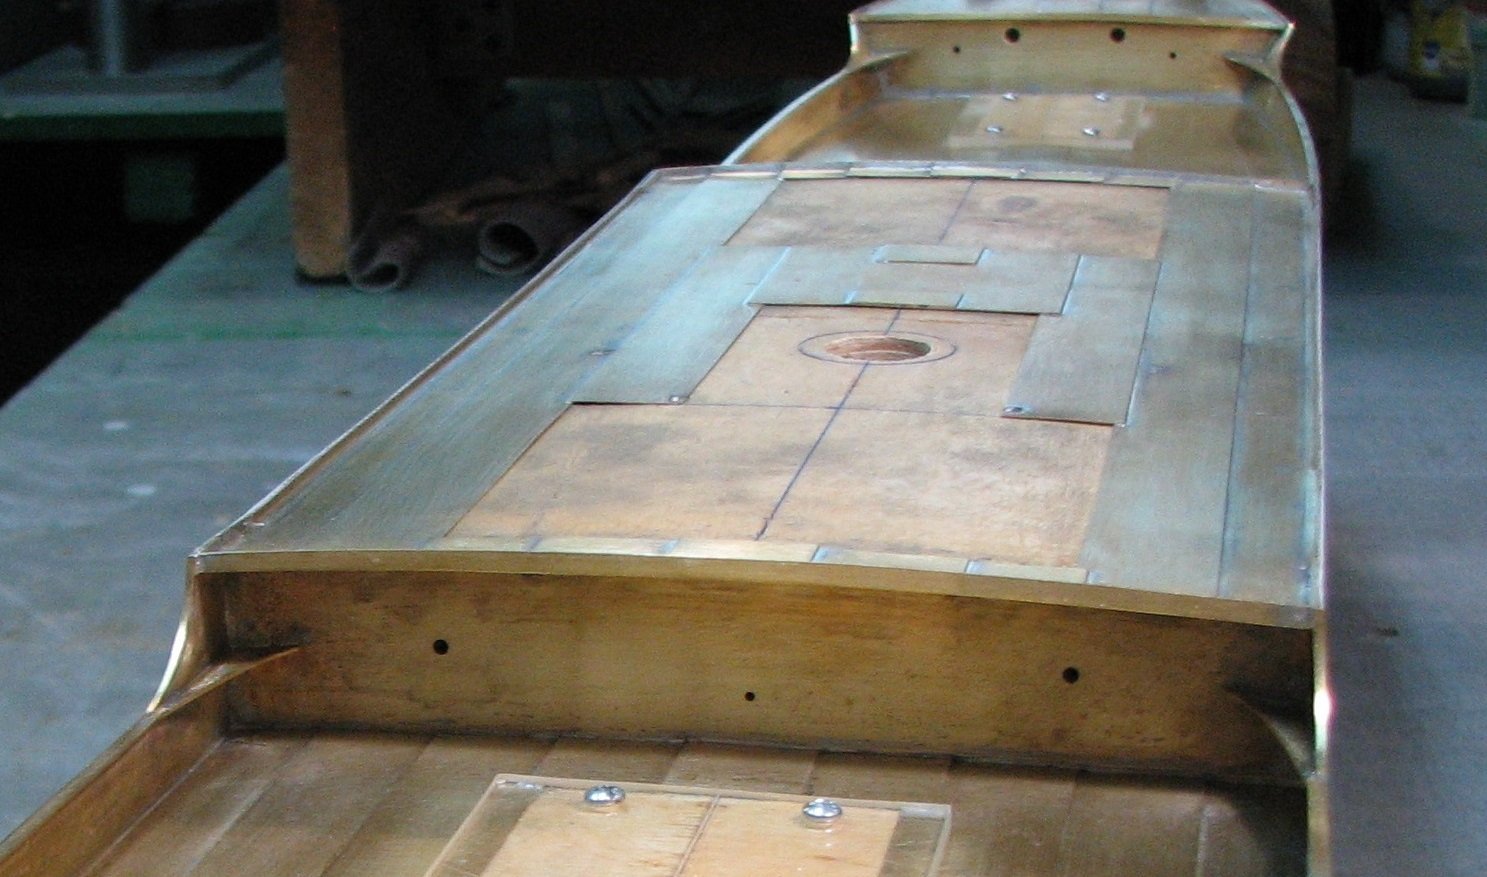
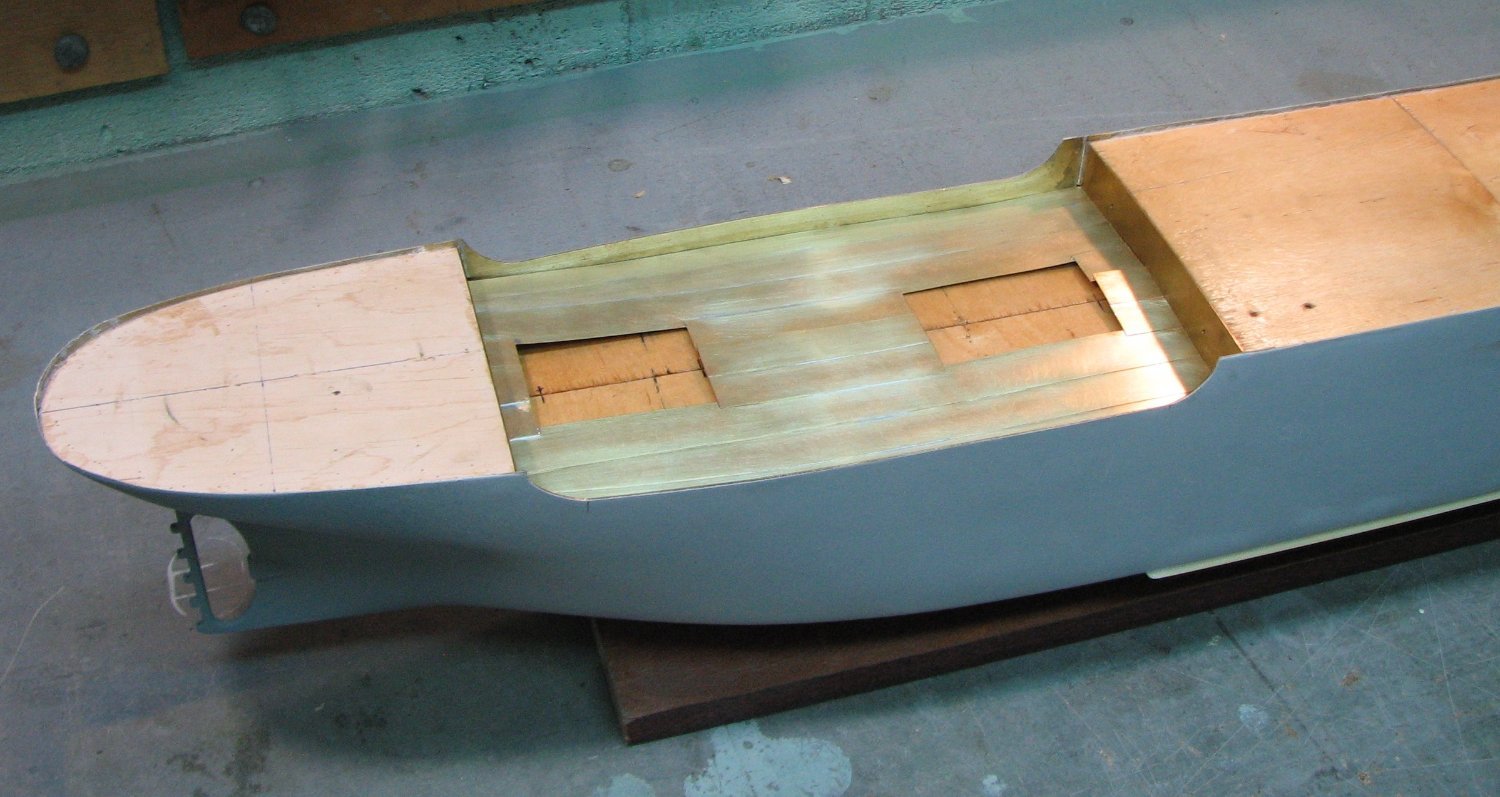
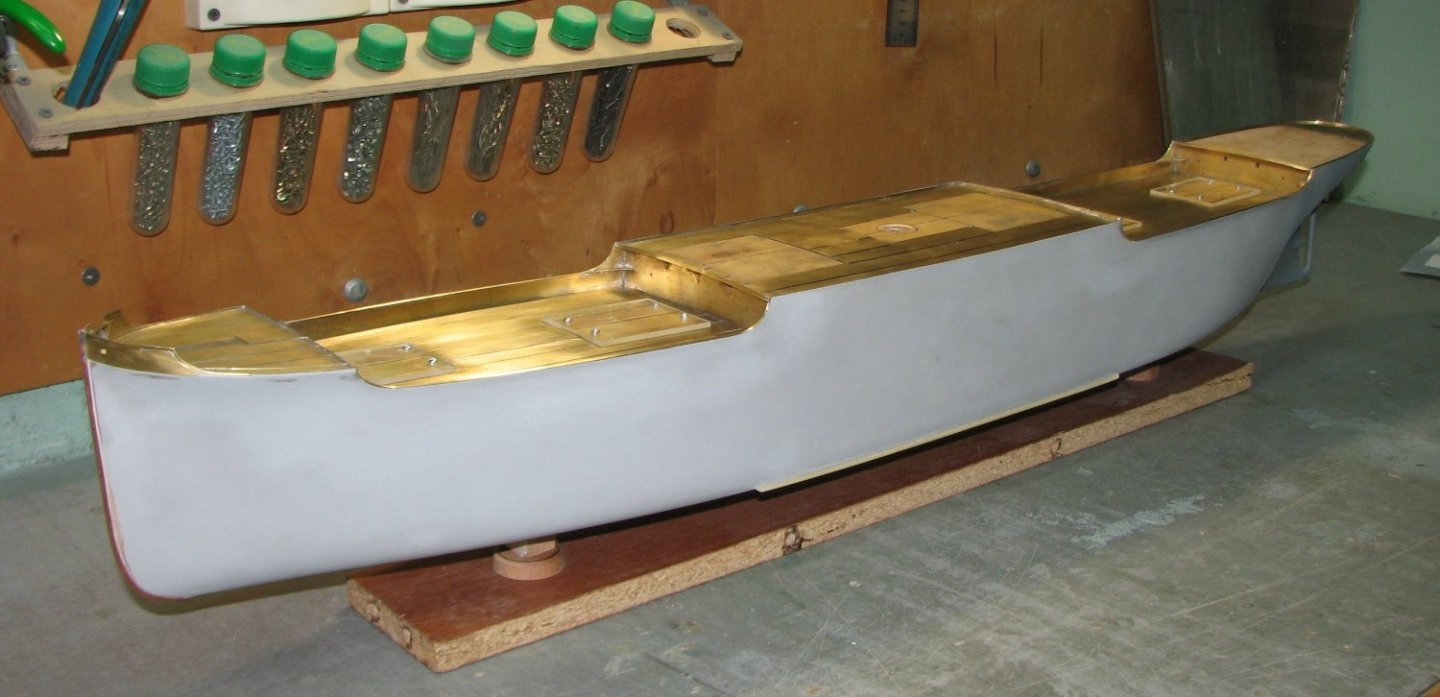
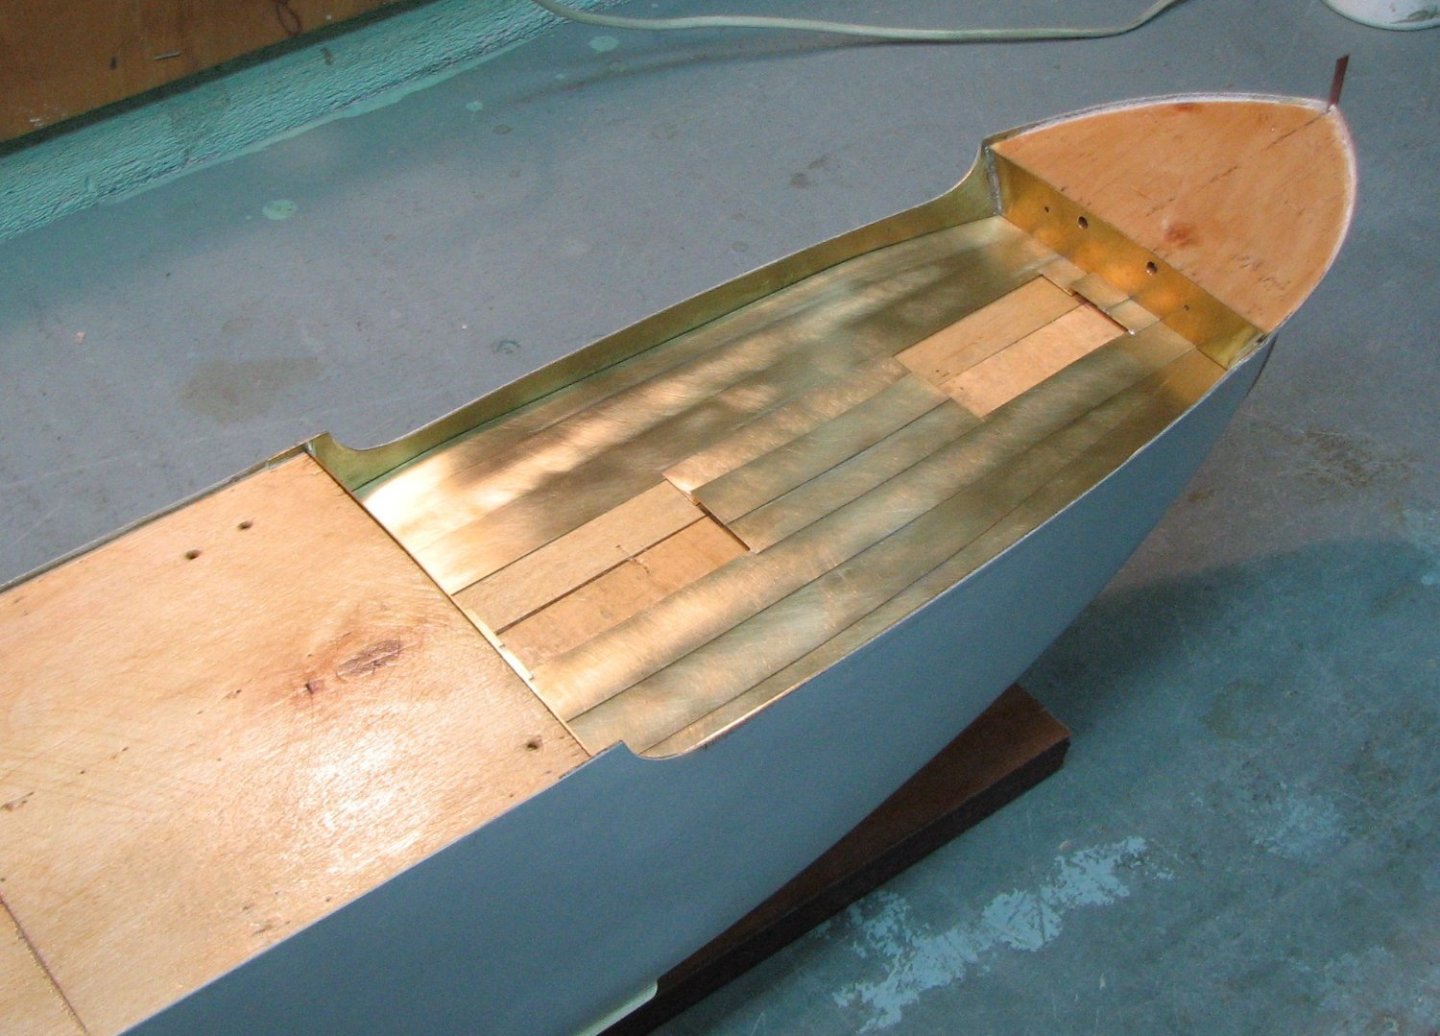
 General view of the deck.

-
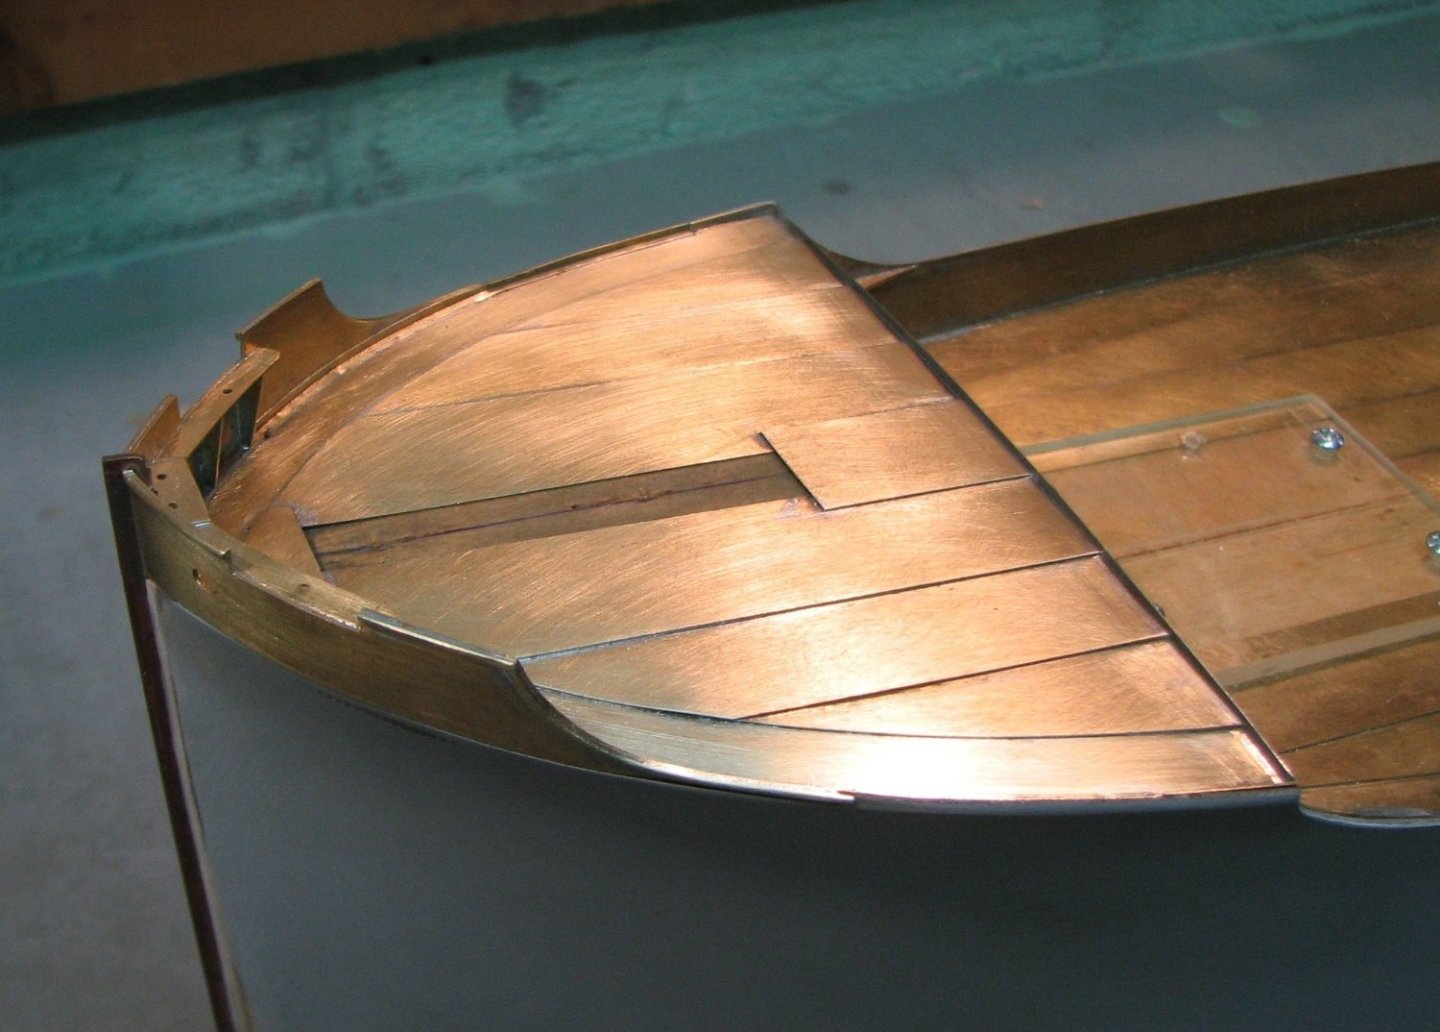
Hi all! I finished covering the deck with metal. Forecastle.
-
The great news doesn't have to end, Keith! I wish you a speedy successful recovery!
-
Andy! I'm already used to it and it will be difficult for me without it.
-
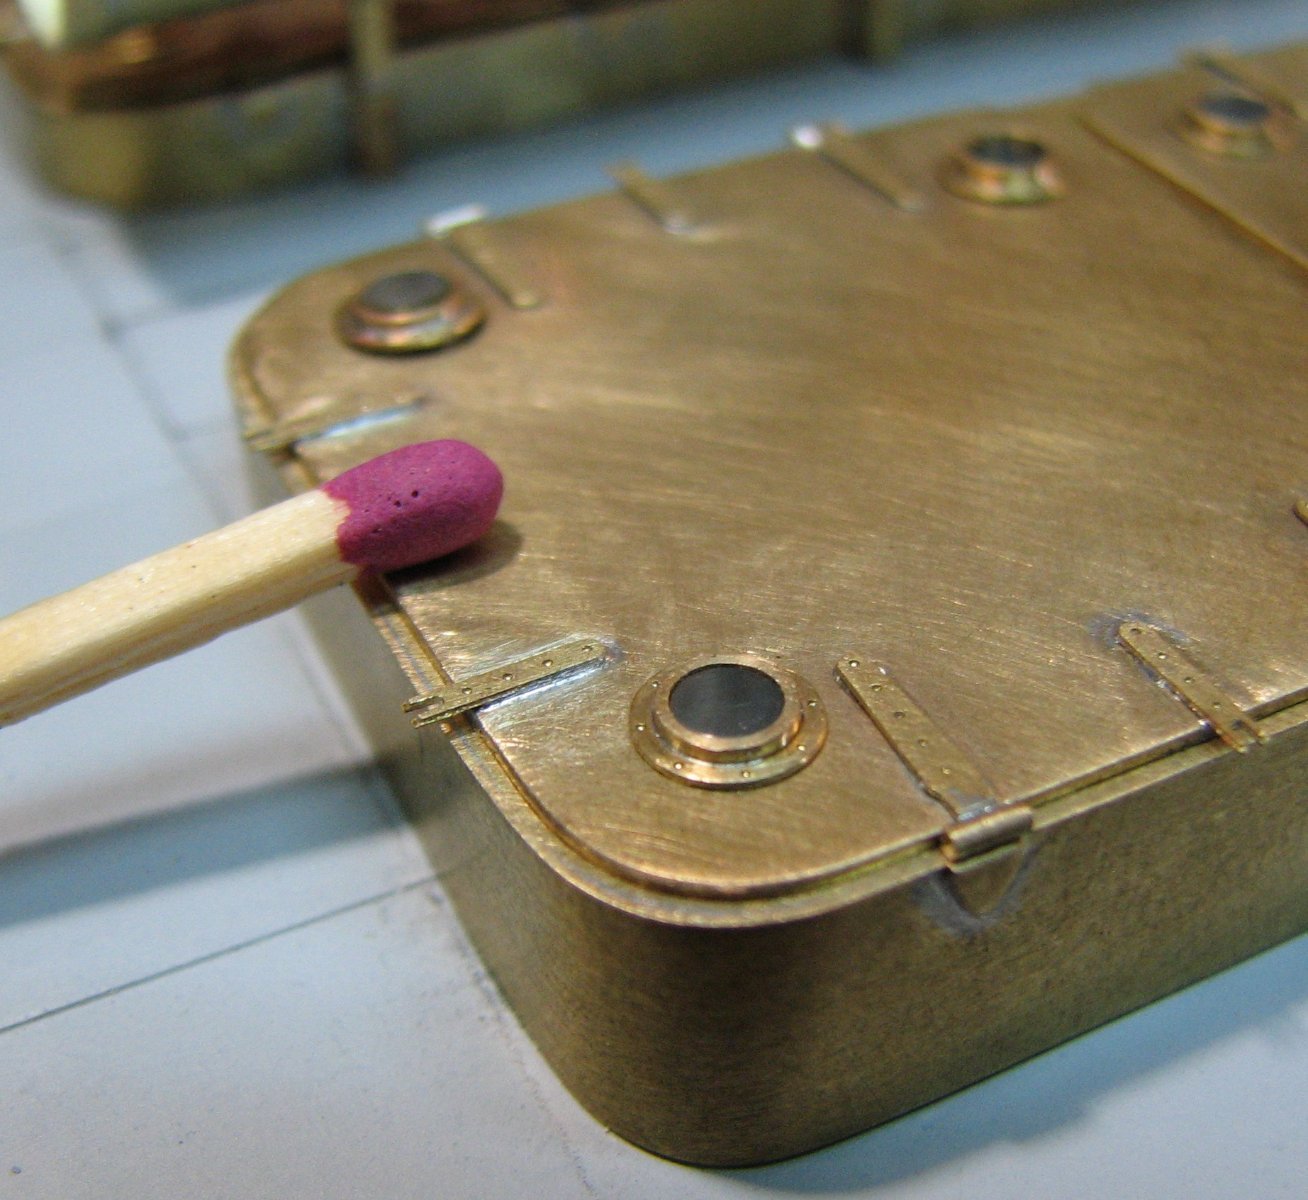
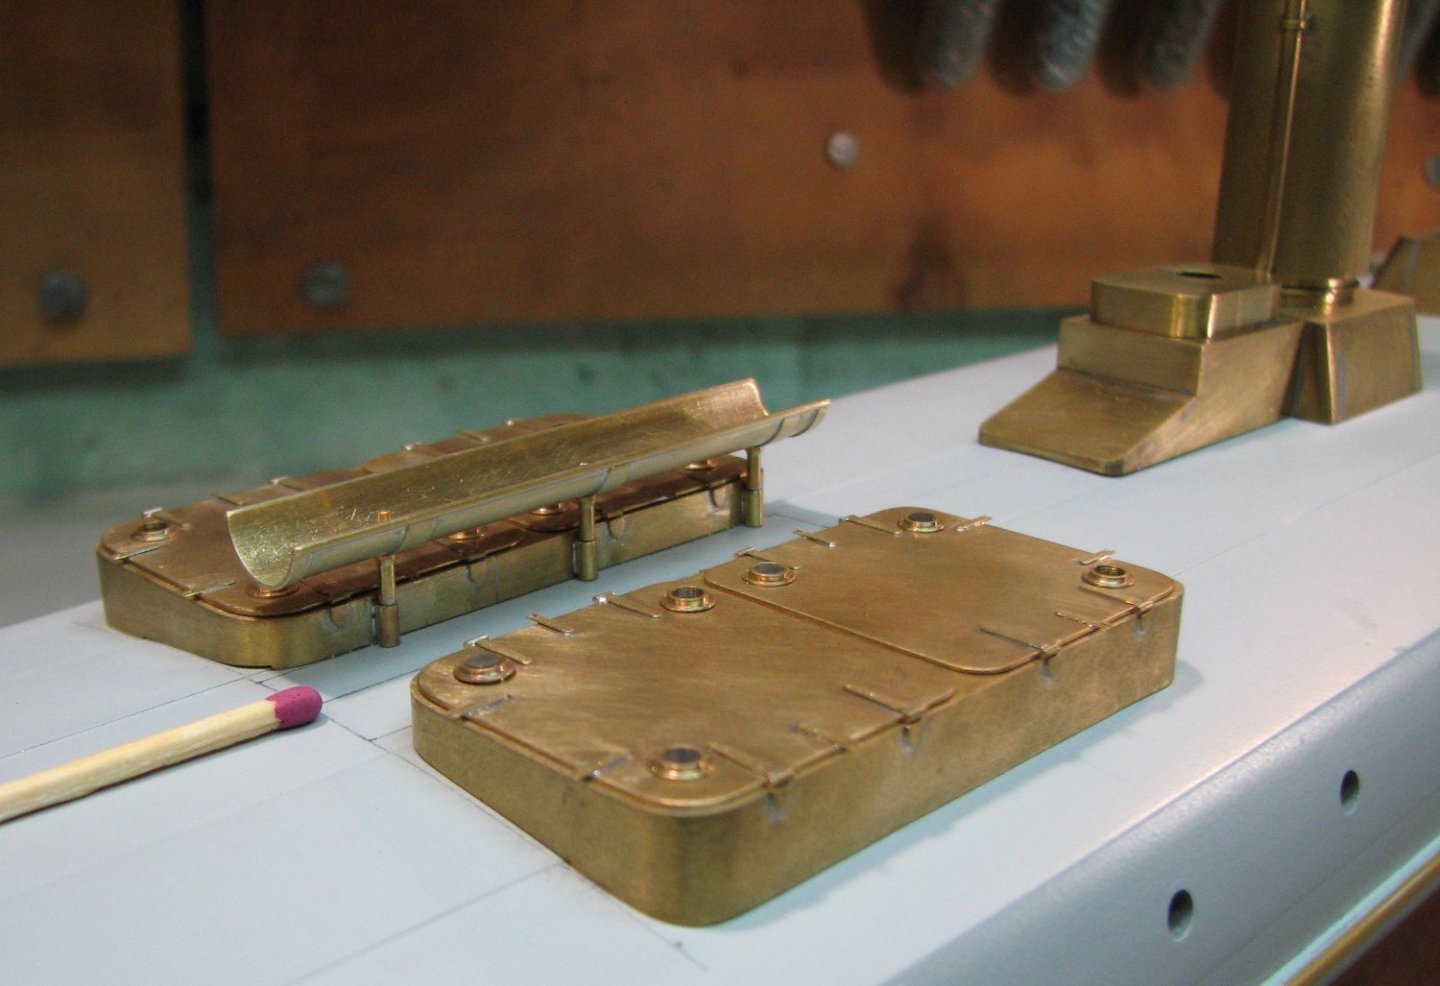
Hi Jan! Yes, that’s exactly it, the hatches could open to 2 opposite sides. A bracket between the hinges to tighten the lid in stormy conditions. I'll install bolts there later to tighten it down.
-
It is interesting that according to the staffing schedule, these ships only had 2 officers. It is possible that they are both shown in the photo. Although the midshipman could have been a guest.
-
Yes, Roger! The problem of overload on these ships was big. Therefore, in every possible way they tried to lighten the structures.
-
Yves, this is not entirely true. This is a color imitation using cupronickel.
-
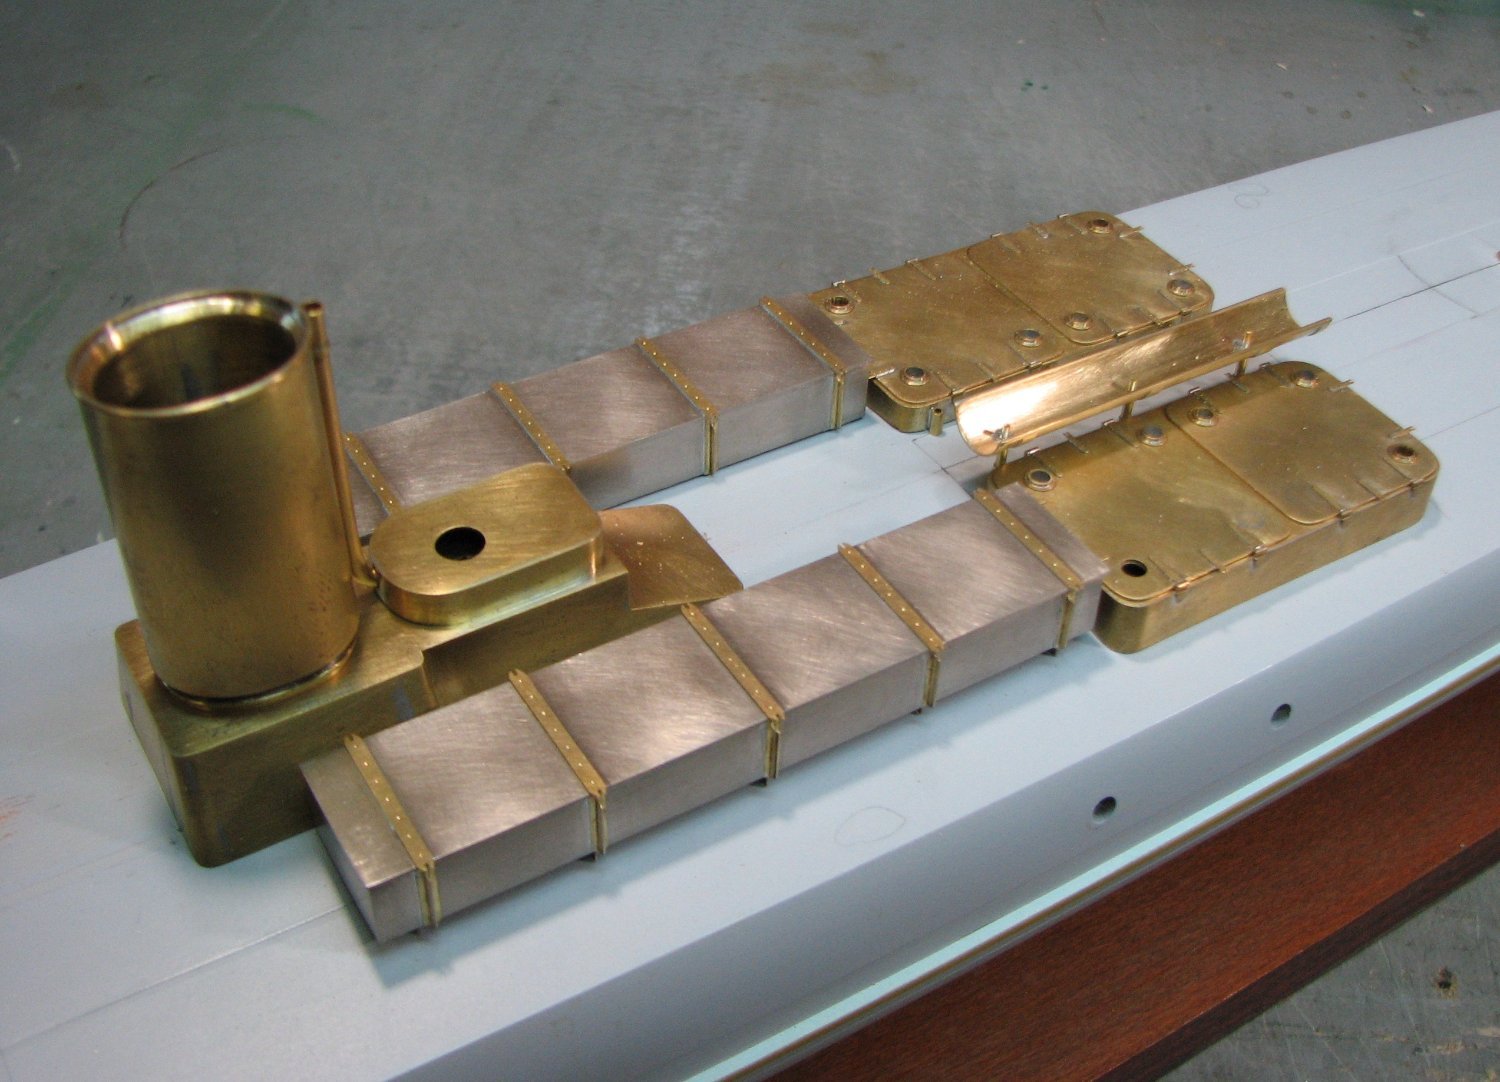
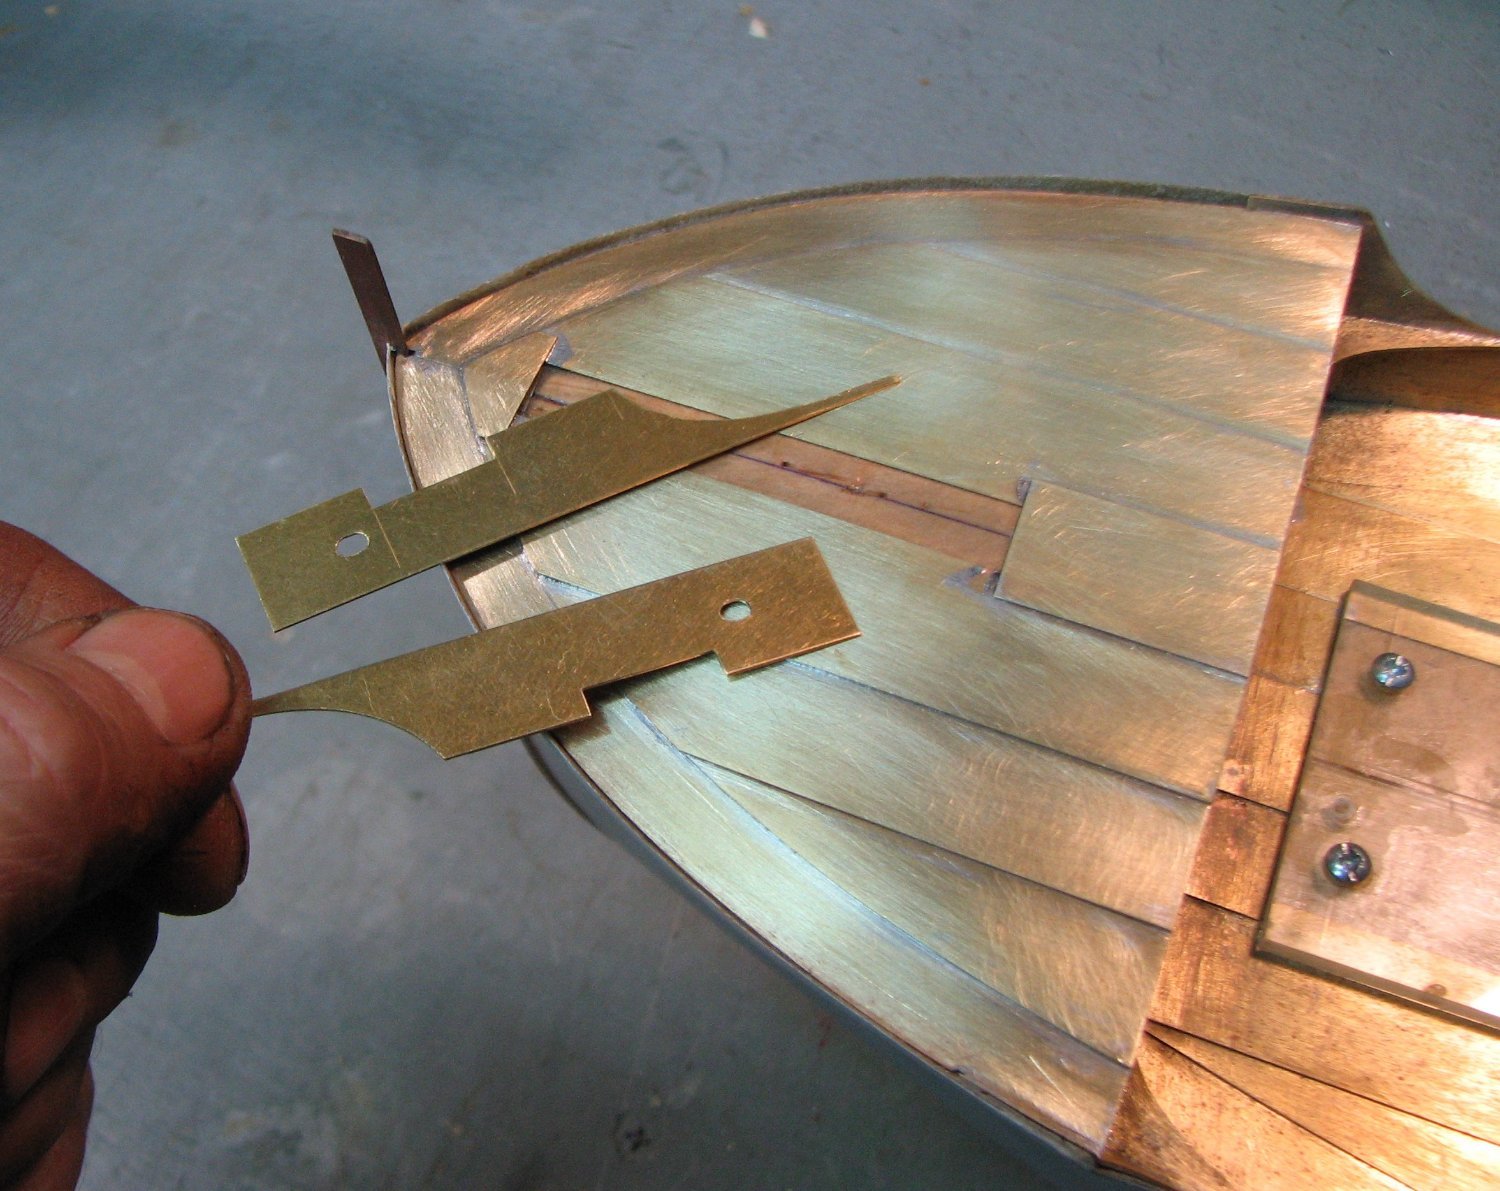
And now they are all posing together on the model’s hull.

-
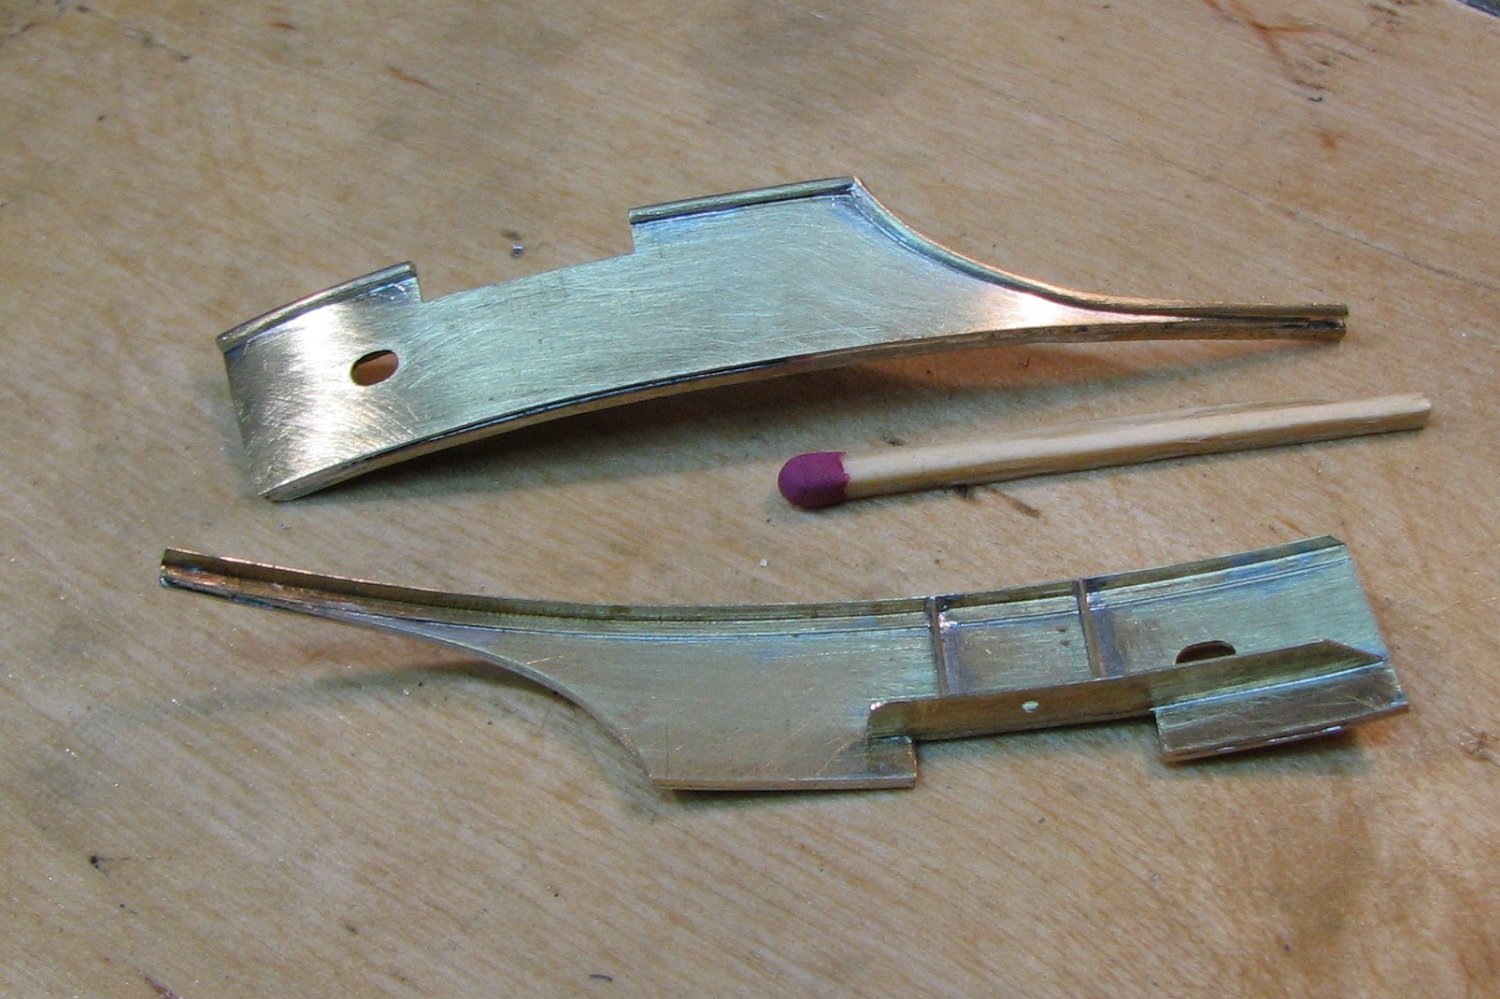
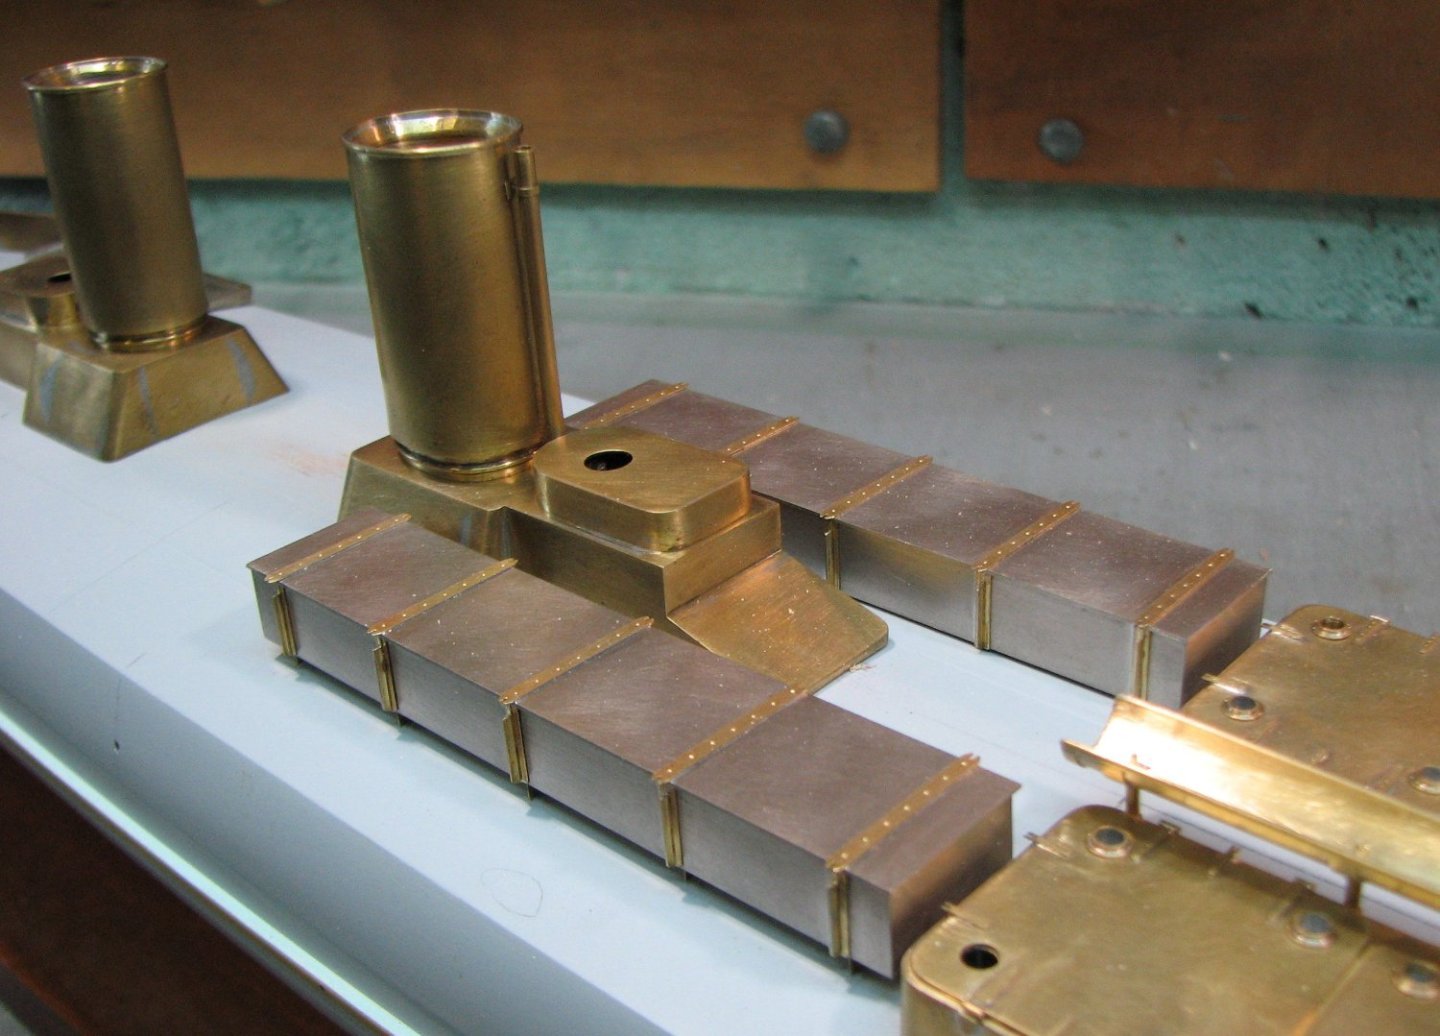
Boxes for spare torpedoes. On the ship they were made of aluminum alloys.

-
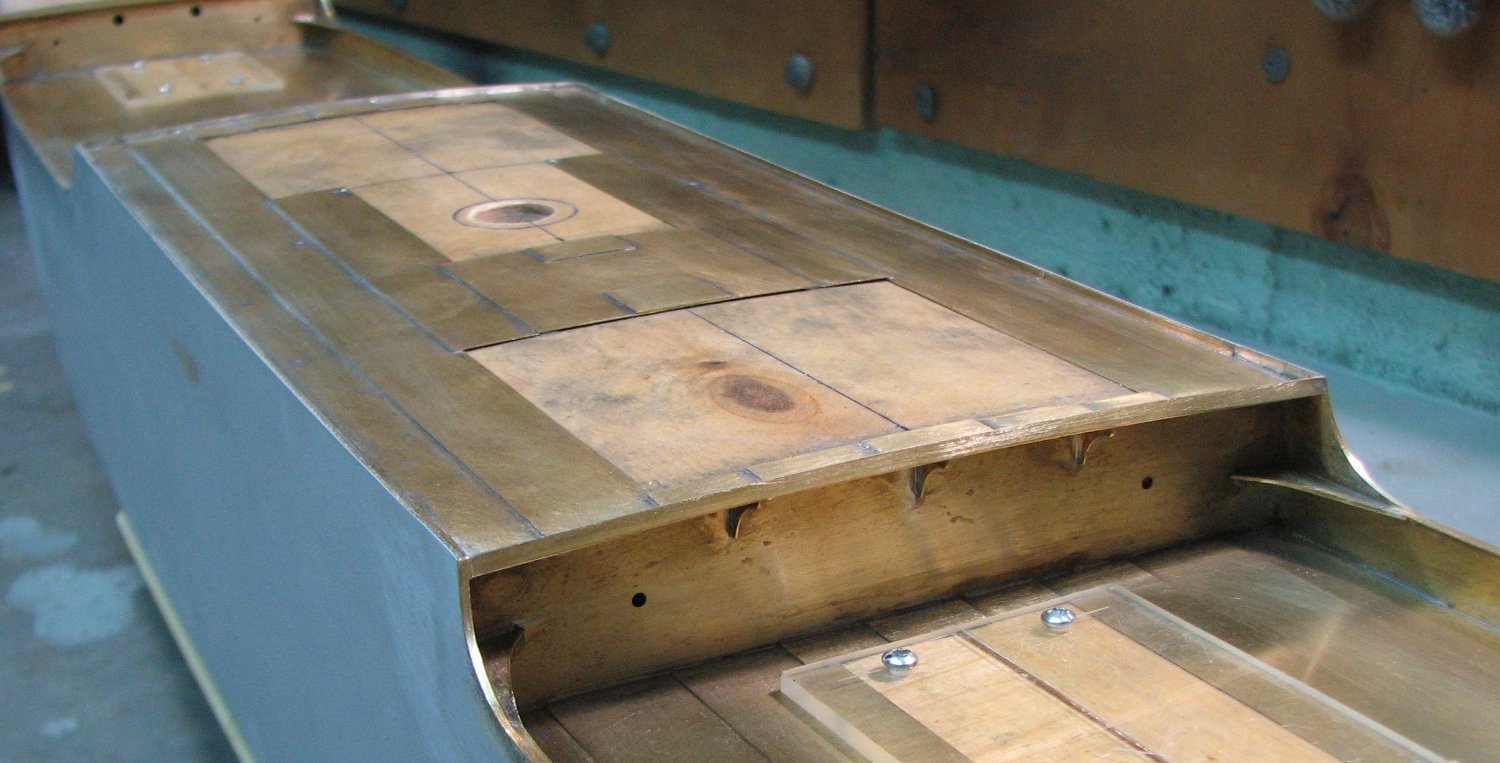
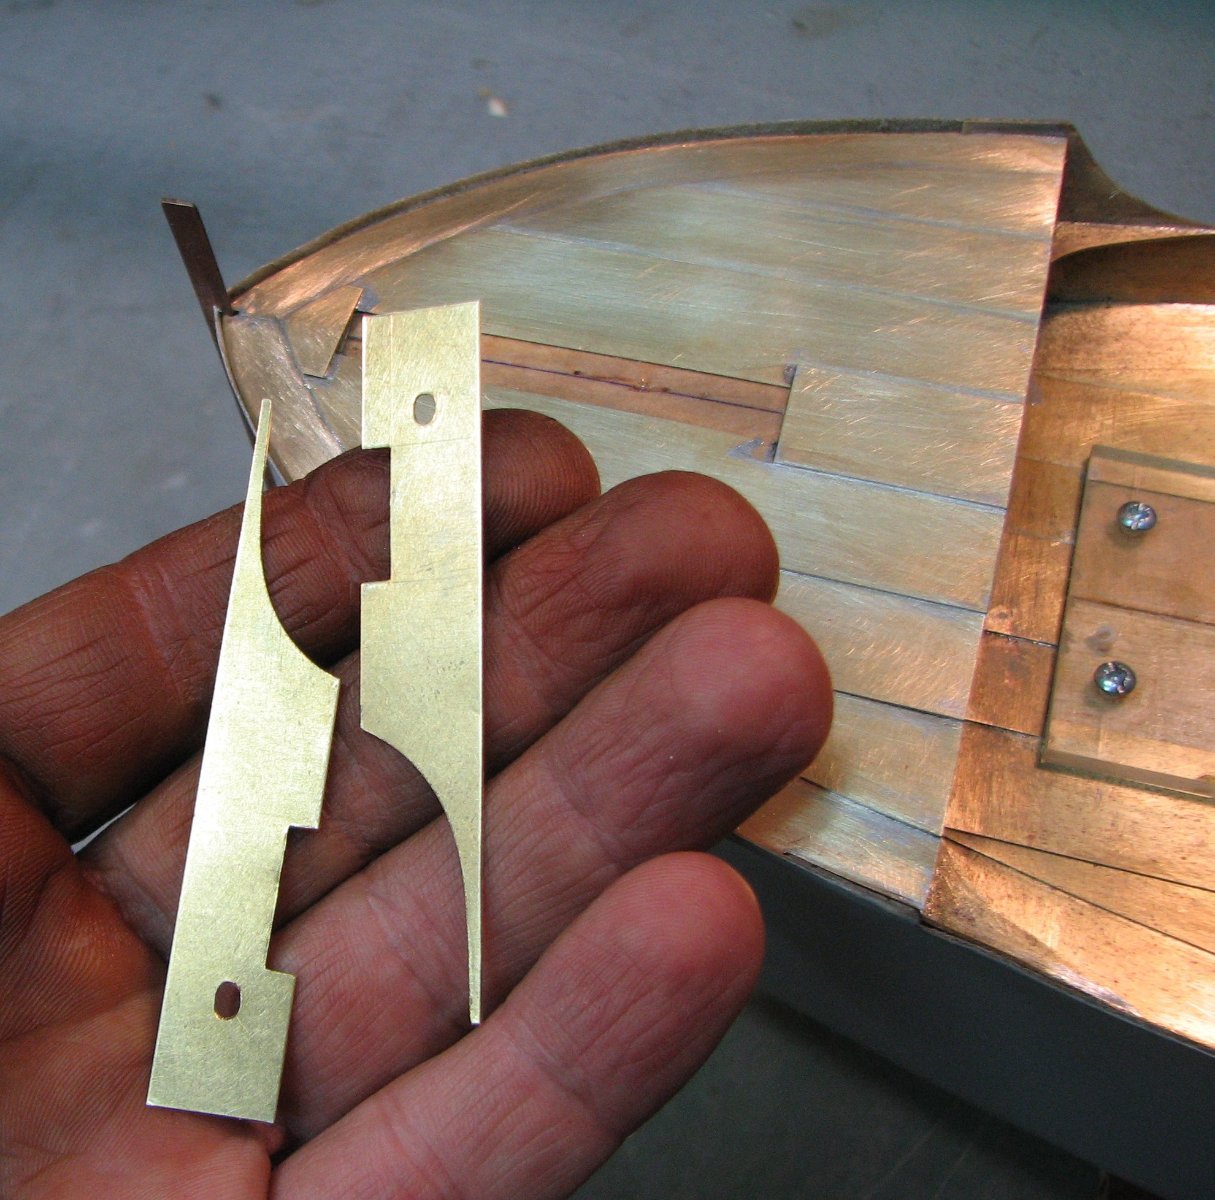
I continue my soldering of brass parts. The photo shows the engine room hatches.

-
Keith, i'm happy to help! Yes, of course, the soldering method with solders of different melting temperatures is also good. I use it in rare cases when the main method does not help. And instead of a radiator, you can use an ordinary spring clamp that will secure the part from shifting.
-
Yes, Keith, this is the only and main mistake when painting brass. The metal must be perfectly free of grease. If the parts are small, then I clean them by dipping them briefly into a solution of nitric acid or for a longer period into the solution NaOH. If the surface is large, then I use the method of painters in car repair shops - gasoline caloshes and a rubberized napkin. All other solvents only spread the fat layer over the part but do not remove it. I want to clarify that all this applies to the conditions in which I live.
-
Keith, еverything is simple there too. It is necessary to follow the principle of the order of soldering parts - from large parts to smaller ones. And then the larger parts do not have time to warm up by the time the small parts are already soldered.
-
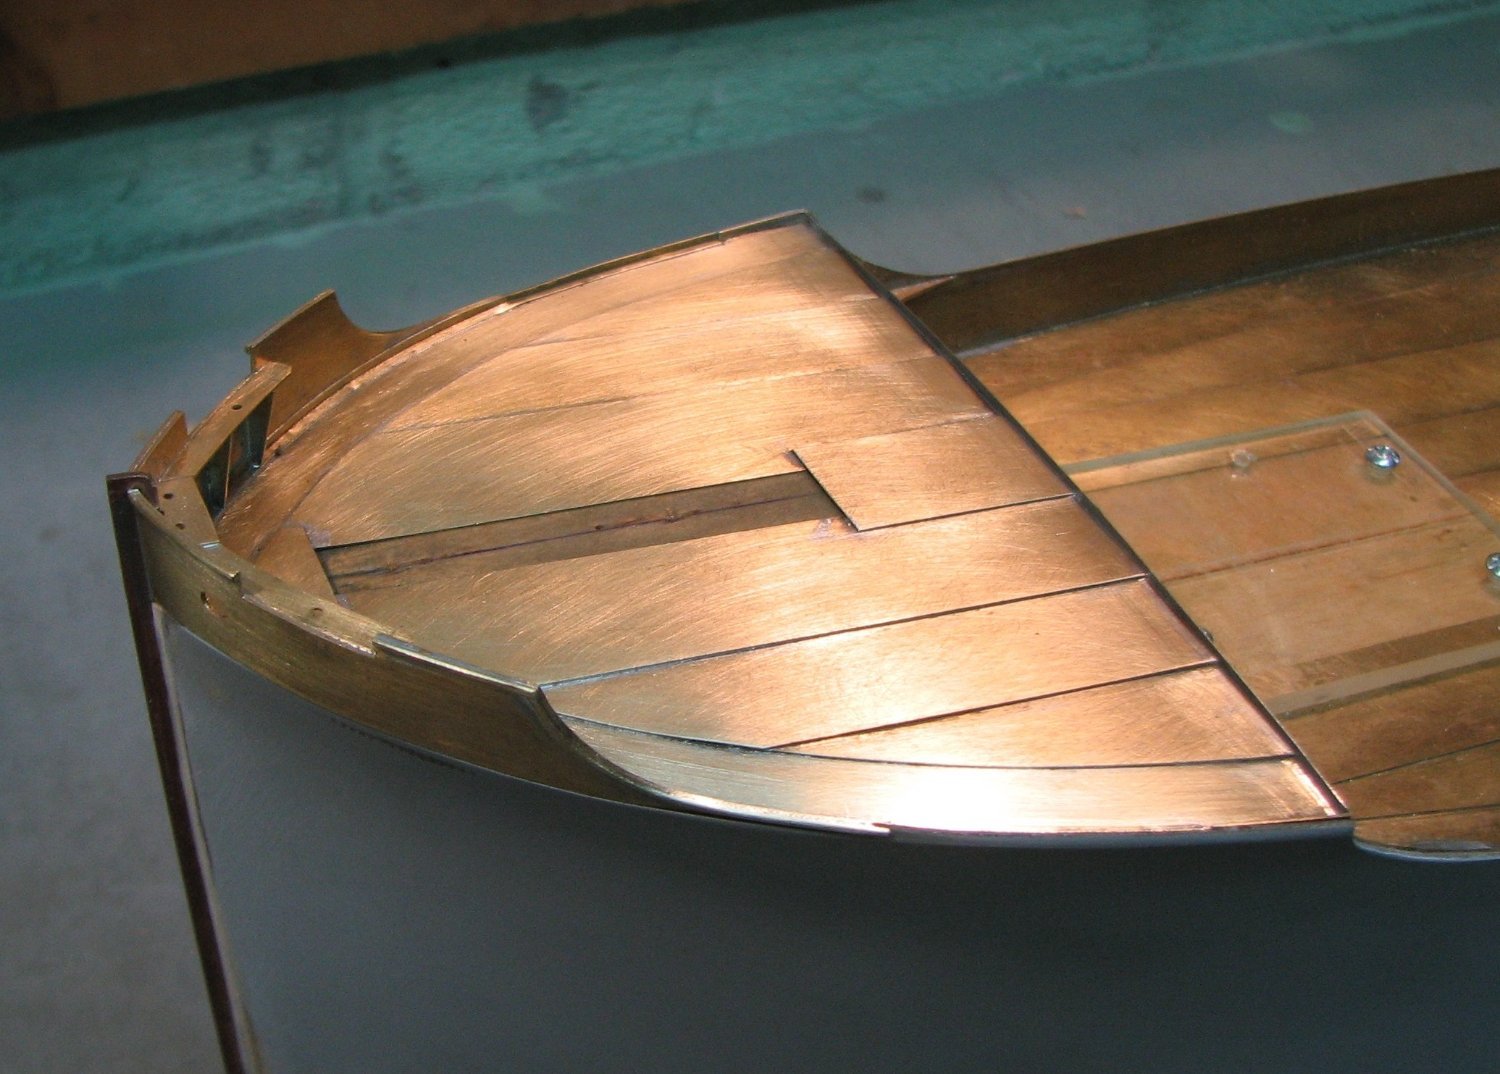
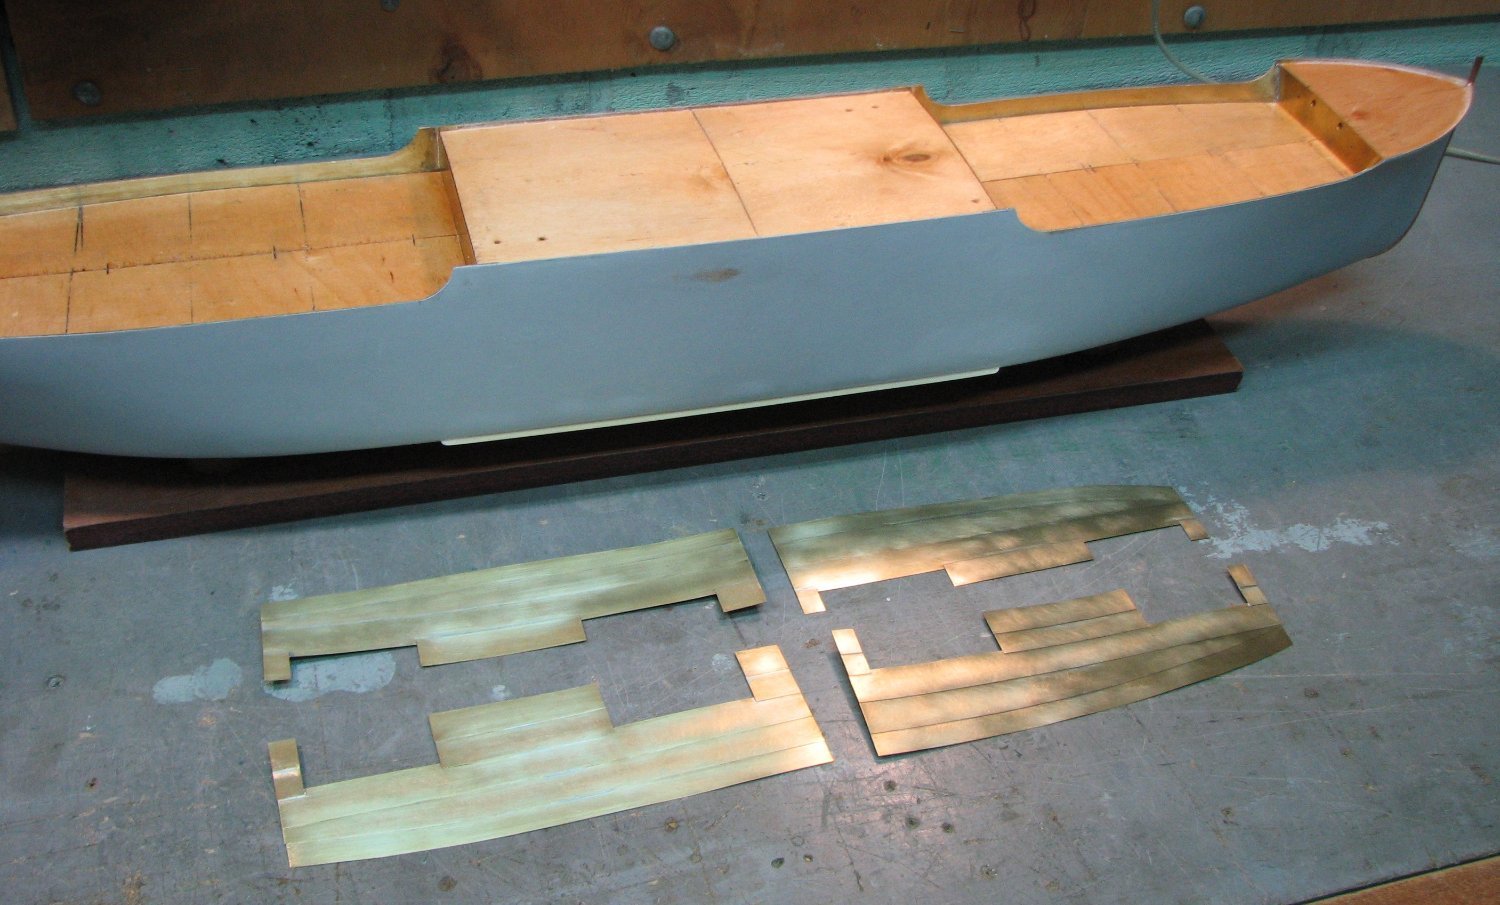
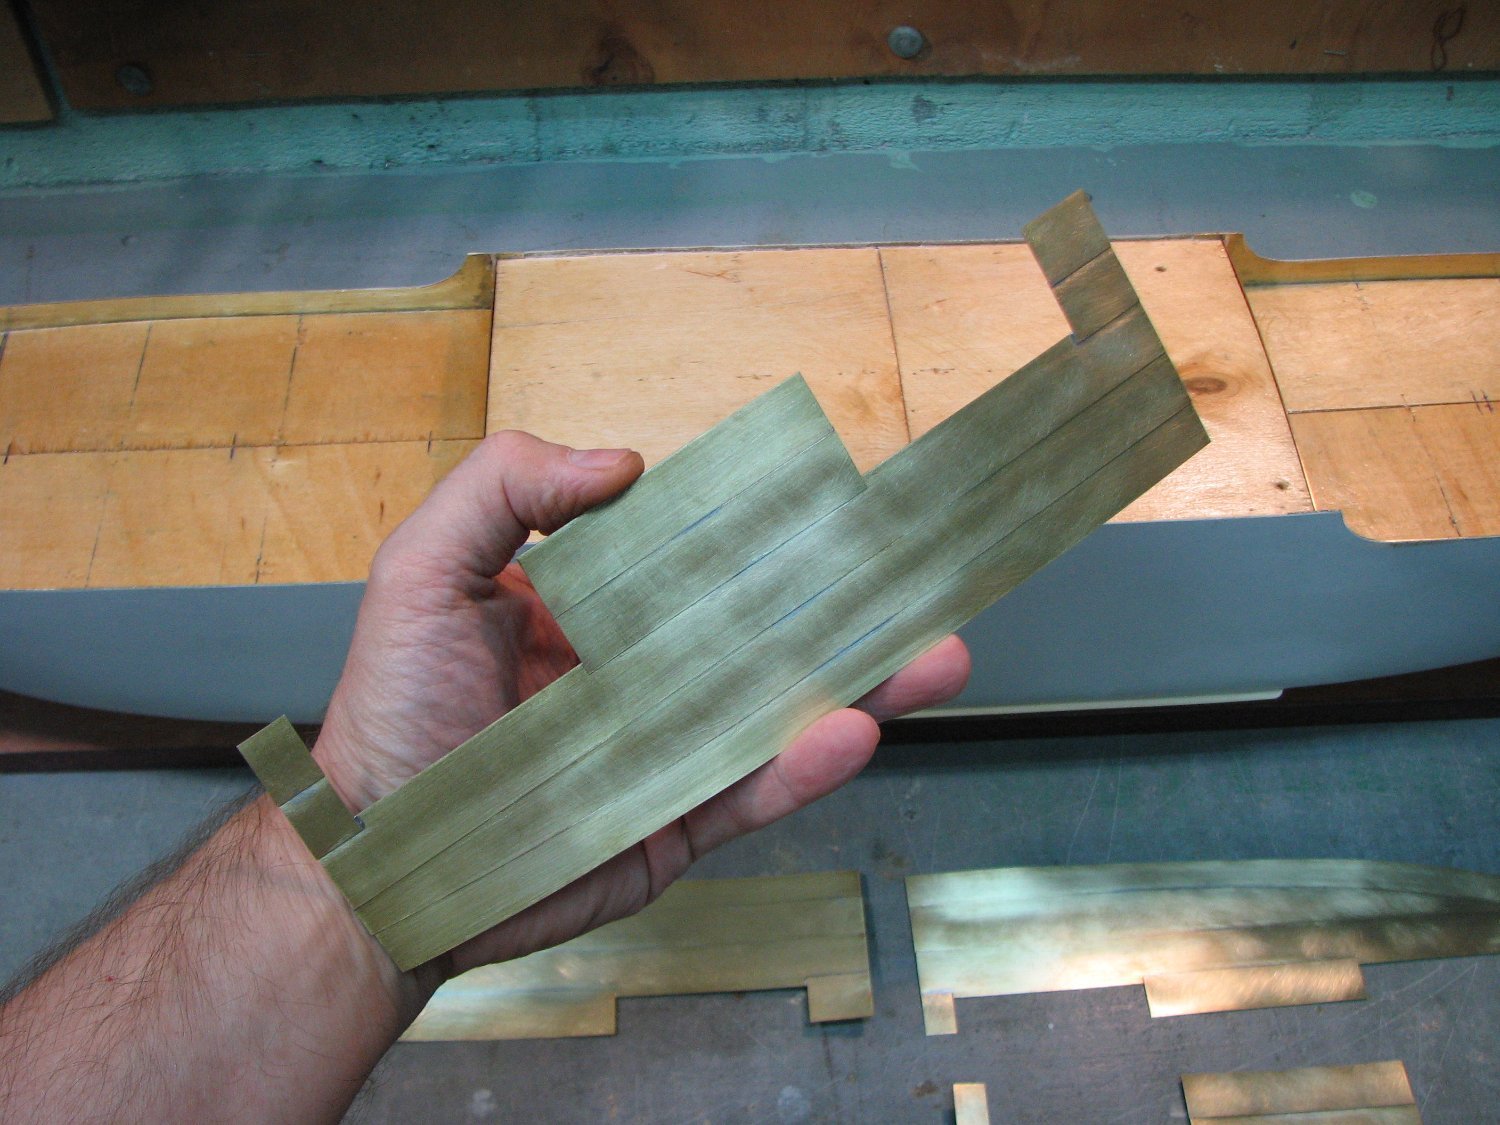
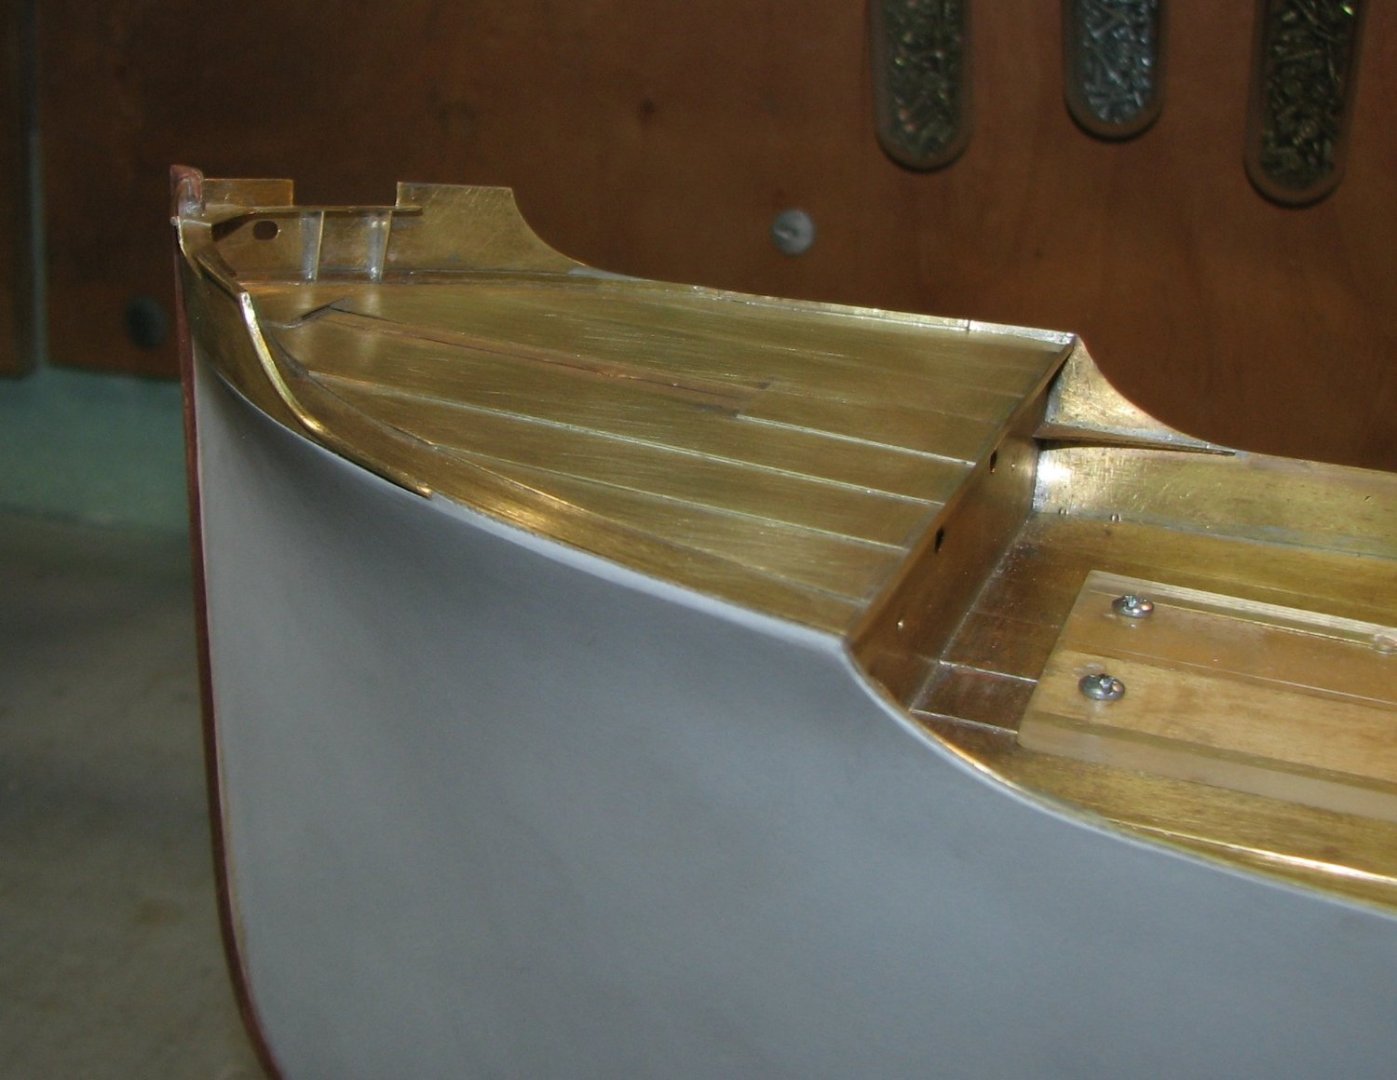
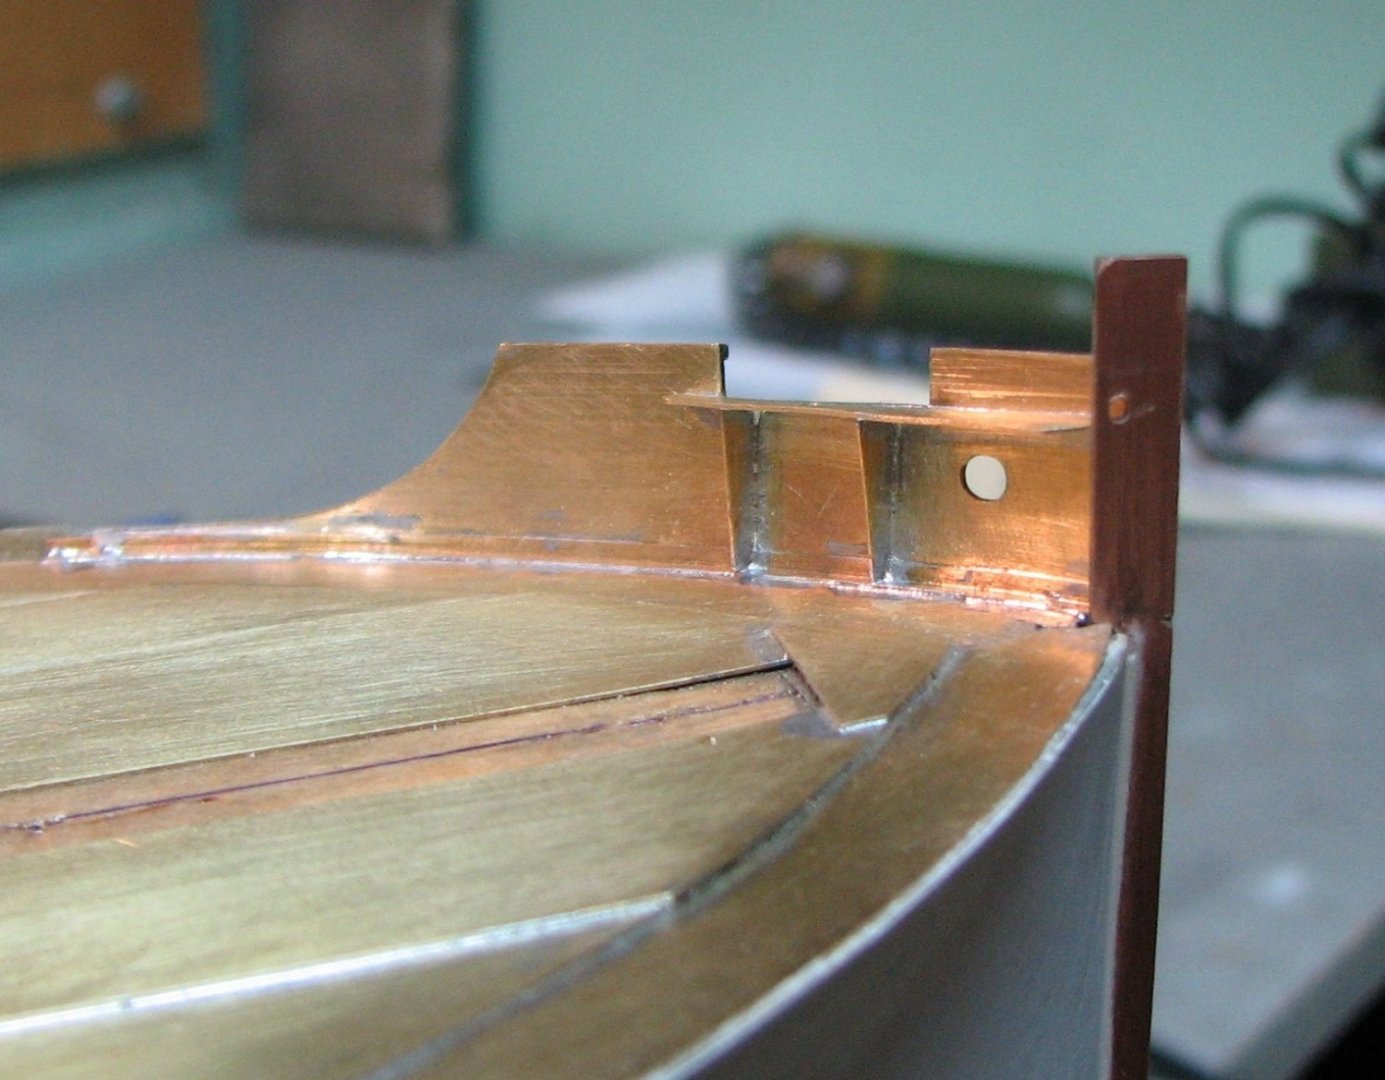
Keith! Soldering such large sheets of brass is quite boring and monotonous. You can solder them in sequence one after another. The brass sheets are massive and do not have time to warm up enough for the previous seam to fall apart from overheating. Everything is very simple here. The deck metal sheets were laid overlapping. Therefore, I need to show on the model steps with a height of approximately 0.2-0.3 mm. Cardboard does not have the properties I need for modeling. Therefore I don't consider it as useful material. Wood veneer with a thickness of 0.2-0.3 mm behaves like a sheet of paper. It has no rigidity and is very sensitive to changes in humidity.
-
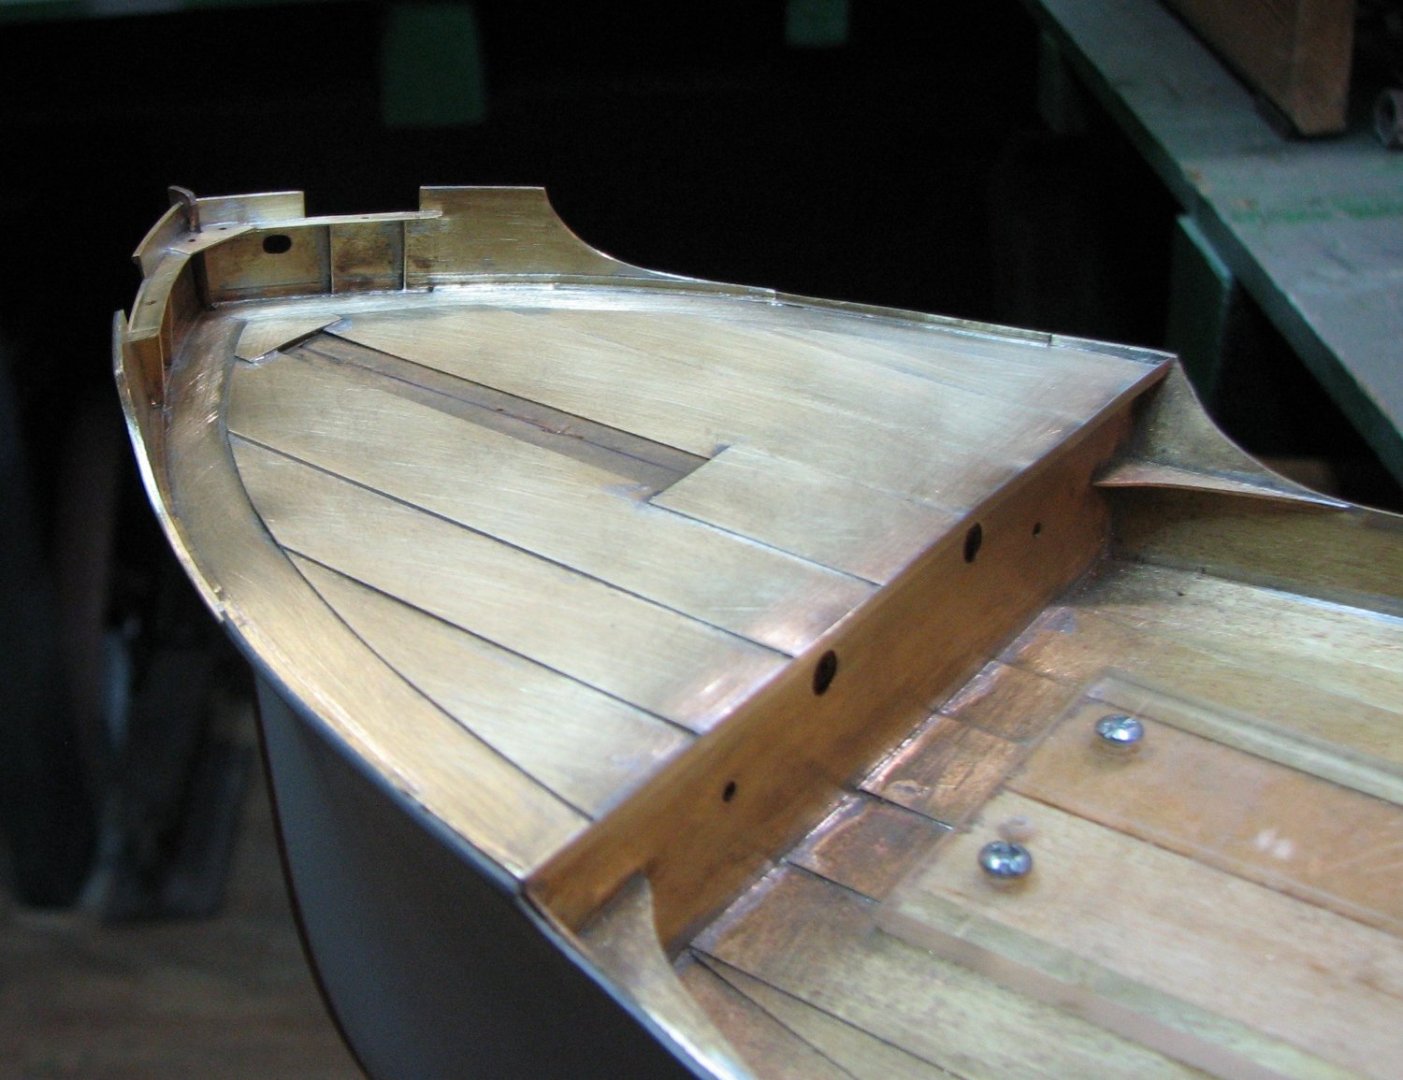
The bulwark is welded from parts and its half is installed on the forecastle.

-
Brass blanks for the bulwark on the forecastle.


-
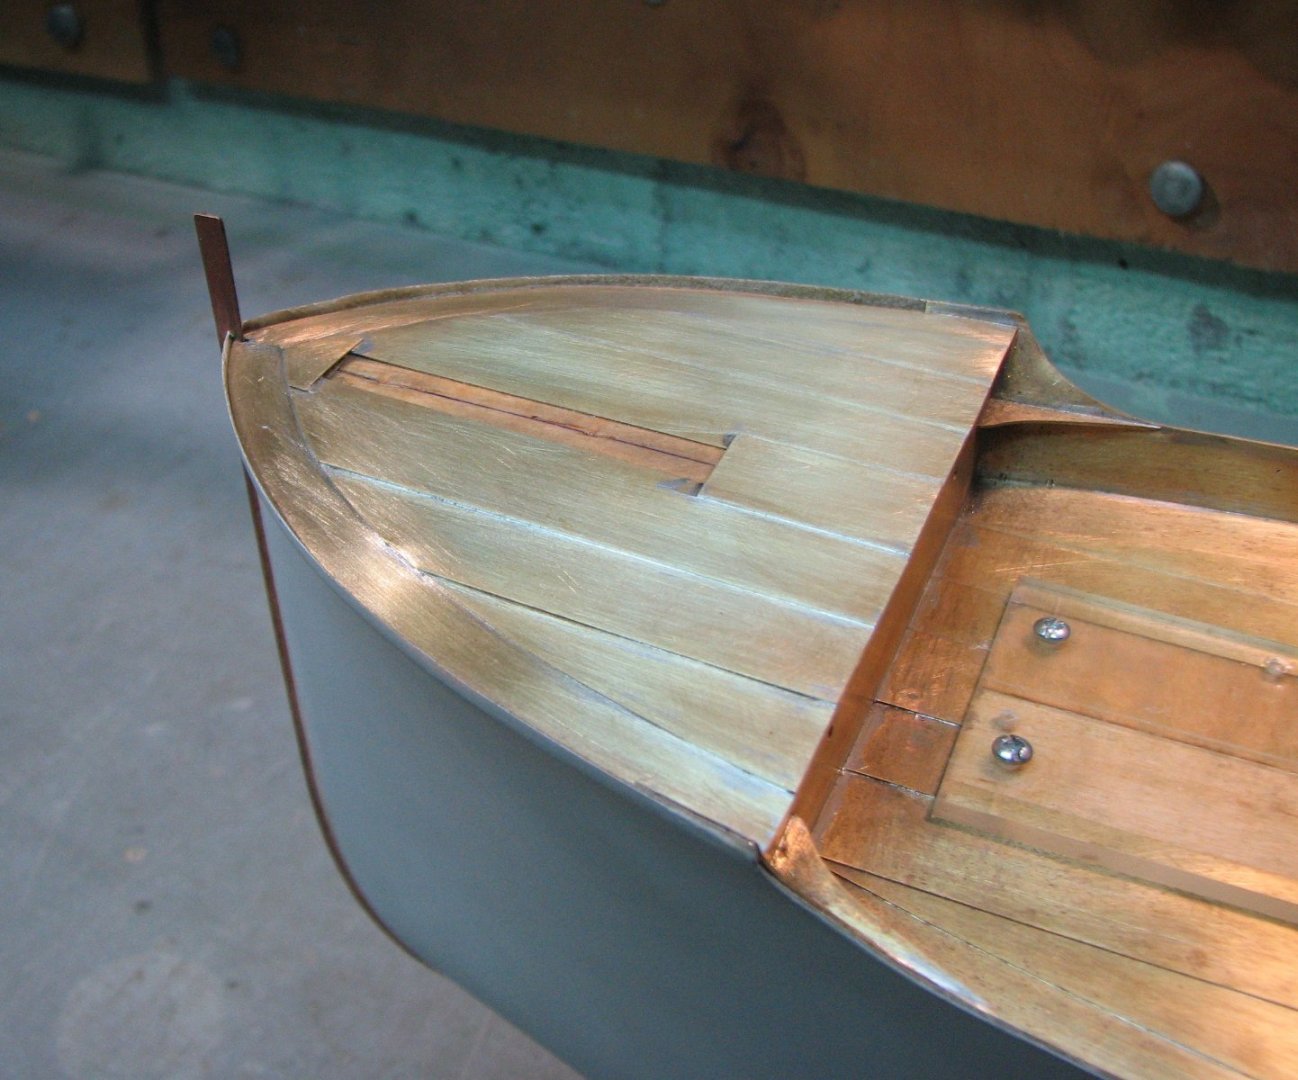
Thank you all for your attention to my topic! The process of laying brass on the deck continues. Now on the forecastle.
-
Large body and many small details! It will be interesting, I will watch it with anticipation. Good luck in job!


-
Installation and soldering of sheets to bulwarks and bulkheads.

-
Thanks to everyone who expressed their thoughts about the Kingston box! Now I have plenty to choose from for my grille installation option. I continue to work on the Blagoev hull. I'm starting to lay down the deck sheets.


-
Daniel! I want to clarify, clarify, since the translator did not translate everything clearly for me. Do you mean that if the ship had a right-hand rotation propeller, then the water box should also be located on the starboard side of the ship?
-
Daniel! Thanks for the practical and valuable advice. I will definitely use it.