Valeriy V
-
Posts
1,116 -
Joined
-
Last visited
Content Type
Profiles
Forums
Gallery
Events
Everything posted by Valeriy V
-
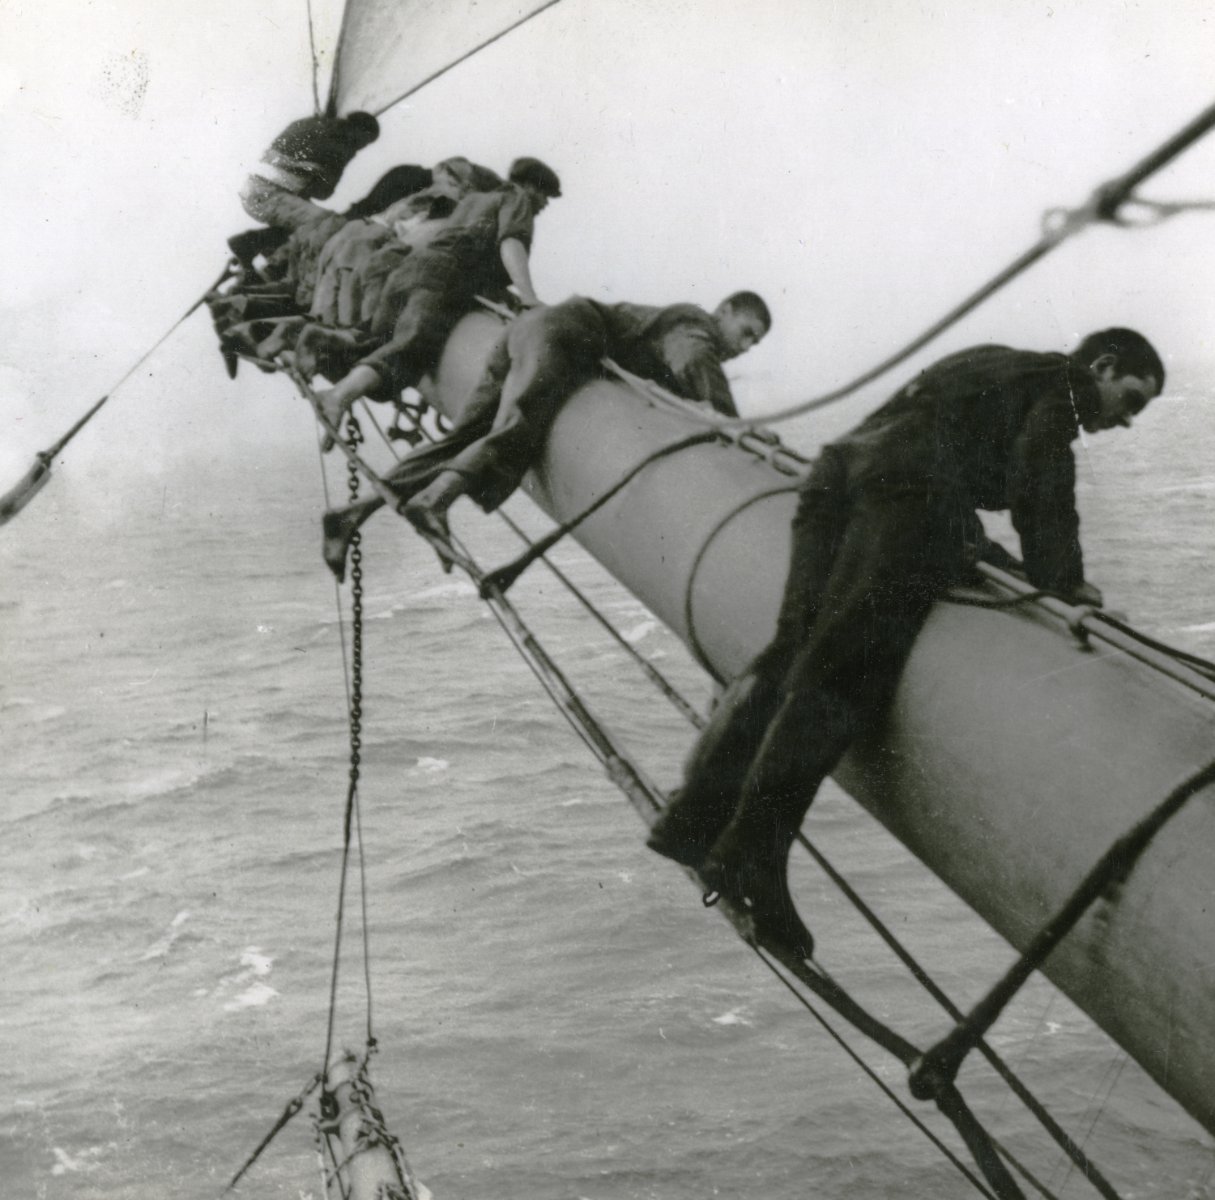
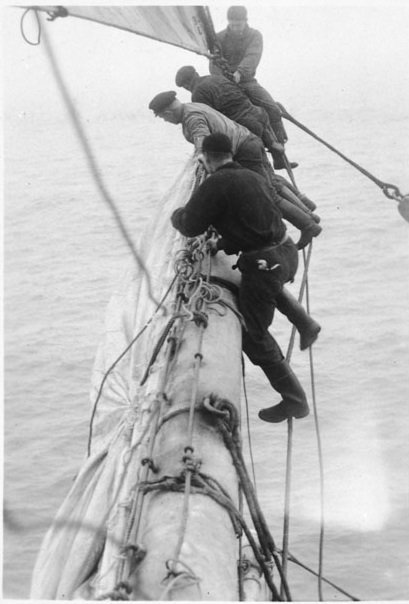
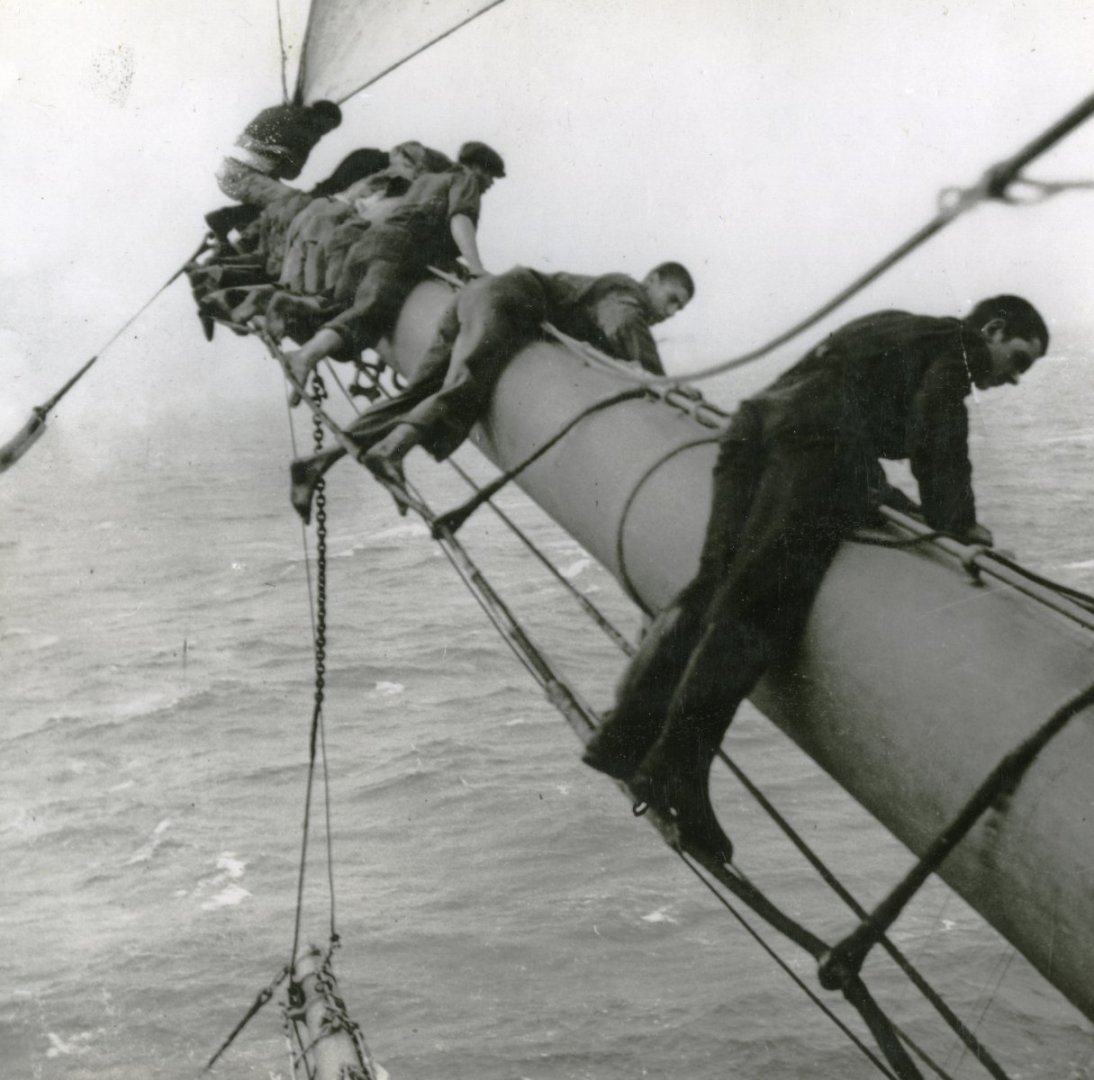
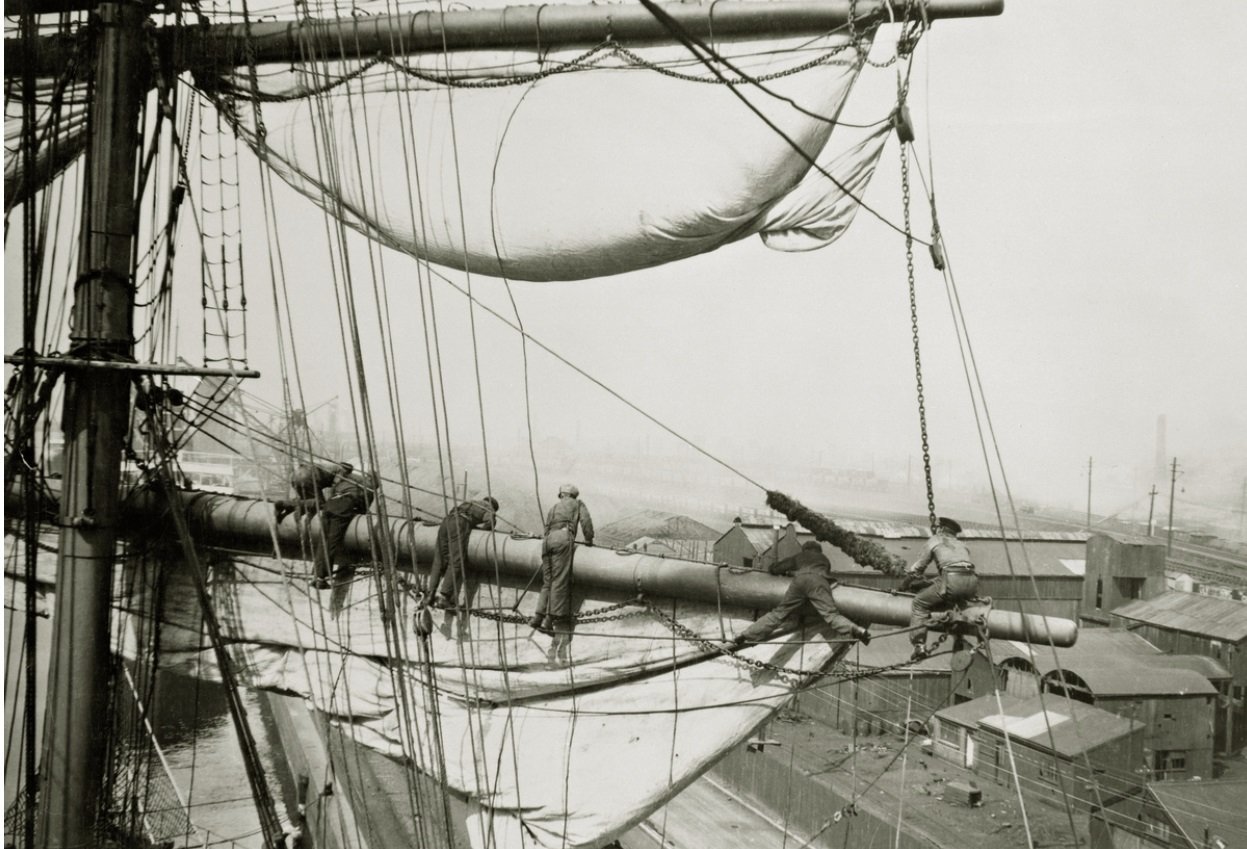
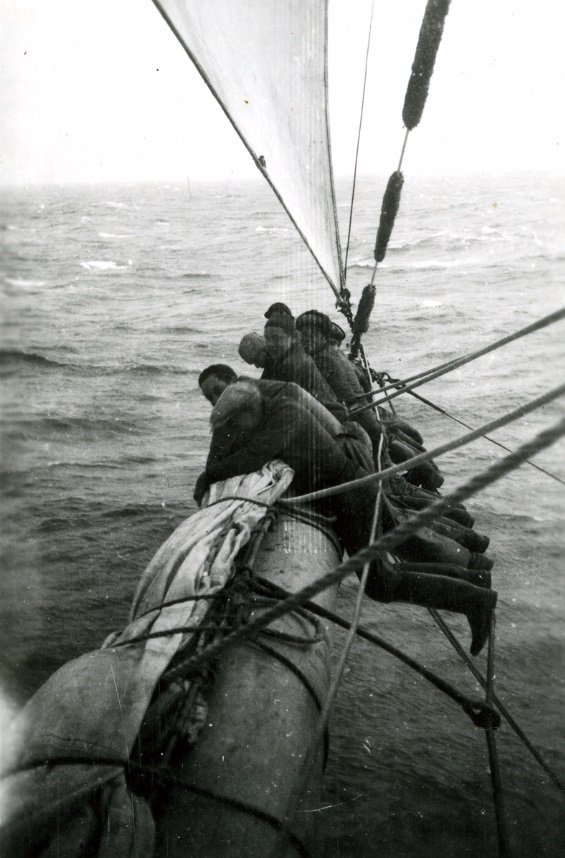
 Eberhard, this is not entirely true. The yards on the Varyag were not designed for sails. So I did everything as shown in the photo of the cruiser.
 -
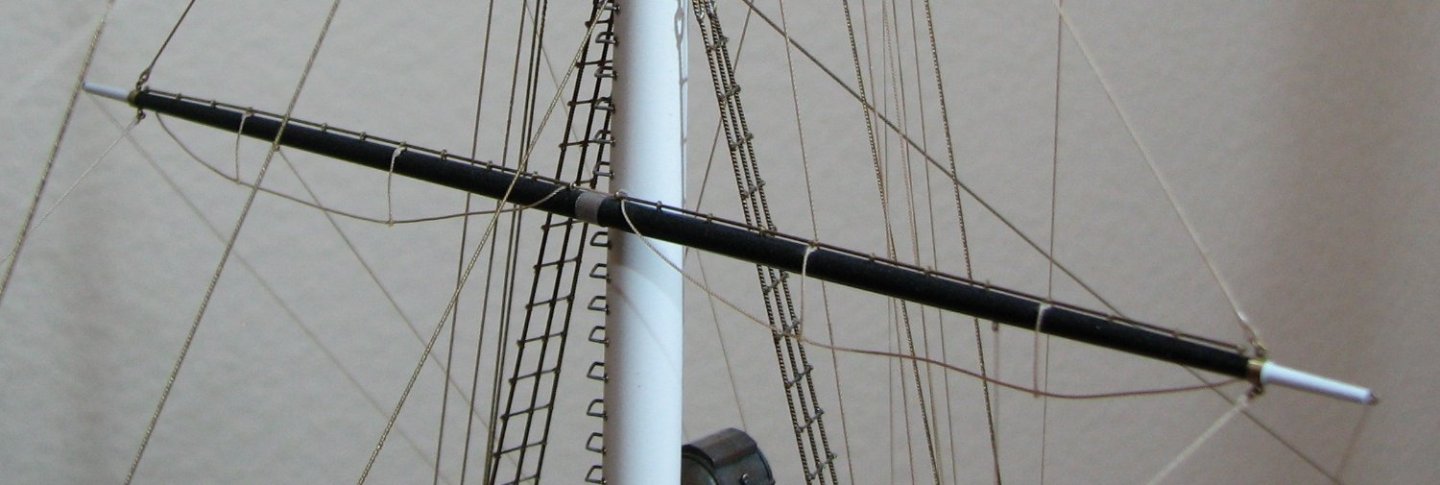
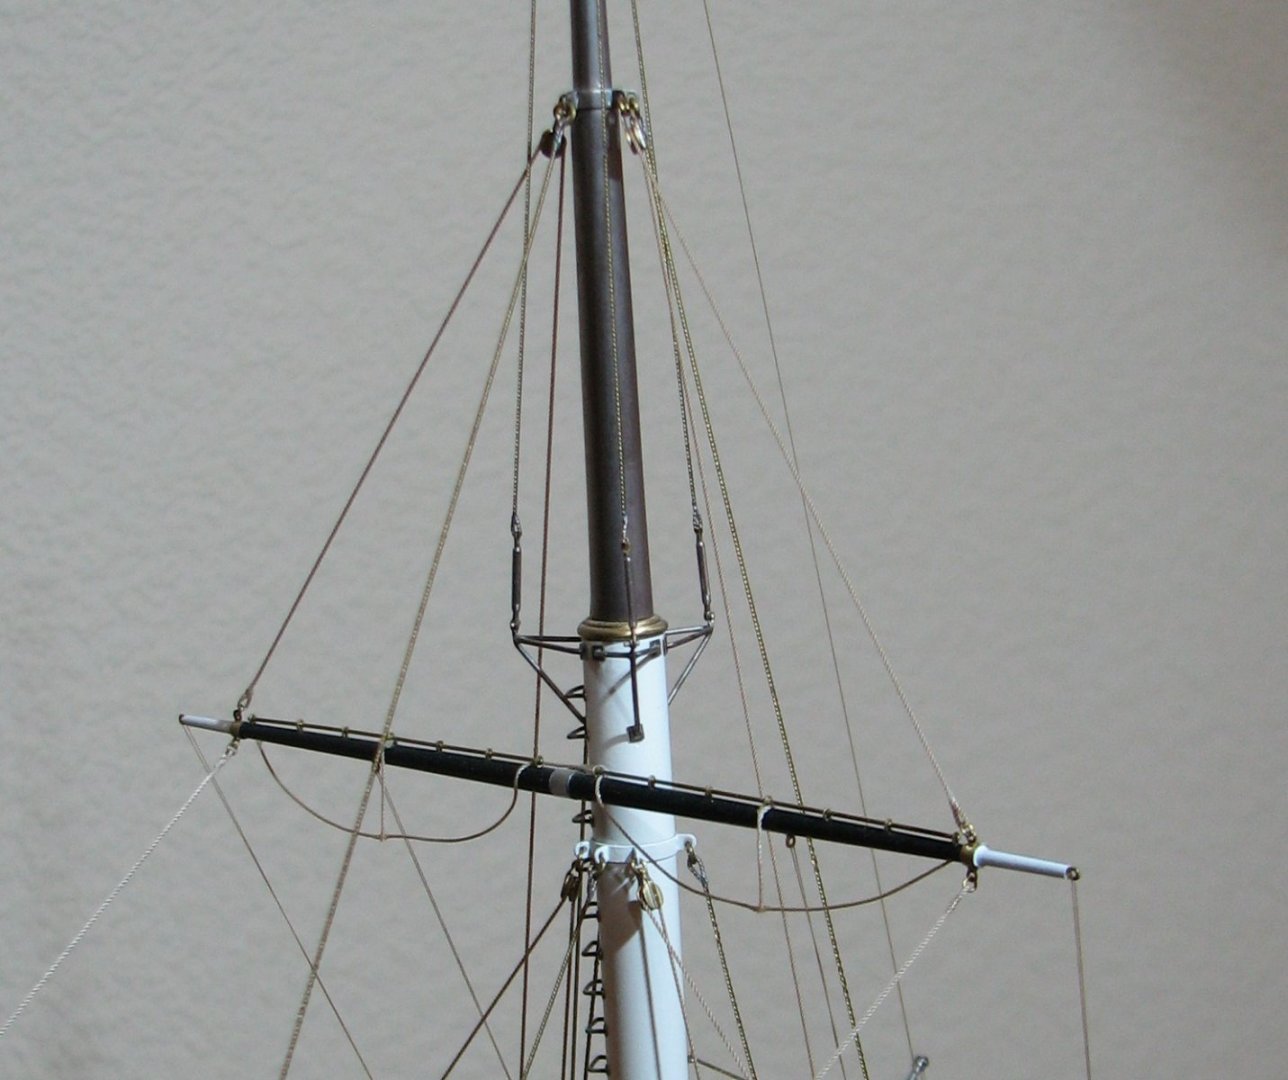
And some more photos....


-
Hello Sasha! I cannot explain this in words because the translator greatly distorts the terminology. I can only show in the photo how I made these parts on the Varyag.

-
Thank you all for your attention to my work! I added a few more details...
-
Phil! I use 30, 60, 80 and 100 watt soldering irons. I have a soldering station, but I rarely use it because I am not satisfied with the shape and quality of the heating element.
-
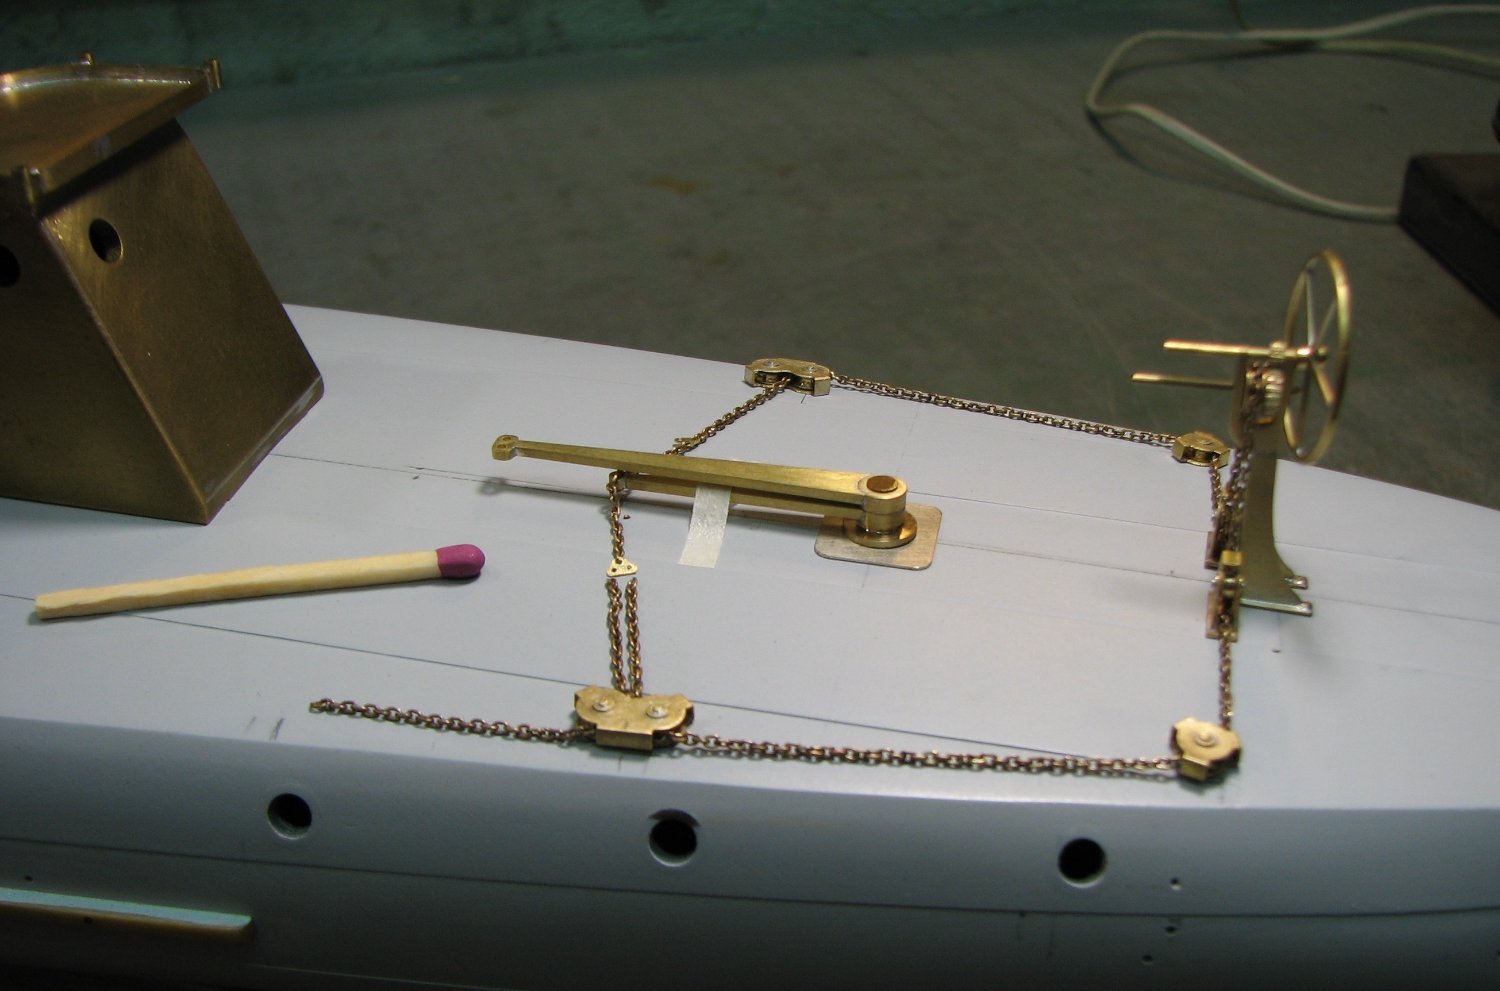
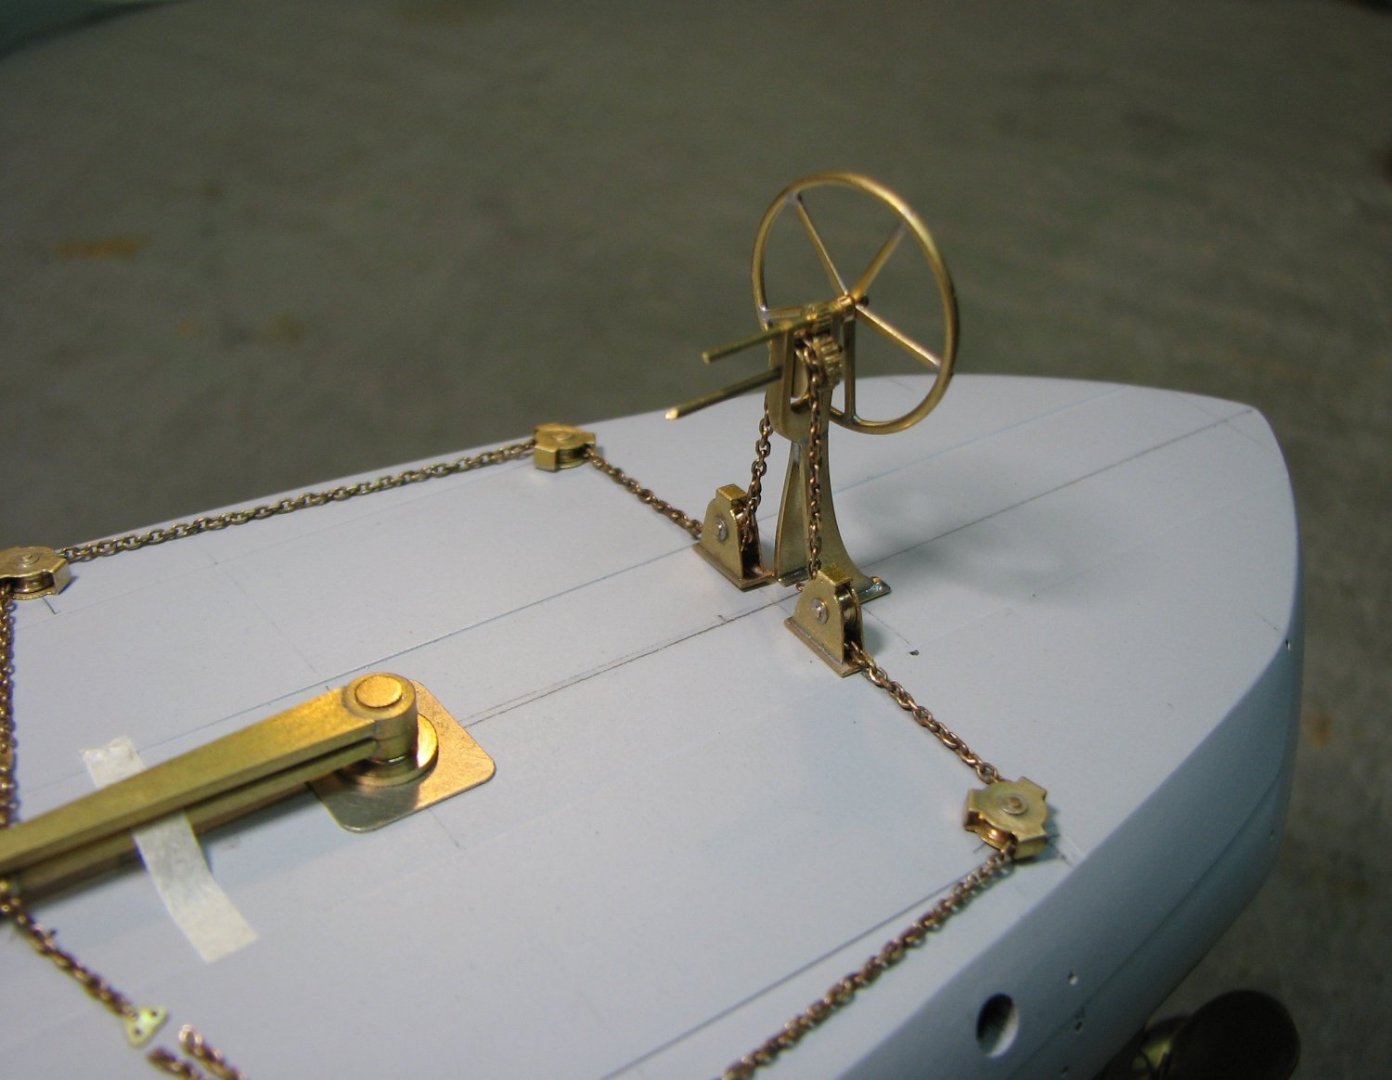
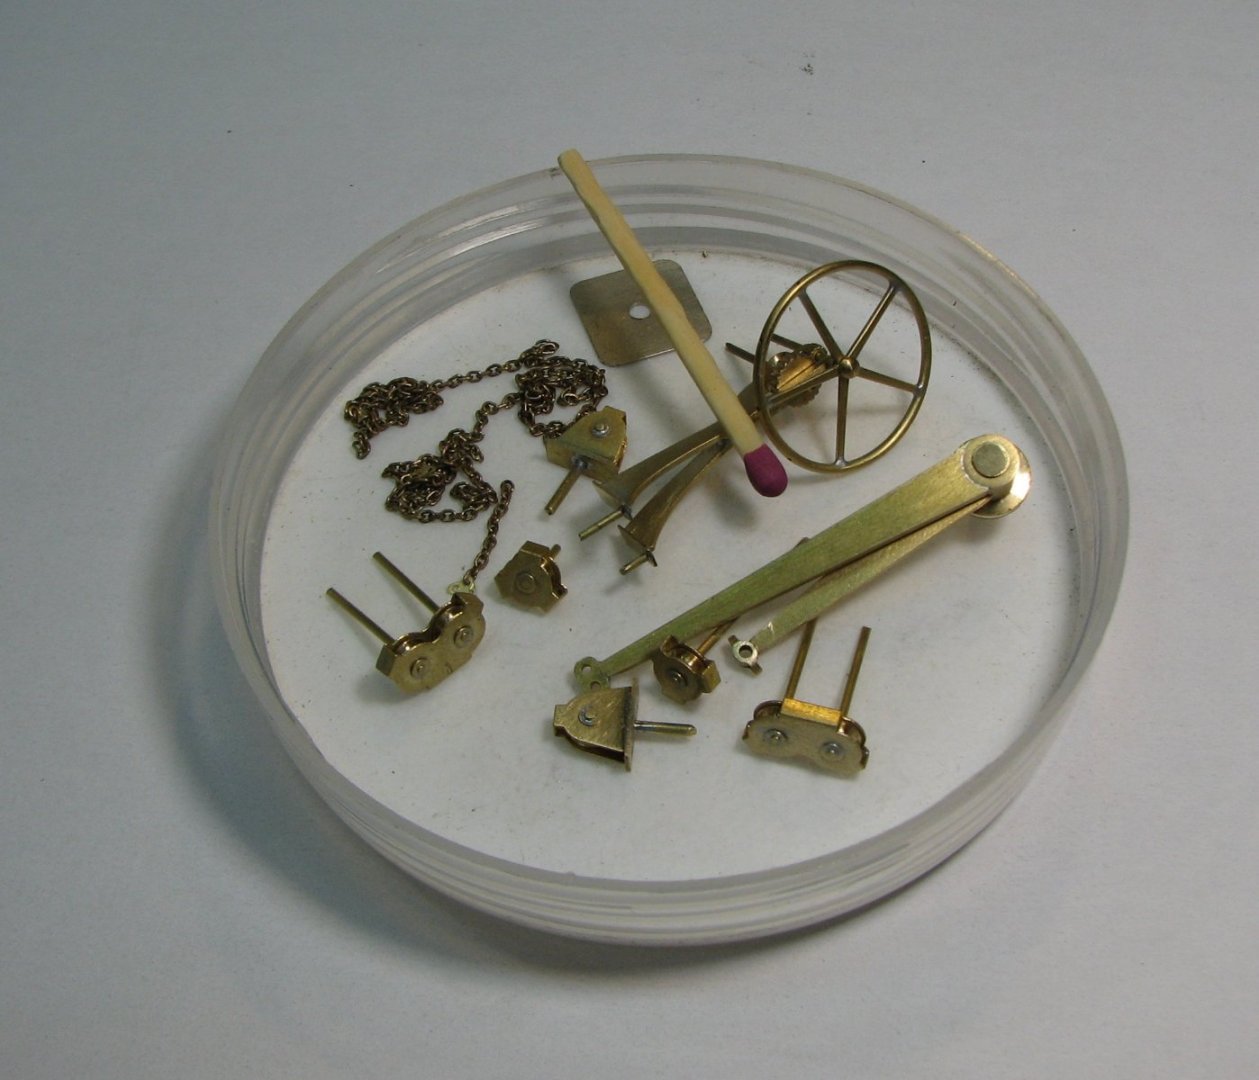
The steering wheel at the stern was a spare one, and the main one was in the wheelhouse, in the bow of the ship. This is where the steering rope goes along the side.
-
And now I tried on their location on the hull of the destroyer.

-
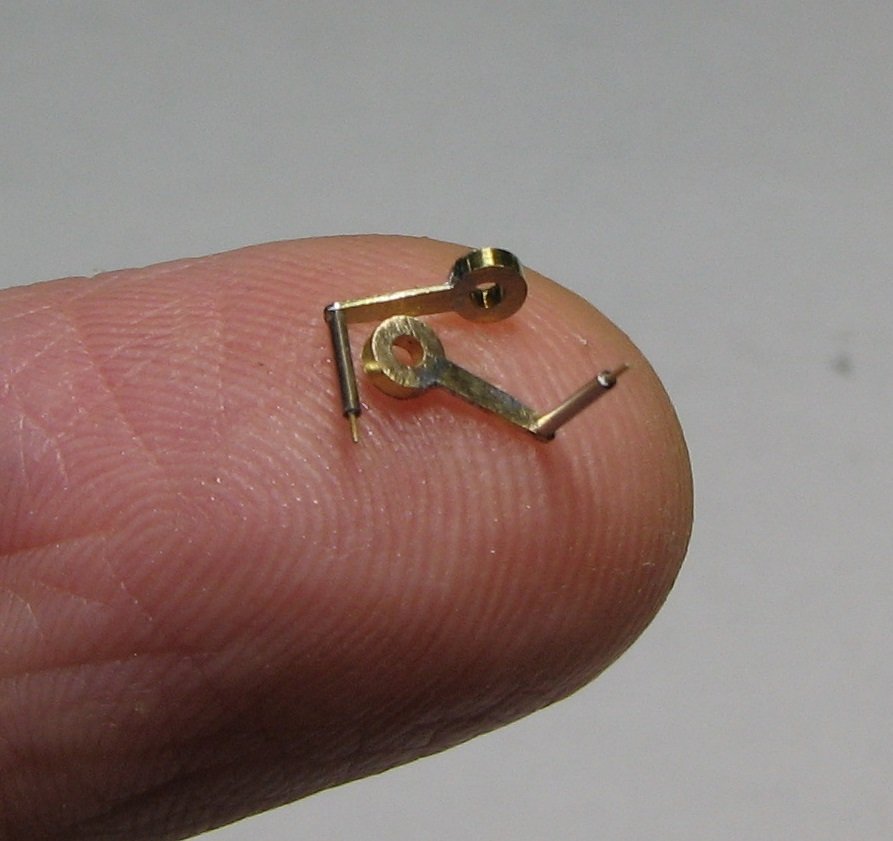
I continue the process of building a destroyer. The photo shows parts of the steering gear drive.
-
Gary, thank you for pleasing me with your next masterpiece. The sardine carrier makes you freeze for a long time in front of the monitor screen. This is wonderful! 👍👌
-
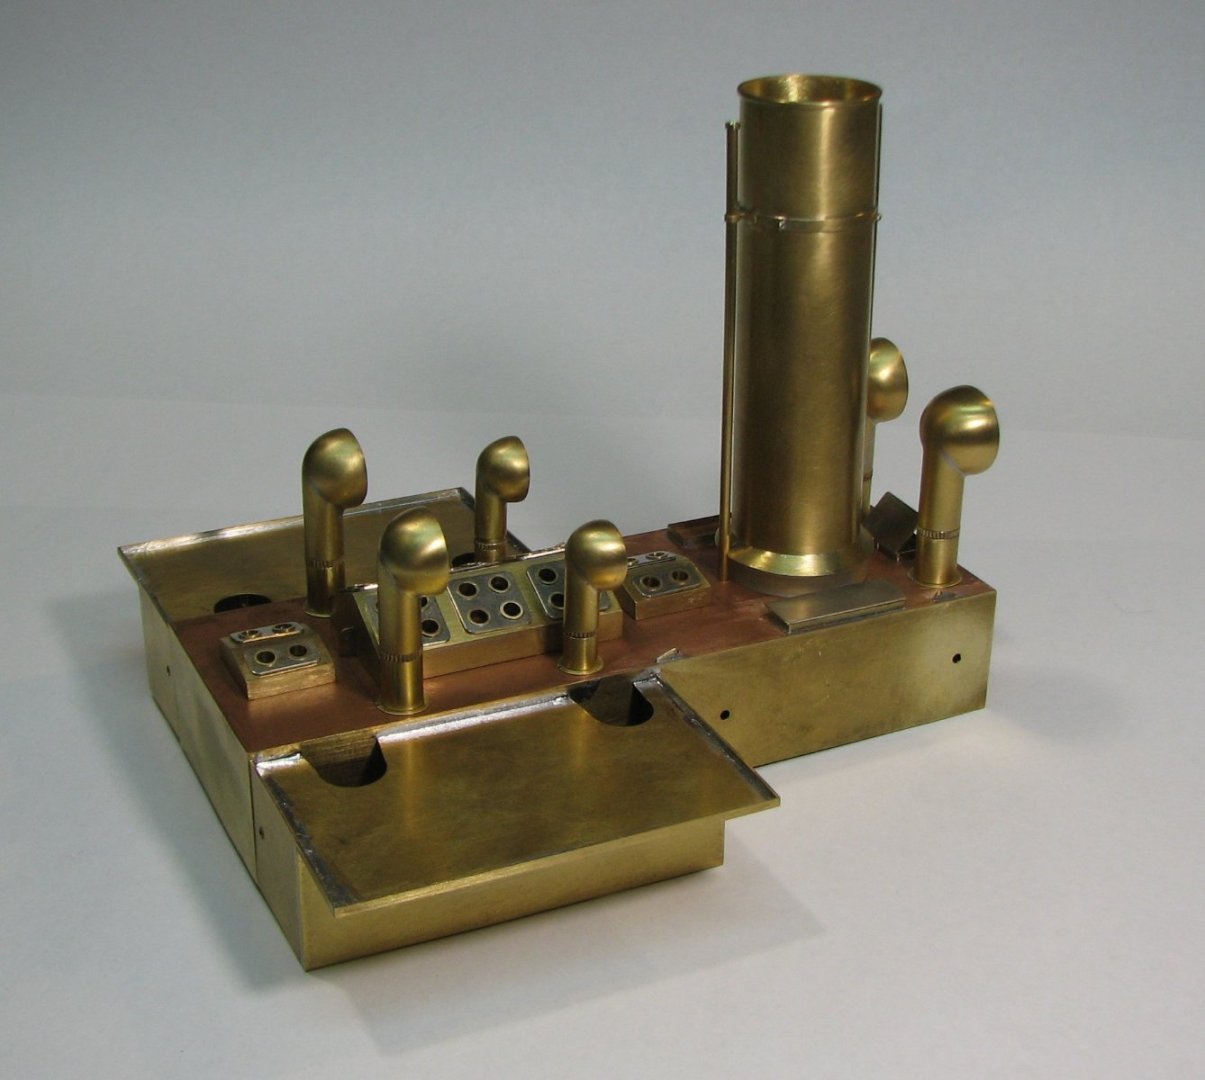
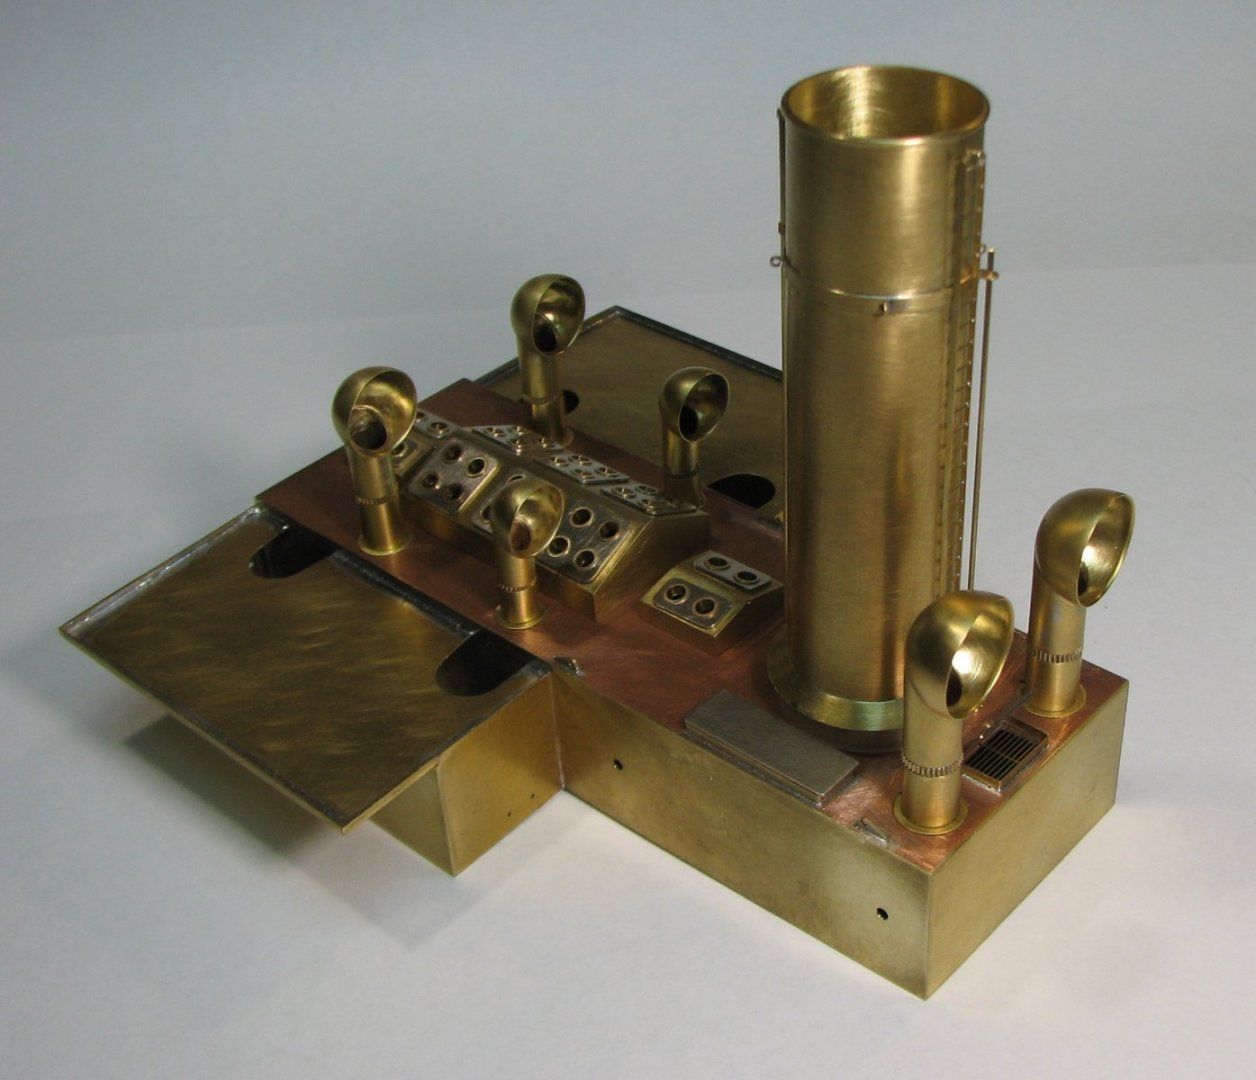
The parts are assembled on the engineroom casing.

-
Thank you Keith! I think he's fine.
-
Yes, Yves! Blagoev's scale is smaller than Varyag's, so I have to take larger and larger matches.
-
Thanks Rick, but you'll have to clarify your question.
-
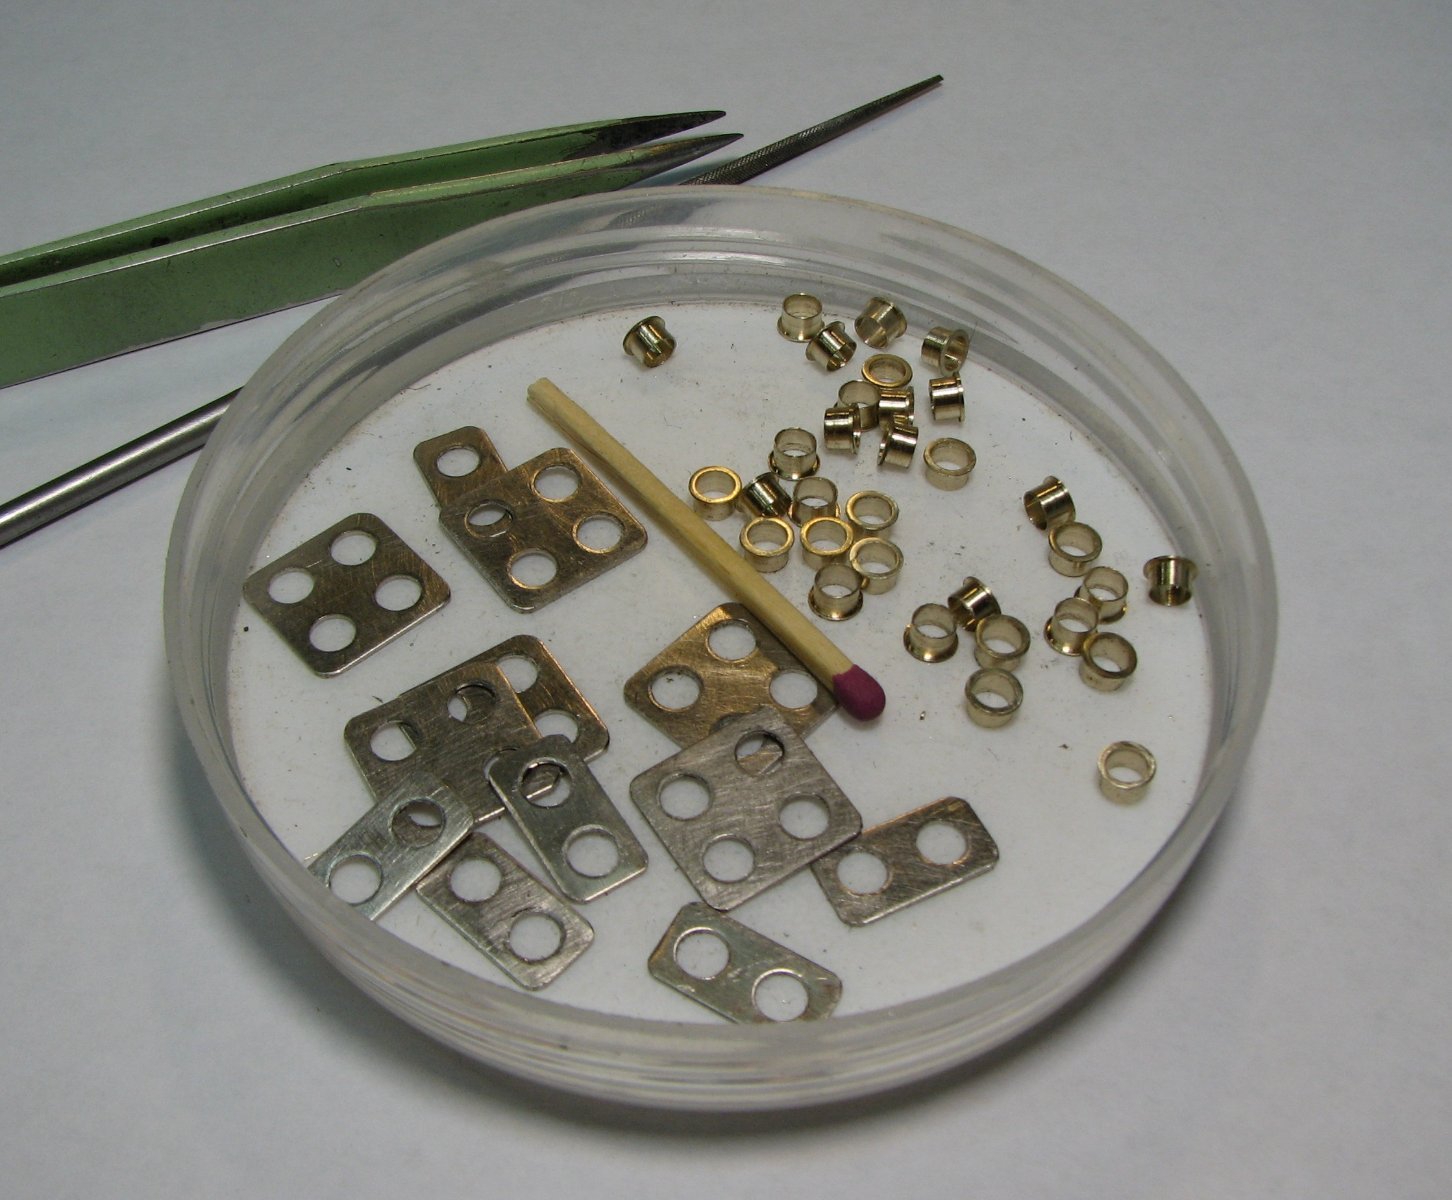
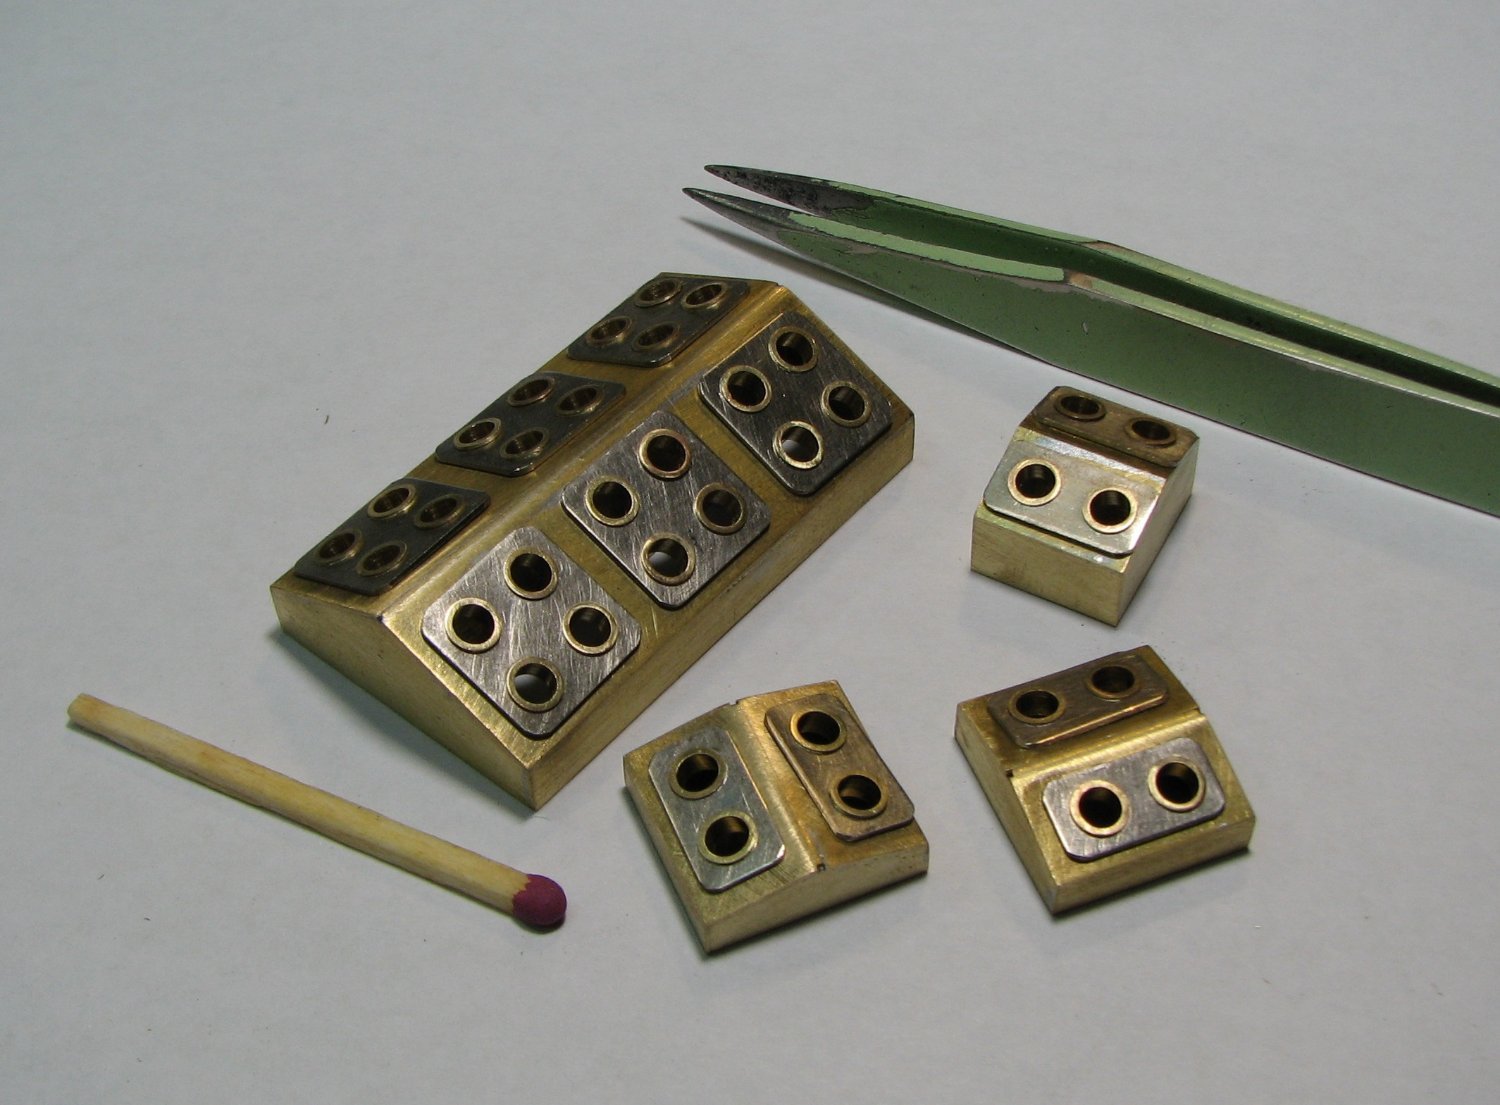
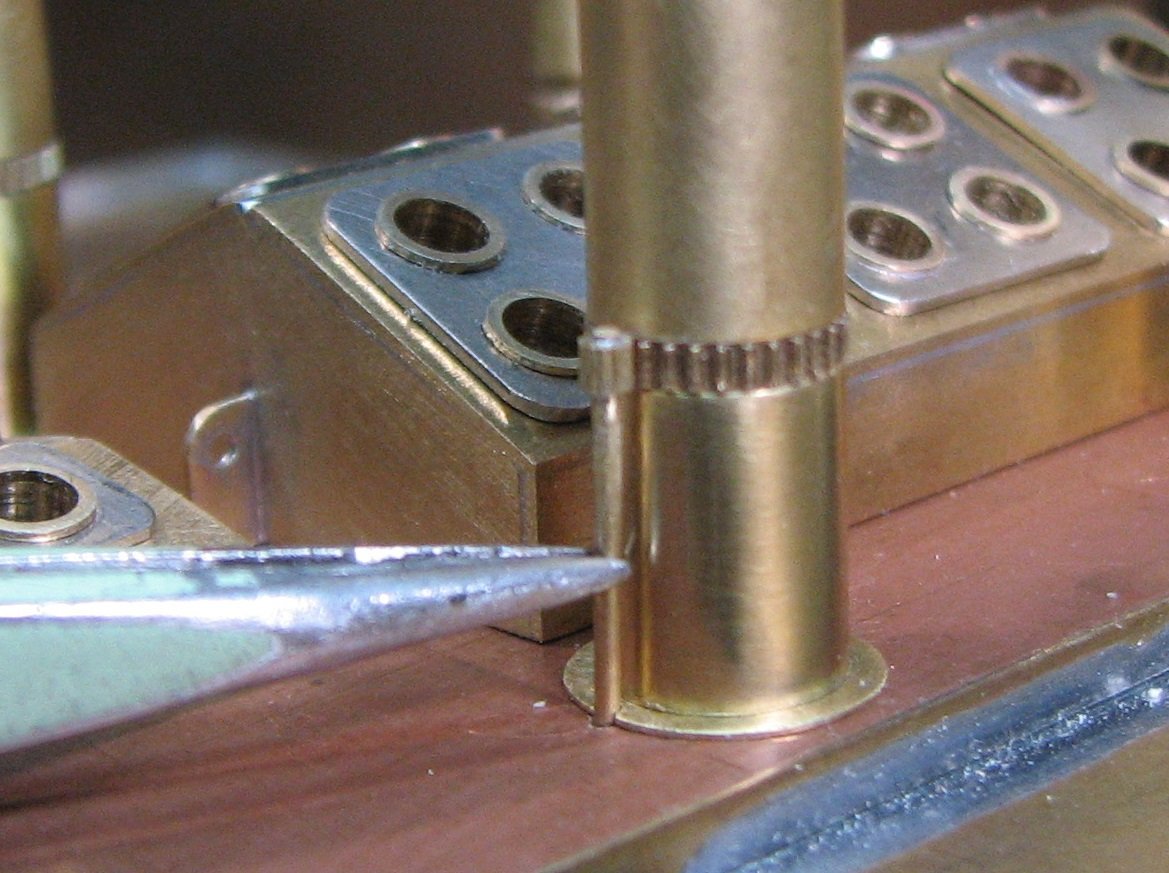
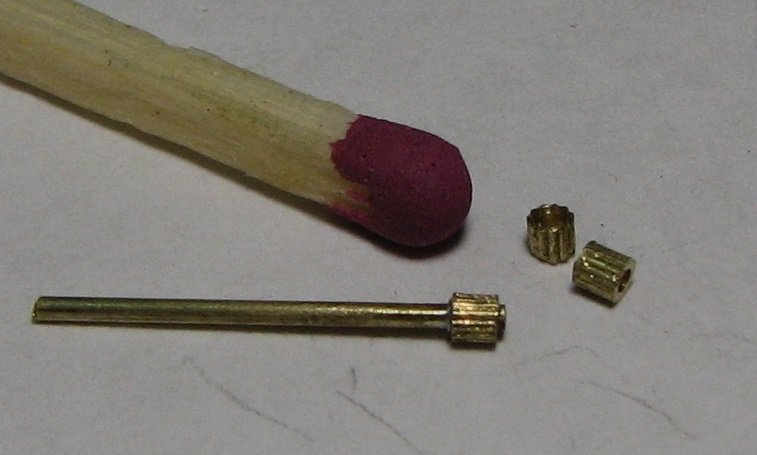
Nils, this is easy to do by knurling on a lathe. I have already talked about this process, look here , on page 13 of this topic.
-
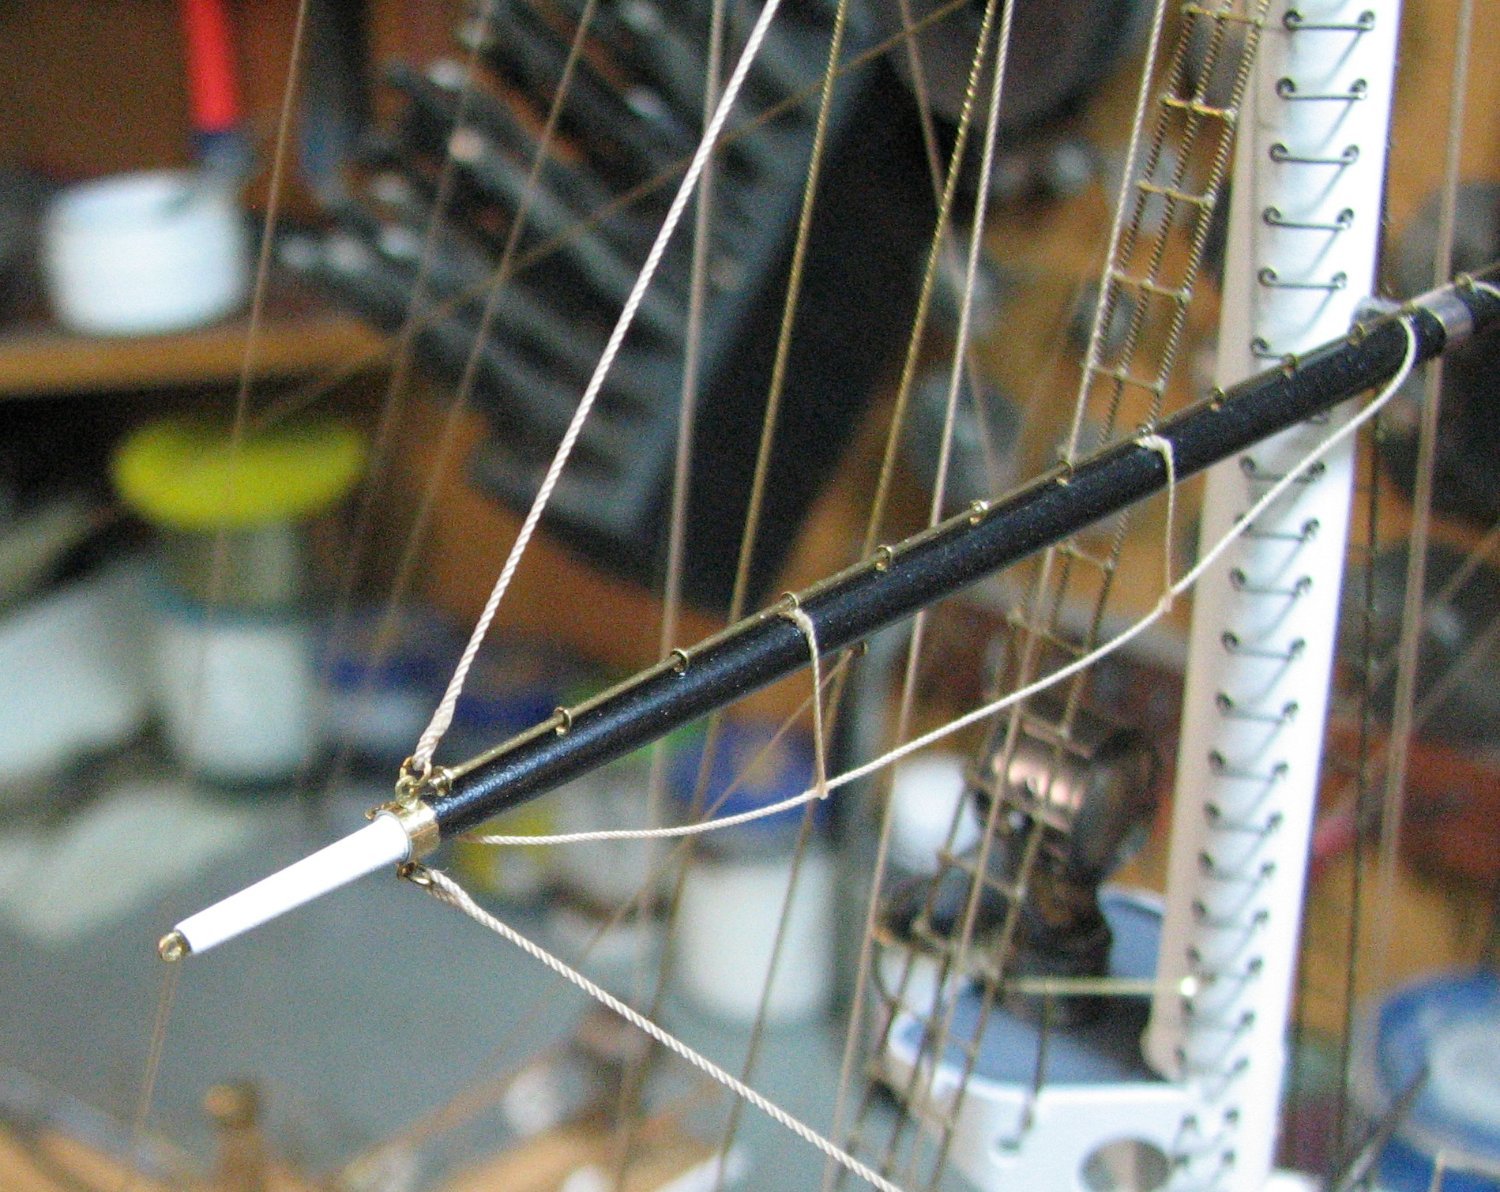
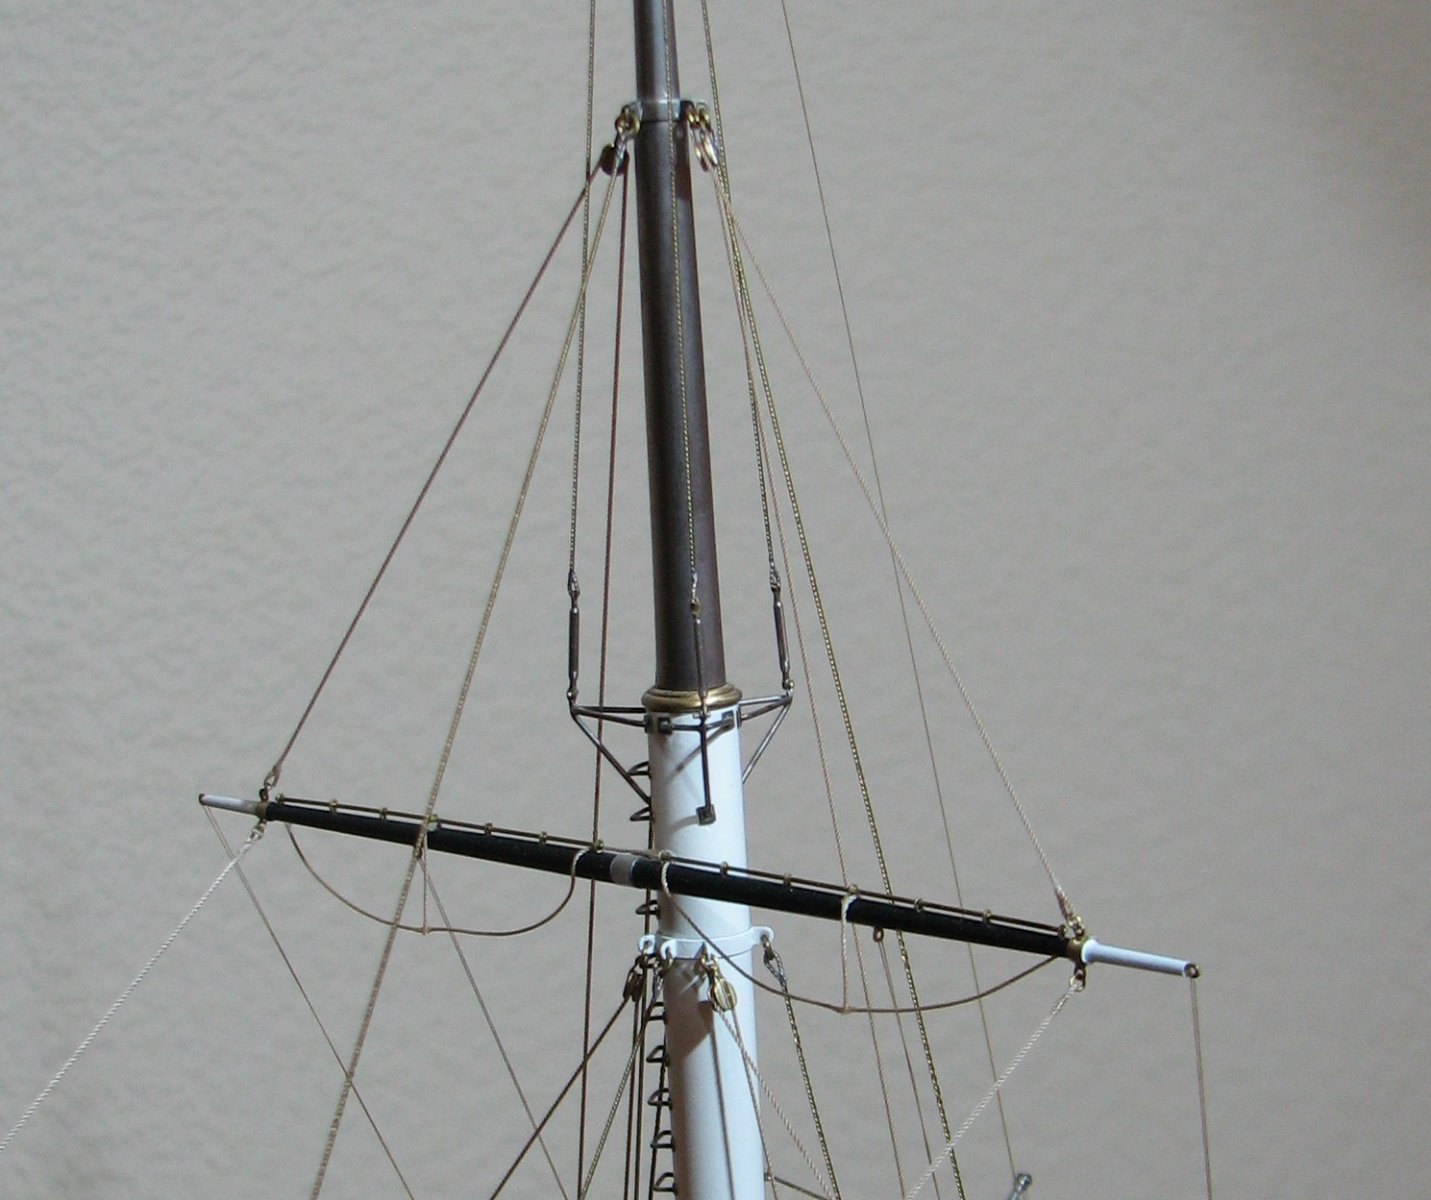
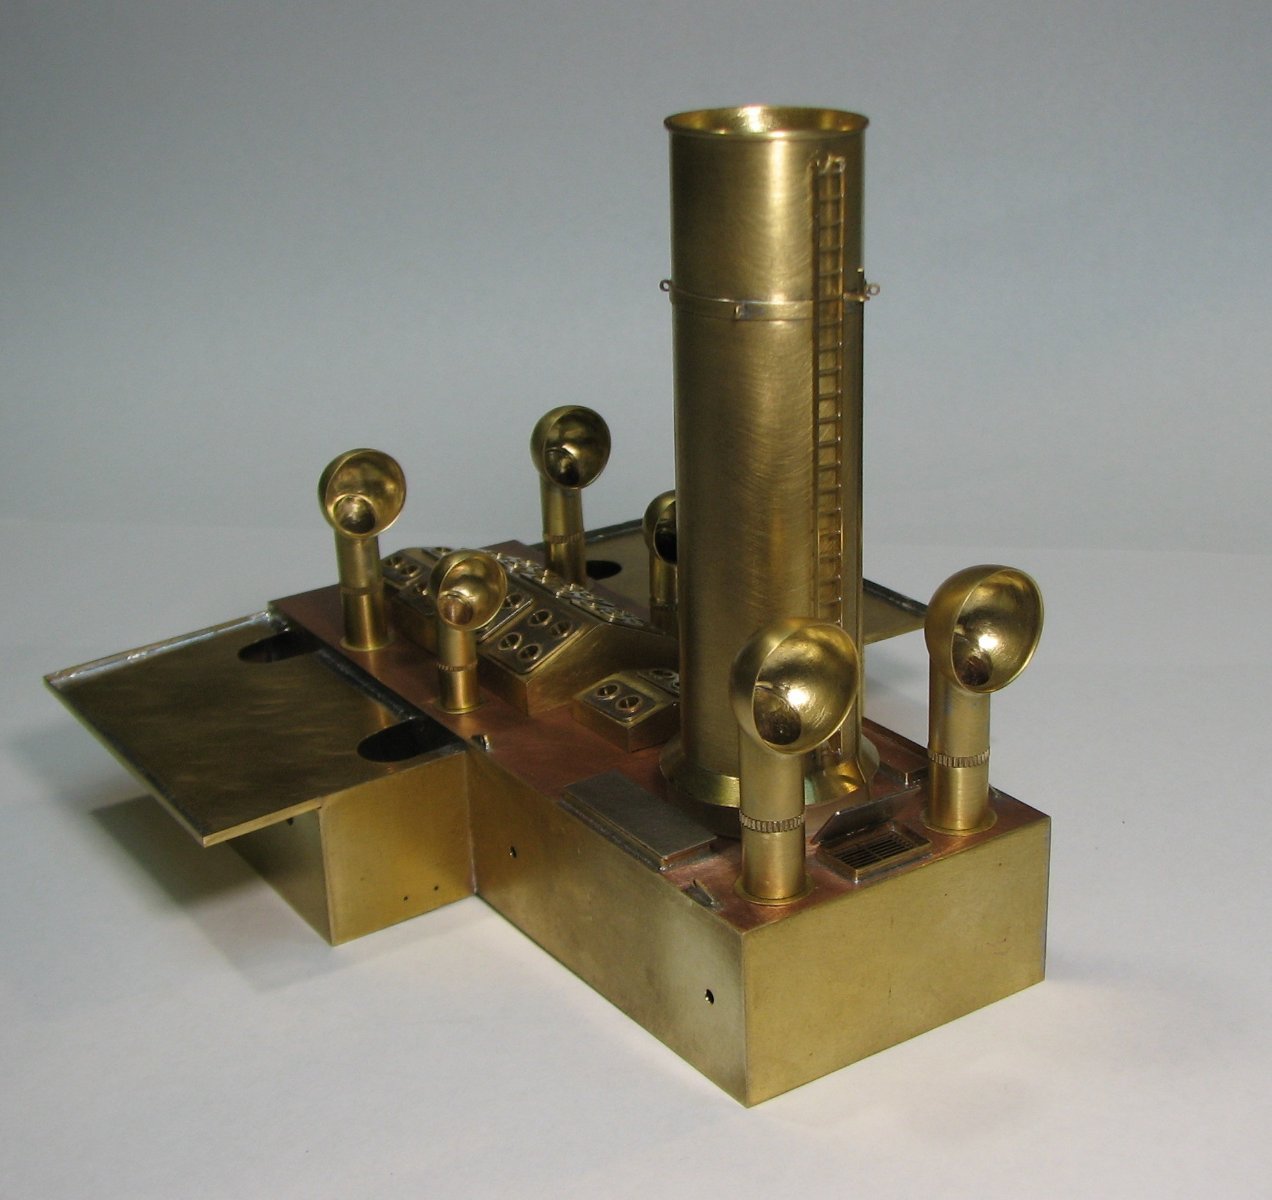
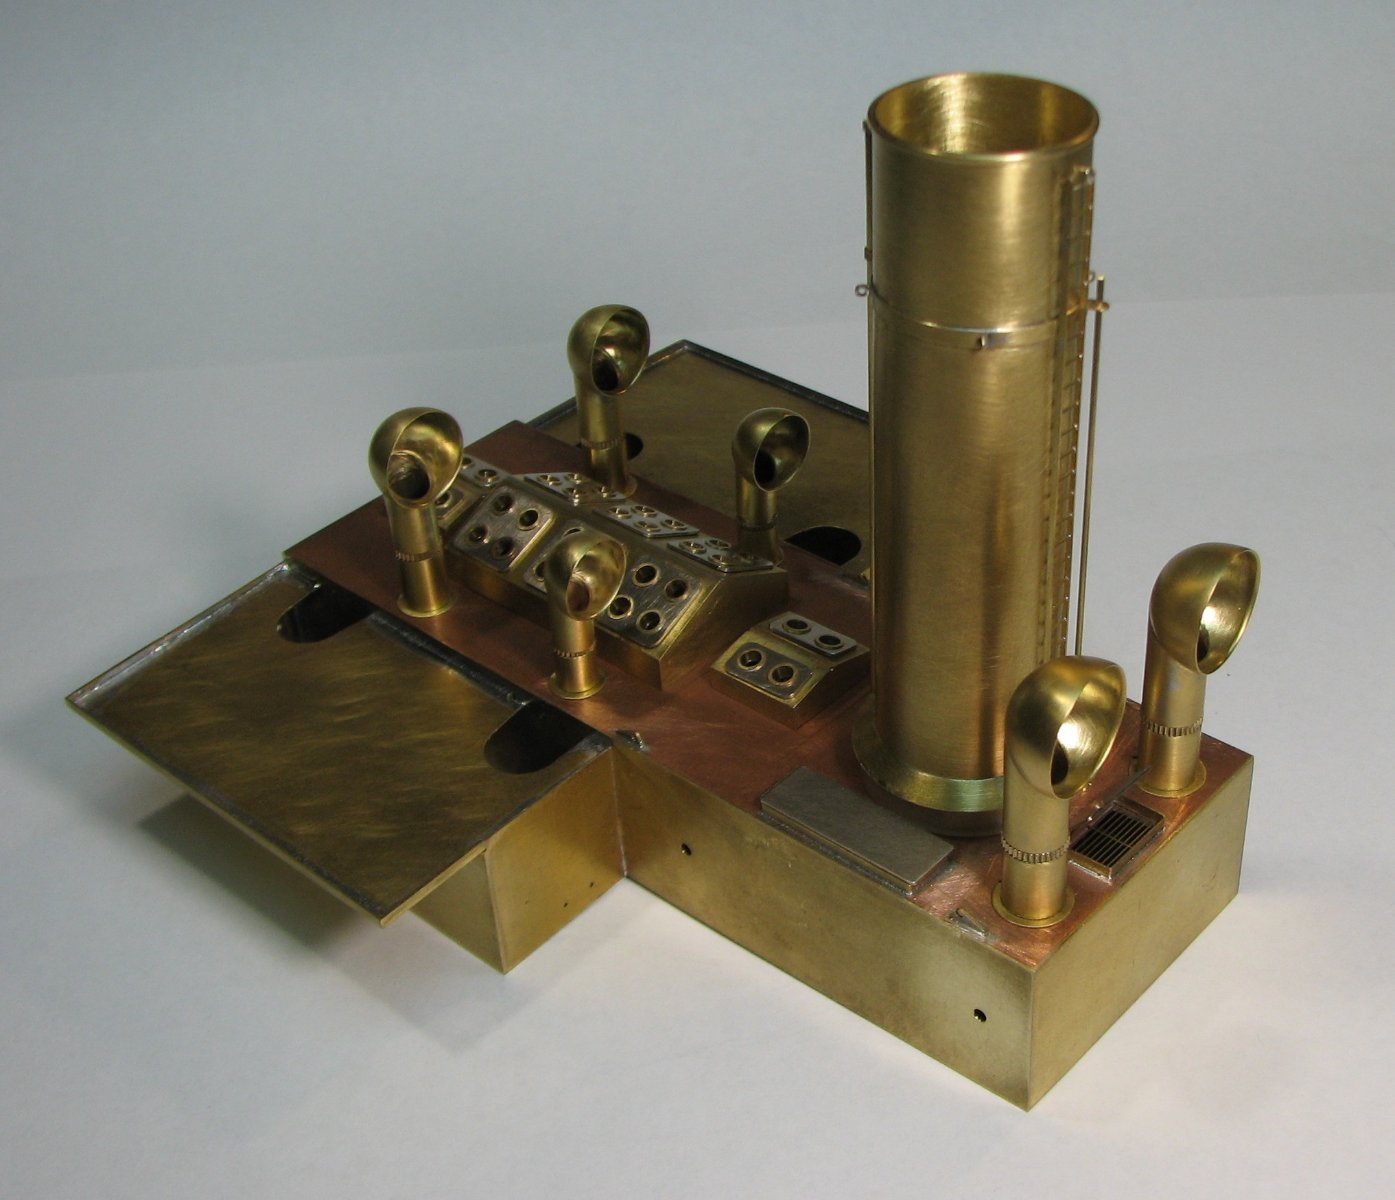
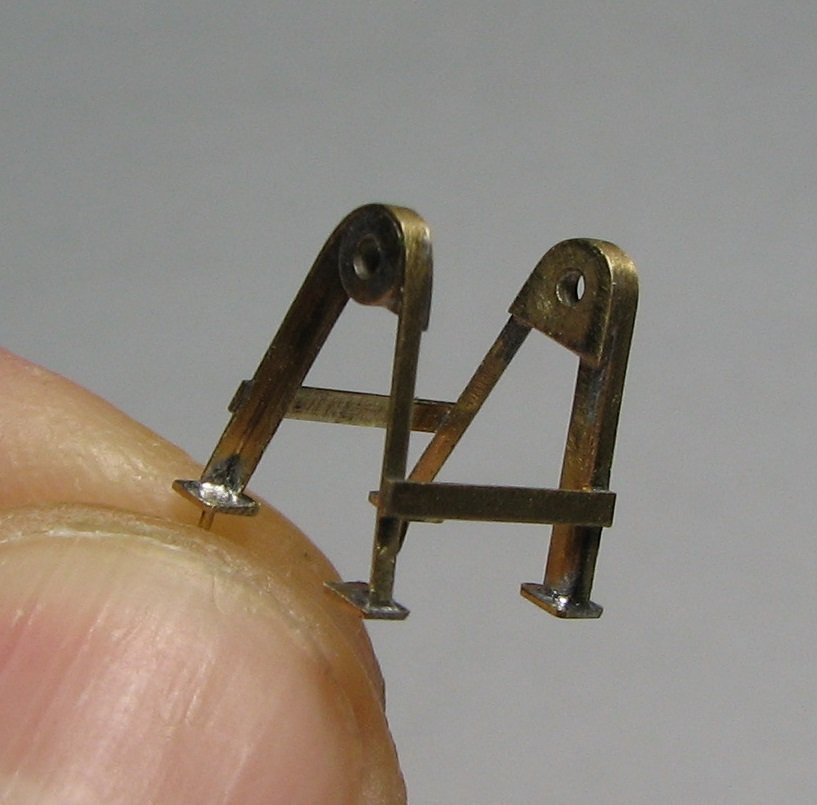
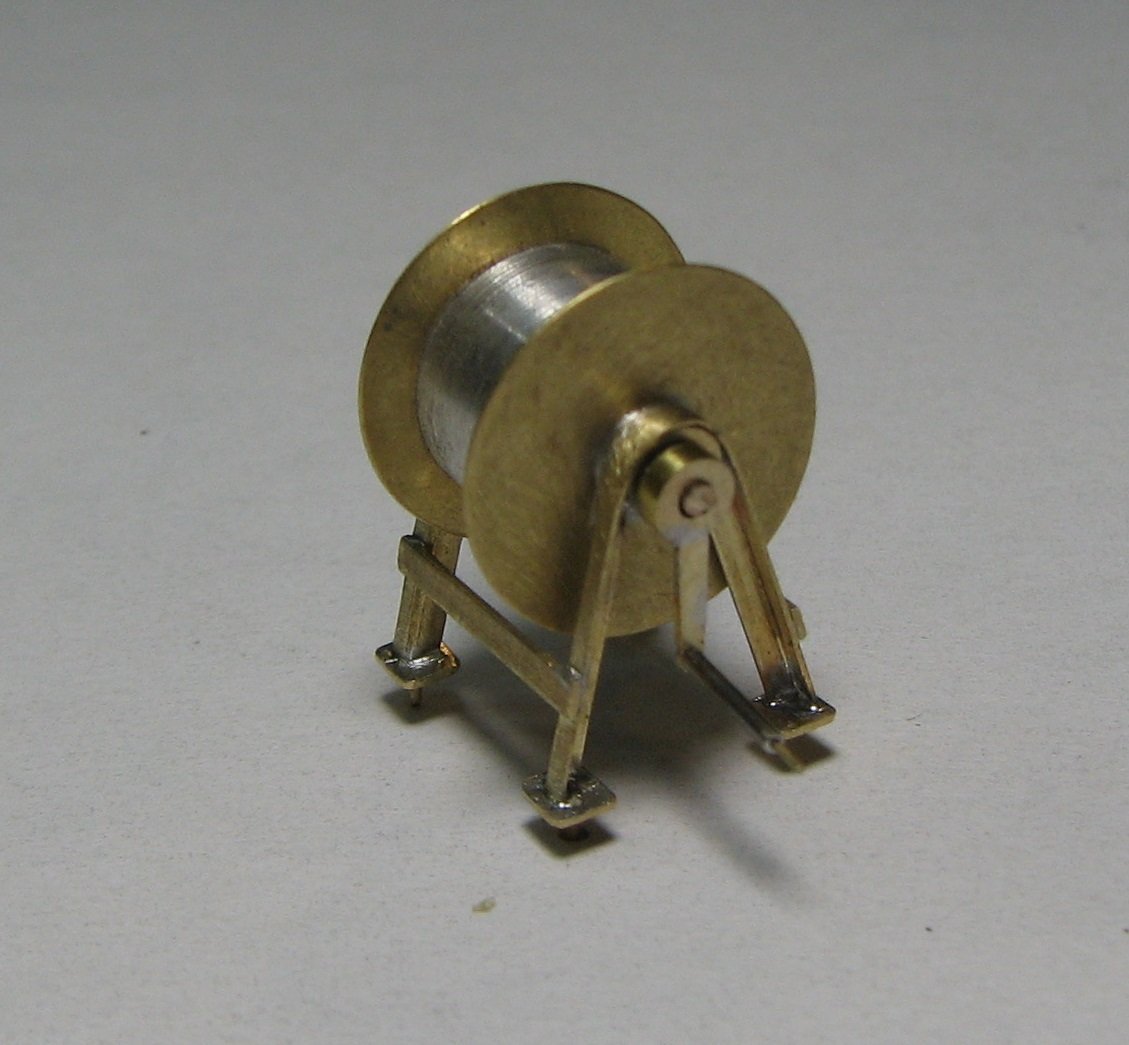
Mechanism for turning the ventilation socket.
-
Yes, Nils, brass must be periodically annealed over a fire. Yes, Eberhard, you are right. The technological line is exactly like this. Thank you, Stephane! I am pleased that in France they are interested not only in sailing ships.
-
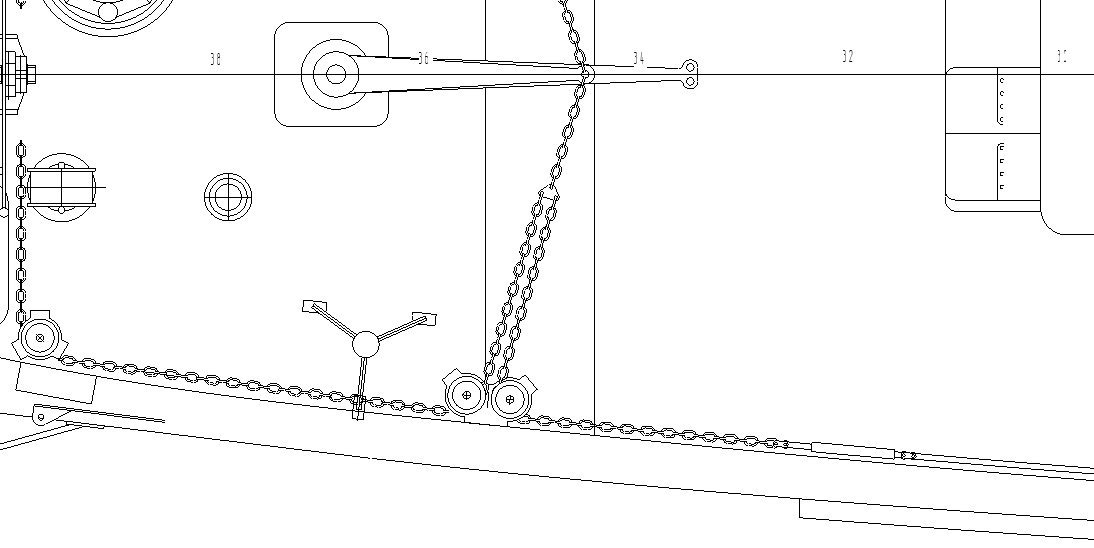
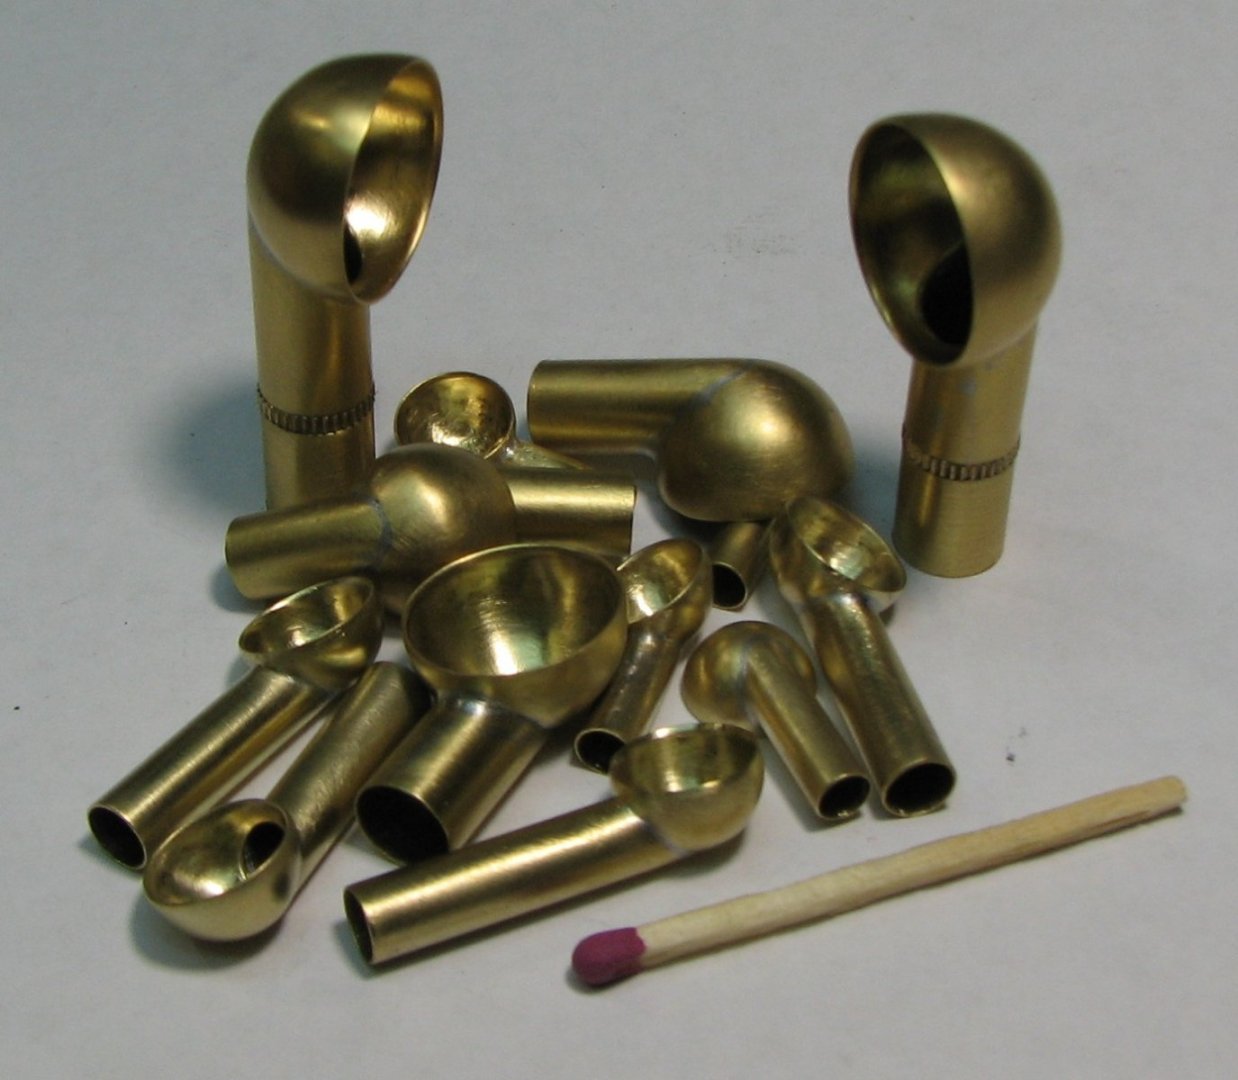
Ventilation pipes.
-
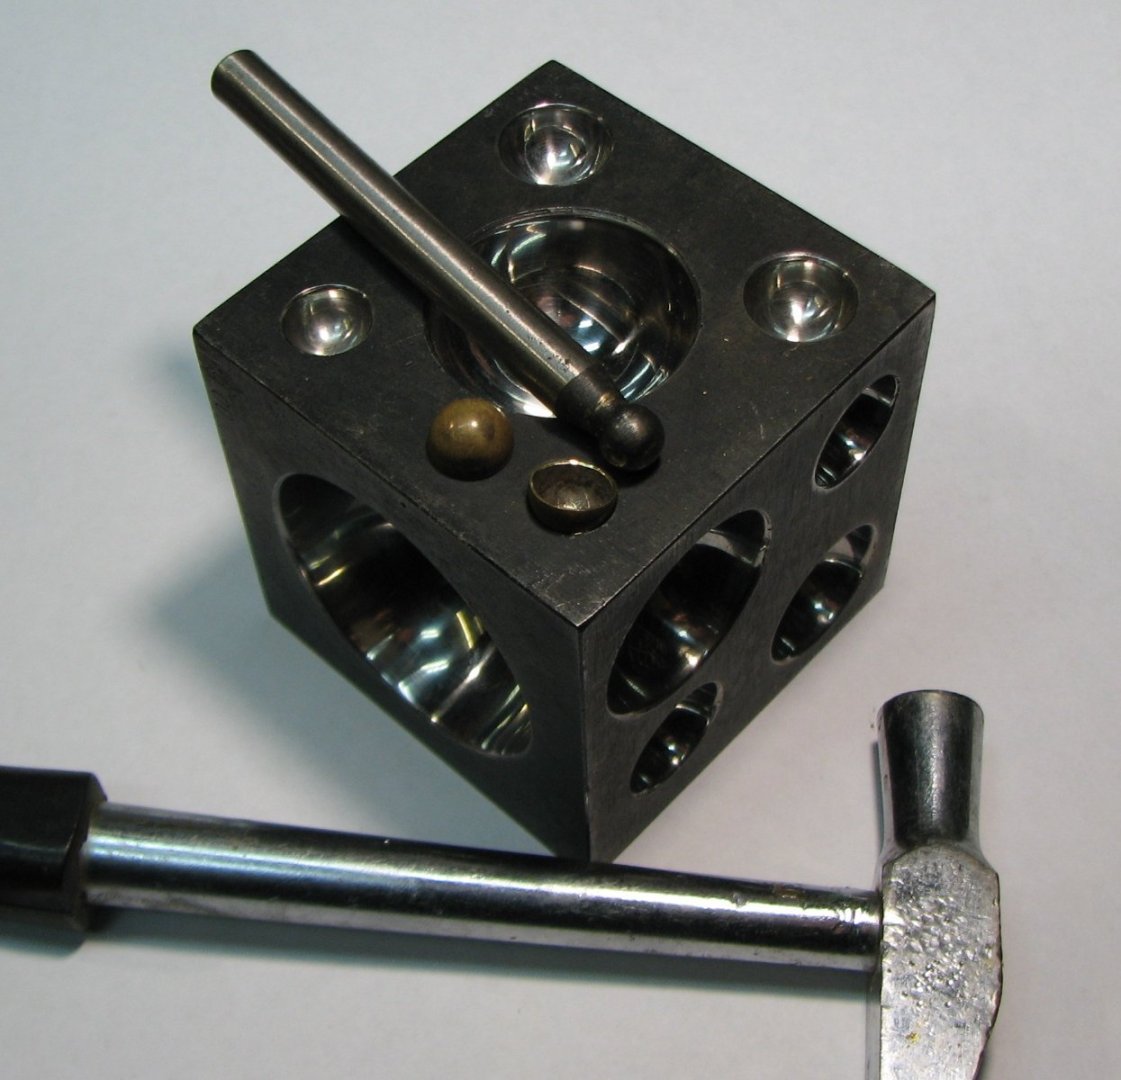
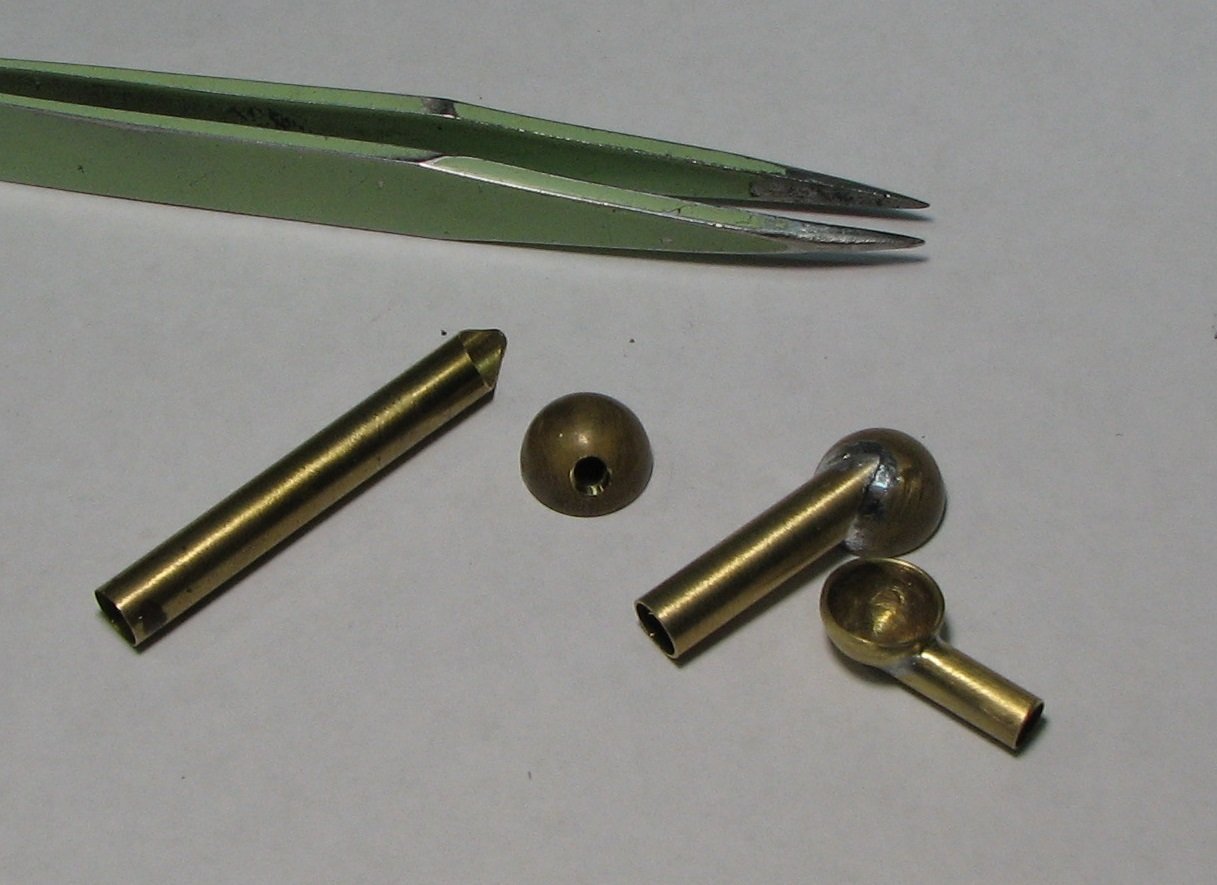
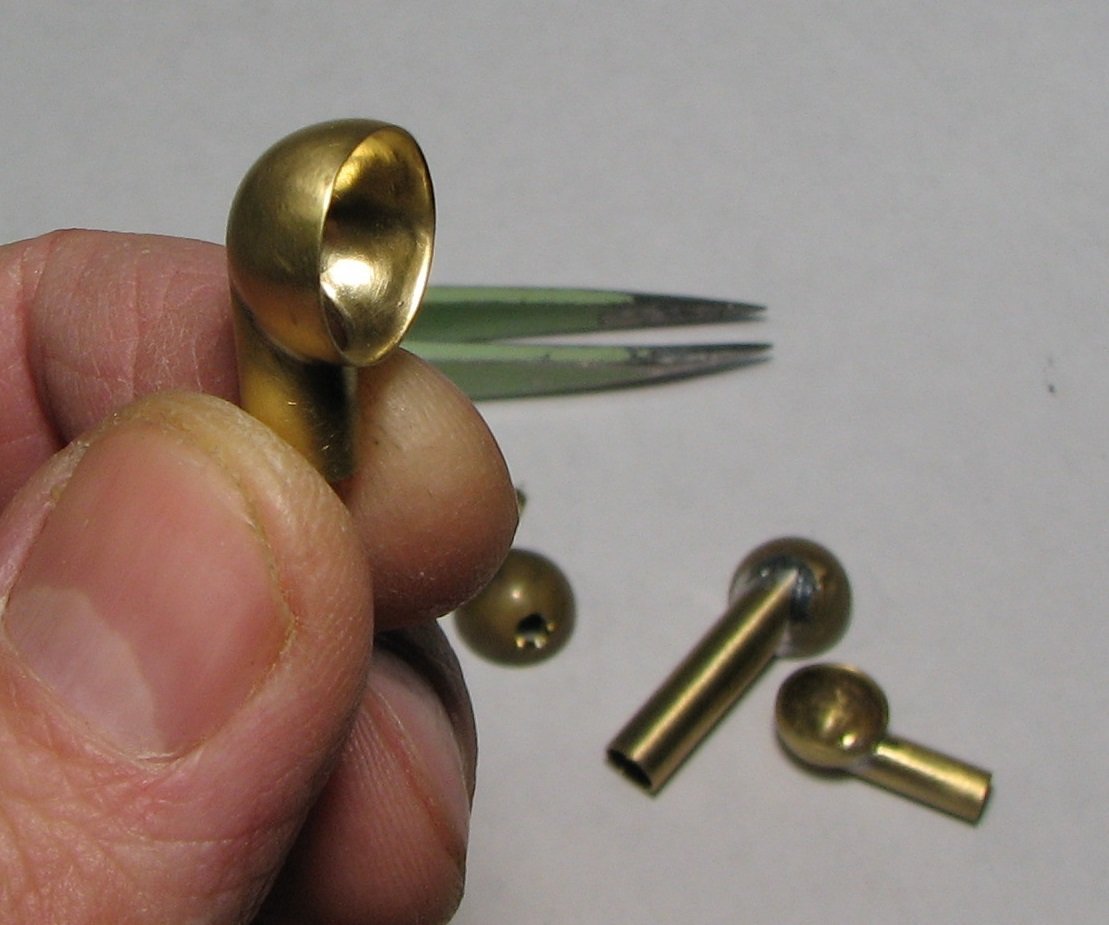
Yves and Phil! I have a set of matches of various calibers. For example, this match is one of the biggest.
-
Thank you Keith! Don't pay attention to the incorrect terms. These are distortions from Google Translate.
-
Ras, I enjoy watching your progress. What did you make the door handles from?

- 128 replies
-
- 1
-

-
- zulu
- sternwheeler
- (and 1 more)
-
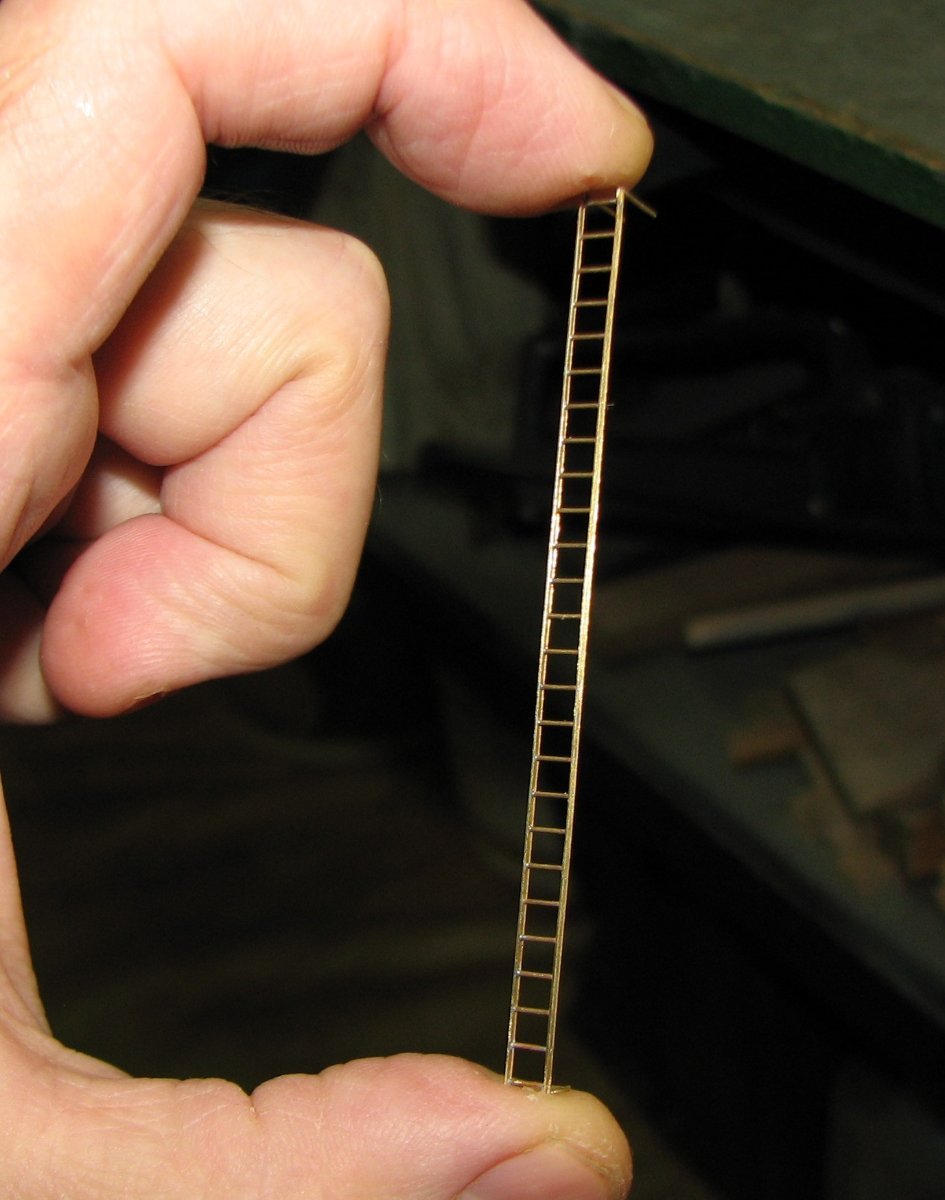
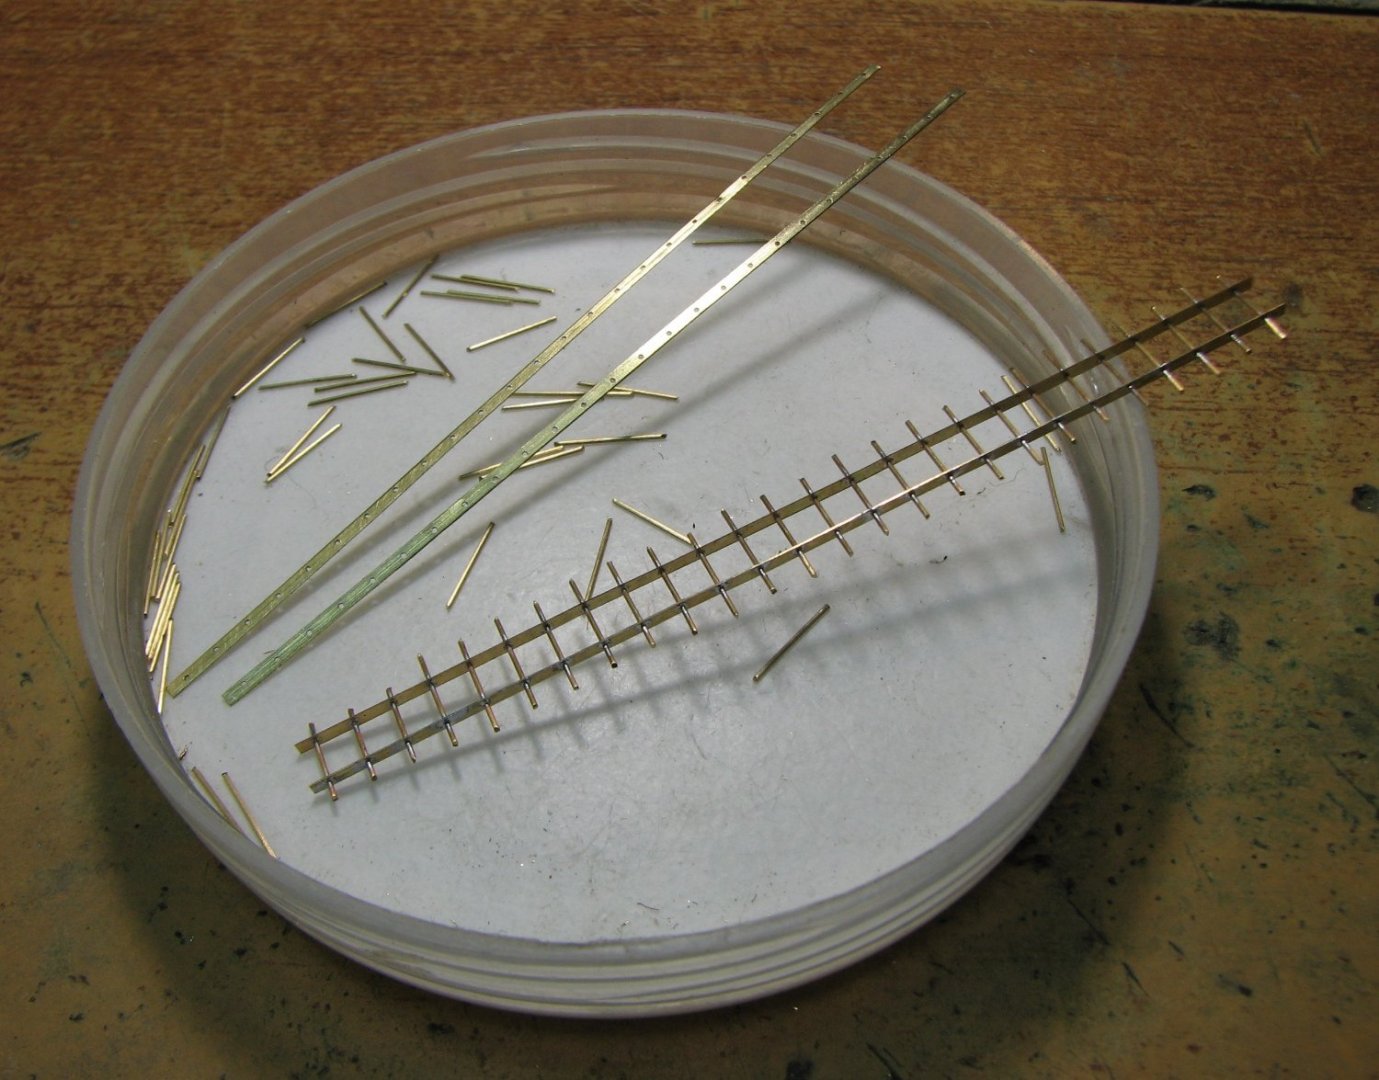
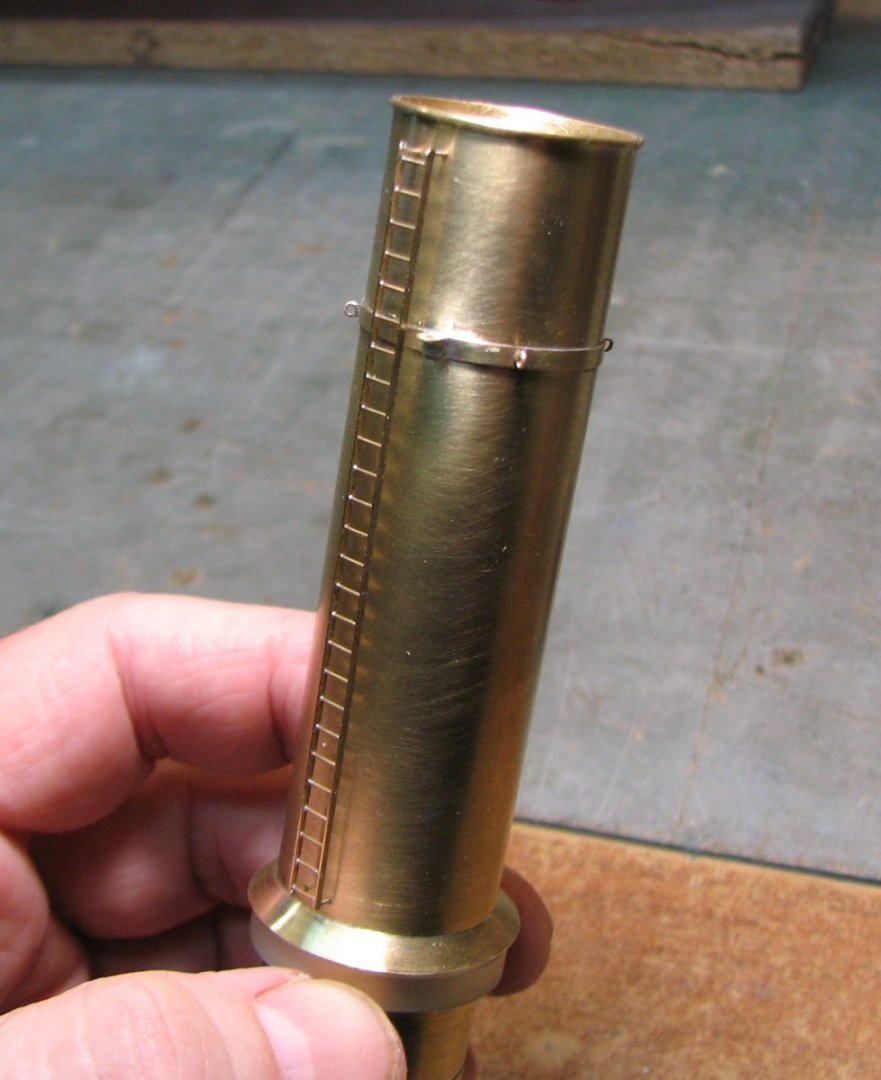
I welcome everyone and continue my work. The process of making a ladder for a chimney.

-
Nils, the figure of a girl in a light blouse and the sailors in heavy waterproof raincoats are somewhat discordant. Some of them are clearly not dressed for the weather. This is of course a joke. Please accept my congratulations on completing a wonderful and heartfelt work. This sincerity is your trademark as a master. Bravo! 👍
-
Thanks Phil! Thanks to everyone who has been following my topic all year! Happy New Year to all forum members. May all your wishes come true this year!