Darius359au
-
Posts
121 -
Joined
-
Last visited
Content Type
Profiles
Forums
Gallery
Events
Everything posted by Darius359au
-
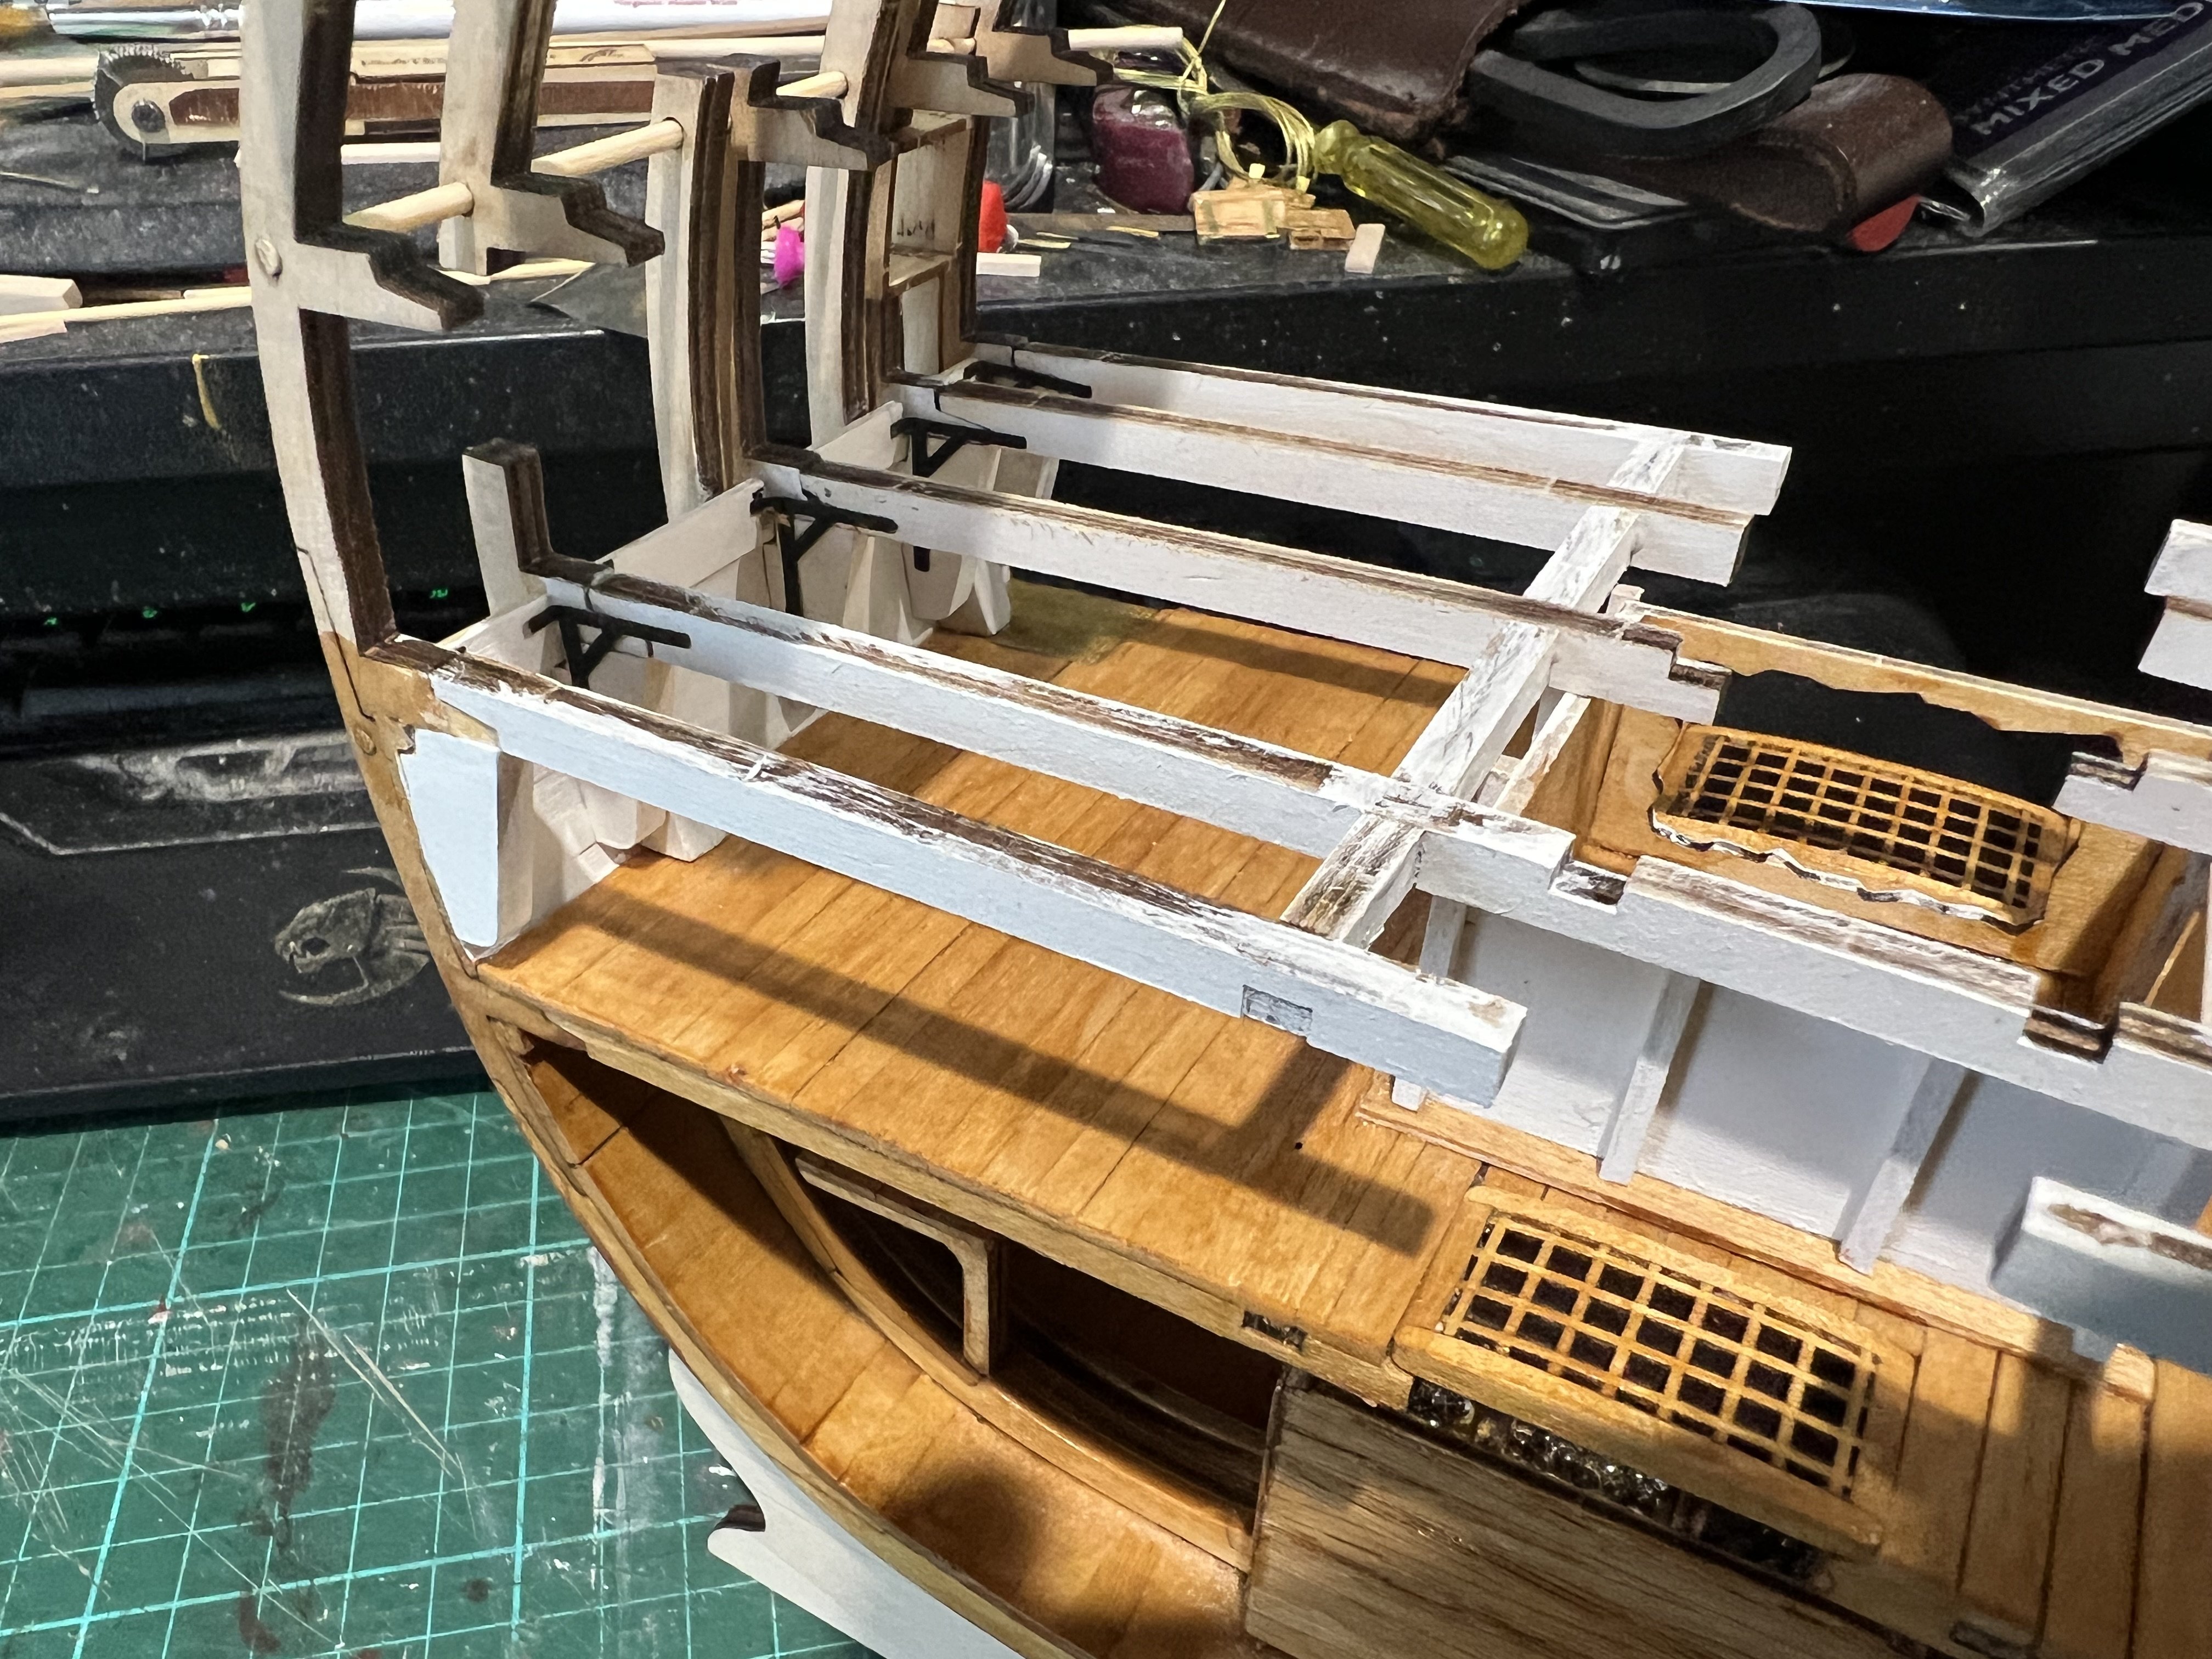
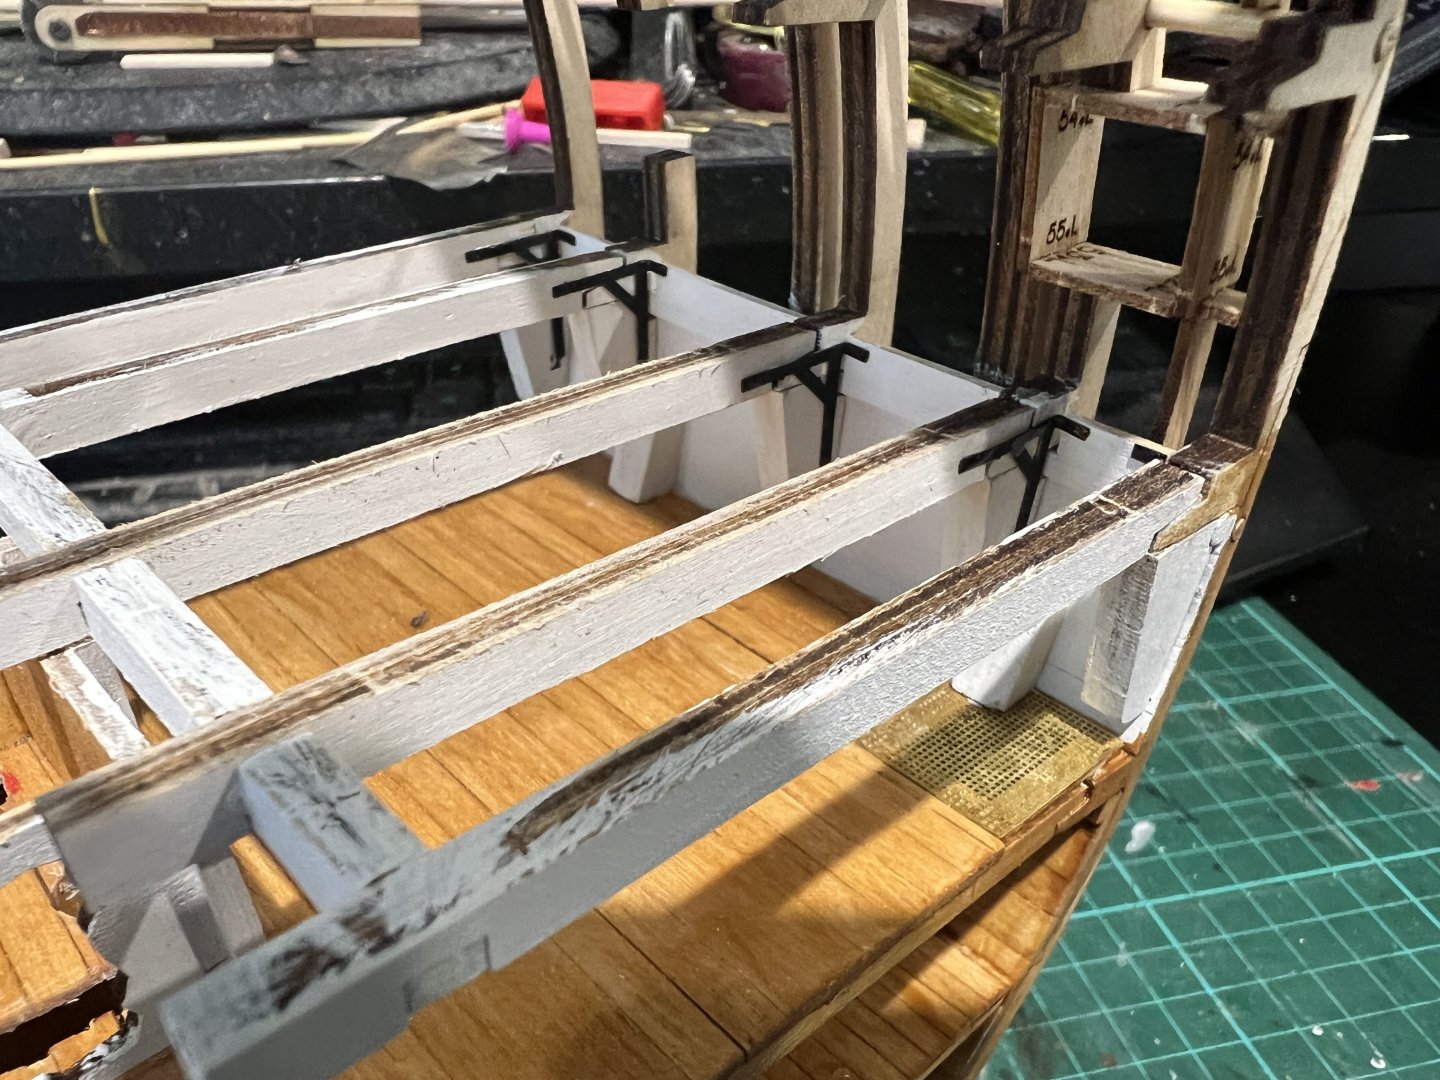
Iron work on the hanging knees in the orlop is done ,I ended up just painting them! , and the 1st gunport is in - the tolerances with this kit are so fine you could fit the gunport's in place without glue and they wouldn't move. Richard


- 28 replies
-
- 2
-

-
- Victory
- Artesania Latina
- (and 1 more)
-
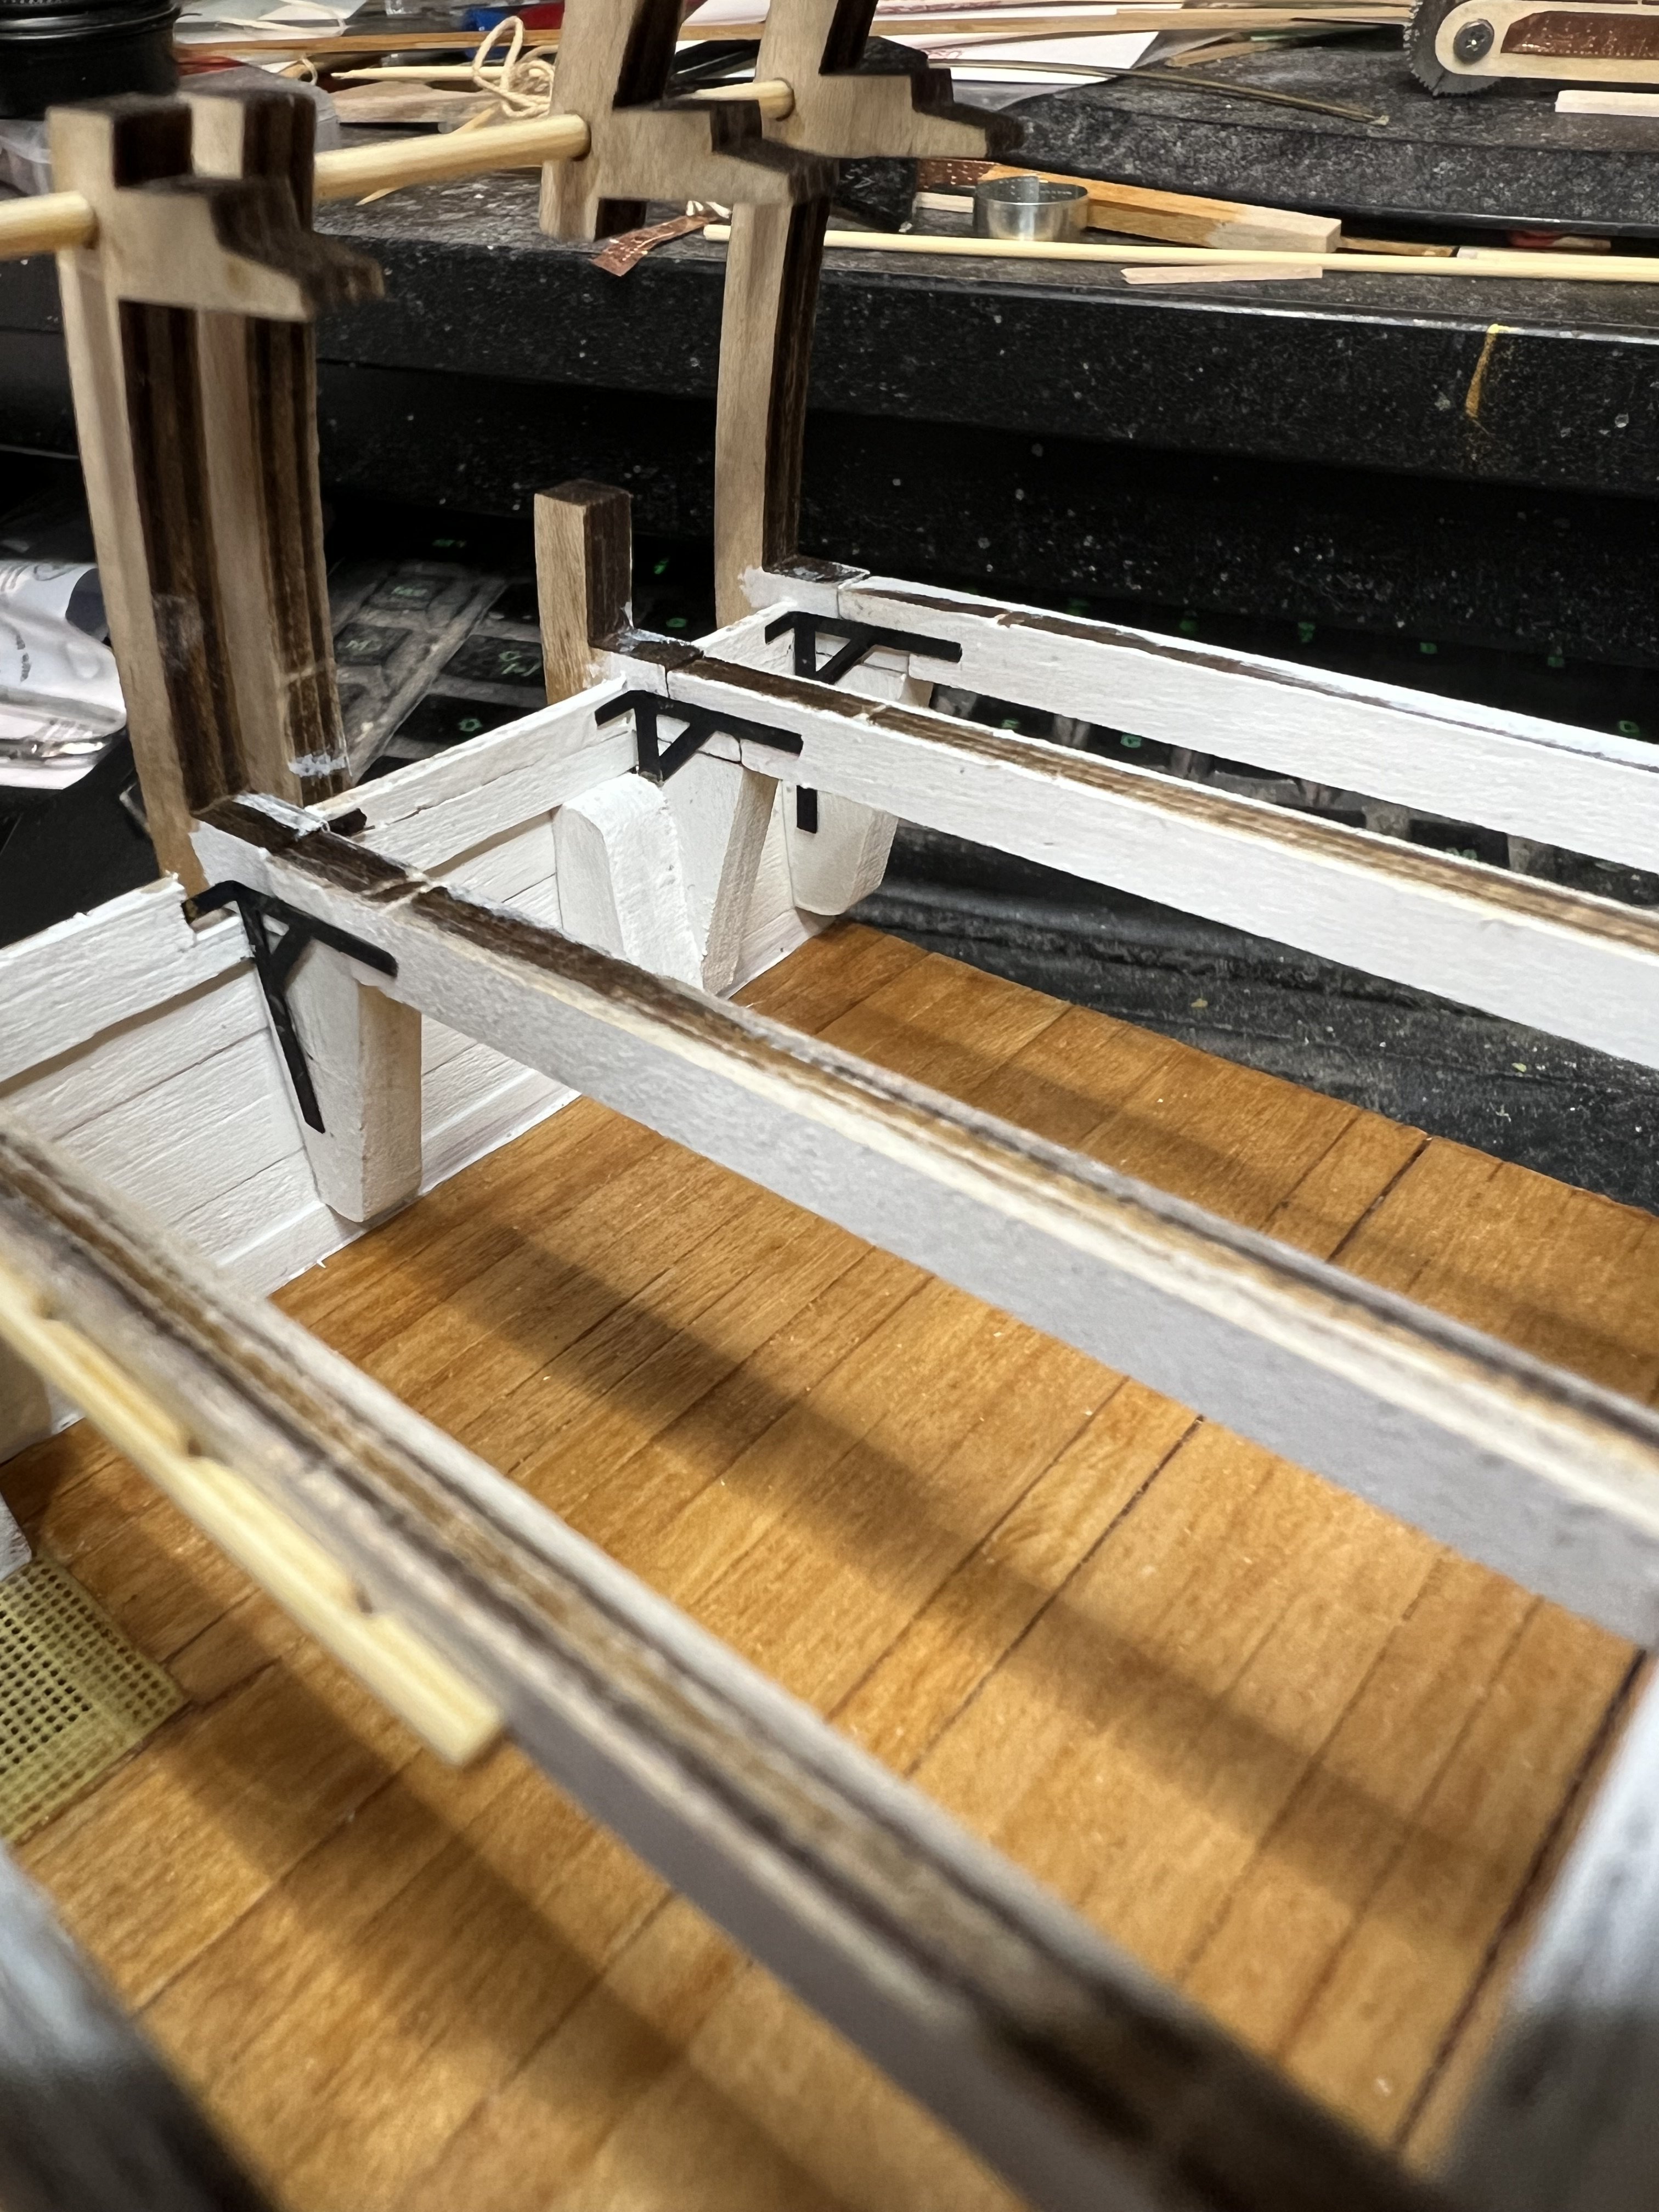
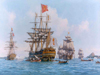
Had a slight technical error with blackening the photoetch for the iron straps on the hanging knee's in the orlop ,not sure if it was how i cleaned them with just soap and water ,or if I left them in the solution too long or not long enough ,they looked ok when pulled them out but the blackening started flaking off when I put them in water to rinse. Might scrub them then reclean them but add acetone after the soap and water clean ,(only used soap and water to wash them ,when I did the guns on my pegasus I cleaned them with acetone as well) ,or I may just prime and paint instead. Gundeck frames are installed ,next is the iron straps and hammock battens and the first gunports get installed in the frame. @allanyed I managed to find 1 picture of Victory's upper well and it's louvered!,as I'm a pretty mediocre modeler at best i dont think I'd be able to do it right! ,but i think this model would be a good base for someone to super detail it if they chose. Richard


- 28 replies
-
- 2
-
-
- Victory
- Artesania Latina
- (and 1 more)
-
Nice diorama ,and not bad for your 1st try at armour models👍 Richard
-
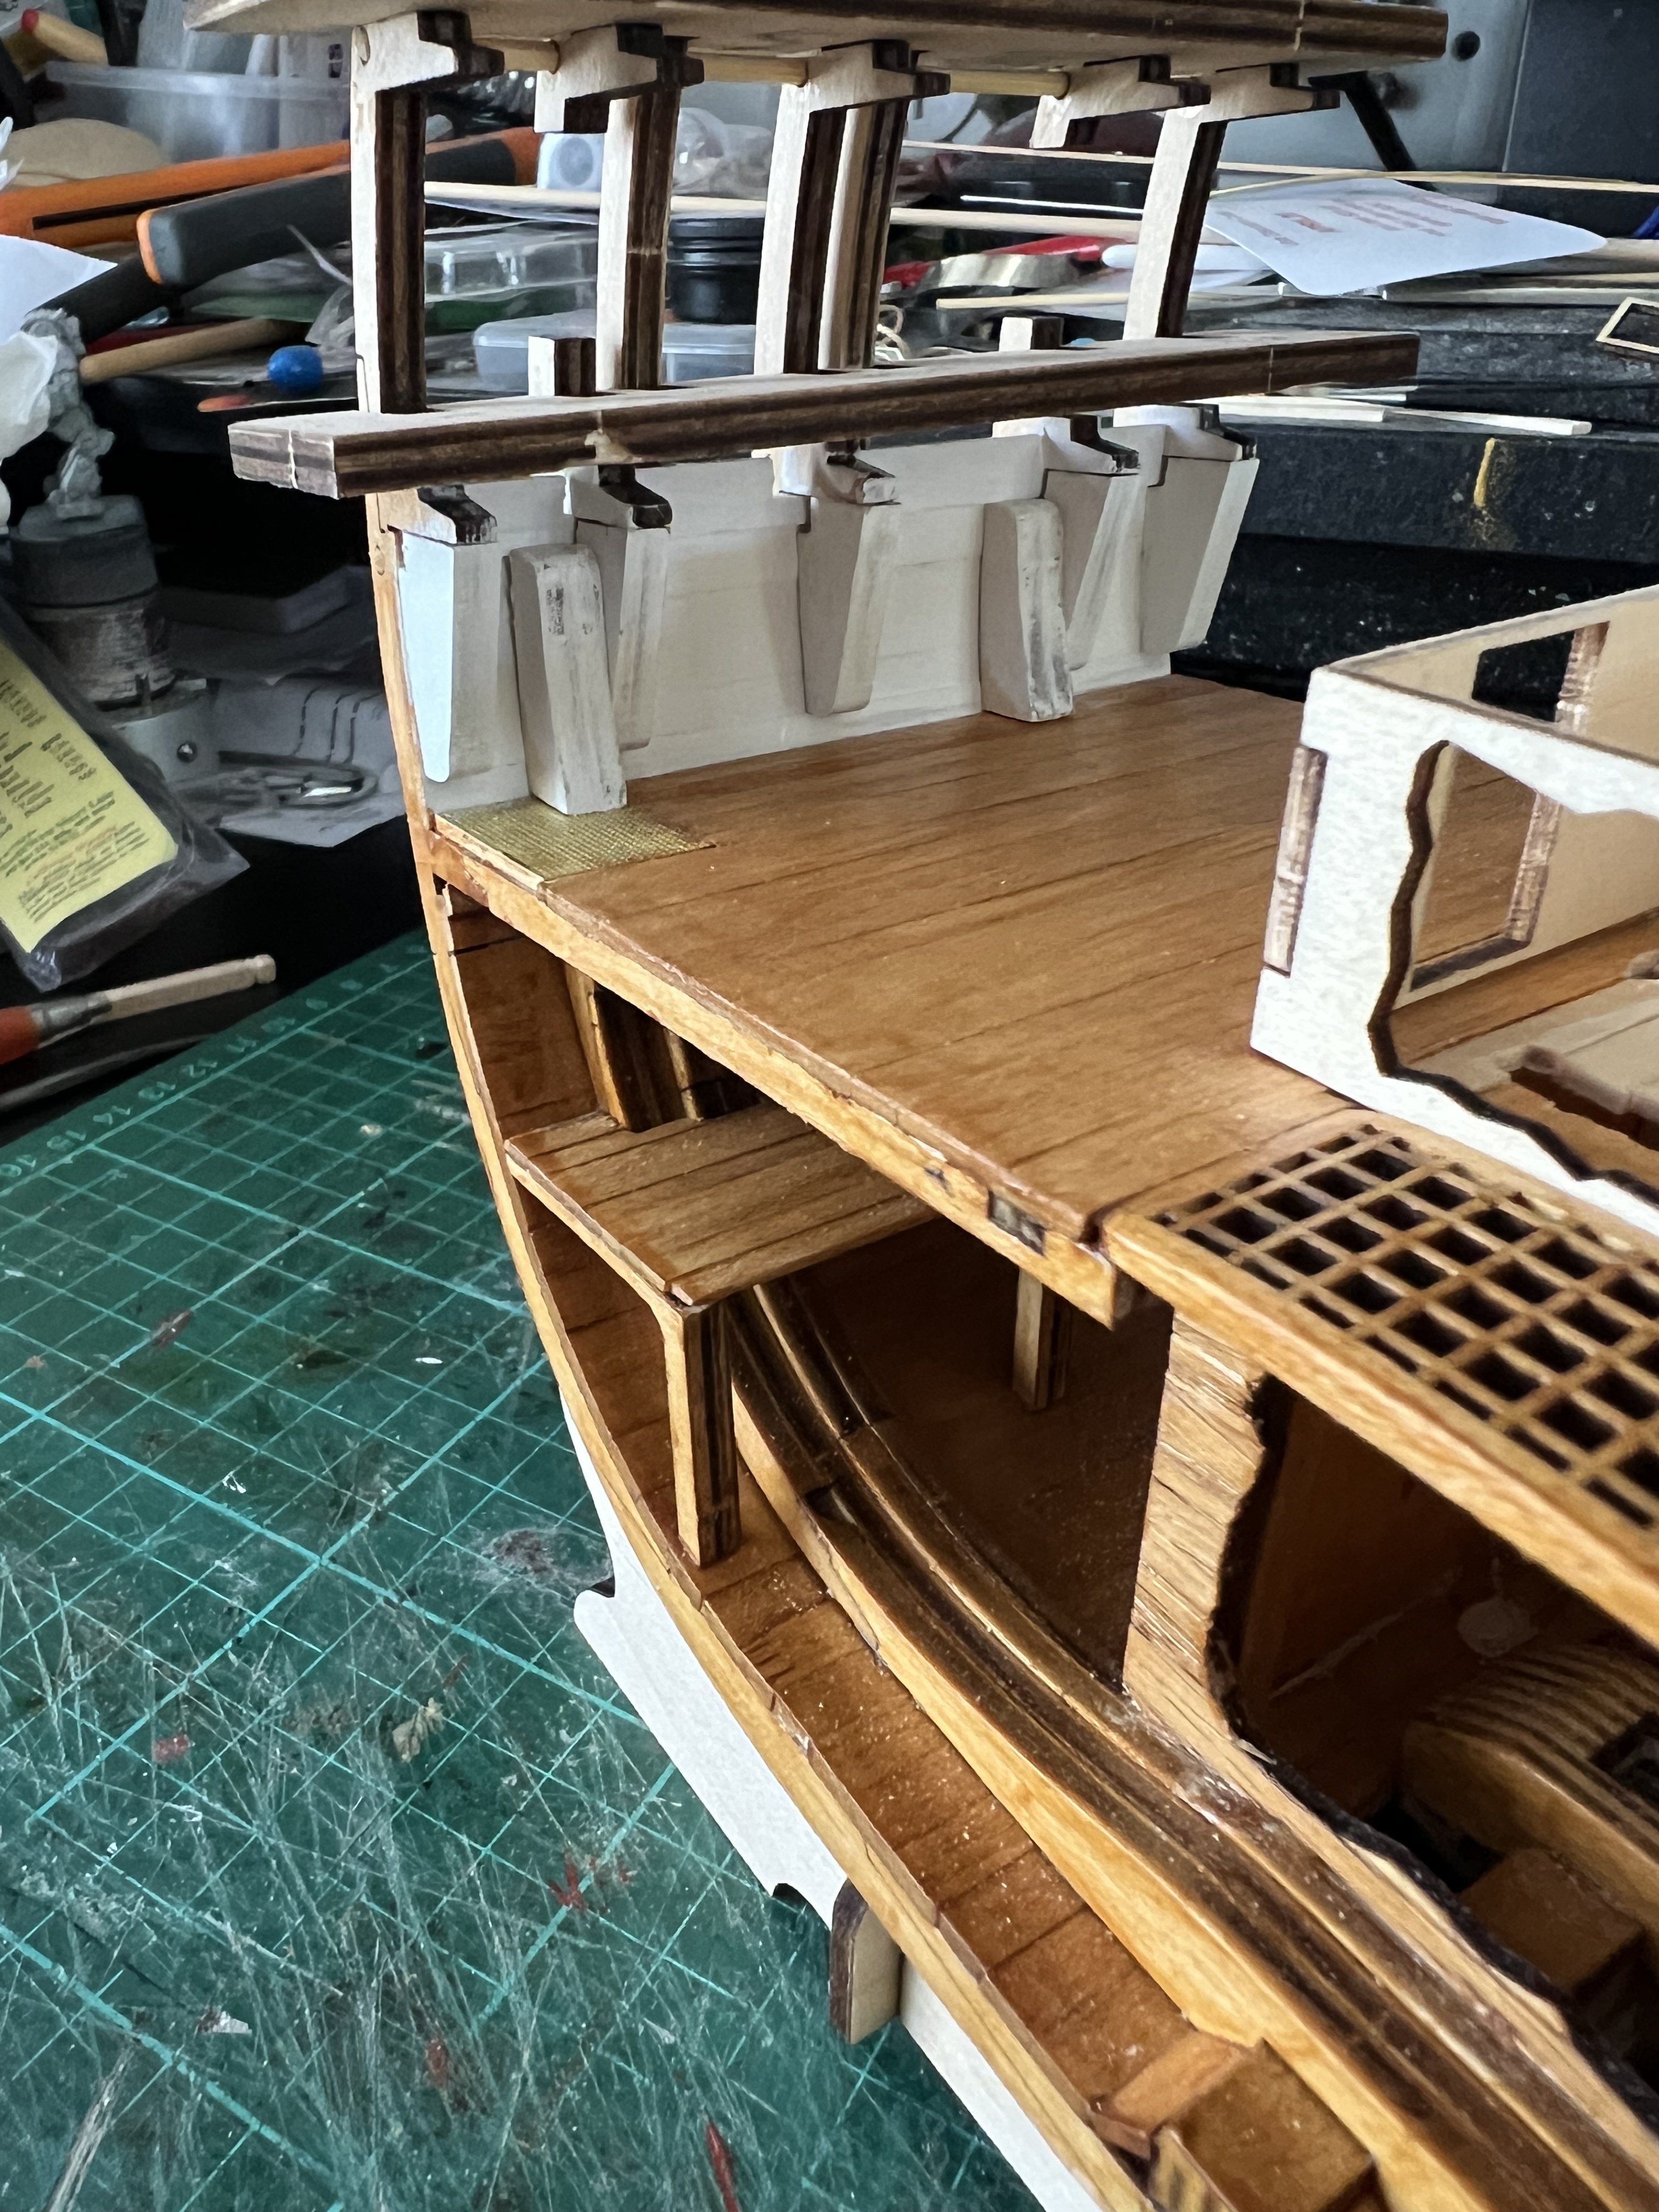
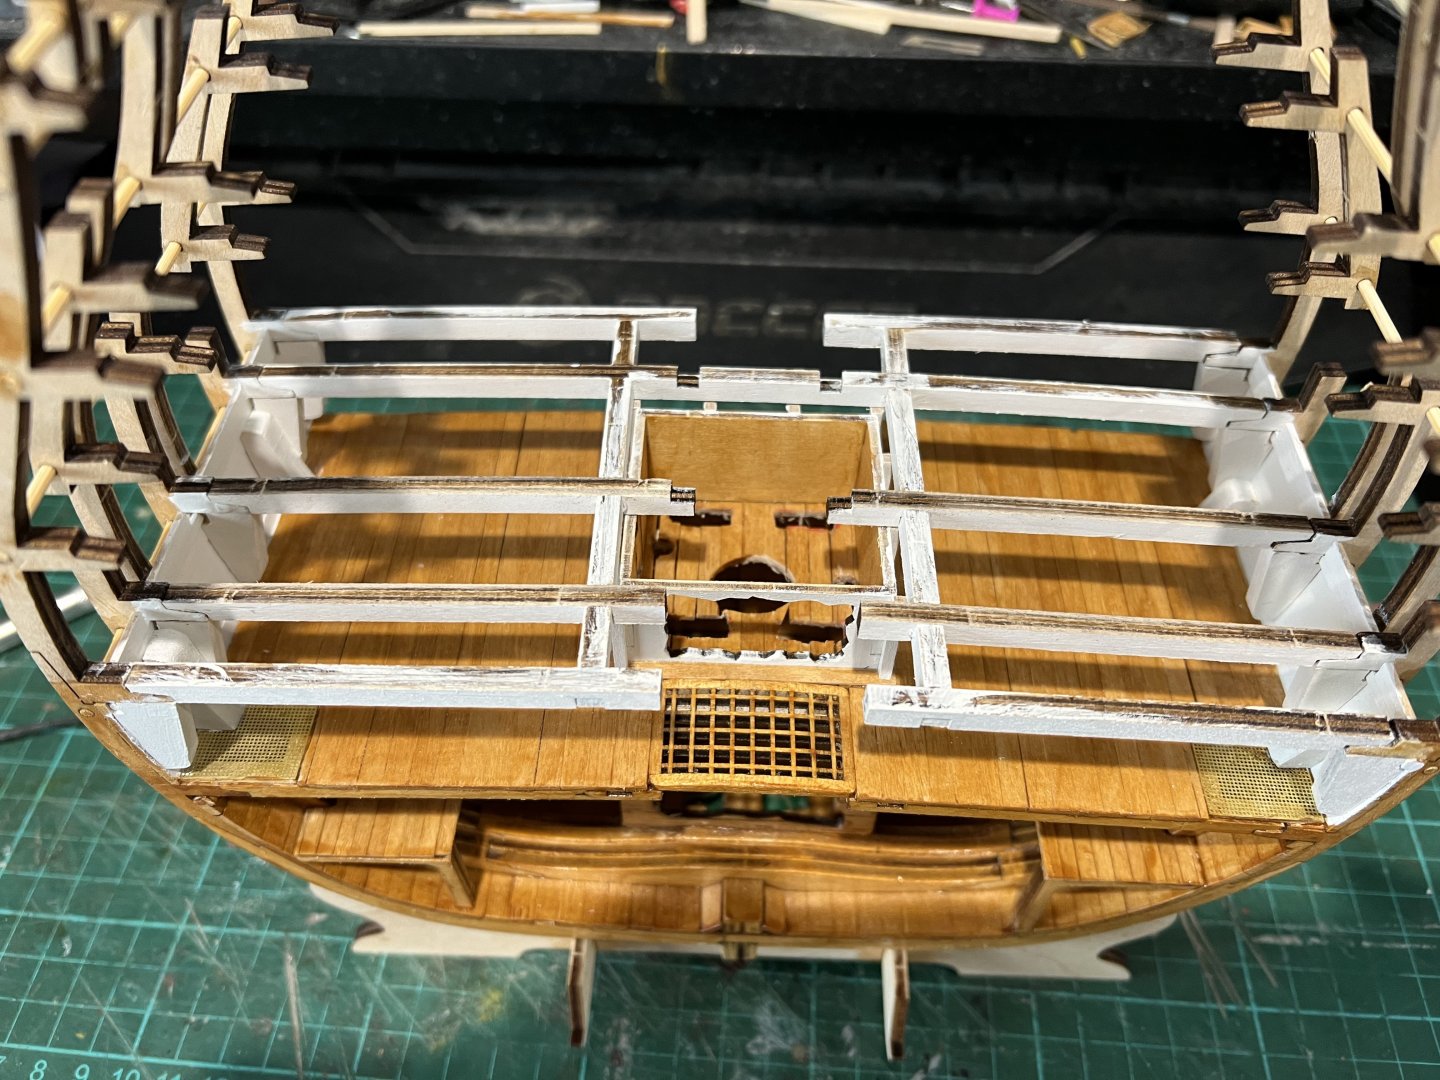
Been working on the orlop ,after the issues I had making the pump and mast holes in the upper well everything else went according to plan! Hanging Knees need their iron work added ,gotta find my brass black for that. The deck beams for the gundeck are built off model then glued in place which makes life a bit easier. Richard


- 28 replies
-
- 4
-
-
- Victory
- Artesania Latina
- (and 1 more)
-
Thanks Allan ,I haven't been able to find much for the upper well. I'm happy you wont be able to see much once the pumps are in place and it's all closed up because it's a bit of a kludge in there. Richard
- 28 replies
-
- 2
-
-
- Victory
- Artesania Latina
- (and 1 more)
-
Love the picture of the Rifle Men ,great scene with The Rifles doing what they did best and skirmishing the French! Window view looks good too. Richard
-
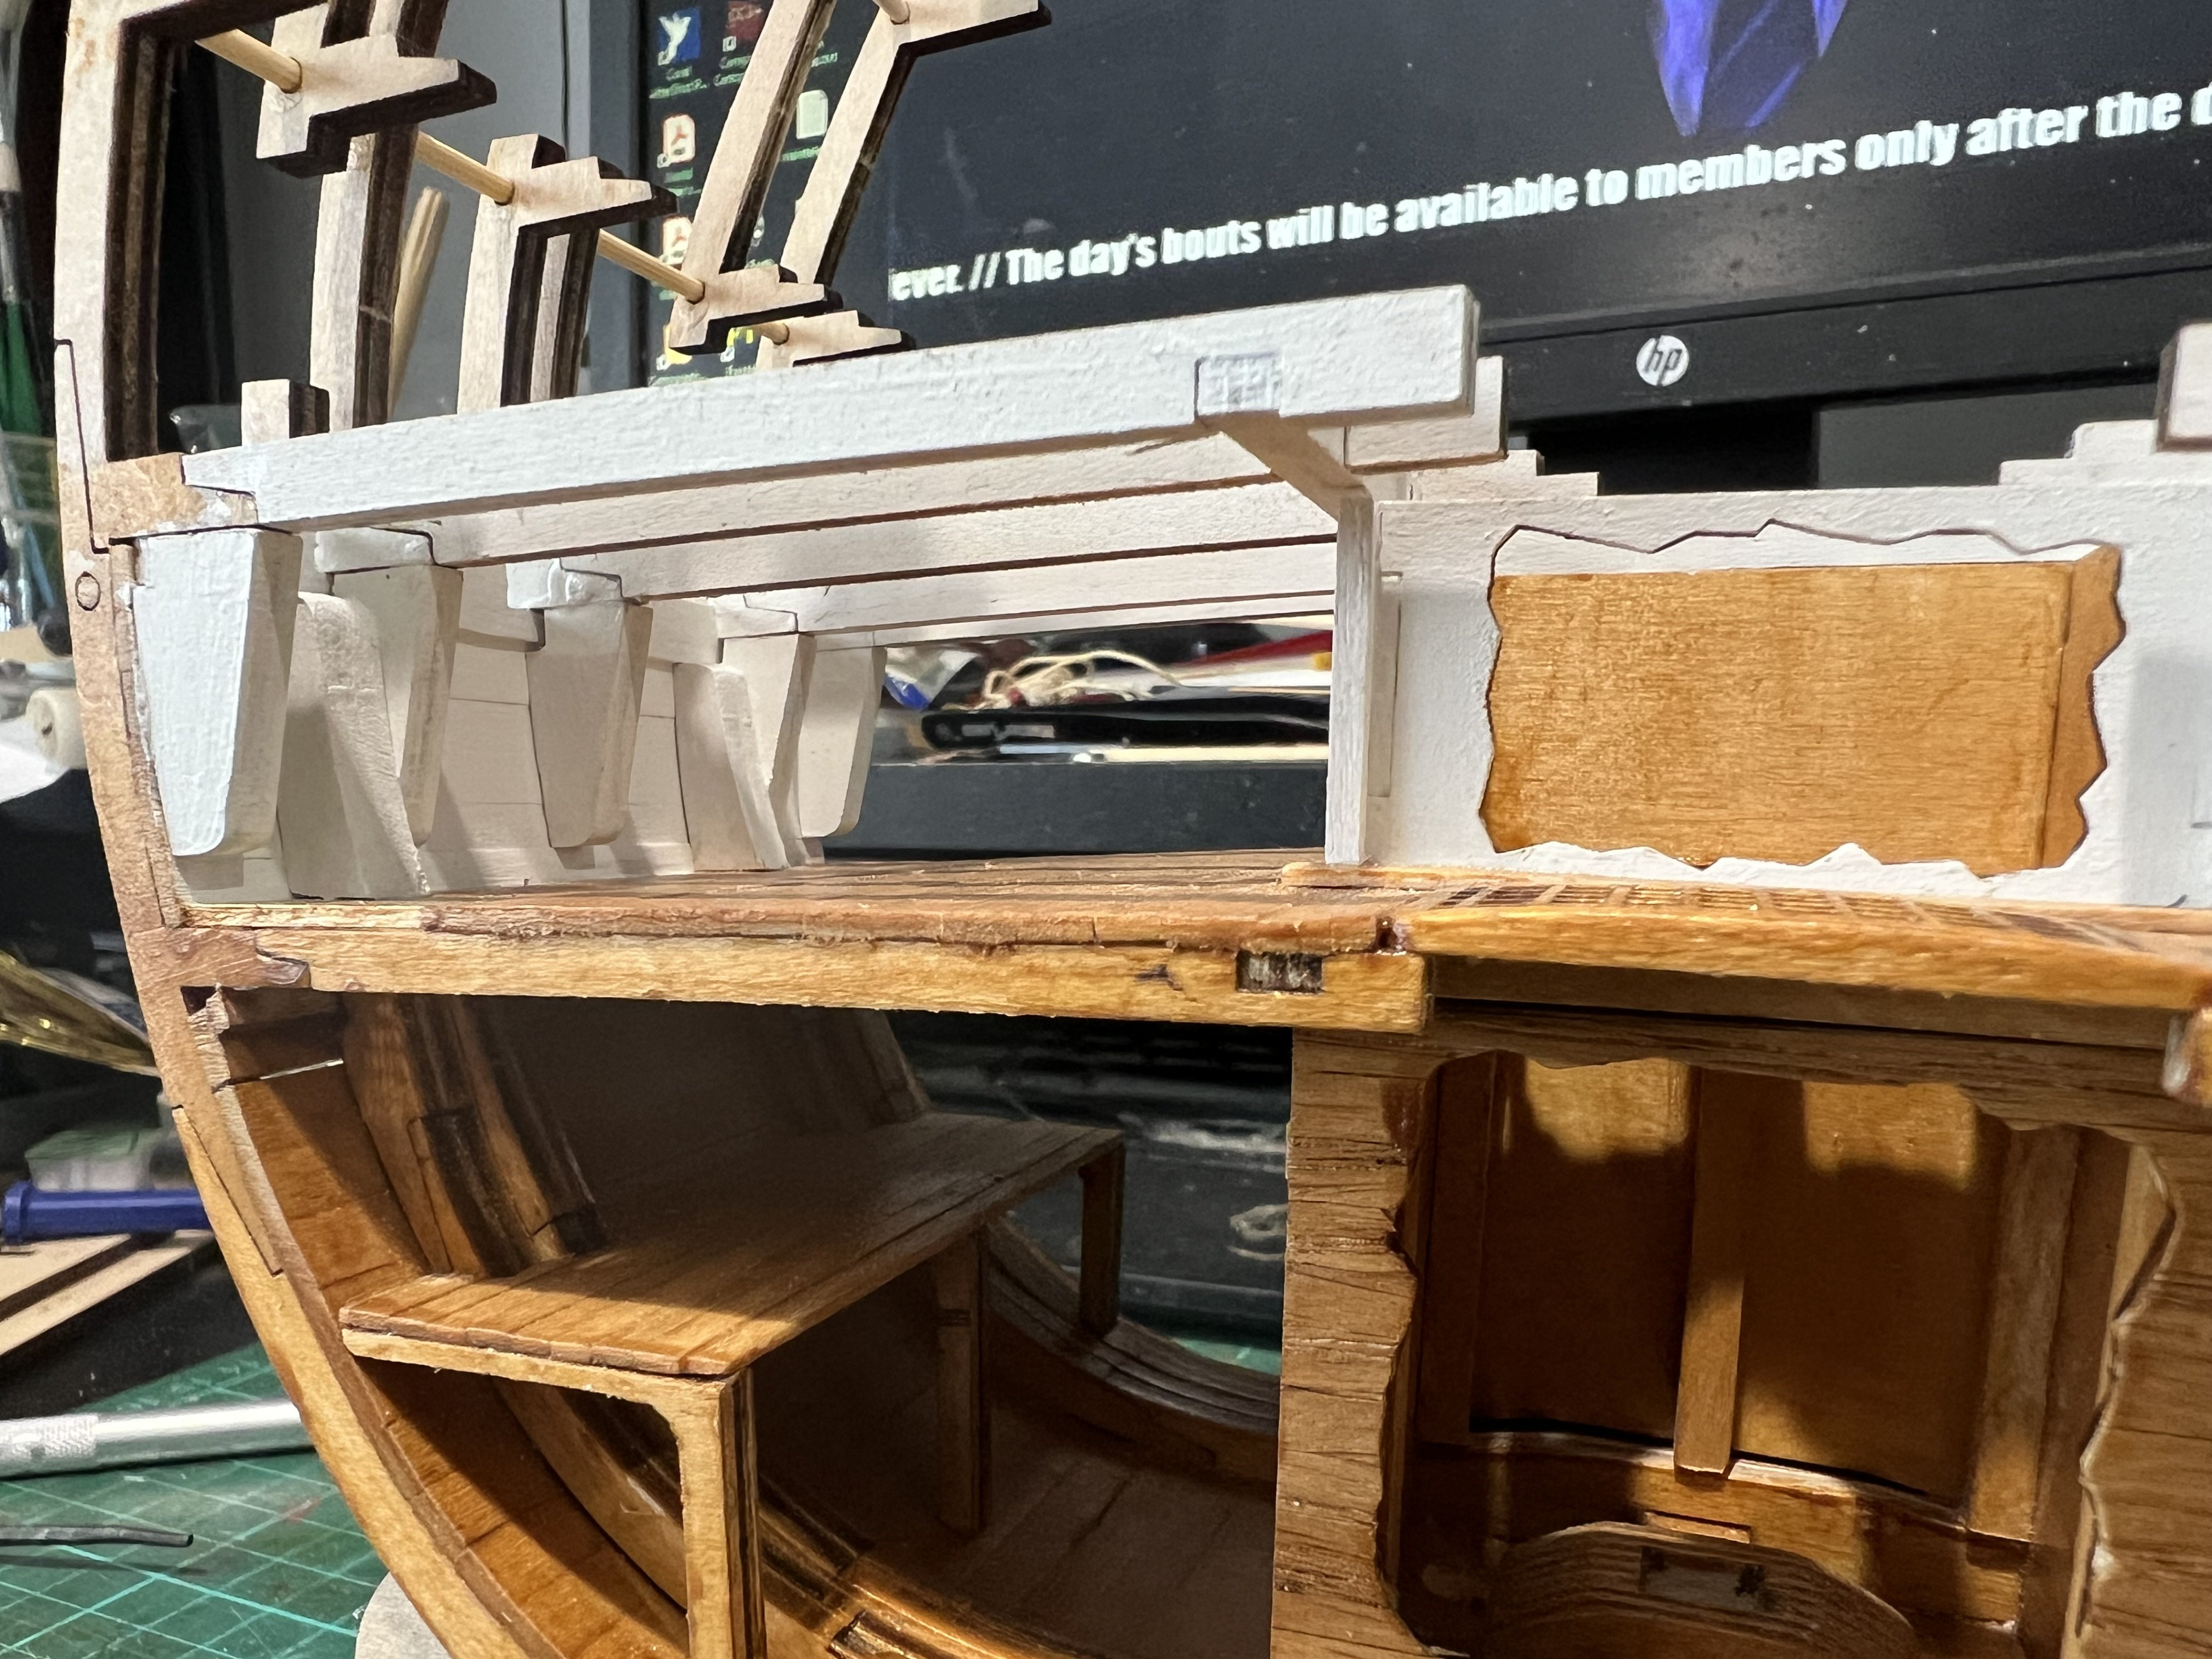
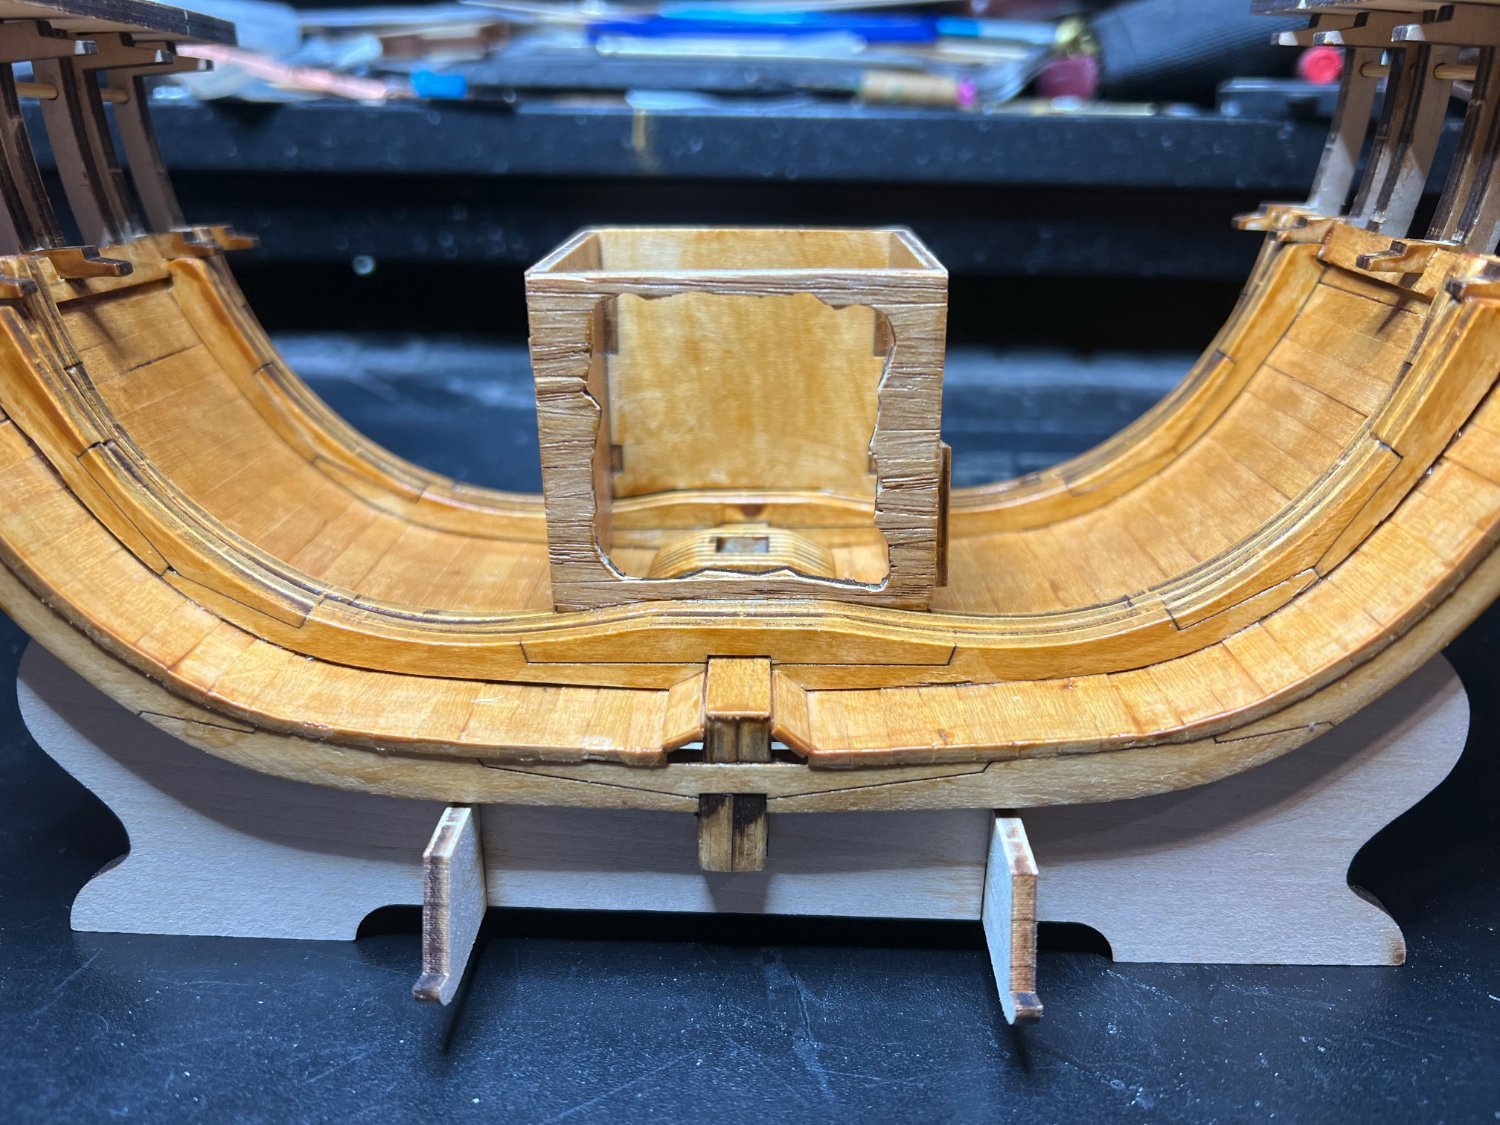
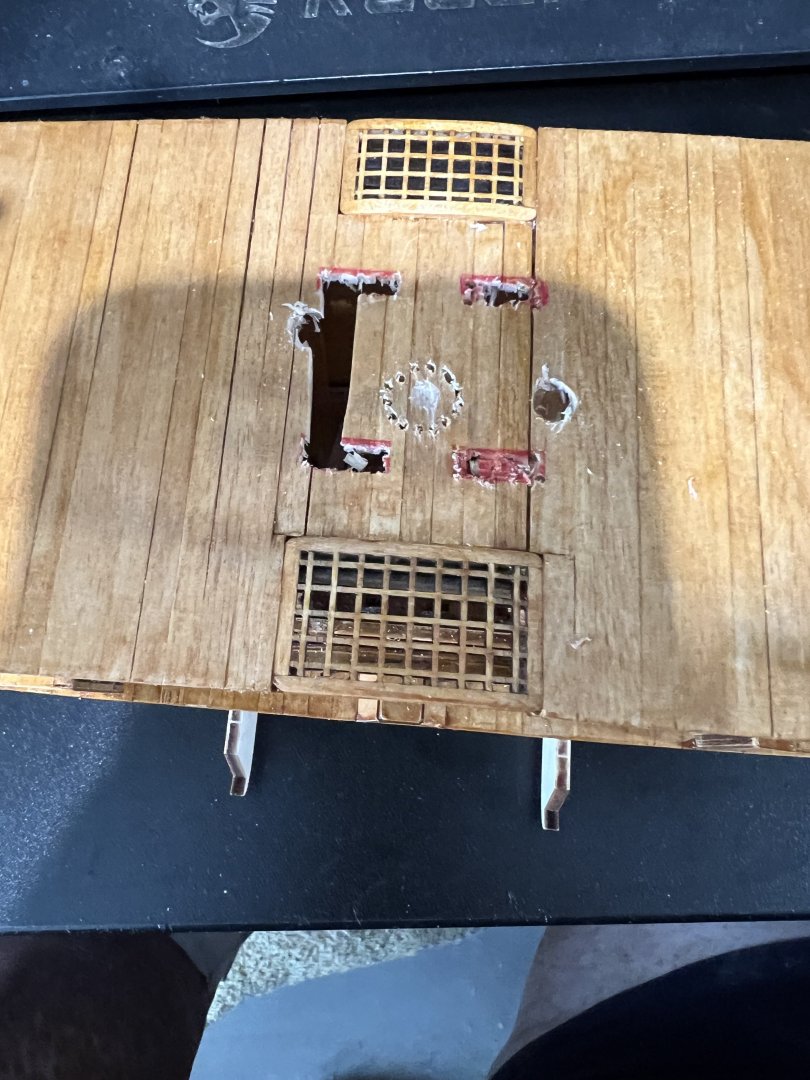
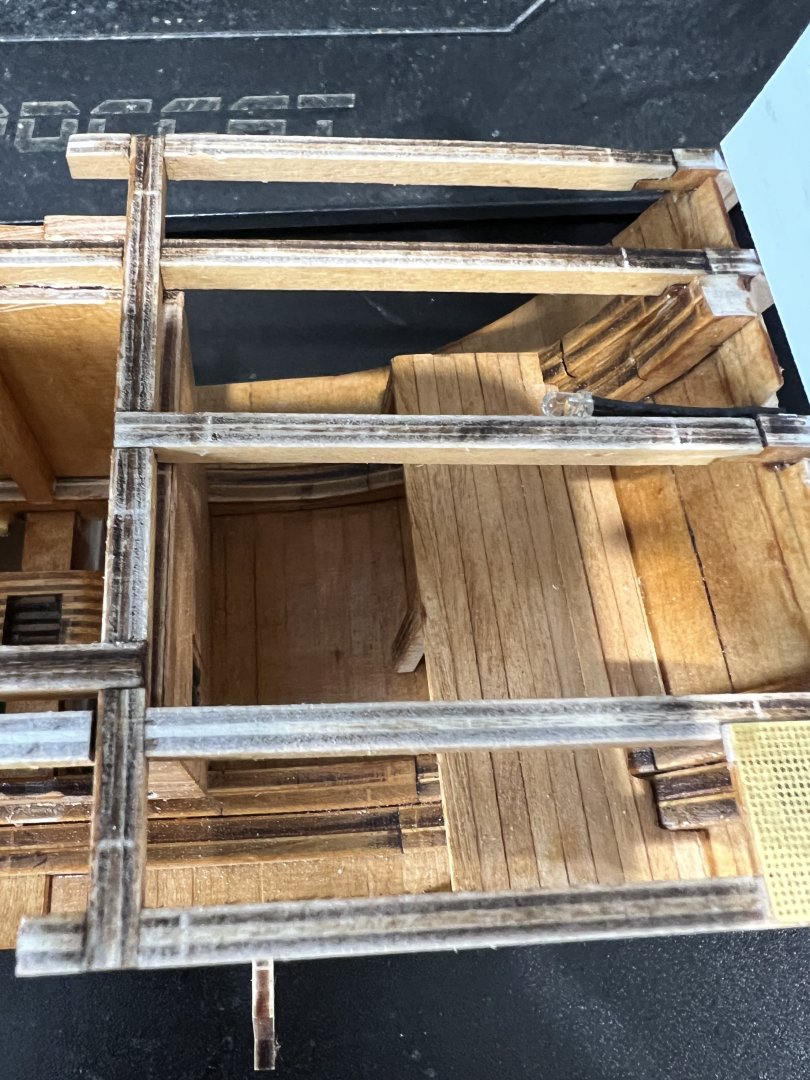
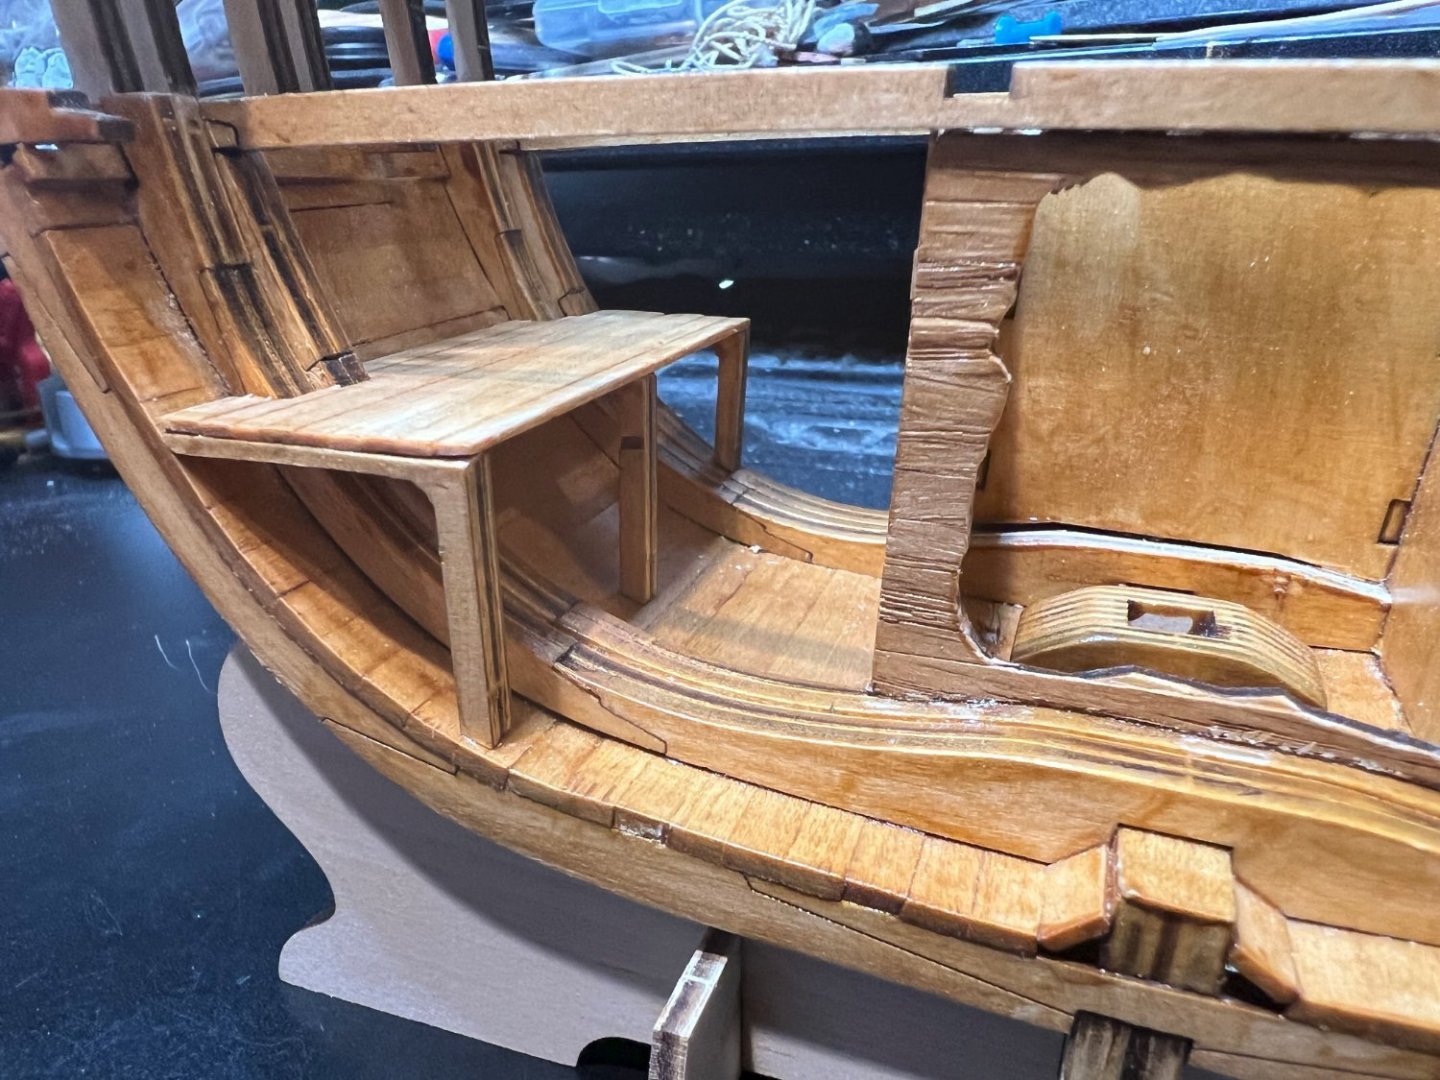
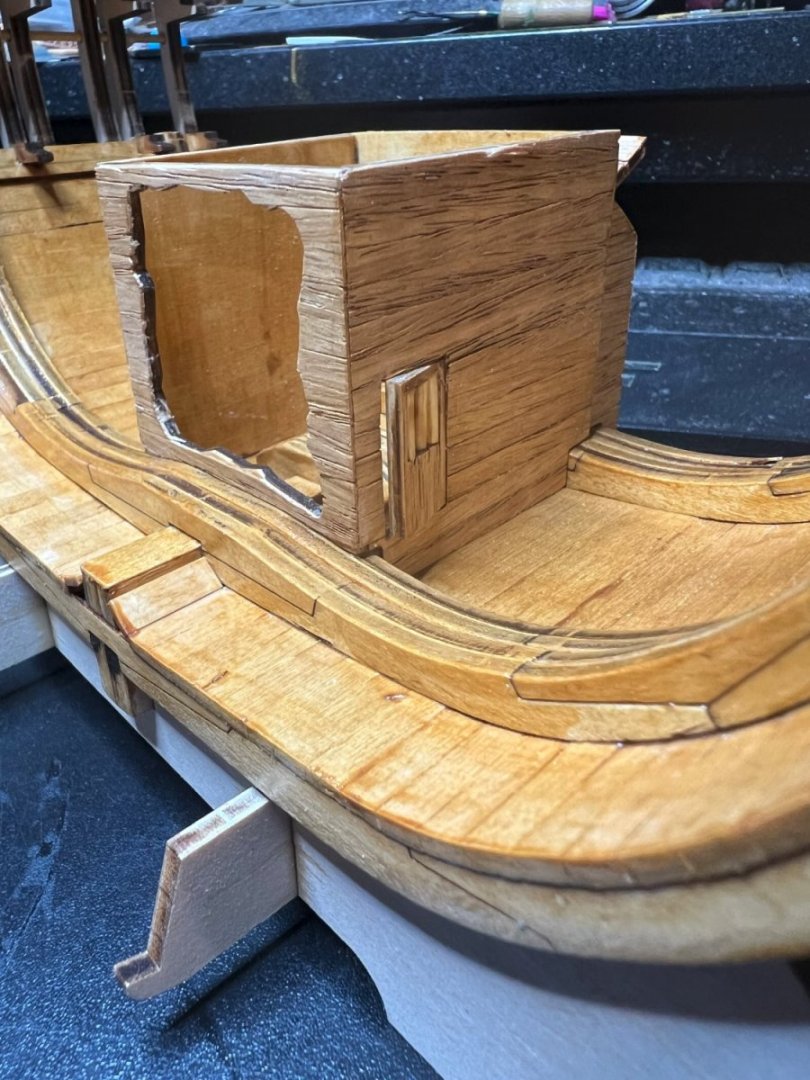
Orlop planked ,then operator error occured - cutting the holes in the orlop well housing gave me issues ,there's no support under the planks other than at the ends and if you dont glue the planks edge to edge as well as the ends they will break as your cutting! I've added a piece underneath which connects all the planks ,replaced the broken planks and re cut the holes ,the decks hidden once I add the well housing but it's something that can catch you out😕 Richard

- 28 replies
-
- 3
-
-
- Victory
- Artesania Latina
- (and 1 more)
-
OC have you see "Napoleon's army 1807 - 1814 as depicted in the prints of Aaron Martinet" by Guy C. Dempsey jr? ,(the titles a mouthful😄) It's the prints done by Aaron Martinet ,the prints were hand painted and show's pretty much every unit in the French army from Napoleon down through the Marshall's ,the guards ,line units, Cavalry etc, up to Waterloo! Probably too late to help now😎😄 ,but depending how deep down the Napoleonic rabbit hole you are it's a great reference And it's pretty cool just to browse through it! https://www.abebooks.co.uk/book-search/title/napoleon's-army-1807-1814-as-depicted-in-the-prints-of-aaron-martinet/author/dempsey-guy-c-jr/ Richard
-
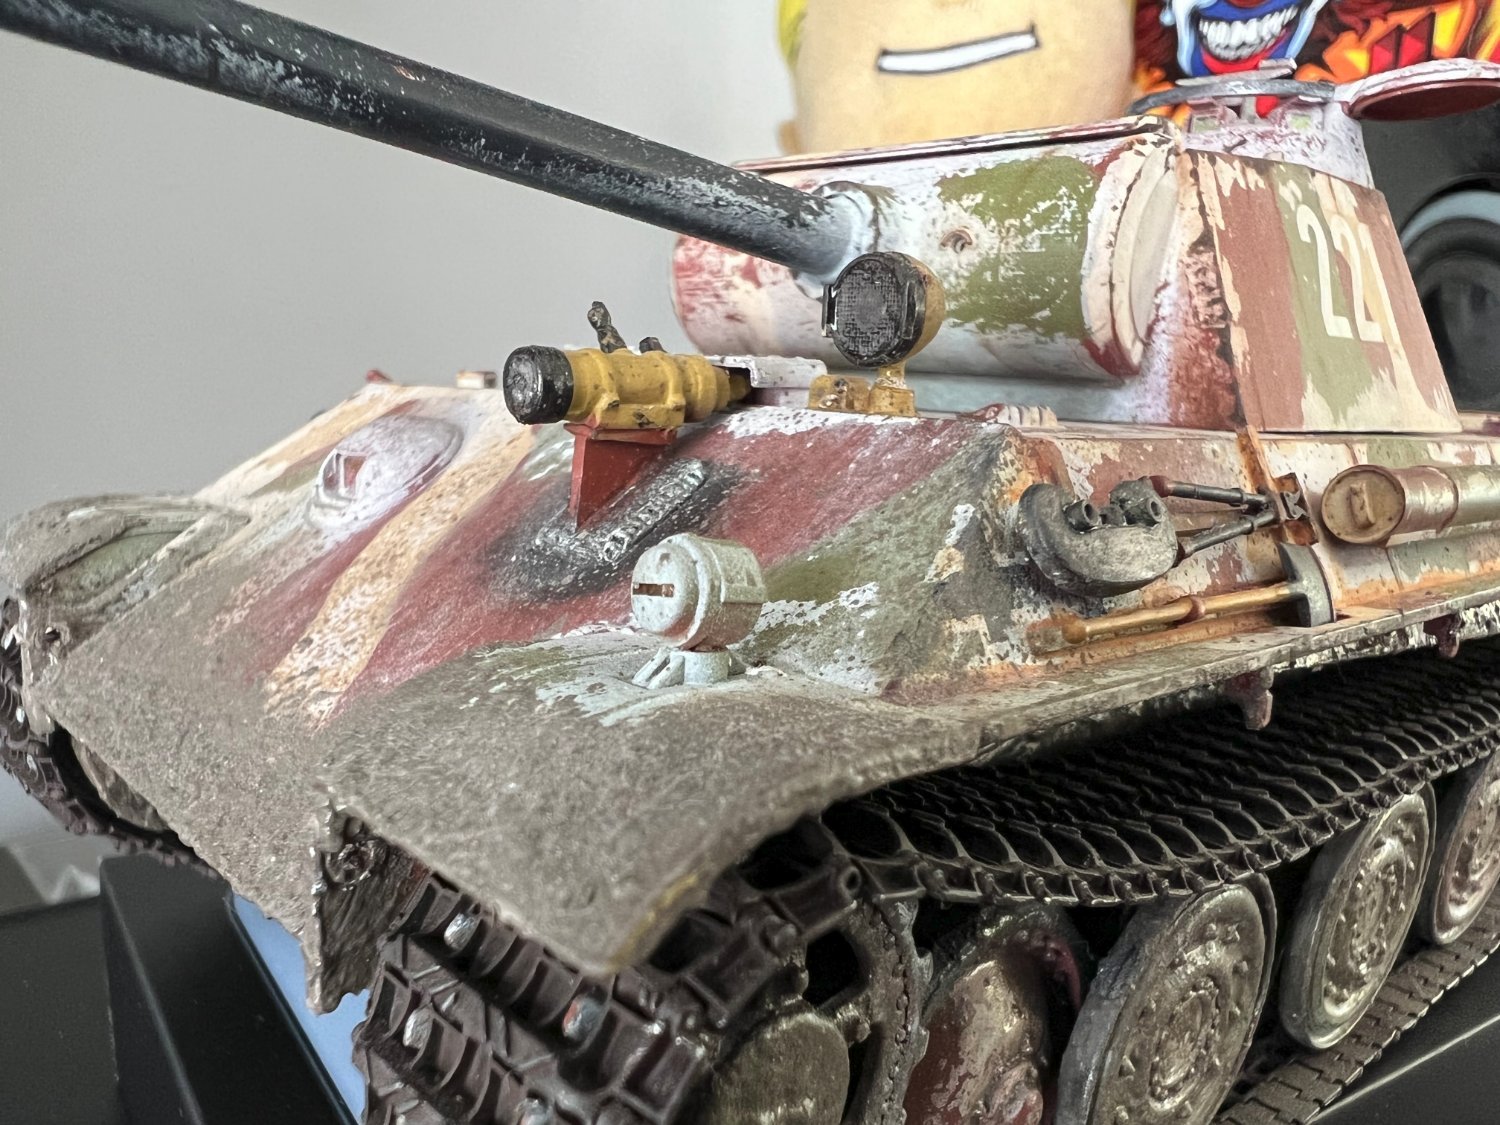
@CDW I haven't checked Andy's for ages ,I do have the Tamiya 1/16 Panzer Officer for scale though. @chadwijm6 I had build logs for the T34/85 and the PzIV-J but I cannot remember where.. I might do a build highlights thread for them sometime! Richard
-
Was going to apologize for the slight history hijack of your build thread😎😄 Ironically I'm doing a Battle of Berlin theme for my 1/16 armour models ,the T34/85 1944 I shared pictures of is 55th guards brigade Berlin 1945 ,I'm in the middle of building a Panzer IV J late based around some photo's i've found ,after that the plans for a tiger 1 ,tiger 2 and a Panther G late with IR - all in 1/16 ,next thing is to find somewhere to display them ,i'm already out of room with 2🤣 Richard
-
schwere ss panzer abetilung 503 ,the links in my post show 2 koneigstigers from ss503 ,it was schwere ss panzer abetilung 103 but the unit was redesignated 503 https://en.wikipedia.org/wiki/103rd_SS_Heavy_Panzer_Battalion Richard
-
There are a few photo's of koniegstiger's in berlin but they are Schwere SS-Panzer-Abteilung 503 ,so im thinking they've been confused with the heer Schwere Panzer-Abteilung 503 there's no real clear images of the camouflage they had though https://www.worldwarphotos.info/gallery/germany/tanks-2-3/tiger2/kingtiger-somewhere-in-berlin-april-1945/ https://www.worldwarphotos.info/gallery/germany/tanks-2-3/tiger2/tiger-2-tank-6/ Richard
-
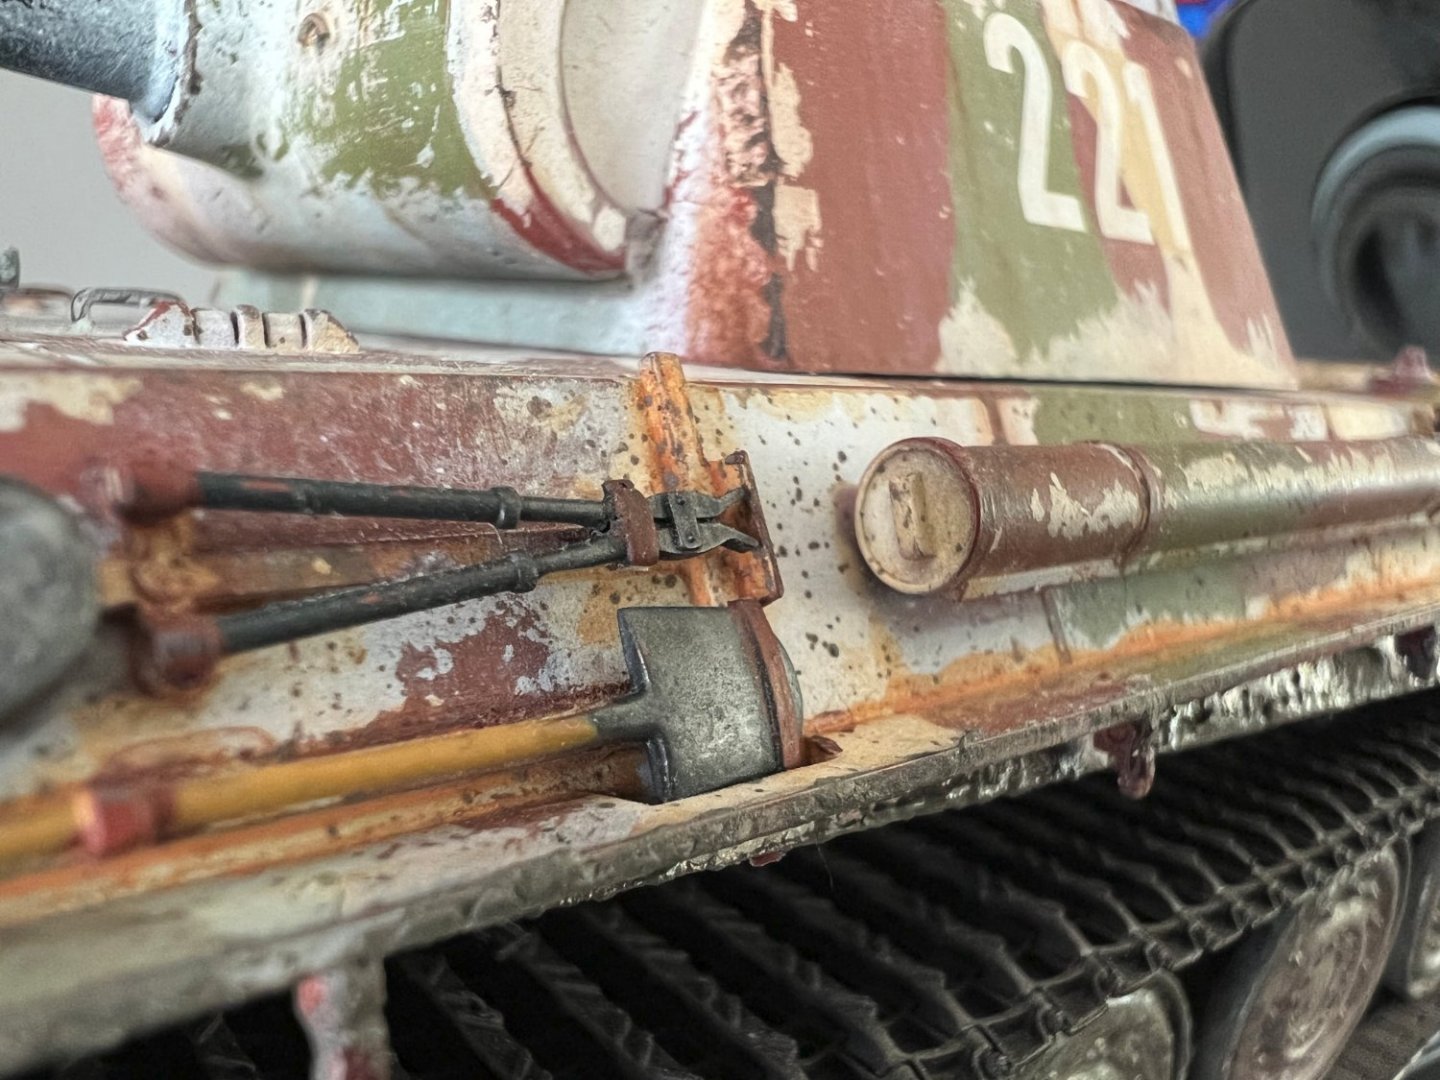
The paint schemes looking good ,there's no right or wrong way with the German ww2 vehicle camouflage! , there was a large variation in schemes in the field and the only consistent pattern was as it came from the factory ,and even that changed at the end ,the Panther I posted earlier is ,like i said, very late war under the worn whitewash ,it's base is red oxide primer ,instead of dunkelgelb, that's had patches of reed green and bands of light dunkelgelb which was a paint saving measure at the end. I've just noticed a slight problem with the turret and I know it's too late to change it now so it's more a heads up than any thing ,the spare track hanger hooks and the tab's for the track pins to lock the track in place should be vertical instead of horizontal https://tankmuseum.org/tank_collection/tiger-ii For a 1st build it's looking good👍
-
Thanks ,found pictures of the actual models and their pretty much the same as came with the kit ,though if i want crew i need to get something and try to make the best of it..
- 28 replies
-
- 1
-
-
- Victory
- Artesania Latina
- (and 1 more)
-
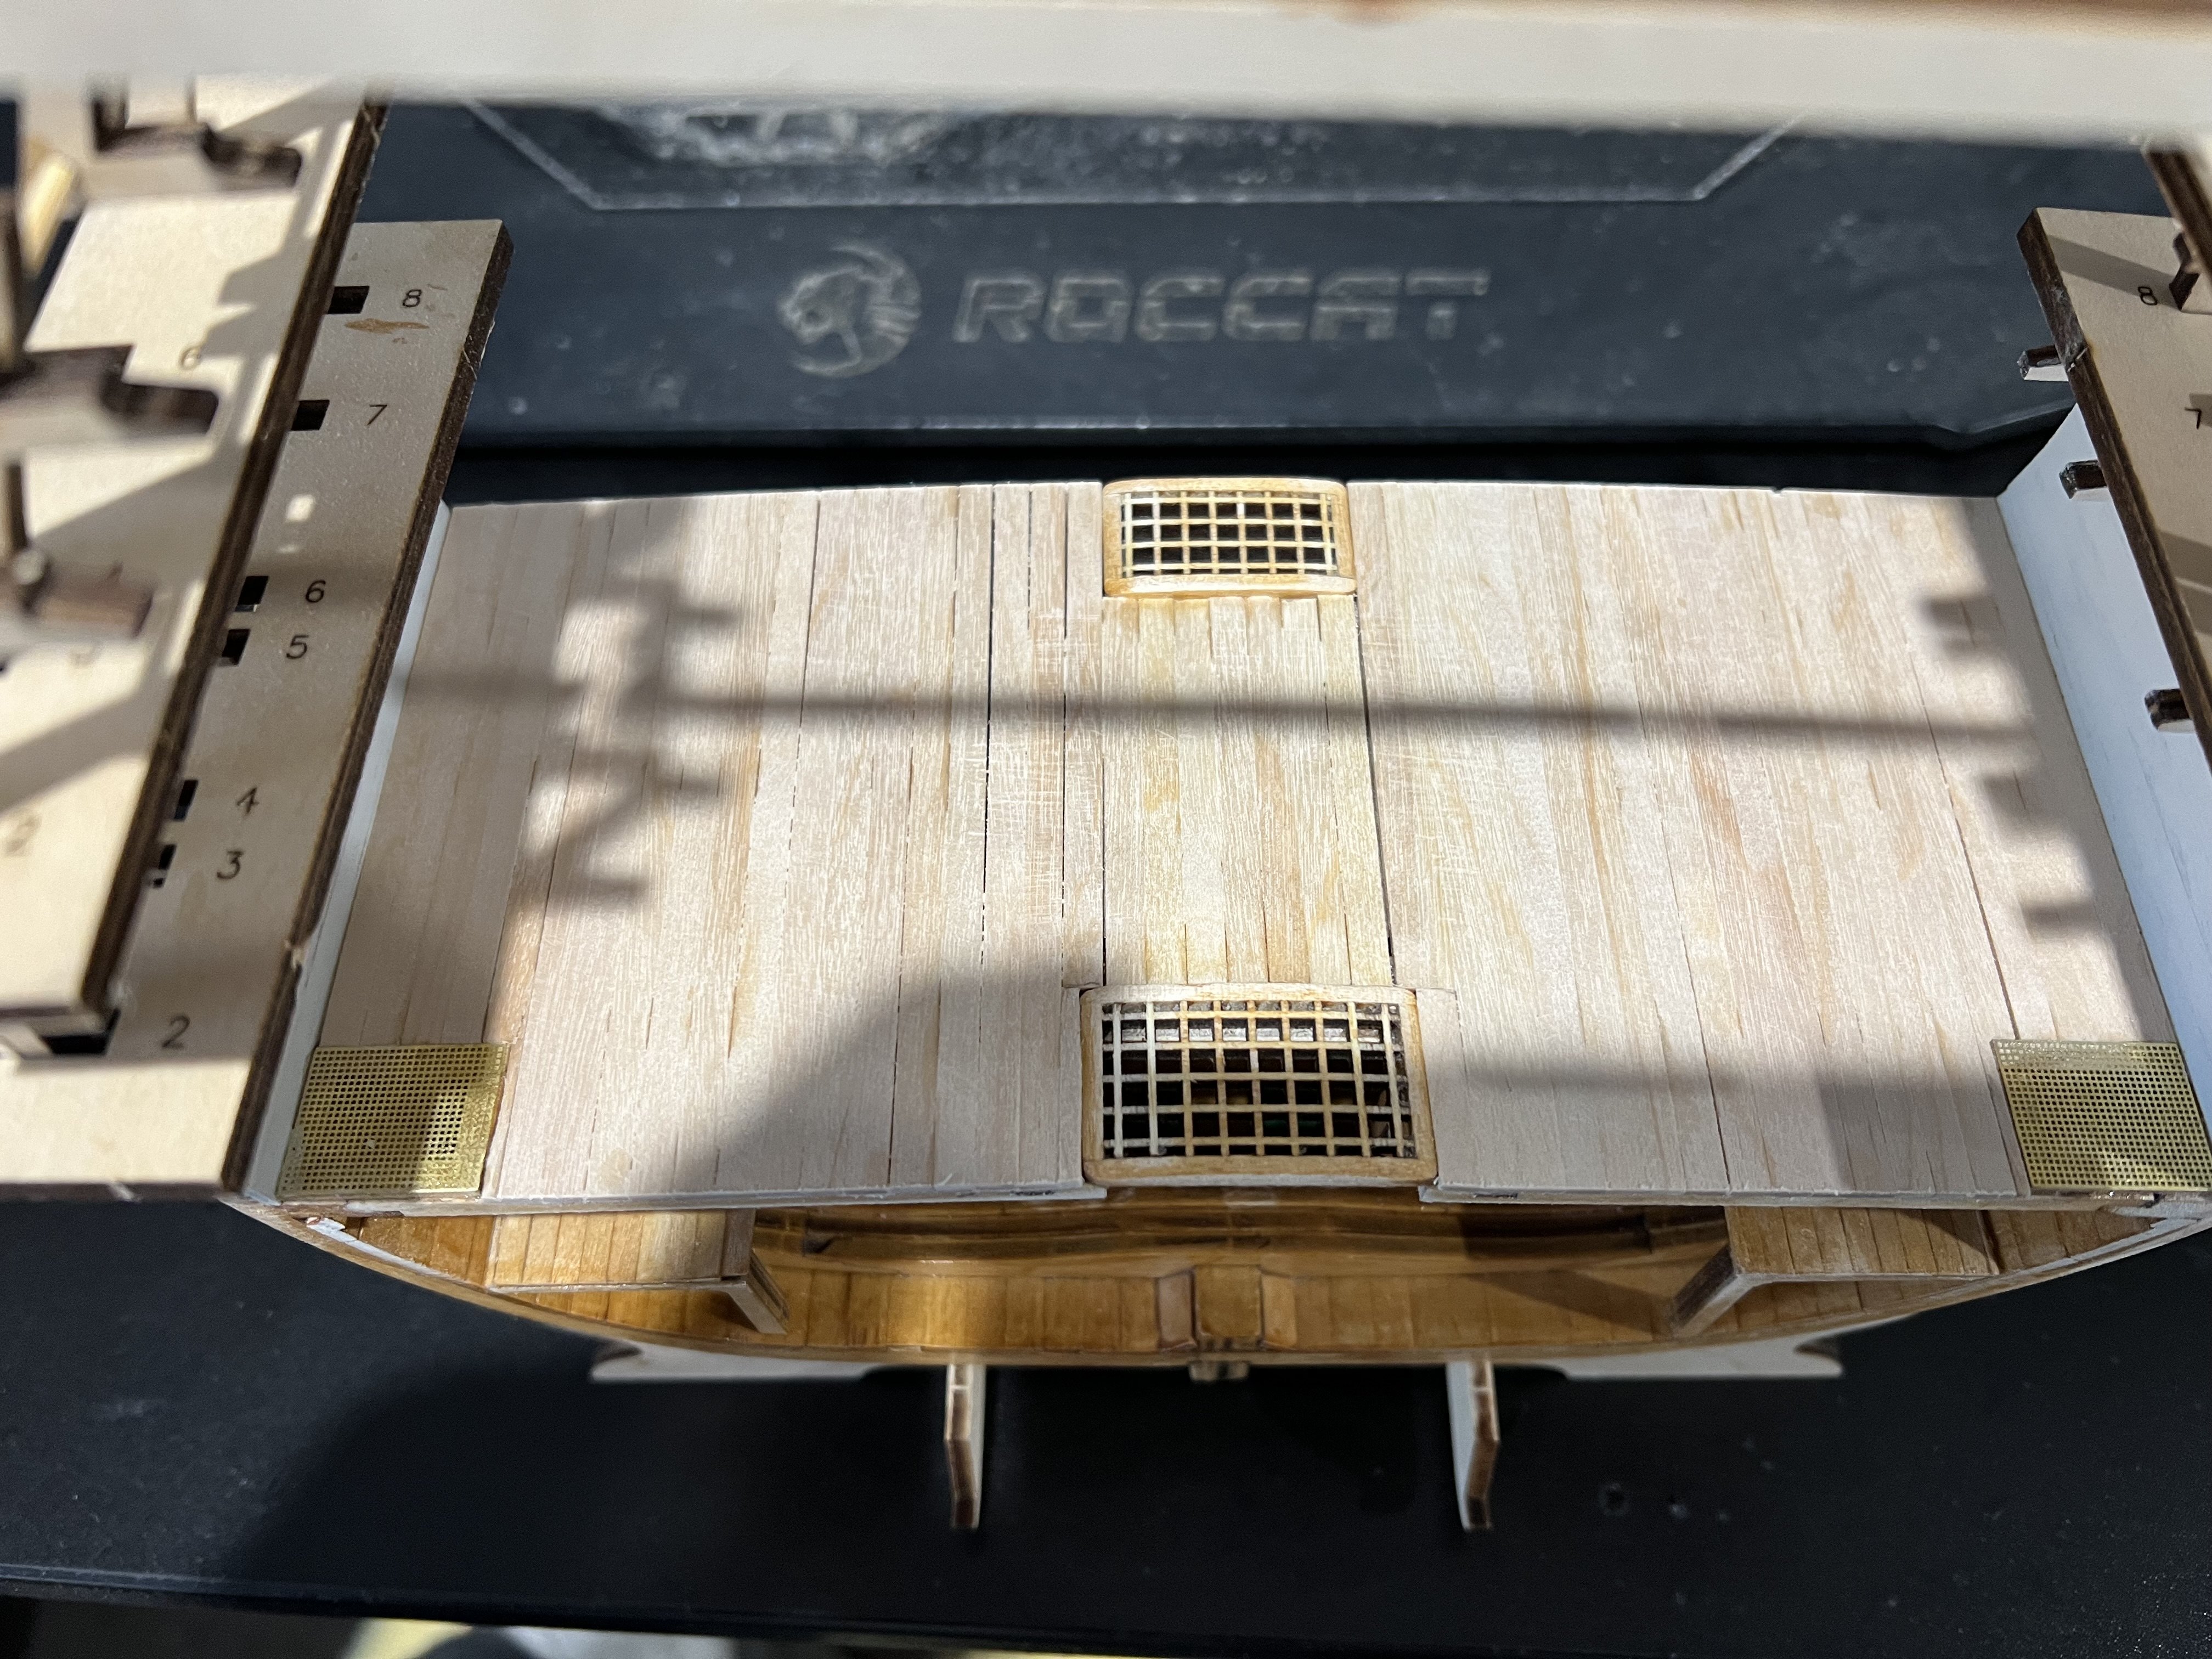
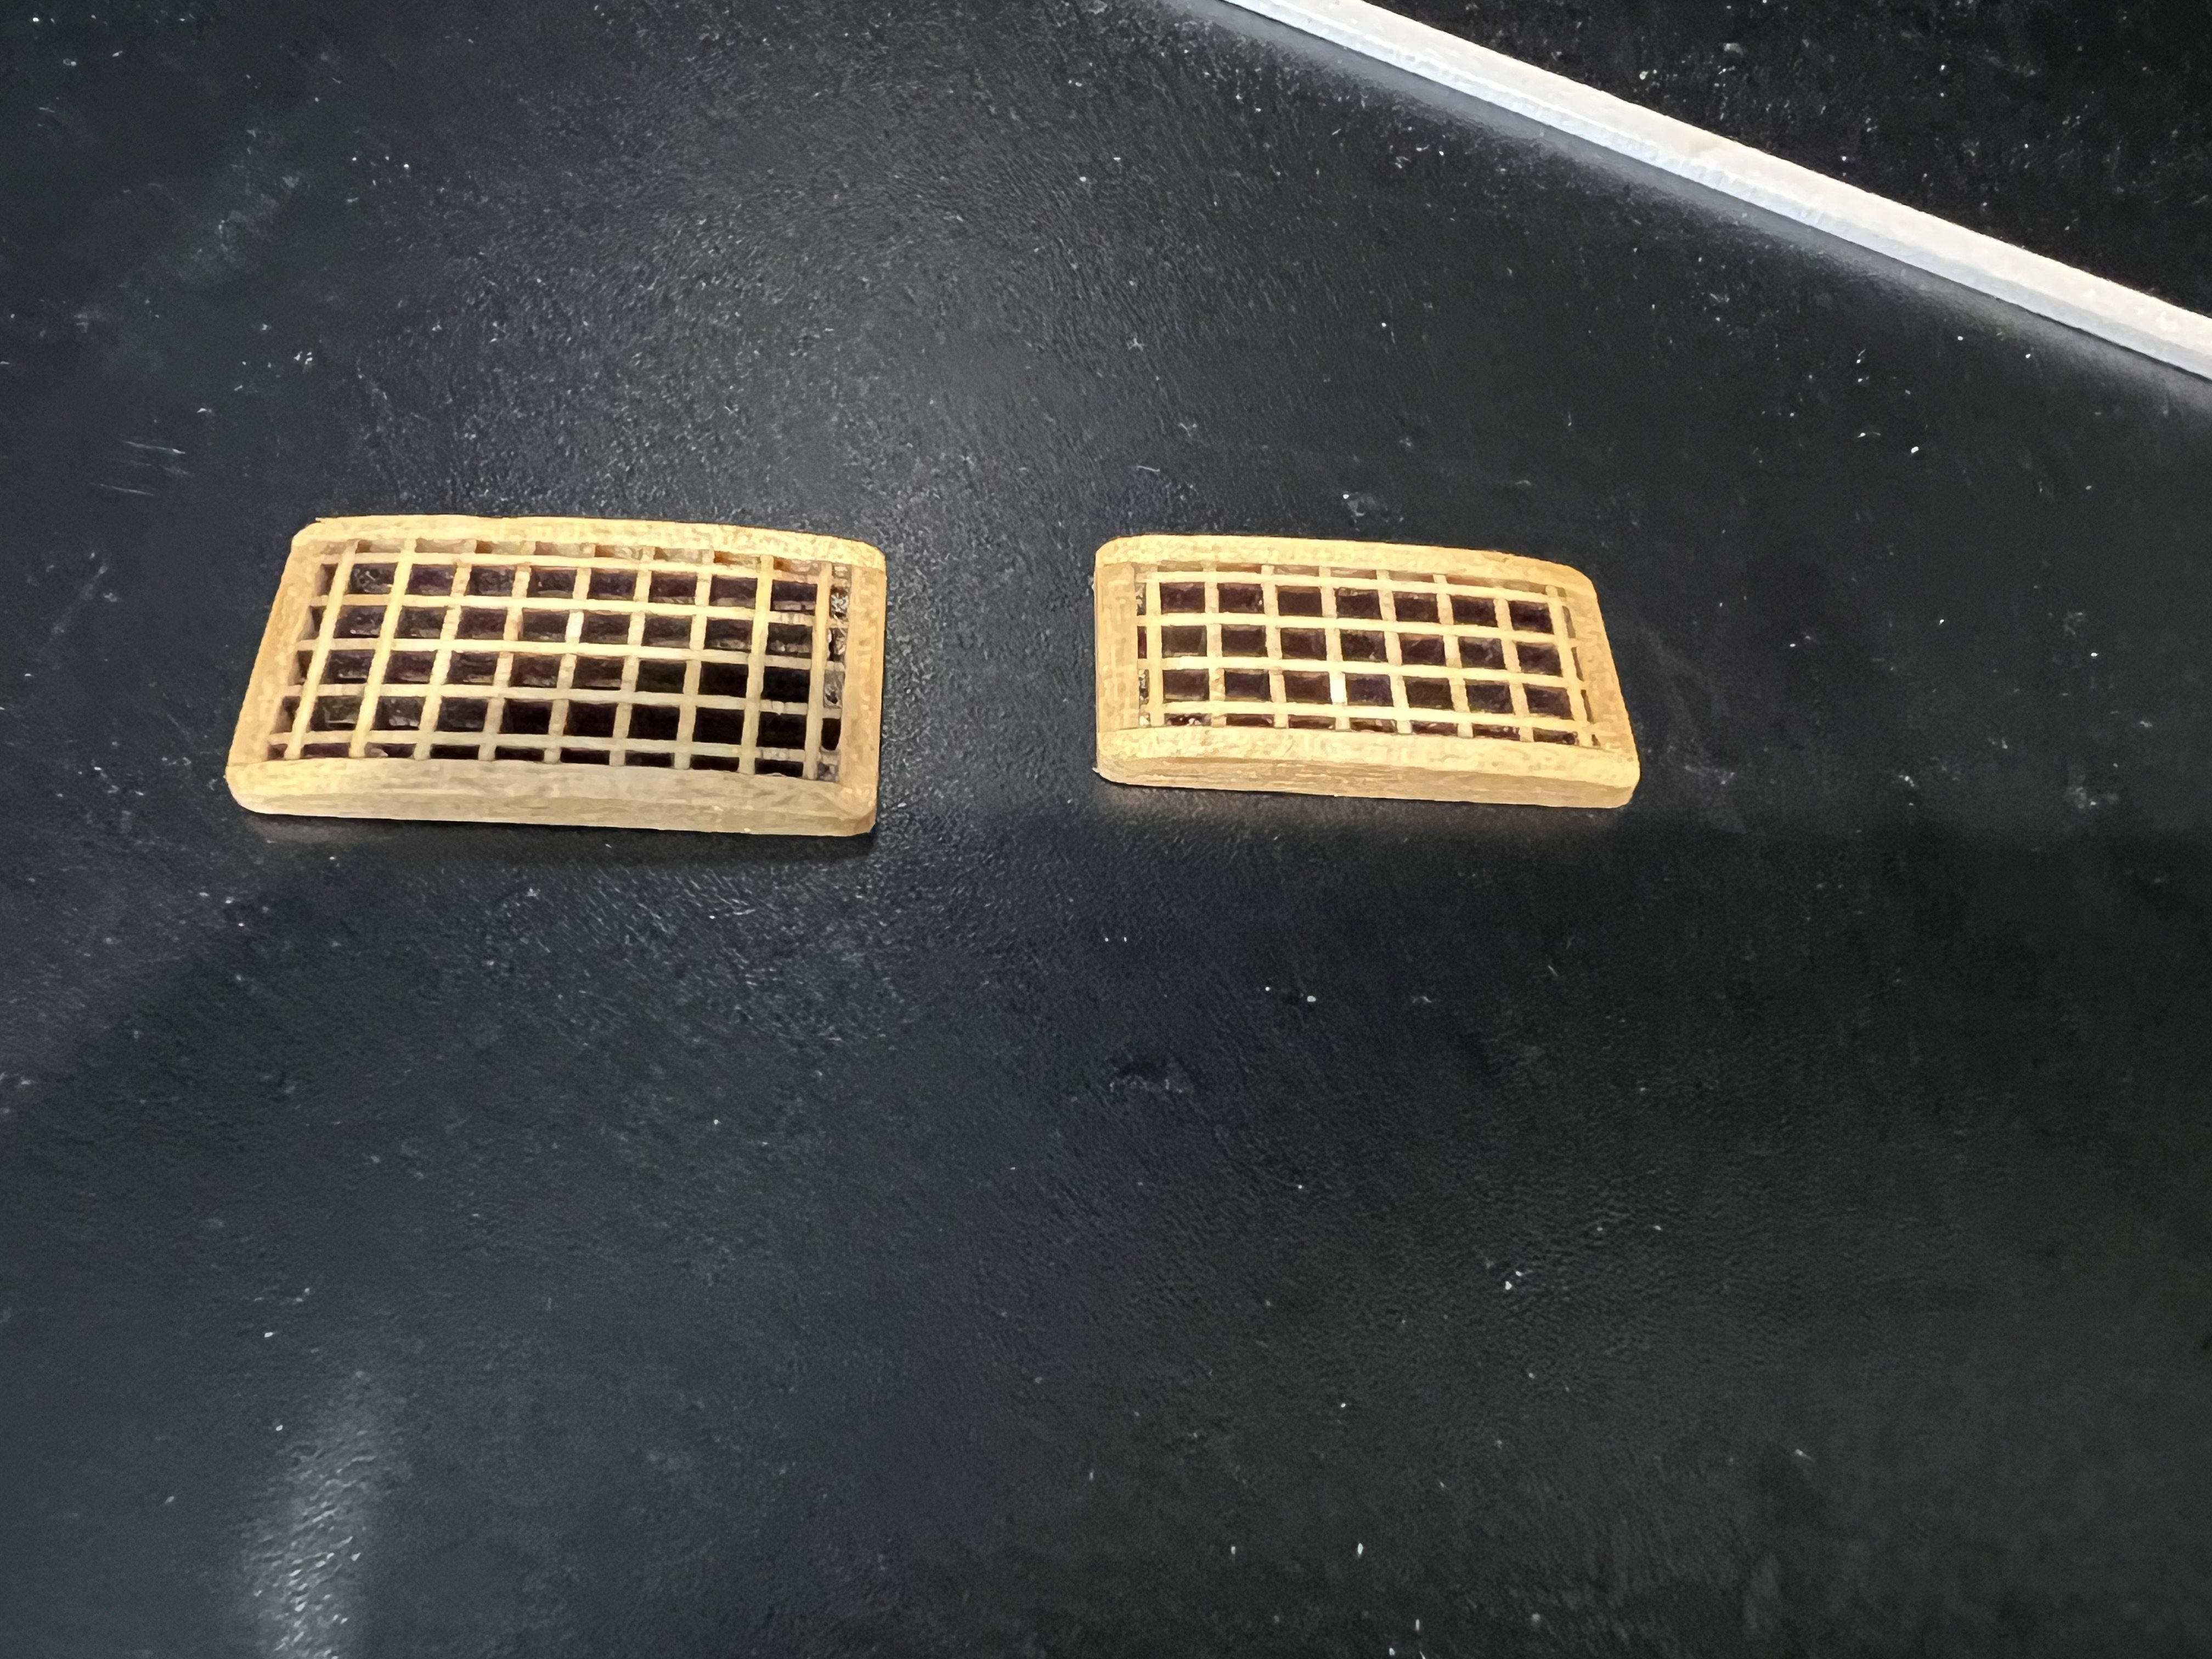
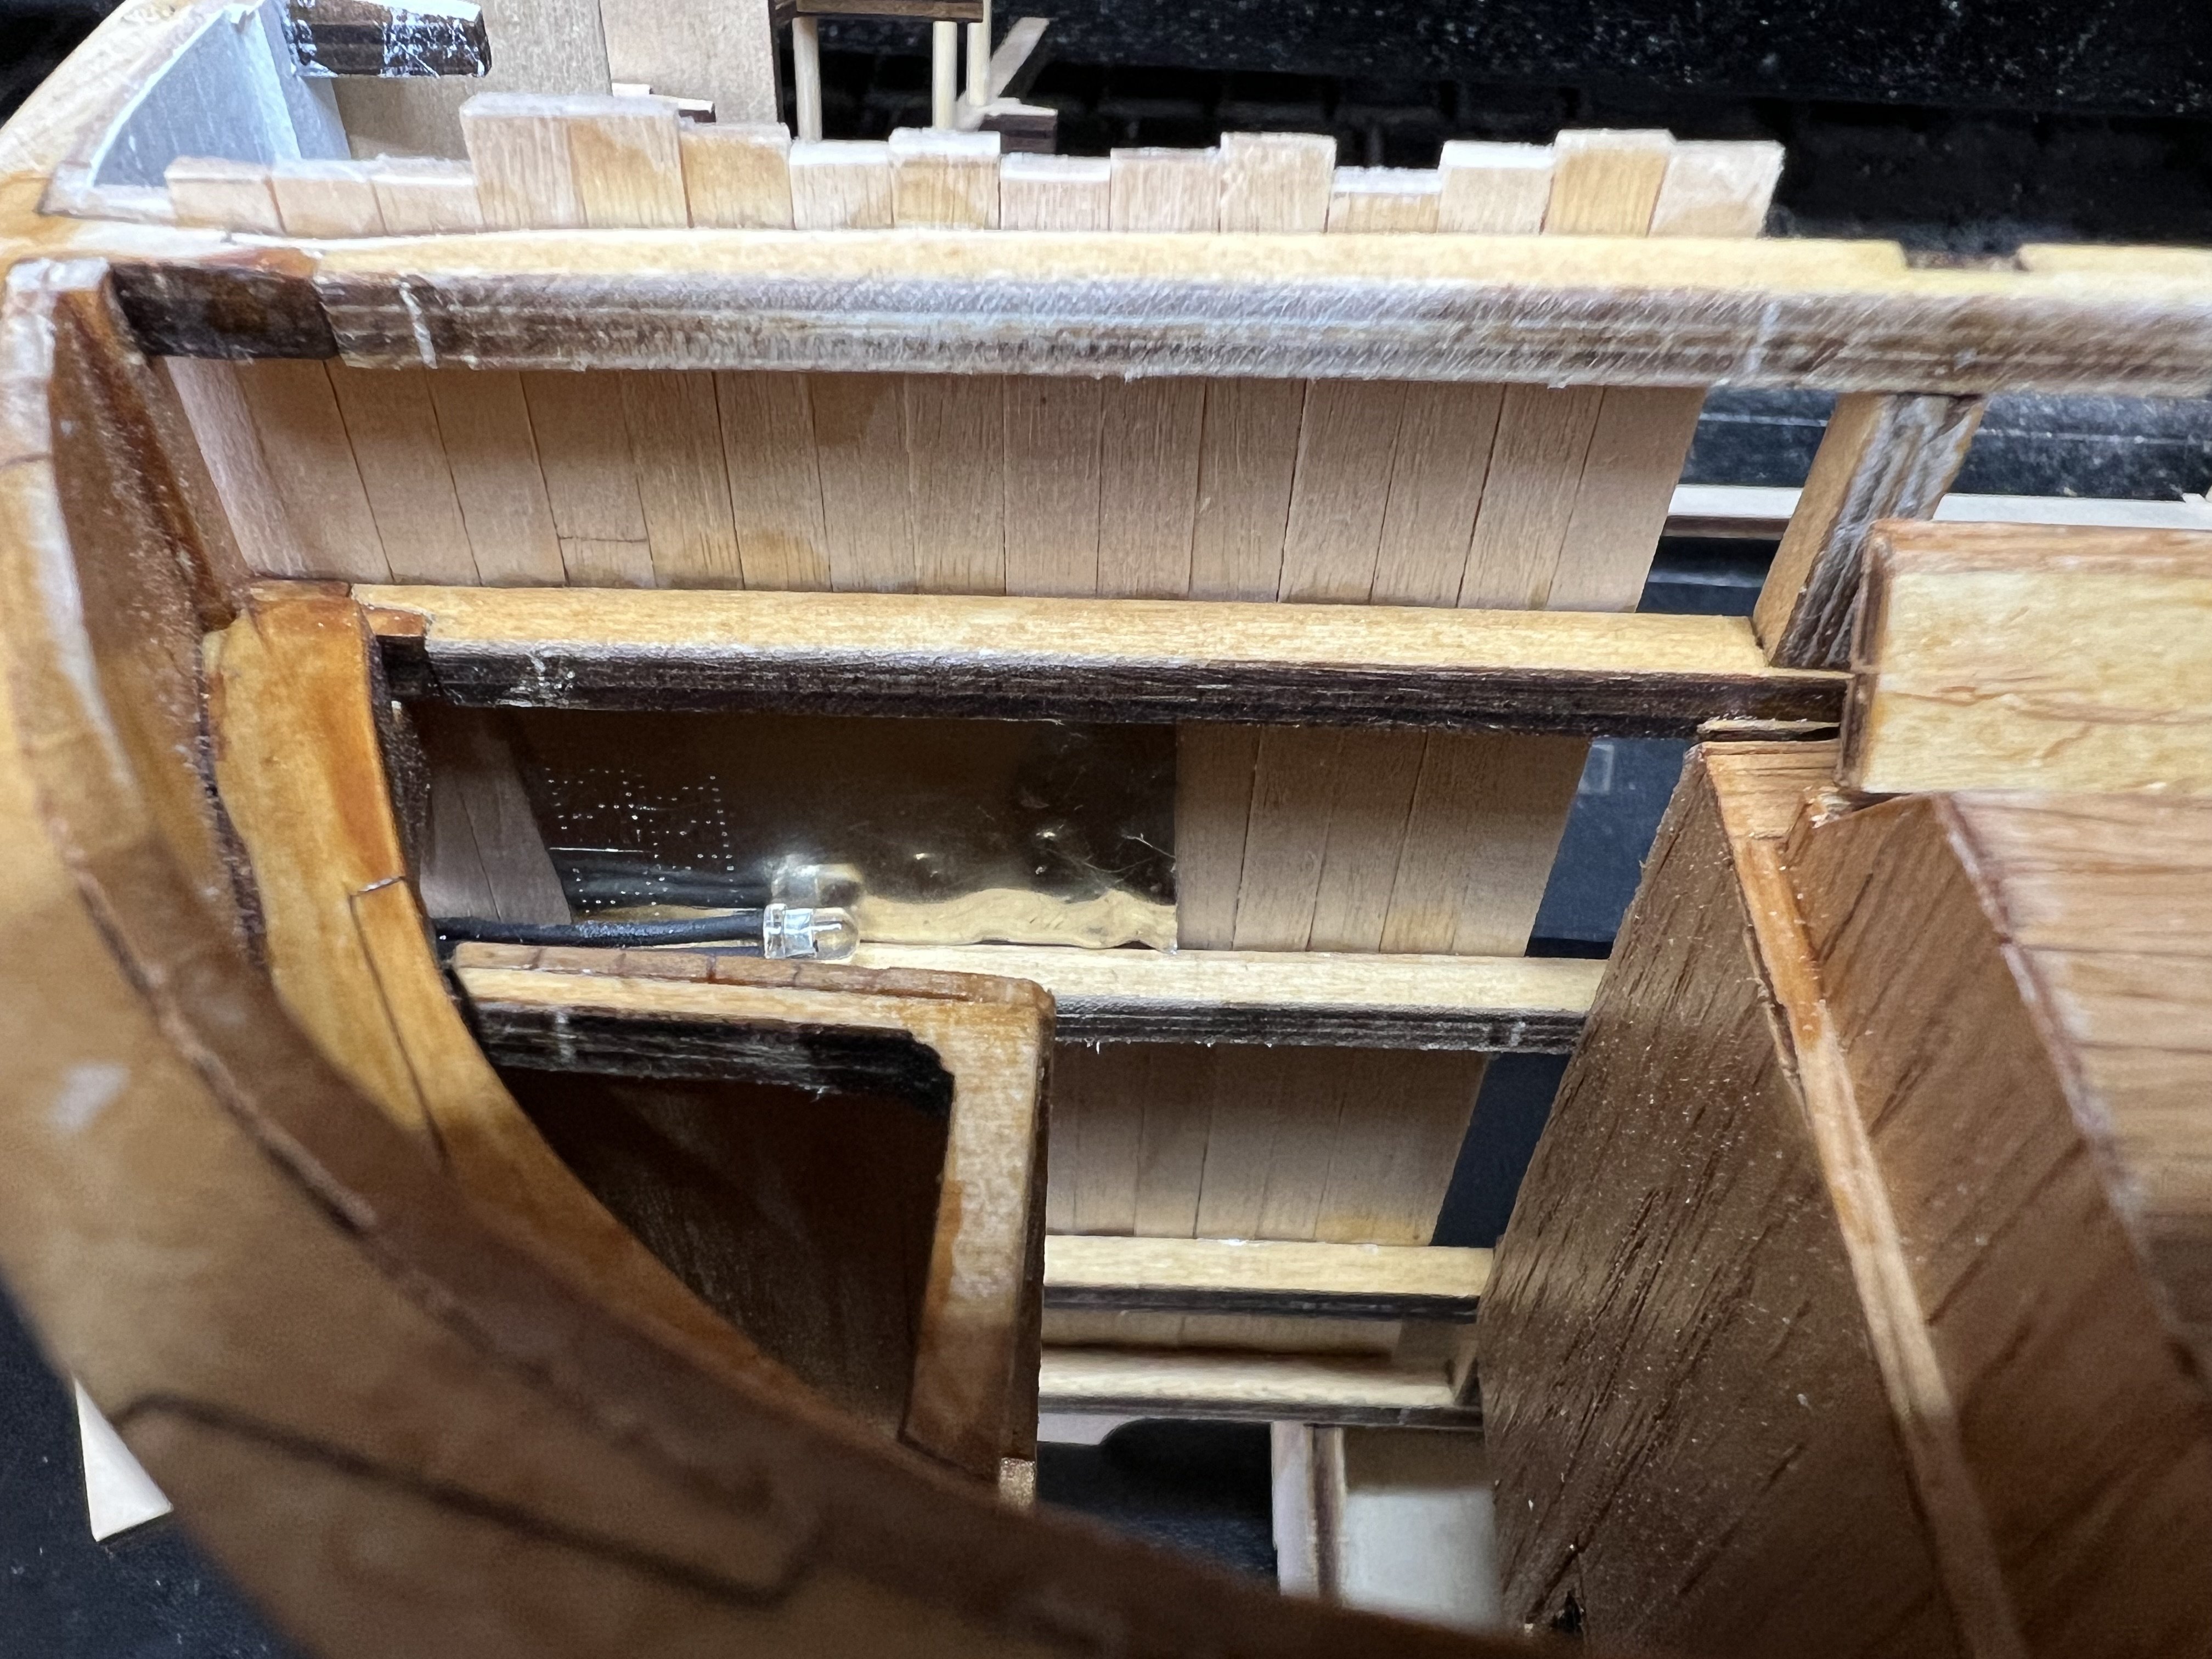
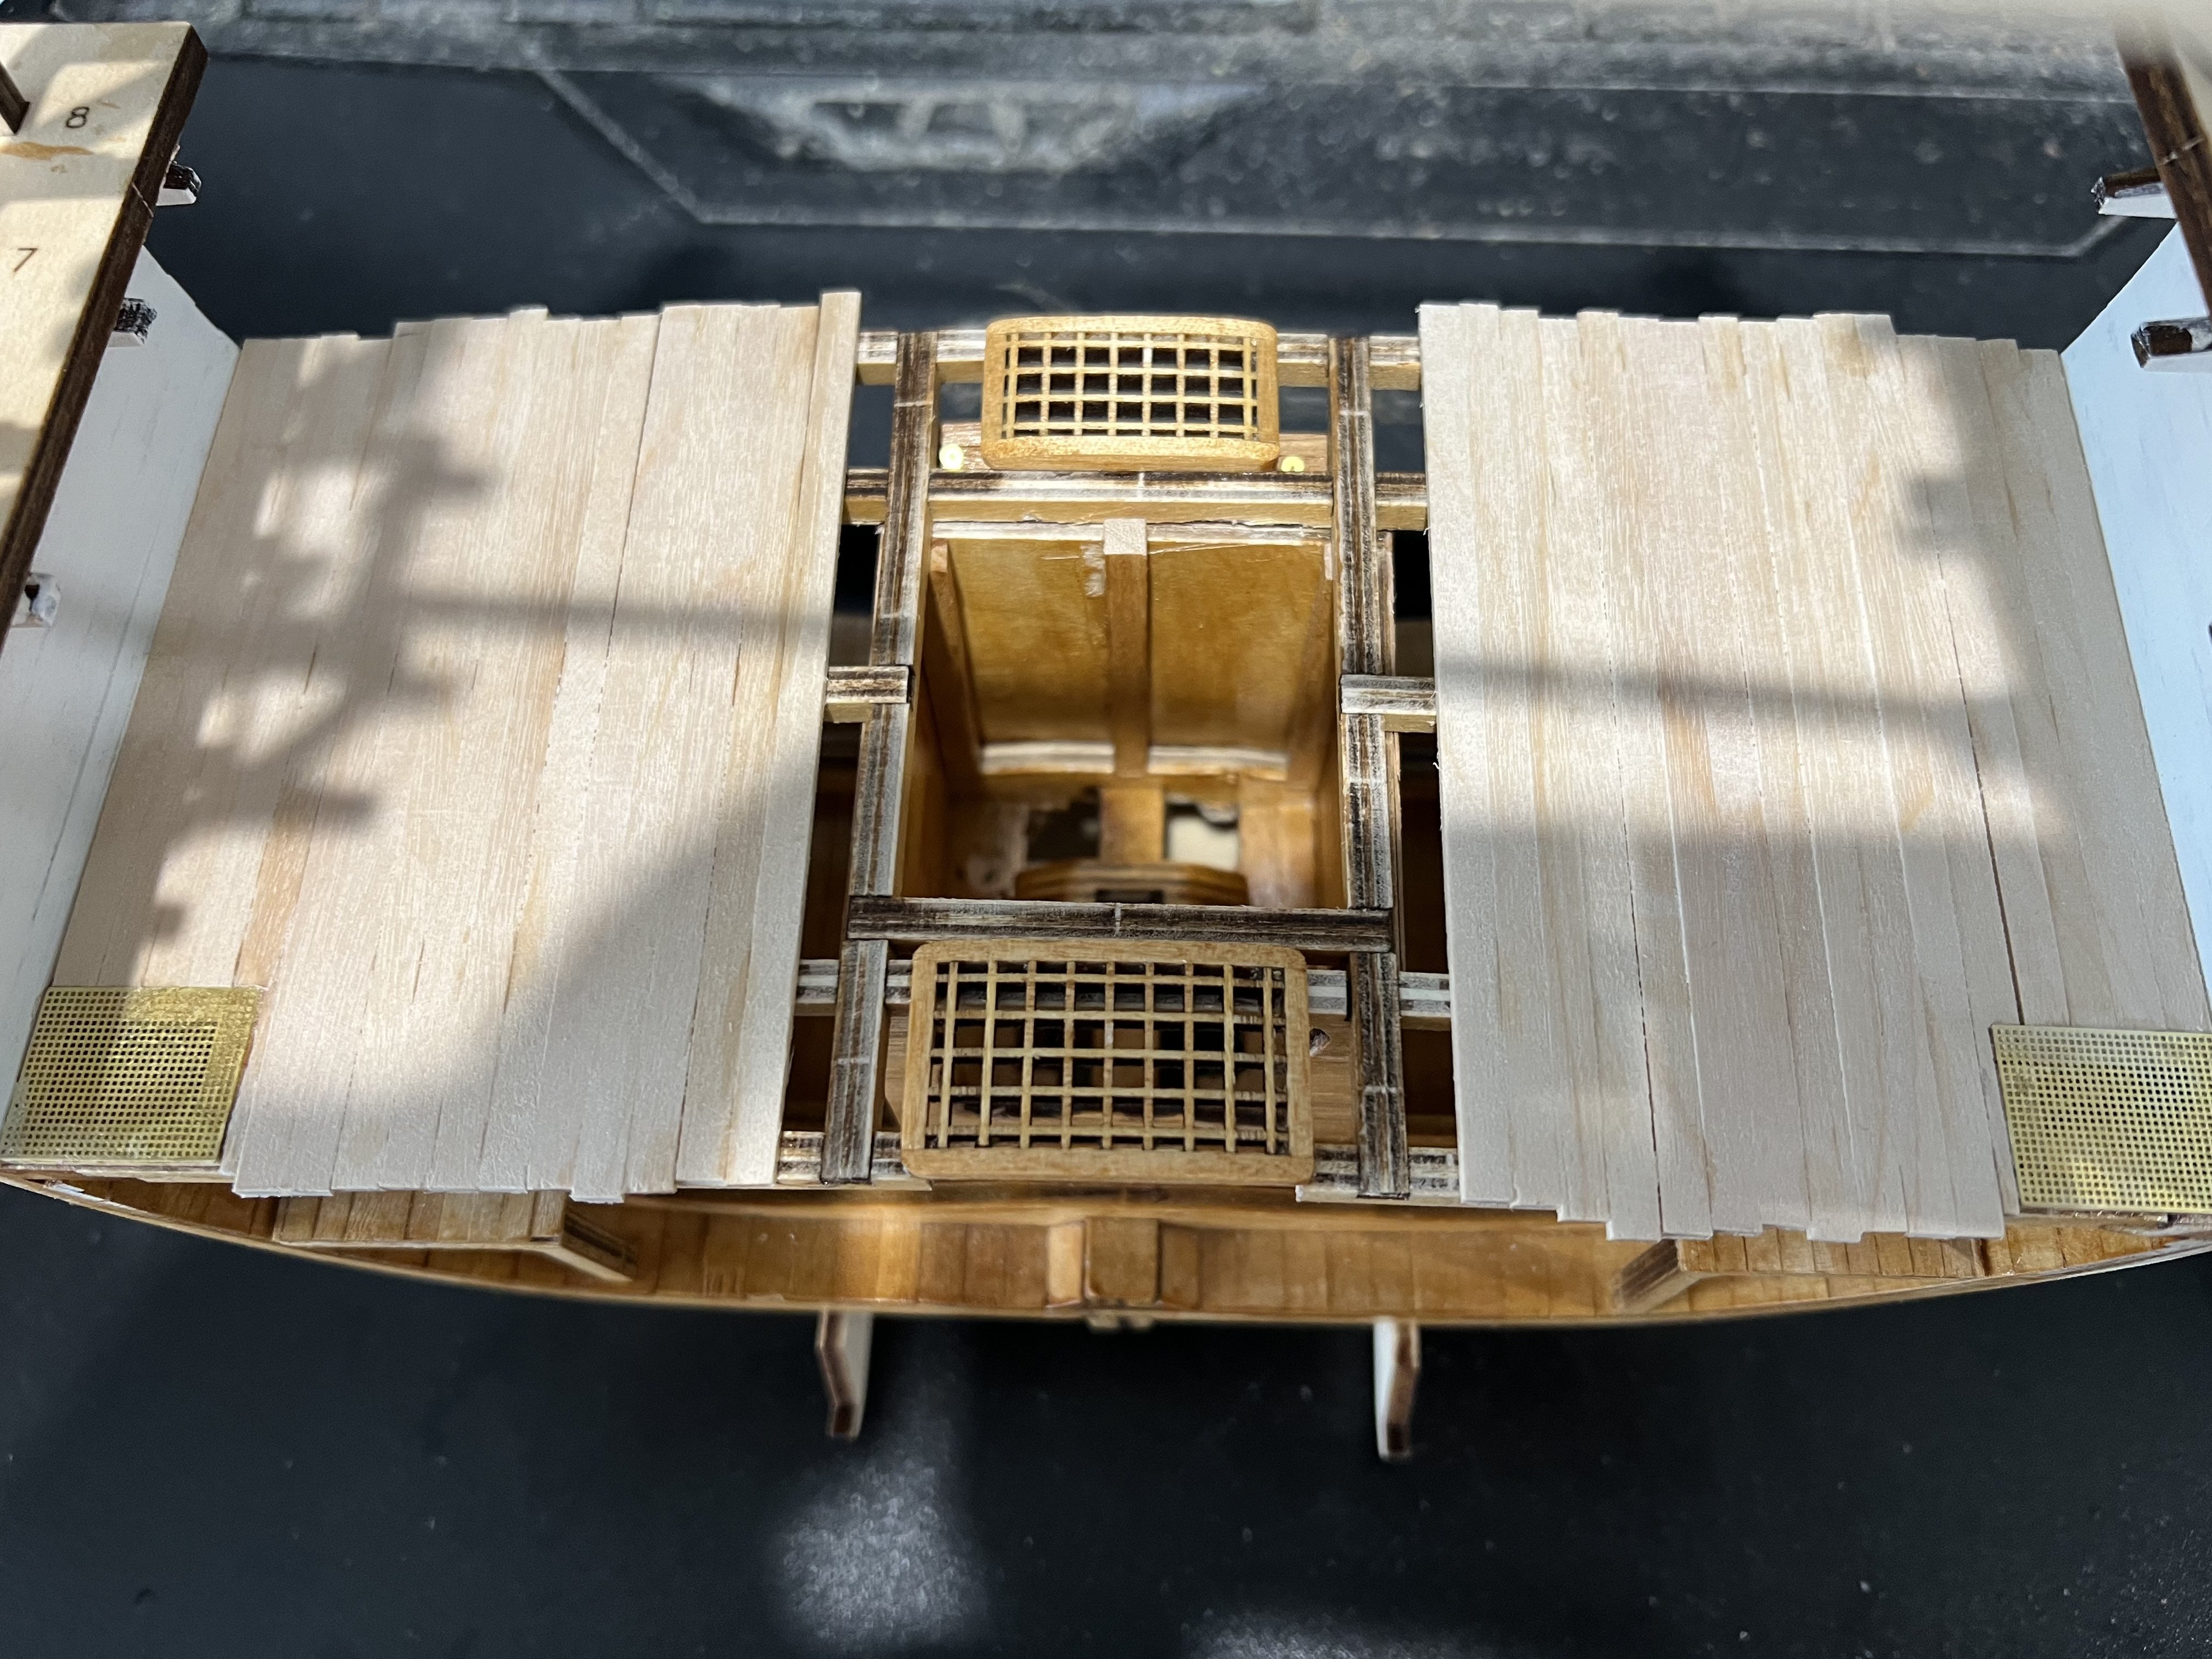
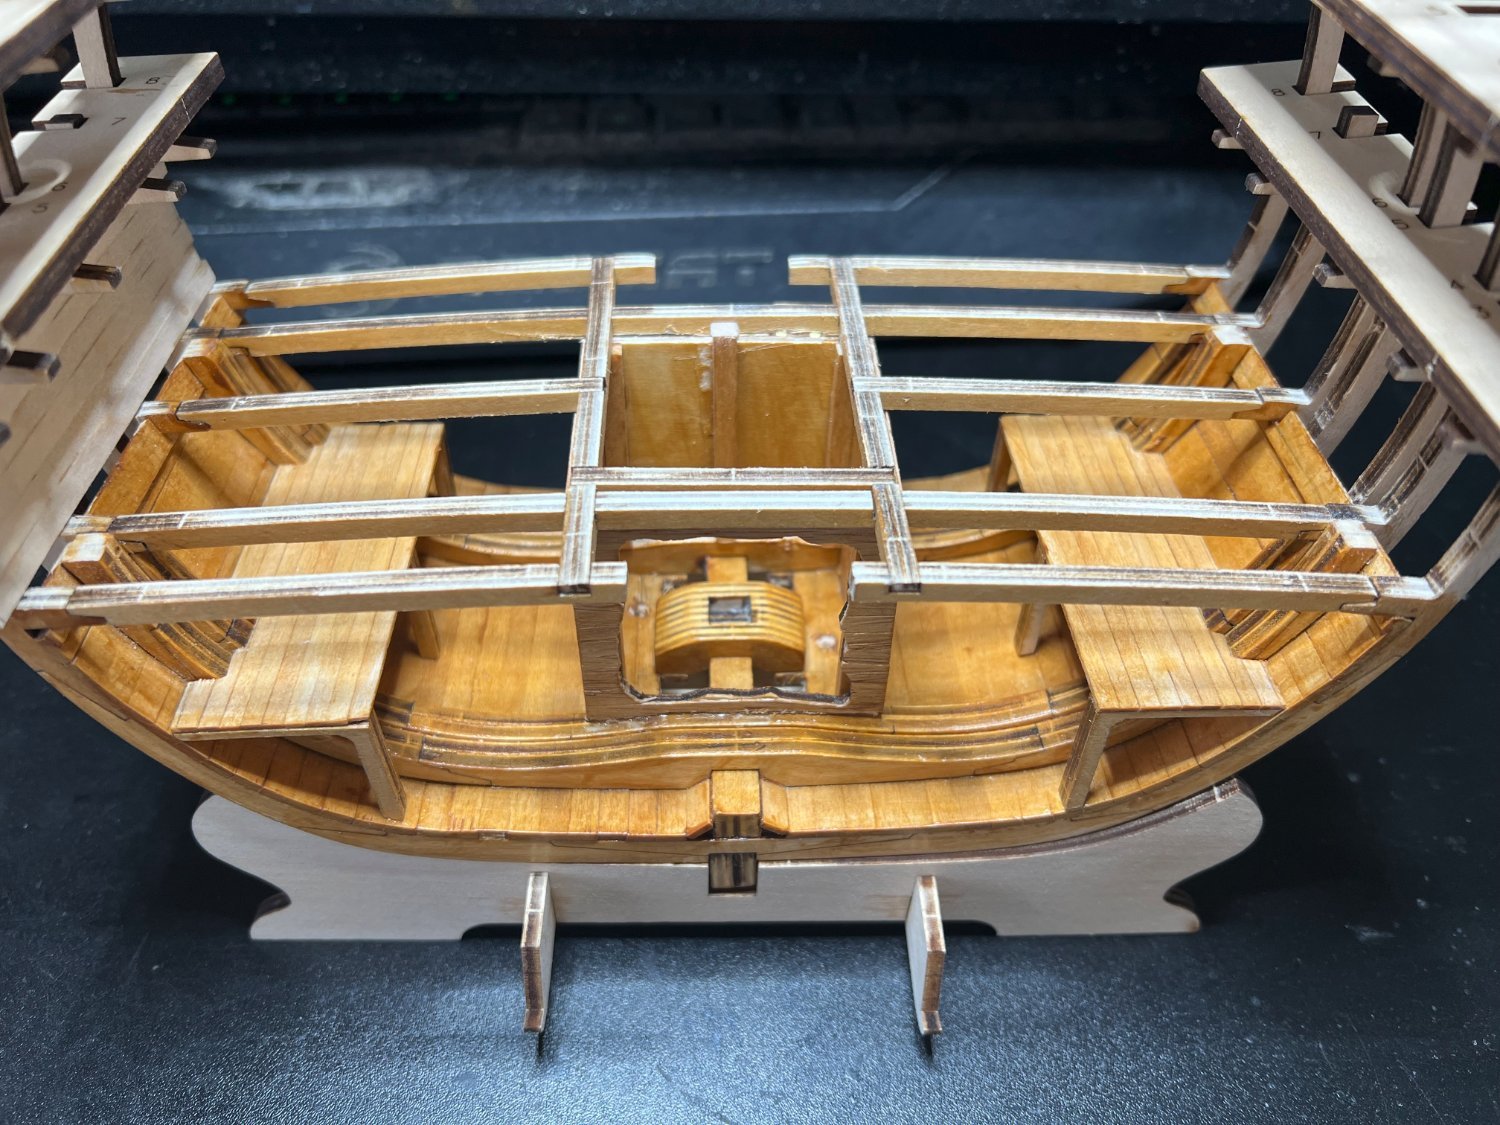
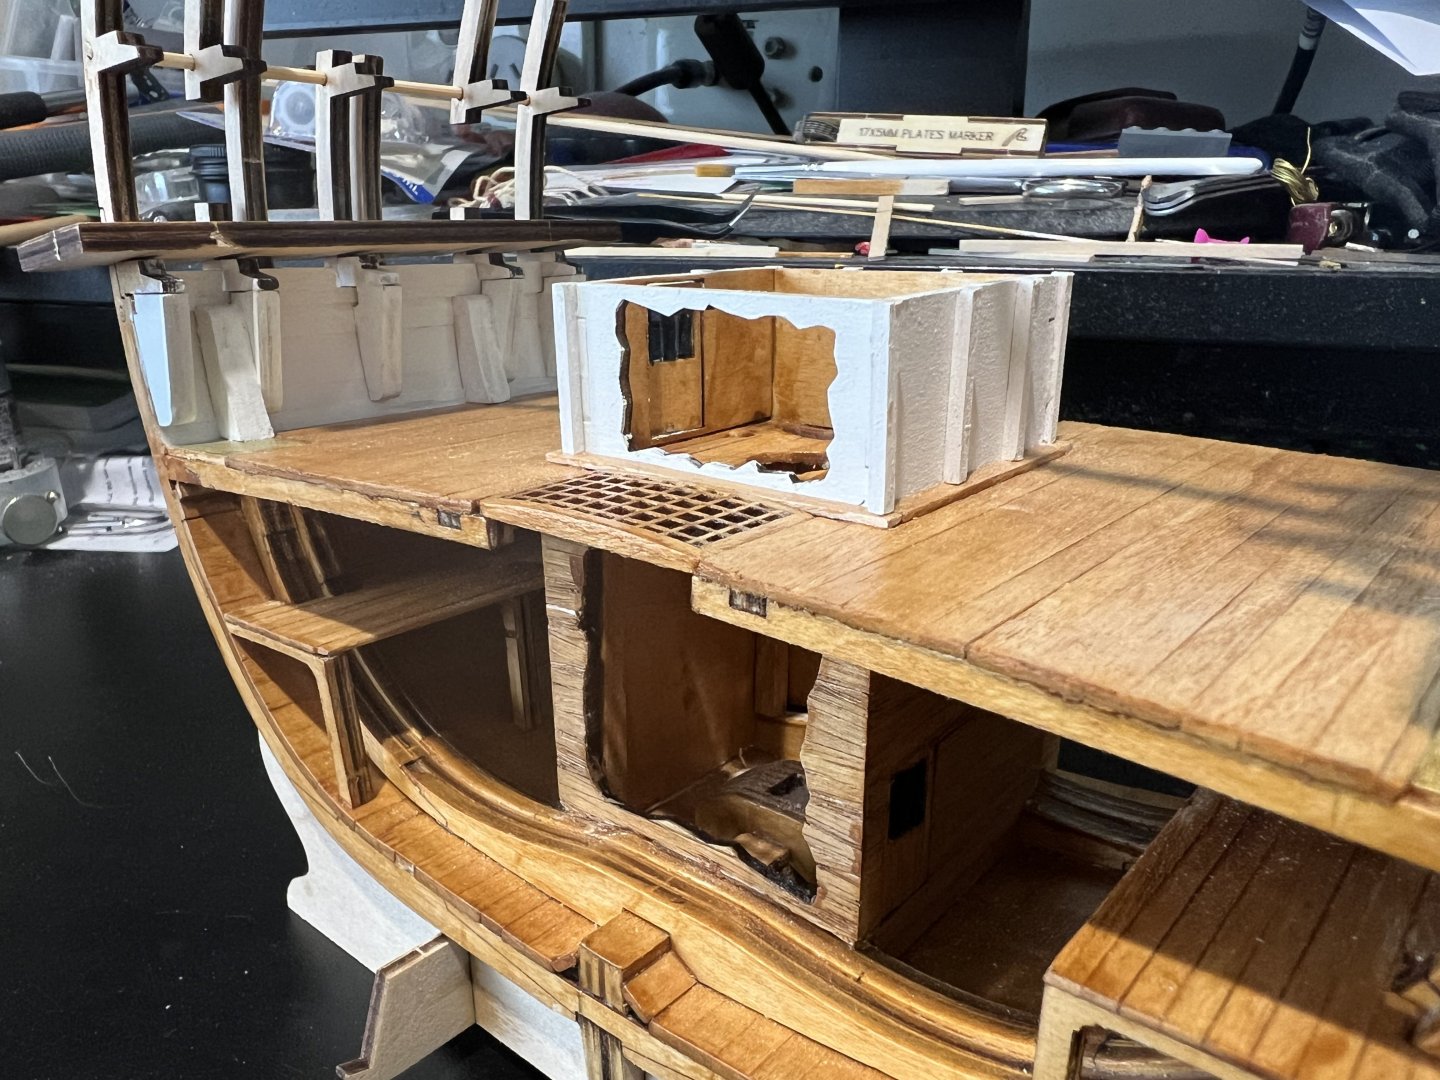
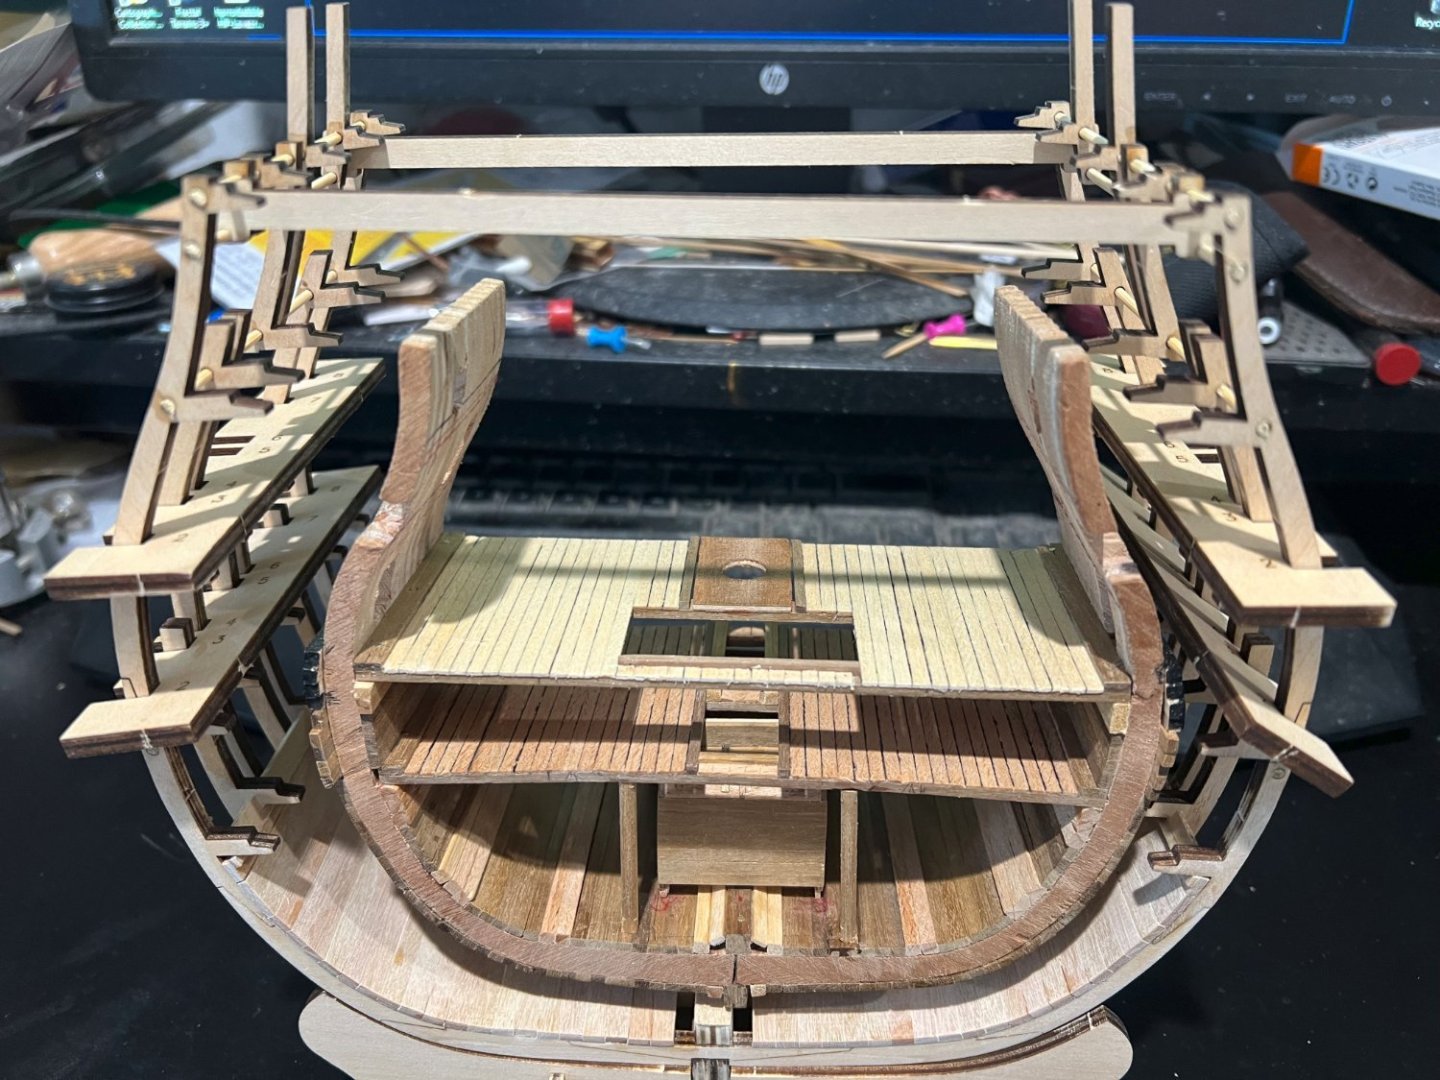
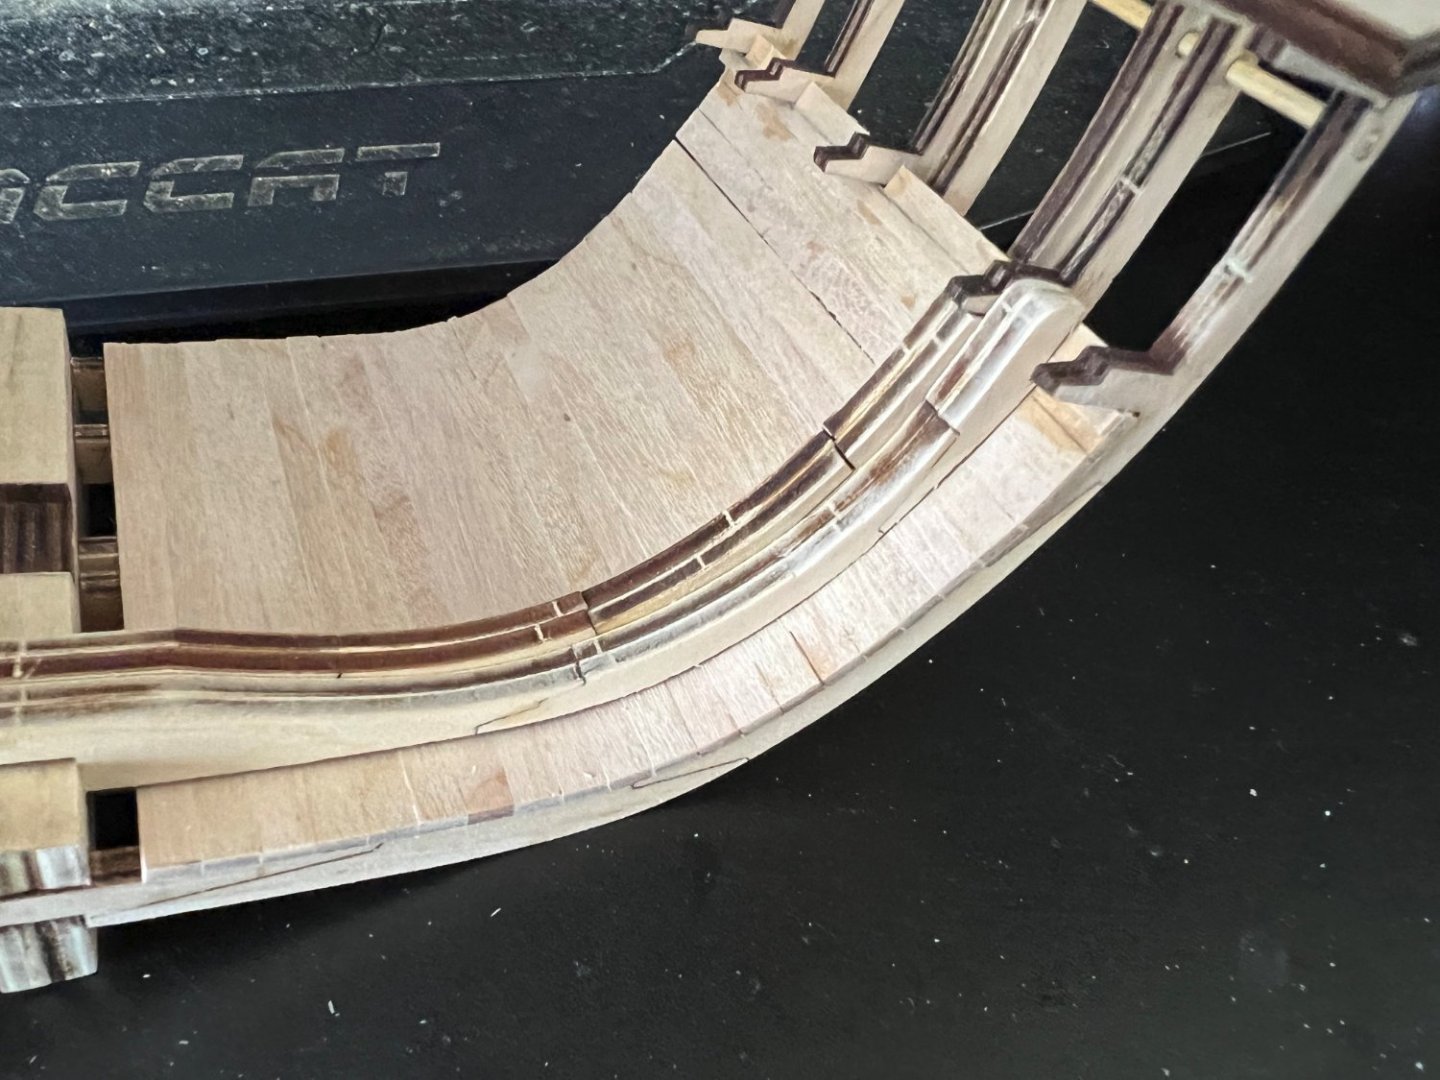
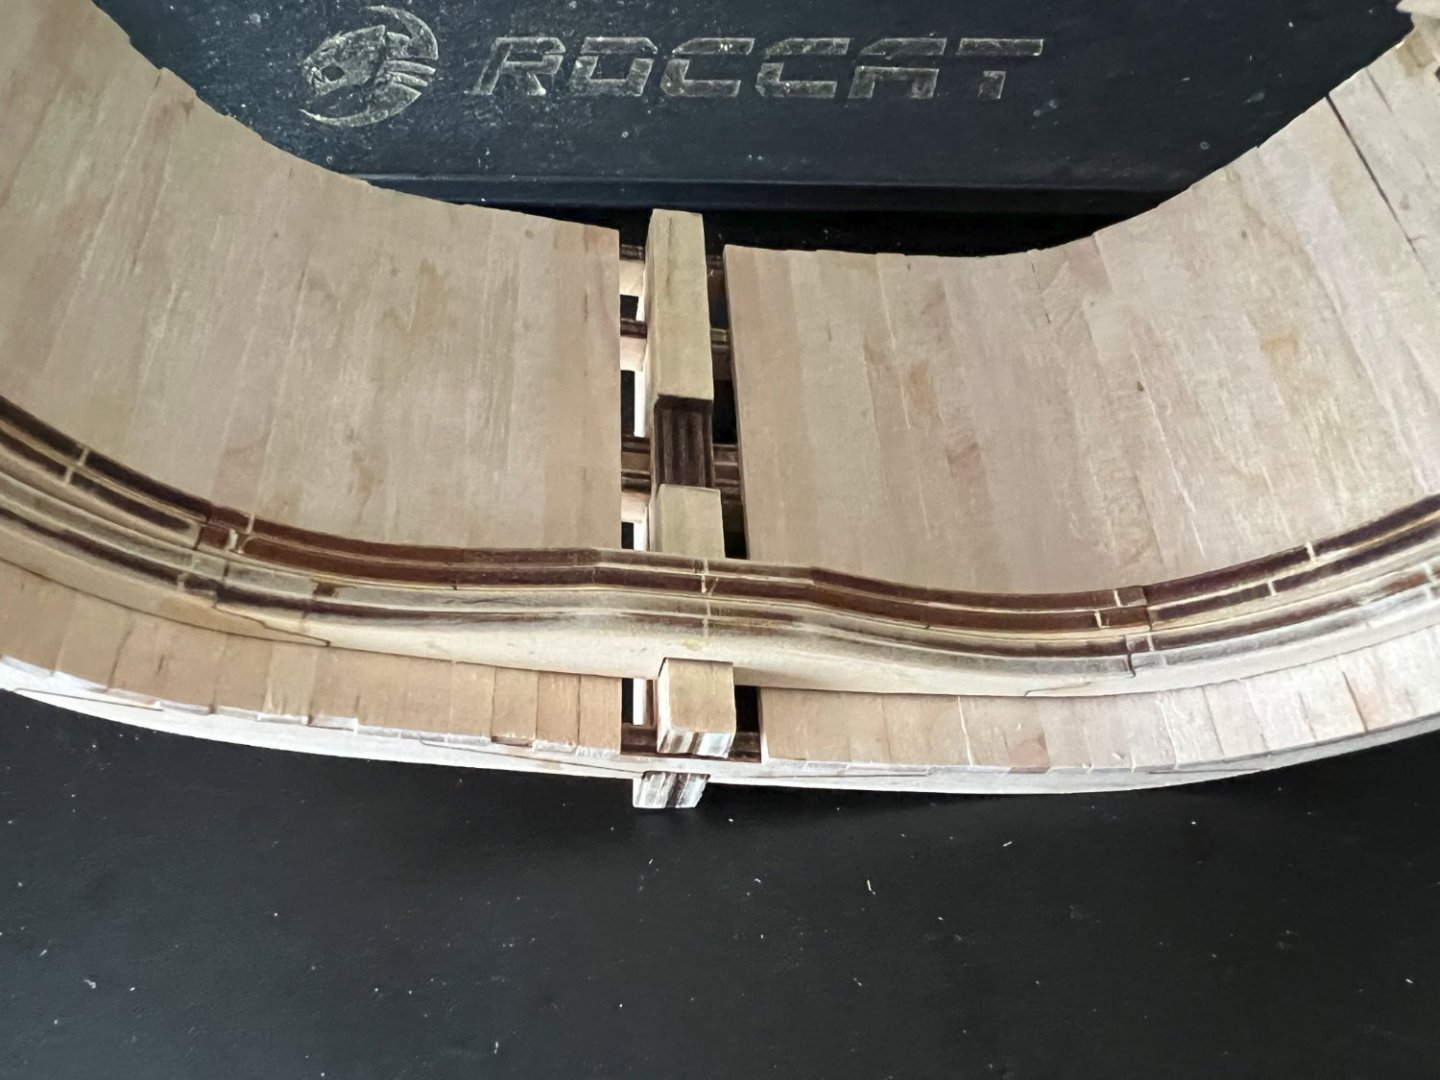
Made the wooden grates between the hold and orlop which pretty much confirms to me that the instruction videos were made with a prototype build for some of them - in the video showing how to make them their installed with no curve but in later video's their curved! ,anyways i've done my 1st curved grates with them😎 There's an issue with the led lights and the deck wood ,the woods translucent so the light shines Through it! ,fixed that with some soft metal sheet i use for straps and stuff in my armour models ,glued between the light and the wood! Edit - added a picture with the grates in place. Richard


- 28 replies
-
- 7
-
-
- Victory
- Artesania Latina
- (and 1 more)
-
Lights are going in now I've got the AL LED Kit ,need to get the lights before I could install the Orlop deck. I'm enjoying the build so far though they've made extra work for themselves in the instruction videos by installing the inner hull planks and the deck planks at the same time then masking the deck to paint the inner hull planking ,easier to paint the hull planks then install the deck. Richard


- 28 replies
-
- 5
-
-
- Victory
- Artesania Latina
- (and 1 more)
-
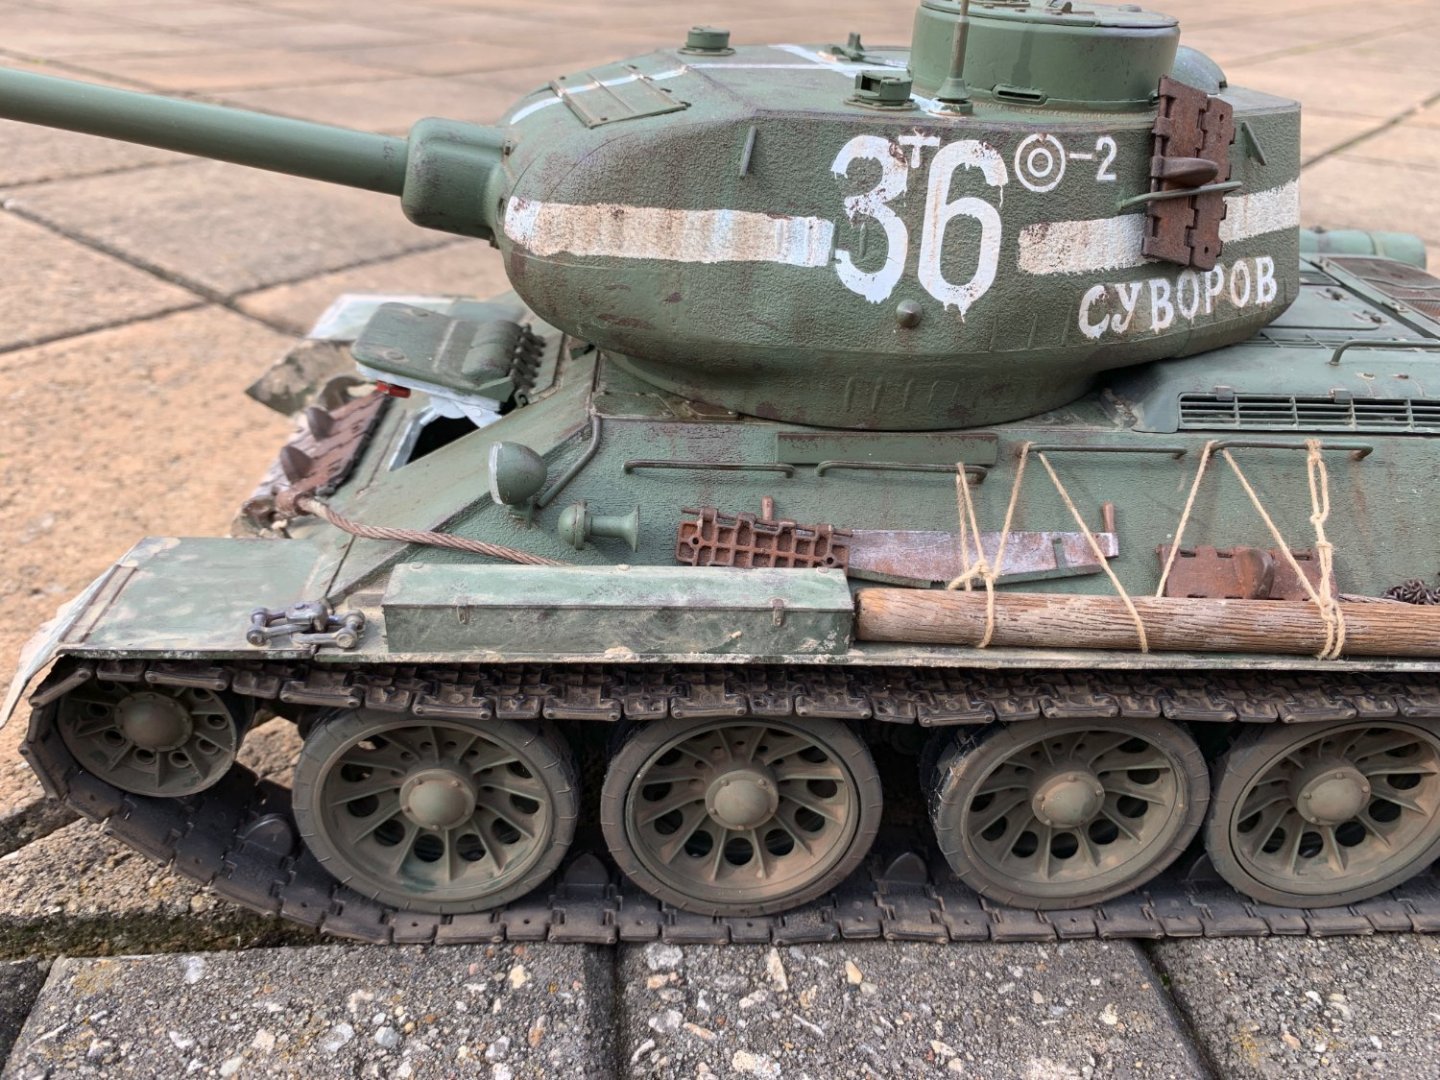
The liquid pigment work well same as the rust ones you've got - little hint to make life easier wet the area your working on with some odourless thinner or which ever thinner your useing to break the surface tension and makes it easier to get the pigment to go where you want. Ive added some photos one's a T34/85 thats just dirty and the others an extremely weathered Panther G ,(T34 is 1/16 and the Panthers 1/35) Richard


- 53 replies
-
- 10
-
-

-
It's comes with crew figures so you can show the "guns in action" but theres not enough to make a single gun crew and the figures are cast in metal and are horrible - their worse than early 1980's metal warhammer figures ,atleast those looked like what they were supposed to be! I'm going to look around and see if I can find actual 1/72 Napoleonic englishnaval crew or maybe pirates repainted for stripped down gunners.
- 28 replies
-
- 2
-
-
- Victory
- Artesania Latina
- (and 1 more)
-
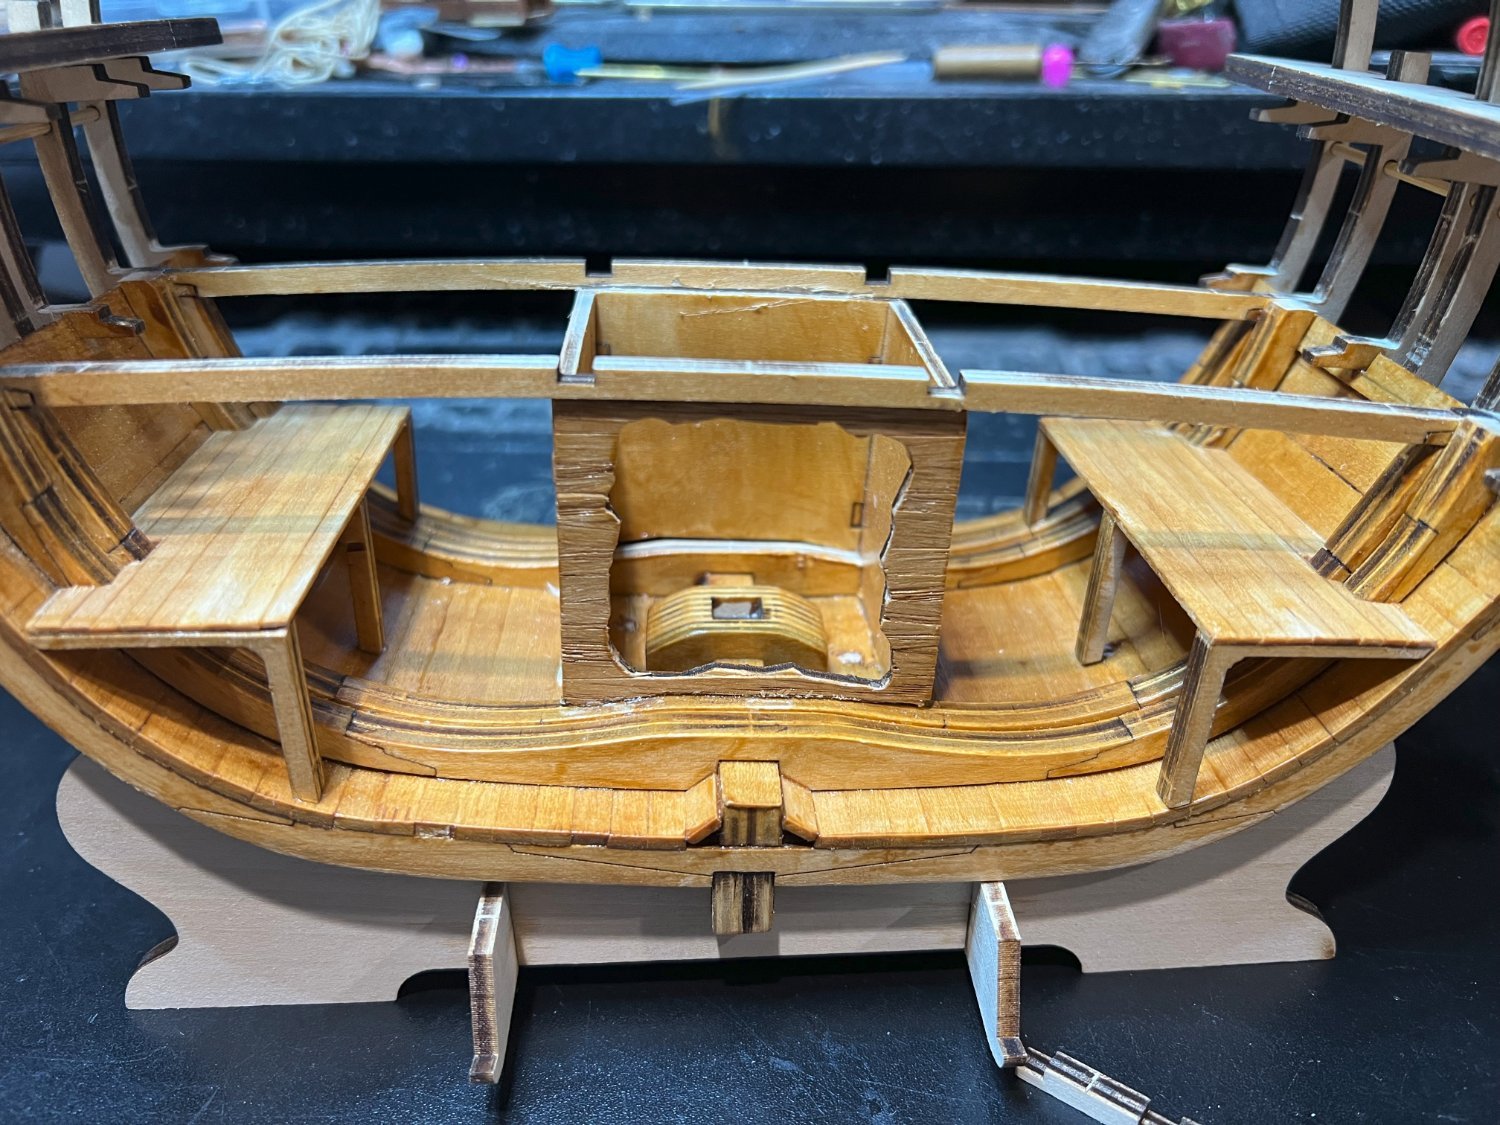
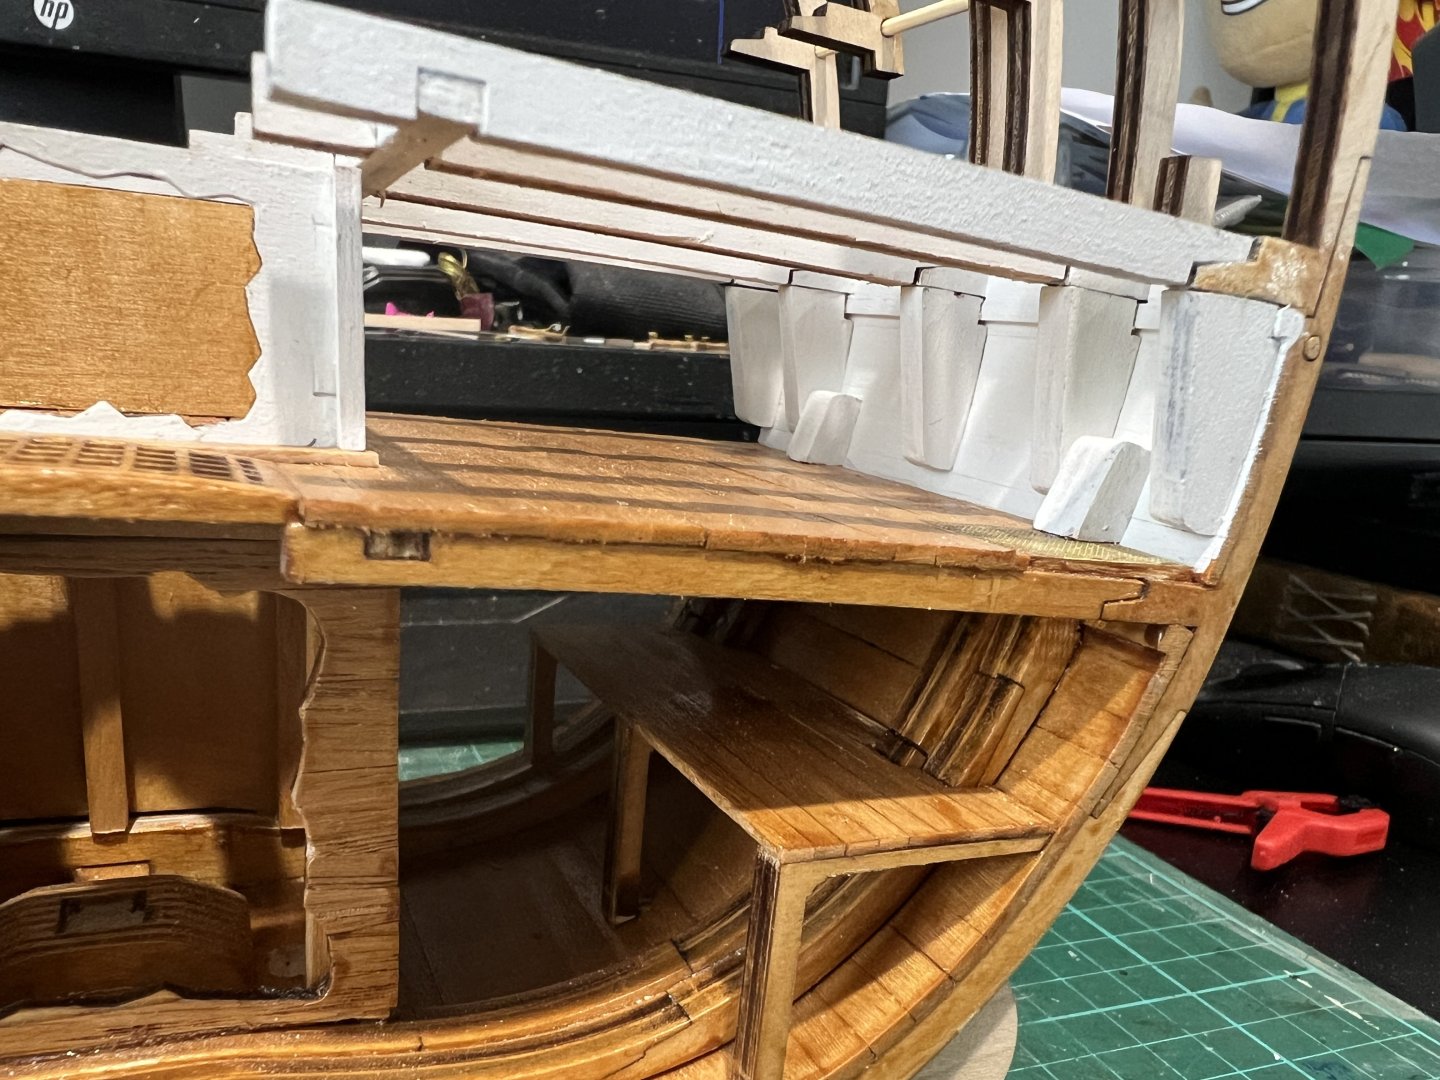
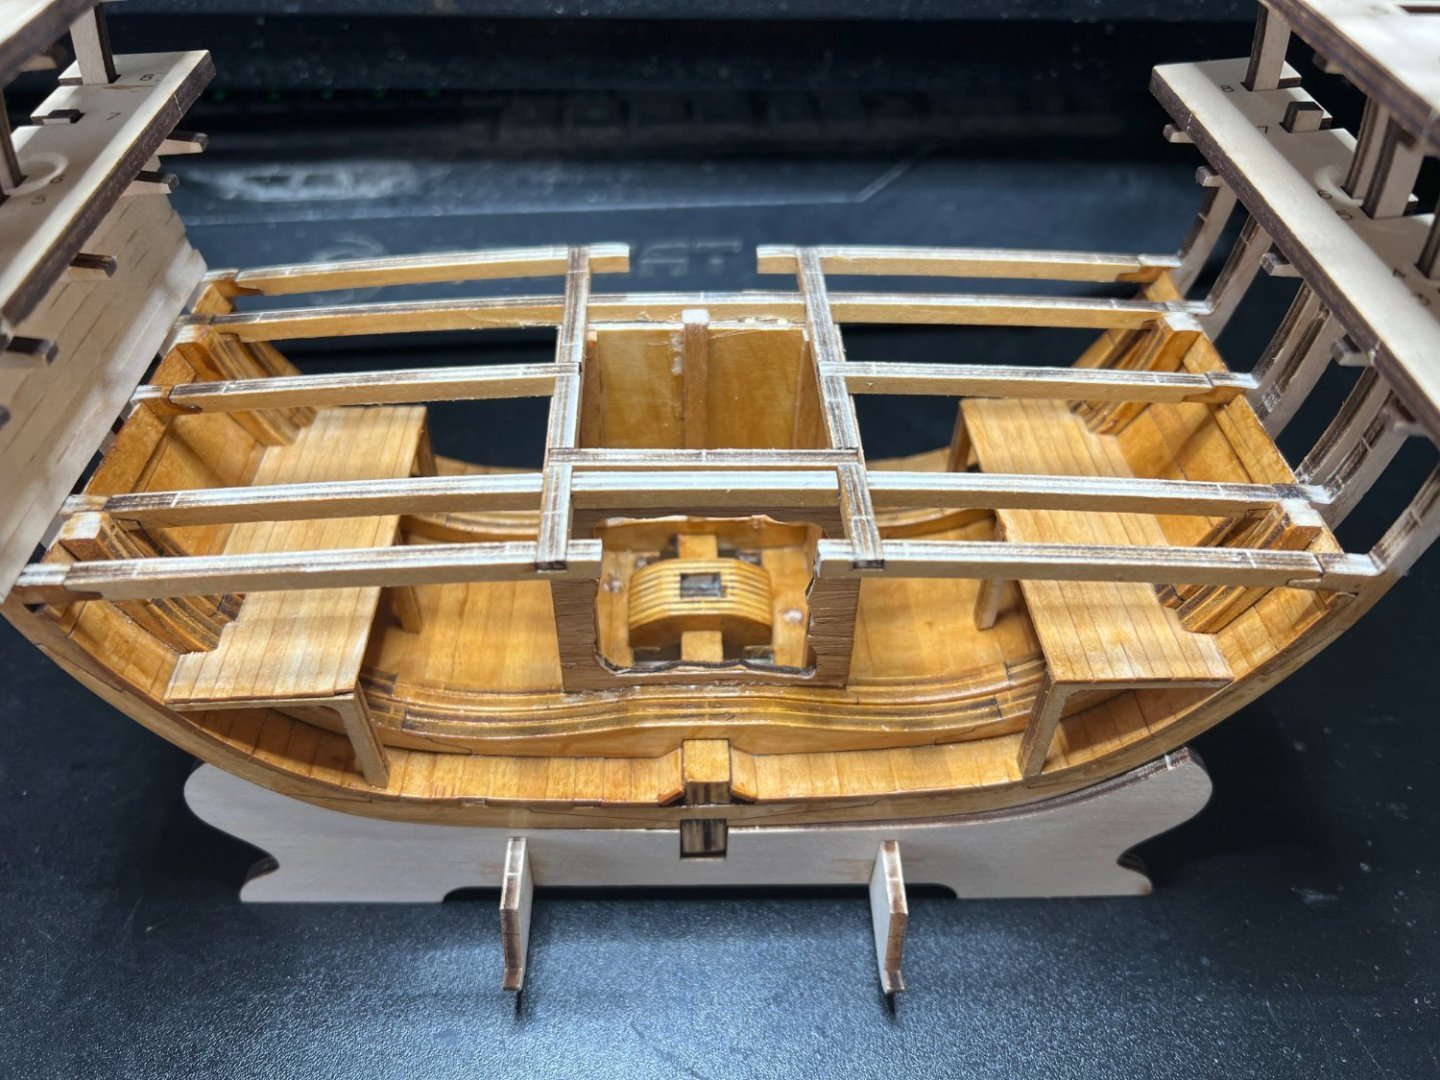
Holds done and beams are in place for the orlop ,a word of caution the 2 port/starboard beams that run fore and aft on top of the well can be fitted the wrong way so they dont line up with the deck beams and the difference is subtle - you need to dry fit parts and double check the videos ,the kit seems simple but it can catch you out so some experience helps! I'm at the stage now I need to make up my mind if I want lighting in the kit ,once I install the orlop deck planks it wont be possible to do the hold. Richard
- 28 replies
-
- 4
-
-
- Victory
- Artesania Latina
- (and 1 more)
-
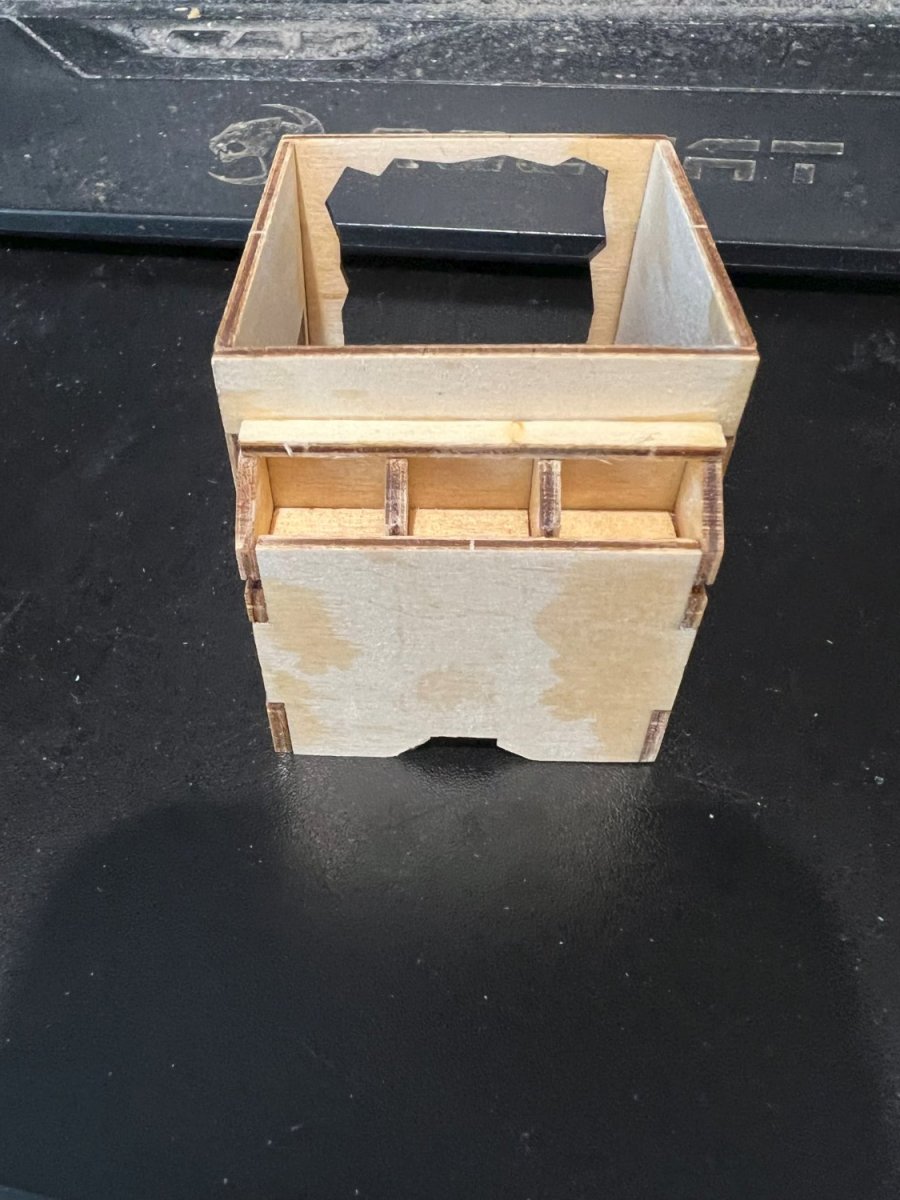
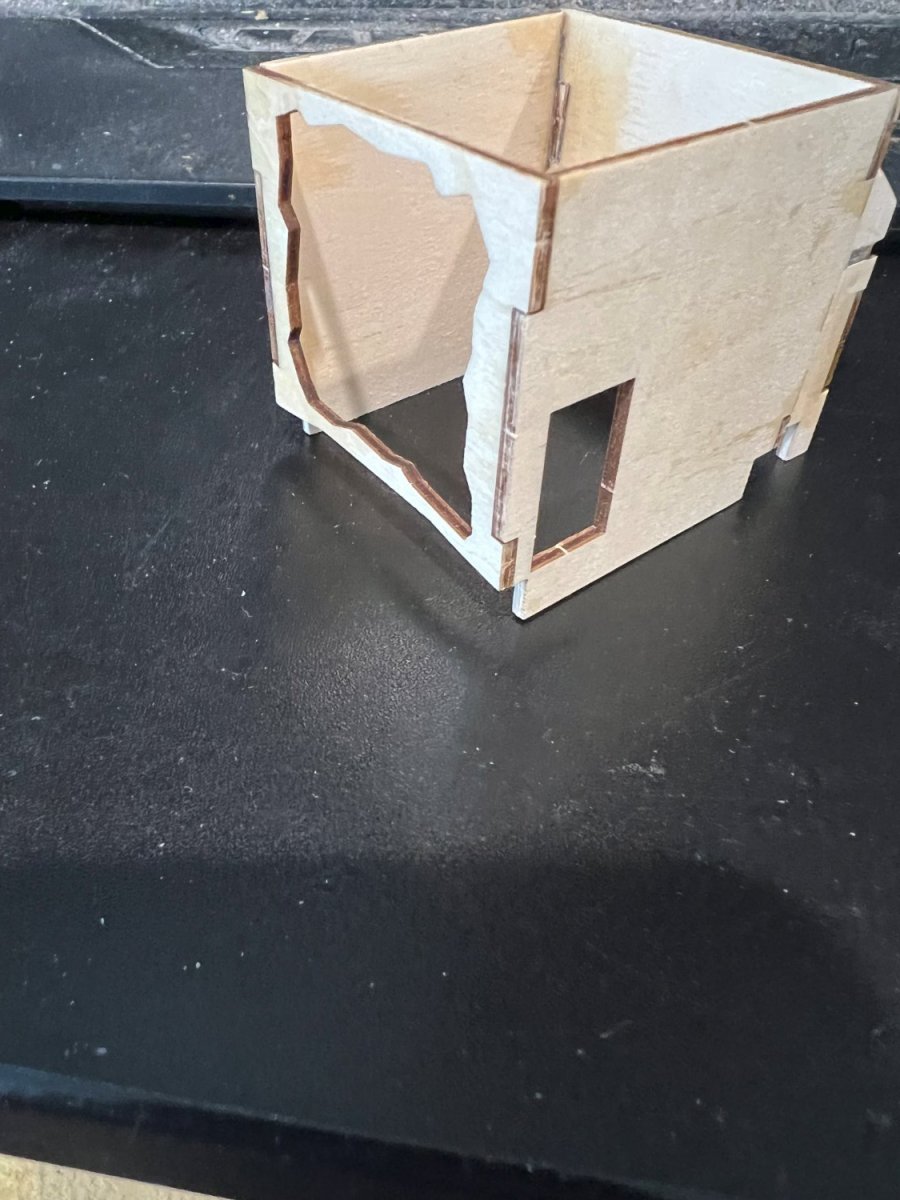
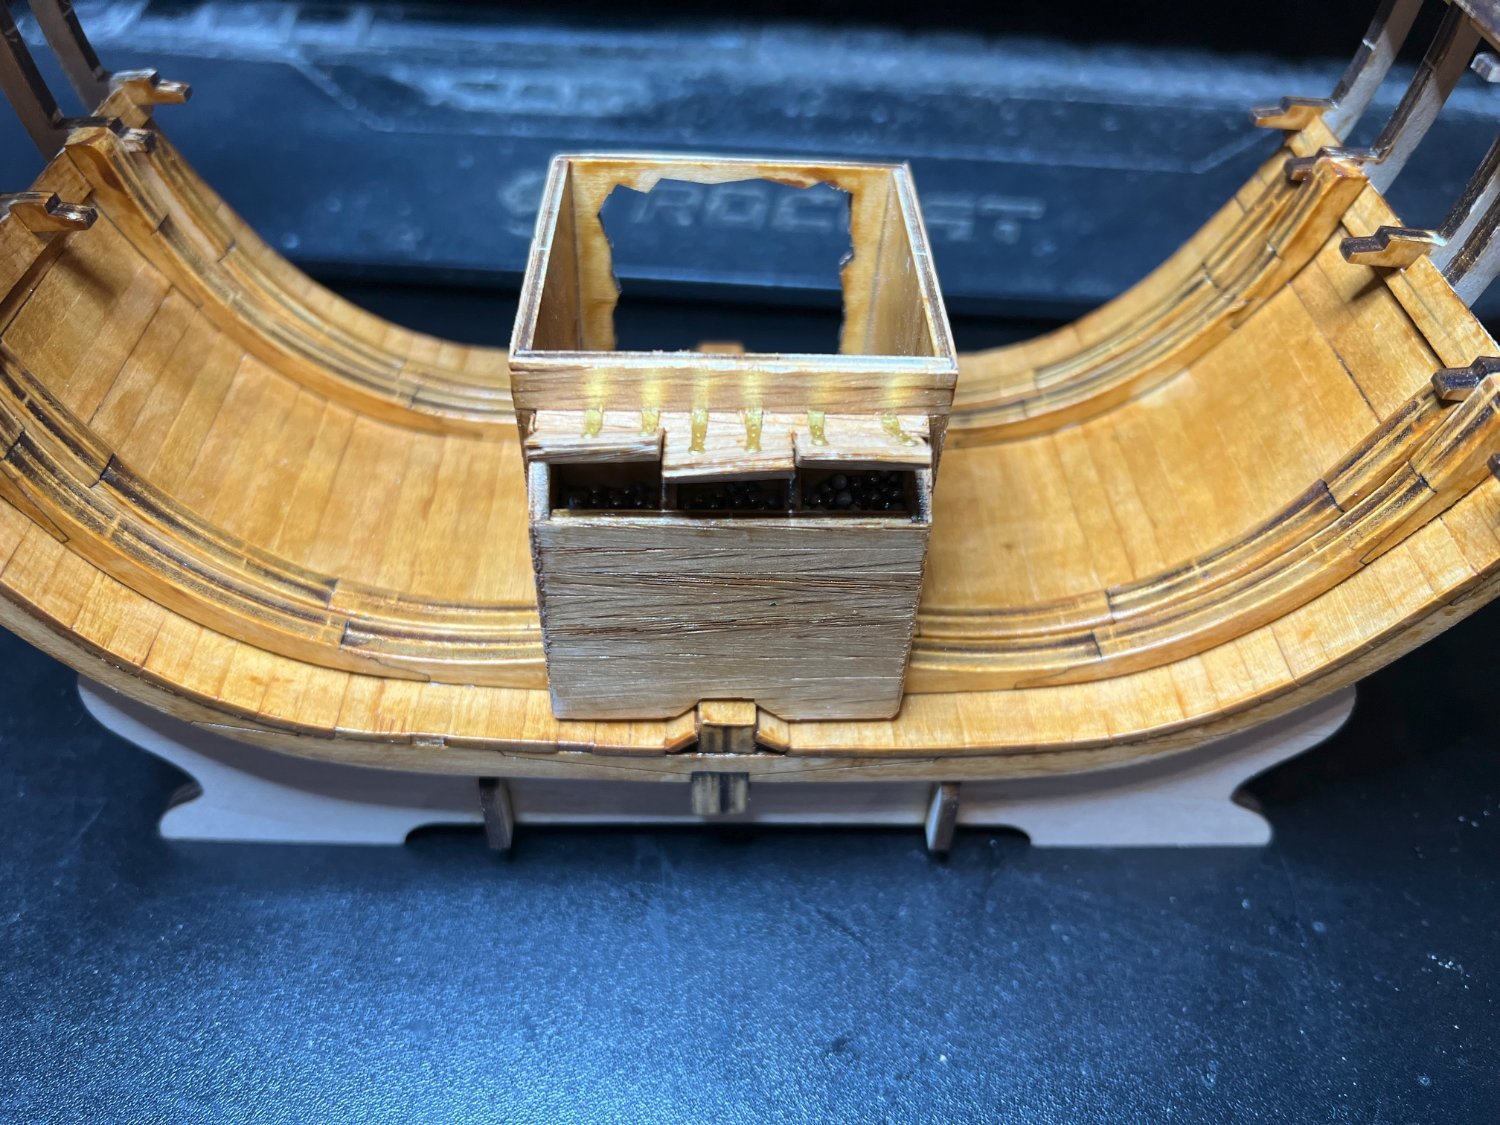
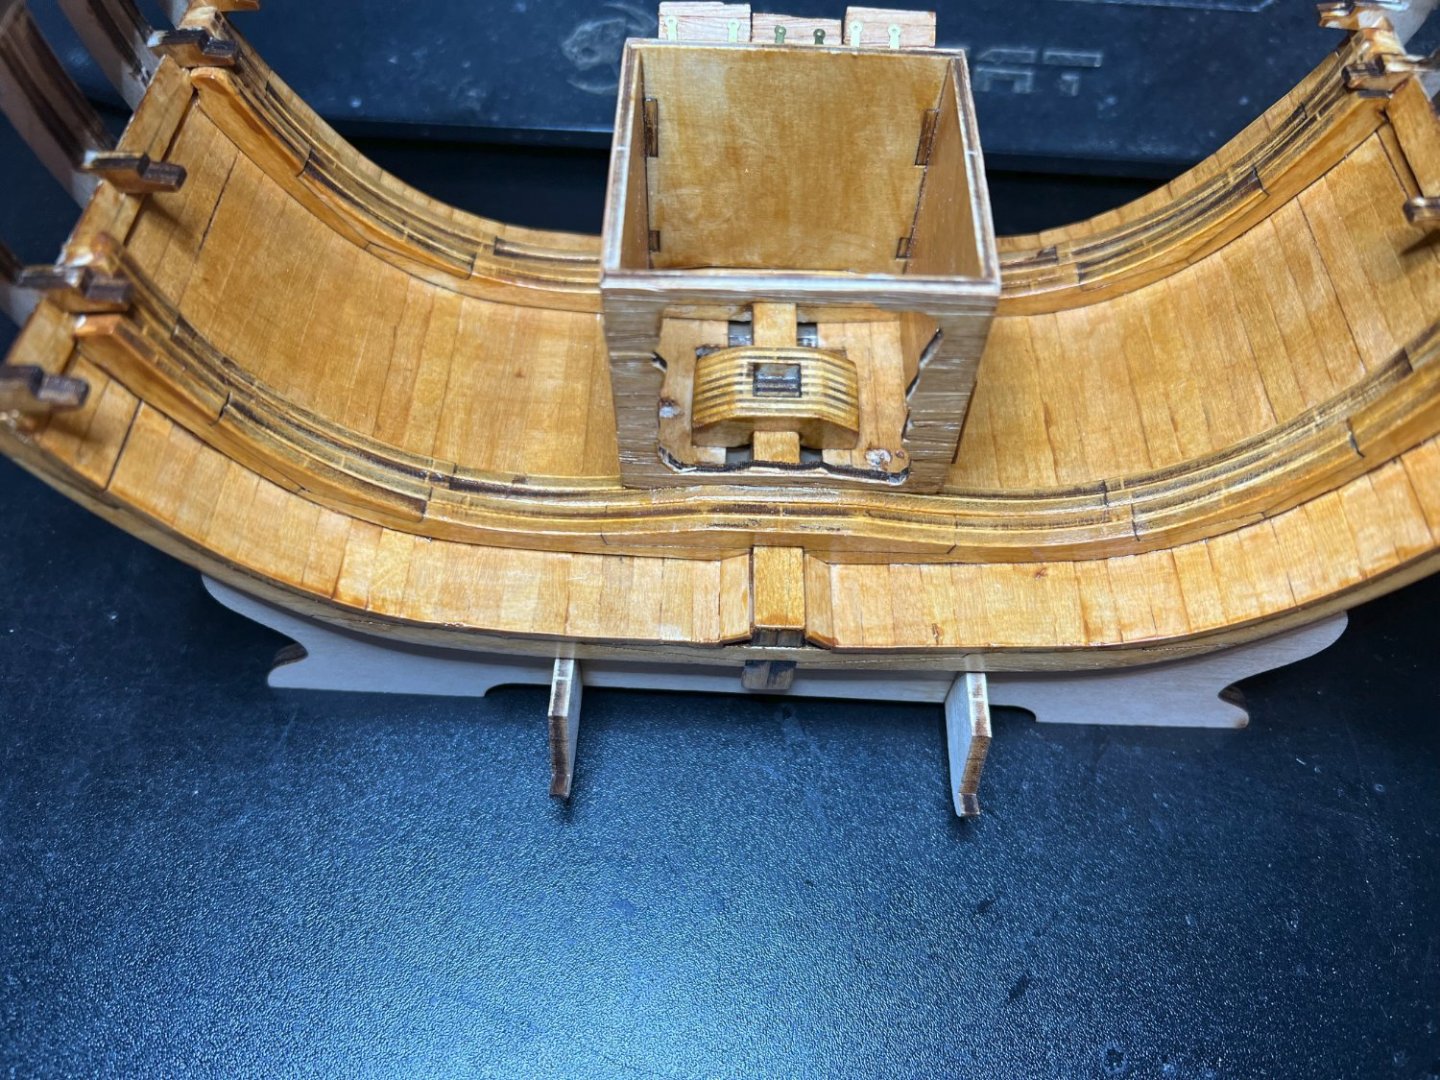
Well and Shot Locker planked and finished ,Hold Platform's are next and the holds done,(other than barrels ,stowage and shingle.). Next on the list is the orlop deck framing and planking! So far no real issues other than the one's mentioned earlier ,(operator error😉😄).


- 28 replies
-
- 2
-
-
- Victory
- Artesania Latina
- (and 1 more)
-
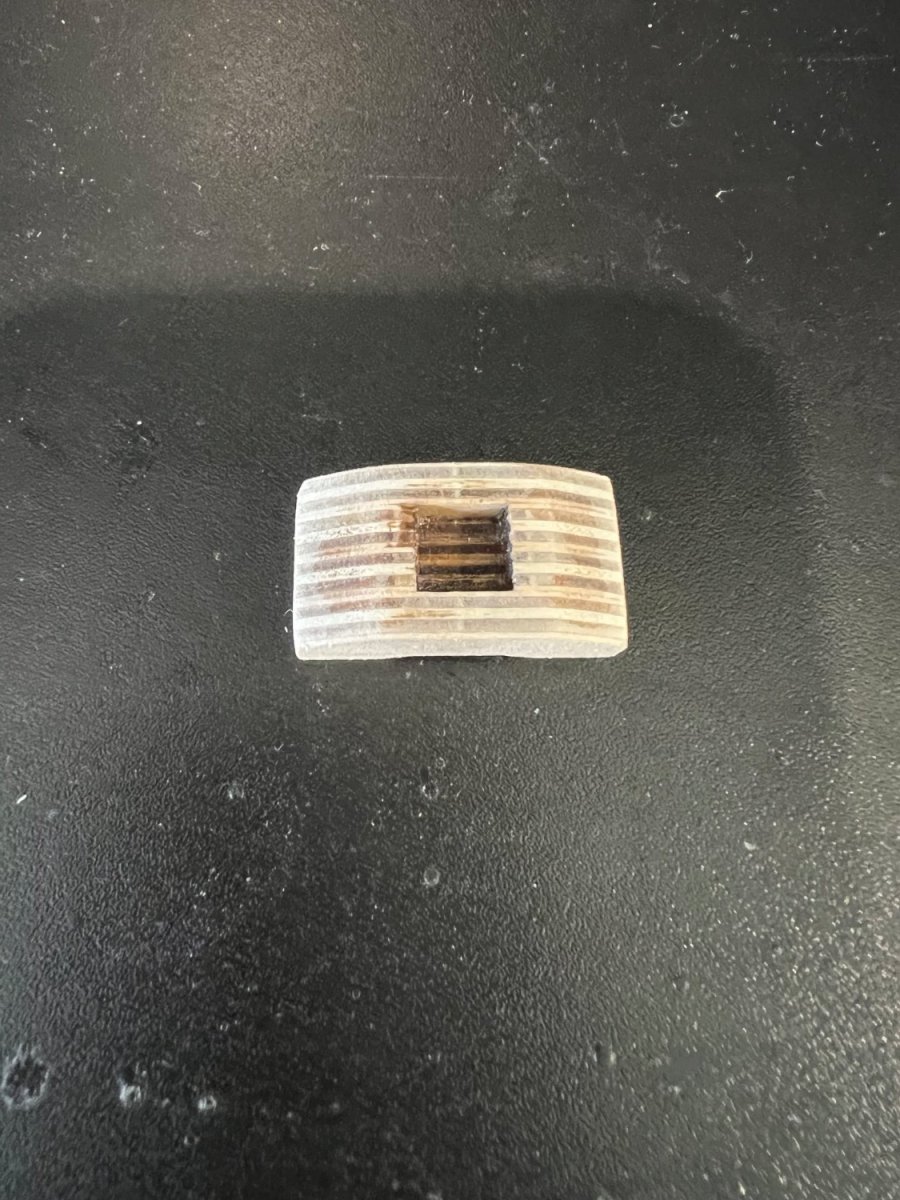
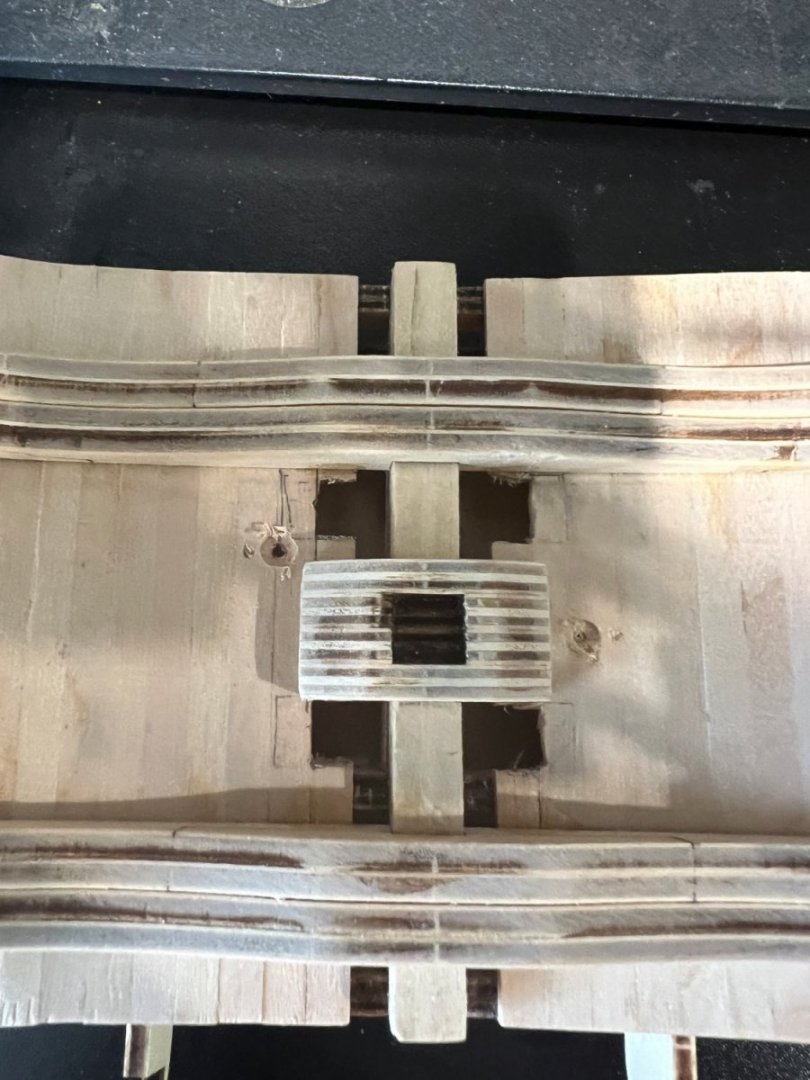
Risers done and installed ,holes for the pump in the well done and mast step made and installed! Next up is the pumpwell ,shot locker and hold platforms. Waiting on some more glue and the AL Hardwood Dye/Varnish set -plans call for the Light Oak Varnish for unpainted wood and it looks good in the videos so we'll see Richard

- 28 replies
-
- 2
-
-
- Victory
- Artesania Latina
- (and 1 more)
-
They are , it's basically the same main mast section! ,with a bit more accuracy because of scale and positioning for the AL version ,though the corel versions got the bands of heavy timbers in the hold! I was actually thinking about this after I compared the 2 ,It wouldn't be too hard to add the details like the thickstuff especially if you had a small mill to cut through the risers! Richard
- 28 replies
-
- 1
-
-
- Victory
- Artesania Latina
- (and 1 more)
-
Just for fun here's a caparison between the corel 1:98 vs the Artesiana Latina 1:72 HMS Victory Cross Sections!
- 28 replies
-
- 5
-
-

-
- Victory
- Artesania Latina
- (and 1 more)
-
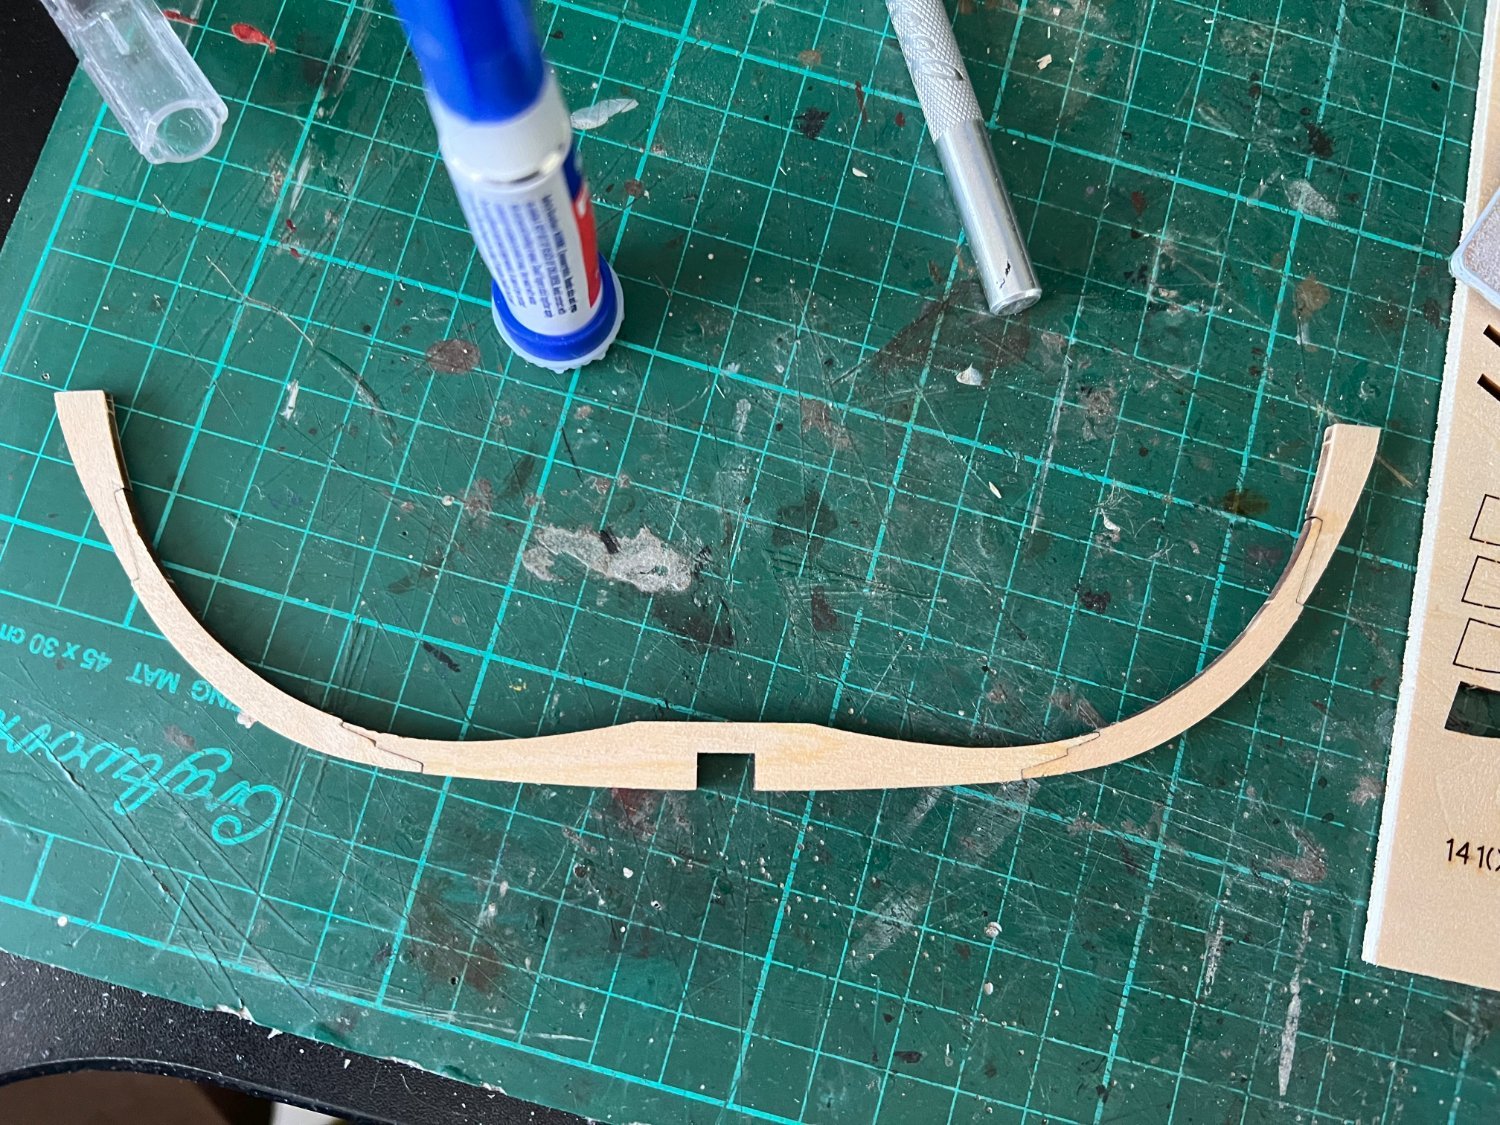
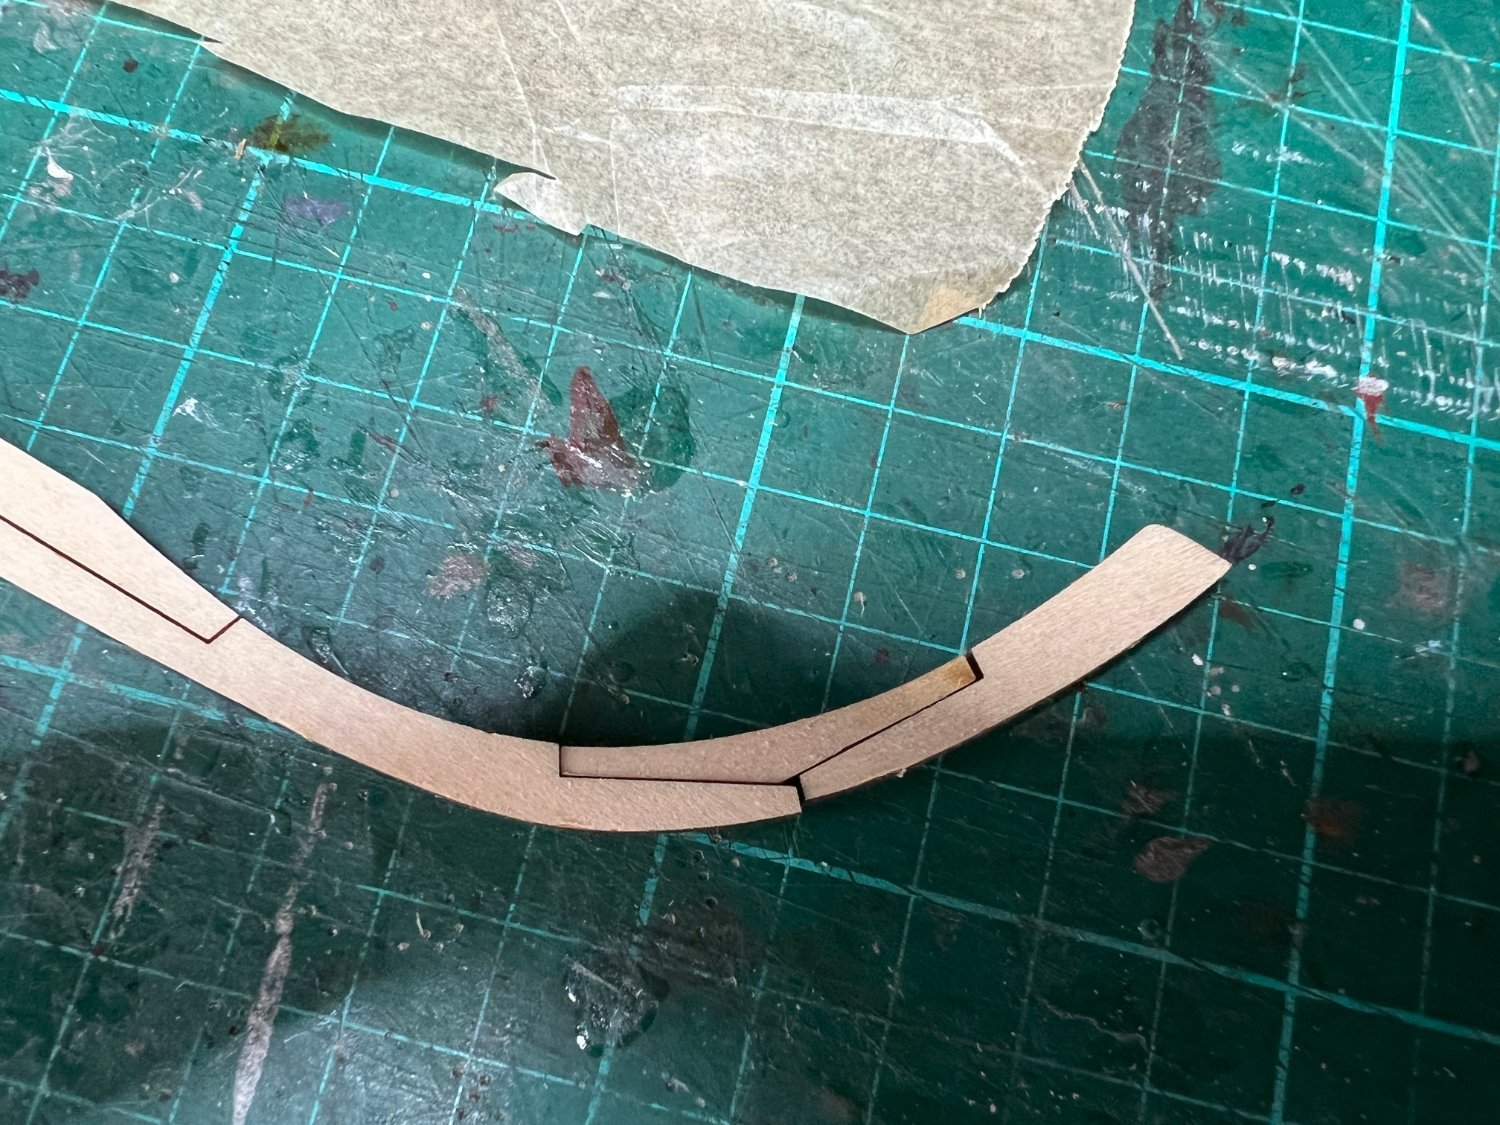
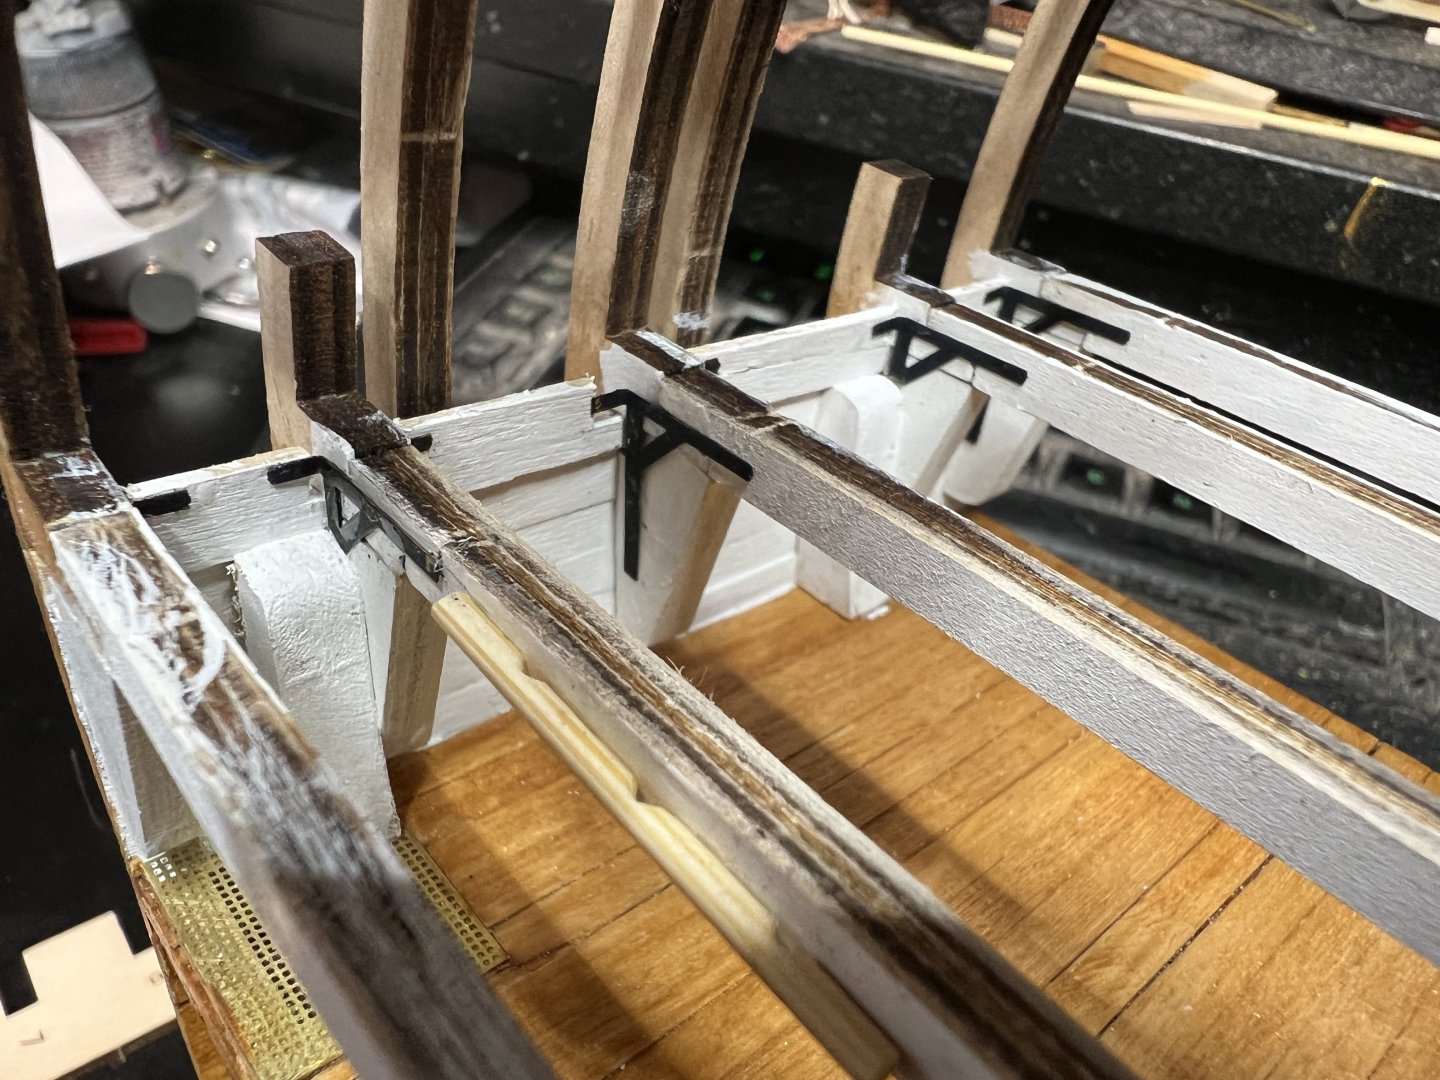
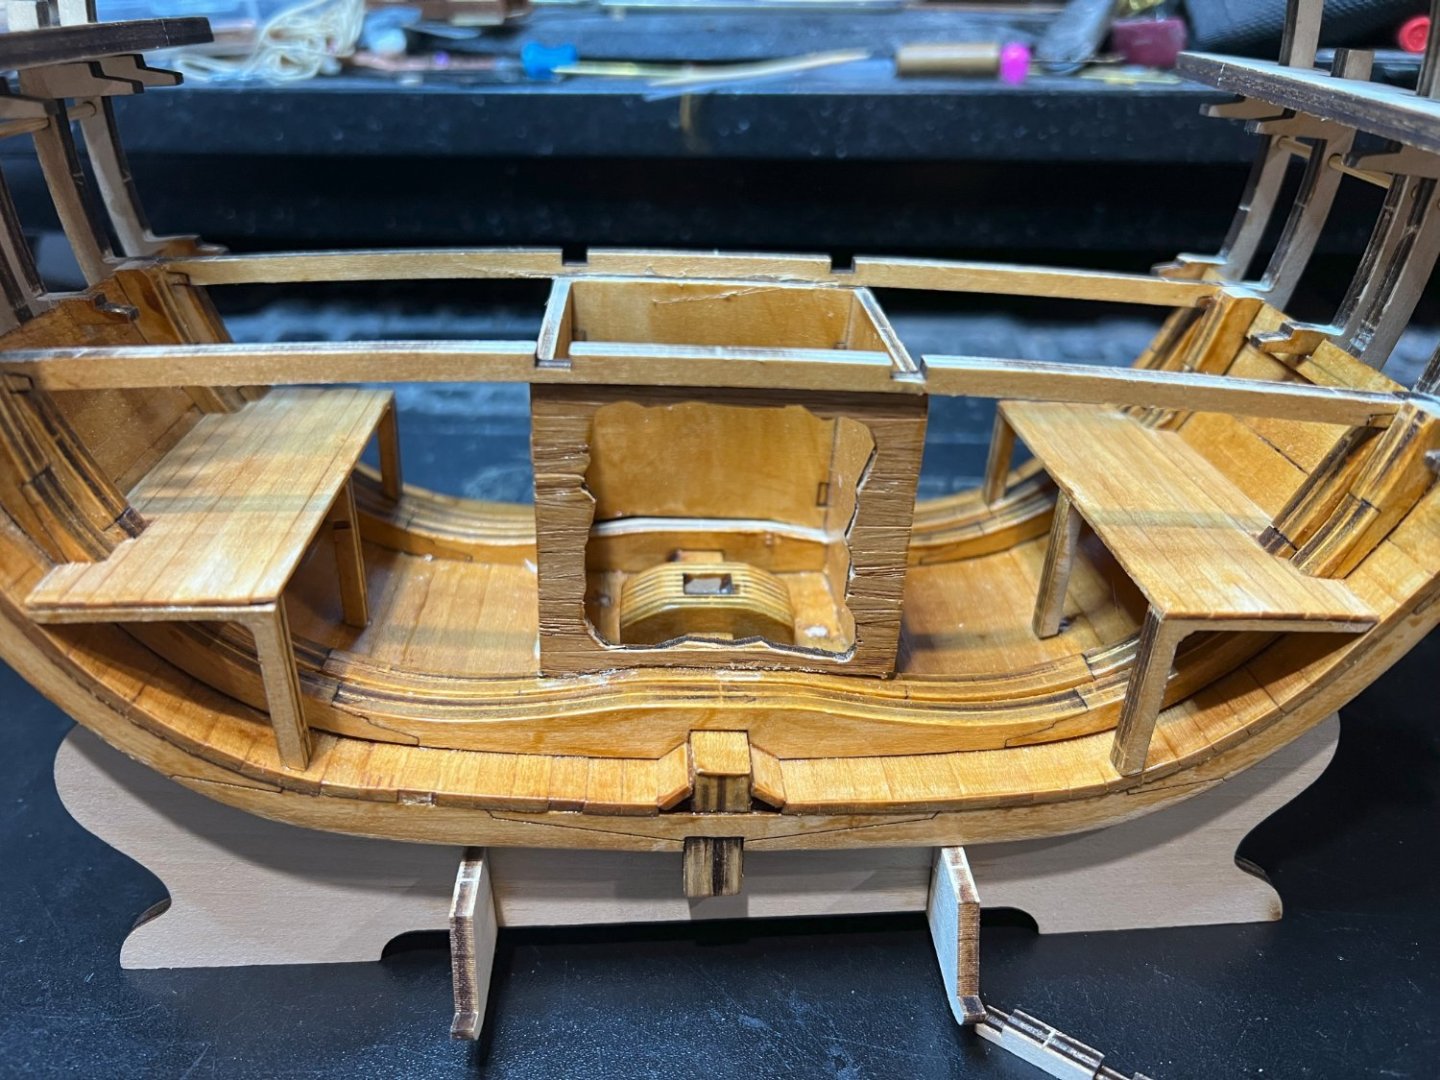
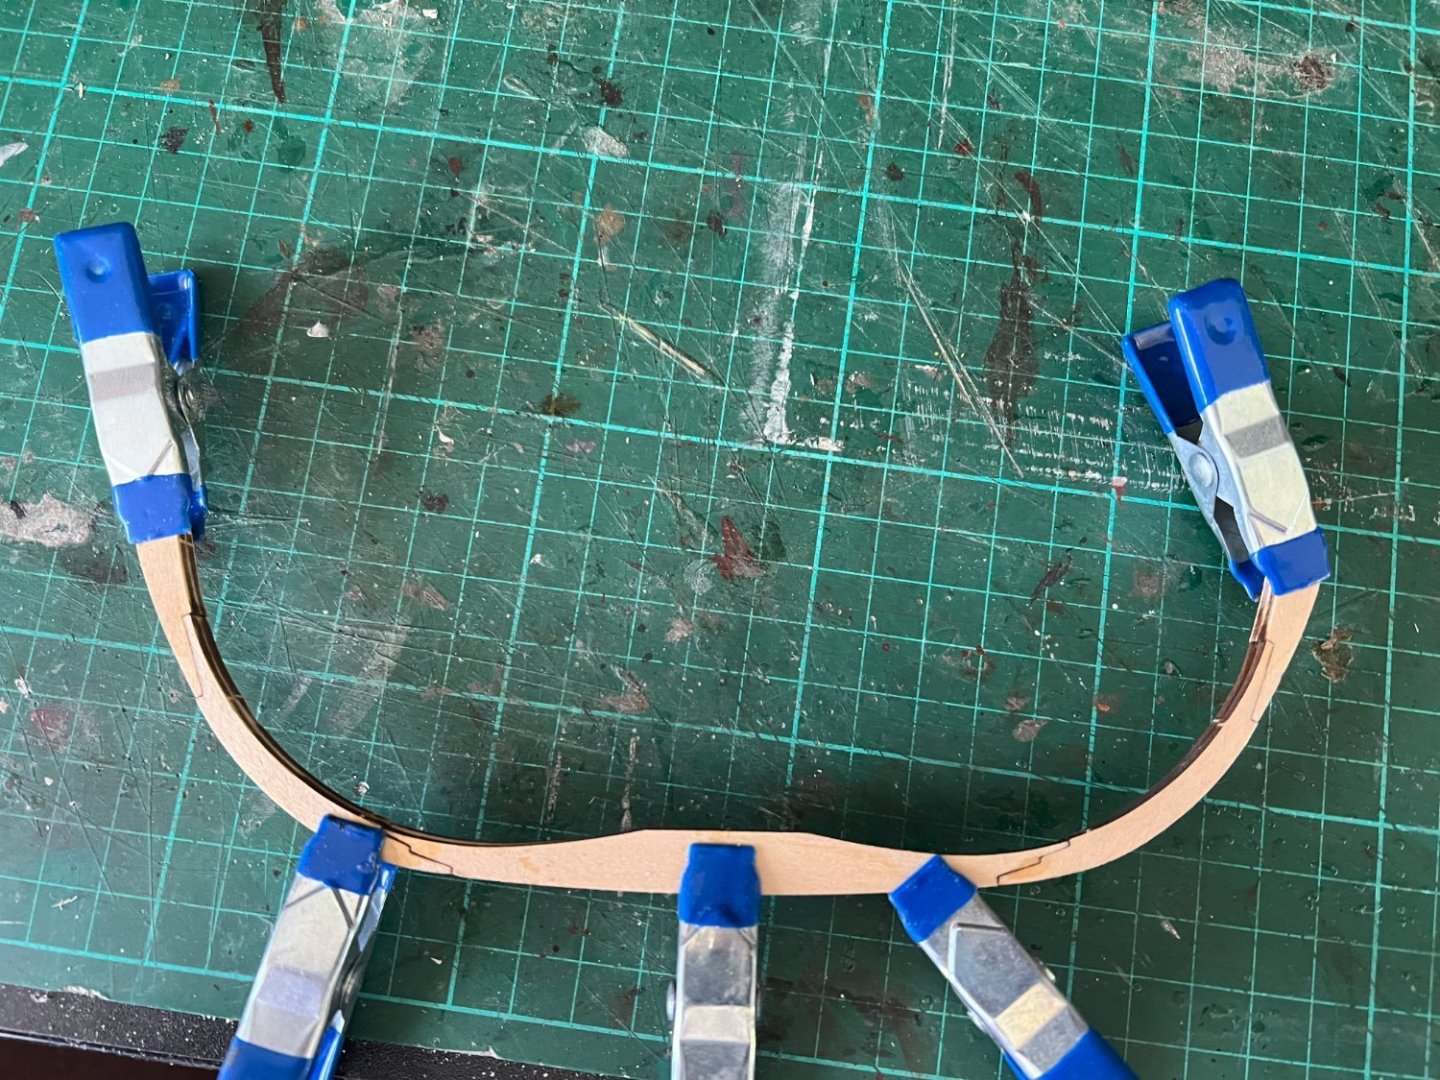
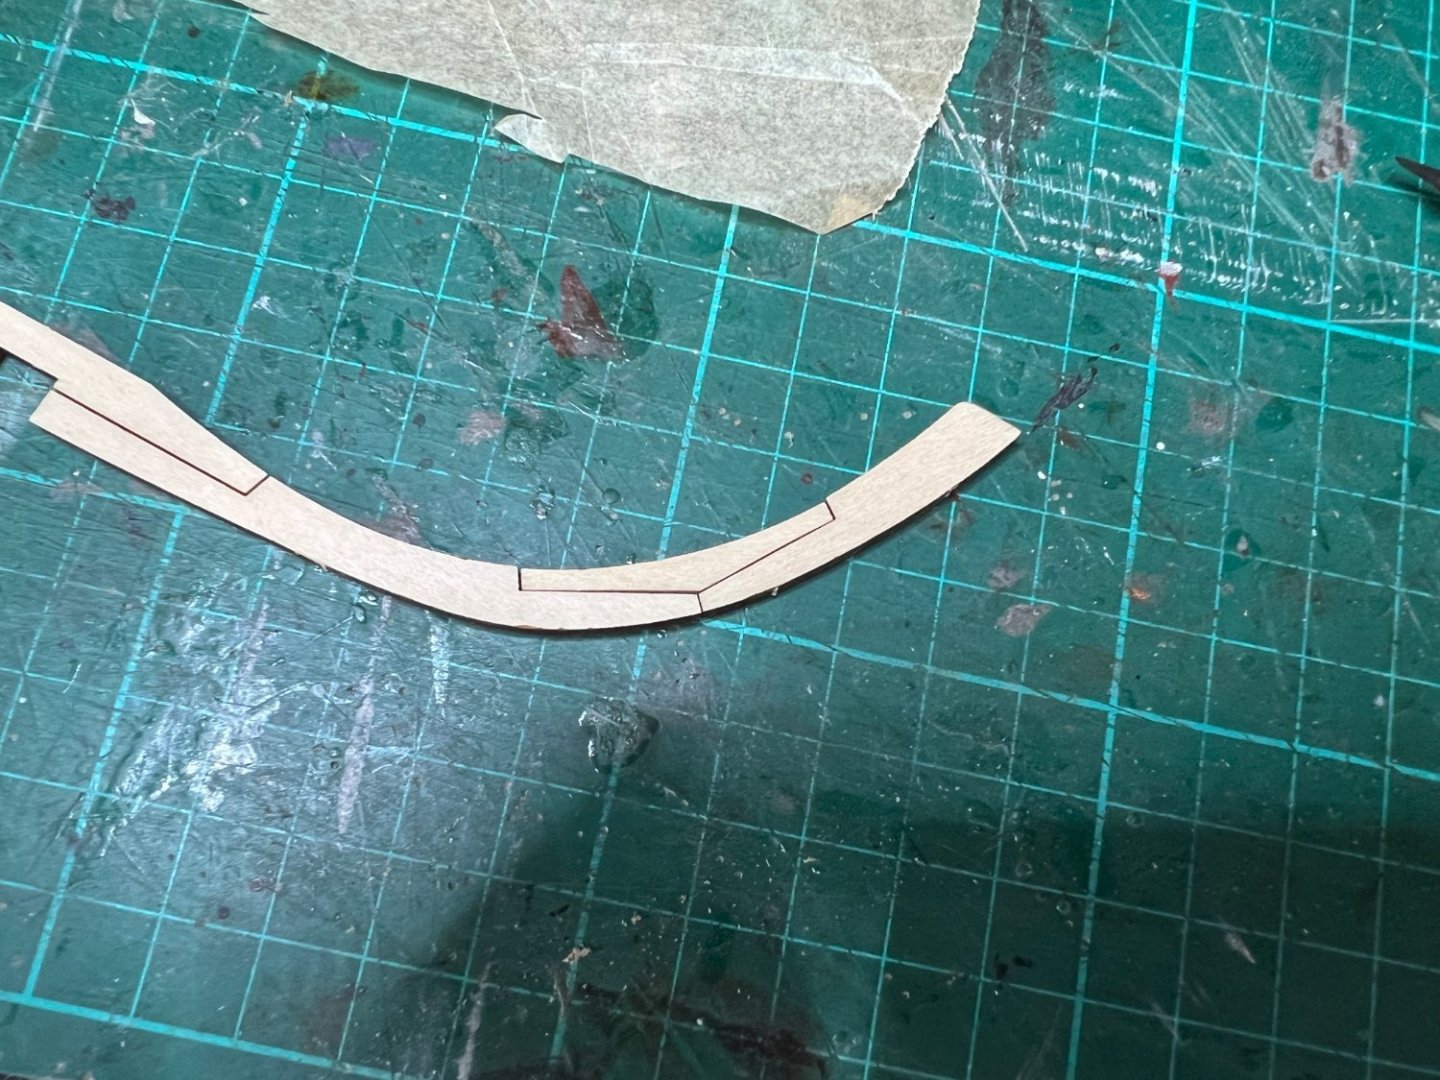
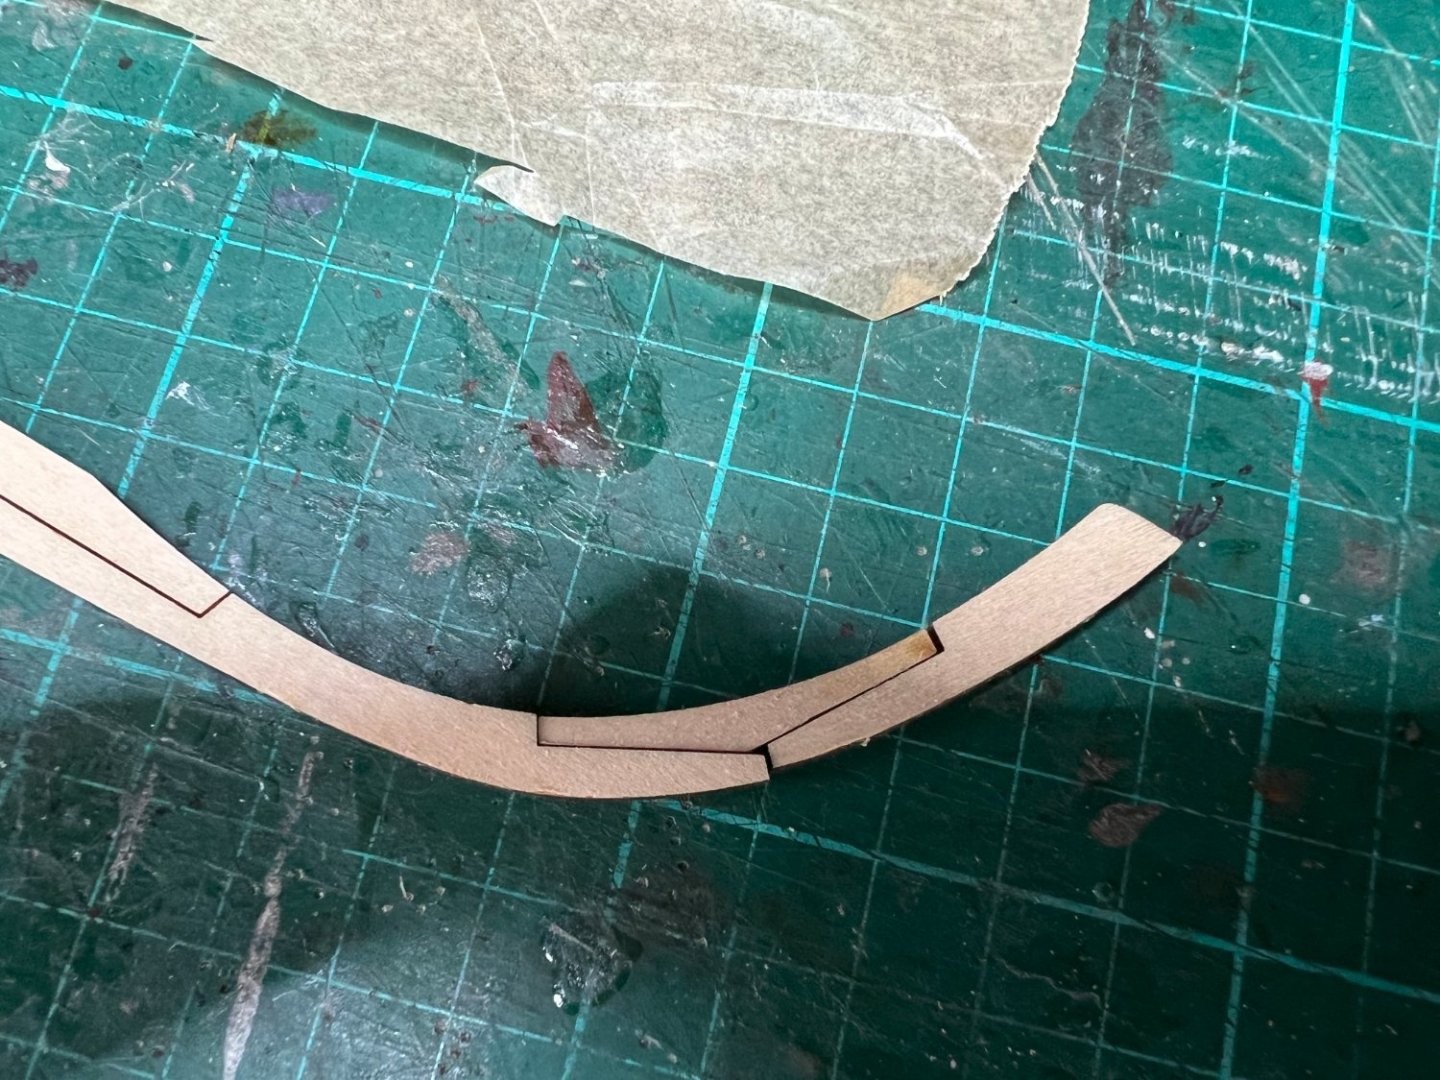
Working on the Riders ,pretty straight forward except you need to be careful with the parts for piece 13 - part 13B has one leg longer than the other and that's the one you glue to 13A ,(images showing the right and wrong way below) 12 is just 3 pieces but be careful notching the top to fit in place as they may break ,after a small repair and clamping the top in a vice to cut the notches it went much better😕😄 Test fitting went ok ,no real problems so their ready to go once i make the other pair and do some sanding. Richard


- 28 replies
-
- 4
-
-
- Victory
- Artesania Latina
- (and 1 more)
-
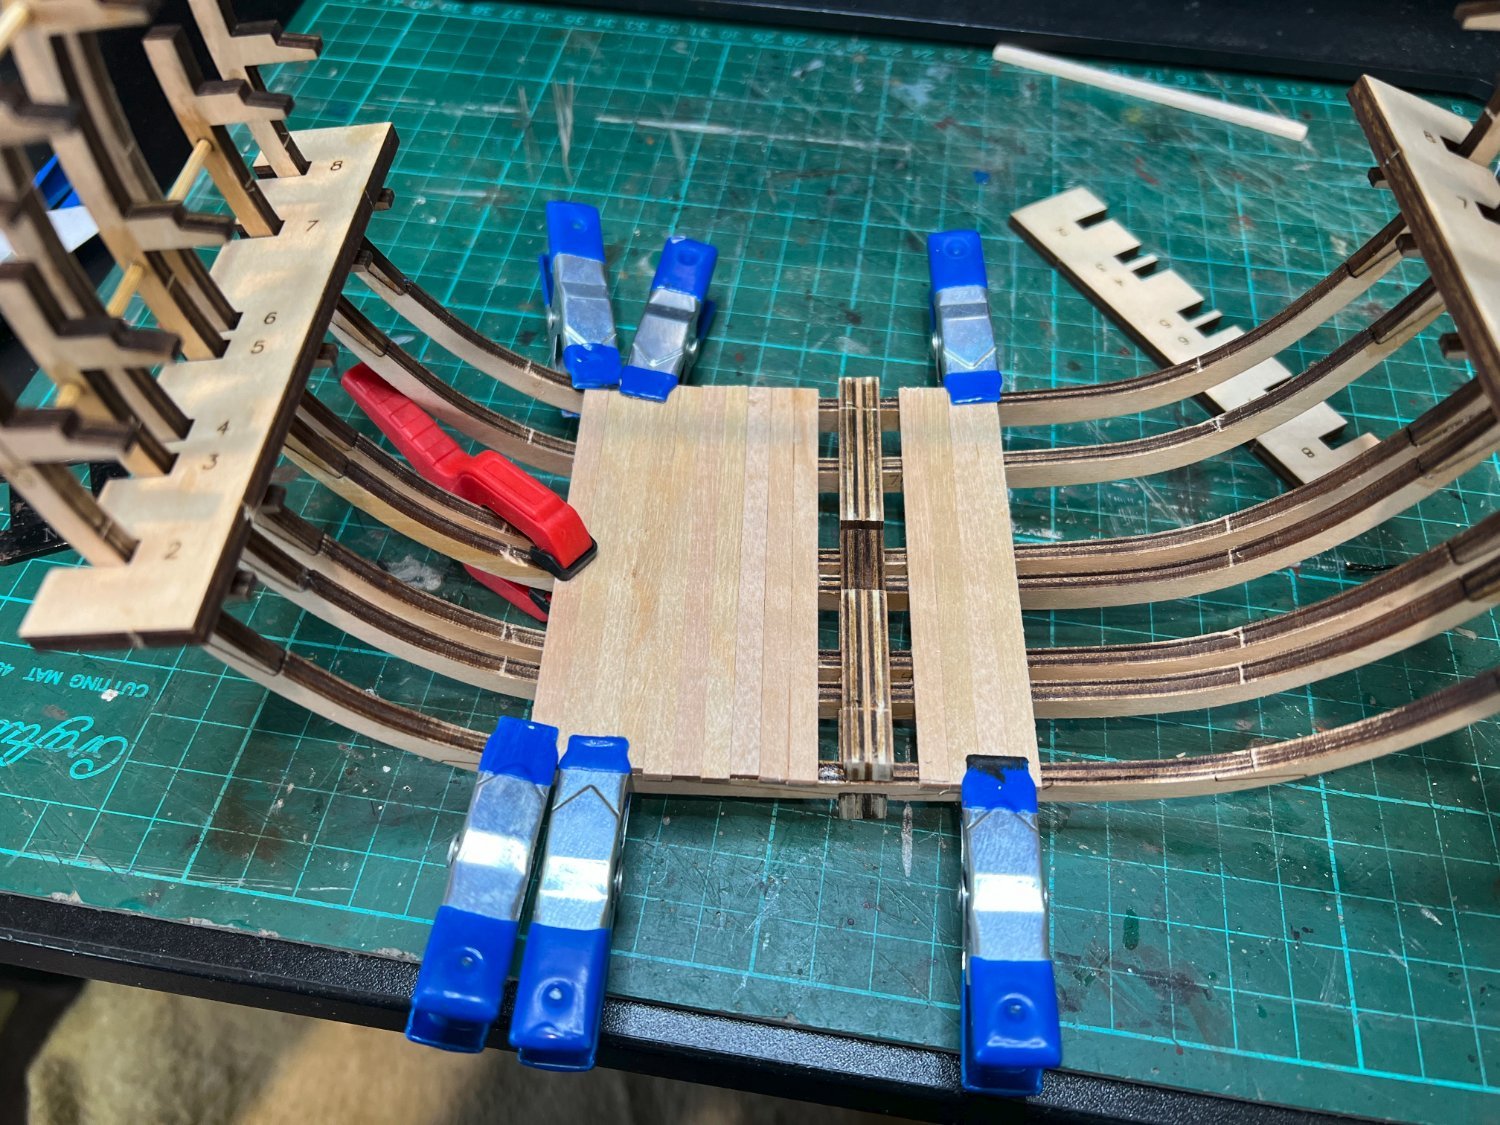
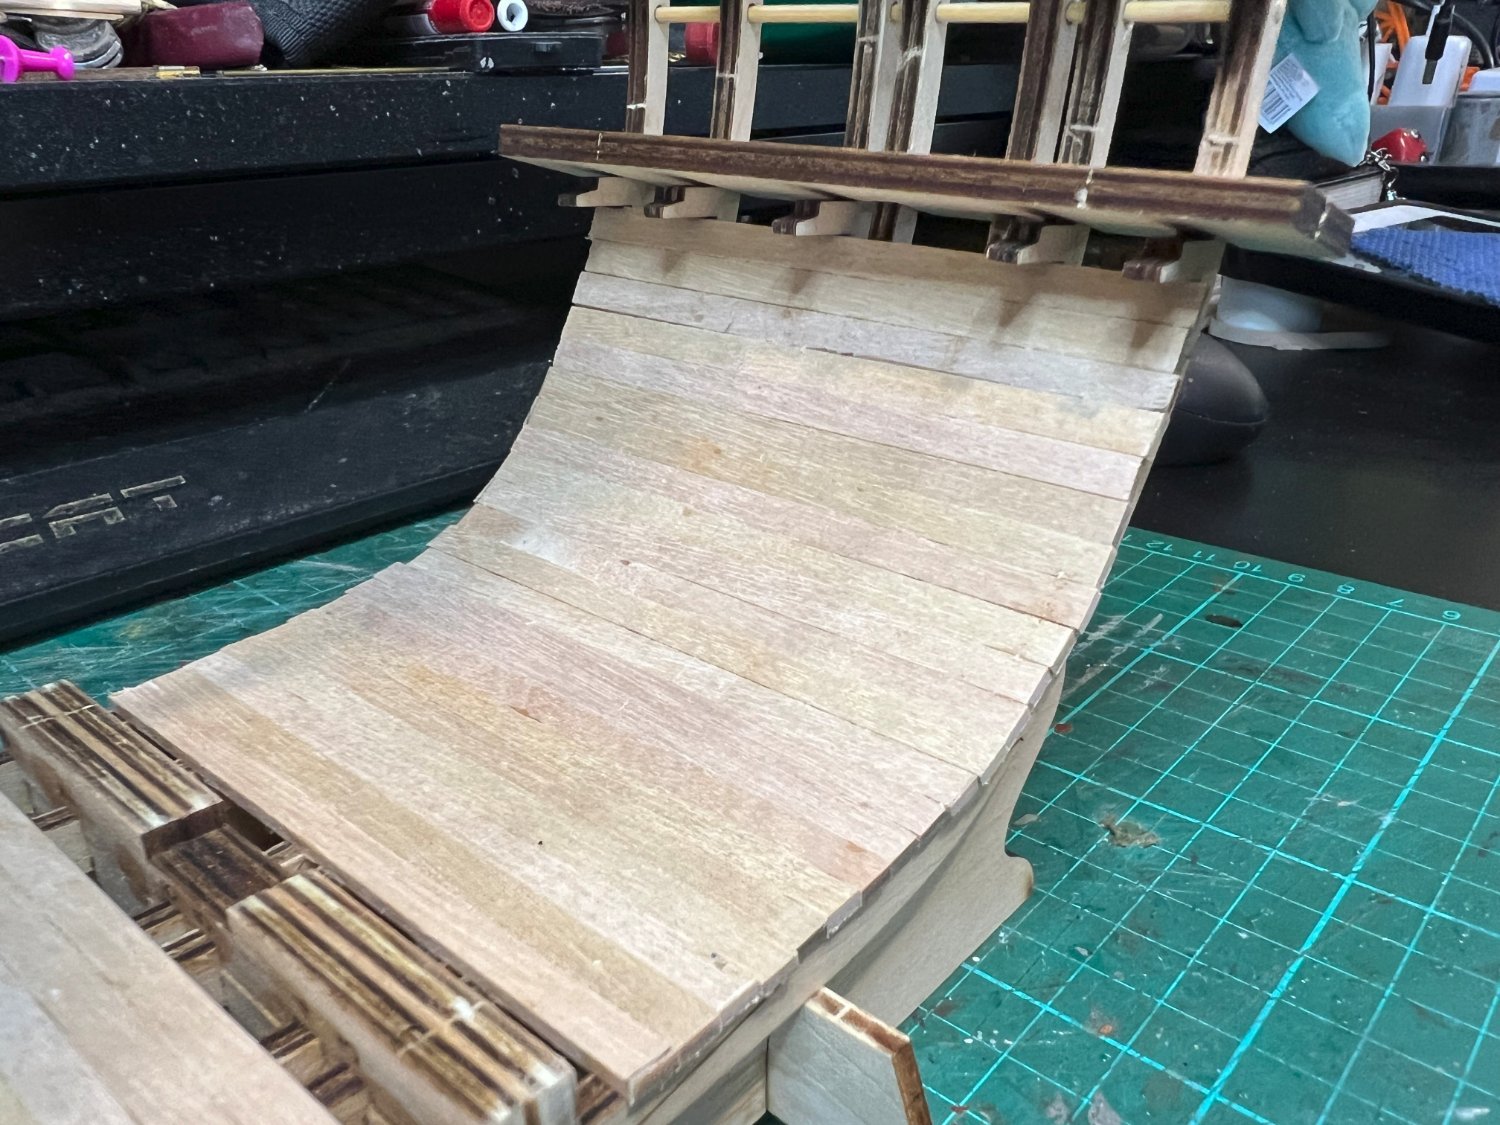
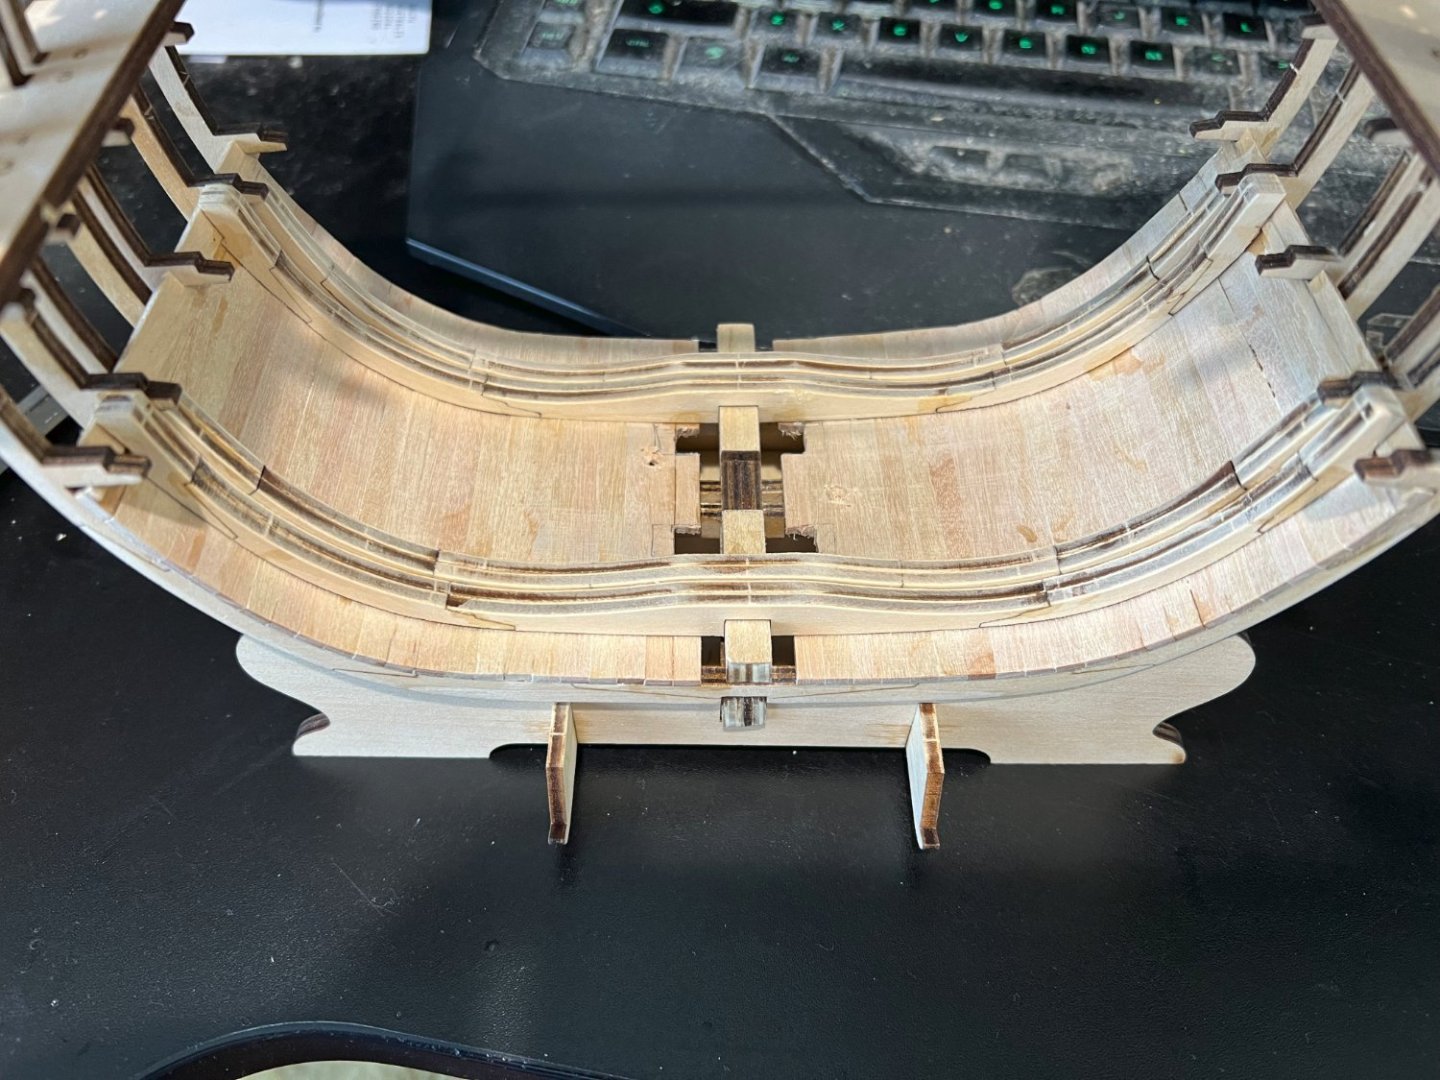
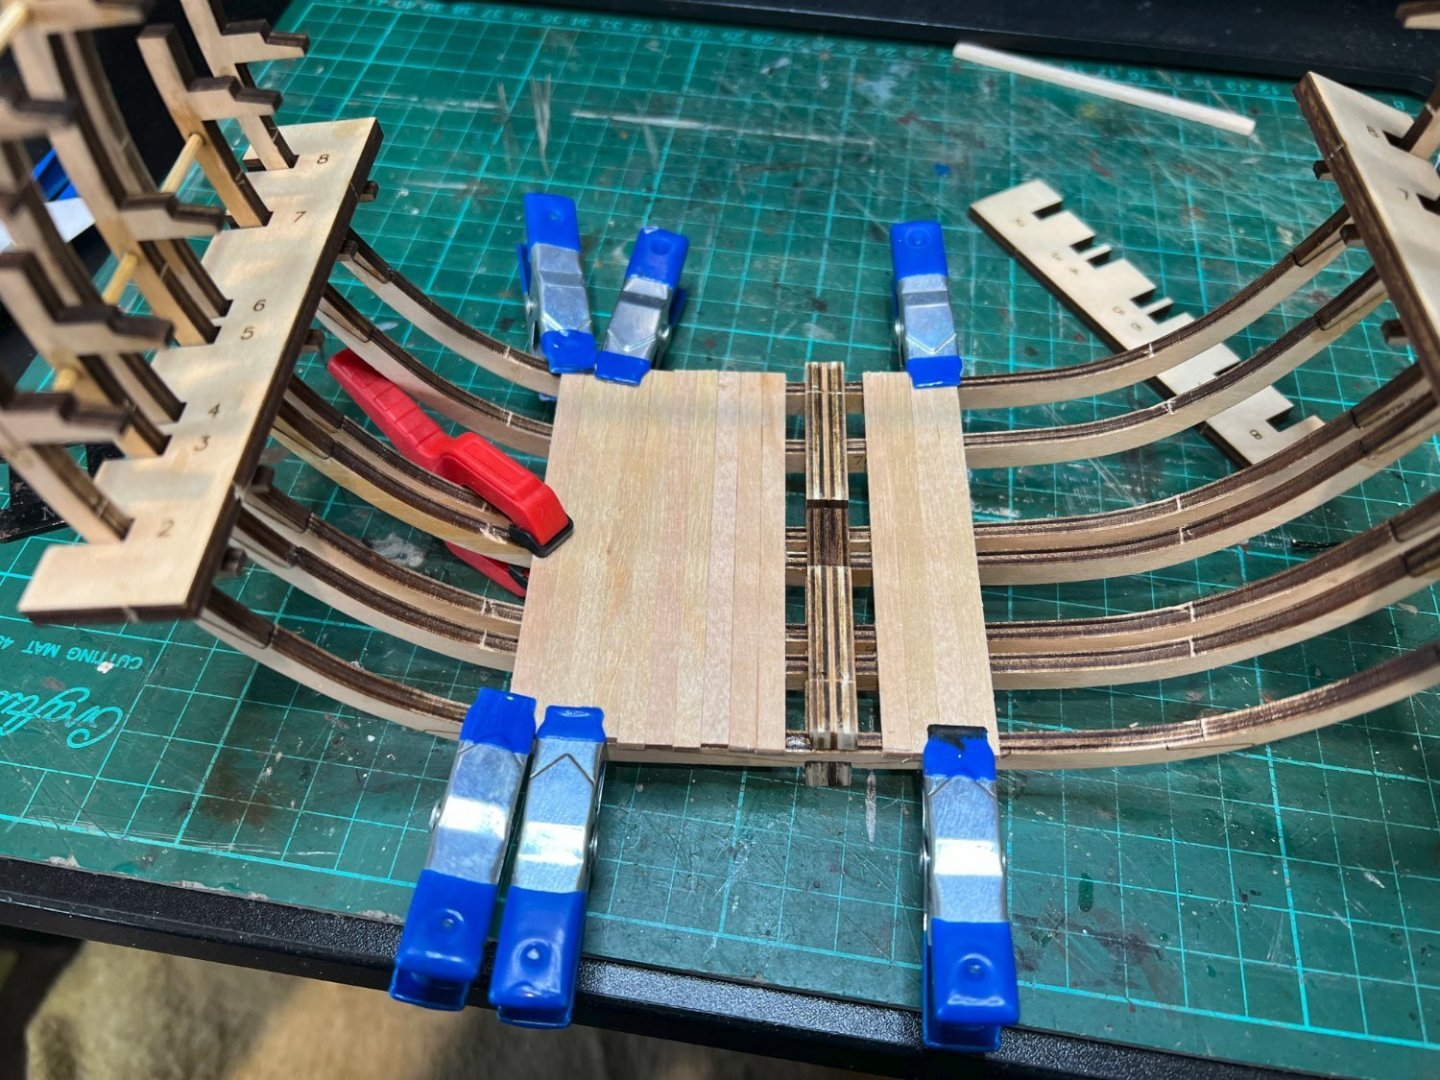
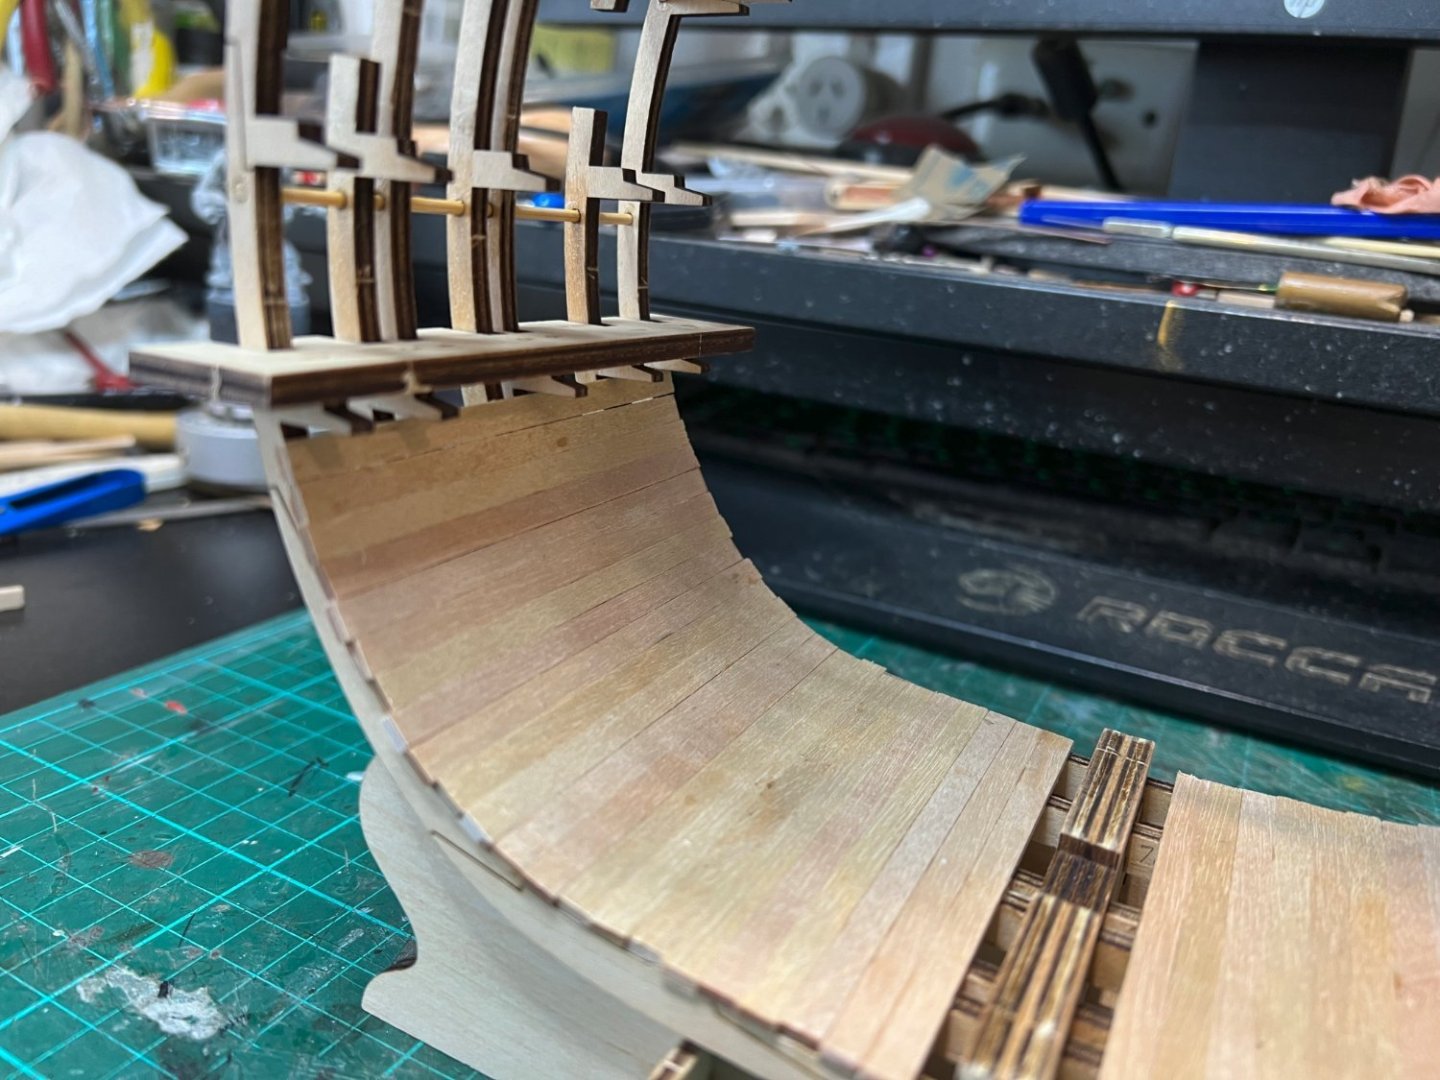
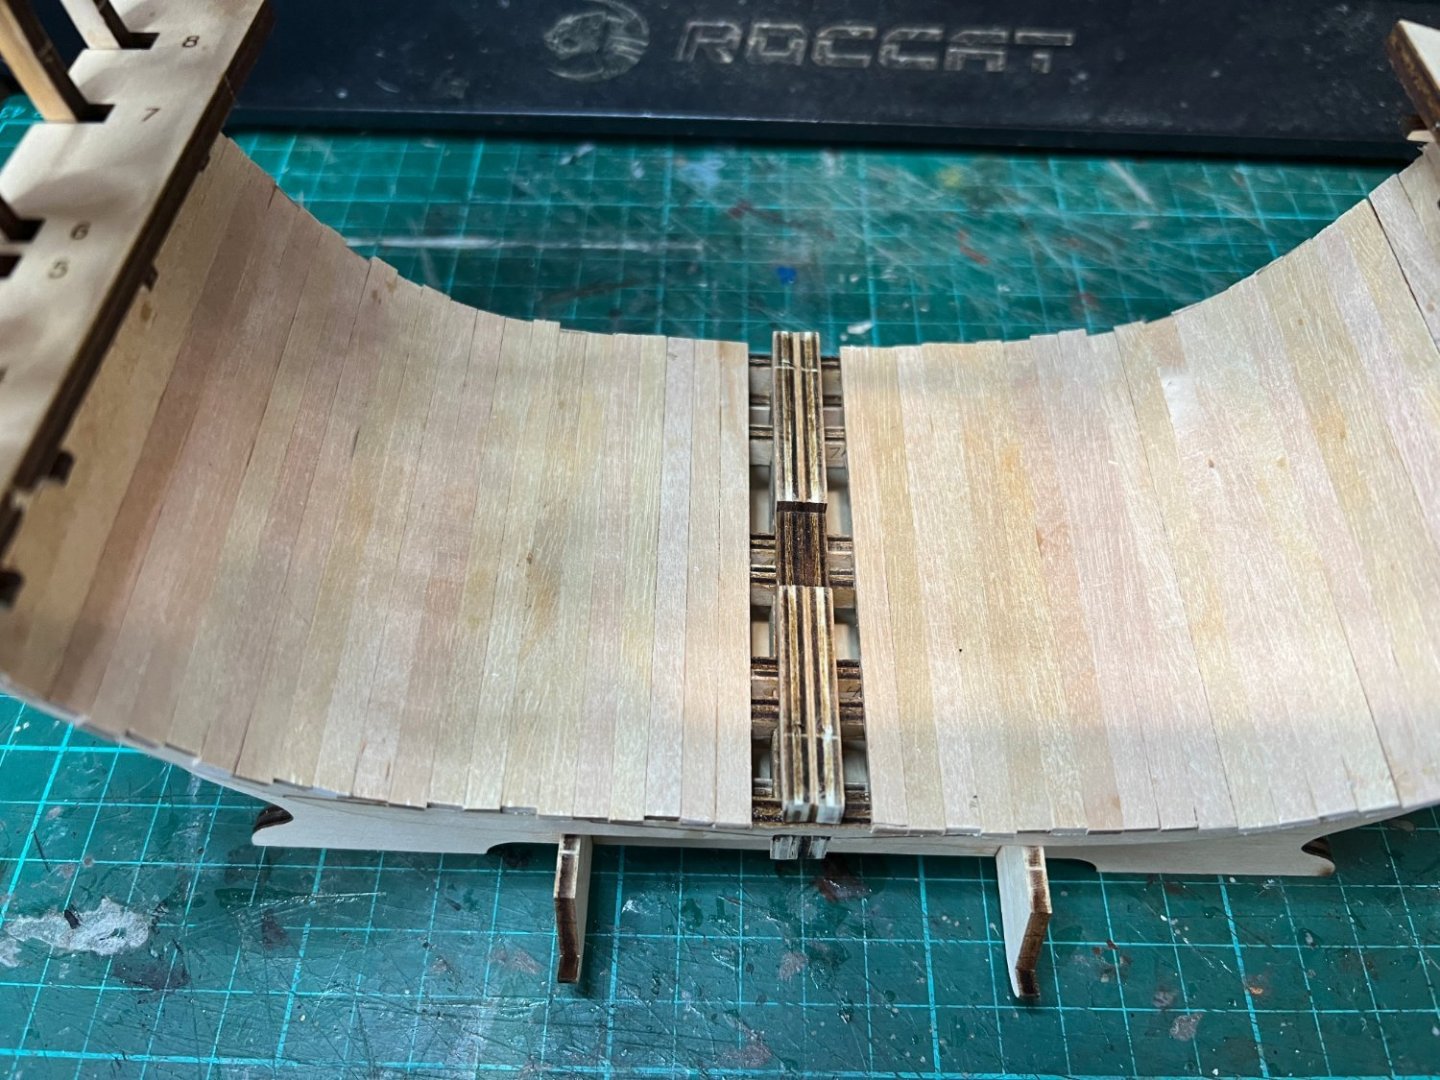
I've planked the hold ,1st thing is to glue 2 2x5mm planks together to make a spacer between the keelson and the 1st plank to make the limber channels ,later on you make the boards! So far no real issues other than I glued a couple of frames to the keel slightly askew ,(only around 1mm off square at one end),I glued the keelson to compensate for the keel and the inner planking's fine! ,should only need a minor tweak once i start the outer hull planking!

- 28 replies
-
- 4
-
-
- Victory
- Artesania Latina
- (and 1 more)