MORE HANDBOOKS ARE ON THEIR WAY! We will let you know when they get here.
×


mfrazier
-
Posts
253 -
Joined
-
Last visited
Content Type
Profiles
Forums
Gallery
Events
Everything posted by mfrazier
-

fire buckets
mfrazier replied to mfrazier's topic in Discussion for a Ship's Deck Furniture, Guns, boats and other Fittings
Yes -
fire buckets
mfrazier replied to mfrazier's topic in Discussion for a Ship's Deck Furniture, Guns, boats and other Fittings
Thank you. That was about the size I calculated . I just thought it was a little small, but evidently it was correct. Thanks for the confirmation. I am working on a way to make them from scratch. -
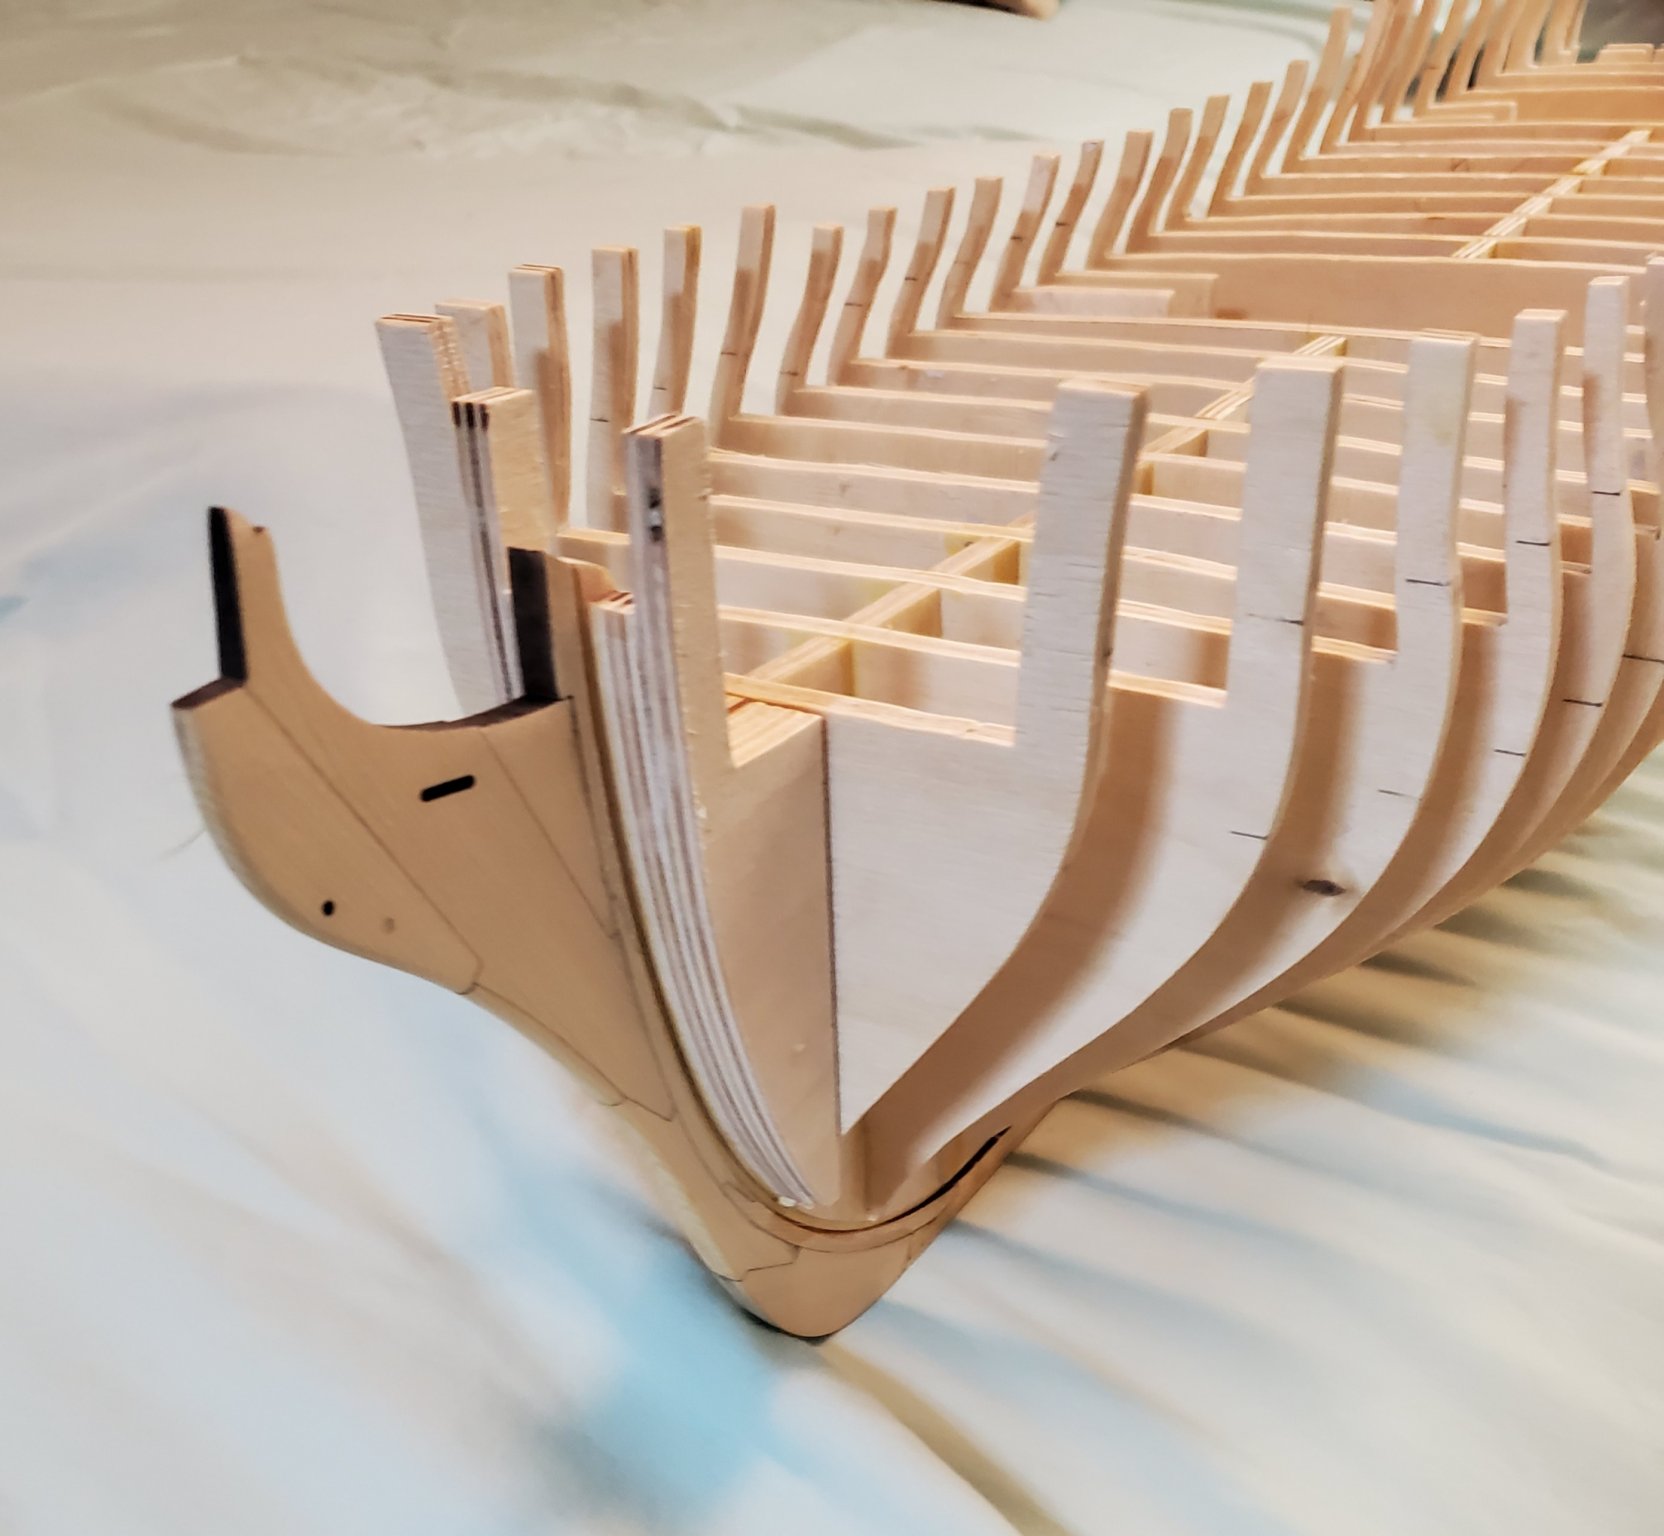
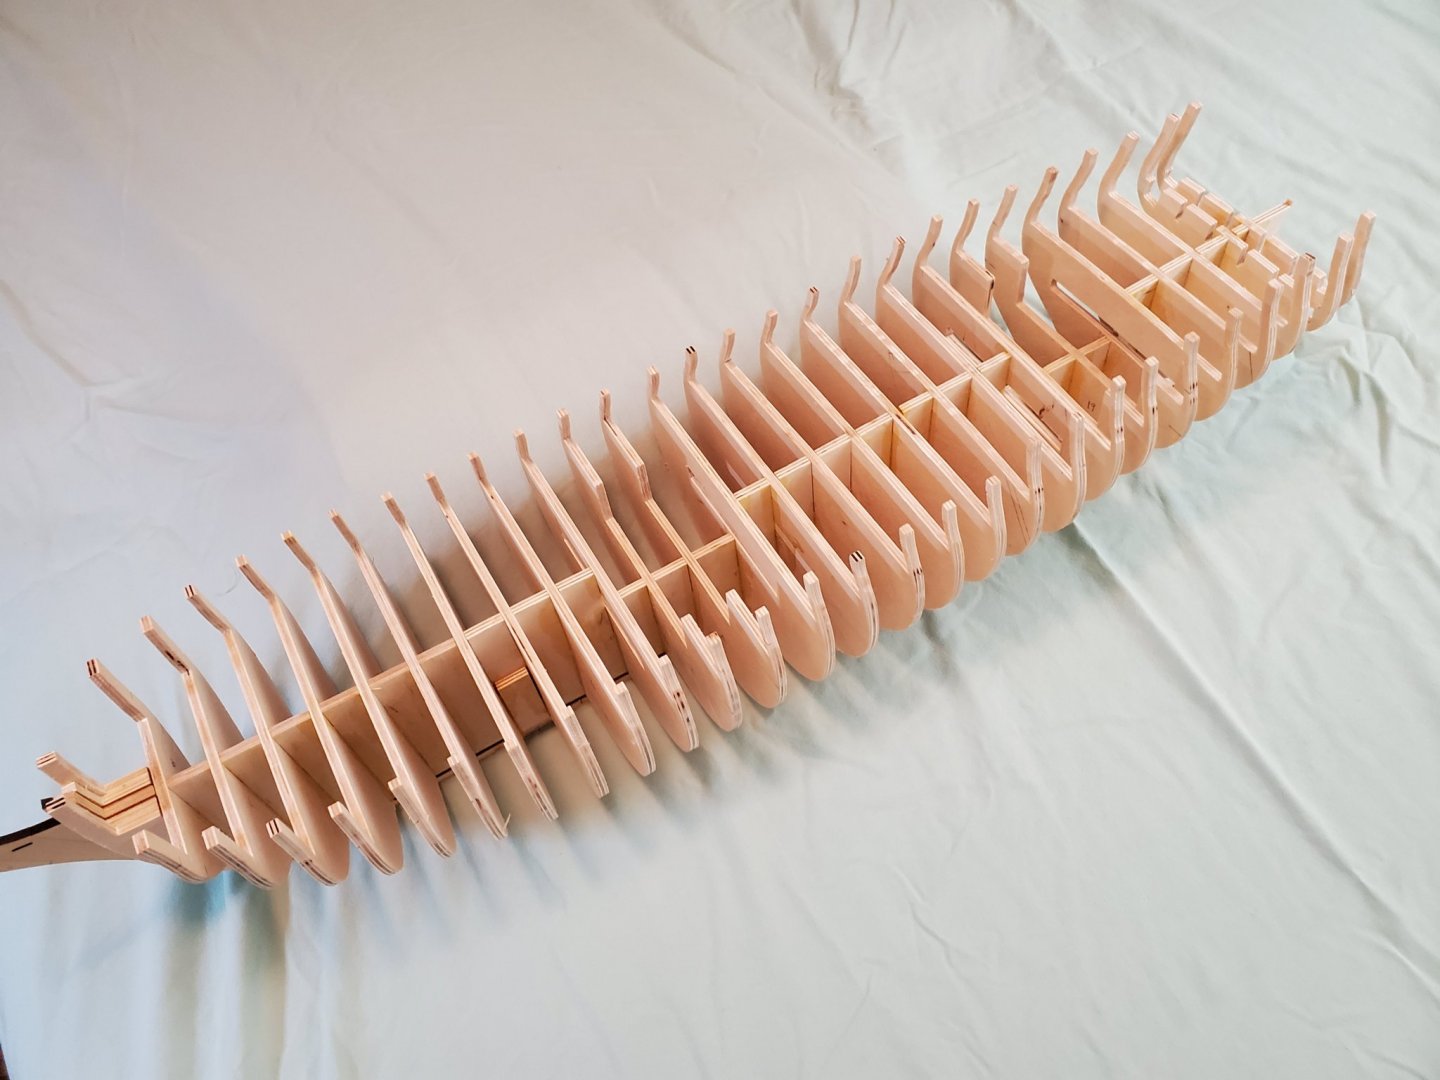
Well , I have a problem but I will be able to work with it. Like I said, I discovered I was not a master of the scroll saw. I couldn't get that thing to control for nuthin' . Only after I got everything cut out ,I broke the blade and put a little bigger blade in and WOW.... I can follow a line with ease. But too late now. Some of the slots in the bulkheads were a little rough and filling them straight, I got some a little off. This throws them way out at the outside. Sooooo.... there are a few bulkheads that will have to be shimed on one side and ground off on the other side. It will make planking a real chore, but I think I can overcome the problems caused by my inability to run that saw. I rough faired the hull to get an idea of how much trouble I was in. I am putting in the gunport frames now and will Fair it some more. I will post pics when the gunport frames are done. The hull looks okay until I lay a plank along it. Then I see the low and high spots. I will sand the high spots and shim the low while planking.
-
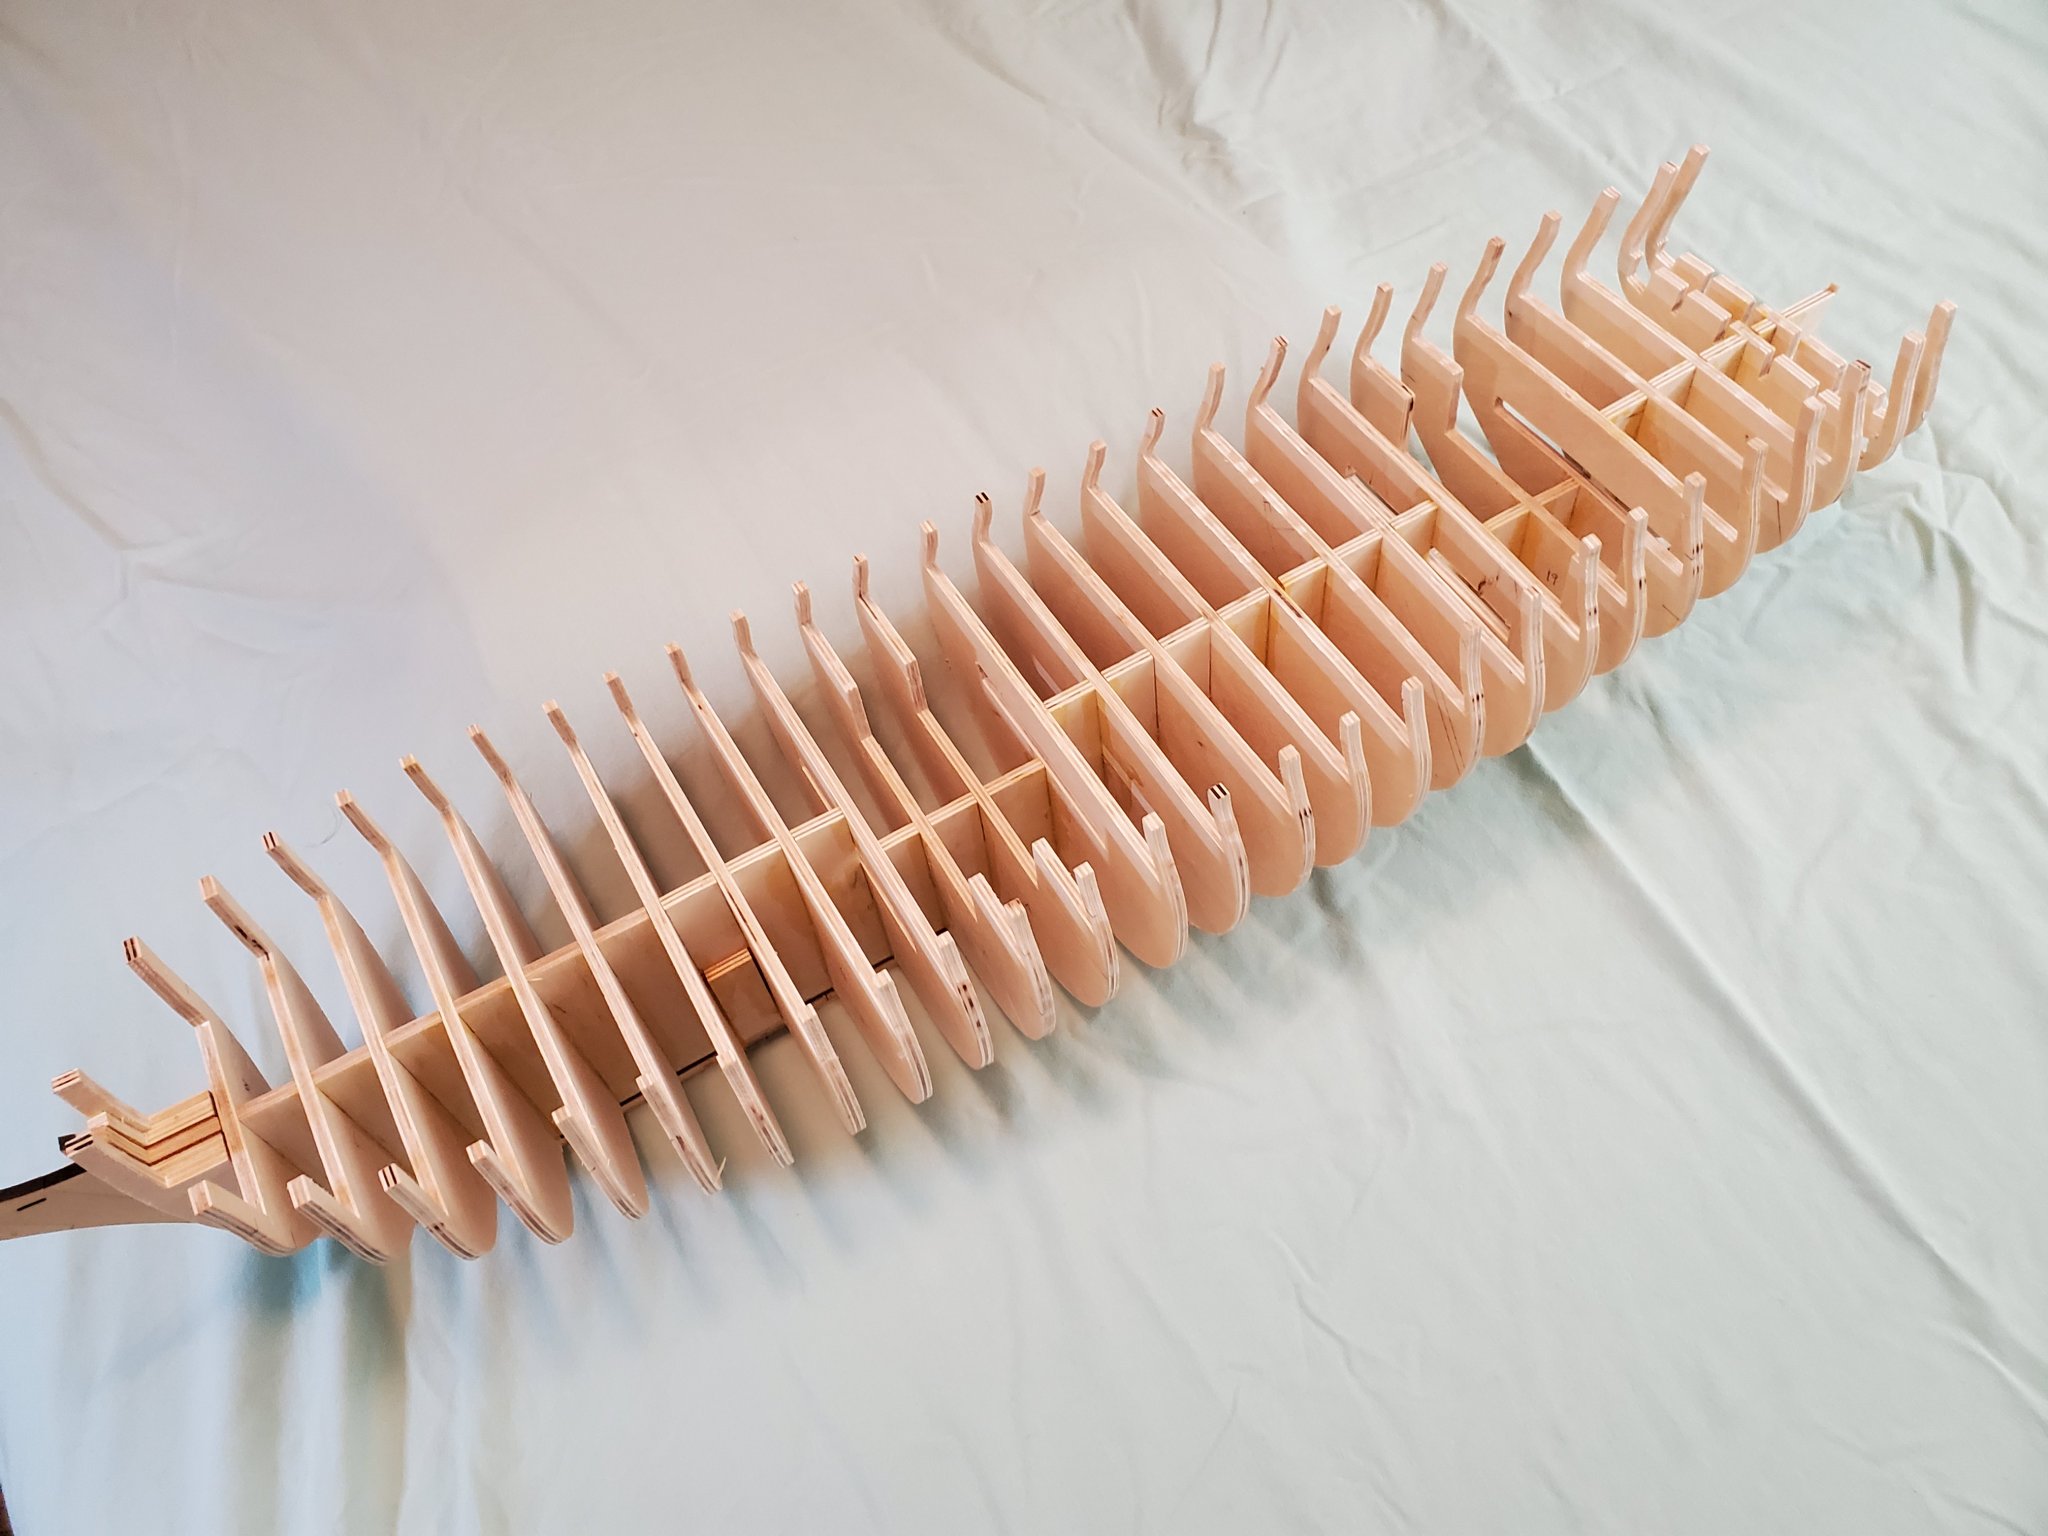
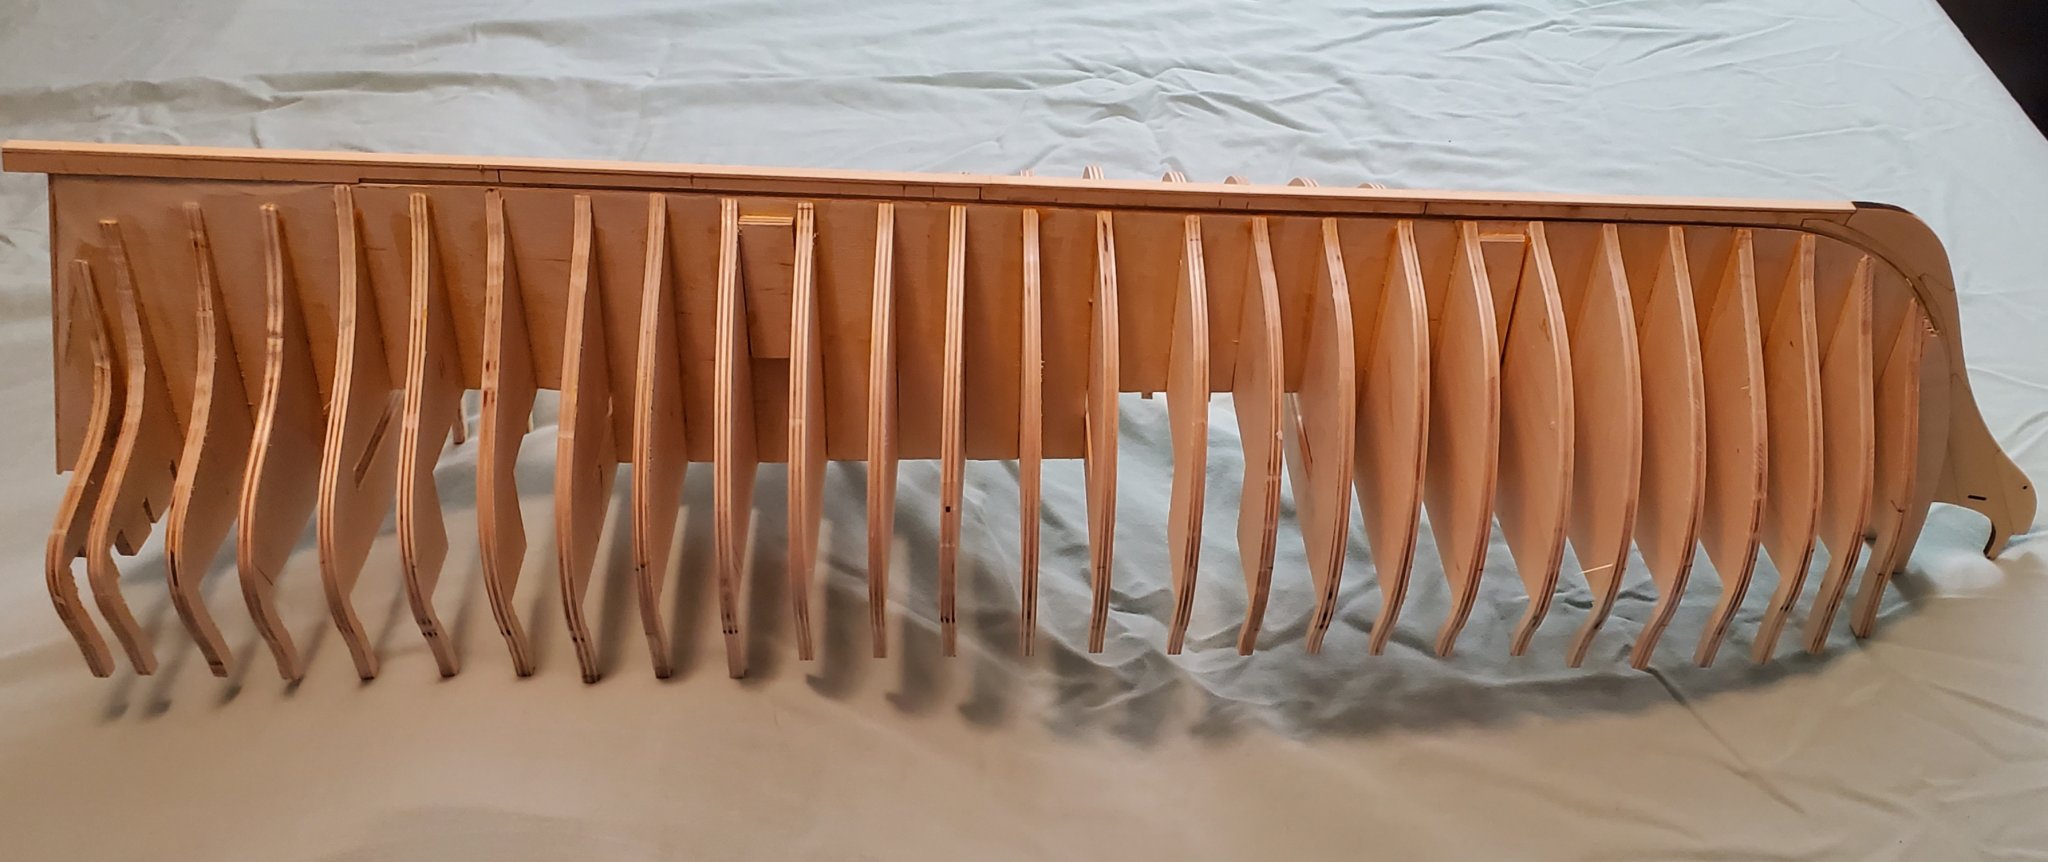
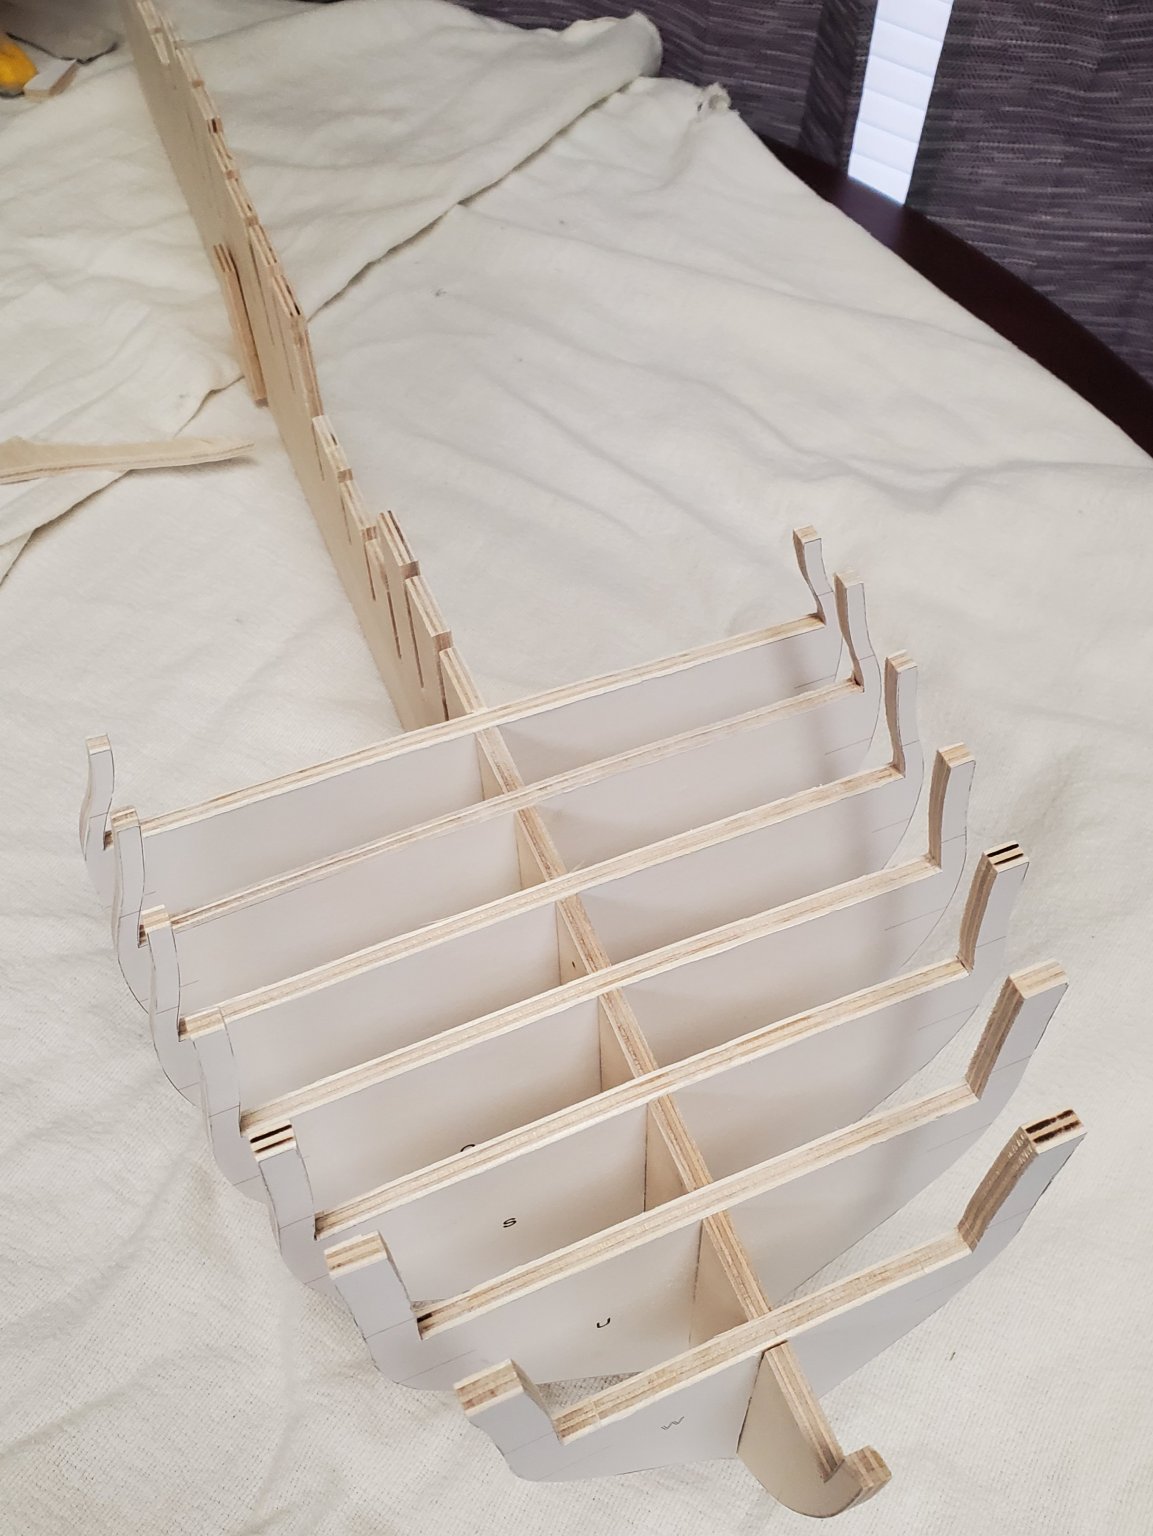
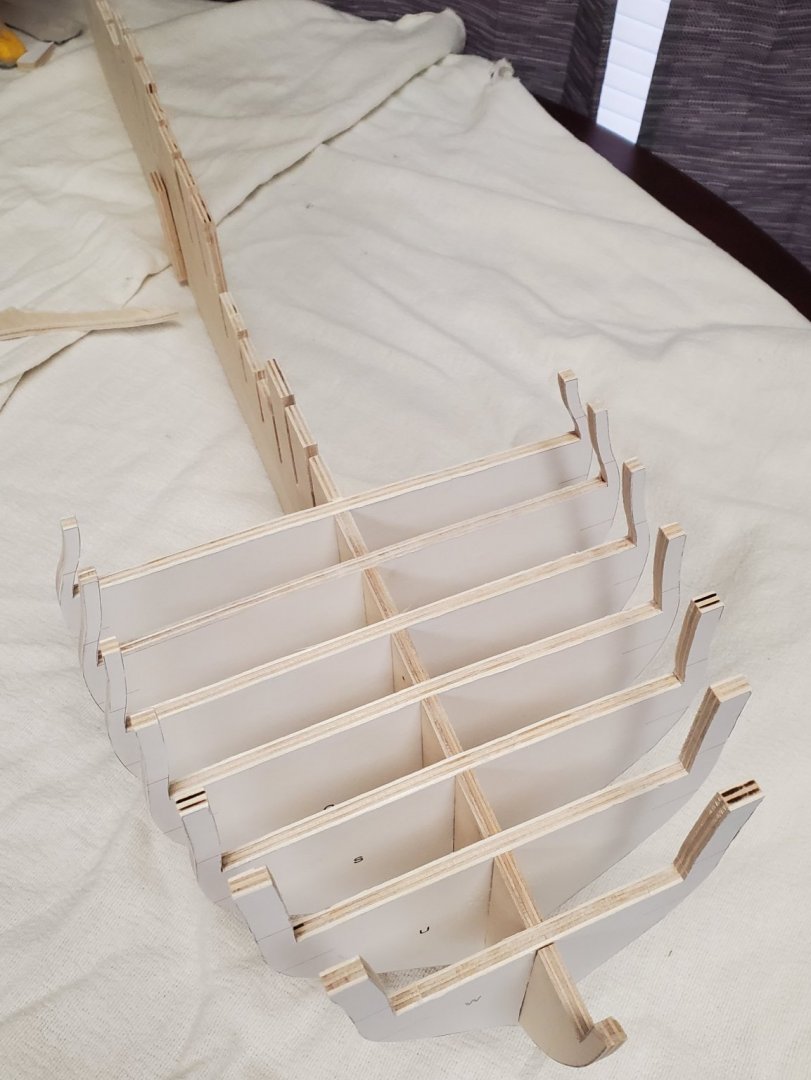
Everything is glued and all seems square and straight. The hull is very solid. I am ready to start fairing the outside of the hull and a little finish sanding on the keel. After that I can start the gun port frames. I recieved the chapter one and chapter two kits and the quality and fit is absolutely amazing. Chuck has done an amazing job on these kits.


-
I ordered planking lumber from Syren today. I think I have figured a good way to rip it to size on my table saw. We shall see.
-
They are certainly not the quality of the laser cut parts, but I think they will work ok. ( pictures make everything look better). I will know when I fair the hull , how good they are.
-
I got the rest of the bulkheads cut out. What a grueling process it was. I found out that I am not a master of the scroll saw. Thank God for the disc sander. I was all over the place with the saw cuts. I just stayed WAYYYY outside the lines and ground them back to the lines. There must be a trick to making that saw go where you want it to, but I sure don't know it. I couldn't control it. I thought I would have got better towards the end ..... but I didn't. Well now that is done I can get to the rabbit strip when it arrives. I am looking forward to this build. I am now thinking about ways to rip the planking when I get the blocks.

-
That's a relief . Had me worried for a second. 😁
-
I understand. They are only dry fit at present. I'm not sure I understand what you mean about the first bulkhead being too small. It goes all the way down like you said and I looked at the other builds and they look the same to me. I am double checking everything before I do any gluing and waiting for the chapter one and two kits to arrive so I can do the rabbit strip. I will probably finish cutting out the last bulkheads today.
-
Thanks for the heads up. I hadn't thought about that. I have the first seven bulkheads dry fitted and they seem ok. I will watch the rest closely. Mark Frazier
-
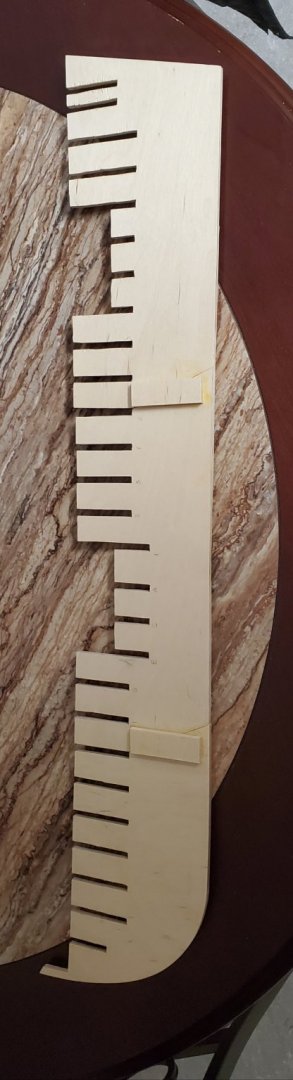
I discovered a problem. When I cut the 3 pieces for the hull former, I should have left them oversize on the bottom and sanded after gluing together. I sanded and then assembled. I ended up with the front and rear ends touching the build board and about 2 mm clearance in the center. While this may not have been too bad , I feel it needs to be FLAT. My solution was to glue a couple thin layers of basswood strips from my junk box.... I mean inventory .... to the bottom and I glued some sandpaper to a 30 inch flat board and sanded the whole length flat. Worked great. Now the former is perfectly flat on the bottom. I have ordered chapter one and chapter two kits from Syren. As soon as they get here, I am ready to proceed.
-
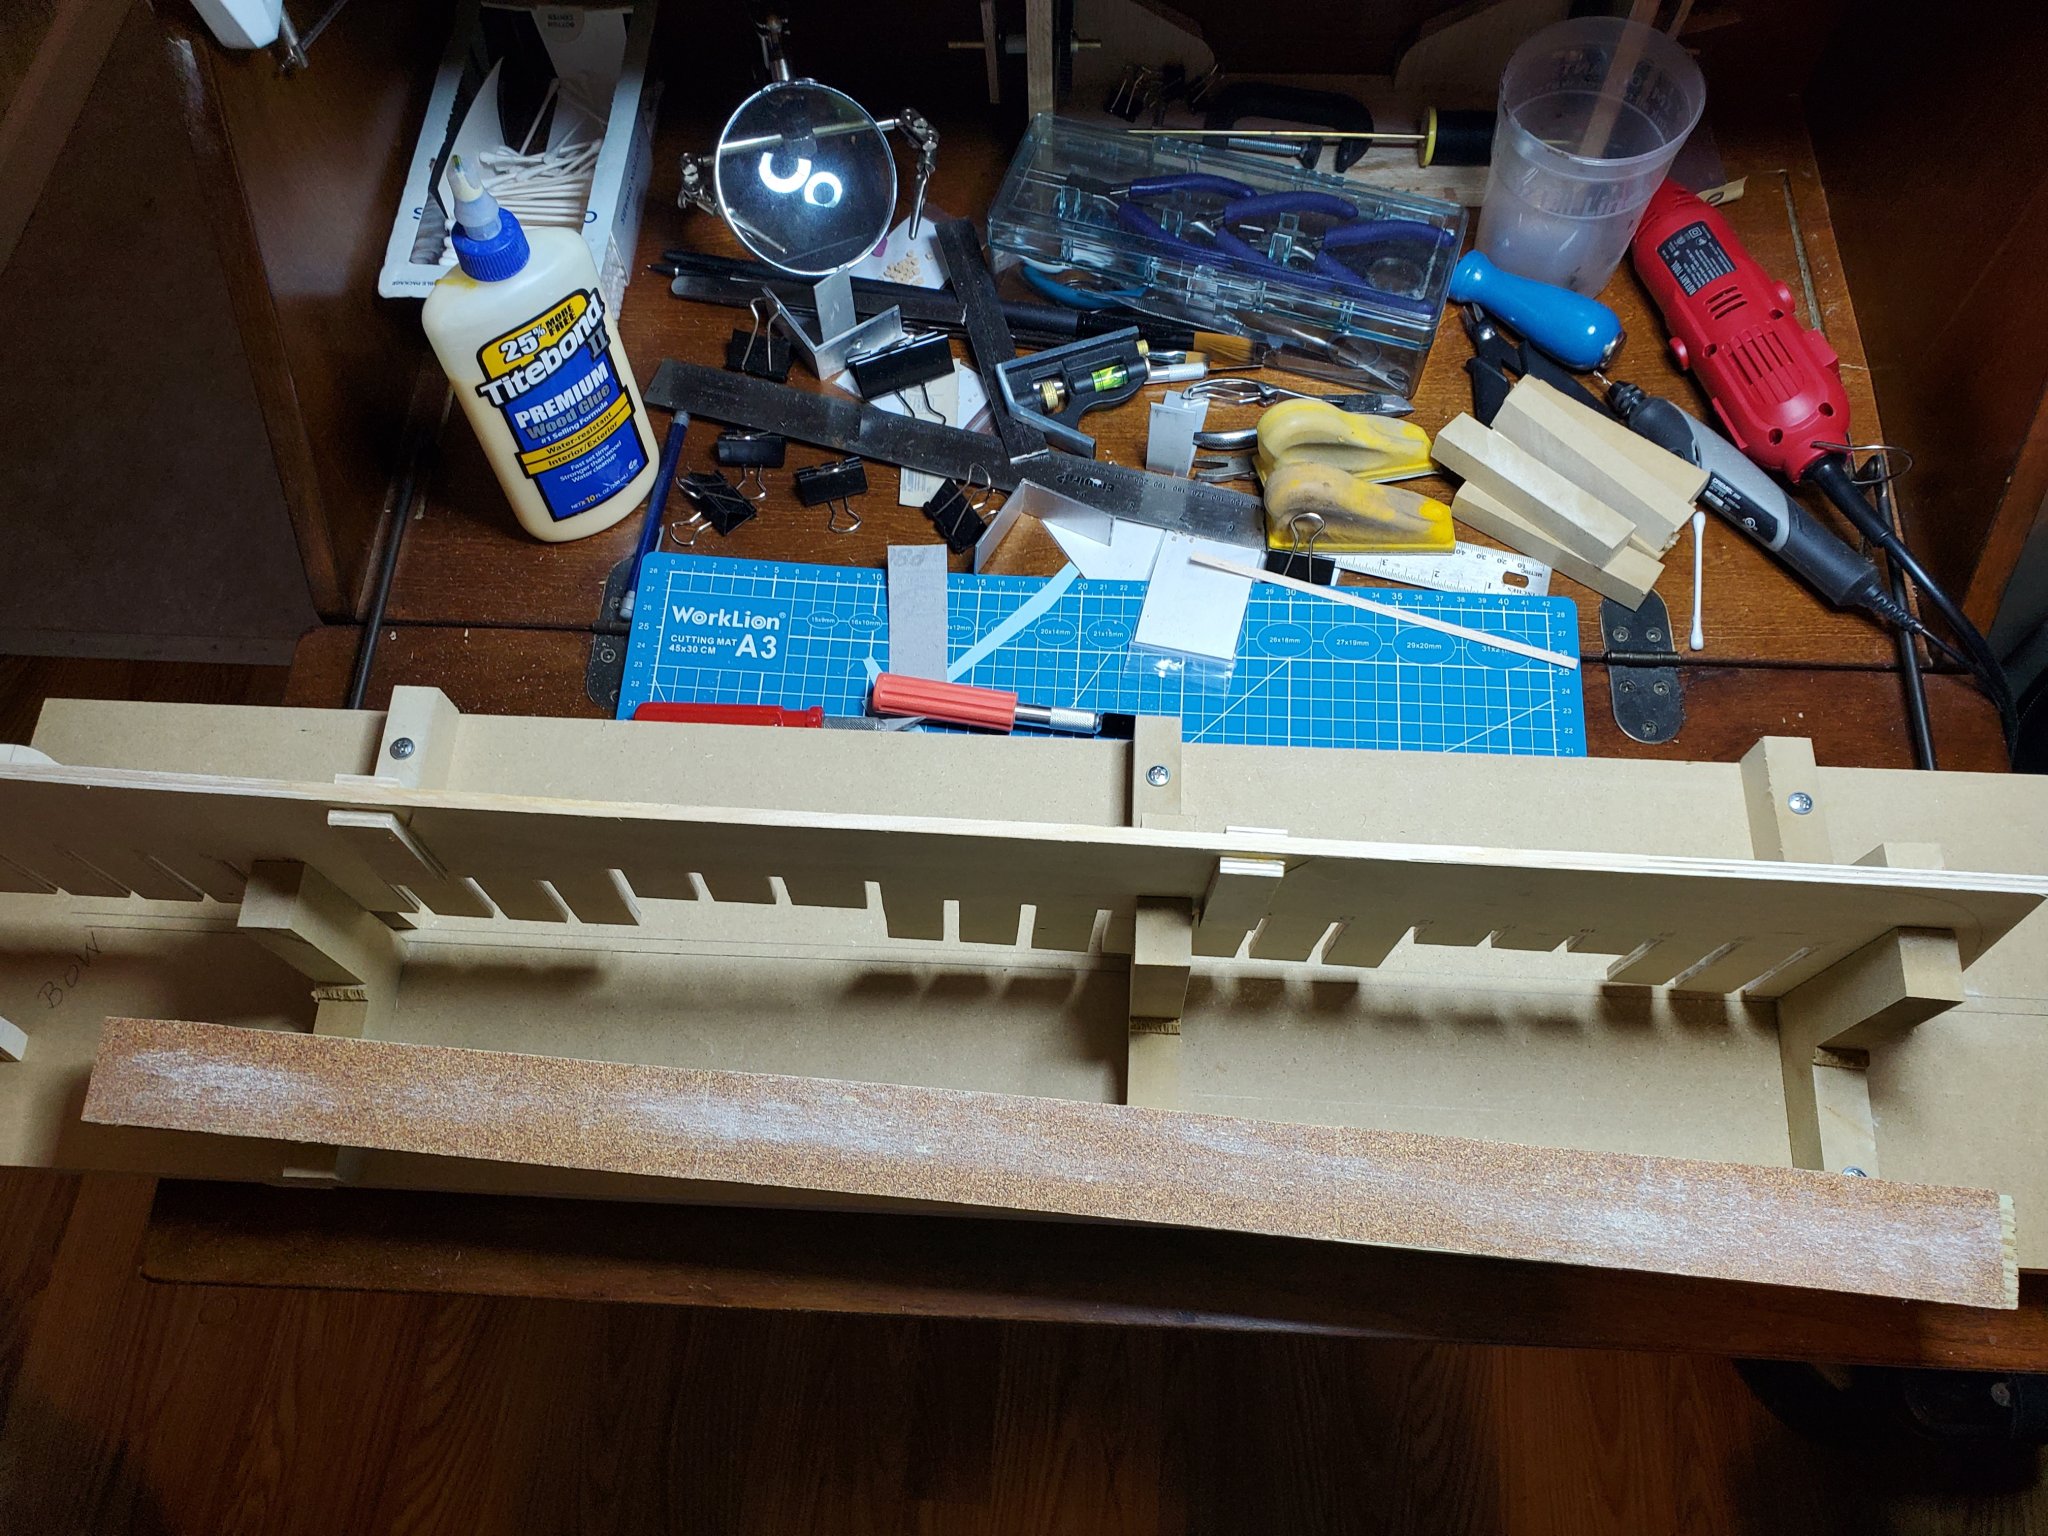
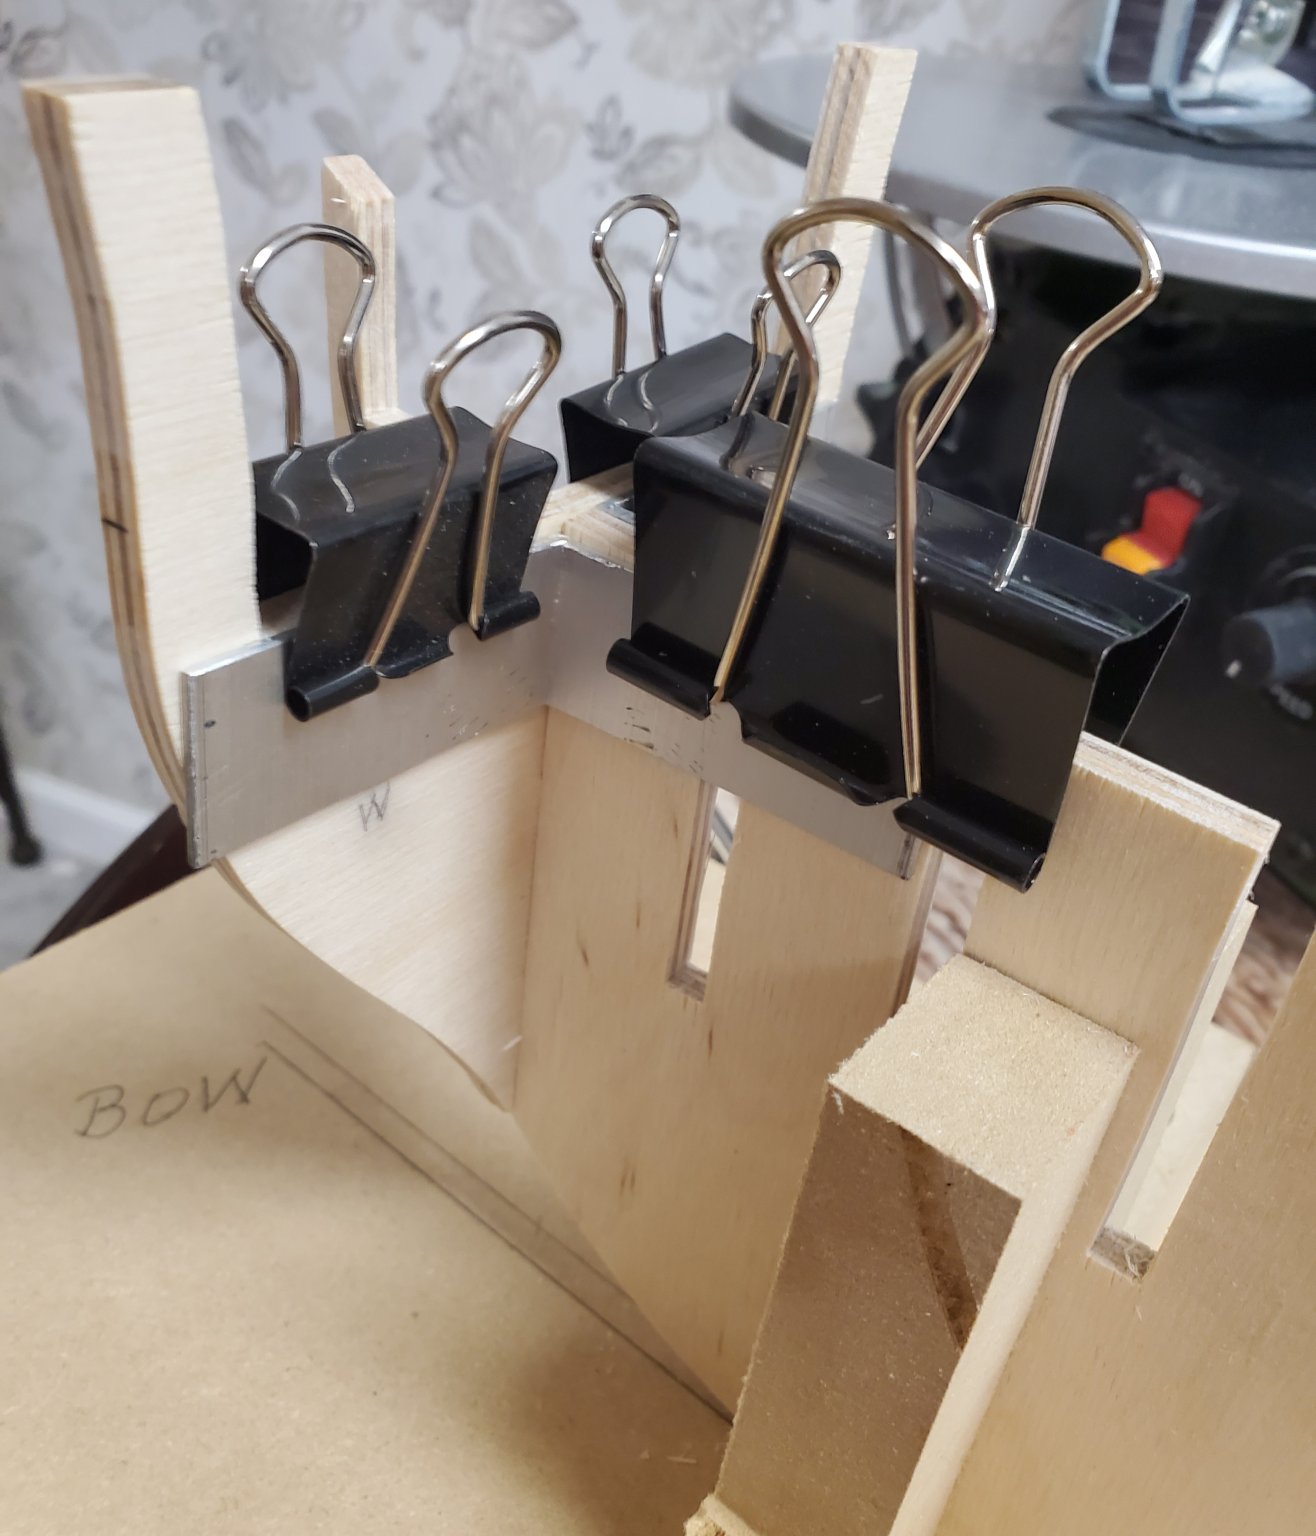
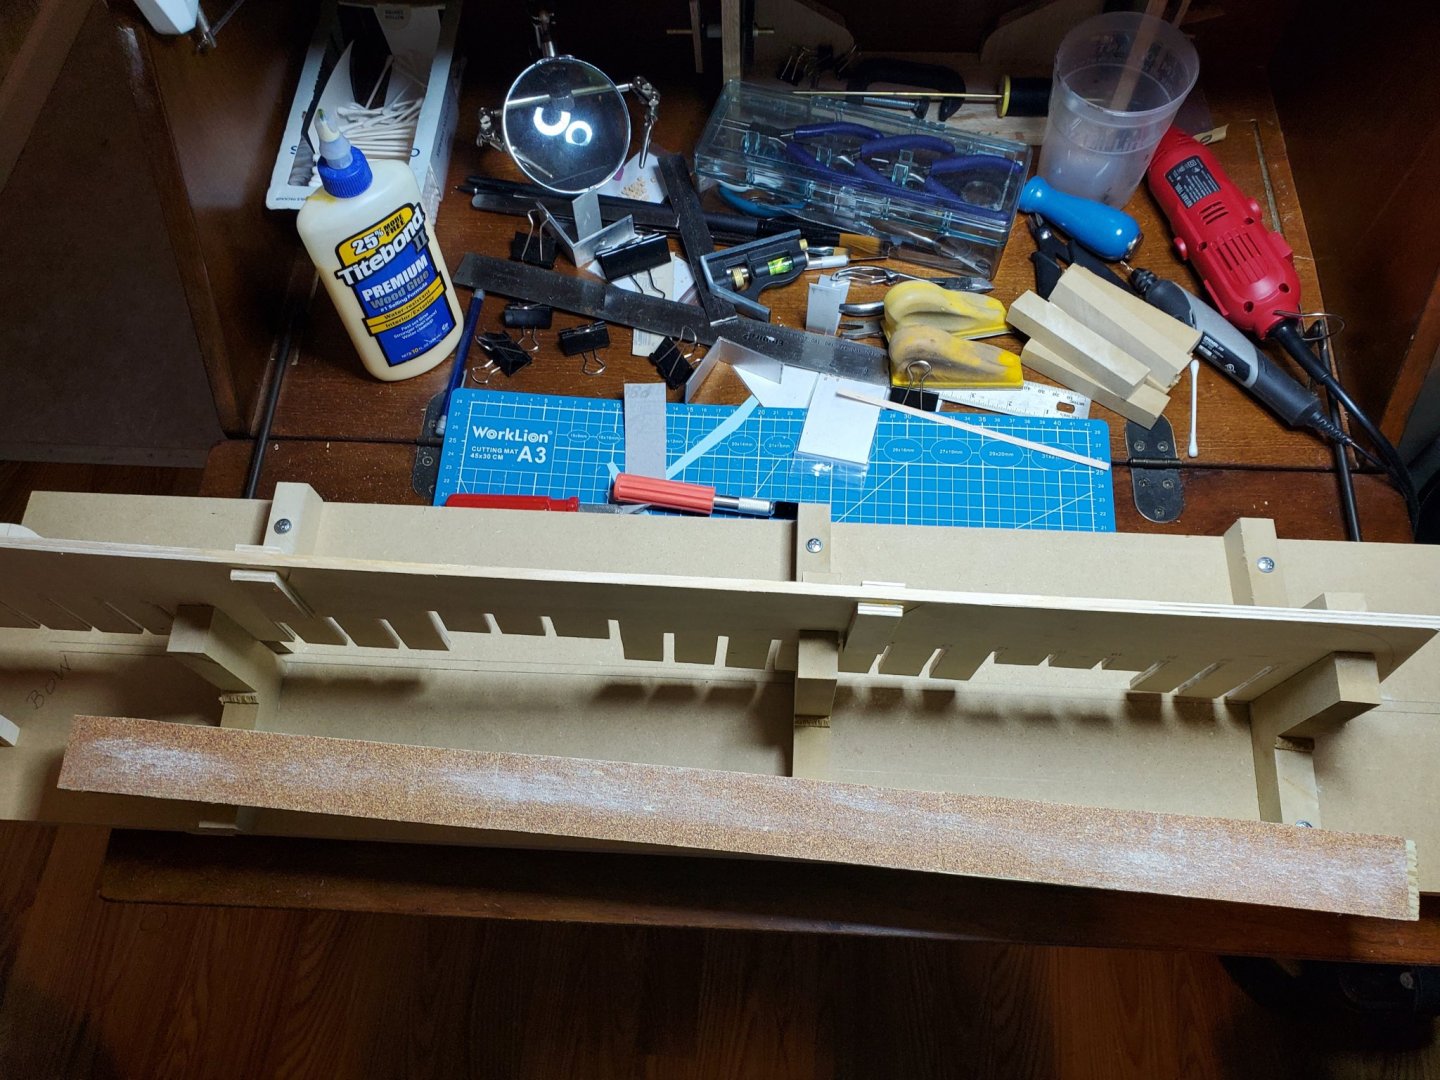
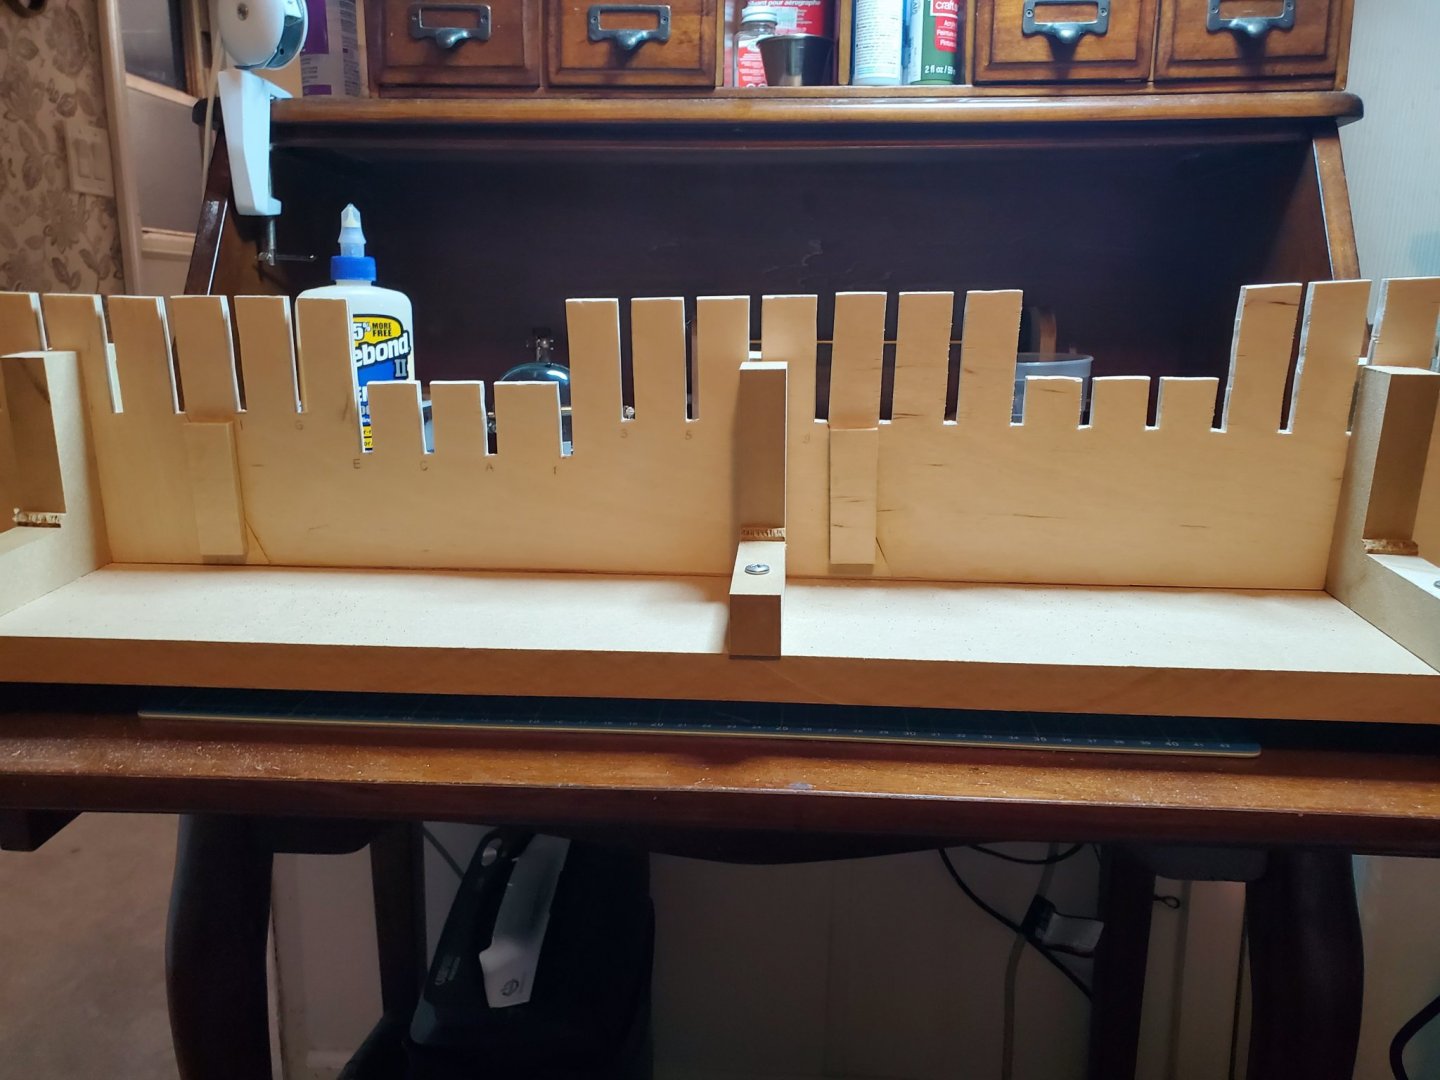
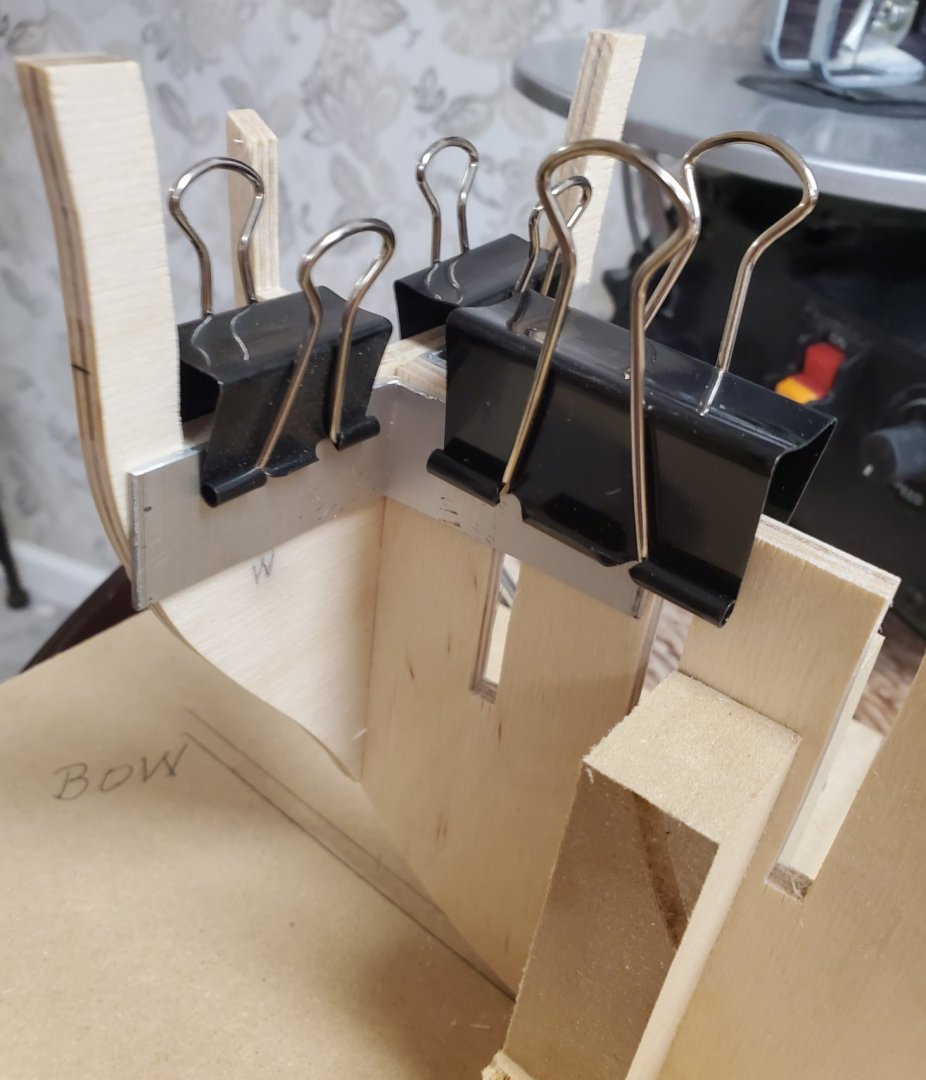
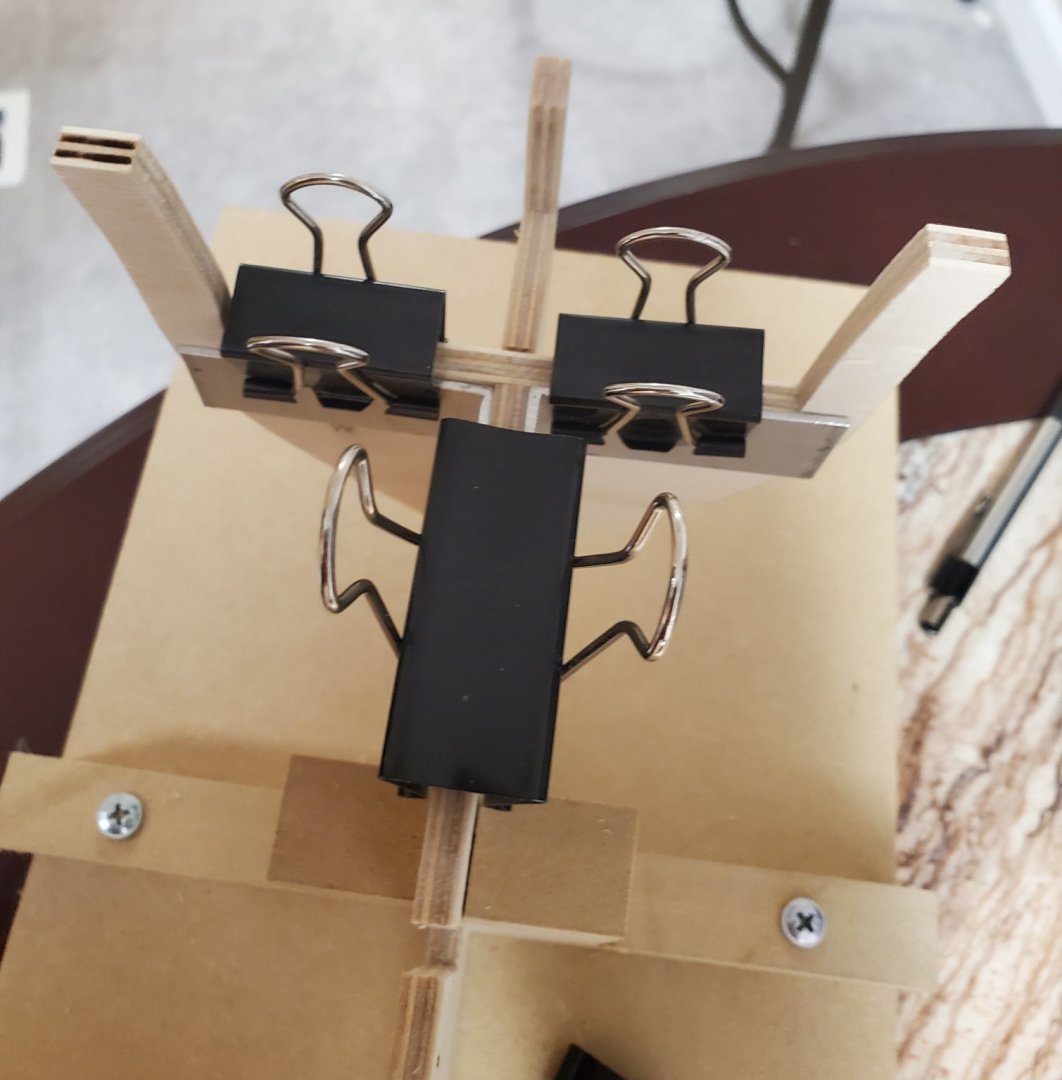
I place a piece of aluminum angle, that I cut in the machine shop, on each side with clamps. This holds the bulkheads square while the glue dries. This will take longer as I can only do two , maybe four in a day, but they will be right. Before I install the bulkheads, instructions say install the rabbit strip and keel, so that is next. It seems it would be more difficult fairing with them on first, but I will follow the instructions.
-
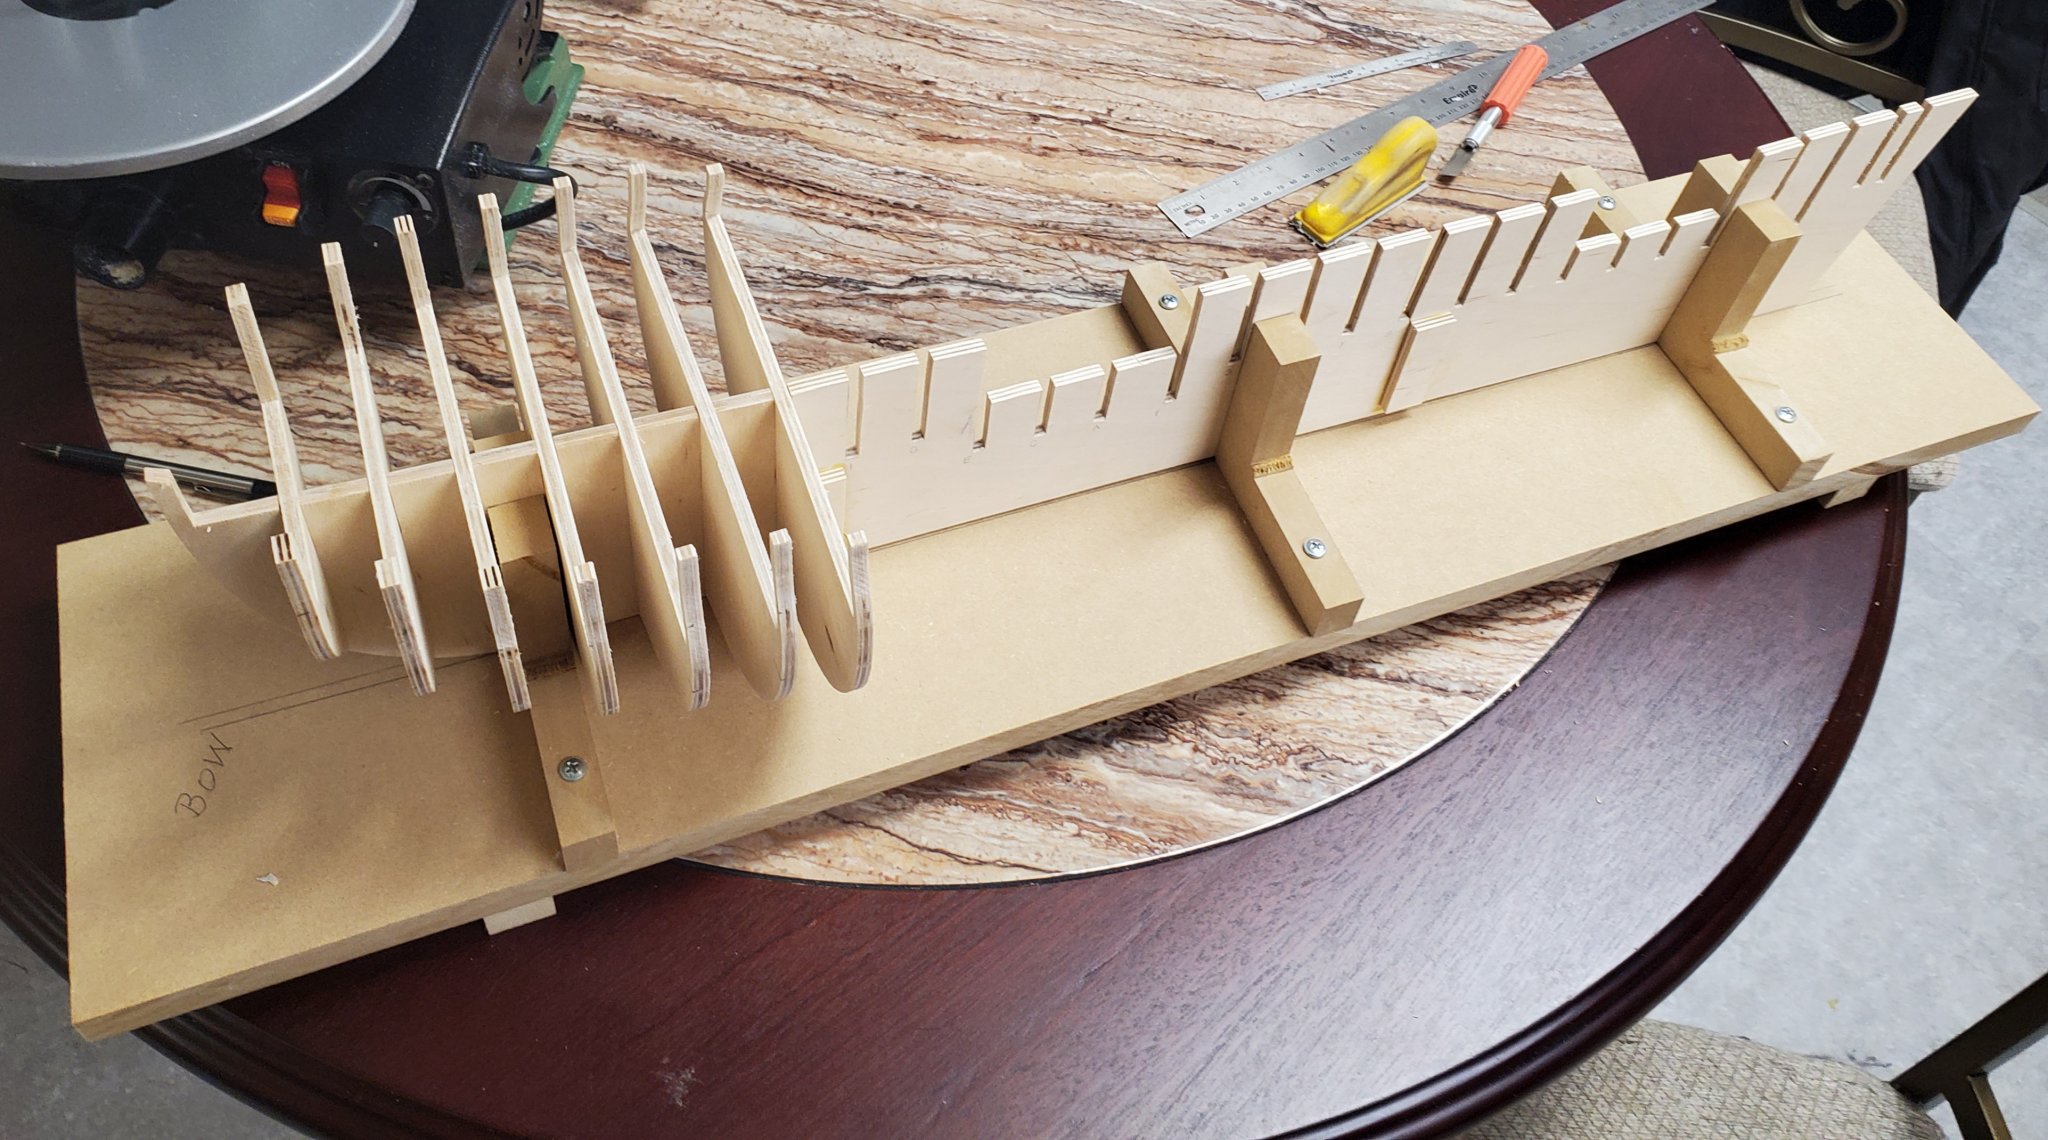
Got the build board done. I made extra 90 degree support blocks in case I need them. Now I can start gluing bulkheads as soon as I cut the rest.

-
The first seven bulkheads are dry fitted. I will glue the bulkheads after I mount the frame in my building board. It has been years since I used a scroll saw. It is a learning curve trying to follow the lines smoothly. I will cut some more bulkheads tomorrow.
-
Thanks. I used a french curve to trace curved lines. Makes it easy to transfer a perfect copy of a curve.
-
Cut the three pieces and glued them together. I got a good fit on the joints. I also glued a support block on each side of the joints. They shouldn't be in the way of anything but if are I can chisel them off. I am pleased with it so far. I will mount this on a build board and spend the next several days cutting out the bulkheads.
-
Thanks, that's a good idea.
-
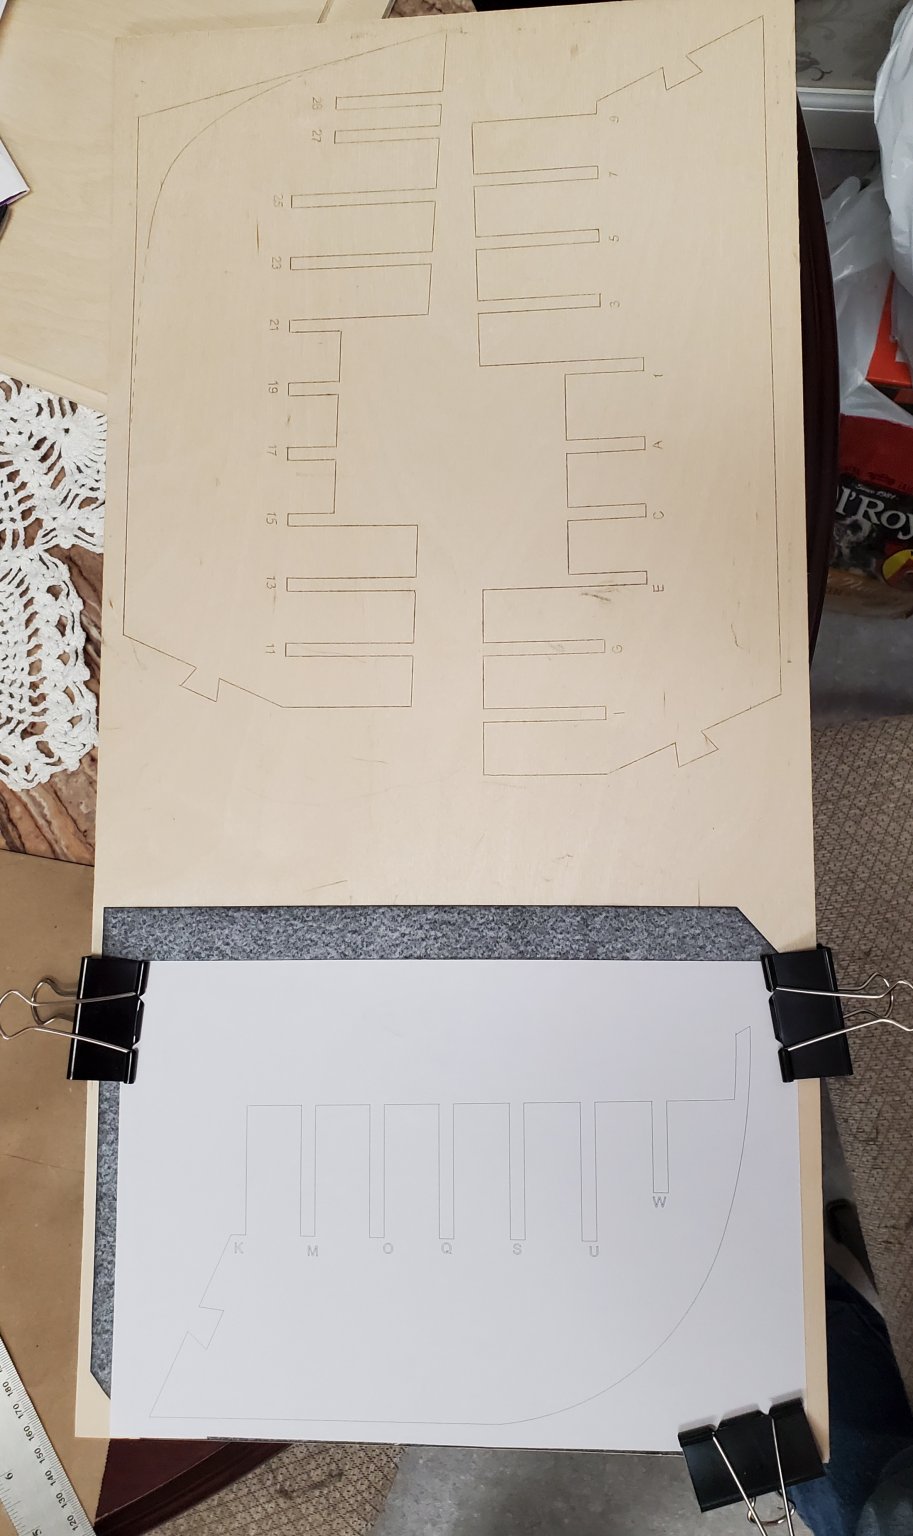
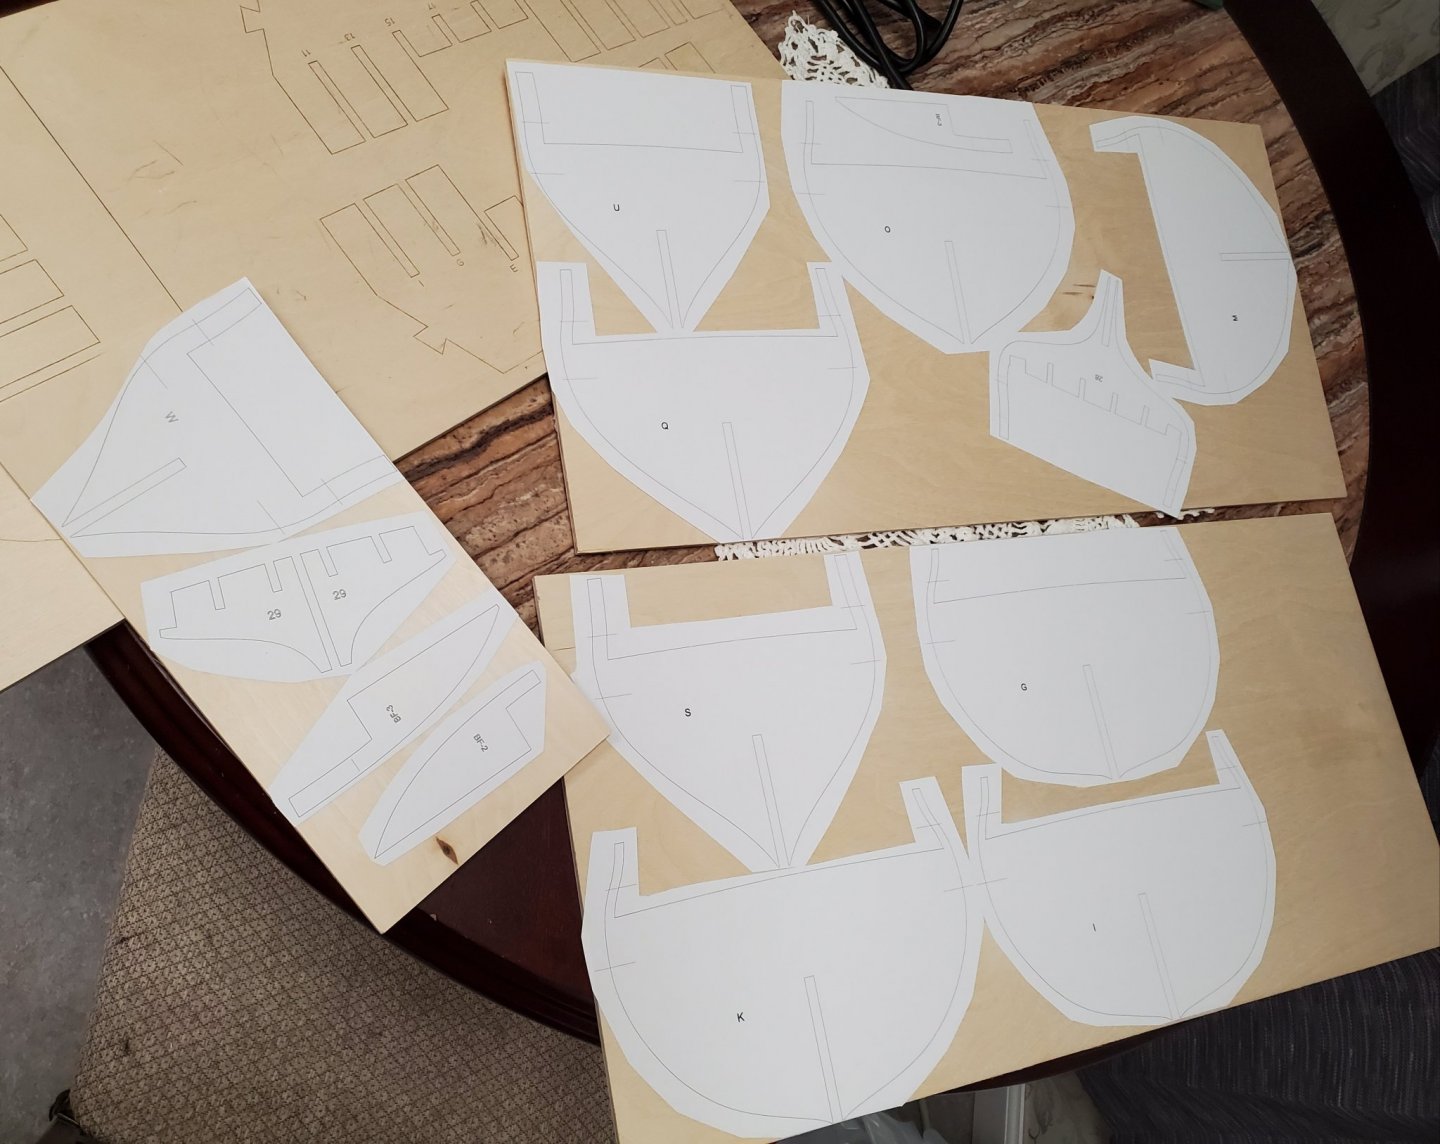
I printed the bulkheads prints on 8 1/2 x 11 Avery label sheets. They stick on the wood for cutting , but peel off easily with no residue. The weekend will be spent cutting them out. I will make sure to transfer the laser marks when removing the pattern. NOTE: Make sure if you use Avery Label stock, use the " easy peel" label stock. It is the removable one.
-
Left this morning, 55 minutes later got to Staples when they opened and they printed the large sheets and the three I couldn't print. So all is well now. used carbon paper to transfer the drawing onto wood. Worked great. ( staples told me to use graphite paper, but then said they didn't carry it. So I bought carbon paper.) I can start cutting this morning. 😁

-
Yeah ...... the nearest one, Staples, is about 45 to 50 minutes. I'm heading over tomorrow. ( this town died when all the mills shut down. It's great if you want a restaurant, lawyer, doctor, but there ain't much else around here. I'm retired so I don't go many places.)
-
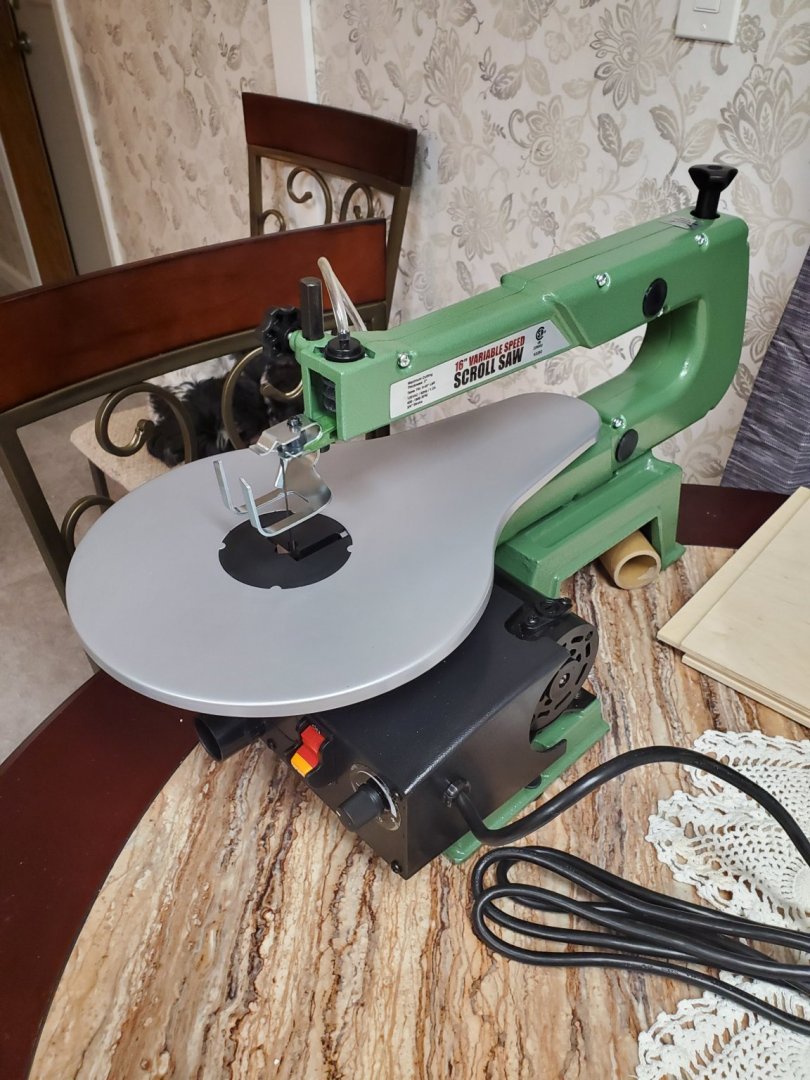
My wife bought me a new scroll saw today just for this project. and I bought all the 1/4 plywood the hobby shop had. I will start cutting the bulkheads and false keel this weekend.

-
My printer prints on 8 1/2 x 14 but the false keel prints are 11 x 17 and won't print actual size on the 8 1/2 x 14. They get cut off. I can print everything else actual size. There is an office supply store about an hour drive from me that says they can print them. Looks like a road trip this weekend , I guess. I just don't want to mess the prints up and ruin a bunch of plywood. I thought about cropping the prints to just the printed area and maybe the would fit, but don't want to chance messing them up.
-
There isn't one of those anywhere near me. Most of those places in this area are gone. I may have to search for someplace in another city. Hope there is one in decent driving distance.
-
I printed the plans for this project , but I think the false is the wrong size on my printing. I notice it says the document is 11 x 17 inches. This won't print on a standard home printer. Does anyone know where is a good place to get them printed? I think my printer scaled them down to fit on 8 1/2x 14. I can't print them actual size. I will have to sort this before I cut up all this plywood. All the rest of the plans printed actual size on letter and legal paper. It is just the false keel.
-
I am having a hard time deciding between the Alaskan yellow cedar or the cherry. I have decided on semi scratch built.