-
Posts
253 -
Joined
-
Last visited
Content Type
Profiles
Forums
Gallery
Events
Everything posted by mfrazier
-
I think you are right about no one noticing, at least in my world. Closed ports crossed my mind for about 10 seconds. I just can't imagine building with closed ports, although there is nothing wrong with it if you like it that way. I just like the cannons showing. I would feel like I was cheating or taking a shortcut or something by closing the ports. Mark Frazier
-
Thanks OC., I was thinking the same thing about the front opening. It is presently where the pattern showed it, but I thought it should be a little more forward also. It will be closed as there is a bow filler block behind it. I think I will probably go with this setup. I somewhat regret getting this kit as I never heard anything good about Mantua, but I had no choice without waiting for who knows how long. I had already planned for the Billings kit and all the changes. It was a much better choice, but due to the present circumstances, it was not to be. I will make the best of this kit even with its shortcomings and poor quality. I will still have to buy or make all the same upgrades and maybe even more with this kit and I had to pay more for this kit. It just ups the challenge. Mark Frazier
-
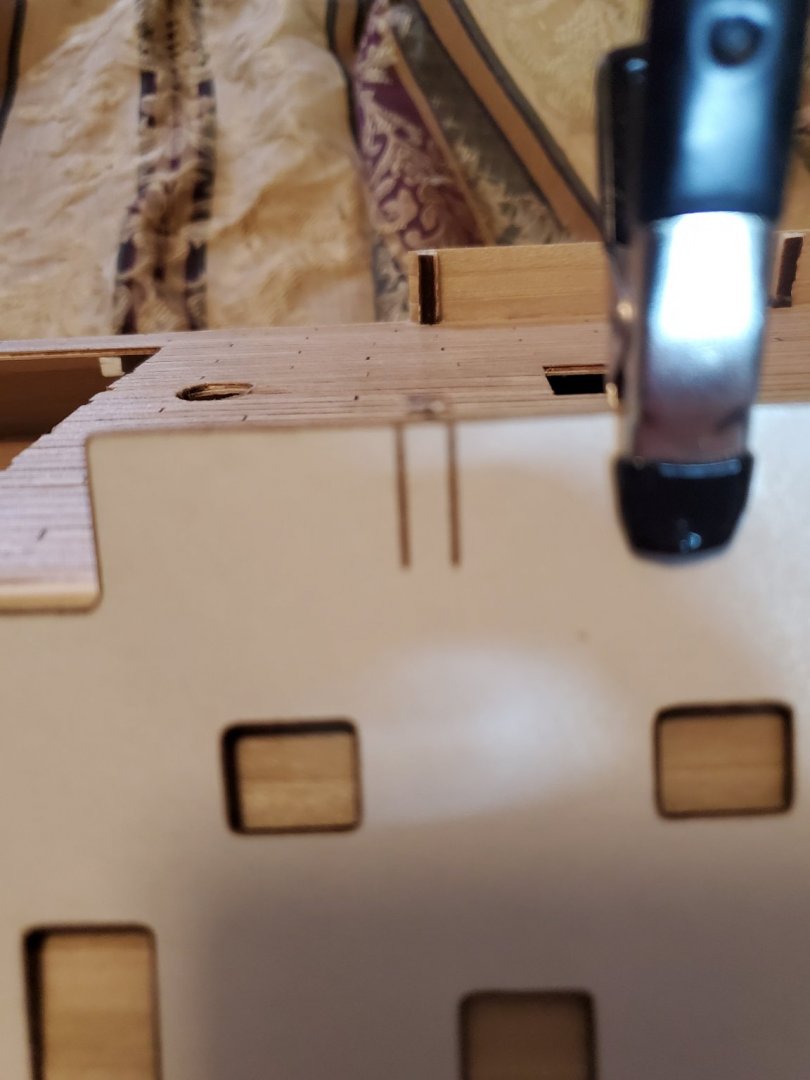
Coyle, Does this look better? I think maybe the angle of the other photo was effecting the view. OC., I am trying to avoid trying to cut the bulkheads through the little port opening if it can be avoided satisfactorily. It would be possible but very difficult. Yes, I am using dummy cannons. There is a rail behind the planking set in about a half inch that the dummy cannons mount in after drilling a hole in it through the opening. That was another concern. The few bulkheads that were almost halfway into the port, would ruin the mounting area for the cannon, this trying to satisfactorily move them. But if moving them doesn't look good, I will have to cut the bulkhead, as I want things right. Mark Frazier
-
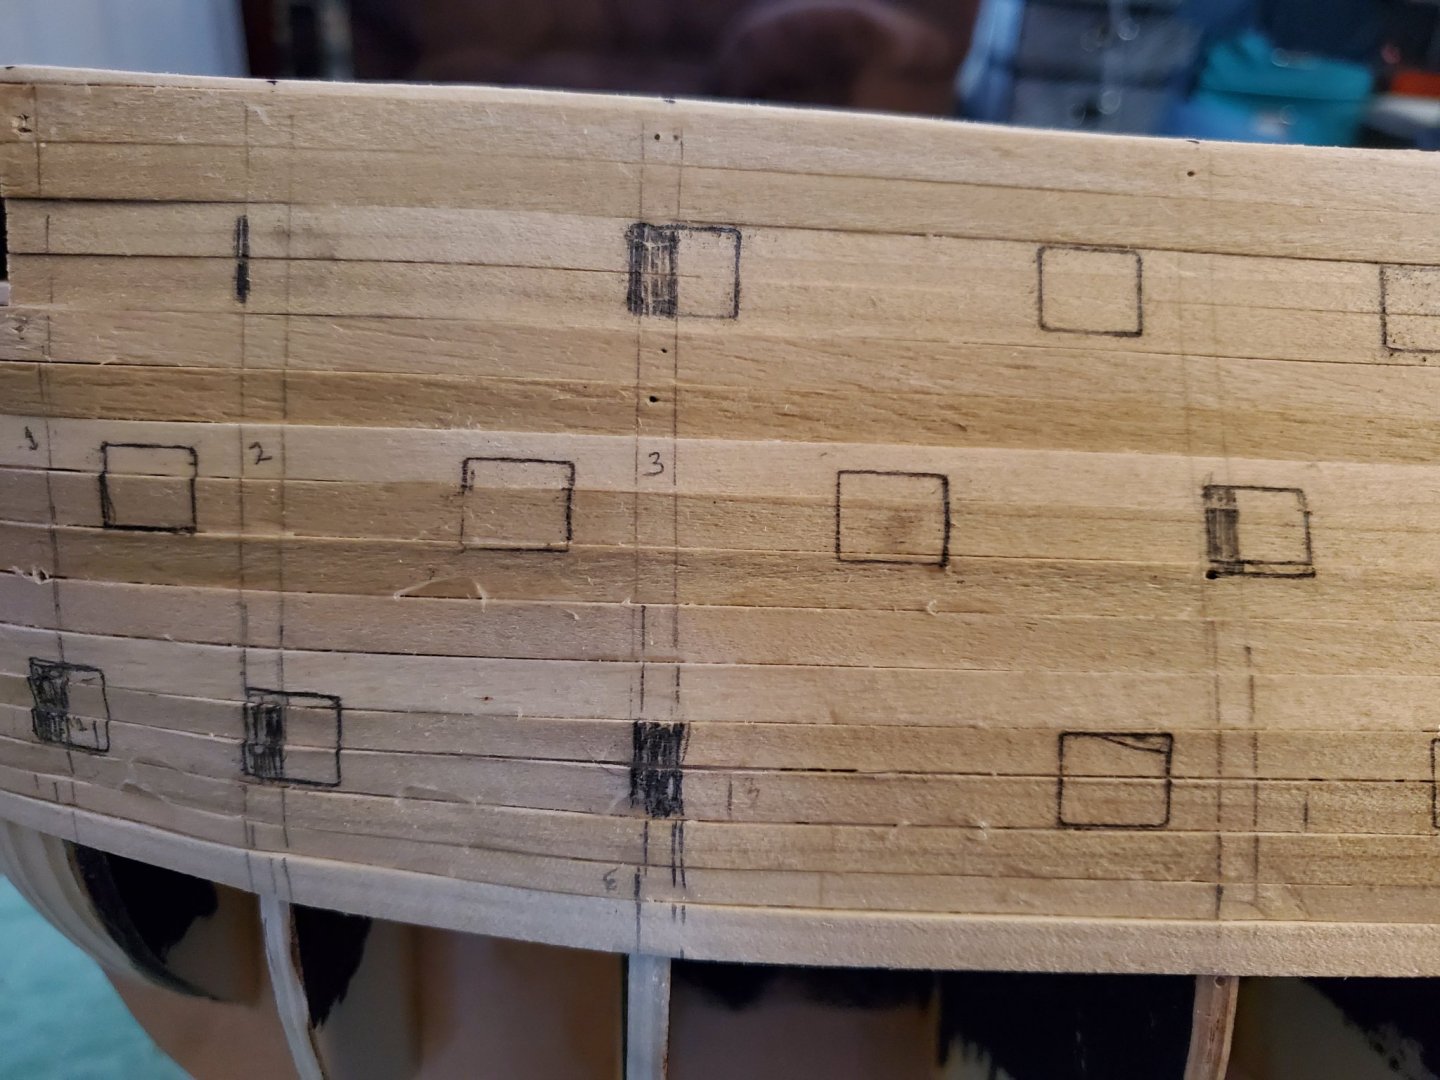
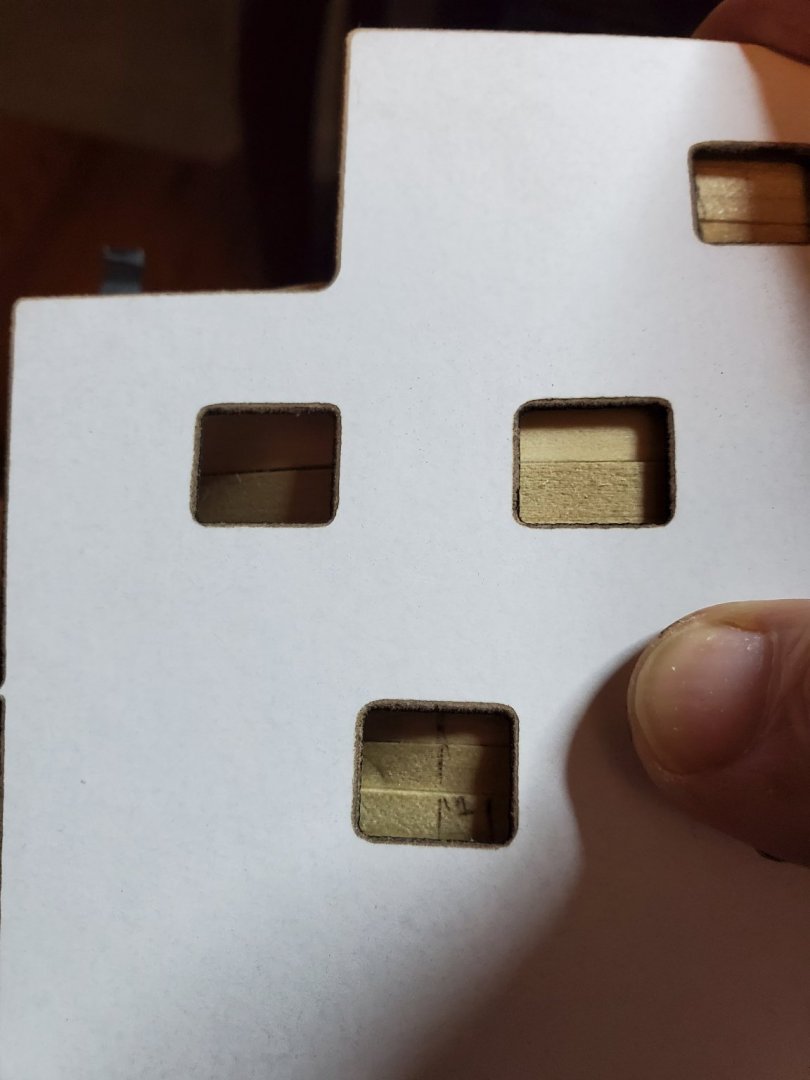
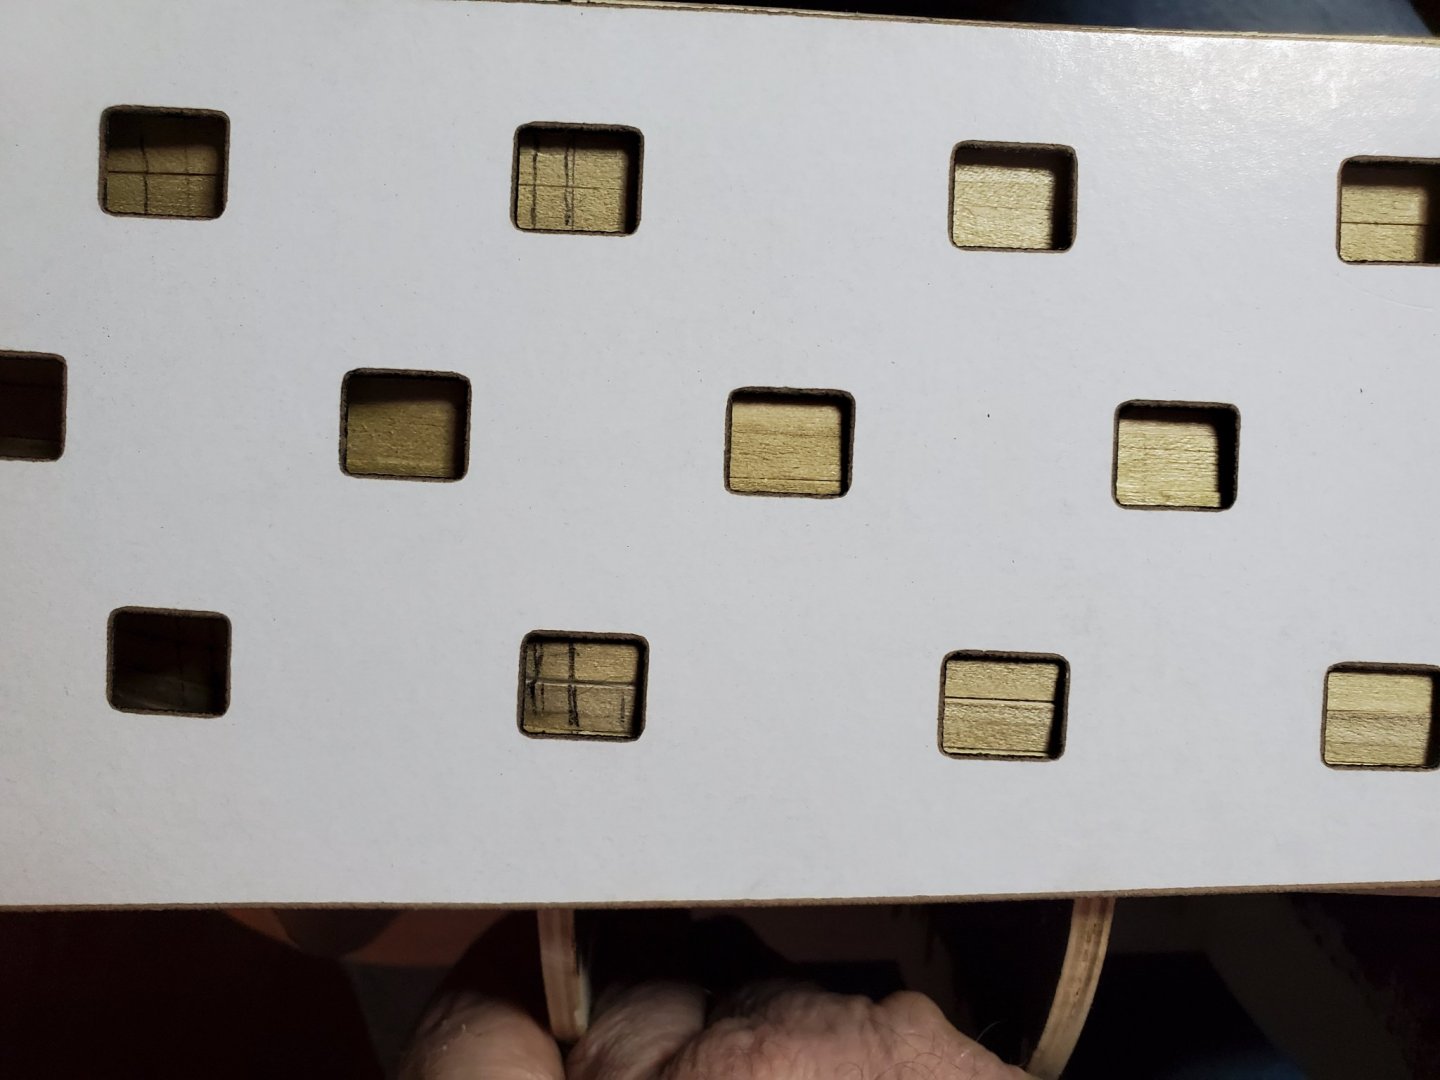
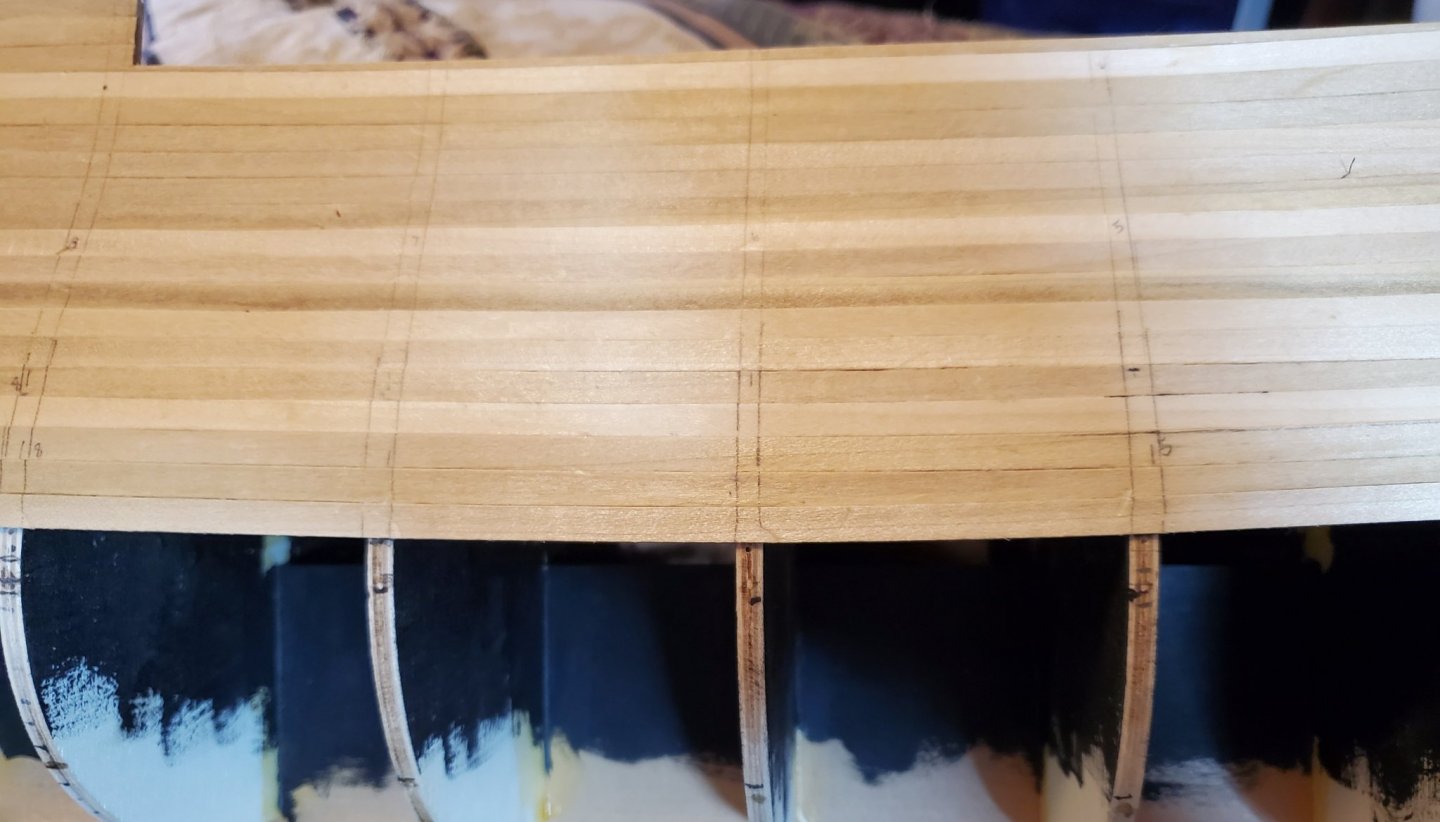
I was trying to think how to mark them after the planking is done and the hull is filled and sanded, because the bulkhead locations will be lost. And then it hit me.... make a new template ..... duh. This darn virus really messes my life up. The stores that sell the cardboard to make a new template are not open due to the state shutdown of "non" essential businesses. I am constantly trying to work with what I can scrounge up because we can't go buy anything except food and medical right now. I be glad when this is lifted. I am glad I did some planning ahead with this model. I bought paints and supplies I knew I needed before I got the kit. Mark Frazier
-
That is my thought, but it will be difficult, but not impossible. I think I can shift the stern problem ports enough and it will still look okay, but I don't know about the front ports, I seriouslydoubt it. They would have to move a lot. I have an idea to get a better look at this problem. Mark Frazier
-
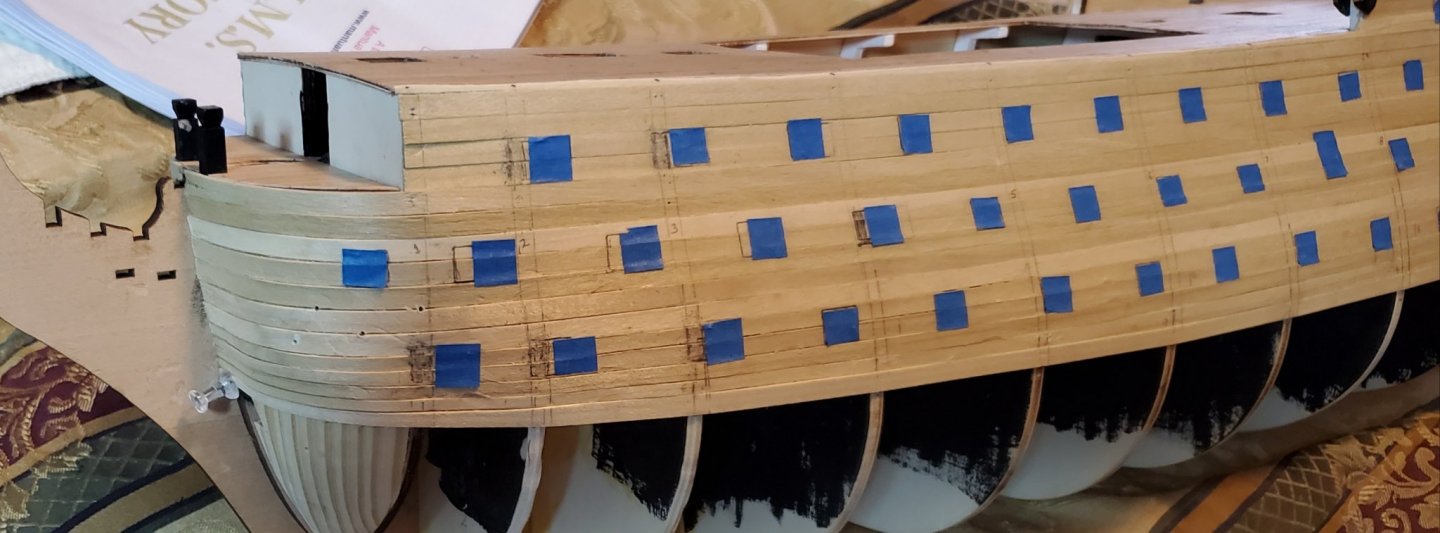
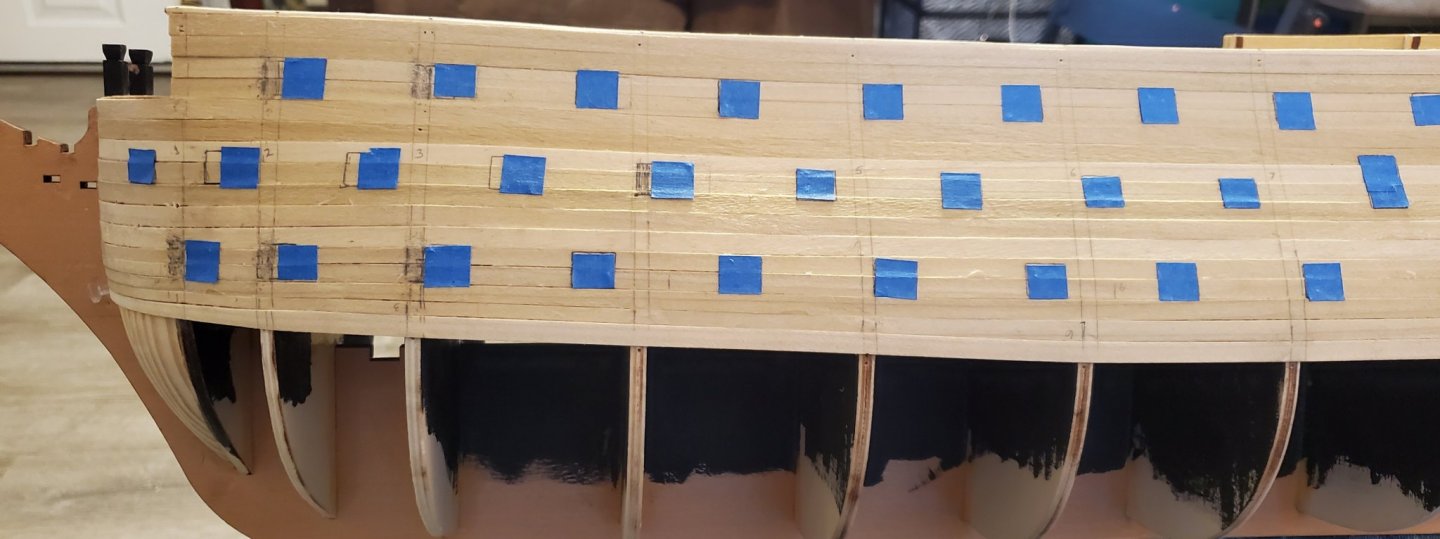
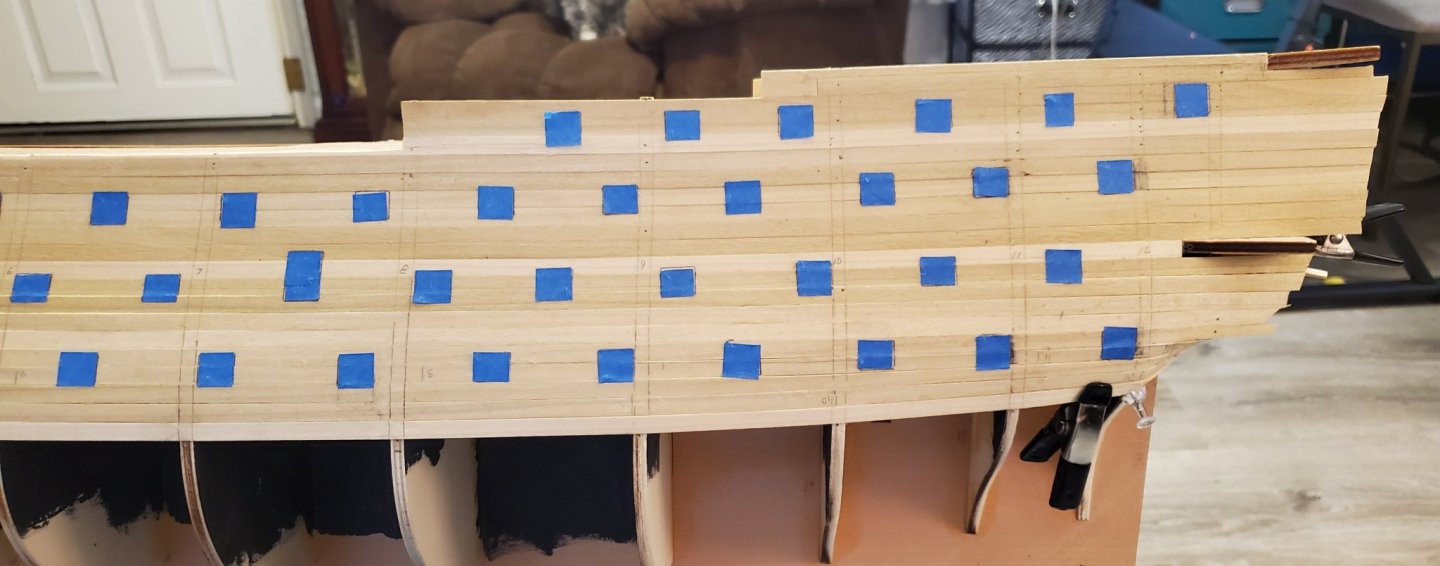
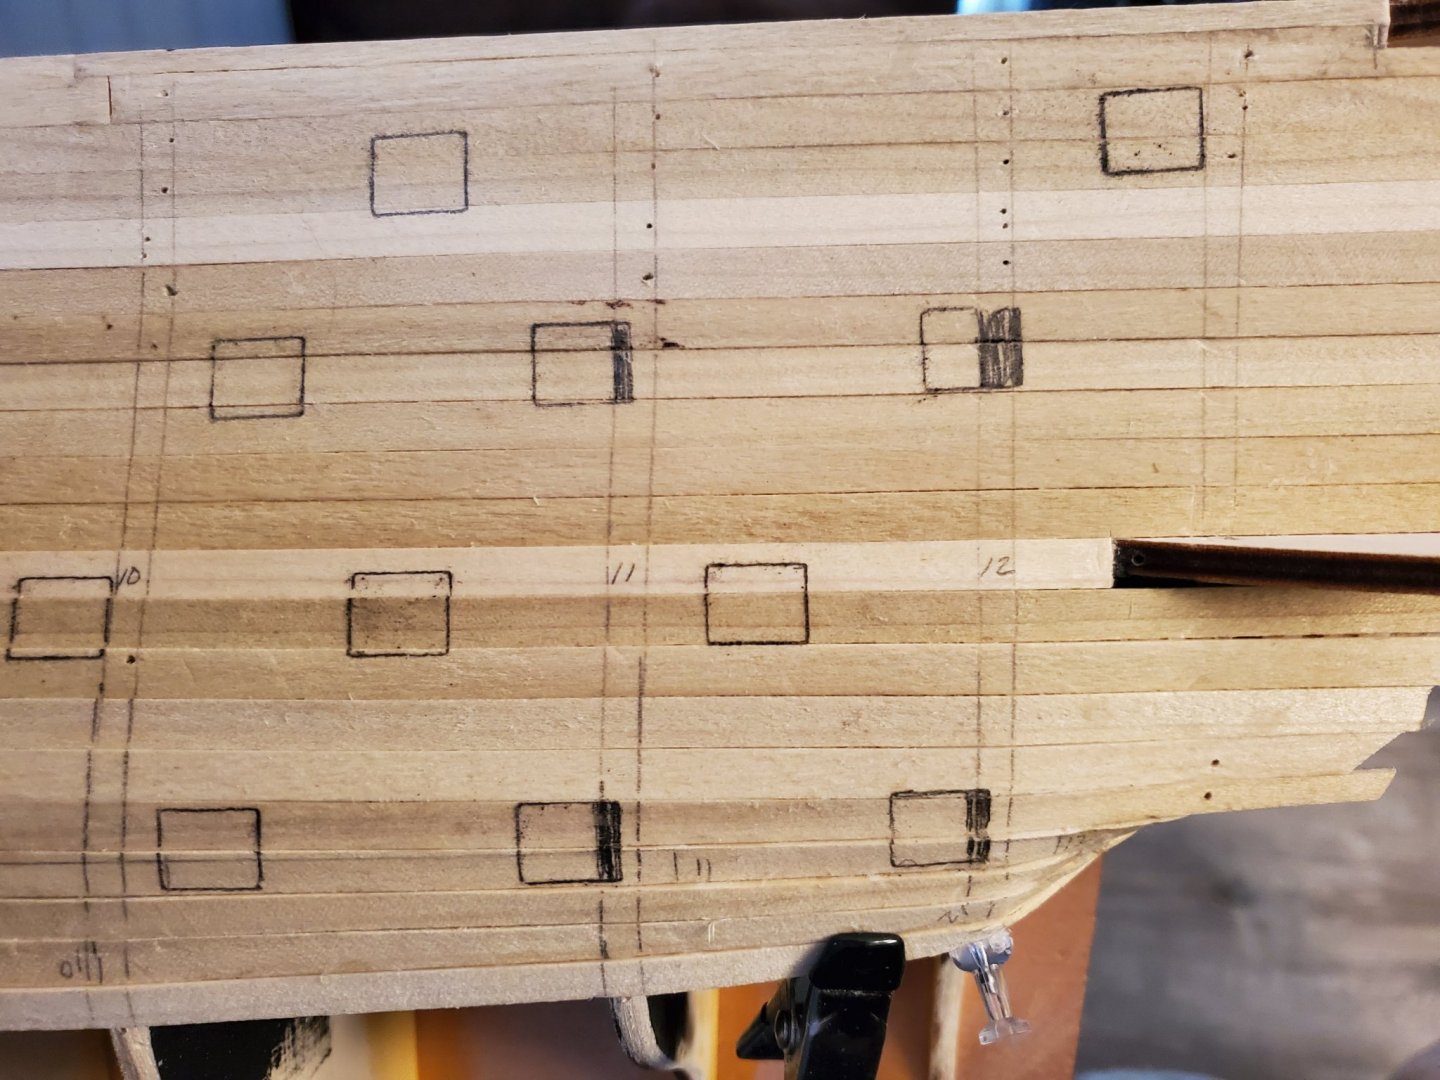
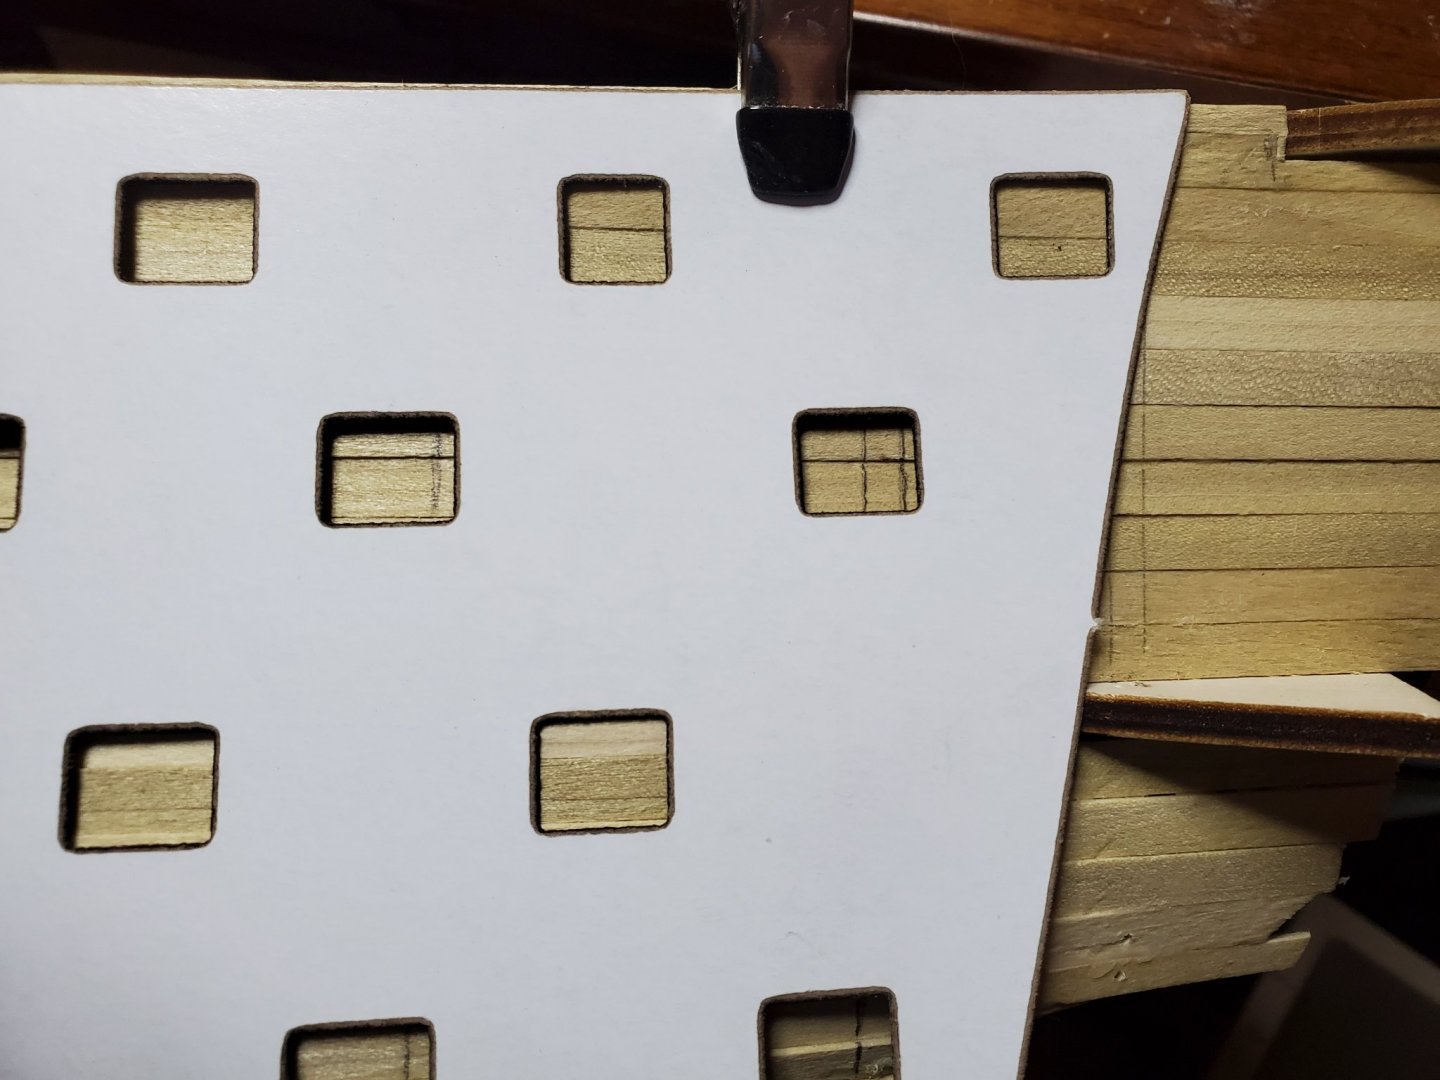
I have planked below the gun ports and stopped for an issue. I knew this problem was coming .... and now it is here. This is the poor planning on Mantua's part with this kit. The gun ports are interfered with by the bulkheads. I would have thought they would consider this in the design. There is marks on the gun port template to line up with a bulkhead. The ports look good in this location .... BUT.... several of the gun ports are badly obstructed by bulkheads, about 6 total. This was my reason for marking the bulkheads on the outside of the planking. My first thought was to shift a few of the gun ports, but this makes everything look odd. I can't shift the pattern far enough to move them all as it will look very wrong. The worst one has a bulkhead in the center of a gun port opening. This is a problem and will have to be sorted out before proceeding. I am open to suggestions. My first thought is to cut the gun port openings and then cut the bulkhead back. This will have to be done through the small gun port opening on most of them. I may be able to shift a couple but I am doubtful as it will throw the spacing off too much and look weird. I shall think on this for a while to explore all options before cutting anything. Mark Frazier
-
Dry brushed is painting with an almost dry brush. You dip your brush in the paint ,scrape most back off on the container edge, then dab it on a cloth so it is just damp without a lot of paint. You brush the part and this only deposits a small bit of paint at a time, (takes a lot of brushing) so it must be done several times to get any finish. This will color a part without gobbing a heavy layer of paint that hides fine details. I do this on something that has small detail I don't want to lose with a heavy layer of paint. Grates such as these on this model have small holes with square corners and sharp edges and lines. Paint tends to clog the small holes and round the tiny corners. I want the fine details to show. The acrylic paint is thick so I thin it to a water consistency to help keep detail. Mark Frazier
-
I know what you mean. I think I will be OK because I made this grate deck the same size as the kit supplied one. This will allow me to use all the decorative molding from the kit which I want to use because it is not bad. It may need a little embellishment. The kit was designed for the deck to be flat which was incorrect as the front angles up some. I made sure the side moldings will still fit and cover the sides of the grate deck. I will build the supports to fit this deck as I do not like the ones in the kit. Mark Frazier
-
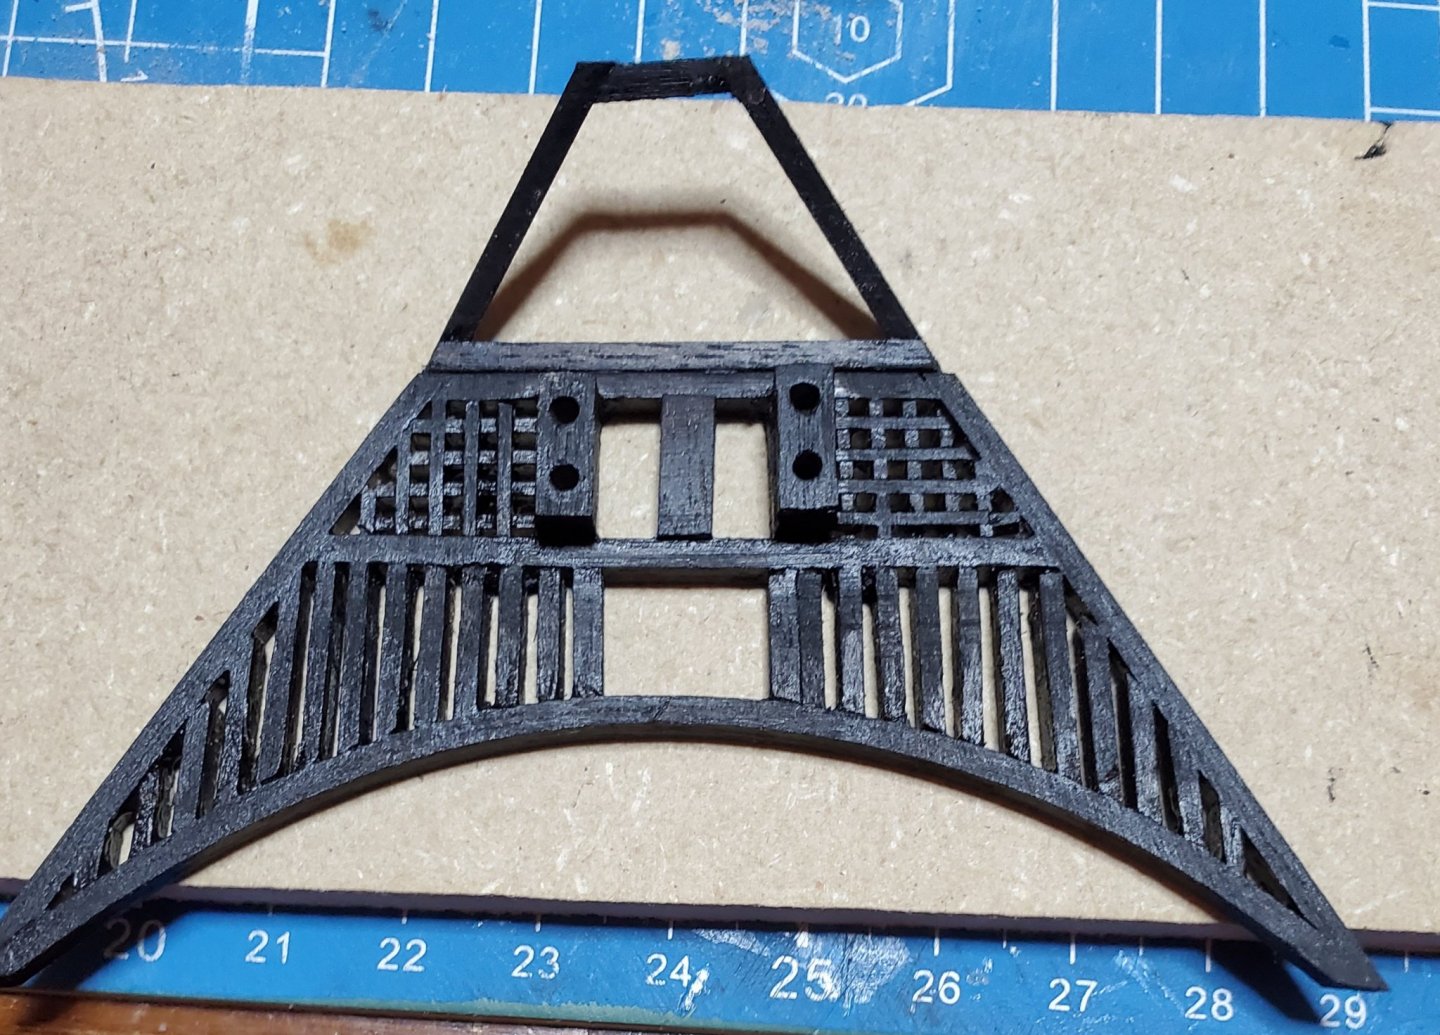
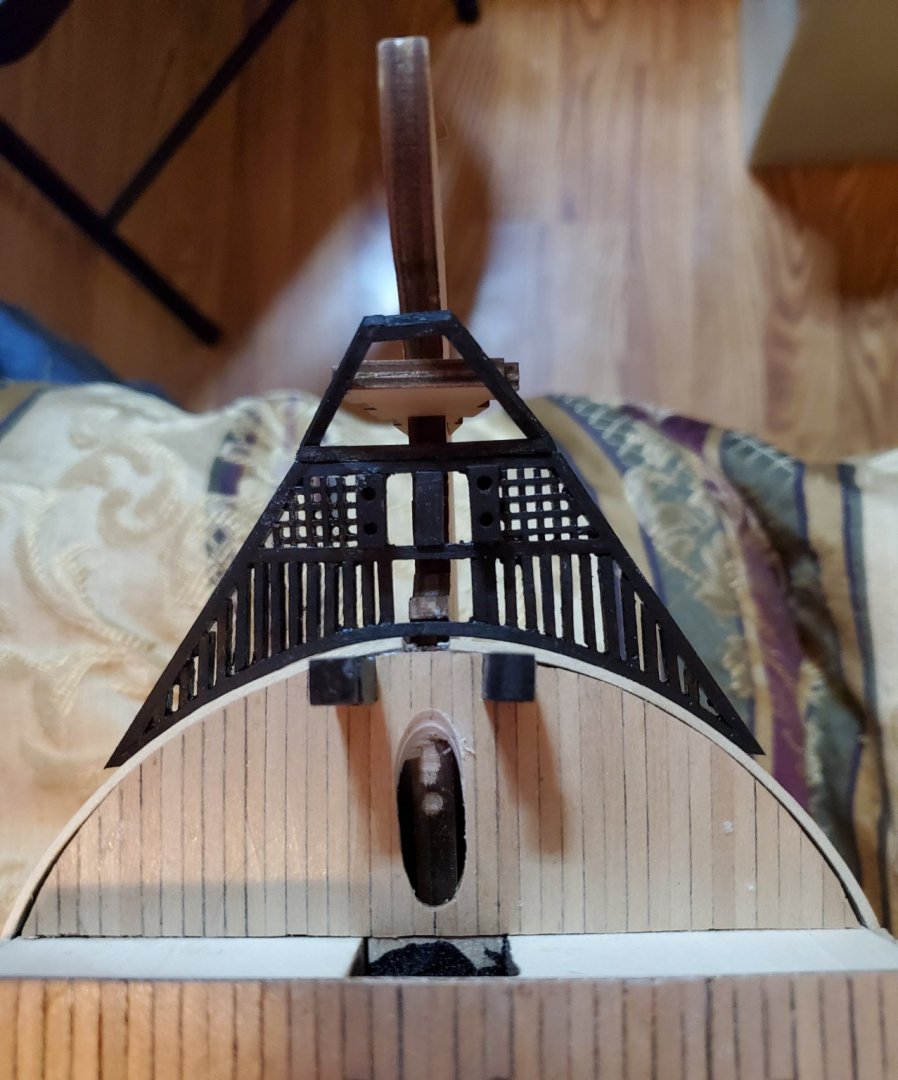
Basically the bow grates are done. I have left the front piece empty until I see if I can find grating for it. If not, I will make a panel for it. I'm not going to order grating in the mail because it will cost several times the price of the grate for shipping and the hobby shops are closed. I have one coat of flat black paint on it. It will get several more coats dry brushed. Dry brushing is more work but adds color without losing any detail. It just takes many coats this way. I set it on the hull to check fit and see how it looks. I like it a lot. Much better than the kit. When I get to the point in my build , I will make new framing for the bow to hold this deck. Mark Frazier
-
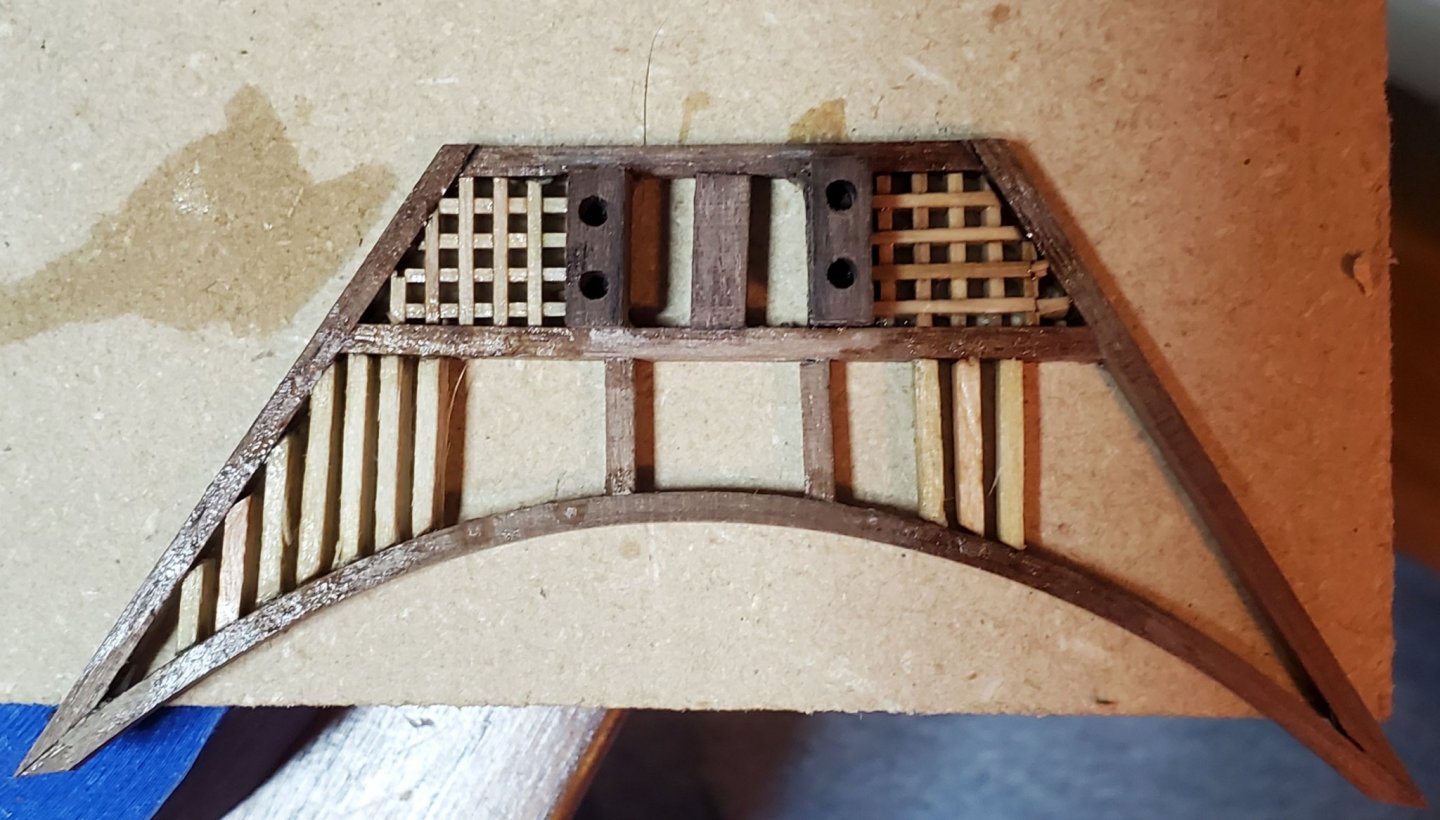
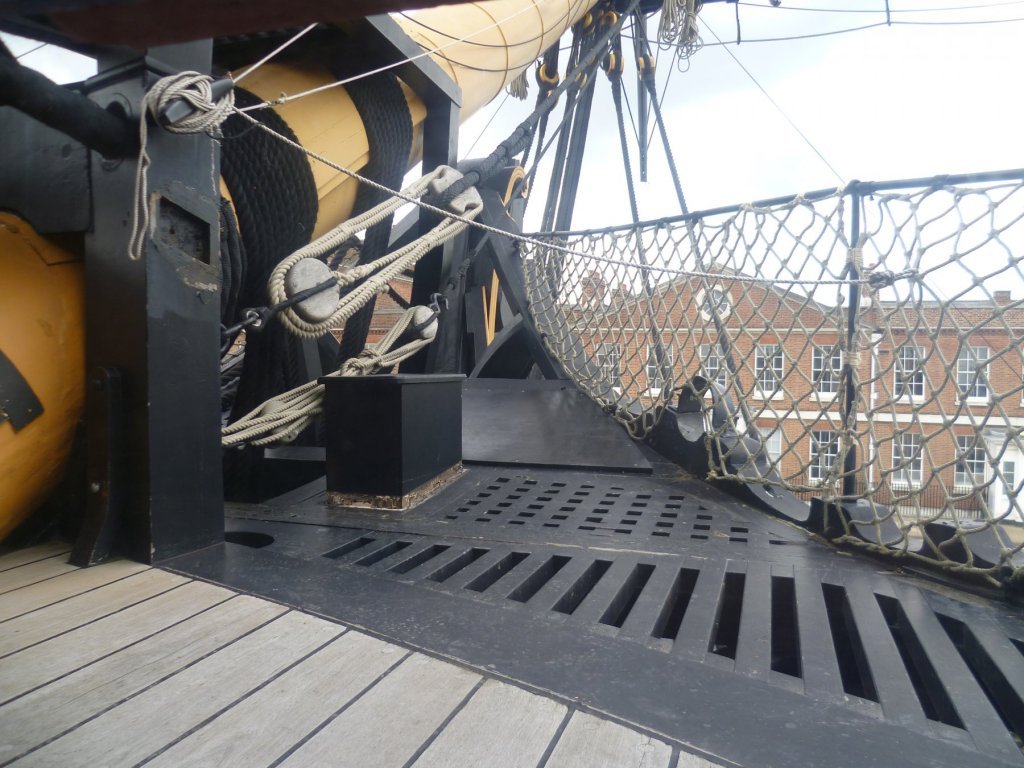
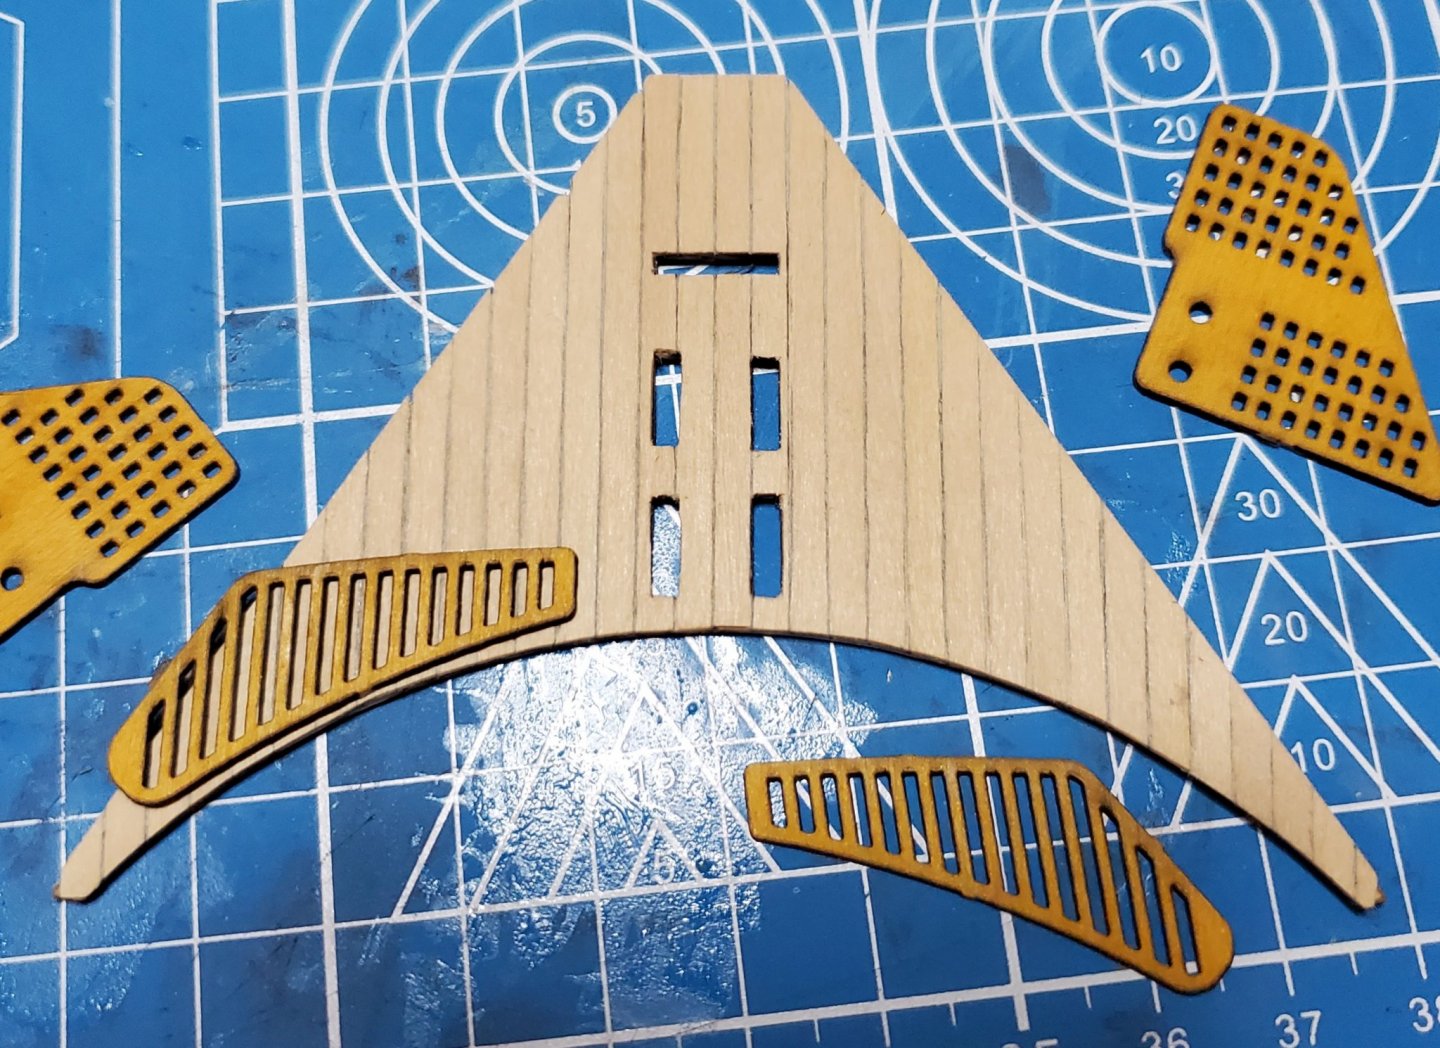
I am filling in the lower section of grate for the bow. It has taken 8 hours to put these few pieces in. They are sooooo tiny and they are difficult to fit. It looks like I am almost half way. I sure hope all this effort works out. When this is done, I will paint it flat black and see how it looks. The front piece that is tilted up at the end will probably get a panel on it like the photo, because I don't have anymore grating this small. It looks a little rough right now, but after sanding and painting, I think it will look good. Mark Frazier
-
YT, I think this is more what you meant? I fixed the curve to match the hull front. I angled the front more like the photo in the post above. The side trim matches pretty well. It is hard to tell exactly until it is cut to fit. I think this is about as close as I can get. I need to make the grating for this piece. Mark Frazier
-
I think you are referring to the front half of the grating tips upward? If so, I thought about that. This attempt was to be a combination of the Mantua design and the real design. While it will work, I find it to be slightly less than satisfactory. I don't intend to use any of the Mantua parts in this area except the frame pieces that support the grates and frame. If I go with the correct design, I will have to make these from scratch also, which I am considering. I am not using the kit grate pieces either. I will make the grates also. I will have to get some photos of what this area should be and work from them. I am going to look at some other builds to see this area also. Was your build Caldercraft? Mark Frazier
-
I did some work on the bow grating. I made the frame using the false deck as a pattern. I got the frame made, and even got the heads on. I made a mistake on the curve. I think I can fix it without having to make this piece over again. But it isn't difficult if I have to. I will have to stop here on this piece until the hull is finished and it is time to fit it. Mark Frazier
-
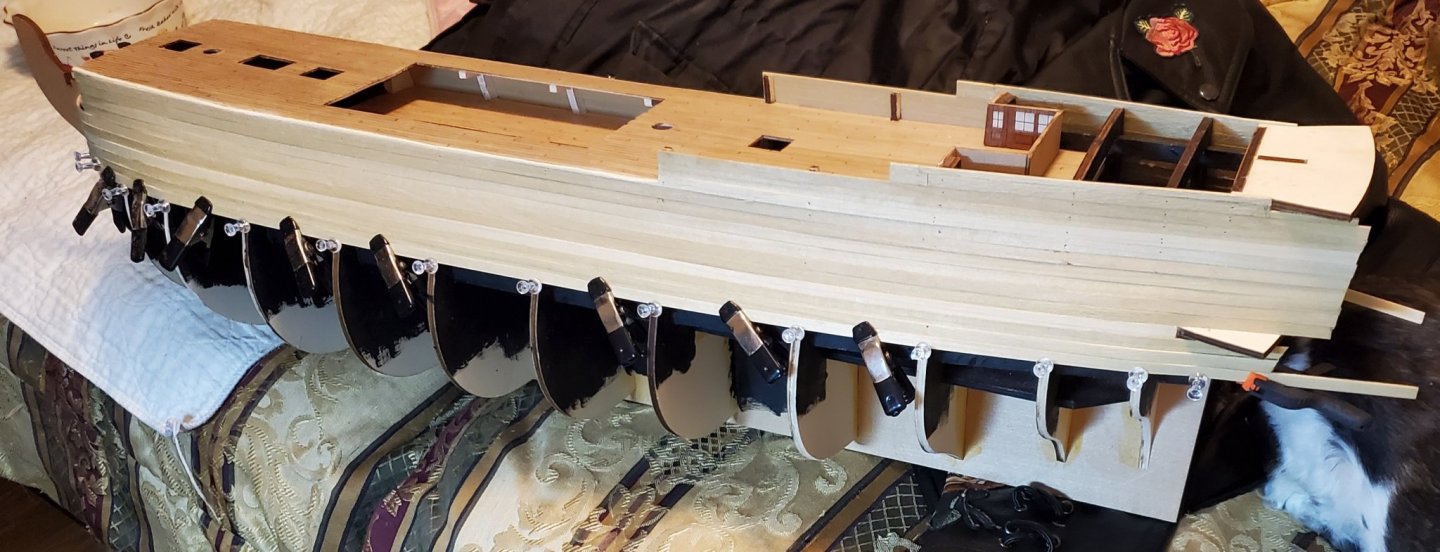
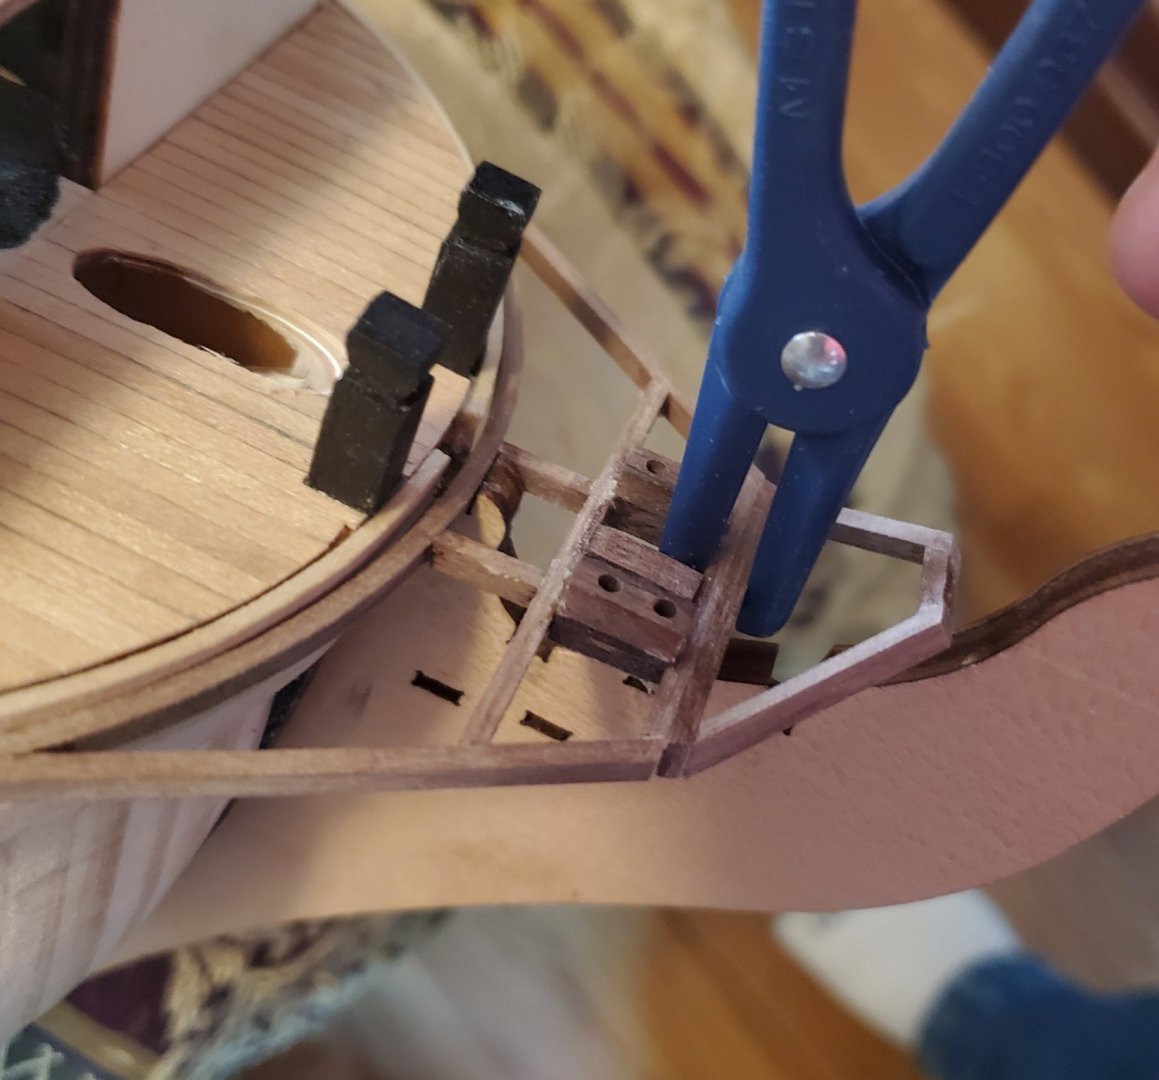
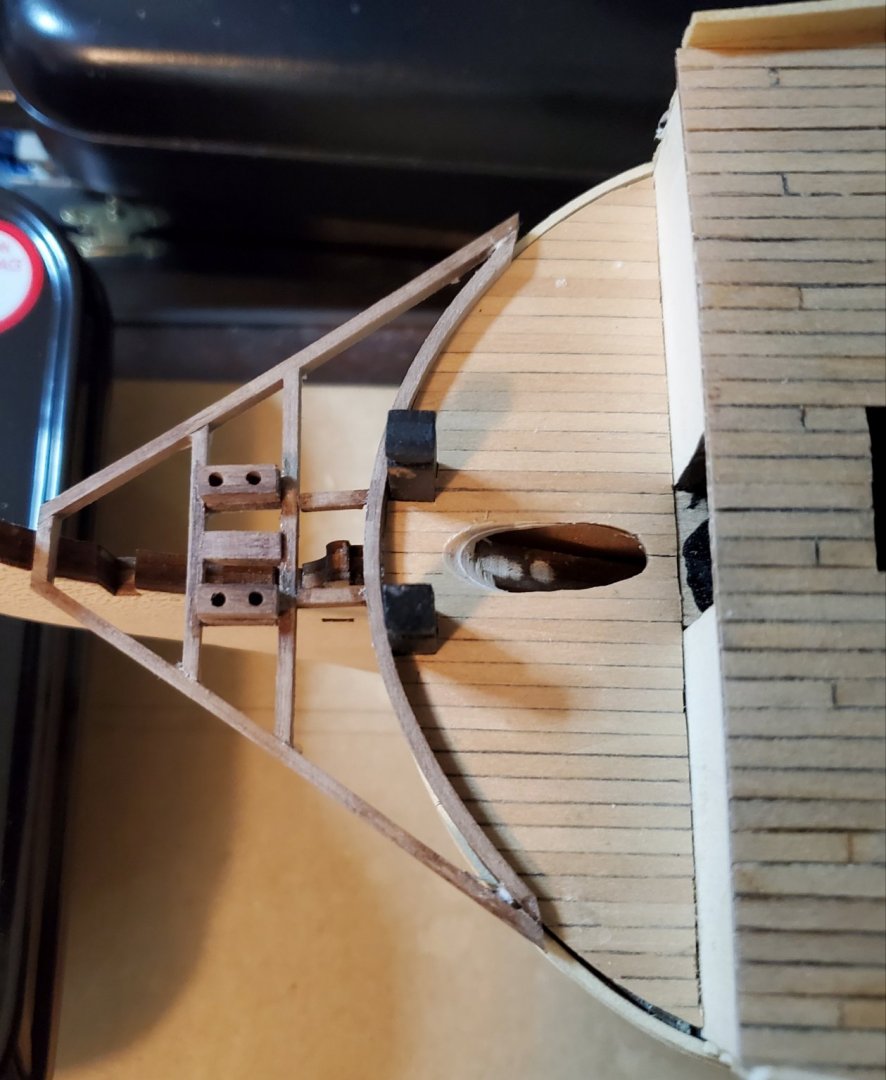
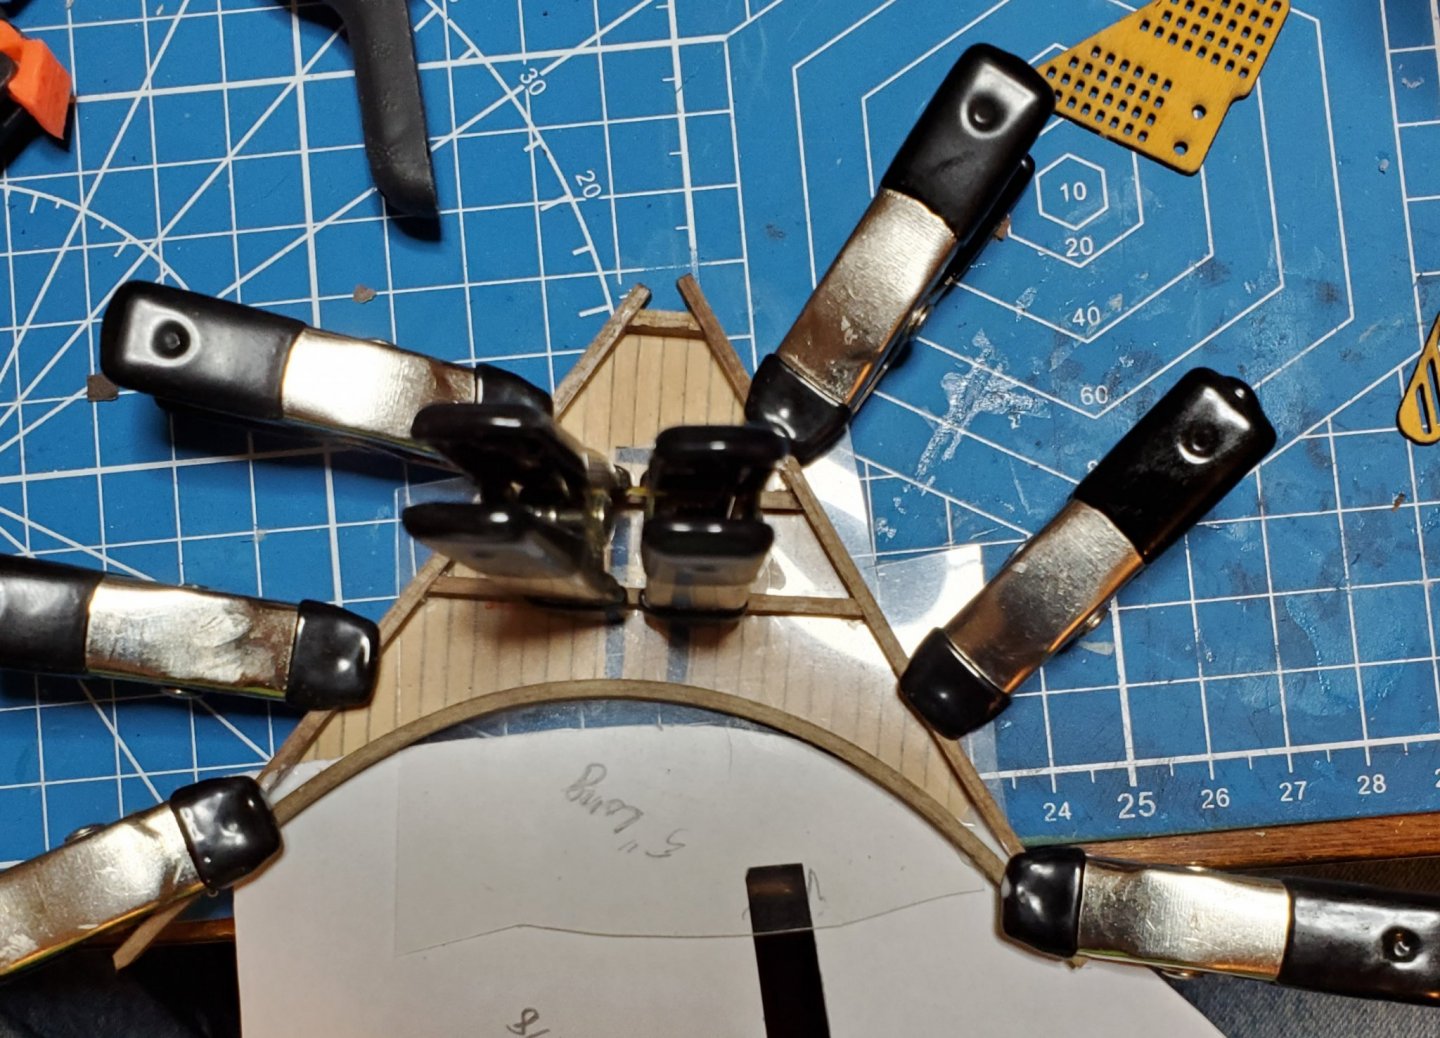
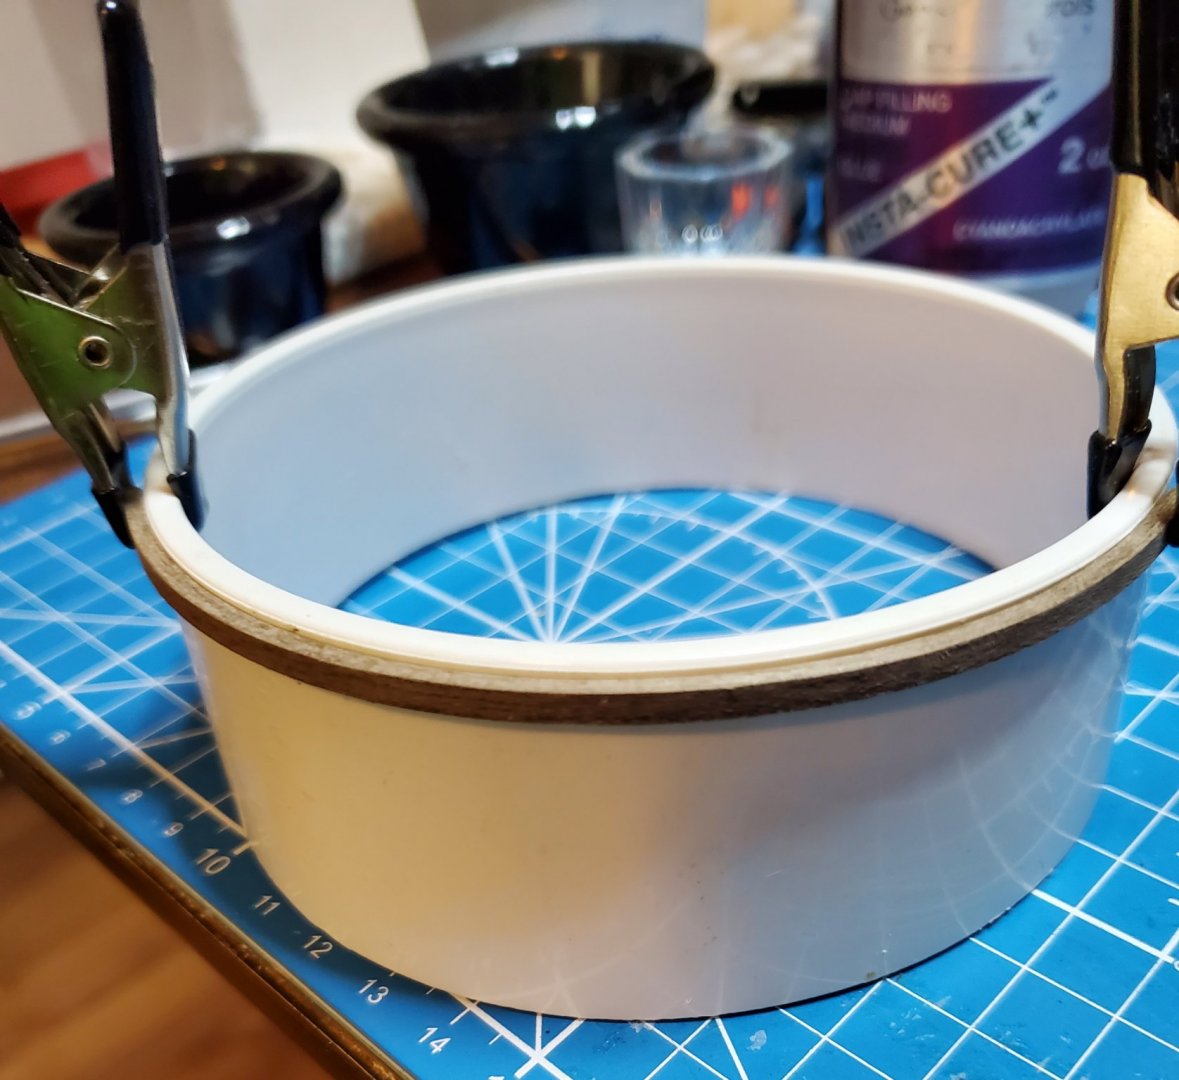
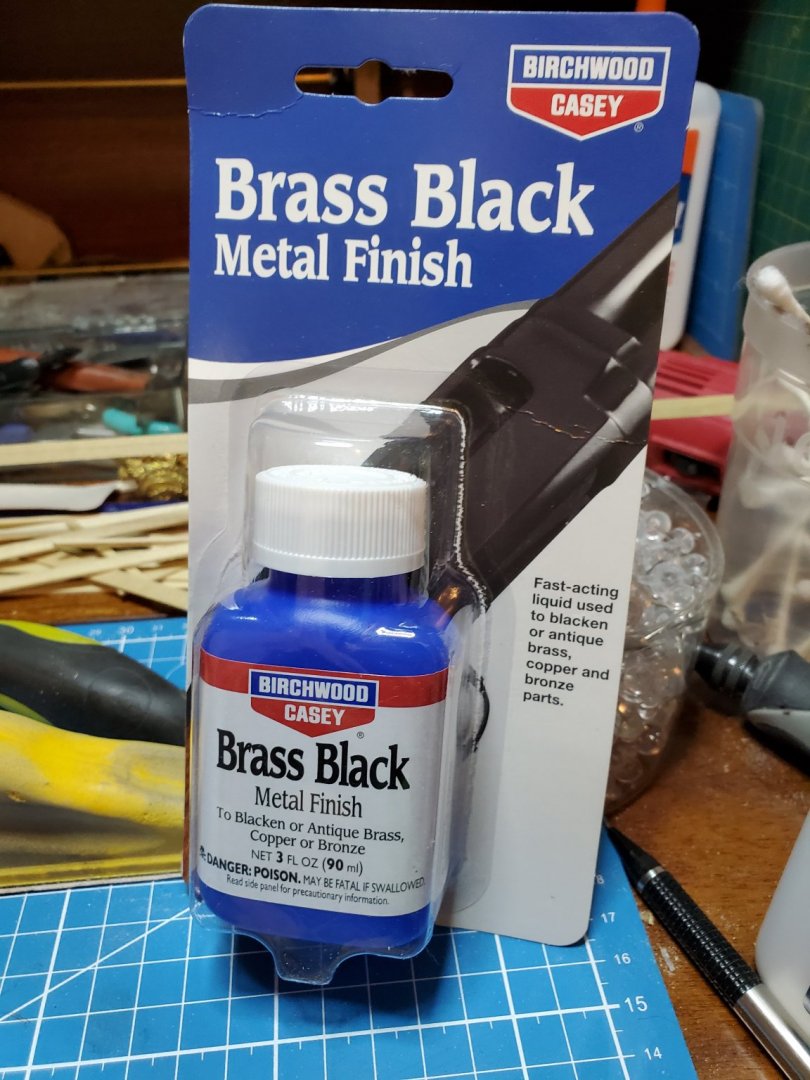
The planking is coming along. It is slow because I can only do 4 planks a day. I am edge gluing them and gluing to the bulkheads with wood glue and it has to mostly cure before adding more planks. But this let's me work on other parts and breaks up the planking job. The above photo is Mantua idea of the bow grating. It is all wrong. They want the gratings glued on a deck and the deck placed on the bow. The photos I downloaded of the real ship does not have a deck under the grates. I am building a frame the size and shape of this false deck and will place the grates in the frame. It will be much closer to what it should be. The next photo is how I curved the walnut strip for this frame. I hope it doesn't spring back after drying. My brass black came today. I can start working on cannons and hardware and hinges . so far I am enjoying this project despite Mantua shortcomings. Mark Frazier
-
thanks for the link. our kits are the same except yours has the copper plates , life boats , and ships wheel. Mine actually came with the life boats and wheels so the only thing I am missing is the copper plates which I didn't care about anyway. Every bit helps. Mark Frazier
-
Thanks, that is a big help. I was concerned about checking the deck height with the cannons. Mark Frazier
About us
Modelshipworld - Advancing Ship Modeling through Research
SSL Secured
Your security is important for us so this Website is SSL-Secured
NRG Mailing Address
Nautical Research Guild
237 South Lincoln Street
Westmont IL, 60559-1917
Model Ship World ® and the MSW logo are Registered Trademarks, and belong to the Nautical Research Guild (United States Patent and Trademark Office: No. 6,929,264 & No. 6,929,274, registered Dec. 20, 2022)
Helpful Links
About the NRG
If you enjoy building ship models that are historically accurate as well as beautiful, then The Nautical Research Guild (NRG) is just right for you.
The Guild is a non-profit educational organization whose mission is to “Advance Ship Modeling Through Research”. We provide support to our members in their efforts to raise the quality of their model ships.
The Nautical Research Guild has published our world-renowned quarterly magazine, The Nautical Research Journal, since 1955. The pages of the Journal are full of articles by accomplished ship modelers who show you how they create those exquisite details on their models, and by maritime historians who show you the correct details to build. The Journal is available in both print and digital editions. Go to the NRG web site (www.thenrg.org) to download a complimentary digital copy of the Journal. The NRG also publishes plan sets, books and compilations of back issues of the Journal and the former Ships in Scale and Model Ship Builder magazines.


