MORE HANDBOOKS ARE ON THEIR WAY! We will let you know when they get here.
×


Rowboat
-
Posts
142 -
Joined
-
Last visited
Content Type
Profiles
Forums
Gallery
Events
Everything posted by Rowboat
-
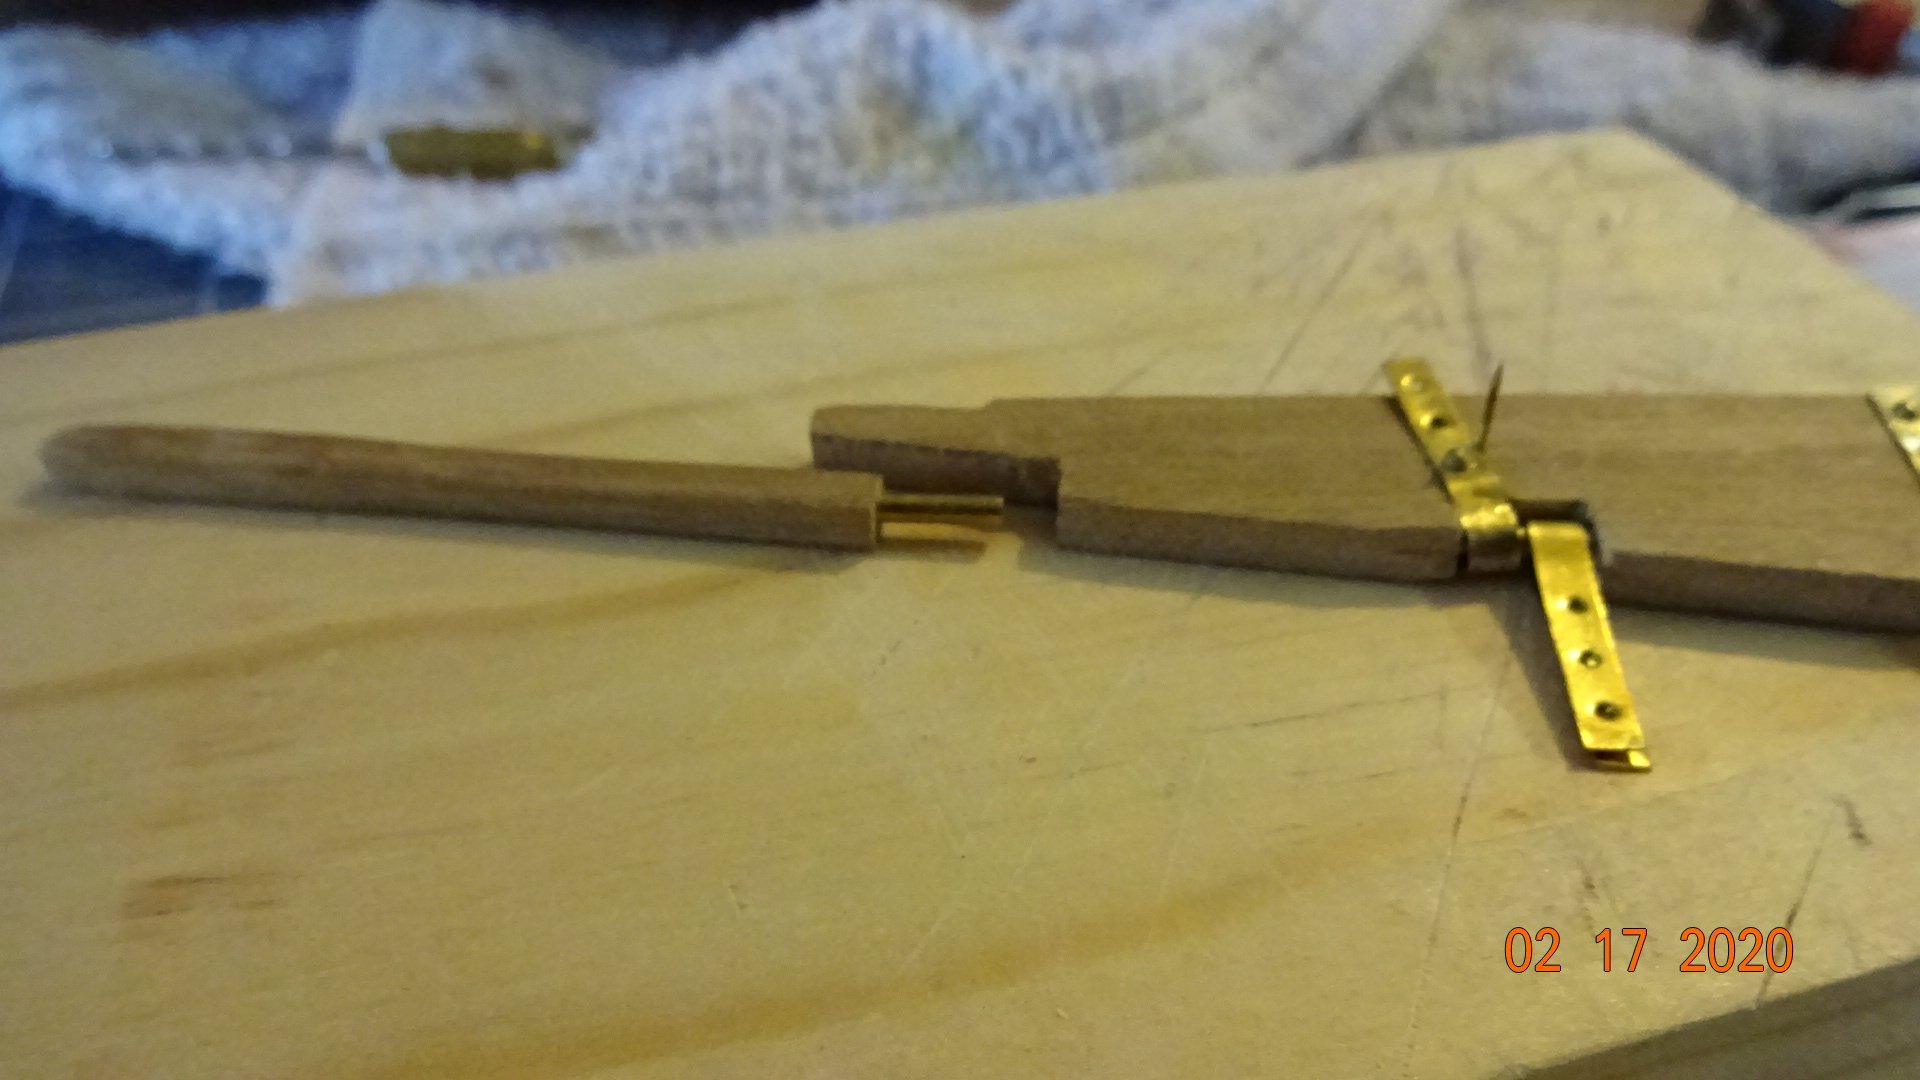
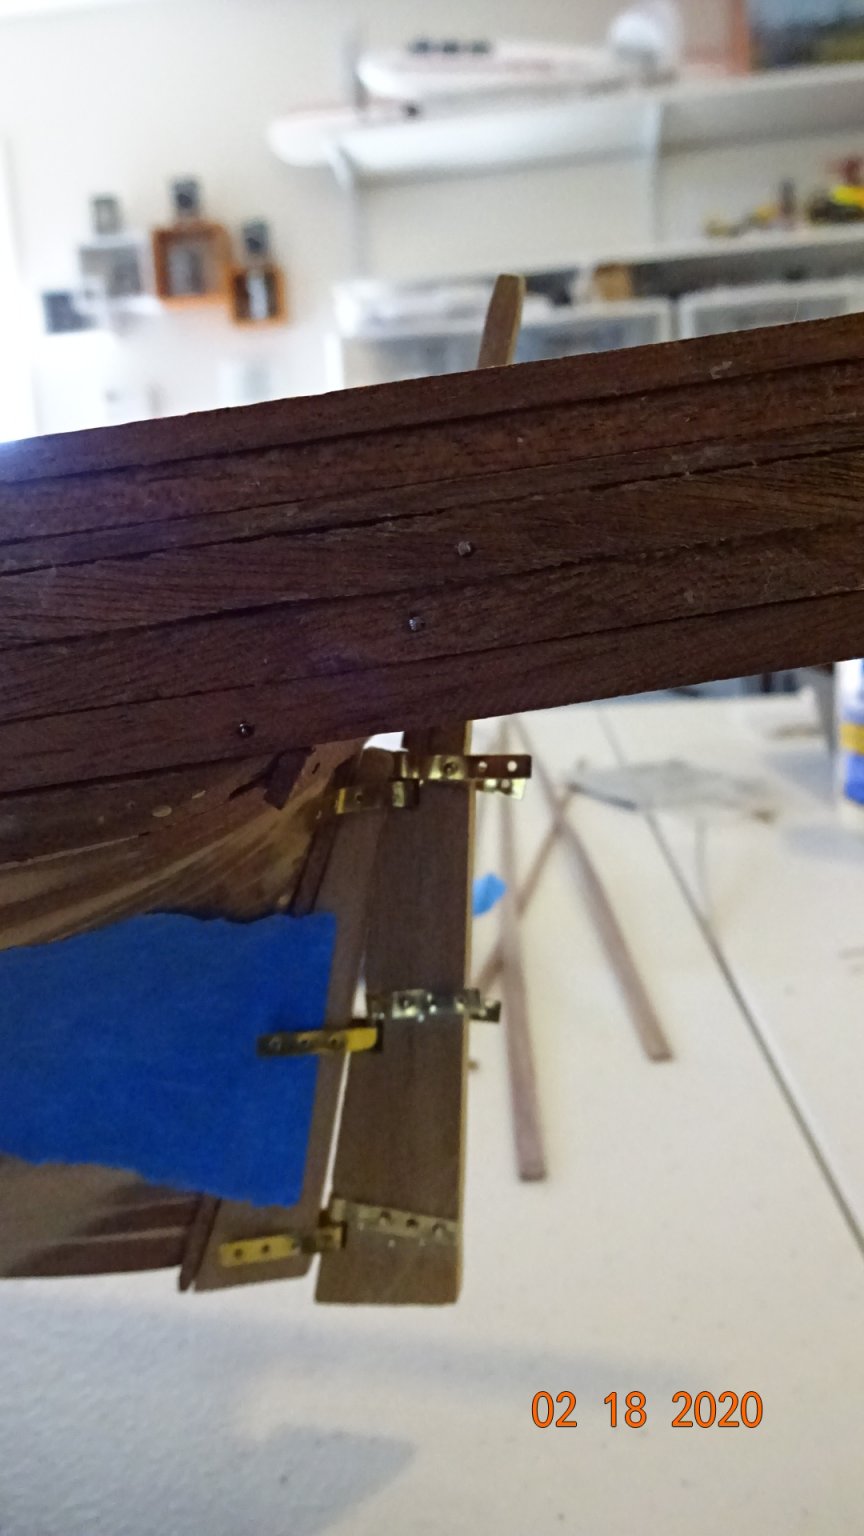
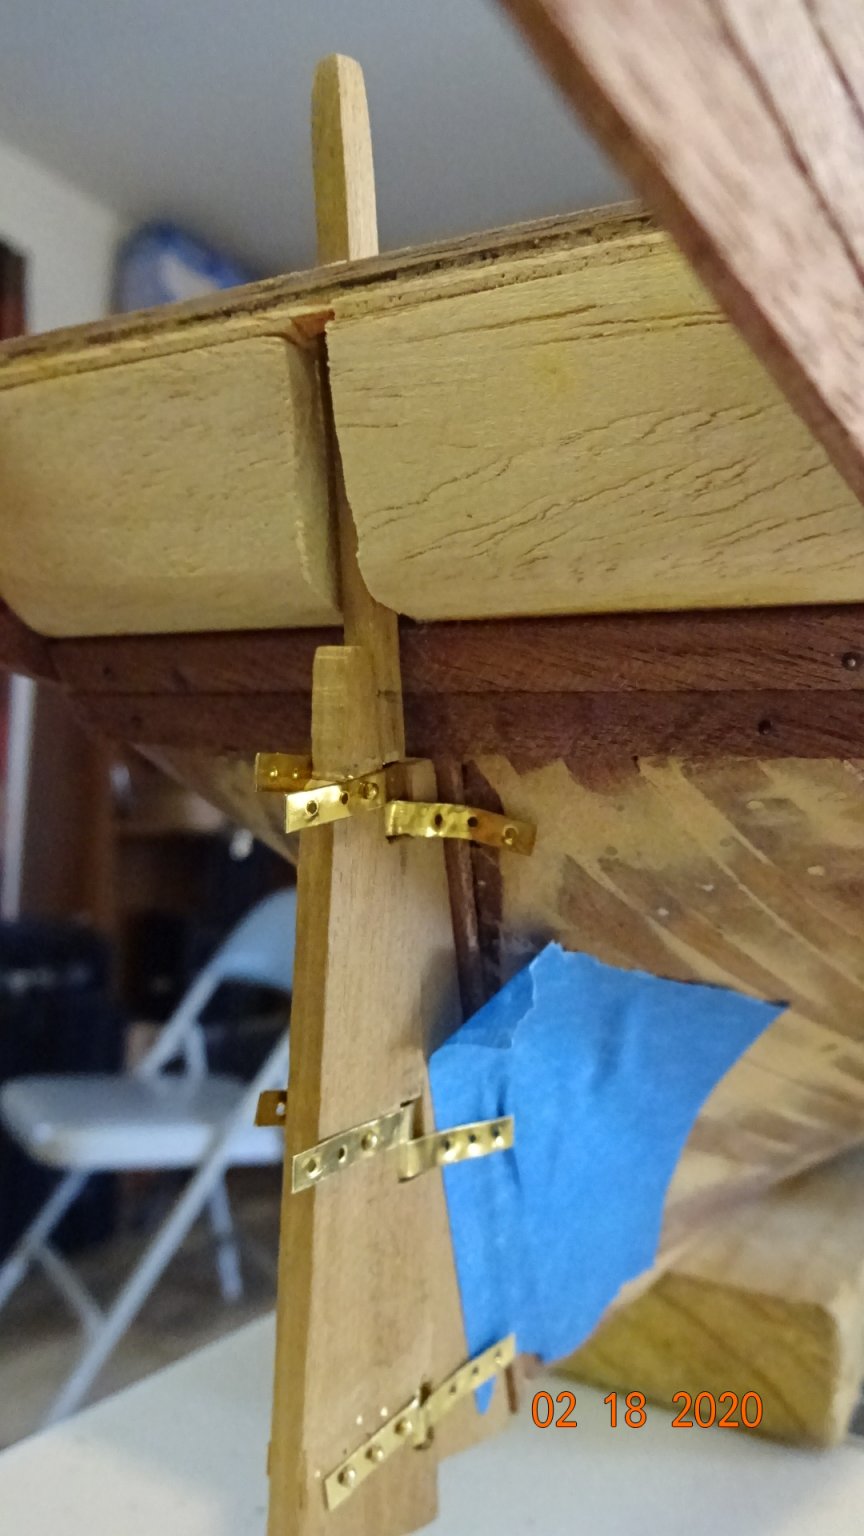
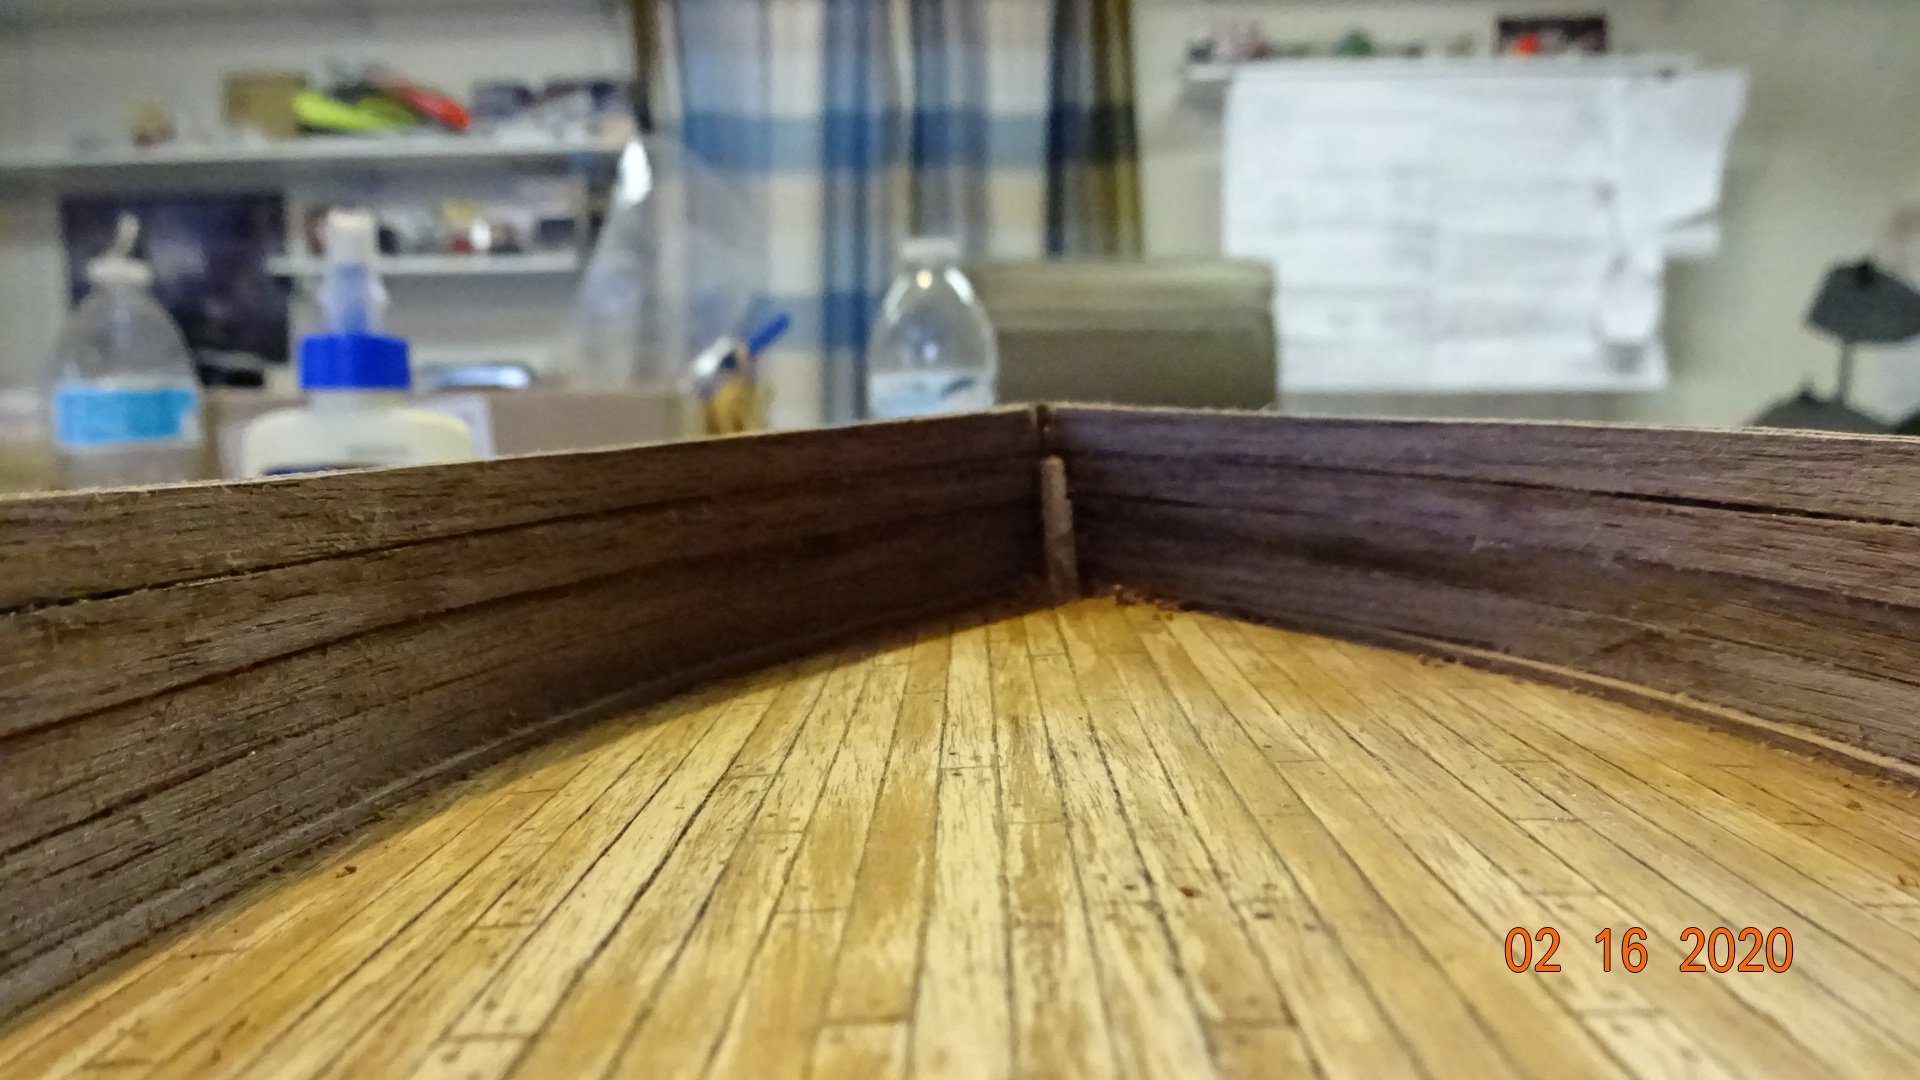
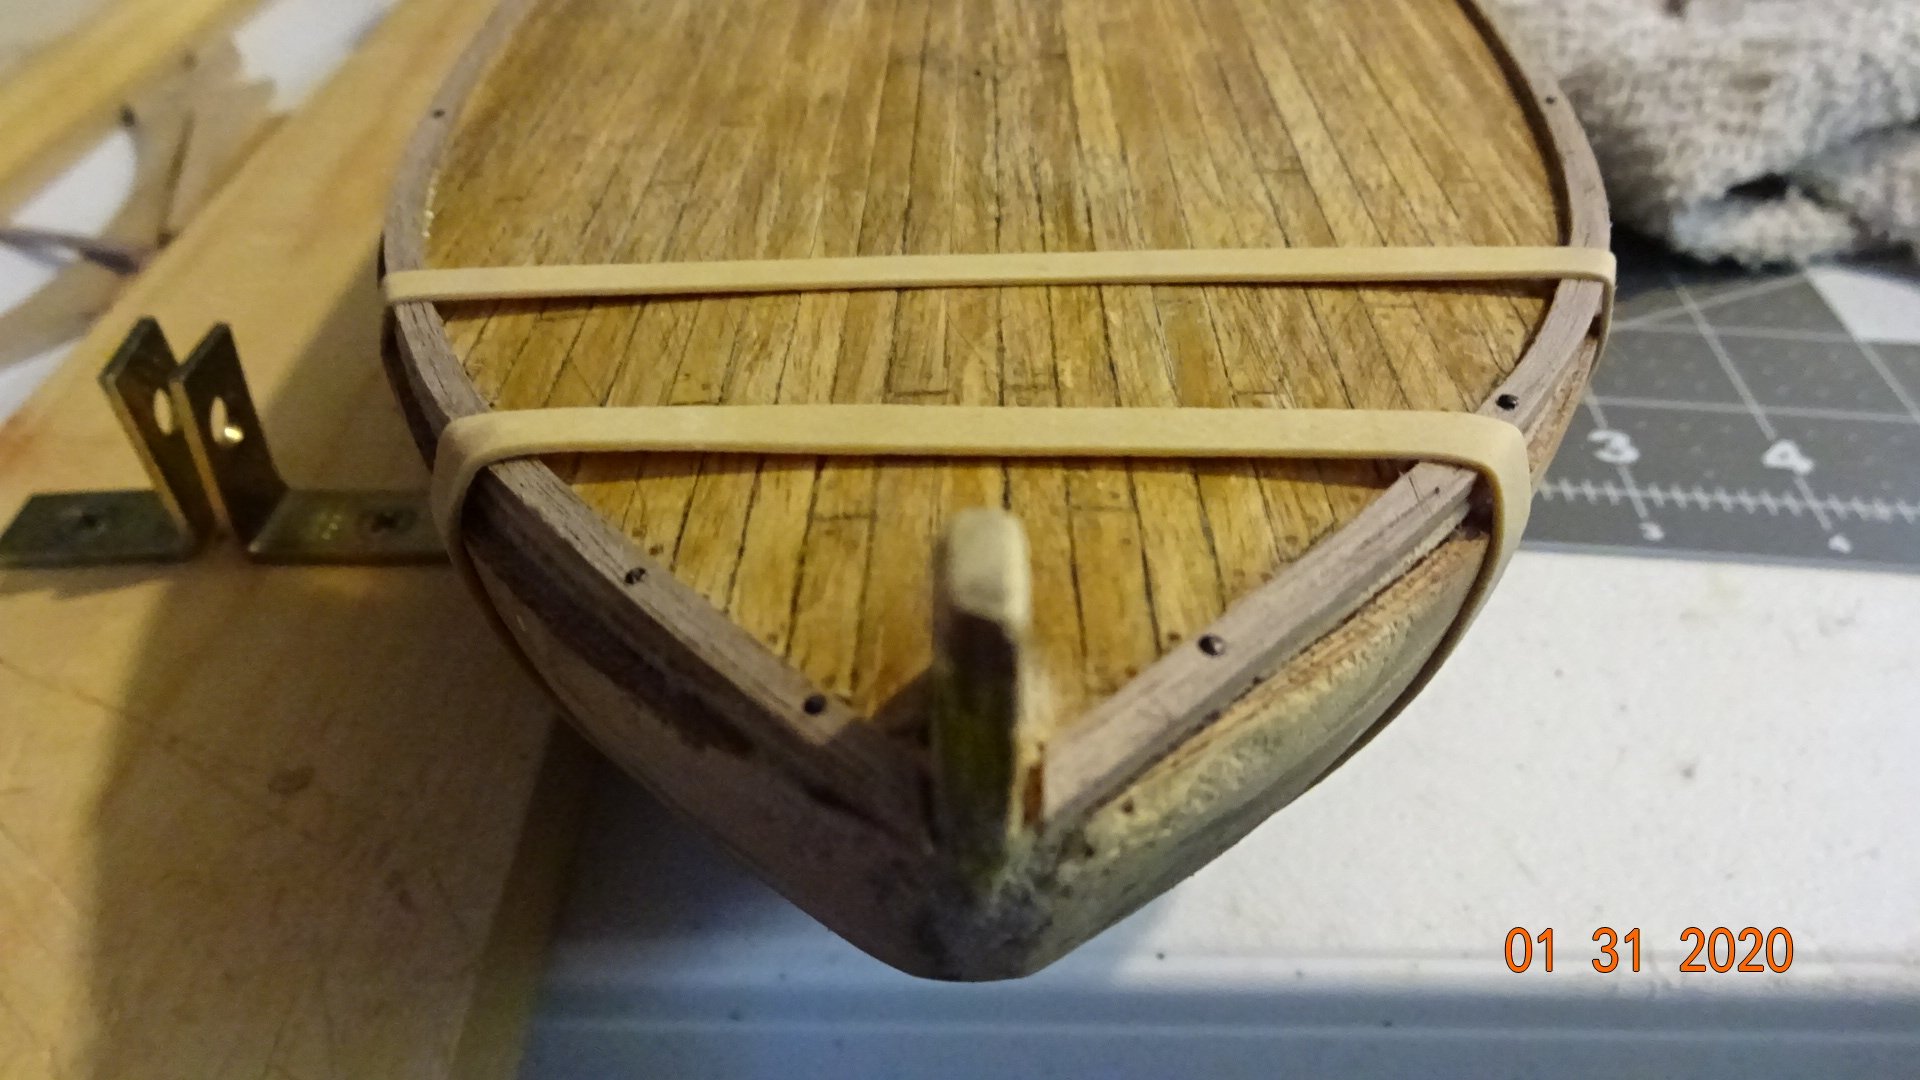
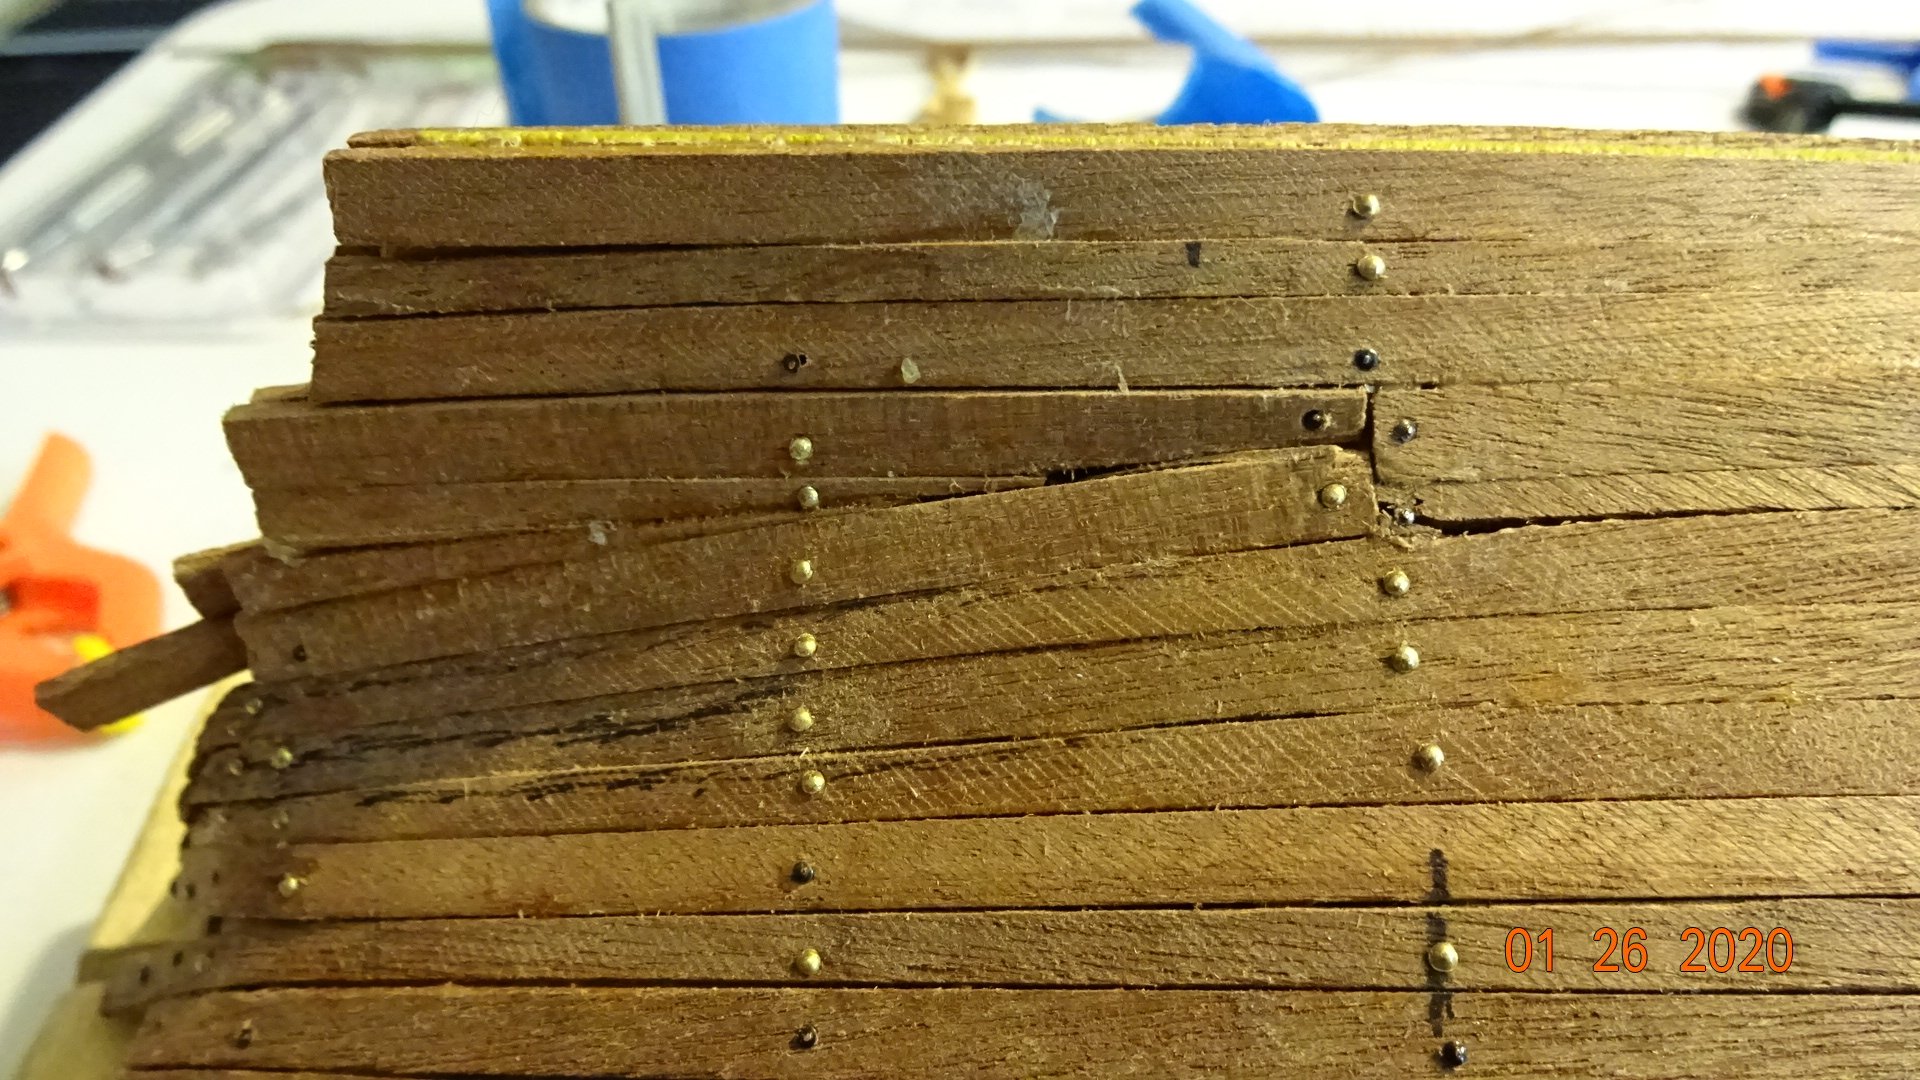
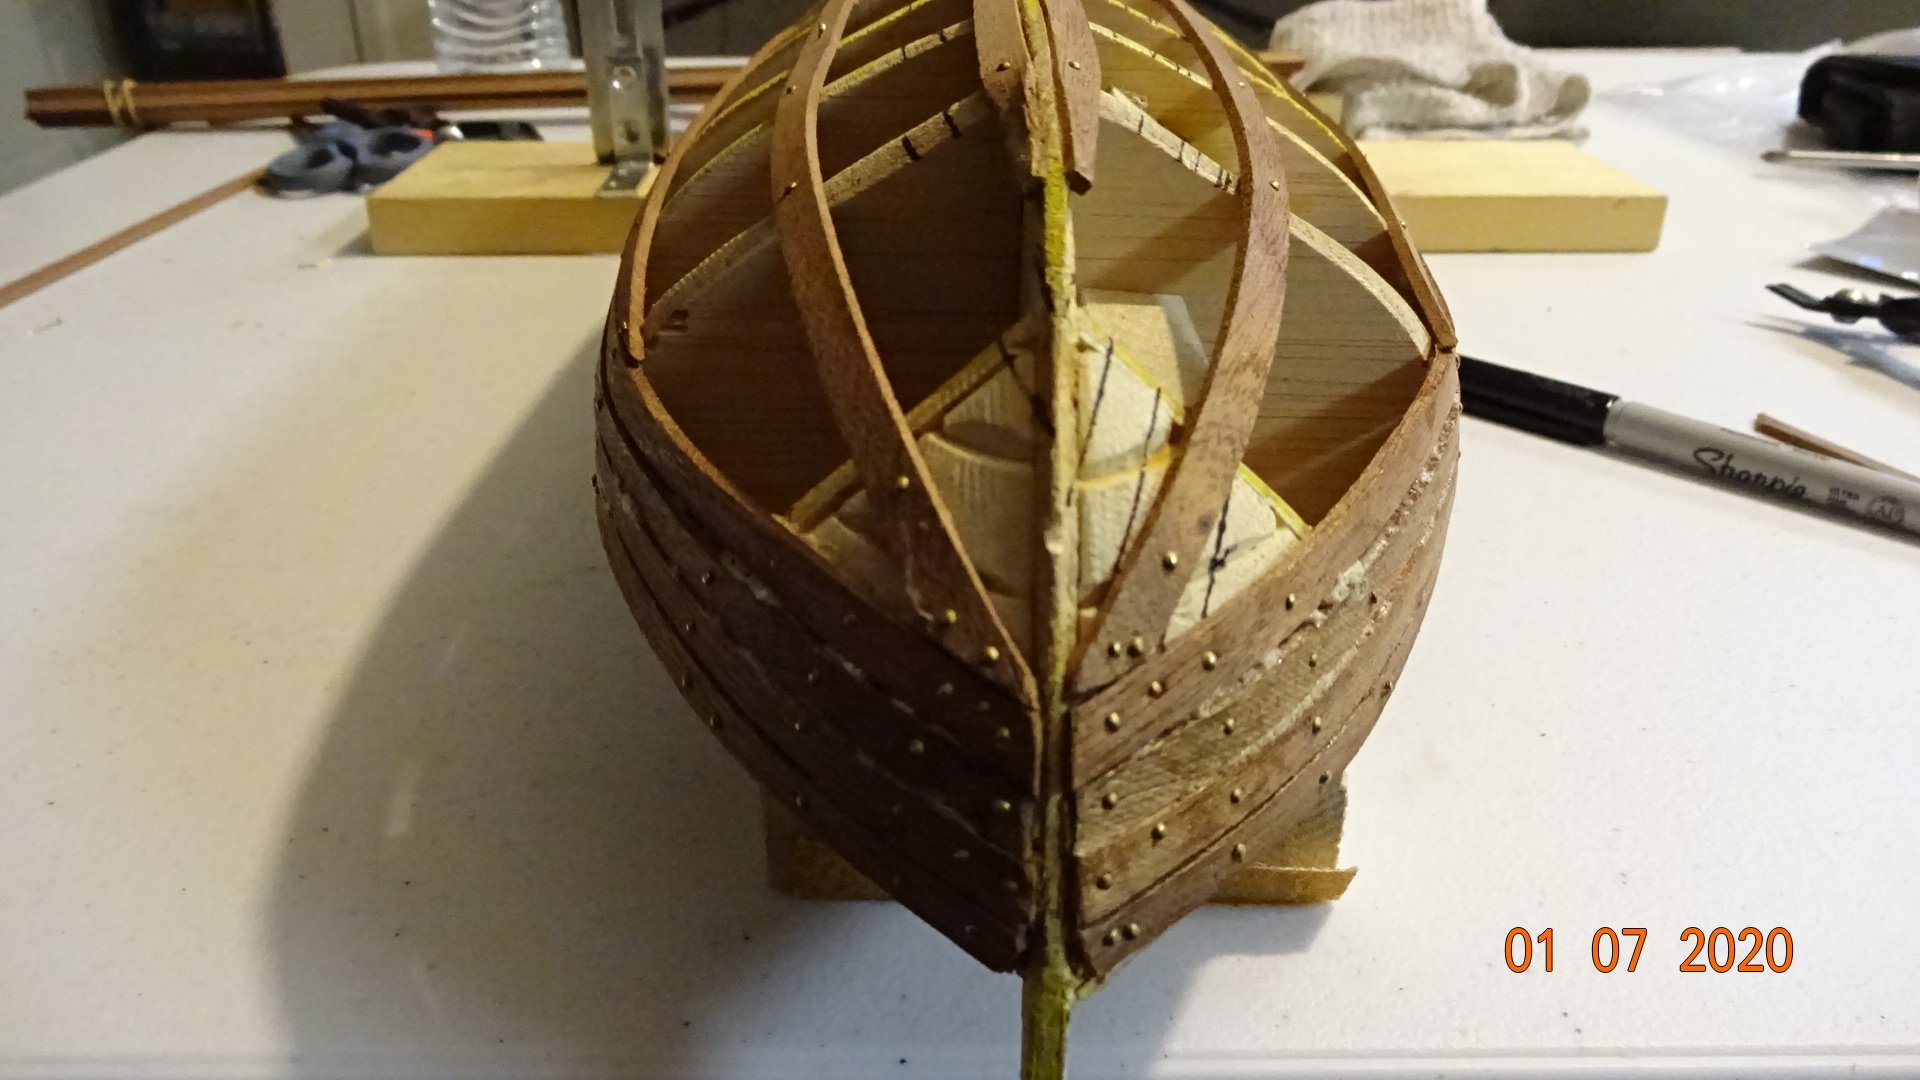
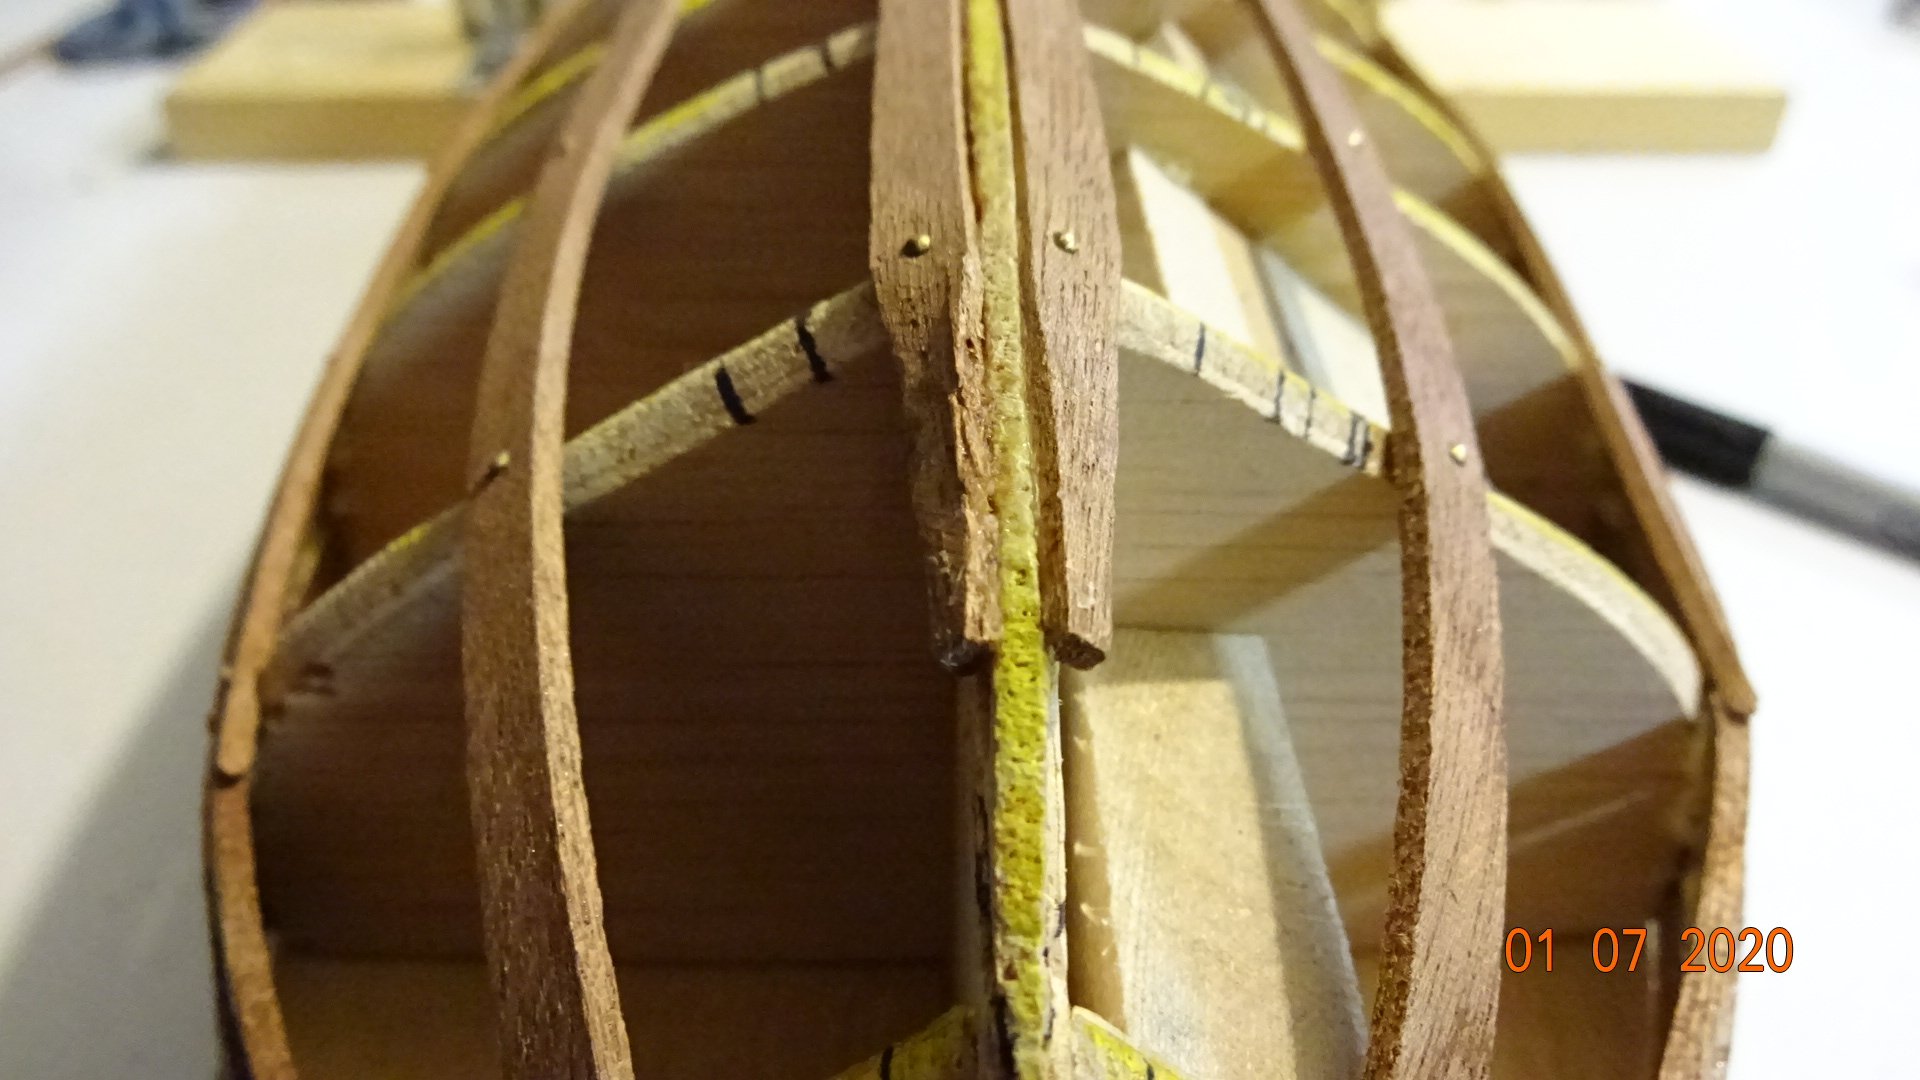
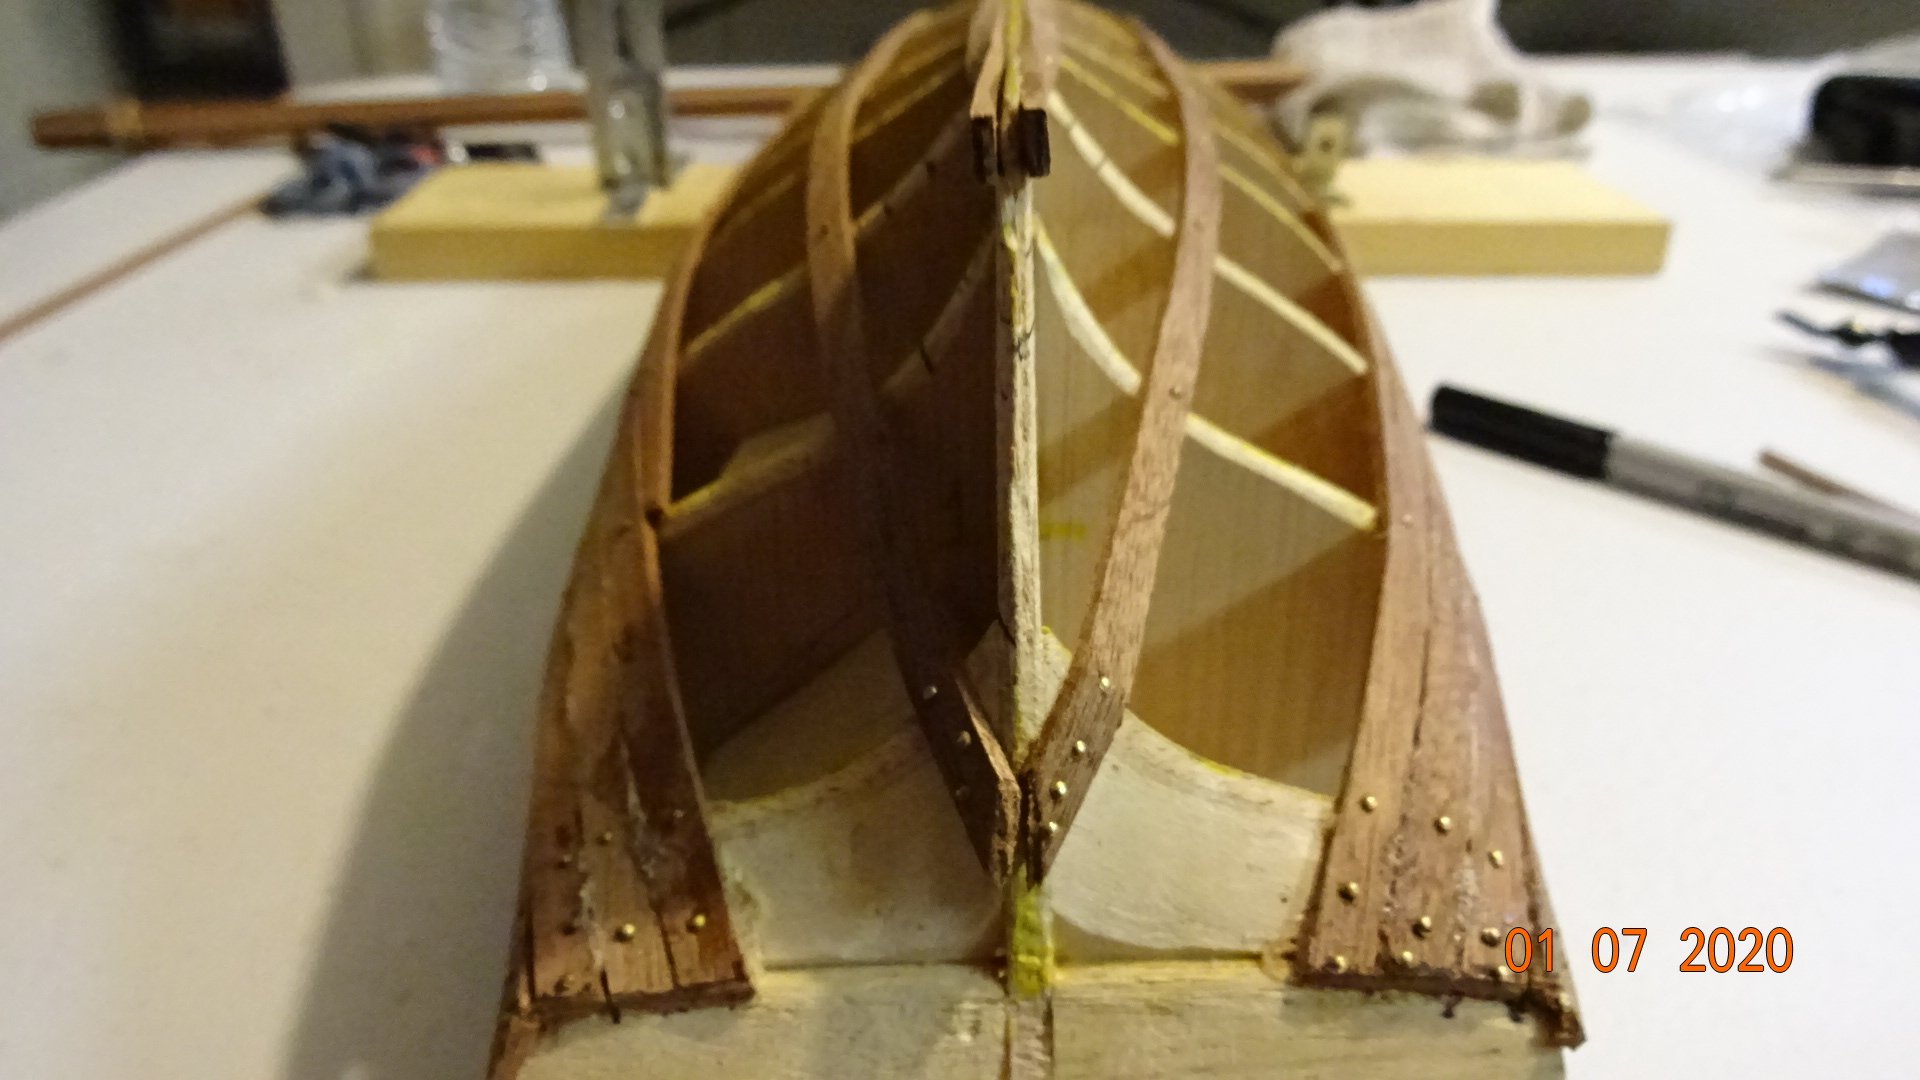
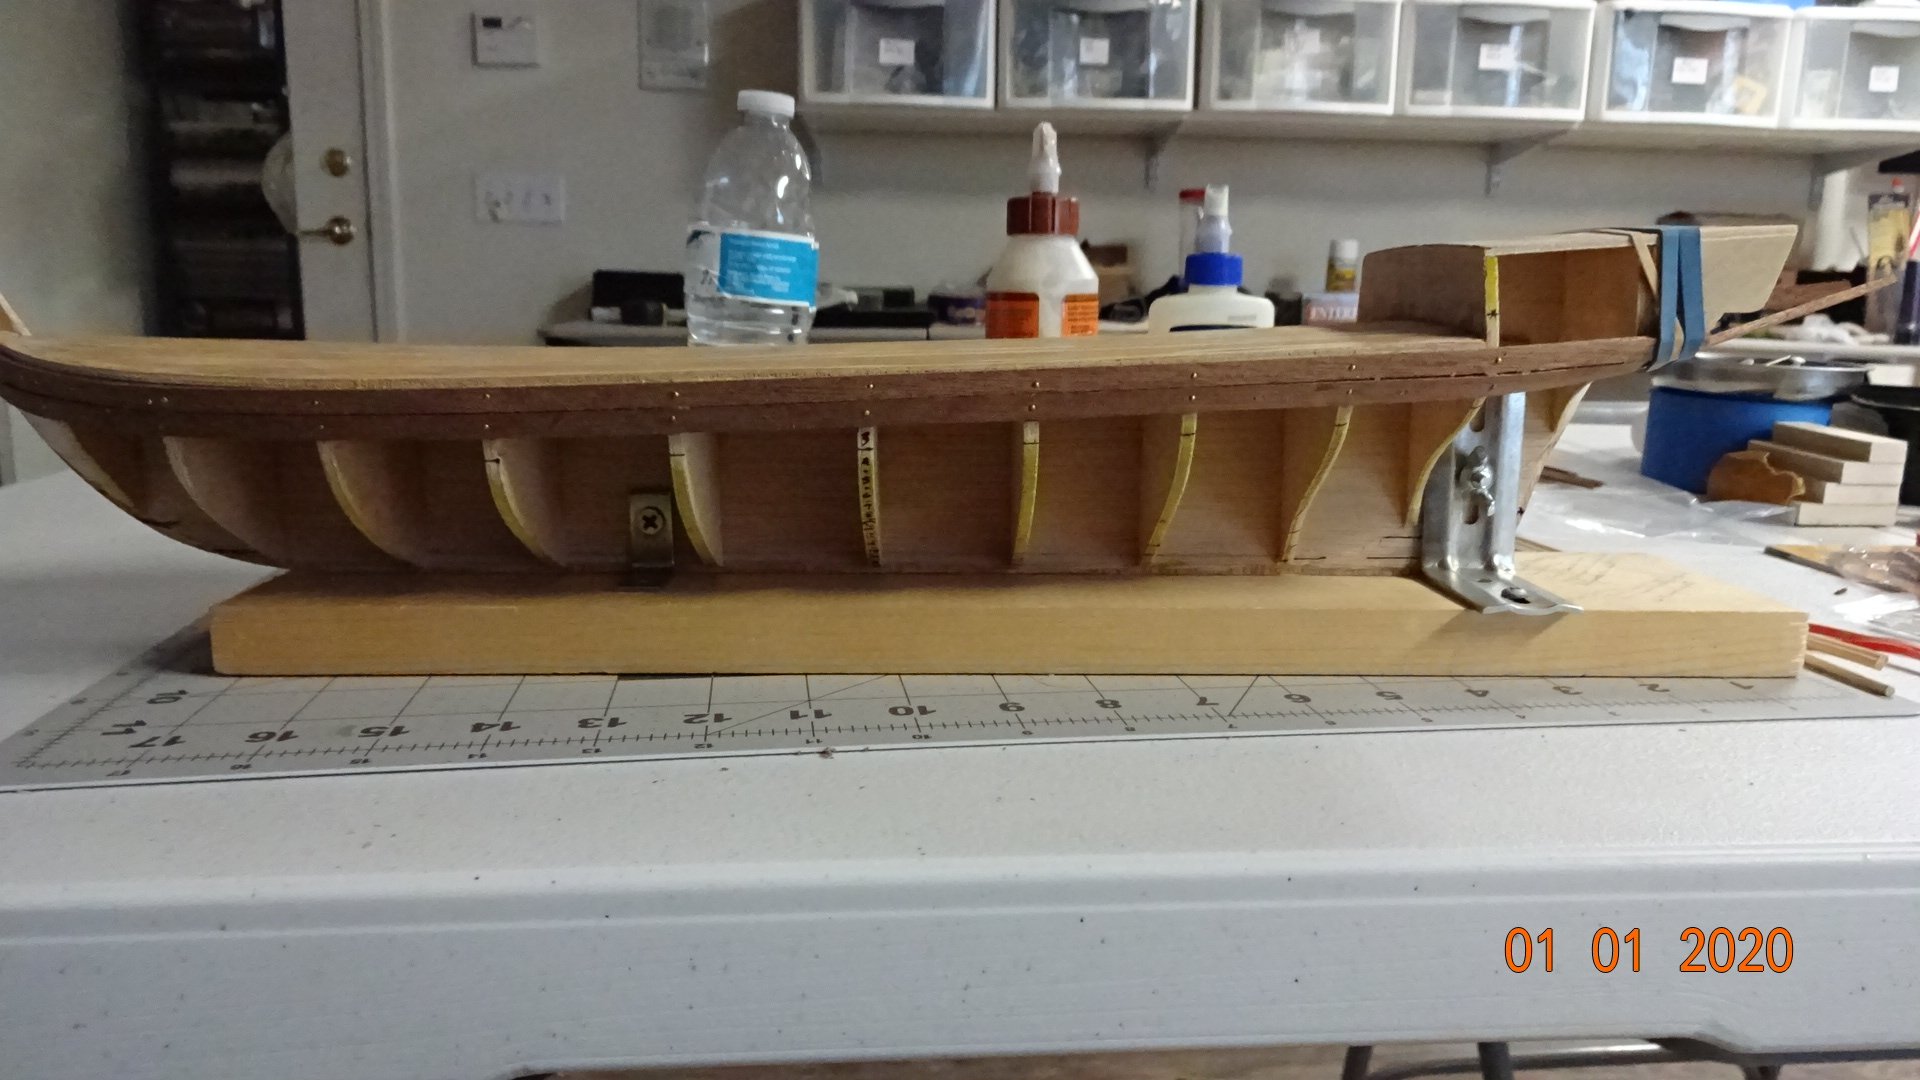
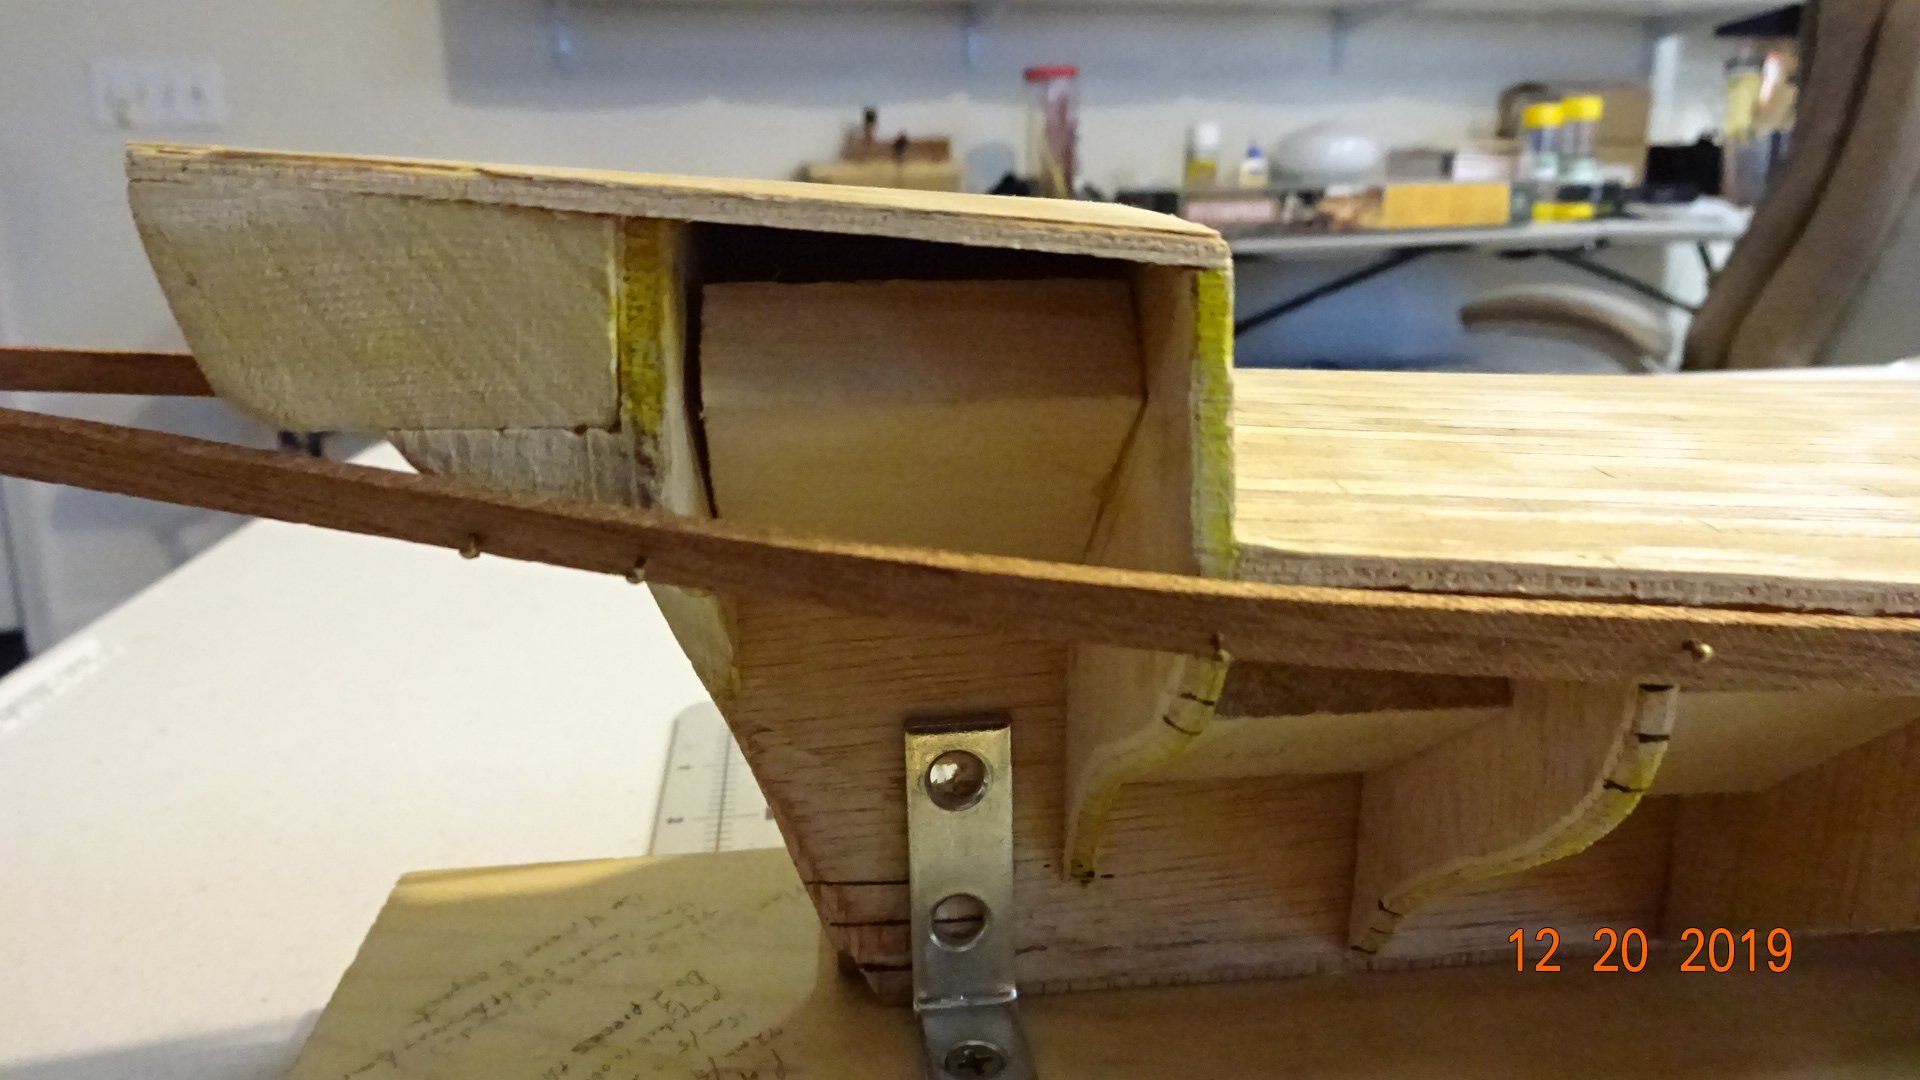
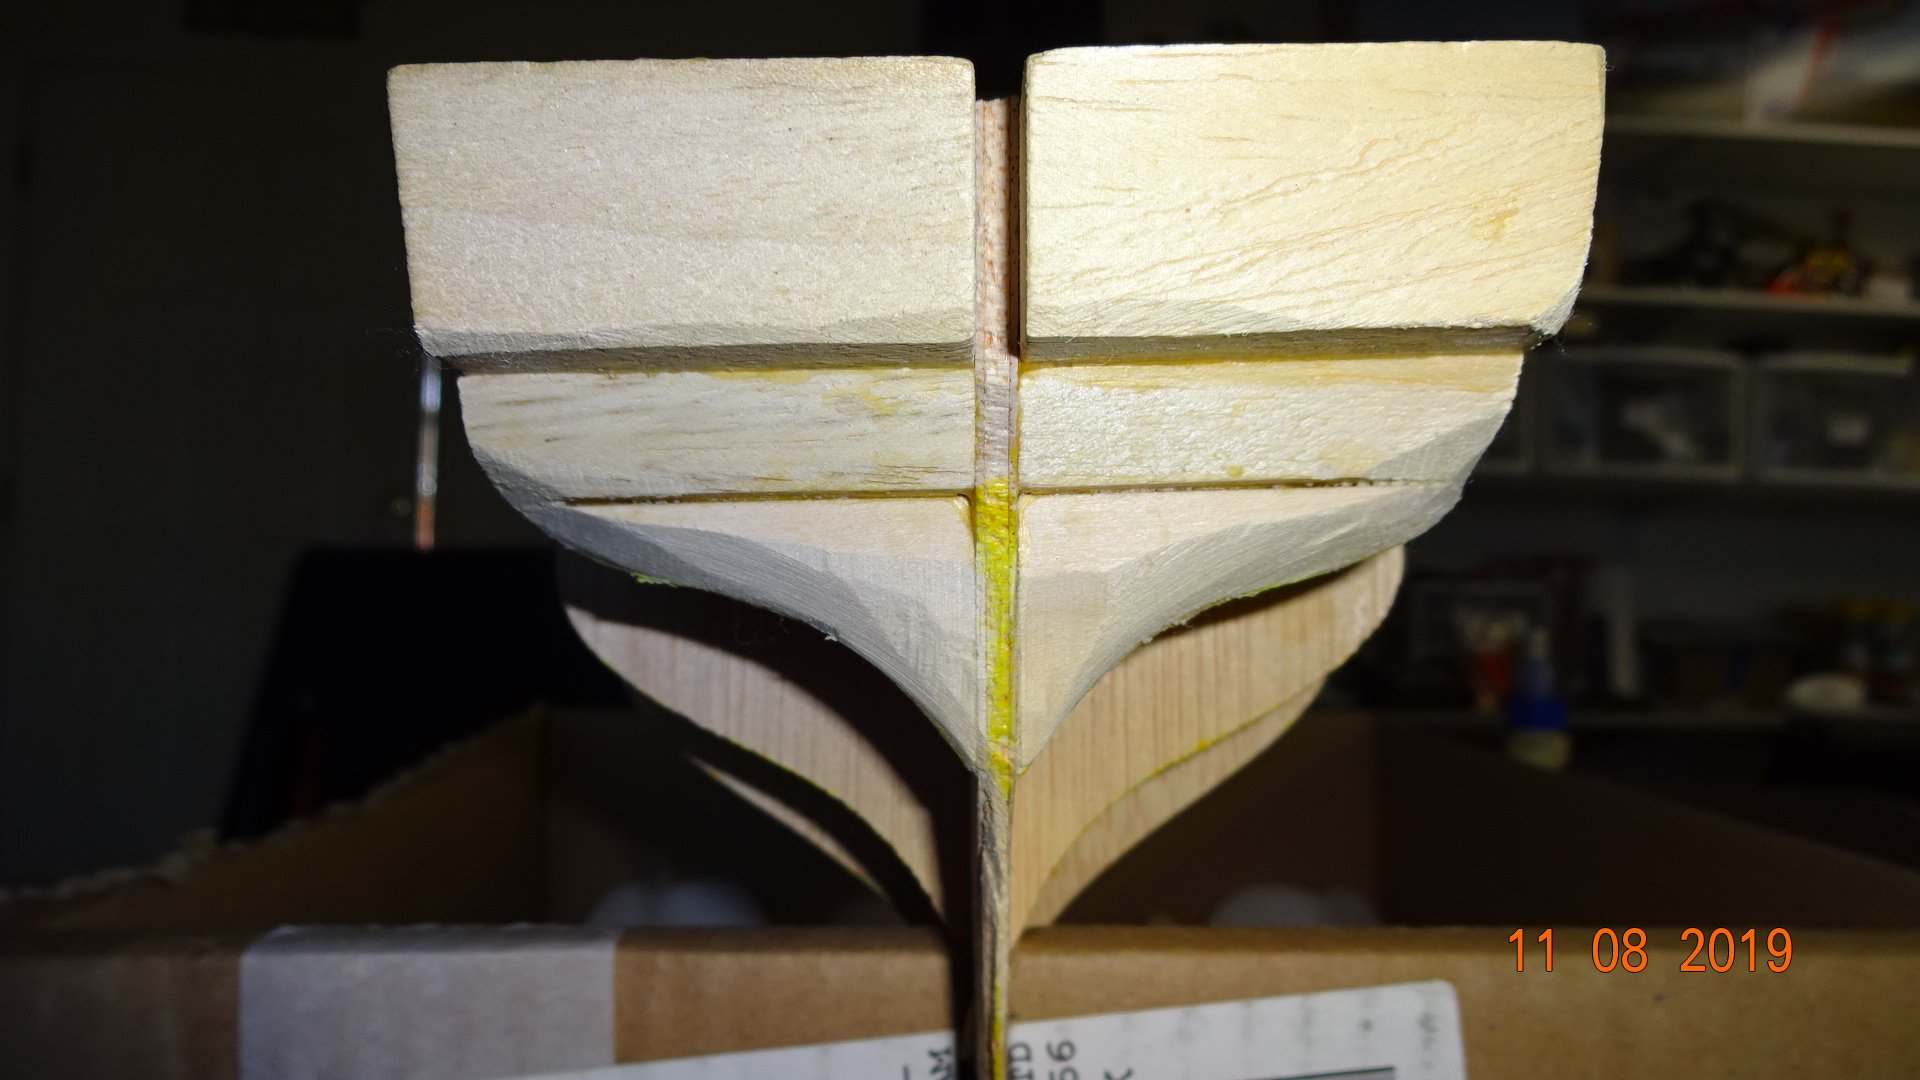
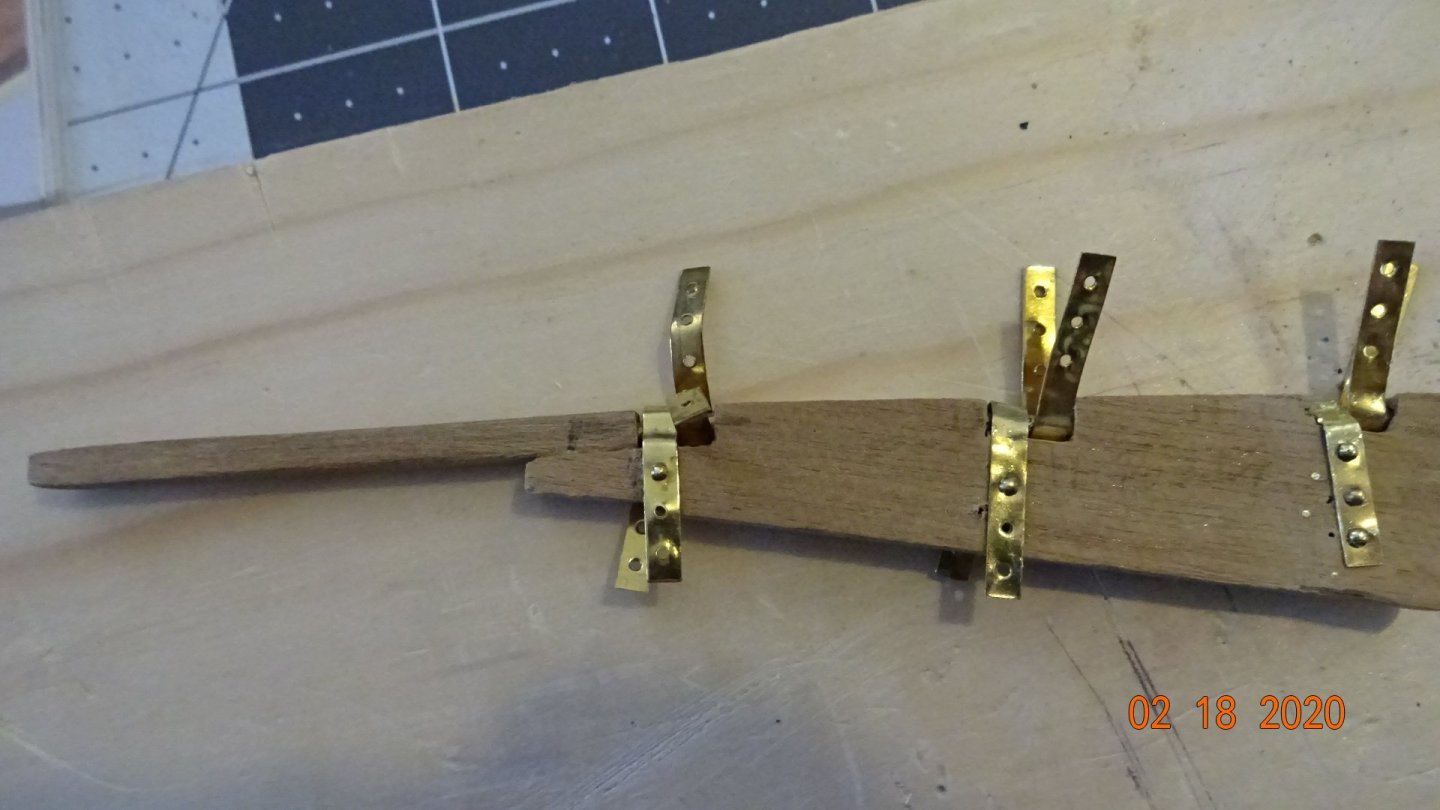
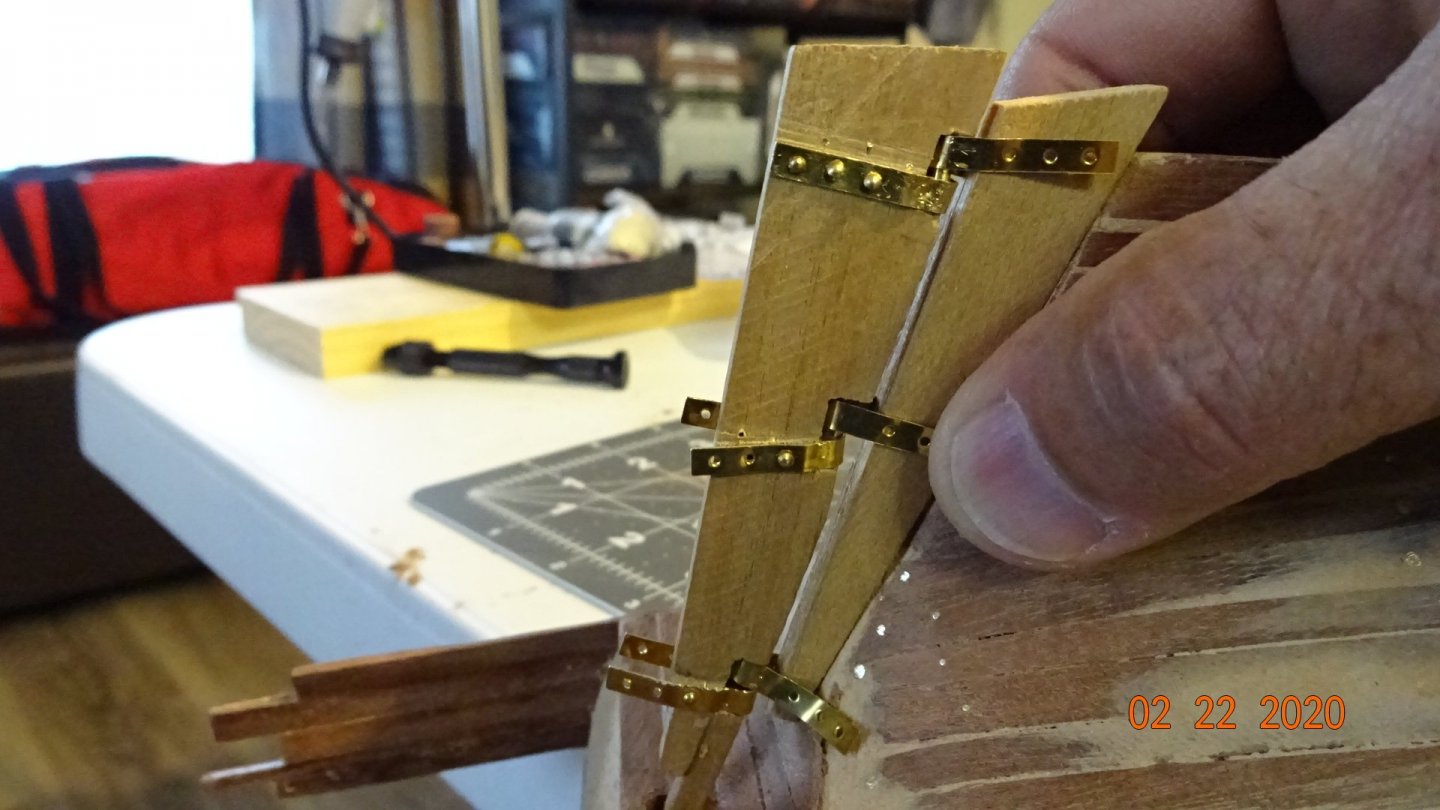
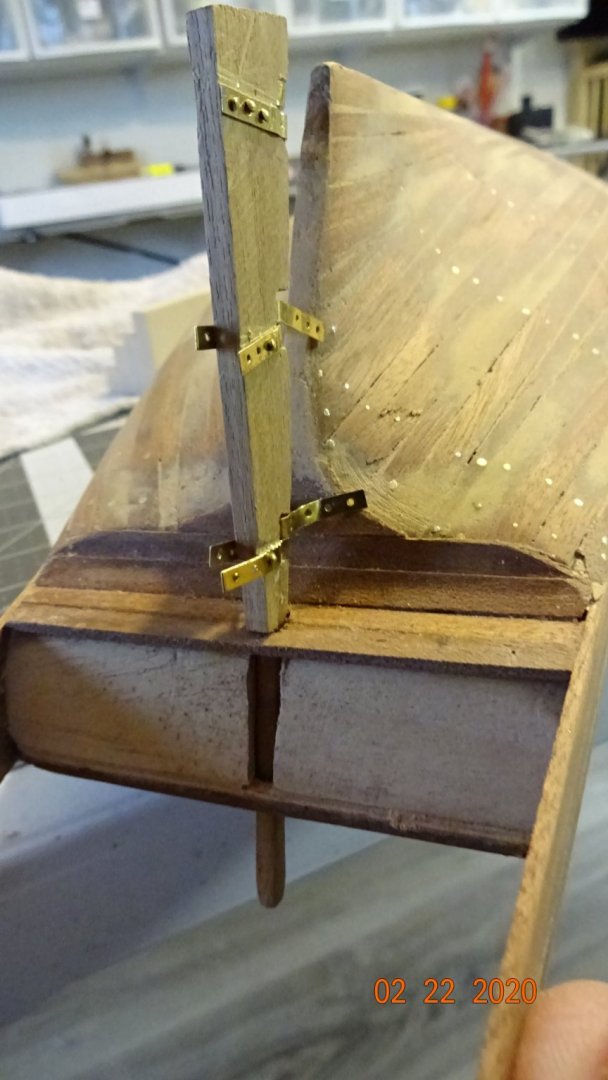
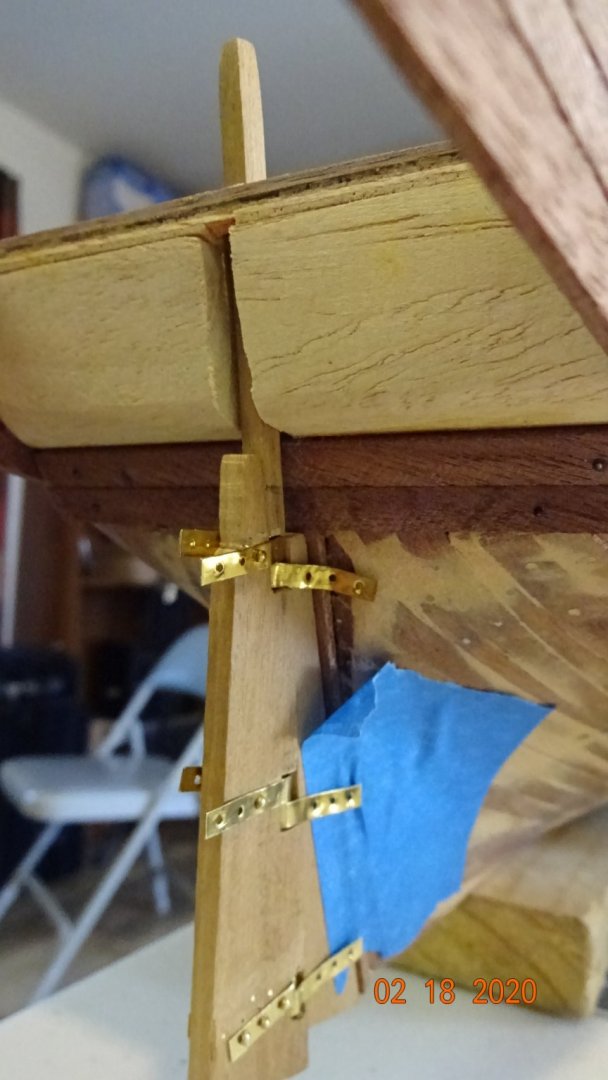
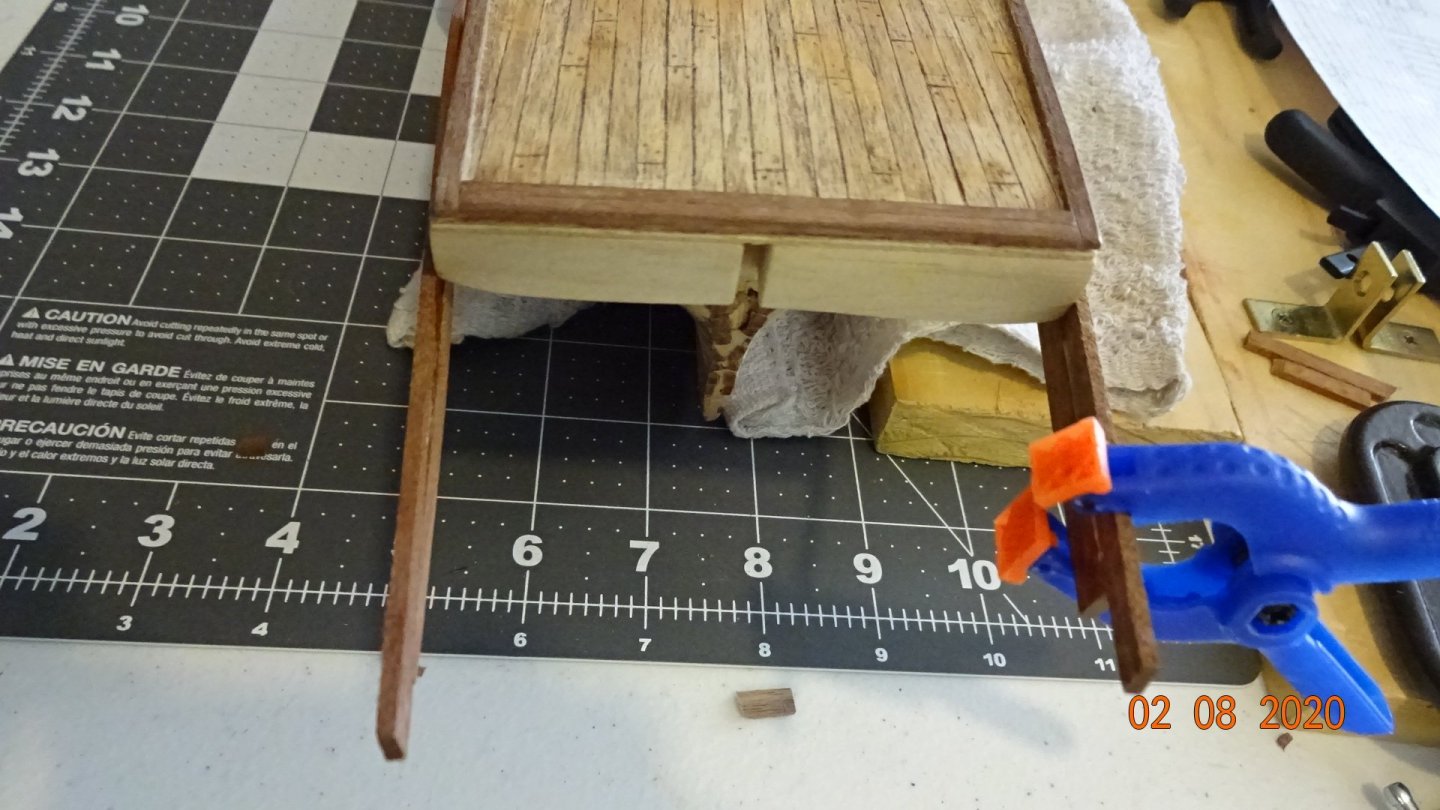
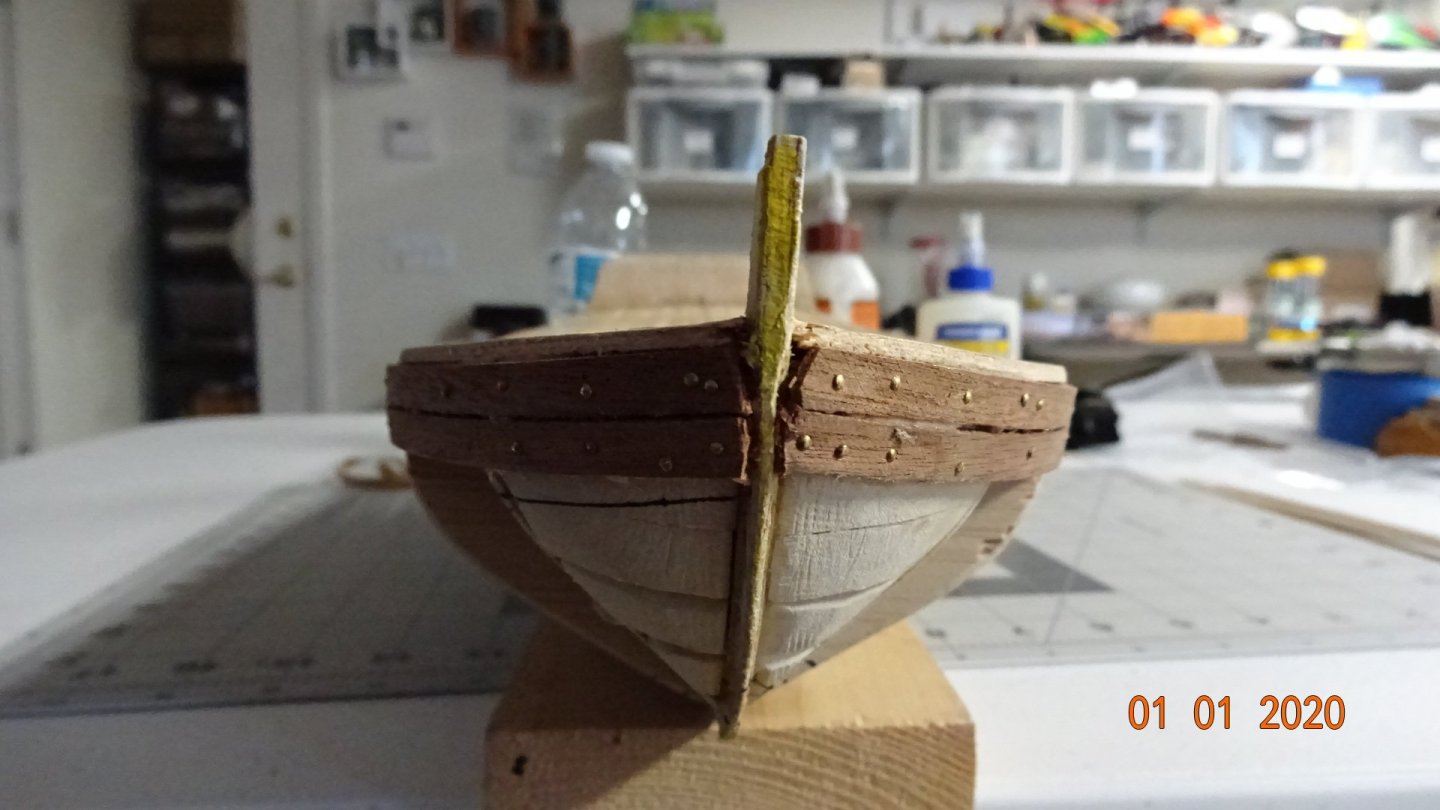
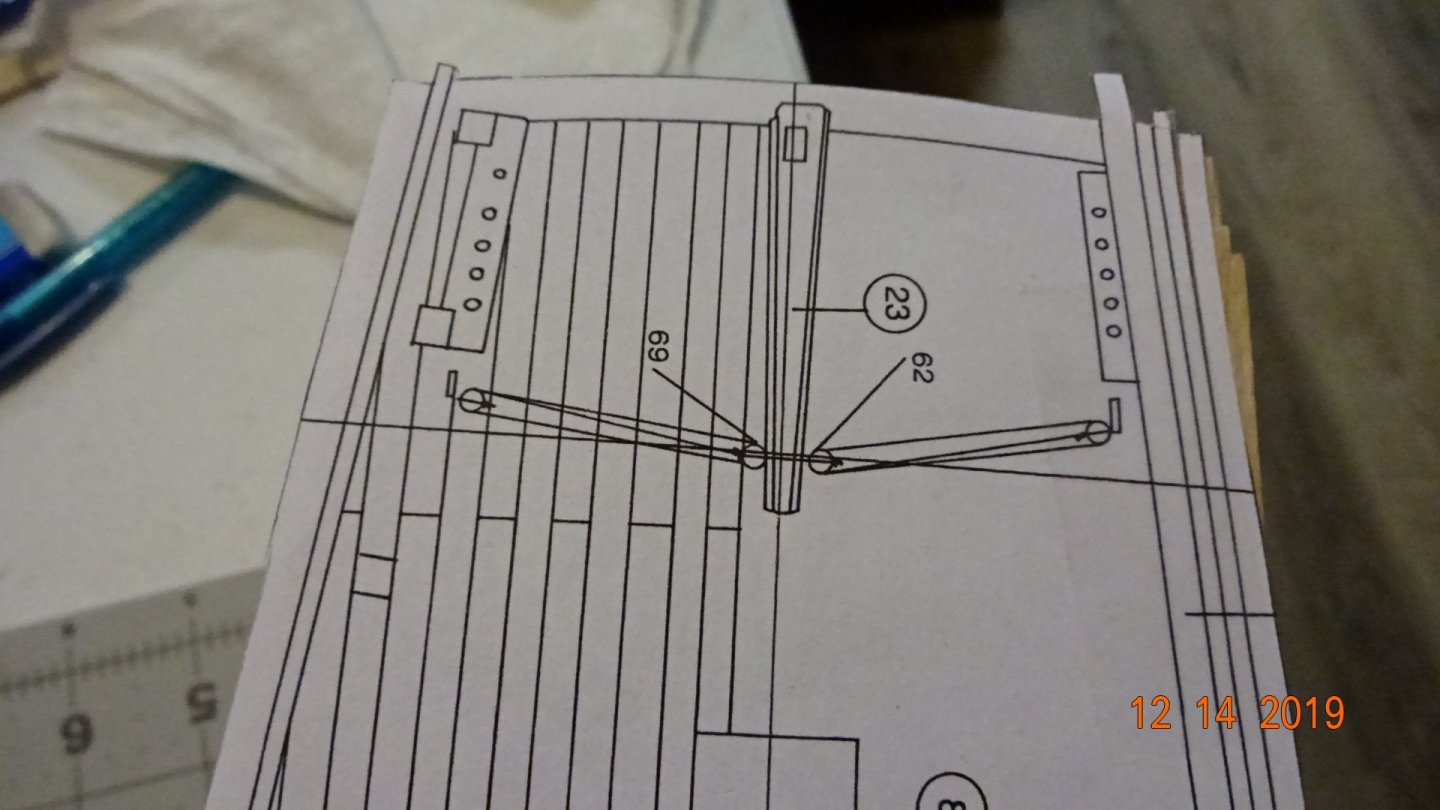
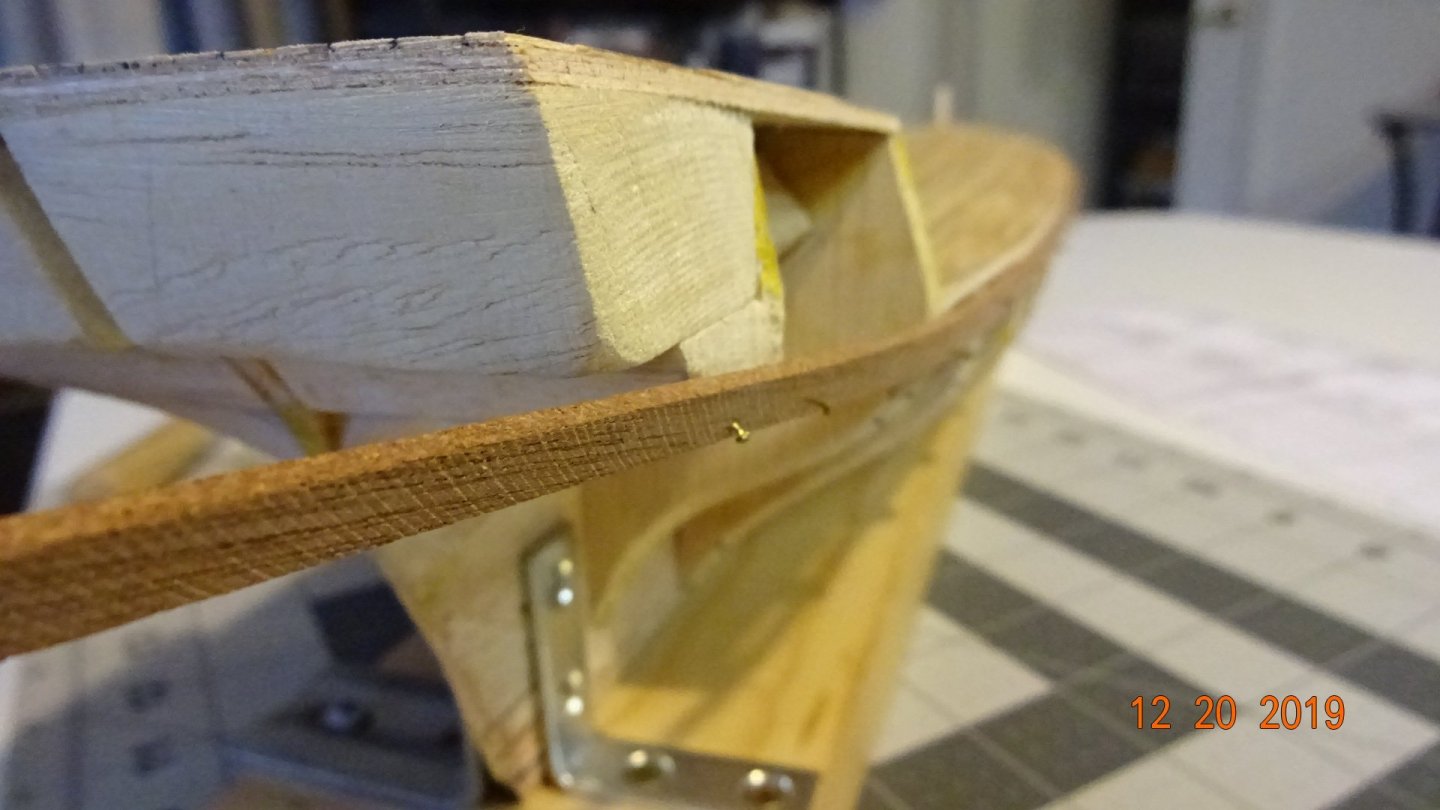
 Next up building the rudder.... The wood pieces in the box for the rudder and stern did not match the blueprints (schematics). So I cut and sanded and eventually got a working piece. I started nailing the brass rudder hinges to the rudder, very hard wood. Then cut the excess off. Should have glued them first and then followed up with nailing. Test fitting ... Almost made the newbie mistake of attaching the rudder to the hull before the 2nd planking. Yikes!
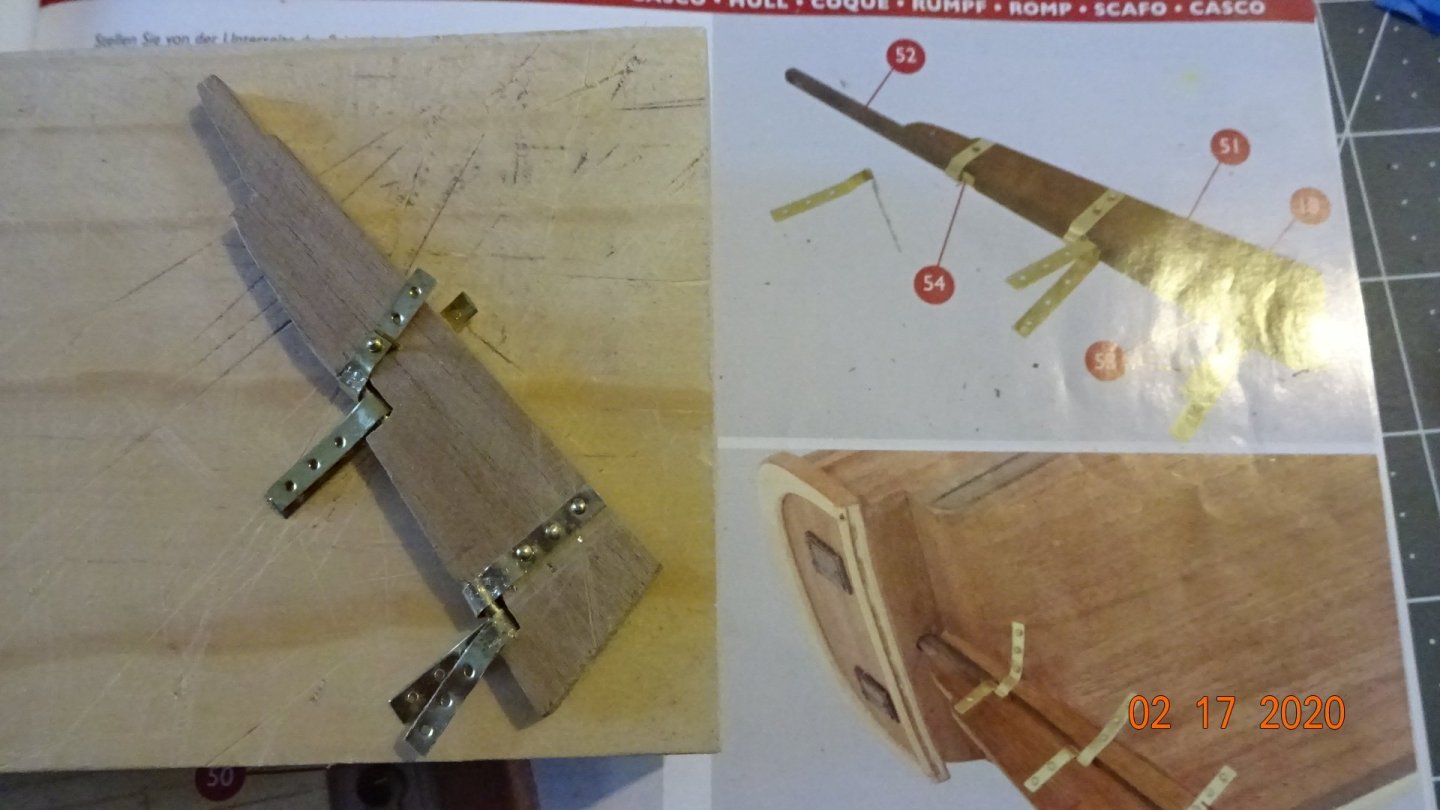


- 195 replies
-
- 4
-

-
- enterprise
- constructo
- (and 1 more)
-
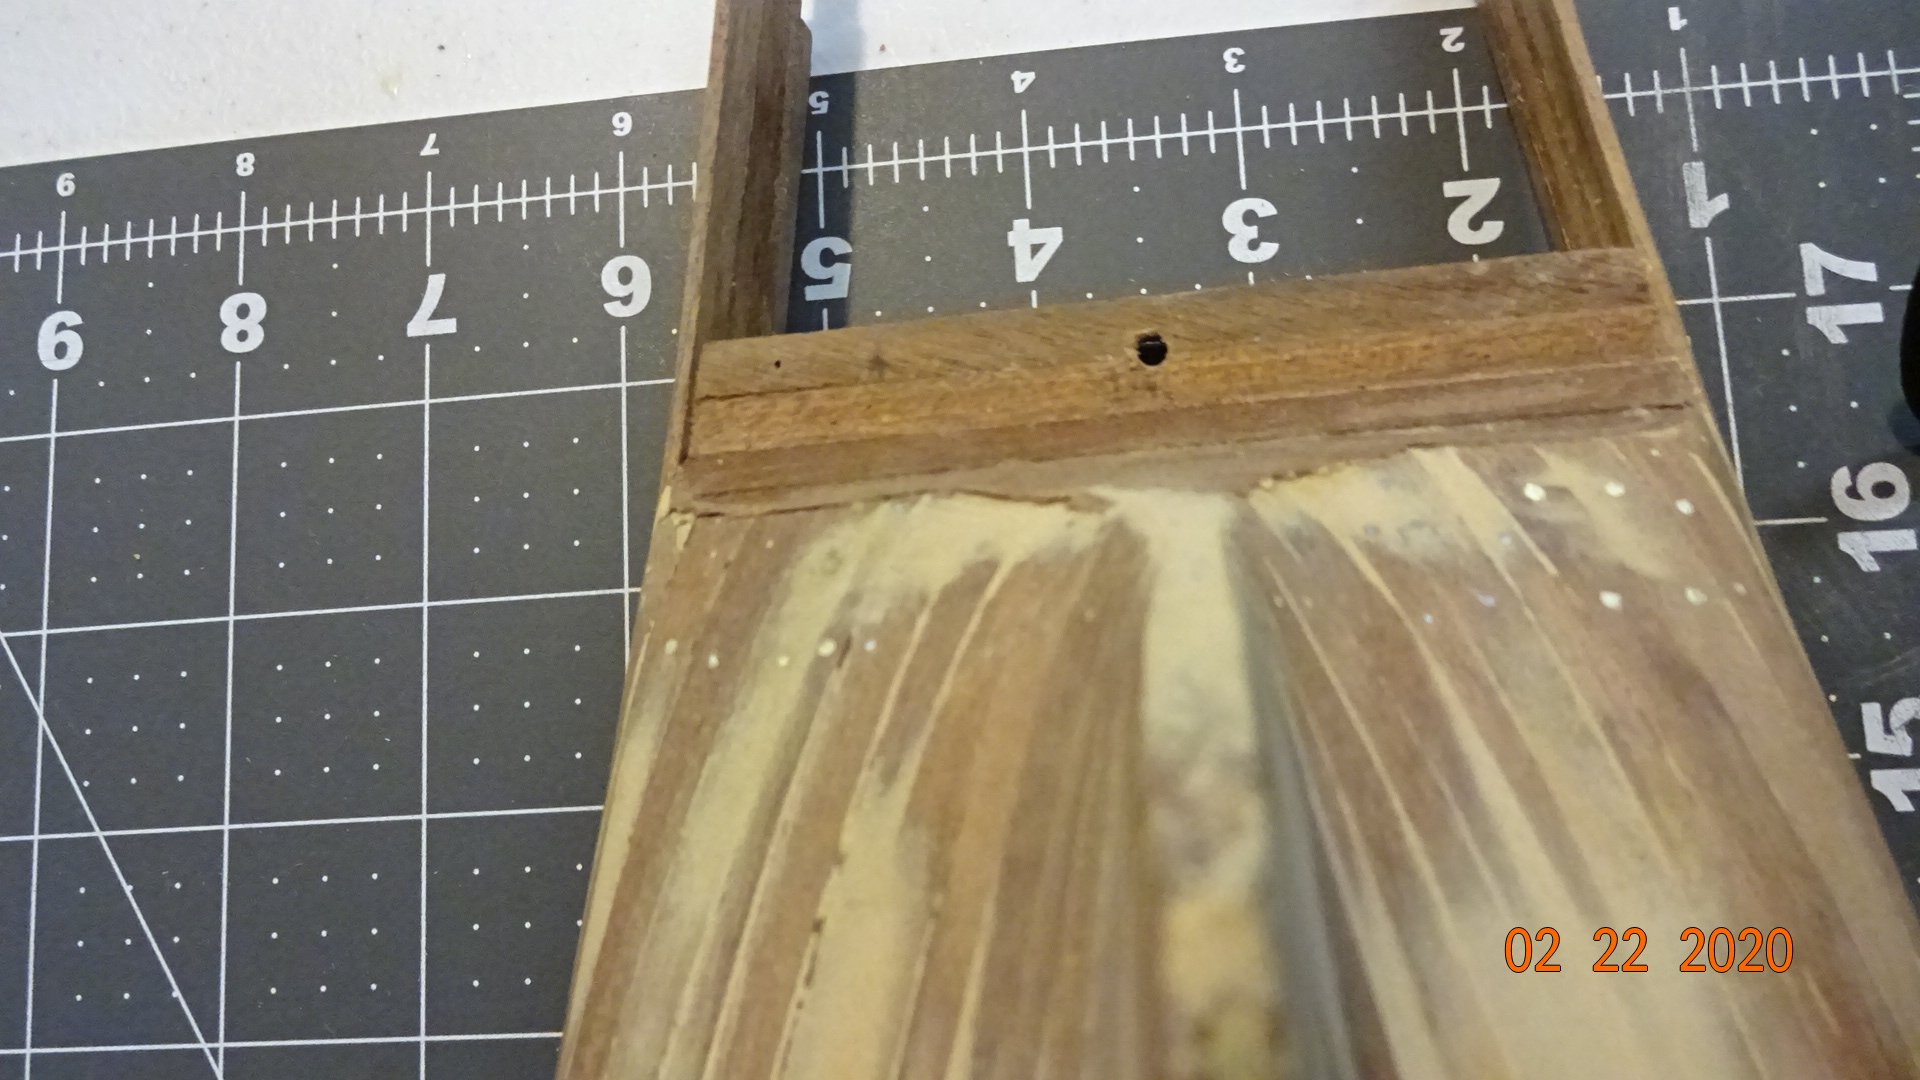
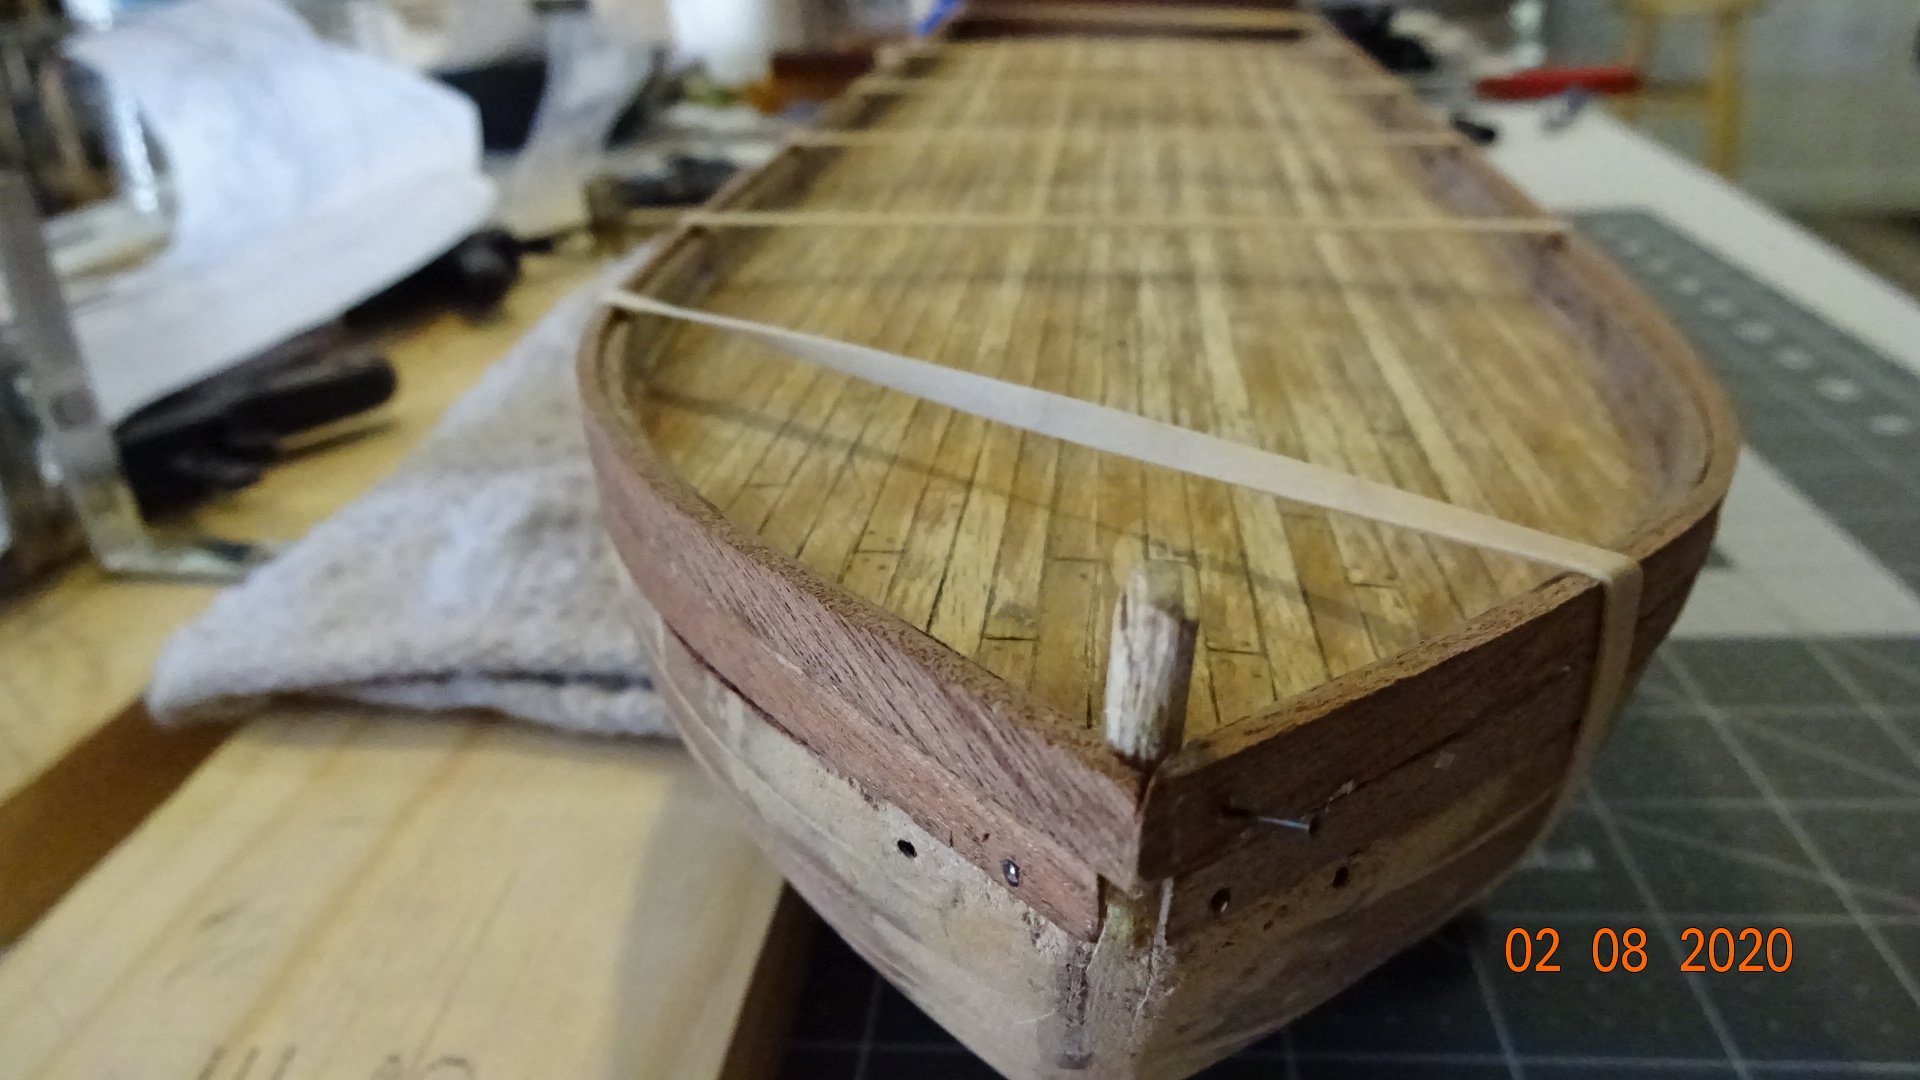
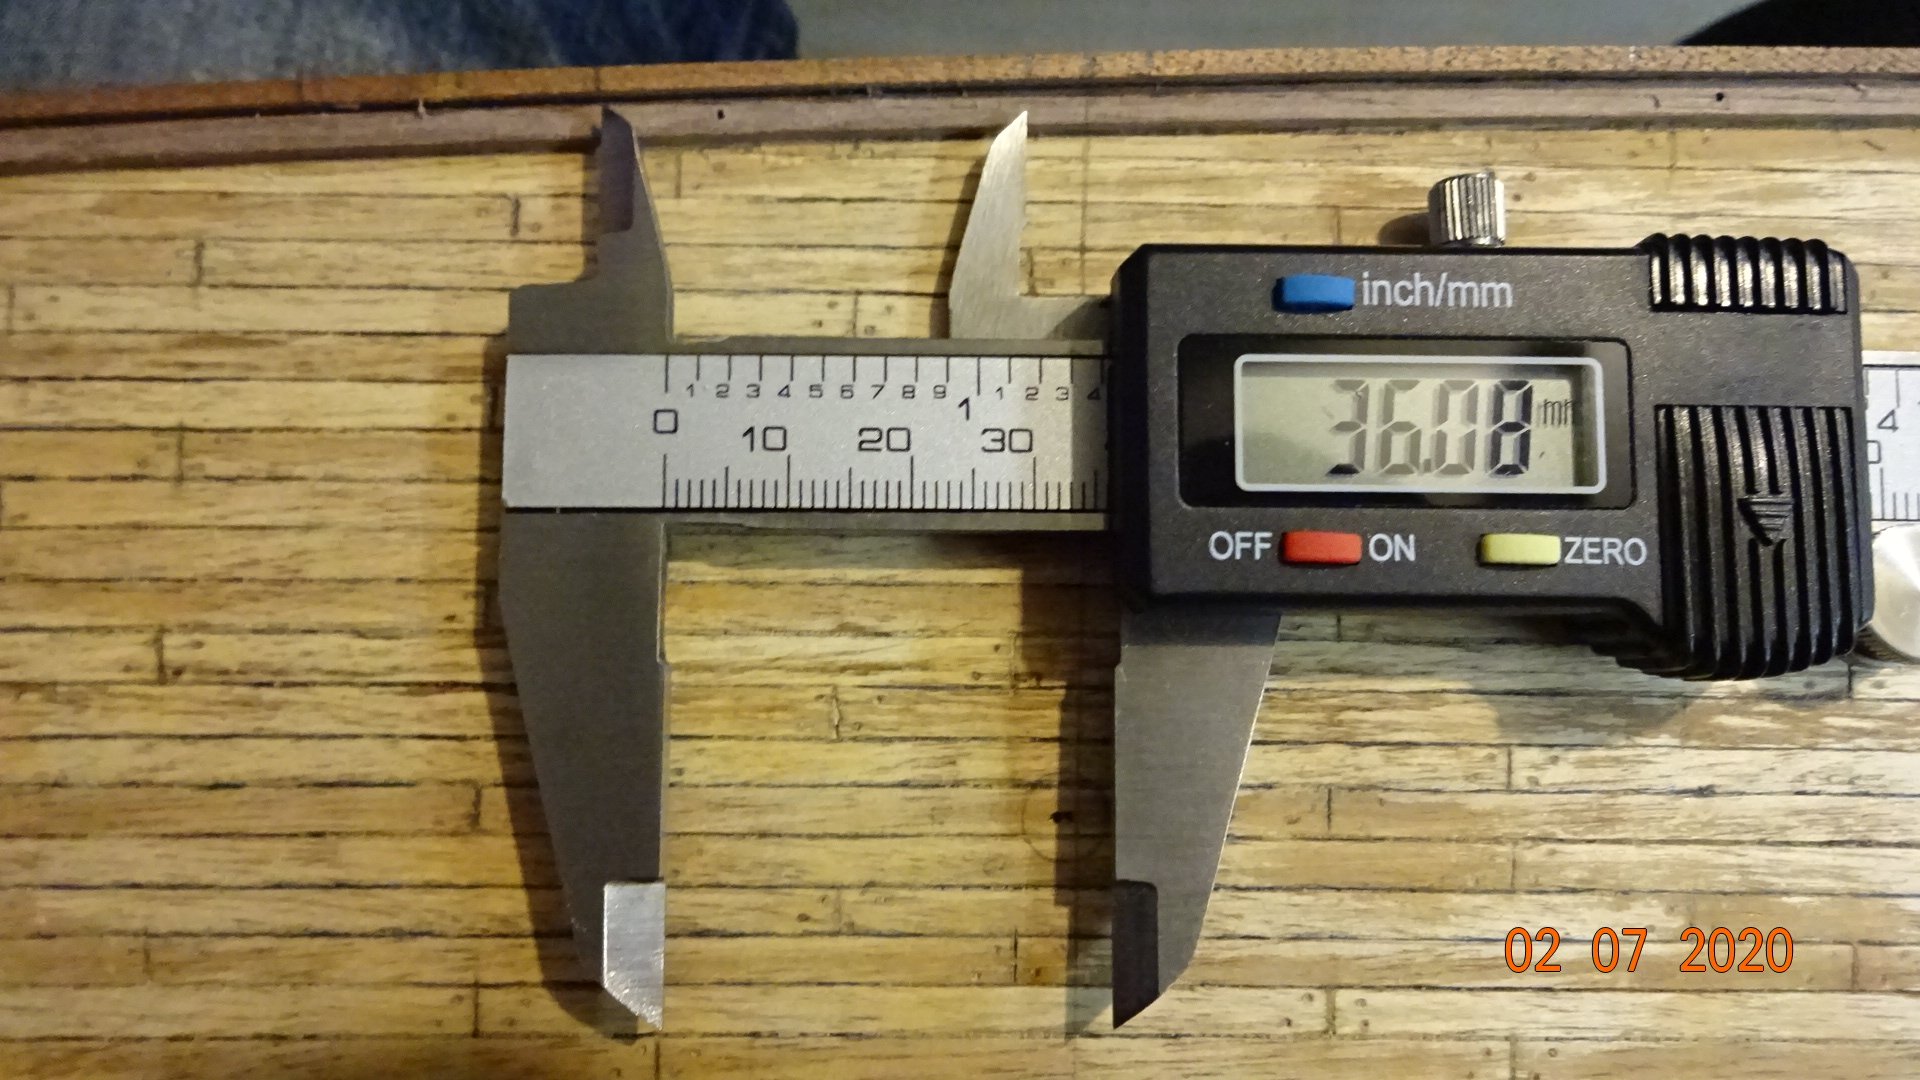
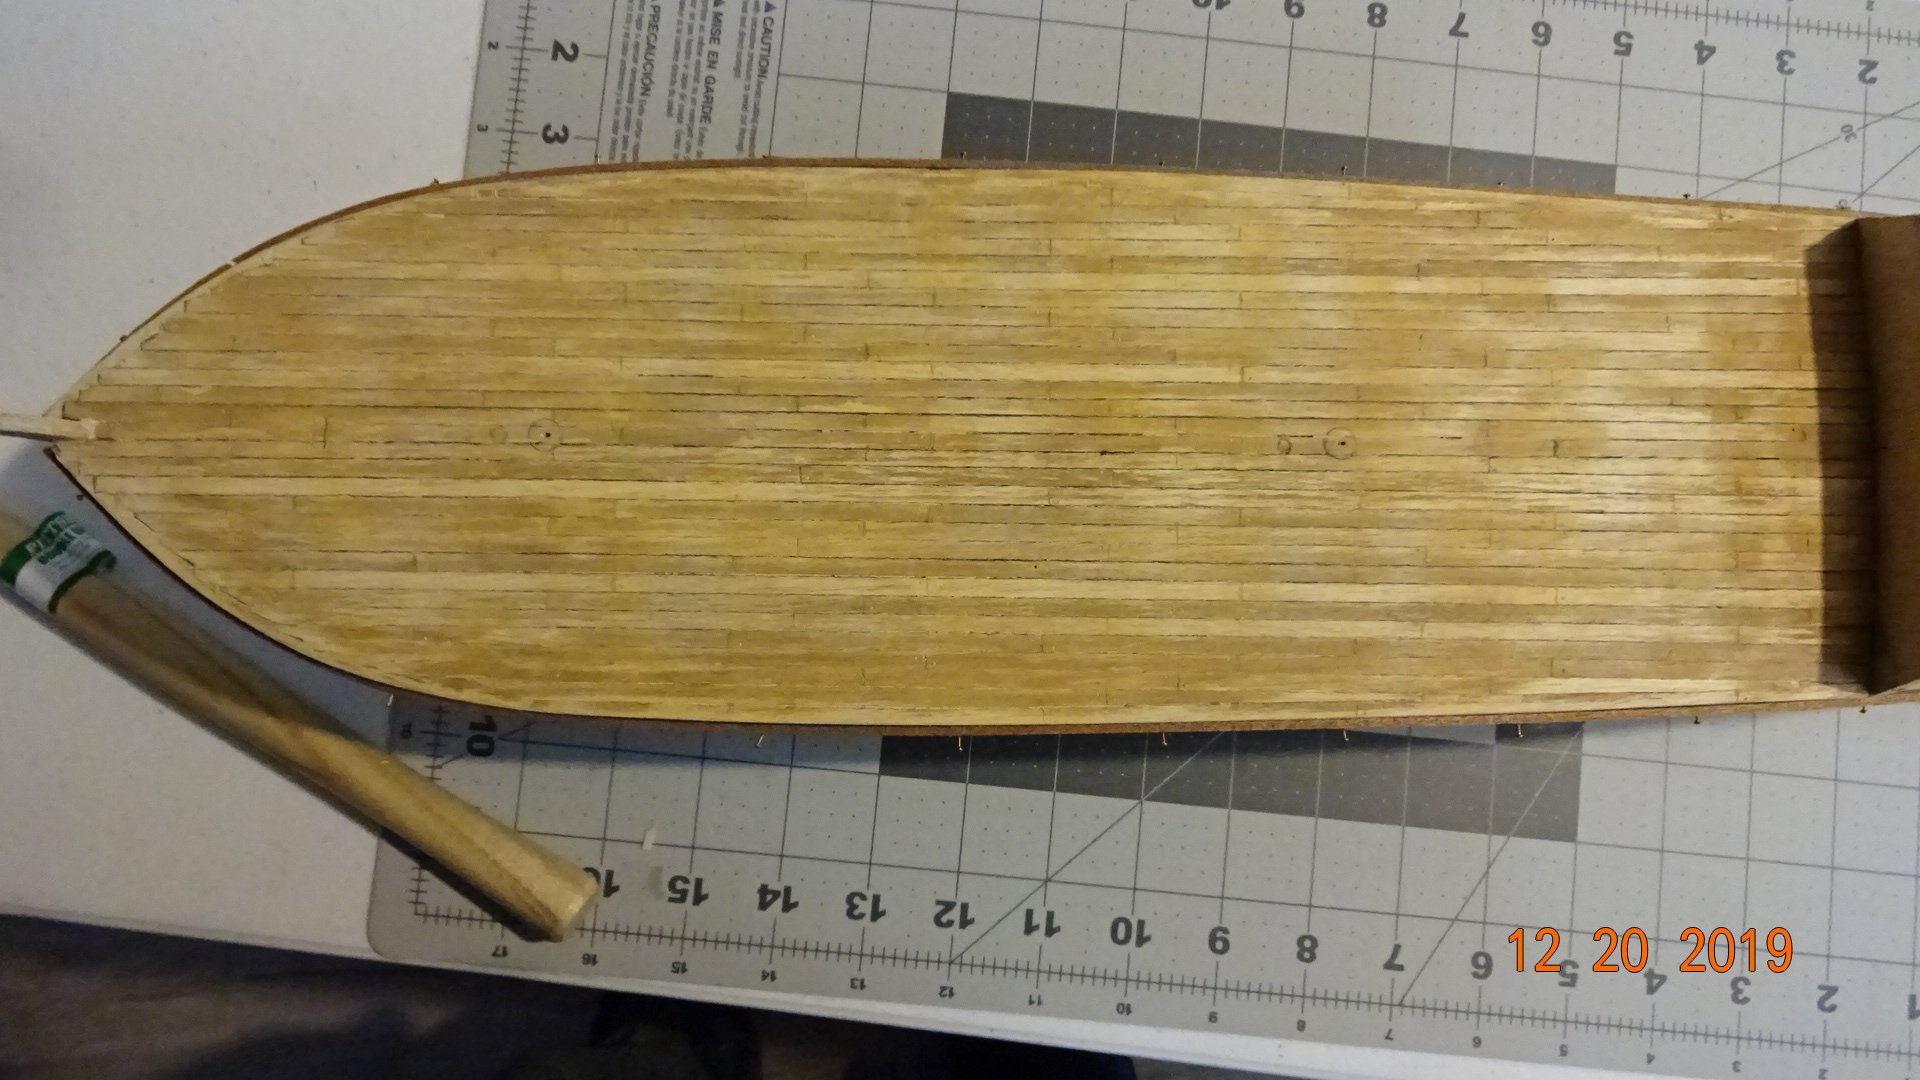
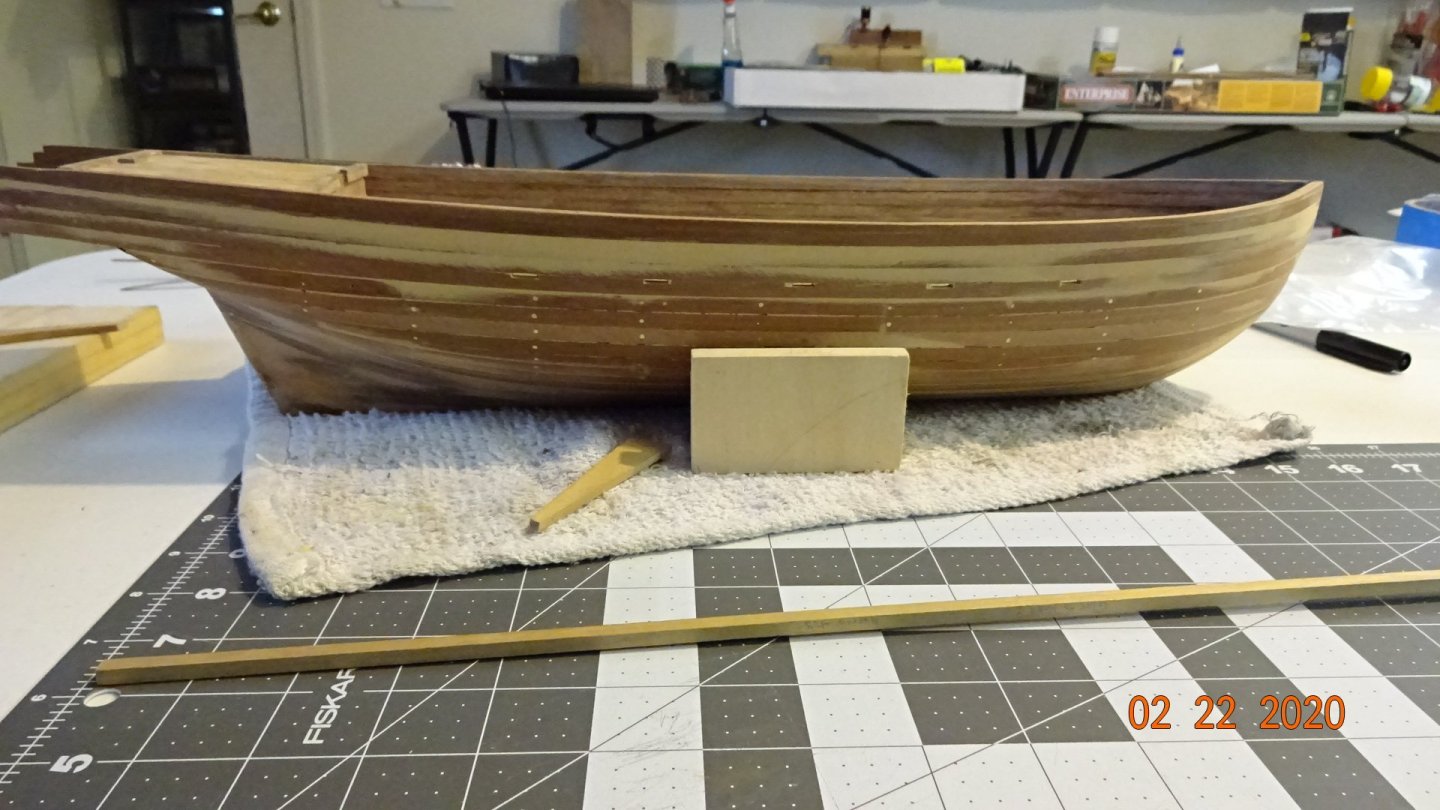
Sanding of the above deck planks done. Also, drilled the hole for the rudder handle.


- 195 replies
-
- 3
-
-
- enterprise
- constructo
- (and 1 more)
-
@SIDEWAYS SAM, Thanks for the replies. Cutting a rabbet in the Stem and Stern was an idea I had not thought of. The second plankings are only .5mm thick, so I would not need a deep rabbit. I do wear a mask when doing major sanding (the hull) but not when sanding small pieces. I'll need to check how wide the capping rail will be but I think it's going to be wide enough. Great ideas.
-
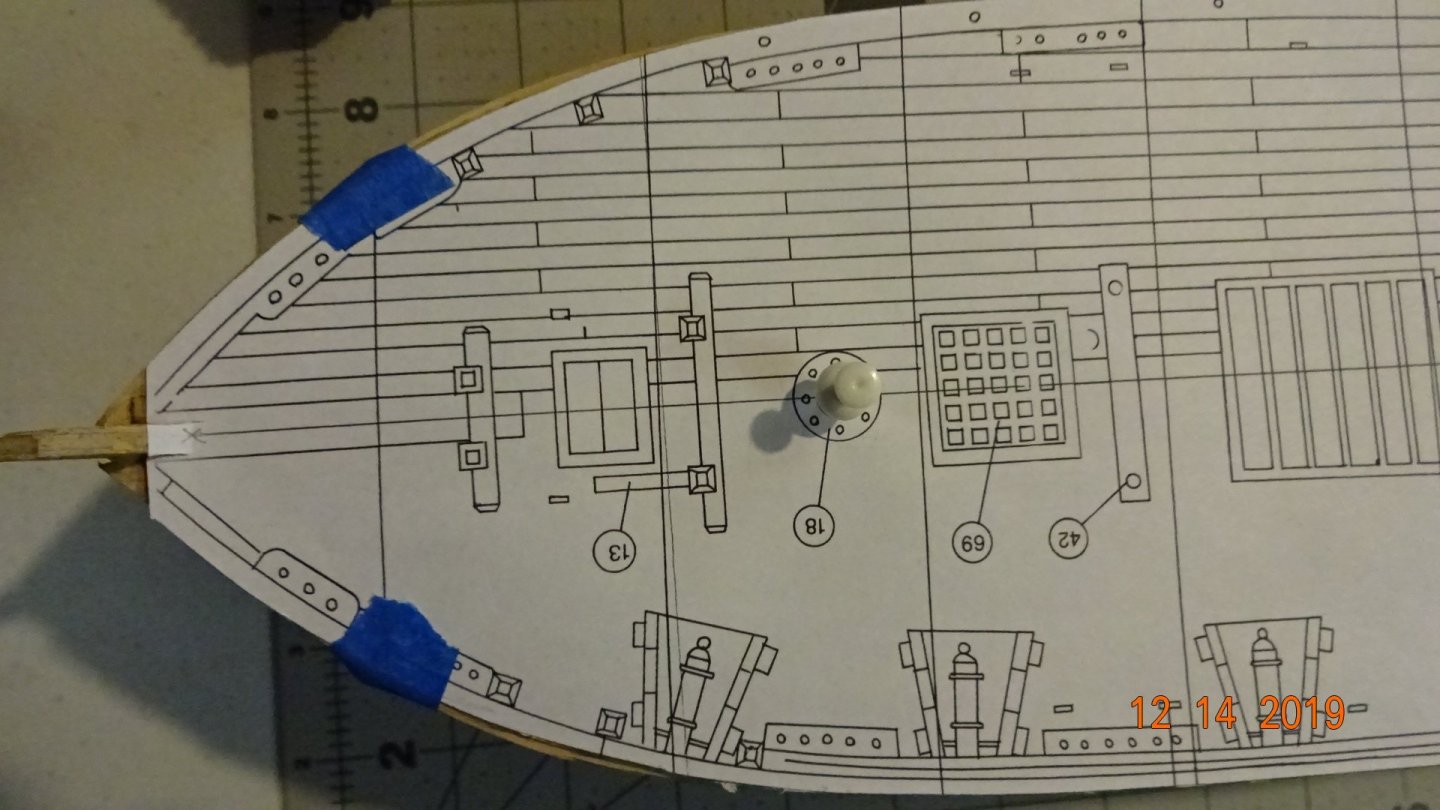
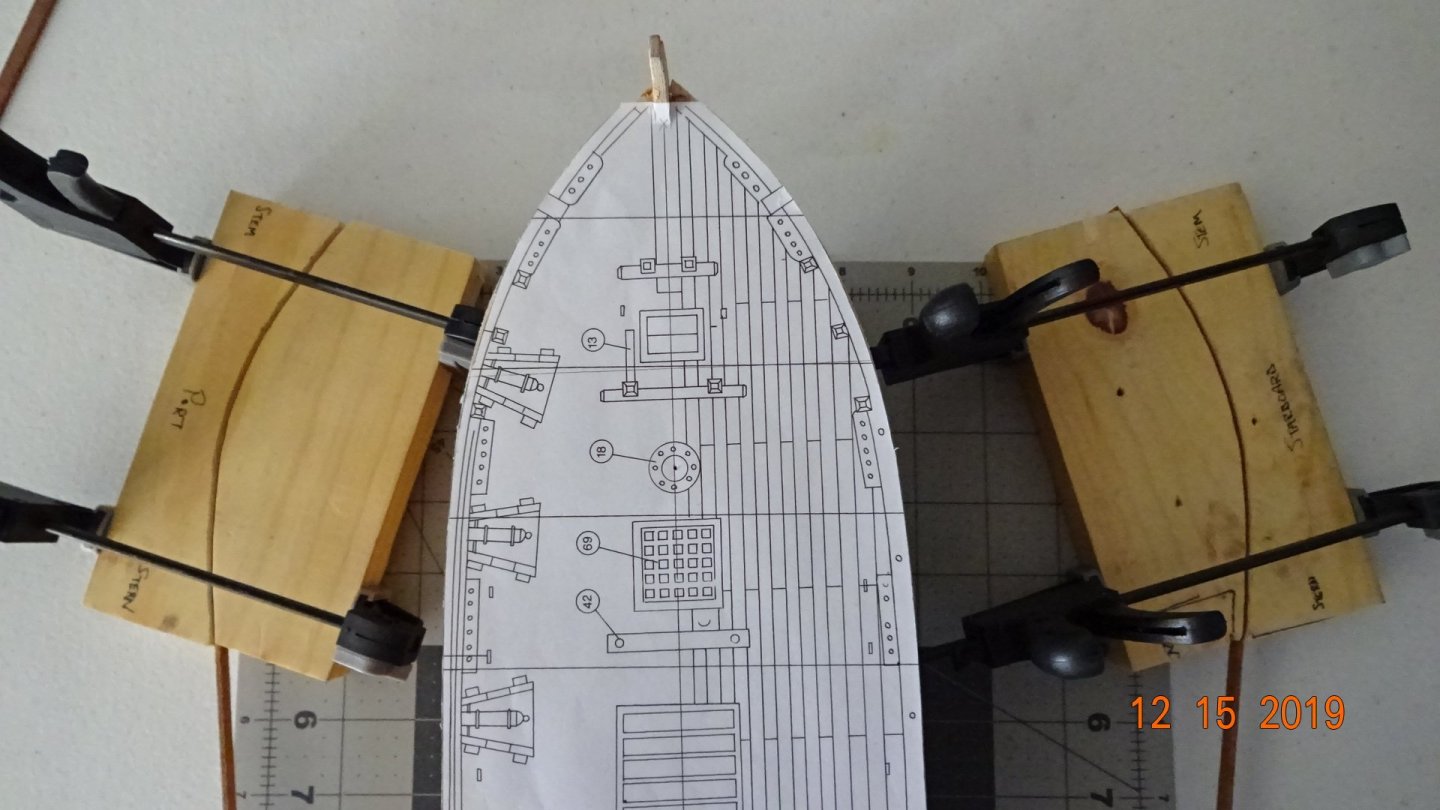
Looking at the pictures in the manual it appears that the 2nd planking is done before attaching the Stem, bottom Keel, and stern piece the rudder attaches to.. Does this sound correct? Also does the interior hull (above deck) get the second planking? Thanks for any responses.
- 195 replies
-
- 1
-
-
- enterprise
- constructo
- (and 1 more)
-
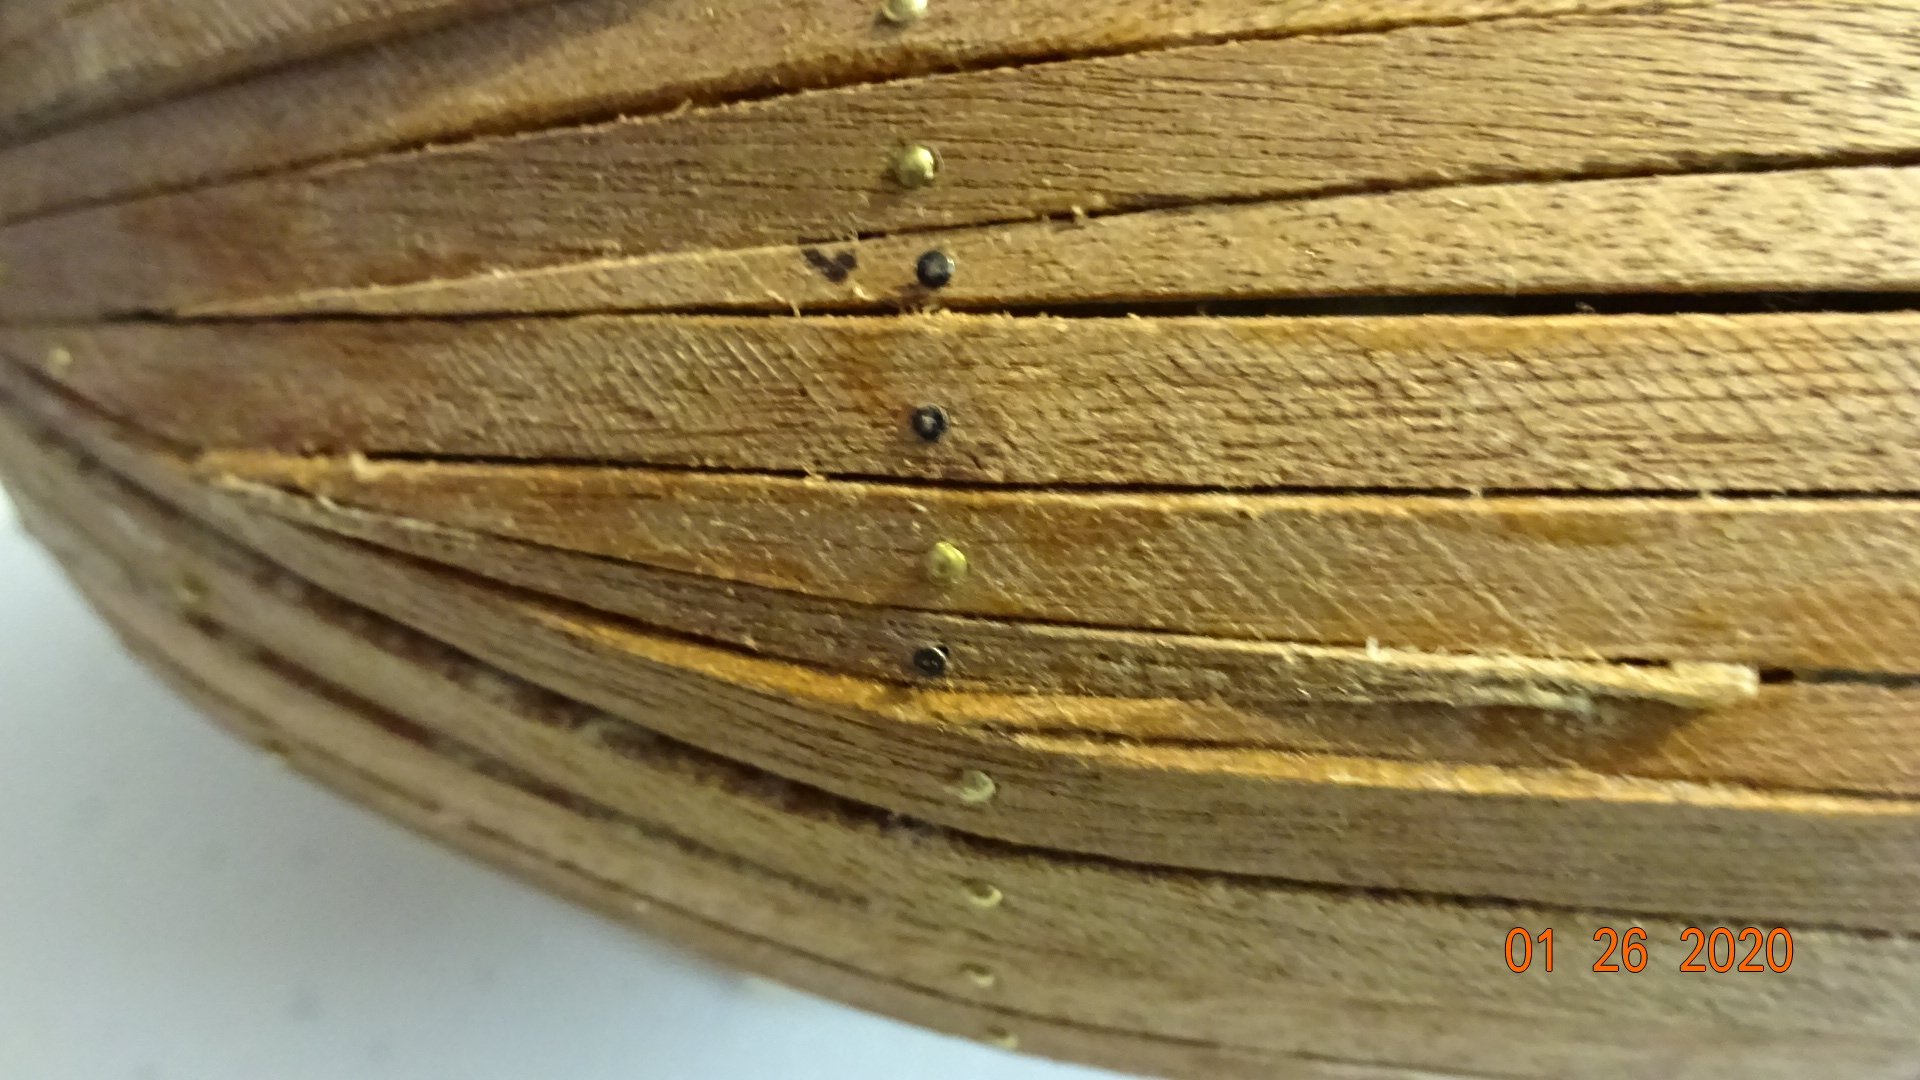
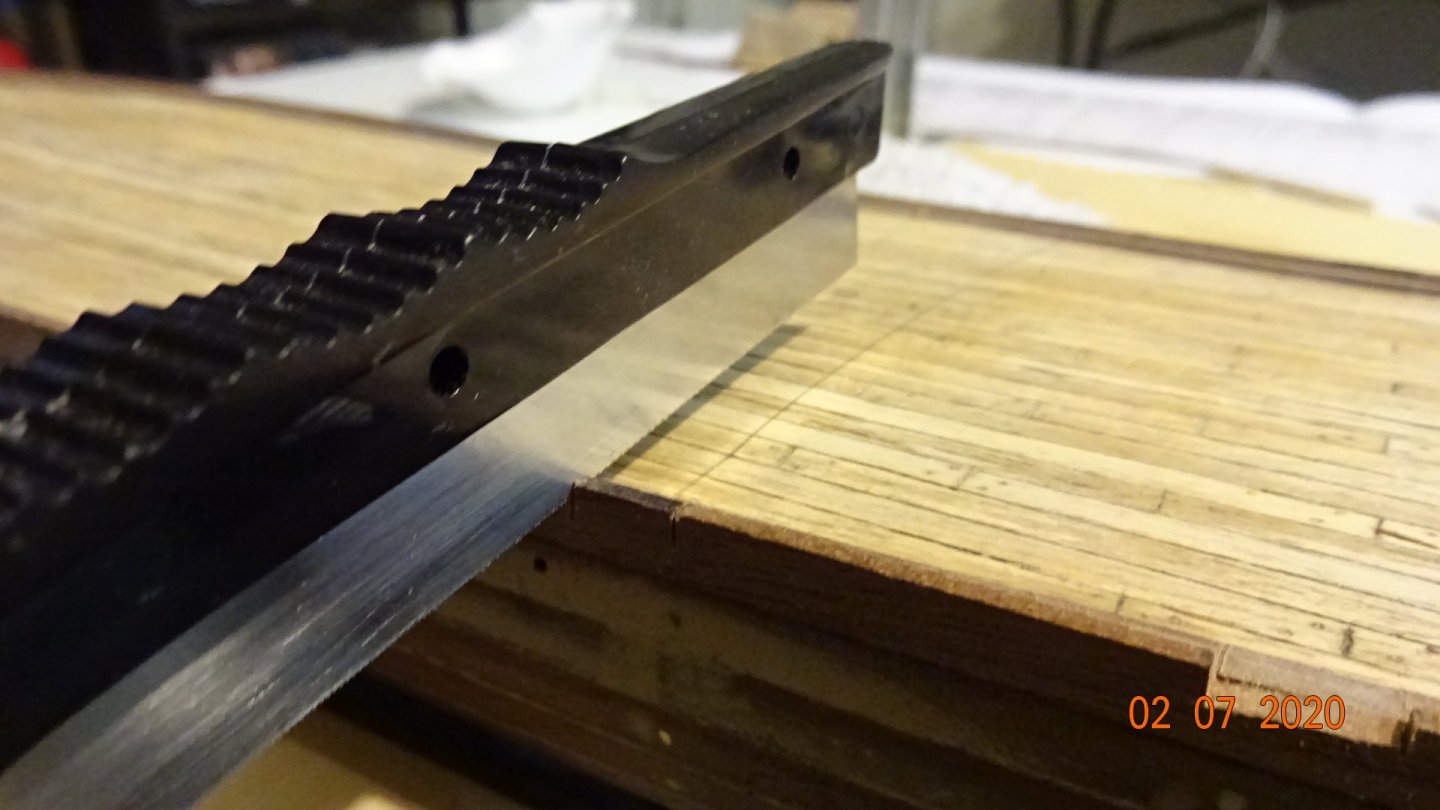
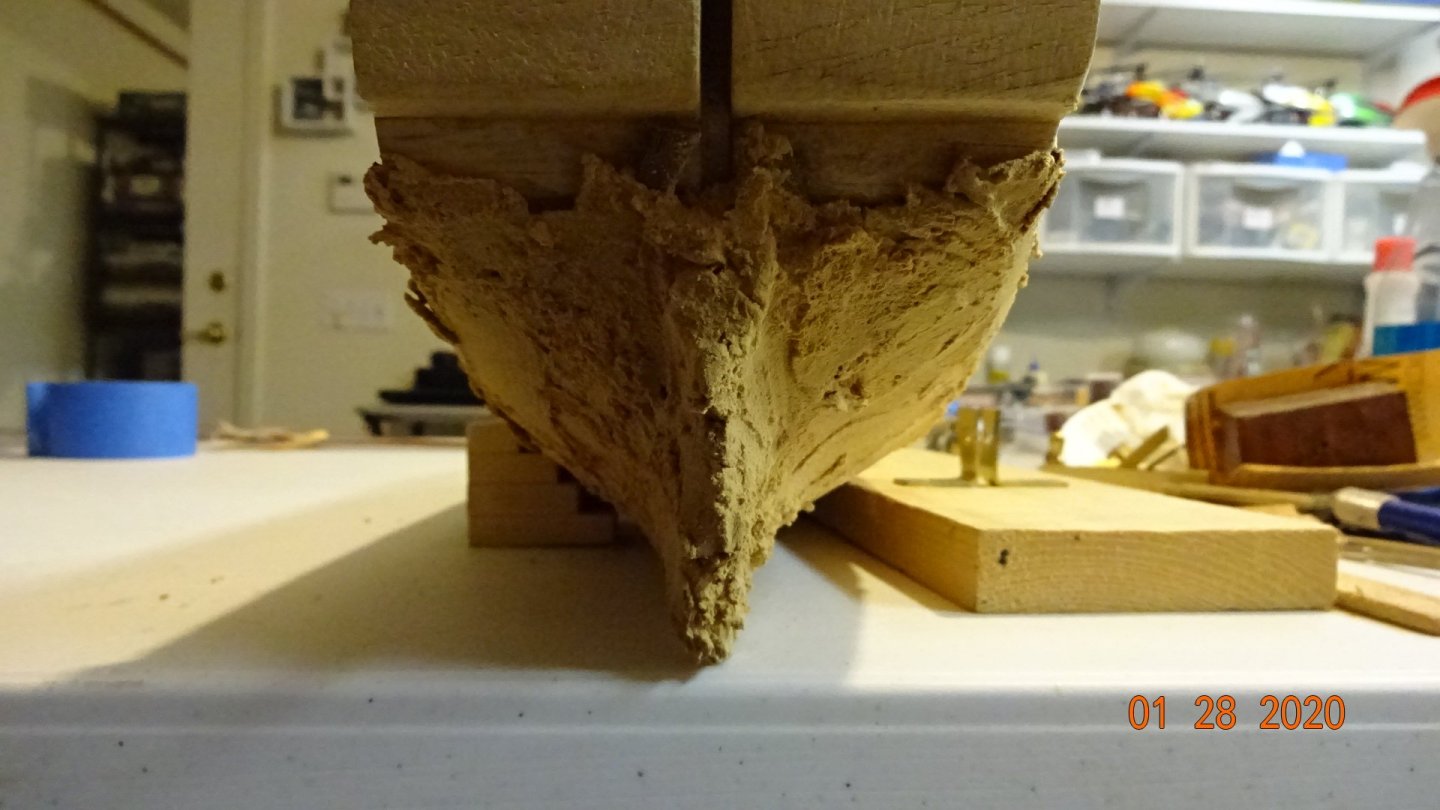
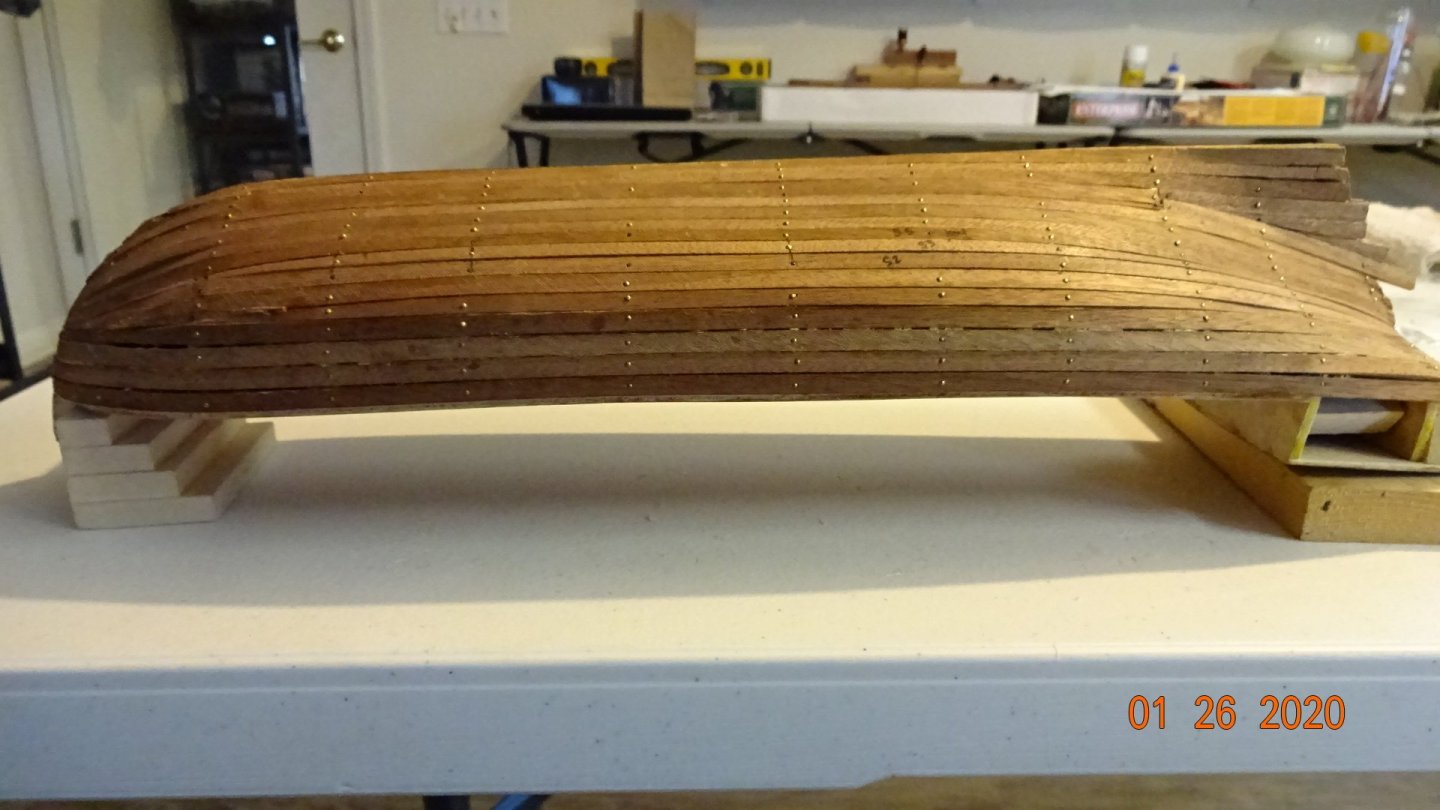
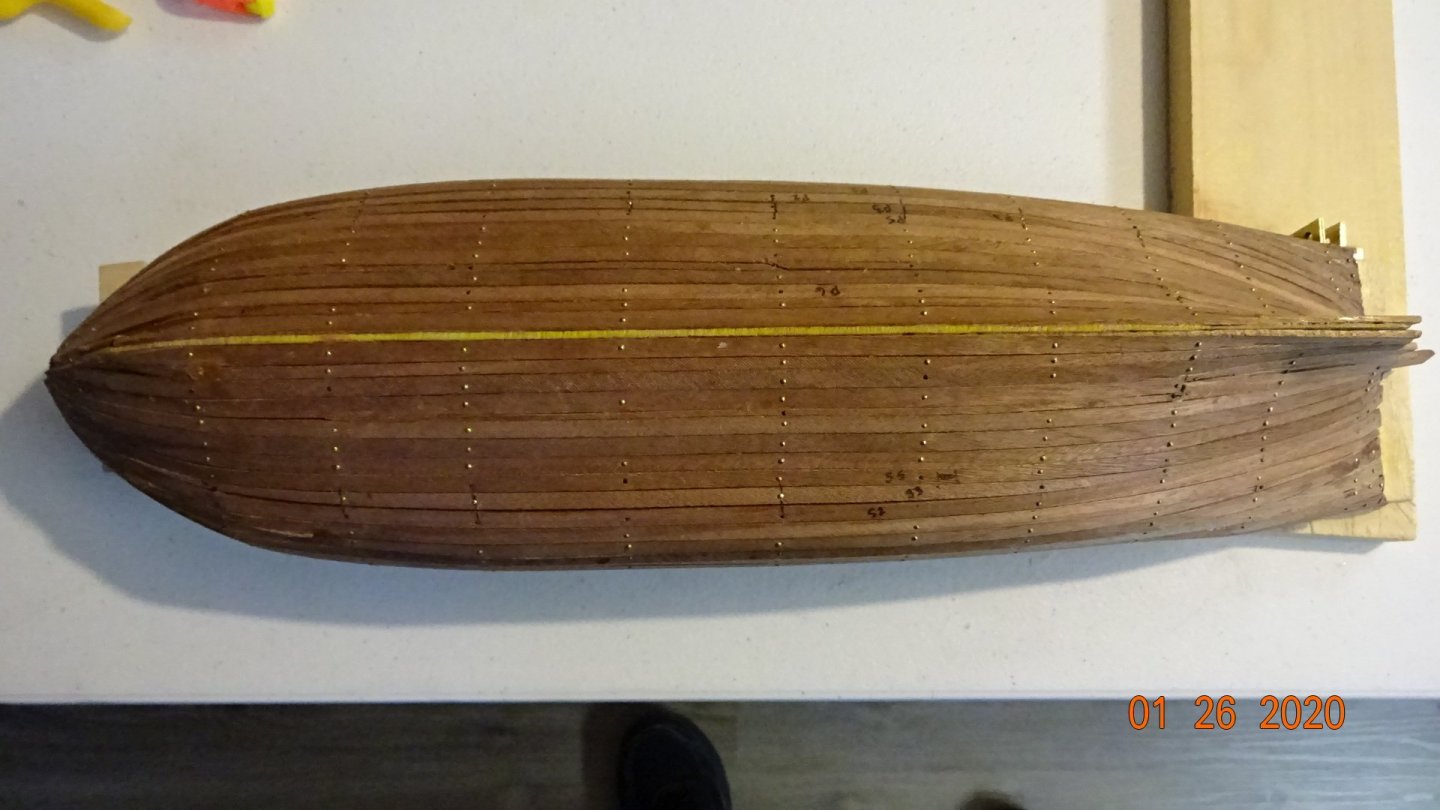
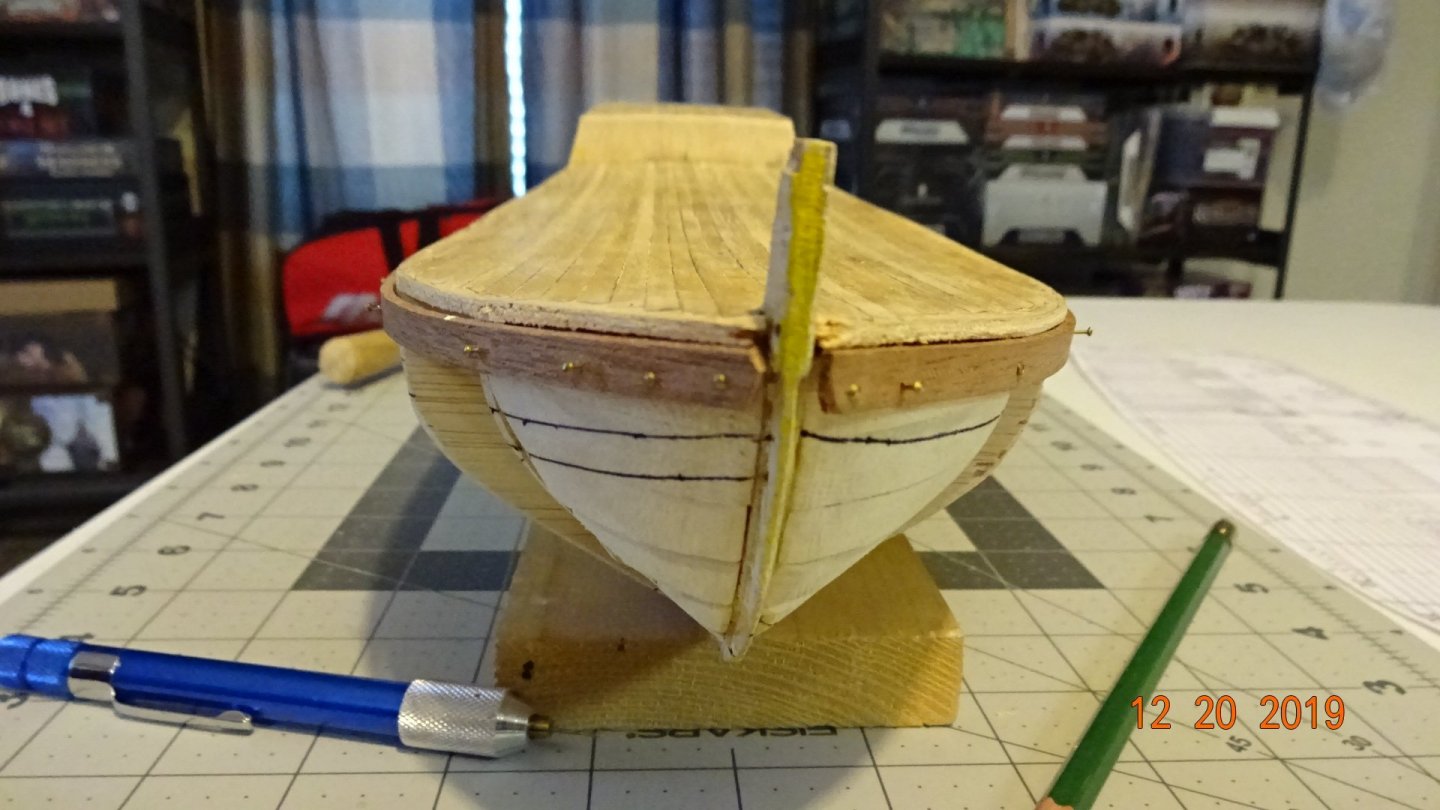
Cut that last post short, the wife was leaving for work and I had to escort her to the car. Did it once , so now it's my job 😀. Let's see, cutting the scuppers now. Then it's on to adding the next planking, also needed to cut the top of the scuppers. A look from the bow ..... as planking continues, Notice the first planking I cut out an area for the Stem to mount. There was some controversy on whether this was the right way ..... right or wrong it's done now. .... the stern . Fast forward to the finished hull planking. I'll need to apply wood filler and sand like crazy. I wonder if I should put the filler on the interior of the hull. In the pic above you can see a gap between the planks. Since this is a 2 plank hull, does that mean the interior also gets doubled plank? Any thoughts on this? That's all for now.


- 195 replies
-
- 4
-
-
- enterprise
- constructo
- (and 1 more)
-
The latest update.... Attaching the first above deck plank, well it's half above half below. The screw in pins hold the plank fairly well but leave a good size hole ..... the second planking should cover them. Next step is cutting the scuppers , first some measuring. Transferring the measurements and marking the measurements on the model


- 195 replies
-
- 3
-
-
- enterprise
- constructo
- (and 1 more)
-
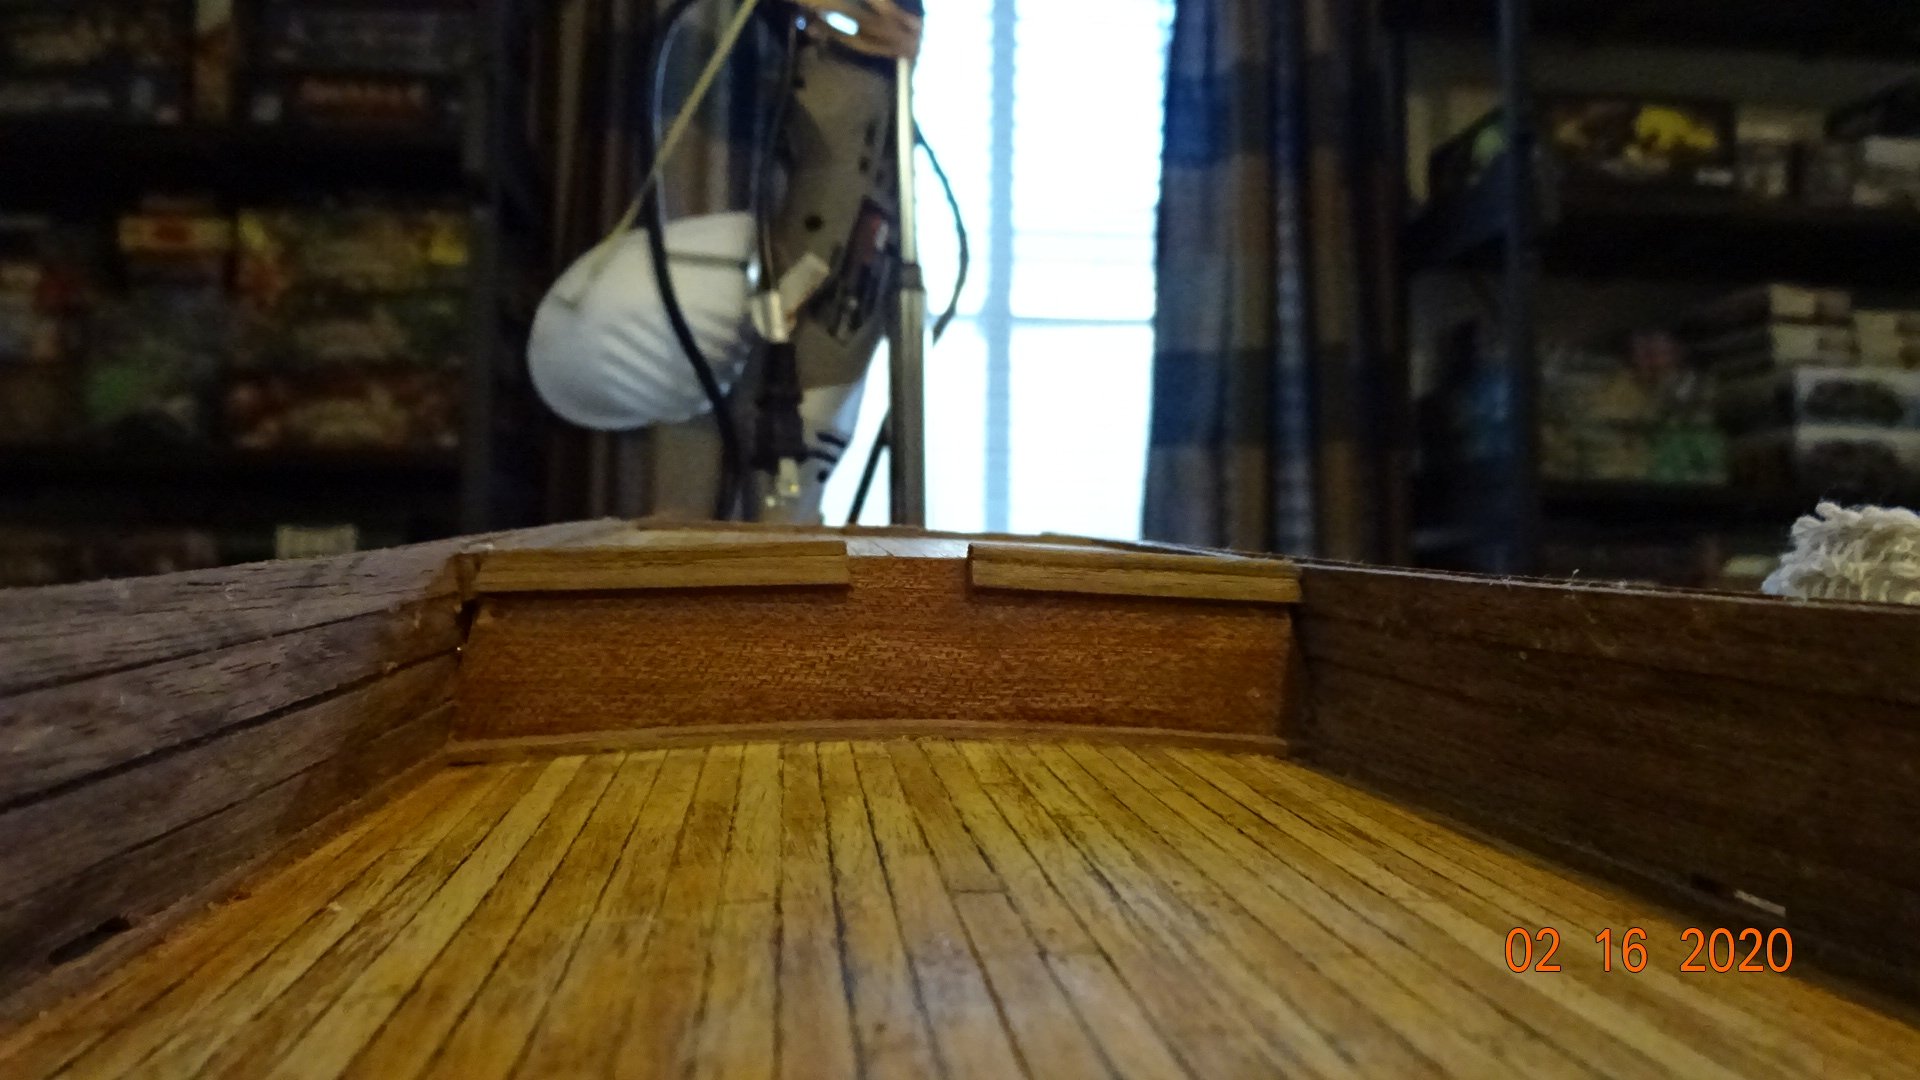
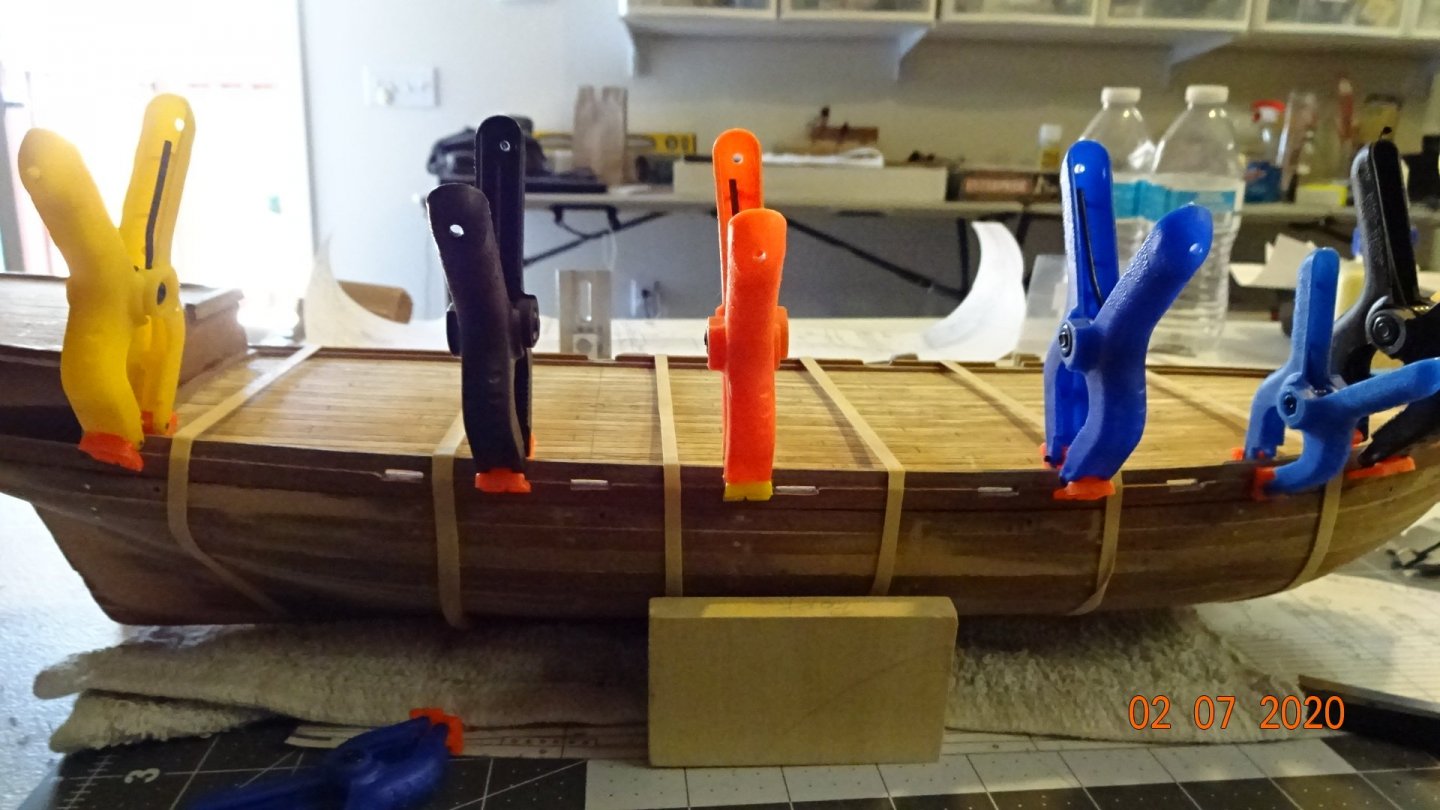
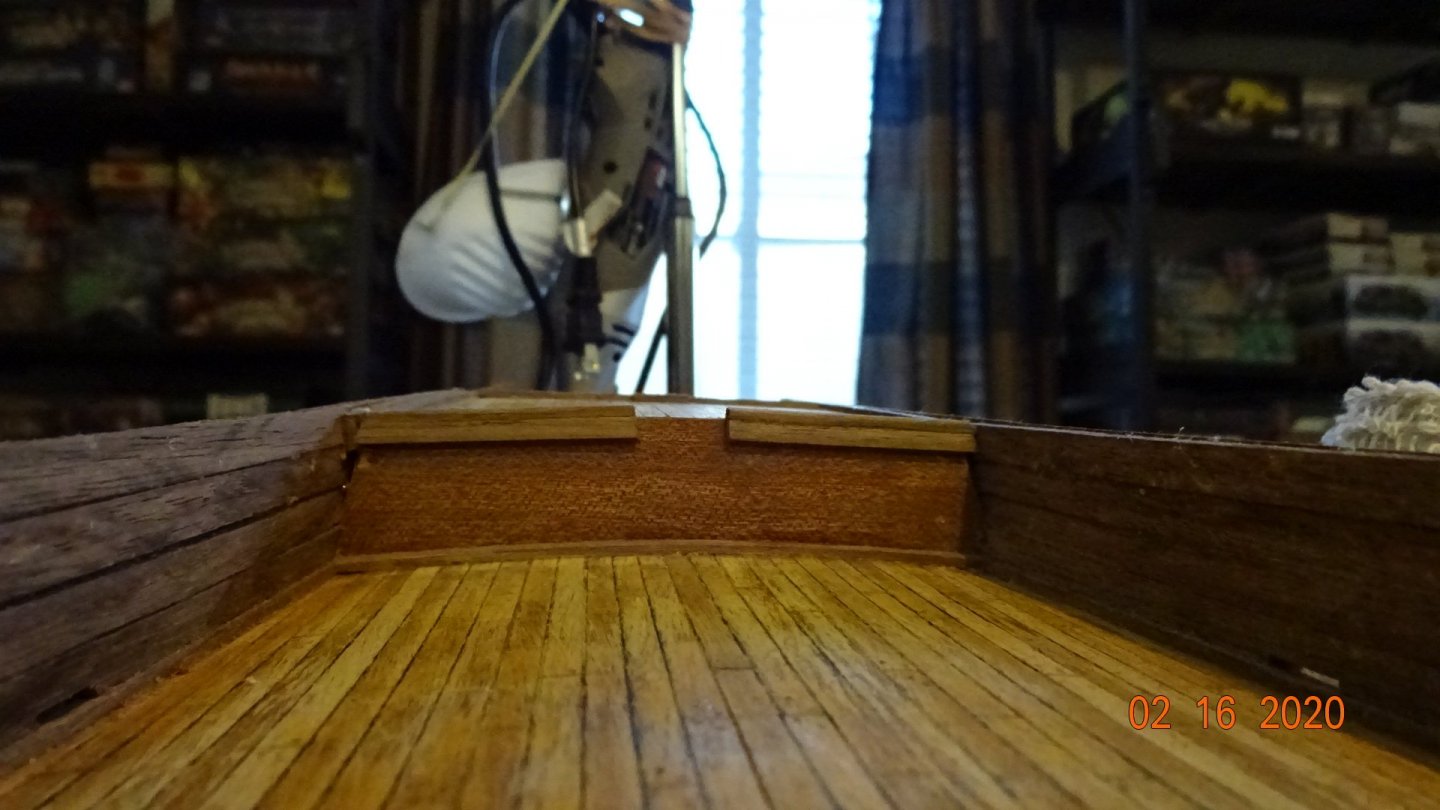
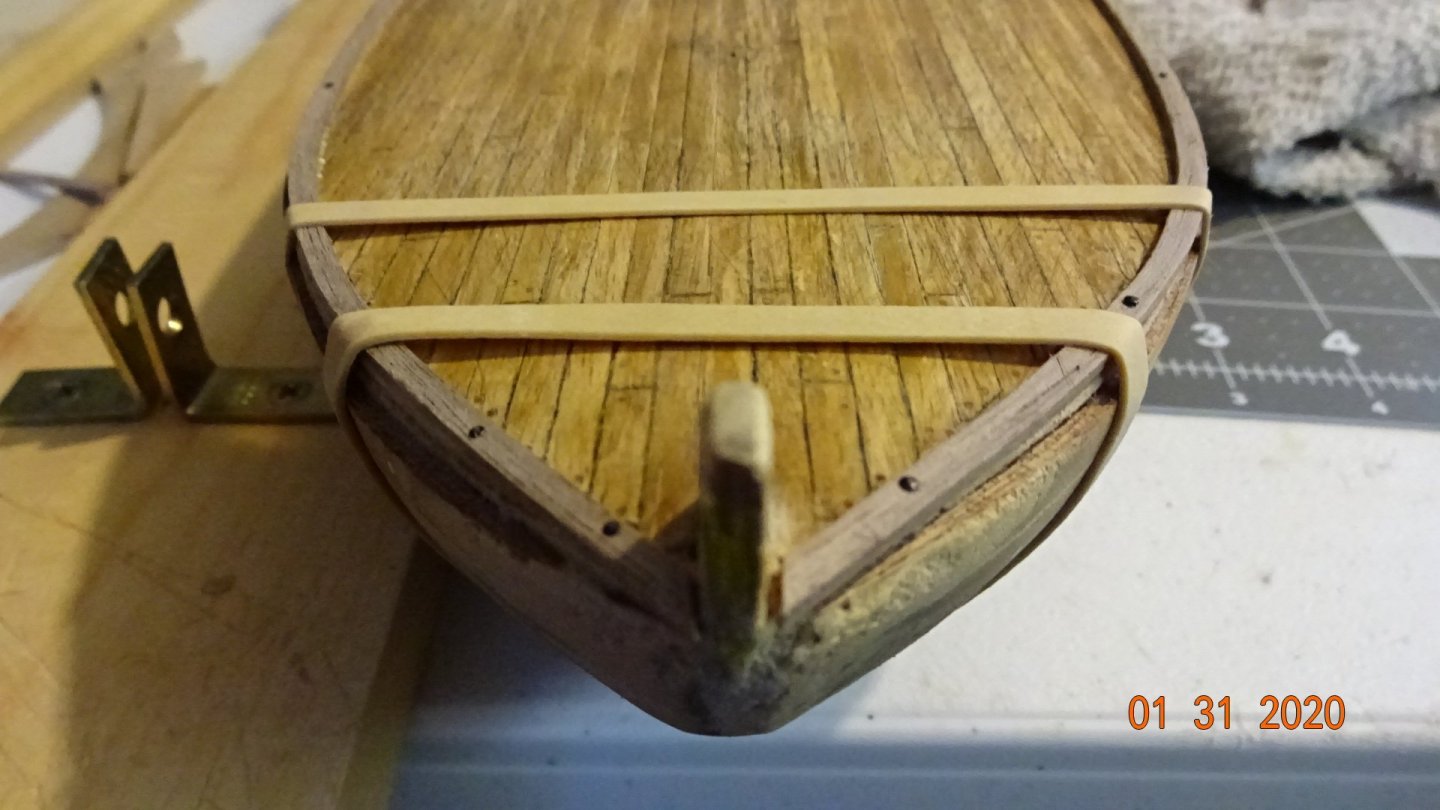
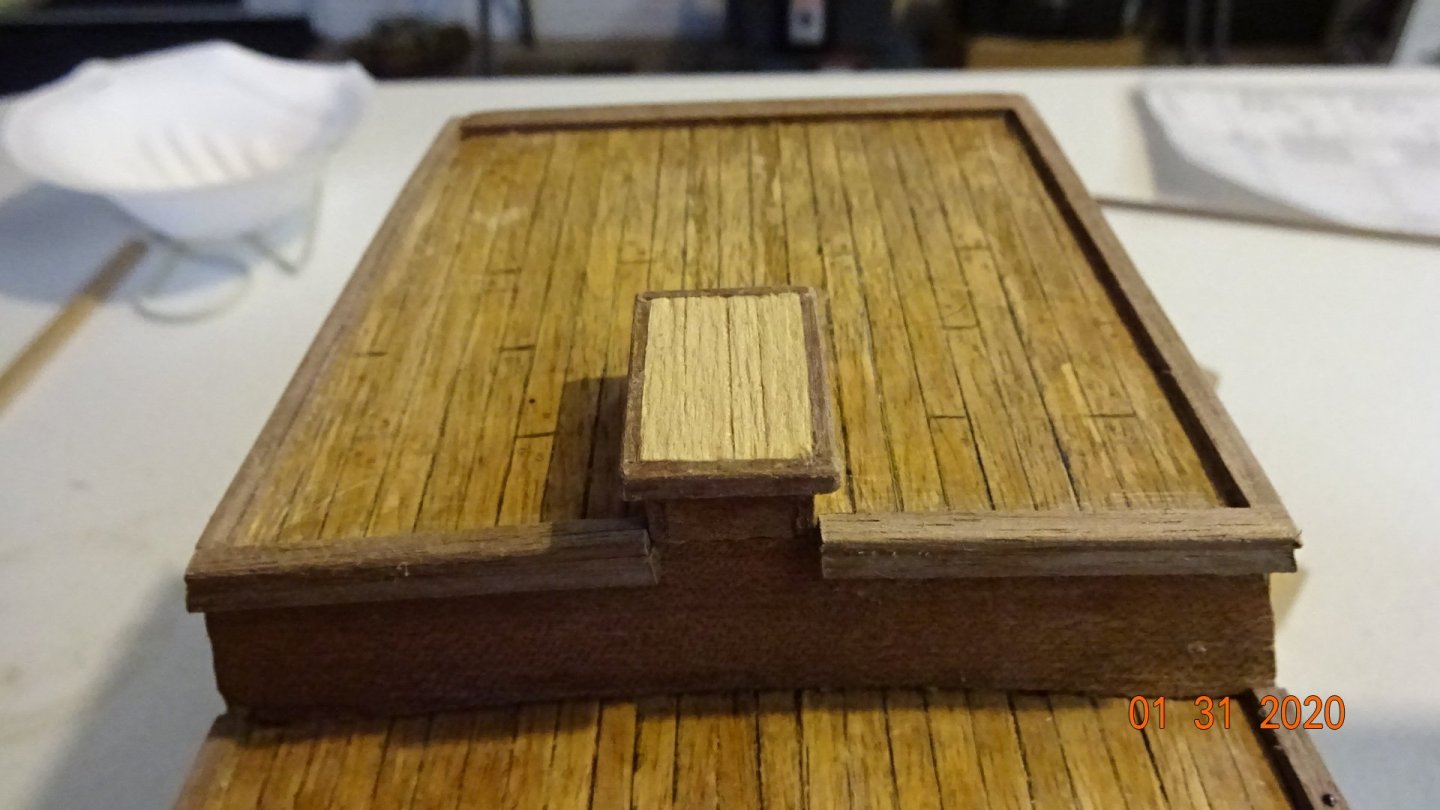
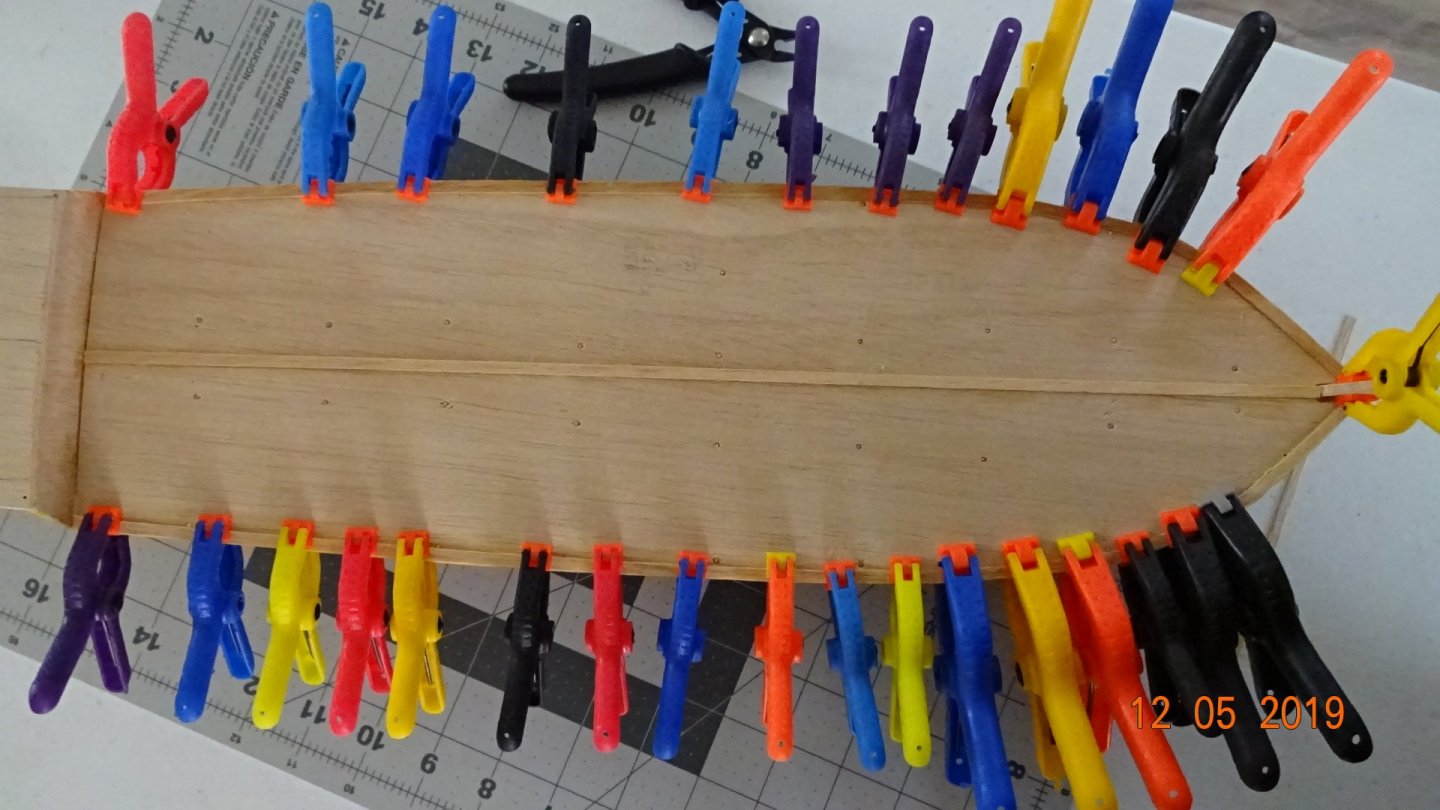
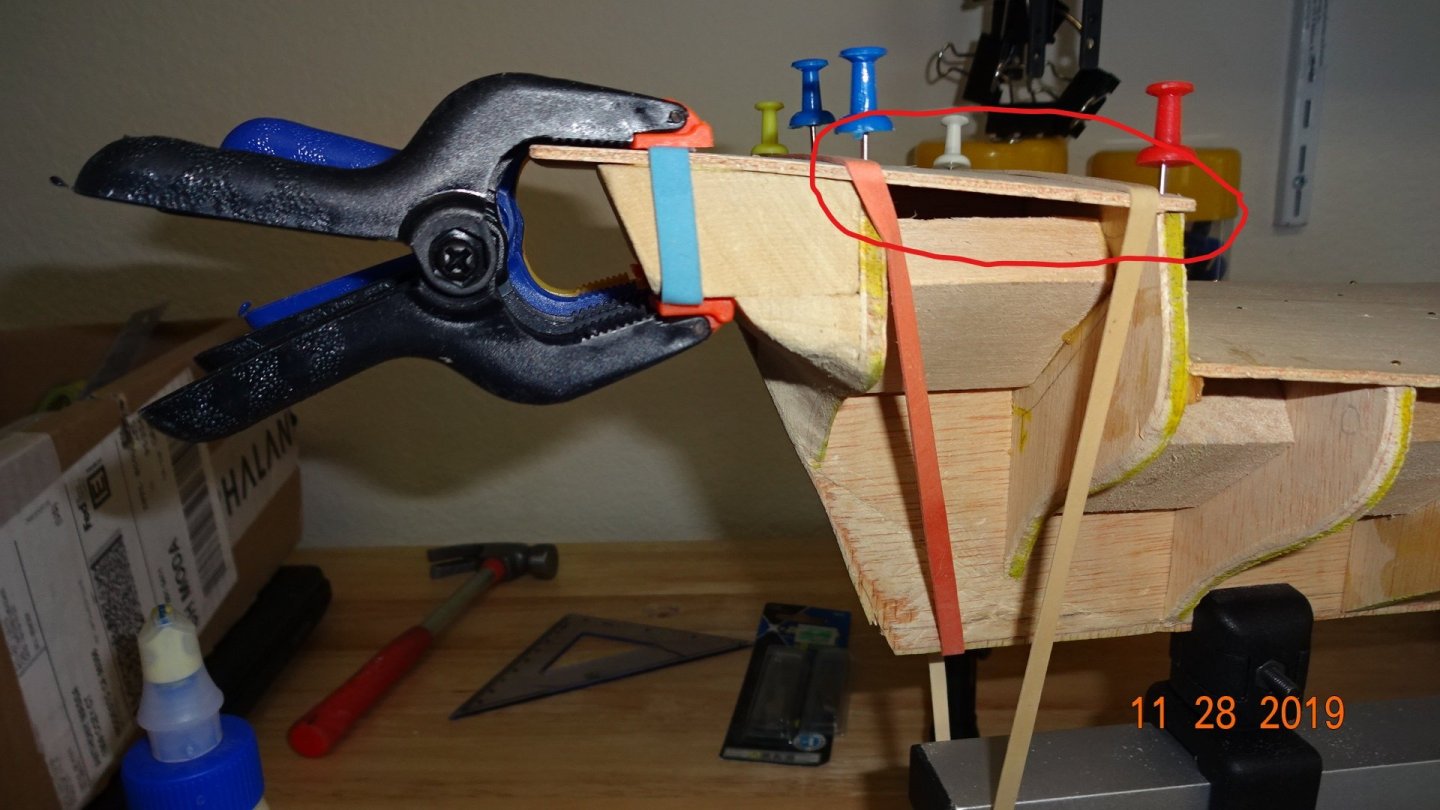
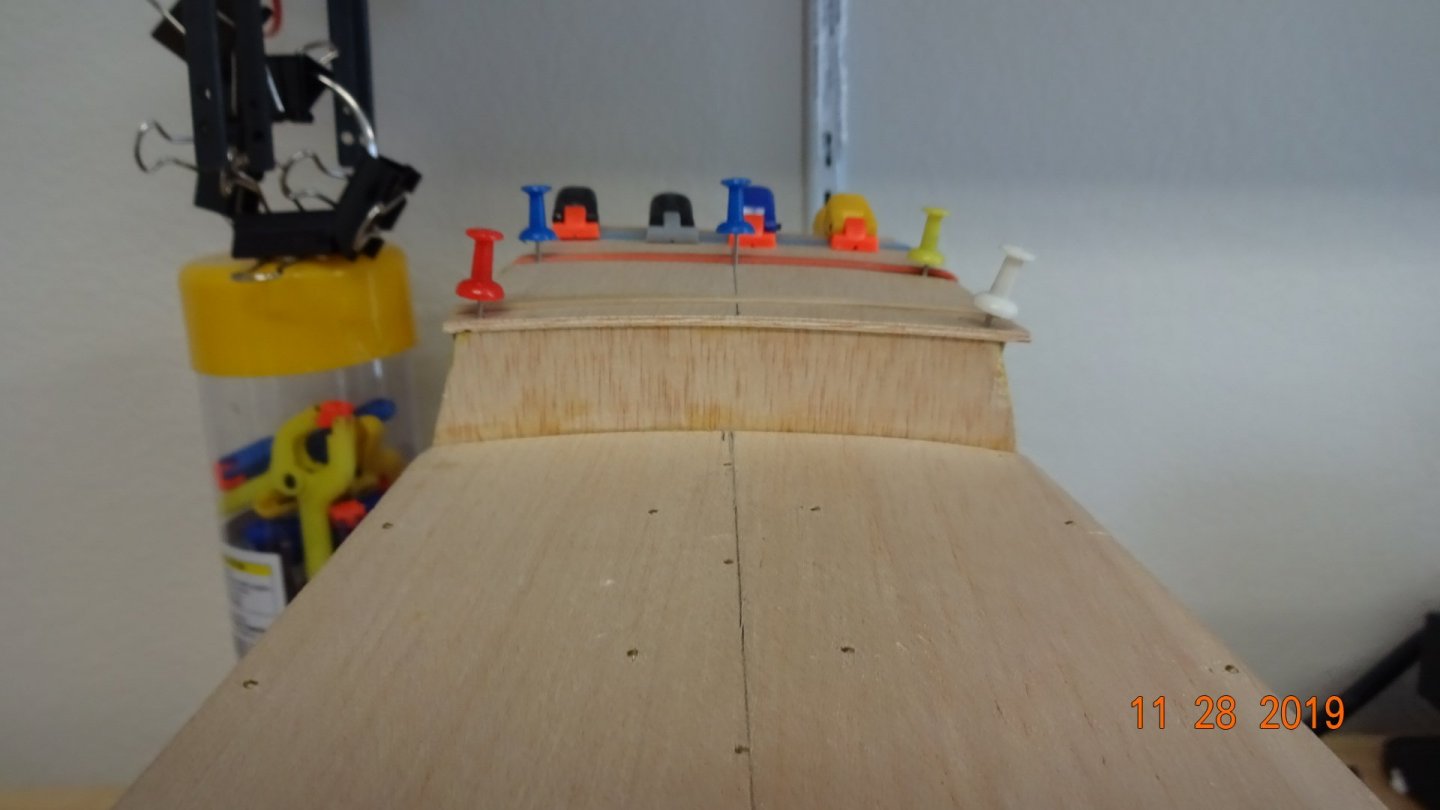
Put on the waterway trim next and built the small housing on the poop deck. For the wood (planking and trim) I mostly soak it in water over night and then put it in a jig to get the bend I need. Once dry, I nail, glue and clamp down.
- 195 replies
-
- 4
-
-
- enterprise
- constructo
- (and 1 more)
-
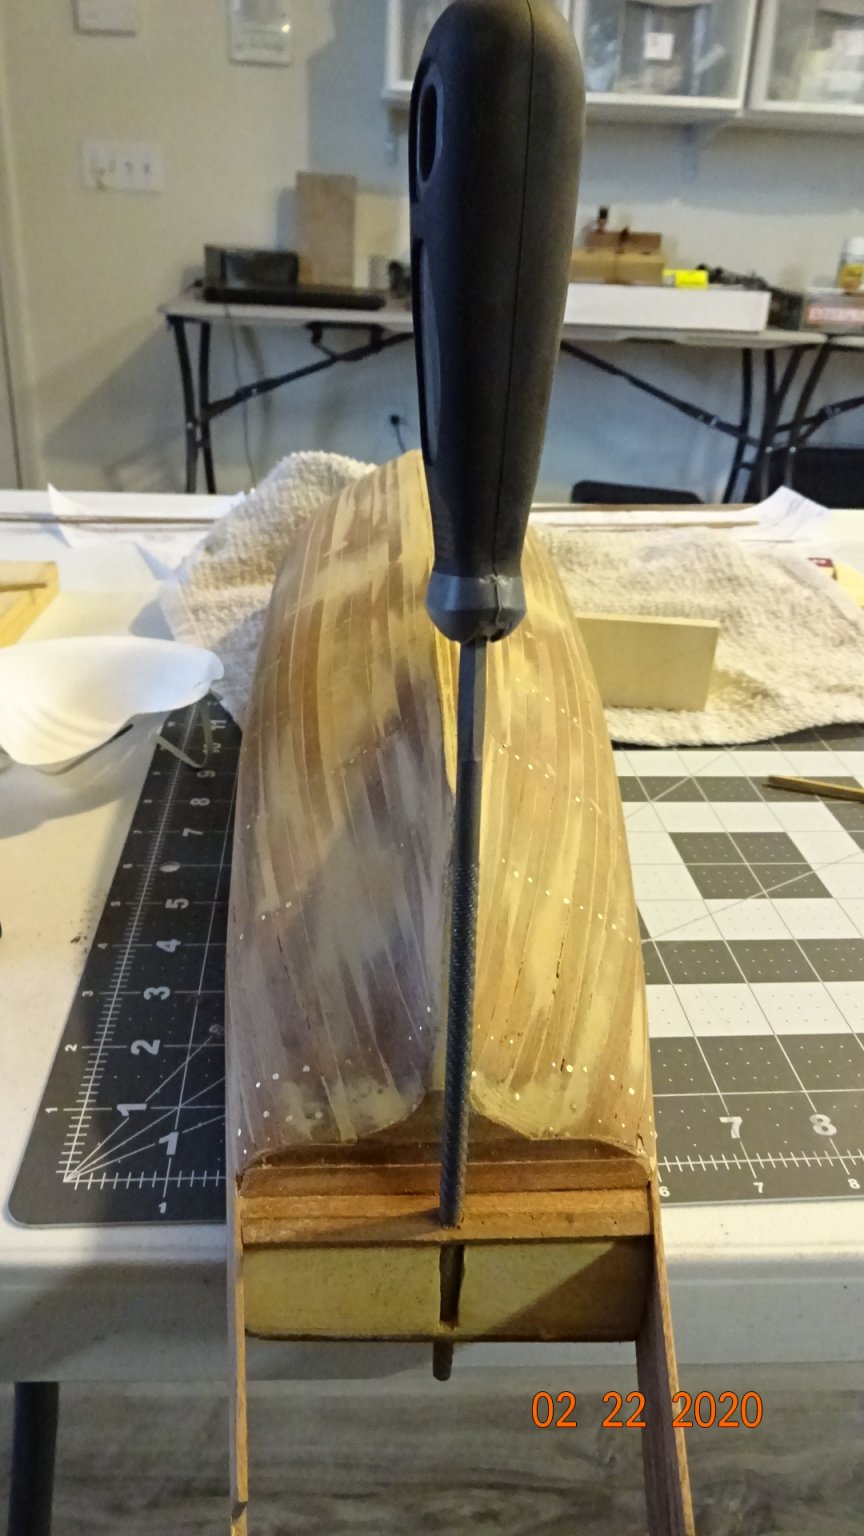
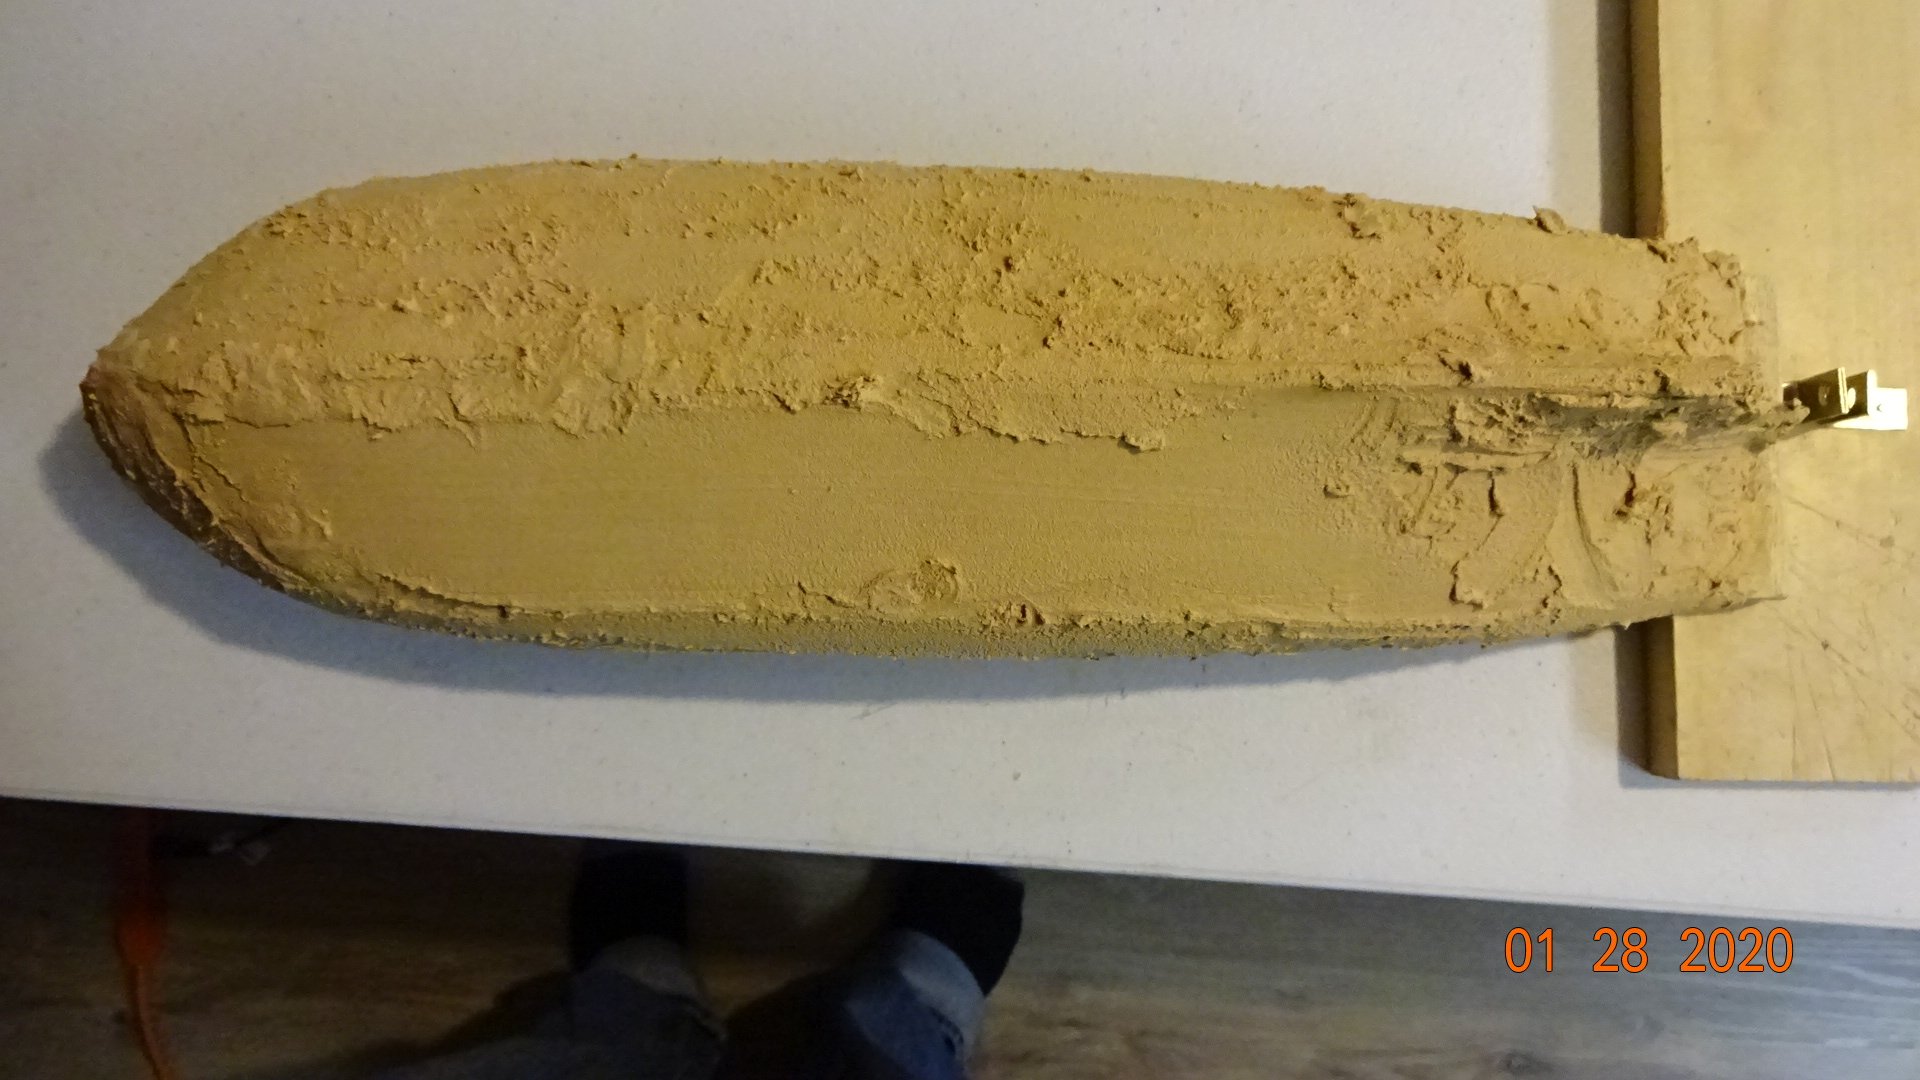
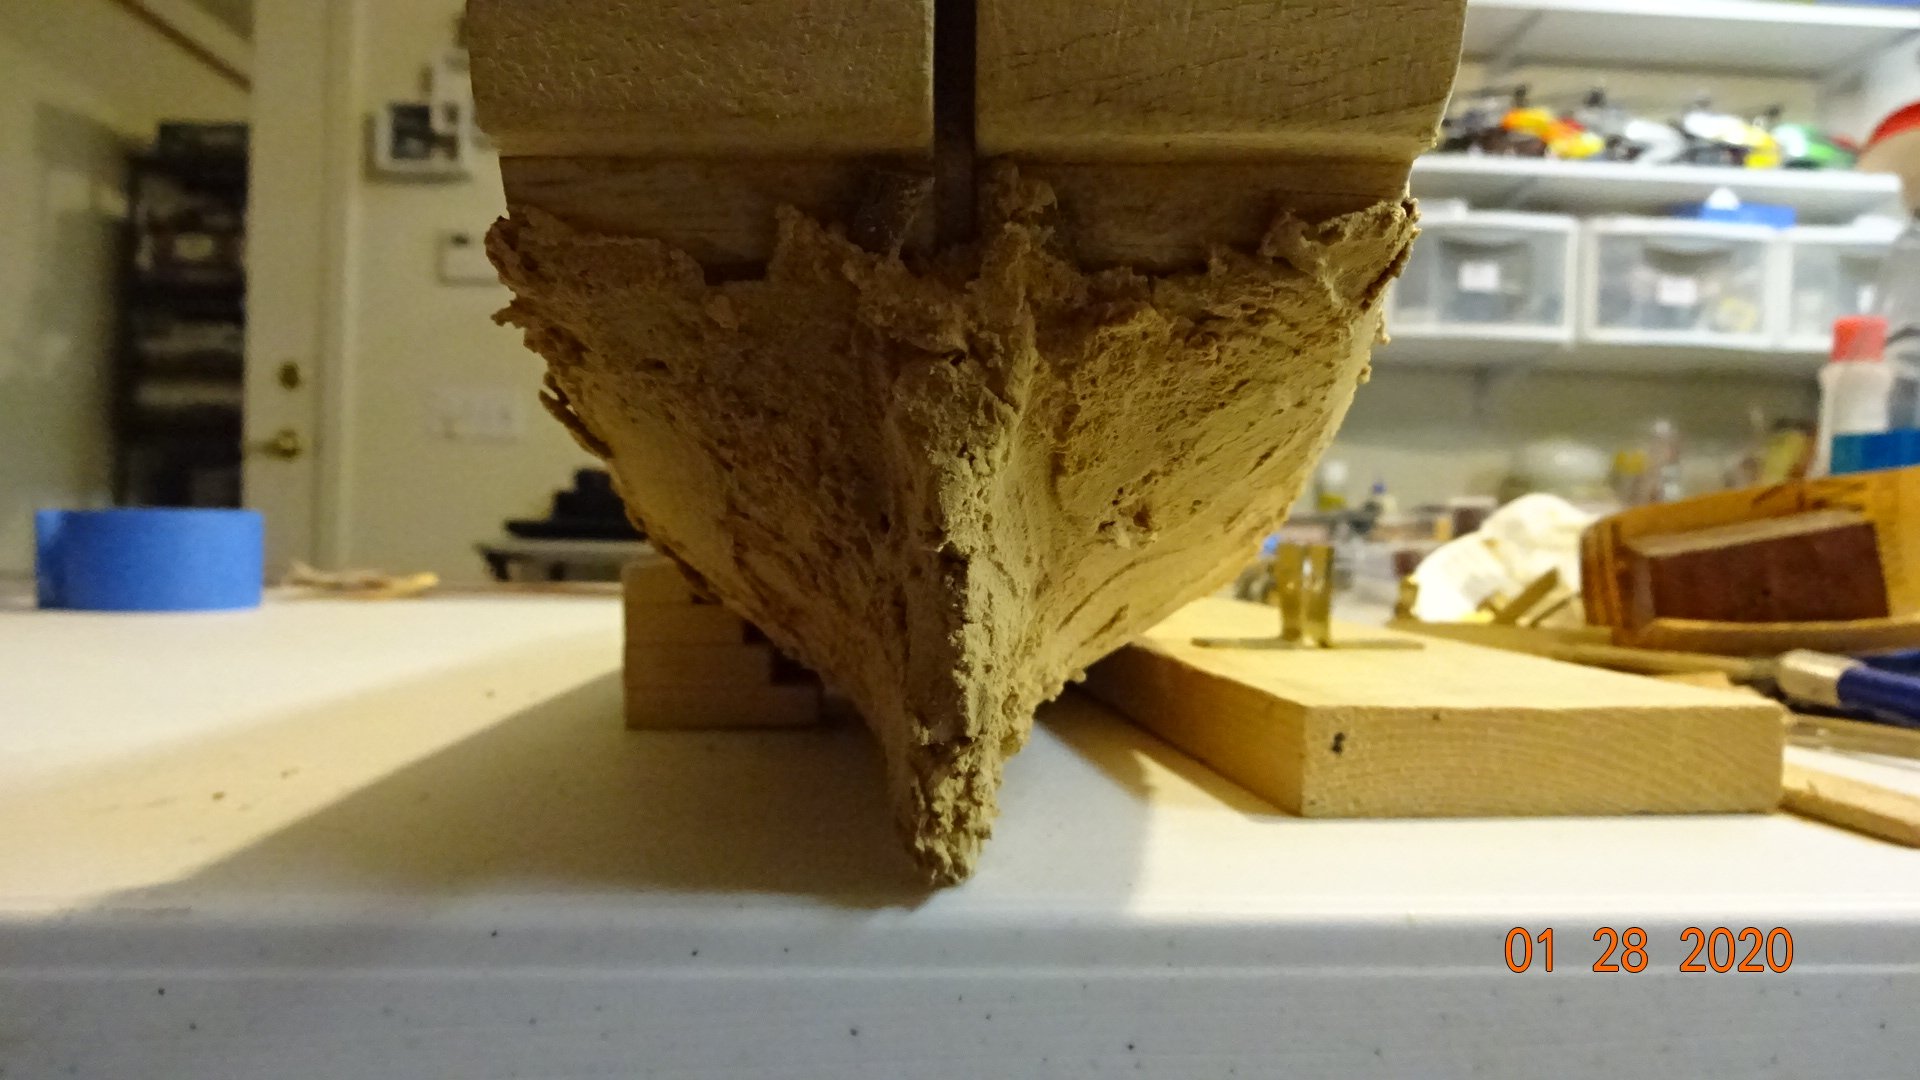
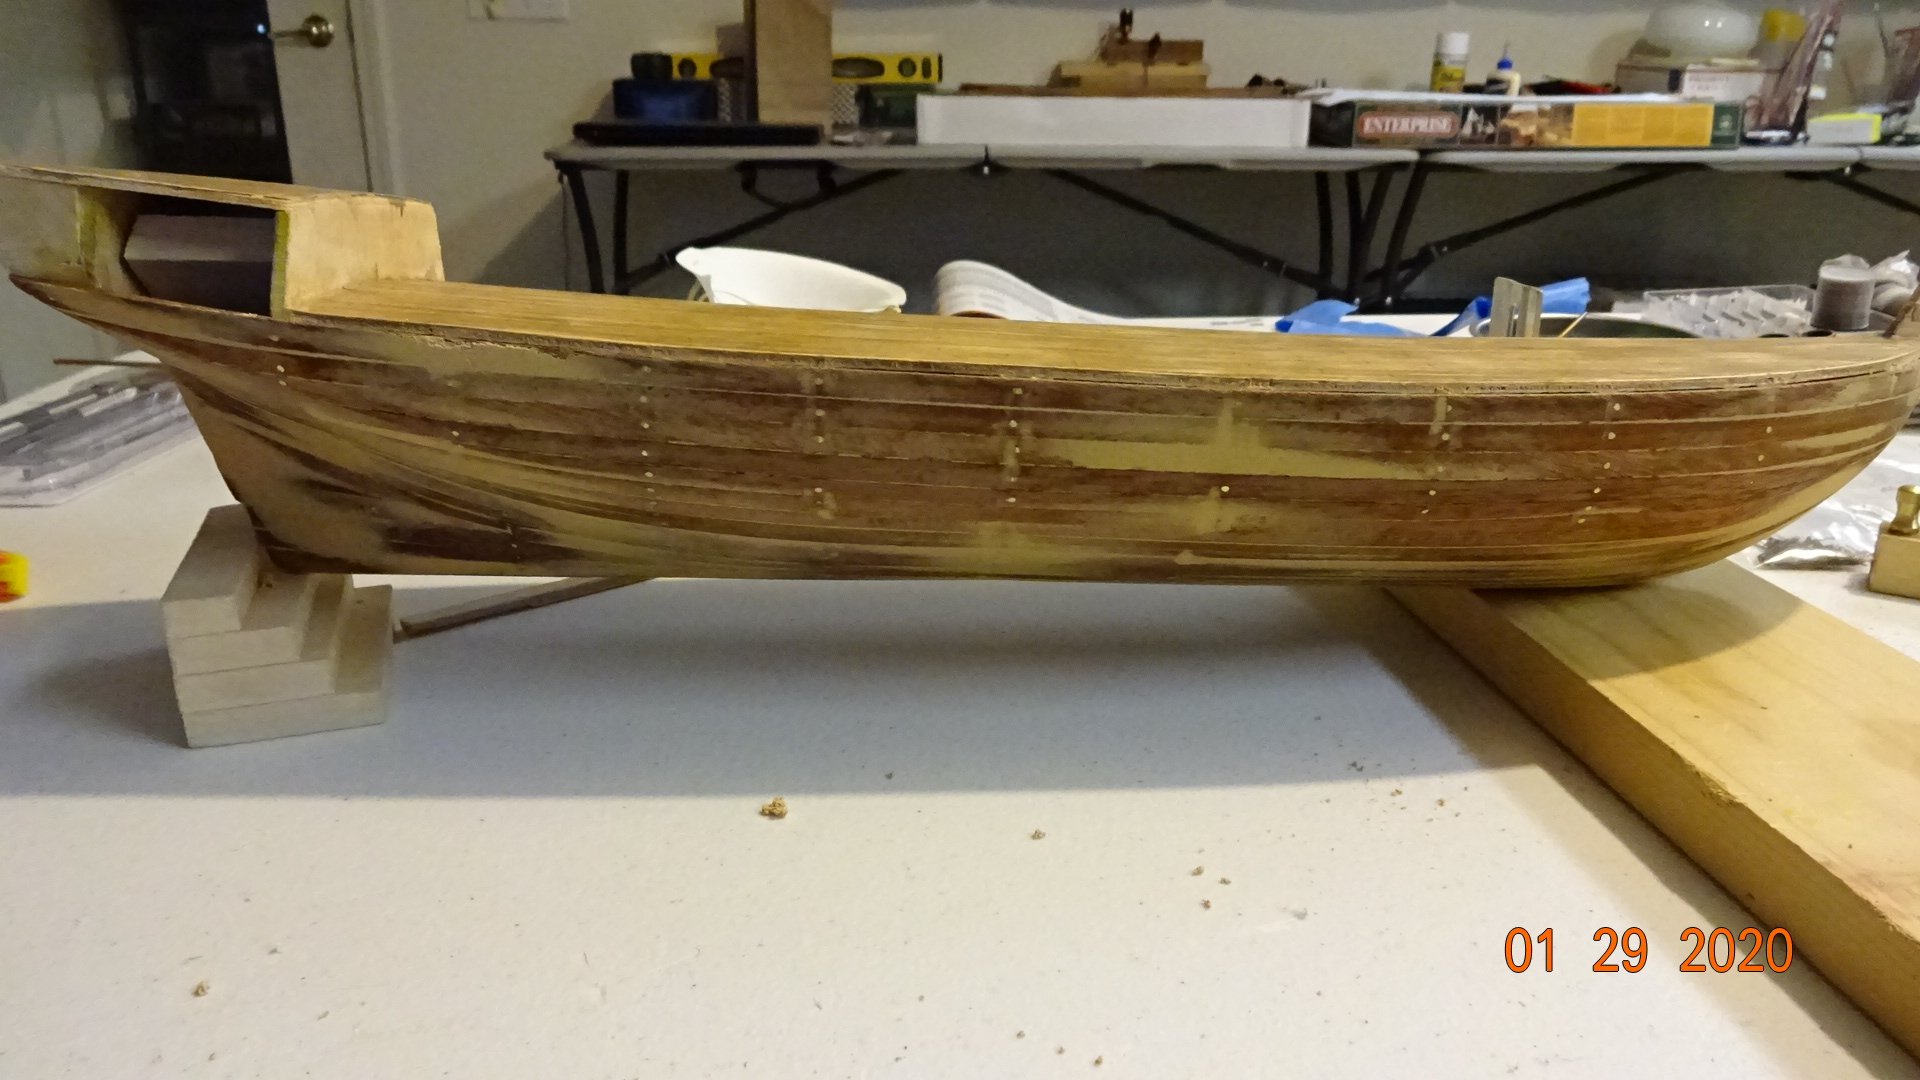
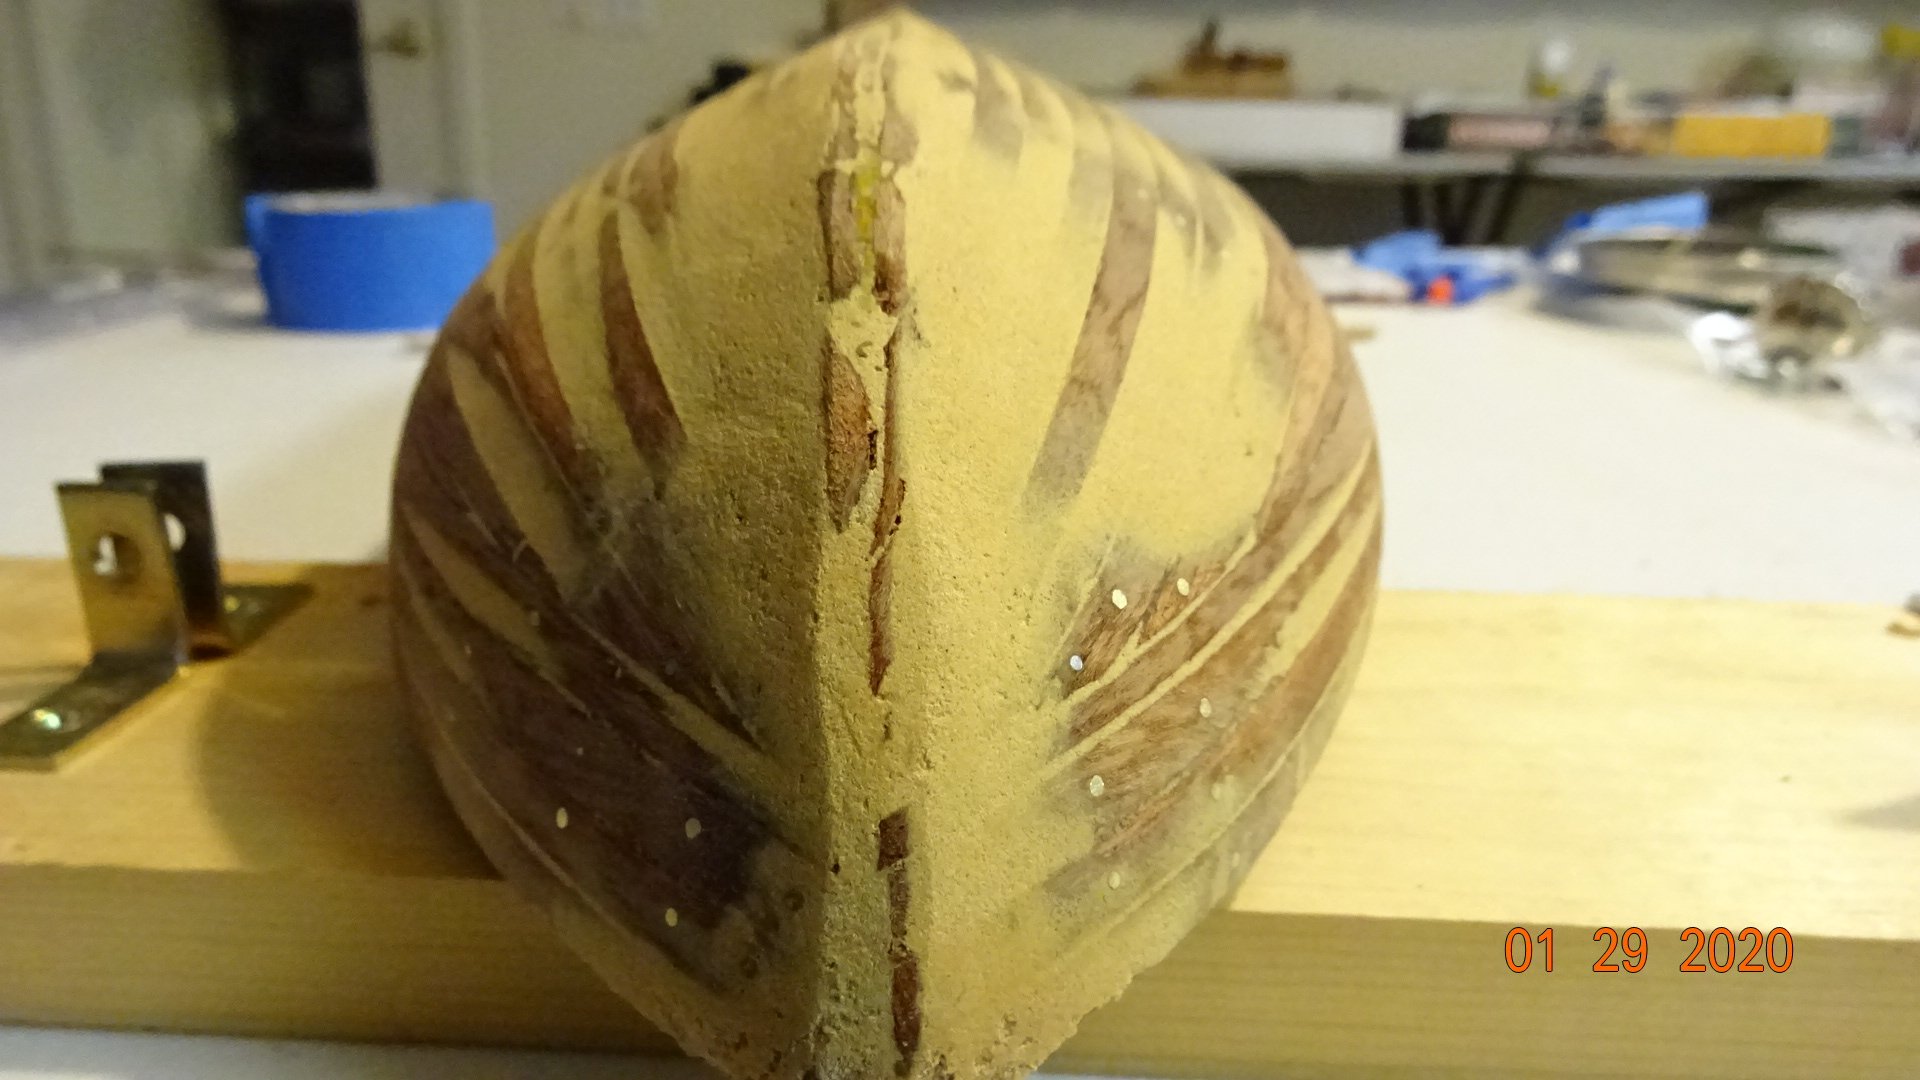
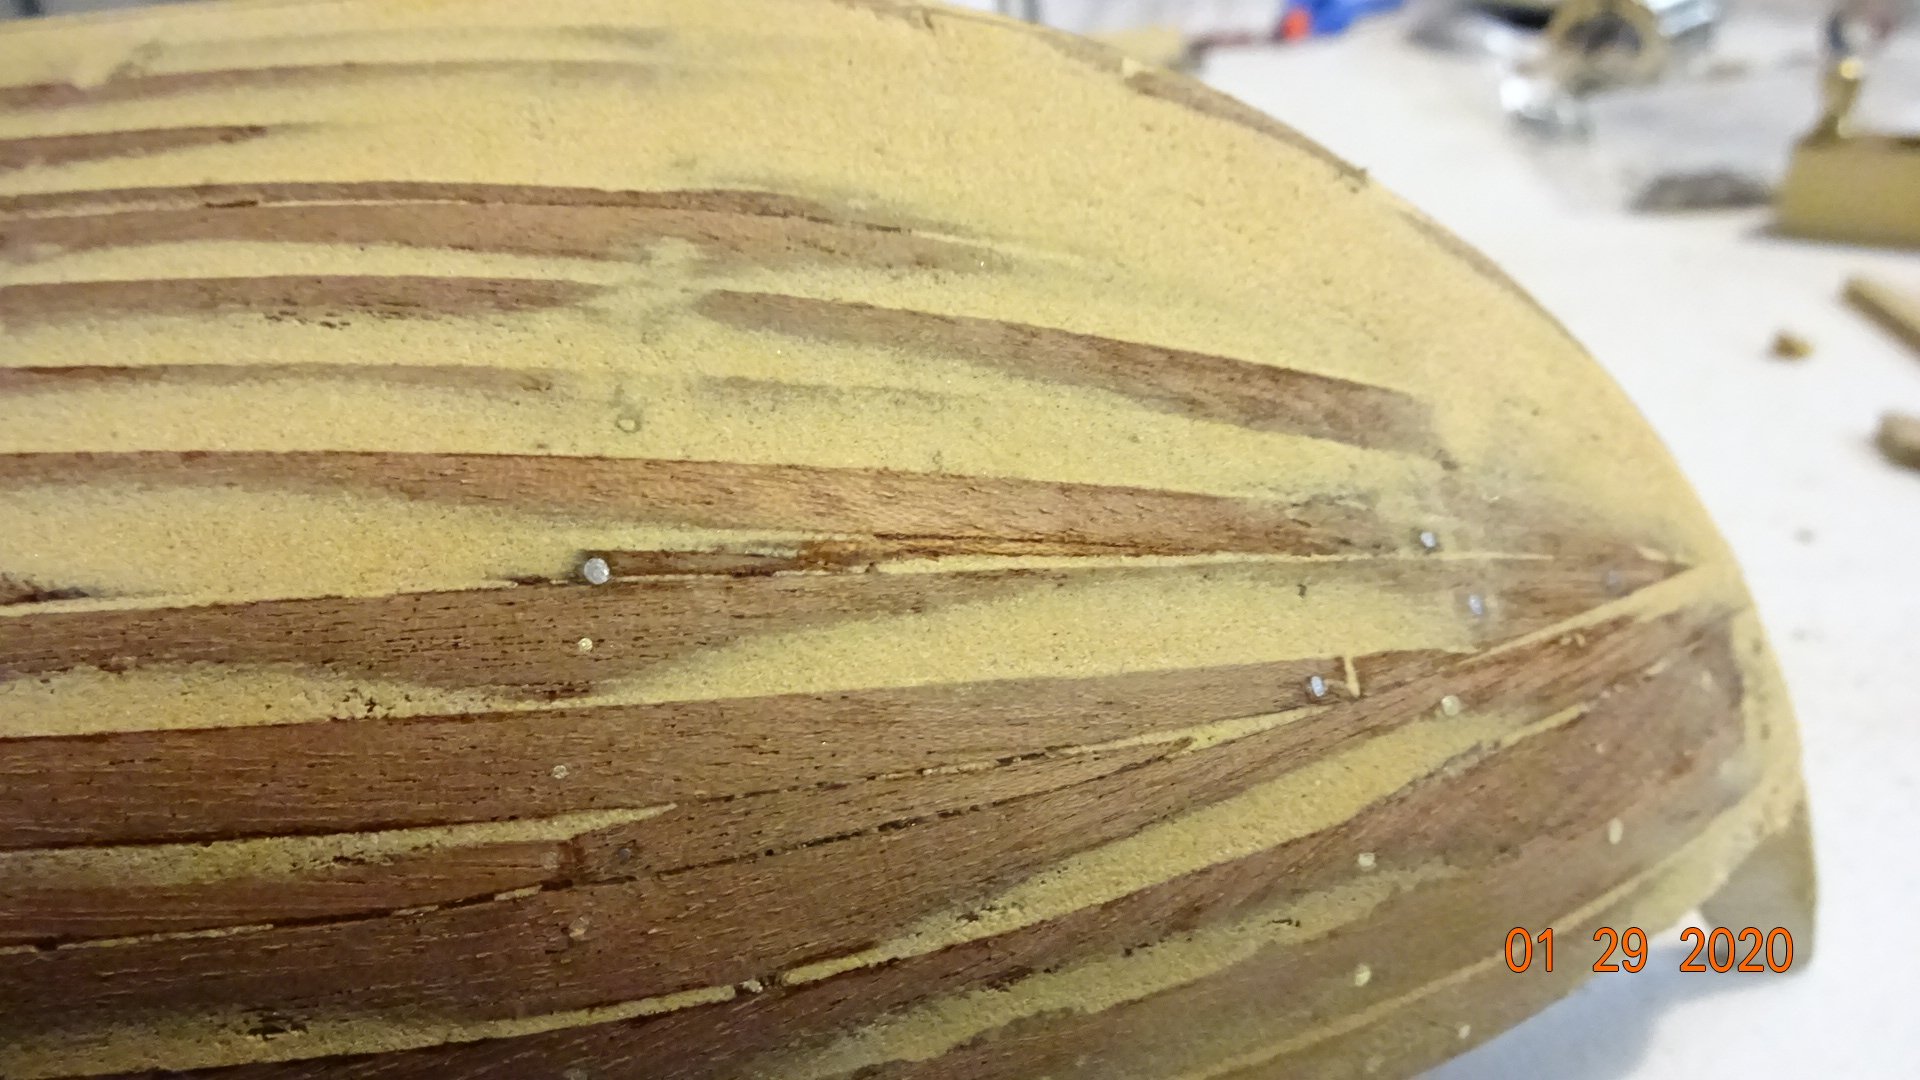
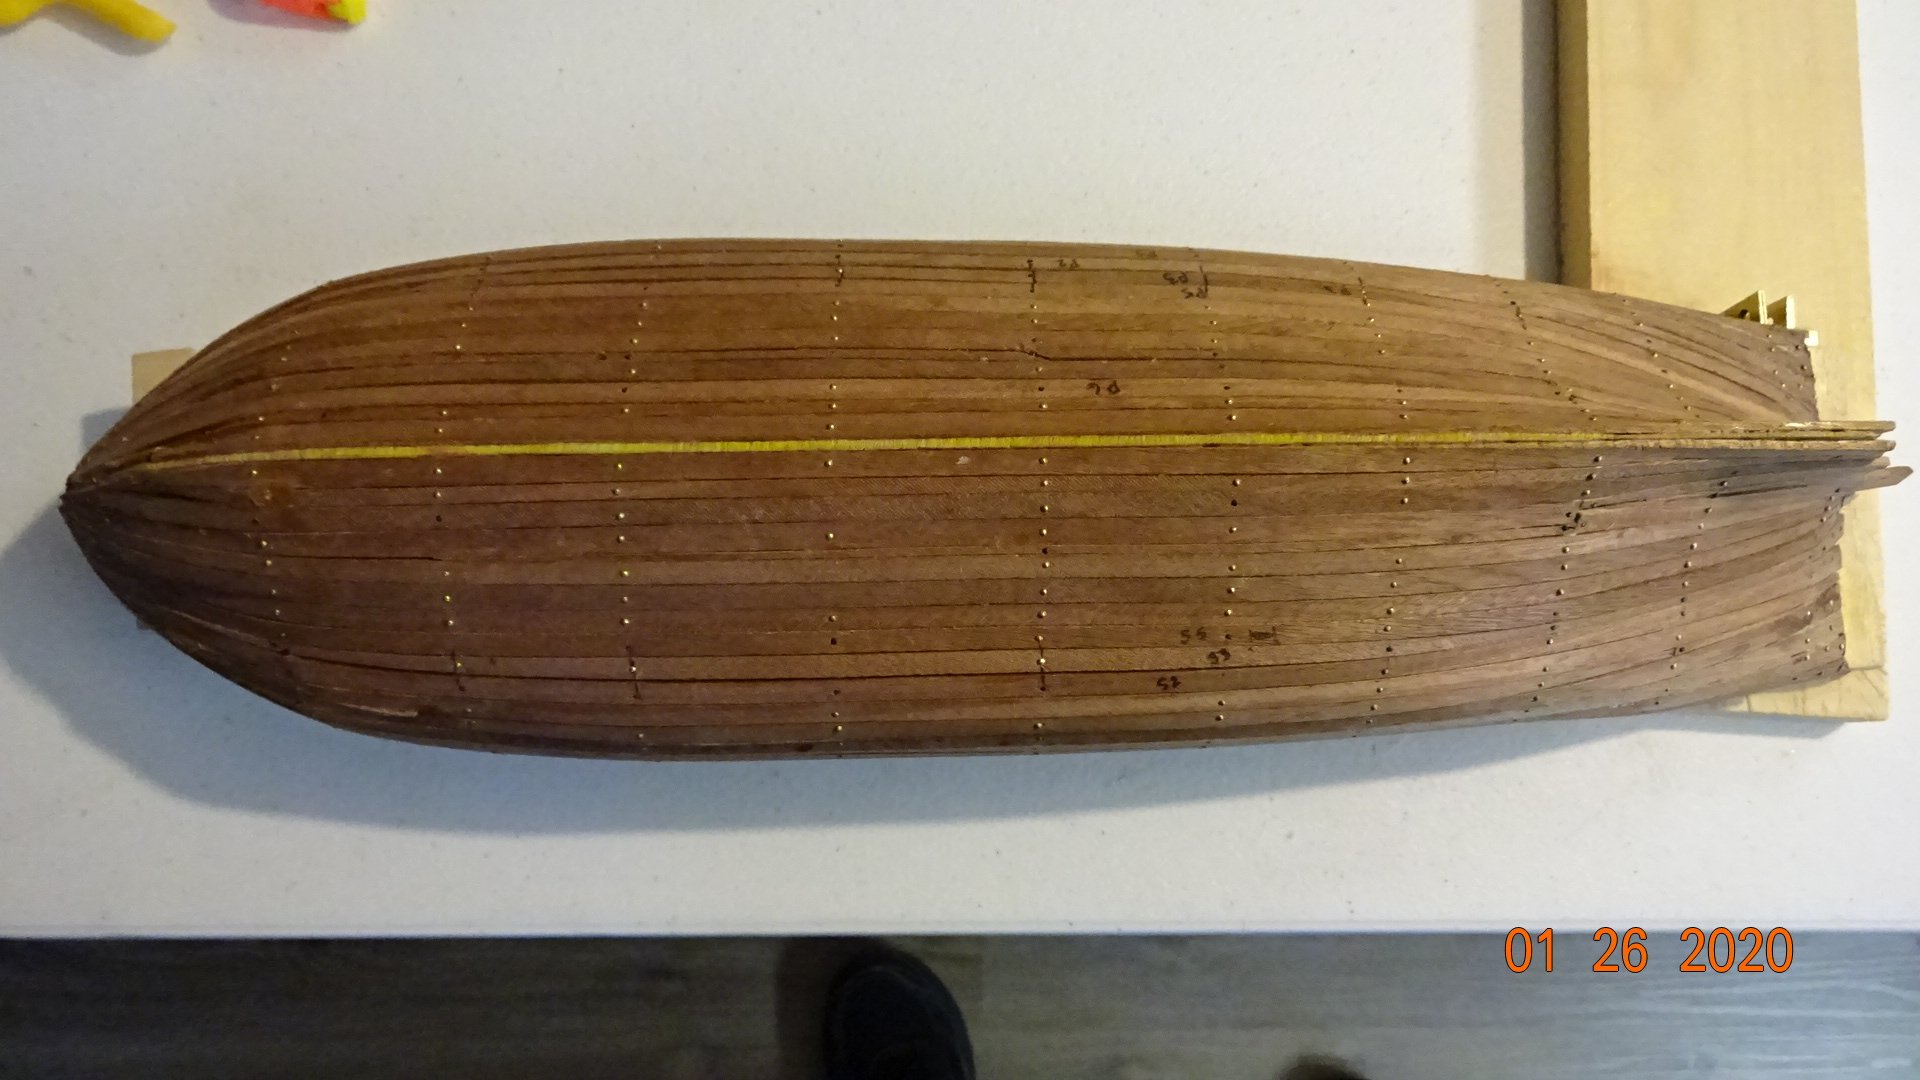
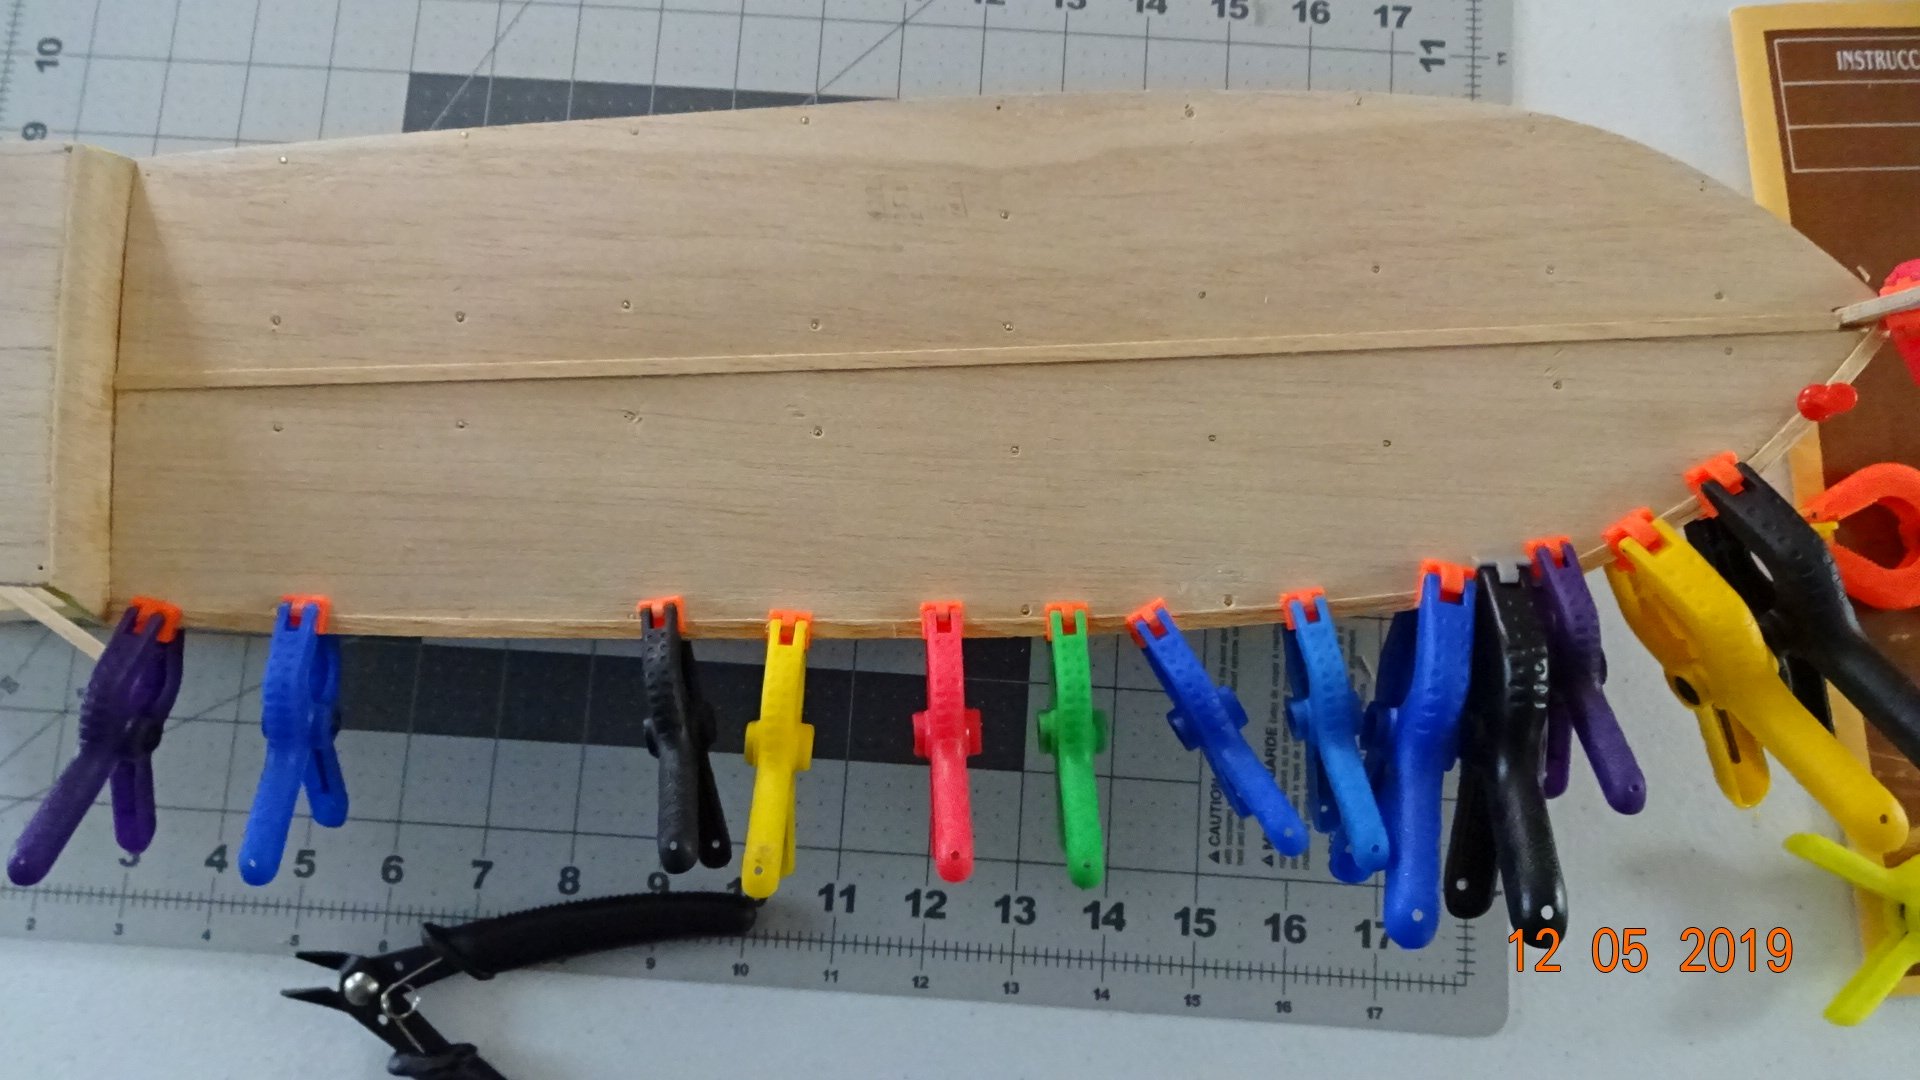
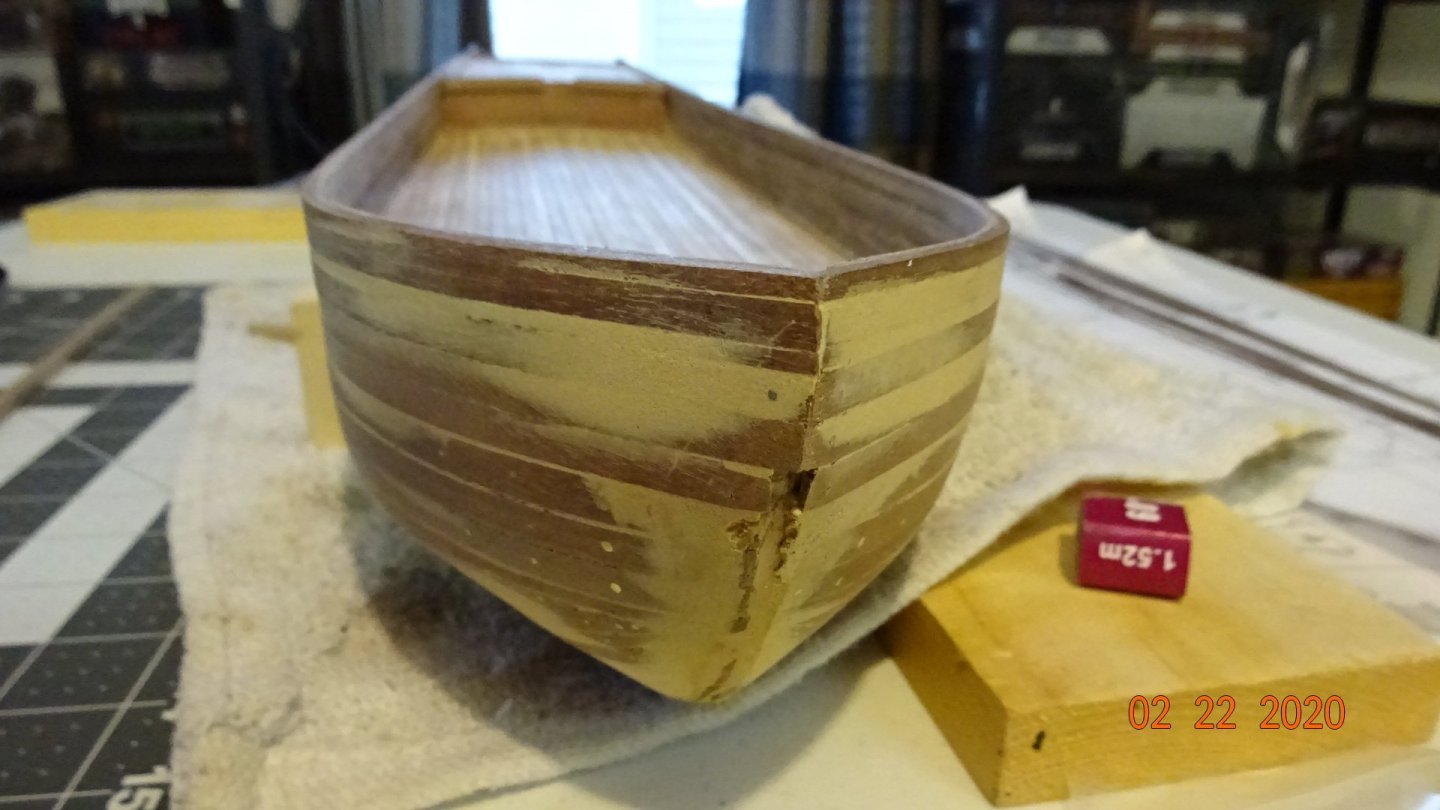
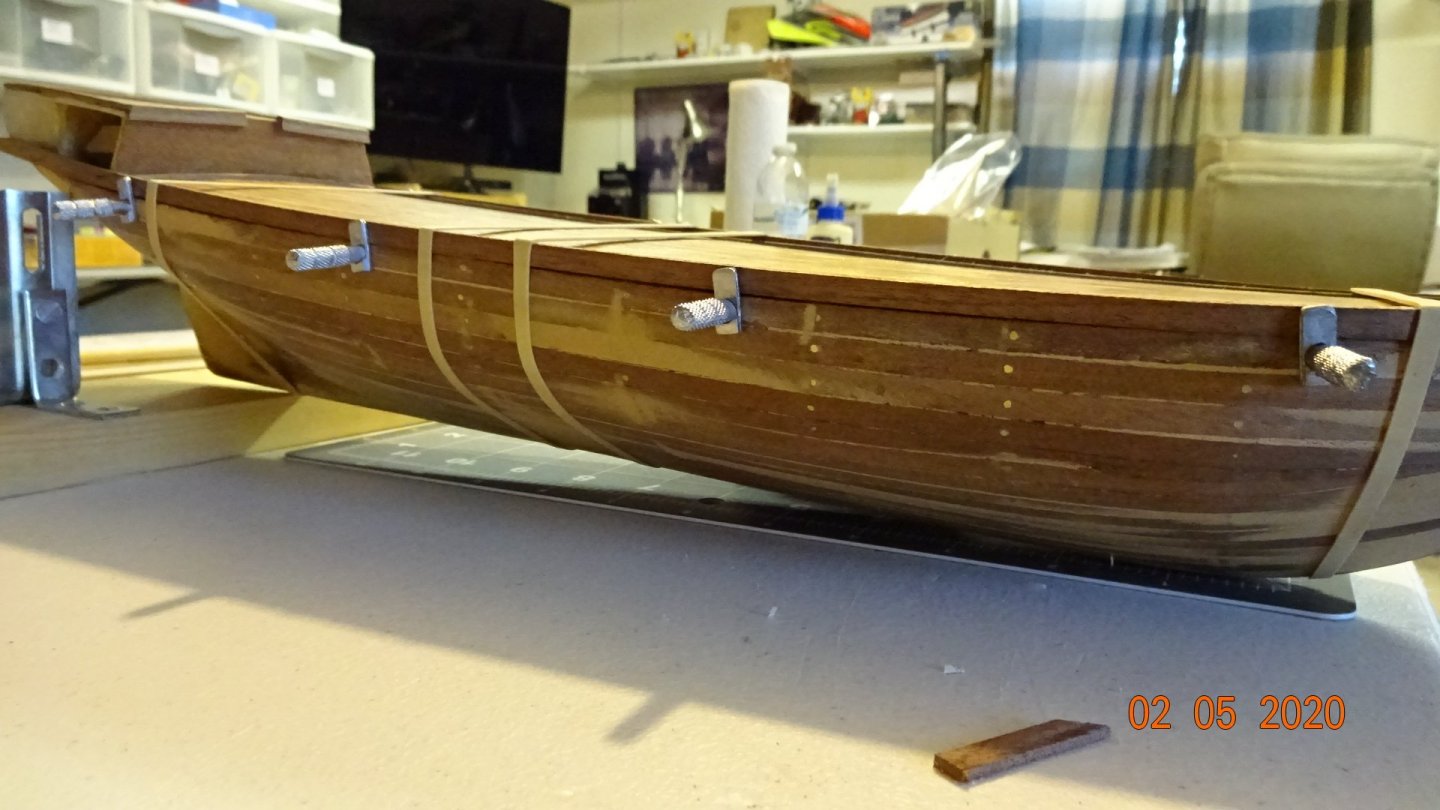
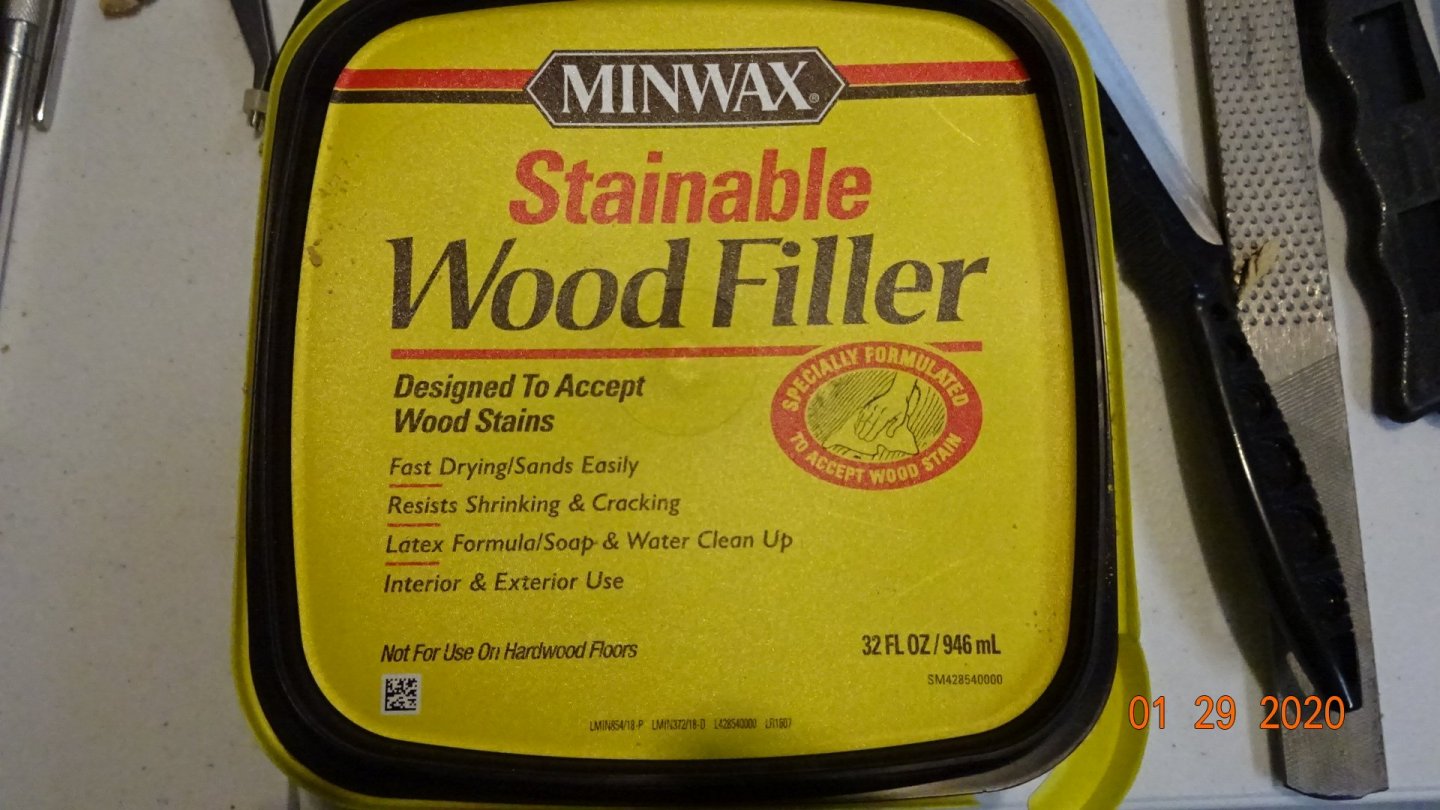
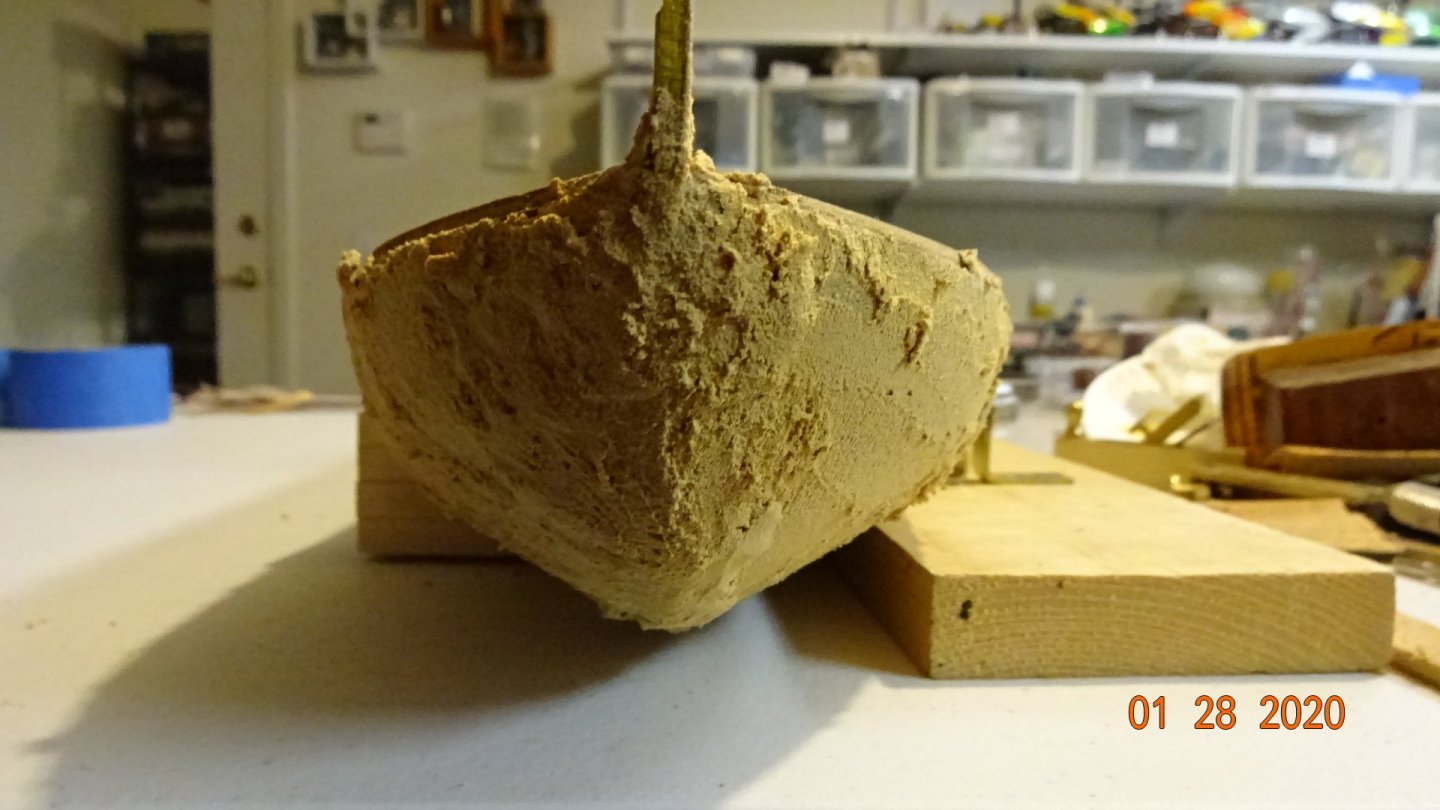
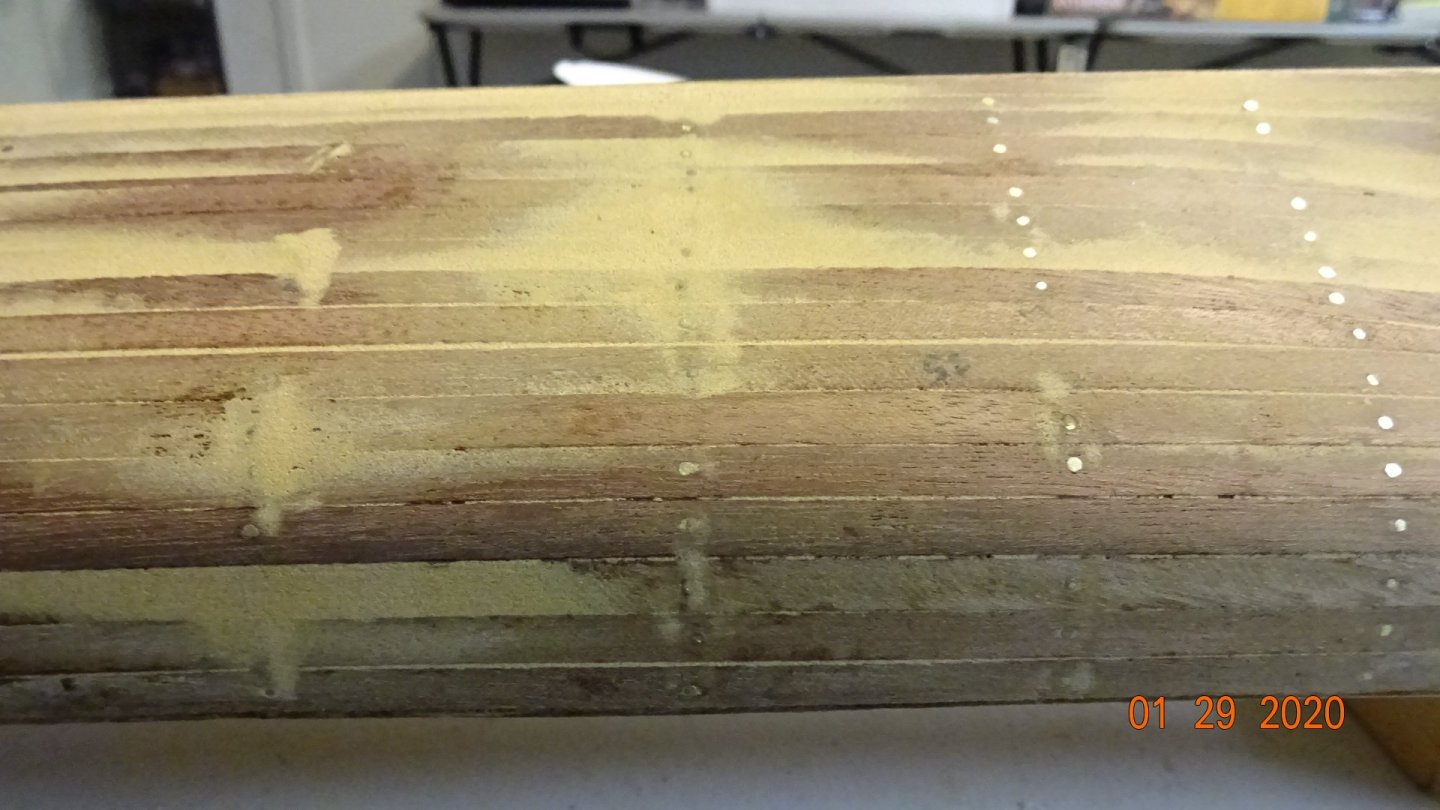
Applied some wood filler by Minwax.. Seems to work well, goes on smooth enough and does what it purports, fills .😀 I applied it generously to the model.... Using my electric hand sander I knocked off some filler. A closer look at the original worse planking areas, I was surprised how nice it turned out! Needs a little more sanding but I want to finish planking the rest of the hull first.


- 195 replies
-
- 4
-
-
- enterprise
- constructo
- (and 1 more)
-
Nails stay in. I have an electric hand sander.
-
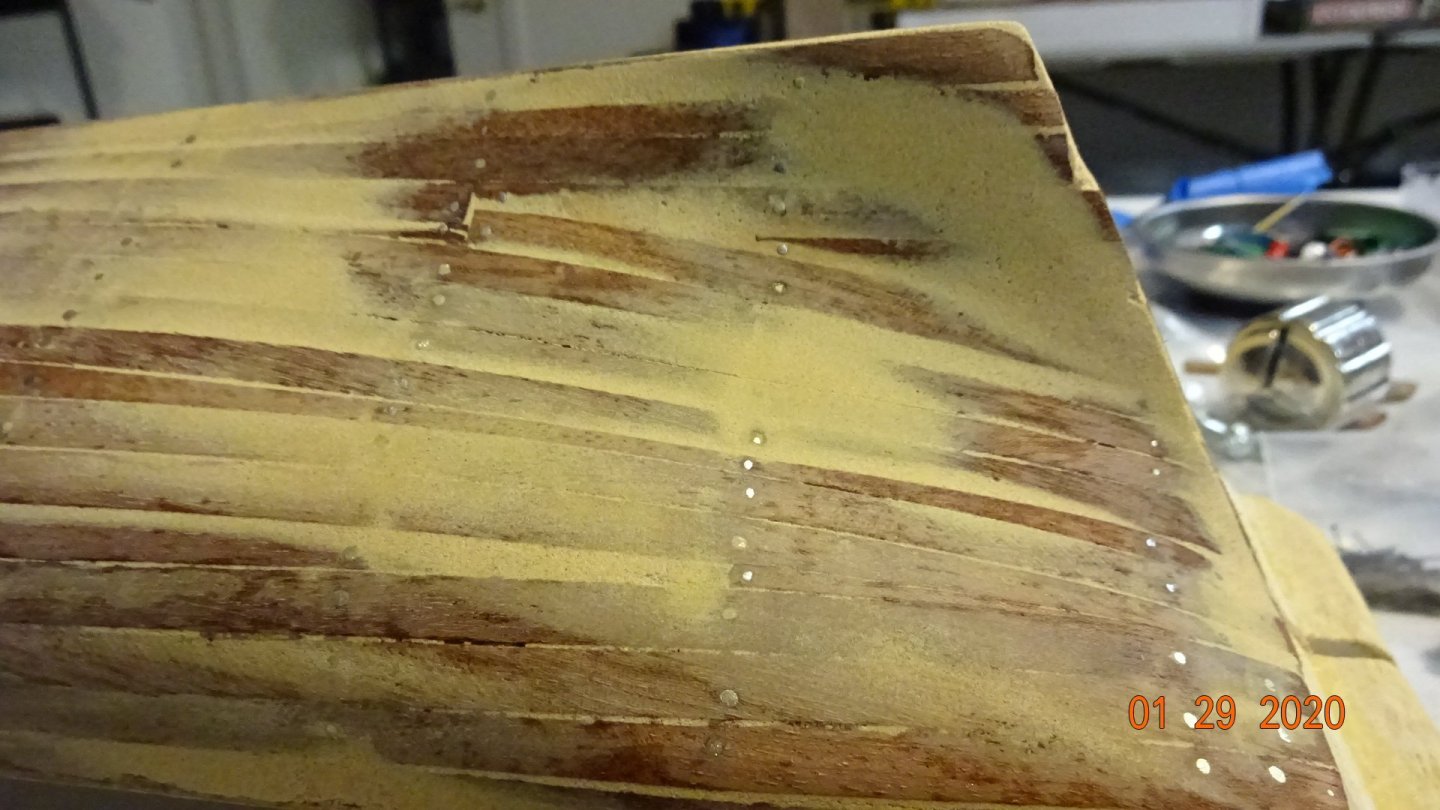
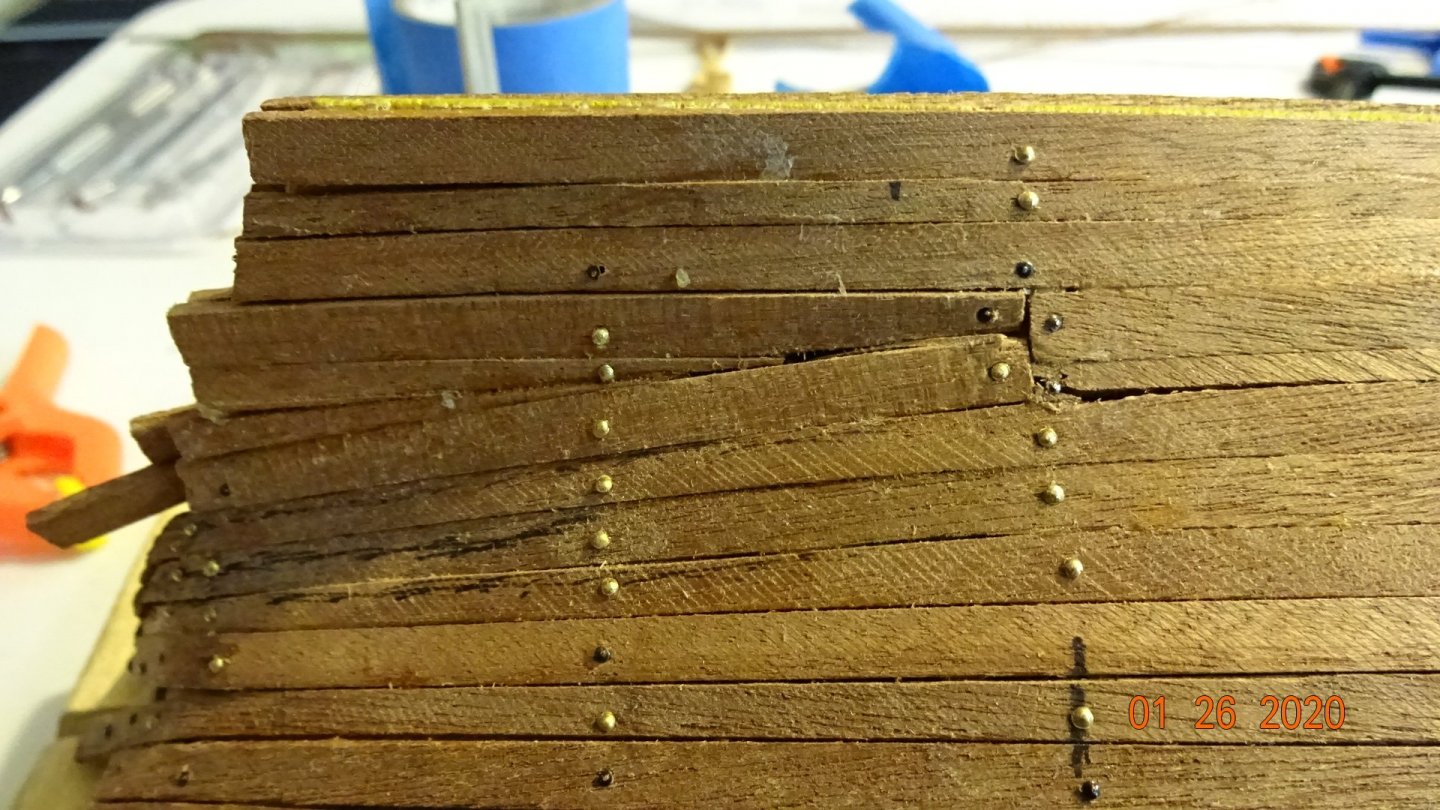
the finished first plank .... lots of issues. Planks not lining up, some rough looking "wedges", un-level hull (pockets and hills). A closer look at my repair... More issues ... The finished first planking, some wood filler and sanding will be needed. Hopefully sanding and woodfiller will correct my mistakes, we'll see. Stay posted.


- 195 replies
-
- 6
-
-
- enterprise
- constructo
- (and 1 more)
-
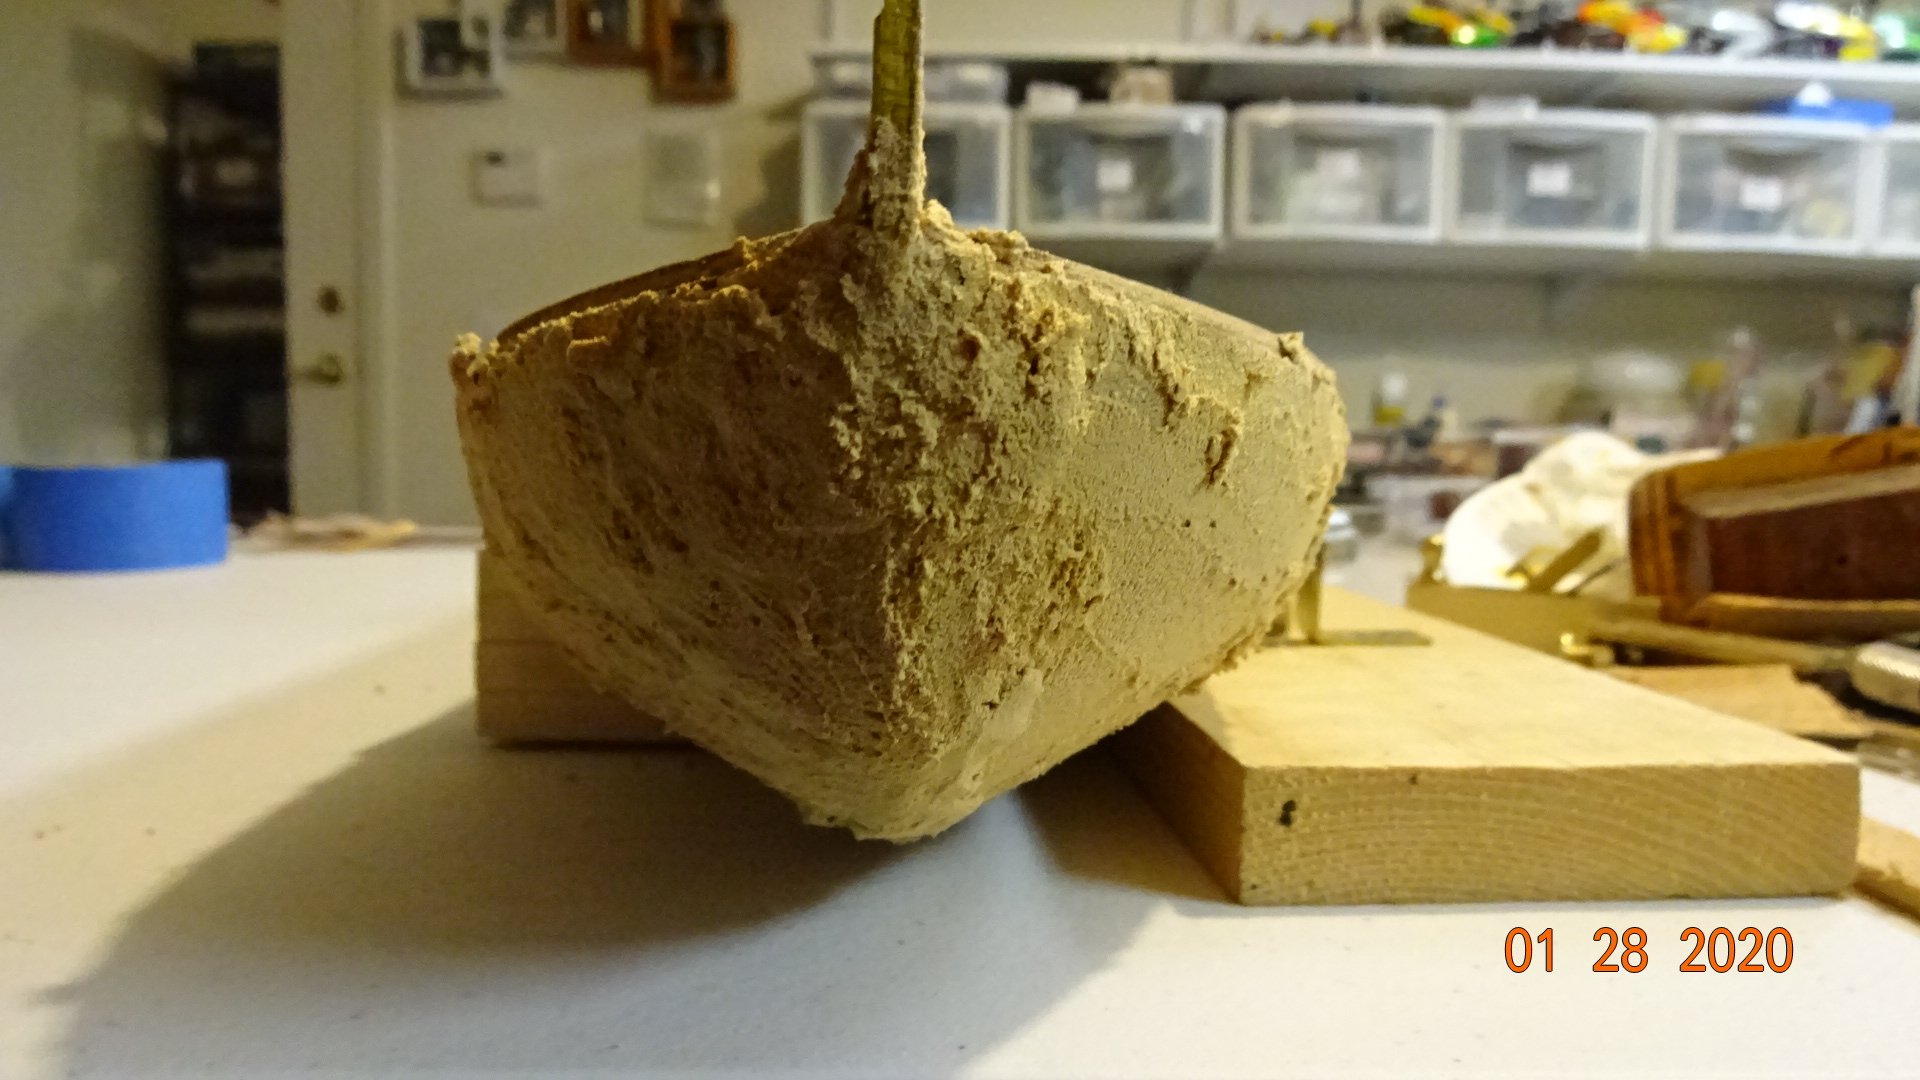
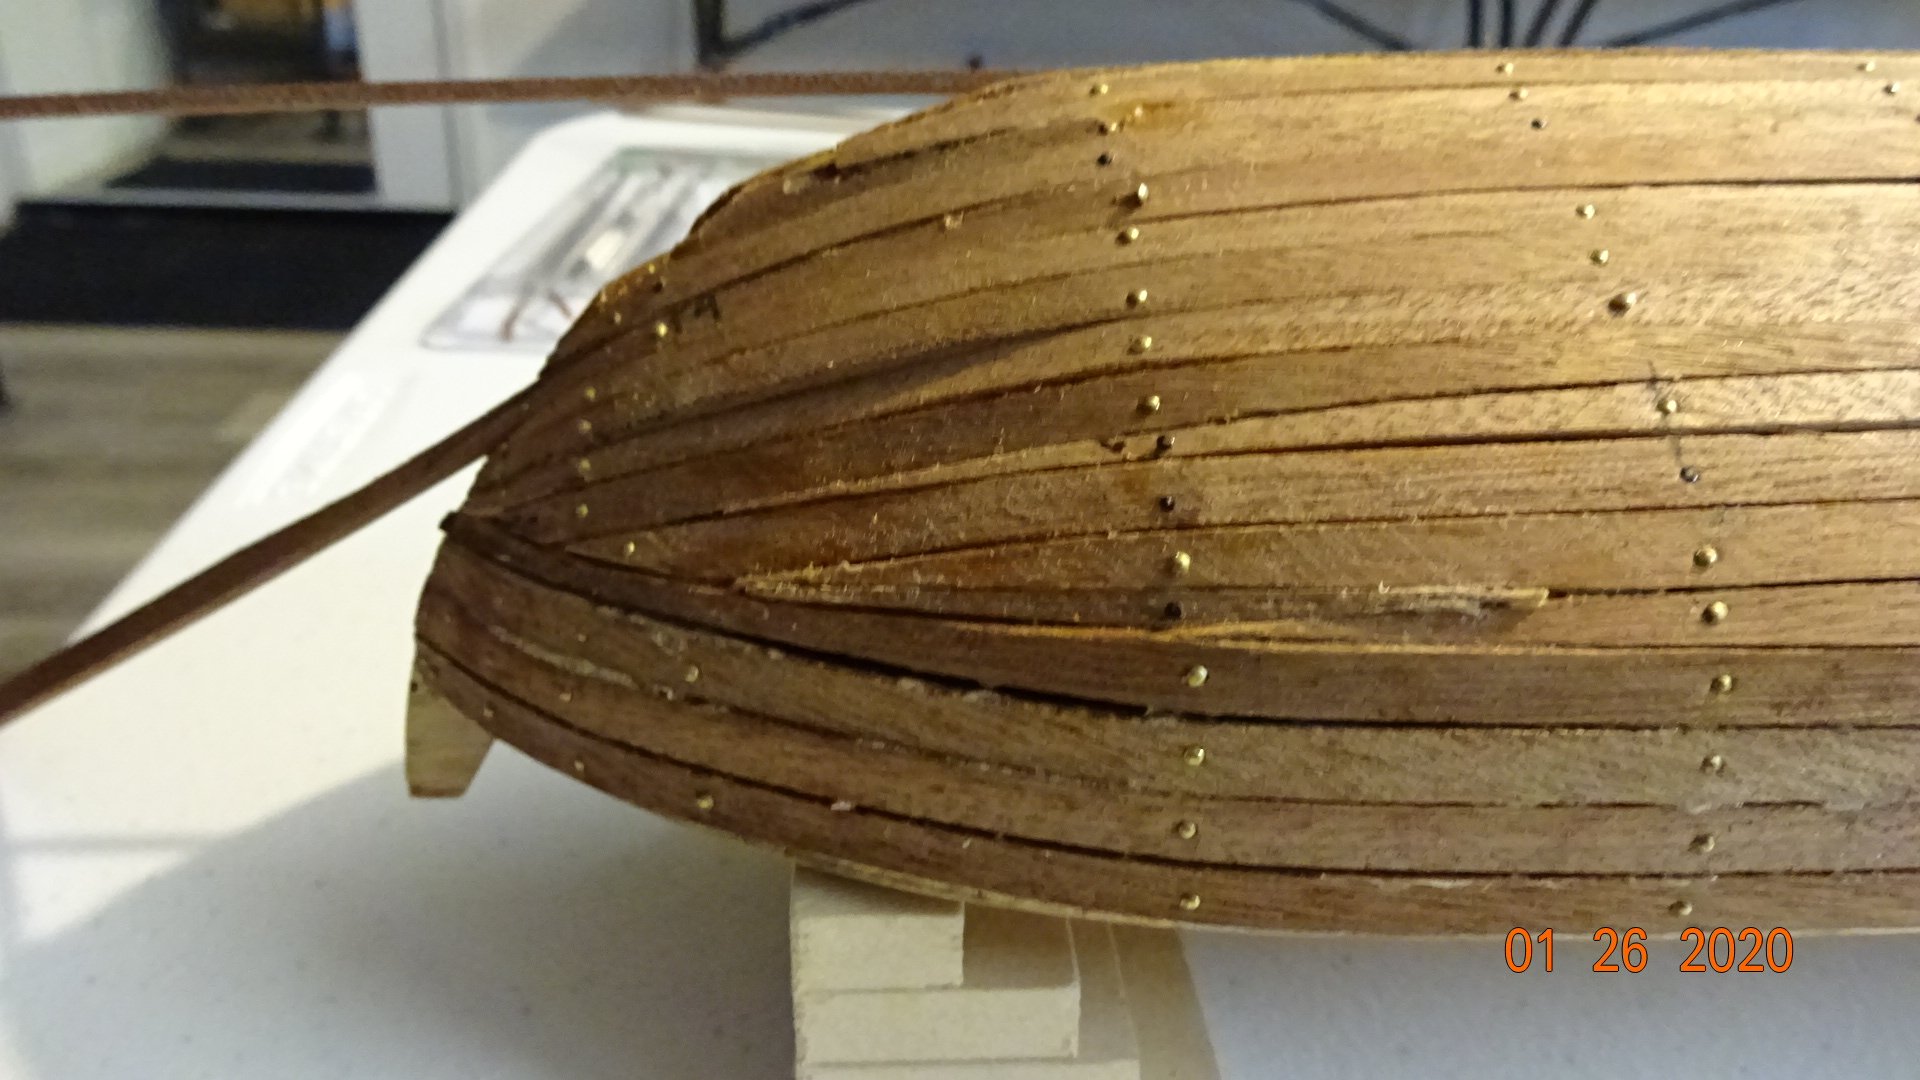
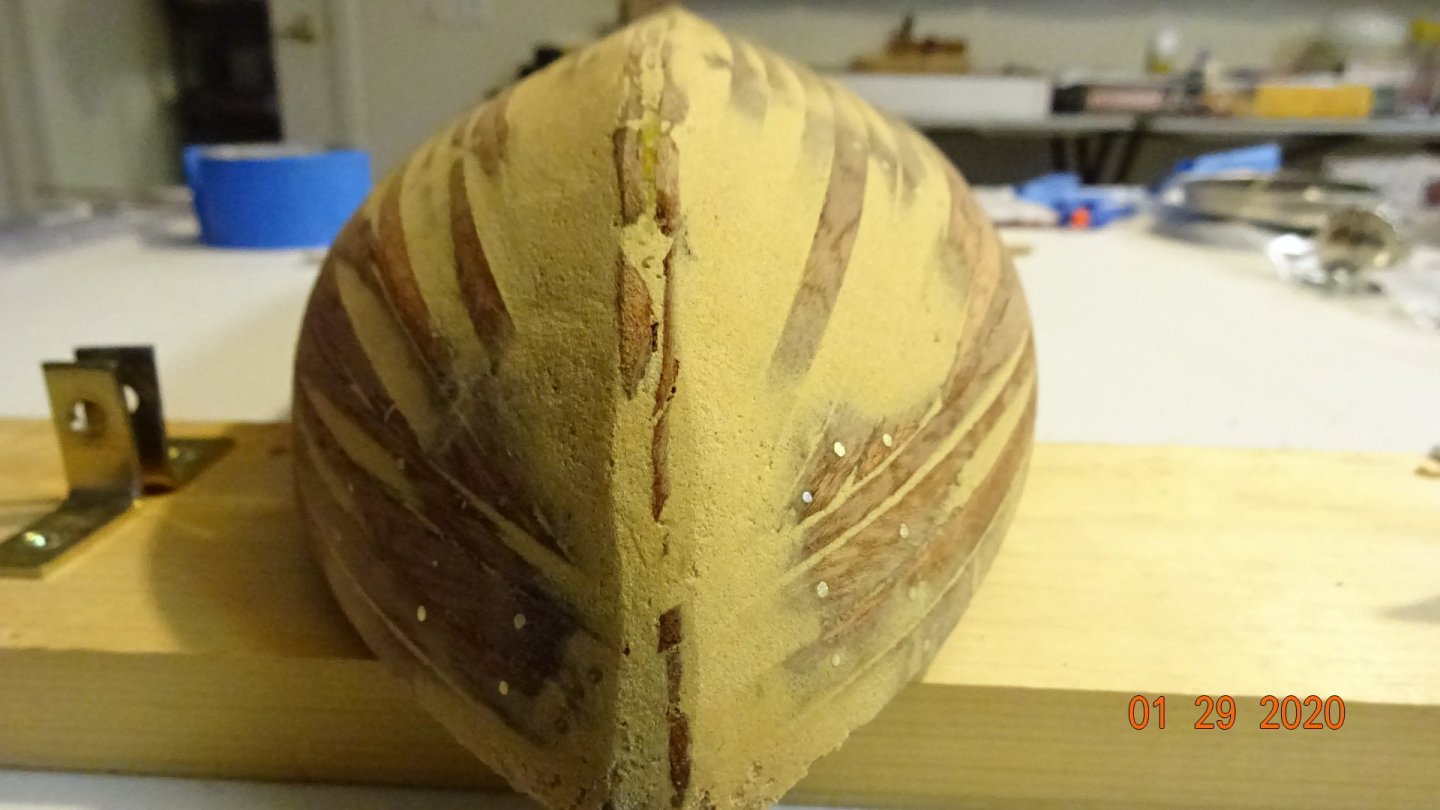
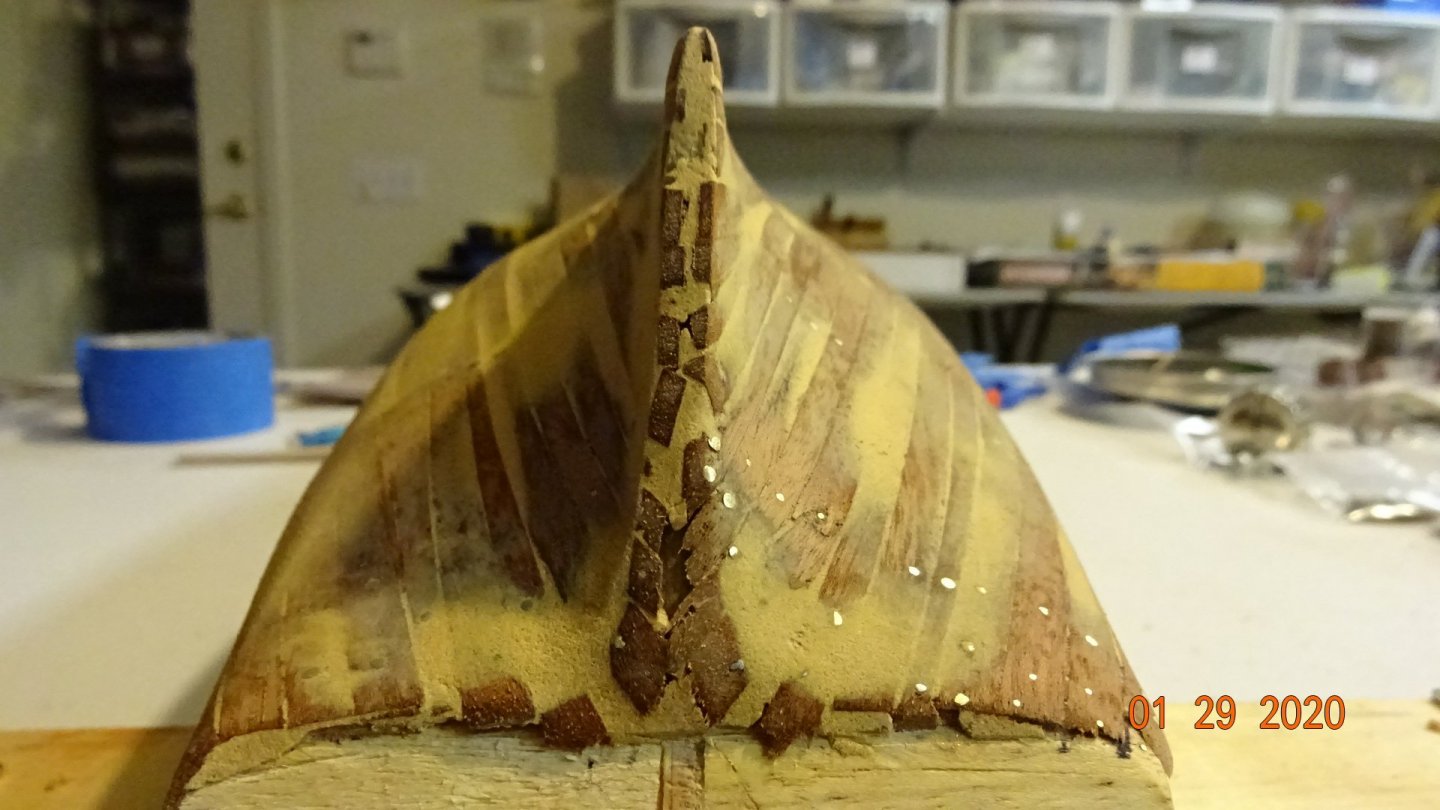
I should have been trimming the plank ends (bow & stern) but did not find out till after the first 4 or 5 planks. This caused issues trying to get all the planks to eventually fit. i also should have spent more time fairing the bulkheads at the bow and stem. There are some sharp angles that caused some snapping and breaking. The plank on the left shows the sharp angle that I had to bend to plank over. I should have stopped here and just "faired" the bulkheads .... but I didn't.. 😞 A close look at the right side plank (middle) shows the plank cracking at the last bulkhead..


- 195 replies
-
- 1
-
-
- enterprise
- constructo
- (and 1 more)
-
I was able to pick up the build manual for this model ship 👍, thanks to a fellow modeller. This has been a tremendous help. Now for some pics of my current progress. Work on the hull planking...


- 195 replies
-
- 2
-
-
- enterprise
- constructo
- (and 1 more)
-
I have moved my build log to Ships Of Scale. There is a sea goer their that is doing the Enterprise 1799 build and it's easier to communicate with them if I have a build log on that site. If I have time, and this log is still here, I will get back and update my build.
-
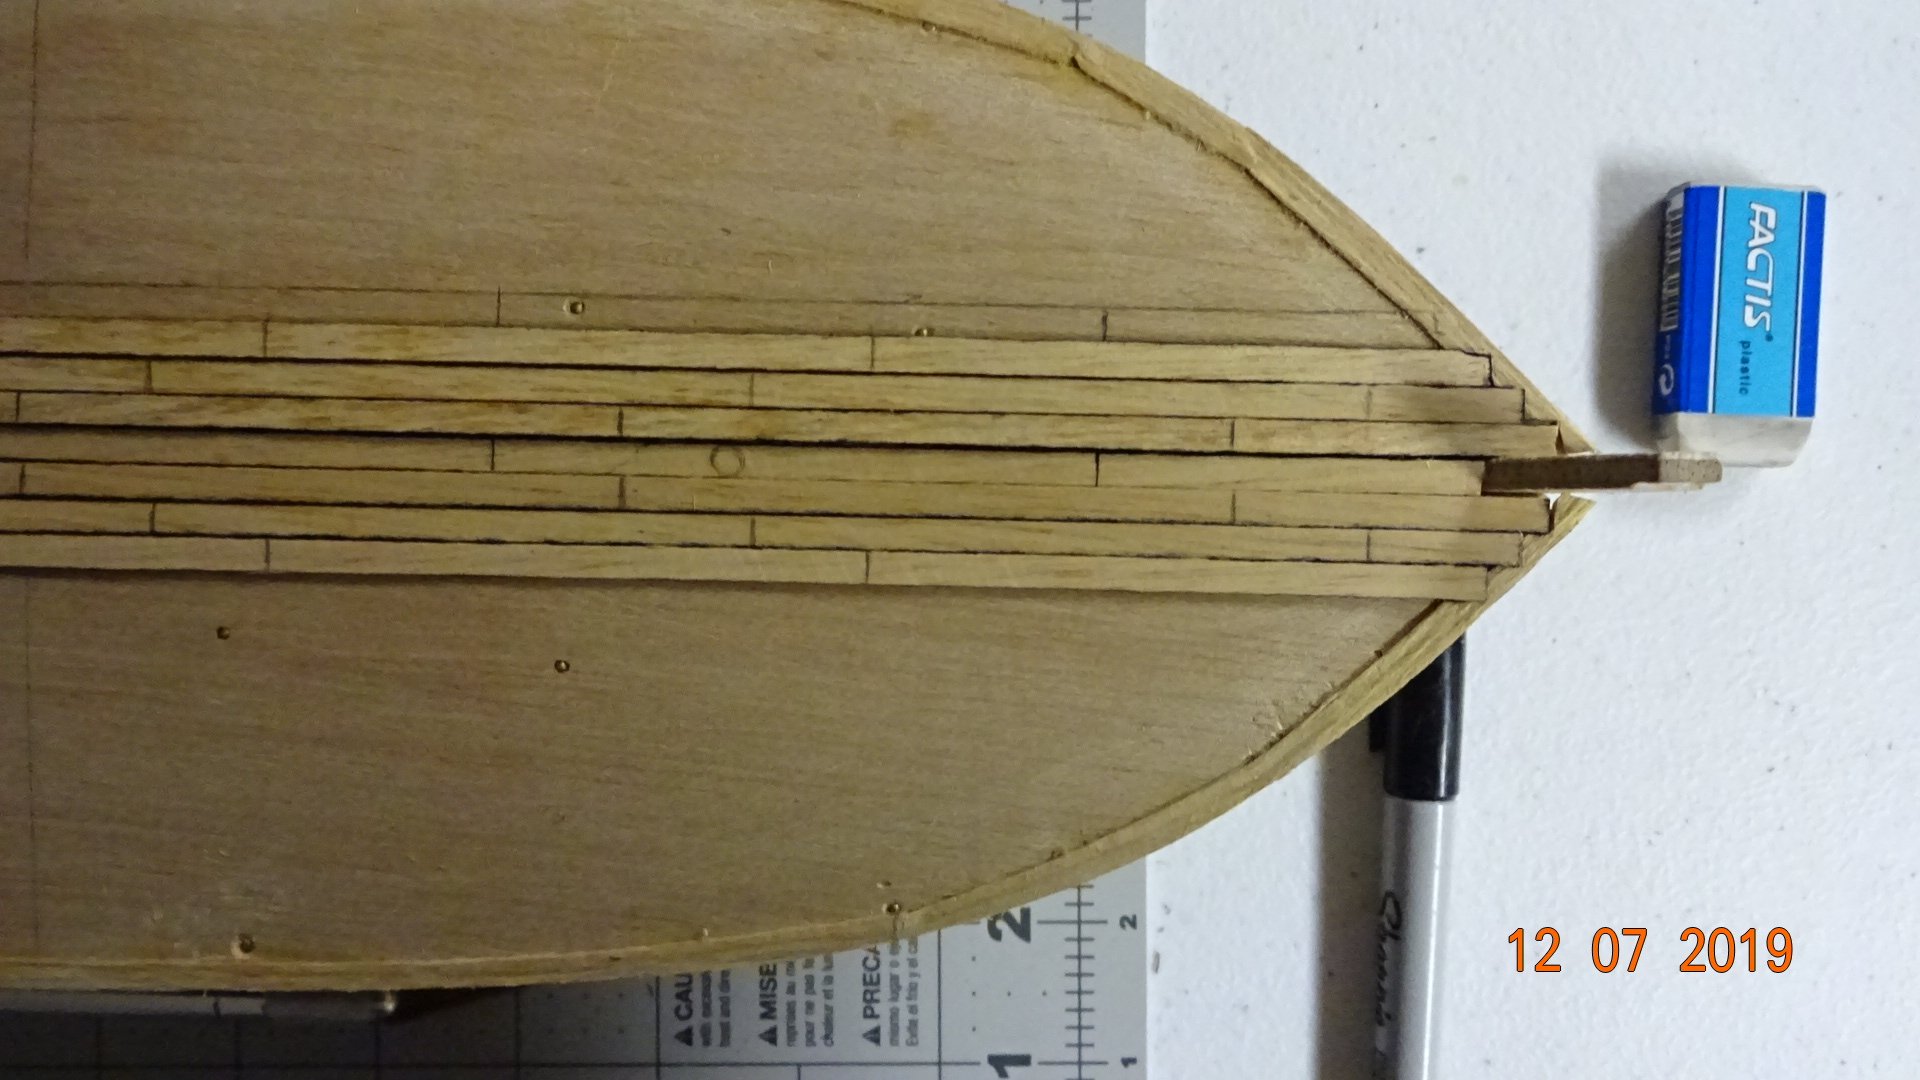
Well, it's been a while and some progress has been made. Cutout some of the plans and matched them to my build. Although the main deck looks okay the poop deck is off. Here's the problem area on the poop deck. When looked at from underneath the model seems to be shorter than the blueprint. So there is some work there, but I'll cross that bridge when I get to it. Started bending my first plank. Soaked in water for about 30 minutes and clamped in a jig. After a few days put the planks on the model. Just nailed it in place. Here's the view from the top. ... and the sides .... Finally a pic from the front. Not sure where to cut the bow planks at the stem. I think in this picture I cut a little to short, I believe the planks should be touching the stem area. Although the planks seemed to fit they will not hold with glue and nail. I waited till the planks had dried out before applying and that is an issue at the bow and stern. The planks won't twist into place. I'm going to remove them and soak them longer then apply them wet. My only concern is will my glue work on wet wood. If someone has experienced gluing wet wood and has some ideas then pass them on. That's all Folks ! Thanks for watching.


- 195 replies
-
- 4
-
-
- enterprise
- constructo
- (and 1 more)
-
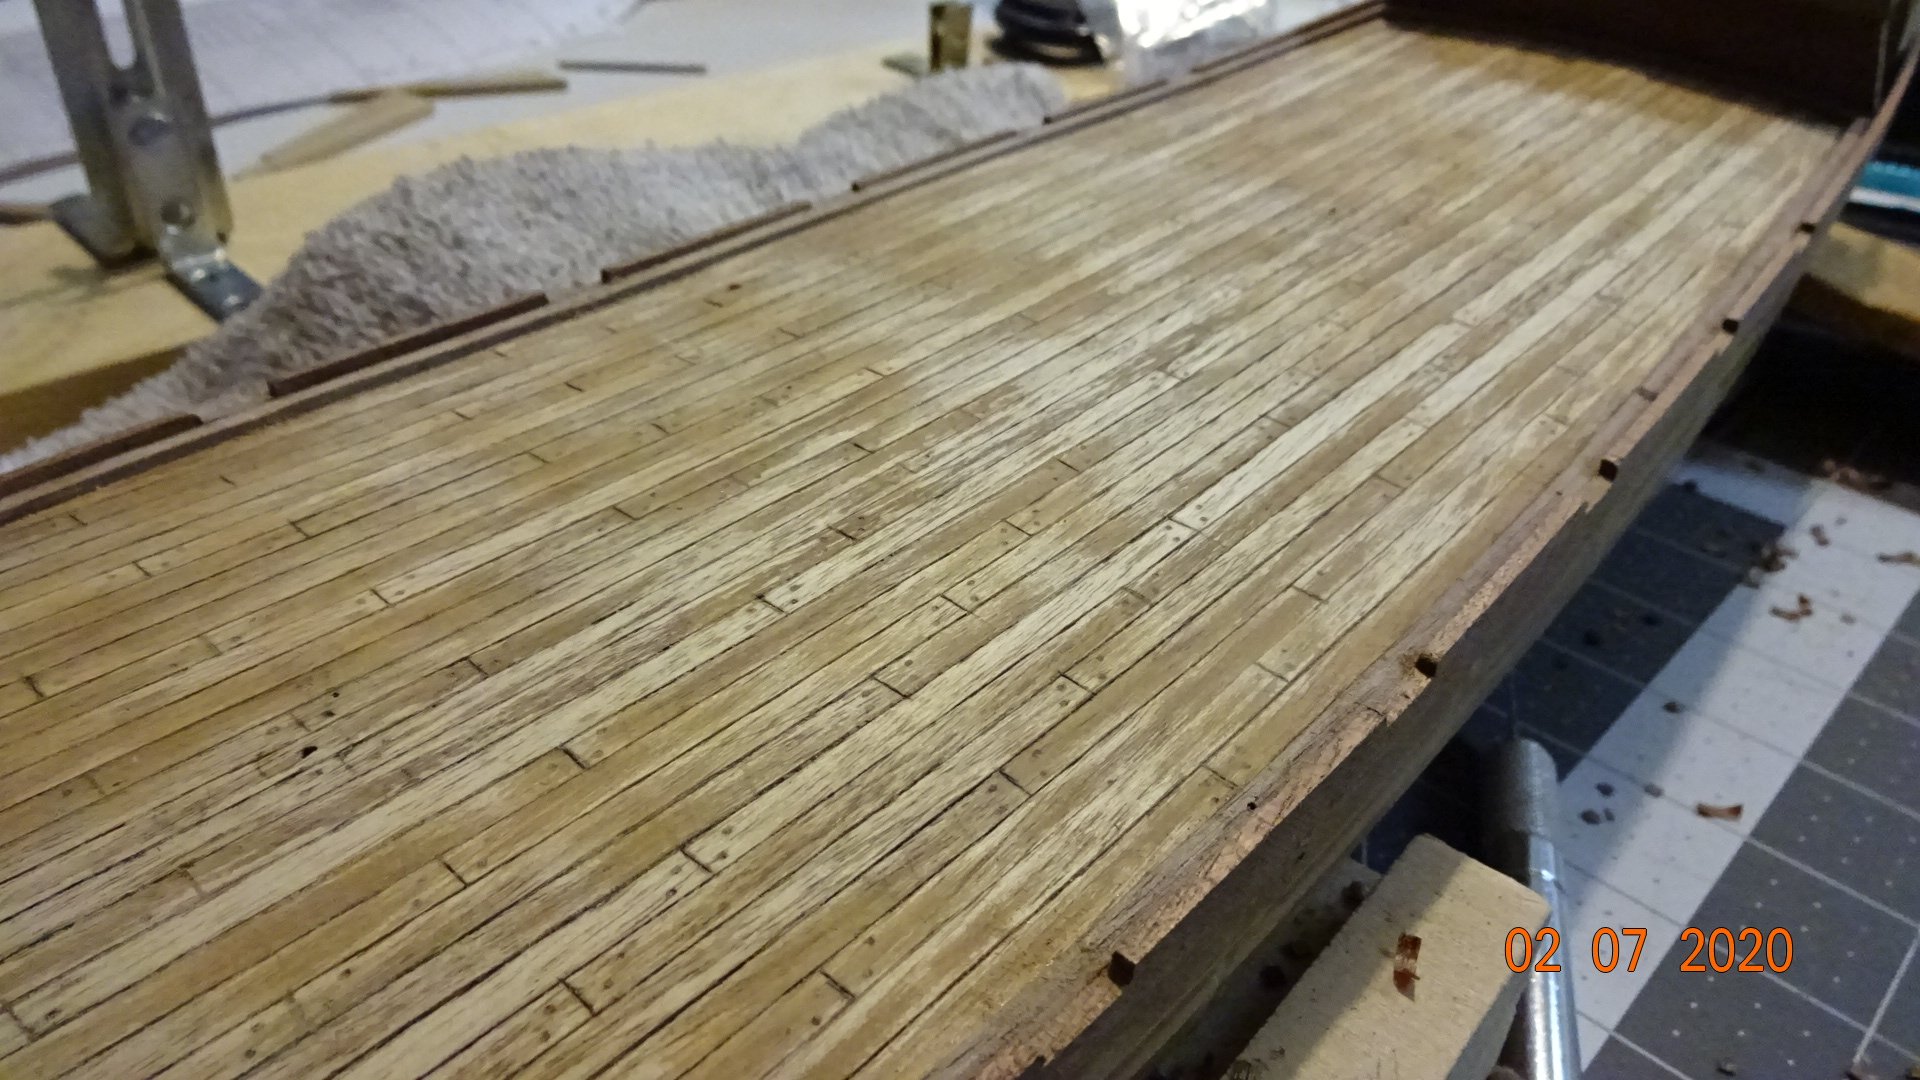
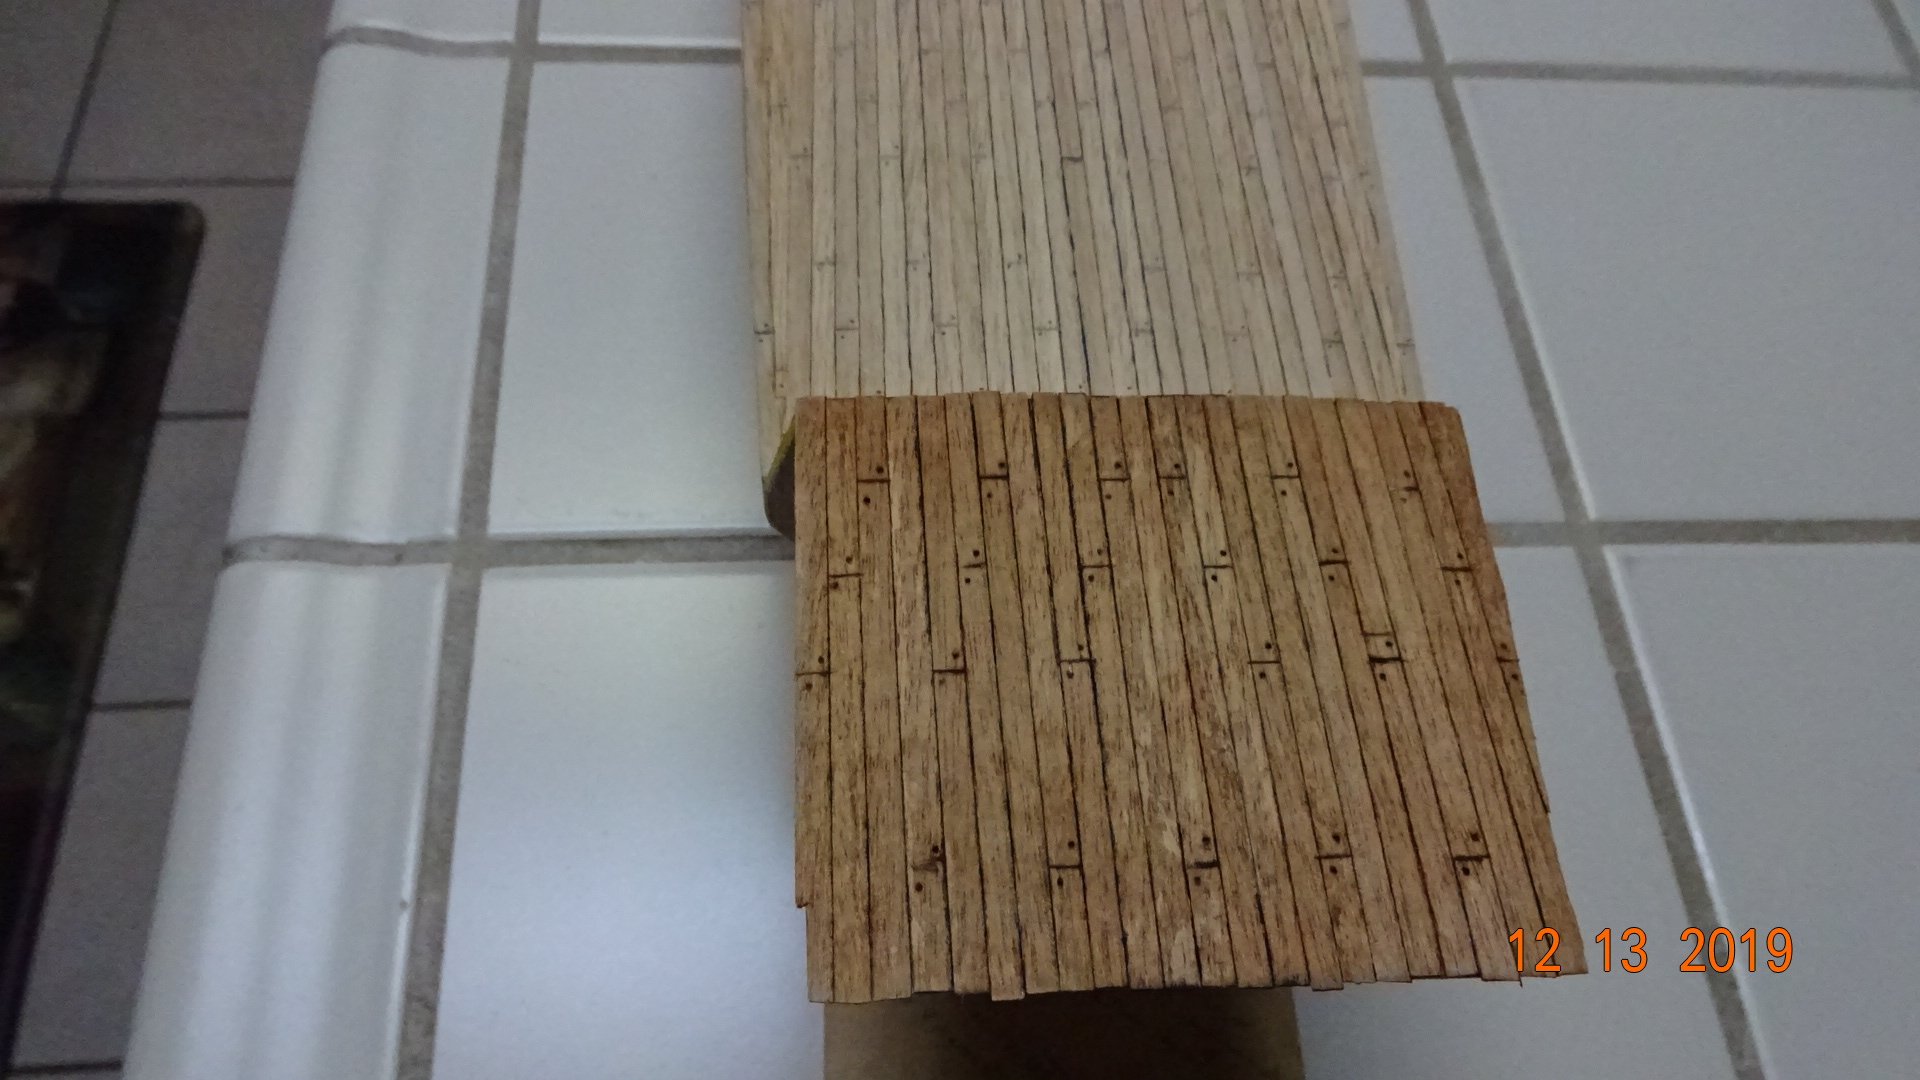
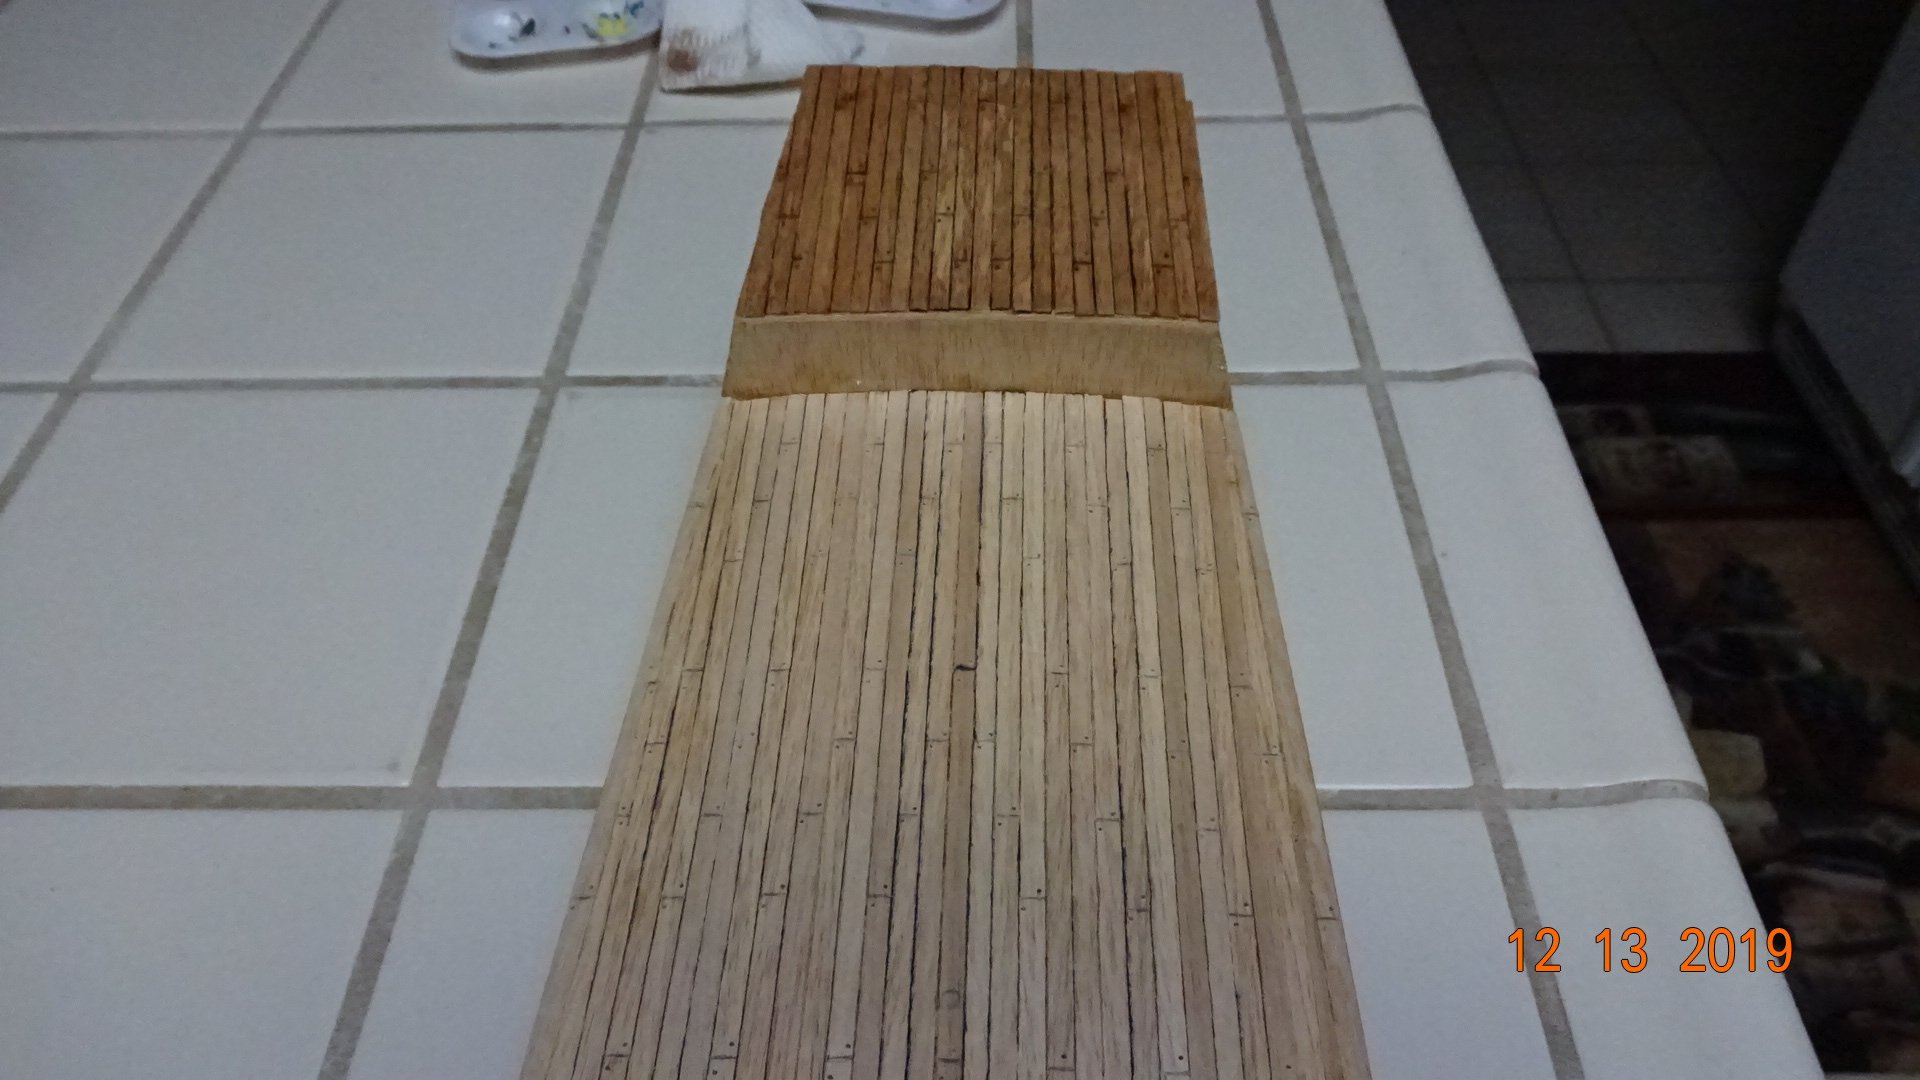
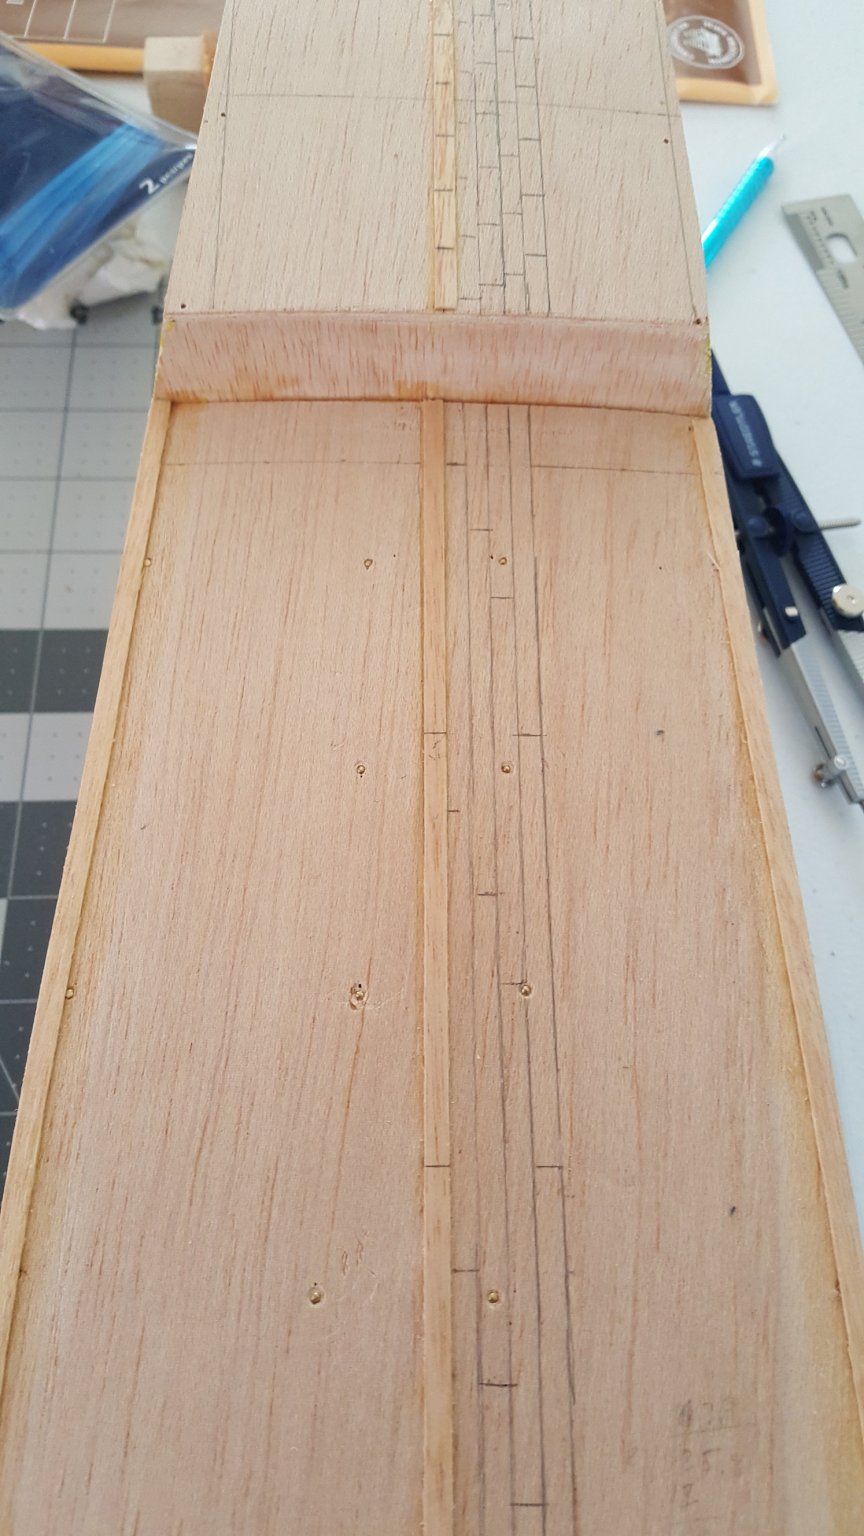
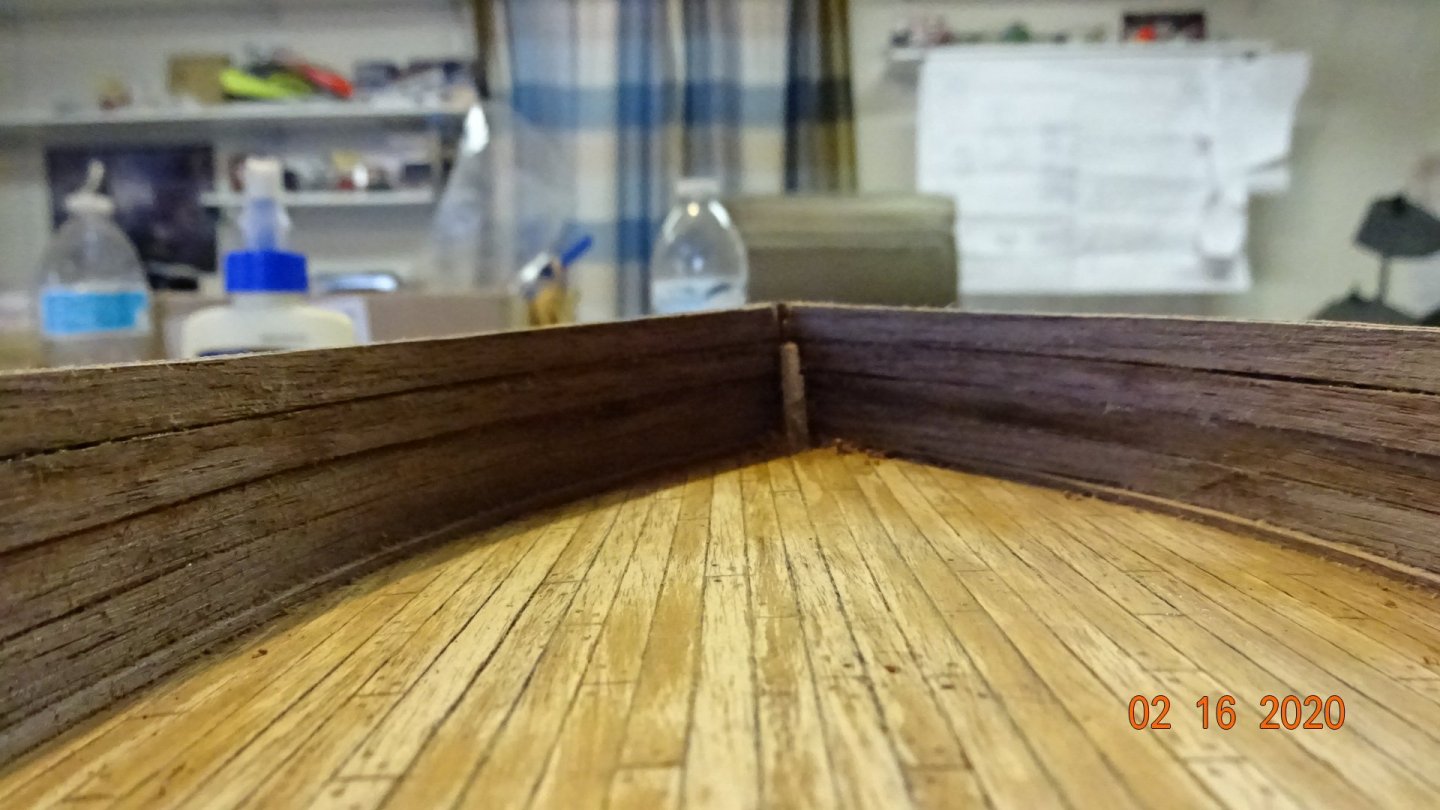
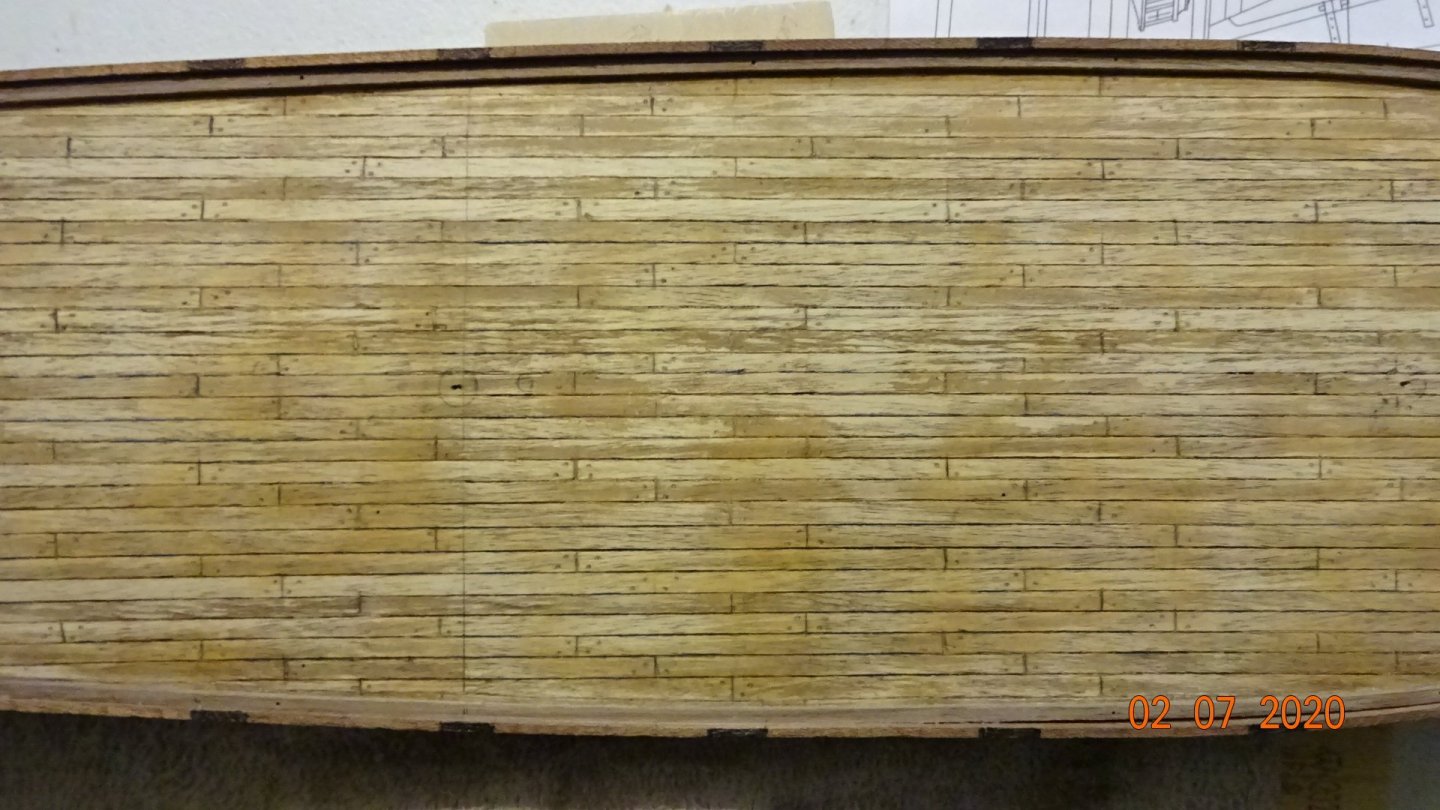
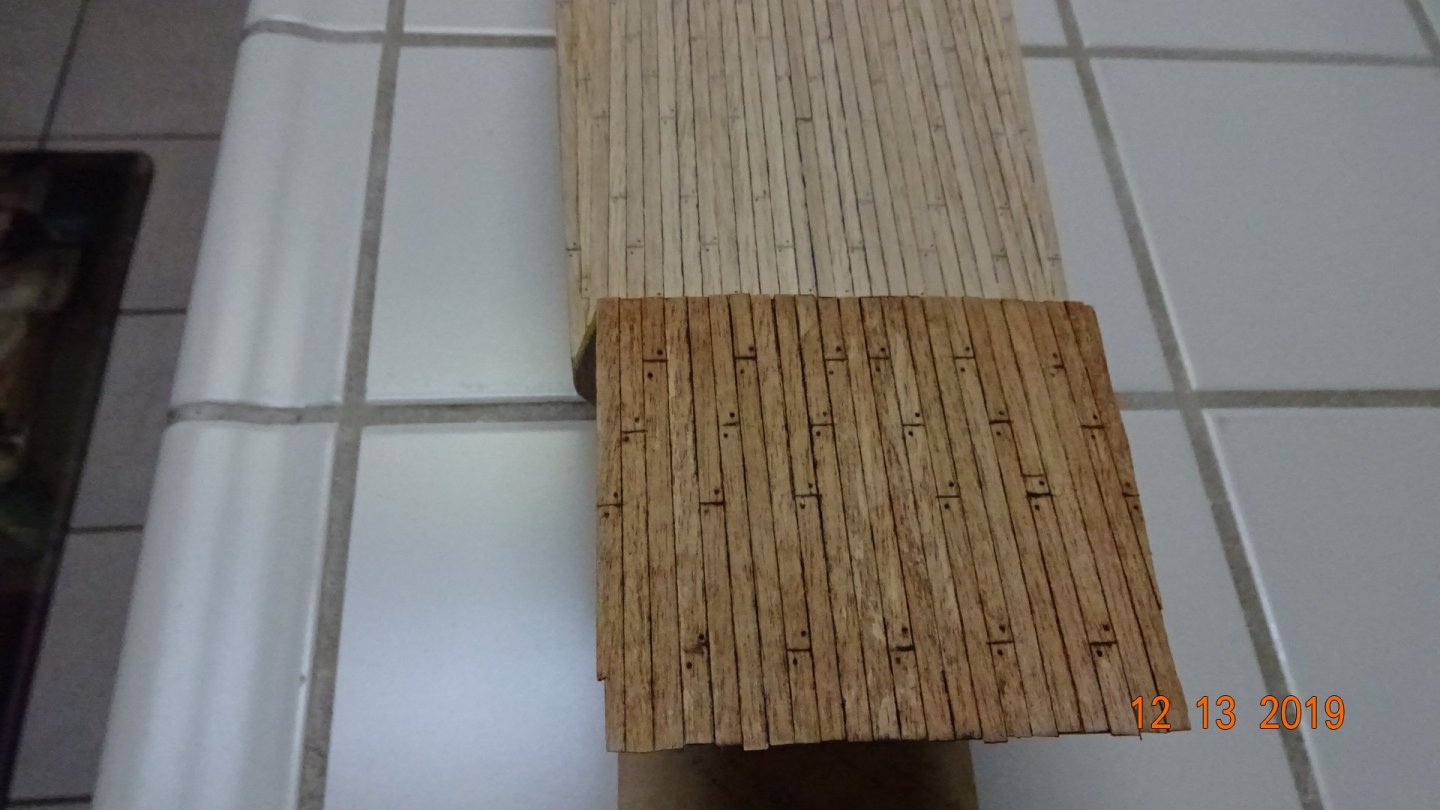
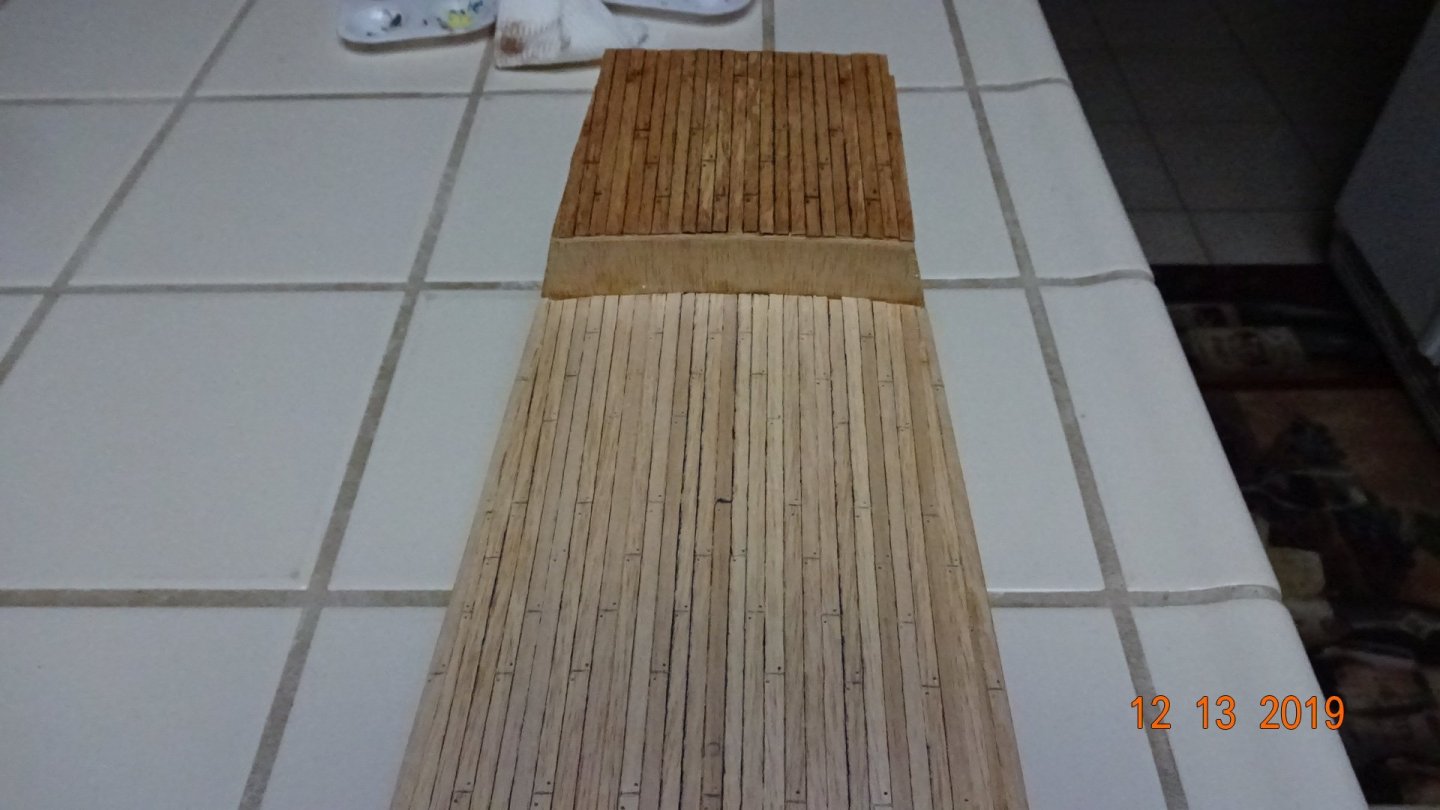
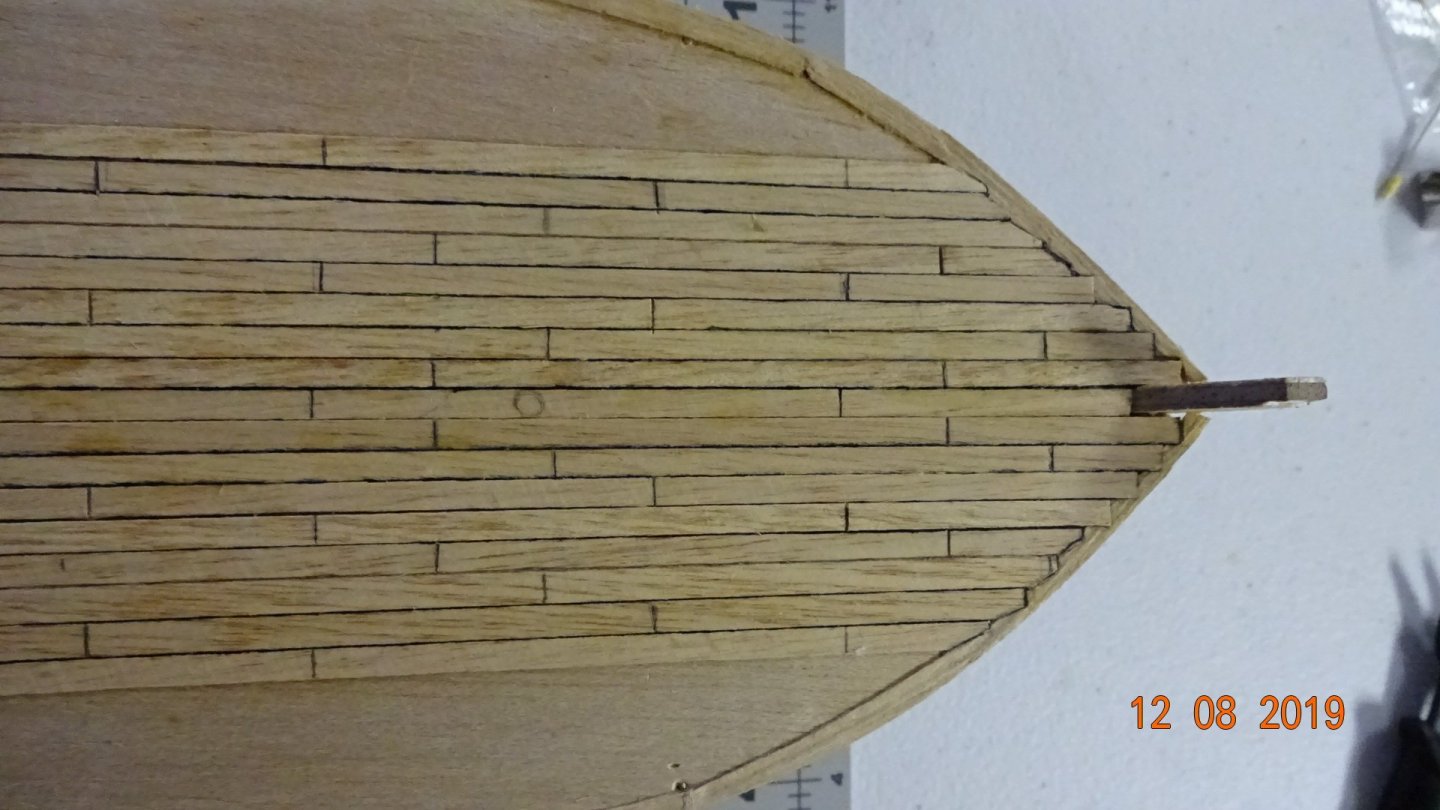
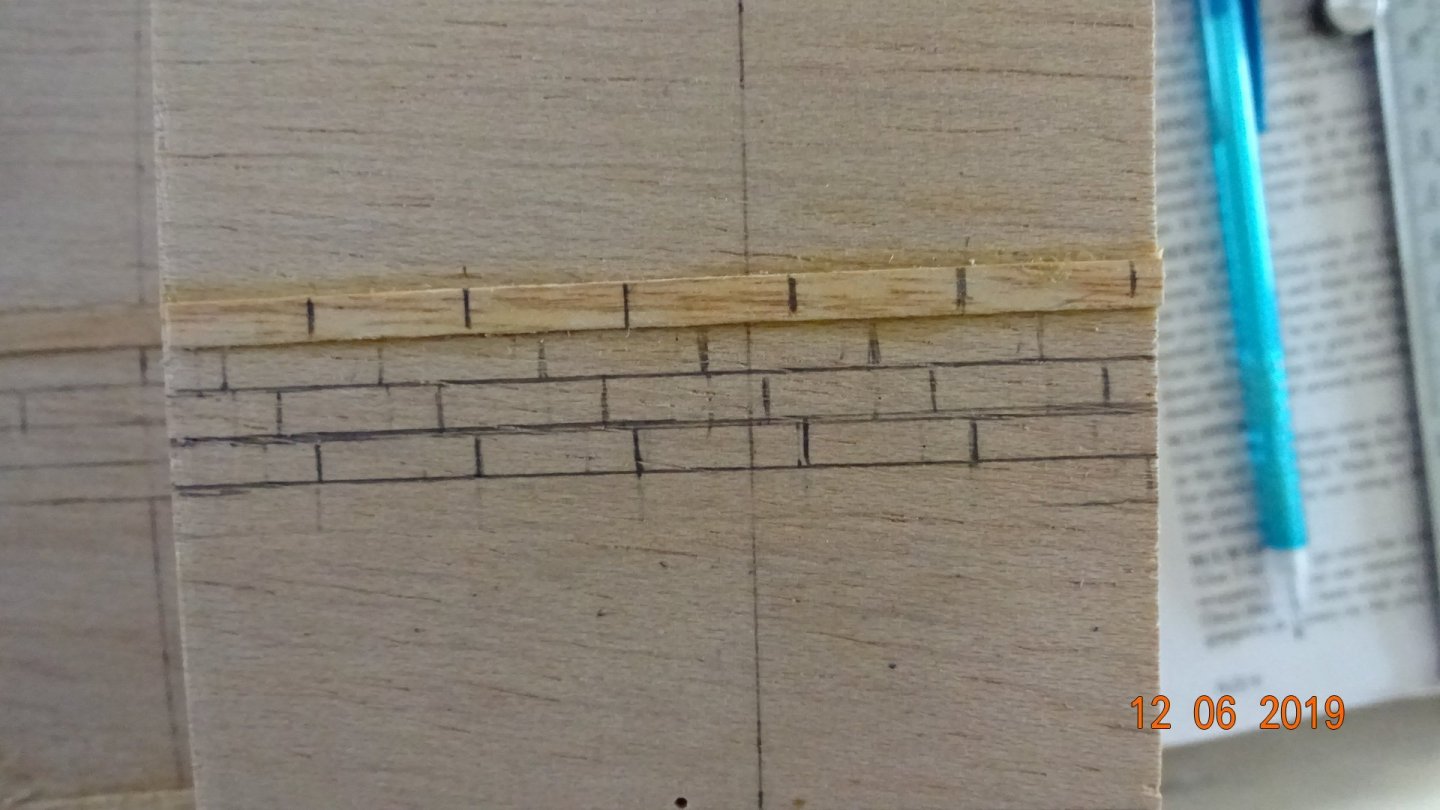
Some progress made on the decking. I put in a nibble plank and unfortunately tried my hand at it. I totally got it wrong for the first few but then after some researching I understand how it should be done, lesson learned. Here's the wrong way to nibble a plank . .... and here's me getting better at it. For the poop deck I decided to use the same scaling as the main deck. Check it out. Here's my progress to date: I used a black felt tip marker to simulate the tarred horse hair between joints. That's all folks!🐷
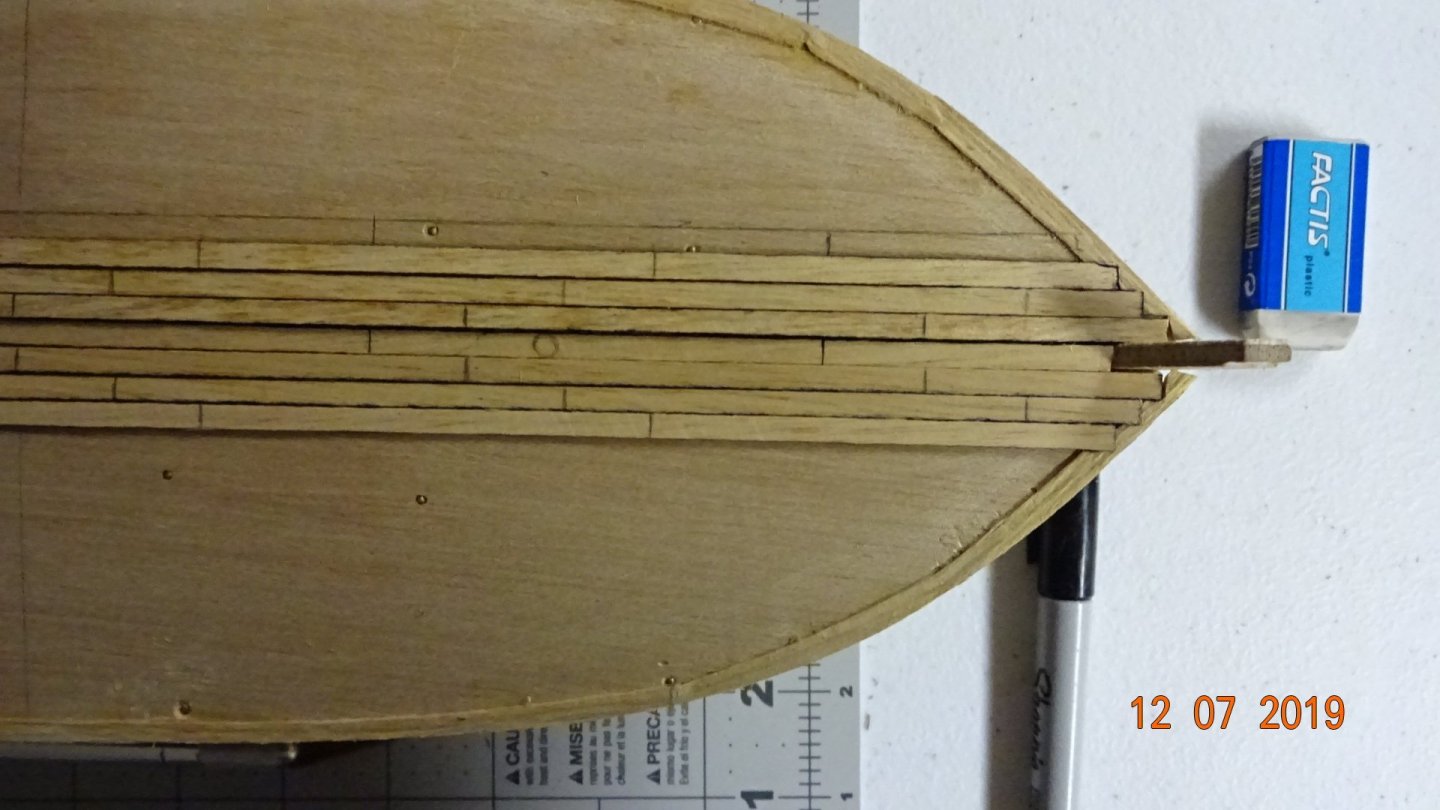
- 195 replies
-
- 6
-
-
- enterprise
- constructo
- (and 1 more)
-
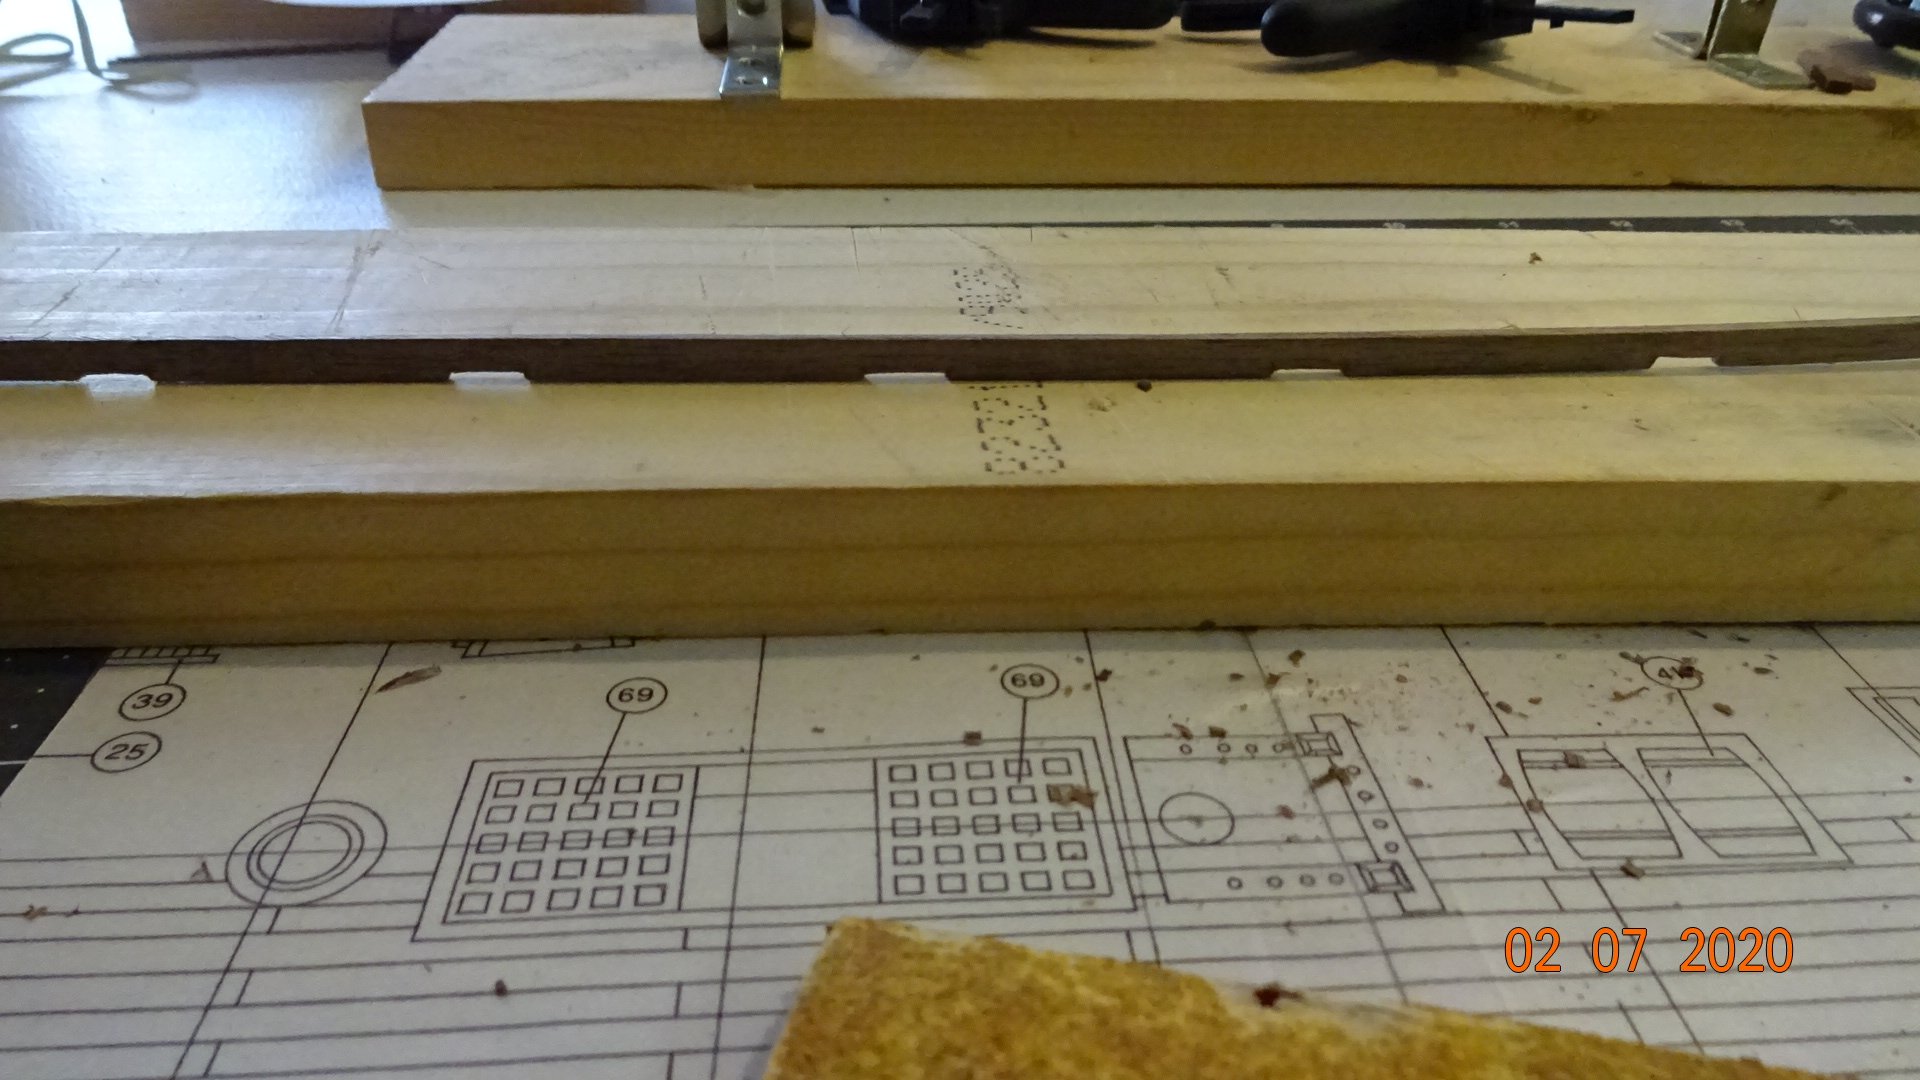
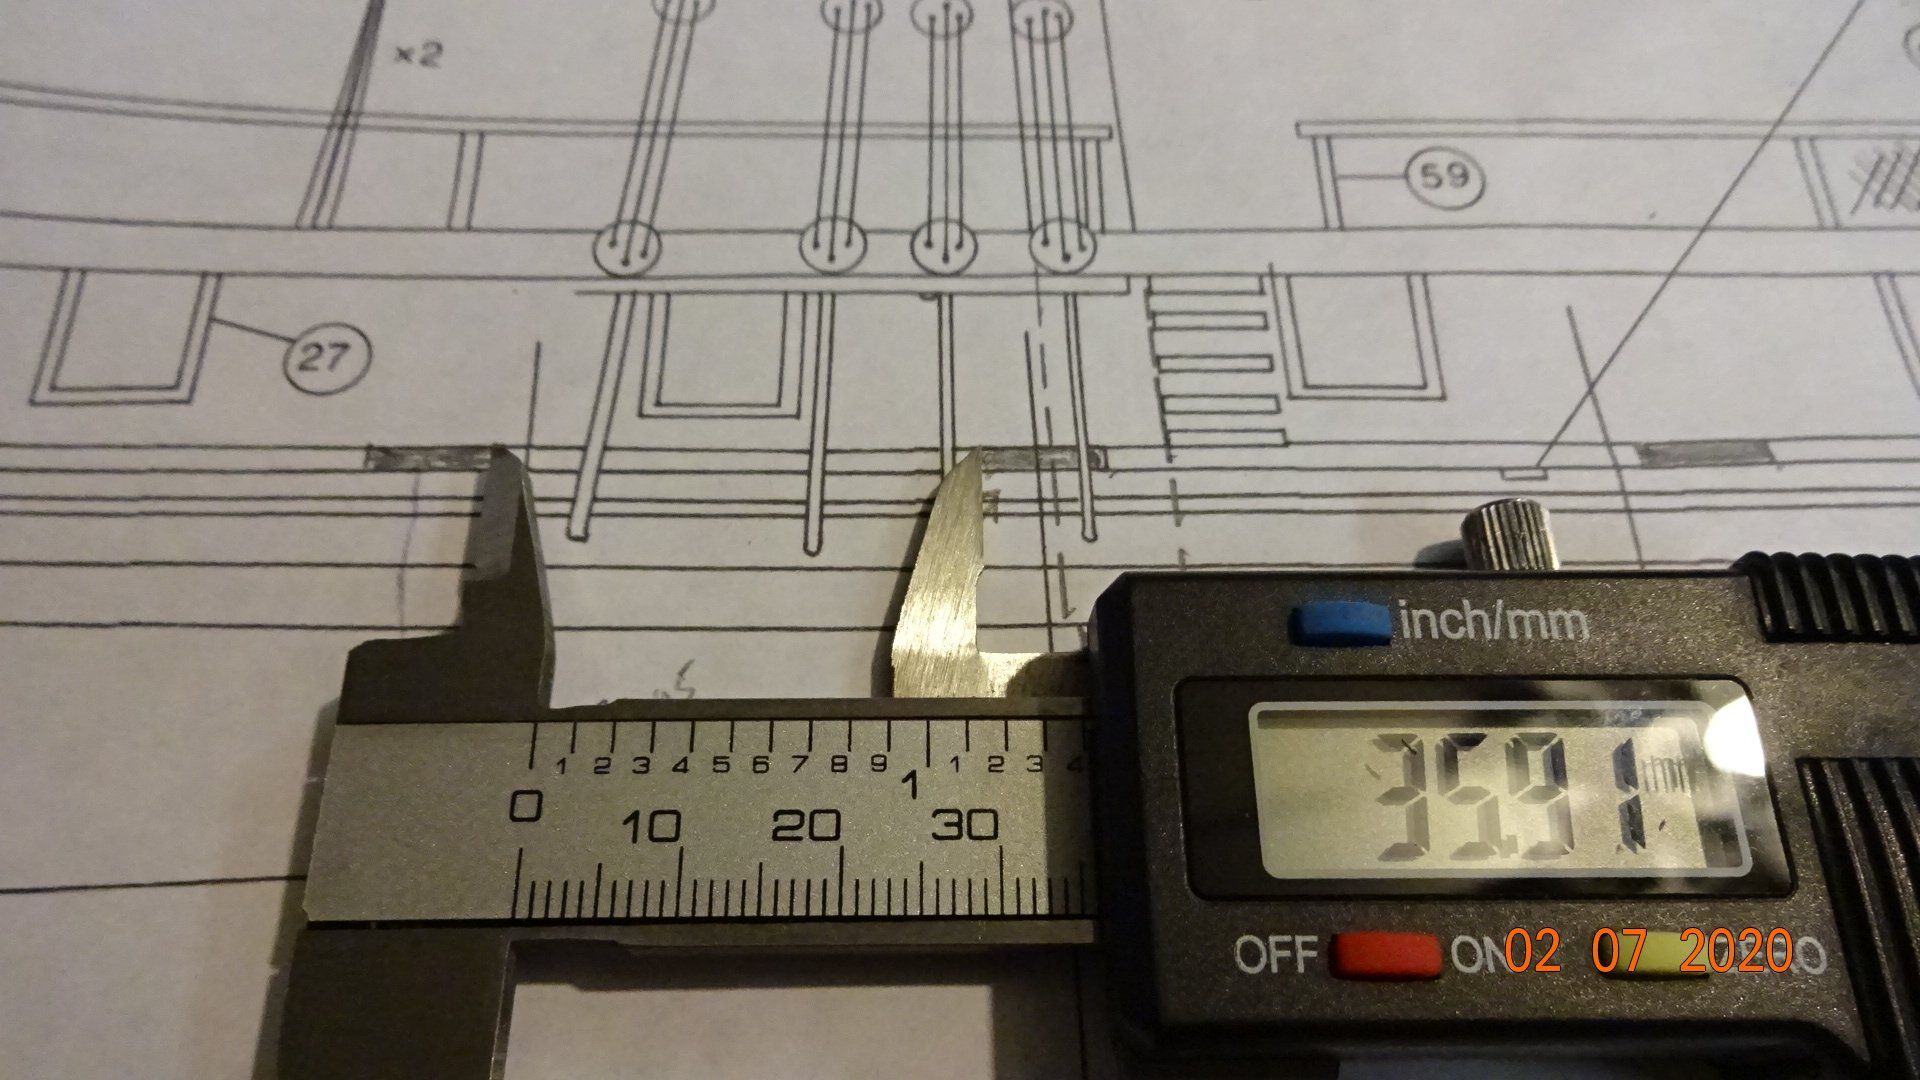
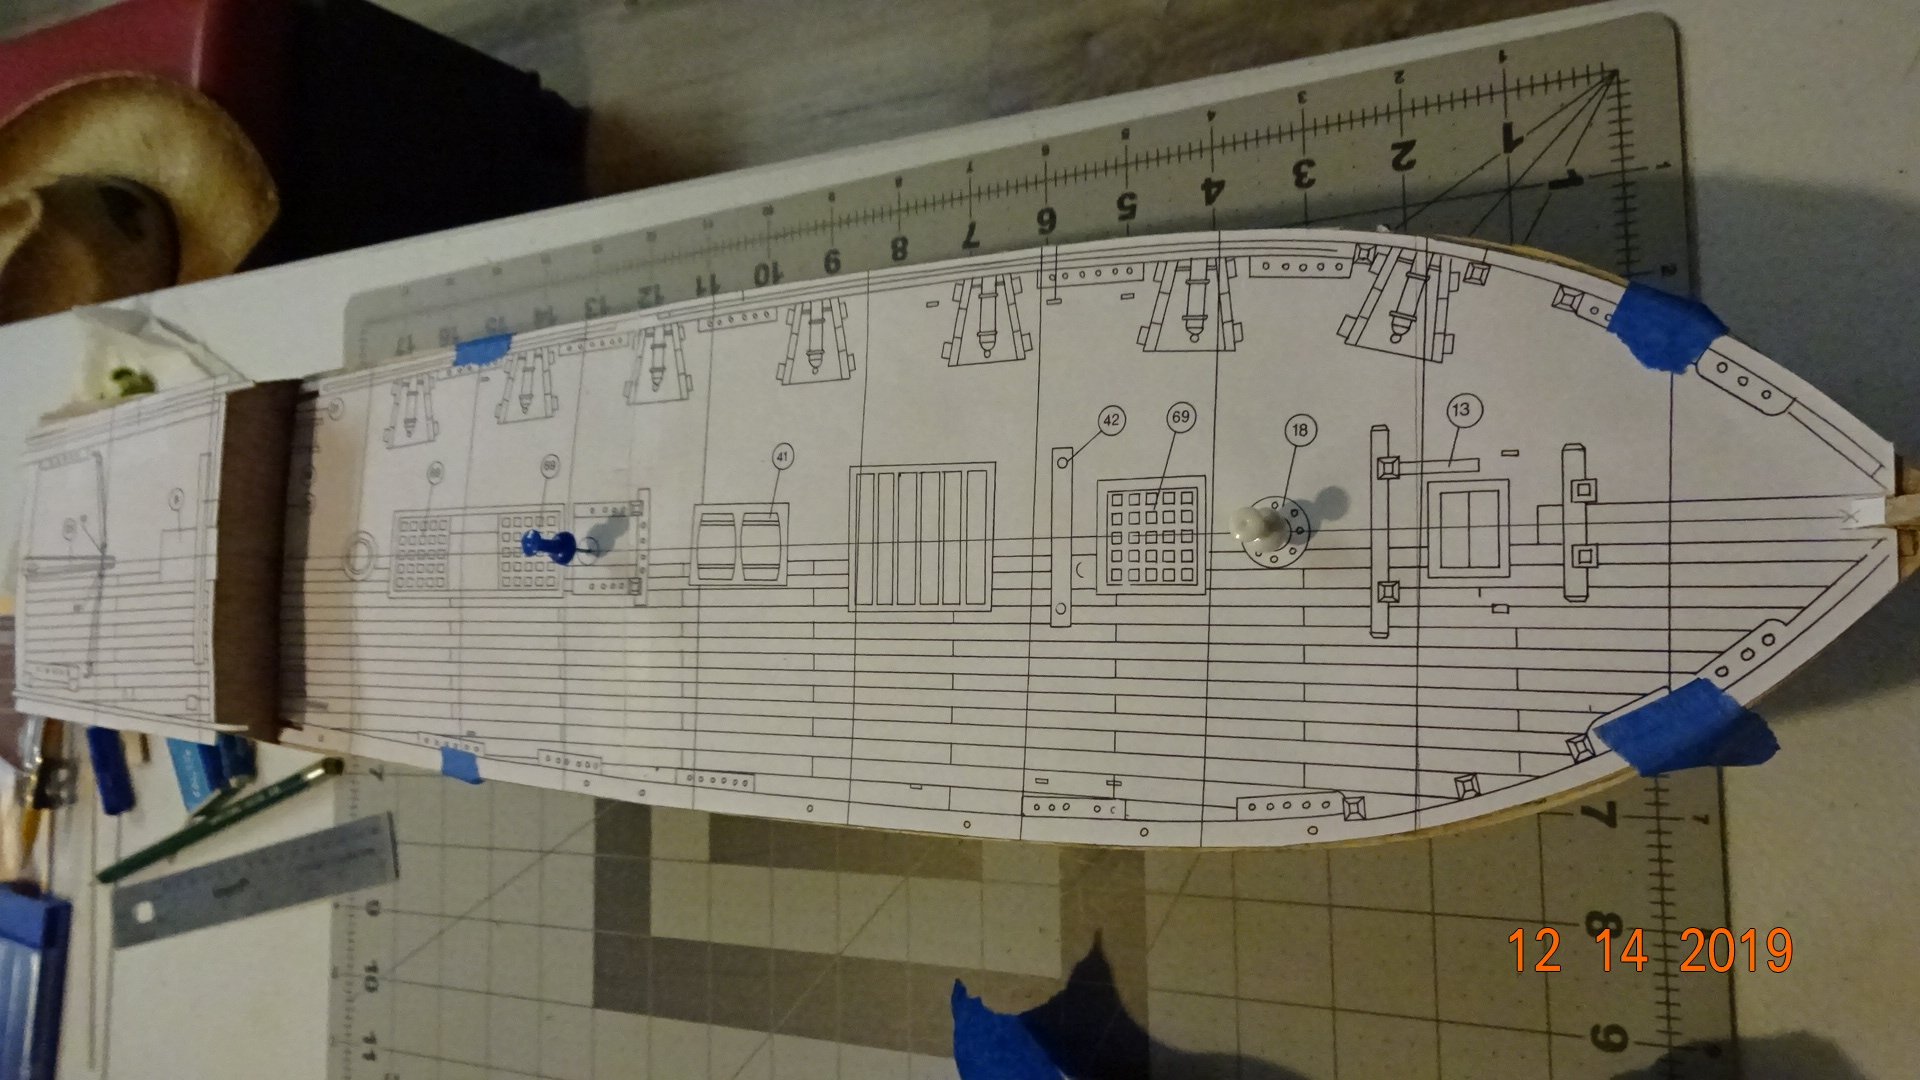
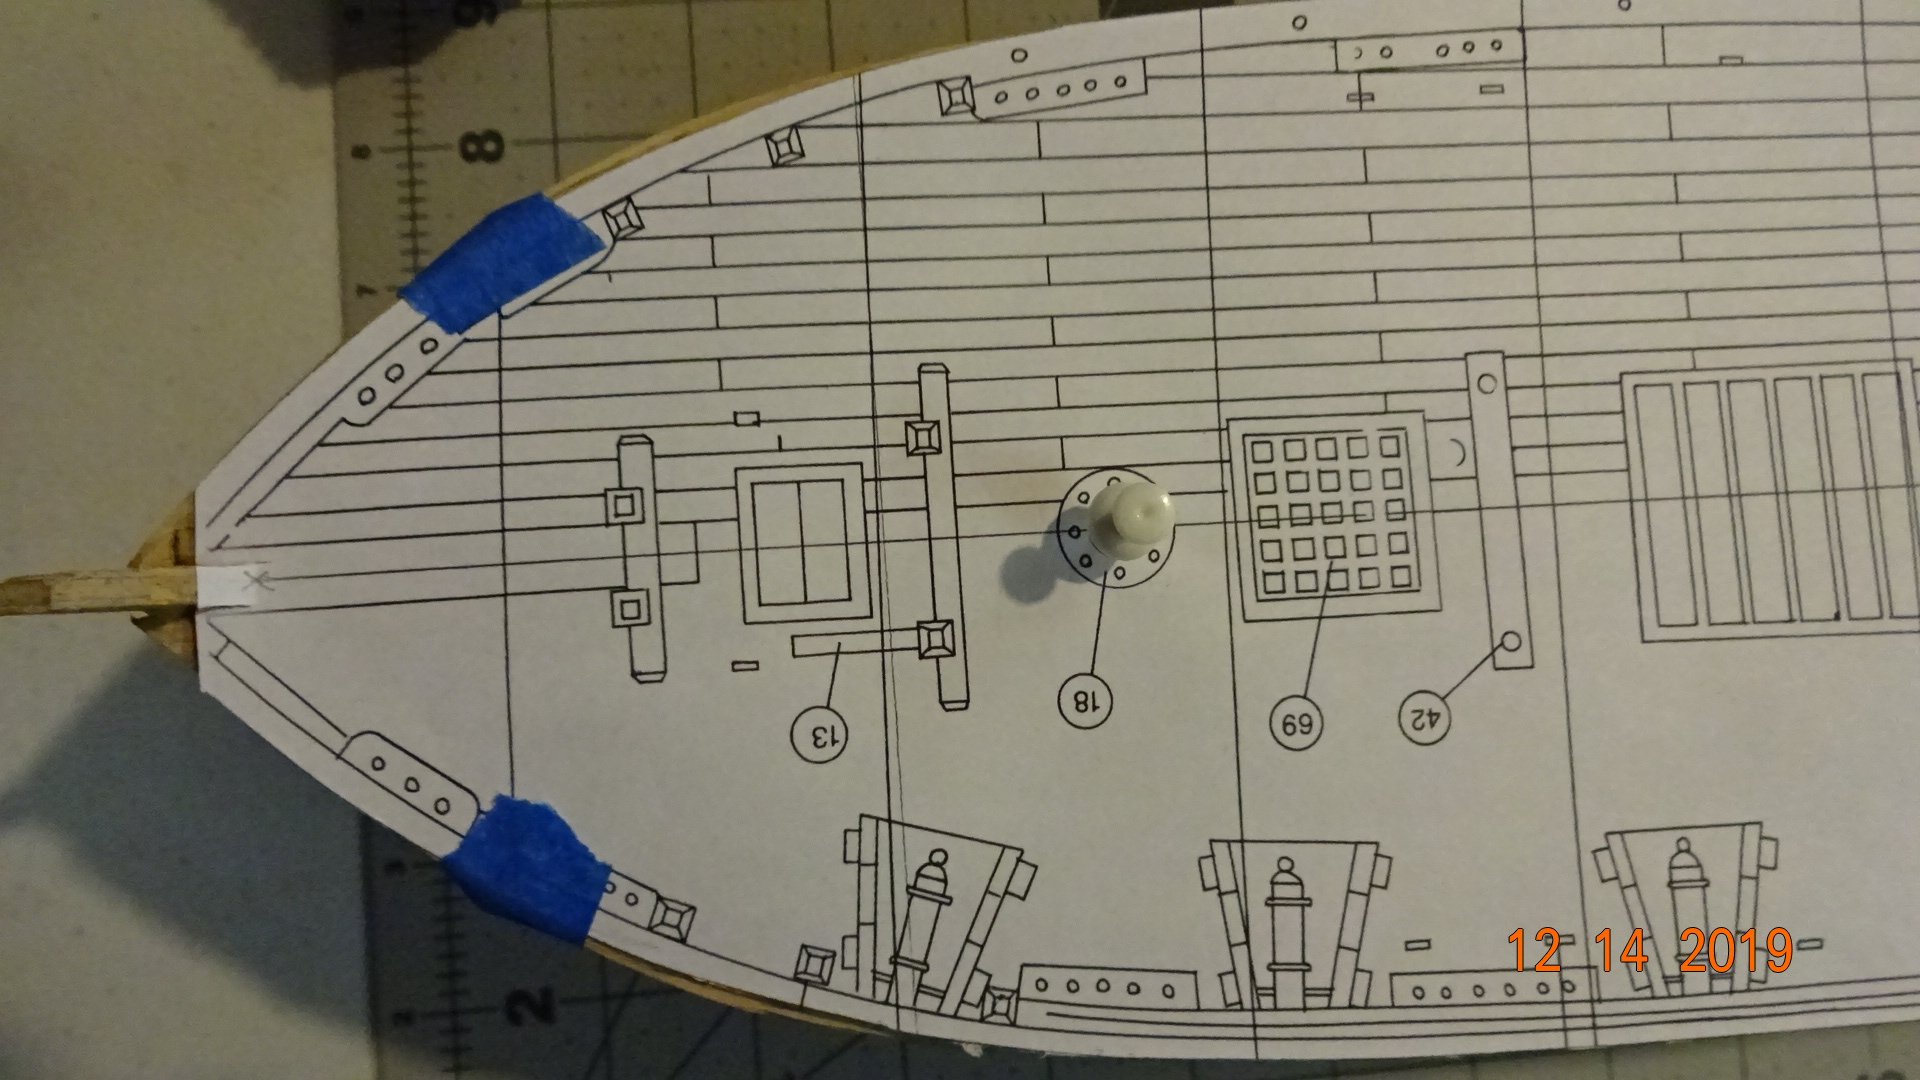
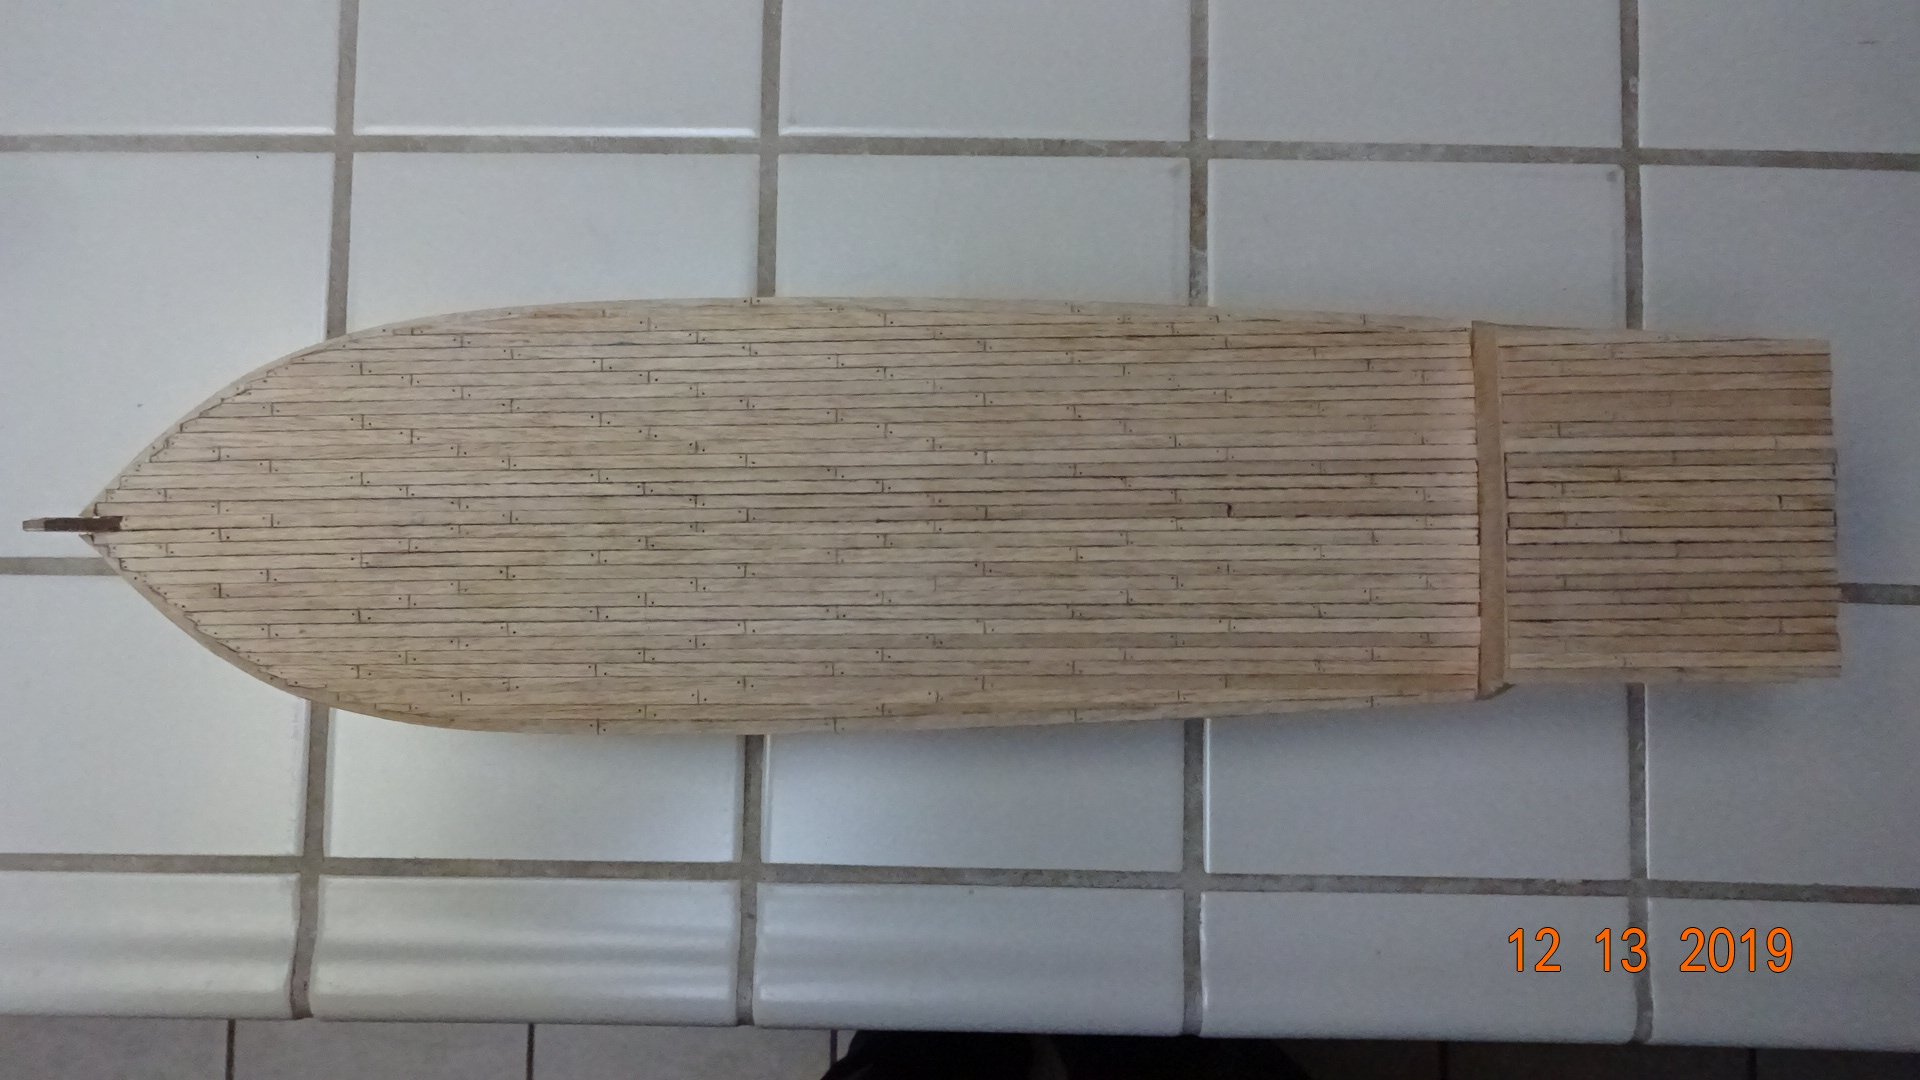
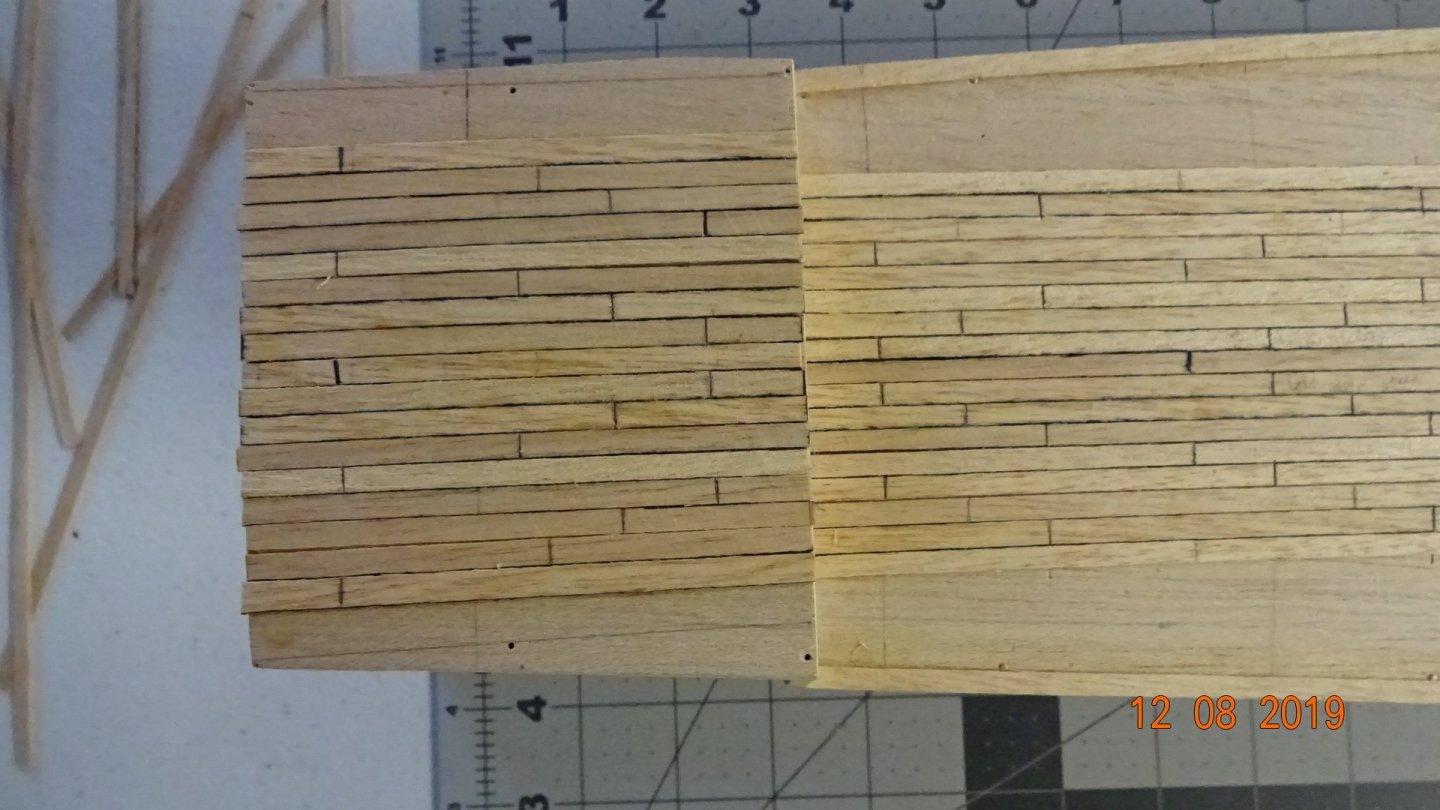
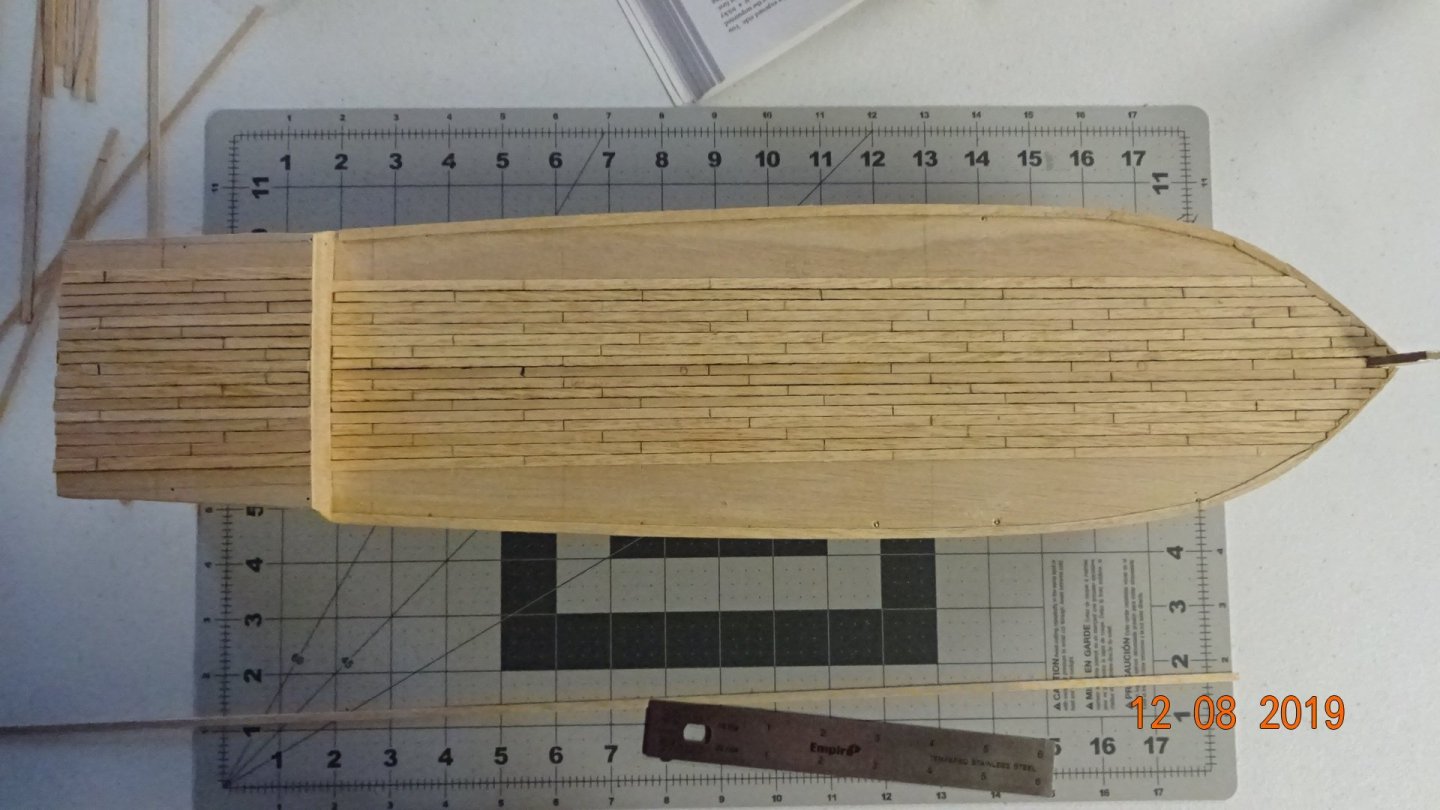
Here is a picture of my deck layout with markings. I am using a 4 run repeatable design for the main deck and a 3 run design for the poop deck. Check it out. In this image the Poop deck has a 4 run design, looks to busy. Here's the poop deck with the 3 run design. I divided the original board length of 72mm by 5 for the Poop deck. The Poop deck is about 1/5 the size of the main deck. Also changed the shift from 3mm to 5mm for the poop deck. 3mm was to small. What do you think, do the board lengths still look to busy?

- 195 replies
-
- 2
-
-
- enterprise
- constructo
- (and 1 more)
-
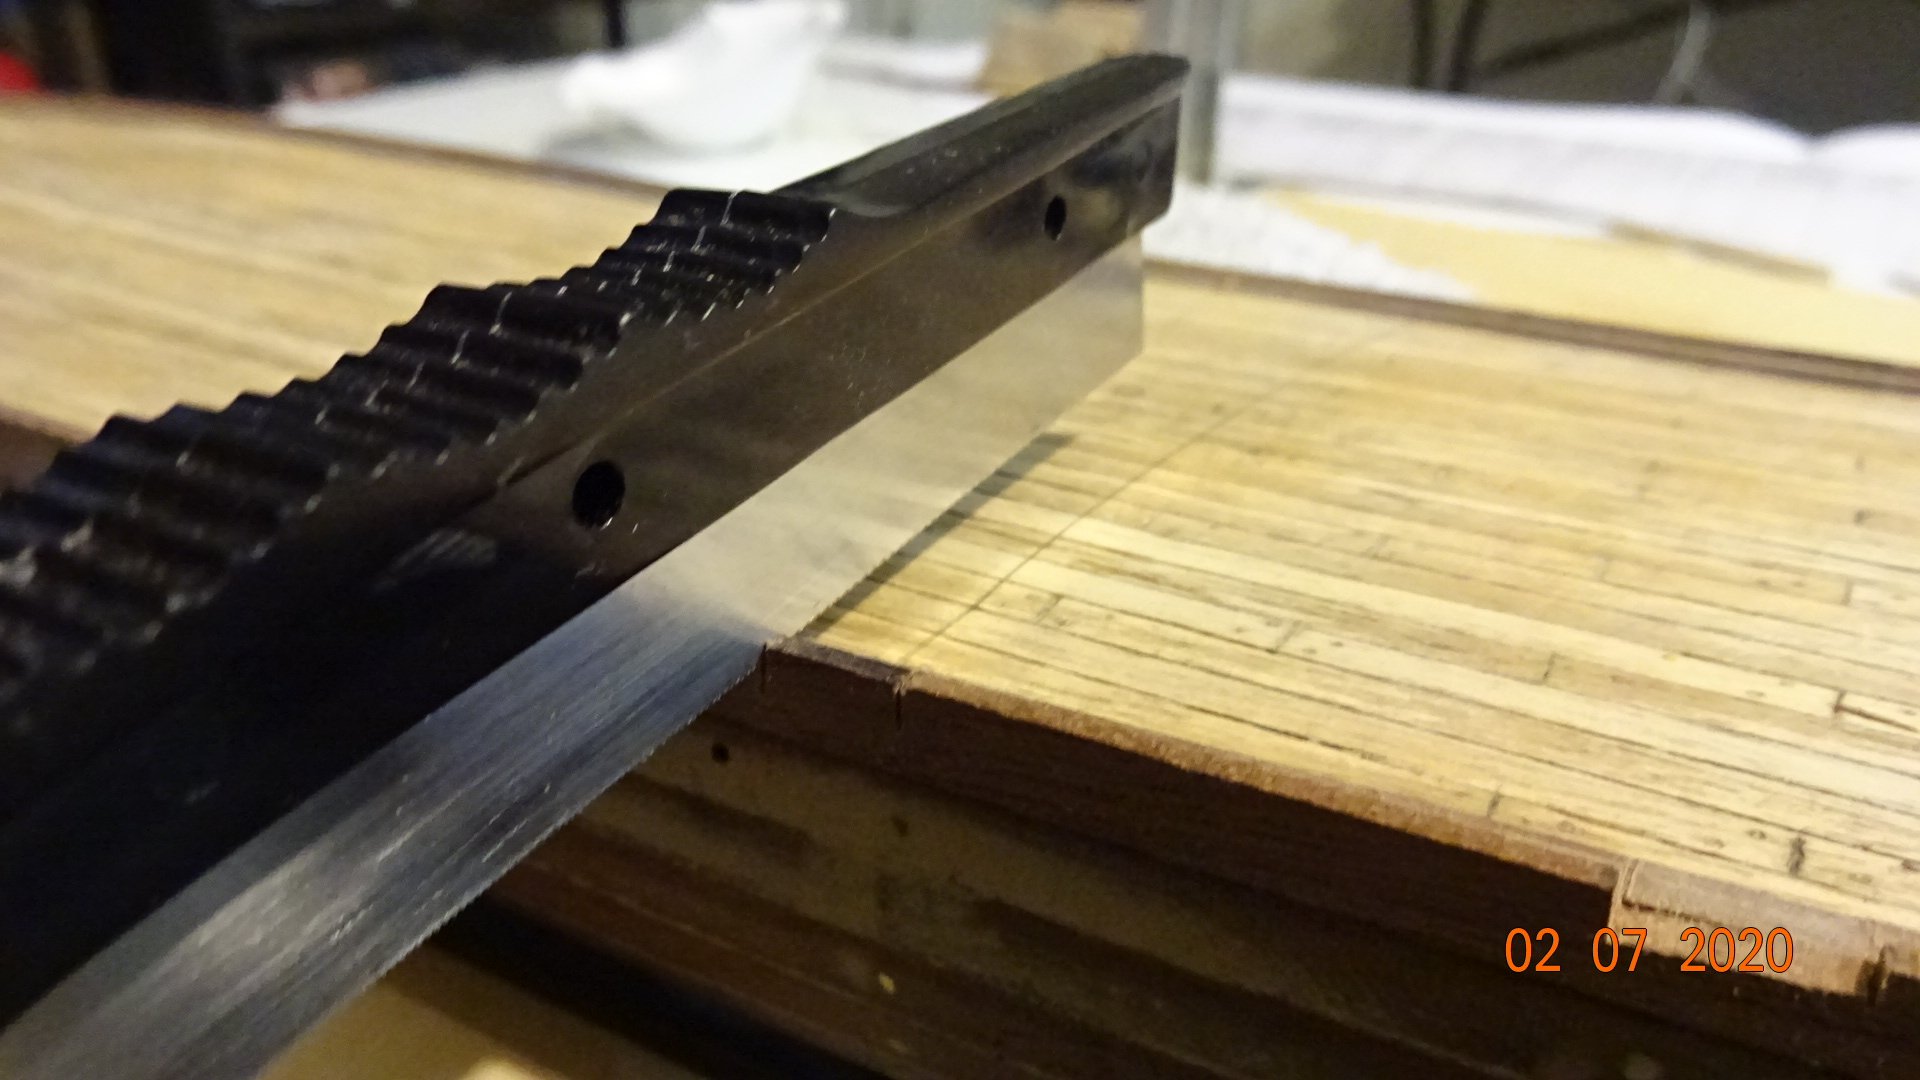
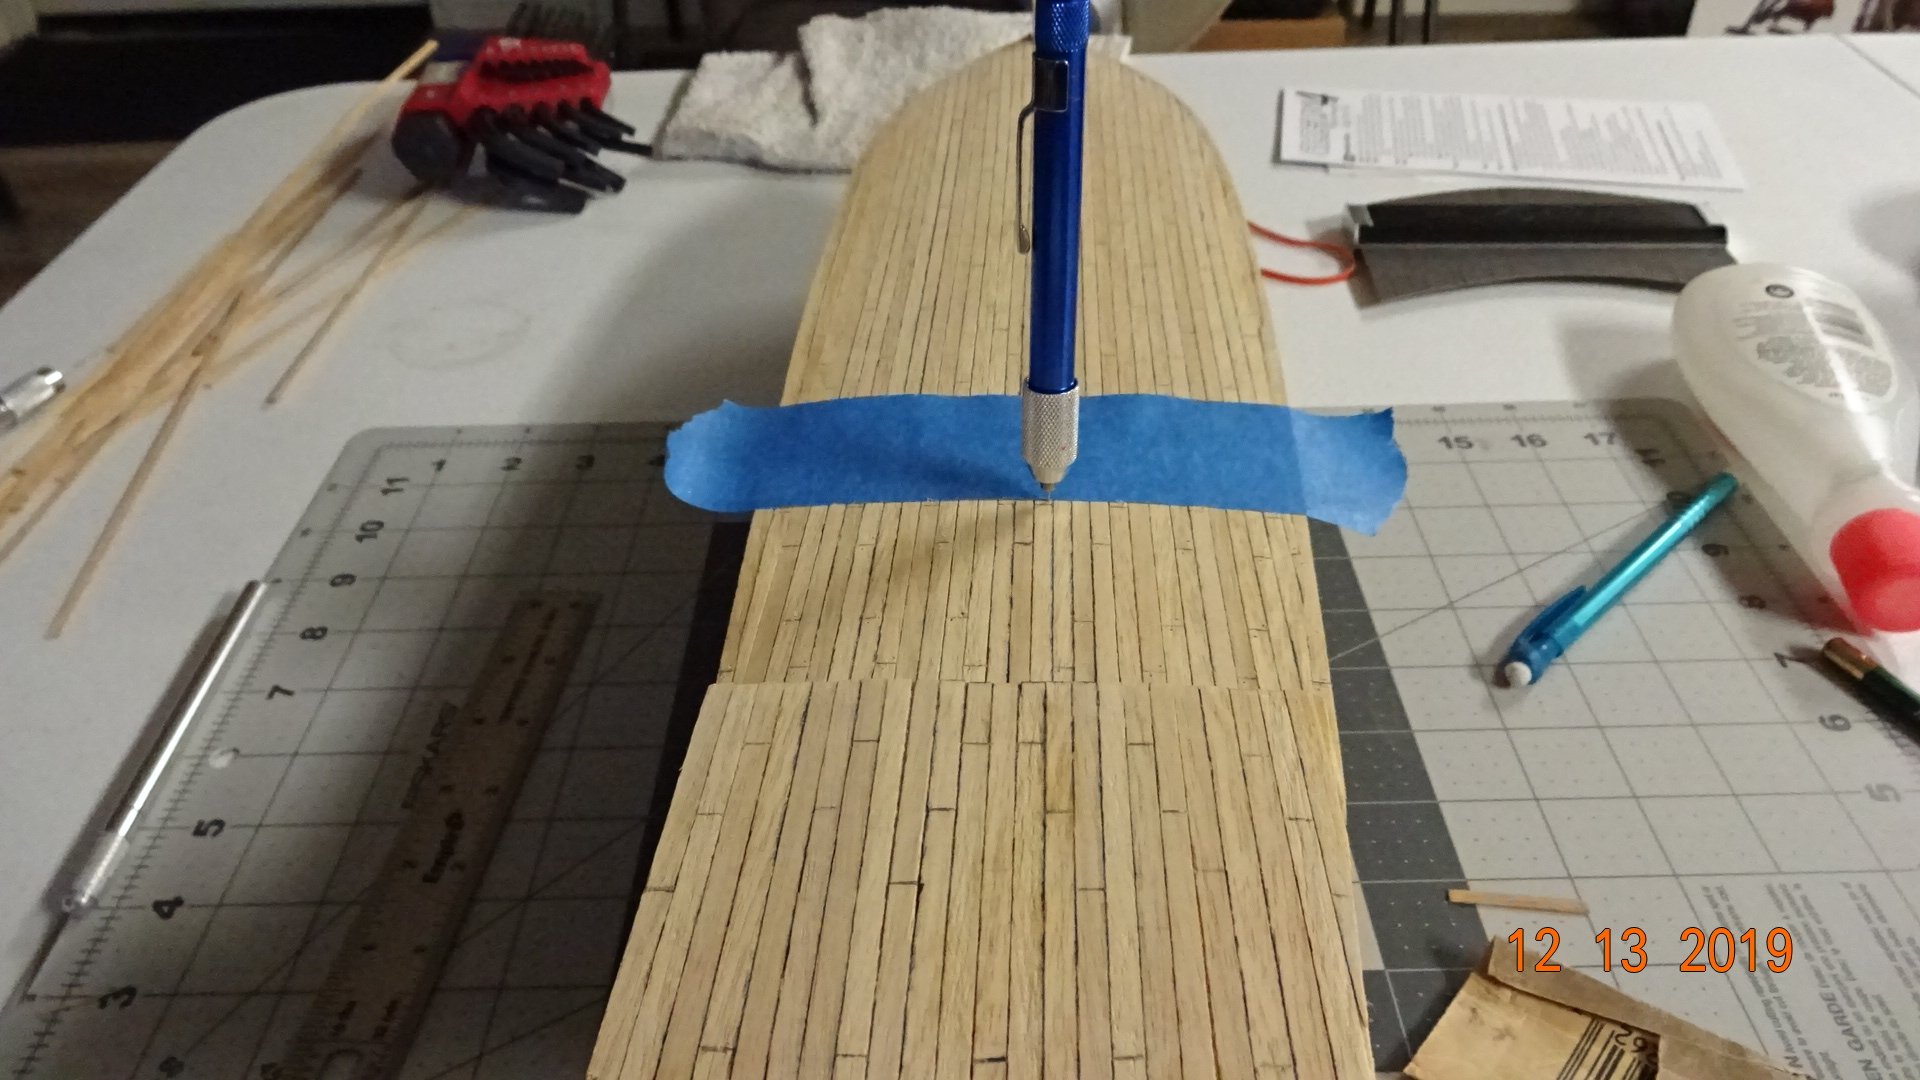
Starting the decking.. First I layed out all the decking planks I had in the kit. Turns out their is barely enough to do the job. I guess I better not make a mistake. 😁 Decided on the deck layout I want to use. For scale purposes each maked board would represent 12 foot. This equates to 72mm. The shift for each plank will be 5 feet, which turns out to 14mm. I rounded all the numbers up. My deck design uses a nibble strake on the outer edge. This will assist in the merging of the other planks as they reach the edges, at least I hope so. 😄


- 195 replies
-
- 5
-
-
- enterprise
- constructo
- (and 1 more)
-
It looks like my next steps are to : 1.) Sand off the excess decking 2.) Cut deck boards to size 3.) Determine the deck layout I want. Not a fan of what the picture on the box shows 4.) ... and something about treenails? Have to look up why they use that name. 5.) maybe varnish the deck, is it to early in the build to do that? Looking at my last work , I see the starboard side poop deck has to much curvature in it. 🙄 Hoping this gets covered up with the planking.
- 195 replies
-
- 1
-
-
- enterprise
- constructo
- (and 1 more)
-
Remodel almost complete 👍. Still work to be done but I was also able to do a little work on the model, and I mean little. Basically, glued the poop deck on. I decided to go with option 2 in the above post. Hope that's the right decision. Here's some pics .....


- 195 replies
-
- 3
-
-
- enterprise
- constructo
- (and 1 more)
-
Have the false deck nailed and glued down. It will require sanding to fit the hull. The poop deck is causing some issues. 1.) Not sure how the deck should lay: 1. flat back to front and side to side 2. high in the middle with sloping sides to port and starboard sides and higher in the stern sloping down towards the main deck. 3. high in the middle with sloping sides to port and starboard sides and no slope coming from the stern 4. also not sure how much of the overlap will need trimming I'll try to post some pics later. Currently remodeling the man cave.
- 195 replies
-
- 2
-
-
- enterprise
- constructo
- (and 1 more)
-
Question to the administrators, Do these web pages automatically rollover to a new page at so point OR am I supposed to do something to make that happen? Thanks, Rowboat
-
I too had an old version of Photoshop, unfortunately Windows upgraded faster than I wanted to upgrade Photoshop. Now that I'm working with images again I'll start looking for some software. I like buying a hard copy, none of that stuff where they keep it on the cloud or have it as a service (ie.. you pay a fee). Just give me a hard copy that does not require an internet connection. Had some apple games on their cloud but lost them a few years back and no chance of getting them back. I don't like the term "cloud" as we are talking about storage devices, hard drives in a building somewhere. That's it . Nothing special. Just a marketing term. I have a cloud on my desktop, laptop, phone... lol.😄 Sorry, I got off topic. Thanks for the info.
-
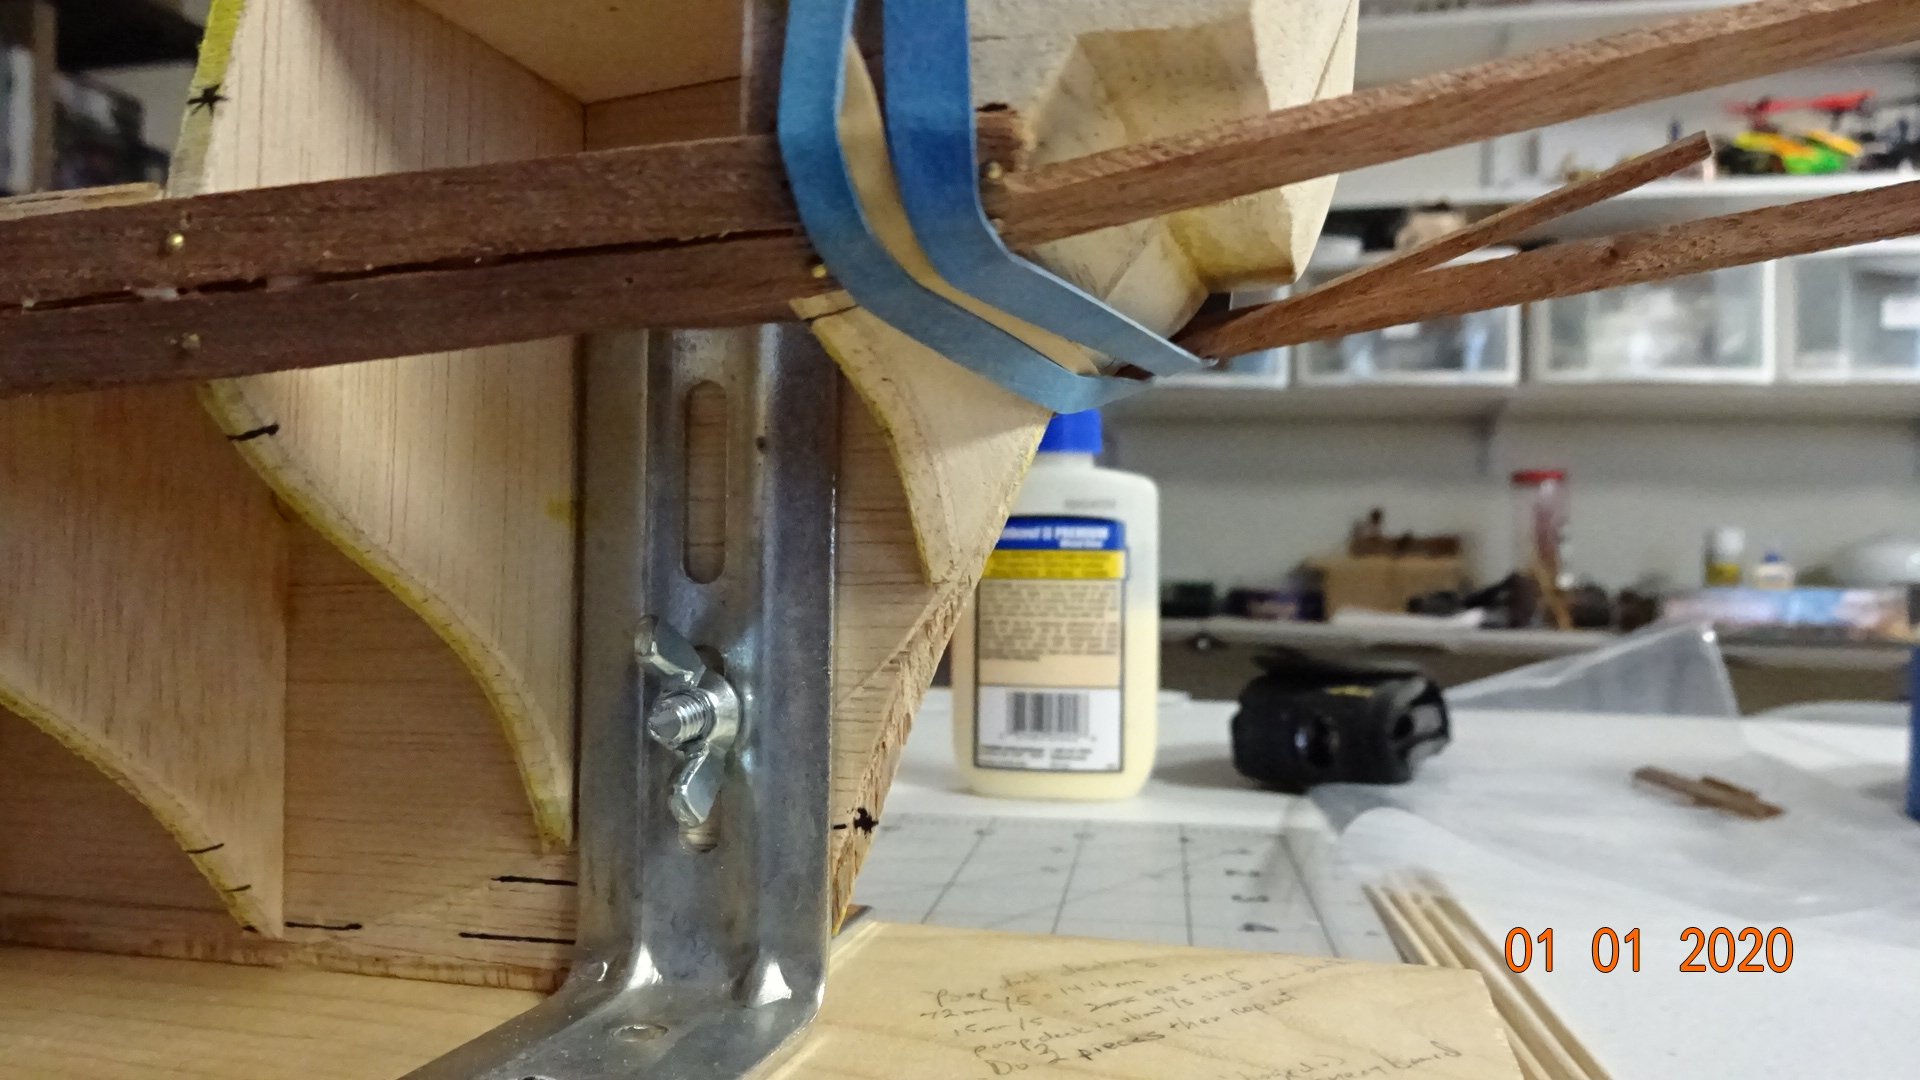
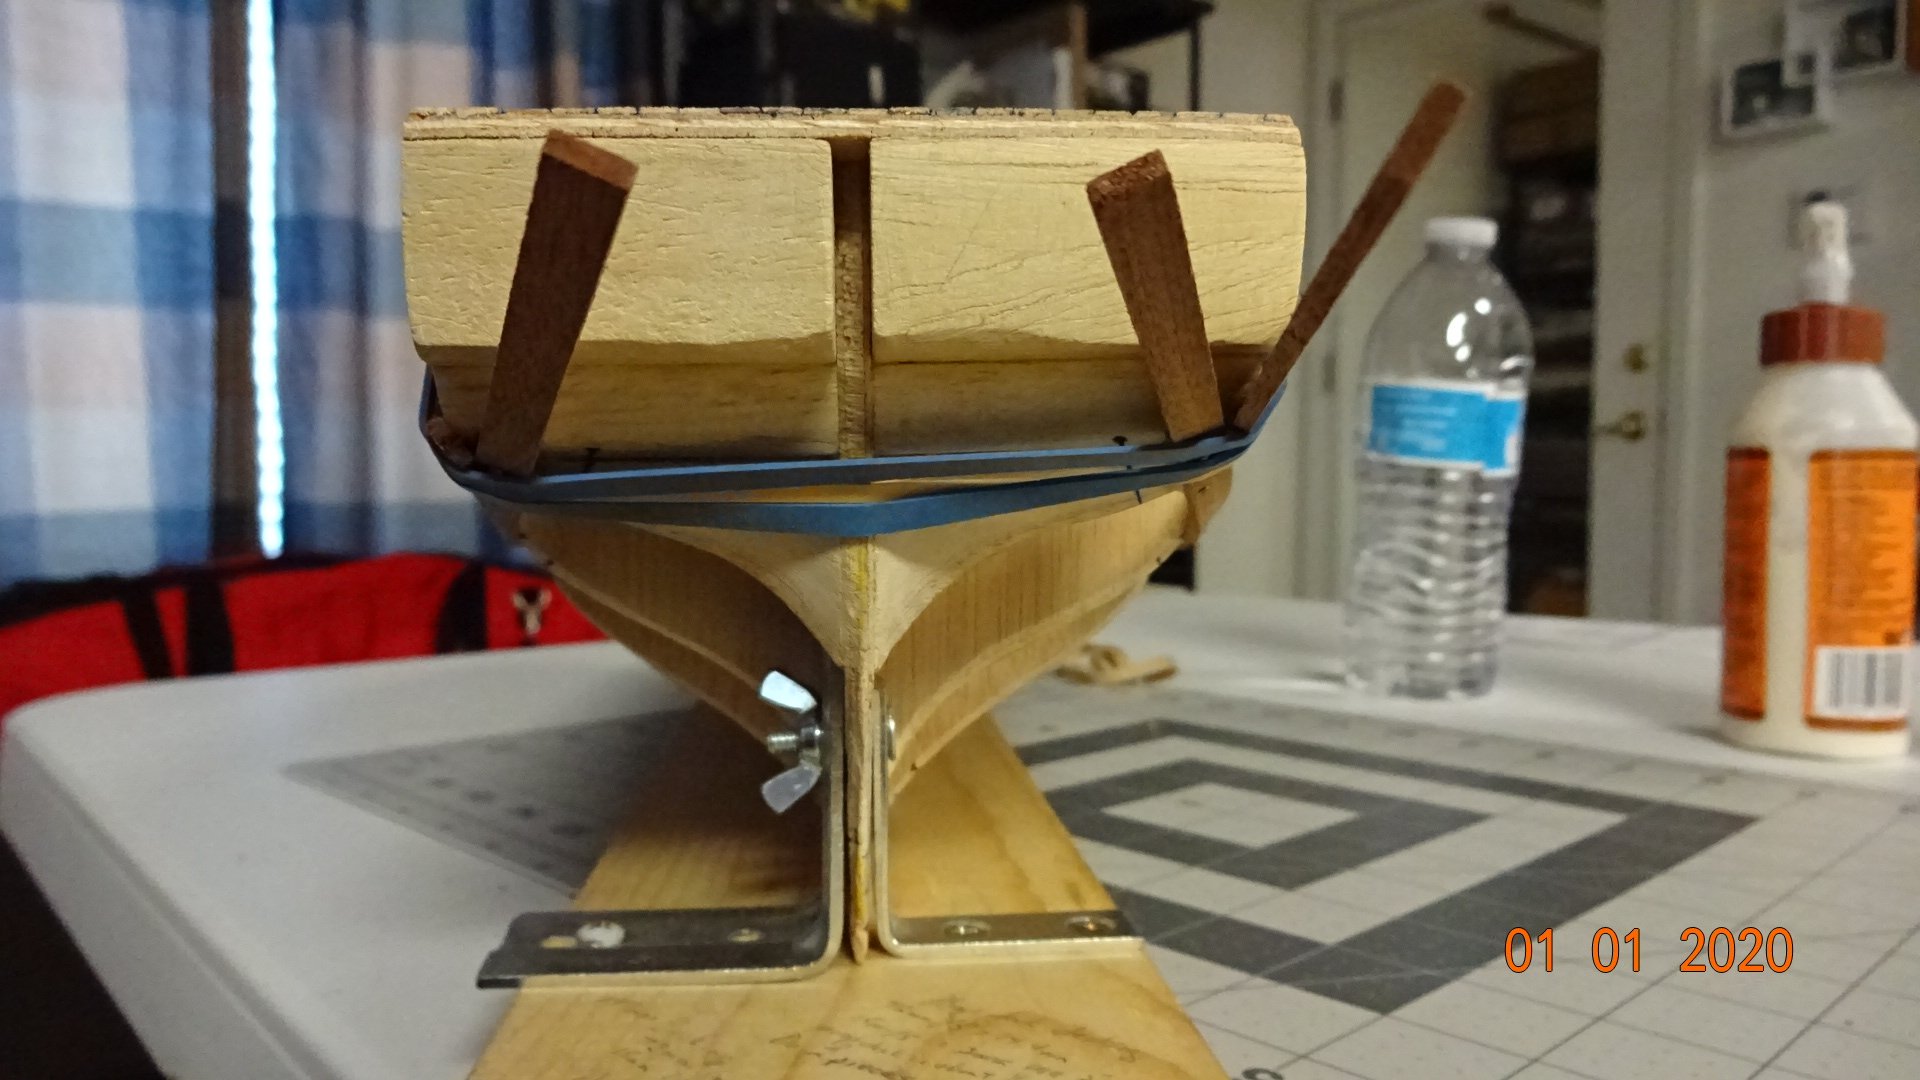
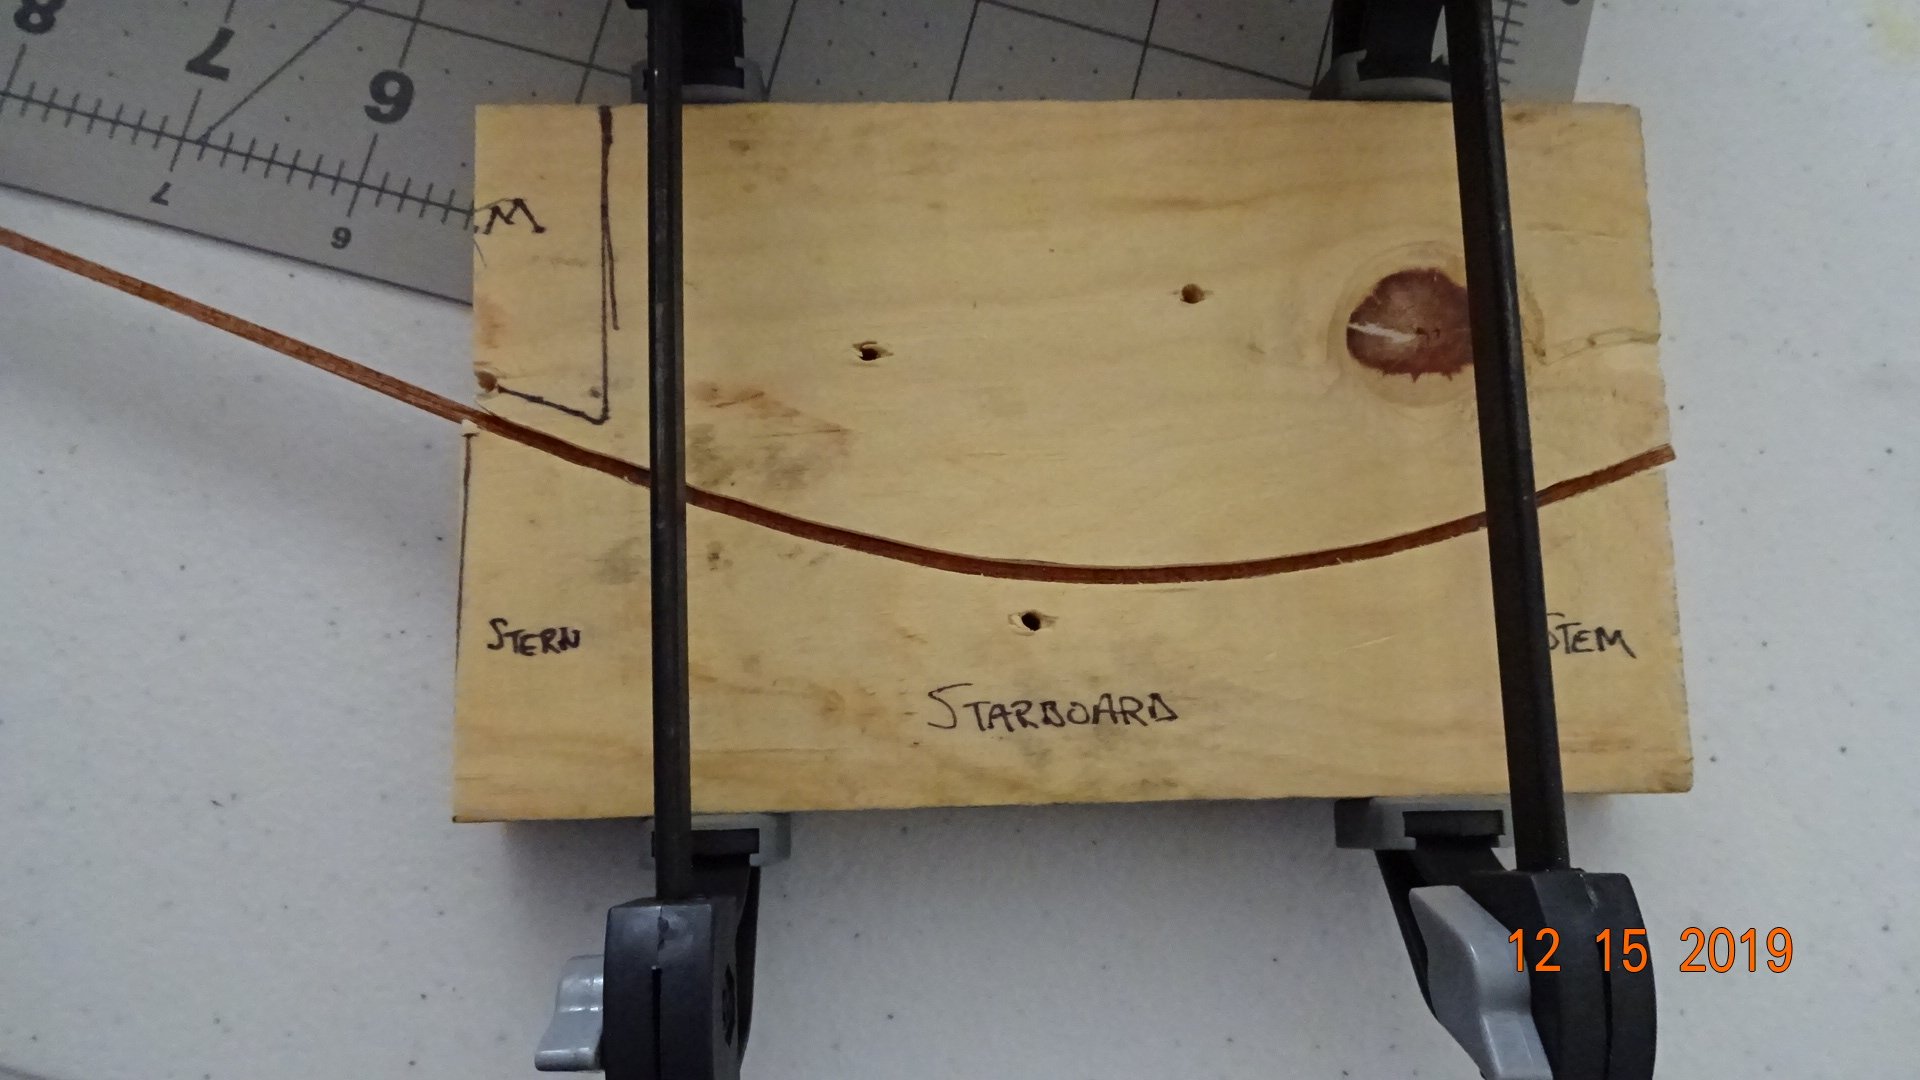
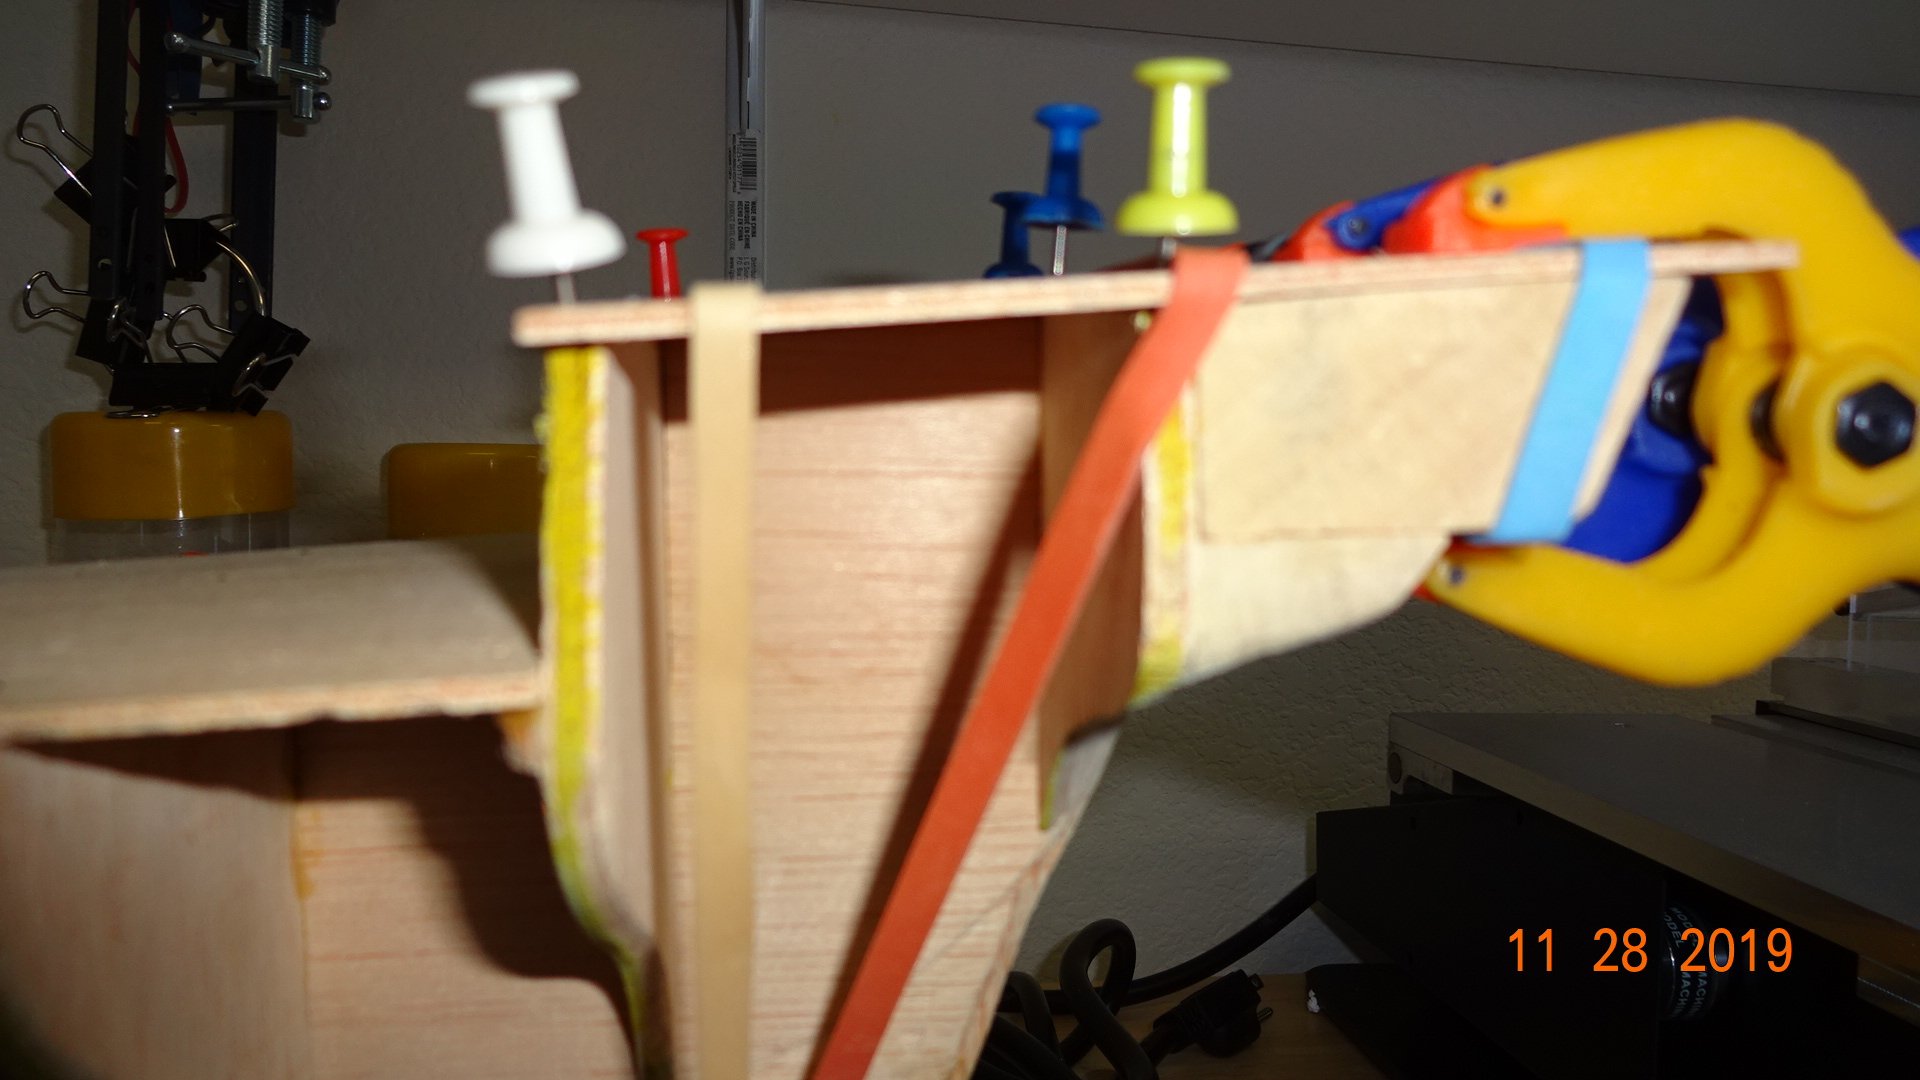
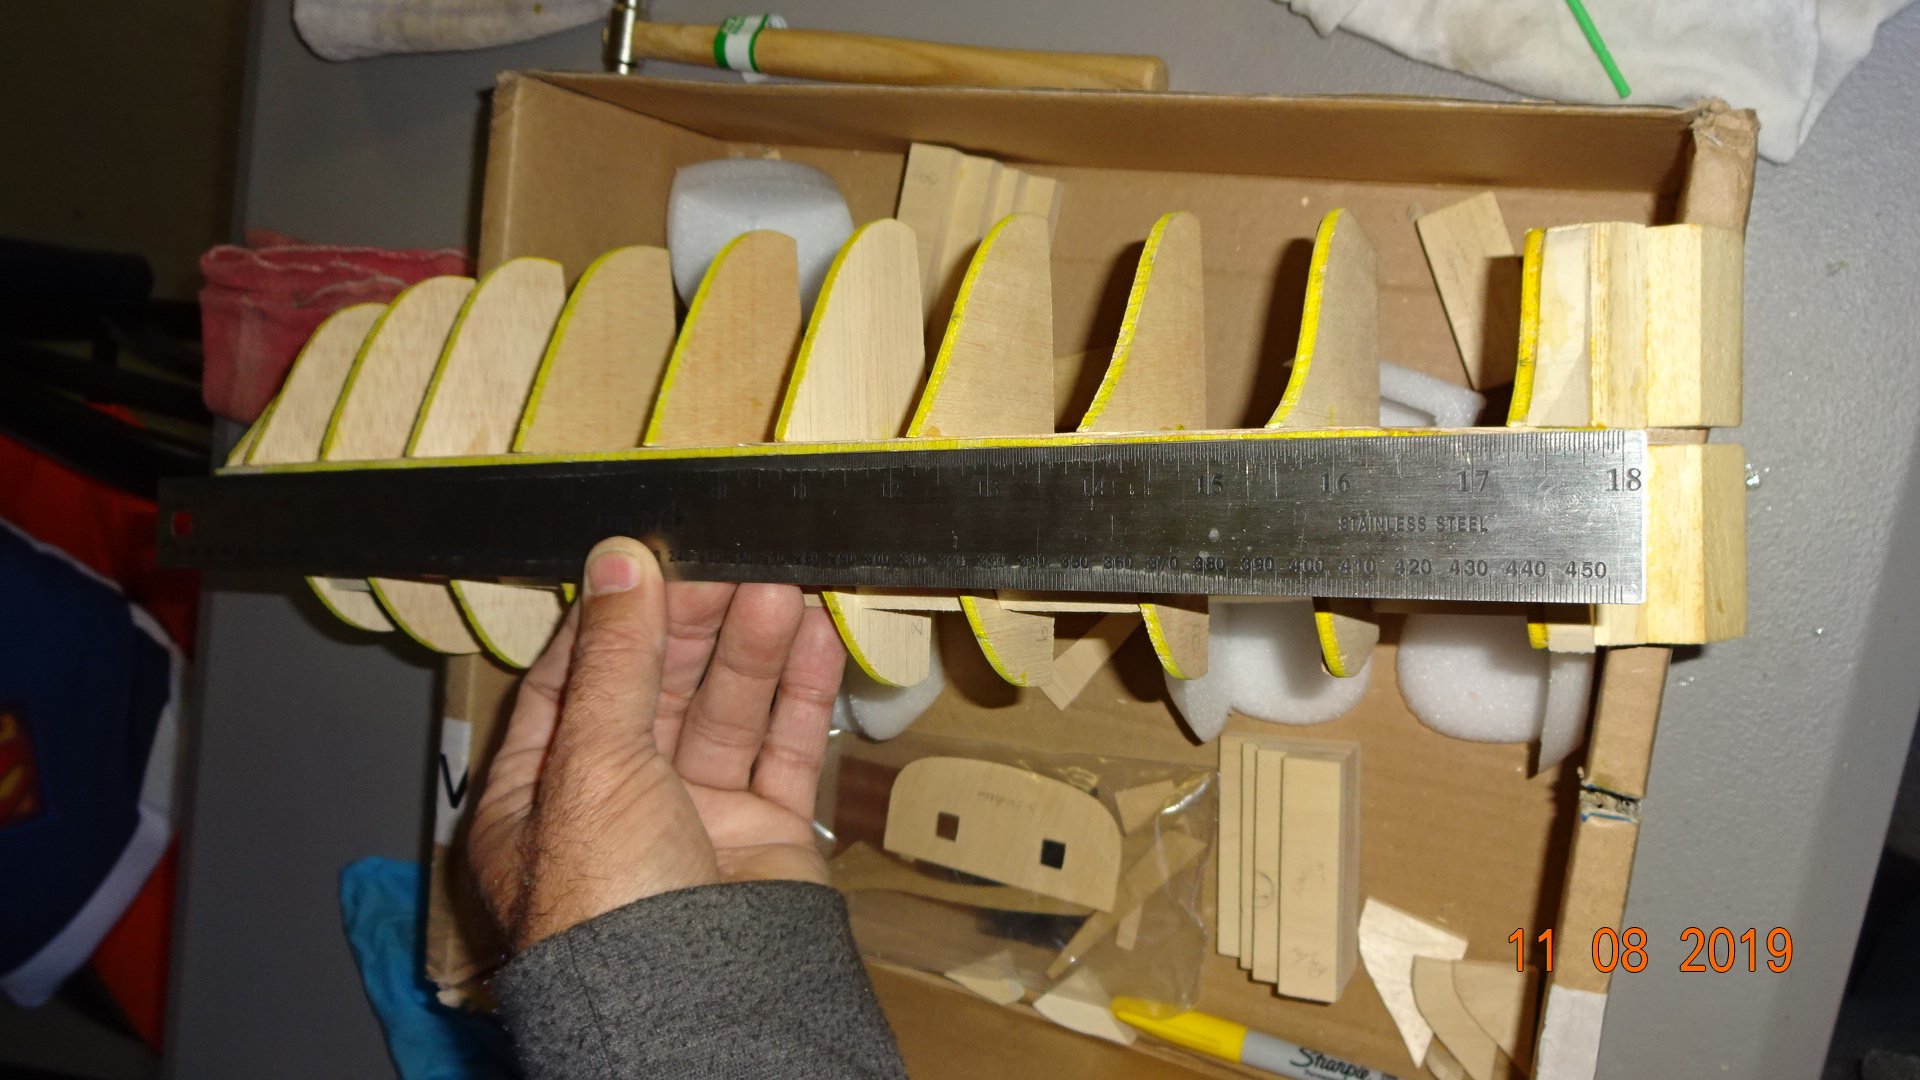
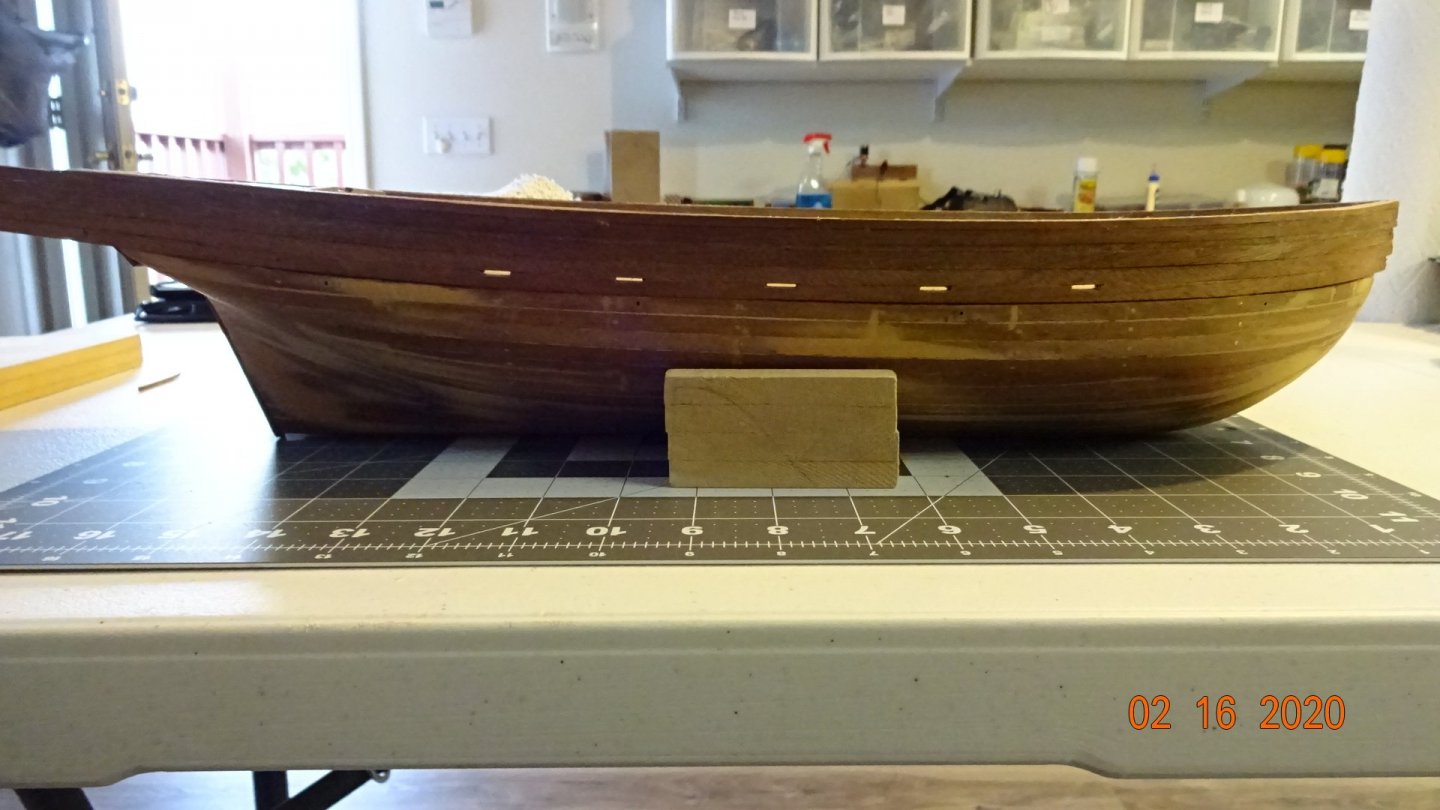
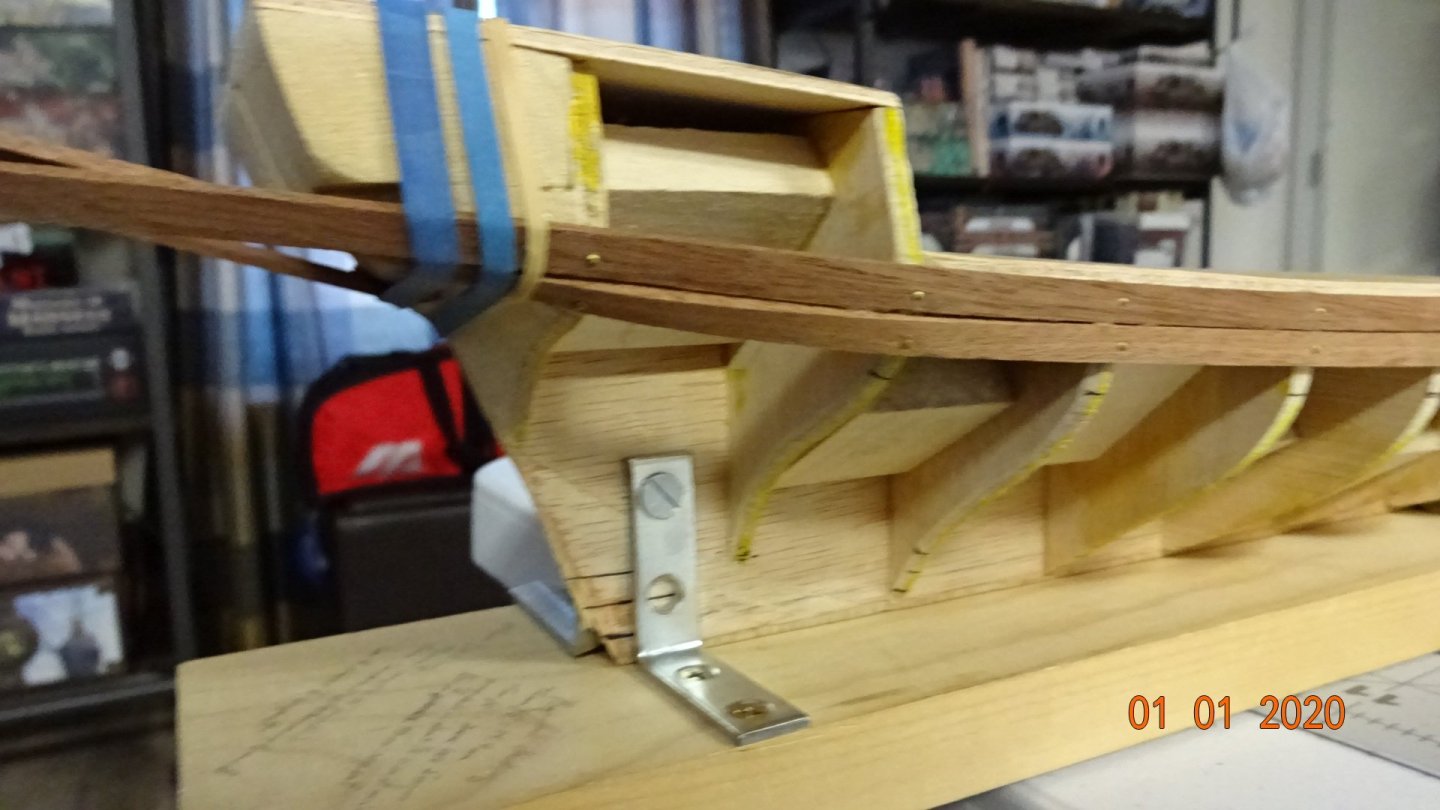
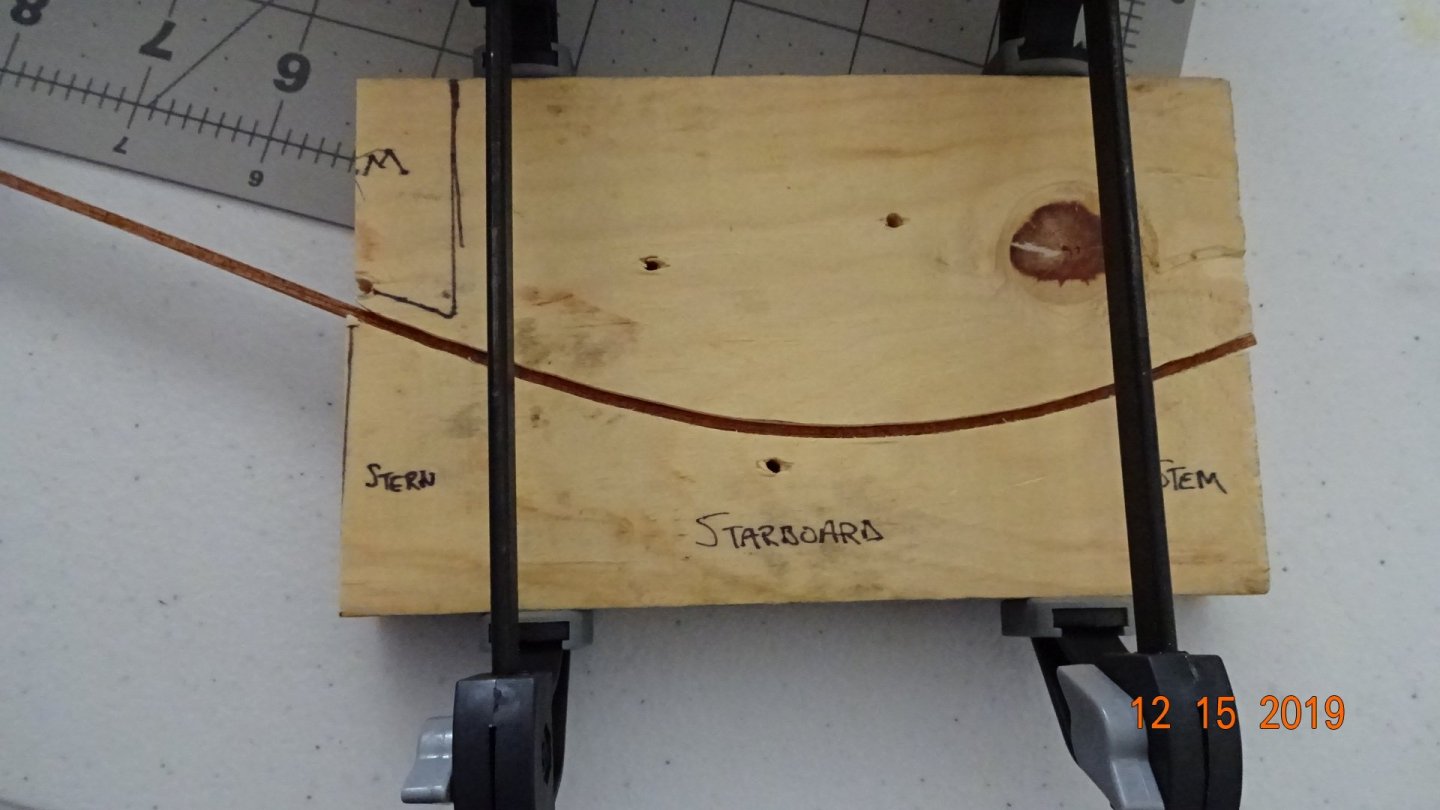
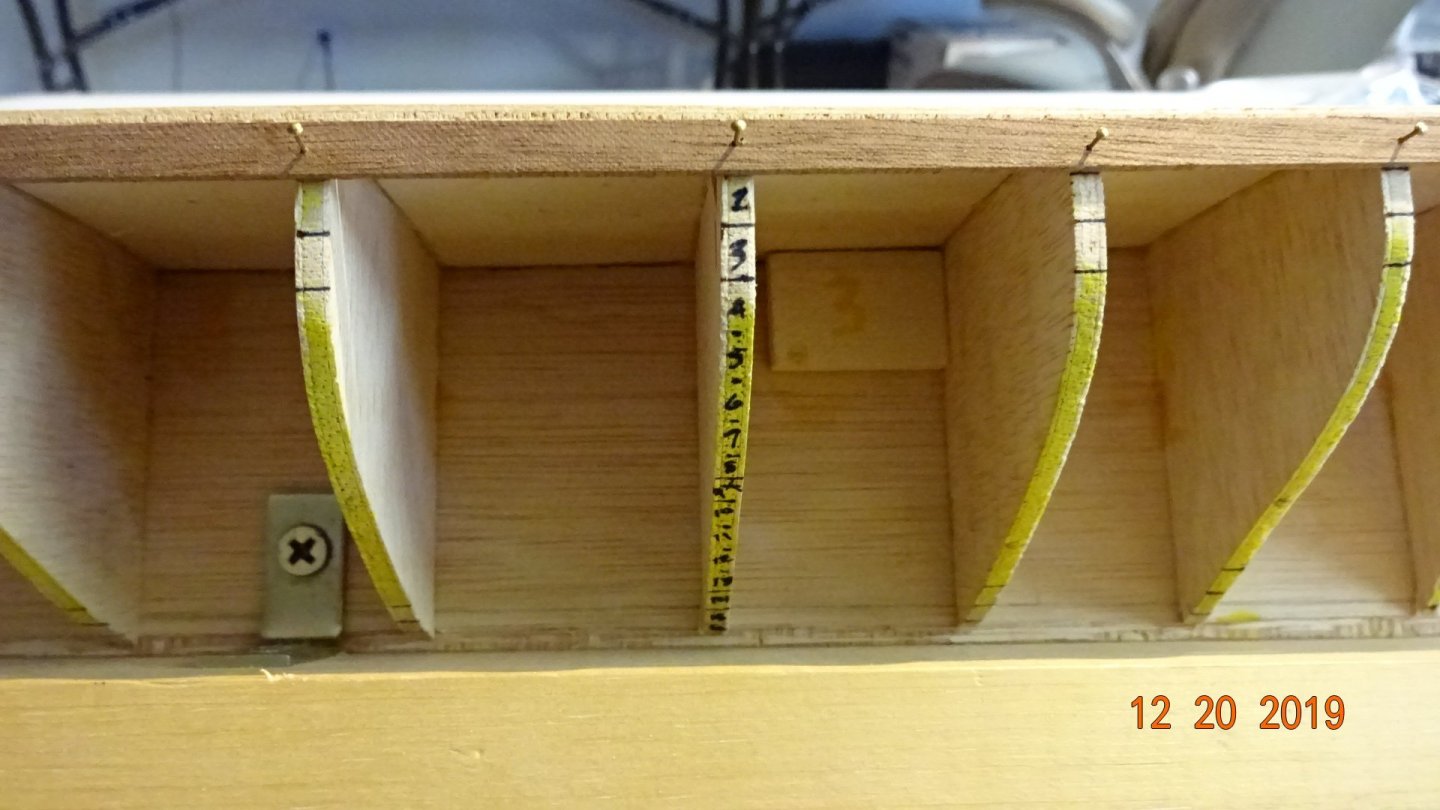
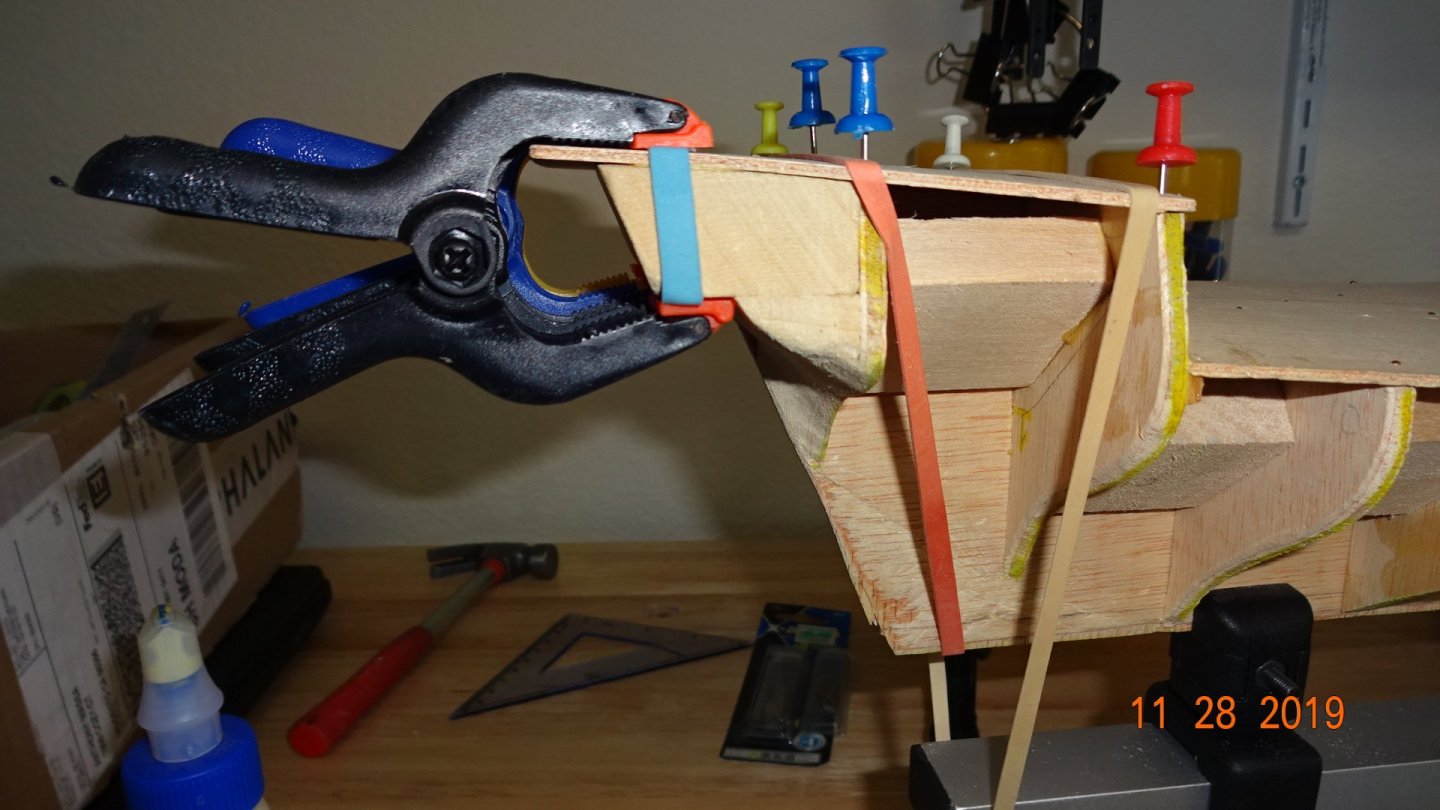
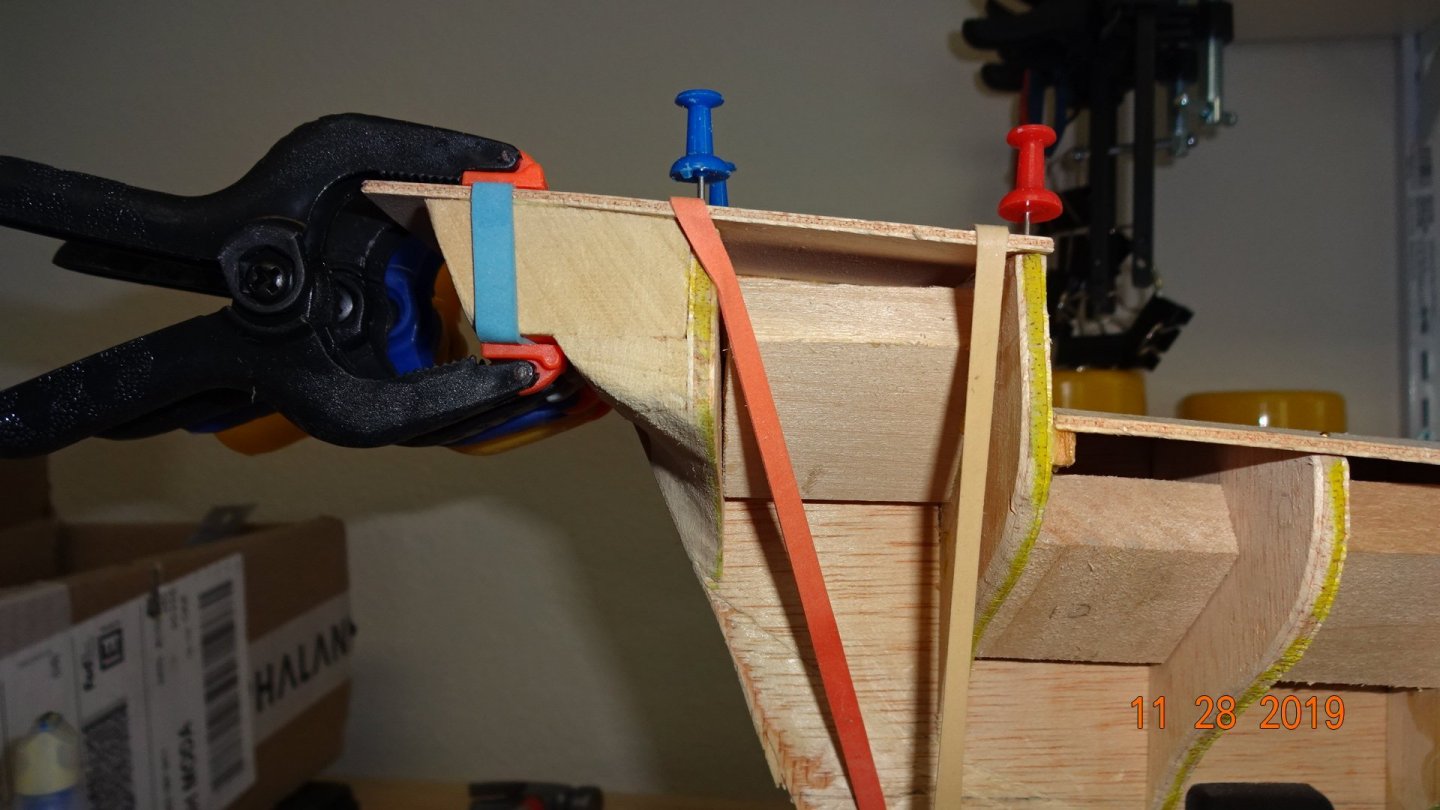
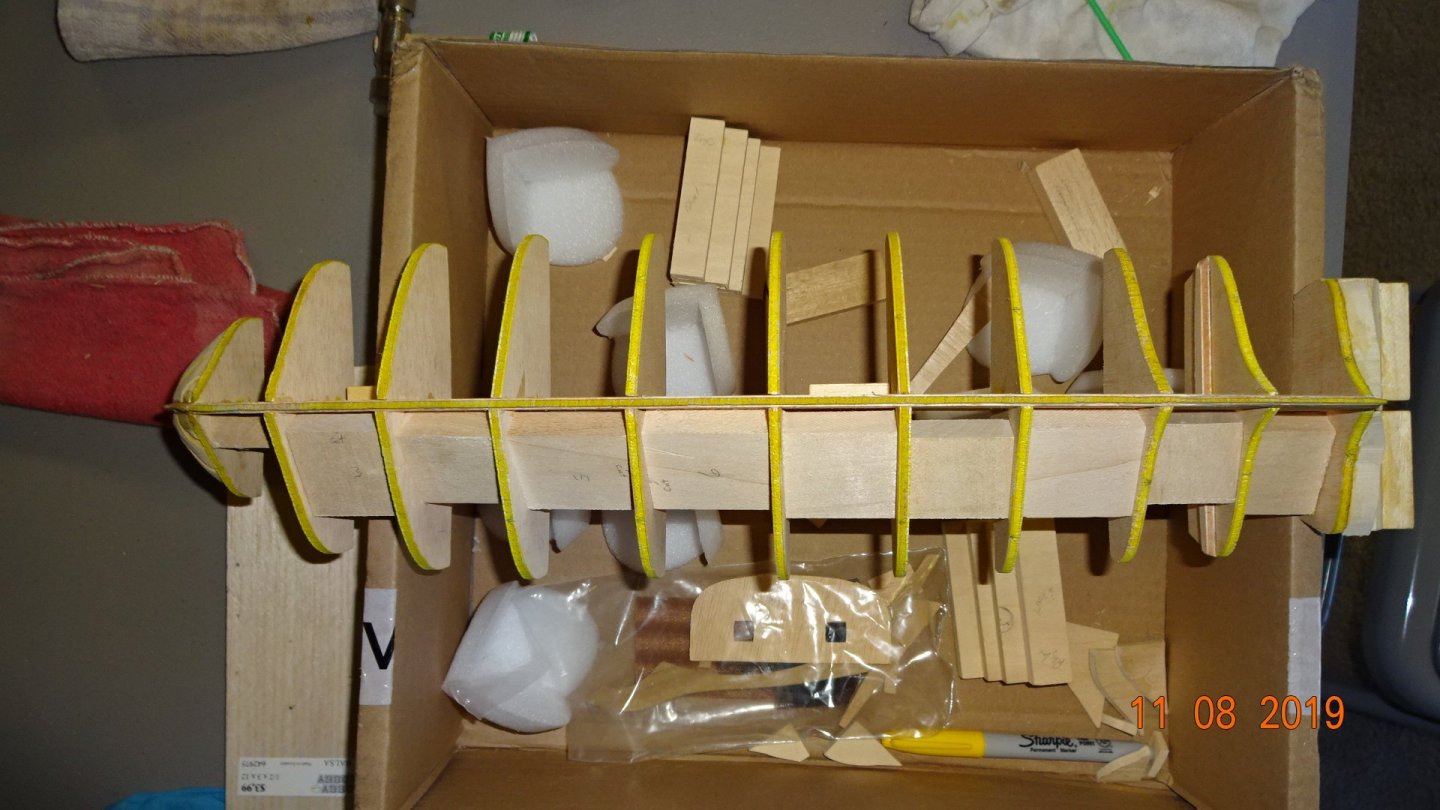
Took some time today to work on straightening the hull. All the supports ended up going only on the starboard side. I wonder if my ship will list now 😀 Check it out. Verify with a straight edge. Also worked on fitting the stern filler. Not sure if the plans on this build called for bow and stern fillers but I put them in as a learning experience. Here's the stern filler. And after some sanding.... Now that i have a straight hull I'm ready to start beveling the bulk heads. Doing this before putting on the false deck and keel parts will make the sanding job easier, I hope. This is where I have to start bending and fitting the strakes ( new building terminology I just learned). A strake is a course of the planking or plating of the hull of a vessel, just in case I forget the meaning in a few weeks. I've been forgetting stuff as I get older and just taking longer to remember.🤨 Learning a new song on the guitar, that's one of my ways to keep the brain in training. Well, I guess that's another thing I do as I get older, diverge topics. Now what was I talking about ..... ..... ah yes, .... No gluing yet, just trying to see how they will fit against my beveling. Now where did I put that wood file ......... 🙄

- 195 replies
-
- 2
-
-
- enterprise
- constructo
- (and 1 more)
-
Thanks for the information.👍 The photo software is whatever came with the camera, a Sony camera. Your next suggestion of adding battens is spot on. I just completed that task today and it straighten the hull. I do have a drill press but was to lazy to use it ☹️. We live and we learn.