Rowboat
-
Posts
142 -
Joined
-
Last visited
Content Type
Profiles
Forums
Gallery
Events
Everything posted by Rowboat
-
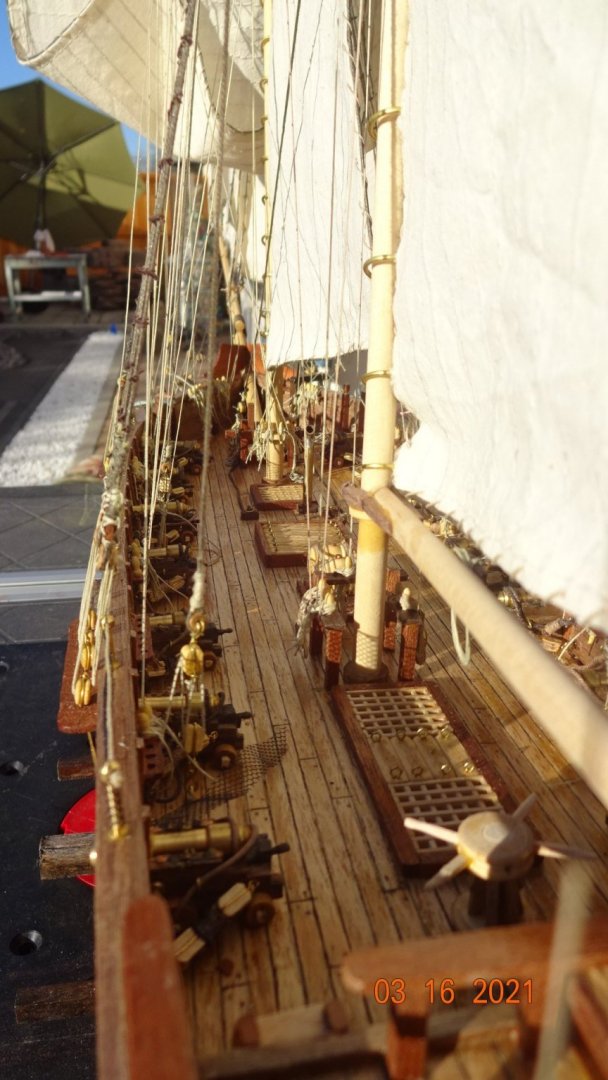
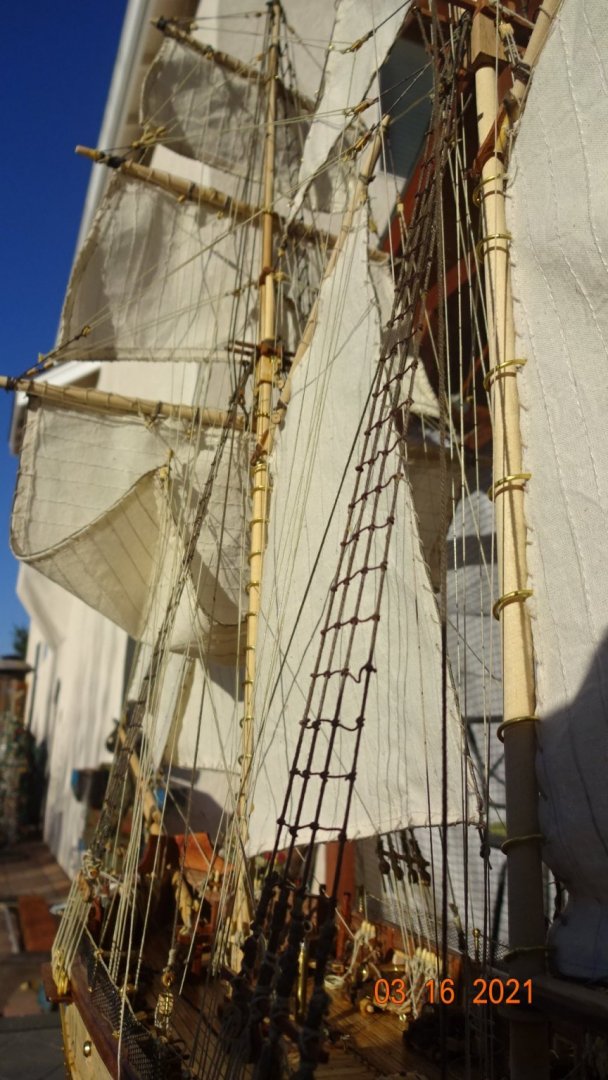
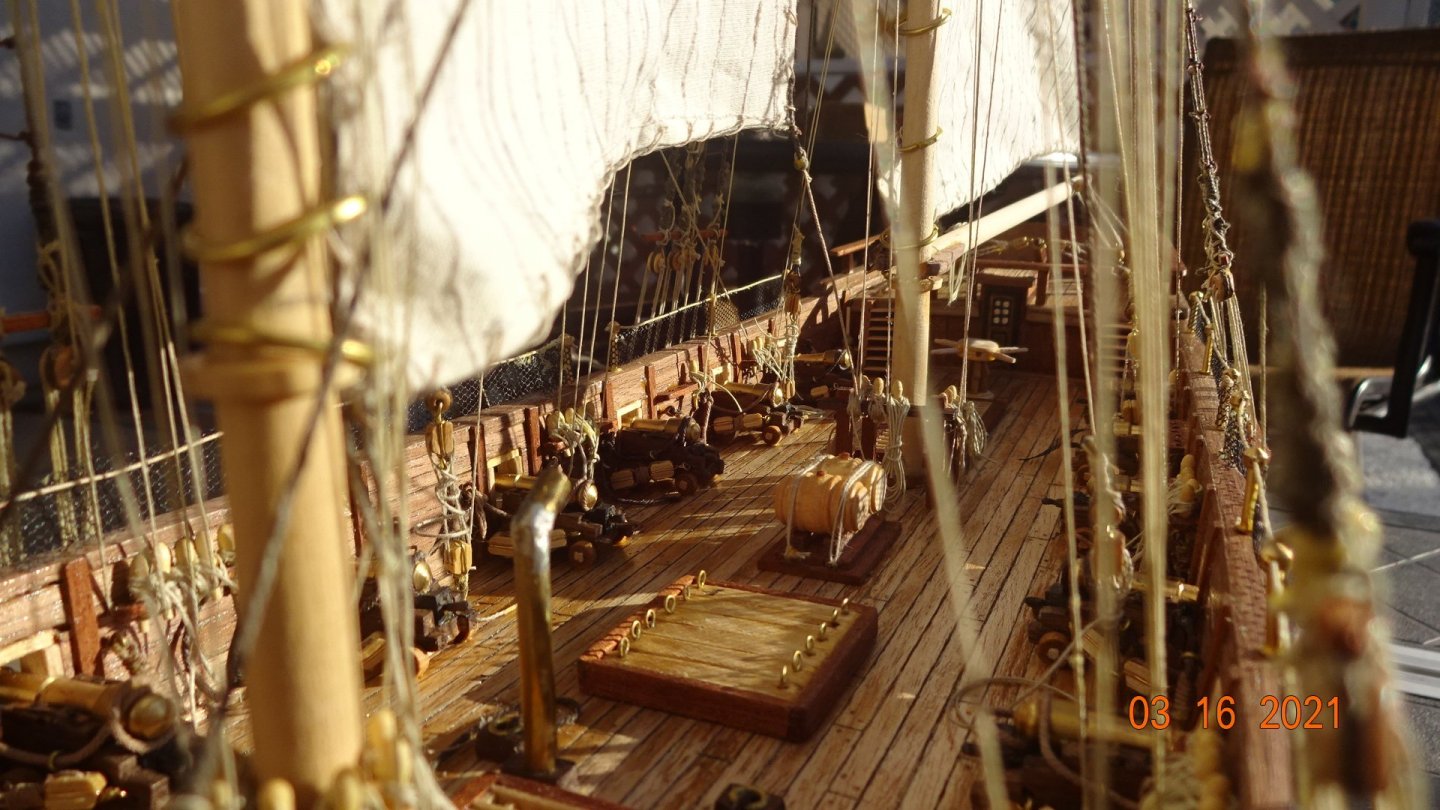
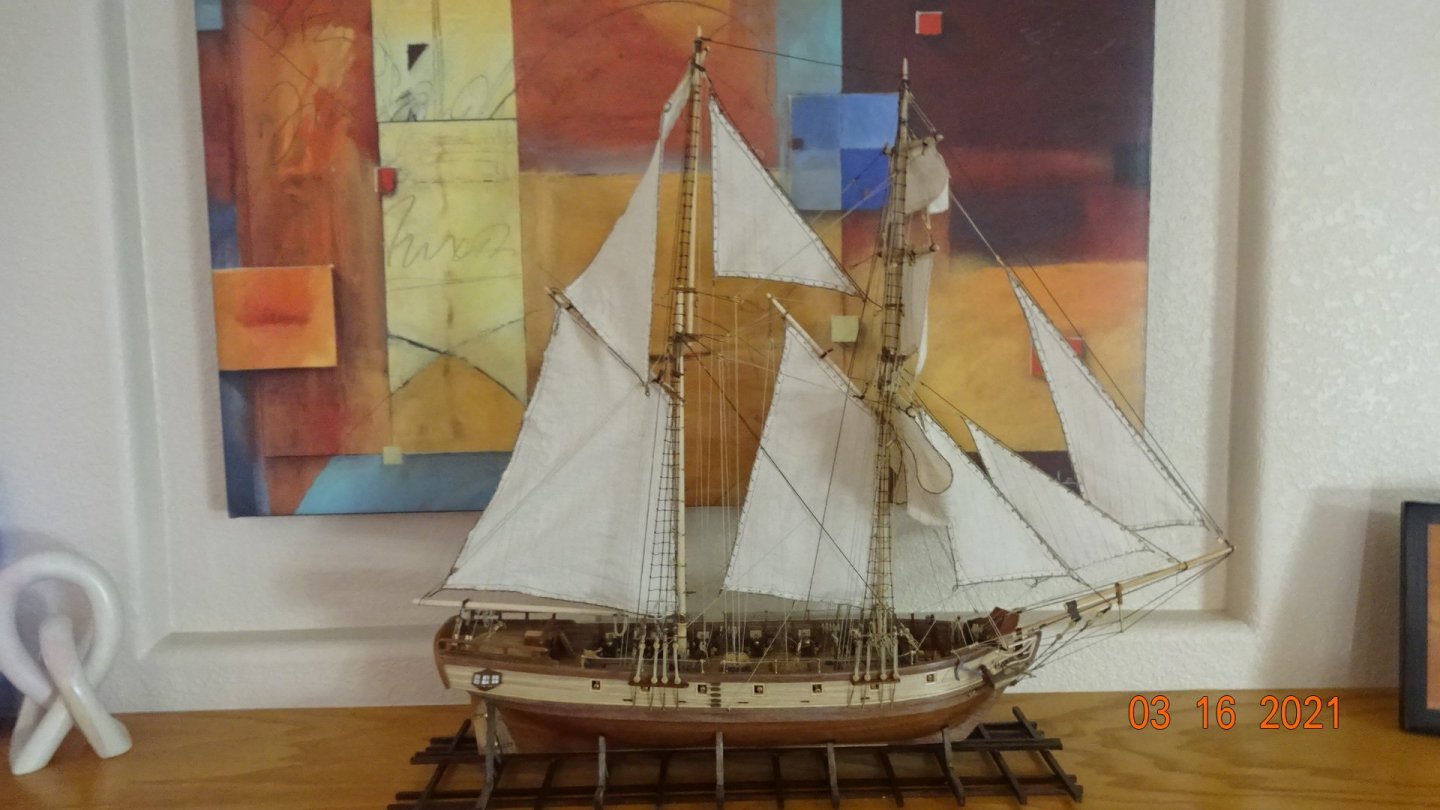
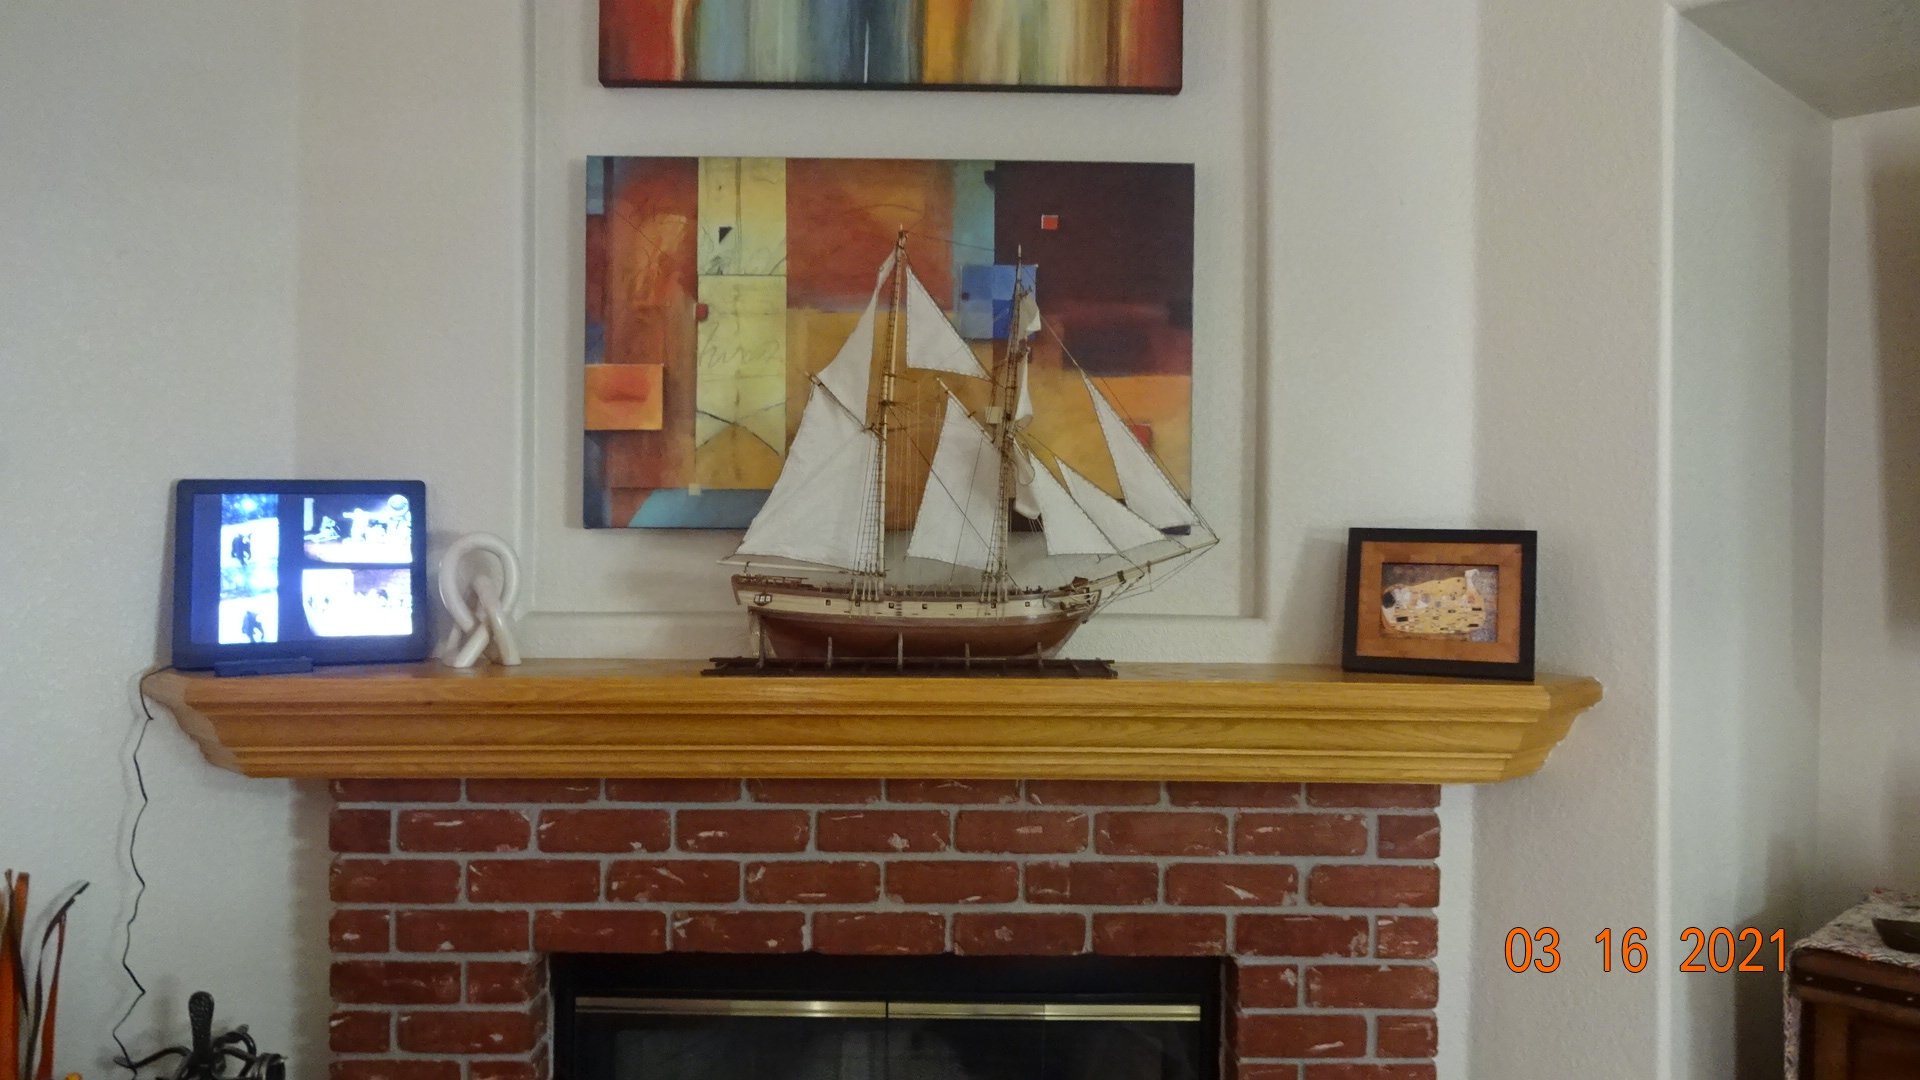
 Final pics. Edit: Oops, I forgot to thank everyone on the site for their input and help. Could not have done this good of a job without the members and their support. Thank you everyone
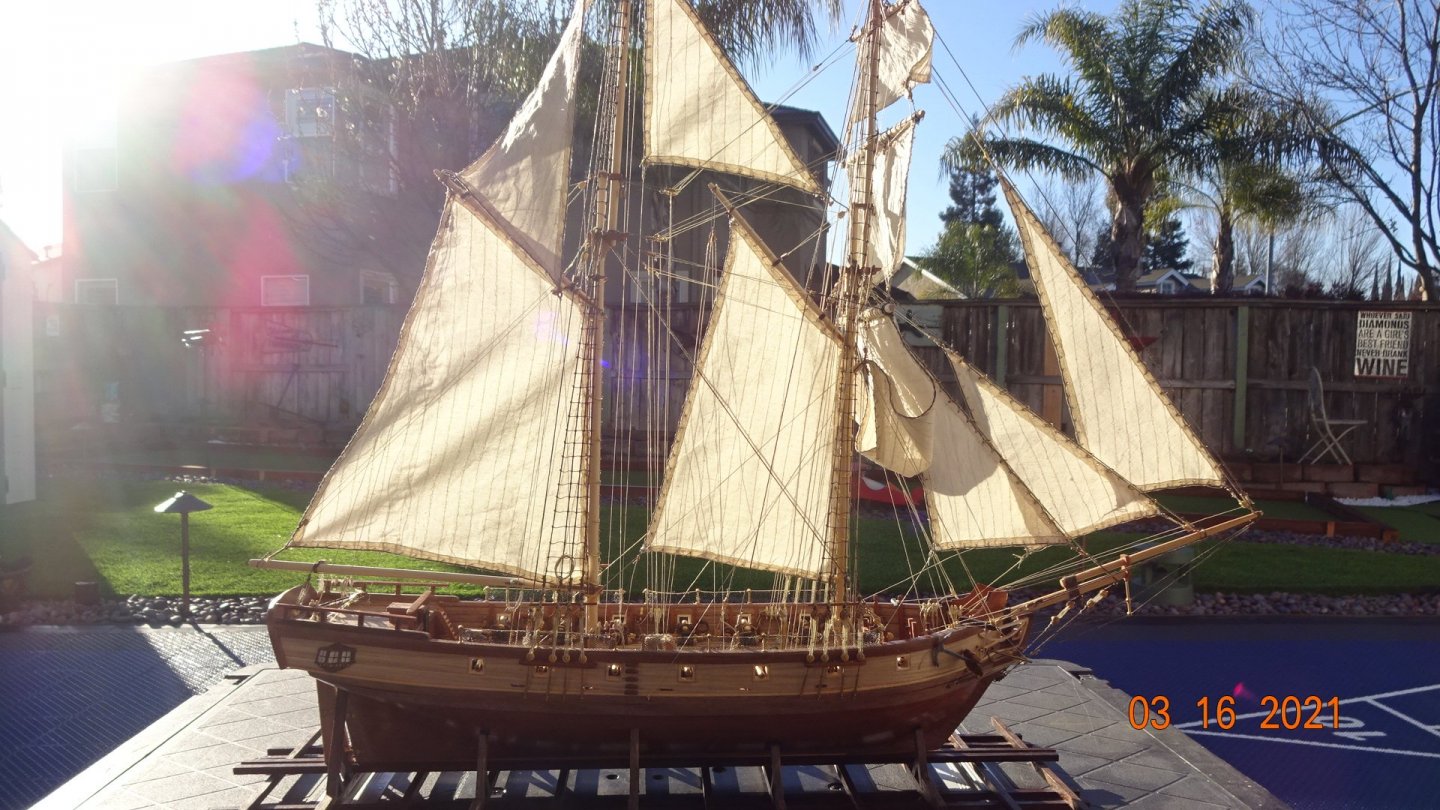


- 195 replies
-
- 7
-

-
- enterprise
- constructo
- (and 1 more)
-
I hope to be done soon. Then I'll post the final pics. Started this in Oct. 2019, so approximately 1 1/2yrs to complete.🥂 Bought this kit on Ebay thinking I got a steal of a deal, lol, ended up costing me,. Learned a tremendous amount about wooden model ship building. It's kind of funny that some of the things I was so worried about in the build turn out to be no big deal. Most of the deck is covered so any flaws are hardly noticeable, unless you're a model ship builder. The rudder and planking underneath the stern, will hardly show any flaws. That damn Stem, I broke 4 or 5 times, looks just fine now. The planking, though not laid correctly, looks fine on the ship. One last post coming ....
- 195 replies
-
- 2
-
-
- enterprise
- constructo
- (and 1 more)
-
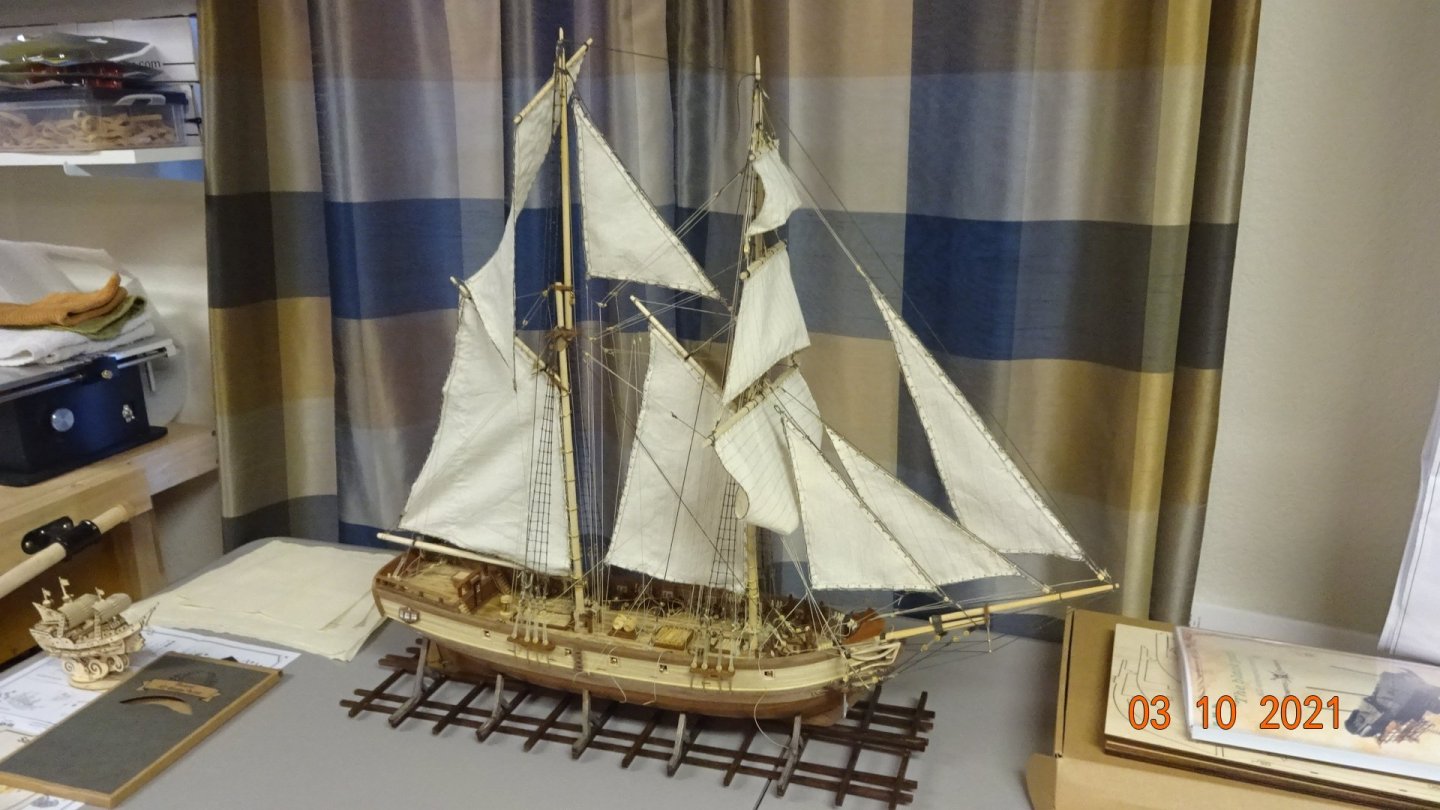
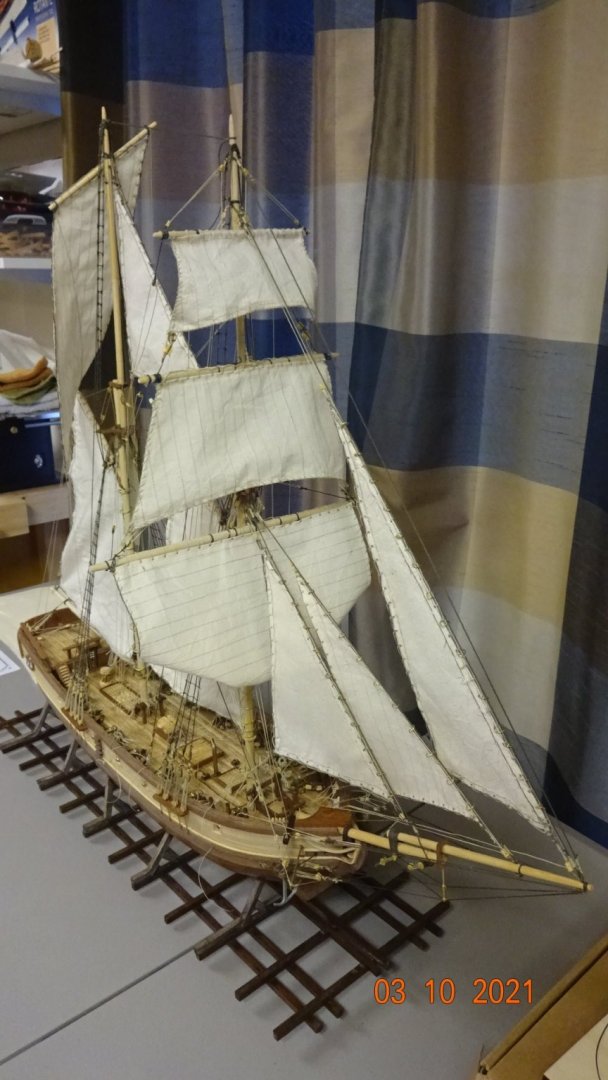
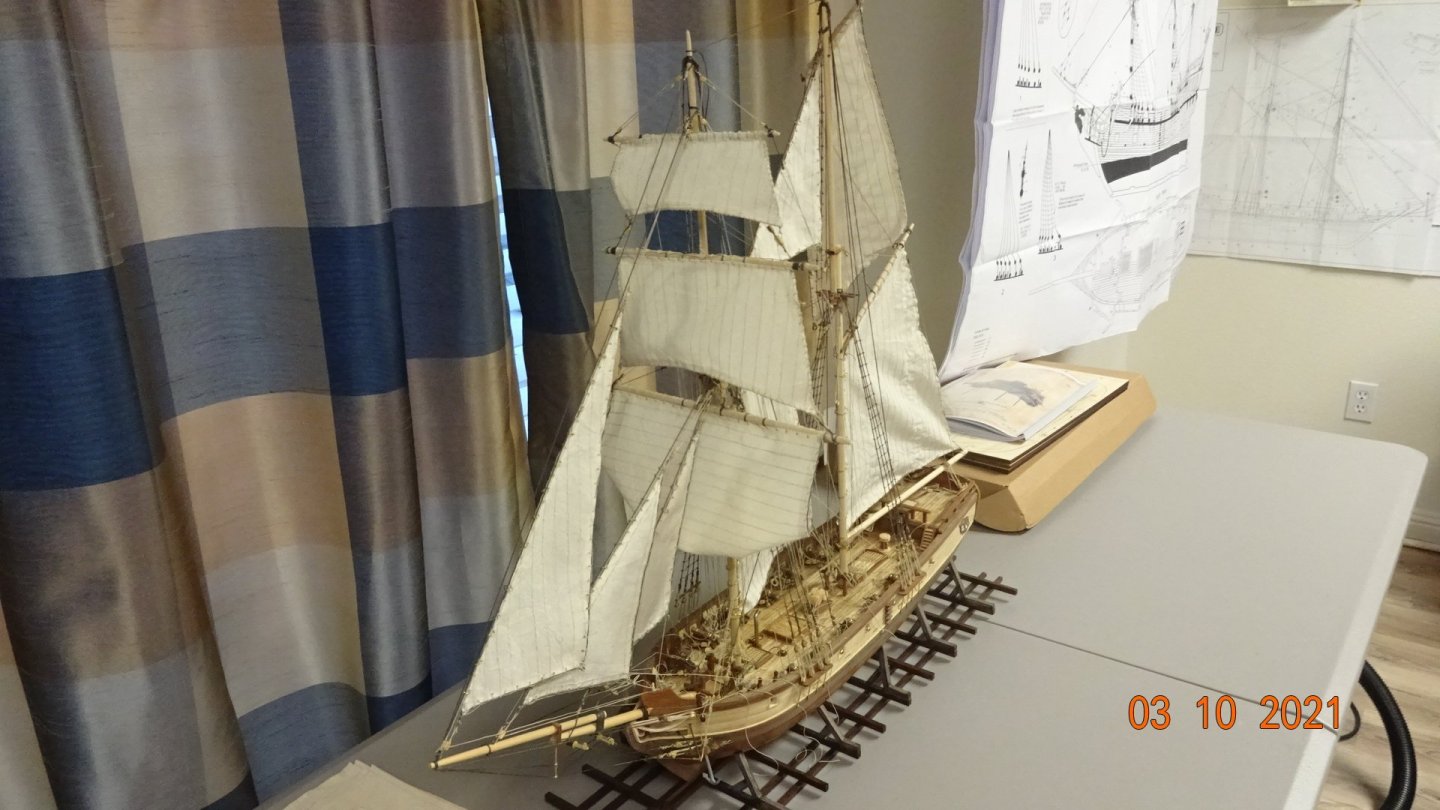
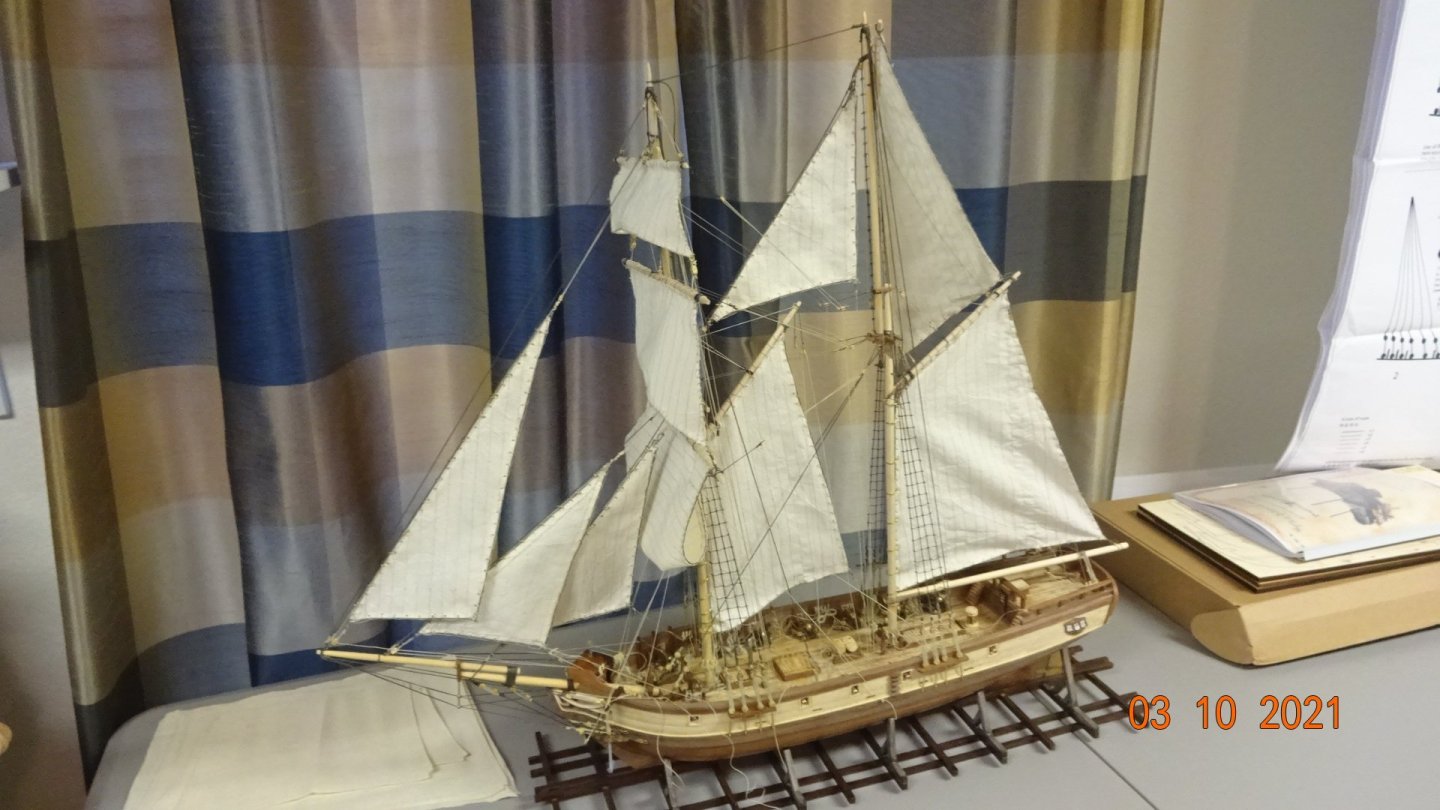
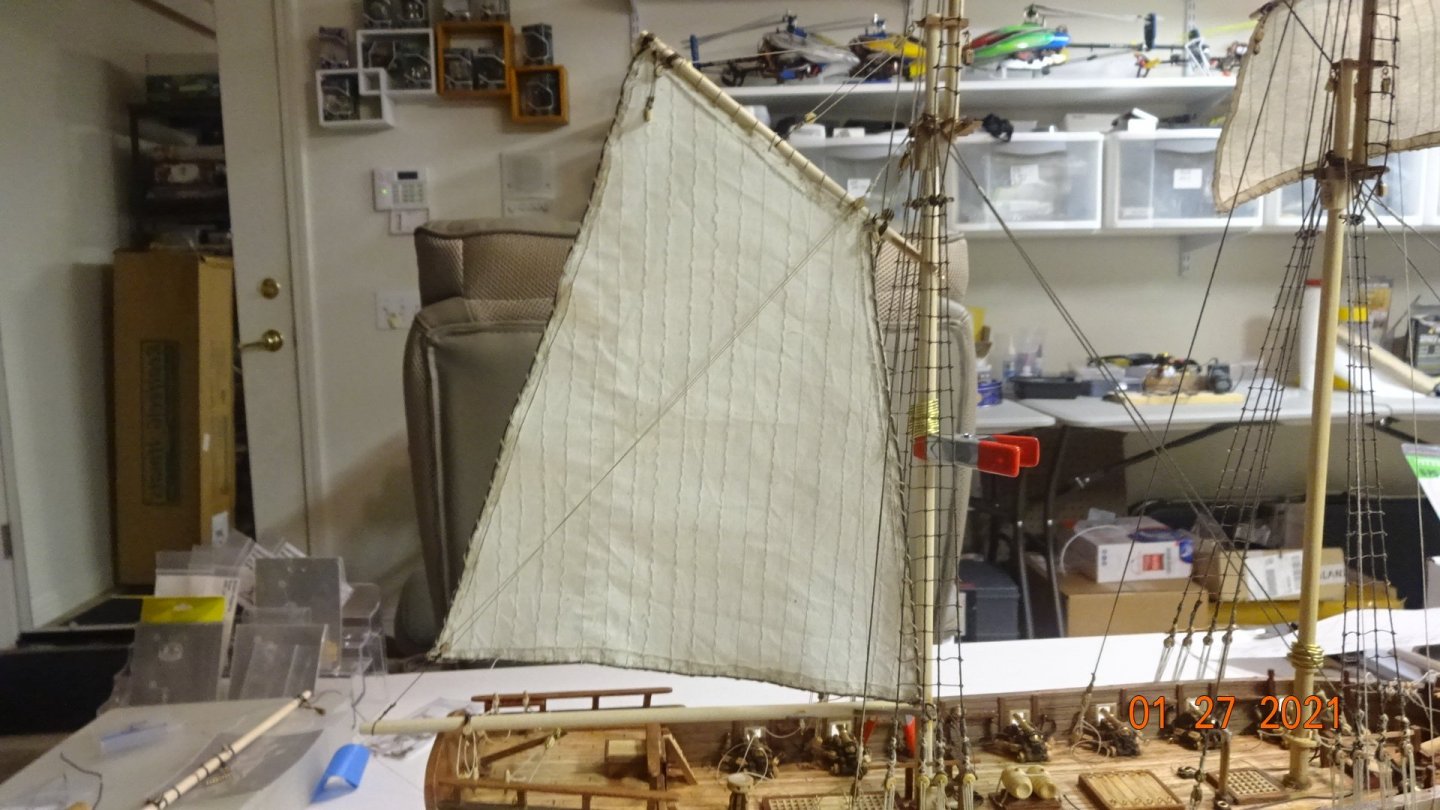
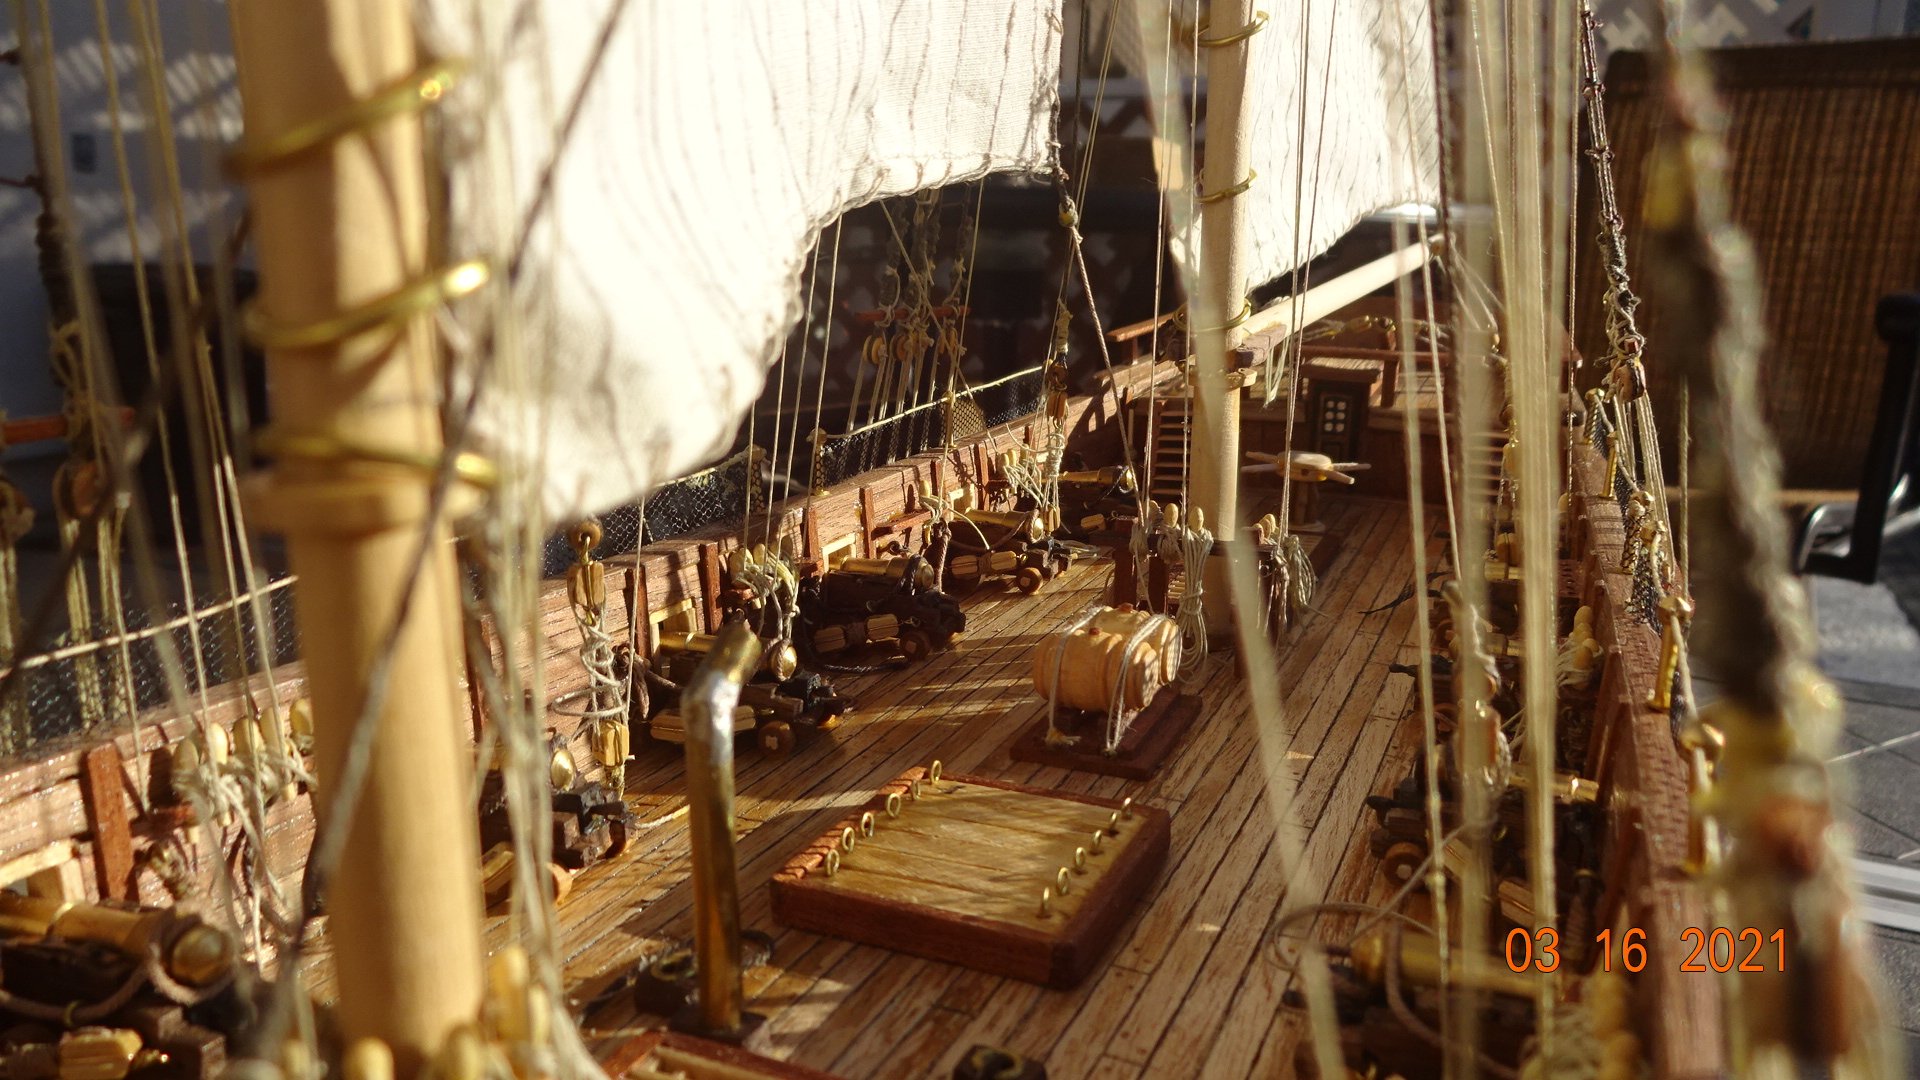
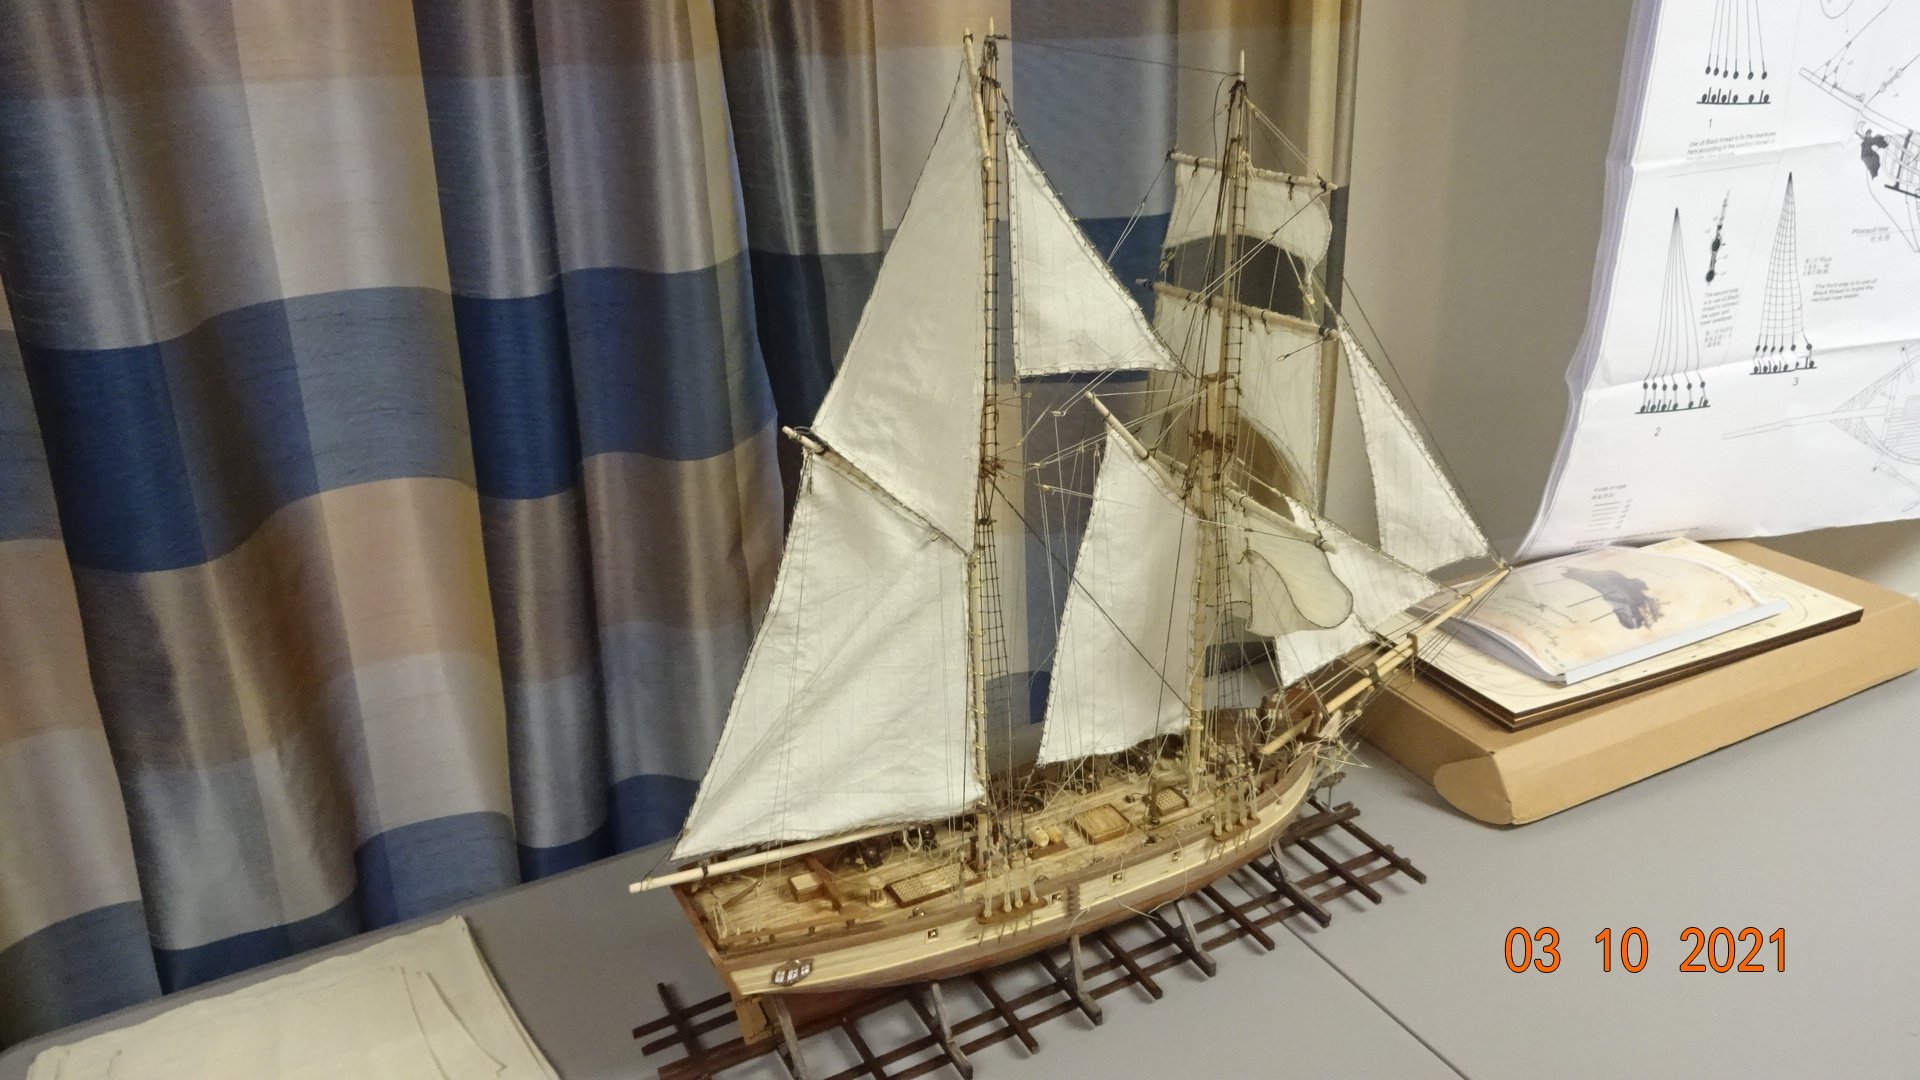
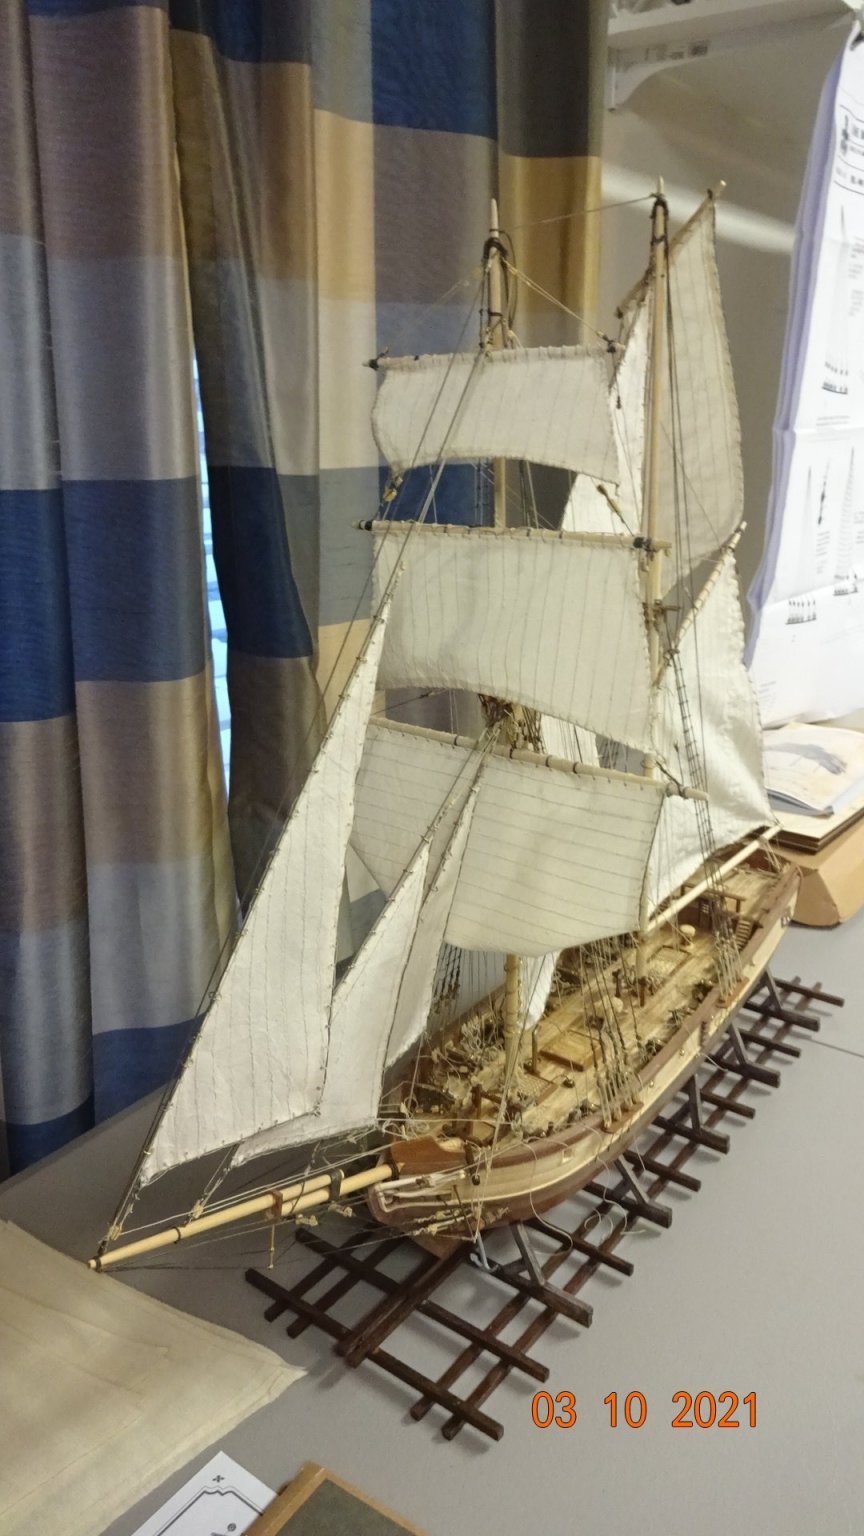
Today was a great day, I got the last sail attached to the ship👏. Still need to tidy up some rigging and clean up the deck as well as put up the netting but the sails are up. I'm just going to post a bunch of pictures, no notes.


- 195 replies
-
- 5
-
-
- enterprise
- constructo
- (and 1 more)
-
@mikiek thanks for taking the time to load all these pics. I did buy this kit probably 8 or more years ago on eBay. I just opened it a little over a year ago, when I started the build. As my build log attests this is a Frankenstein kit🥴. Only with members help have I been able to get this far.👍 Just a few more sails to go. Thanks
- 195 replies
-
- 1
-
-
- enterprise
- constructo
- (and 1 more)
-
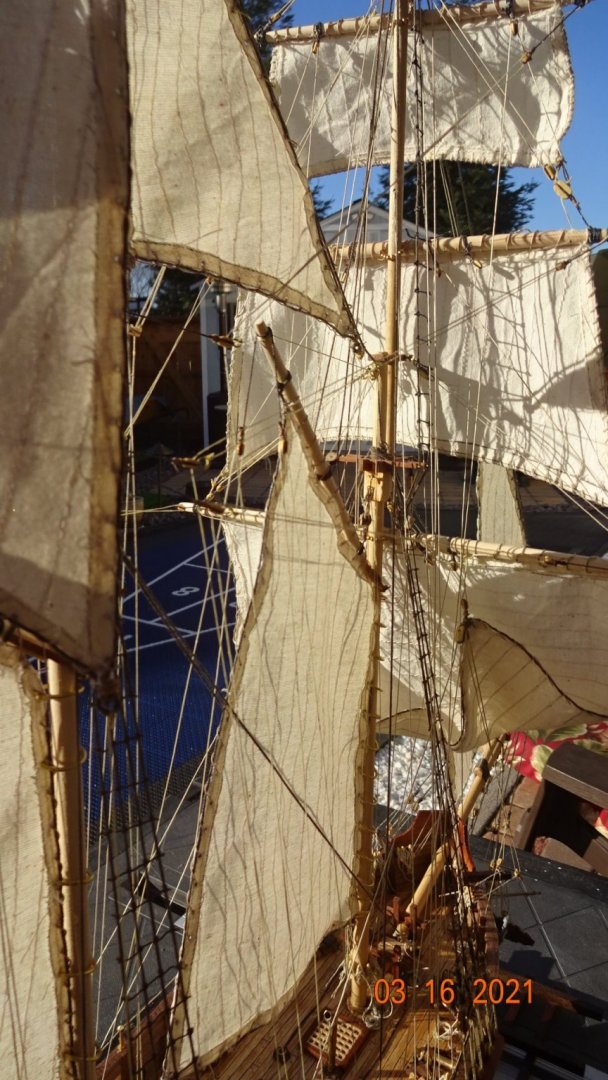
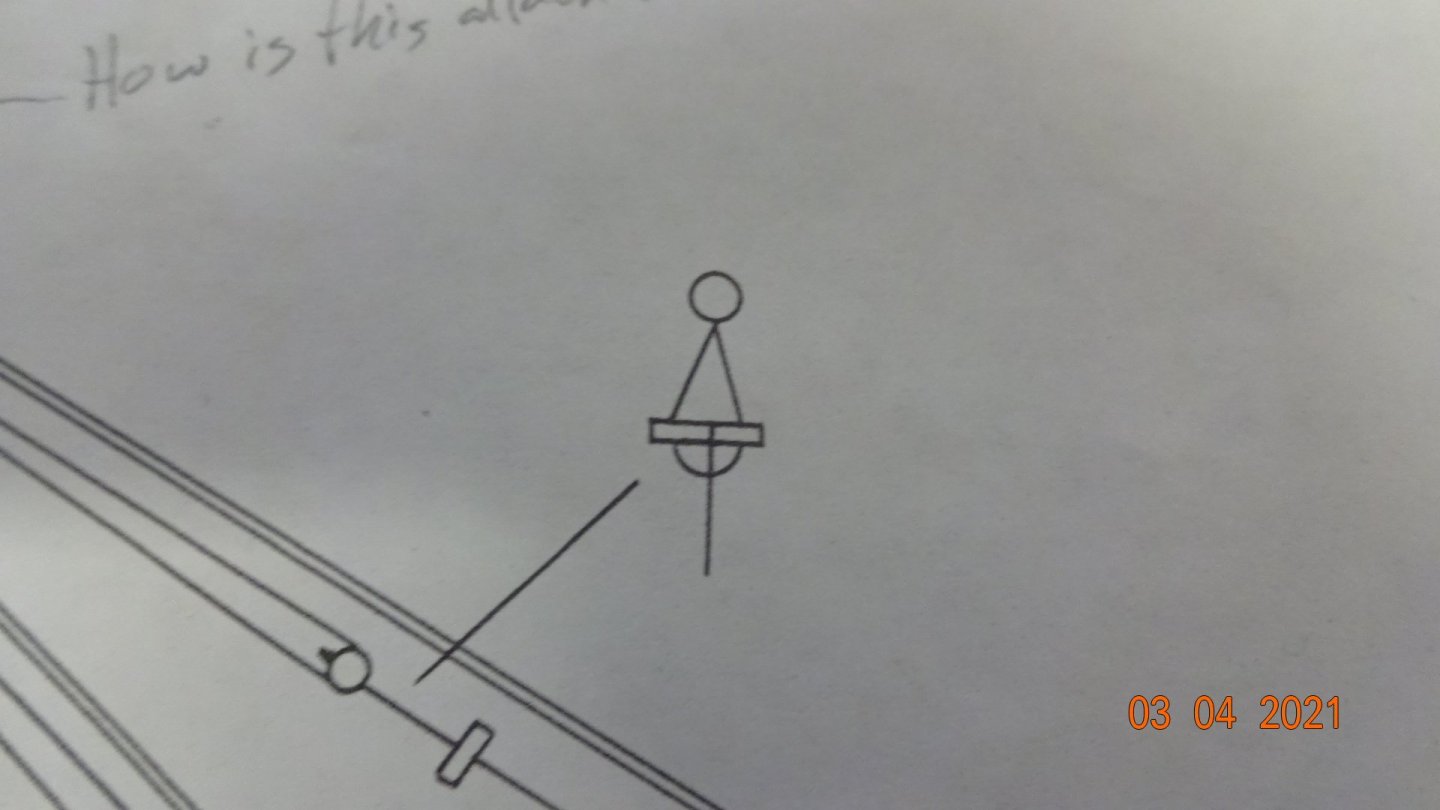
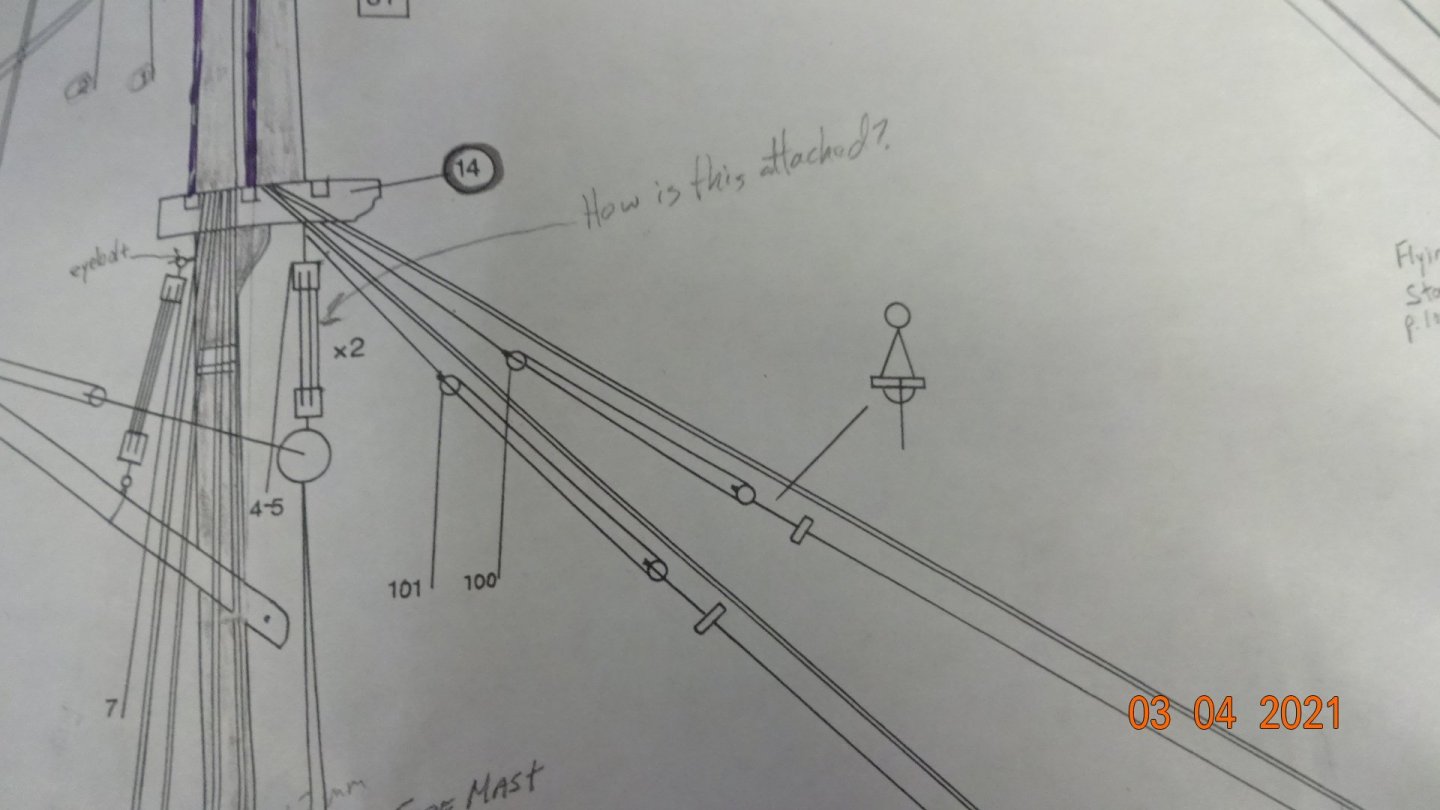
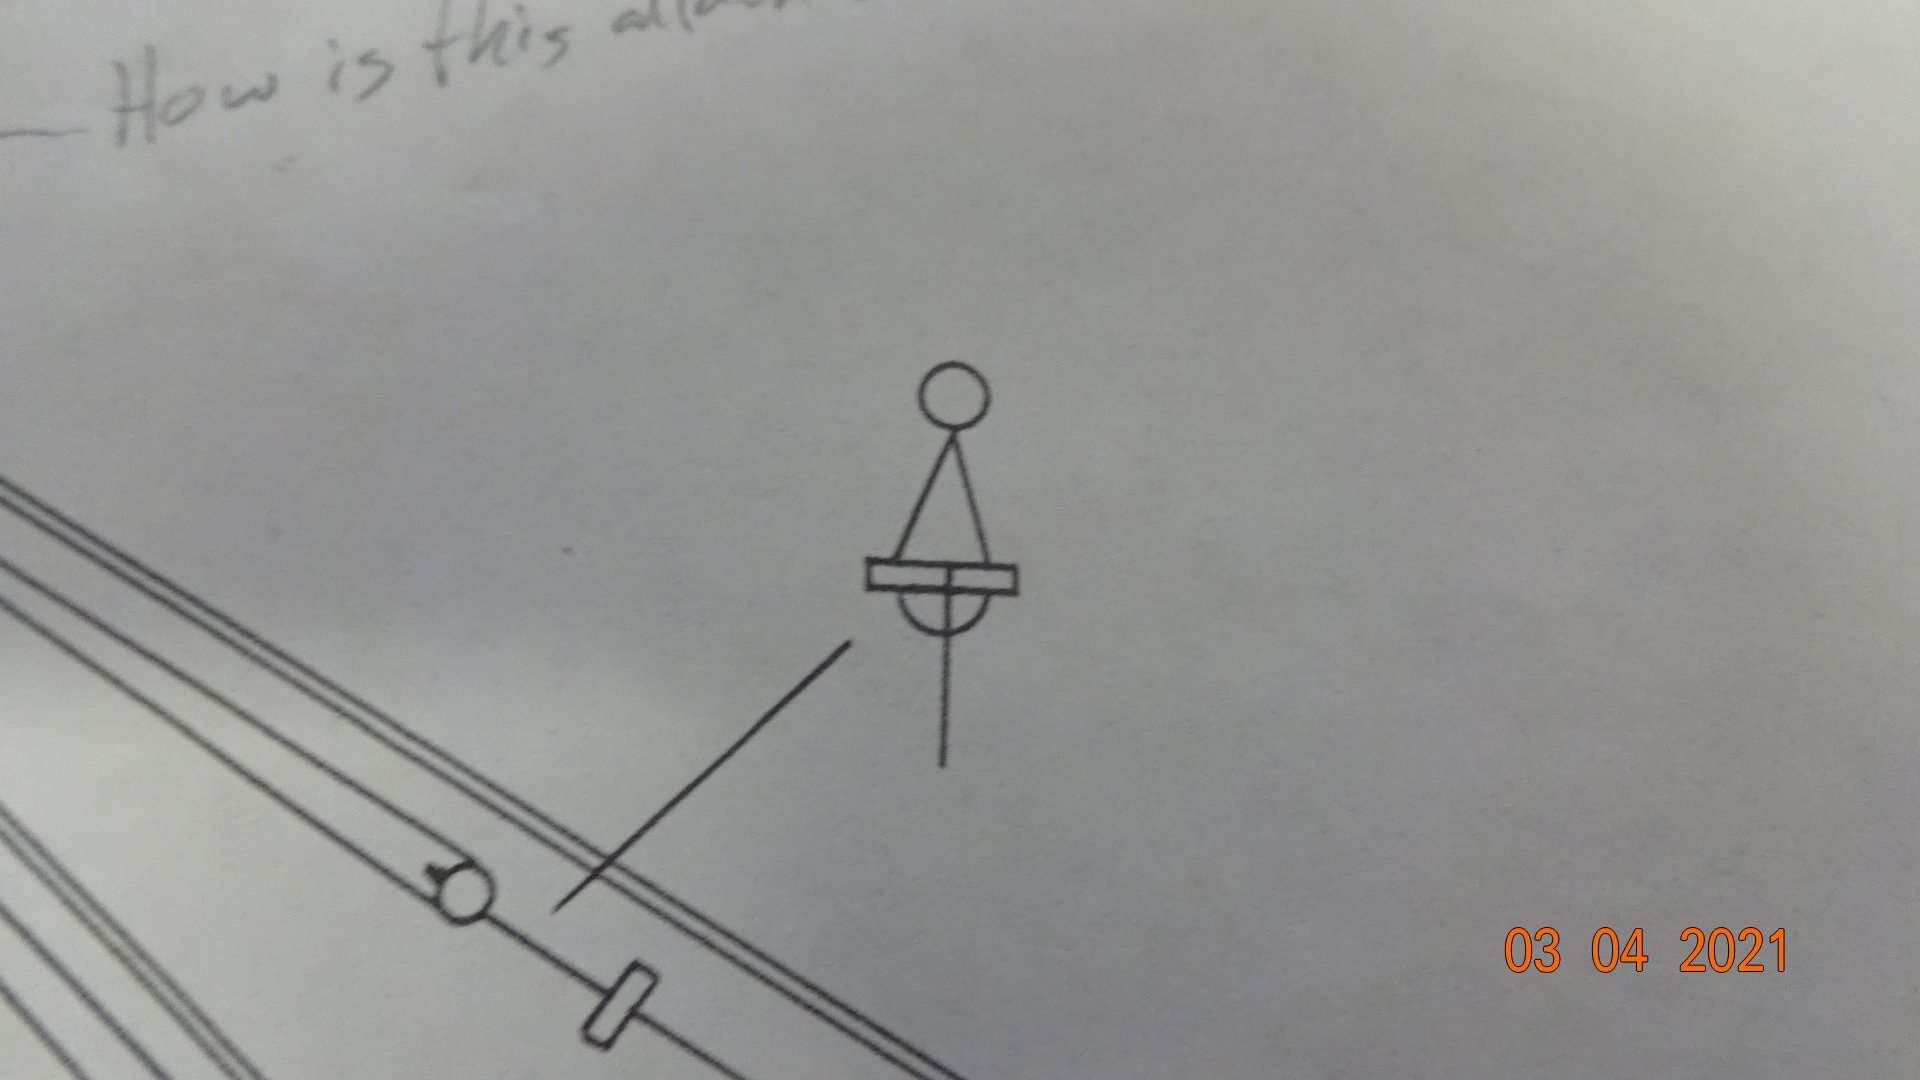
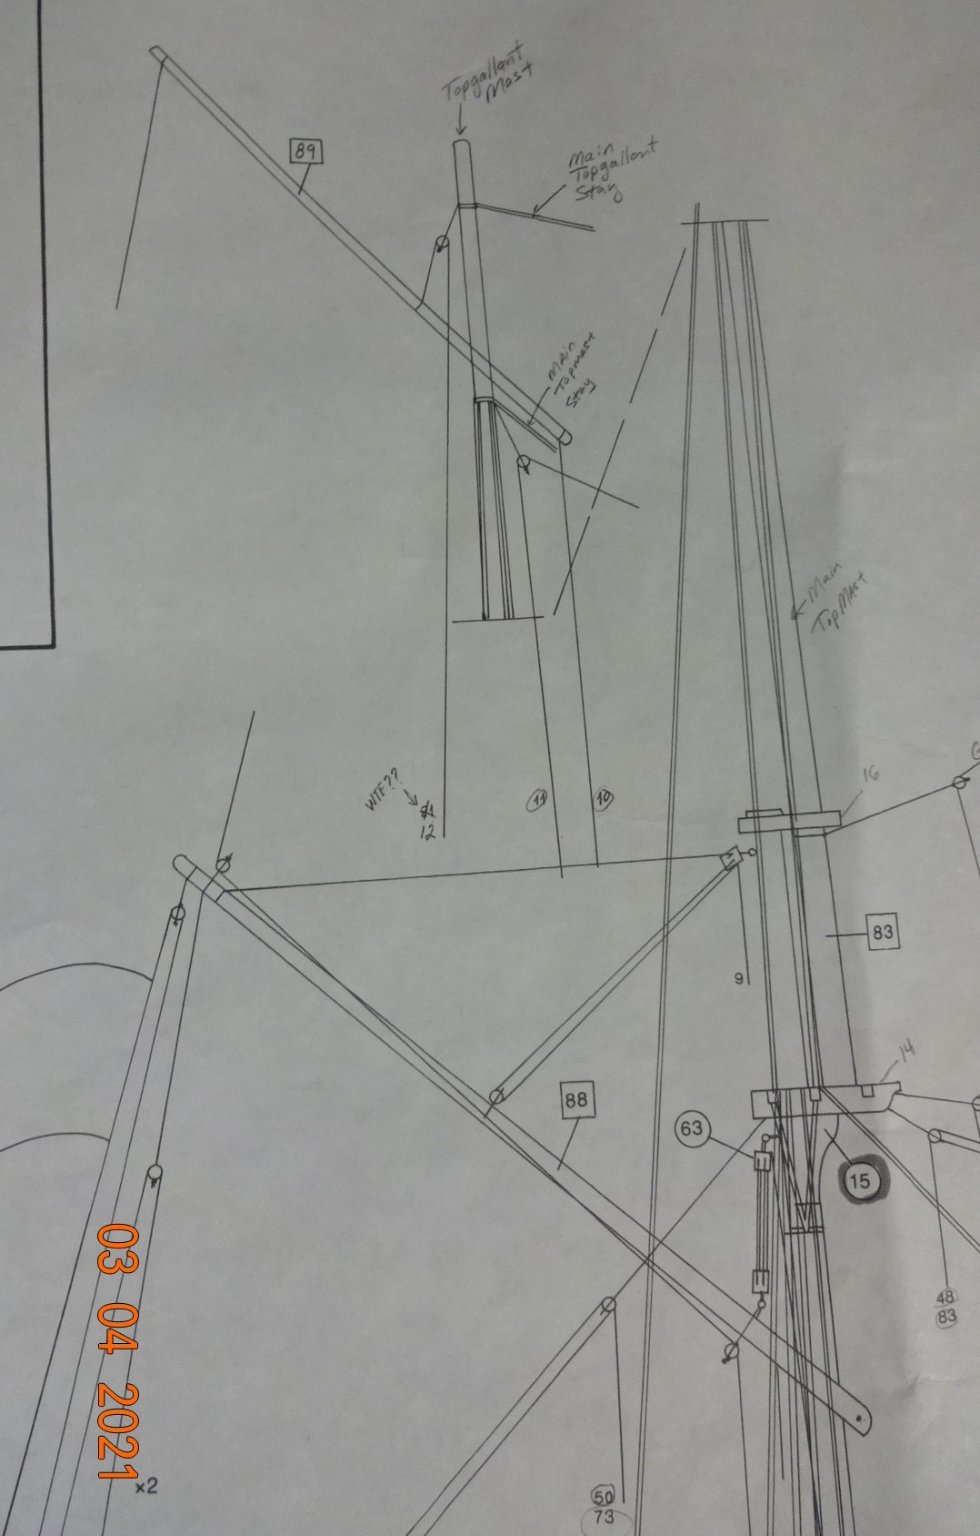
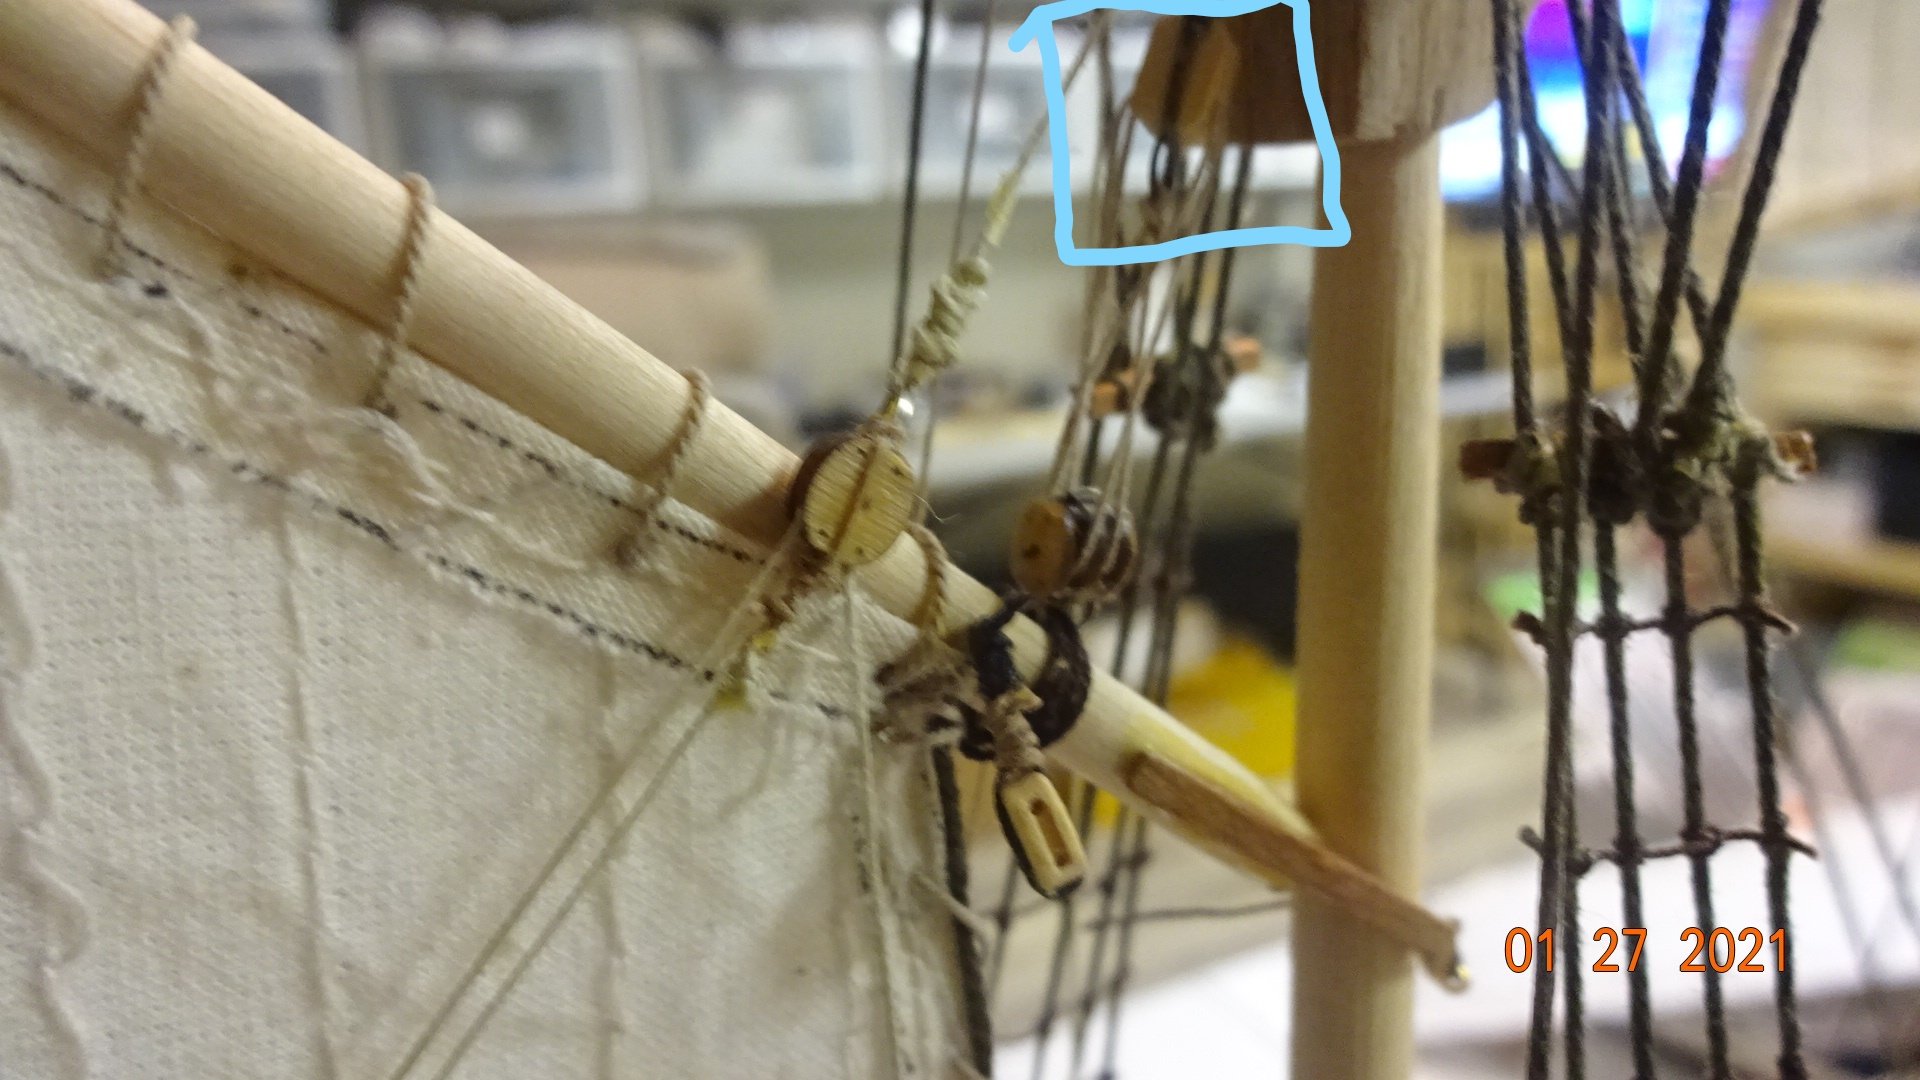
Any idea what this symbol in the pic is below. I'm working on the jib rigging and cannot figure out what this is. Disregard any handwritten notes. Any help is appreciated., thanks
- 195 replies
-
- 2
-
-
- enterprise
- constructo
- (and 1 more)
-
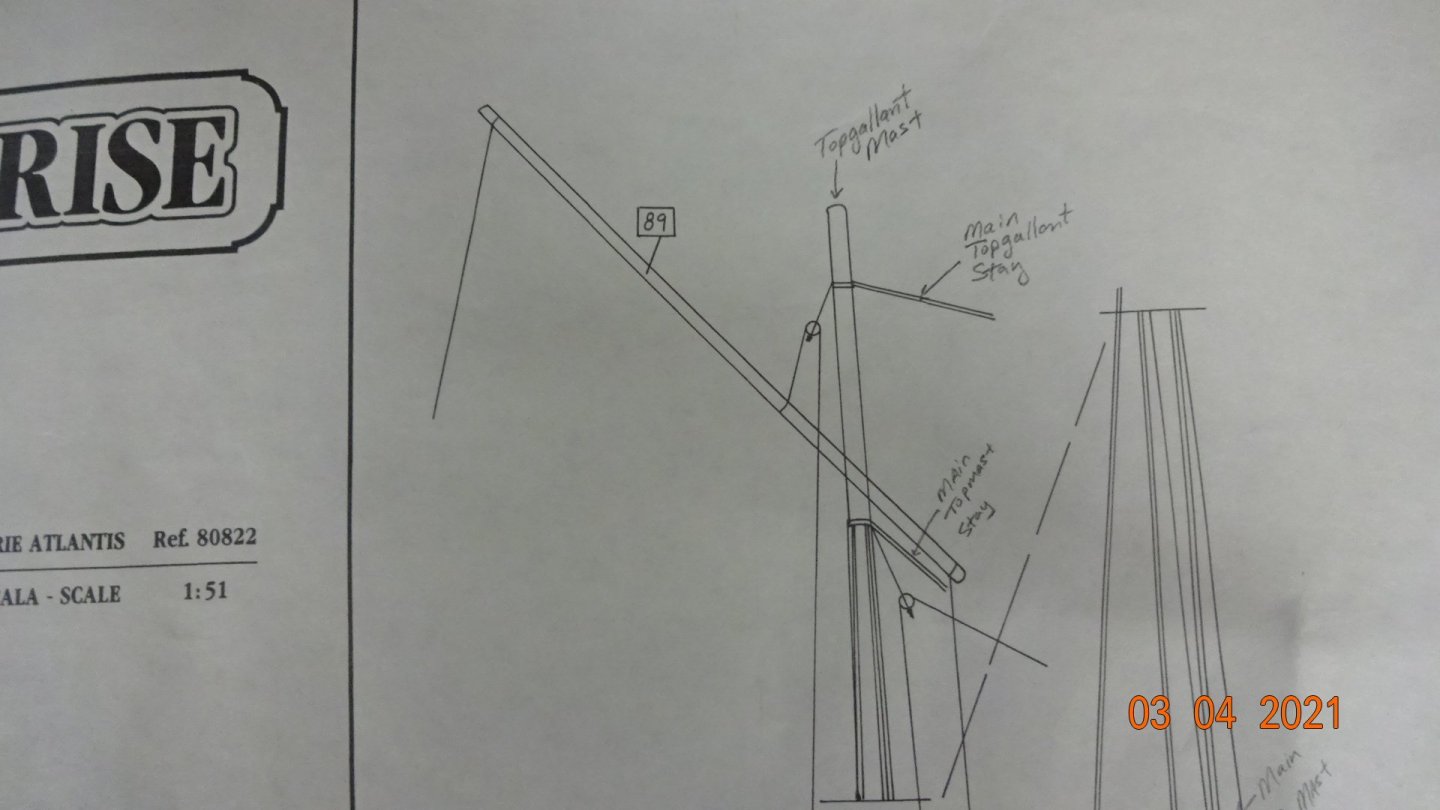
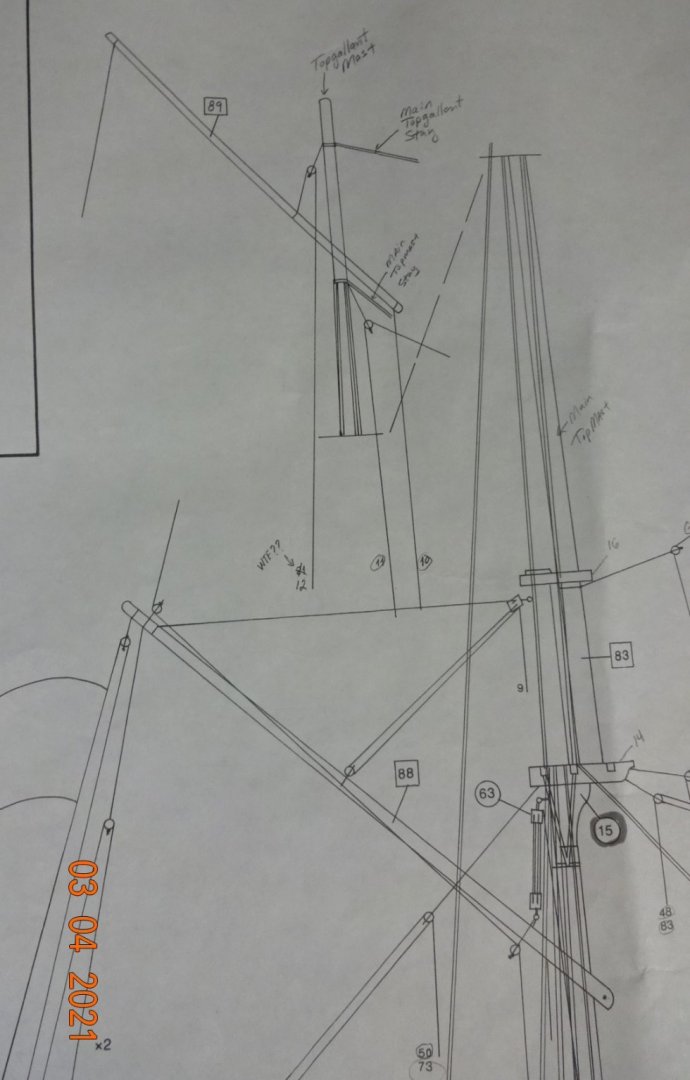
Here's some pics of the schematic for my Enterprise 1799 In this pic the yard numbered 89 is the one I added the rigging lines to at the ends. Clearly this image shows a line coming off the right and left side of the yard. @mikiek This is a close of the top section. A closeup of the lower section

- 195 replies
-
- 1
-
-
- enterprise
- constructo
- (and 1 more)
-
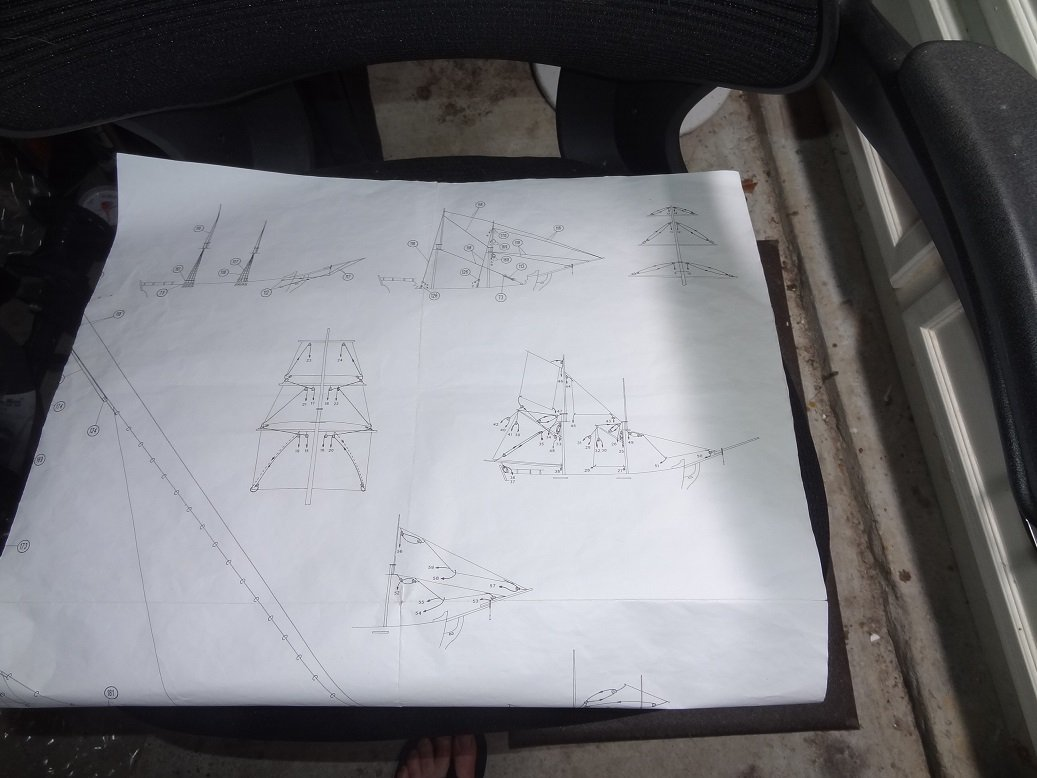
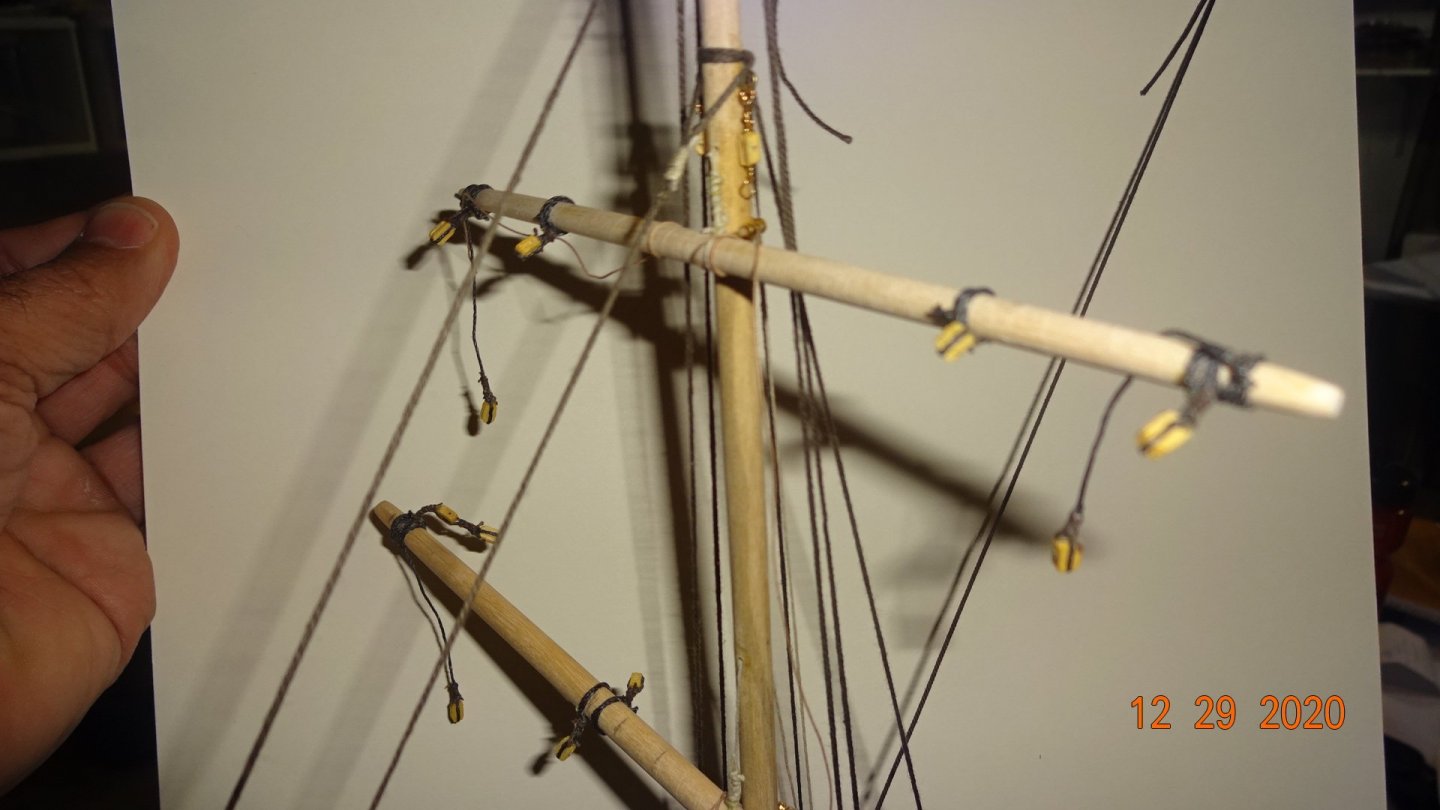
Reading through your build log one more time I found this picture of the running rigging. Your schematic of the rigging lines is much more detailed than mine. I have one picture of the main mast with the 3 yards on them. Then some rigging lines coming off the yards, that's it 🥵. No wonder I am having such a hard time with rigging 🤢. I even see in the image below there are details for the 3 jig sails, I have none. Luckily, I have help from you guys.
- 136 replies
-
- 2
-
-
- enterprise
- constructo
- (and 1 more)
-
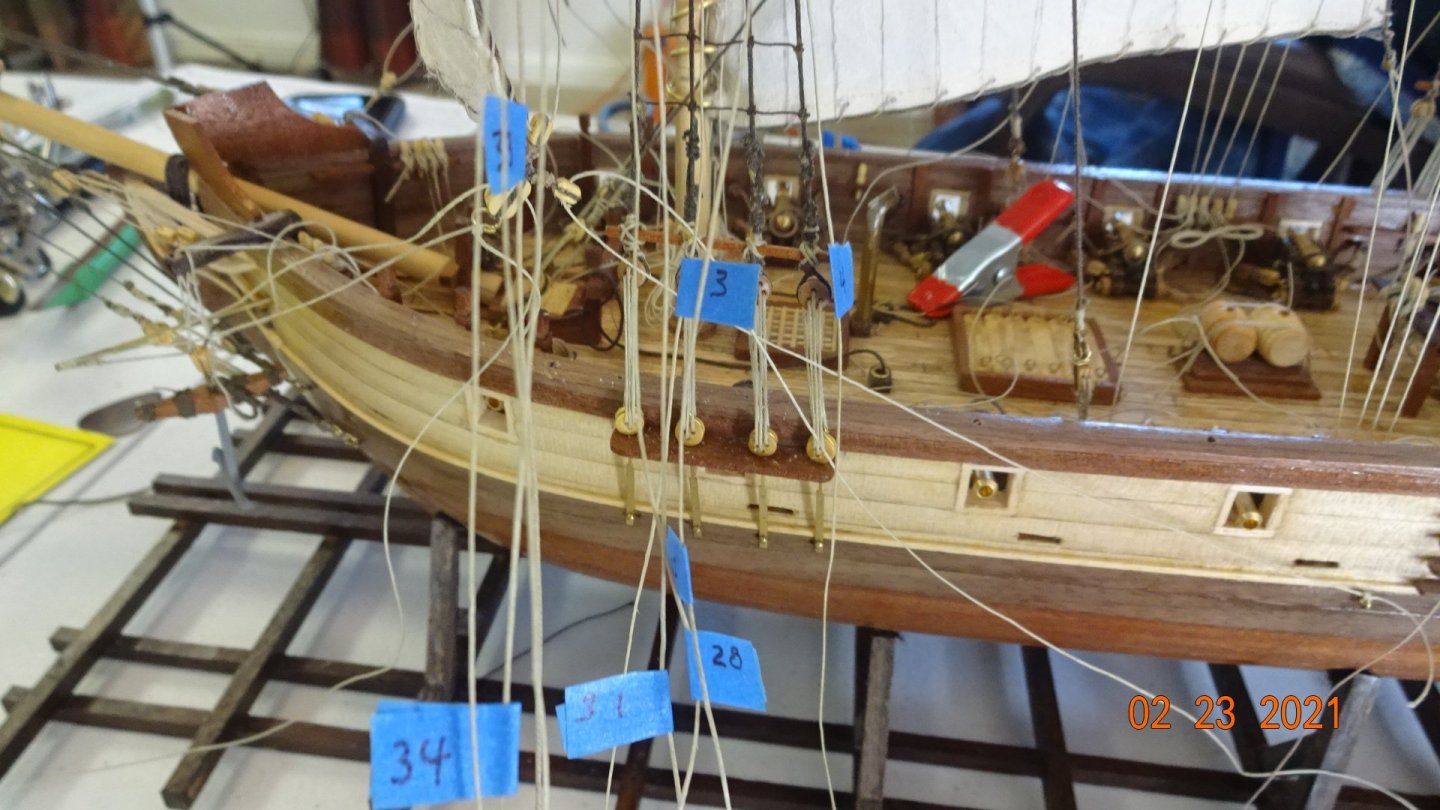
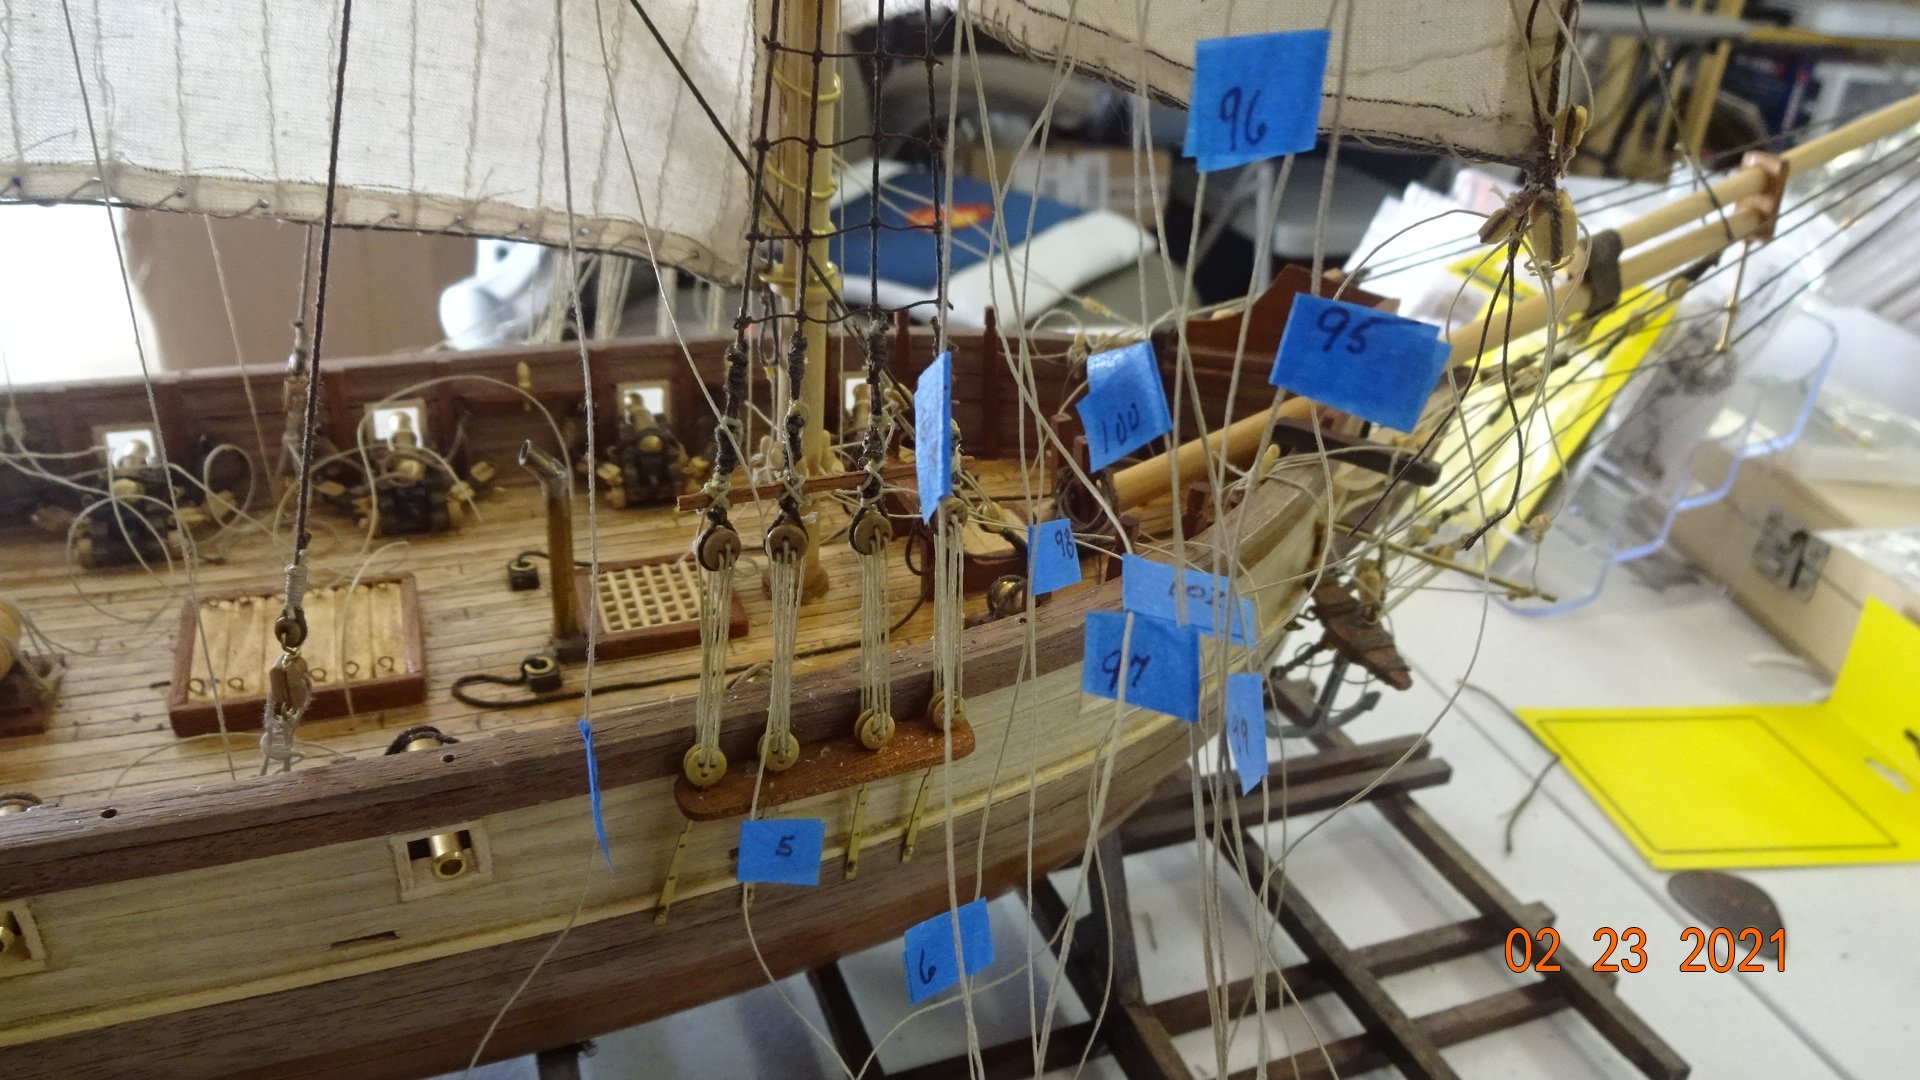
Current state of the build. This time I labeled the lines, much better. Next step is to start tying off all those lines........

- 195 replies
-
- 4
-
-
- enterprise
- constructo
- (and 1 more)
-
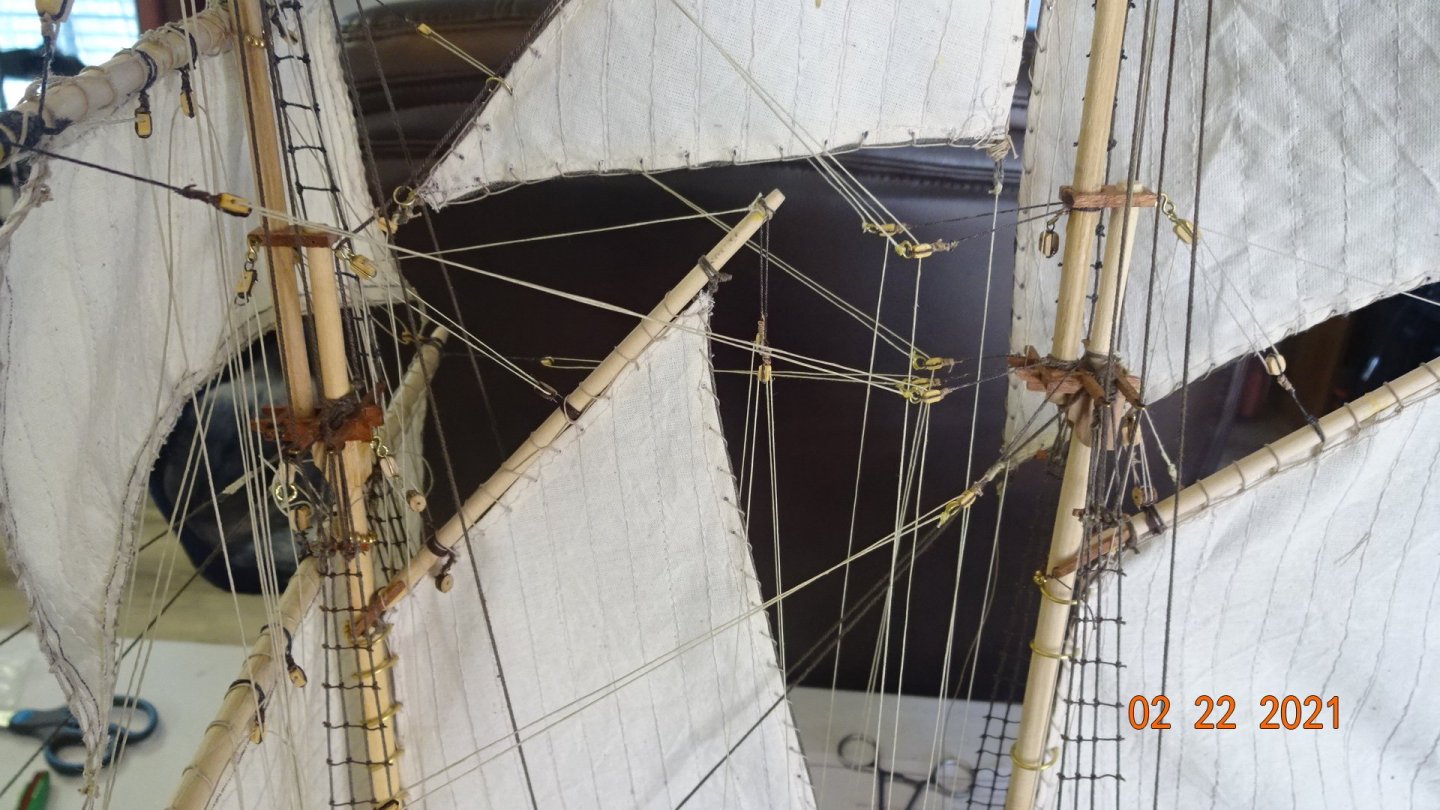
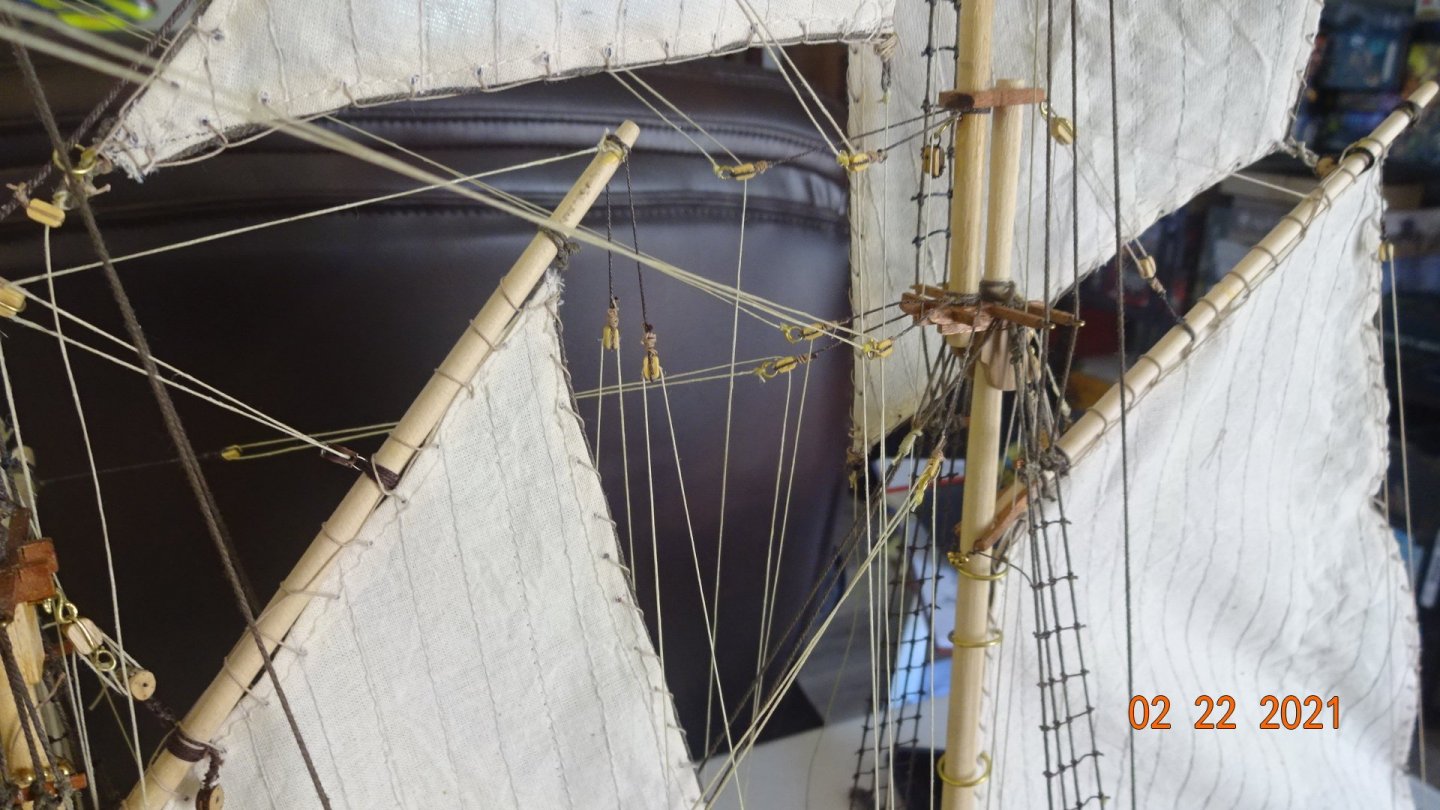
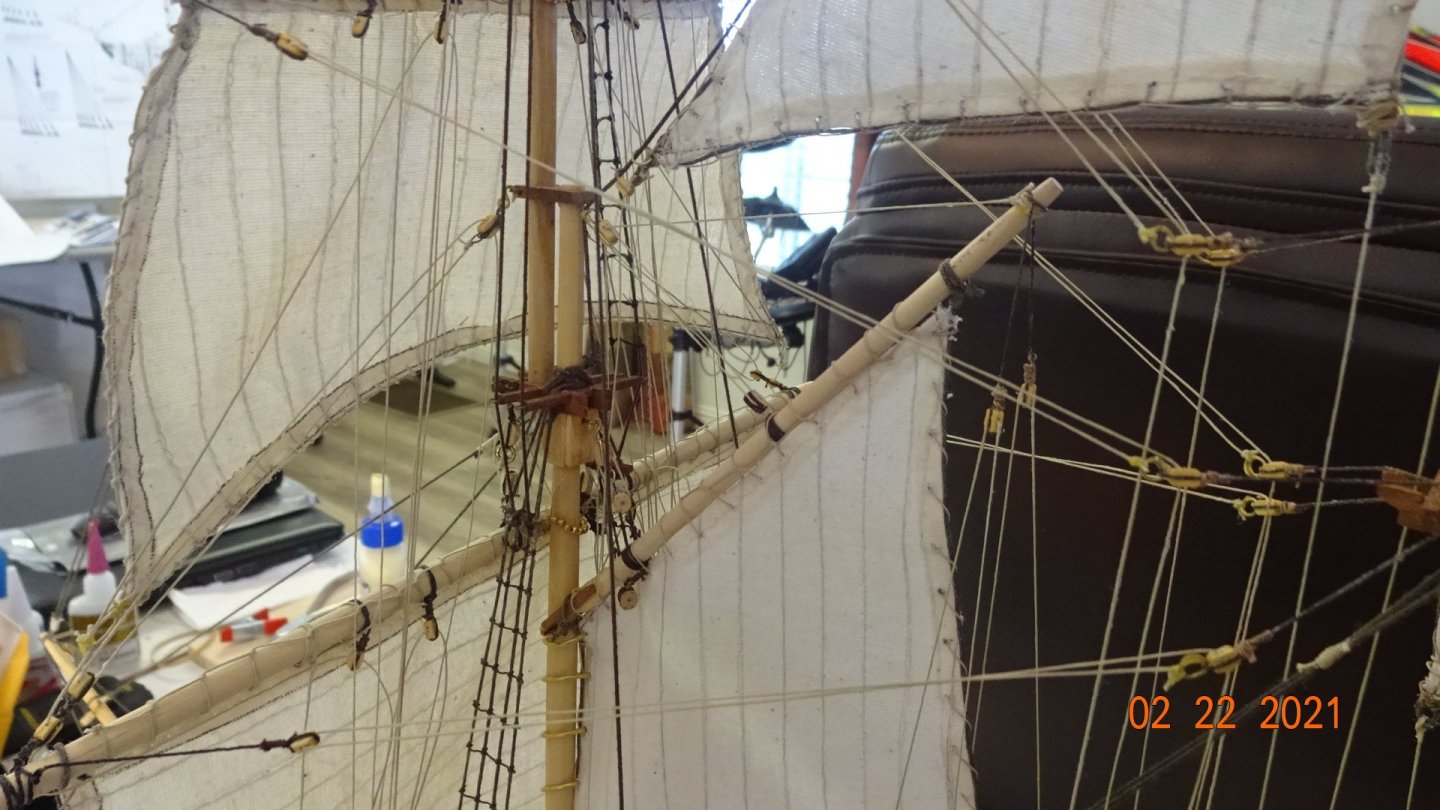
Why did know one warn me of the rat's nest coming up in rigging the foremast sails. holy crap! Lots of work verifying which line goes where and where to tie it off at. Countless times grabbing the wrong line and trying to make it work (that's on me of course, lol, the whole thing is on me). Anyway here's some progress. A close up view. A closer up view... A closer closer view

- 195 replies
-
- 4
-
-
- enterprise
- constructo
- (and 1 more)
-
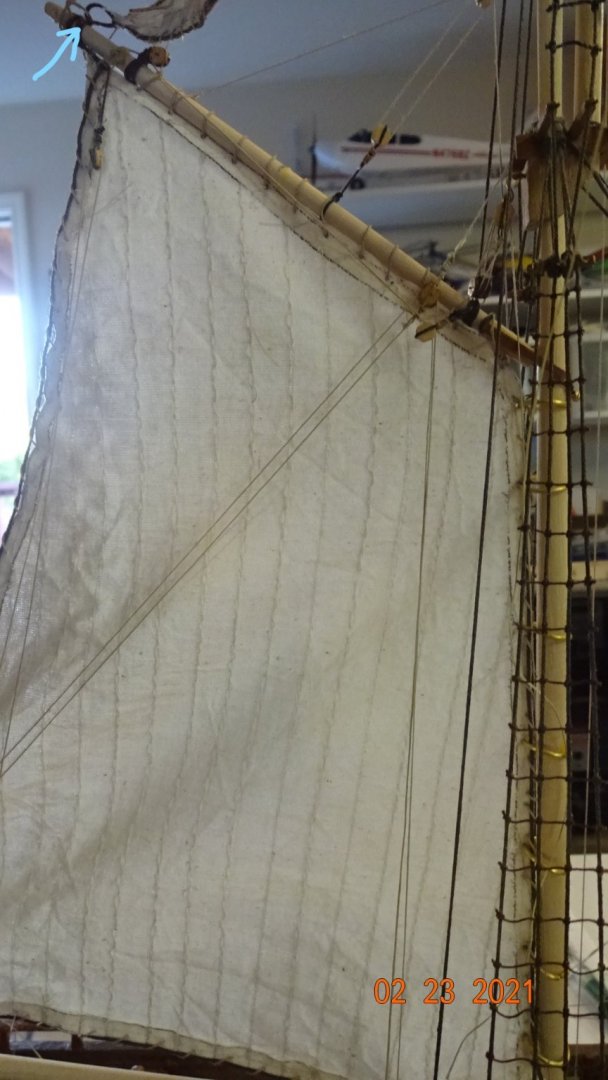
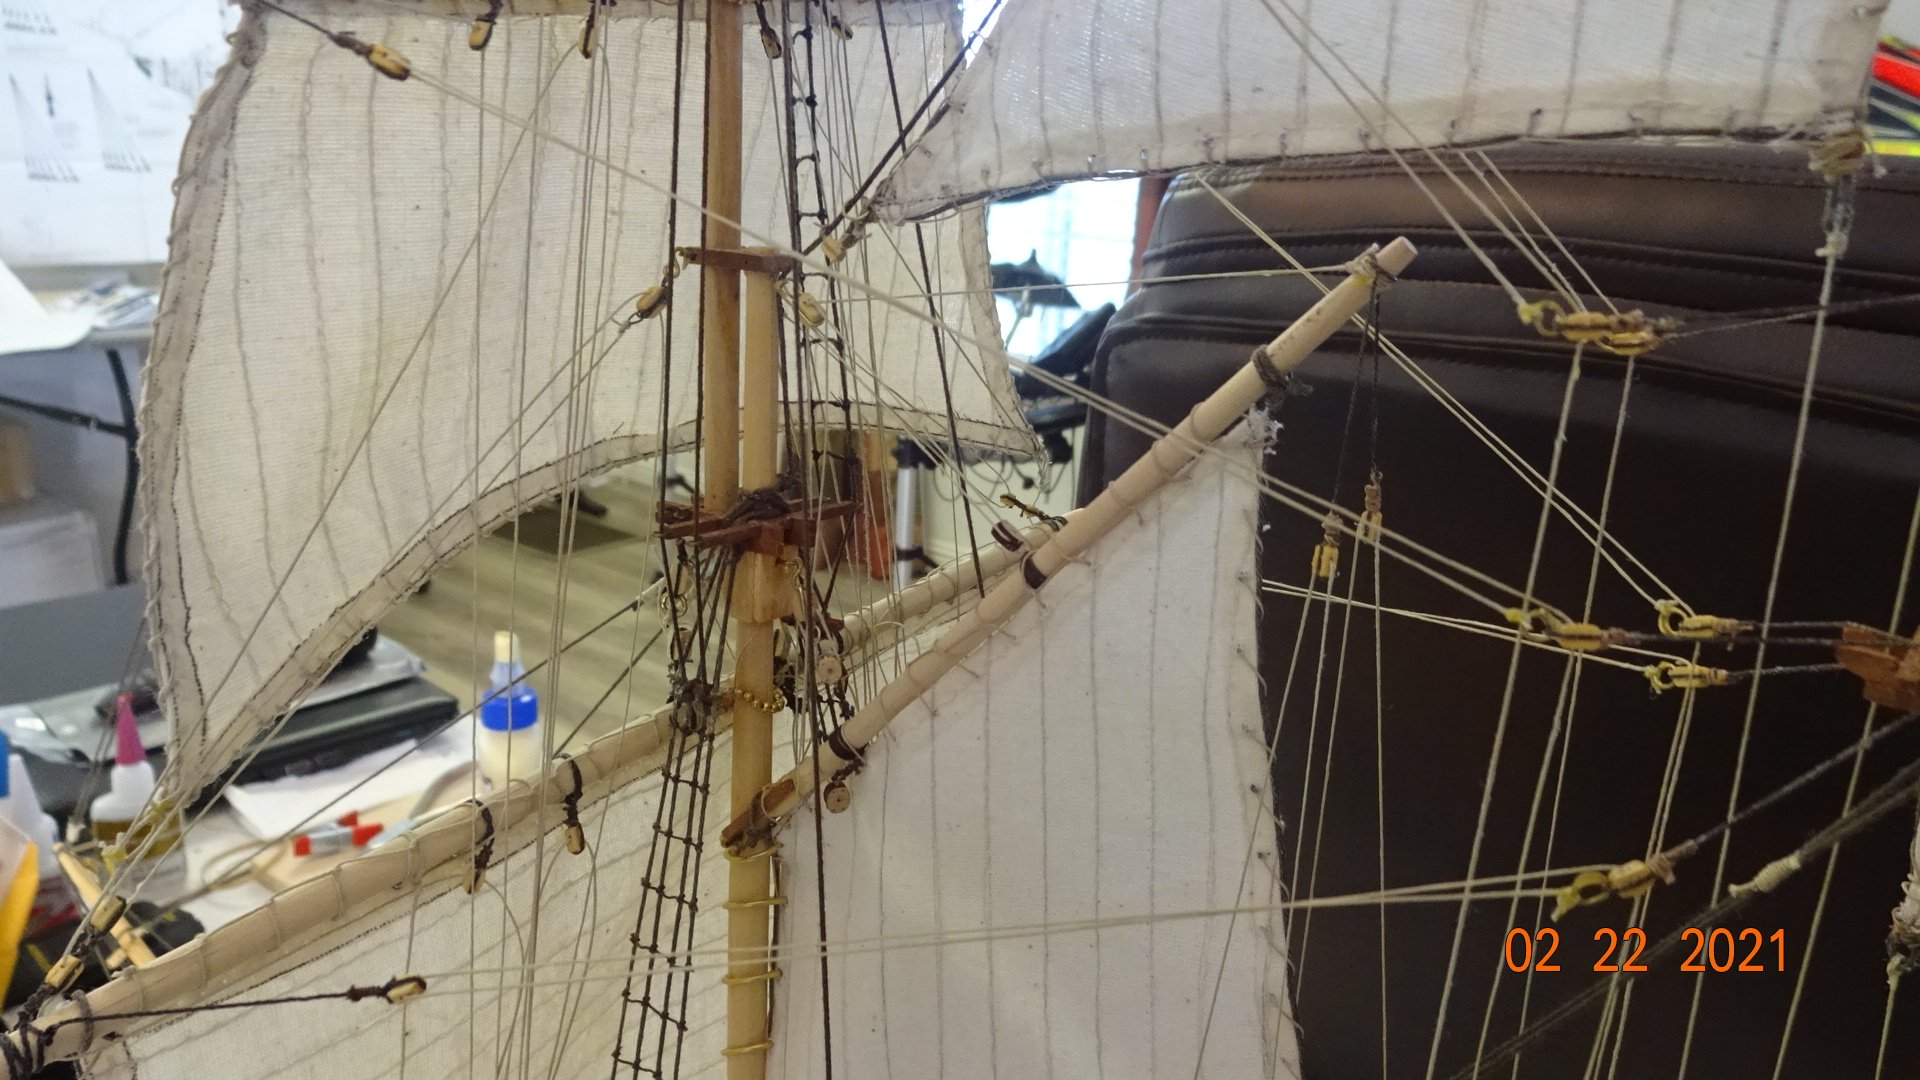
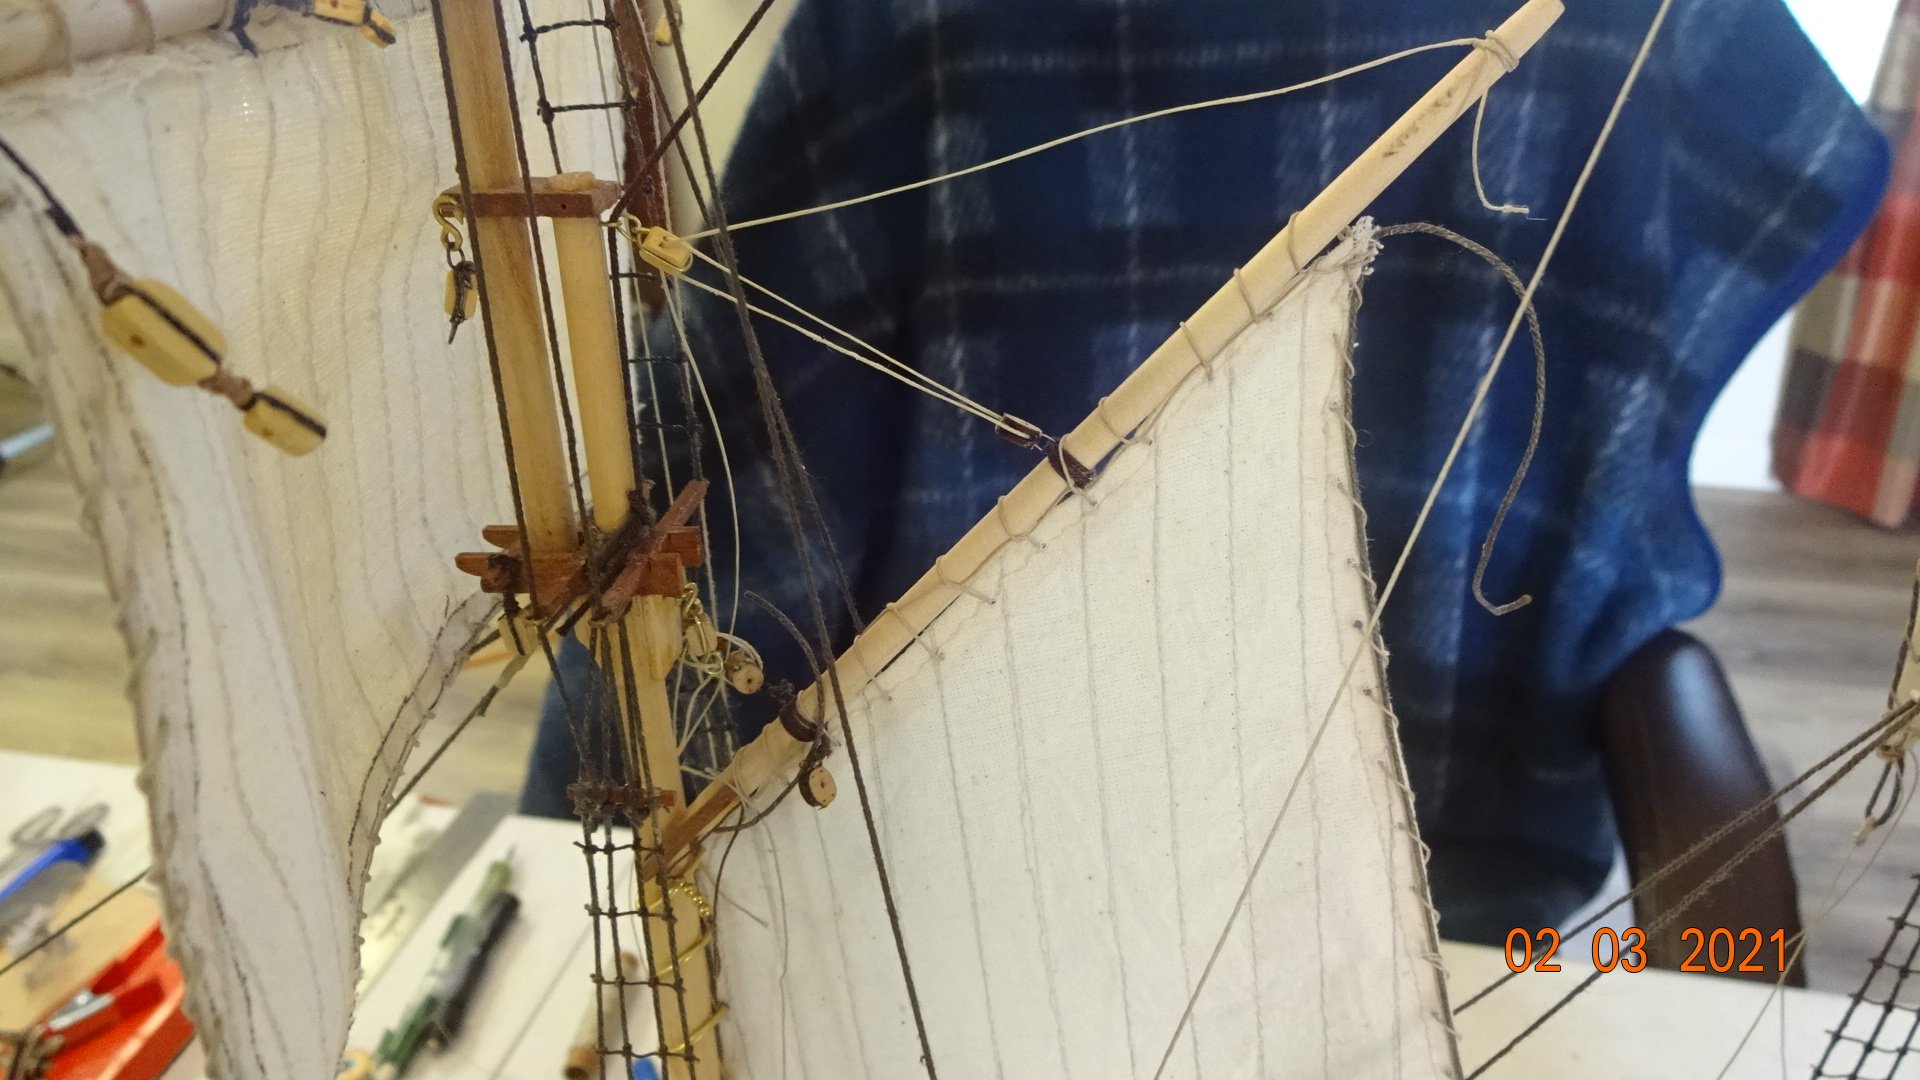
Thanks for the input Mike I have not been happy with the rigging on the top main mast Gaff sail. After studying the schematics for far to long I decided to go with what I was seeing. Now you may ask yourself, "WTH is he talking about? He was supposed to do that from the start. 🤔". You see, I like doing things wrong the first time, I guess I learn more that way. 🤥 Actually the problem is I tried using the manual and "looking at other members rigging". Which just confused me more. The schematic shows the top main mast gallient yard with a rigging line coming off the starboard side (actually tied to the yard) then running through the block at the end of the bottom gaff yard, then following the bottom gaff yard towards the mast where it goes through another block and then down towards the deck, finally being tied off. The top gaff sail seems only to be tied to the bottom gaff yard. Well, I hope everyone is thoroughly confused🤔. Here's some pics. This image shows the rigging now tied off to the starboard side top gaff yard, as well as showing the 2 blocks the rigging runs through. This picture shows the port side rigging tied off to the top yard gaff. This image shows the top gaff sail tied off to the bottom gaff yard. Originally I had tied the rigging to the sail. This image shows the rigging line supporting the sail. I can't make it anymore confusing than that, 😅. Right or wrong, I now like the way the sail hangs and can be adjusted.


- 195 replies
-
- 3
-
-
- enterprise
- constructo
- (and 1 more)
-
I think I have it figured out. Once I tied both lines to the same corner of the sails ( two on the left and two on the right) I played around with the rigging. Checking how loosening and tightening worked. The line coming from the top gallient yard and tying off at the left corner is used to pull that corner up and towards the mast. The line coming from the top foremast yard and tying off at that same corner is used to pull the sail back into place. Looking at schematics didn't really point this out, at least to my newbie eyes. Once I committed to tying off both rigging lines to the same corner I was able to figure it out. Things are rolling along now. I have 7 sails mounted, 4 of them are completely rigged. I still have 3 sails to sew, mount and rig. I can start to see the light at the end of the tunnel on this build.
- 195 replies
-
- 2
-
-
- enterprise
- constructo
- (and 1 more)
-
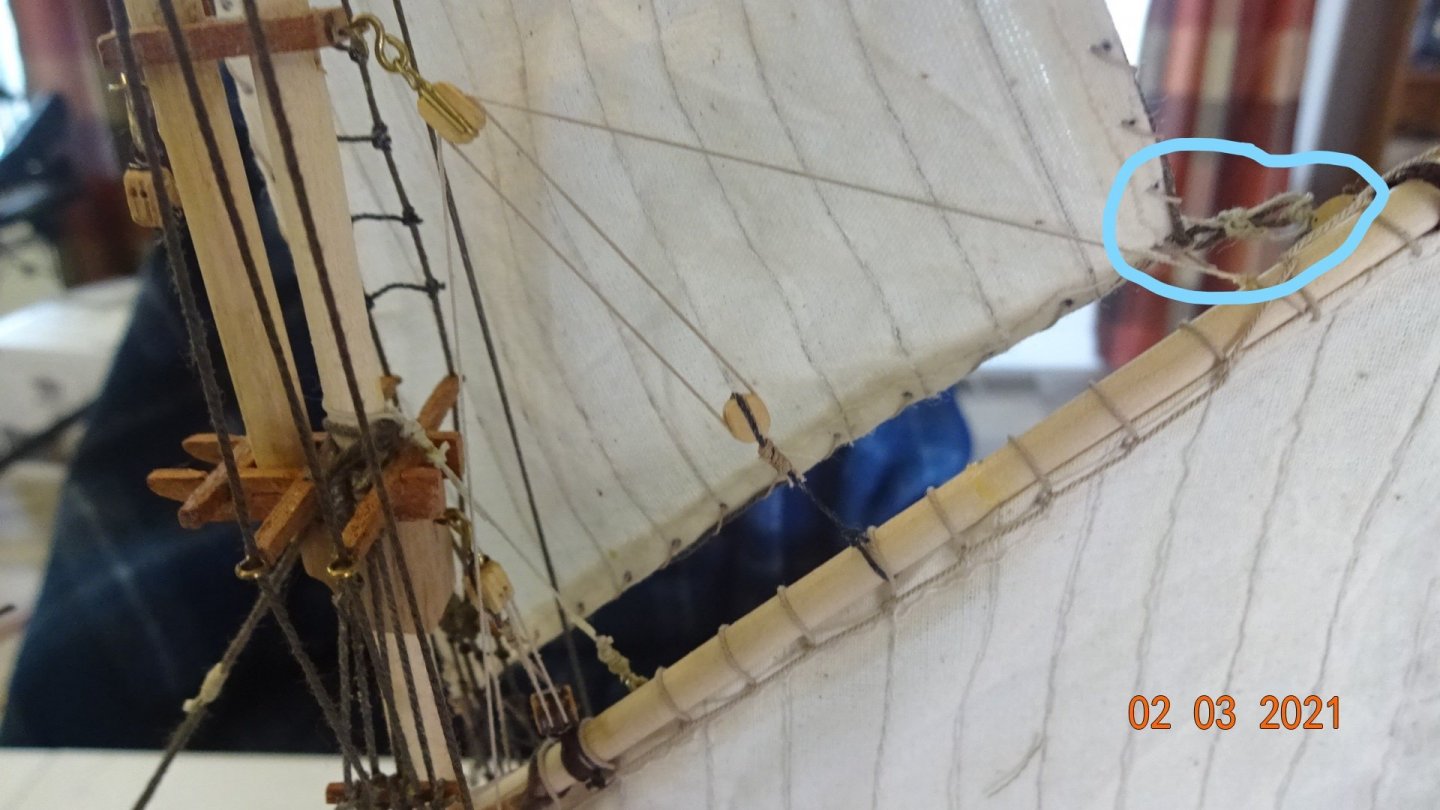
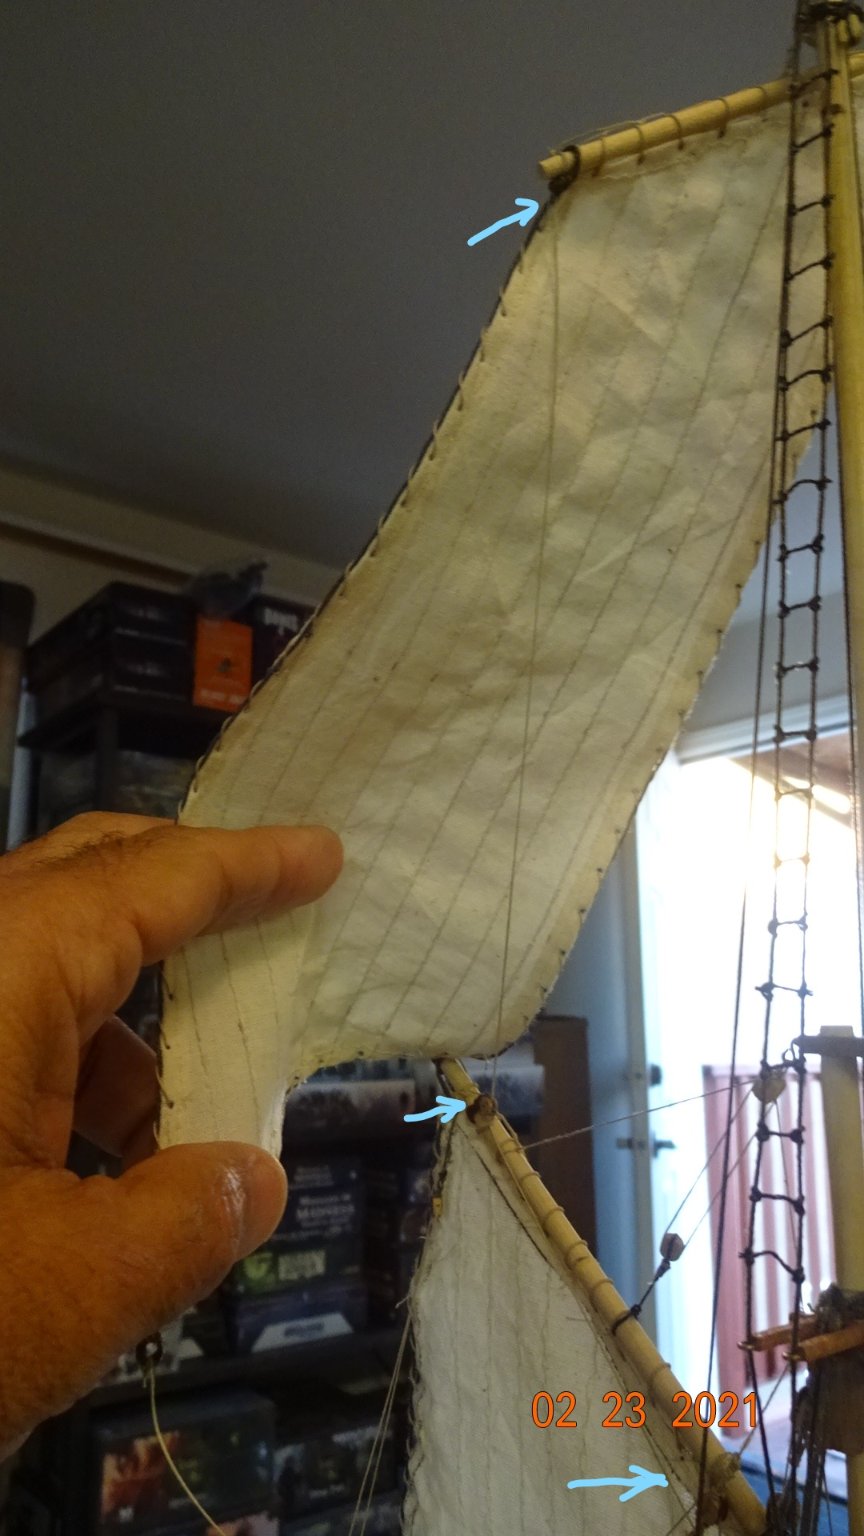
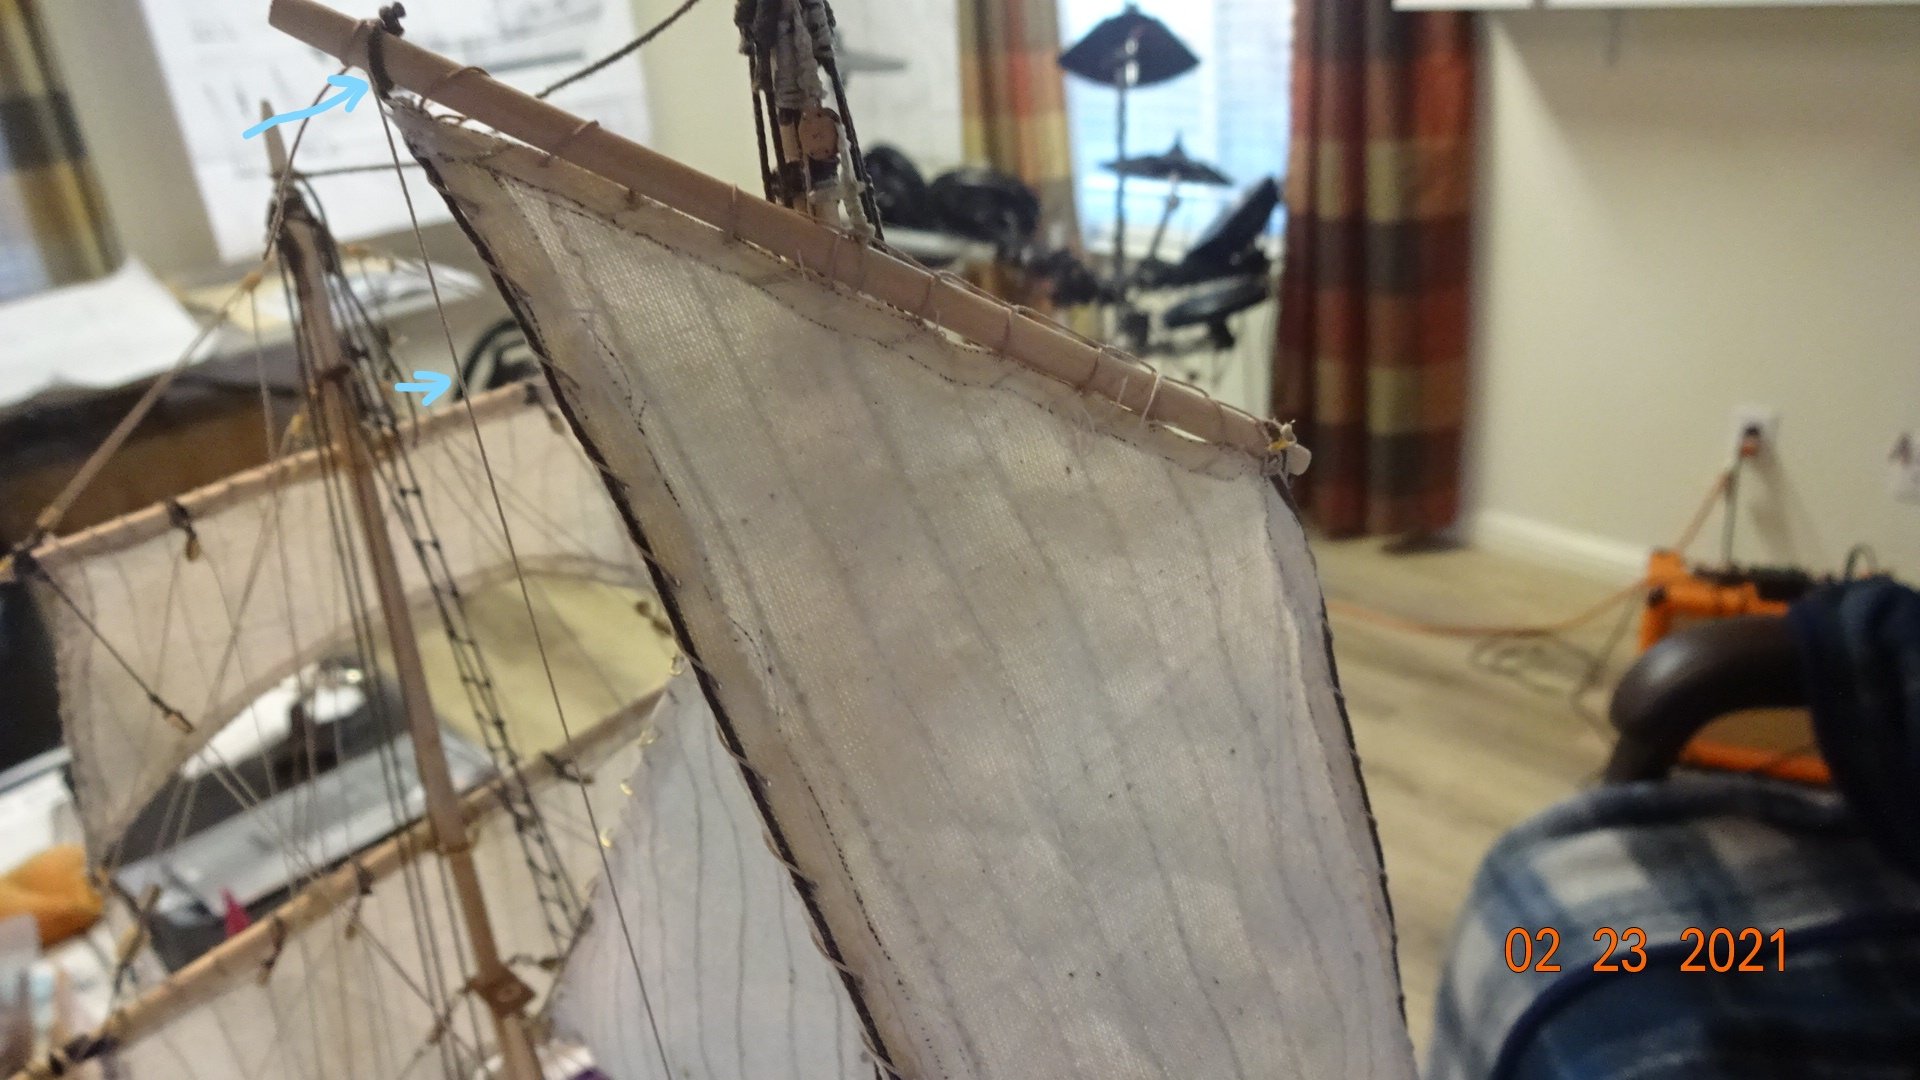
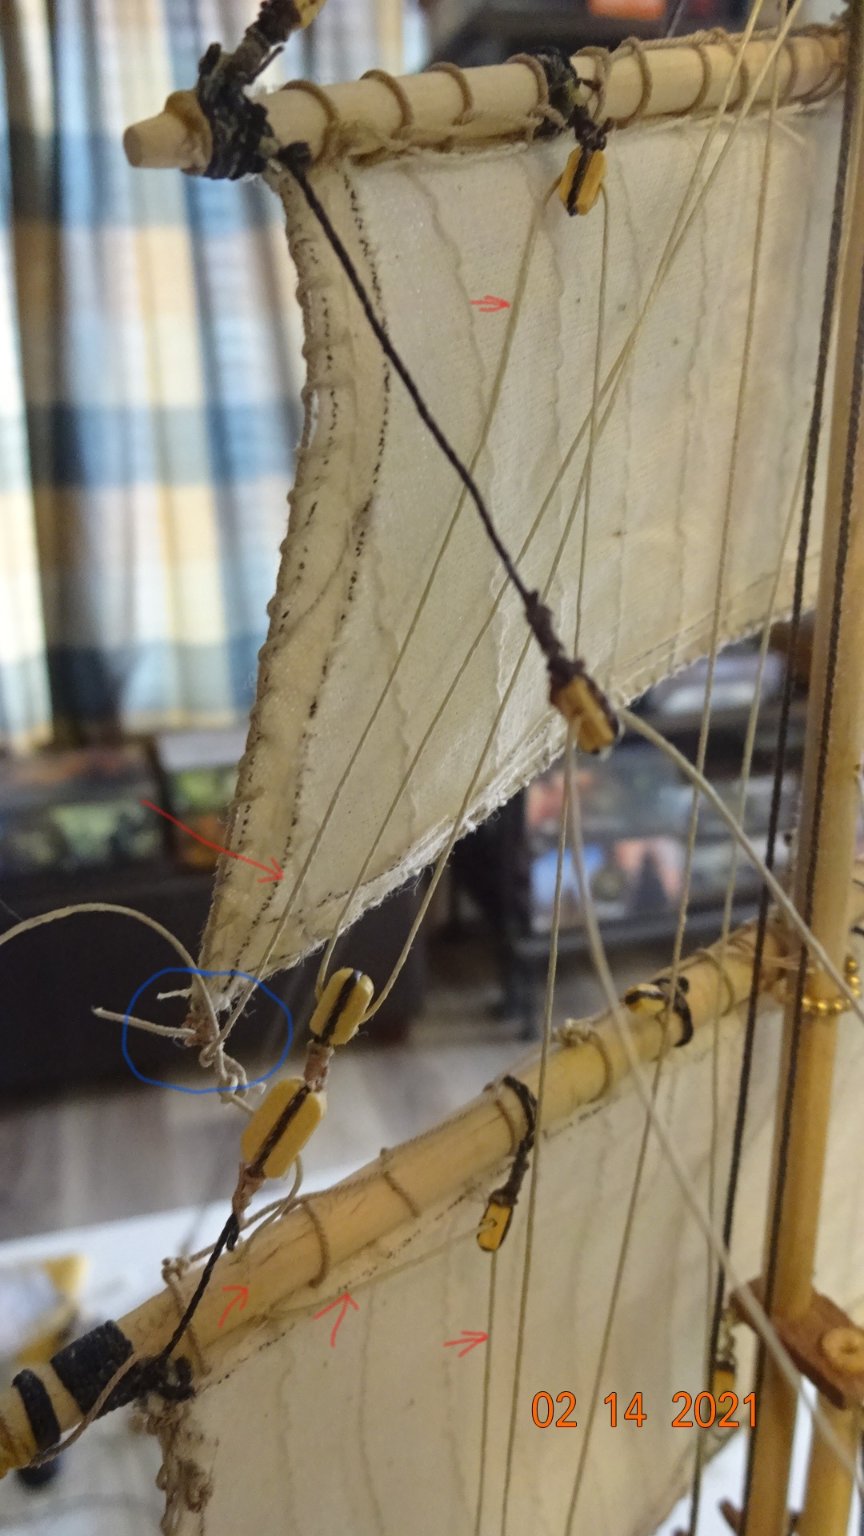
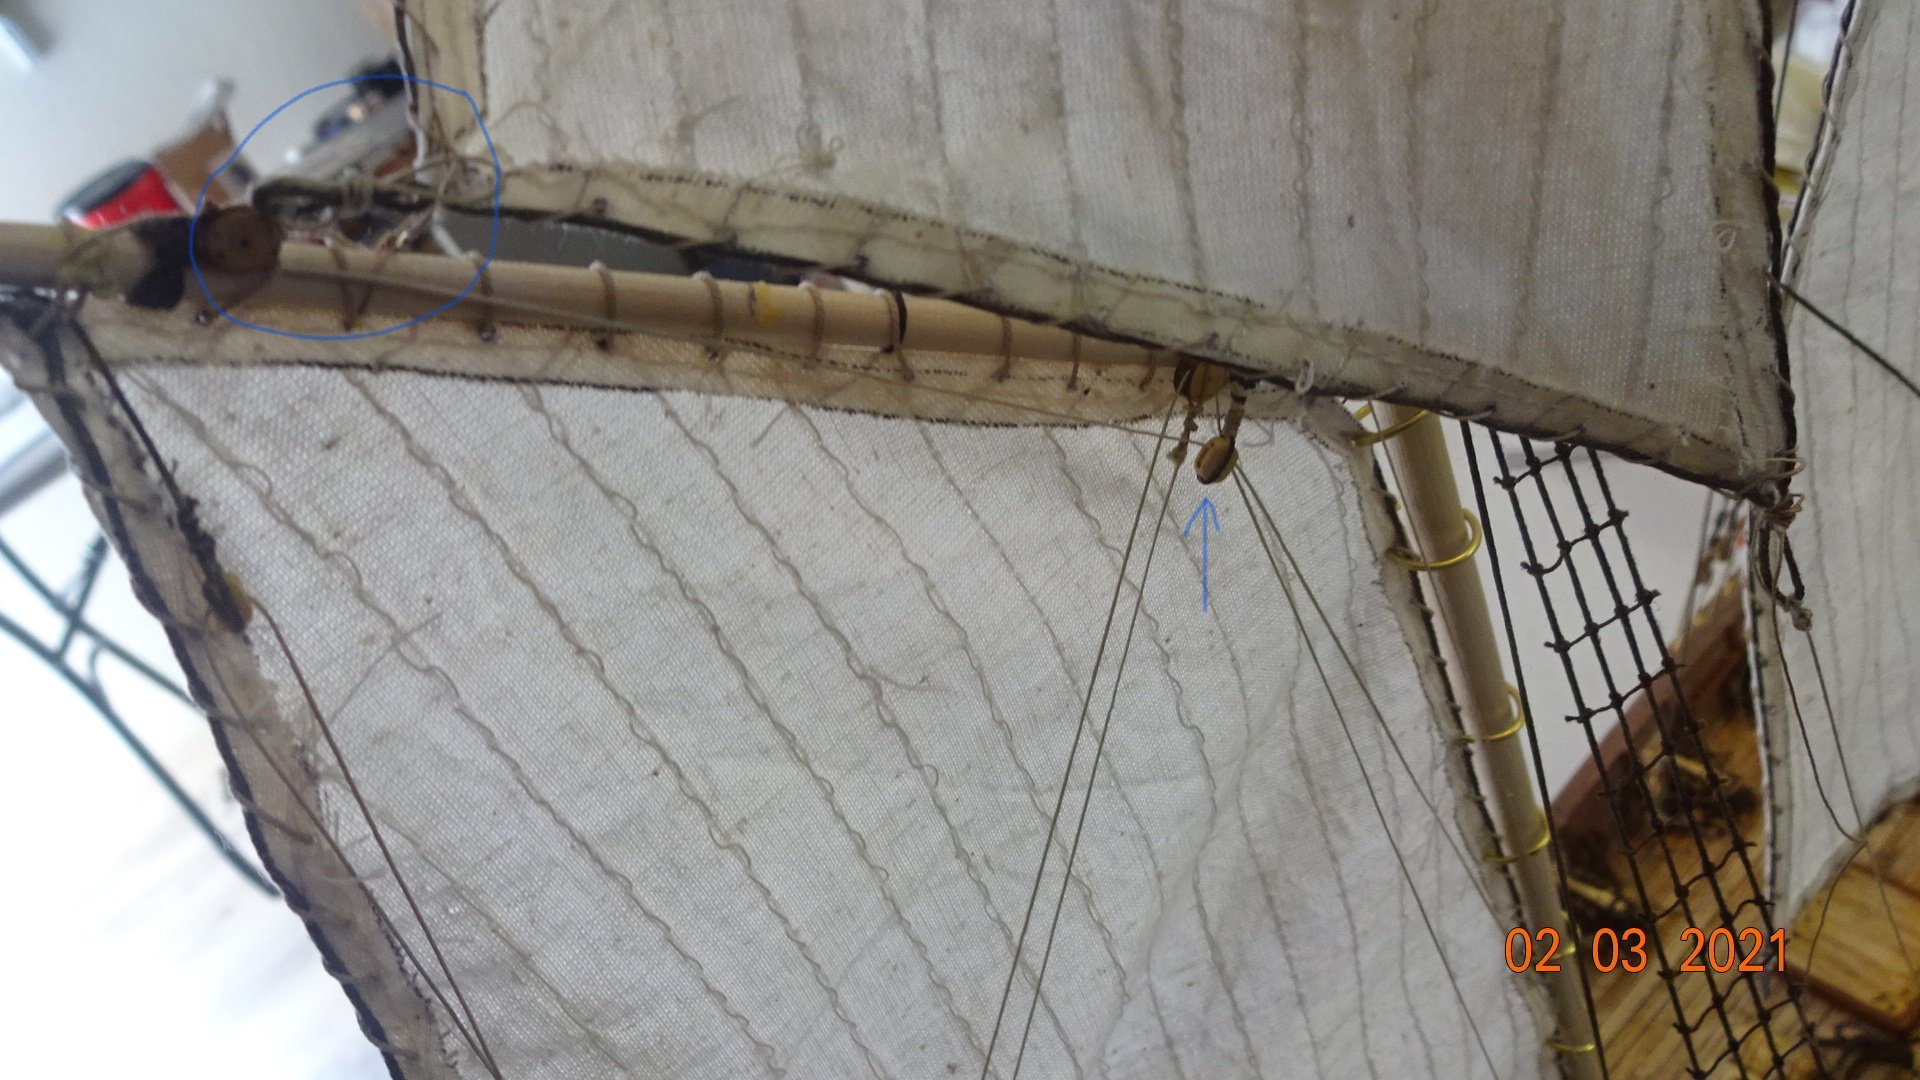
Thanks again Mike. I have been able to determine the rigging lines from the top gallient foremast however I am having concerns on the block rigging for the clue and tack lines ( the bottom corner lines at the loop). It looks like the 2 rigging lines on each side tie off to the 1 corner loop on each side. In the picture the red arrows point to the 2 different rigging lines. The blue circle is where I tie both lines off. Does this look correct?

- 195 replies
-
- 1
-
-
- enterprise
- constructo
- (and 1 more)
-
@mikiek Thanks for the input. So it seems like I have it setup correctly although the block on the main mast should be higher. Thanks on the verification of how the sail ".... doesn't sit very well ...". I'll have to turn the fan on an see how it works now😁
- 195 replies
-
- 1
-
-
- enterprise
- constructo
- (and 1 more)
-
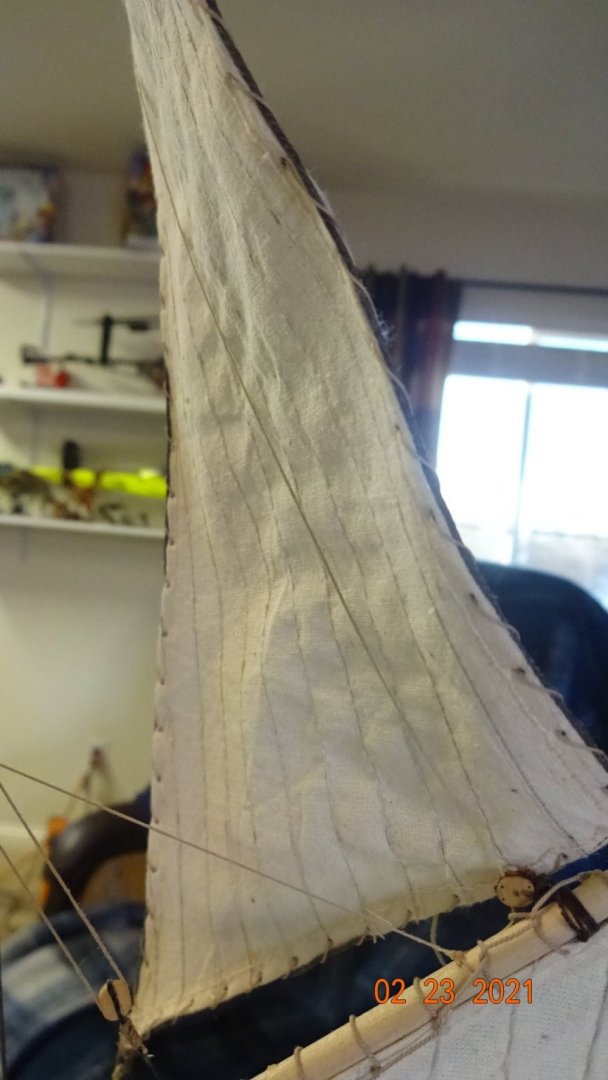
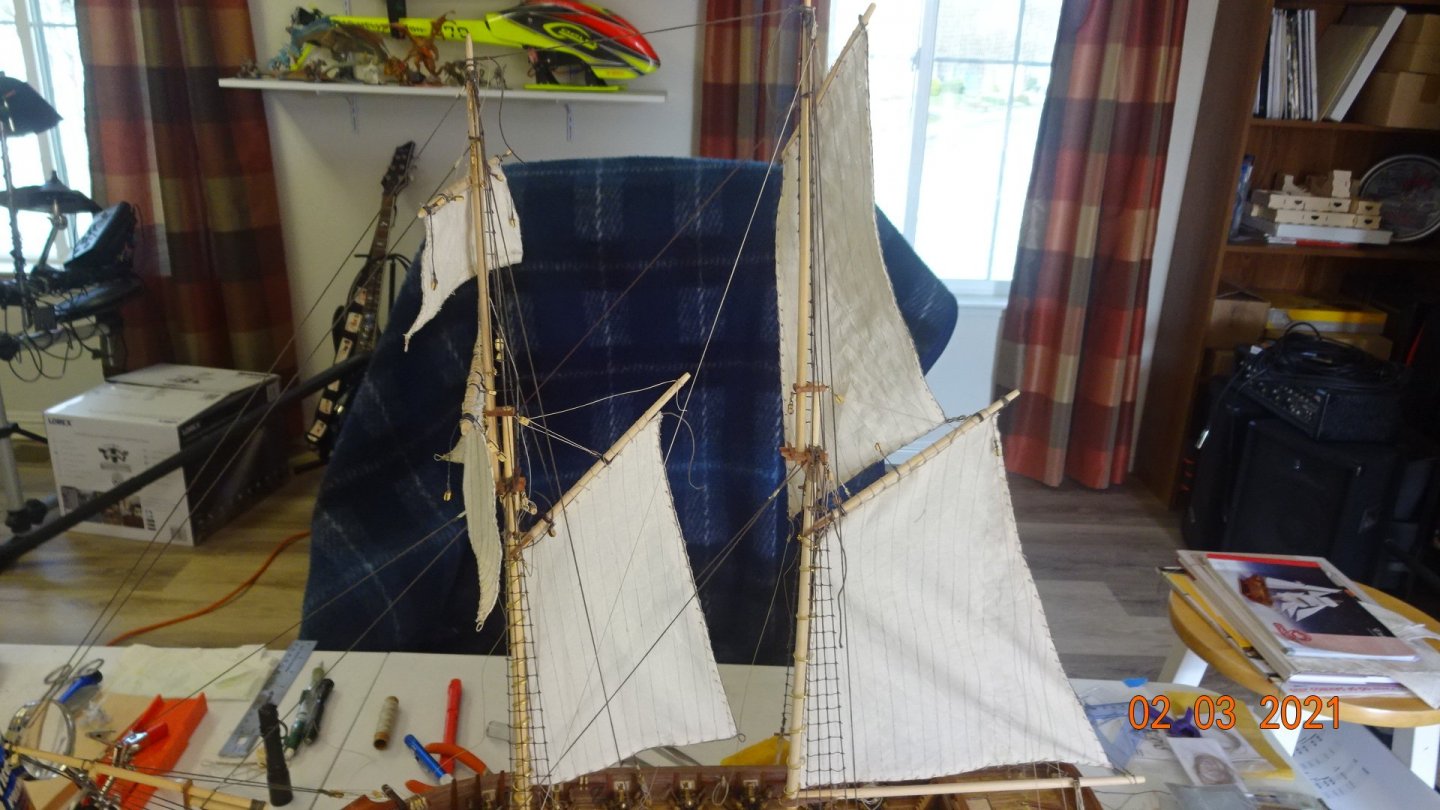
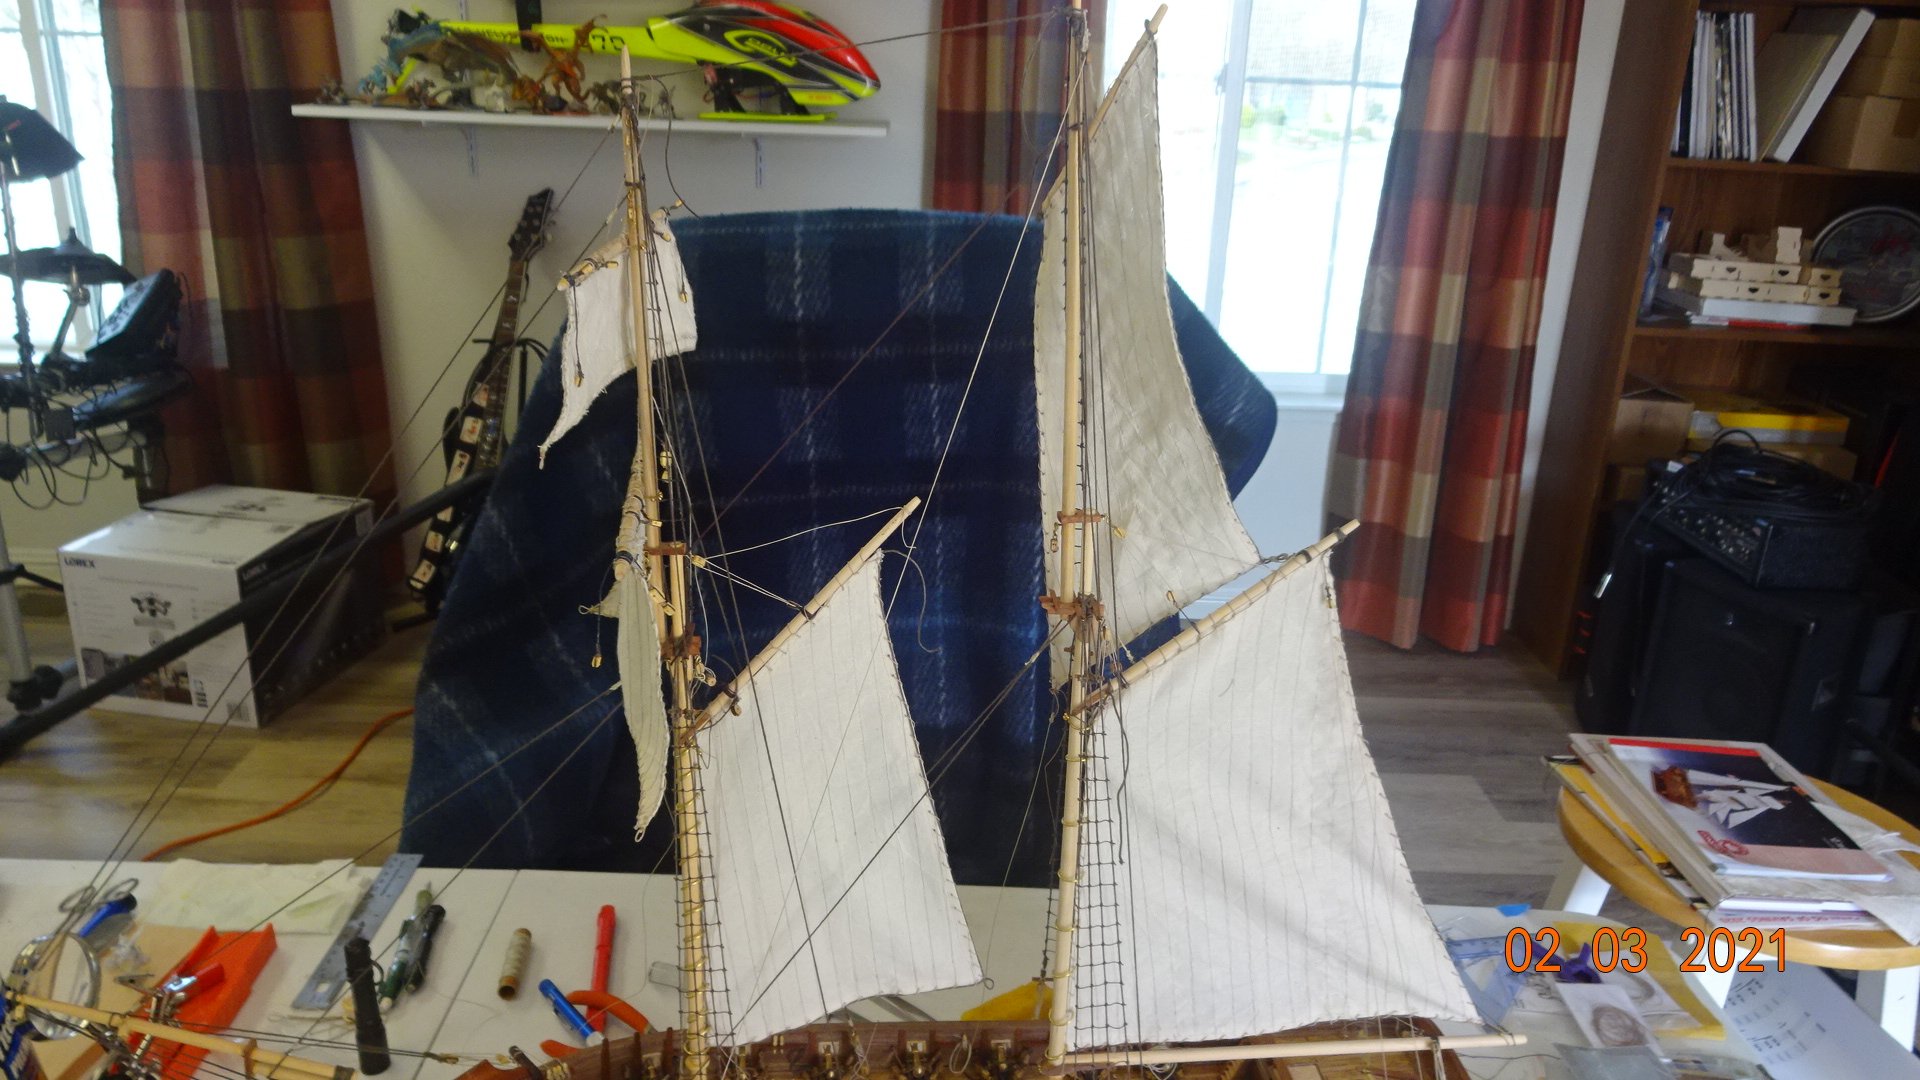
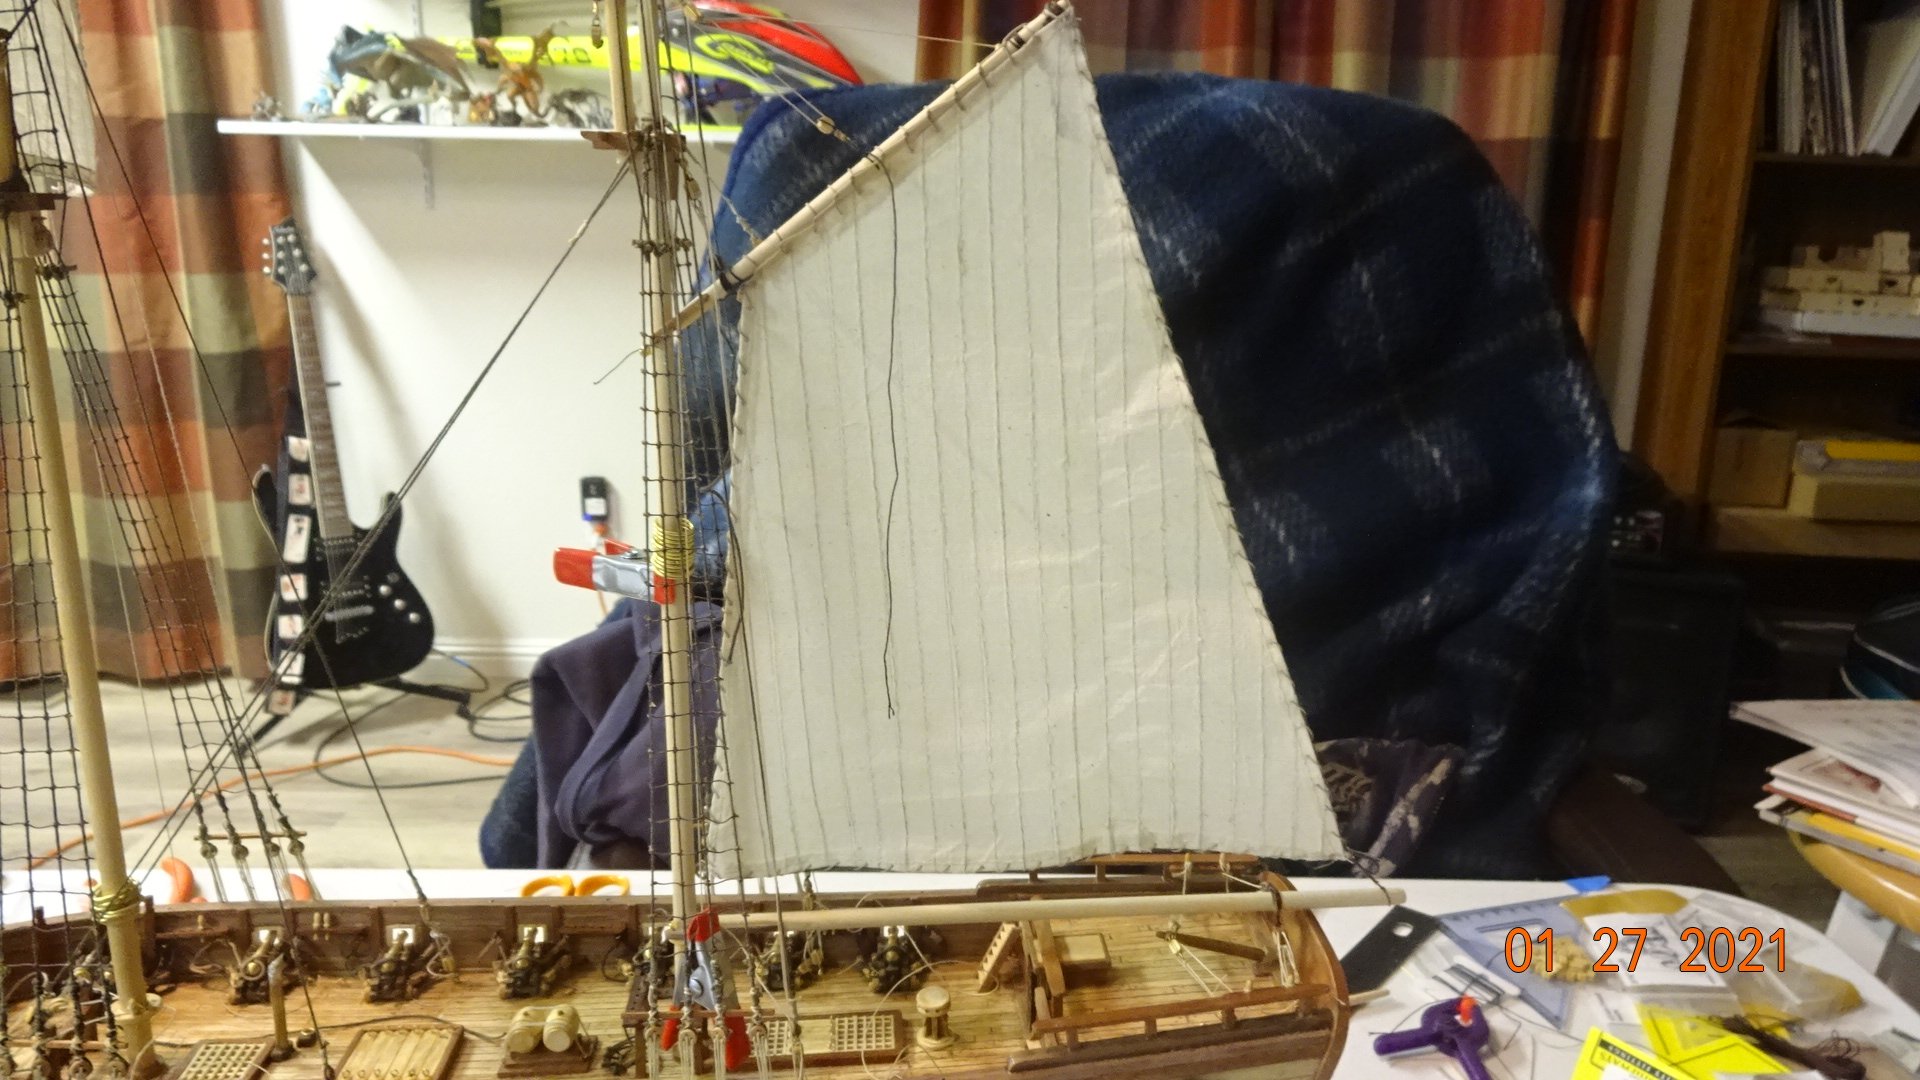
Back again after fixing my issue with the bending of the sail to the main mast. Not to much to say, so just post pics of the work. Only the sails attached to the main mast are complete and tied off. Not sure if I tied off the main mast top sail correctly or not. I have one rigging line that runs up from a main mast belaying pin , passes through two blocks and ties off on corner of the top sail. That was my best guess of where that rigging tied off. The other side of the sail has the running line tied to a loop on the corner of the sail and is tied directly to a belaying pin on the starboard side of the ship. This is how I understood the directions. But I'm not sure if I did this right as the sail angle seems odd. If anyone can validate this I would appreciate it. Next I added the gaff boom to the foremast. This time corrected all the mistakes of my first attempt on the main mast so things went smoother. The rings I had previously put on the mast made attaching the sail easier since I had pre-punched the holes. Here is the current state of the ship. That's about it for now. Still have 5 sails to wrap , maybe that's a good thing "only 5 sails to wrap" .


- 195 replies
-
- 4
-
-
- enterprise
- constructo
- (and 1 more)
-
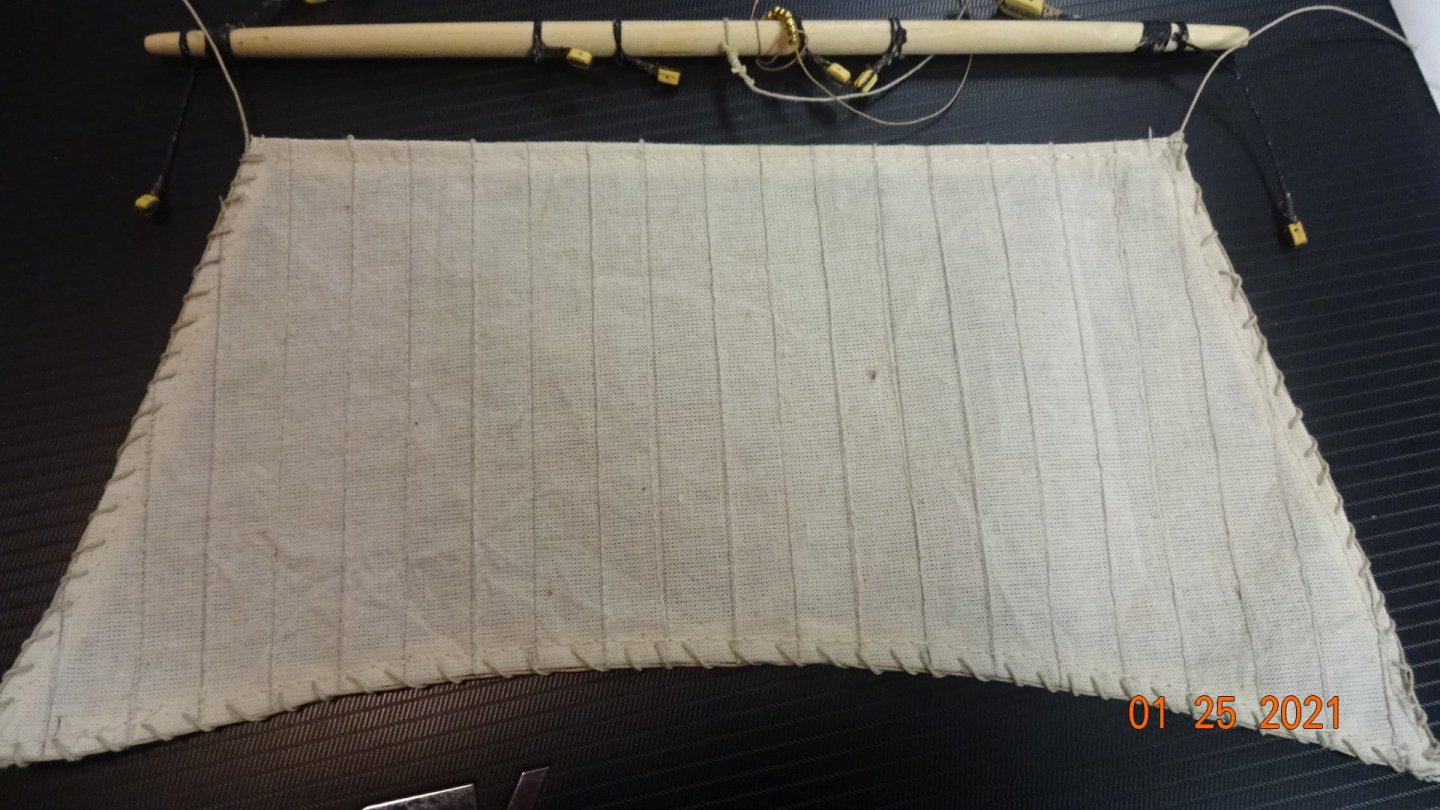
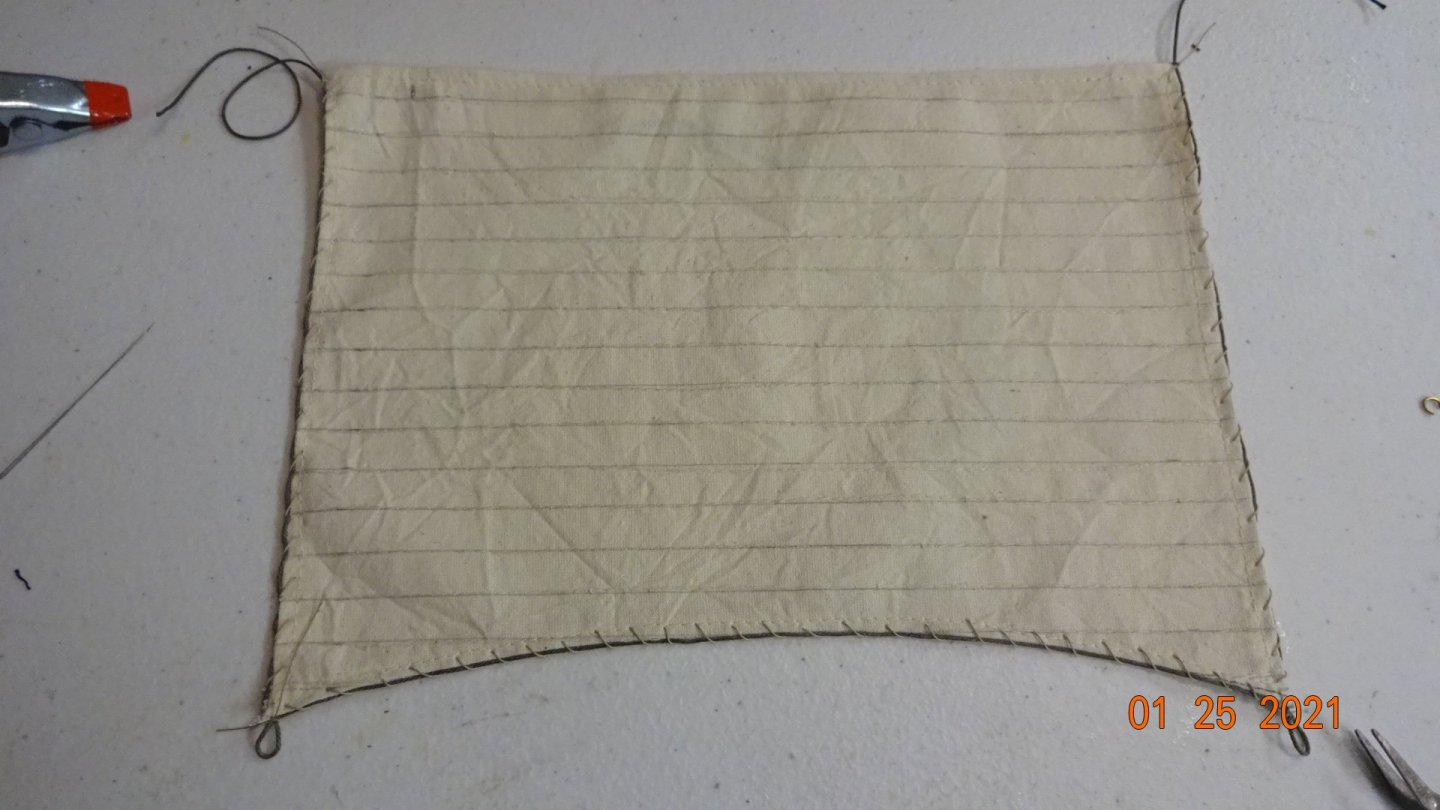
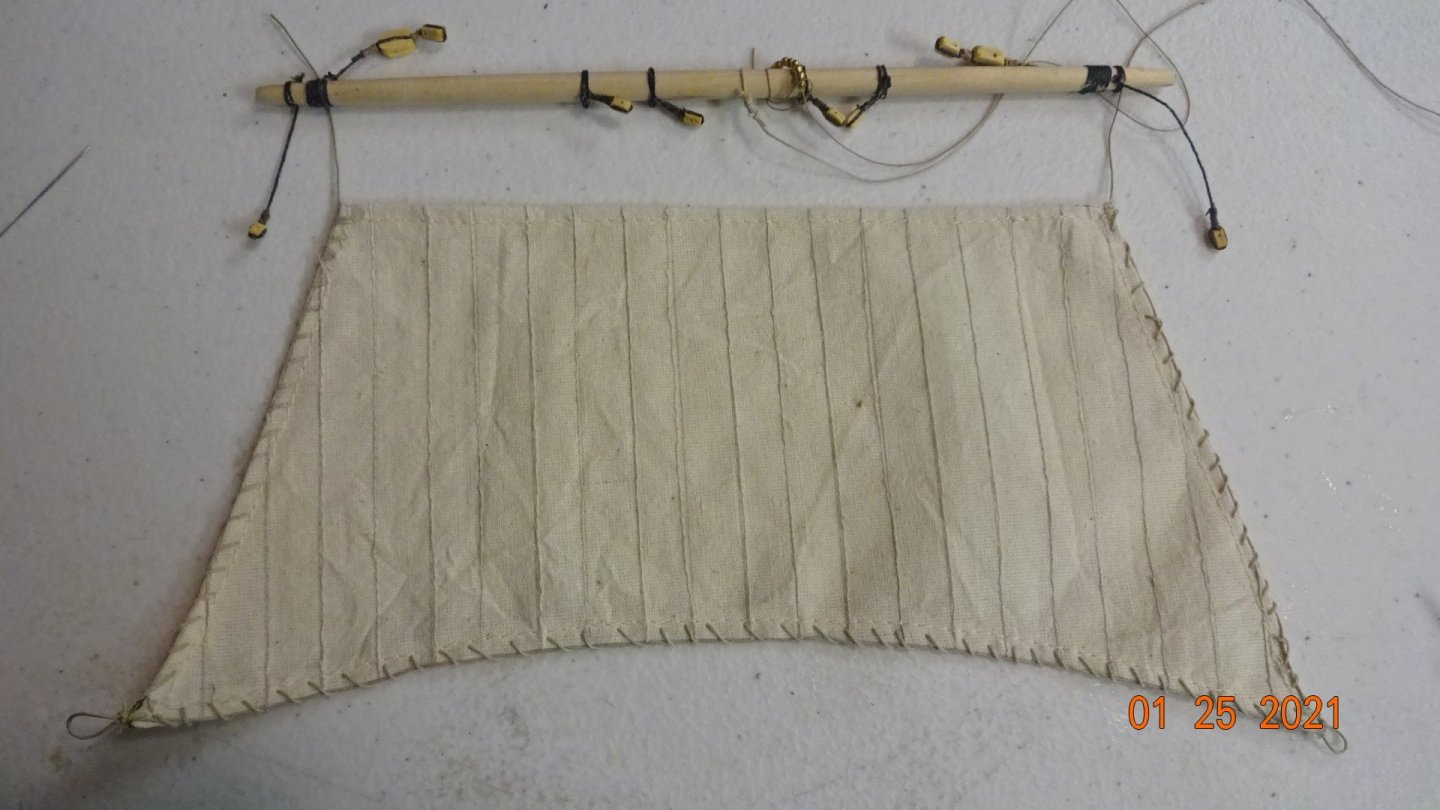
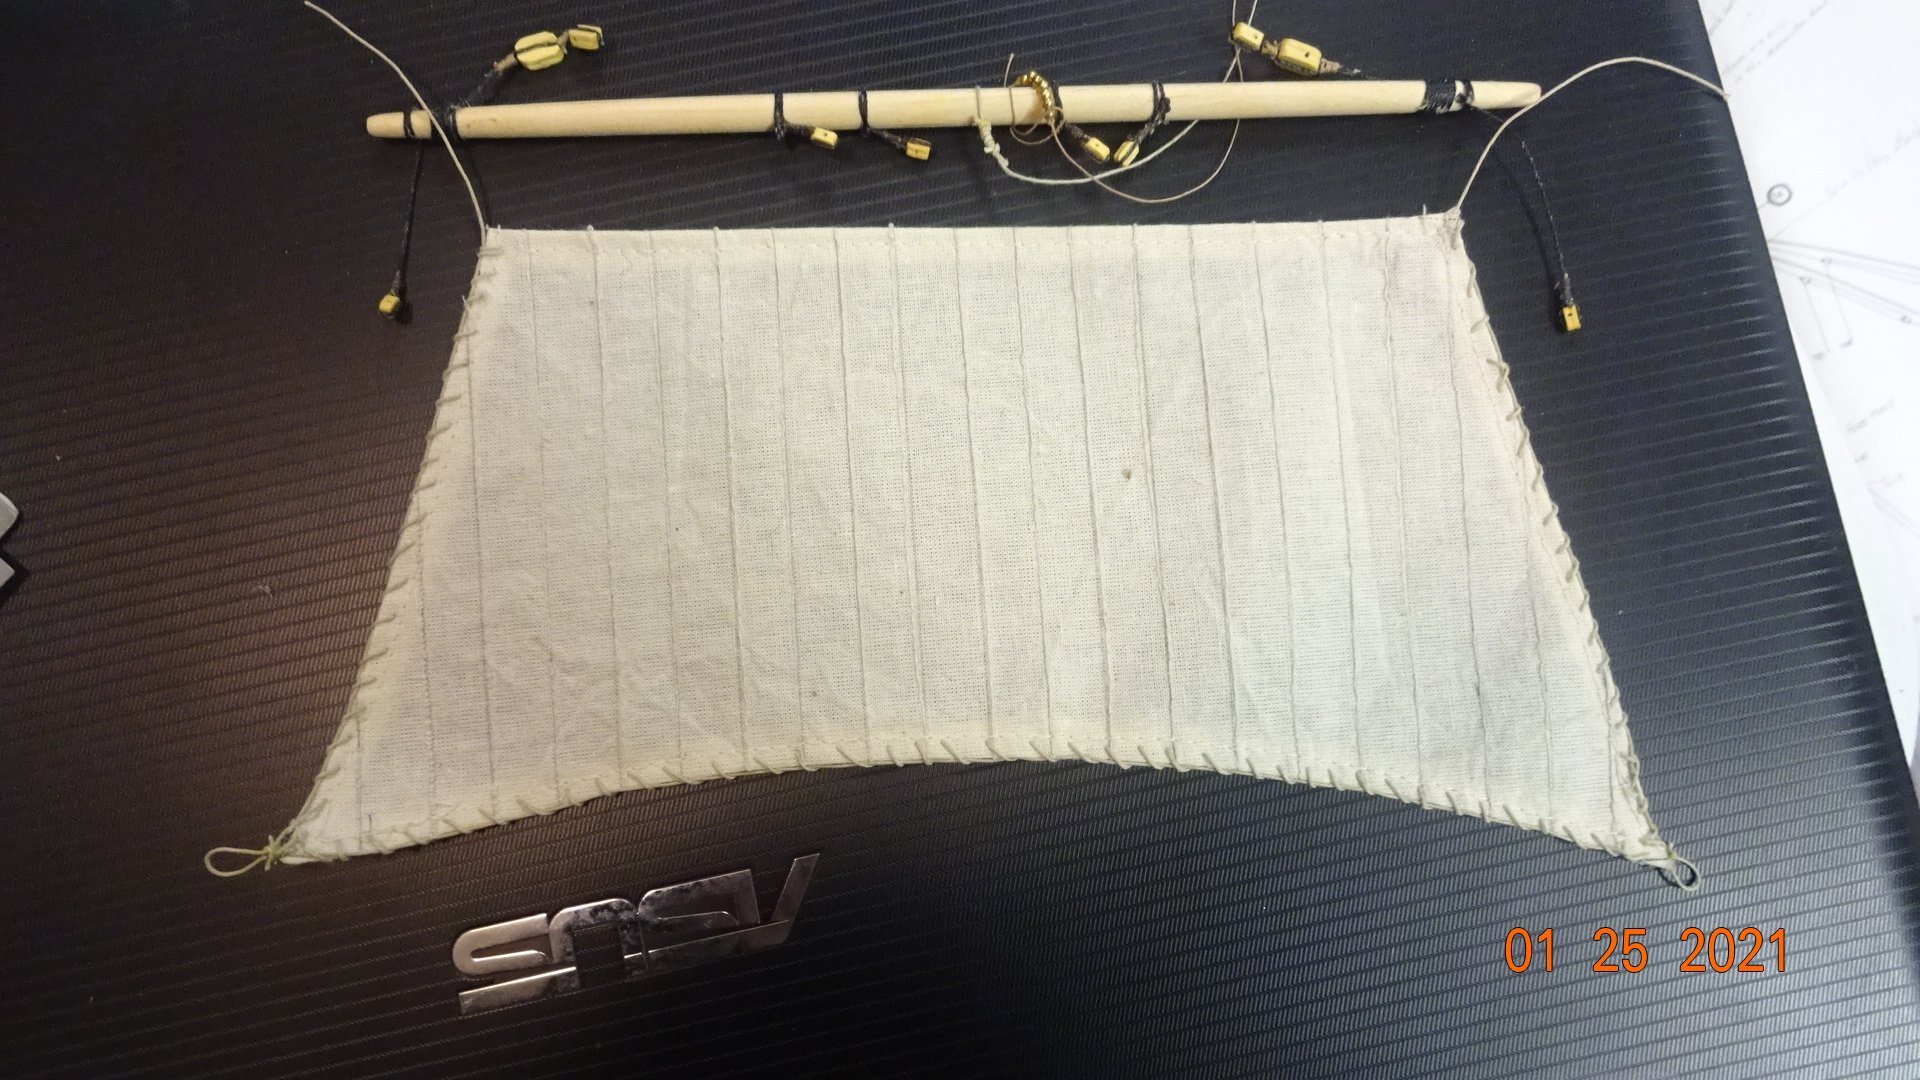
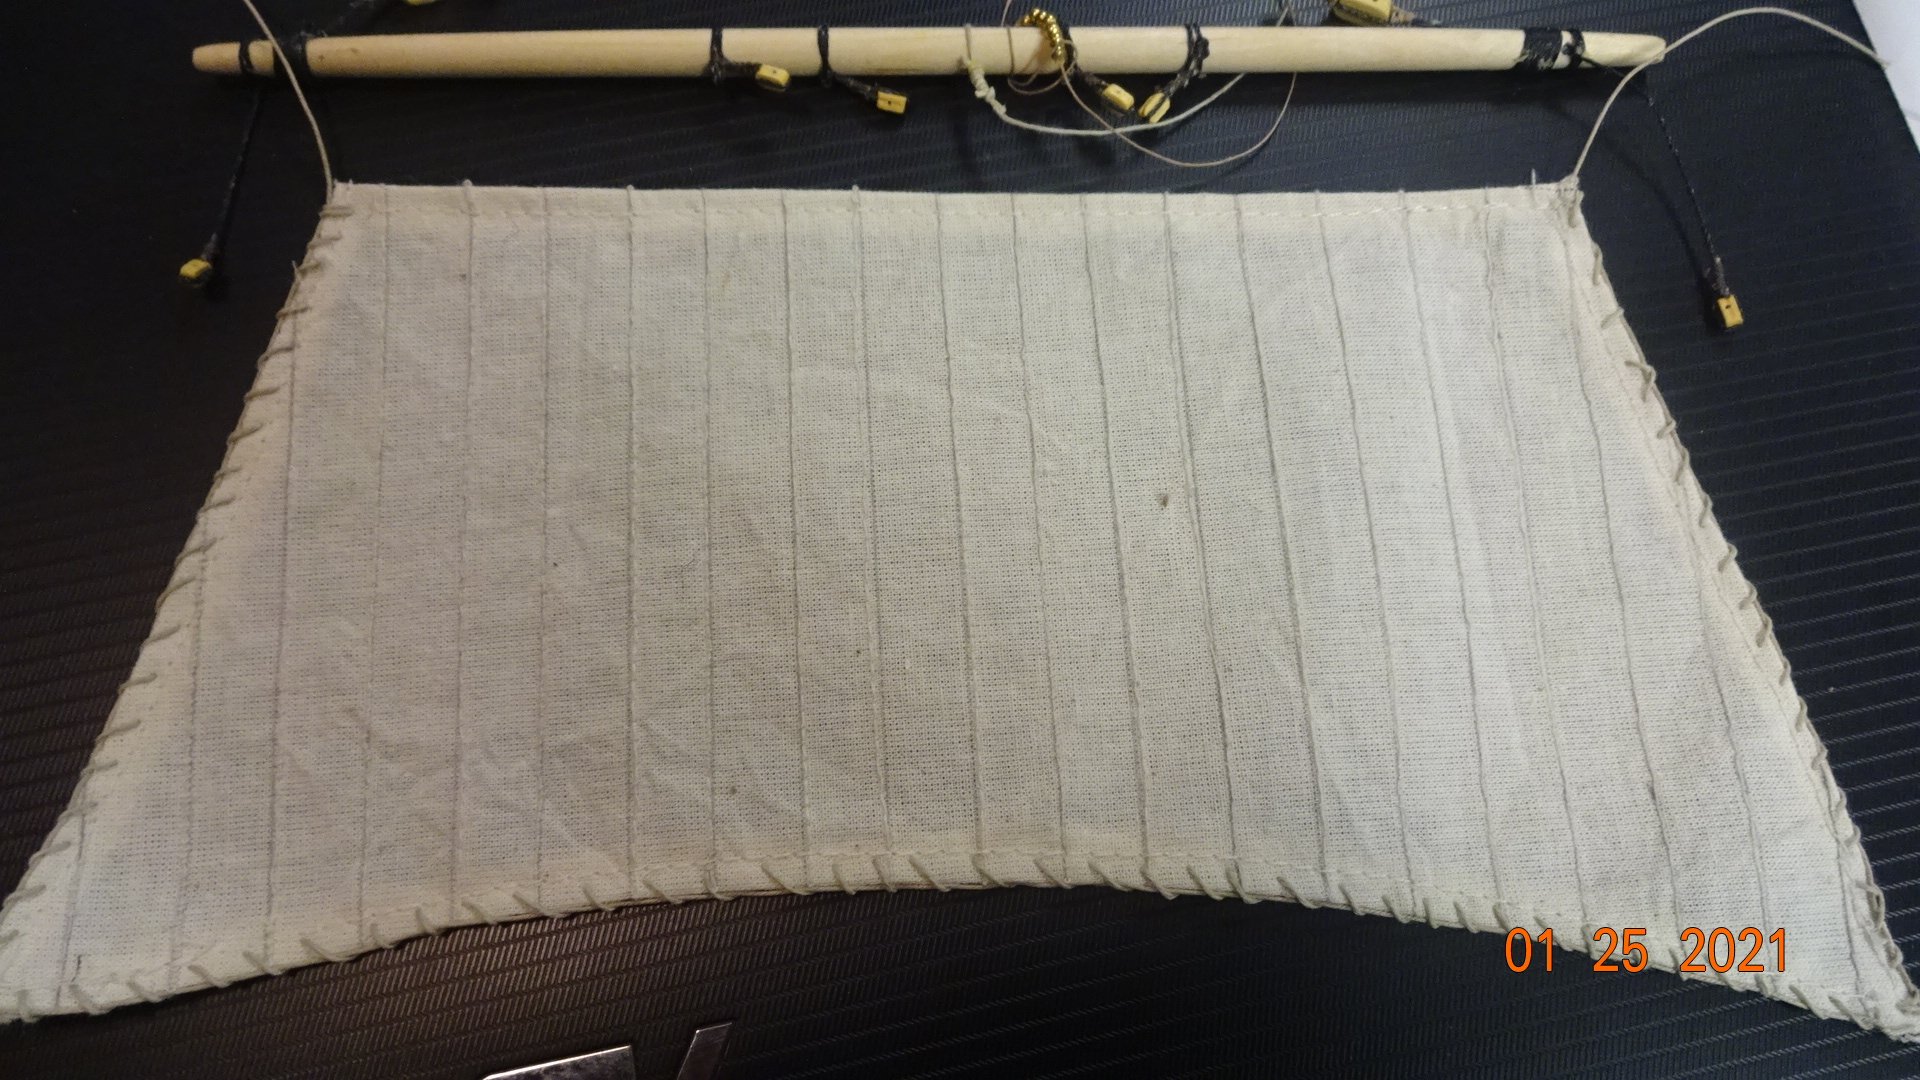
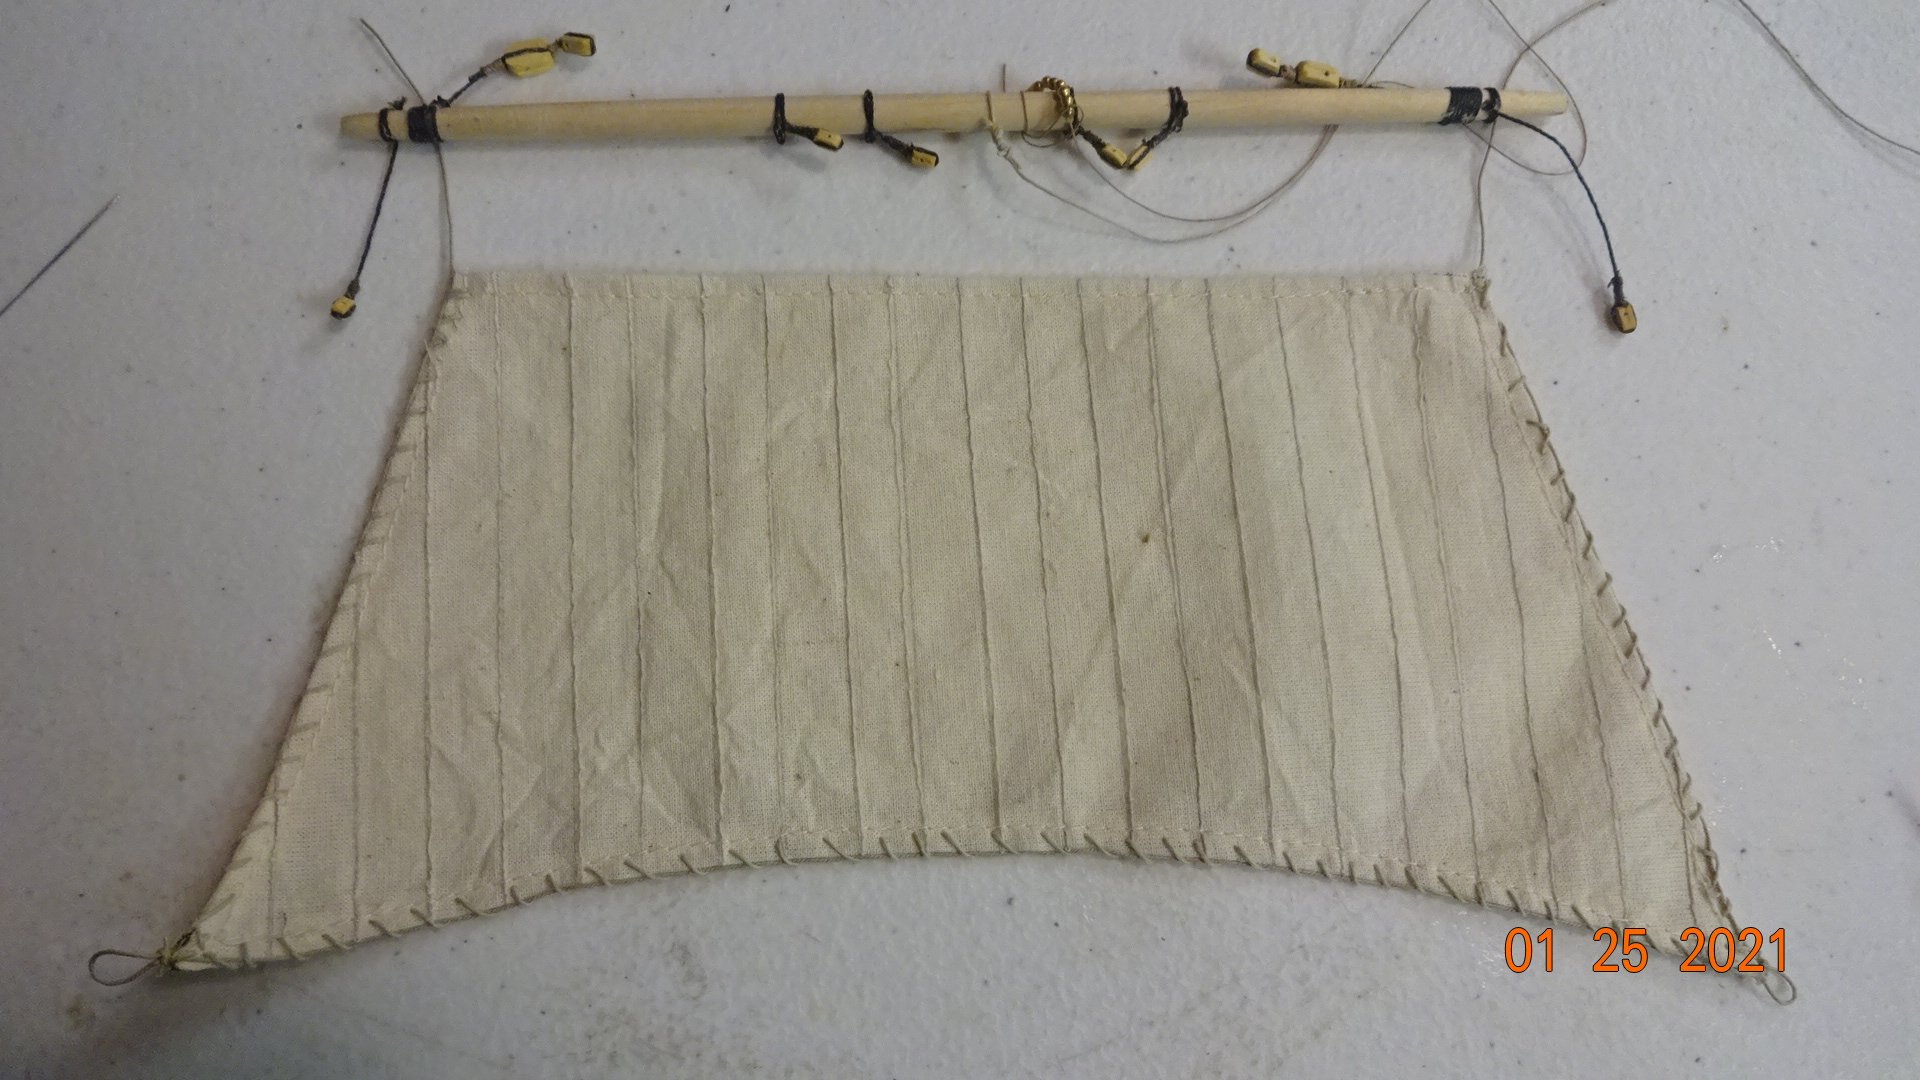
Some things that I did to sew the sails. 1. Well, actually I didn't the wife did, at least the main part 2. I did draw in pencil lines every 10mm to be the stitch lines. 3. Also, marked holes every 10mm for the thread to wrap the rope (Not sure if they should be closer, maybe 5mm) 4. Pierced the holes with a sharp punch (using a regular needle was to tough to pull through) 5. Pierced holes for the rings that would attach from the masts (for those sails that needed it) 6. Used a special needle with a larger eye opening to sew with 7. I found that when measuring how much line I would need for a sail I used this technique For each side, except the side that attaches to the yard, I used 3X that length. Ex: If right side is 100mm then I measured 300m, if left is 75mm I used 225mm, if the bottom was 90mm I used 270mm. The total length was enough to complete the wrapping of the rope and attach the sail to the yard. I probably could have used 2X on the longest side and it would still work 8. Wet the line and hung with a weight on it, to get the twisting out ( recommended by a member) 9. Pulled the line through beeswax 10.When hand sewing pull slowly and keep the thread away from itself. Pulling builds up friction and if the line gets to close to itself, it will attach to itself and start twisting. Lastly, be patient.
- 195 replies
-
- 3
-
-
- enterprise
- constructo
- (and 1 more)
-
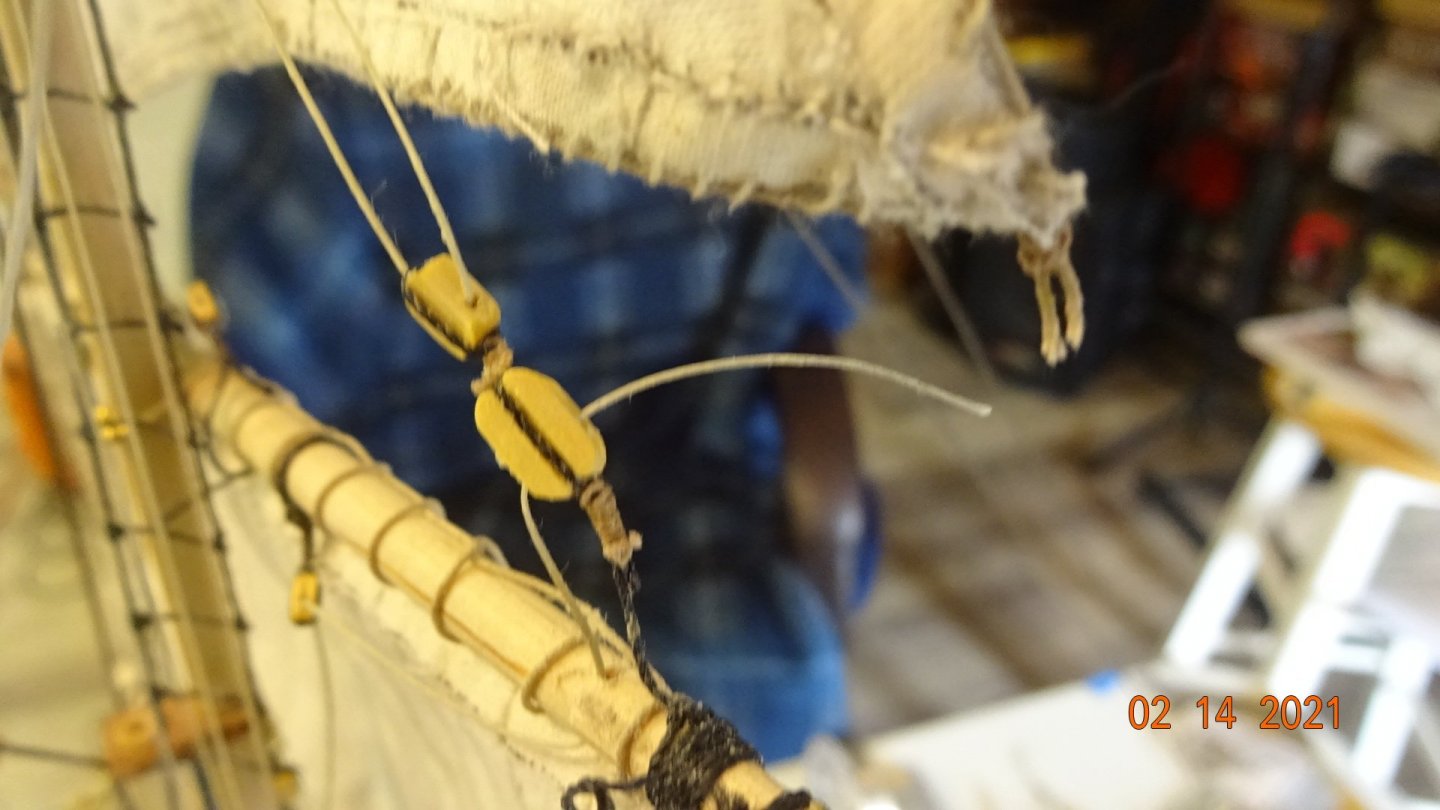
Bending the sails to the yards and running the rigging lines continues at a slow pace 🙄. Now that I think about it, everything I do is at a slow pace 😅. For one, I'm finding that I put the wrong blocks on the mast, when initially built. The blocks need and eyebolt attached at the bottom, this is where the haylard is tied to when rigging. Here's a blurry picture showing (barely) the eyebolt. You may ask " why a blurry picture", because it's better than no picture. In the manual it was difficult, sometimes impossible, to tell when a block needed the eyebolt. Only upon fitting the yard did I find out. So, fixed the one for the main top gaff. Then I attached the sail. No applause please, "we ain't done". Clearly the right side did not align with the main mast, who's fault is that! I post another picture of my mistake,,,,, Sooooo, take everything off and redo the bending of the sail, because doing it right the first time isn't fun 🤥.


- 195 replies
-
- 3
-
-
- enterprise
- constructo
- (and 1 more)
-
@mikiek Took the time to read up on your sail building for the Trajta build. Very helpful. I read that you also experience the pain and agony of sewing that first sail. Yours turned out nicely, mine "so so" . I threaded the sails with 10mm between each hole, I see you used 2mm. A much tighter look. Maybe I should have used 5mm at least. Also that Trajta build looks great!
- 195 replies
-
- 1
-
-
- enterprise
- constructo
- (and 1 more)
-
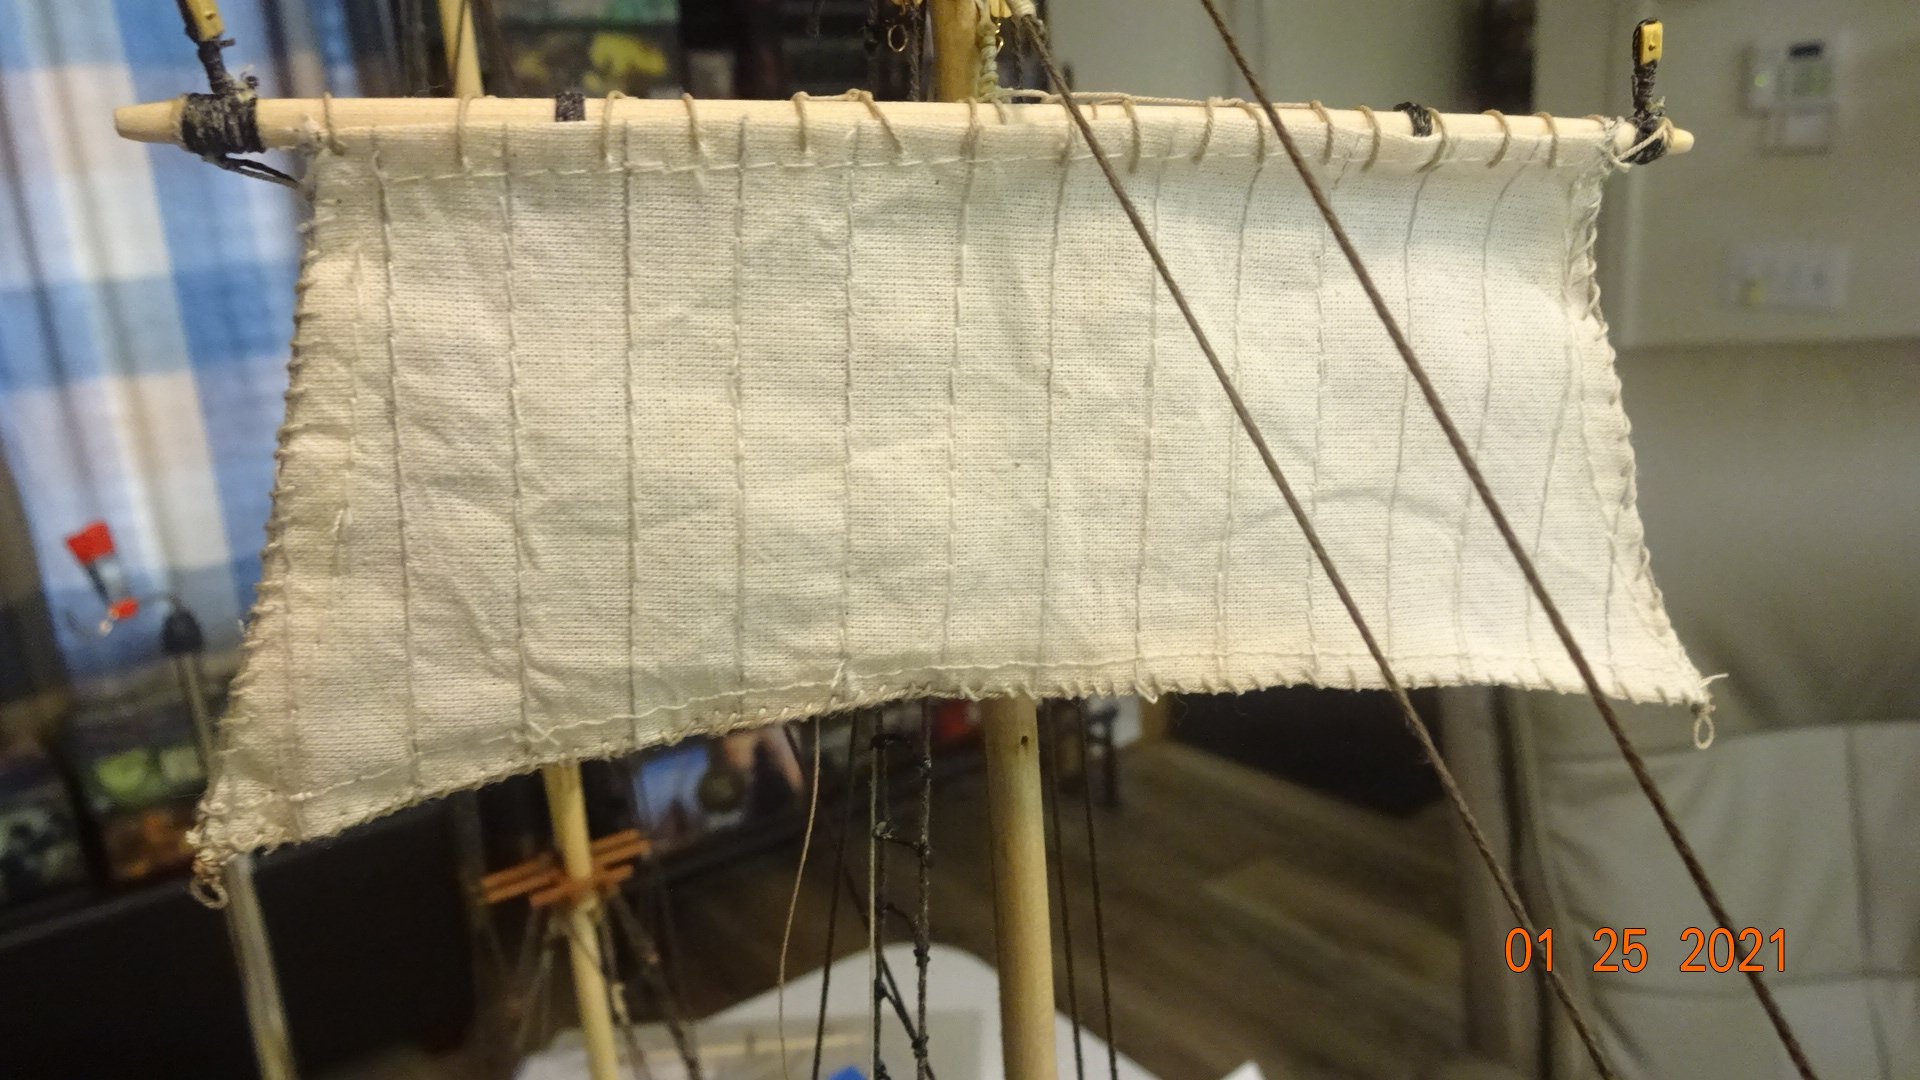
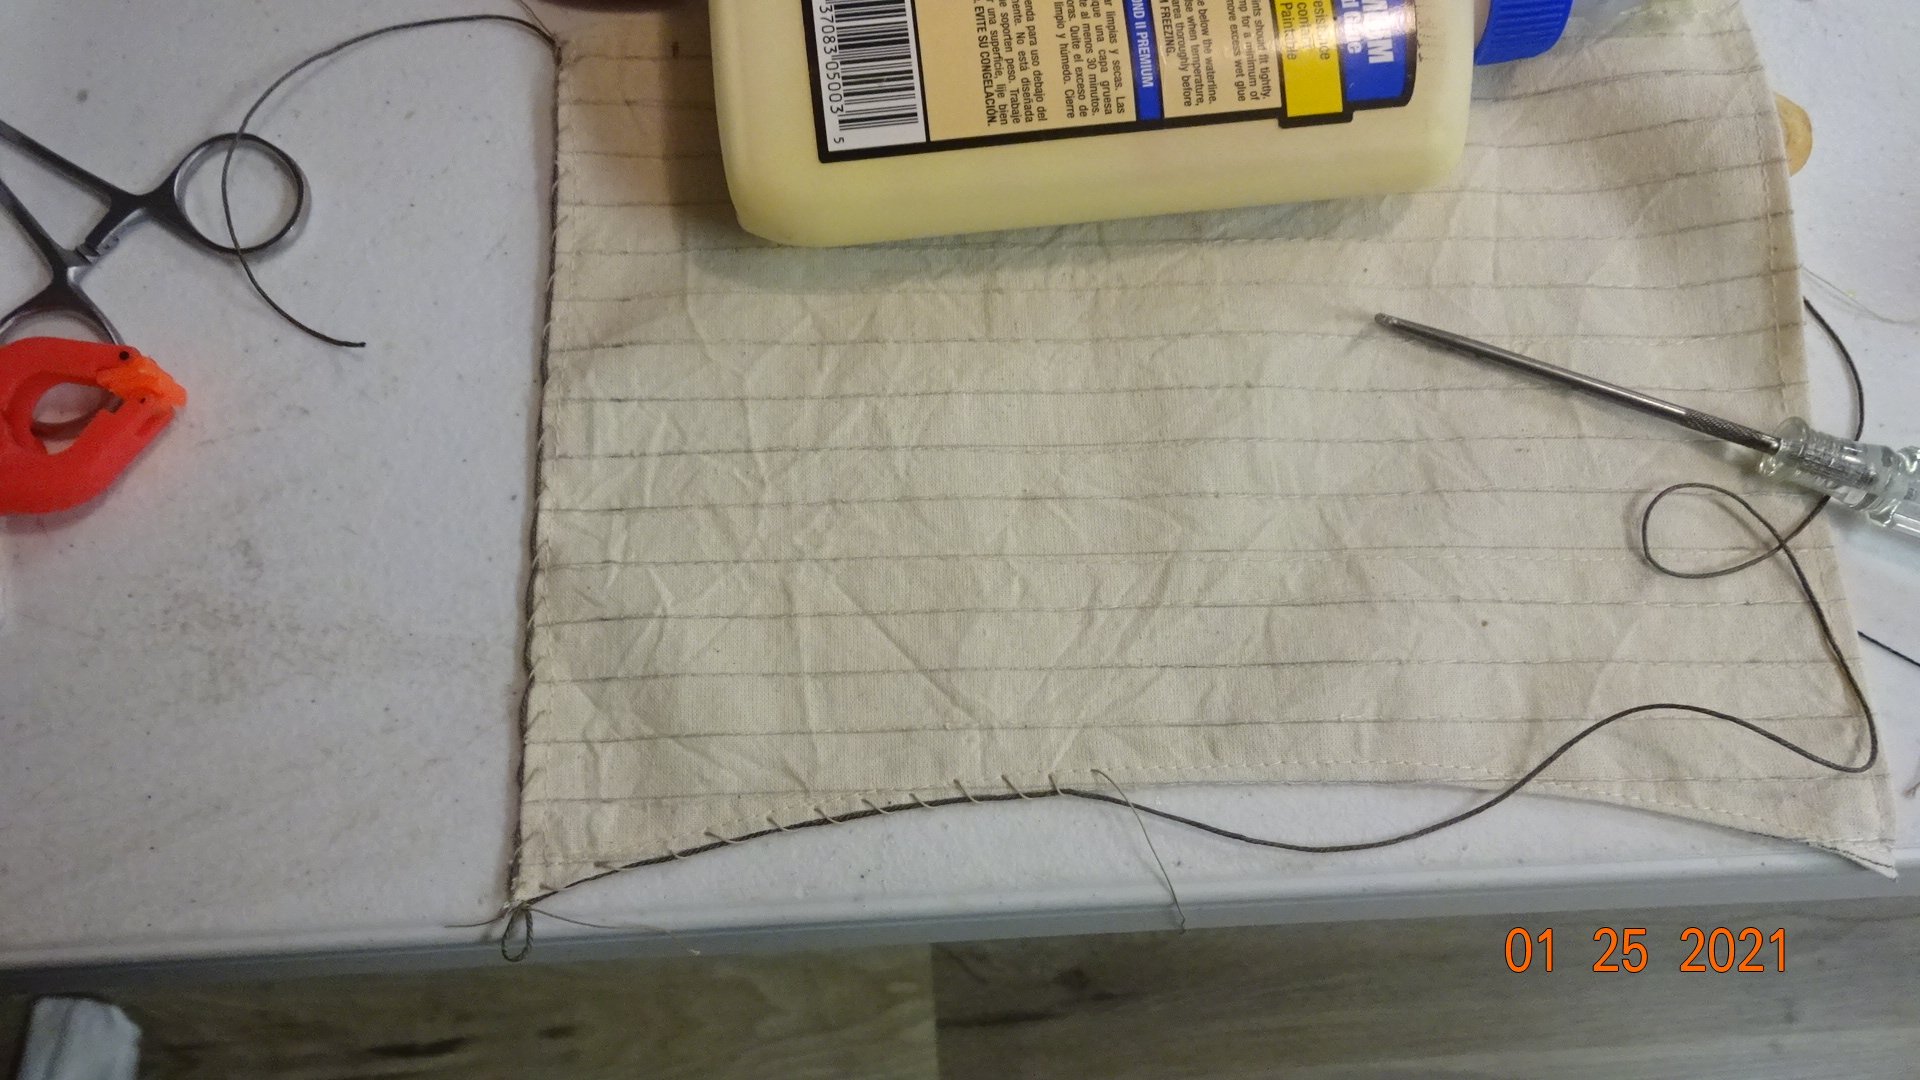
Well thanks for the advice Mike, unfortunately I completed 3 sails before I read your post 🤣. So turns out I didn't have the skills to use the sewing machine, ended up making more work for the wife 🤫. The sails were printed on a canvas sheet that came with the kit, we need to map where the sewing will need to go and put on the rope that goes around the sail. I drew lines every 10 millimeters with a pencil to represent the sew lines. After the lines were drawn I cut out each sail. The wife fixed some stuff but apparently there was to much, 🙄. I've already mentioned my failed attempt(s) using the sewing machine, so I convinced myself that I would do some hand sewing. The first error I made, "convincing myself to do the hand sewing". Next, using a needle, OUCH! Next, threading a needle ! Next, using the same size thread for the rope and the wrapping thread ( Don't judge me 🙄 ). That was a painful experience, literally and figuratively 🥵! Next, well ... let's just get to the pictures and quit nitpicking, lol. Here's the gallient topfore sail, just held in place for now.. As I mentioned I used the same thread for the wrapping and the rope. Next, the topfore sail. A little better, very aggravating making it, #%!! . Lastly, the main fore sail. Here I realized my mistake of using the same thread for the wrapping and the rope. I found some thicker dark rope and proceeded to work. The glue bottle is used to hold the sail in place, that was a challenge in itself. That awl actually has a 90 degree turn in it, in the pic it looks straight. I used this for making the holes. The needle, no picture , is a special one that splits so you can thread it easier than the regular eyehole needles. Notice anything peculiar here? .... I'll wait.... ...... ok, ok, I marked the sewing lines horizontally 🤢. I was so frustrated, I didn't even take the time to use Mike's idea of marking each hole with a marker to resemble grommets. I do not have enough of the dark rope thread for every sail, "what else is new" I say sarcastically to myself. A rough day in the shipyard yesterday, today looks to be better.


- 195 replies
-
- 2
-
-
- enterprise
- constructo
- (and 1 more)
-
Thanks for the pics Mike, They will come in handy once i get around to bending the sails to the yards (lol, never said that before). Also will test the grommet look. I have started sewing the sails myself, probably not the time to learn how to sew 🤔. The sewing machine works great but the "user" not so much.😅 Who knew sewing a straight line could be that hard ........
- 195 replies
-
- 1
-
-
- enterprise
- constructo
- (and 1 more)
-
@jep1210, Glad to have you along for the build. If you have all the parts and the instructions you are starting way ahead of me when I took on this build. I like it has only 2 masts, thus a little easier to build but still challenging. I do want to try a plastic kit, eventually. I've built a small plastic tank, actually it's the grandson's he never finished. I see them in the hobby shop down the street and have to talk myself out of buying any for now. My next build will be the Black Pearl, maybe after that I'll pick up a nice plastic kit. If you decide to build it, start a build log so i can check it out.
-
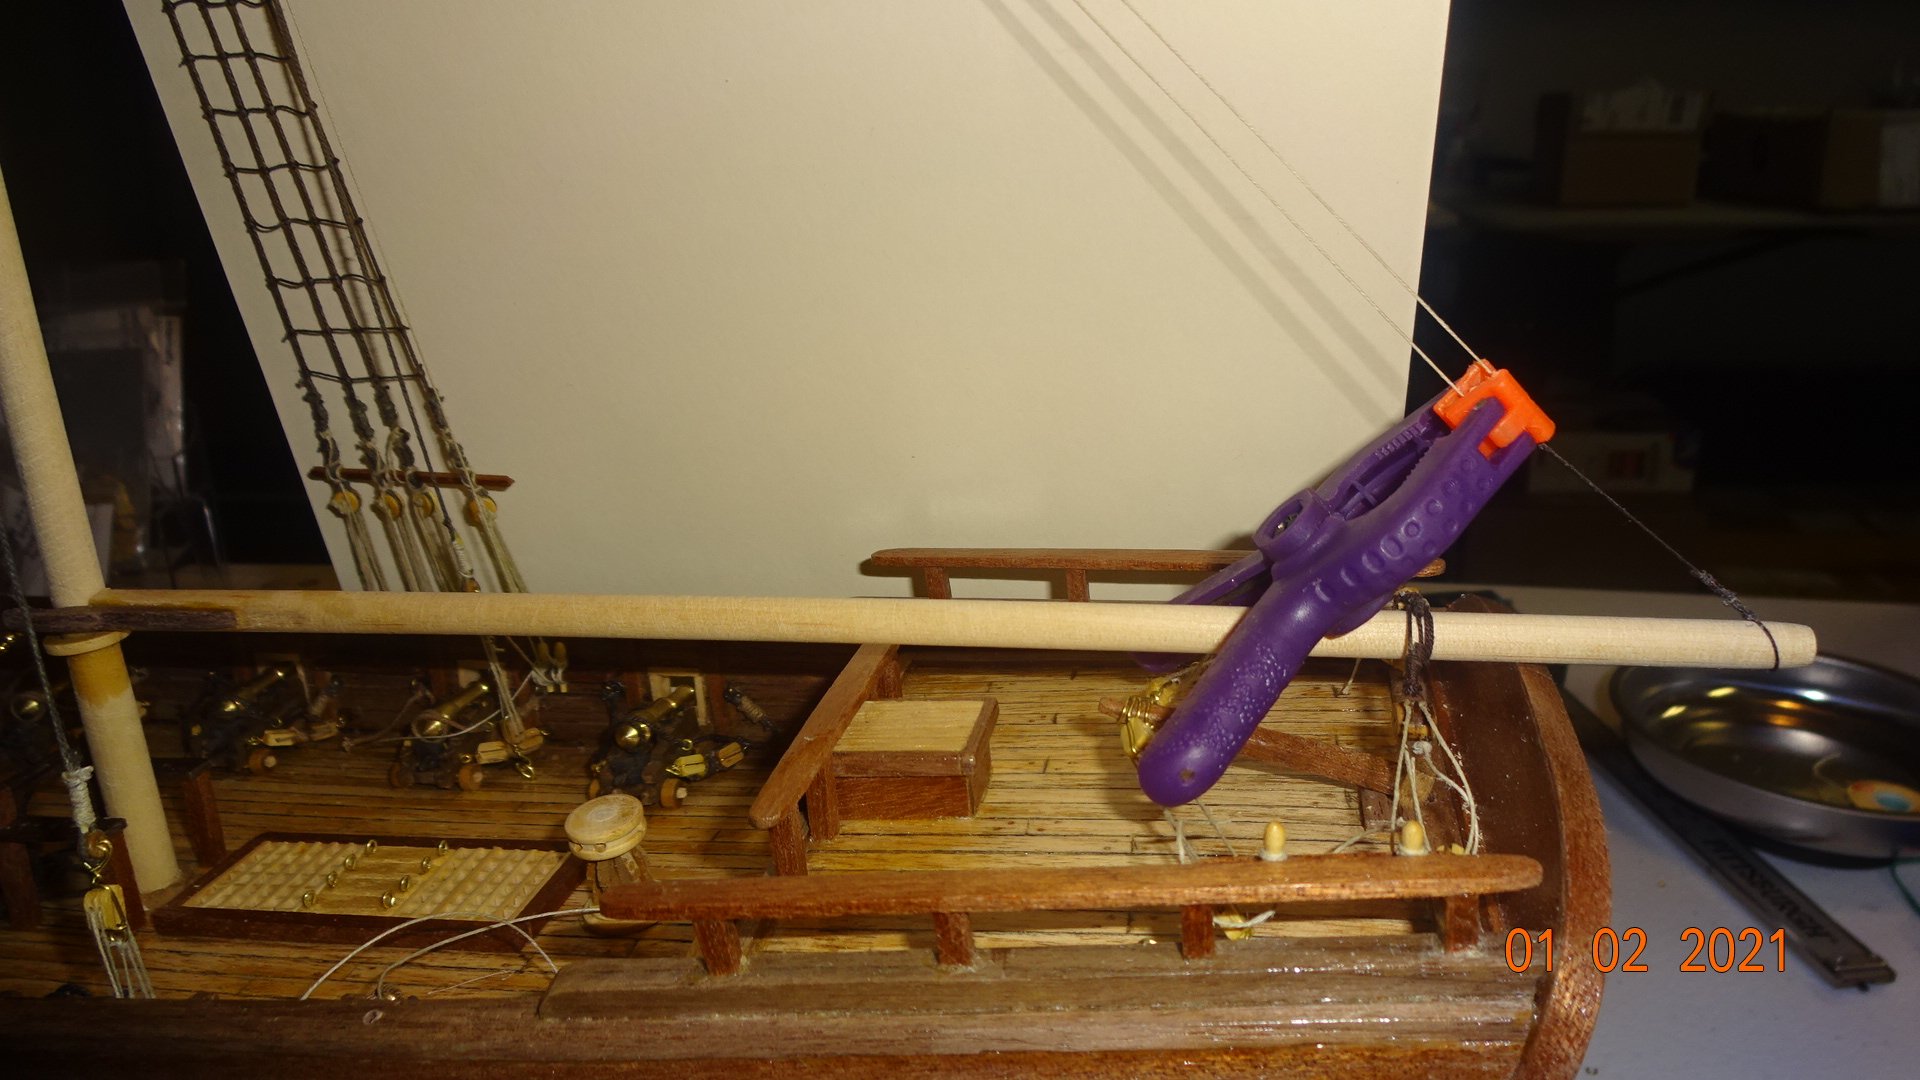
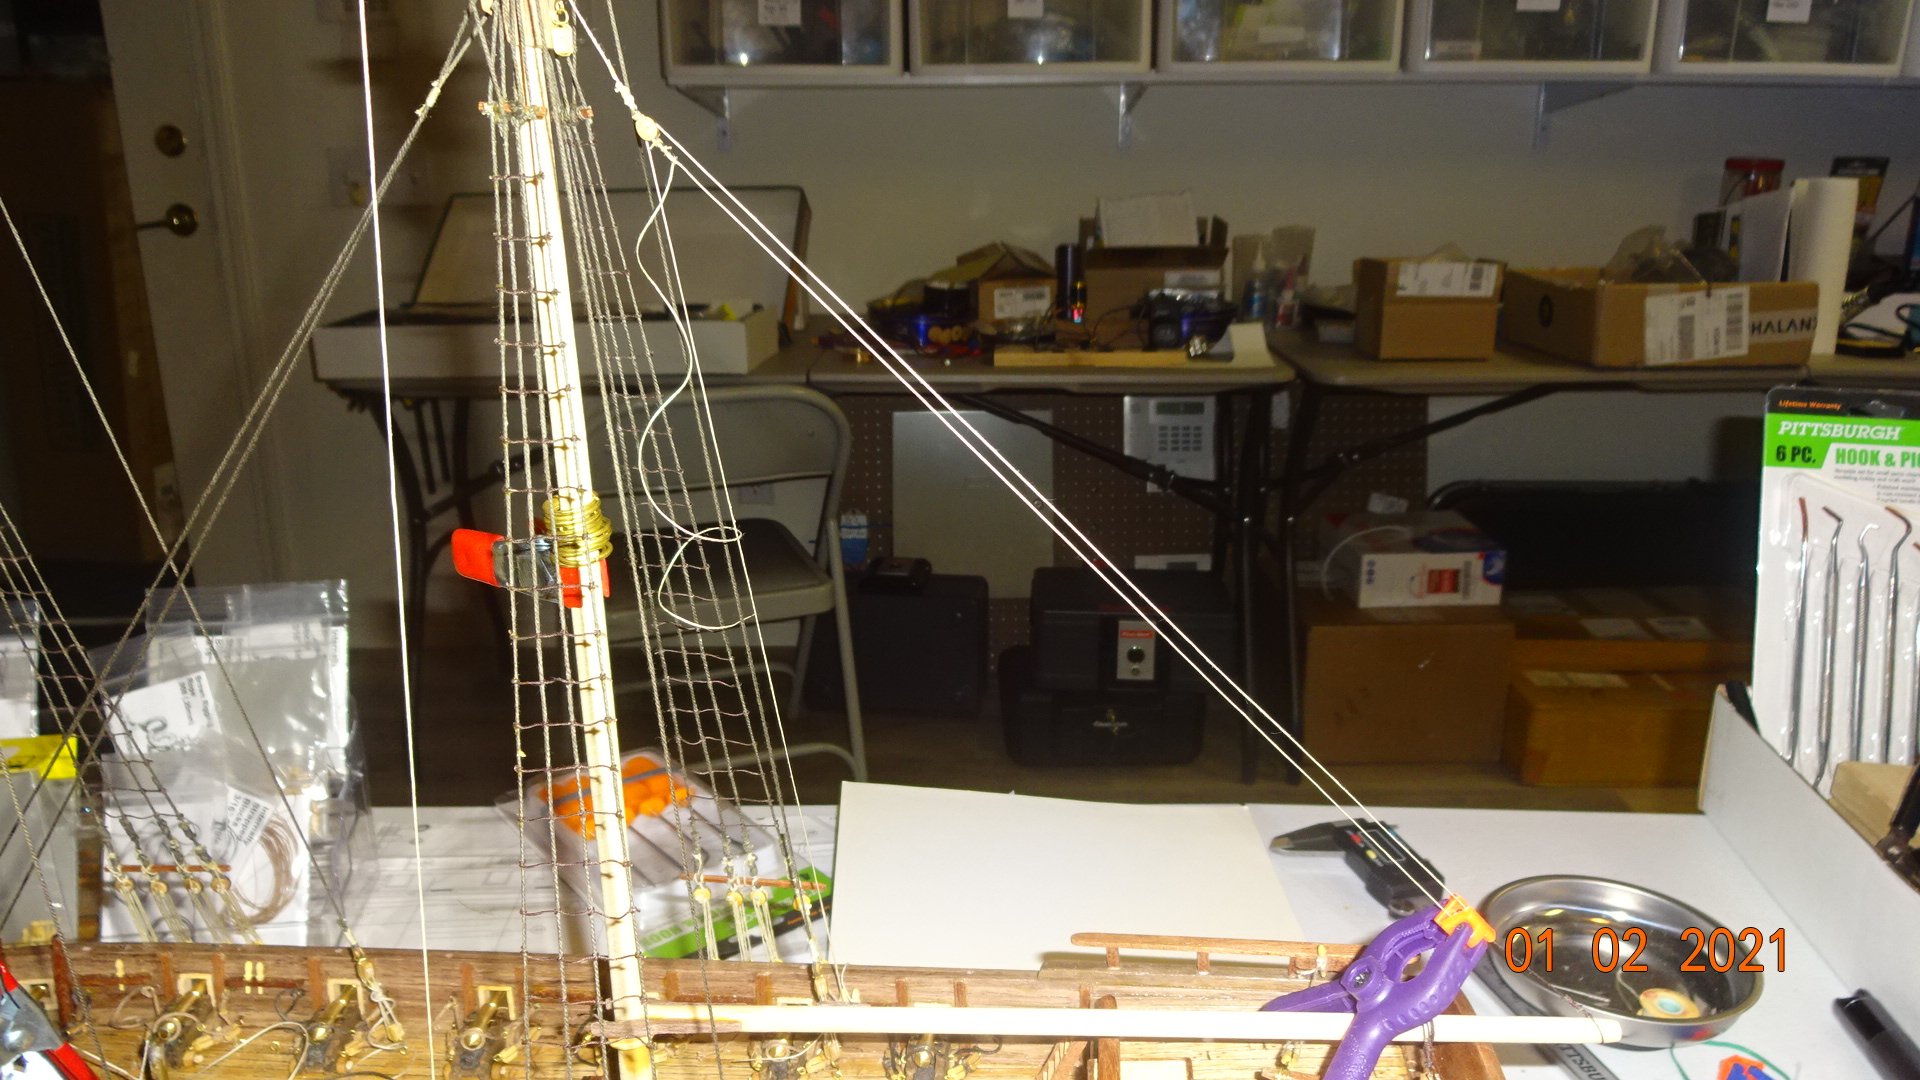
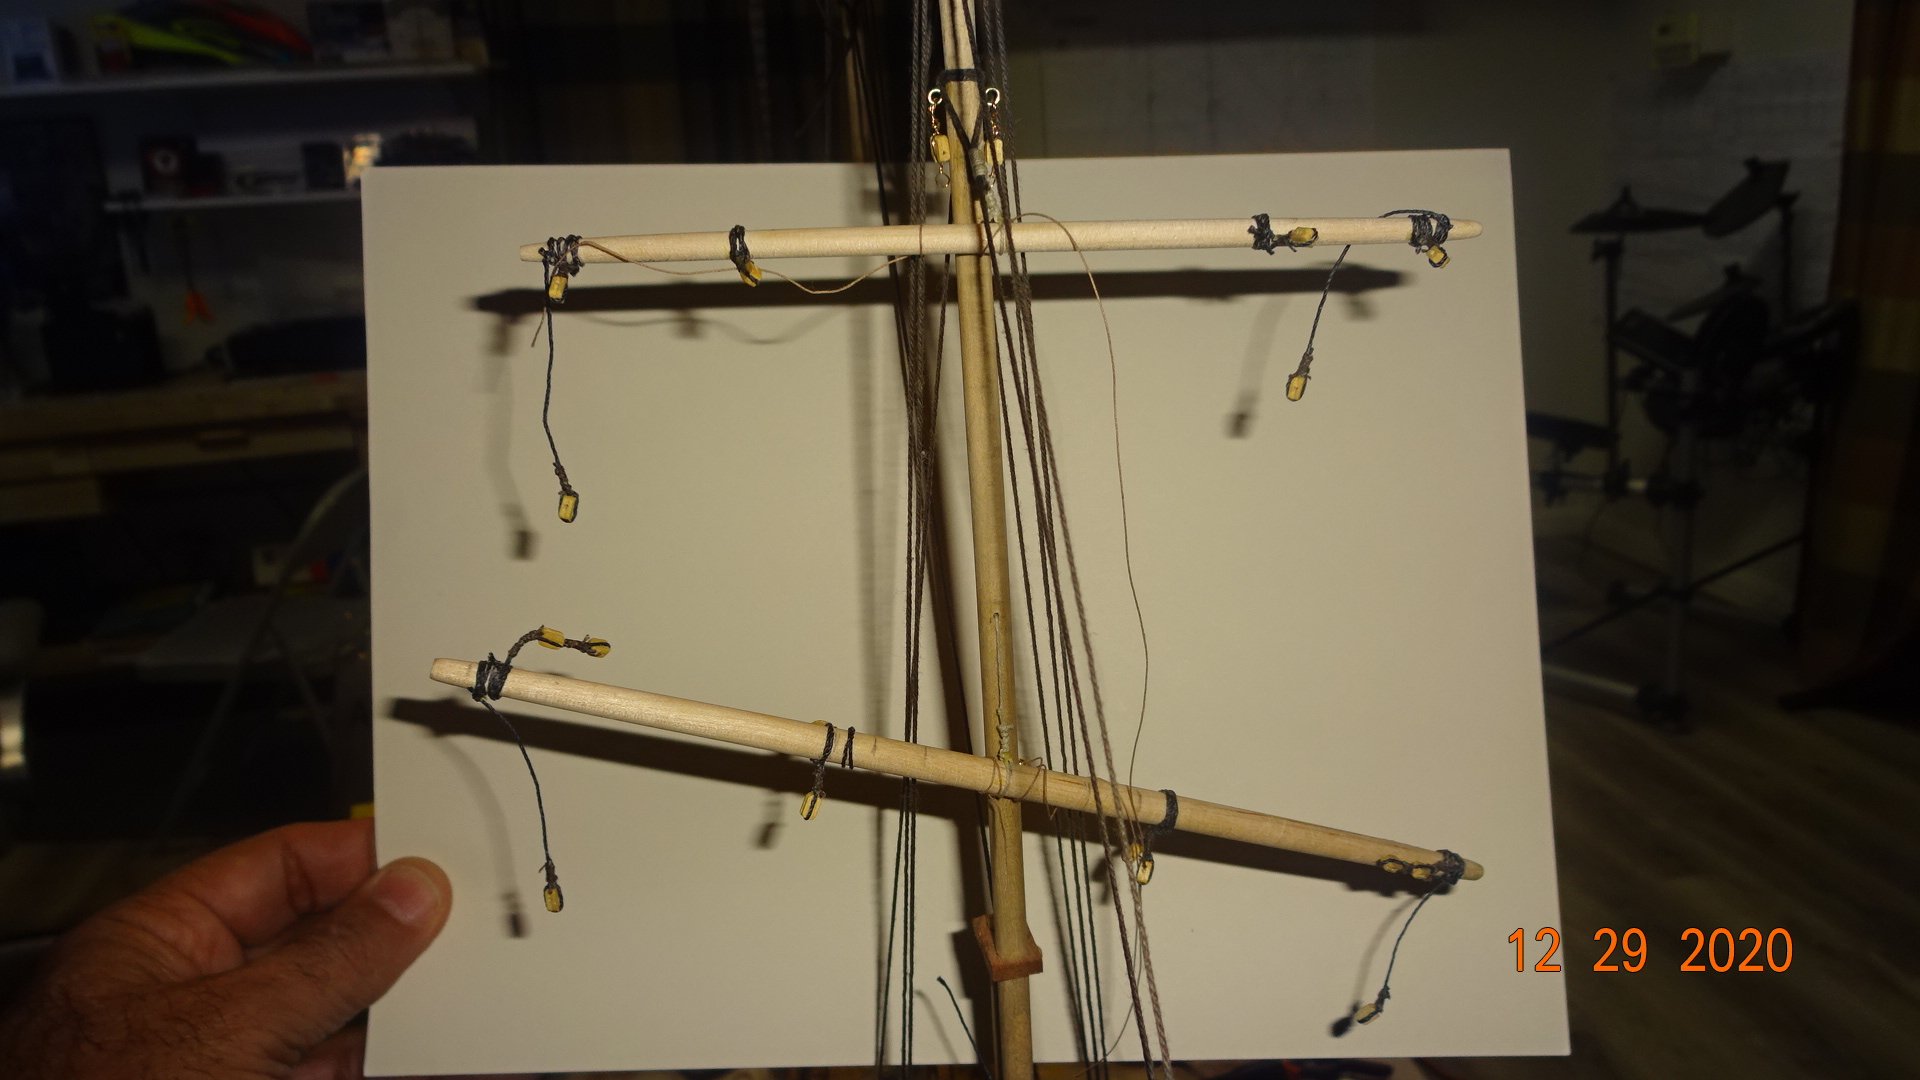
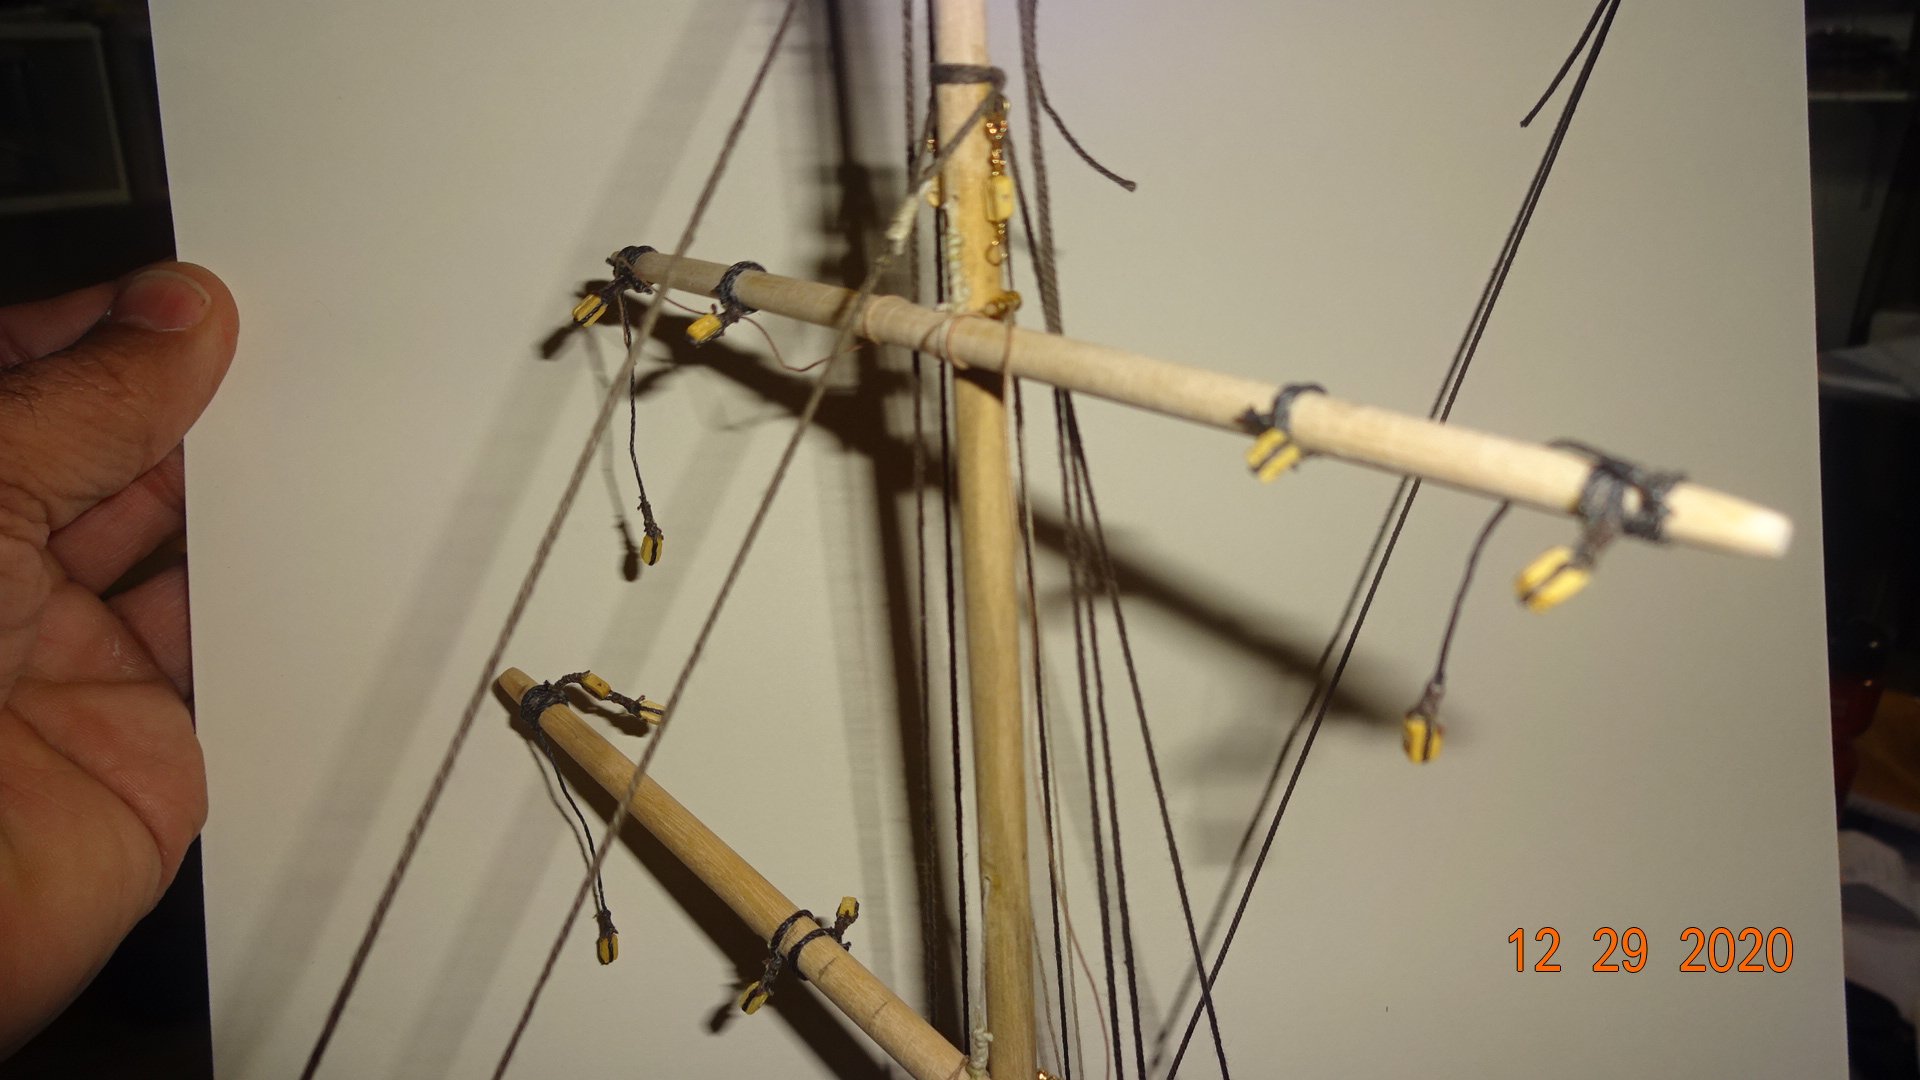
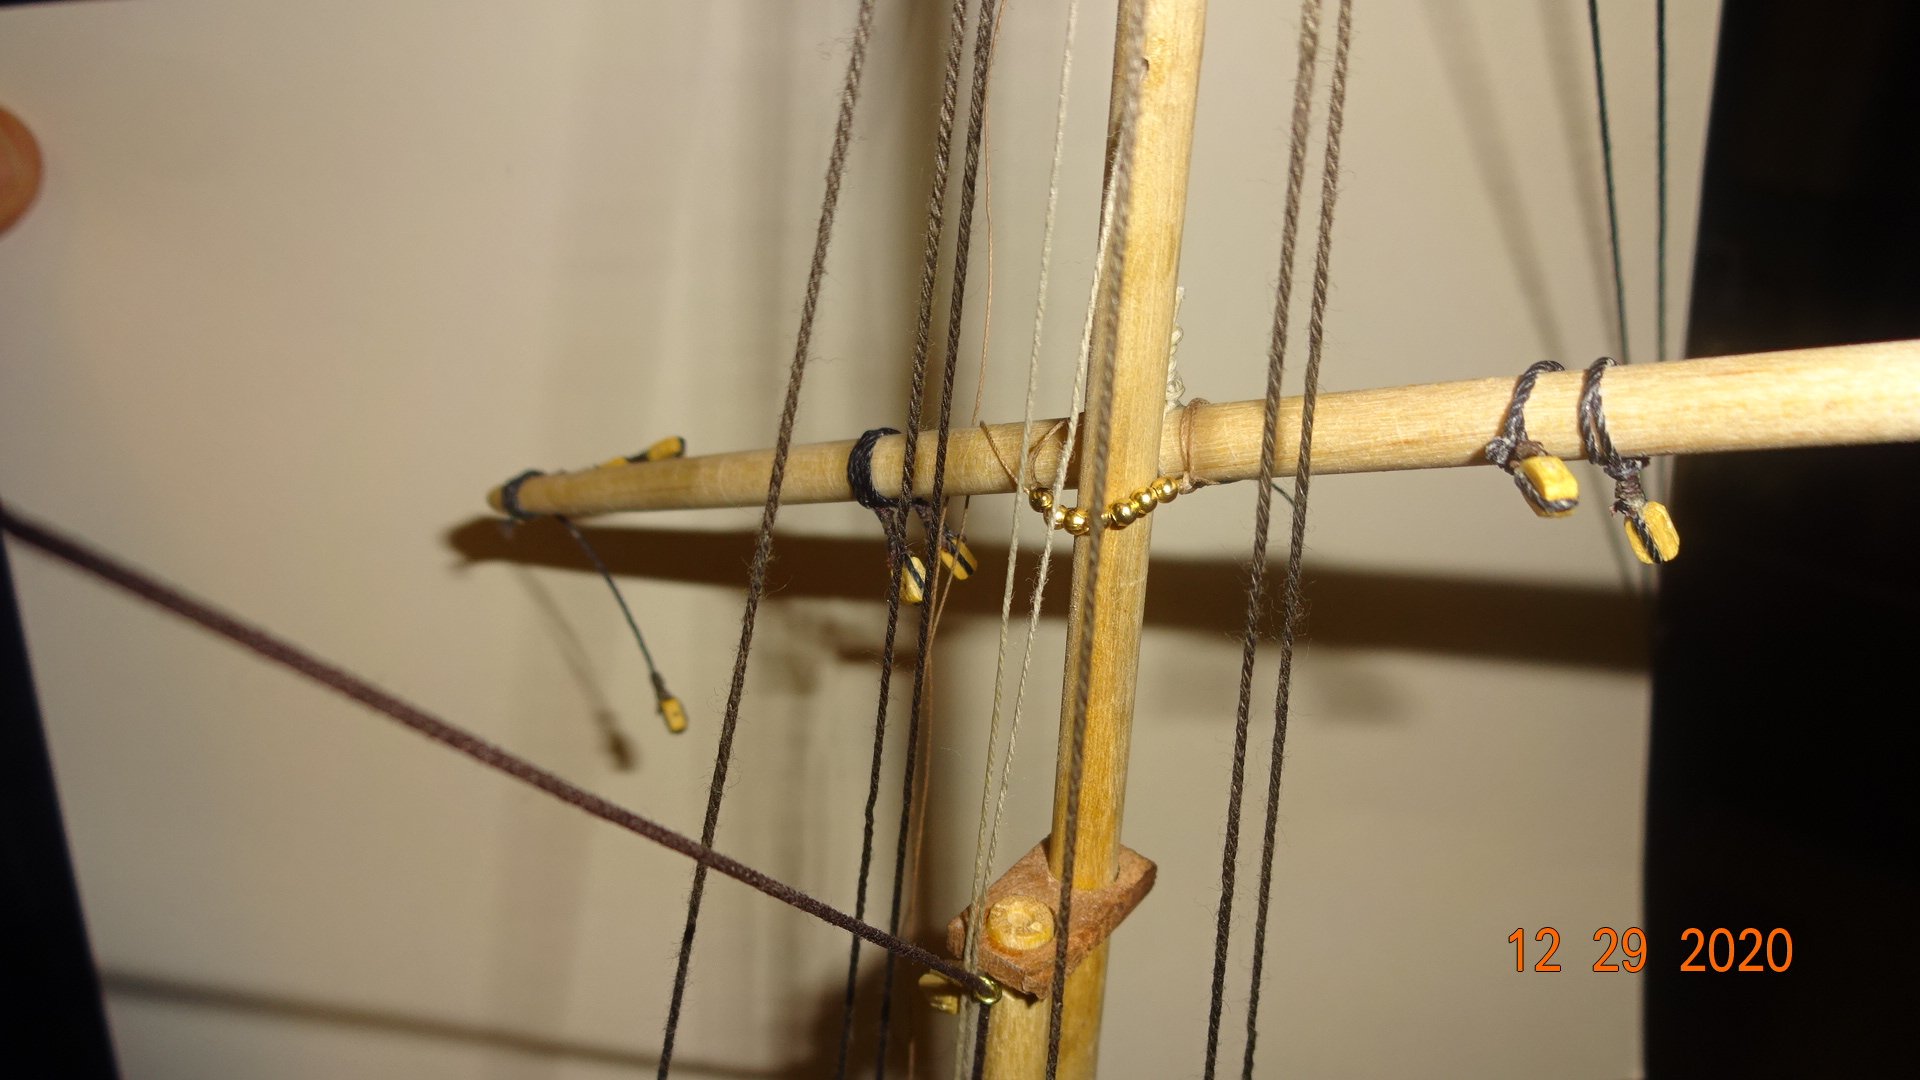
Still on hold for the sails to get threaded. In the mean time I temporarily installed the yards. I can't seem to find where I tie them off at on the boat. A line runs through the mast and warps around the yard but the instructions don't seem to show where to tie off the line. It's hard to see what line I'm talking about int these pictures but it's the one(s) that wrap around the yards. Also test fitting the boom gaff, the lines running from the end of the gaff up towards the mast keep twisting. Trying to use a clamp to keep it straight. Slow going but moving forward.


- 195 replies
-
- 2
-
-
- enterprise
- constructo
- (and 1 more)
-
Thanks mikiek, I'll take some pics of the lines as soon as I can. I did have 2 lines that are used to hoist the foremast and topmast (I believe) which ran through a hole in that mast. The instructions do not show where the lines go. In fact, the first line I made was short because I didn't know where the line ties off. I decided it must tie off at a belaying pin so I redid everything and made the lines longer. I did find some lines with numbers that map to a belaying pin schematic, that will help.
-
I just realized why I asked the question: when to put sails on. My first build was a simpler model ship and the sails were glued on at the end of the build. I don't remember there being any running rigging. Knowing that, I will definitely attach the sails before installing.
- 195 replies
-
- 1
-
-
- enterprise
- constructo
- (and 1 more)
-
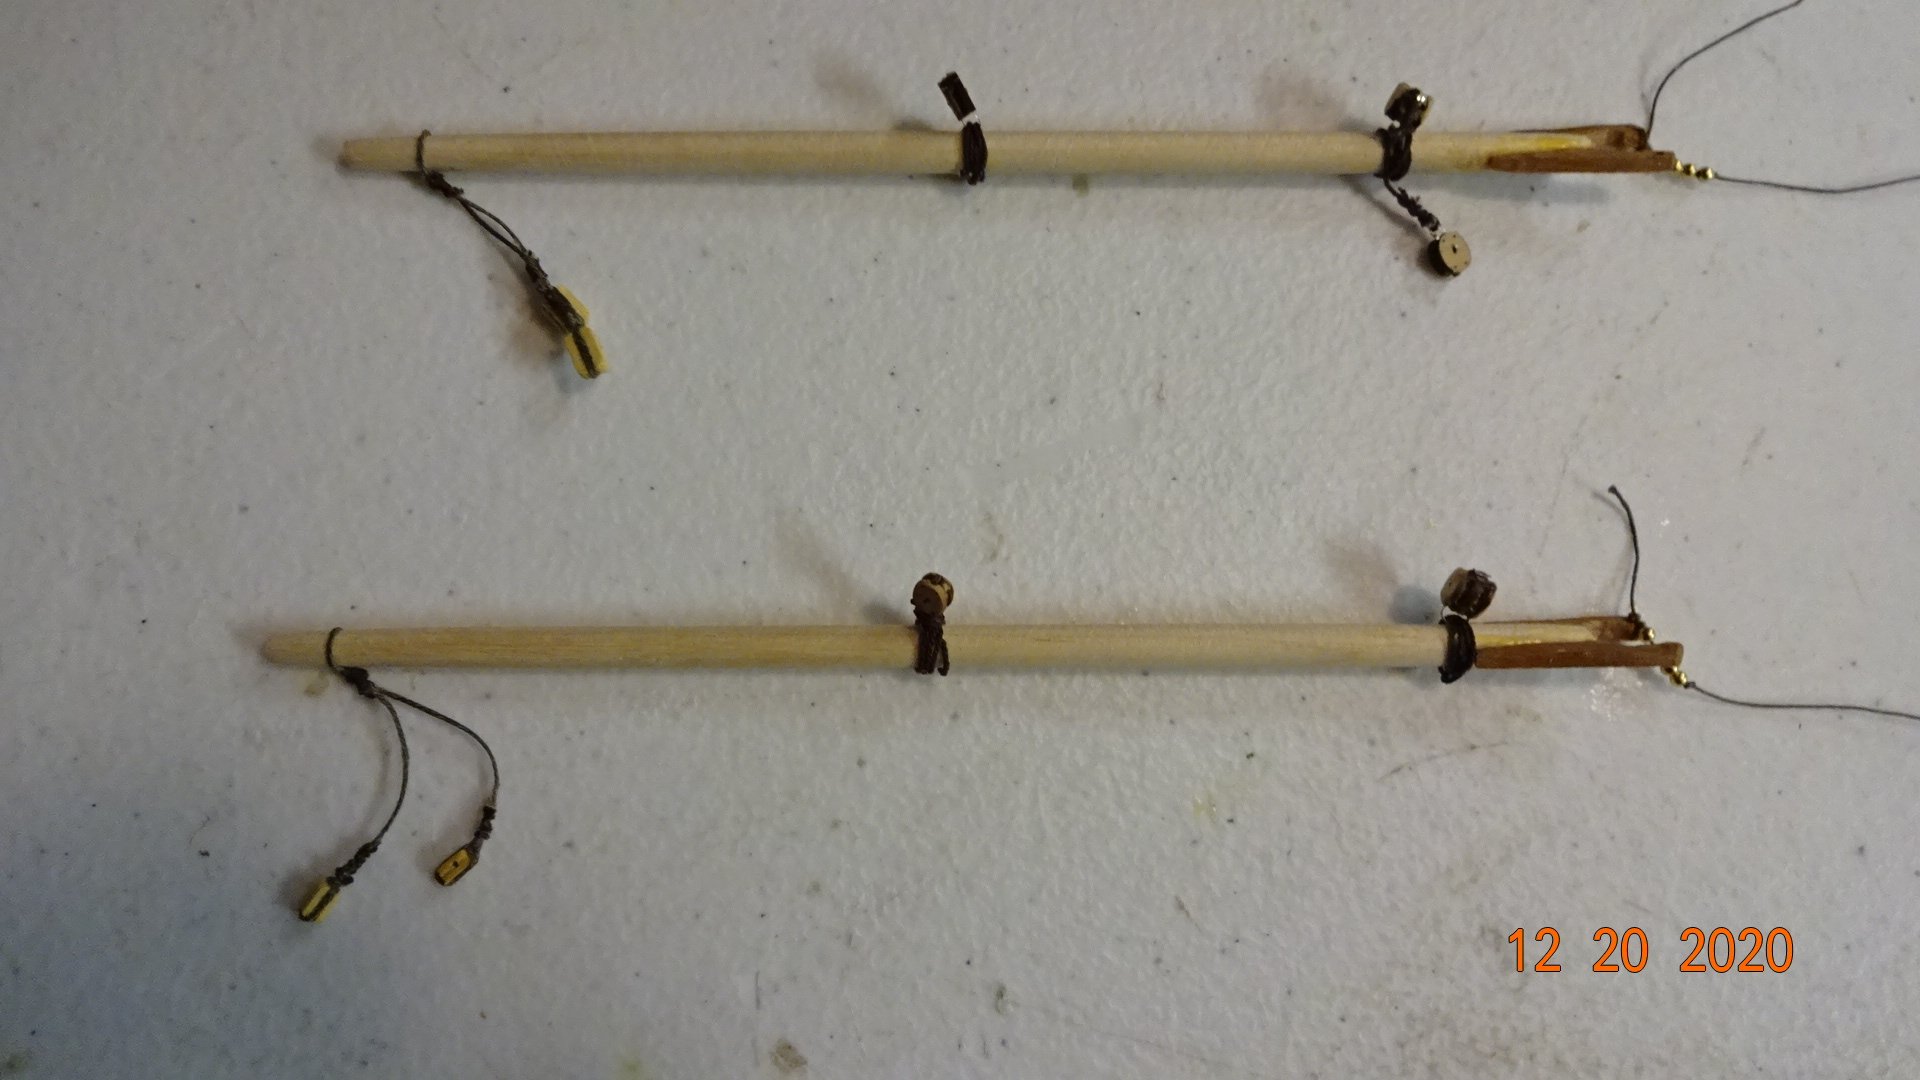
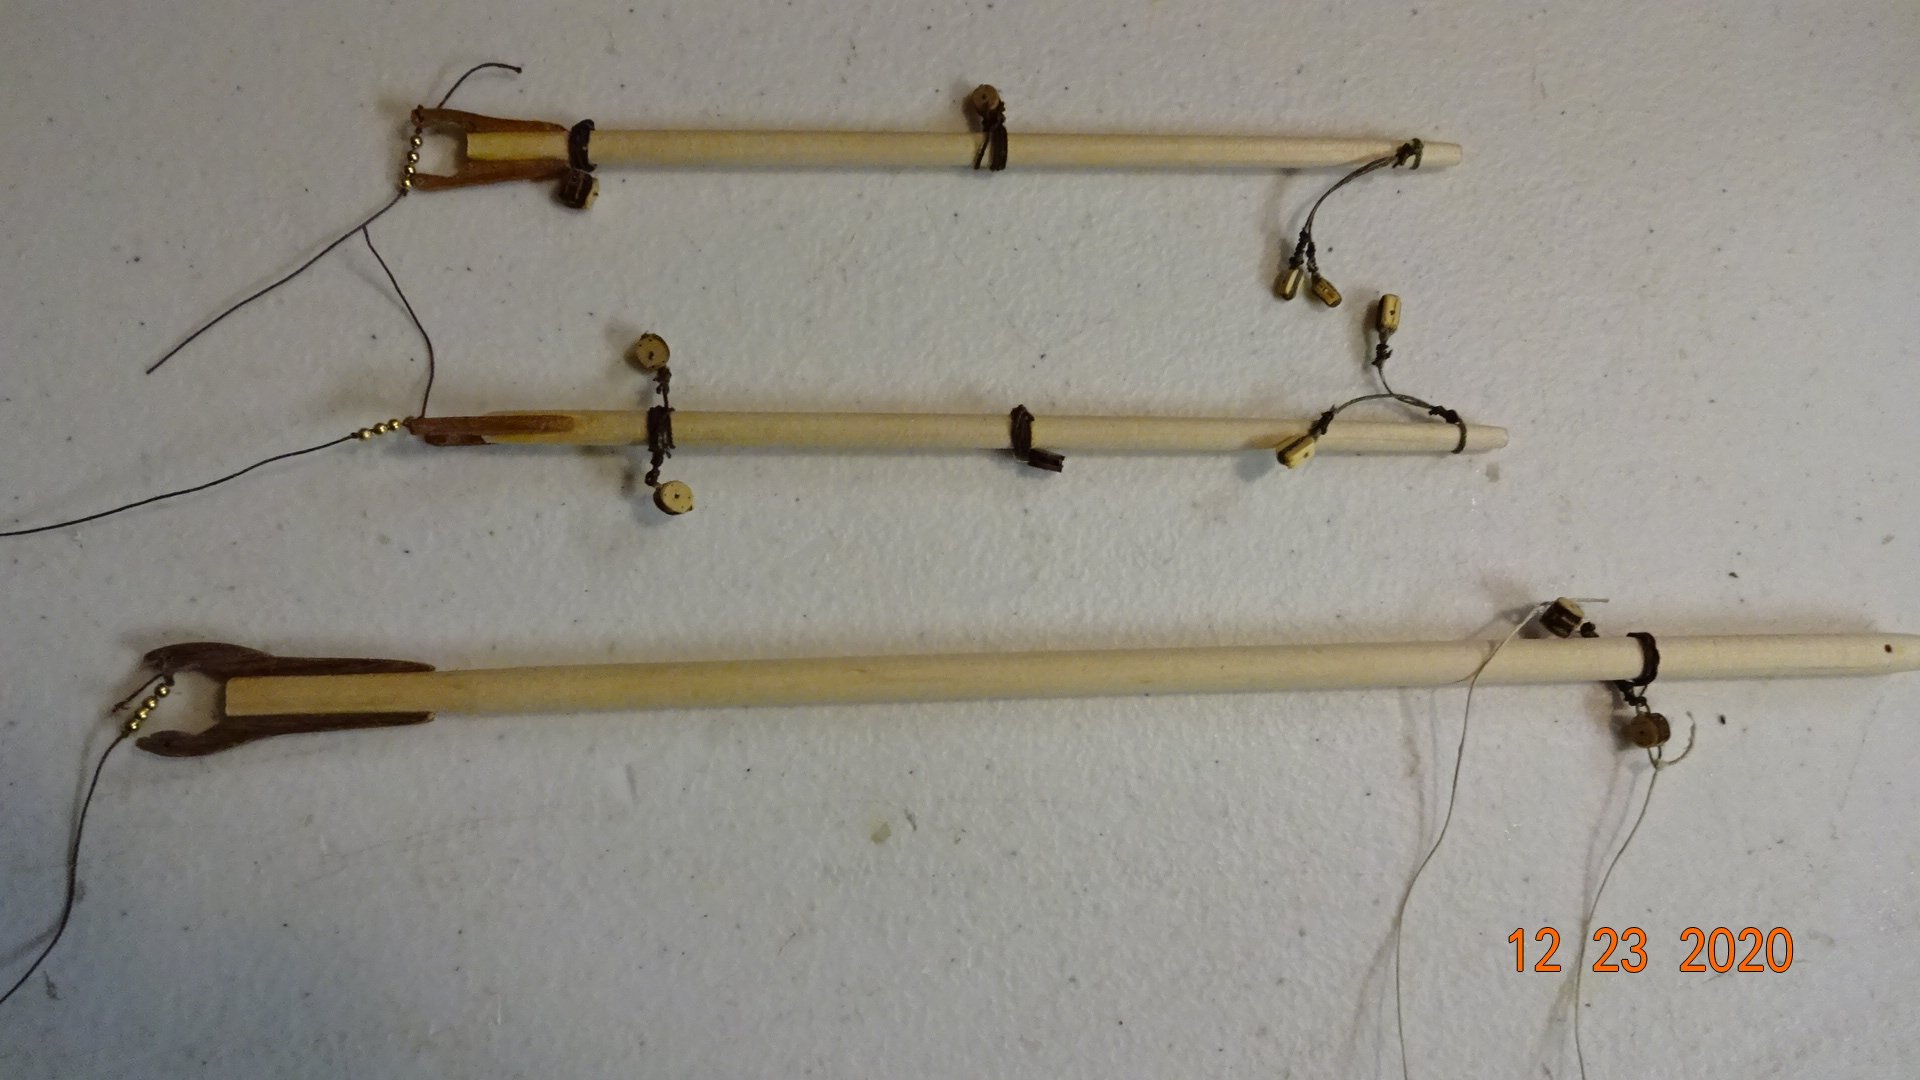
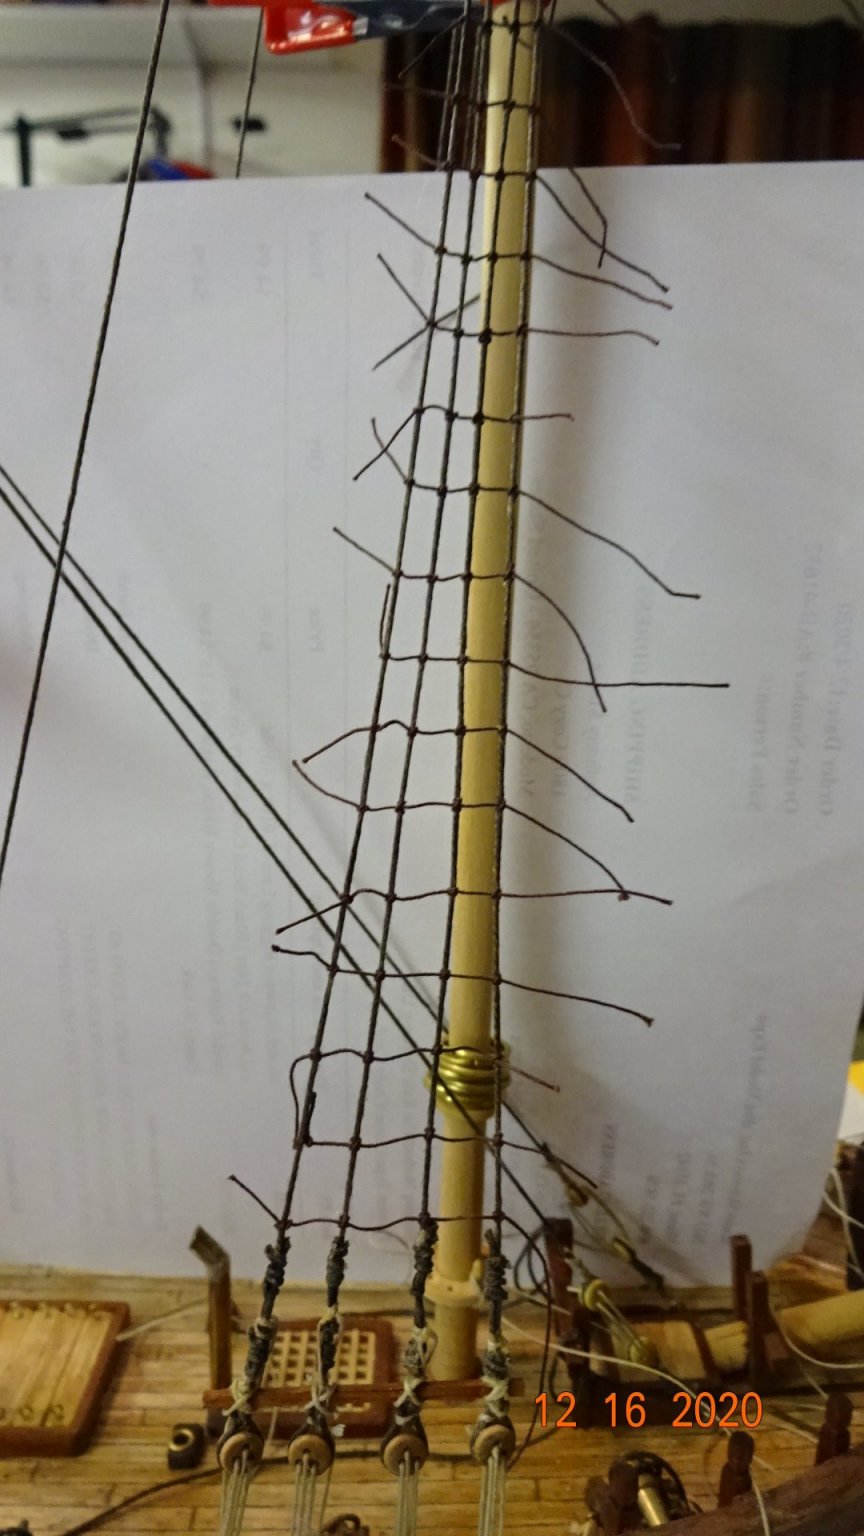
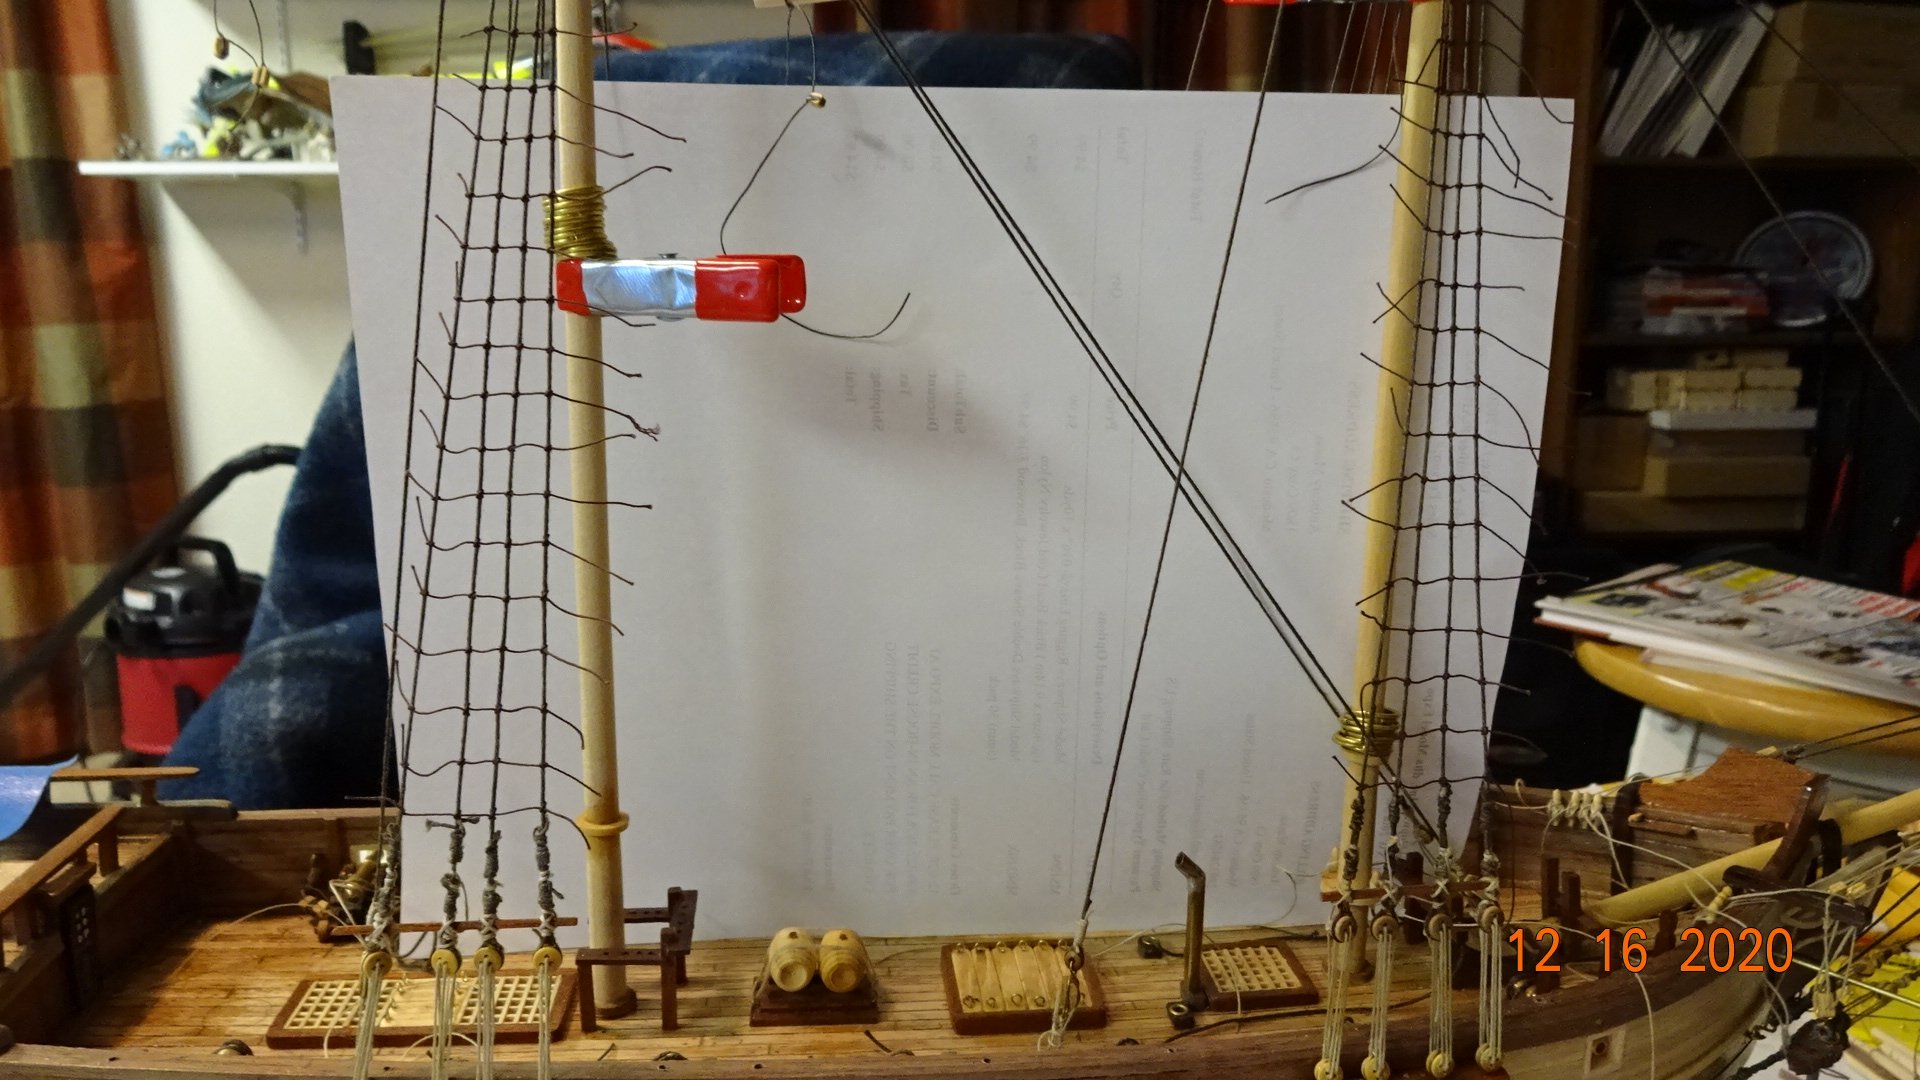
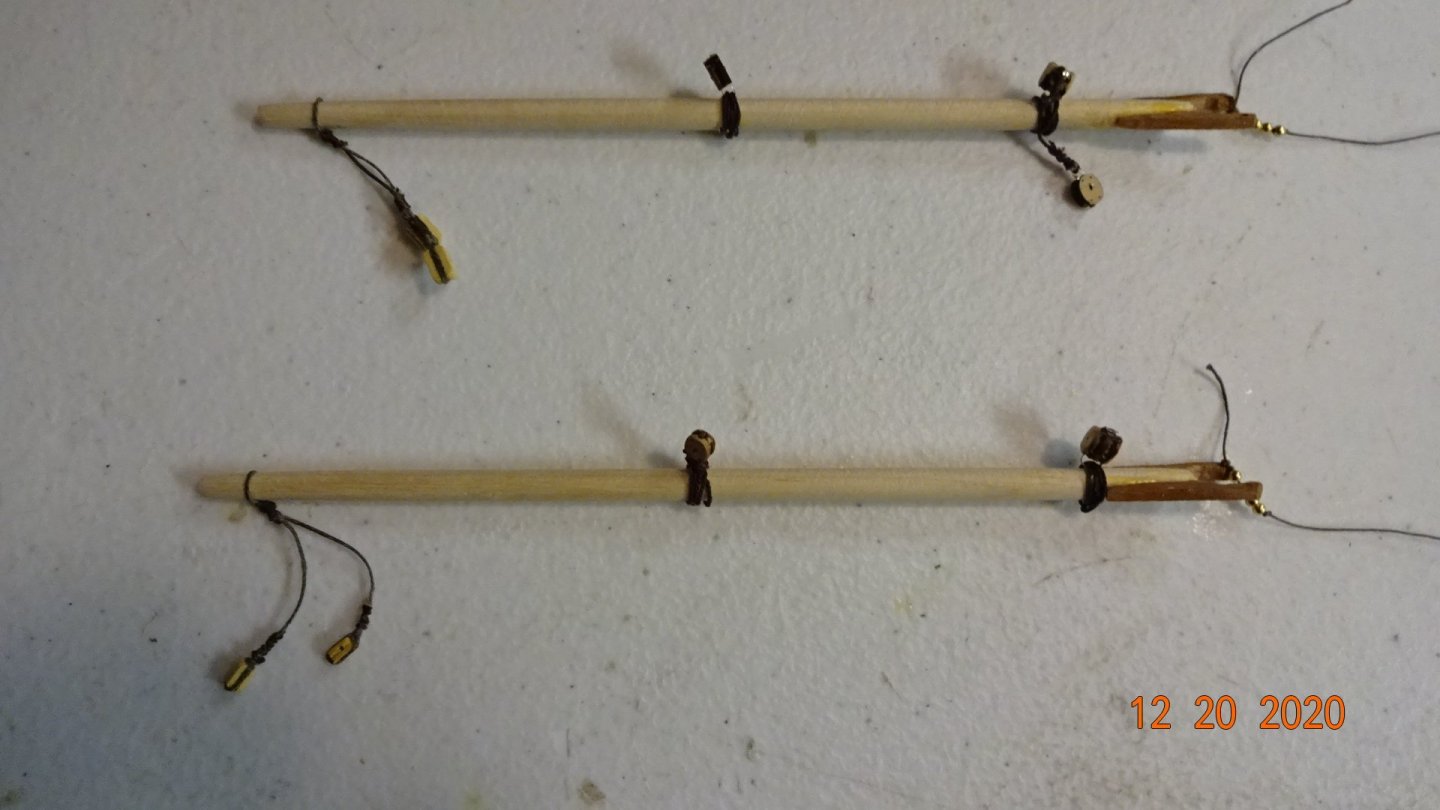
Good day to all, Some progress on the ship. I've completed the ratlines and moved on to rigging the blocks for the yards. One point I would make is that when rigging the ratlines putting a piece of white paper behind the shrouds helps in seeing the lines, especially when you get near the top. I pulled off all the gaffs and attached the hardware, something I had forgot to do when tying them to the mast. Not sure how I would forget something like that but I did. So, I paid the price and cut them out since it's easier to work on. I also worked on the hardware for the yards. The plans call for using 0.40mm wire to wrap the blocks but I do not like that look. I went with using rope to tie all the blocks to the yards and gaffs. I sanded down the gaff jaws so they didn't wrap around the masts, thus making it easier to put them on. Question: When do you attach the sails? Before installing the gaffs and yards or after. Or is it in between, that is, install some without sails and put them on later? Slow progress attaching each block using rope but I do like the look.
.thumb.JPG.e2f833cec91fa5447154666ca354caee.JPG)


- 195 replies
-
- 3
-
-
- enterprise
- constructo
- (and 1 more)
-
I've finally started the "ratline-ing" of the shrouds. Turns out it isn't as bad as I thought. I'm using 0.40mm rope as the shrouds are 0.80mm. I'm separating them by 10mm. I only order 20foot of 0.40mm rope and I'm using 3 inches on each ratline. There are 19 to 20 ratlines for each of the 4 shroud groups. Calculated out that means I have no room for errors ..... and I make errors . I do have a question: How do you tie off the starting knot, do you do a single knot, a double knot, or something else. I started with the double knot but it looked to obtrusive. So I switched to a single knot, however I'm concerned this knot will come apart later, even after gluing. Are my concerns valid?


- 195 replies
-
- 2
-
-
- enterprise
- constructo
- (and 1 more)


.JPG.1000a37c73a7356428b08b17ab743878.JPG)