HOLIDAY DONATION DRIVE - SUPPORT MSW - DO YOUR PART TO KEEP THIS GREAT FORUM GOING! (Only 20 donations so far - C'mon guys!)
×


Rowboat
-
Posts
142 -
Joined
-
Last visited
Content Type
Profiles
Forums
Gallery
Events
Everything posted by Rowboat
-
 Welcome on board Atze99! Happy to see a fellow model working on the same build as me. Your work is coming along nicely. The printed cannons are cool, so they are plastic? Did you design them or did you download the design? Looks like you are doing a much better job of fairing the hull than I did. That will pay off later ... when hull planking. A top down picture of your decking would give us a better idea of how your planking looks. For darking the deck, I used some dark colored stain from my model miniatures. I paint miniature models that come with the board games we play. The flesh colored stain was to dark and I ended sanding it down. That helped greatly. This is my first hull and plank build so I'm still learning as I go. Anyway, I'll follow along and watch your build as it develops👍
- 3 replies
-
- 1
-

-
- first build
- enterprise
- (and 1 more)
-
Getting to this point in the build, basically the hull and deck finished, I felt a need to step away from the project. It has been a challenge getting to this point and once I got the cannons secured I felt relieved. Working on other things, bathroom remodel and back yard remodel. Good time for taking a break as coming soon is the rigging and sails. Last time I did that, well there was only 1 other time, it was quite an experiment. Try to get something going soon.
- 195 replies
-
- 2
-
-
- enterprise
- constructo
- (and 1 more)
-
FYI, I have notice issues with images on my build page. It looks like the image and image name ( xxxxx.jpg) is displaying. This text pushes the image to the right or down so that the interferes with the page layout.
-
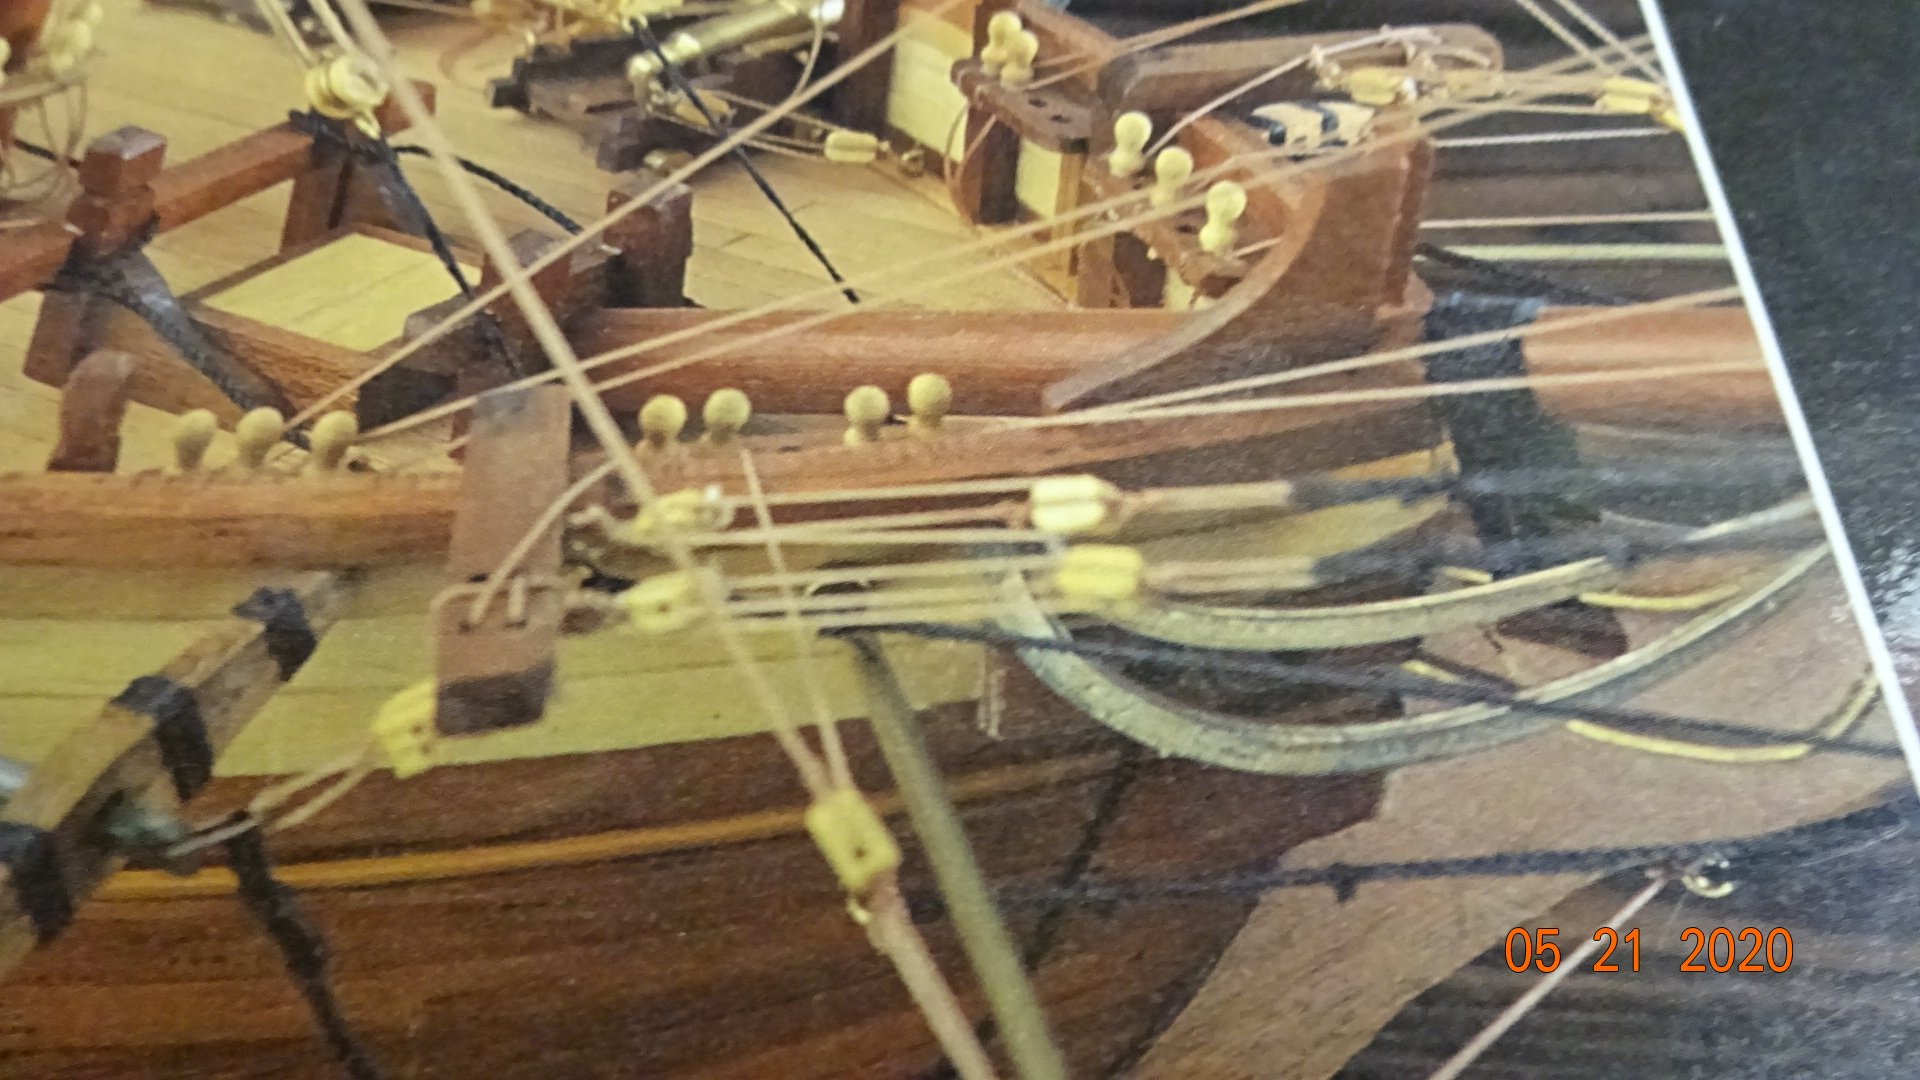
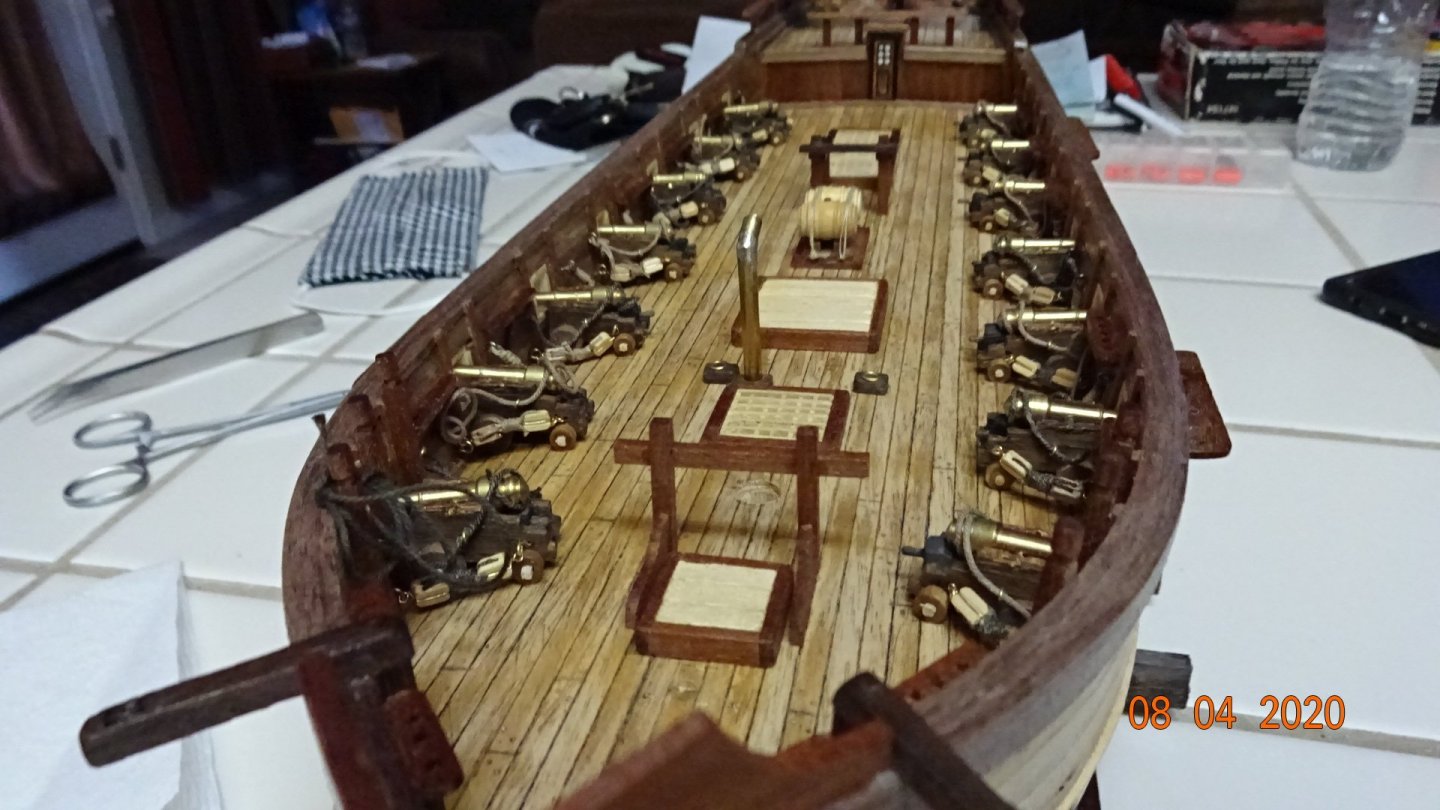
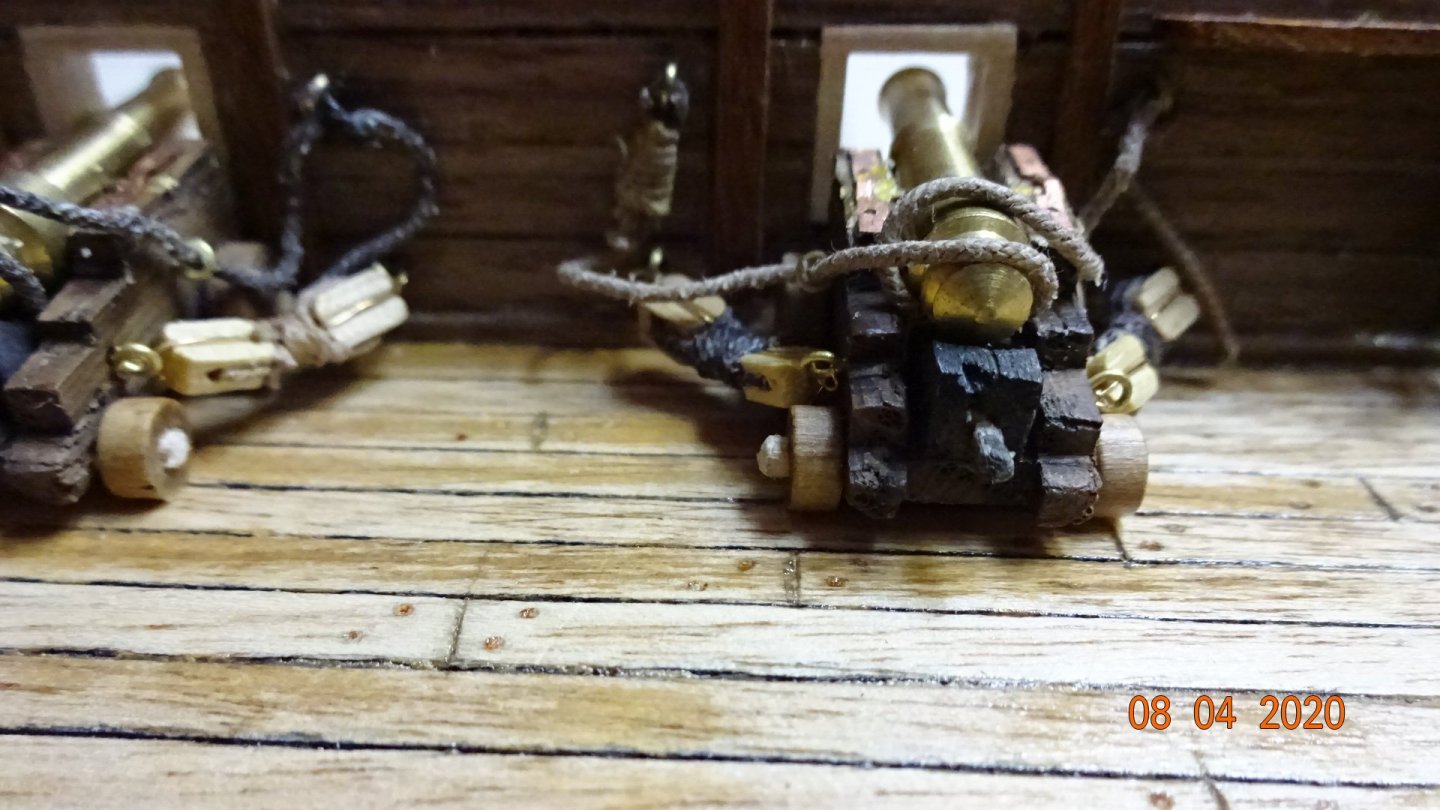
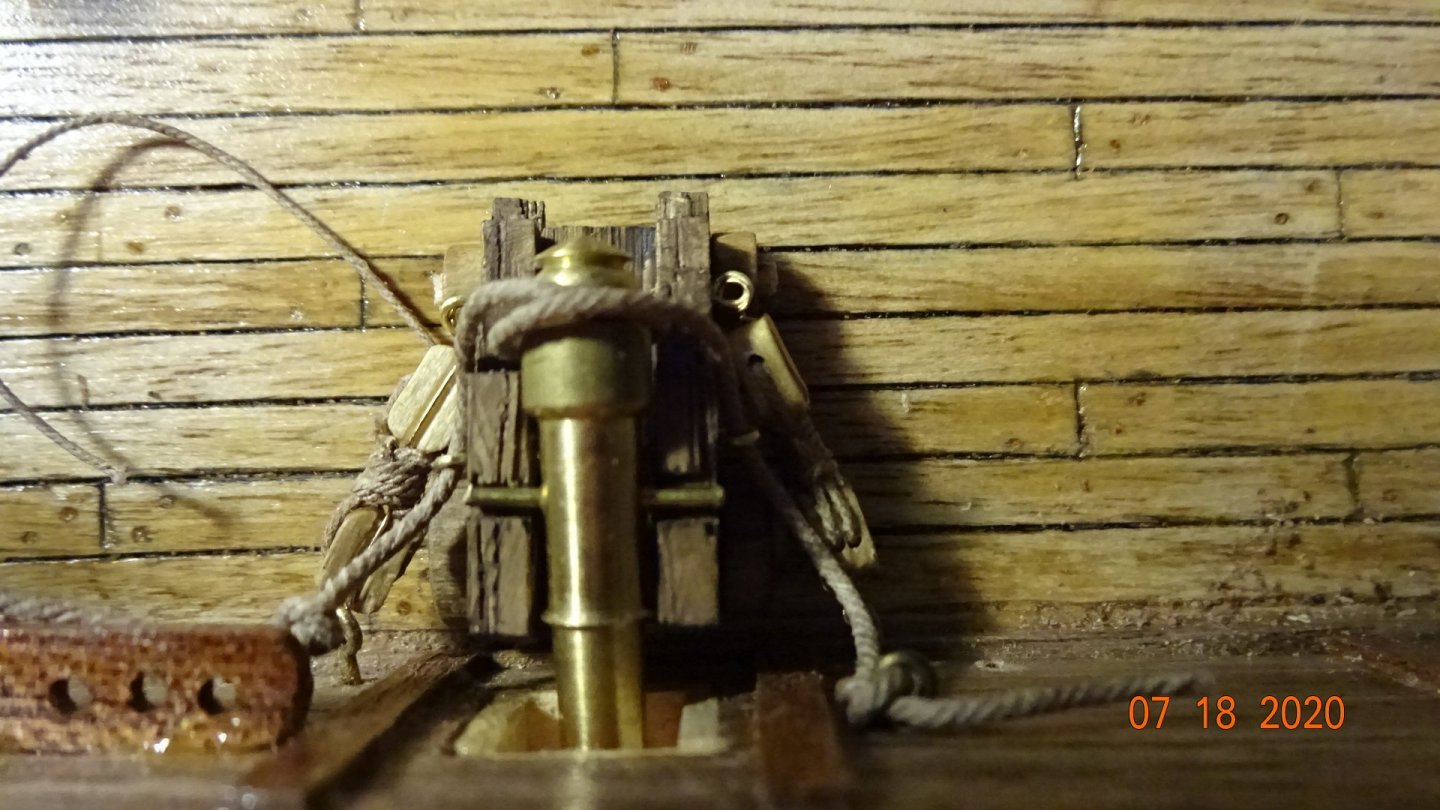
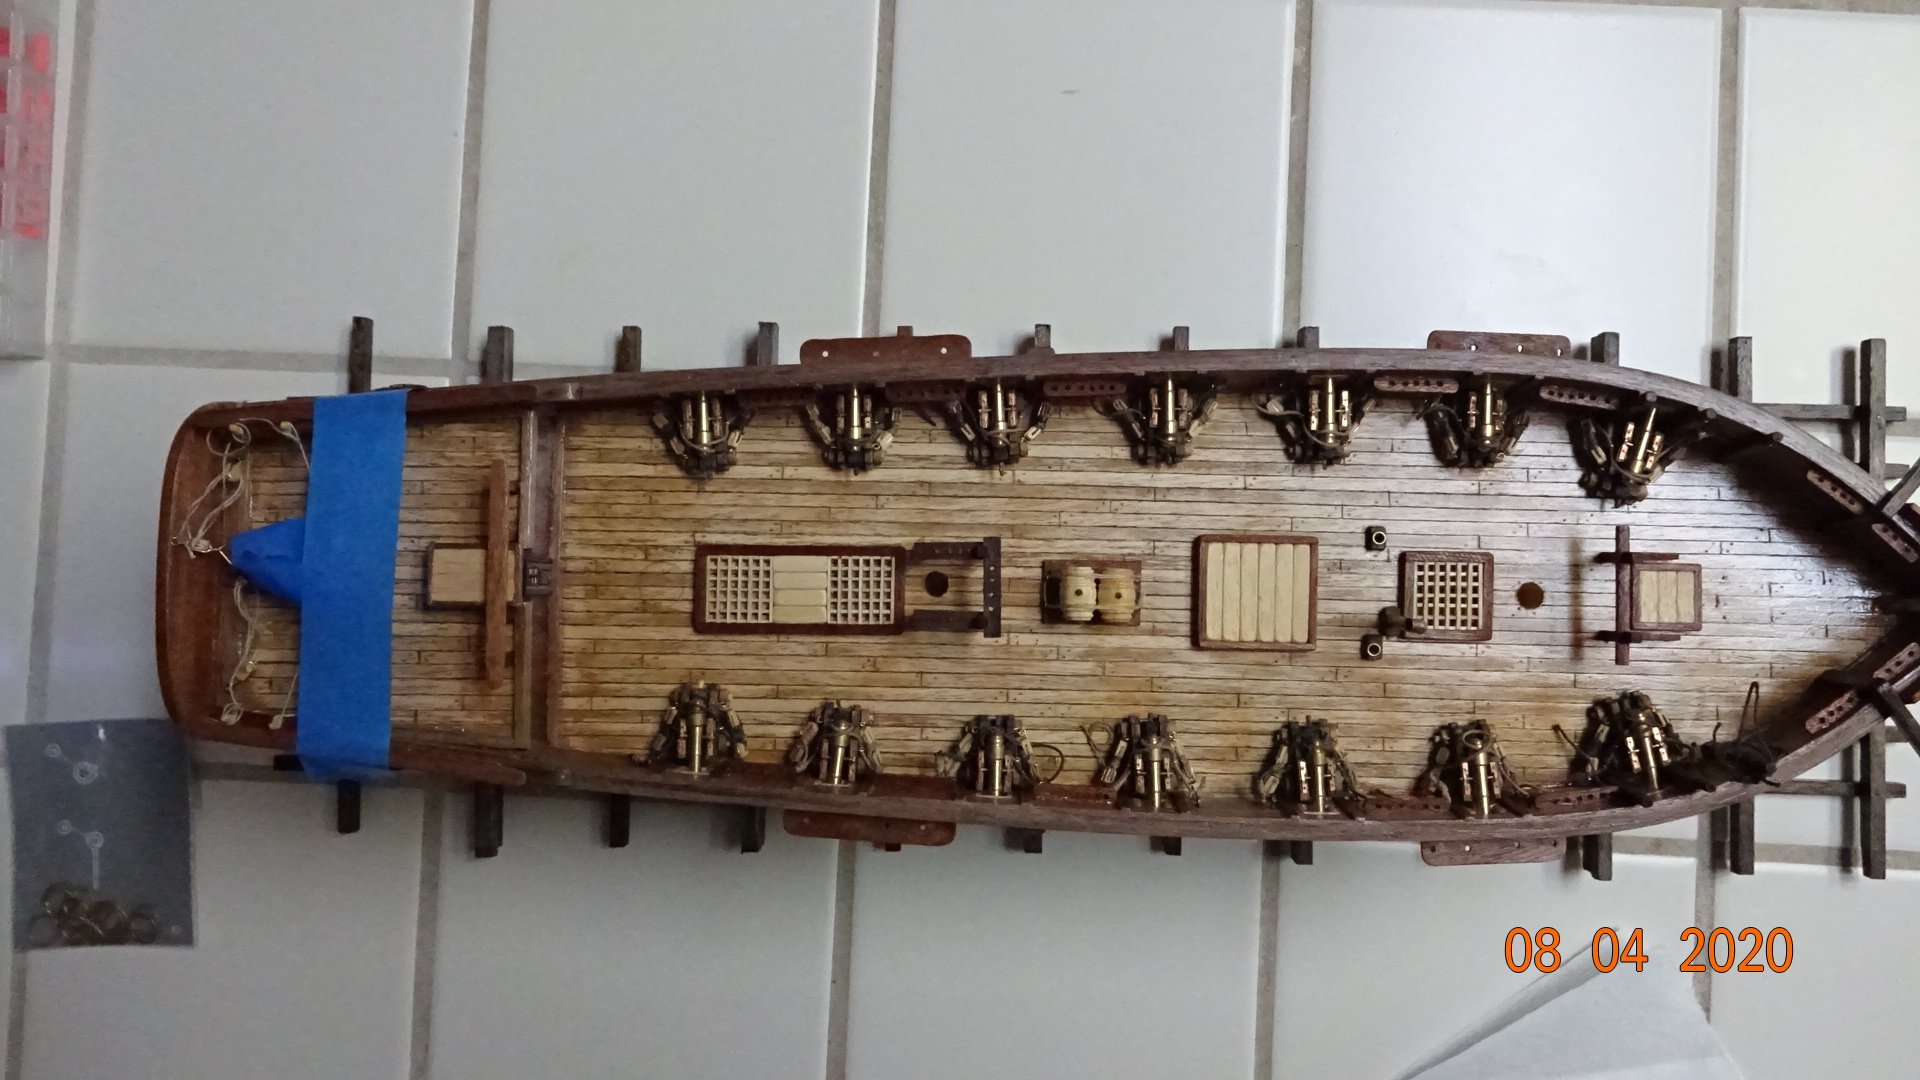
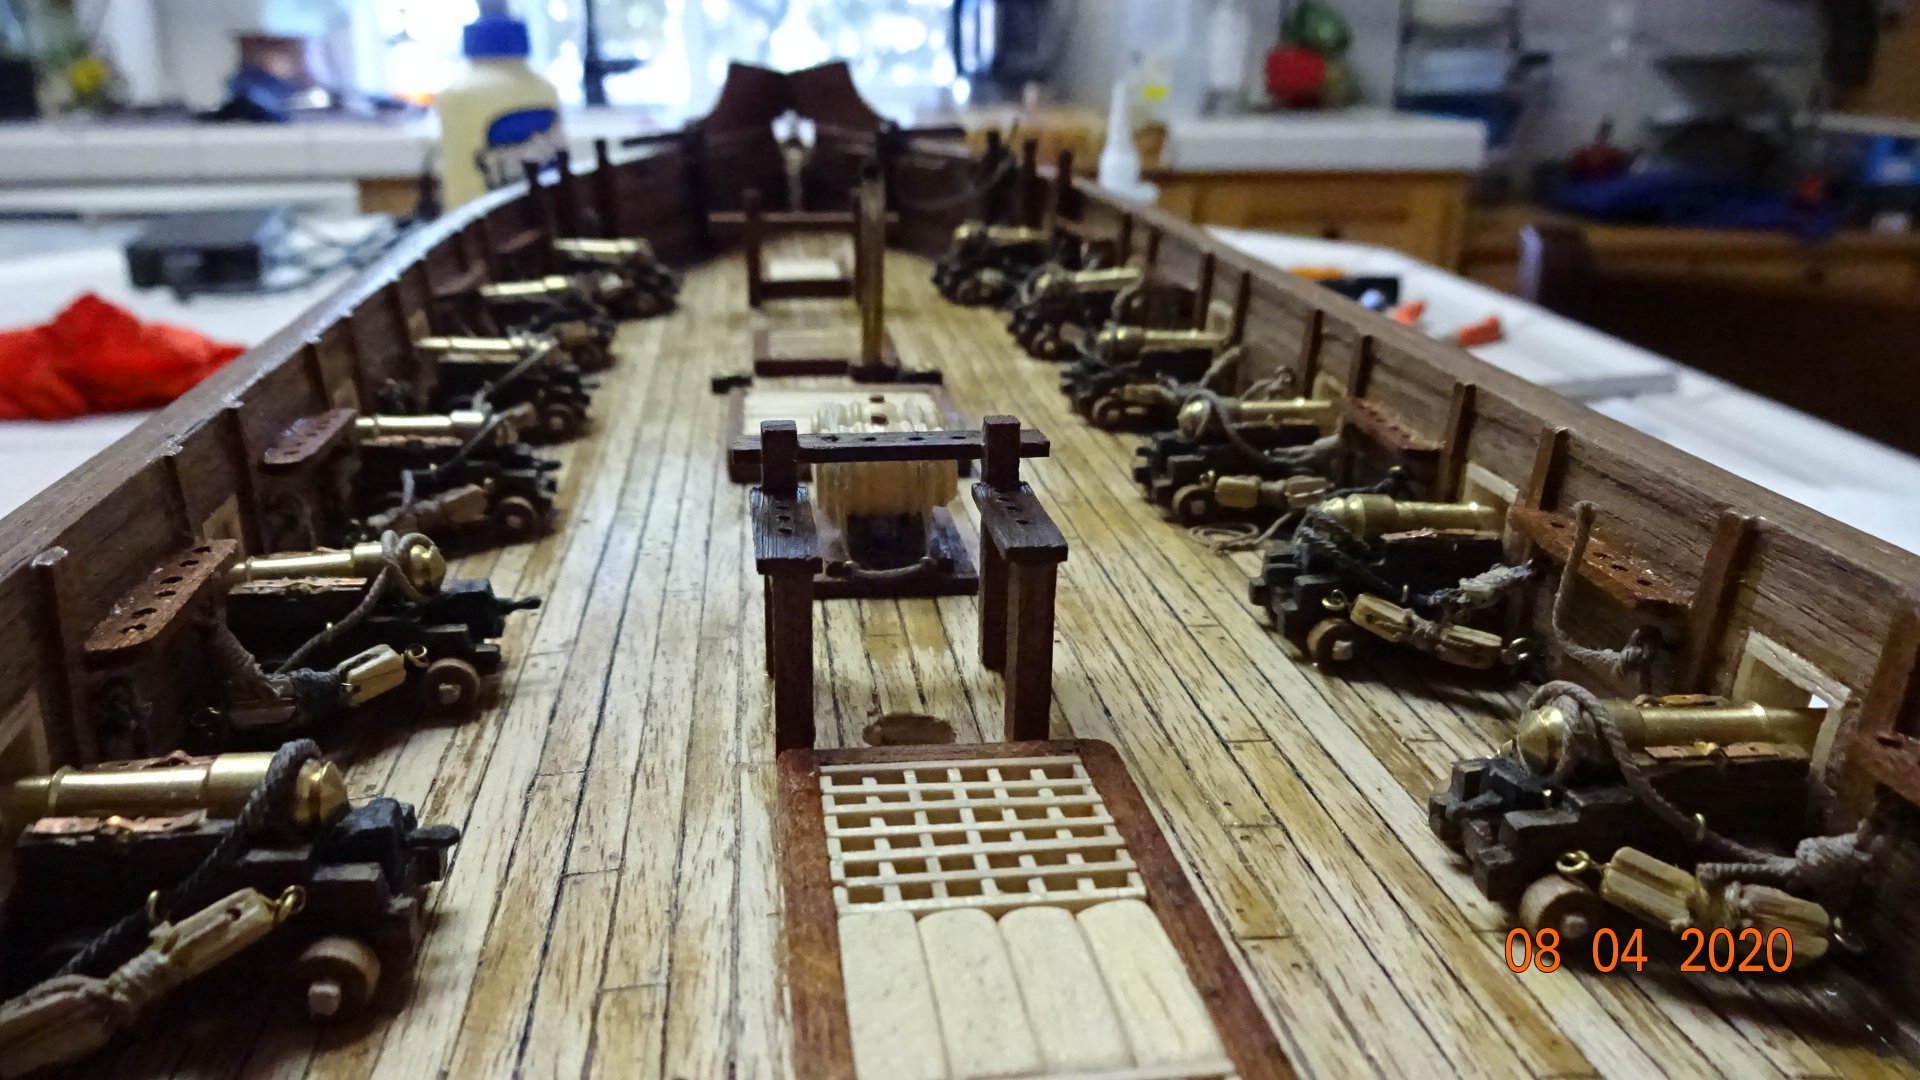
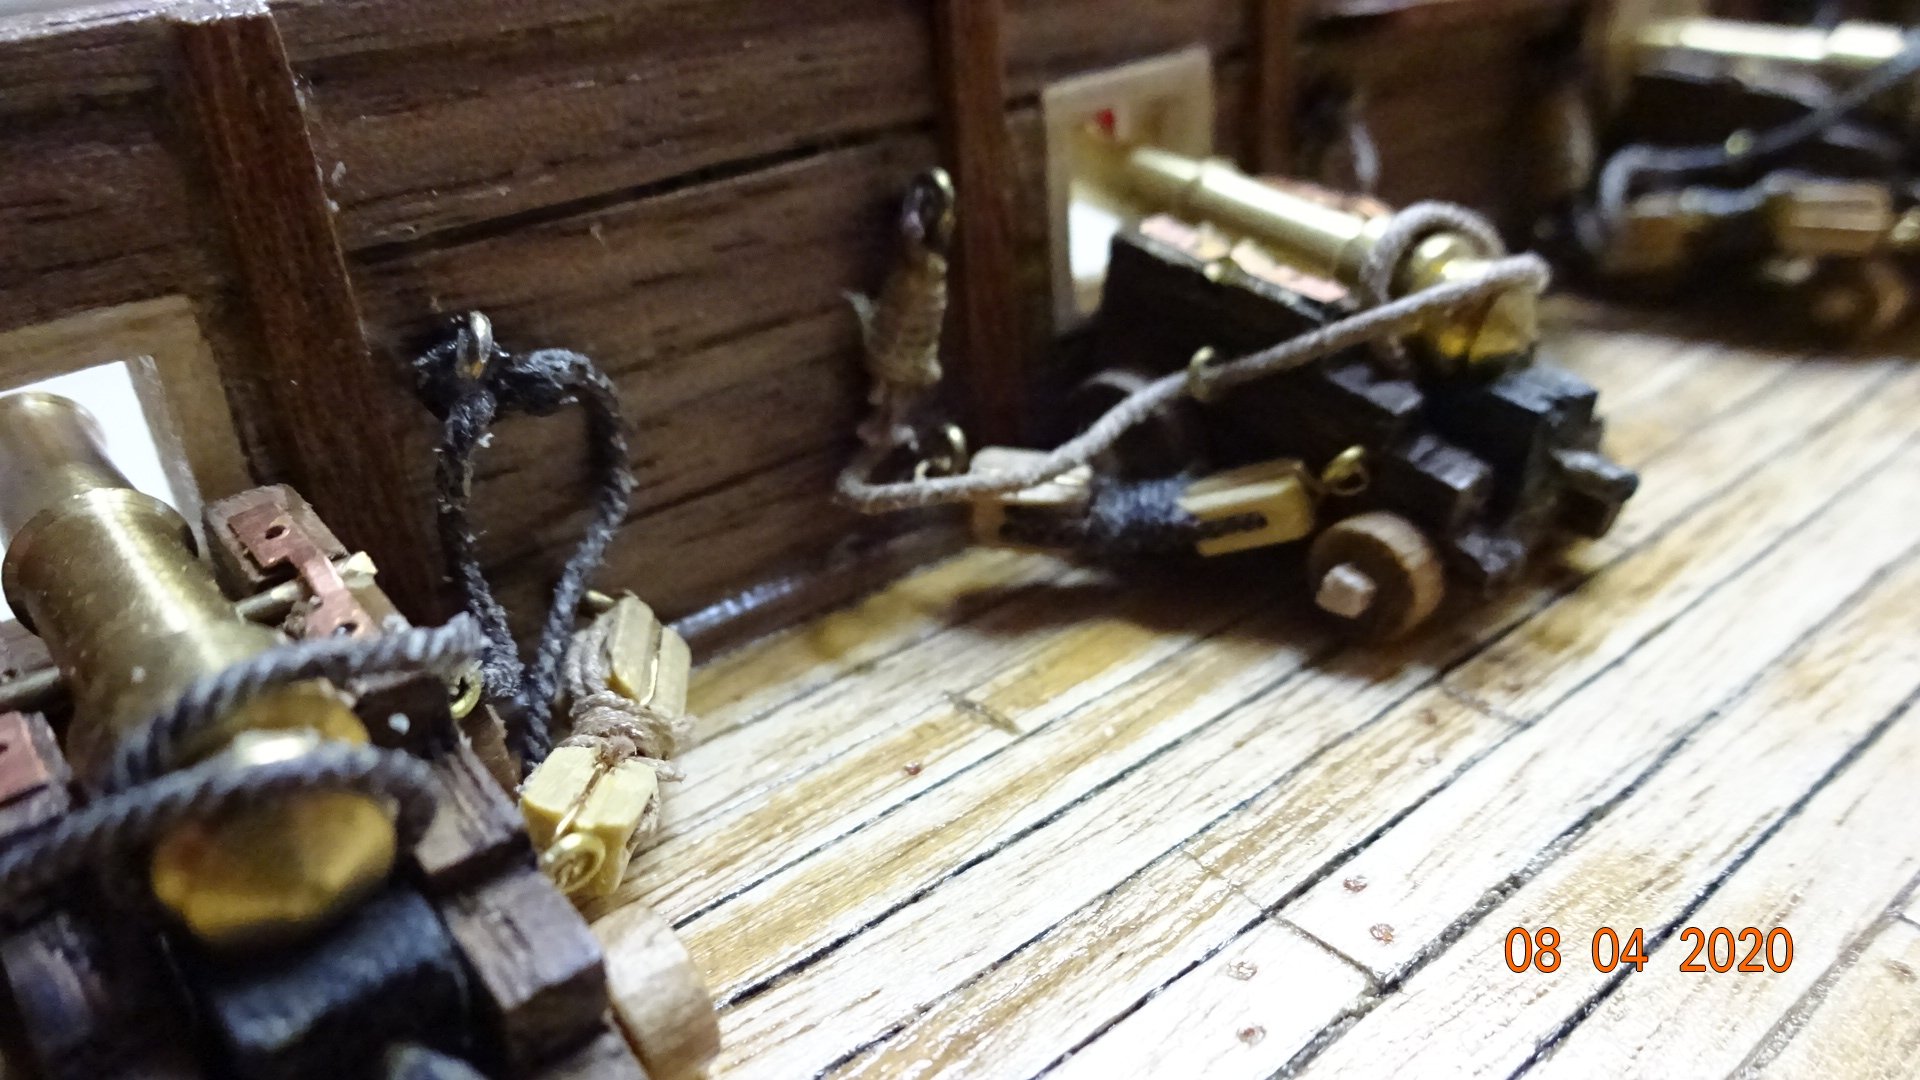
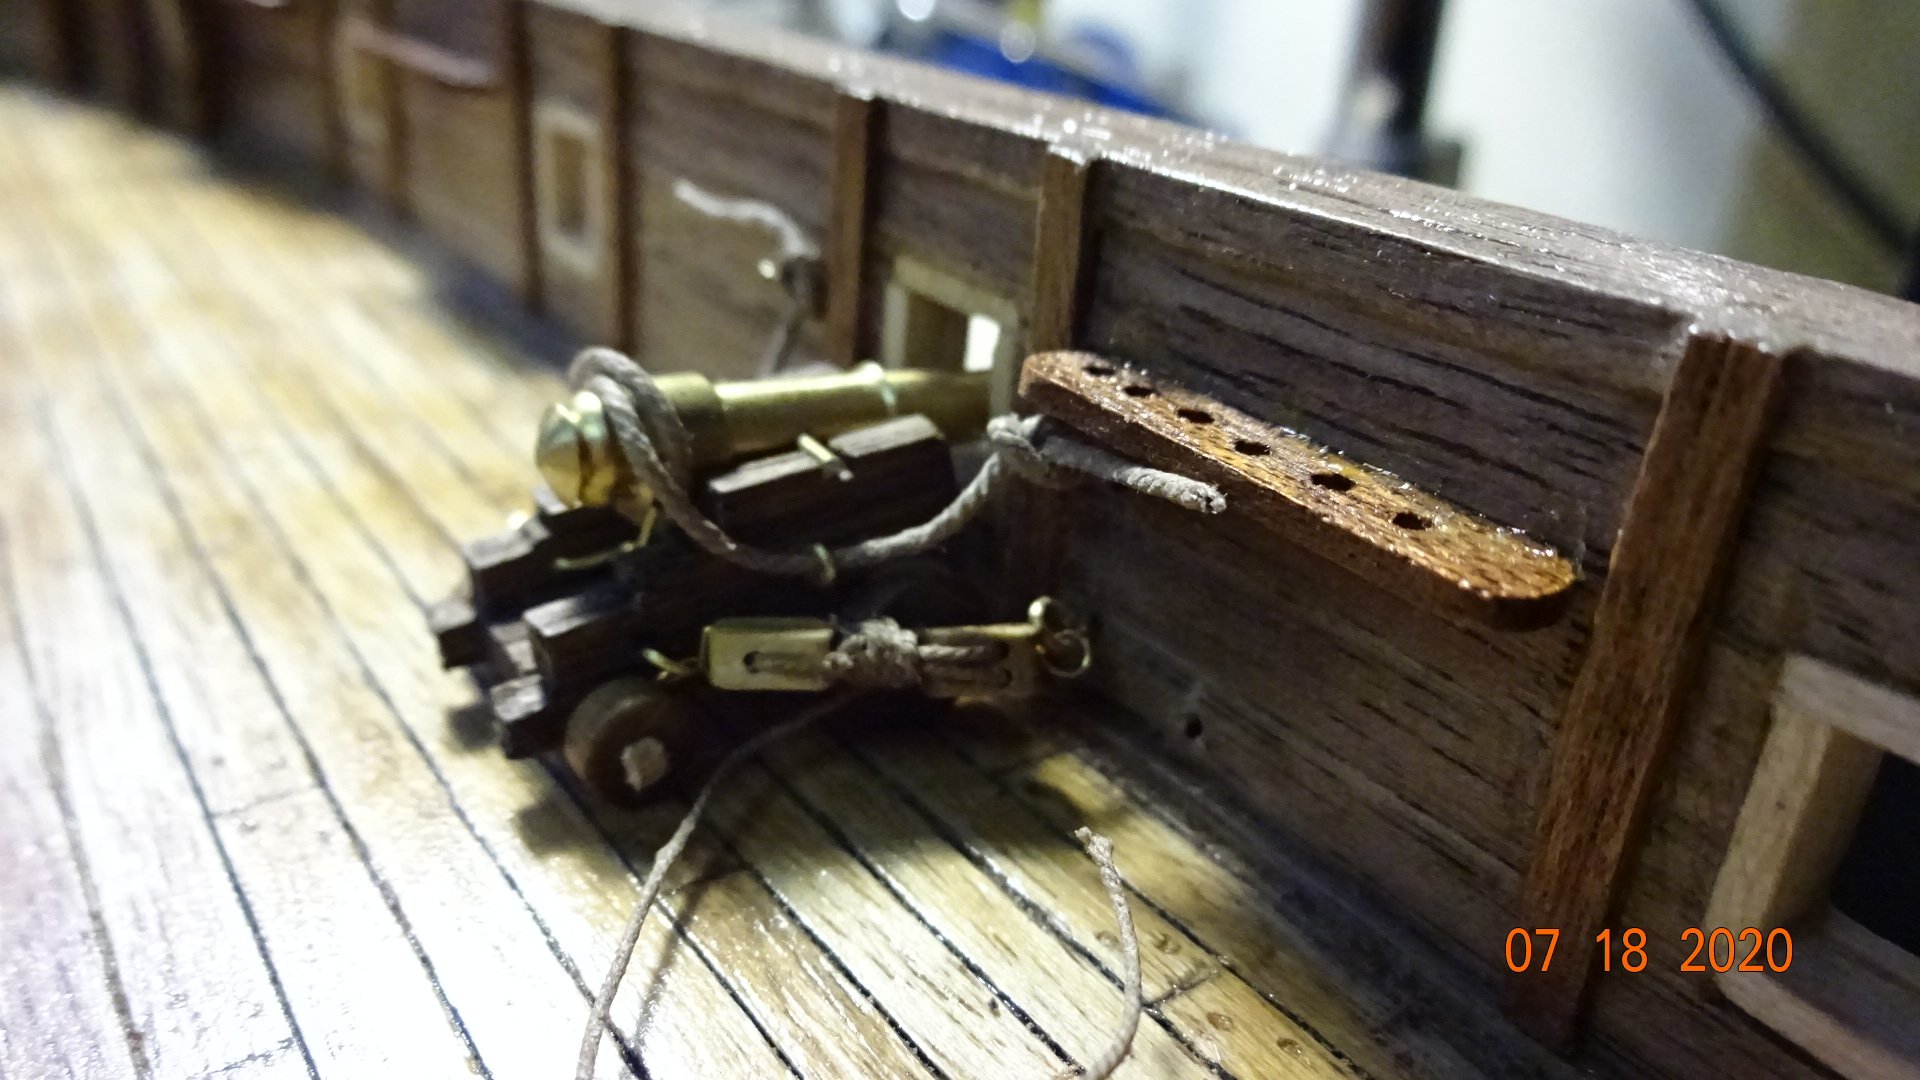
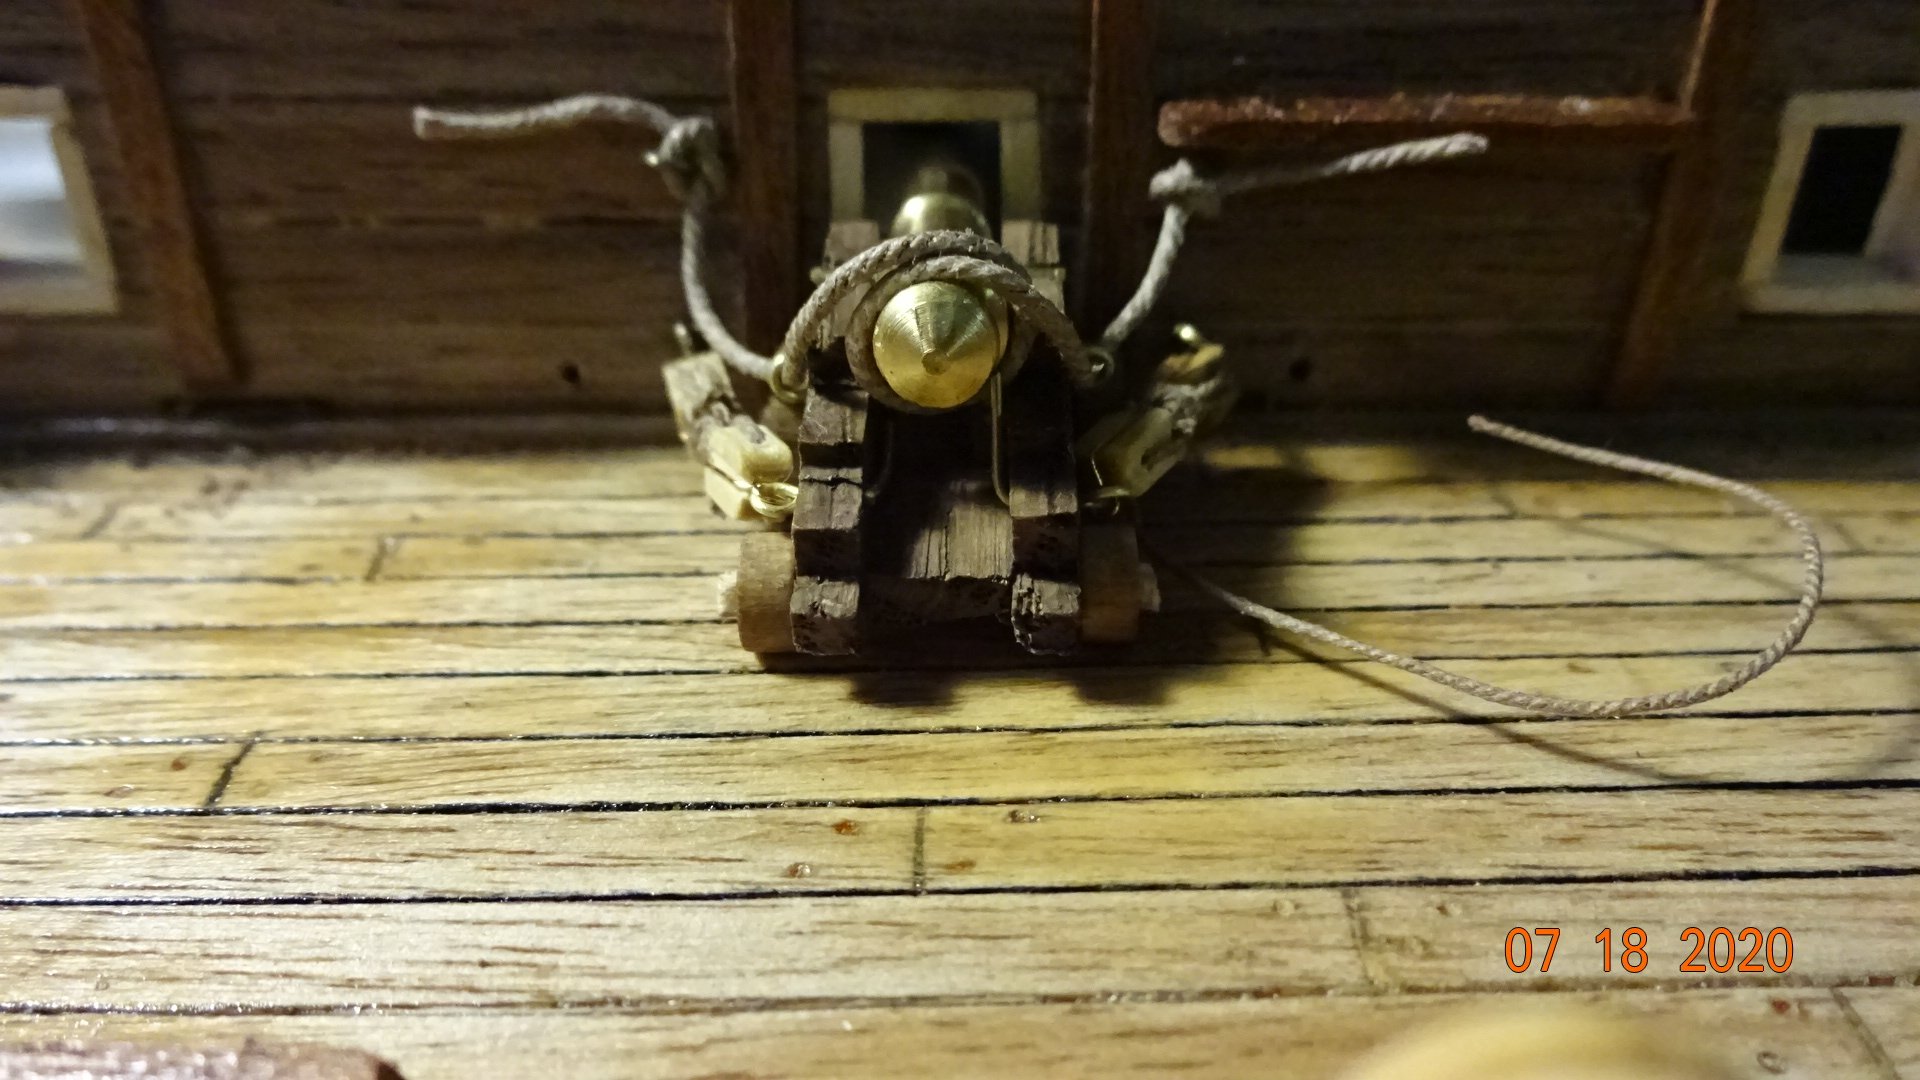
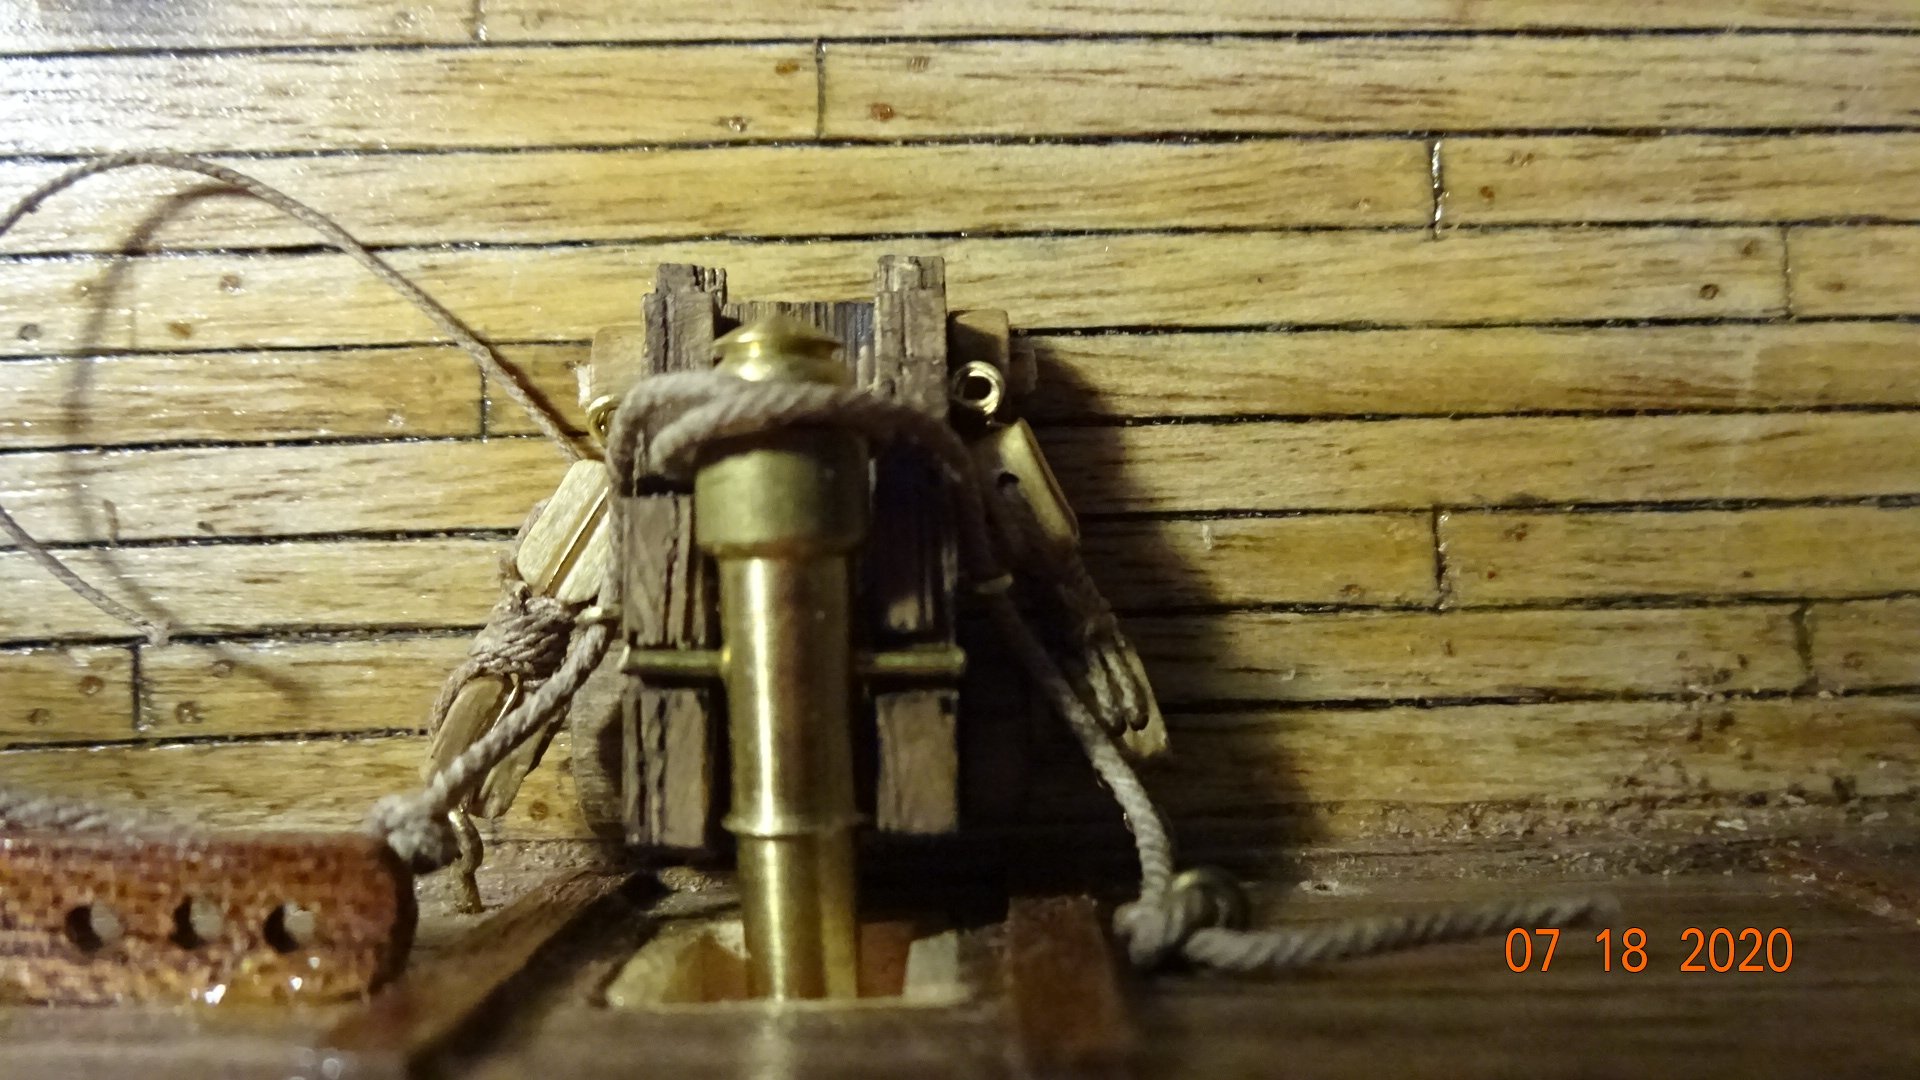
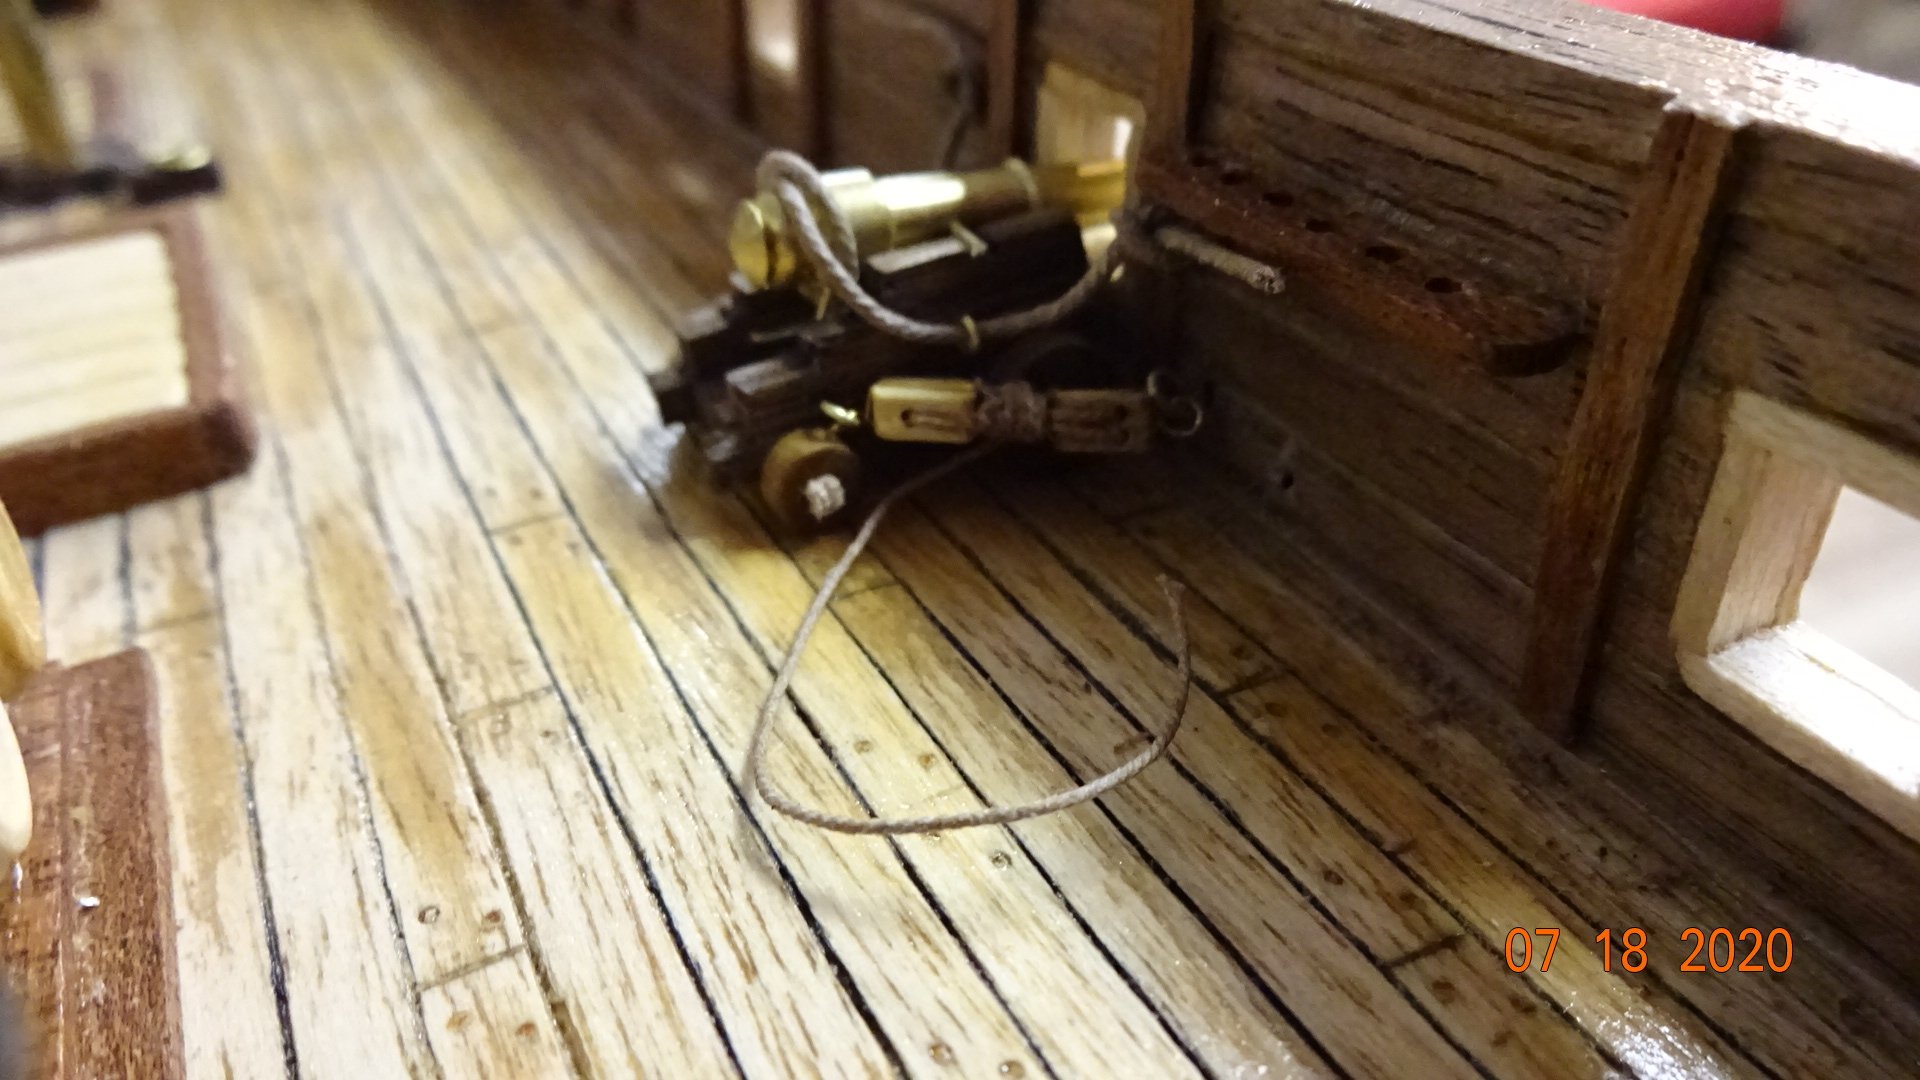
The cannons are mounted on the ship 😄! It has been quite an experience, mounting was only slightly less difficult than building the cannons. Decided to "frap" one side of the ropes that wrap around each cannon to secure it on deck. Originally I had just put a loop around and eyelet piece on the hull. This is how the manual shows it, using the frapping technique. Used CA glue to hold the eyelets to the hull. Seems to work so far. Here are some pics of the completed work. Some of the ropes are not hanging correctly, something I'll address later. Overall I'm very pleased, thanks for all those who offered suggestions and to those whose build logs I've been using to improve my build. Friends who have seen the ship are amazed at the work, and it's not even finished ! From this view the poop deck rigging (below) now looks "weak" to me. Initially when I first built the rigging I was quite happy with it. Now though, it seems lackluster to me. How did that happen? I was perfectly content with the poop deck rigging. I'll take a hard look at it before changing anything. Any thoughts on the rigging? Now that the deck is starting to fill up some of my concerns earlier on the deck planking are fading away. Issues with nail holes, plank line marks and stuff I complained about earlier in this build log. For builders interested, drilling the holes in the hull for the eyelets requires a steady hand. A few times I ended up going right through the hull. The holes are small so hardly noticeable. There's less than 4mm to drill into, if even that in some places due to sanding the planks earlier in the build. Funny thing, while writing this I did notice a small hole under the last aft cannon. Turns out I had a small piece of lint on the laptop screen, wiped it away and the hole is gone ..... magic 🤭 Some up close images of the cannons ... probably to up close 🙄. For those with a keen eye, you may have noticed I have 2 different colored ropes used on the cannons. Started with the tan color and ran out after doing half the cannons. Had some of the dark color that I previously ordered and used that. I rotated the colors so there will be tan, black,tan,black,etc.... Still haven't decided if I want to paint the hinges for the cannon axle. Open to suggestions ..... Have a great day, Rowboat out.


- 195 replies
-
- 4
-
-
- enterprise
- constructo
- (and 1 more)
-
First time I've heard of Cornwall. Visited their site and they do have a lot of model ship's and fittings. Thanks for the info. Rowboat out.
-
I agree, I like the natural color of the wood, although maybe just put some shellac or polyurethane clear gloss to protect the finish. Tone down any shiny areas using a clear matte. The ship looks great, I hope I can attain that level of work on my Enterprise build
- 136 replies
-
- 1
-
-
- enterprise
- constructo
- (and 1 more)
-
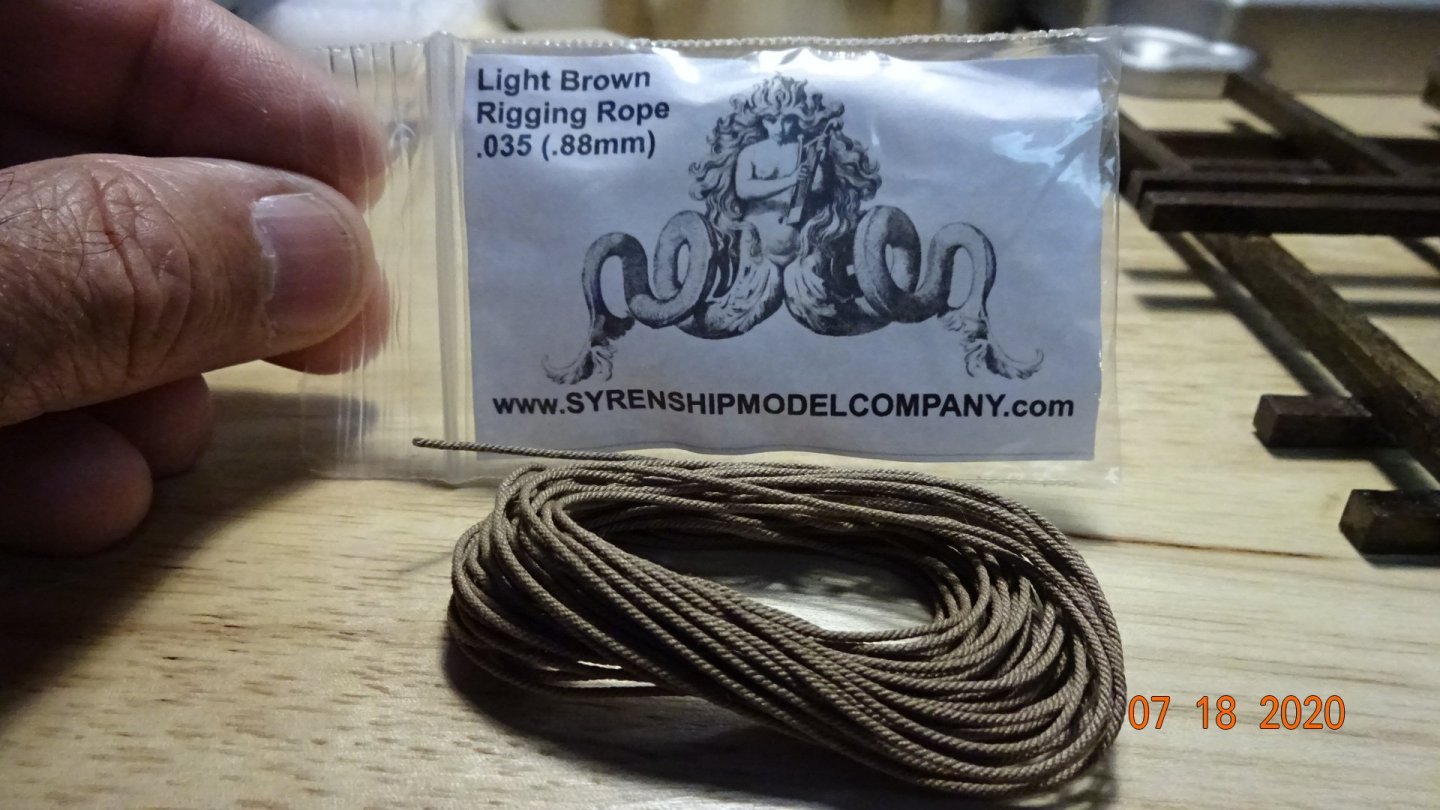
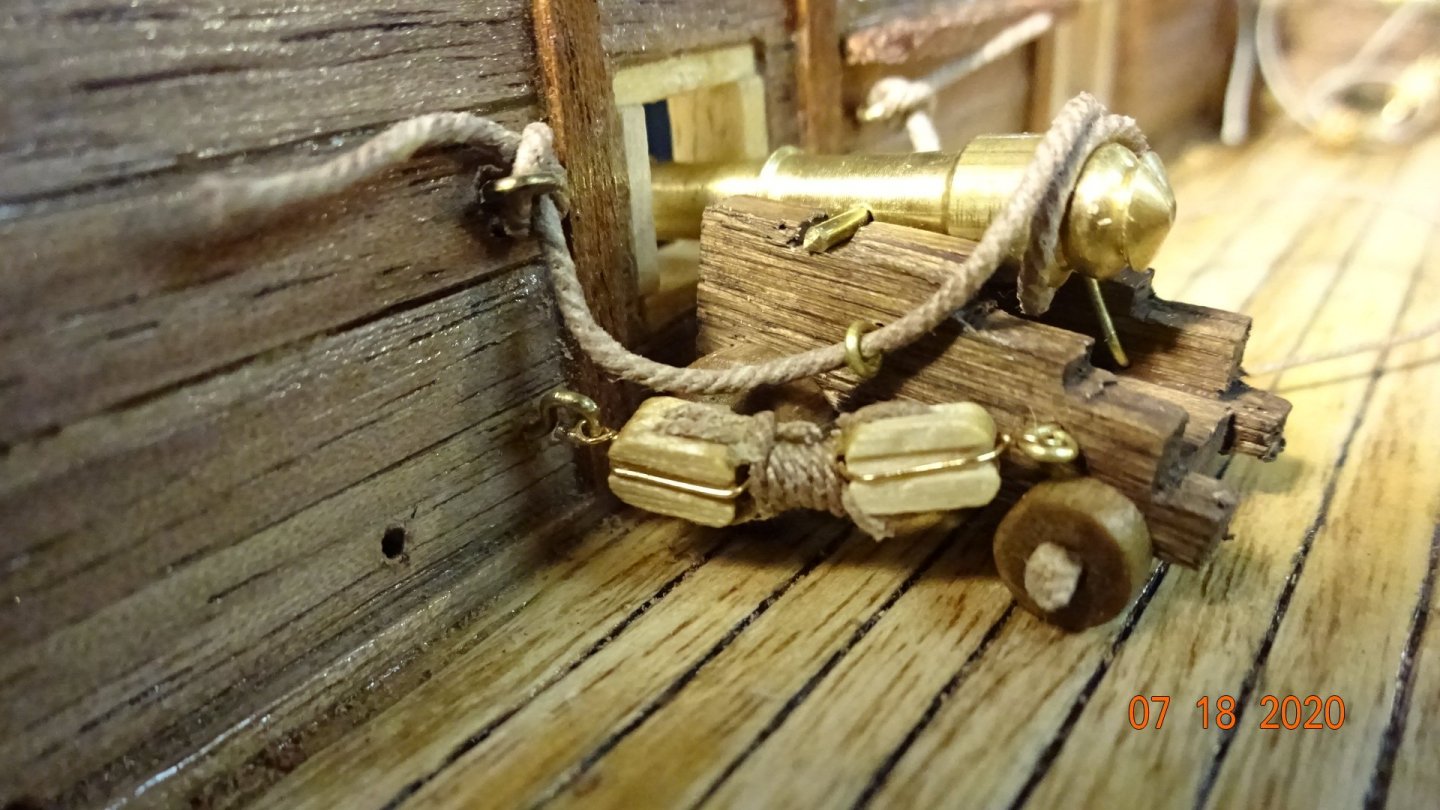
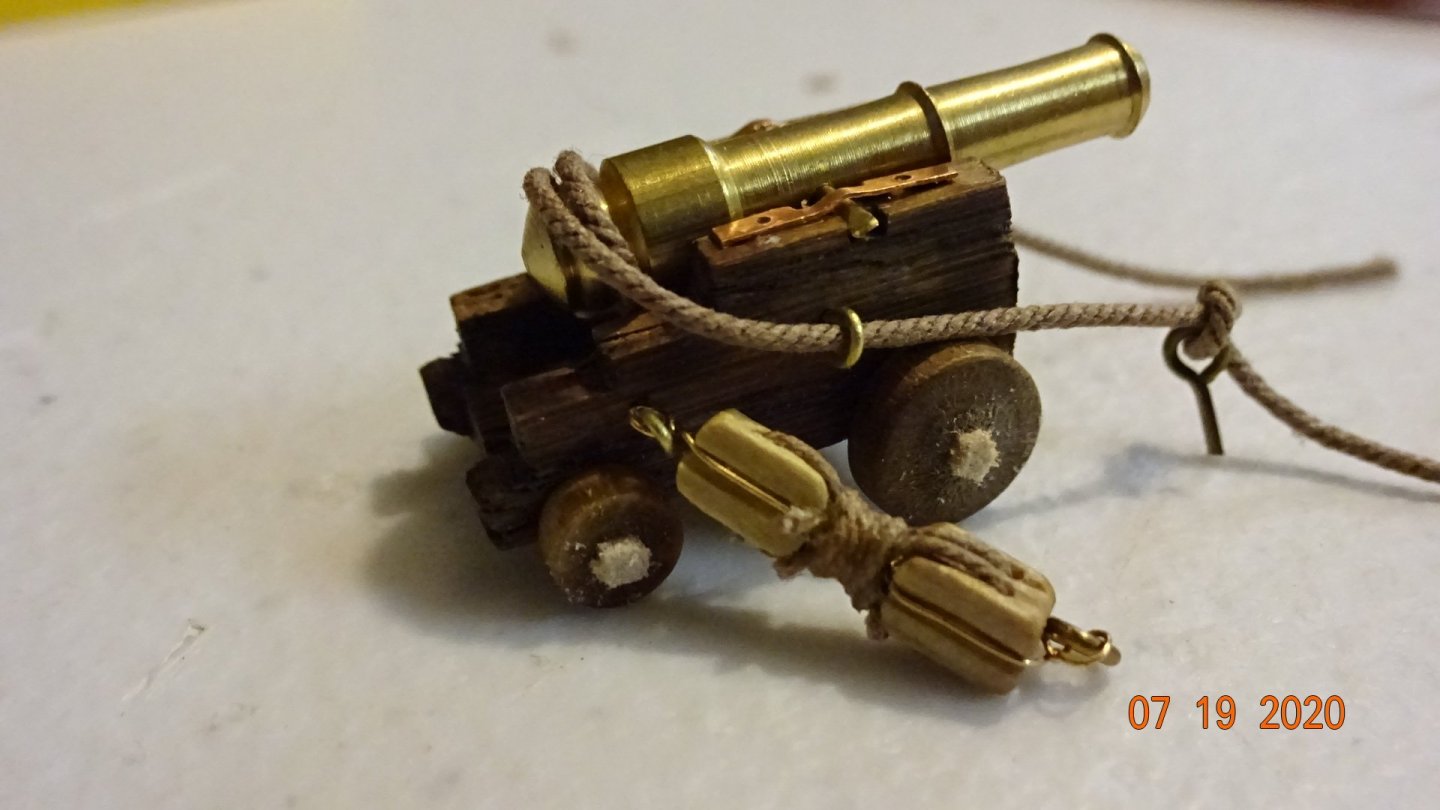
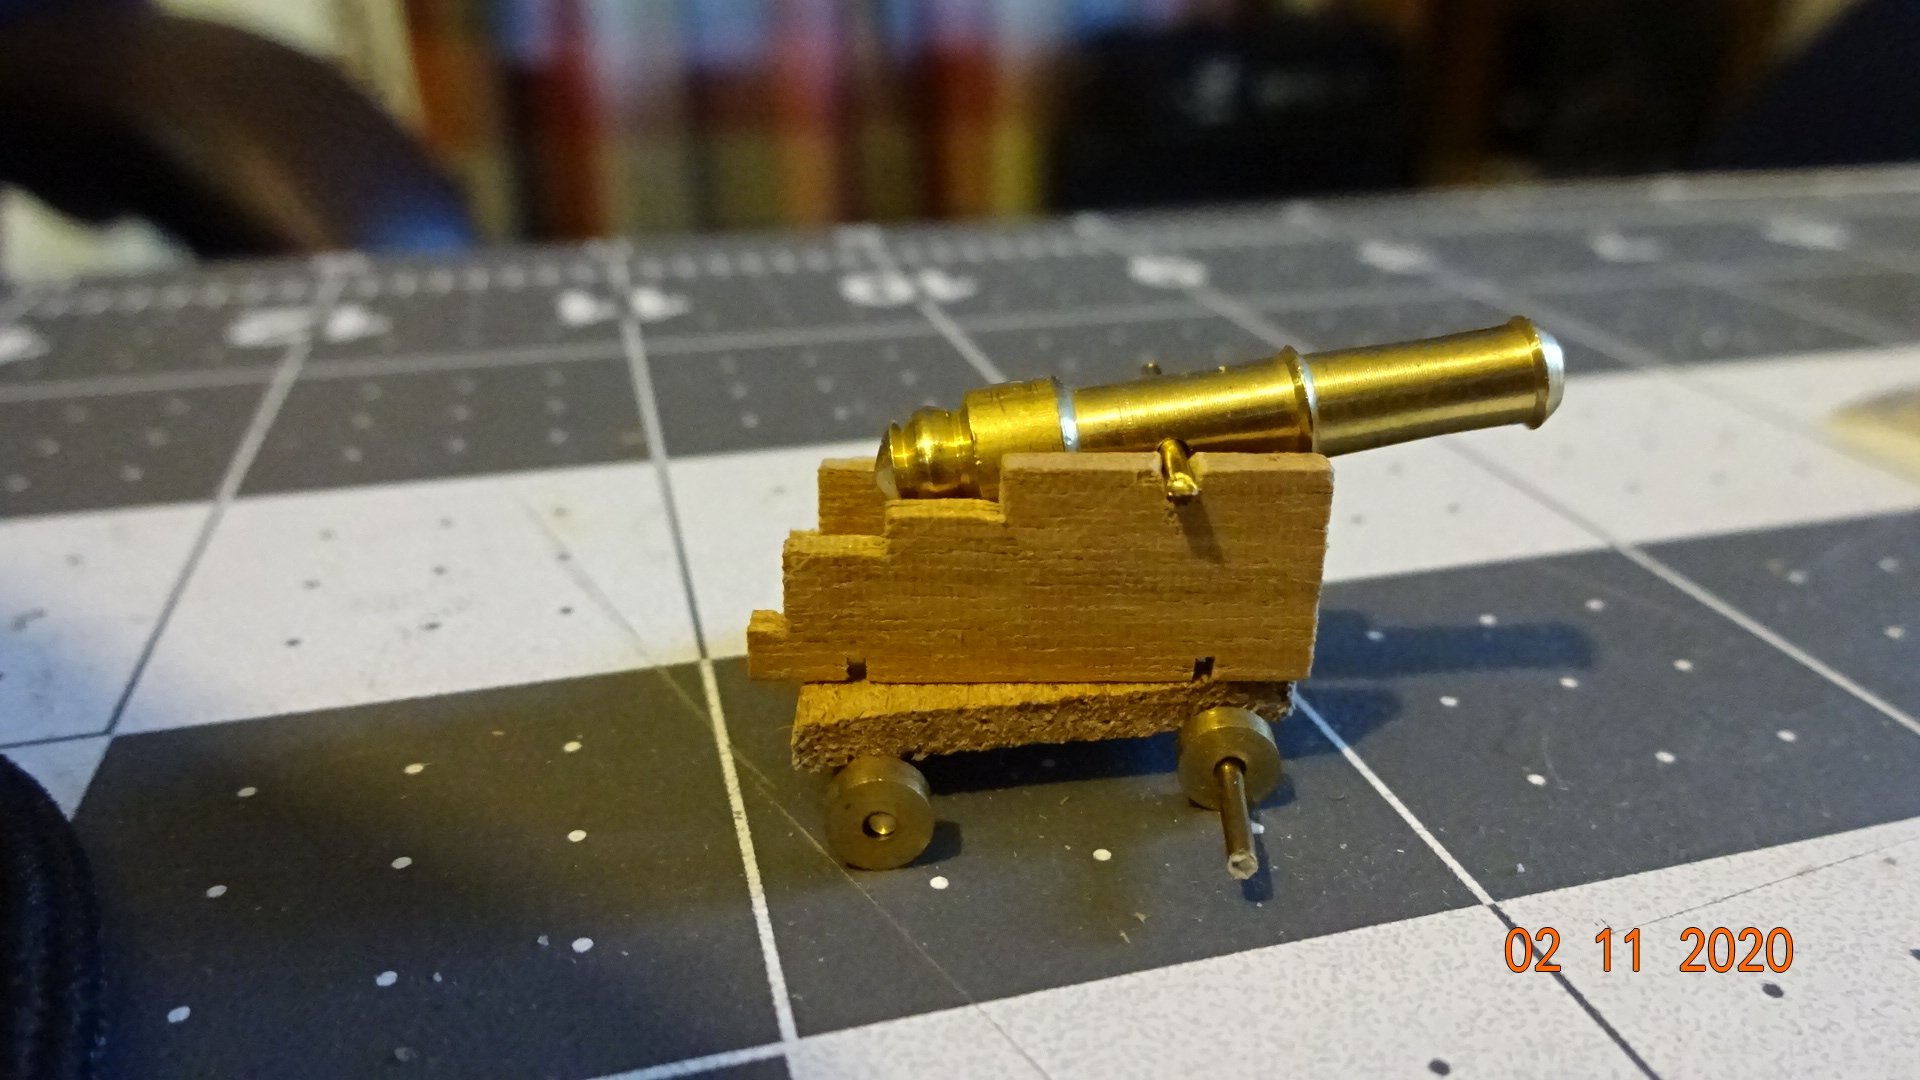
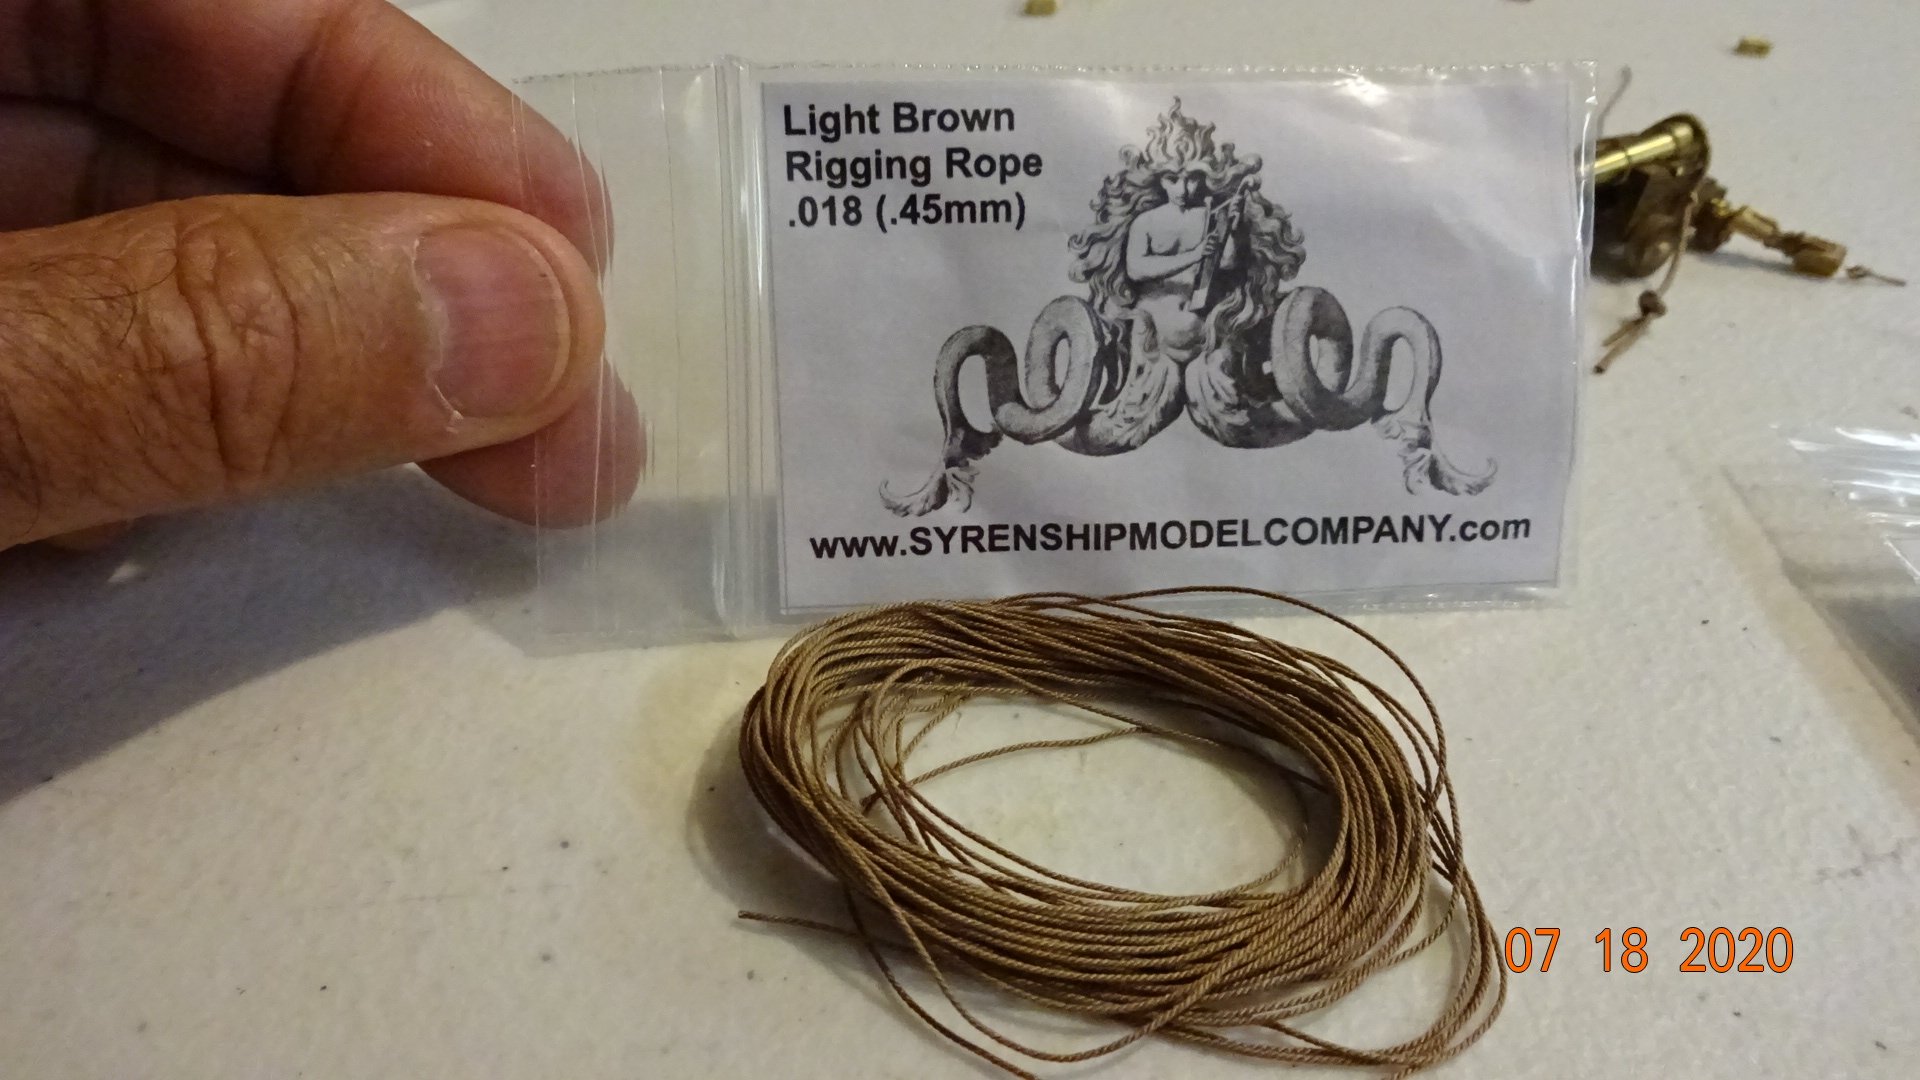
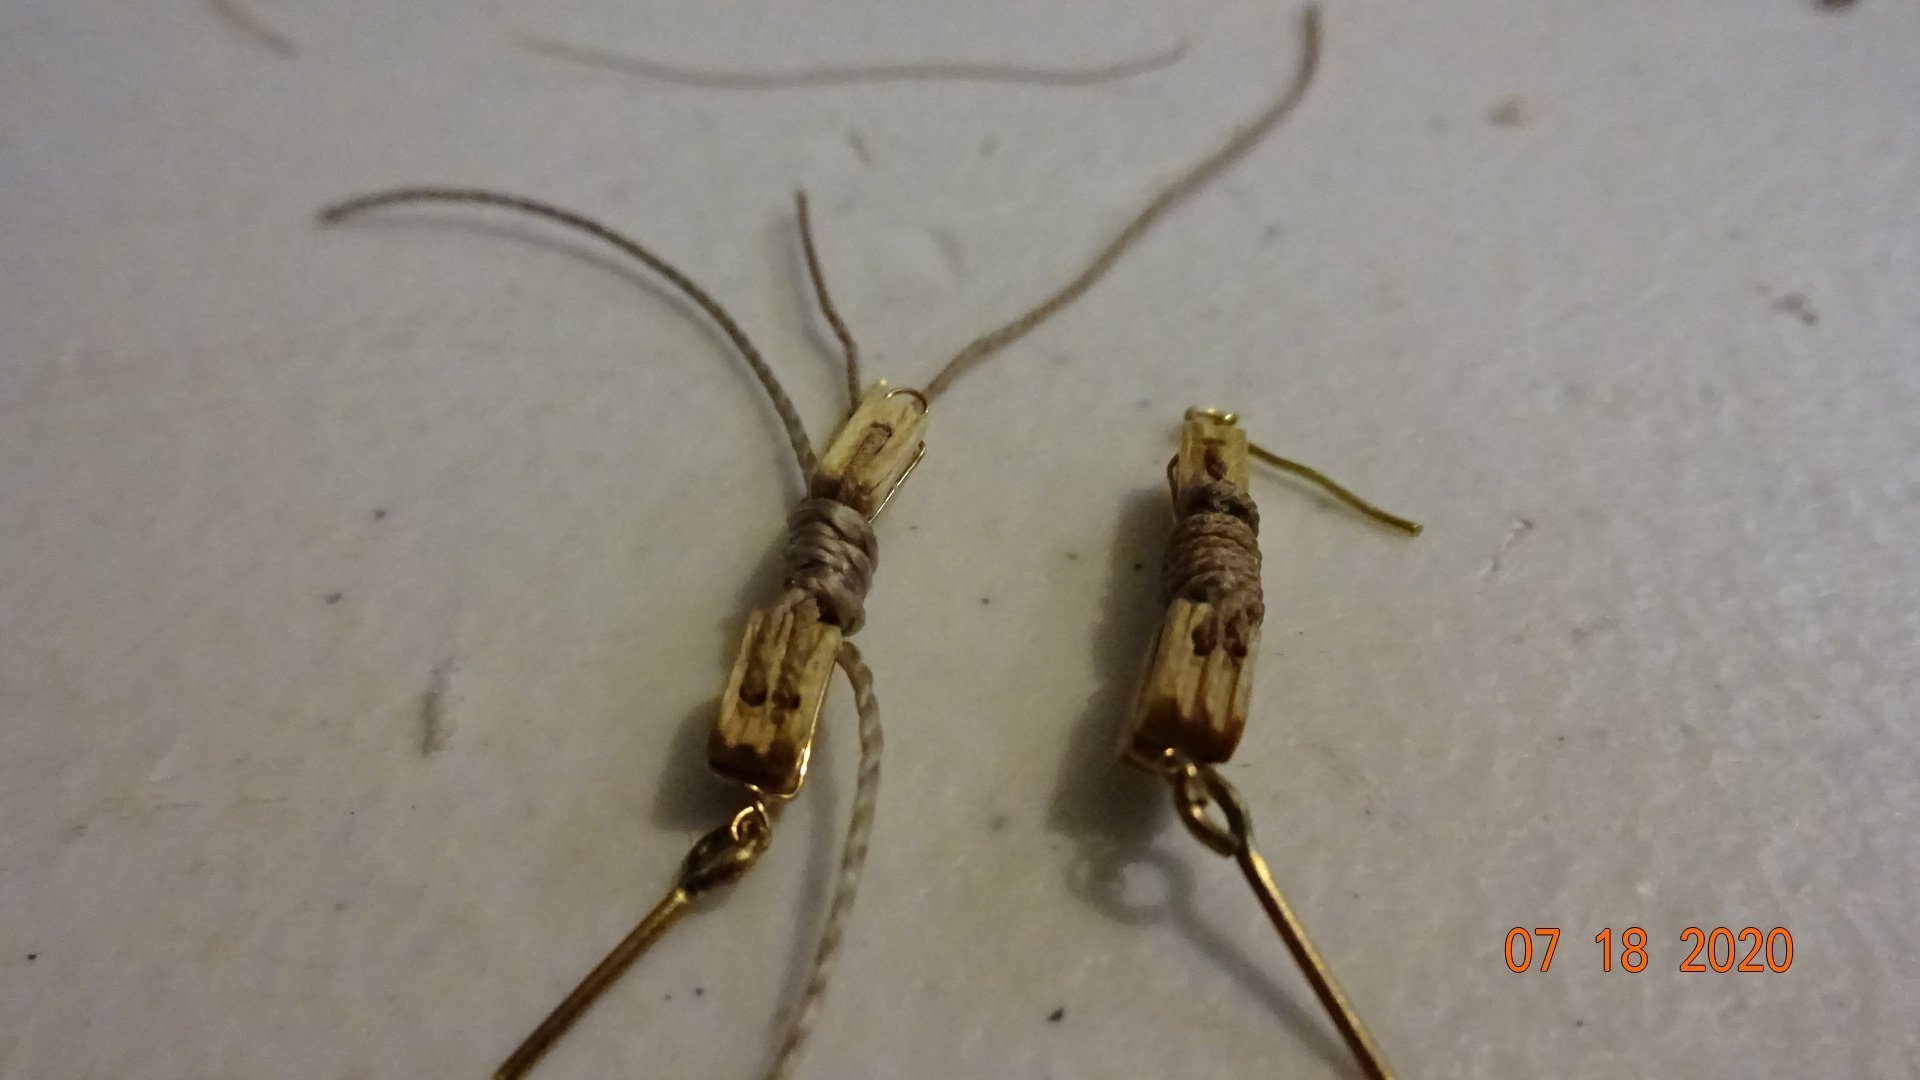
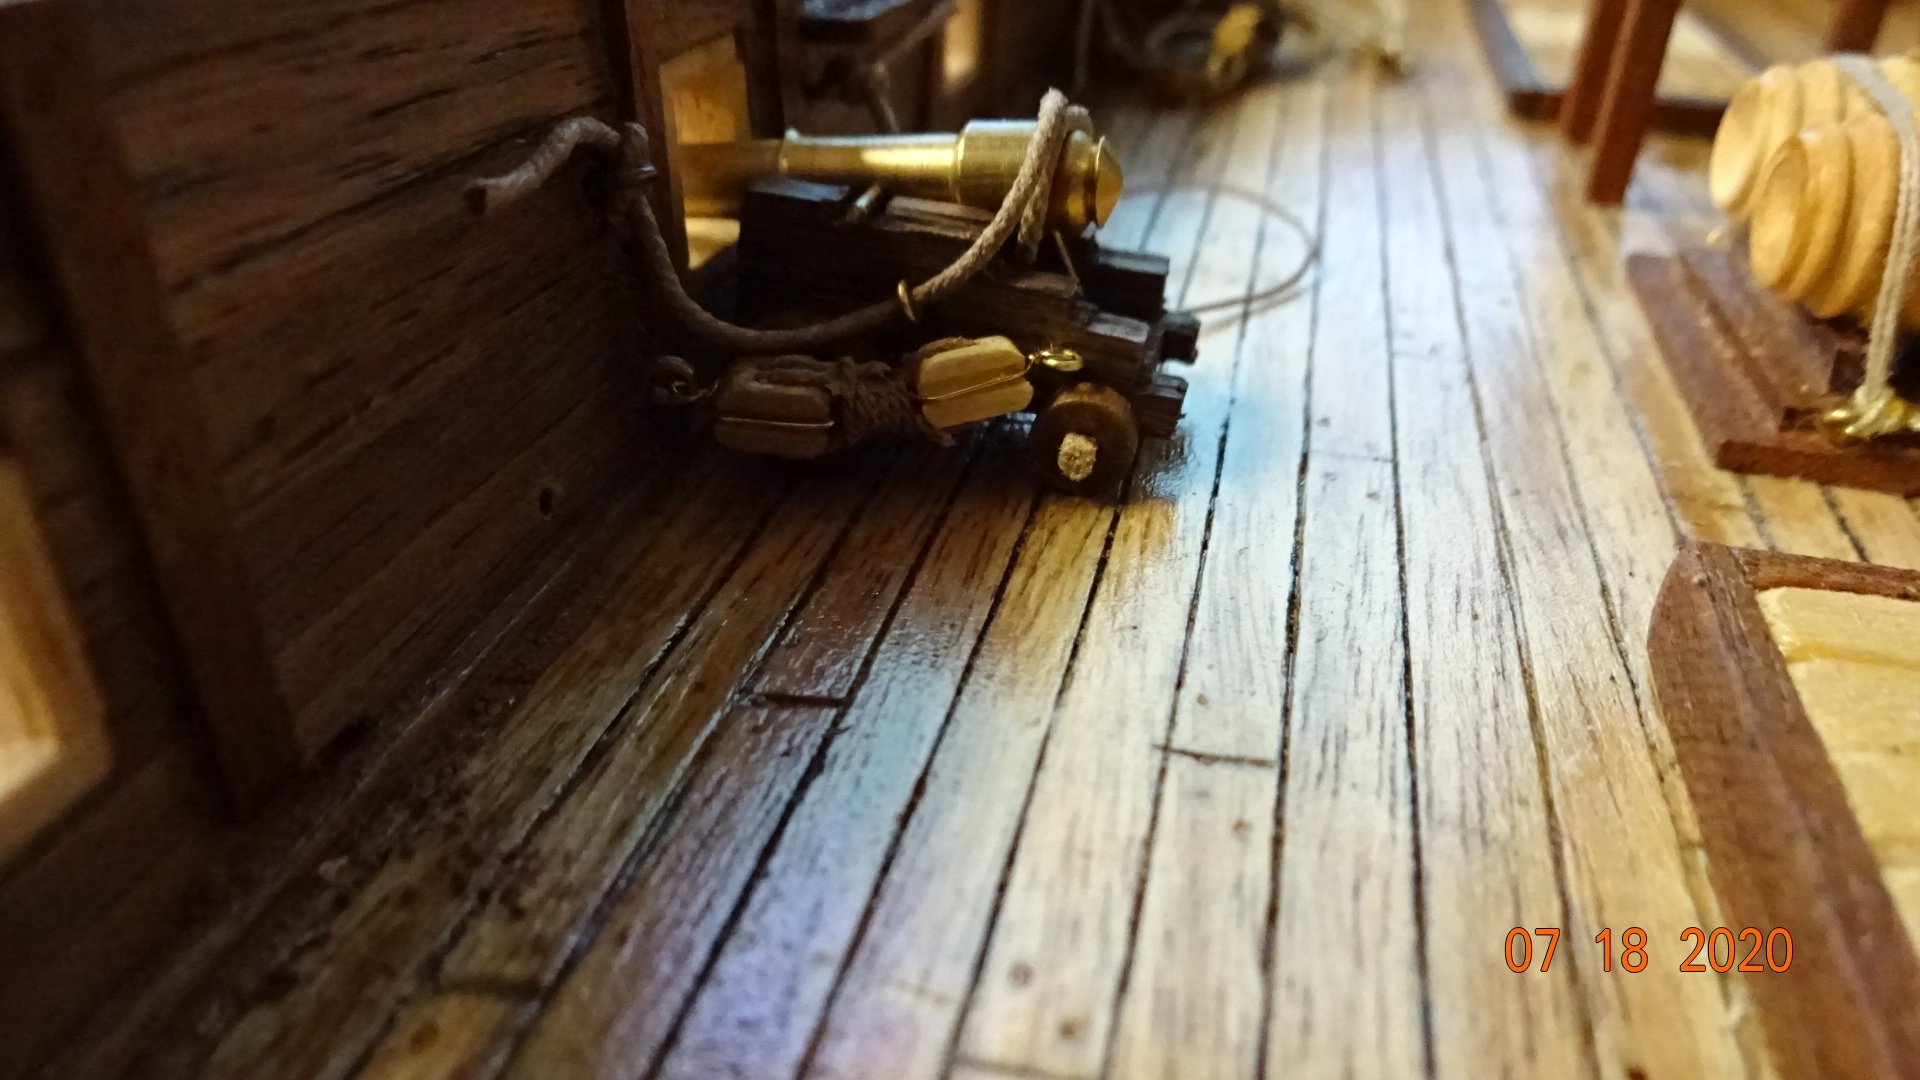
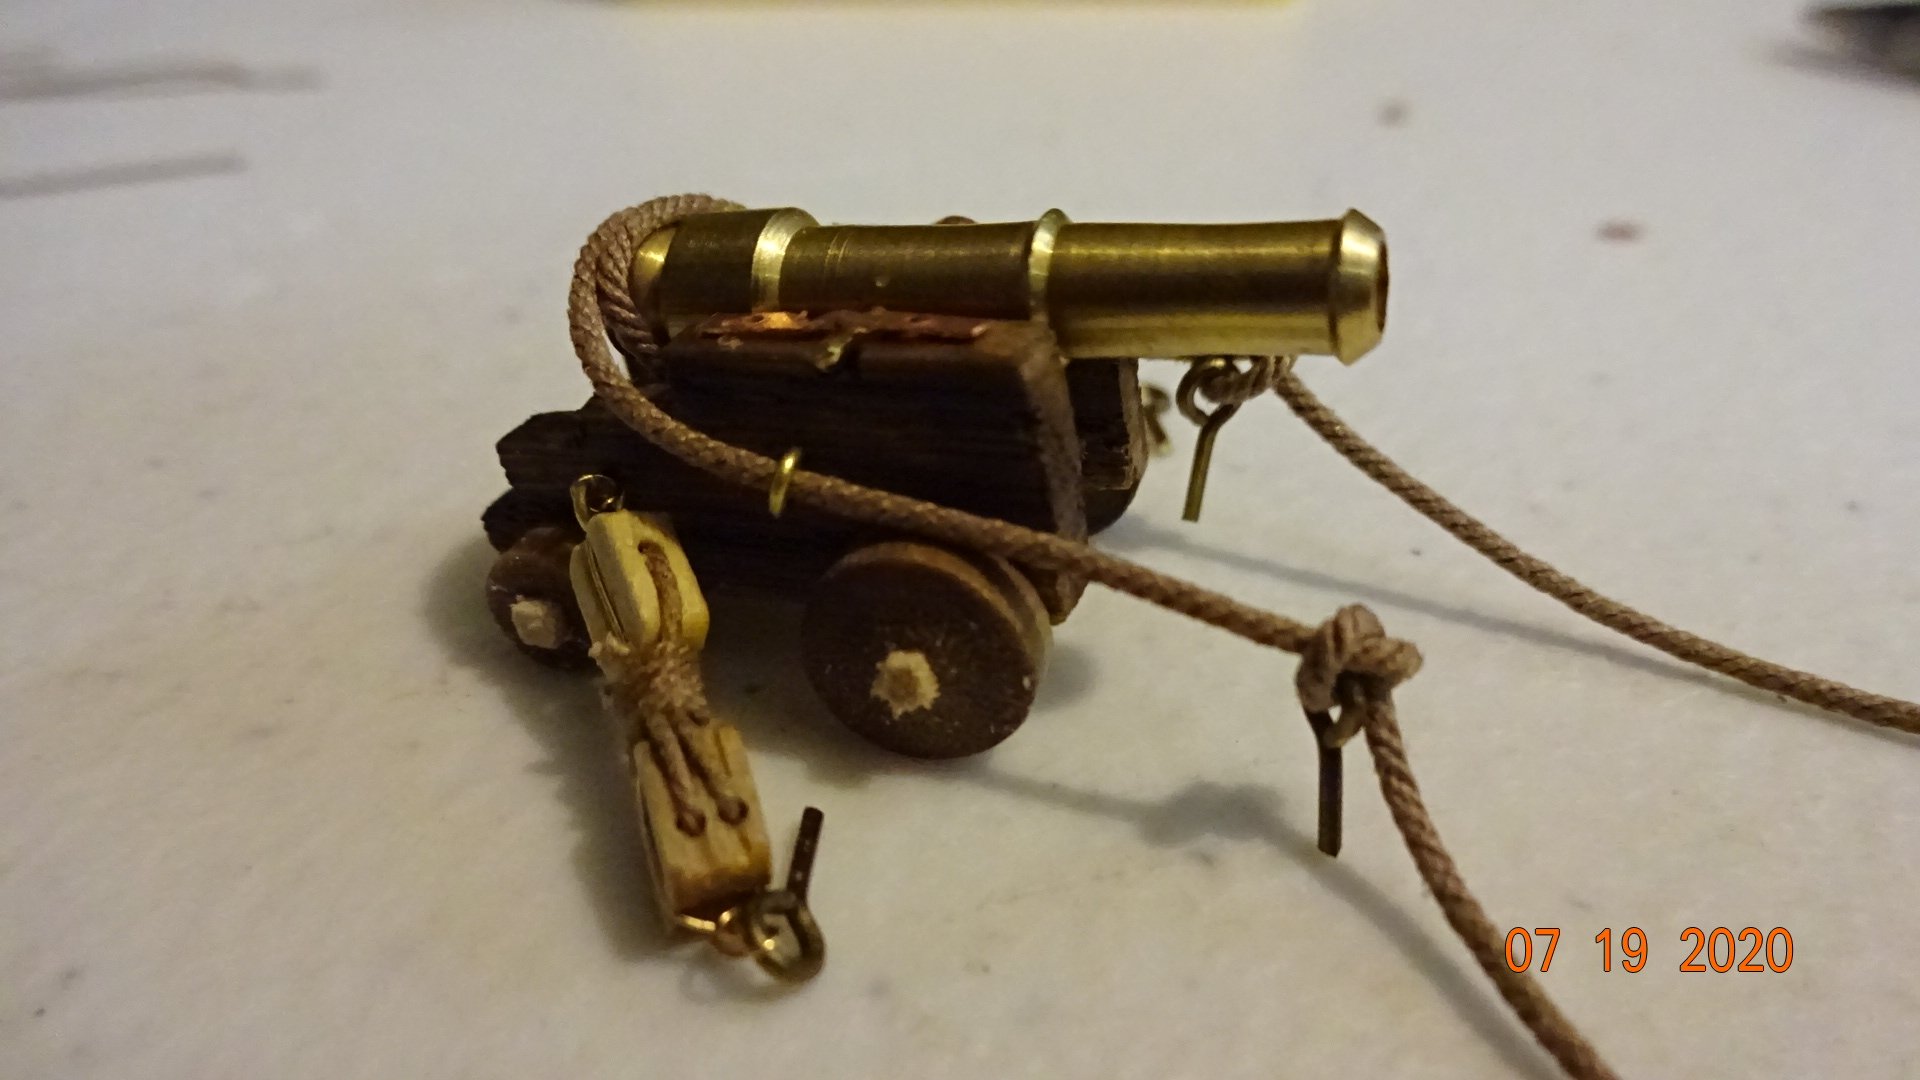
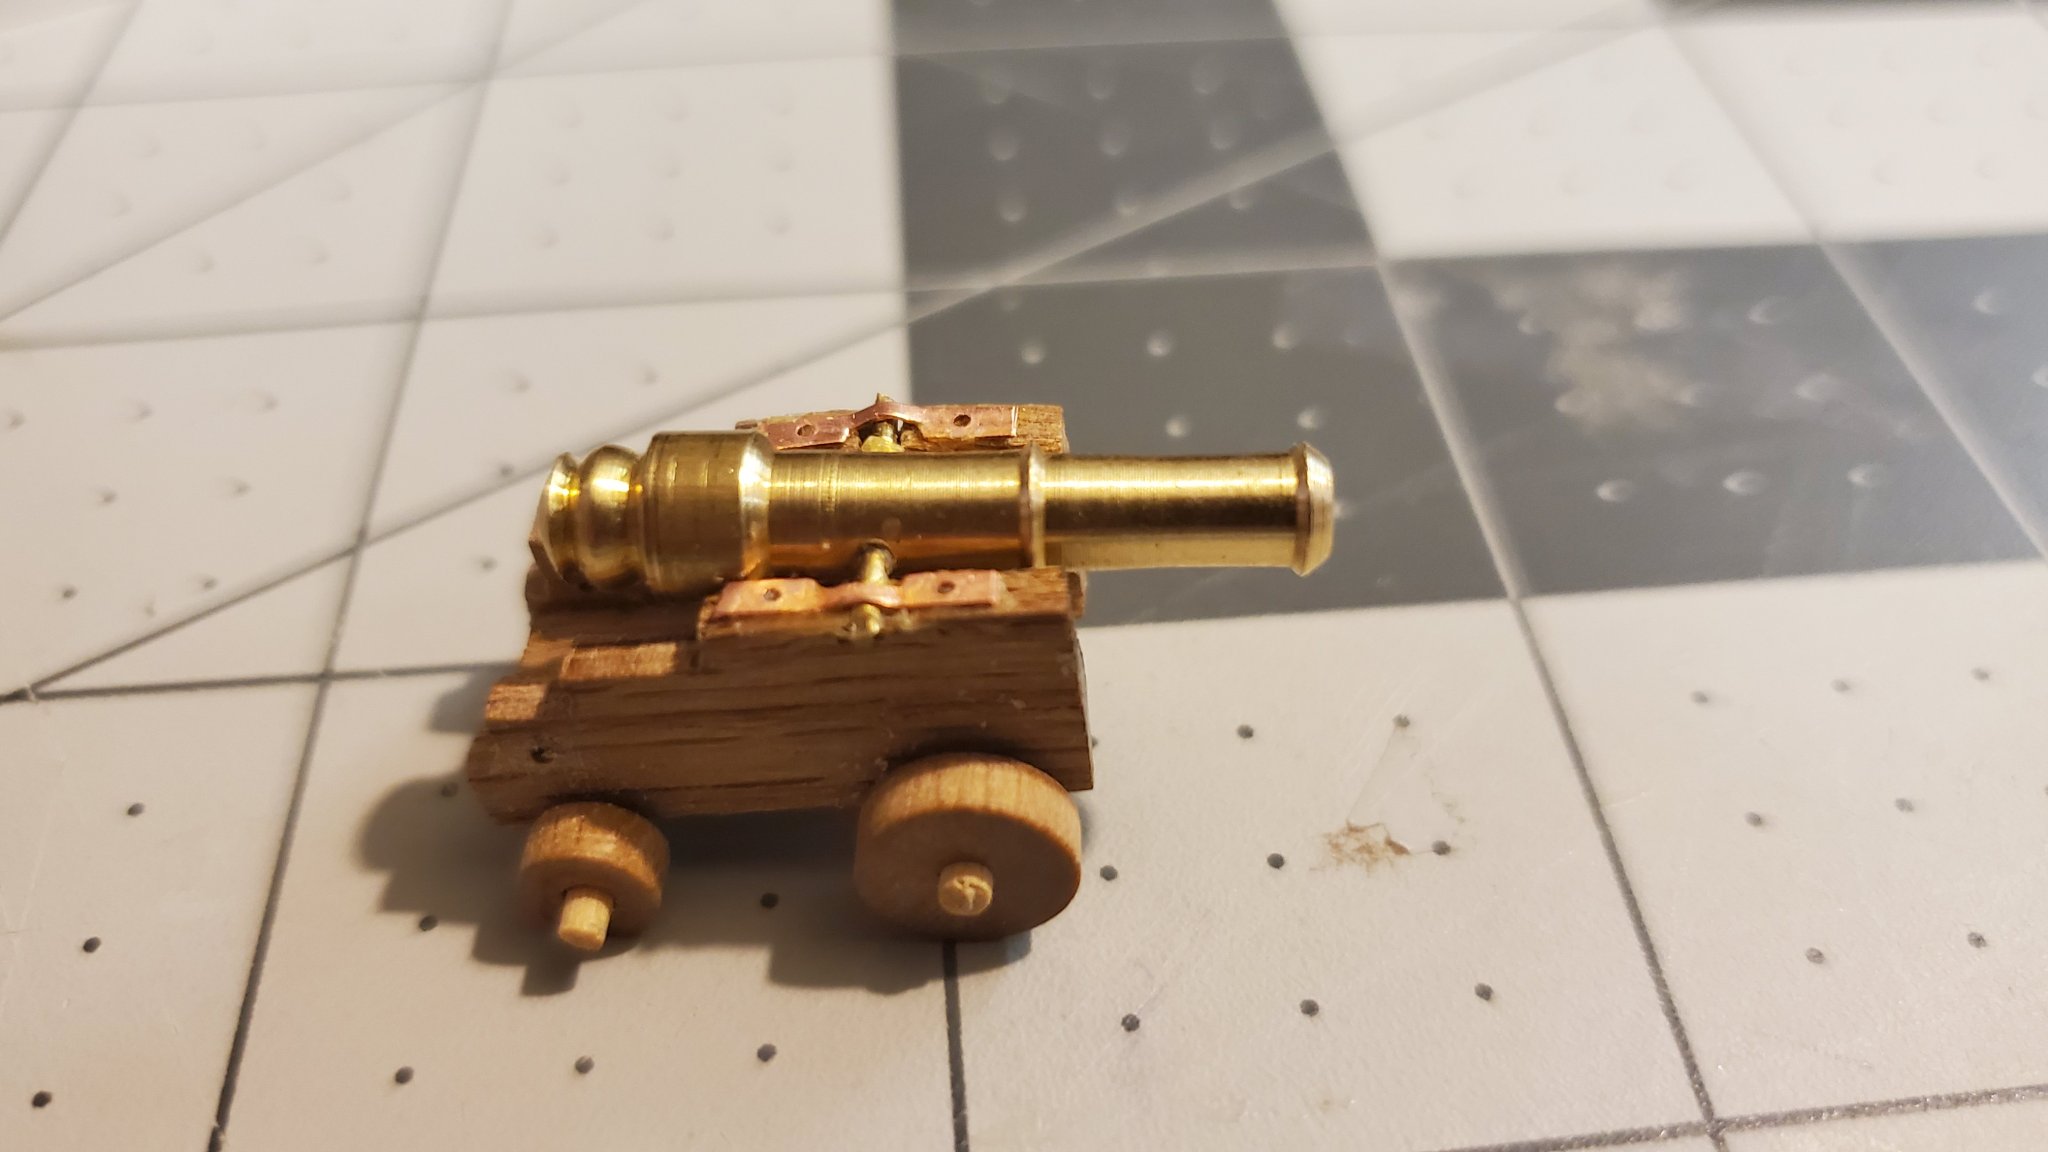
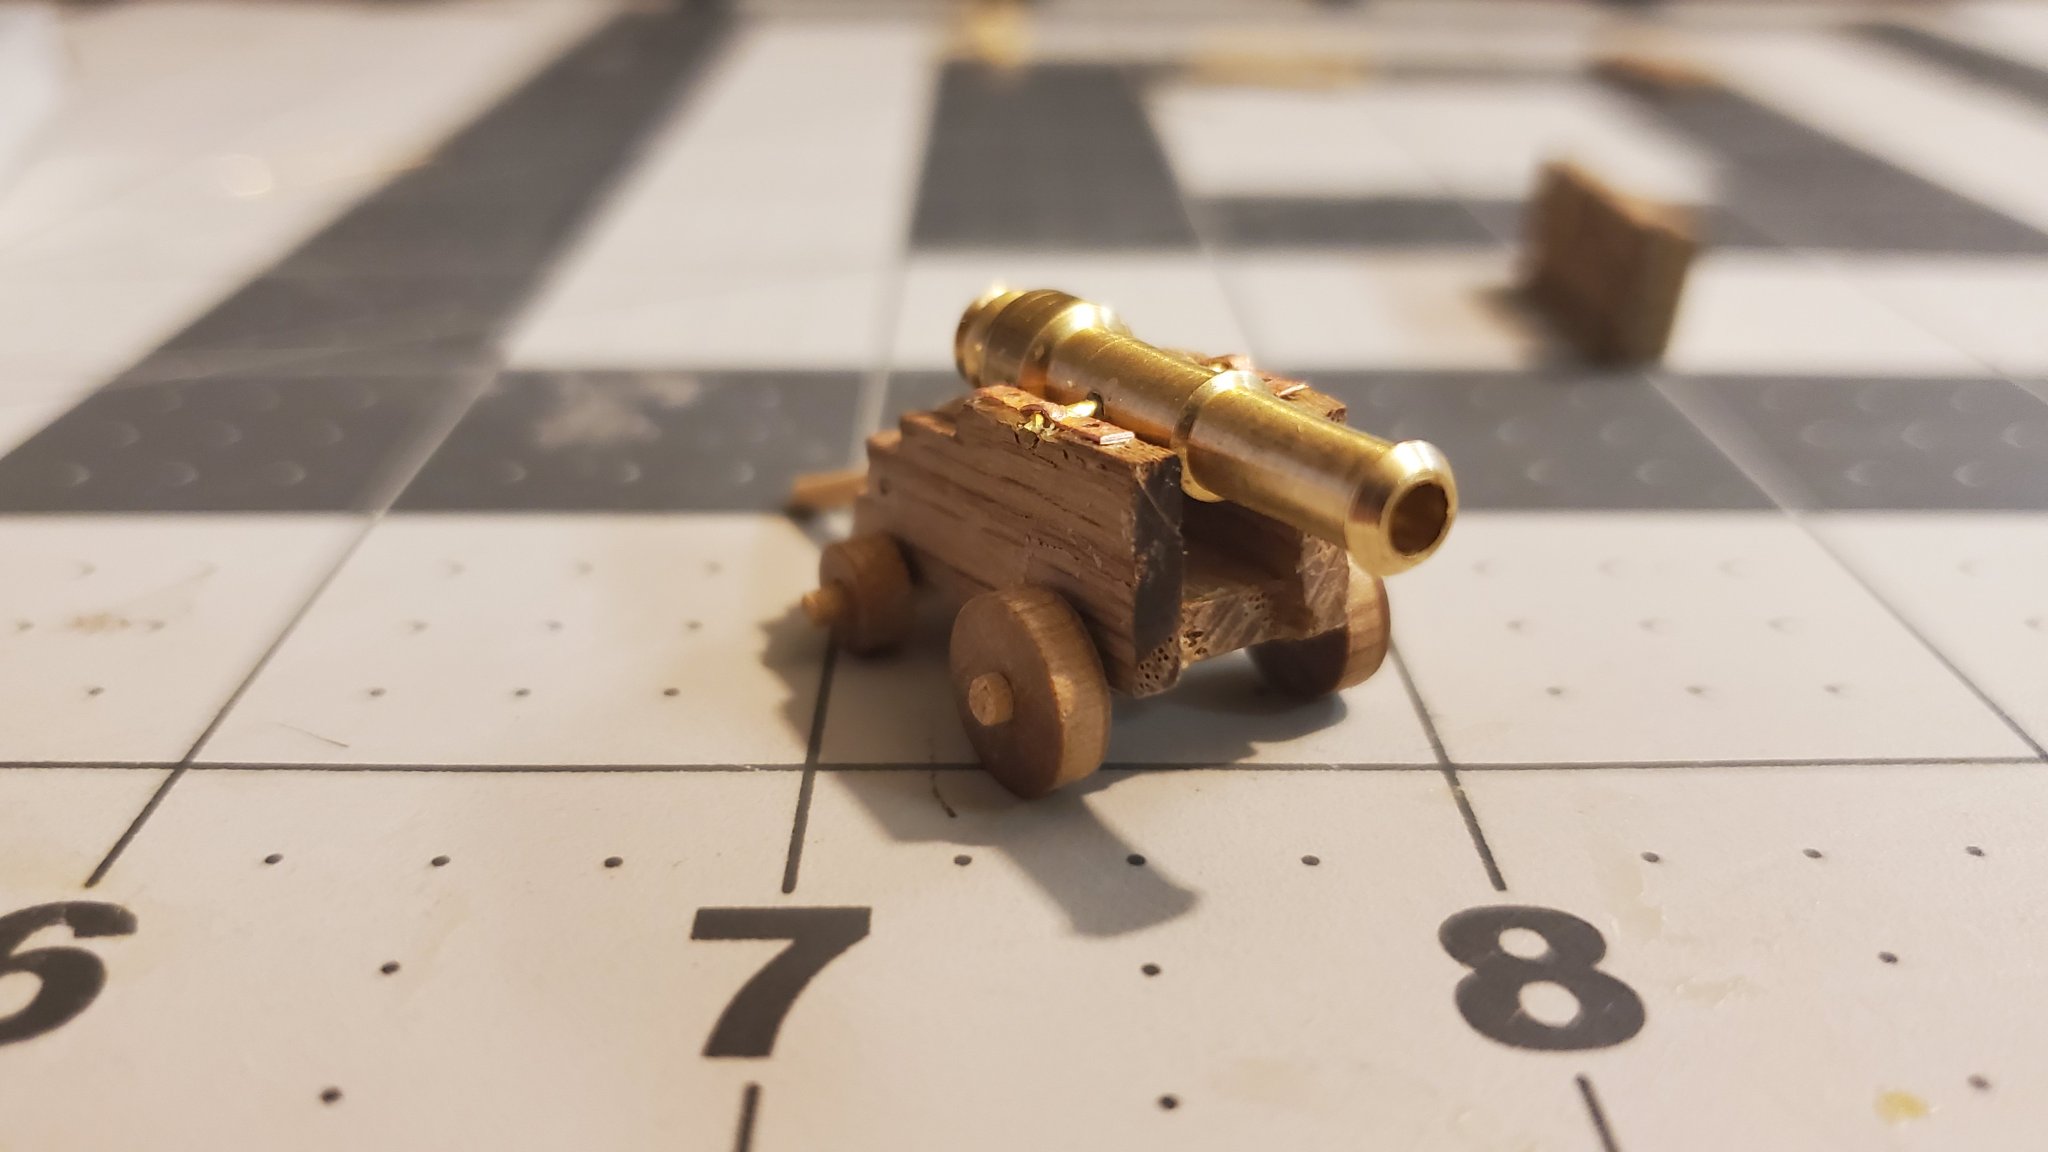
Back wheels arrived 😀. Here's the kits cannon ....... .... and here's what I ended up with. How I got here. Tries various rope sizes and ended up using 0.45mm for the block and tackle. For the rope that wraps the cannon I wanted a beefier look so went with 0.88mm rope. I would have preferred 0.78 but that wasn't a choice. My first attempt (on the right) I wrapped the rope incorrectly and it does not follow the grooves in double block holes (or the single block). The one on the left is the look I wanted. Here's some close up pics of the cannon on the ship. My carriage cuts look ragged but I think it adds a bit of realism. Imagine this cannon after being used over and over in battles with pirates, smugglers, and enemies, oh my! The piece of rope leading from the block and tackle I intend to curl up on the deck. Not doing this with most of the cannons but wanted to try with a few. Here I added the brass coverings over the barrel axles. Haven't decided if I want to paint them black. Well, that's about it. My first cannon build 😁. Rowboat out.


- 195 replies
-
- 6
-
-
- enterprise
- constructo
- (and 1 more)
-
@ccoyle, @ sideways sam, Appreciate the comments. I am glad I took the time to learn what cannon options were available and then investigate on how to make them. The changes to the carriages will definitely enhance the look of the ship. It does take some time though but I need to learn not to rush these things. The smaller back wheels arrived and test fitting went well. I haven't glued anything yet as I want to make all the hardware and attach to the carriage before putting on the wheels. I think this way is easier then trying to work around the wheels and axles. Spending the time right now deciding on how best to strope the blocks. My first attempt did not look appealing to me. So, I'm investigating with different wire gauges ( .5mm, .75mm, 1mm), wire color (brass, black, copper, steel) as well as various rope sizes. More to come in the post. Rowboat out....
- 195 replies
-
- 1
-
-
- enterprise
- constructo
- (and 1 more)
-
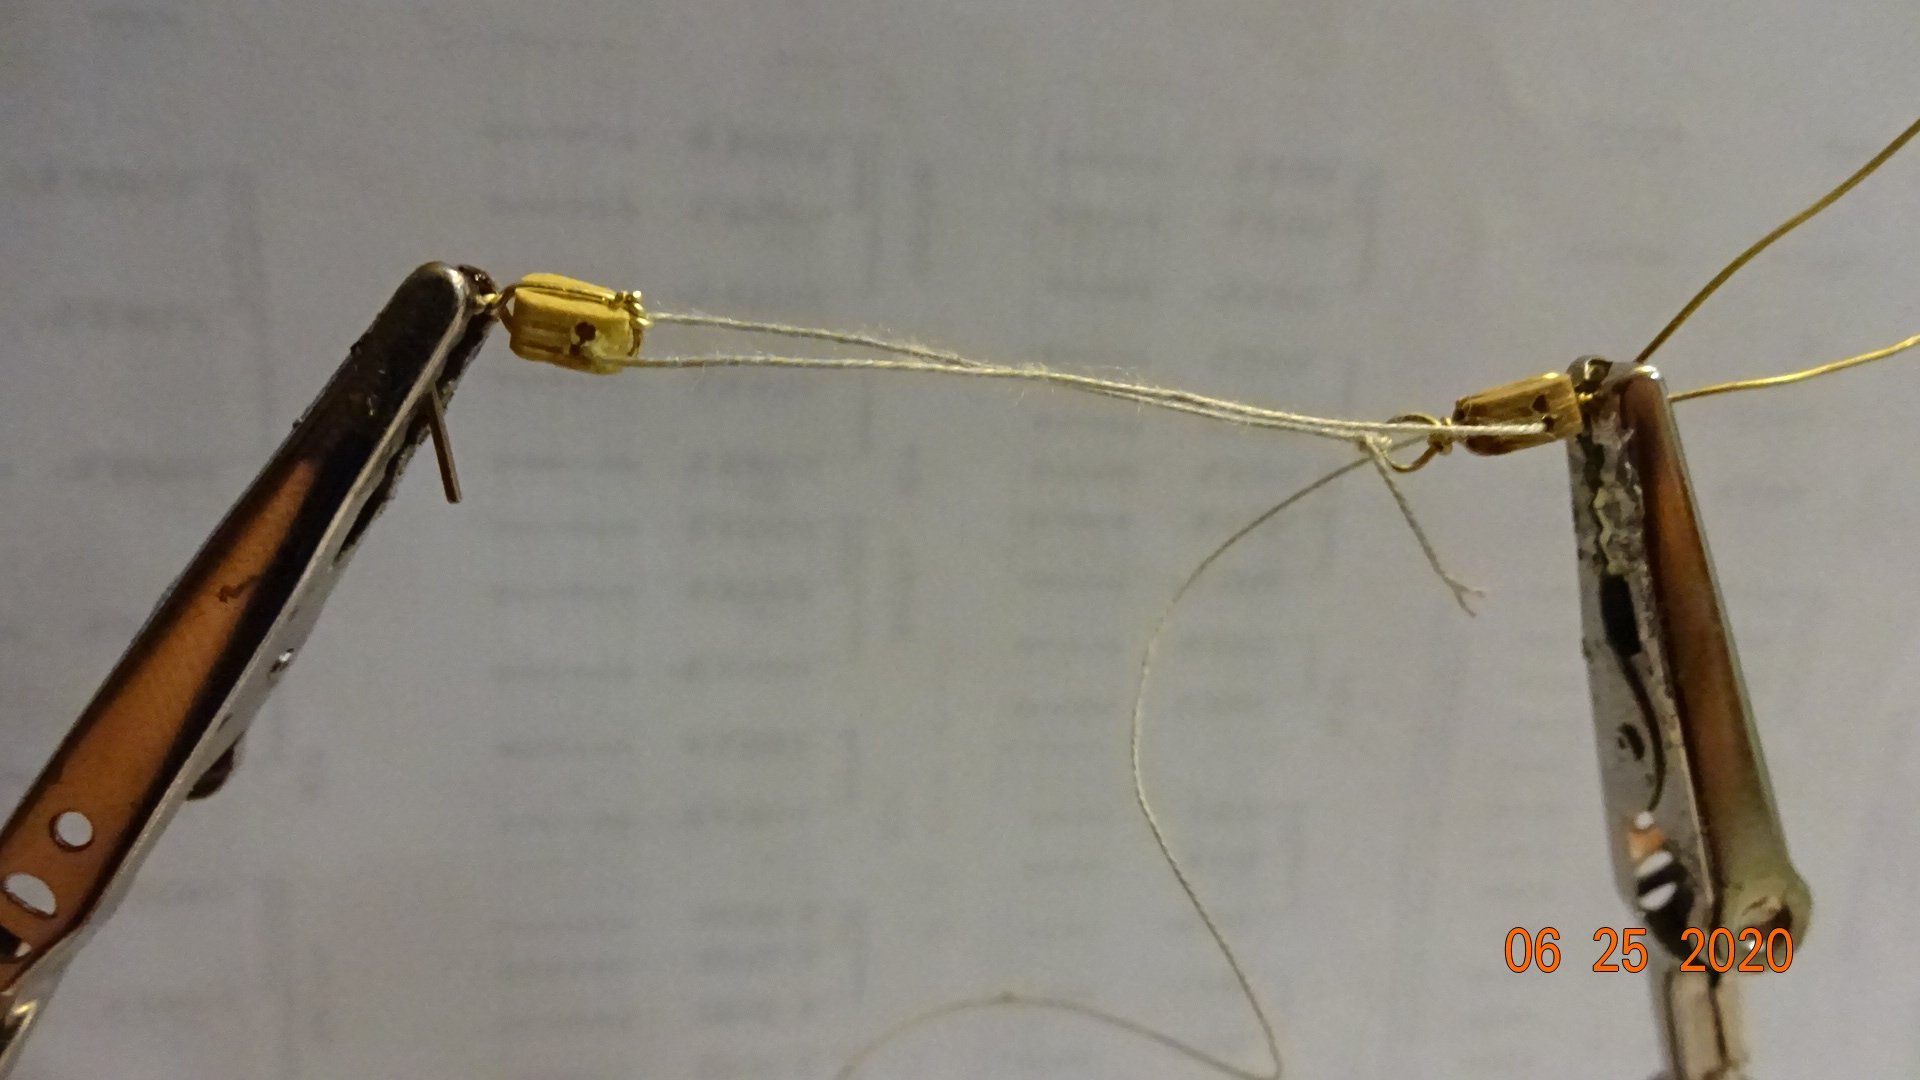
mikiek, Thanks for the info on frappng. I tried my first attempt using the third hand tool, and I used a separate piece of rope for the frapping. It will take a few more times practicing to get it right. Your ship is coming along nicely, the sails are much better looking than mine. Maybe I'll shop around for some sail material when it comes time to work with them. Still reviewing the Niagara build, lots to read. Thanks again. Rowboat
- 136 replies
-
- 2
-
-
- enterprise
- constructo
- (and 1 more)
-
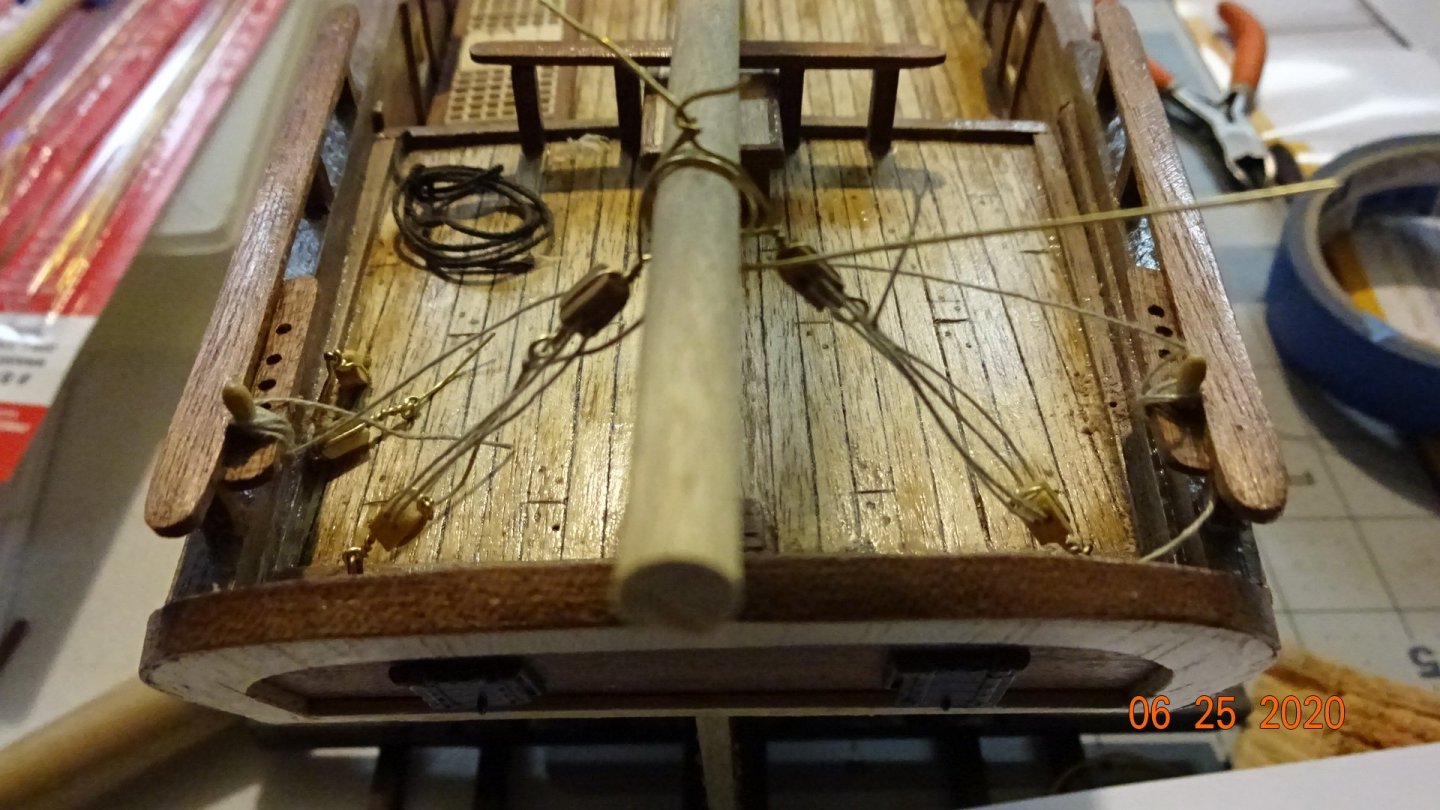
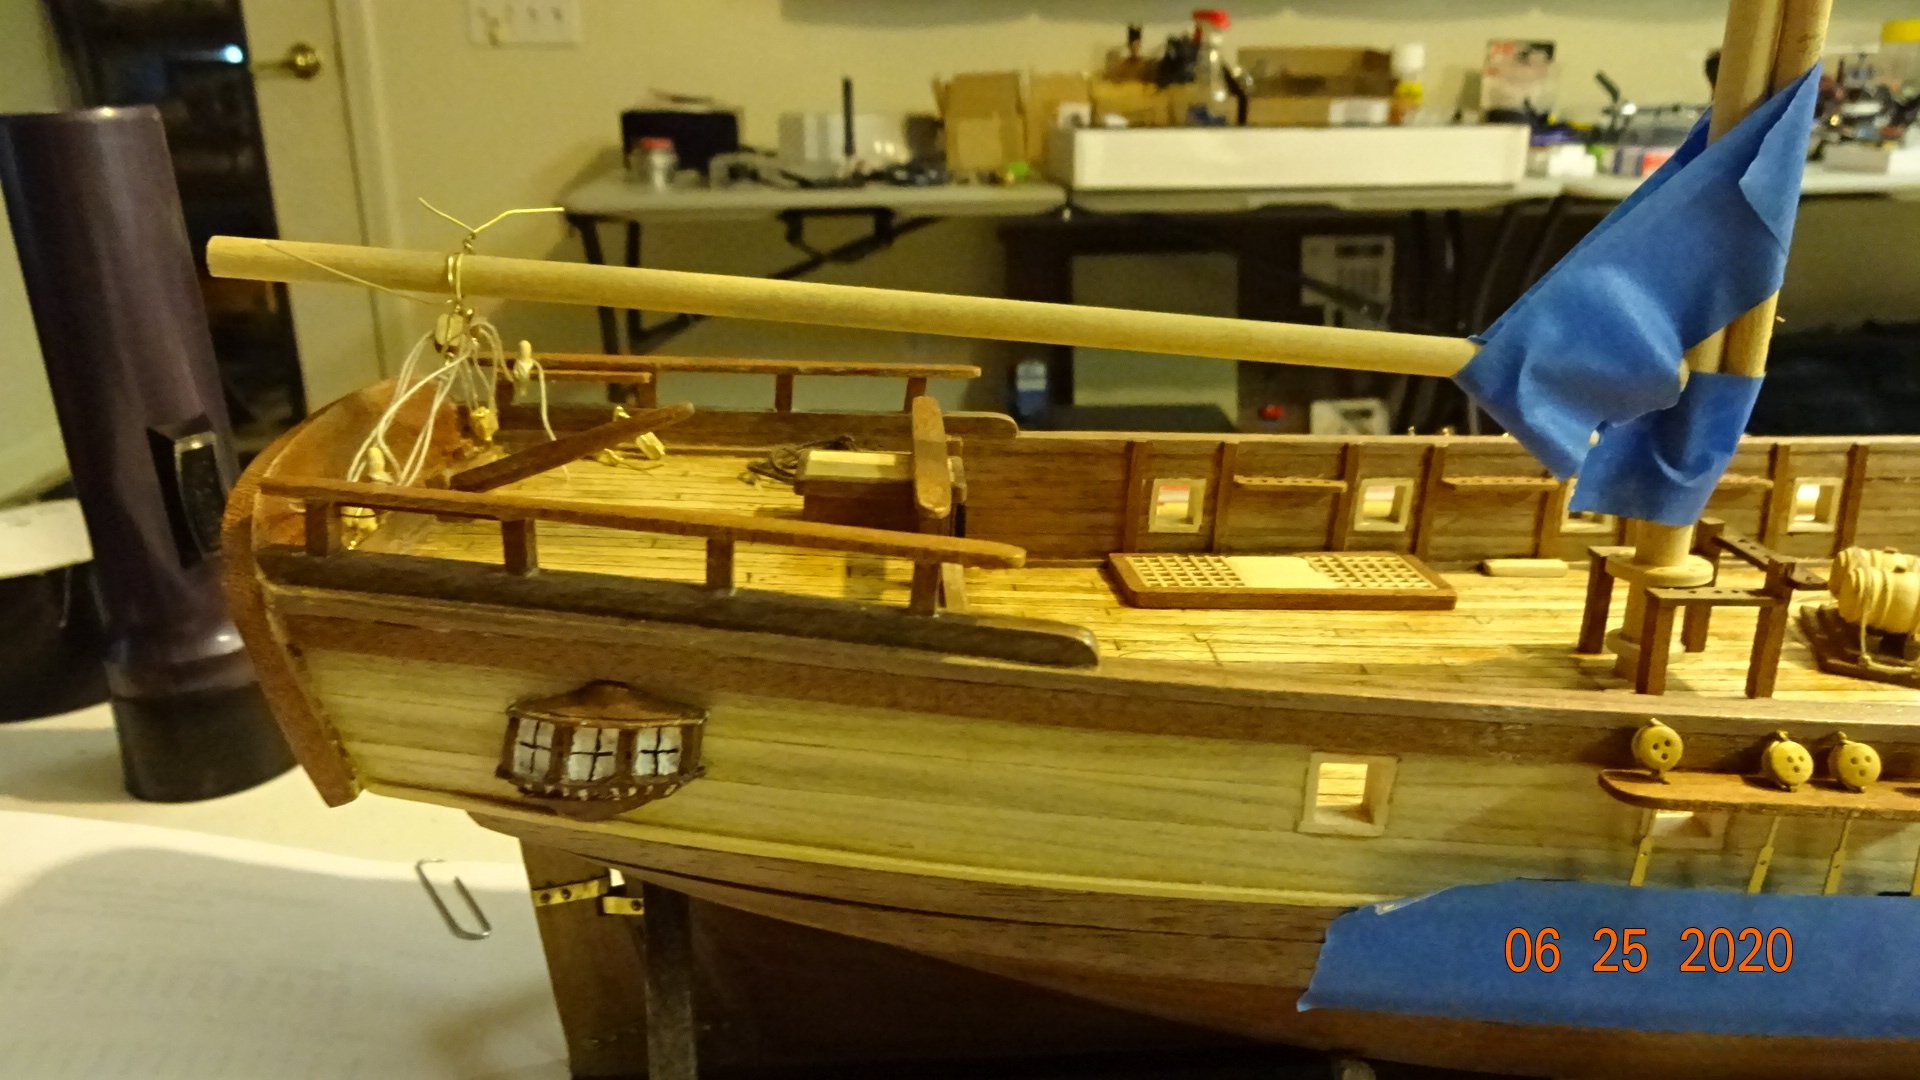
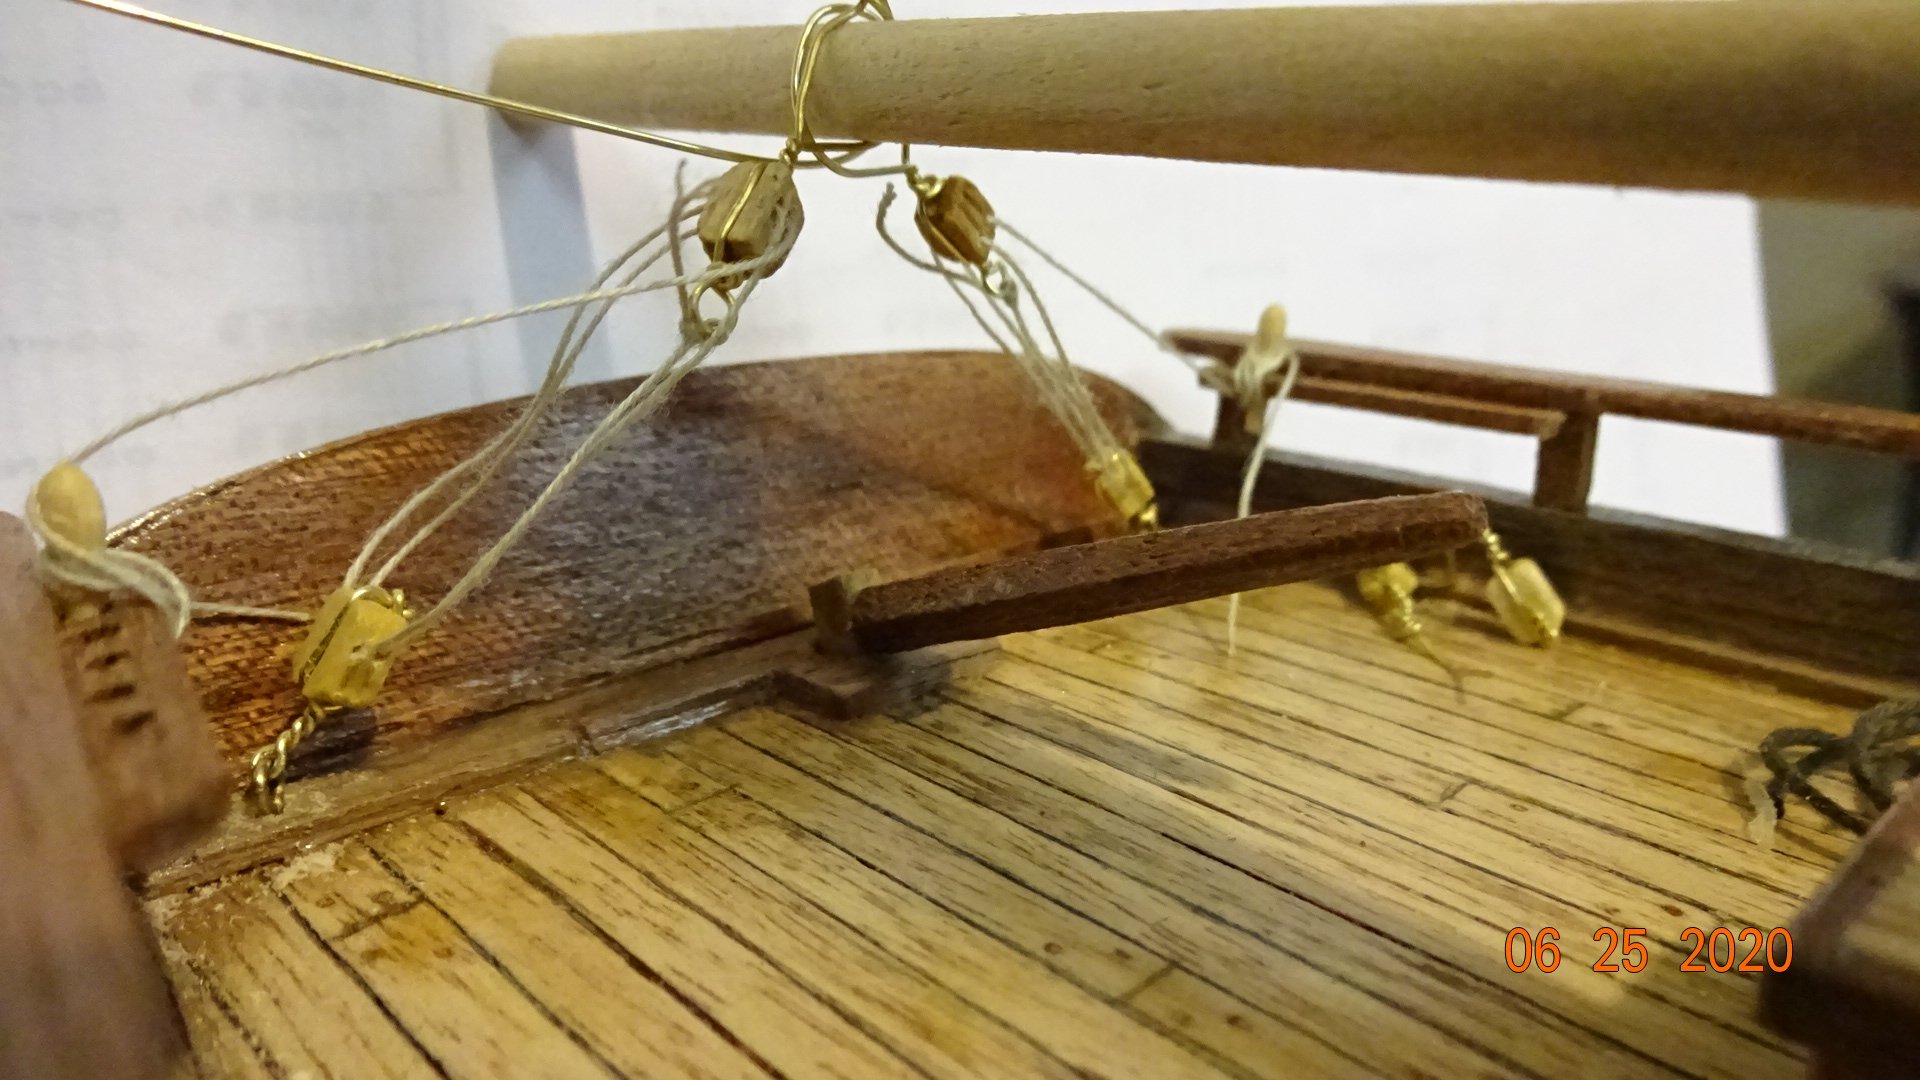
Some progress on the poop deck. Here I needed to add two blocks to the rear of the poop deck. These blocks would connect to the main mast aft-spanker. If I just glued the blocks in place and later tried to rig them , it would be very difficult to work with them. Try doing this when the block is attached to the deck. So, I decided to temporarily put up the main mast and attach the aft-spanker. Now I could complete the rigging, leaving it in place till I actually needed it. After rigging this to the correct size I removed the main mast and aft-spanker. Taped the rigging to the back of the stern to be used at the appropriate time. The look of the "stropped" blocks using the brass wire is not that appealing to me, maybe because of the close up pics ... maybe not. I am looking into other alternatives for "stropping" the blocks. The lesson for the day is now over....


- 195 replies
-
- 5
-
-
- enterprise
- constructo
- (and 1 more)
-
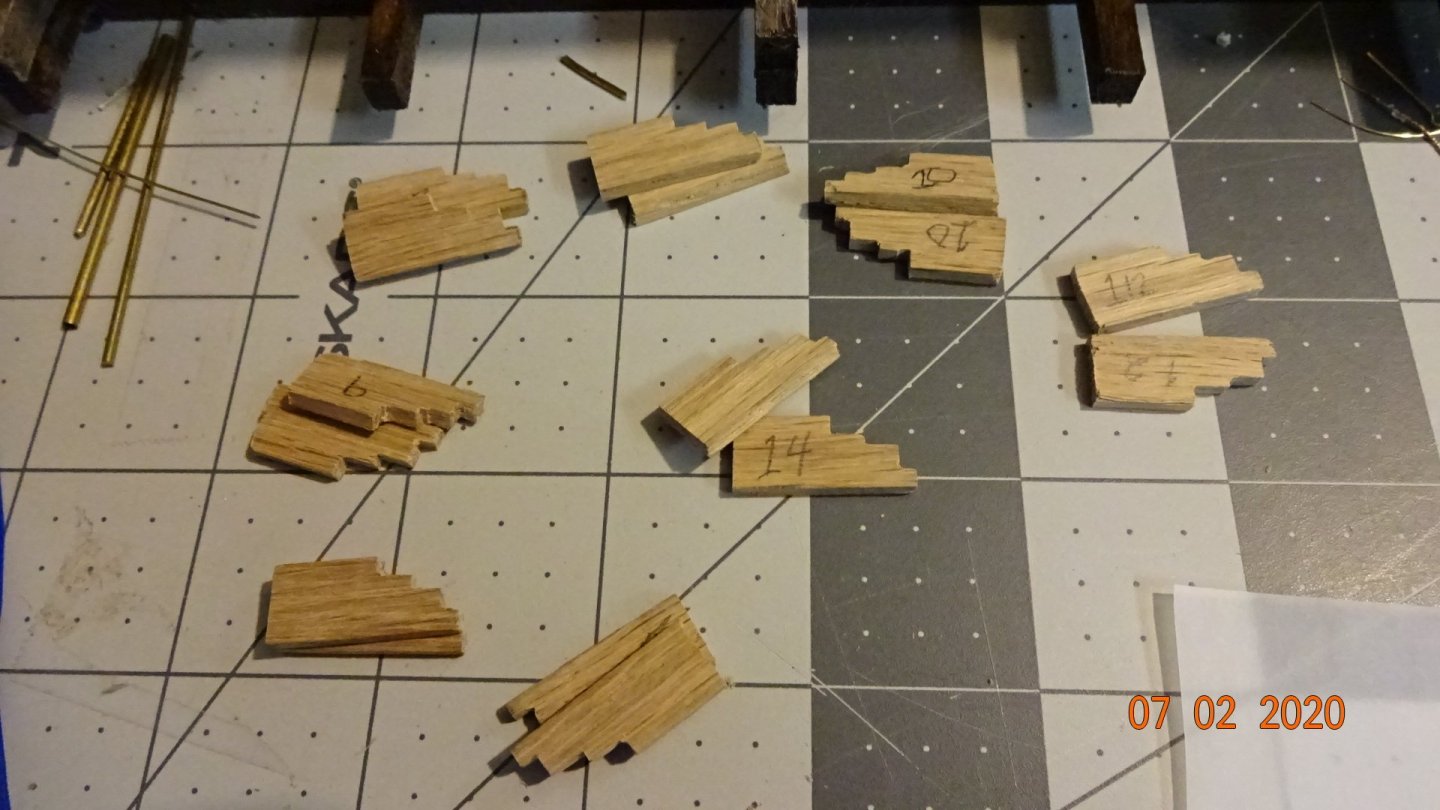
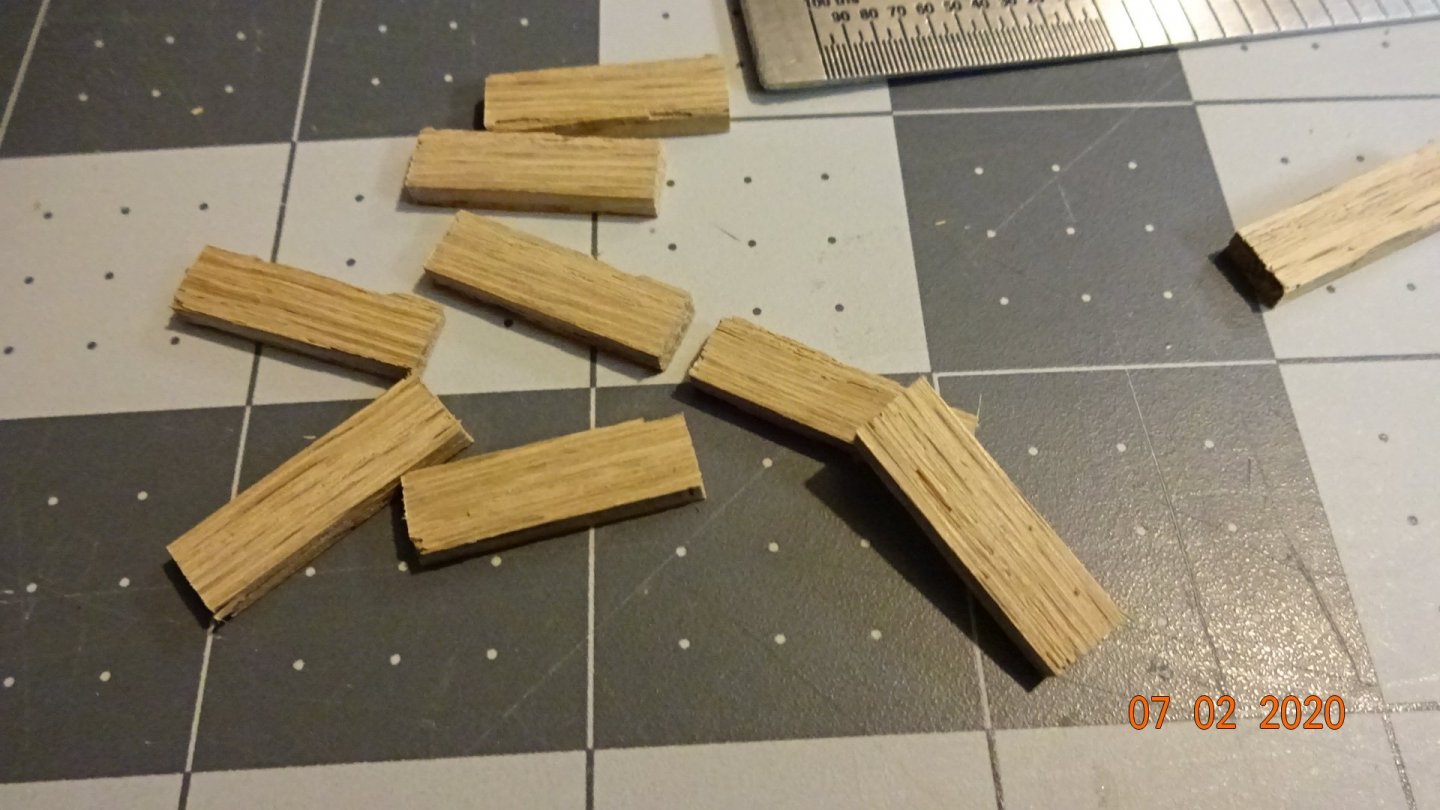
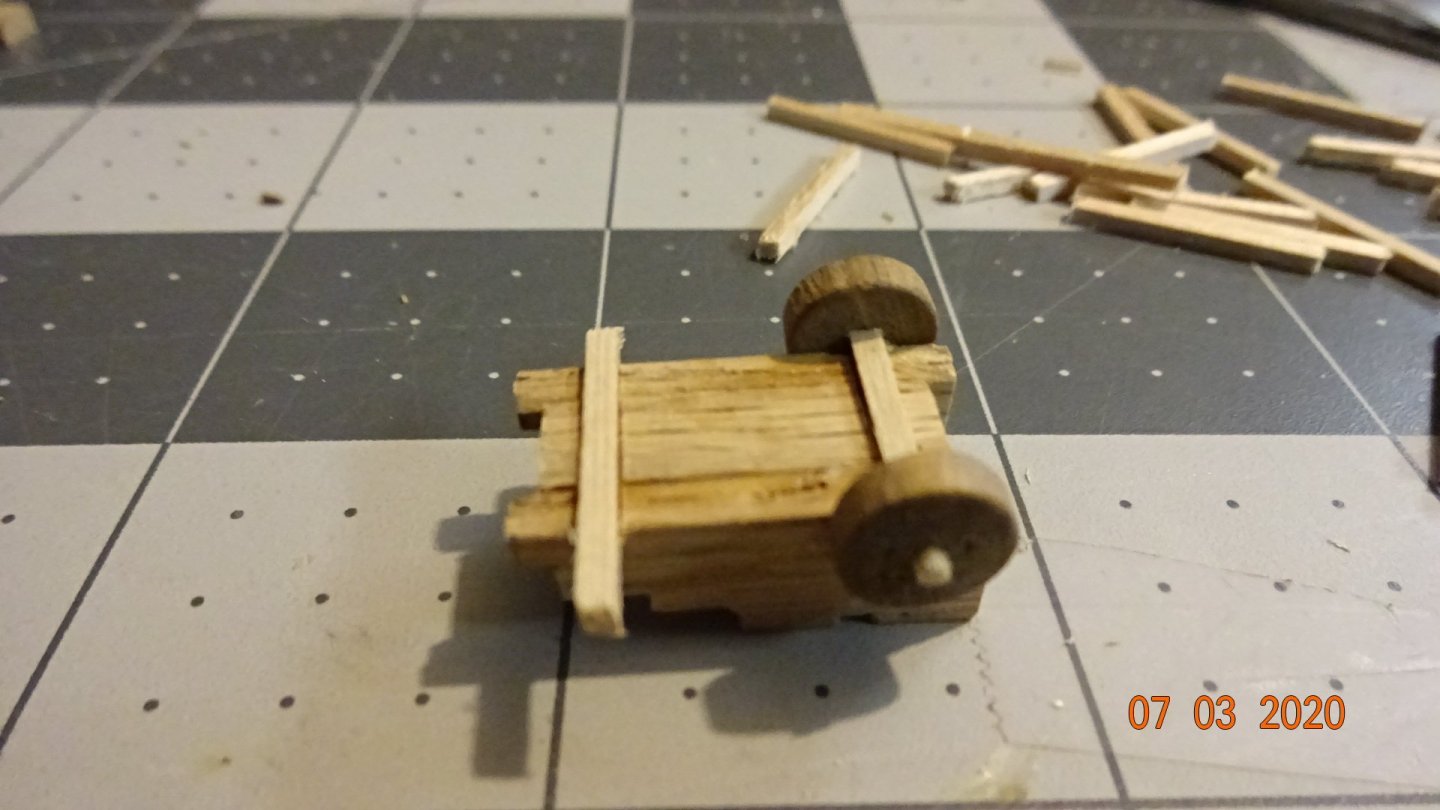
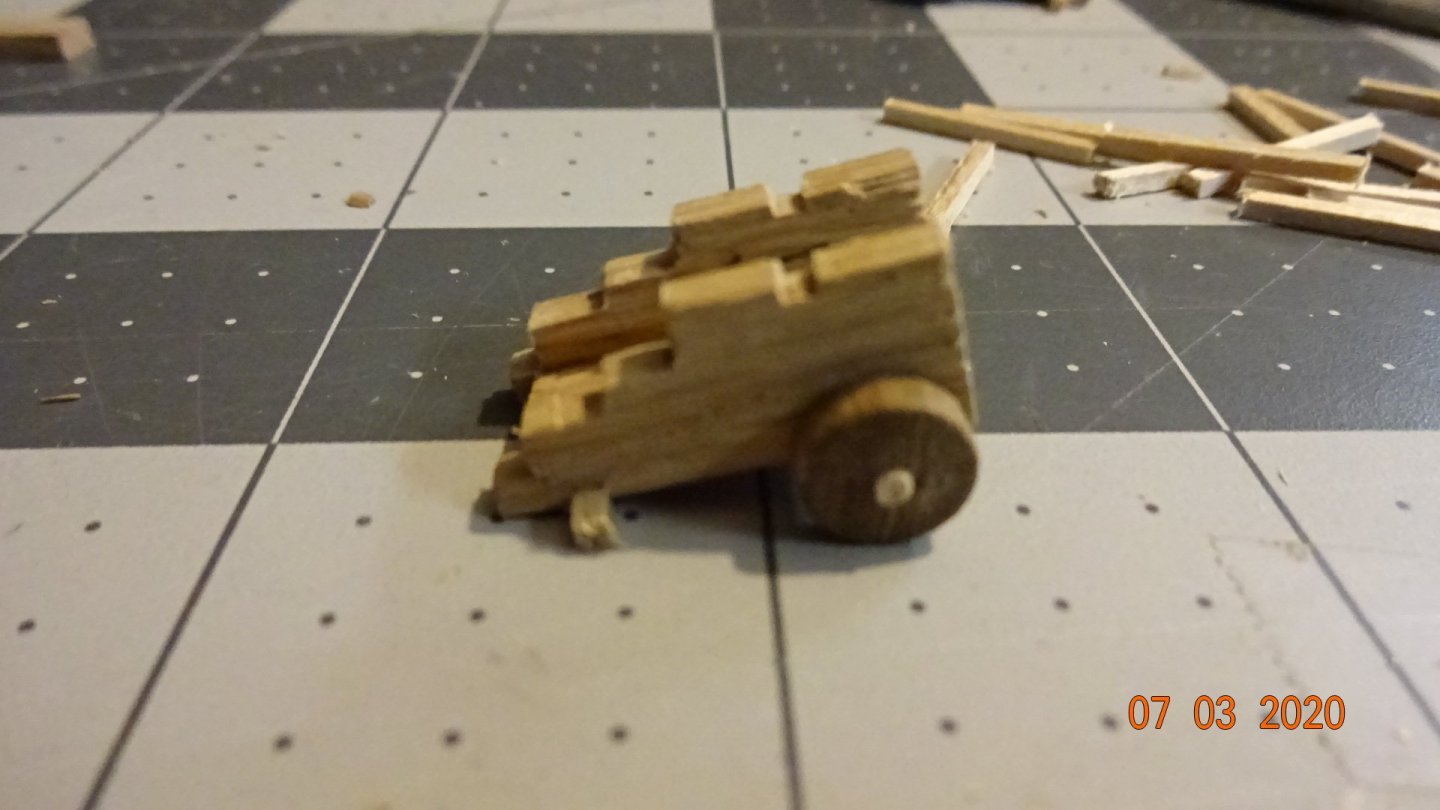
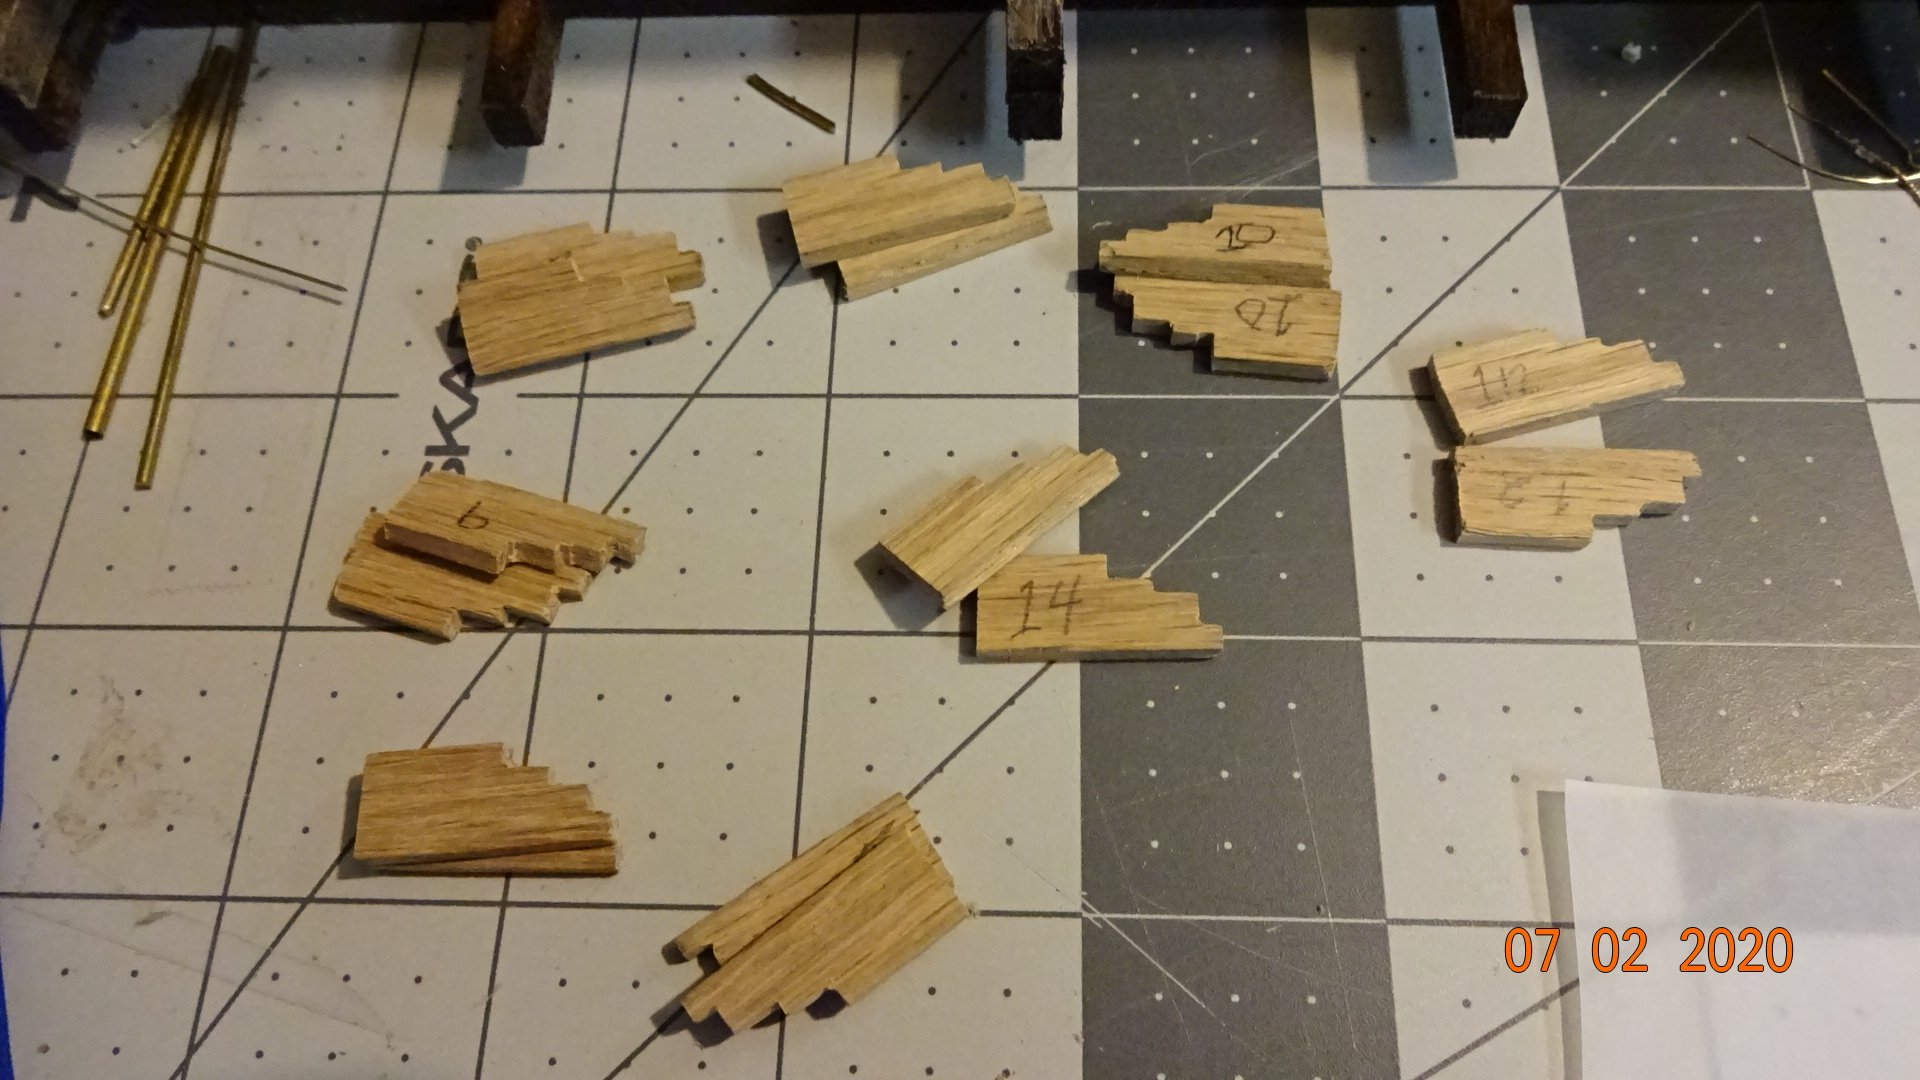
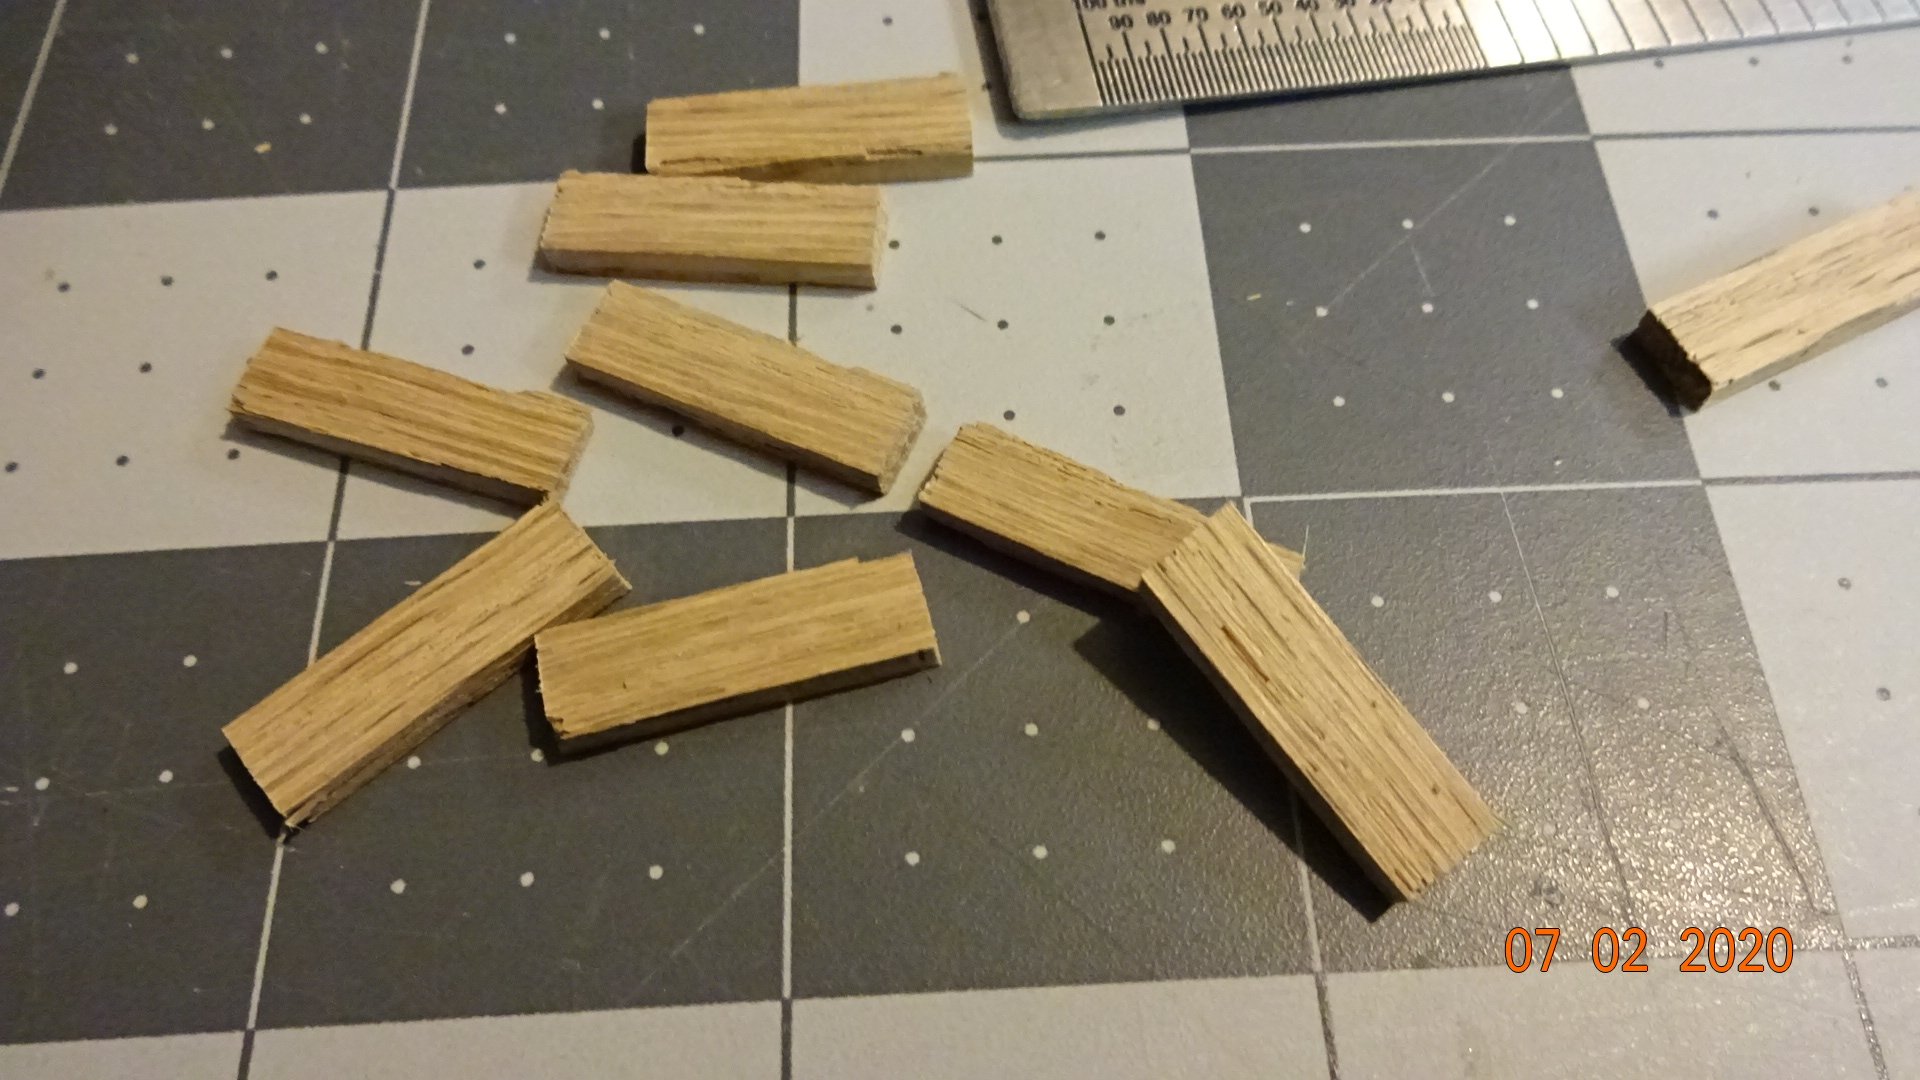
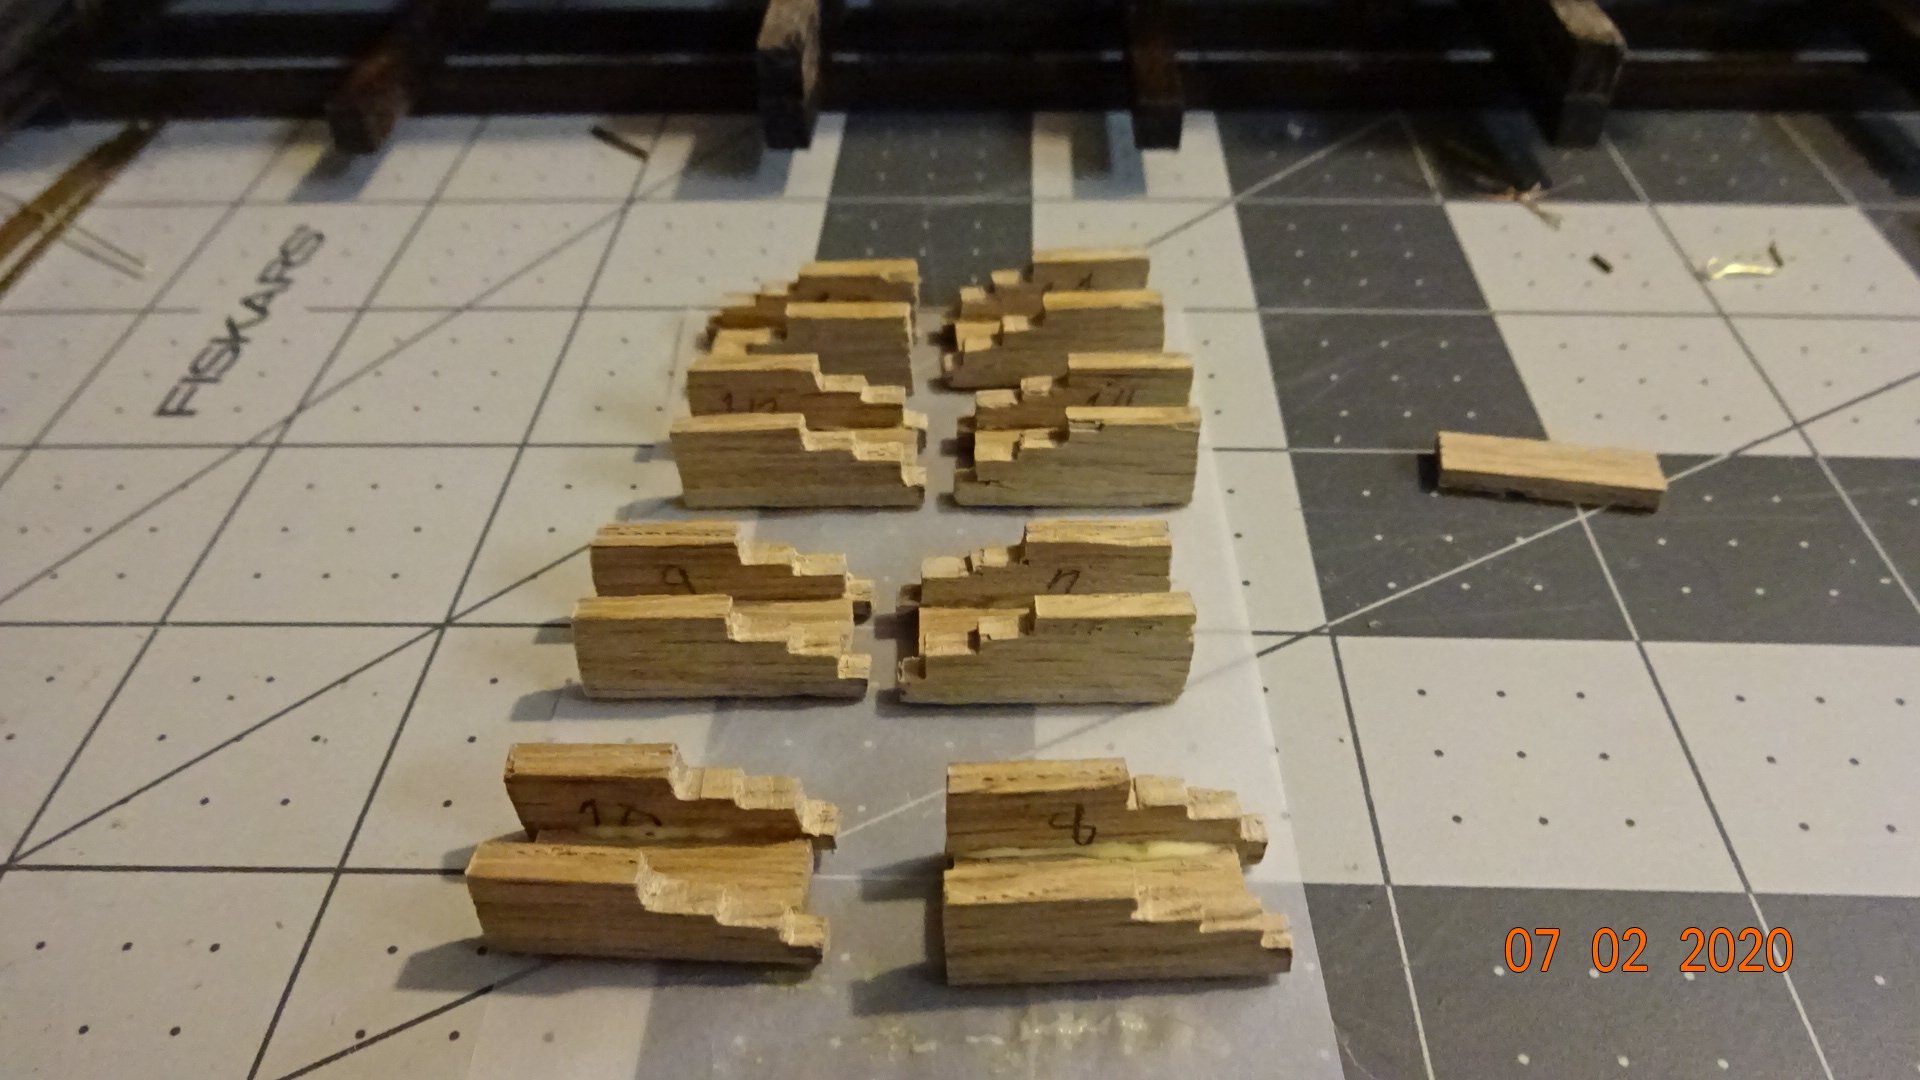
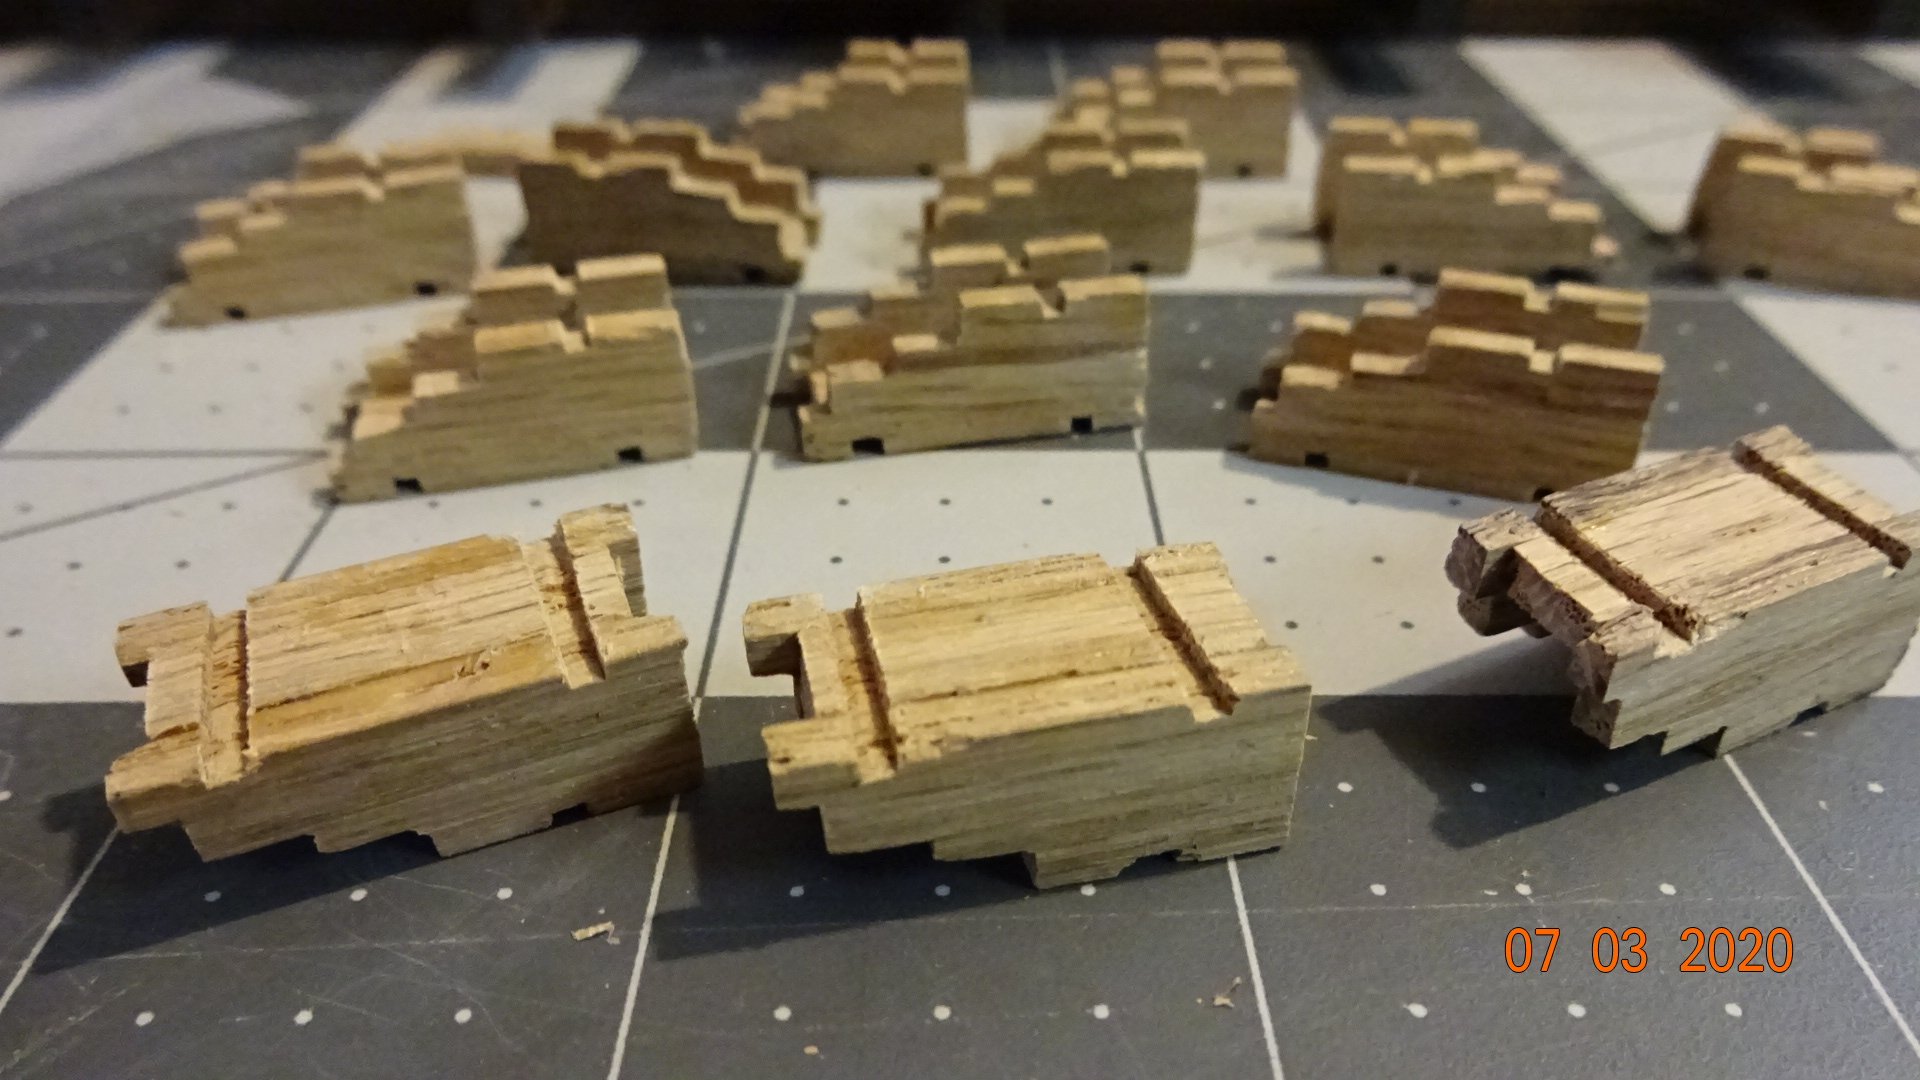
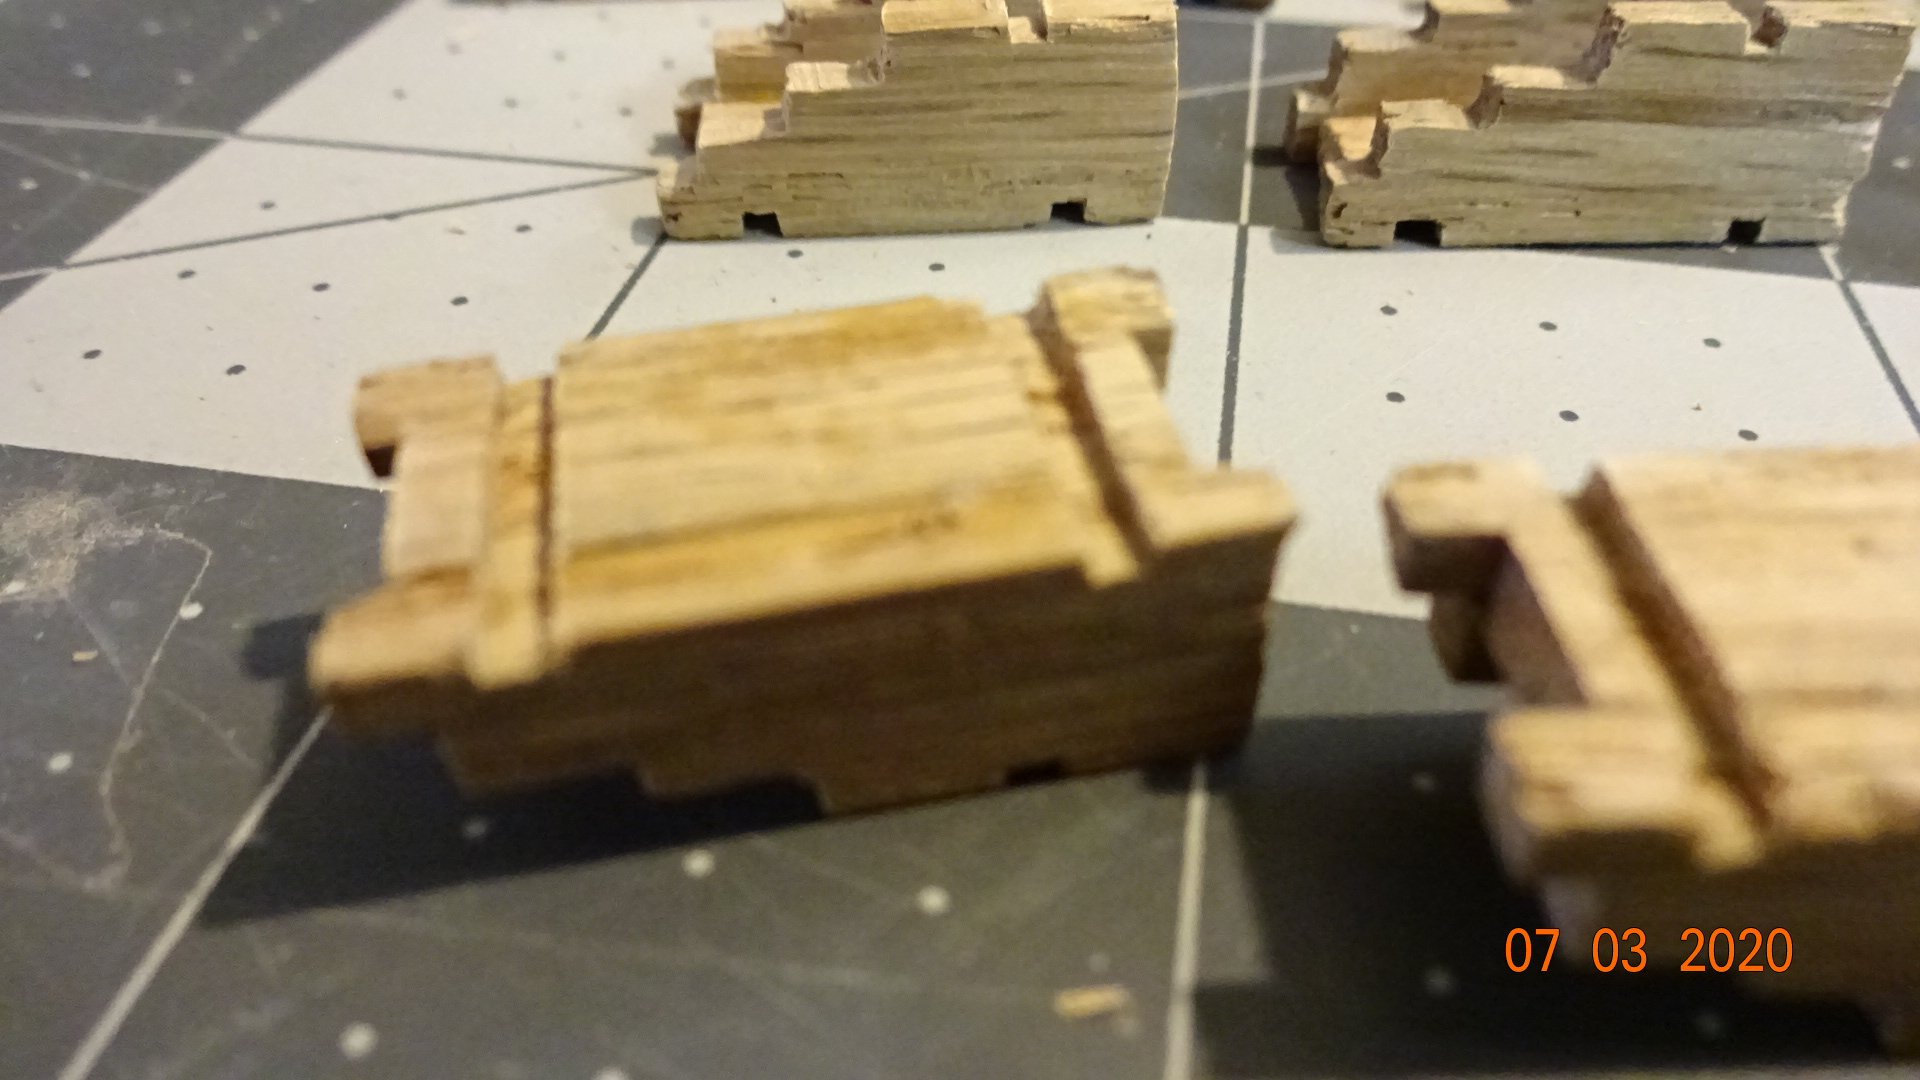
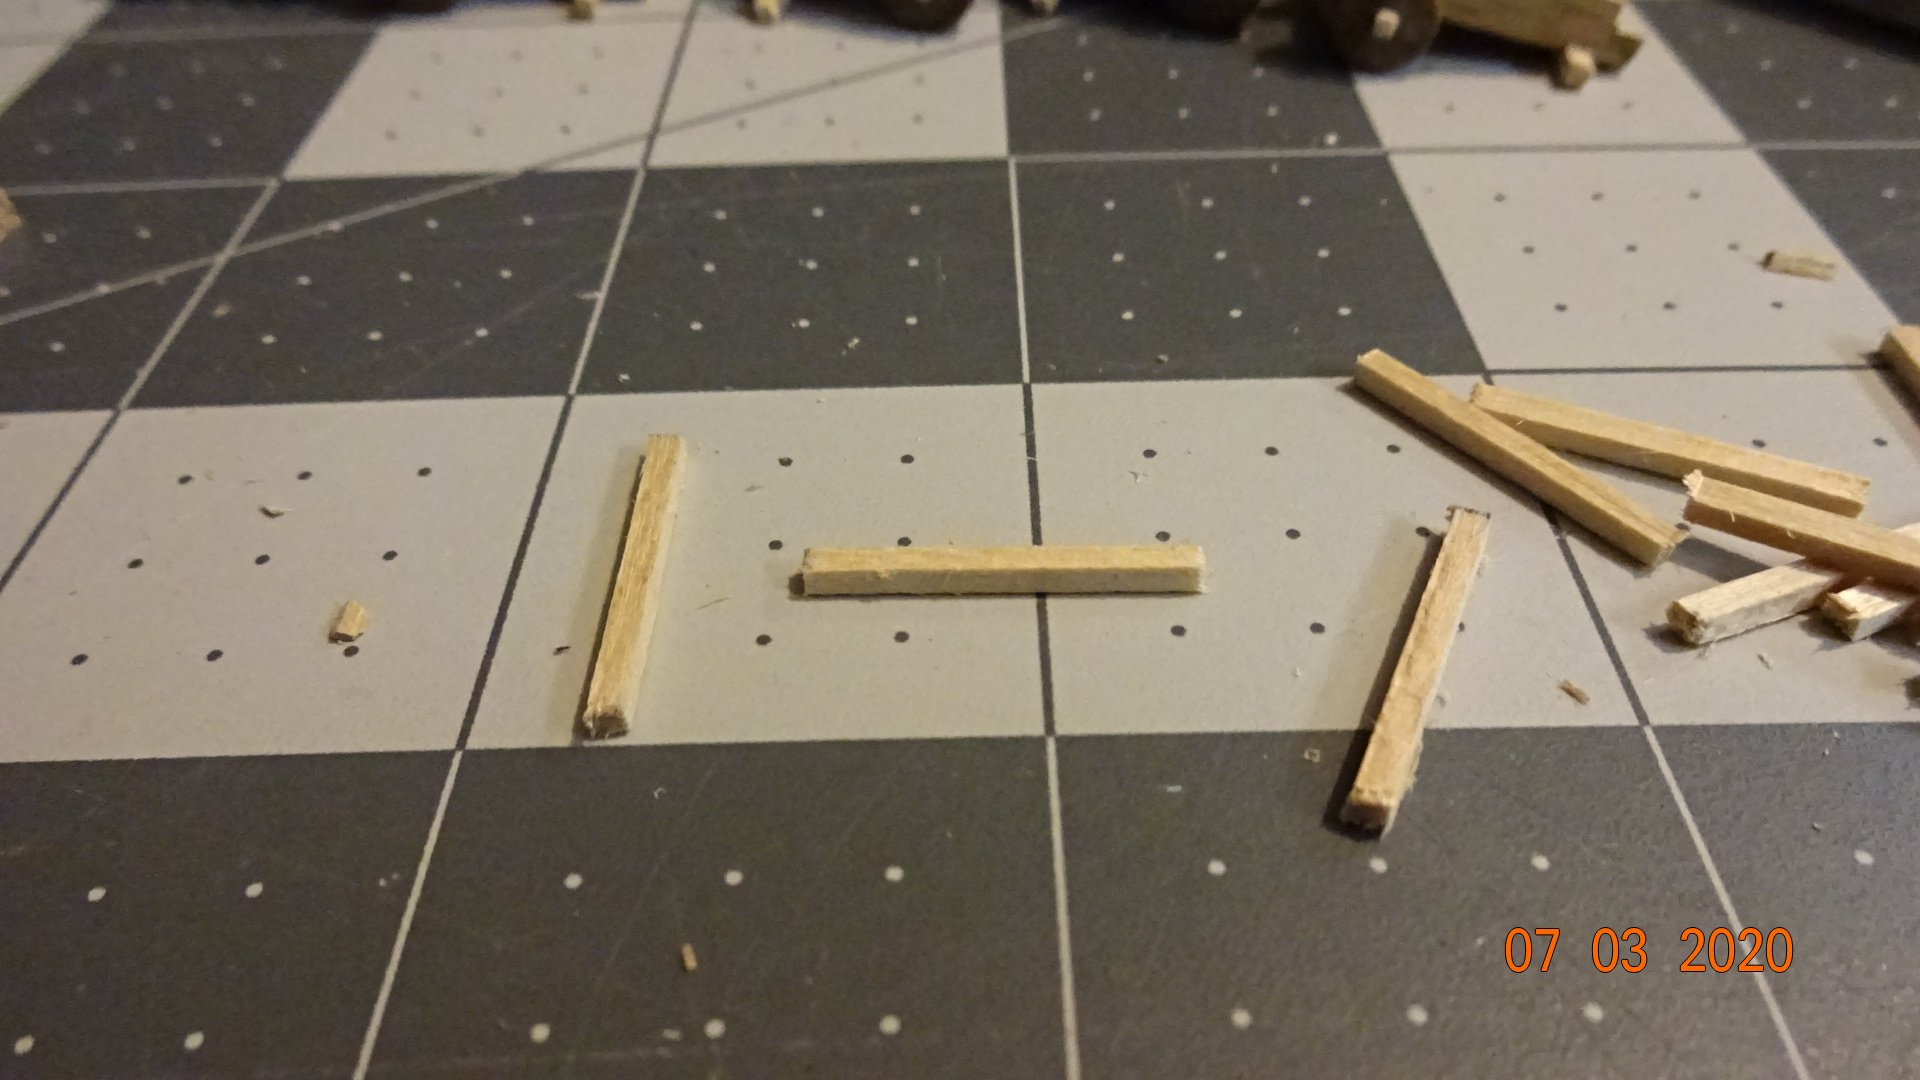
Making of the cannon carriages. Milled a piece of popular to 2.3mmX6mm. Mapped out the carriage sides and bases.... Cut on the table top ban saw/jig saw. I numbered the pairs as I sanded and squared each pair so they matched. Otherwise, a number 12 right side may not match a number 9 left side. Glued the pieces together For the axle and cannon arm cutouts I ran these over the table saw using a 1mm blade, extruding about 1mm. Measured and cut square balsa axles, 1.5mm X 1.5mm Rounded the edges of the axles to fit the front wheels. Here's the test fitting without the rear wheels I don't have the rear wheels yet so we are at a stopping point. More to come in following posts........ Rowboat out


- 195 replies
-
- 5
-
-
- enterprise
- constructo
- (and 1 more)
-
Hello mikiek, Spent some time on your Niagara build log and I am wowed! I spent some time reading through it and very impressive. I need to step up my game, lol. I know, it's not a competition 😁. You have so much information in that build it will take me some time to consume all of it. Now I will also have to read up on our Trajta and Arrow builds. This will push my build back a few weeks 😅 ! I did see some examples of the rope wrapping (frapping) technique though I didn't find "the how to" on it. No problem, I just did the ole "google search" and that filled in the missing pieces. I also liked your technique of "stroping" a block that you show in your log. I am going to try that, it looks much better than my current process. Thanks for the help. Rowboat
- 136 replies
-
- 2
-
-
- enterprise
- constructo
- (and 1 more)
-
Hello again, I have another questions, this concerns the sails. I see lots of sewing on those sails, mine have none. Did you sew all the sails are did the kit come that way? Thanks, --Rowboat
- 136 replies
-
- 2
-
-
- enterprise
- constructo
- (and 1 more)
-
Hello mikiek, Glad to see you are still posting here. 😀 I've been watching and initially thought you were done posting, happily I see you are not. I'm building the same ship though there are some changes in my model. Currently at the point of building and attaching the cannon carriages and hardware. I am trying to figure out how you wrapped the rope that connects the 2 blocks on each side of the carriage to the hull. Did you just wind the rope around and glue it or is there a special knot to achieve that look. Keep posting lots of pics, and close ups, they are beneficial to us newbies 😁 Also your work looks amazing. The quality of the build 👍👍. I hope to achieve that level of detail and quality.. I actually like the extra hanging ropes you put on your model, I'm going to use that idea on mine. I'll follow your suggestions and add them near the final build. I'll keep watching your posts for more input. --Rowboat
- 136 replies
-
- 2
-
-
- enterprise
- constructo
- (and 1 more)
-
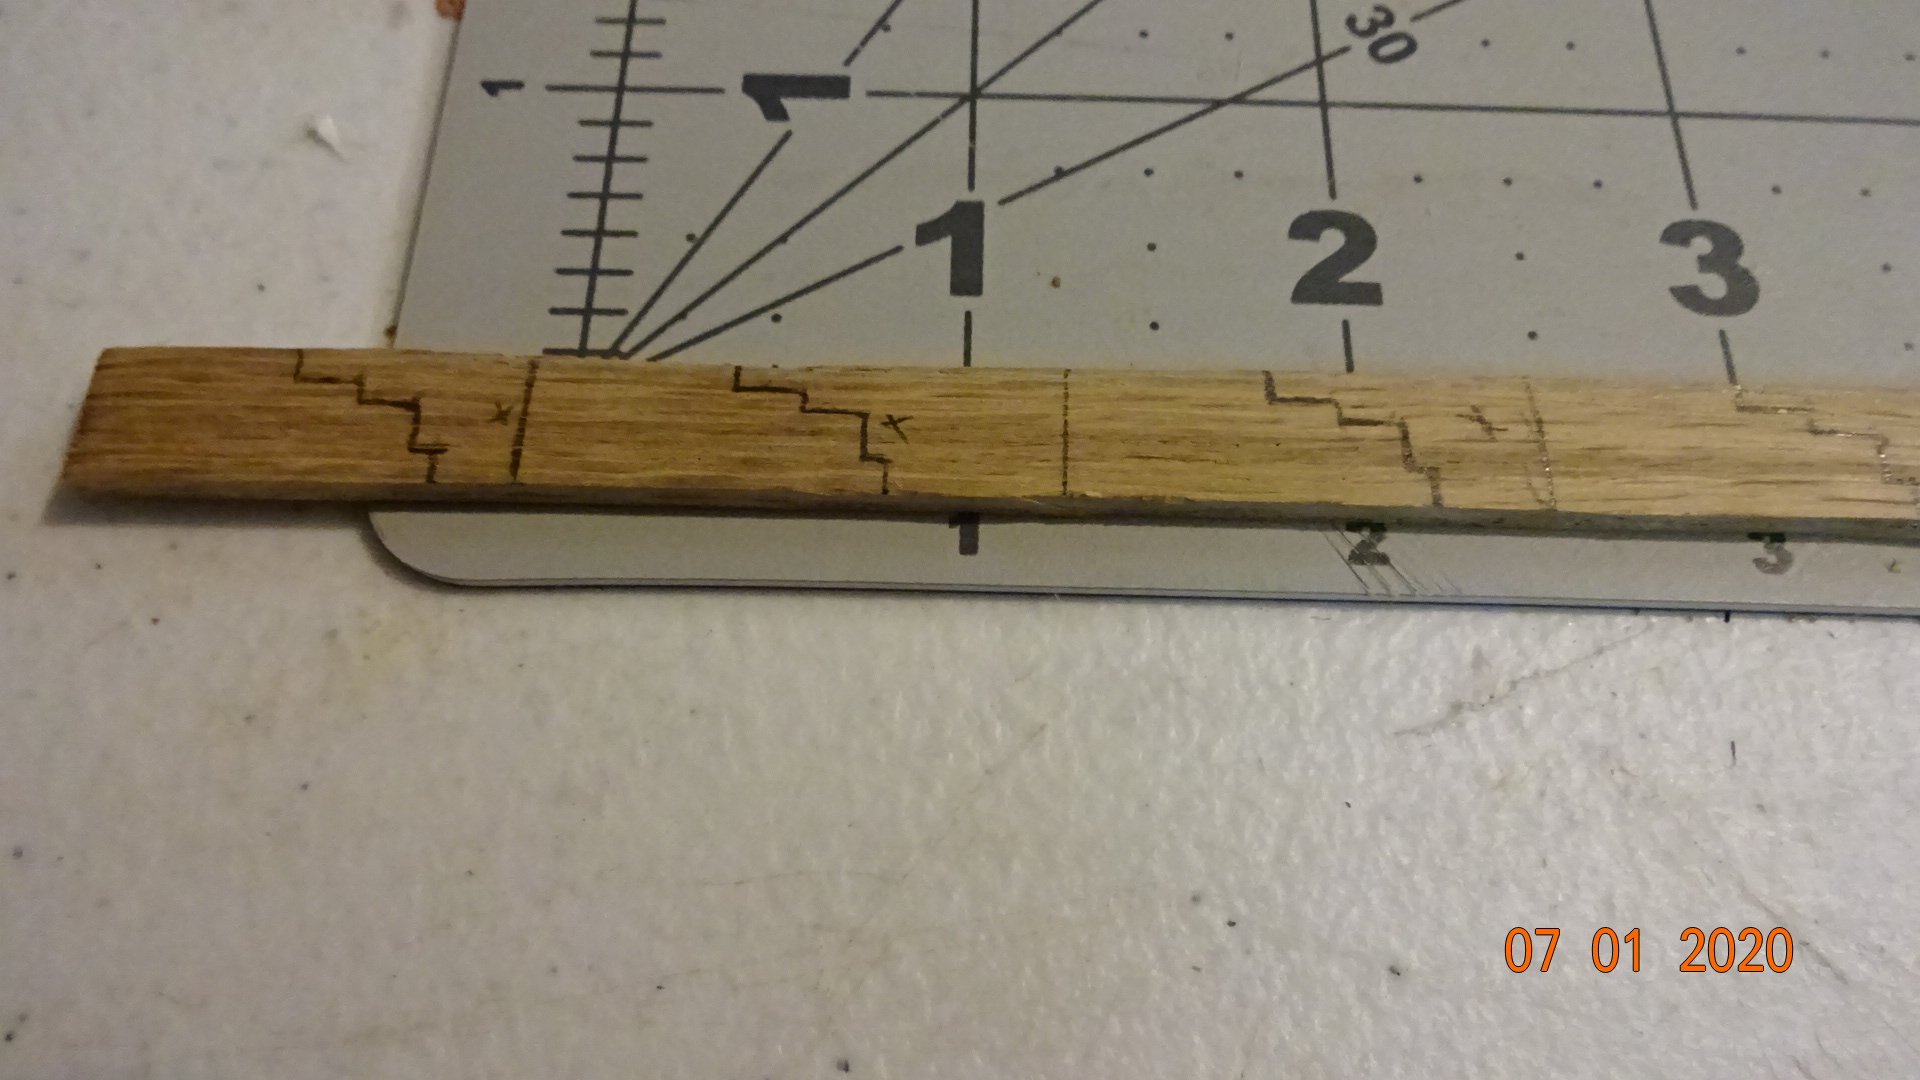
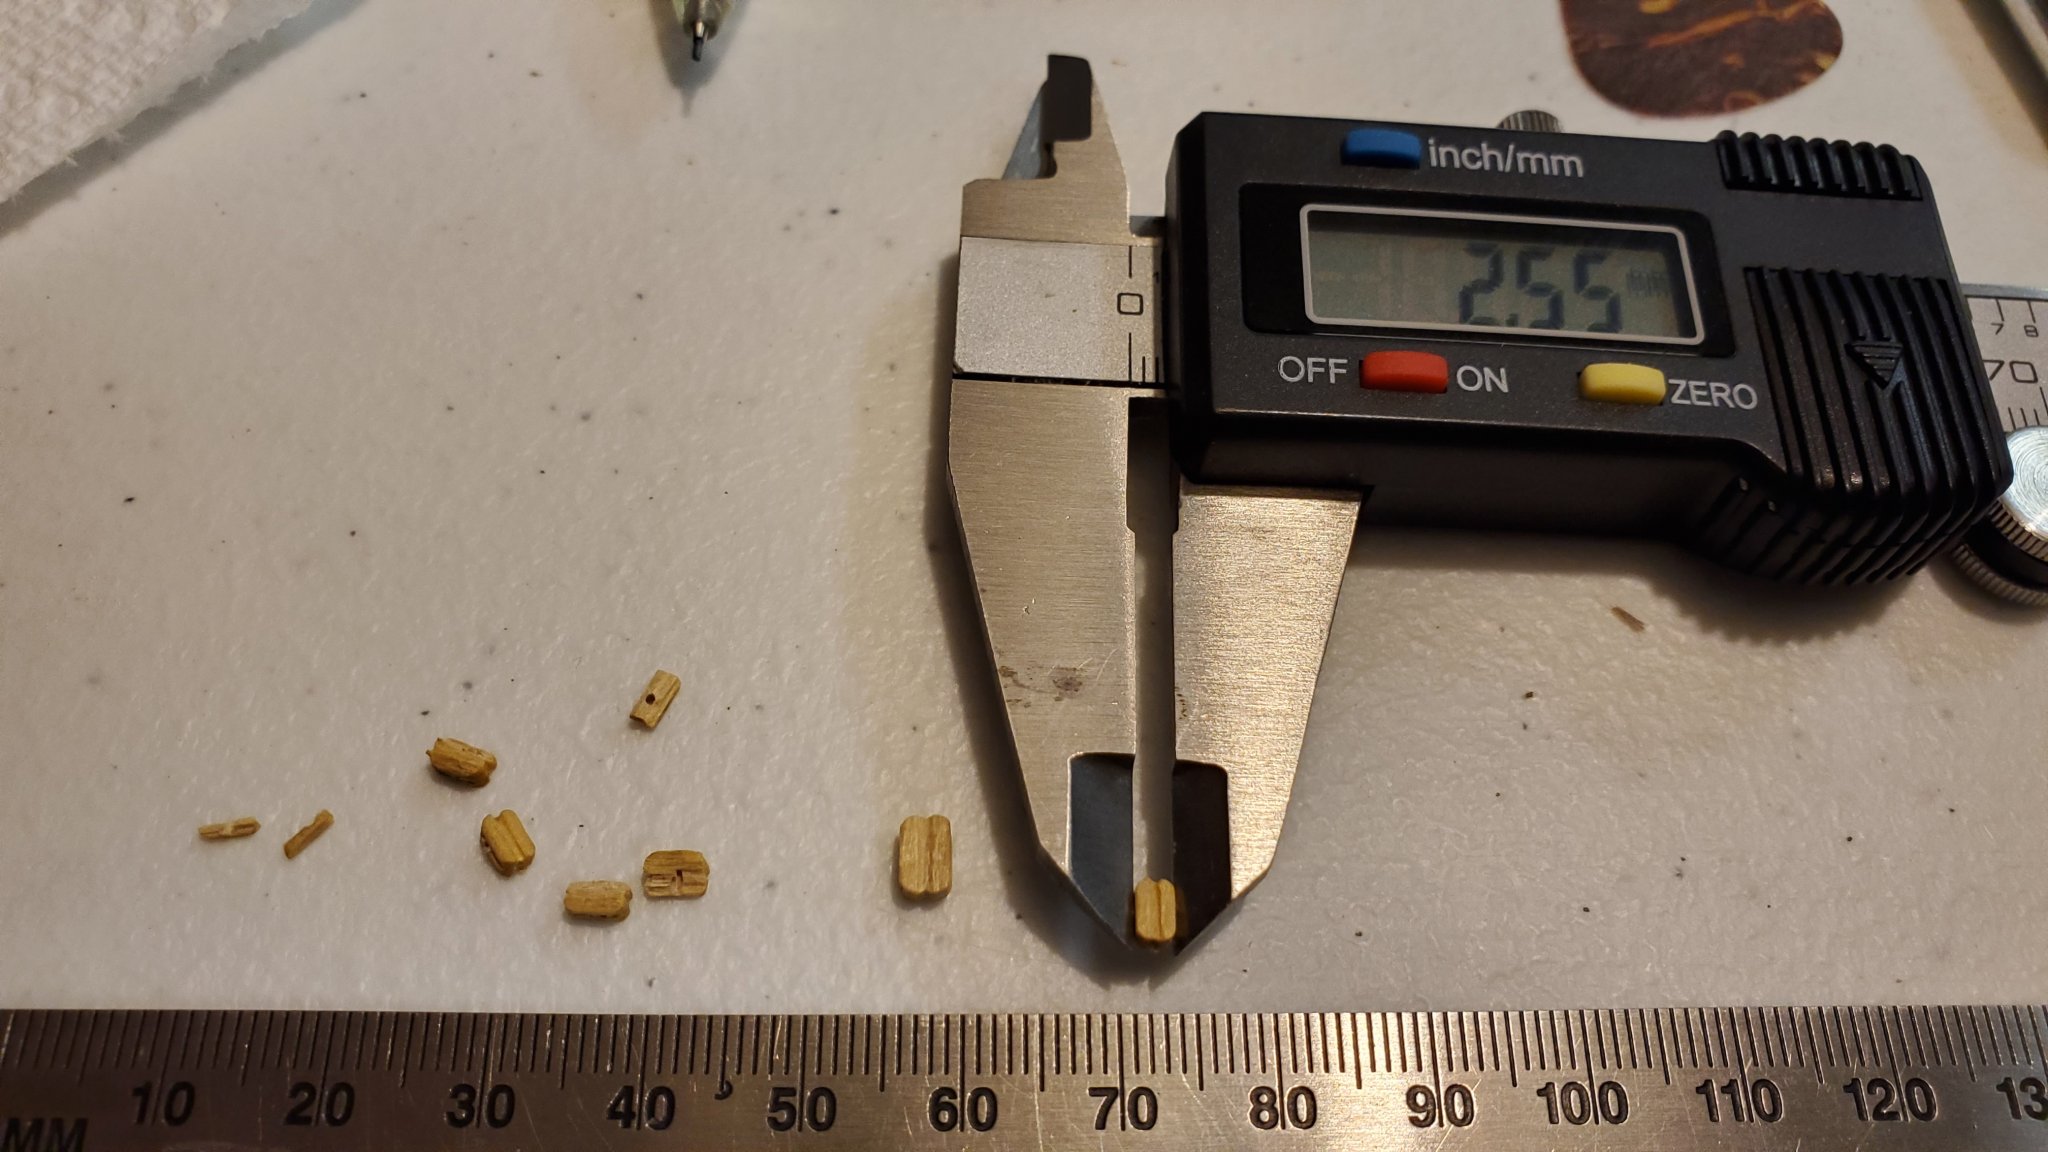
Started working on the cannon carriage design. Here's the beta version. Here is the beta viewing of my cannon build. I will put the original kit (left) picture along with what I'm working on (right). After purchasing a few cannon kits I figured out how to solve my dislike, brass wheels and less robust cannon carriage. Turns out the kit that came with the model has a thickness of 1.9mm and my beta model uses 2.3mm. The difference is barely noticeable for one piece of wood as shown here. However, when the entire carriage is built that extra .4mm, per piece of wood, makes the carriage robust looking. Is it to scale , not sure but it's what I like. I built the base, sides, axles, wedge that helps raise/lower the cannon angle. I pulled the wheels from 2 different cannon kits. The cannon is from the original kit. The axles are approximately 1.7mm diameter. The front wheels are 8mm and the back are 5mm. The sides are 22.4mm in length and 9.5mm tall. Took a number tries to find the right thickness of the wood. Ended up planing down 6mm to 2.3mm poplar wood. Not quite done with the design....... -- Rowboat
- 195 replies
-
- 4
-
-
- enterprise
- constructo
- (and 1 more)
-
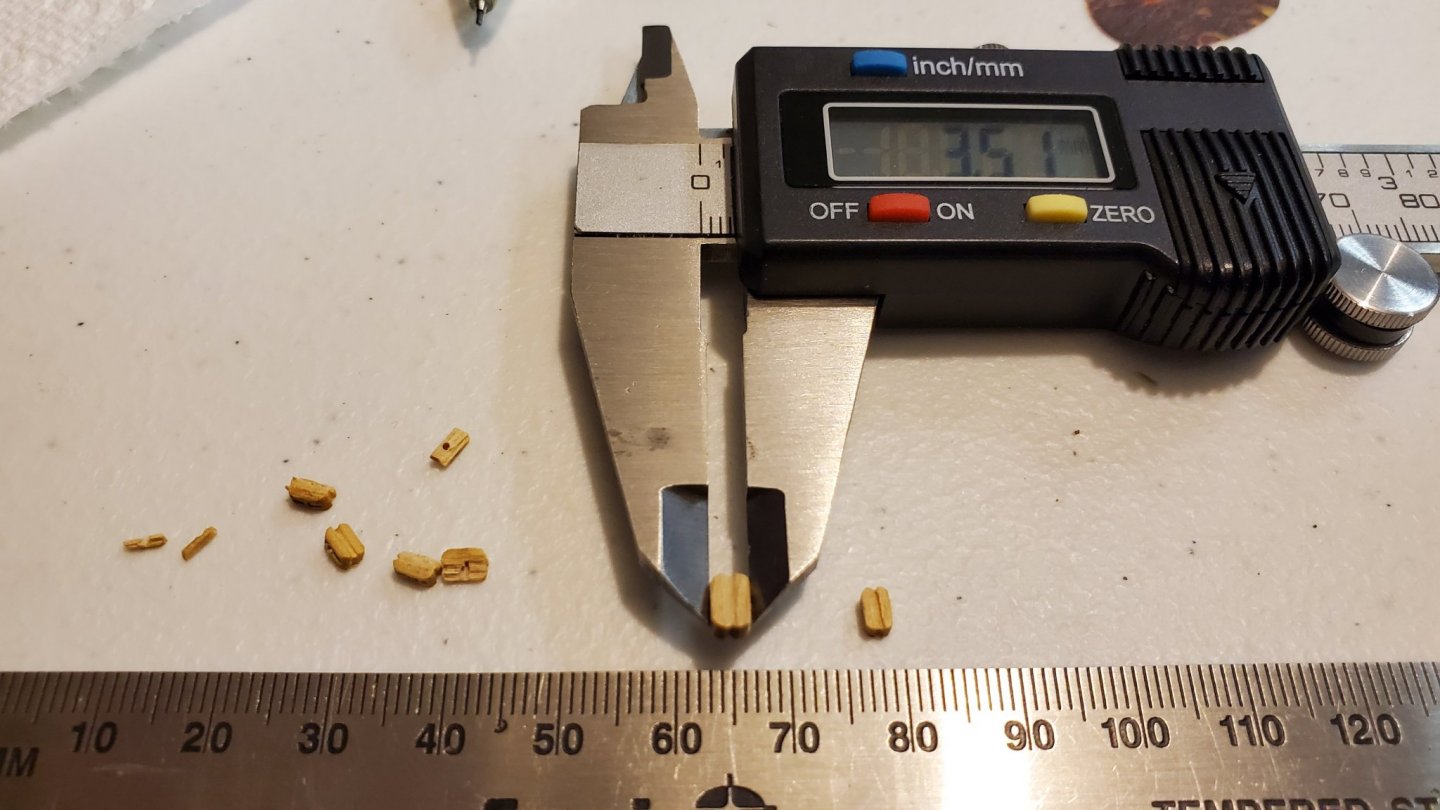
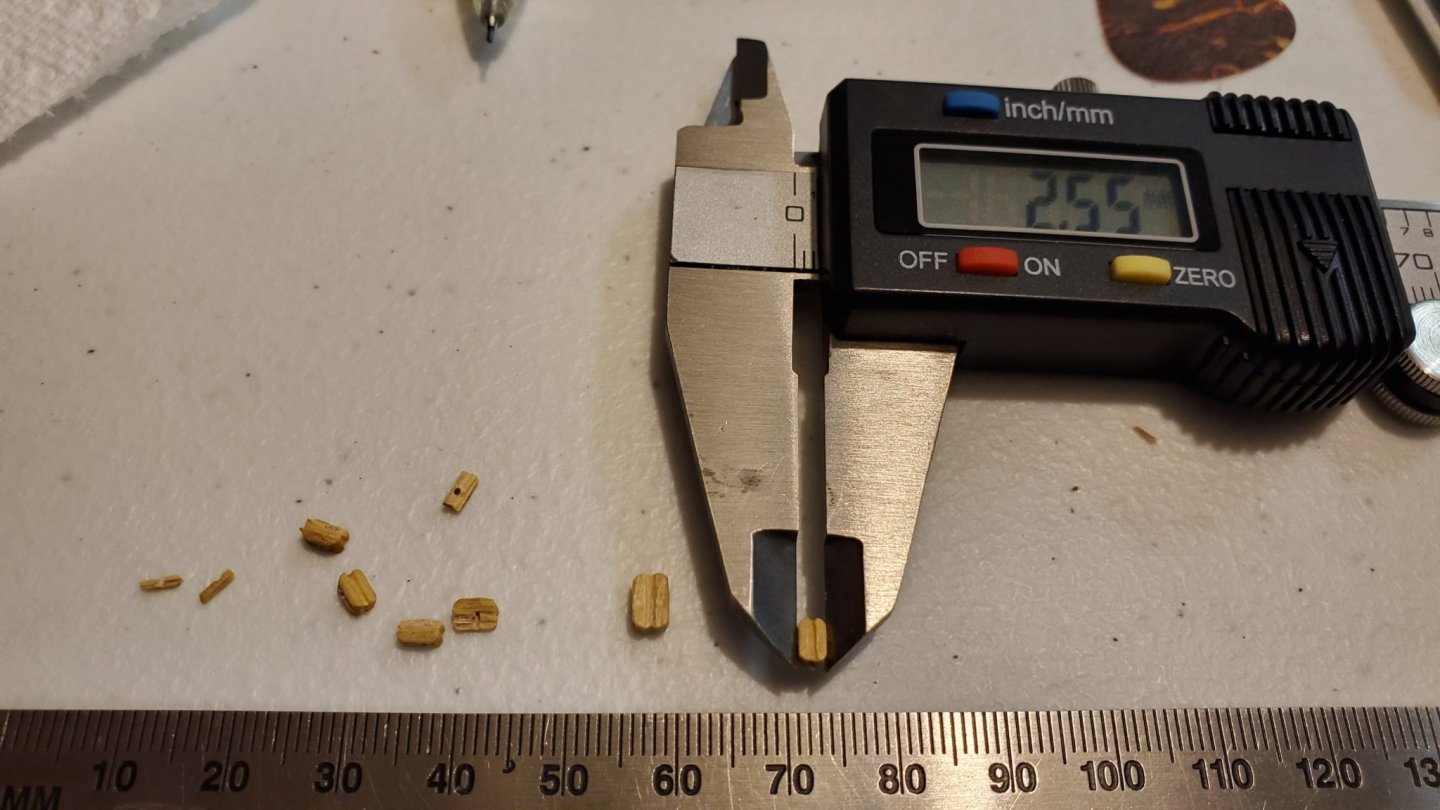
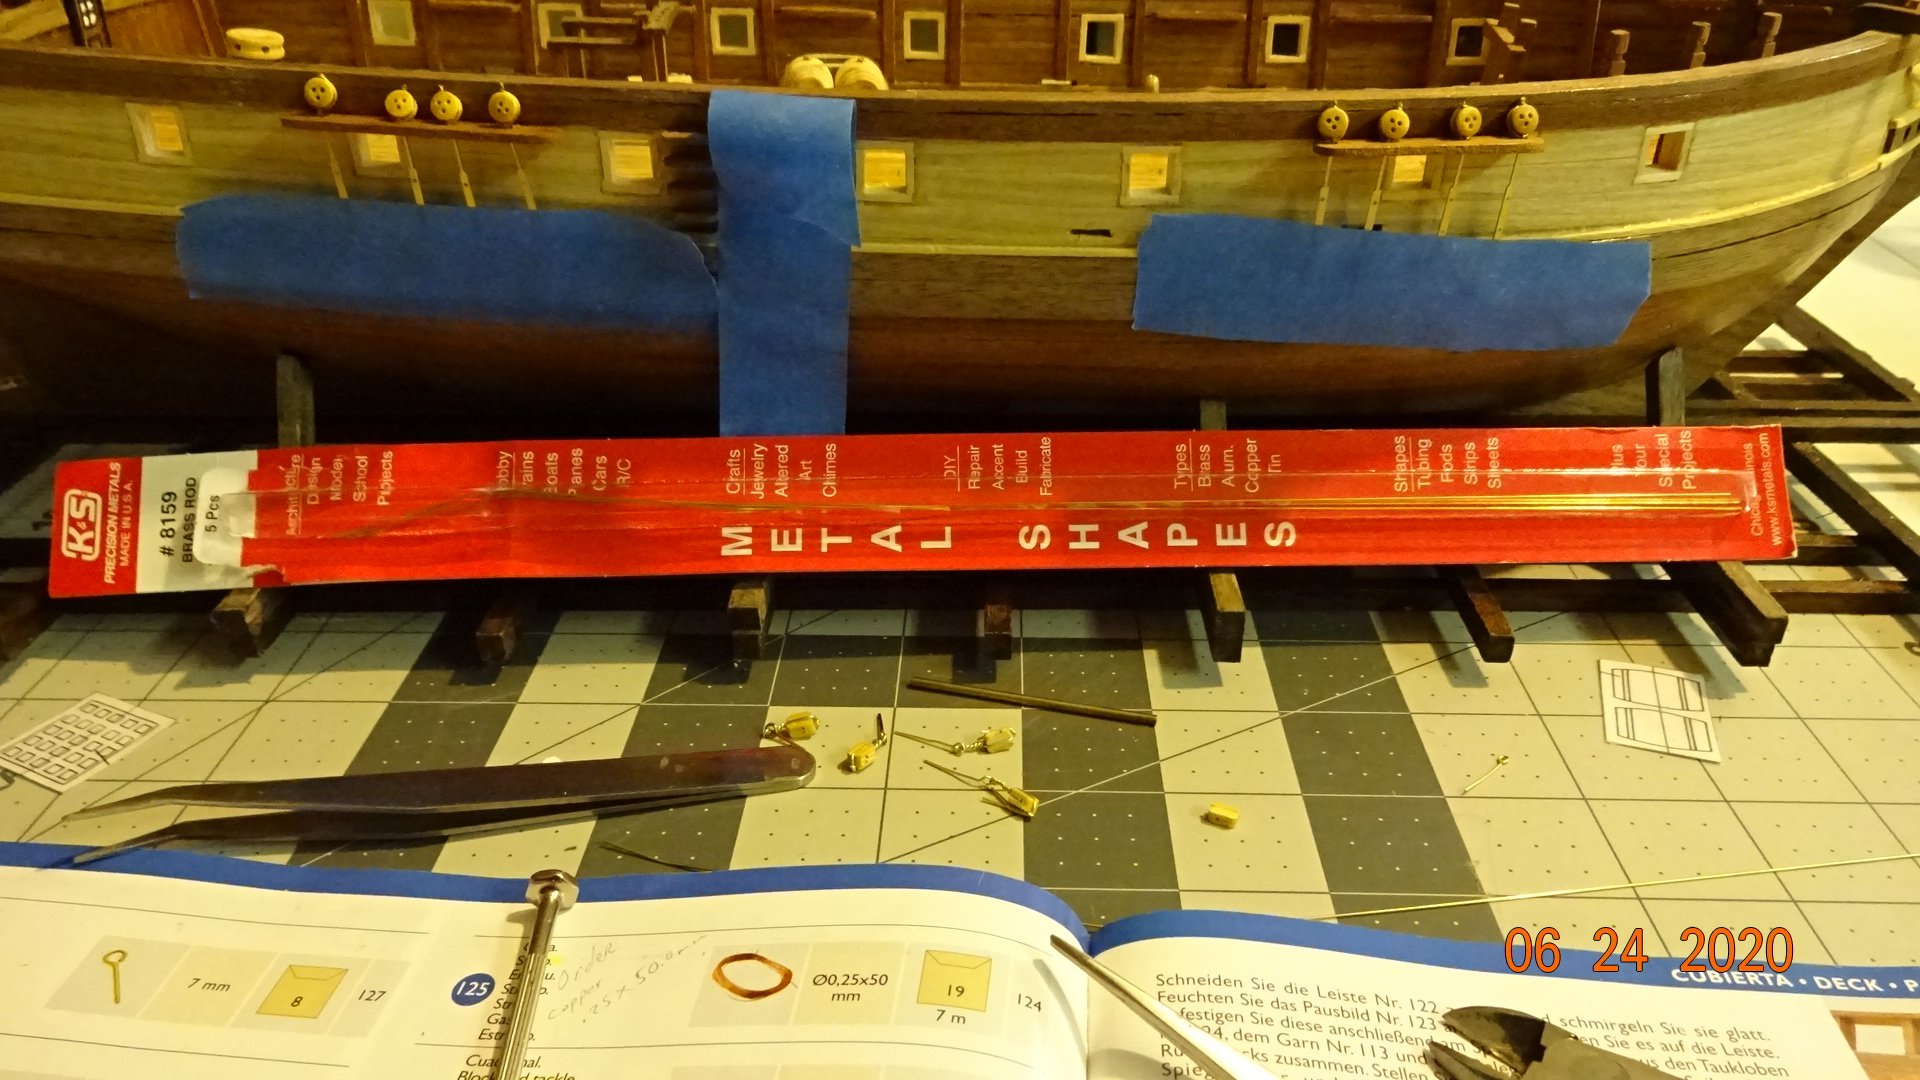
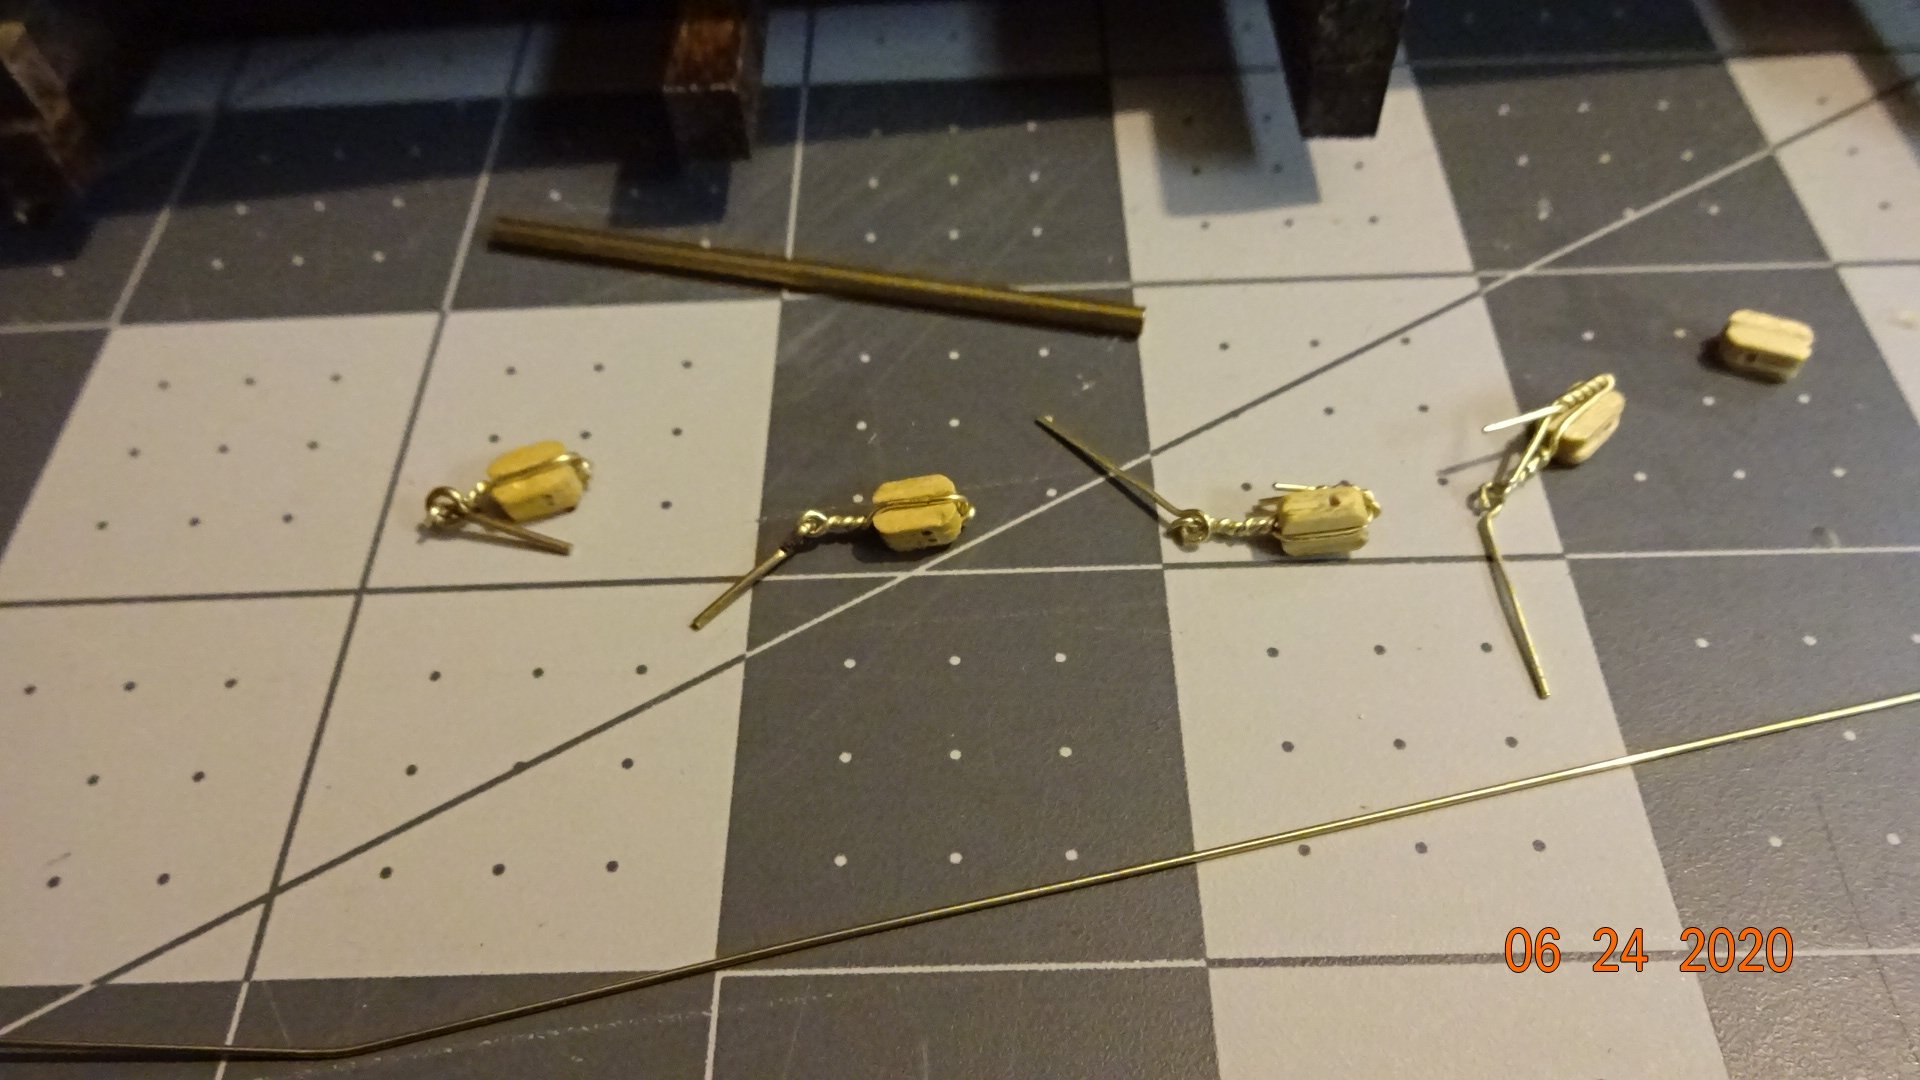
Looks like in my excitement I used the 5mm blocks with the 5mm wire. Guess that's why it fit so well. I did attempt to wrap the 4mm blocks with the 5mm wire, broke all of them. The 5mm blocks are 3.5mm wide and the 4mm blocks are 2.5mm wide. In the pics below the broken blocks are on the left. I did order this 30 gauge wire which is about 26mm. Waiting for it to arrive.
- 195 replies
-
- 3
-
-
- enterprise
- constructo
- (and 1 more)
-
@ccoyle , Did not know that using wire to strope the blocks was not replicating actual practice. Spent the time and found this, https://www.duckworksmagazine.com/02/articles/woodenblocks/woodenblocks.htm . So now I know ... and I thought my learn'in days were over 😅
- 195 replies
-
- 1
-
-
- enterprise
- constructo
- (and 1 more)
-
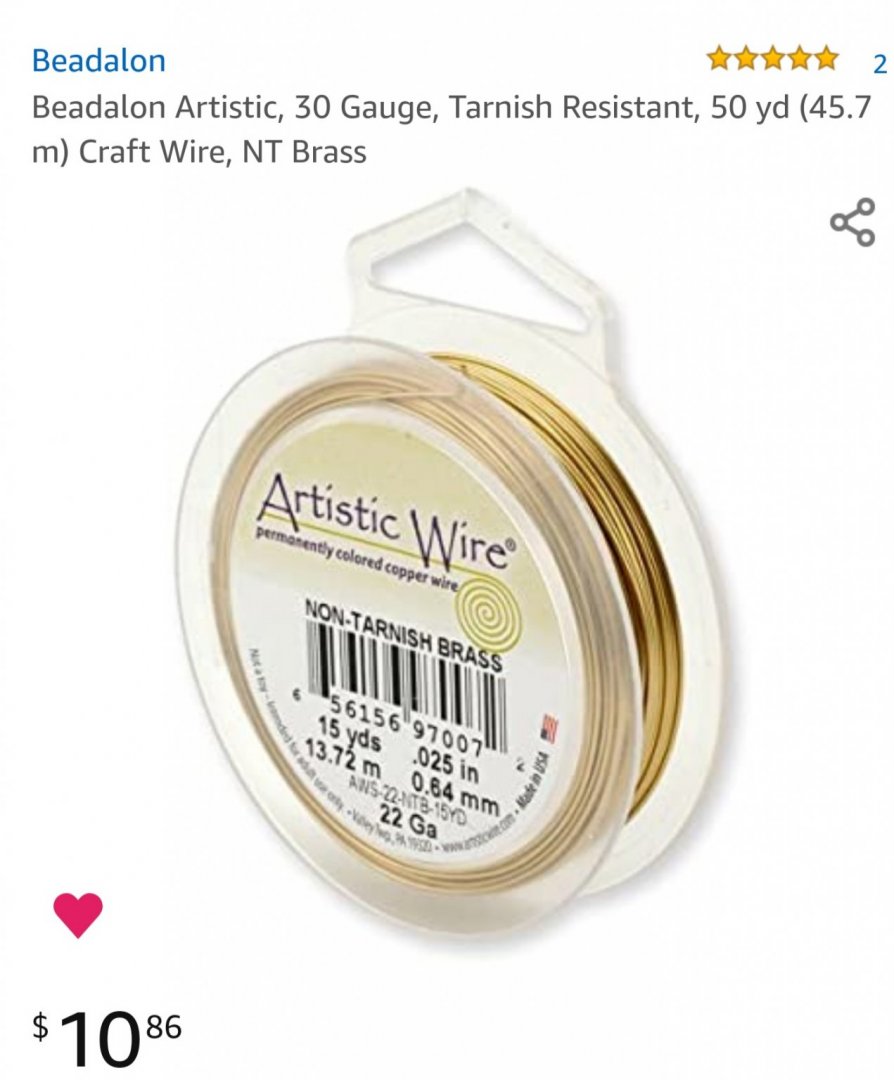
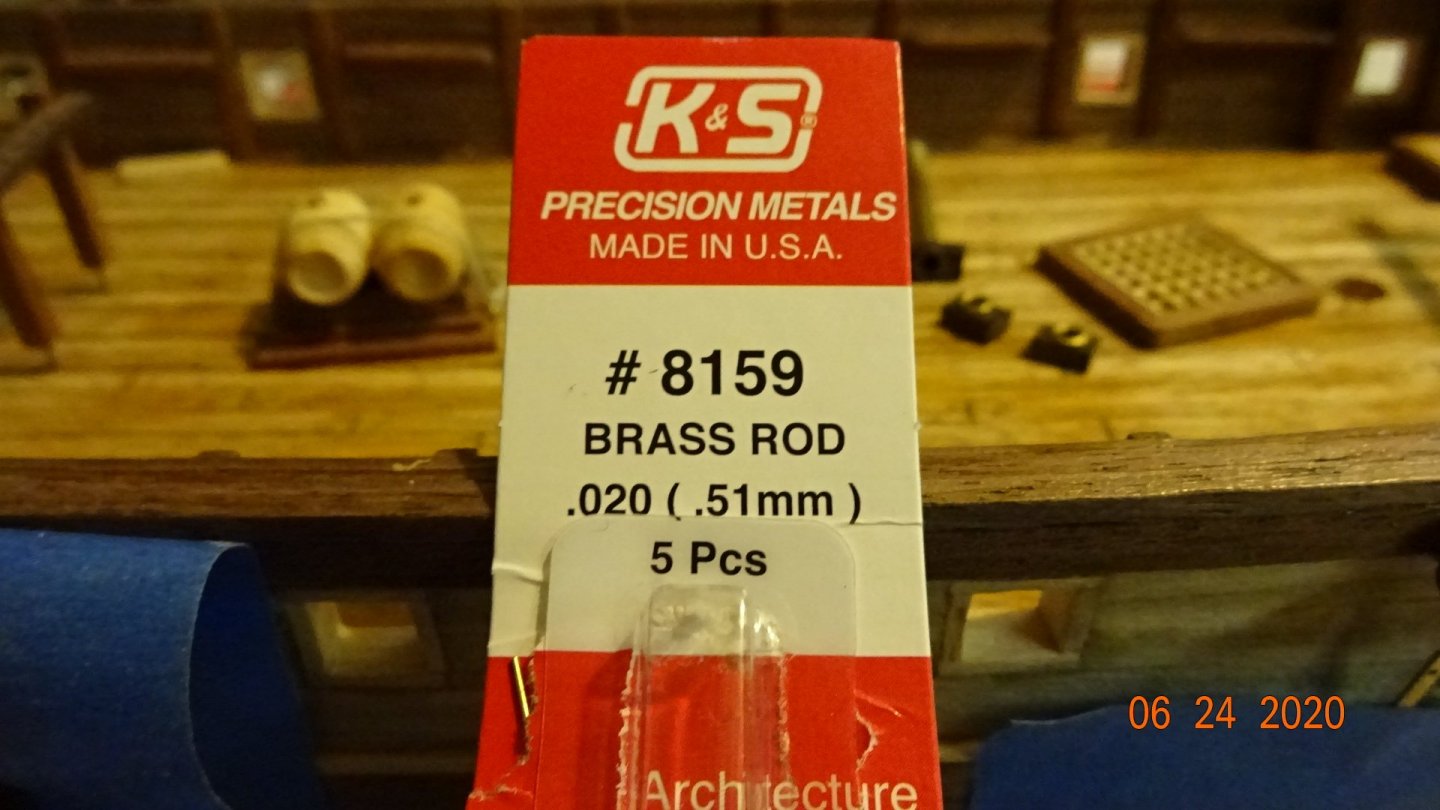
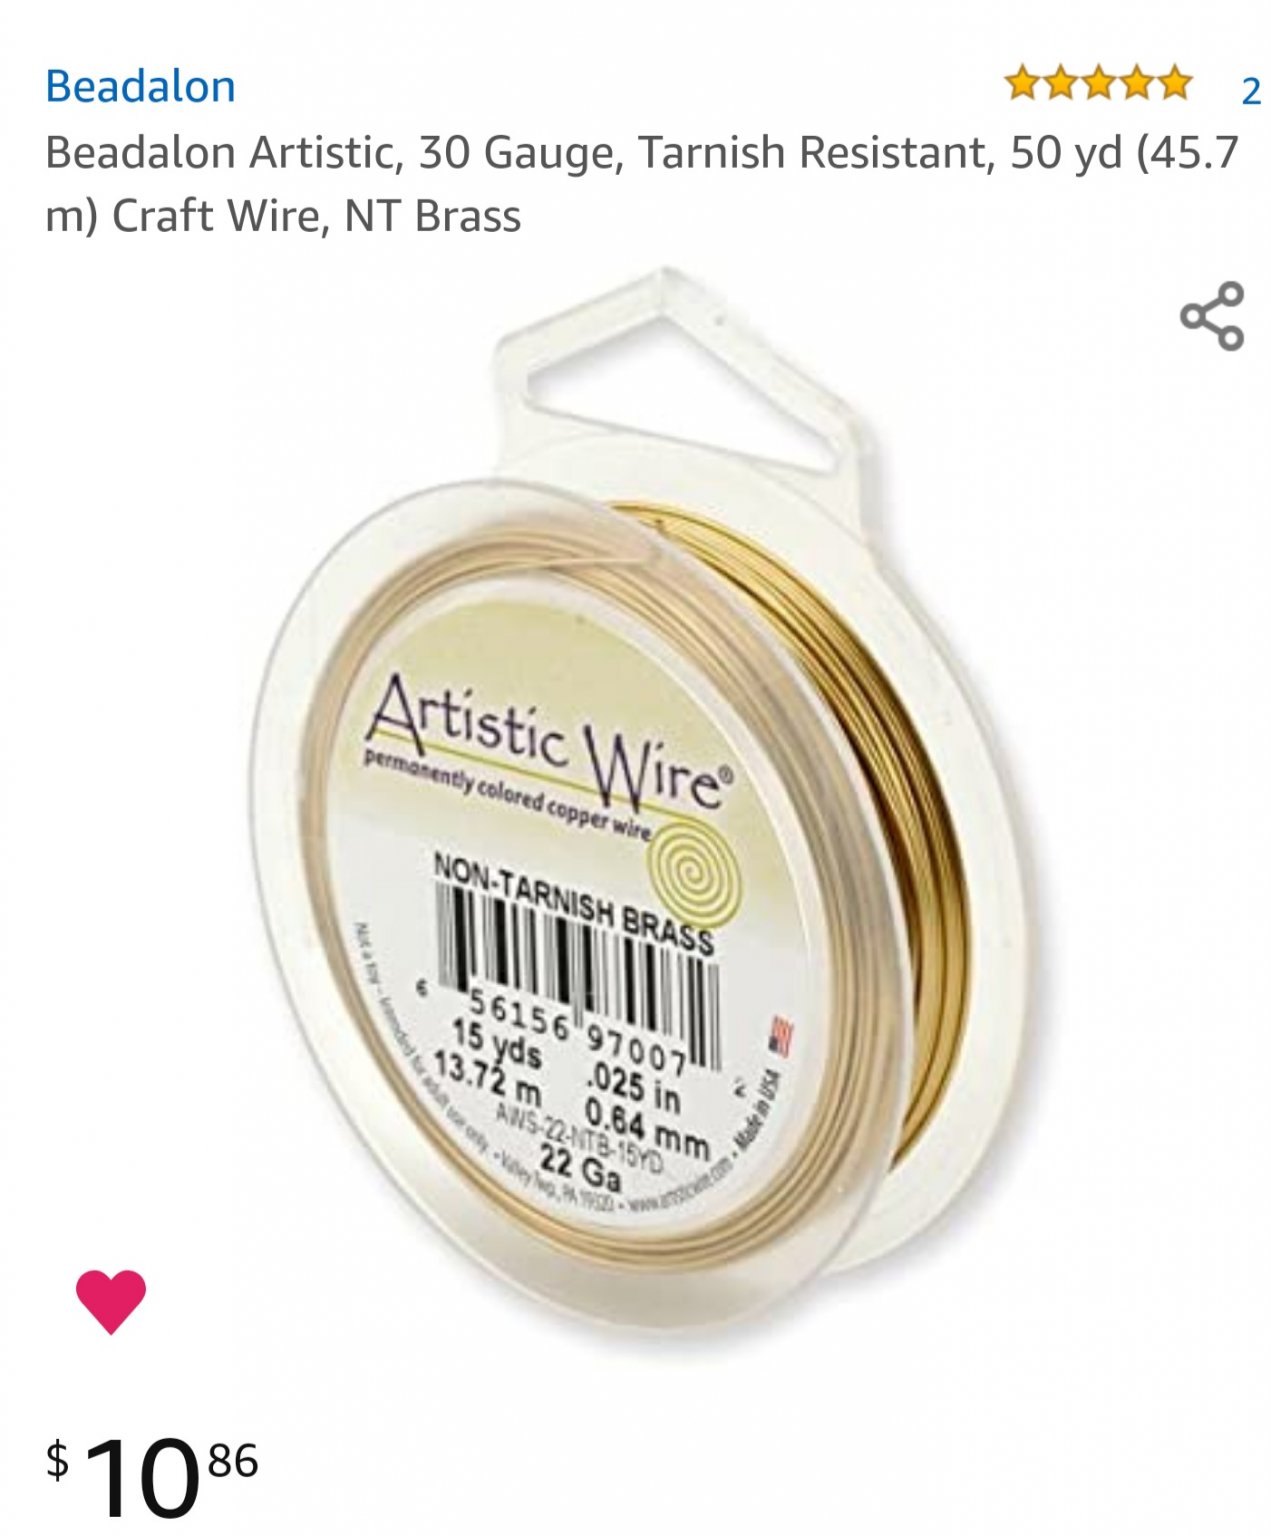
Found the following, it's .20mm but should work fine... and it's brass not copper.


- 195 replies
-
- 3
-
-
- enterprise
- constructo
- (and 1 more)
-
About to start rigging some 4mm 1 hole blocks. The manual shows .25mm copper wire (could be brass I suppose) that wraps around the block. The wire I received is .50mm non-copper. This is to thick to wrap the 4mm blocks. Where can I purchase .25mm soft wire, copper or not? I found some on eBay from Constructo but shipping is about $25 US dollars for a $4 item. Plus shipping is “estimated” over a month from now.
-
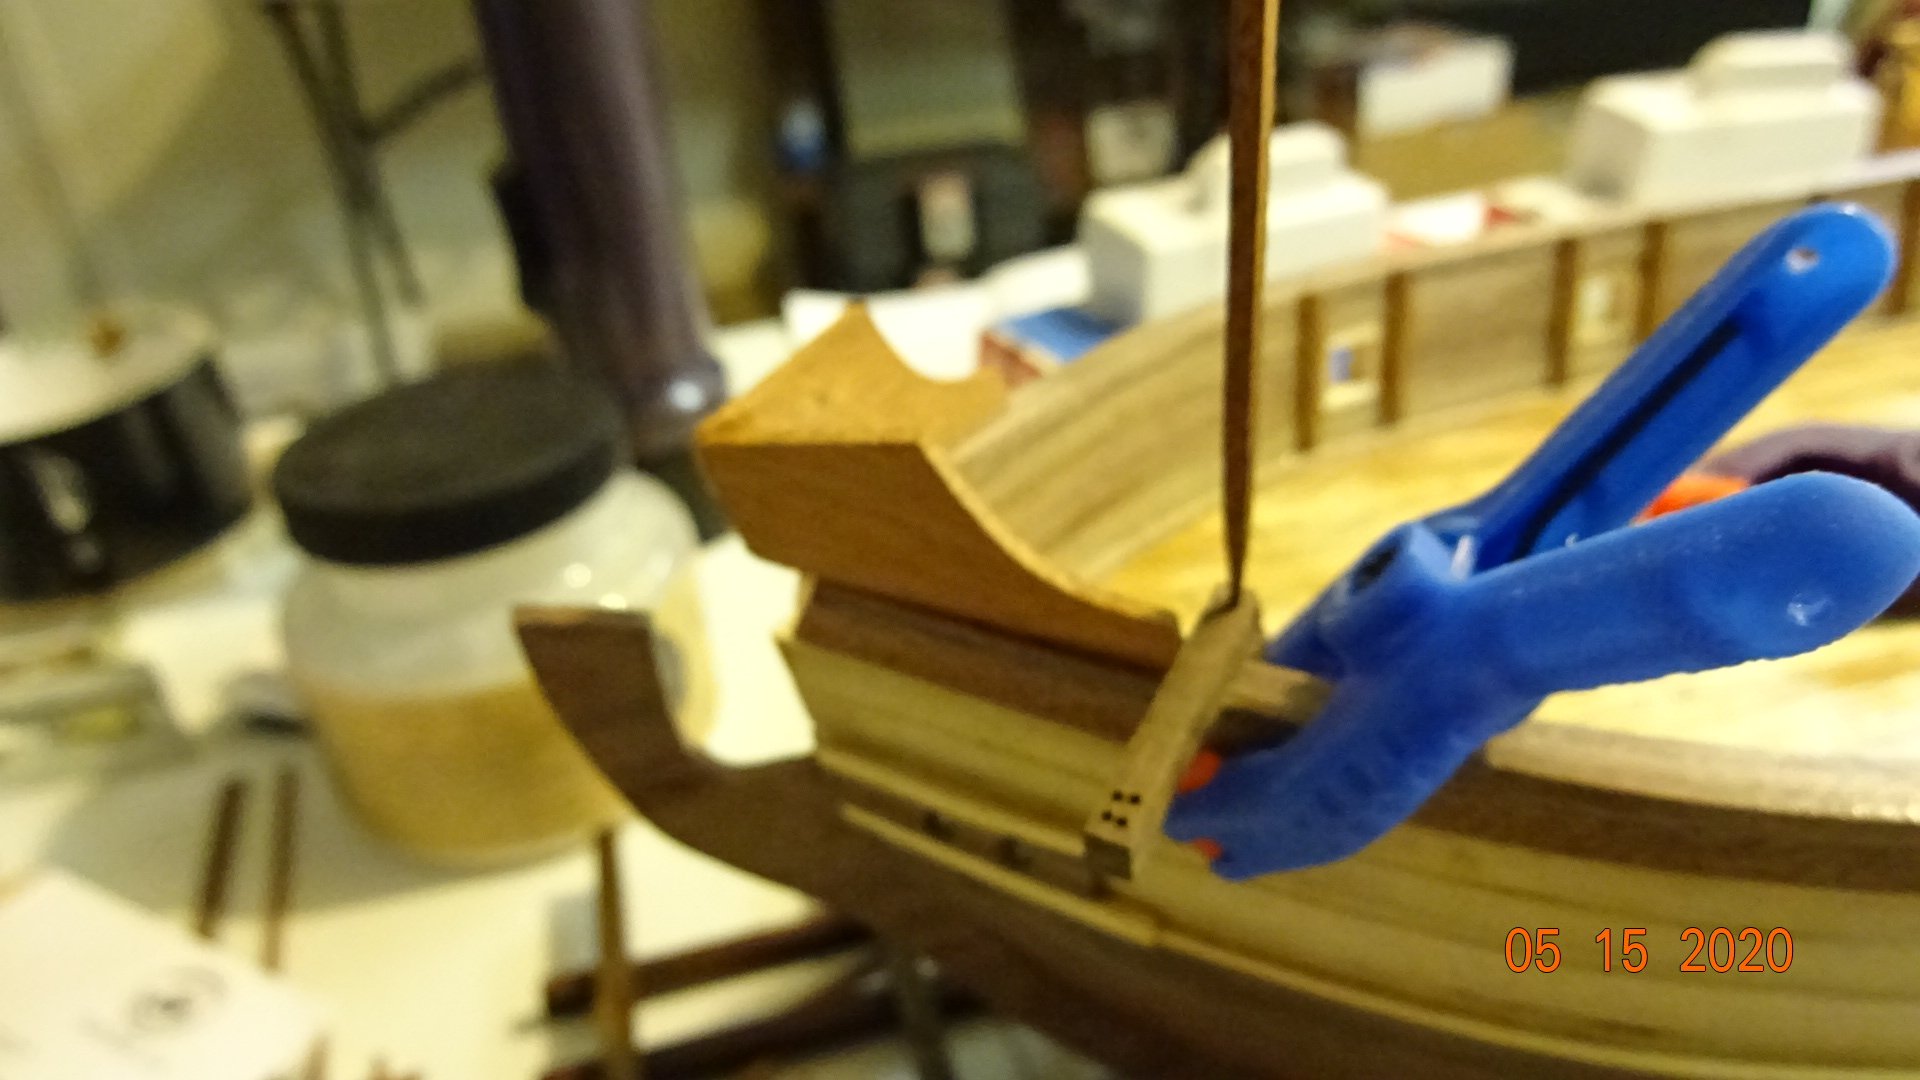
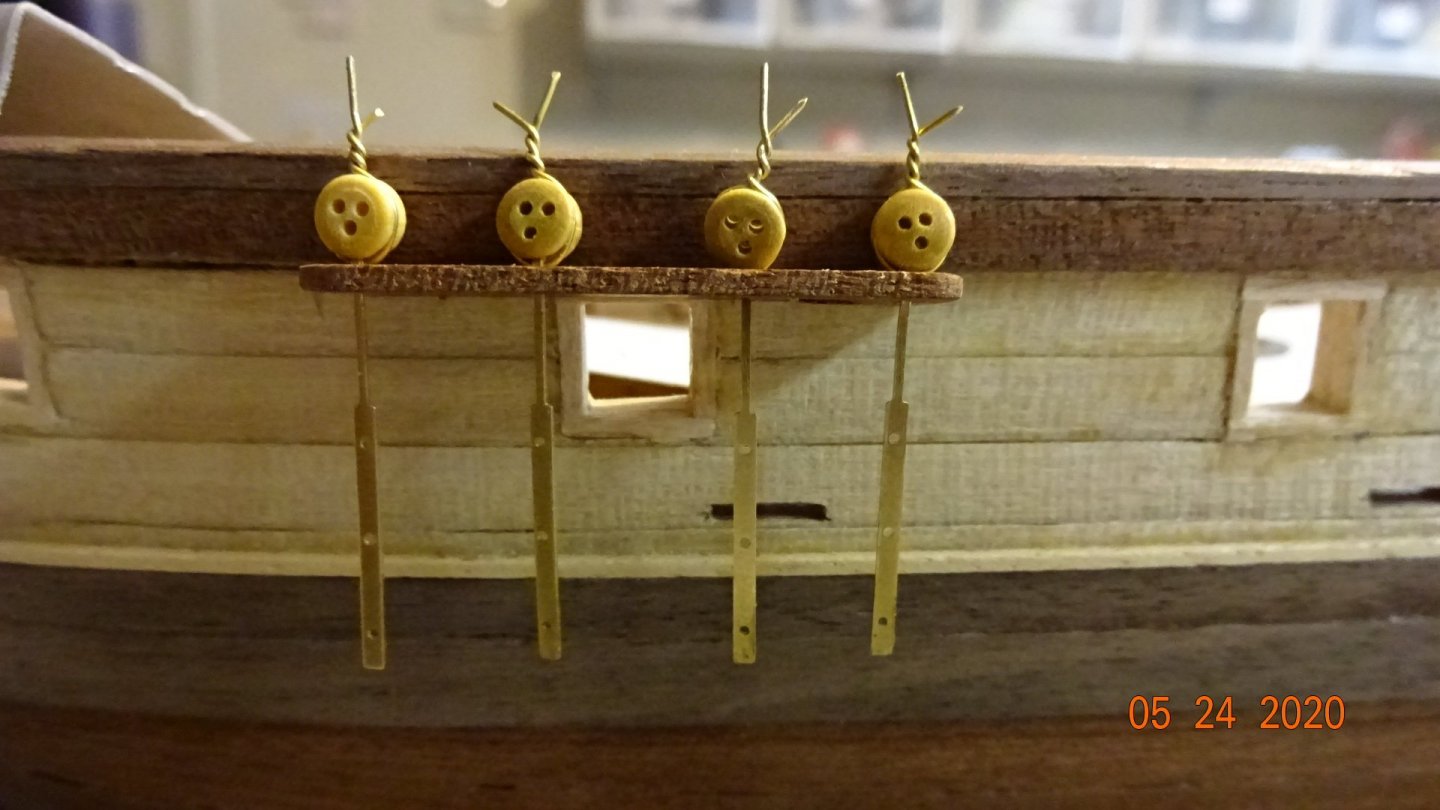
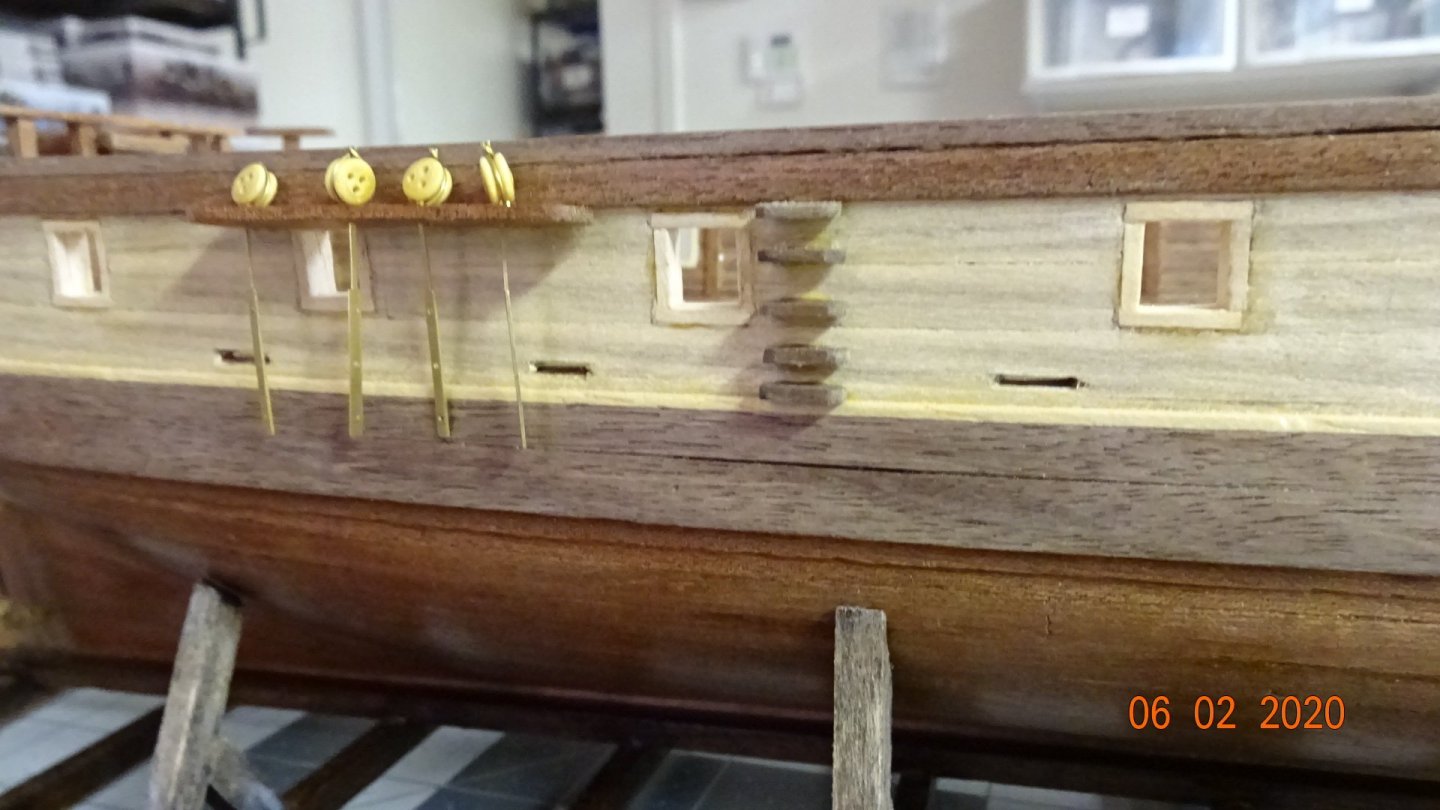
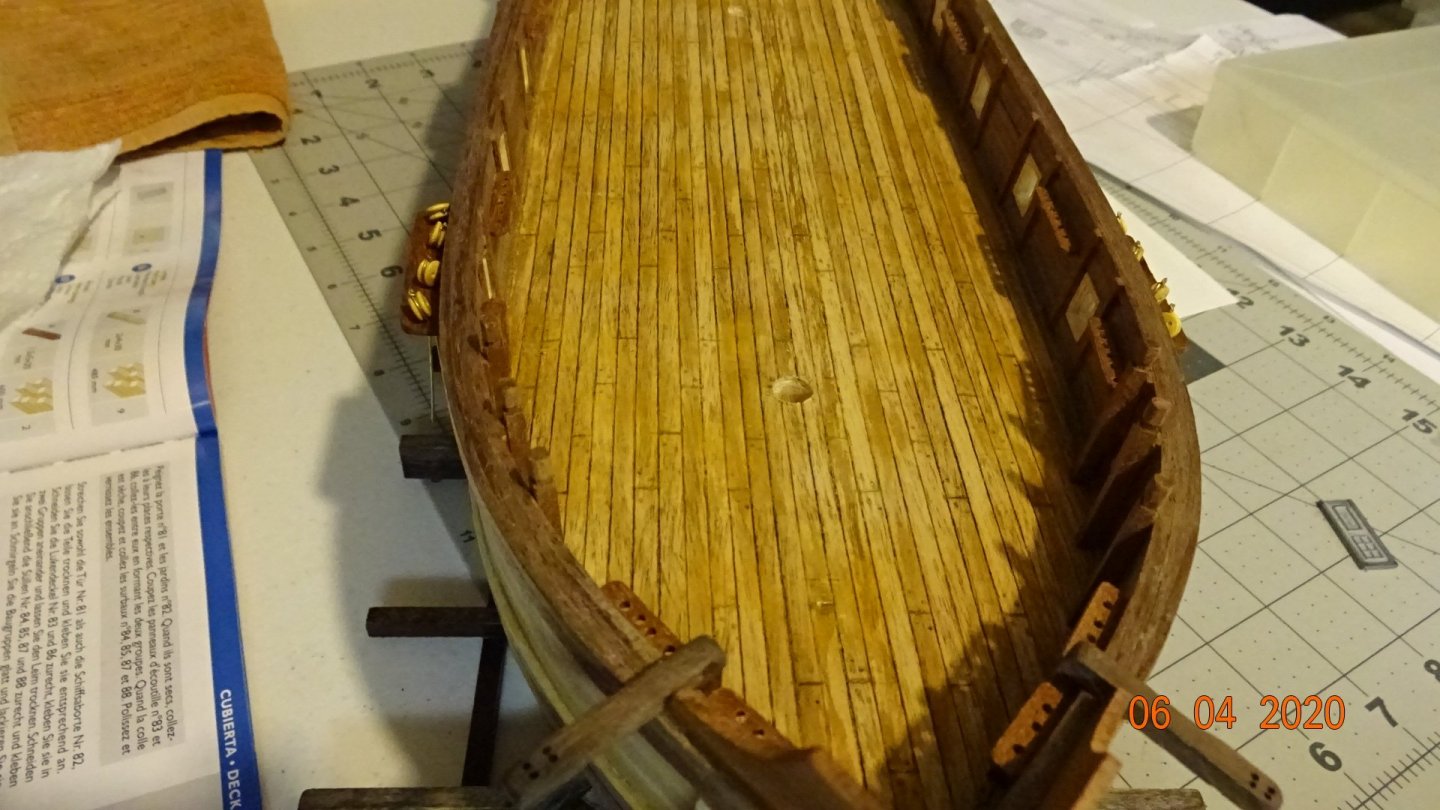
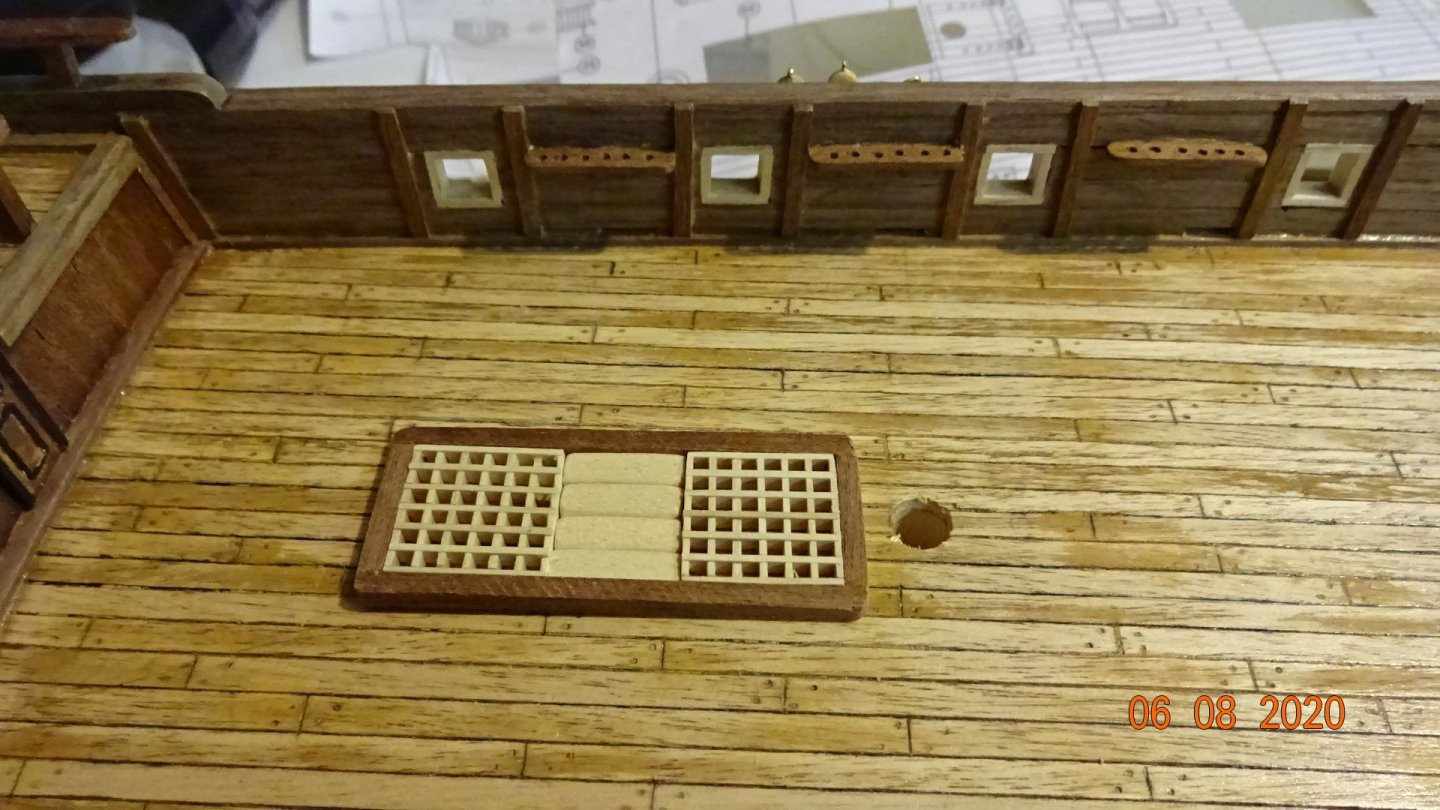
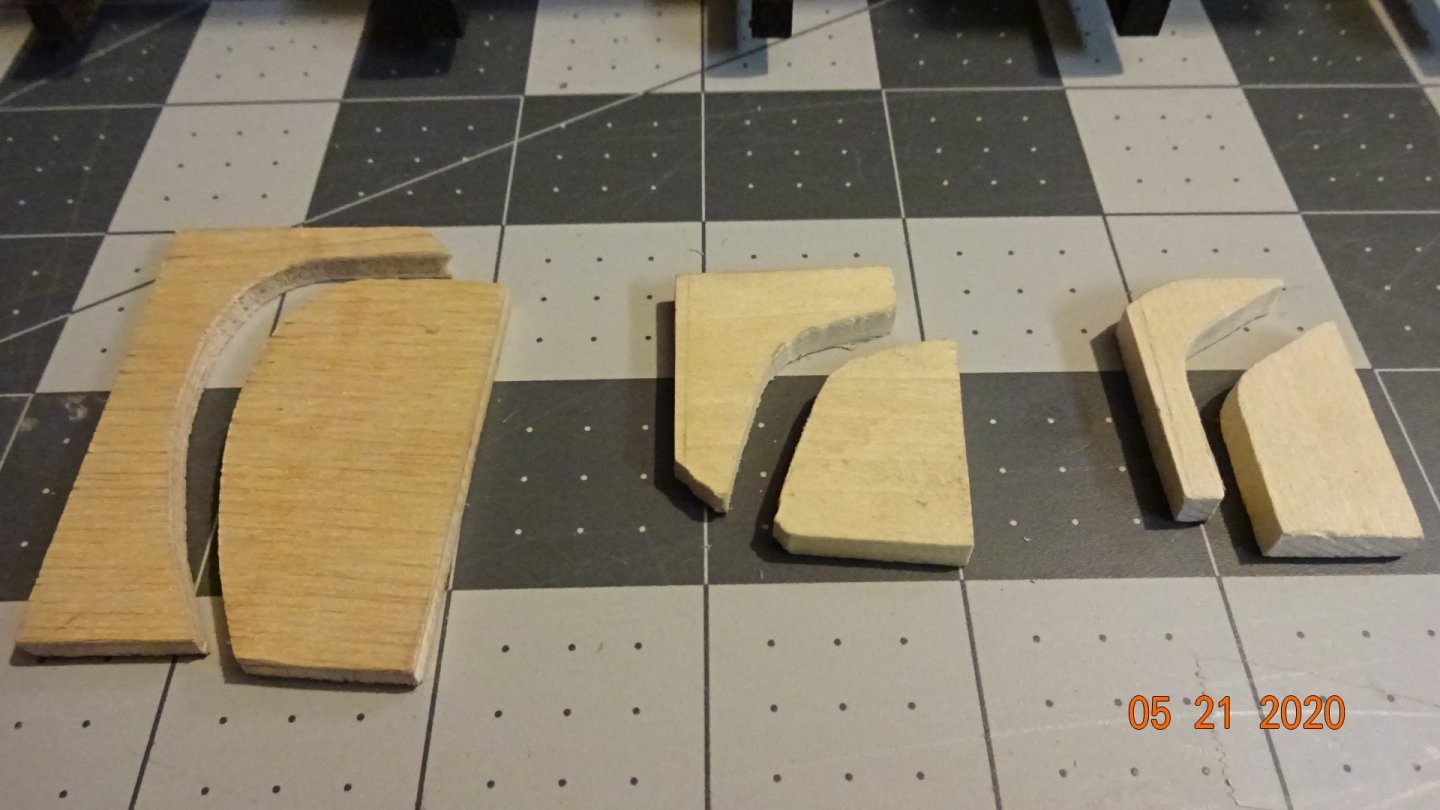
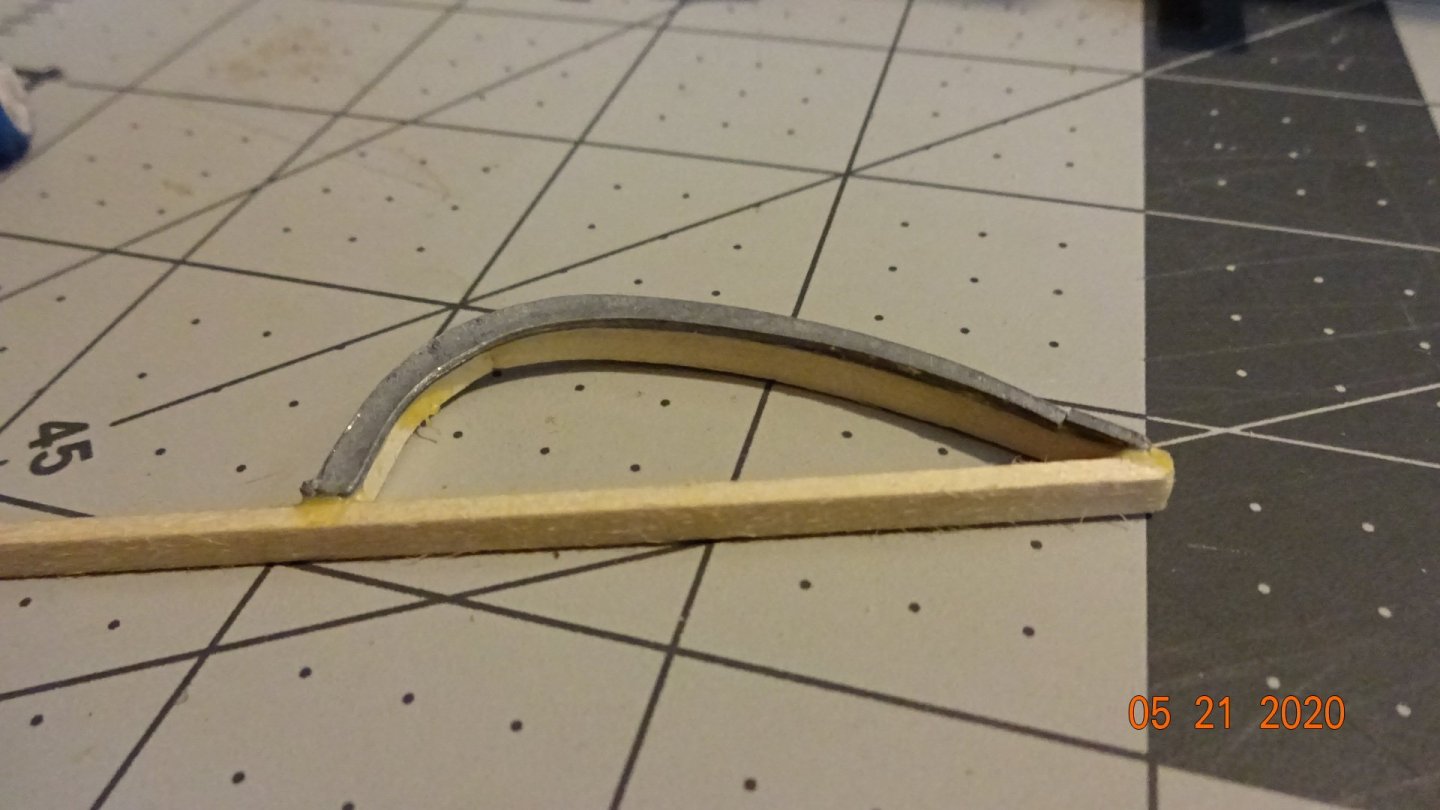
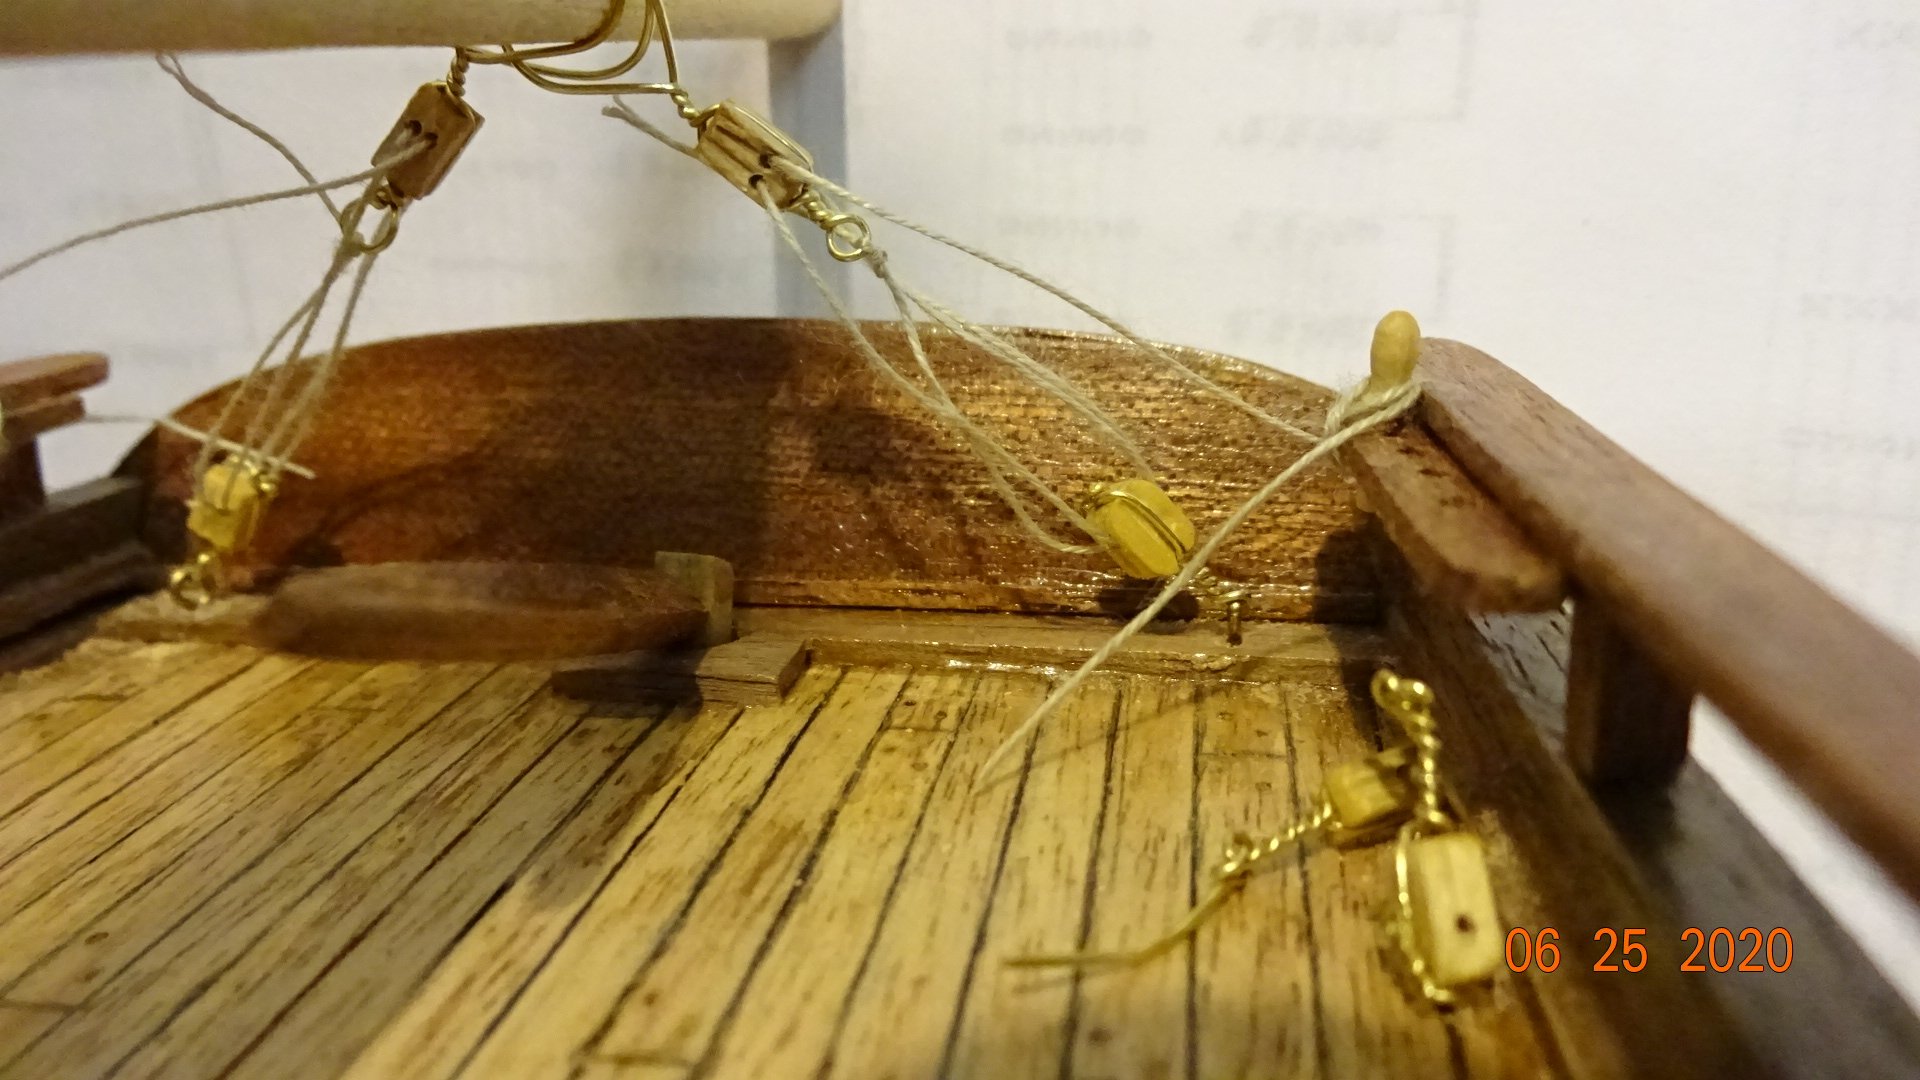
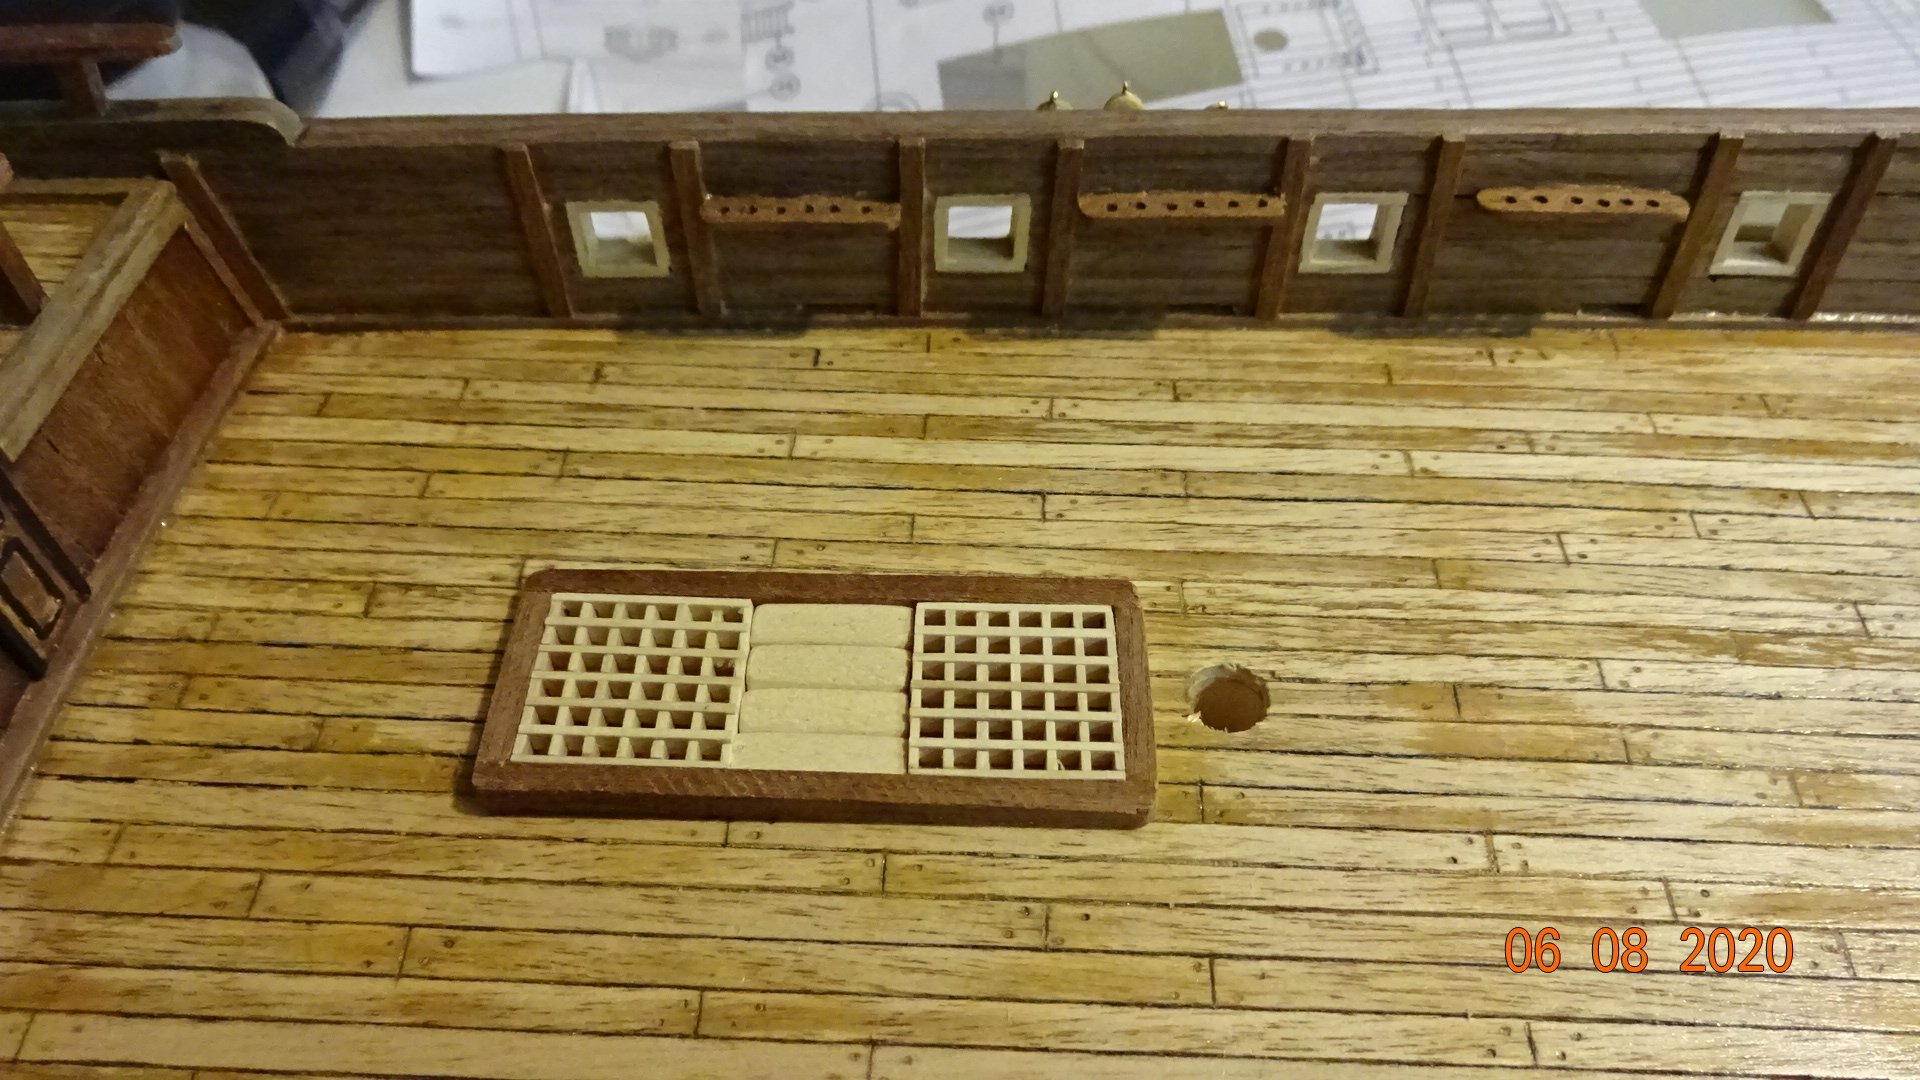
Work continues, slowly ... Built the chain plates and deadeyes but did not glue them down. recommendations is to wait till the shr ouds are attached. Fairly easy work, main thing is to keep the center hole at the lowest level. Cut the excess wire and added some steps on the hull. Added a bunch of pin rails to the inside of the model. Doing busy work building deck features. Not to difficult, just ran out of grating so there's that. Did not like my first attempt at the beak heads. The first attempt ended with one side being larger than the other. Also they were to big and I had to angle them so as not to cover the anchor holes. Here's the first attempt. Cut out the beakheads and the new ones look much better to me. Made a jig out of wood for the curved piece. First I used a piece of wire to get the curve, then transferred the curve to a wood block, cut the curve out using a jig saw making 2 pieces and finally put in some wet wood and clamped the jig together. Will continue on more deck features this coming week... Have a good day and stay safe. Rowboat out.
.thumb.JPG.295db1cdc24149f1b63887a686e492e4.JPG)
.thumb.JPG.98c230f71777c00d8b5a9f68a8c3d3a6.JPG)
.thumb.JPG.06f526a47bf6827e36e4389300116eec.JPG)
.thumb.JPG.1c2a89e8dbdf80f3c0a1250395f31489.JPG)


- 195 replies
-
- 6
-
-
- enterprise
- constructo
- (and 1 more)
-
@maniac, What questions do you have? @ccoyle, Thanks Chris, I definitely like the 3 different colors on the ship. At that phase where I can stain them. I bought some shellac spray that I plan on trying out.
- 195 replies
-
- 1
-
-
- enterprise
- constructo
- (and 1 more)
-
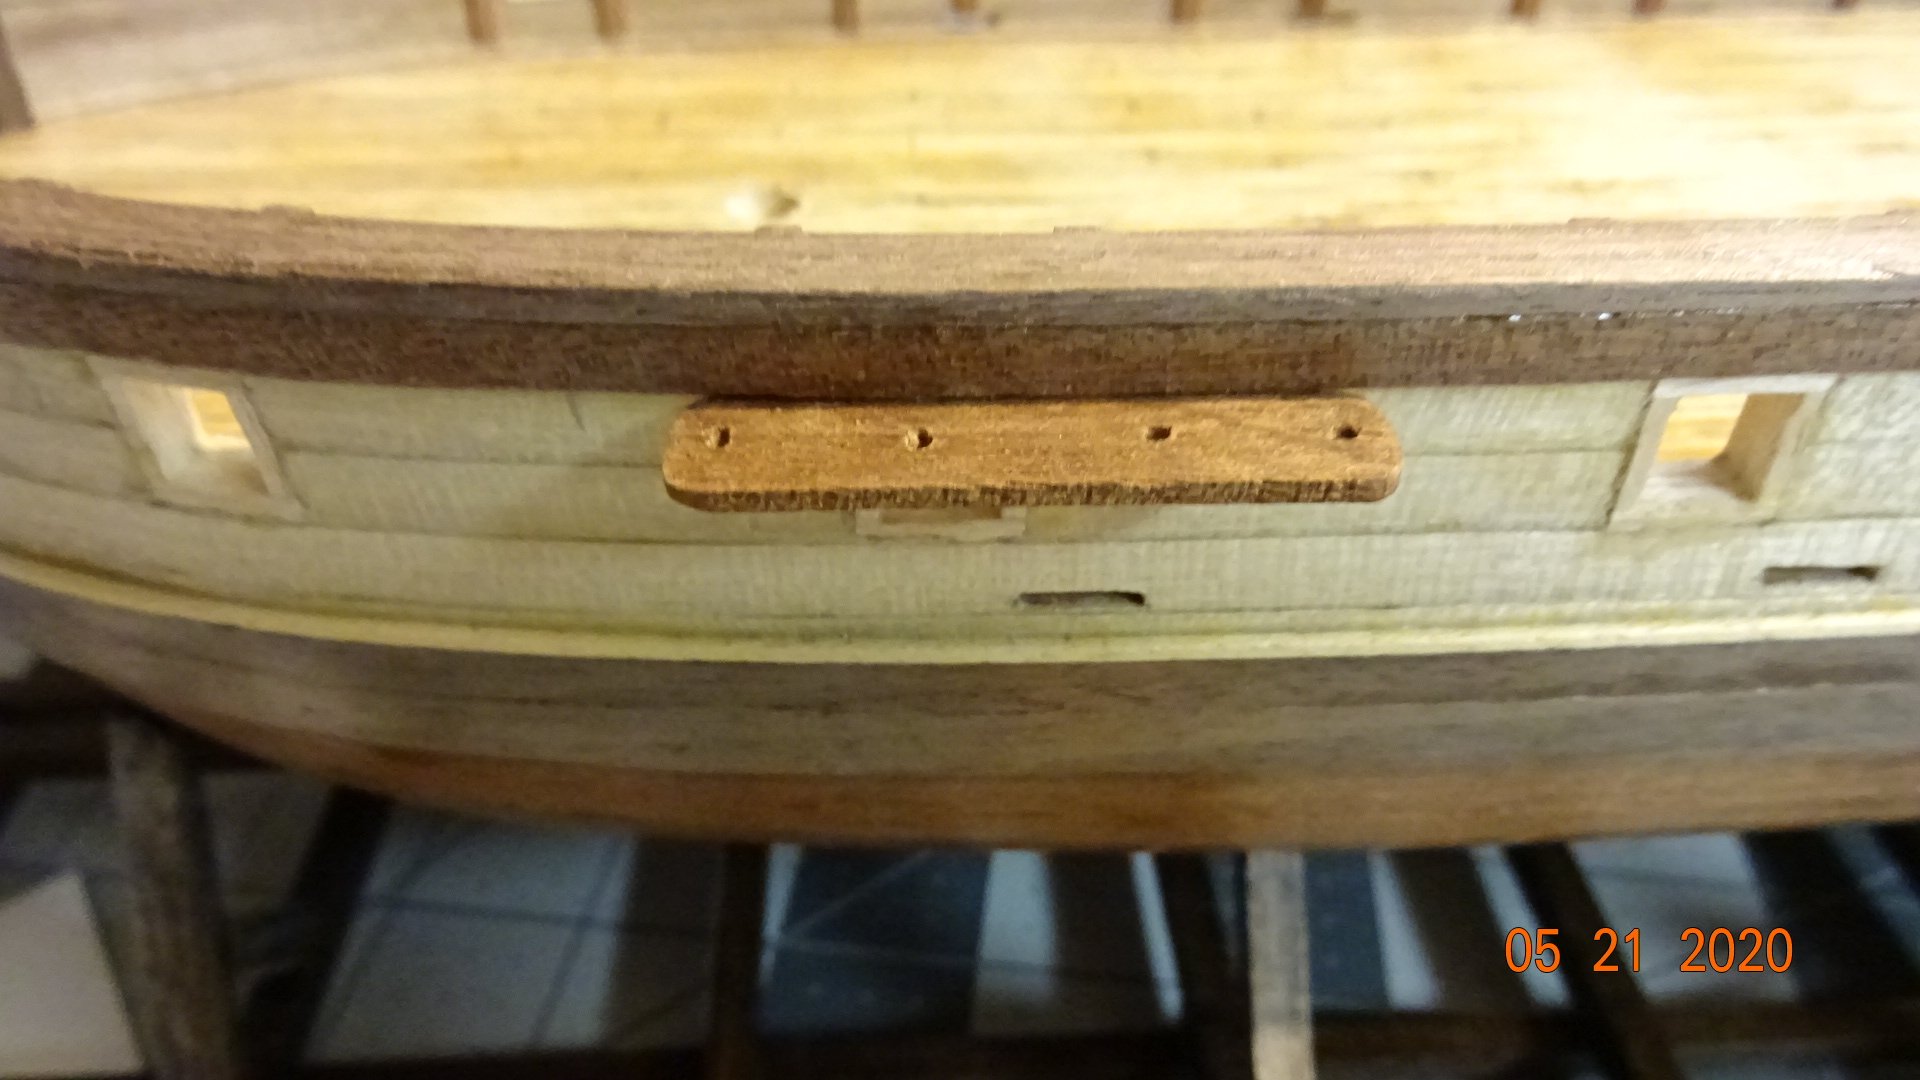
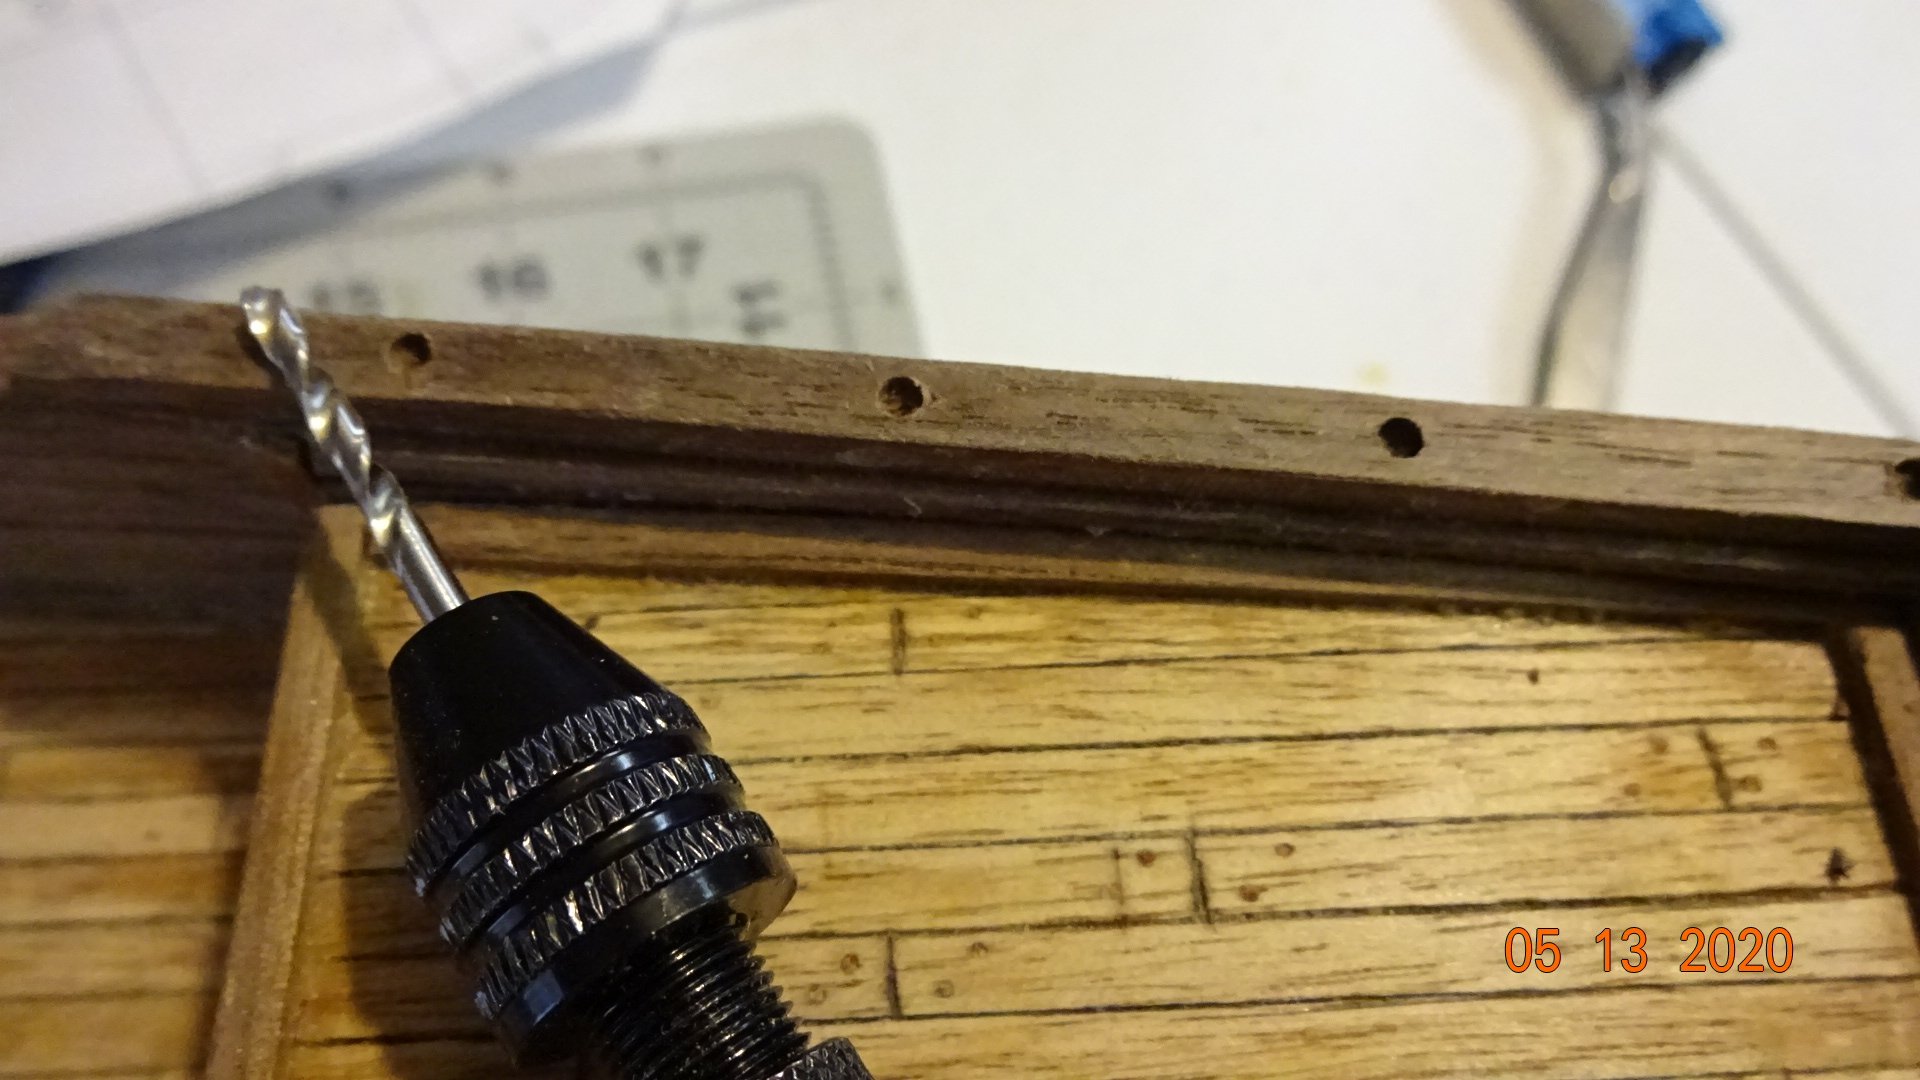
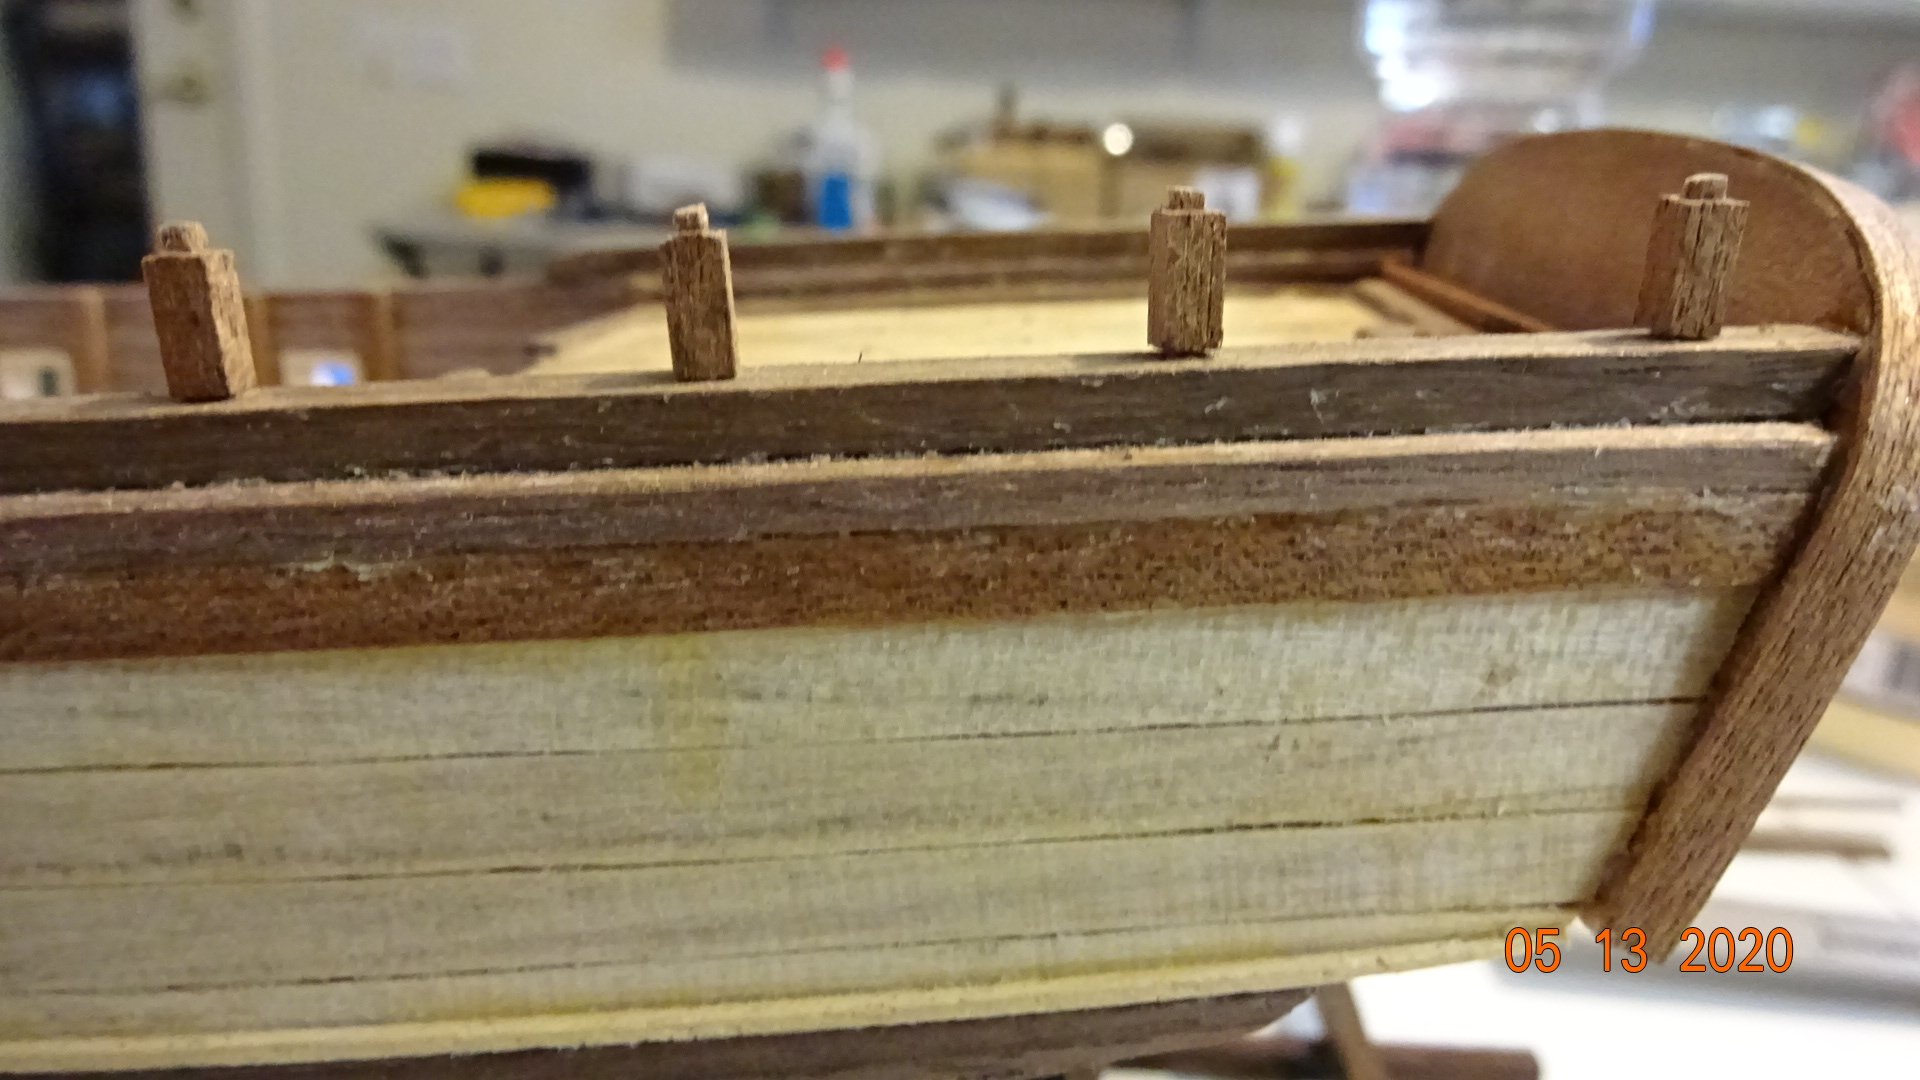
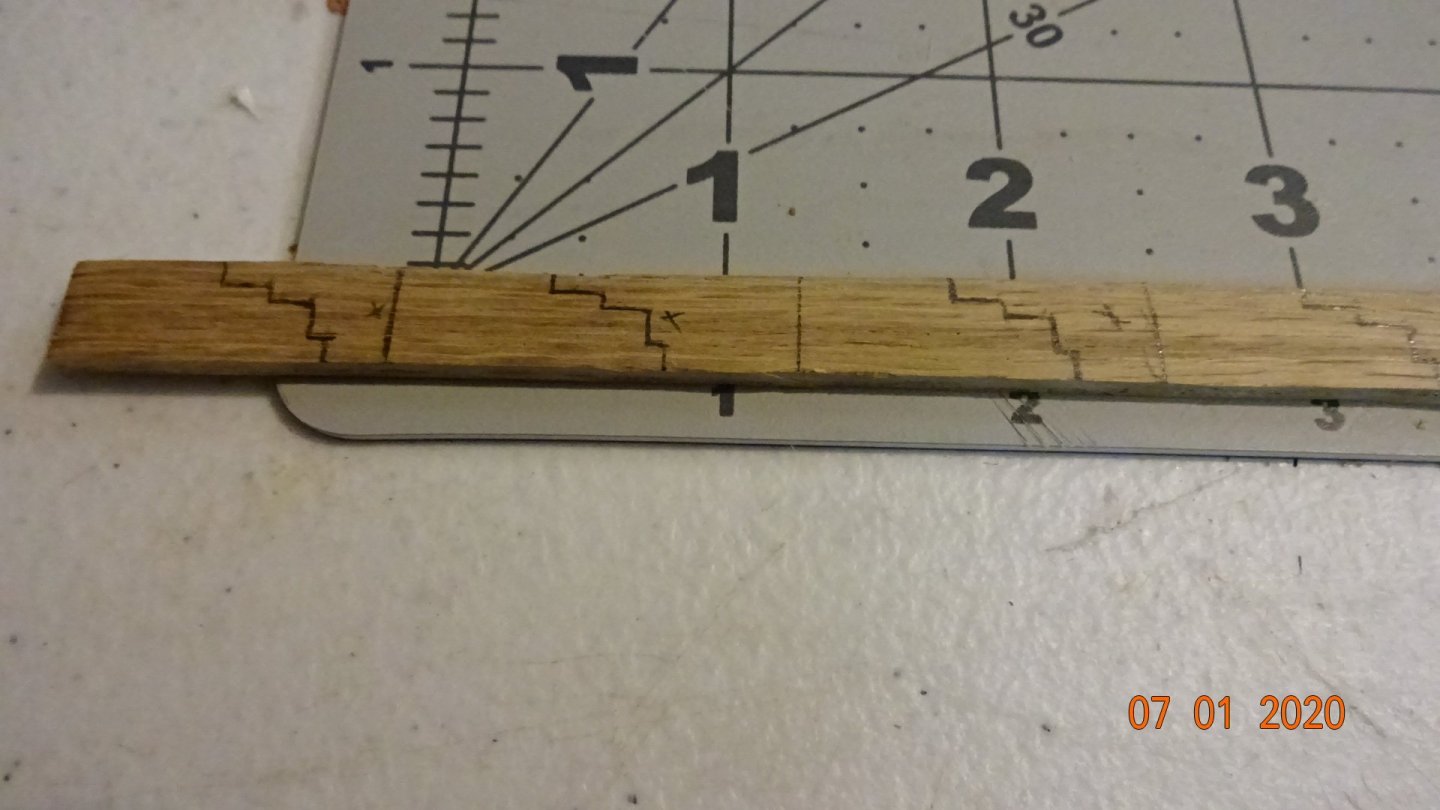
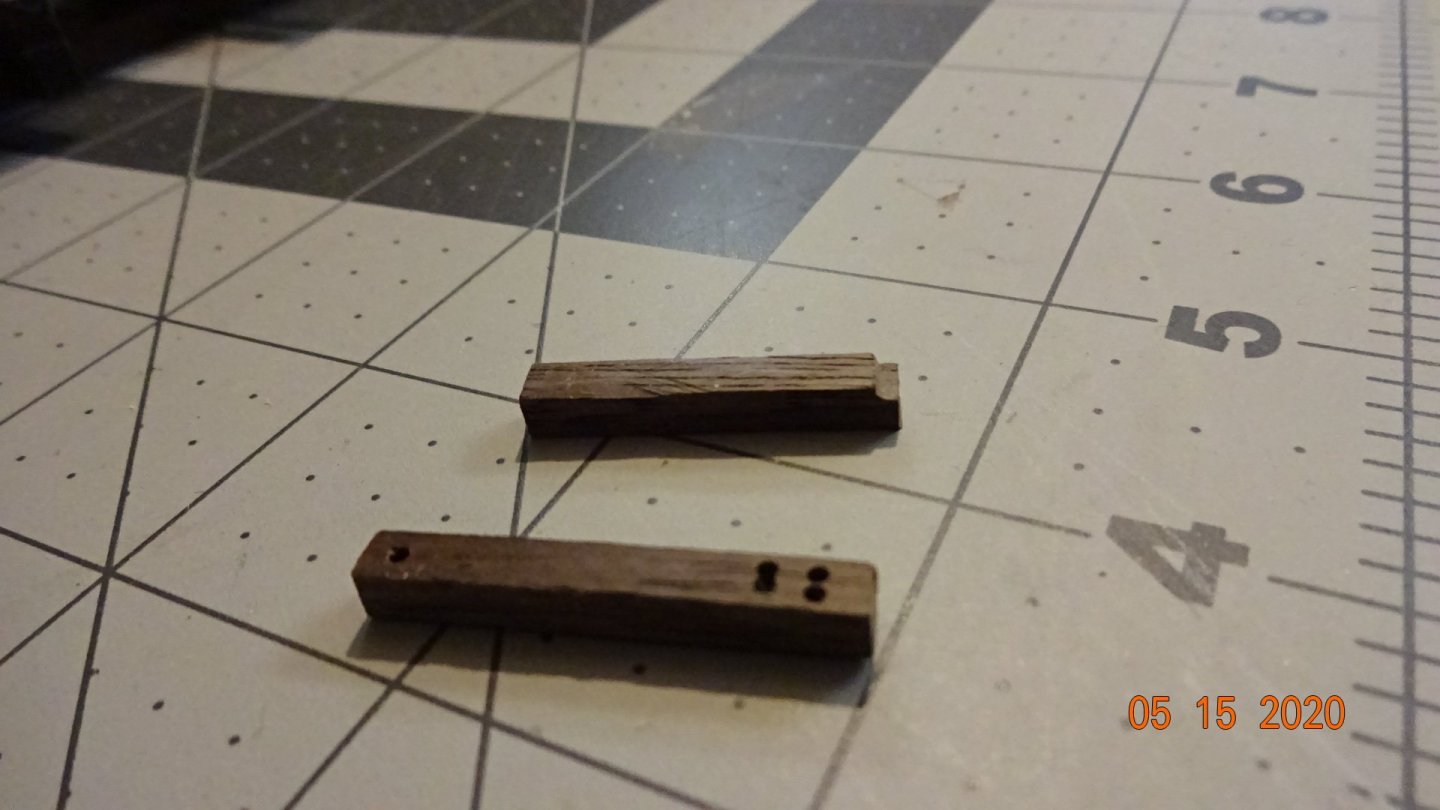
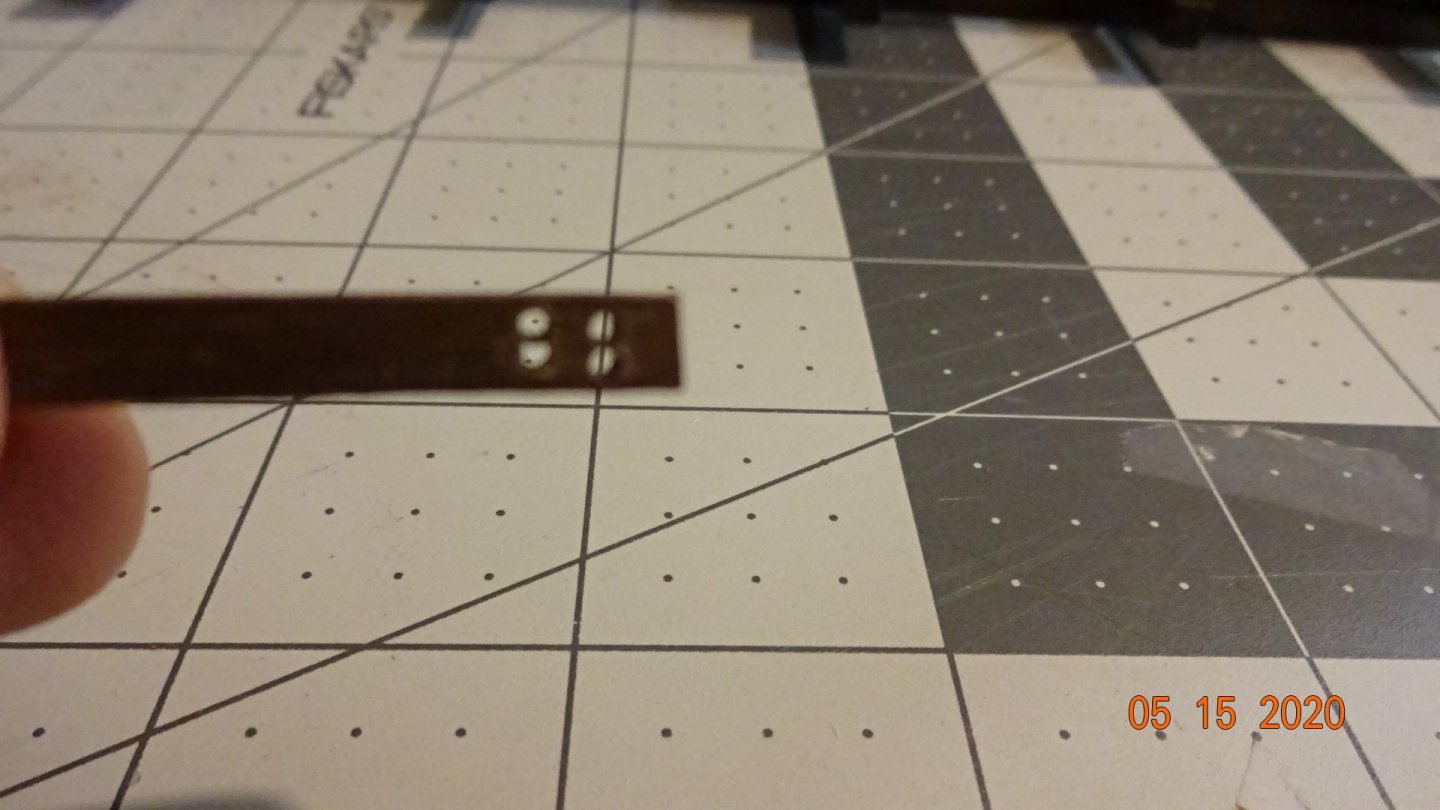
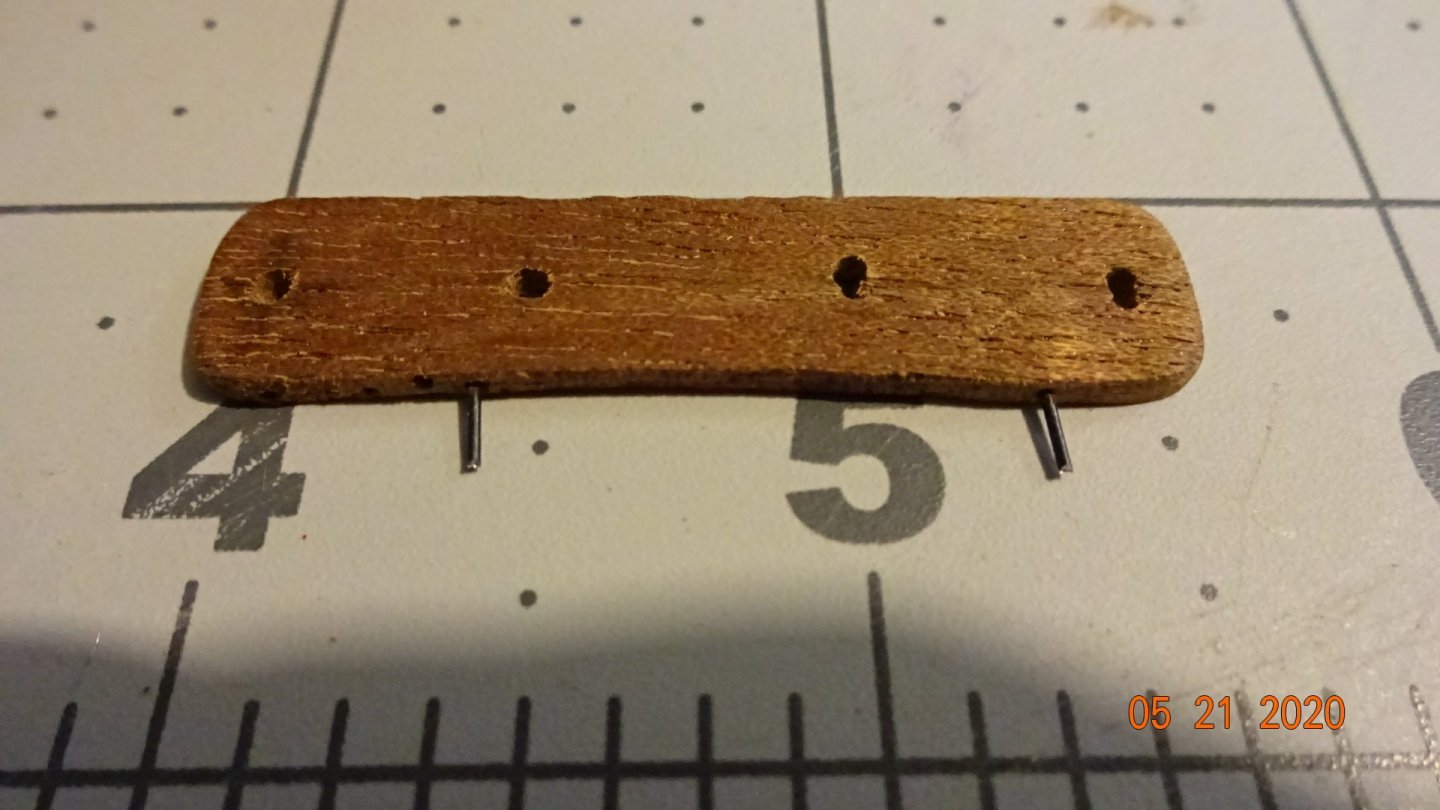
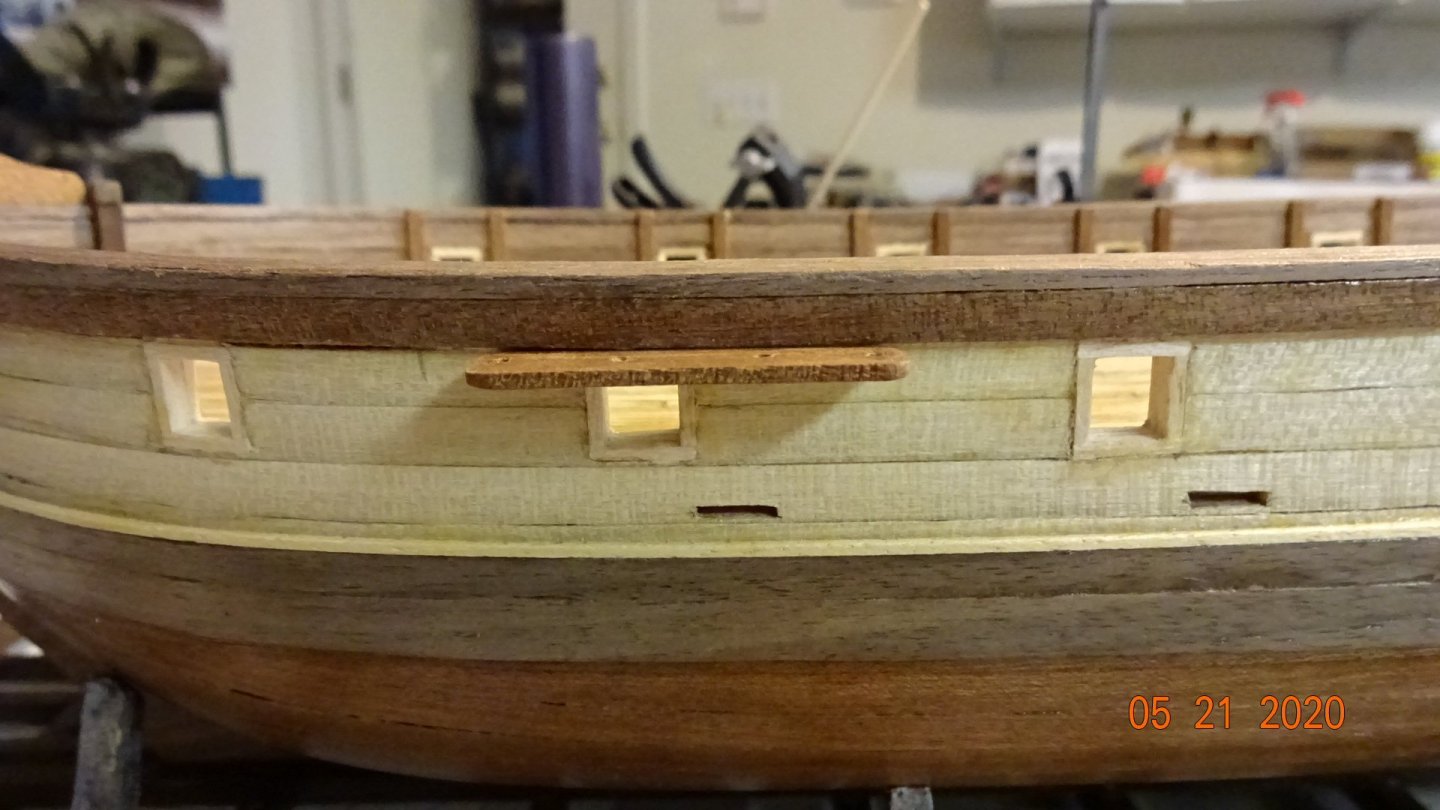
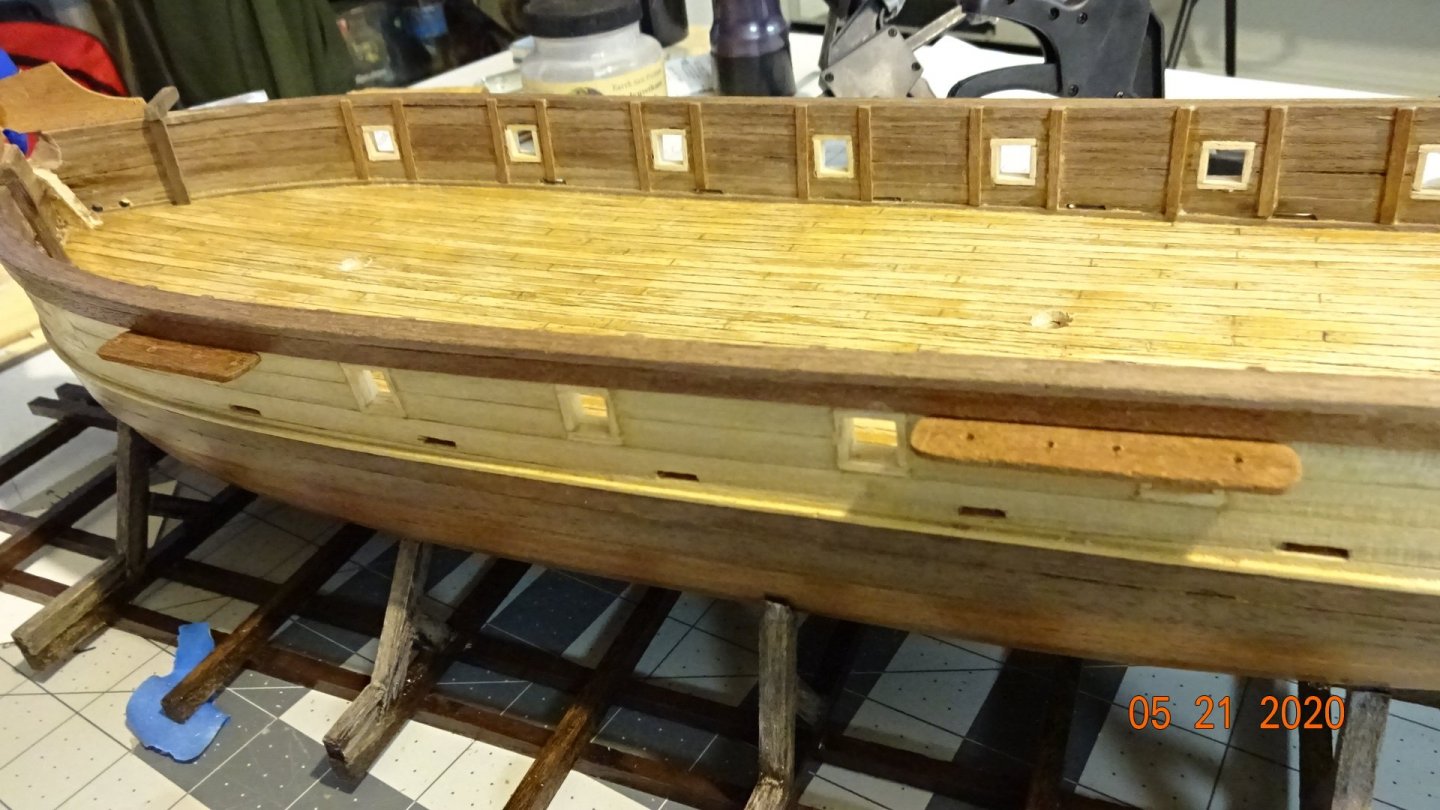
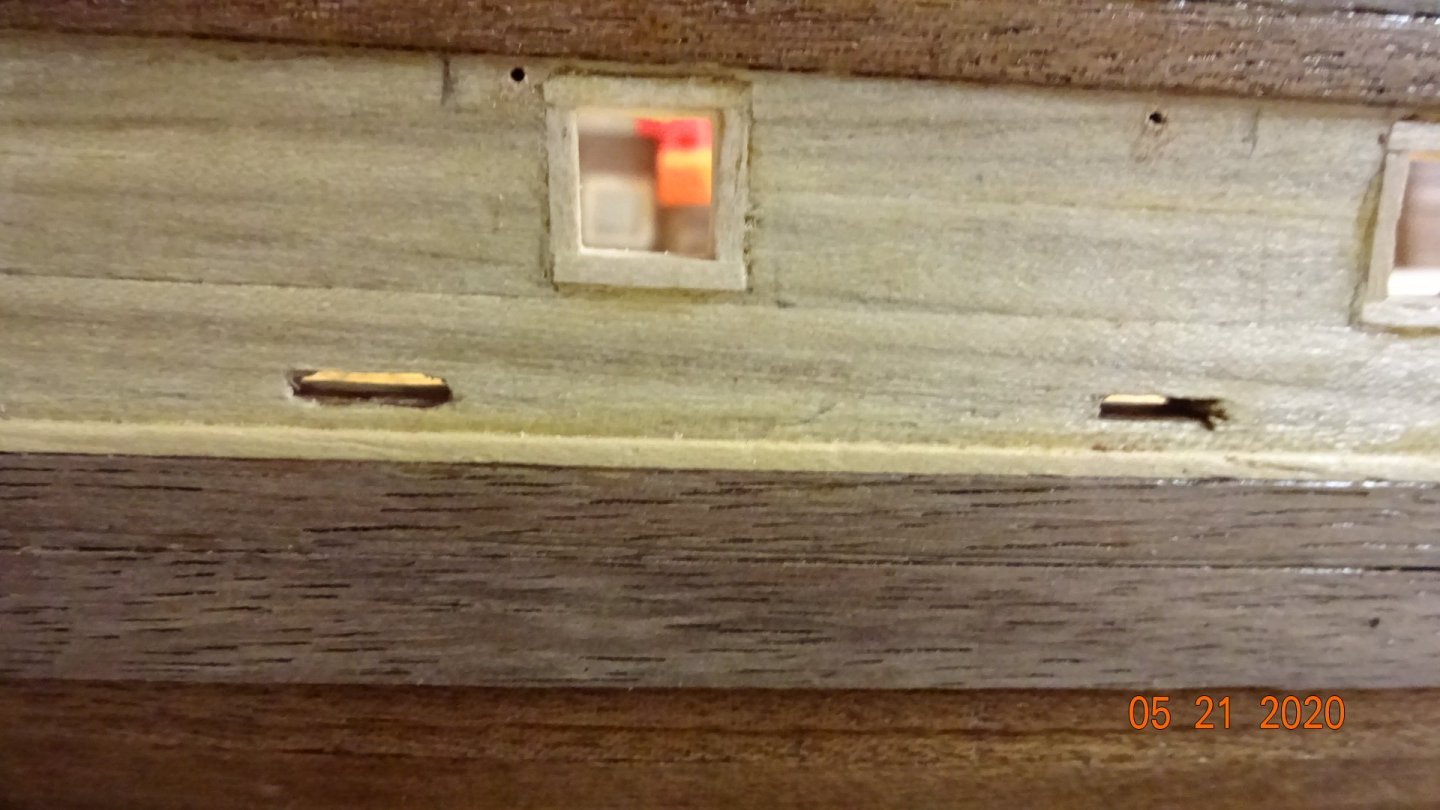
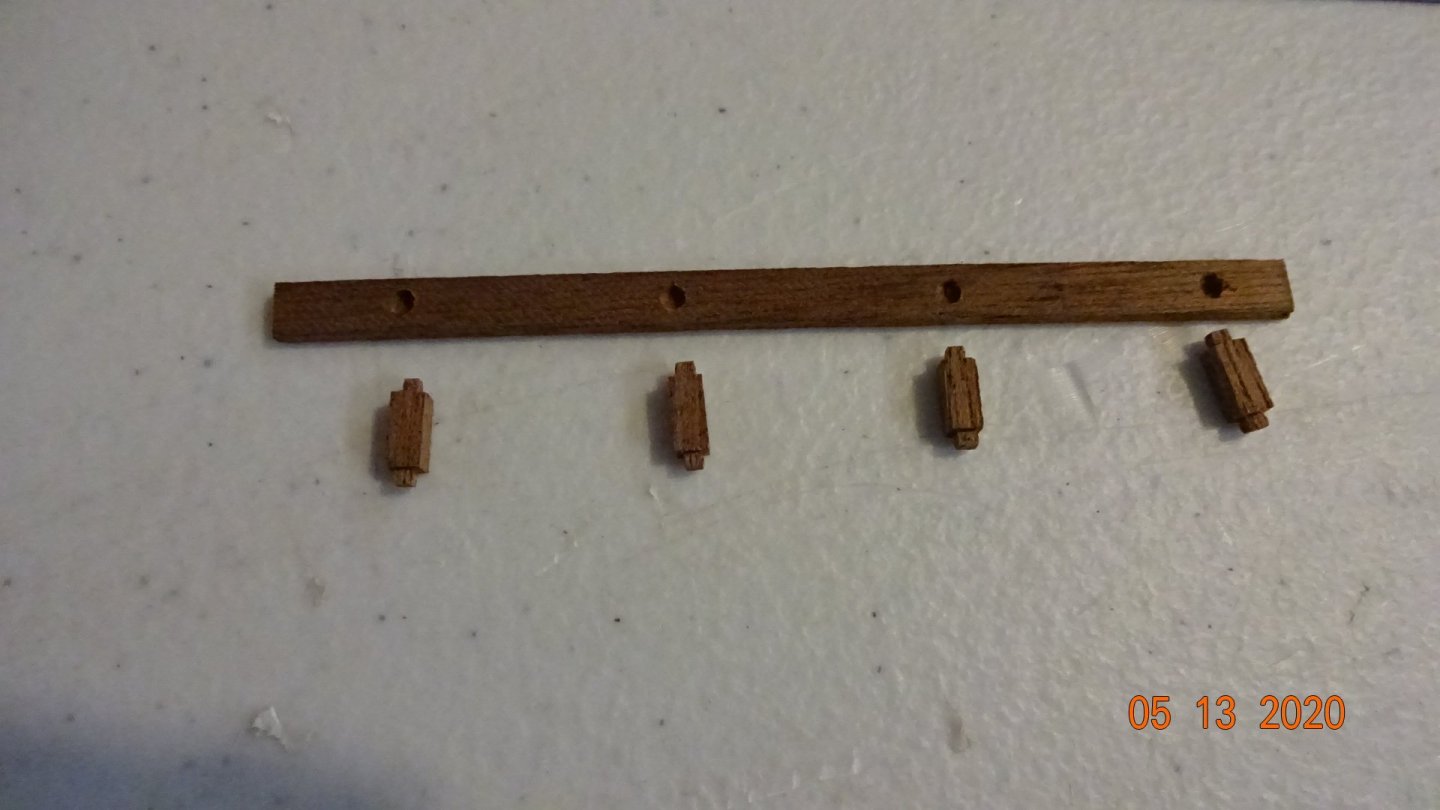
Work on the ship has slowed do to "honey do lists" or as millennials may say, HDL. Cut to length the cat rails and drilled out some holes. On the end with a single hole I'll be inserting a wood pin to bind the two pieces together. The 4 holes are close together but a close up will show their is separation between them. These pics are a bit blurry but they show the separation of the holes. I was trying to use one hand to hold the rail while taking the picture with the other, harder to do then I thought. Since I'm posting blurry pictures 😅, heres one of the cat rails being put in place and how I use a stick of wood to make the wood pin to hold the butt joints together. Next I'll start on the channels for the chainplates. Here's one ready to be attached to the hull. The timber is curved on one side to match up to the ship's hull at the point where it will be placed. Before gluing them to the hull I drilled two holes in each one and then drilled corresponding holes on the ship. Put a small nail in the holes and then cut off the rest leaving about 1/2 inch, which will go into the ship hull. This should add some extra support. Looks like the next few weeks will be spent making and attaching deck pieces. Rowboat out.


- 195 replies
-
- 3
-
-
- enterprise
- constructo
- (and 1 more)
-
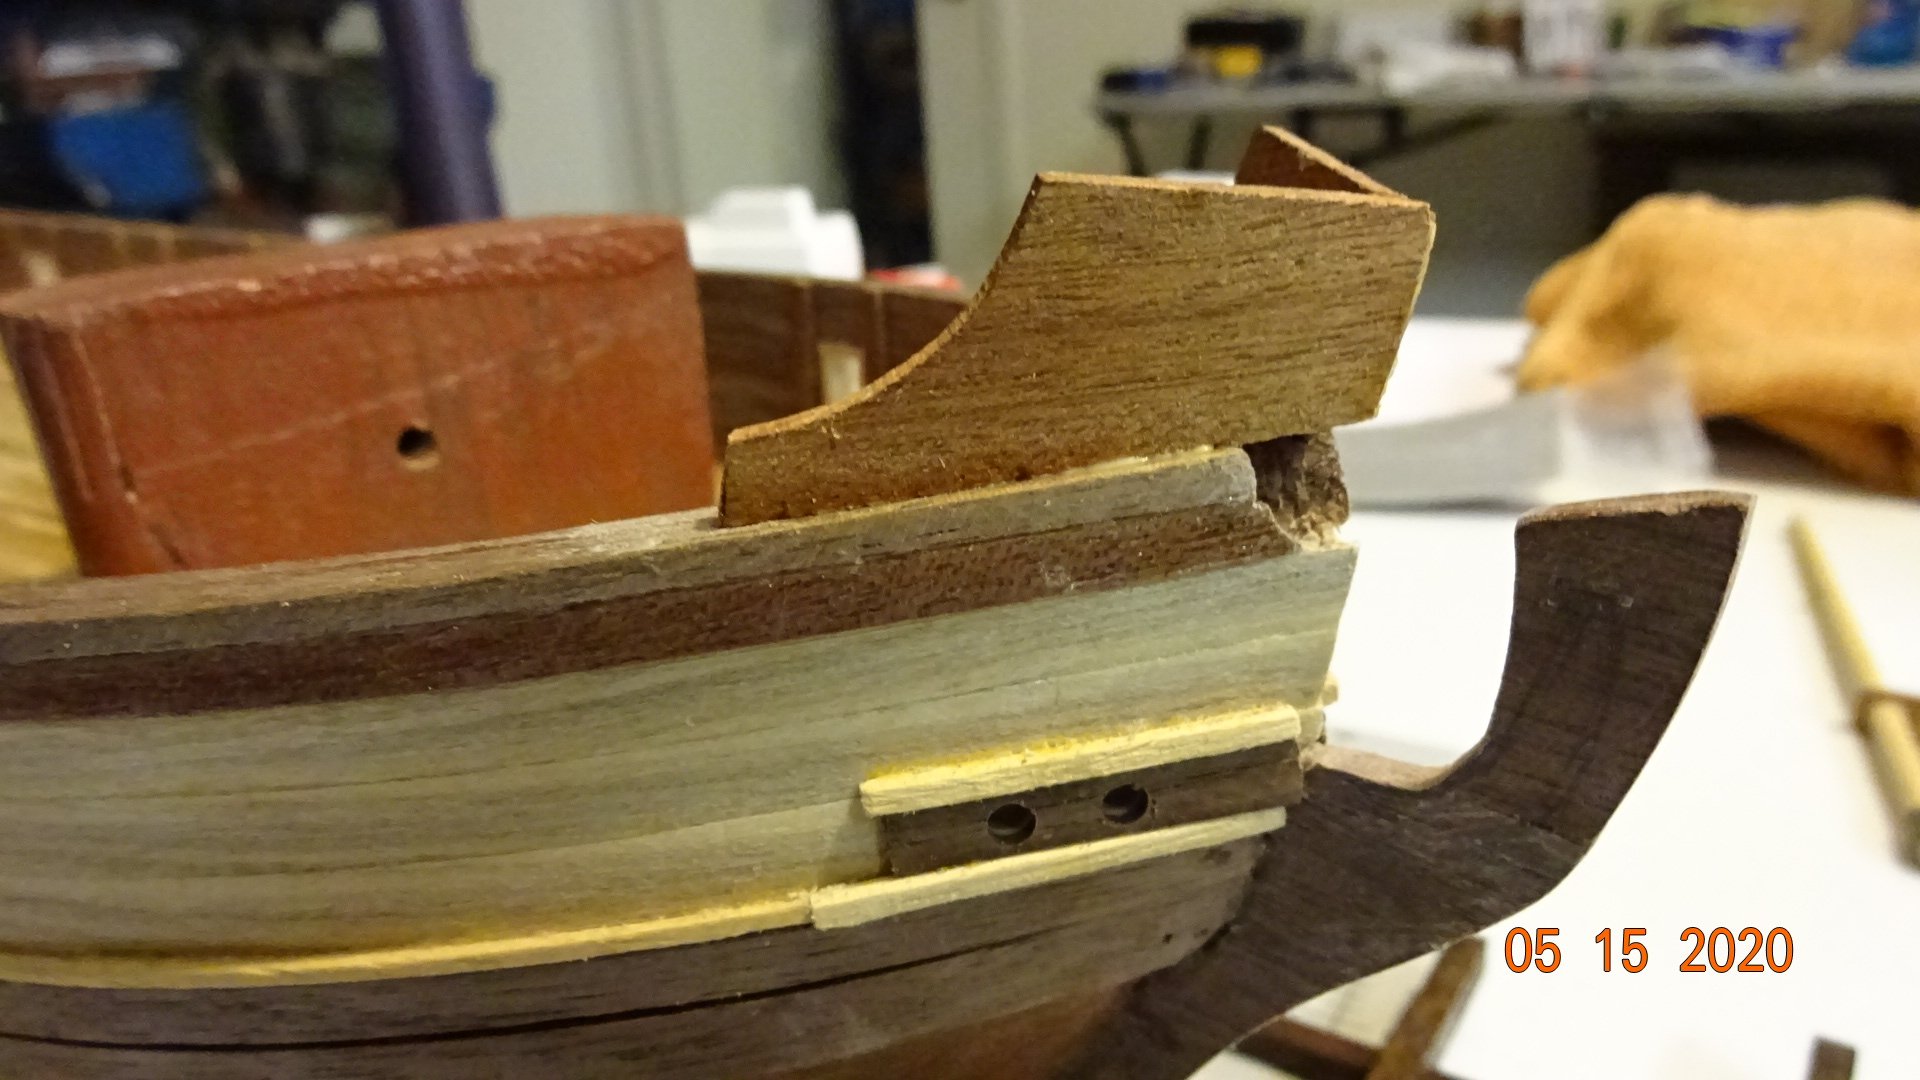
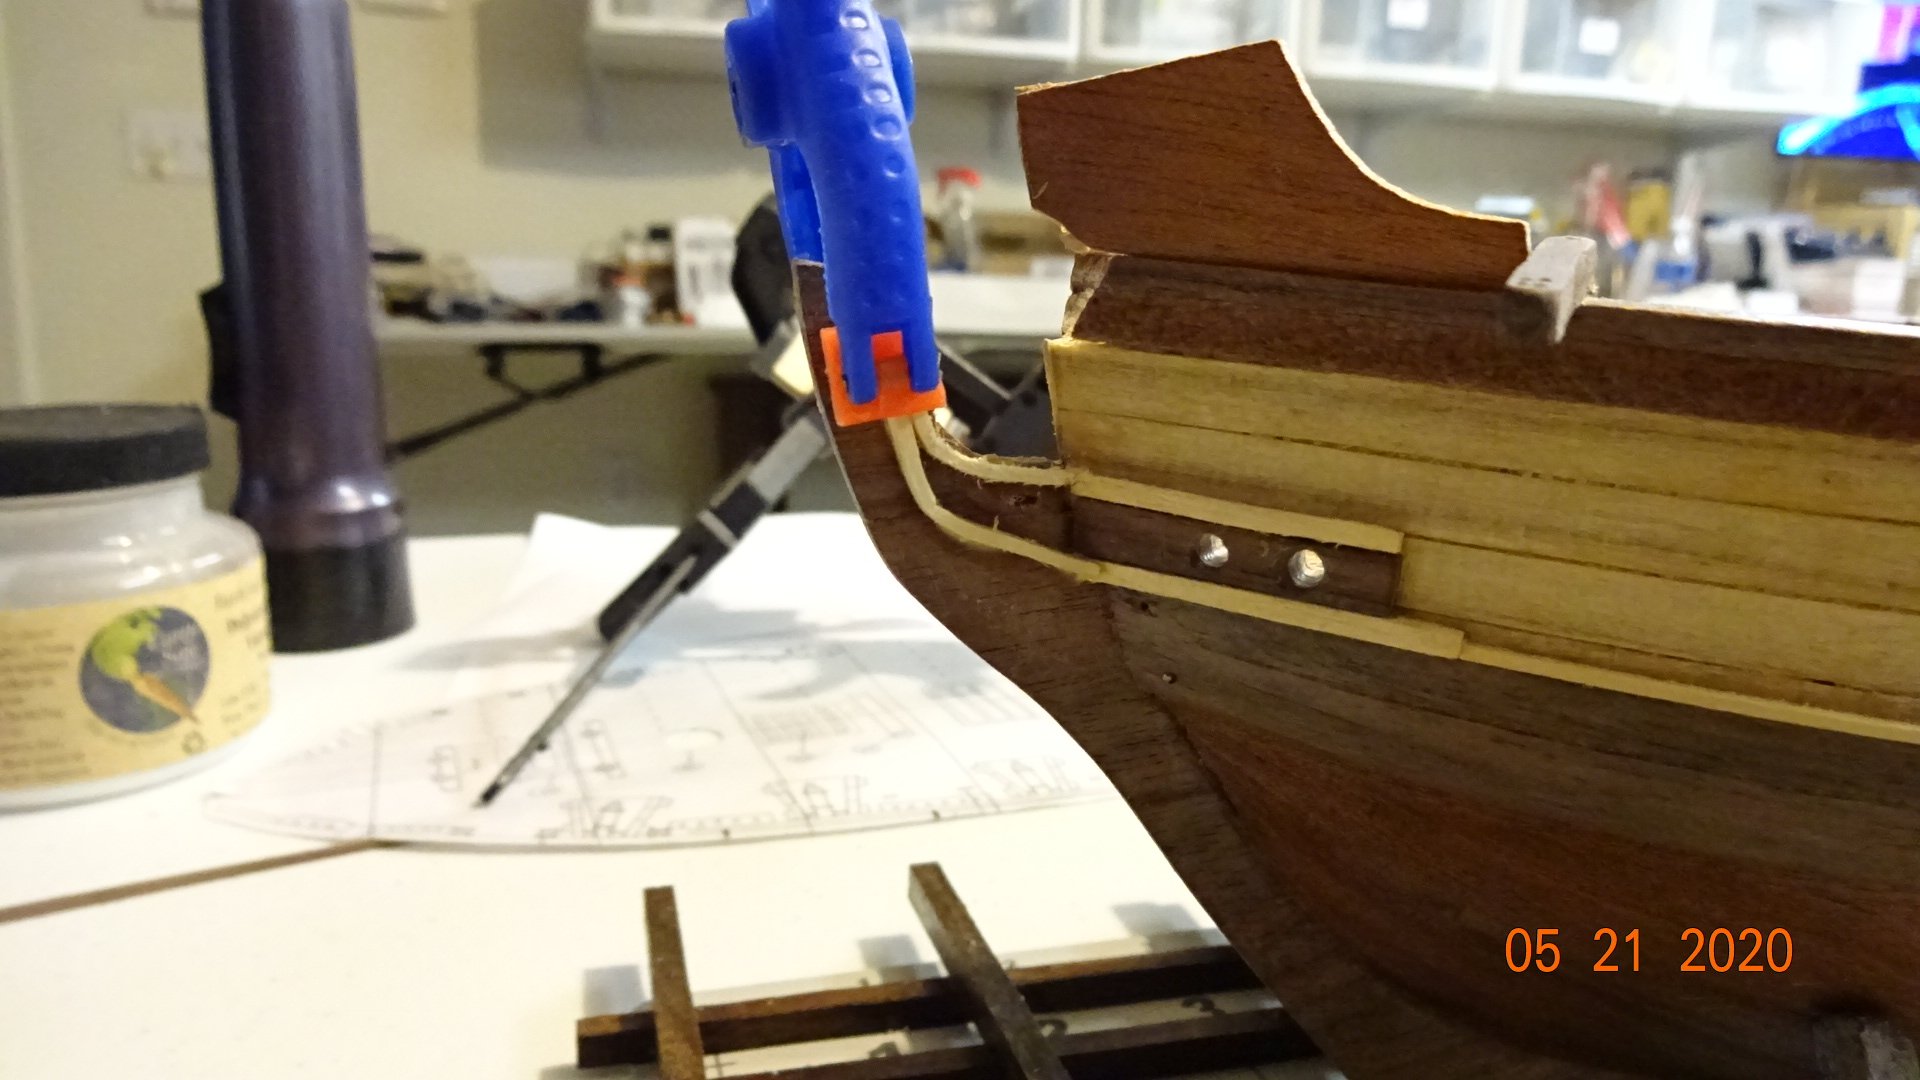
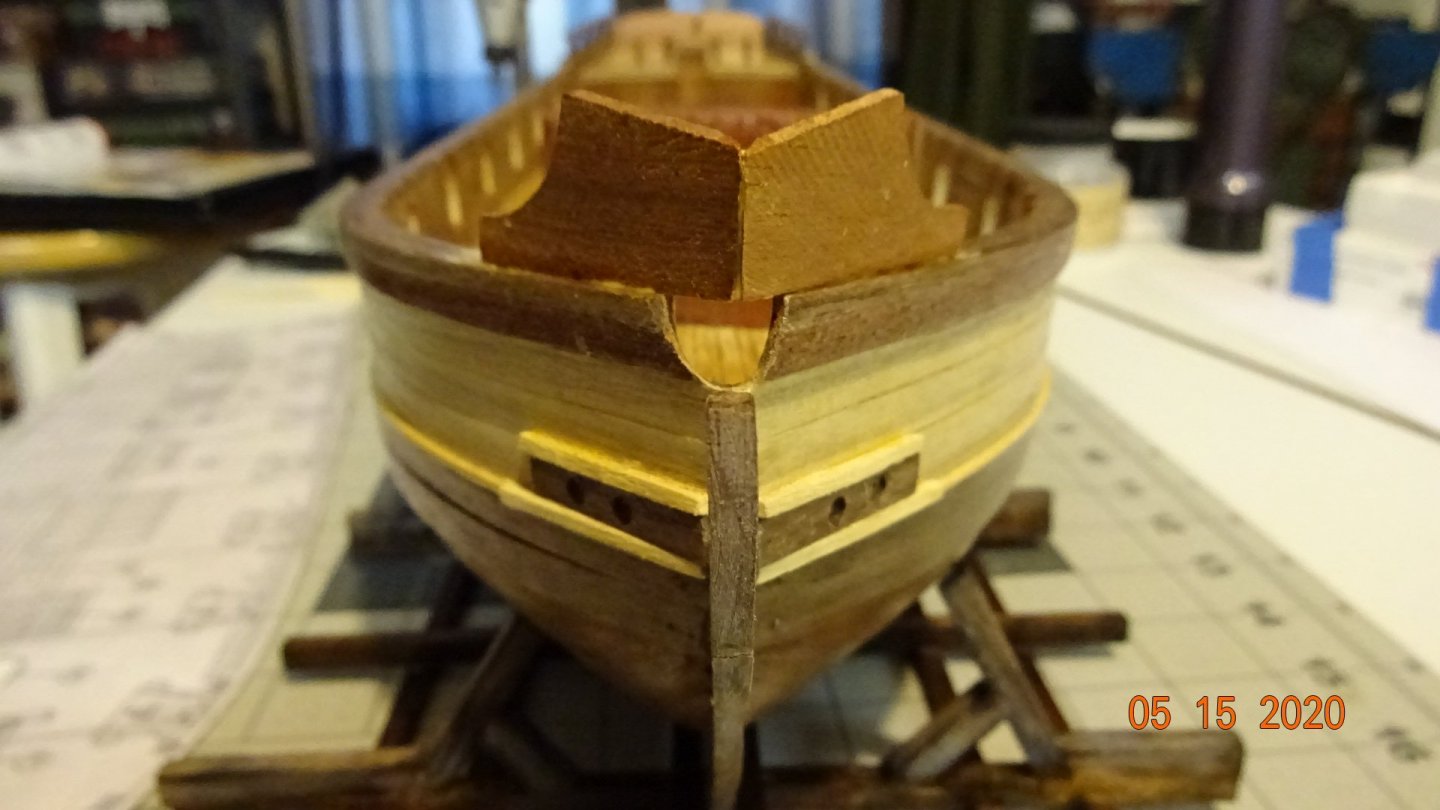
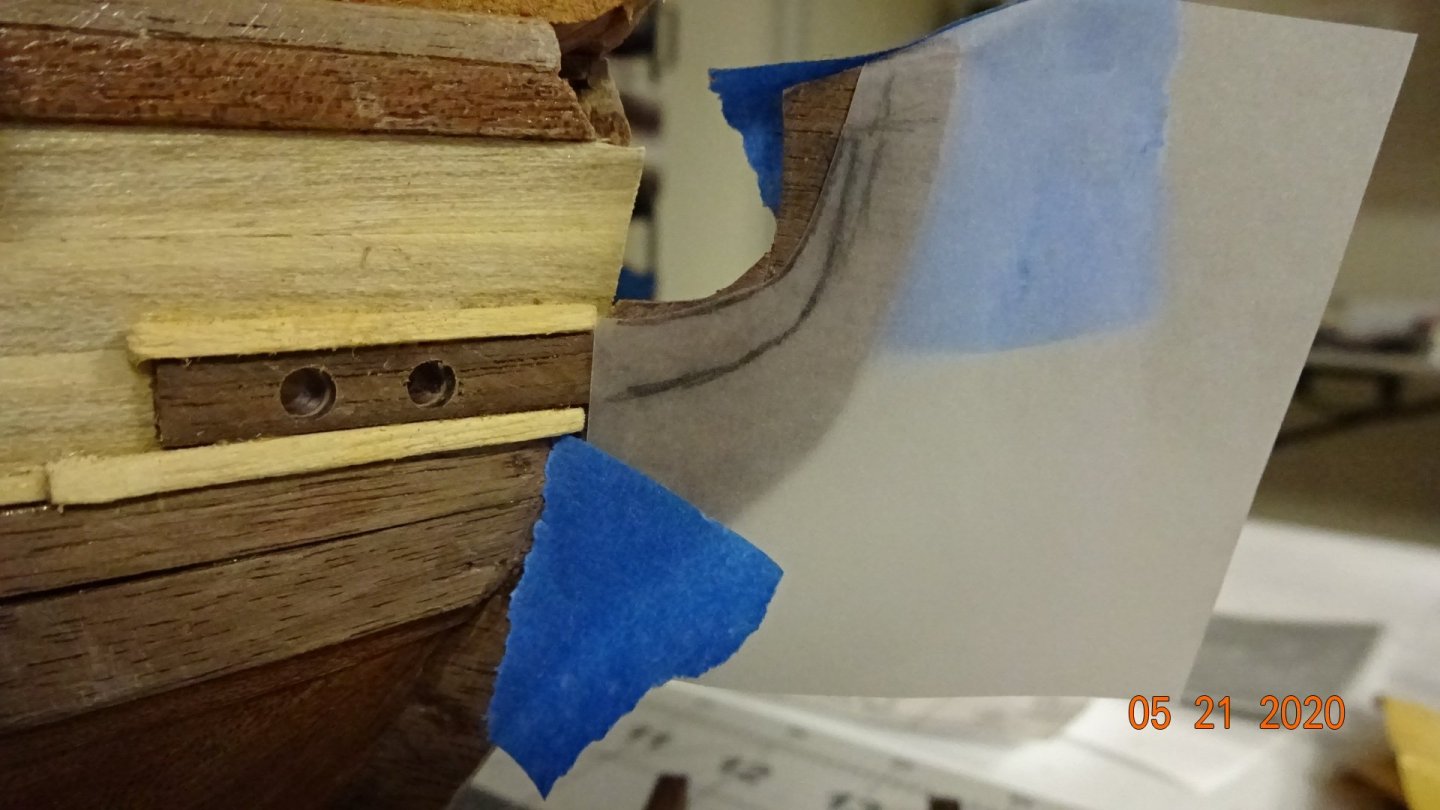
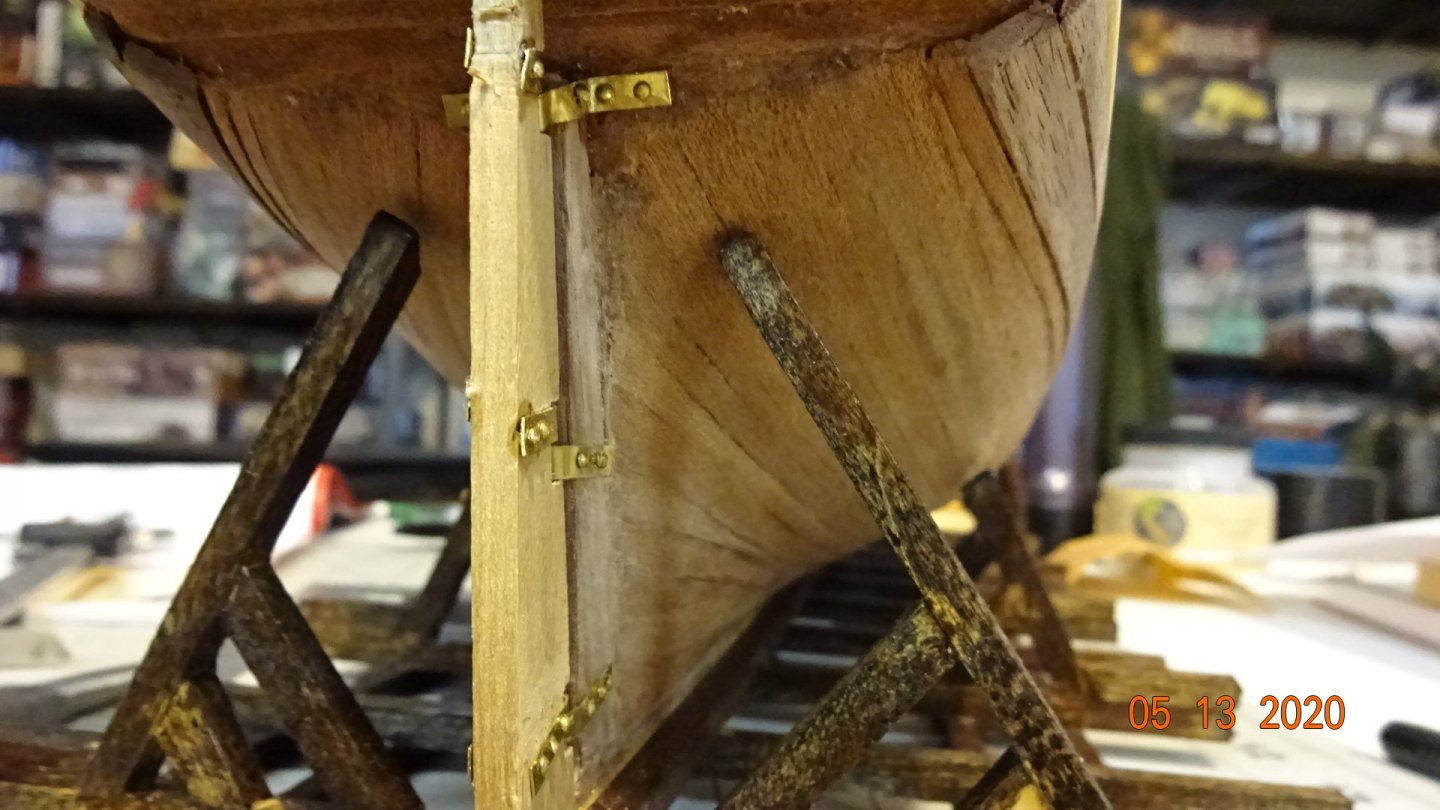
As I have mentioned before, the model I have did not have a manual, but I was gifted one later in the build. The manual, sometimes, is different than the build plans. This is the case with the beakhead. Here's a picture of how the model's beakhead should look. Looking at the image above, the two metal parts are the top head rail and the lower head rail. If you look closely on the stem you can see 2mm wire, this represents the cheek rails. The cheek knees, where the cheek rails connect at the bow, seem to be made of wood. These parts make up the beakhead for this model. However, the manual is completly different, there are no metal parts or wire making up the beakhead, everything is wood. I decided to go with the manual first because the metal head rails are brittle and break easily ( yep, I did that 🙄 ) and secondly I like the manual's look better. Lastly, the manual's build better supported the stem, which I've already broken countless times 😡. The cheek knees were made following the manual's instructions. Next, I needed to fix my broken stem. Here I added the top portion of the stem but still need to add filler to support the upper cheek rail. Next I mapped out where I wanted the cheek rails to go, somewhat mirroring the manual. Made a few jigs, and added the cheek rails. Next, build the head rails, one on each side. The manual shows the head rail with a timber rail attached. This is my design, using the metal parts from the kit to add support. The metal part will eventually get painted and will be the side that points toward the ship, the wood side is what will be displayed. Waiting for the head rails to dry. That's about it for now. Later, Have a great Memorial Weekend, stay safe.


- 195 replies
-
- 3
-
-
- enterprise
- constructo
- (and 1 more)
-
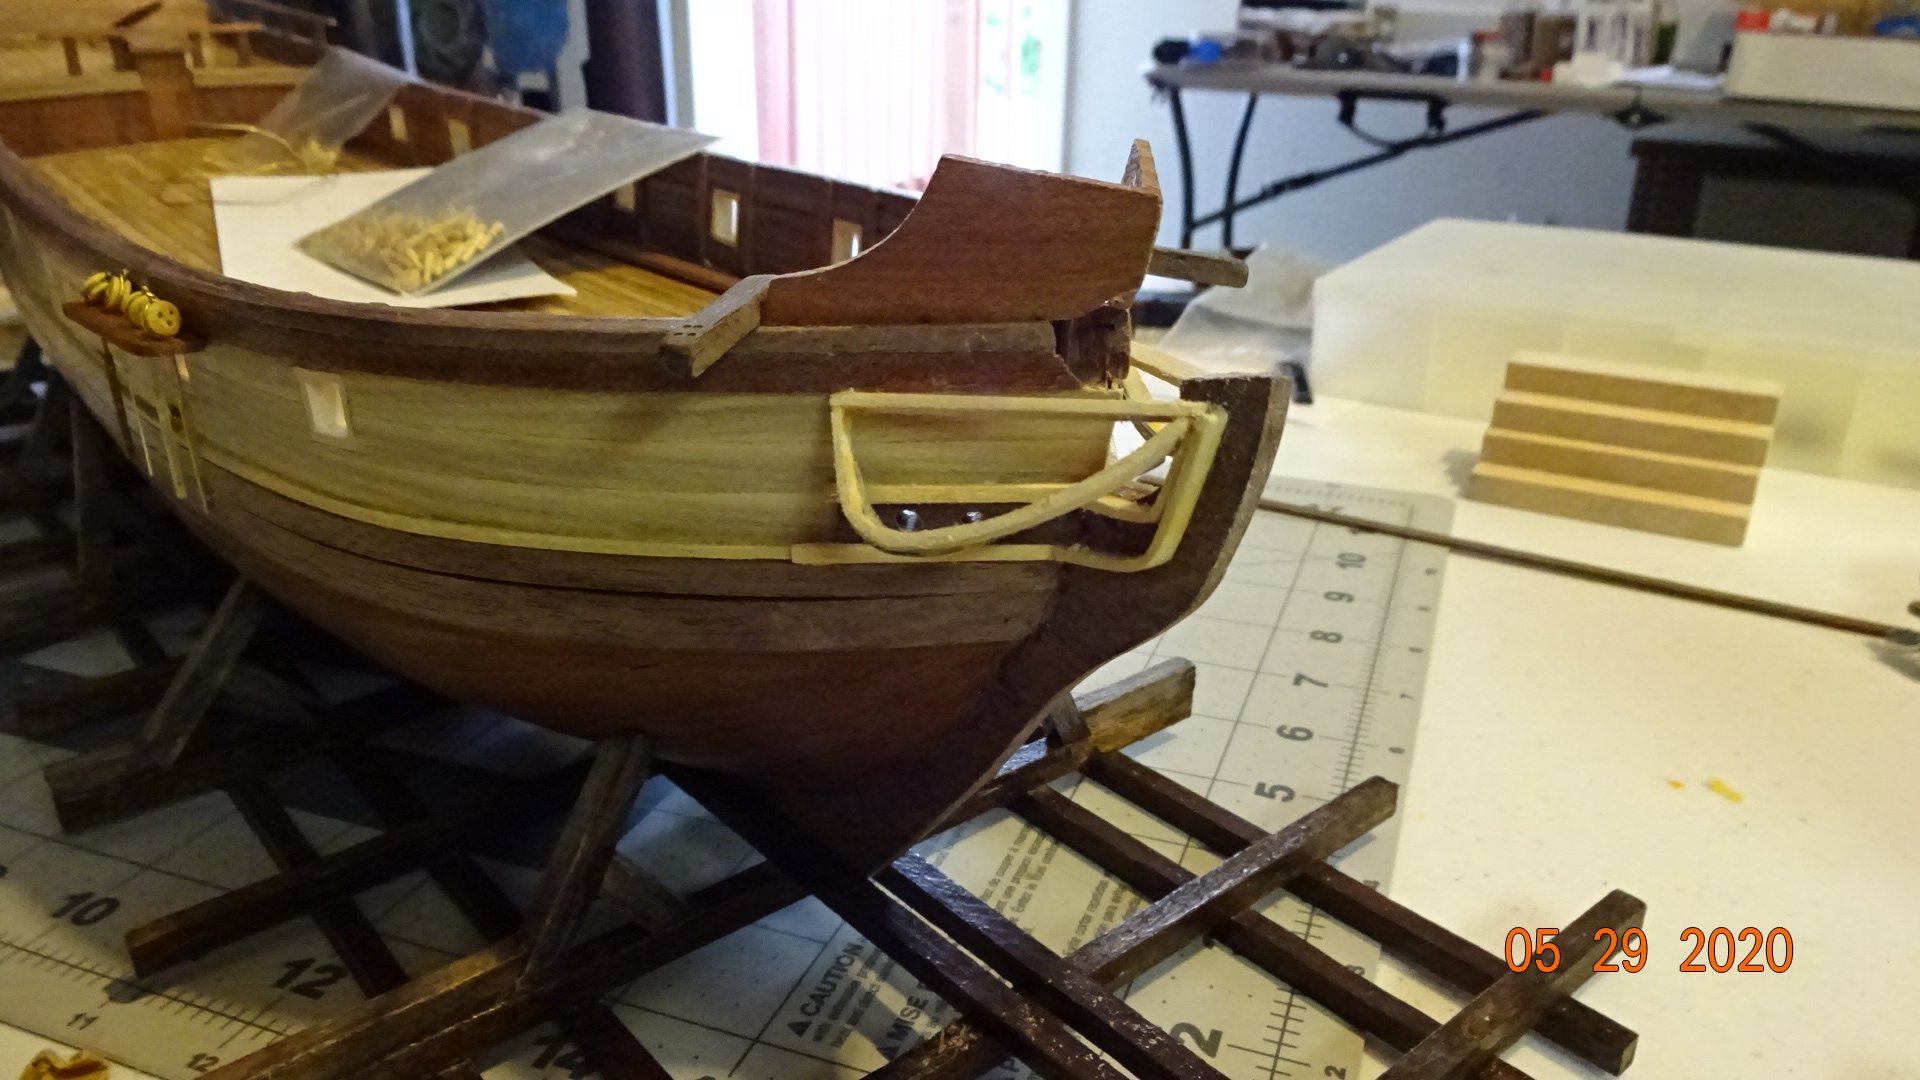
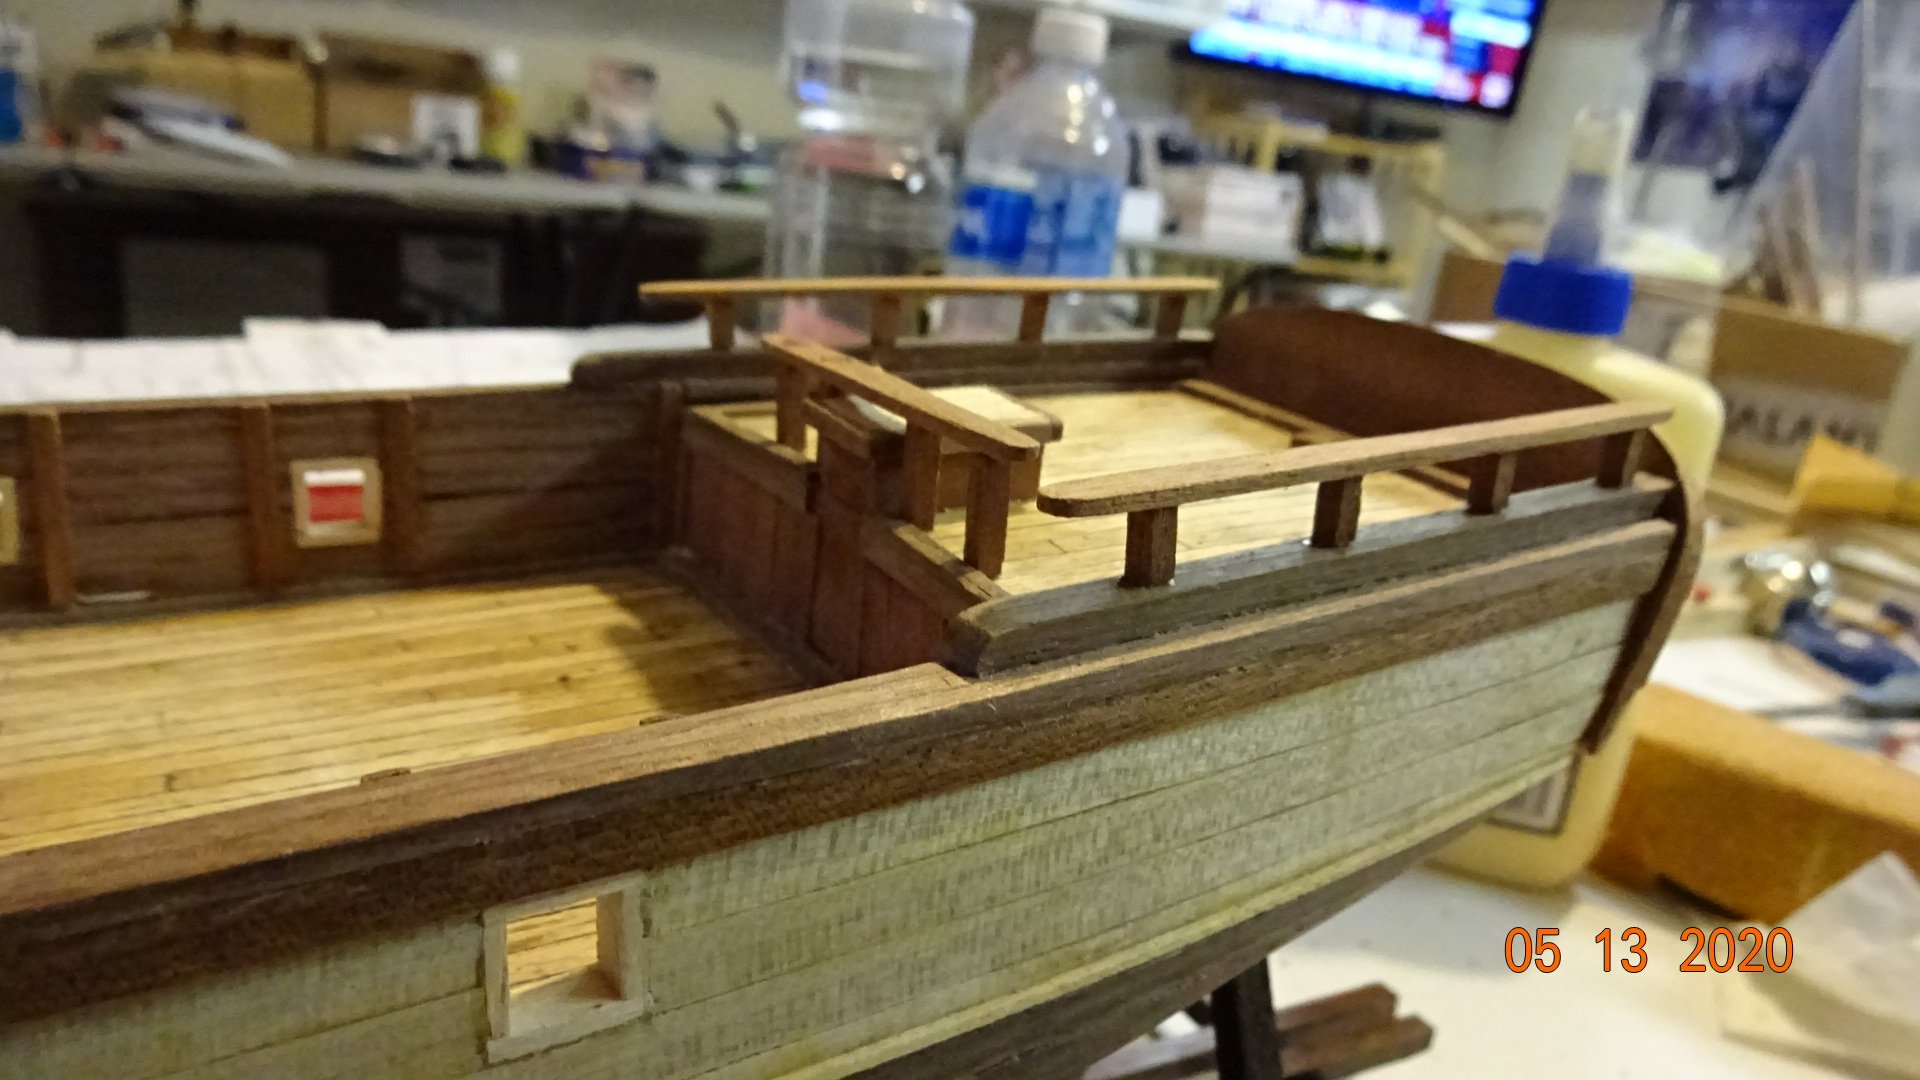
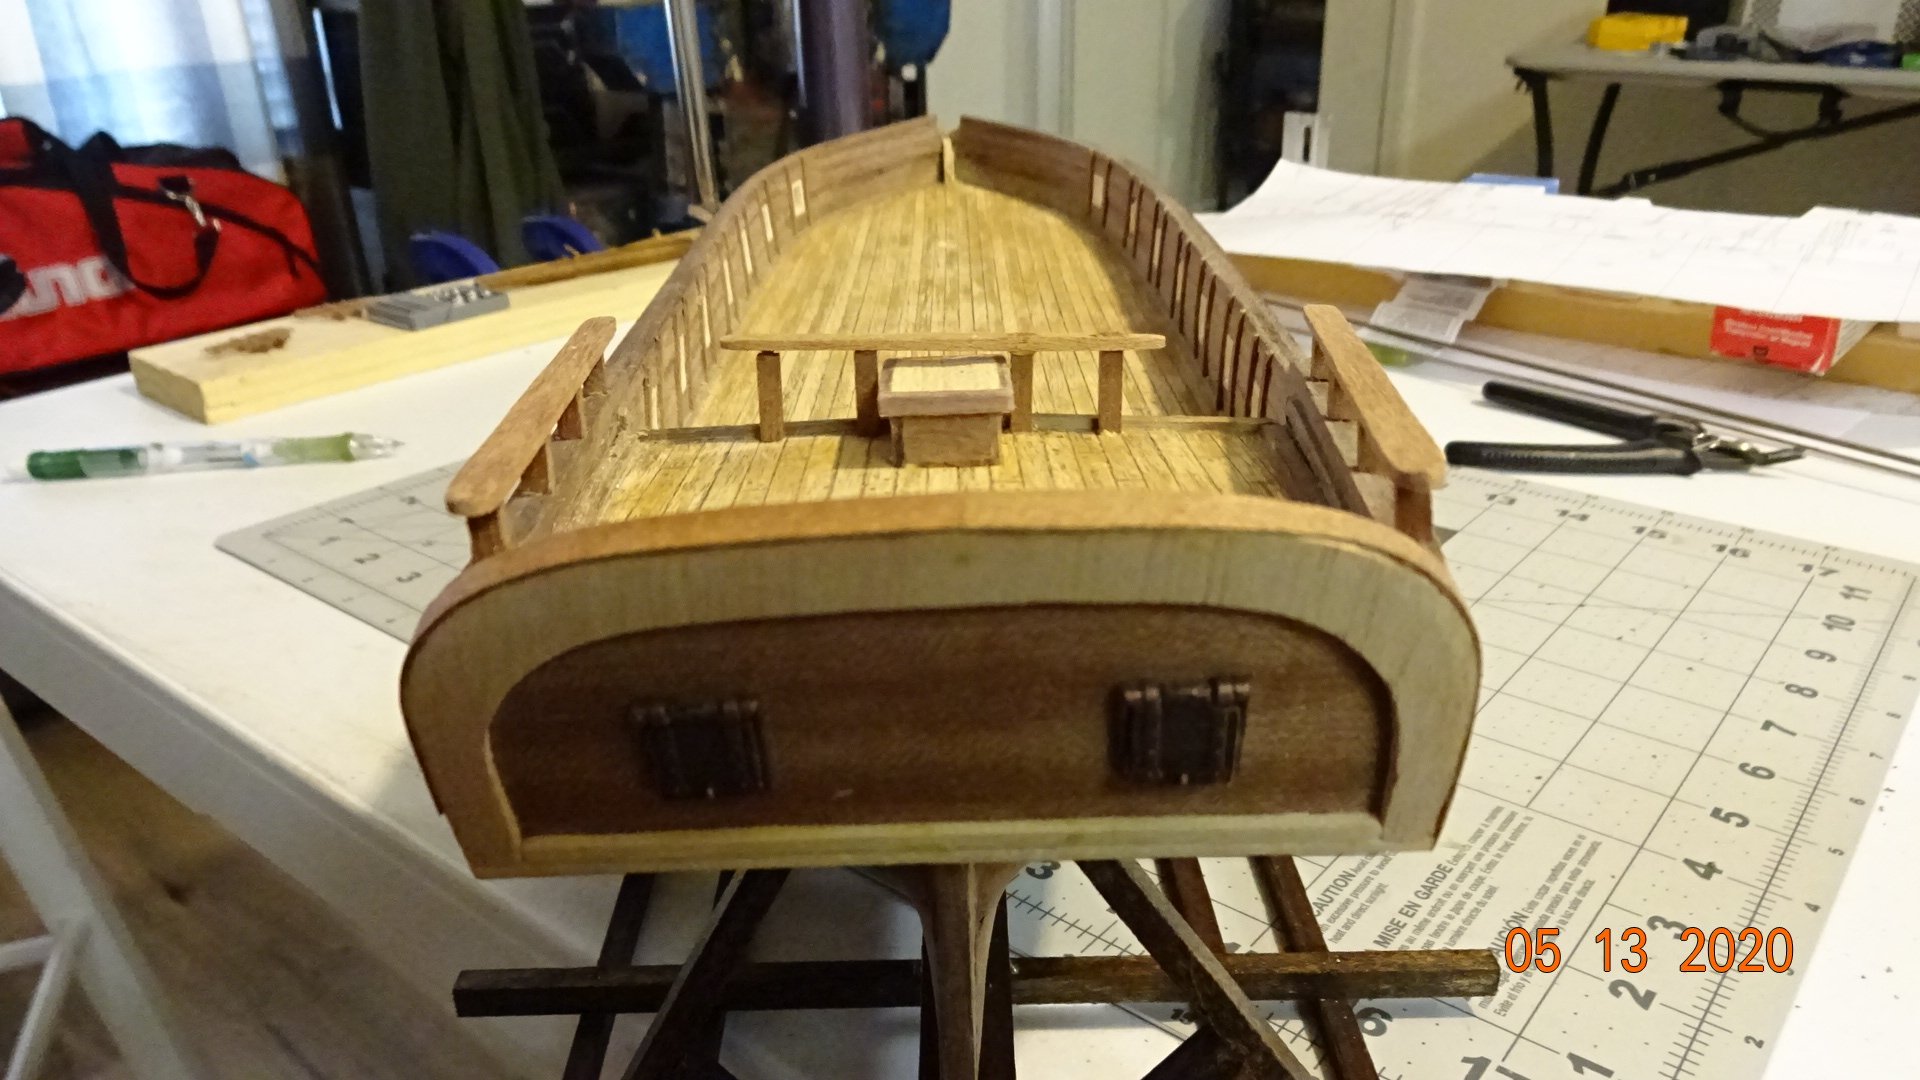
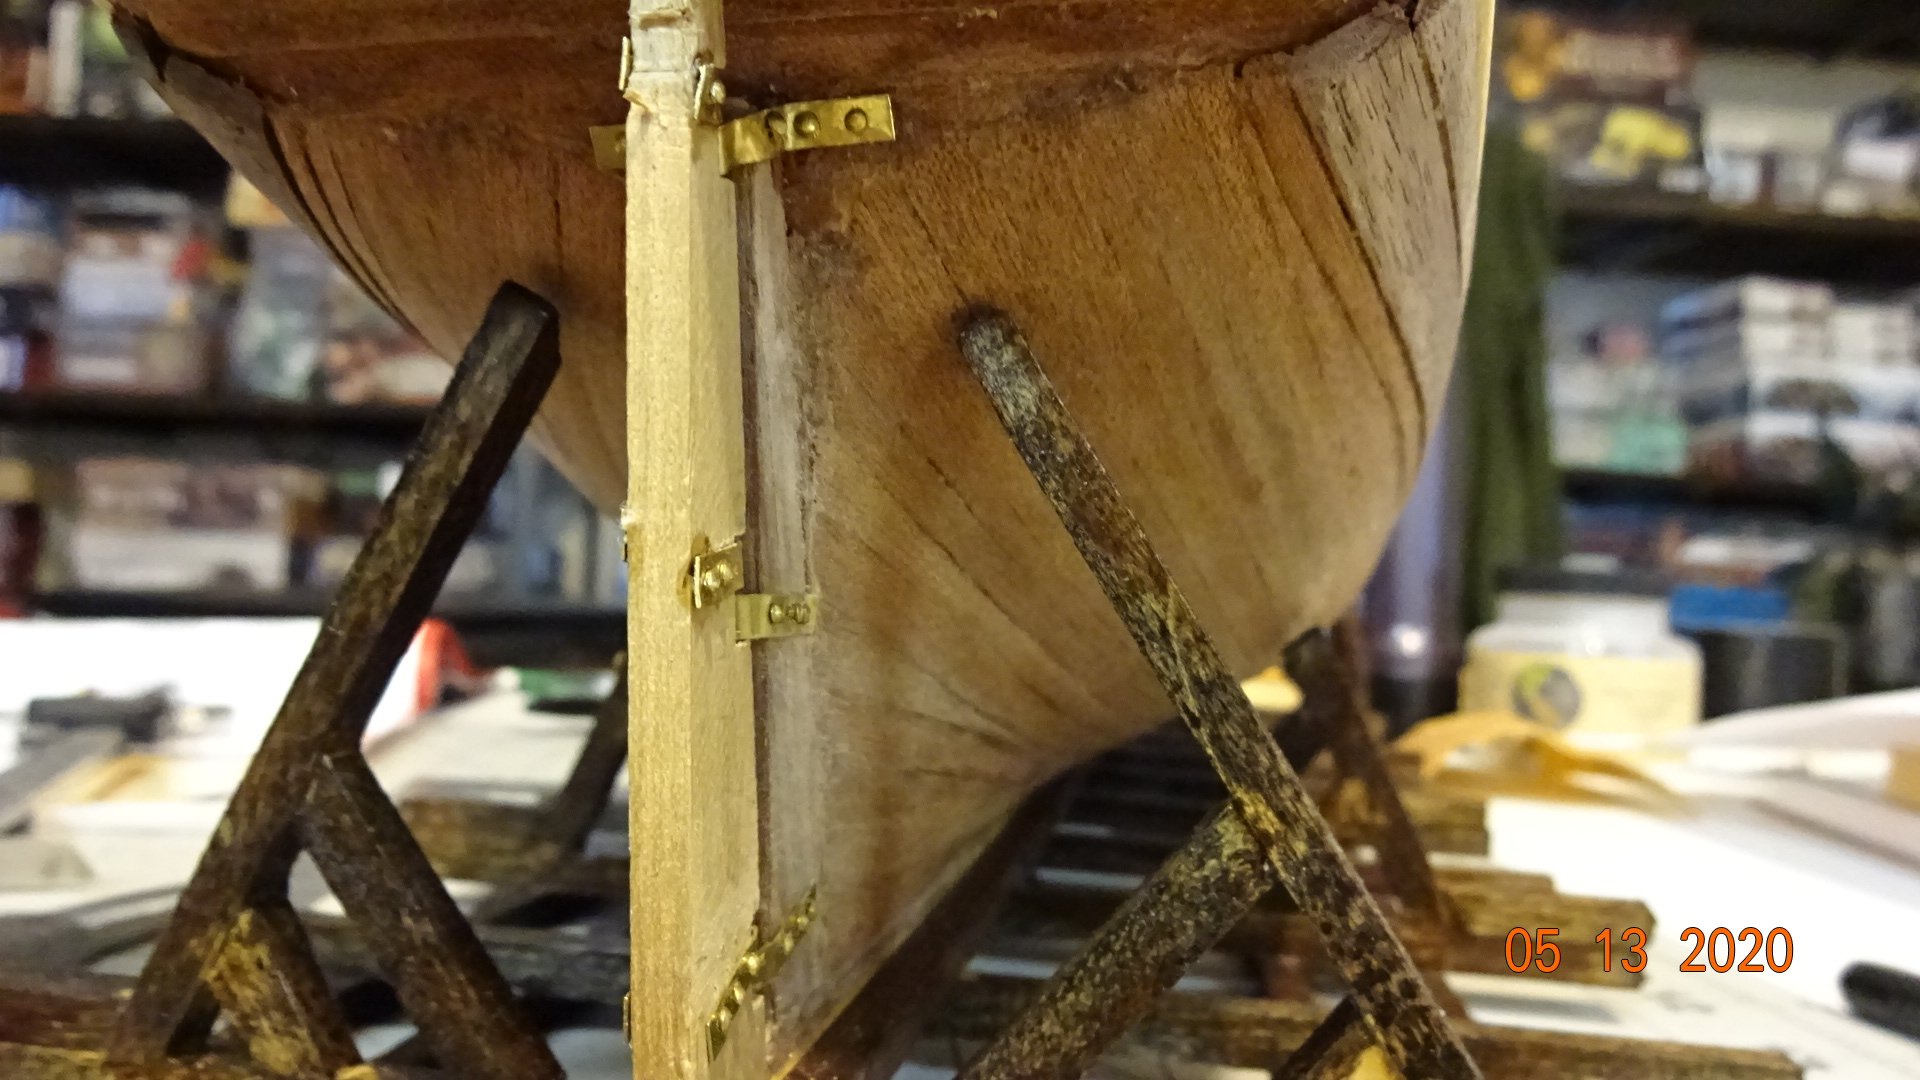
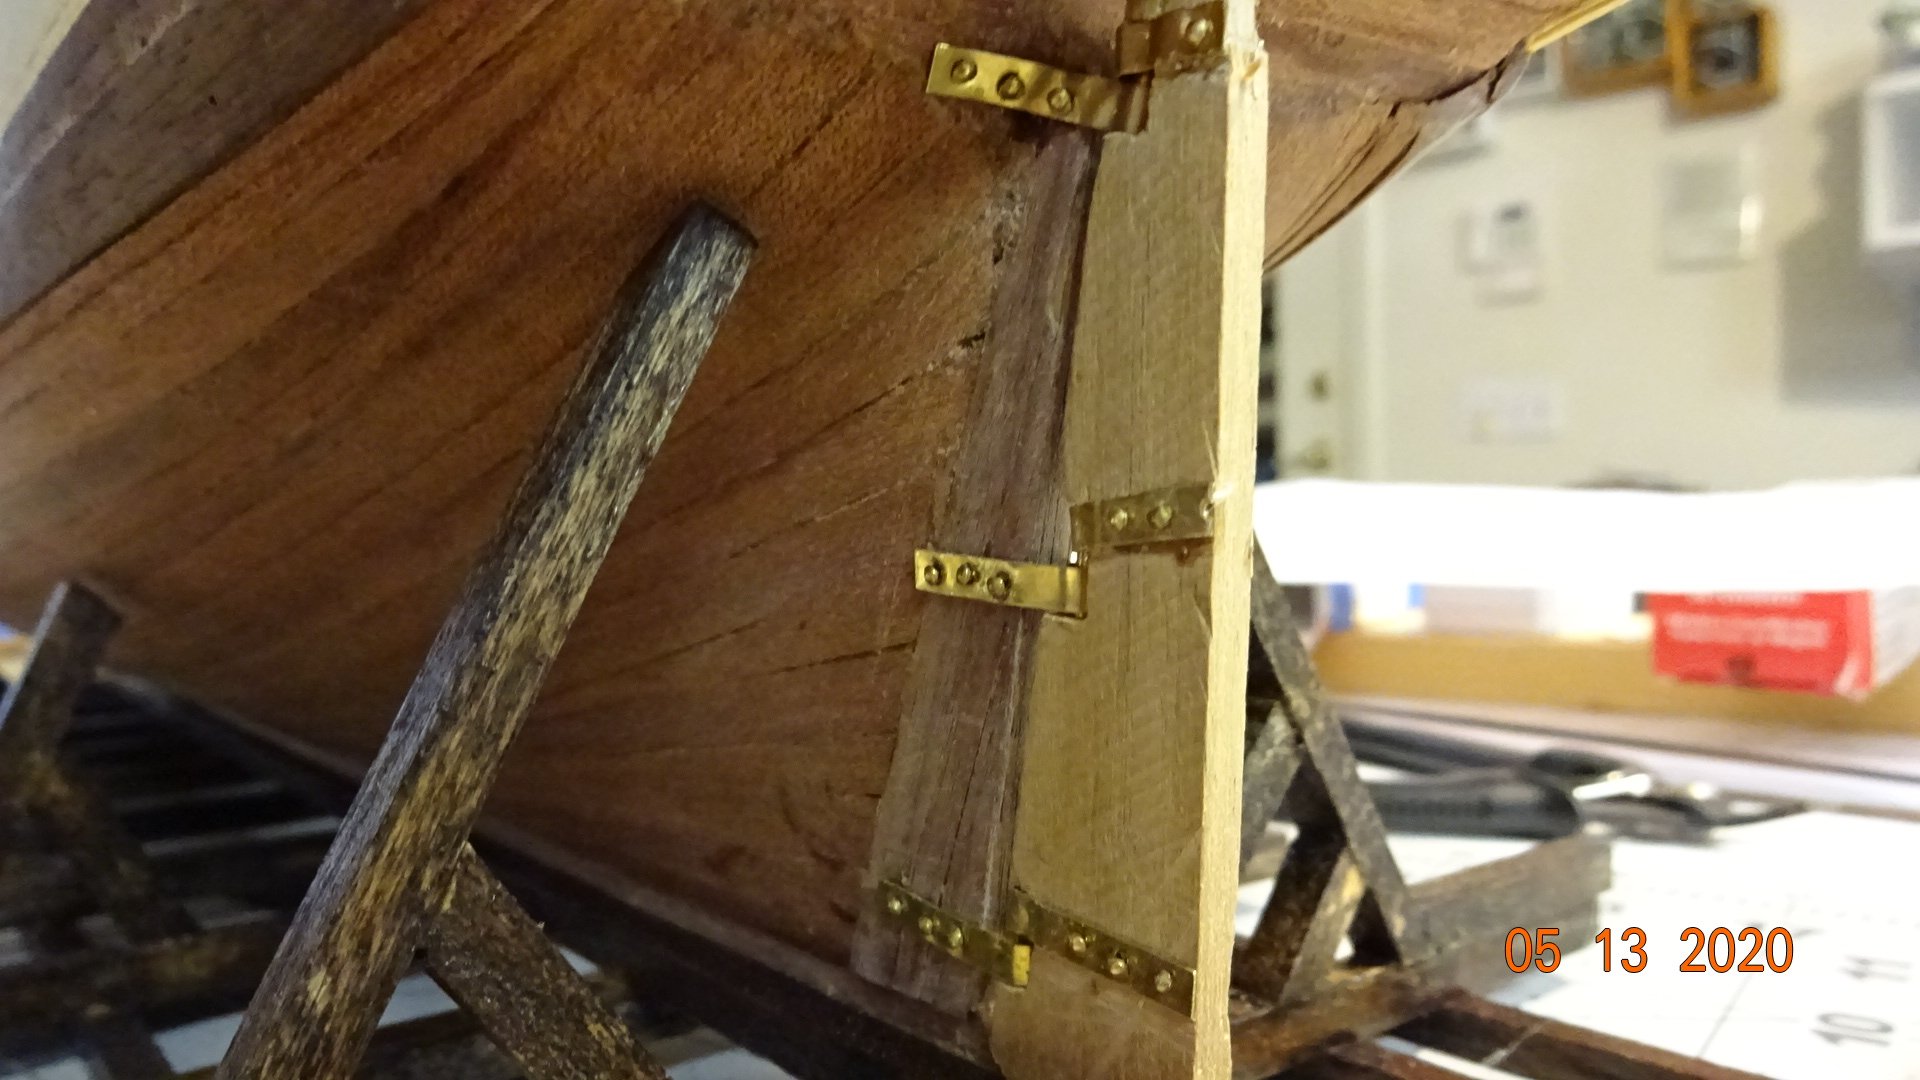
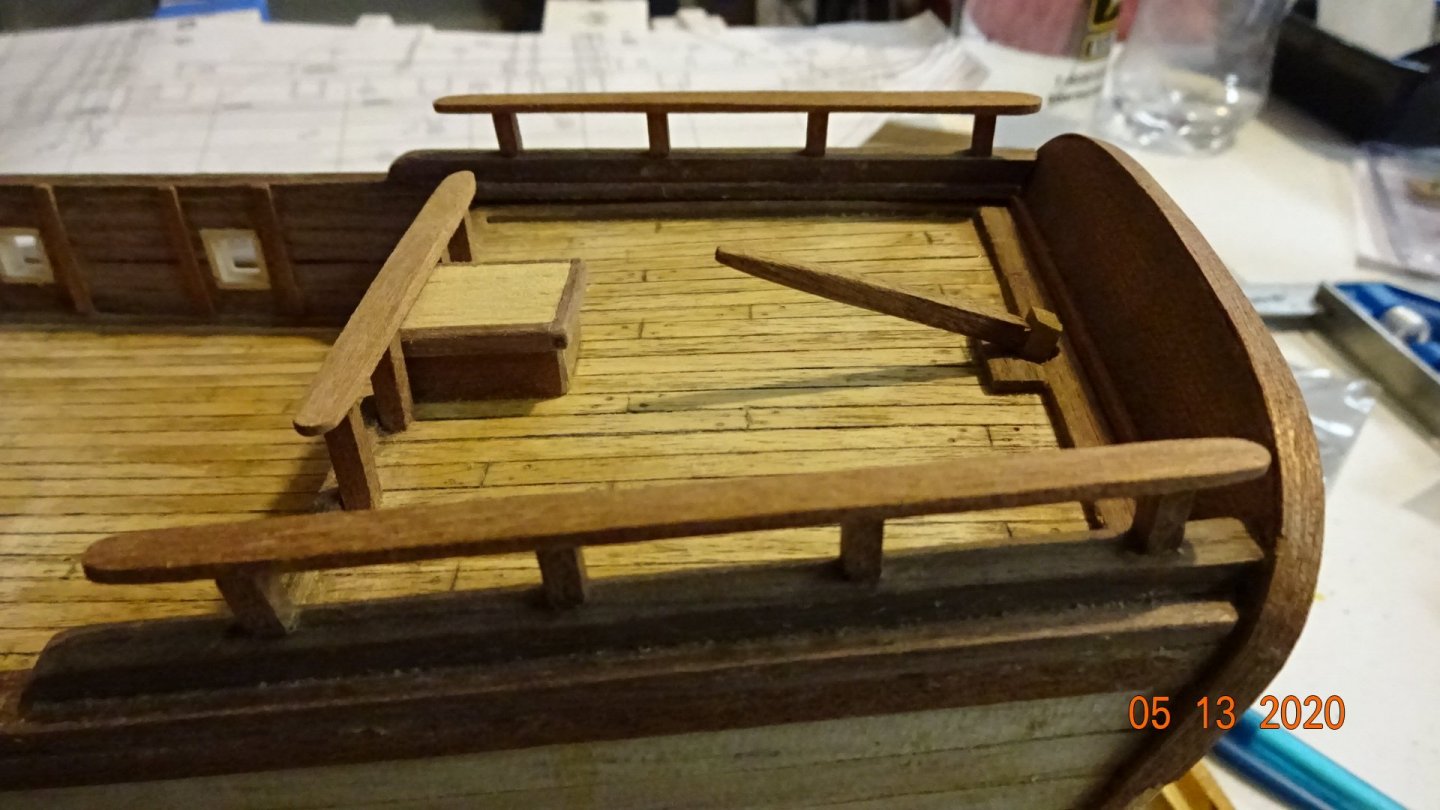
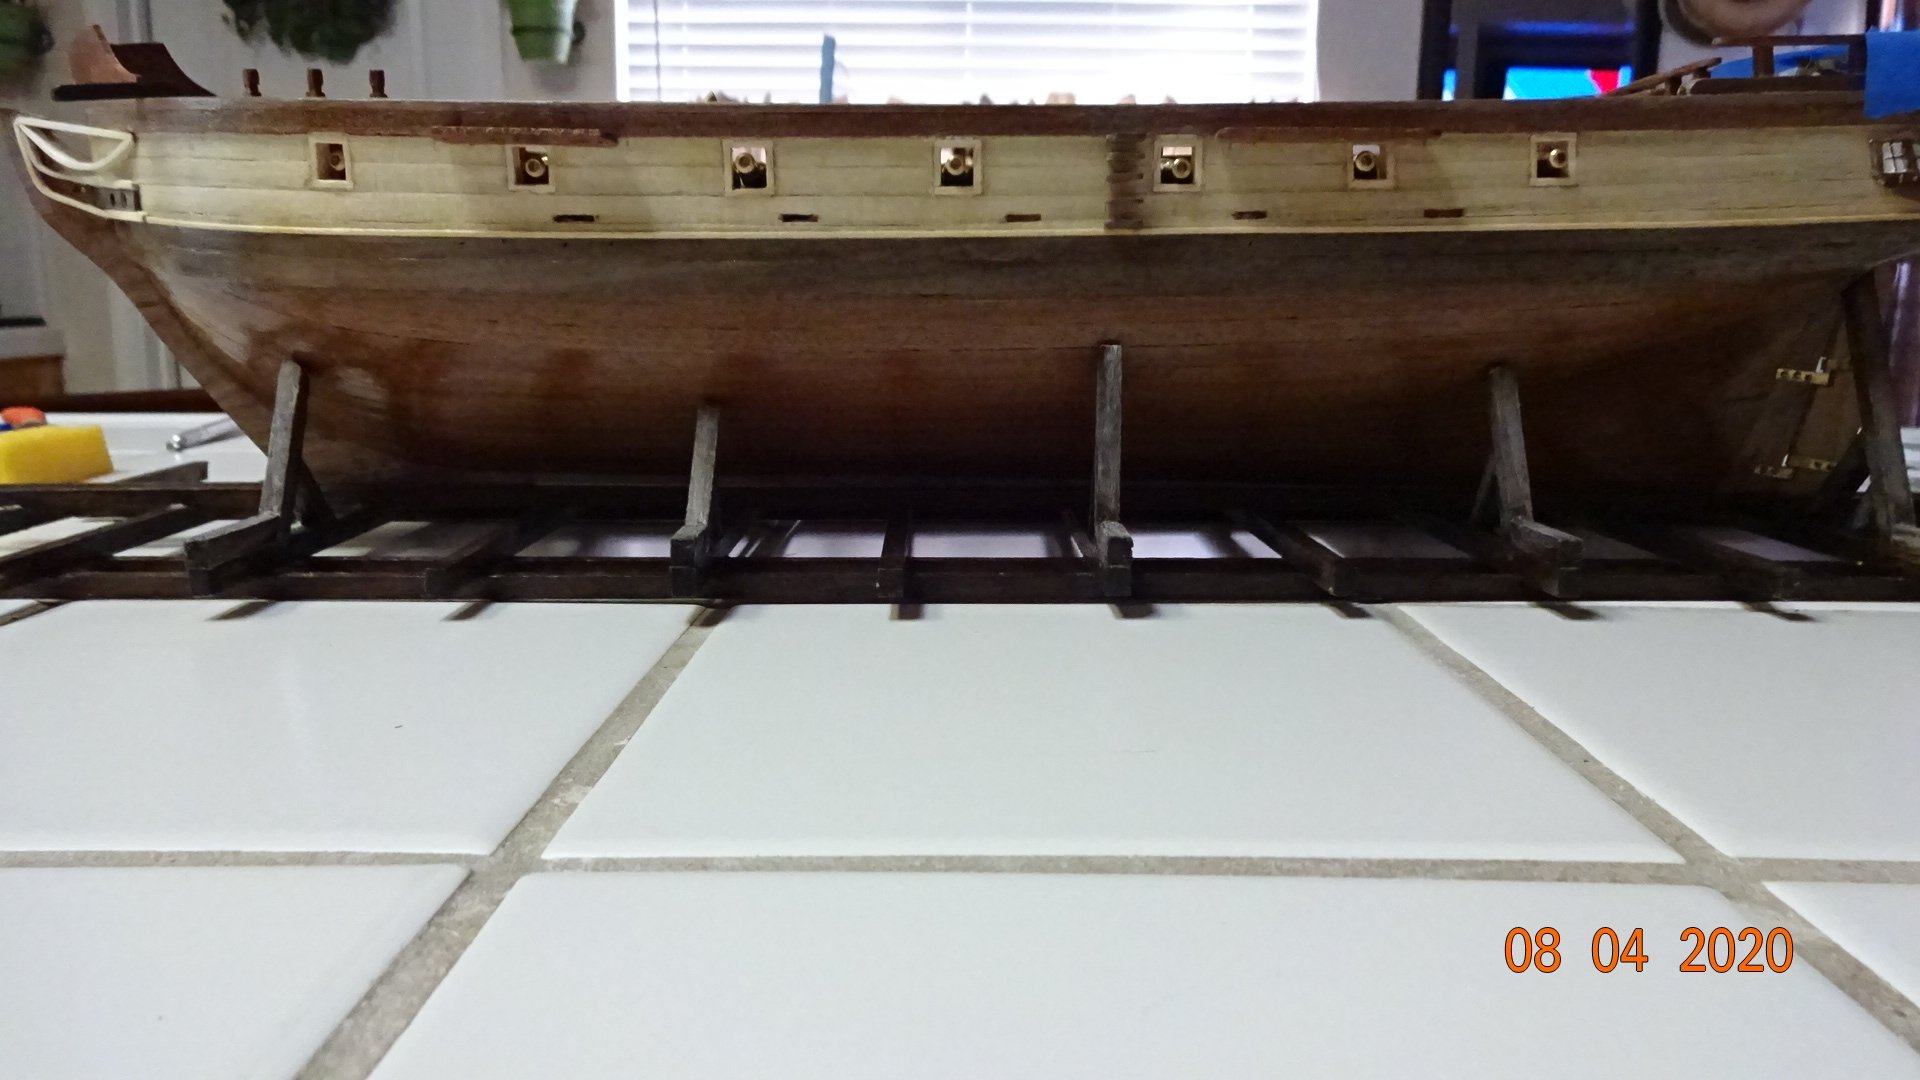
Started work on the poop deck. Added the rails and railings. First measured, cut, sanded.... Prepared the ship .... ... finally glued everything. Also attached the back of the poop deck. I'm liking the docking station I built, stabilizes the boat while working on it. Easy to take off and put back on which I had to do when I installed the rudder. From the view below, the wales show that I need more experience on the planking the aft section. I don't think you're supposed to see the ends of the wales. Not sure what I could have done as the aft section had a 2mm first plank and then a .5 mm second plank whereas the wales are 2mm on top of the 2mm 1st planking. So I'm looking at a 1.5 mm variance. The rudder took a little damage upon instillation, will need to repair that. The attached rudder handle. Next step, the ship's beakhead.


- 195 replies
-
- 3
-
-
- enterprise
- constructo
- (and 1 more)


.JPG.cec27a5f42f5cbcdc6fdafd1e89a59c7.JPG)
.JPG.c6fabcb5e1ab9b8ed53377c32a4a193a.JPG)
.JPG.2b8bb5d06a58fd49b22e44c86158d648.JPG)
.JPG.e9db1aca0b4d075afa861726eb86e3b4.JPG)