HOLIDAY DONATION DRIVE - SUPPORT MSW - DO YOUR PART TO KEEP THIS GREAT FORUM GOING! (Only 20 donations so far - C'mon guys!)
×


Rowboat
-
Posts
142 -
Joined
-
Last visited
Content Type
Profiles
Forums
Gallery
Events
Everything posted by Rowboat
-
 Morning from California. Nothing new to report just had a question. In my signature section I tried to add some HTML code but it does not display correctly, the "<>" are converted to their text version. Anyone know how adding html code is supposed to work? Eventually I just used the "link" icon and added links for the images of my ships. Thanks
 -
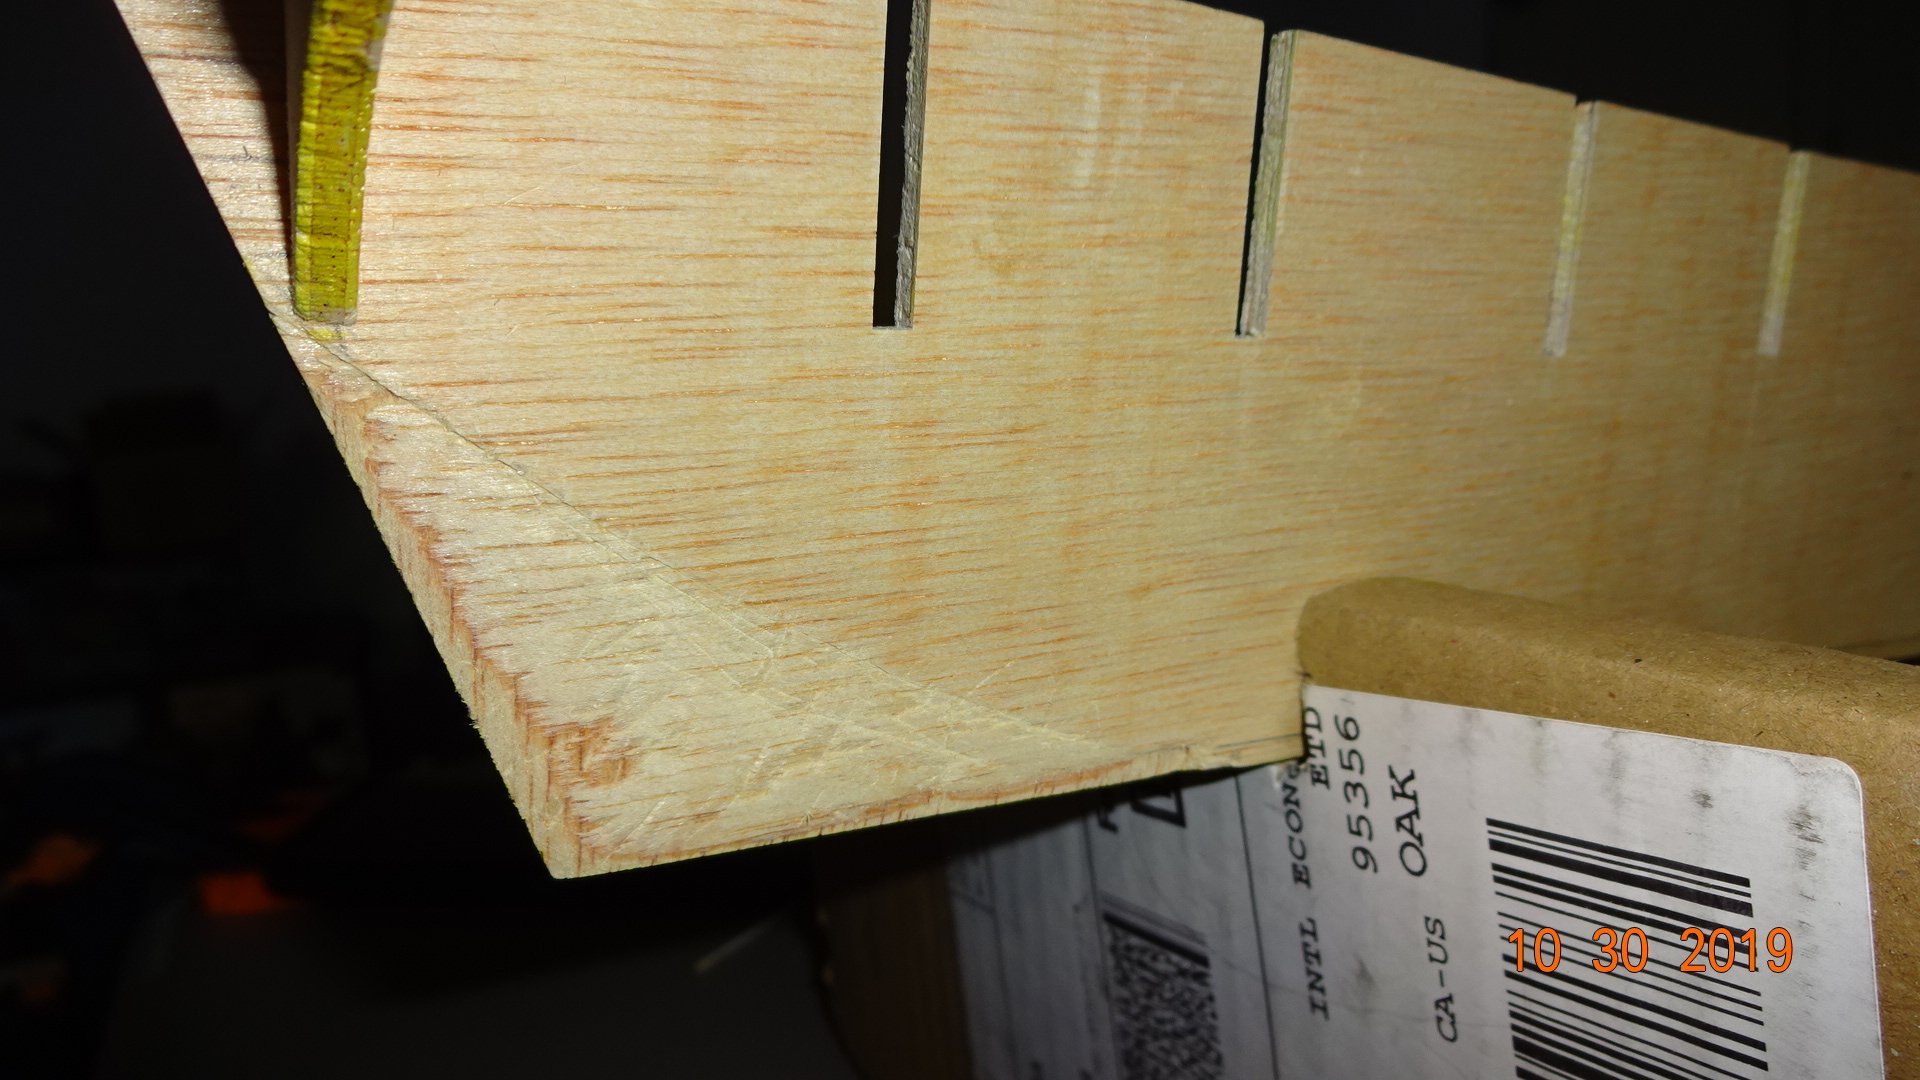
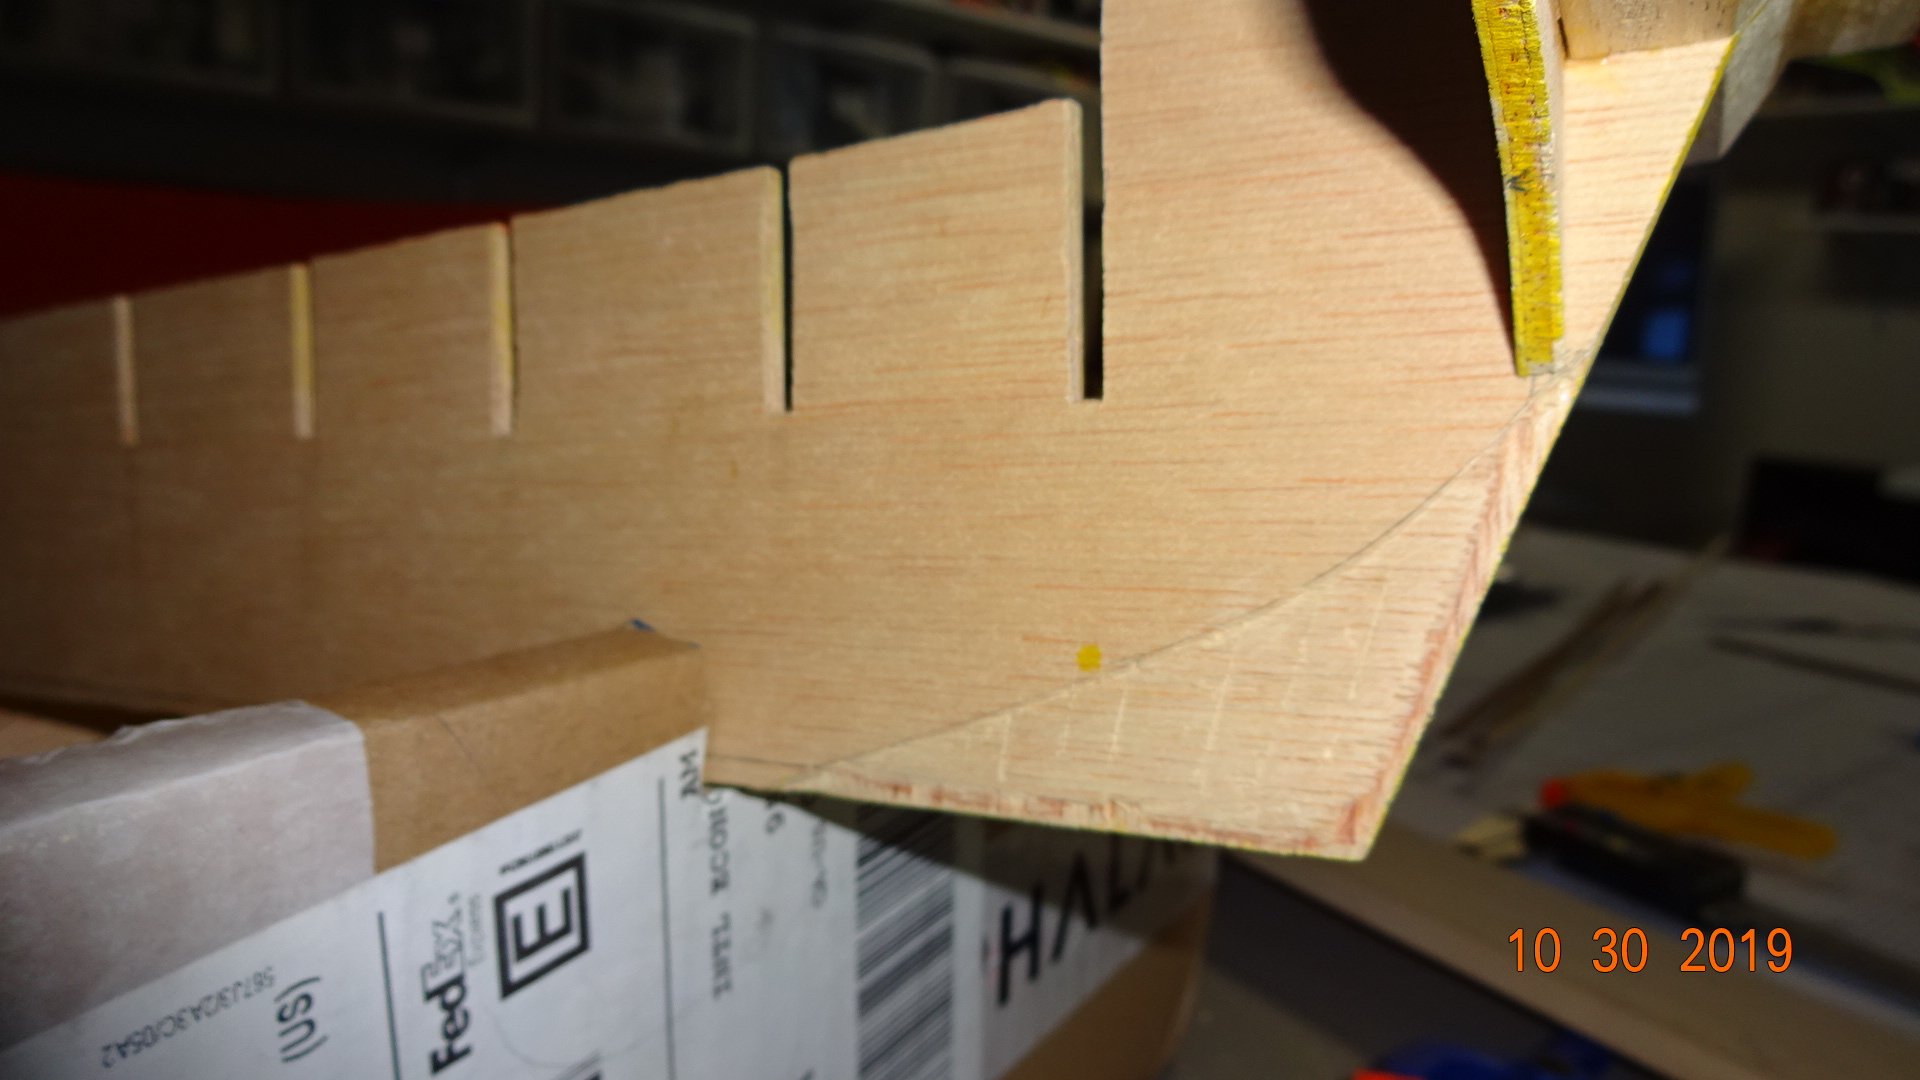
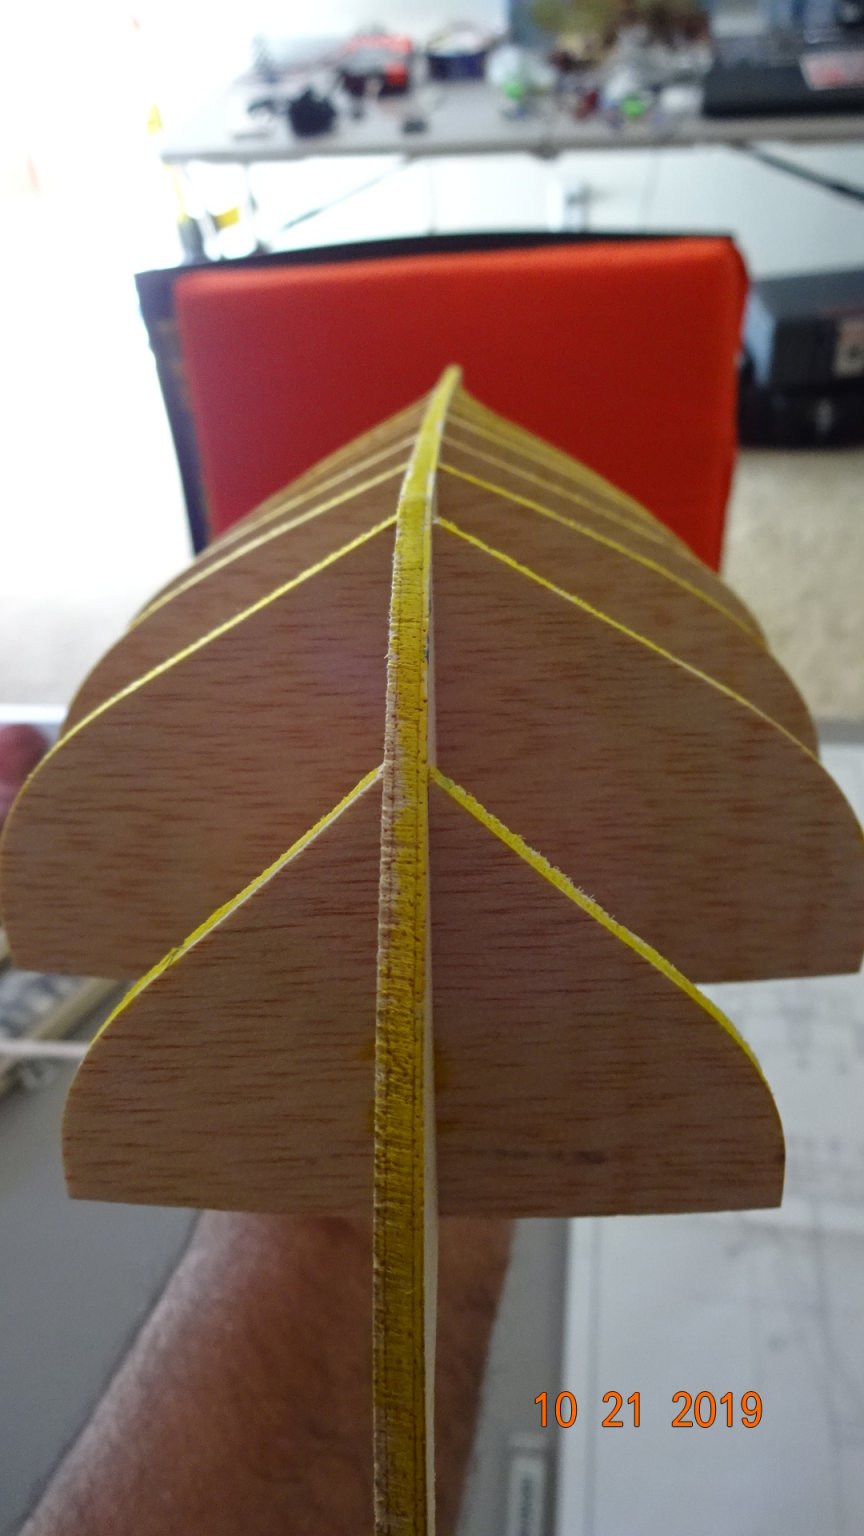
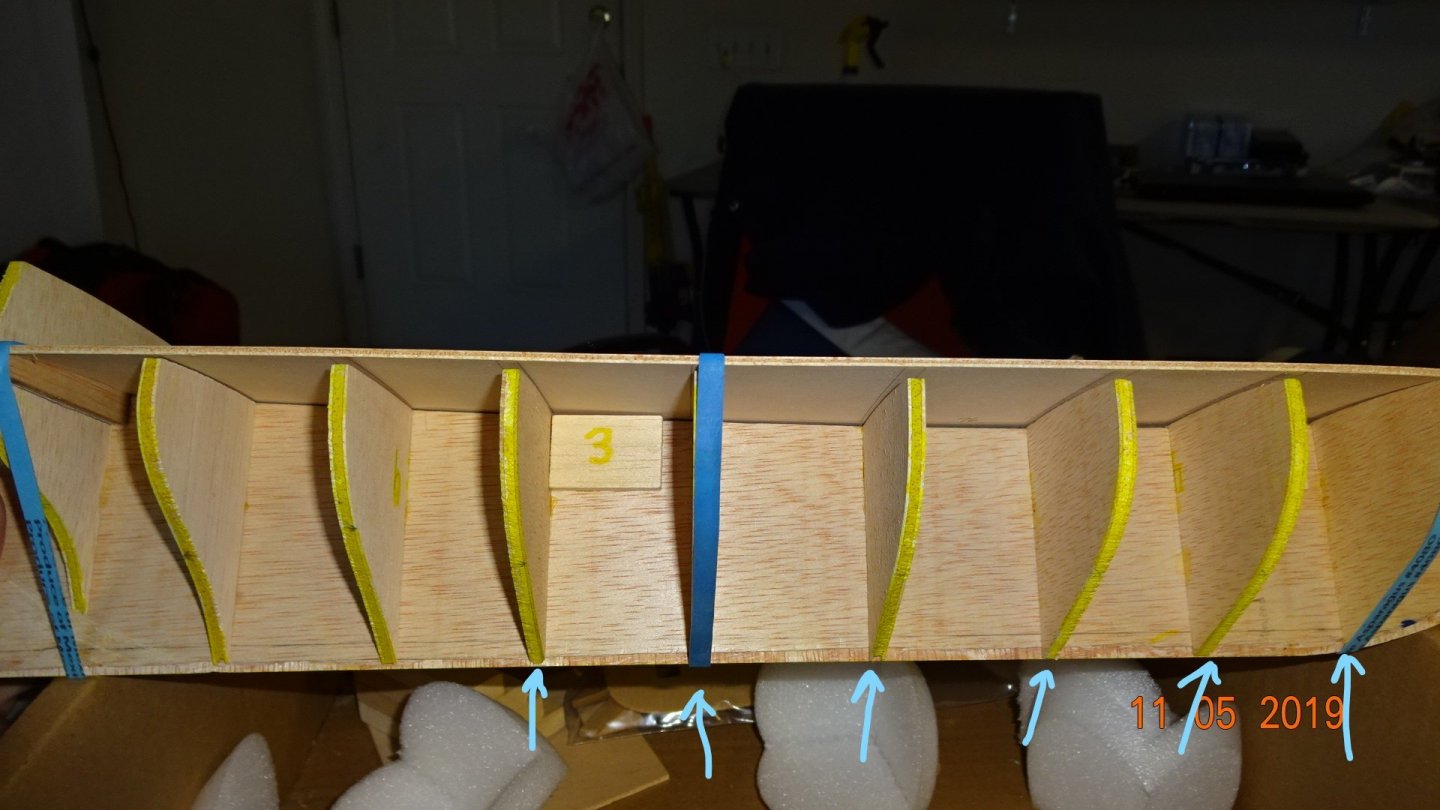
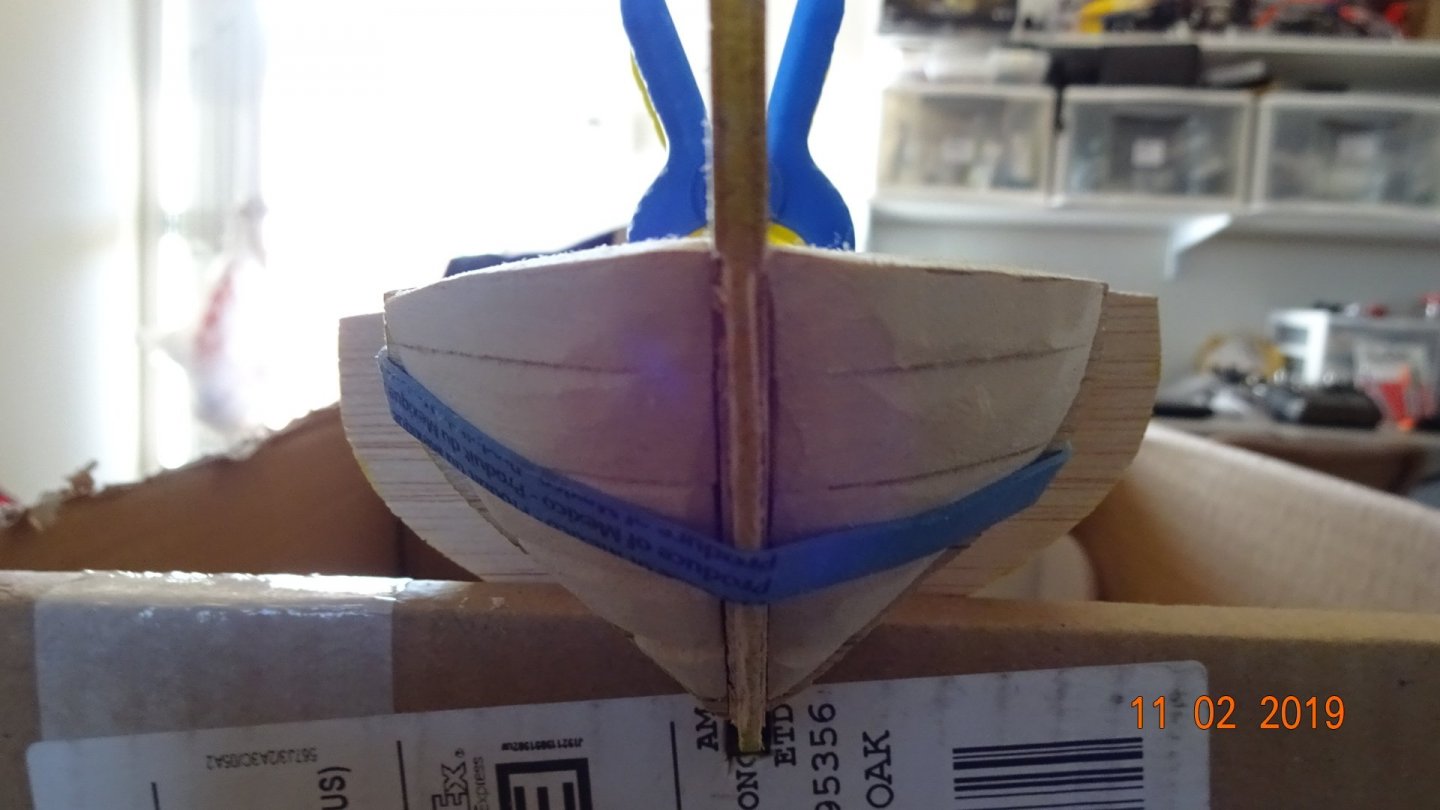
I discussed earlier that the bulkhead ends were protruding into and over the bearding line. I do think I am still going to trim them back, though I have seen a model where they just didn't use a rabbet joint. Since this is a learning experience, I decided to try out the rabbet joint. Gluing the bottom keel parts may be an issue as I've whittled away about an 1/8 inch on each side of the main keel which the bulkheads attach to. In the pic below you can see the bulkheads protruding into the rabbet joint. I have a question, are my images to large and distracting? I don't change the original image size from the camera but I think i can. I like the large images as one can zoom into them for a detail look. Before I start any decking work I'll need to fair the bulkhead tops so the false deck fits better. Also once I glued in the bulkheads, the frame reverted back to it's original bend.😠 I planned on using the false deck to resolve the issue, but that may not be enough.
- 195 replies
-
- 2
-

-
- enterprise
- constructo
- (and 1 more)
-
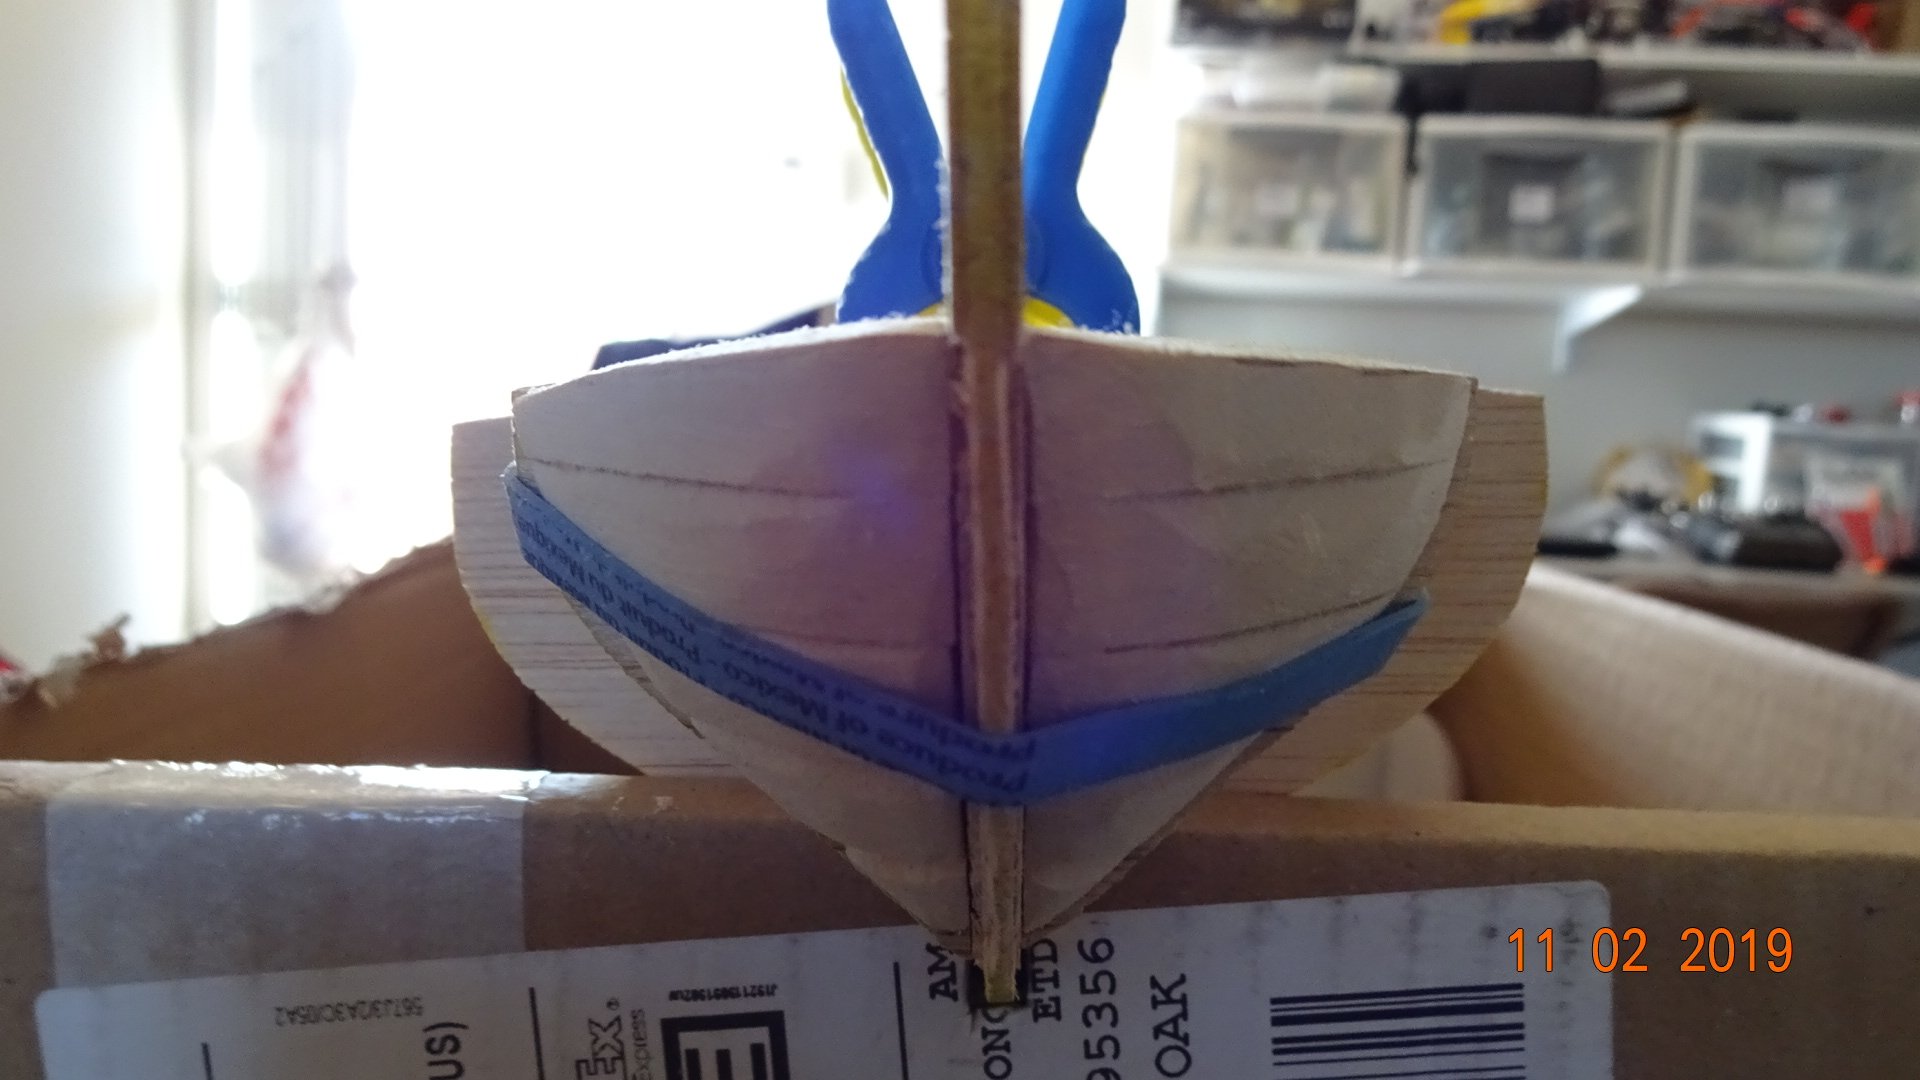
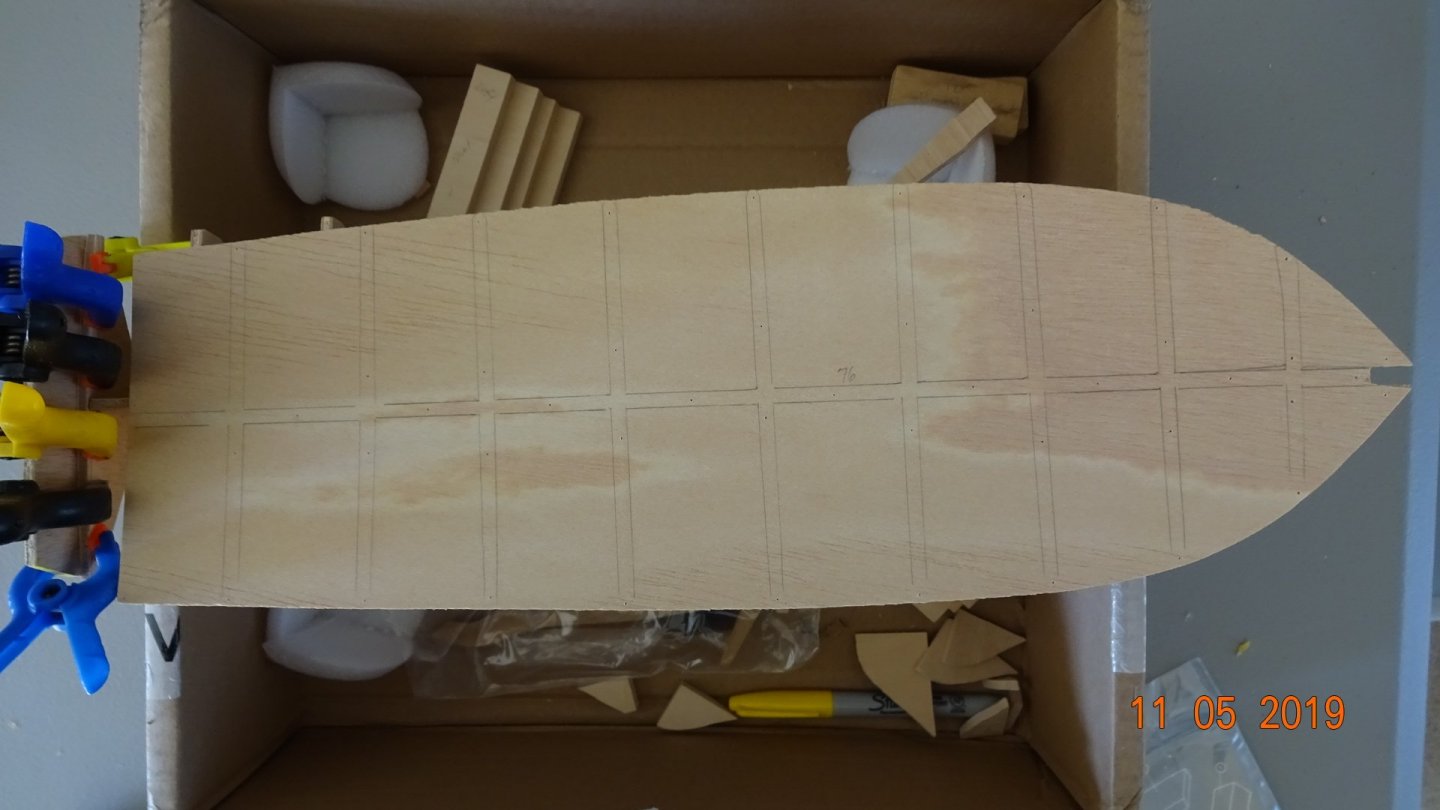
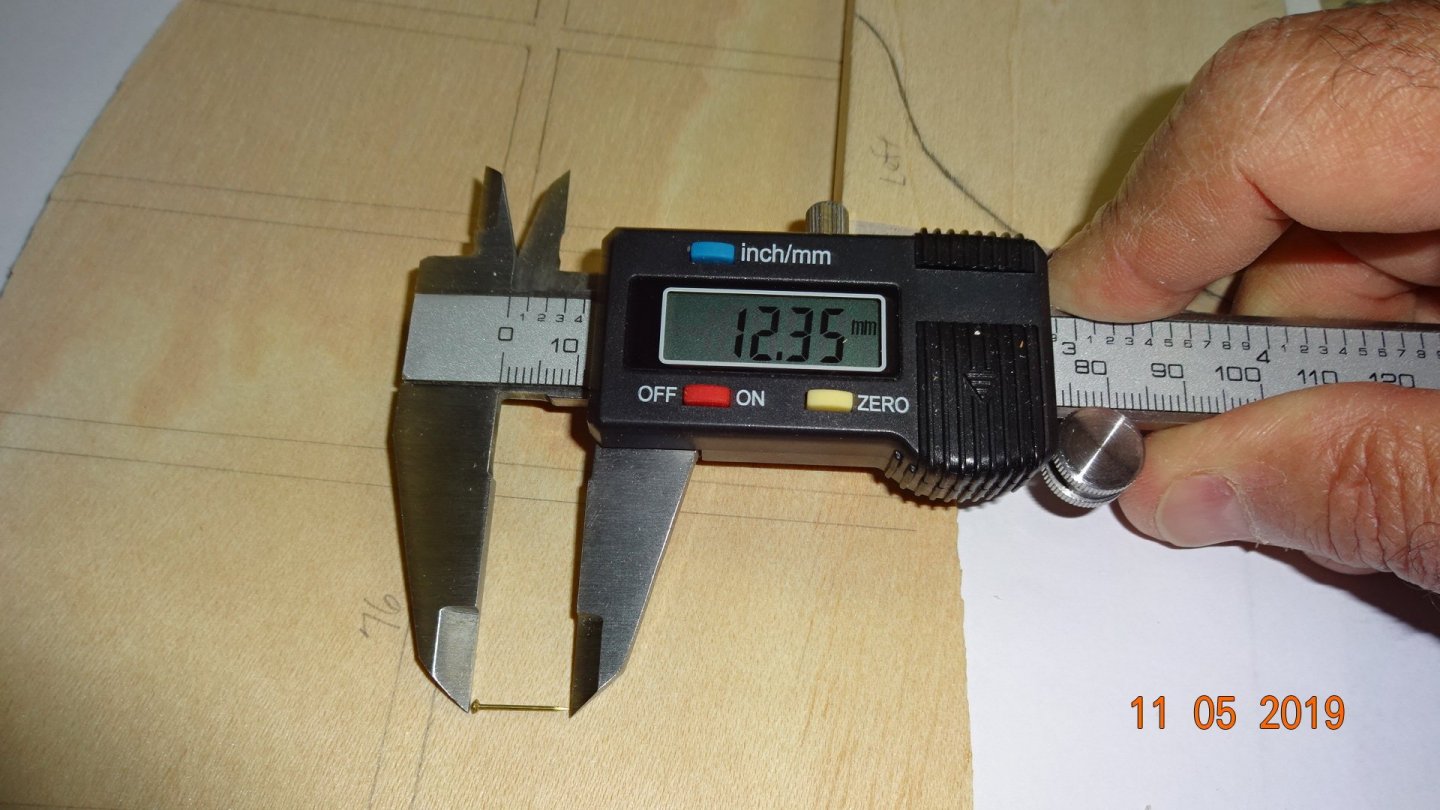
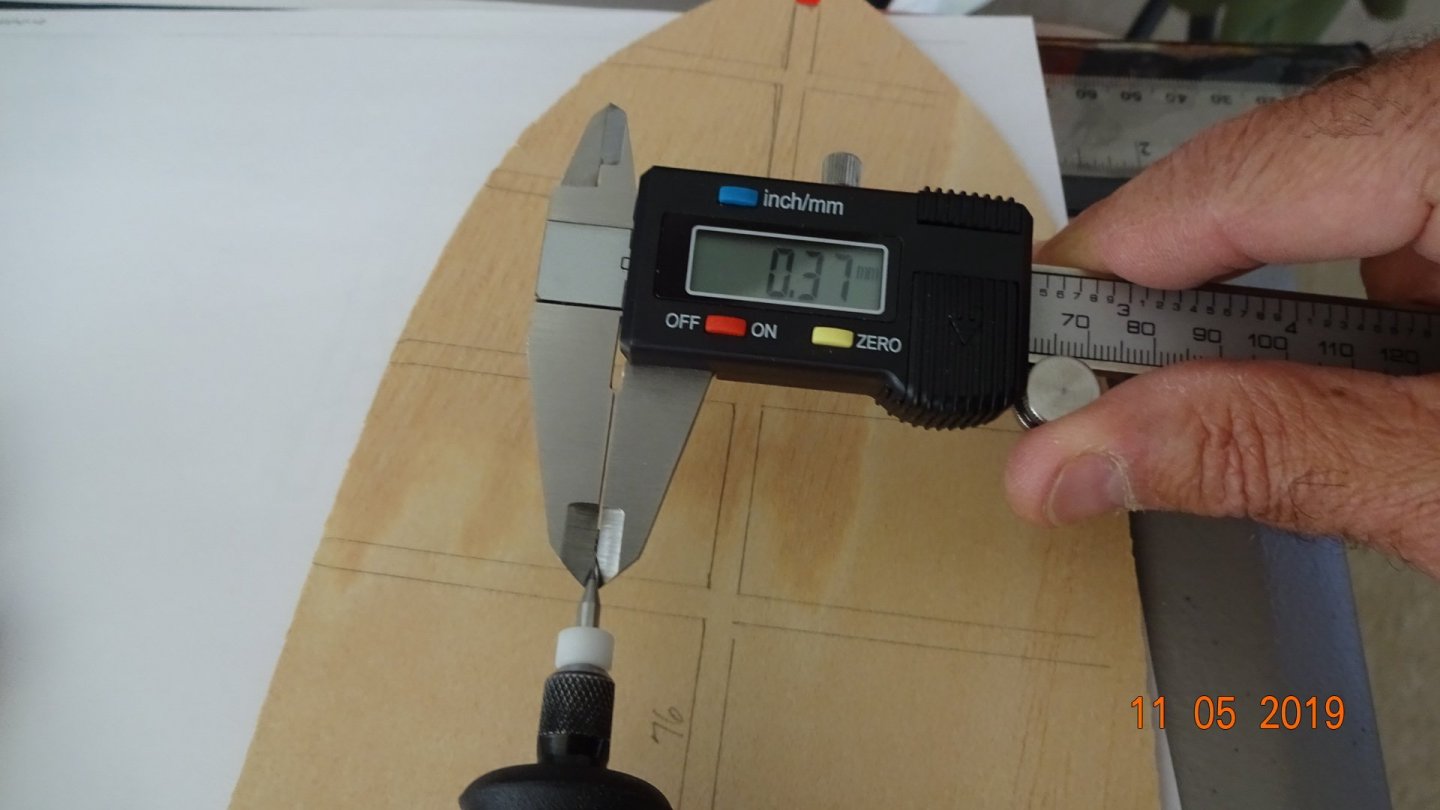
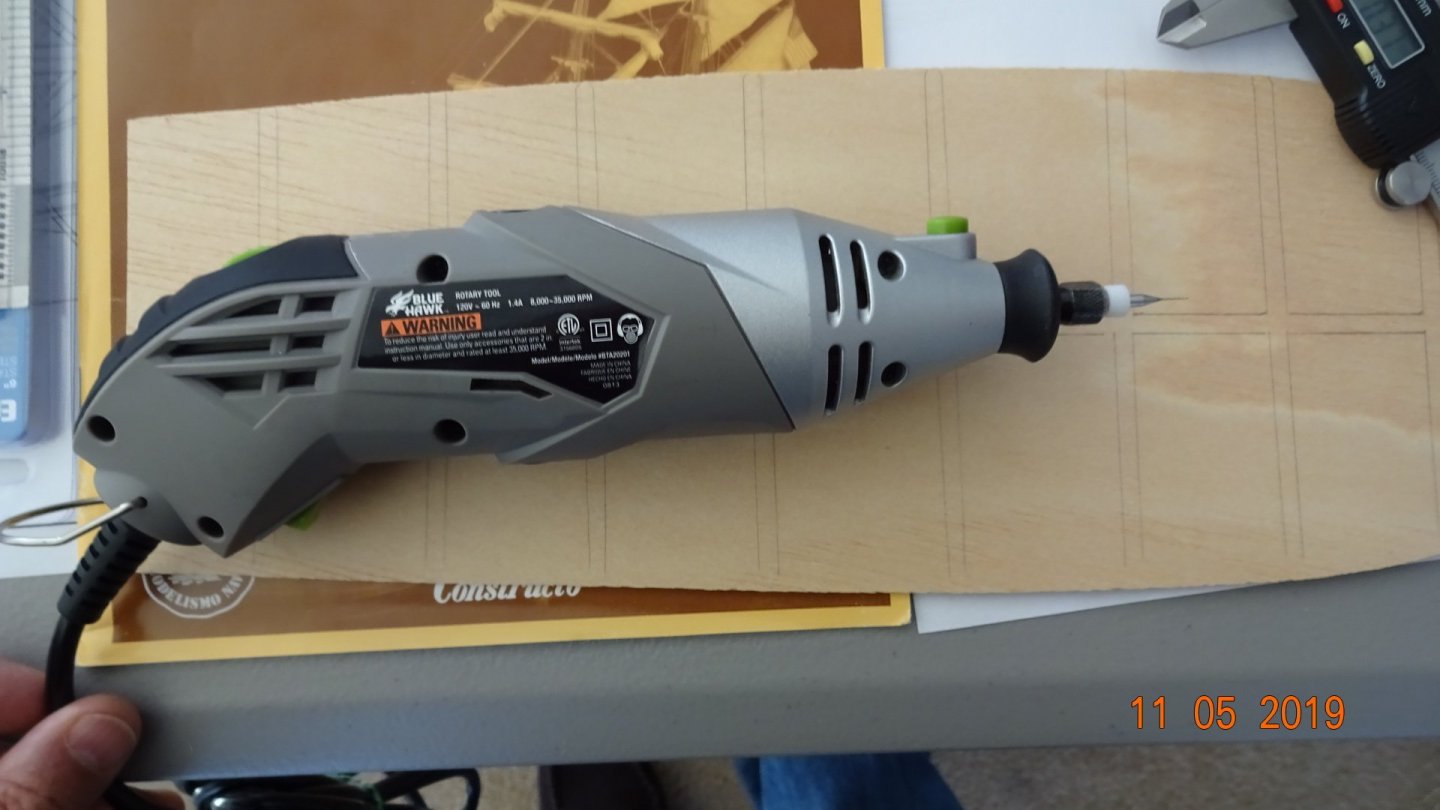
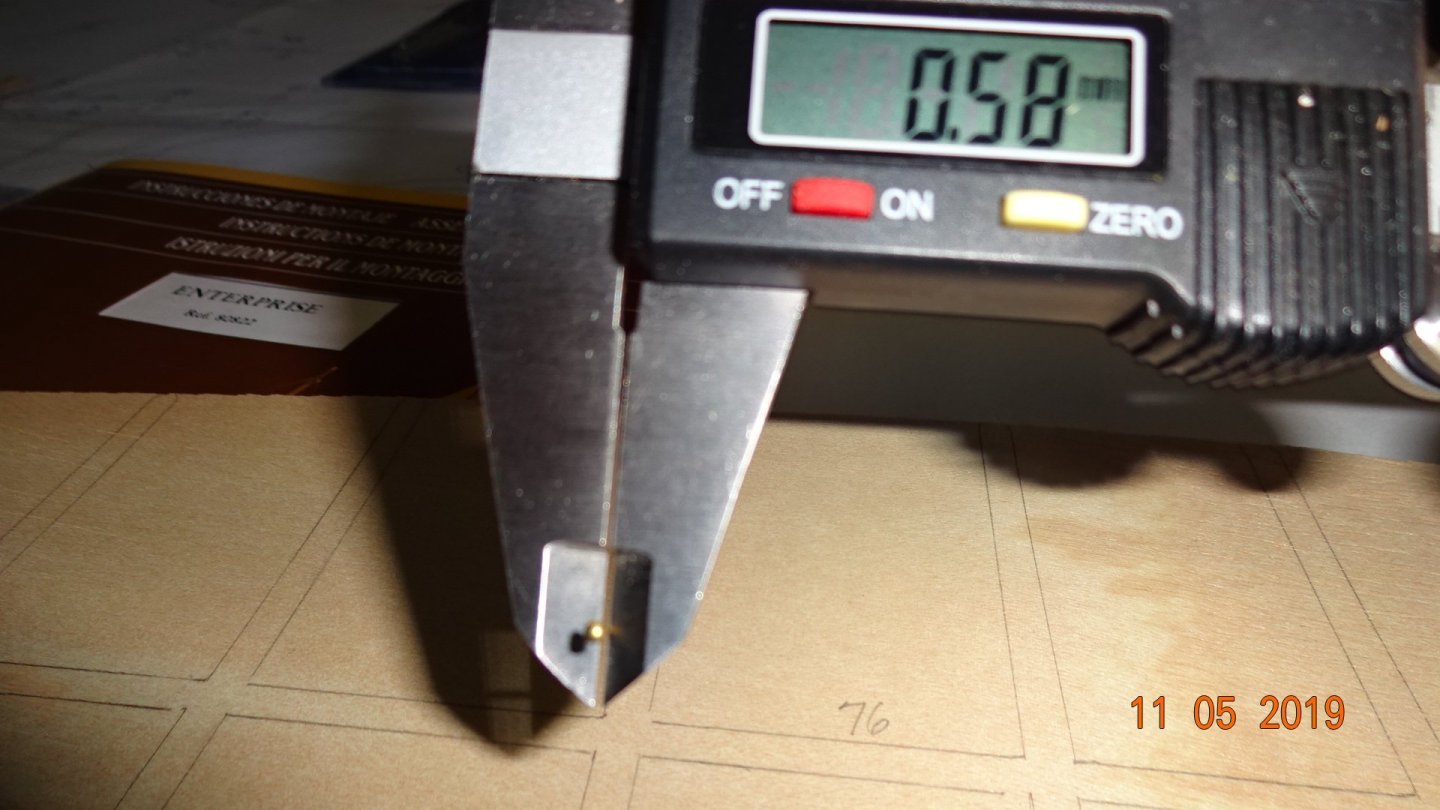
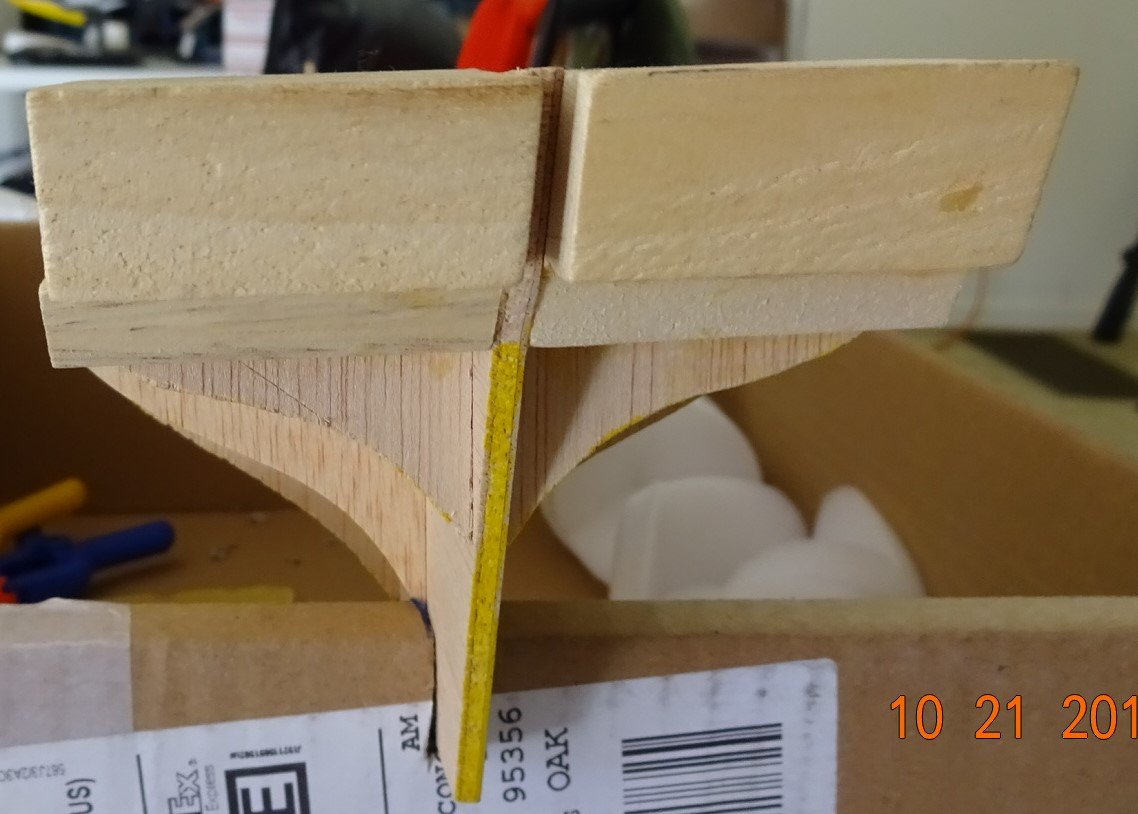
Good Morning World! Made a little progress on the build. Glued in the bow fillers and one false deck bulkhead top. In the picture below you can see the bulkhead top clamped in place. Just made the top follow the other bulkhead tops. I'll be nailing and gluing down the false deck. In the following picture I just rubber banded it in place to see how "fair" it is. One thing i did was draw the outline of the bulkhead frame on the bottom of the deck. Then I drilled holes using the outline as a guide. The nails are tiny 0.58 mm, and the drill bit is tinier 0.37mm. I broke two bits before I finished. Here's the underside of the deck. You can see the drill holes if you enlarge the image. Here's some pics of me taking measurements. The hole size 0.37mm is a bit tight for the nail. The next size up was 0.54mm but that was to loose. Like I said, I broke 2 of these bits. I tried drilling with a support block under the holes, but if the bit did not come out exactly as it went in then it snapped. I have a broken tip somewhere in the carpet 🗡️, that's go'in to hurt if I step on it. Once I removed the support and just drilled through the decking I managed fine, still having to be very careful. Luckily, I'm replacing the carpet with wood laminate flooring in a few weeks.

- 195 replies
-
- 2
-
-
- enterprise
- constructo
- (and 1 more)
-
I noticed that some users have an area on their posts where they post there builds. EX: Current Build; some model Previous Builds: other models It seems to be a separate area from the normal text area. If someone can offer some guidance it's appreciated.
- 195 replies
-
- 1
-
-
- enterprise
- constructo
- (and 1 more)
-
Thanks for the info Jonathan11. Thank you guys for the Birthday posts. Not to many birthdays I consider memorable but the big "6" "0" is to me. To celebrate I ordered the Byrnes 4" Table Saw , with all the works. Supposed to have shipped Monday.😀 Happy to have a follower, Matt. Checked out your HMS Winchelsea build and it's impressive the work you're doing! As I mentioned in the initial post I don't have the instruction booklet so follow me at your own risk, lol.
- 195 replies
-
- 3
-
-
- enterprise
- constructo
- (and 1 more)
-
Sorry to post so many pictures in a row without an explanation. I haven't figured that out yet, so if someone knows how to insert a pic with and explanation, then do this multiple times all in one posting please inform me. FYI, It's my Bday 🎂, the big 60!
- 195 replies
-
- 3
-
-
- enterprise
- constructo
- (and 1 more)
-
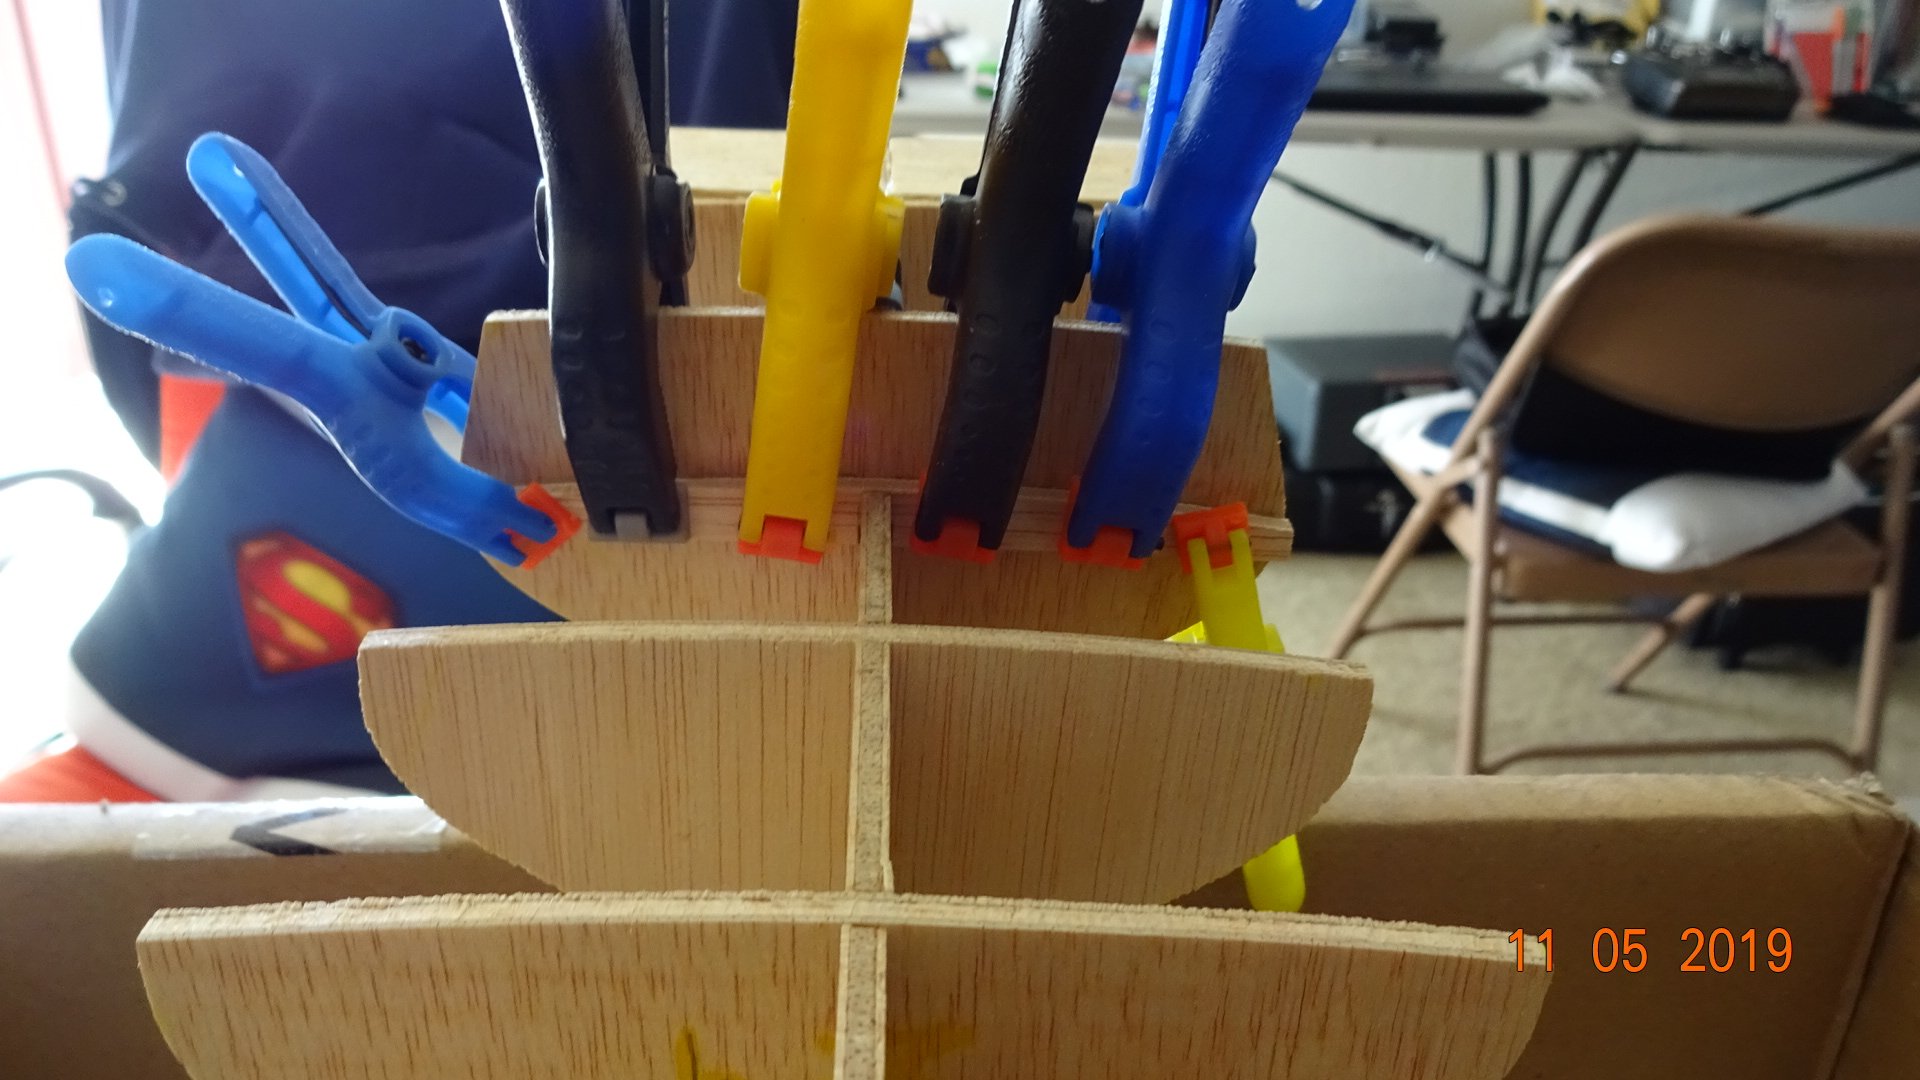
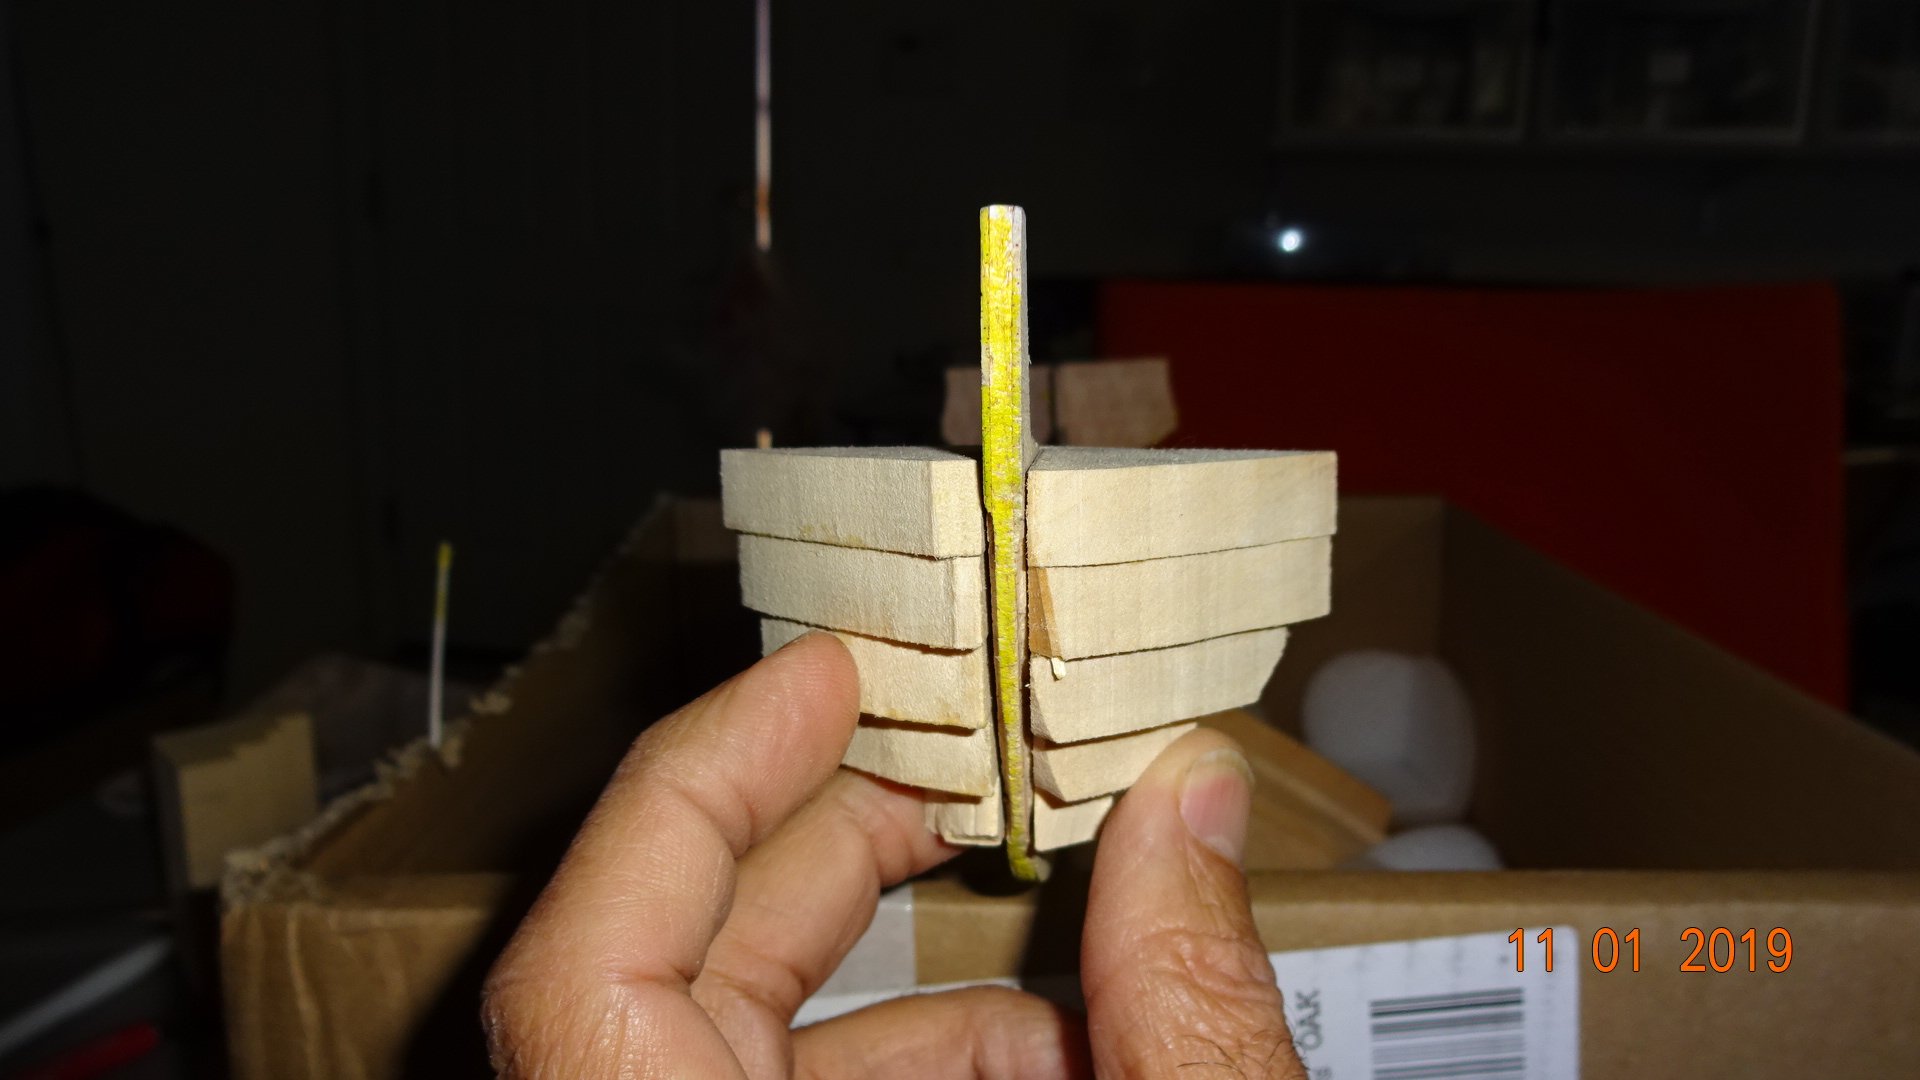
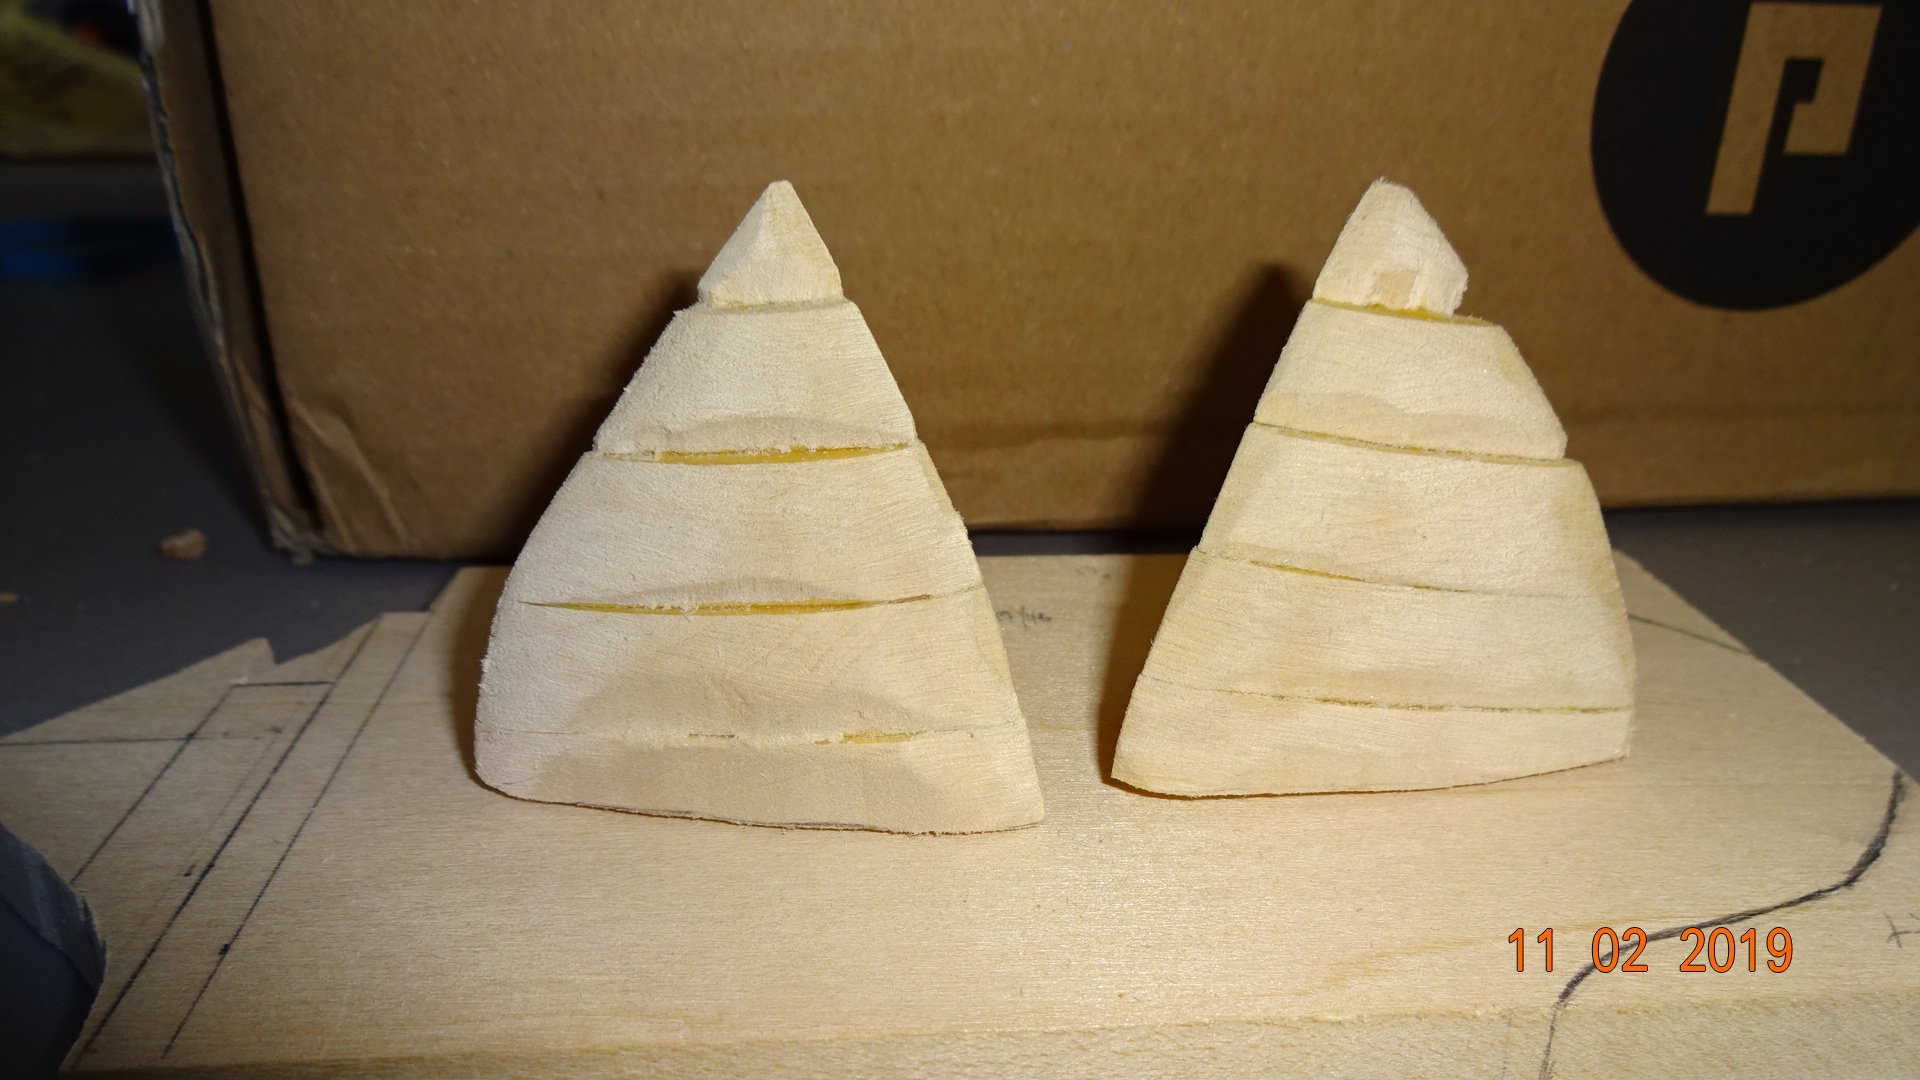
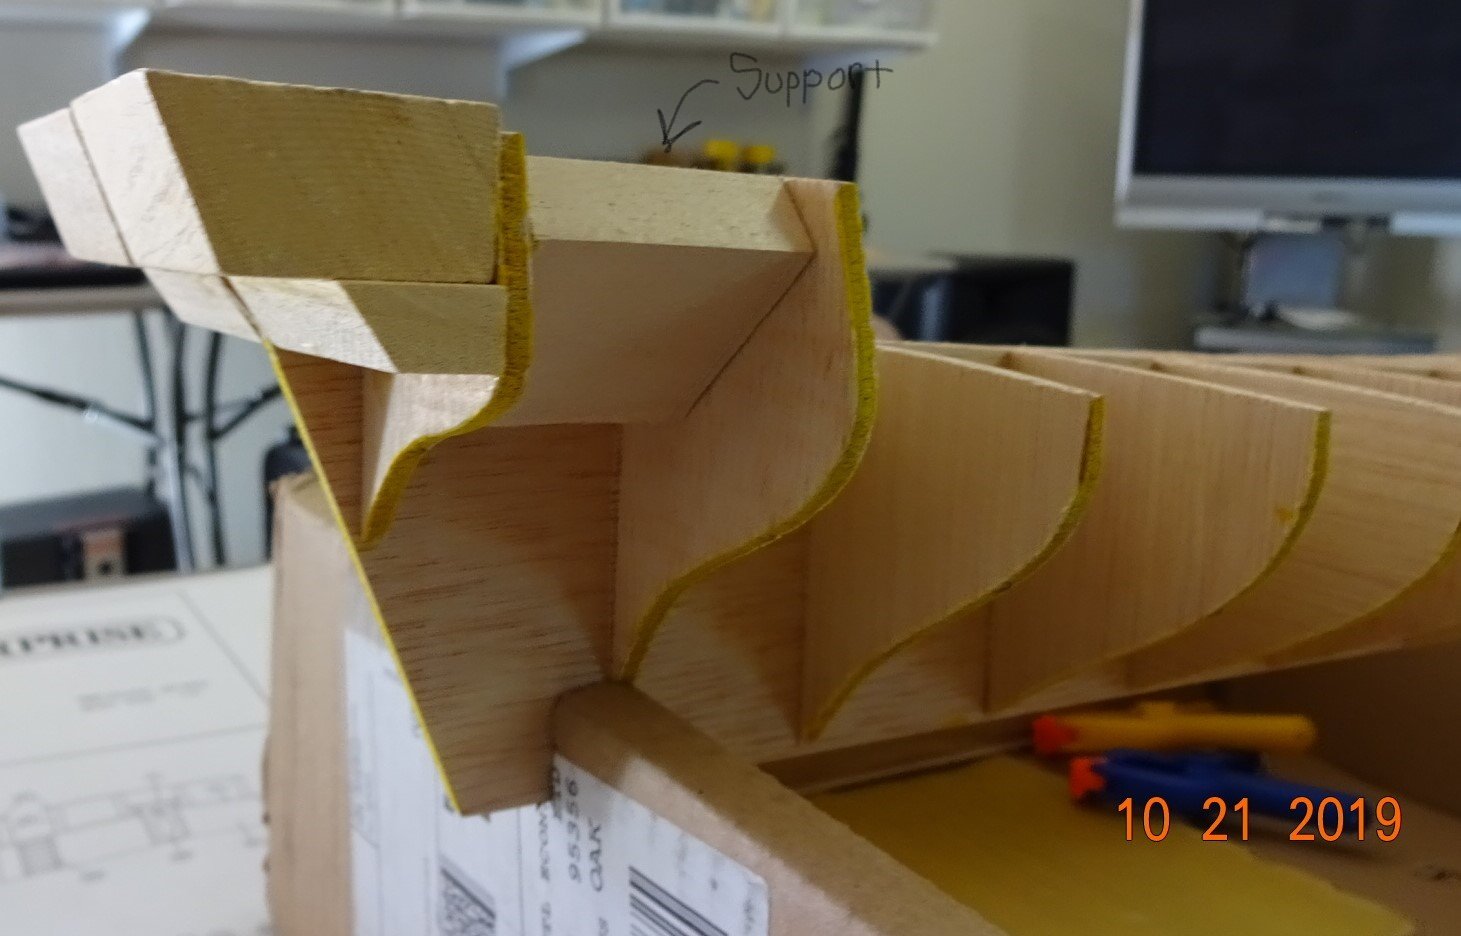
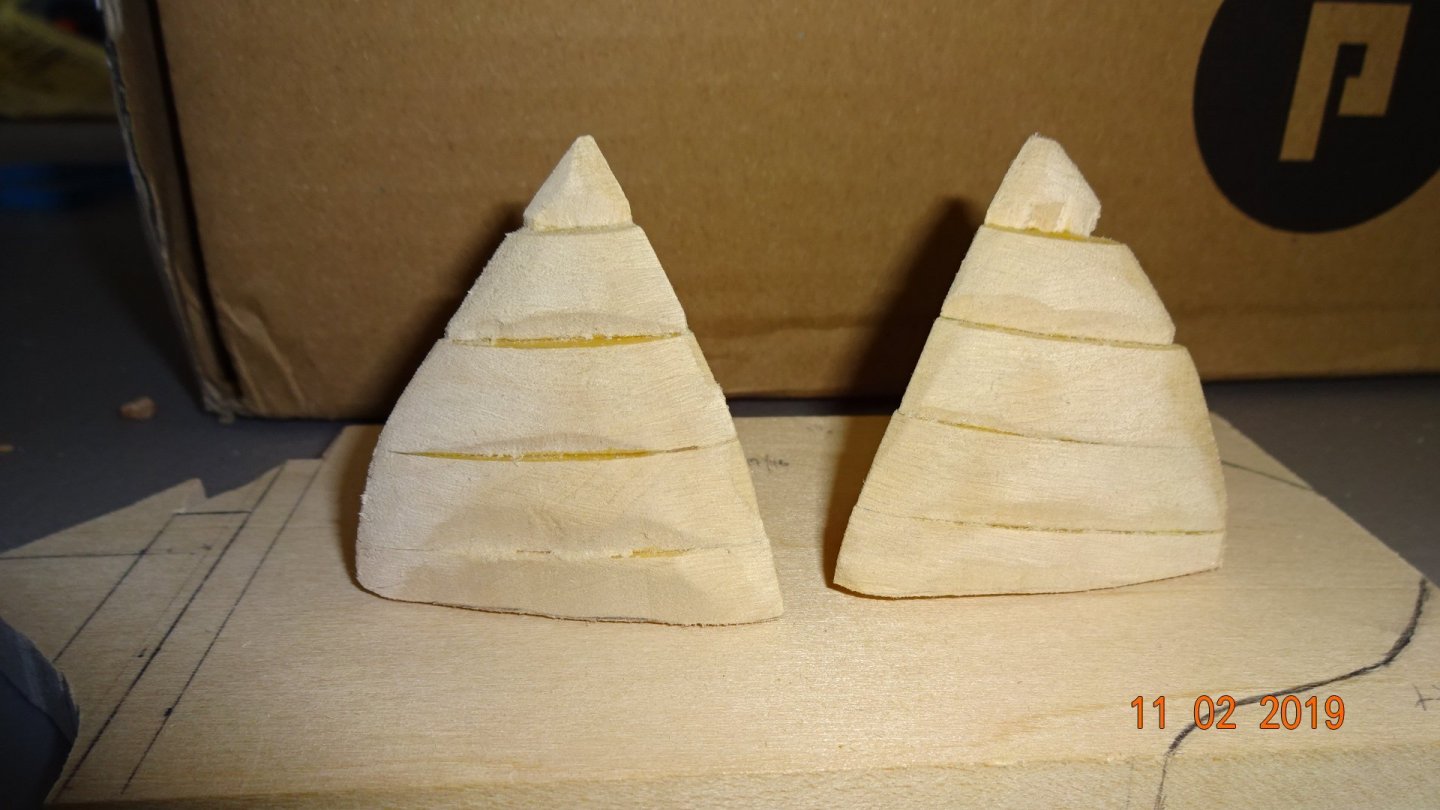
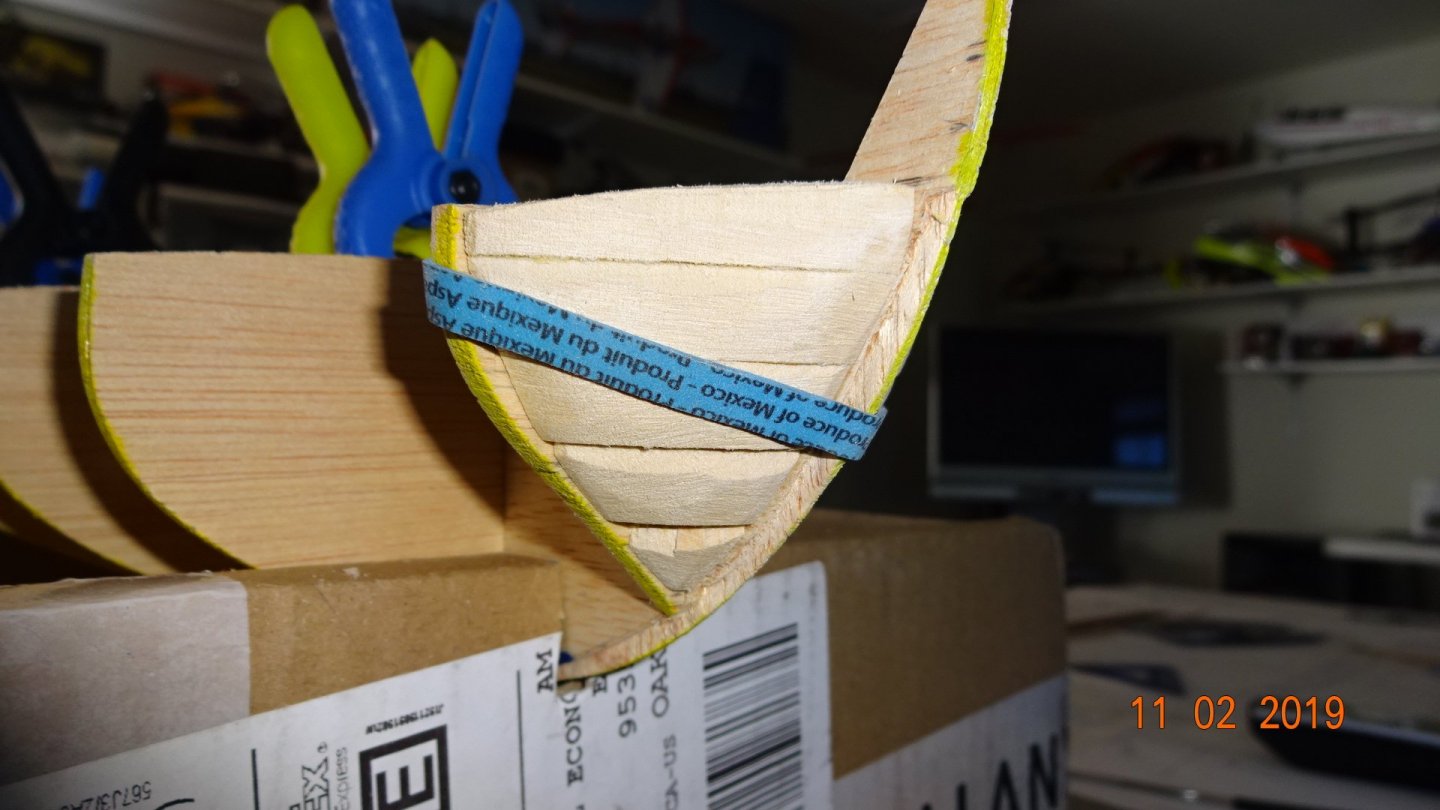
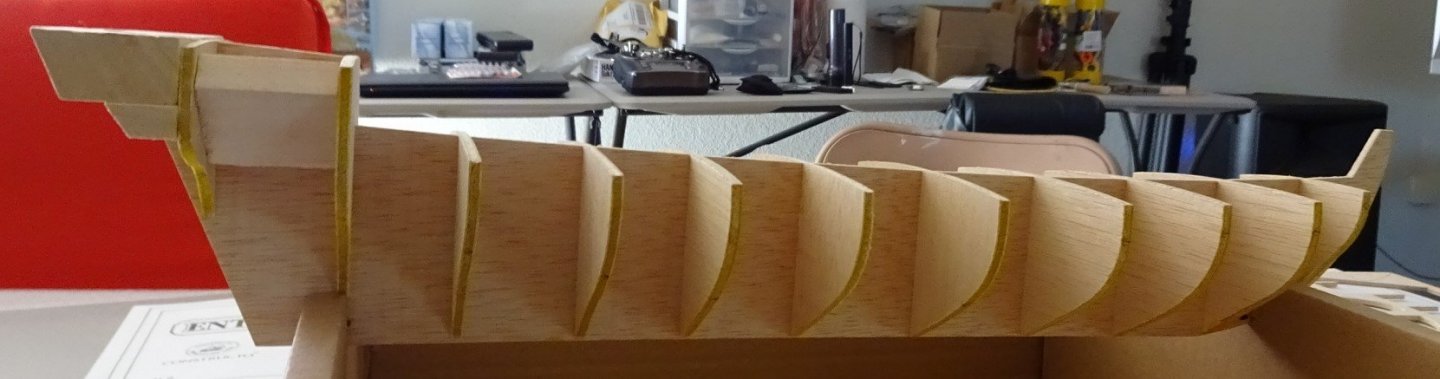
No home projects this week so I was able to get some modeling done. I created a rabbet joint, though almost all the bulkheads reach the bottom of the center keel so I'll need to decide if i want to cutback the bulkheads to allow for the bearding and rabbet OR just leave the bulkheads where they are and work around that. Not the best job, but it is my first time so I'll accept it. At the same time I'm working on the bow fillers. Below are some pics of the rough cutouts and the finished ones. I have also glued in the bulkheads and the mast supports at bulkheads 4 and 8, they are the ones in the picture with the clips attached. It looks like I will not need support blocks to straighten the hull, once I get the false deck on that should resolve "fairing" the hull. Progress is a little slow but then I have no instructions to go by so I have to research what goes next. I'm afraid I'll glue something down only to find later that a piece goes behind or under it. Next steps are to get stern fillers made, attach the false deck and also the stem, center keel and bow keel pieces. Not much area , after rabbeting, to glue the keel pieces.


- 195 replies
-
- 7
-
-
- enterprise
- constructo
- (and 1 more)
-
Well, I've been doing some reading on the ship building process and learned some things. First, so many new words; bearding line, rabbet line, garboard strate, stem, rabbet joint ... yikes! I think I have an idea on how to cut the rabbet line but if anyone can offer some input I'm all ears or eyes. Maybe there's some pics on the site? Second, ordered me a Byrnes 4" Table Saw . I know it's over the top but I hope to get 25 years out of it, if not longer. Third, need to order some wood, I'm looking at getting some paper size sheets of different kinds and cutting them to size. Any ideas? Will the local lumber company carry something like that? Guess I'll check. Lastly, things are moving as expected. More reading before I start saw'n and a hack'n. Have a good day. Edit: Found a video on youtube, "cutting the rabbet" , on a full size boat. Not the best quality but sufficient.
- 195 replies
-
- 3
-
-
- enterprise
- constructo
- (and 1 more)
-
Thanks everyone for the warm welcome. 😀 Bilge Ray thanks for the url, I’ll check it out.
-
Thanks everyone for the warm welcome. 😀
-
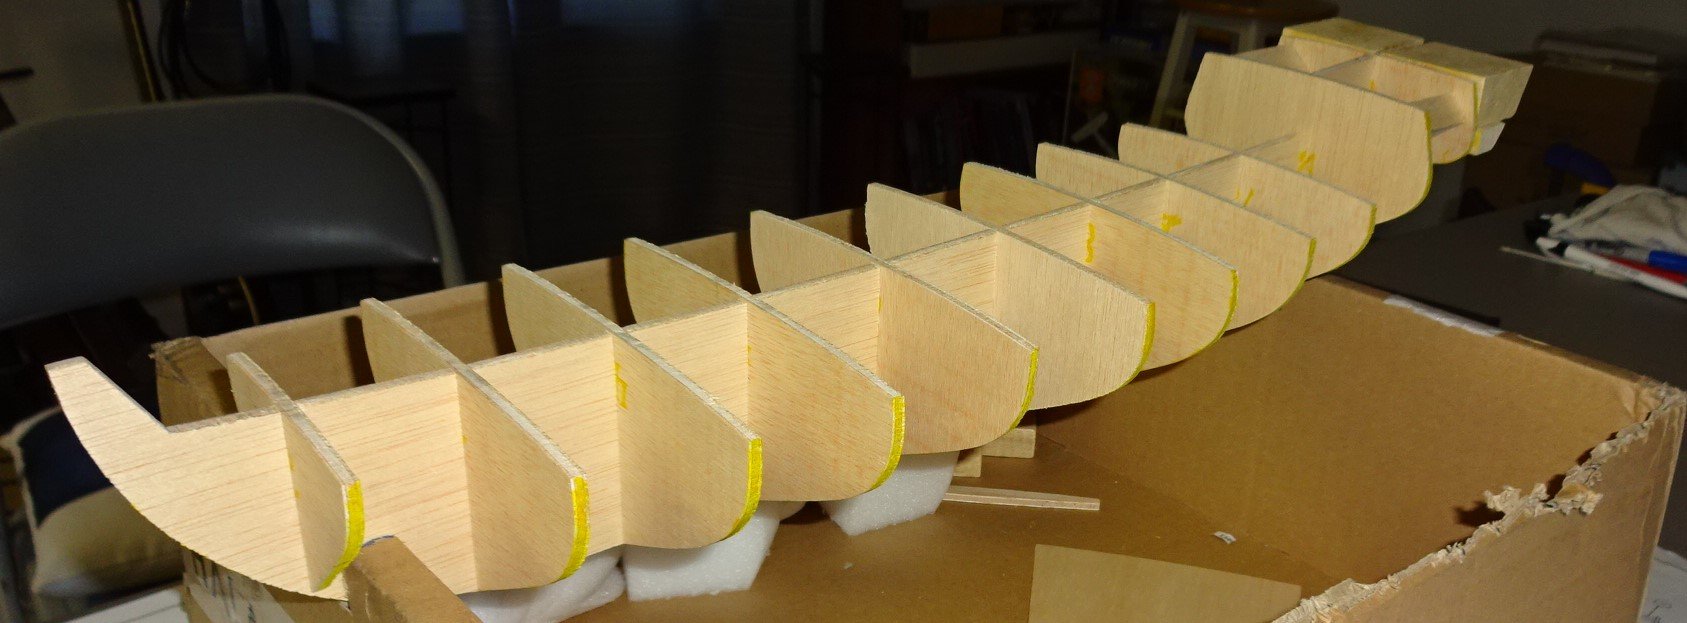
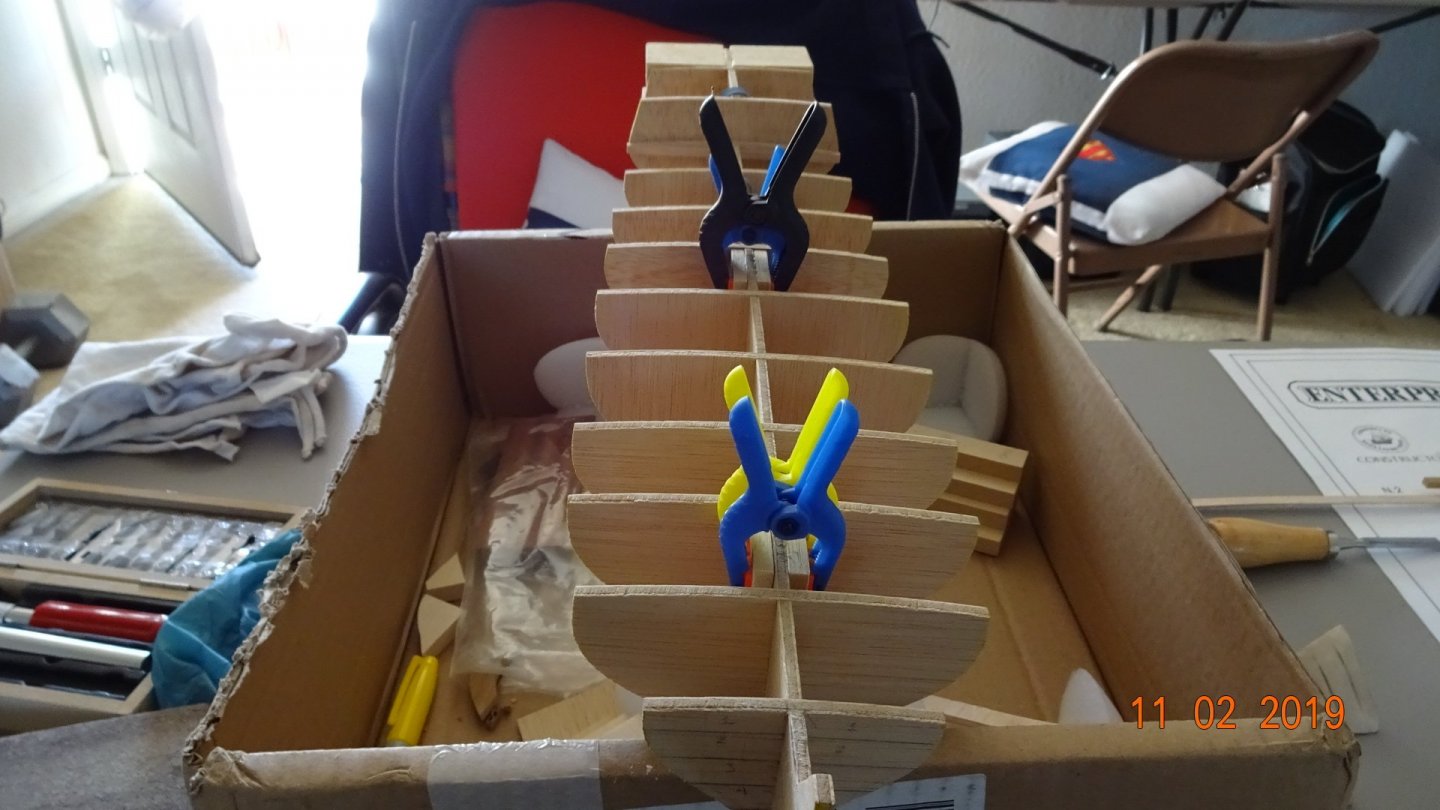
Well, I guess I didn't post the picture of the curve in the keel, in the last post. lol It's the last picture in this bunch. Also posting an image of the stern after I glued in the back section. Curiously, they are not the same width so some sanding is now in the picture for me. I believe the next steps will be to block all the supports, getting them to 90 degrees. Attach a starter plank about 2-4mm below the deck (I read something like that in "mikiek" build log. Then attach the deck. One note, I'm using ship terminology as best I know. I'll get better :j)


- 195 replies
-
- 7
-
-
- enterprise
- constructo
- (and 1 more)
-
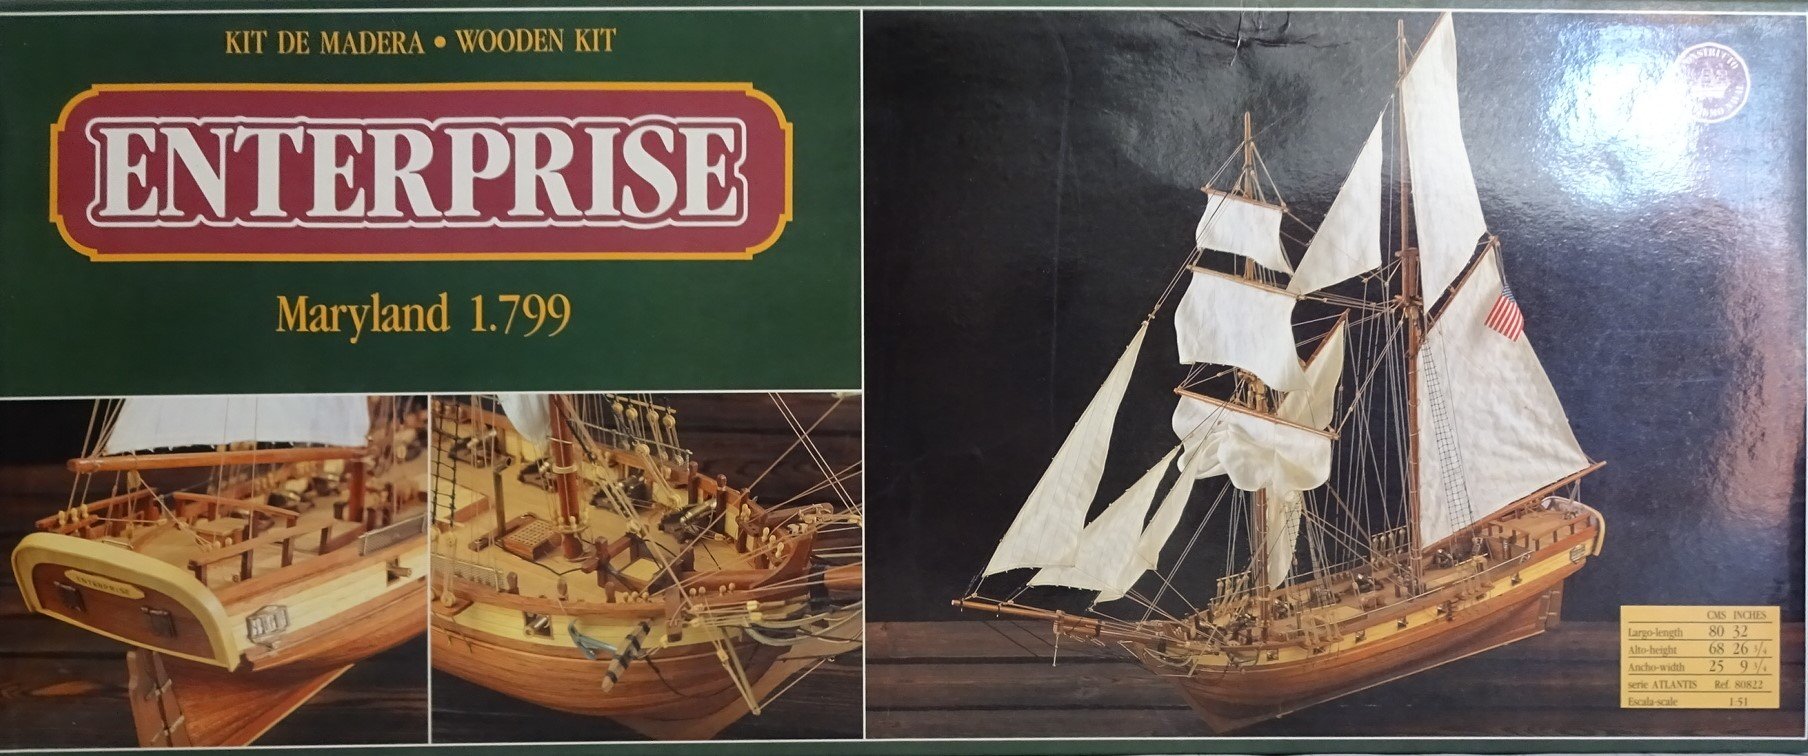
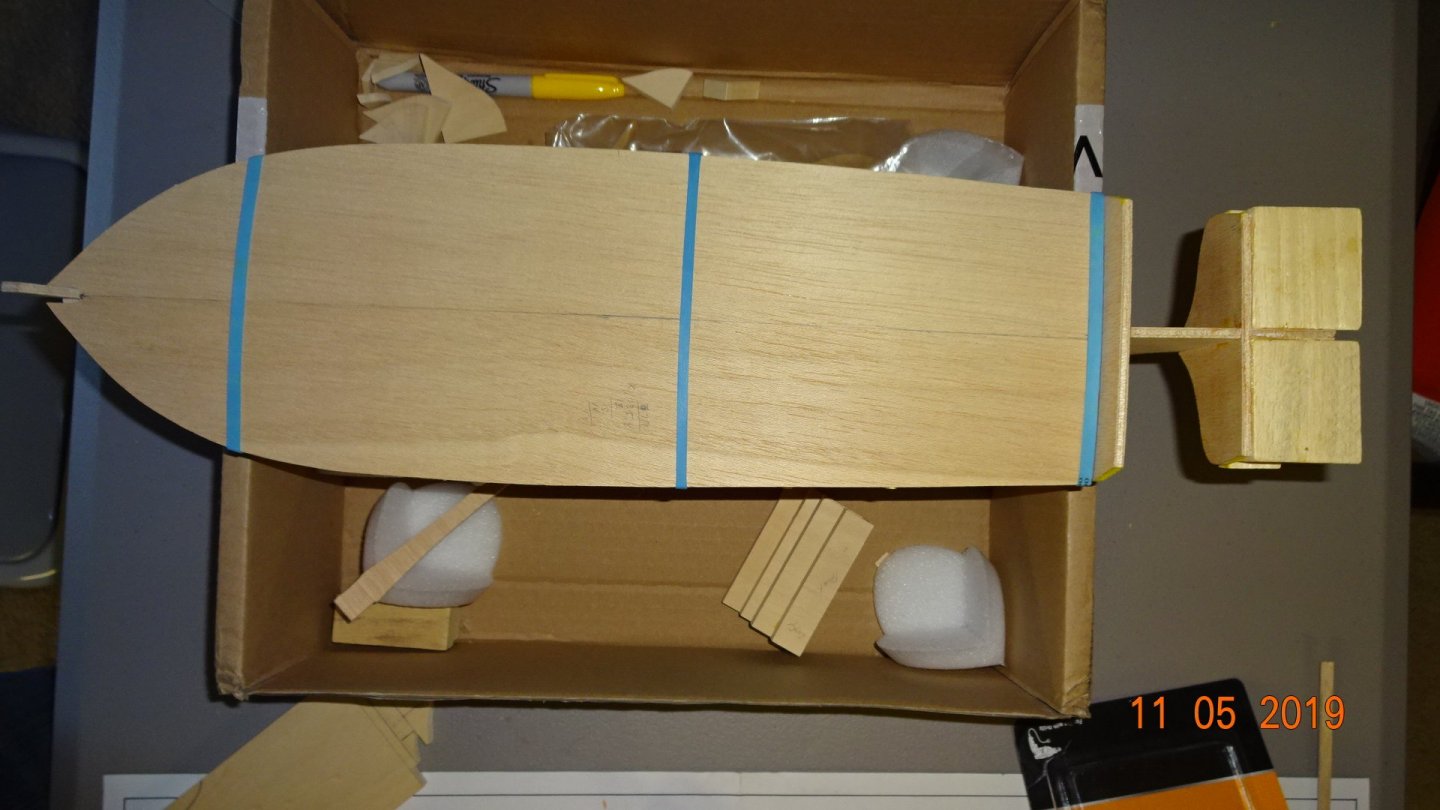
I'm adding a picture of the box for the Enterprise 1799. Also I have started attaching the bulkhead sections to the center keel. I am supposed to glue them but when I was dry fitting them I was unable to pull them apart. So, I'll leave them in and glue some supports. In one of the pics their is a slight curve in the keel, hoping the support blocks will resolve this.


- 195 replies
-
- 4
-
-
- enterprise
- constructo
- (and 1 more)
-
Stanislaus County, been here about 30 years.
-
My build log file for the Enterprise built in Maryland in 1799. I purchased the ship, Enterprise 1799 about 8 years ago. Came shrink wrapped, just like new so I thought. I unwrapped the box and did an inventory. Besides ** missing the instruction manual (WTH) there are various other pieces missing. The missing pieces I assume I can build ( wood pieces) and the ornaments I can order. In search of an instruction booklet I came upon this site. Thank goodness! I was surprised the member name "Rowboat" was available. A funny name and is fits my skill level. There is a complete build log from and individual on this site and that log will be invaluable in my building this ship. The person is ...... mikiek. Thank you mikiek for the "Enterprise 1799 by mikiek - Constructo - 1:51" build log. Hopefully they are still members and can chime in on by build log. I found a few other logs on my ship build on this site that will also be helpful. Maybe I will get lucky and someone has and old instruction booklet they are willing to let go, but if not I just follow the build log. **12/2019 : I was gifted a used manual from a fellow ship model builder about 2 months into my build 😀 This build would be a fun challenge for me if I had all the materials and instructions, without them it will be "funner" . More to come....
- 195 replies
-
- 4
-
-
- enterprise
- constructo
- (and 1 more)
-
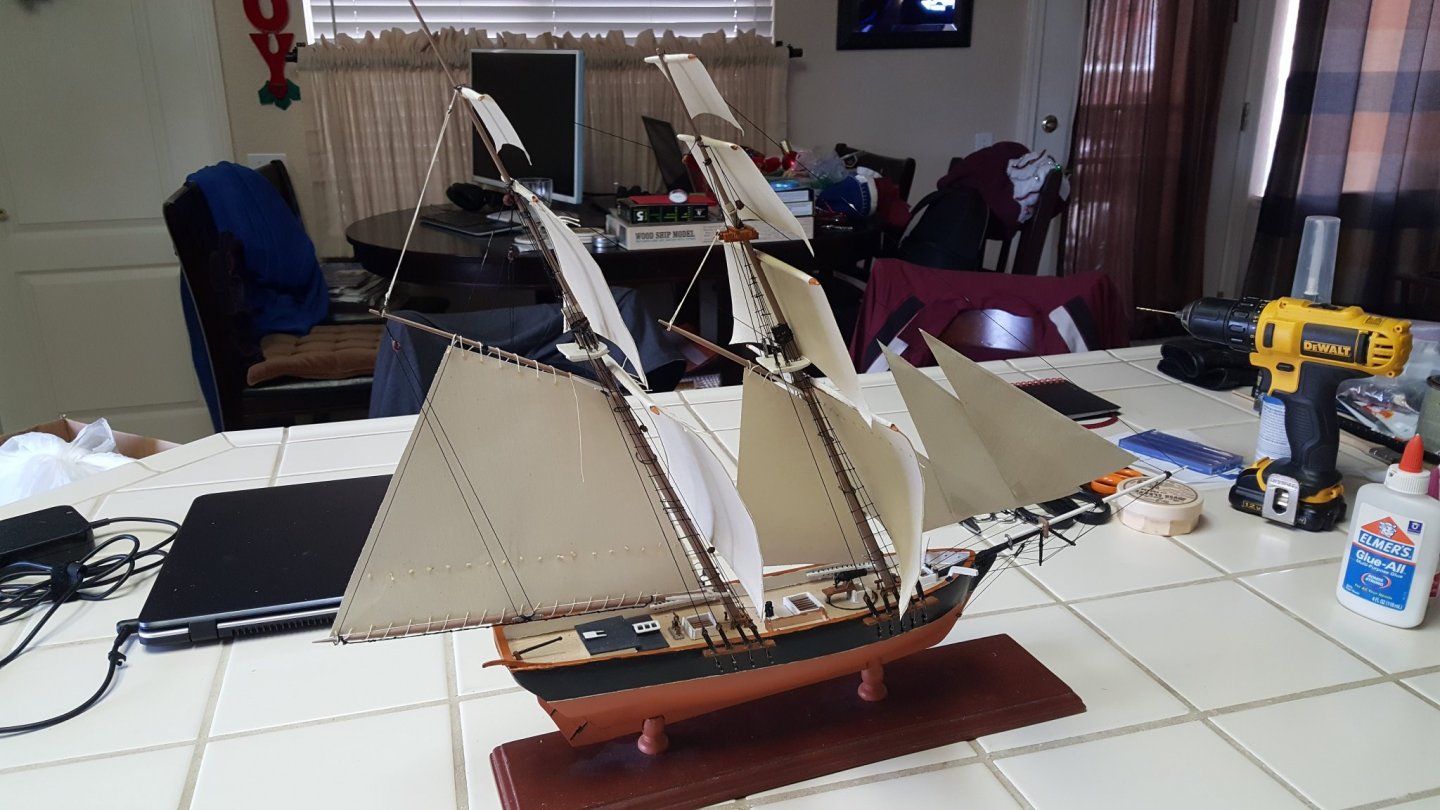
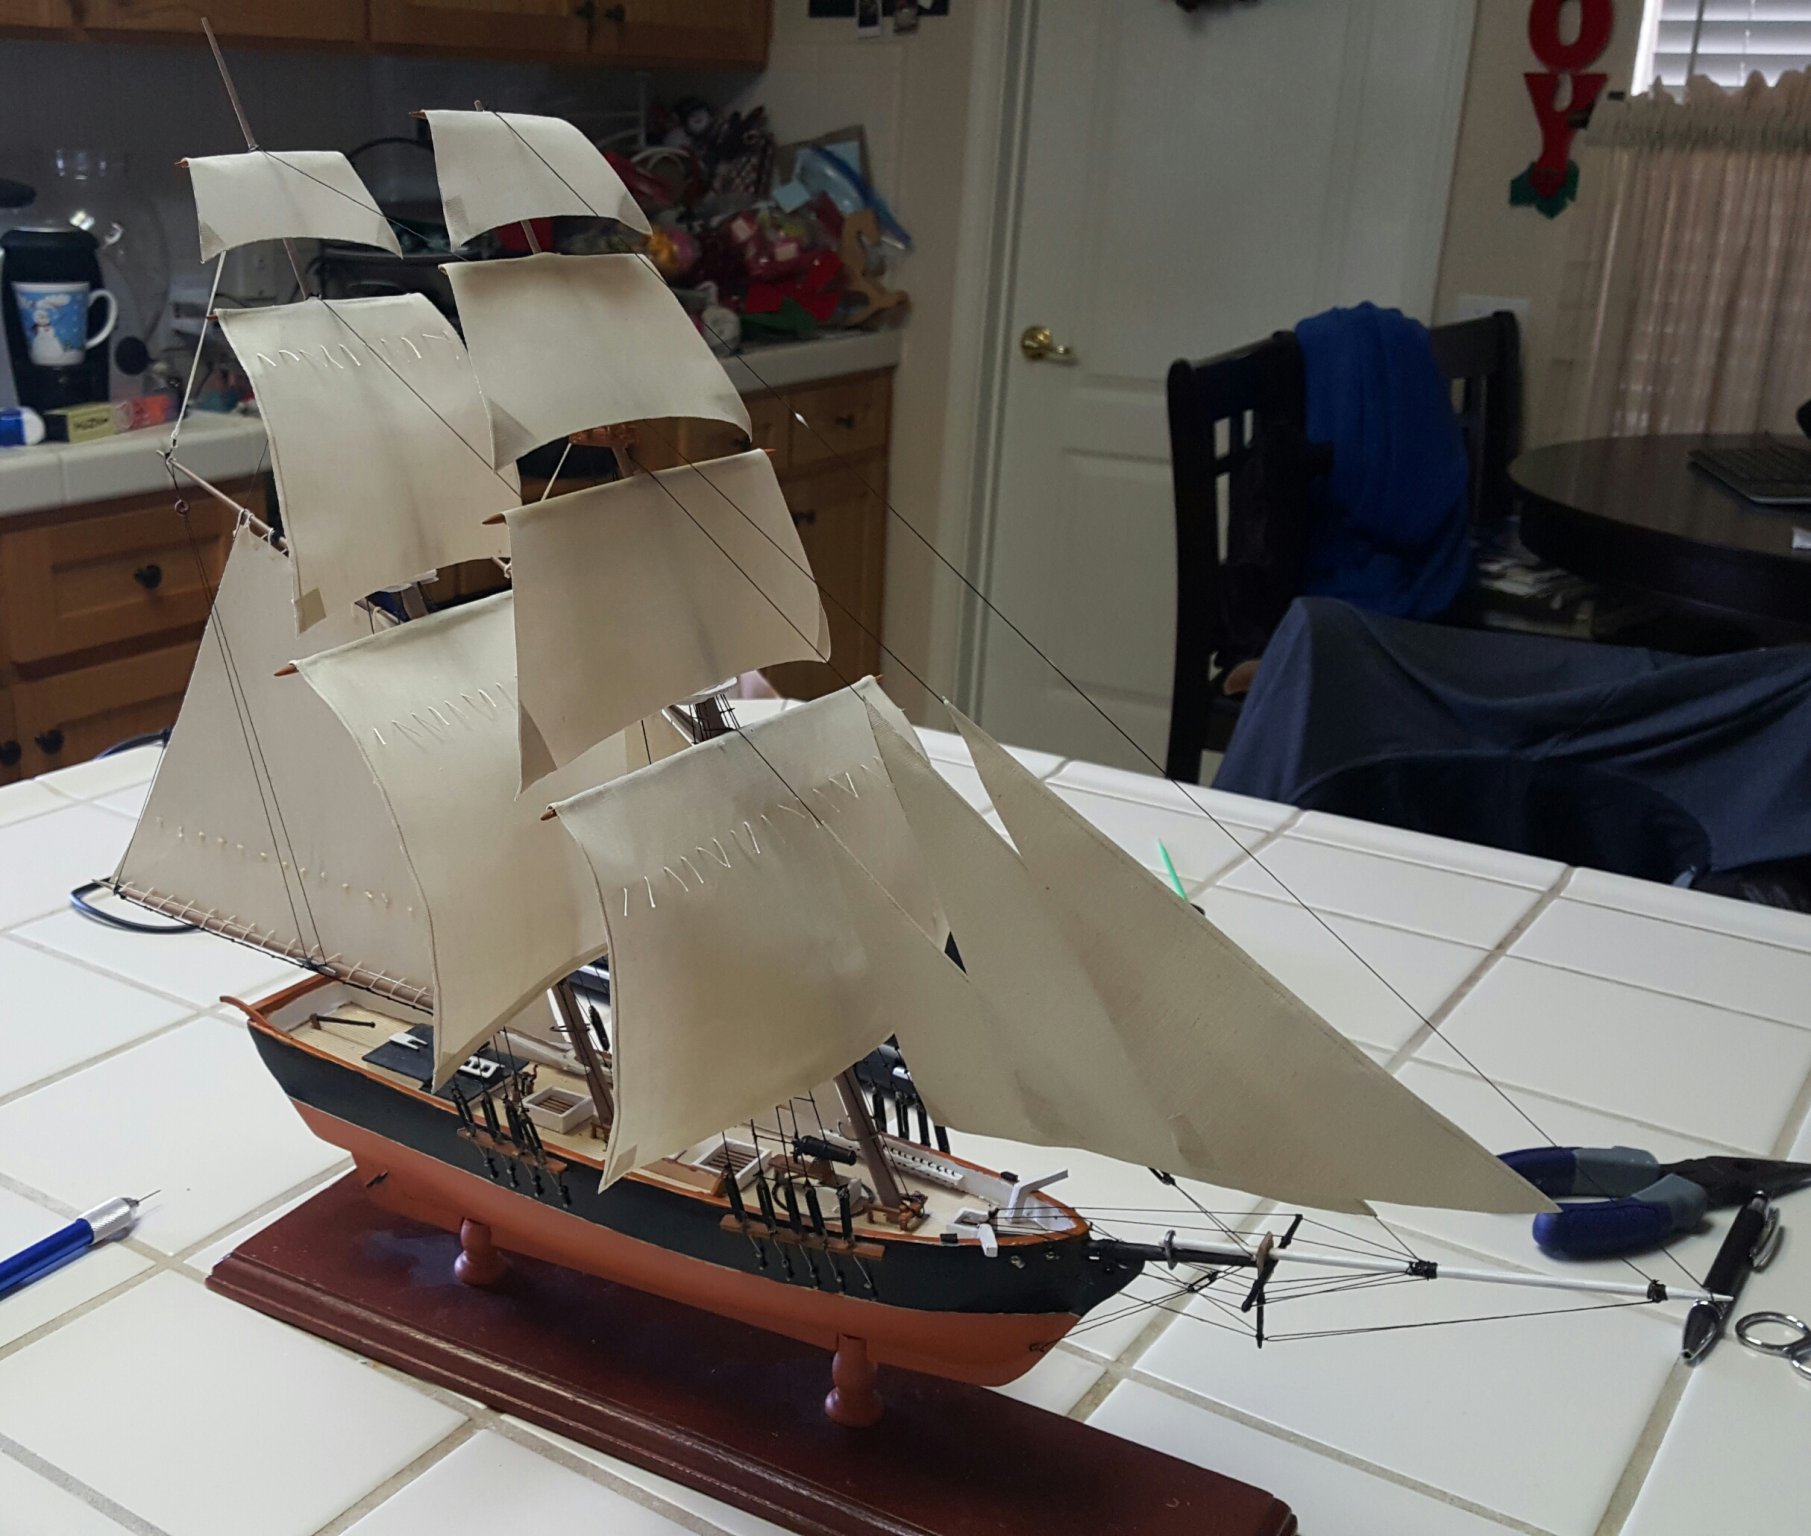
Hello to all, My name is Tony and I live in northern central California, retired. Many hobbies, but I like the down time ship building allows me. I can spend hours researching and fitting a ship piece, I'm sure many of you can attest to that. Completed my first boat build about a year ago, though it took a few years to complete as life got in the way. The boat is the Baltimore Clipper - Dos Amigos and is a block wood hull. I learned many things about boat building from this build and now am moving up the ladder in complexity. I expect my new build, Enterprise 1799, will also be a multiyear project. This build would be a fun challenge for me if I had all the materials and instructions ( which I don't ), without them it will be "funner" . There's my introduction . PS. Found a few pictures of the completed Dos Amigos I did, so posting them. Tony