


gulfmedic1
-
Posts
187 -
Joined
-
Last visited
Content Type
Profiles
Forums
Gallery
Events
Posts posted by gulfmedic1
-
-
they're 5mm but I had to alter the base of the cleat so they would fit on to the stanchions.
thanks Mike, I did some calculating on a scale calculator, hope its right, according to the calculator a 5mm cleat (scale size) is real world size of 18.9 inches does that seem right for a cleat size?
-
Max
thanks for the input. I am in the process of cutting out the step, according to Chucks instructions the step needs to be done before the false keel. I will try Chucks method for the false keel. if i am not mistaken the "R" on the emplate is where the step would be so ill measure from there and make the cut.
cutting the step seems slow, 1/32" deep is very little area to work with.
pictures will come soon
thanks all for the support
-
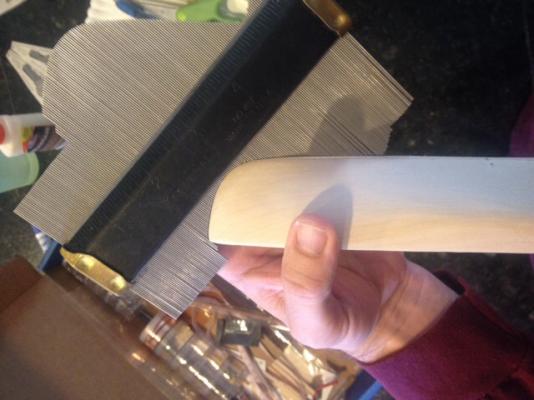
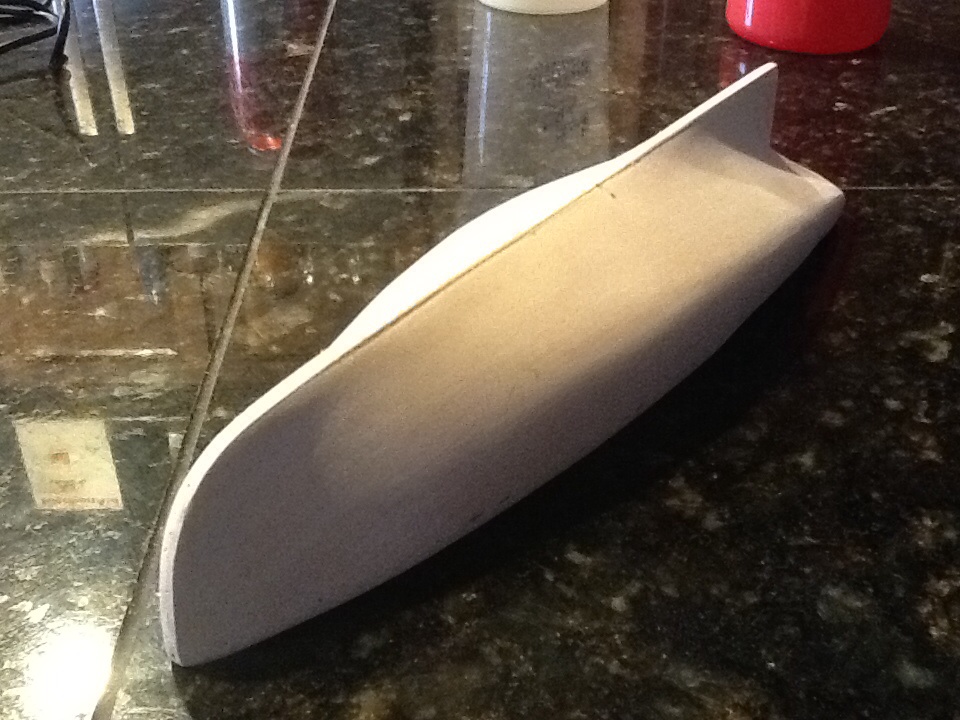
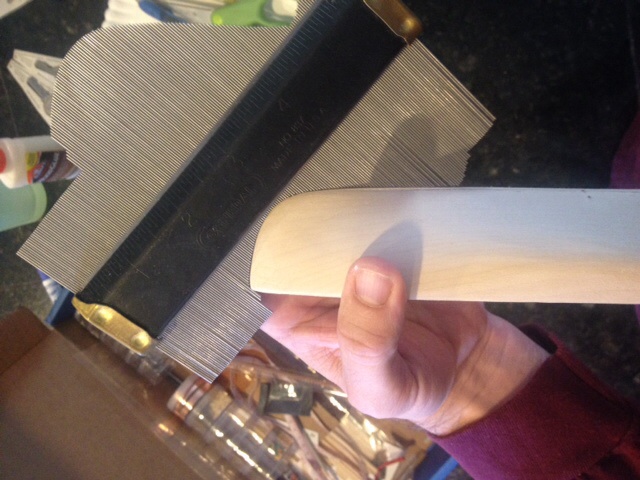
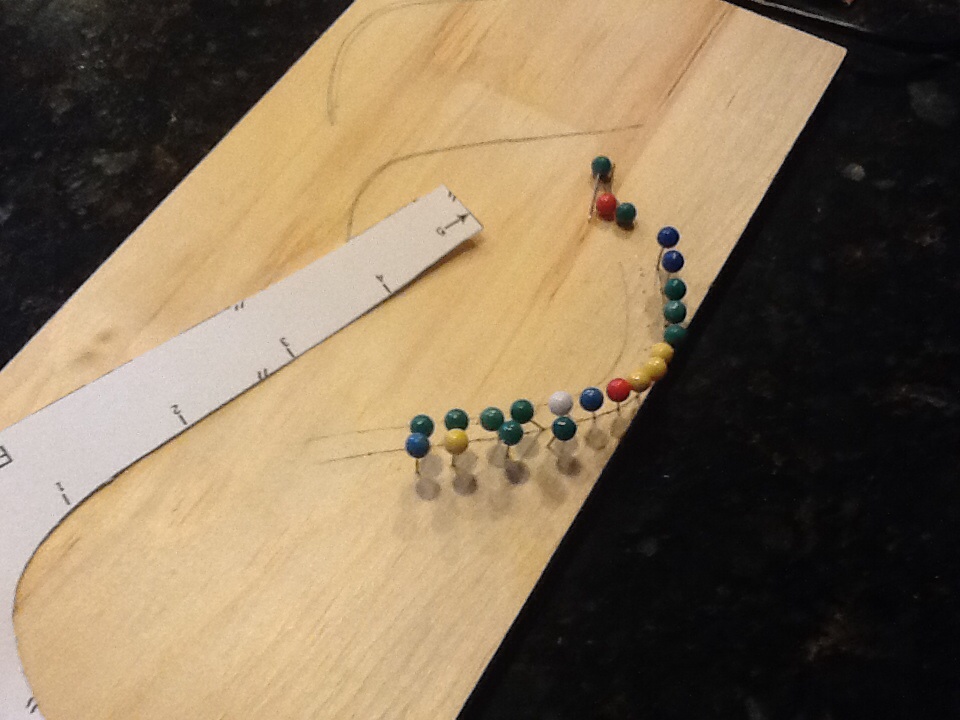
well the hull is fared finaly so now im moving onto the false keel
as you will see i used the template gauge to make sure i had the right angle for the curve. the template and the hull match up pretty good but i figured this way was more accurate.
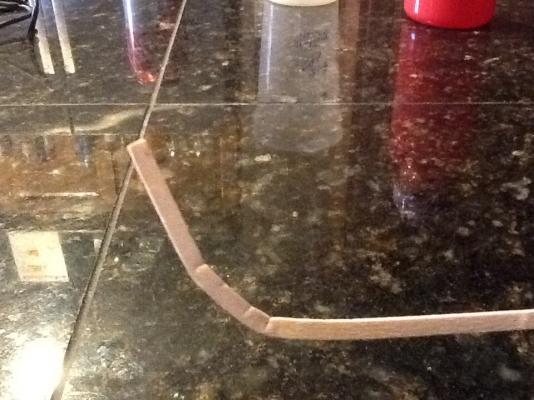
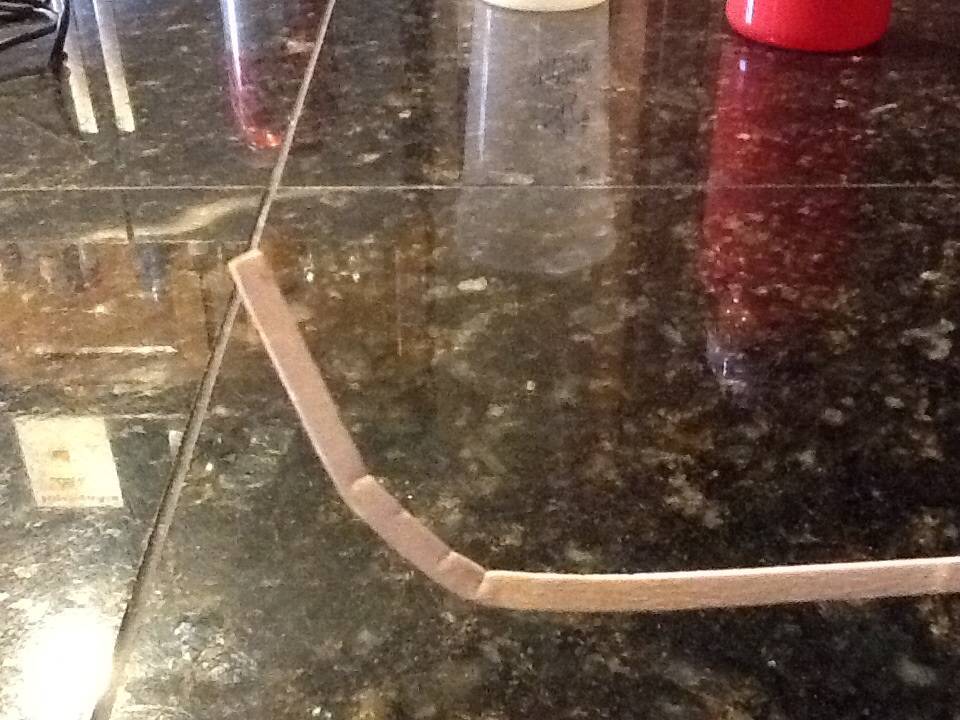
the only issue is when i soaked the wood and then put it in the pins to mold it instead of a nice curve i got two bends in the wood.
so i guess ill try Chucks method next any other suggestions?


- Bill Morrison and trippwj
-
 2
2
-
One of my near by hobby shops had some smaller cleats in stock which is kind of funny because they don't sell any wooden ship models. But I took a chance going over to see them anyway just in case and I got lucky. Although the cleats aren't as small as the plans show I think they'll work. I do have to do some modifications in order to make them fit onto the stanchions. In the pic I put the original cleat that came with the kit on the left and on the right is the new cleat, in the middle is one of the cleats I modified. If for some reason I find that these cleats don't work I've done some experimenting with 16 gauge wire and was able to make something that would work if need be.
Mike what size did the new cleats come out at
-
-
-
-
Great that's what I was looking for I was just curious after you had made the new ones if it became more exact
I'm about finished faring the hull and I'm pretty much in the same boat ( no pun intended) I'm looking at it and it looks pretty good for not exact and I'm ok with that lol
How's the copper plating coming
-
-
Mike
When you fared the hull did your templates centerline mark match center on the hull
-
-
-
-
Mike
thanks for the input, ill have to try that, i am almost done with the hull, I think I am like you, its not perfect but it works for me.
silly question when you (or anyone else here) cut templets do you cut on the line inside or outside the black line. I ask because I think that may be part of my issue
-
any thoughts on this one
Model Shipways Hms Bounty Launch 1:16 Scale
-
yeah you look busy ha ha, I like the Phantom, its teaching me a lot, I am having a little issues with the templates but I am working through it. watching your build actually explained some things i was confused on with the drawings.
-
Tim
no I am building the Phantom from Model expo
-
all the build is coming along good, still having issues with the templates not matching up very well, but working through it.
also, i am currently reading Ship modeling simplified and ship model builders assistant. Is there any other book that is good for explaining hull shapeing and understanding how to read the lines and such on the models plans.
I read the article here on MSW but am still a little confused, I would like to learn more and go deeper with reading the plans
-
Tim this is an awesome build, eventhough i am doing a kit, i am learinig a lot from this thread
-
Thanks everyone for the feedback
-
Mike
I am having the same issues and it's taking a lot longer to get my hull completed only thing is I don't know how to make templates from the plans
-
Thanks Max ill do that and you right Adams funny
-
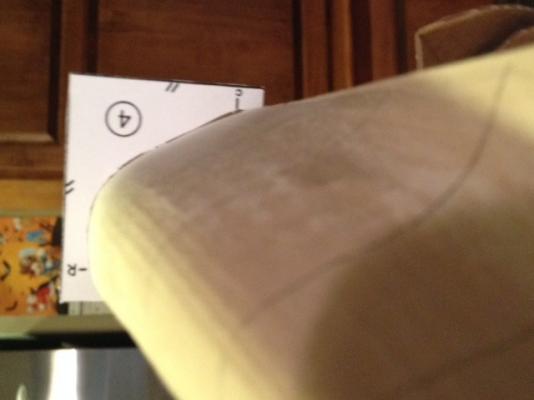
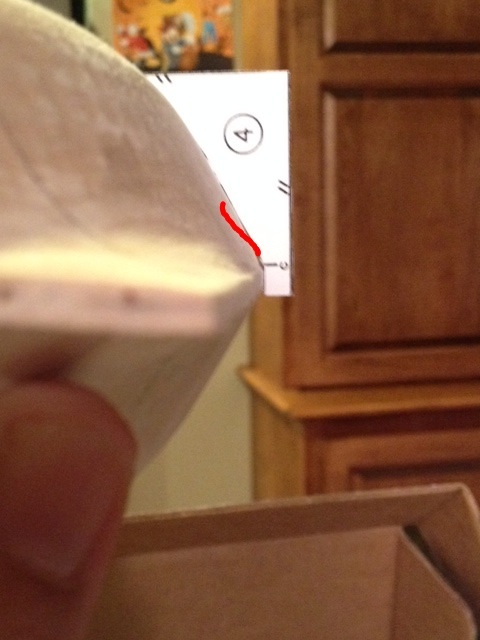
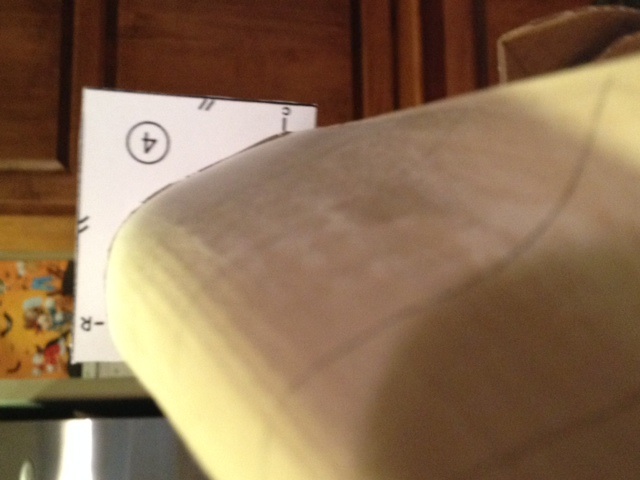
So I have been working on the fairing of the hull and it is going good I got the number 5 templet went well. I am now on number 4 and I am having an issue. I looks like the "c" center mark is way off. so im thinking once i get the hull faired for that area do I just keep taking off more of the hull until the c lines up to center

-
hey Max thanks, and yes you were the person I was talking about, sorry I couldnt remember your name. Yes your in put helps a lot. maybe I am being to OCD but i really would like to stay as true to the build as possible, as stated eventhough its my first I really want it done right. thanks for the explanation, its hard getting information on this vessel. I am trying to pick items that I am confident are true to scale for reference but its hard. Do you know her life size demensions I cant find it.
also I found this link I thought was cool, the builder put two flags i didnt see in my kit.
on is the red white flag which means " i have a pilot on board" the other is the "follow me flag" i think im going to put those on her when its complete.
http://www.olsonhistoricshipmodels.com/forSale/phantom/index.htm
Max
i found this conversion calculator not sure if its accurate but it seems to be right
Phantom by FlounderFillet5 - Model Shipways - Pilot Boat
in - Kit build logs for subjects built from 1851 - 1900
Posted
Max i am making the same table saw from instructables good little saw, I am a Dremel freak, lol...just curious how did you make the little cuts in the wood so shallow?