HOLIDAY DONATION DRIVE - SUPPORT MSW - DO YOUR PART TO KEEP THIS GREAT FORUM GOING! (Only 24 donations so far out of 49,000 members - C'mon guys!)
×


Penfold
-
Posts
202 -
Joined
-
Last visited
Content Type
Profiles
Forums
Gallery
Events
Everything posted by Penfold
-
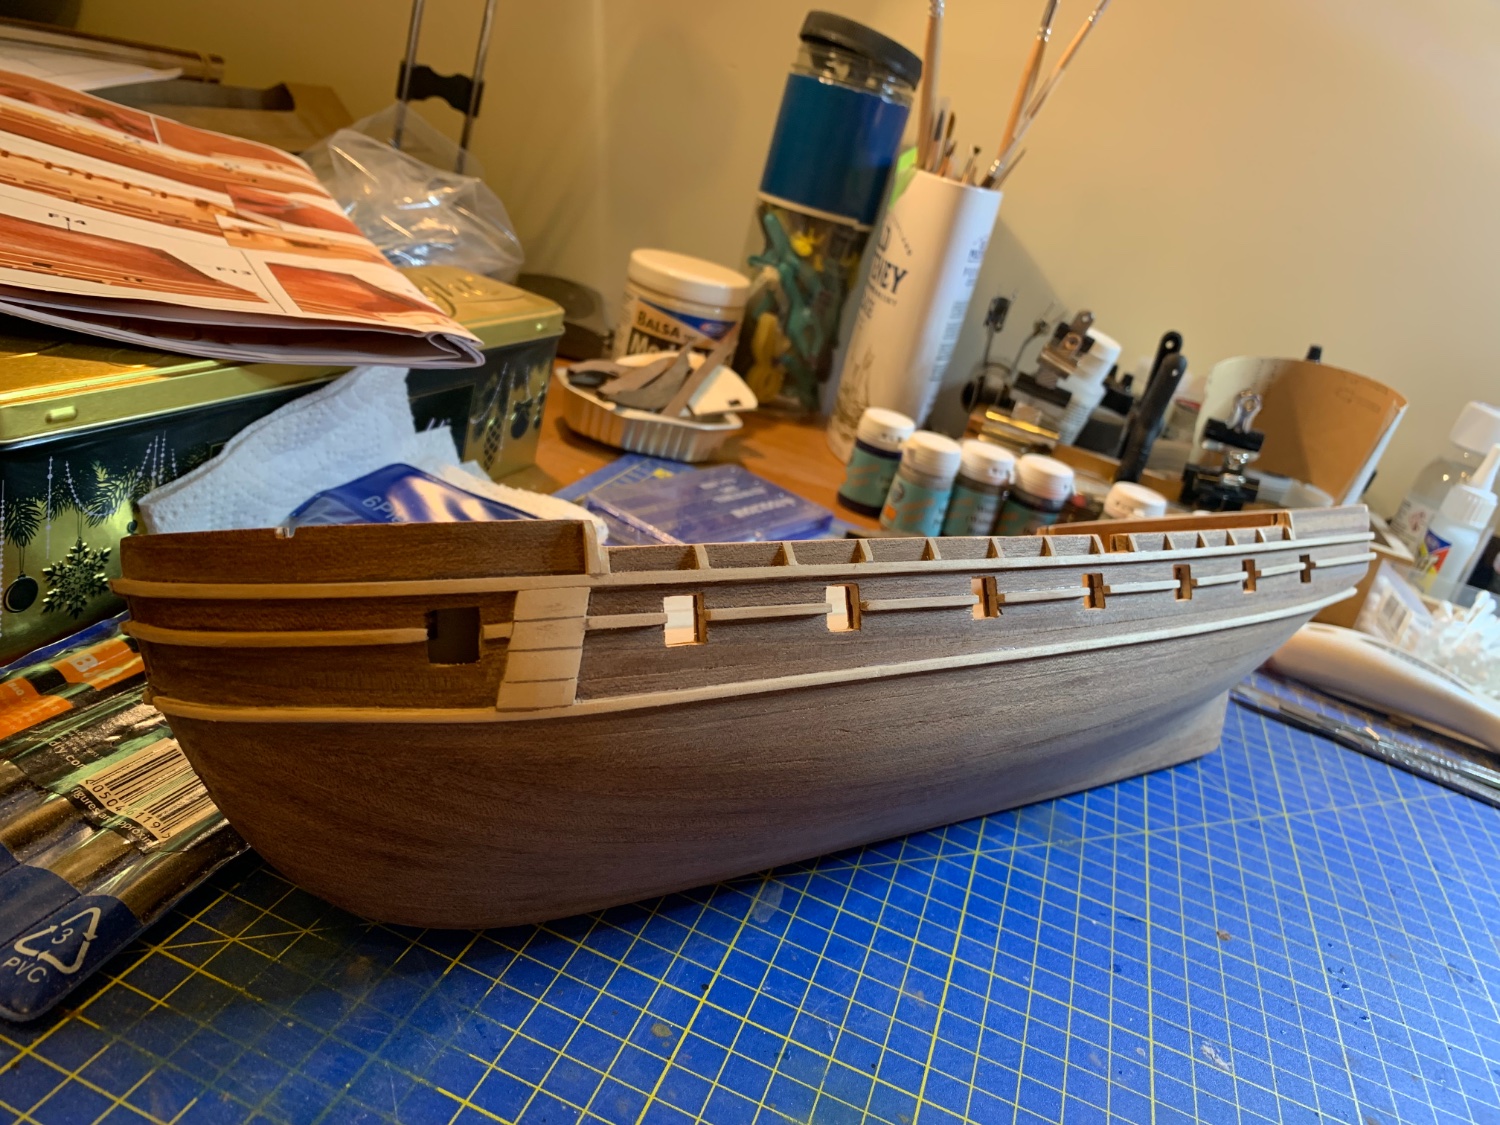
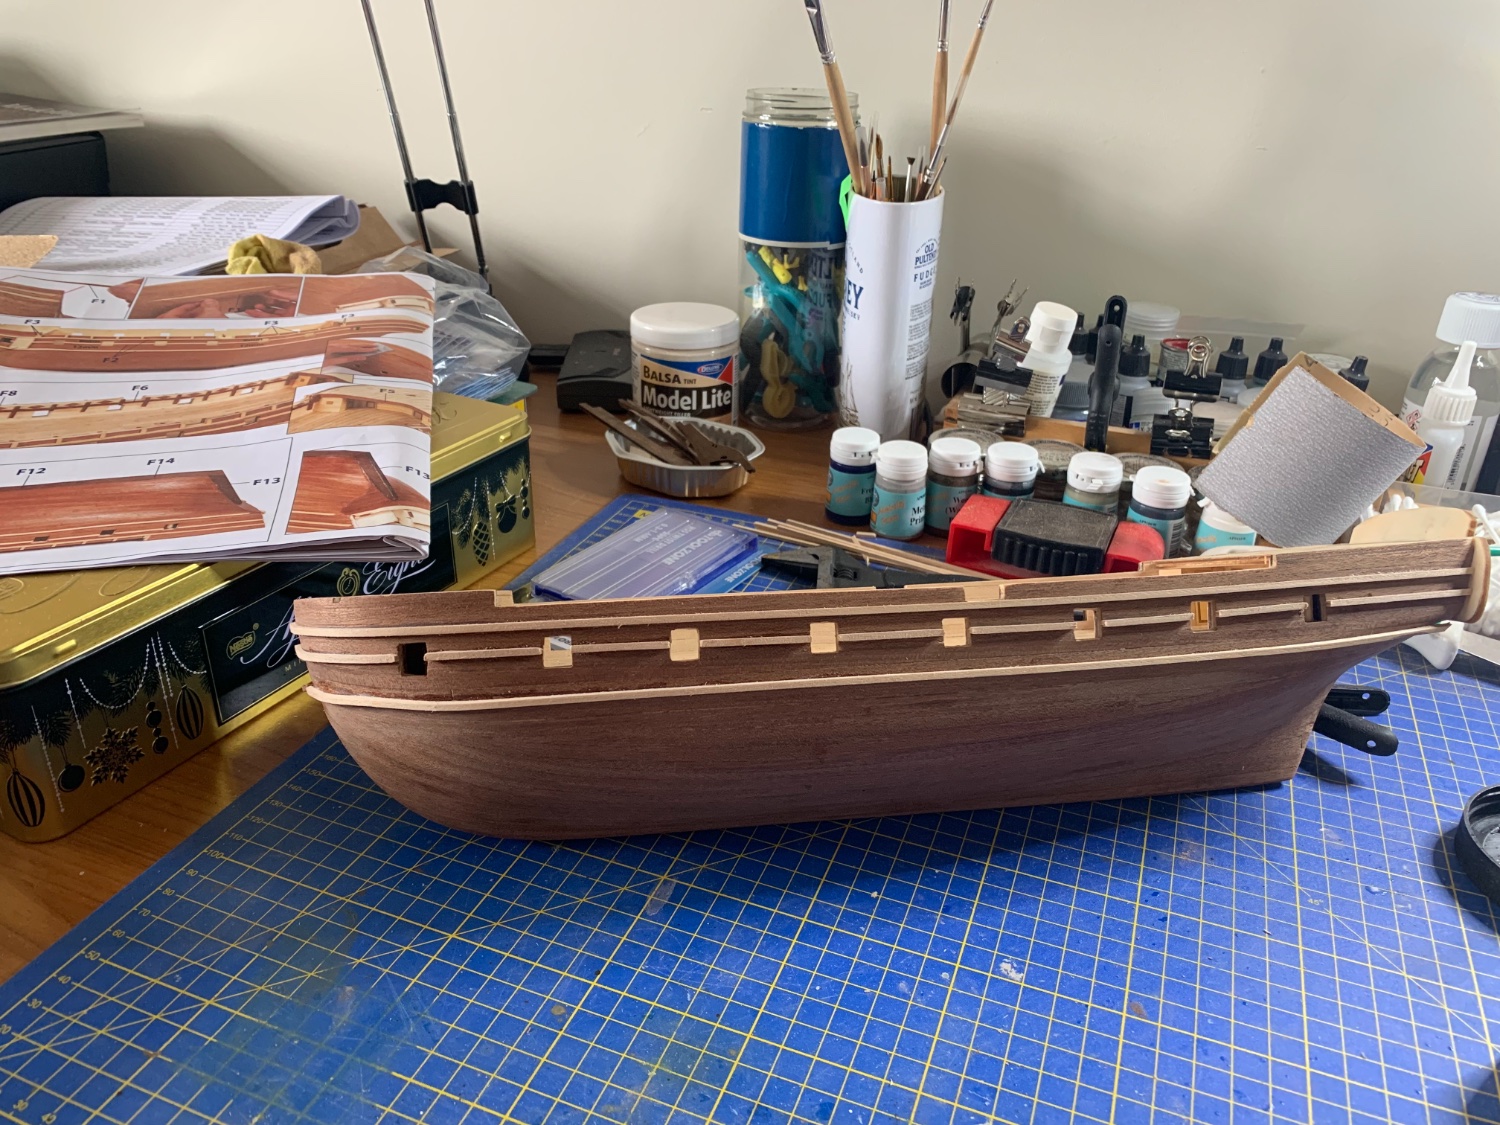
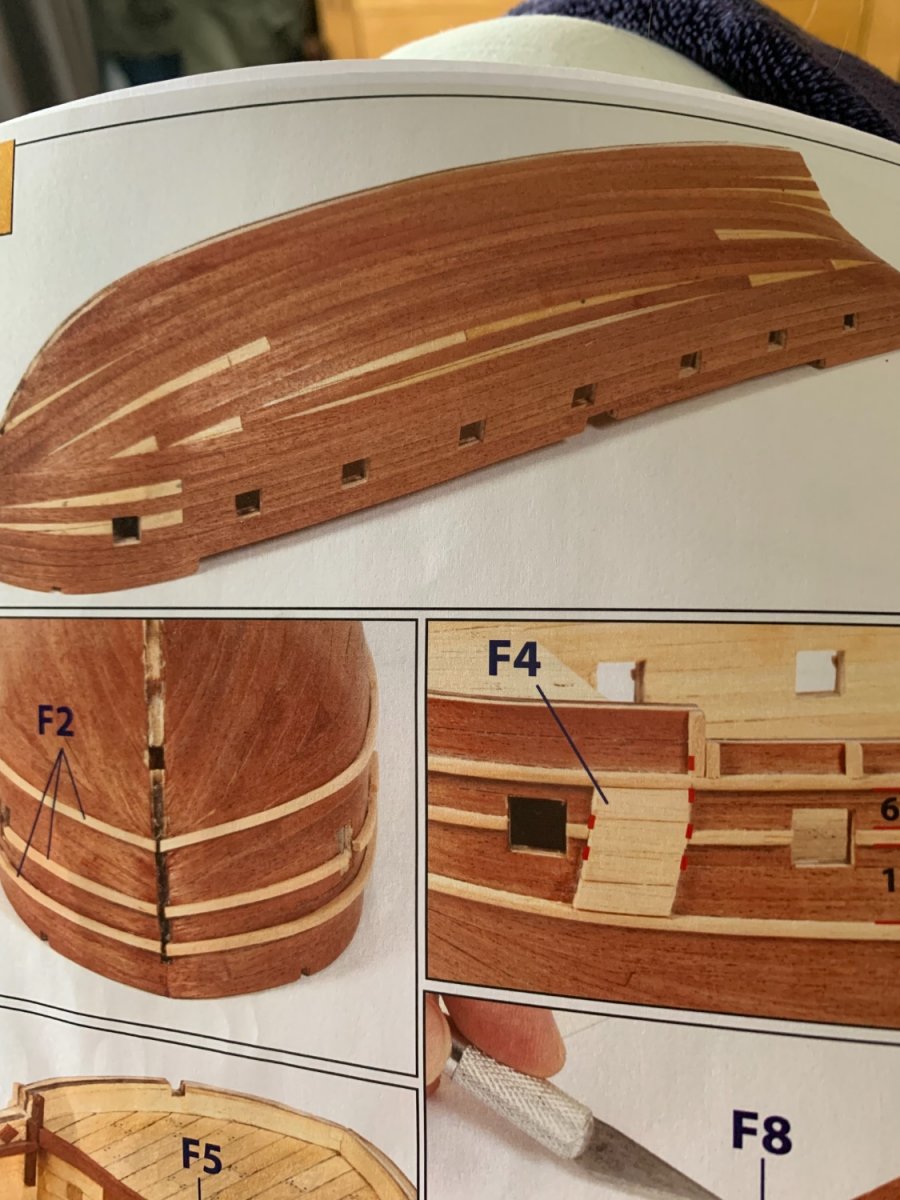
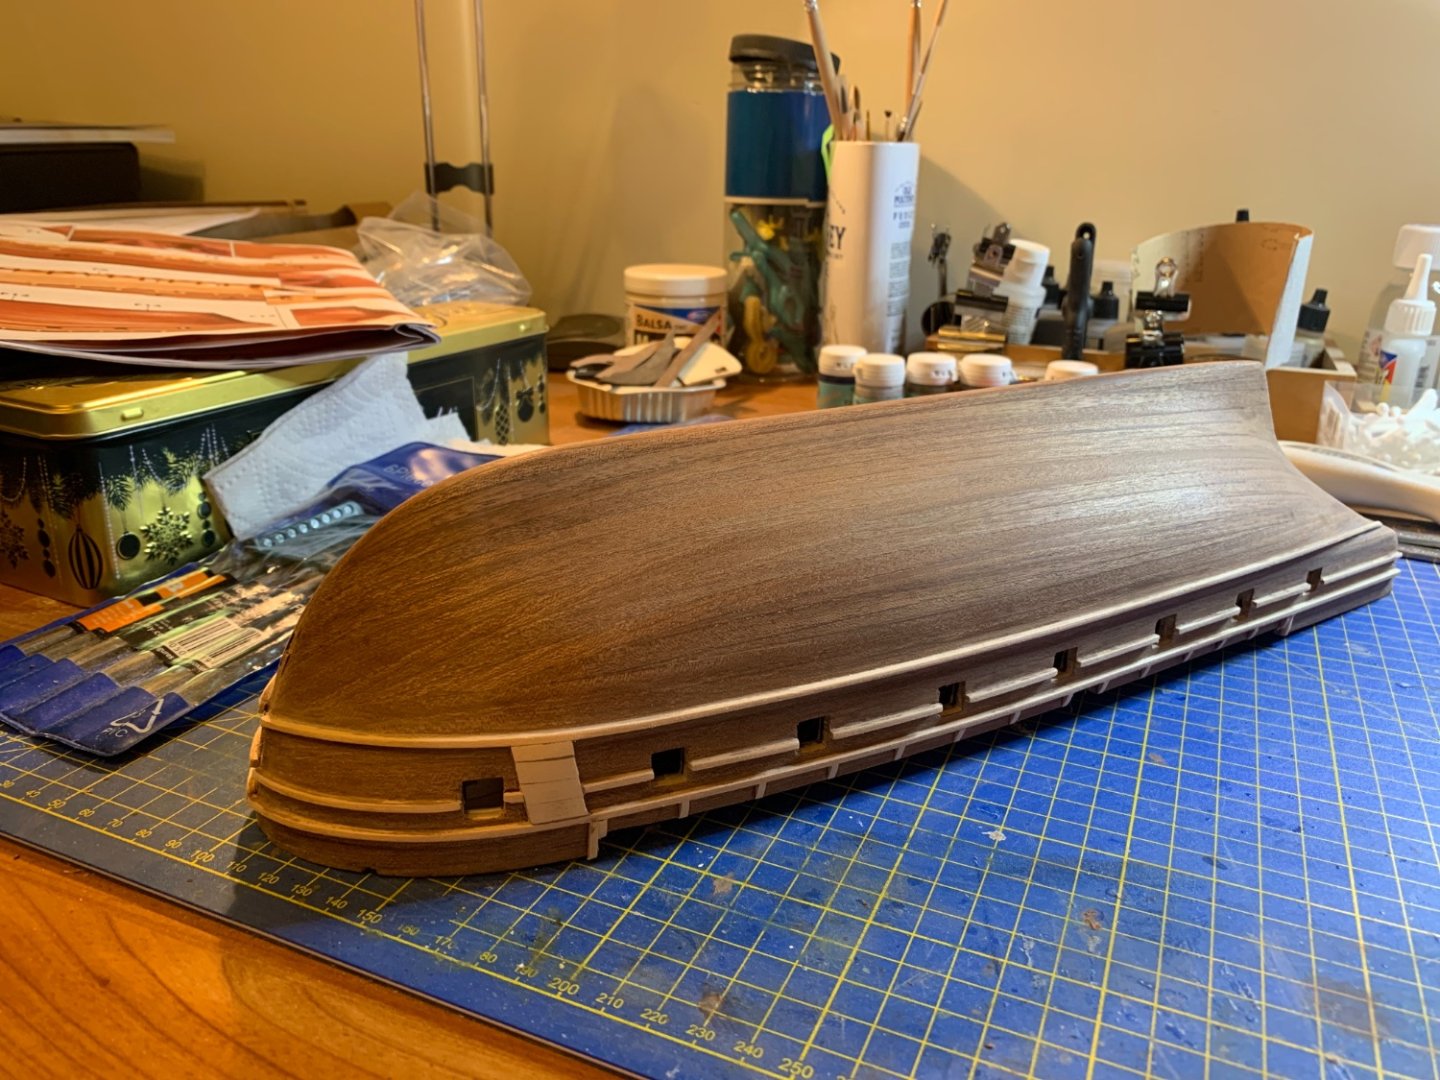
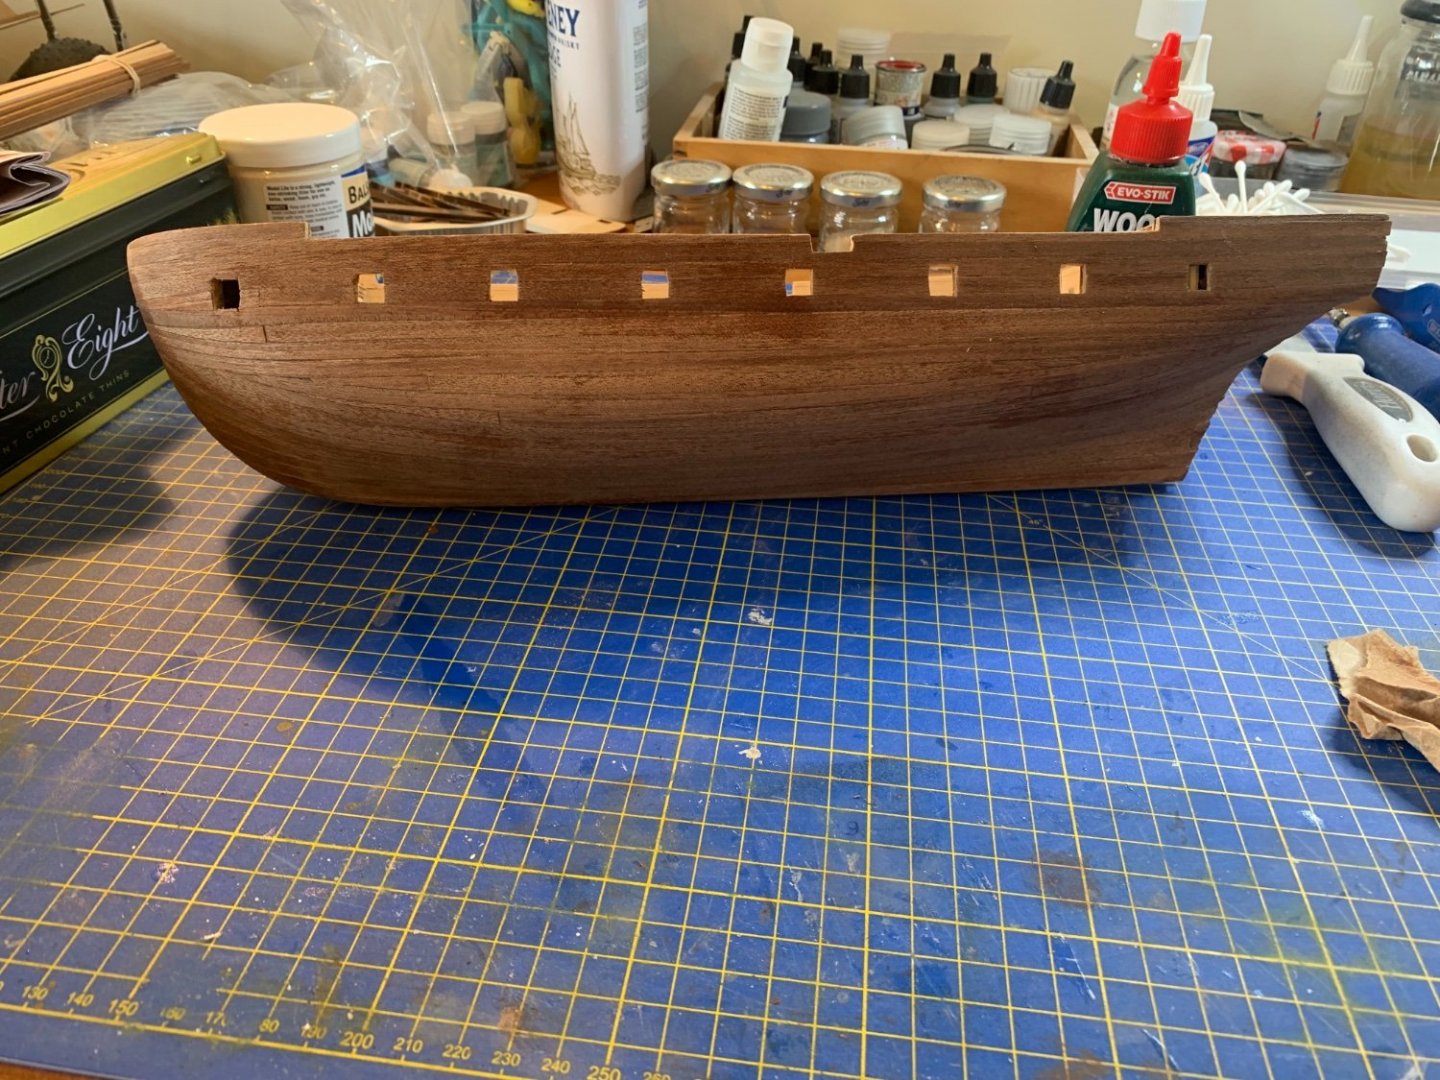
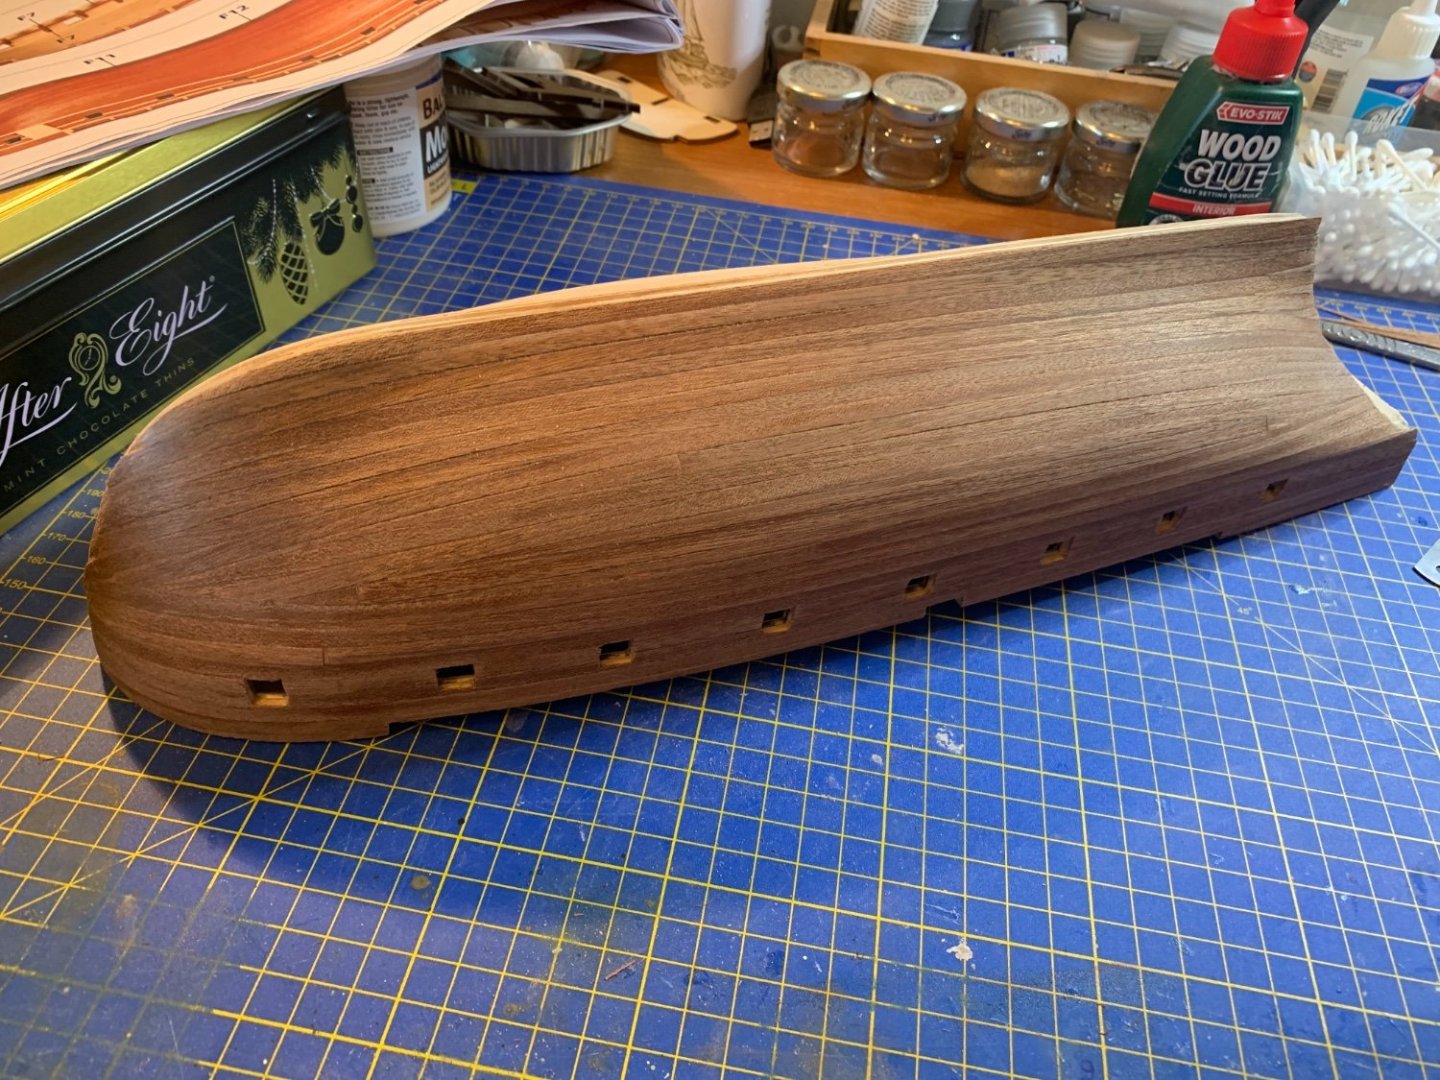
 So then I’ve added the chaffing boards and the other little bits from the strakes up to the top rail. Even if I say so myself, it’s starting to look like a boat. I’ve had a look a dry-fit of the keel, which looks like it’ll be OK. But the next job is to do the internal decorations, then it’ll soon be time to be getting some varnish and paint on it.
-
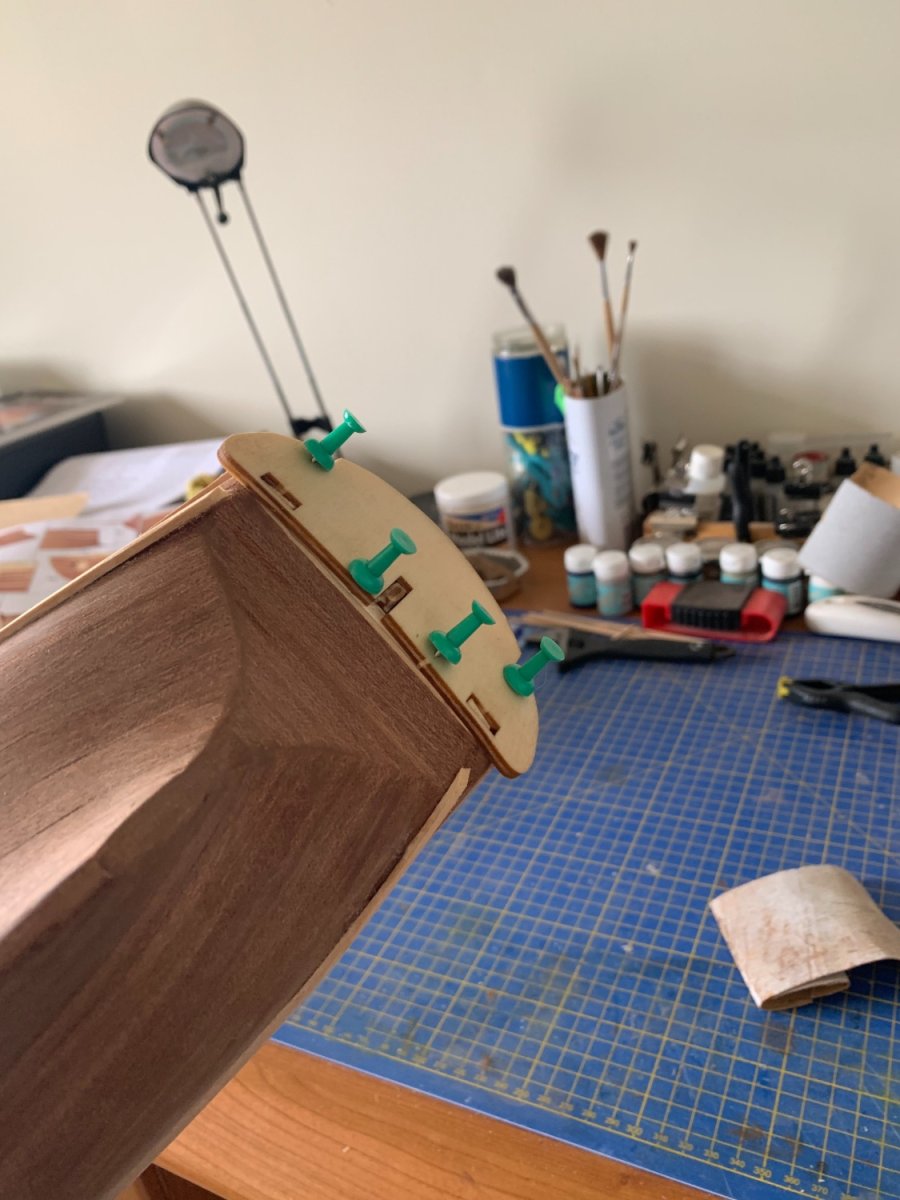
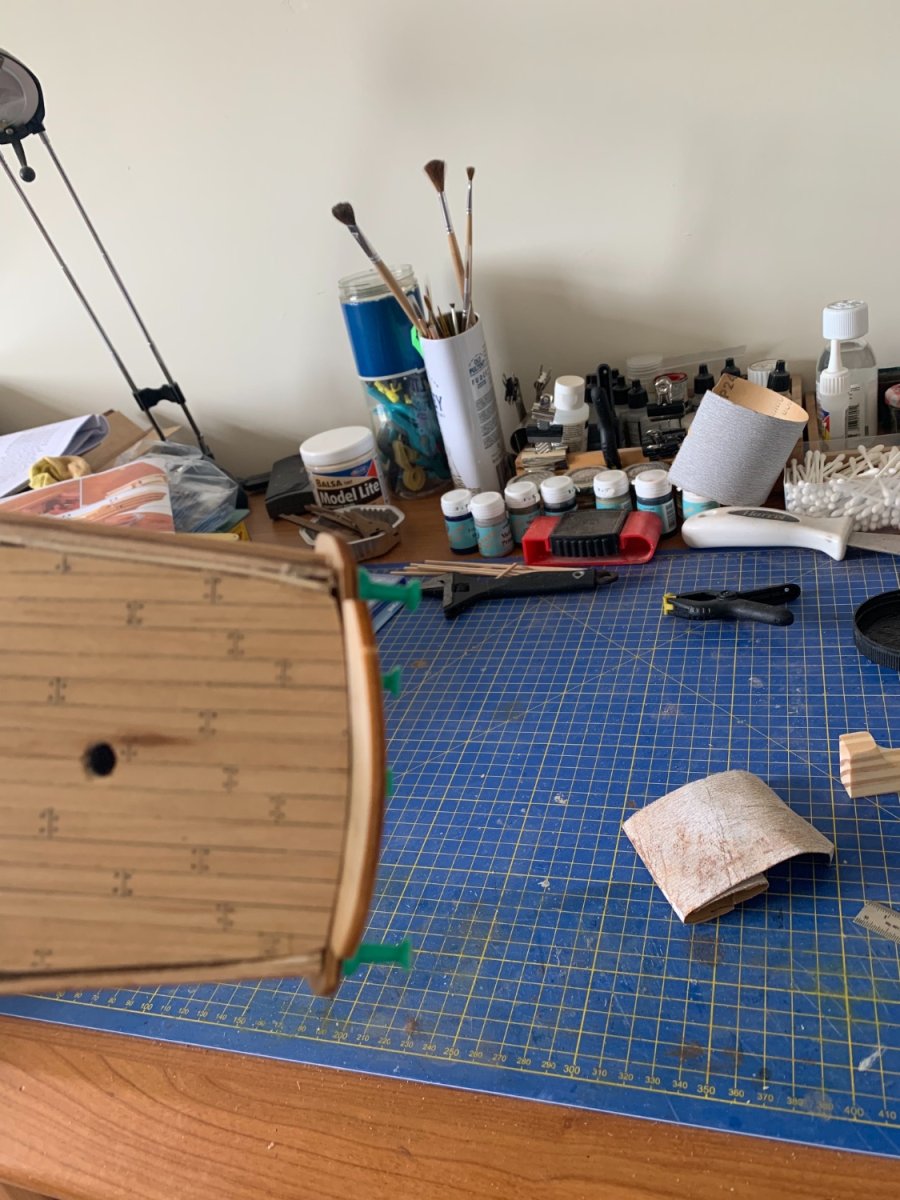
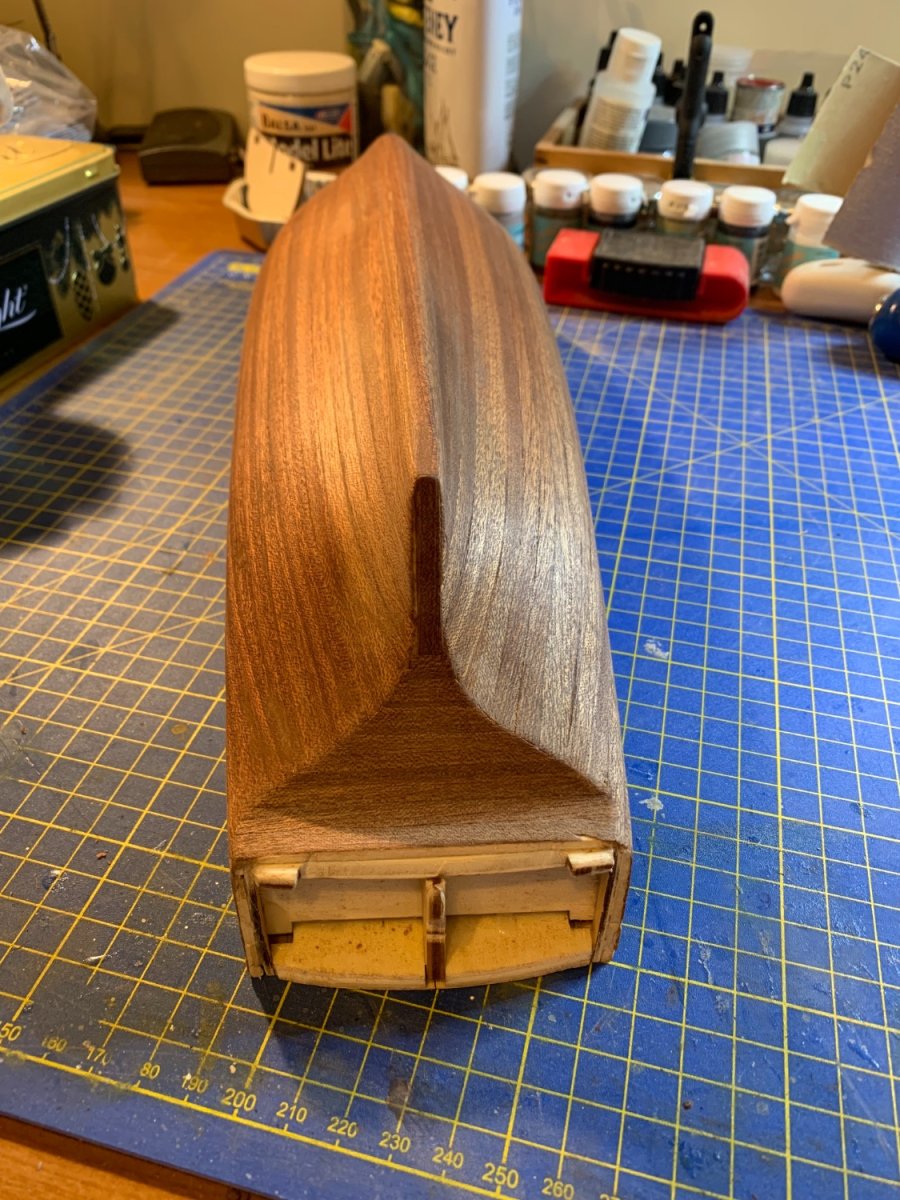
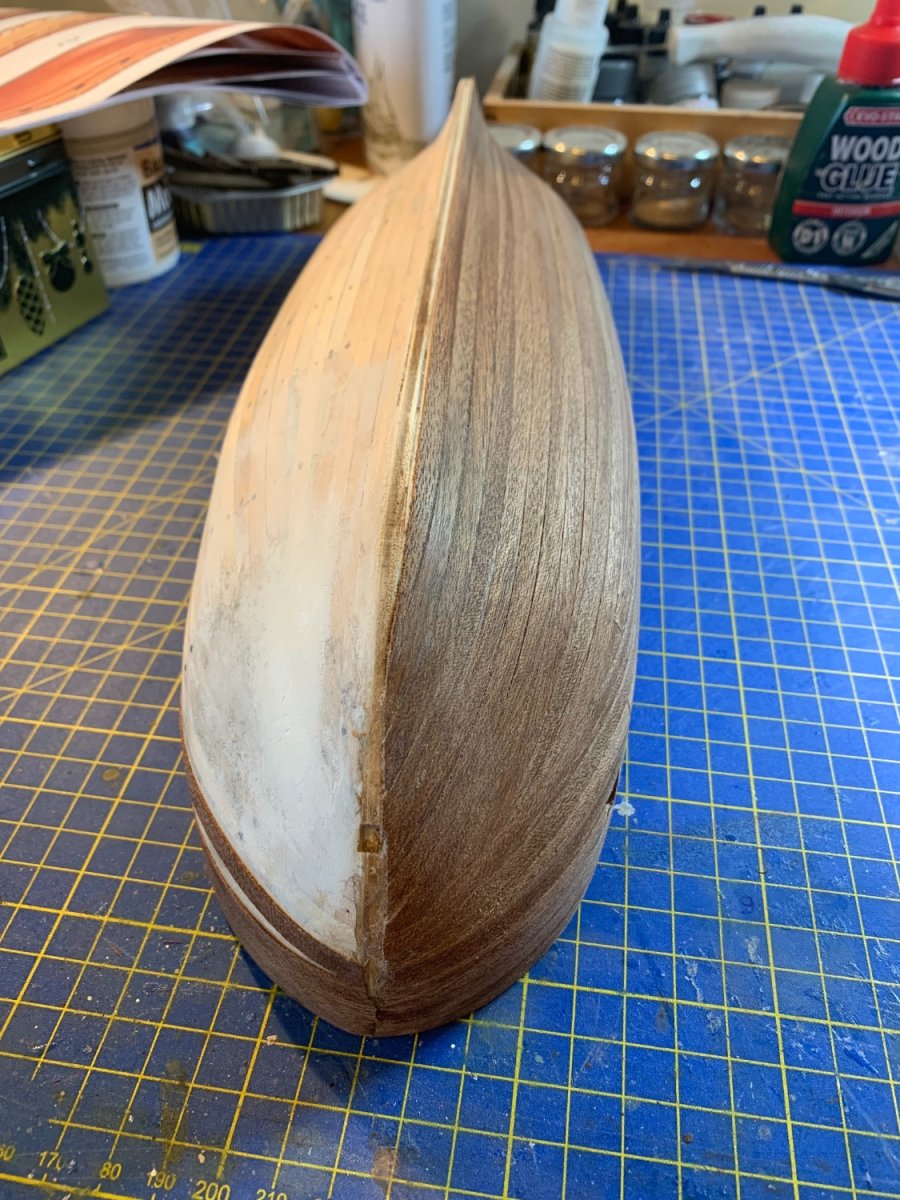
I soaked the stern transom and pinned it in place to dry. I felt it needed to ge done this way as it isn’t a straight forward curve, being straight at the bottom but curved at the top. Using the four pins enabled it to dry in the right shape. I’m still not really sure how I go about making it look seamless but I guess that’ll come.
-
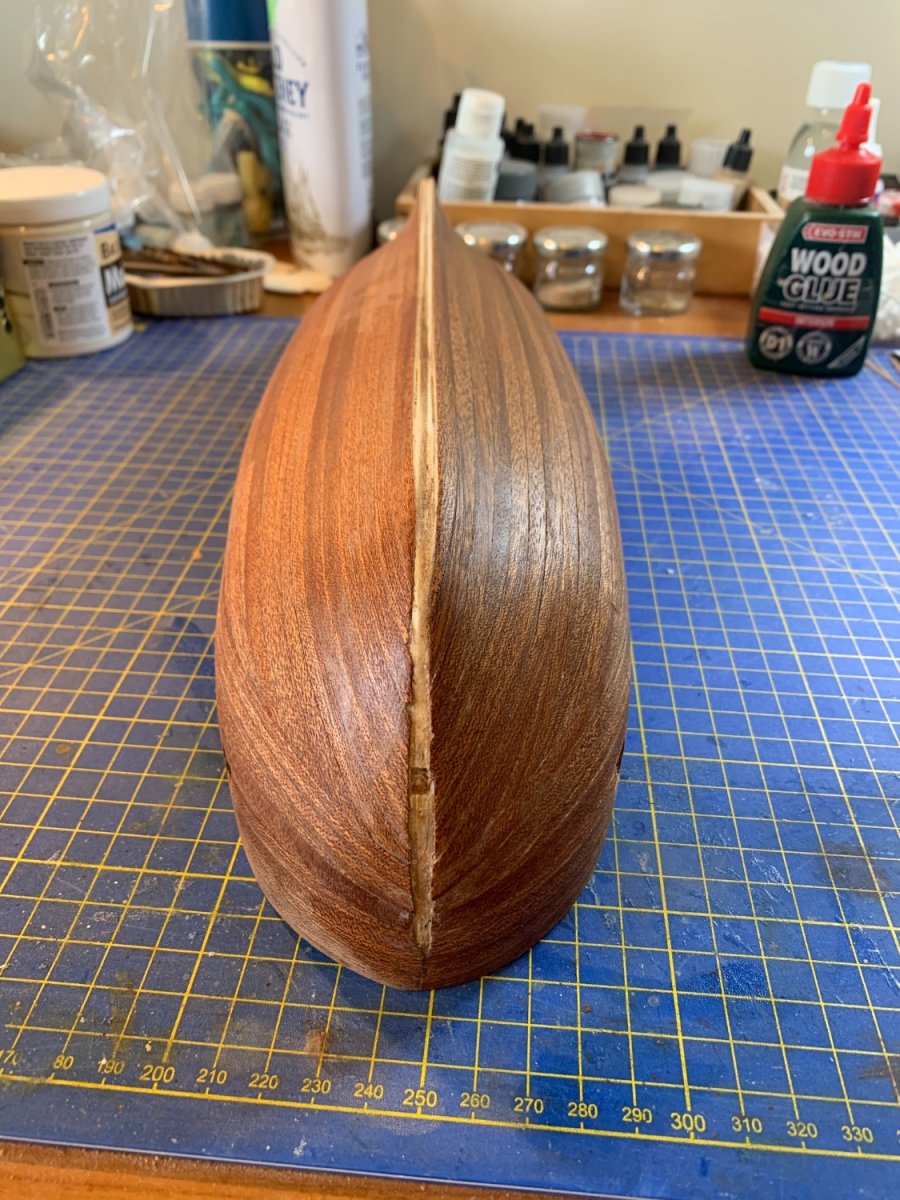
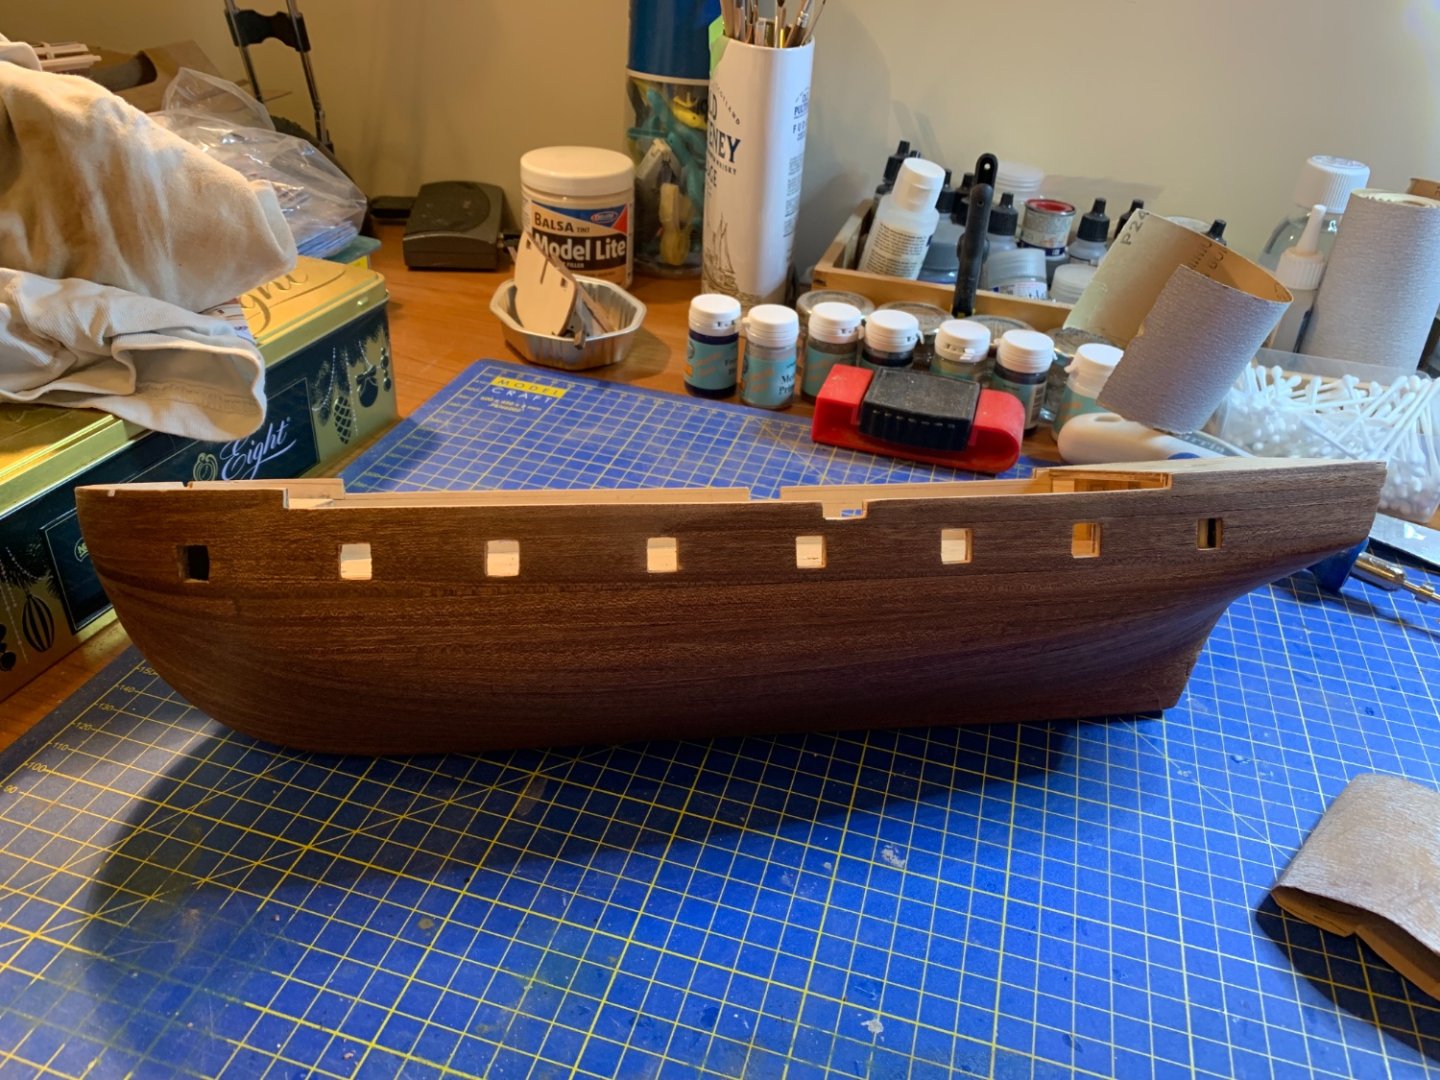
Got the strakes in. The lower one struggled to adhere to the line of the bow (probably as a result of me not quite getting the bow curve quite right), and it took a bit of filler to get it to look OK. It’ll all be painted black so doesn’t really matter.
-
Managed a bit more progress over the last couple of weeks…


-
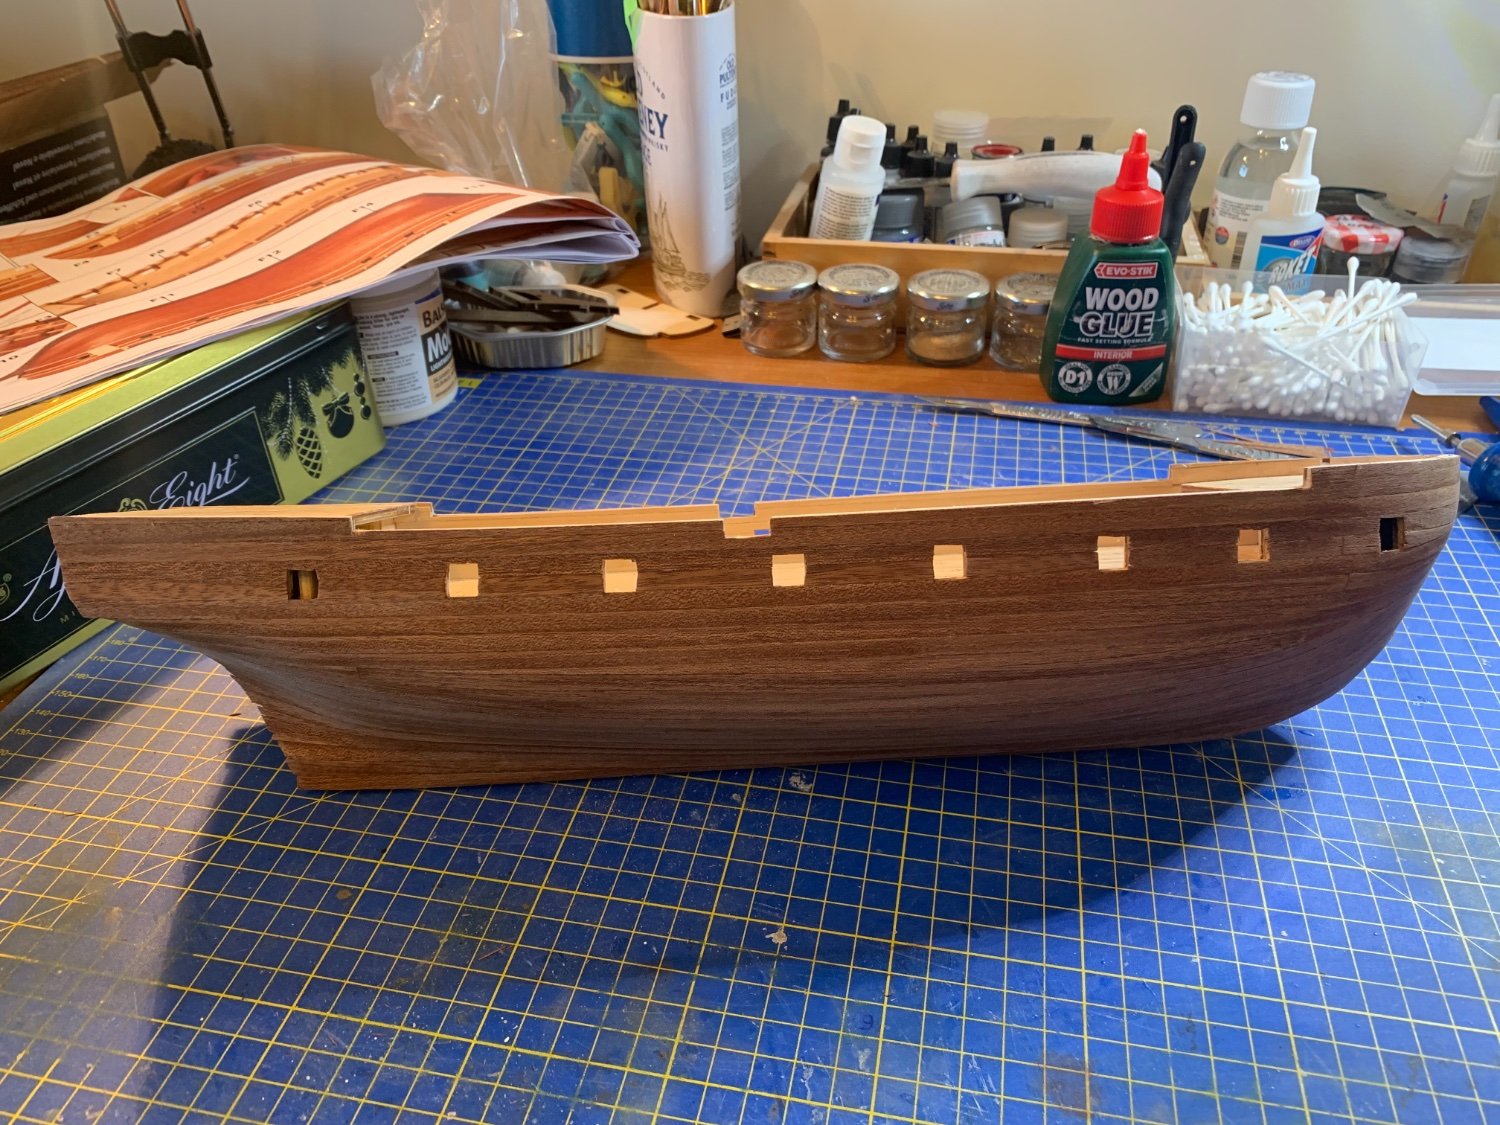
I did have moment of ‘fun’ when I was checking the shape and size of my gunports… I managed to lose one of the gunport covers inside the port bow of the ship. Probably wouldn’t have been an issue as it’d be quite easy to make a new one, but I was annoyed and I didn’t like it rattling around in the hull. It took about half an hour of jiggling to get the cover to show in the gunport so I could remove it 😂😂 hey-ho!
-
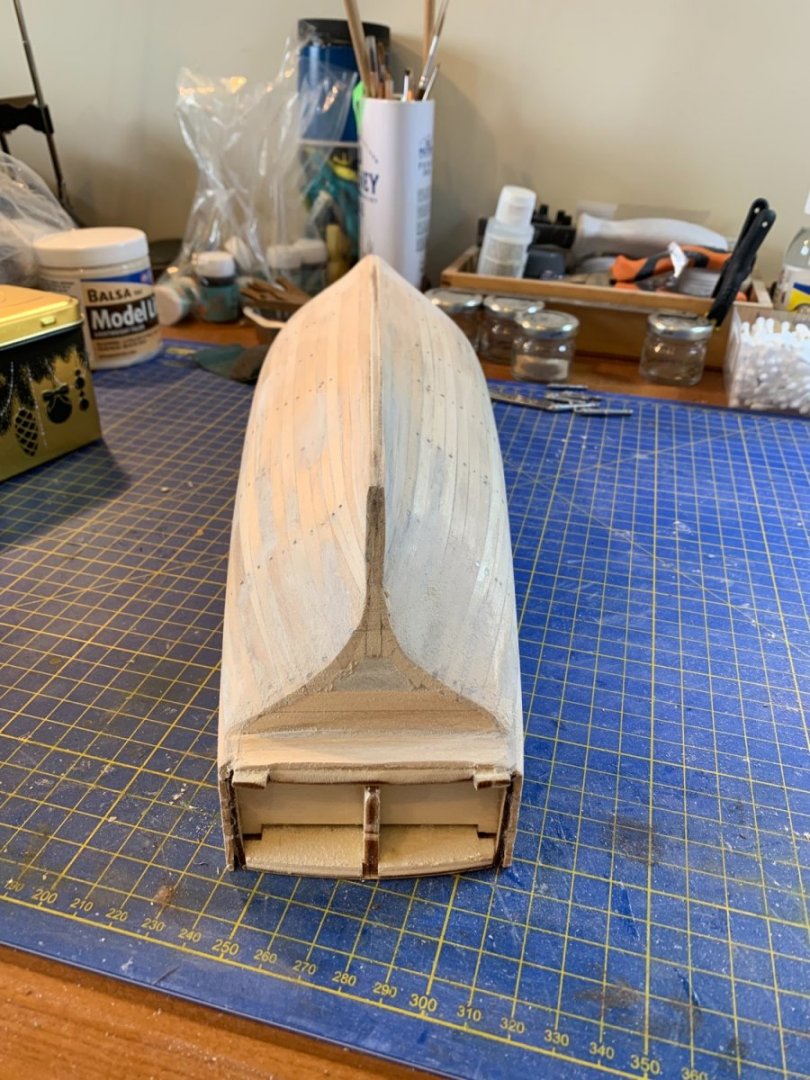
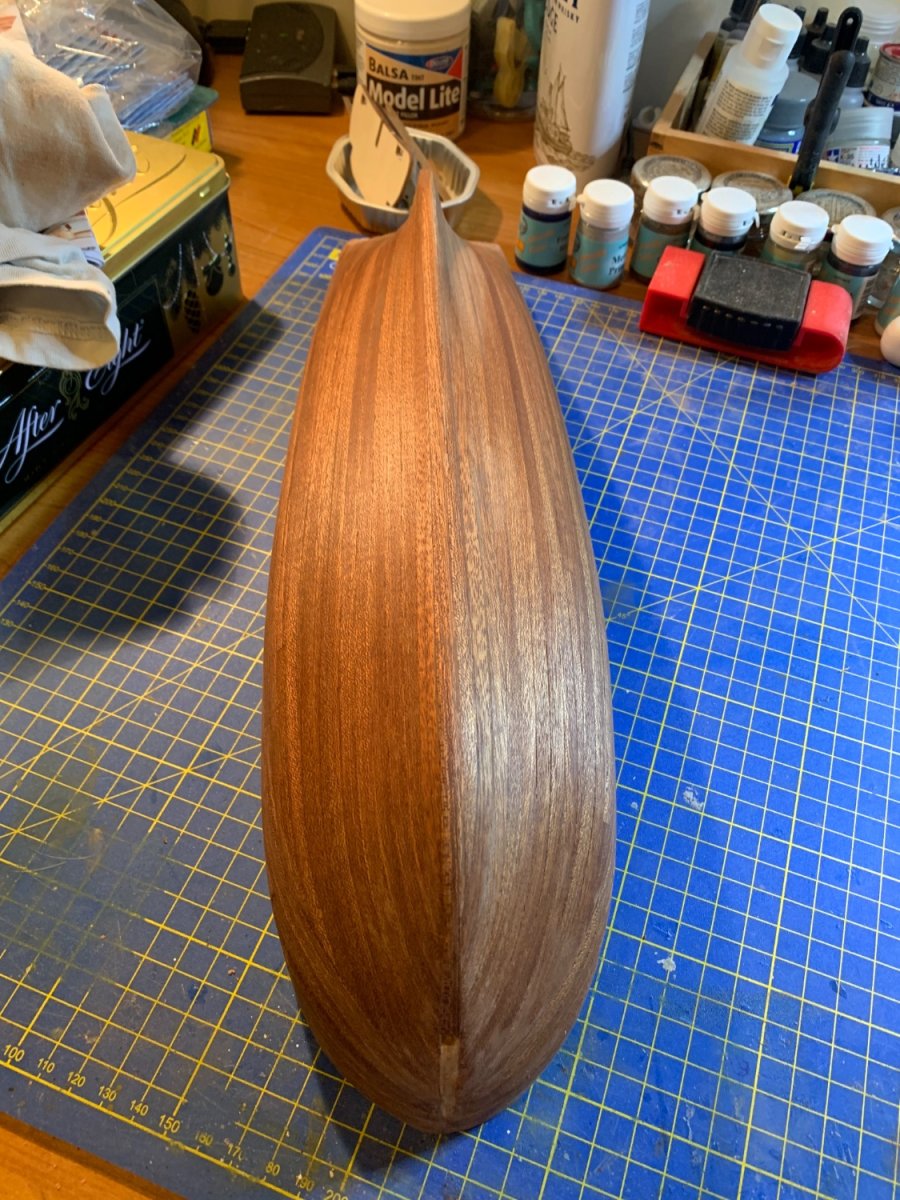
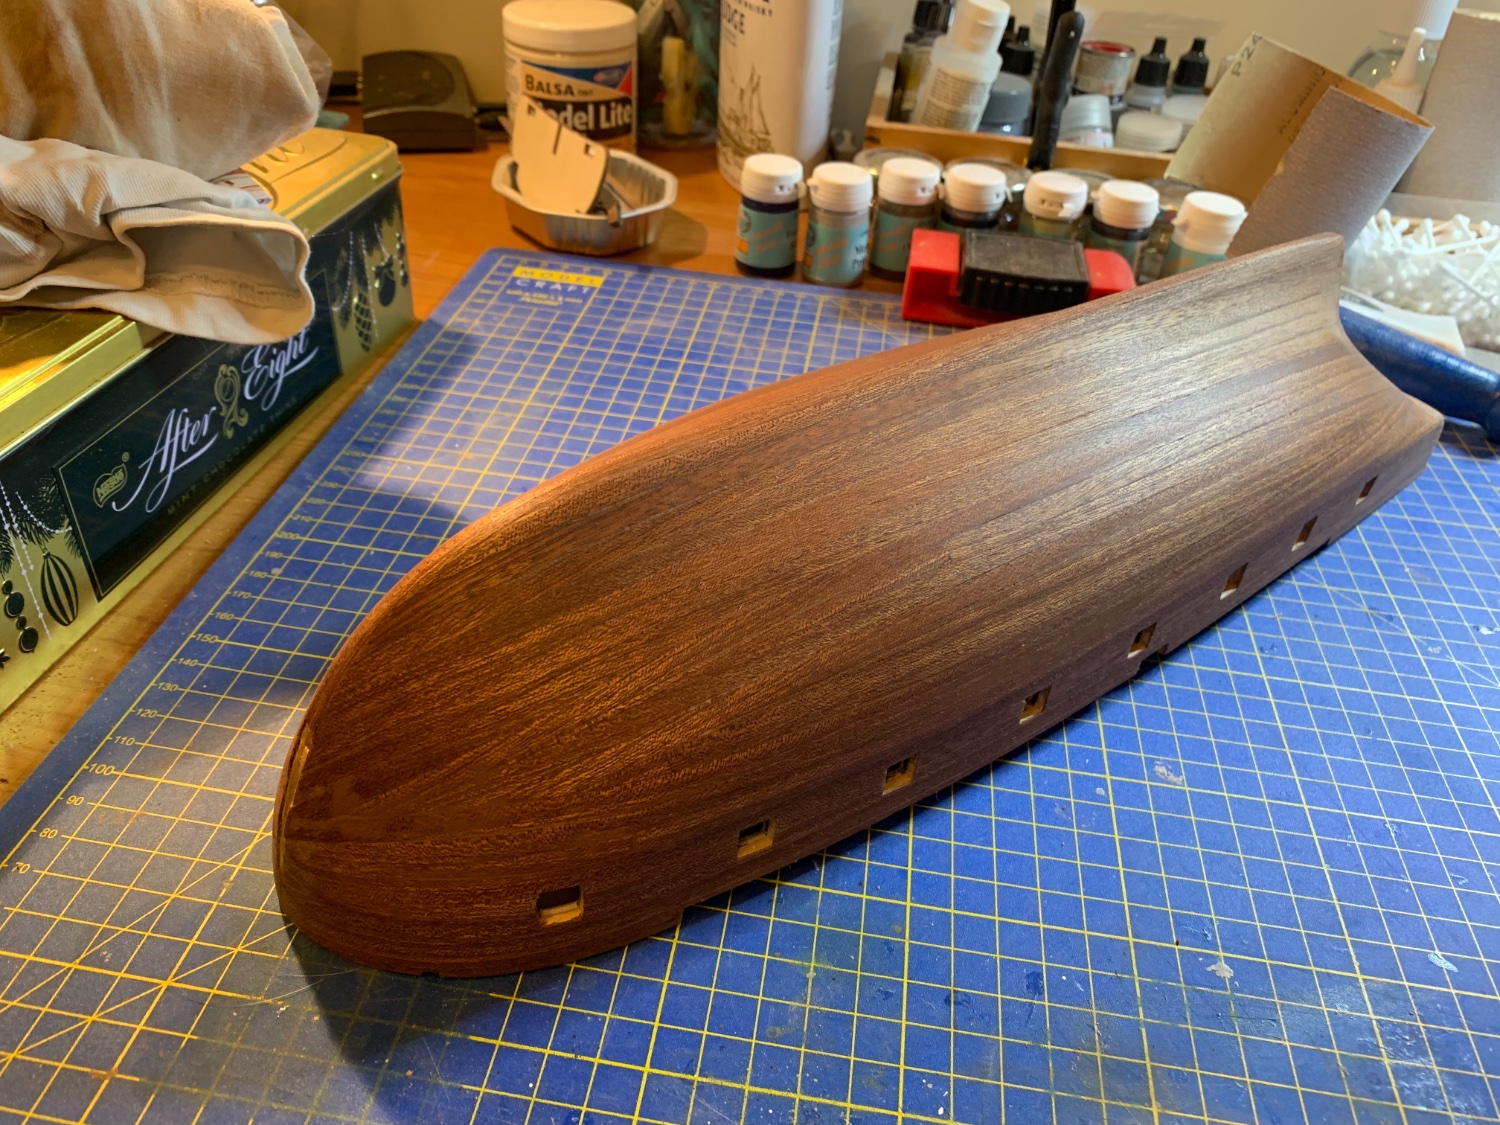
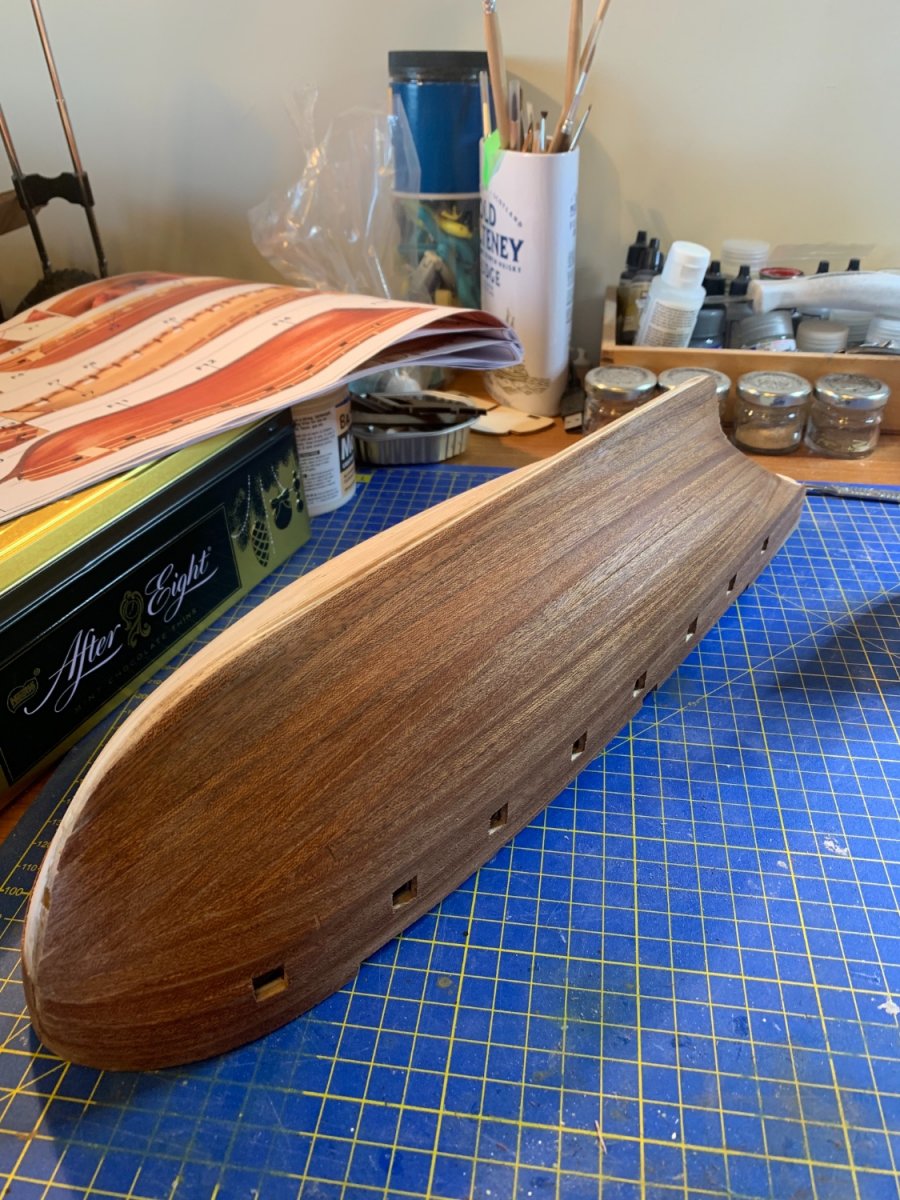
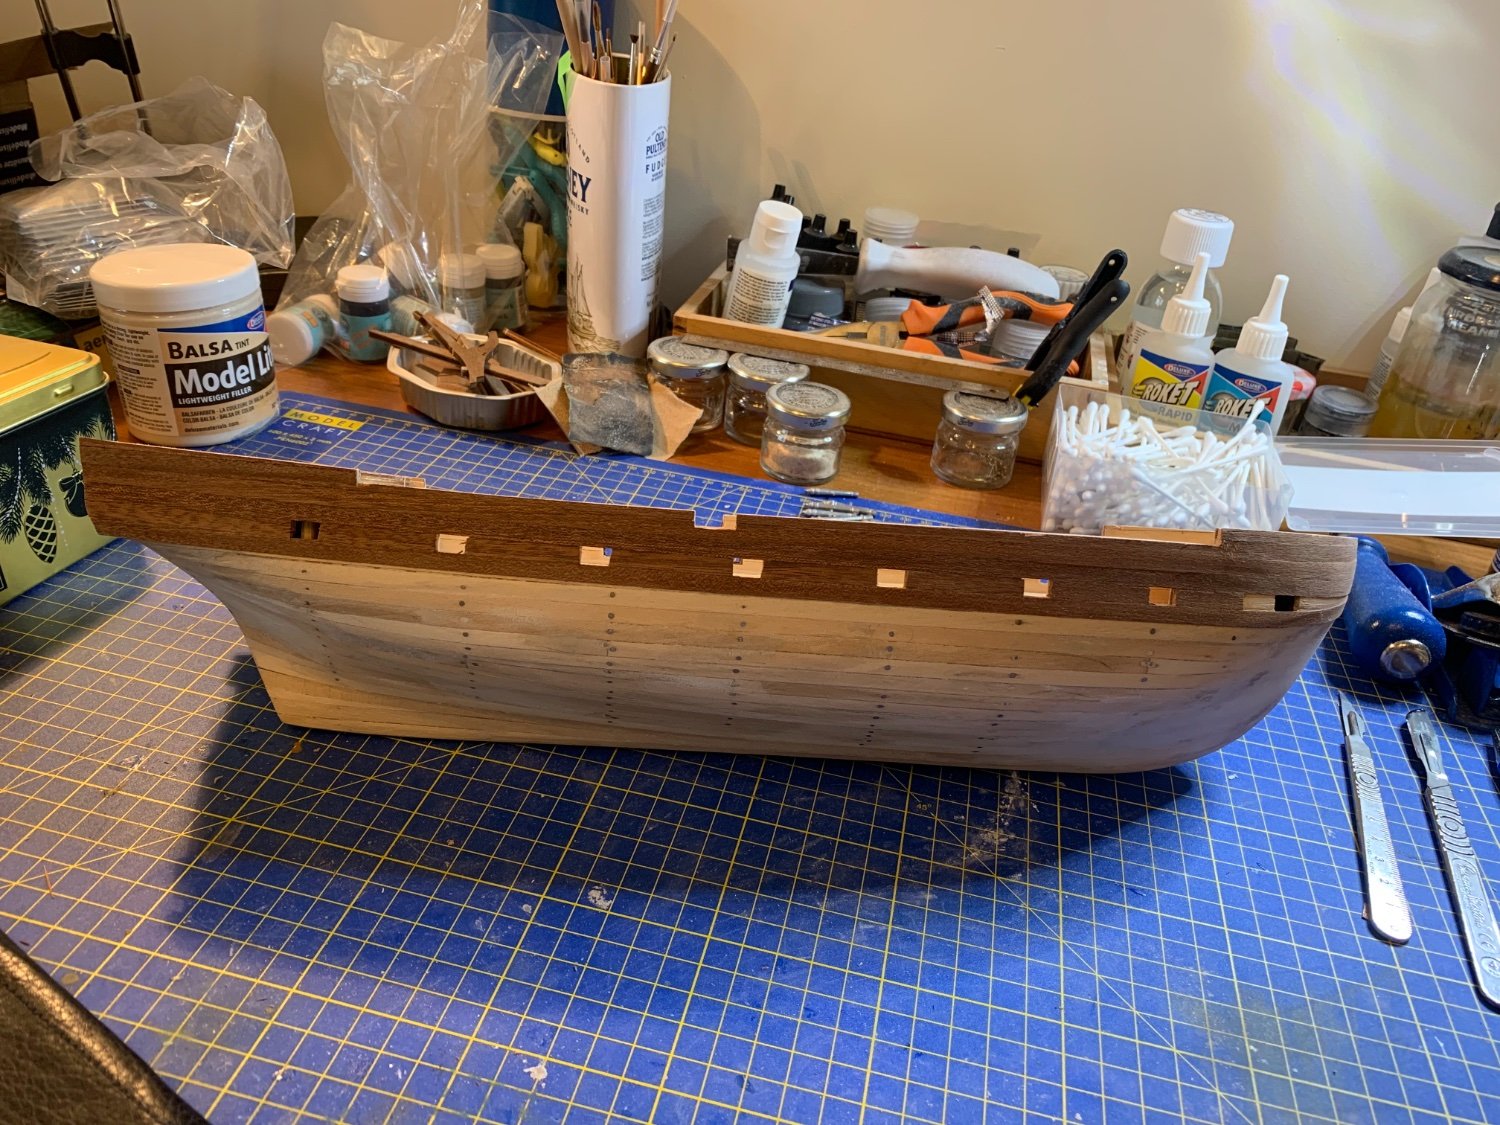
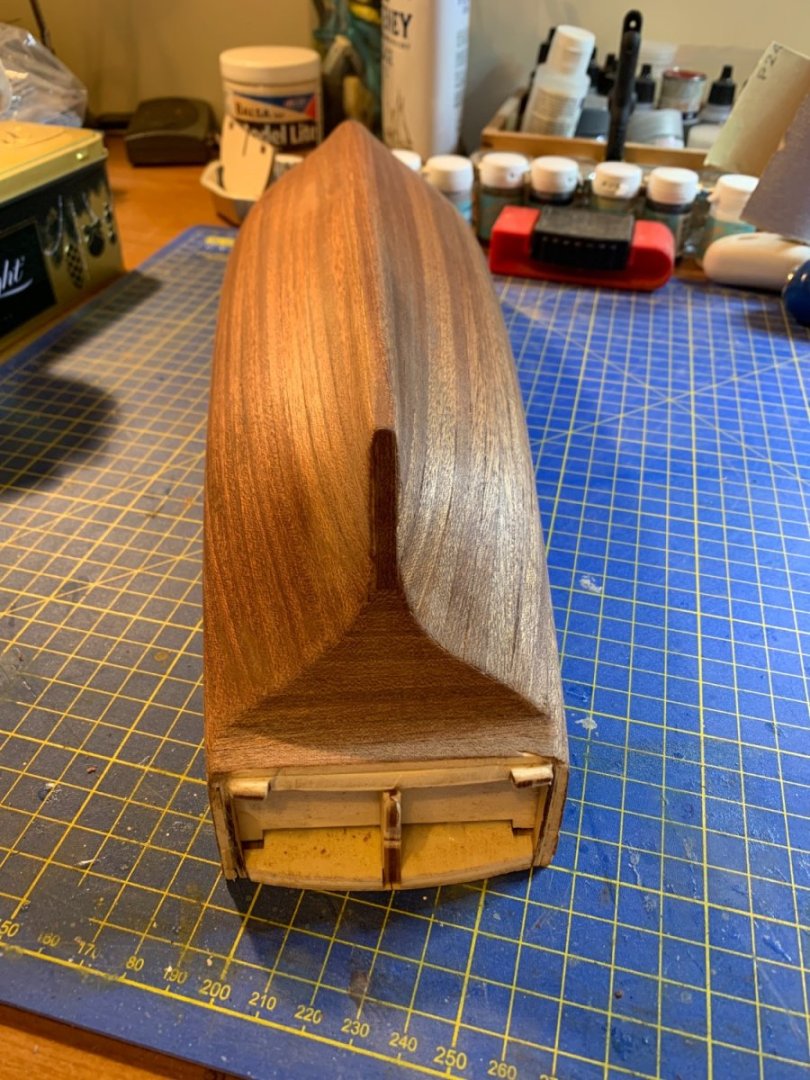
It’s taken some fettling, filling and sanding, but I finally think I’ve got the basic hull ready to move on…


-
Remember this??

-
Must say I didn’t soak them for anything like a whole day!!! Just a couple of hours. Seemed long enough, but try it yourself and see how you go
-
Thank you for that. Very informative
-
Thank you kindly
-
Sorry EZ only just picking this up. Yes that’s exactly the one I have and used, and yes I wet the strips first. I was able get a nice bend to my planks, I just failed to narrow my planks which is why they looked so horrendous.
-
Pardon ignorance gents, but what’s the difference between a figurehead and a bust?
-
I see no dog either! I'm thinking I probably won’t include the little dog on mine either.
-
Maybe that’s why we have the beagle on the prow… a bit of extra doggy-paddle to help it along 😂
-
I know what you mean… not as blunt as that in the pictures of the Endeavour which I’ve seen though.
-
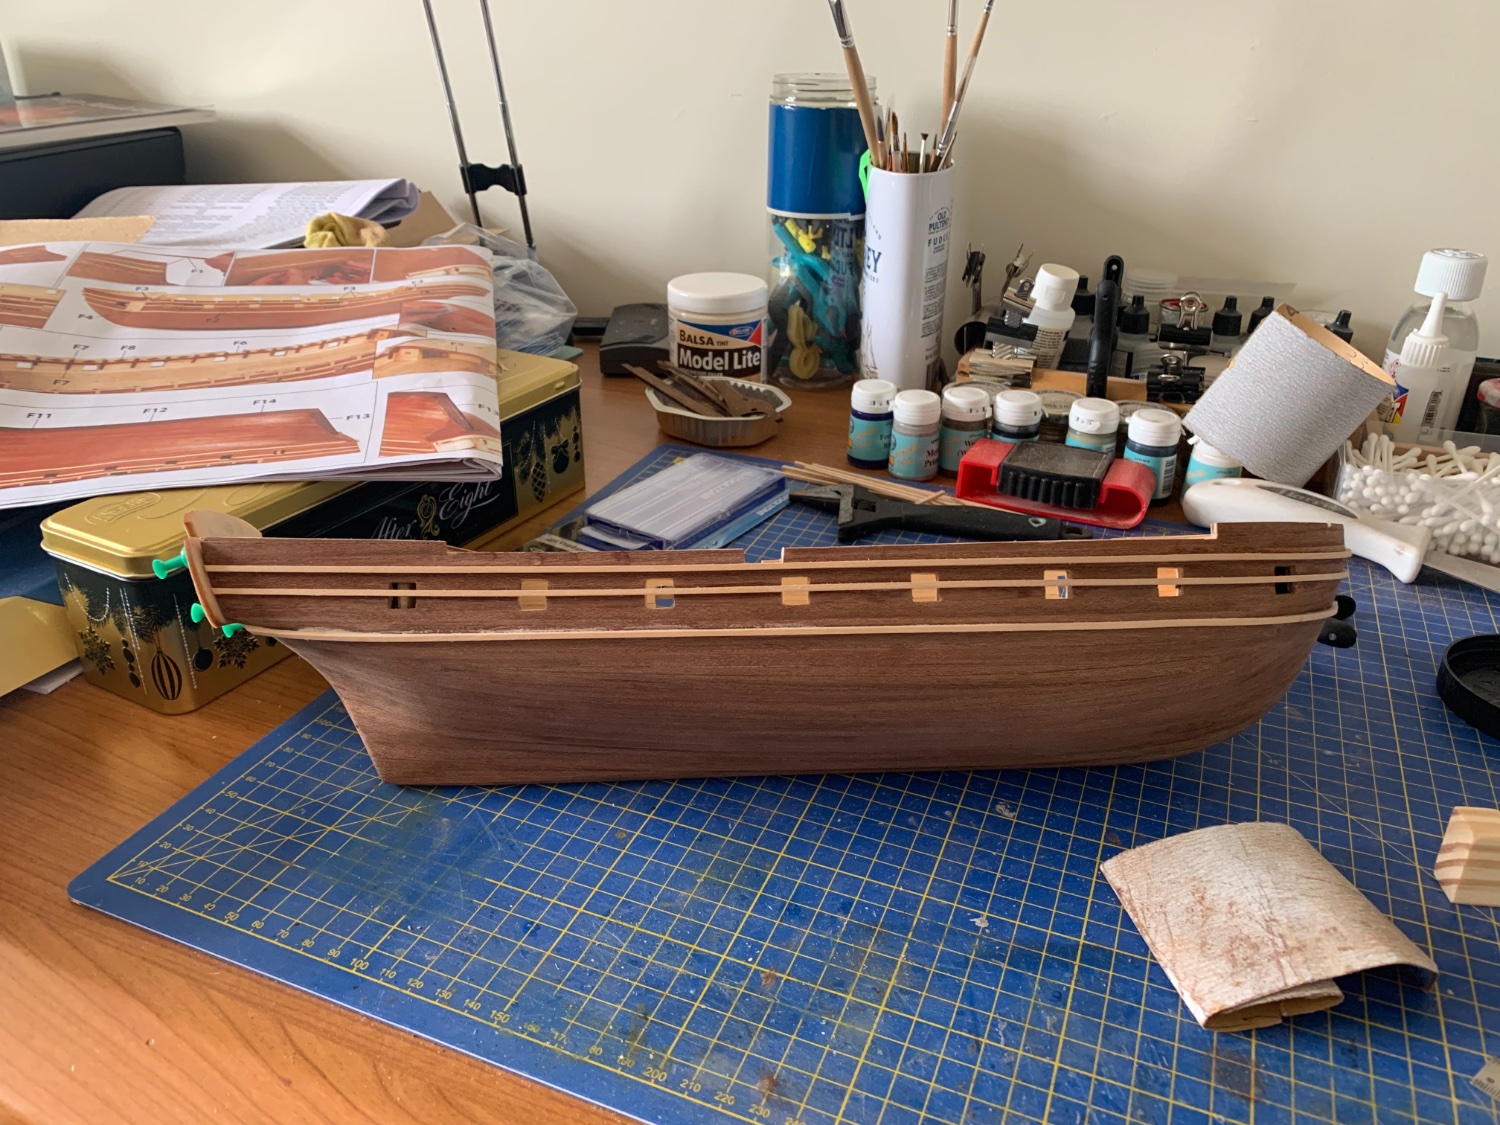
Port side done too now…

-
Thank you Allan. Im now a subscriber to Chucks you tube channel 😉
-
Thinking about this a bit more… I think I’m still living and learning as I go. Following the abominable first planking I now understand the significance of tapering the planks (something which isn’t at all clear from the instructions or the on line videos) and the ramifications of not doing so! Similarly, I can appreciate that the second planking isn’t ‘realistic’ and that If I want that realism on my next build, then I will need to lay the second planks on differently as well, rather than simply following what the instructions might say. At this stage in my ‘career’ I’m still very much guided by the instructions. As my confidence grows then, in time, I’m sure I’ll be more willing to go off piste, and use the instructions as a ‘guide’ rather than something which must be followed to the letter. Thank you all for the continued support. It really is appreciated.
-
Thank you, and yes it is (basically) the method from the instructions.

-
Thank you Chimp, appreciate the support👍
-
Considering how the first planking went, I’m happy with that so far.
-
Second planking on starboard side done


-
Second planking begun… Going ok so far. (I know I still need to remove the remainder of the strips over the gun ports.)

-
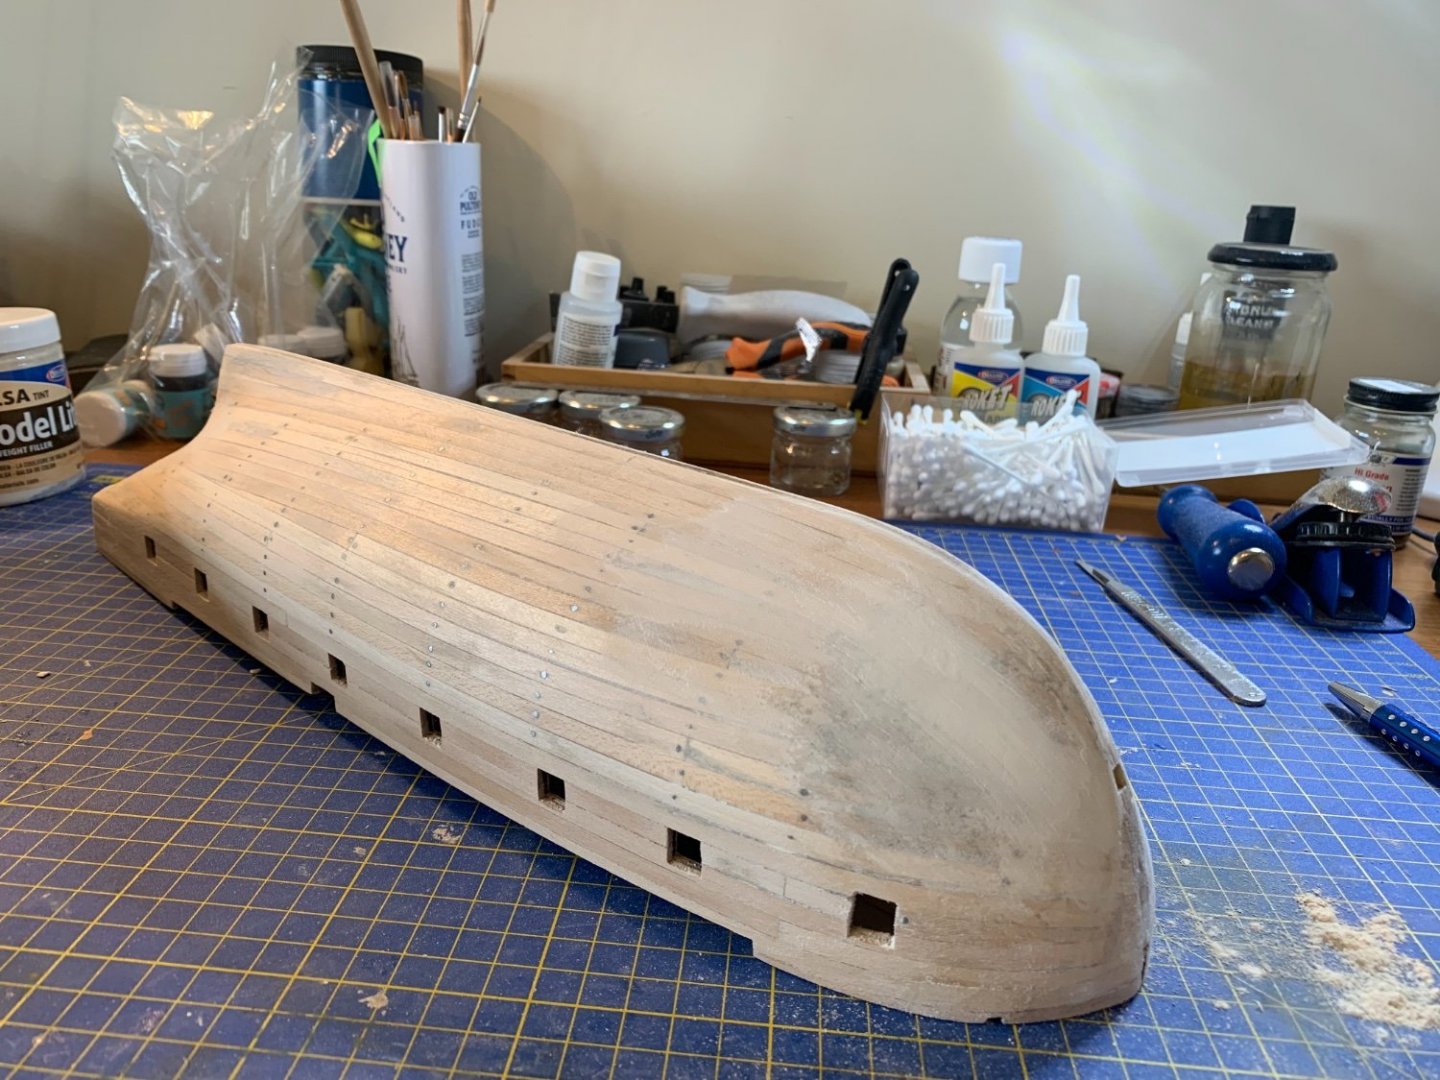
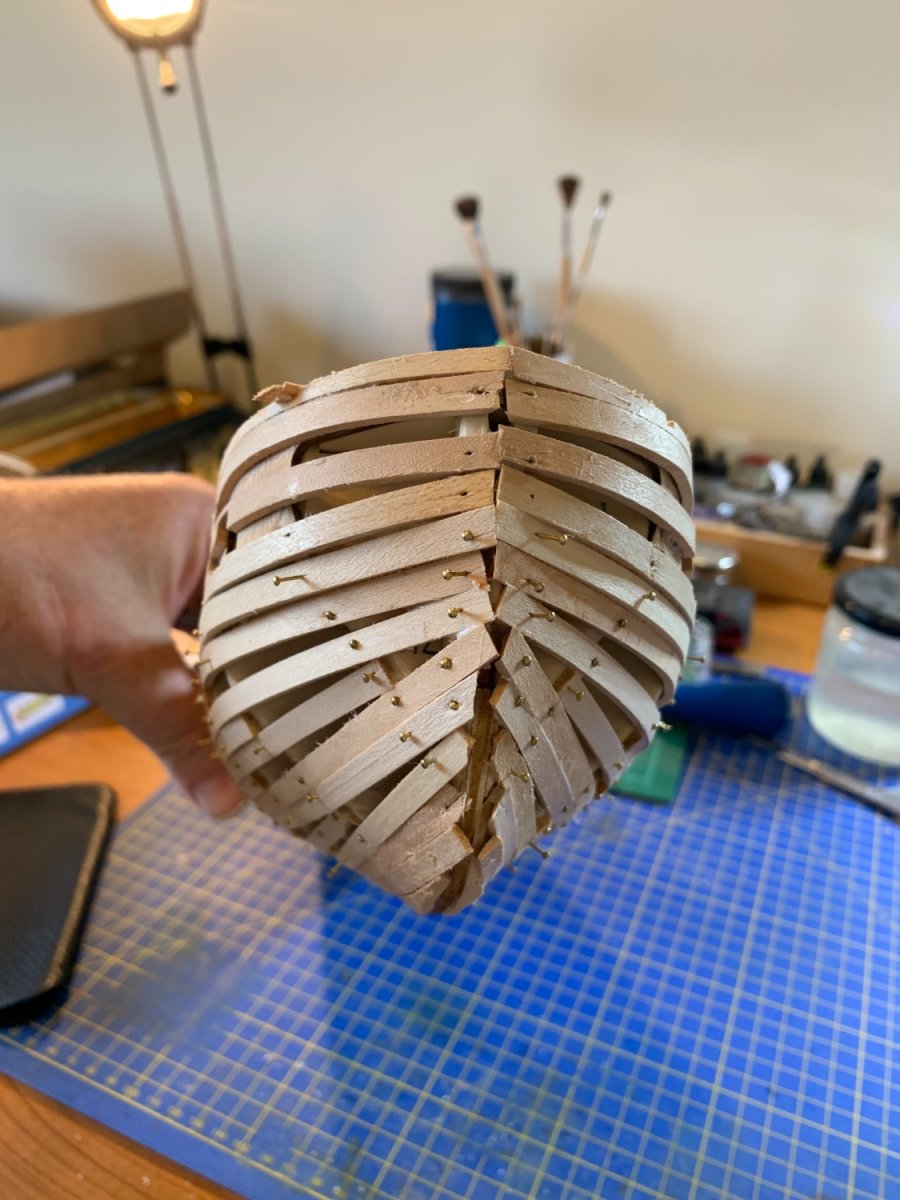
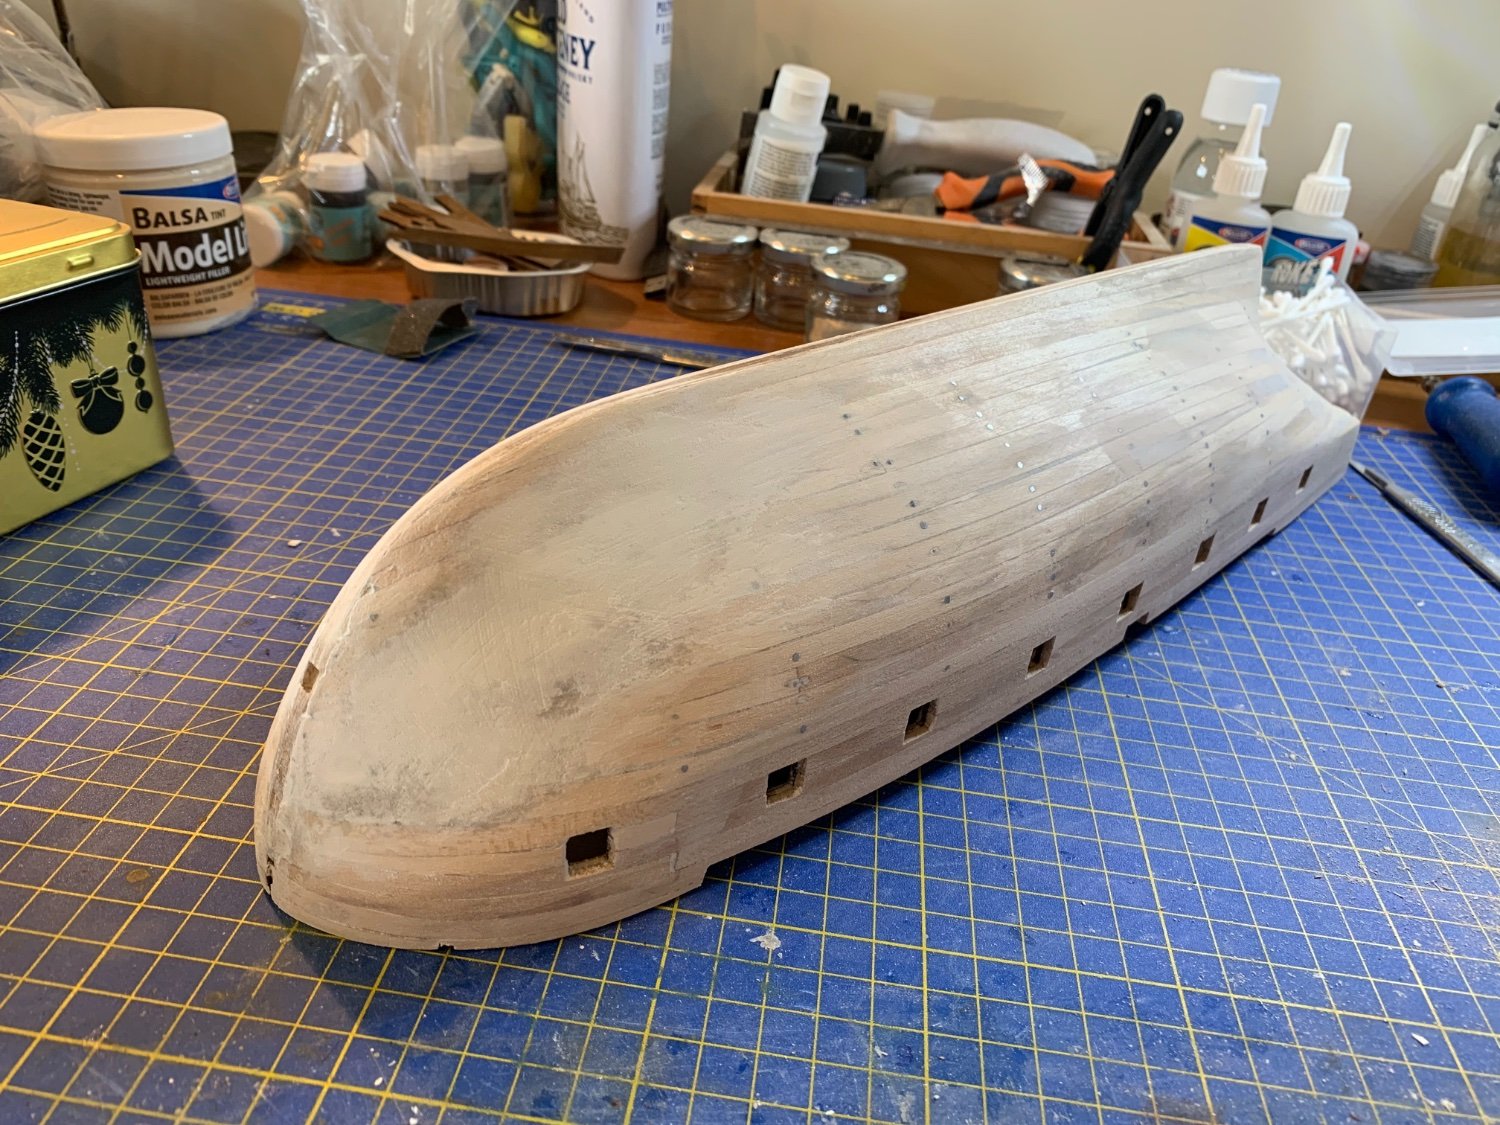
Adding the putty has enabled an much more rounded shape. I’m happy to start the second planking now.