HOLIDAY DONATION DRIVE - SUPPORT MSW - DO YOUR PART TO KEEP THIS GREAT FORUM GOING! (Only 24 donations so far out of 49,000 members - C'mon guys!)
×


Penfold
-
Posts
202 -
Joined
-
Last visited
Content Type
Profiles
Forums
Gallery
Events
Everything posted by Penfold
-
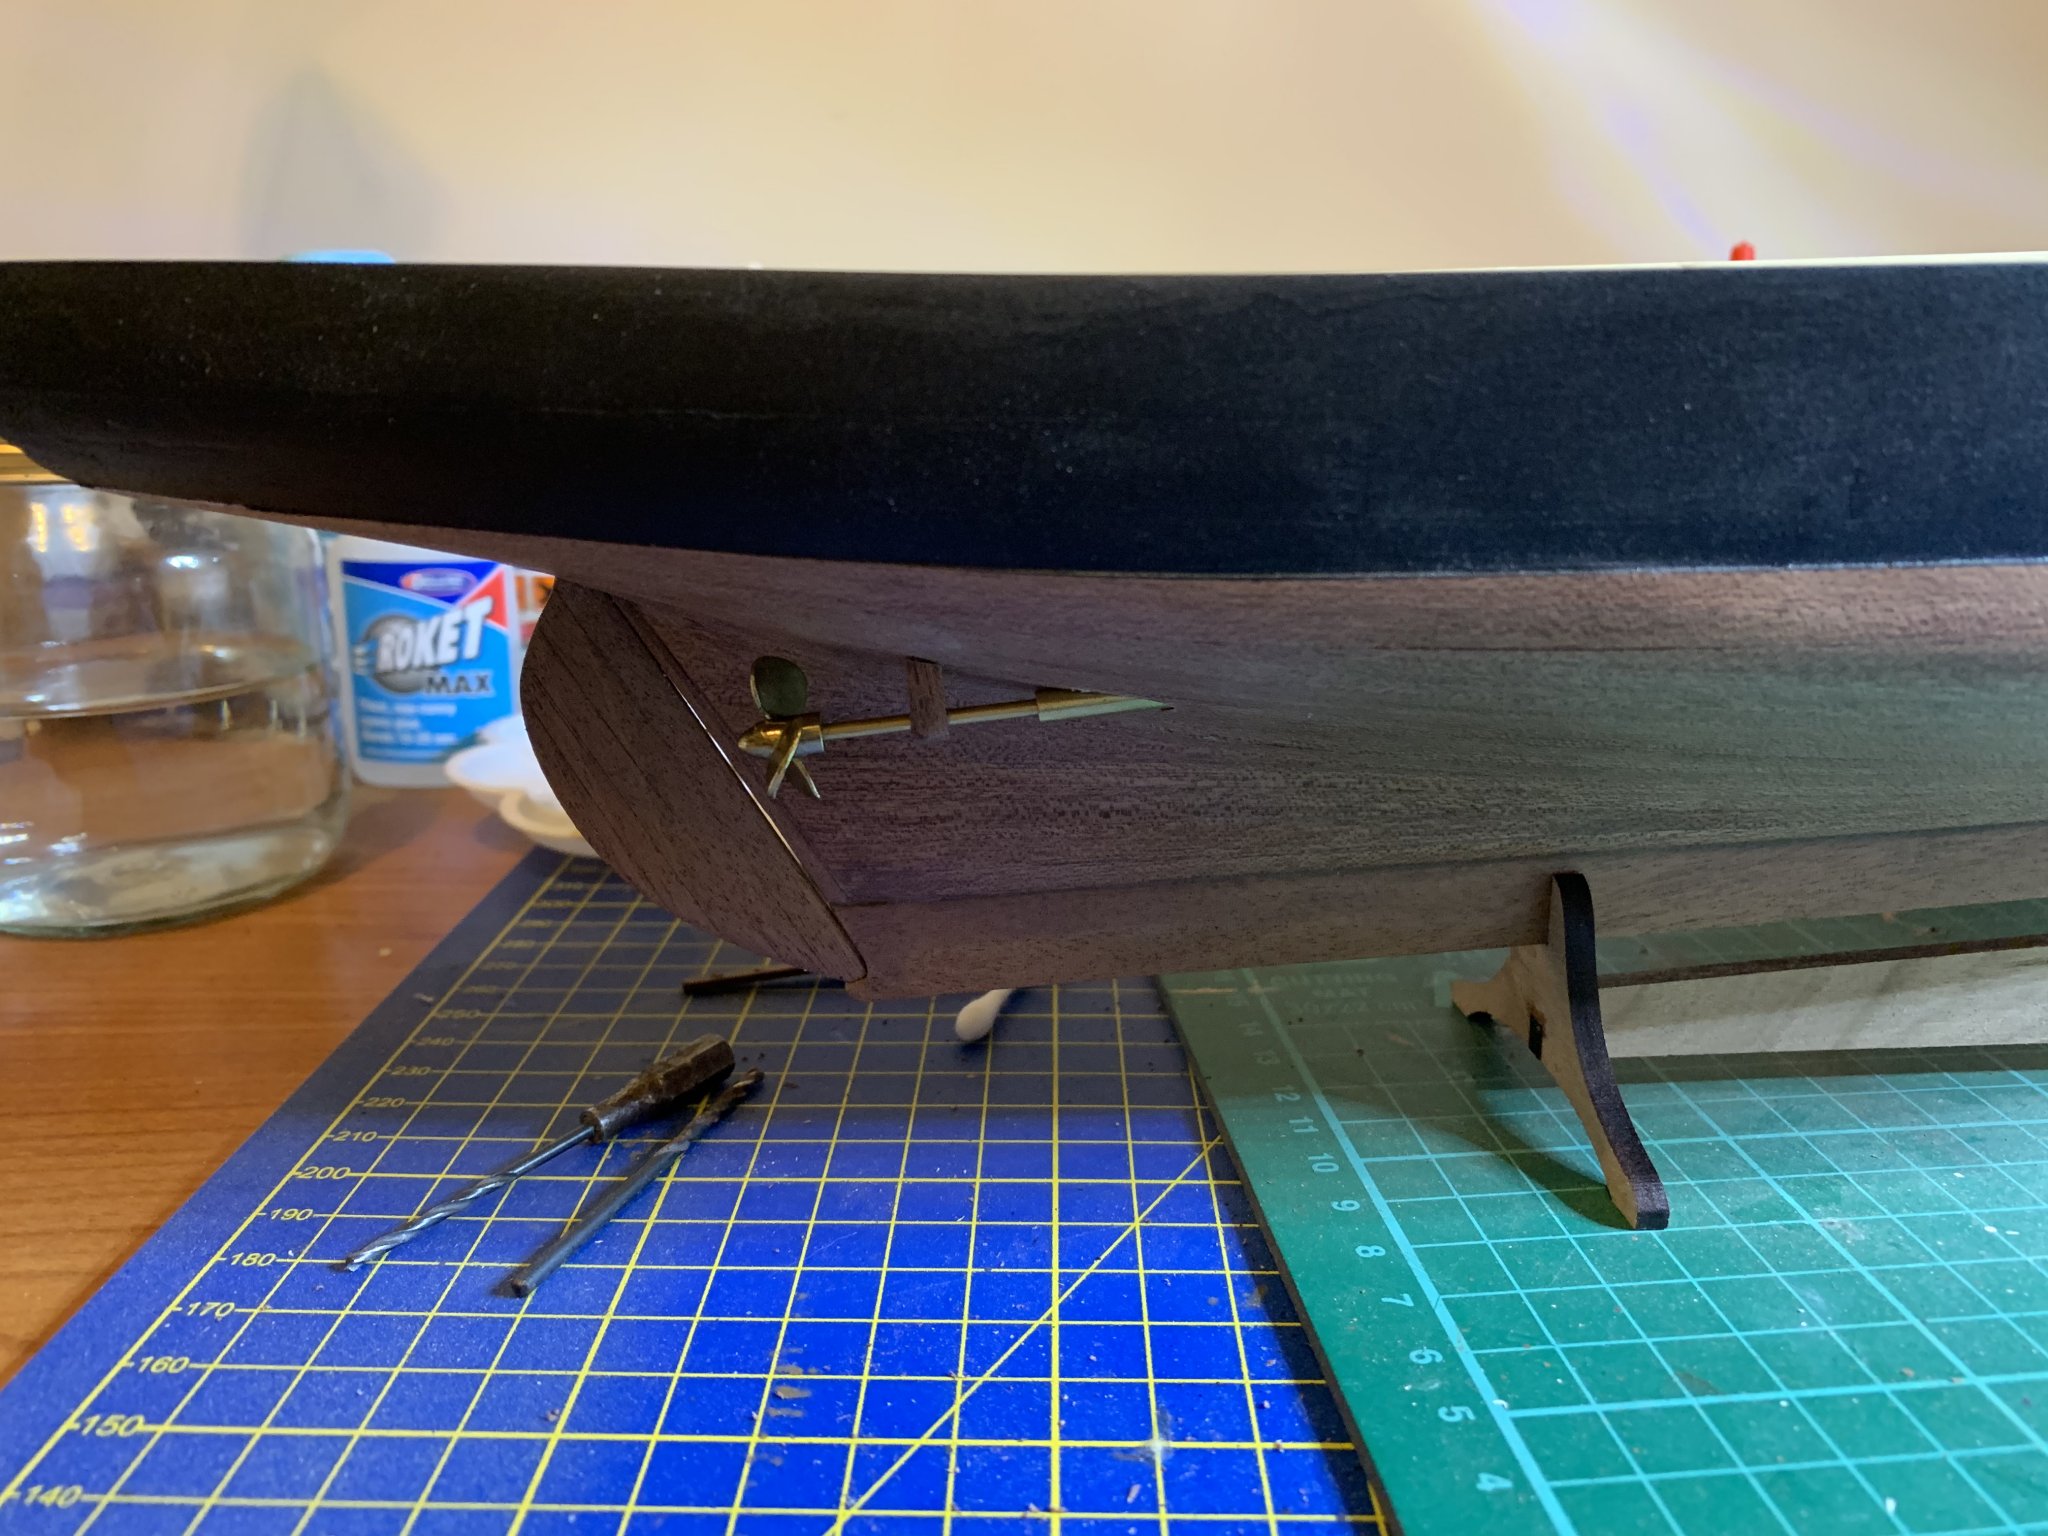
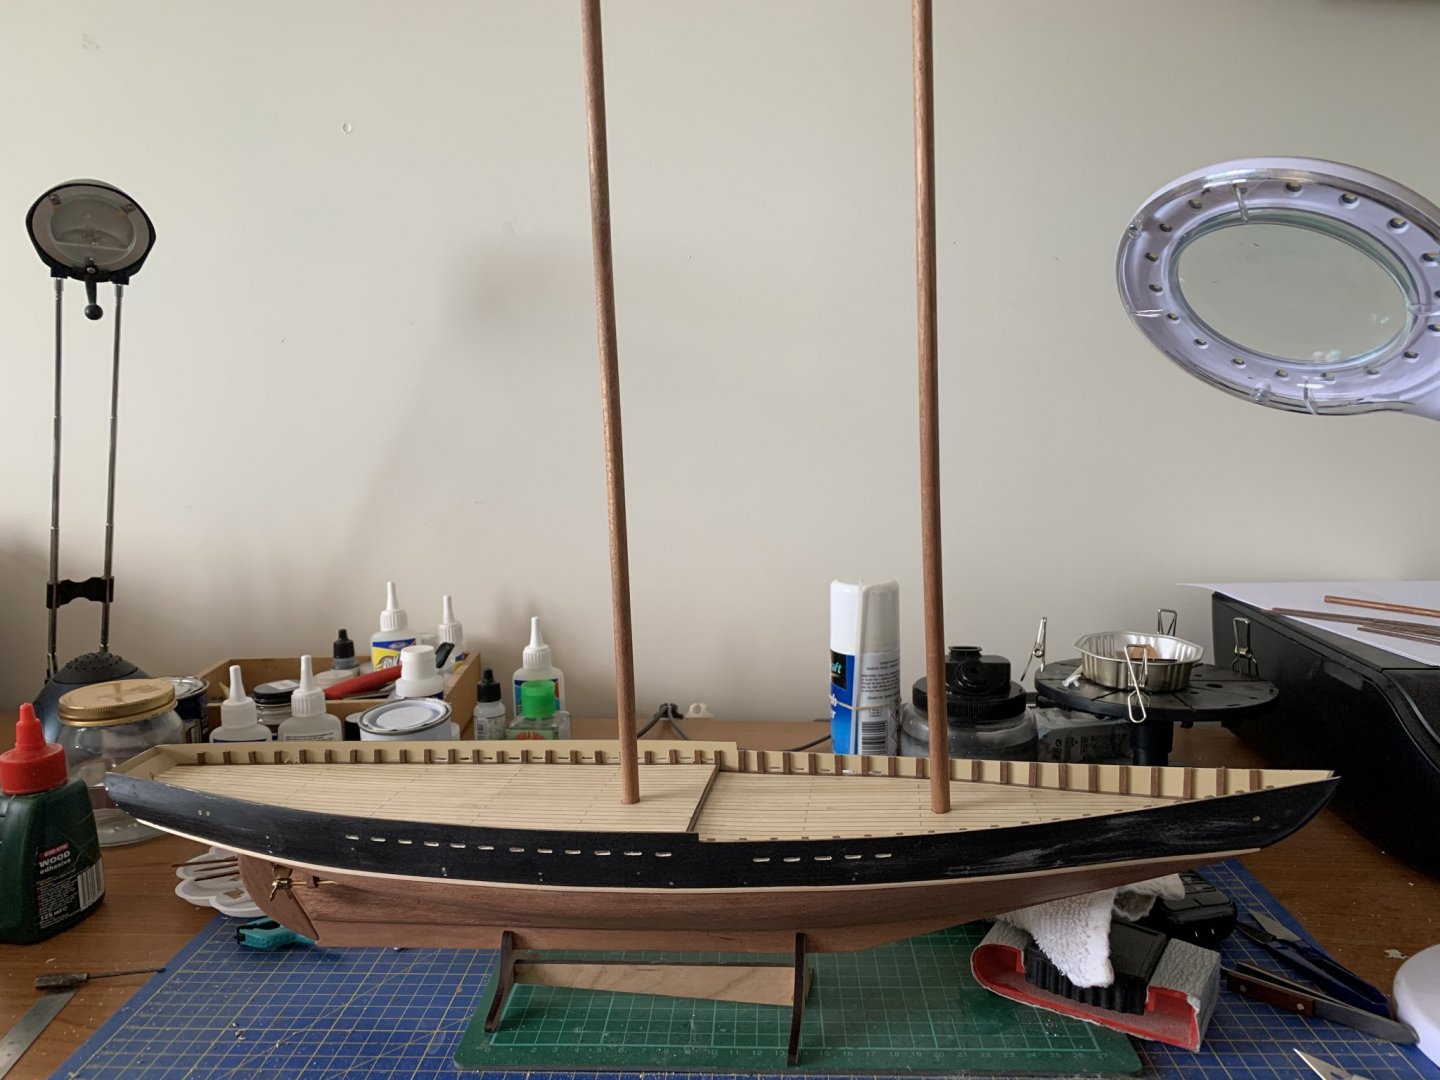
 Yeah baby!!! now we have a bowsprit
 -
Oh... and yes I did put a pin in, with ac, to secure the bulkhead to the transom. I countersunk the hole very slightly to facilitate more of the pin head being left holding the bulkhead in place. Part of my earlier problem was caused by the pinheads being sanded off as part of the rubbing down.
-
I can start fitting furniture to hull now. Really feels like making good progress towards the end of phase one now.
-
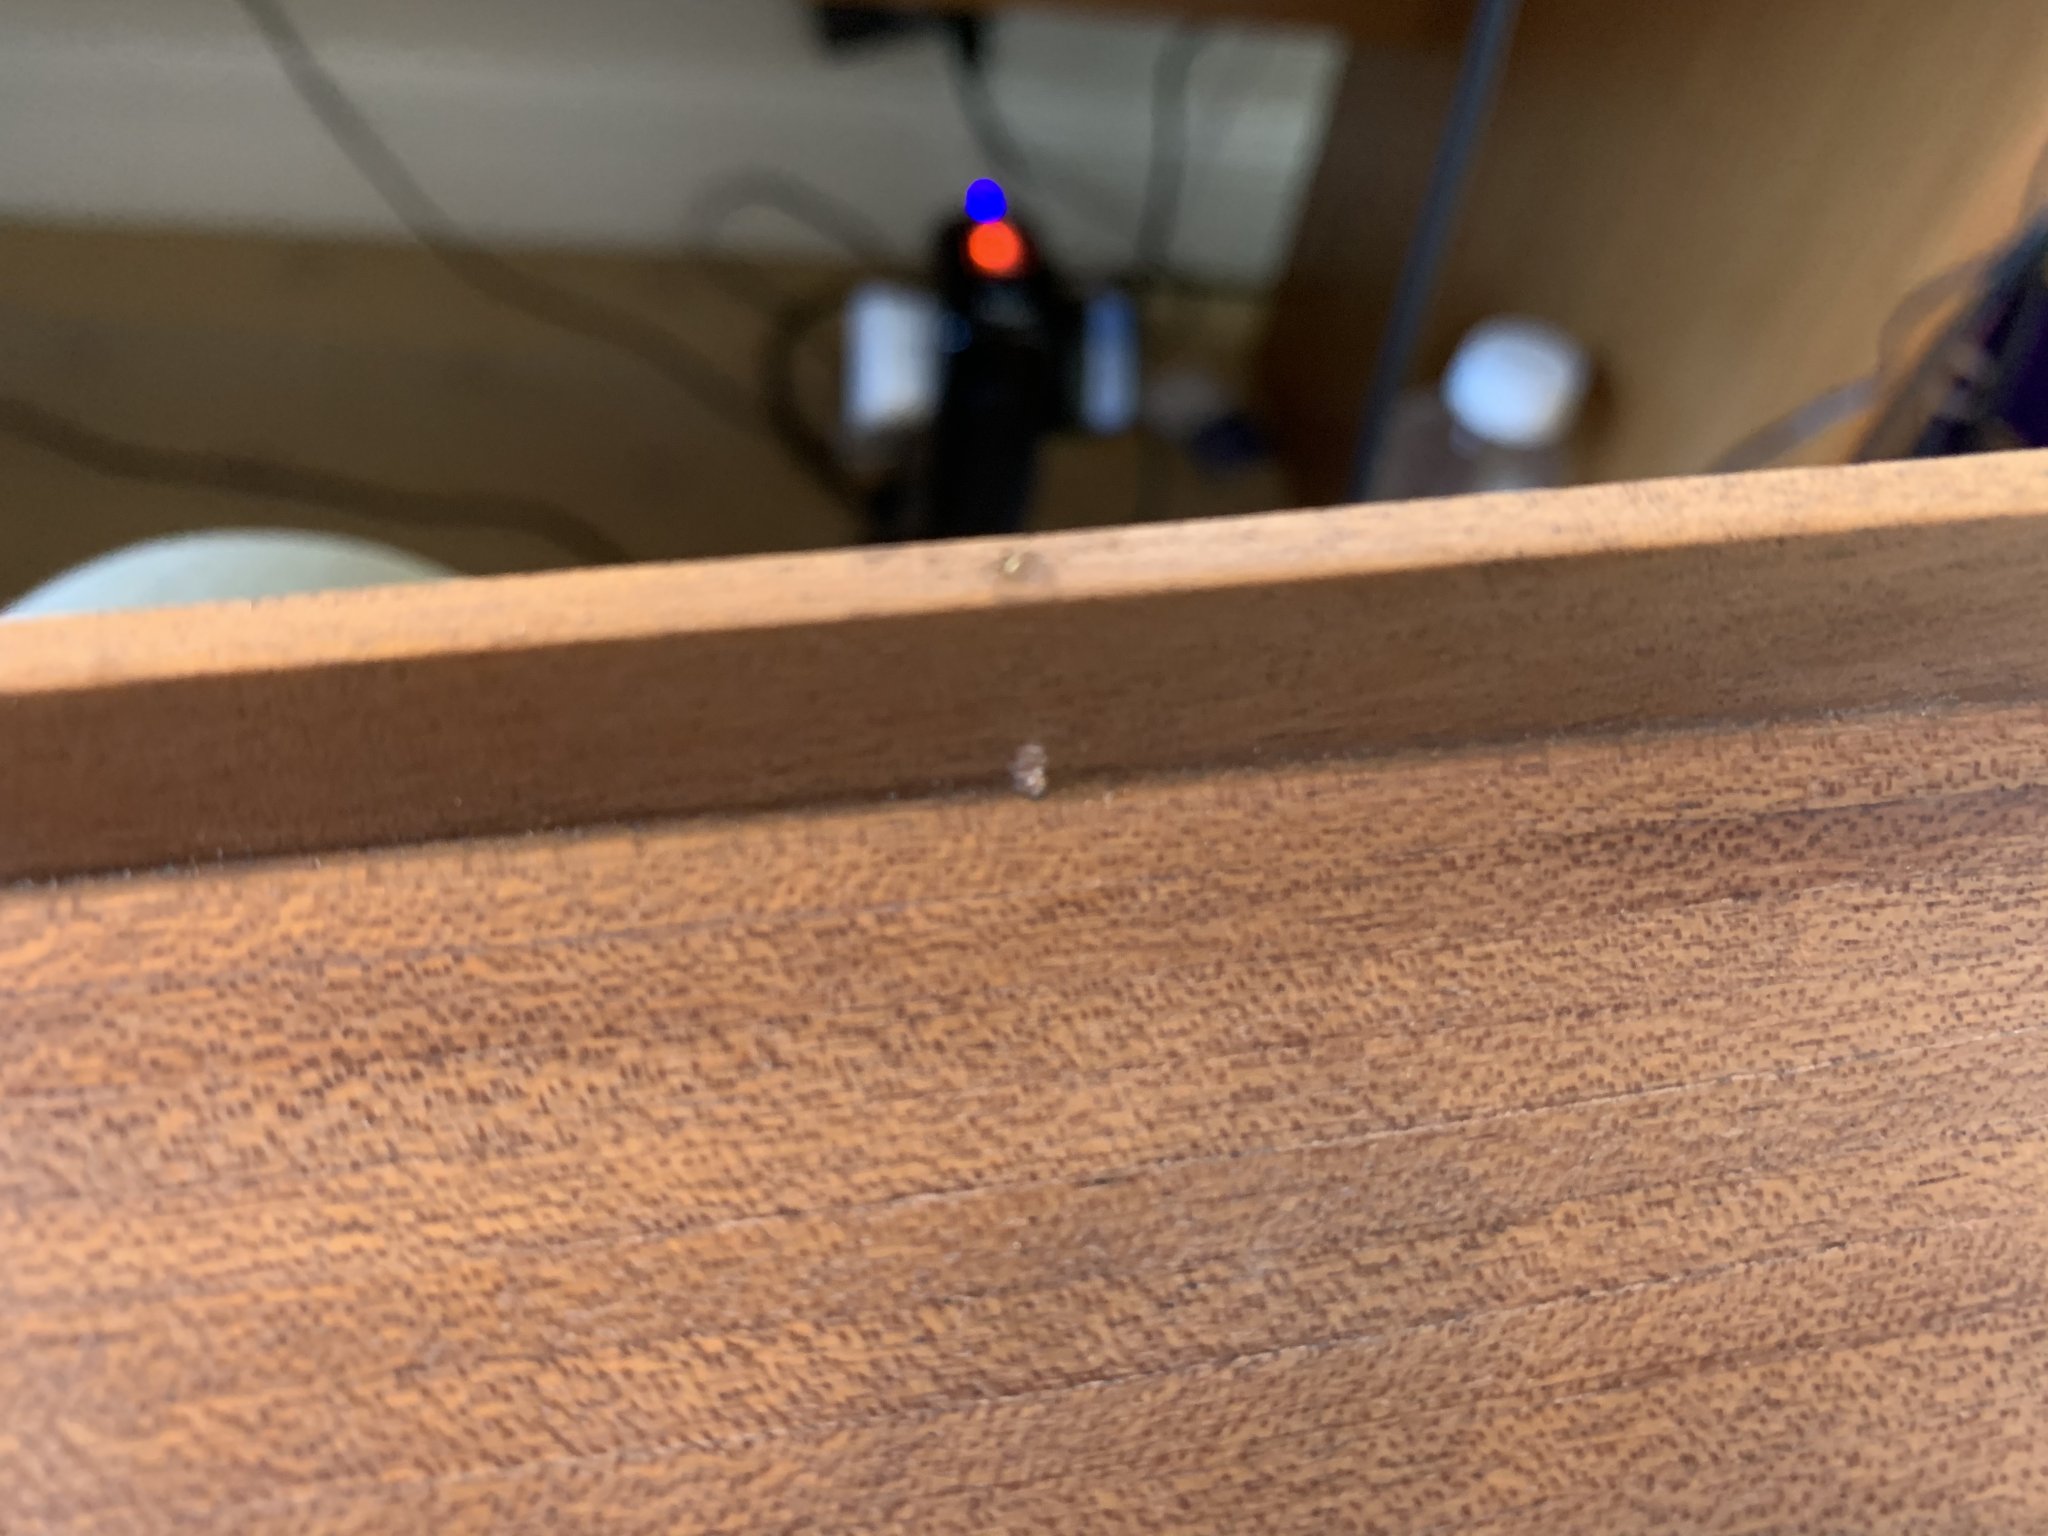
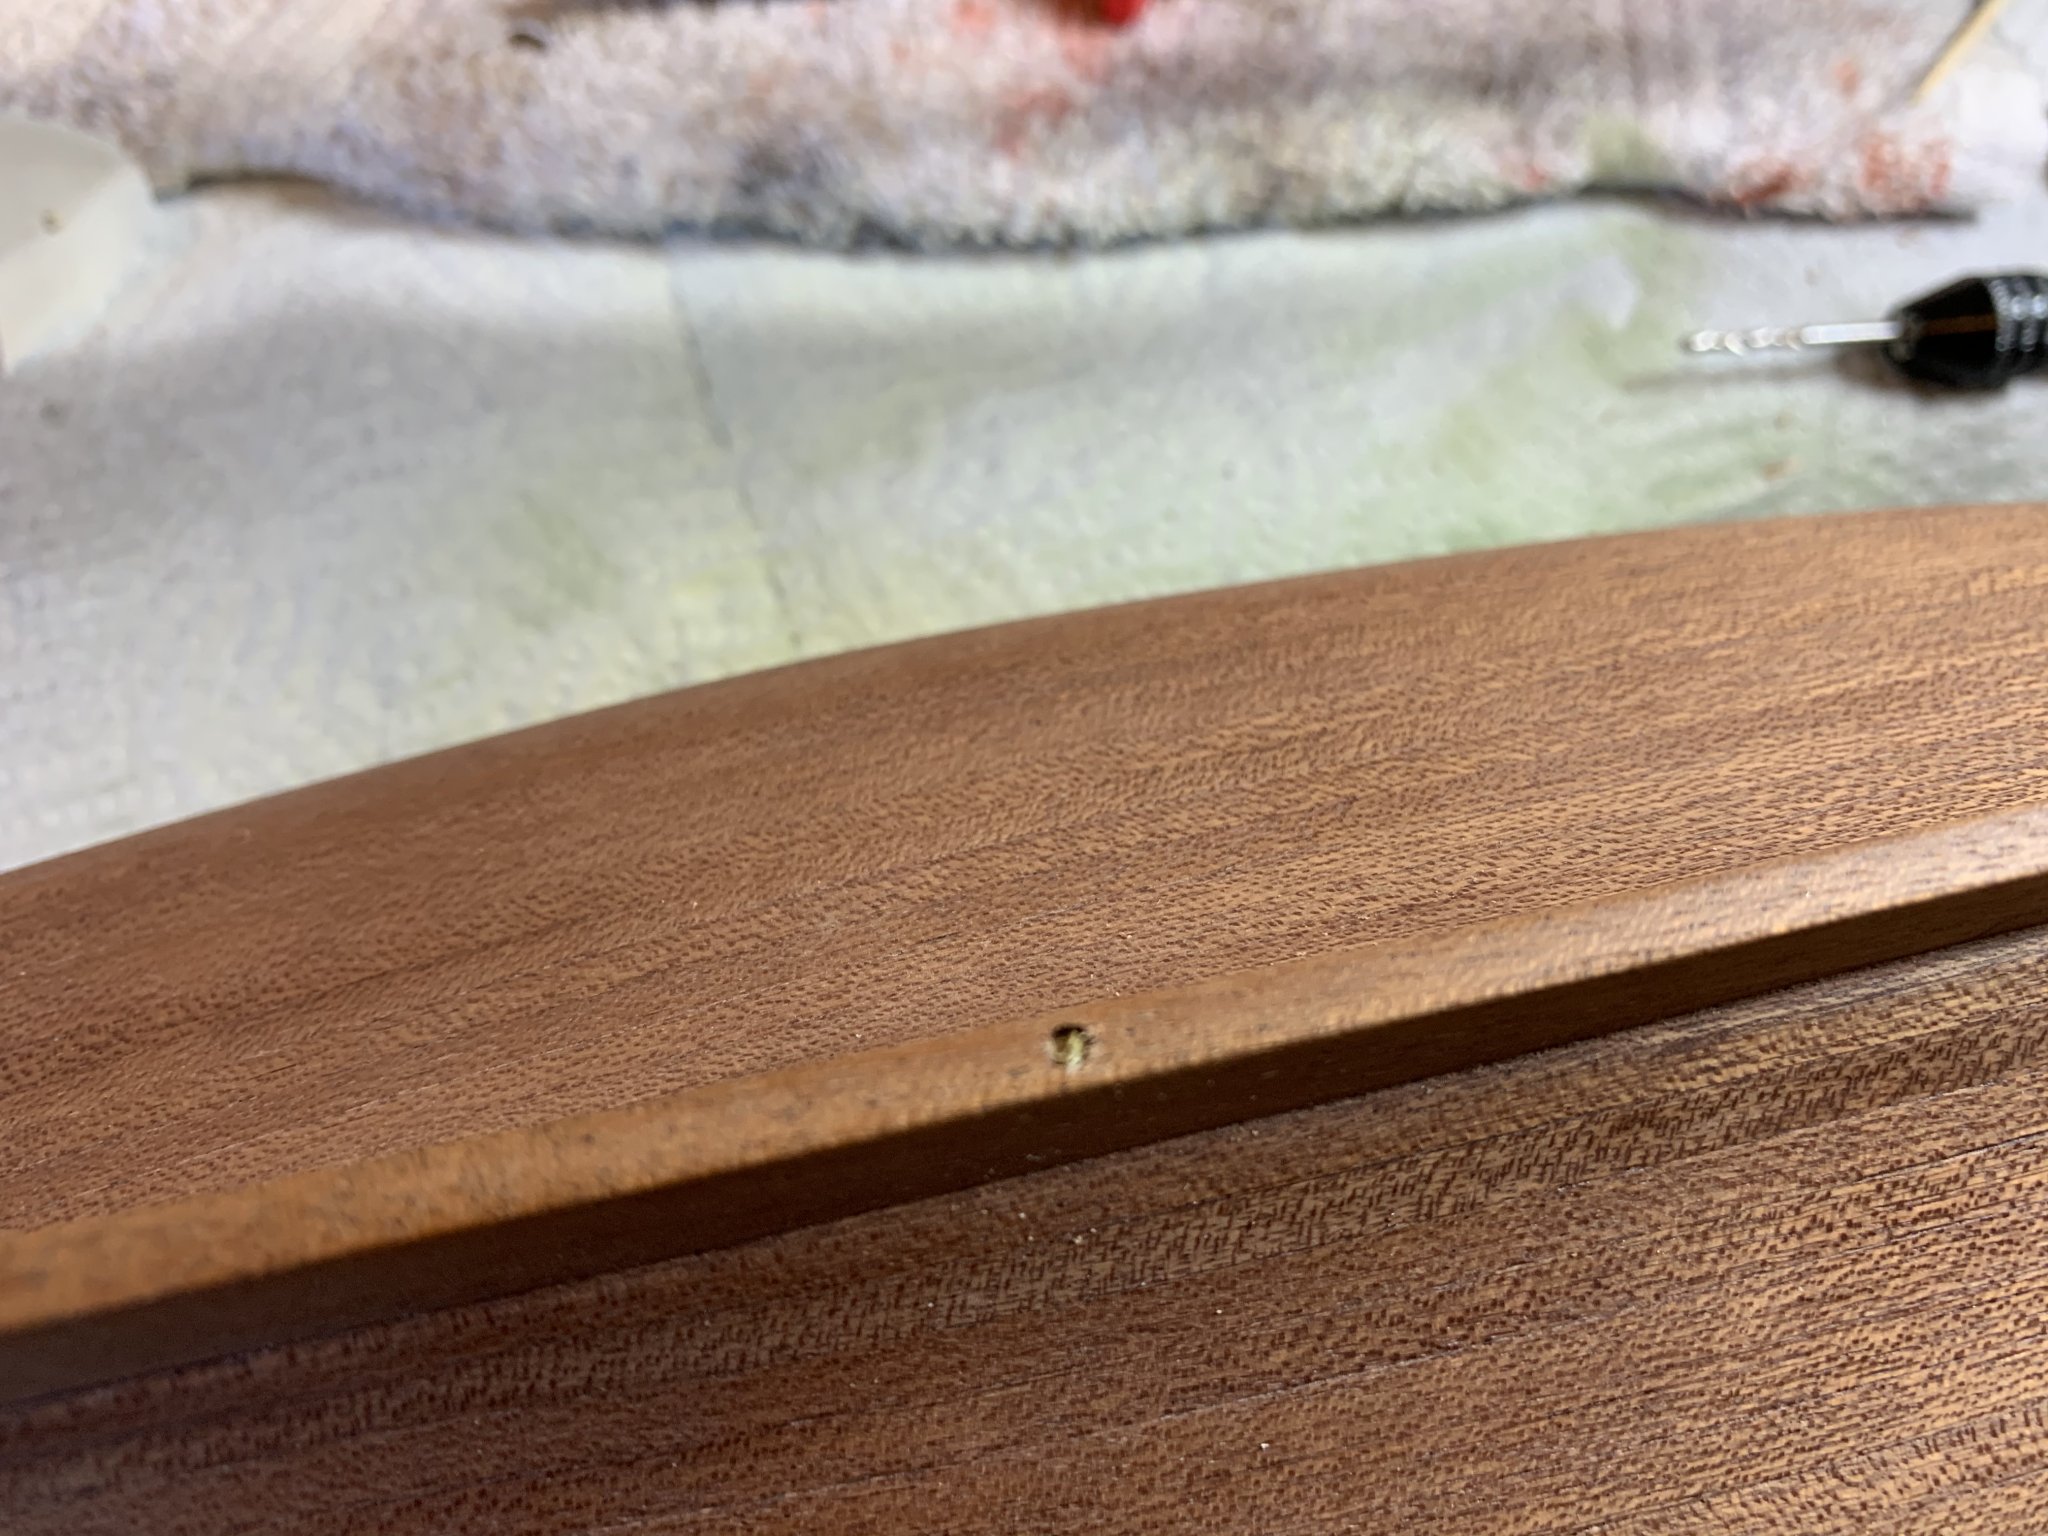
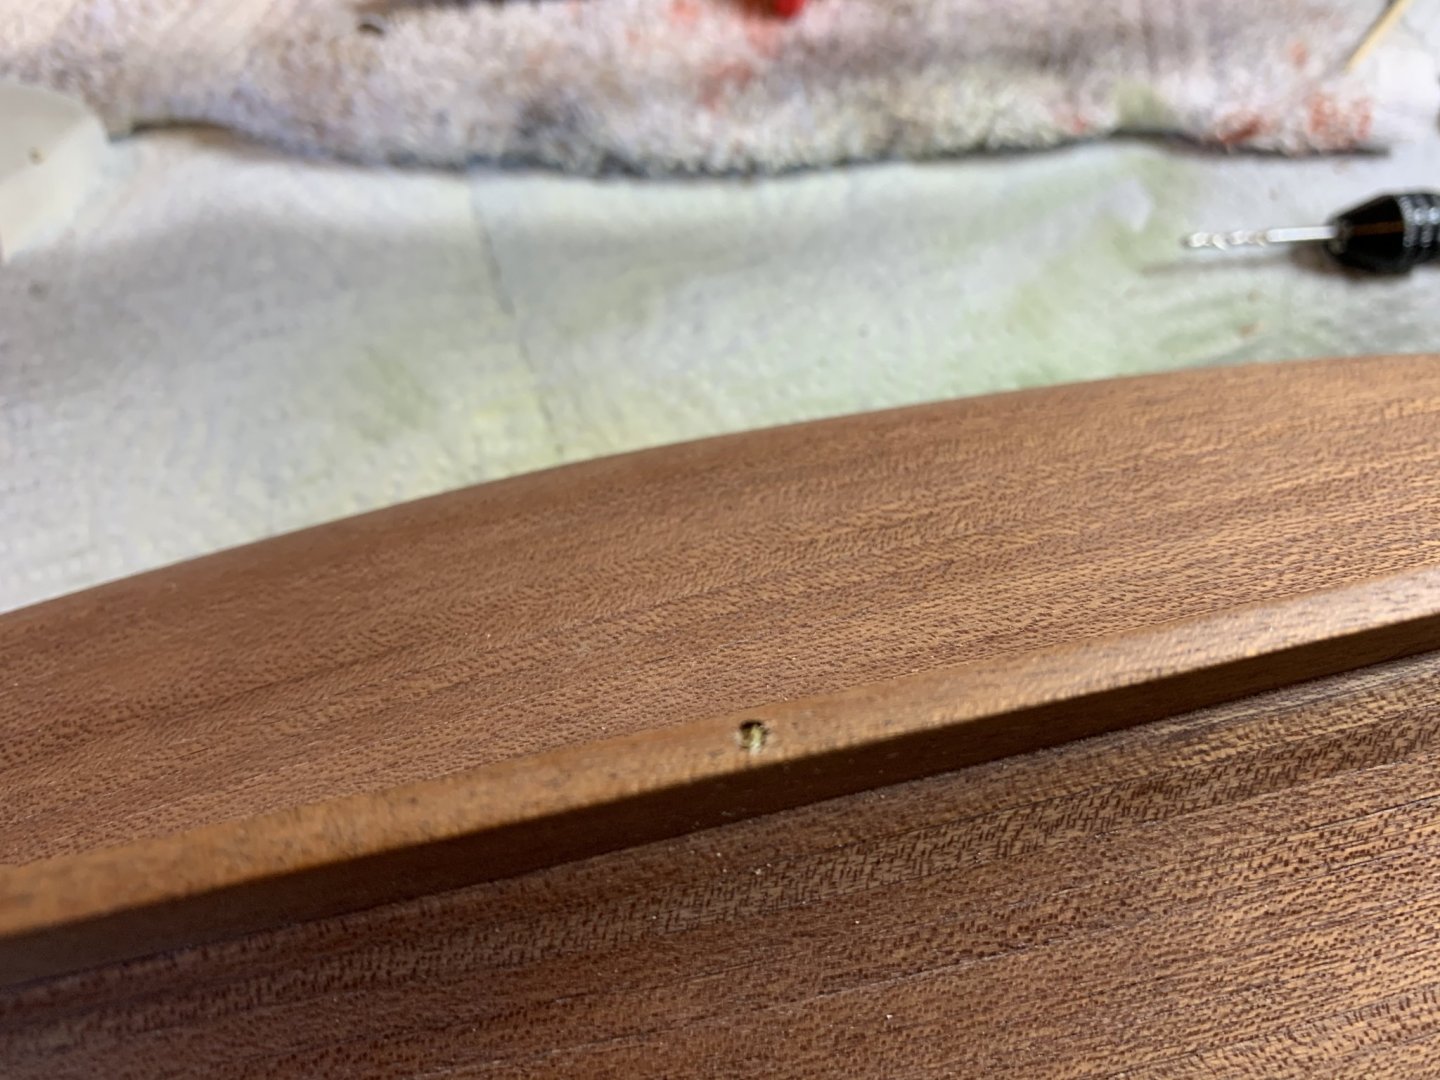
Little annoyed to have just spotted that one of my keel strengthening drill holes was a tiny bit off true 🤨

- 146 replies
-
- 1
-

-
- artesania latina
- bluenose ii
- (and 1 more)
-
But I’m happy enough with the result. Managed to keep the flotation line clean, which was my major concern.
- 146 replies
-
- 1
-
-
- artesania latina
- bluenose ii
- (and 1 more)
-
Get me eh? Drilling holes in the hull for fun now!! Then to the respray... Masking up wasn’t a lot of fun... had to be careful to avoid black paint spraying through the scuppers

- 146 replies
-
- 3
-
-
- artesania latina
- bluenose ii
- (and 1 more)
-
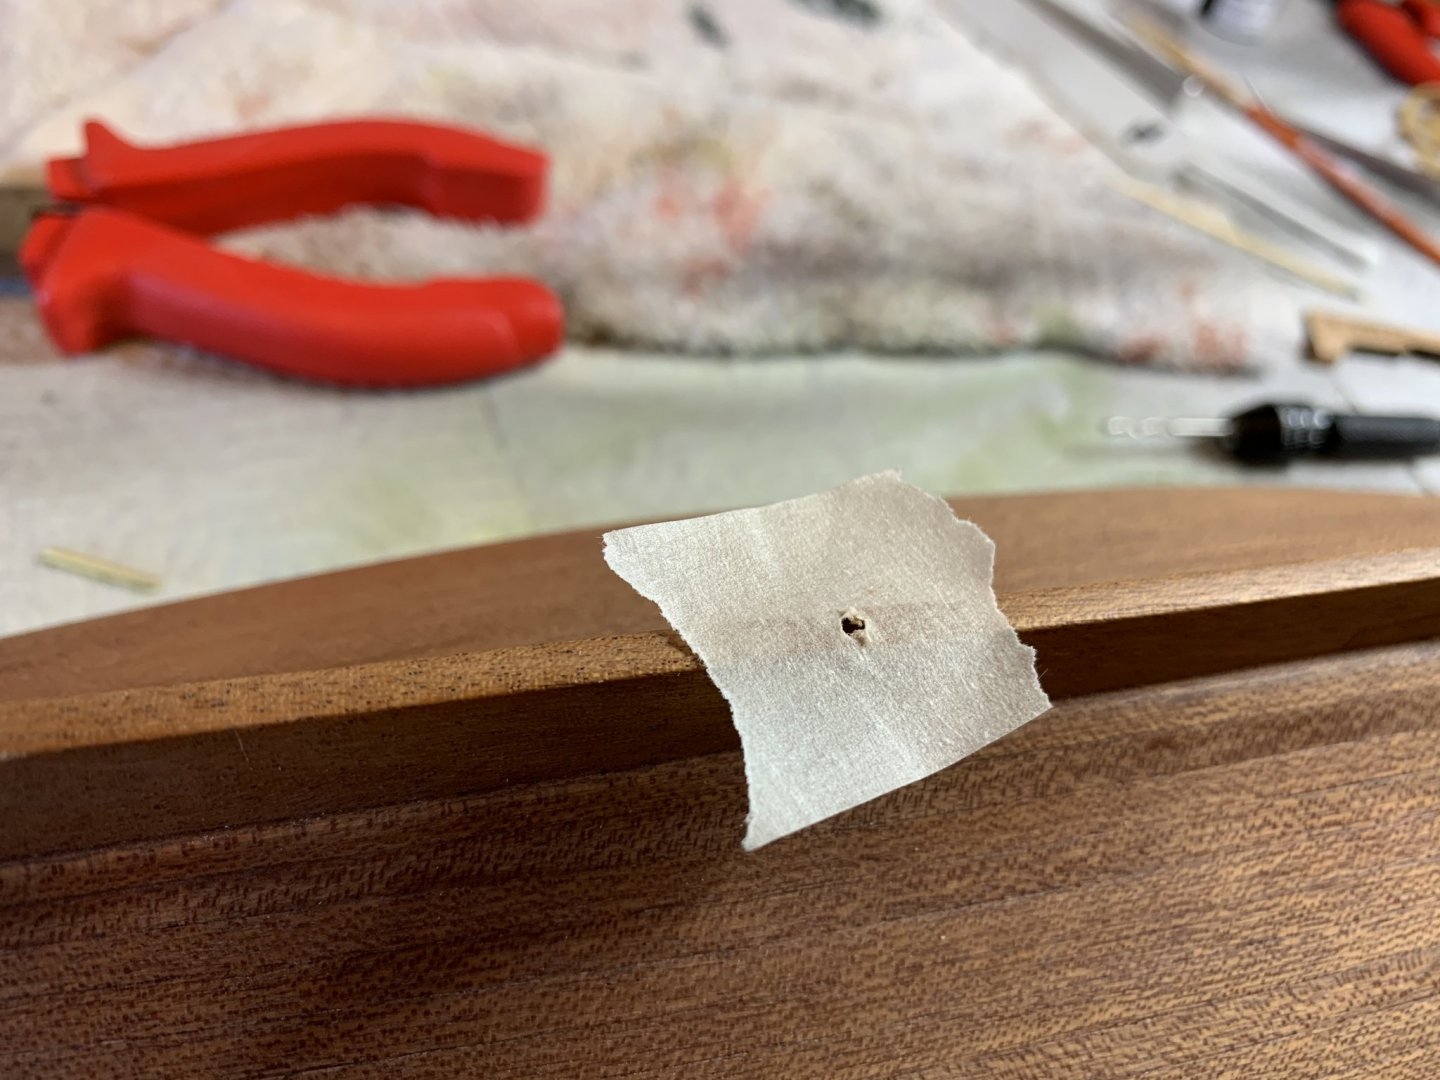
I didn’t want any excess ac glue spilling out of the hole and spoiling my hull so I put a piece of masking tape over the hole, put a hole in that with the drill and placed some slower cure ac glue over that, then pushed the brass rod through and into the hole. I then filled with dark coloured wood filler and repeated the process a further two more times. Hopefully, it’ll be a bit more resistant to breakage now.
- 146 replies
-
- 1
-
-
- artesania latina
- bluenose ii
- (and 1 more)
-
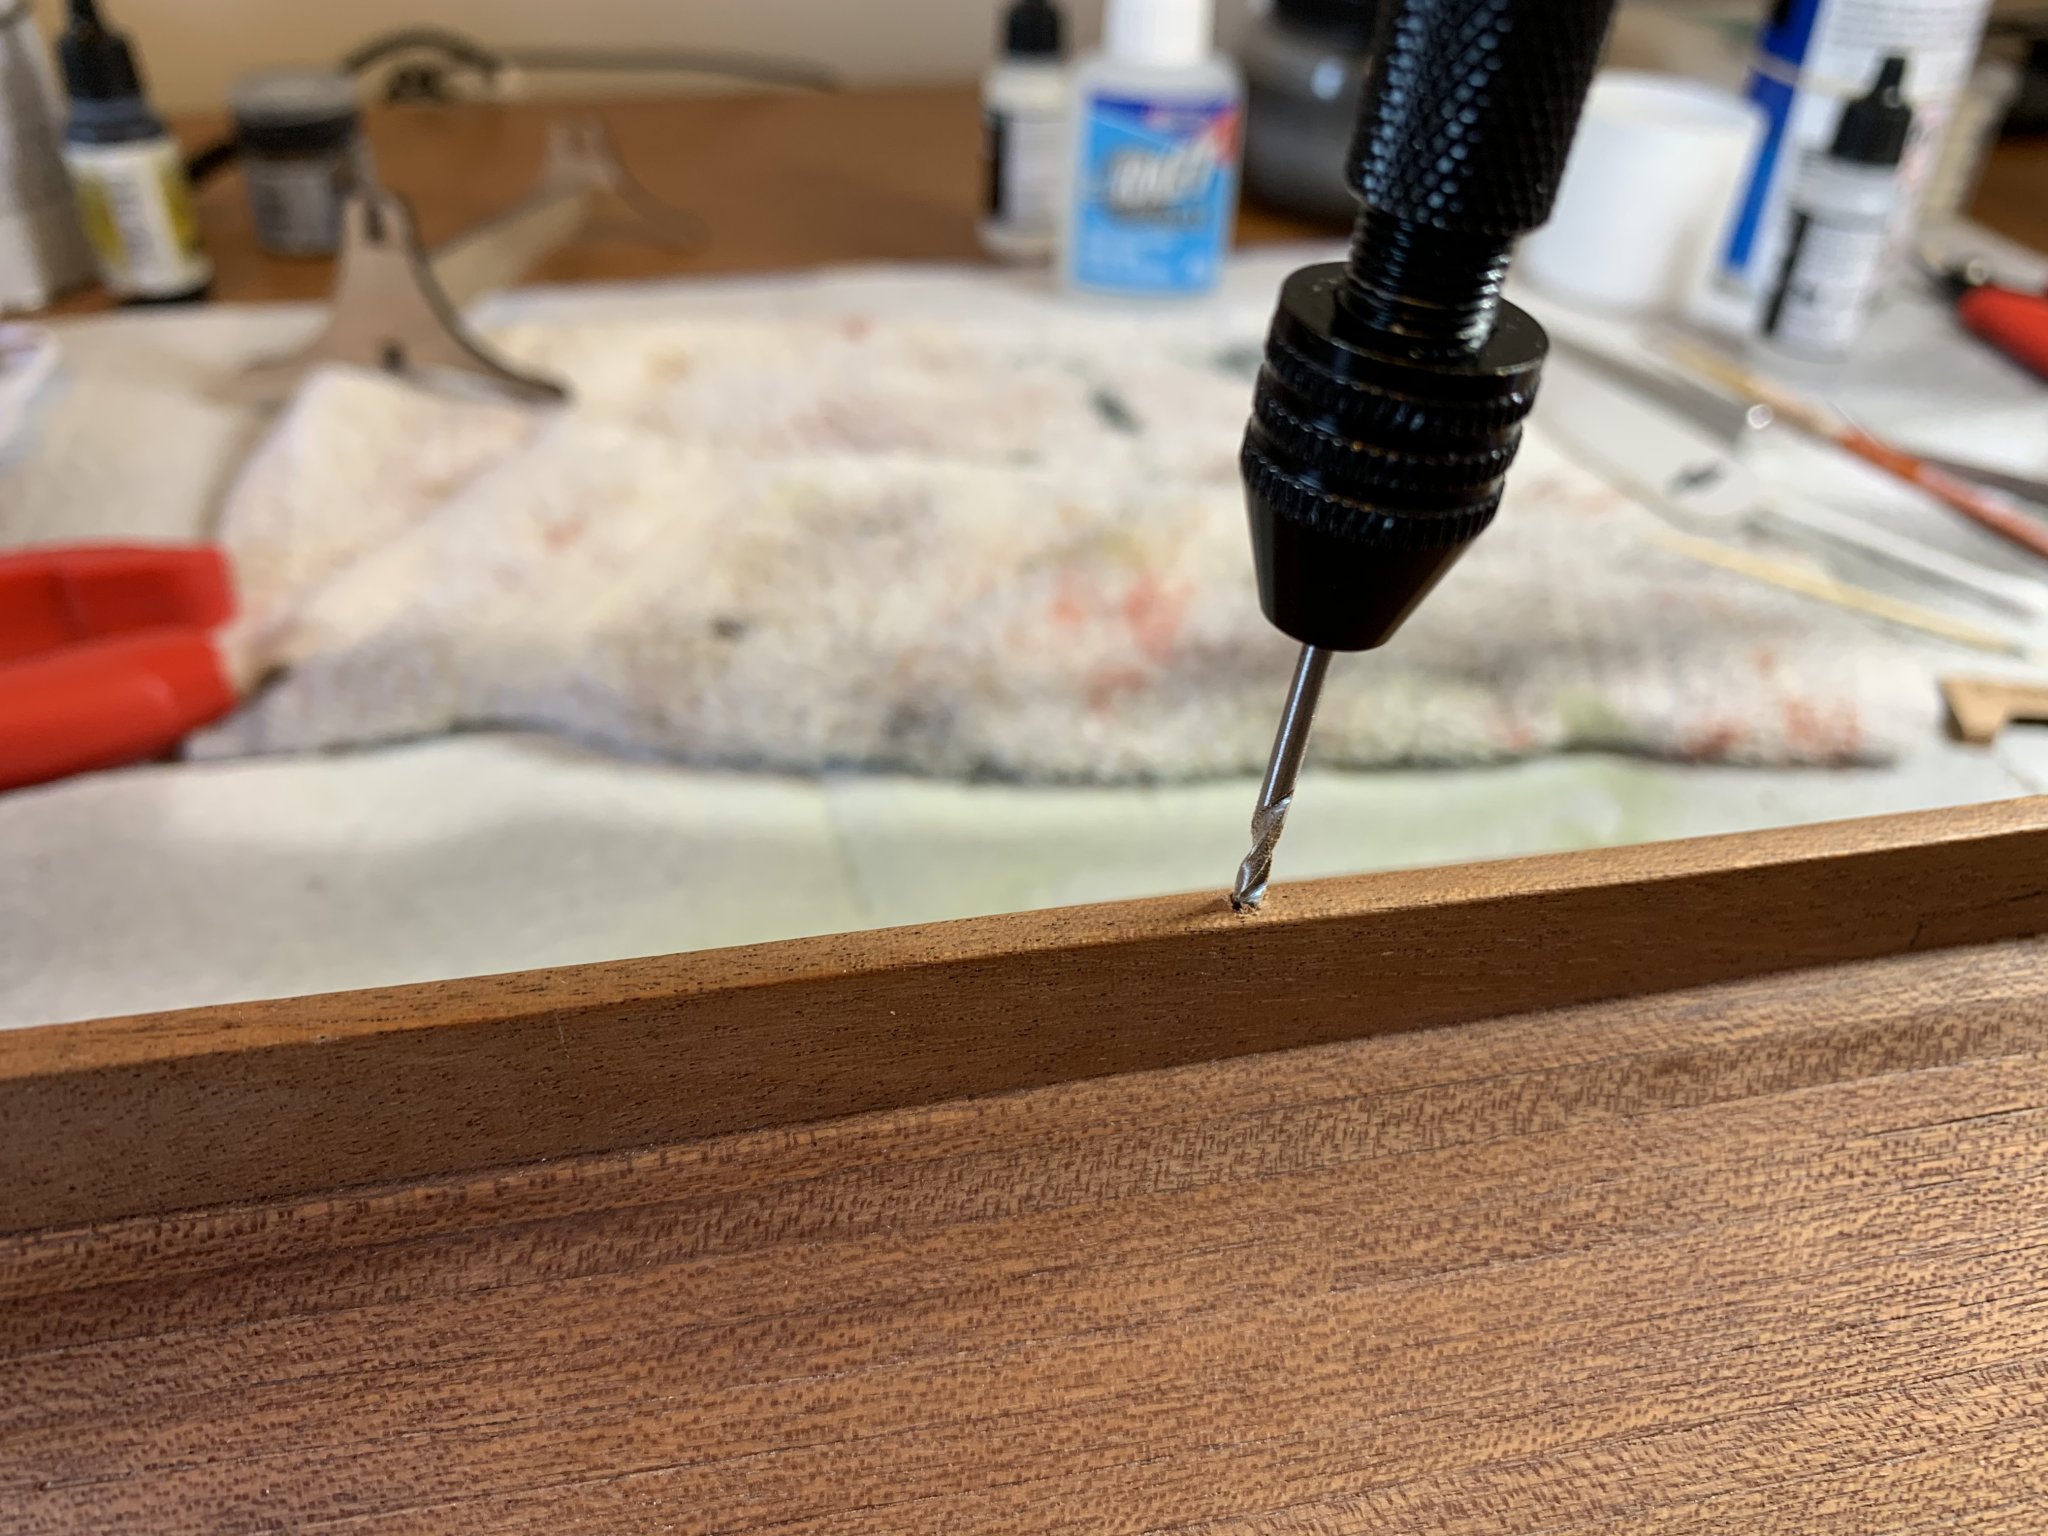
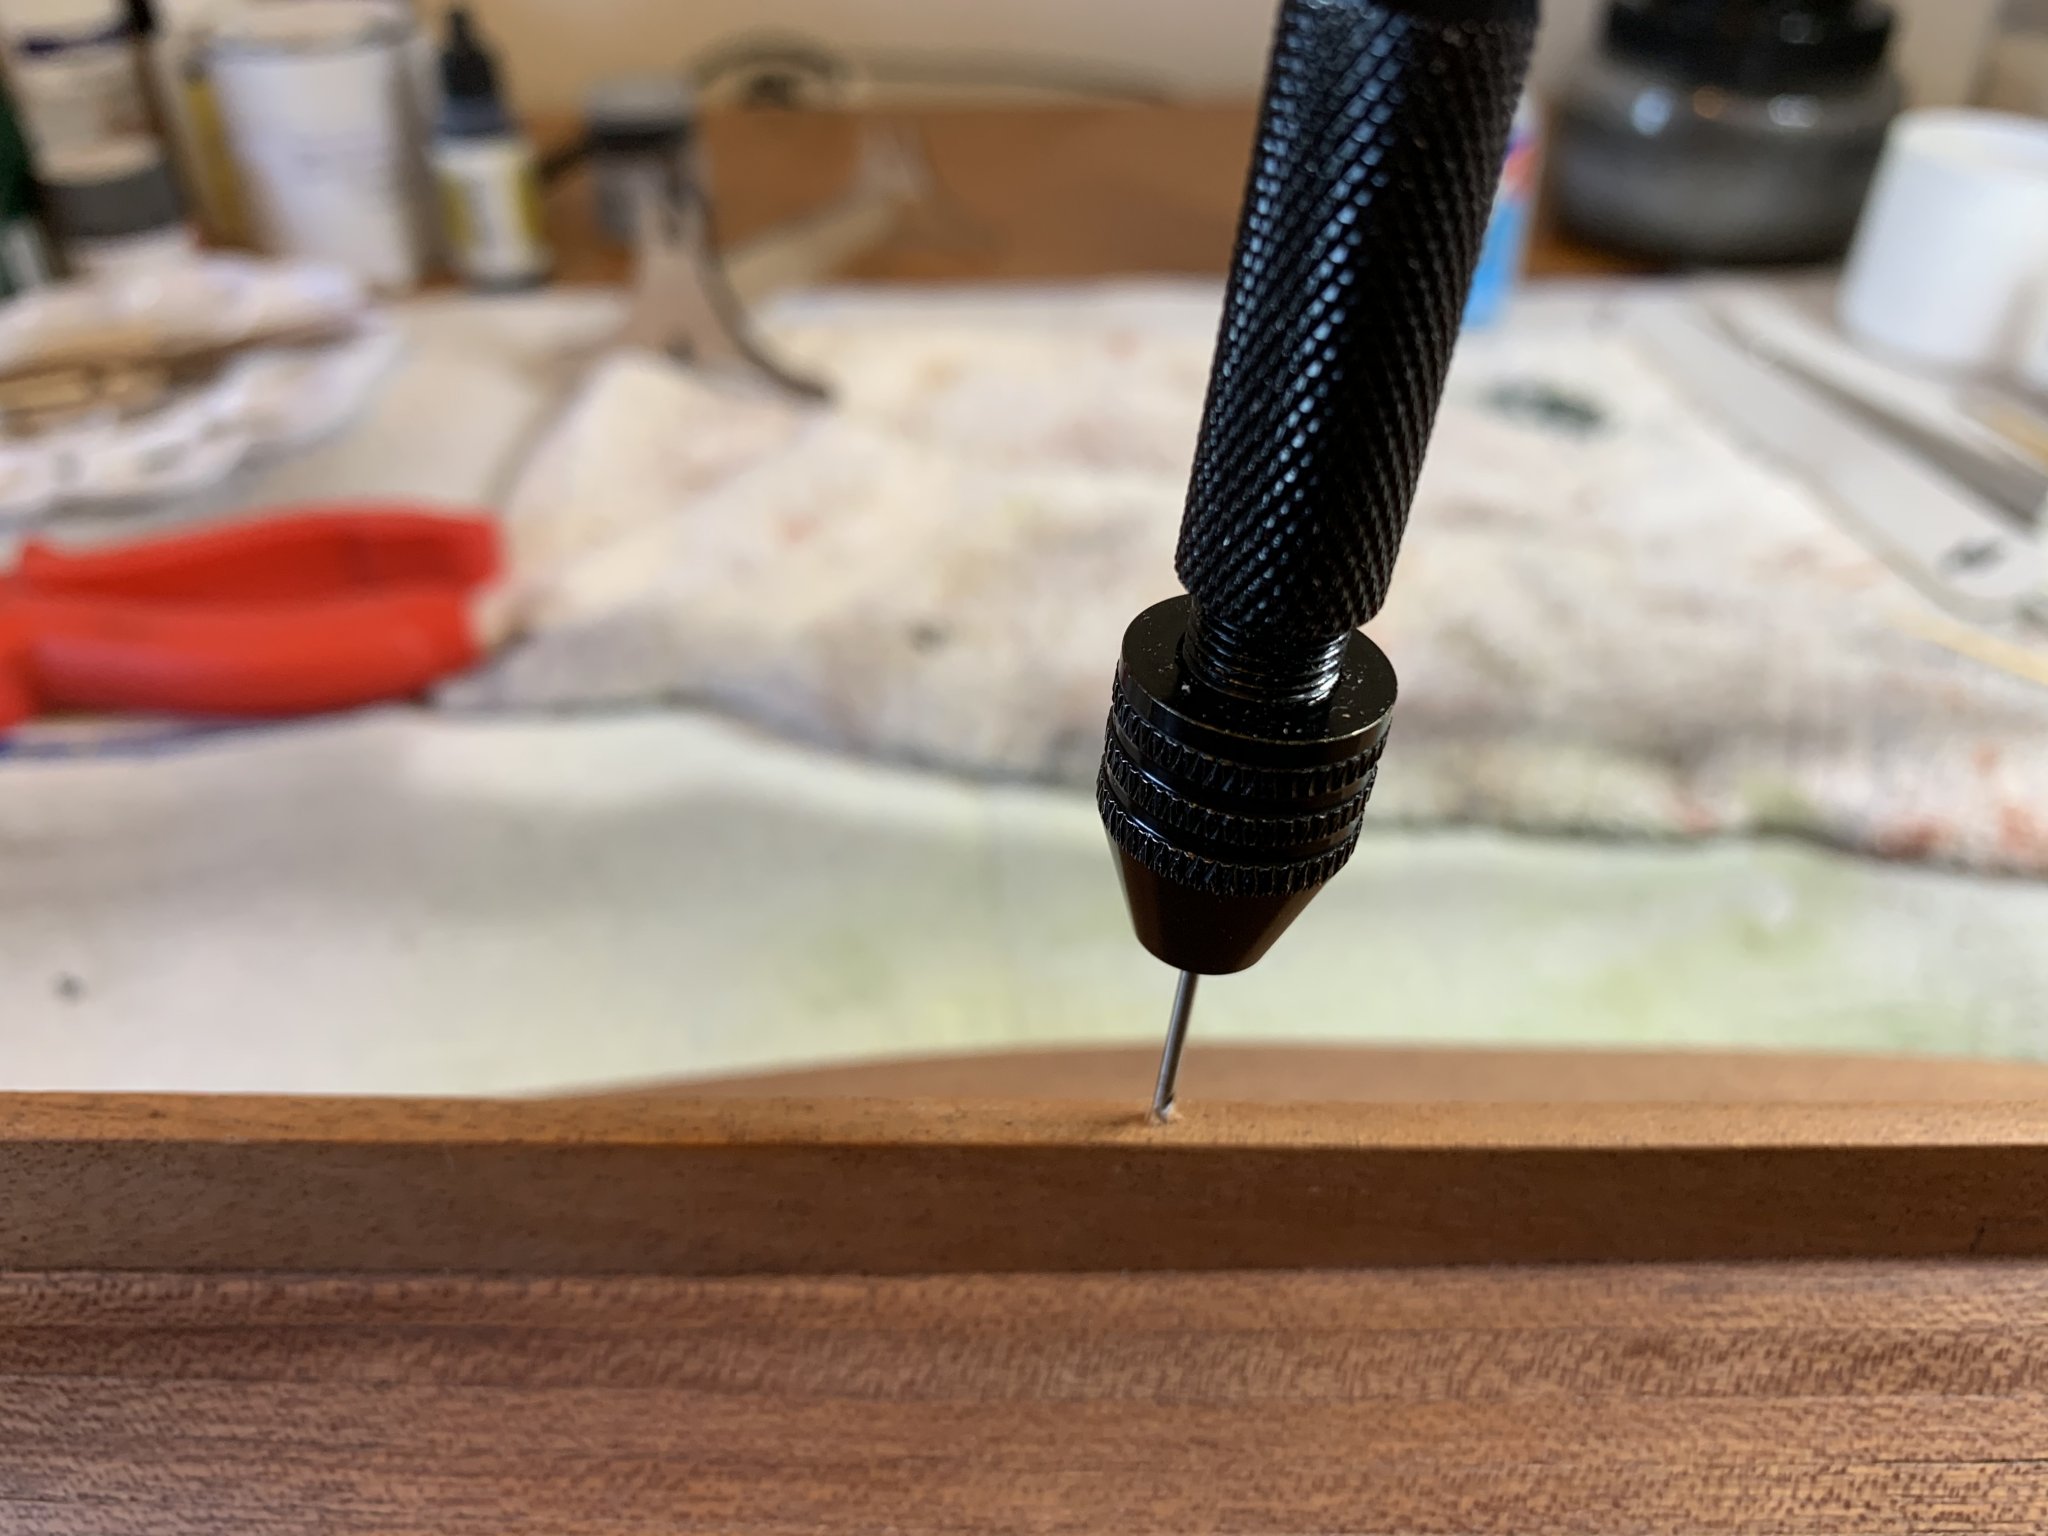
Then expanded the hole to 5/64, and tested for fit with a piece of brass wire.


- 146 replies
-
- 1
-
-
- artesania latina
- bluenose ii
- (and 1 more)
-
First I drilled a hole with a 3/64 inch bit and a pin vise.

- 146 replies
-
- 1
-
-
- artesania latina
- bluenose ii
- (and 1 more)
-
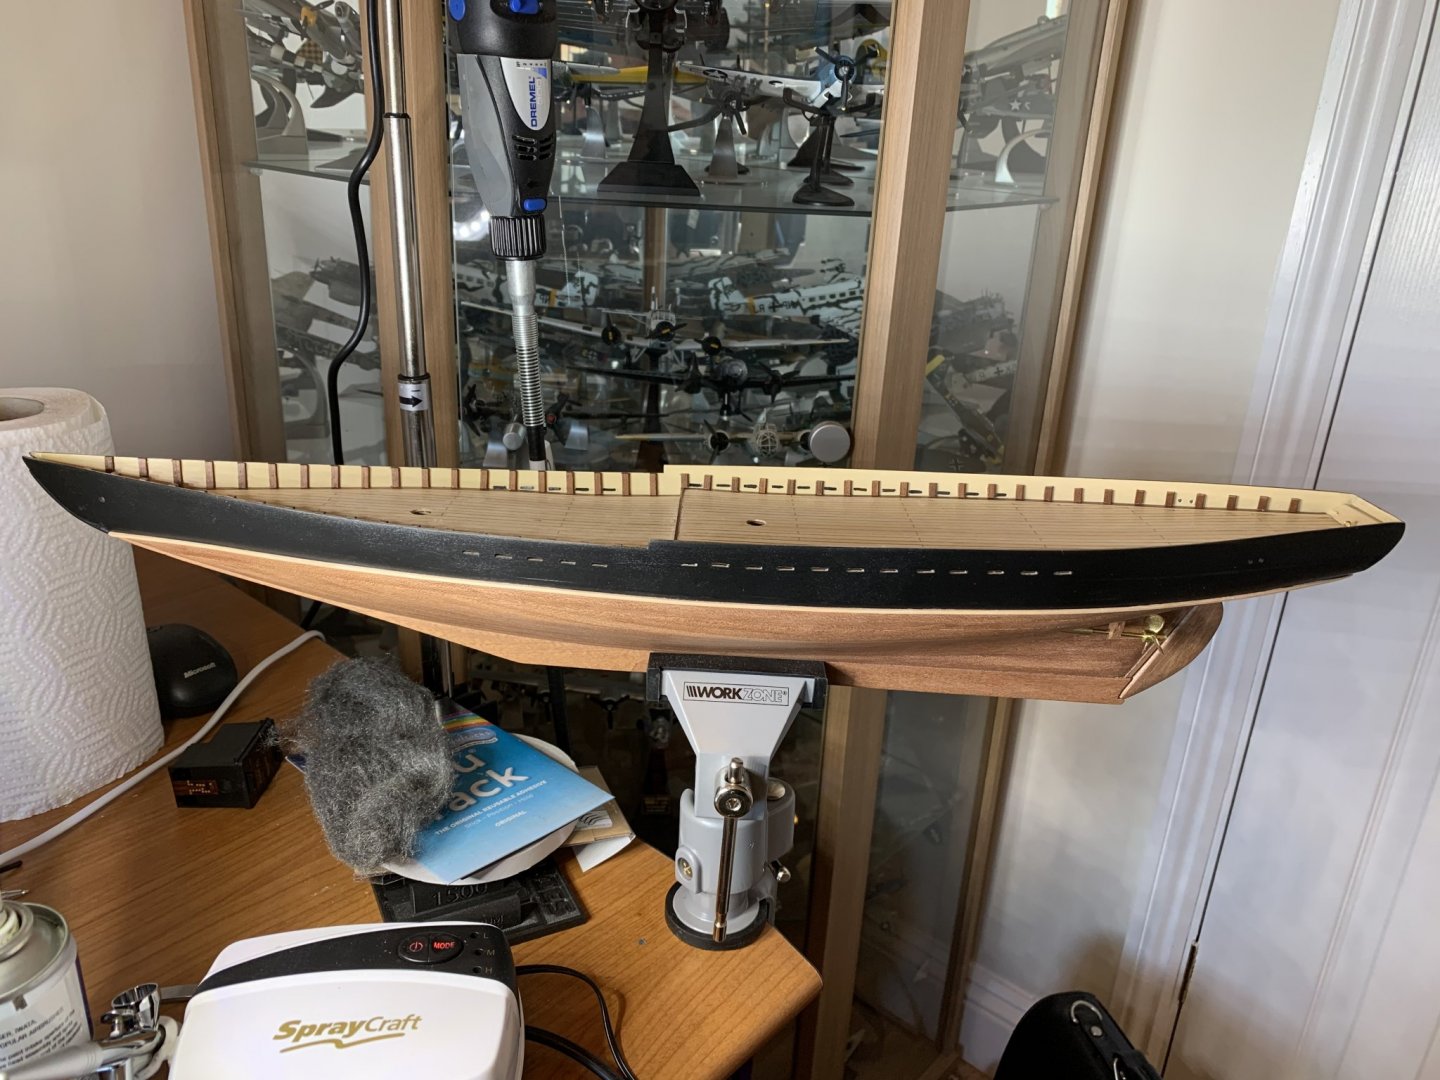
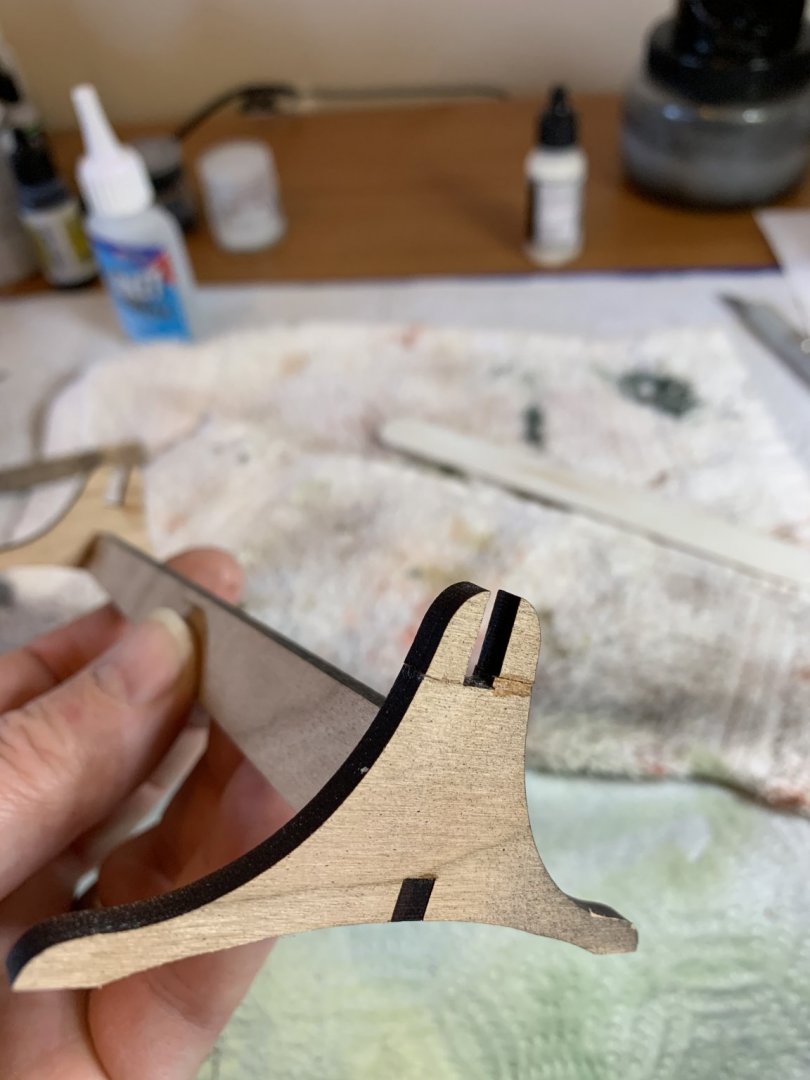
After breaking the namby pamby stand that comes with the kit about 5 times and having to glue it back together again I figured it was time to put some strengthening in the keel. I need to be able to irk in a stable hull when I get to the rigging, think.
-
Maybe I’ll stick a pin with CA in each side at the transom. The pins I have now are brass ones so they rub down a little easier.
-
It’s a case of swings and roundabouts really... I had originally pinned the bulwarks, but that gave problems with the rubbing down. So I took those pins out and secured them With CA, which has then come adrift as I’ve been handling it whilst doing the scuppers etc. I’ve re-glued with CA and hope this will hold tight now.🤞
-
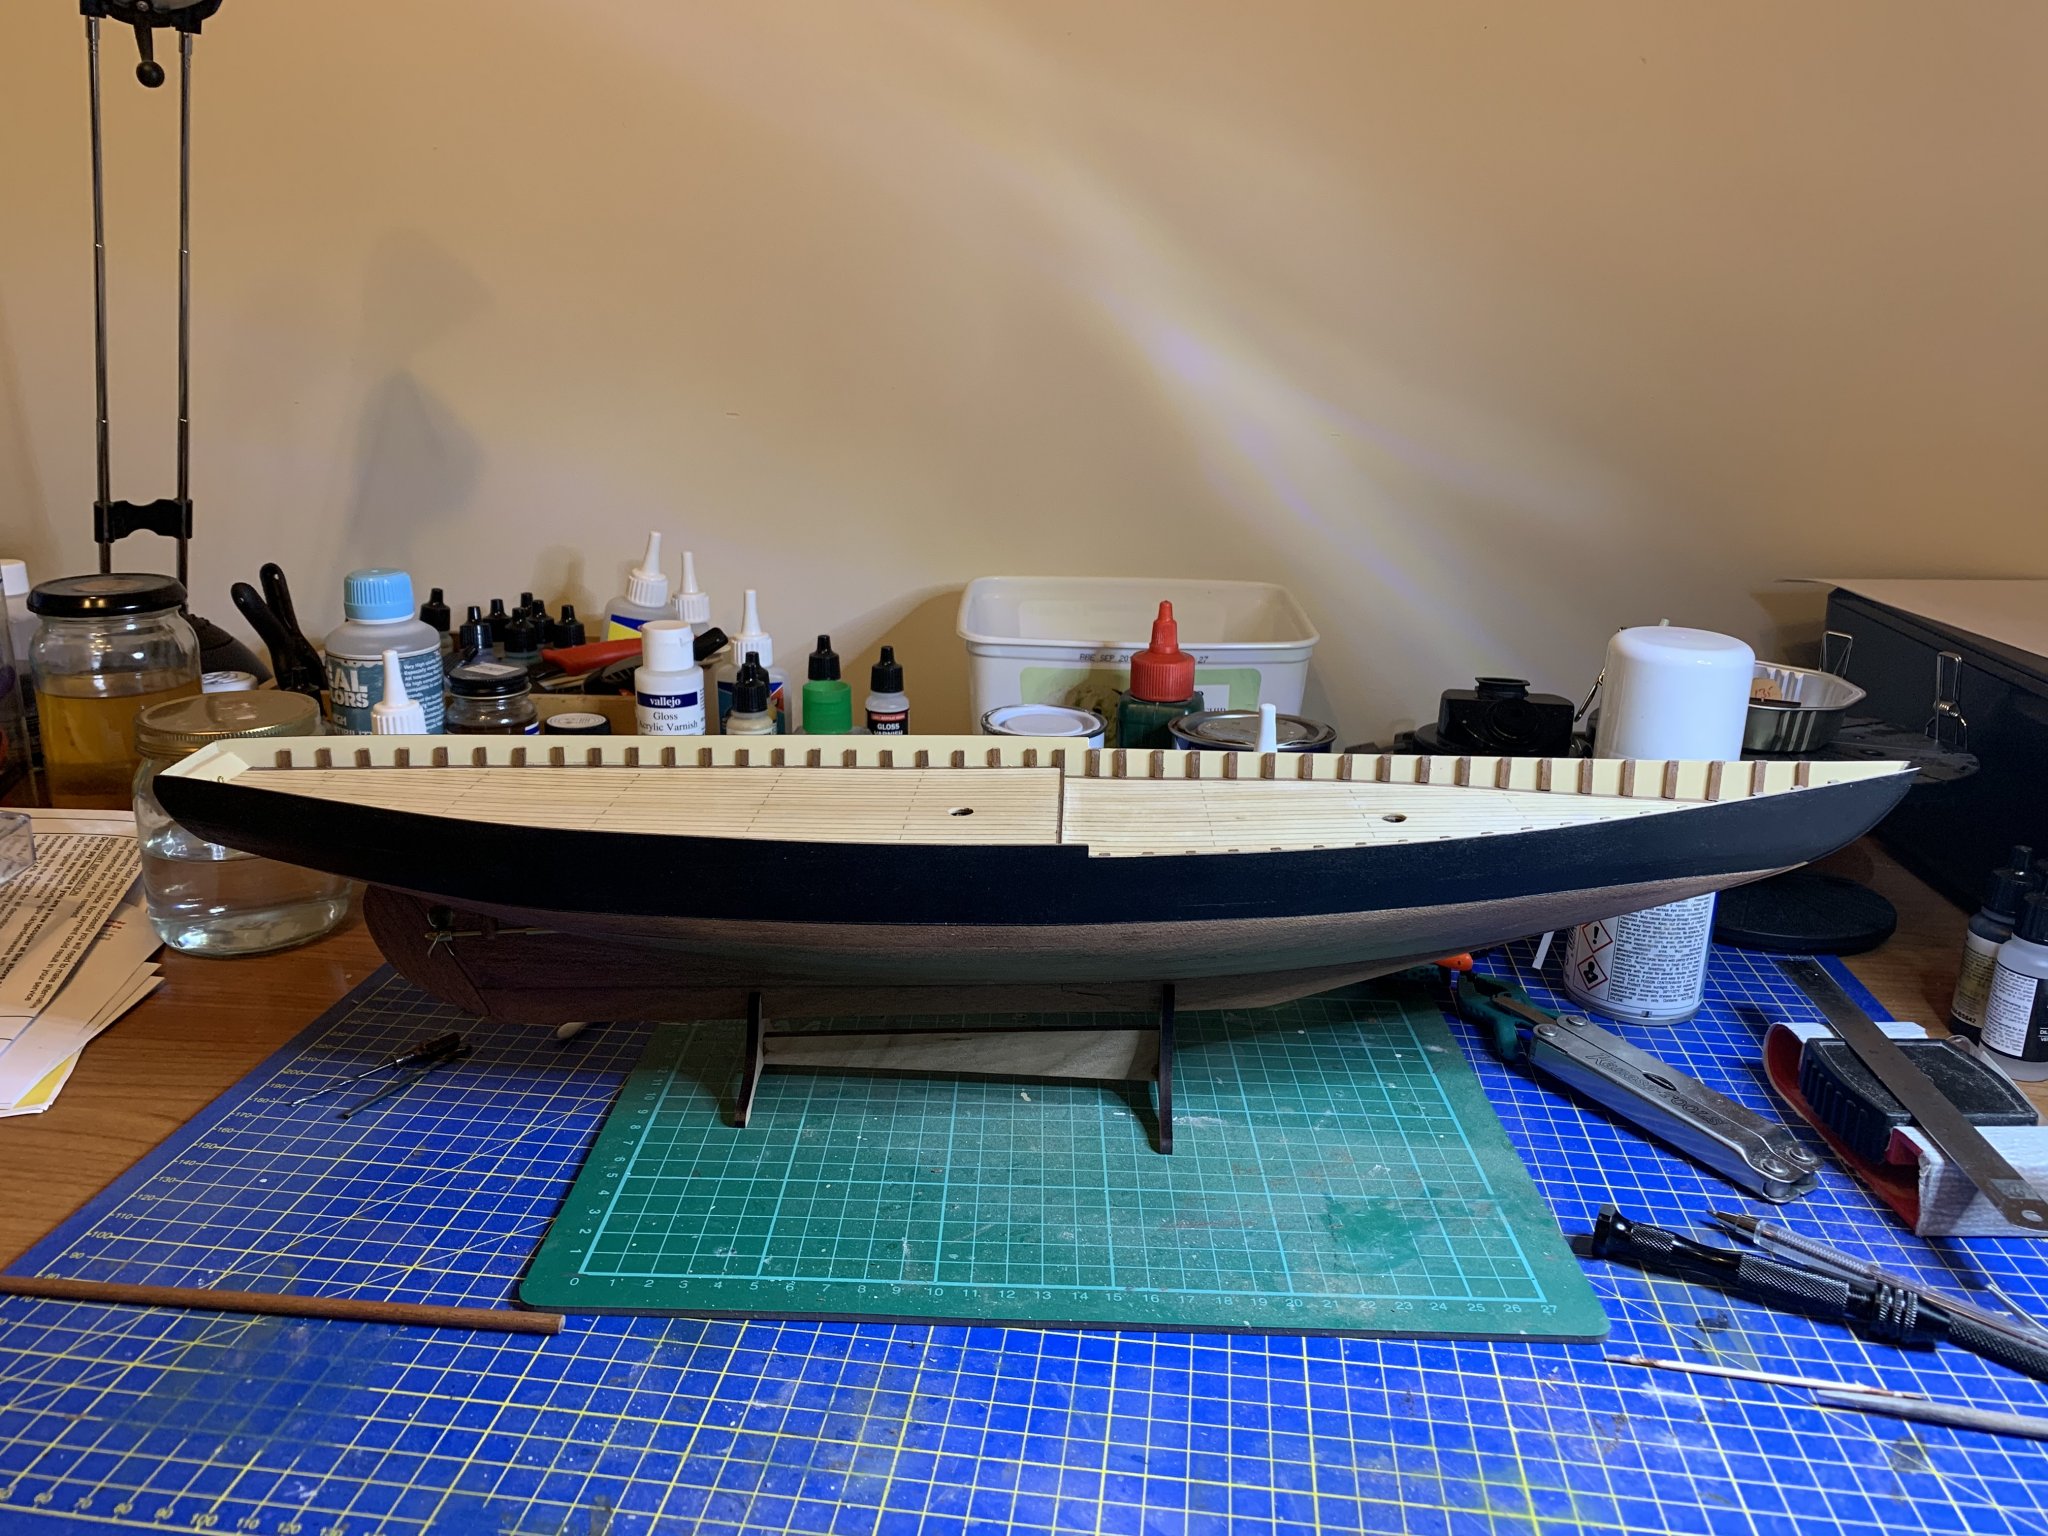
Still got to do the repaint, but here’s what she looks like now
- 146 replies
-
- 3
-
-
- artesania latina
- bluenose ii
- (and 1 more)
-
😂😂 yes... made 40 holes all in all in the hull yesterday. Was relieved when it was done though!
-
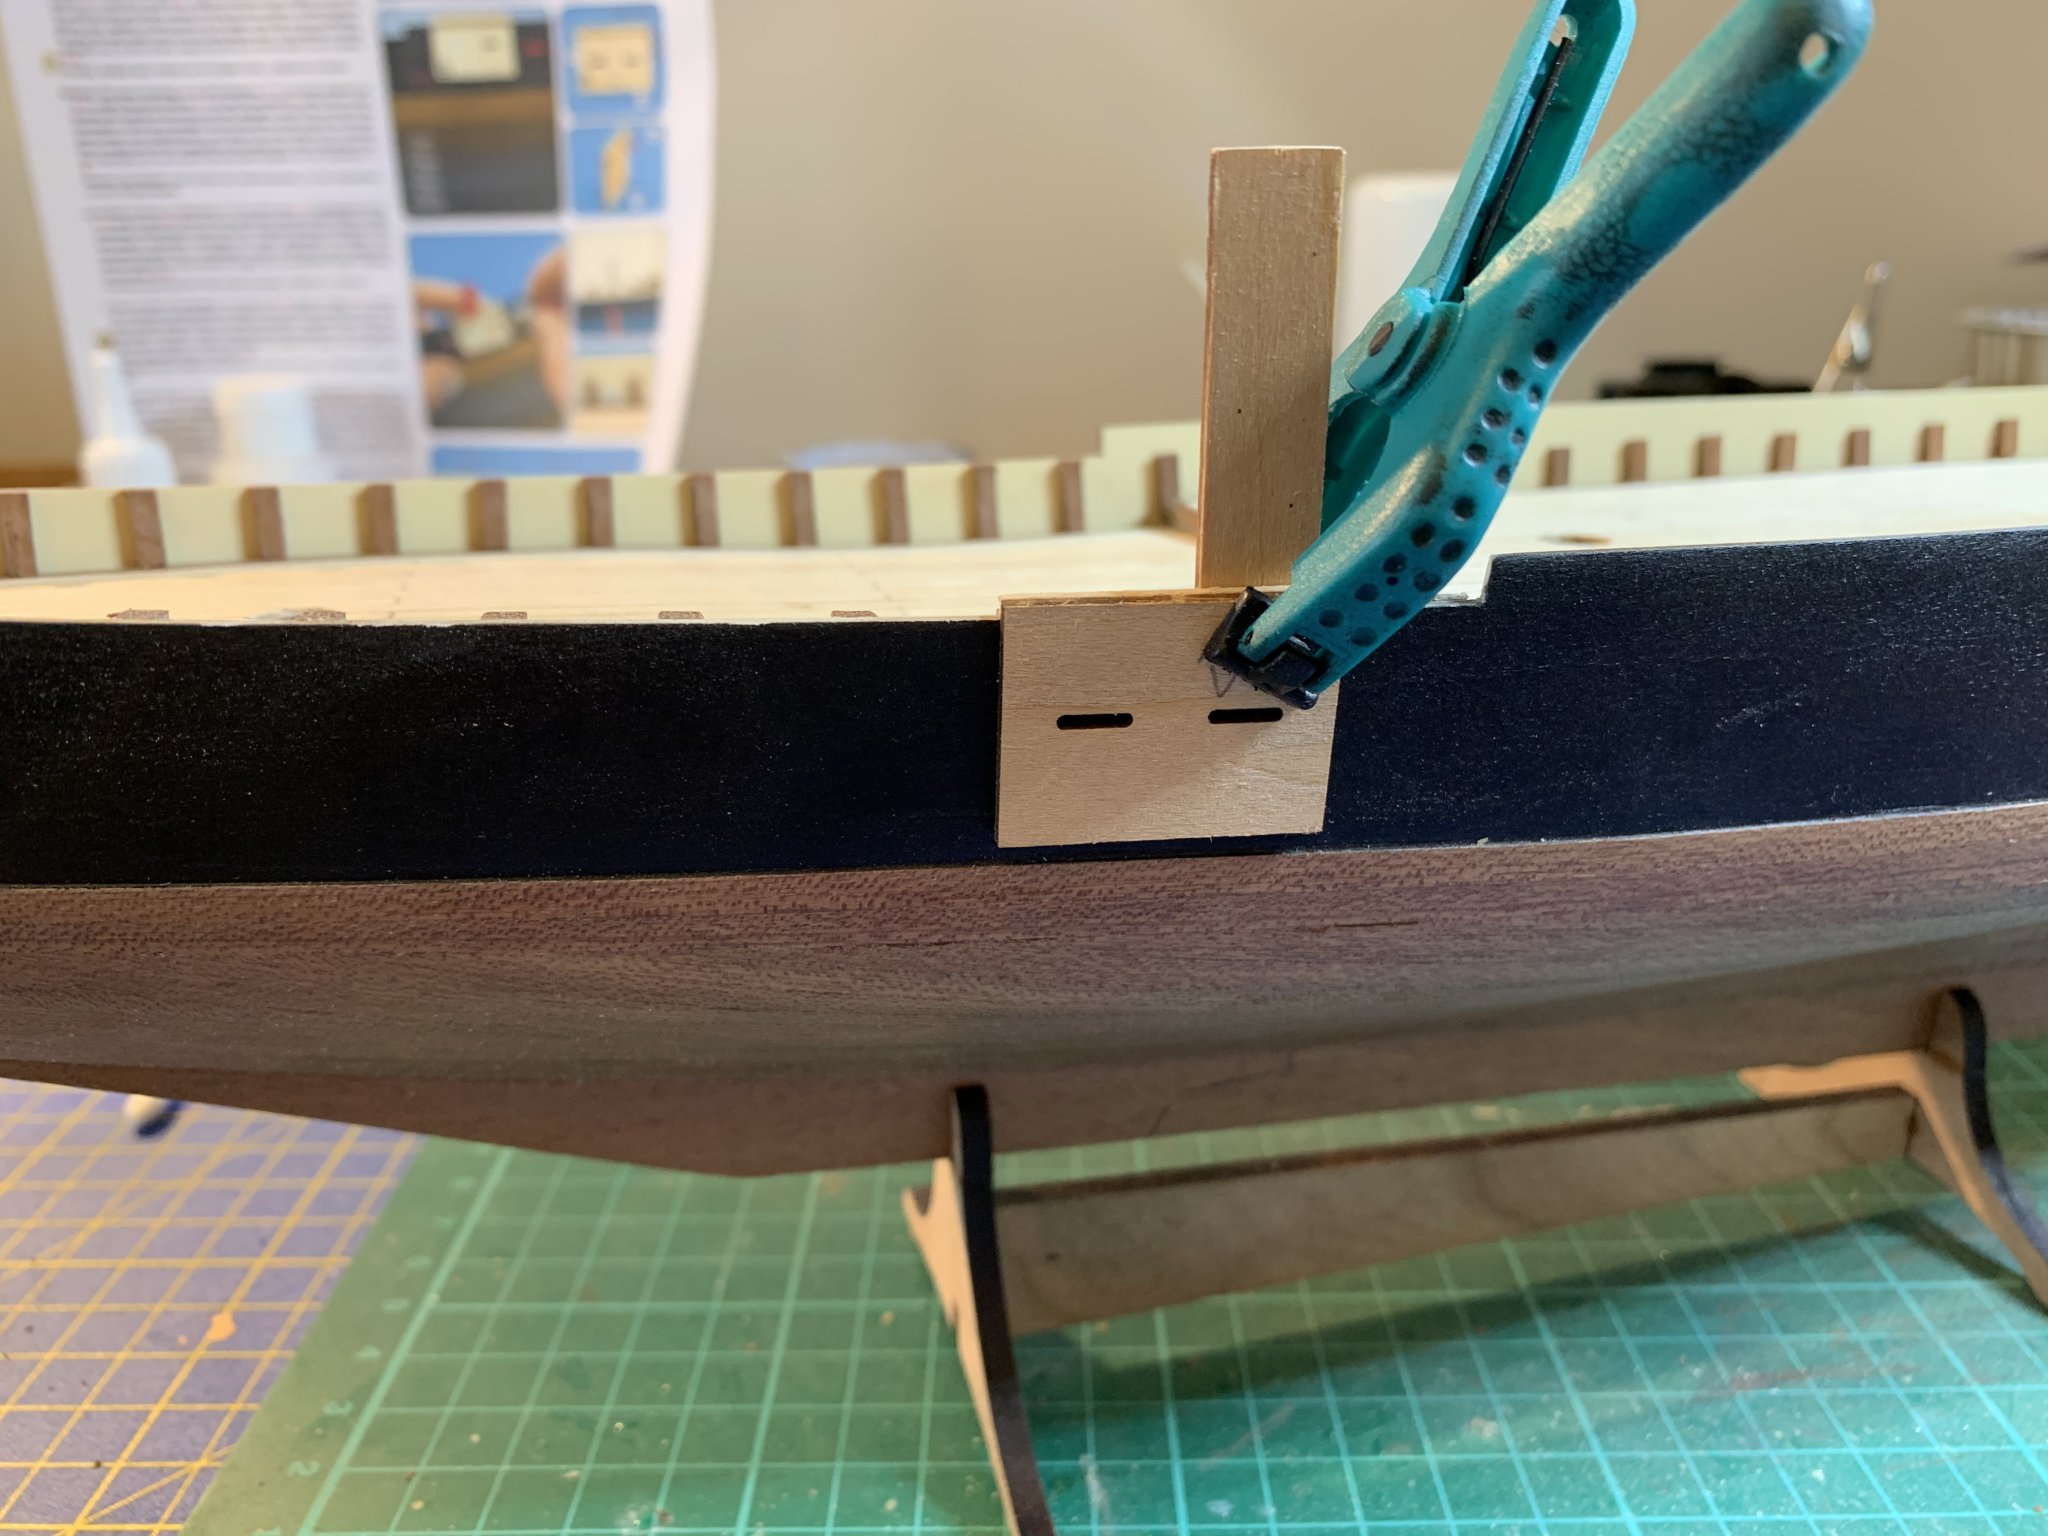
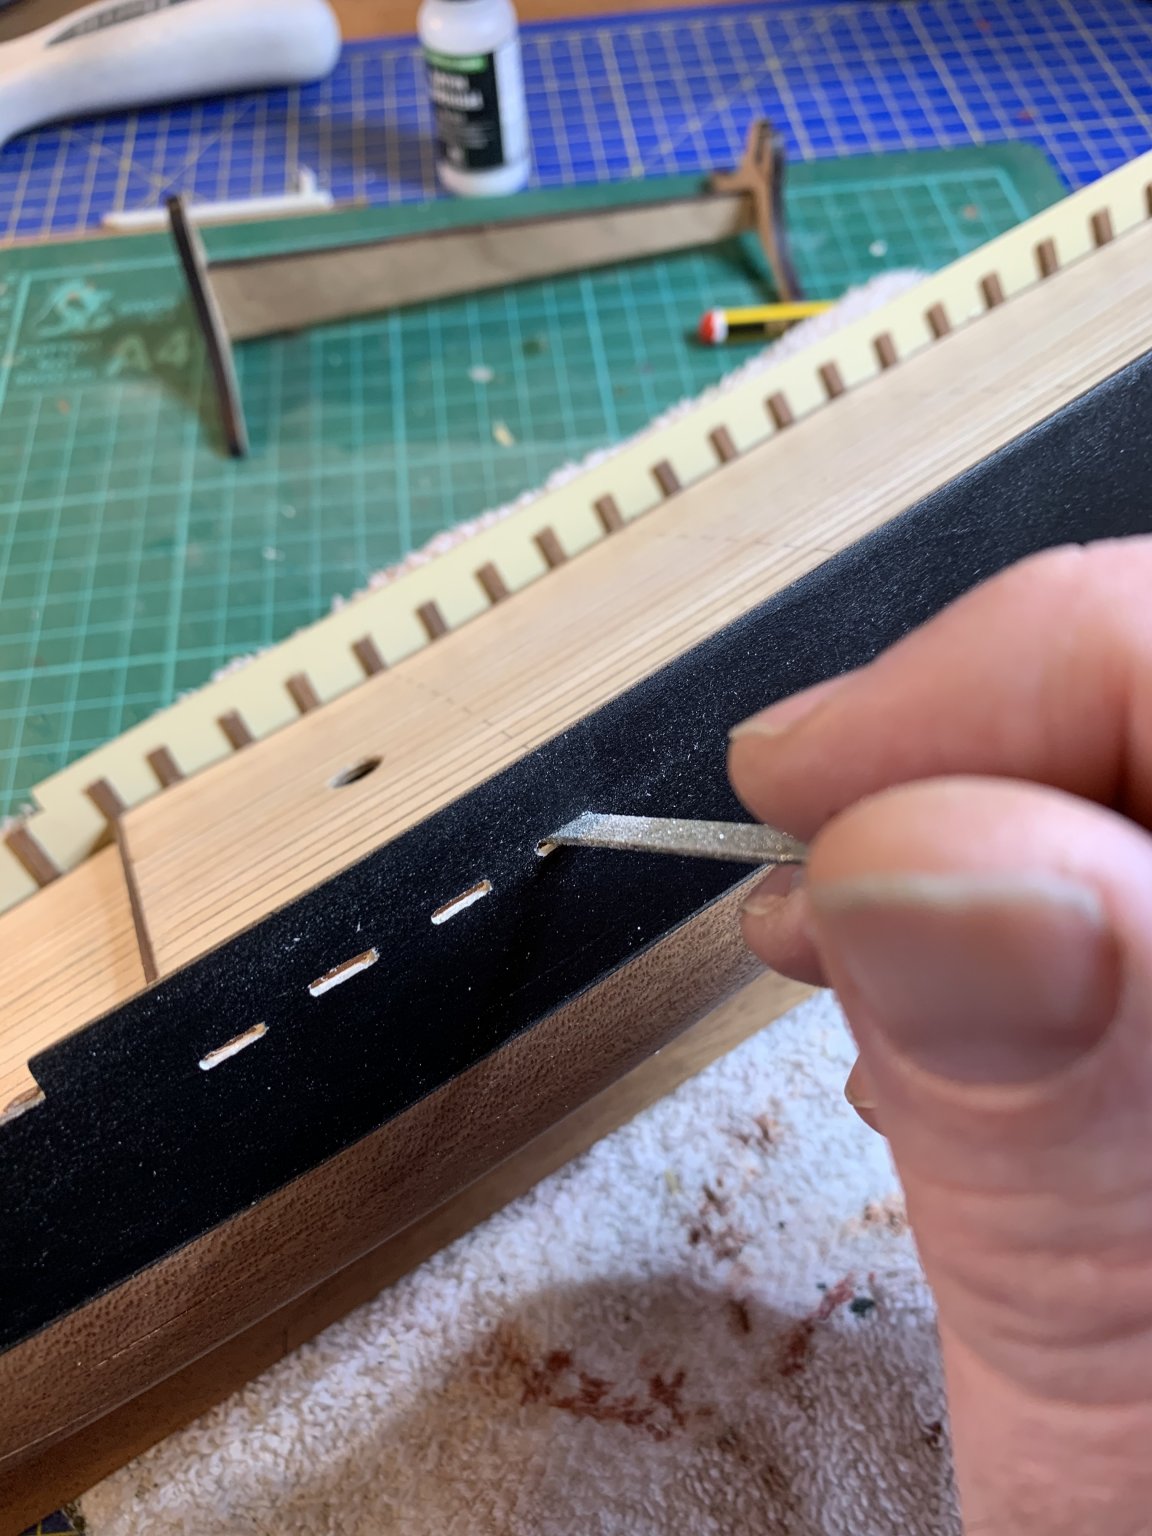
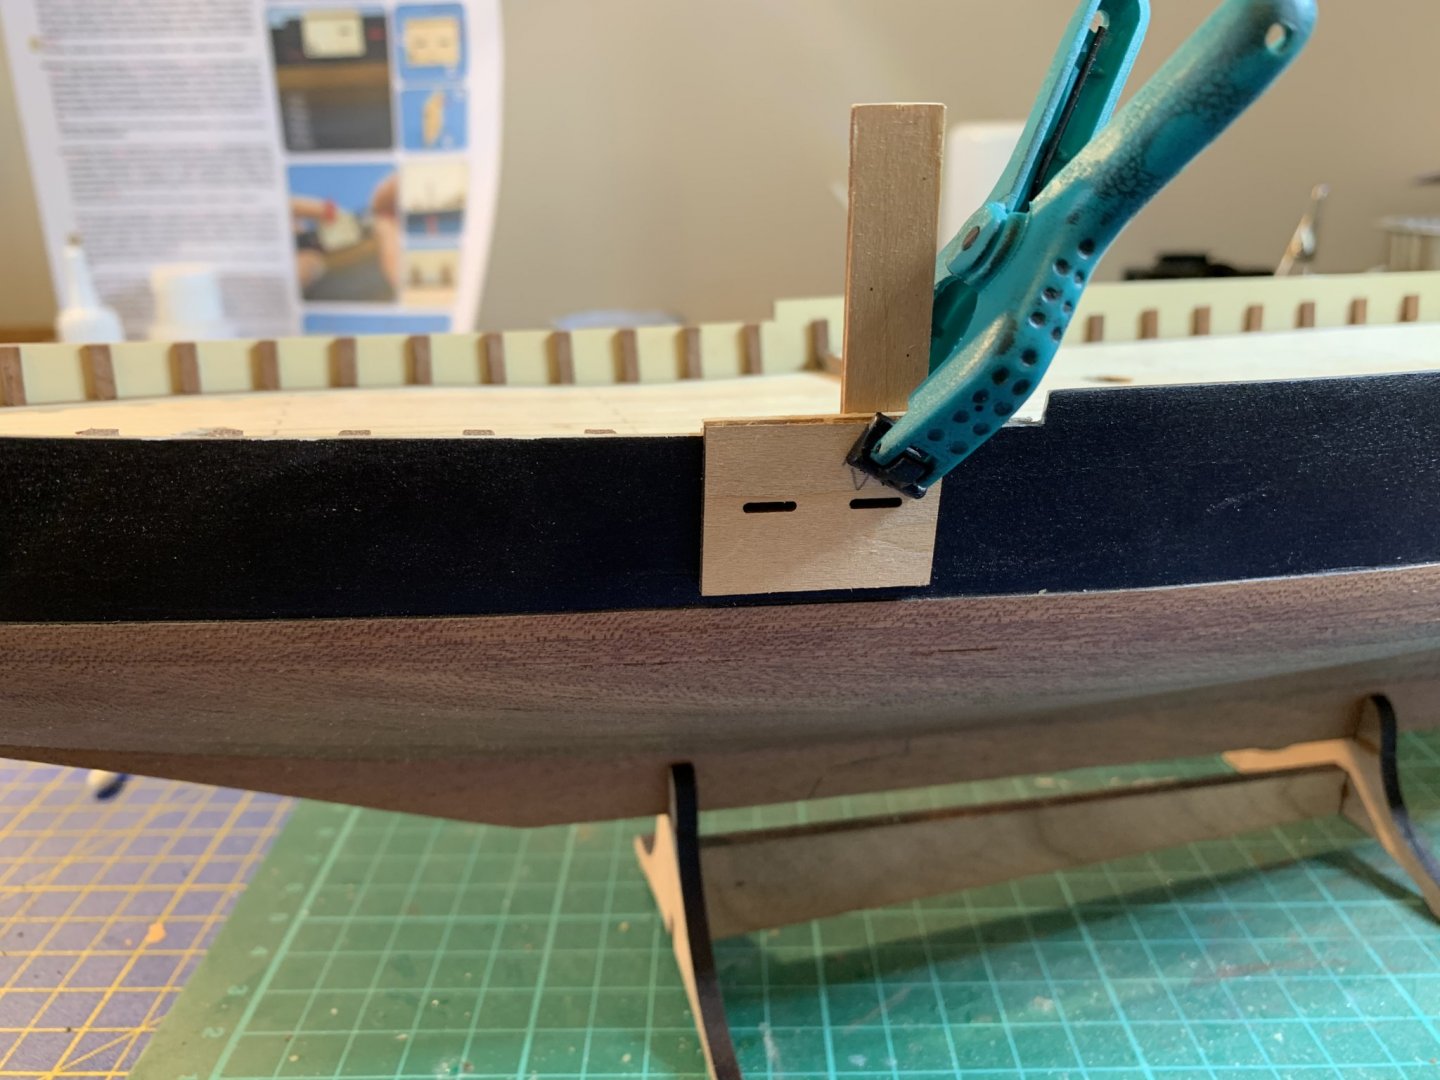
Got my scuppers in and hawse holes(?). Also got my flotation line on. But in doing so one of the stem bulwarks became detached and had to be re-stuck. Going to have to refill it and repaint so not too happy about that. Going to be tricky keeping the flotation line clean and paint free. As per Hof’s suggestion, used the stanchion spacer to prevent break out.
- 146 replies
-
- 5
-
-
- artesania latina
- bluenose ii
- (and 1 more)
-
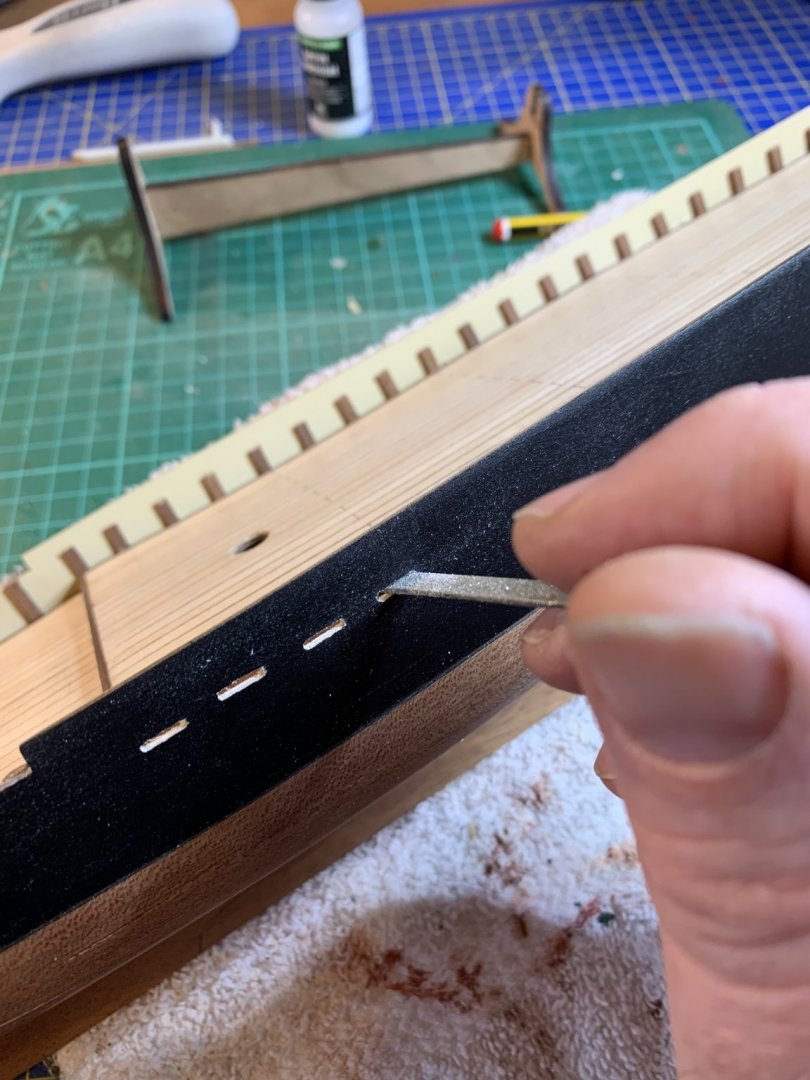
Next job is the scuppers! More darn holes to worry about 😂😂
- 146 replies
-
- 1
-
-
- artesania latina
- bluenose ii
- (and 1 more)
-
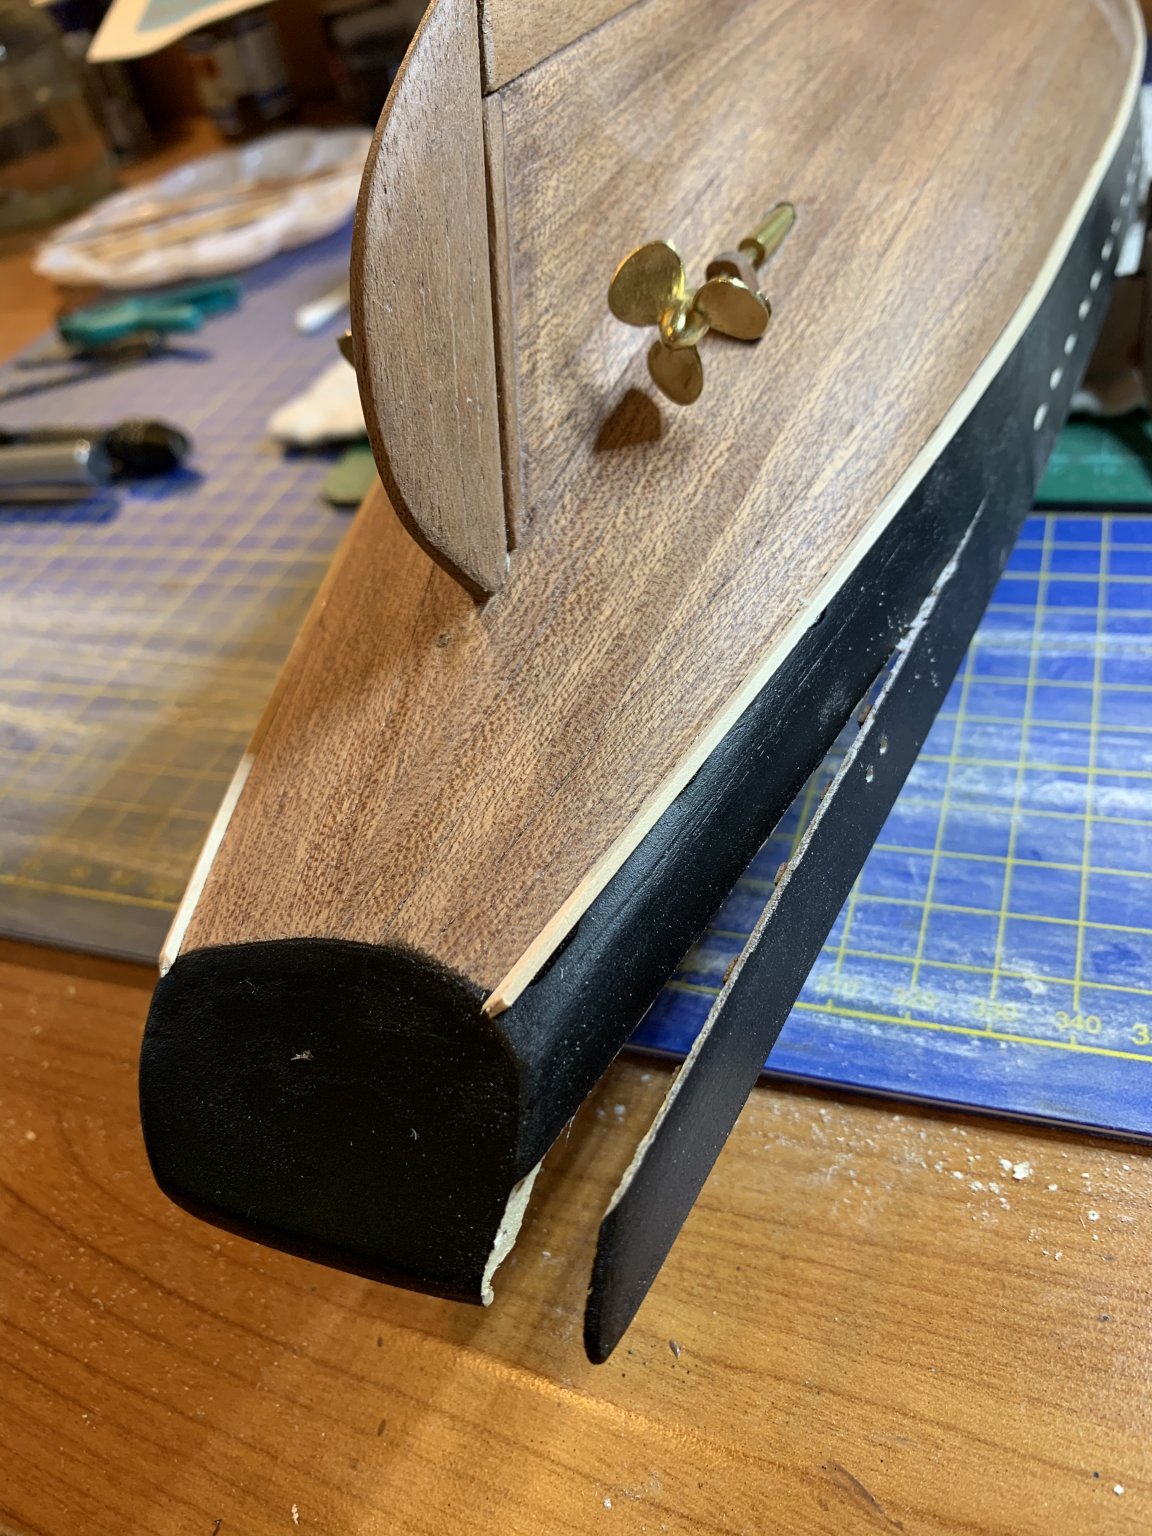
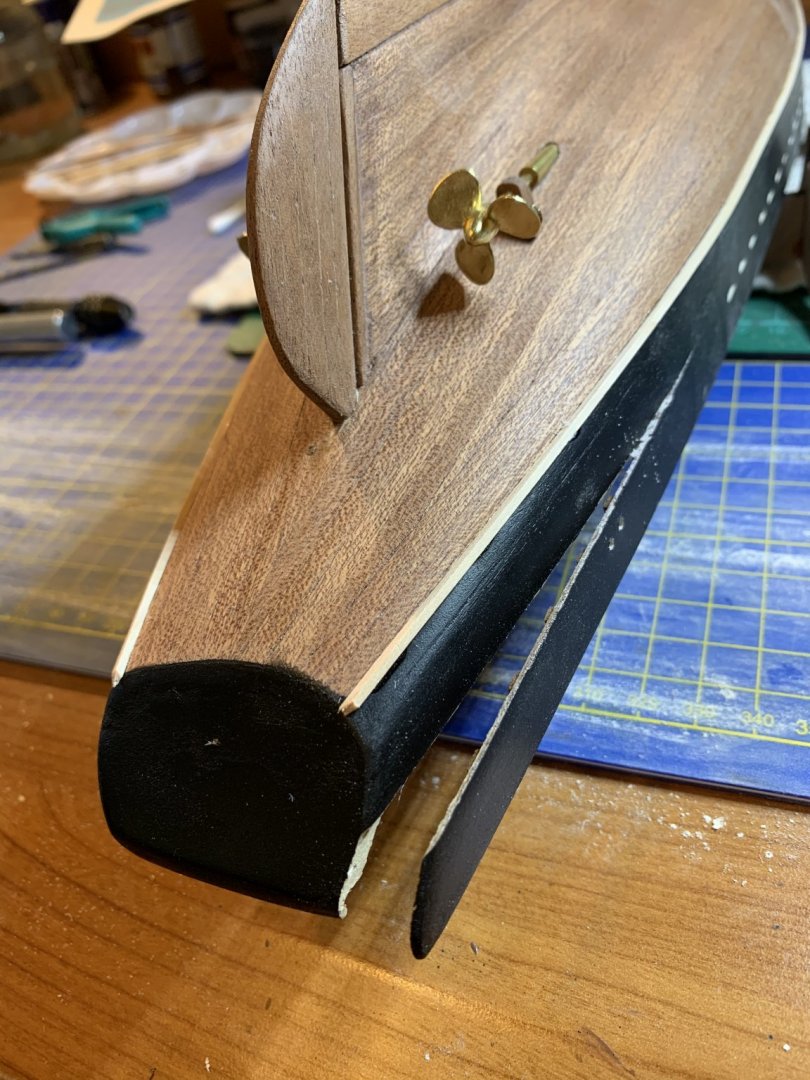
Wahay!!! We have stanchions and propellers! the walnut strips I got were completely wrong. Ended up finding mahogany ones eventually. I found it tricky doing the holes for the propeller shafts. Using rolled up sandpaper definitely worked the best.


- 146 replies
-
- 5
-
-
- artesania latina
- bluenose ii
- (and 1 more)
-
Hi HOF No, the stanchions are Sapele (or Sapelly per AL). I managed to find some walnut strip wood on Amazon, which I think will be ok once I’ve used the same stain I used on the Sapele.
- 146 replies
-
- 1
-
-
- artesania latina
- bluenose ii
- (and 1 more)
-
I’m assuming that there’s no point trying contact AL. Am I correct in believing they went out of business?
-
Grrrr!!! AL have short-changed me on the wood for the stanchions. Can anybody recommend somewhere I can get small size strip wood for model making in the UK
-
That is a great idea... thanks. I’ll definitely be doing that. 👍
-
I don’t know if they did that before?
-
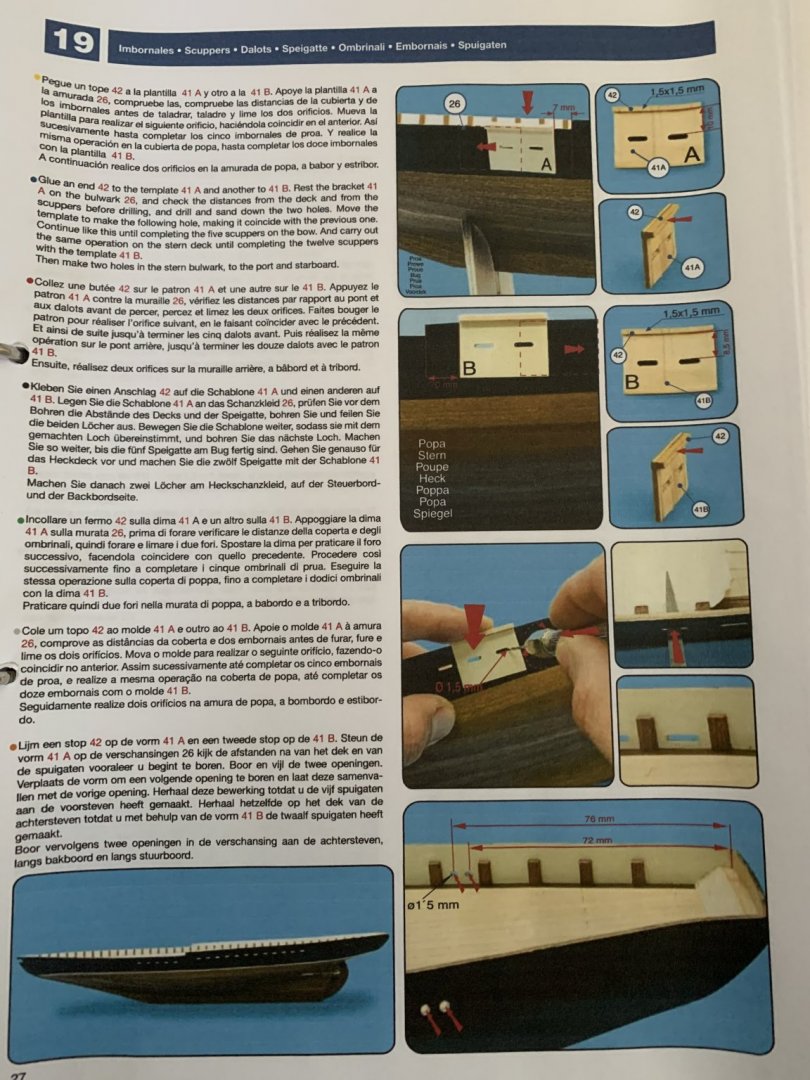
Hi Harry, Yes, there will be scuppers, which will be more nerve racking holes I have to drill in my hull! AL don’t precut these in this version of the kit, but they do provide a guide/template to help place them.
-
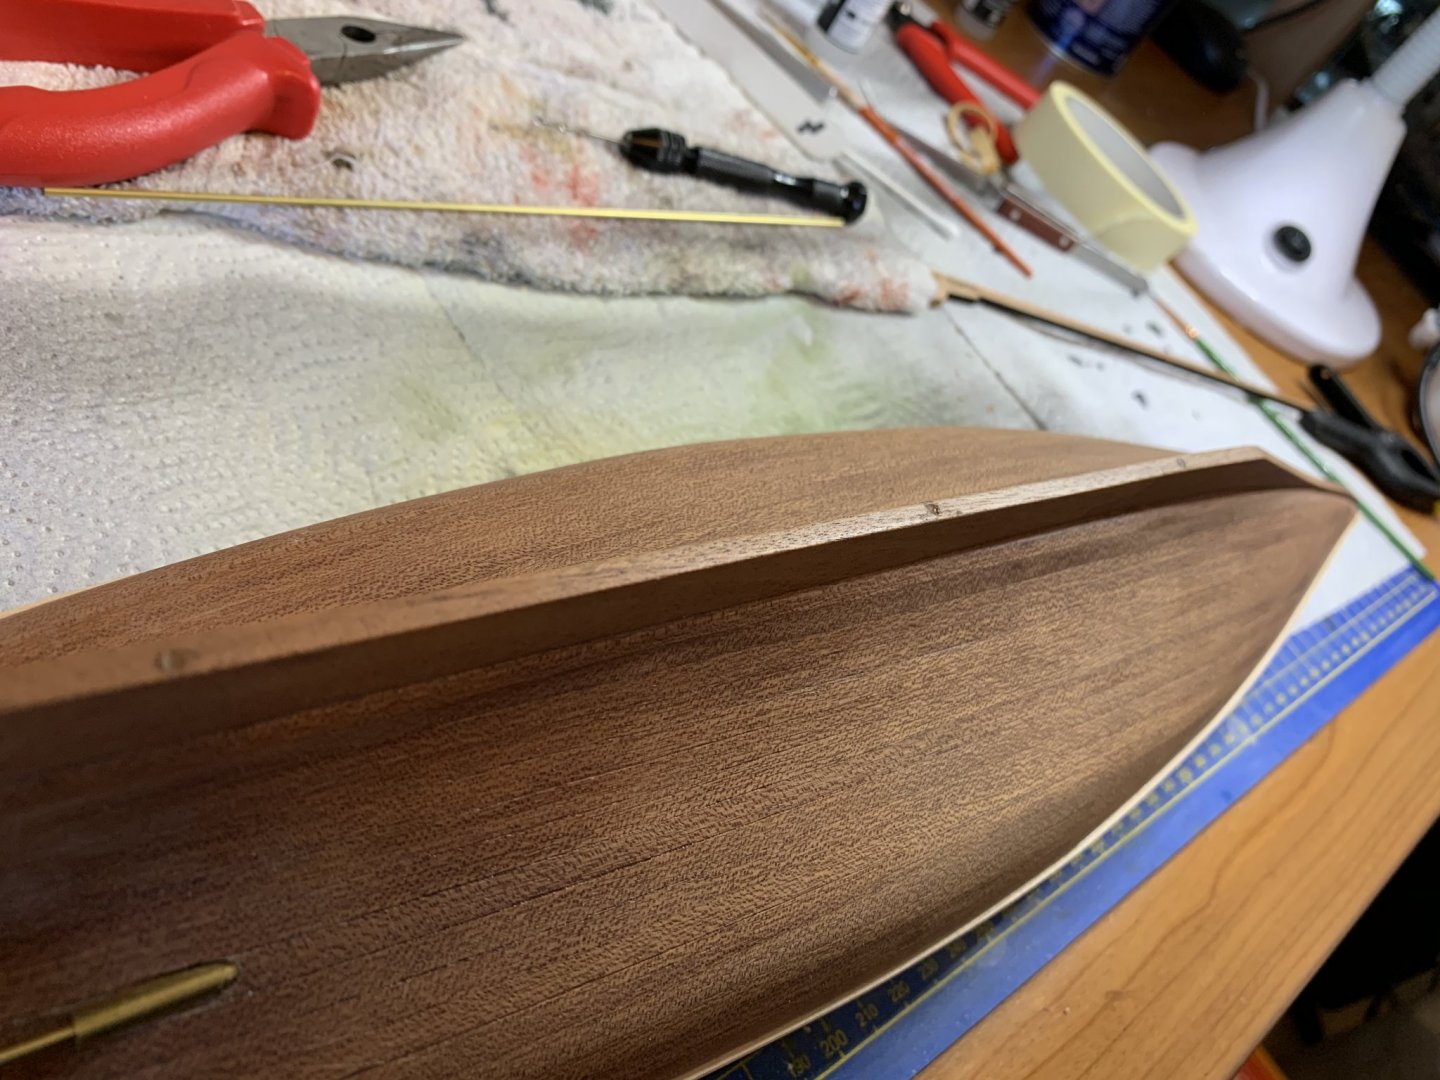
Oh.. and Hof... I now know what happened to the upmost piece of your keel stem. 😂 It breaks off when you drill the 5mm hole for the bowsprit. I have at least managed to keep it for fixing in due course.