HOLIDAY DONATION DRIVE - SUPPORT MSW - DO YOUR PART TO KEEP THIS GREAT FORUM GOING! (Only 24 donations so far out of 49,000 members - C'mon guys!)
×


Penfold
-
Posts
202 -
Joined
-
Last visited
Content Type
Profiles
Forums
Gallery
Events
Everything posted by Penfold
-
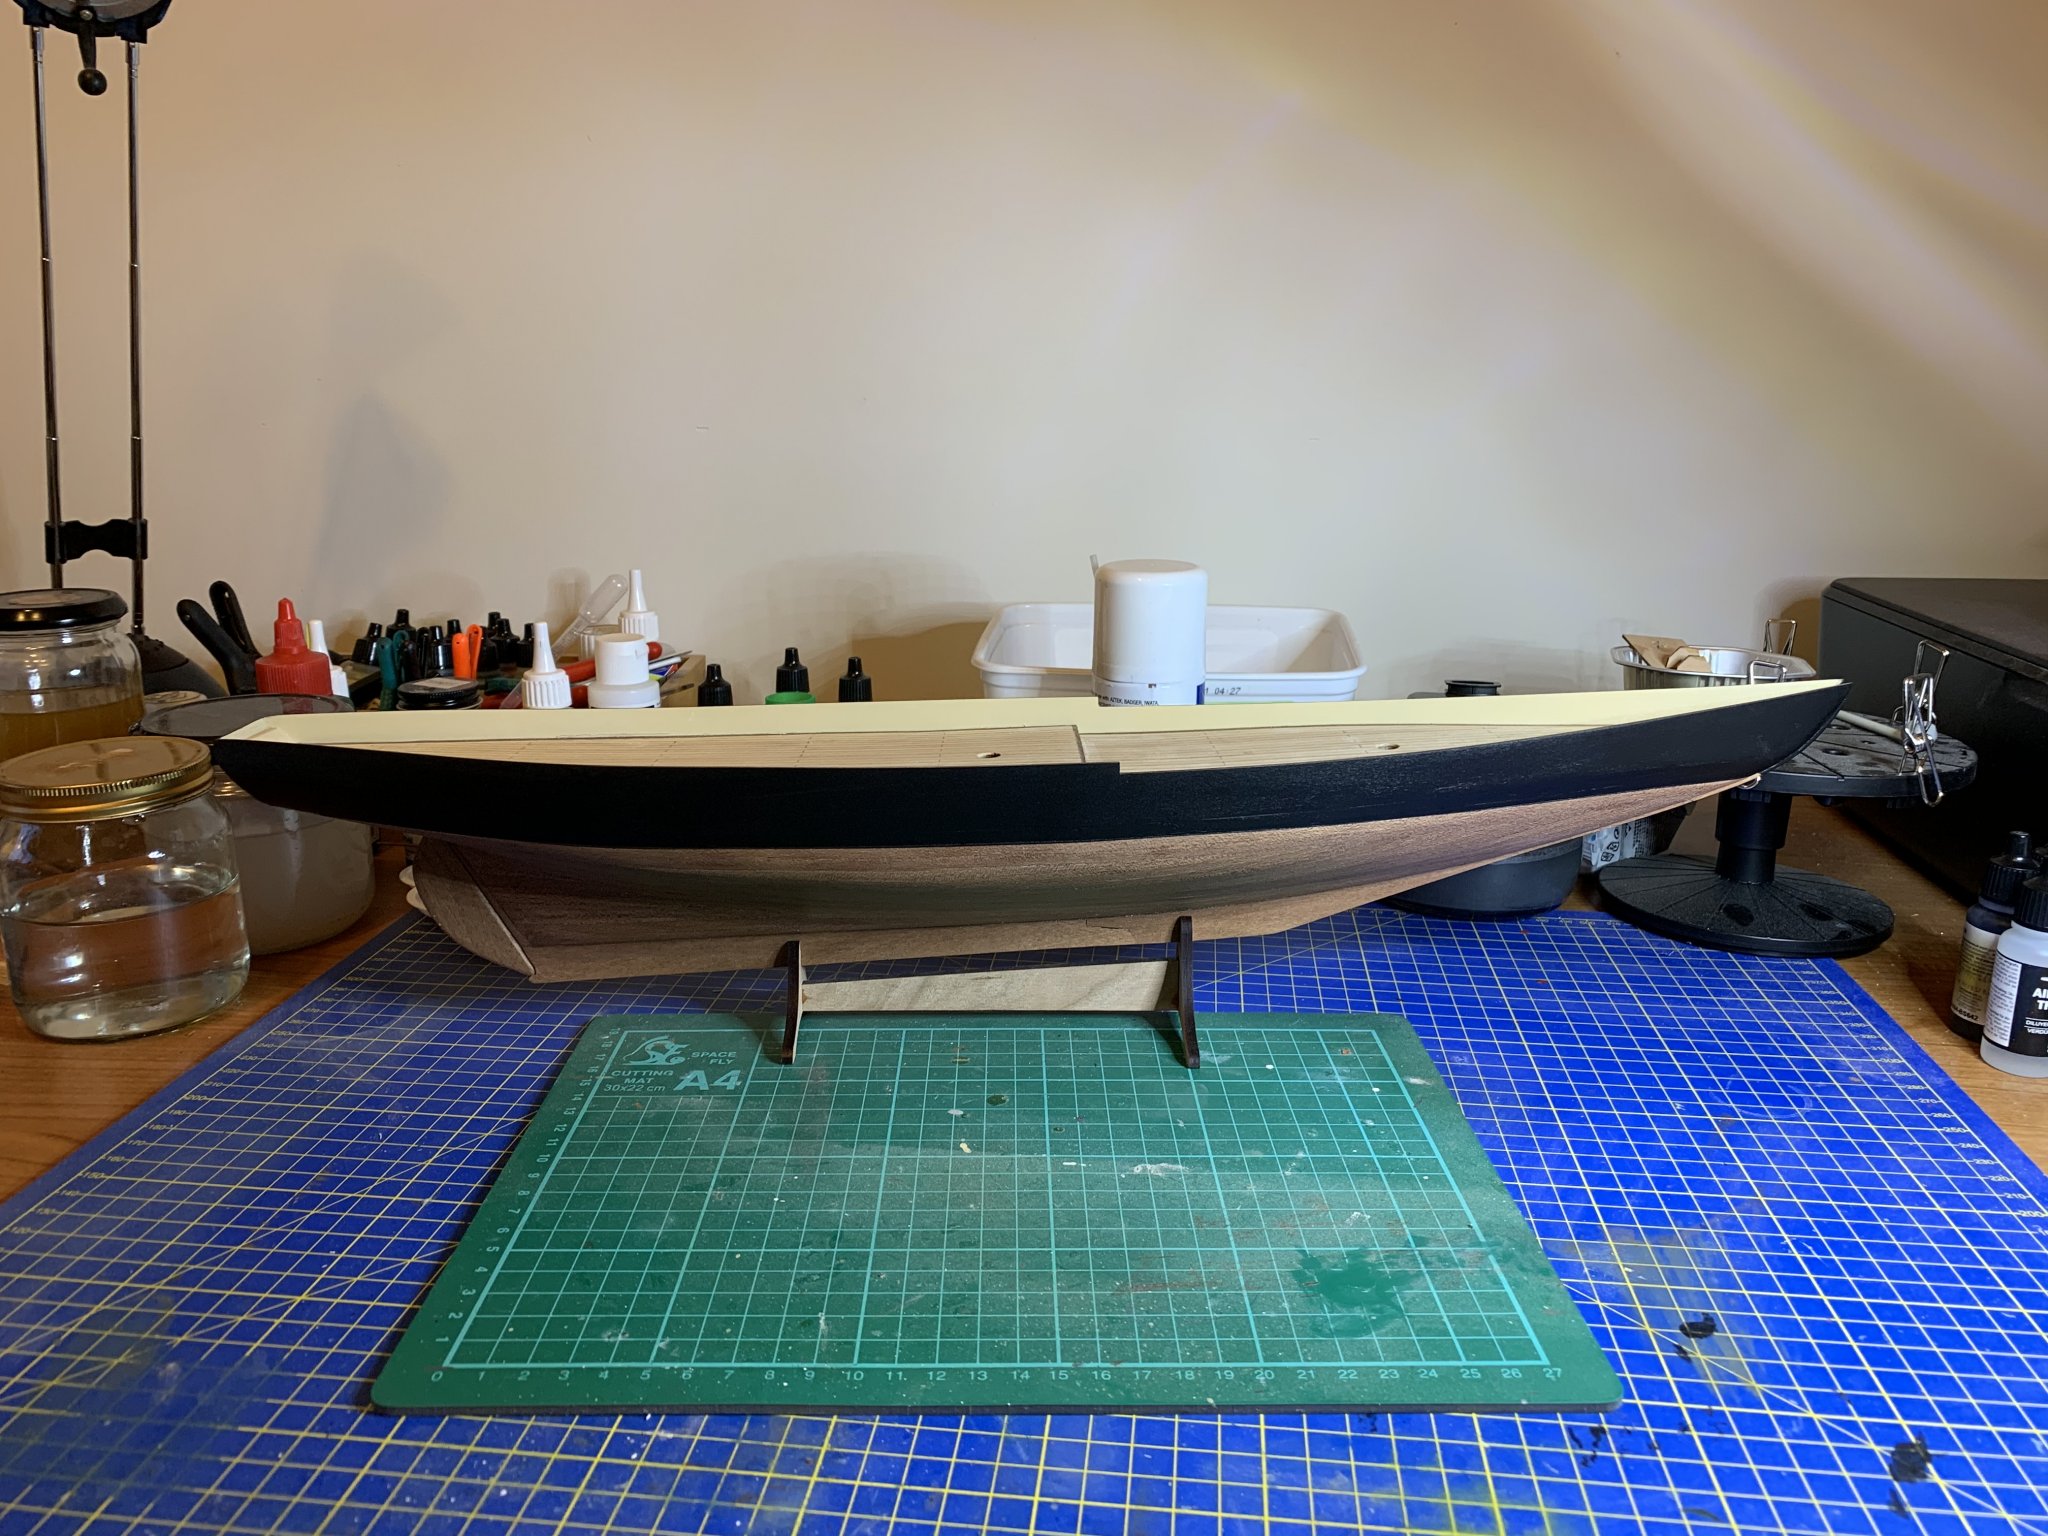
 Above should say ‘I wanted a dead smooth surface’. sorry
 -
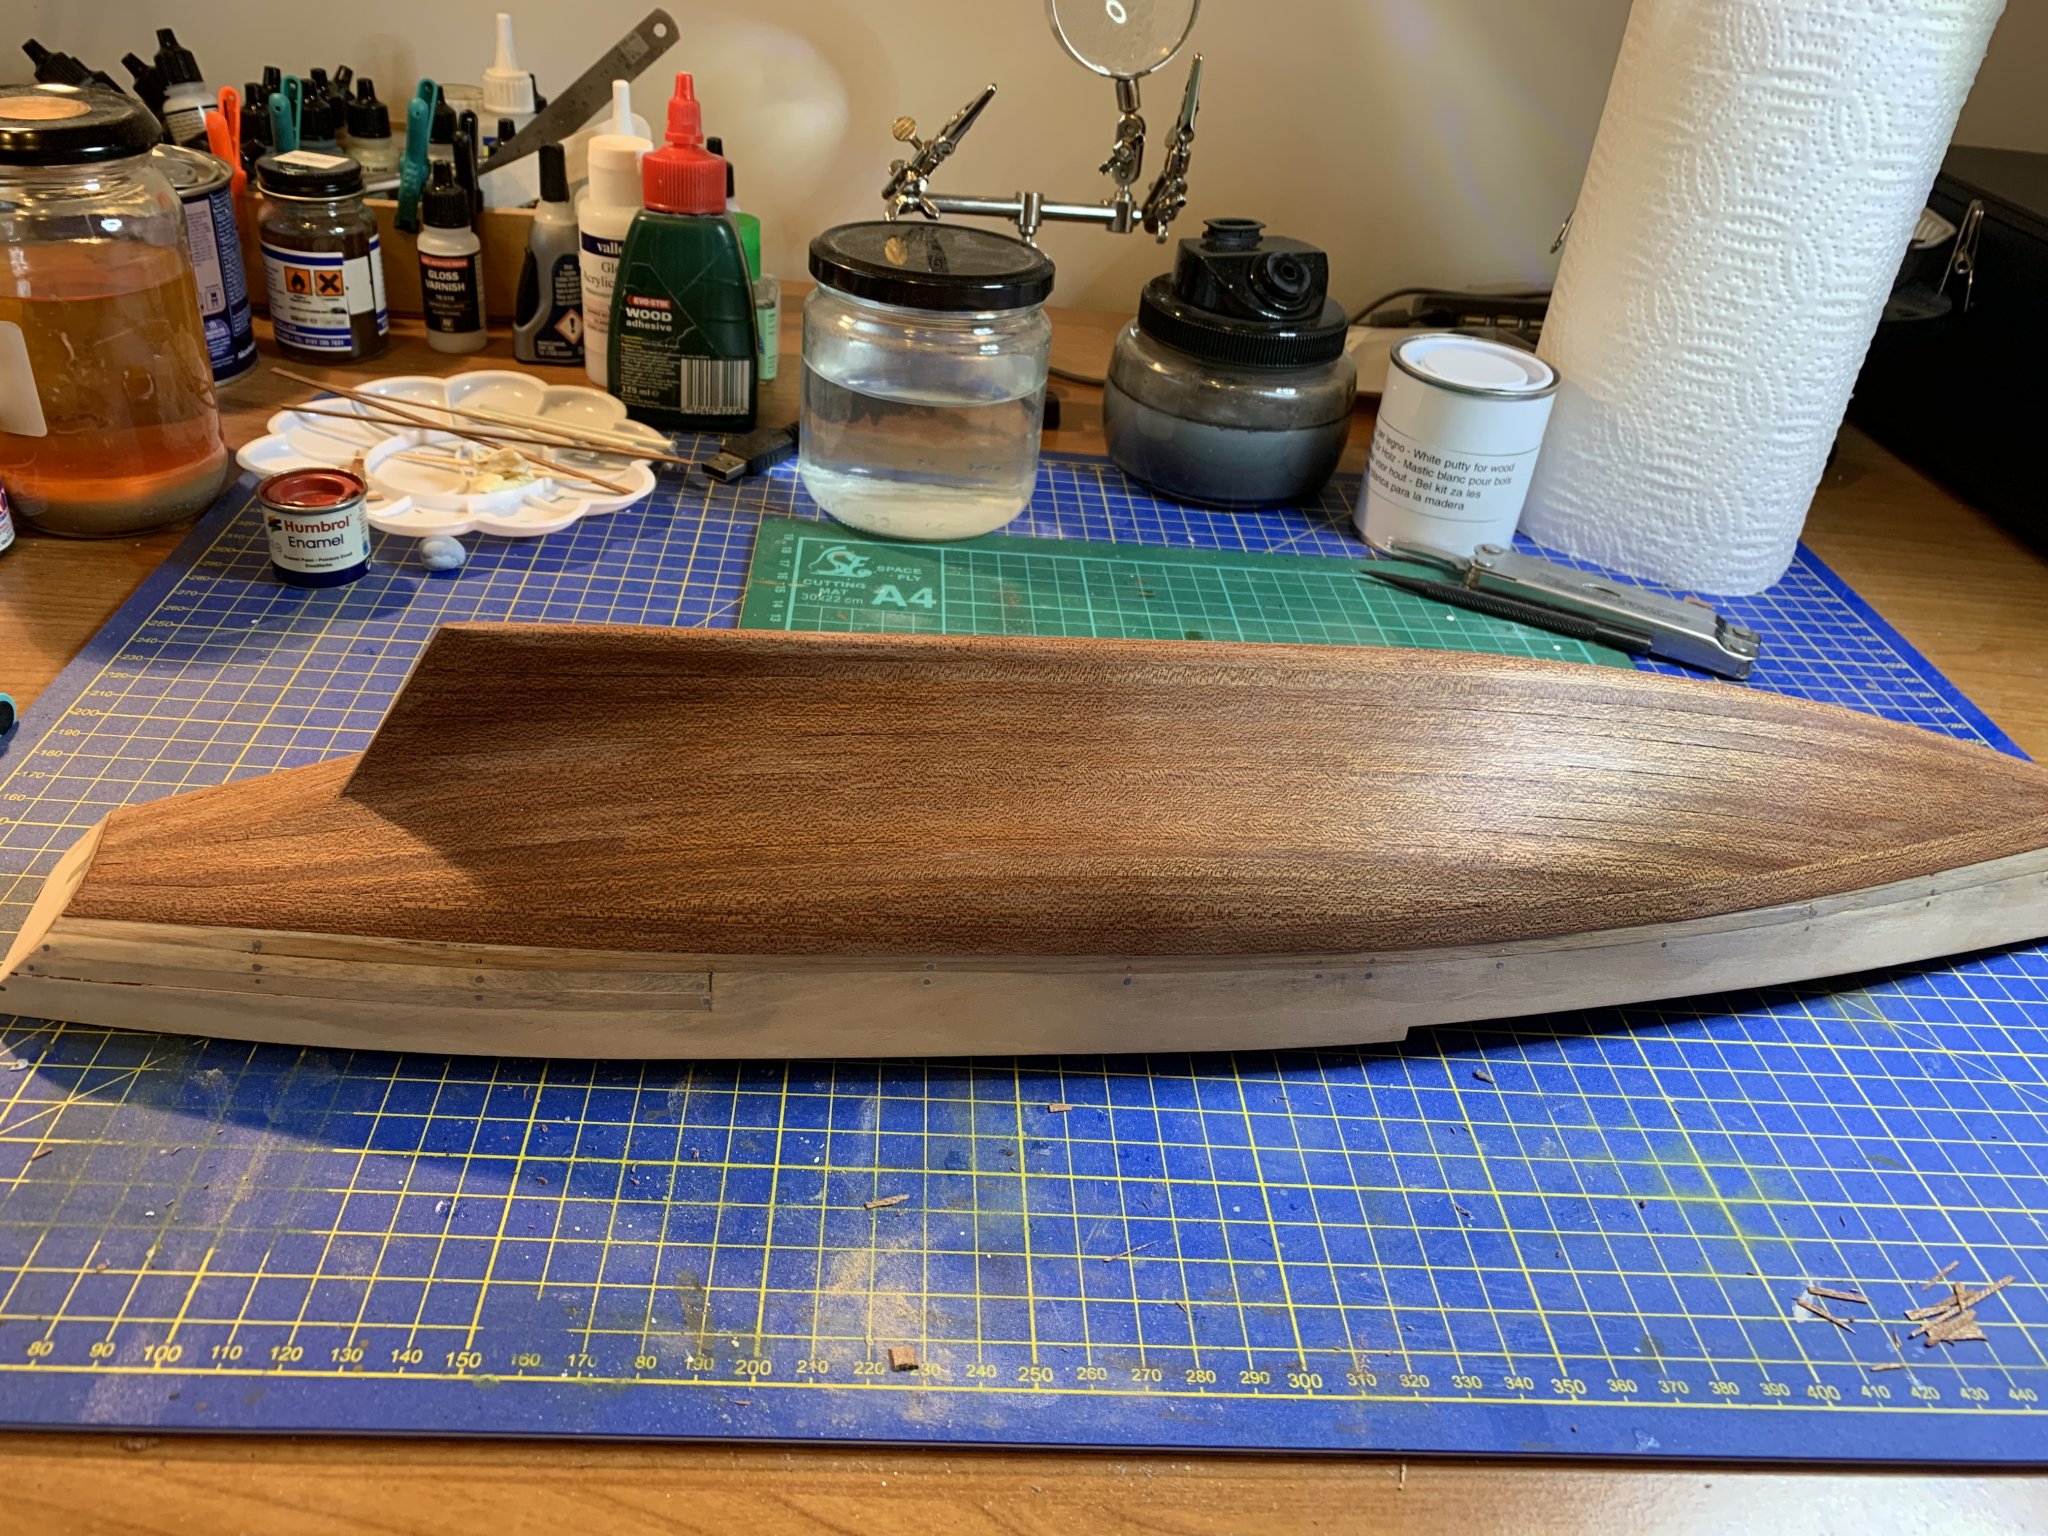
I struggled with the upper section of the hull as I was a dead smooth surface. The instructions (glibly) day to putty the whole upper section. However, I found the putty didn’t want to adhere to the hull. 🤔 so I had a think, and came up with idea of mixing some pva and water 50:50, brushed in on and let it go tacky, like you do with plaster. this gave a great base for the putty to stick to and I thought I’d got it cracked. There was an unforeseen problem though. When you rub it down and go through to the pva it doesn’t sand properly. Rather it goes all all stringy like pencil eraser rubbings. So I had to rub the whole lot down again and effectively painted on to the wood. Looks ok though. I’m happy with it. 👍
-
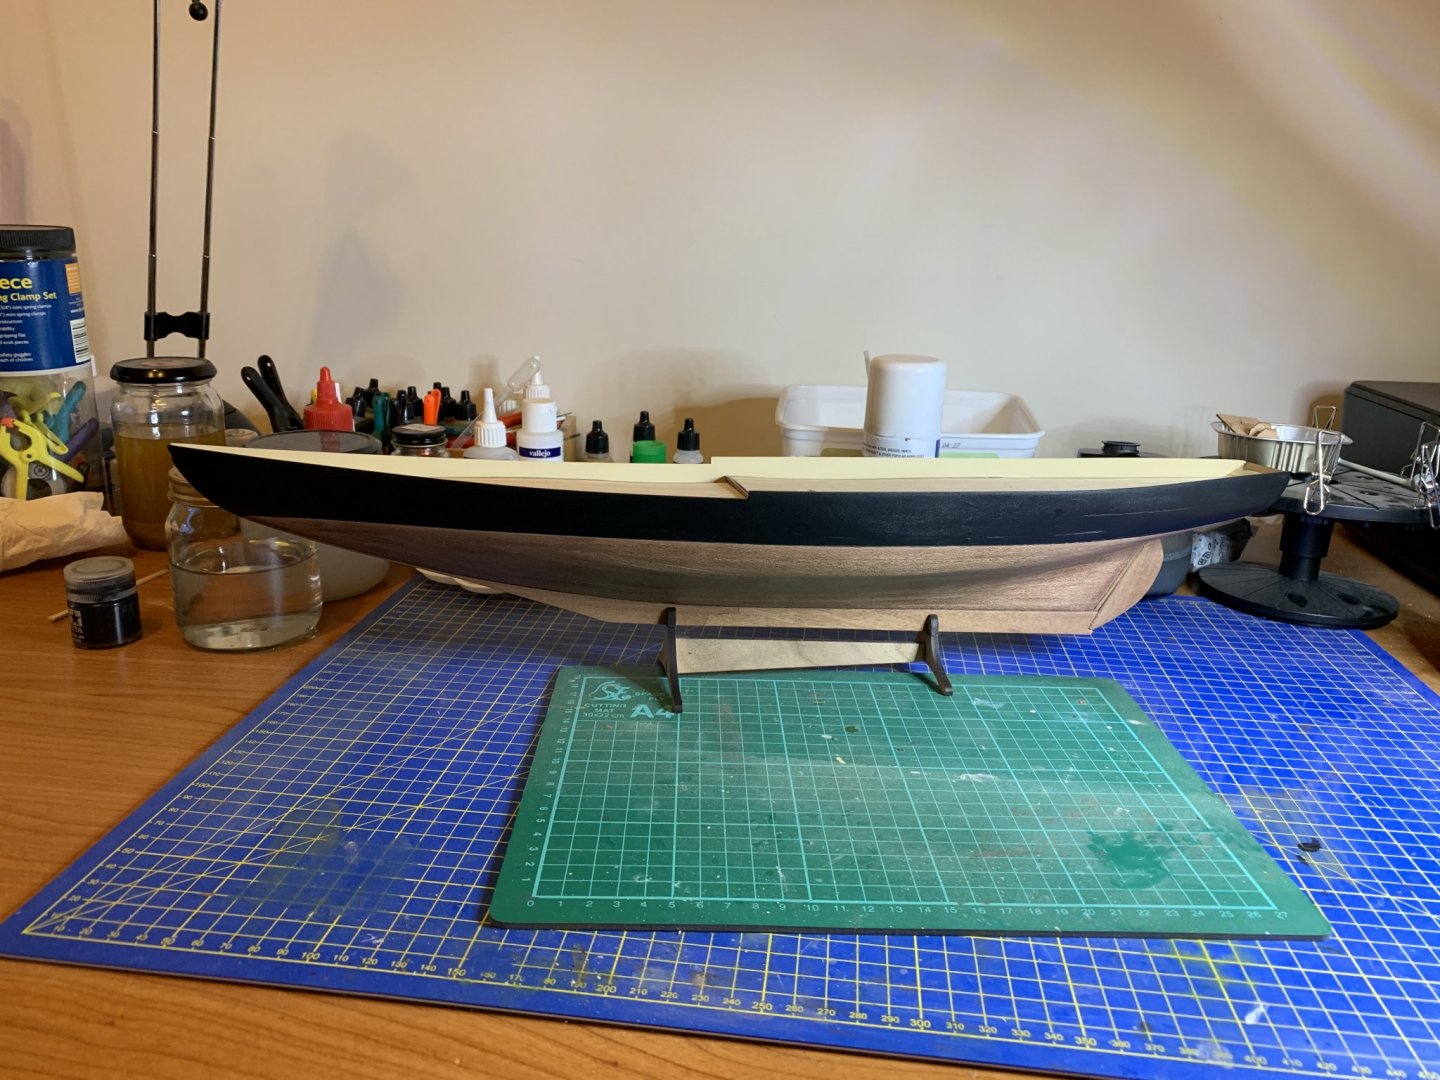
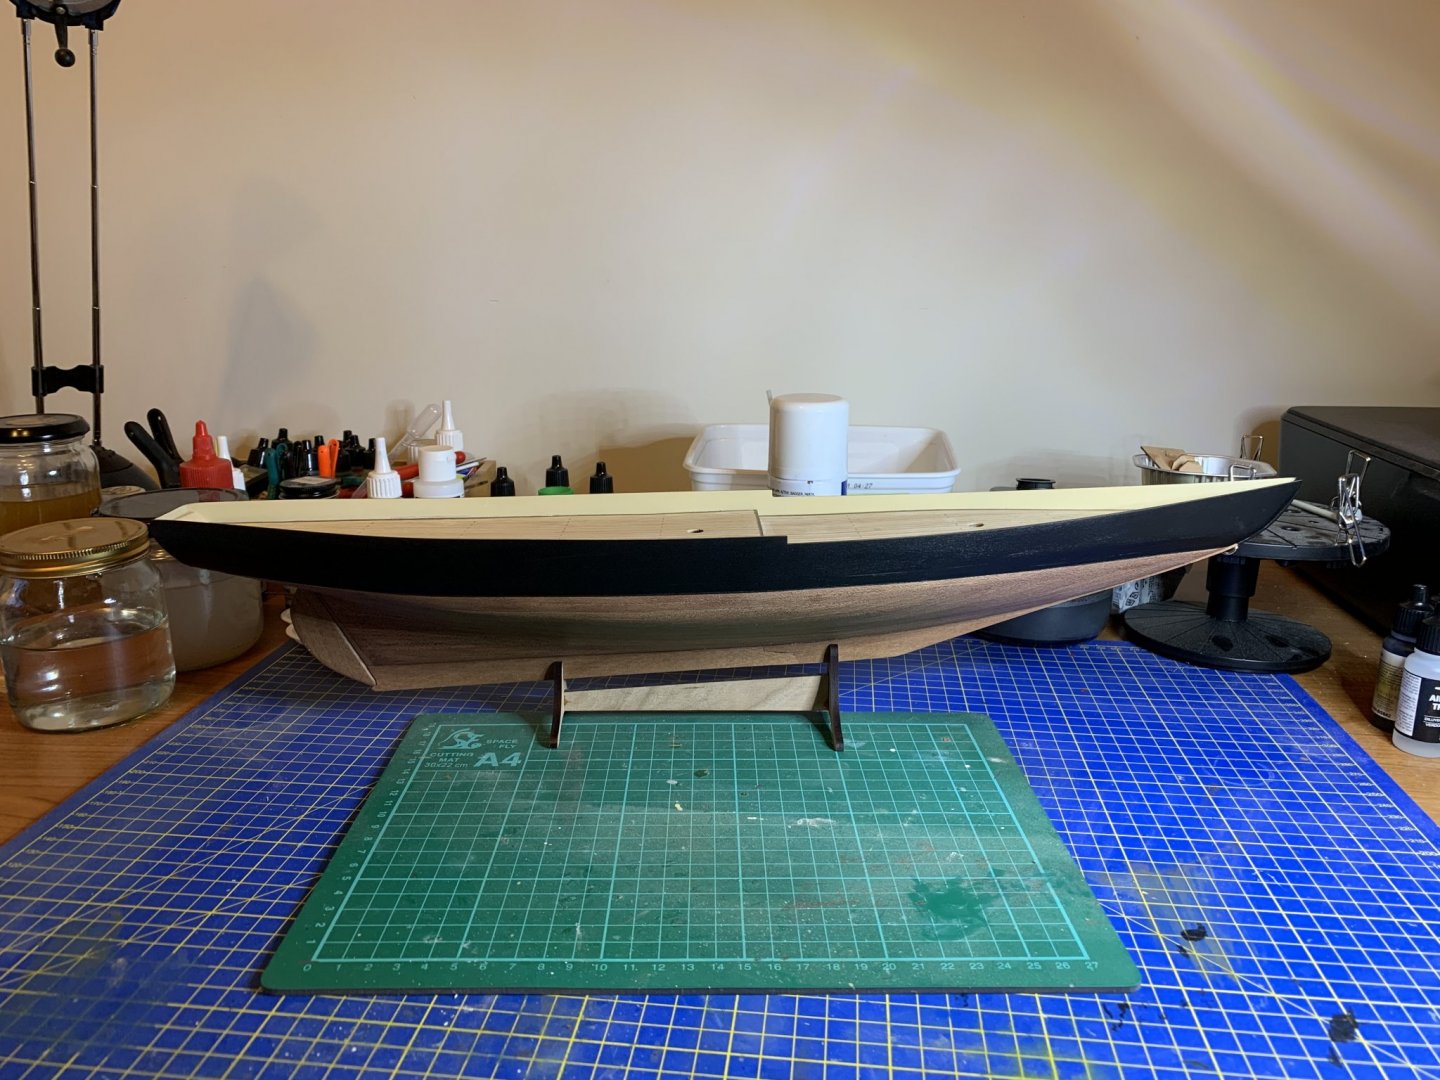
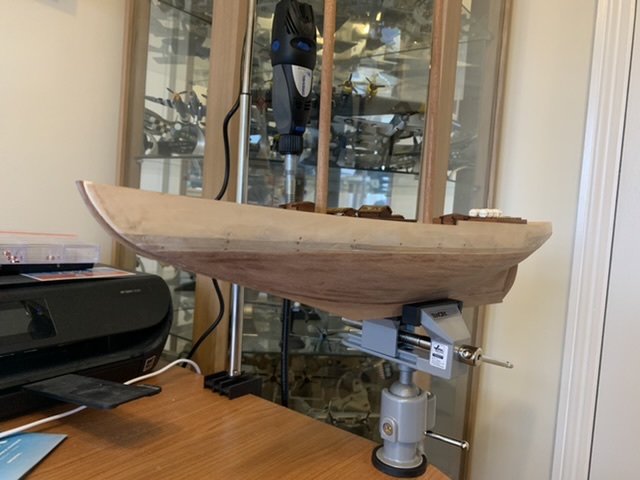
Ok... it’s taken a while and what seemed like a million coats of satin varnish on the planked section but I’ve managed to get the hull painted.
- 146 replies
-
- 5
-

-
- artesania latina
- bluenose ii
- (and 1 more)
-
Considering the two models are supposedly the same ship it’s surprising how different they are!
-
Thanks Hof. I’d seen the idea of the dowel for the keel on Mugje’s Pegasus build. Anything that involves drilling holes in the boat requires much plucking up of courage before it actually happens! One of my next jobs is drilling a 5mm hole in the stem for the bowsprite so I’ve got that to look forward to 😂😬 I had a look at your bluenose build... looked pretty damn good to me! This is my second build too, so if mine ends up half as good as yours I’ll be chuffed.
- 146 replies
-
- 1
-
-
- artesania latina
- bluenose ii
- (and 1 more)
-
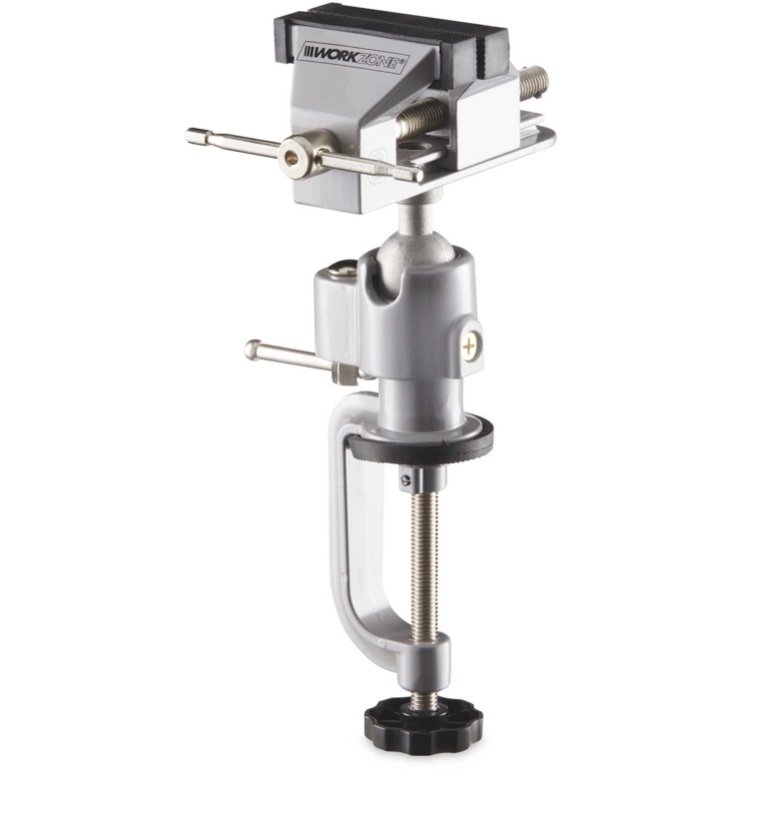
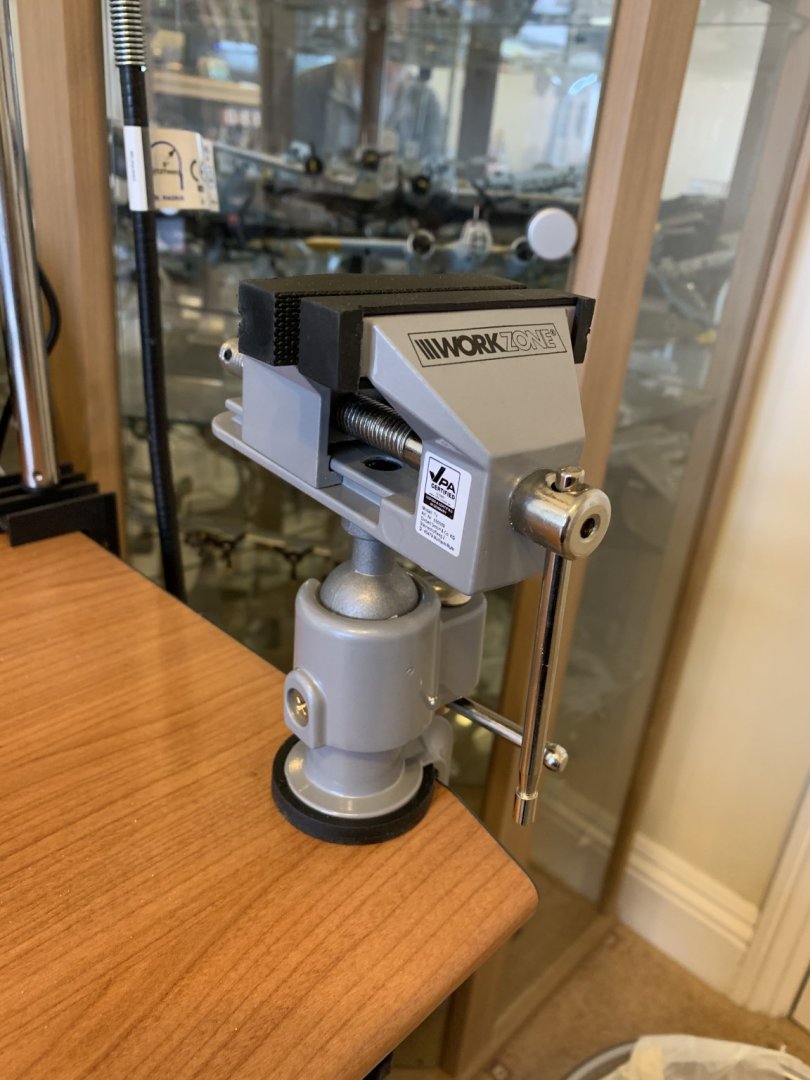
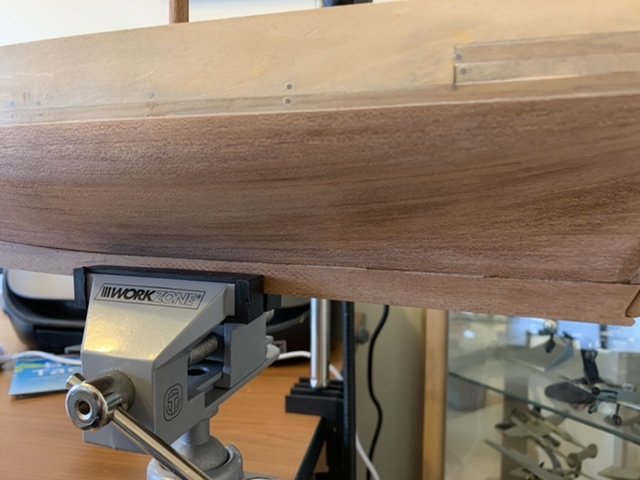
If you’re in the UK you may be interested in the vice, which I found in Aldi’s for just £6.99! they also do a suction cup fit one, which I wish I’d got instead as it would have fit my desk better.
- 146 replies
-
- 1
-
-
- artesania latina
- bluenose ii
- (and 1 more)
-
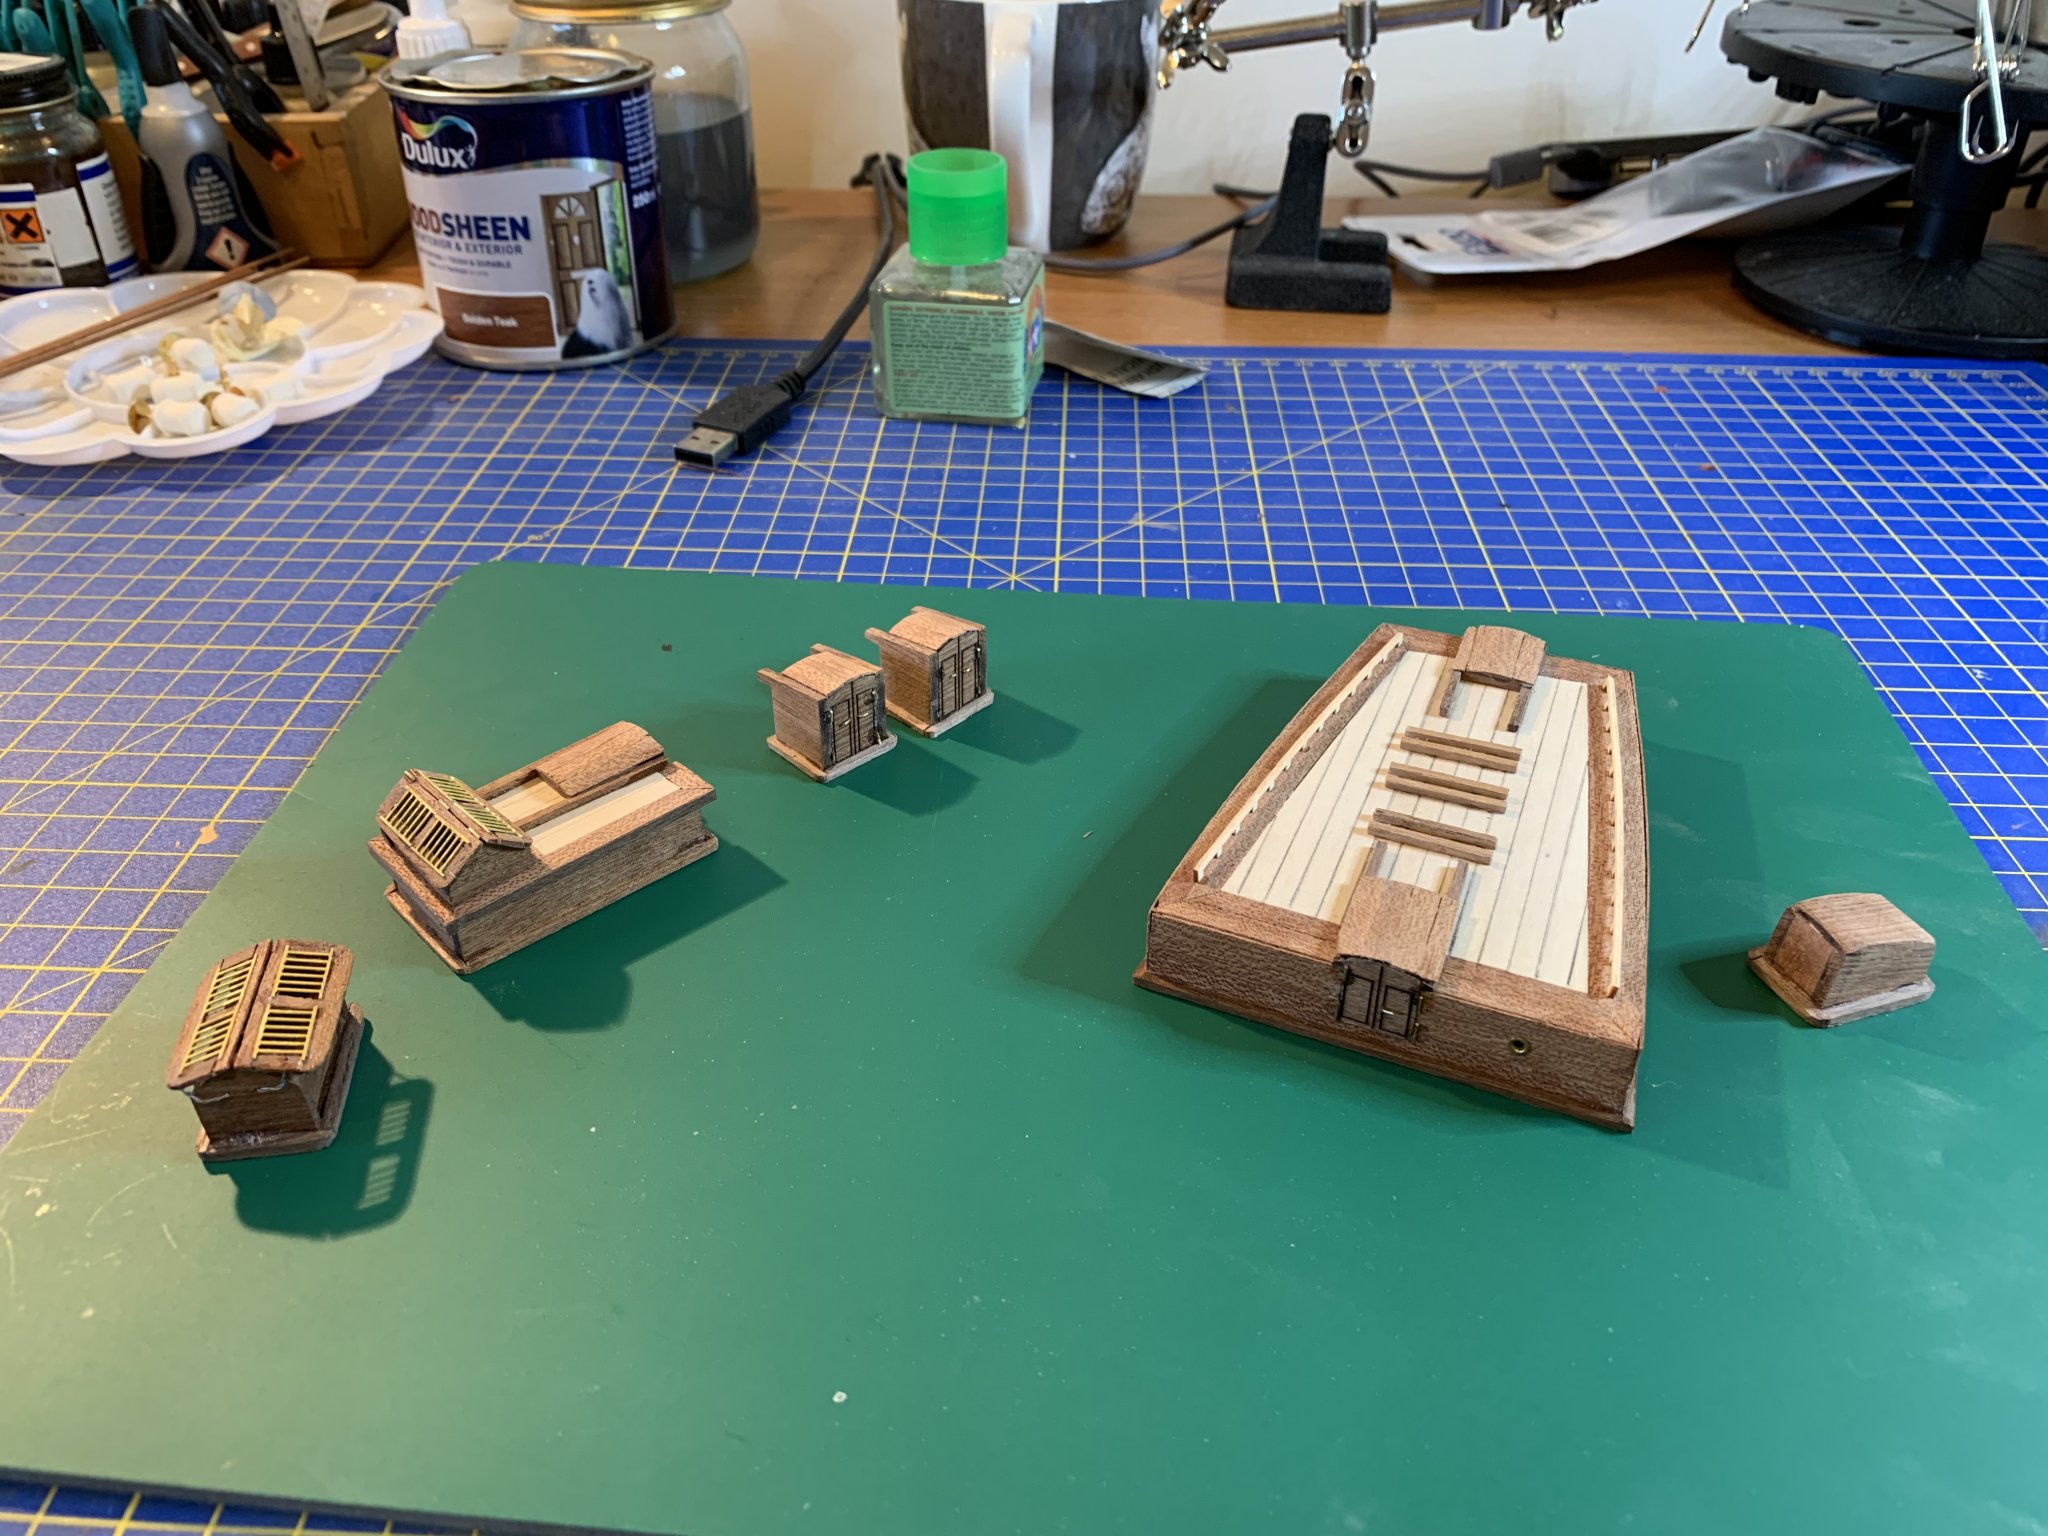
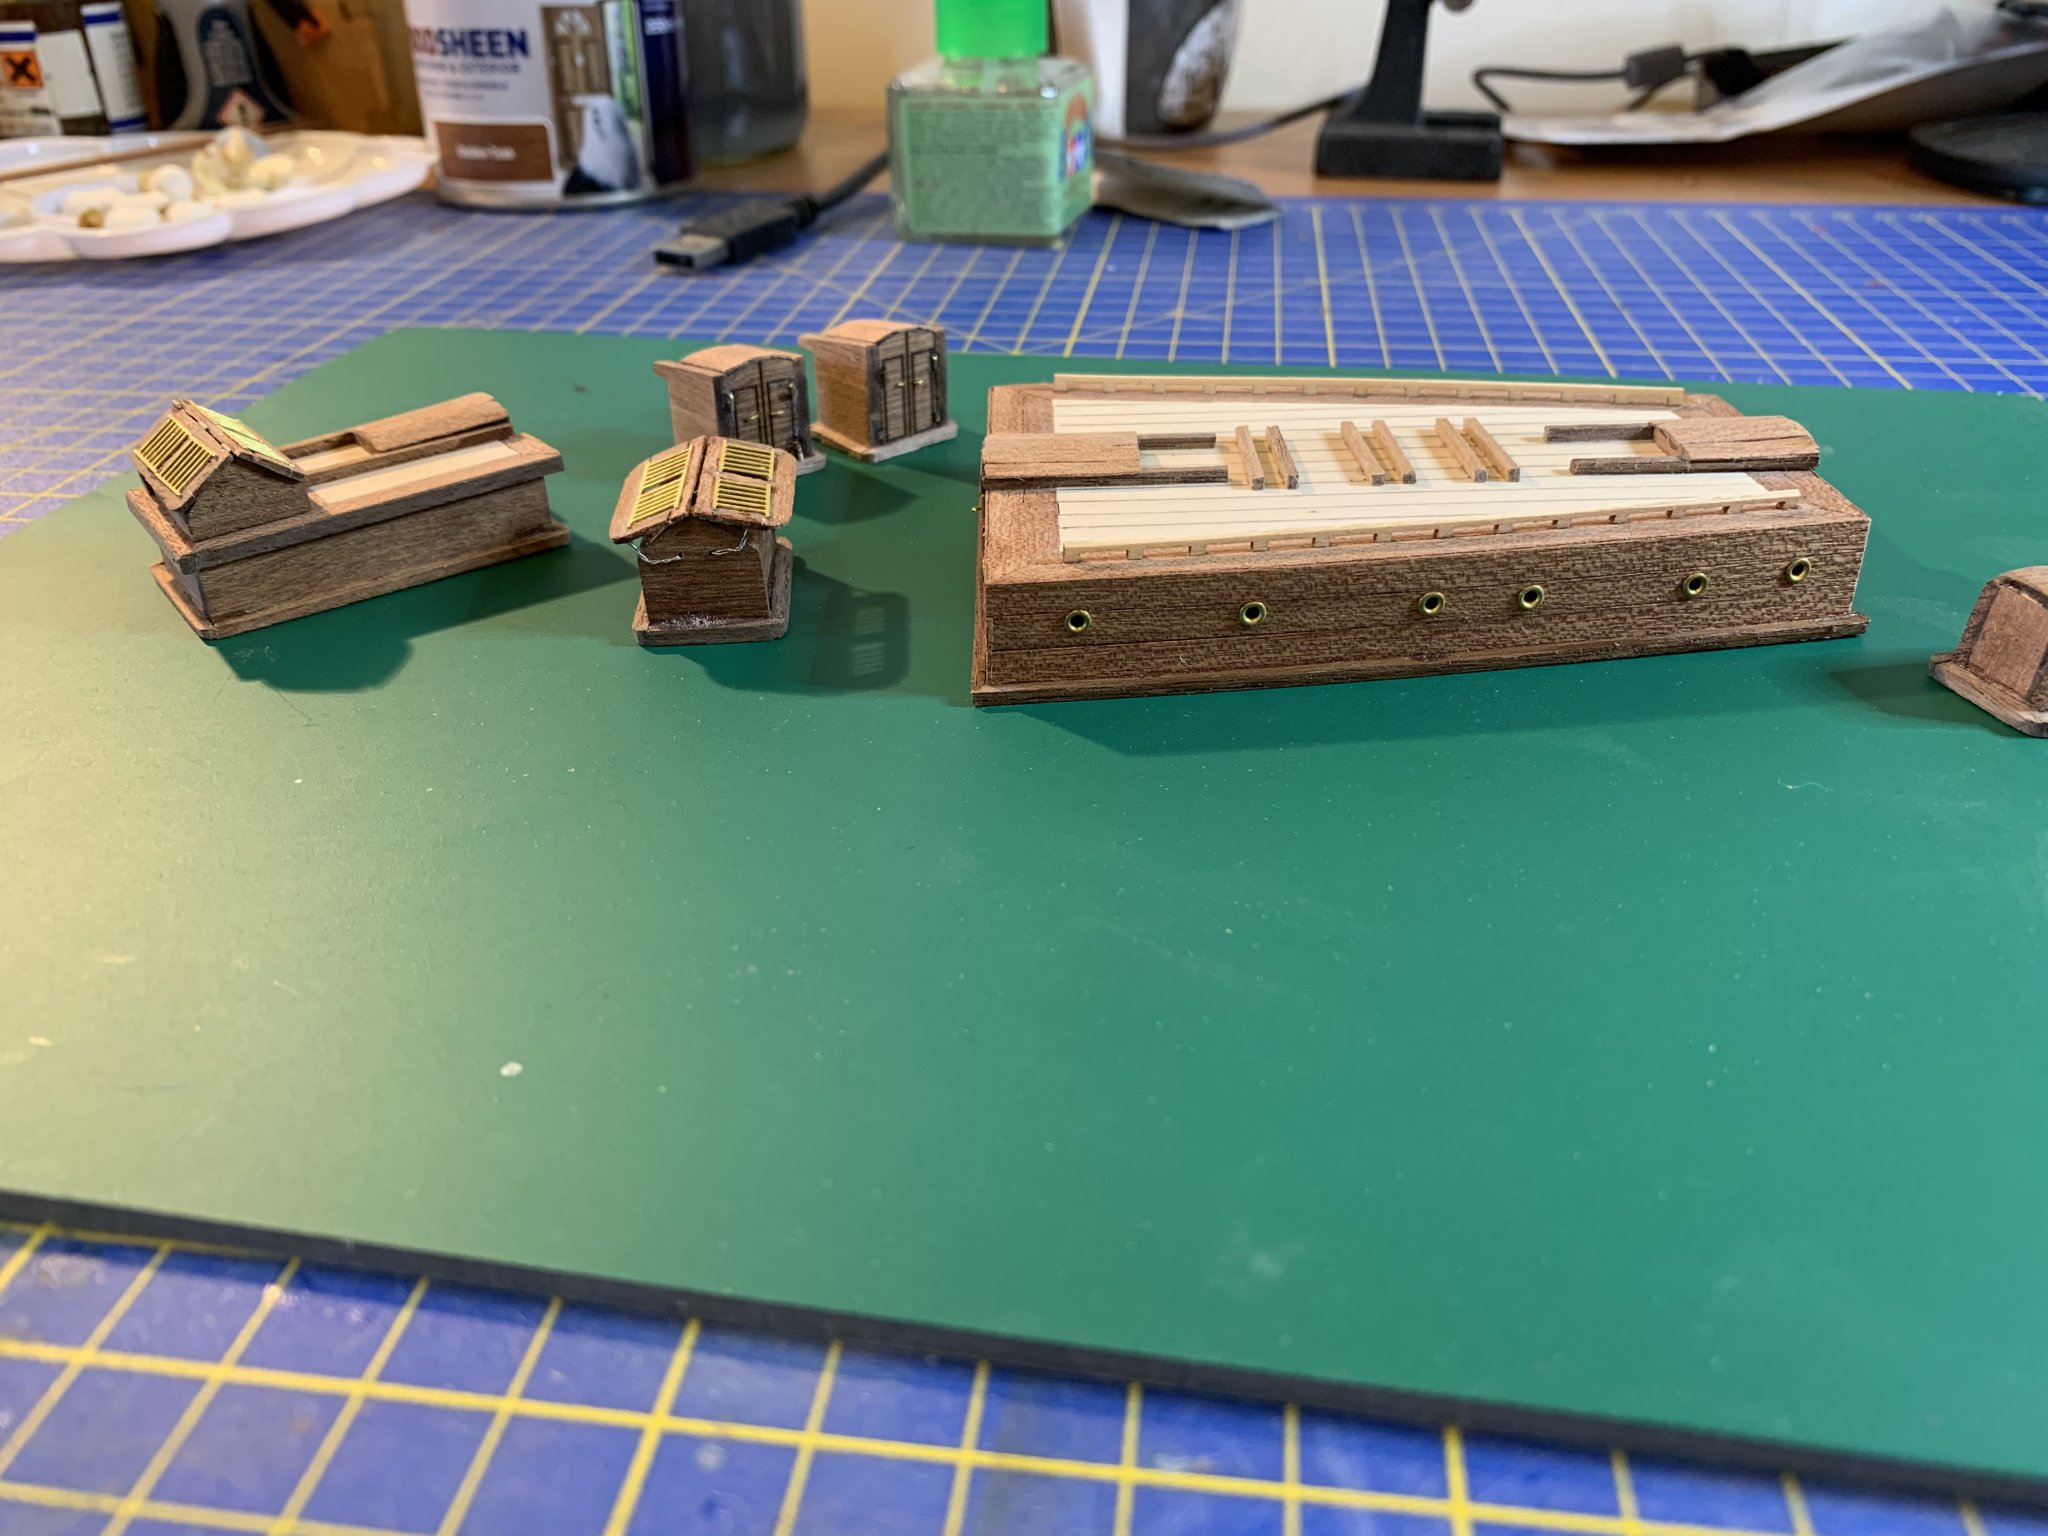
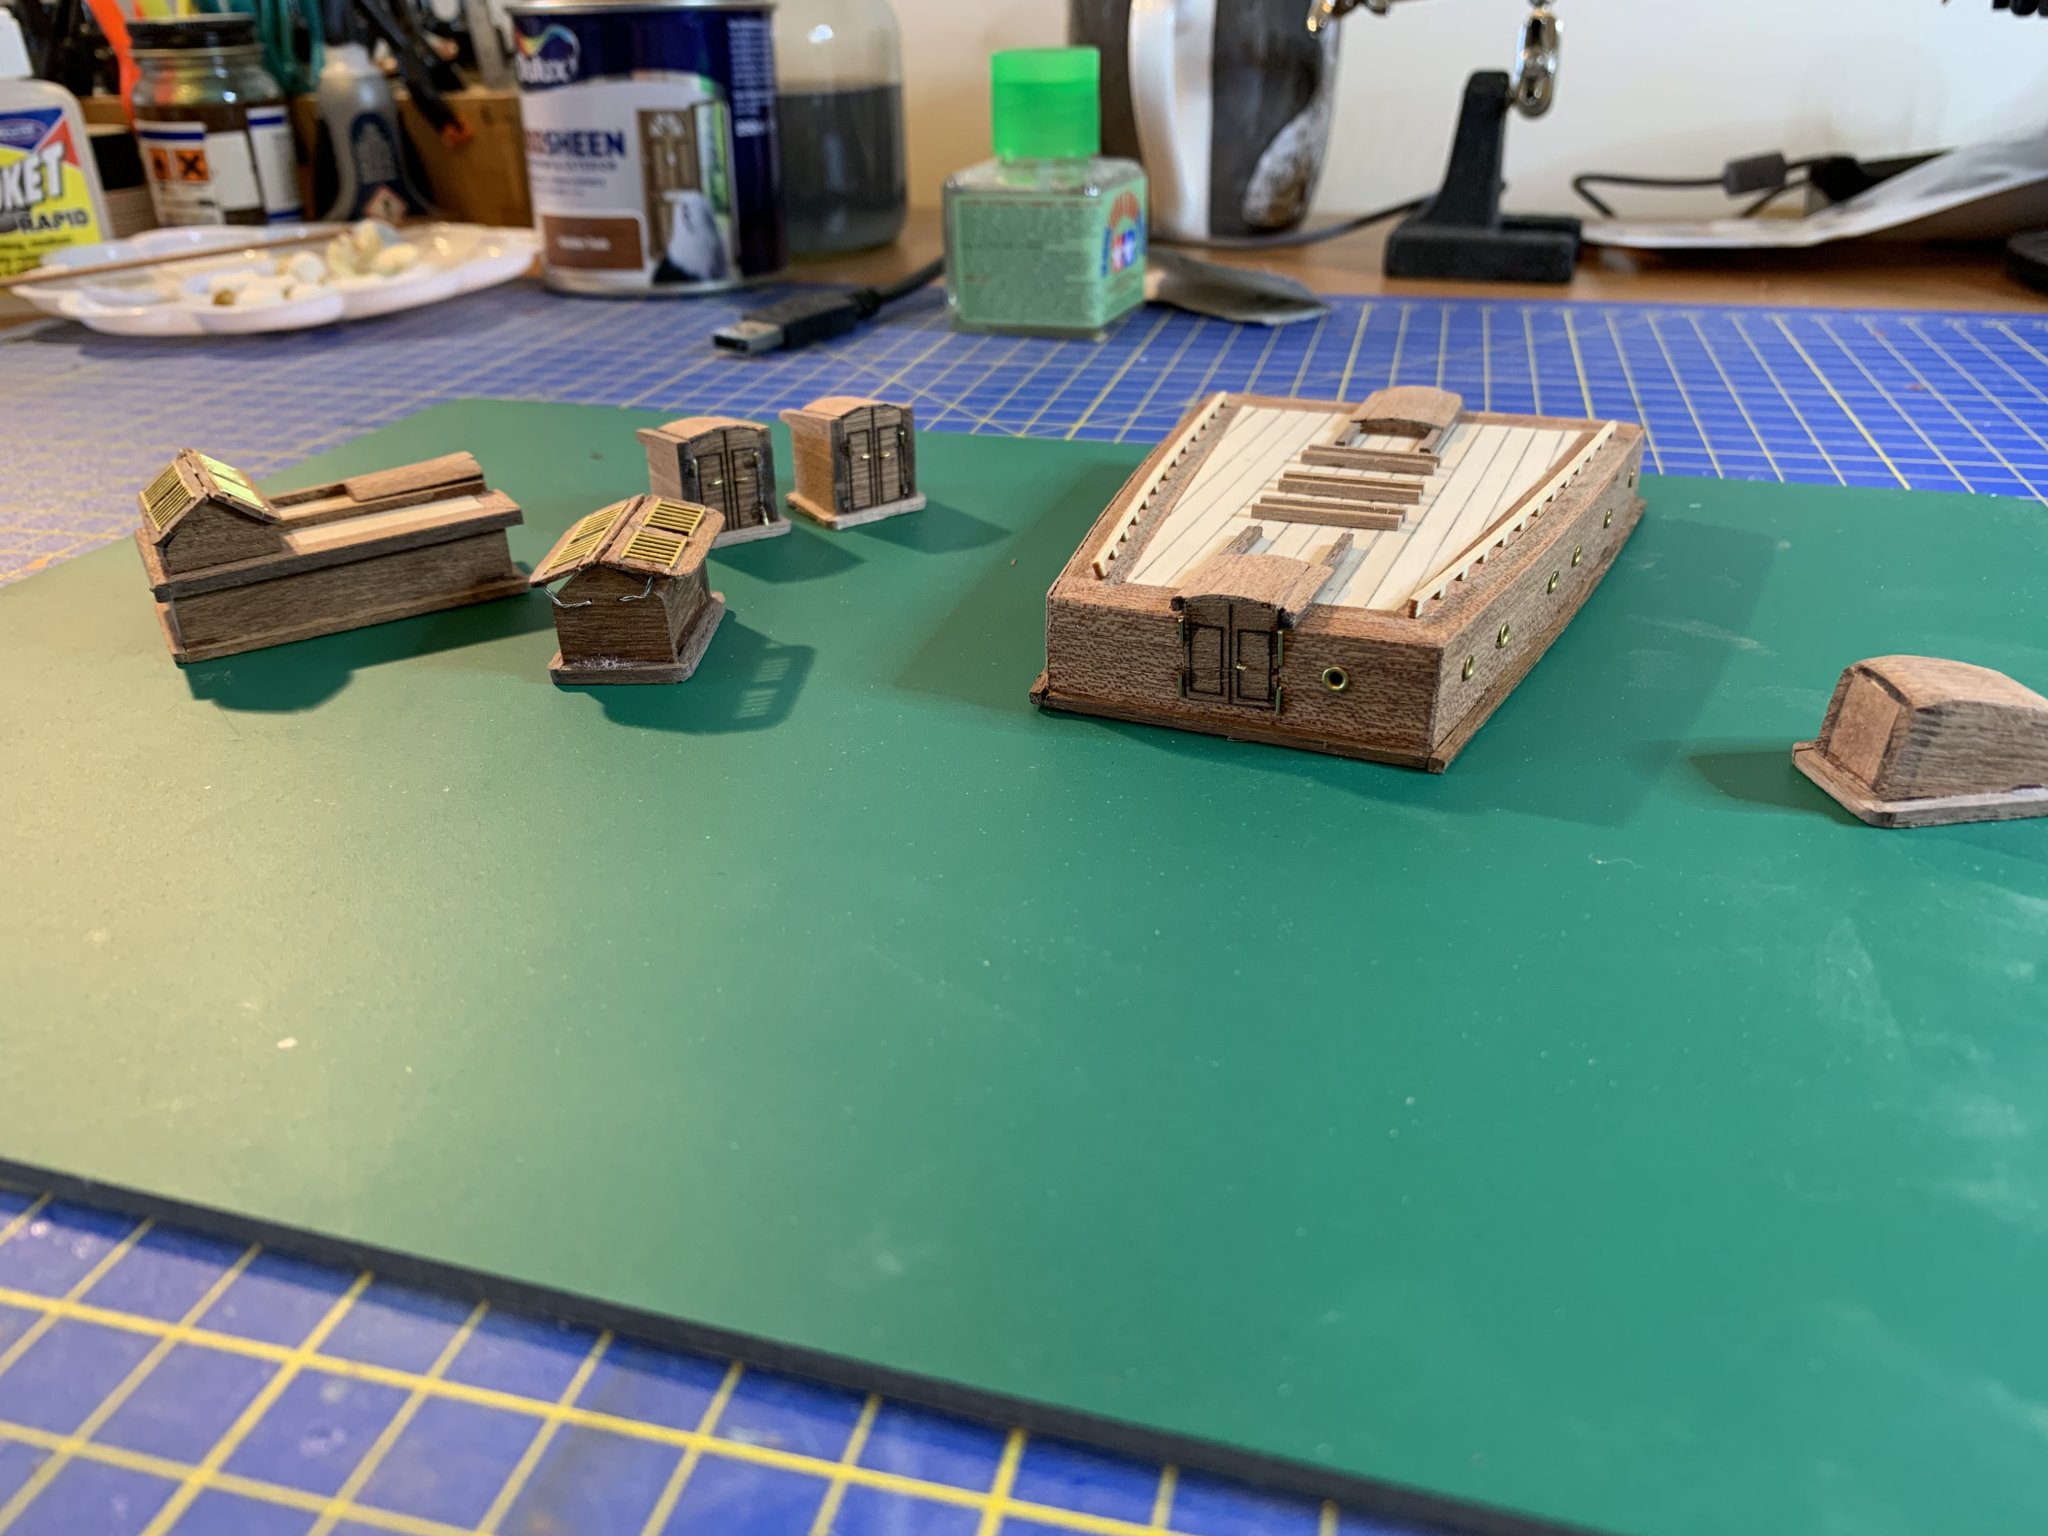
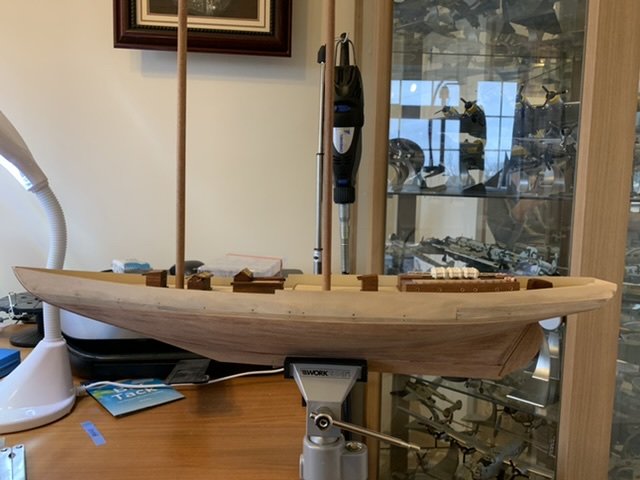
Any, here’s some piccies of how she looks at the moment, with the masts and deck furniture that I’ve made, dry fitted. Starting to look like a ship now.
- 146 replies
-
- 4
-
-
- artesania latina
- bluenose ii
- (and 1 more)
-
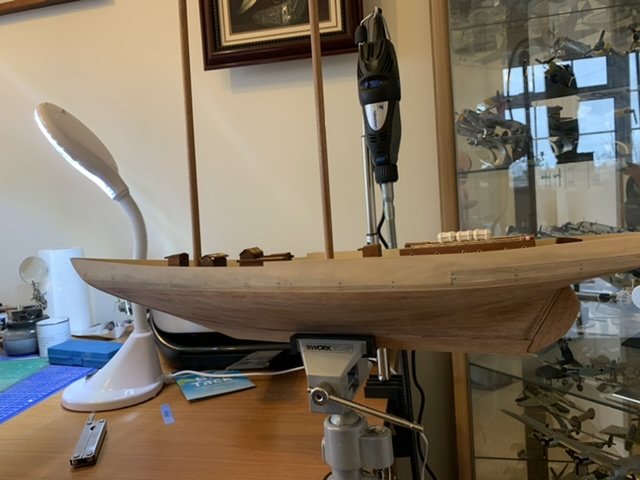
I also had the problem with my first keel fit that, when I put the boat in it’s stand, it had a distinct list!!! I had to redo, dry fit the masts to give me a clearer idea as to whether I’d got it at the correct angle or not.
-
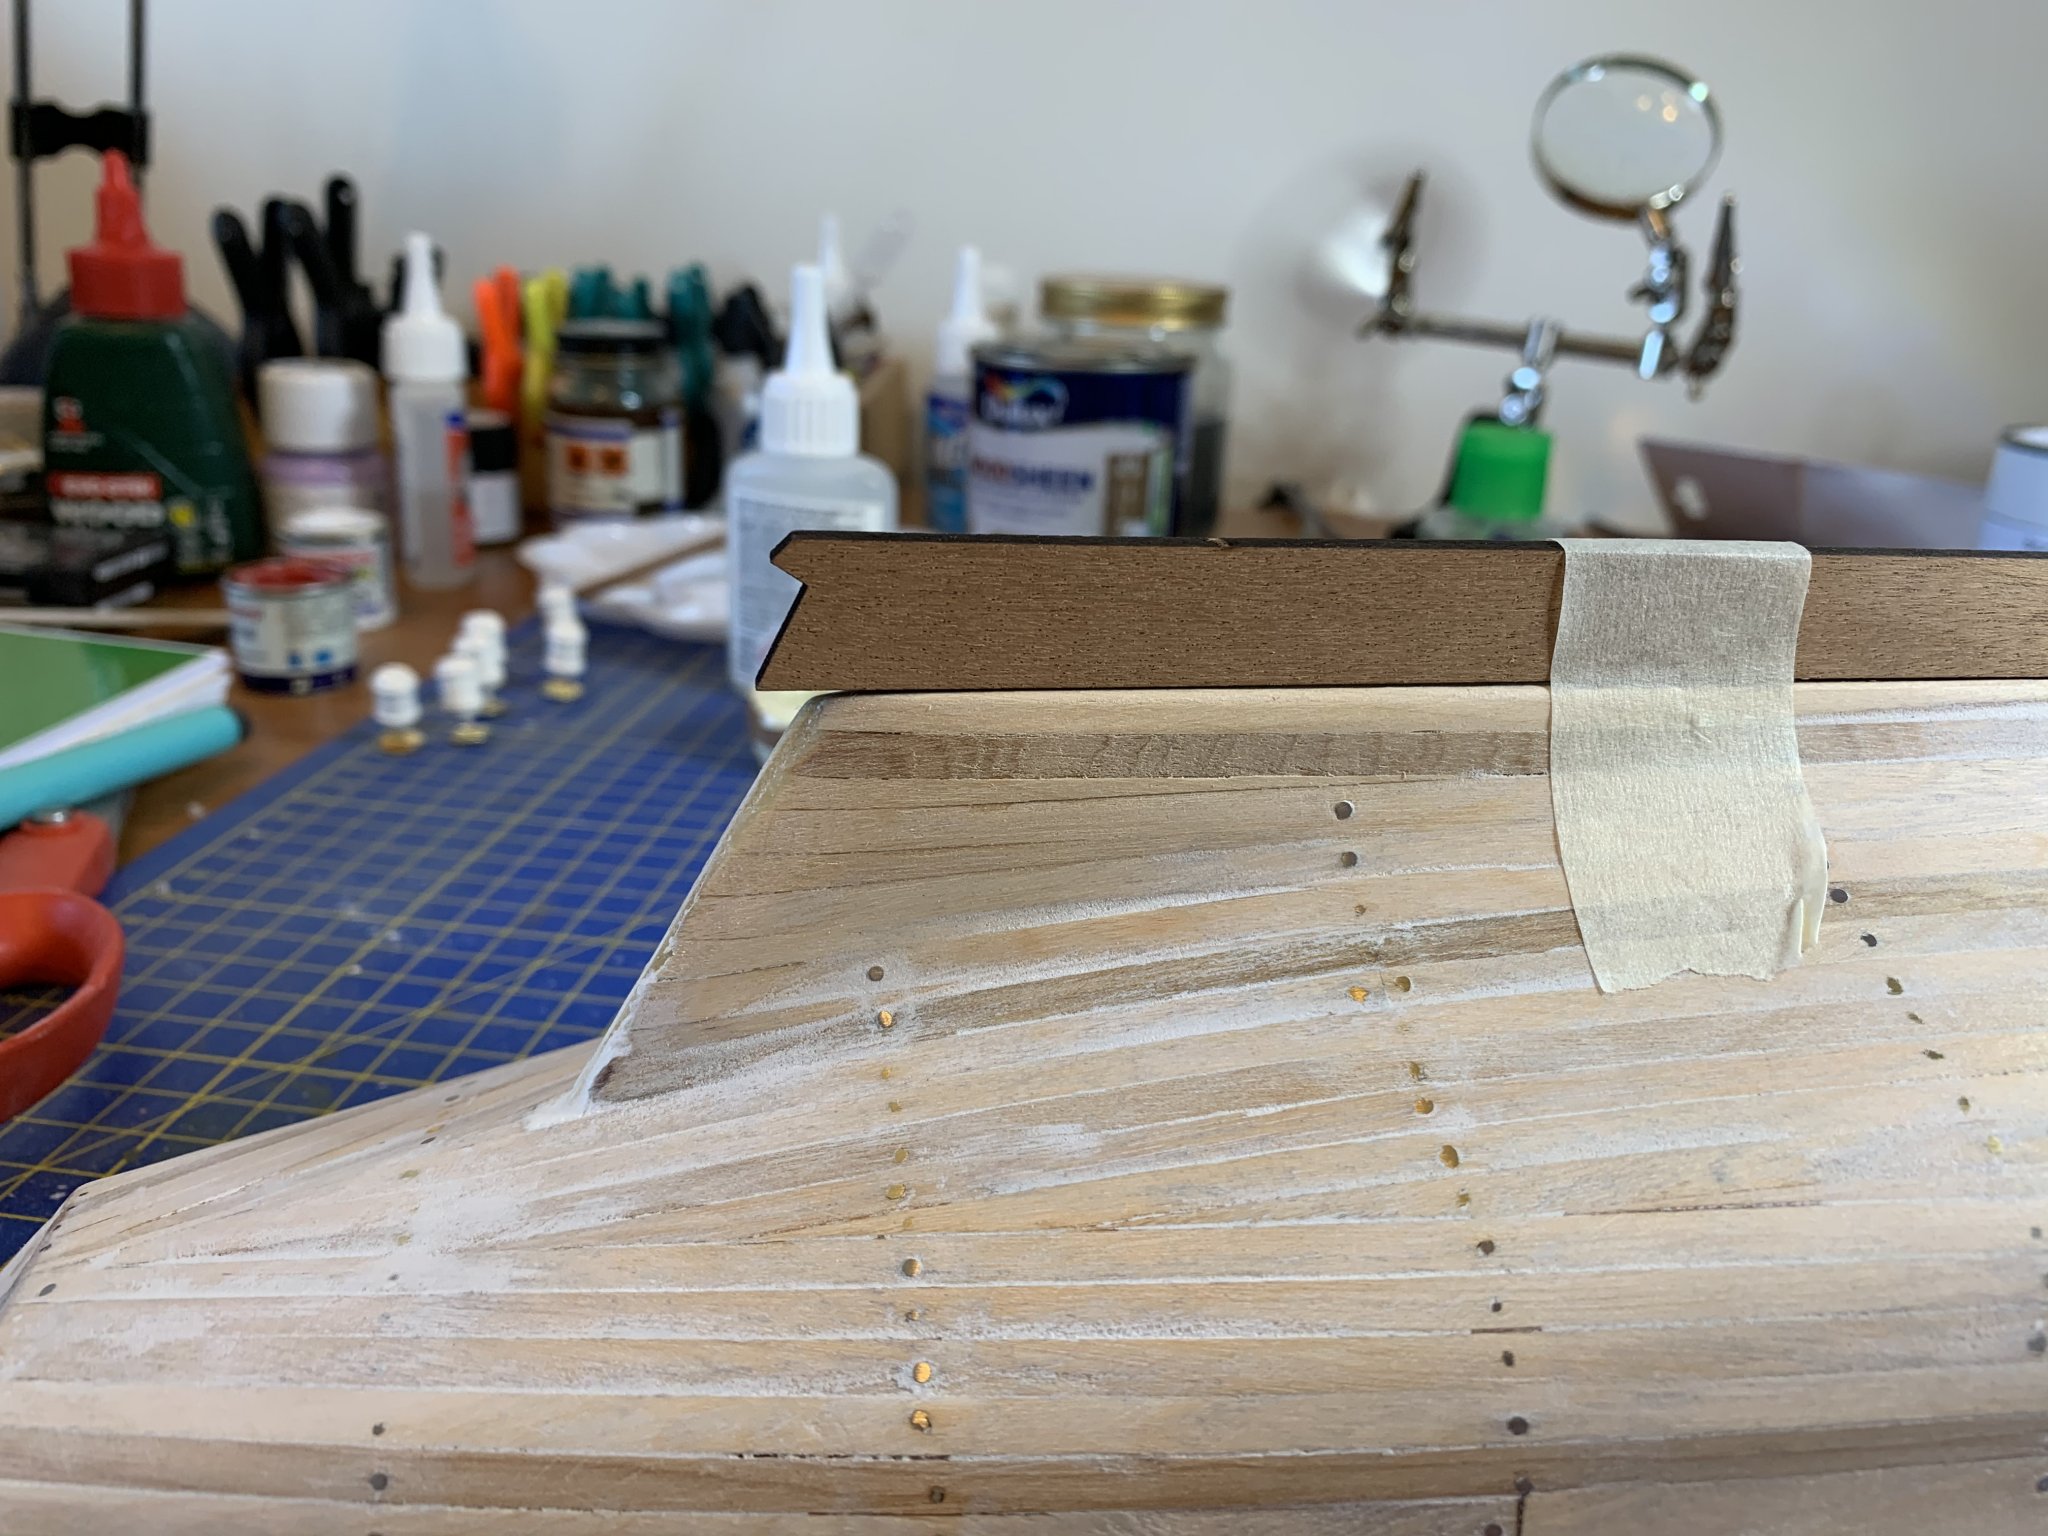
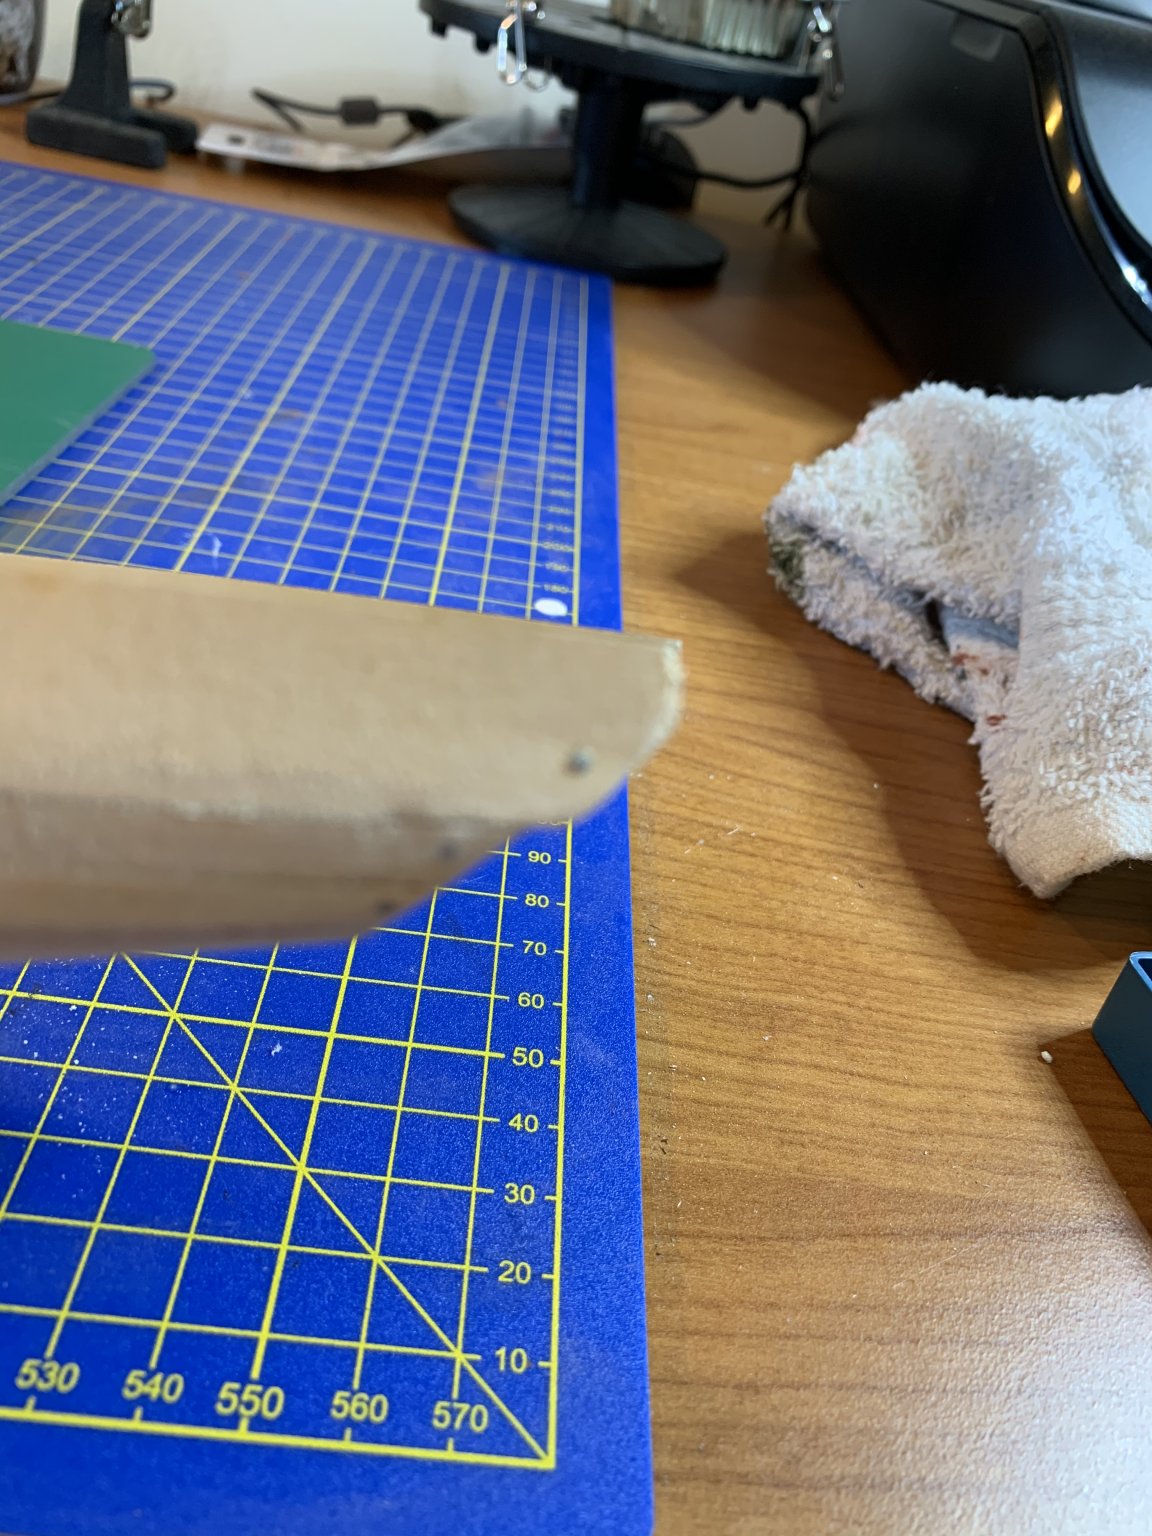
In the photo you can see that I’ve managed to get just a small gap, which I’m filling with wood glue/sawdust.
- 146 replies
-
- 3
-
-
- artesania latina
- bluenose ii
- (and 1 more)
-
Thanks Hof. I appreciate the support. When I was dry fitting the keel there was a gap between it and the false keel, and the two main keel pieces didn’t link particularly well. I was finding it difficult to know whether it all went together well or not as the pieces are just loose. I decided to join the two main keel pieces together (after sanding to achieve a better join). This enabled me to place it against the hull to see where wood needed to be removed. I could then be more confident with the two for’ard keel pieces. This appears to be one of the differences between wooden models and plastic models. With plastic, we get used to everything being a perfect fit and it’s an outcry when something fits poorly. With wooden, I guess it’s less of an exact science. Each of us will have a very slightly different shape hull and I think they build in tolerances which the modeller has to adjust for, and spend a bit of time sanding to achieve the required fit.
-
The next puzzle needing to be solved is getting the keel fitted without any gaps. if anybody has tips or experience on this please advise.
-
I think I can see how it’ll work now.
-
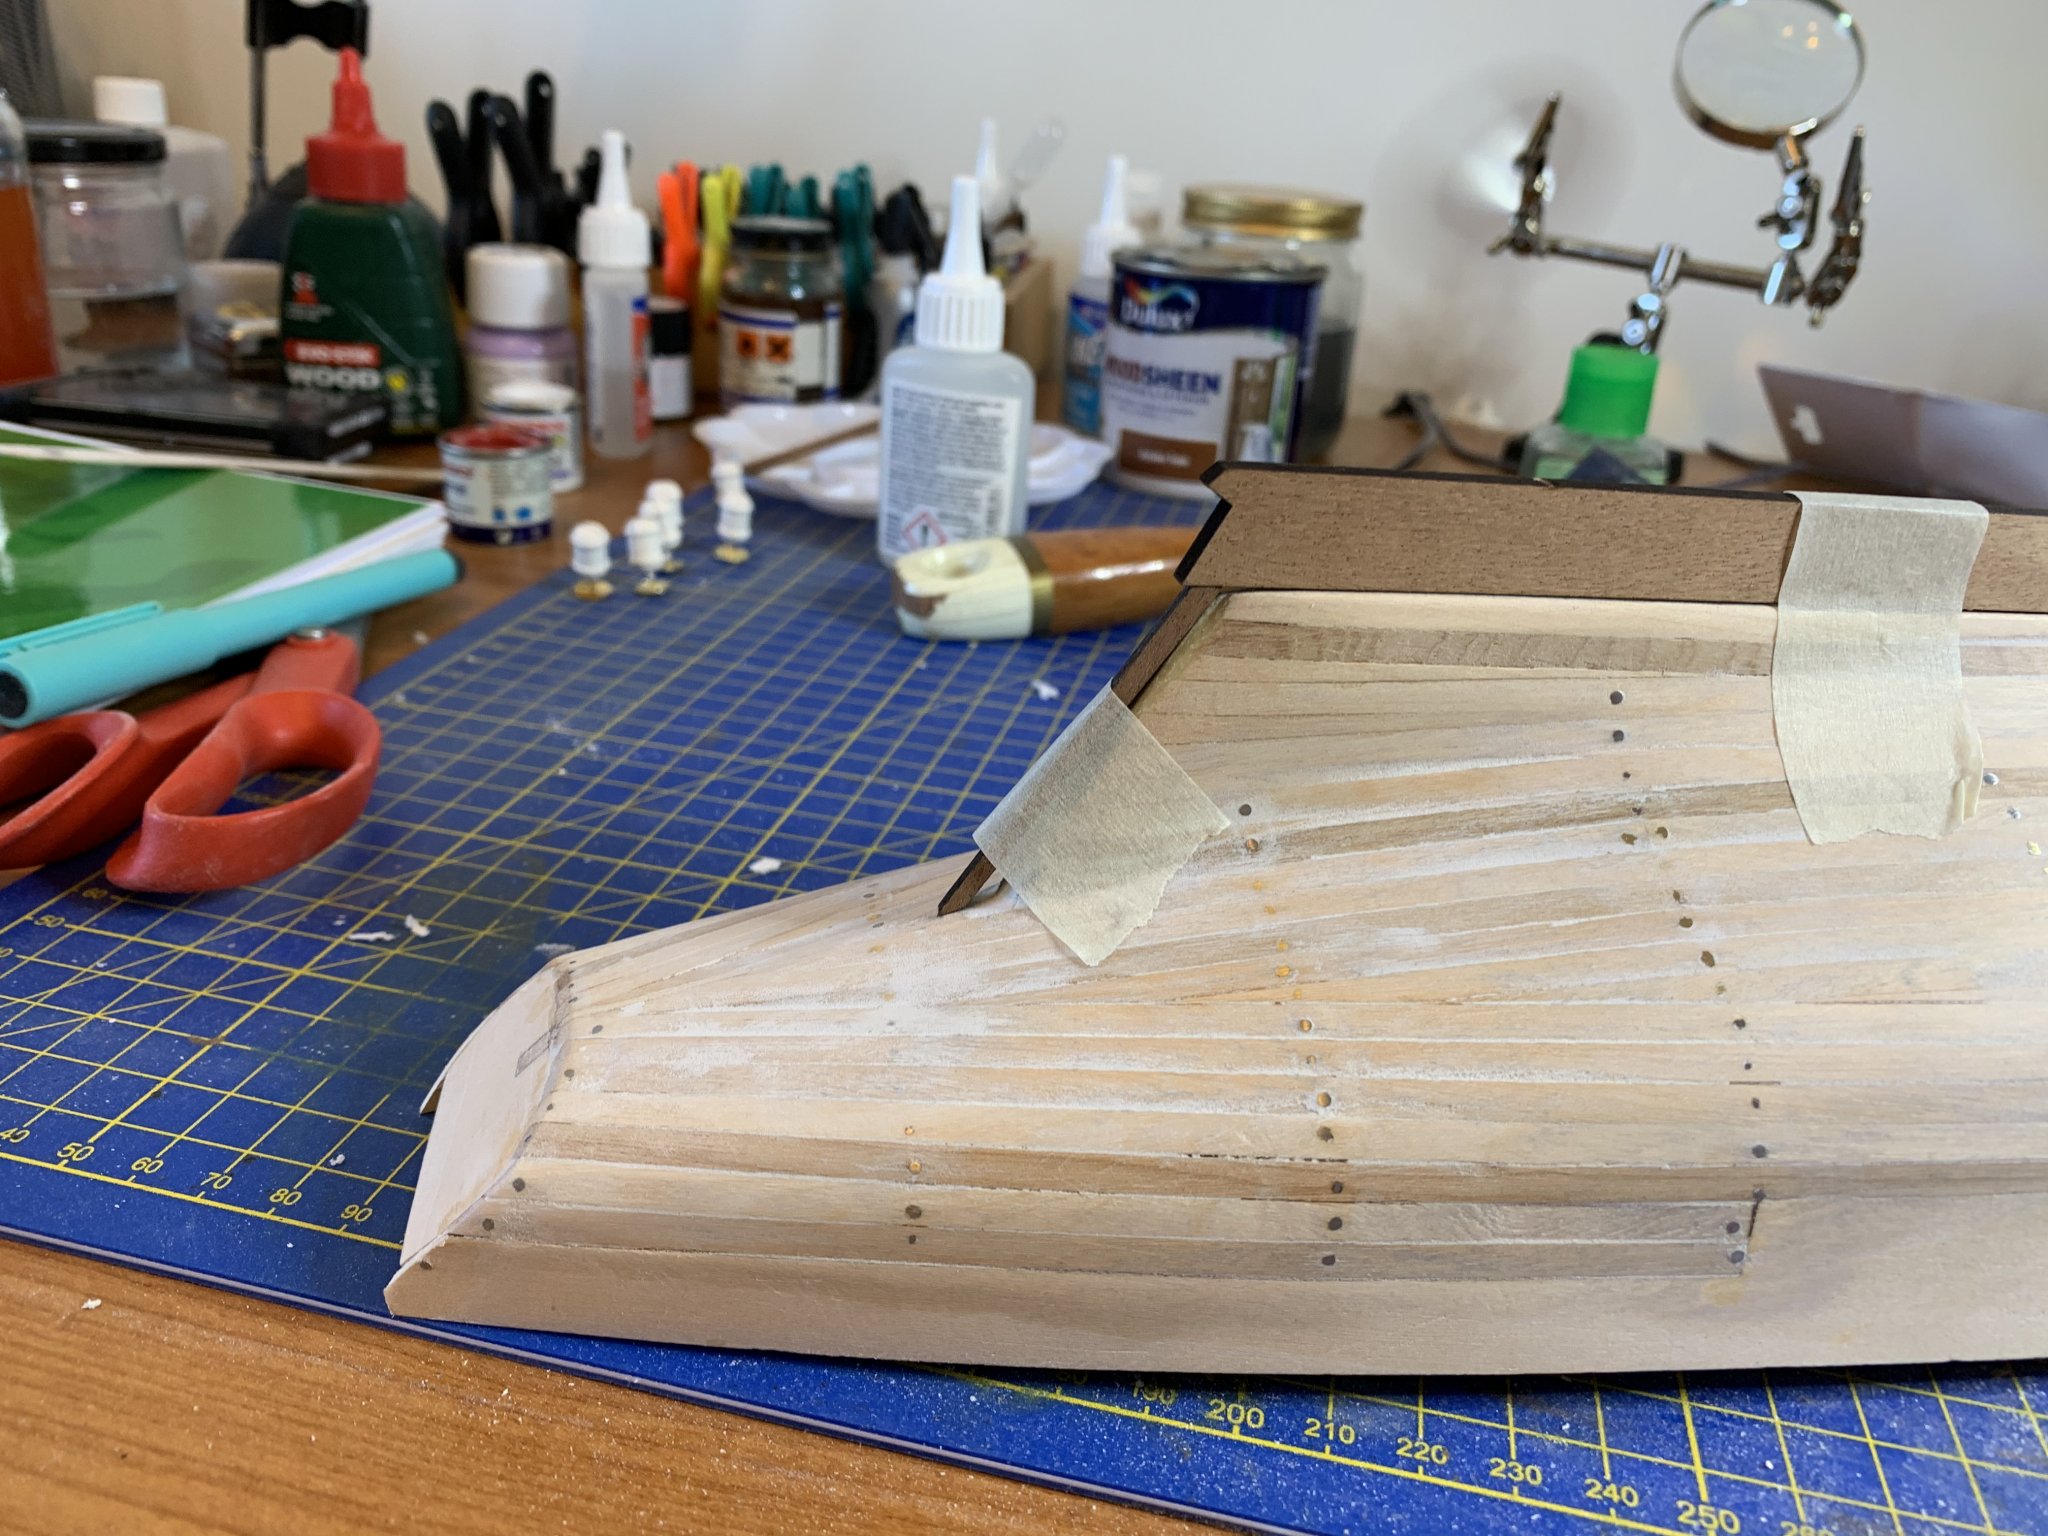
Kind of looks to be in the ball park but also looks to be some issues to solve. most worried by the extent that the keel overlaps the stern, but guessing this can all be sanded to fit. Any advice welcome
-
Thanks, but I don’t think they’ll ship to the UK!
-
Thanks Hof. Appreciated.
-
This would be good, except I don’t think they’ll post yo UK for free ☹️😂
-
Thank you Grandpa Phil. It does go through phases of me thinking I don’t have a clue what I’m doing, but I just have to take more time to think about what needs to be done.
-
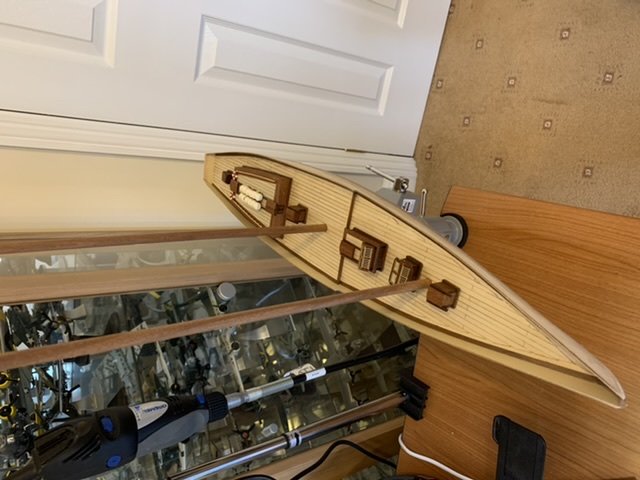
My bluenose won’t be carrying the little boats on deck. I think anybody whose tried to make them as per the AL instructions will understand why... blinking things 🤬🤯
- 146 replies
-
- 1
-
-
- artesania latina
- bluenose ii
- (and 1 more)
-
And here’s the deck buildings I’ve been working on.


- 146 replies
-
- 7
-
-
- artesania latina
- bluenose ii
- (and 1 more)
-
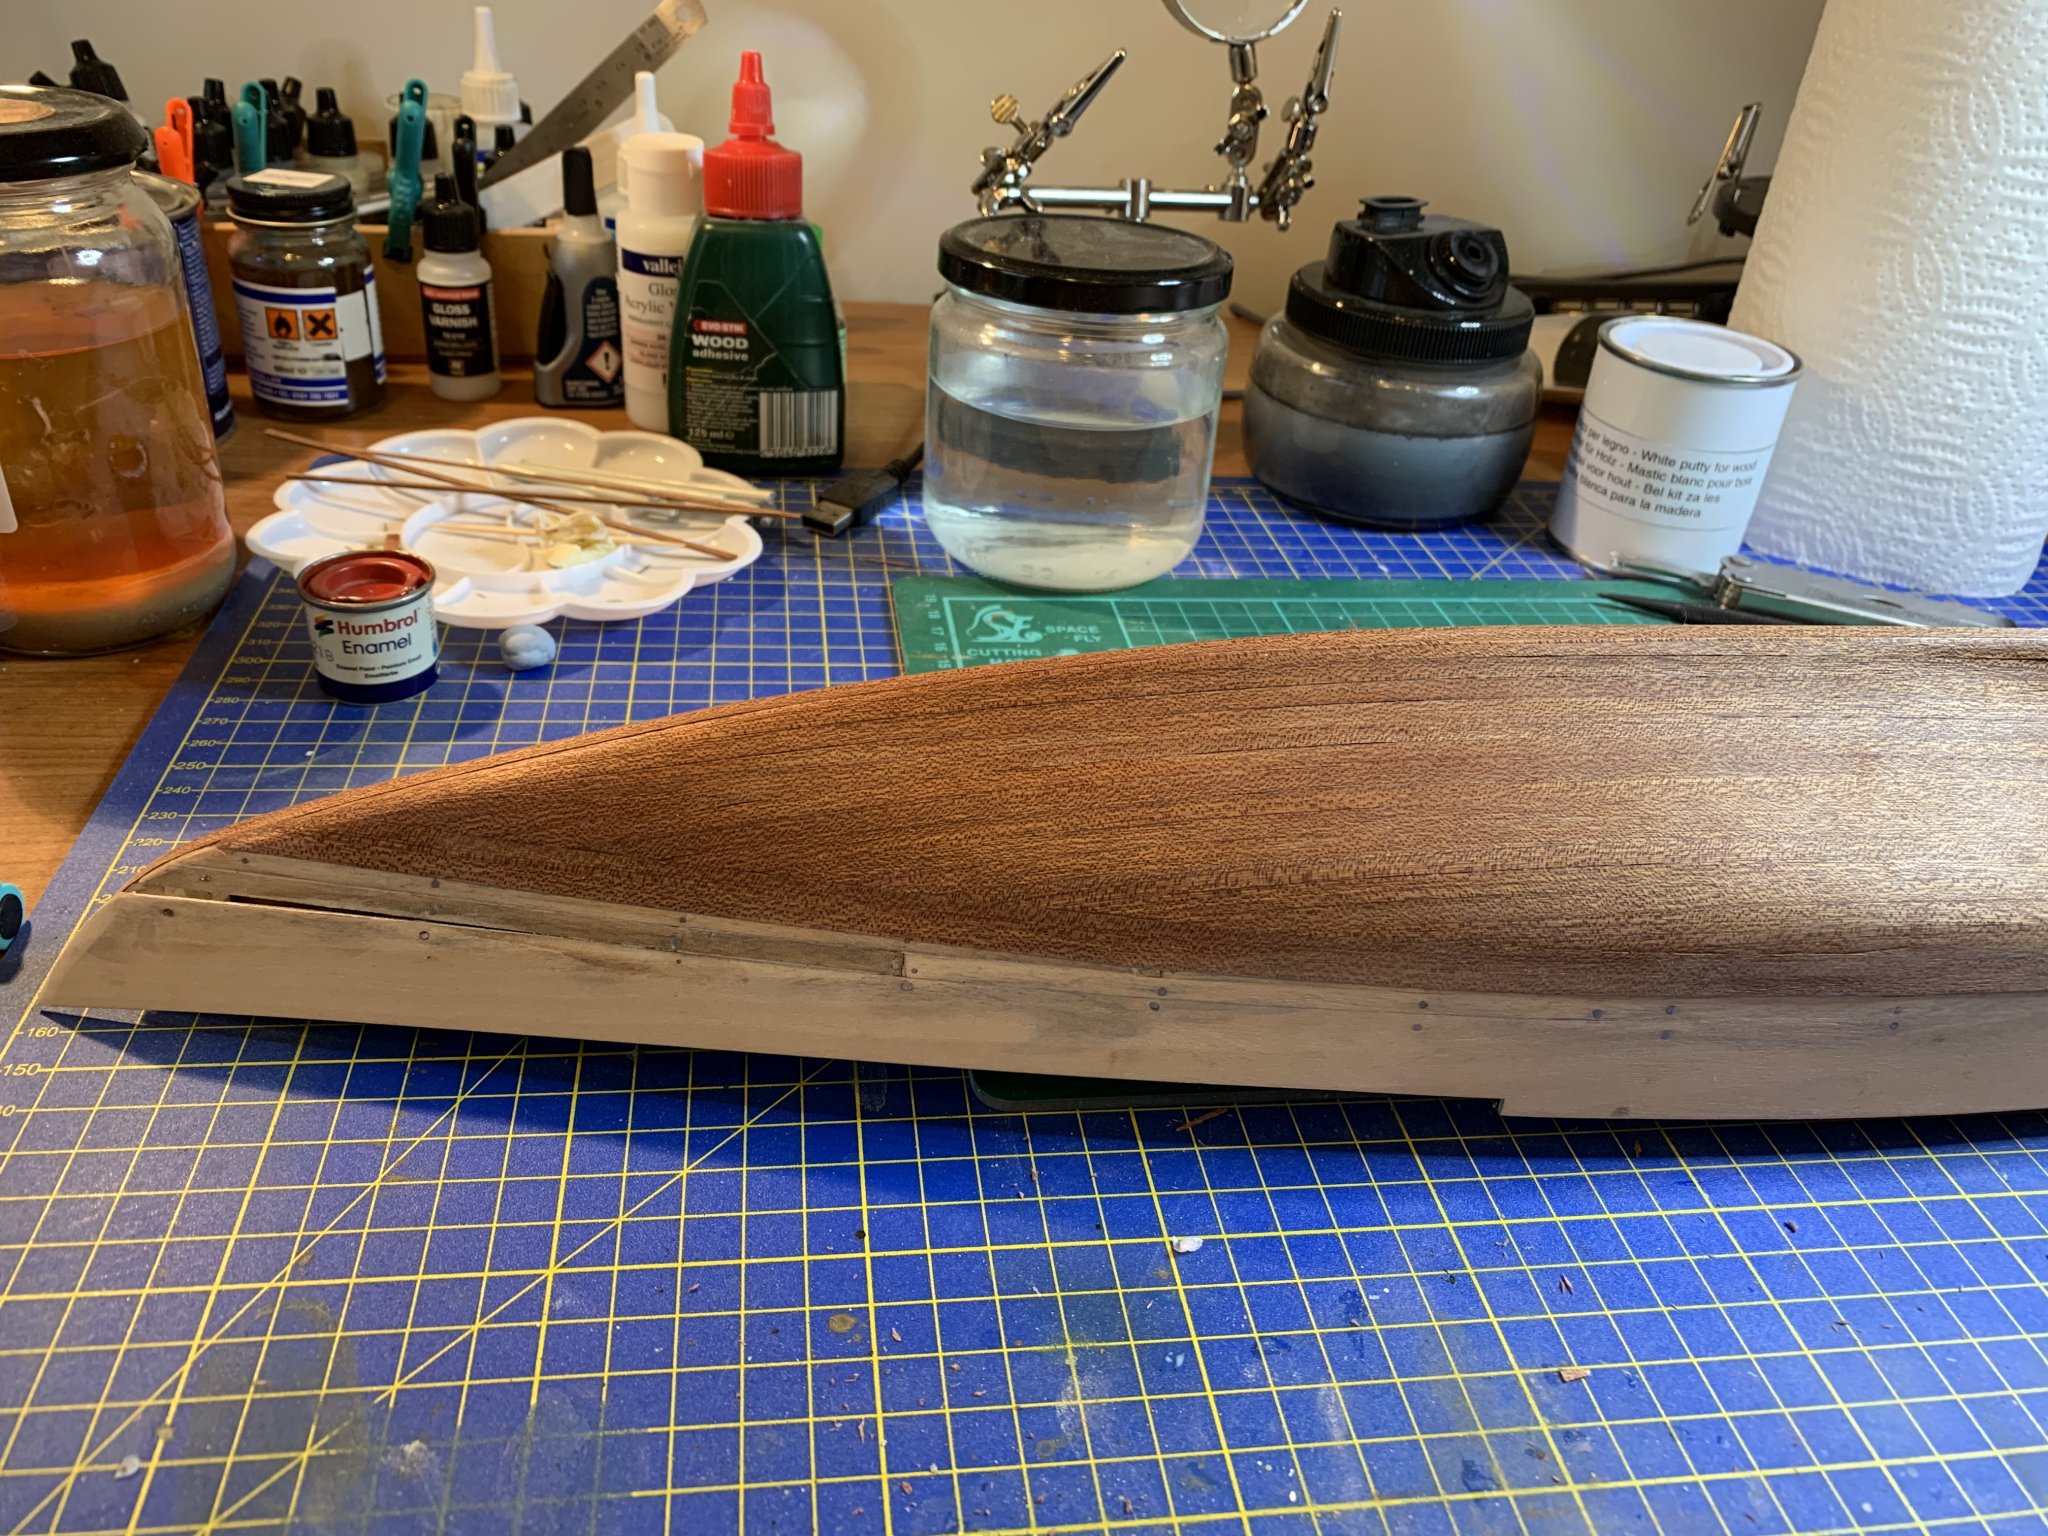
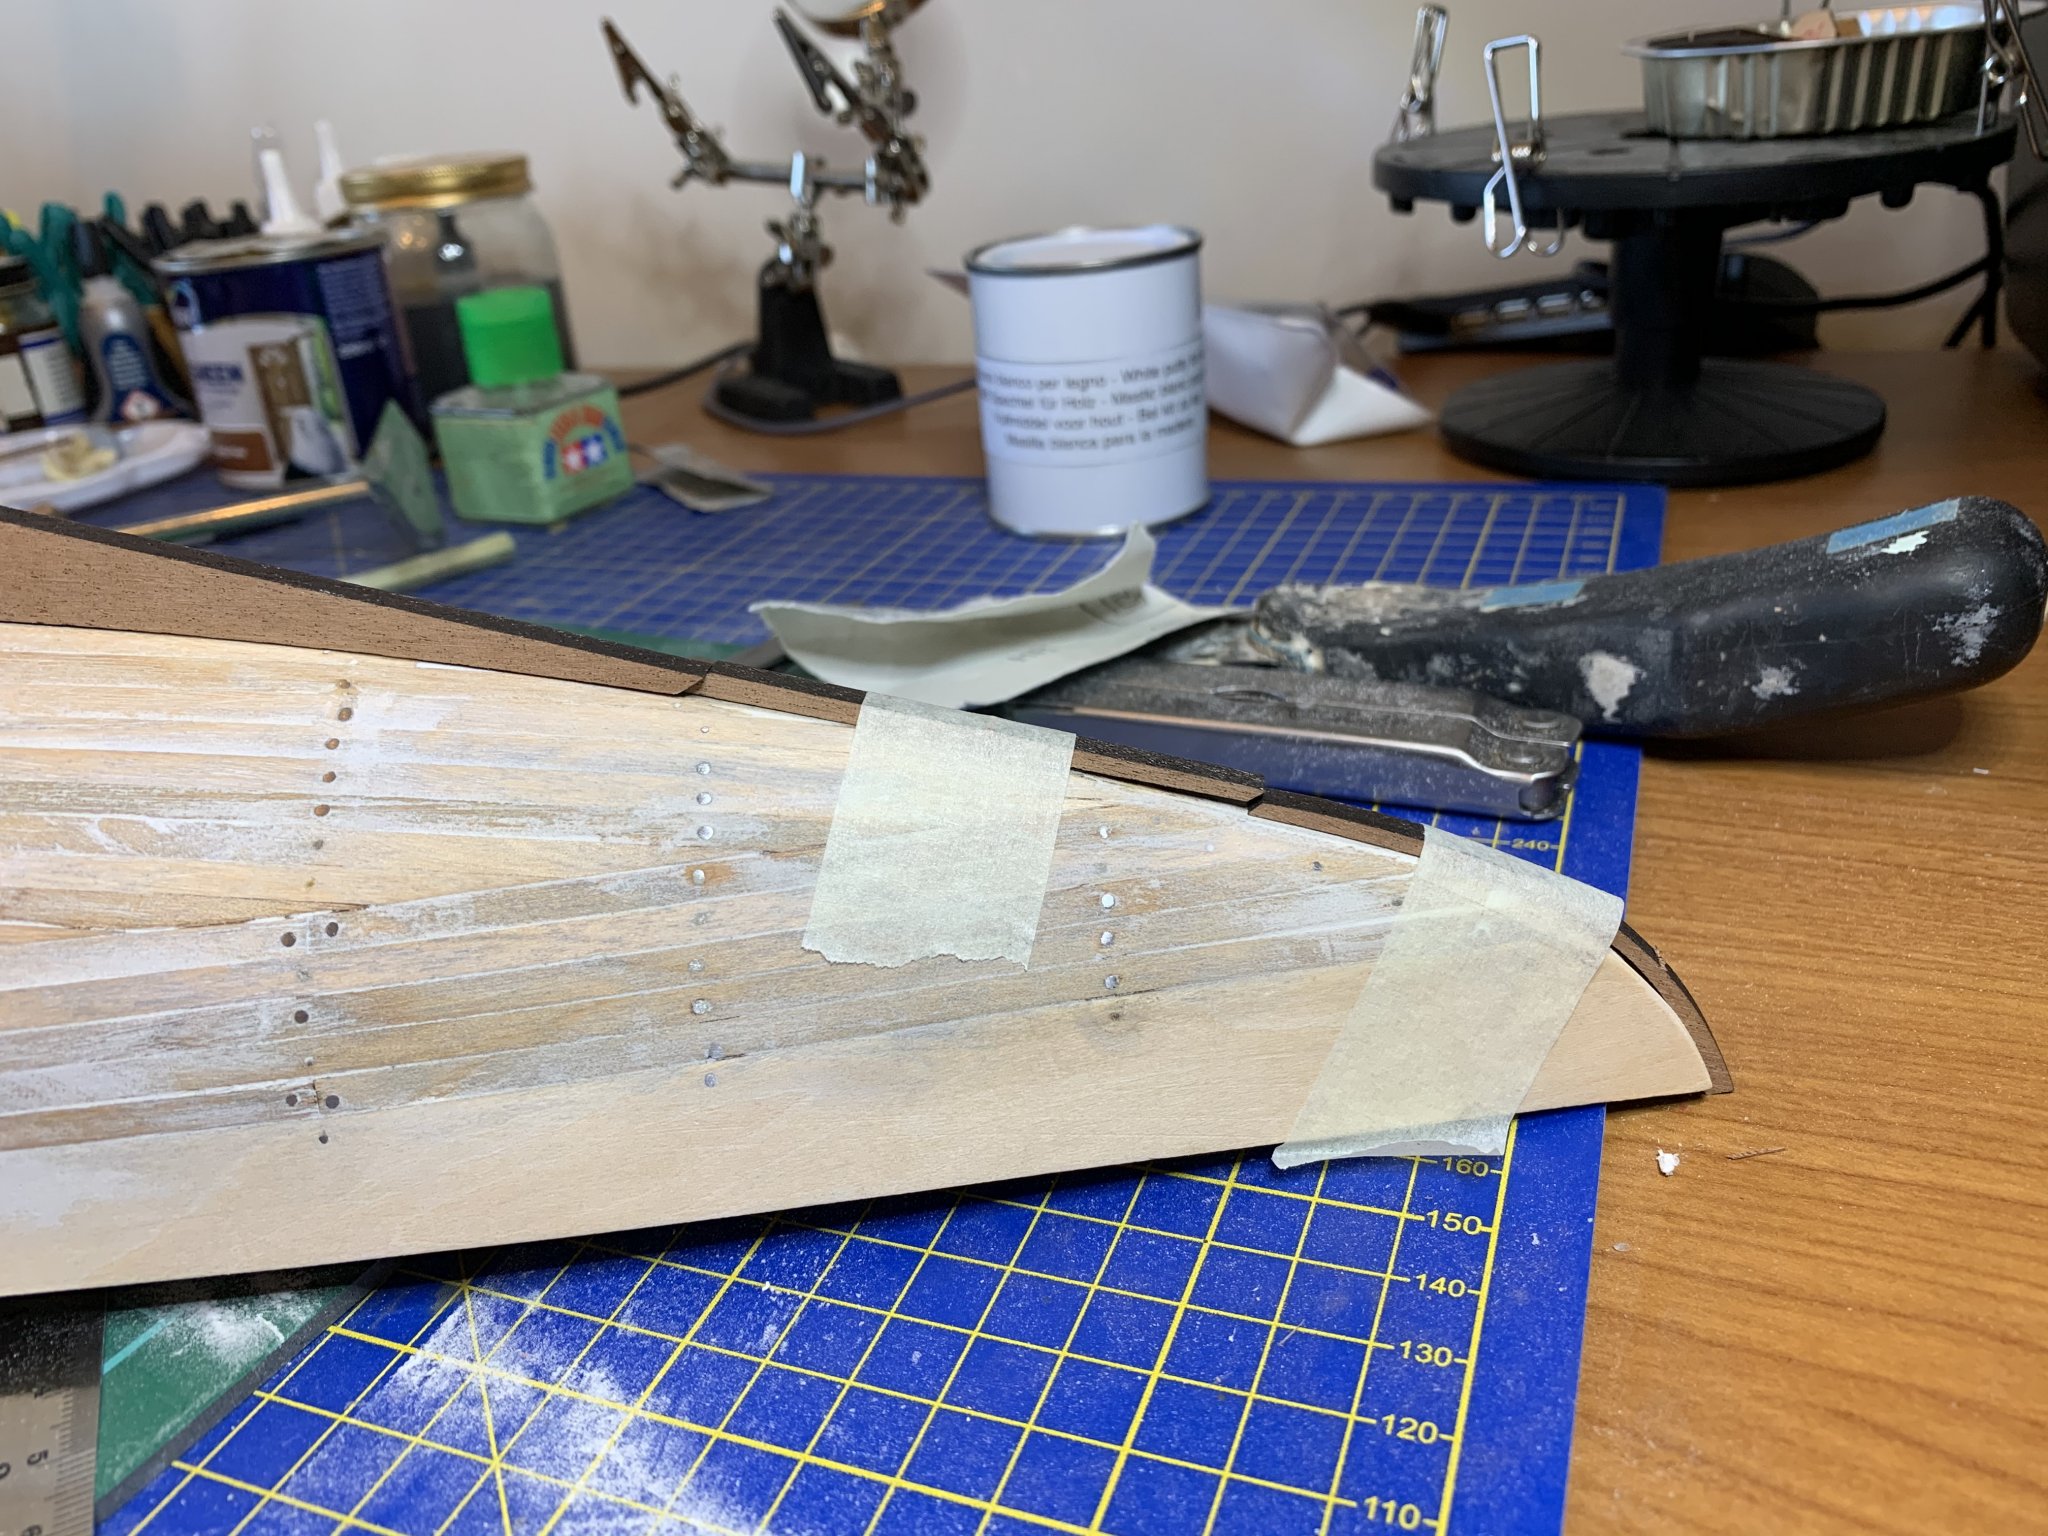
Had a bit of an accident... grrr! hopefully will fill ok.

-
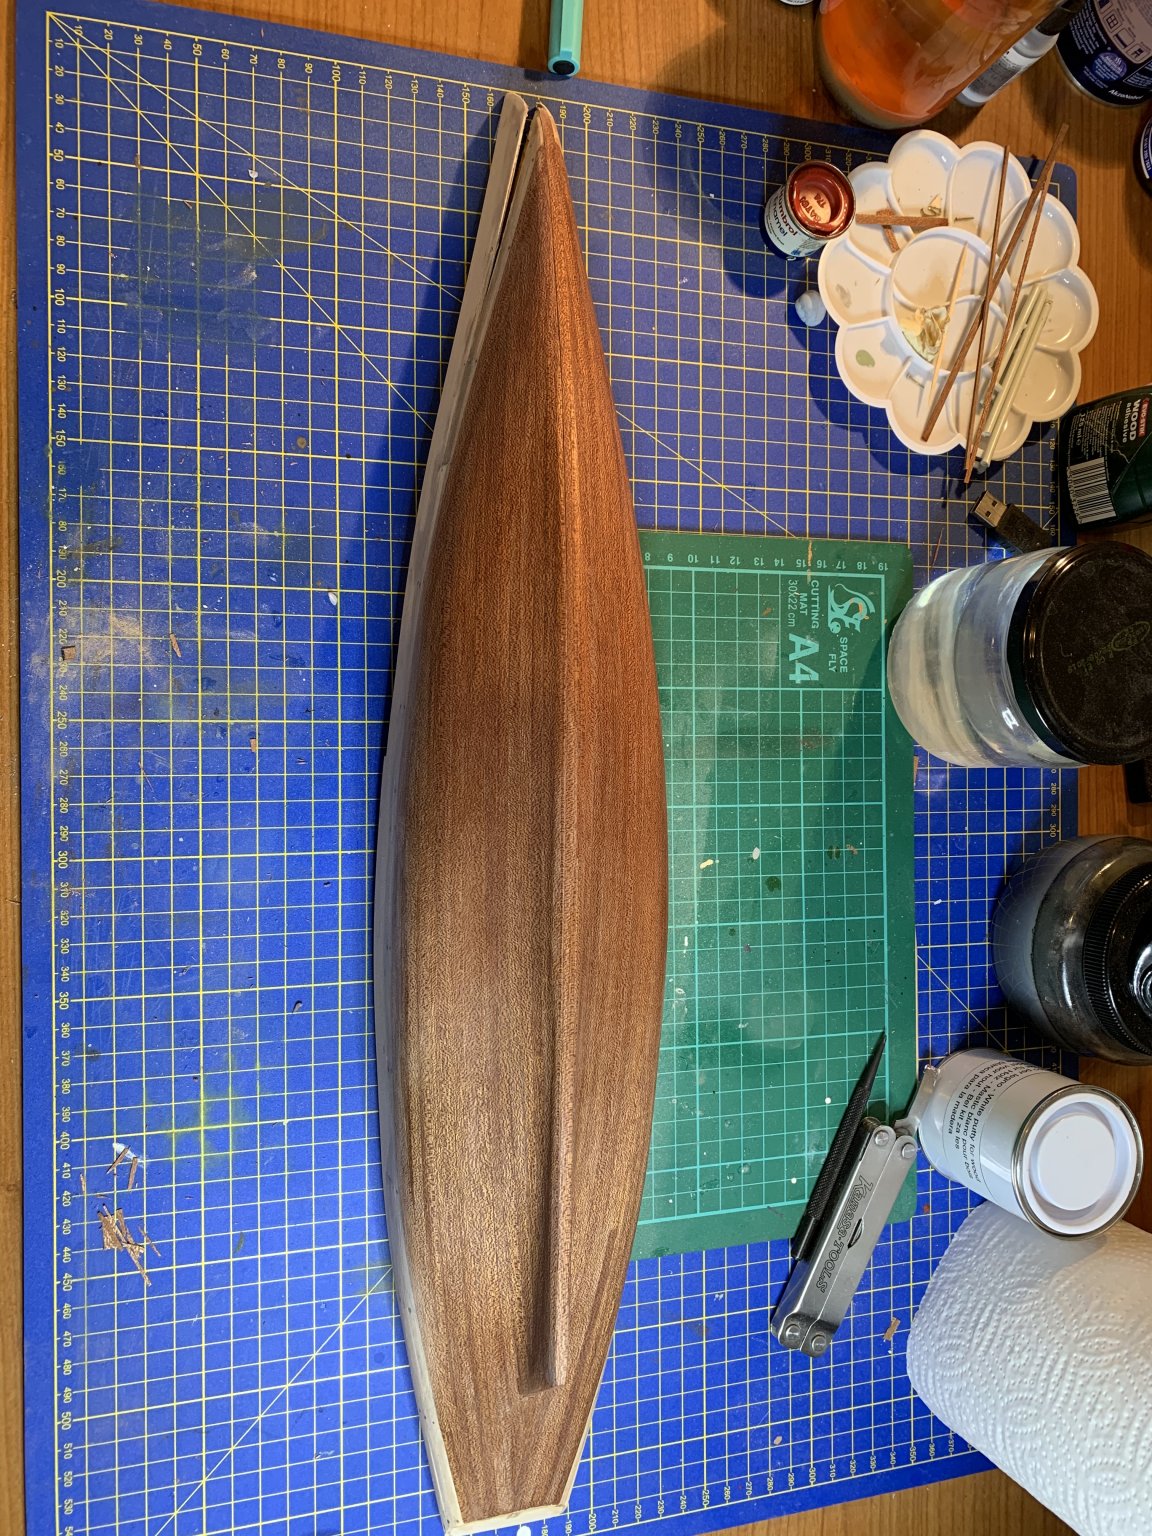
I know there are some holes and gaps. Plan to double plank the bottom portion of the hull, but even so I’m to fill with putty and get it as smooth as can, even if that’s just for practice.
- 146 replies
-
- 1
-
-
- artesania latina
- bluenose ii
- (and 1 more)